Affiliate disclosure: As an Amazon Associate, I may earn commissions from qualifying purchases from Amazon.com.
Why buy wood bead garland on Etsy for upwards of $30 when you can make it yourself for dollars less?
I’d like to teach you how to craft your own version in less time than it would take you shop for it online and have it shipped to your house. If you can find a strand of wood bead garland at a home decor store like At Home or Hobby Lobby, you’ll save much more money than if you bought multiple bags of beads ($7-9 each!). I bought 12′ of holiday wood bead garland (see below) for $5.99 from At Home.
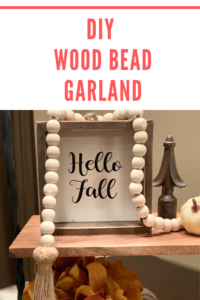
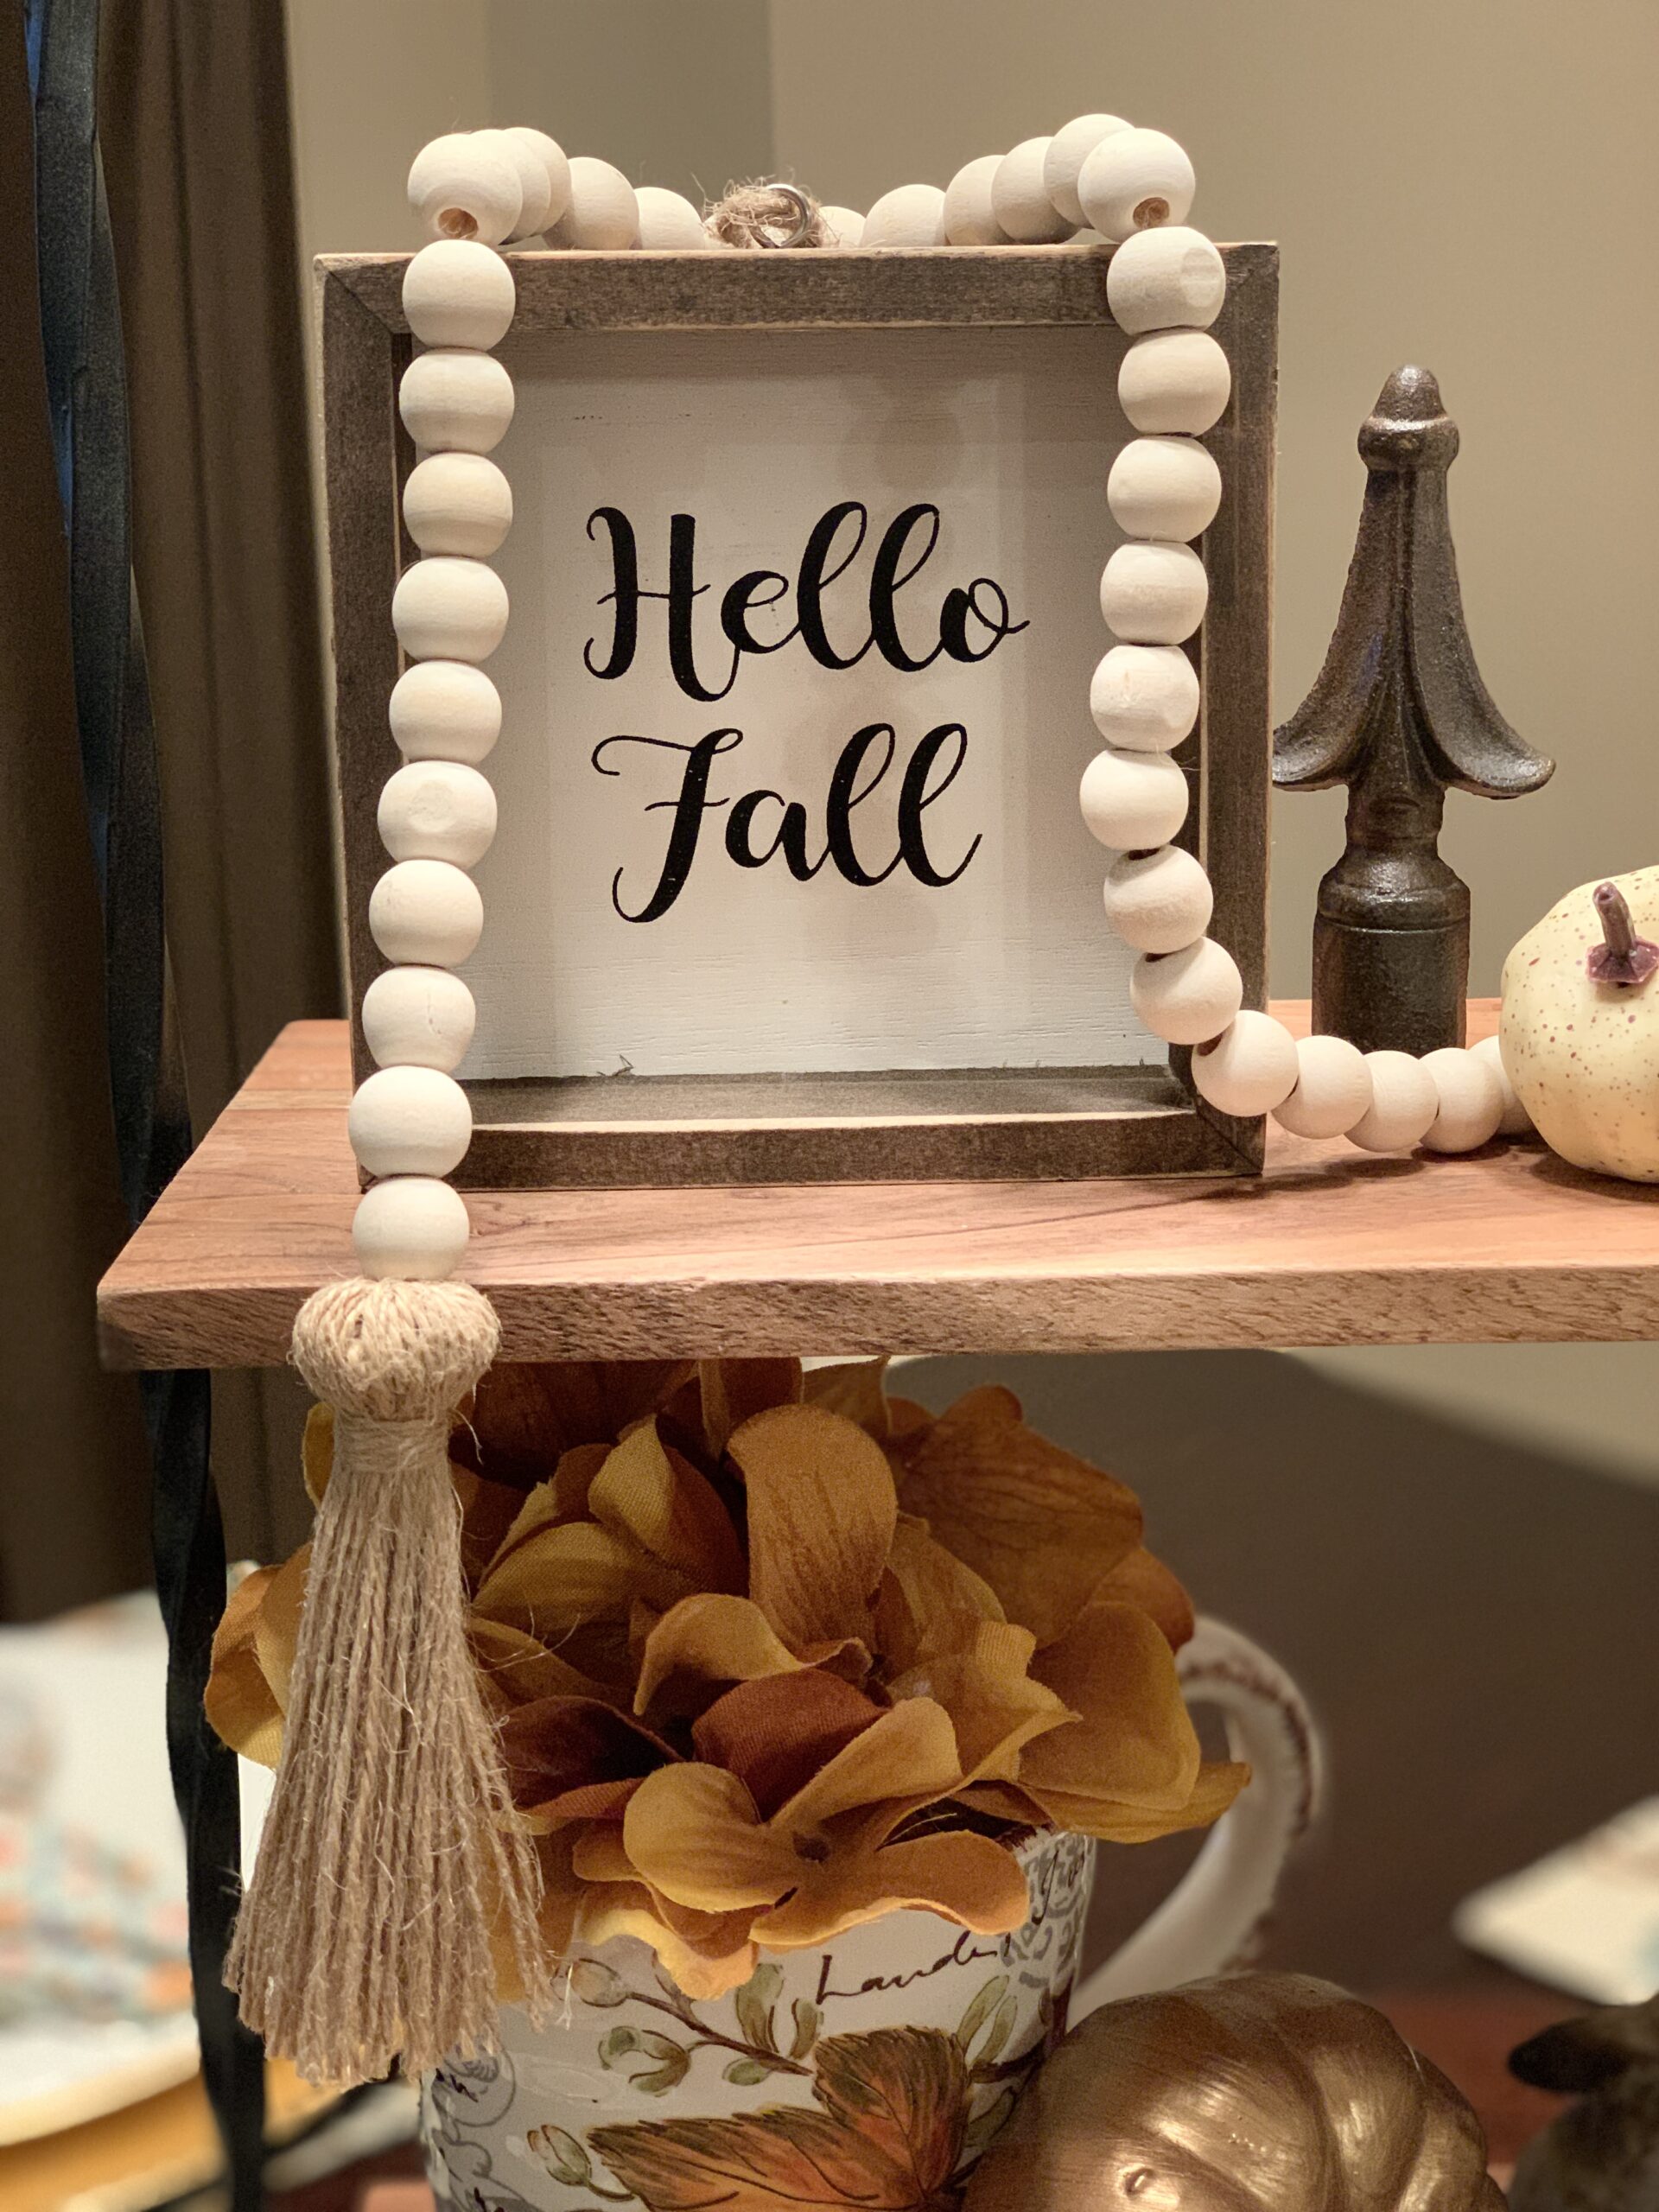
The finished garland looks beautiful when displayed with farmhouse design or draped against bohemian decor.
Roll up your sleeves. Let’s get crafty!
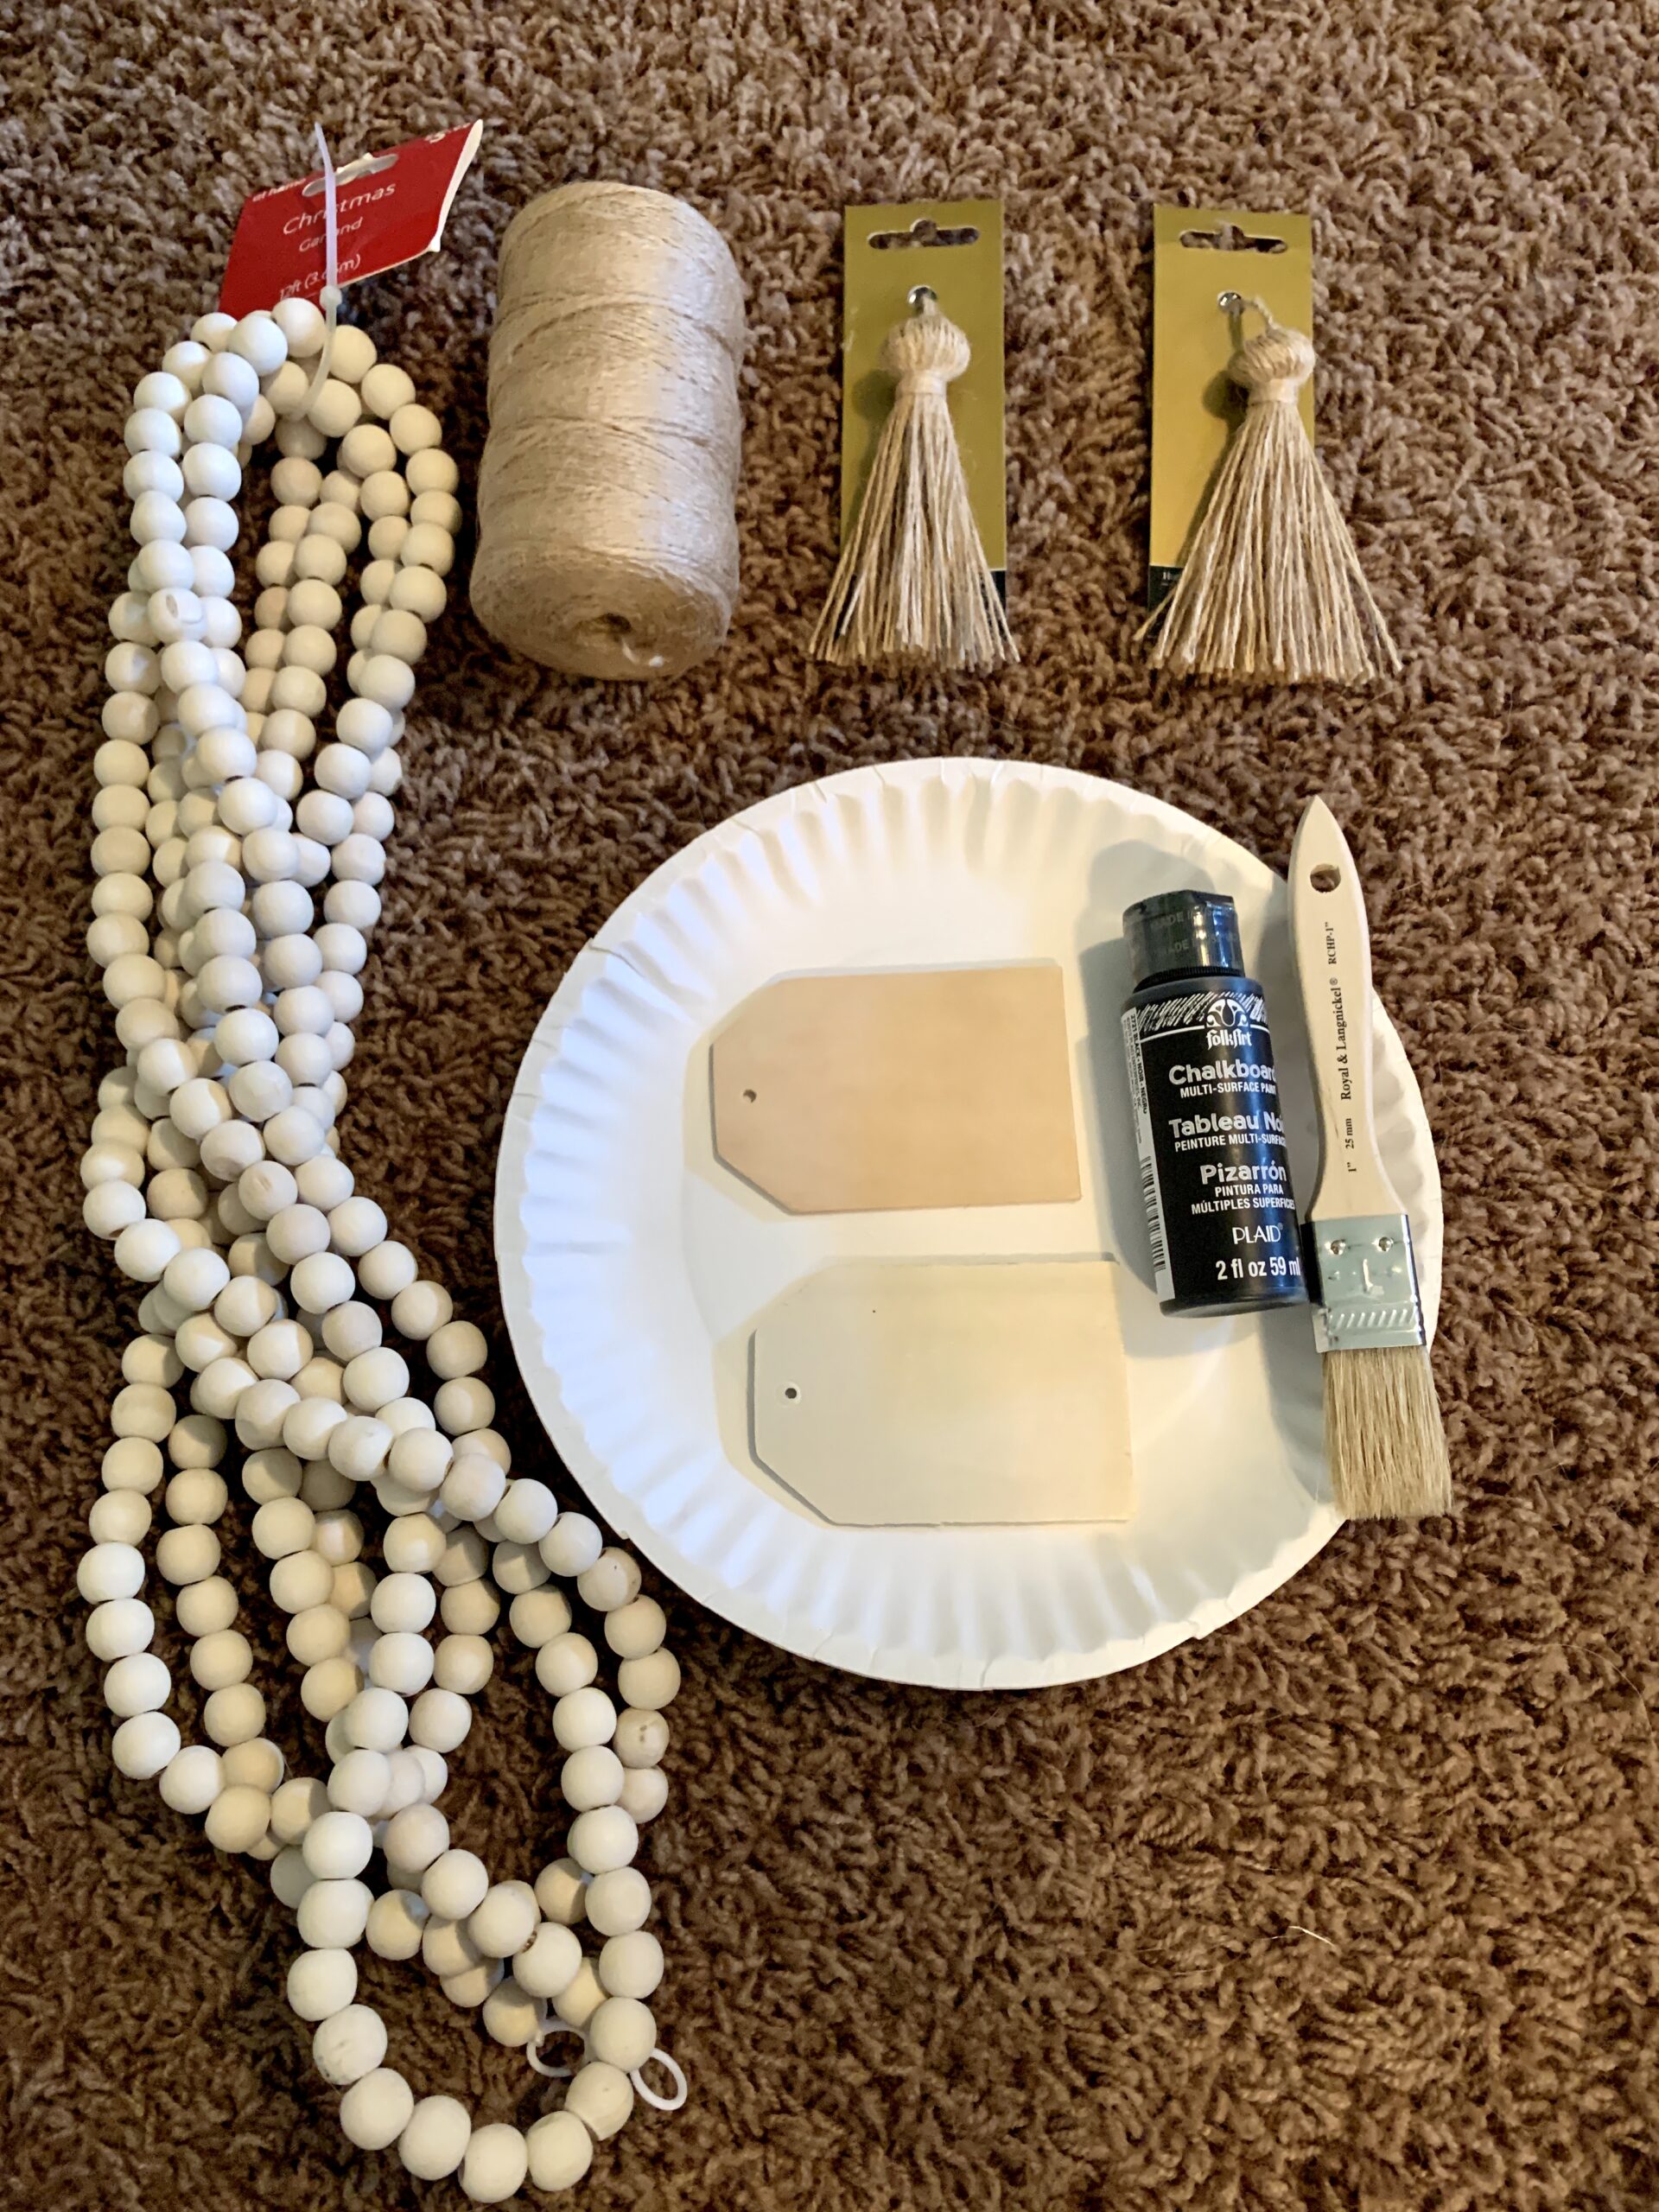
SUPPLIES AND TOOLS:
- Wood bead holiday garland
- Jute twine
- Jute tassel
- Wood tag
- Black chalkboard paint
- Paint brush
- White chalkboard marker
STEP 1: Remove the wood beads from the roped garland and remove any tags. (I bought this strand from At Home for less than $6 and it had enough beads for three wood bead garland projects.)
STEP 2: Cut a length of jute twine to the length of garland you want. (I simply made a rough estimate of my bead quantity and cut the twine to suit that length.)
STEP 3: Attach the jute tassel by knotting the twine to it. (I found these tassels at Joann’s for less than $3 each.)
STEP 4: Slide each wood bead one-by-one down the length of twine. The first 1-3 beads will cover the tassel’s leftover loop hiding it from view. Continue adding beads until you have approximately 3-4 inches of twine left as excess at the end of your DIY garland.
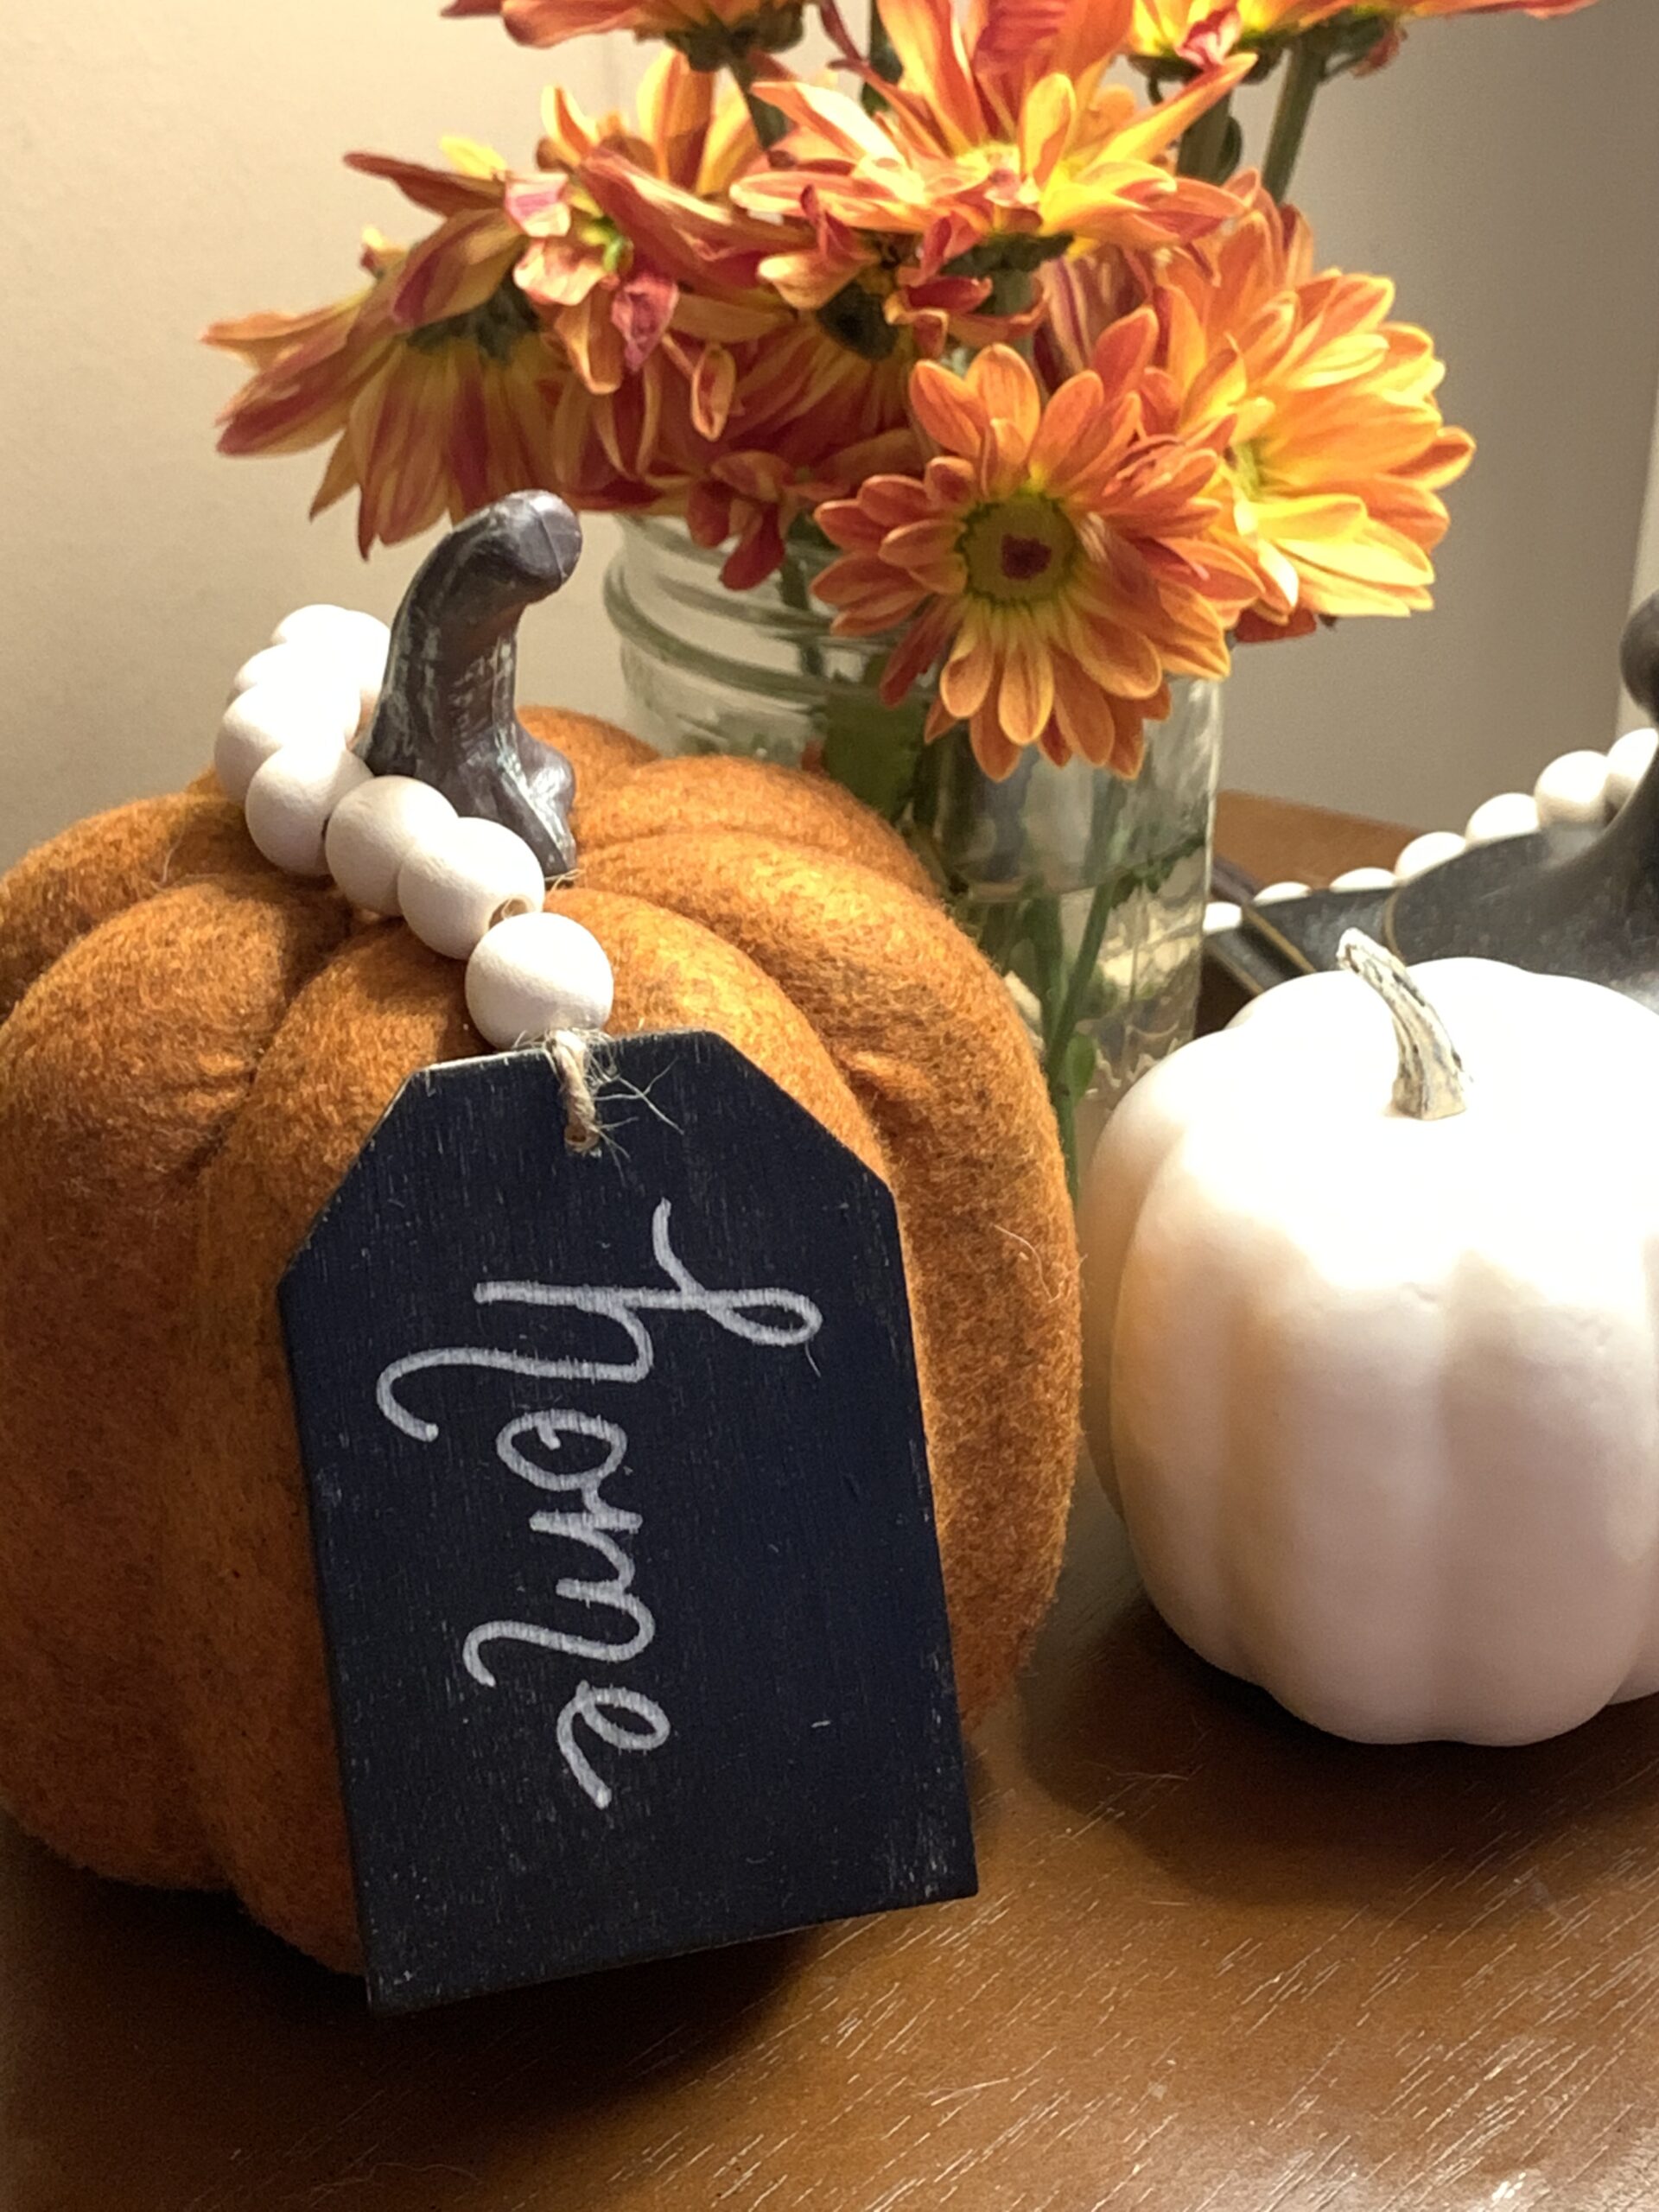
STEP 5: Using the remaining length of twine beyond the last bead, loop it into the wood tag and knot it firmly. (I wanted to use black chalkboard paint on the tag I used to eventually hand script a word on it. To do so, brush on one coat of chalkboard paint, allow to dry, add another coat of paint, and once dried you can use a white chalk marker to script a word on our tag.)
STEP 6. Tuck any excess twine inside the first and last beads on the garland, and you’re done!
Now, where will you drape your garland to adorn your interior design?