• Skip to primary navigation
  • Skip to main content
  • Skip to primary sidebar

A Lifestyle Blog

  • About
    • Work With Me
      • Delightful Life Media
    • Privacy Policy & Disclosures
  • Taste
    • Breakfast
    • Lunch
      • Salads
      • Sandwiches
    • Dinner
      • Grilled
      • Sides
      • Pasta
      • Rice
    • Appetizers
    • Desserts
    • Drinks
      • Cocktails
      • Non-Alcoholic
    • Snacks
  • Travel
    • United States
      • Kansas
      • Missouri
      • Nevada
      • Nebraska
      • New York
      • Oklahoma
      • Texas
      • Wisconsin
    • Mexico
  • DIY
    • Projects
  • Contact
  • Lifestyle
  • 100 Things to Do in Wichita Before You Die

dog biscuits

How to Rust Proof a Wrought Iron Raised Dog Dish Stand

May 23, 2017 by Vanessa 1 Comment

We are the products of a society that simply throws things away and replaces them when they break or don’t suit our tastes anymore.

Think: when is the last time you bought a duplicate of something you already owned?

Maybe it’s because I was raised in a do-it-yourself household, but I’m the type of person who first considers if they can fix or renovate something before buying it new, again. Plus, I feel accomplished knowing that I created or “re-created” something with my hands!

It seems like the idea of renovation is more popular than ever thanks to HGTV shows like Fixer Upper, Rehab Addict, and Home Town. What’s old is new again! Well, I decided to roll up my sleeves and refurbish our dog’s wrought iron raised dog dish stand after a couple years of neglect left it incredibly rusted and looking sad.

Before

Perhaps you don’t have a raised dog bowl stand, but I bet you also have a rusted metal plant stand or outdoor lantern that is beginning to look a bit sad too. No fear! In a few easy steps you can bring that tired piece of metal artwork back to it’s glory. Let’s get started.

Summon up that can-do spirit because we’re about to take this rusted piece of junk back to its original beauty. What is that gross white stuff anyway?

Because our 10 year-old dog Sasha laps her water wildly when she drinks, this wrought iron dog dish stand has suffered from quite a bit of rust. She has the longest tongue I’ve ever seen on a dog!

The first step to fixing this rust problem is to remove as much of it as possible using a metal brush.

A small metal brush like this one works well for curved metal projects because it allows you to get into the small grooves of metal to free loose pieces of rust.

After breaking loose every bit of rush from all sides of the stand, you can use a soft bristled brush or rag to clean up its surface.

After brushing the rust pieces loose from the metal stand, you can position it on top of old cardboard boxes or newspaper to prepare your space to cover it with Rust Stop indoor/outdoor spray paint.

Using smooth continuous strokes, spray all sides of the metal stand. Allow it to dry, turn it upside down, and spray the bottom sides of it as well. If you have to paint more than one coat, expect several hours of drying time.

This spray in particular is awesome to use because it not only prevents future rust but also paints your metal items just as great as any other brand of spray paint. TIP: After completely spraying your projects with canned spray paint, turn the can upside and spray it just a little bit more to keep the nozzle from clogging.

After

Looks like Sasha just got herself a refurbished metal dog dish that looks awesome. Of course, she didn’t even notice but I did!

Looks at this beauty!

What new potential do you see in your old metal pieces now? In a few DIY steps and a little effort, your old stuff can look new again.

Are you as obsessed with your dog as I am? You might also appreciate my post for Homemade Bacon Cheddar Dog Biscuits and Frozen Yogurt Pupcakes or check out my Facebook page for dog lovers to read more posts about dog care.

Filed Under: DIY Tagged With: dish, DIY, do it yourself, dog, dog biscuits, dog food, dog water, Fixer Upper, food dish, frozen yogurt pupcakes, HGTV, Home Town, homemade, paint, paint brush, pup, puppy, refurbish, Rehab Addict, restoration, restore, rust, rust proof, spray paint, stand, steel brush, upcycle, wrought iron

Homemade Bacon Cheddar Dog Biscuits and Frozen Yogurt Pupcakes

August 2, 2016 by Vanessa Leave a Comment

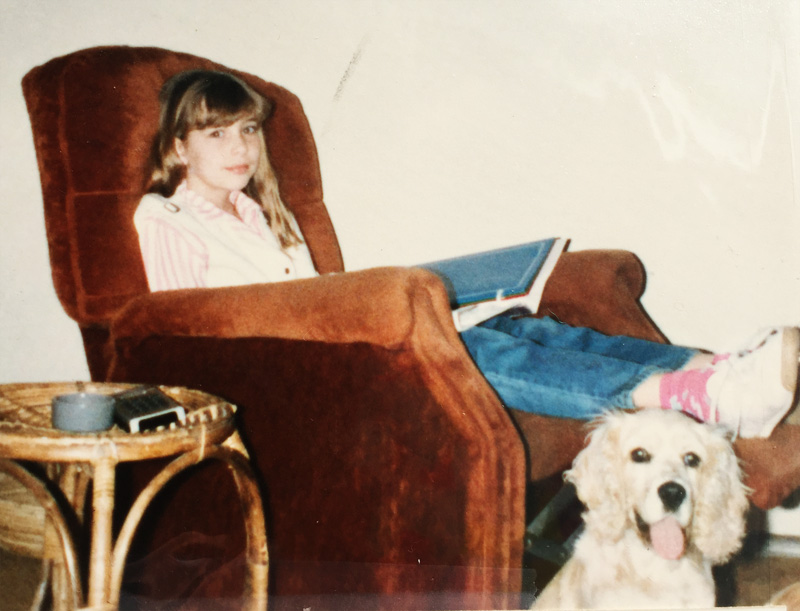
My  first puppy, a tan cocker spaniel male, won me over. We drove to a local farmer’s house to possible adopt a puppy only to find him the one of the last two boys in the litter sitting on the front porch. He hid timidly behind the leg of a antique metal chair and looked up at me with nervous eyes that said “take me home.” He was mine. I named him Waffles, for the color of his coat, and he became my buddy. Boy did he change as he grew up. He was a rambunctious dog that pulled my tall clumsy frame down the street with abandon. The neighbors would stare at us, but he didn’t care. He was born to explore.

I was food obsessed at an early age to name my first dog Waffles.
Isn’t he cute? That’s a picture of me doing my homework after school. Check out the stylish Trapper Keeper.

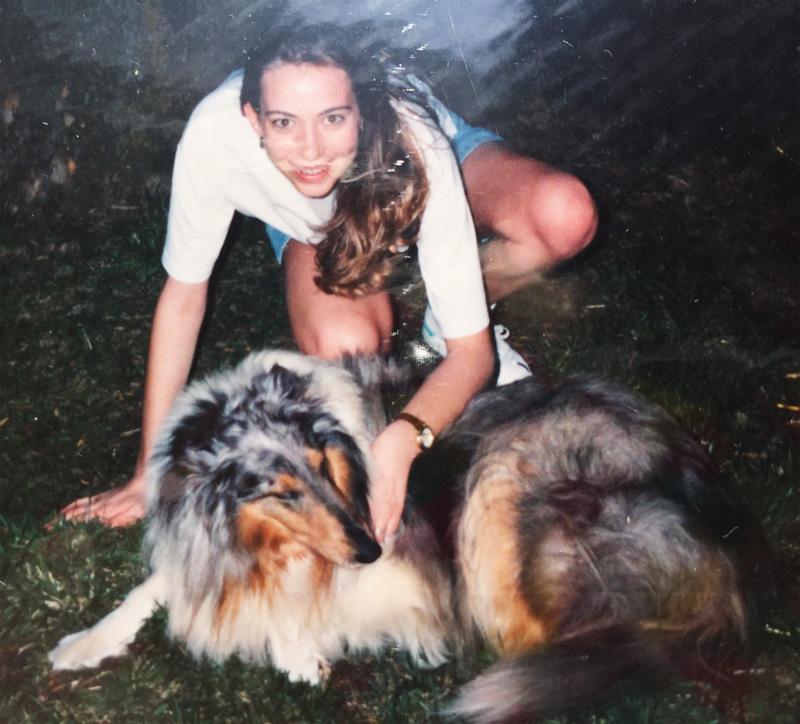
Many years later, when I turned sixteen, I knew exactly what I wanted for my birthday. Most teen girls want a car. Not me. I wanted to adopt a shelter pup, a collie to be specific. We brought Shelby, a blue merele collie, home and she stole our hearts for many years. She passed away while I was away at college leaving mom’s empty nest a bit more empty.

Always ready to cuddle, Shelby melted hearts.

After college I lived with roommates’ dogs. I remember three labrador brother dogs that ate trays of holiday candied nuts and got so sick they had to sleep in the garage on Christmas Eve. Oh, and there was a white Akita that walked delicately through the house leaving a trail of fur puff balls in his path. But these dogs weren’t mine and I wanted one of my own.
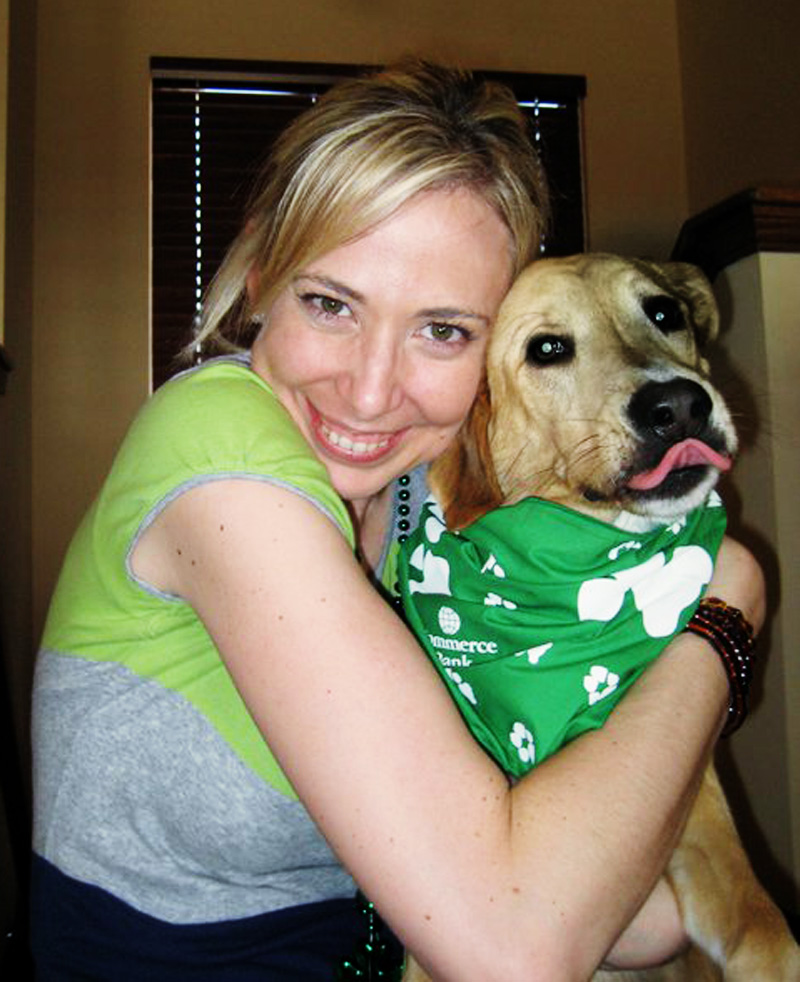
Today, my heart melts for Sasha, our nine year old lab mix. She was adopted by my boyfriend from the Bartlesville, Oklahoma SPCA shelter as a puppy and I met her three years later. She is our fur baby. We try to take her everywhere with us. So it was no surprise to our friends that I hosted a birthday party for her several years ago and invited their fur babies to join in on the fun. Every dog deserves to be celebrated!

Seriously, I love dogs. An advocate for shelter dogs, I created a Facebook page for dog lovers that promotes dog care, adoption events, and area veterinarians. I use this page to inform followers of adoptable shelter dogs and to let them know if the shelters in the area are running low on supplies. If I could adopt all shelter animals, we would have a zoo in our backyard.

Sasha has the longest tongue of any dog I've ever seen, but that makes her even cuter for photo moments like this one take on St. Patrick's Day 2011.
Sasha has the longest tongue of any dog I’ve ever seen, but that makes her even cuter for photo moments like this one take on St. Patrick’s Day 2011.

But since I can’t adopt every dog, I try to spoil them by making dog treats for my family and friends’ dogs. My Homemade Bacon Cheddar Dog Biscuits and Frozen Yogurt Pupcakes, are crazy easy to make and human-grade. You can even sample them yourself. I dare ya! If your pup is anything like Sasha, he or she will follow you around the house begging for just-one-more. Seriously people, your dog will be at your side like magnet. These treats are puppy approved!

Instead of buying a box of artificially dyed dog treats made with non-pronounceable ingredients, make the recipes below. Better yet, tag One Delightful Life on Instagram with a picture of your pup eating one of these yummy dog biscuits or a frozen pupcake. Don’t forget to follow my Facebook page made especially for dog lovers just like you!

homemade-bacon-cheddar-dog-biscuits11

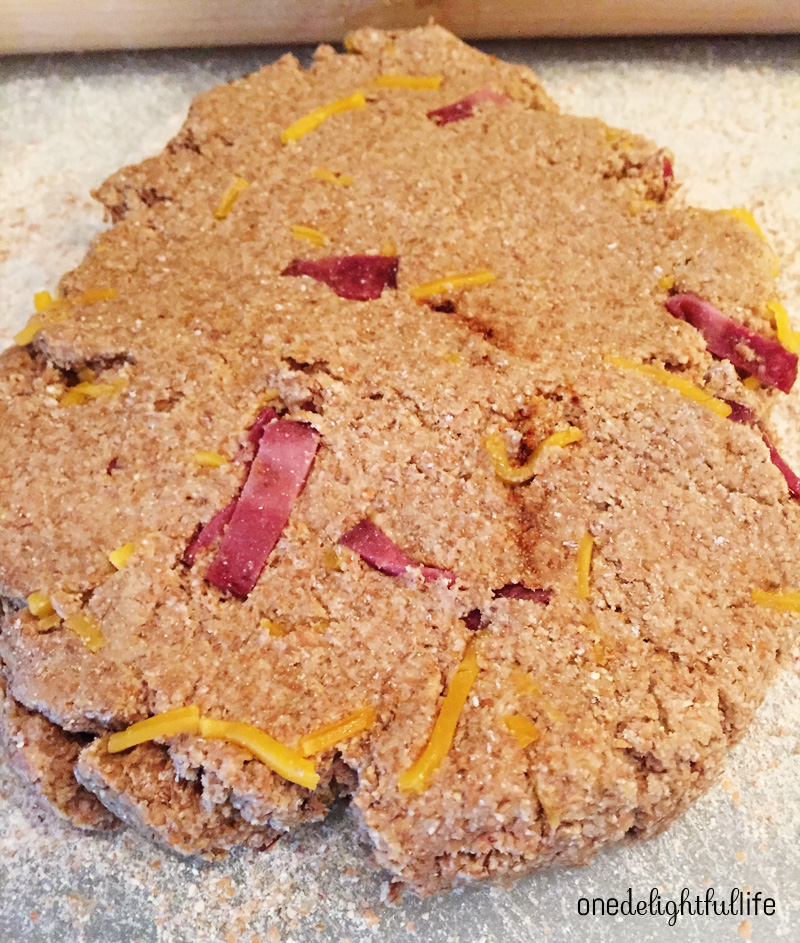
To make the dog biscuits, simply combine all ingredients into a large bowl. Knead the dough with your hands for a minute.

homemade-bacon-cheddar-dog-biscuits2

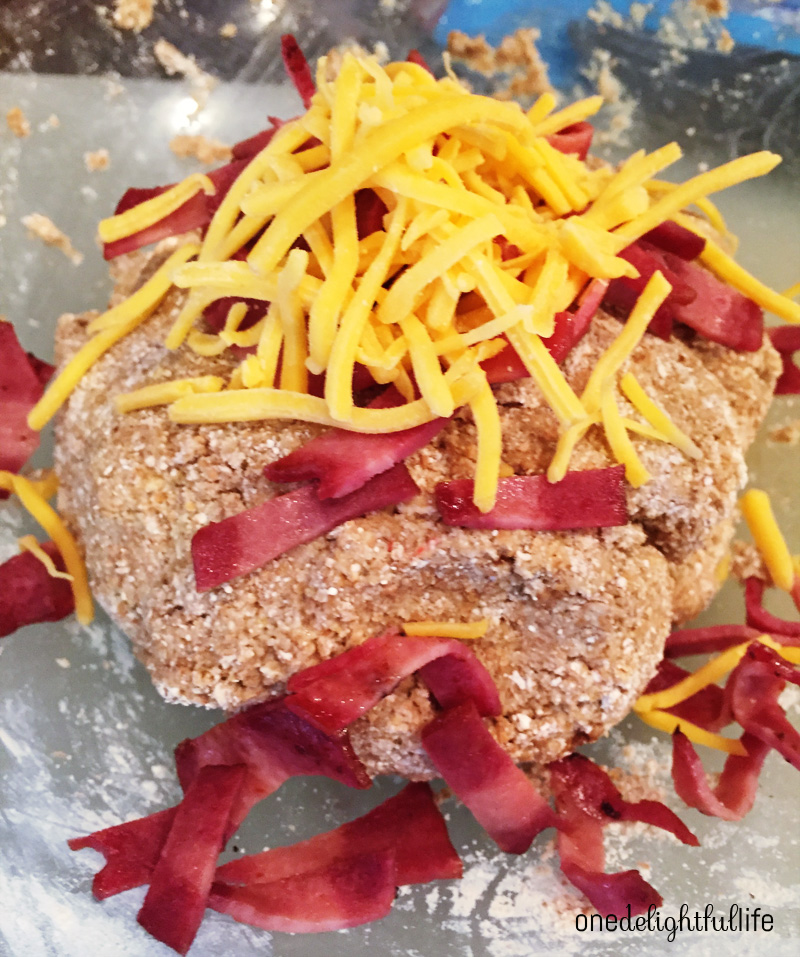
Your dough should look like the below picture when you’re done gently kneading it. At this point, preheat your oven to 350 degrees.

homemade-bacon-cheddar-dog-biscuits3

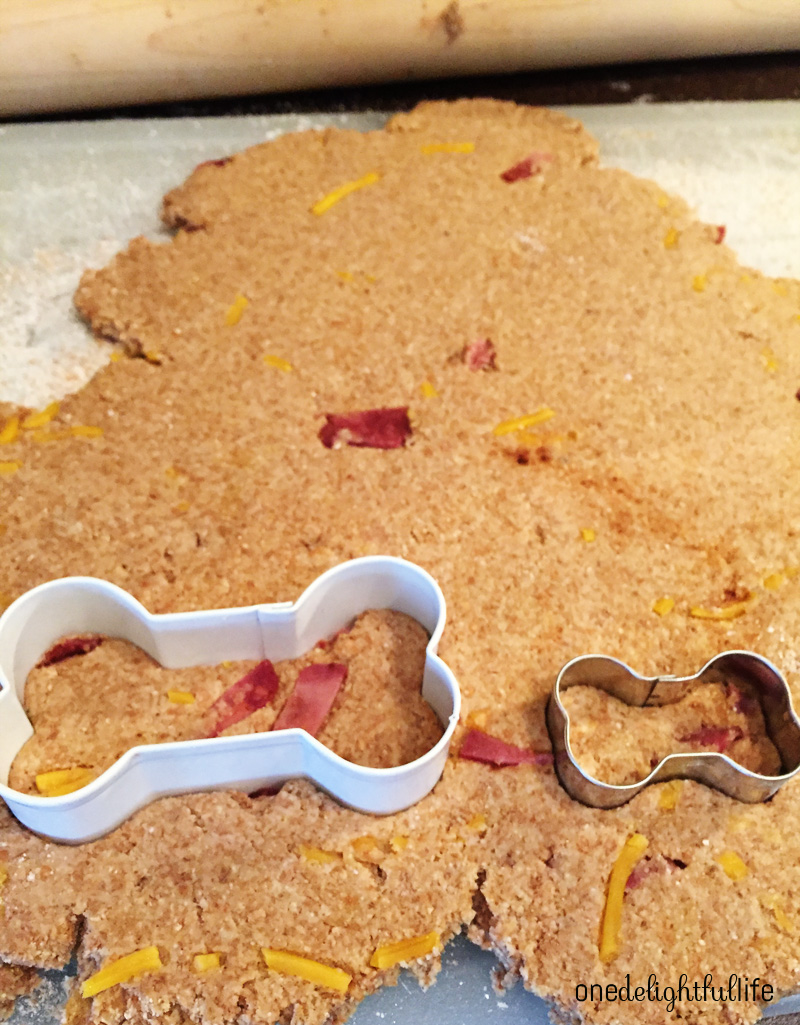
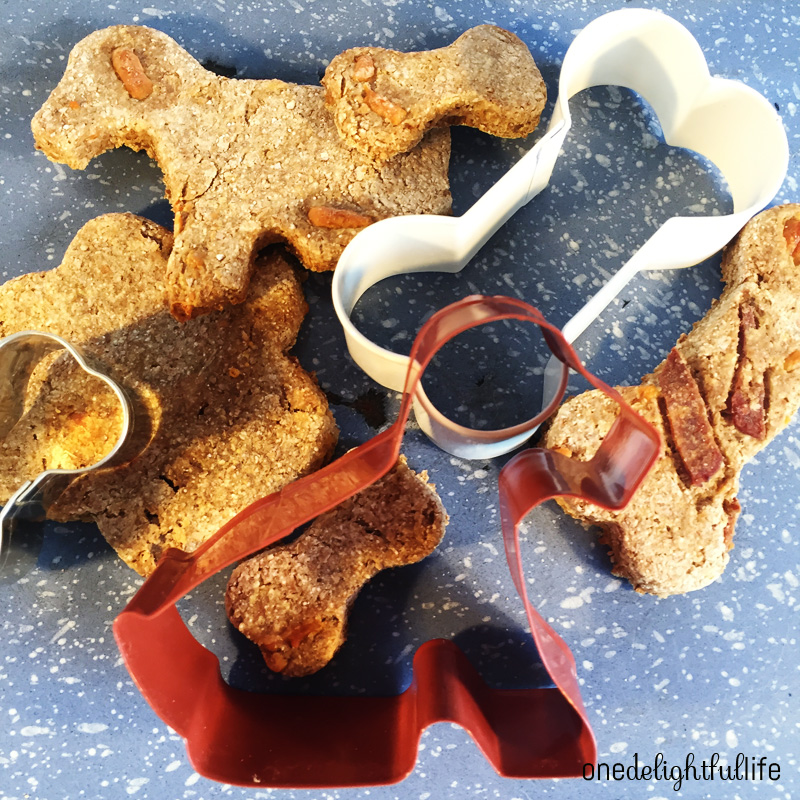
Roll out the dough to 1 1/2″ thickness on a flour covered cutting board. Use cookie cutters to create the biscuits shape.

homemade-bacon-cheddar-dog-biscuits4

homemade-bacon-cheddar-dog-biscuits5

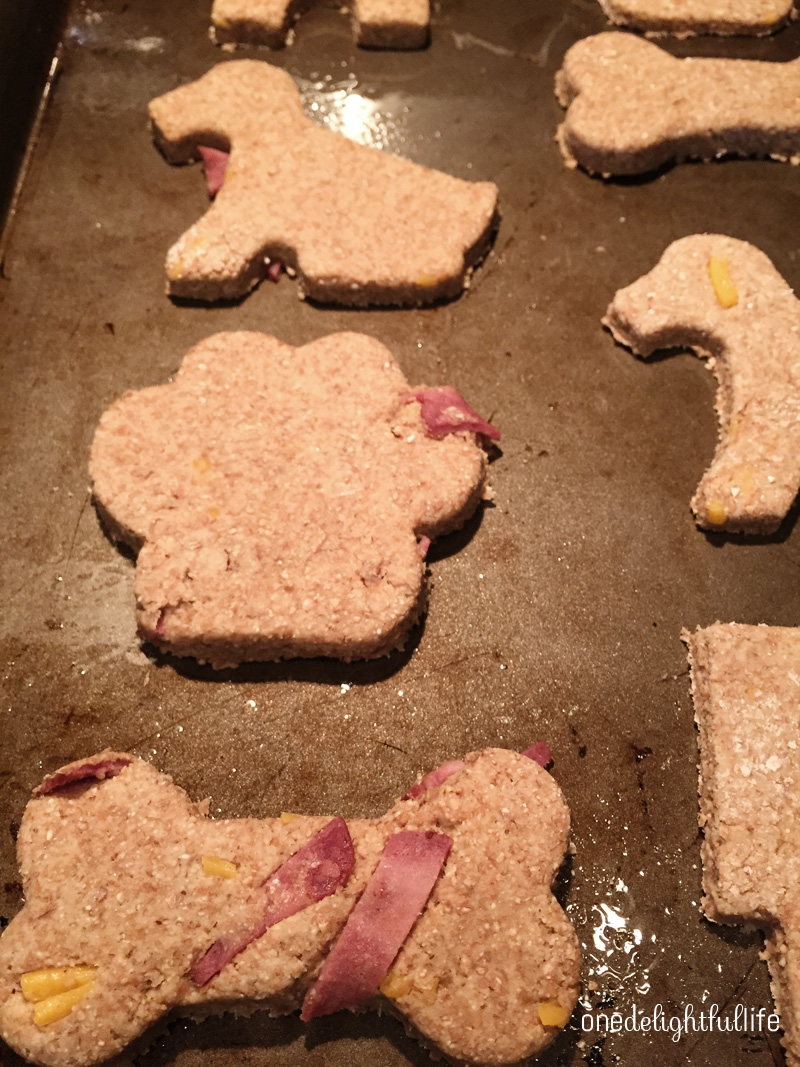
Transfer the biscuits to a slightly greased cookie sheet. I used canola oil cooking spray.

homemade-bacon-cheddar-dog-biscuits6

Bake at 350 degrees for 30 minutes. Remove biscuits from the oven and transfer to a cooling rack. Don’t try to give a treat to Fido just yet! The biscuits will be extremely hot and are guaranteed to burn their mouth.

homemade-bacon-cheddar-dog-biscuits7

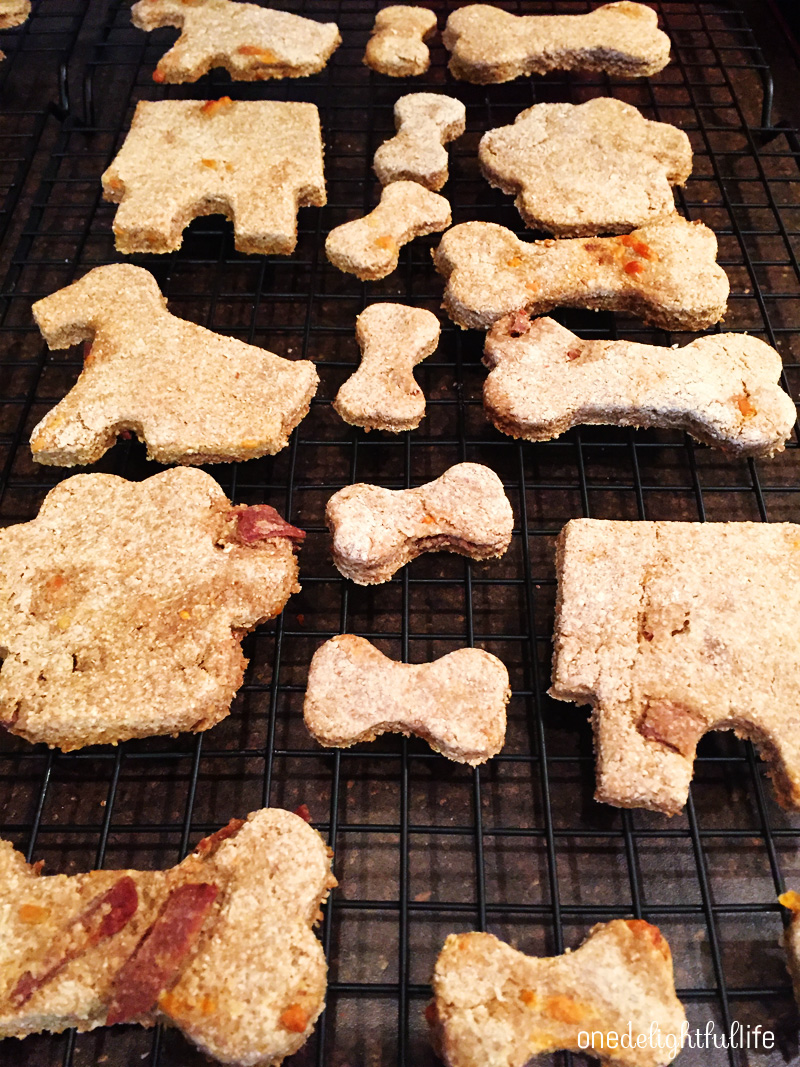
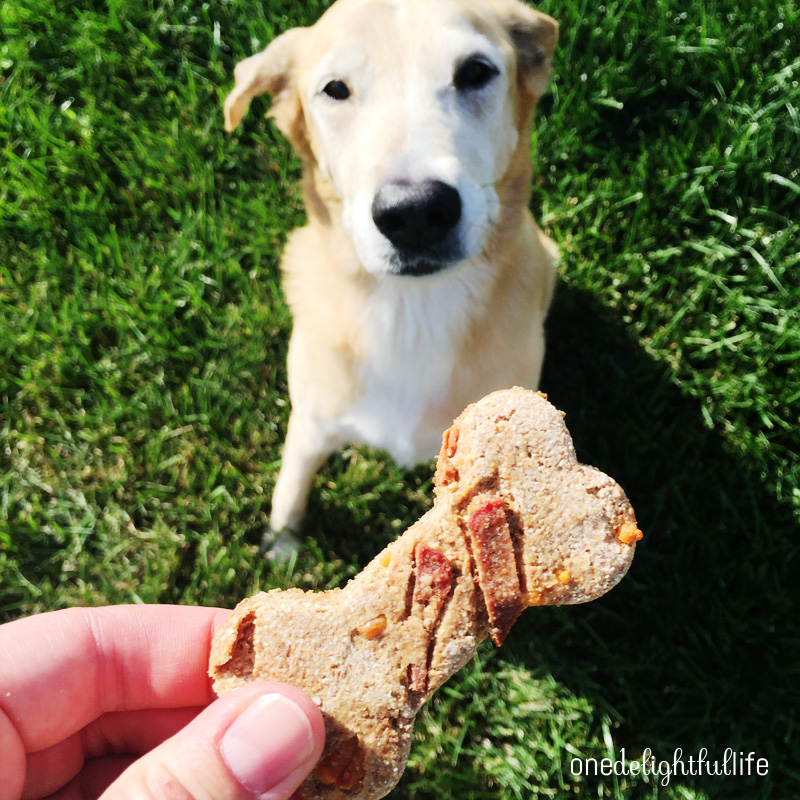
Once cooled, let your pup enjoy his or her tasty treat. Sasha didn’t want to wait much longer.

homemade-bacon-cheddar-dog-biscuits11

homemade-bacon-cheddar-dog-biscuits8
Make sure to bag up extra treats for your friends’ furry friends too. Don’t forget to tell them the ingredients in case their dog is allergic to whole wheat or dairy products. The treats must be refrigerated and last up to six months. (The blue roasting pan in the photo was an awesome find at The Cottage Collective, a cute housewares store nearby that sells vintage items and collectables.)

homemade-bacon-cheddar-dog-biscuits

onedelightfullife.com

14 dog biscuits

Homemade Bacon Cheddar Dog Biscuits

These treats are "paw-some" and super simple to make for your fur baby.

10 minPrep Time

30 minCook Time

40 minTotal Time

Save RecipeSave Recipe
Print Recipe
My Recipes My Lists My Calendar

Ingredients

  • 2 1/2 c. whole wheat flour
  • 1 brown egg
  • 1/2 warm beef broth
  • 1 T. shredded cheddar cheese
  • 2 diced turkey bacon slices
  • pinch salt

Instructions

  1. Preheat oven to 350 degrees.
  2. Combine all ingredients in a large mixing bowl.
  3. Use a fork to mix ingredients until completely incorporated.
  4. Using your hands, make a large ball out of the dog biscuit dough and let it rest in the bowl.
  5. Meanwhile, sprinkle a bit of whole wheat flour on to a cutting board and rolling pin.
  6. Transfer the dough to the cutting board and roll it out to 1/2" thick.
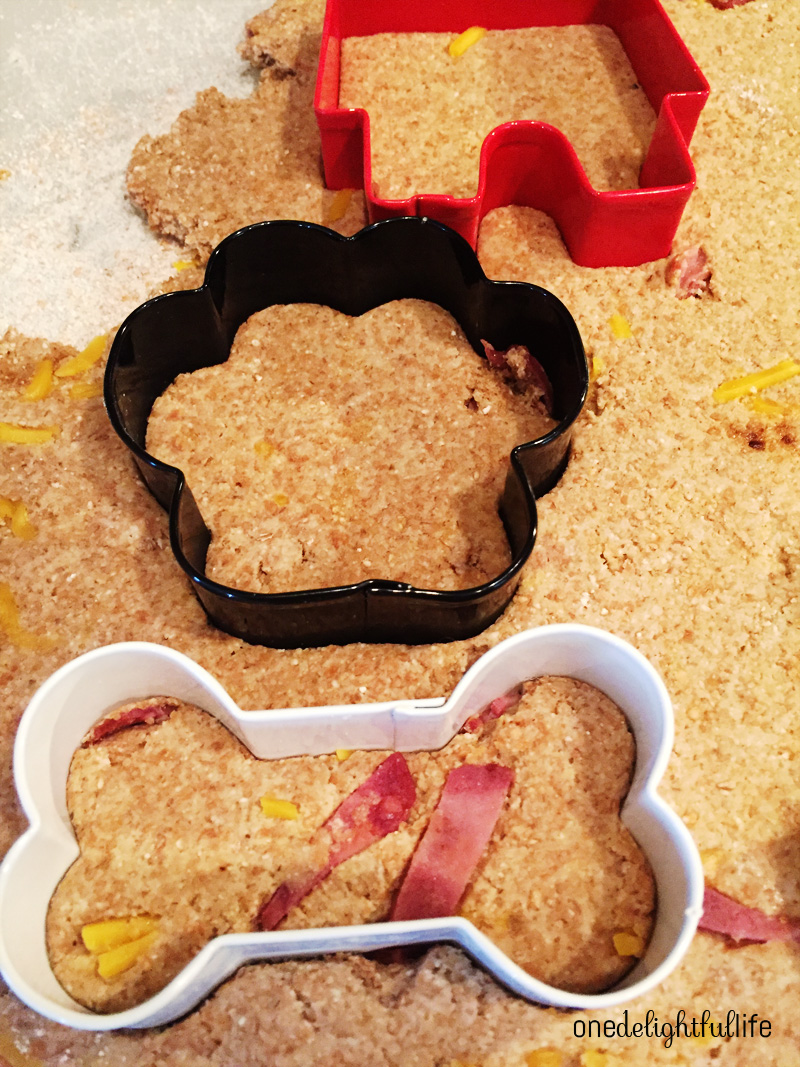
  7. Use cookie cutters to individual cut dog biscuits.
  8. Spray a cookie sheet with a light coating of cooking spray.
  9. Place cut out biscuits on the tray. (Don't worry if you need to crowd them as they don't spread out while baking.)
  10. Bake 30 minutes.
  11. Remove from the oven and transfer biscuits to cooling racks.
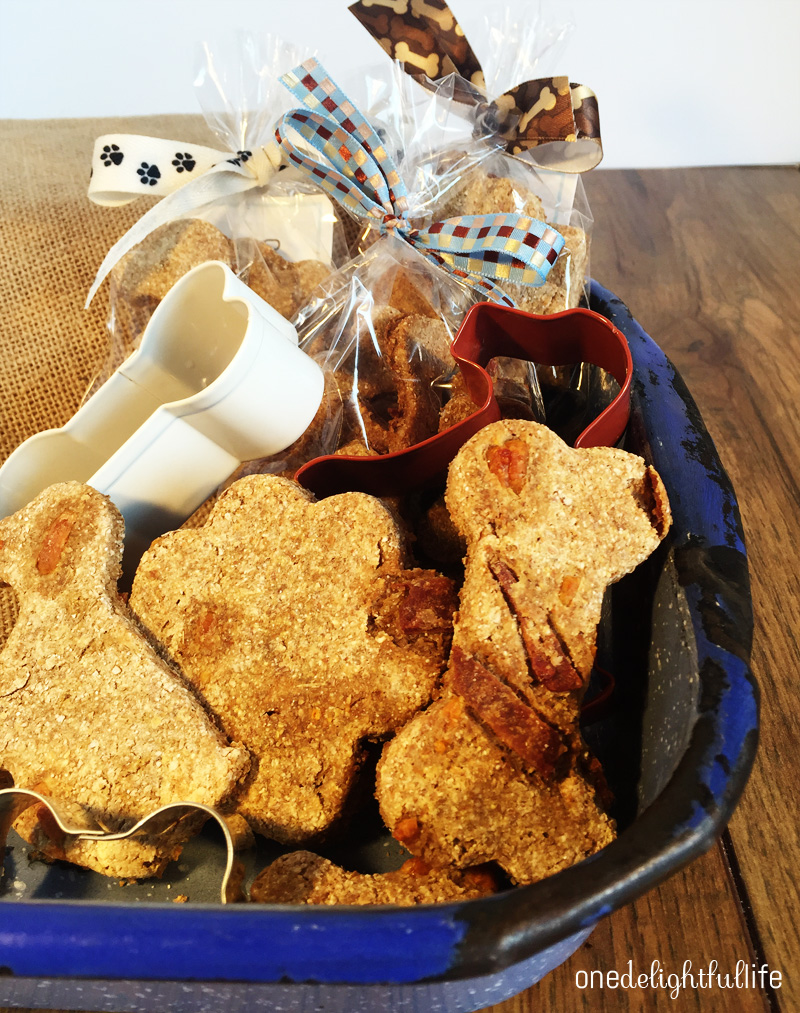
  12. After biscuits are cool, place them in a ziplock bag and refrigerate until serving.

Notes

Biscuits will keep in the refrigerator for about six months.

7.8.1.2
42
https://onedelightfullife.com/homemade-bacon-cheddar-dog-biscuits-and-frozen-yogurt-pupcakes/
onedelightfullife.com

Nutrition

Calories

385 cal

Fat

13 g

Carbs

55 g

Protein

18 g
Click Here For Full Nutrition, Exchanges, and My Plate Info
ESHA Logo

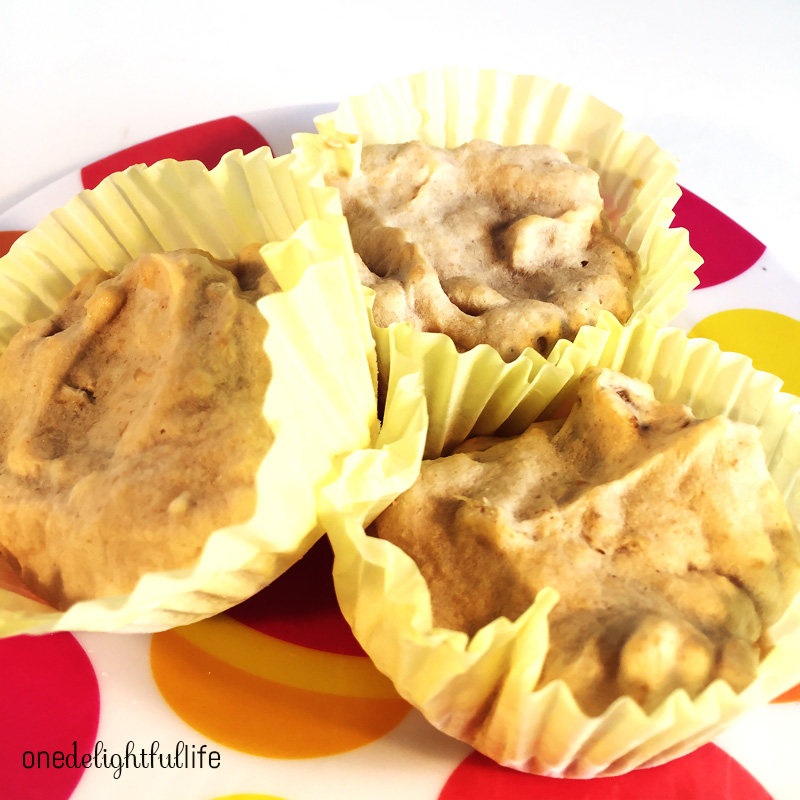
Recipe for Frozen Yogurt Pupcakes

Ingredients:

  • 1 c. non-fat grade A plain yogurt
  • 1/4 c. creamy peanut butter
  • 3 T. whole grain oats

Directions:

Combine all ingredients in a bowl. Transfer mixture into six baking cupcake liners. Freeze until solid (about 2 hours).
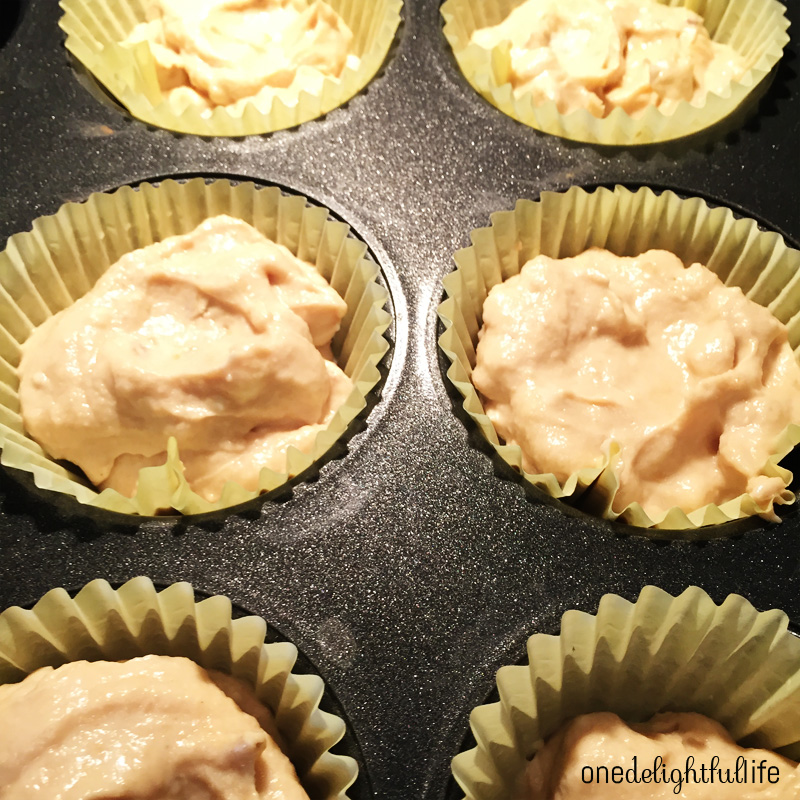
 frozen-yogurt-pupcakes

frozen-yogurt-pupcakes3

Remove paper liner before serving.

Happy tails, I mean trails.

Signature ODL 170x70px

Filed Under: DIY Tagged With: bacon, biscuit, canine, cheddar, dog adoption, dog biscuits, dog lovers, dog treats, frozen dog treats, frozen yogurt, pupcakes, puppy, shelter dog

Primary Sidebar

SEARCH

Ammar
Hello! I'm Vanessa. Welcome to One Delightful Life, a blog created to add more delight to your life with delicious recipes, travel destinations, and lifestyle improvement ideas. Thanks for exploring my blog!

Archives

Contact Us

  • Email
    info@onedelightfullife.com

Popular Posts

Back to School Brain Breaks12K Total Shares
Going Underground in Historic Ellinwood, KansasGoing Underground in Historic Ellinwood, Kansas7K Total Shares
Weston, Missouri: Making the Most of a Weekend VisitWeston, Missouri: Making the Most of a Weekend Visit2K Total Shares
Cucumber Lime Vodka SplashCucumber Lime Vodka Splash1K Total Shares
Sun Palace: A Couples-Only Resort in Cancun, MexicoSun Palace: A Couples-Only Resort in Cancun, Mexico508 Total Shares
  • About
  • Taste
  • Travel
  • DIY
  • Contact
  • Lifestyle
  • 100 Things to Do in Wichita Before You Die

© 2023 · onedelightfullife ·