• Skip to primary navigation
  • Skip to main content
  • Skip to primary sidebar

A Lifestyle Blog

  • About
    • Work With Me
      • Delightful Life Media
    • Privacy Policy & Disclosures
  • Taste
    • Breakfast
    • Lunch
      • Salads
      • Sandwiches
    • Dinner
      • Grilled
      • Sides
      • Pasta
      • Rice
    • Appetizers
    • Desserts
    • Drinks
      • Cocktails
      • Non-Alcoholic
    • Snacks
  • Travel
    • United States
      • Kansas
      • Missouri
      • Nevada
      • Nebraska
      • New York
      • Oklahoma
      • Texas
      • Wisconsin
    • Mexico
  • DIY
    • Projects
  • Contact
  • Lifestyle
  • 100 Things to Do in Wichita Before You Die

Desserts

How to Make a Christmas Dessert Board

December 20, 2020 by Vanessa Whiteside Leave a Comment

One of the best parts of the Christmas holiday season is all of the delightful desserts! But what do you do with all of the cookies, candies, and baked goods that people give you? Before you know it, you have bags and boxes of them on your kitchen counter. 
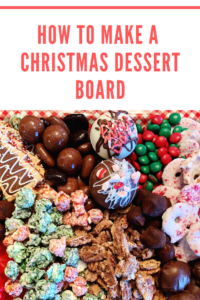
A Christmas Dessert Board is the solution! A beautiful assortment of sweet treats, the board is the perfect way to bring winter cheer to any holiday happy hour or family gathering.

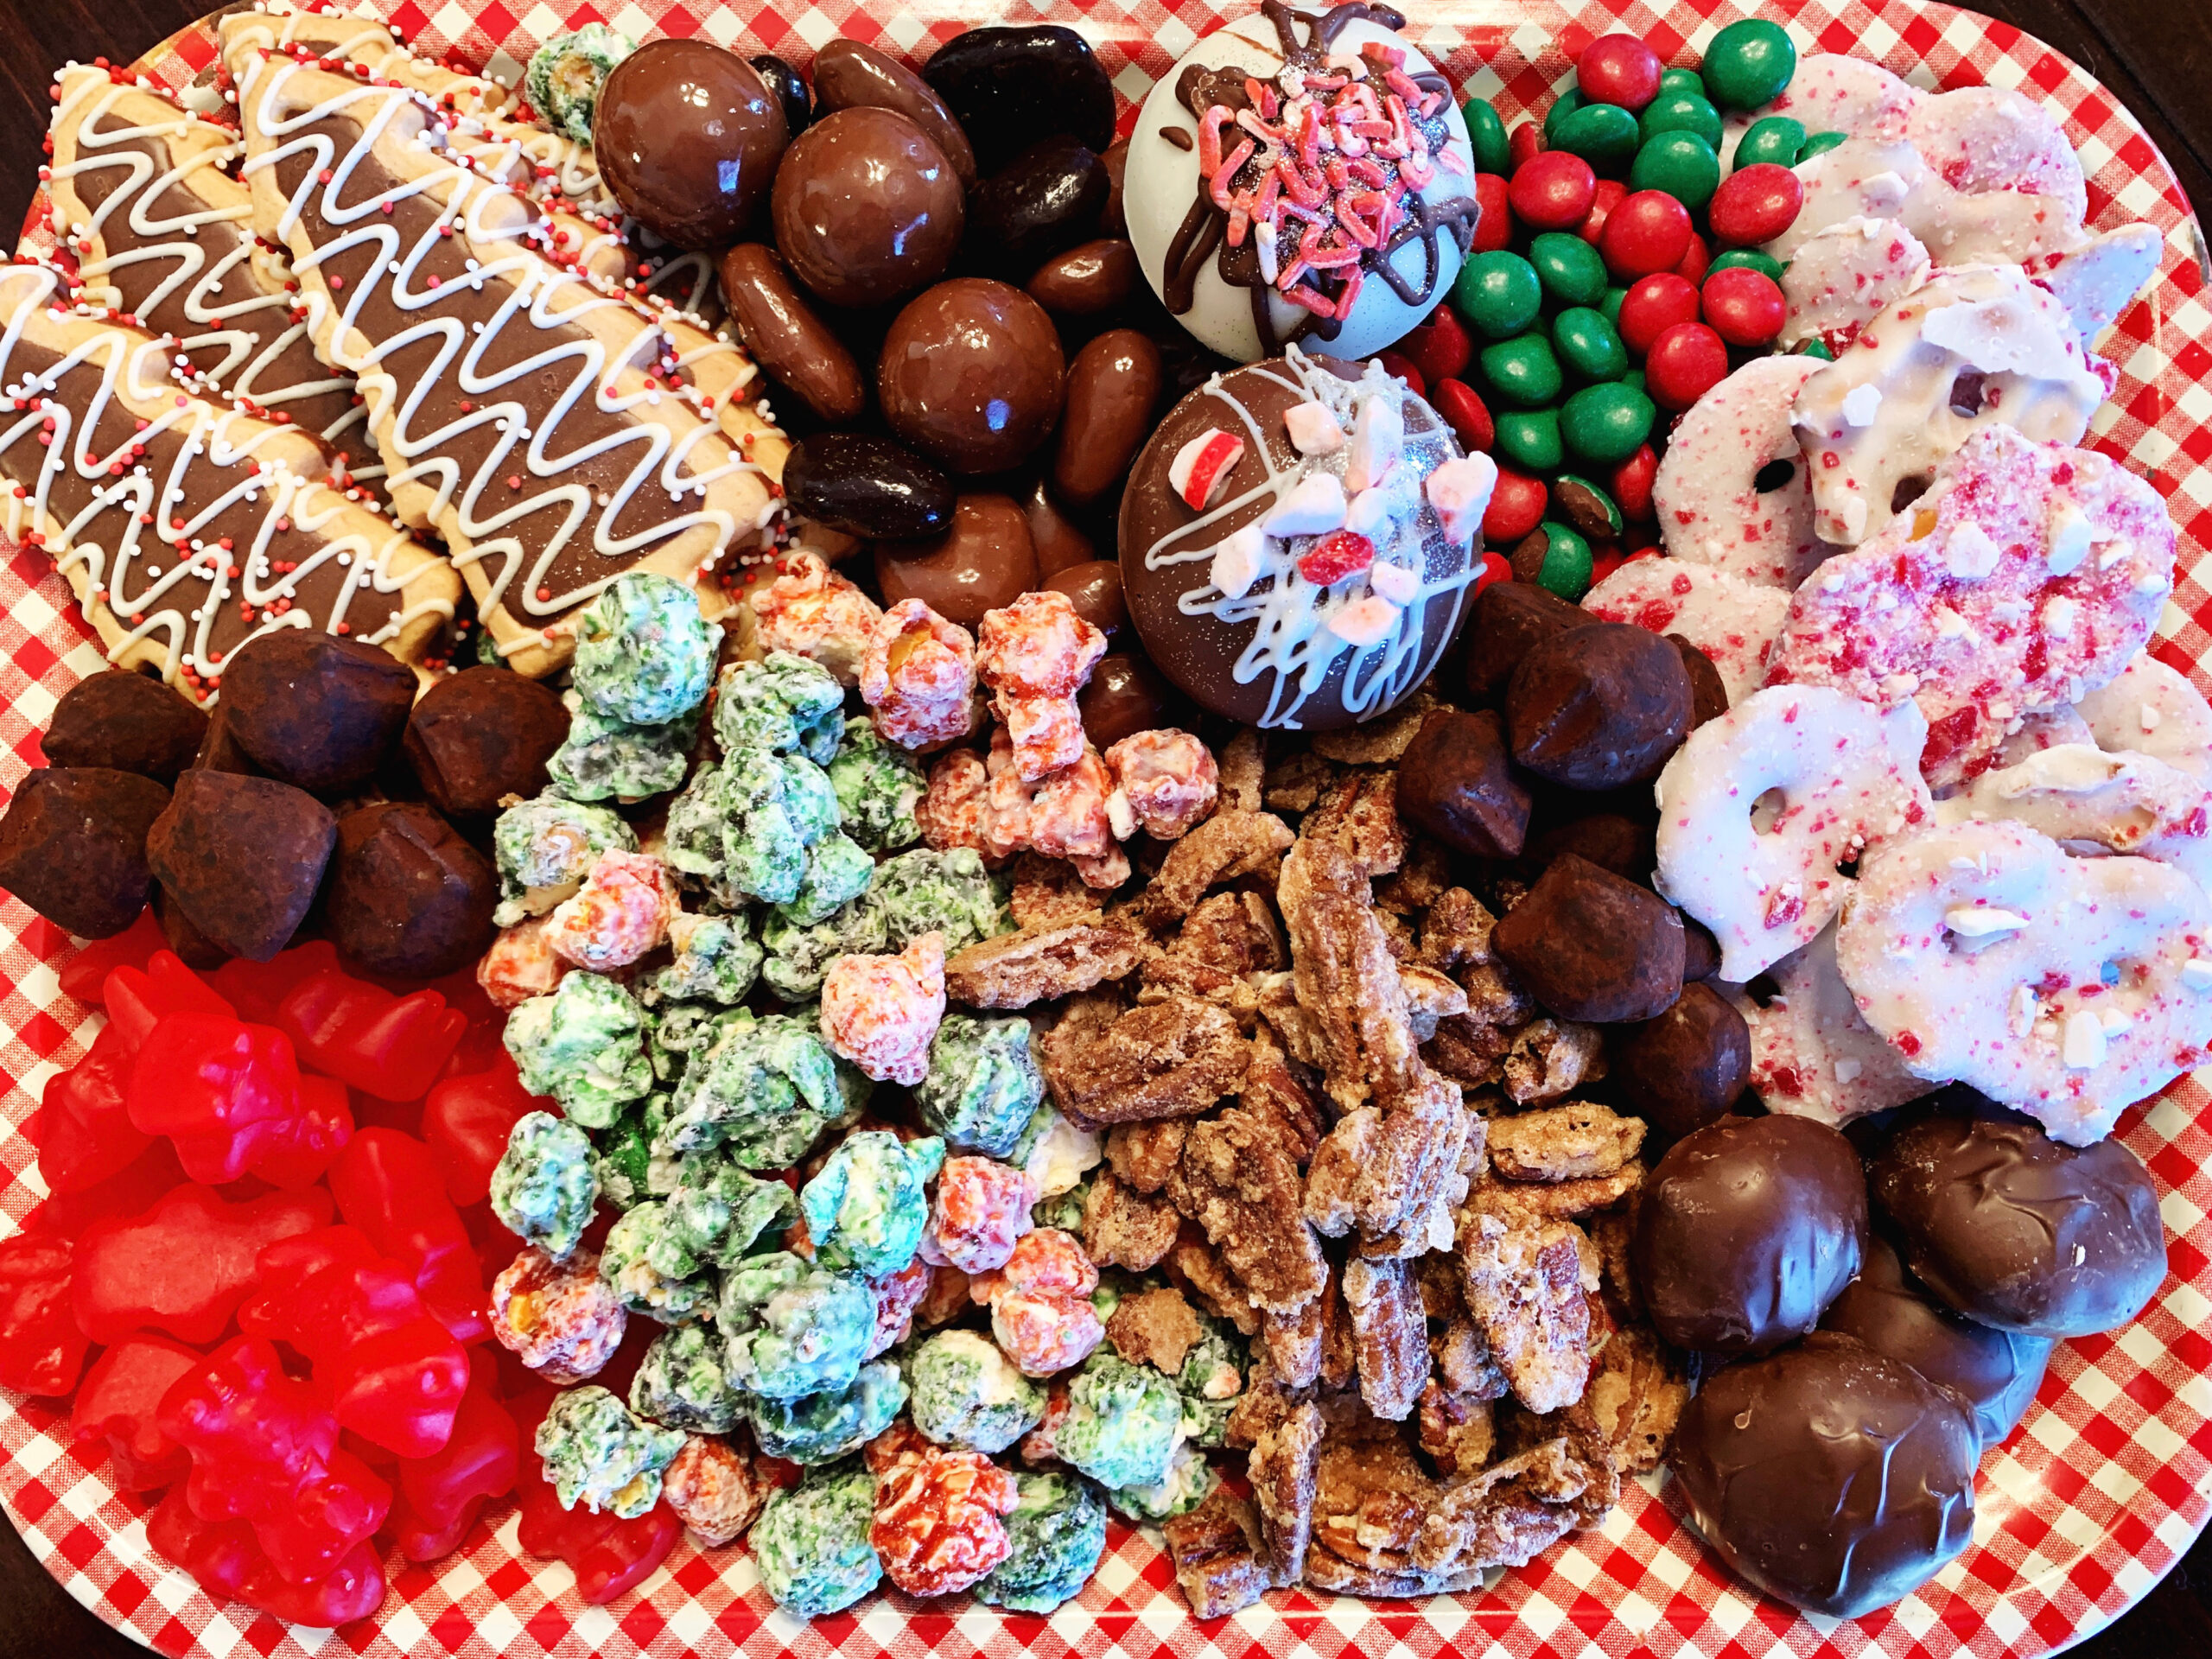
The brilliant part of assembling a Christmas dessert board is that it only requires opening packages and artfully arranging ingredients on a surface. Just as you would design a meat and cheese charcuterie board, you want to vary color, height, and textures as much as possible. I combined soft cocoa truffles alongside crunchy shortbread cookies and I let cinnamon gummy bears nestle up to a river of holiday popcorn.

Not sure what to include on your board? Use my list as a helpful shopping guide or gather your favorite sweet confections and just have a blast making your own desert board:

CHOCOLATE:

  • Cocoa Truffles (Trader Joe’s)
  • Chocolate Caramel Turtles (The Farris Wheel)
  • Chocolate Covered Nuts (The Nifty Nut House)
  • Chocolate M&Ms

COOKIES:

  • Decked Out Tree Cookies (Trader Joe’s)
  • Peppermint Pretzel Slims (Trader Joe’s)

NUTS:

  • Baked Cinnamon Sugar Pecans

POPCORN:

  • Jingle Pop (Kernel’s Popcorn Express)

COCOA BOMBS:

  • They were a fabulous gift from a friend, but you can find them at many bakeries and gift stores.

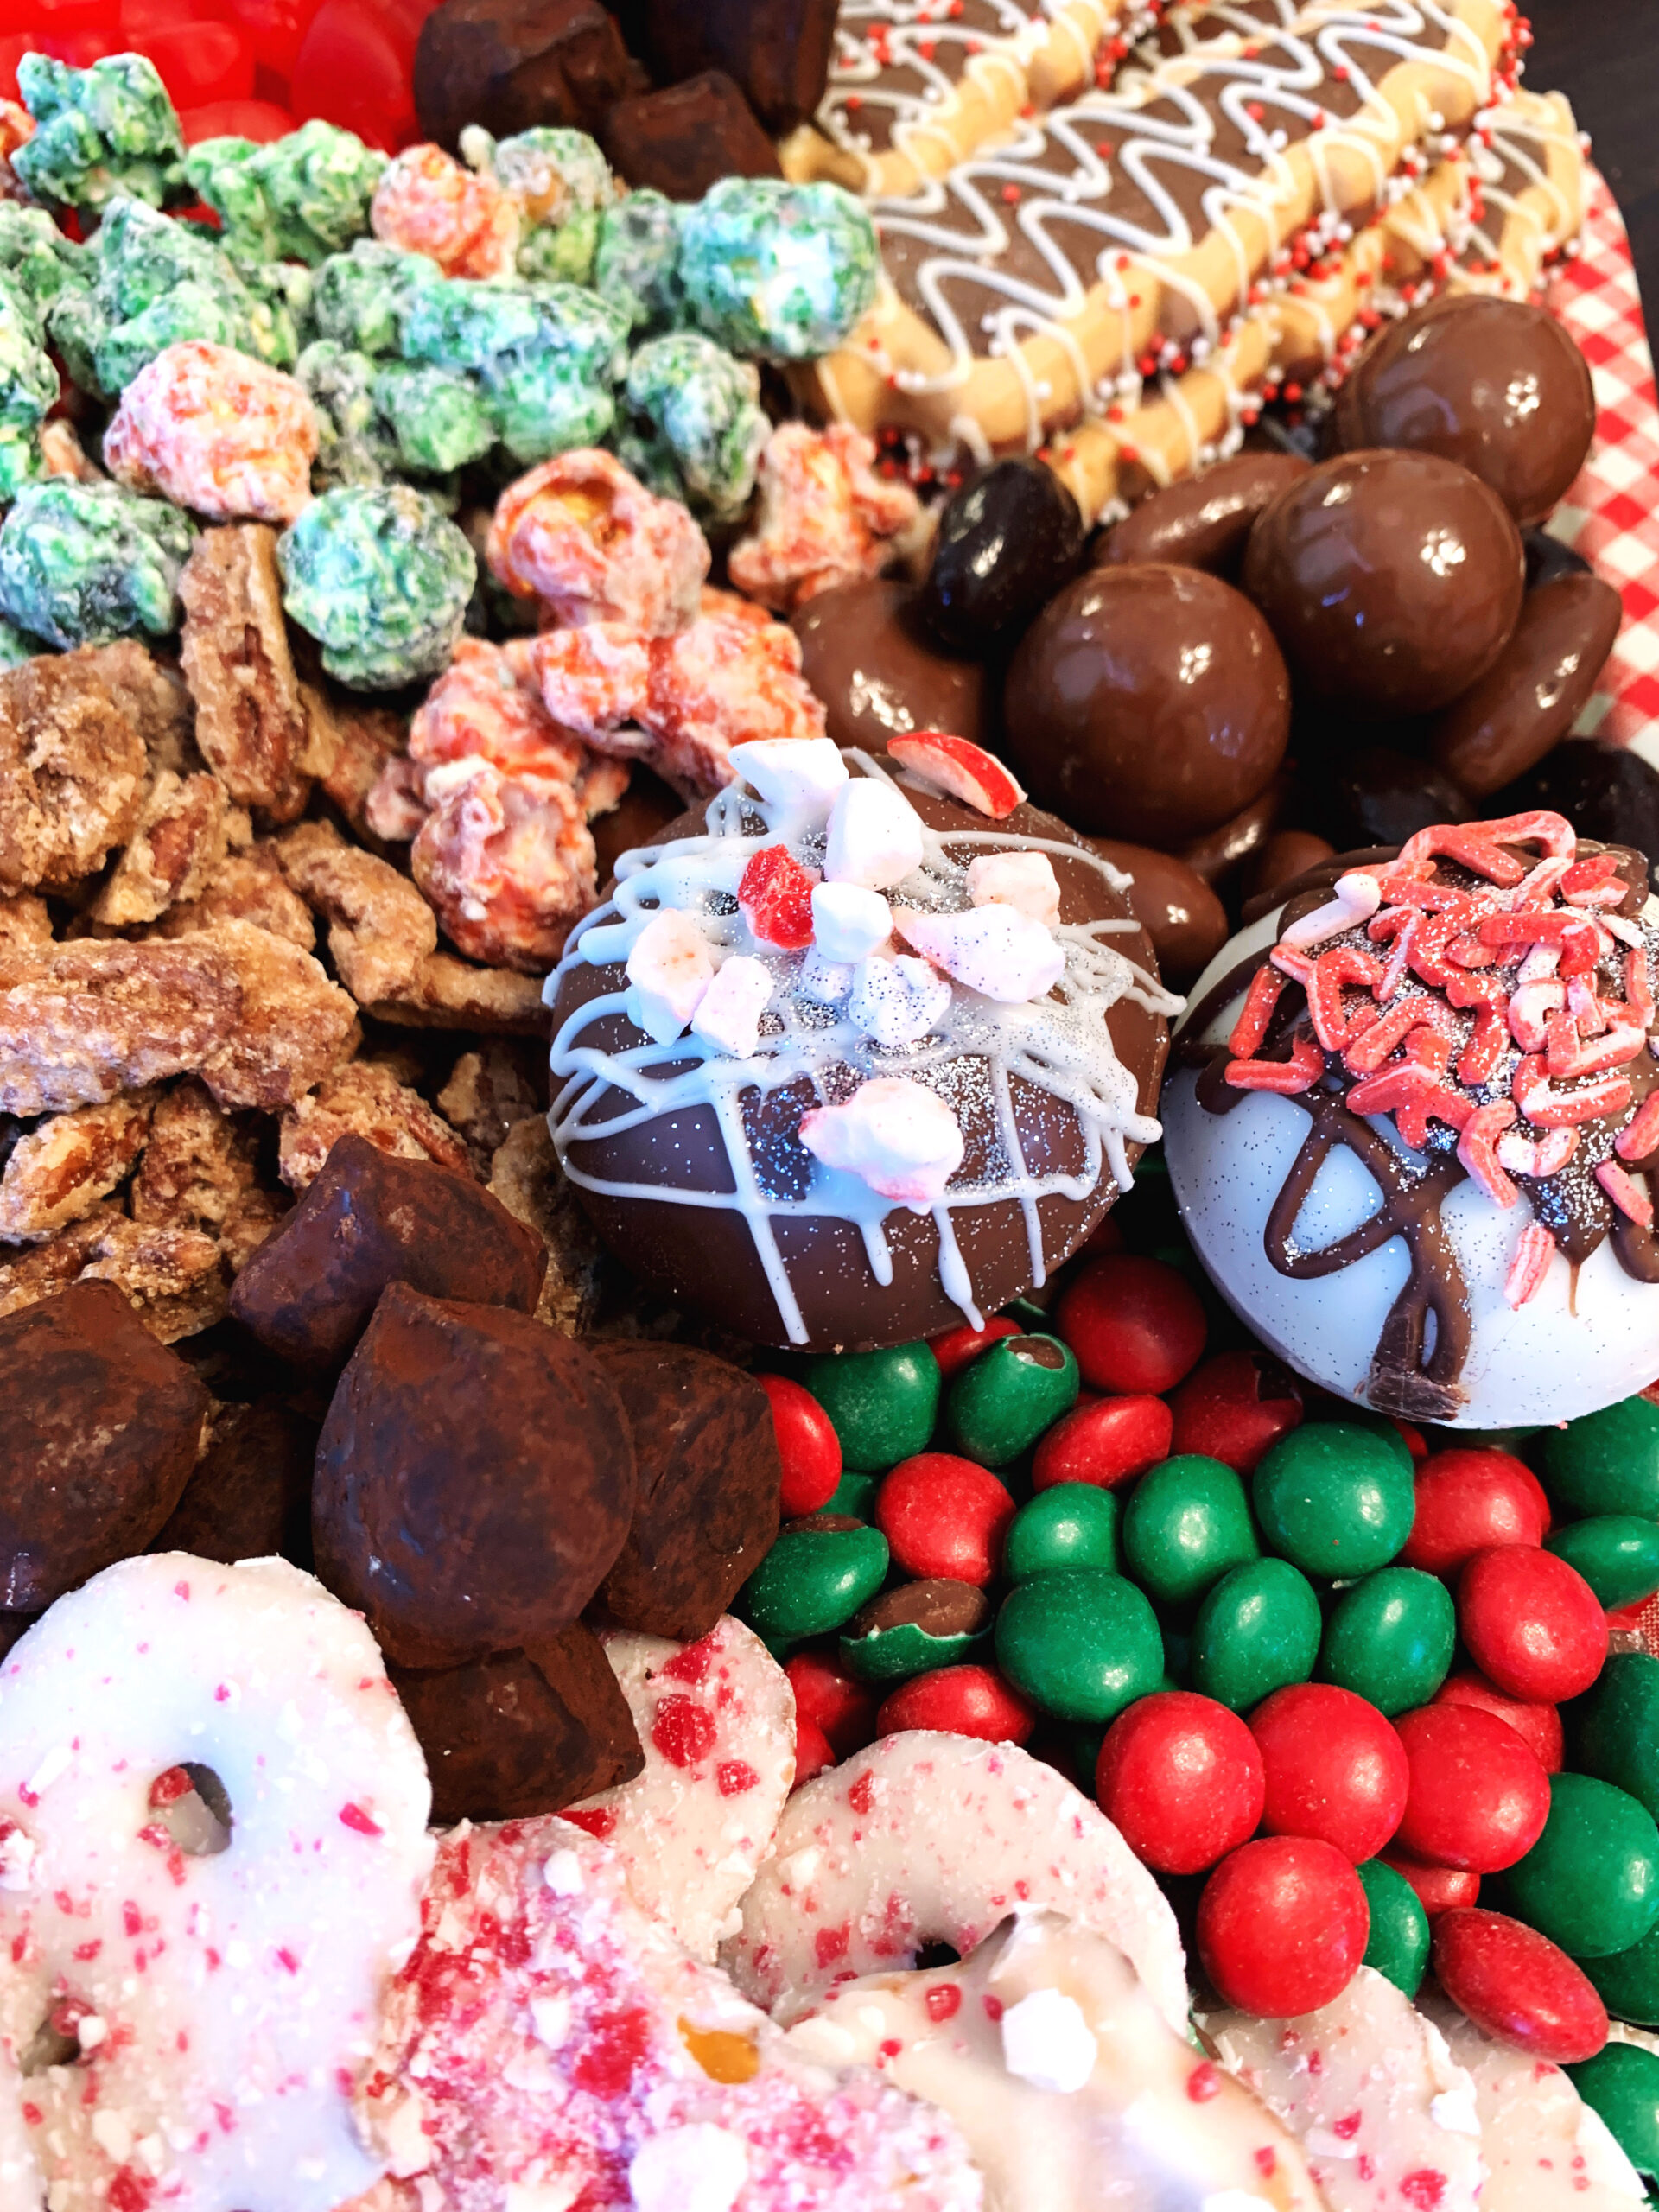
Other items you could include chocolate spreads, mini cupcakes, assorted berries, marshmallows, or gingerbread men cookies.  However, I should warn you about something. If you leave the dessert board on your kitchen counter, you will eat from it at EVERY passing. I highly recommend you gift this Christmas Dessert Board to someone or serve it at a party unless you don’t mind the holiday weight gain. ::laughing:: I didn’t!

Christmas is about showing kindness to others and I can’t think of a better way to bring the joy of the season to someone else than by serving them a gorgeous assortment of sweet treats! I hope you enjoy your Christmas Dessert Board as much as I had making mine.

Happy Holidays, friends!

Filed Under: Desserts, Taste Tagged With: candy, charcuterie, chocolate, Christmas, cocoa, confection, cookies, dessert, dessert board, holiday, popcorn, sweet, truffles

Mixed Berry Popsicles with Coconut Water

August 5, 2018 by Vanessa 2 Comments

The quintessential summer dessert is the classic popsicle. Wouldn’t you agree? Sure melted s’mores are delicious, but I consider s’mores more of a fall dessert made around a campfire. I have fond memories of the ice cream truck cruising down the city street. It conjures up nostalgic thoughts of having to choose from tri-colored bomb pops, ice cream drumsticks or fruity popsicles. A tough decision! Which one did you choose? I used my 75 cents to buy the rainbow popsicle almost every time.

Now an adult, I still mark summer by indulging in a colorful popsicle, but I’d rather not ingest corn fructose syrup or ingredients I can’t pronounce. So, this summer I made Mixed Berry Popsicles with Coconut Water, a thirst-quenching treat made from natural flavors!

I used frozen, mixed berries and coconut water, which is low in calories and high in nutrients. The benefits of coconut water will convince you that it’s worth trying!

I used frozen organic fruit, but you could easily use canned or fresh fruit as well.

I prepared them using Koji popsicle molds, which I purchased at Target last year. Filling the molds is as easy as adding a tablespoon (or two!) of mixed frozen berries, filling the mold with coconut water almost to the top of it, a tiny bit of Stevia, and a pinch of lime zest for added tanginess. You could add lime juice instead of zest as well. Prepping the yummy popsicles only takes minutes and they are ready to enjoy within a few hours of placing them in the freezer.

When you’re ready to eat them, remove the popsicle molds from the freezer and let them sit out on the counter for about ten minutes or so. Allowing them to thaw out will help you easily remove the popsicles from the mold. Isn’t it cool how the whole berries can be seen through the frozen coconut water? These popsicles are not only yummy tasting but they’re pretty, too!

What was your summer like? I spent mine living for the weekend and trying to squeeze the most delightful moments out of each day. I’m not ready for fall temperatures or lattes just yet. I’ve got popsicles to enjoy on the back porch while watching the gorgeous Kansas sunset!

Filed Under: Desserts, Taste Tagged With: coconut water, cold, cool, dessert, freezer, fresh fruit, frozen, frozen fruit, fruit, ice cream, Kansas, Koji, lime, lime zest, mixed berries, popsicles, seasonal fruit, summer, summertime, sunset

Baked Apples Filled with Oatmeal, Dates and Brown Sugar

October 1, 2017 by Vanessa Leave a Comment

Hello, Fall! Good to see you again.

October is the best month of the year. Why? It’s my birthday month (holla!), breweries are prepping for Oktoberfest, and the food….oh, the food!

Many cooks have prepared baked apples to welcome autumn, but my recipe incorporates chopped dates and walnuts with oatmeal to bring home real fall flavor. Leave room for dessert tonight because you will want to gobble up the entire apple. They serve well with vanilla bean ice cream too!

Prior to baking, stuff these babies as full as you can with the filling ingredients.

Here are the instructions for Baked Apples with Oatmeal, Dates and Brown Sugar:

1. Preheat oven to 350 degrees.

2. Wash two Pink Lady Apples. Core out the inside without penetrating the bottom. (Remove about half of the apple’s core.)

3. Add the butter to a small microwavable bowl and heat it about 10 seconds until it’s melted. Add remaining filling ingredients. Stir to combine all thoroughly.

4. Stuff each apple with the filling.

5. Set apples upright into baking dish. Add enough water around the apples until the bottom surface is covered.

6. Bake apples at 350 degrees for one hour. Serve warm. Devour.

The apple’s exterior color fades during baking, but the flavor is accentuated. Trust me. These apples are delicious on their own or served with vanilla bean ice cream.

One Delightful Life

2 large apples

Baked Apples Filled with Oatmeal, Dates, and Brown Sugar

It's not fall until you've served stuffed baked apples for dessert. Core, stuff, and bake!

15 minPrep Time

1 minCook Time

16 minTotal Time

Save RecipeSave Recipe
Print Recipe
My Recipes My Lists My Calendar

Ingredients

  • 2 cored, large Pink Lady apples
  • 4 T unsalted butter
  • Filling:
  • 1/4 c. oatmeal
  • 1/4 c. chopped dates
  • 1/4 c. brown sugar
  • 1/4 c. chopped walnuts

Instructions

  1. Preheat oven to 350 degrees.
  2. Wash and core apples but don't remove all of the inside of the apple. Leave enough apple that you don't pierce the bottom of the apple.
  3. Melt butter in a microwavable dish.
  4. Add remaining filling ingredients.
  5. Stir butter and filling ingredients thoroughly. Stuff filling into each apple evenly. (You can add a few extra walnuts or oatmeal, if you desire.)
  6. Place apples in baking dish. Fill dish with enough water to cover the bottom of the dish.
  7. Bake uncovered for 1 hour.
  8. Serve warm.
7.8.1.2
82
https://onedelightfullife.com/baked-apples-filled-oatmeal-dates-brown-sugar/
onedelightfullife.com

Nutrition

Calories

2242 cal

Fat

79 g

Carbs

376 g

Protein

36 g
Click Here For Full Nutrition, Exchanges, and My Plate Info
ESHA Logo

Stuffed Baked Apples

Filed Under: Desserts, Taste Tagged With: apple, apples, autumn, bake, baked, brown sugar, core, dates, dessert, fall, filling, fruit, ice cream, nuts, oatmeal, October, oven, Pink Lady, unsalted butter, walnuts

Decadent Poached Pears made with Cabernet and Apple Cider

September 30, 2017 by Vanessa Leave a Comment

I didn’t want to make the typical fall dessert. You know the kind. Pumpkin Pie. Caramel Brownies. Nope! I wanted to make something fresh, comforting, and over the top delicious. My Decadent Poached Pears made with cabernet and apple cider is the quintessential fall dessert.

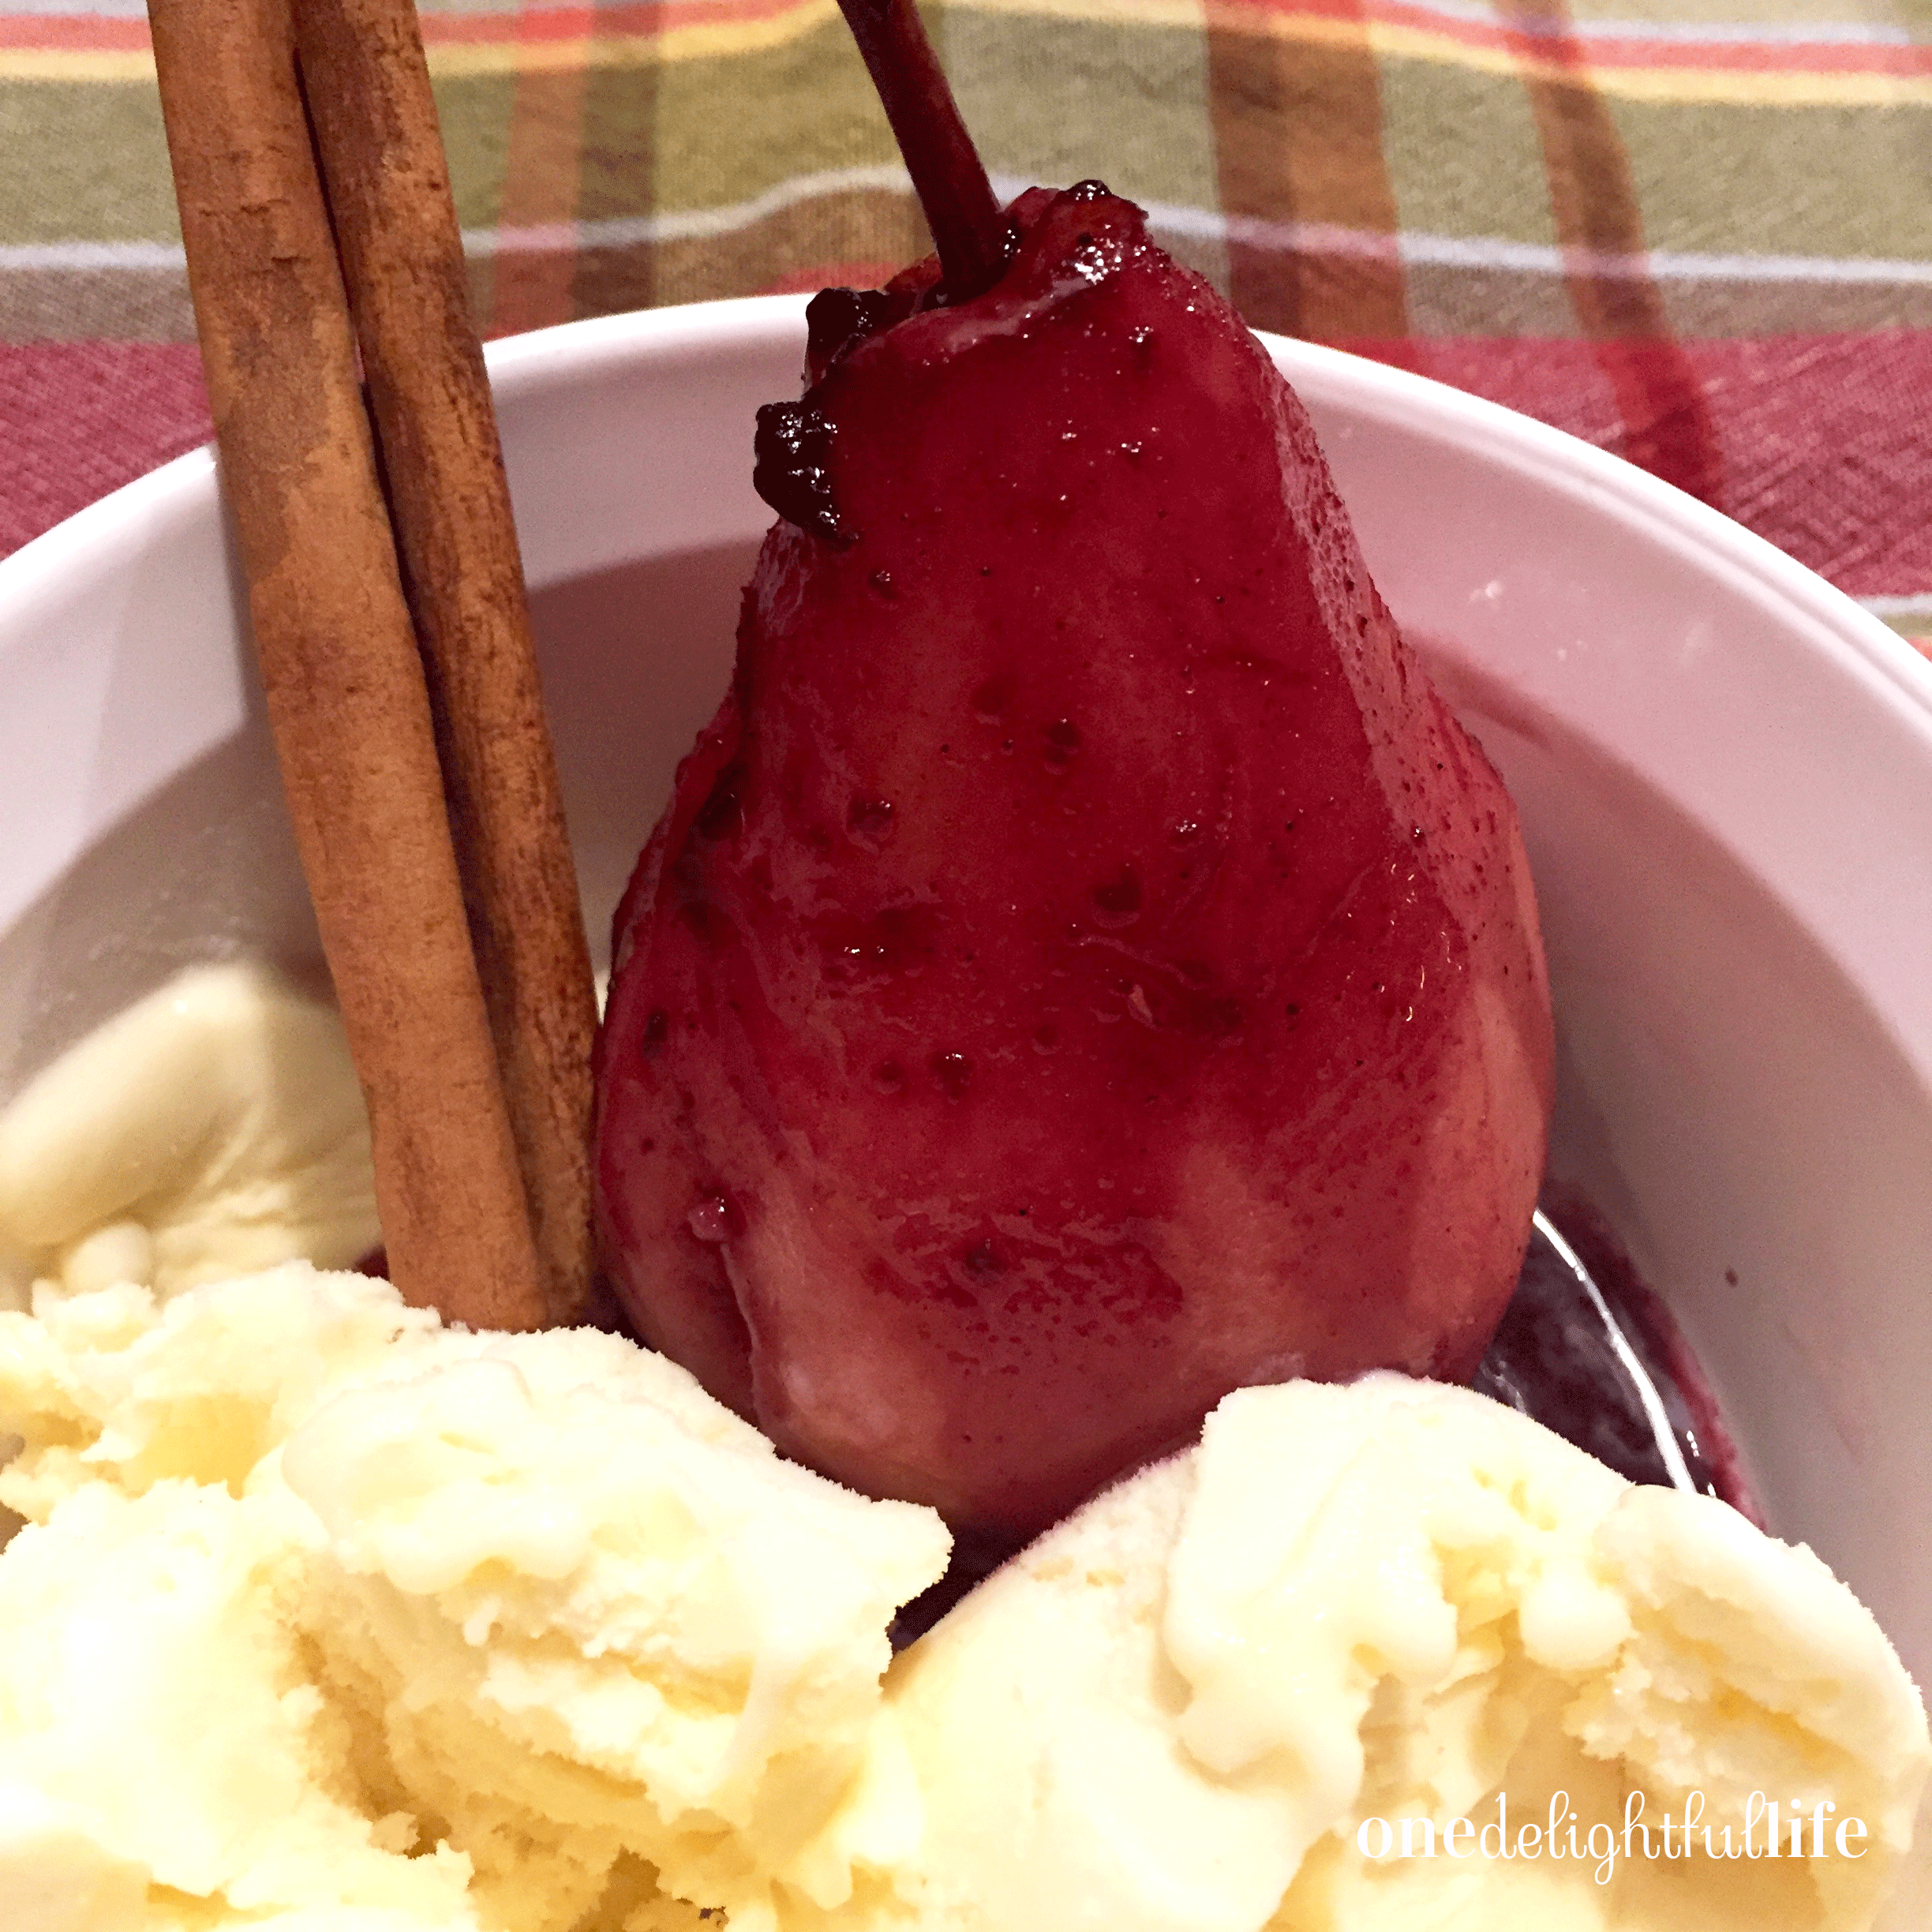
Made with 19 Crimes Cabernet and Louisburg Mill Apple Cider, this recipe for Decadent Poached Pears takes a new twist on the typical poached pear recipe. Instead of adding orange juice, I used my favorite autumnal beverage, apple cider, which gives the pear glaze its rich flavor.

First, clean two red pears. Using a paring knife, remove the skin of each pear. Do not remove the stem. Slice the bottom of each pear off so it sits flat on the cutting board.

Second, add the cabernet, apple, cider, pumpkin spice, and cinnamon stick to a small stovetop pot.

Bring the liquid to a rolling boil and then reduce the heat. Stir frequently.

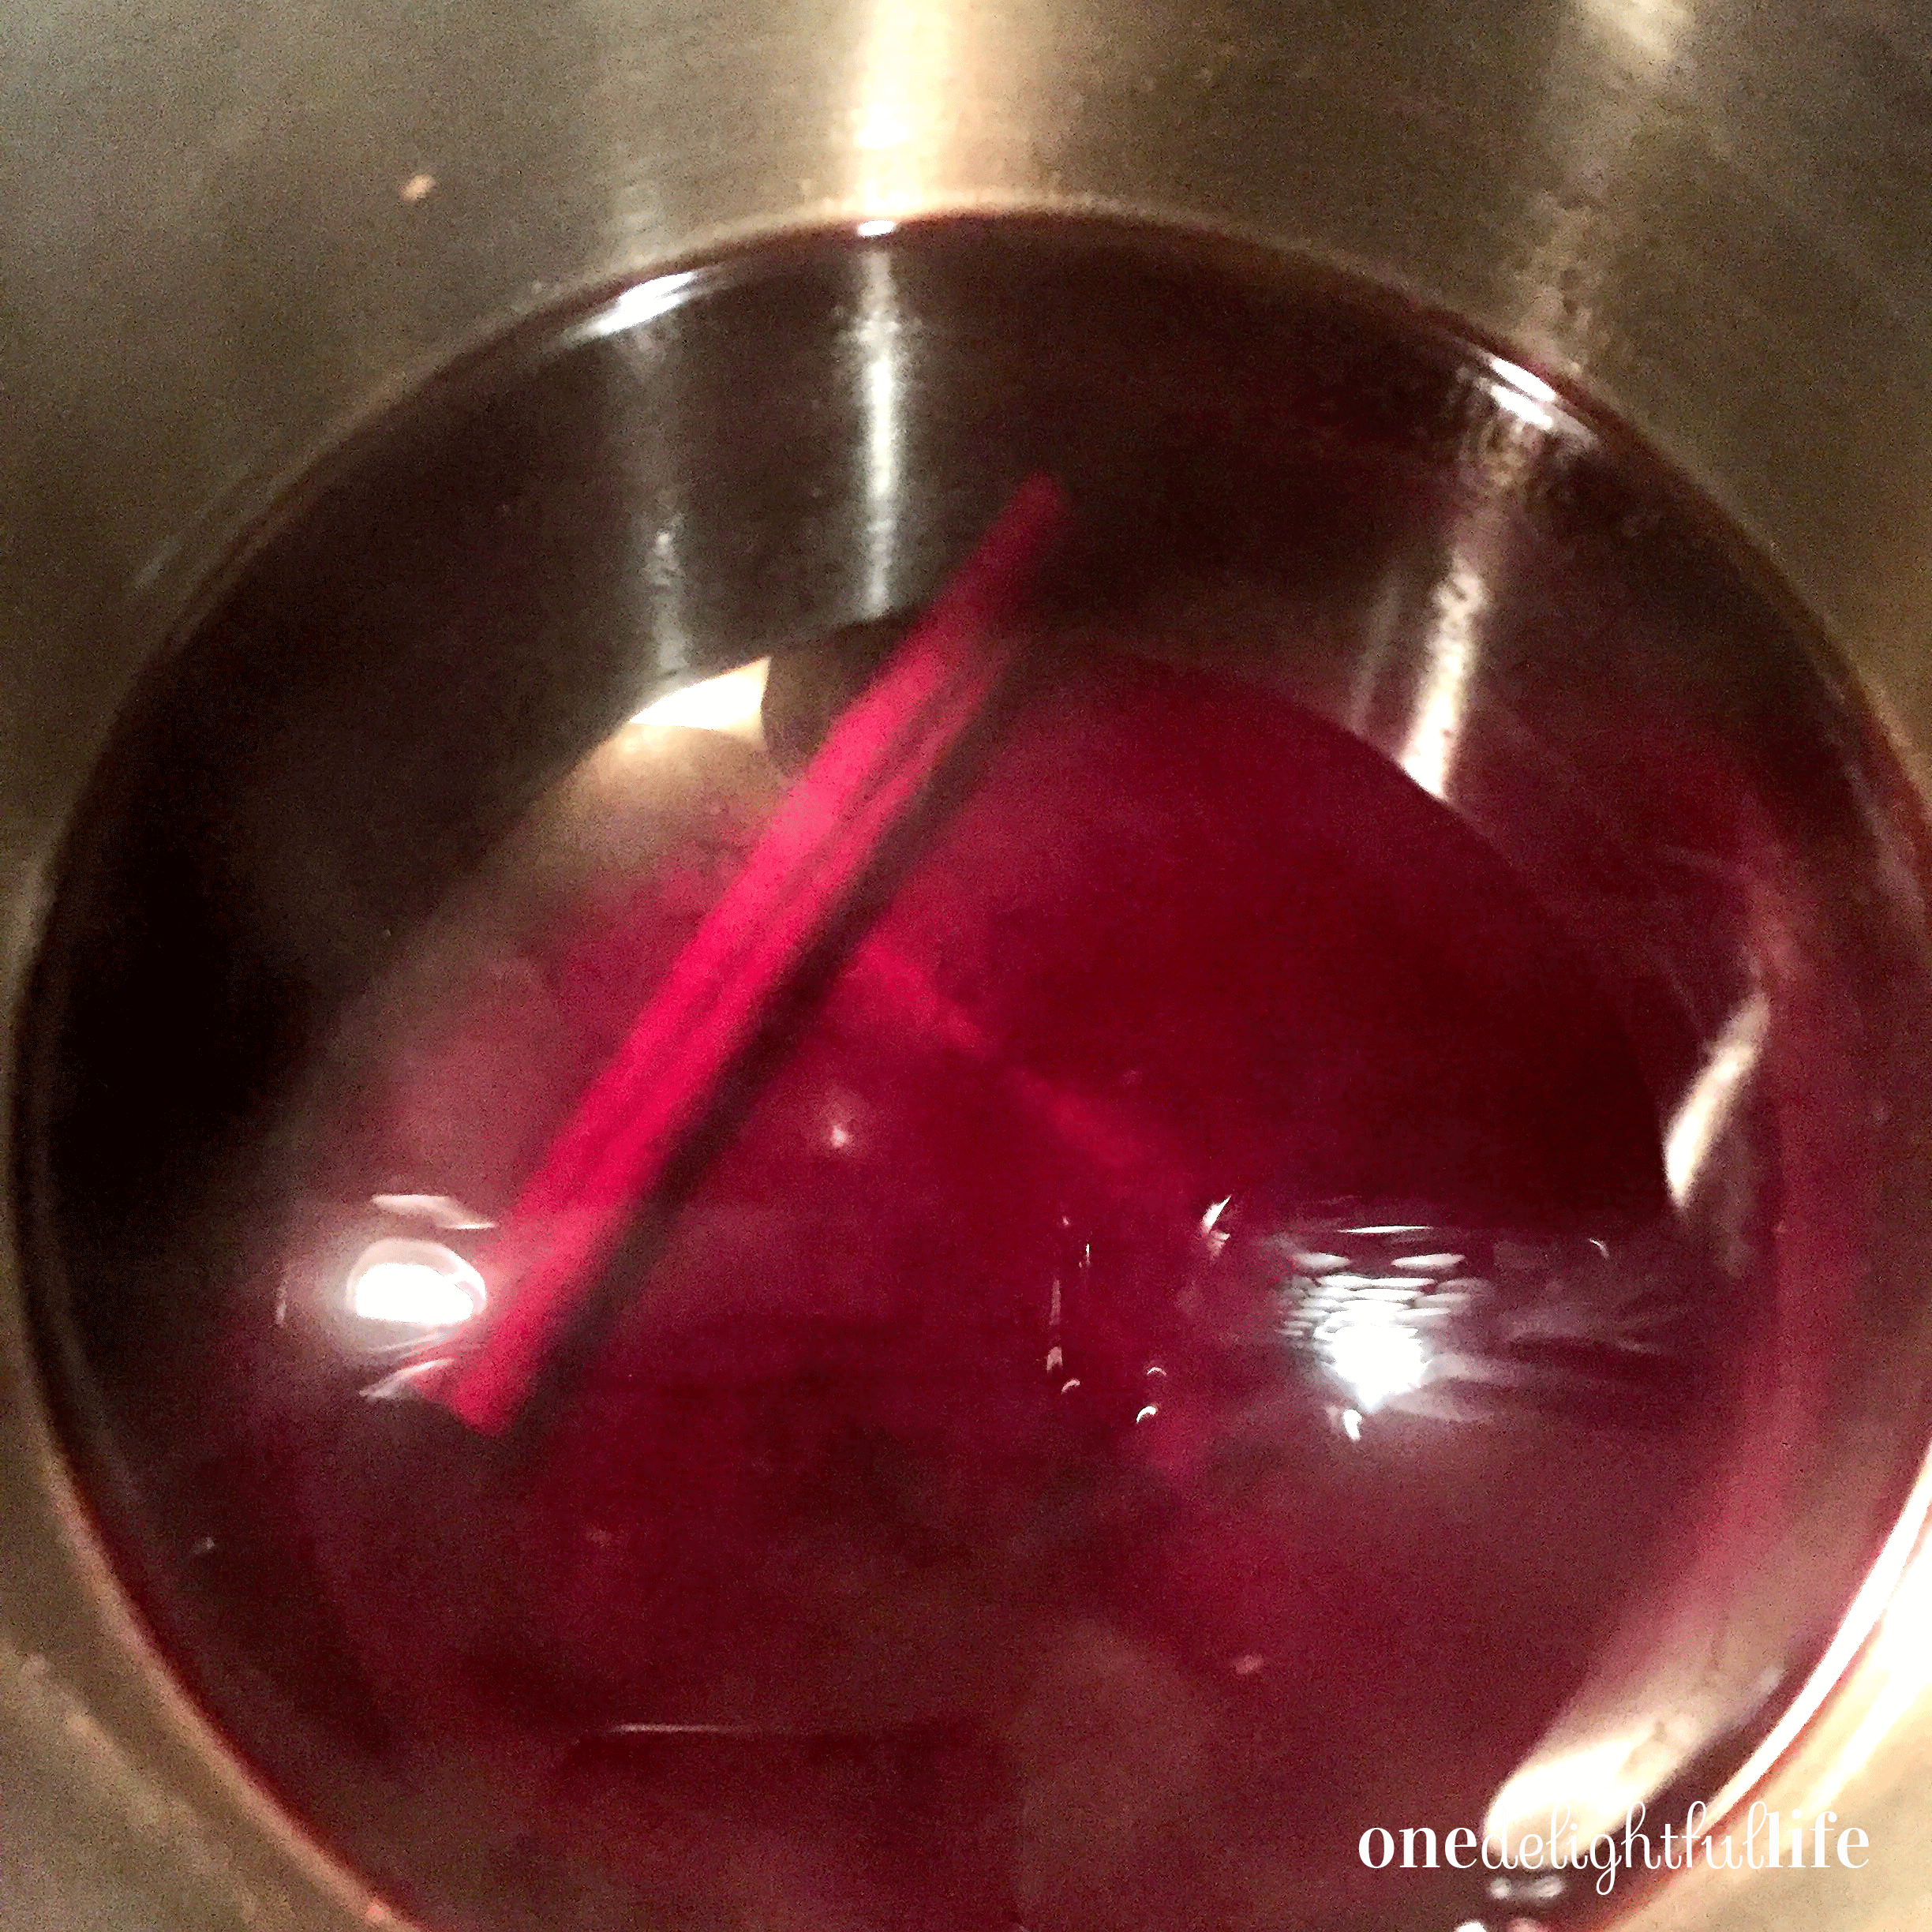
Third, add the prepped pears to the pot. The heat should be turned to low right now.

This is what the pears look like before you spoon the liquid over them.

Spoon the liquid over the pears several times. Allow to simmer uncovered for 5 minutes. After the five minutes expire, lay each pear on its side and spoon more liquid over it. Set a time for 5 minutes. After the five minutes expire, repeat the process turning the pears to their other side. Repeat this process for a total of 20 minutes are until the pears are tender.

Fourth, remove the steamed pears (they should be tender when pierced with a toothpick or spoon) and place them in a wide bowl.

Fifth, remove the cinnamon stick from the liquid. Increase the heat back to the high setting to bring the liquid to a boil stirring constantly for five minutes until it thickens to glaze. Remove from heat.

Lastly, spoon cabernet glaze over the pears and serve with vanilla ice cream.

Enjoy!

Add cinnamon sticks for garnish.

One Delightful Life

2 pears

Decadent Poached Pears made with Cabernet and Apple Cider

Impress holiday guests with this seasonal dessert that promises to wow a crowd and is super easy to prepare.

15 minPrep Time

30 minCook Time

45 minTotal Time

Save RecipeSave Recipe
Print Recipe
My Recipes My Lists My Calendar

Ingredients

  • 2 peeled, whole red pears
  • 1 c. cabernet
  • 1/8 c. sugar
  • 1/4 c. apple cider
  • 1 tsp pumpkin spice
  • 1 cinnamon stick

Instructions

  1. Using a small paring knife to peel the pear but leave the stem.
  2. Slide off the bottom of each pair so it sits evenly.
  3. Over medium heat combine the cabernet, sugar, and apple cider and stir frequently.
  4. Reduce to a simmer.
  5. Place the apples into the pot sitting on their base.
  6. Add the cinnamon stick to the pot.
  7. Spoon the cabernet liquid over all sides of each pear. Set a timer for five minutes.
  8. After the five minutes expire, put the apples on their sides and spoon more of the cabernet liquid over them. Set a time for five minutes.
  9. Repeat these five minute intervals two to three more times always rotating the pears each time to guarantee that the color covers the pear evenly.
  10. Check the pears for softness after about 20 minutes of rotation intervals.
  11. Remove the pears and allow them to cool in a wide bowl.
  12. Remove the cinnamon stick.
  13. Bring the heat of the pot back up to medium high and stir the cabernet liquid continuously until the liquid thickens to a glaze (approximately 10-15 minutes).
  14. Pour the finished glaze over the pears and serve with vanilla ice cream.

Notes

You can substitute orange juice for apple cider if you prefer a citrus flavor note.

7.8.1.2
81
https://onedelightfullife.com/decadent-poached-pears-made-cabernet-apple-cider/
onedelightfullife.com

Nutrition

Calories

601 cal

Carbs

174 g
Click Here For Full Nutrition, Exchanges, and My Plate Info
ESHA Logo

Filed Under: Desserts, Taste Tagged With: 19 Crimes, apple cider, autumn, autumnal, cabernet, cinnamon, dessert, fall, fruit, holiday dessert, pear, poached pear, pumpkin spice, red pear, vanilla ice cream, wine

Angel Food Cupcakes with Vanilla Blueberry Sauce

August 22, 2017 by Vanessa Leave a Comment

When I make desserts, I get a little crazy. Good kind of crazy. My creativity runs wild and before I know it, I’ve swirled blueberries inside angel food cake and topped it with vanilla icing and ….yes, more vanilla blueberry sauce. Total decadence.

My Angel Food Cupcakes with Vanilla Blueberry Sauce is an recipe idea that came to me during a daydream. I thought, “How can I combine light and airy cake with decadent blueberries?”

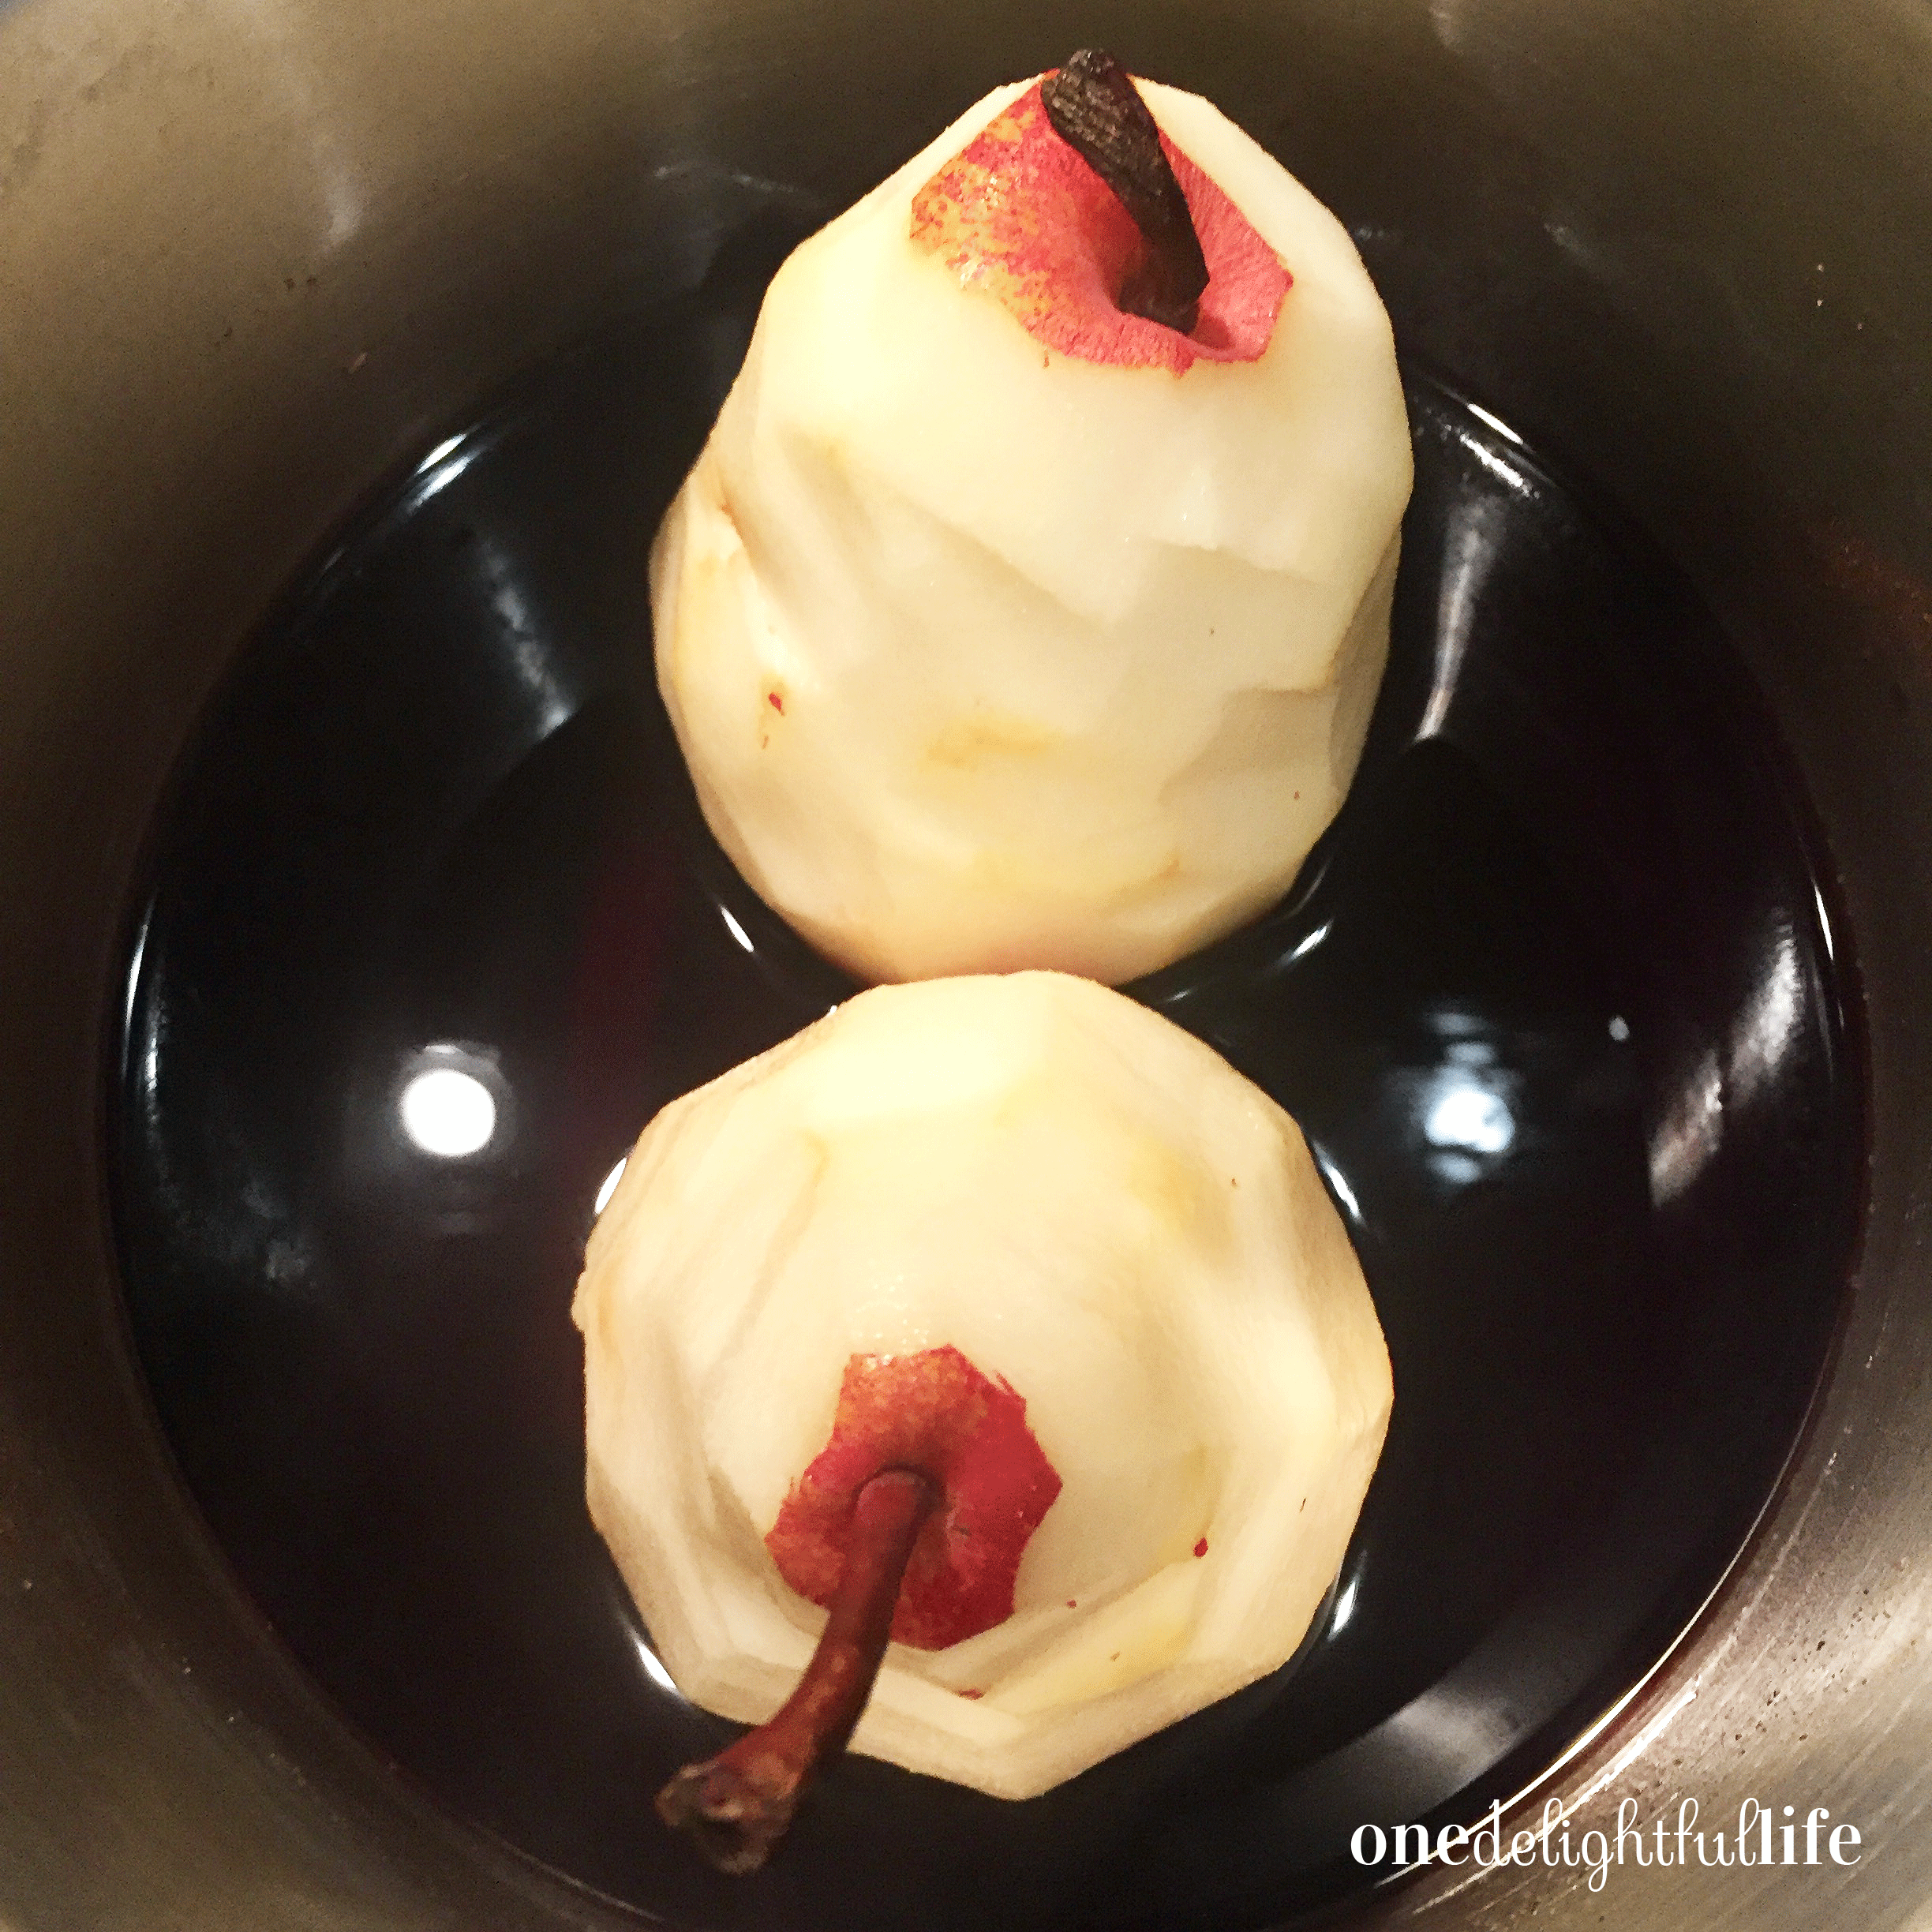
So when the boyfriend (who doesn’t eat desserts – uh, what the heck?) was away, I made a mess of the kitchen and started preparing the Vanilla Blueberry Sauce so it could cool before baking the angel food cake. Wanting to swirl the sauce through the cake batter, I knew the sauce couldn’t be added to the batter while the berries were warm.

Now, don’t be fooled. When I’m making a dessert on a work night, it’s a semi-homemade one. I simply used Betty Crocker’s Angel Food Cake box mix by combining 1 1/4 cups water with the dry mix and then added a few tablespoons of cooled Vanilla Blueberry Sauce to the cake mix. Then, I used a wooden skewer to pull the sauce throw the cake mix until swirls appeared. Using a ice cream scoop, I portioned wet cake mix into paper line cupcake baking pans.

If you fill the cupcake liners all the way to the top with the swirled batter, expect them to rise over the edge when you bake. Only fill the cupcake wells about 3/4 full.

Bake the angel food cupcakes at 350 degrees for 11 minutes (or until a toothpick pulls clean from their centers.) I prefer to remove the paper liners from the cupcakes prior to decorating and servings. Allow the cupcakes to completely cool before icing them with store-bought vanilla icing. Drizzle with more Vanilla Blueberry Sauce and top with a couple of fresh blueberries and garnish with a fresh sprig of mint.

Look at light beautiful glory! You might need a fork, but I just ate mine over the sink and let the oozy blueberry sauce drip down my arm. That’s my style.
Do you see that bottom swirl layer too?

This dessert would be a good one to make with kids and allow them to decorate their own cupcakes with the sauce and berries. You never know. Maybe they’ll even try the mint!

I grew that mint!

What dessert do you daydream about? Tell me in the comments below! I may just need to do a little recipe research on it.

onedelightfullife.com

12-14 small cupcakes

Angel Food Cupcakes with Vanilla Blueberry Sauce

Pillowy soft angel food cupcakes are the perfect platform for homemade vanilla blueberry sauce.

30 minPrep Time

11 minCook Time

40 minTotal Time

Save RecipeSave Recipe
Print Recipe
My Recipes My Lists My Calendar

Ingredients

  • Vanilla Blueberry Sauce Ingredients:
  • 1 cup fresh blueberries
  • 1/4 c. water
  • 1/4 c. sugar
  • 1 T. lemon juice
  • 1 T. cornstarch
  • 1 T. cold water
  • 1 T. vanilla extract
  • pinch lemon zest
  • Angel Food Cake: (Make according to box directions)

Instructions

  1. Combine the first 4 ingredients in a small saucepan and stir gently over medium heat. Do not allow it to boil.
  2. Meanwhile, stir together the cornstarch and cold water in a small ramekin.
  3. Add the cornstarch slurry to the blueberry mixture stirring slowly while it thickens.
  4. Stir for about 3 minutes.
  5. Remove from heat.
  6. Add vanilla and lemon zest.
  7. Pour into a small glass bowl and leave uncovered in the refrigerator to cool until used in the cake mix.
  8. Once cooled, add 2-3 tablespoons of the vanilla blueberry sauce into the already prepared wet angel food cake mix.
  9. Using a wooden skewer, pull the vanilla blueberry sauce through the cake batter until large swirls form.
  10. Using a ice cream scoop or large spoon, portion the finished cake mix into paper lined cupcake pans.
  11. Bake cupcakes at 350 degrees for 11 minutes.
  12. Allow cupcakes to cool completely before topping with vanilla icing and blueberry sauce.
  13. Garnish with more (fresh) berries and a sprig of mint.
7.8.1.2
79
https://onedelightfullife.com/angel-food-cupcakes-vanilla-blueberry-sauce/
onedelightfullife.com

Nutrition

Calories

430 cal

Fat

6 g

Carbs

93 g

Protein

10 g
Click Here For Full Nutrition, Exchanges, and My Plate Info
ESHA Logo

Filed Under: Desserts, Taste Tagged With: angel, angel food cake, berries, blueberries, cake, cupcake, dessert, icing, Meyer lemon, sauce, semi-homemade, swirl, vanilla blueberry sauce, white cake

Creamy No-Churn Vanilla Ice Cream with Cherries and Chocolate

July 11, 2017 by Vanessa Leave a Comment

What if I told you that you could make ice cream with only three ingredients plus your favorite mix-ins and it didn’t require fancy equipment? You can!

I’m on a major sugar bender right now. It’s unusual for me to eat sweets three days in a row but nothing beats my homemade Creamy No-Churn Vanilla Ice Cream with Cherries and Chocolate. Not movie candy. Not baked goods. This dessert is it for me. It’s incredibly delicious and I want to give you the “scoop” on how to make it at home.

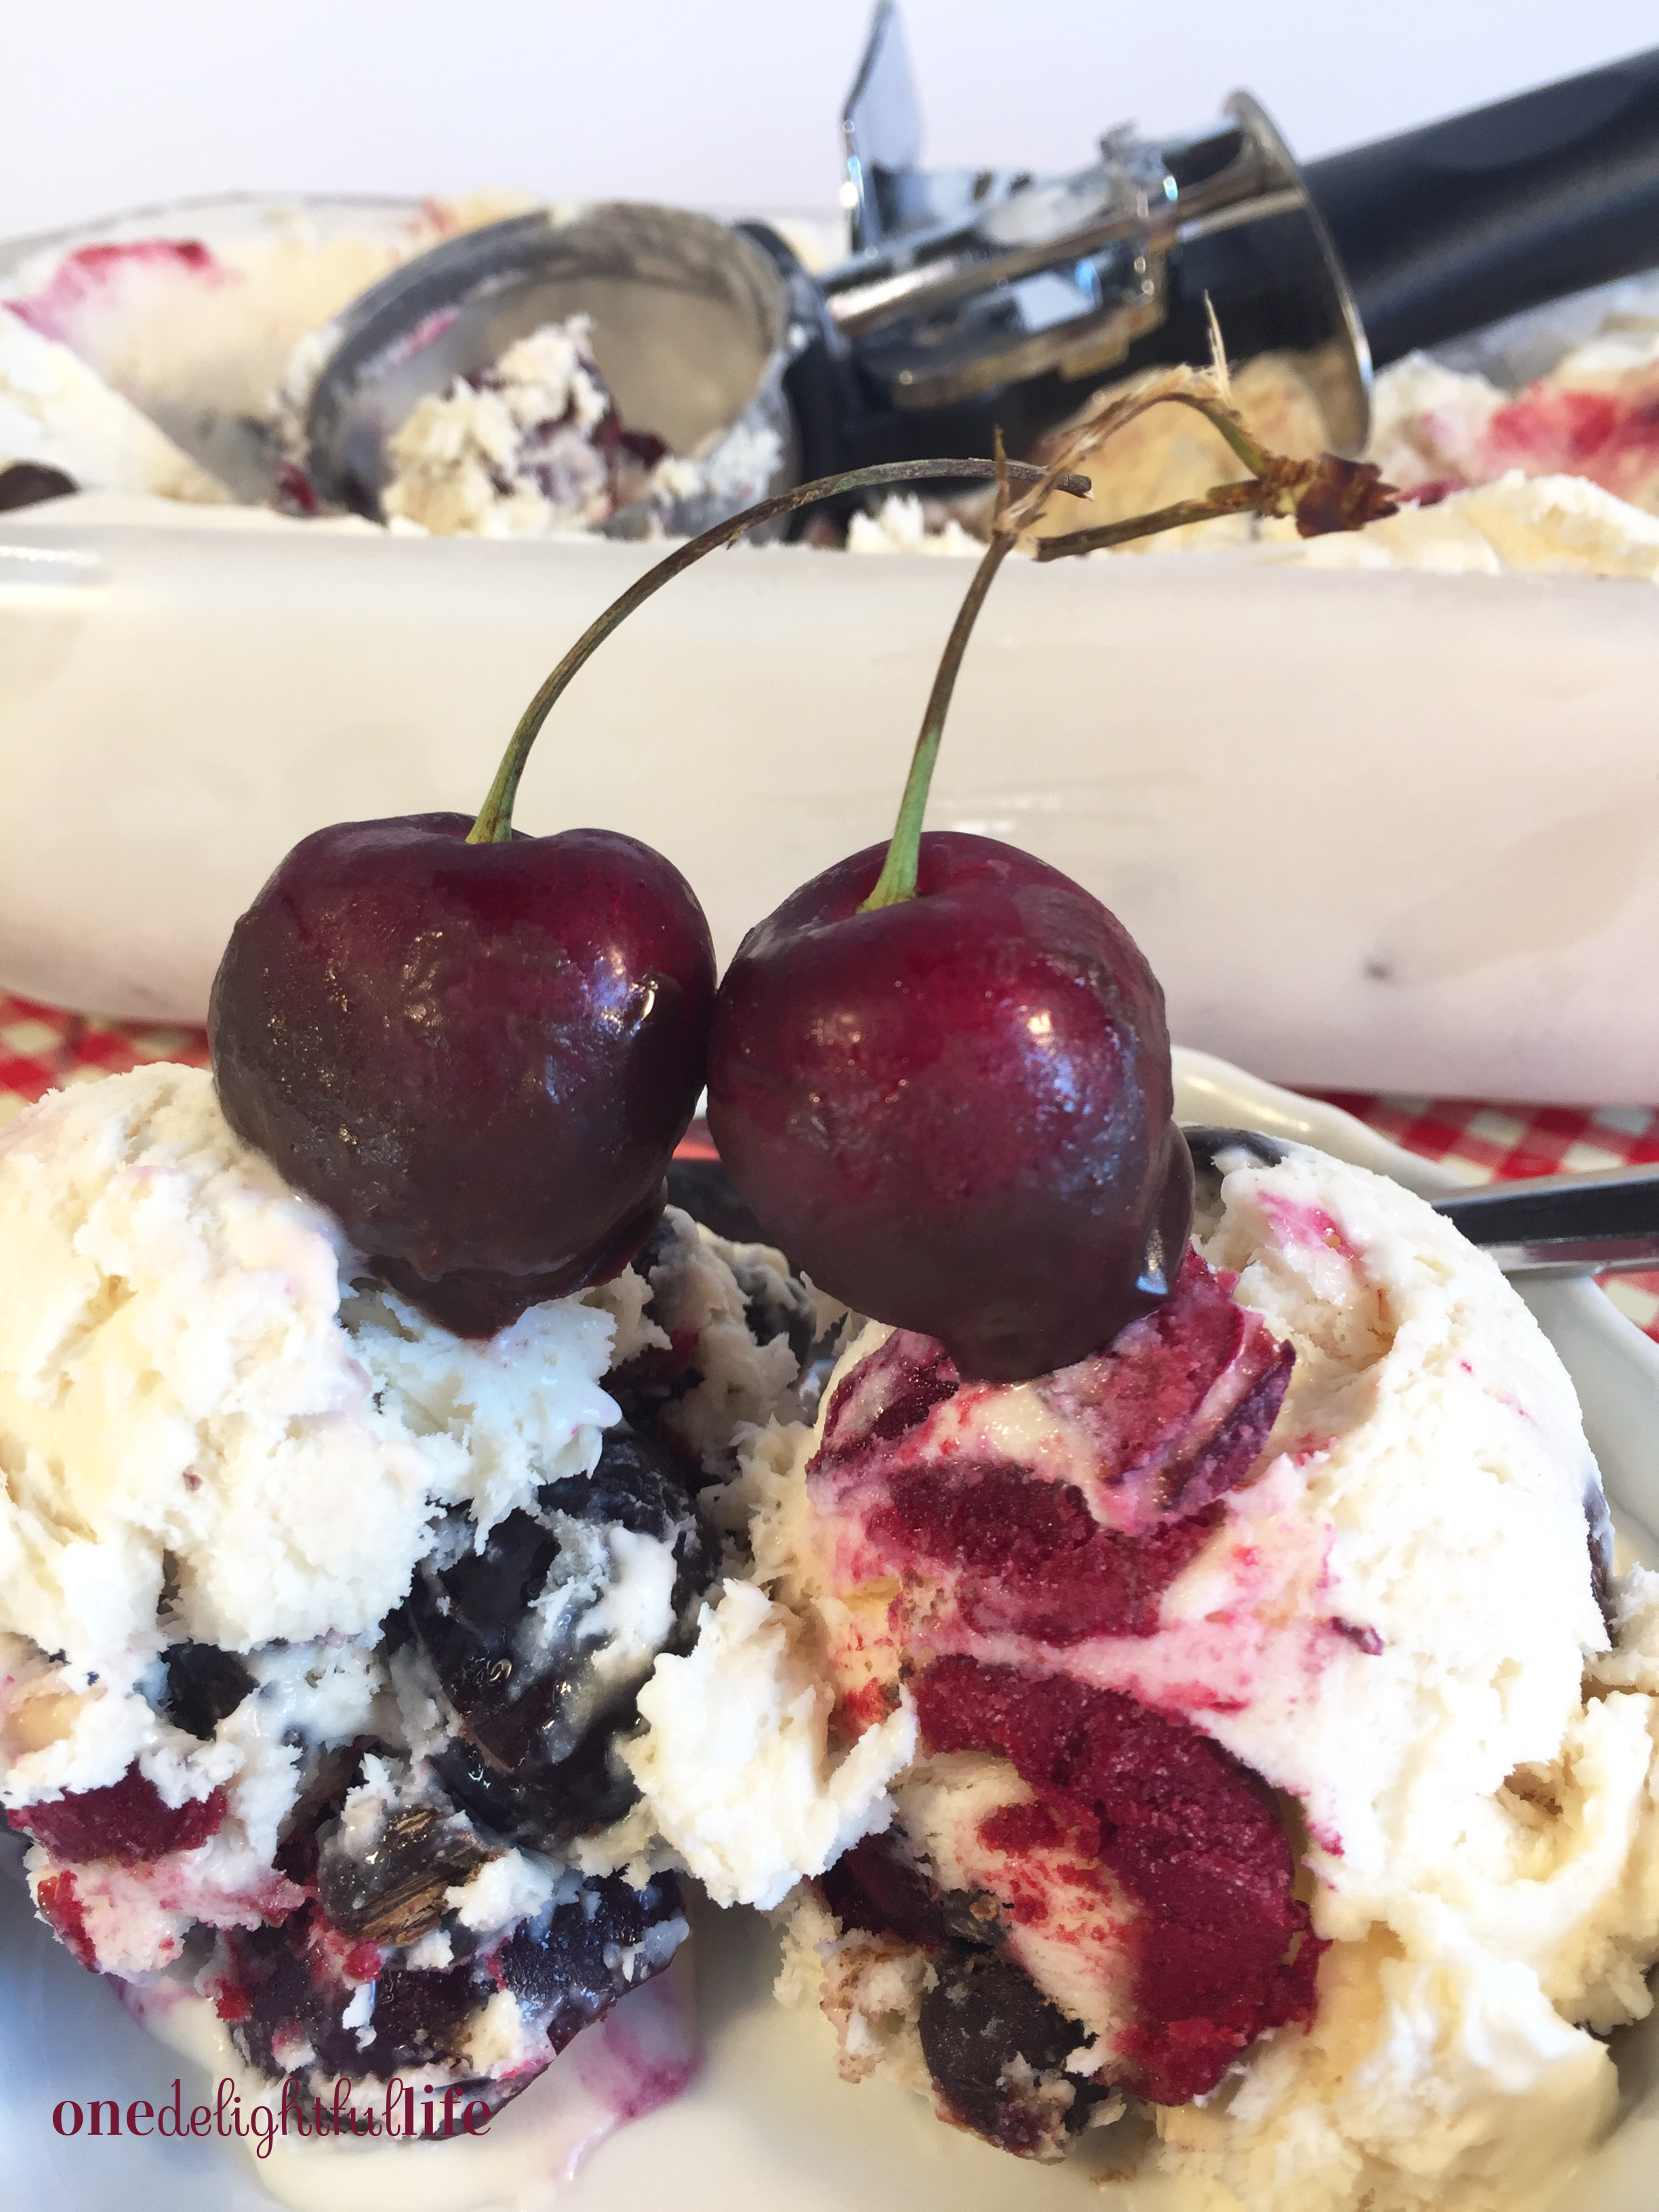
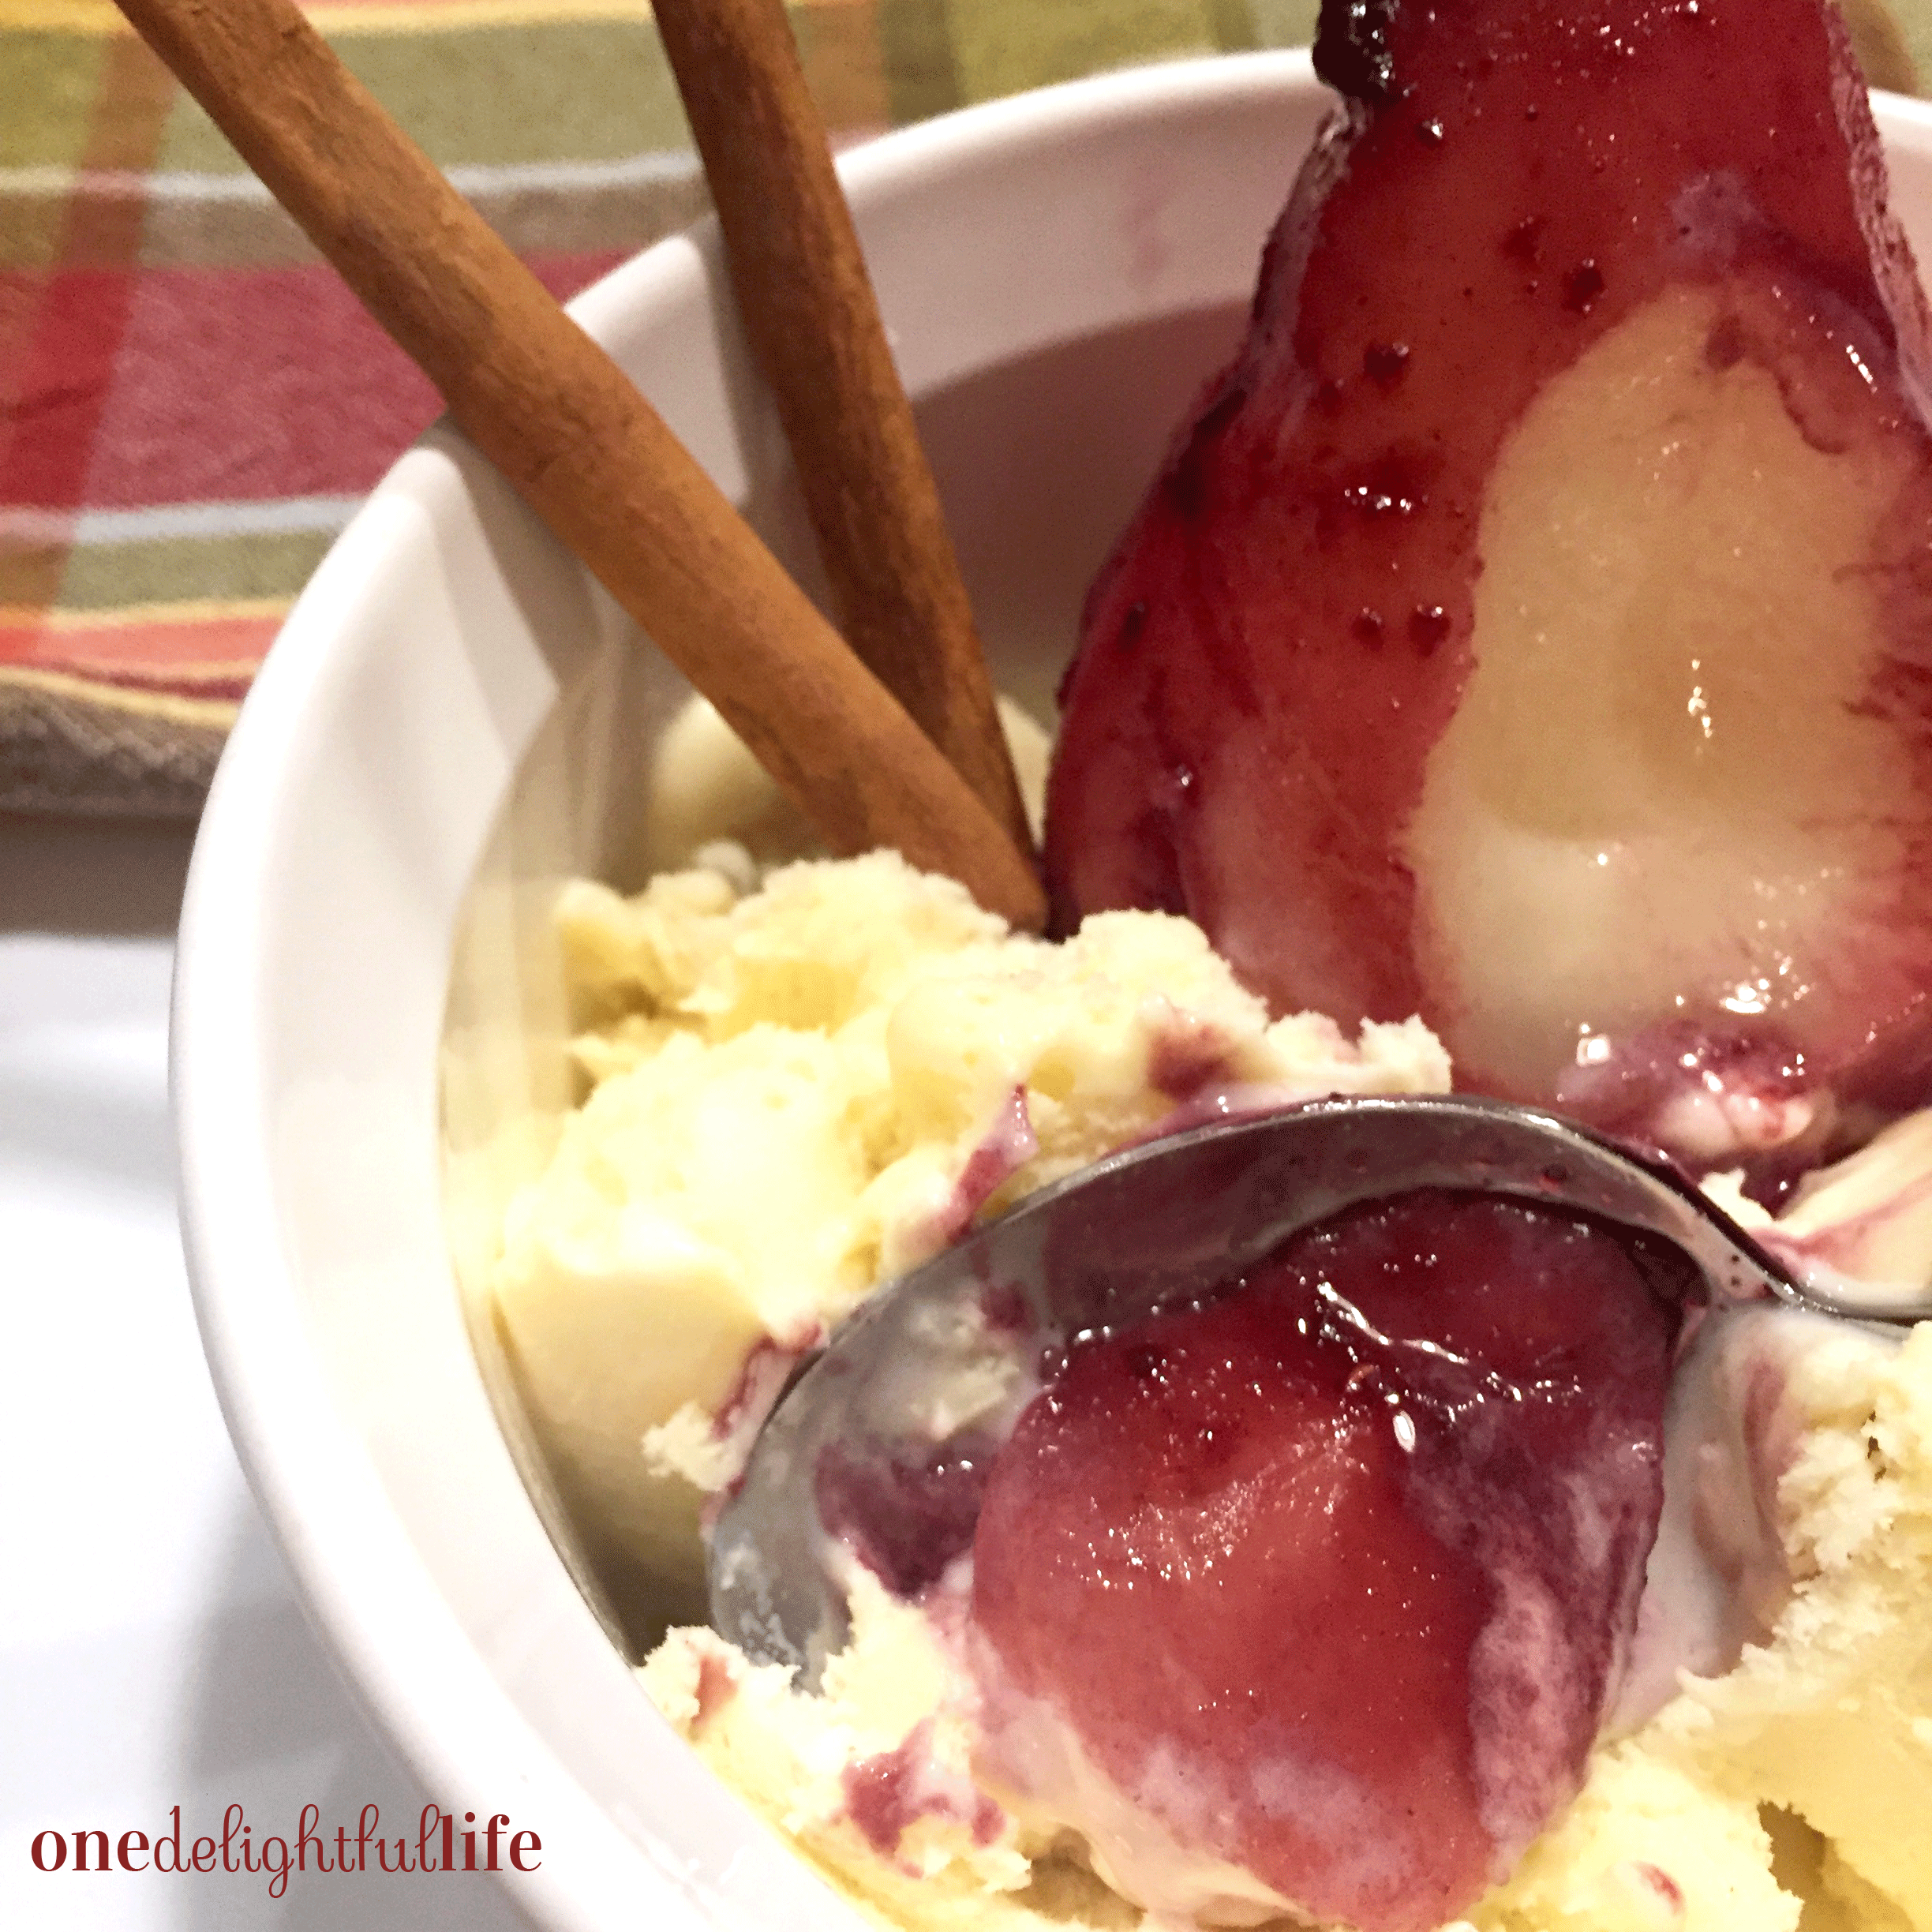
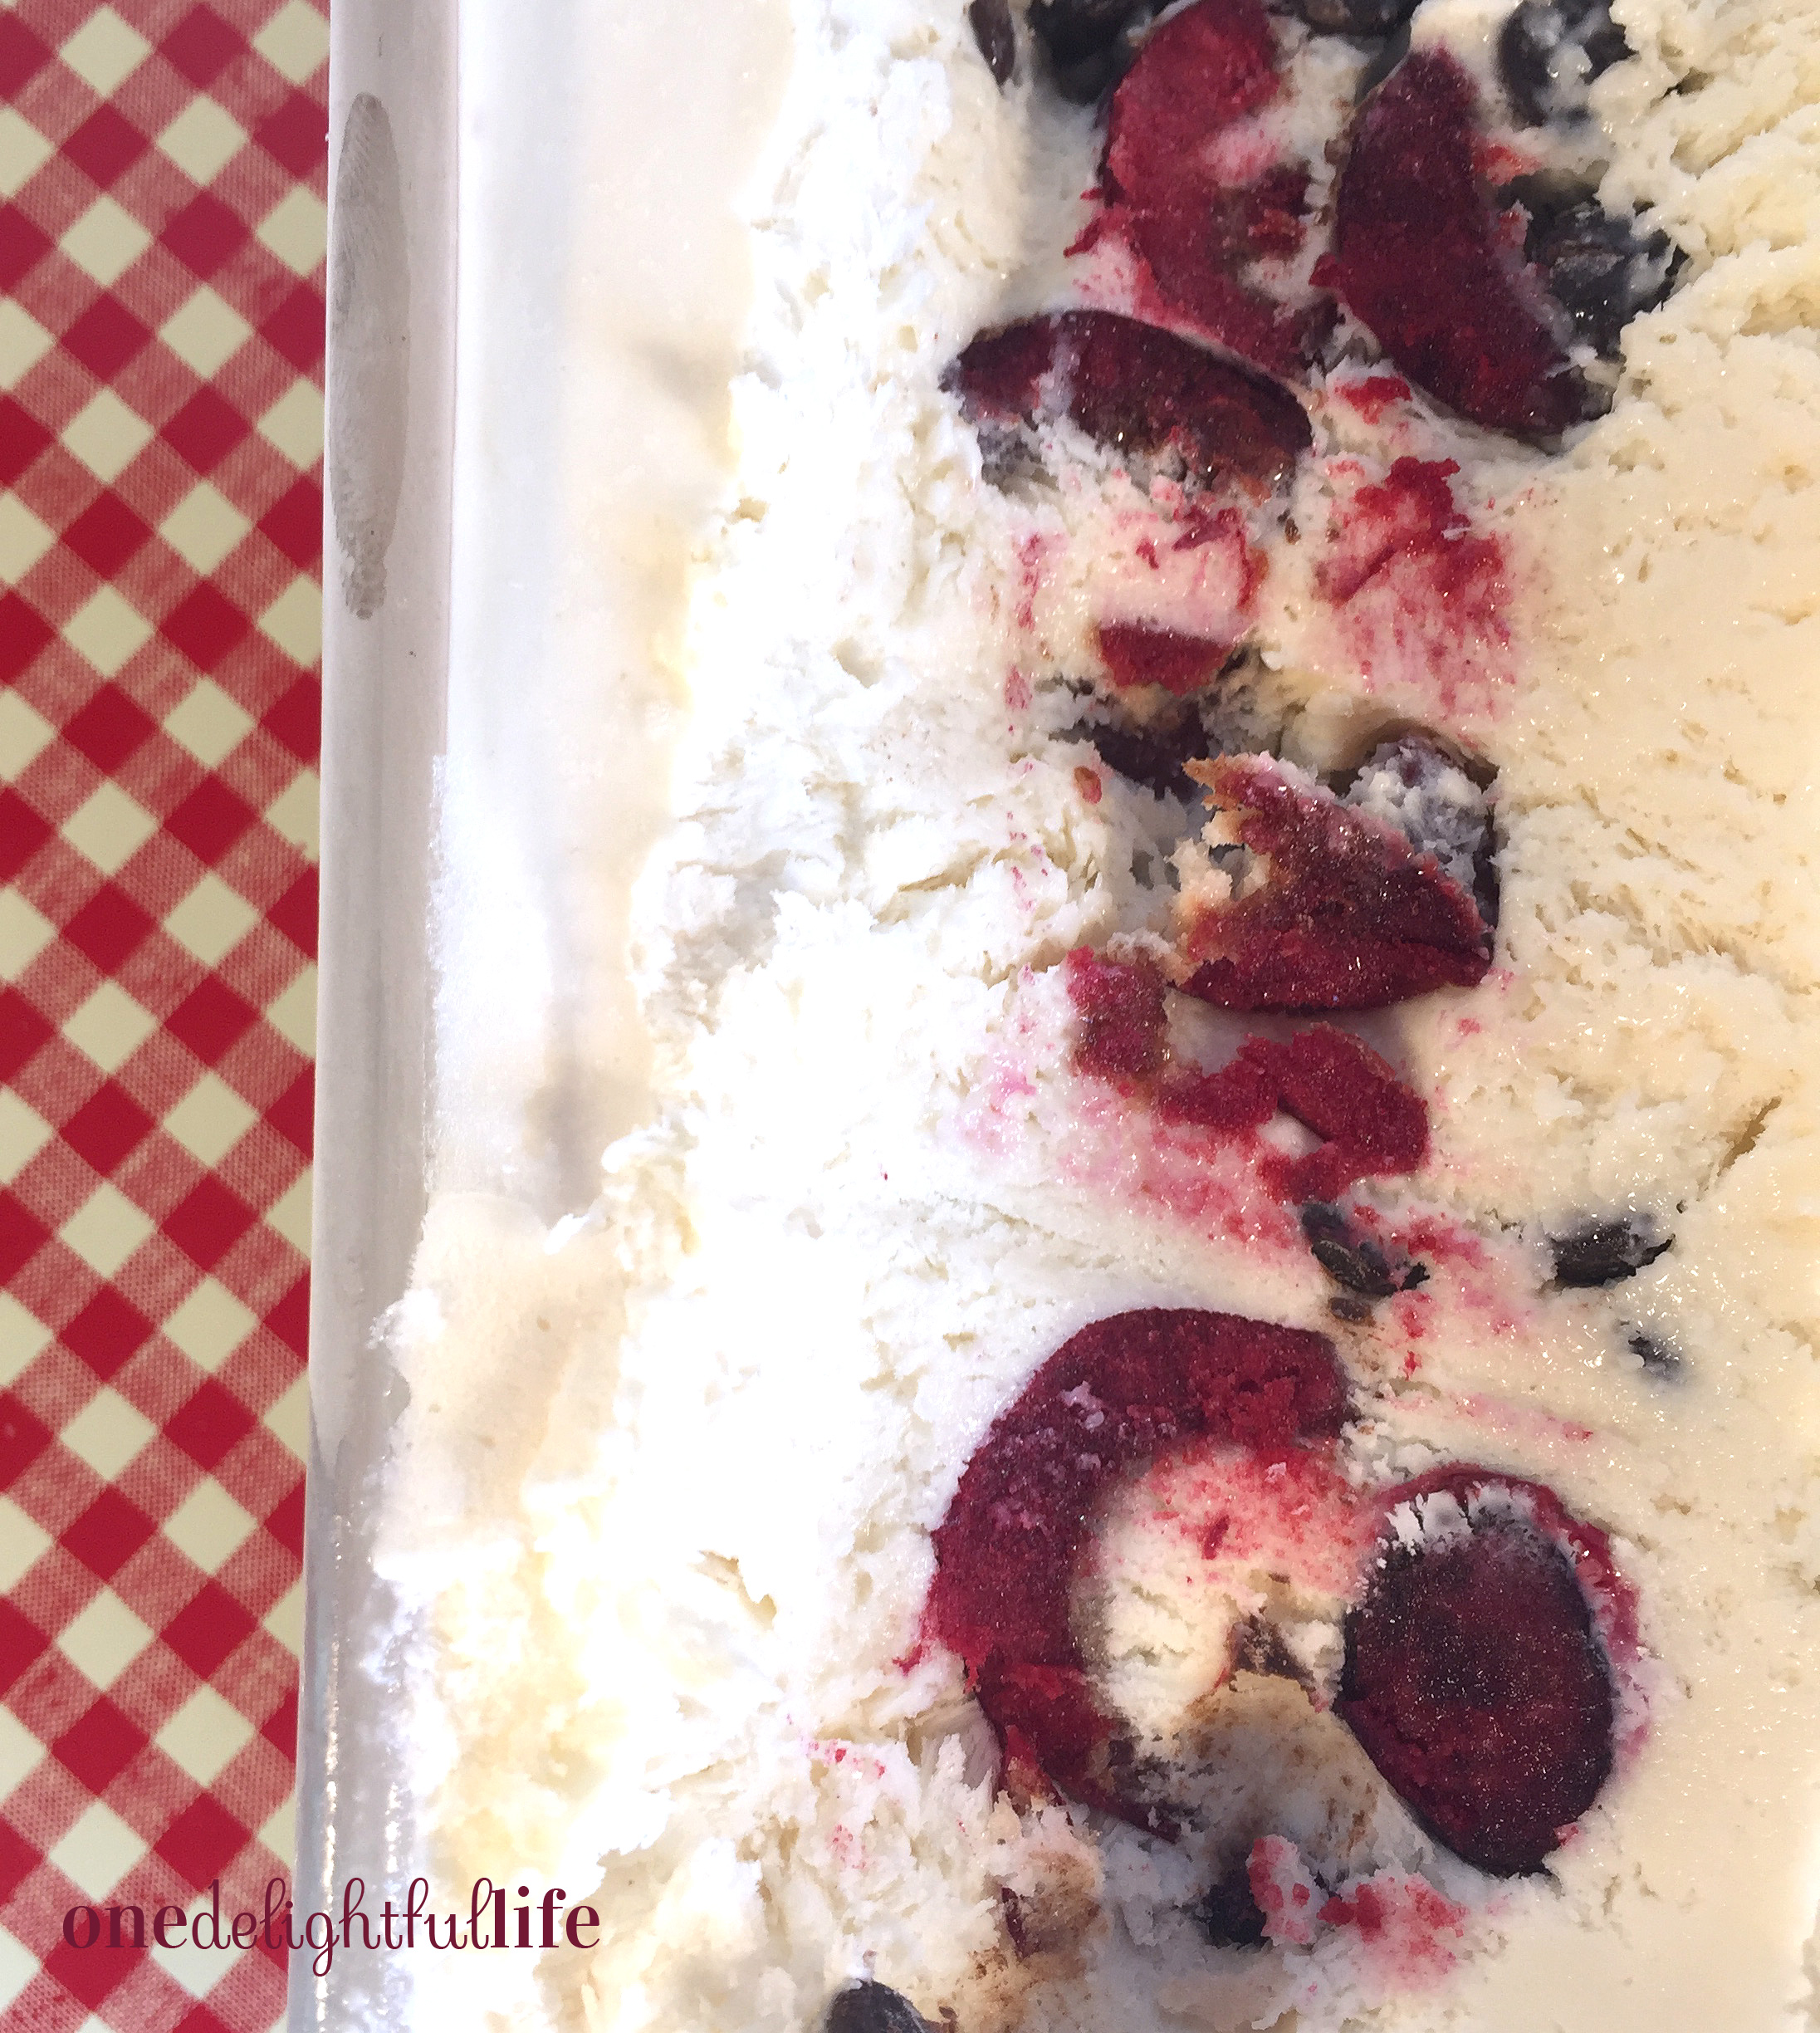
If you can use a hand mixer and a spatula, you can make this yummy recipe. Preparing the ice cream is easy. Waiting about eight hours for it to freeze is the tough part. If you would prefer different fruit or candy mix-ins, you certainly can swap them for the fresh cherries and chocolate. In fact, I almost wish I remembered to add chopped walnuts to this recipe, but that’s okay! I can just sprinkle them on top of my ice cream or get wild and create a sundae with whipped cream too.

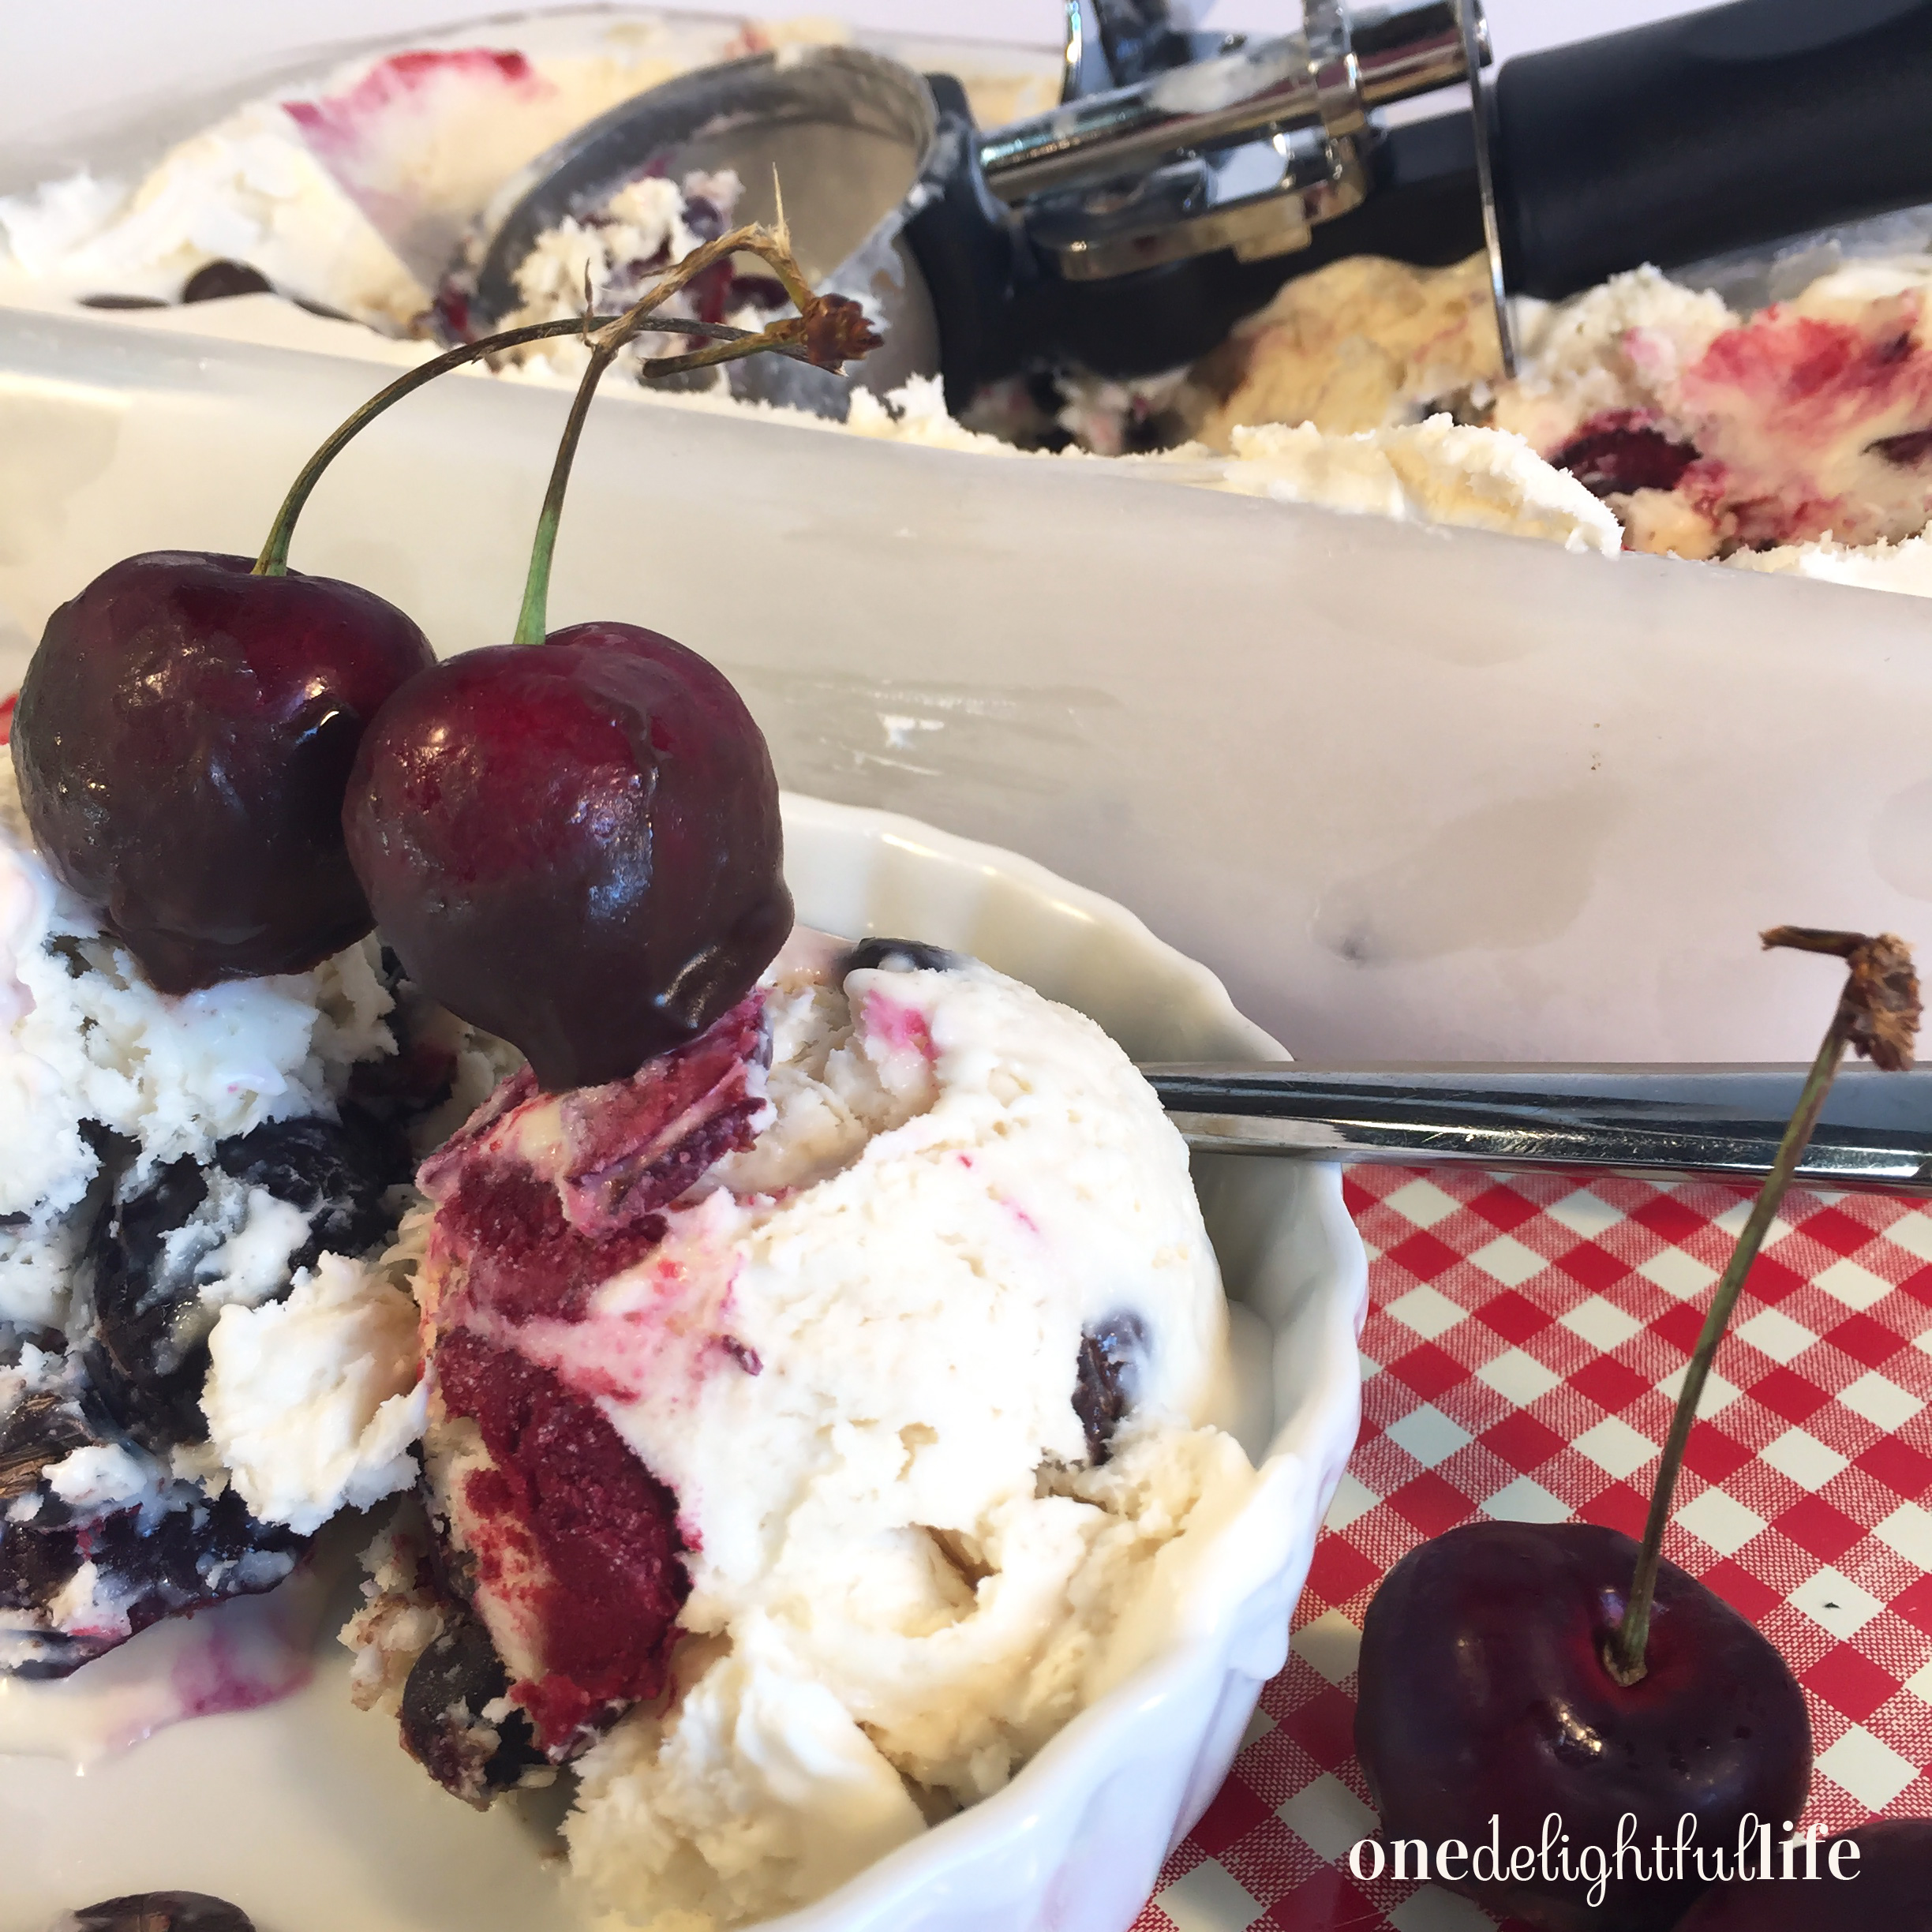
Can you believe how amazing that scoop of ice cream looks topped with chocolate dipped cherries? As vanilla ice cream as the base, the possibilities for flavor combinations is limitless. Why not peanut butter and chocolate? Or a take on Smores using mini marshmallows? Or perhaps chunked pieces of apple pie from the grocery’s bakery department?

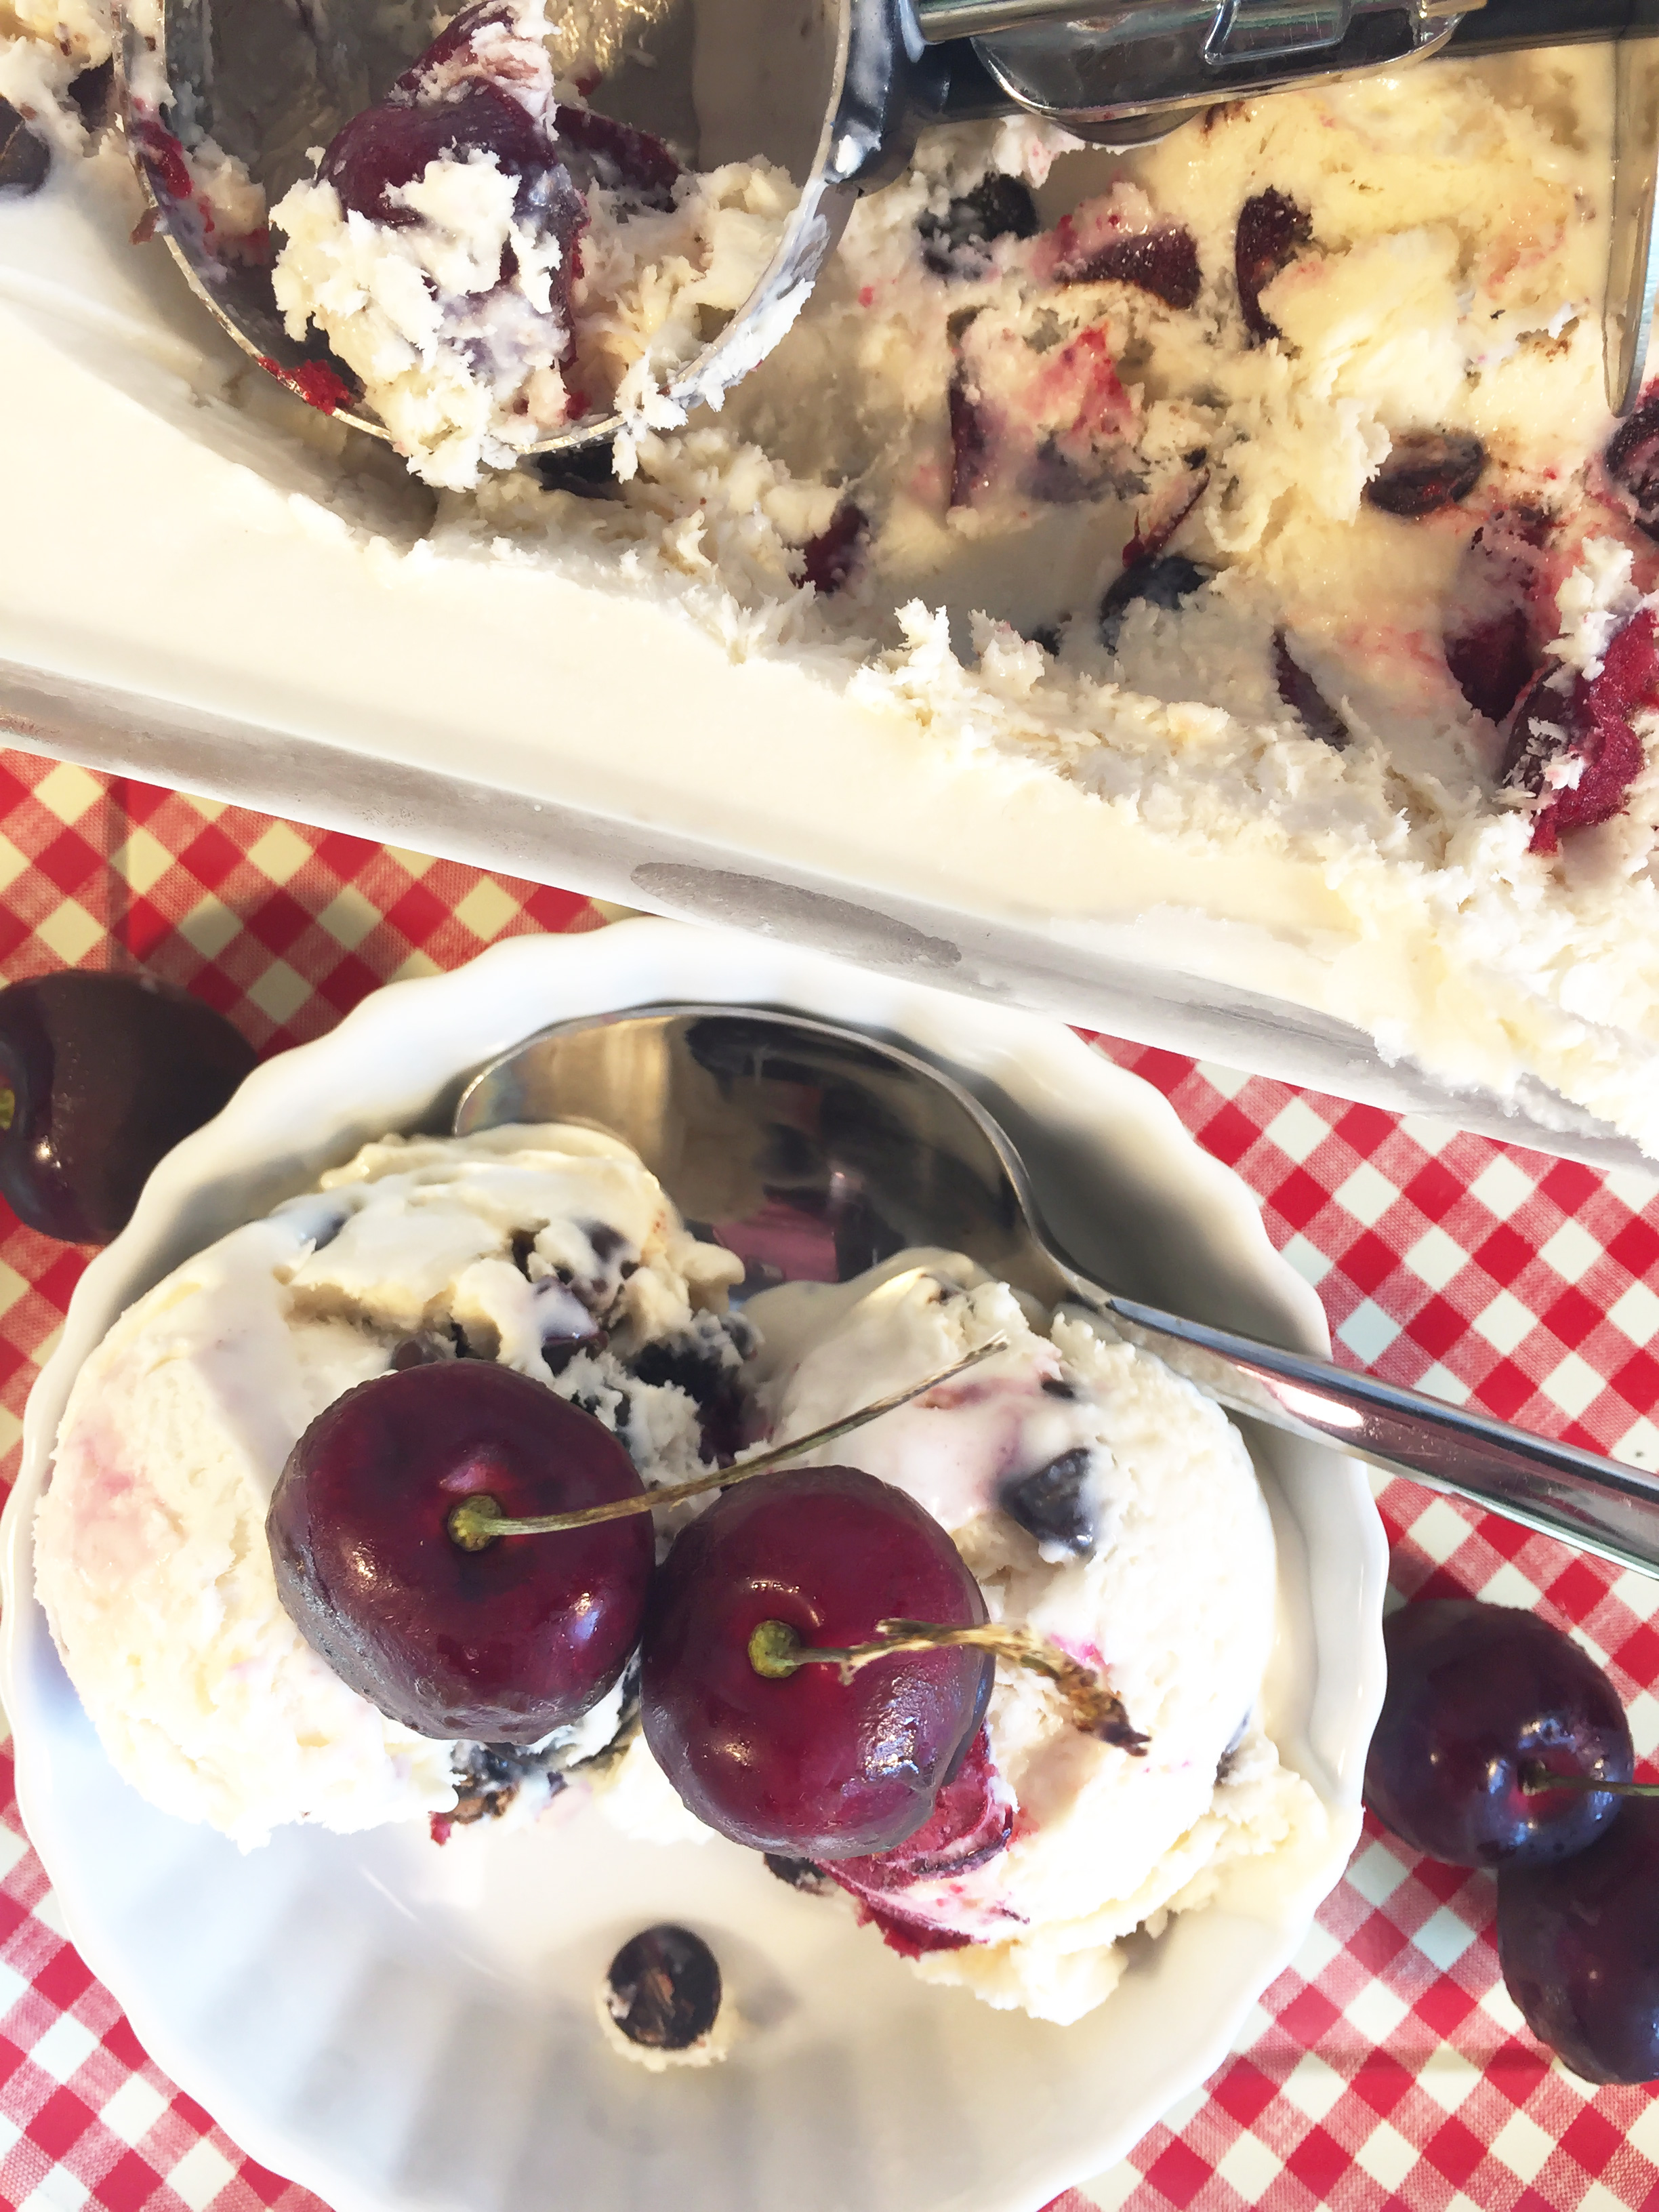
I was inspired to use the cherry-chocolate flavor pairing after purchasing a pound of fresh dark cherries from the grocery store. If you buy fruit that is in season, it forces you to use your creativity to build a recipe around it. What goes well with cherries? Say it with me…chocolate! To keep the recipe inexpensive, I used semi-sweet chocolate chips. You’ll also need two cups of cold, heavy whipping cream, vanilla extract, and one can of sweetened condensed milk to make the ice cream base. Preferring big chunks of fruit in my ice cream, I halved each cherry rather than chopping them.

no-churn ice cream
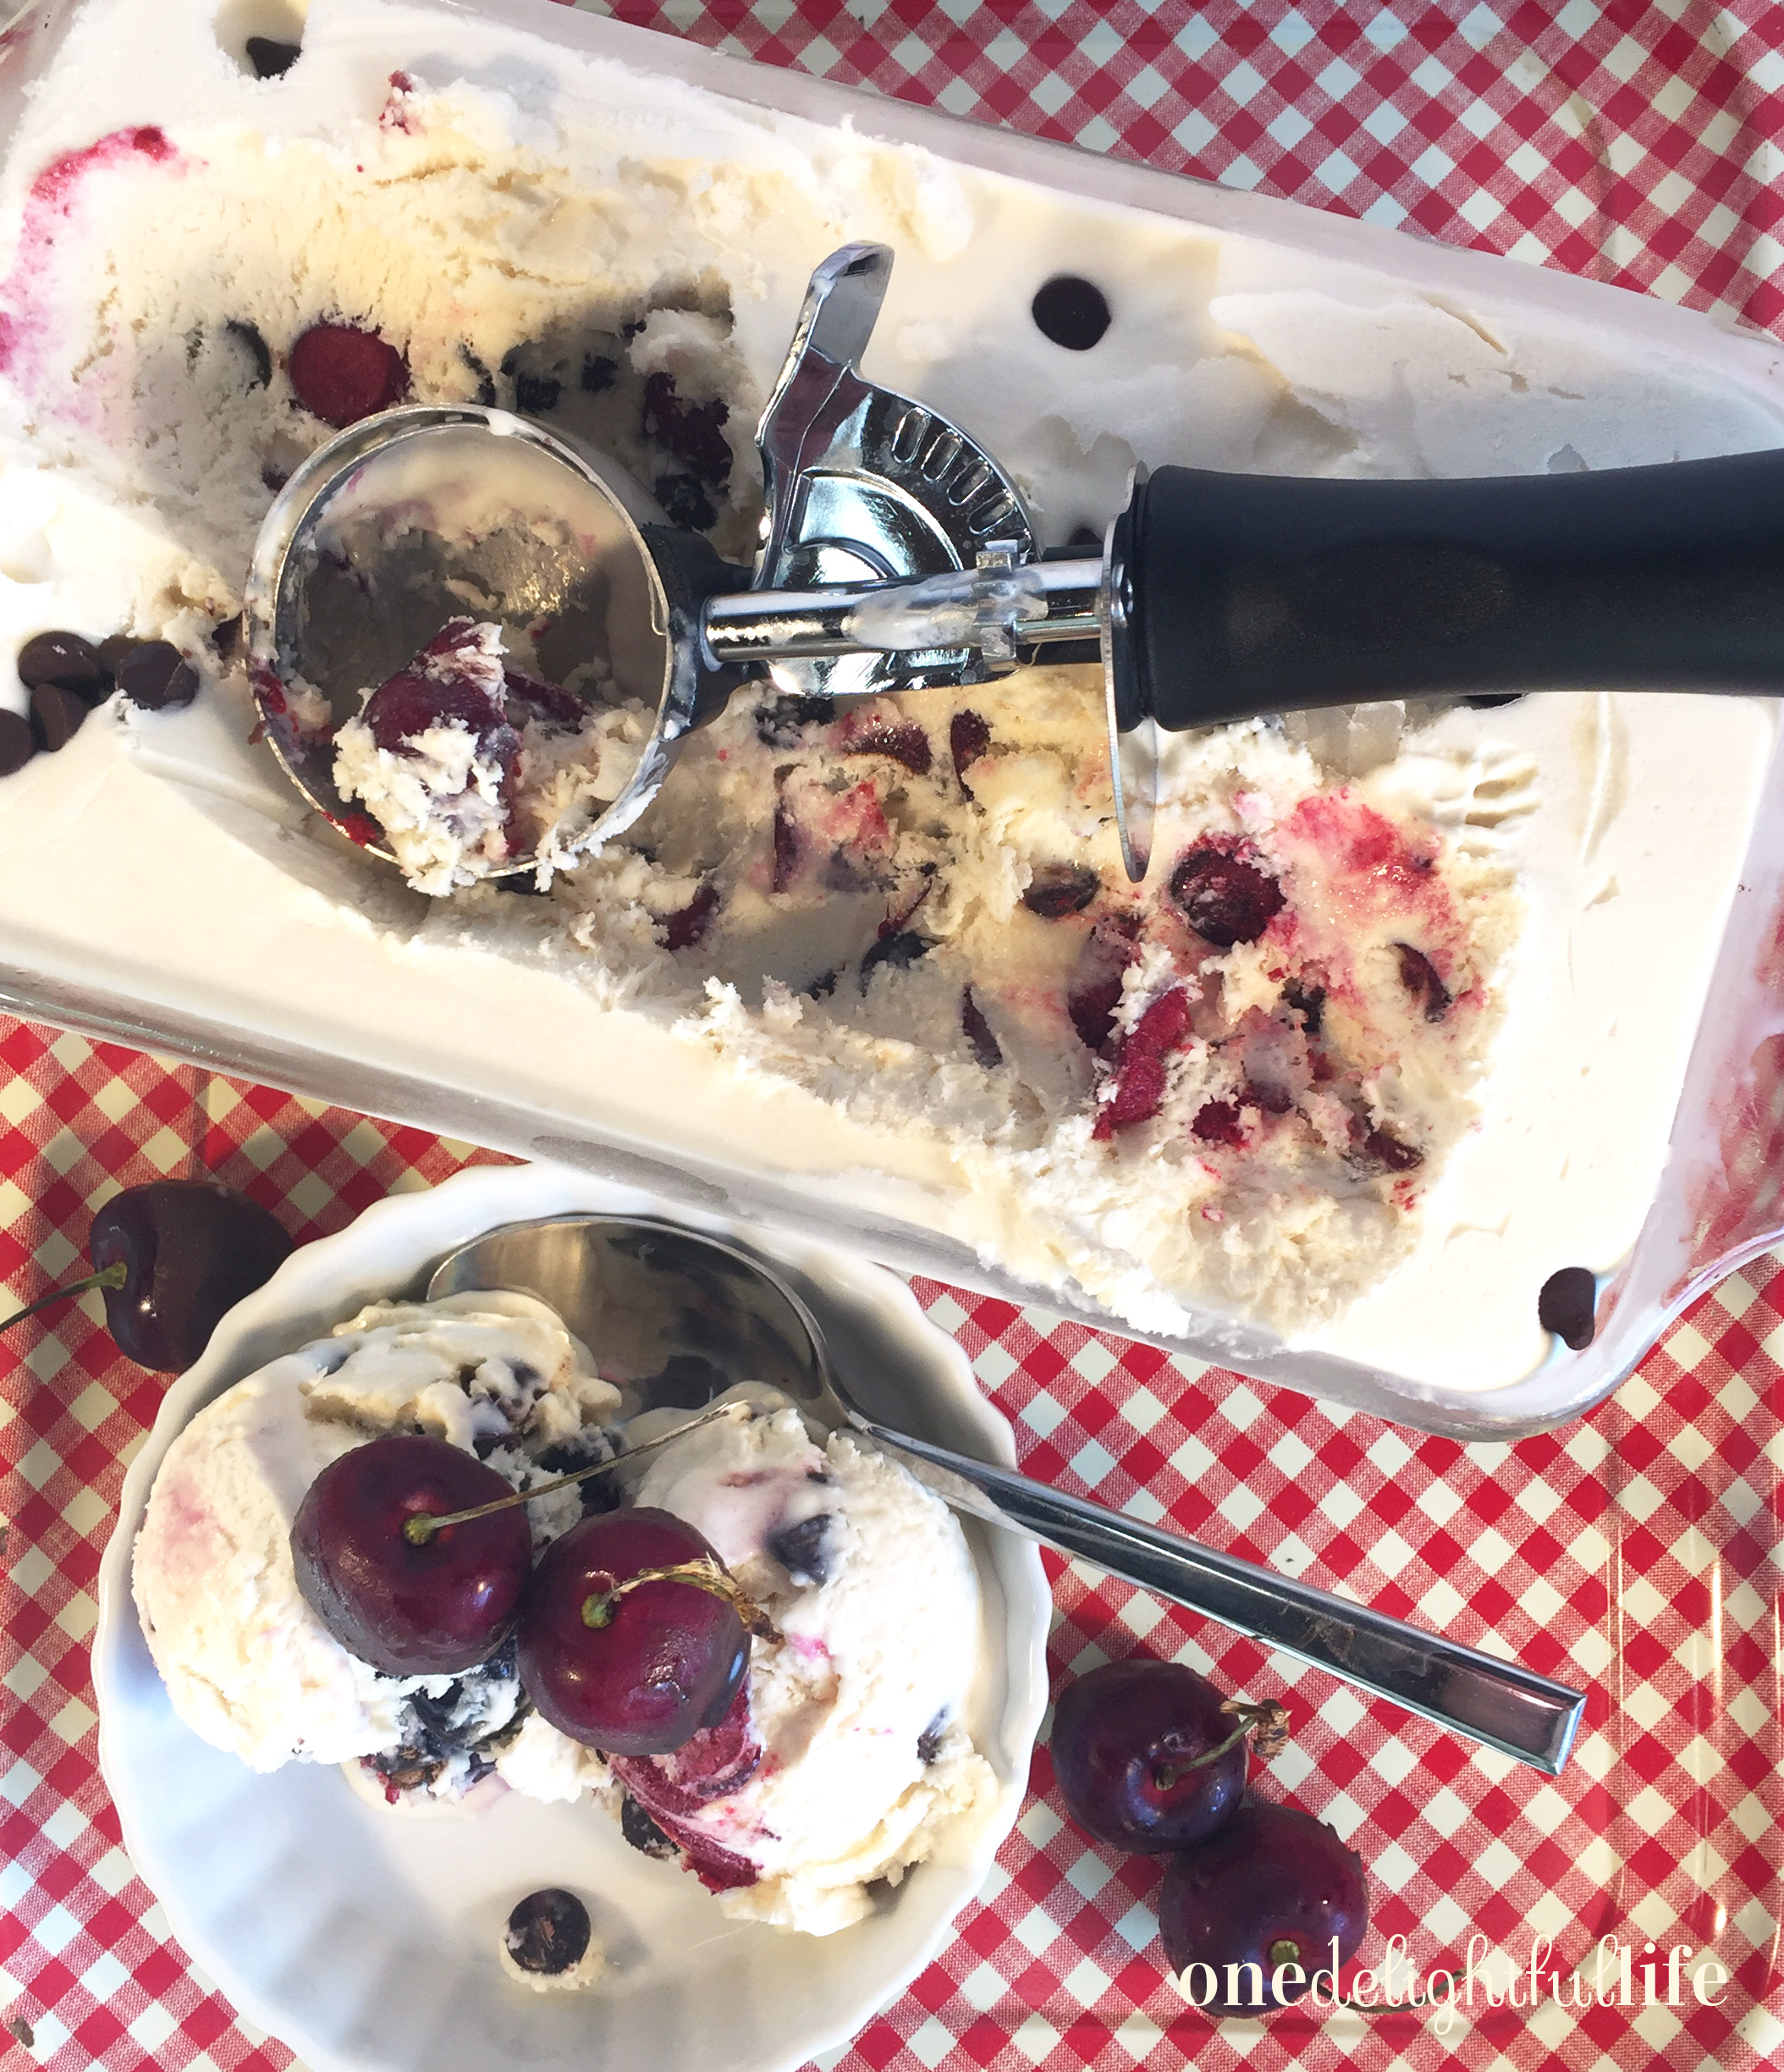
Be sure to lay out all of your kitchen tools and ingredients before starting this recipe, a method many chefs refer to as “Mise en Place.” This is French for putting everything in place. You’ll need to be organized so you can quickly move the Seran wrap covered ice cream pan to the freezer, which if you’re like me, means first clearing a flat space in the deep freeze.

To prepare the ice cream base, beat the heavy whipping cream in a large bowl until stiff peaks form on the hand mixer’s beaters. In a separate large bowl, mix a can of sweetened condensed milk and one tablespoon vanilla extract with spoon by hand. Gently fold in the whipped cream a large clump at a time until all of it is gently incorporated into the sweetened condensed milk and vanilla extract mixture. If you mix too the whipped cream into the ice cream base in a hurried fashion, you’ll end up with sweet soup. Patience pays off.

I added about 2 cups pitted and halved fresh cherries and 1 cup of semi-sweet chocolate chips and gently mixed them into the ice cream base mixture. When finished, pour the bowl of ice cream into a glass loaf pan. Cover tightly with Seran wrap and freeze at least 6 up to 8 hours before serving. It was harden just like any other scoopable ice cream. This is not ice milk or soft serve ice cream.


onedelightfullife.com

8-10 servings

Creamy No-Churn Vanilla Ice Cream with Cherries and Chocolate

Better than store-bought ice cream, this no-churn recipe doesn't require fancy kitchen equipment and tastes delightful.

30 minPrep Time

6 hrCook Time

6 hr, 30 Total Time

Save RecipeSave Recipe
Print Recipe

My Recipes
My Lists
My Calendar

Ingredients

  • Ice Cream Base:
  • 2 cups heavy whipping cream
  • 1 can sweetened condense milk
  • 1 T. vanilla extract
  • Mix-Ins:
  • 2 cups pitted, halved fresh cherries
  • 1 cup semi-sweet chocolate chips

Instructions

  1. Pour heavy whipping cream into a large bowl.
  2. Using a hand mixer on a middle speed setting, mix the heavy whipping cream until it begins to thicken. You'll know it's done when it forms stiff peaks on the beaters. When finished, set the bowl aside.
  3. In a separate large bowl, add vanilla extract to the sweetened condensed milk and mix thoroughly. Set the bowl aside.
  4. Using a rubber spatula, gently fold in the whipped cream a little at a time into the condensed milk and vanilla mixture. Continue adding the whipped cream and gently continue mixing until all three ingredients are well incorporated.
  5. Add in the pitted, halved cherries and chocolate chips (or your mix-ins of choice)
  6. Pour ice cream base mixture into a glass loaf pan.
  7. Cover tightly with plastic wrap.
  8. Freeze 6-8 hours.
7.8.1.2
77

https://onedelightfullife.com/no-churn-vanilla-ice-cream/

onedelightfullife.com

Nutrition

Calories

3199 cal

Fat

224 g

Carbs

190 g

Protein

23 g

Click Here For Full Nutrition, Exchanges, and My Plate Info


ESHA Logo

I hope you enjoy this easy, no frills ice cream recipe. It’s super simple and inexpensive to make as a dessert for several people.

I promise to bring more blog posts to keep your time in the kitchen fun and budget-friendly as summer long. Until then, get more inspirational recipe and travel posts on ODL Instagram and receive daily updates on Twitter. Have an idea for a recipe you’d like me to test? Leave it in the comments section below.

Filed Under: Desserts, Taste Tagged With: berries, cherries, chocolate, cold, condensed milk, dark cherries, dessert, freeze, freezer, fresh fruit, frozen, ice milk, mix-ins, no-churn, scoop, semi-sweet chocolate, vanilla ice cream

  • Go to page 1
  • Go to page 2
  • Go to page 3
  • Go to Next Page »

Primary Sidebar

SEARCH

Ammar
Hello! I'm Vanessa. Welcome to One Delightful Life, a blog created to add more delight to your life with delicious recipes, travel destinations, and lifestyle improvement ideas. Thanks for exploring my blog!

Archives

Contact Us

  • Email
    info@onedelightfullife.com

Popular Posts

Back to School Brain Breaks12K Total Shares
Going Underground in Historic Ellinwood, KansasGoing Underground in Historic Ellinwood, Kansas7K Total Shares
Weston, Missouri: Making the Most of a Weekend VisitWeston, Missouri: Making the Most of a Weekend Visit2K Total Shares
Cucumber Lime Vodka SplashCucumber Lime Vodka Splash1K Total Shares
Sun Palace: A Couples-Only Resort in Cancun, MexicoSun Palace: A Couples-Only Resort in Cancun, Mexico508 Total Shares
  • About
  • Taste
  • Travel
  • DIY
  • Contact
  • Lifestyle
  • 100 Things to Do in Wichita Before You Die

© 2023 · onedelightfullife ·