• Skip to primary navigation
  • Skip to main content
  • Skip to primary sidebar

A Lifestyle Blog

  • About
    • Work With Me
      • Delightful Life Media
    • Privacy Policy & Disclosures
  • Taste
    • Breakfast
    • Lunch
      • Salads
      • Sandwiches
    • Dinner
      • Grilled
      • Sides
      • Pasta
      • Rice
    • Appetizers
    • Desserts
    • Drinks
      • Cocktails
      • Non-Alcoholic
    • Snacks
  • Travel
    • United States
      • Kansas
      • Missouri
      • Nevada
      • Nebraska
      • New York
      • Oklahoma
      • Texas
      • Wisconsin
    • Mexico
  • DIY
    • Projects
  • Contact
  • Lifestyle
  • 100 Things to Do in Wichita Before You Die

DIY

How to Grow an Indoor Garden

January 11, 2021 by Vanessa Whiteside Leave a Comment

Affiliate Disclosure: As an Amazon Associate, I may earn commissions from qualifying purchases from Amazon.com. 

Last year, I killed most of my plants. This year, I’ve graduated to Plant Lady. If I can learn how to keep plants alive (and grow them!), you can as well!

I was curious about how to grow vegetables and herbs indoors, I had no idea how to get started. I watched a ton of YouTube videos and I asked employees at a nearby garden center questions. I purchased the supplies. Then, I got my hands dirty.

lettuce

It turns out that it is actually quite easy to garden indoors once you do your homework and follow the instructions. The process of gardening teaches you patience, a trait that carries over into other areas of your daily life. Gardening takes time, especially when you start vegetables from seed, but the results are truly incredible. The magic formula is good soil + light + water + patience = leafy greens!

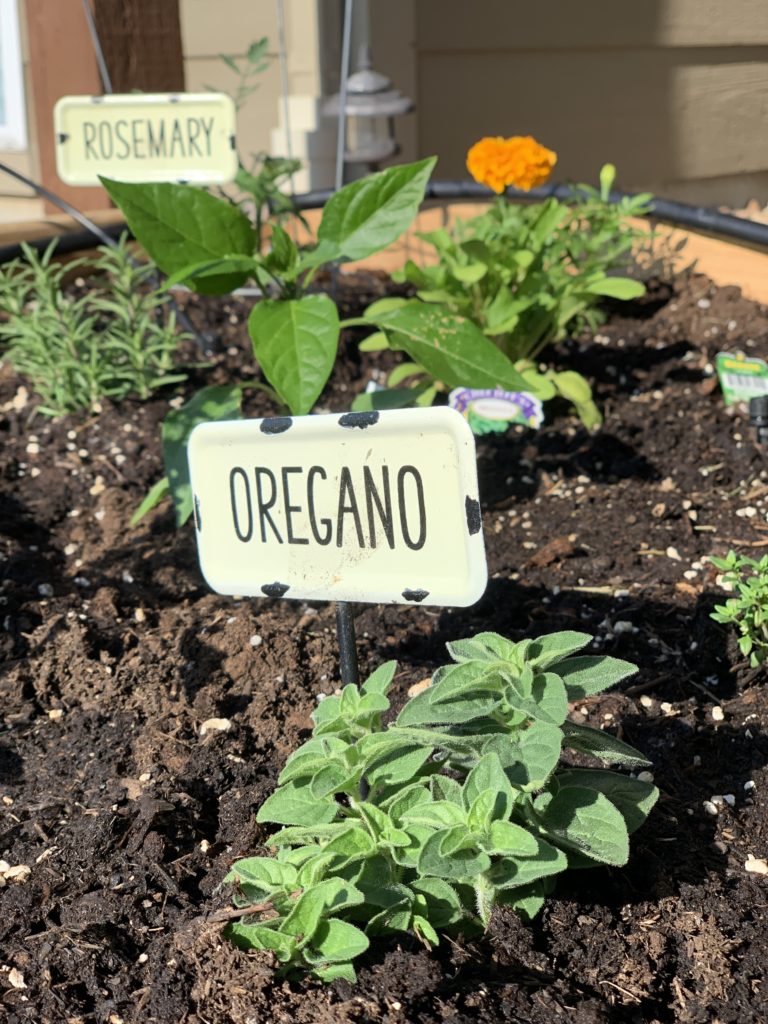
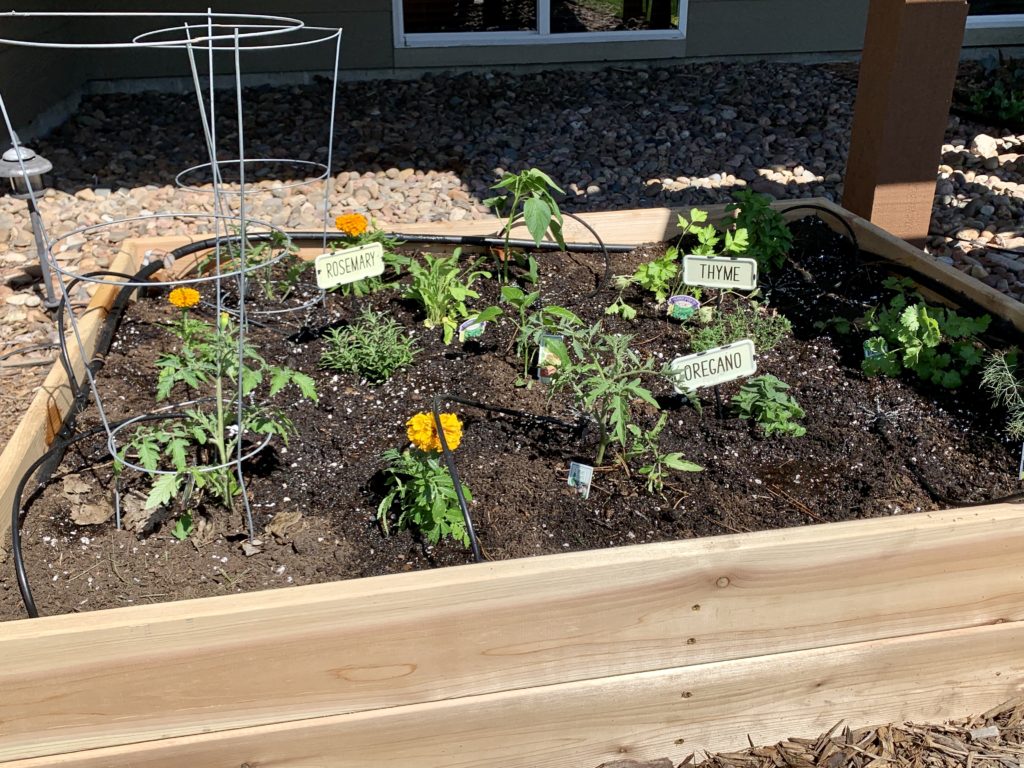
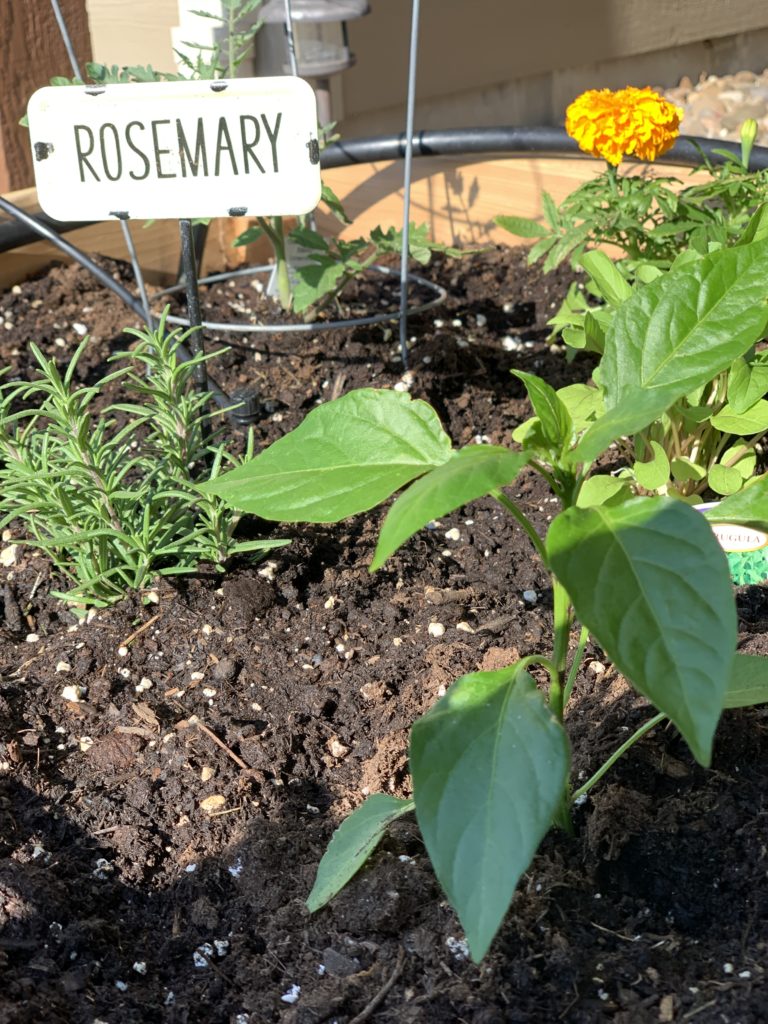
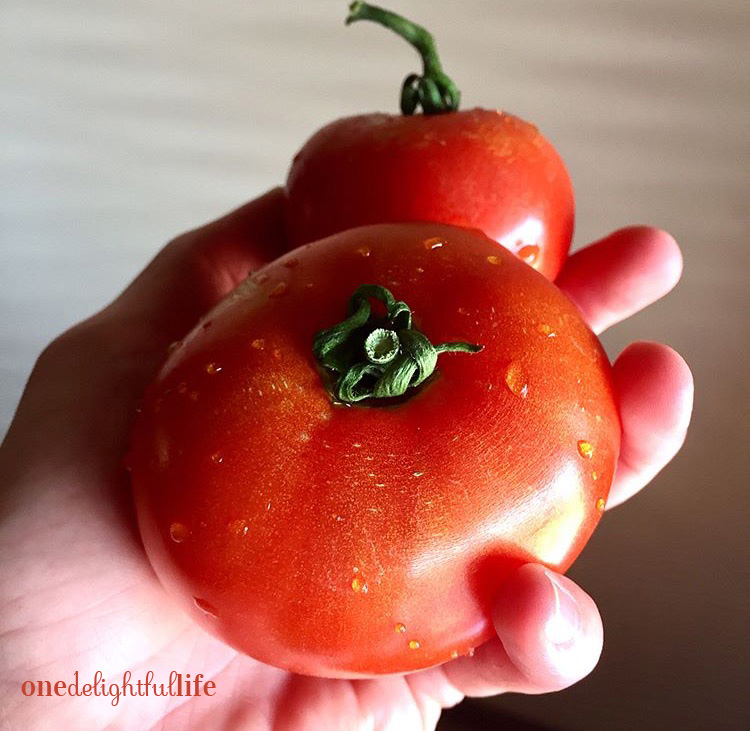
I was so impressed with the results from growing tomatoes, peppers, and herbs in my first outdoor raised garden bed, that I decided to try my hand at indoor gardening. If you would have asked me five years ago if I had a “green thumb,” I would have laughed and told you to look at my indoor plants. But something changed when I took the time to research soil composition and each plant’s growth behavior. For my indoor garden, I decided to grow lettuce, kale, and herbs.

I want you to experience the joy of indoor gardening, too! Use the supplies list to shop for the items you need for your indoor setup. (I simplified the equipment as much as possible since I didn’t want to overly invest in expensive supplies.) Each item listed below is linked making shopping easy.

SUPPLIES

Sylvania Gro-Lux Bulb Housing Unit (here is a similar one)

Sylvania Gro-Lux 40watt LED bulbs x2

Steel Double Loop Chain

S Hooks

Small Fan

Indoor Plug-In Mechanical Timer

Spray Water Bottle

Seed Starting Tray

Miracle-Gro Seed Starting Potting Mix

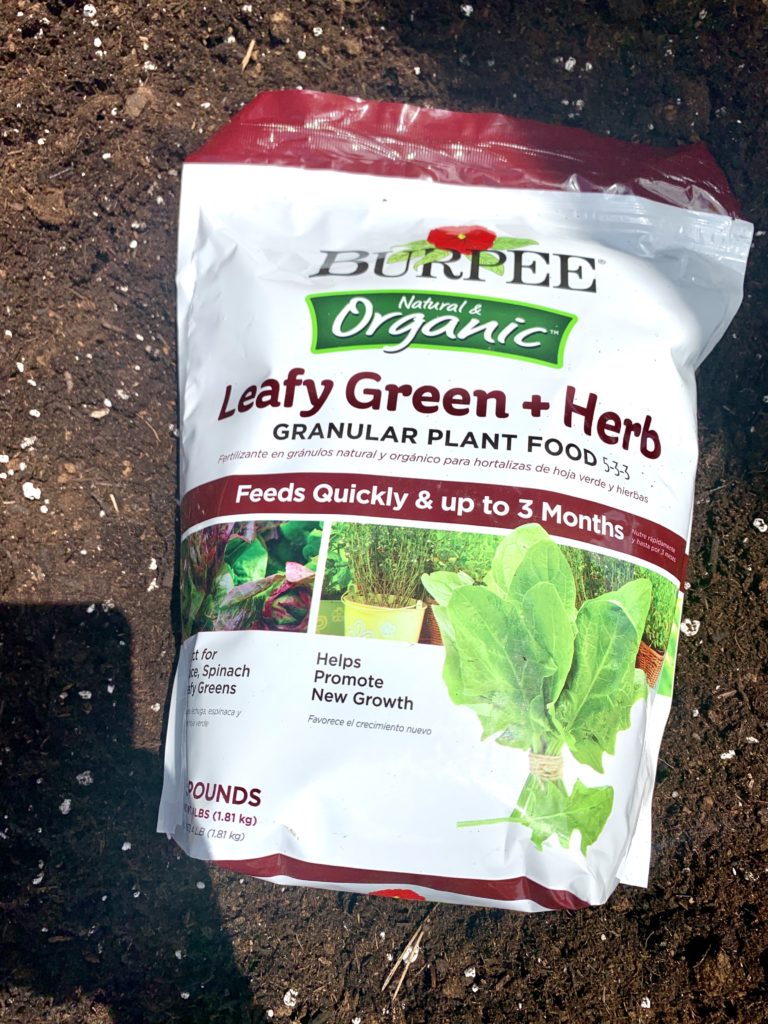
Burpee Organic Leafy Greens and Herb Plant Food 5-5-3

Botanical Interests Starter Seeds

Seed Tray Warmer (optional)

Plastic Container Pots with Drainage Holes (I also used plastic salad containers.)

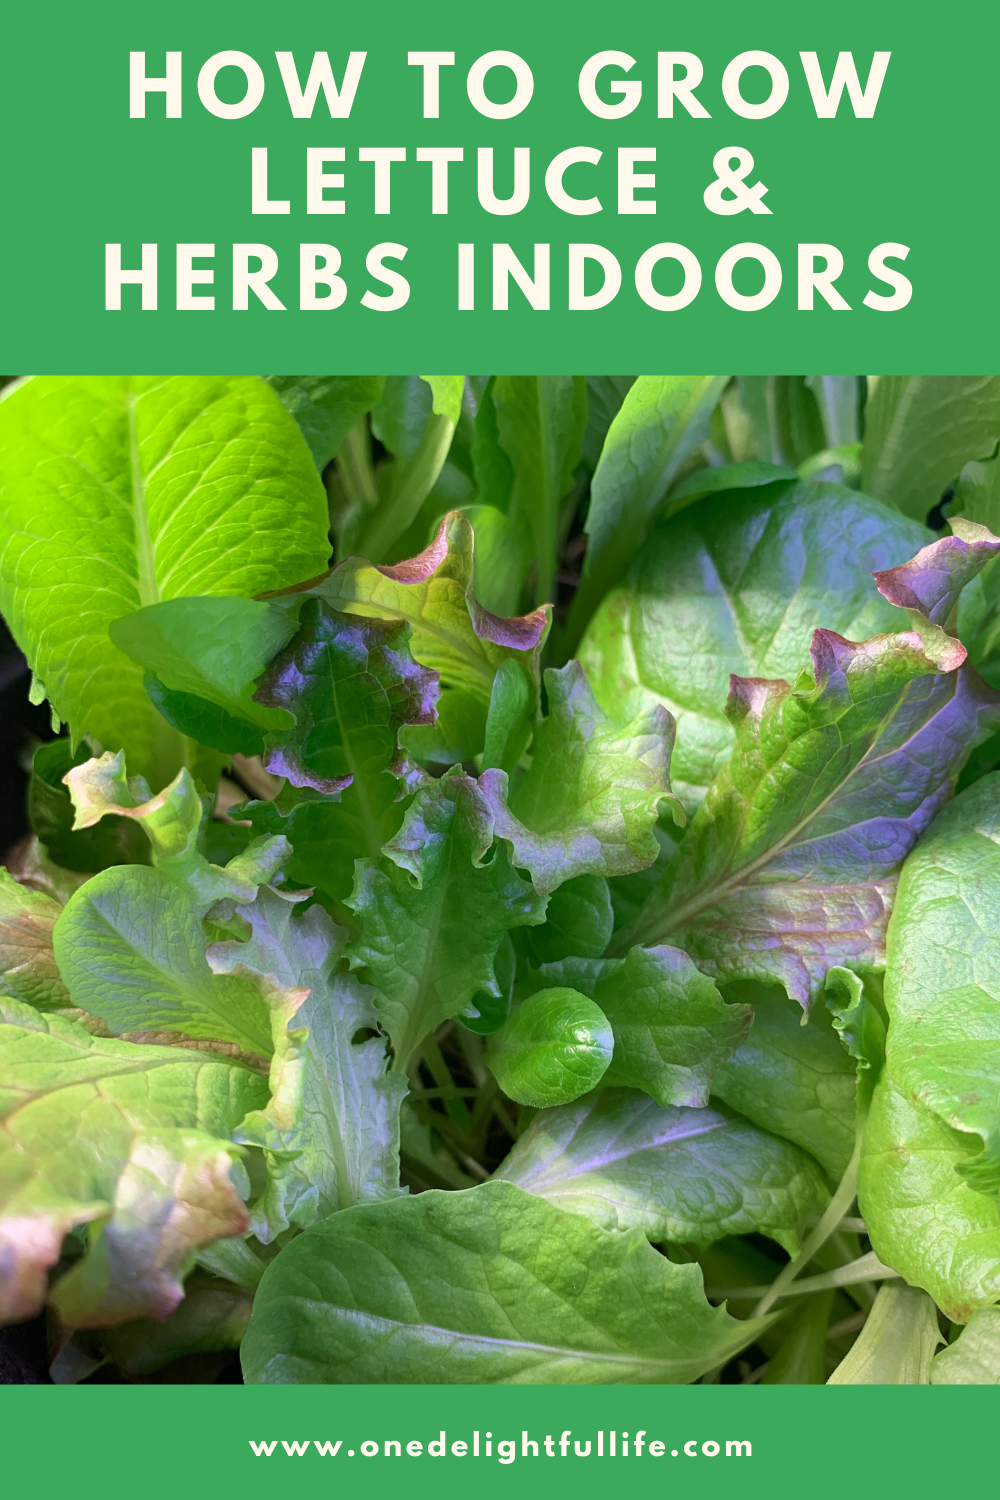
HOW TO GROW LETTUCE & HERBS INDOORS

The key to giving seeds a good head start is to germinate them in water for 24 hours and then plant each individual seed in a small well of slightly moist soil (cake-like consistency). Of course, you should also read the sowing directions on the back of each seed packet to optimize results.

I placed the grow lights 4″-6″ above the soil’s surface. As the plants grew, I adjusted the lights to keep them the same distance from the tallest leaf. Setting a timer to control the on/off lighting schedule is important. I had success running the grow lights and rotating fan for 12 hours and then off for 12 hours. Why use a fan? Just as outdoor plants are exposed to circulating air, indoors plants need the exposure as well.

seed starting trays

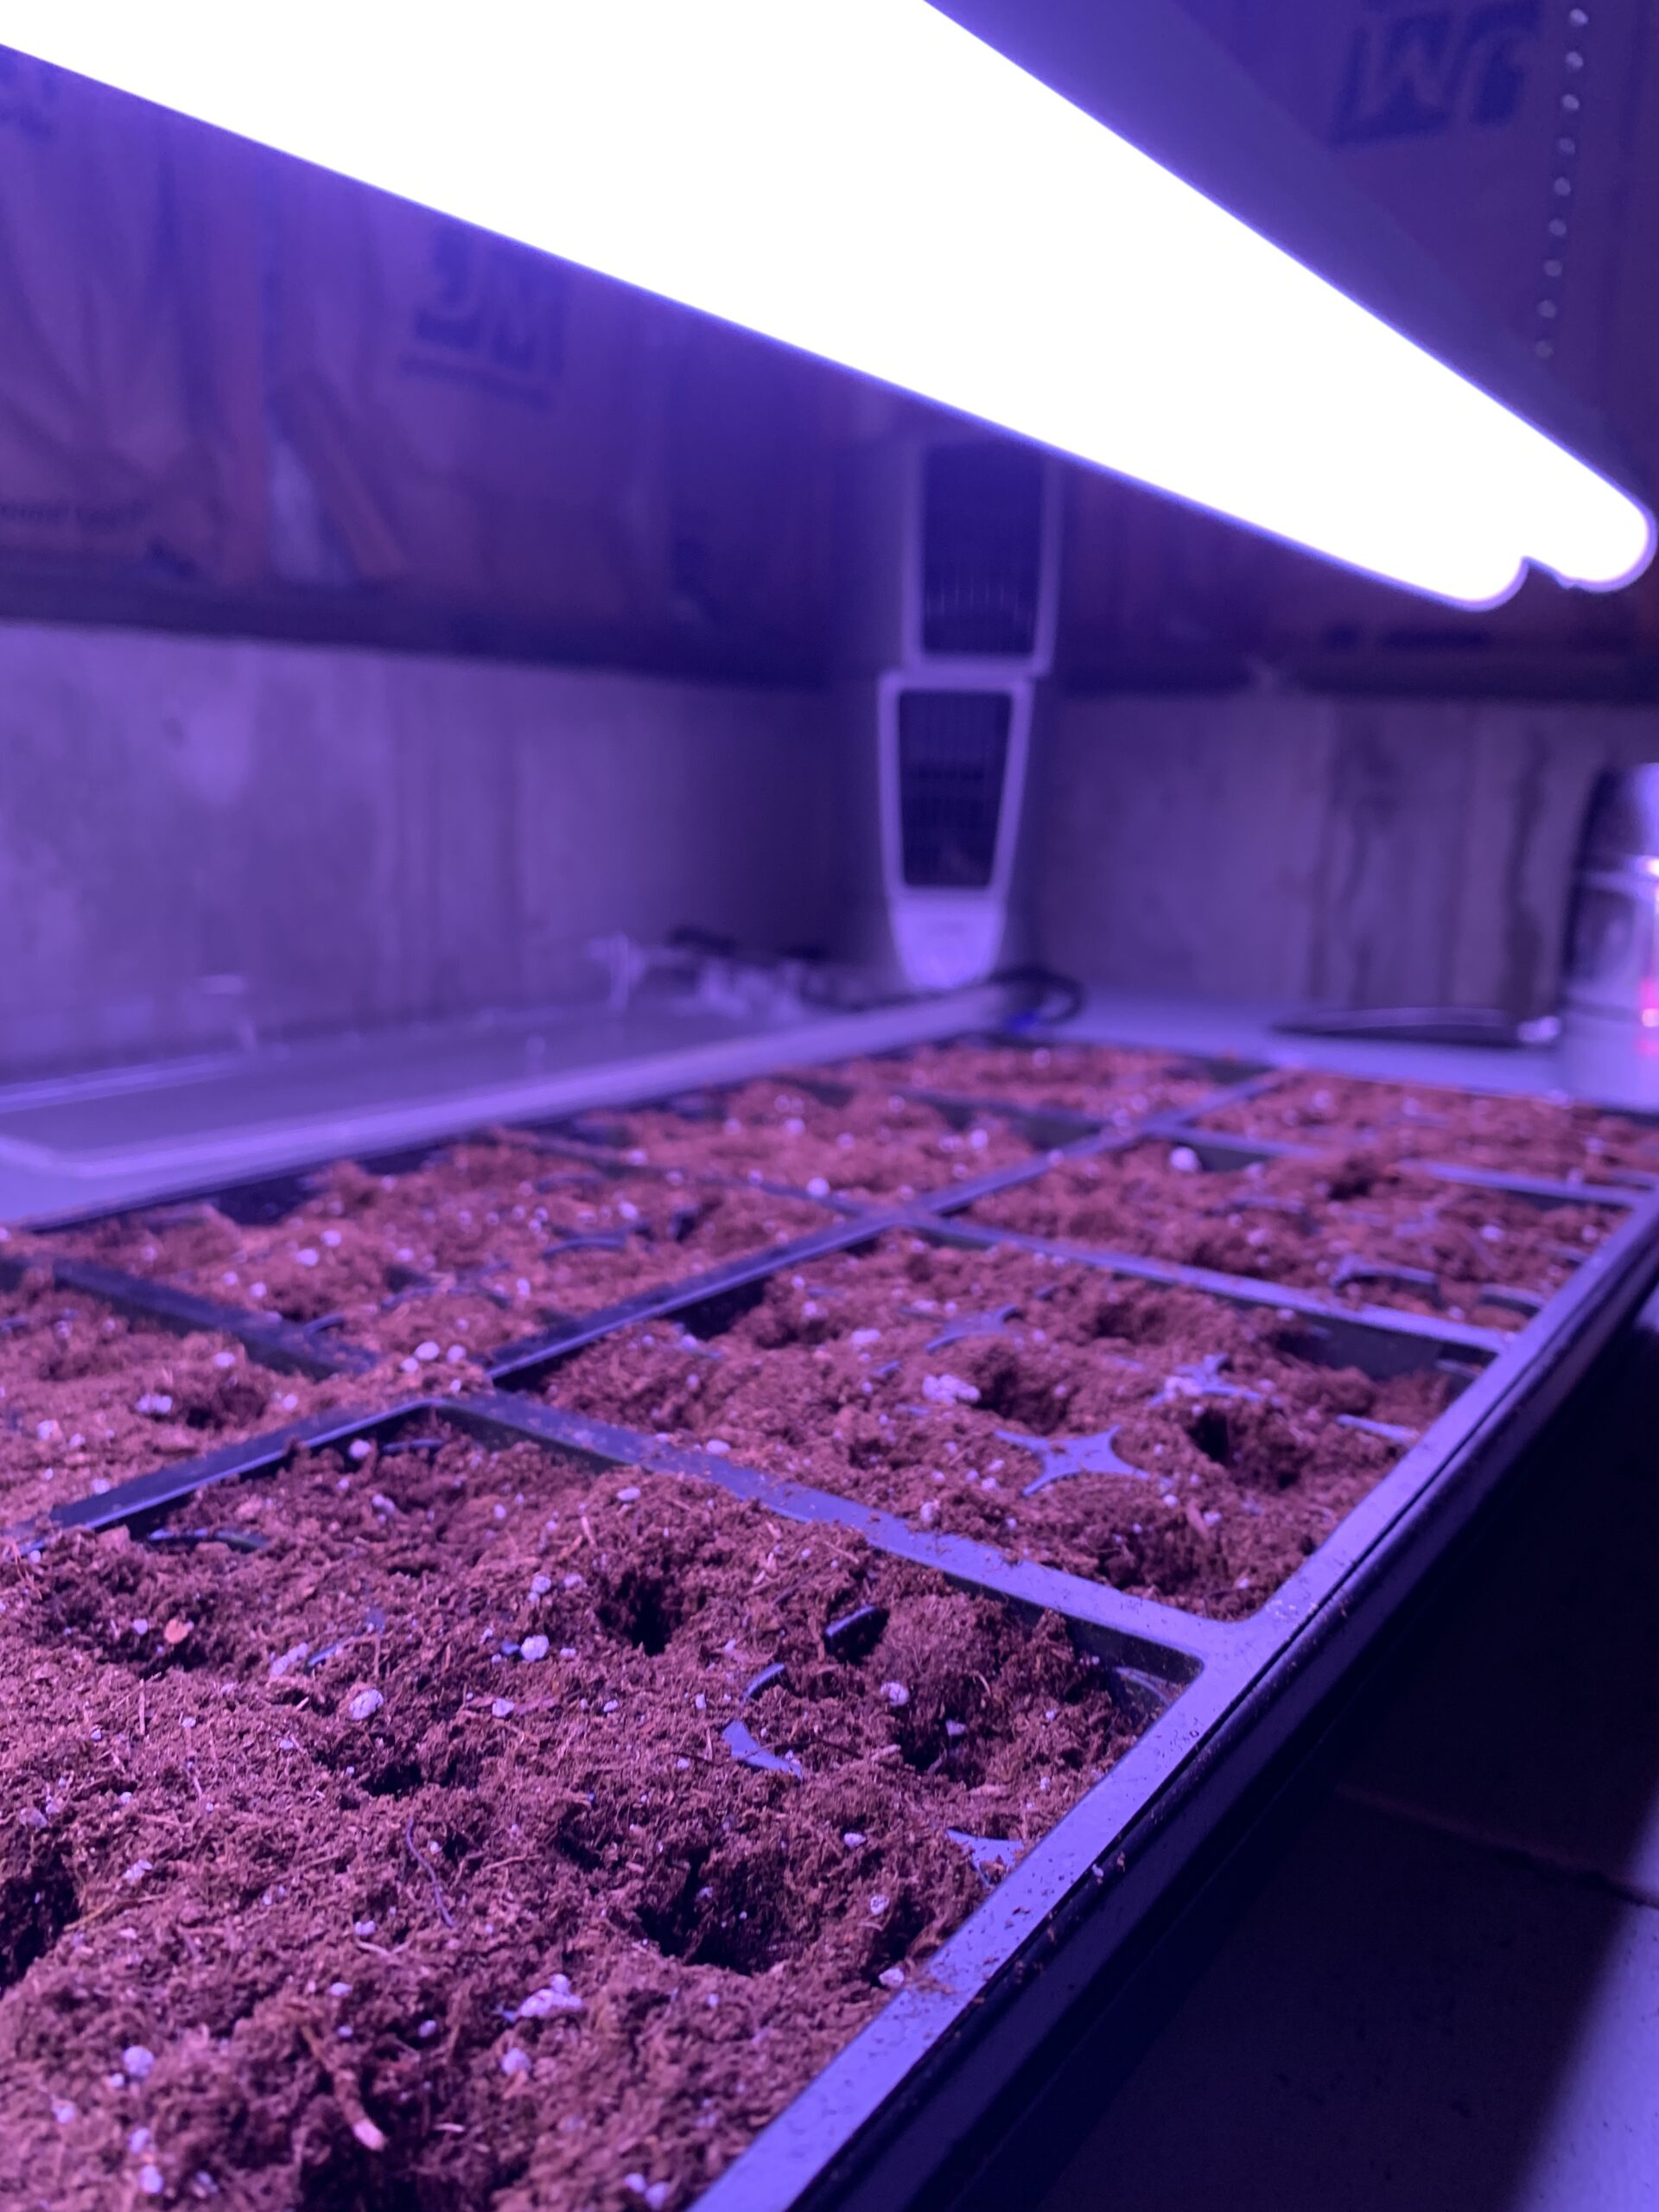
Indoor grow rooms need to be at a comfortable temperature to give plants the best chance for success. I didn’t have to use a seed tray warmer since the basement room stays at approximately 65 degrees at all times. If you check your room’s temperature and it ranges between 65 degrees and 80 degrees when the grow lights are off, the seed trays should be okay without a warming mat underneath them.

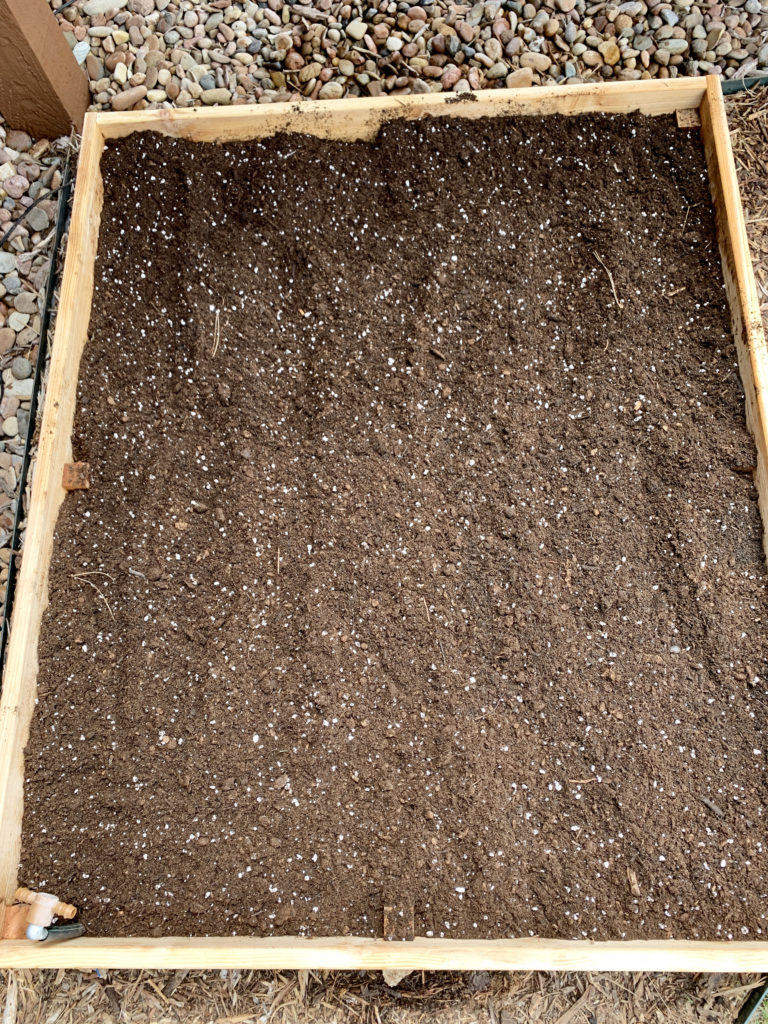
After filling the seed trays with a seed starting soil and a bit of Burpee plant food, I used a pencil to create a well for each seed. Then, I carefully dropped one seed into each well and covered it with more soil. To keep them hydrated, I watered the seed trays from the bottom for the first couple of weeks. Later, I switched to top-down watering alternating between using a spray bottle and a watering can. I kept the soil moist but not saturated.

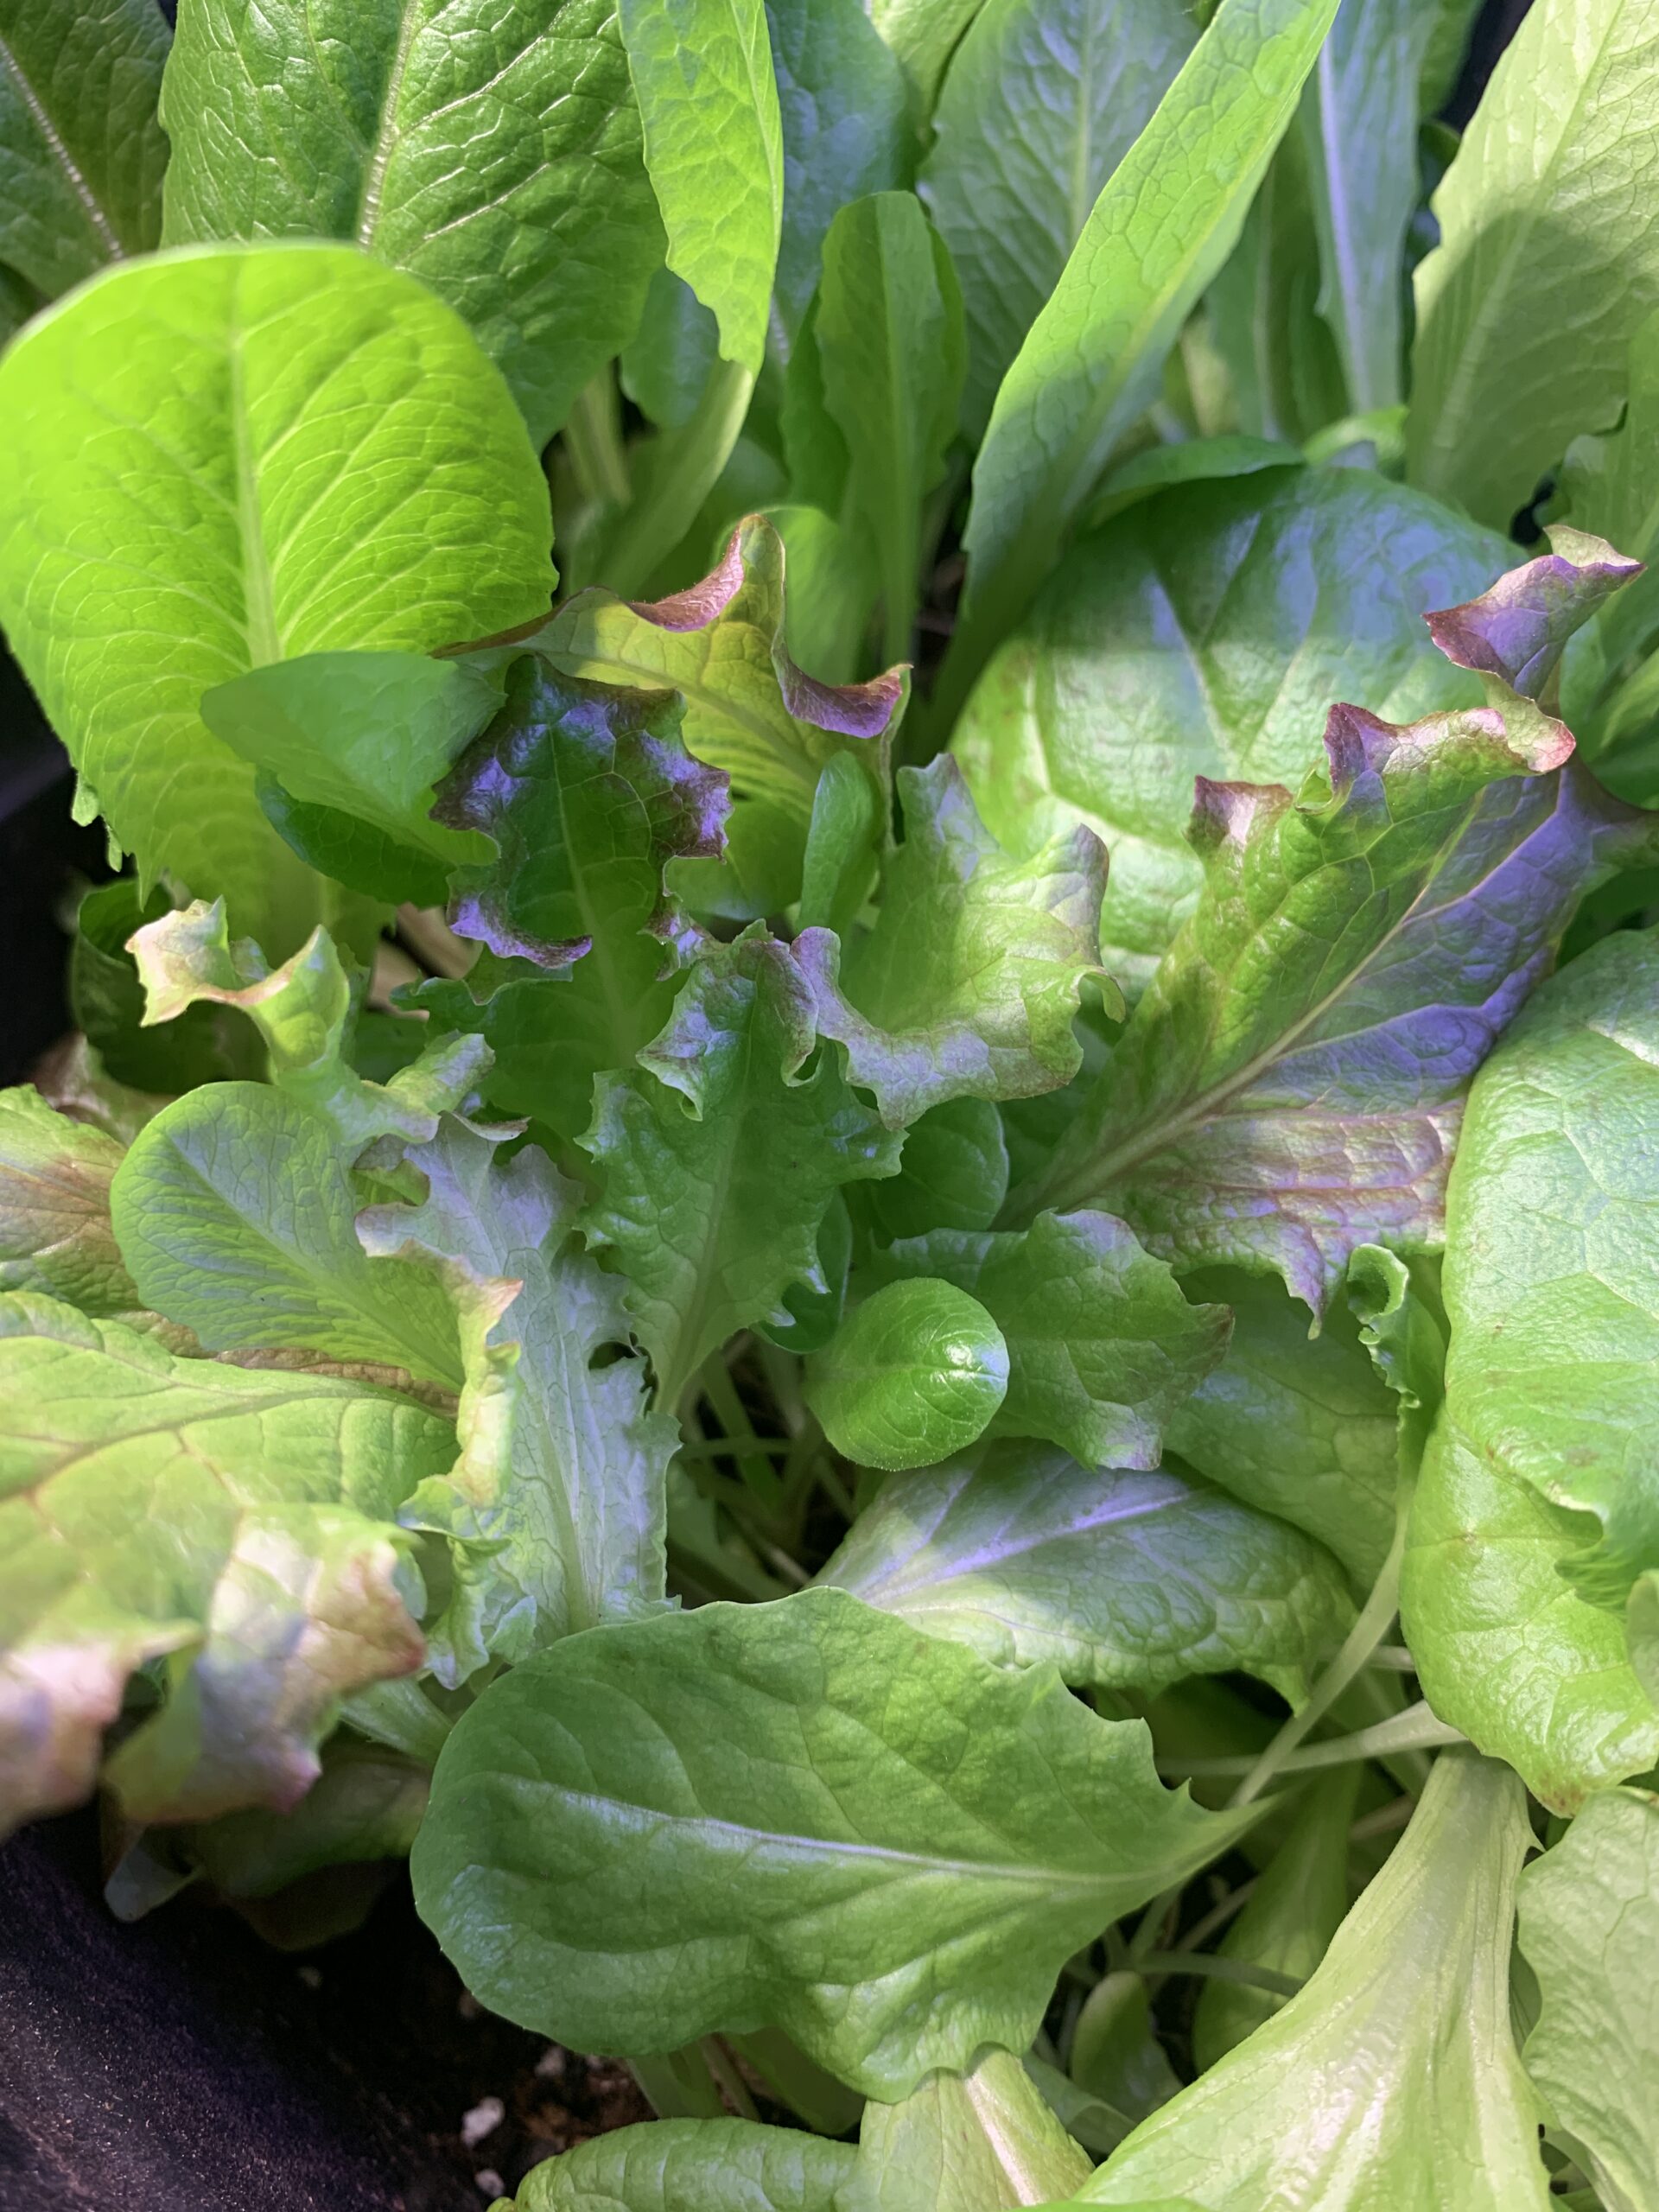
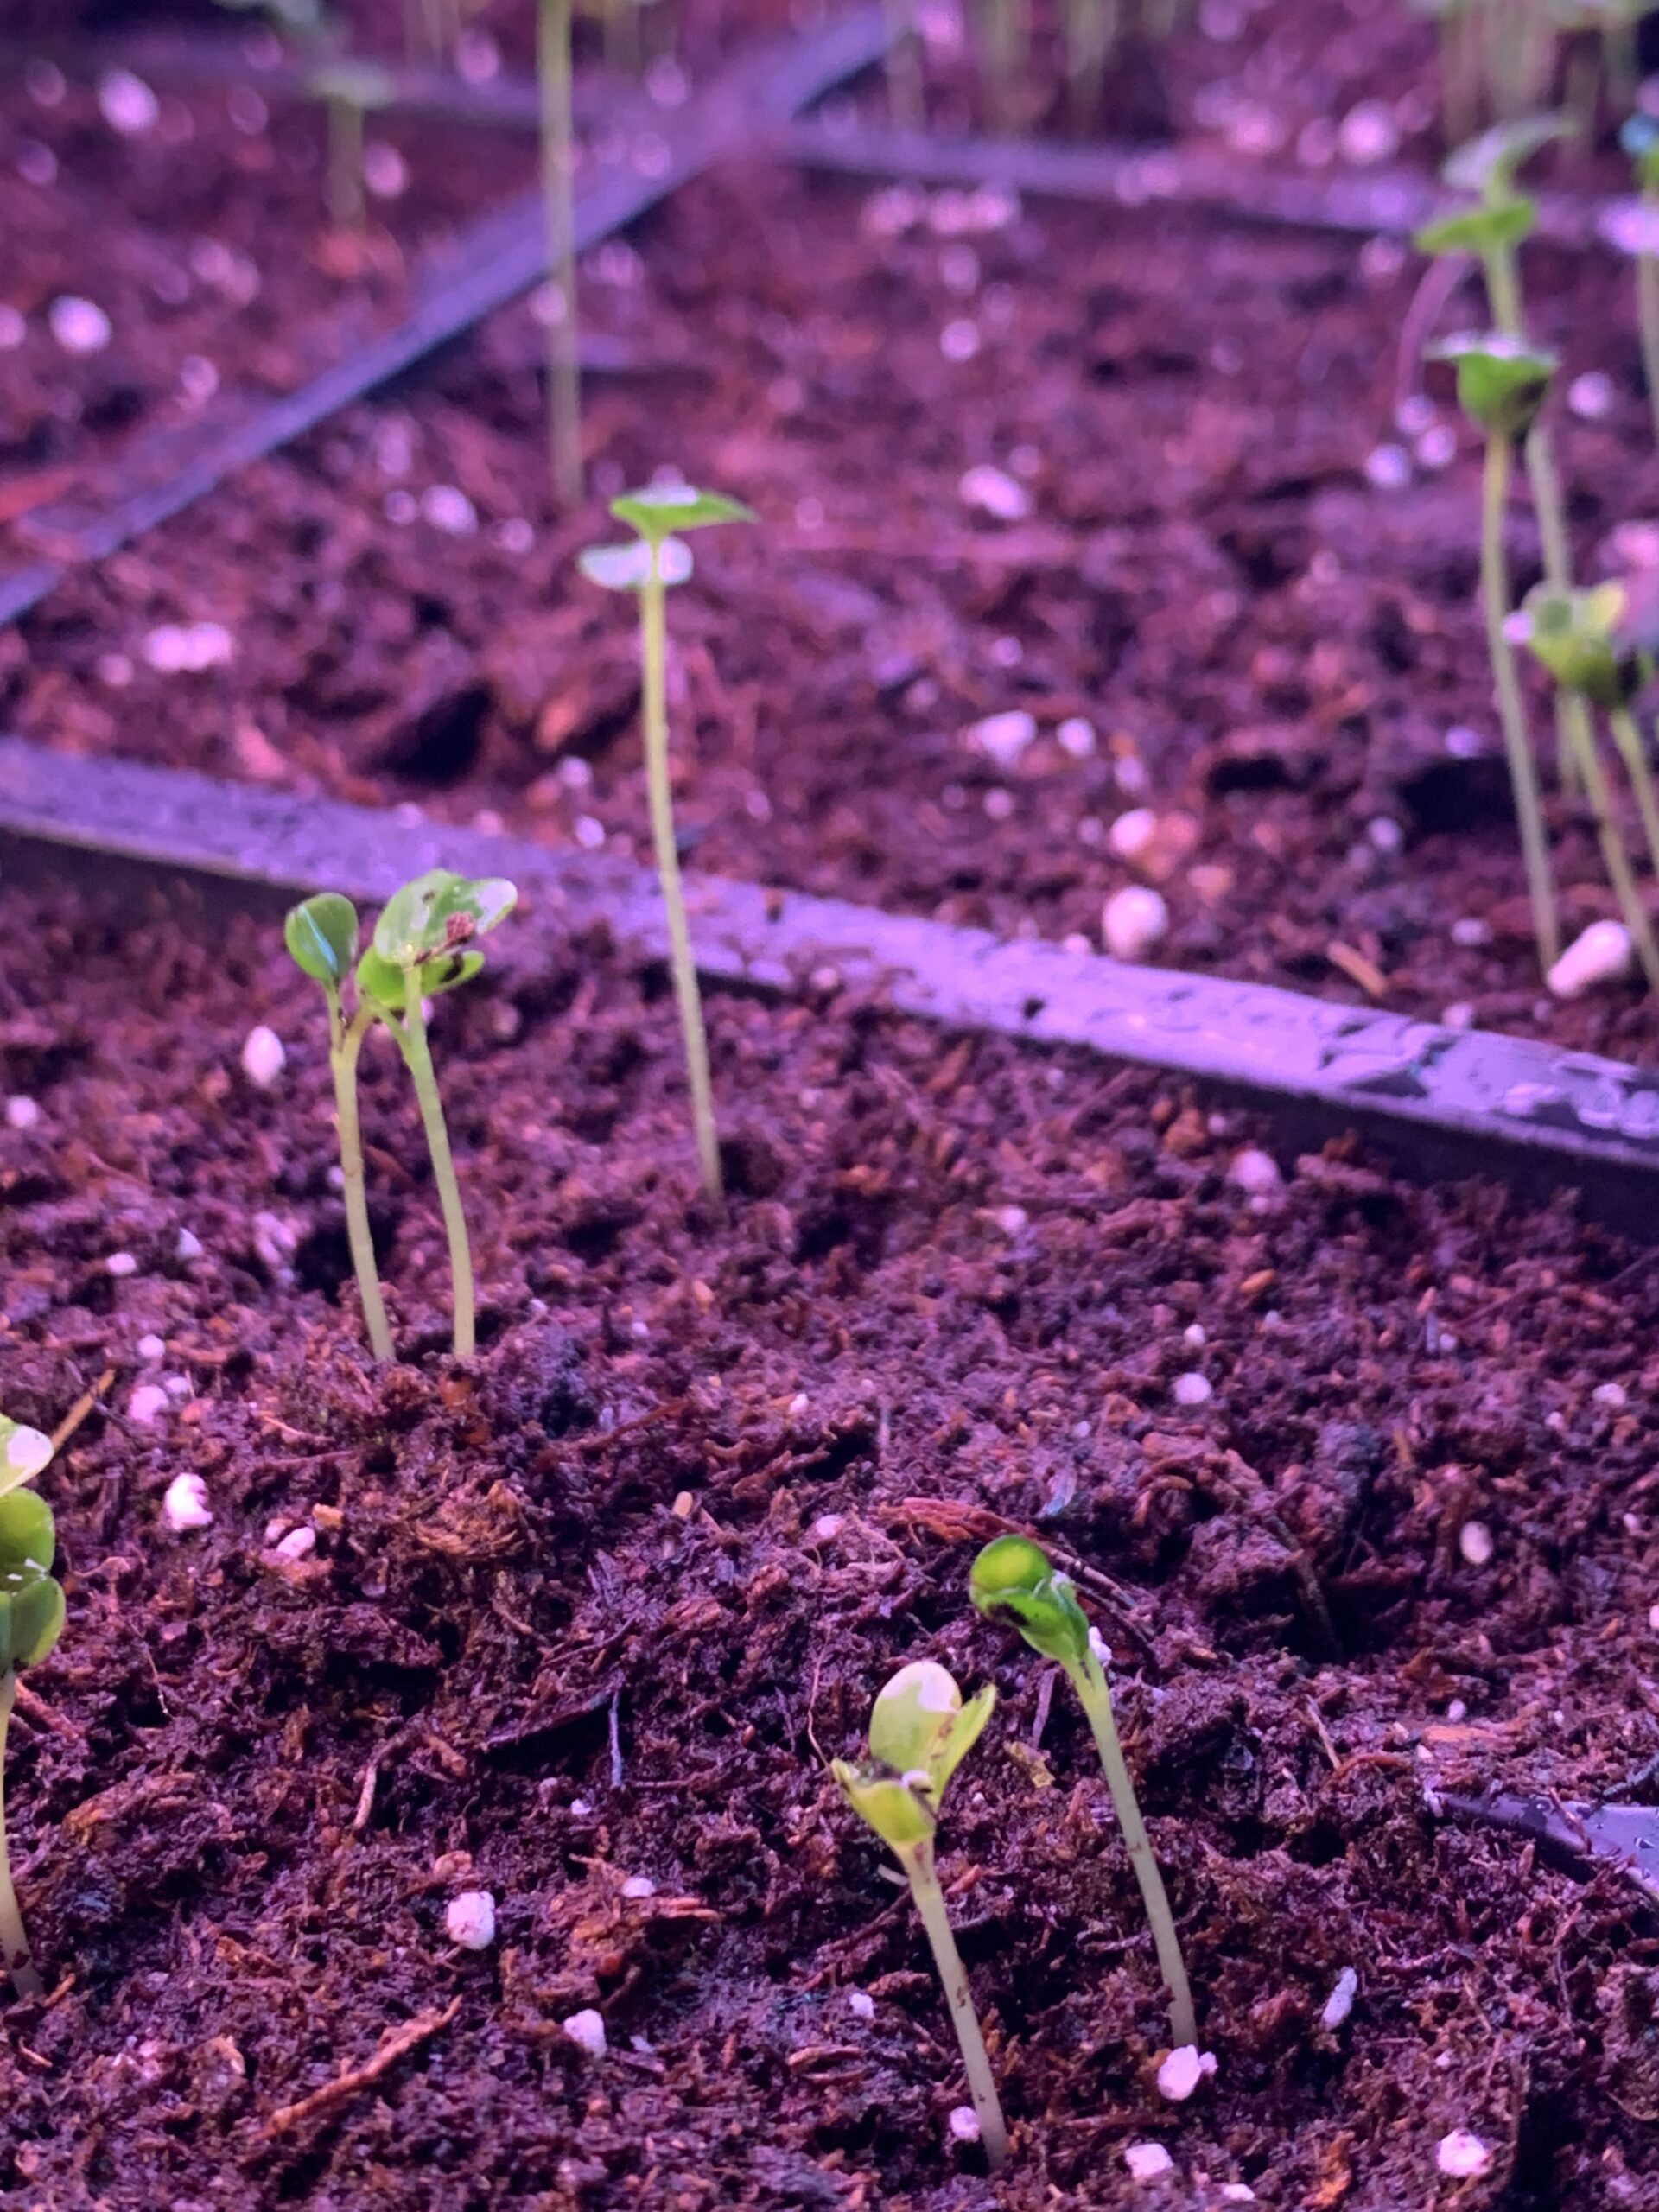
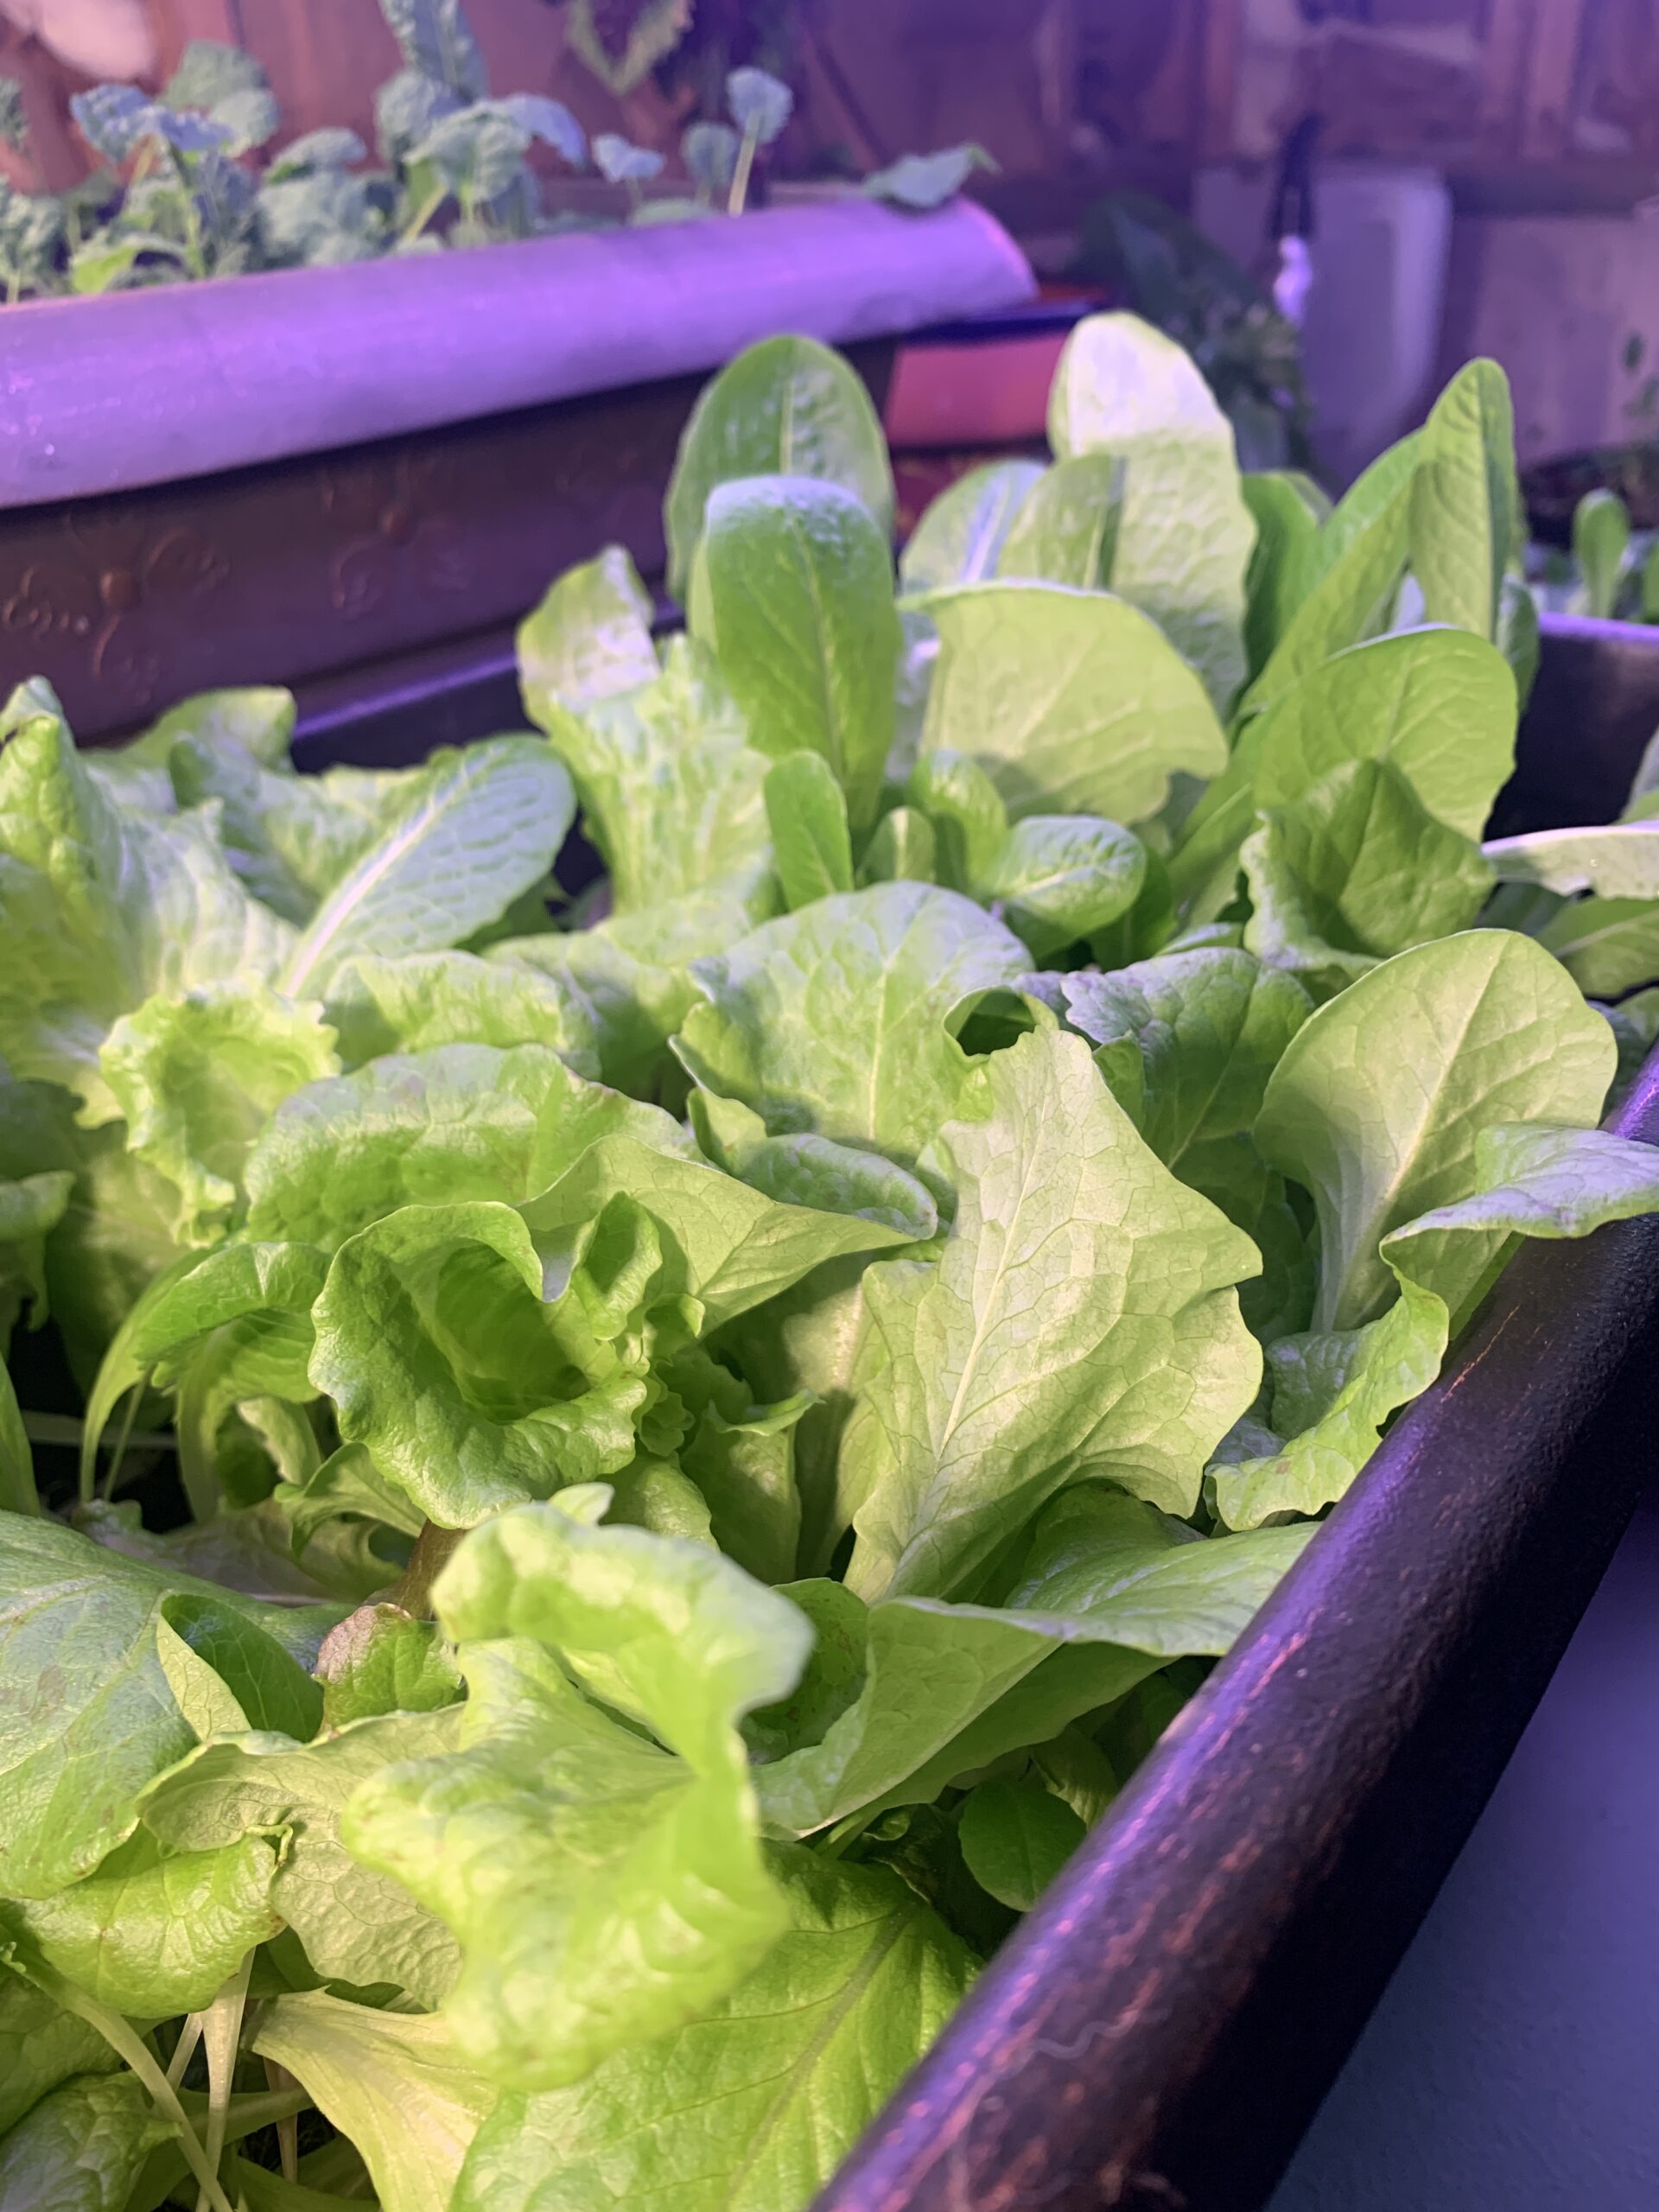
Soon, the seeds grew into fragile seedlings. A few weeks later, they were ready to be transplanted into larger pots until they were harvest two months later. During every stage of growth, I watched the leaves change in color and size as they grew taller all the while reaching for the light. I had the best luck growing heirloom kale, dill, romaine lettuce, and arugula. But I have to be honest, growing vegetables and herbs indoors wasn’t without challenges.

lettuce seedlings

One day, I was tending to my plantings and noticed small, black gnats flying around some of the pots. Fungus gnats! My research proved correct. The gnats came from the store-bought potting soil. Ironically, I spent a pretty penny on the best potting soil in town. But, such is the gardener’s life! To get rid of the pesky gnats, I filled shallow bowls with apple cider vinegar, a few drops of Dawn dish soap, and a bit of water and placed them around the pots. Voila! The gnats flew into the bowls and died. Mission accomplished. (After I harvested the lettuce from those pots, I tossed the soil in the trash.)

lettuce indoor garden

The learning never stops when you’re growing food from seed. Each time I was perplexed by something, I read about it or watched my favorite YouTube channel “Growing a Greener World” or searched Google. In the end, it was all worth it. The feeling you get when you harvest food from your indoor garden is beyond words.

“I’m going downstairs to get some lettuce for our salad,” was never a sentence I thought I’d say out loud. I still consider myself a beginner gardener.

I suspect you’re one of those people who appreciate where your food comes from and want to know its path to your plate. I encourage you to try gardening. You will have successes. You will experience small fails. It will all be worth it the moment you taste the vegetables you’ve grown.

Please comment below if you have questions about my indoor growing setup. If you have indoor gardening stories to share, I’d love to hear from you!

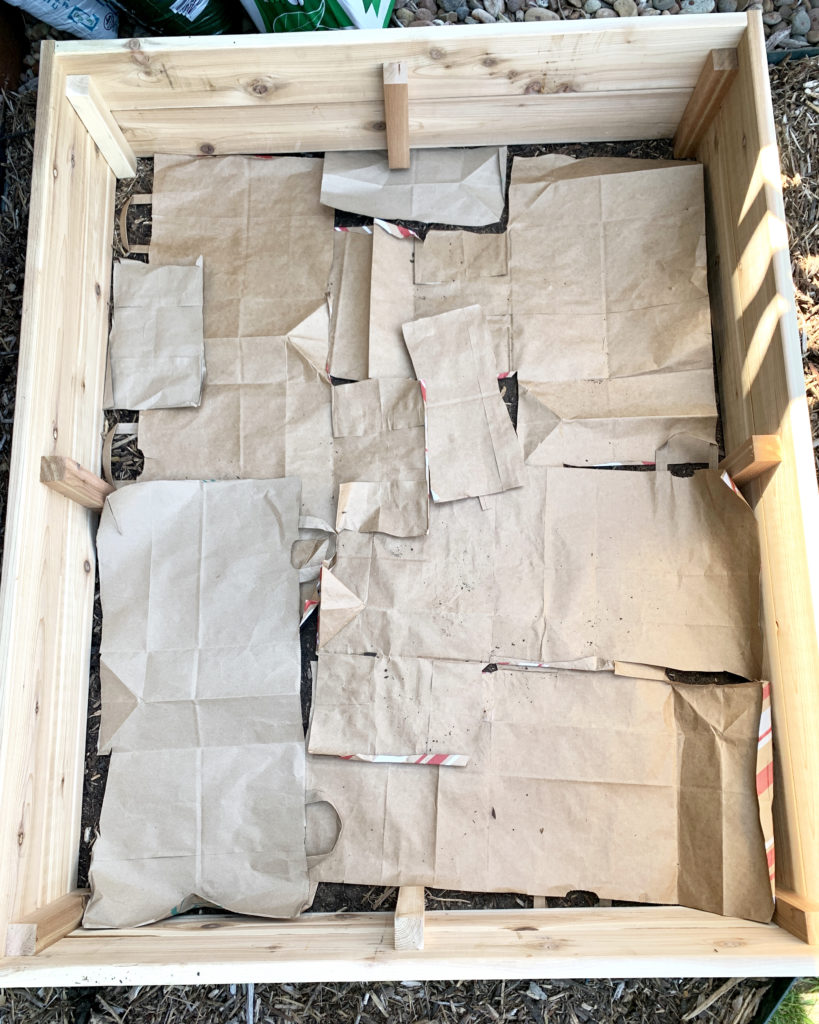
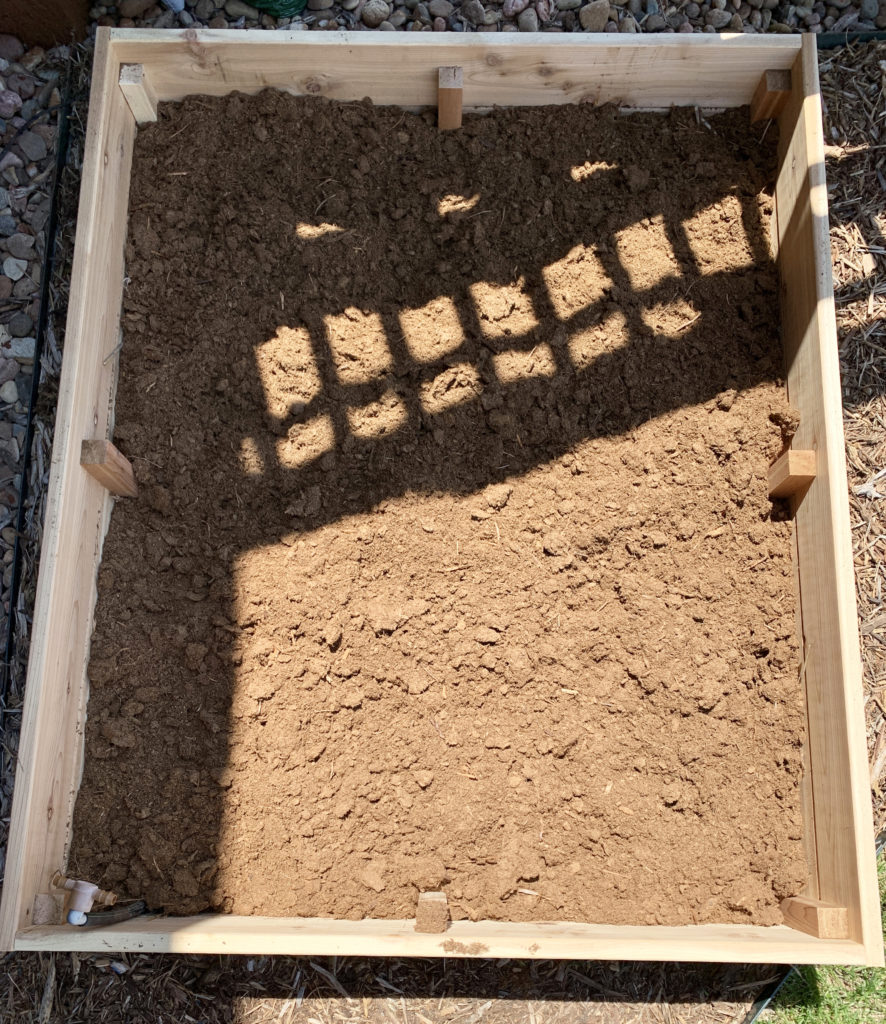
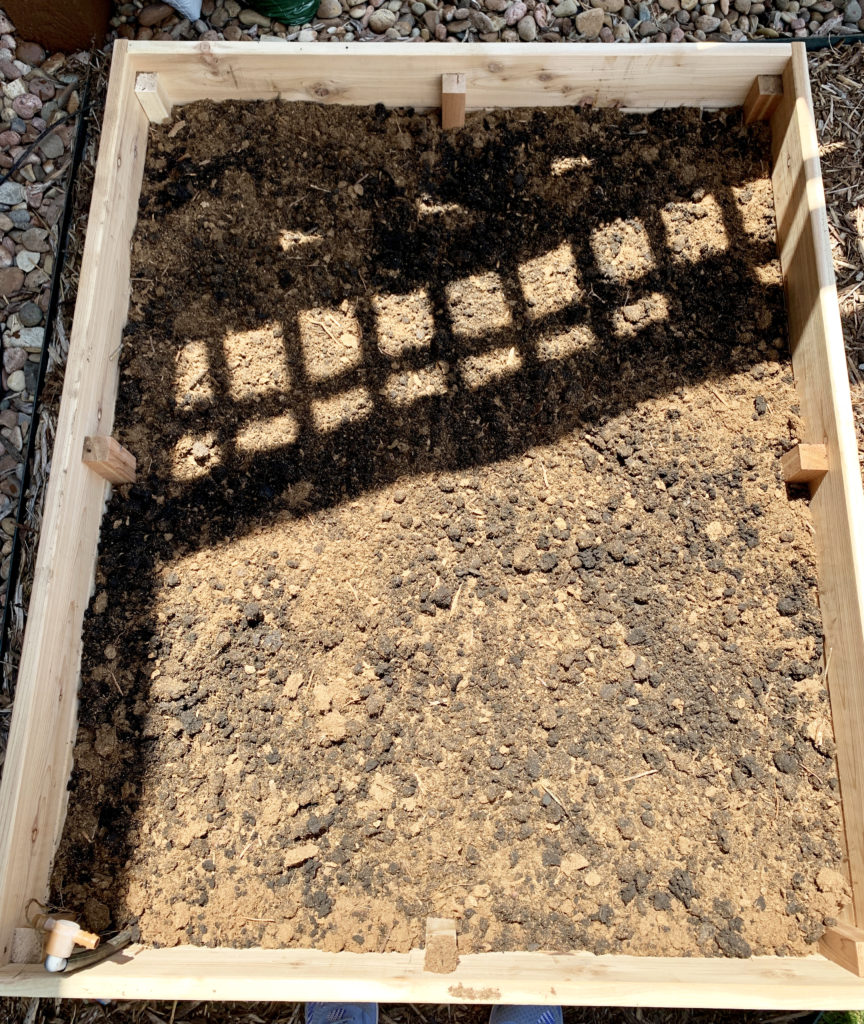
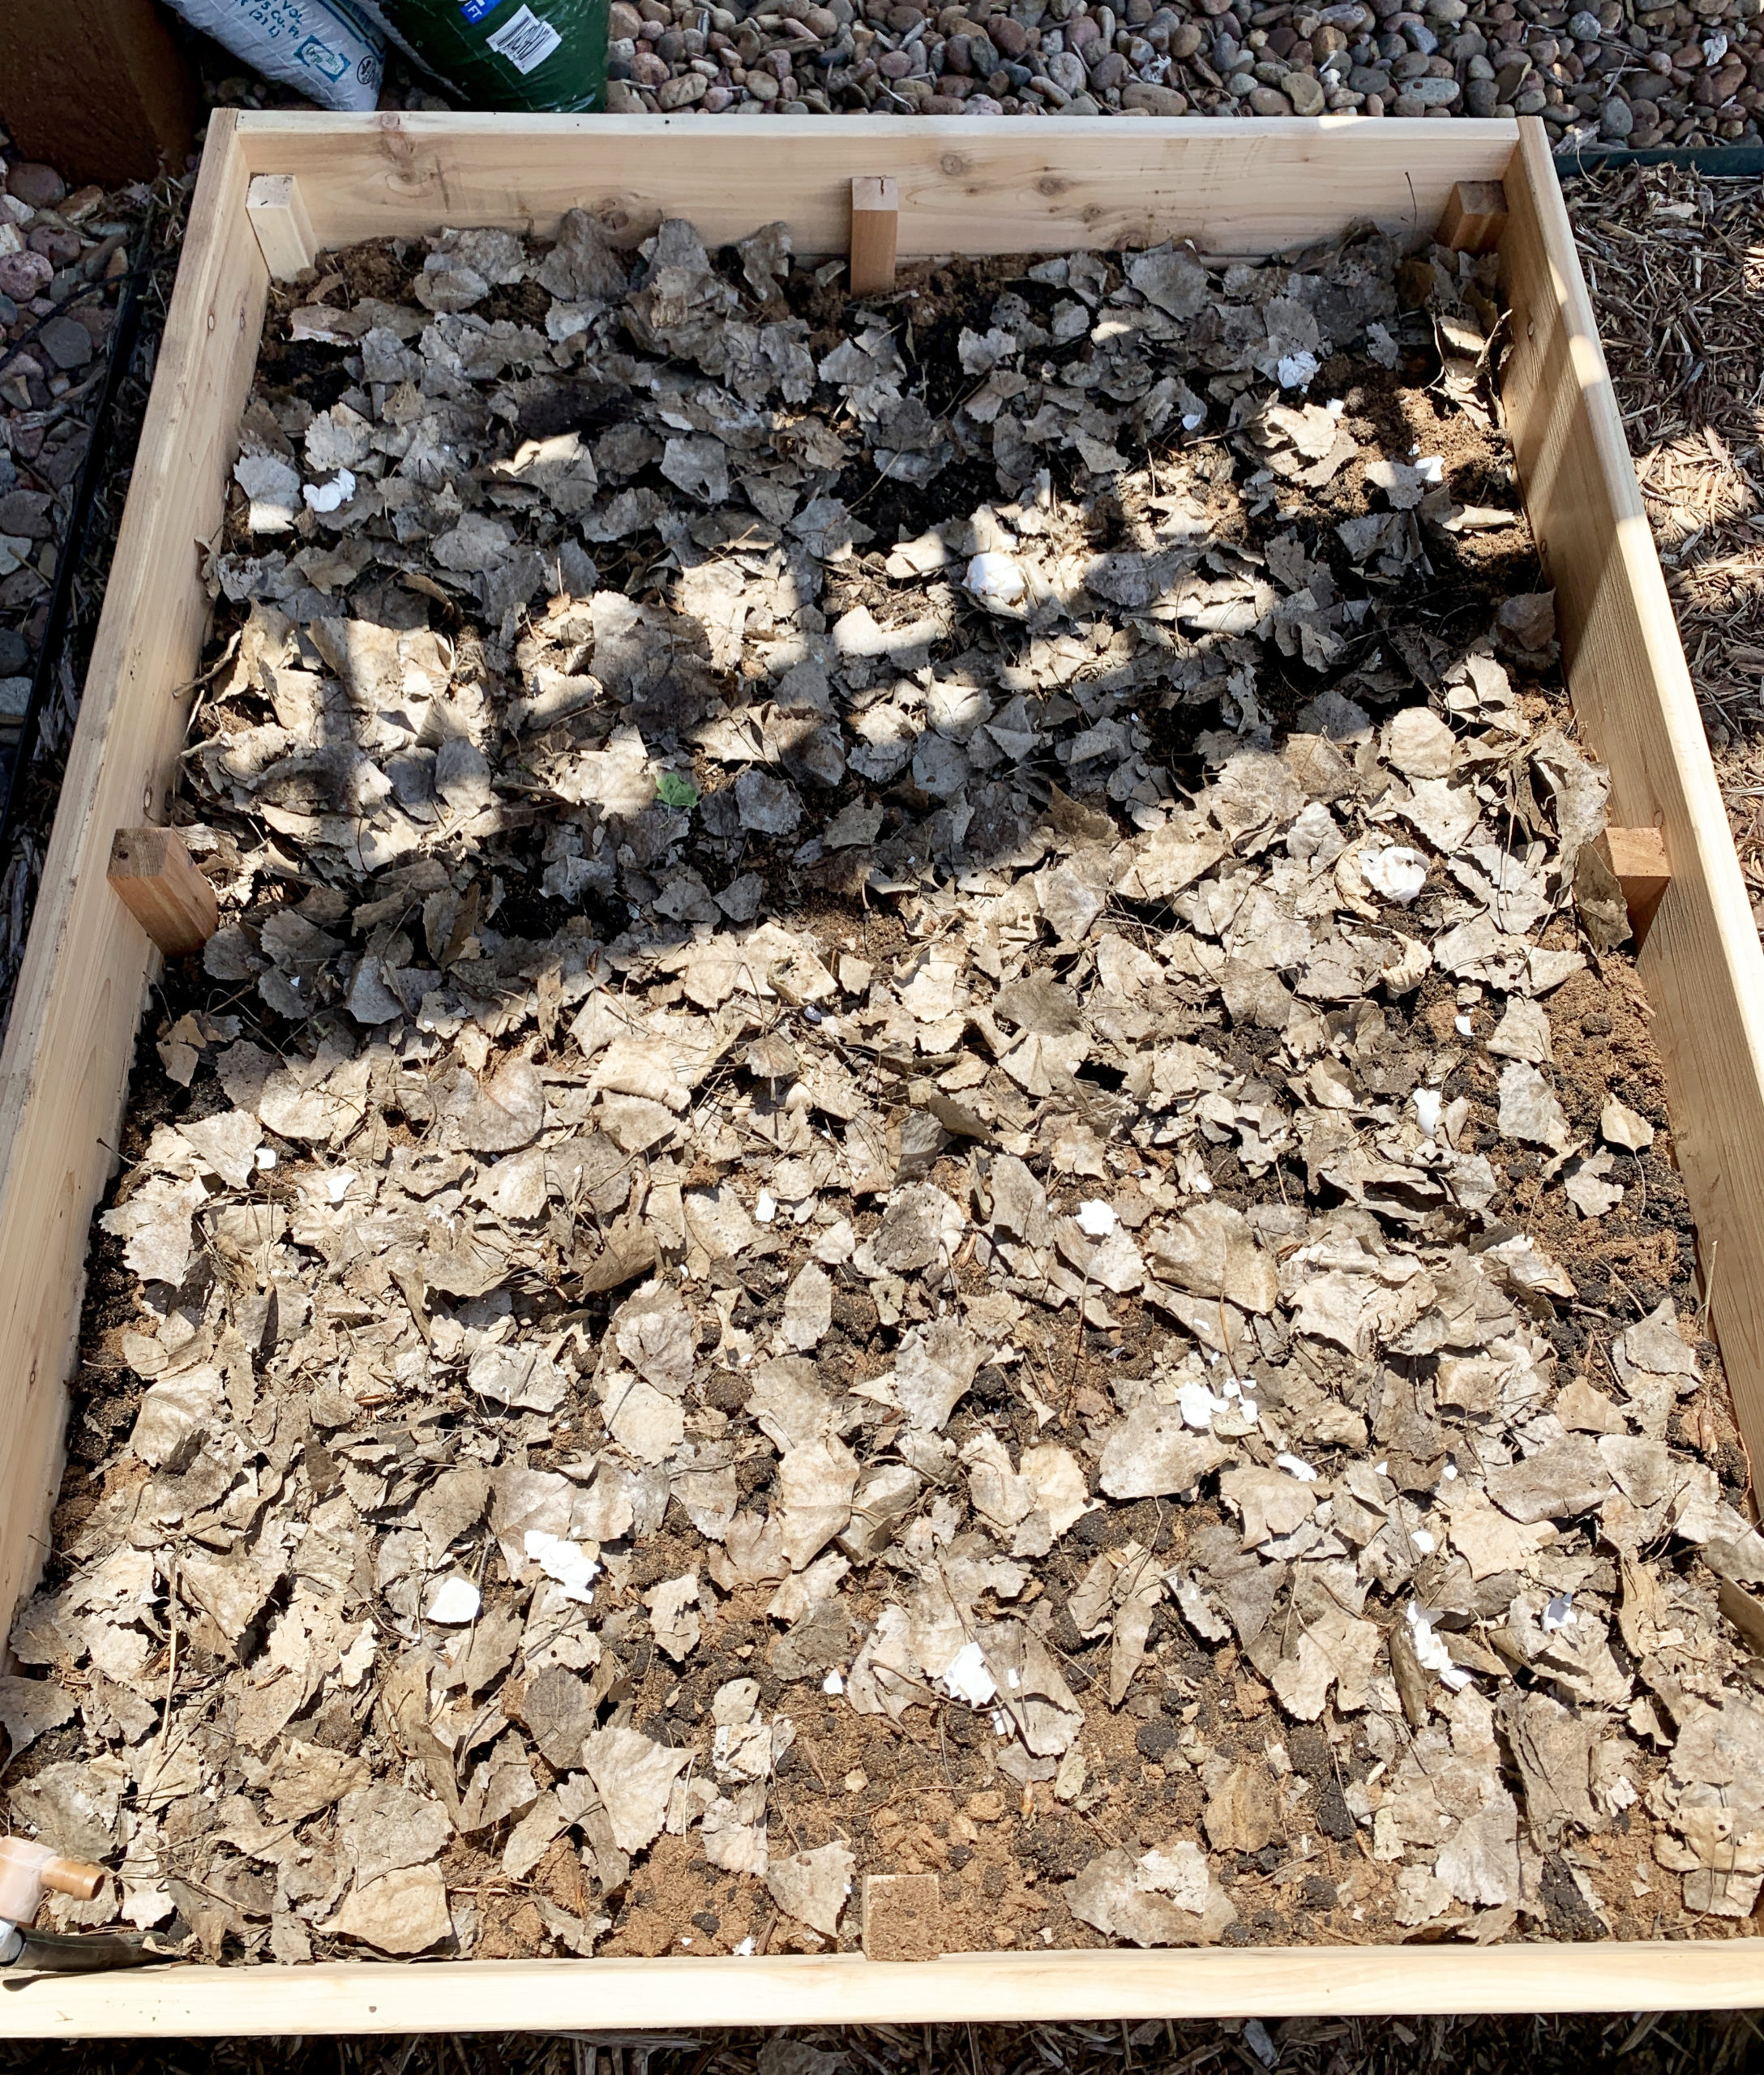
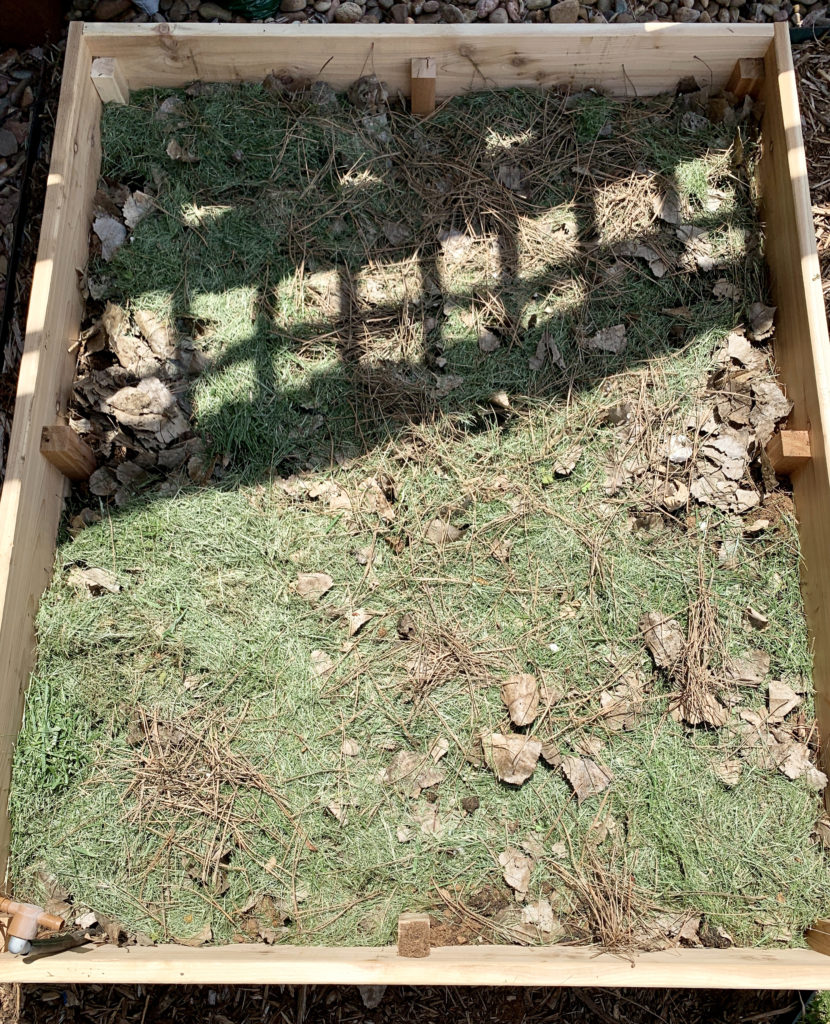
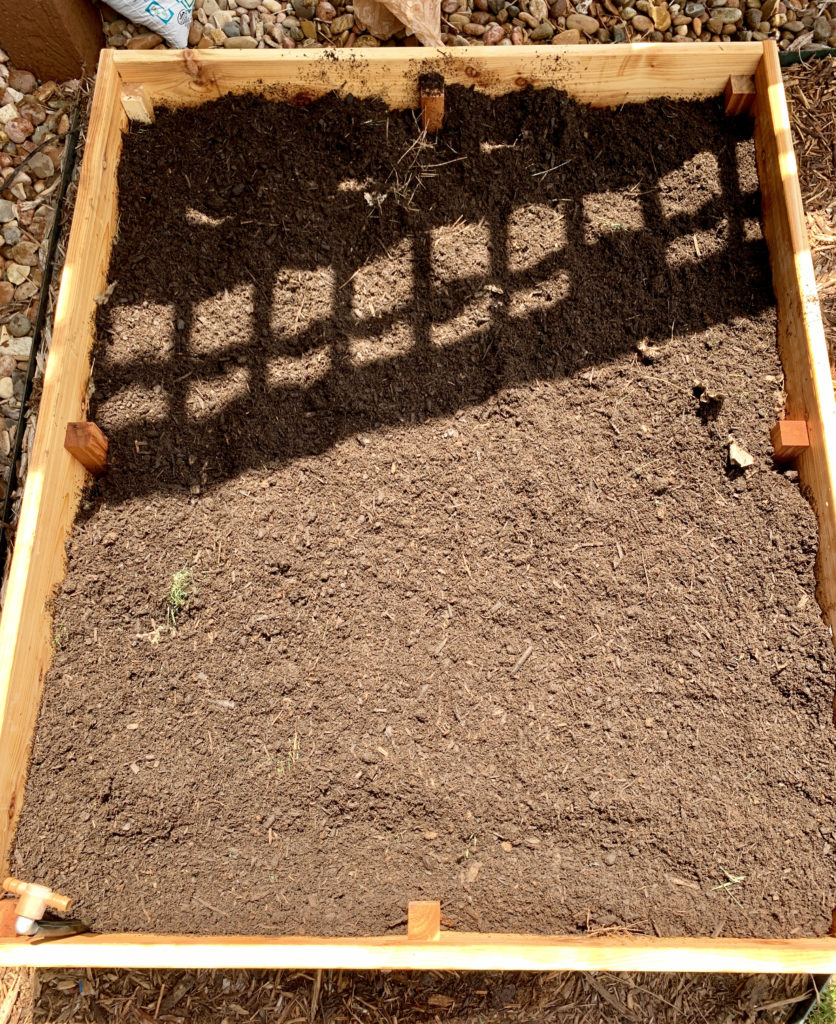
Bonus! Click Properly Fill a Raised Garden Bed to learn how to grow massive garden plants outdoors. If you dream of having your own garden house, be sure to check out Garden House Showcase to see how my mom took the idea of a potting shed to a new level.

Filed Under: DIY Tagged With: container pots, dill, garden, gardening, green thumb, grow lights, harvest, herbs, homegrown, indoor, indoor garden, kale, lettuce, light bulbs, plants, potted plants, seedlings, seeds, soil, sowing, vegetables

How to Make Wood Bead Garland

September 10, 2020 by Vanessa Whiteside Leave a Comment

Affiliate disclosure: As an Amazon Associate, I may earn commissions from qualifying purchases from Amazon.com. 

Why buy wood bead garland on Etsy for upwards of $30 when you can make it yourself for dollars less?

I’d like to teach you how to craft your own version in less time than it would take you shop for it online and have it shipped to your house. If you can find a strand of wood bead garland at a home decor store like At Home or Hobby Lobby, you’ll save much more money than if you bought multiple bags of beads ($7-9 each!). I bought 12′ of holiday wood bead garland (see below) for $5.99 from At Home.

The finished garland looks beautiful when displayed with farmhouse design or draped against bohemian decor.

Roll up your sleeves. Let’s get crafty!

SUPPLIES AND TOOLS:

  • Wood bead holiday garland
  • Jute twine
  • Jute tassel
  • Wood tag
  • Black chalkboard paint
  • Paint brush
  • White chalkboard marker

STEP 1: Remove the wood beads from the roped garland and remove any tags. (I bought this strand from At Home for less than $6 and it had enough beads for three wood bead garland projects.)

STEP 2: Cut a length of jute twine to the length of garland you want. (I simply made a rough estimate of my bead quantity and cut the twine to suit that length.)

STEP 3: Attach the jute tassel by knotting the twine to it. (I found these tassels at Joann’s for less than $3 each.)

STEP 4: Slide each wood bead one-by-one down the length of twine. The first 1-3 beads will cover the tassel’s leftover loop hiding it from view. Continue adding beads until you have approximately 3-4 inches of twine left as excess at the end of your DIY garland.

STEP 5: Using the remaining length of twine beyond the last bead, loop it into the wood tag and knot it firmly. (I wanted to use black chalkboard paint on the tag I used to eventually hand script a word on it. To do so, brush on one coat of chalkboard paint, allow to dry, add another coat of paint, and once dried you can use a white chalk marker to script a word on our tag.)

STEP 6. Tuck any excess twine inside the first and last beads on the garland, and you’re done!

Now, where will you drape your garland to adorn your interior design?


Filed Under: DIY Tagged With: beads, boho, chalkboard paint, DIY, fall, farmhouse, home accessories, home decor, jute, tassel, twine, wooden bead garland

How to Properly Fill A Raised Garden Bed

May 9, 2020 by Vanessa Whiteside Leave a Comment

Affiliate disclosure: As an Amazon Associate, I may earn commissions from qualifying purchases from Amazon.com. 

Urban gardening. Suburban agriculture. Urban farming. Whatever you want to call it, I’m so in! And if you’re reading this post, chances are that you’re interested in learning how to properly fill a raised garden bed to guarantee a healthy harvest of herbs and vegetables. There’s nothing better tasting than homegrown food. Let’s get you started!

While I didn’t build the cedar surround for my bottomless garden bed (thanks Dad!), I did extensive research on making sure I filled it will layers of organic matter, earth soil, compost, and fertilizer. I estimate I spent about $250 on the entire project for the cedar surround and its contents; not including the drip system supplies, tomato cages, plants, or garden markers.

Follow this step-by-step guide on how to use the “lasagna method” or layering method to fill it properly for ultimate results.

STEP 1: ADD A LAYER OR PAPER GROCERY BAGS OR CARDBOARD (NO INK)

Assuming you’ve already leveled the ground and used a rake to rid the soil of any unwanted grass or weeds, add a layer of brown paper bags or cardboard. I opted for upcycling my brown bags versus using shipping boxes because I didn’t want to use cardboard that had a lot of ink on it.

STEP 2: ADD TWIGS + DEAD VEGETATION

I walked to a nearby undeveloped section of our neighborhood and gathered mashed down dead sunflowers and grass left in the wake of a tractor’s path. Then, I added enough vegetation to completely fill the space of my garden bed in all directions.

STEP 3: ADD SPHAGNUM PEAT MOSS

I used two bags of compressed, Sphagnum Peat Moss Tourbe (2.2 cu. ft. each) for my raised garden that is 56″ wide x 46″ long x 10.5″ deep. Then, I dragged a rake across it to evenly distribute it.

STEP 4: ADD A LAYER OF COMPOST

For this garden bed, I bought two types of compost and used one of them for this layer. Ideally, you would want to use homemade compost, but you can easily purchase it at any big box hardware store. I used Premium Mushroom Compost Plus Manure. Again, use your trusty rake to make sure it is distributed in the garden bed from corner to corner.

STEP 5: ADD A LAYER OF LEAVES

I had to head over to a walking path area surrounded by trees to find enough leaves to gather for this step. It was well worth it! Just dump a bag of dead leaves over the bed and use your hands to move them around.

STEP 6: ADD A LAYER OF LAWN CLIPPINGS

I feel confident that the lawn clippings I used for this layer are free of fertilizer chemicals. It’s up to you whether or not you want to add this layer based on your resources. Maybe a neighbor would have lawn clippings you could use if you forgot to reserve your own. Use a garden hose to add a layer of moisture at this point. You don’t need to saturate the layer. Add enough water that it’s moist.

STEP 7: ADD A LAYER OF GARDEN SOIL OR EARTH SOIL

Because we live in the suburbs, I had to buy a bag of soil versus digging up dirt from our yard. I bought a 2 cu. ft. bag of Schultz® Enriched Garden Soil made for flowers and vegetables. It feeds for 6 months. Of course, make sure it’s an even layer free of clumps.

STEP 8: ADD A LAYER OF COMPOST

For this step, I switched up my type of compost. I added an even layer of organic compost plus manure (5-5-5), a .75 cu. ft. bag. For extra measure, I watered down this layer as well.

STEP 9: ADD A LAYER OF POTTING SOIL

I’m a big fan of using Fertilome’s Ultimate Potting Mix. It is a loose, easy to work with soil that always makes my plants happy thanks to its ability to retain water. It’s such a soft soil that you don’t even need a garden tool to plant in it — use your hand! I made sure to use a cross-hatch pattern to mix the potting soil with the previous layer of compost. That’s it. You’re done and ready to map out your plantings.

BONUS TIP: Before you start planting your vegetables and herbs, add a granular plant food to give it the promote growth. In this instance, I used Burpee’s Leafy Green + Herb Granular Plant Food and added 2 tablespoons of it to the space I dug for the plant and then mixed it into the soil with my hand. (I’ve also used Osmocote Smart Release Plant Food in the past.) Of course, be sure to water your newly planted vegetables and herbs very well.

You’re guaranteed to see results from your hard work using this “lasagne method” of layering. As with any garden, be sure to select vegetables and herbs that can withstand your climate’s weather conditions and plant them in the areas of the bed that receive the sun they need to flourish. In the area where I planted this garden, most of it sees 6-8 hours of sun while a corner of the garden bed only receives partial sun. Lastly, I added a drip system for consistent water between rain storms, a must for extremely hot spring and summer months like we experience in the Midwest. (For extra measure to prevent pests, I planted marigolds around the tomatoes and pepper plants.)

It took me years to build up enough confidence to plant an urban garden. I had to learn through trail and error using container pots, and then I graduated to a larger system. I’m excited to hear about your gardening adventures and what planting methods have worked best for you. Be sure to comment below with your stories, and happy gardening!

If you enjoy growing tomatoes, you will appreciate a post I wrote DIY: Dowel Rod Tomato Cages, a low-cost way to stake them. And what can you do with all of your fresh veggies and herbs? Prepare a flavorful salad with your harvest using one of these 6 Flavor Salads! Personally, I’m looking forward to preparing Classic Egg Salad with dill and enjoying Dutch Oven Bolognese Sauce using fresh tomatoes.

how to make a raised garden bed

Filed Under: DIY Tagged With: fertilizer, garden, gardening, gardens, plantings, raised bed, urban agriculture, urban farming, urban garden

Galvanized Metal Planter with American Flags

June 12, 2018 by Vanessa Leave a Comment

Affiliate disclosure: As an Amazon Associate, I may earn commissions from qualifying purchases from Amazon.com. 

What’s not to love about celebrating July 4th with family and friends? The yummy grilled food, the fireworks filling the night sky, and the memories made while lighting your own fireworks in the driveway make the day a true American celebration!

Do you decorate your home for the holiday? As compared to other holidays, my inventory of July 4th decorations is pretty slim. So, I decided to put my DIY skills to the test by crafting a patriotic wall hanger to display on our front porch. I wish I could claim this idea as my own, but I remember seeing something similar to it on Pinterest years ago. Let me tell you…I’ve never completed a DIY project in less time and I’m super satisfied with the results! You’re going to love how simple it is to make a Galvanized Metal Planter with American Flags, too.

Supplies: I purchased a galvanized metal planter from Kirklands on clearance (only $7) and rectangular blocks of flower foam (only $3 from at Walmart for a set of three block). Also, I bought four packages of small American flags (4 flags per bag) from Walmart or you can get 10 in a package here.

Instructions: Insert one flower foam rectangular block into the metal planter. Then, insert 12-15 small flags inside the foam at varying angles.

Optional: I reused a burplap bow, once used on an old wreath, and hot glued it to the front of the galvanized planter. It was that simple! This four-step DIY project couldn’t be simpler!

I love how eye-catching the American flags are from the street! Where would you hang it? The galvanized planter could be displayed on your home’s front door or from a garage outdoor sconce.

How can you reuse the metal planter once July 4th is over? You could easily swap out the American flags for artificial flowers or twigs depending on the holiday season.

DIY Galvanized Planter With American Flags


Filed Under: DIY Tagged With: american flag, bow, burlap, DIY, do it yourself, flower foam, front door, galvanized metal, holiday, Independence Day, July 4, Kirkland's, metal planter, outdoor decoration, patriotic, ribbon, wall decoration, wall display, wreath

5 Ways I Spoil Myself + Self-Care Tips for You

March 5, 2018 by Vanessa Leave a Comment

Sometimes you have to put yourself first.

Pampering yourself is necessary to regain perspective, to boost your confidence, and to hit the reset button now and then. If that means that you spoil yourself by splurging on a night out with friends or restocking your closet with a new wardrobe, then by all means – celebrate you!

I used to do nice things for myself only when I thought I deserved it. For example, if I passed a major college exam or got a raise at work, I would convince myself I had “earned” the right to do spoil myself. As I matured, I realized that self-preservation doesn’t mean I have to justify buying a new spring wardrobe or a vacation somewhere. Giving back to yourself is a part of self-care.

Is it time for you to pay it forward to yourself?

I bet you’re like me in that you give so much of yourself to work, family, and your household that you seldom give thought to yourself and how you’re feeling. Time constraints keep so many of us from giving back to ourselves. Check out 5 Ways I Spoil Myself below and I’ll bet you discover at least one way you to pamper yourself without spending a ton of time doing it!

  1. Birthday Meal. I always treat myself to a delicious lunch at one of my favorite restaurants on my birthday. Even if I have to dine alone, because all of my favorite people are stuck at work, I’ll dine on my city’s best nachos, fattoush salad, or pizza. In my twenties, I once filled an entire table at The Mad Greek in Lawrence, Kansas with a spread of Mediterranean  favorites including a cocktail on my birthday! Why? Because I was celebrating me!
  2. StitchFix. Life is too short for me to spend another minute hating myself for having to cut through crowds at the mall to find staple clothing items. Enter…StitchFix! Every month I receive my “fix” in the mail that includes five clothing or accessories to add to my closet. I’m like a kid on Christmas when the green and white box arrives with hand-selected items from my personal stylist. If I don’t like something, I simply mail it back. It’s great!
  3. Hair Color. The first time I had an Aveda stylist color my hair and give me a scalp massage at the shampoo bowl, I was hooked. I didn’t need to spend another minute contemplating hair color options in the drugstore aisle. Now my trusted stylist colors my hair and you can see the difference. The cost of paying a professional to color my hair leaves it feeling soft and looking healthy.
  4. Flowers. Ain’t nobody got time to wait for someone else to buy them flowers! Buy them for yourself! Every month I purchase a bouquet of marked down flowers to add to our home. It makes me happy to see bright colors across the room and that level happiness is worth $5 any day.
  5. Gourmet Food. You know me, I love yummy food. So it’s no surprise that I would spoil myself by throwing some fancy cheese or a few expensive condiments into my shopping cart. Why deny yourself sushi or fresh mozzarella? Just buy it every once in a while and relish in the satisfaction of your purchase while you devour it!

You deserve to walk around in this world a happier person even if it means going the extra mile to spoil yourself. I’m not suggesting you waste your next paycheck on all of your favorite things in the name of “self-care.” Instead, select one or two activities that bring you joy and add them into your life on a regular basis. You’ll feel more delightful overall!


Filed Under: DIY, Lifestyle Tagged With: Aveda, bouquet, cheese, Christmas, clothes, confidence, delightful, drugstore, fix, flowers, fresh flowers, gourmet, gourmet food, Greek, hair color, happy, Kansas, Lawrence, lunch, Mediterranean, mozzarella, pamper, personal stylist, preservation, self-care, shampoo, spoil, StitchFix, stylist, sushi

DIY: Dowel Rod Tomato Cages

July 9, 2017 by Vanessa Leave a Comment

Affiliate Disclosure: As an Amazon Associate, I may earn commissions from qualifying purchases from Amazon.com. 

Nothing is more rewarding for this city girl than growing my own food. I did it! I actually harvested homegrown tomatoes from container pots and I barely spent any money to do it. Look at those beauties below!

Jet Star tomatoes

I made inexpensive dowel rod tomato cages instead of buying the plastic-coated or metal variety. Here’s the awesome, cost-saving breakdown:

Because I bought the Jet Set tomato plant for $1, vegetable soil $6, and three dowel rods per pot $.80 each, I’d say that’s pretty inexpensive since I’m still harvesting tomatoes and it’s only mid-July. Since I split the bag of vegetable soil between two large pots, I spent about $6 per container pot.

After you add new soil and a tomato plant, you will need the following items purchased from a local hardware store to make DIY: Dowel Rod Tomato Cages. 

dowel-rod-tomato-cages

1 DIY Dowel Rod Tomato Cage:

  • 3 dowel rods cut to the length you need
  • 1 rubber band
  • jute twine

First, I used a handsaw to cut each dowel rod down to the length taller than each plant to allow for growth. Second, I inserted each dowel rod around the circumference of the container pots interior as if I was building a teepee. Third, I used a rubber band to bring together the tops of the dowel rods. I recommend using an extra-strong rubber band like the ones that come with your store-bought broccoli if you’ve got one in the kitchen junk drawer.

Lastly, to give the tomato leaves something to grow around and to enhance the strength of the dowel rods, I wrapped twine tightly around the outside of each cage in two places.

dowel-rod-tomato-cage
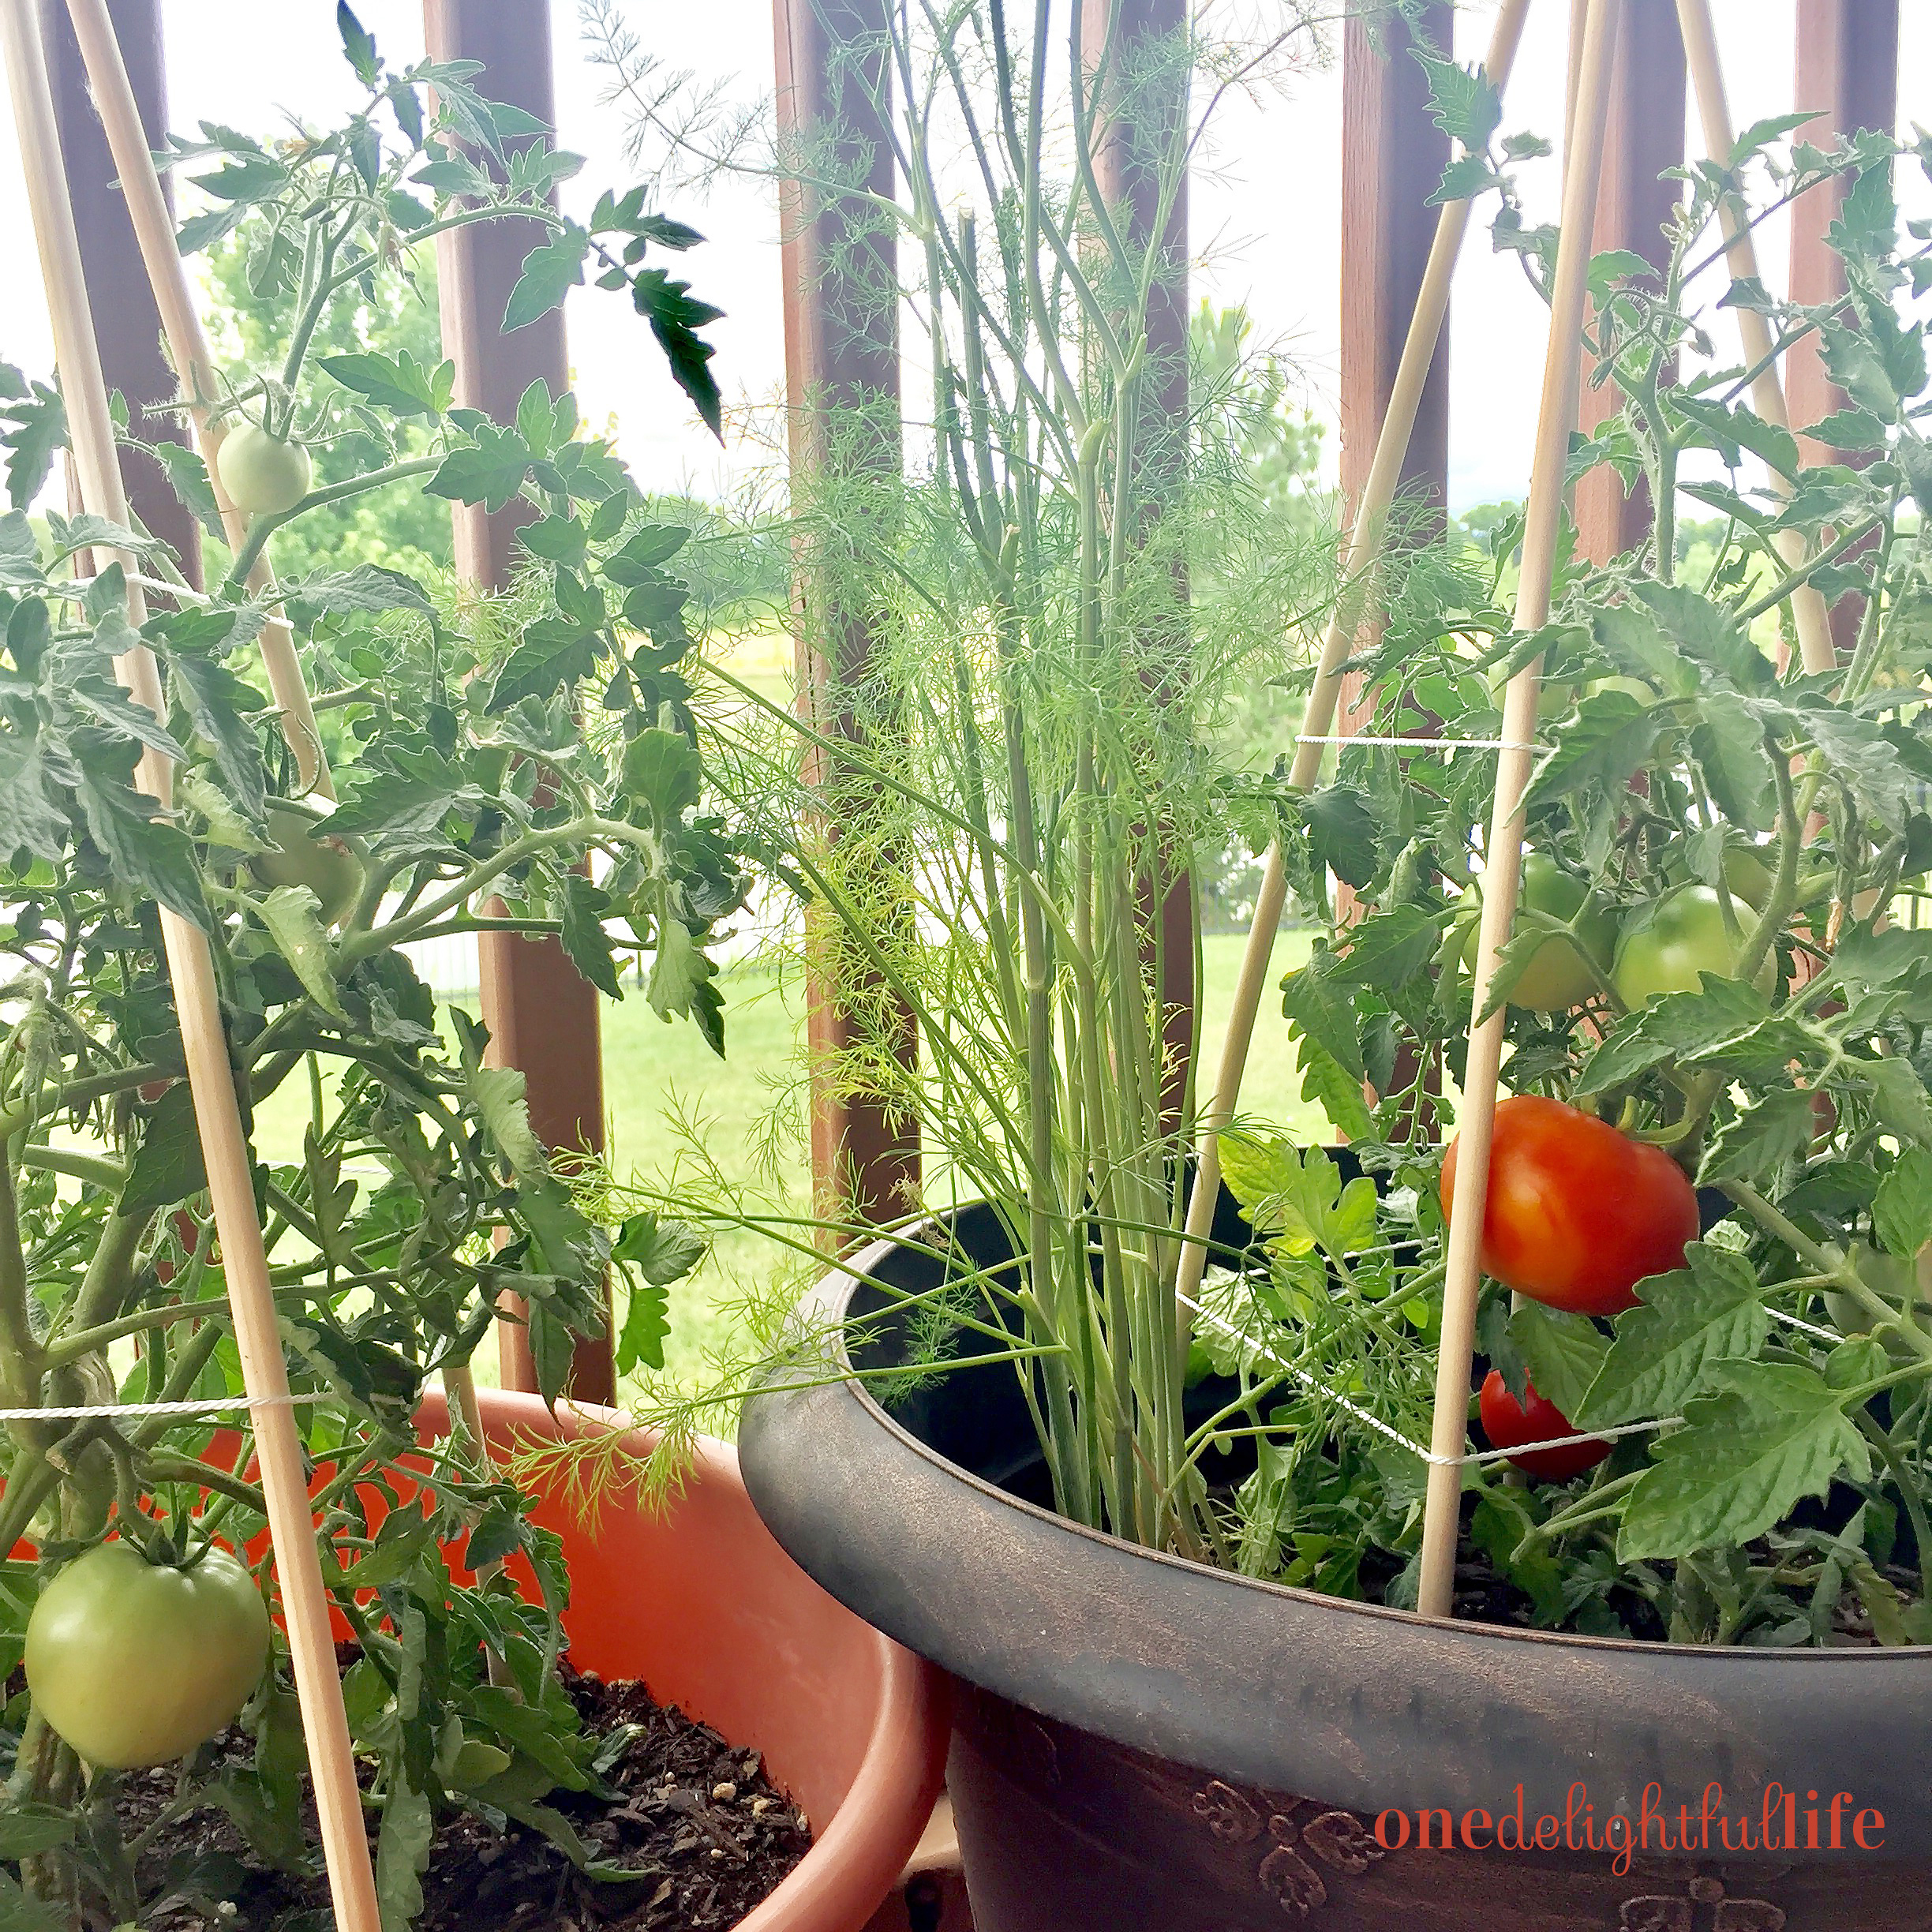
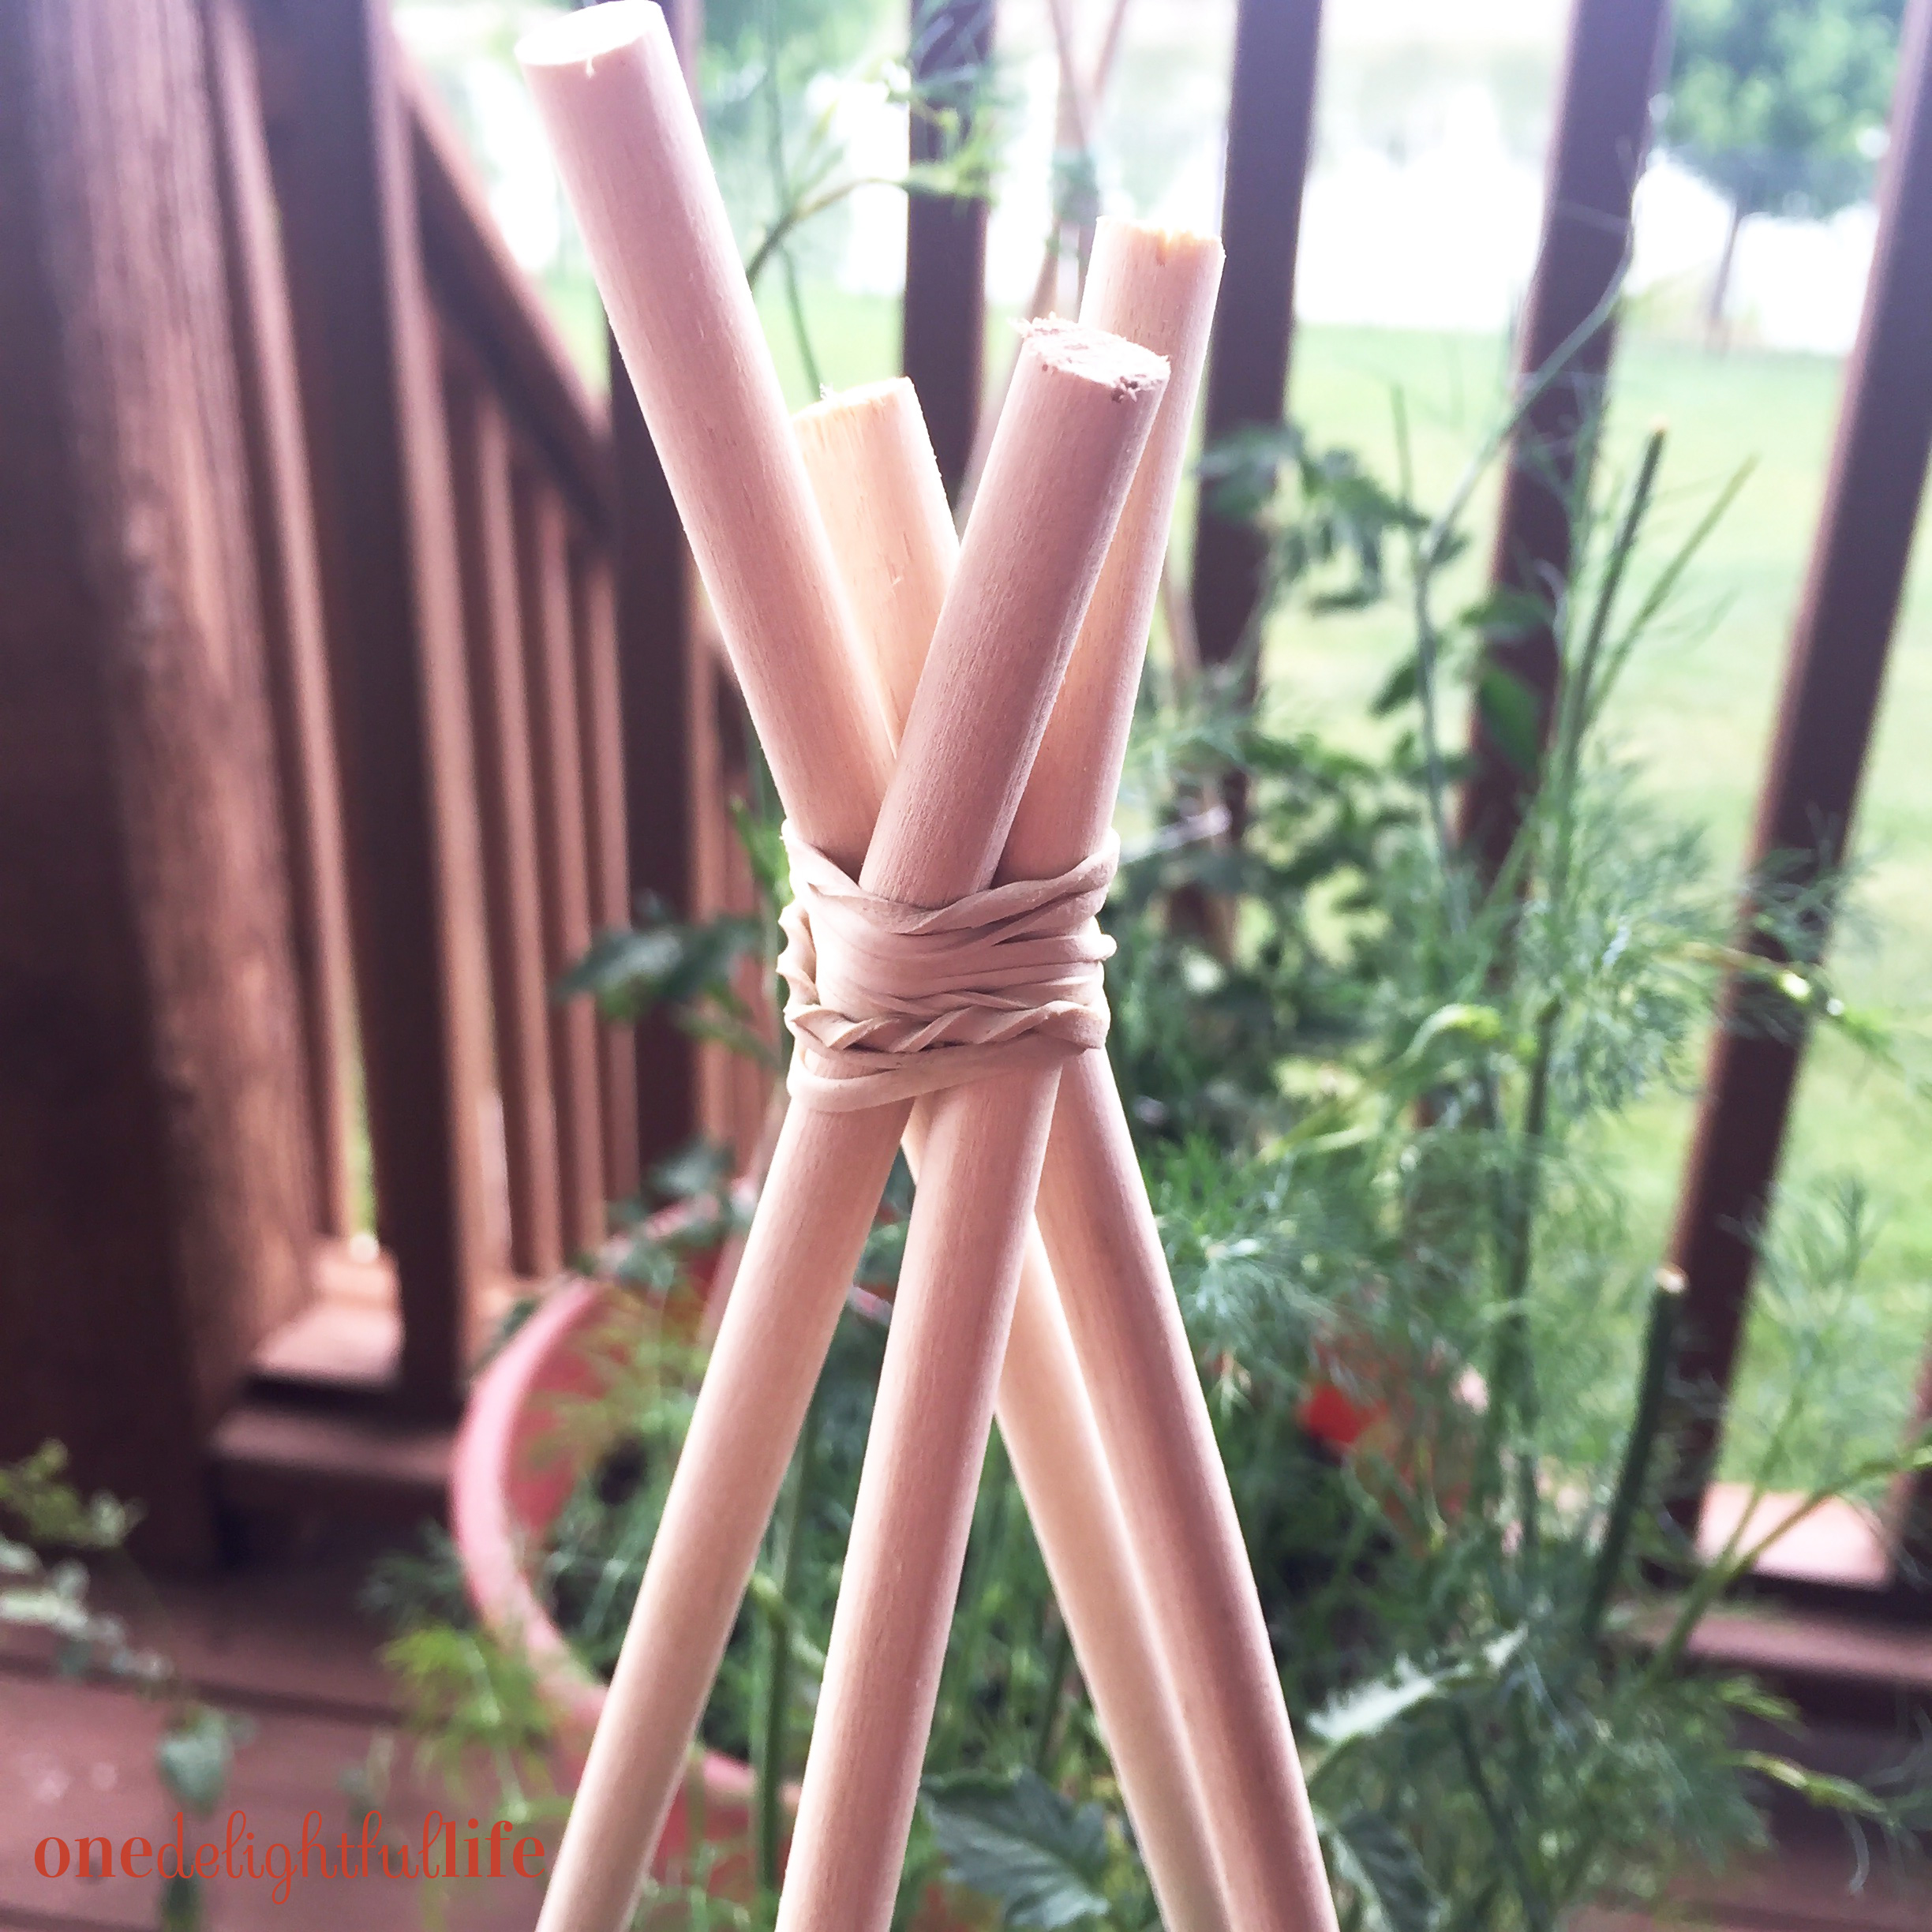
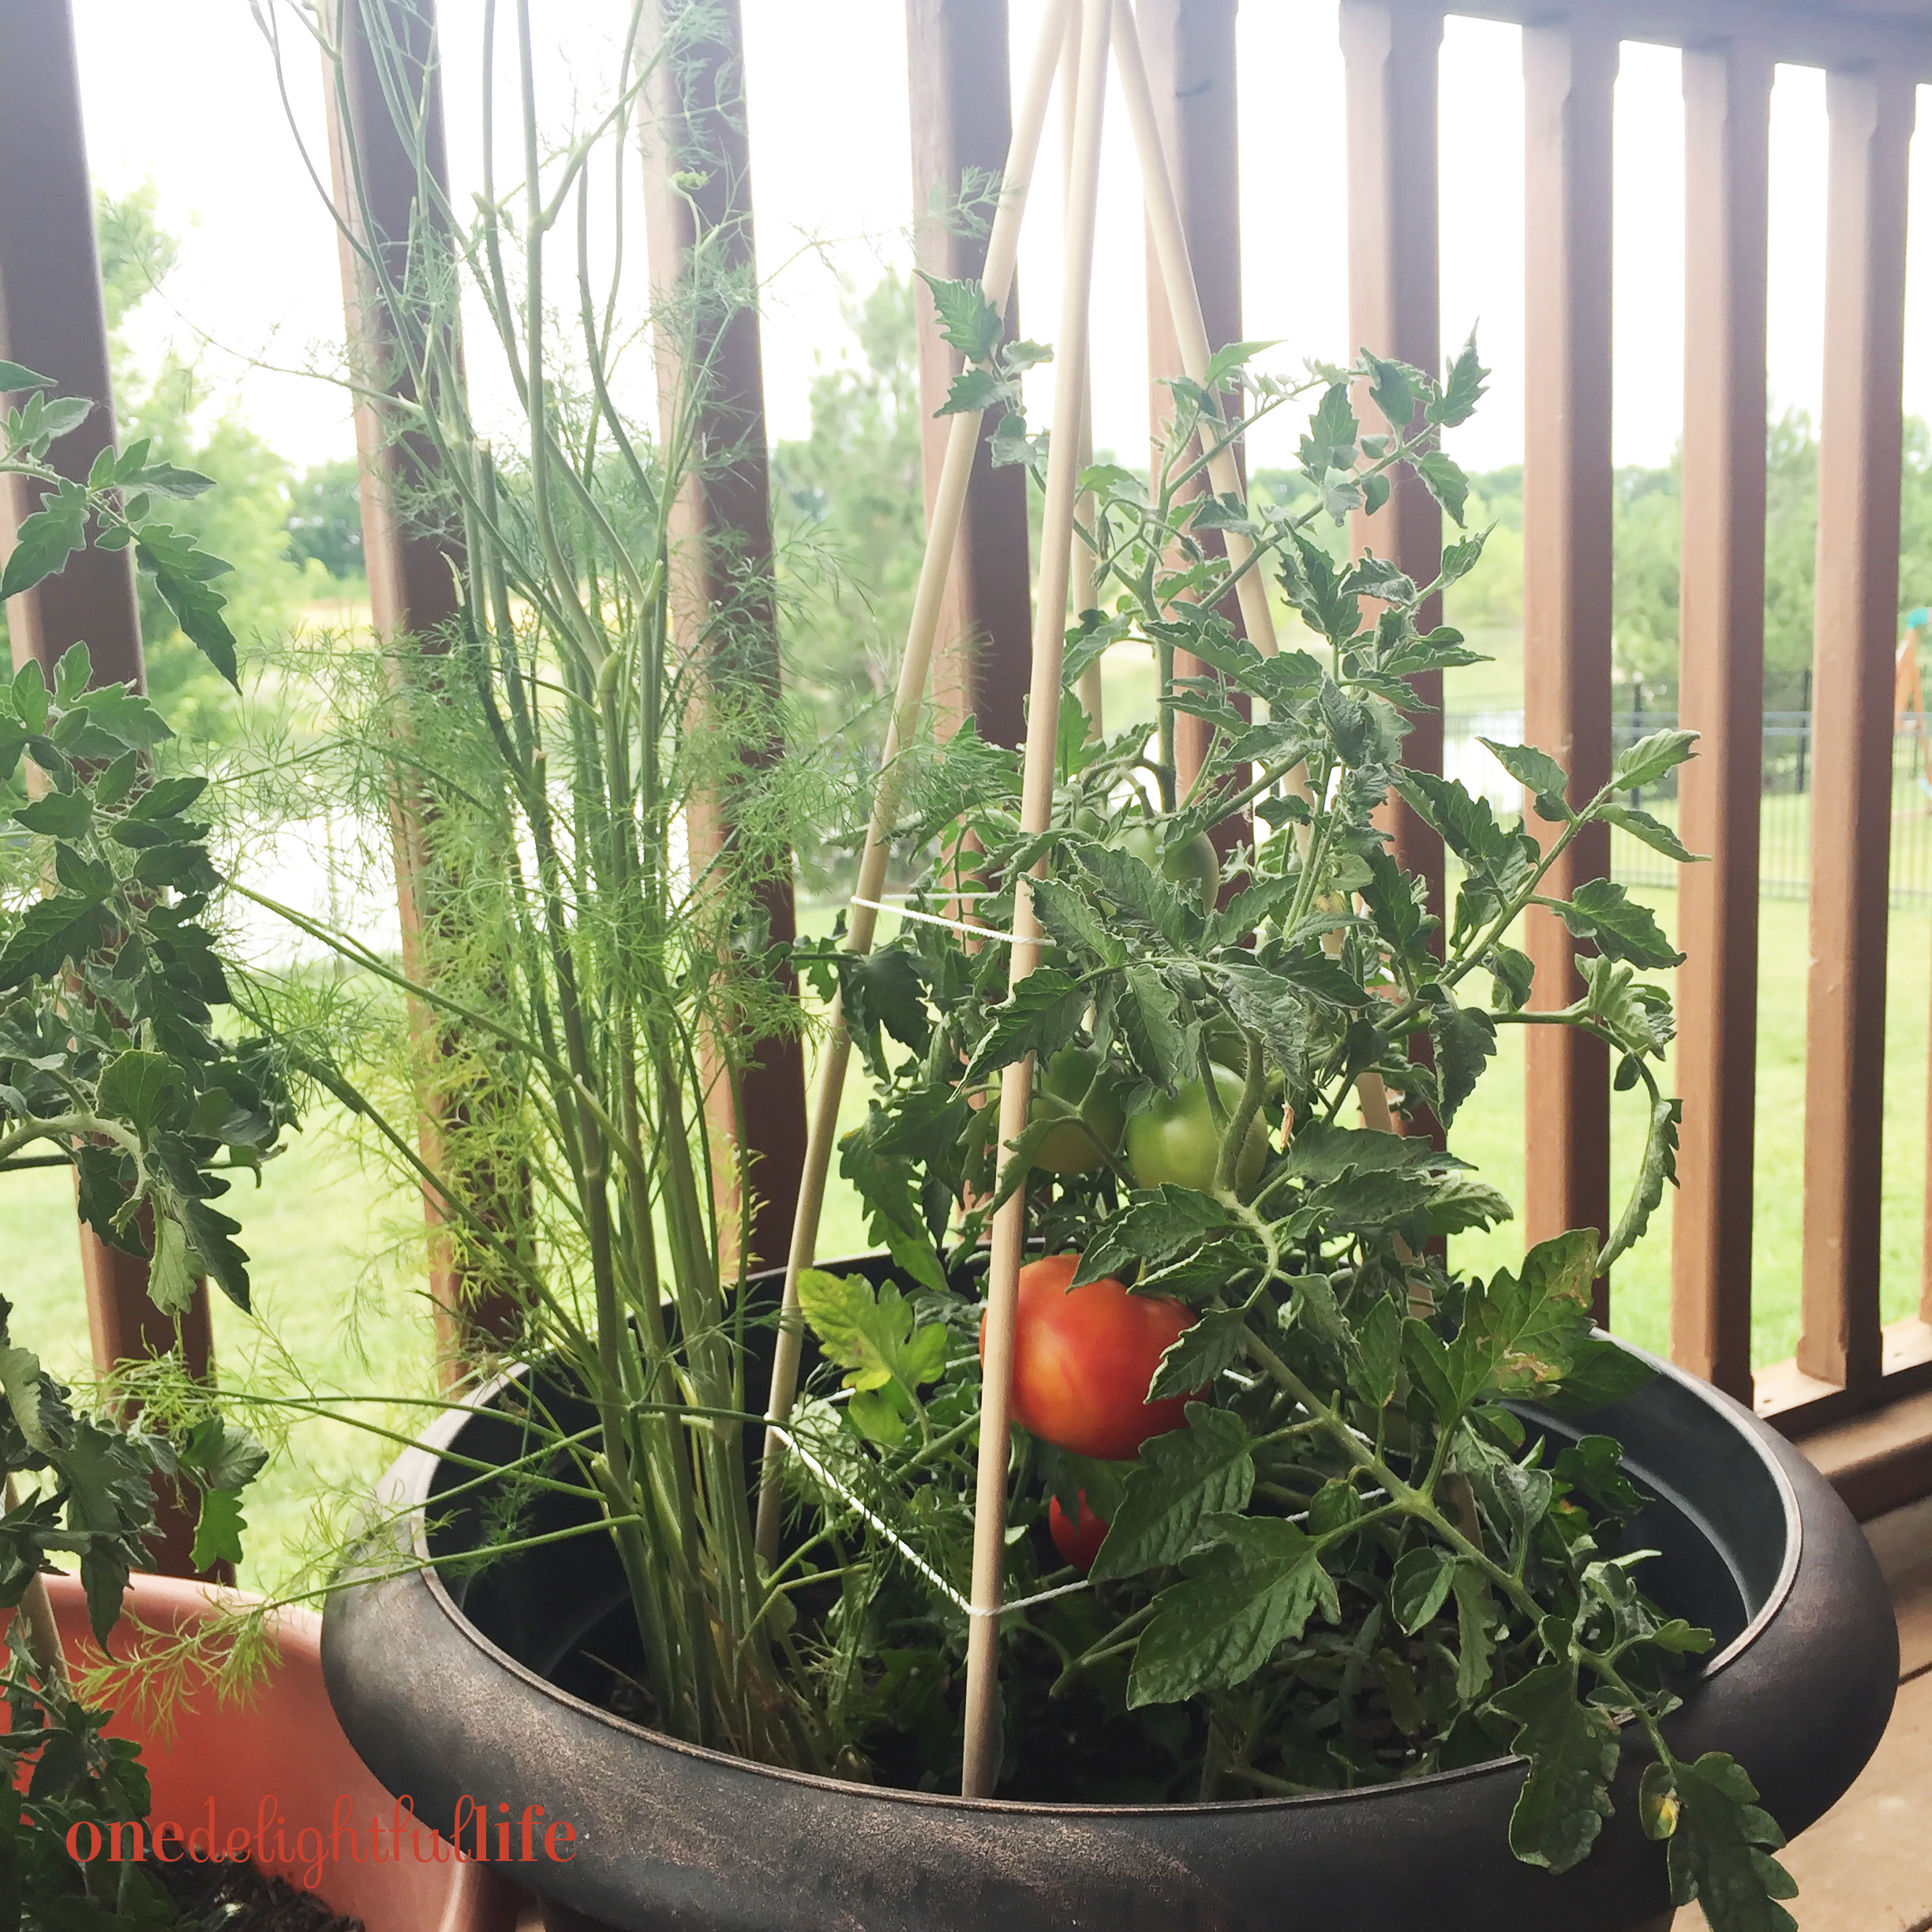
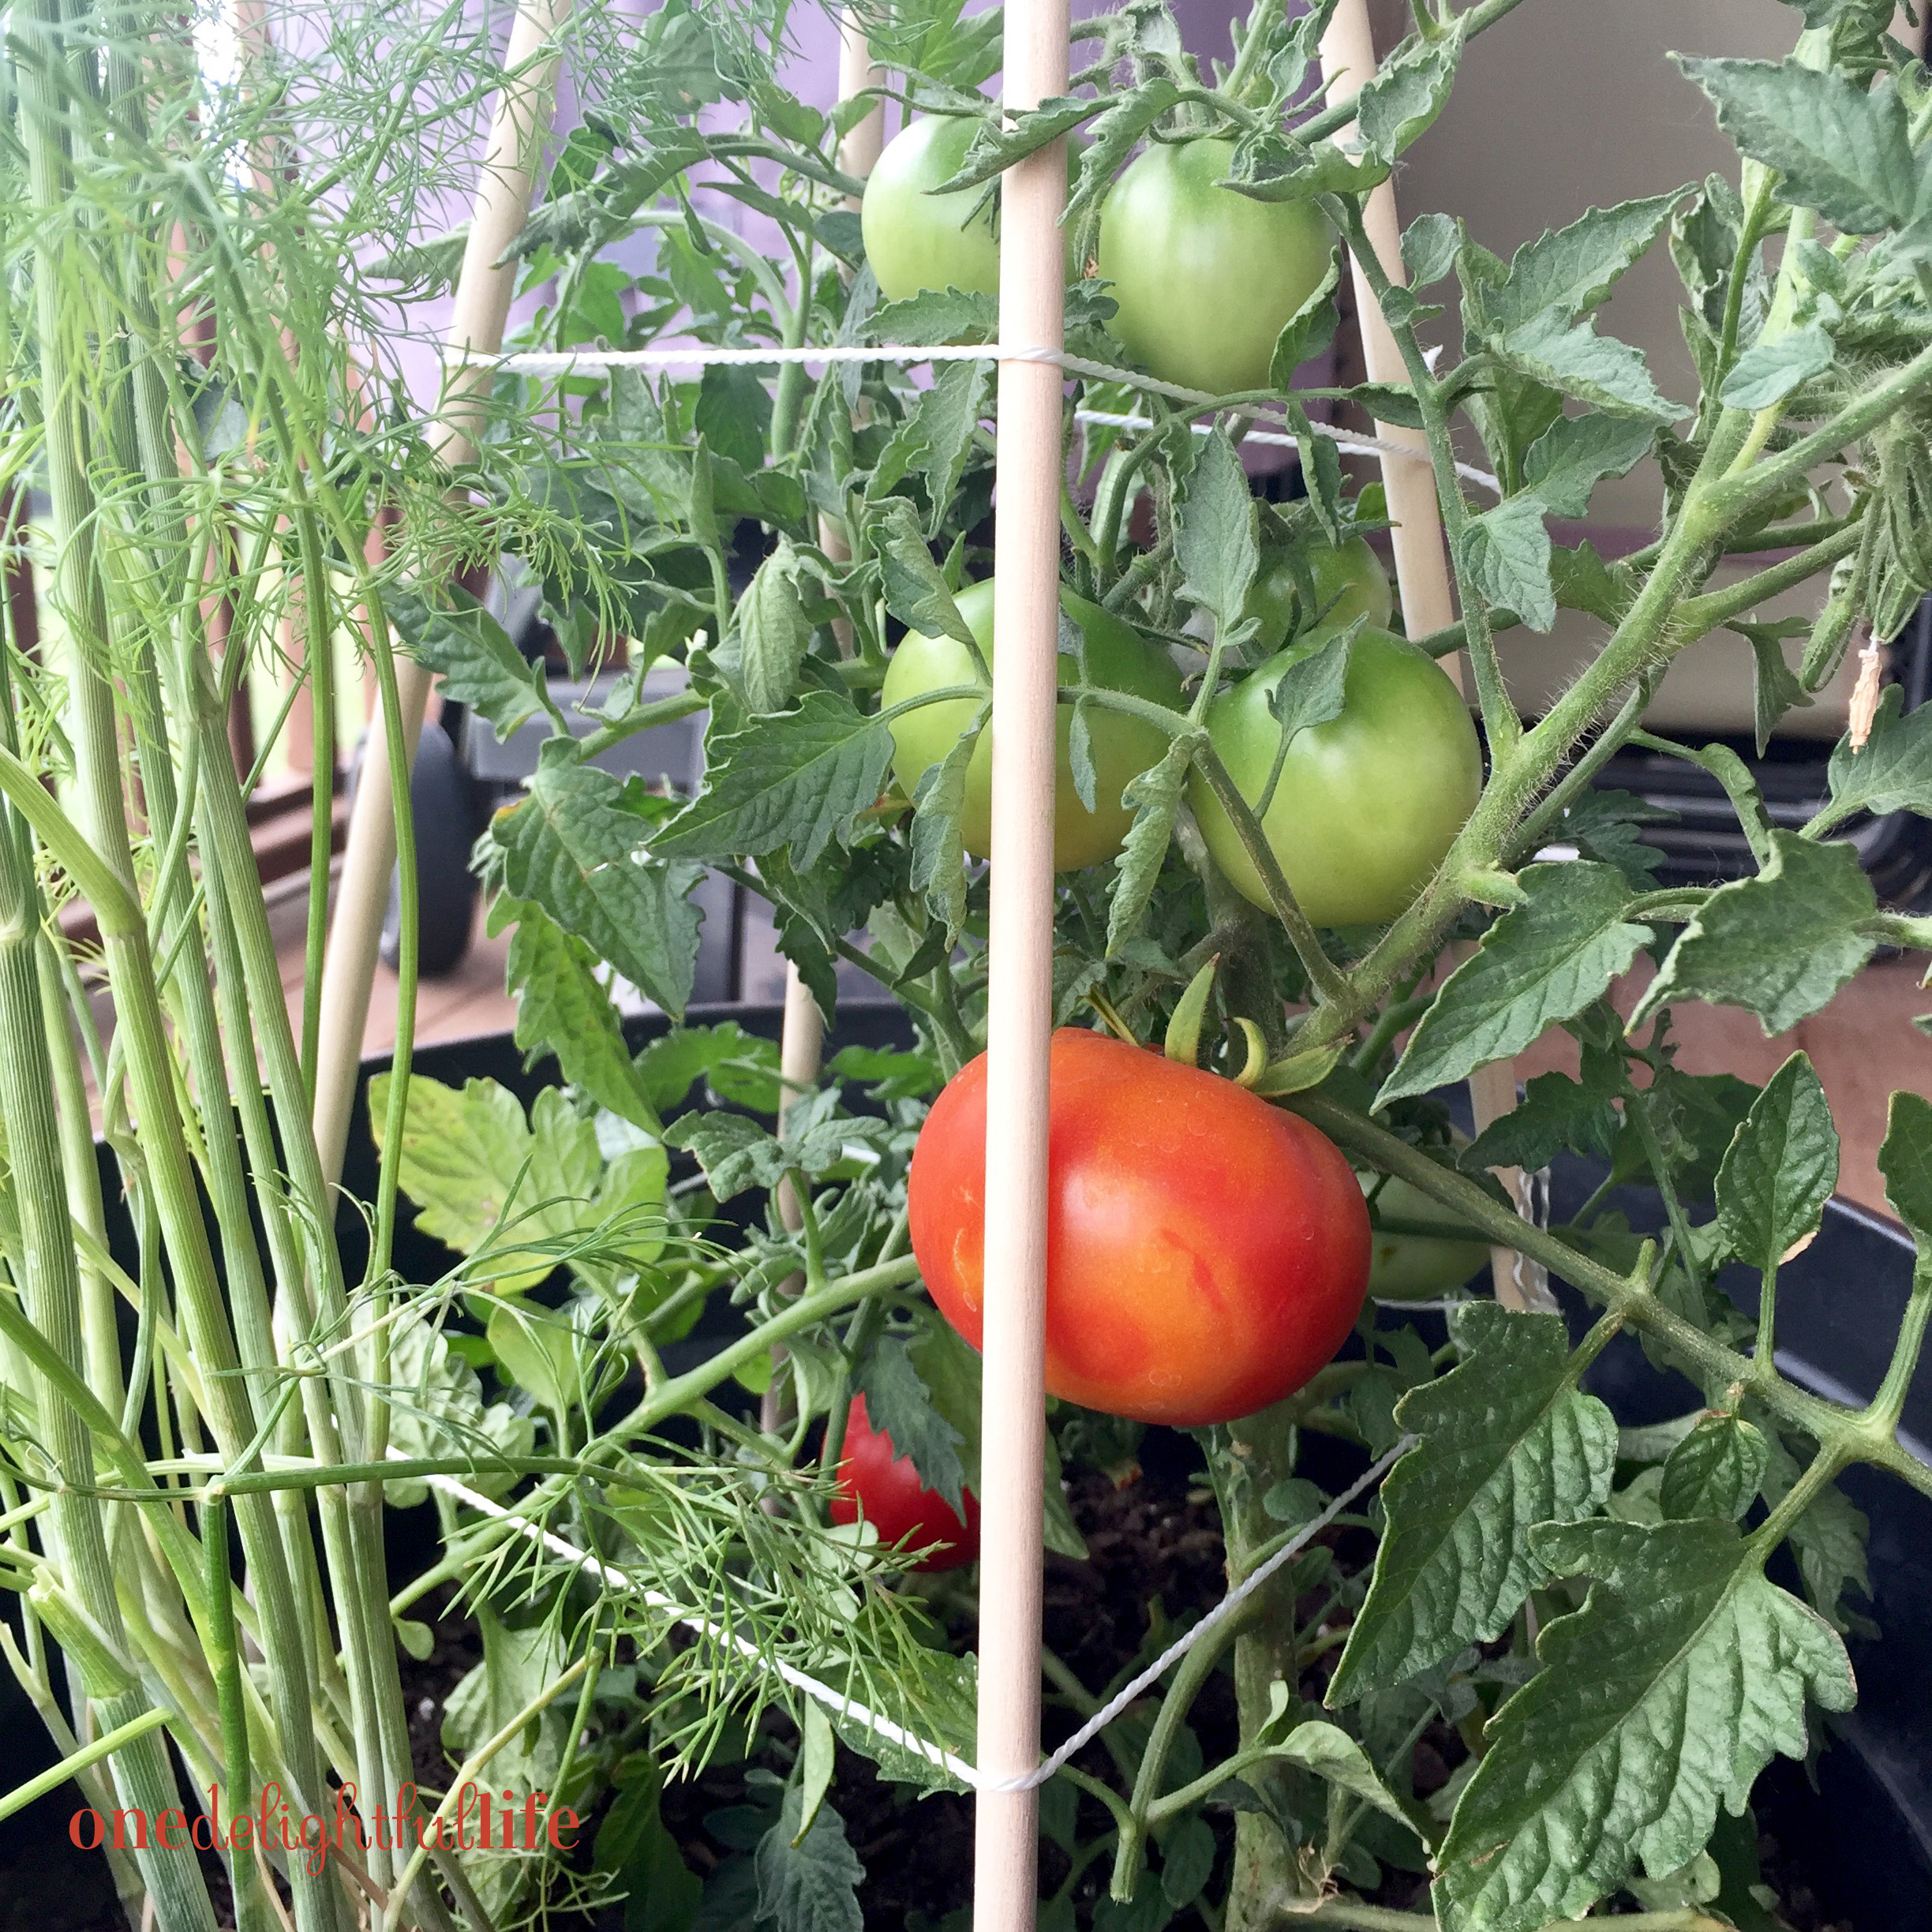
That’s it! I’ve been pleasantly surprised that I haven’t needed to reposition the dowel rods or twine even after moving the pots several times. I think you’ll agree that this do-it-yourself method for building a tomato cage is not only inexpensive but incredibly easy to do.

tomato cage

Now, if you’ll excuse me. A platter of Caprese salad made from homegrown tomatoes and basil with mozzarella and drizzled with balsamic and olive oil is calling my name.

caprese salad

Someone recently told me that their favorite summer fruit is…the tomato. I don’t blame them! Yep, it’s actually a fruit. It’s such a versatile ingredient whether used fresh like in a salad or stewed in a pasta sauce like my Dutch Oven Bolognese Sauce. 

If you’re in love with tomatoes this season, peel the skin and juice them to create a Michelada with Lime (think Bloody Mary made with Mexican beer) or used stewed and diced tomatoes inside Lone Star Turkey Chili with Sour Cream and Chives for tonight’s family dinner.

Happy tomato harvesting to you! I hope your container garden yields dozens of tomatoes this season. Let me know what DIY outdoor project you’re working on in the comments section below. Since you love to garden, so be sure to also check out How to Grow an Indoor Garden and How to Properly Fill a Raised Garden Bed!

tomato cage


Filed Under: DIY Tagged With: container garden, container pots, DIY, dowel rod, gardening, homegrown, tomato, tomato cage, tomatoes, urban farming, vegetable

  • Go to page 1
  • Go to page 2
  • Go to page 3
  • Go to page 4
  • Go to Next Page »

Primary Sidebar

SEARCH

Ammar
Hello! I'm Vanessa. Welcome to One Delightful Life, a blog created to add more delight to your life with delicious recipes, travel destinations, and lifestyle improvement ideas. Thanks for exploring my blog!

Archives

Contact Us

  • Email
    info@onedelightfullife.com

Popular Posts

Back to School Brain Breaks12K Total Shares
Going Underground in Historic Ellinwood, KansasGoing Underground in Historic Ellinwood, Kansas7K Total Shares
Weston, Missouri: Making the Most of a Weekend VisitWeston, Missouri: Making the Most of a Weekend Visit2K Total Shares
Cucumber Lime Vodka SplashCucumber Lime Vodka Splash1K Total Shares
How to Make the Most of a Weekend in Omaha, NebraskaHow to Make the Most of a Weekend in Omaha, Nebraska484 Total Shares
  • About
  • Taste
  • Travel
  • DIY
  • Contact
  • Lifestyle
  • 100 Things to Do in Wichita Before You Die

© 2023 · onedelightfullife ·