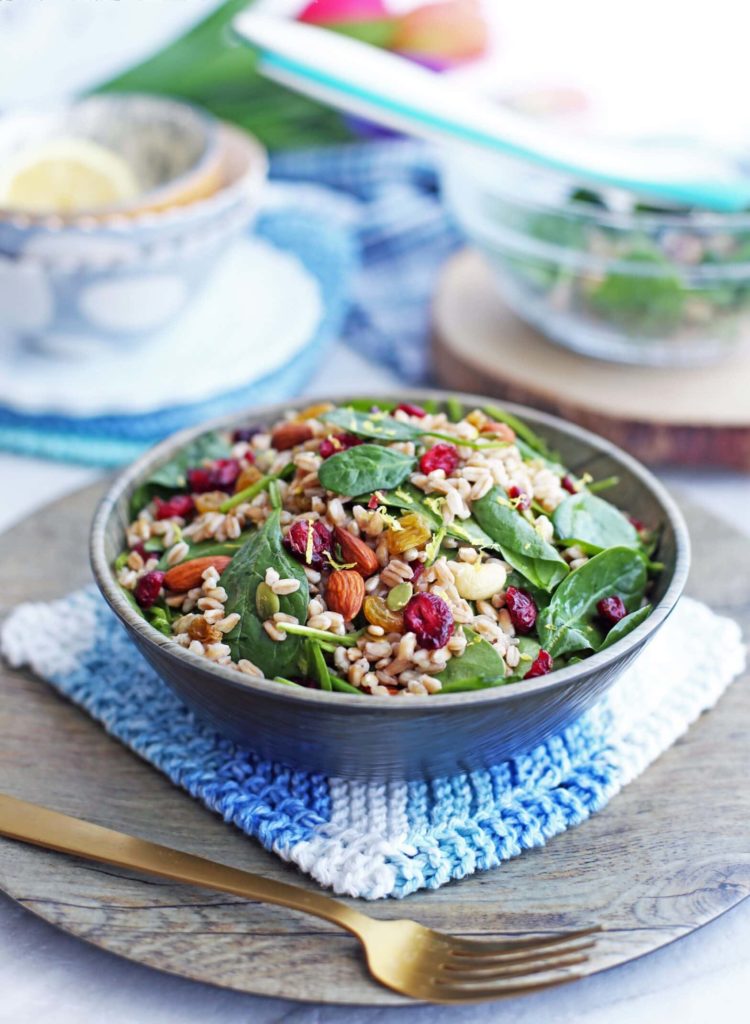
Are you seeking a healthier dining option in Kansas? Find the freshest salads in the state using this handy restaurant guide.
City Limits Bar & Grill, Colby
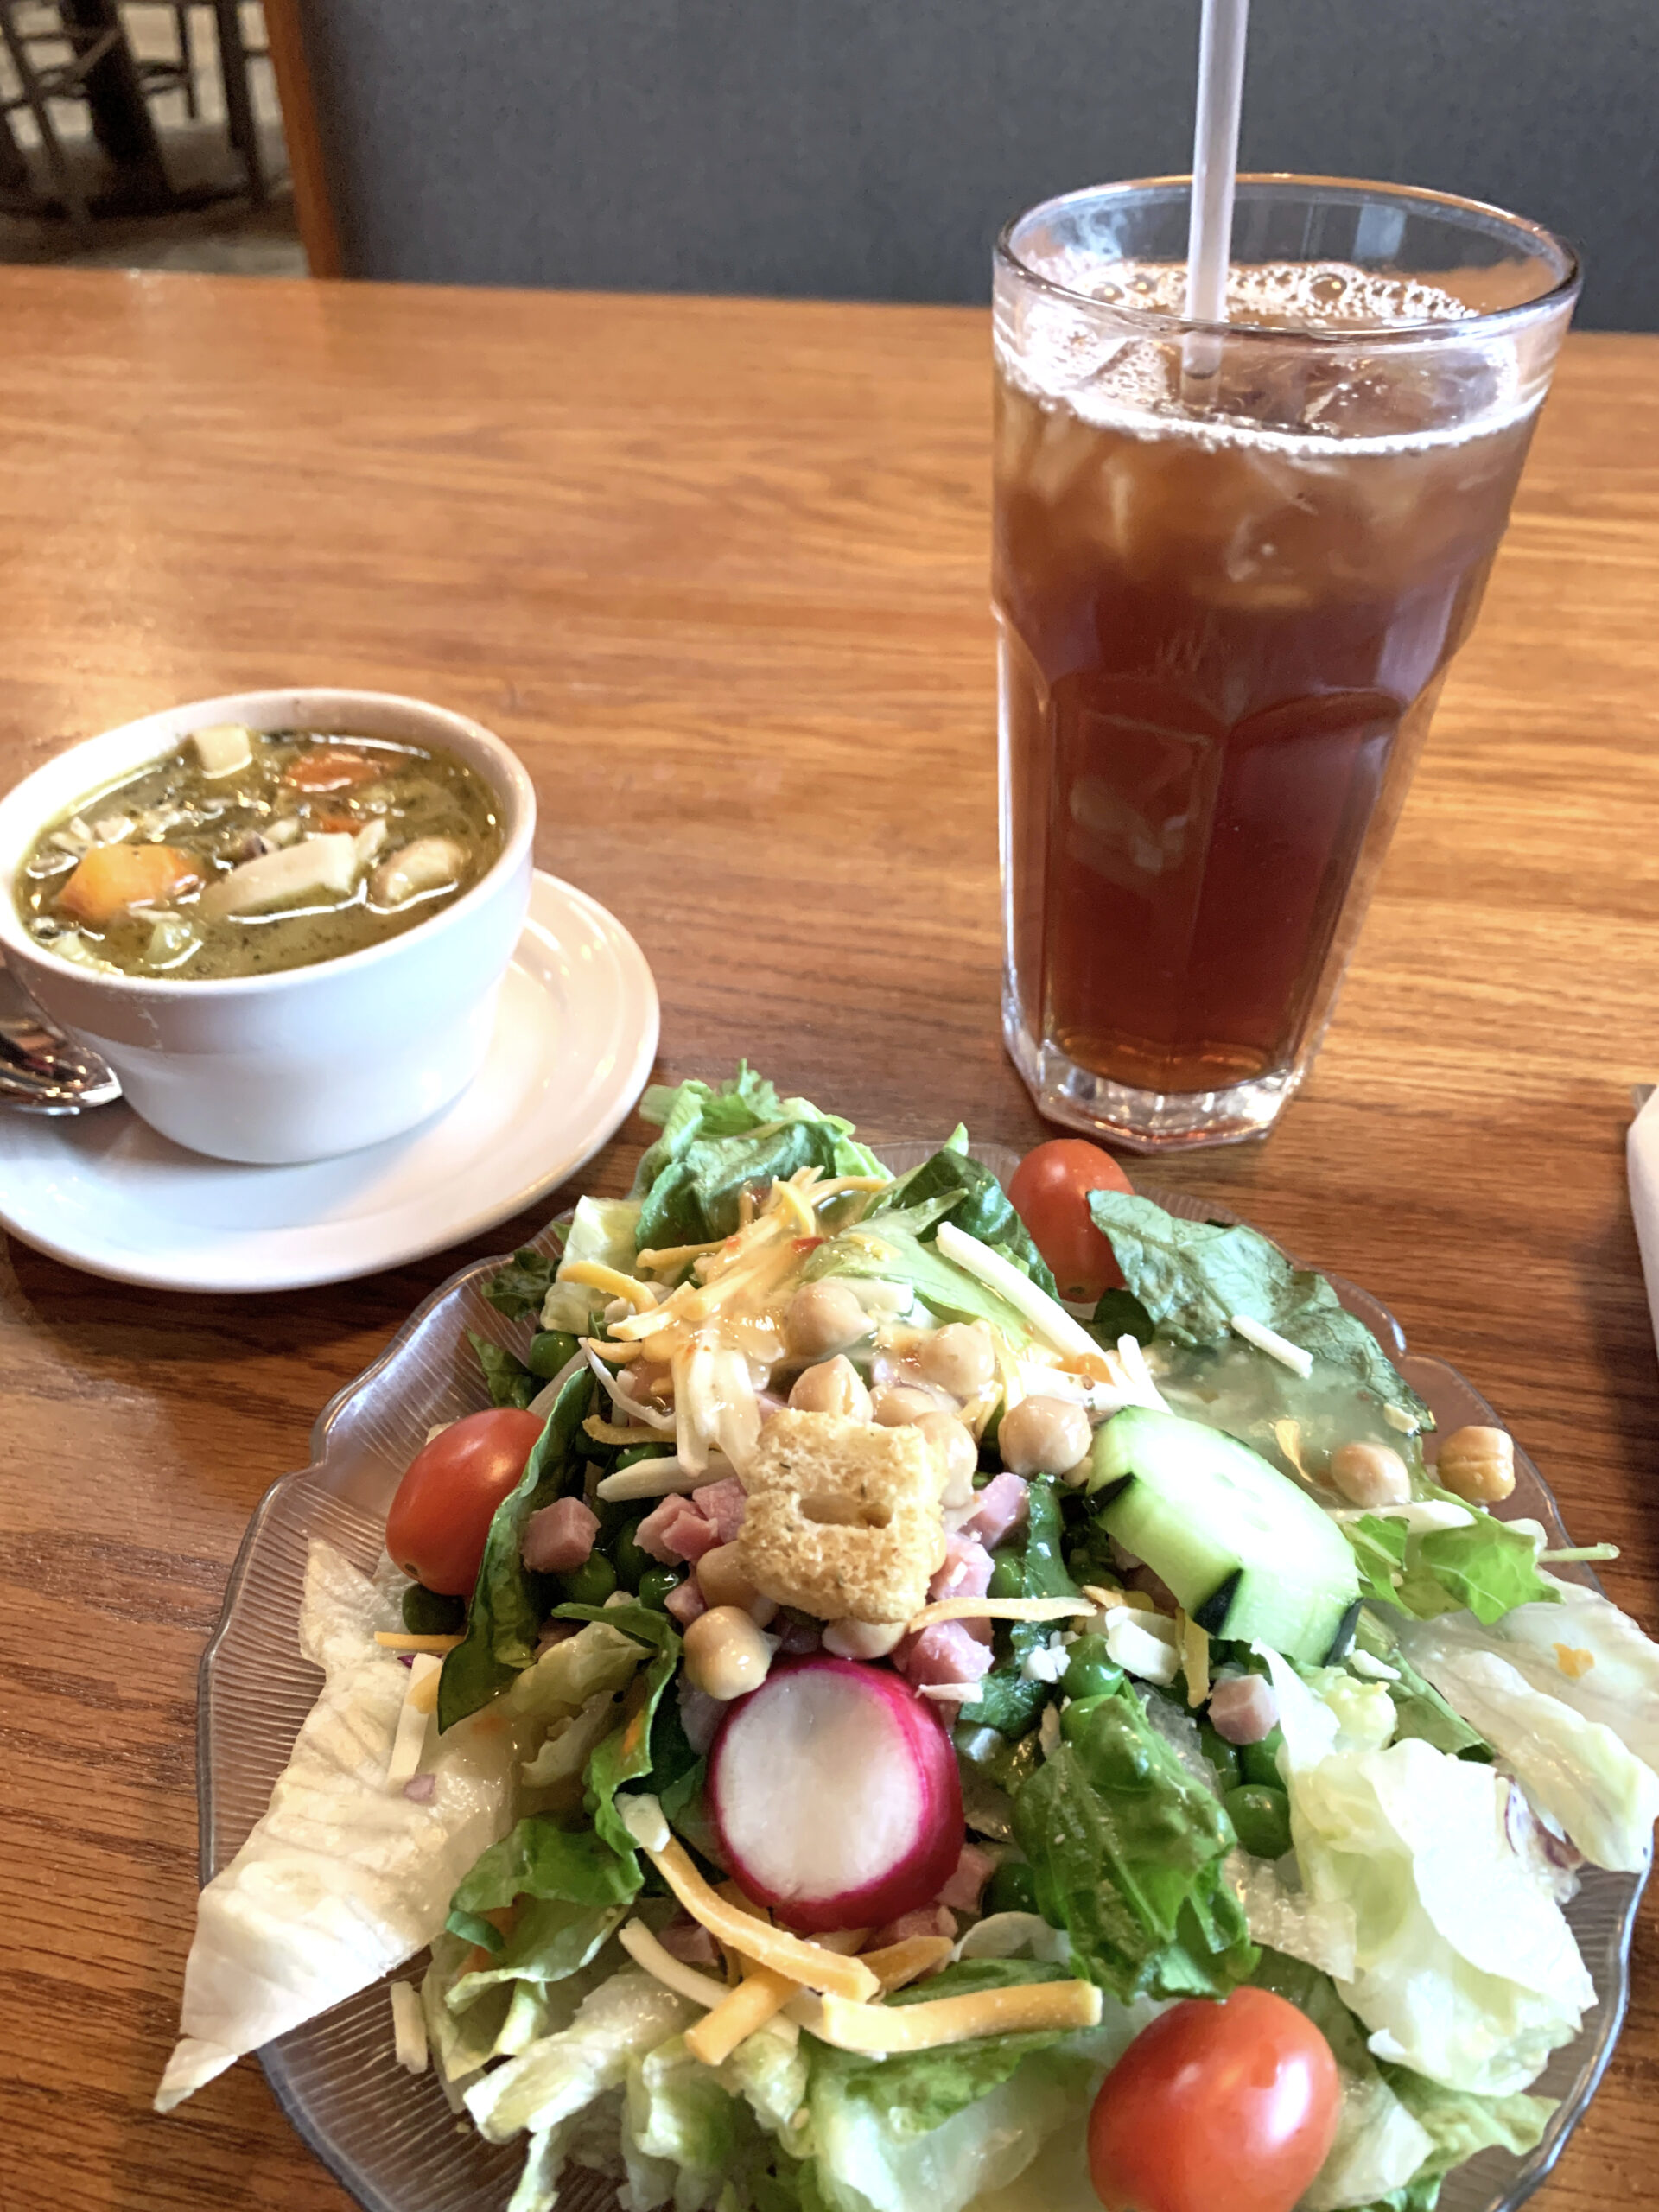
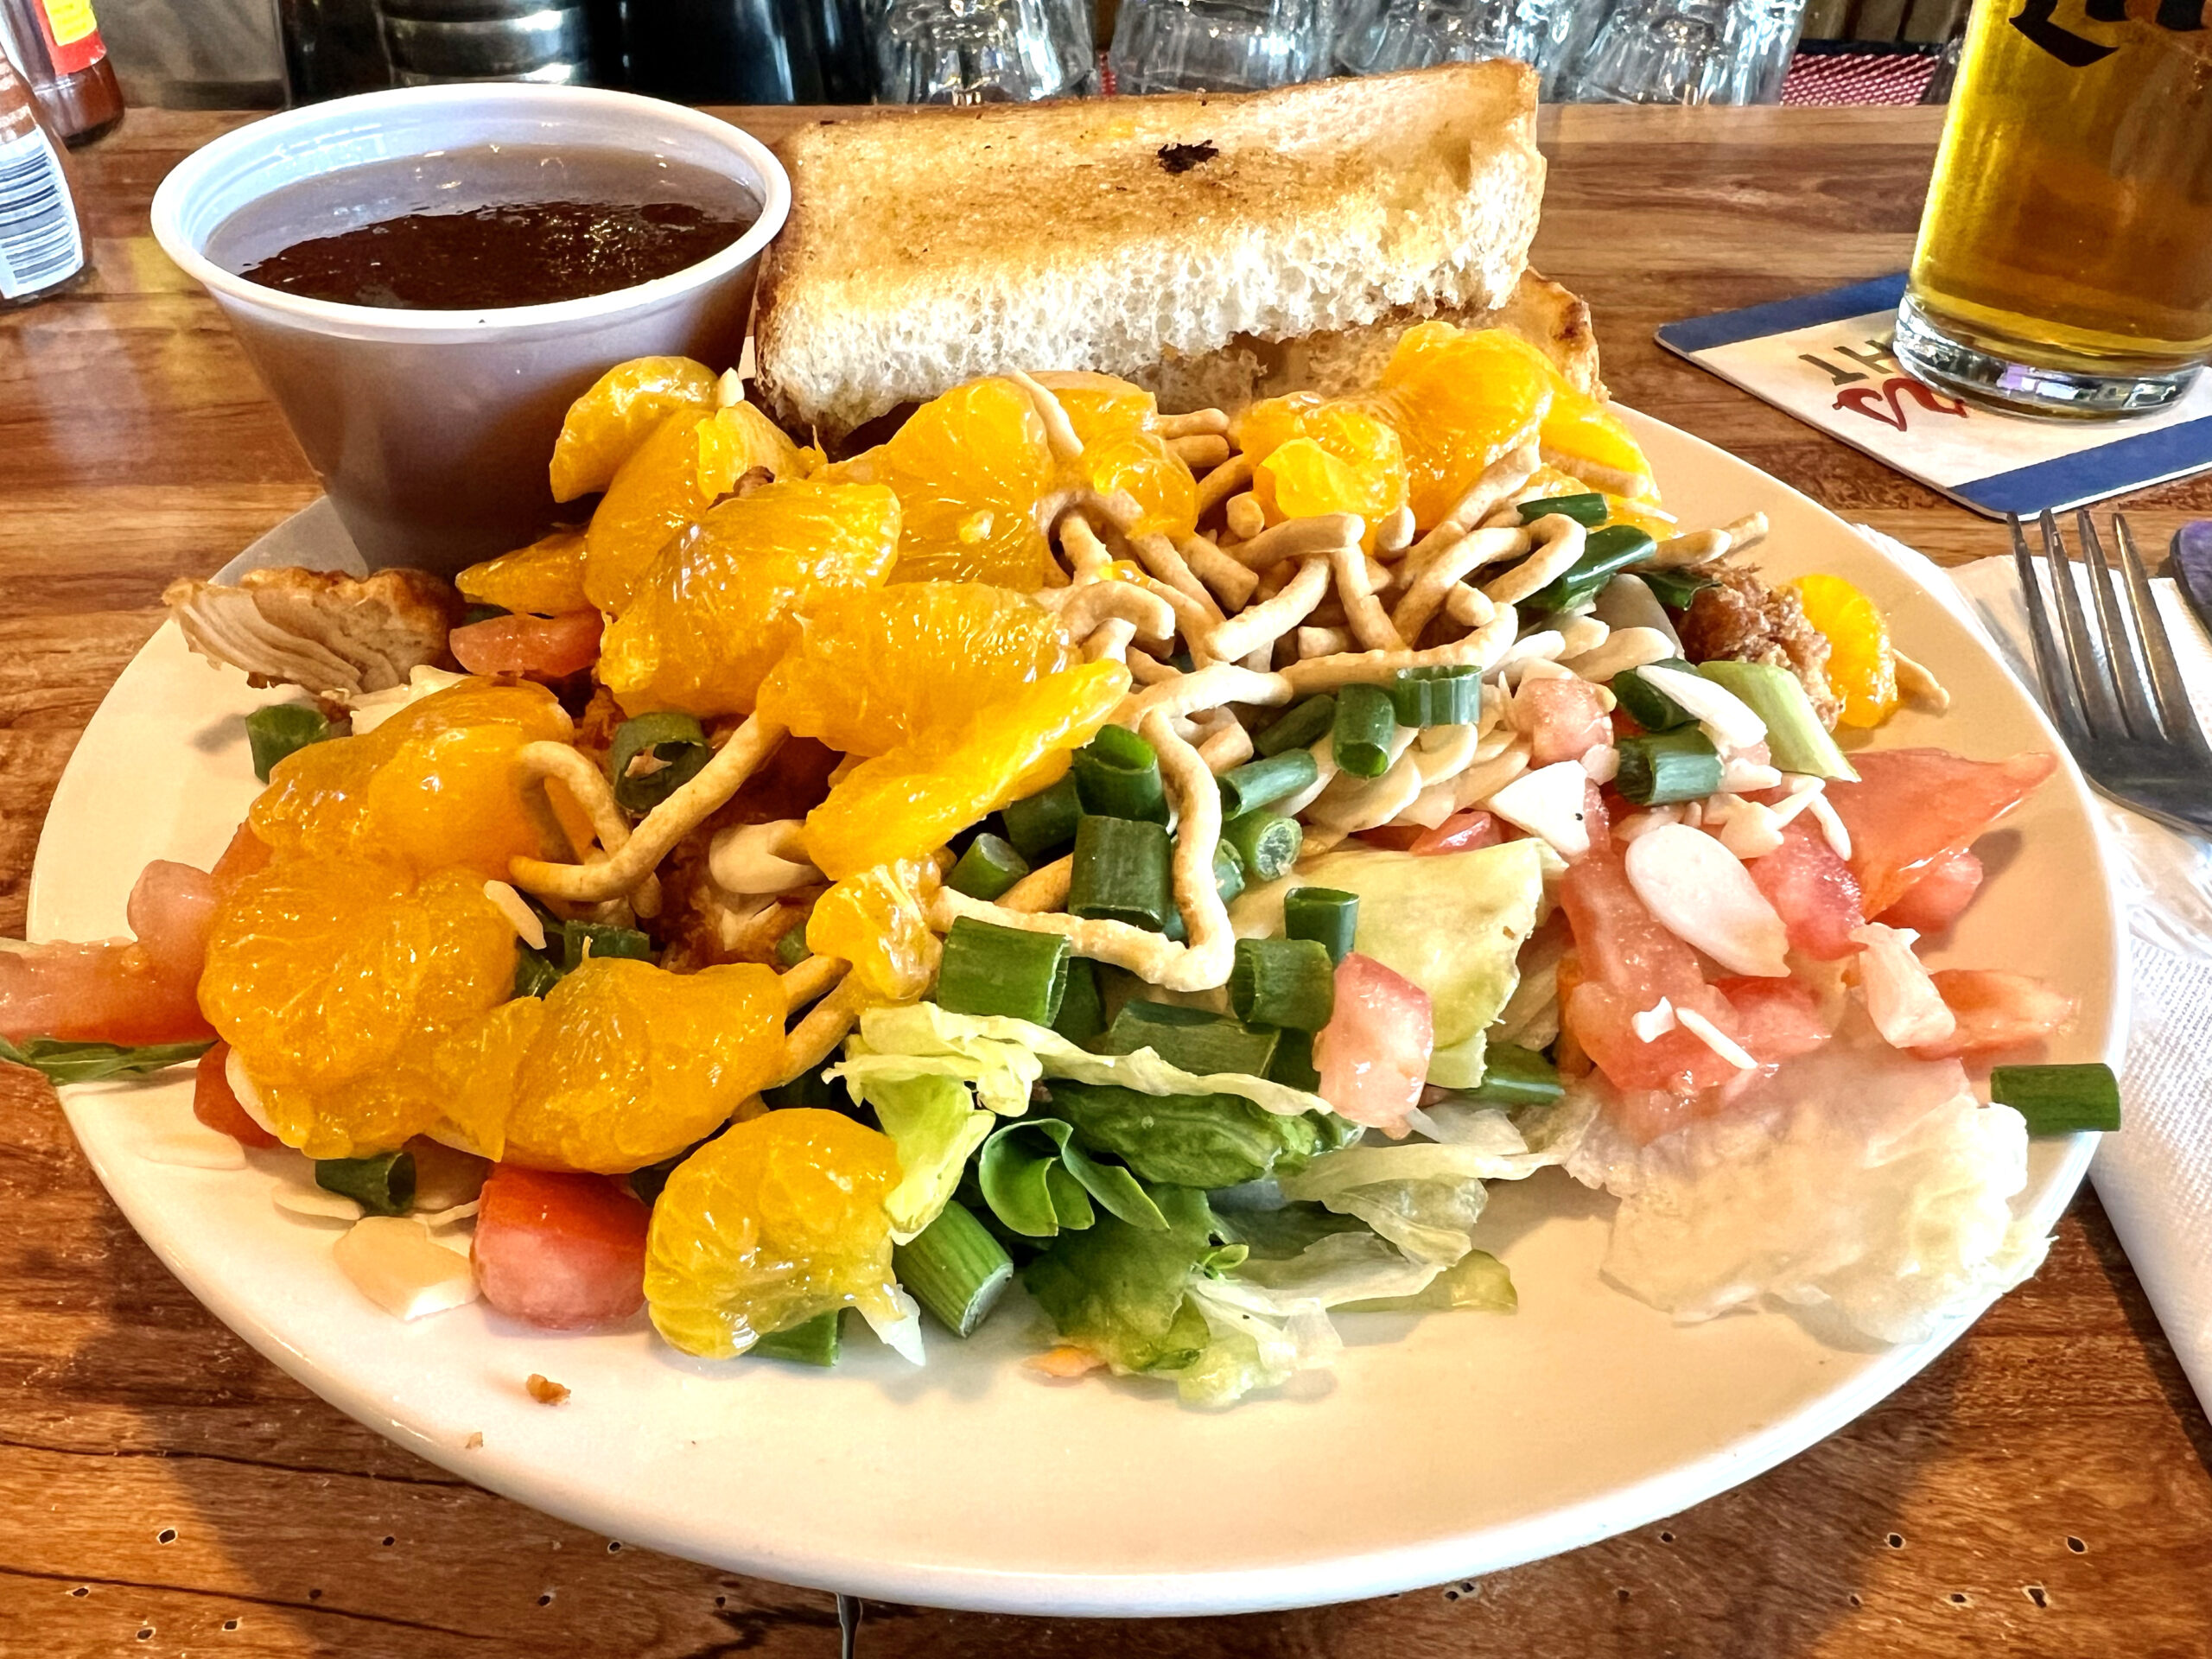
City Limits Bar & Grill is a must-stop for travelers driving on KS I-70 who love an all-you-can-eat mega salad and soup bar. Other lunch menu items included burgers, chicken tenders, and hand-cut top sirloin. The food is downright delicious.
 Trio Tap House, Hays
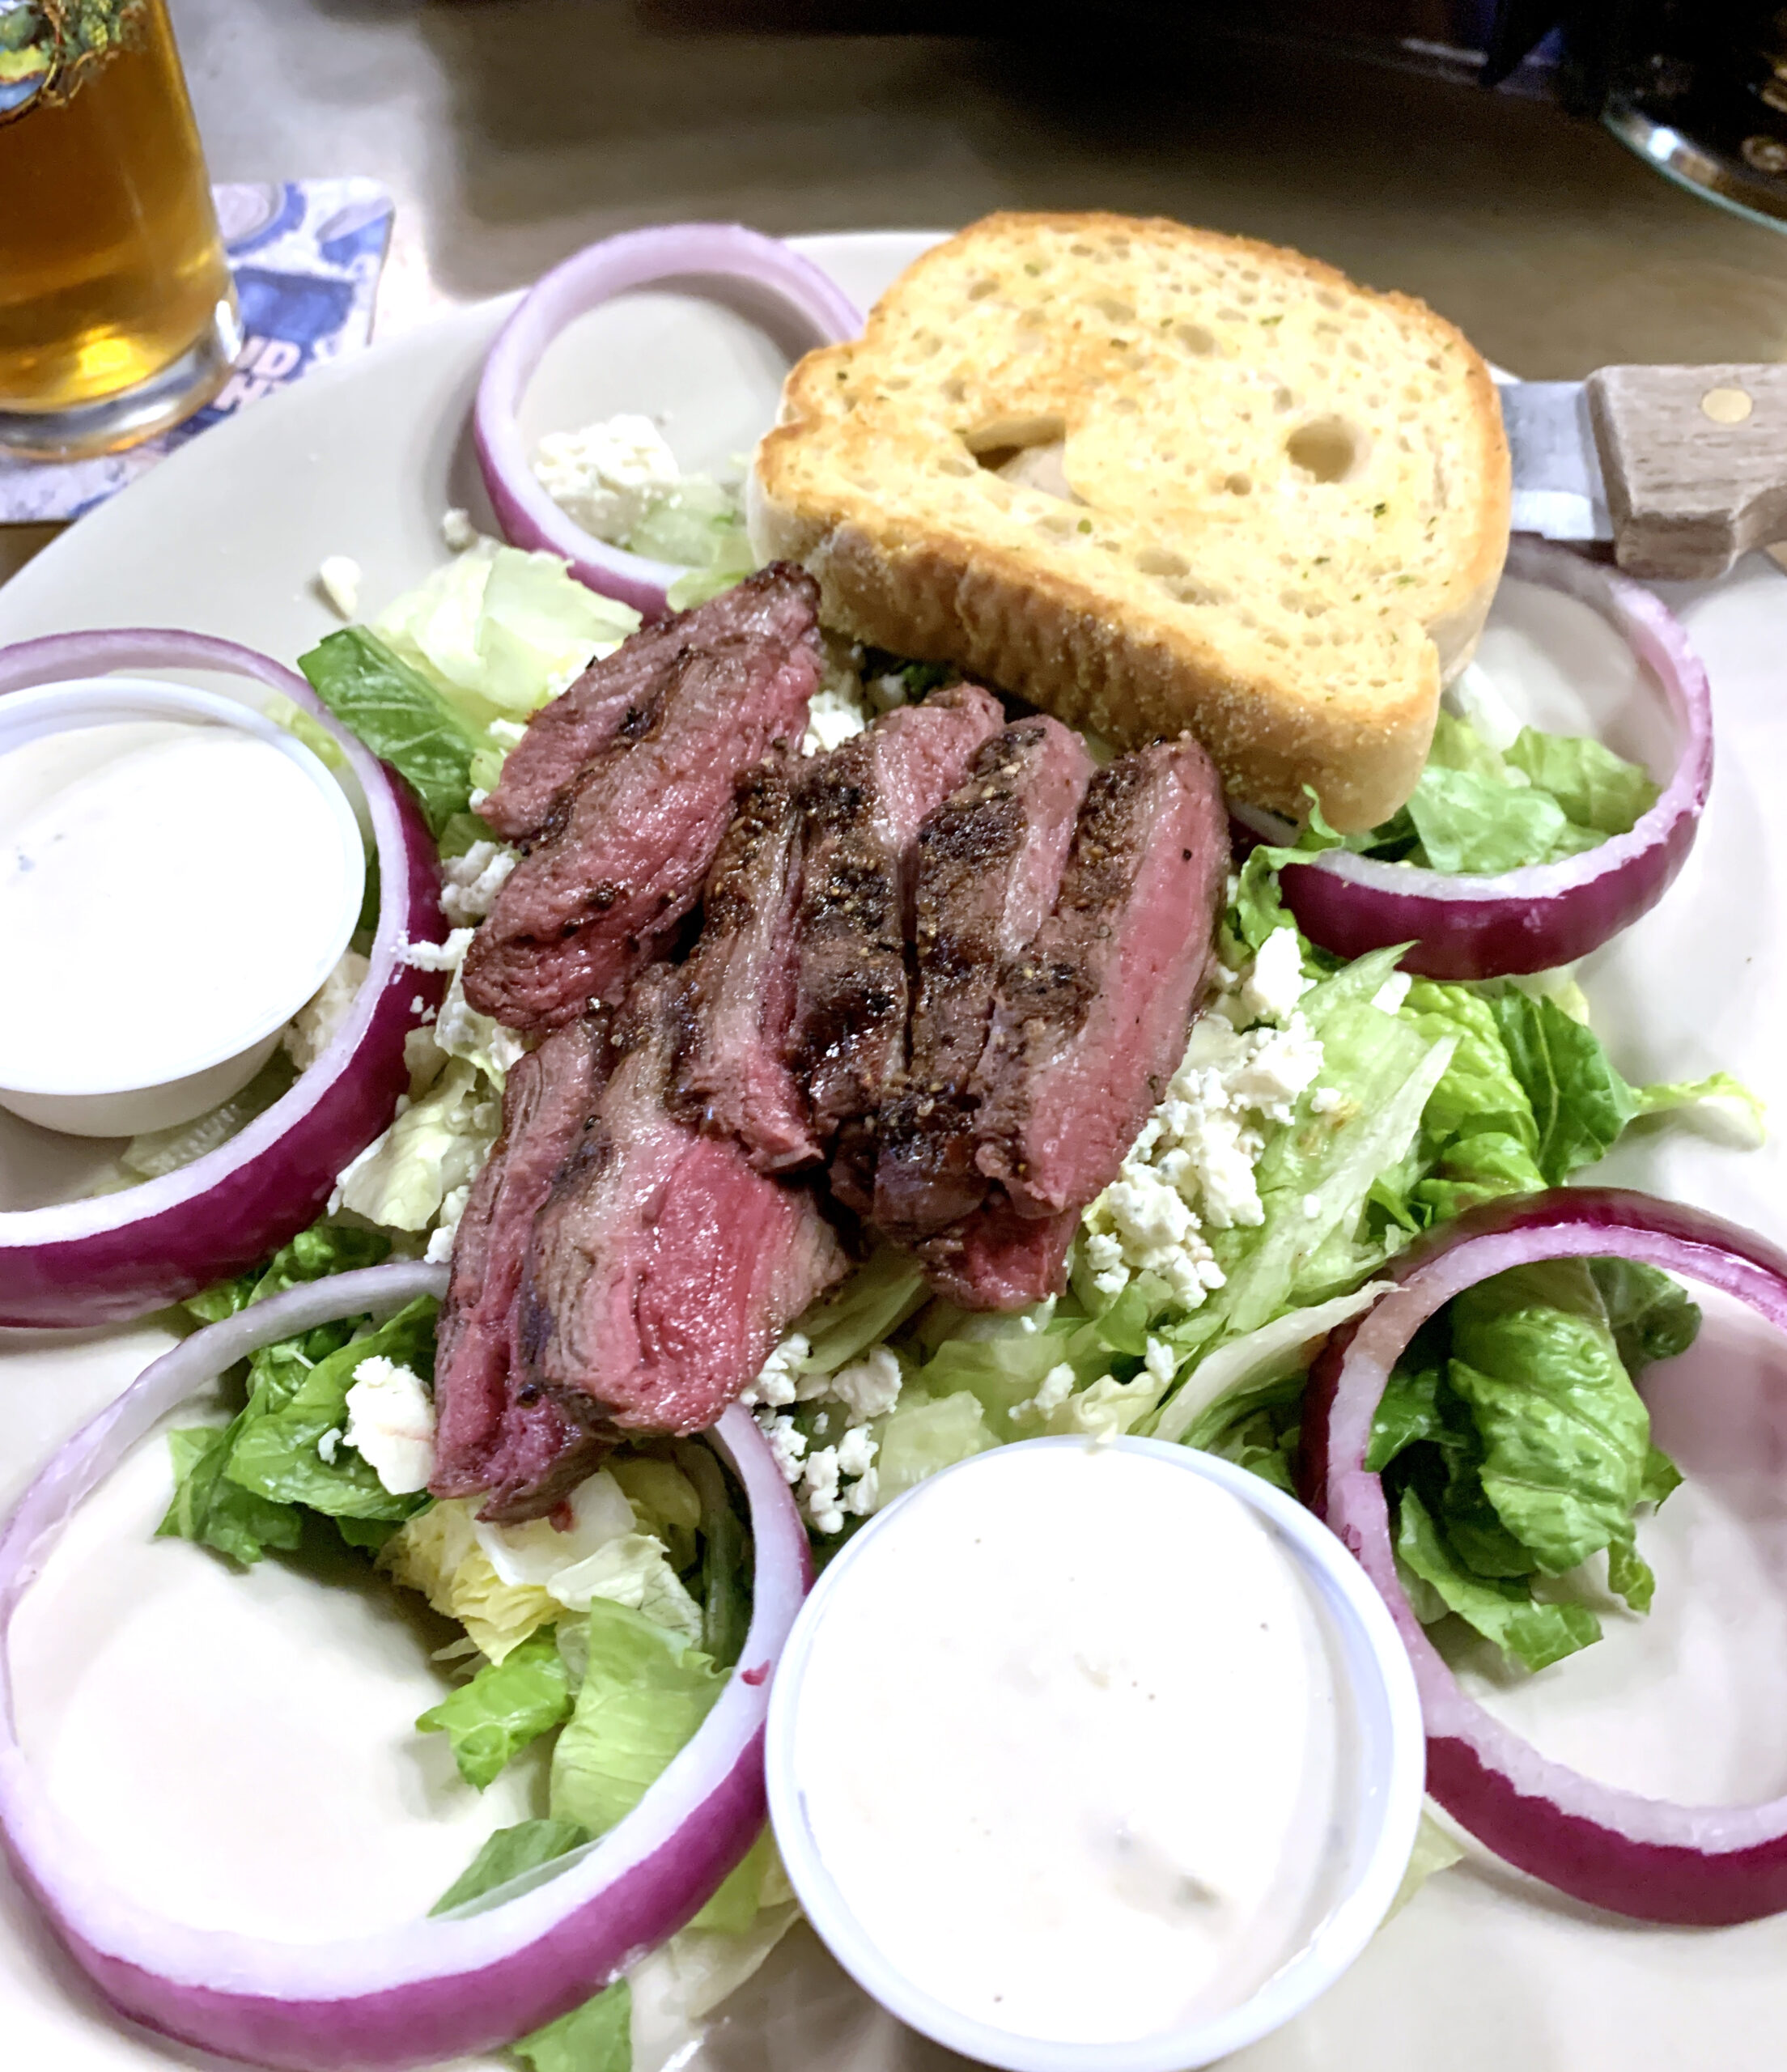
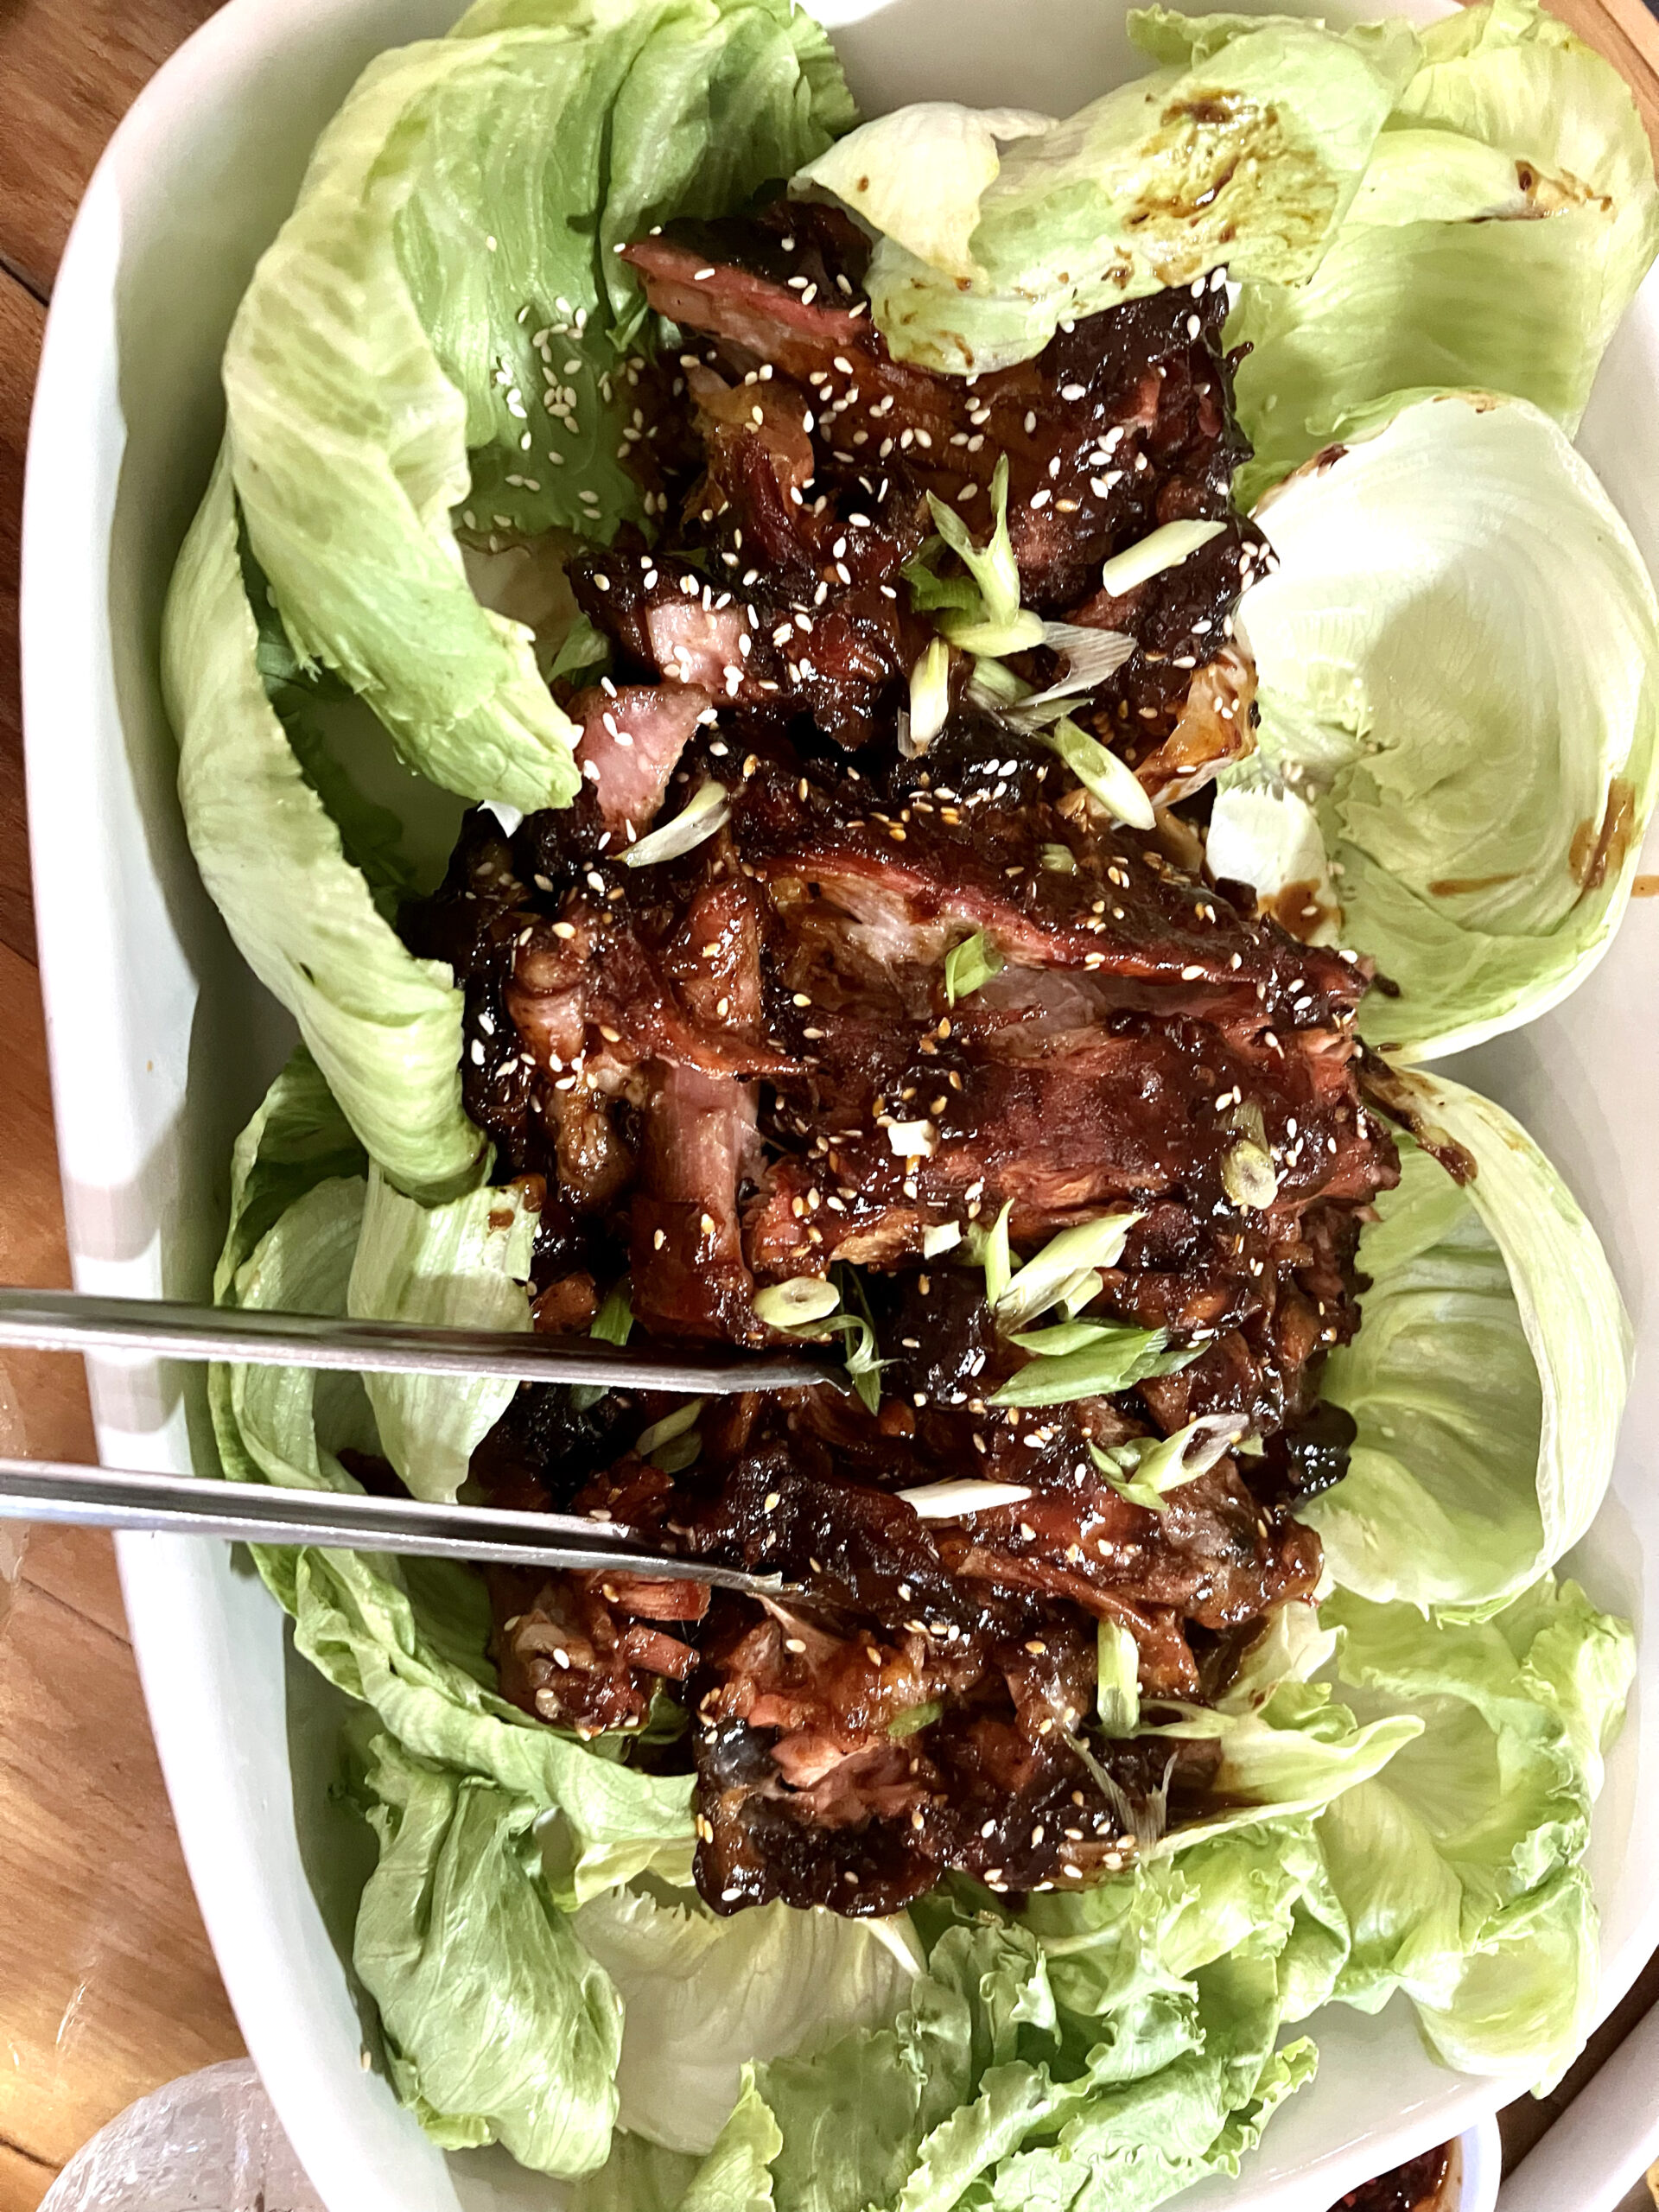
Trio Tap House claims they are a place to enjoy “an honest meal and a proper good time,” and they are right. I nestled into my seat and reviewed the menu. I was craving a hearty salad. The Dry Aged Steak & Blue checked all the boxes. Ask about the Soup of the Day.
McLain’s Market, Shawnee
McLain’s Market is where you go when craving fresh salads, sandwiches, and soups for lunch. You can expect hearty salads with a slice of sourdough bread. They also serve delicious coffee and delectable breakfast pastries.
Johnny’s Tavern, Lawrence
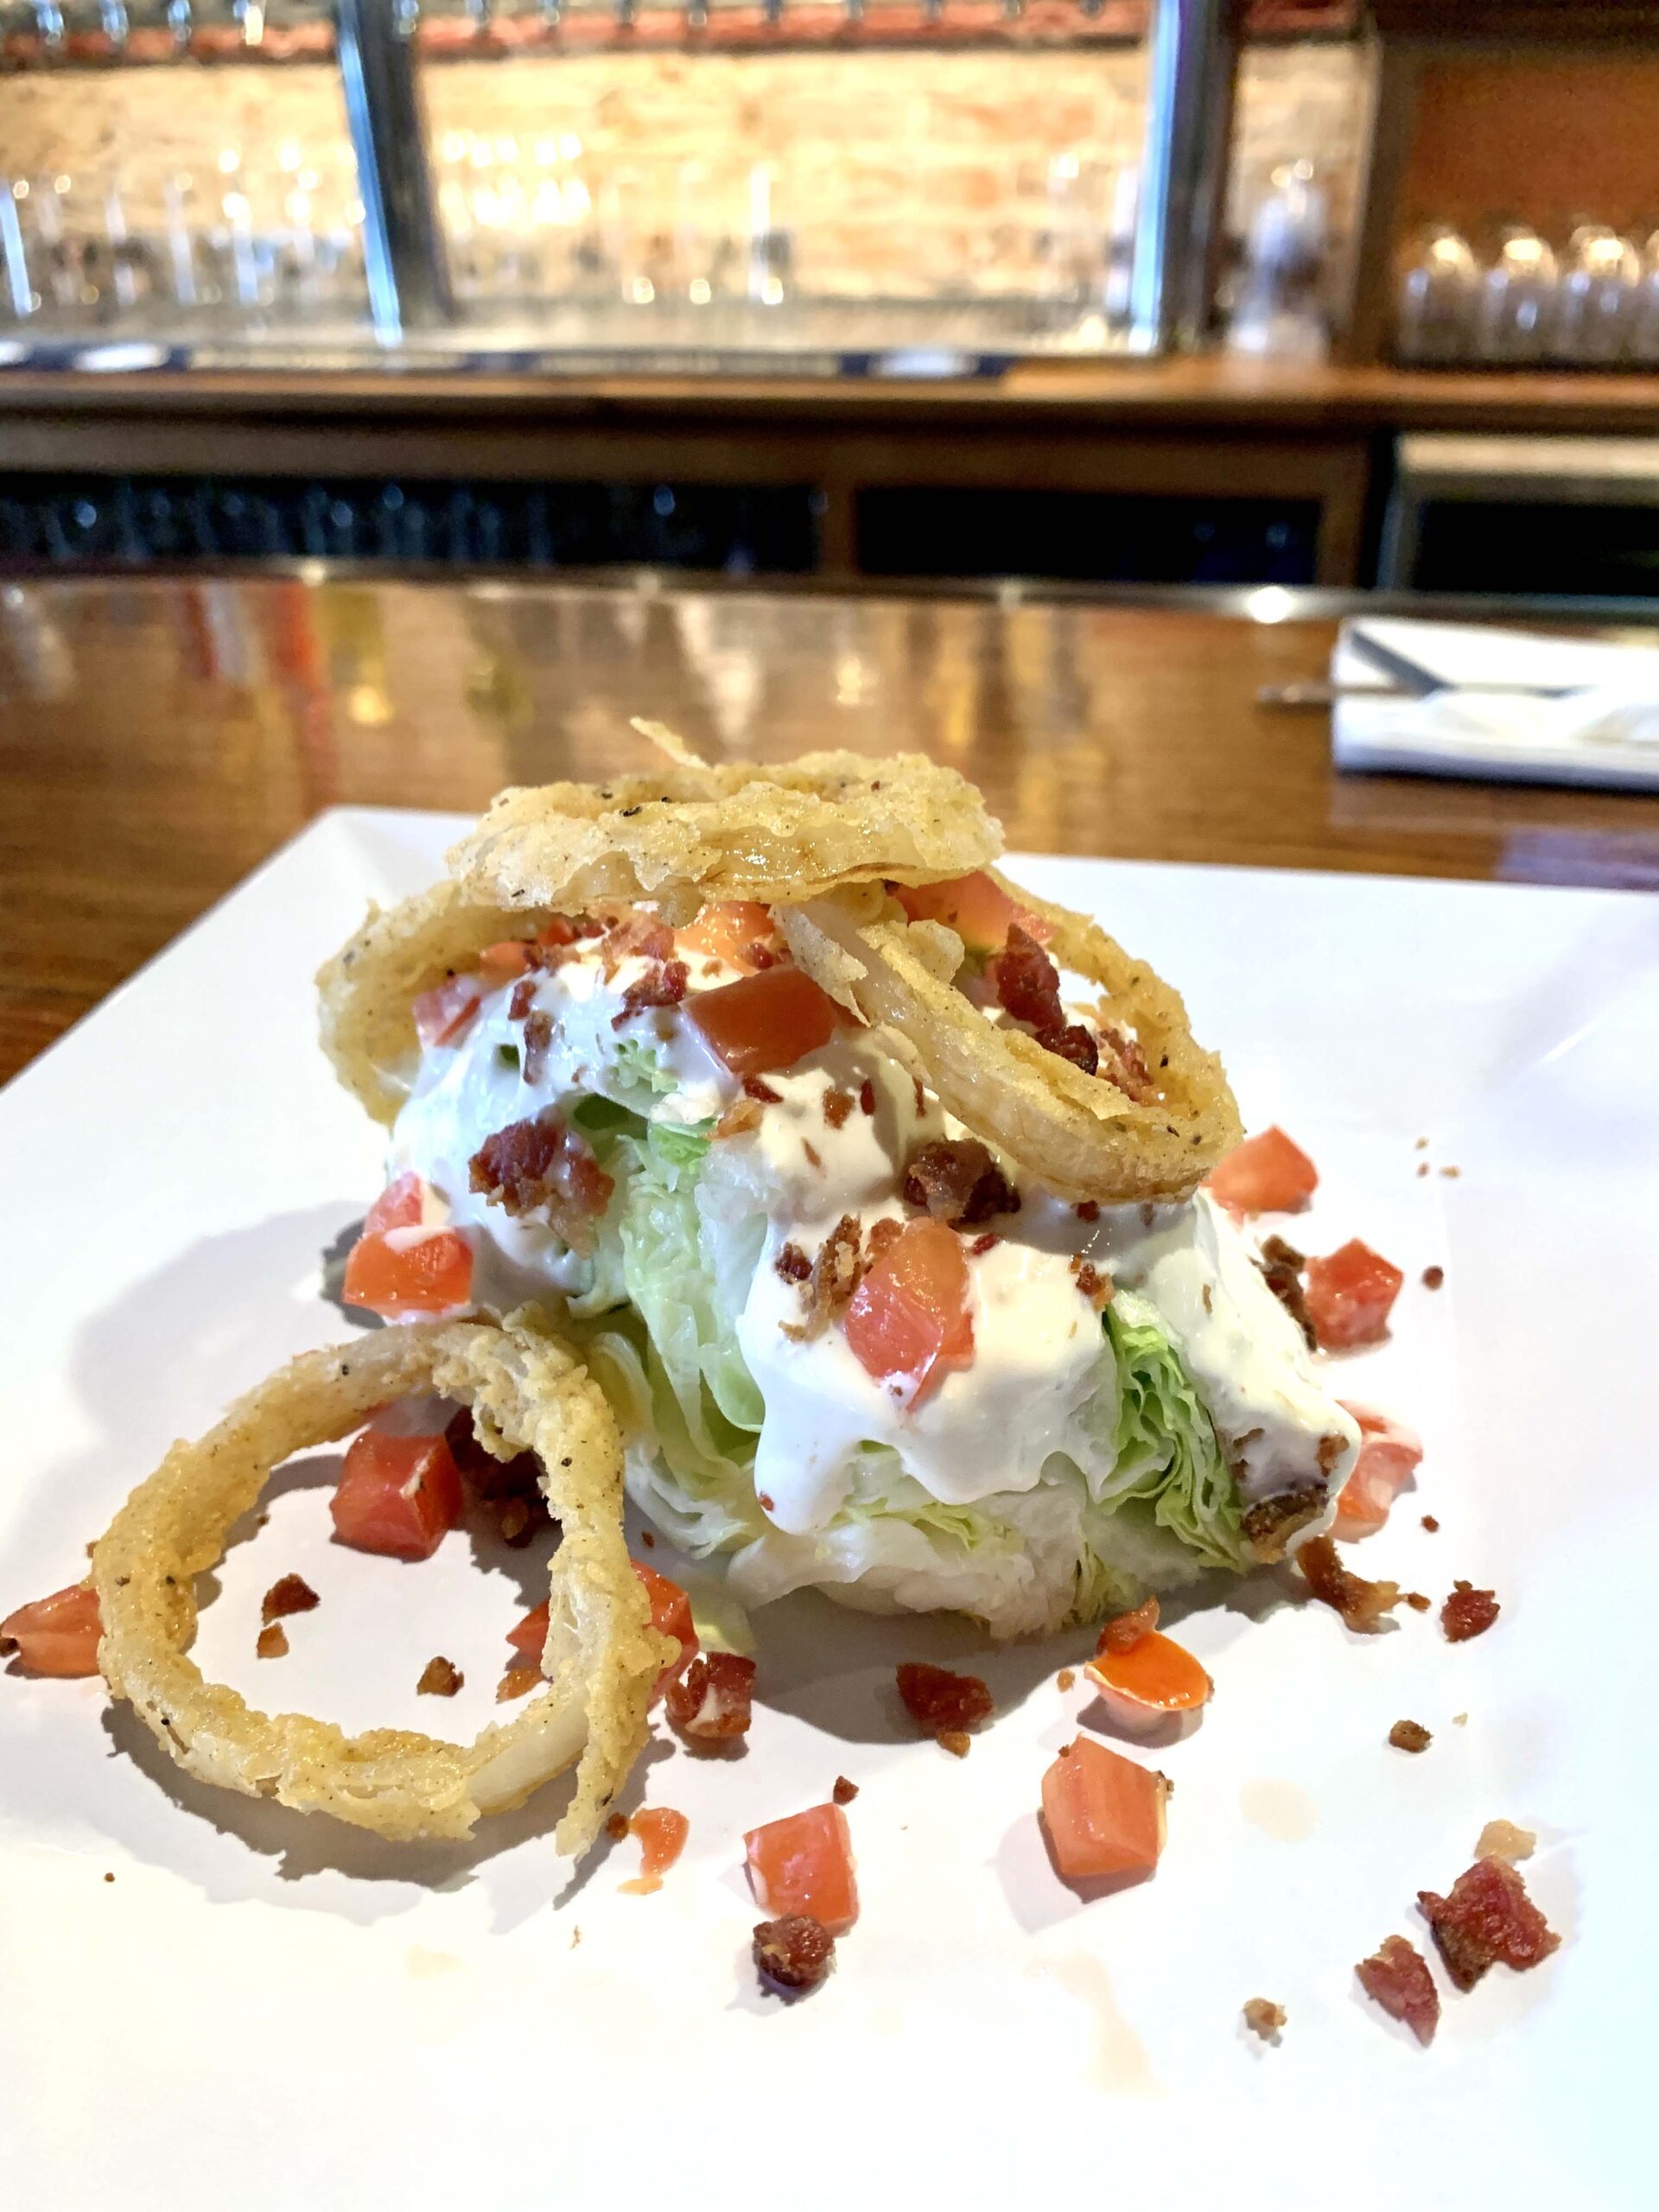
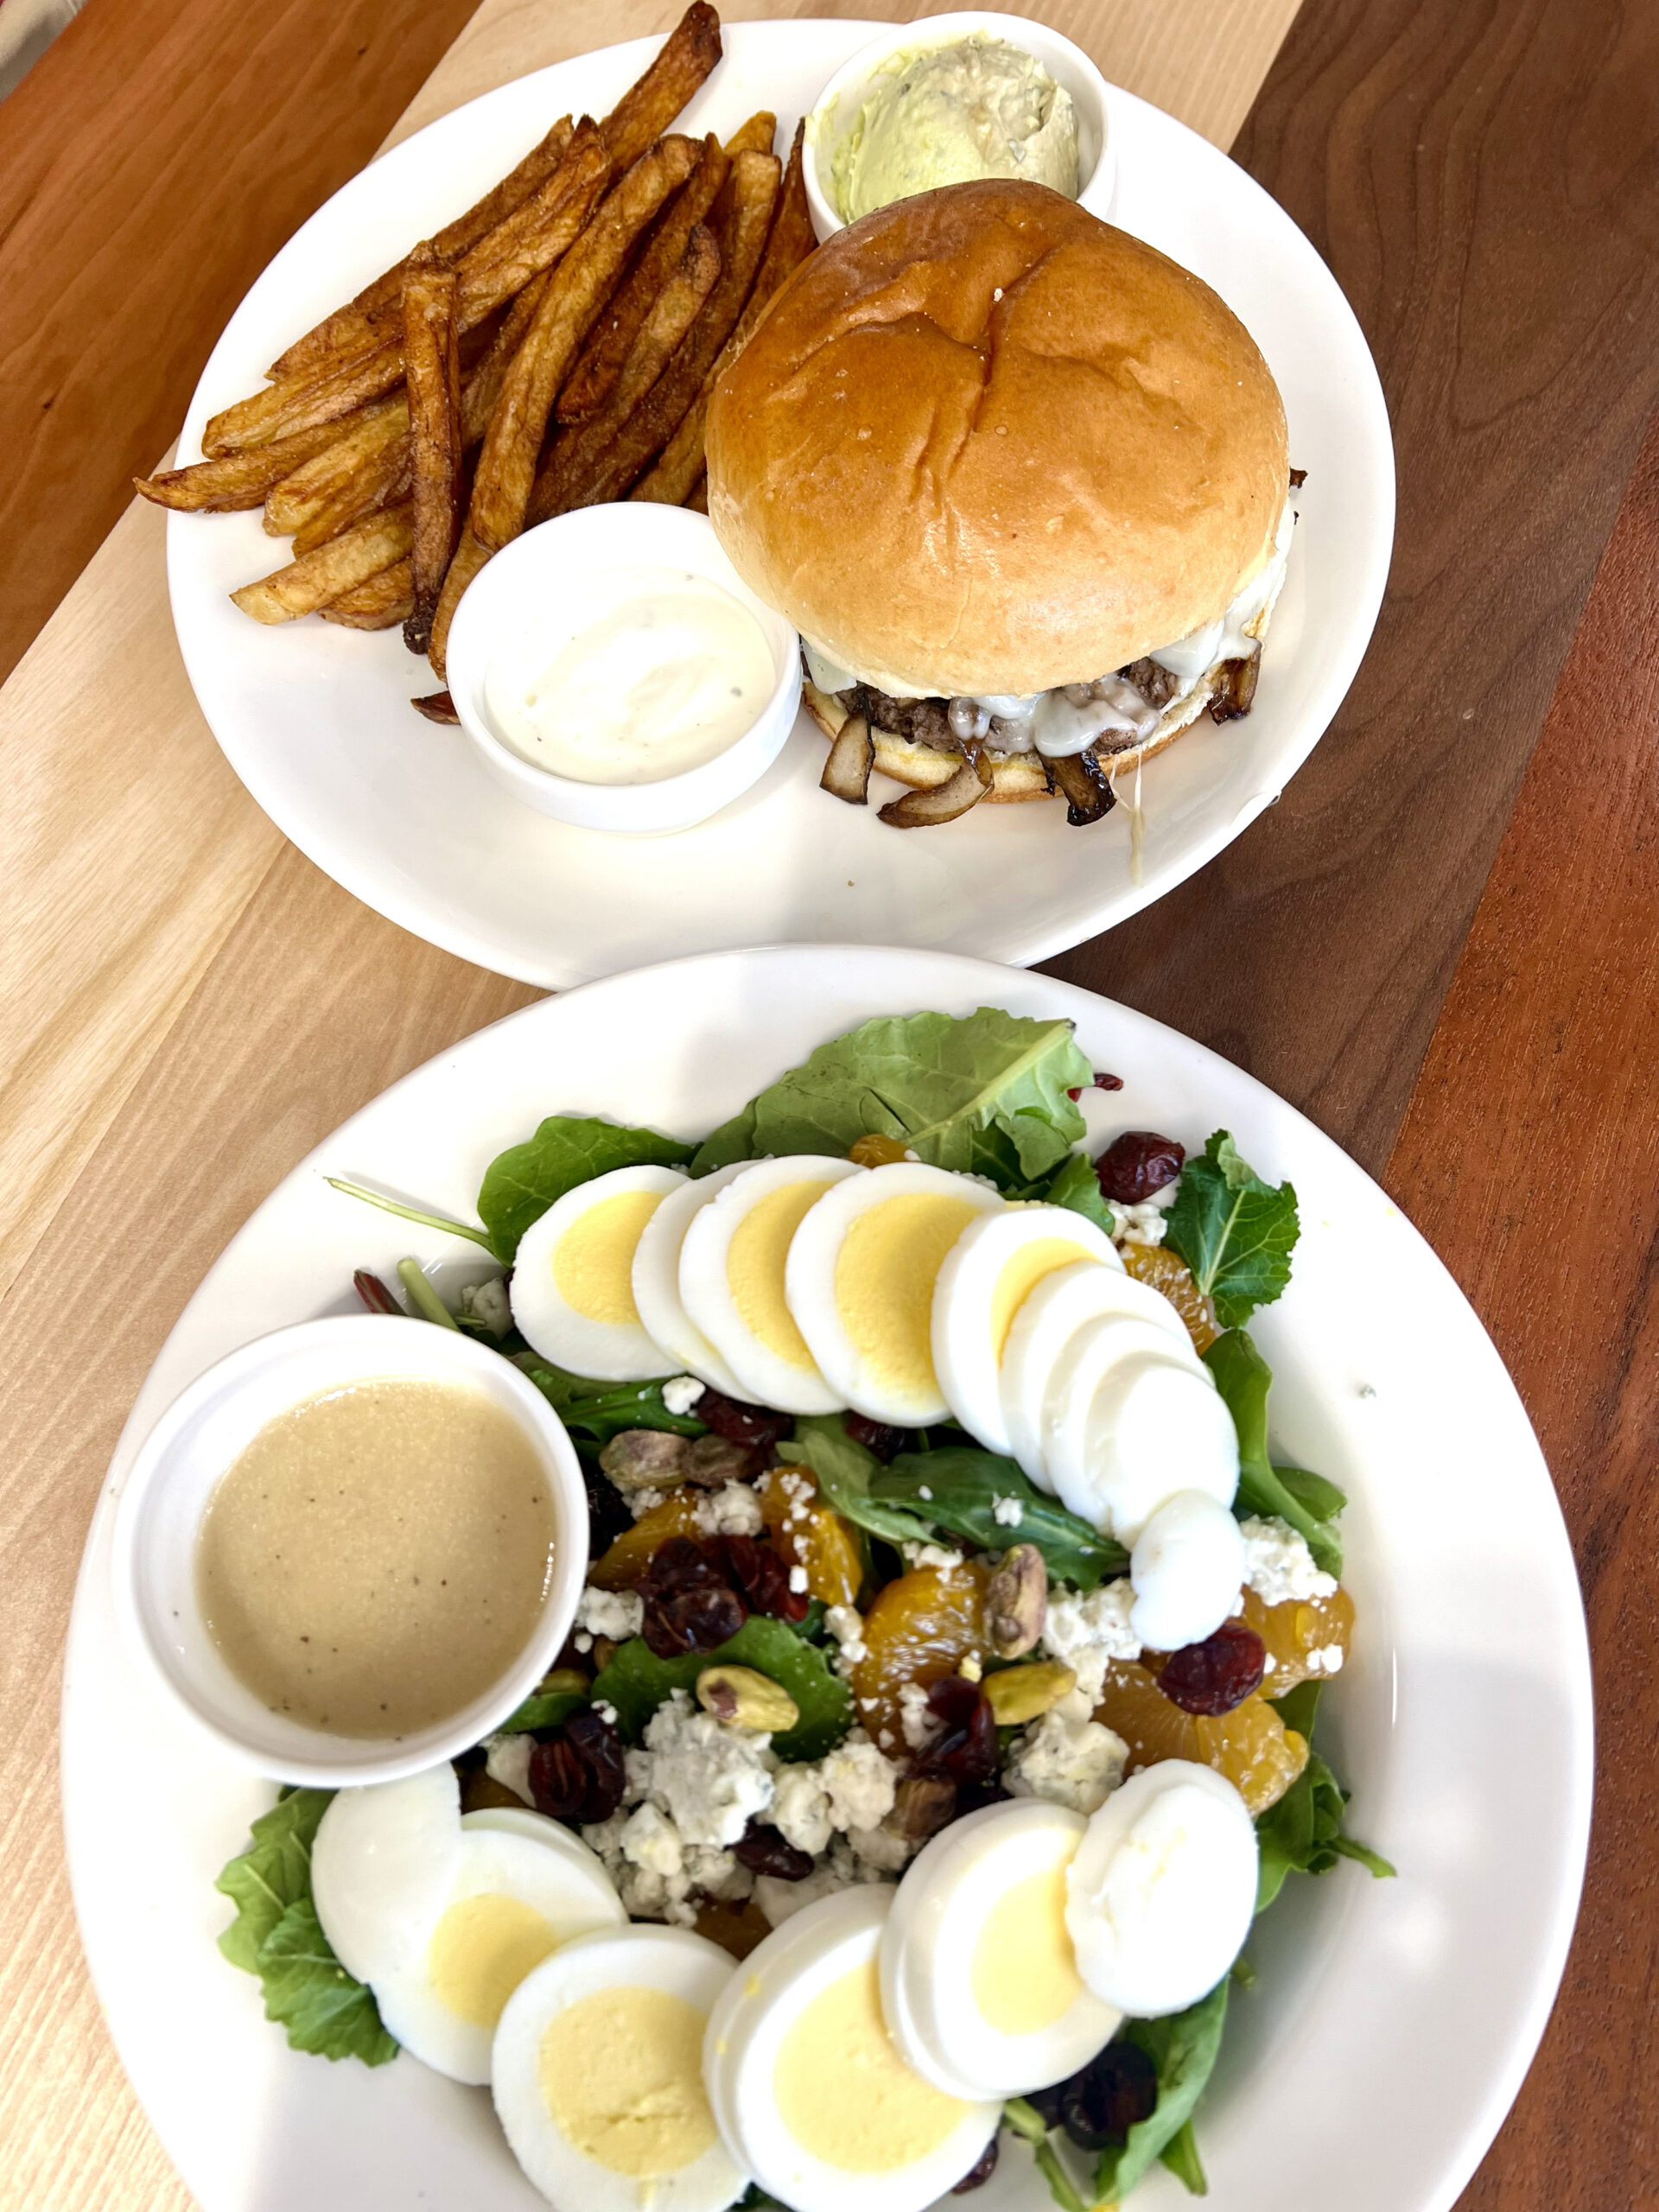
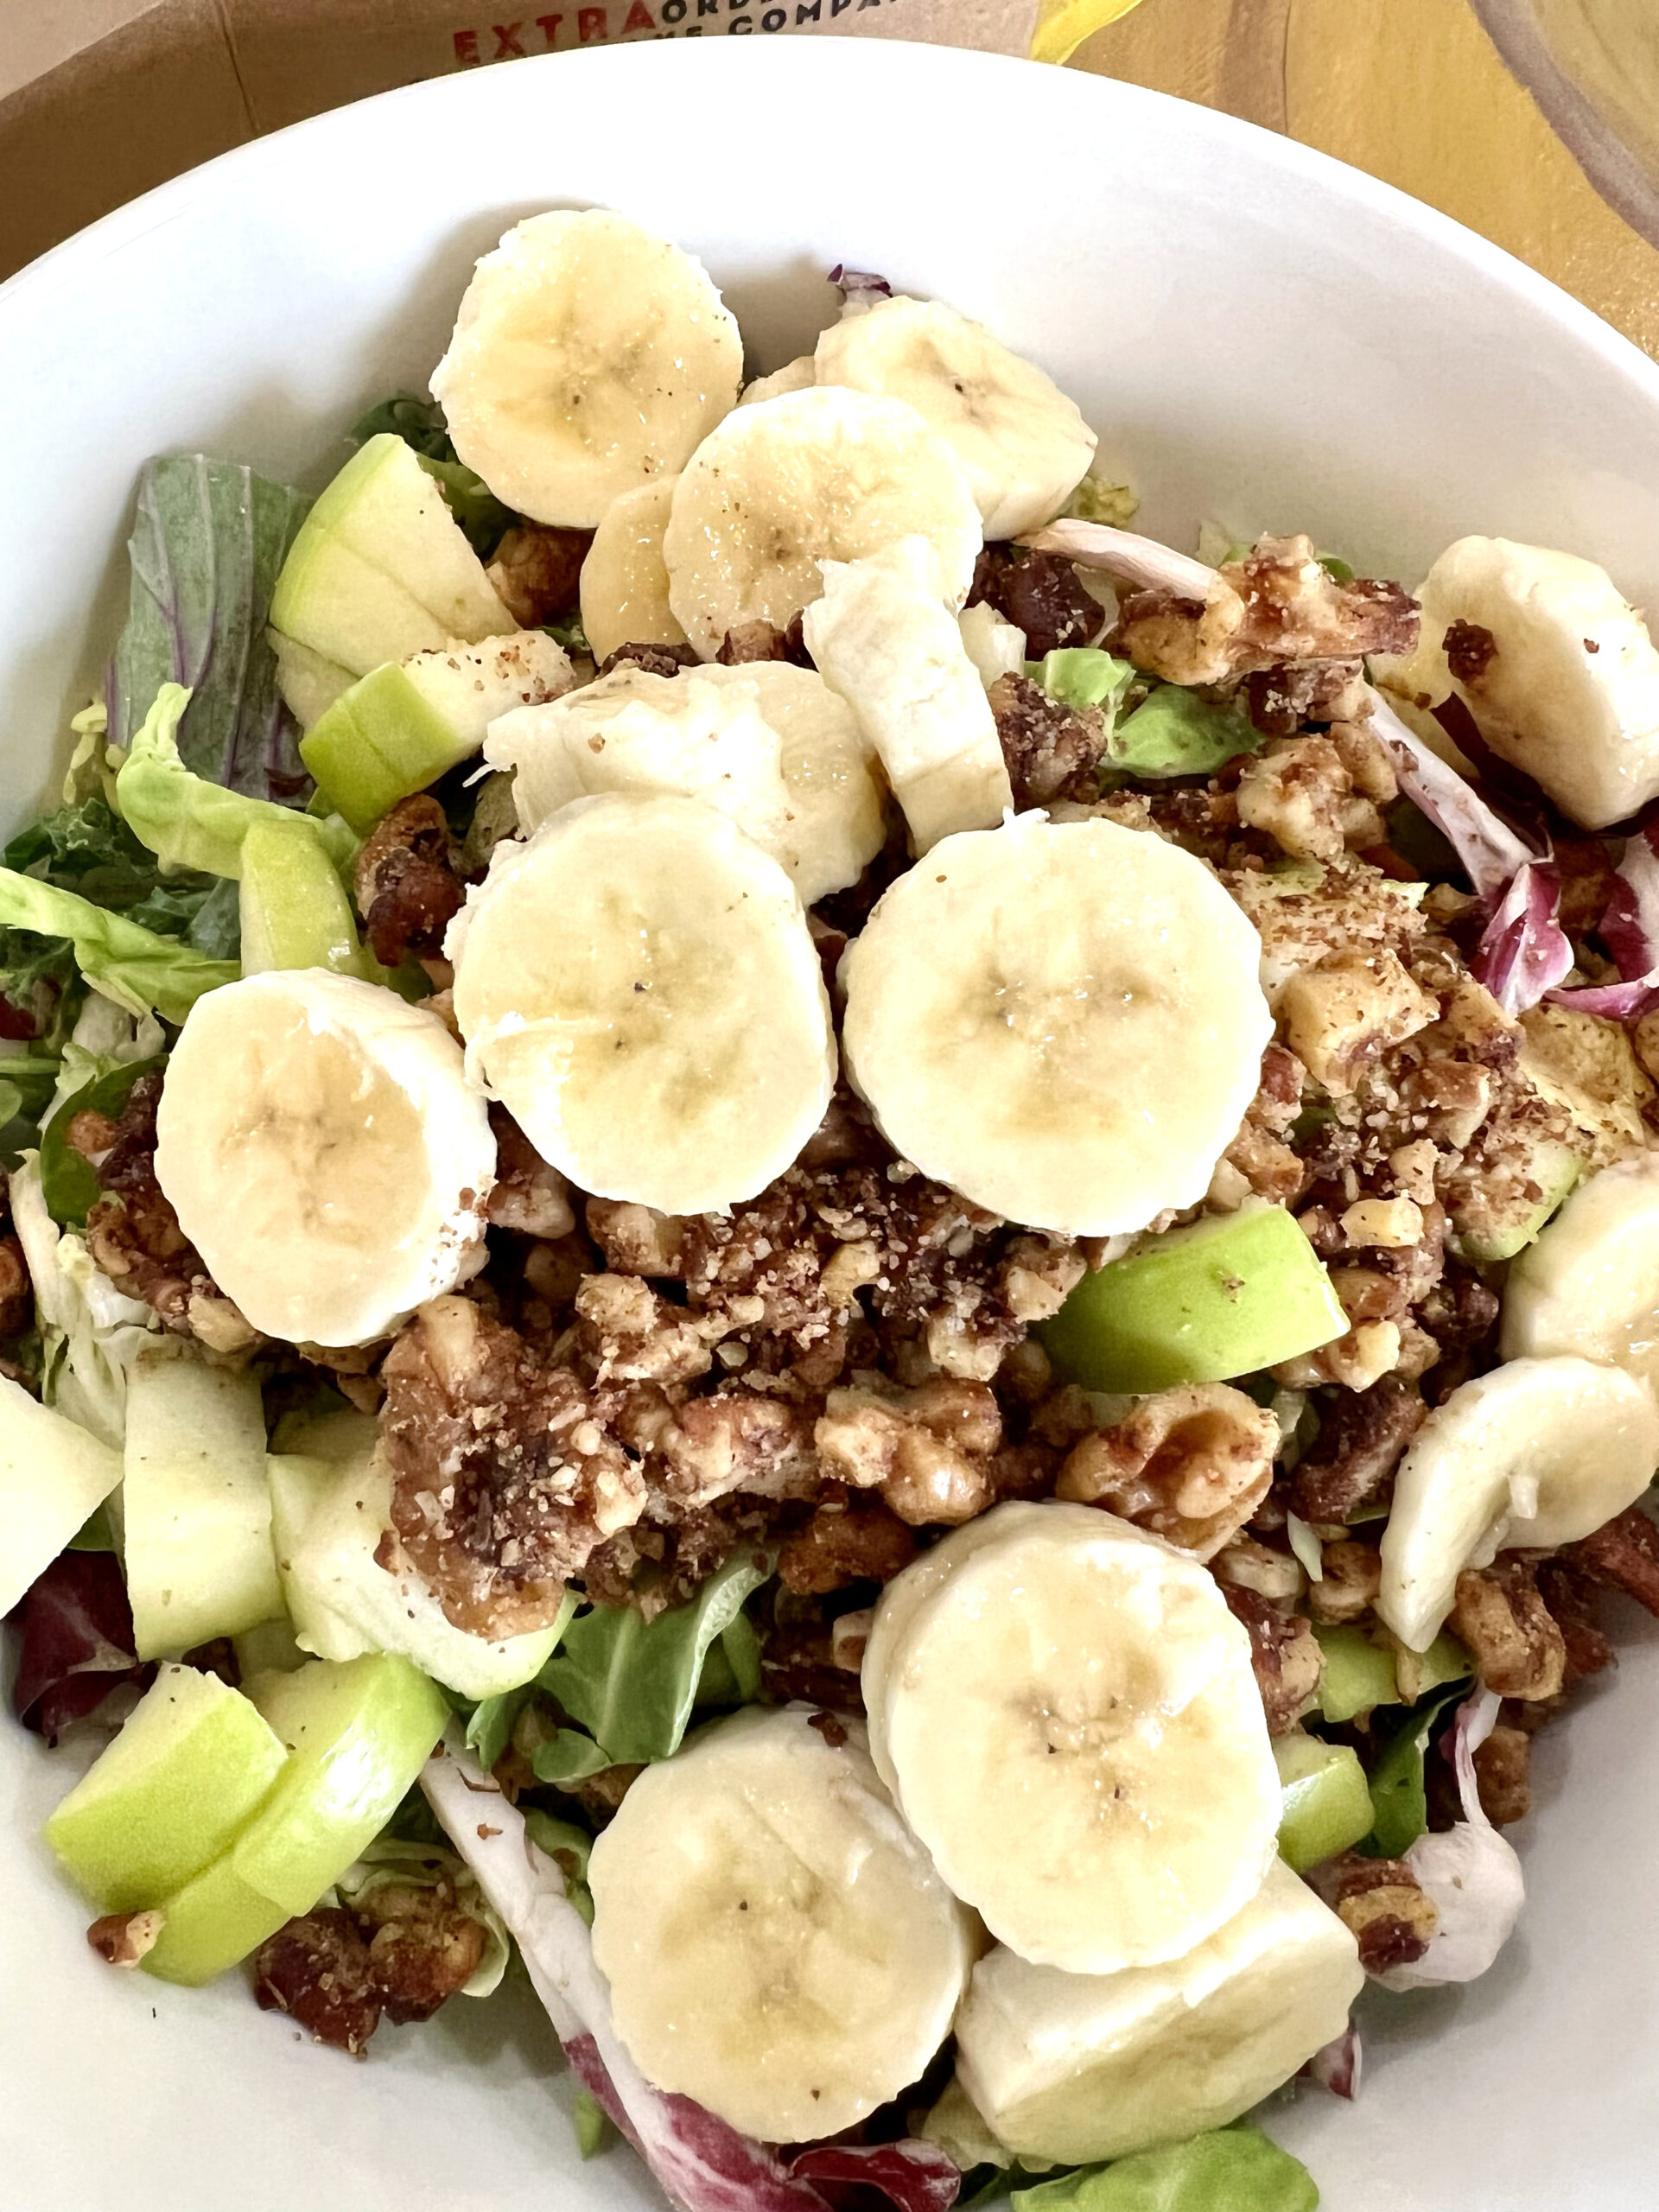
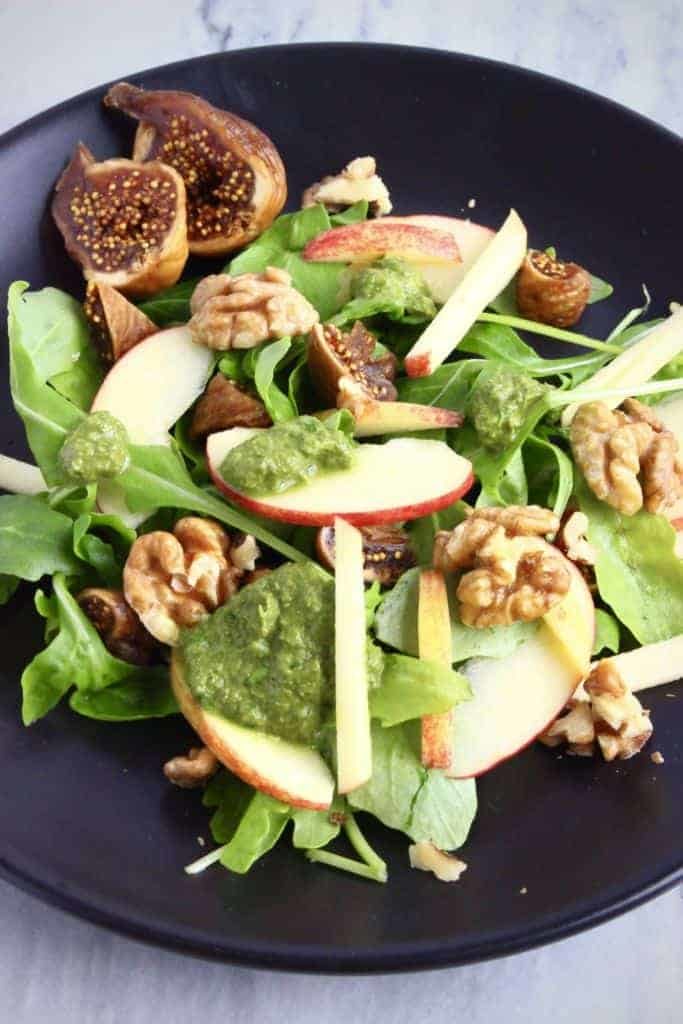
You can’t go wrong at Johnny’s Tavern, whether you order the Apple Walnut Crunch, Johnny’s Cobb, or Wedge salad. If you’re craving a savory bowl of soup, enjoy homemade chili, or ask about the Soup of the Day. House-made Jambalaya with andouille sausage brings the heat.
The Glass Cat, Bonner Springs
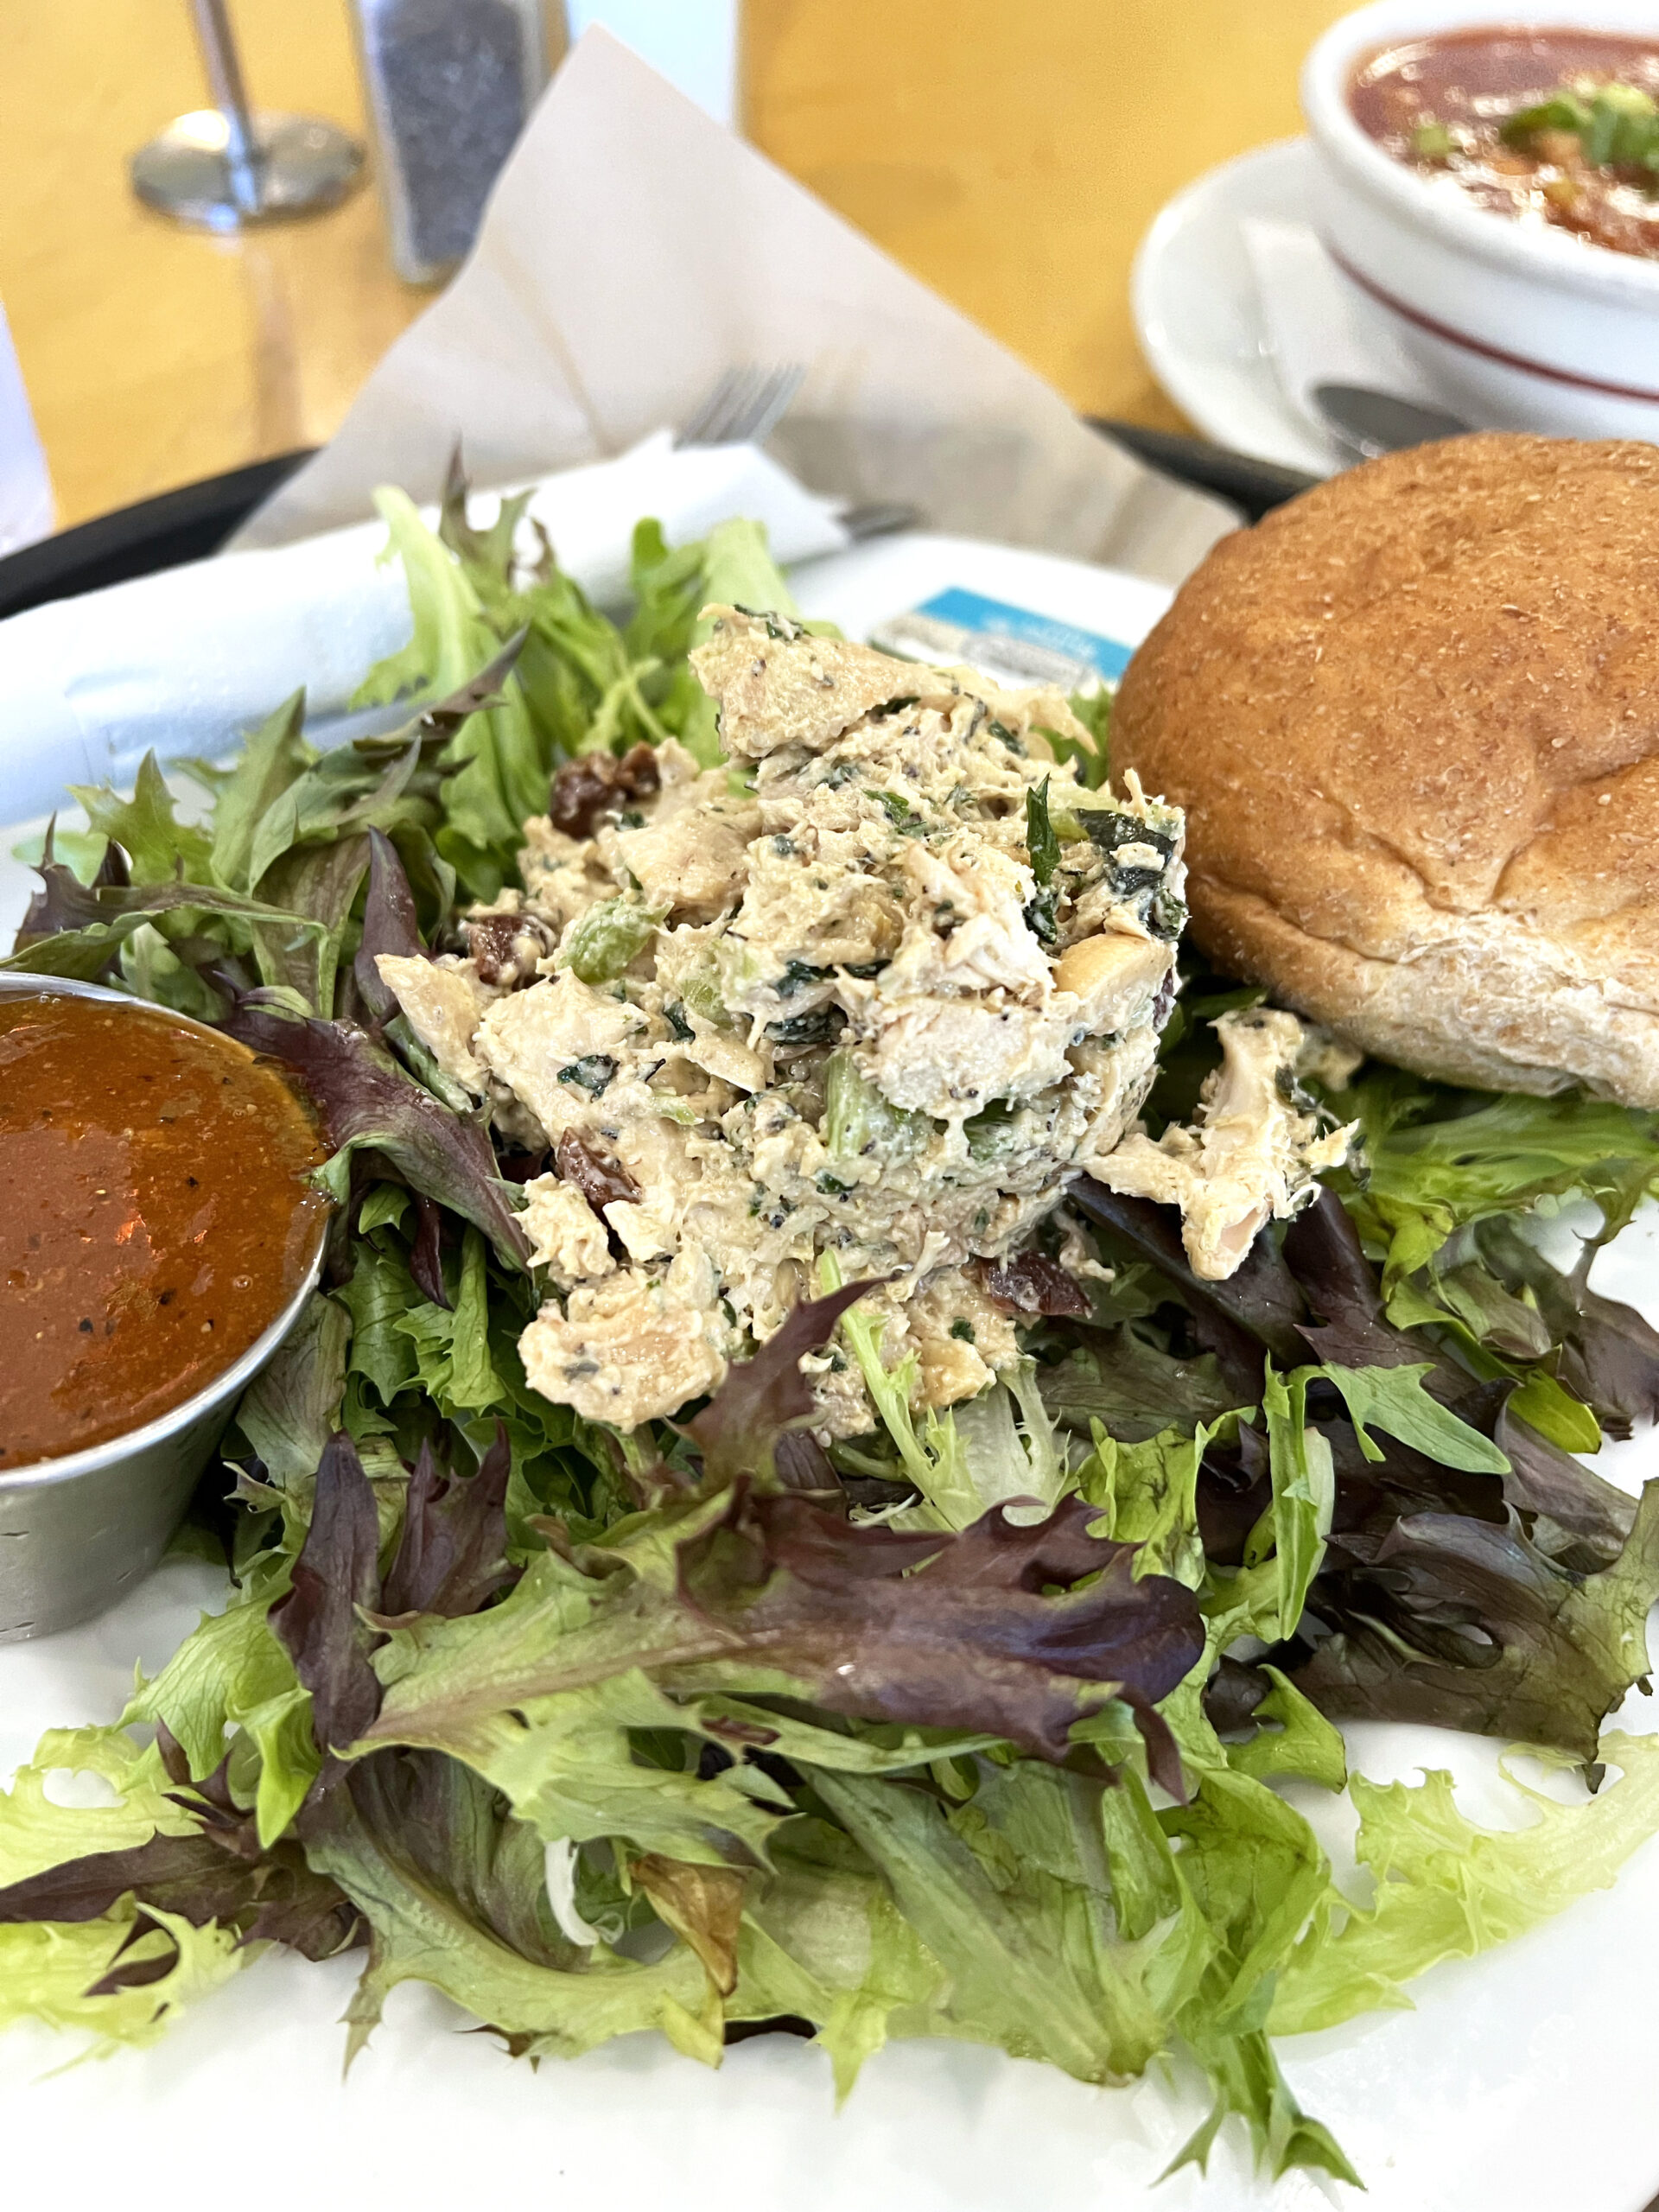
A day in Bonner Springs is enhanced by a chef-prepared salad at The Glass Cat. The latest addition to the town’s dining scene, it’s become a local favorite for its lunch menu options, which often include protein-topped salads. If you’re in the mood for a chicken salad sandwich made with homemade bread, you’re in luck.
Willie’s Sports Pub, Atchison
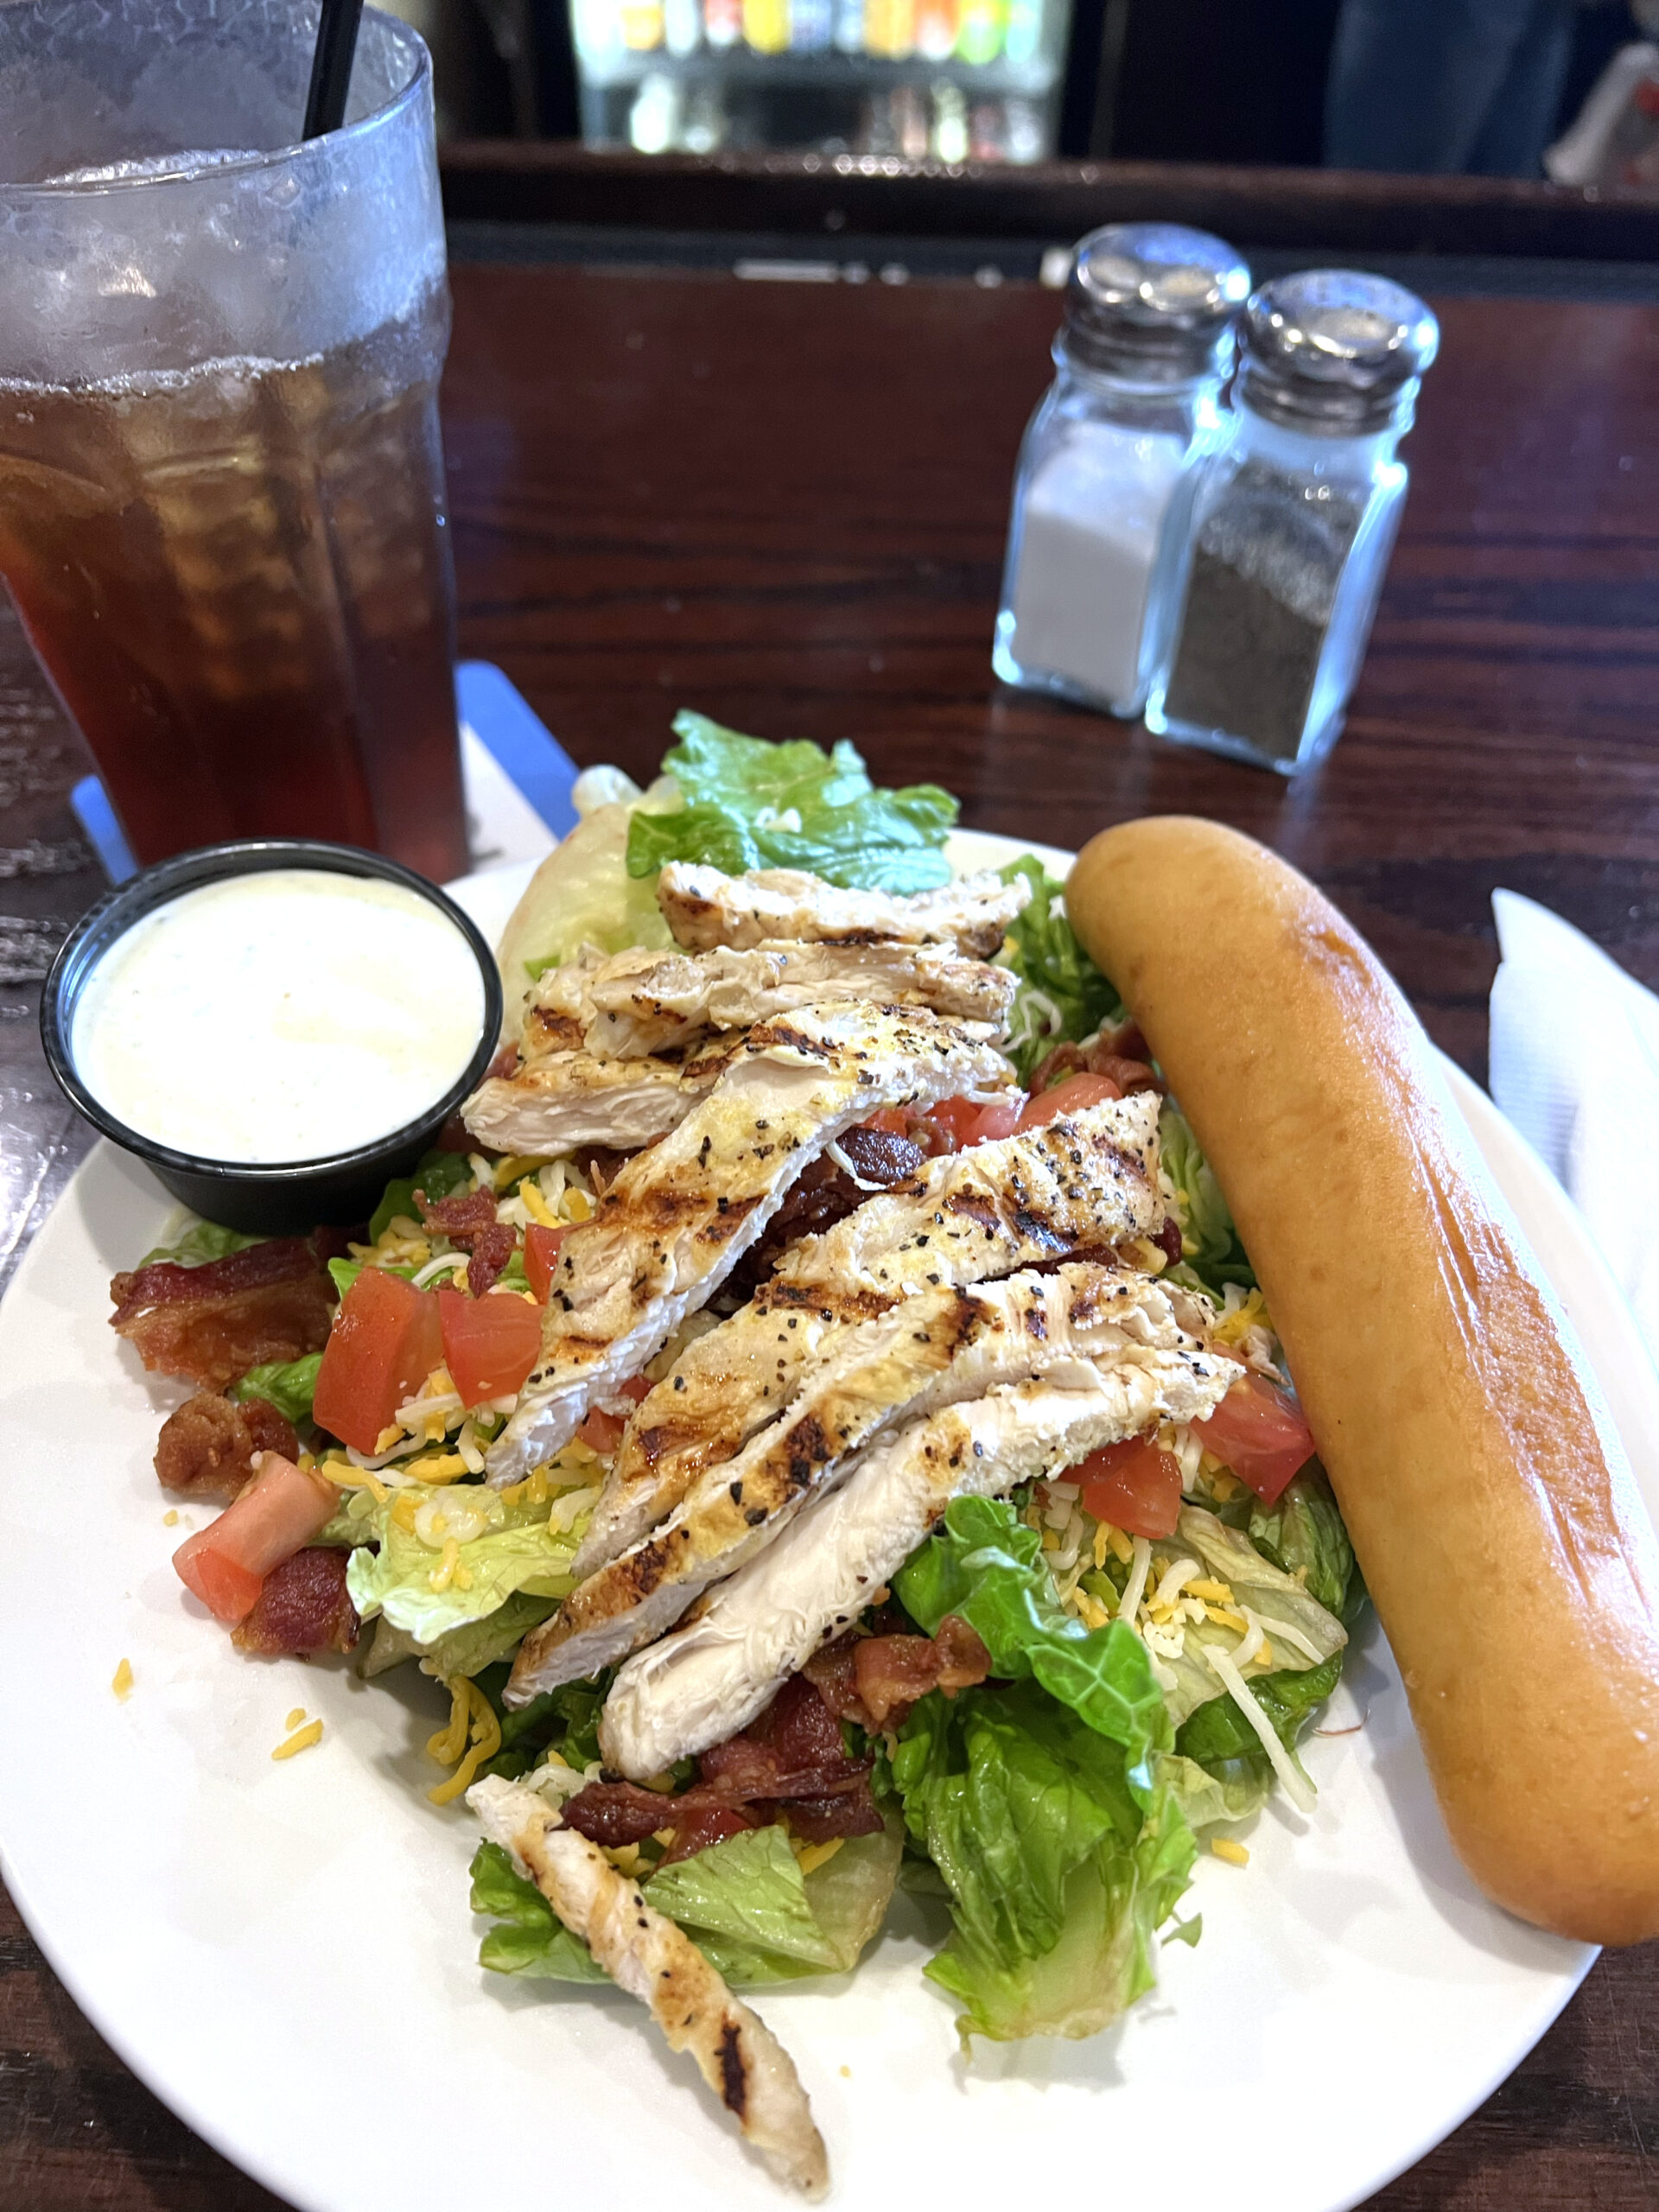
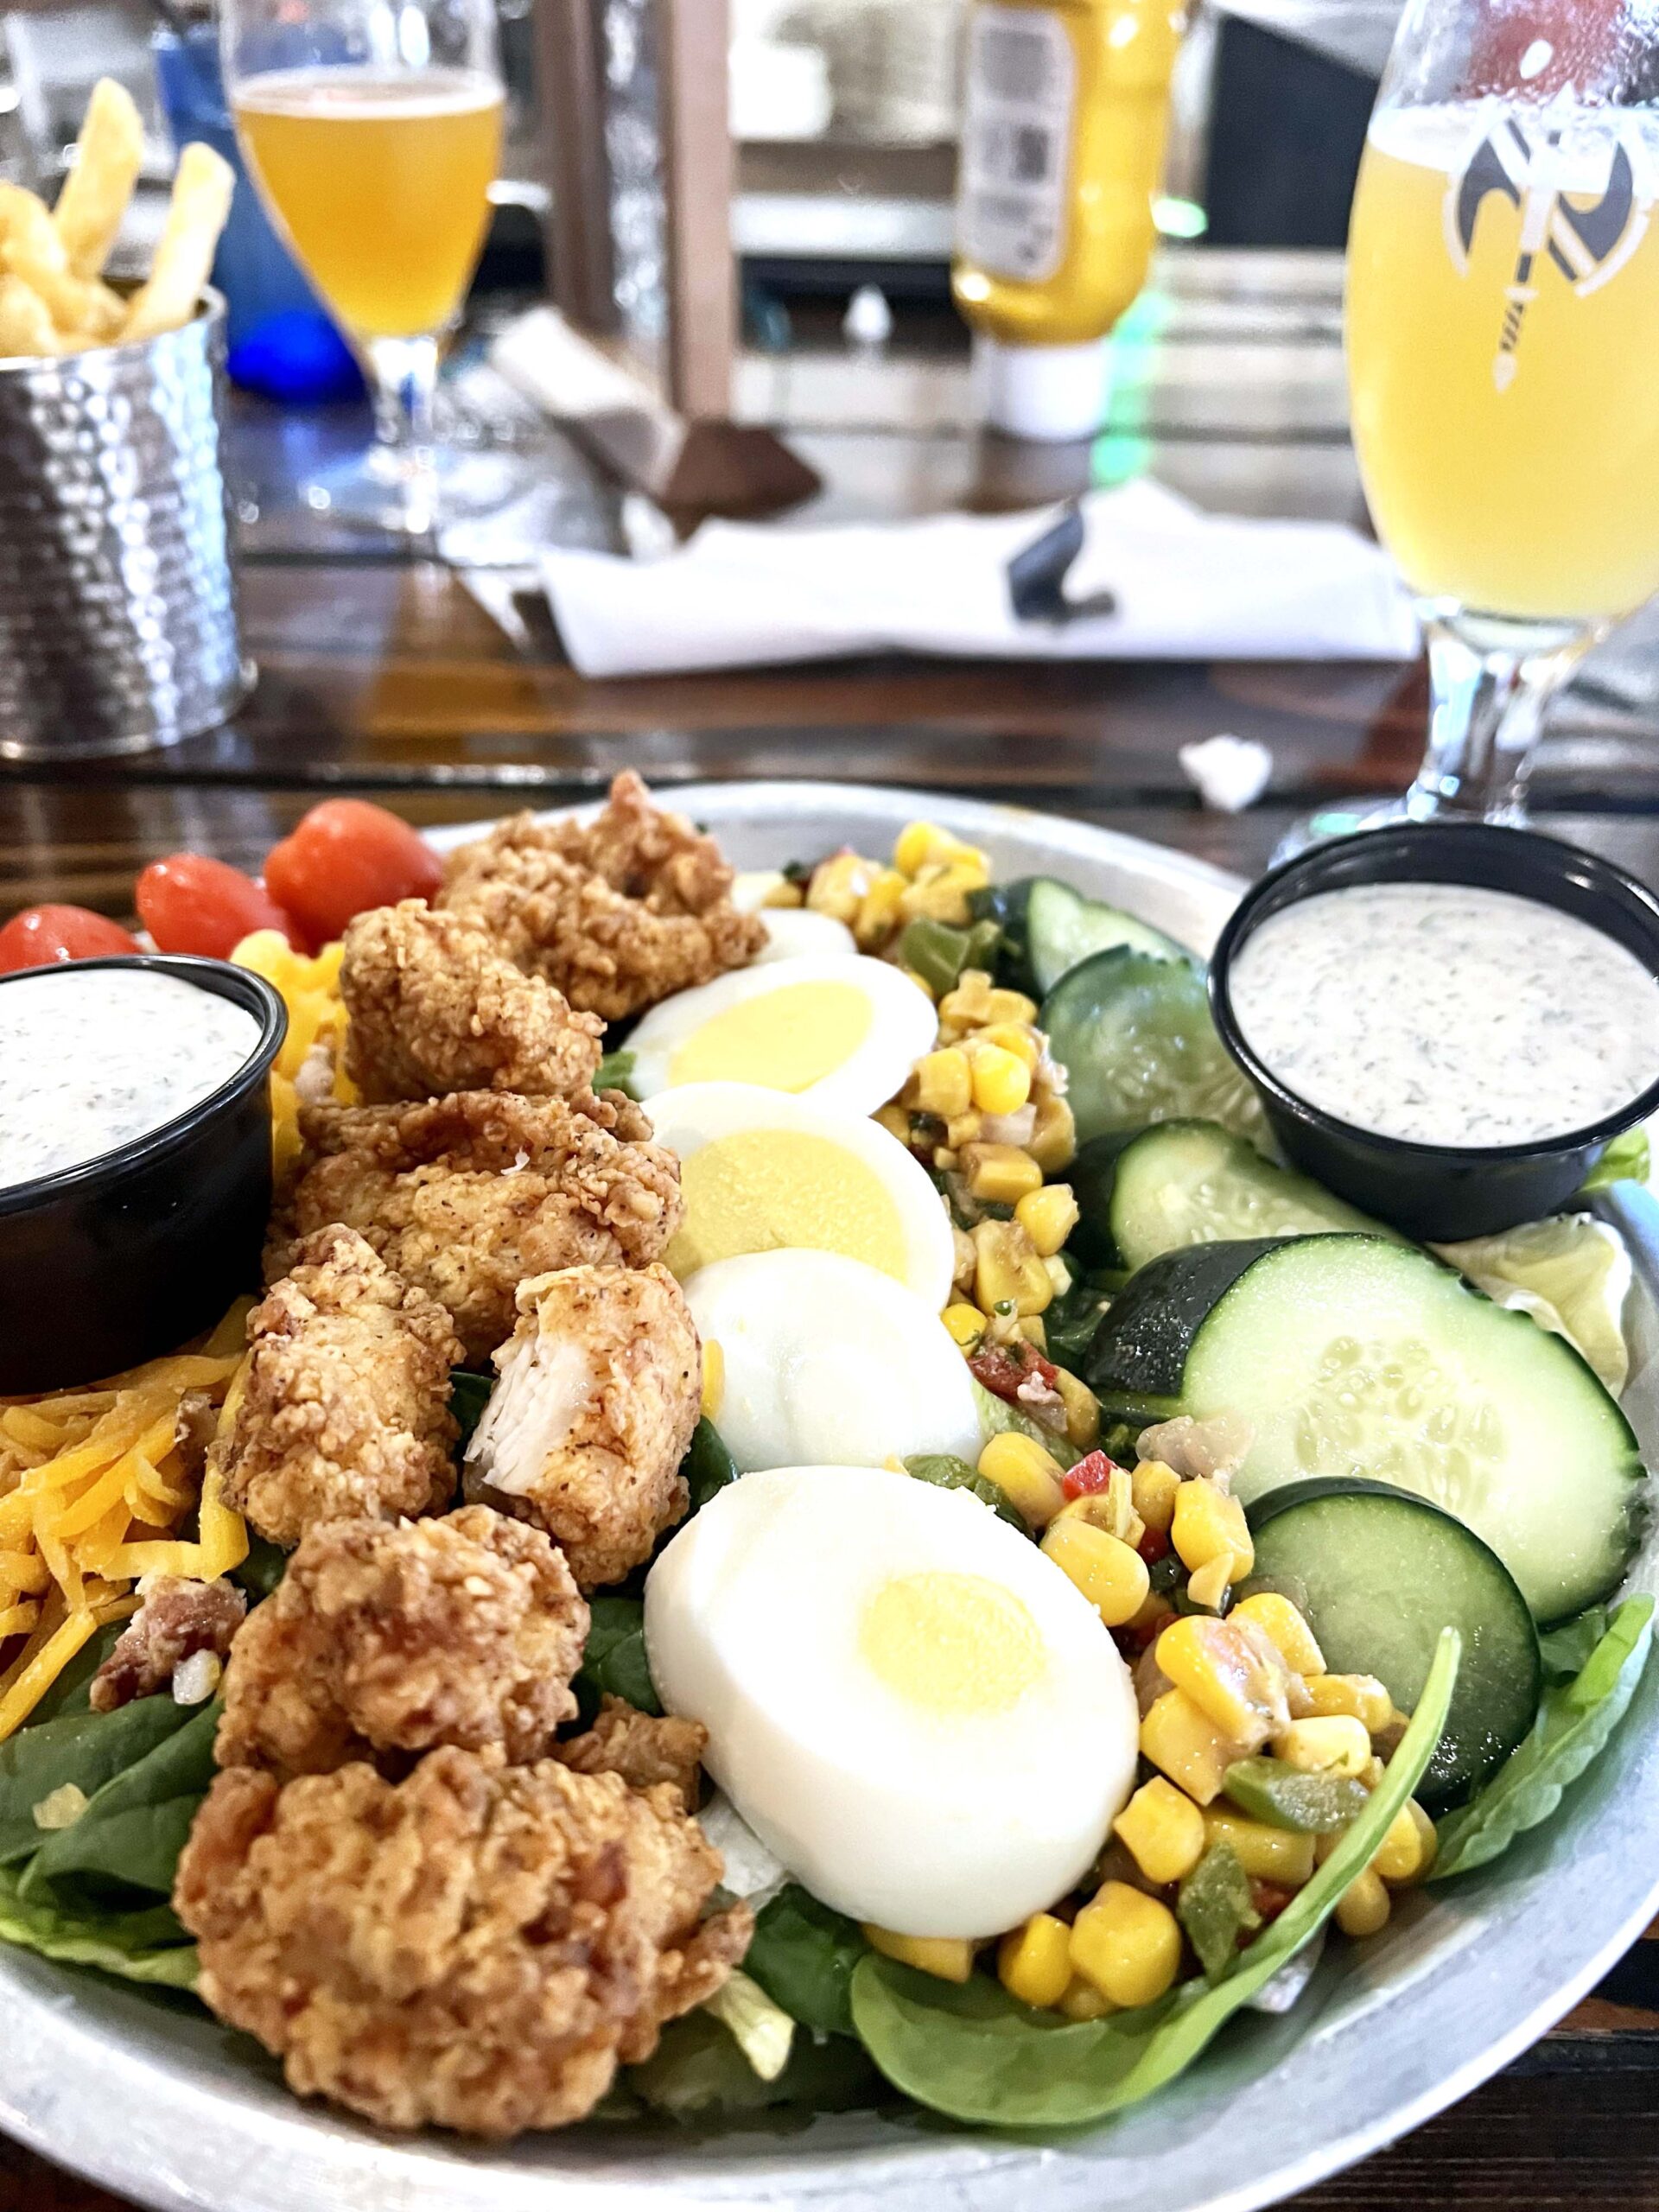
Every town needs a celebrated restaurant like Willie’s Sports Pub, where locals and visitors can gather for heaping plates of food and a cold drink. Enjoy a Chicken Club Salad, Smoked Chef Salad, or Grilled Steak Salad while you watch the game. Similar recipes appear on the Sandwiches and Wraps menu.
Union Street Social, Emporia
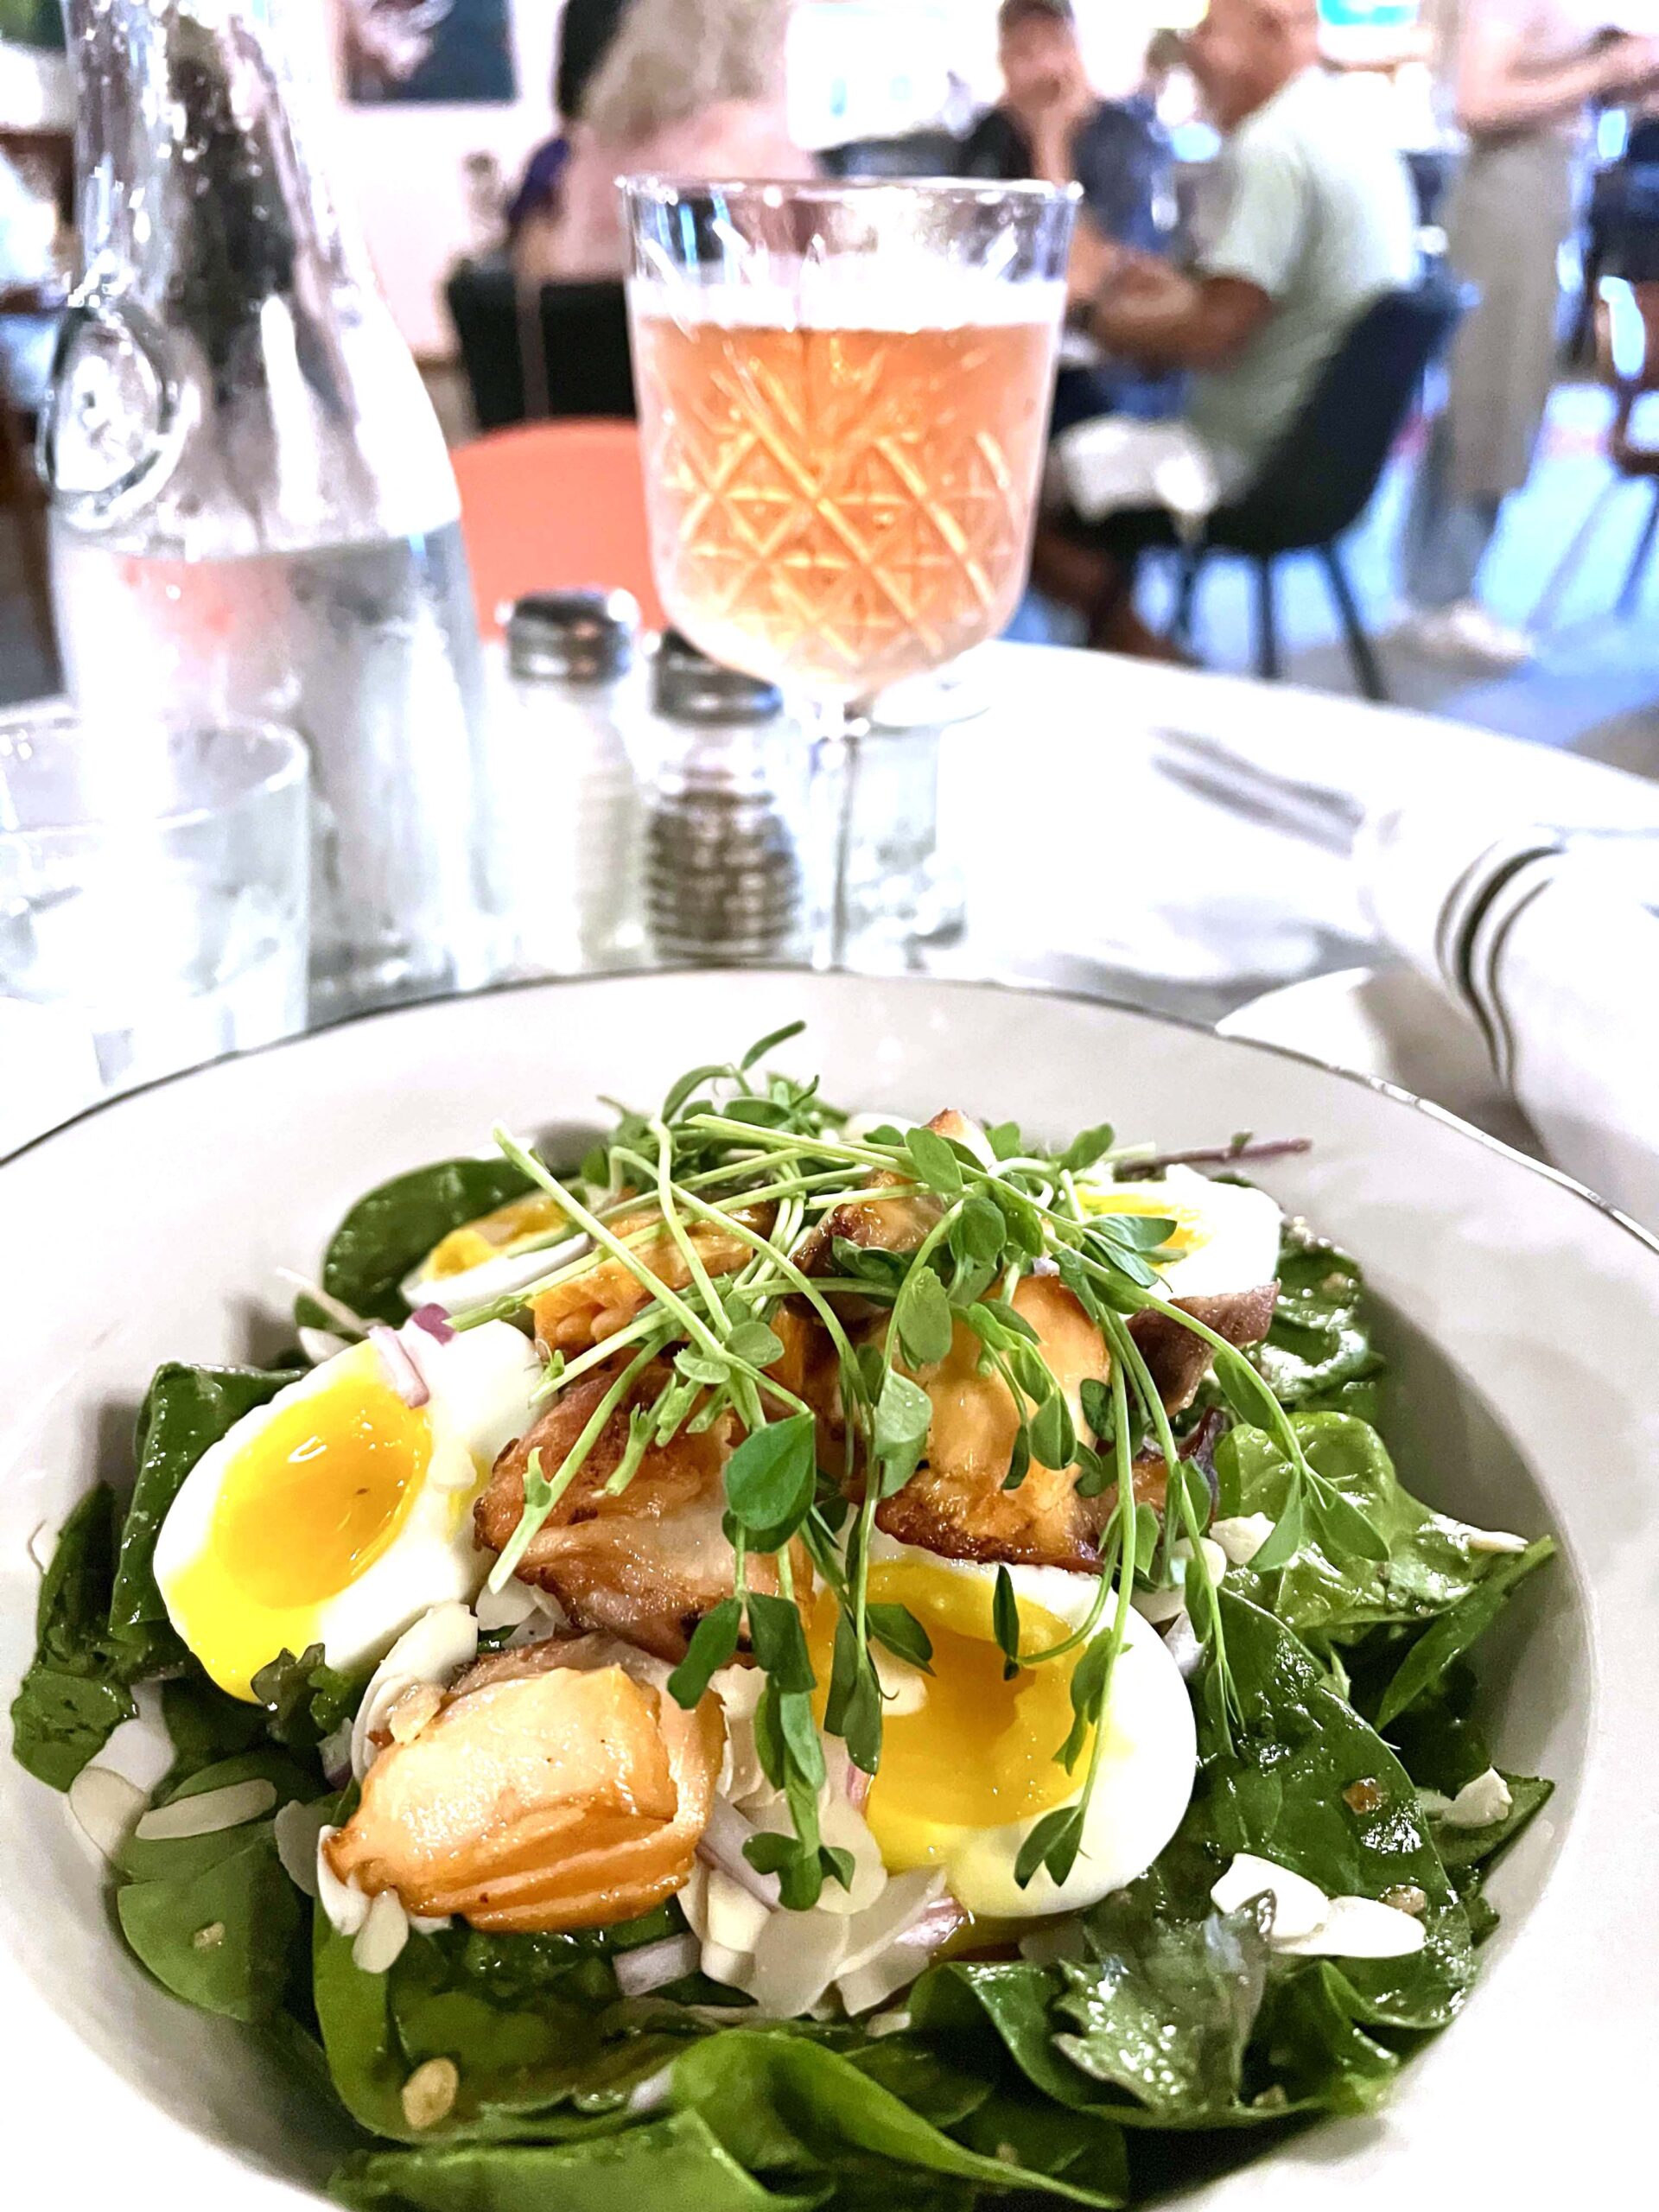
Union Street Social is the restaurant you always wished for, and now it’s here. The Smoked Salmon Salad includes perfectly cooked hard-boiled eggs and warm bacon dressing served over microgreens and spinach. Menu options change, but you can always find a sprout salad or a garden salad.
Crown & Rye, Lindsborg
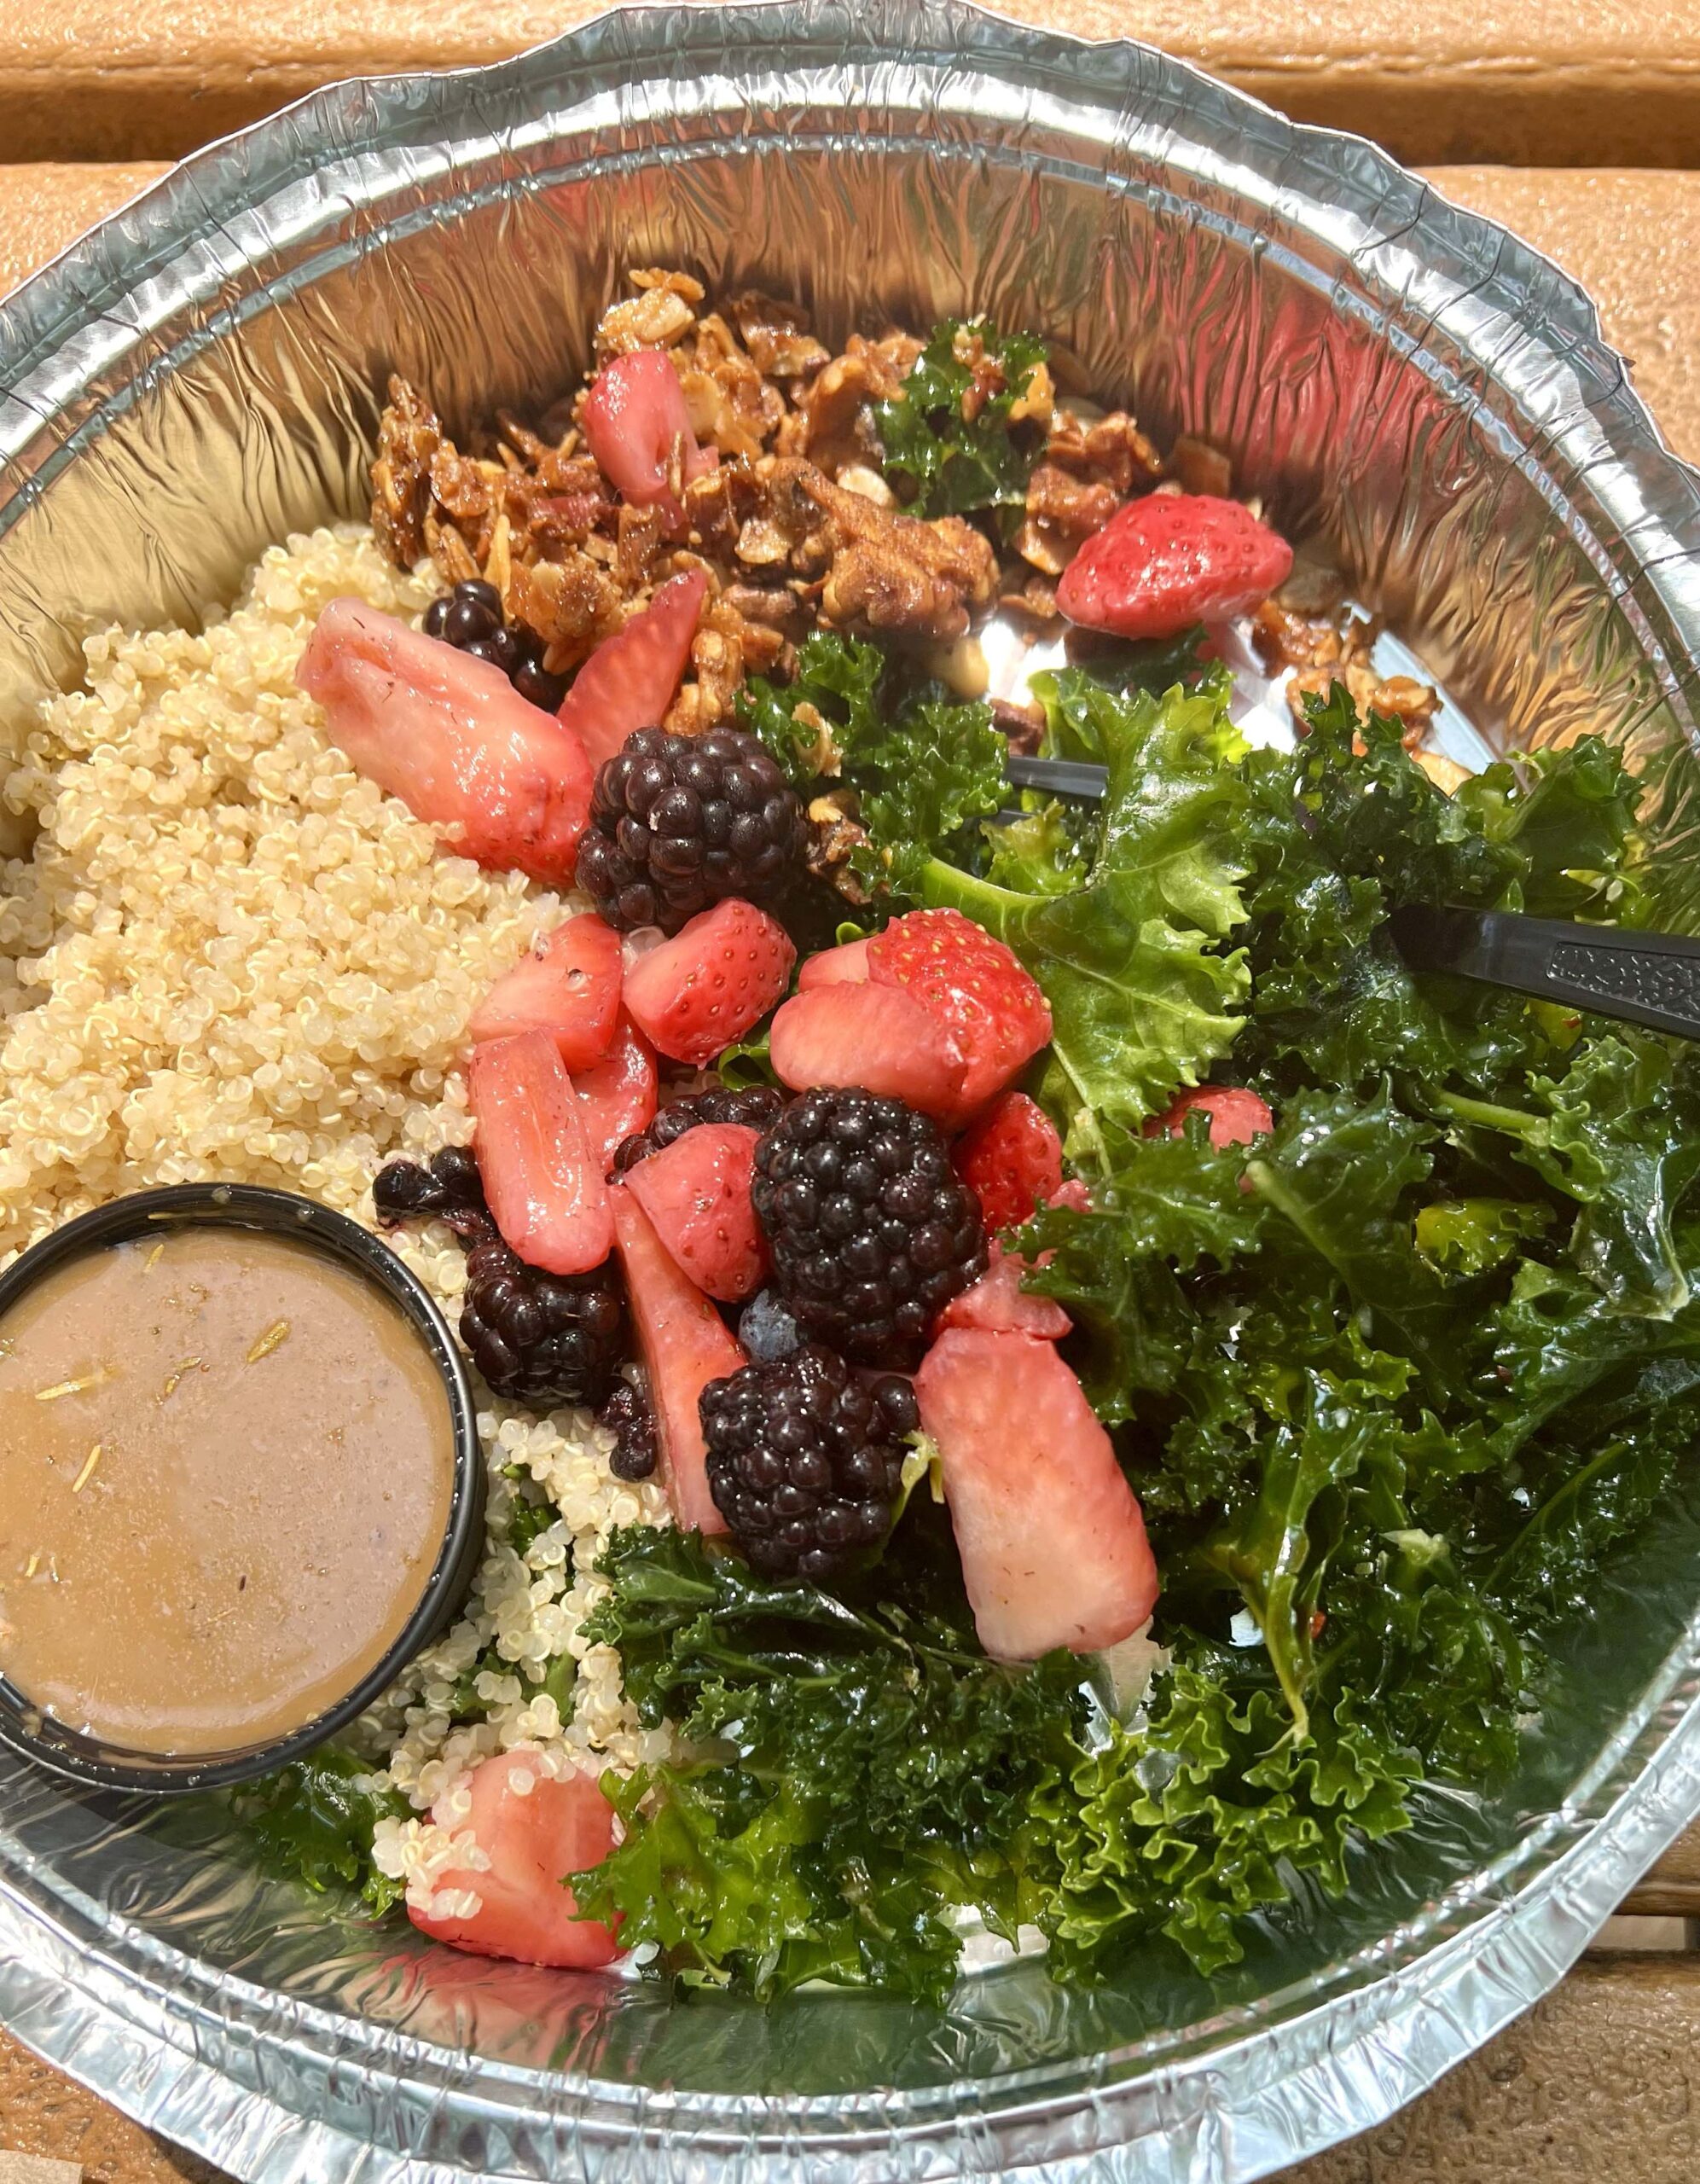
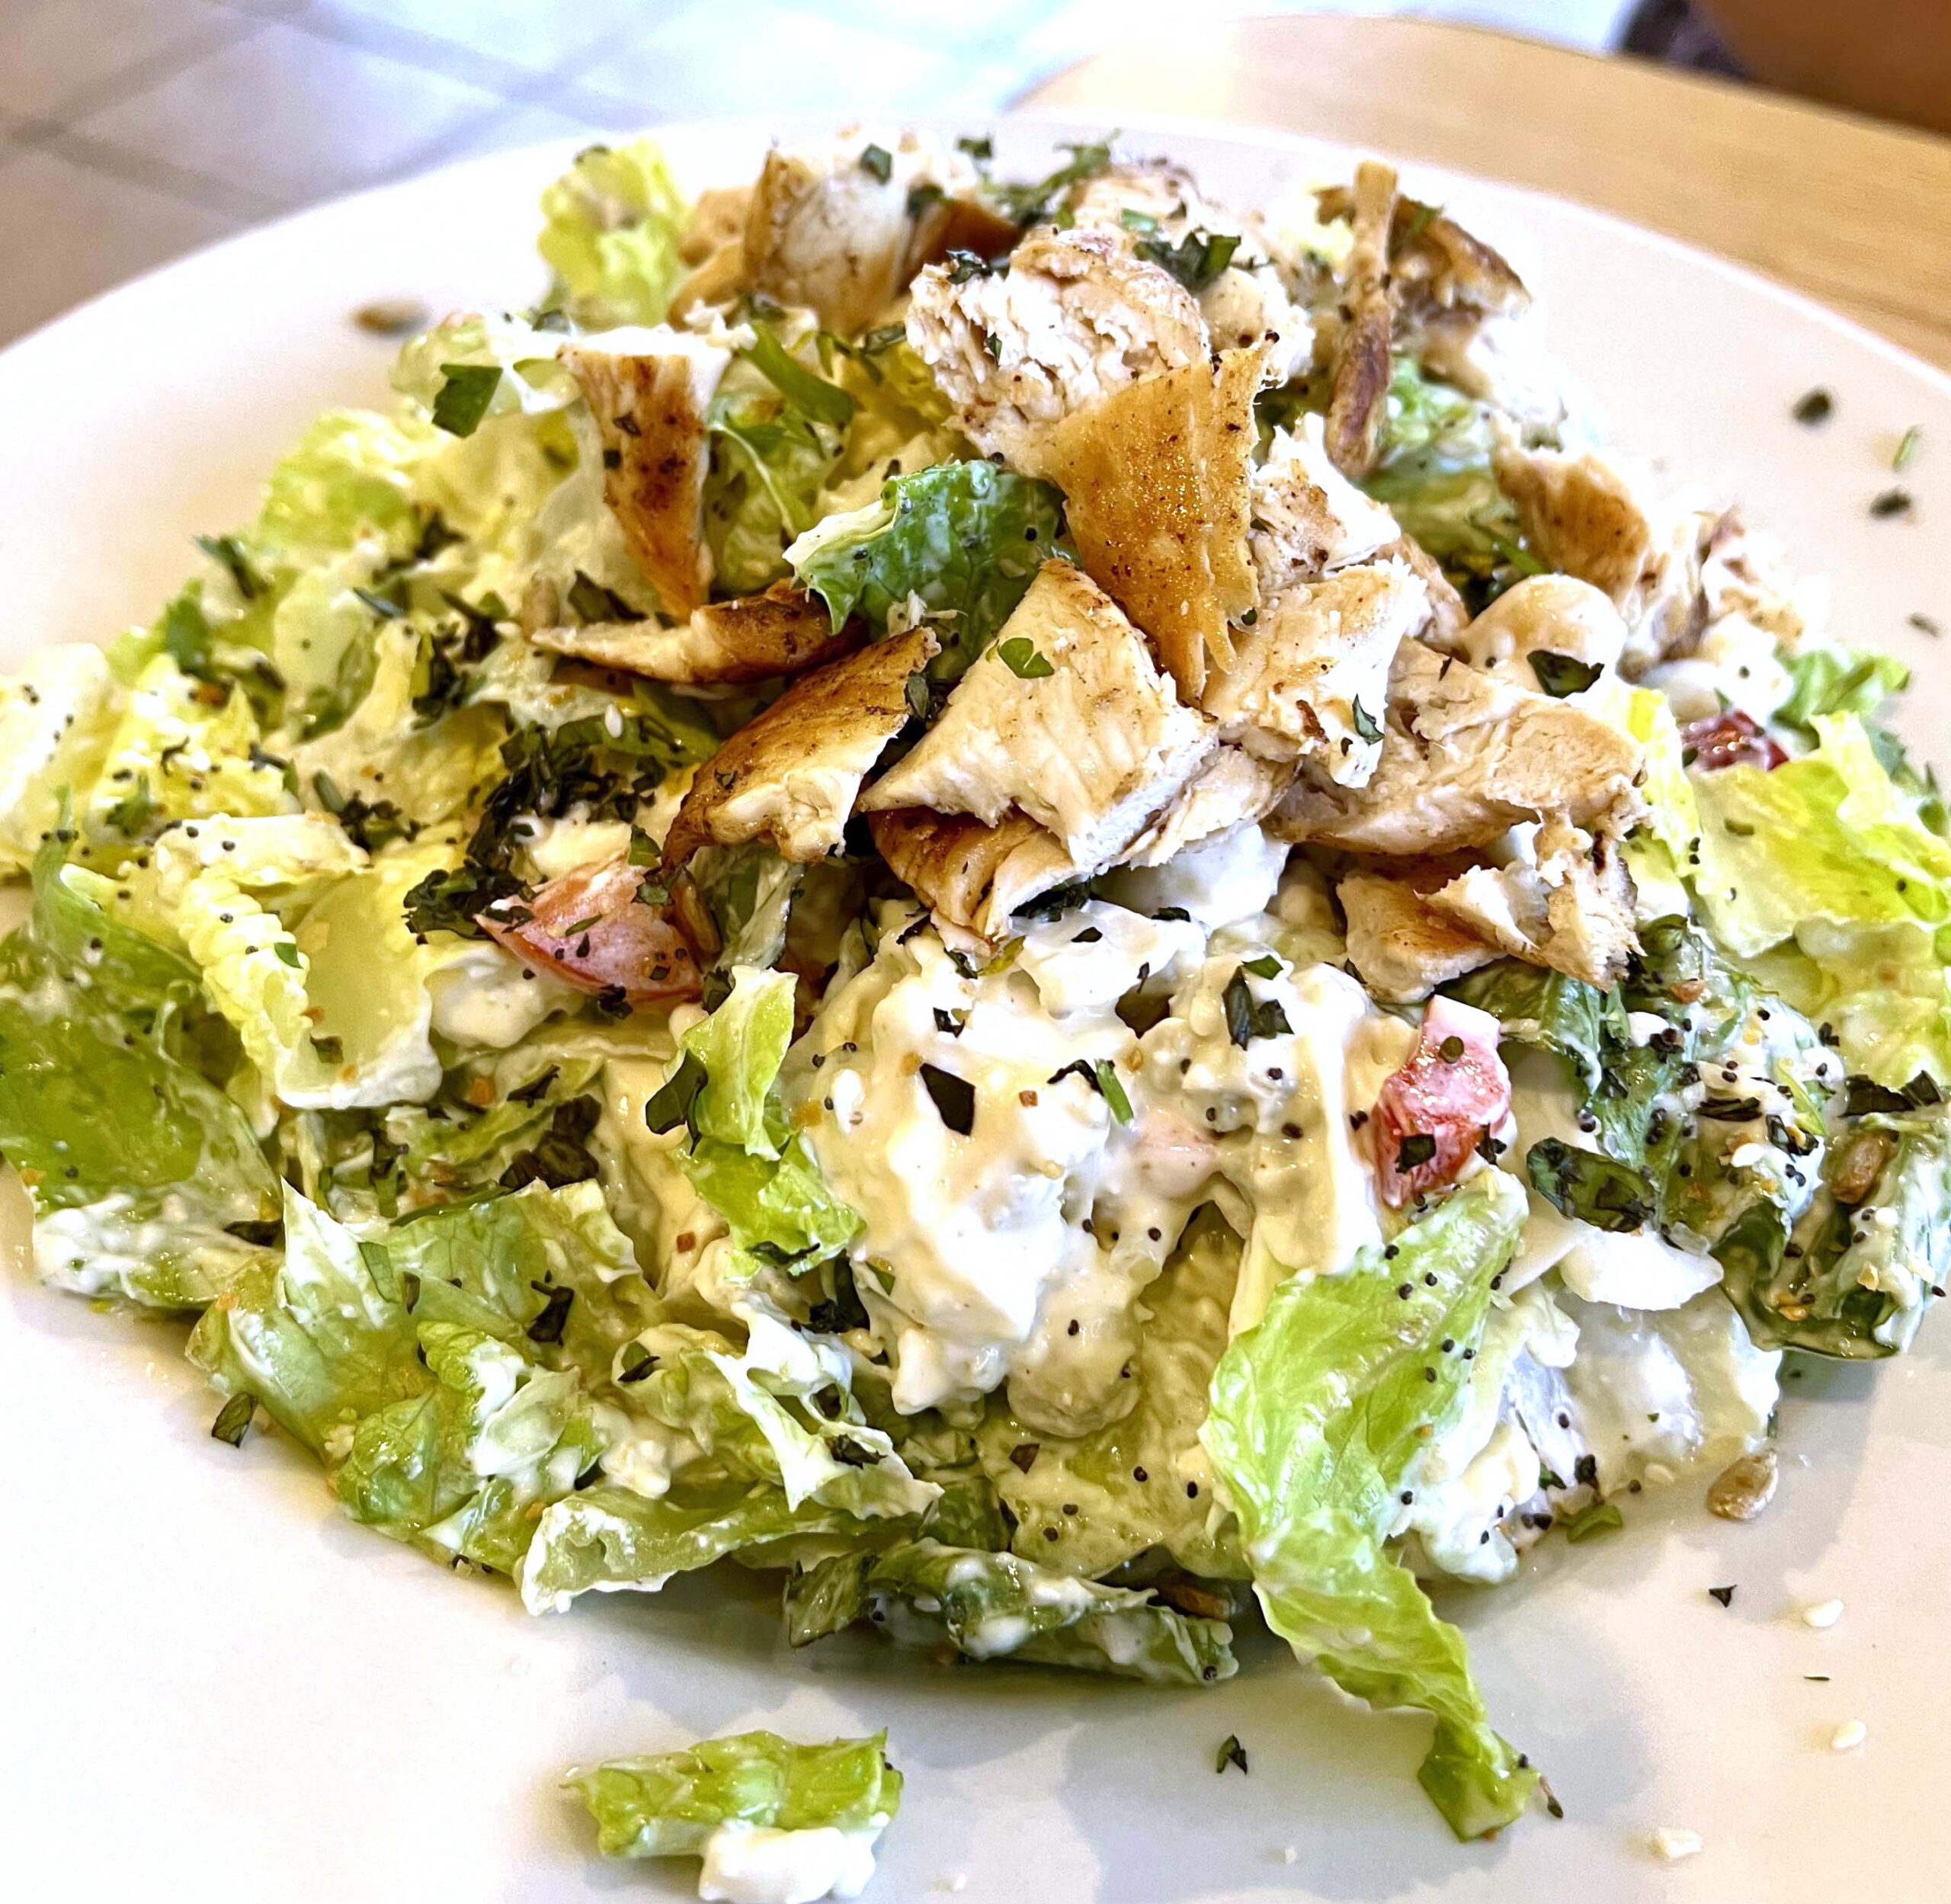
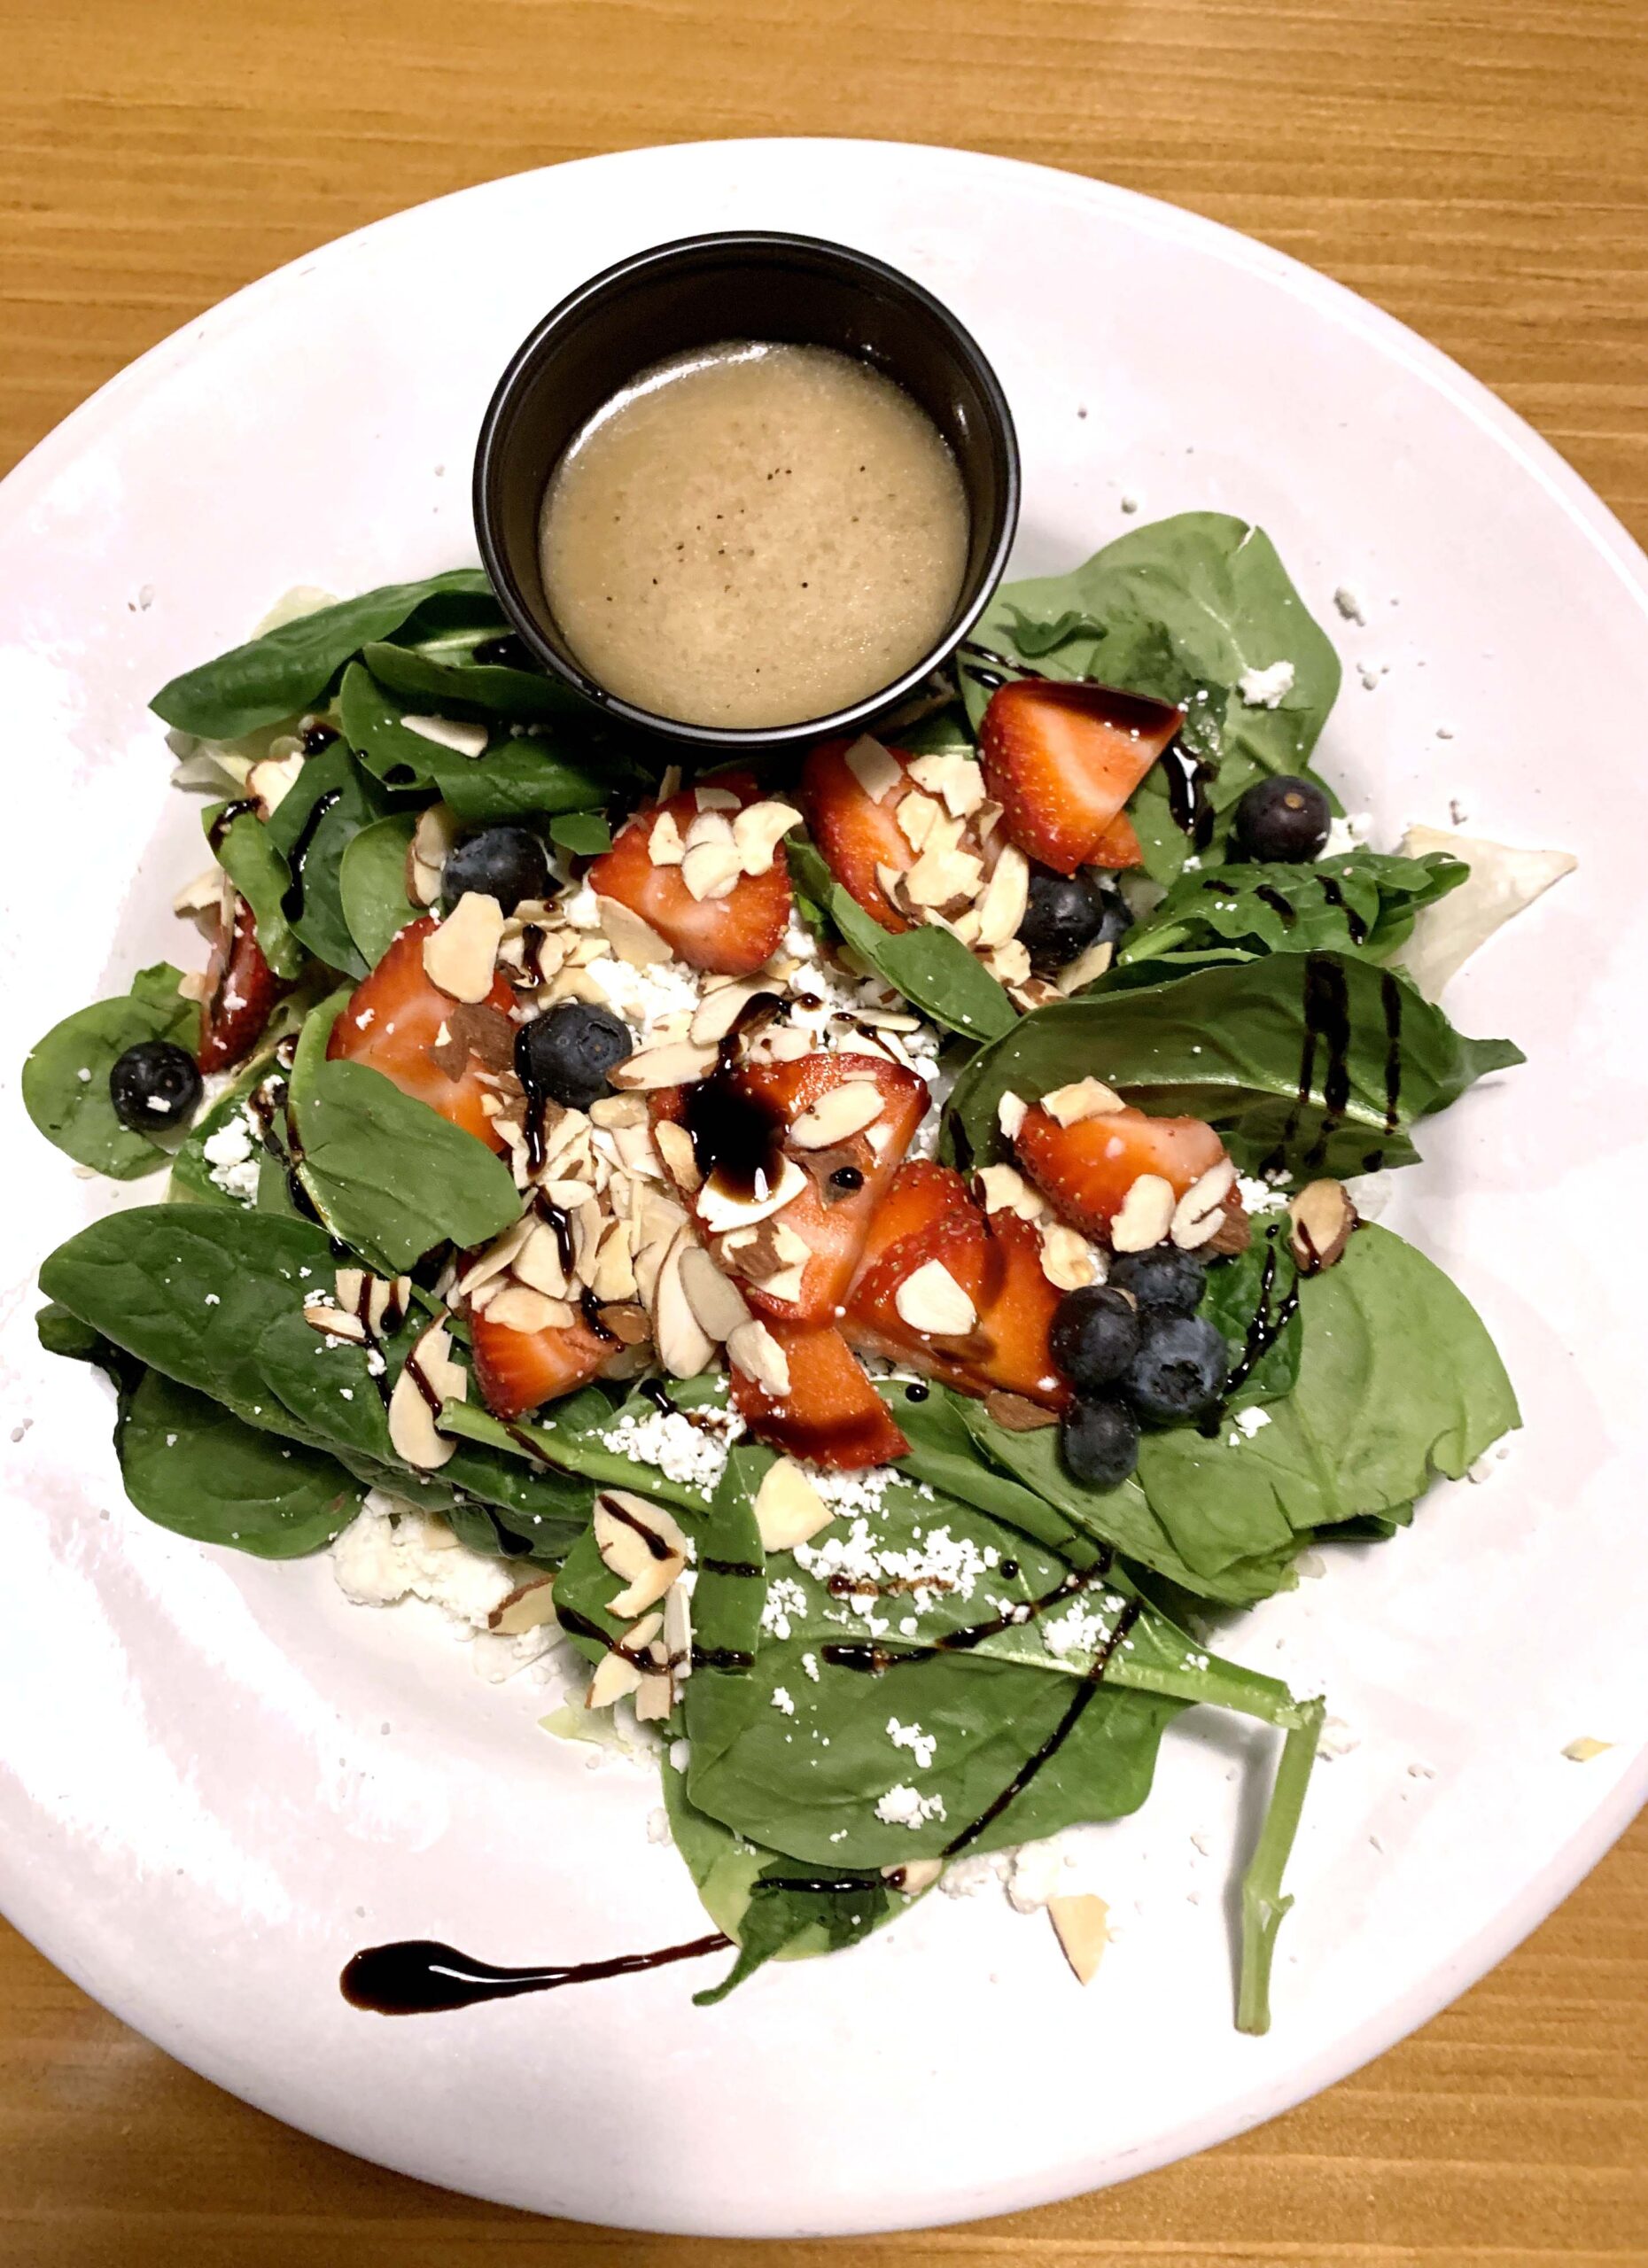
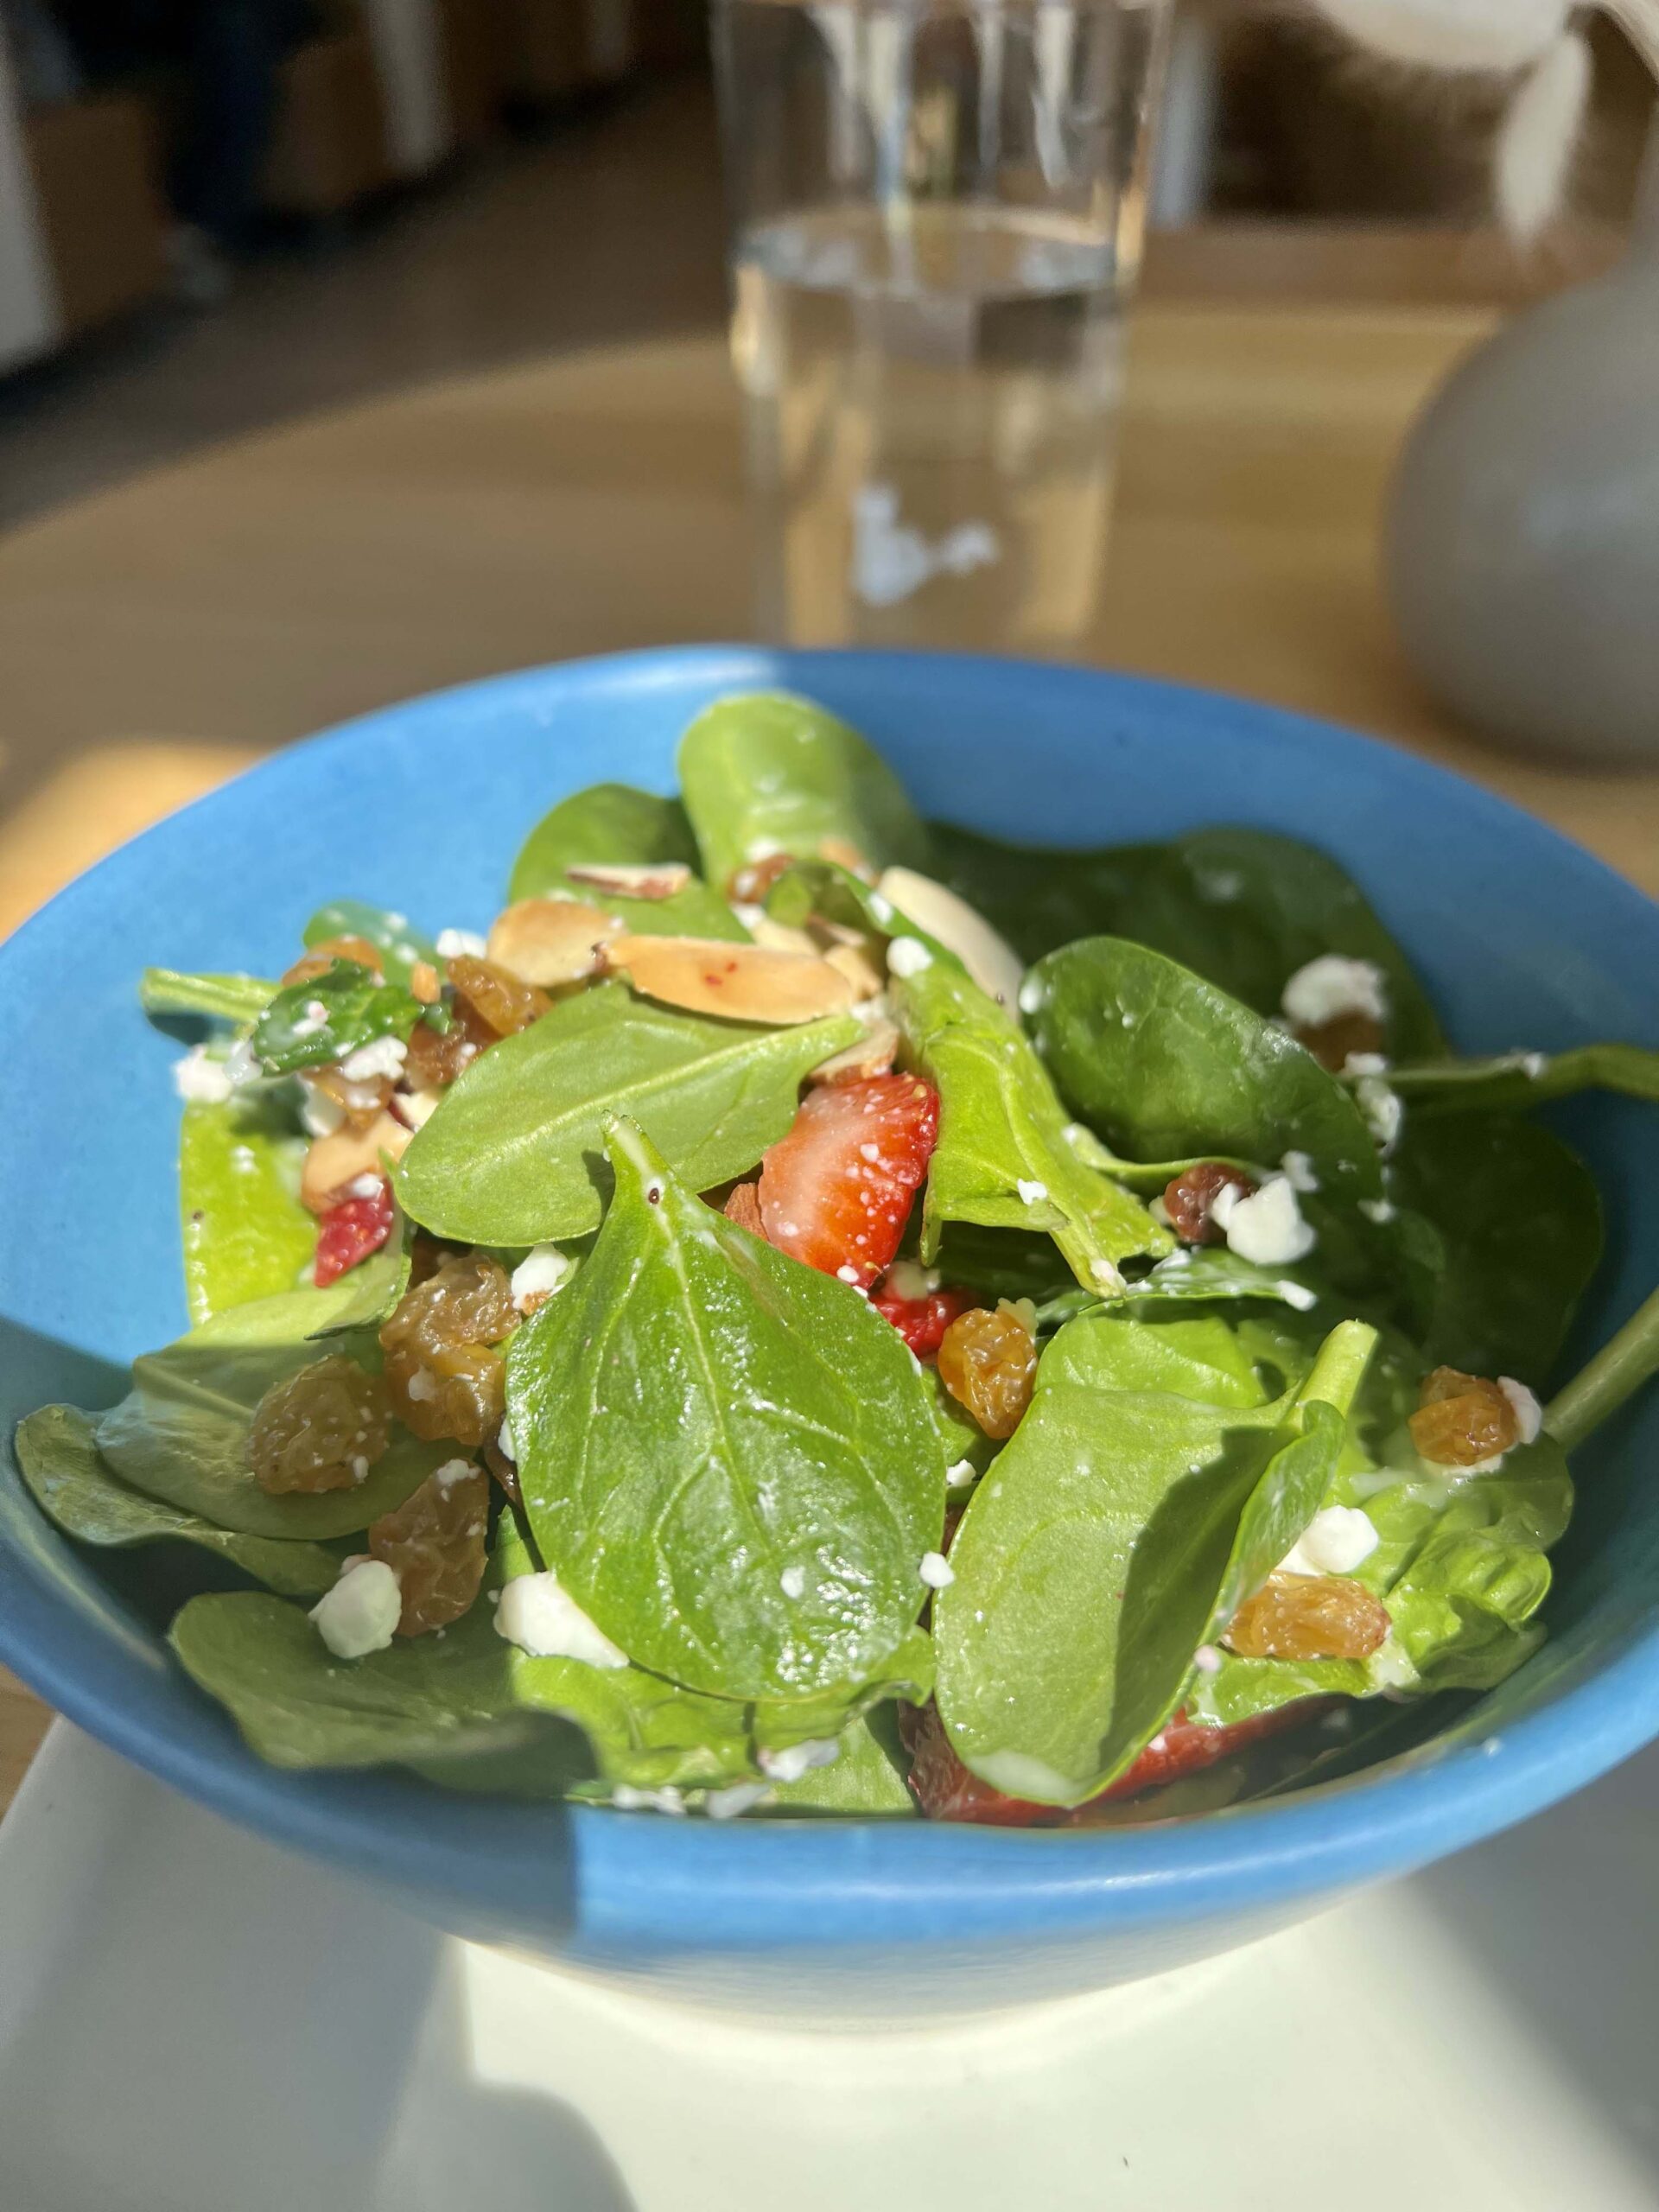
The Crown & Rye serves tasty meals, ranging from traditional Swedish dishes to burgers and salads. I recommend the Berry Salad, an iceberg and romaine salad topped with fresh berries, goat cheese, and the house vinaigrette. Other hearty meal options include the Crispy Chicken Salad and Cobb Salad.
The Local Table, Newton
Wichita
Sunflour Cafe & Collective
A haven for healthy eaters who need vegetarian-based dishes, Sunflour Cafe & Collective serves a rotating menu of salads in two portion sizes.
Cucumber Dill, Summer Tide, and Balsamic Fig current menu options, but check the front board for weekly specials.
Tanya’s Soup Kitchen
Tanya’s Soup Kitchen may be known for bowls of scratch-made soups and stews, but the restaurant’s salad menu deserves attention.
Order Cleopatra prepared with sliced chicken breast, apricot chutney, and feta cheese over mesclun for light lunch fare that delivers bold flavor. Four additional salad options are available using spinach or romaine lettuce.
Nortons Brewing Company
It’s not often that you find delectable salads on the menu at a brewery. At Nortons Brewing Company, the roughage menu lists three salads: Cilantro Lime Chicken Salad, Cobb Salad, and Side Salad – each served with house-made dressing. Come hungry because the super-sized salads are a meal that requires a fork and knife to eat.
Public at the Brickyard
Located in a historic building in Old Town, Public at the Brickyard is known for serving farm-to-table entrees using locally sourced greens. Typically, the menu features about four salads with the option to add protein (smoked salmon, anyone?) or substitute vegan cheese.
HoneyBee Bruncherie, Humboldt
At HoneyBee Bruncherie, the lunch menu draws diners seeking made-to-order favorites. Thai Like Salad and mixed green salads with seasonal fruits and vegetables are beautifully plated, each with a bowl of soup or sweet potato waffle fries.
Sharky’s Pub & Grub, Fort Scott
Sharky’s Pub & Grub towering sandwiches and seafood dishes may dominate the menu, but the Going Green section of the menu deserves a glance. Diners can choose from two salad options served with Texas toast and optional blue cheese crumbles.
TOAST, Pittsburg
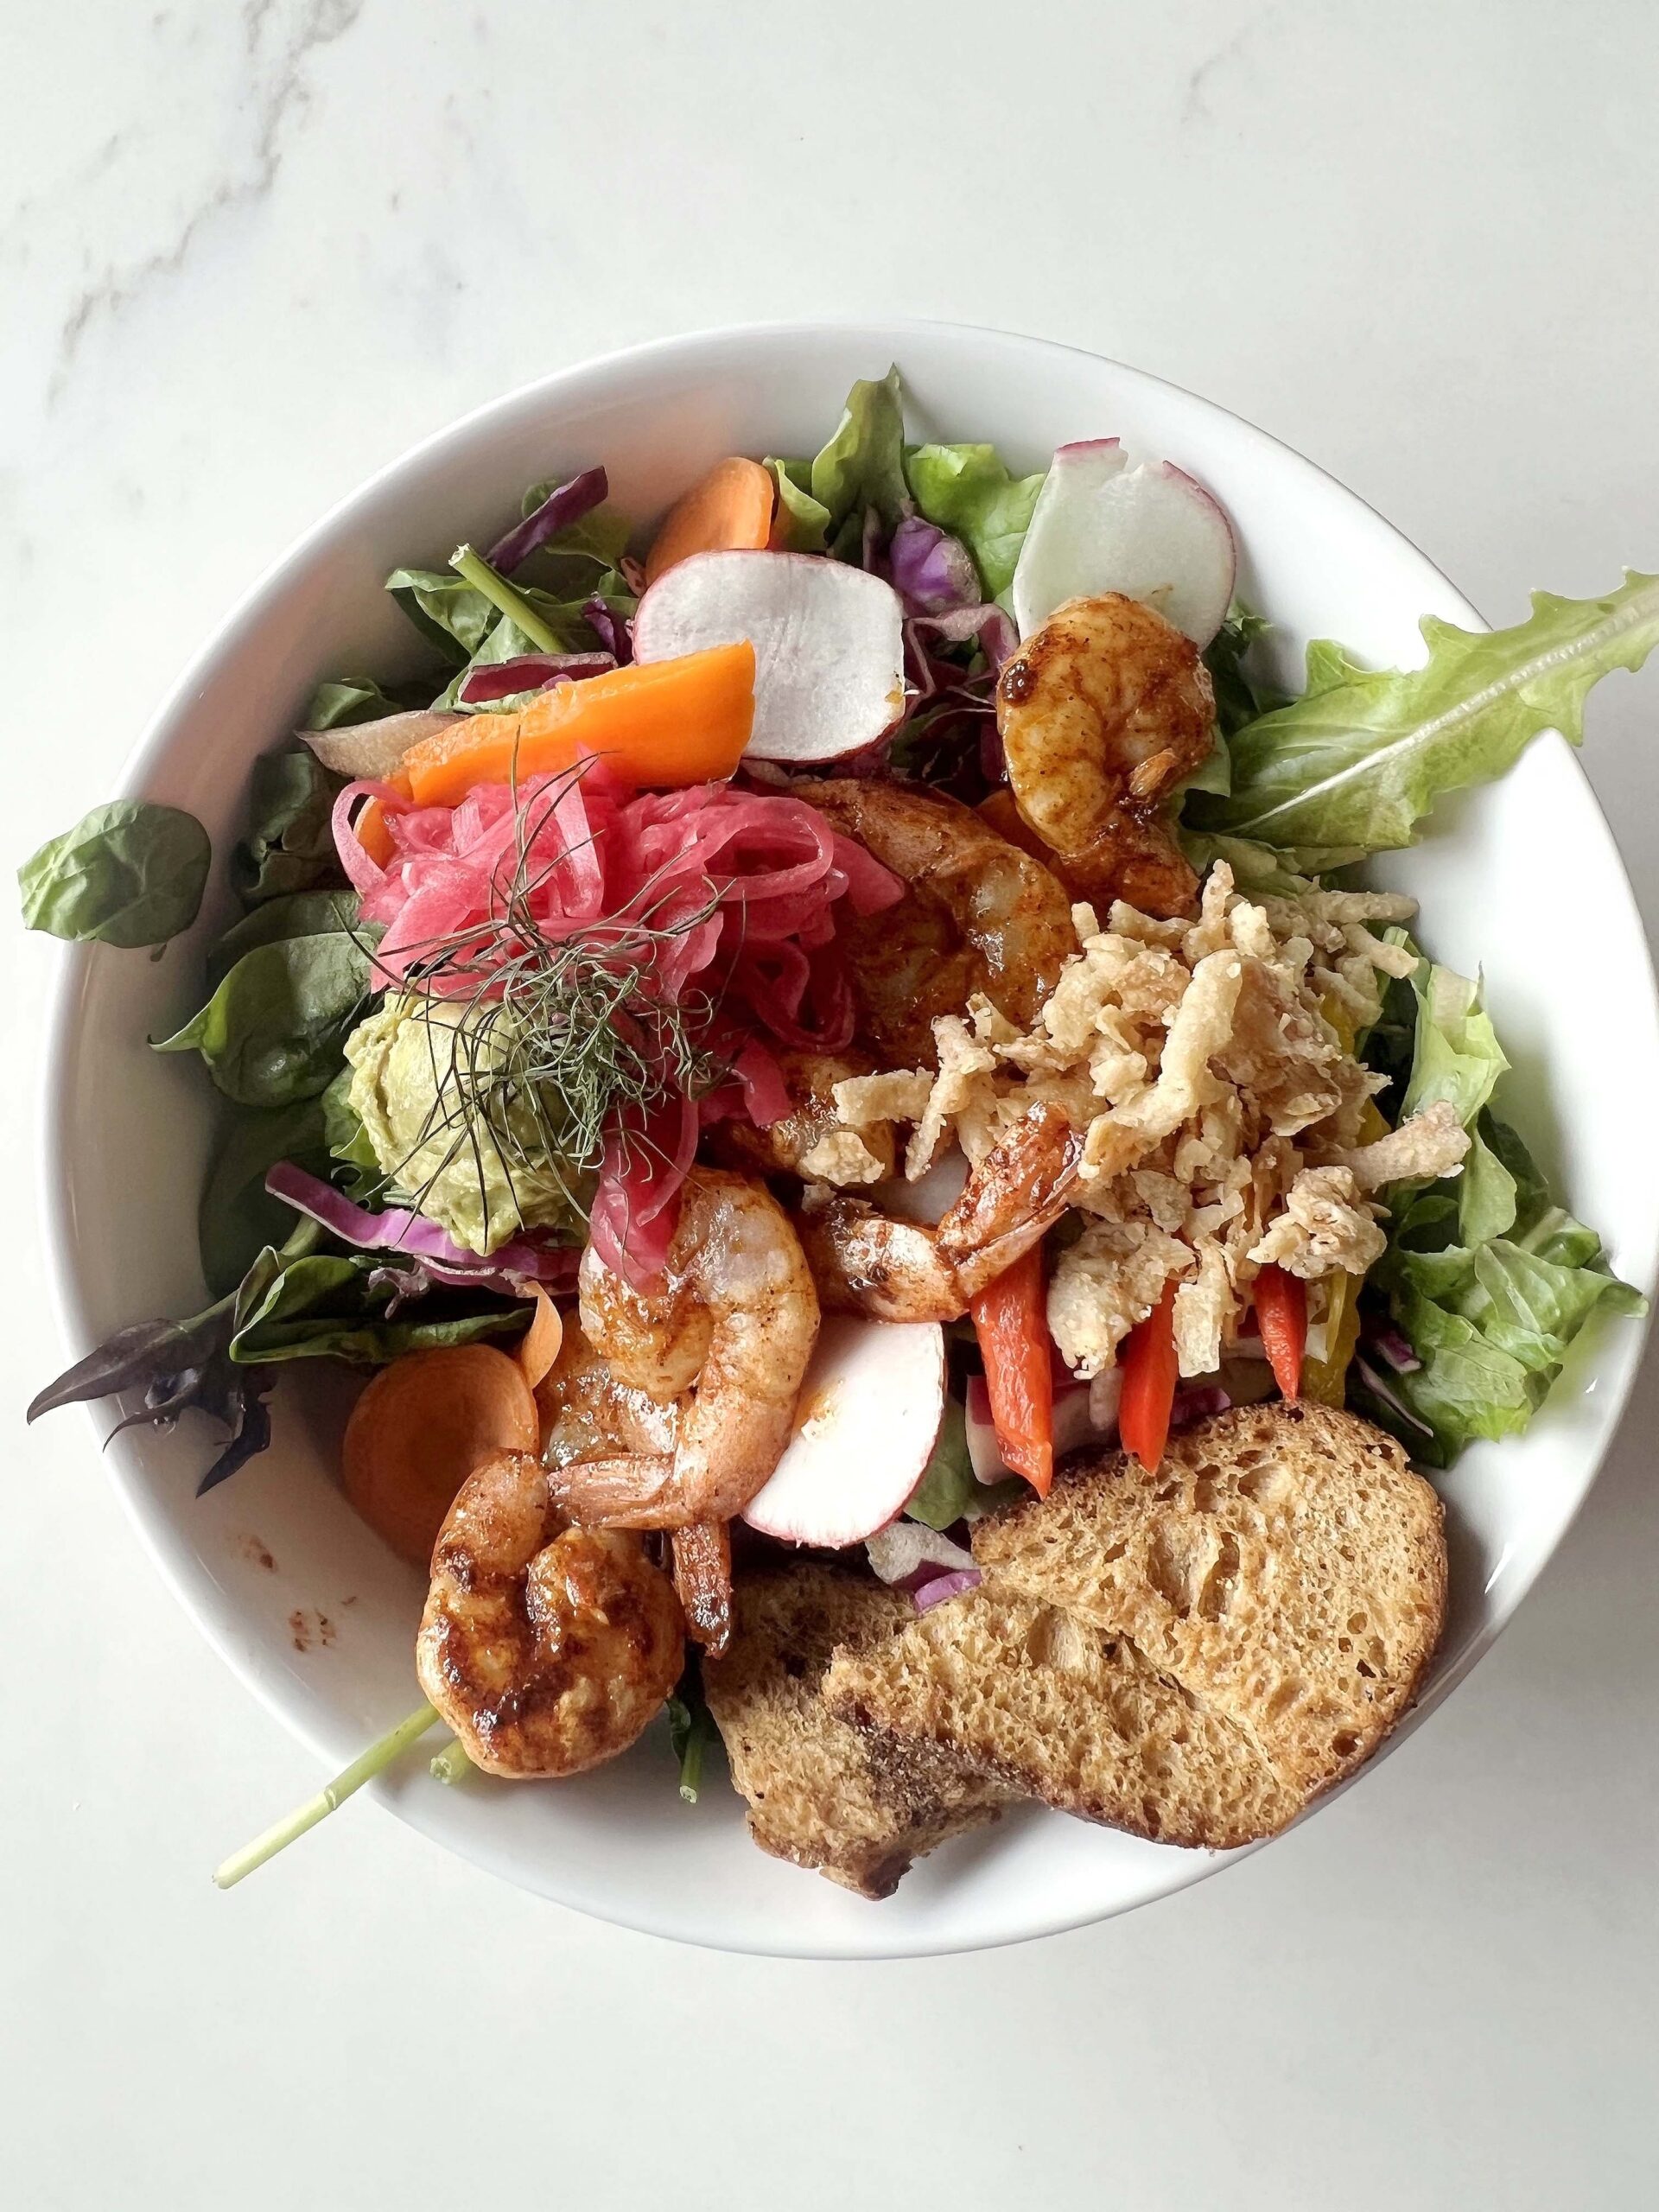
Seekers of healthier dining who want to indulge in the season’s flavors should dine at TOAST, a restaurant known for sourcing local ingredients and artisan bread.
At mealtime, dig into tasty Avocado Smoked Salmon Toast or a dinner-size Grilled Cajun Shrimp Salad, served with a zesty house-made dressing.
If your goal is to eat a lighter meal prepared with fresh ingredients, a garden salad is waiting for you at one of these Kansas restaurants. Menus change based on seasonal vegetables and the chef’s creativity, so ask each eatery for the latest salad options.
Spending time in Wichita, Kansas? View my complete guide to 10 Places to Dine in Wichita If You’re Seeking Healthier Menu Options.


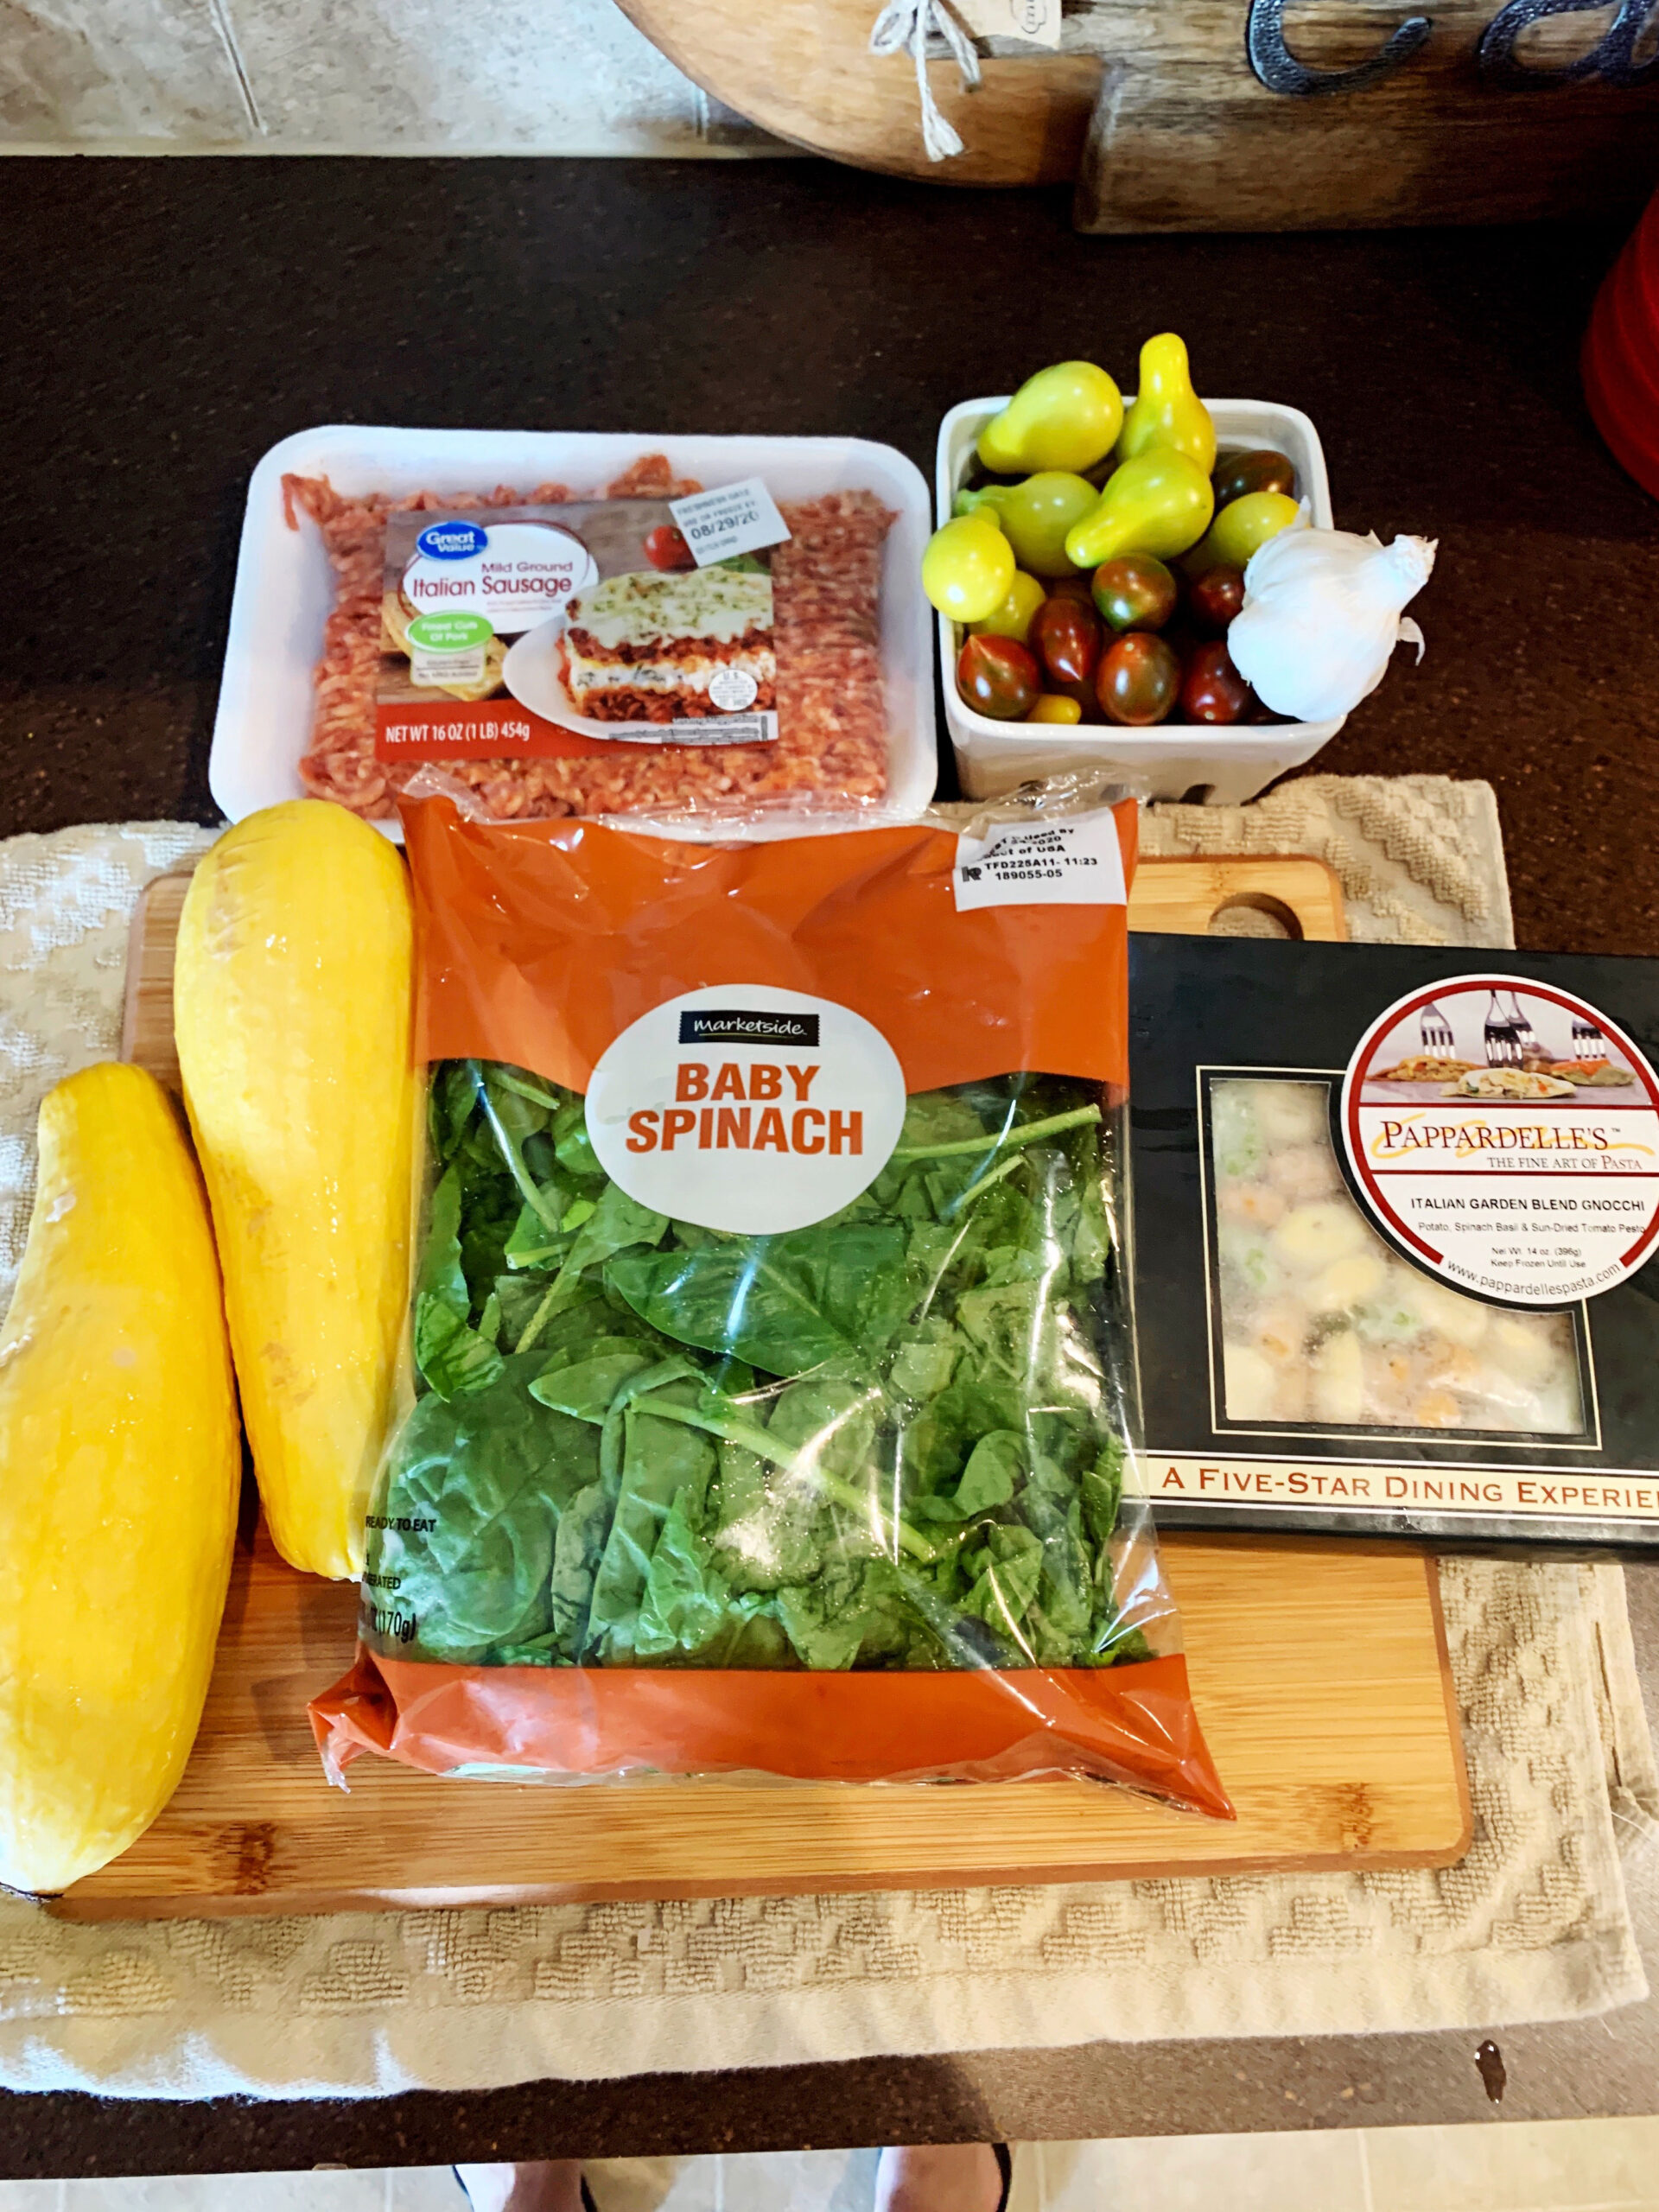


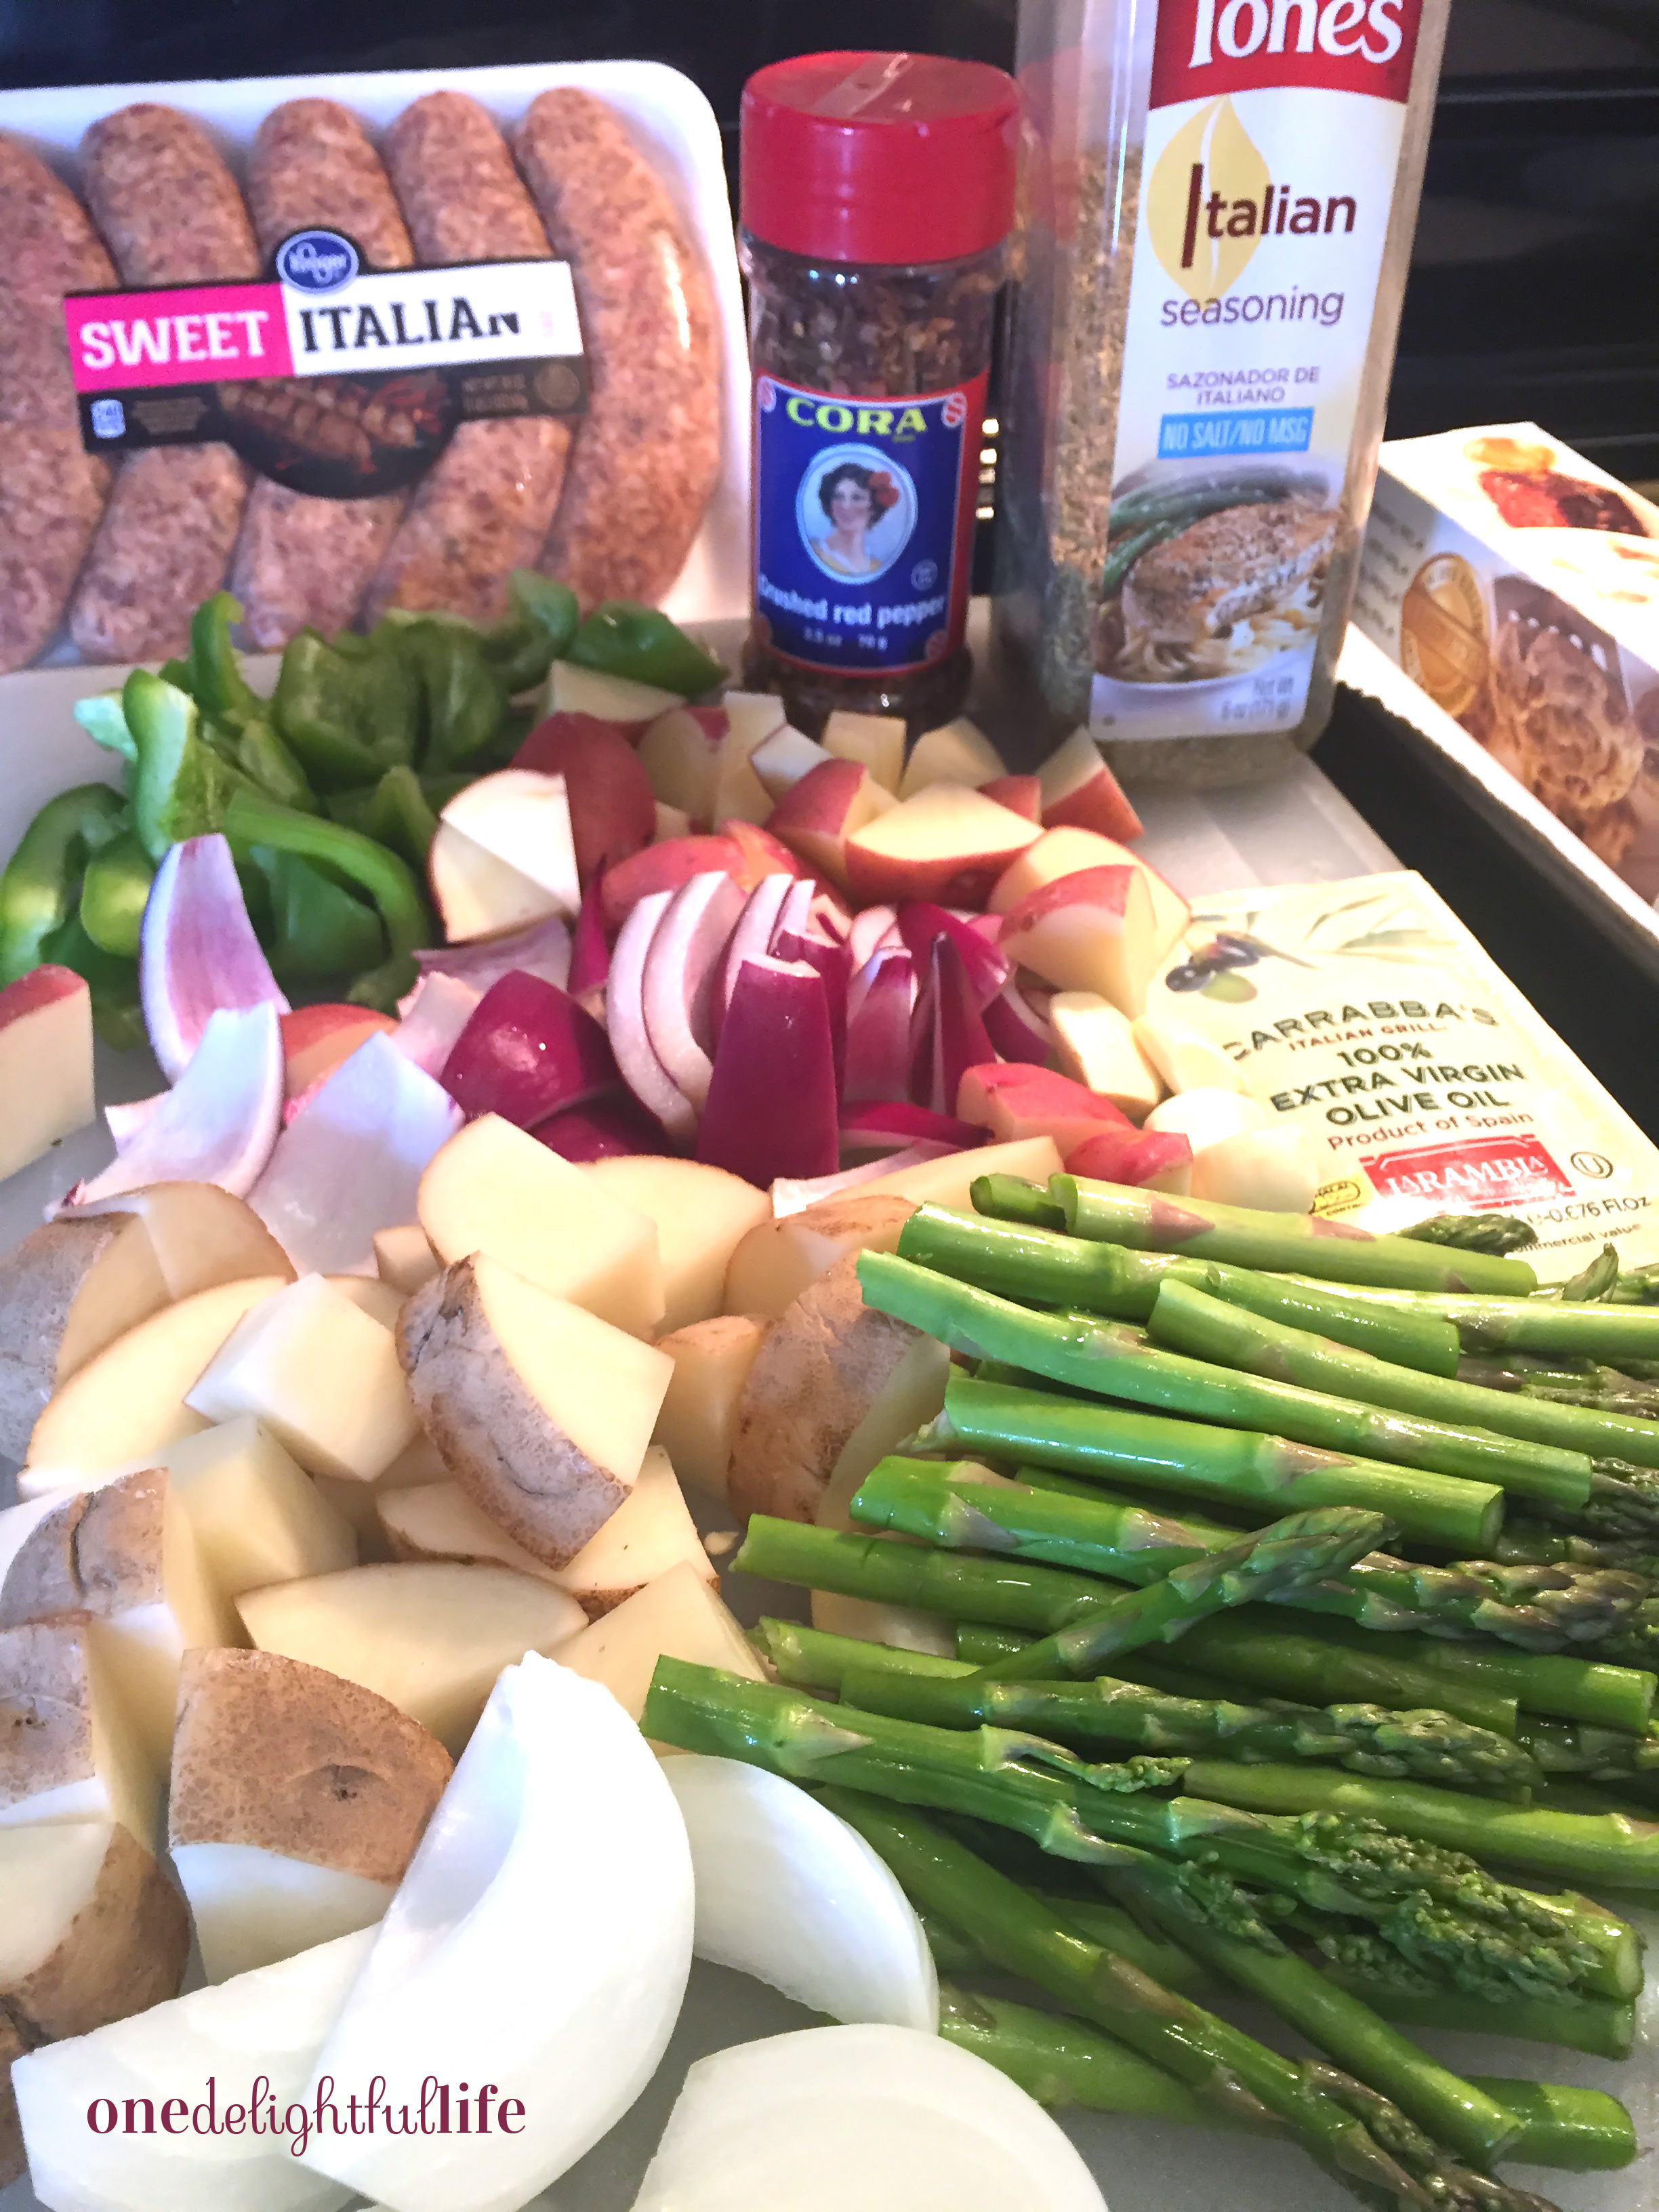 While your oven is heating up, clean and cut vegetables of your choice into chunks and add them to a large mixing bowl. Then, do the same to a package of link Sweet Italian sausage. Next, drizzle the vegetables and sausage lightly with olive oil, add a pinch of red pepper flake, paprika, Italian seasoning, and then salt and pepper. Finally, toss the bowl’s contents with a large spoon (or use your hands).
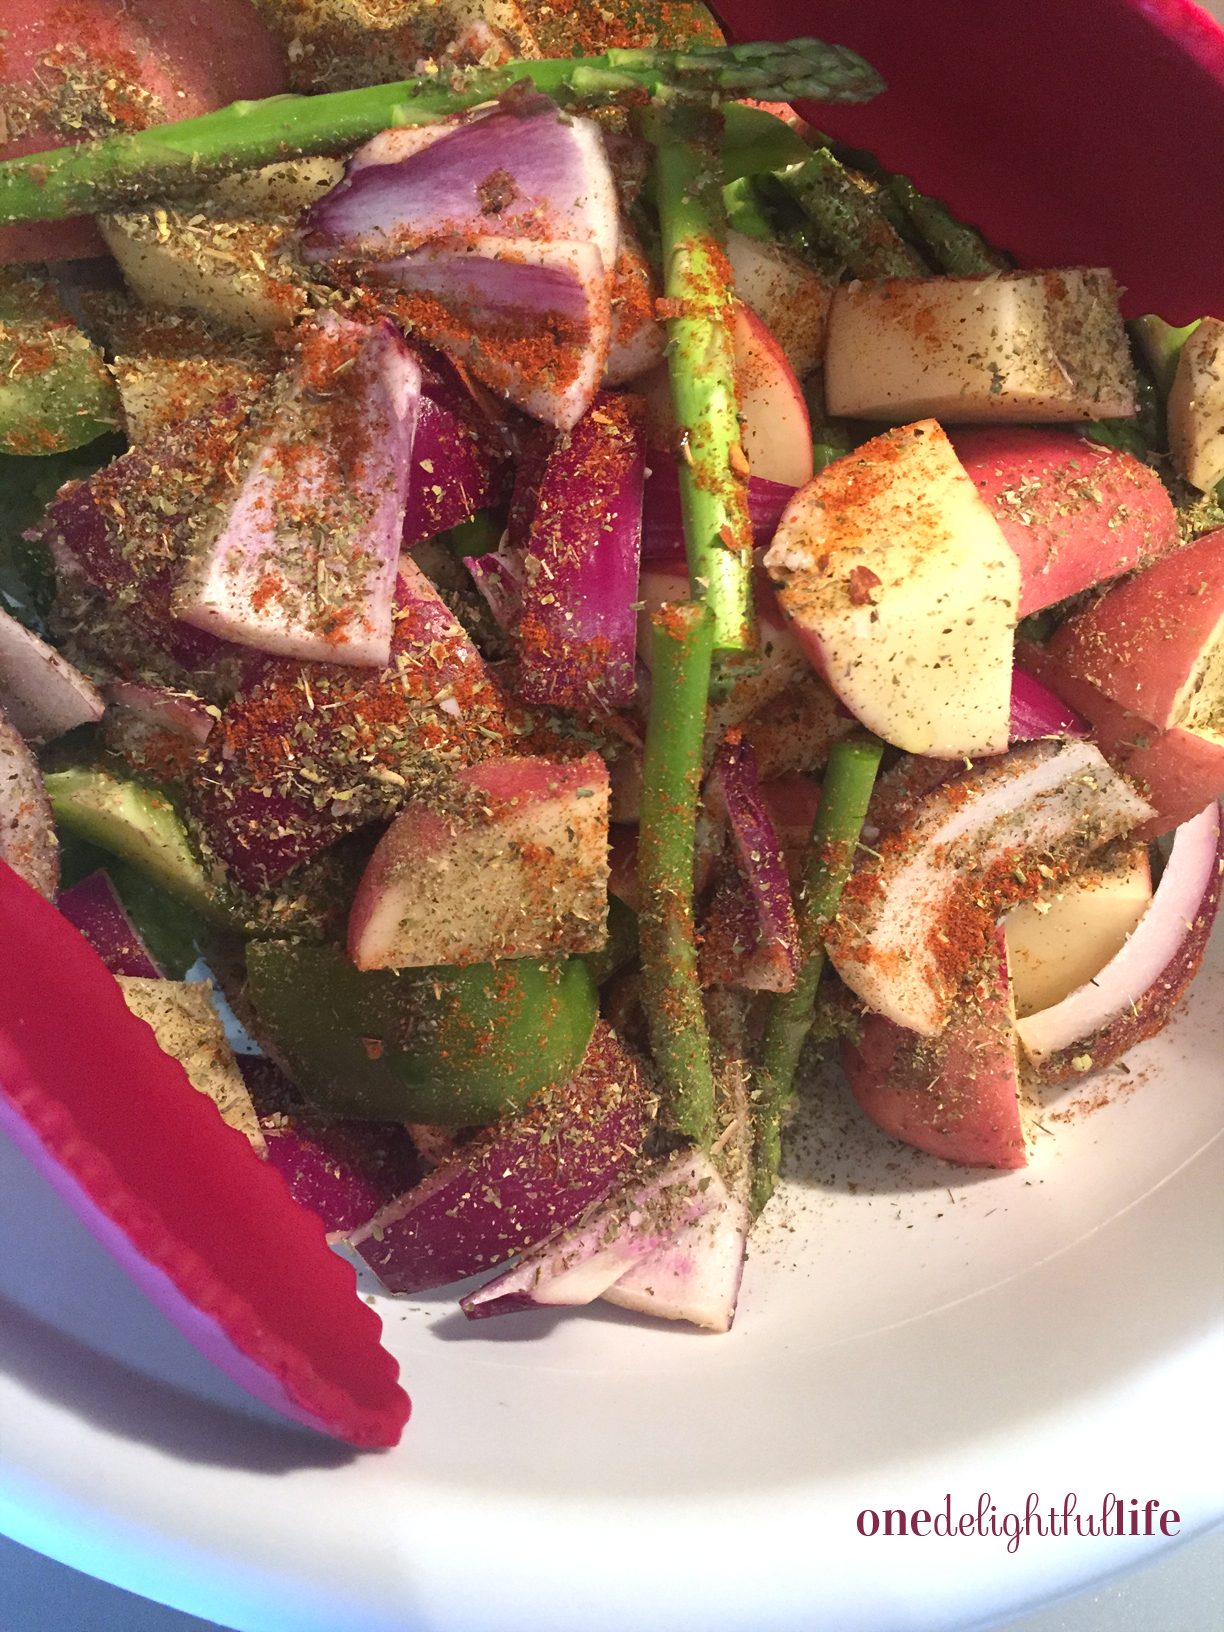 Transfer the contents of the bowl to a parchment-lined large sheet pan. Spread the sausage and vegetables evenly across the surface of the sheet pan so they roast evenly during cooking time.
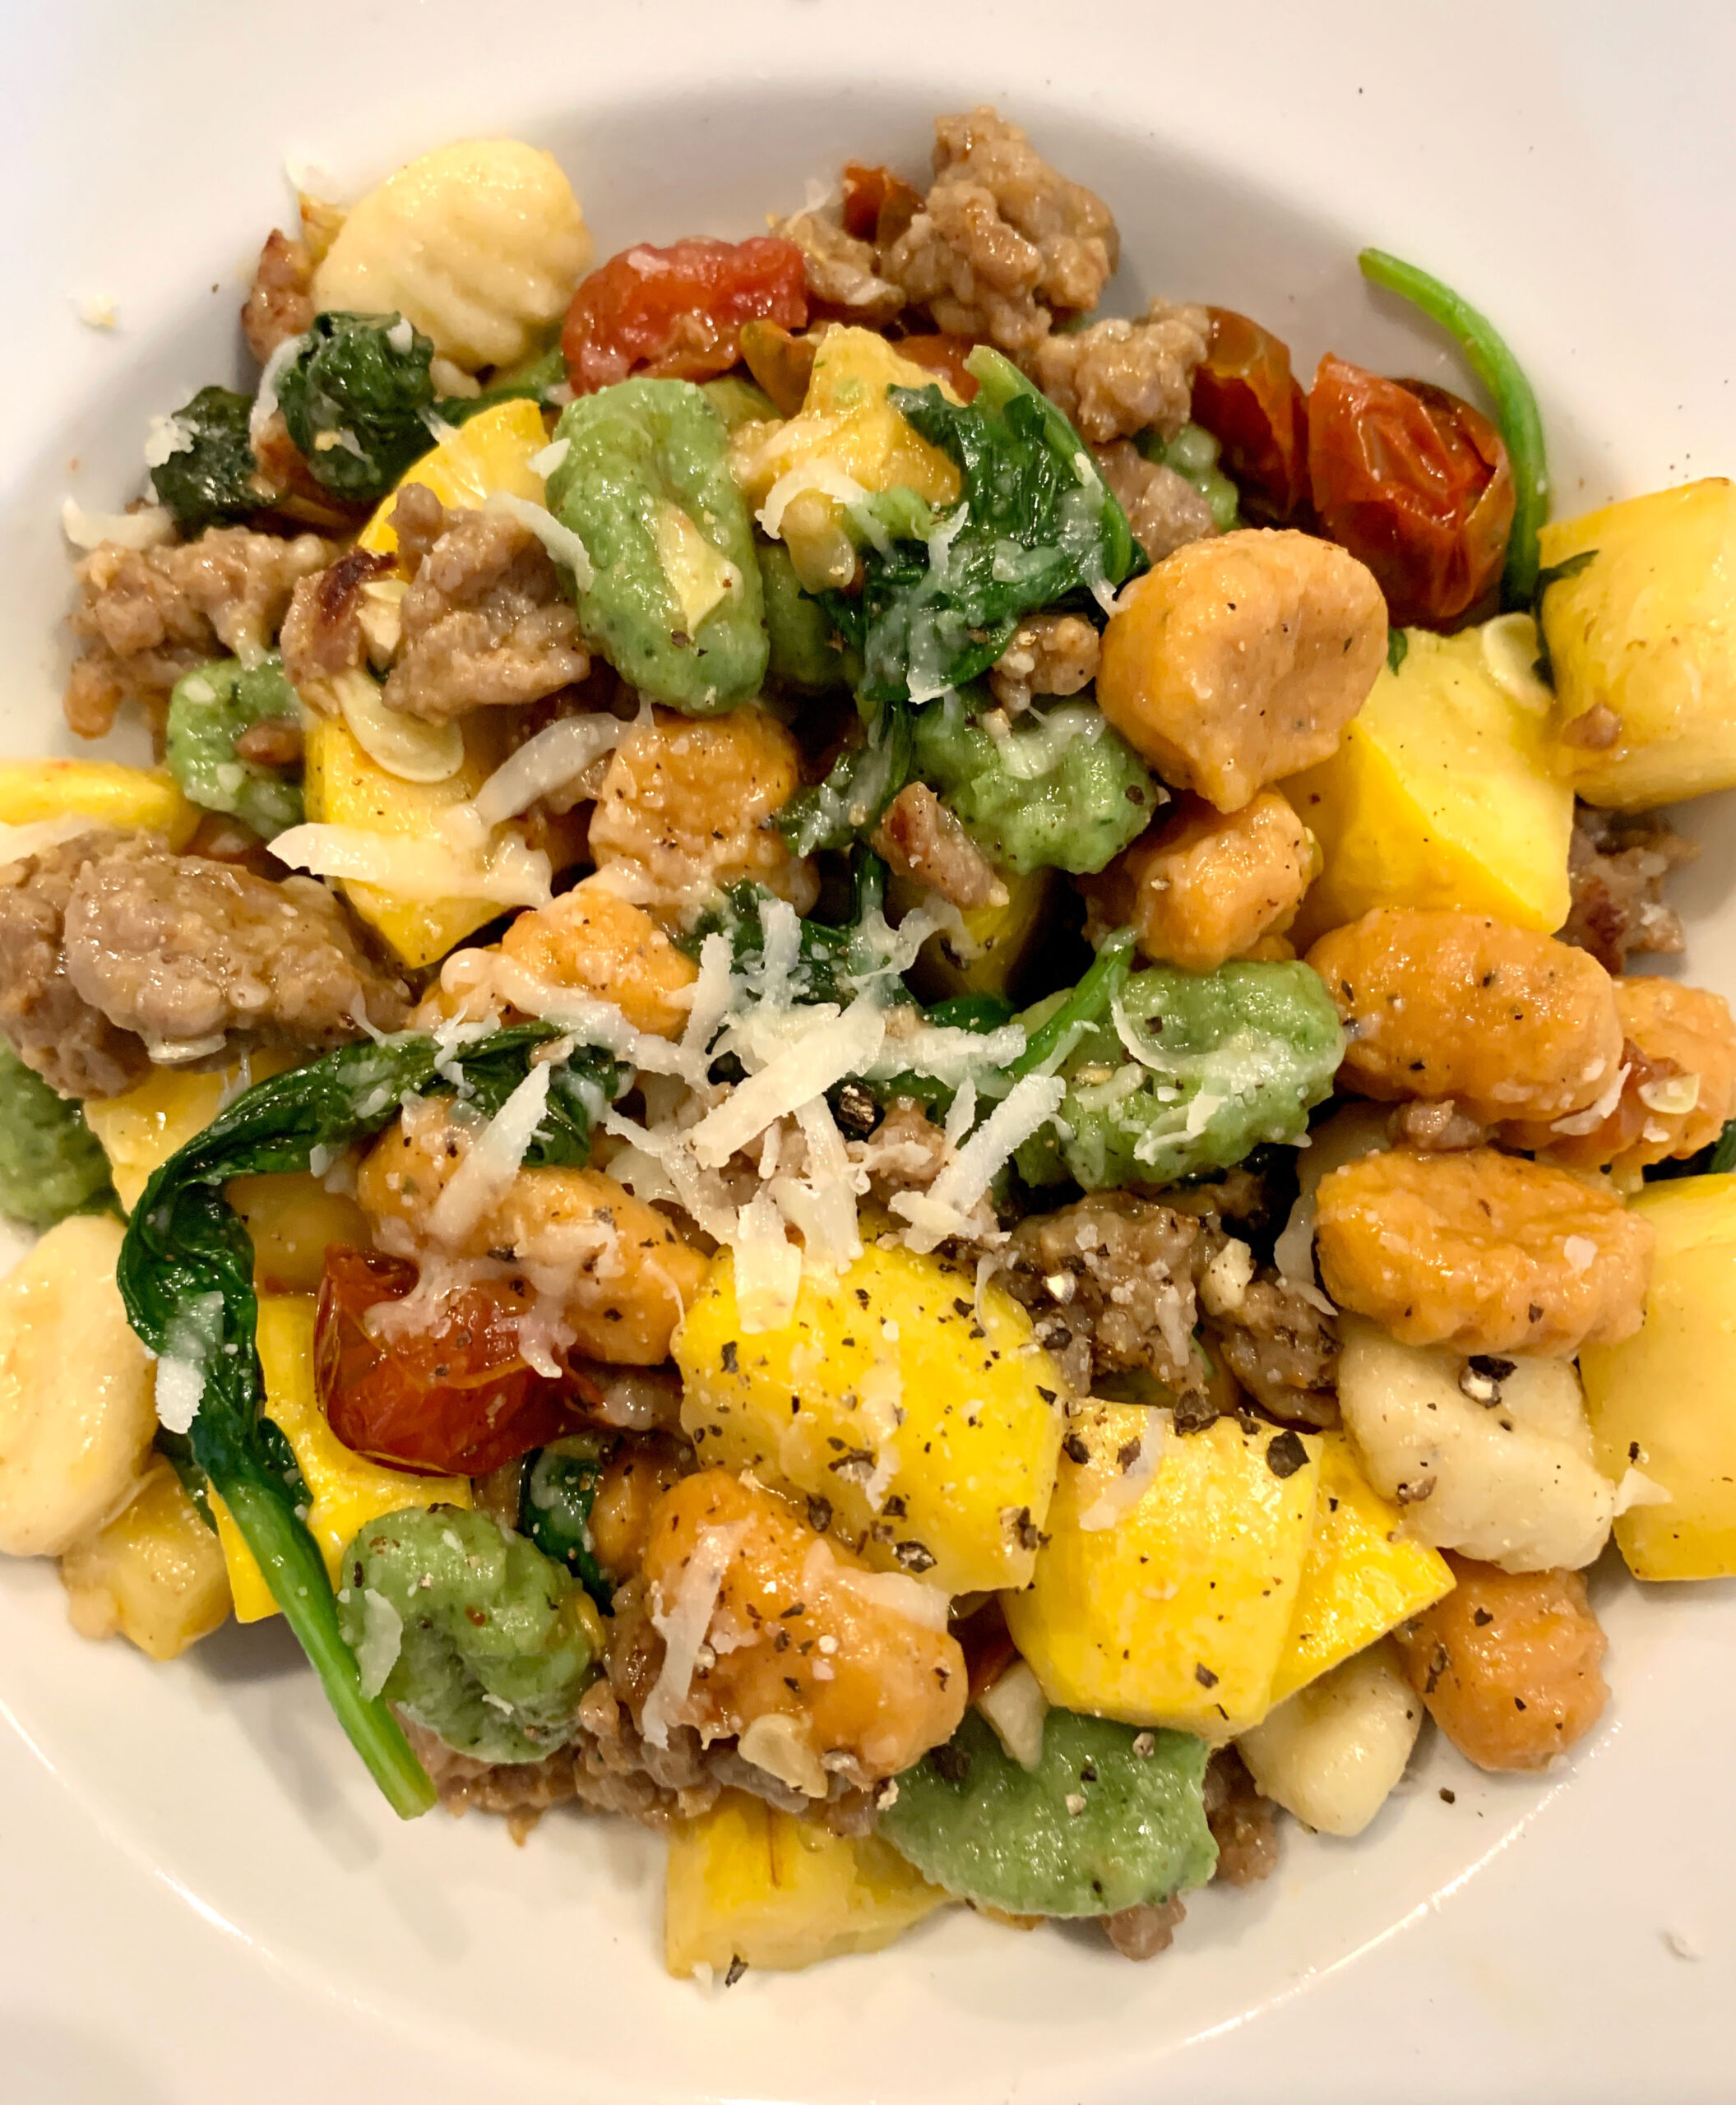
  Bake 400 degrees for 20 minutes. Remove from the sheet pan from the oven and move around the sausage and vegetables with a spoon. Bake an additional 15-20 minutes until the sausage no longer looks pink and the vegetables have softened and browned.

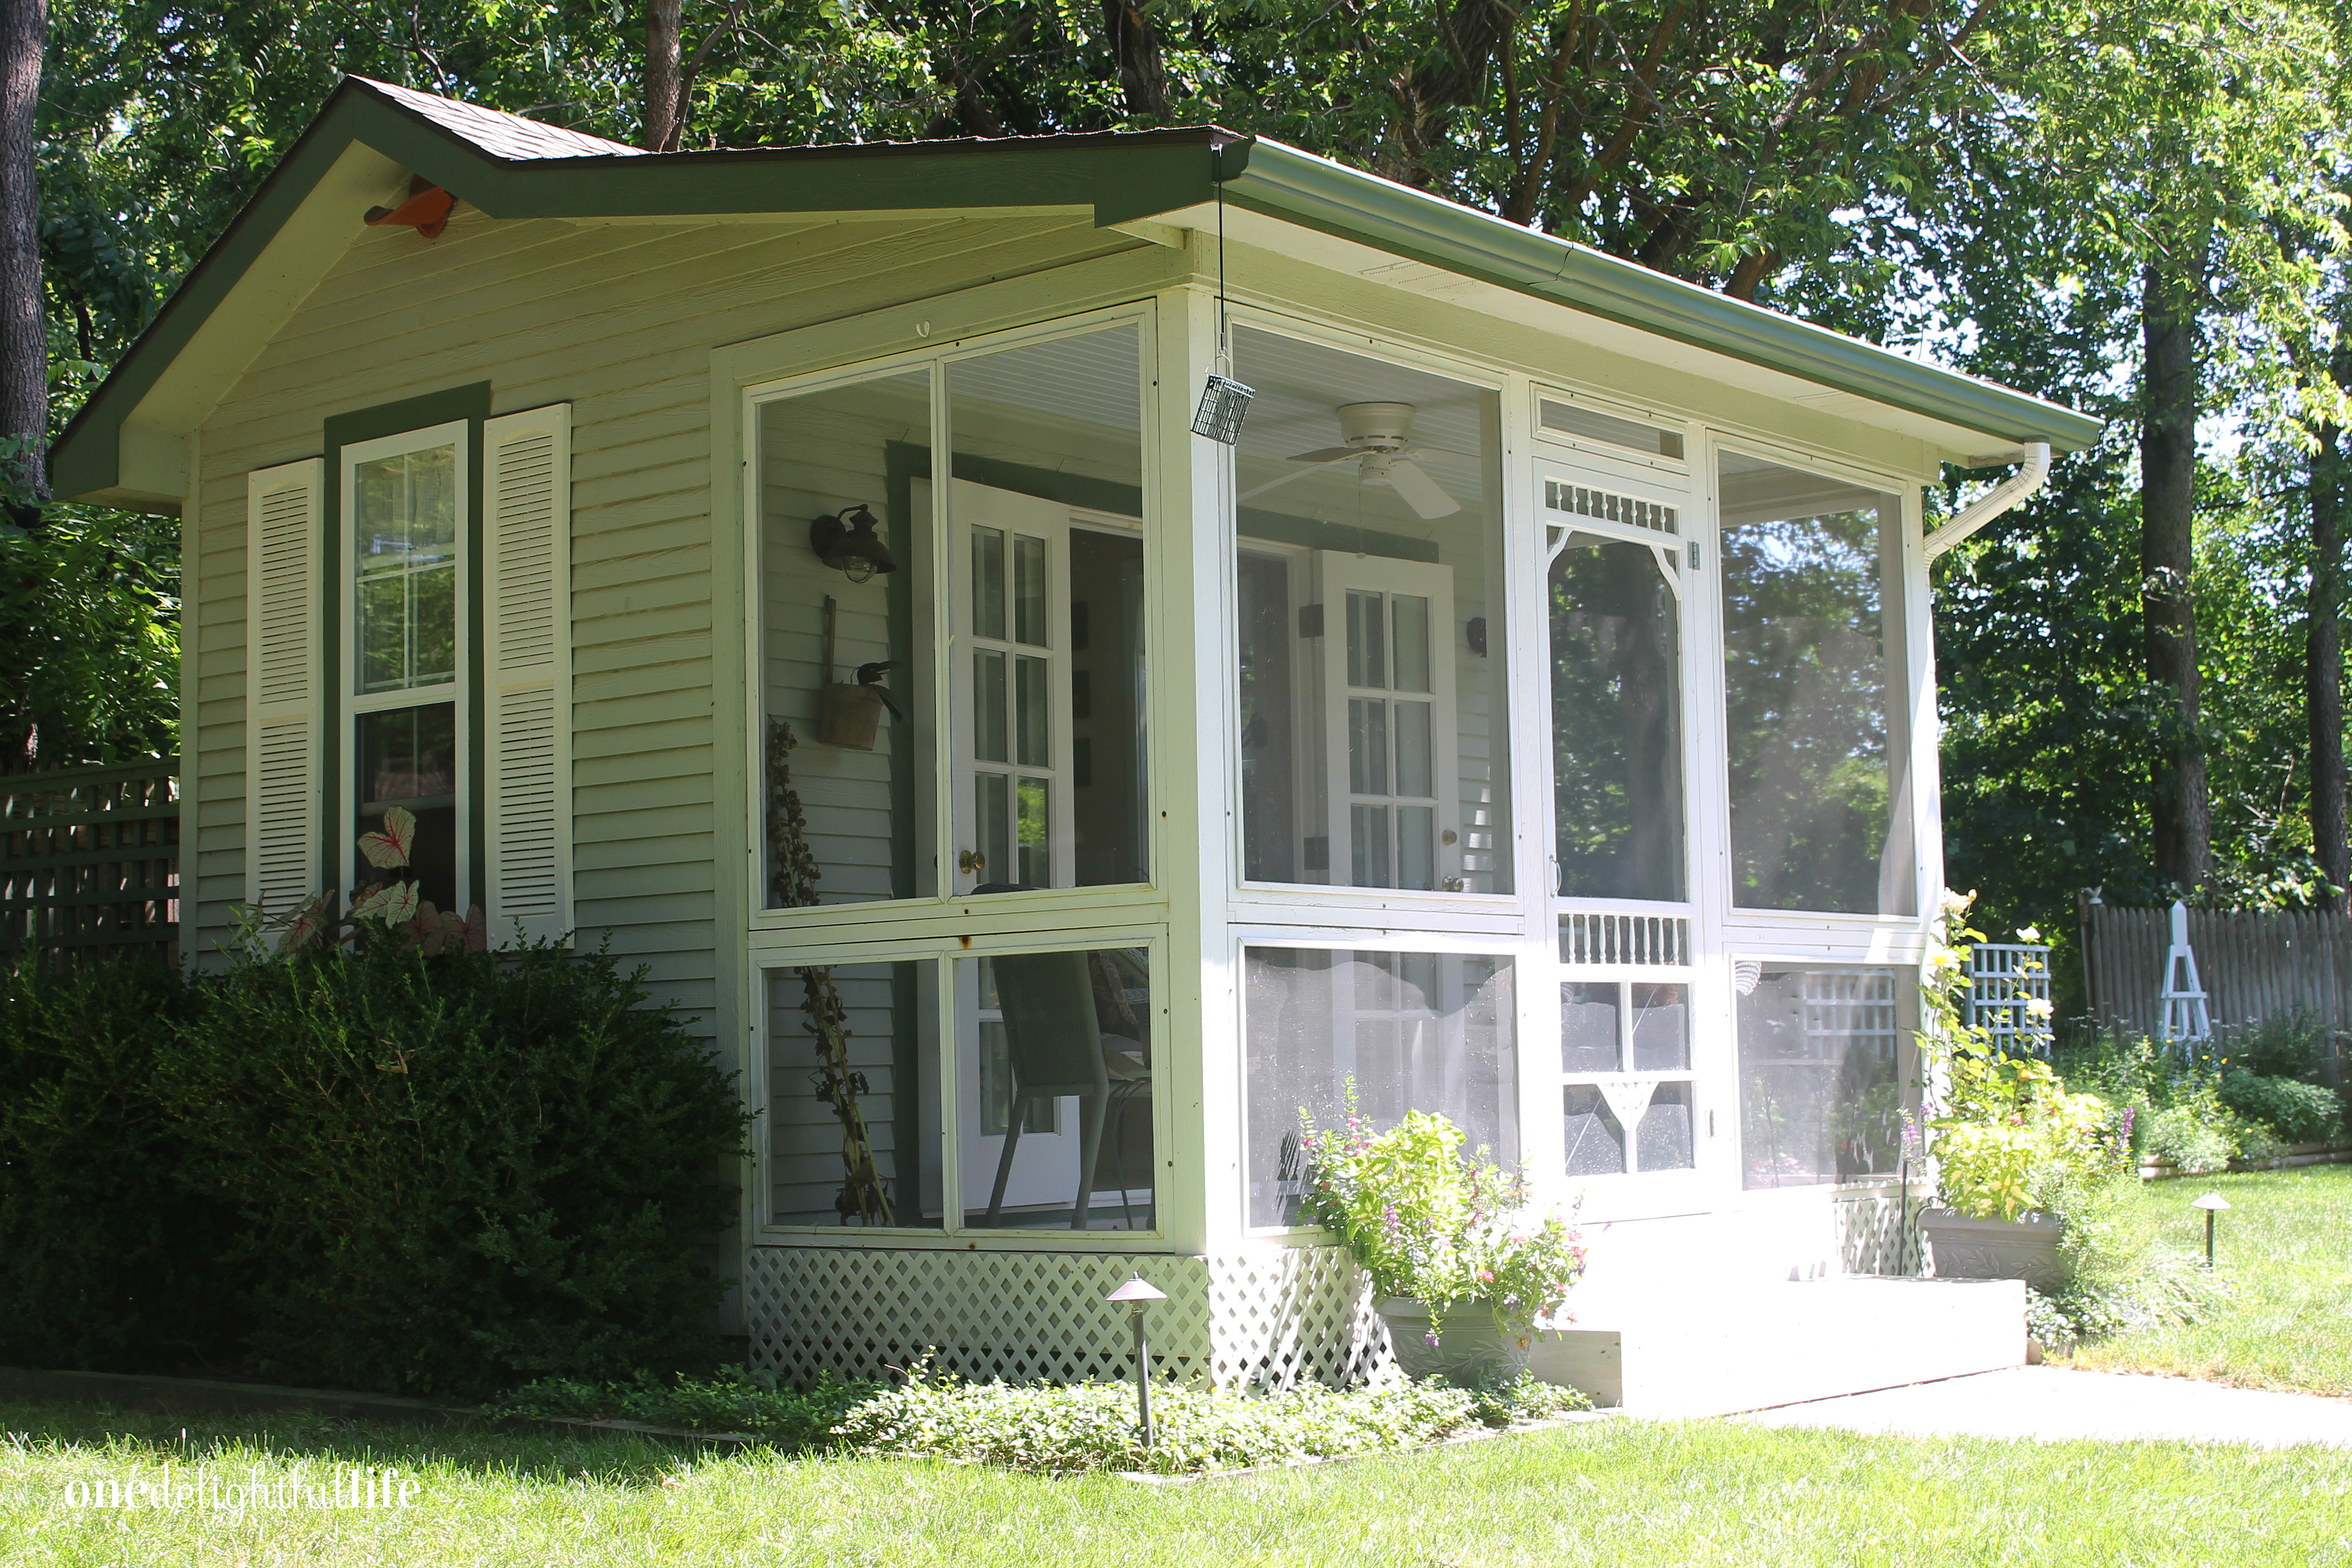
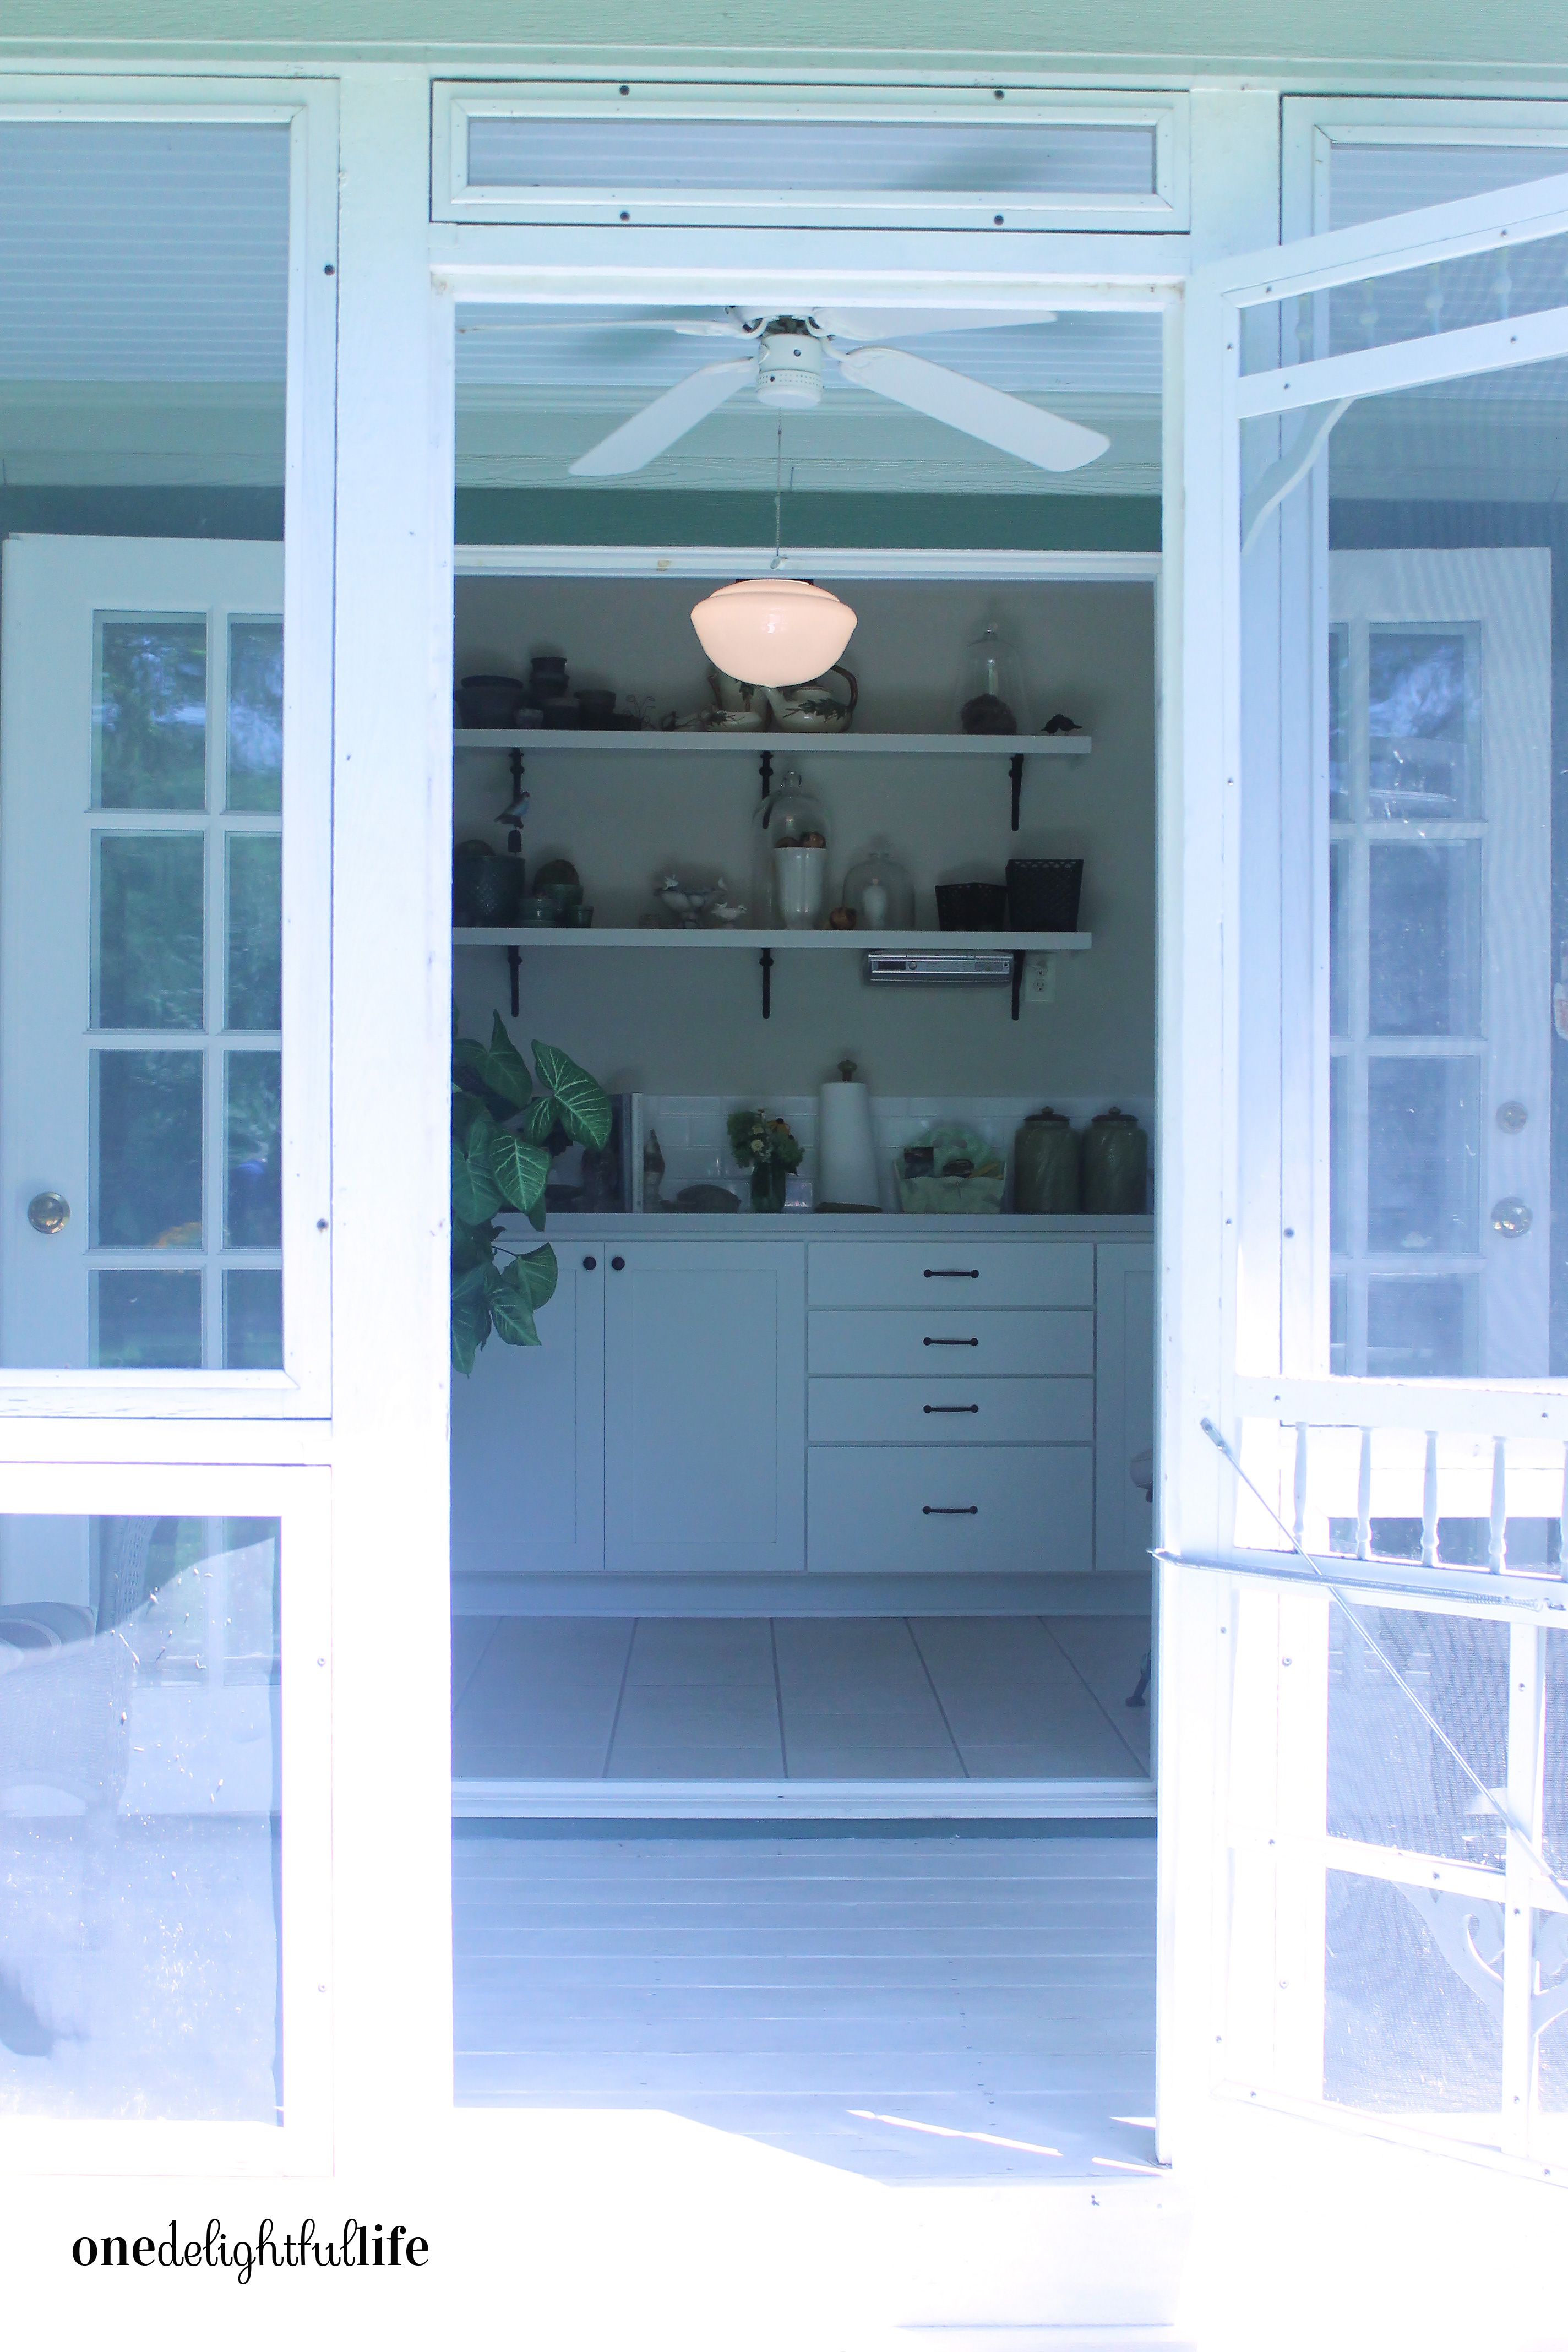
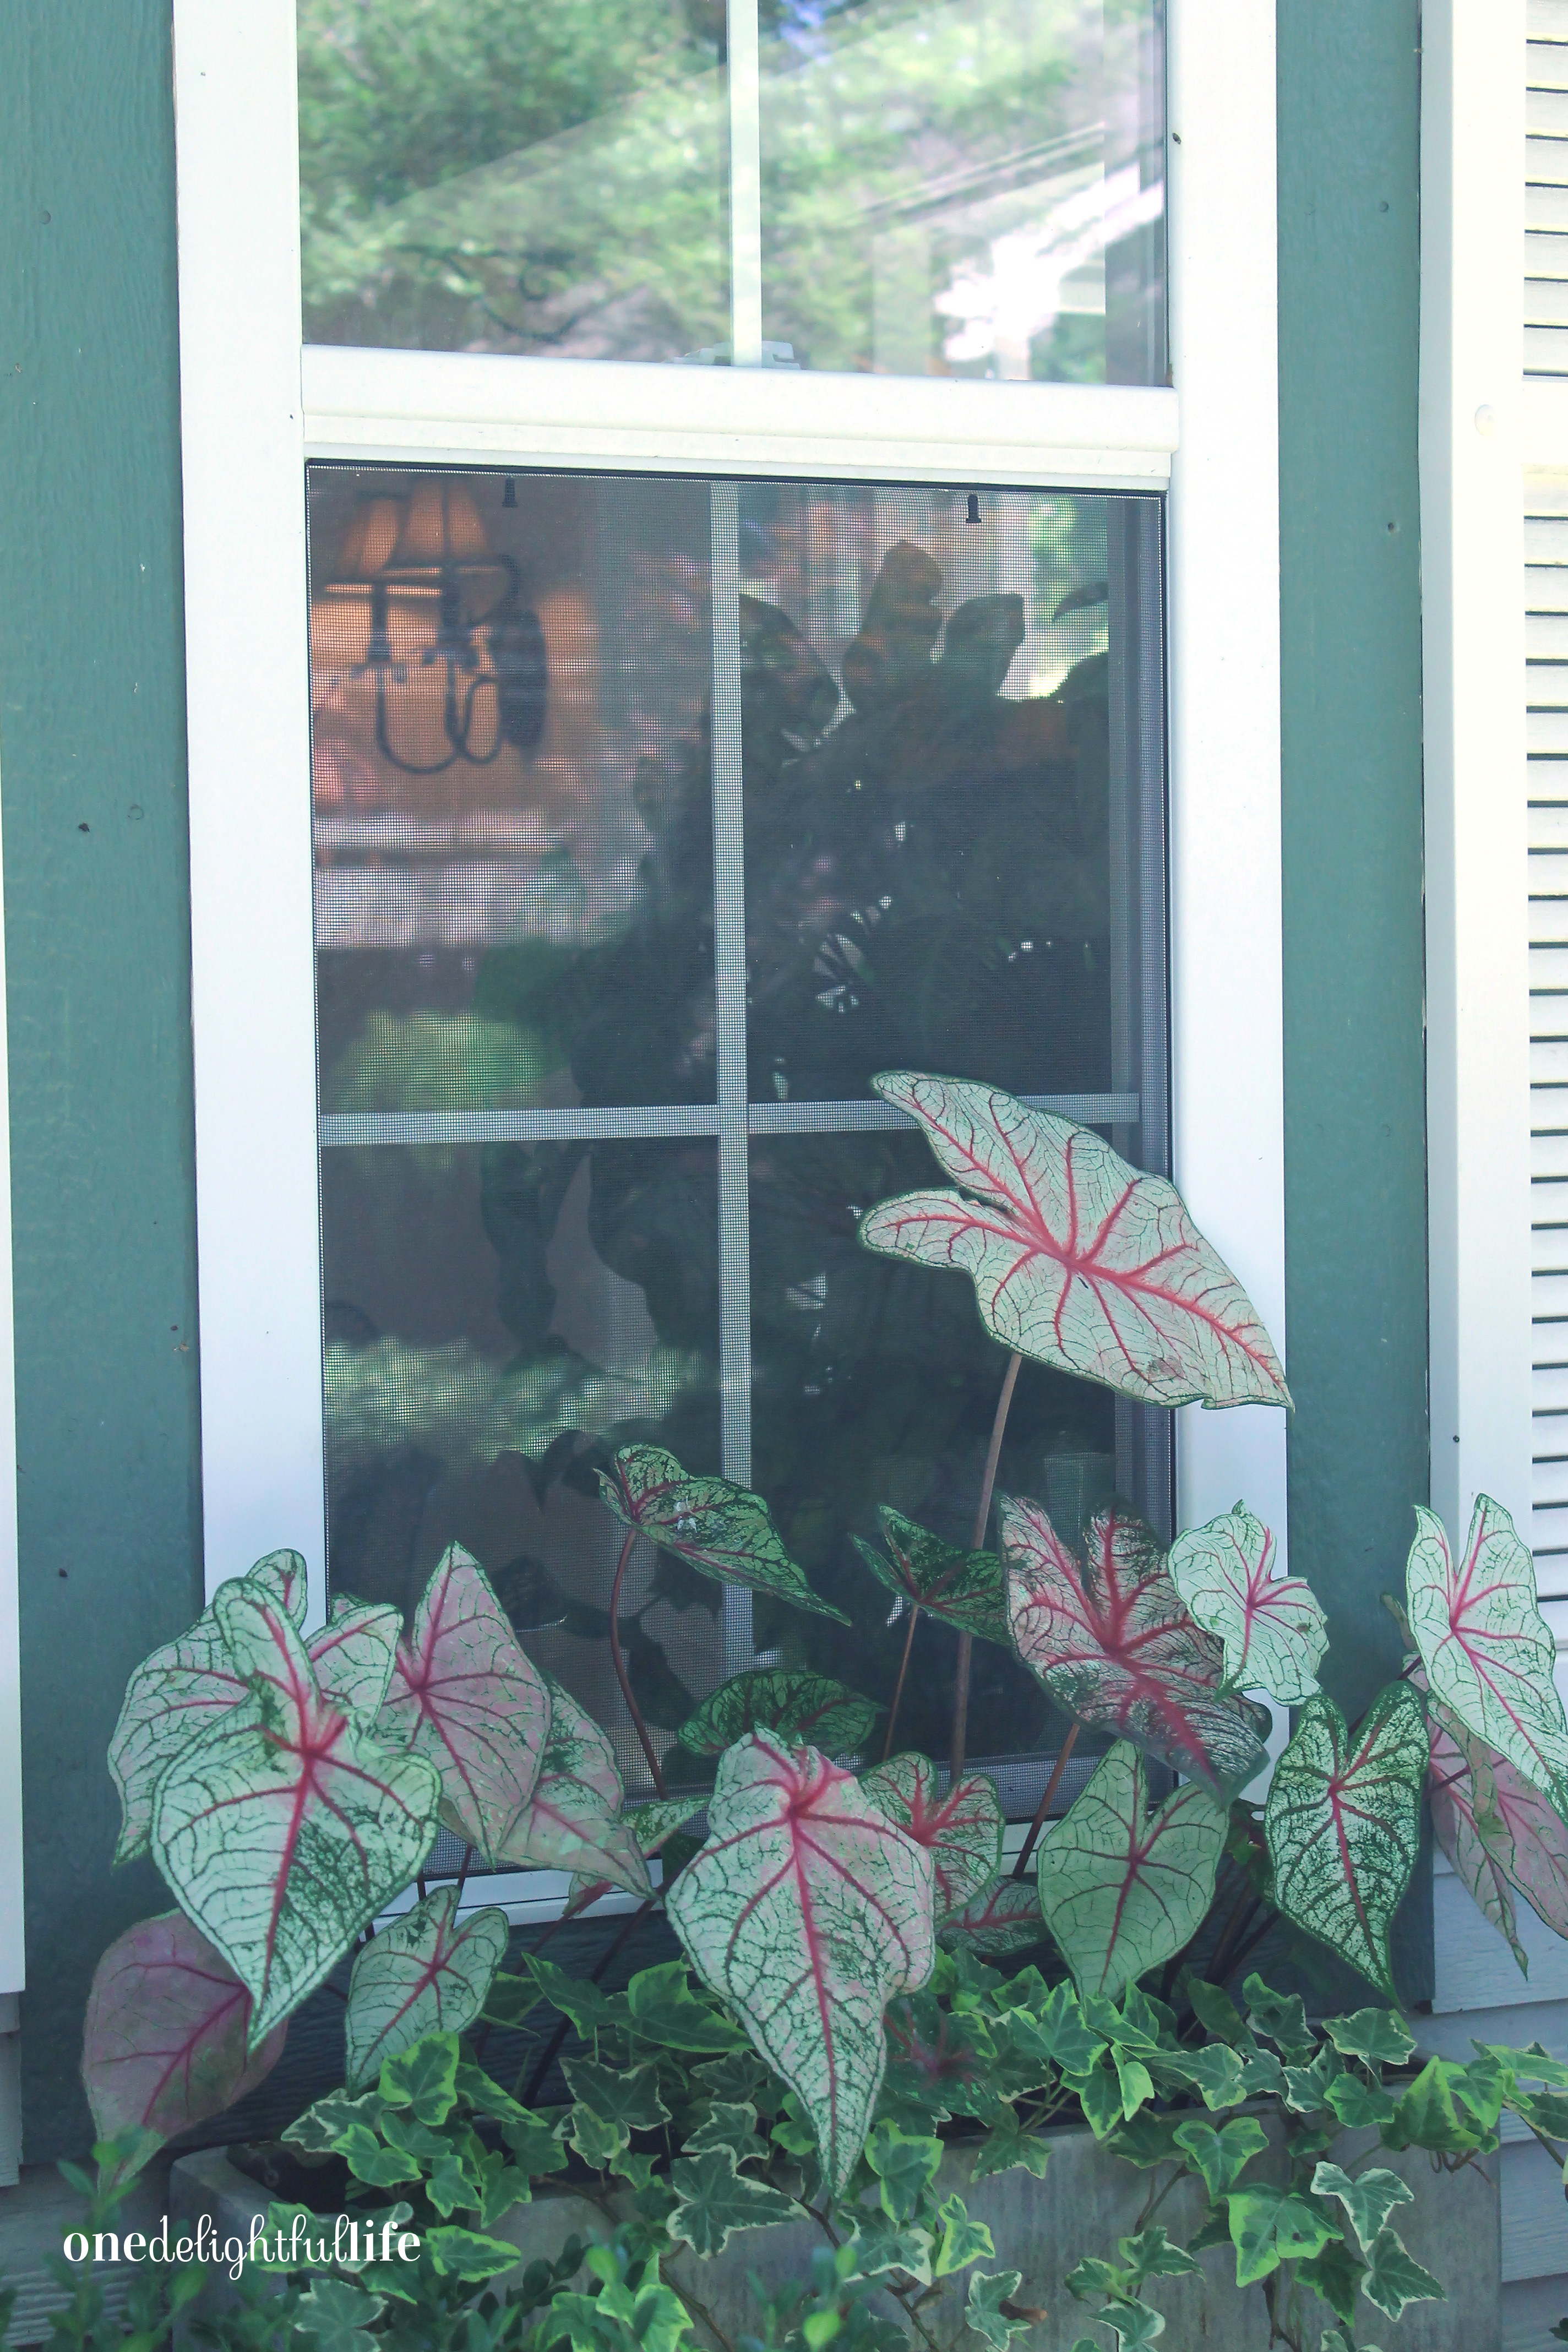
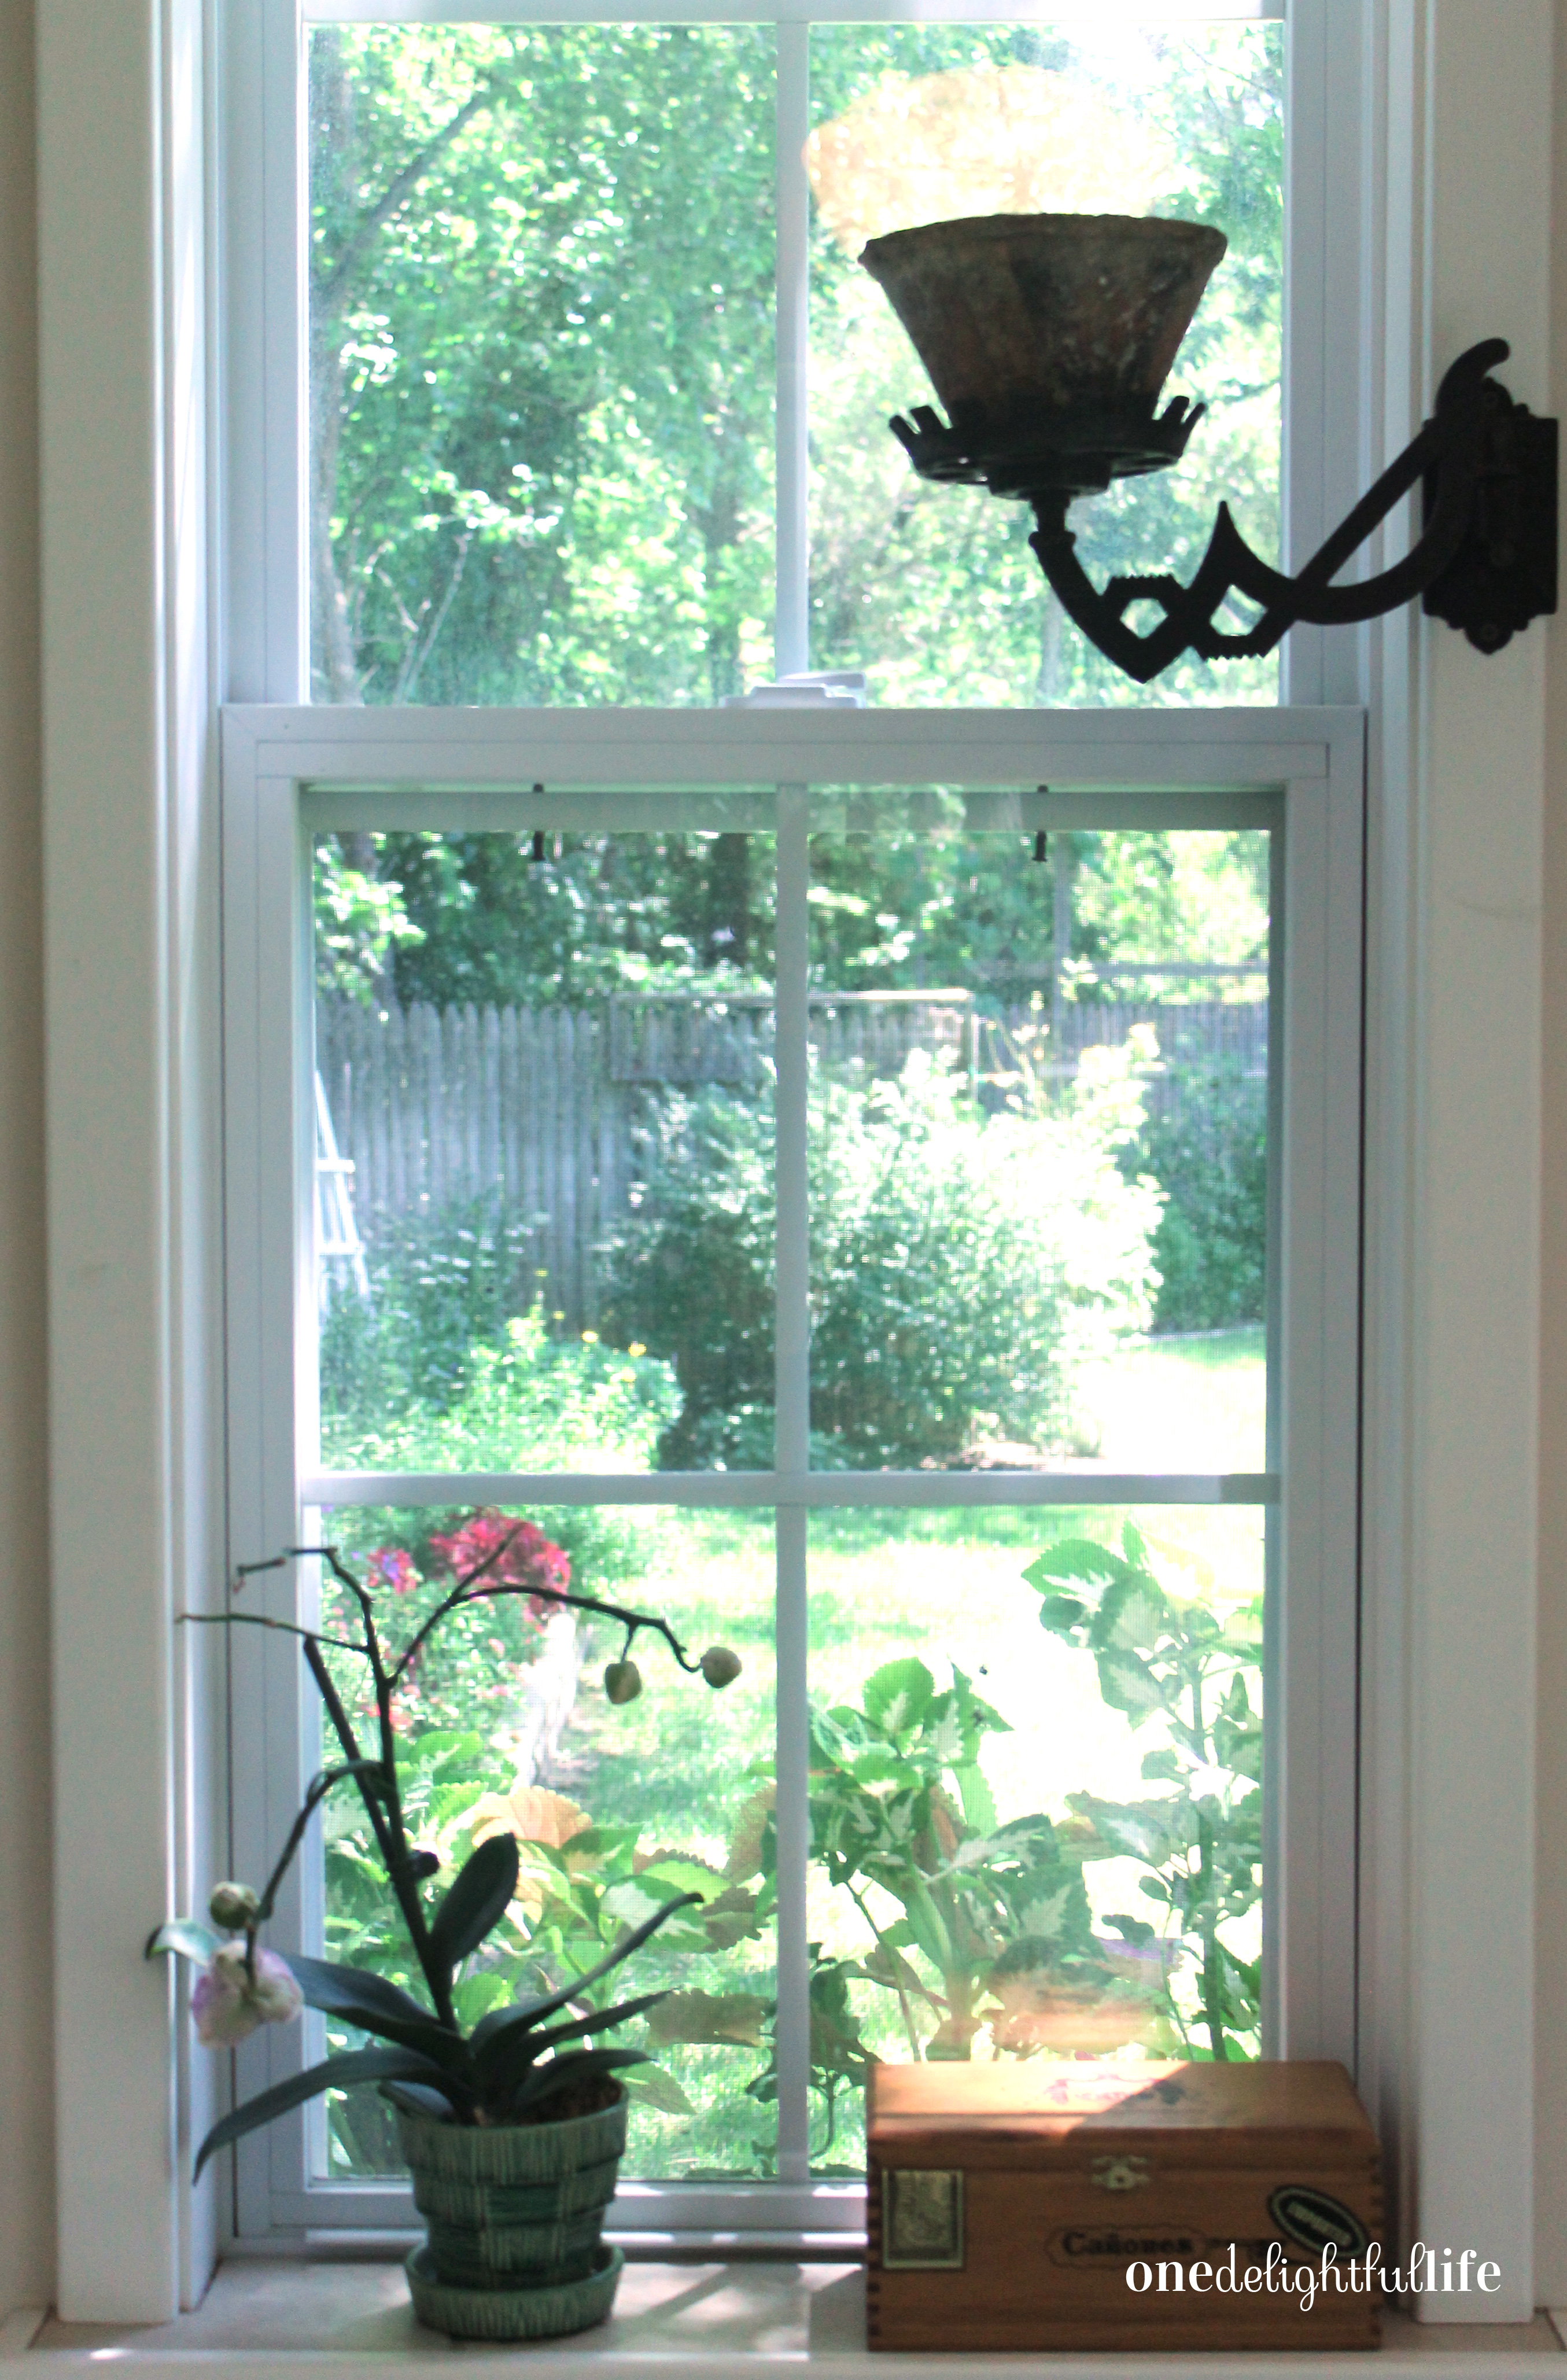
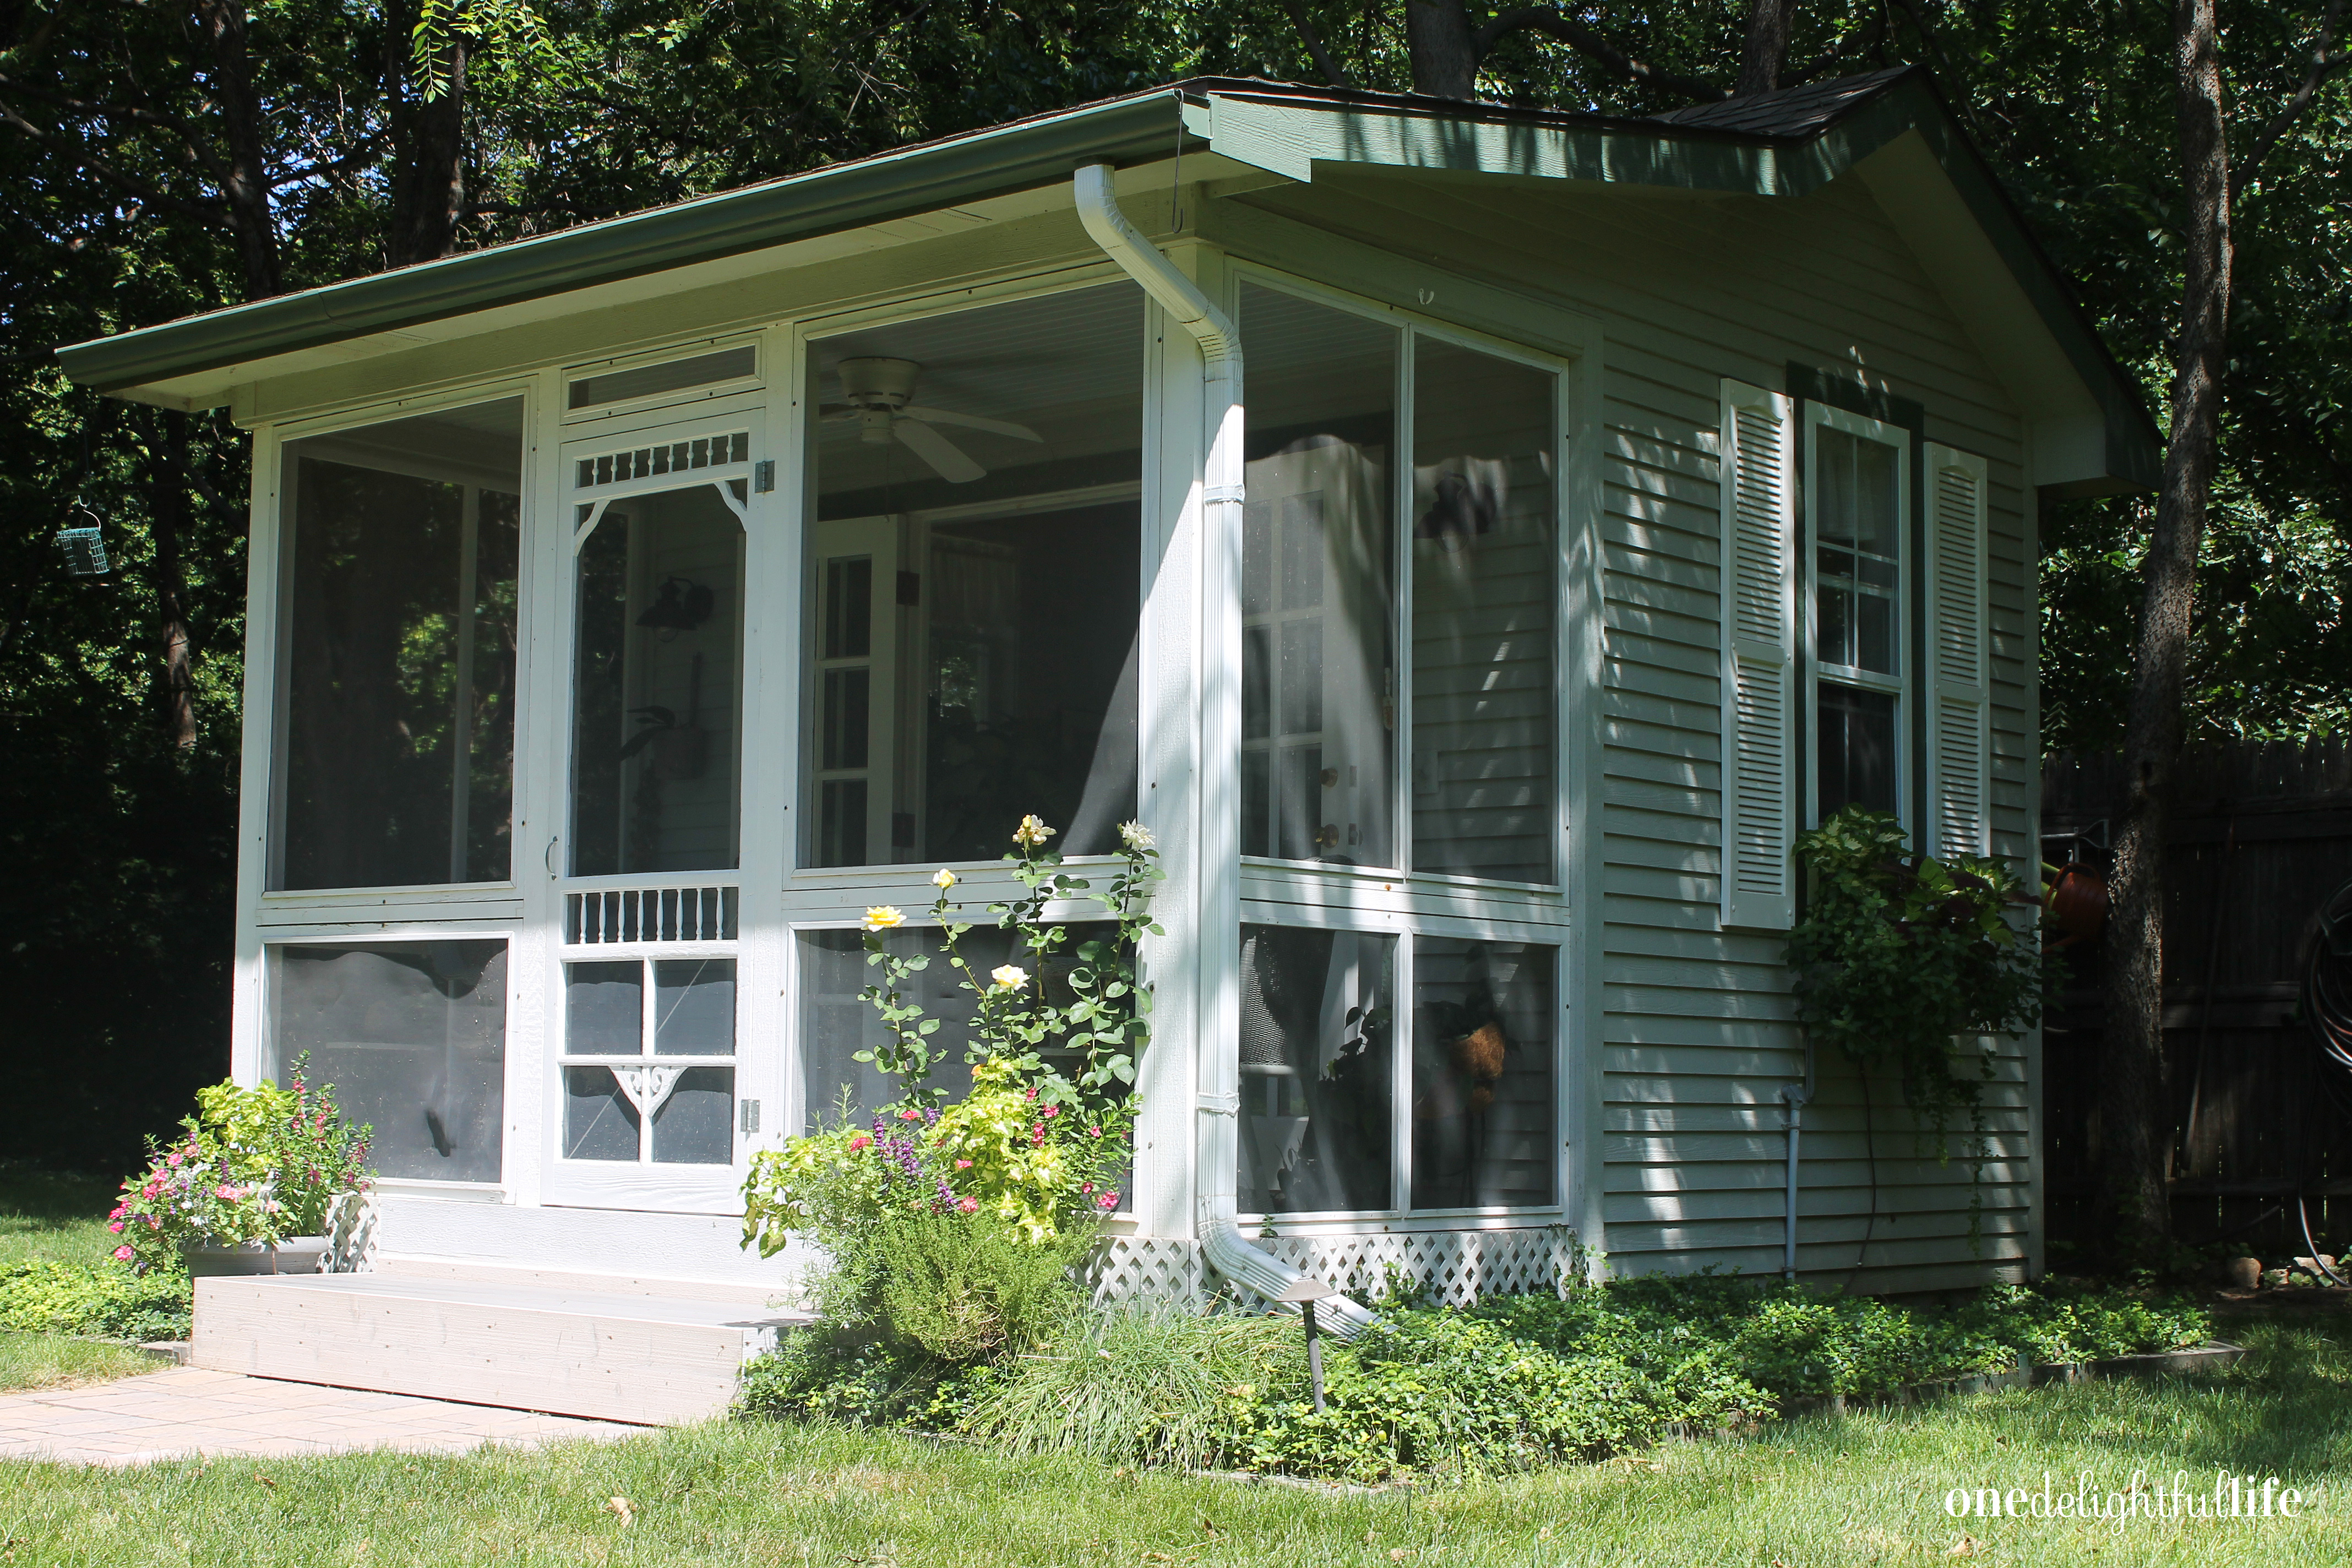
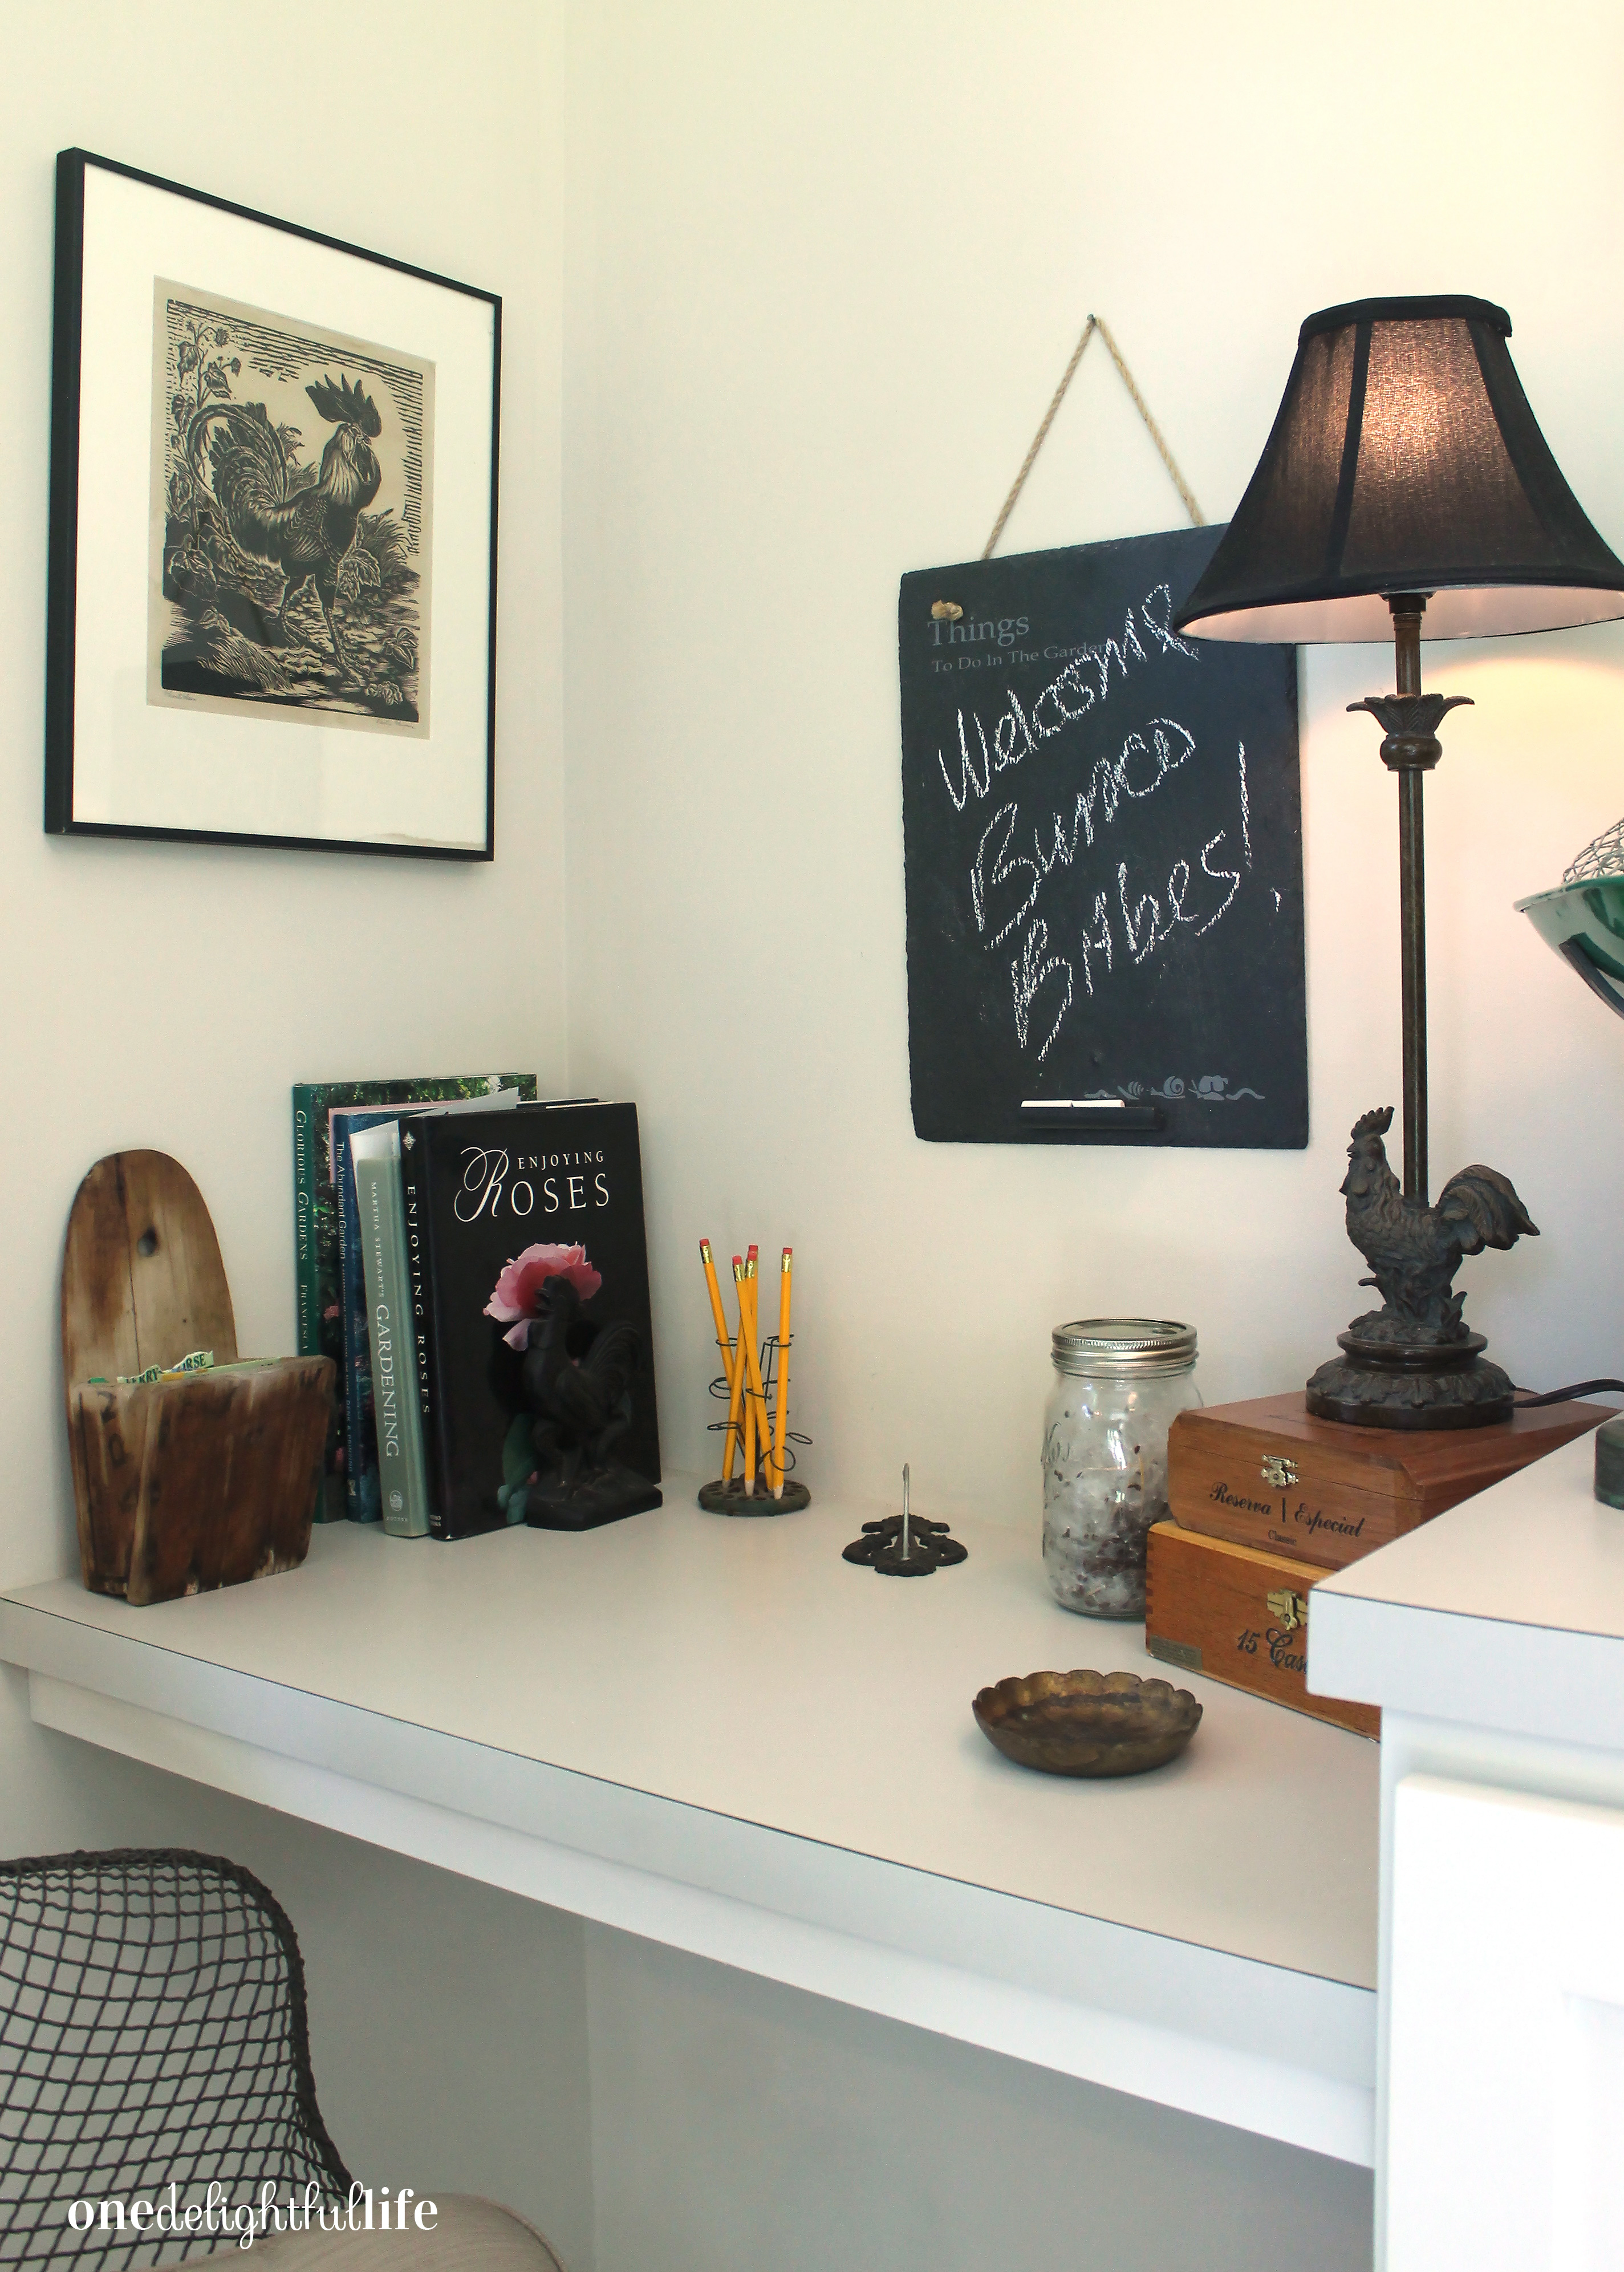
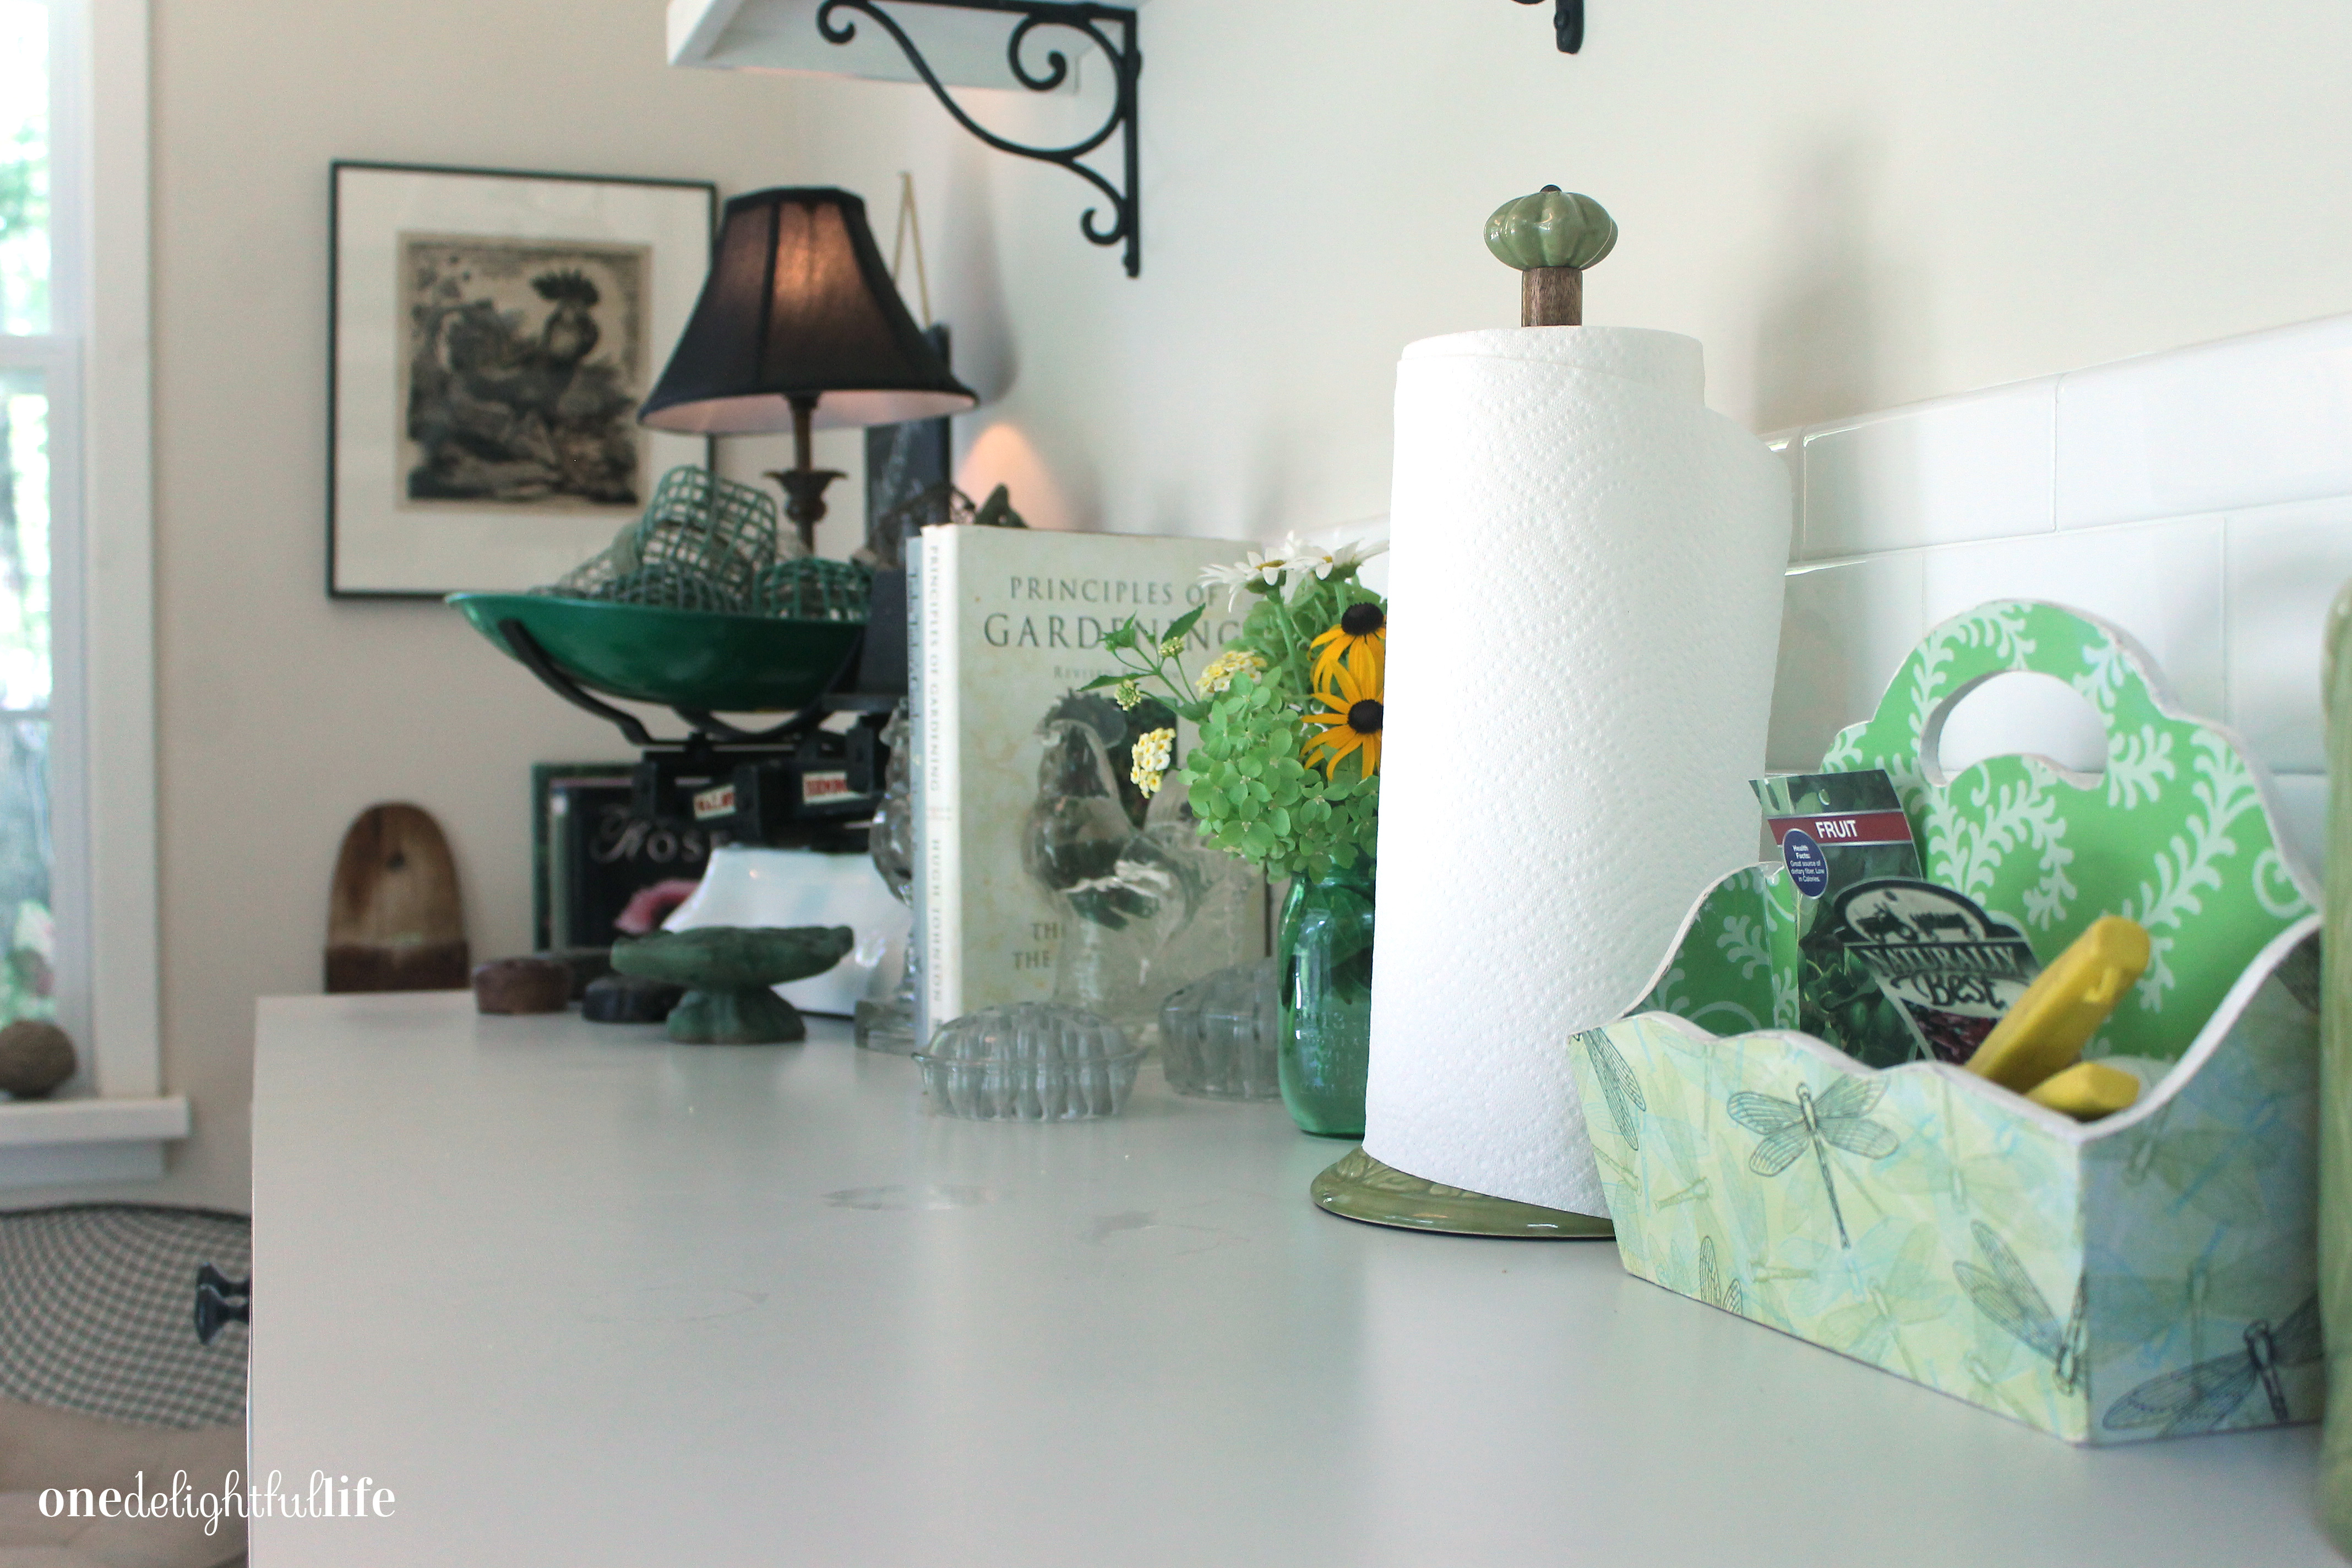
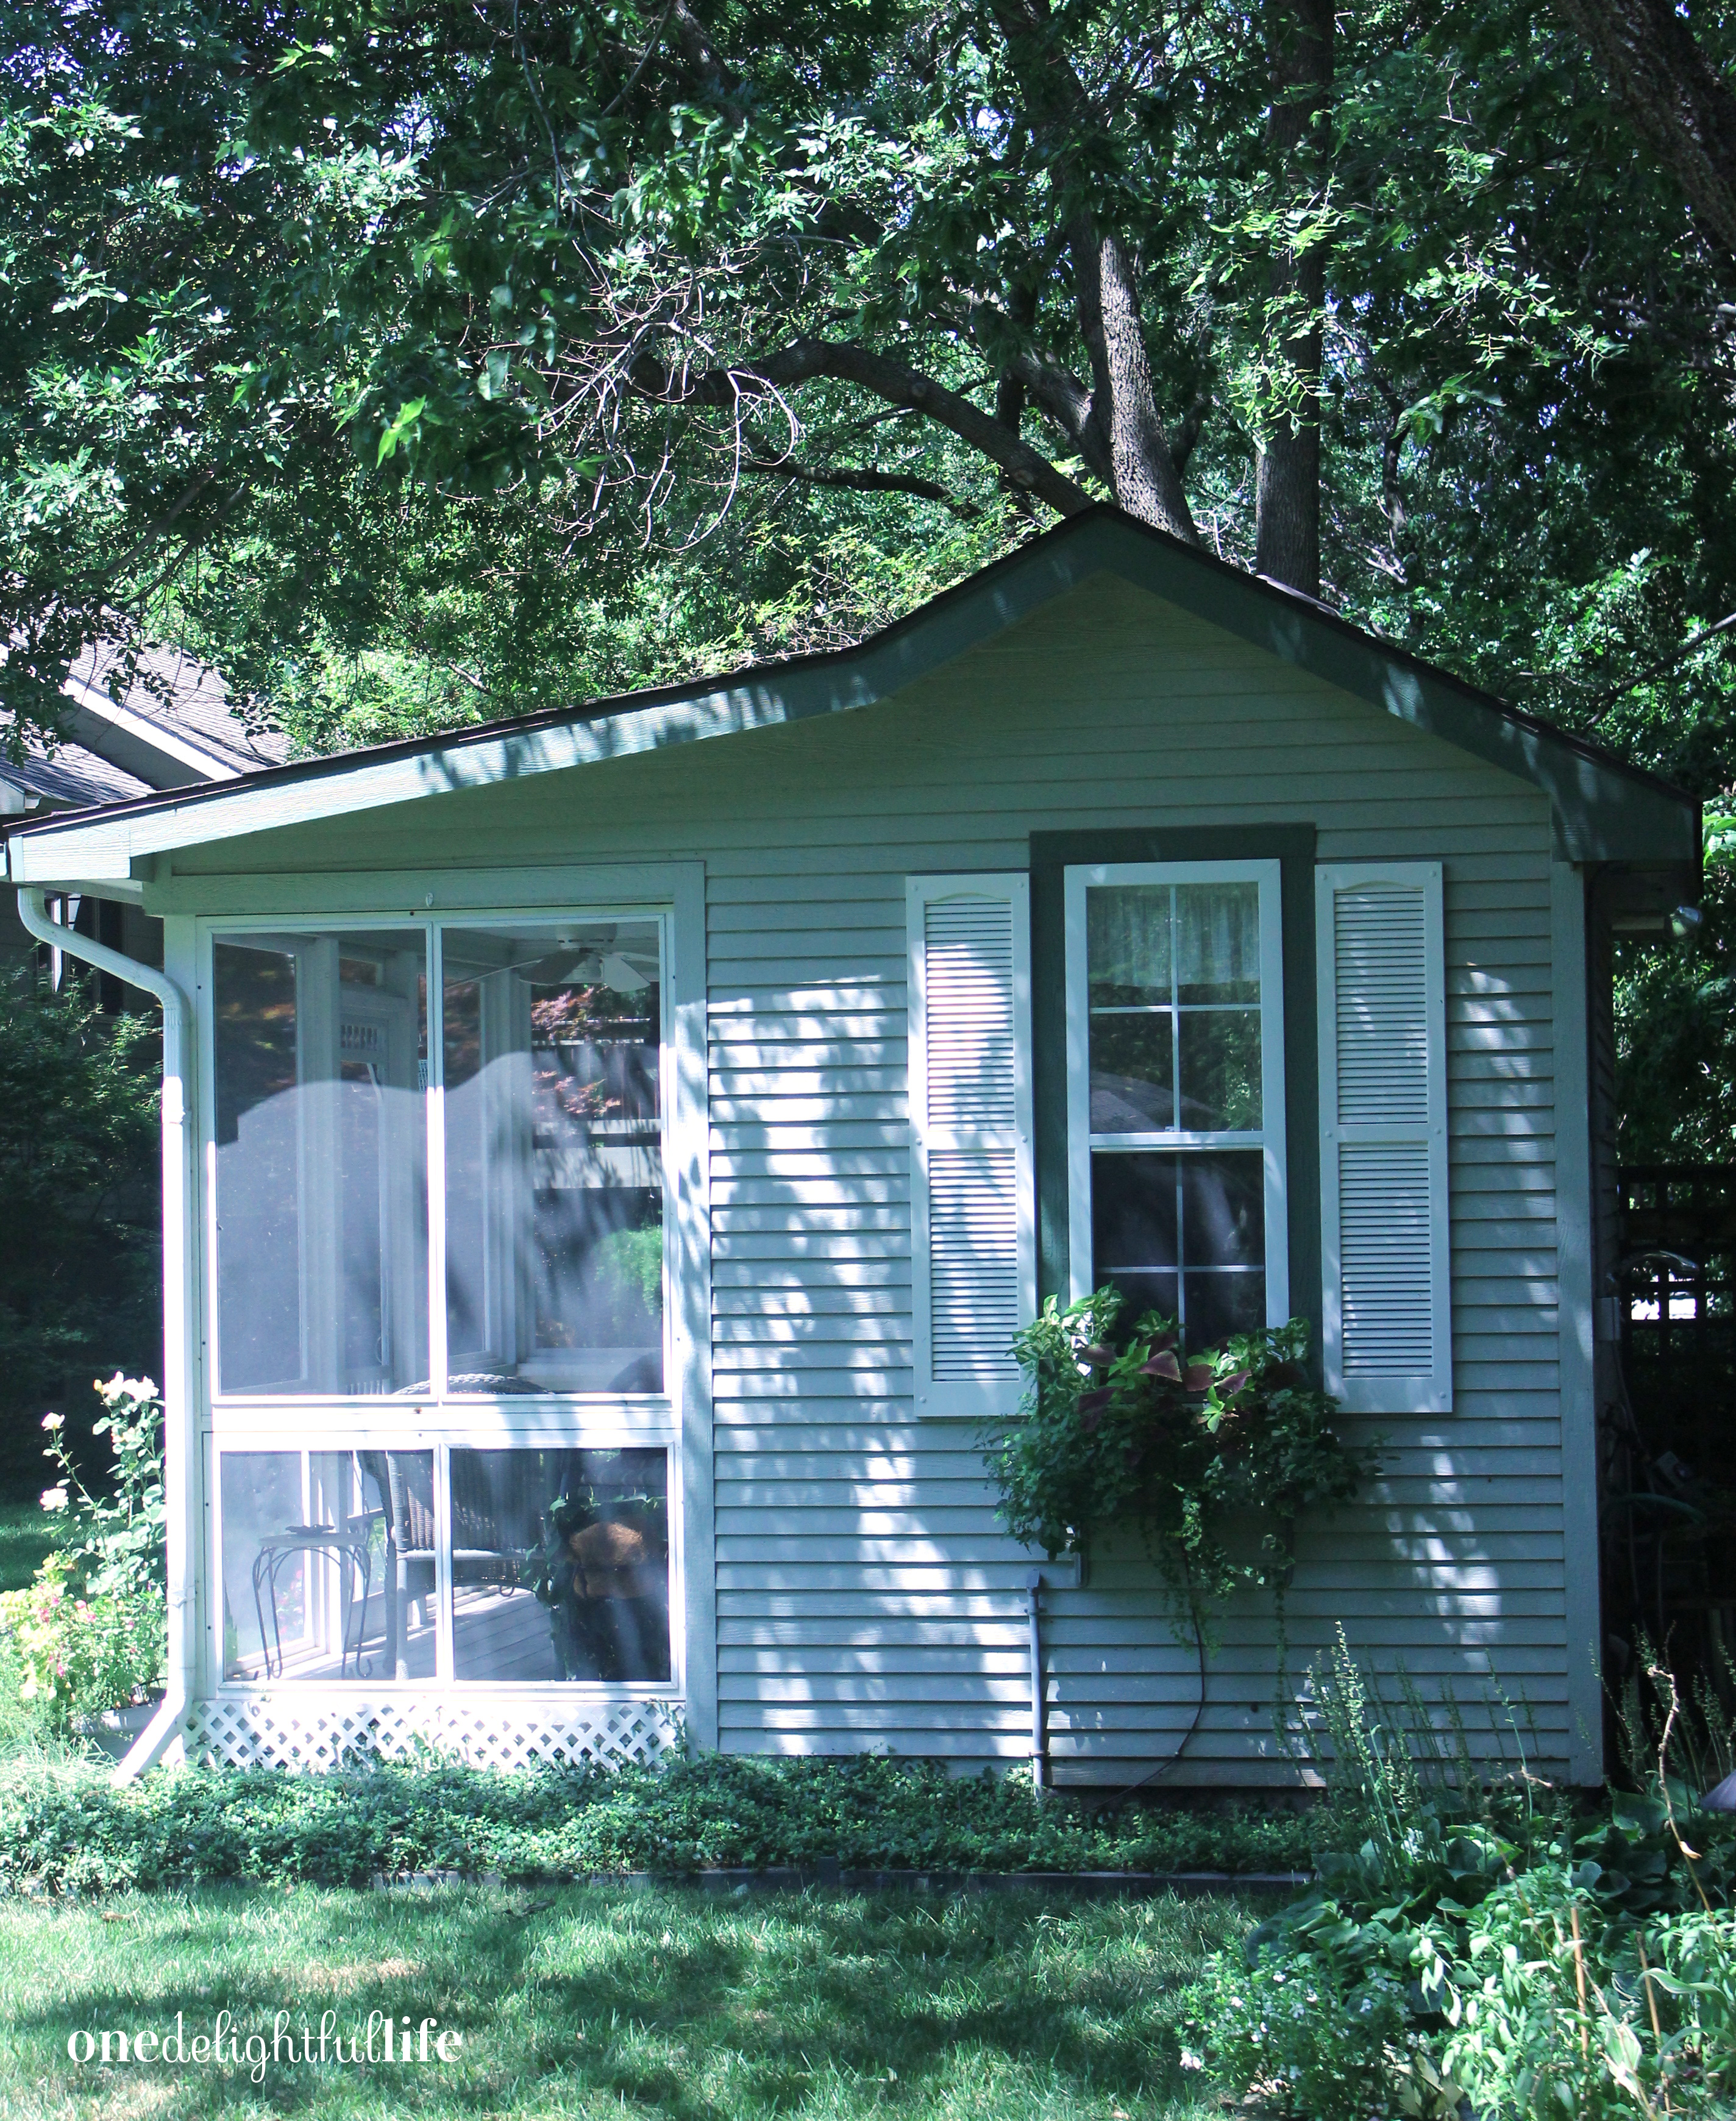
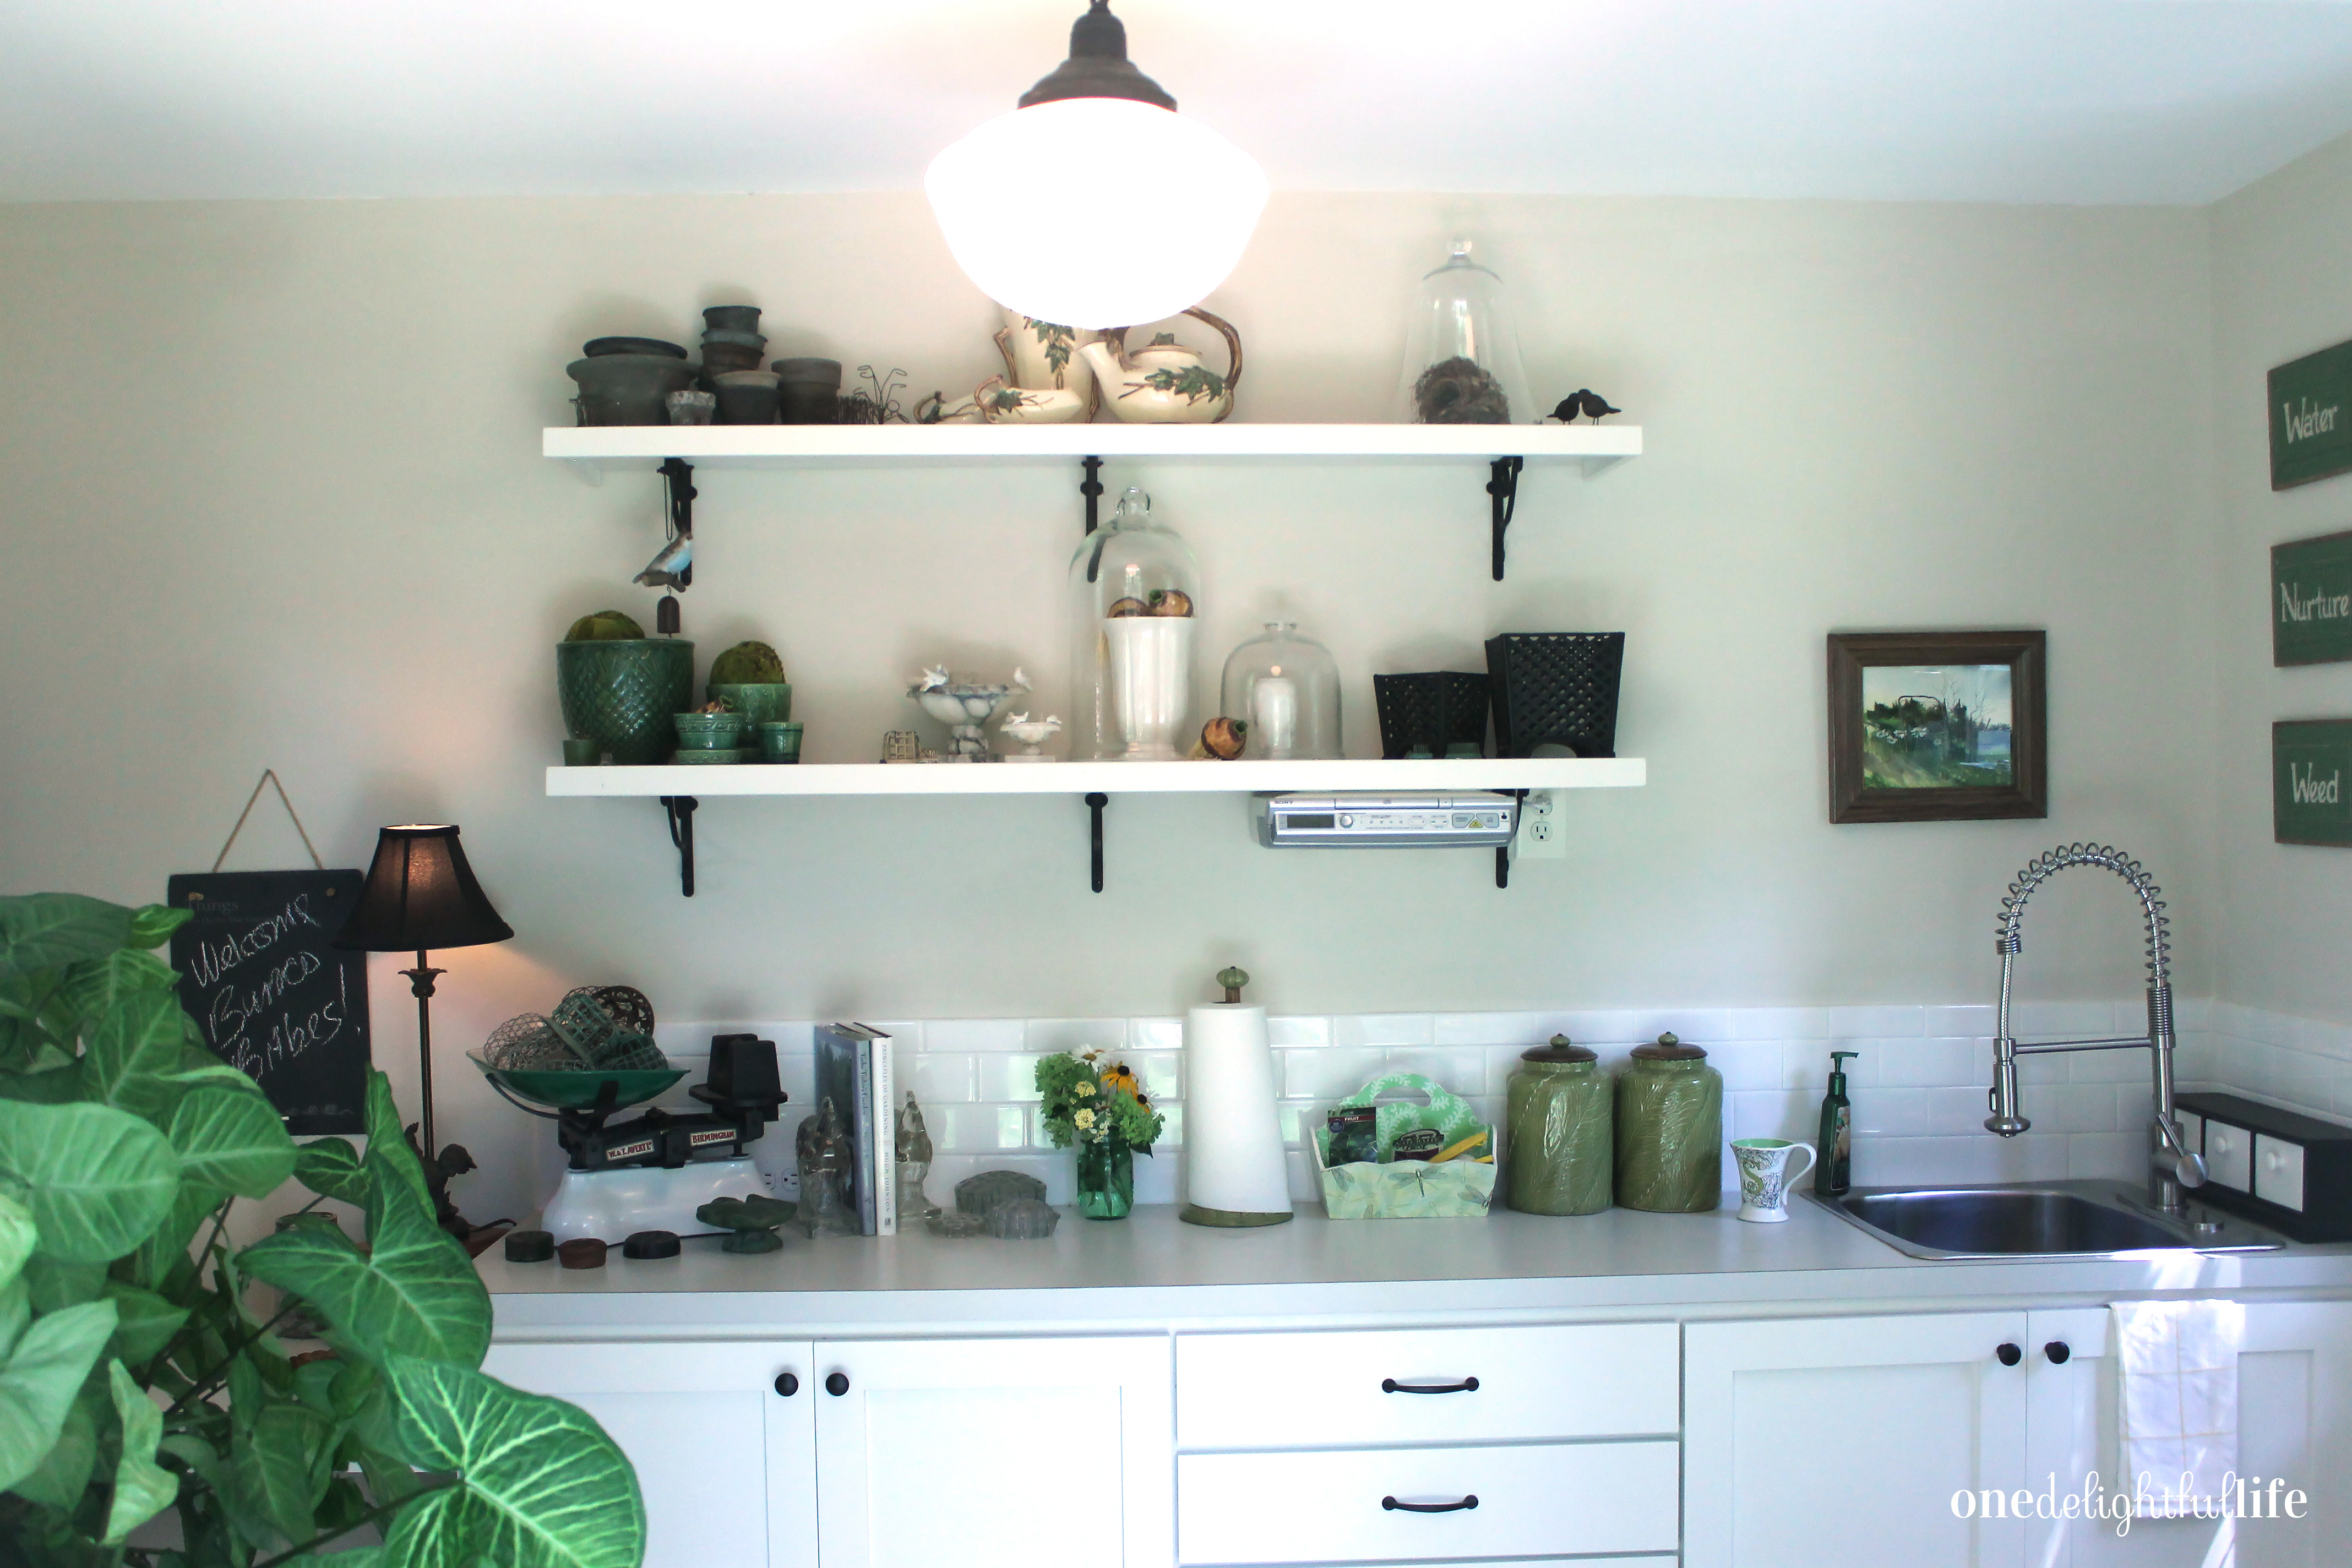
 Mom’s garden house is an extension of her own home. The interior’s neutral colors, off-set by the bright white counter tops and trimmed windows, includes various green hues from decorative additions and dark black metal pieces. Having collected many of the sitabouts over time, she decorates in a style more sophisticated than rustic farmhouse but less stuffy than classic traditional. She has an eclectic sense of design style that is uniquely her own.
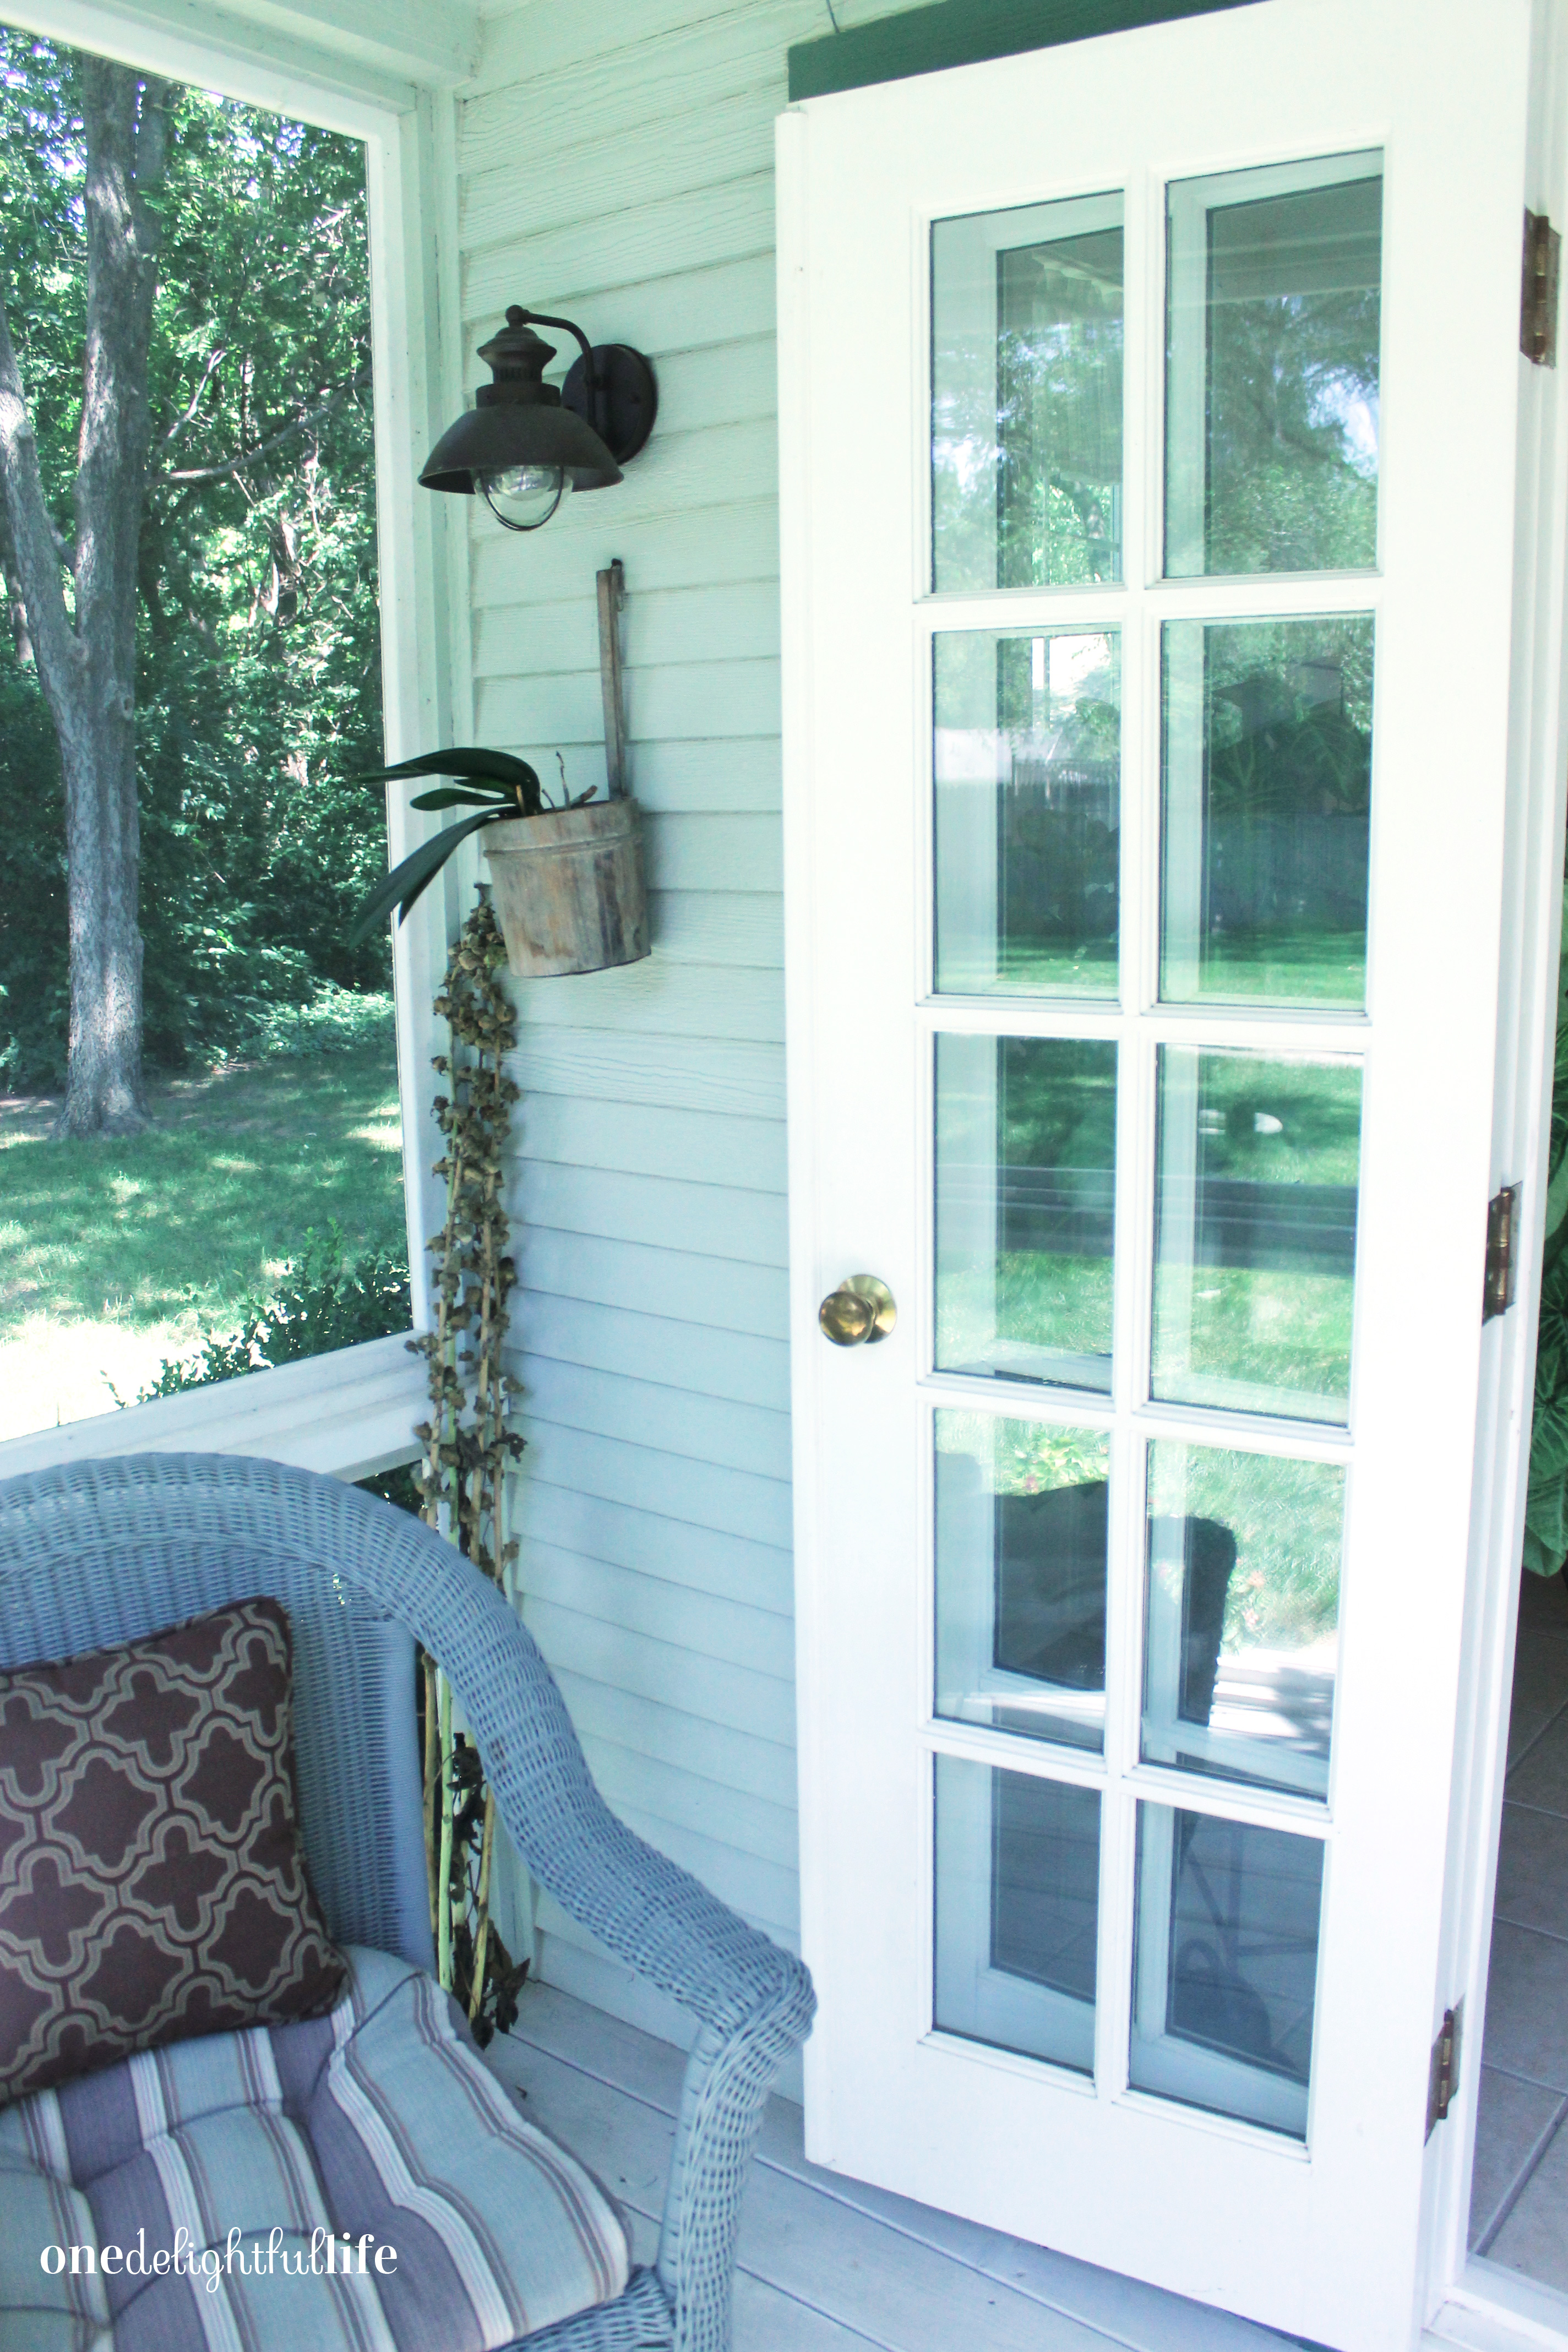
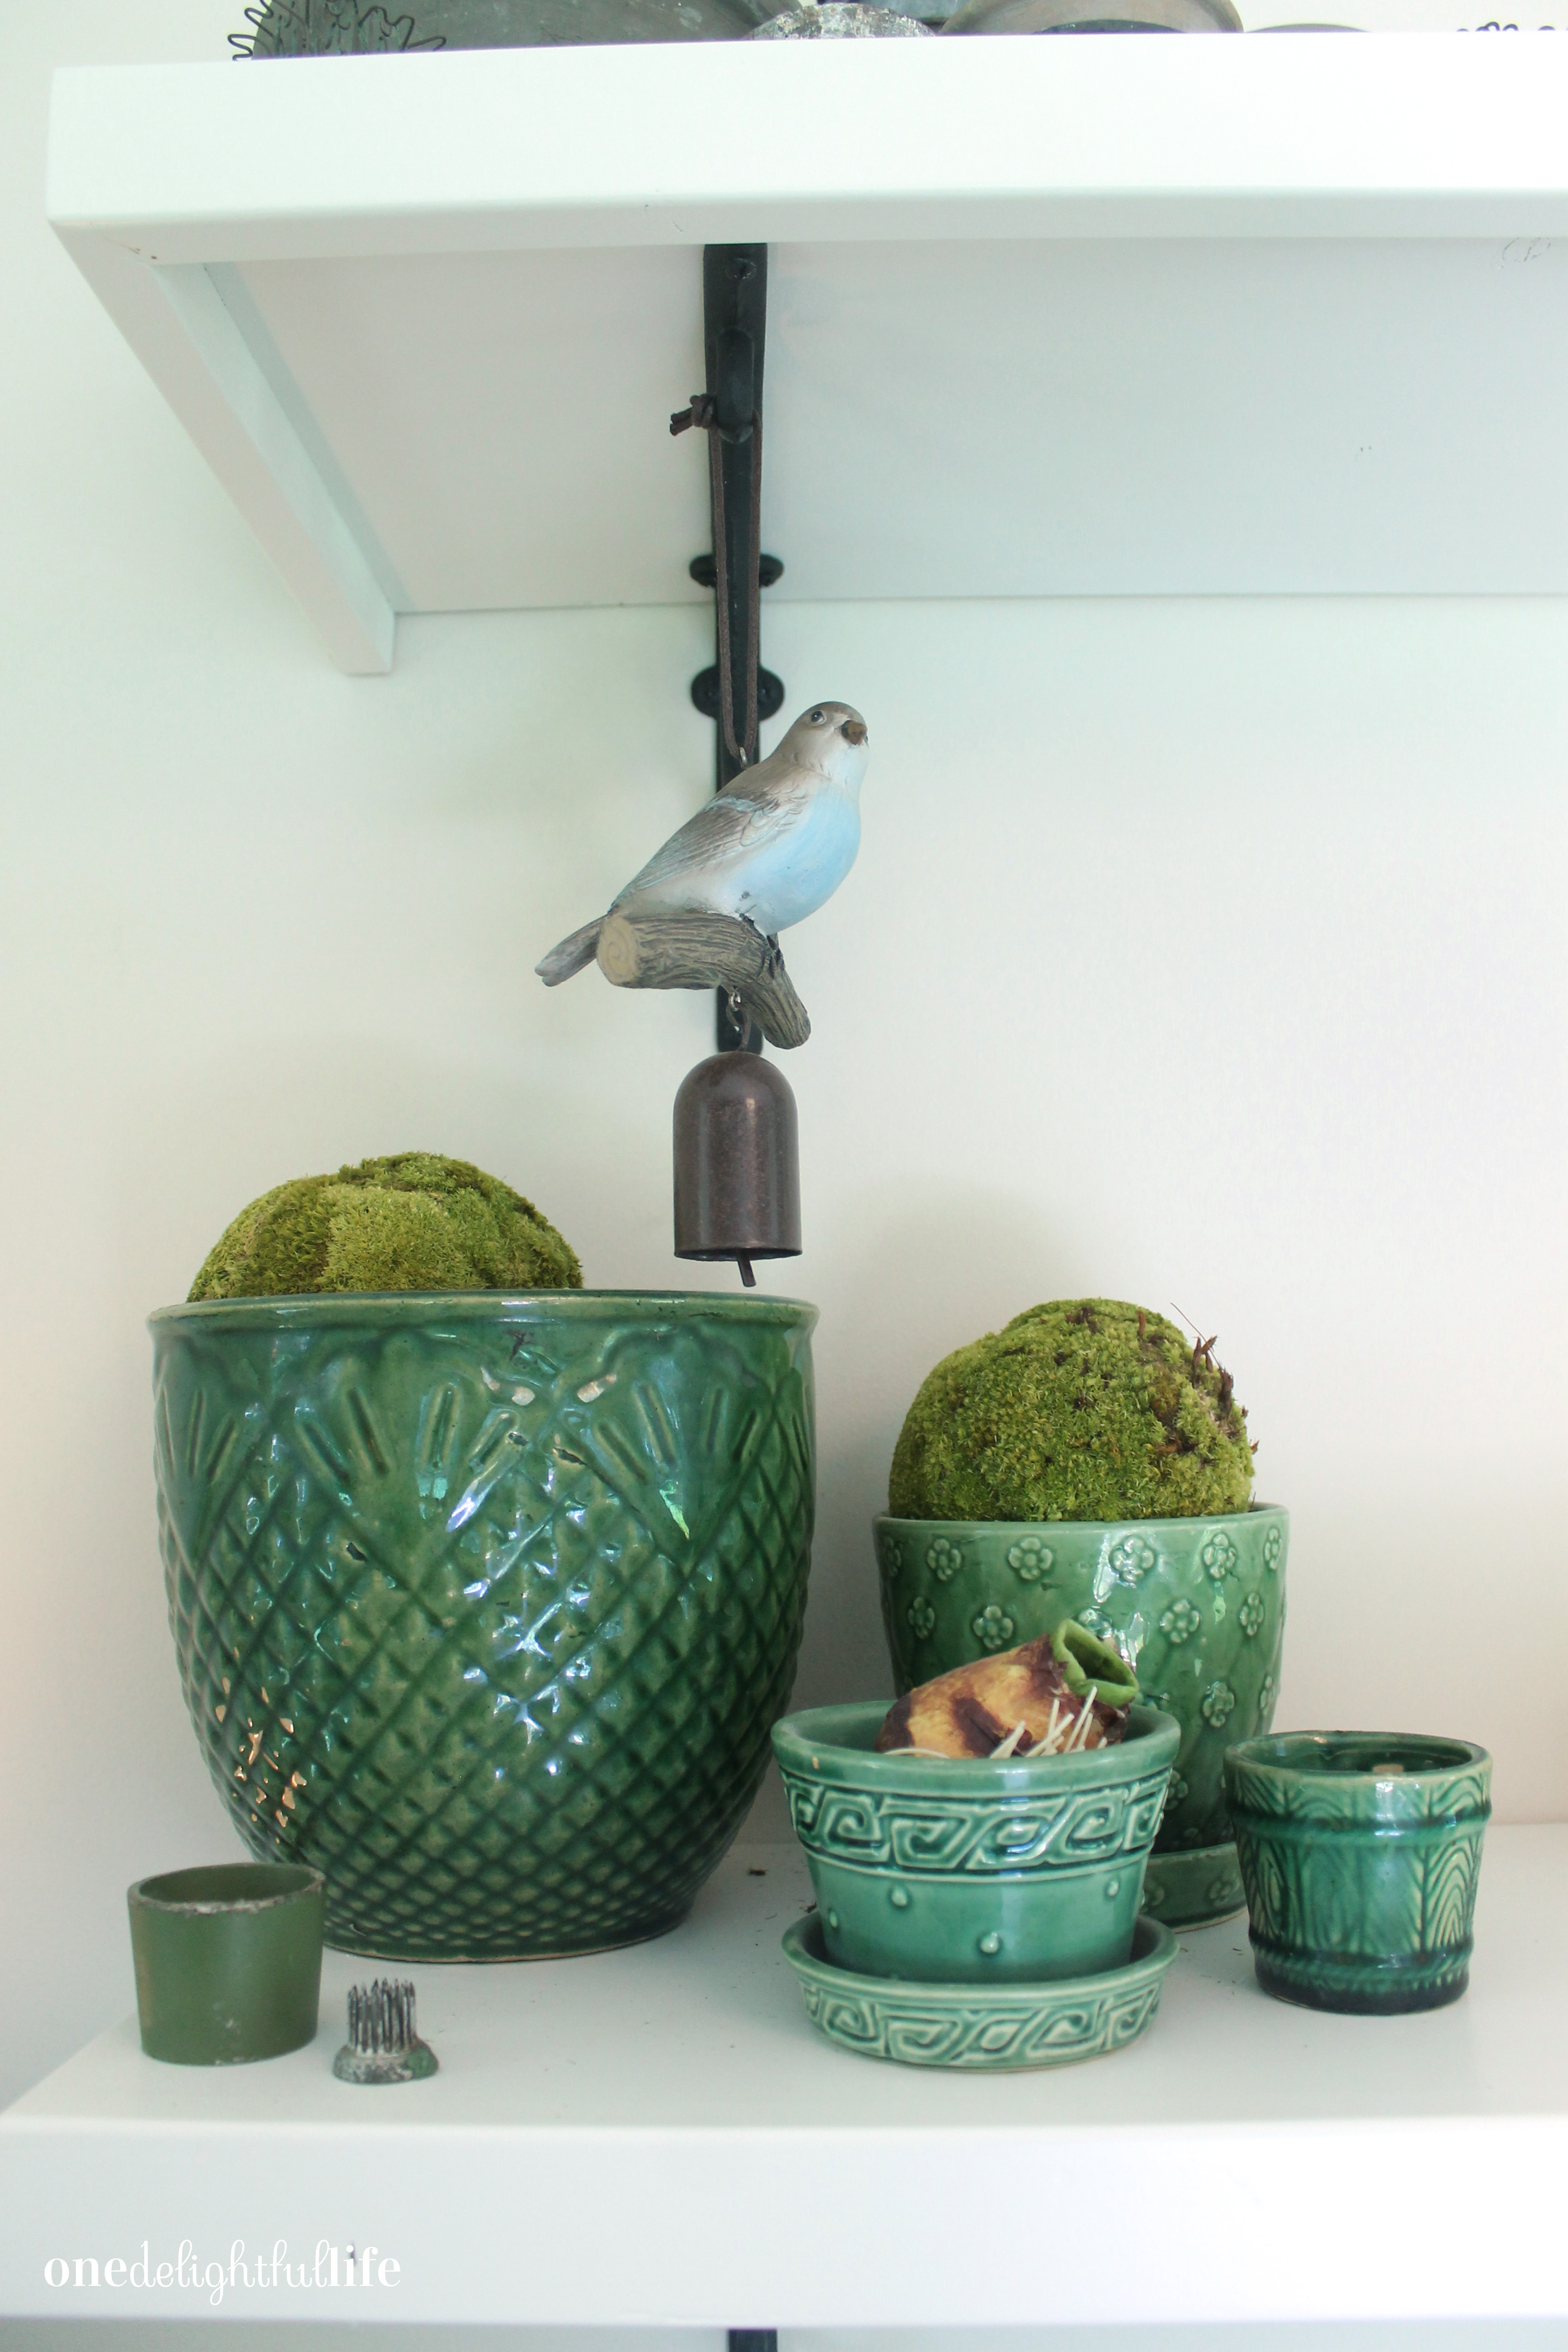
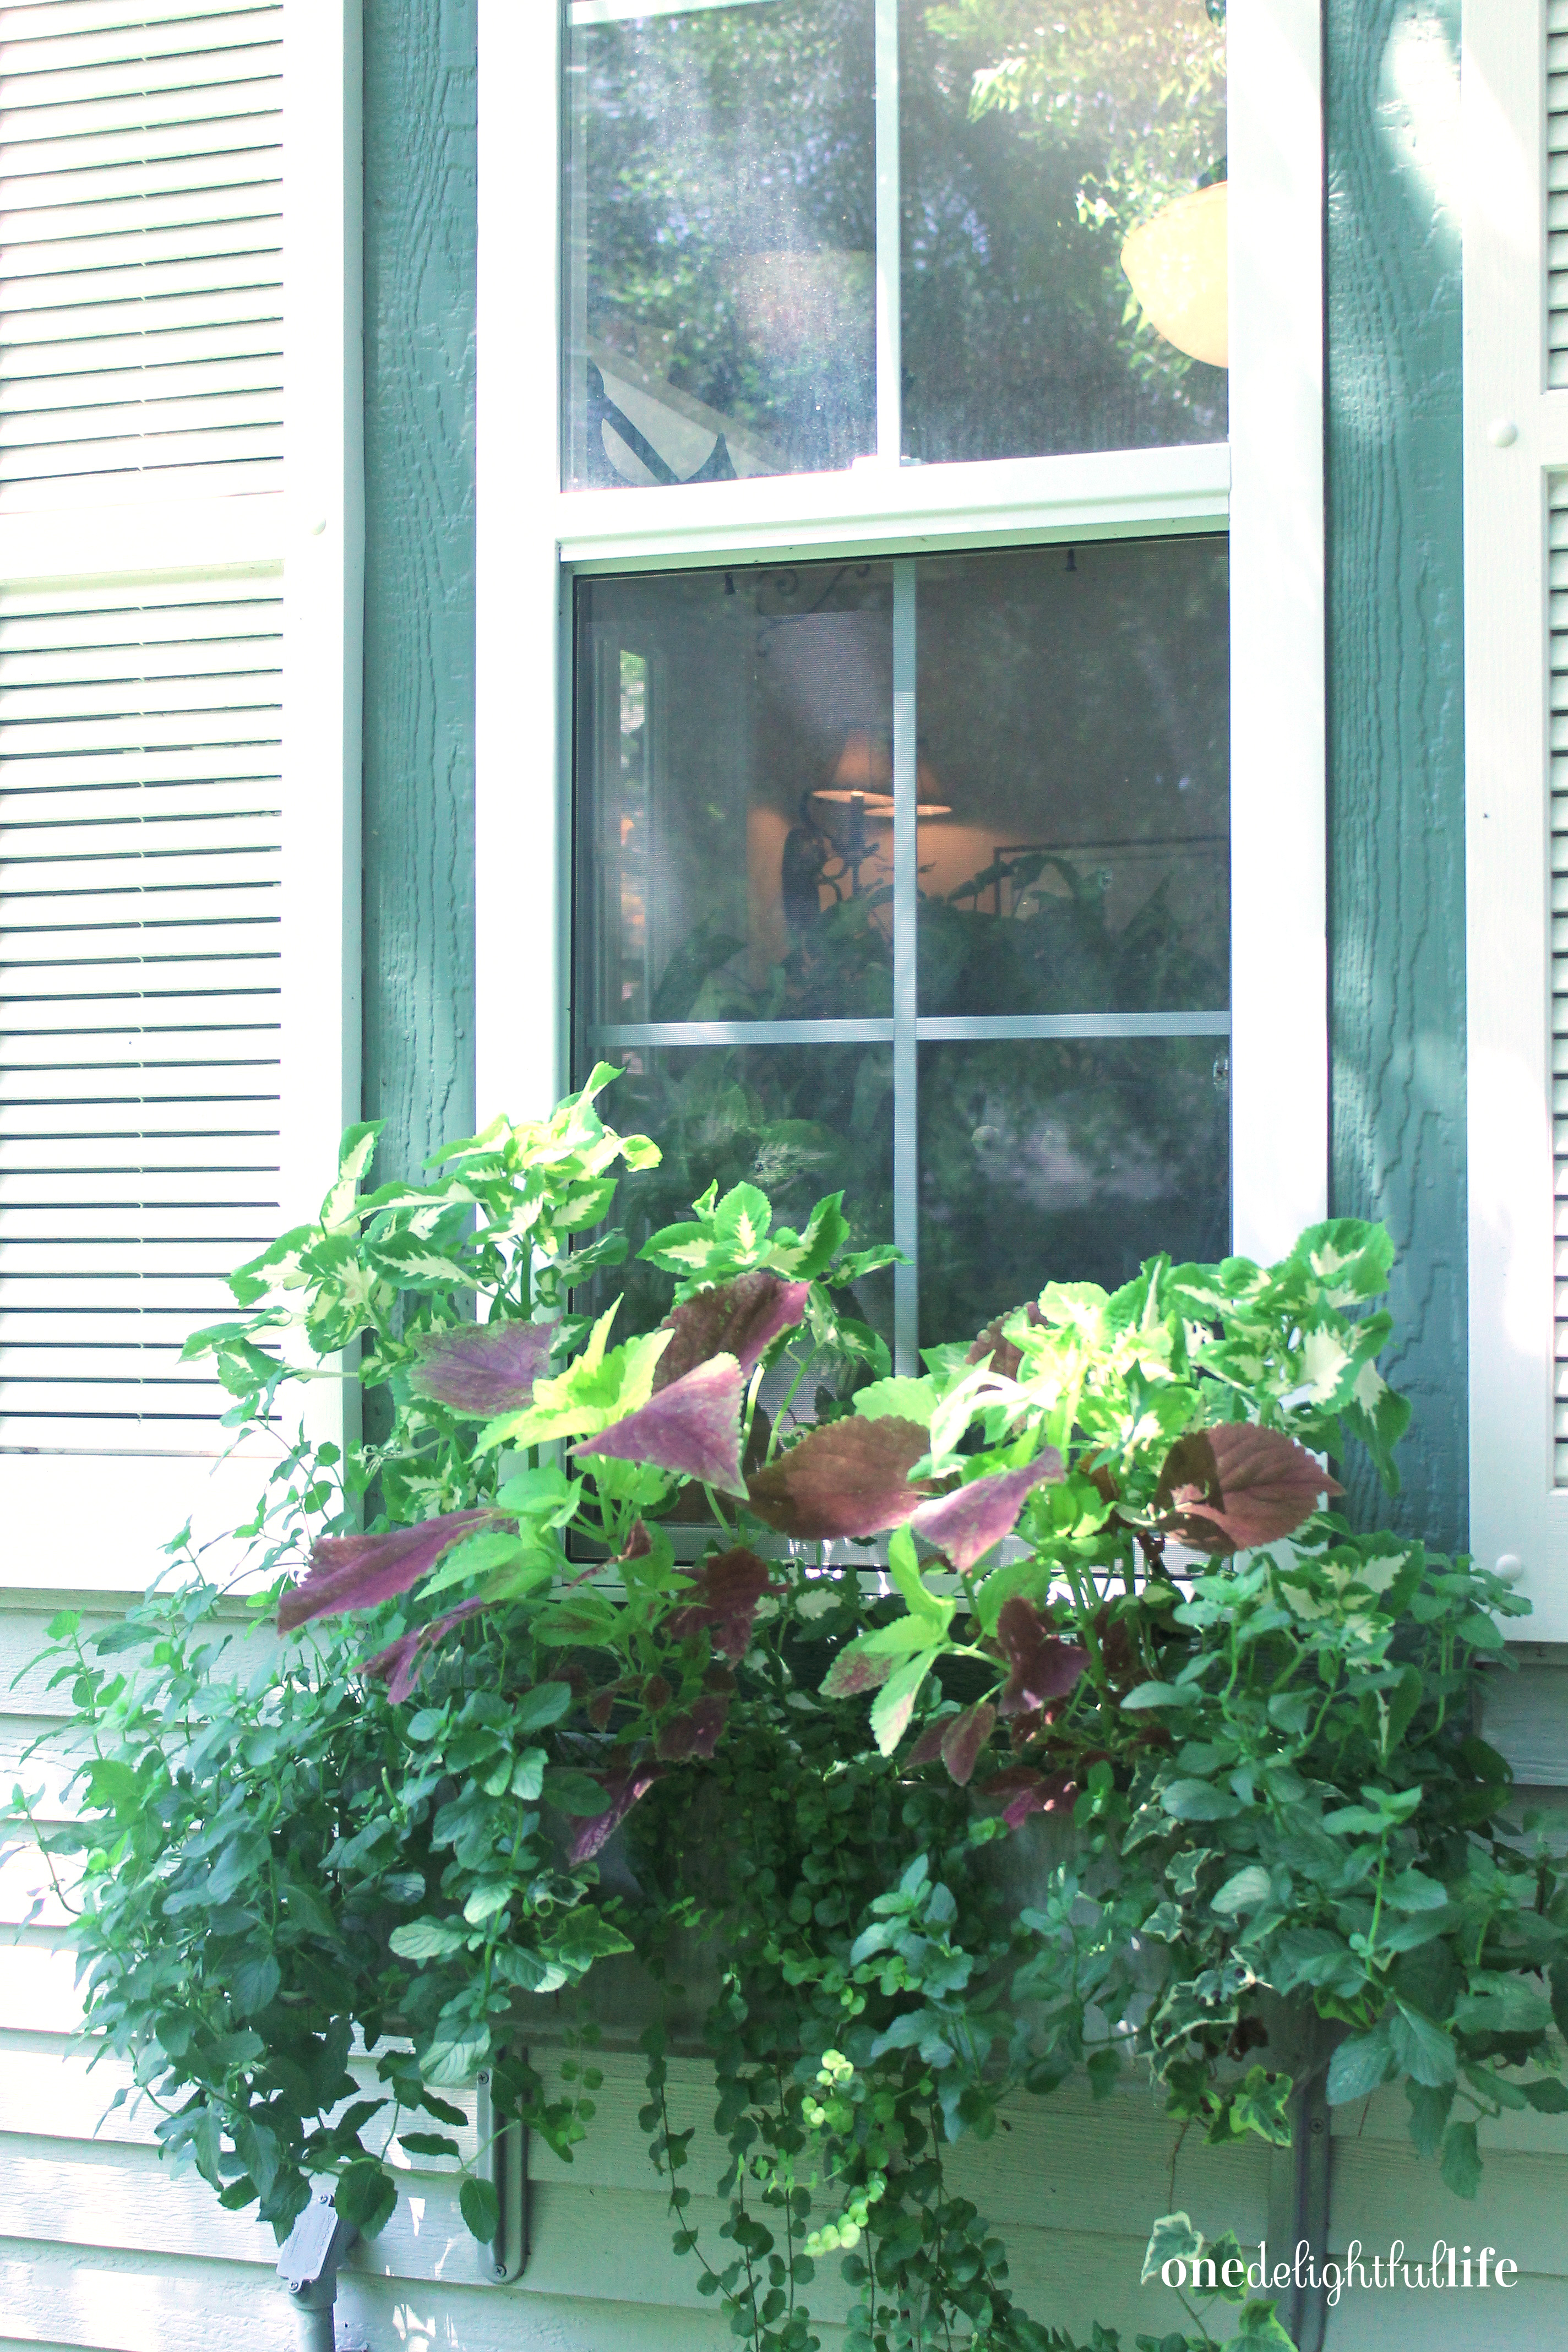
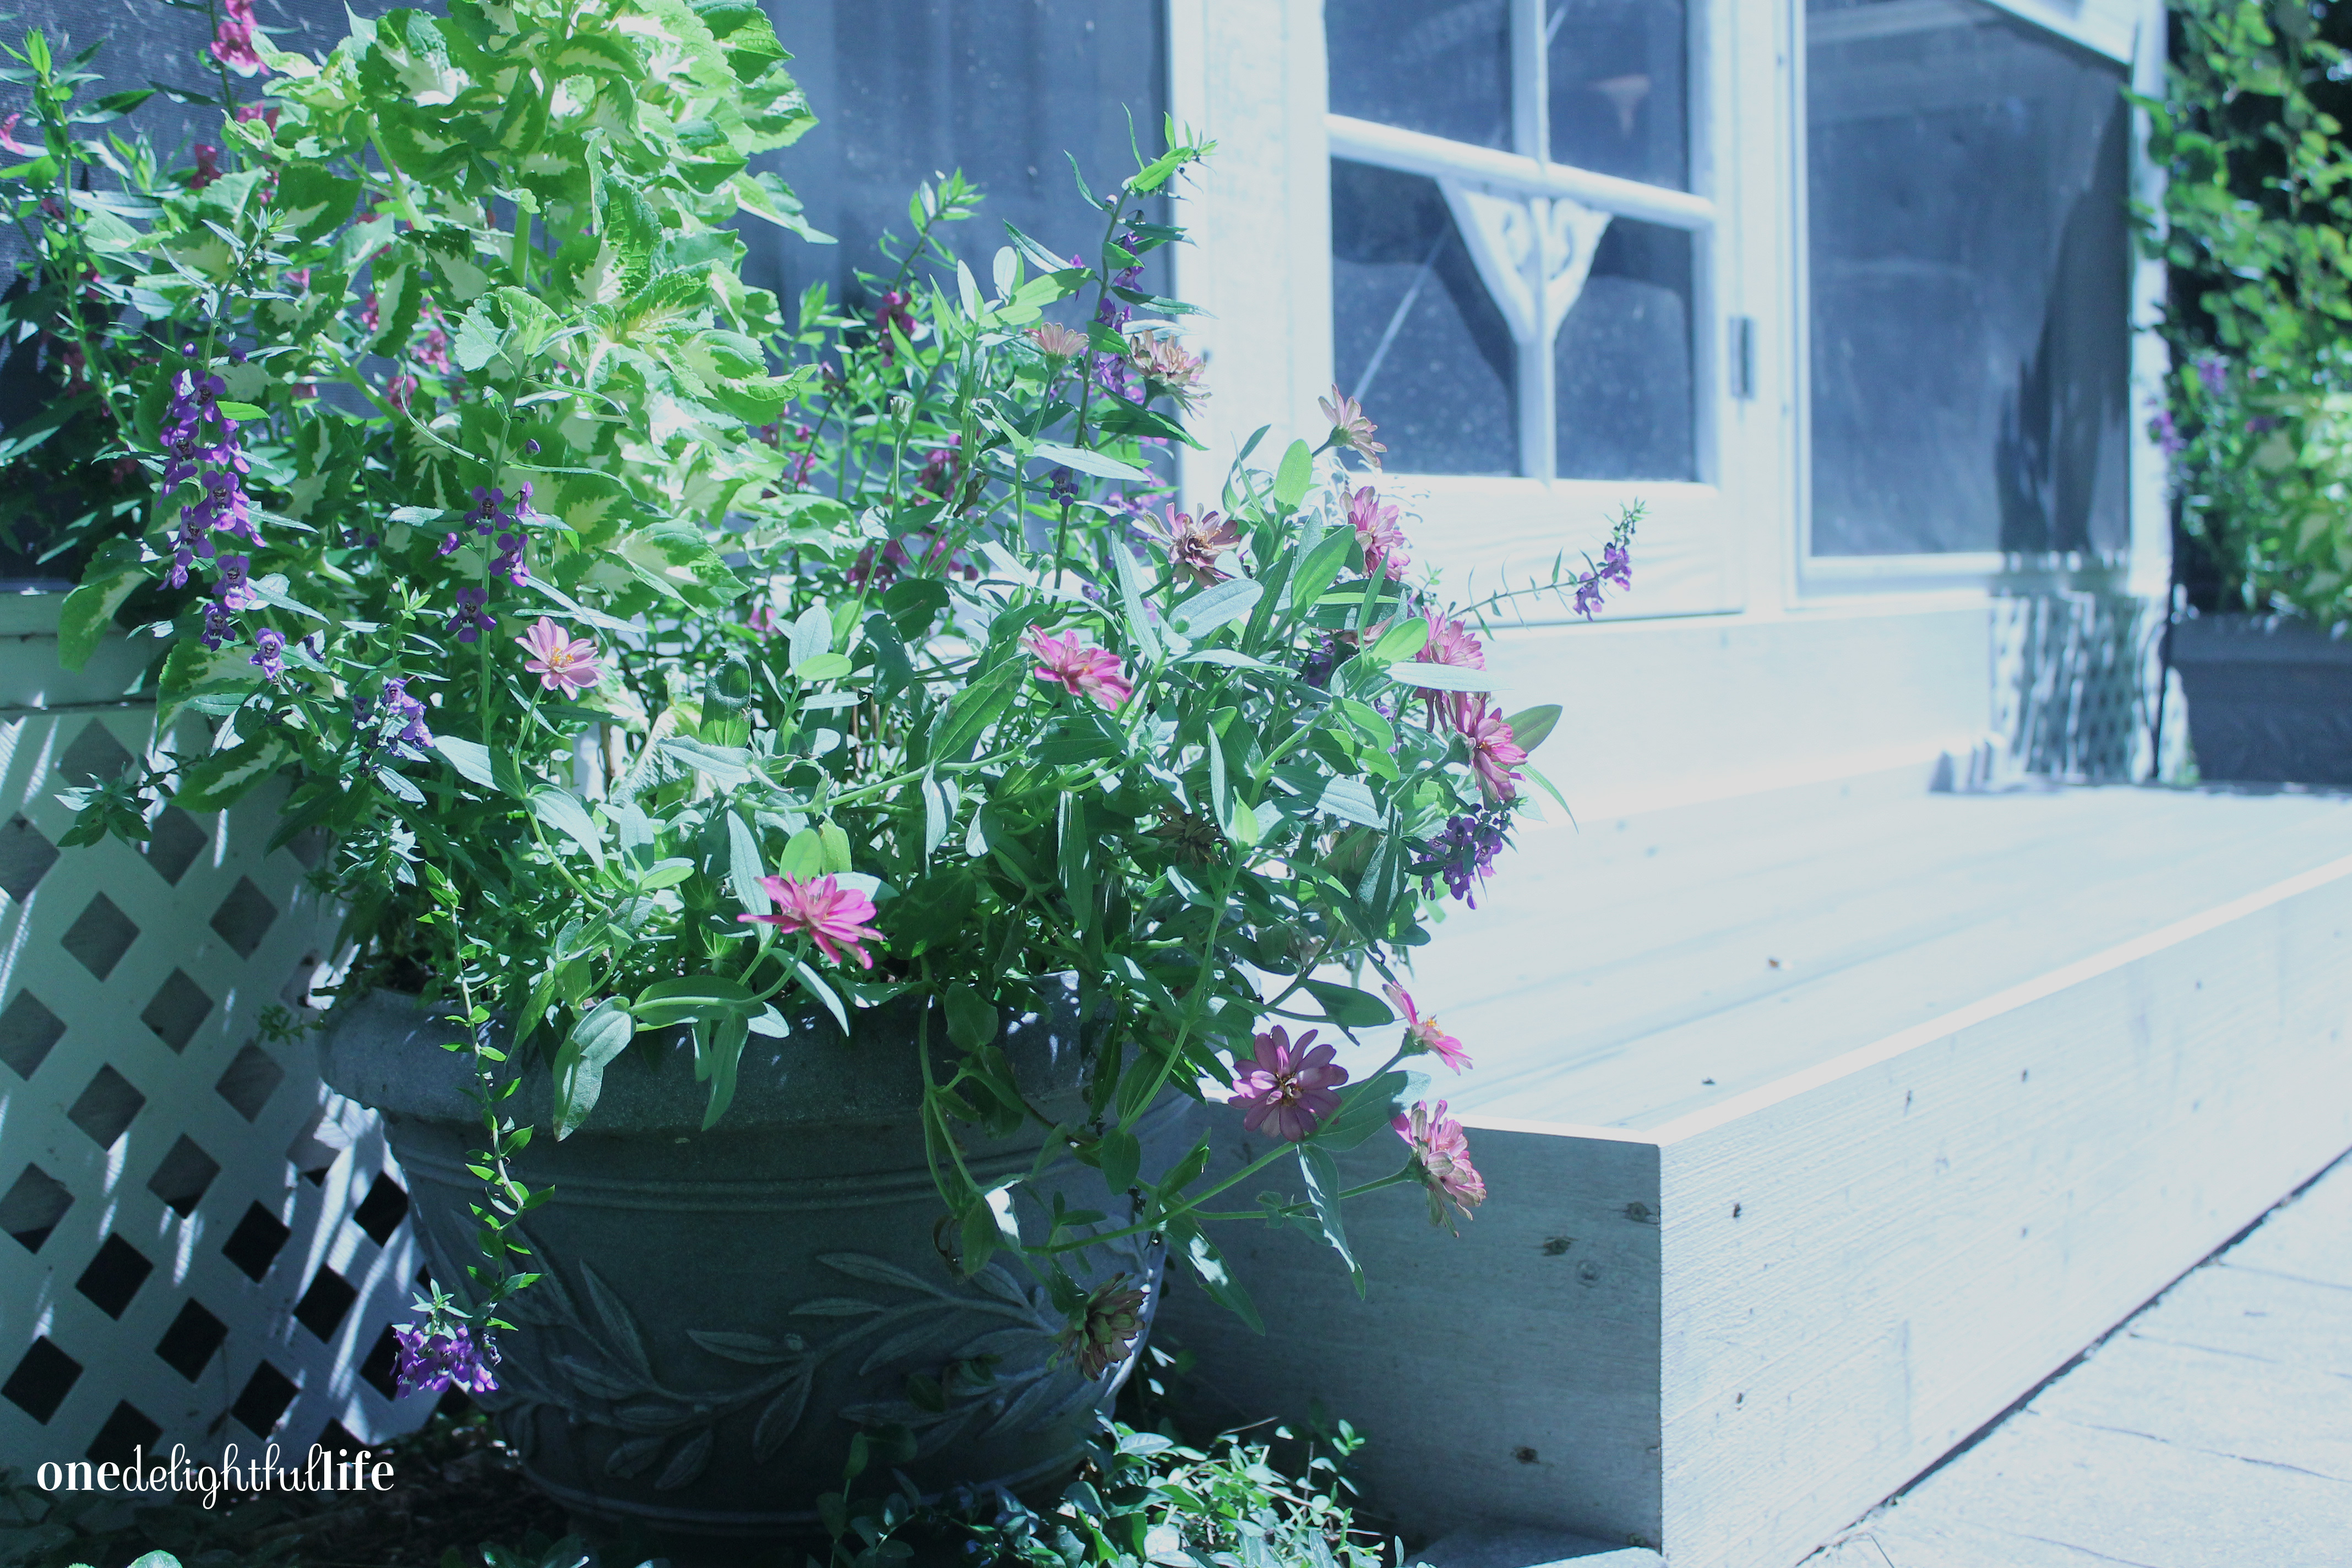
 Today, she still sees beauty in the colors of delicate flowers and enjoys the harvest of a vegetable or herb garden. Her accepted challenge each year is to learn about the needs of plant placement in her landscape while always attempting to attract birds, bees, and insects.
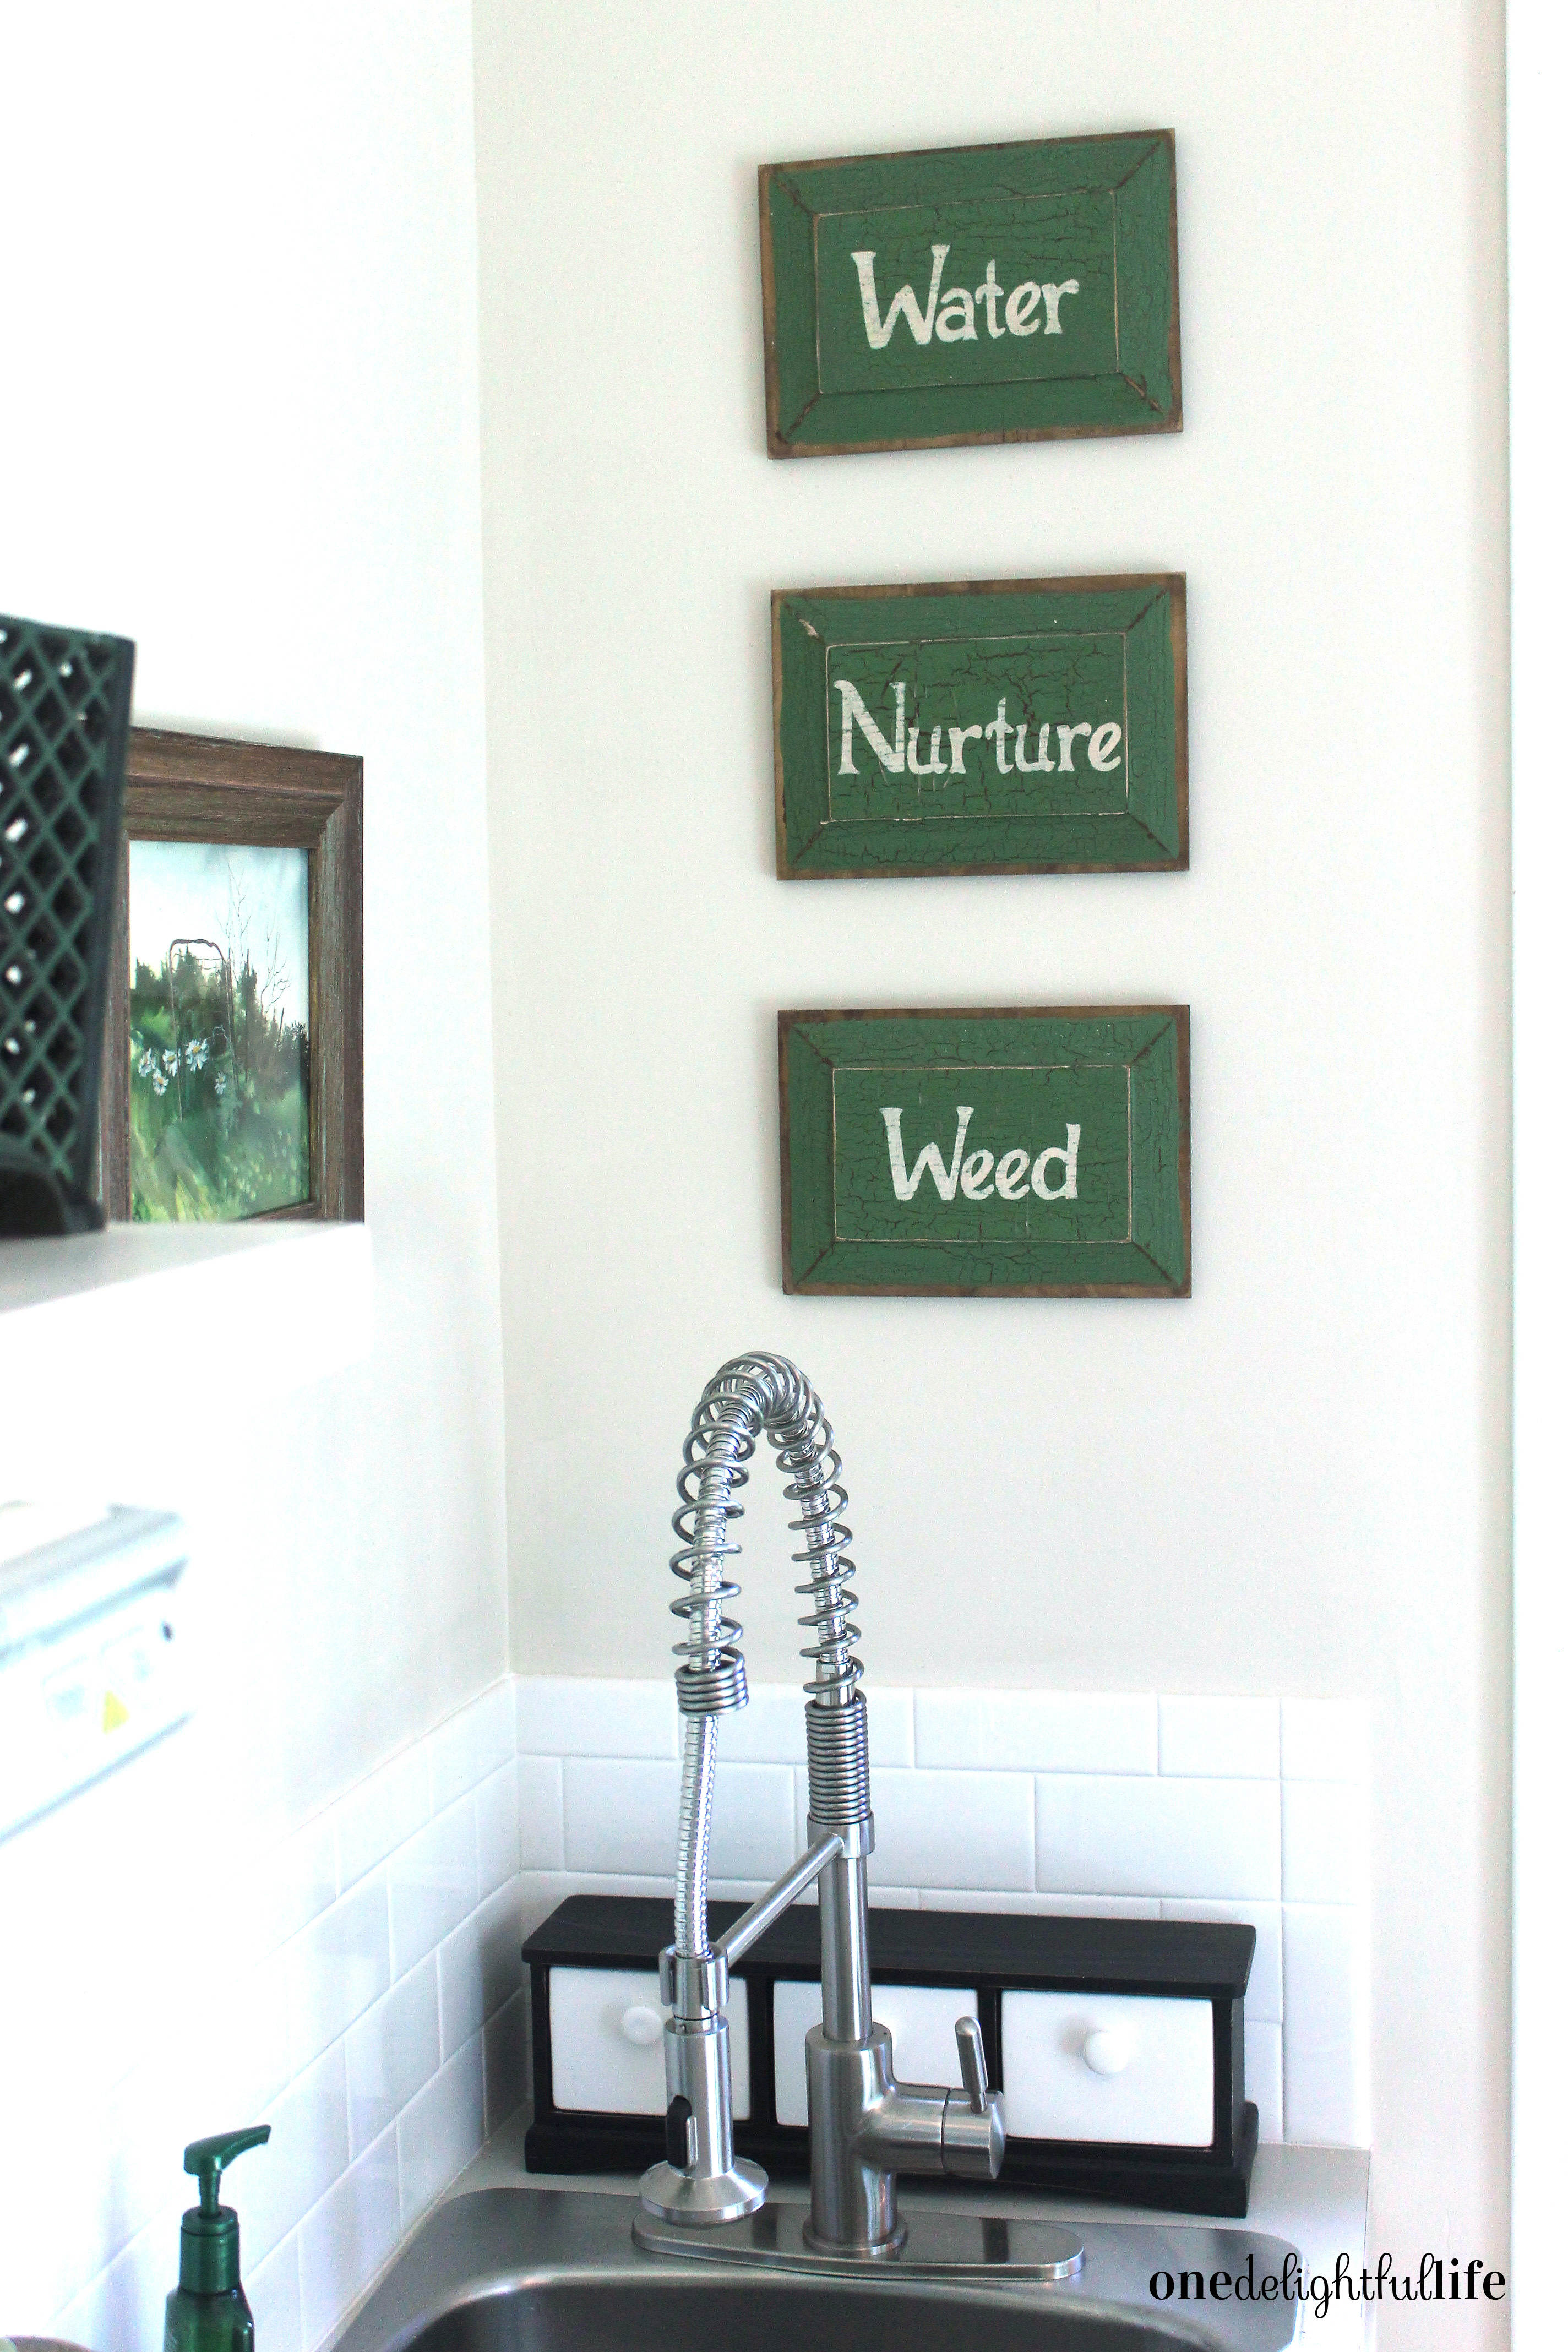
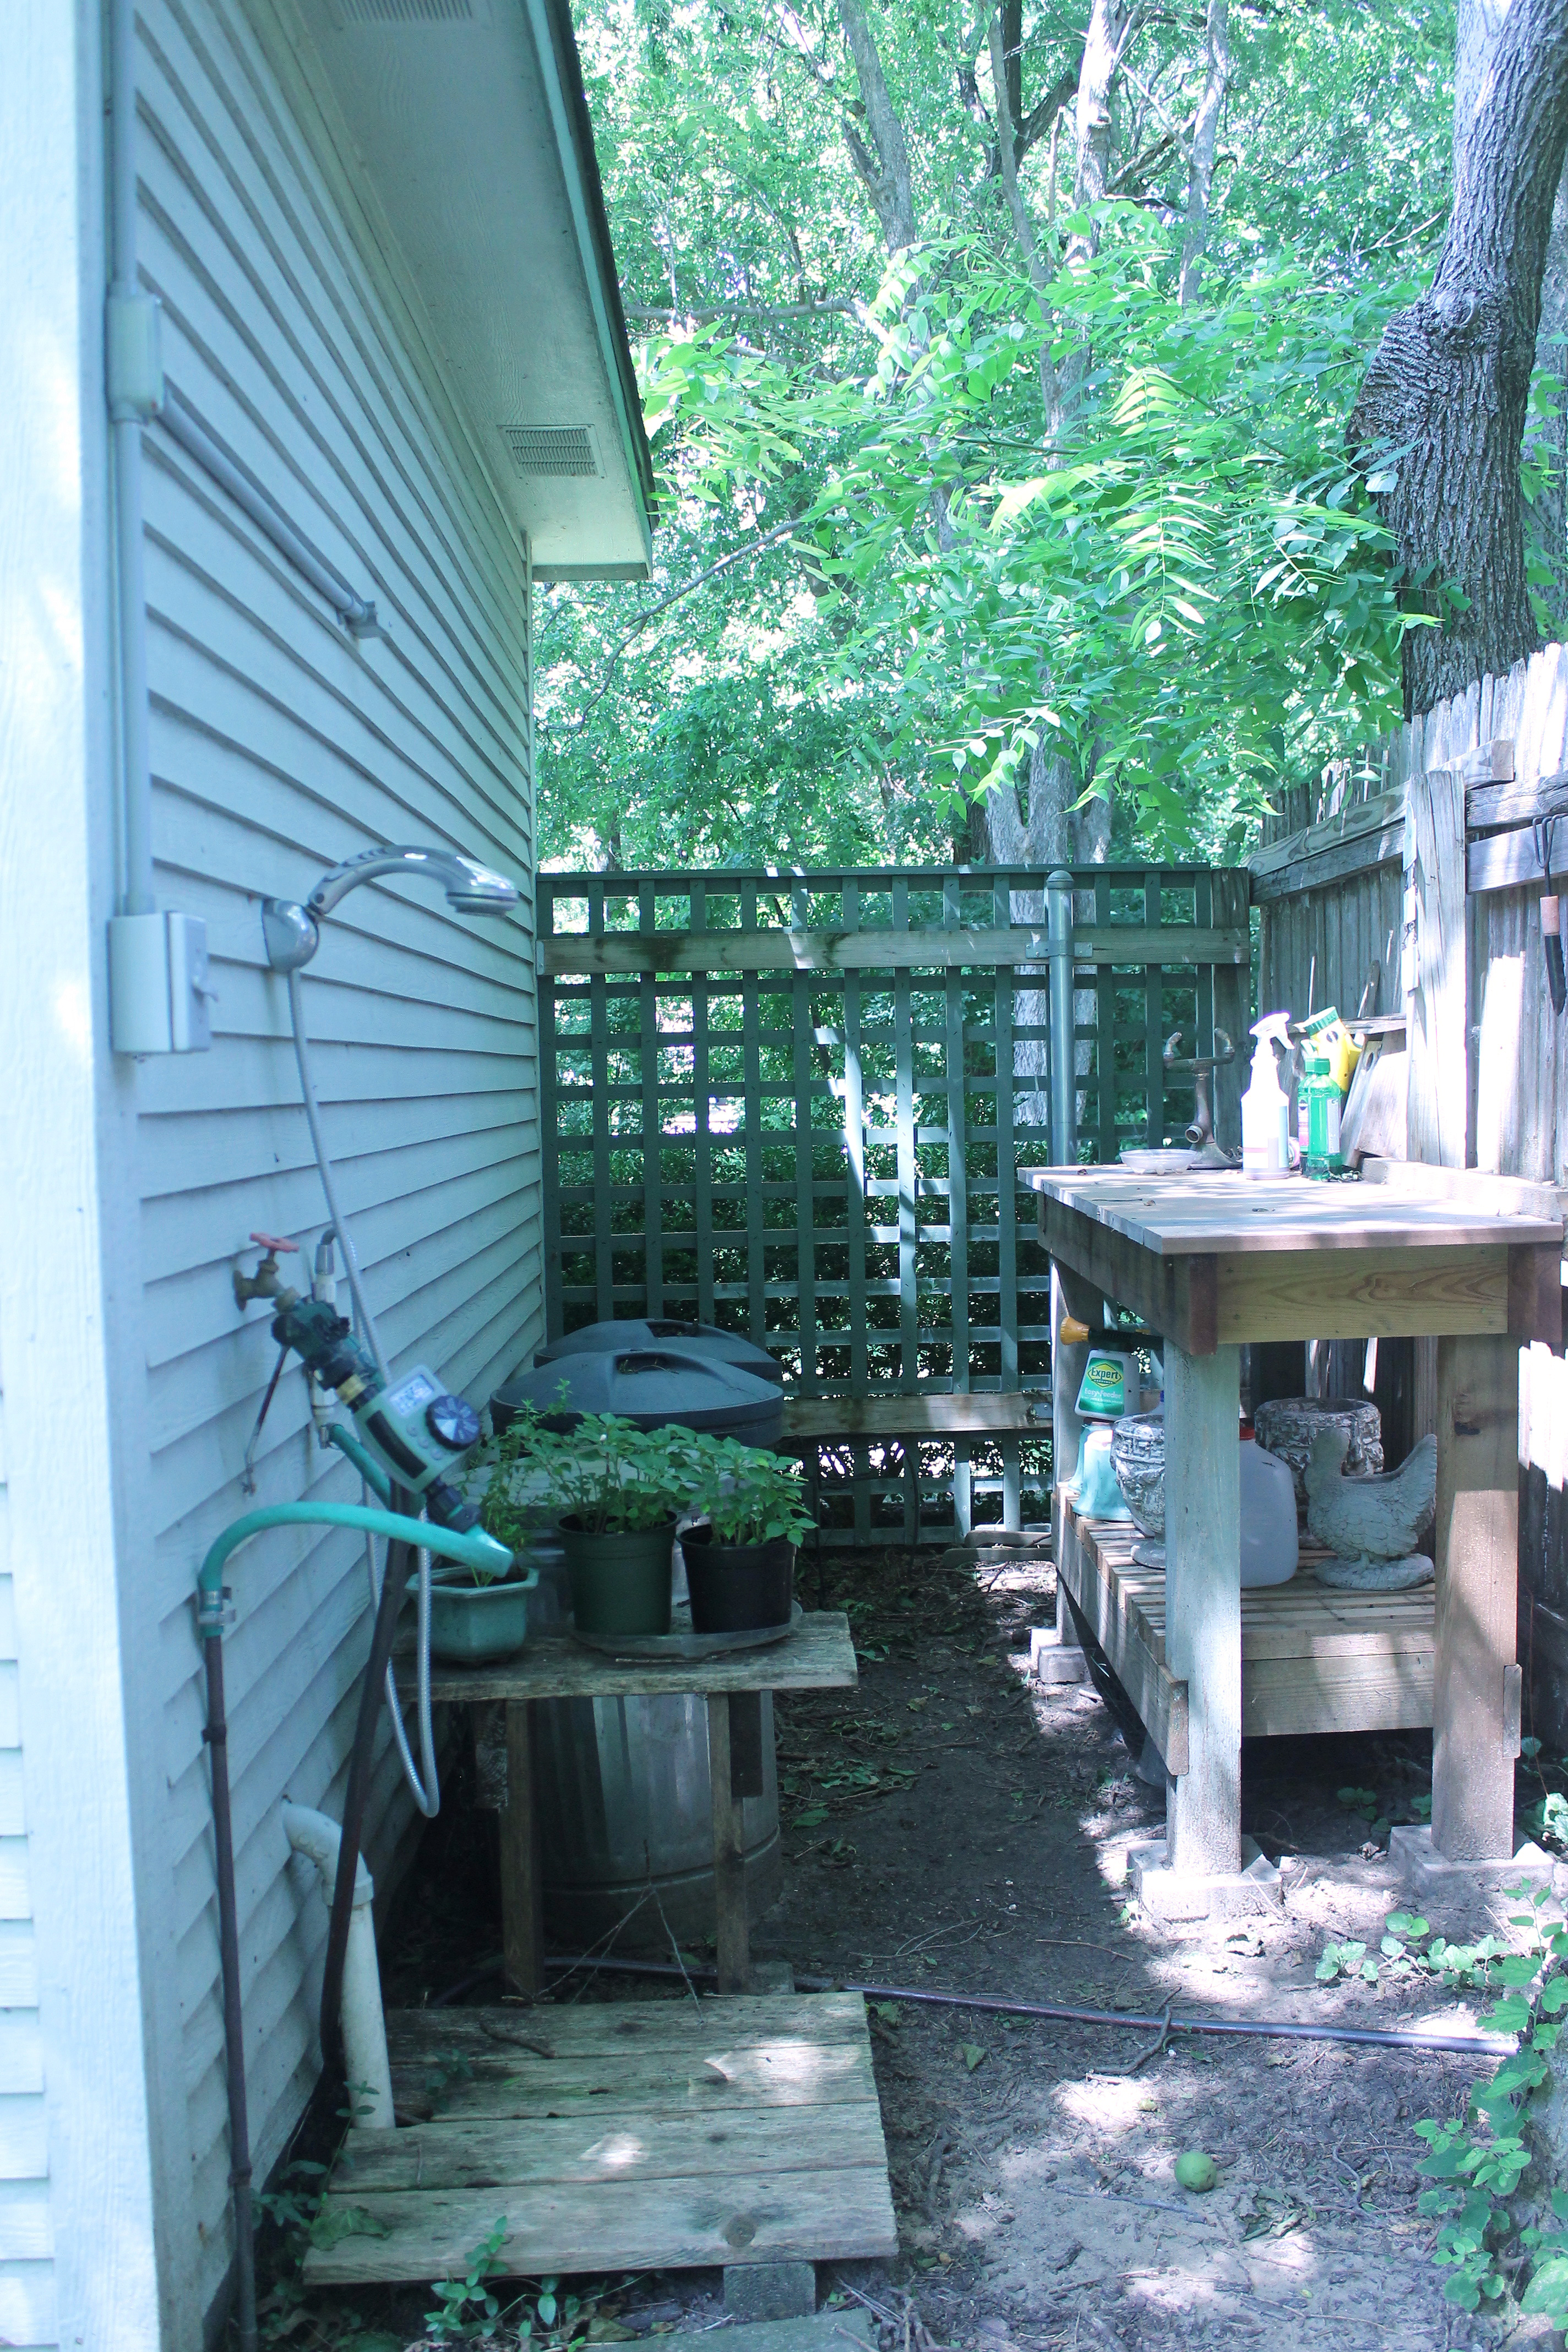
 While I love the outdoors, I’m not a natural gardener. I struggle to keep plants alive. I either over or under water them. Completely forget about them. I never installed the proper drip system. Can a person’s “green thumb” be learned? Maybe I just wrote it off as “mom’s hobby.” I should have really paid more attention when helping her in the yard as a teen. Just last week I called her seeking advice about our sad rose bushes. Before I knew it, I was at her house on my hands and knees pruning her rose bushes while she used wood glue on the stem ends to prevent bores for invading them again. Glue? Who knew!
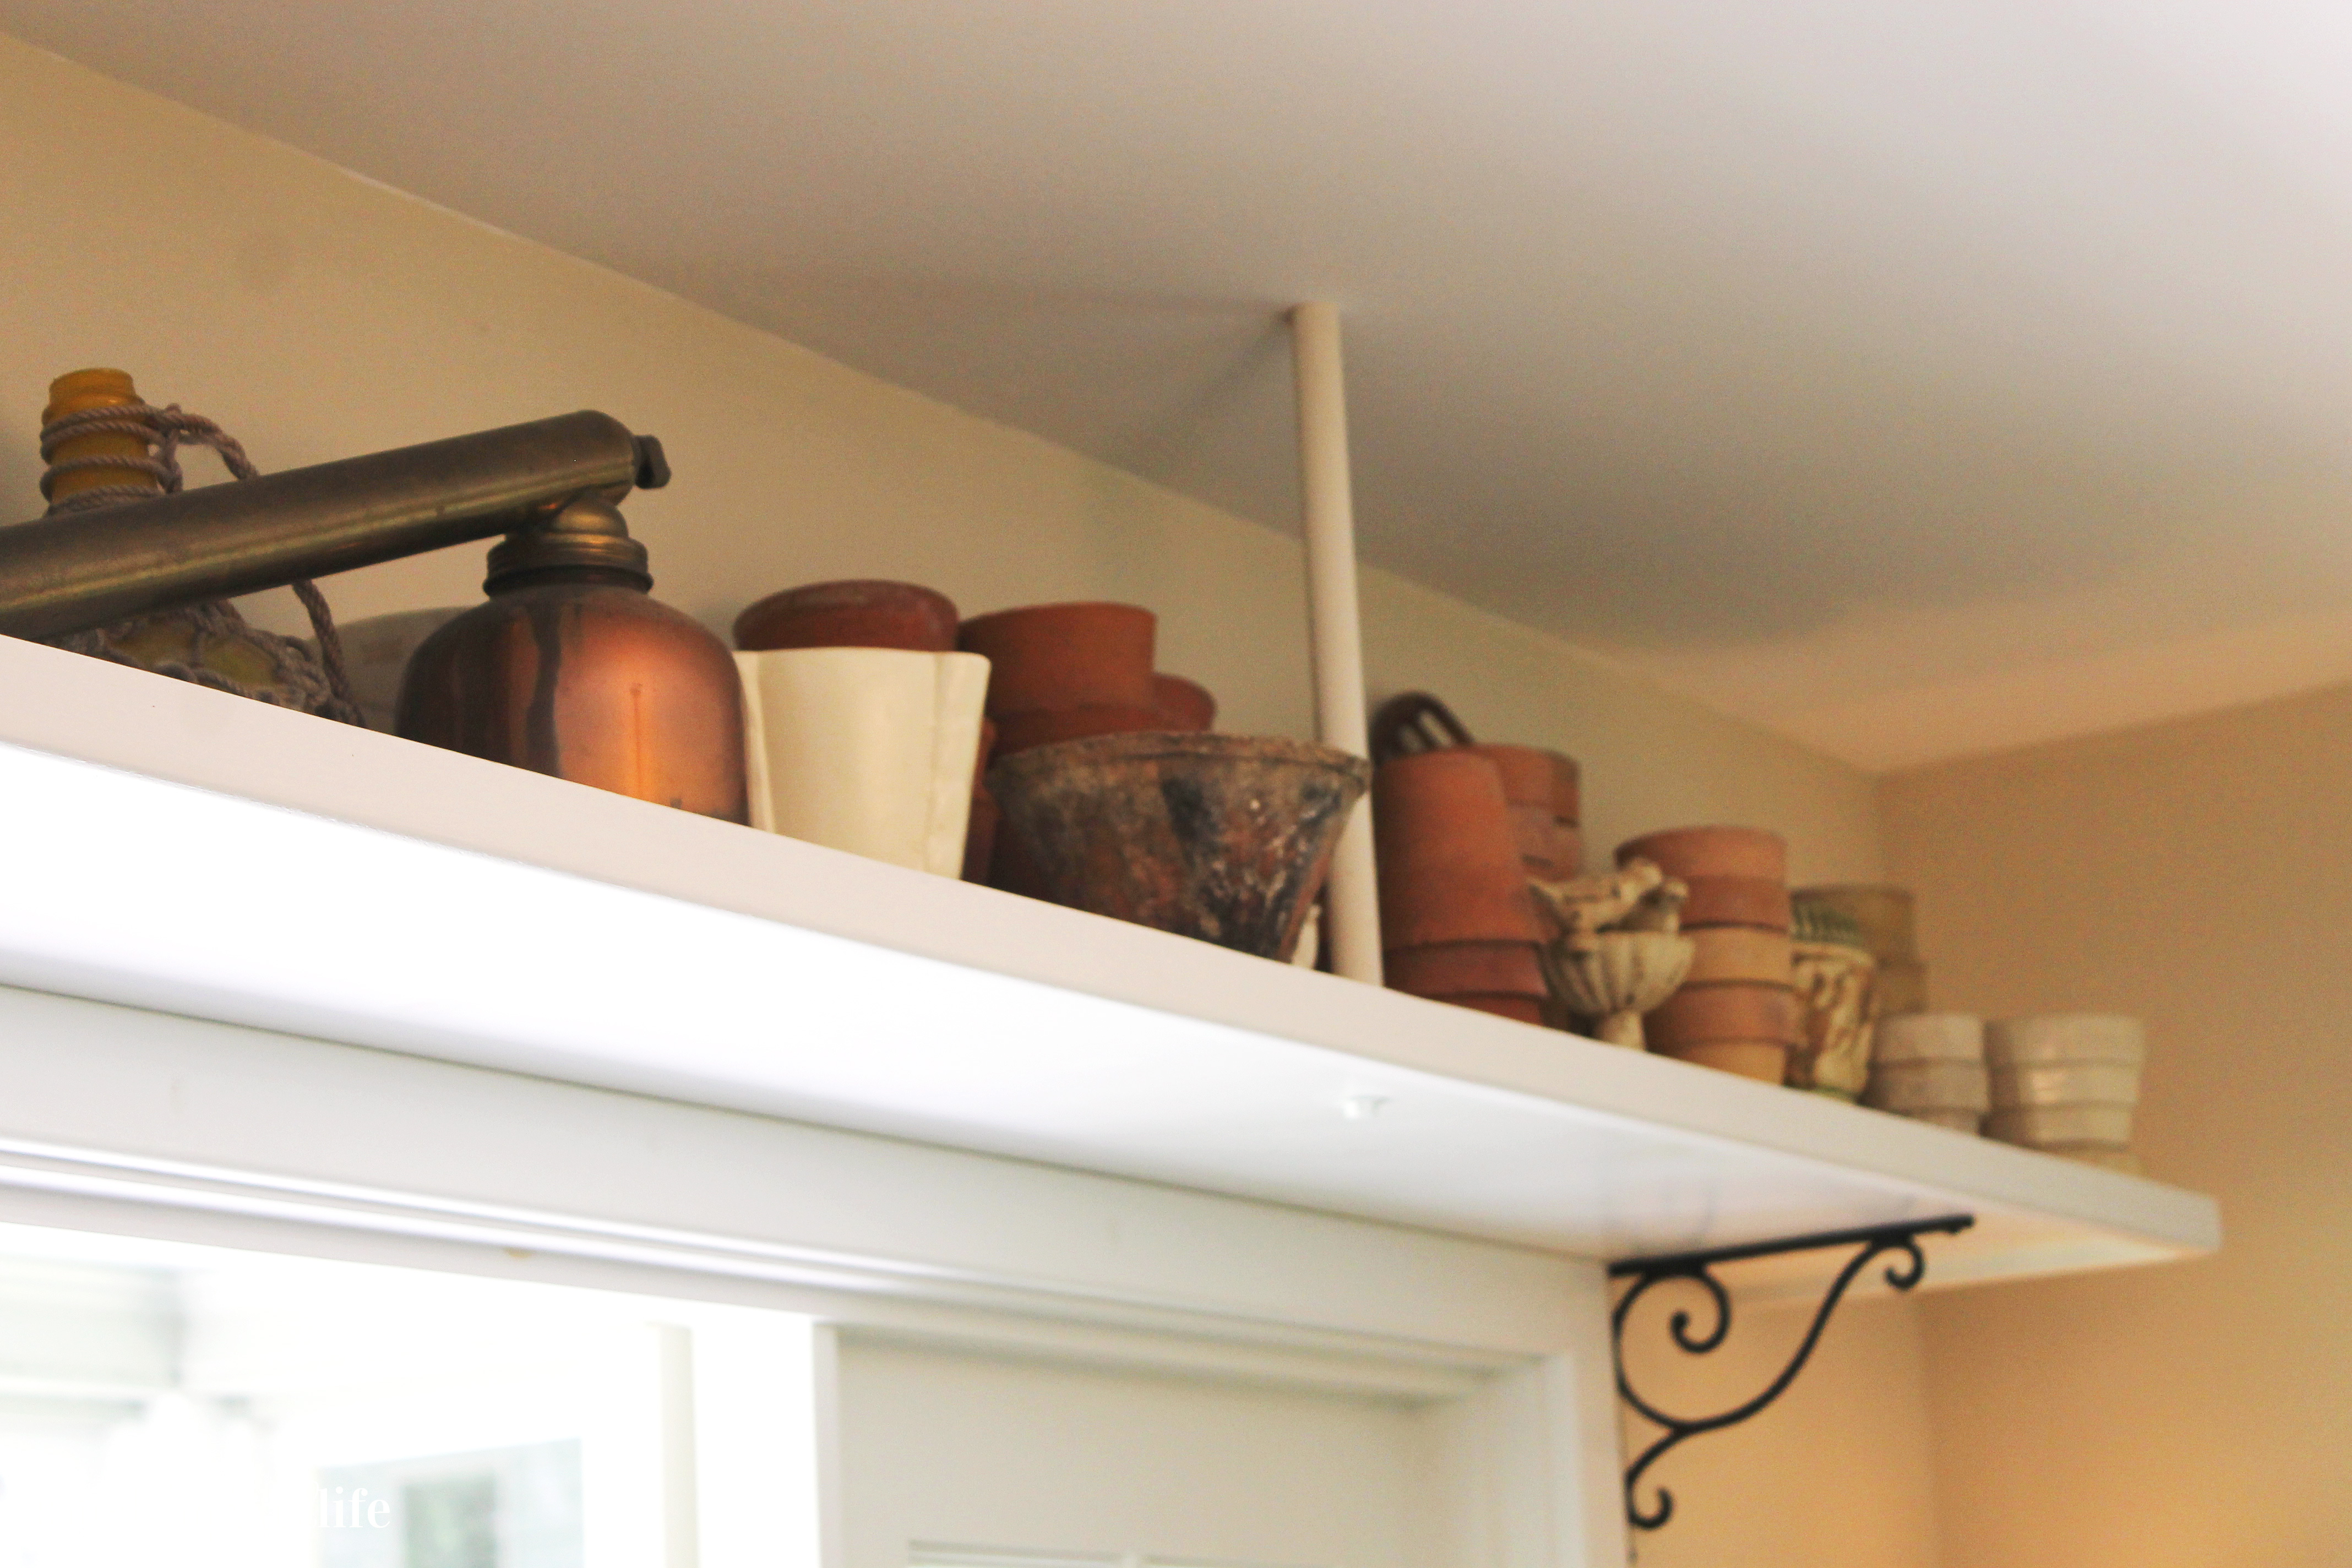
 I’ve have so much to learn from her wisdom about nature, about plants and birds. As I mentioned before, I’m at best a wannabe gardener. In fact, I’ve killed so many house plants over the years that if there is every going to be any hope for me, I’m going to have to spend more time with mom in the garden house. If you’re more like me, you’ll appreciate a post she helped me write last summer
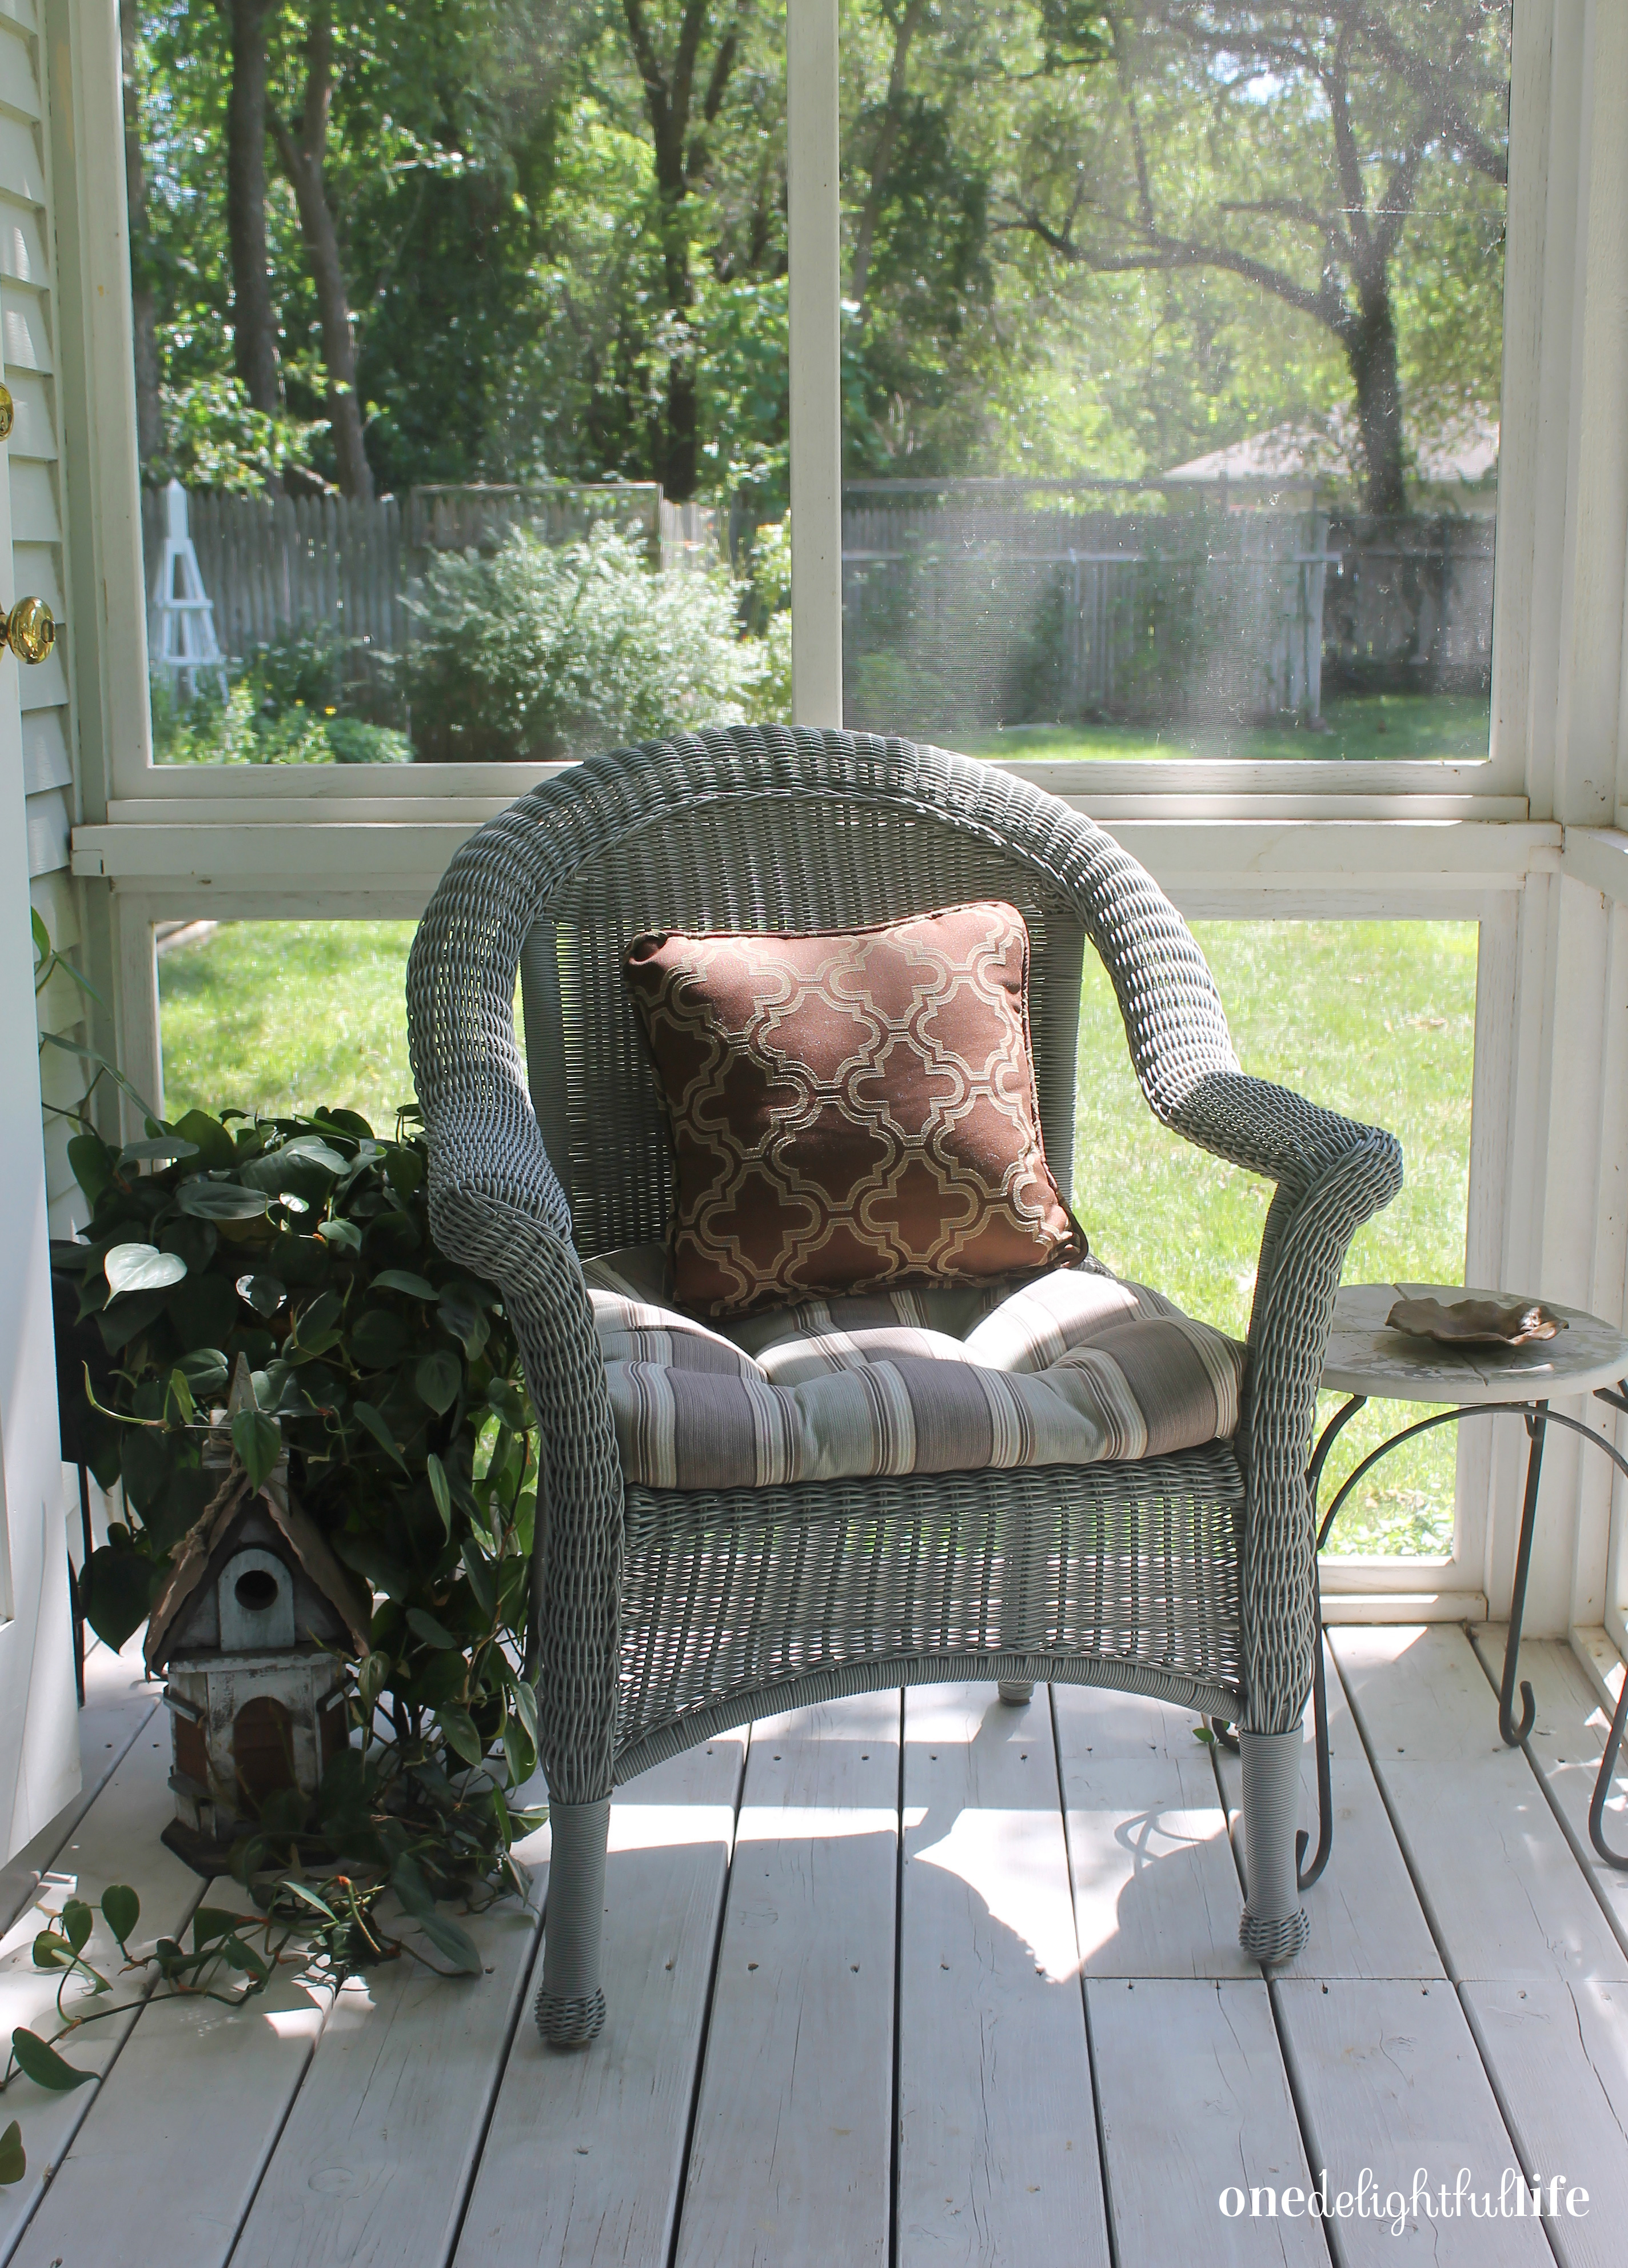
  But not every day can be spent gardening. Sometimes the body needs a day of rest between the hours spent digging in unforgiving soil and pulling weeds away from flowers. On these days, she takes time to let her body relax but we all know she is still thinking about her next outdoor project.