Affiliate disclosure: As an Amazon Associate, I may earn commissions from qualifying purchases from Amazon.com.
Urban gardening. Suburban agriculture. Urban farming. Whatever you want to call it, I’m so in! And if you’re reading this post, chances are that you’re interested in learning how to properly fill a raised garden bed to guarantee a healthy harvest of herbs and vegetables. There’s nothing better tasting than homegrown food. Let’s get you started!
While I didn’t build the cedar surround for my bottomless garden bed (thanks Dad!), I did extensive research on making sure I filled it will layers of organic matter, earth soil, compost, and fertilizer. I estimate I spent about $250 on the entire project for the cedar surround and its contents; not including the drip system supplies, tomato cages, plants, or garden markers.
Follow this step-by-step guide on how to use the “lasagna method” or layering method to fill it properly for ultimate results.
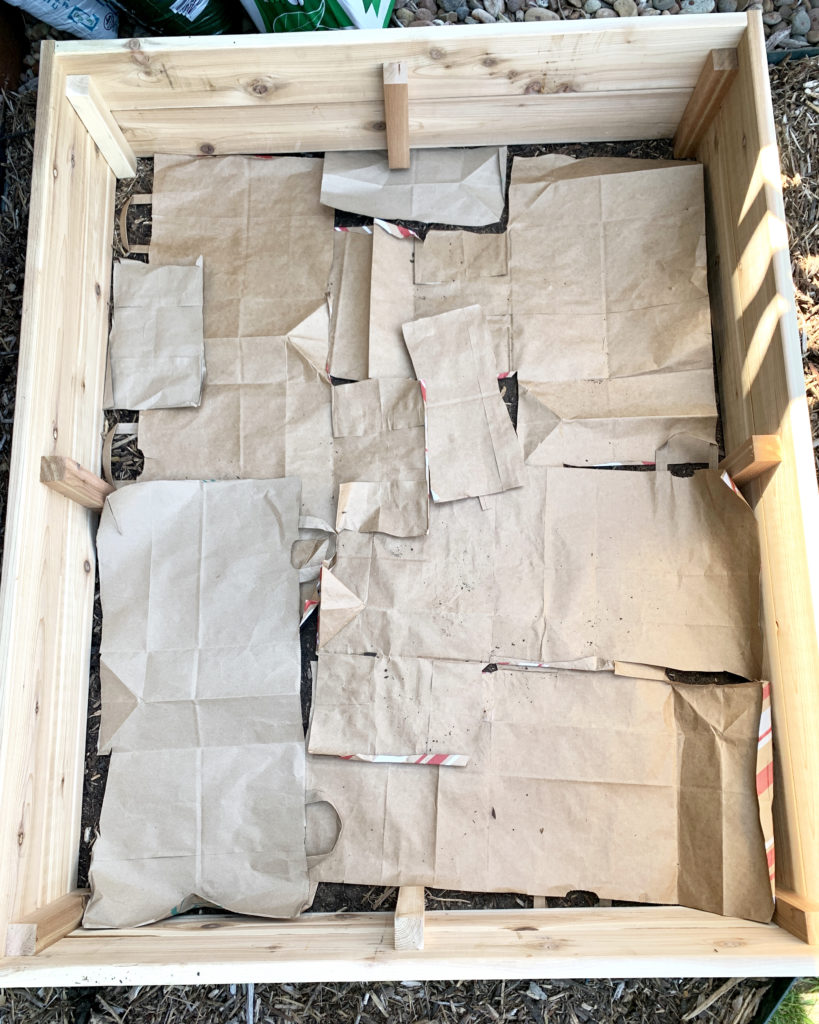
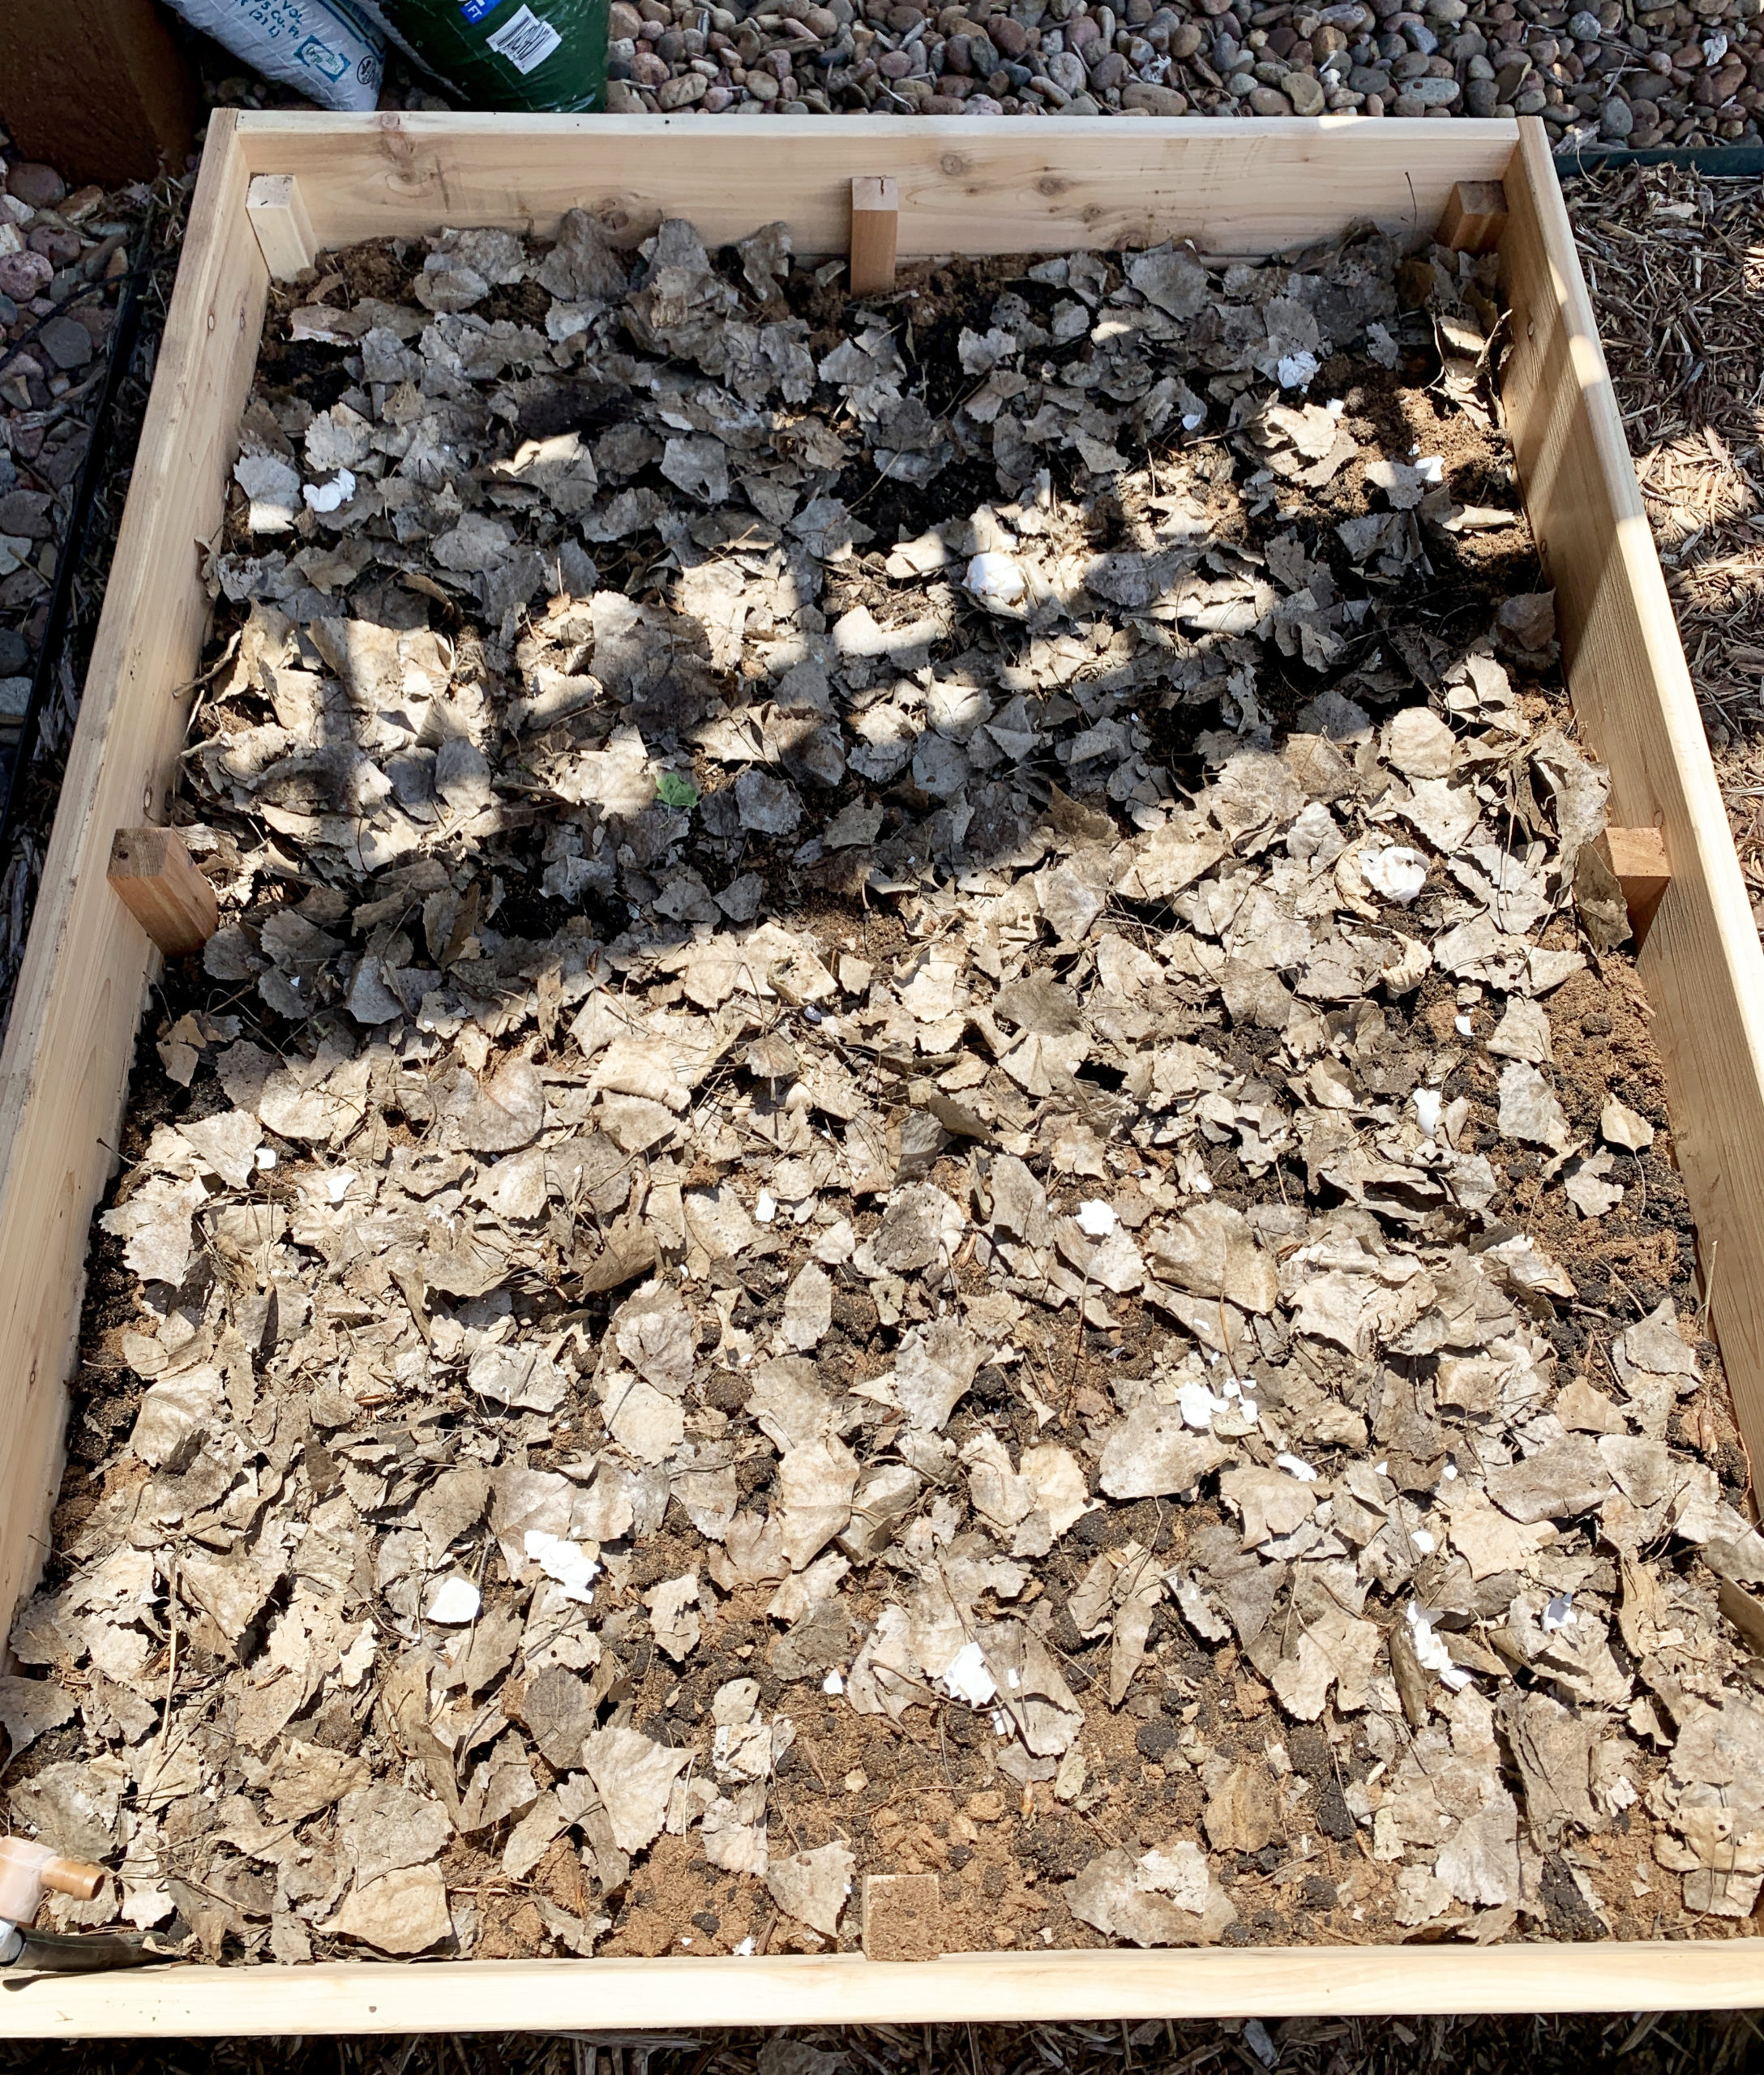
STEP 1: ADD A LAYER OR PAPER GROCERY BAGS OR CARDBOARD (NO INK)
Assuming you’ve already leveled the ground and used a rake to rid the soil of any unwanted grass or weeds, add a layer of brown paper bags or cardboard. I opted for upcycling my brown bags versus using shipping boxes because I didn’t want to use cardboard that had a lot of ink on it.
STEP 2: ADD TWIGS + DEAD VEGETATION
I walked to a nearby undeveloped section of our neighborhood and gathered mashed down dead sunflowers and grass left in the wake of a tractor’s path. Then, I added enough vegetation to completely fill the space of my garden bed in all directions.
STEP 3: ADD SPHAGNUM PEAT MOSS
I used two bags of compressed, Sphagnum Peat Moss Tourbe (2.2 cu. ft. each) for my raised garden that is 56″ wide x 46″ long x 10.5″ deep. Then, I dragged a rake across it to evenly distribute it.
STEP 4: ADD A LAYER OF COMPOST
For this garden bed, I bought two types of compost and used one of them for this layer. Ideally, you would want to use homemade compost, but you can easily purchase it at any big box hardware store. I used Premium Mushroom Compost Plus Manure. Again, use your trusty rake to make sure it is distributed in the garden bed from corner to corner.
STEP 5: ADD A LAYER OF LEAVES
I had to head over to a walking path area surrounded by trees to find enough leaves to gather for this step. It was well worth it! Just dump a bag of dead leaves over the bed and use your hands to move them around.
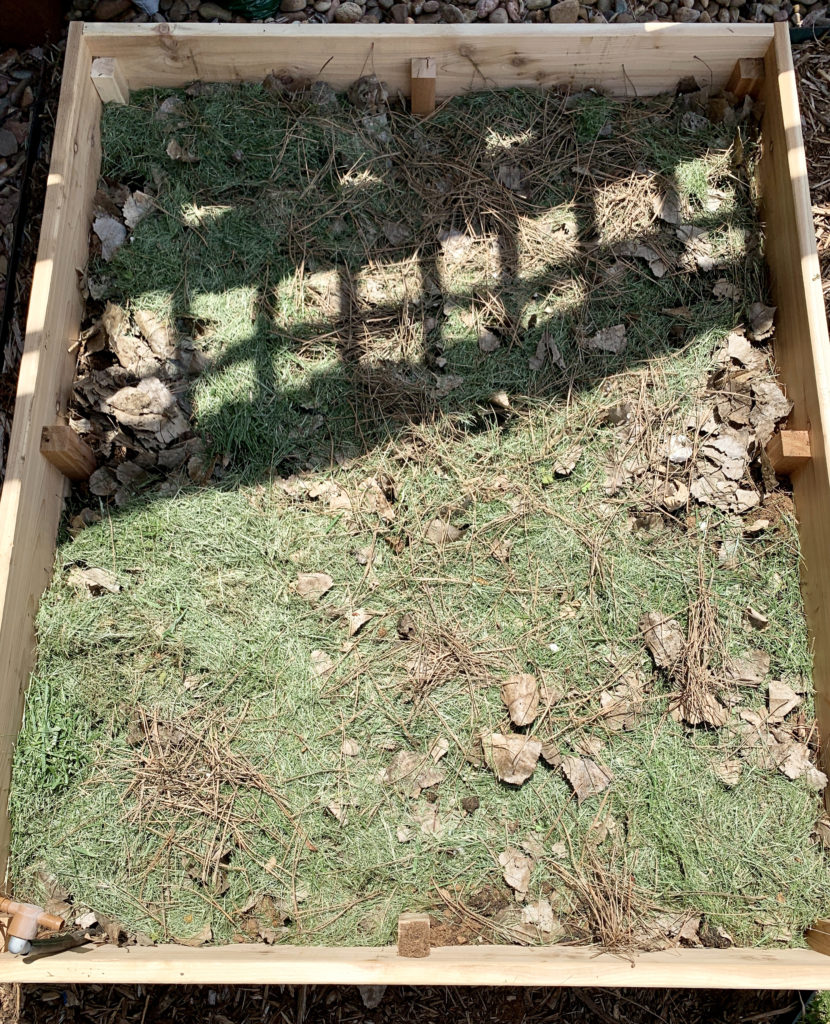
STEP 6: ADD A LAYER OF LAWN CLIPPINGS
I feel confident that the lawn clippings I used for this layer are free of fertilizer chemicals. It’s up to you whether or not you want to add this layer based on your resources. Maybe a neighbor would have lawn clippings you could use if you forgot to reserve your own. Use a garden hose to add a layer of moisture at this point. You don’t need to saturate the layer. Add enough water that it’s moist.
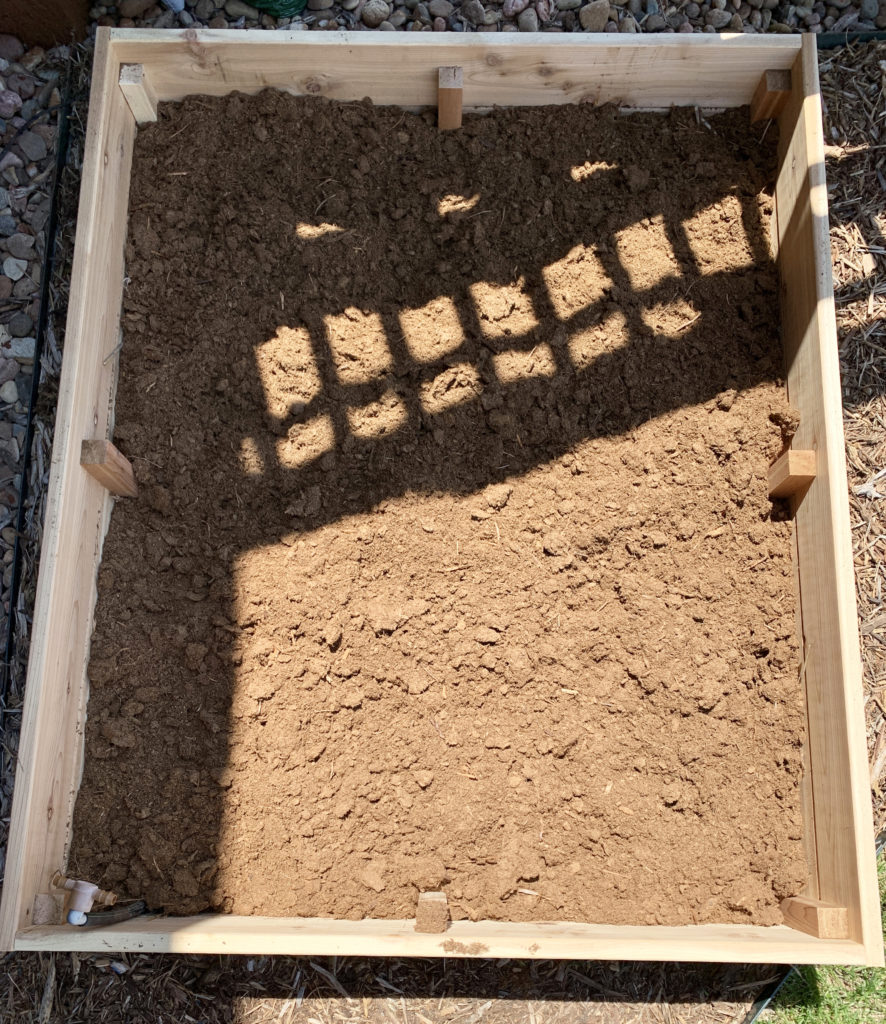
STEP 7: ADD A LAYER OF GARDEN SOIL OR EARTH SOIL
Because we live in the suburbs, I had to buy a bag of soil versus digging up dirt from our yard. I bought a 2 cu. ft. bag of Schultz® Enriched Garden Soil made for flowers and vegetables. It feeds for 6 months. Of course, make sure it’s an even layer free of clumps.
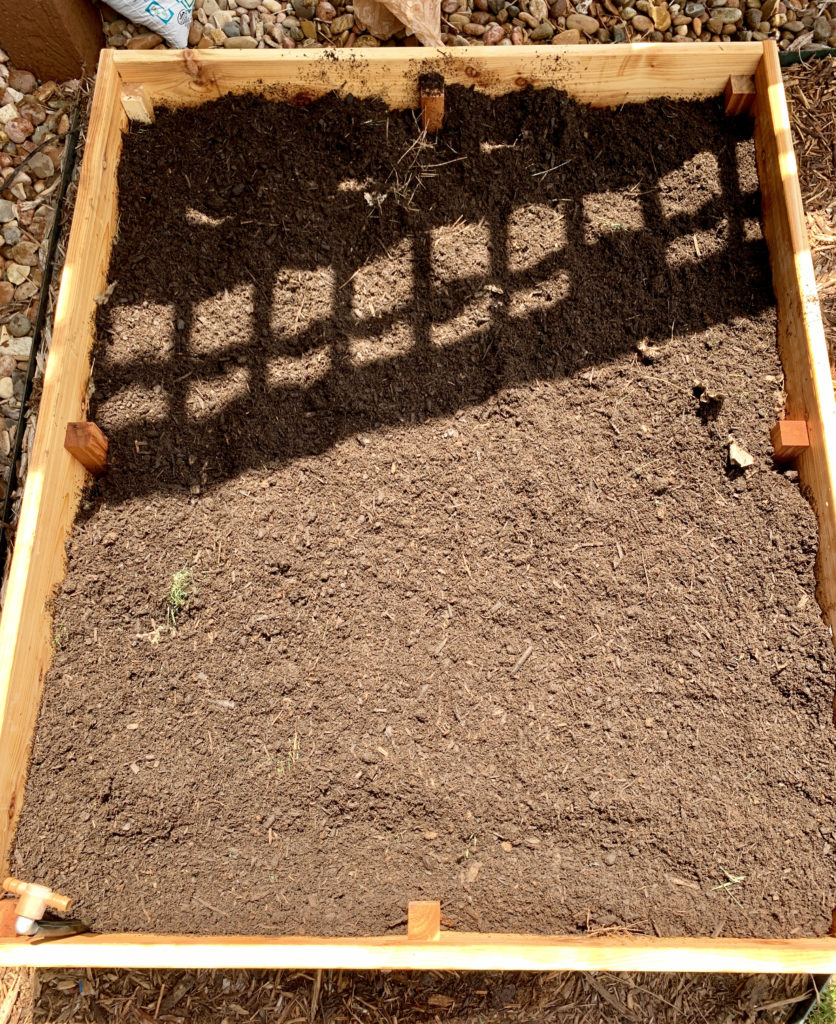
STEP 8: ADD A LAYER OF COMPOST
For this step, I switched up my type of compost. I added an even layer of organic compost plus manure (5-5-5), a .75 cu. ft. bag. For extra measure, I watered down this layer as well.
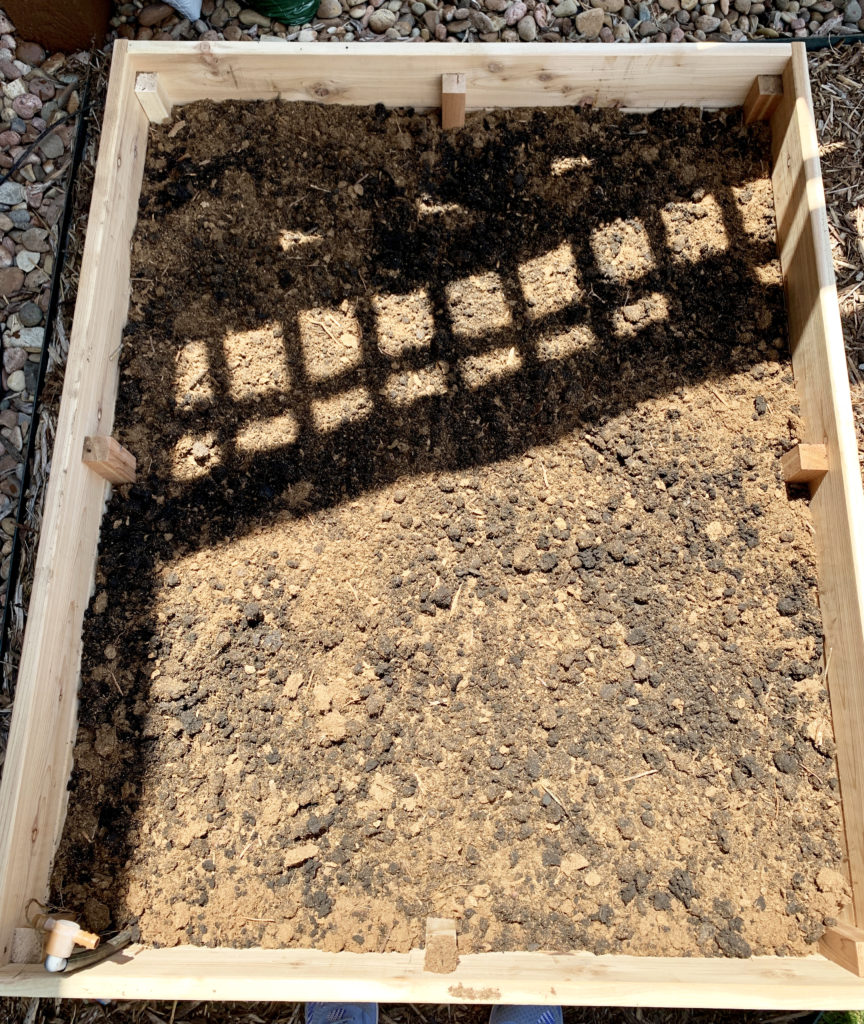
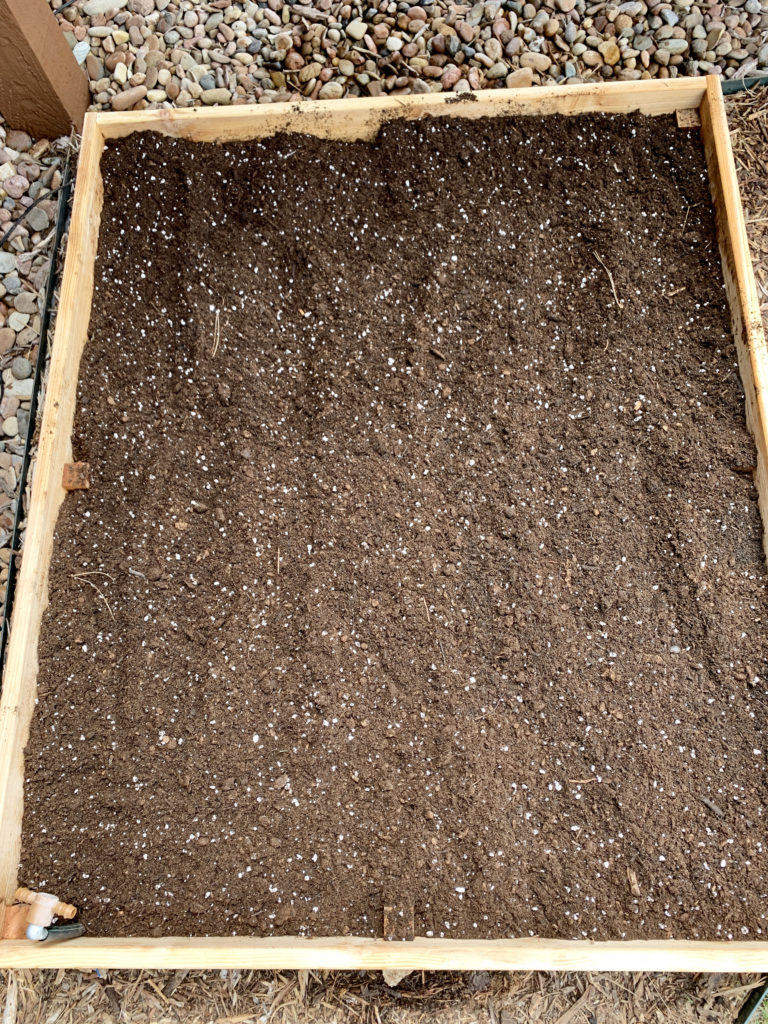
STEP 9: ADD A LAYER OF POTTING SOIL
I’m a big fan of using Fertilome’s Ultimate Potting Mix. It is a loose, easy to work with soil that always makes my plants happy thanks to its ability to retain water. It’s such a soft soil that you don’t even need a garden tool to plant in it — use your hand! I made sure to use a cross-hatch pattern to mix the potting soil with the previous layer of compost. That’s it. You’re done and ready to map out your plantings.
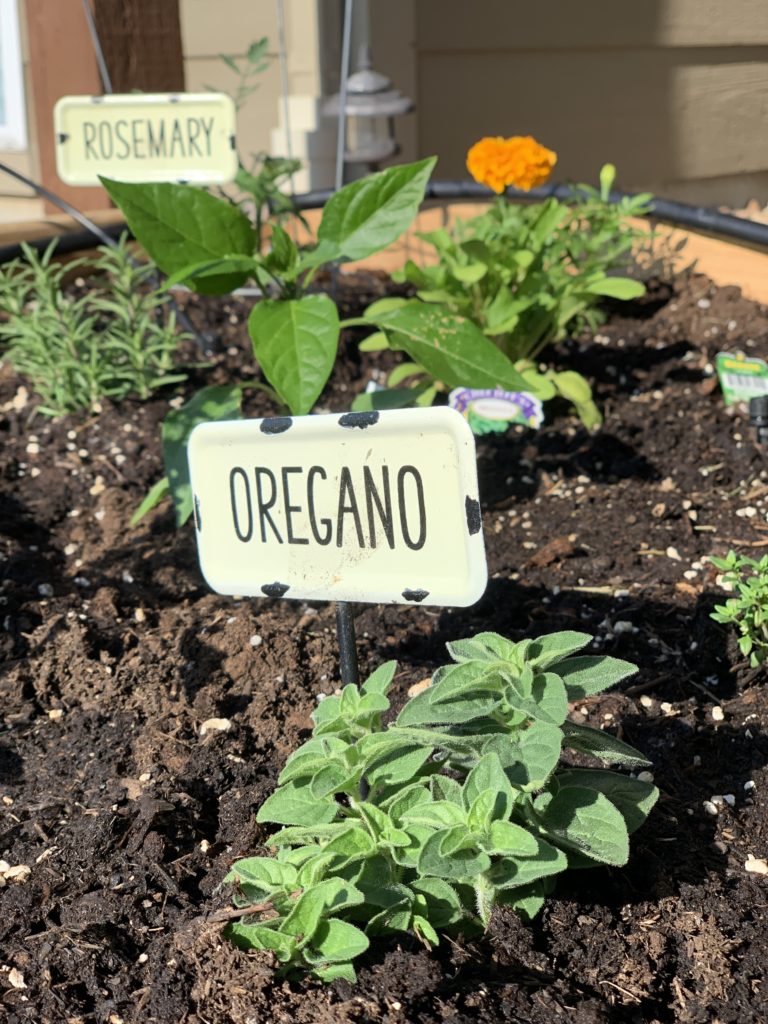
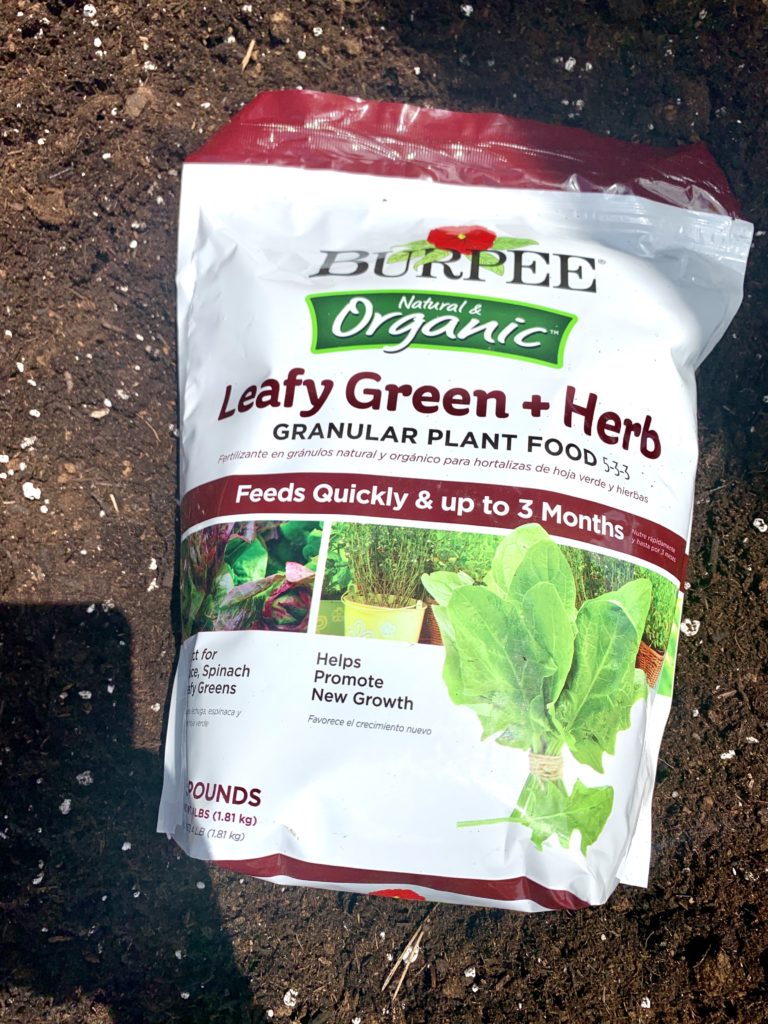
BONUS TIP: Before you start planting your vegetables and herbs, add a granular plant food to give it the promote growth. In this instance, I used Burpee’s Leafy Green + Herb Granular Plant Food and added 2 tablespoons of it to the space I dug for the plant and then mixed it into the soil with my hand. (I’ve also used Osmocote Smart Release Plant Food in the past.) Of course, be sure to water your newly planted vegetables and herbs very well.
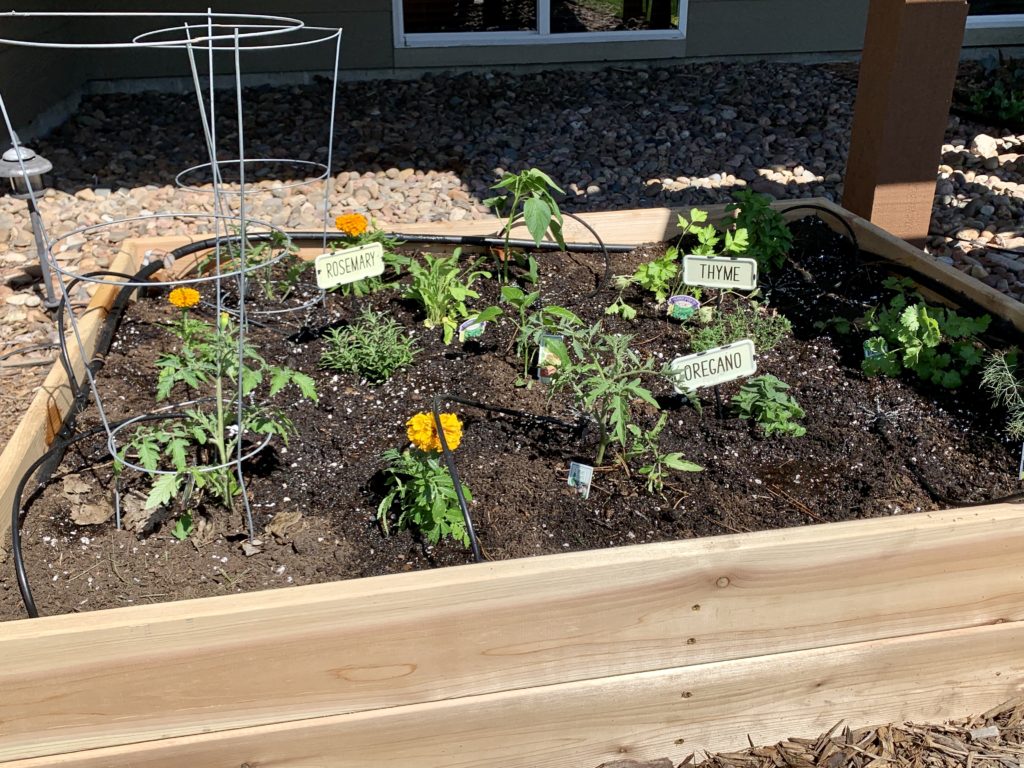
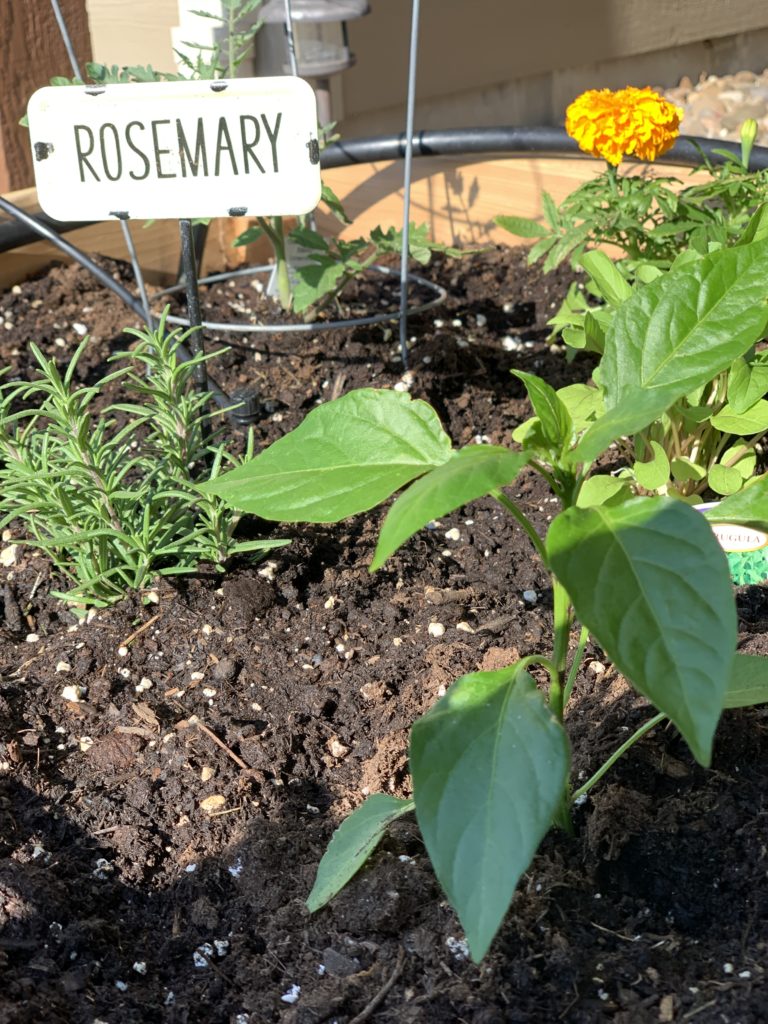
You’re guaranteed to see results from your hard work using this “lasagne method” of layering. As with any garden, be sure to select vegetables and herbs that can withstand your climate’s weather conditions and plant them in the areas of the bed that receive the sun they need to flourish. In the area where I planted this garden, most of it sees 6-8 hours of sun while a corner of the garden bed only receives partial sun. Lastly, I added a drip system for consistent water between rain storms, a must for extremely hot spring and summer months like we experience in the Midwest. (For extra measure to prevent pests, I planted marigolds around the tomatoes and pepper plants.)
It took me years to build up enough confidence to plant an urban garden. I had to learn through trail and error using container pots, and then I graduated to a larger system. I’m excited to hear about your gardening adventures and what planting methods have worked best for you. Be sure to comment below with your stories, and happy gardening!
If you enjoy growing tomatoes, you will appreciate a post I wrote DIY: Dowel Rod Tomato Cages, a low-cost way to stake them. And what can you do with all of your fresh veggies and herbs? Prepare a flavorful salad with your harvest using one of these 6 Flavor Salads! Personally, I’m looking forward to preparing Classic Egg Salad with dill and enjoying Dutch Oven Bolognese Sauce using fresh tomatoes.

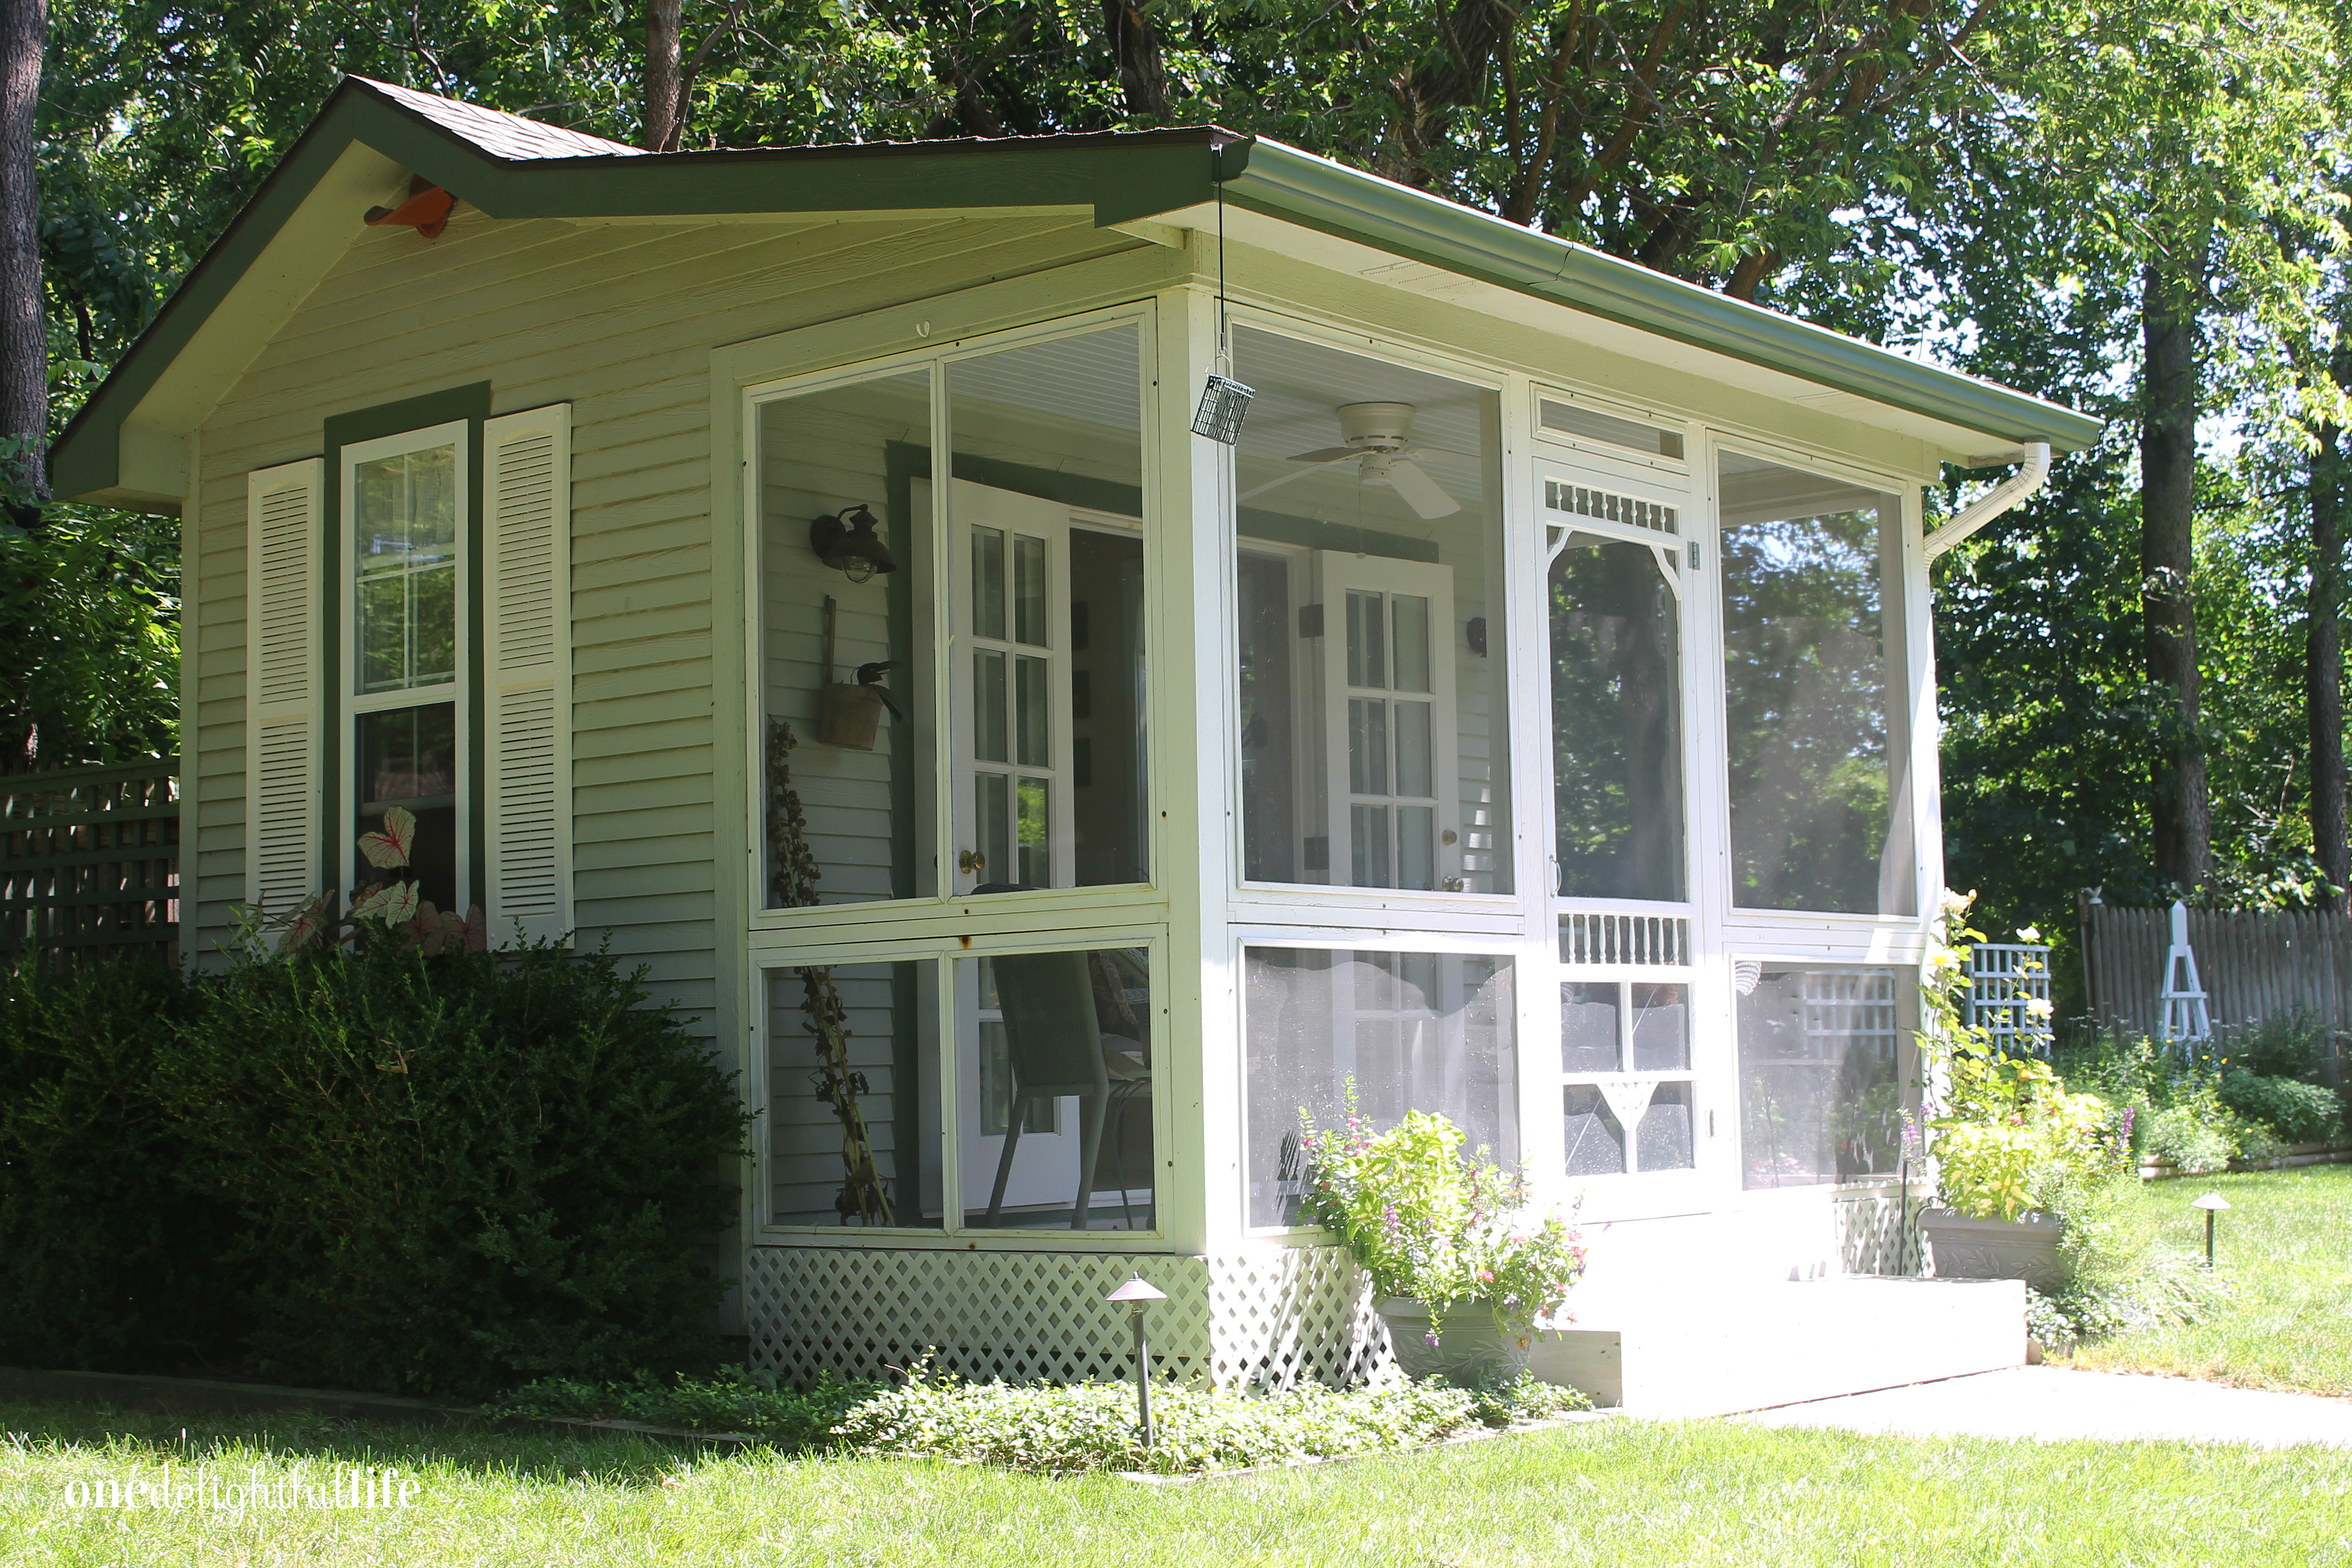
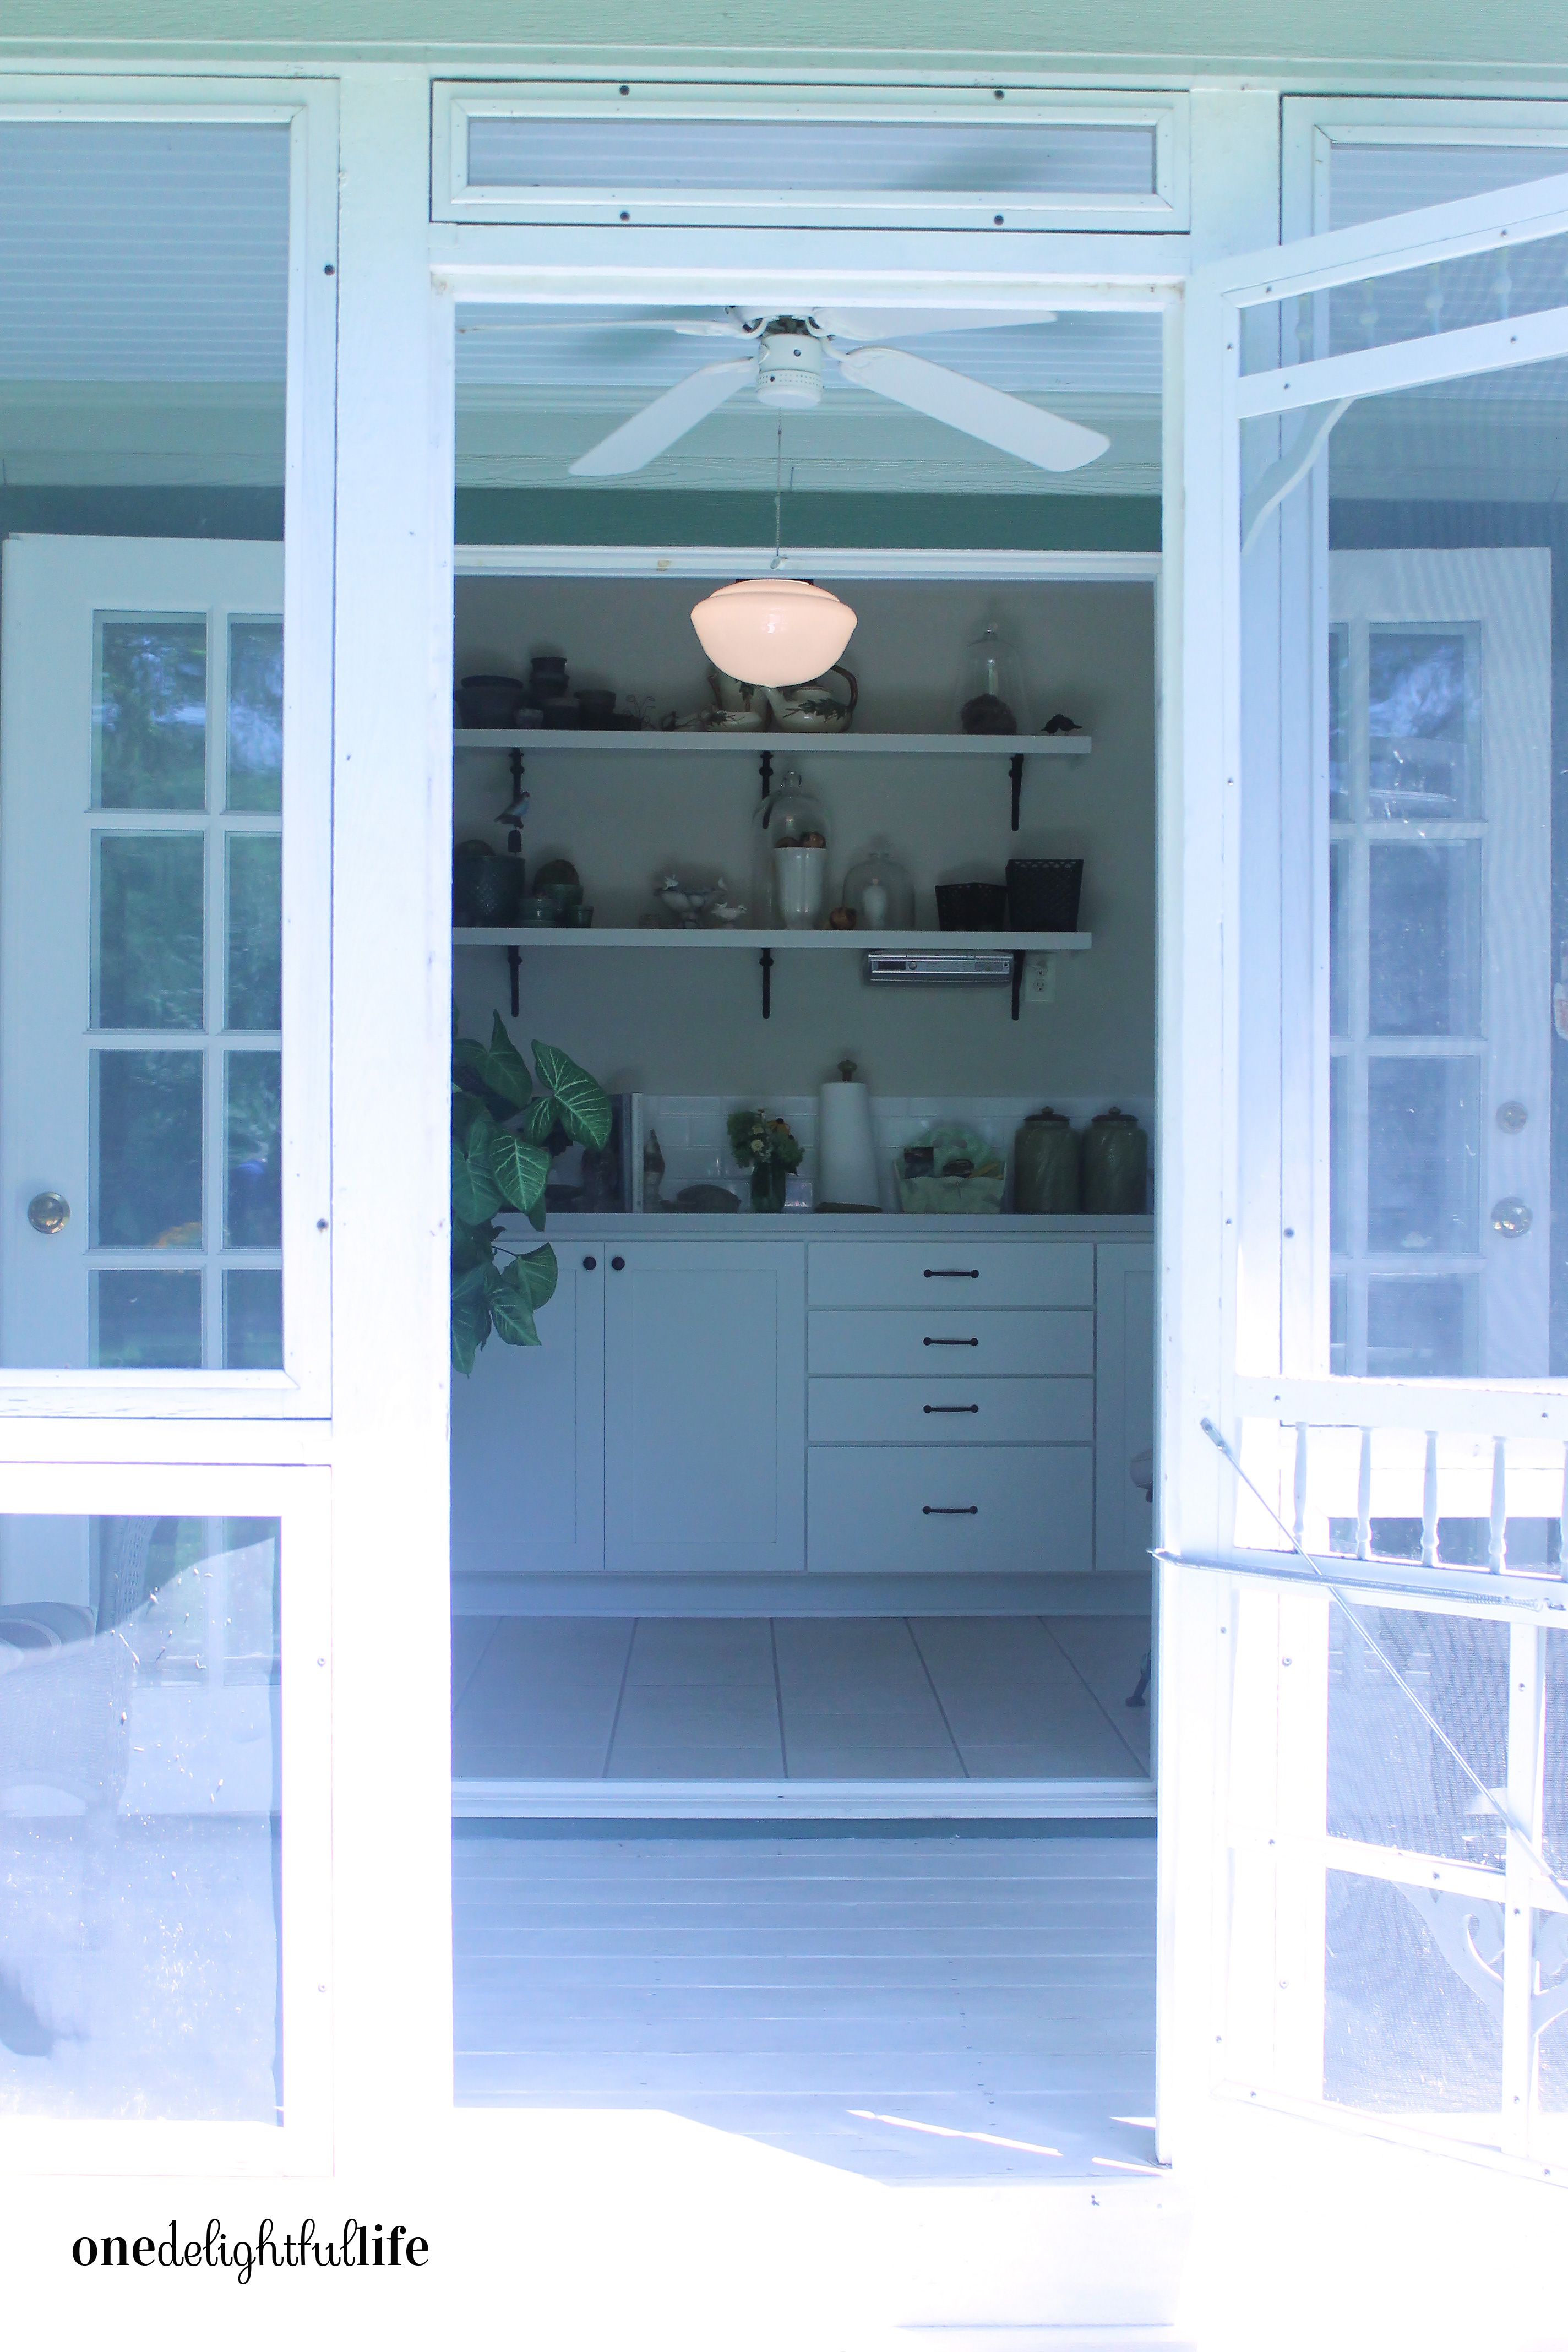
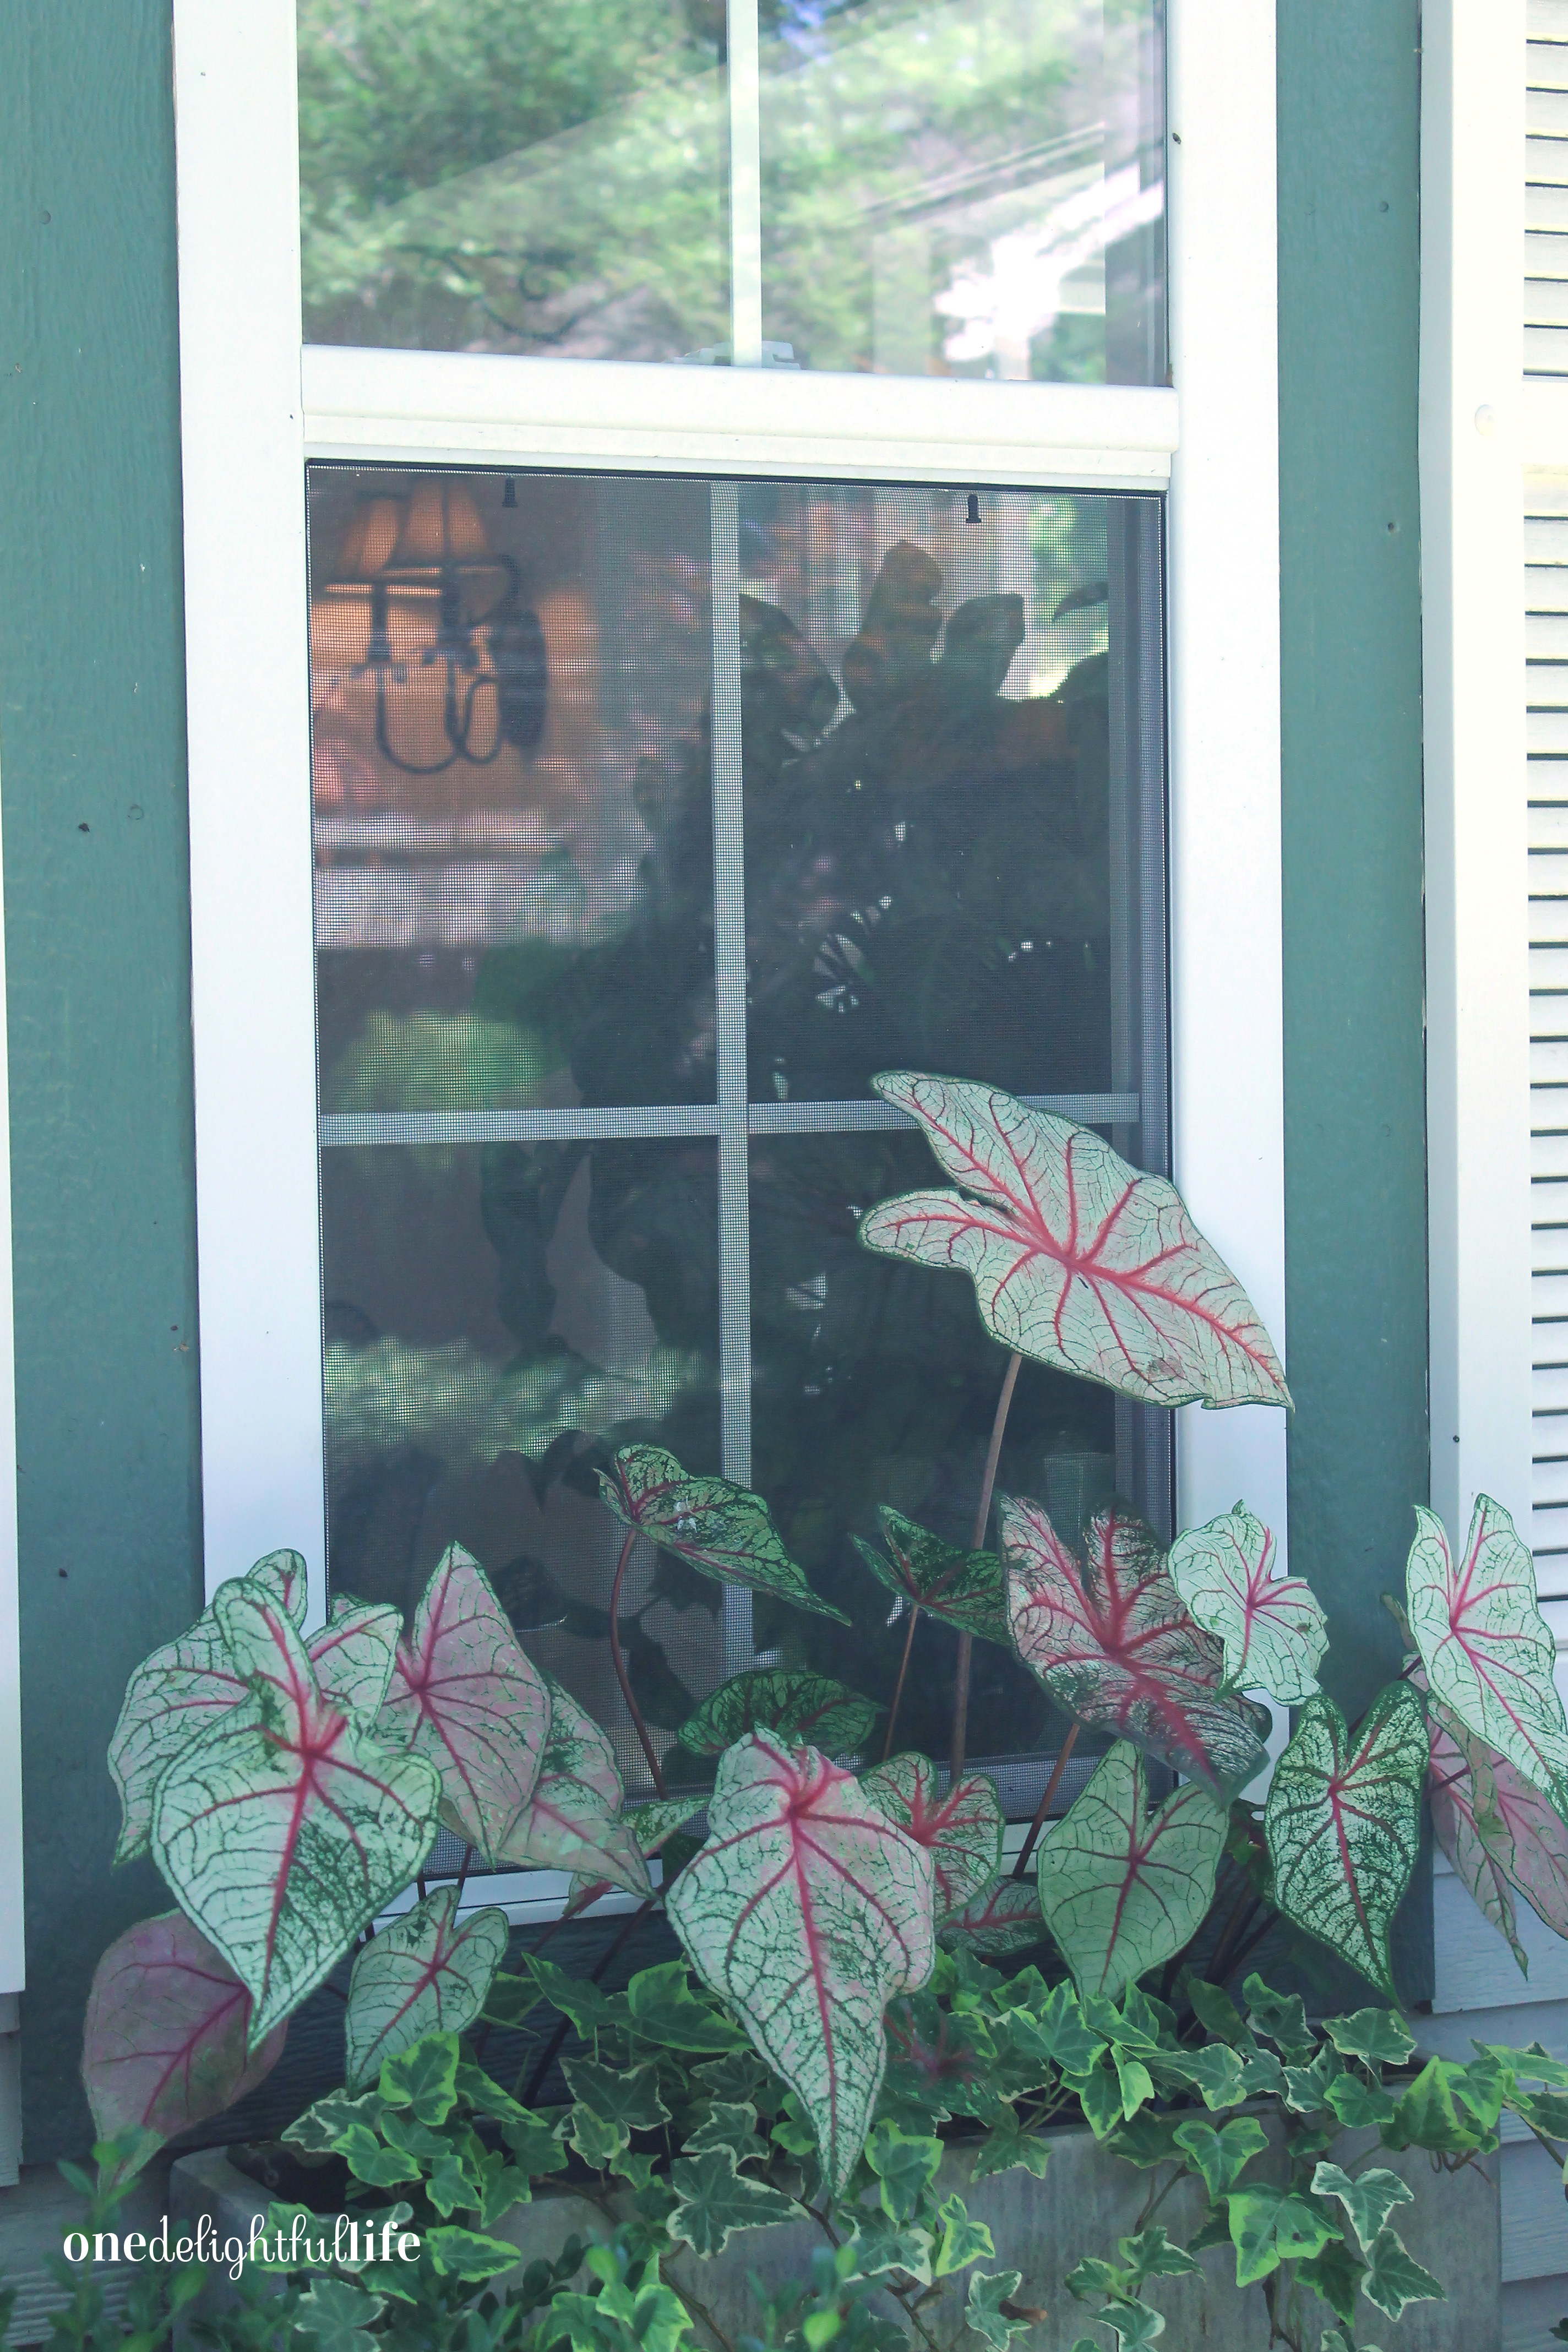
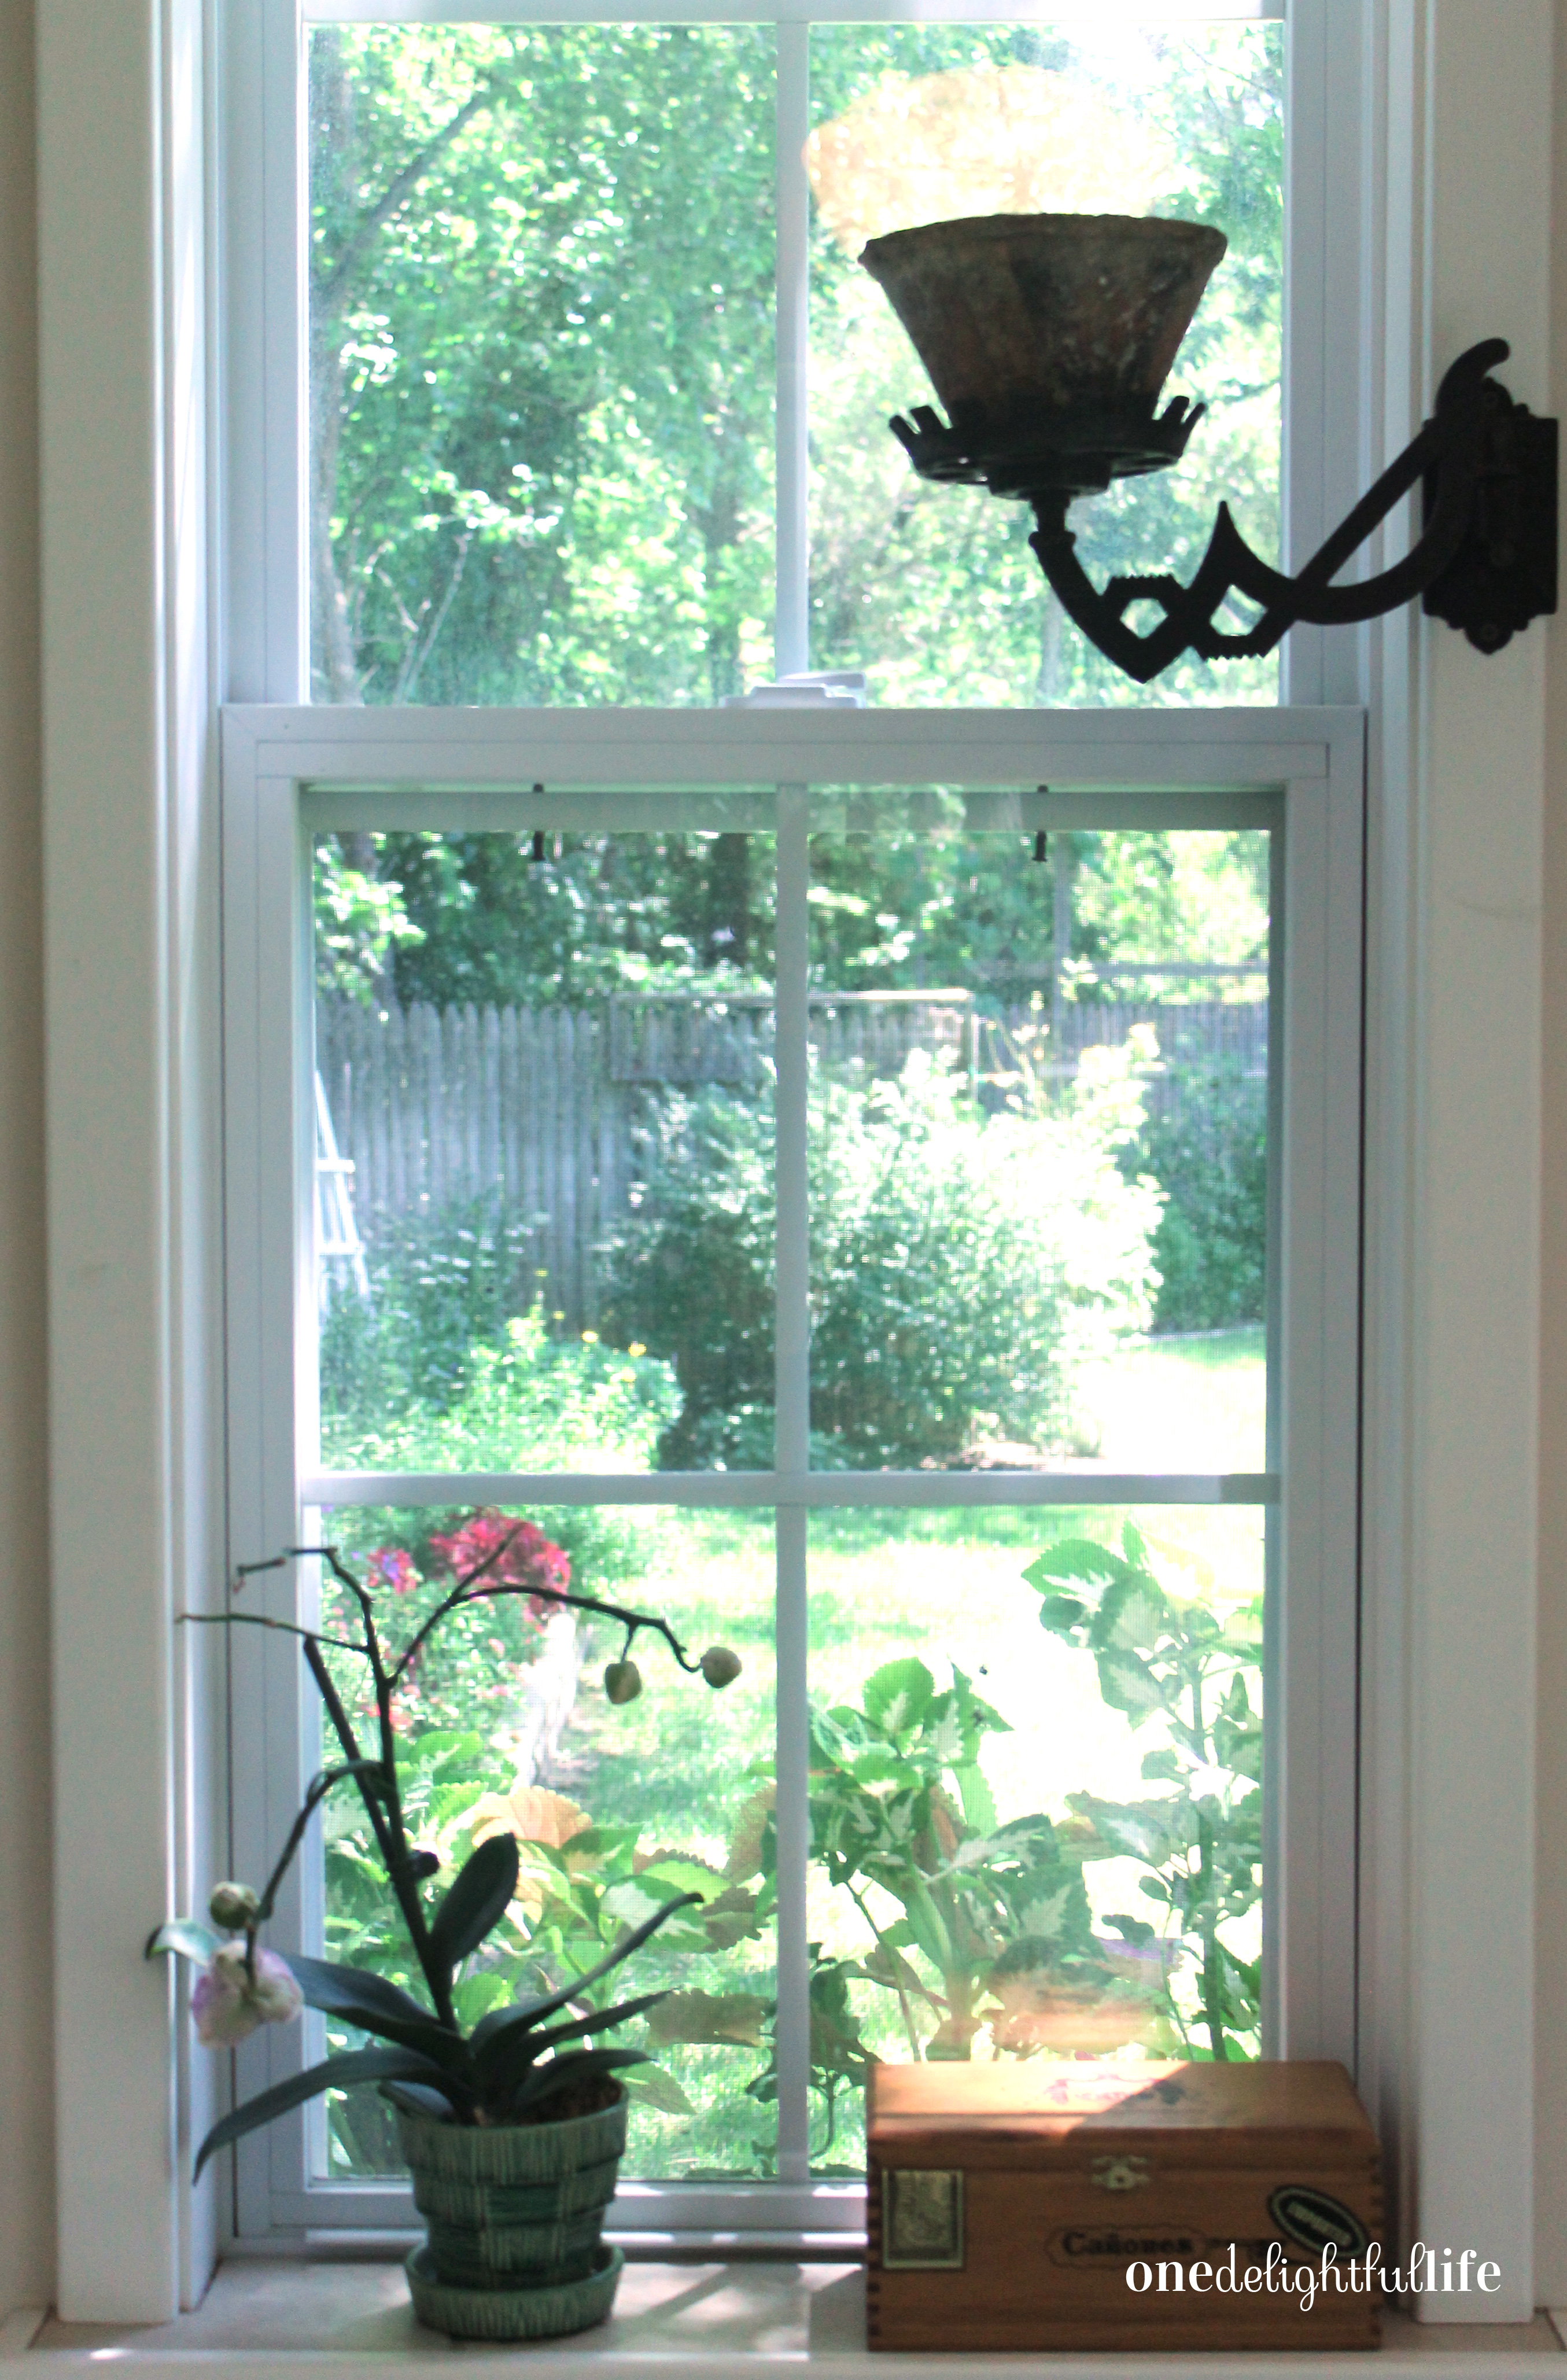
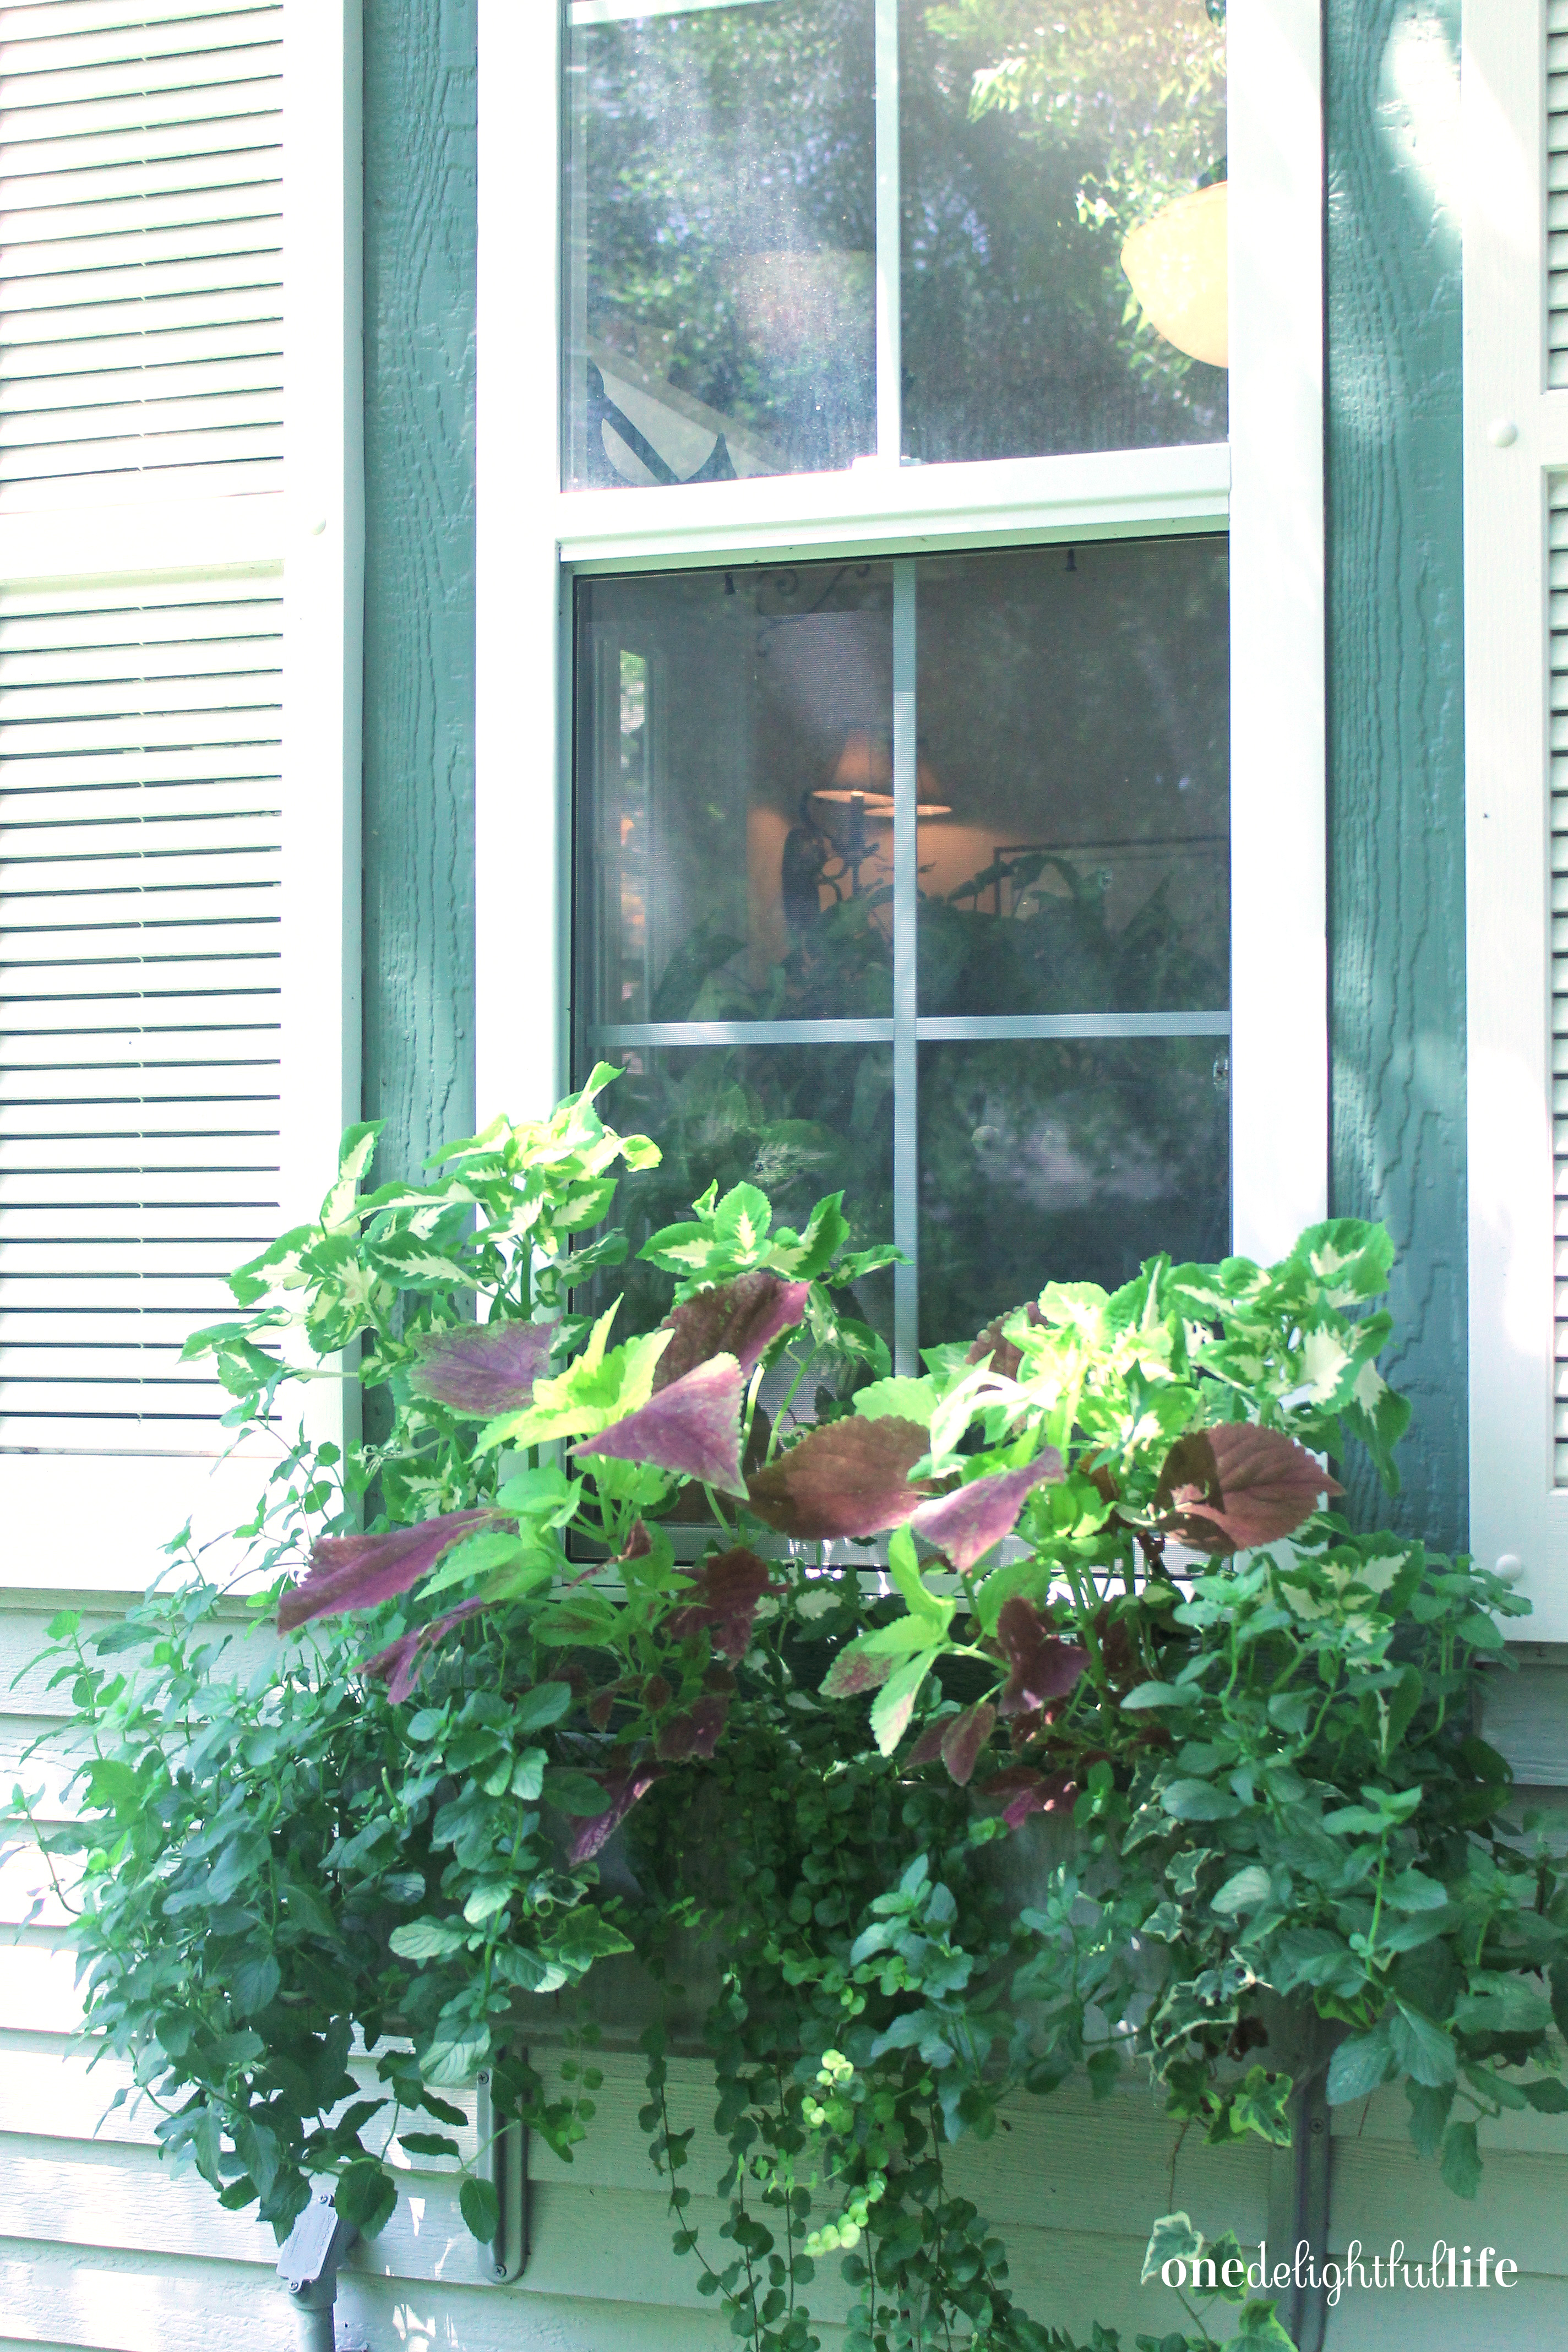
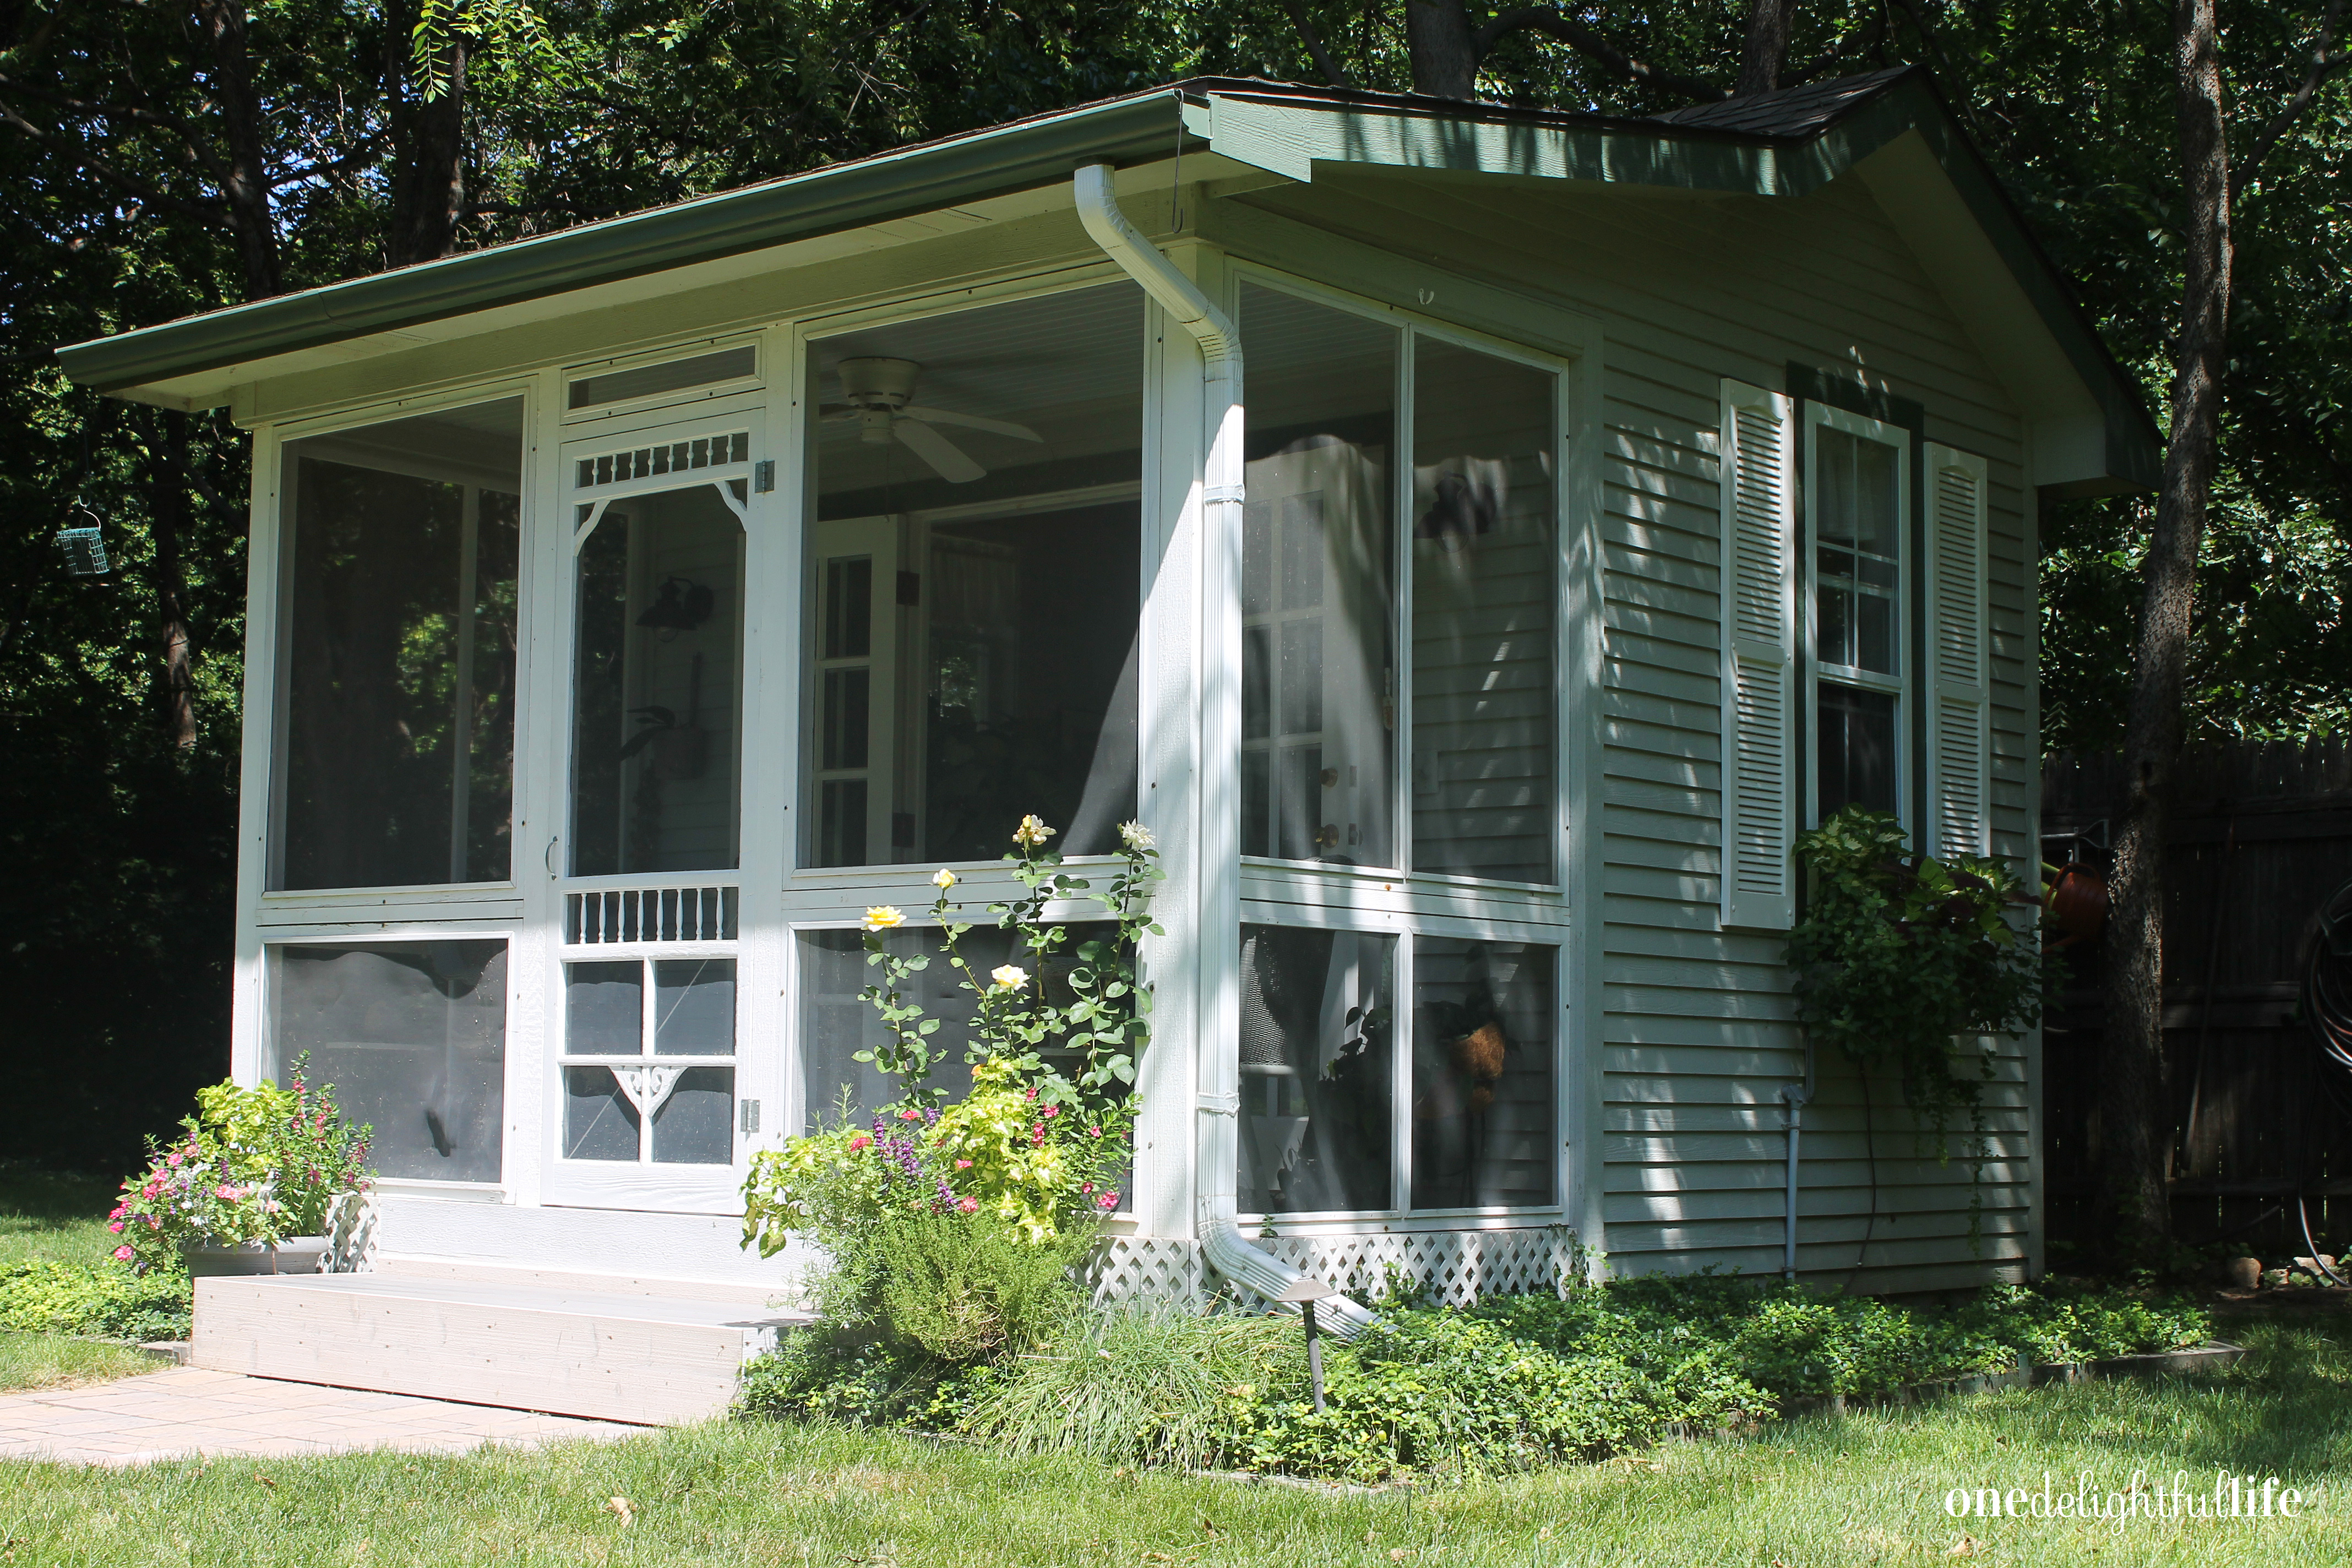
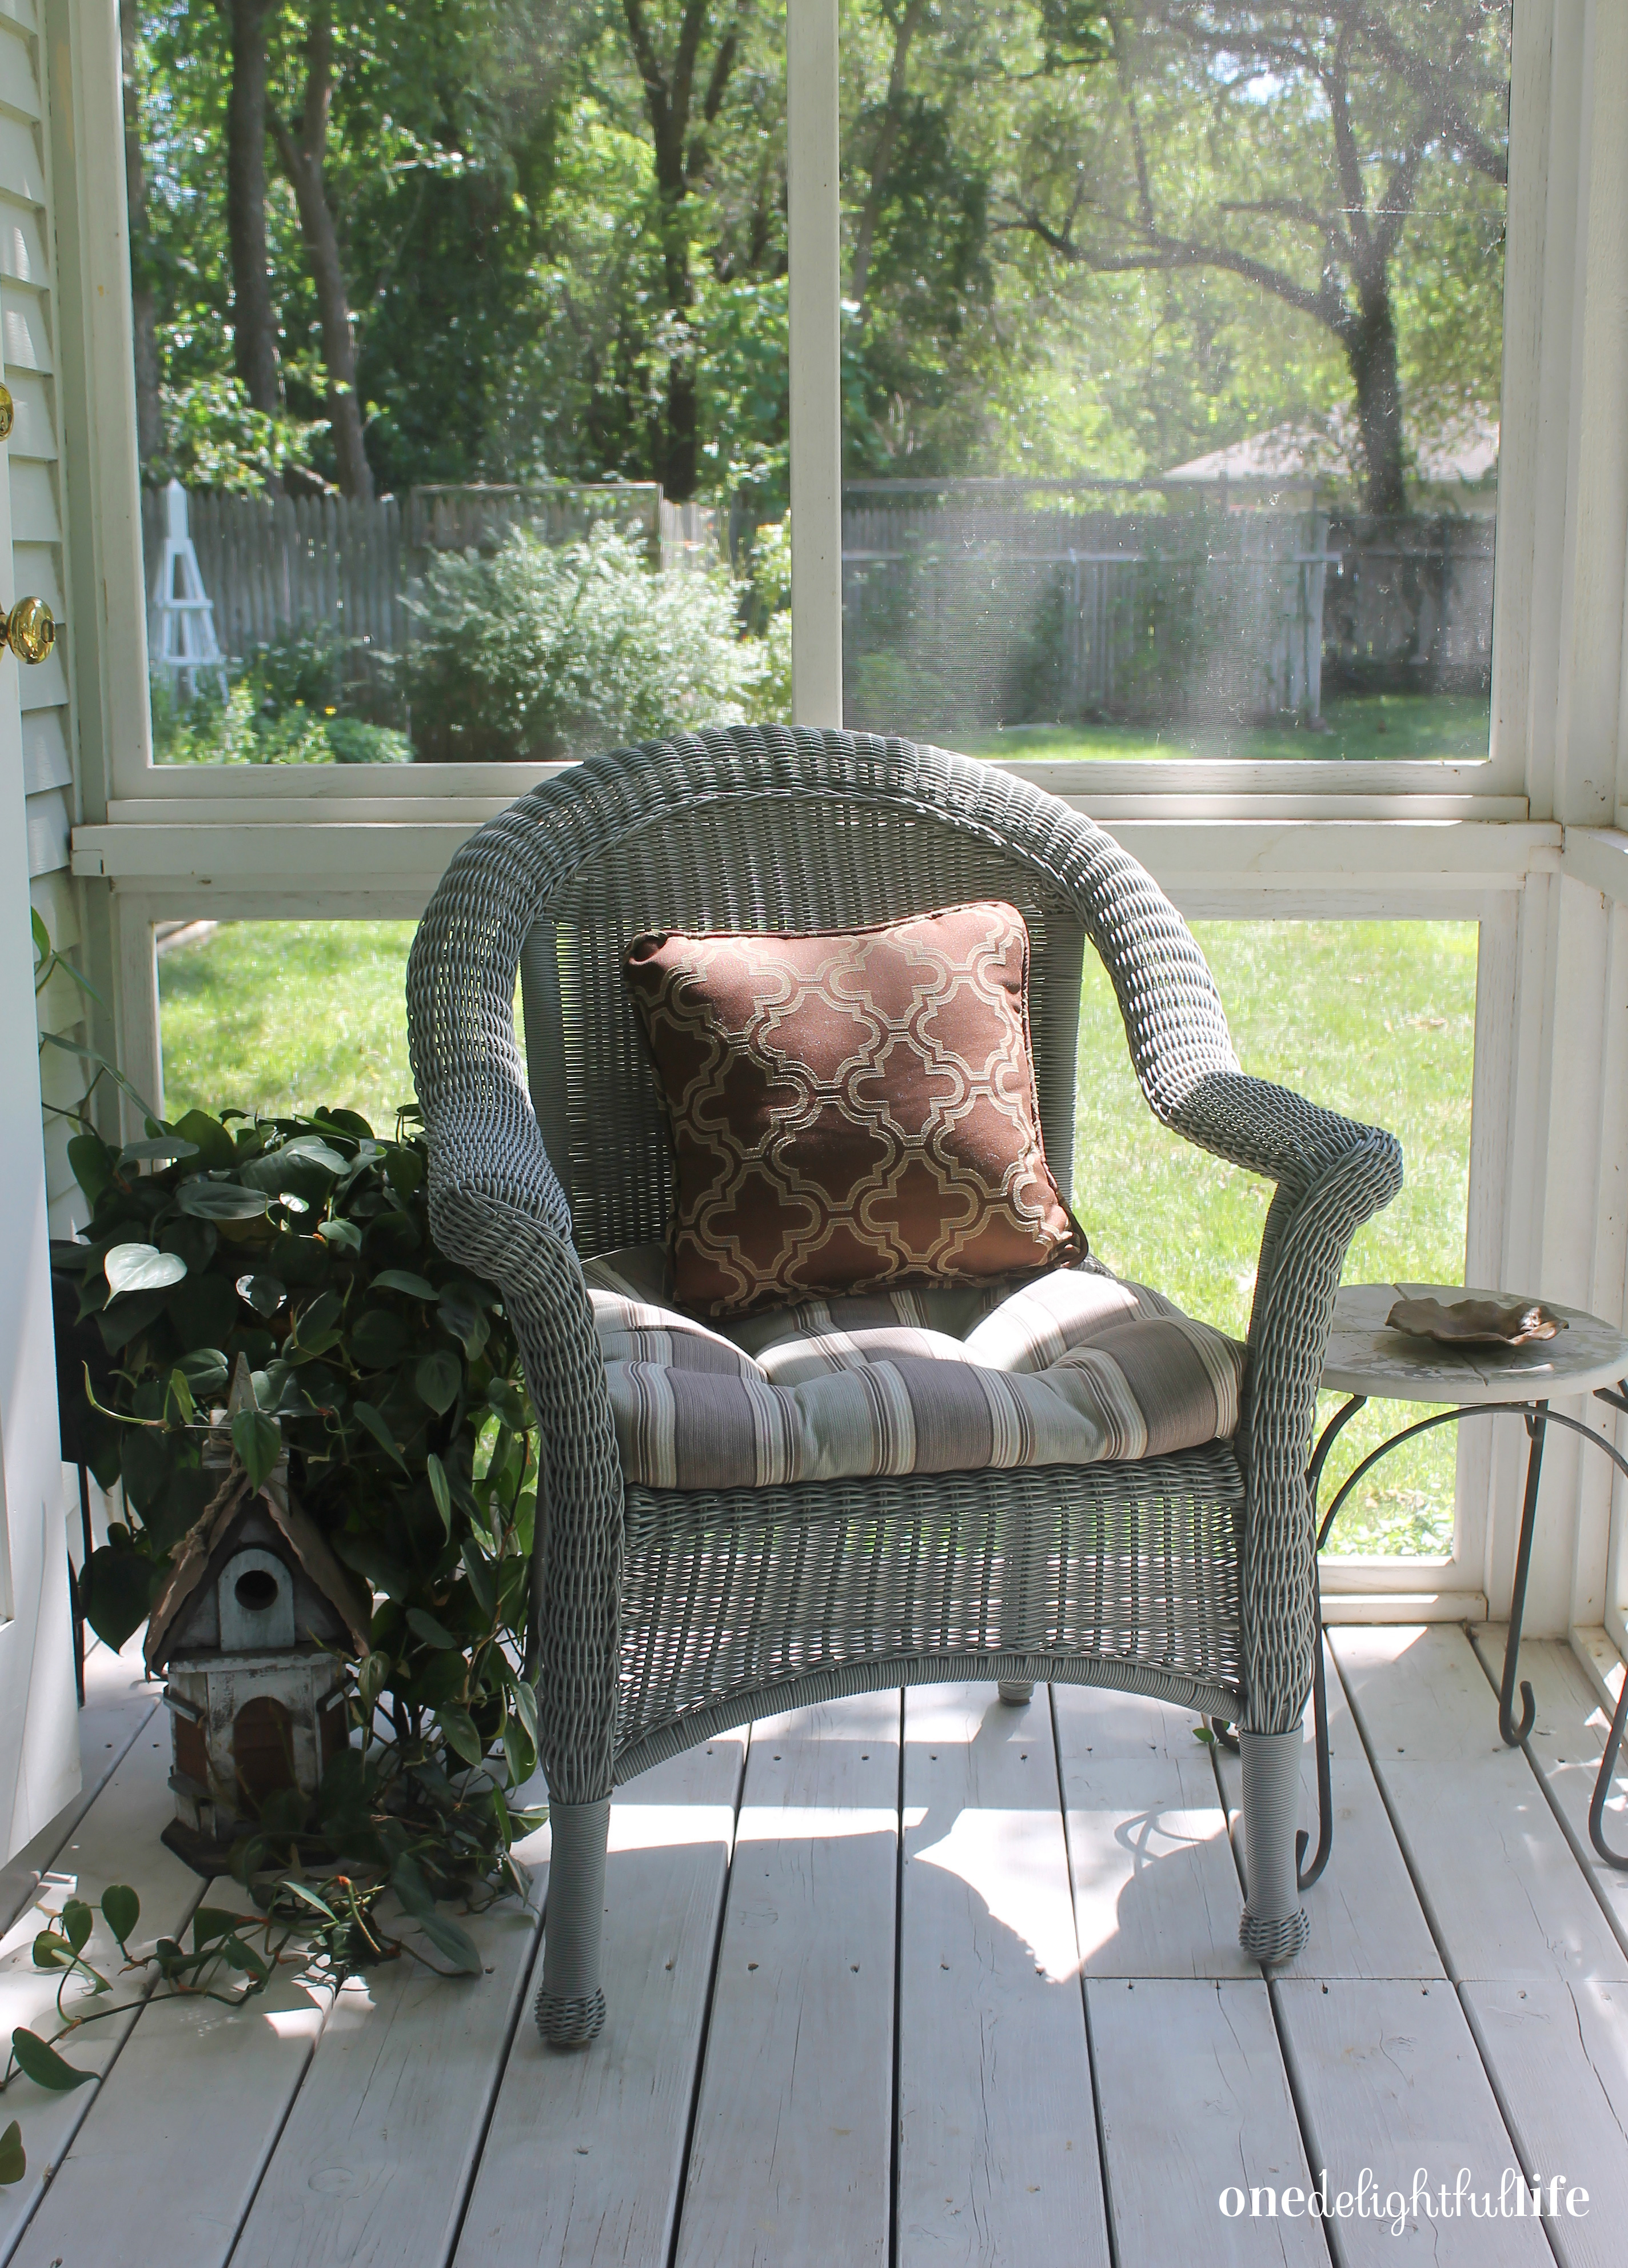
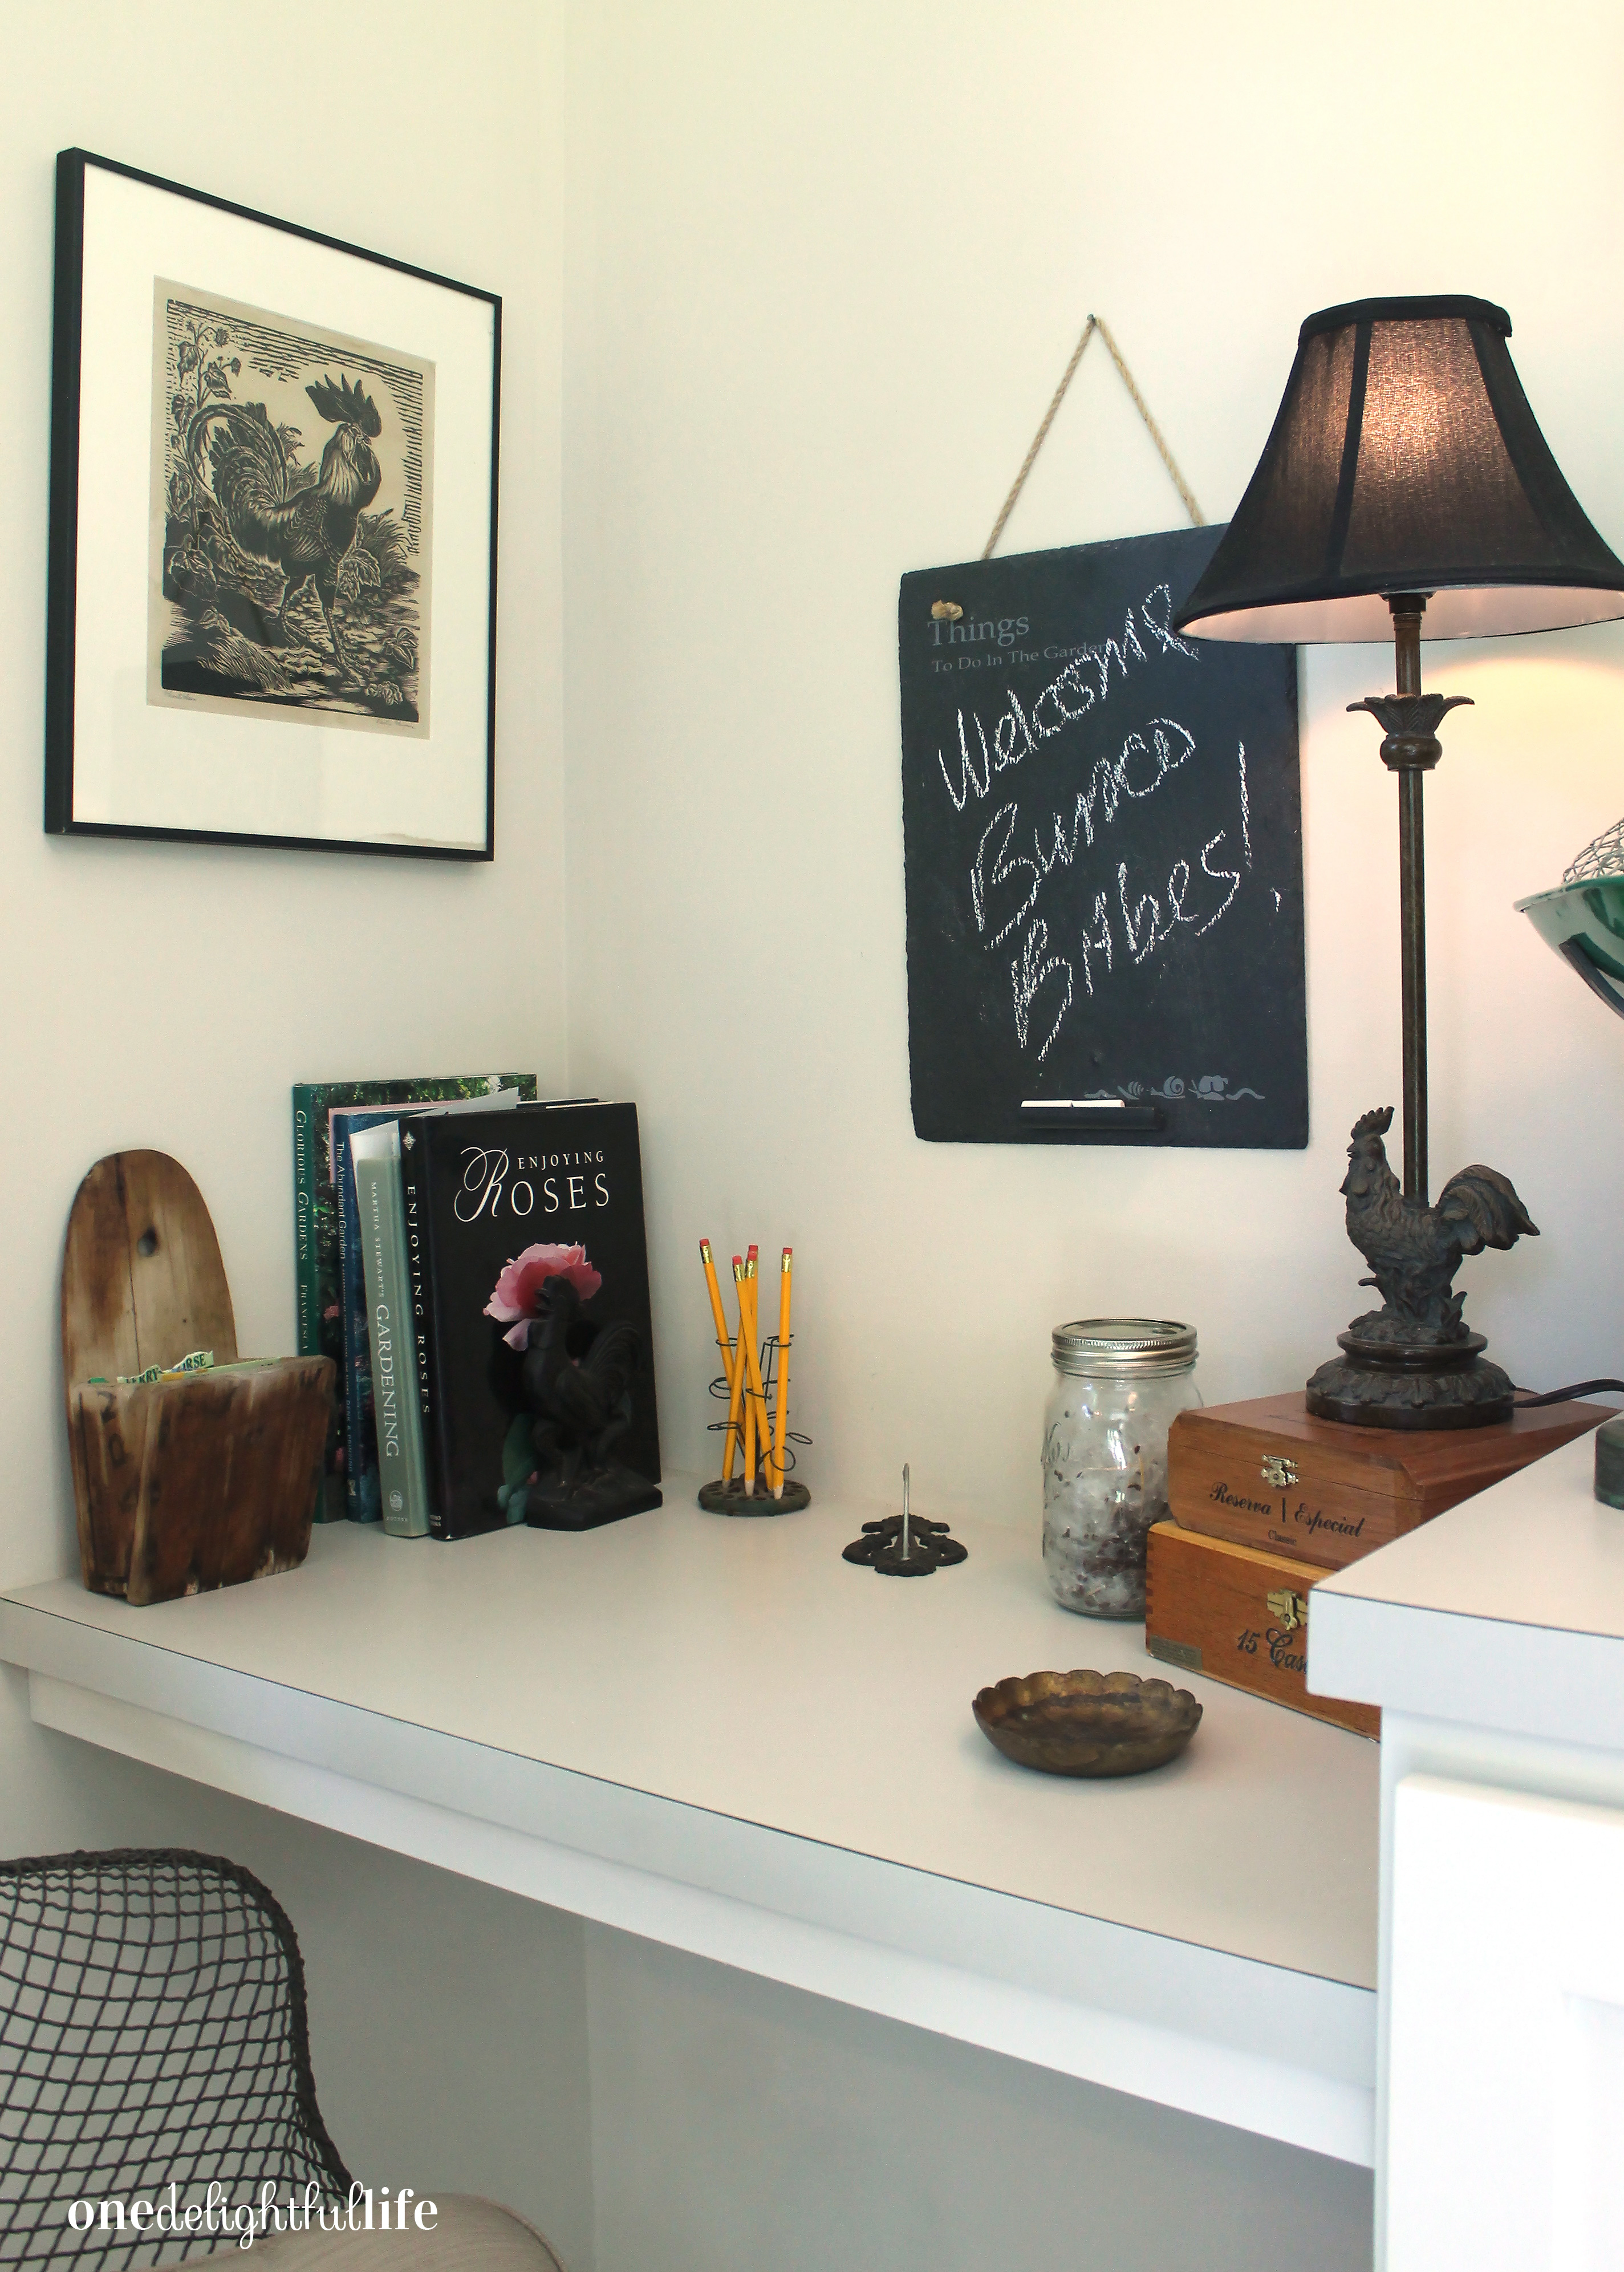
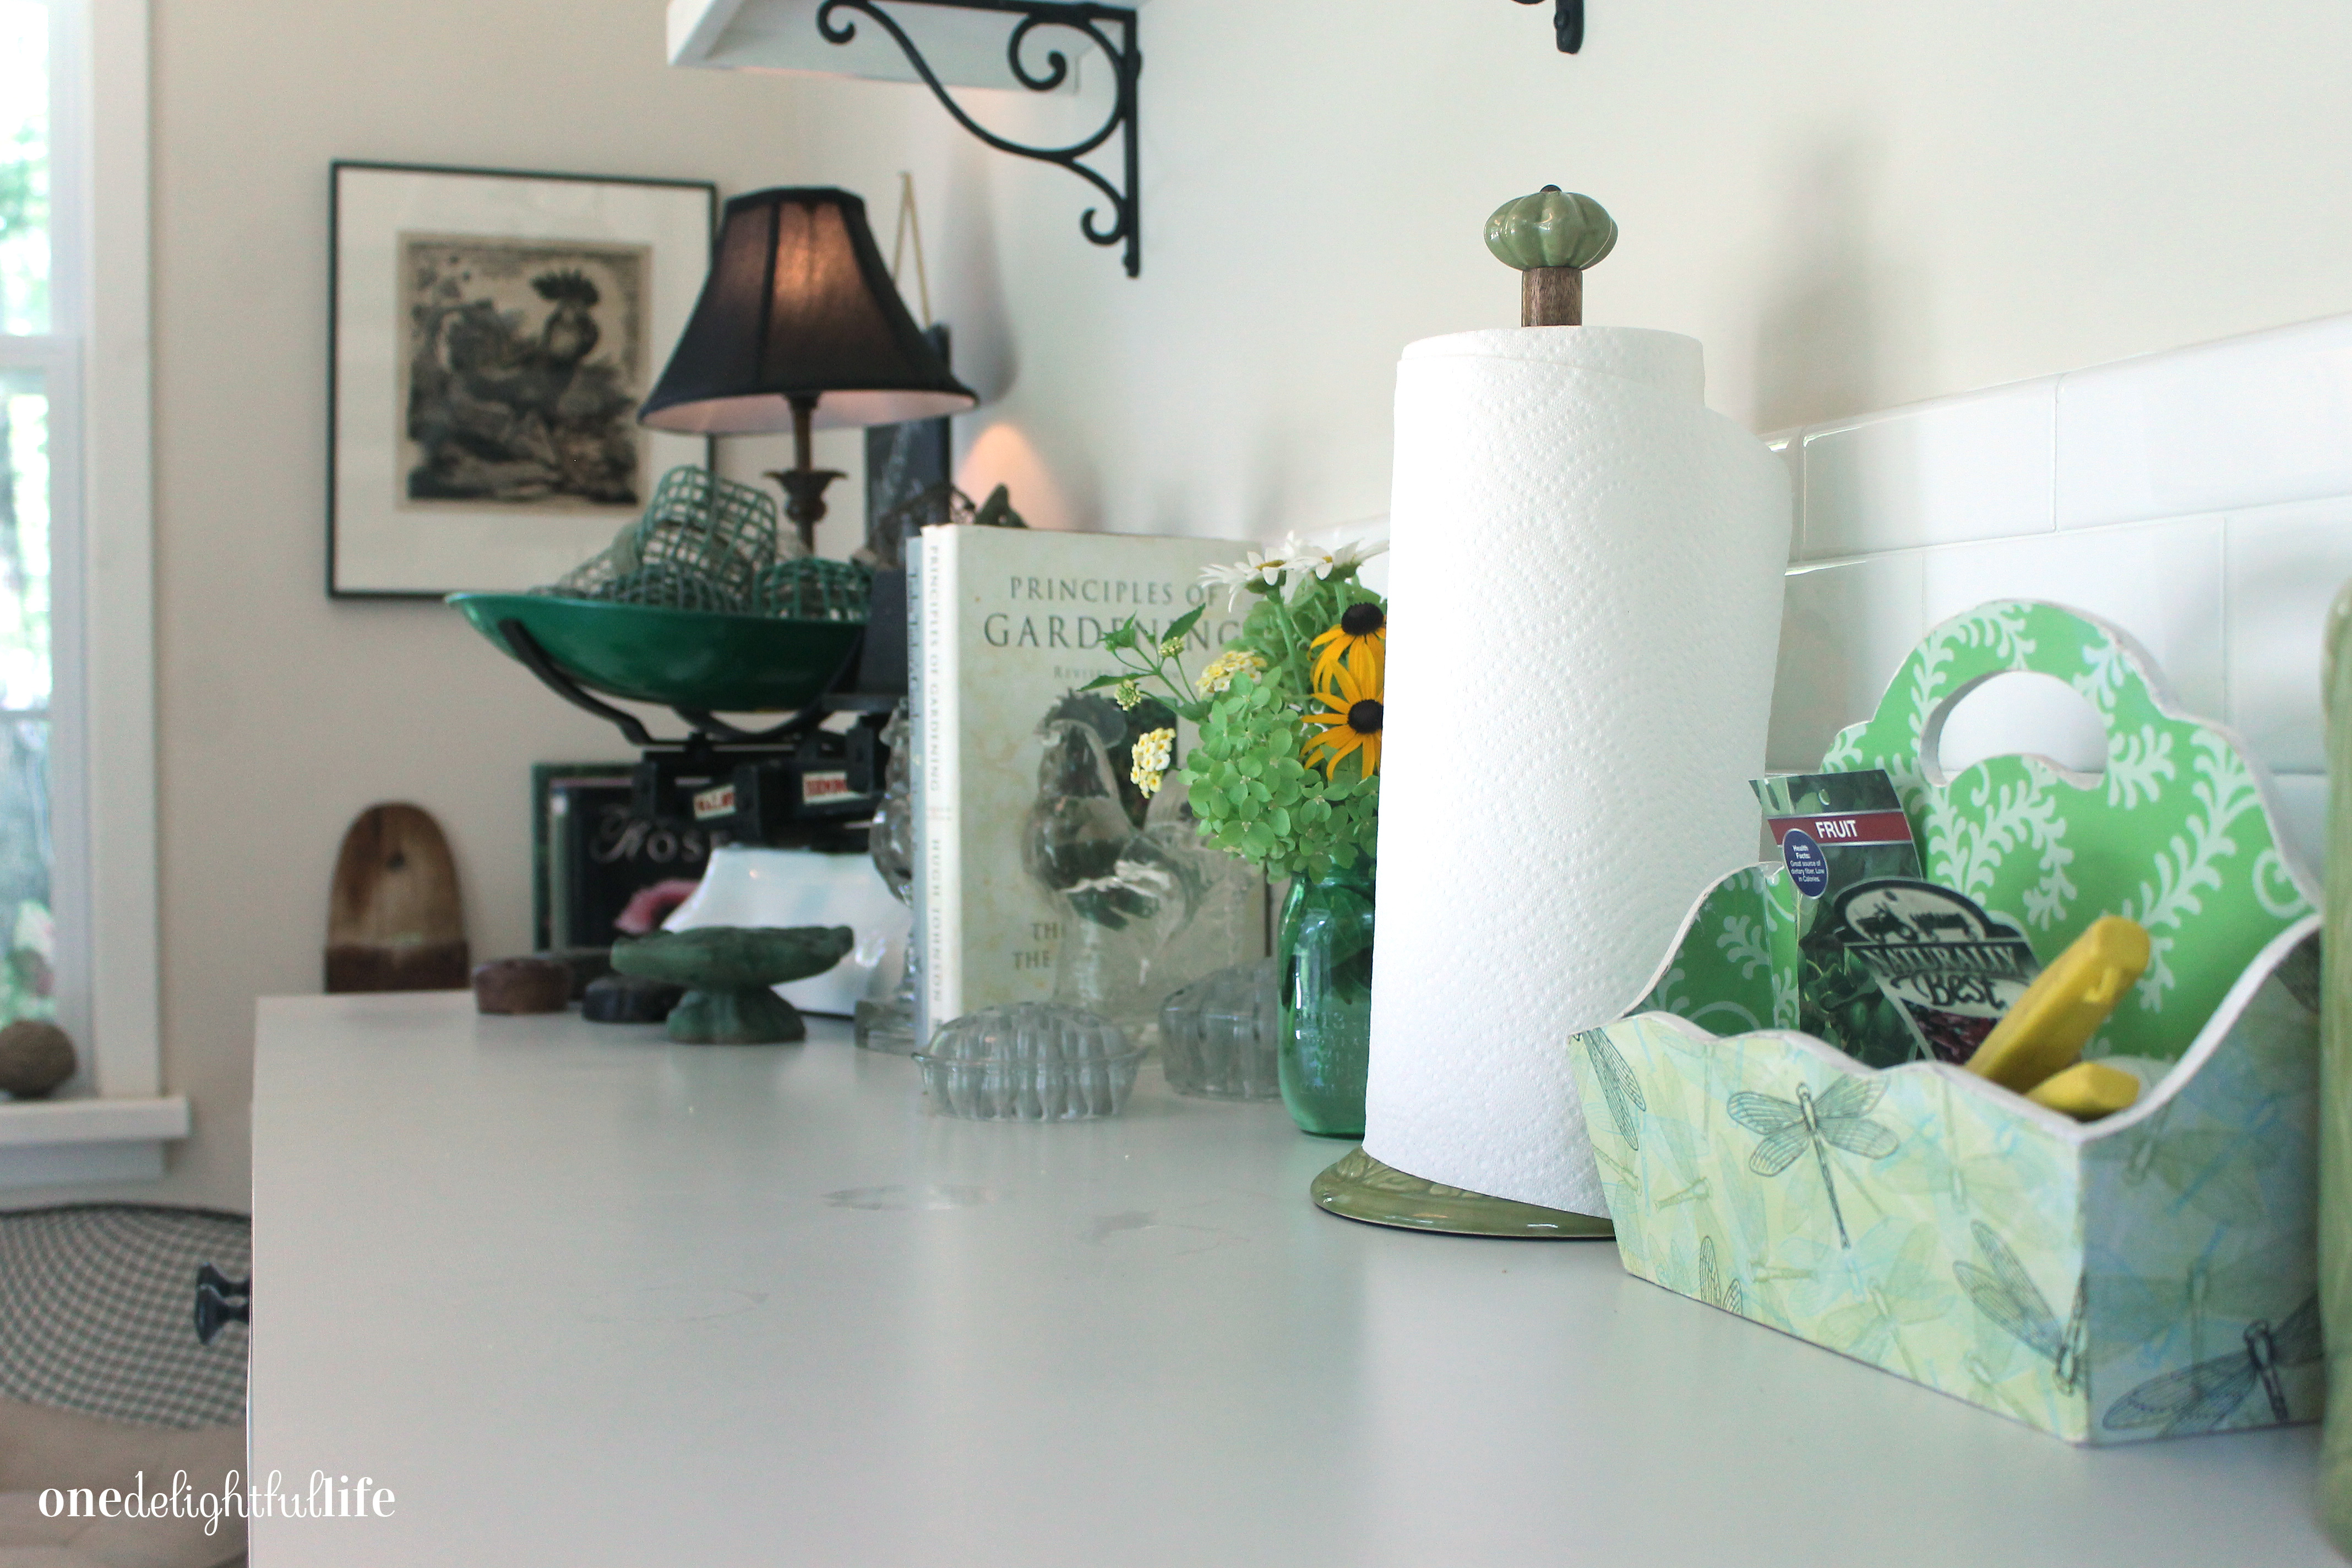
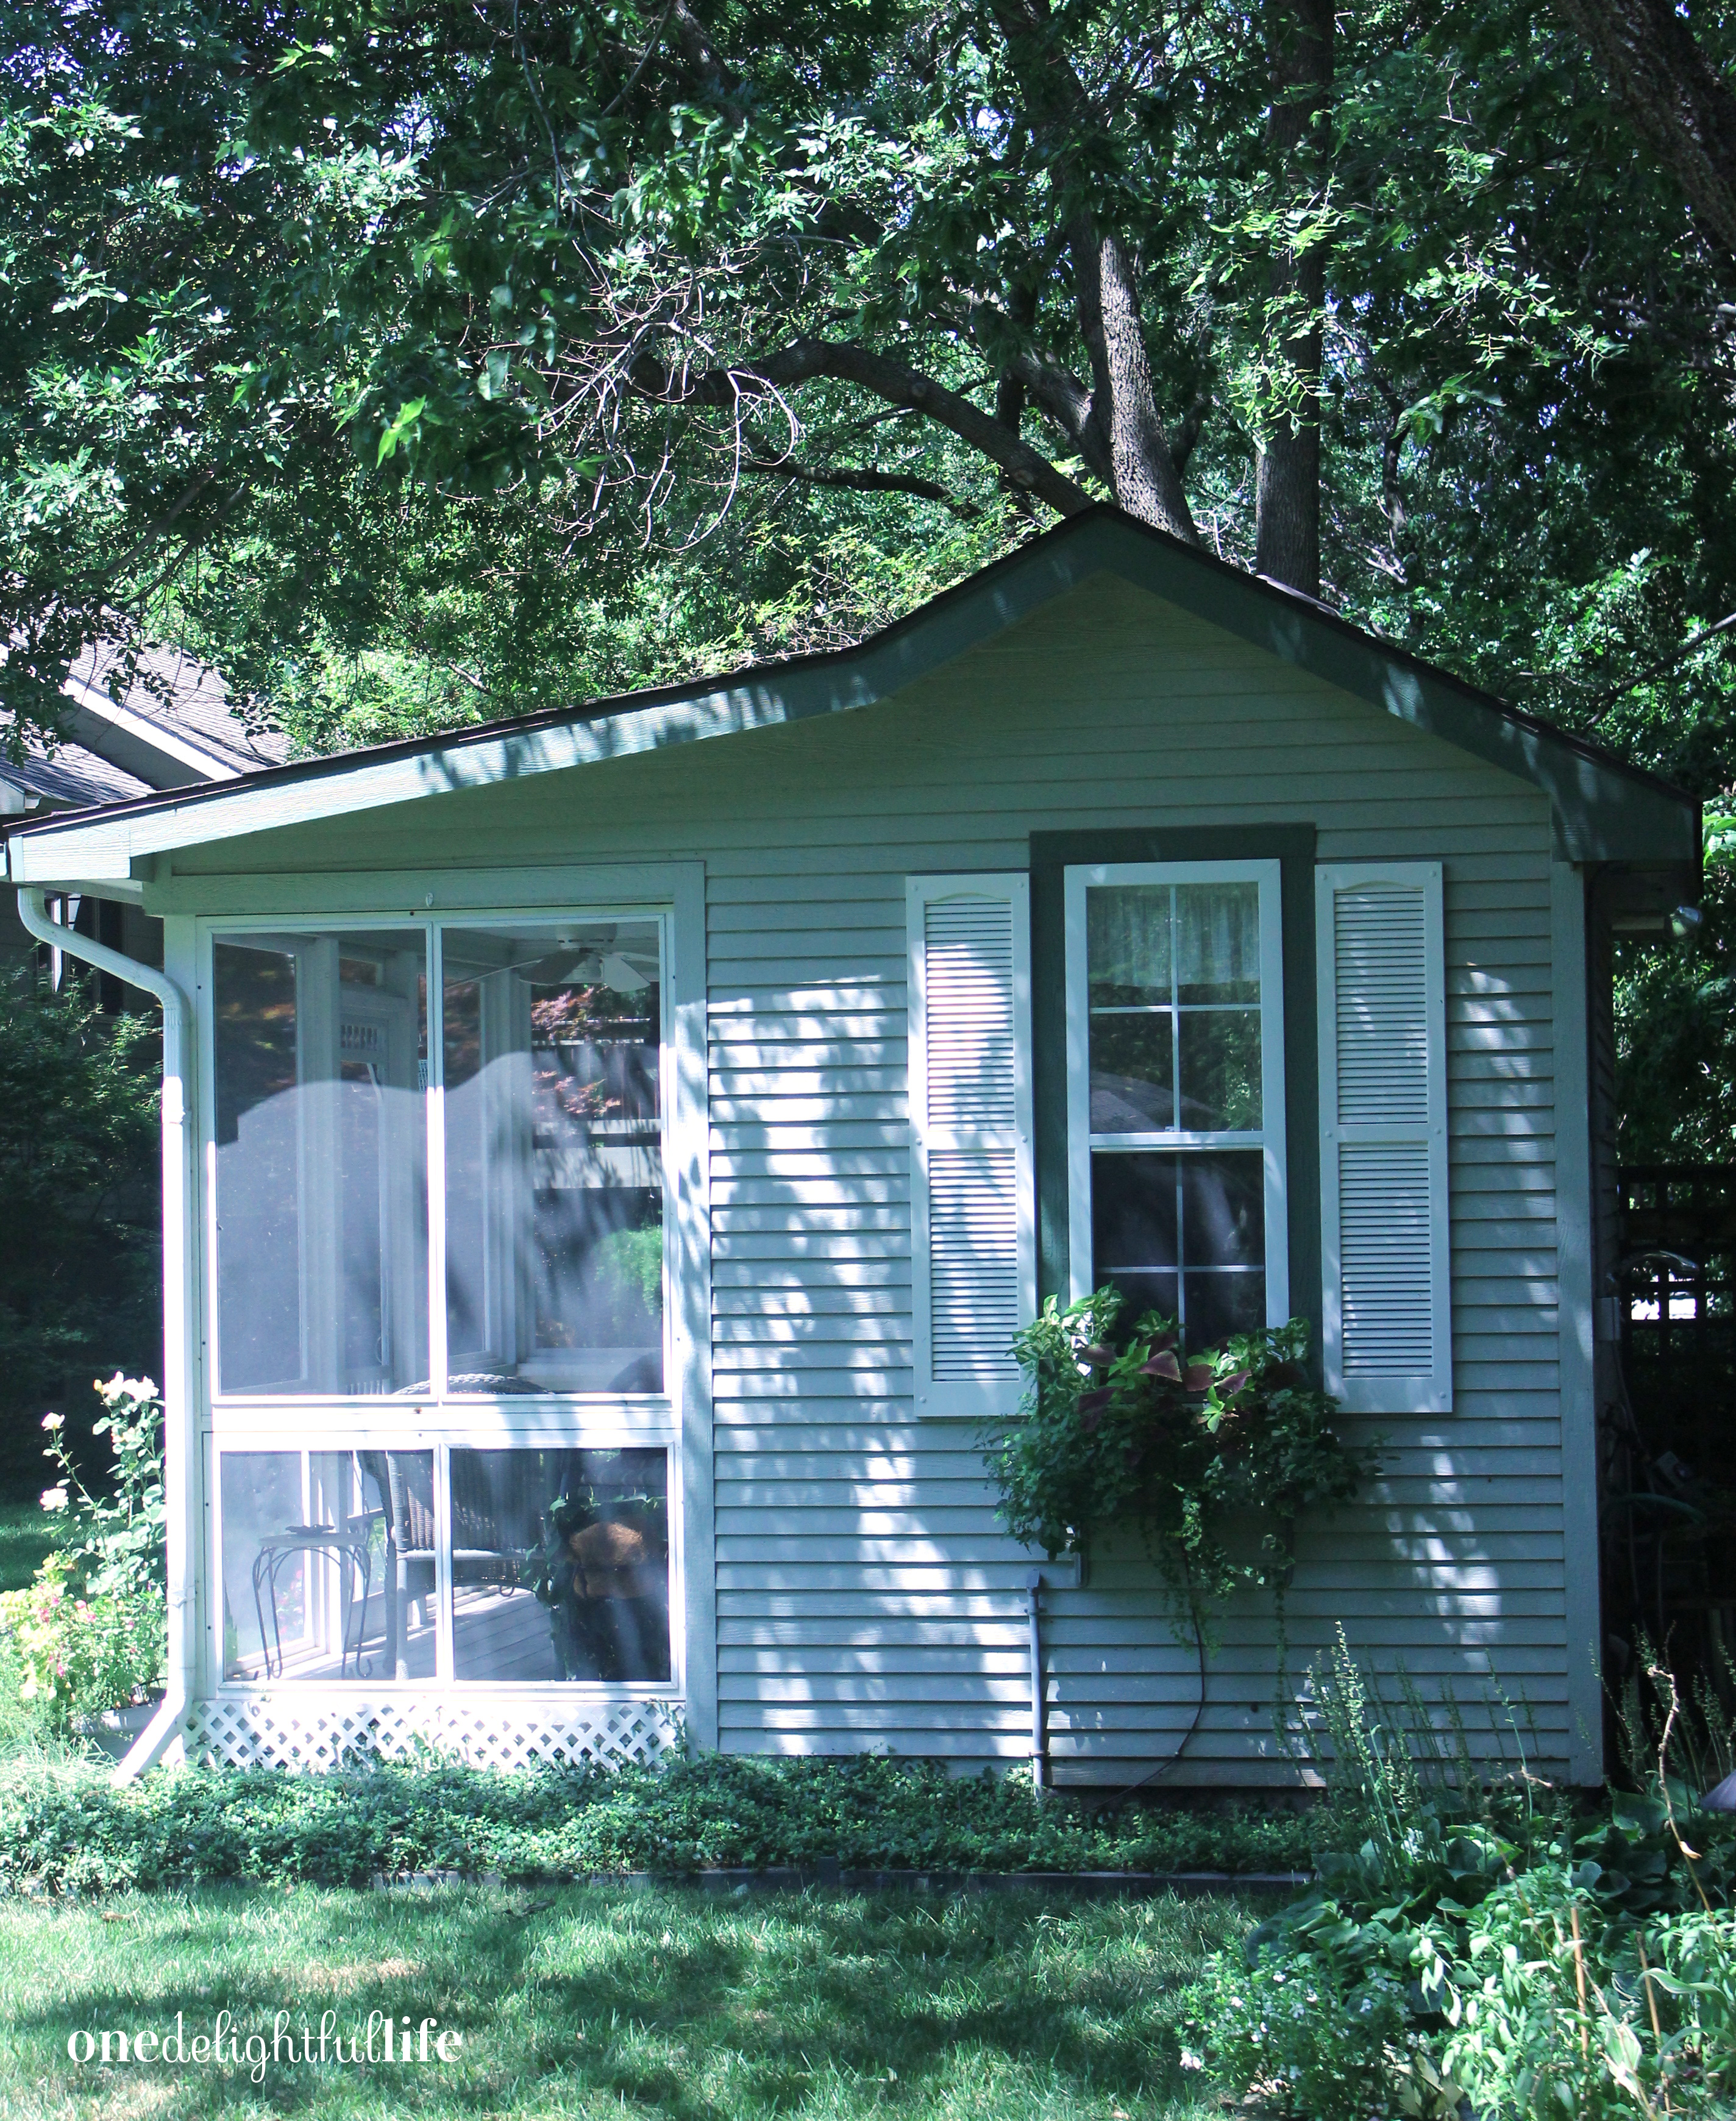
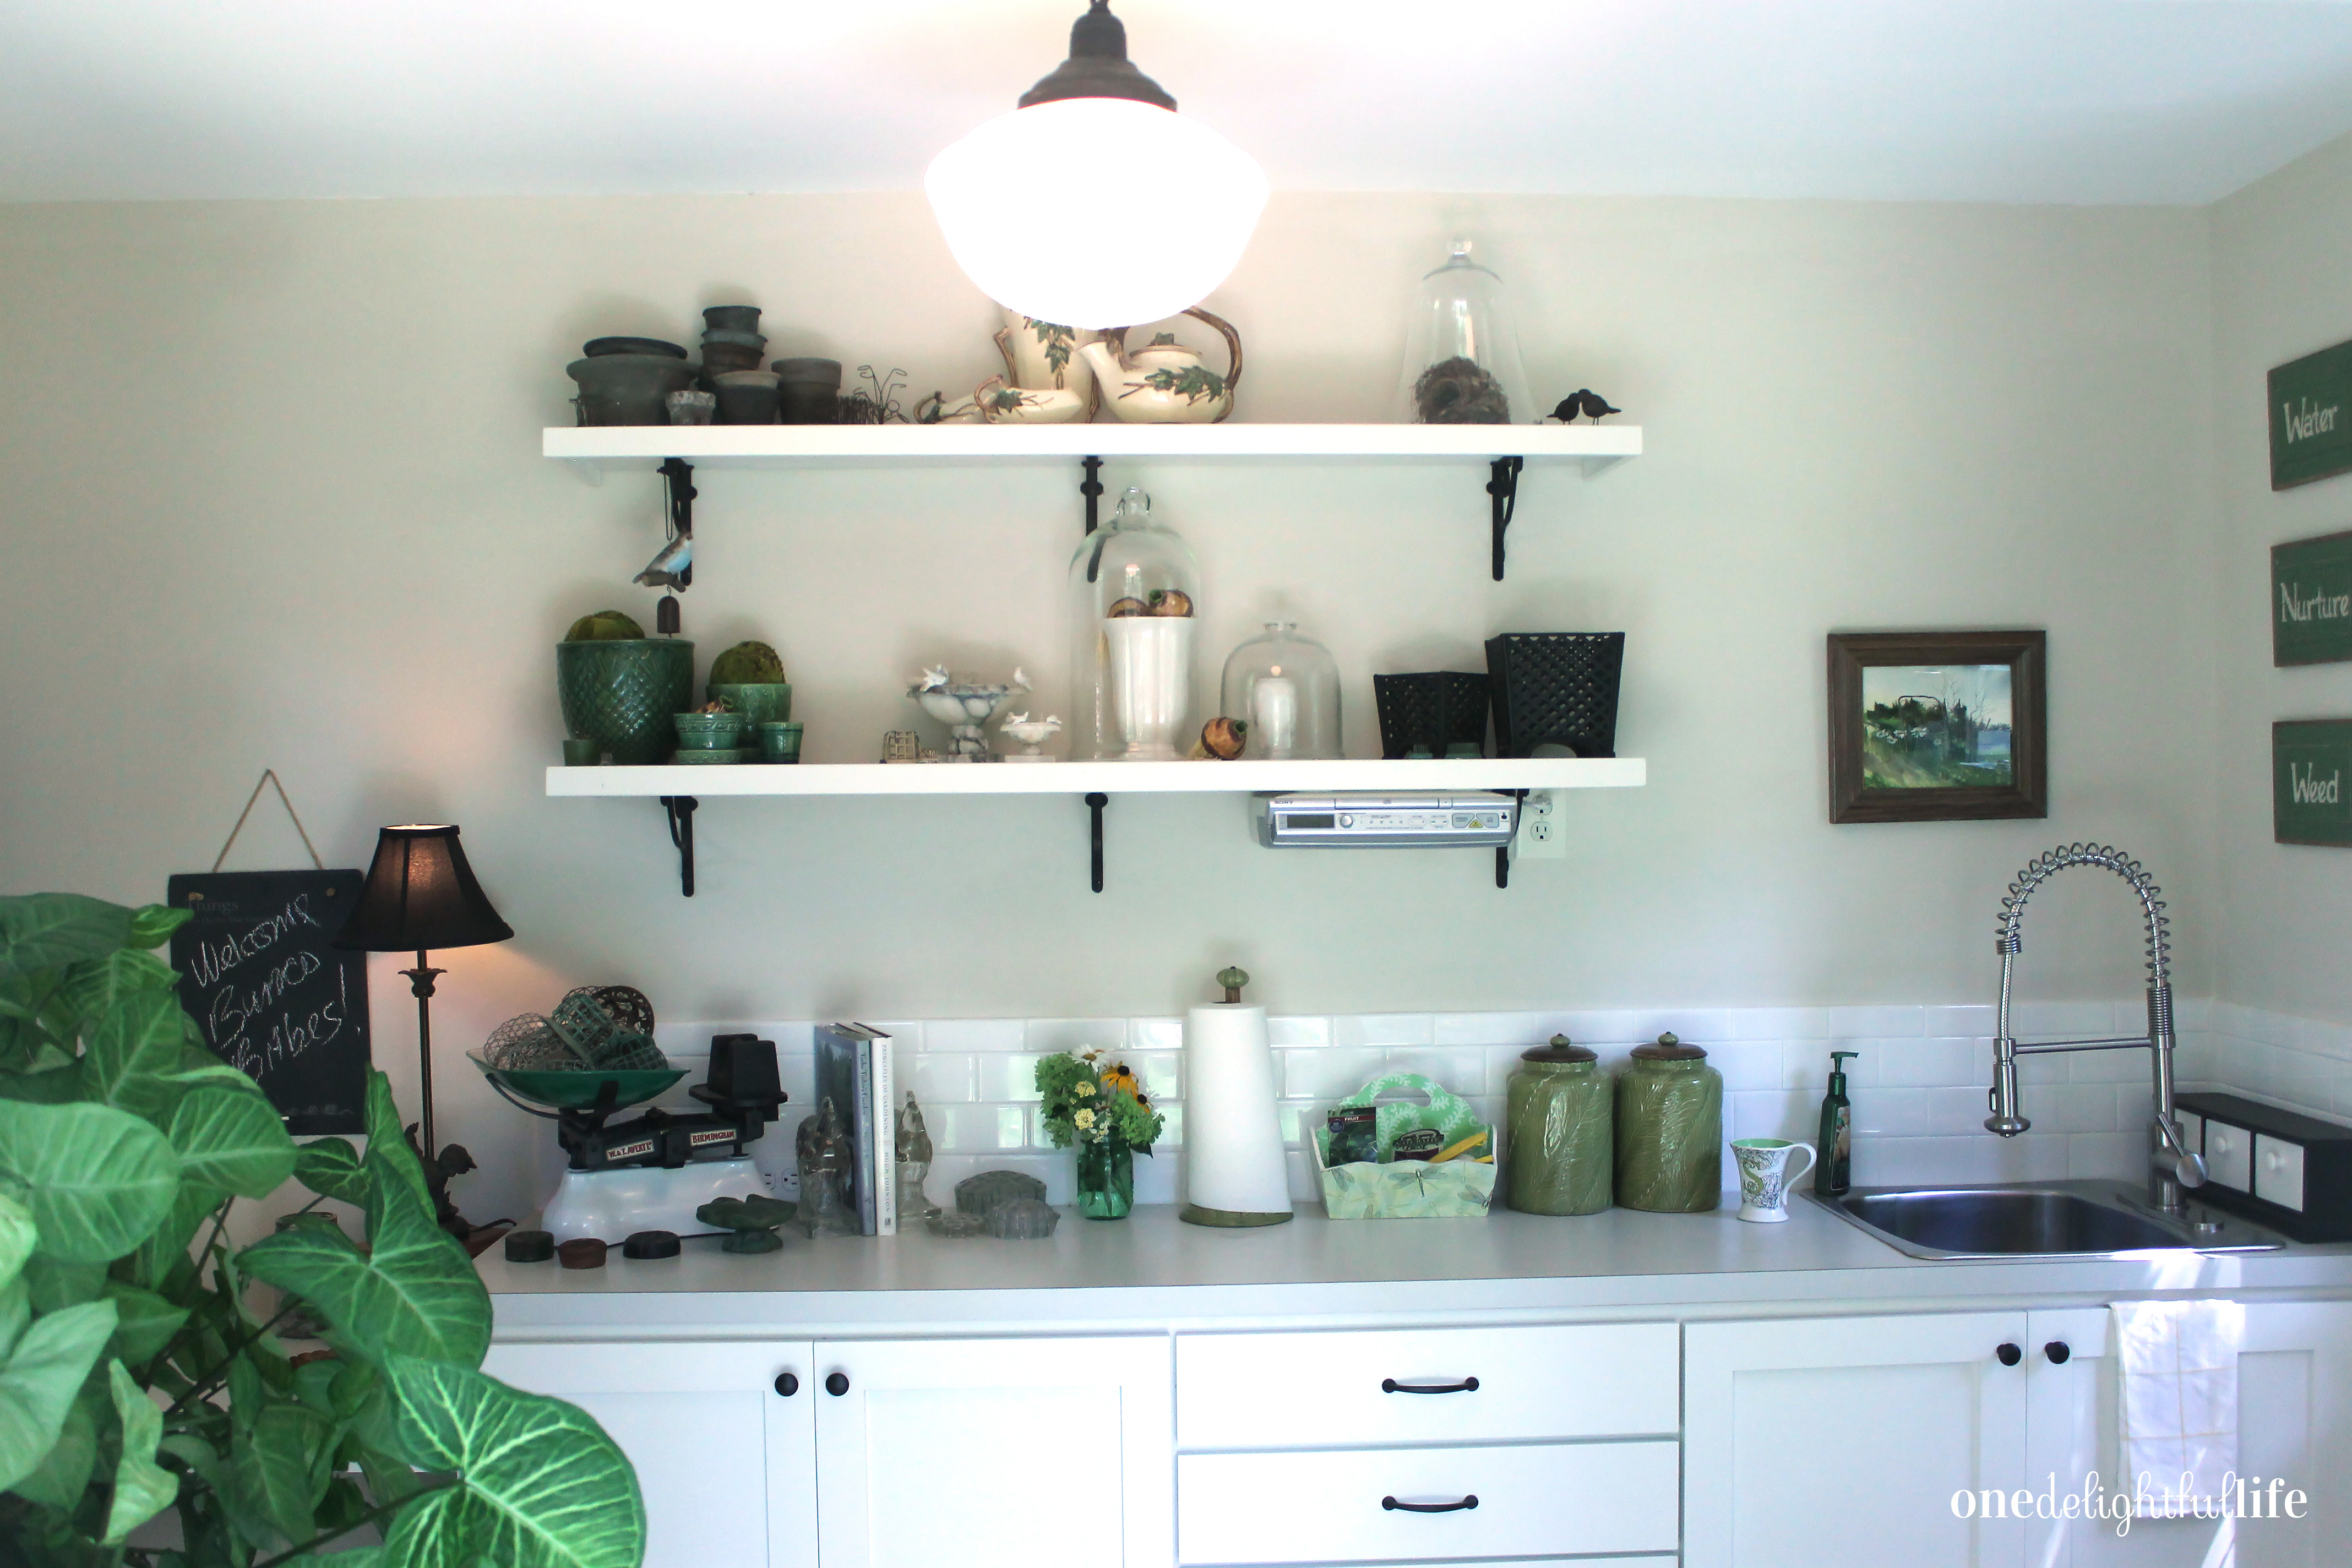
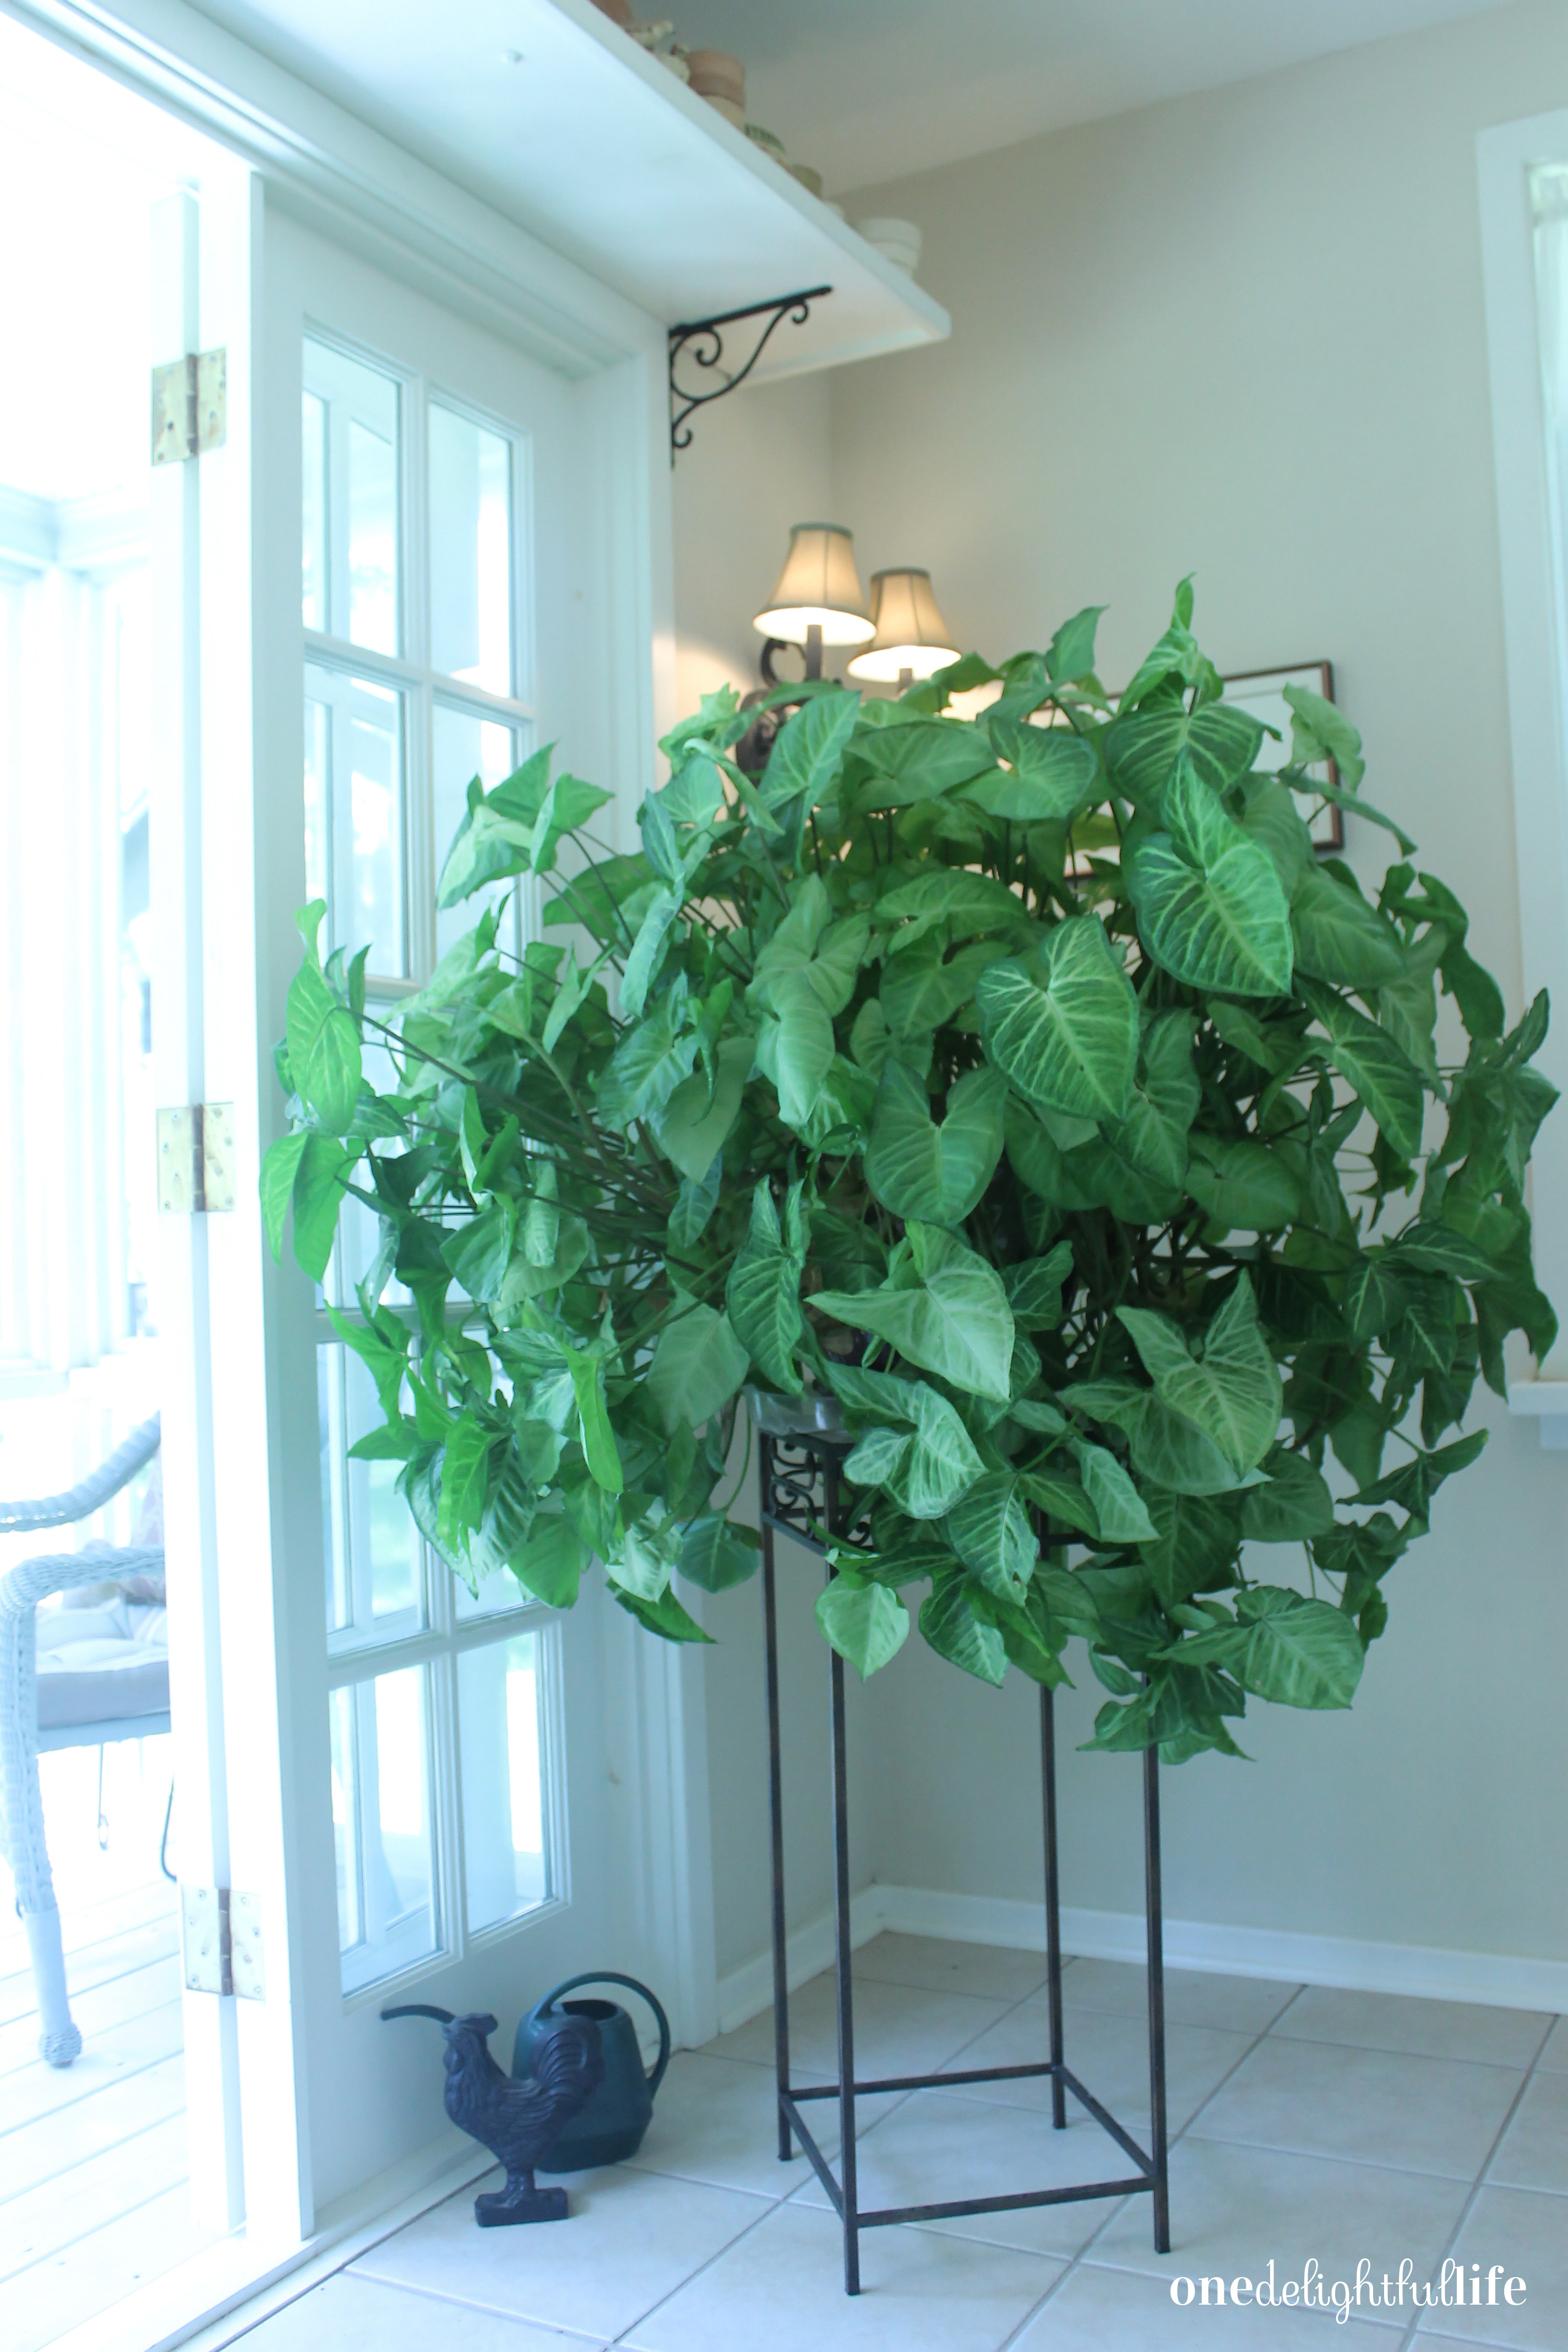 Mom’s garden house is an extension of her own home. The interior’s neutral colors, off-set by the bright white counter tops and trimmed windows, includes various green hues from decorative additions and dark black metal pieces. Having collected many of the sitabouts over time, she decorates in a style more sophisticated than rustic farmhouse but less stuffy than classic traditional. She has an eclectic sense of design style that is uniquely her own.
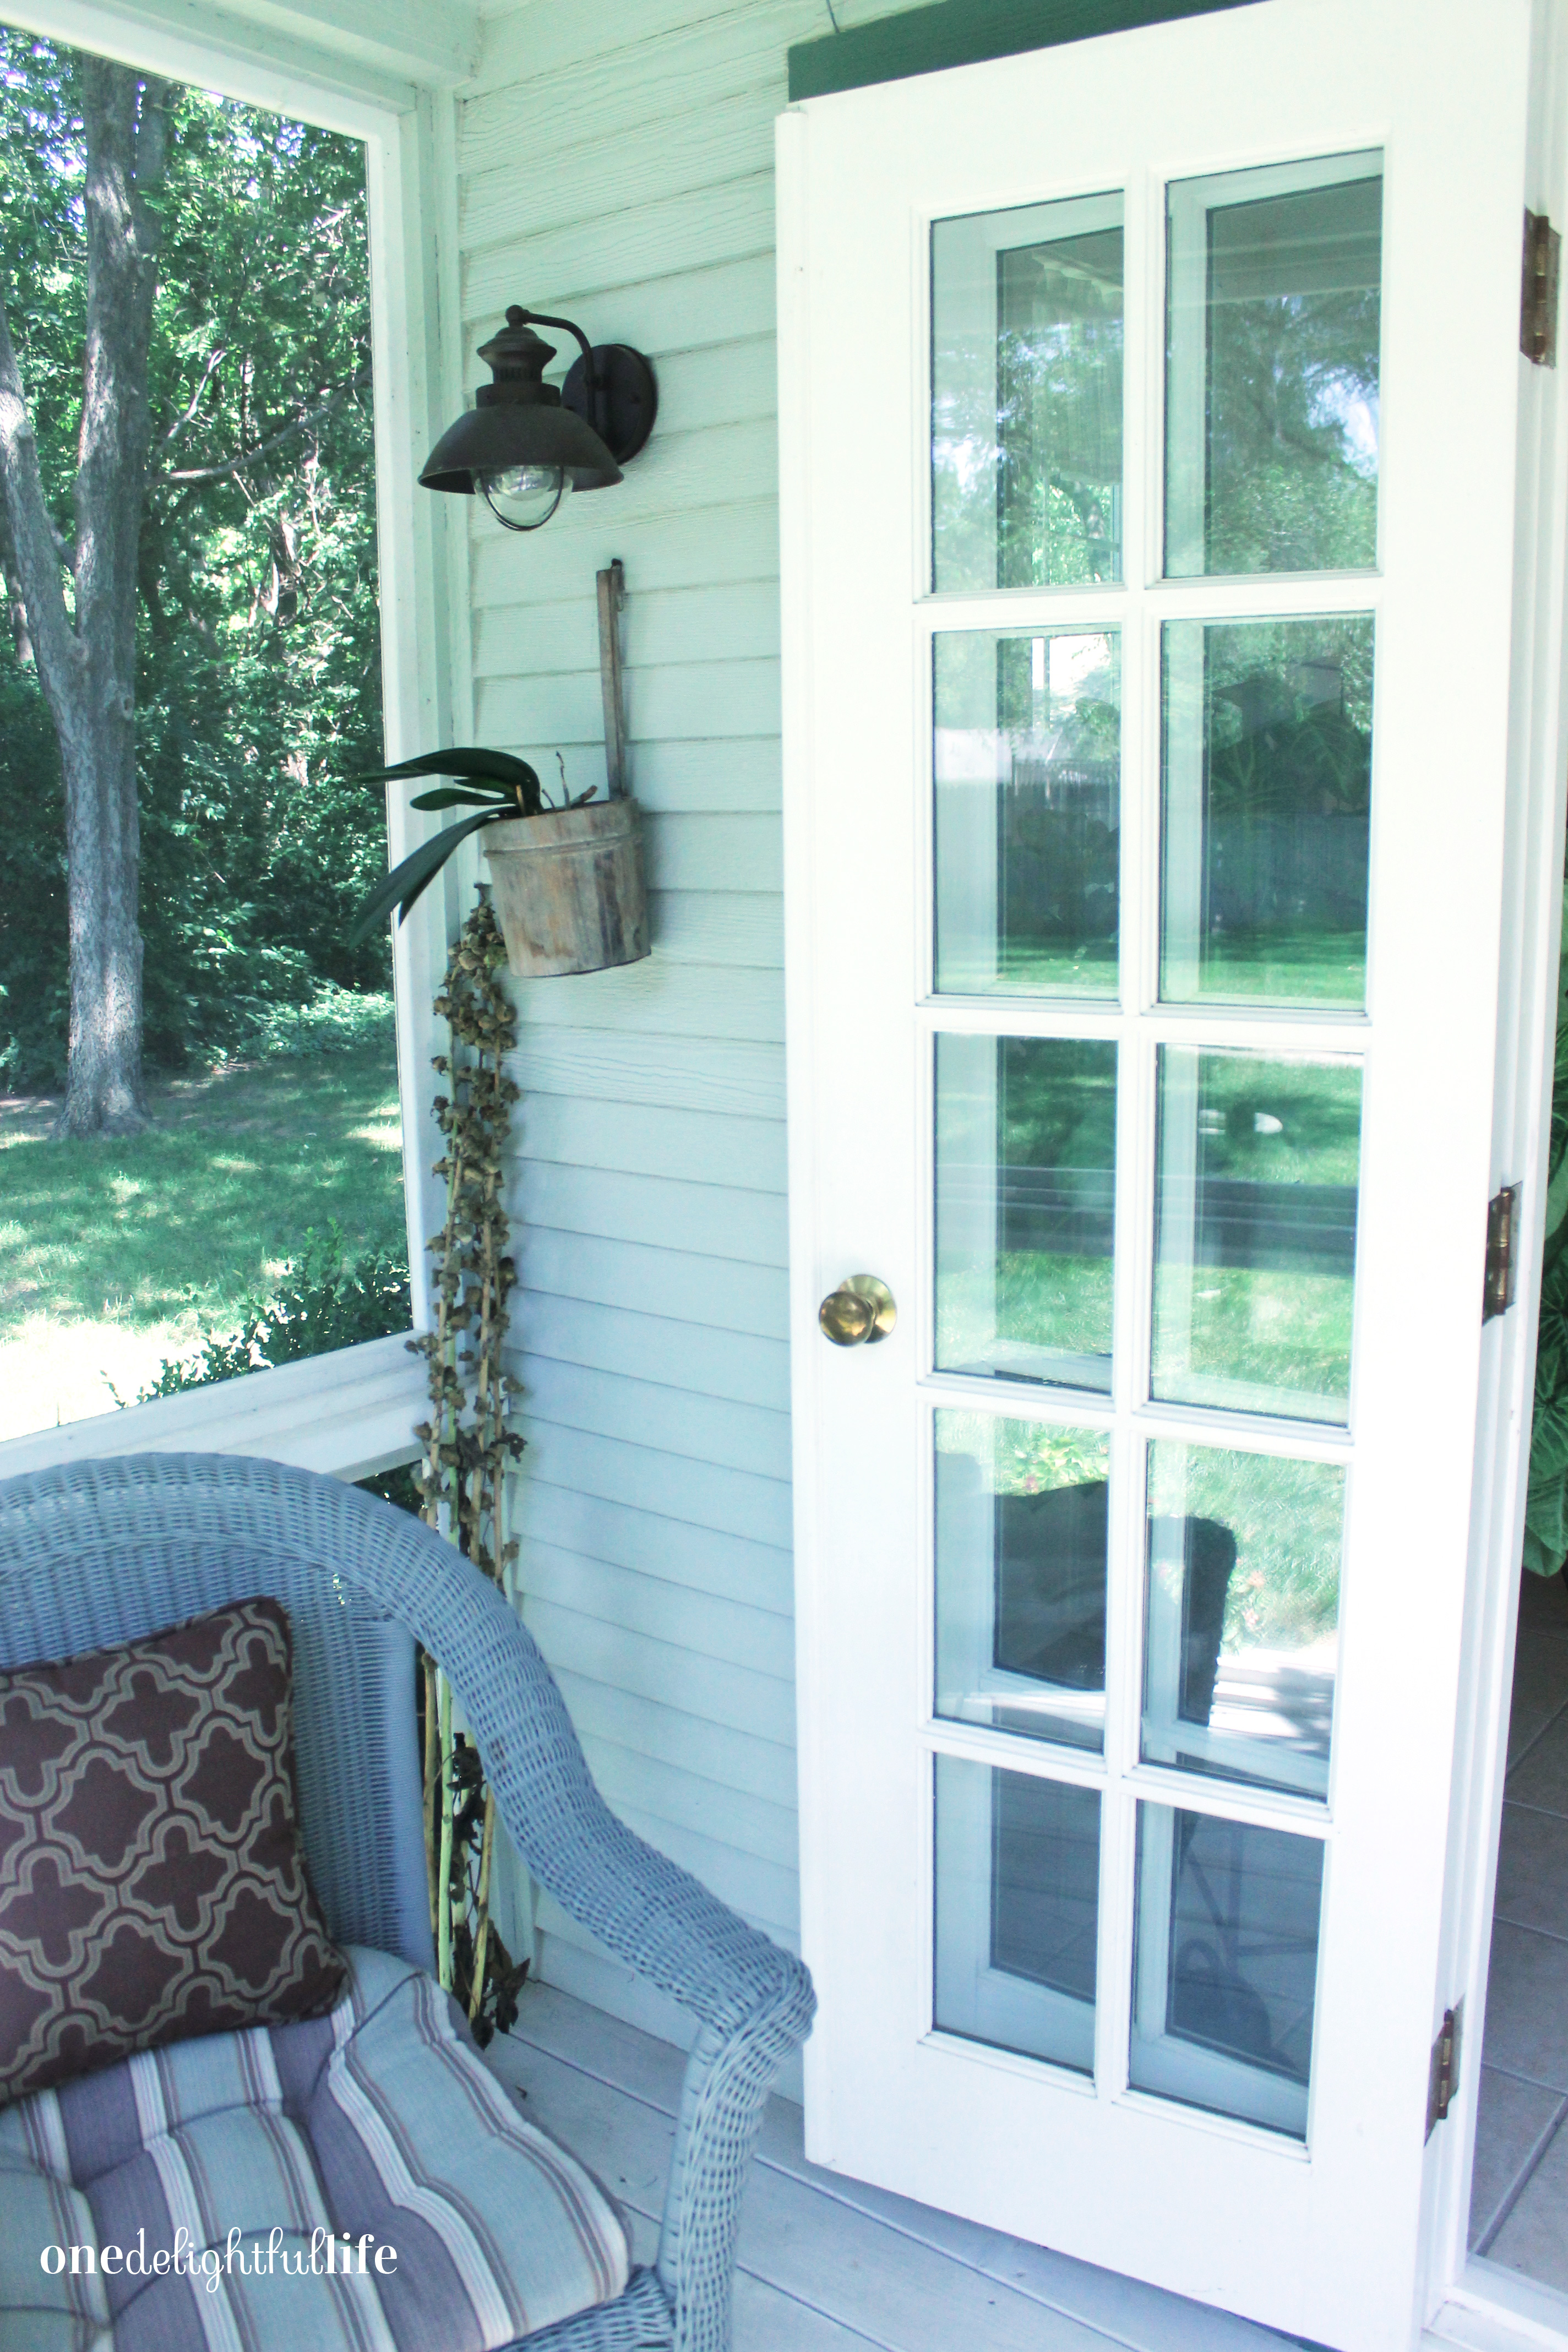
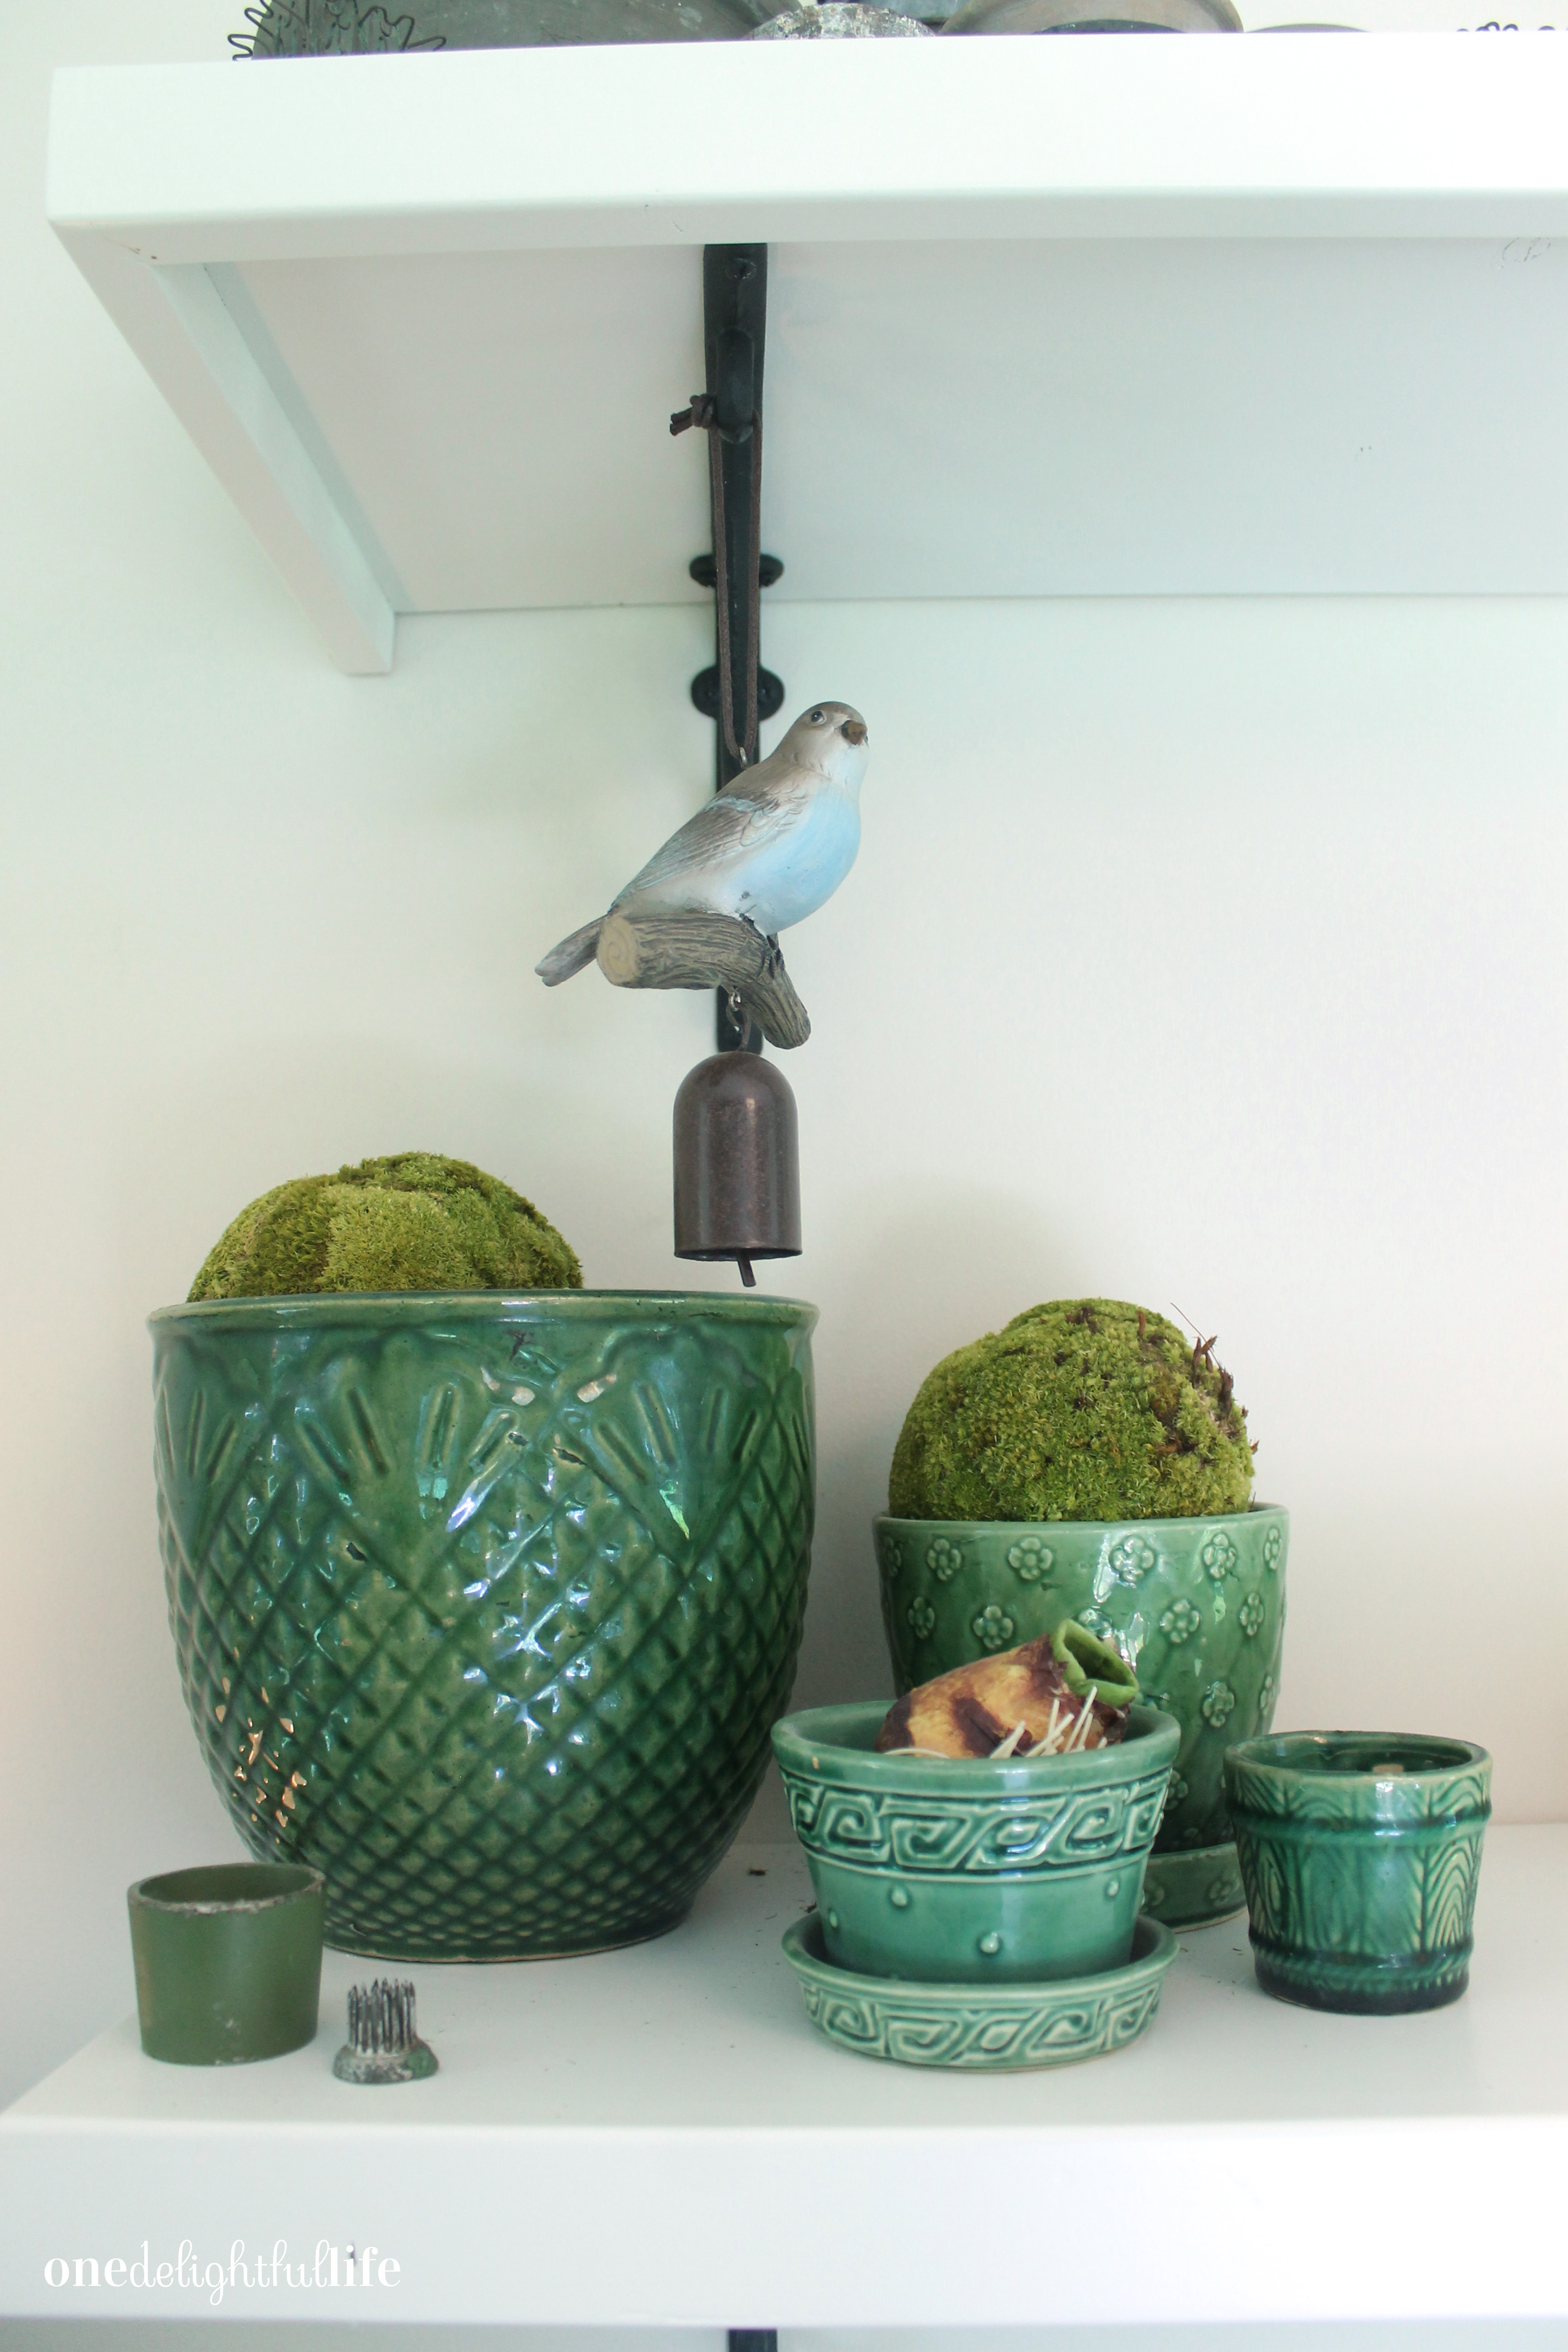
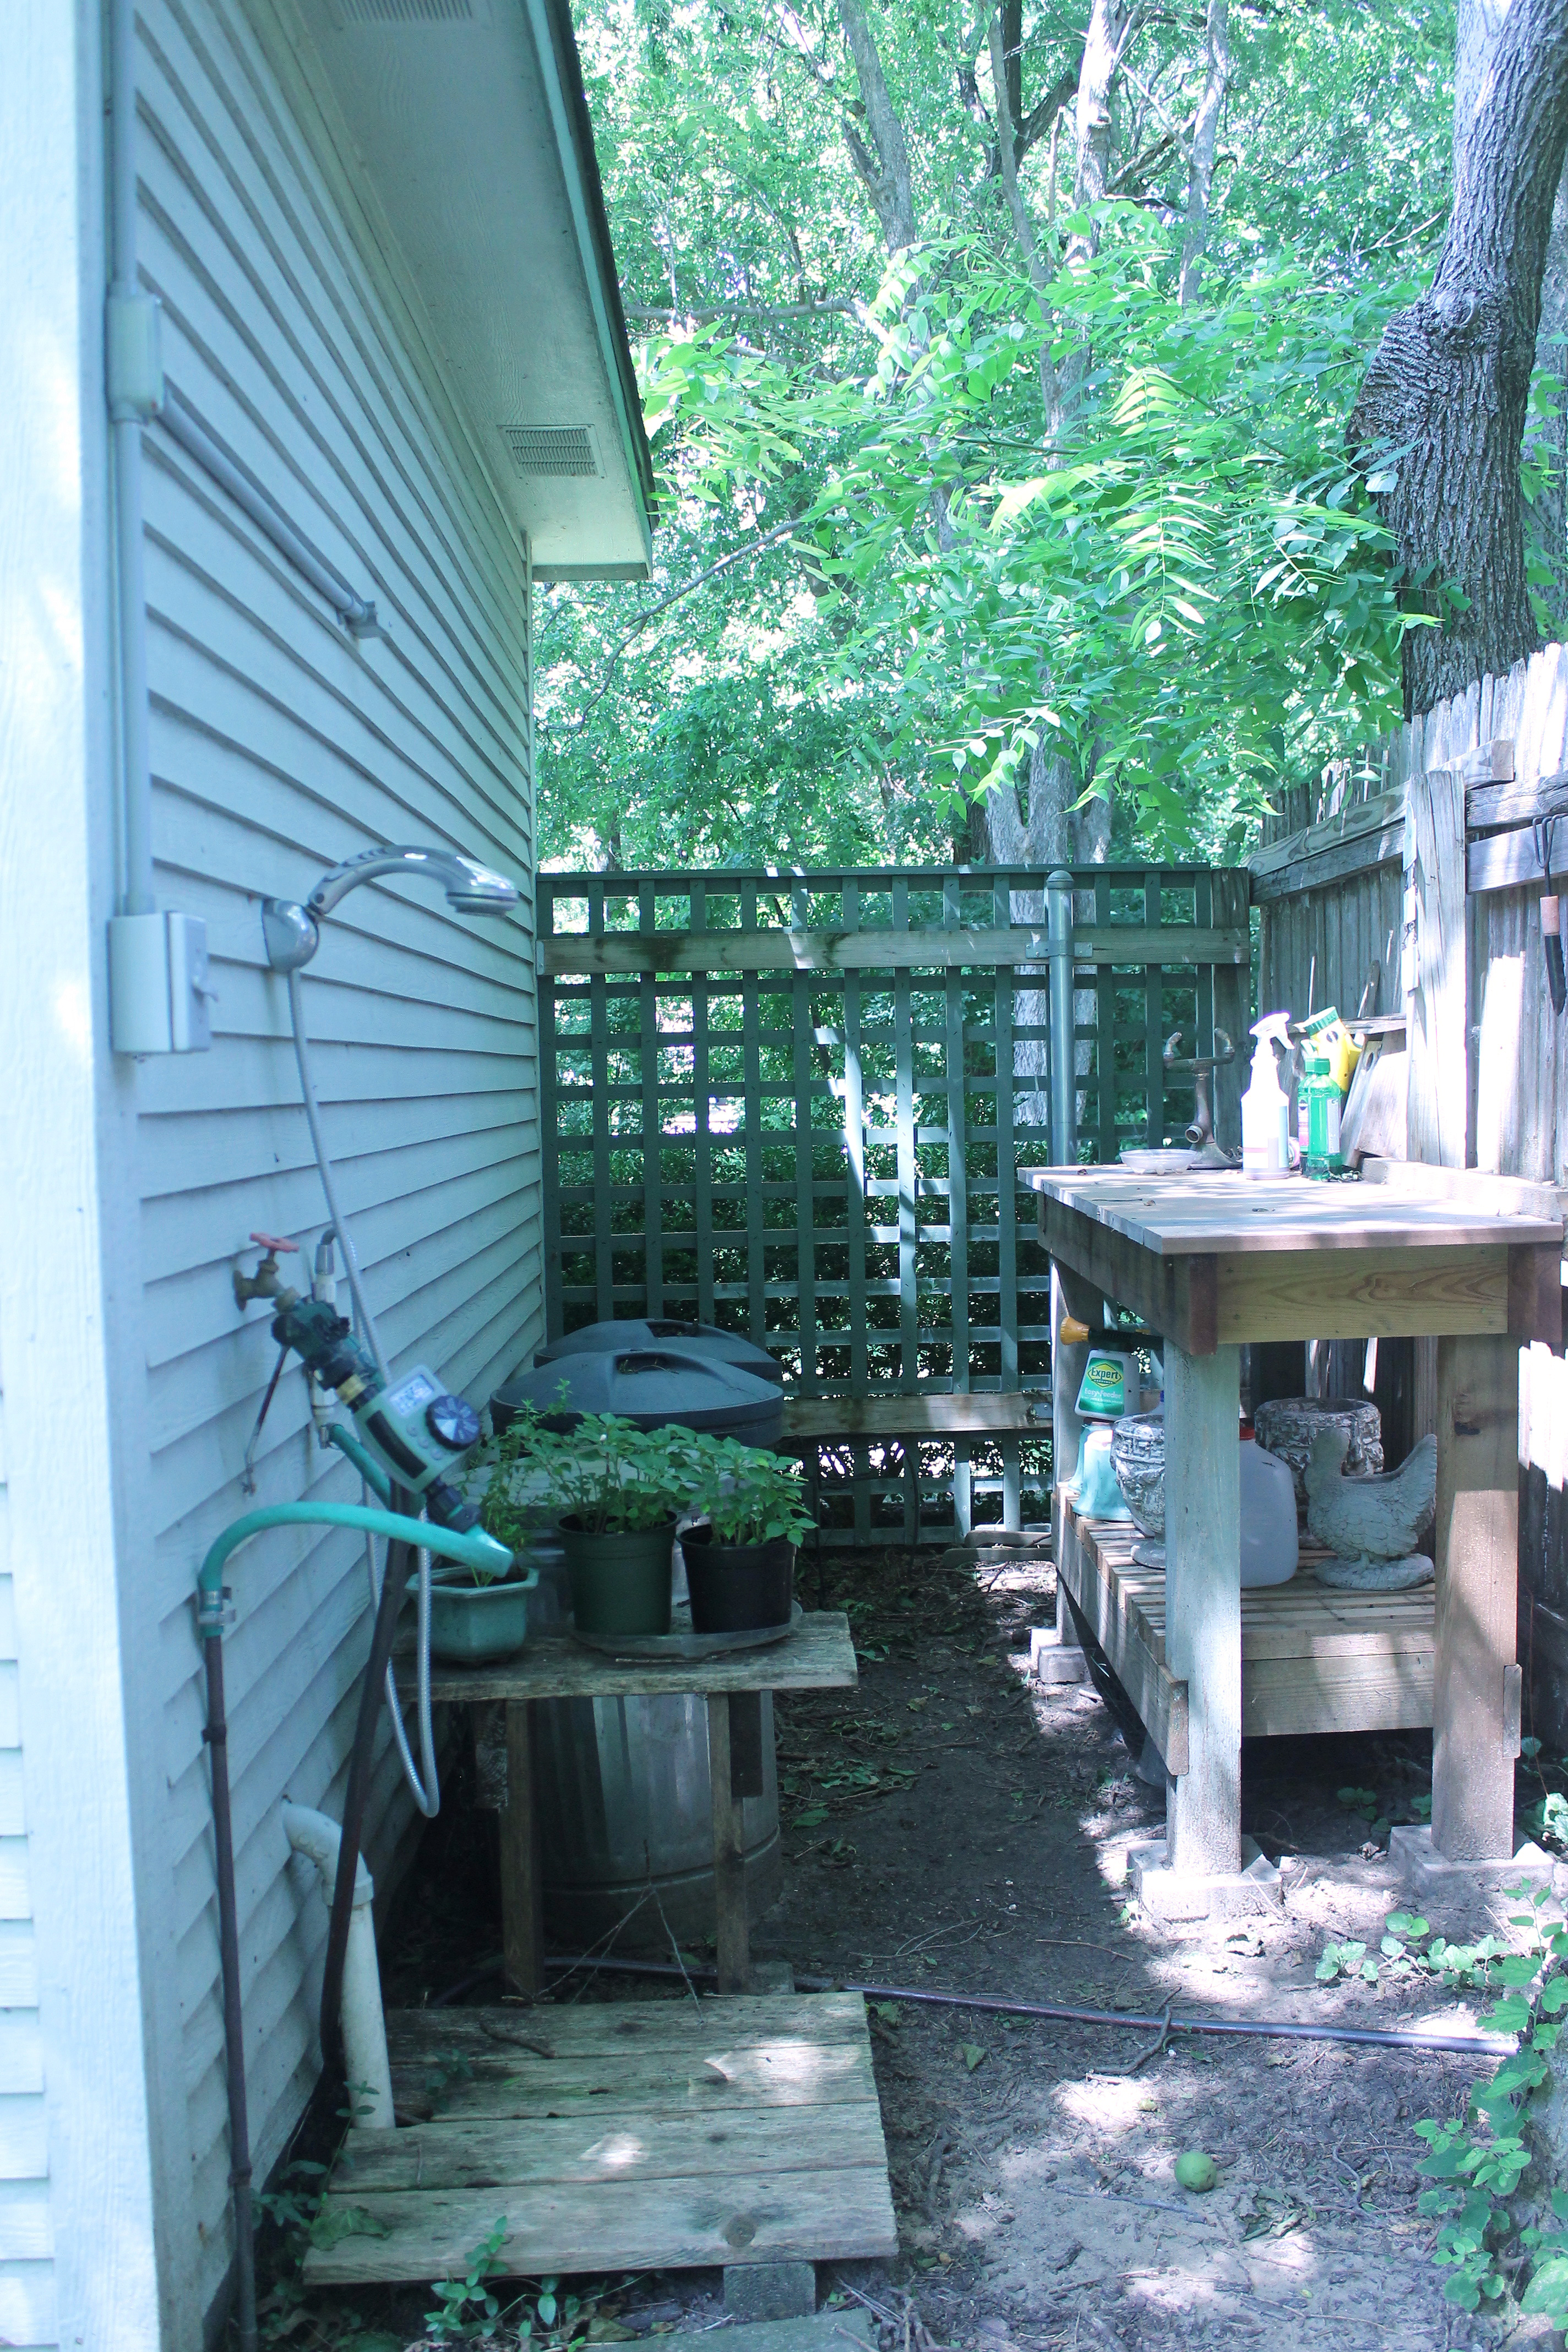
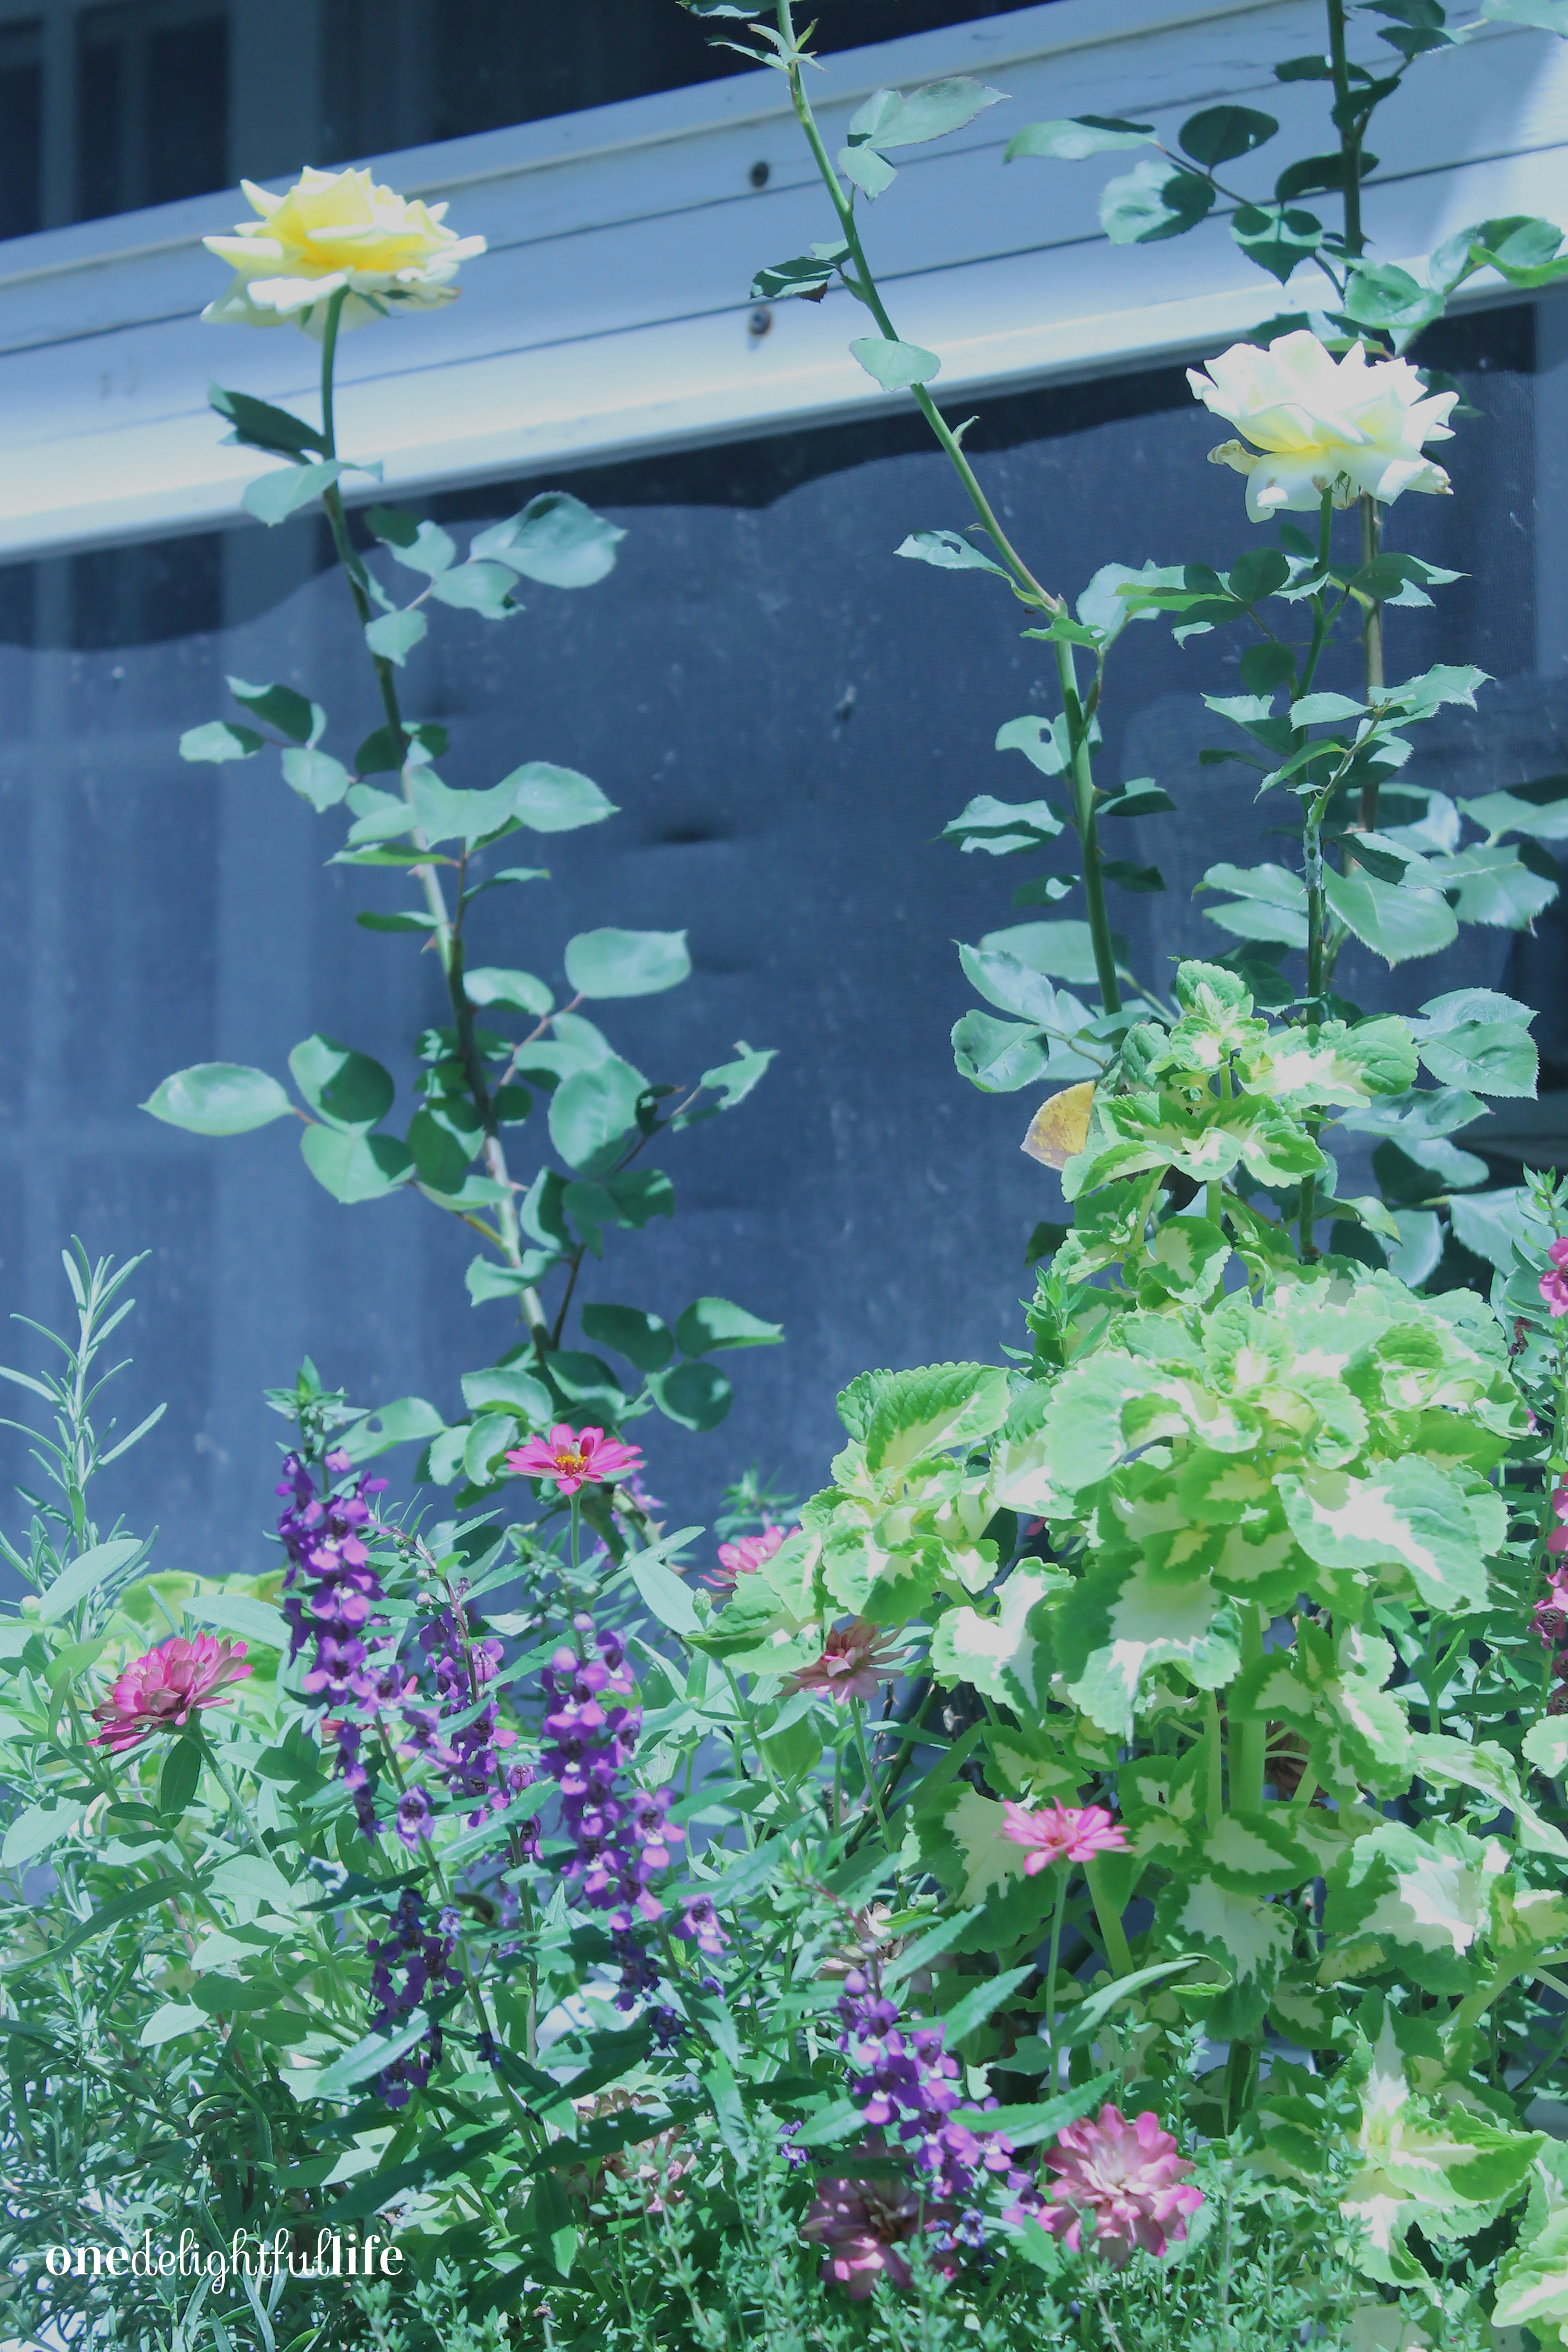
 Today, she still sees beauty in the colors of delicate flowers and enjoys the harvest of a vegetable or herb garden. Her accepted challenge each year is to learn about the needs of plant placement in her landscape while always attempting to attract birds, bees, and insects.
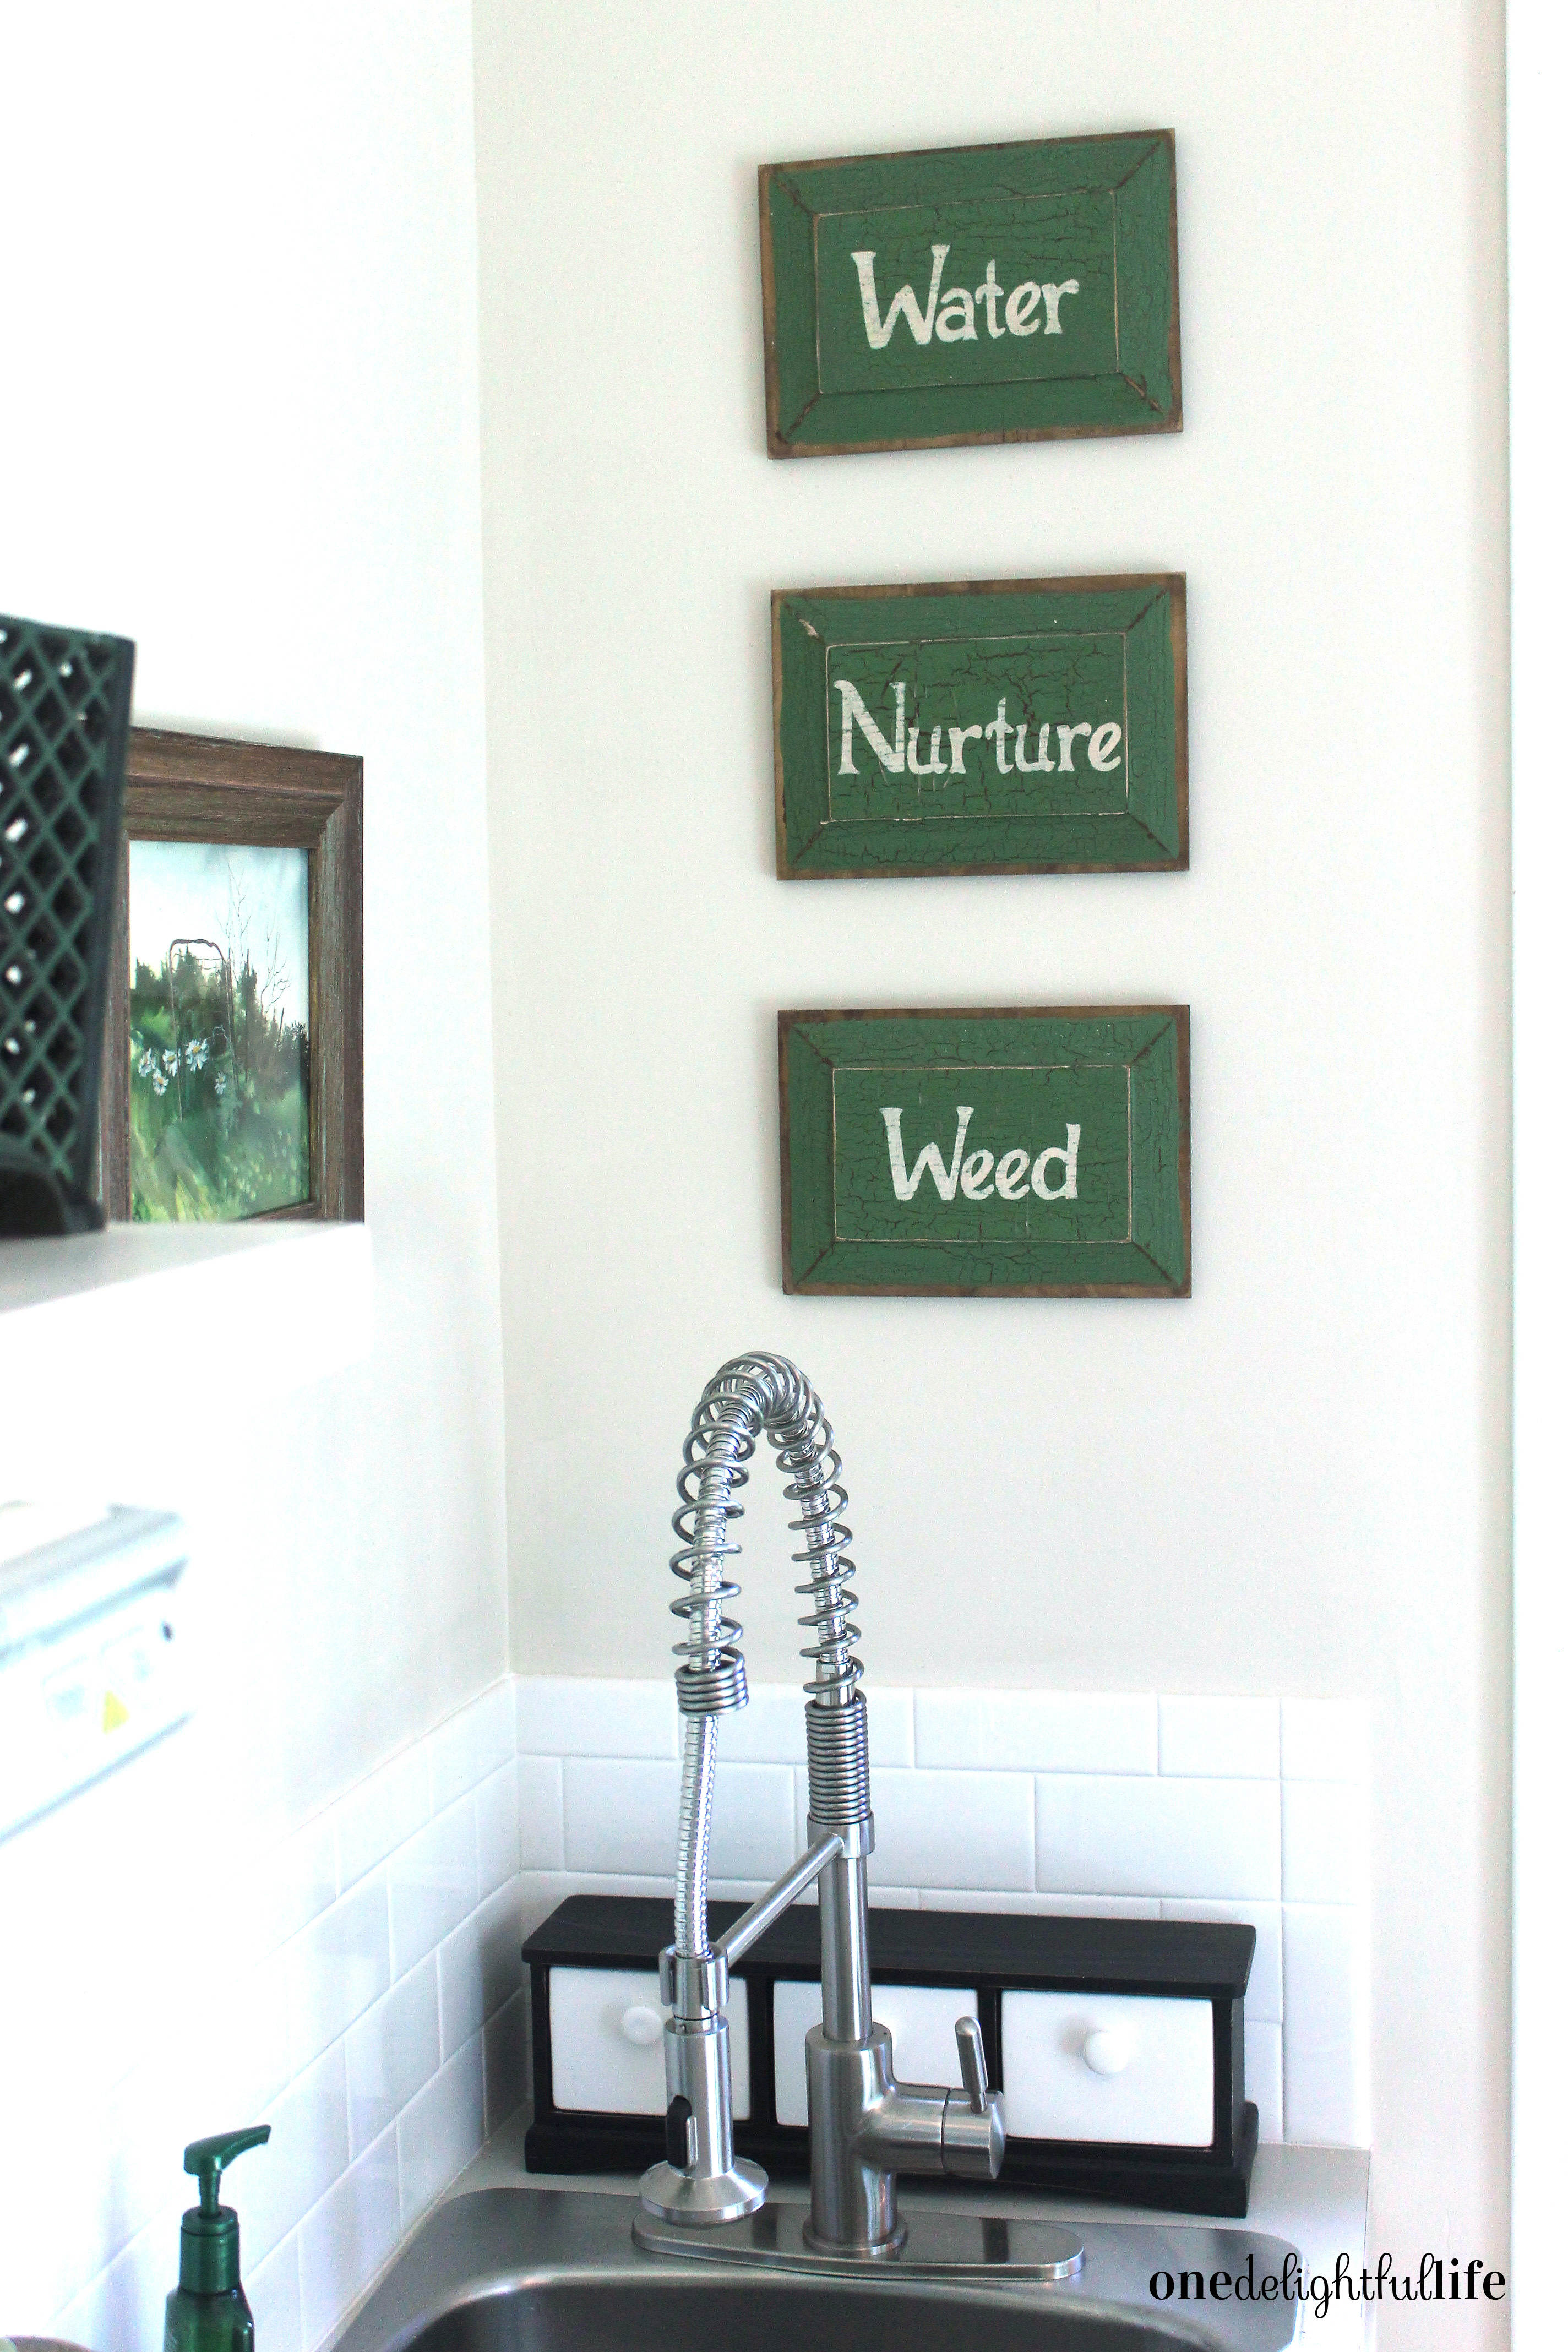
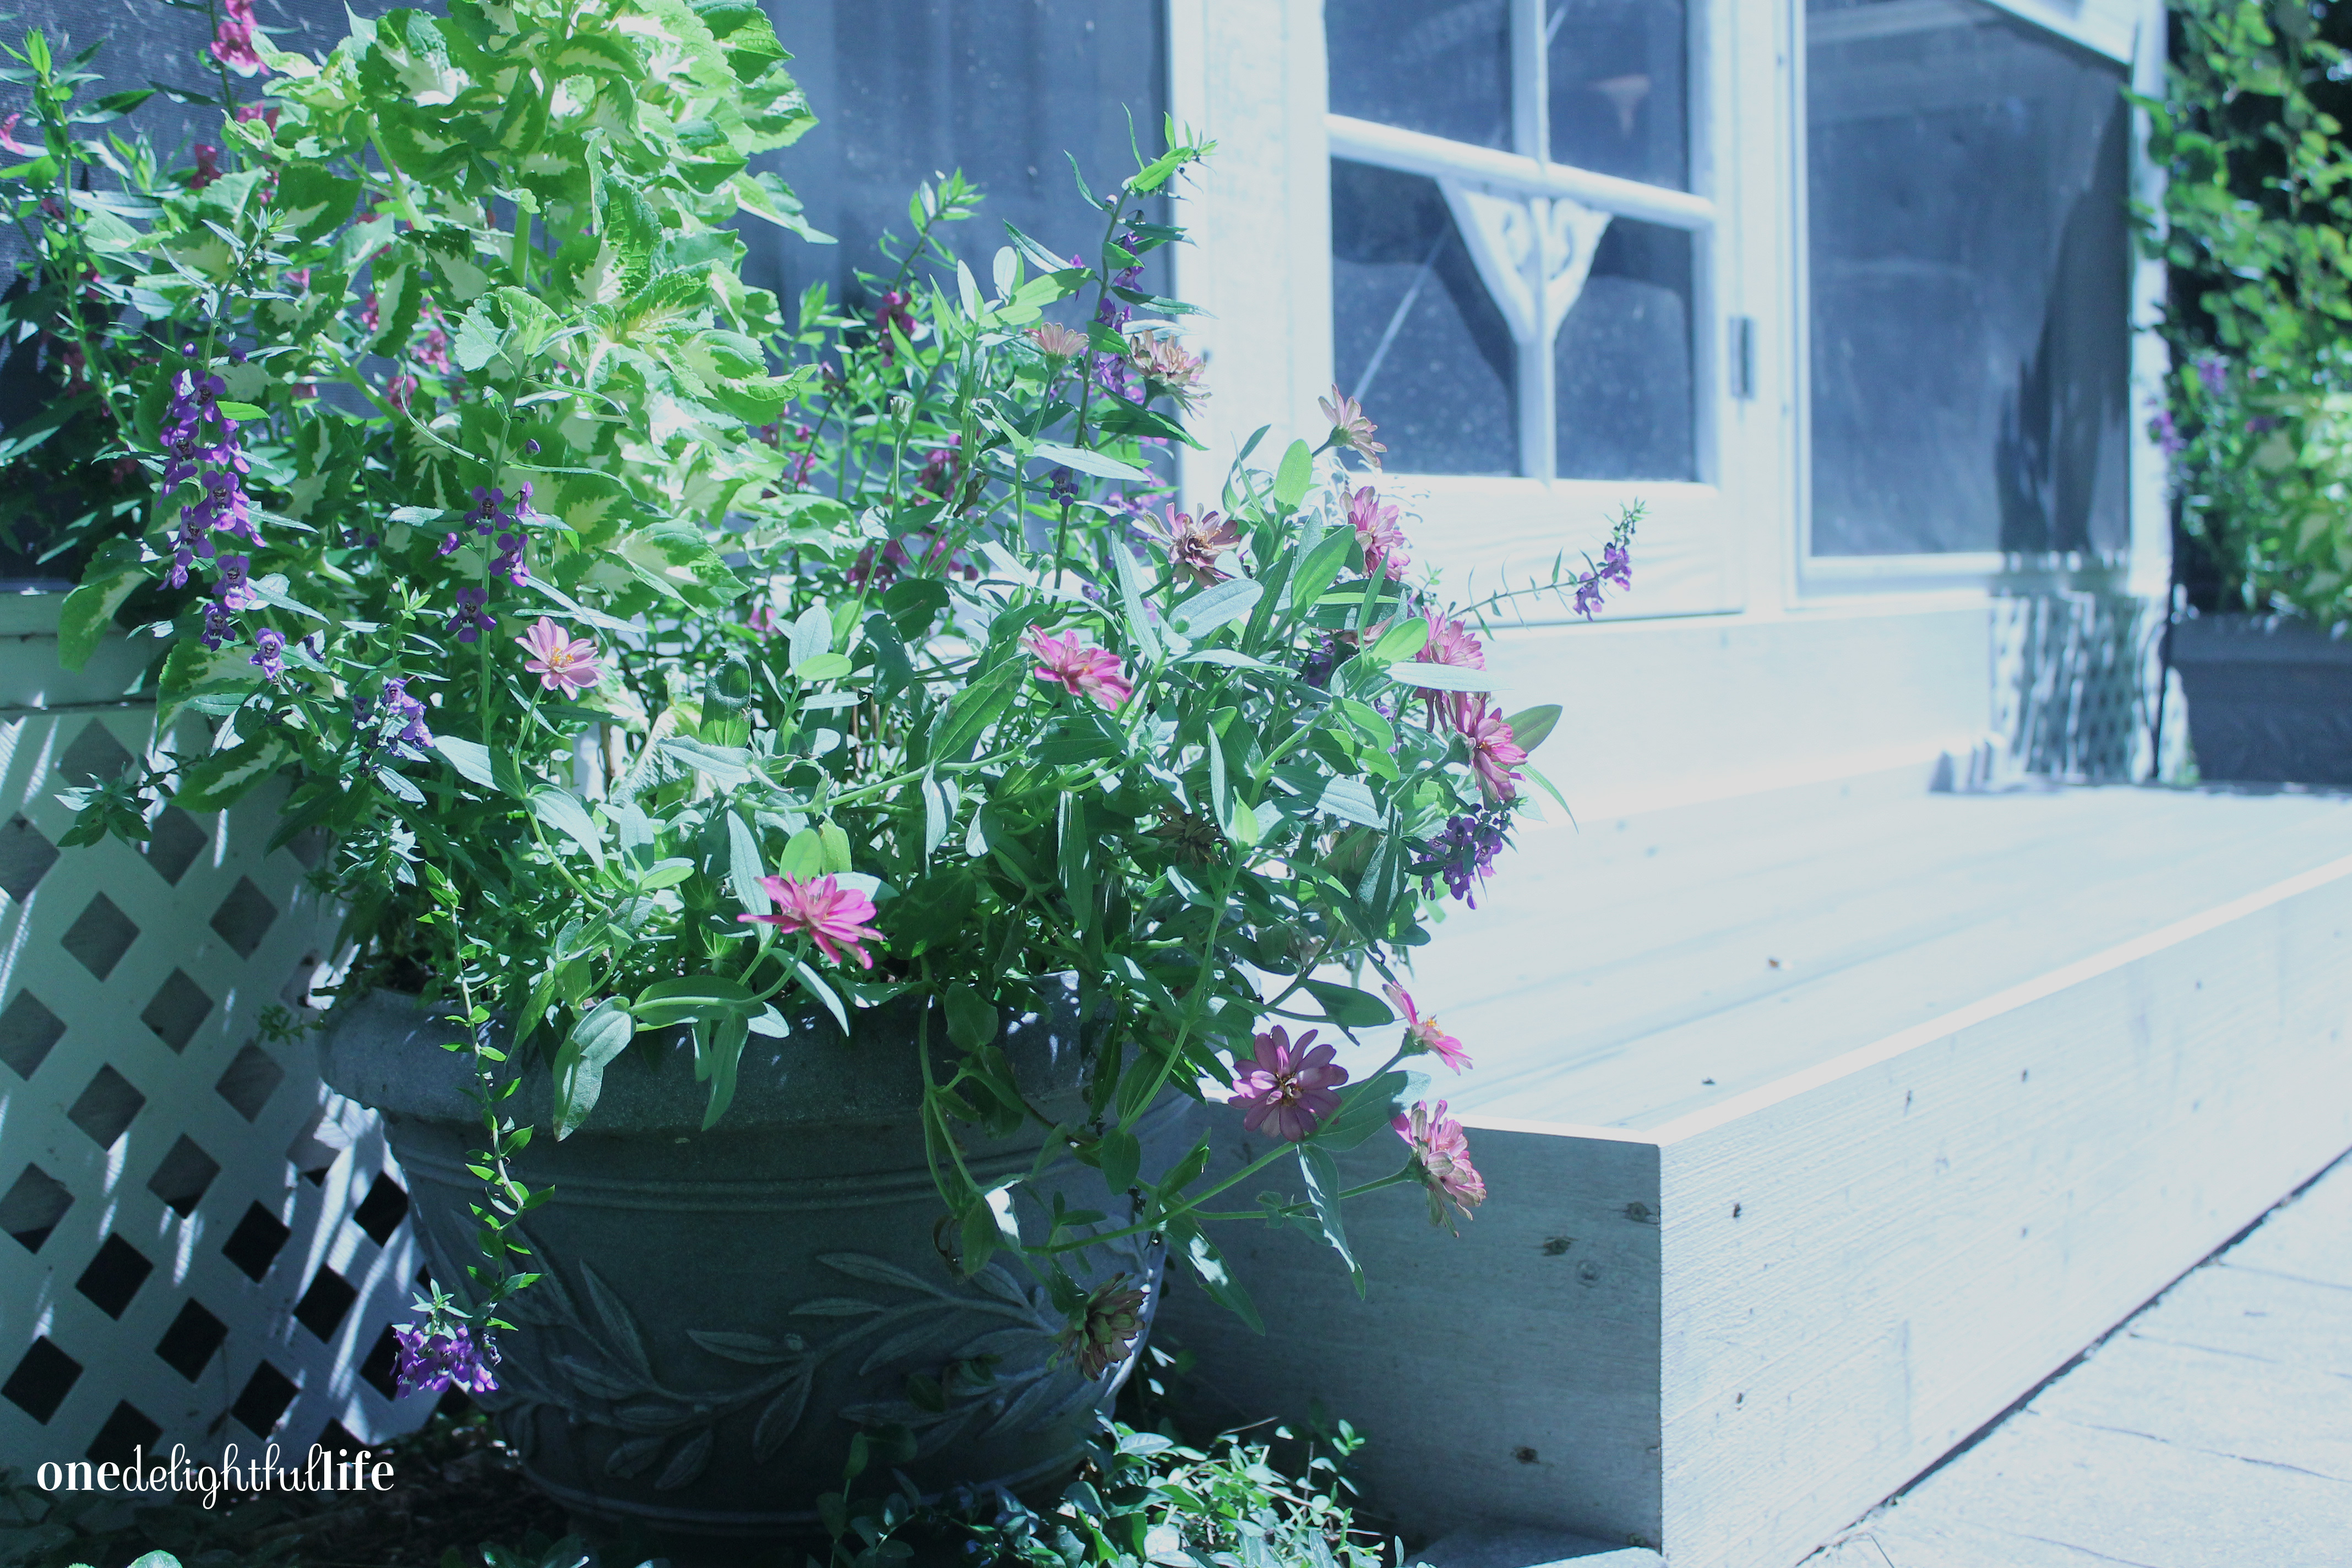
 While I love the outdoors, I’m not a natural gardener. I struggle to keep plants alive. I either over or under water them. Completely forget about them. I never installed the proper drip system. Can a person’s “green thumb” be learned? Maybe I just wrote it off as “mom’s hobby.” I should have really paid more attention when helping her in the yard as a teen. Just last week I called her seeking advice about our sad rose bushes. Before I knew it, I was at her house on my hands and knees pruning her rose bushes while she used wood glue on the stem ends to prevent bores for invading them again. Glue? Who knew!
 I’ve have so much to learn from her wisdom about nature, about plants and birds. As I mentioned before, I’m at best a wannabe gardener. In fact, I’ve killed so many house plants over the years that if there is every going to be any hope for me, I’m going to have to spend more time with mom in the garden house. If you’re more like me, you’ll appreciate a post she helped me write last summer
  But not every day can be spent gardening. Sometimes the body needs a day of rest between the hours spent digging in unforgiving soil and pulling weeds away from flowers. On these days, she takes time to let her body relax but we all know she is still thinking about her next outdoor project.