Updated July 2026
Disclosure: Wellington Chamber of Commerce/CVB hosted my visit. However, all opinions and photos are mine.
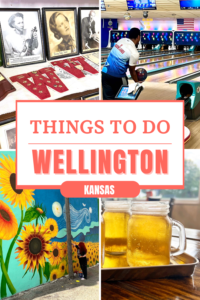
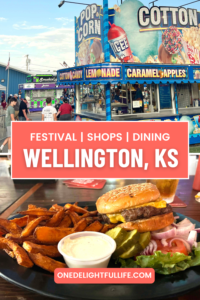
A 35-minute drive south of Wichita, Wellington is a Kansas town rooted in history with a thriving community of businesses and attractions. Three museums, scenic parks, unique shops, and hometown dining make it worth exiting I-35 South to see for yourself.
Plus, the residents are just as welcoming as the town is charming, which is why I returned for an overnight stay and to experience the town’s annual Kansas Wheat Festival.
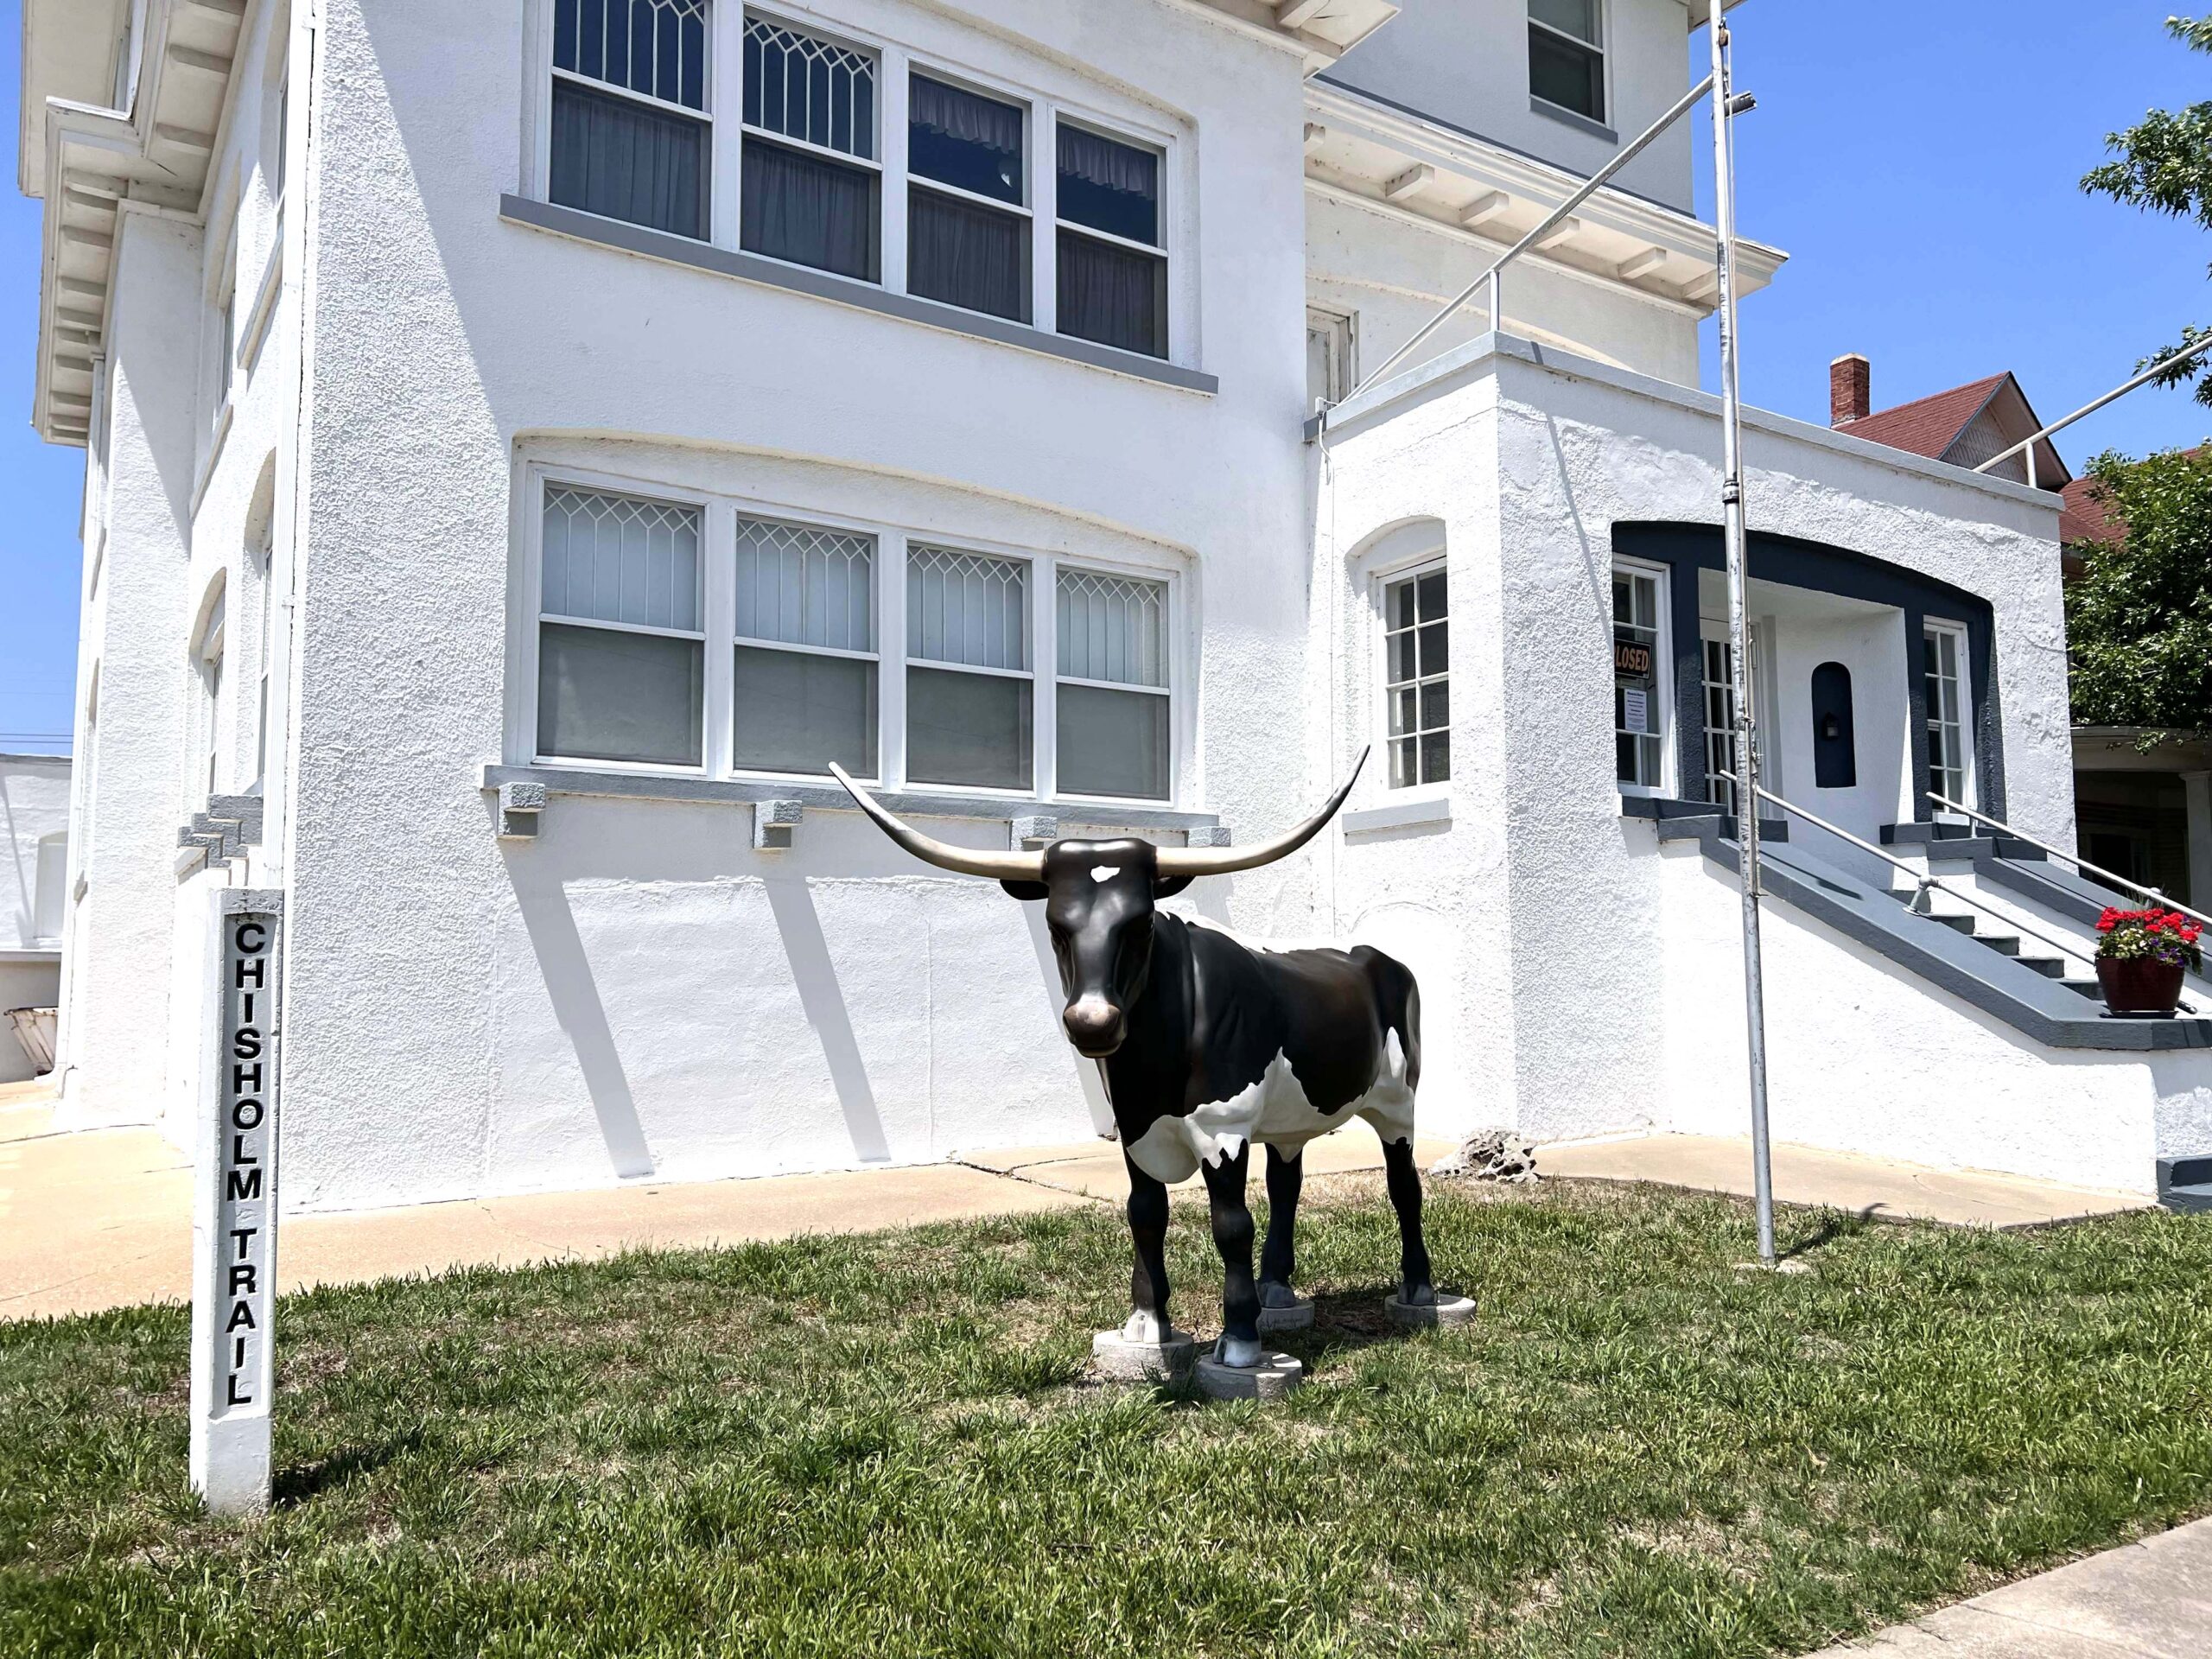
 The county seat of Sumner County, Wellington, is an agriculture/railroad town of about 8,000 residents. The town was established in 1871. At a stop along the Chisholm Trail, cattlemen drove herds through town.
According to the Sumner County Press on November 20, 1873, “A part of cowboys from the trail made time lively last Friday night. Several pistol shots were fired in a saloon and on the street. No arrests.”
 Railroads made it a bustling town in 1879, and you still hear the occasional train horn blow. The Burlington Northern Santa Fe railroad passes through town, and the Union Pacific Railroad’s main lines run north-south. Another industry, aircraft parts manufacturing, also helped the town’s economy.
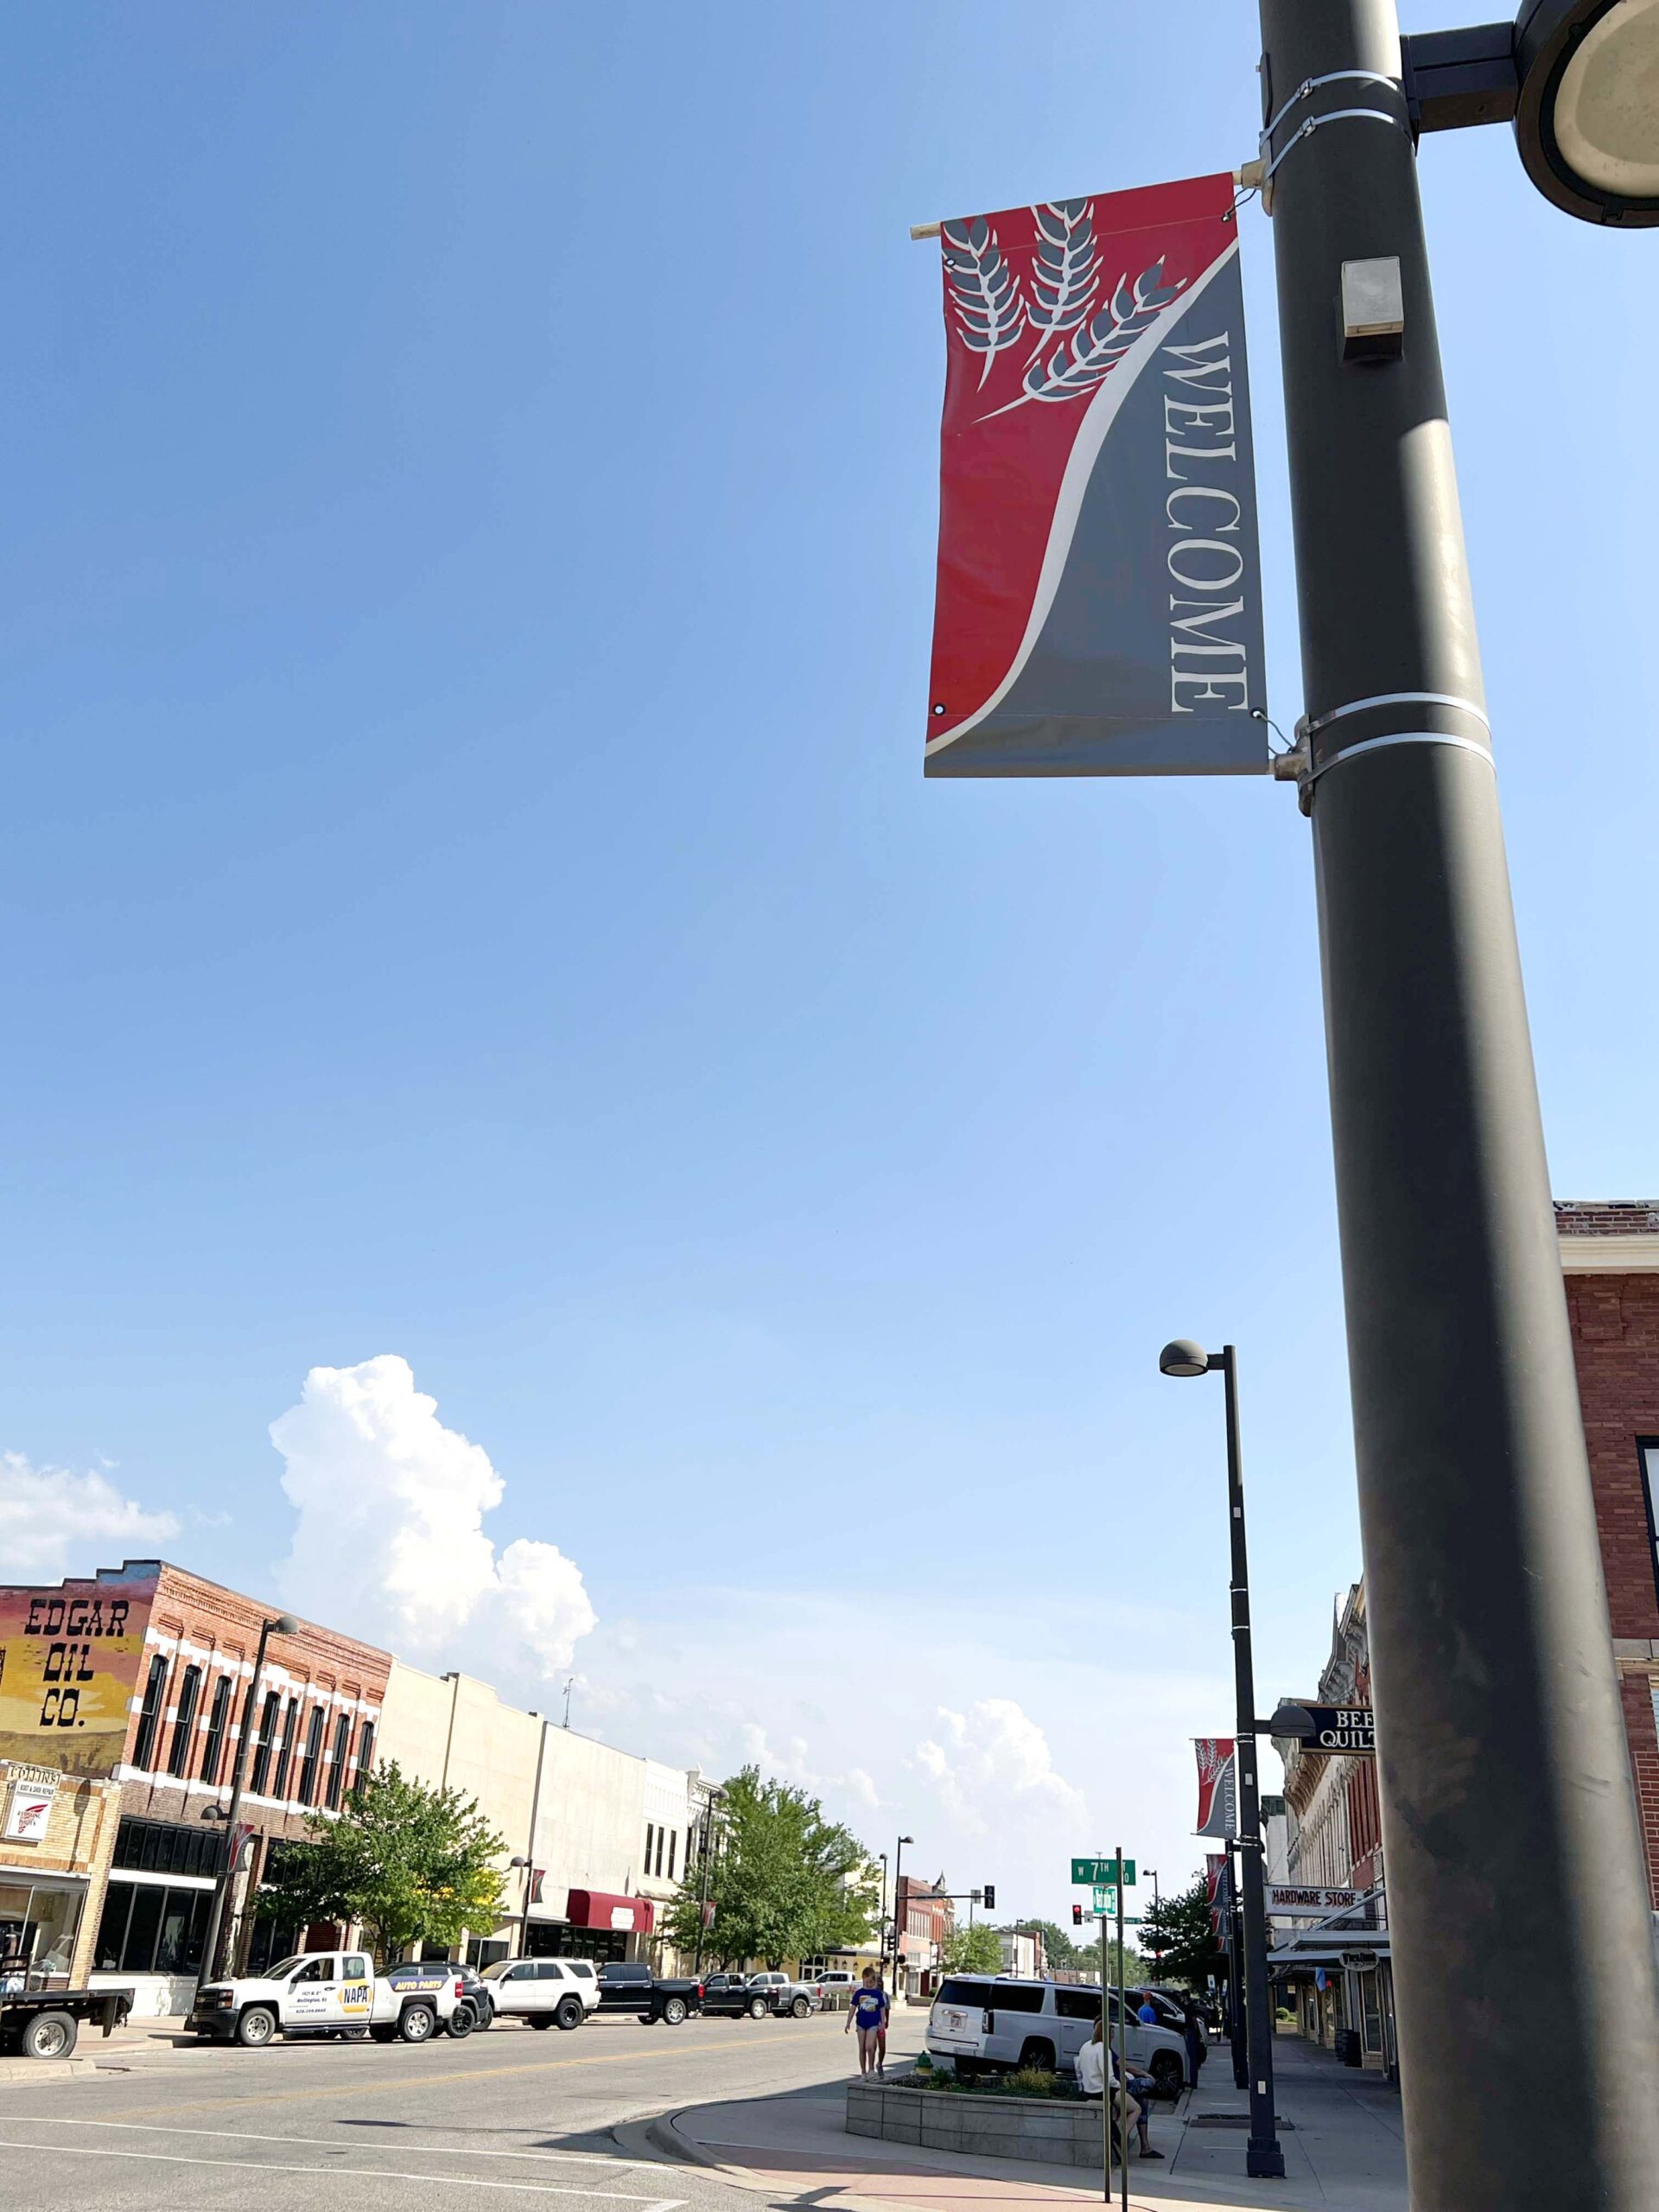
 Fast forward to today, Wellington draws people to town for its walkable downtown district, outdoor recreation, and community events.
HISTORIC ARCHITECTURE & INSTALLATIONS
Downtown Buildings
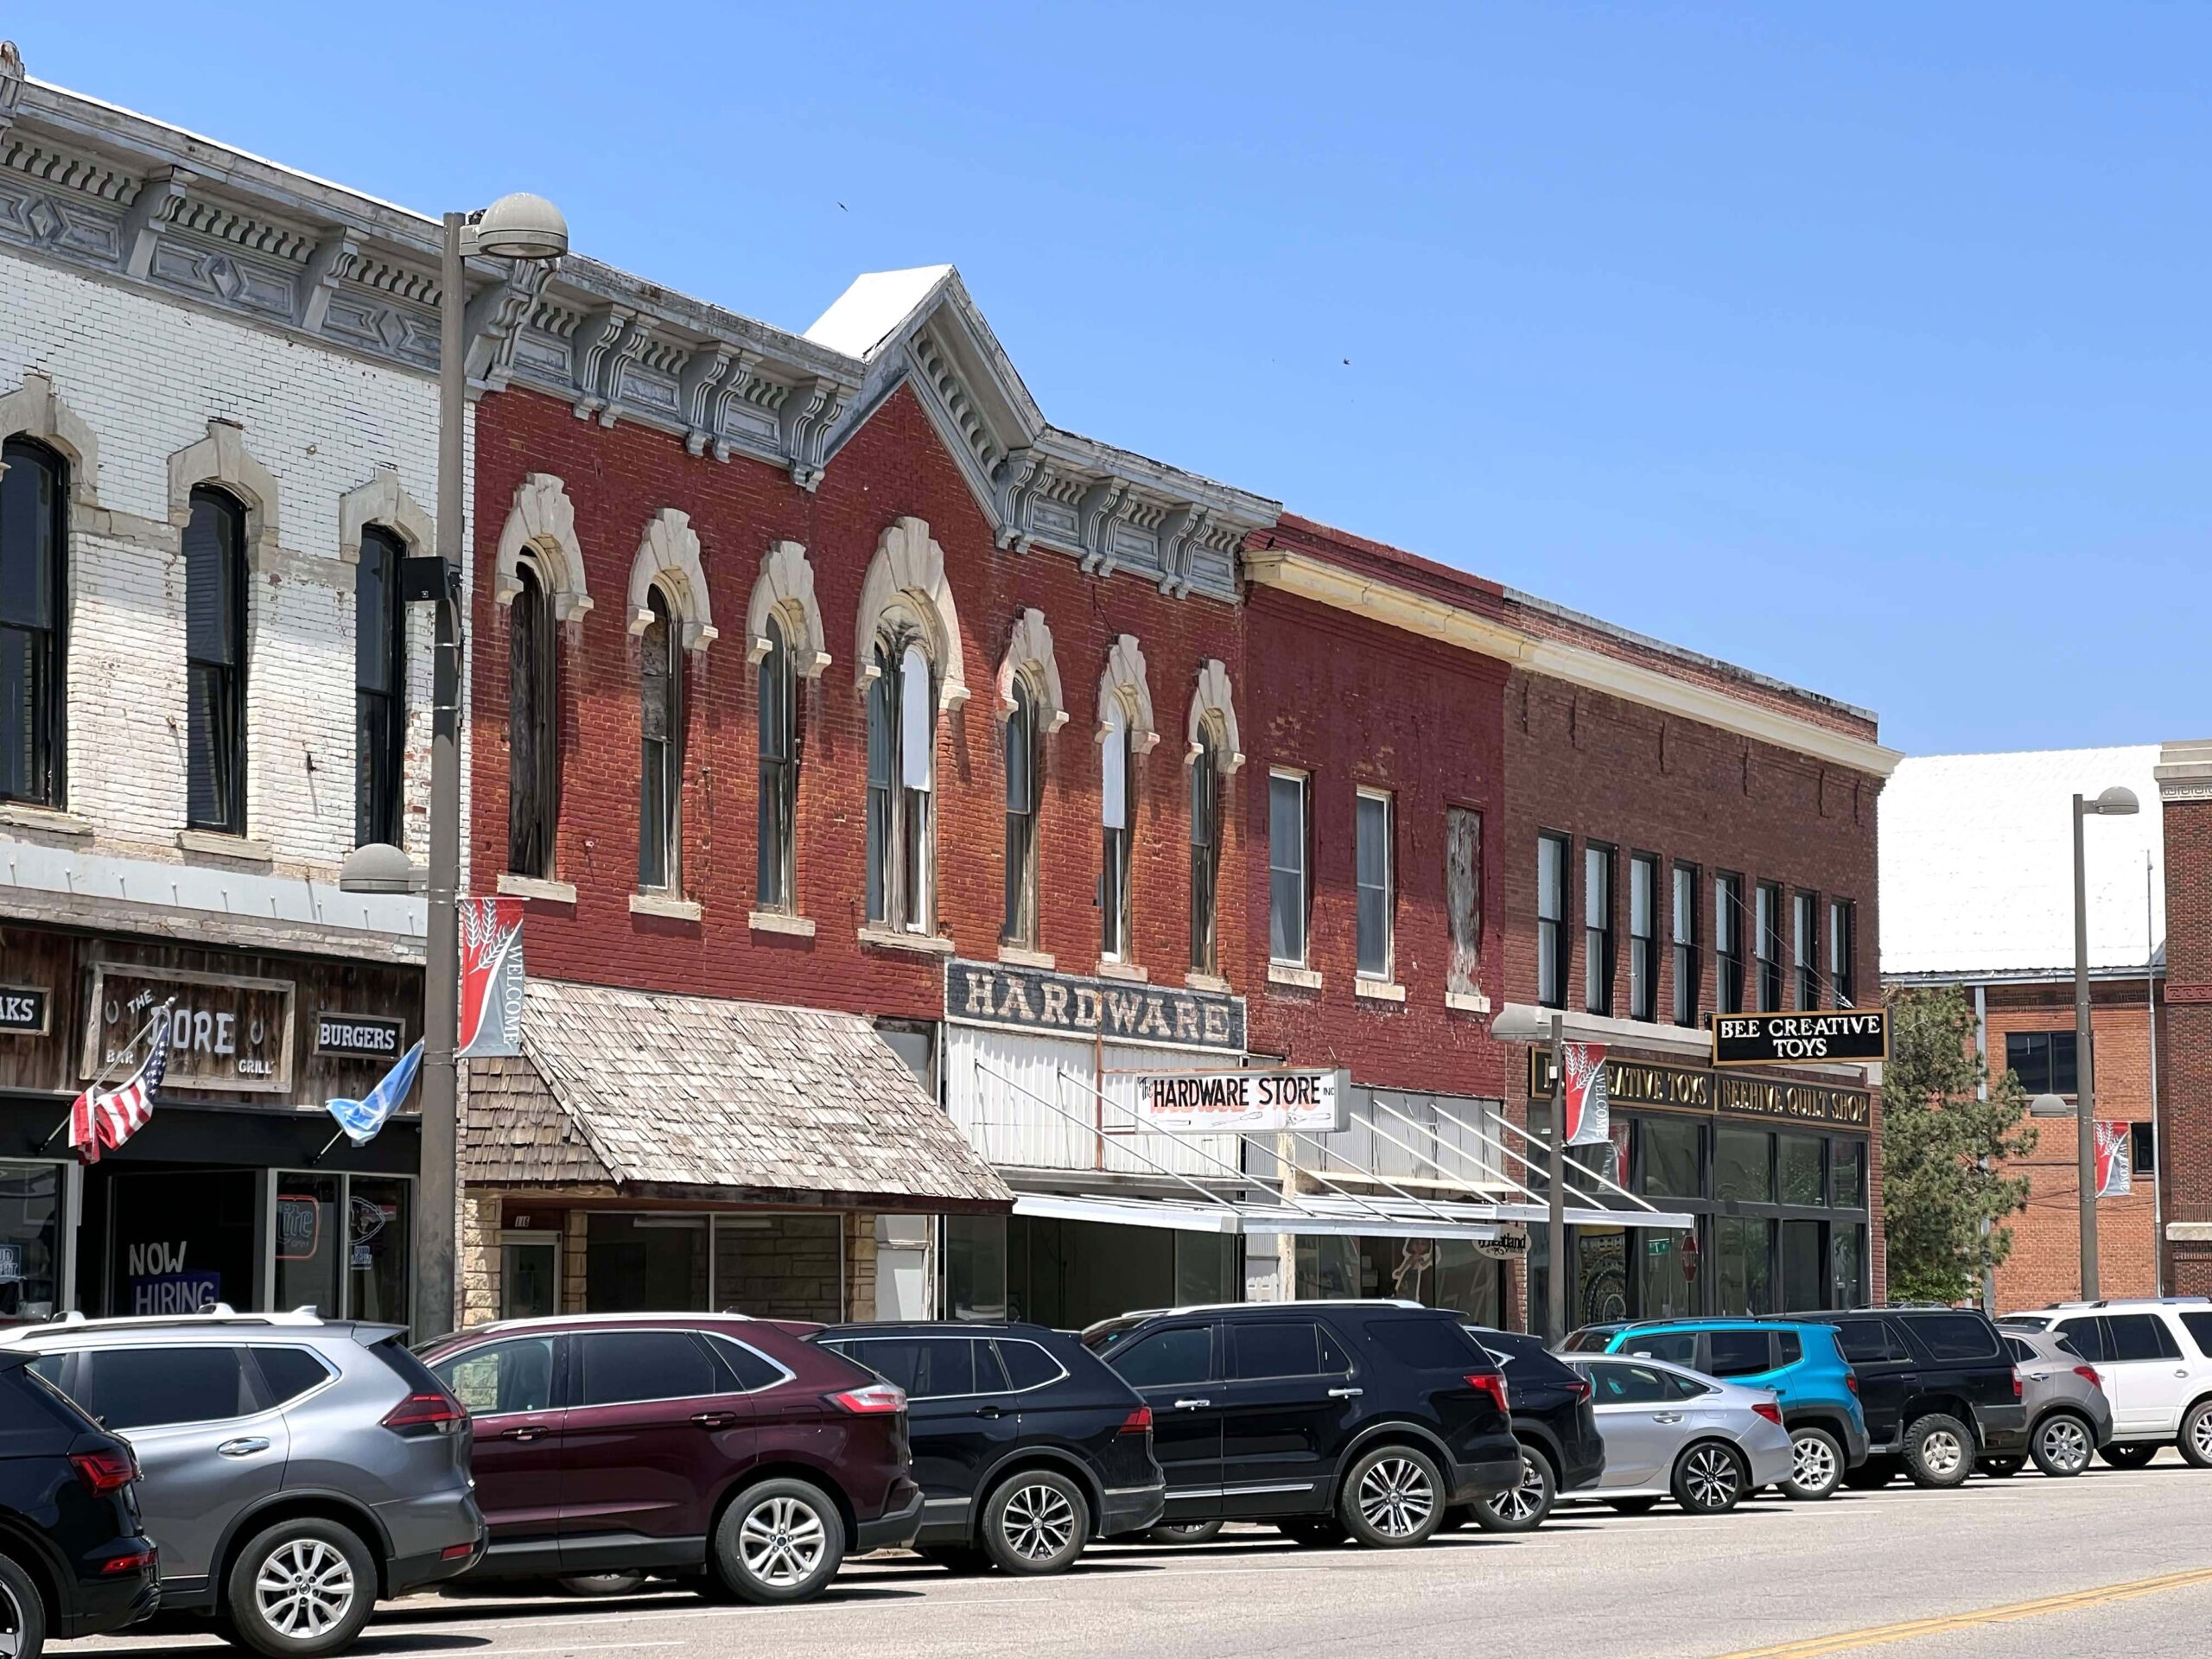
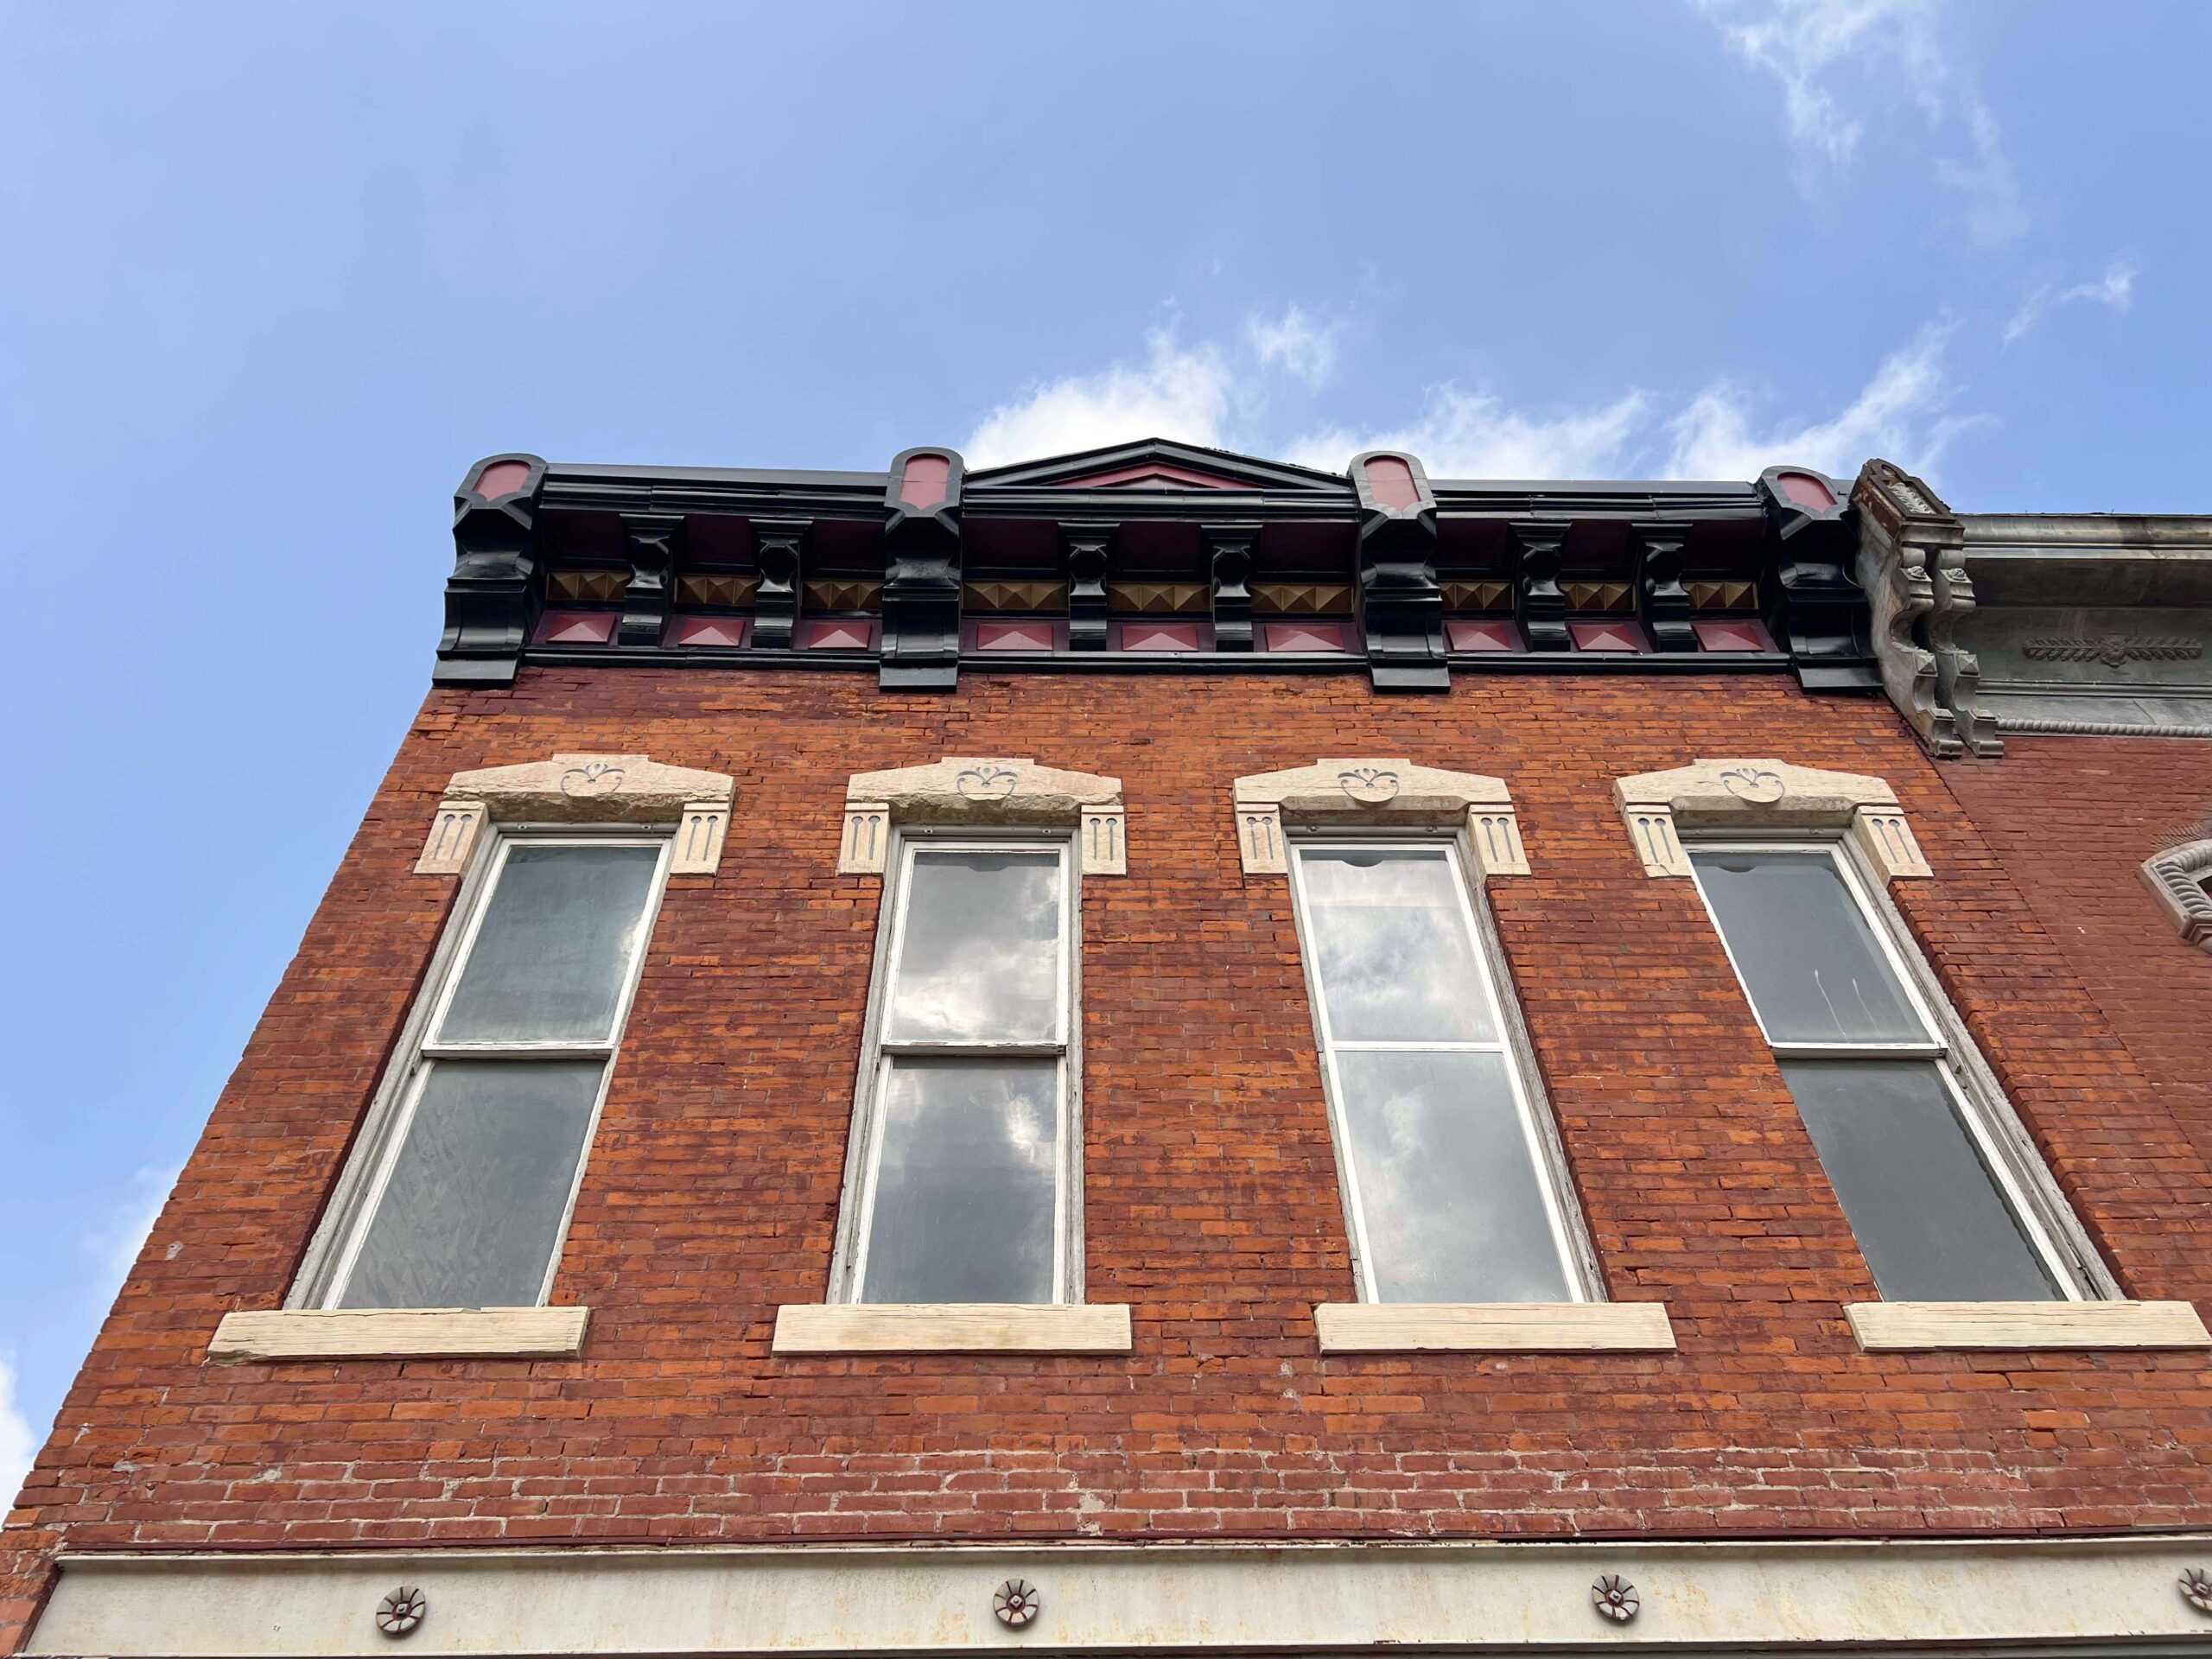
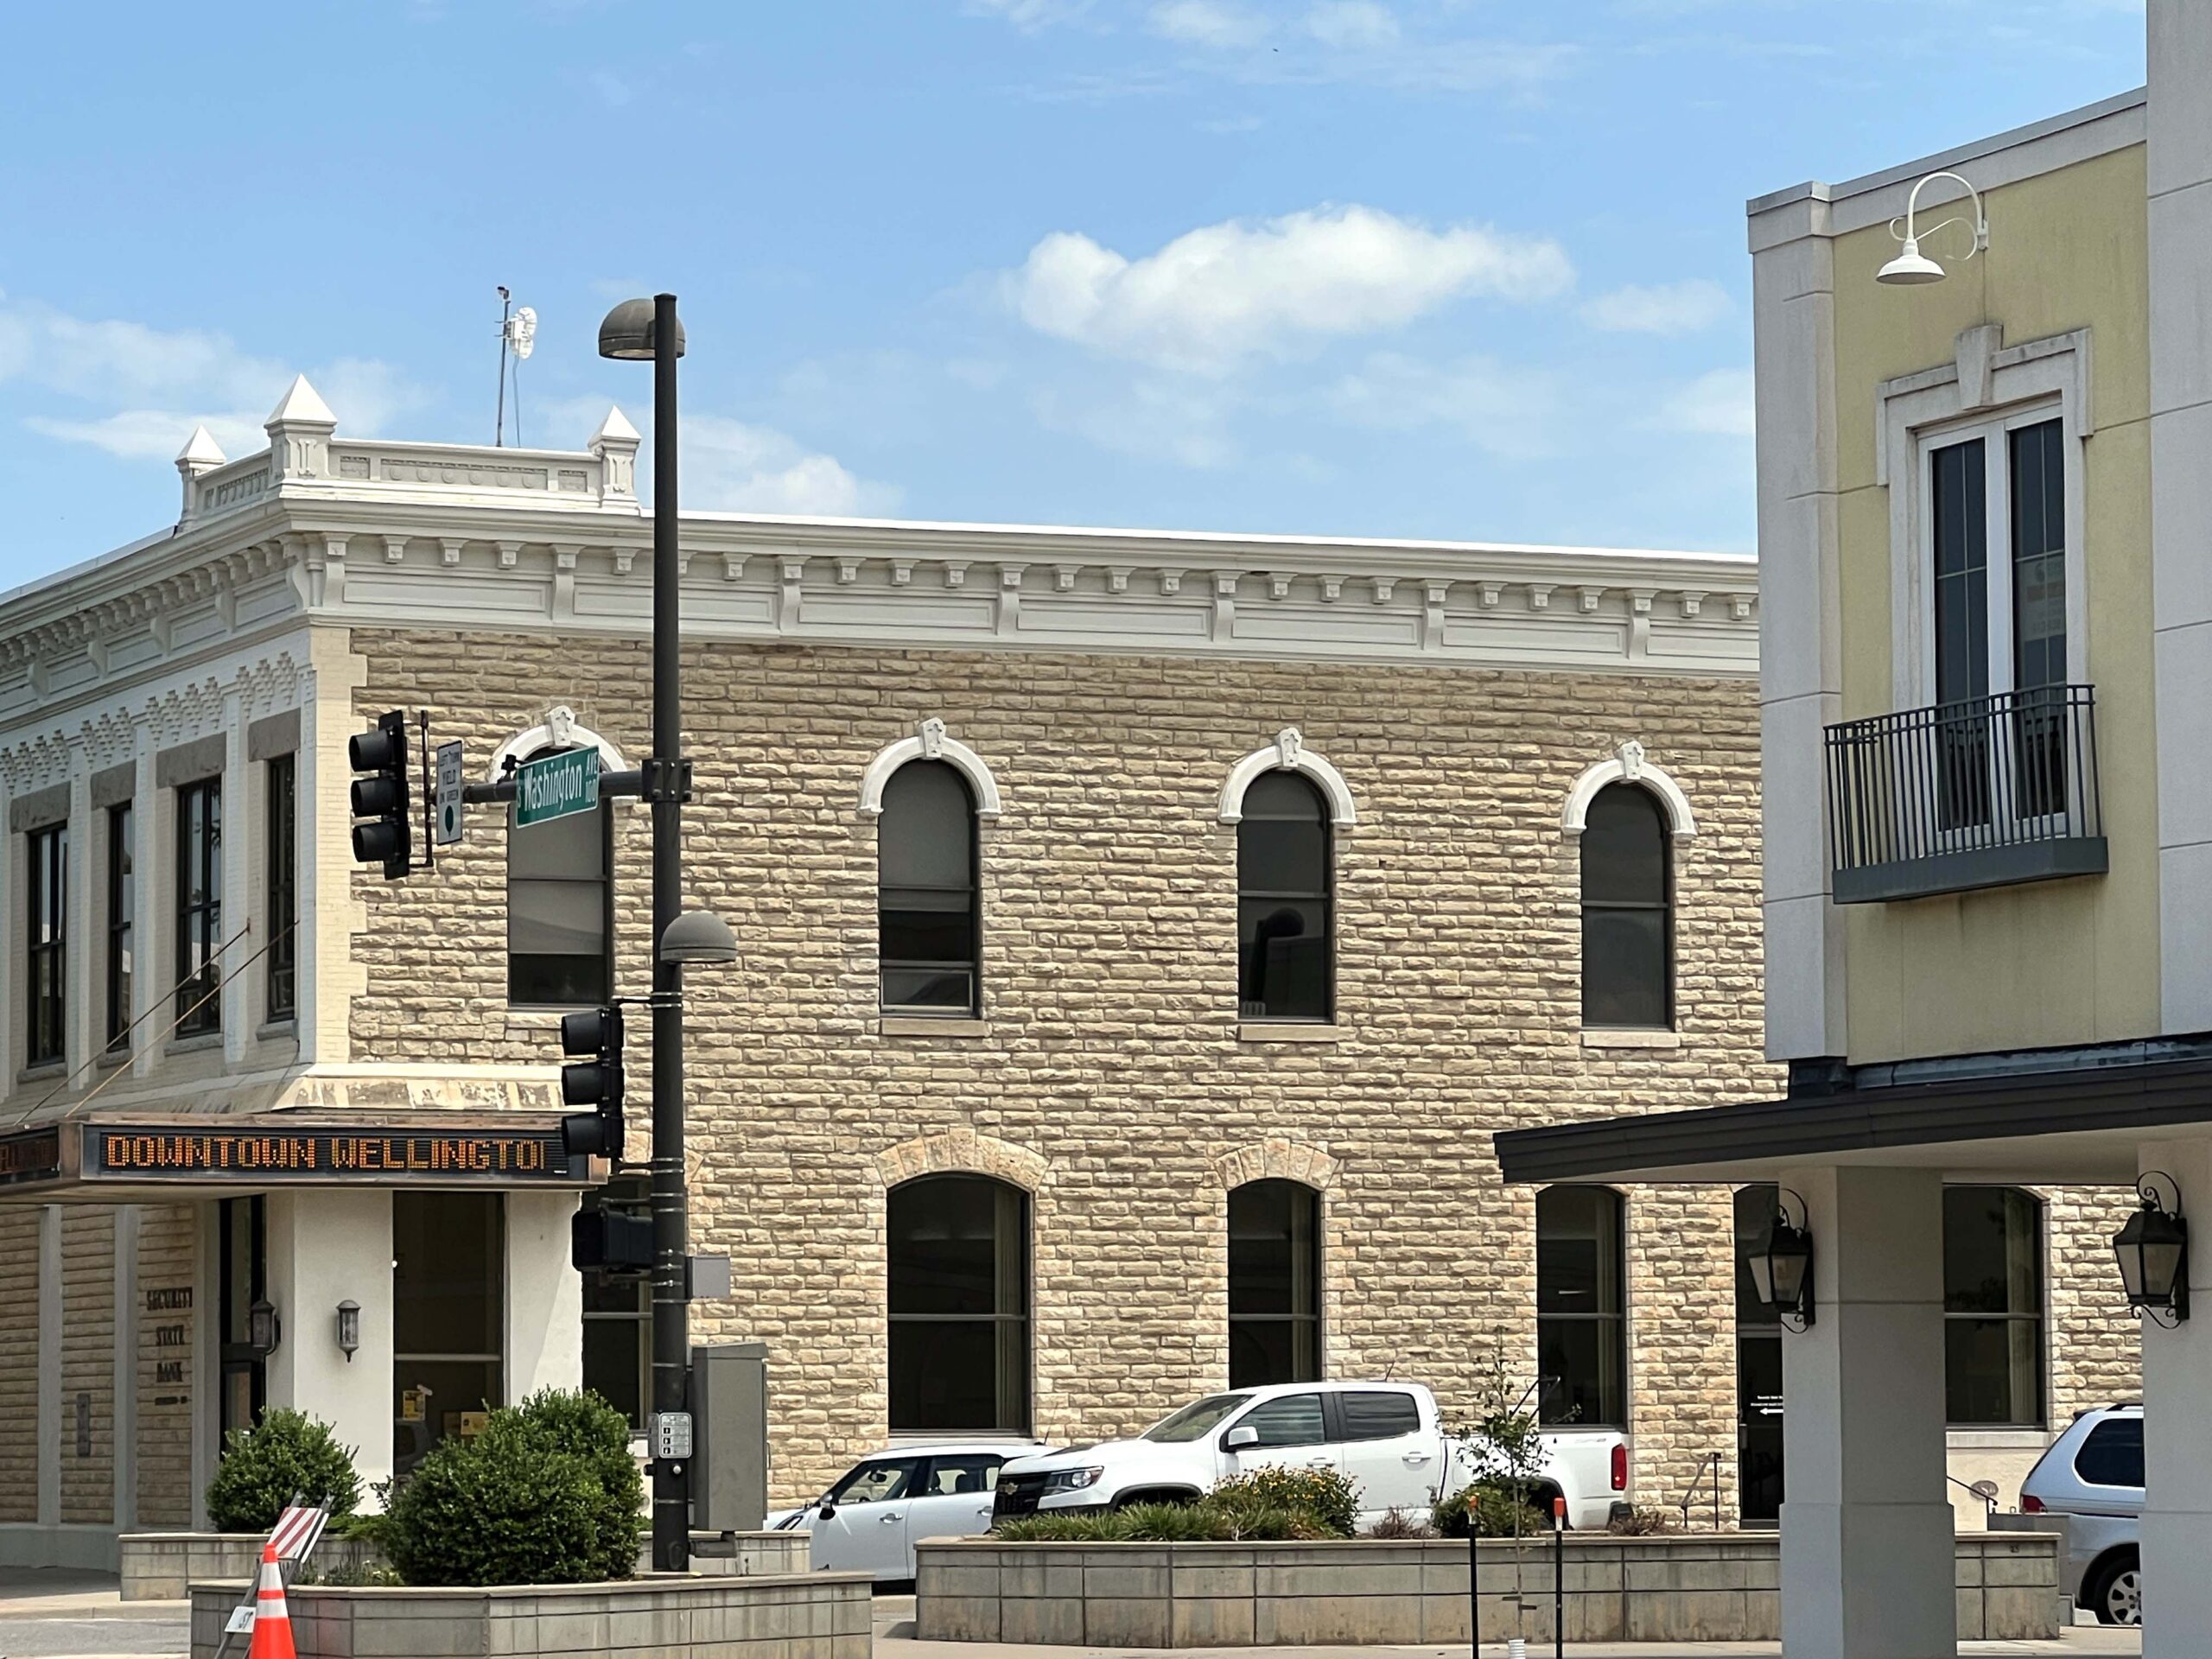
Sometimes, tourists visit a town and neglect to learn about its historical architecture. The buildings in the Downtown Wellington Historic District are strikingly beautiful, with Italianate and Art Deco design, dating back to the 1880s.
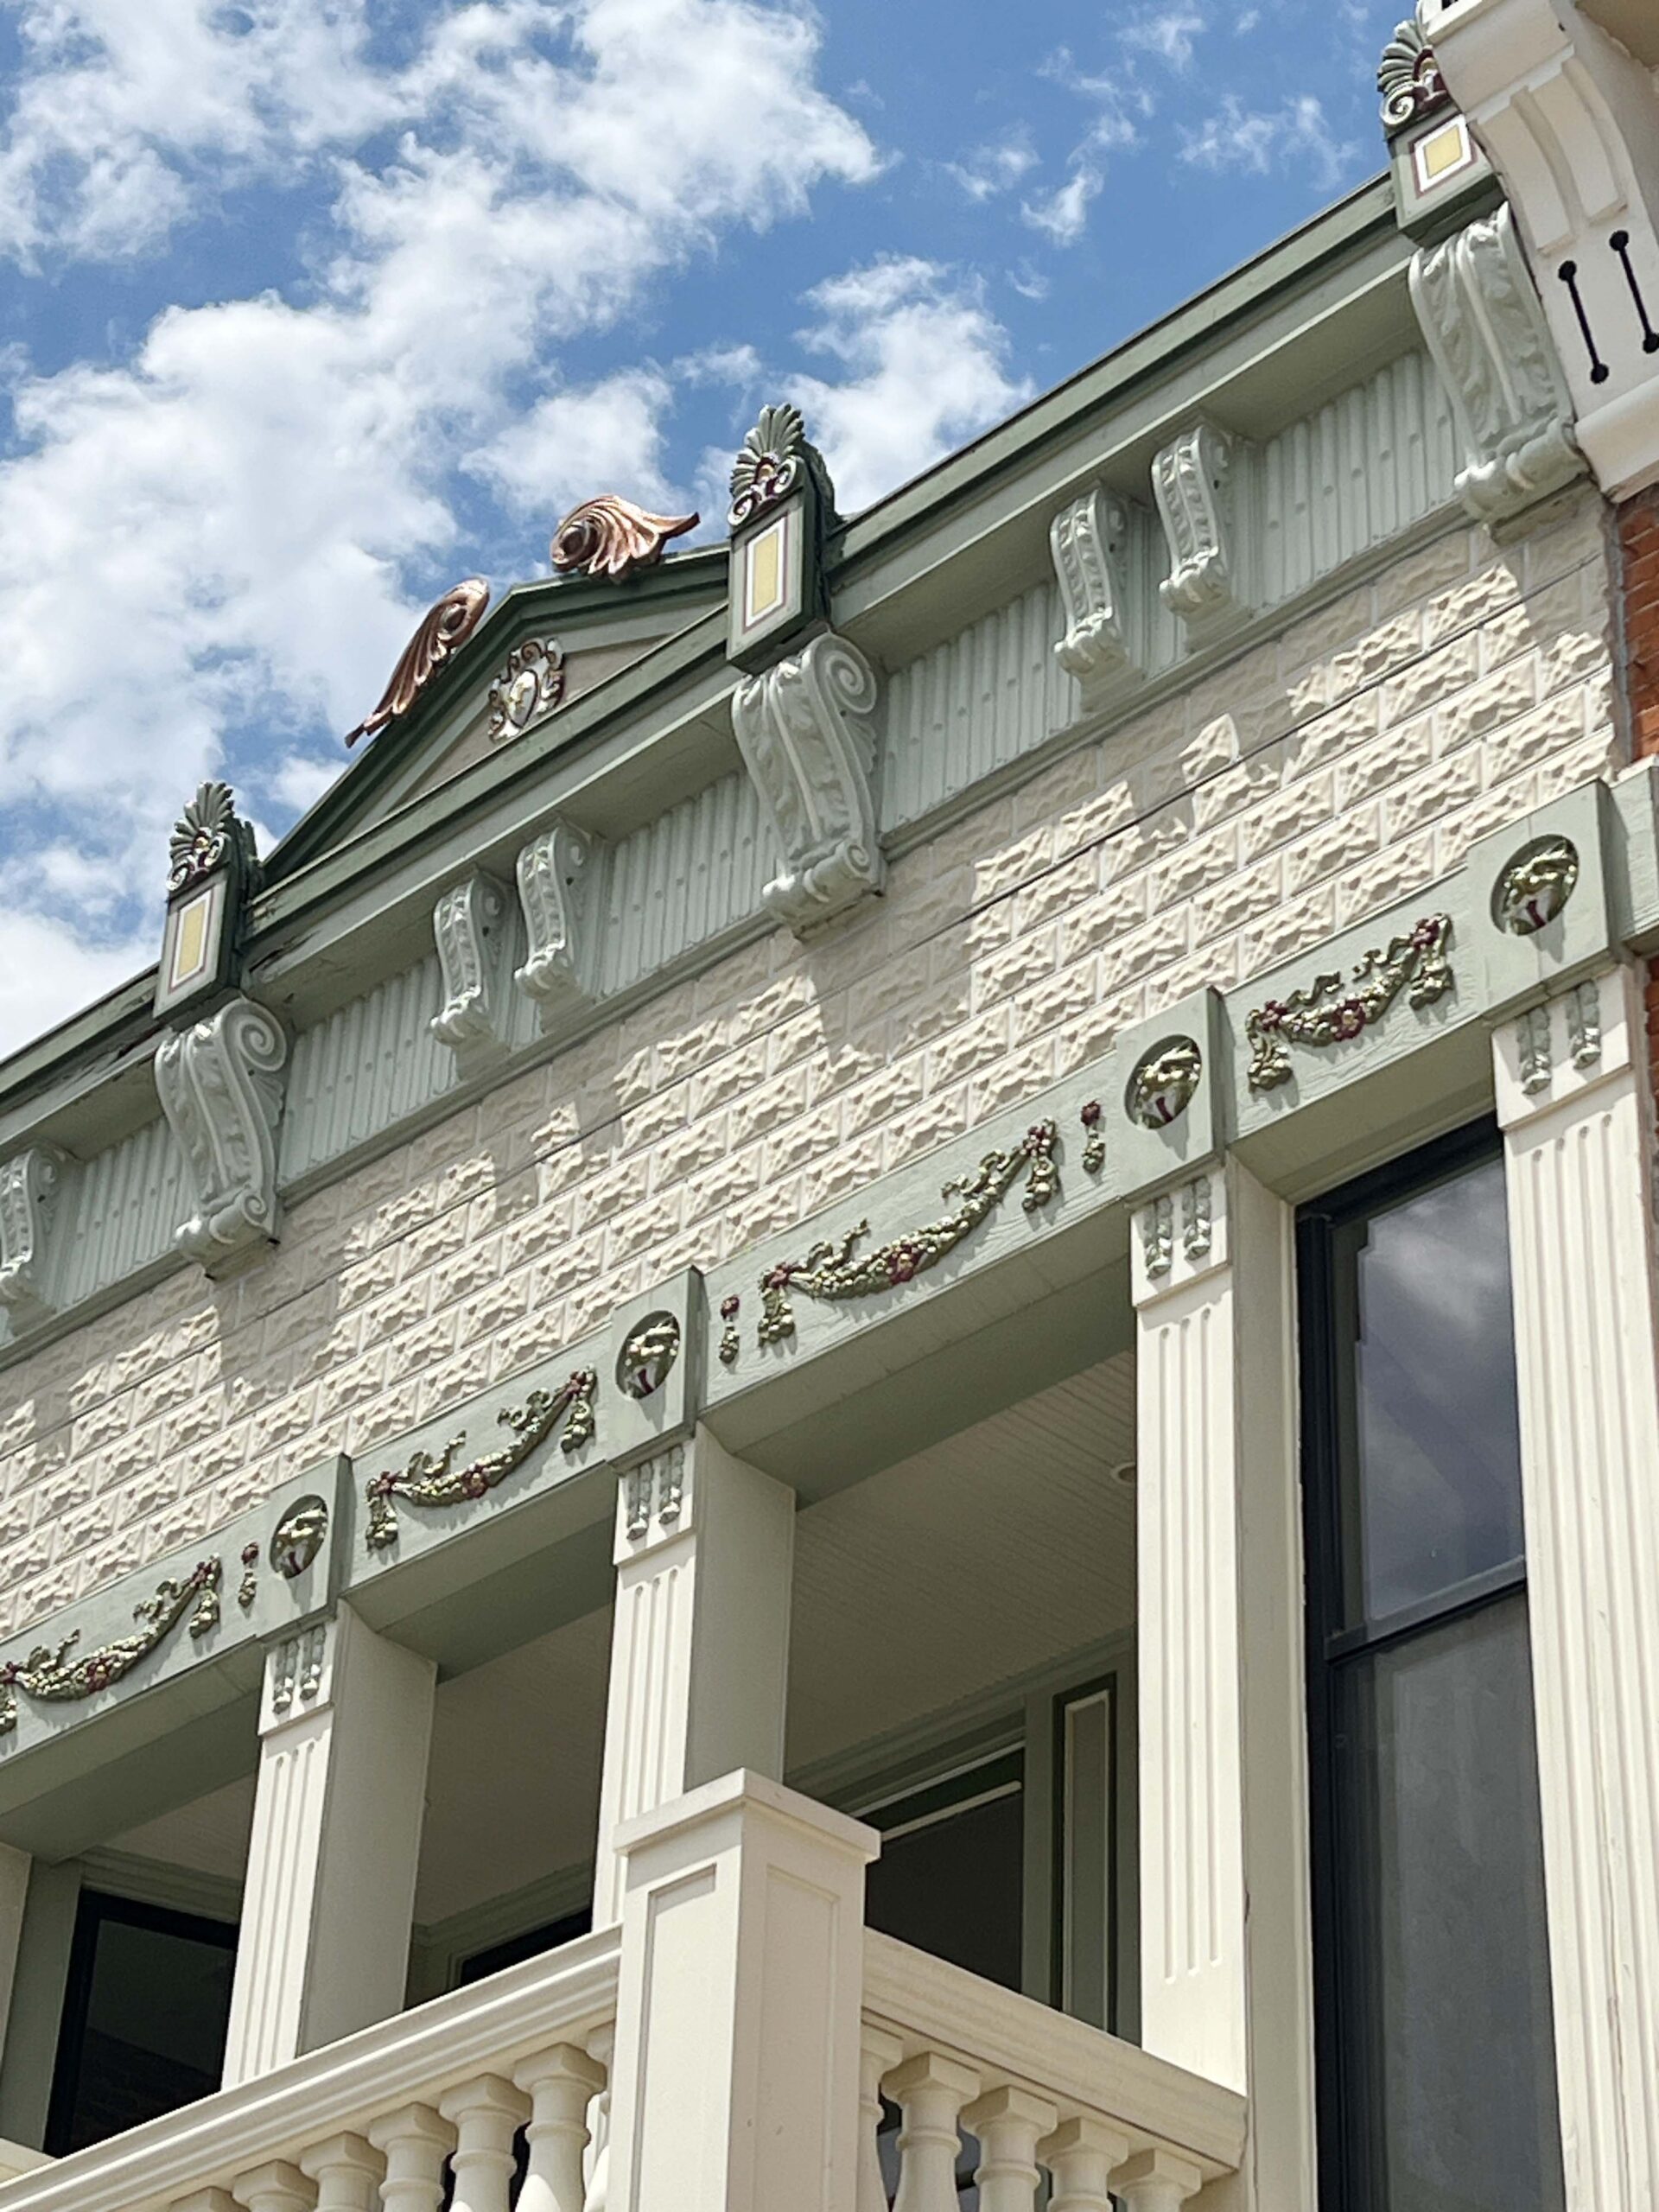 Brick, limestone, and artistic wood details make the historic buildings ‘ details awe-inspiring. A drive along Washington Avenue reveals a glimpse into the past.
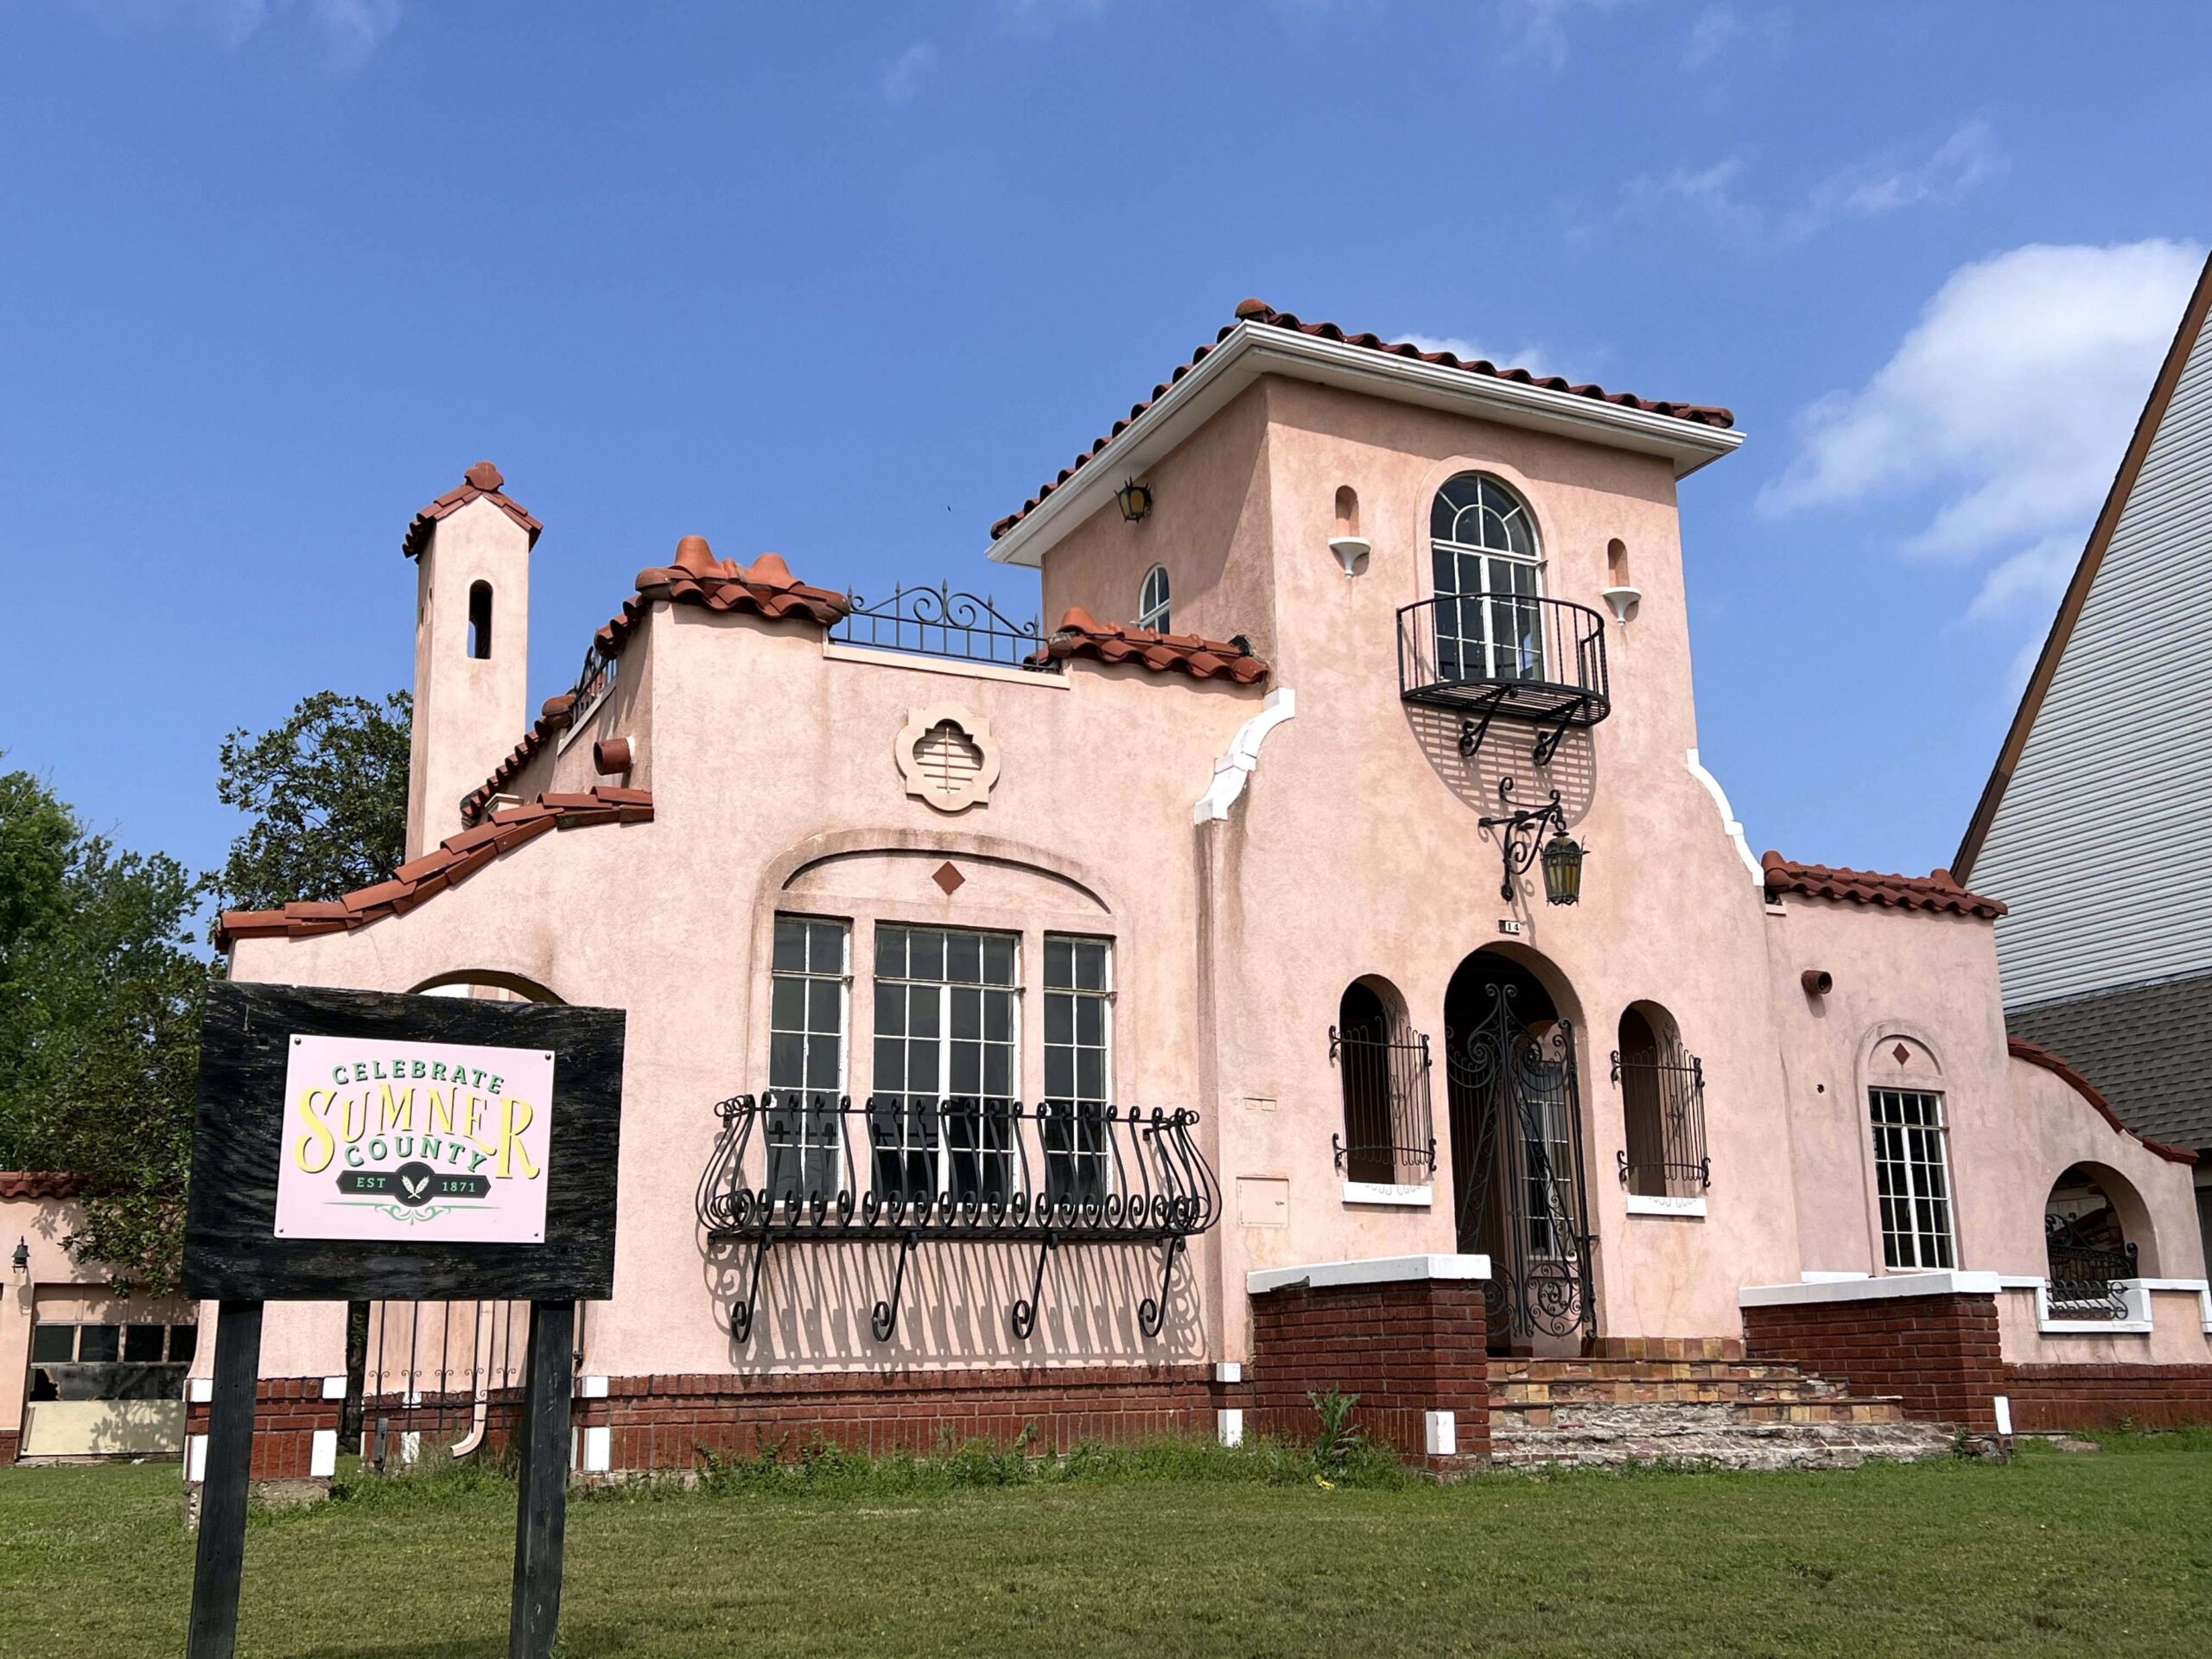
 Another can’t-miss architectural wonder, The Pink House (114 S. Jefferson), is a sight to behold. Unlike other Wellington residences, the Spanish Revival-style home is not open to visitors, but people often take photos with it in the background.
Also referred to as the Edwin Smith House, it was inspired by homes the family saw during a trip to California. The home took five years to build and has been listed on the National Register of Historic Places since 2004.
Memorial Auditorium & Bronze Field Guns
The home of concerts and local events, Memorial Auditorium (208 N. Washington Ave.) is an architectural wonder in its own right.
In 1918, Wellington attorney Ed Hackney spearheaded the construction of a memorial honoring local and county soldiers.
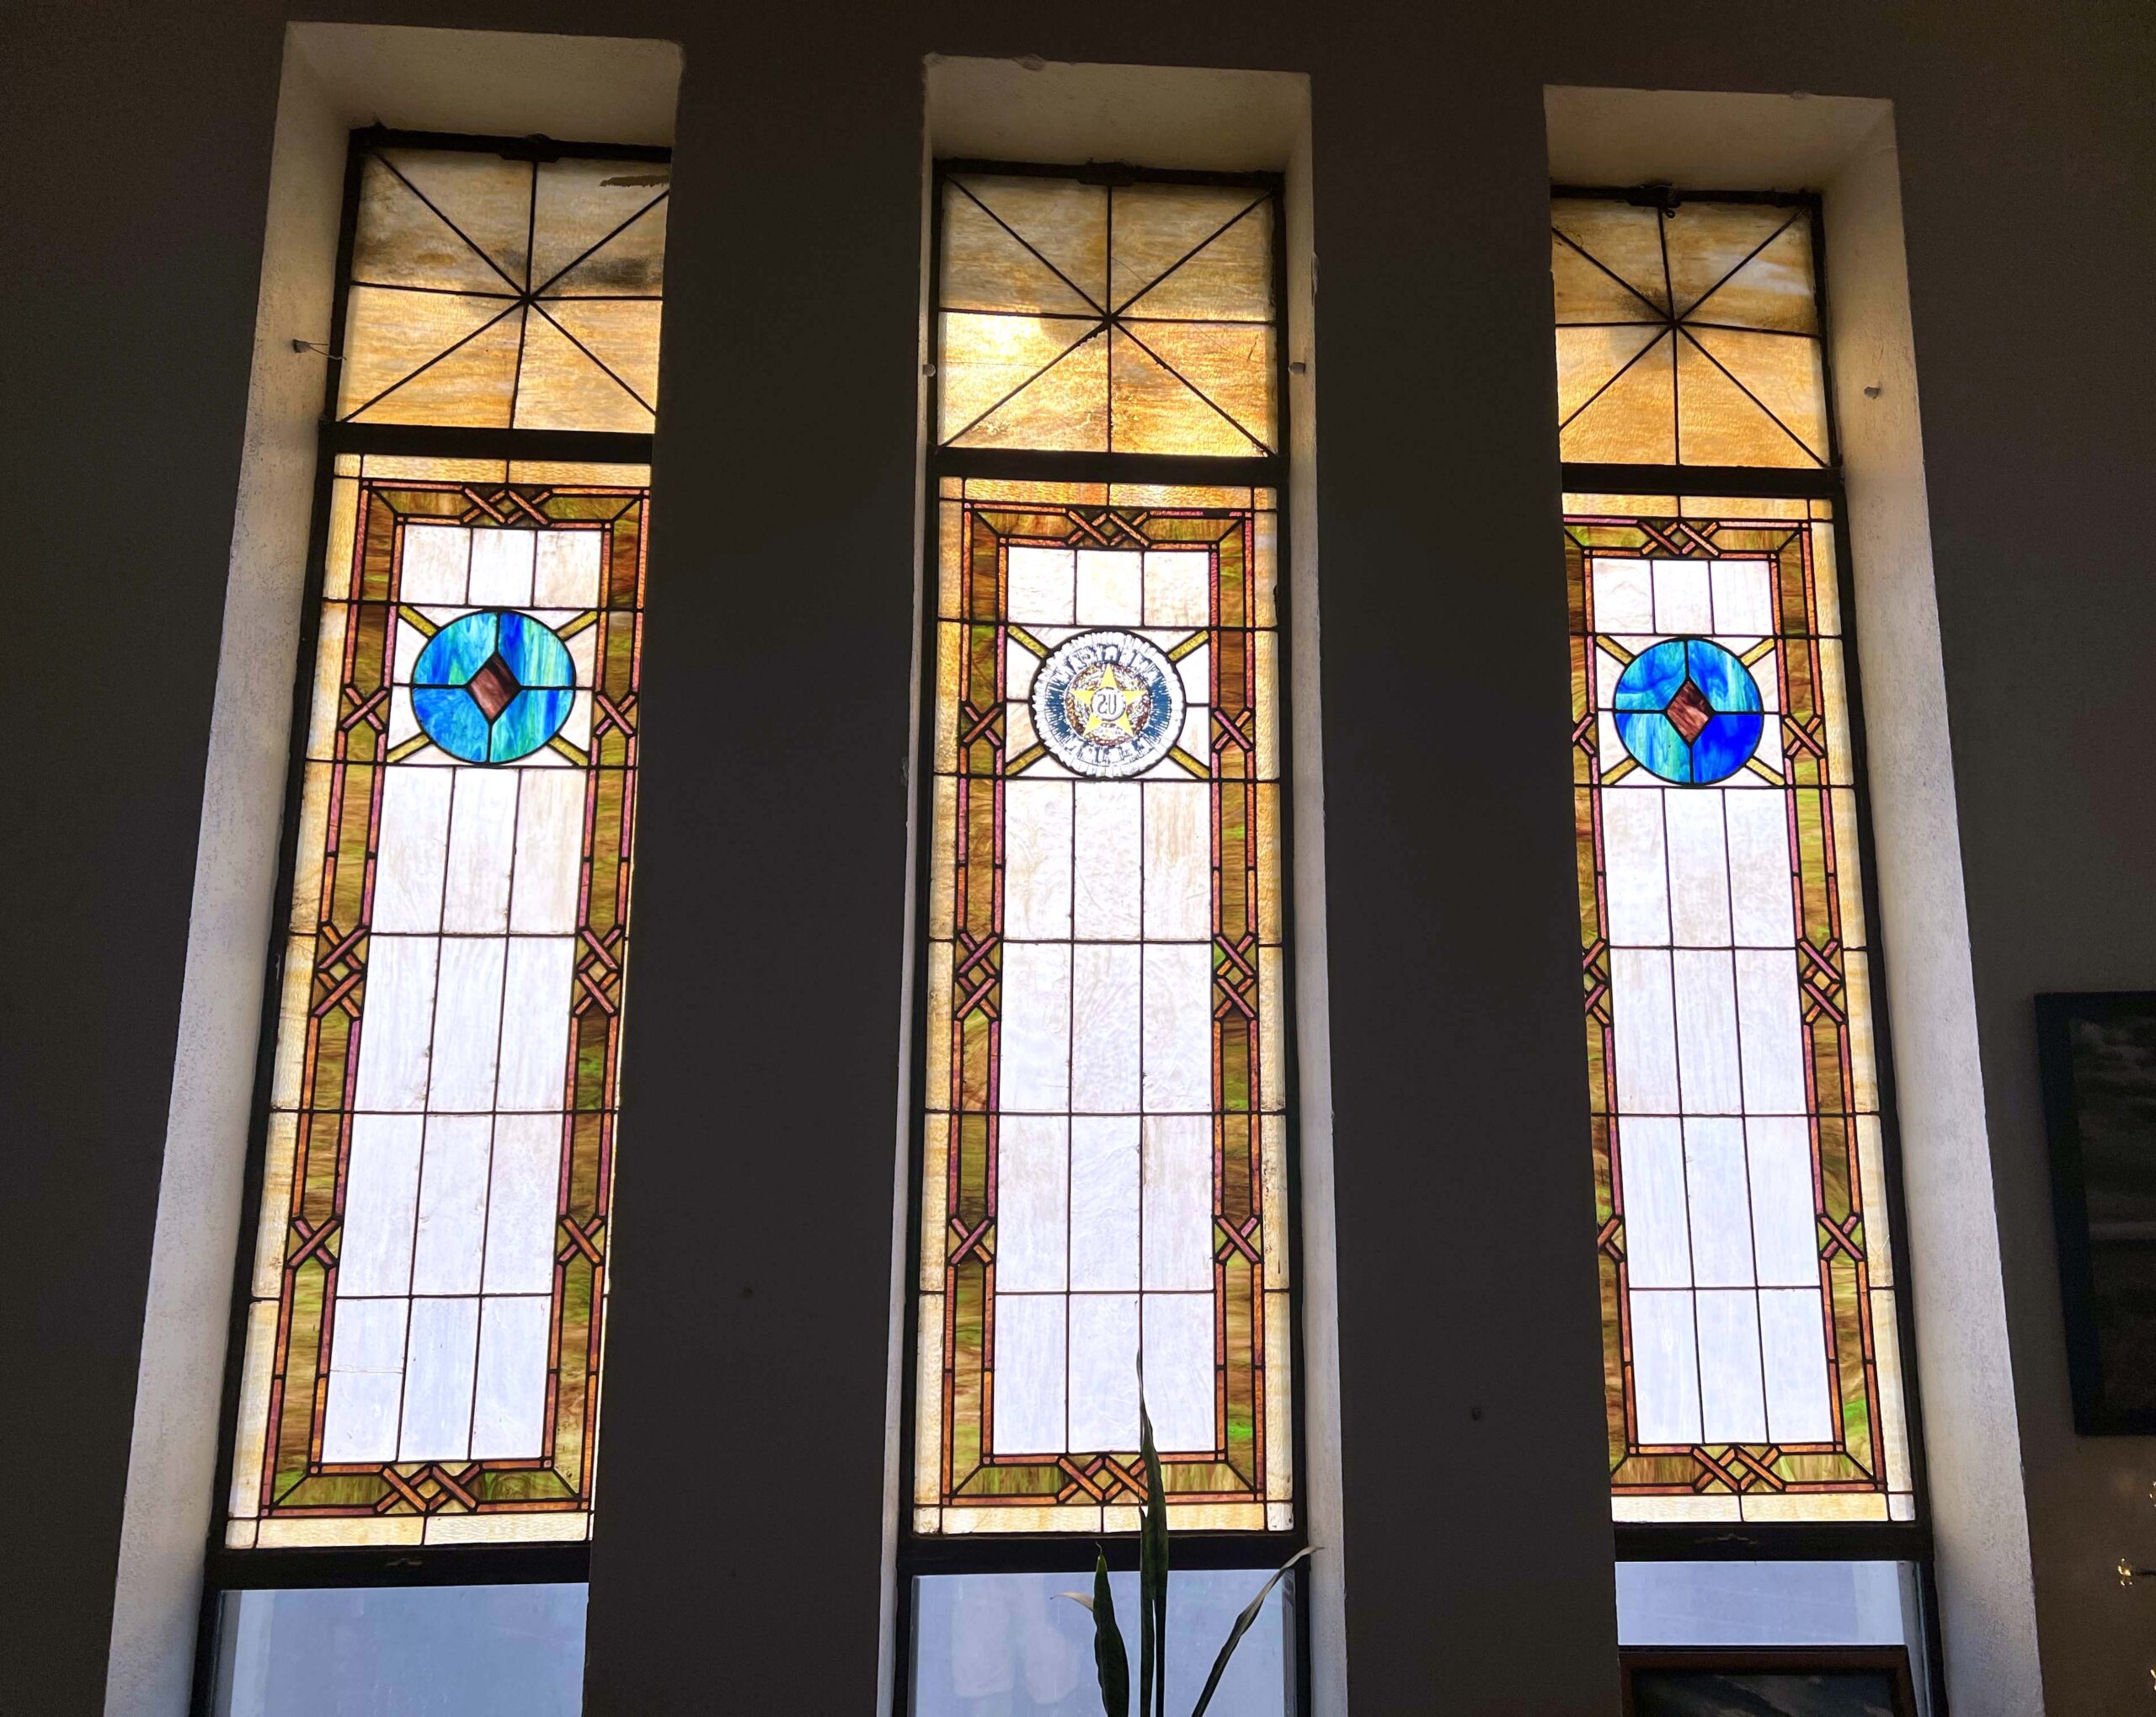 Completed a few years later, Memorial Hall became an attractive downtown building, featuring stained-glass windows and wrought-iron staircase railings.
Country concert performances on the main stage attract fans to the auditorium.
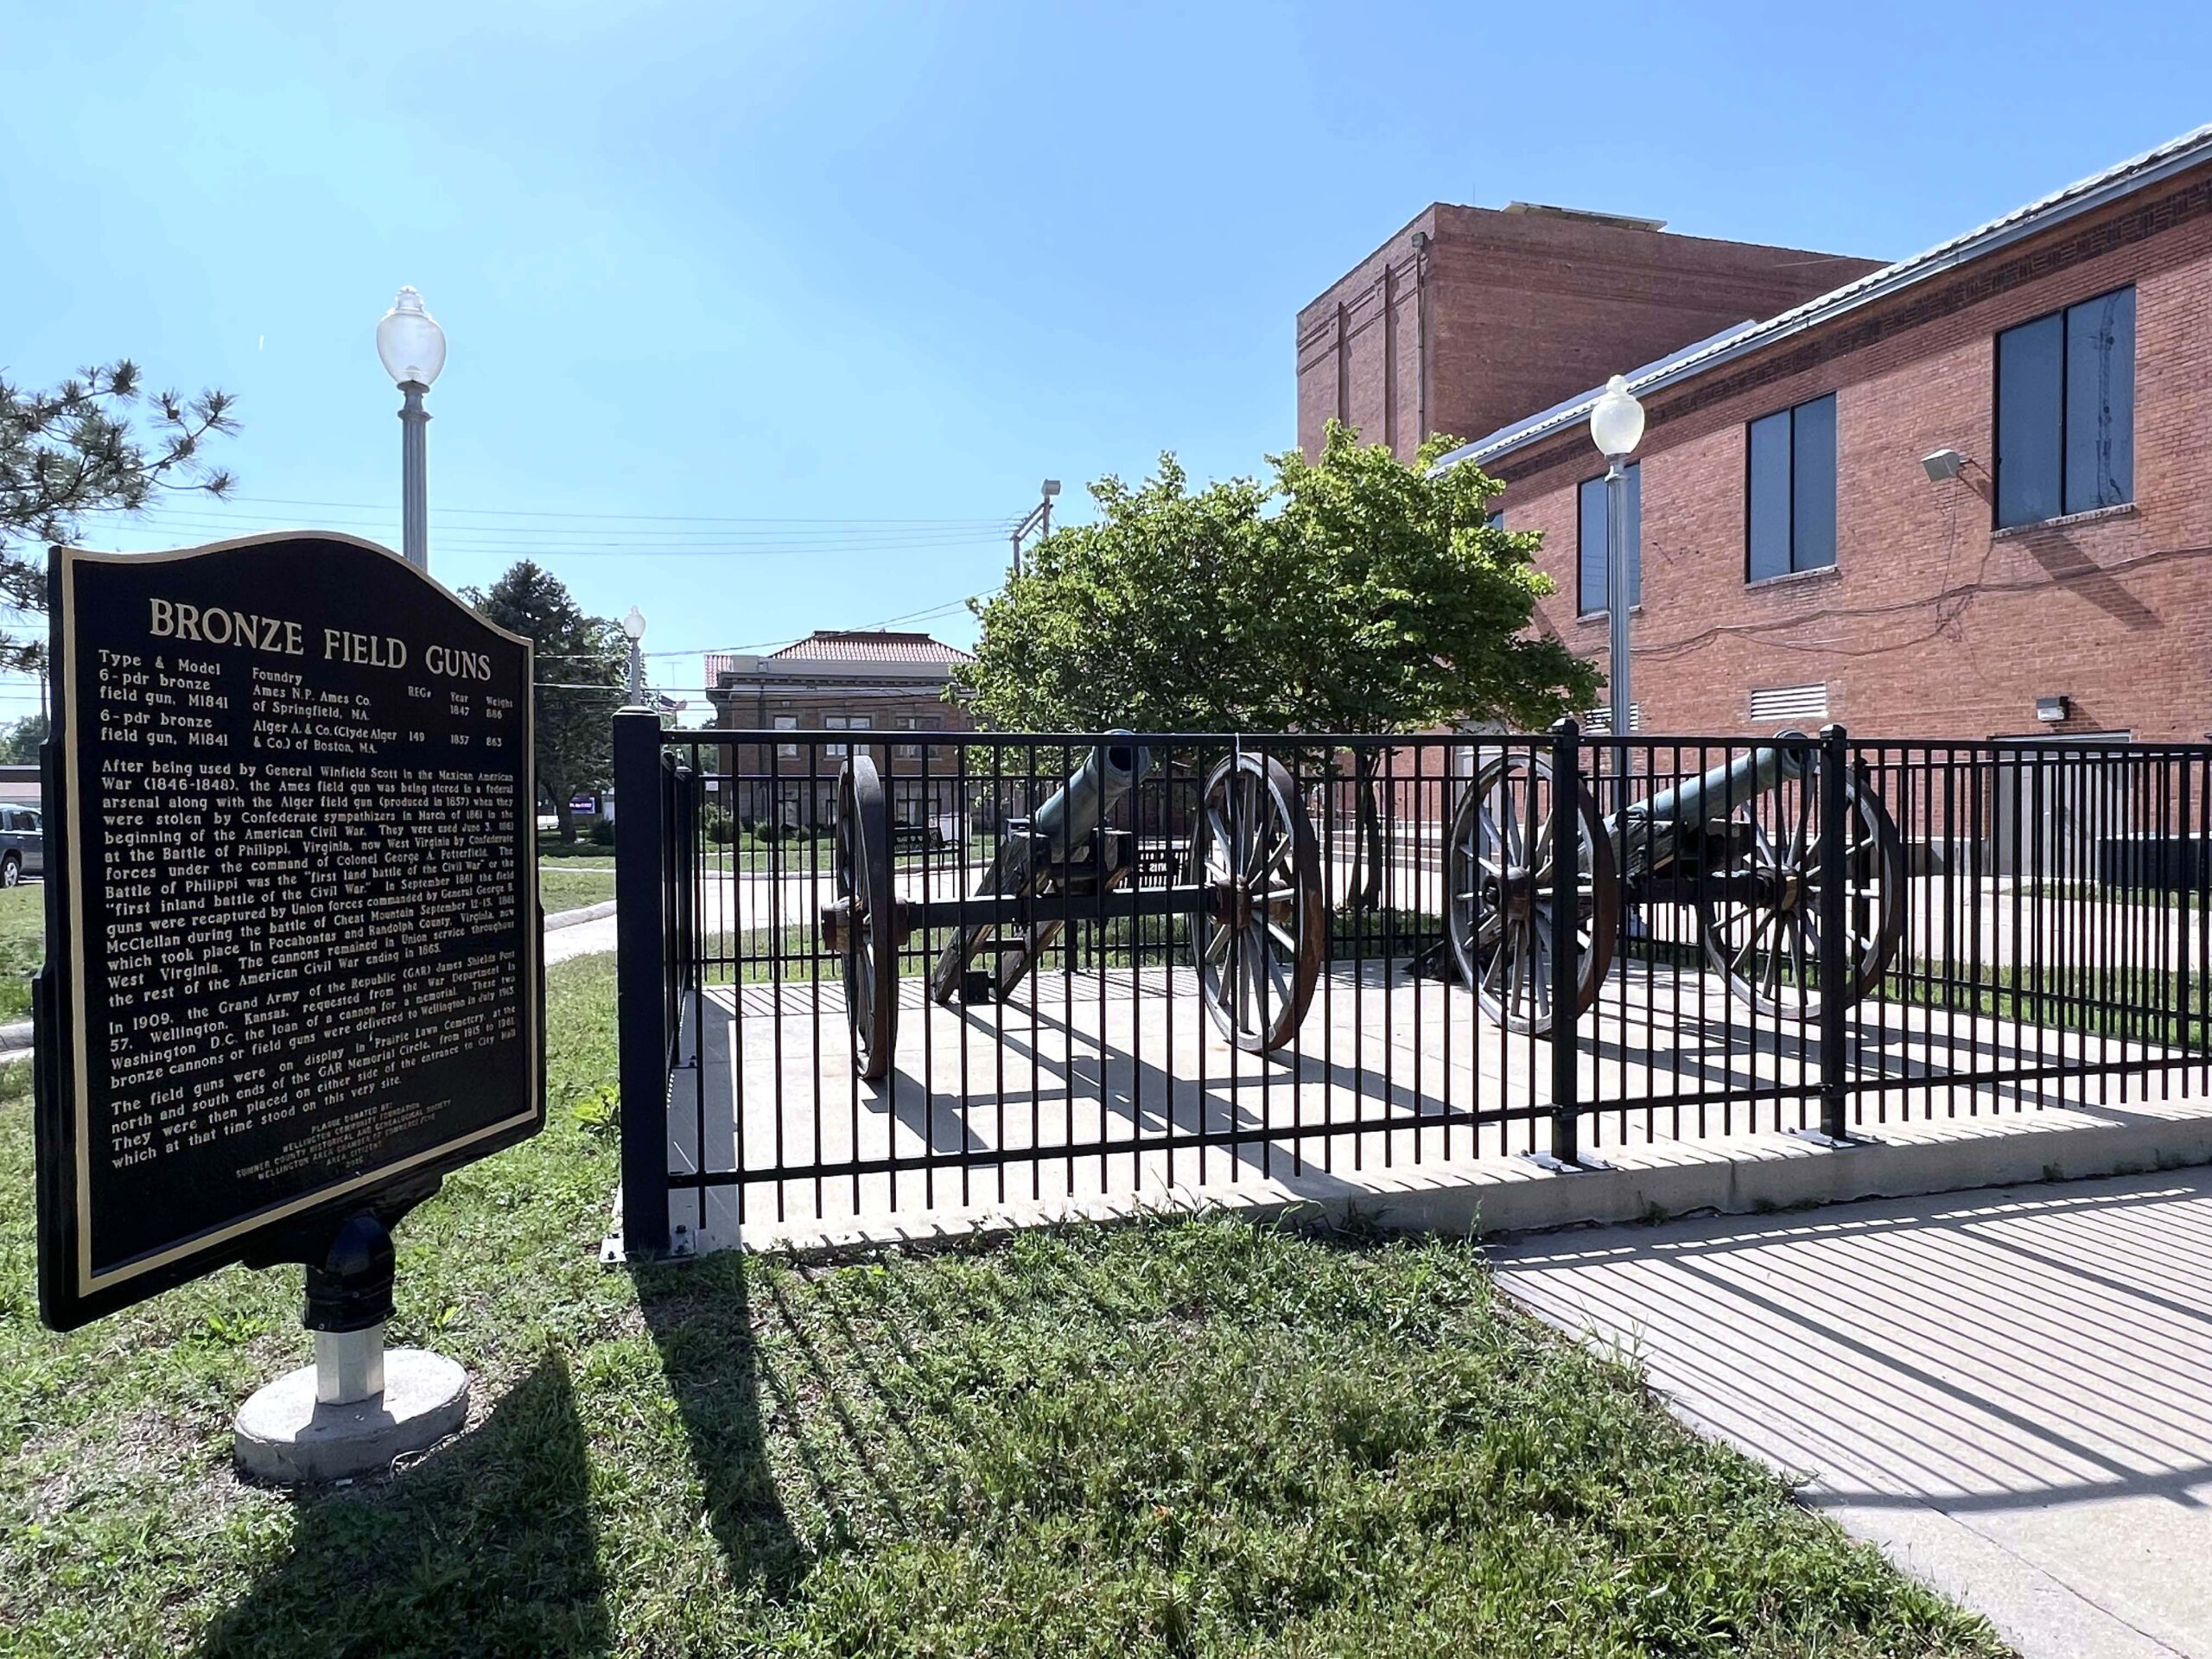 Outside, the historical tour continues with the Bronze Field Guns exhibit. The cannons were delivered upon the request of the Grand Army of the Republic James Post of Wellington in 1909. Delivered in 1915, they serve as a memorial.
PRO TIP: Visit the Wellington Chamber of Commerce to purchase branded merchandise, including ground coffee, t-shirts, holiday ornaments, and more.
Other notable buildings include Sumner County Courthouse, the Carnegie Library, Wellington Post Office, and the Wellington Regent Theatre.
OUTDOOR RECREATION
Wellington is home to a variety of parks with over 300 acres of land to explore, whether you’re a sports enthusiast or a family with kids looking to burn off energy.
Woods Park
Woods Park (1110 E 4th St.) is a massive public park on the south end of town that sits near a picturesque 18-hole golf course. My leisurely visit was made better by the entertaining ducks and geese gathered near the water.
 The sound of falling water caught my attention. After walking to a concrete overlook, I spotted water dropping about 20 feet at the Slate Creek Dam Falls.
 The park also features picnic and fishing areas, plus playground equipment for families to utilize.
A well-maintained Woods Park Disc Golf Course features 18 concrete pads and wide fairways with flat terrain, suitable for beginner to moderately challenging play.
Wellington Lake
If you’re seeking the peace and quiet of a day on the lake, drive six miles west of town on US-160 and four miles south on Anson Road to Wellington Lake.
I watched as a Sandhill Crane hunted in shallow water and listened to the lake waves lap on the shoreline, a tranquil welcome to the lake. The morning sun was breaking through the clouds, shining upon campsites and the swimming beach.
 Wellington Lake, consisting of 674 acres of water and 10 miles of shoreline, is the ideal place to destress and unwind..
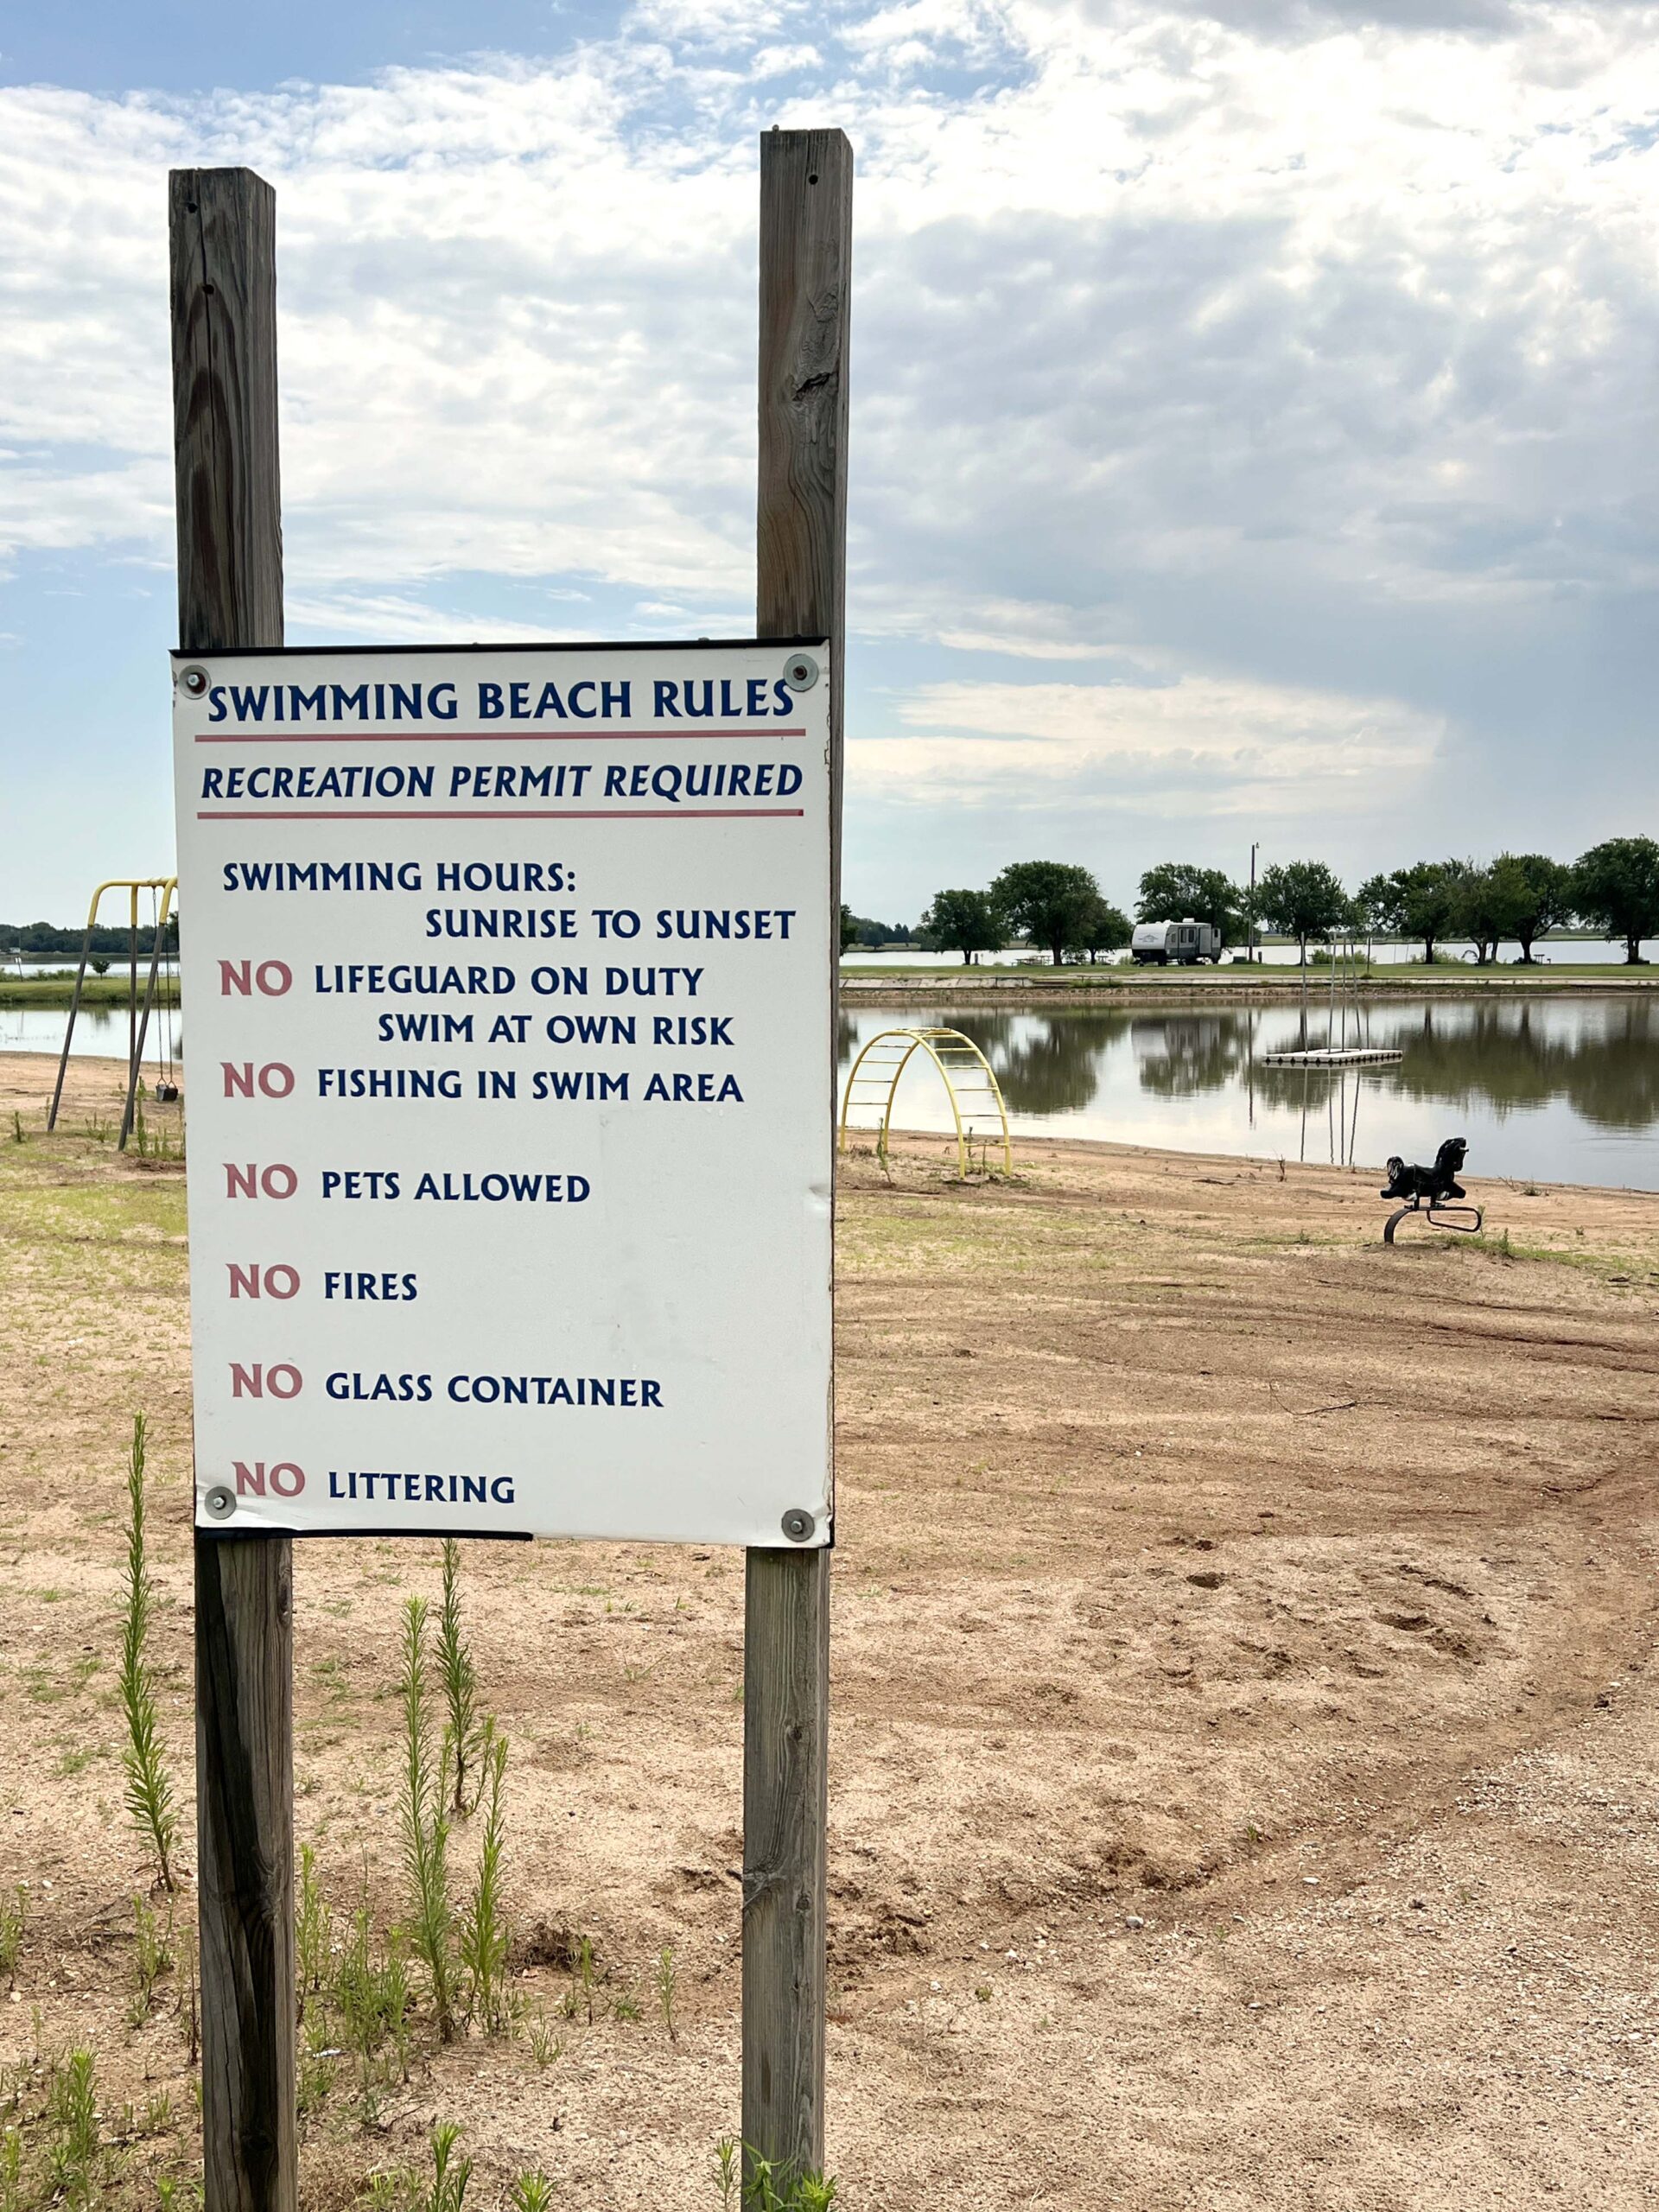
If you’re interested in camping, fishing, or simply spending the afternoon at the Swim Beach, stop by the Lake Office upon arrival, where you can also purchase concessions and bagged ice for your cooler.
Worden Park
A short drive to the edge of town, Worden Park (800 W. Hillside) covers 61 acres and features mostly athletic fields, and the paved track and an ADA-accessible playground invite visitors to explore the area.
 Feel free to bring your dog if you walk them on a leash. Doggy bag stations are positioned around the park.
PRO TIP: Wear comfortable shoes to walk the trails around the ball fields, and bring bottled water. You might catch a softball team practicing like I did if you’re lucky.
GRAB A BITE TO EAT OR DRINK
Wellington offers casual dining restaurants featuring down-home dining and local favorites, ranging from Mexican cuisine to a pizza buffet, no matter what you’re craving.
I’ve dined or enjoyed a drink at each of the following establishments, and I wholeheartedly recommend them.
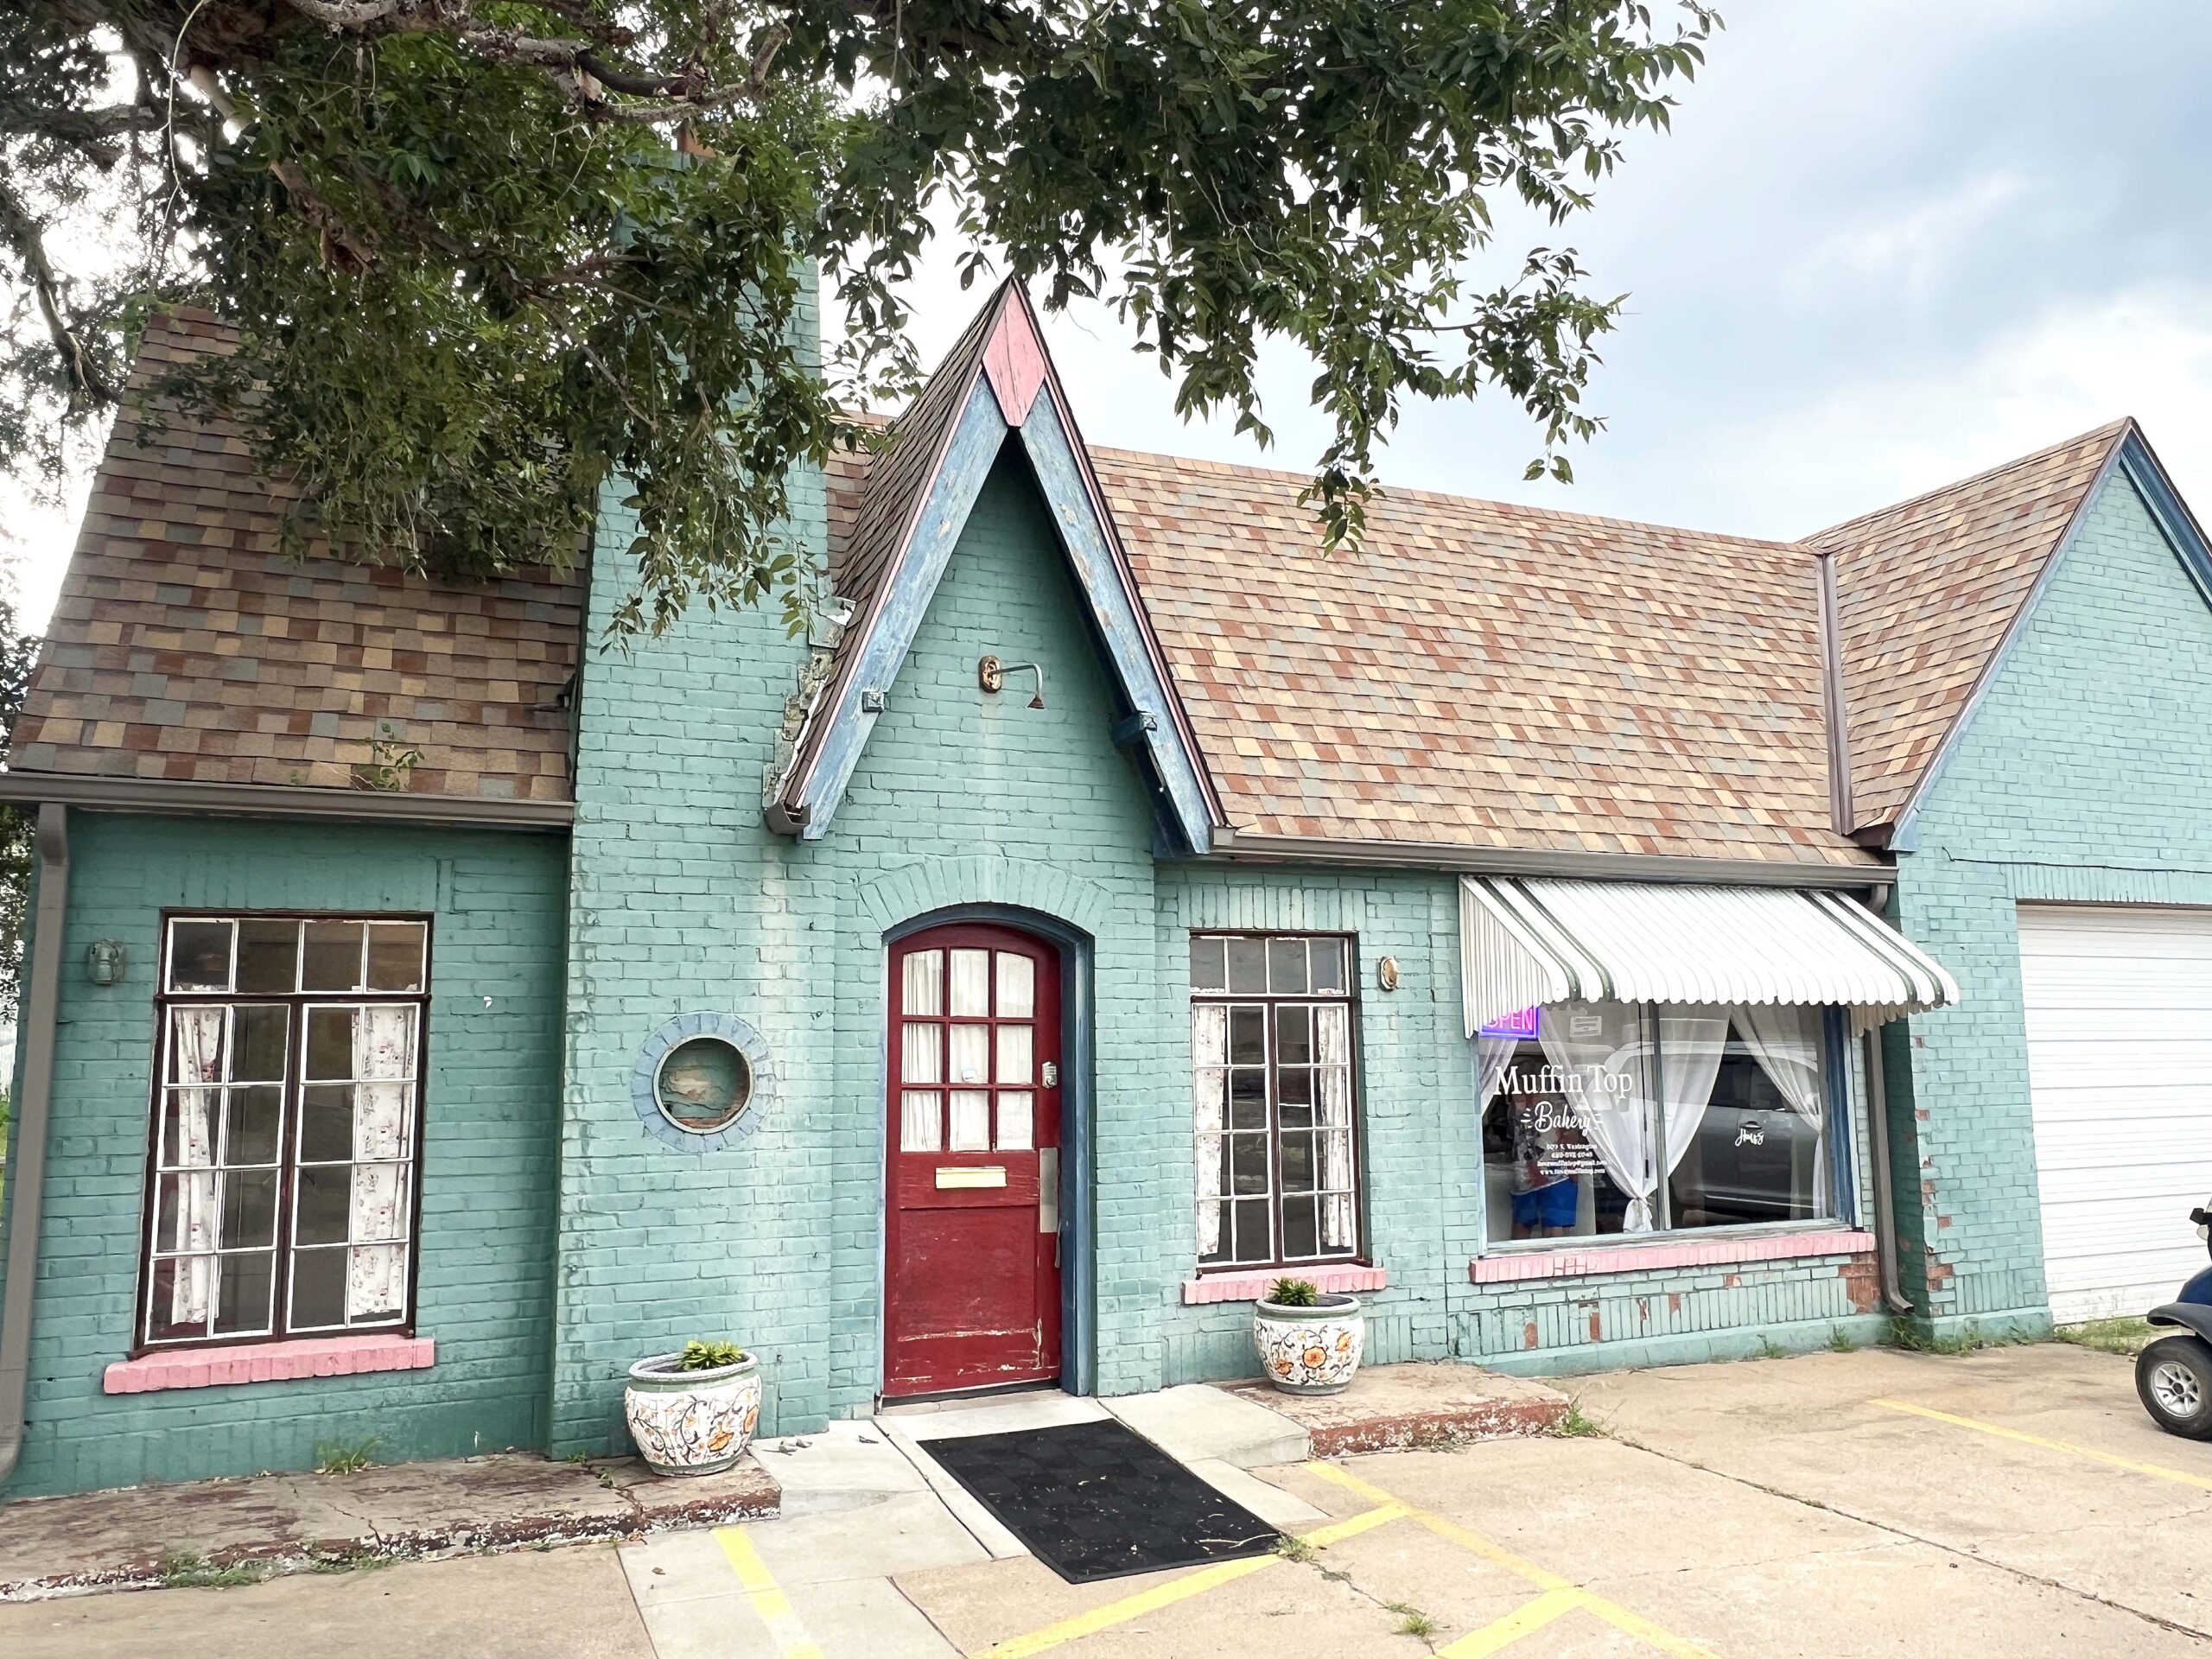
Muffin Top Bakery
In search of a cup of coffee and breakfast, a local told me I should visit Muffin Top Bakery (509 S Washington Avenue). I’m so glad I took their advice.
The bake shop, which doubles as a coffee shop, is situated inside what resembles a renovated, historic gas station.
 I discovered bakery trays of scones, brownies, and cinnamon rolls heaped with vanilla icing inside the glass case. I couldn’t resist ordering a scone with an iced latte from the Summer Drinks menu.
A grandmother and her grandson arrived while I sat at a cafe table awaiting my prepared to-go order. I could tell she was a regular customer receiving a warm welcome.
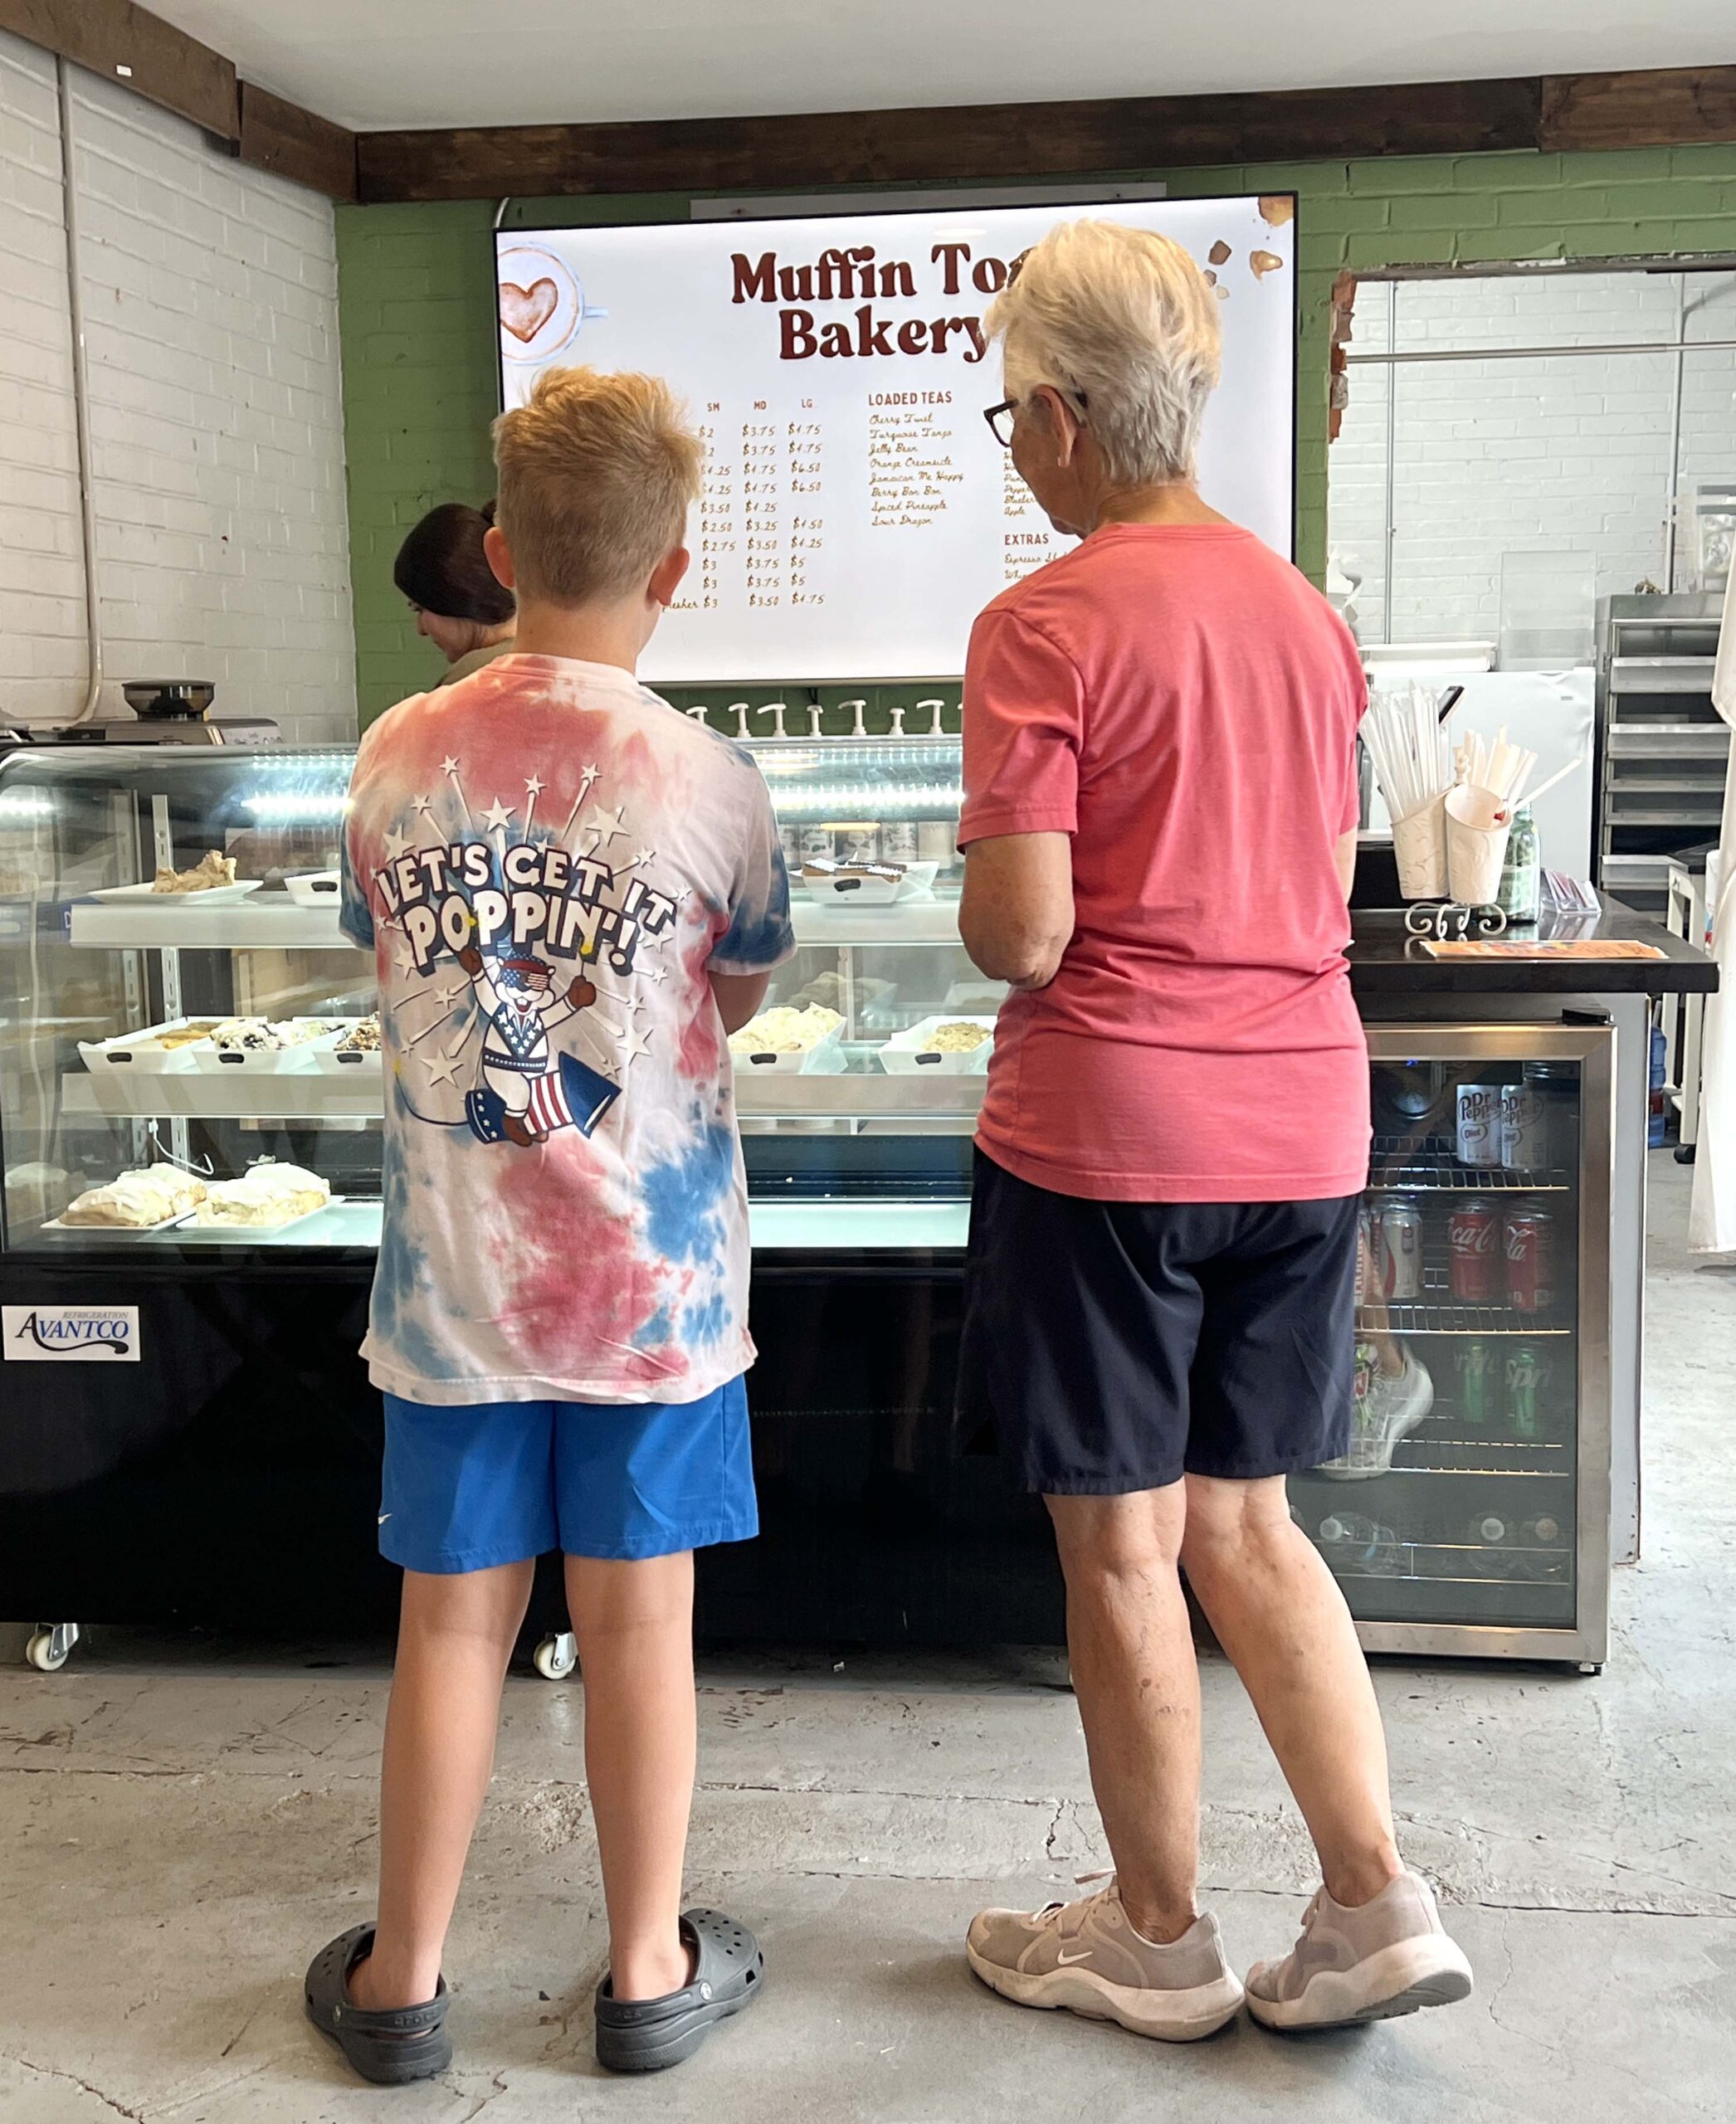 Muffin Top Bakery also serves lunch menu selections featuring salads, quiche, and sandwiches. If you’re visiting the bakery with kids, inquire about the Wild Sodas beverage menu.
PRO TIP: View the weekly lunch menu via Facebook before arriving.
Daylight Donuts
Don’t miss your chance to join locals for an early morning bakery bite at Daylight Donuts (110 S. Washington Avenue).
Voted Best Donuts/Pastries in 2023 by the Wellington Daily News, the bakery is a nostalgic experience and a staple in the Wellington community.
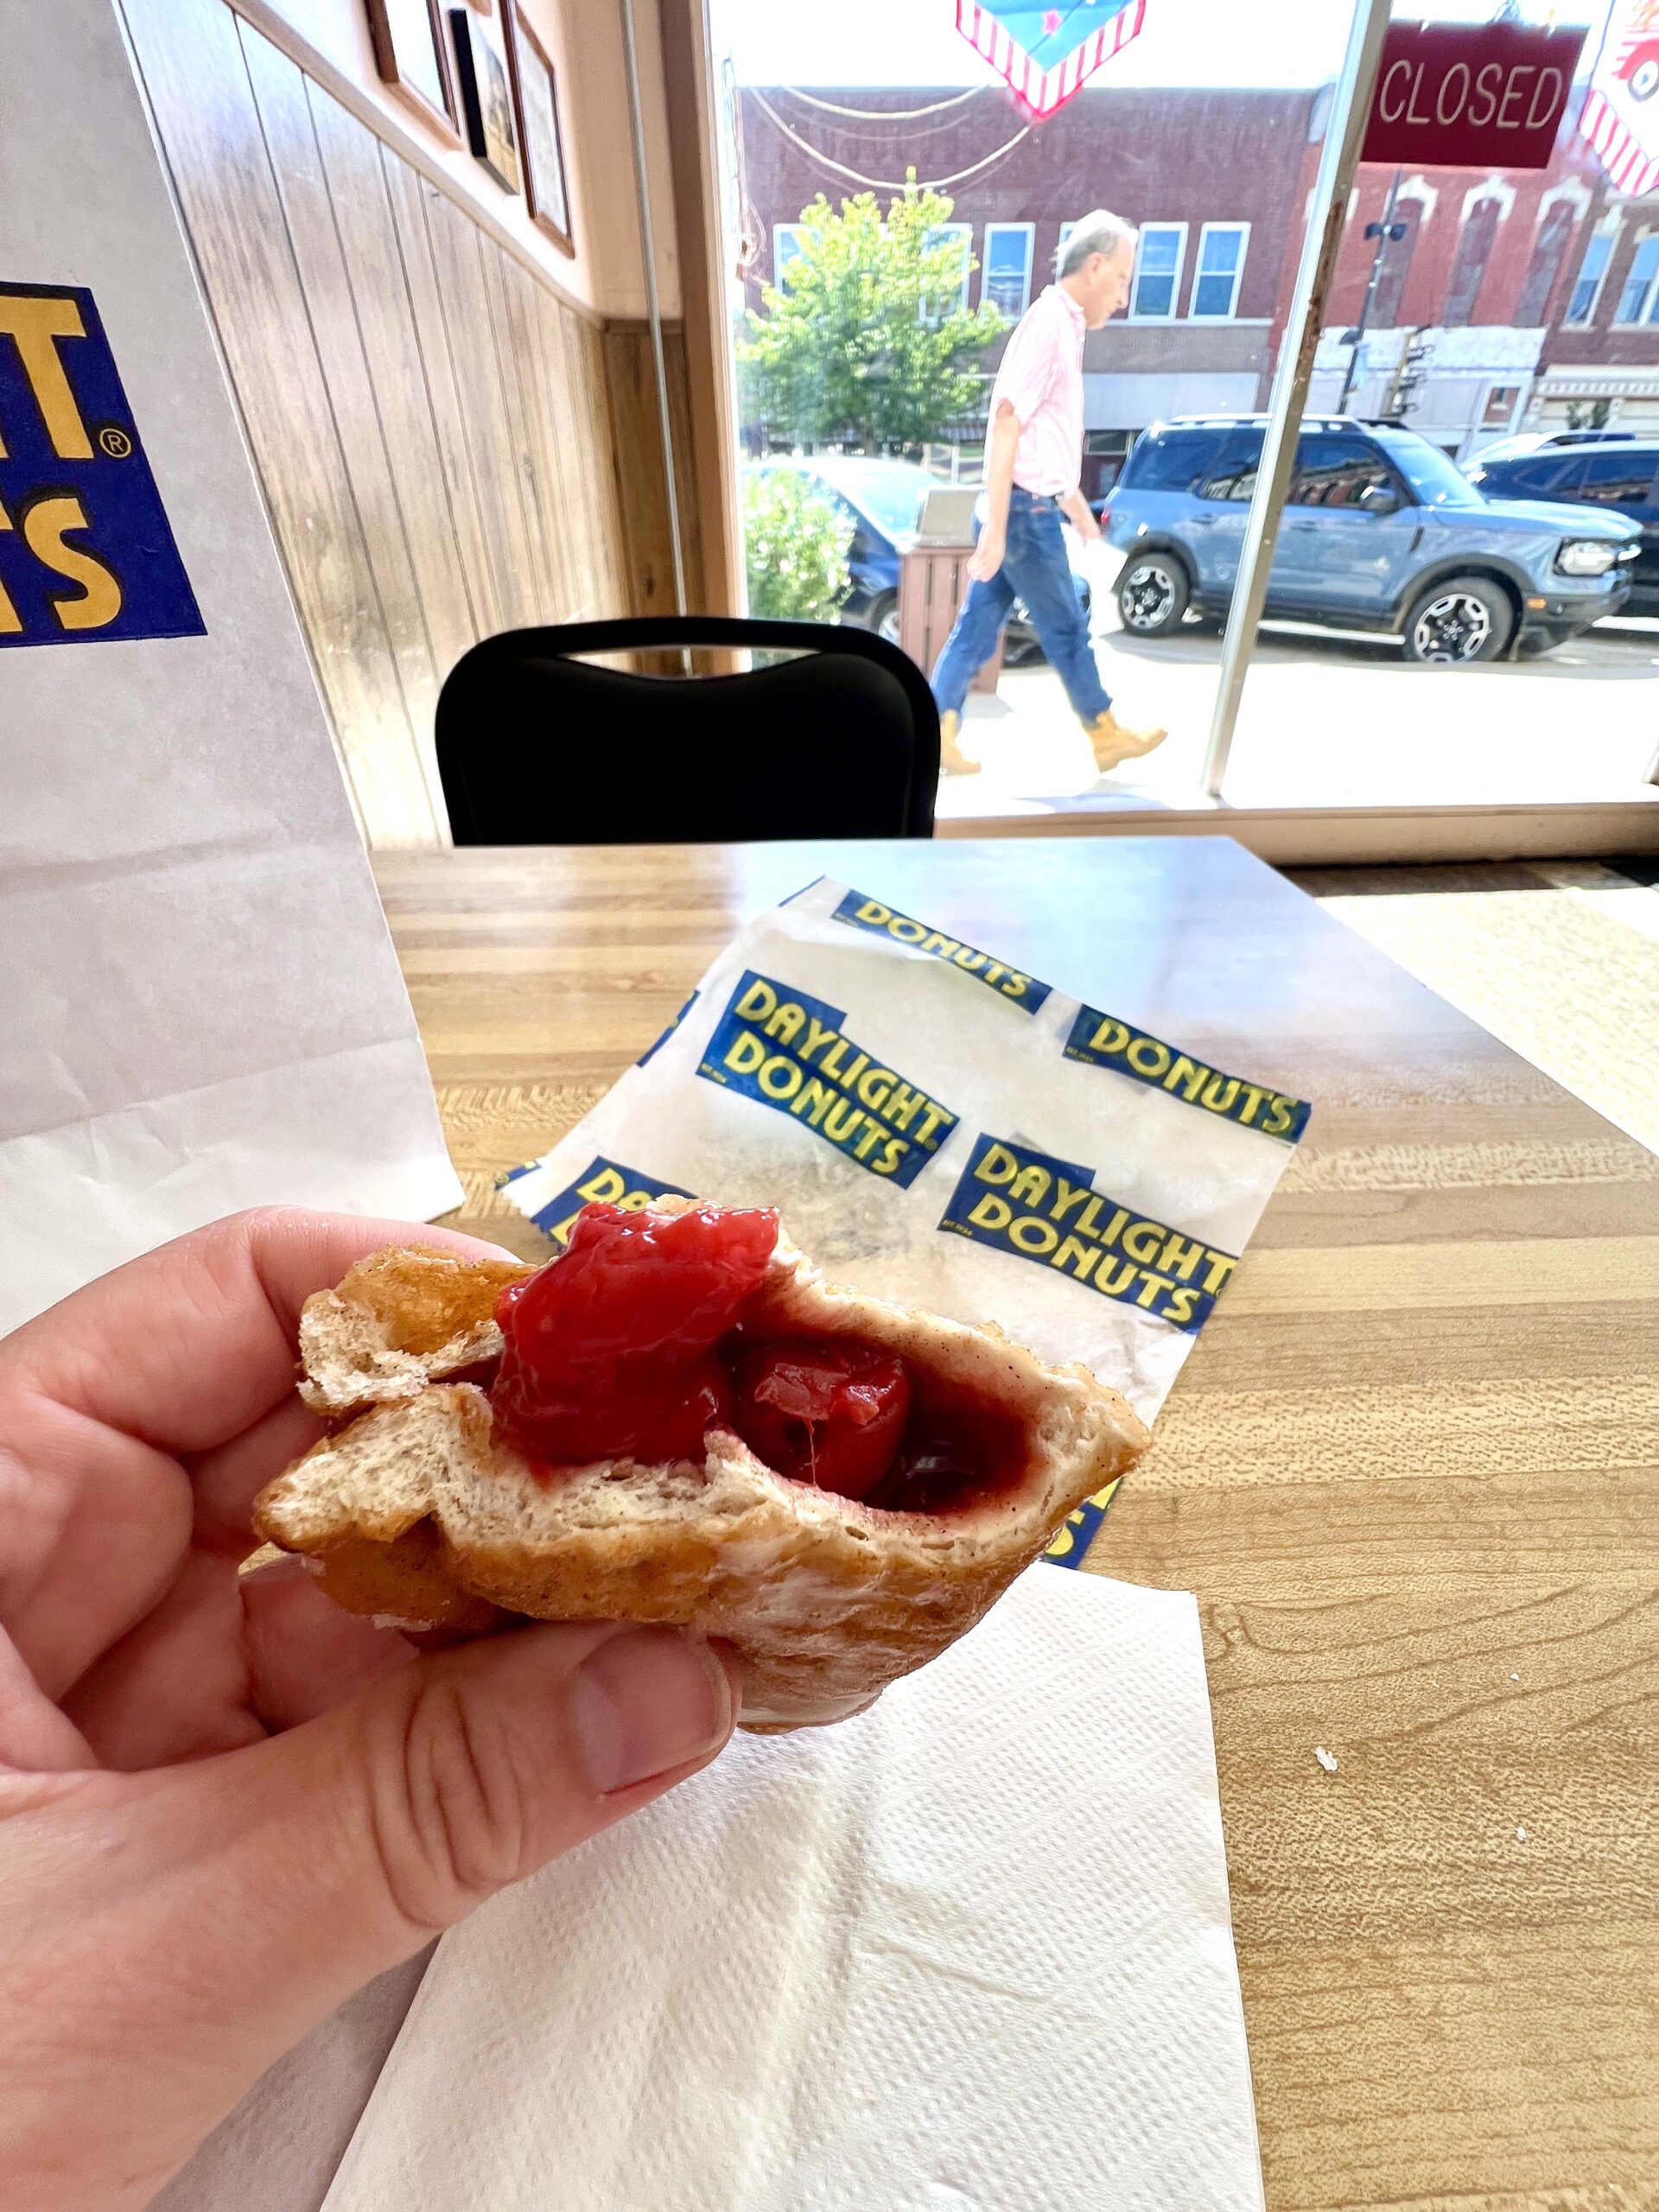 Wood-paneled walls with framed photography of local happenings adorn the space. The smell of fresh-baked glazed donuts, bear claws, and long johns filled the air of the family-owned shop.
Lucky for me, one cheery hand-pie remained on a lonely baker’s tray. The glazed, fruit-filled pastry reminded me of my childhood until the last bite.
PRO TIP: Day-old donuts are half-priced. Check the Daily Specials sign taped to the front door.
Fly Over State Brewery
What began as a hobby creating craft beer with an at-home brewing kit grew into Fly Over State Brewery (1403 W. 8th St.).
The husband-and-wife owners renovated an old Taco Bell building, transforming it into a taproom and restaurant serving a variety of craft brews, burgers, and panini-style sandwiches.
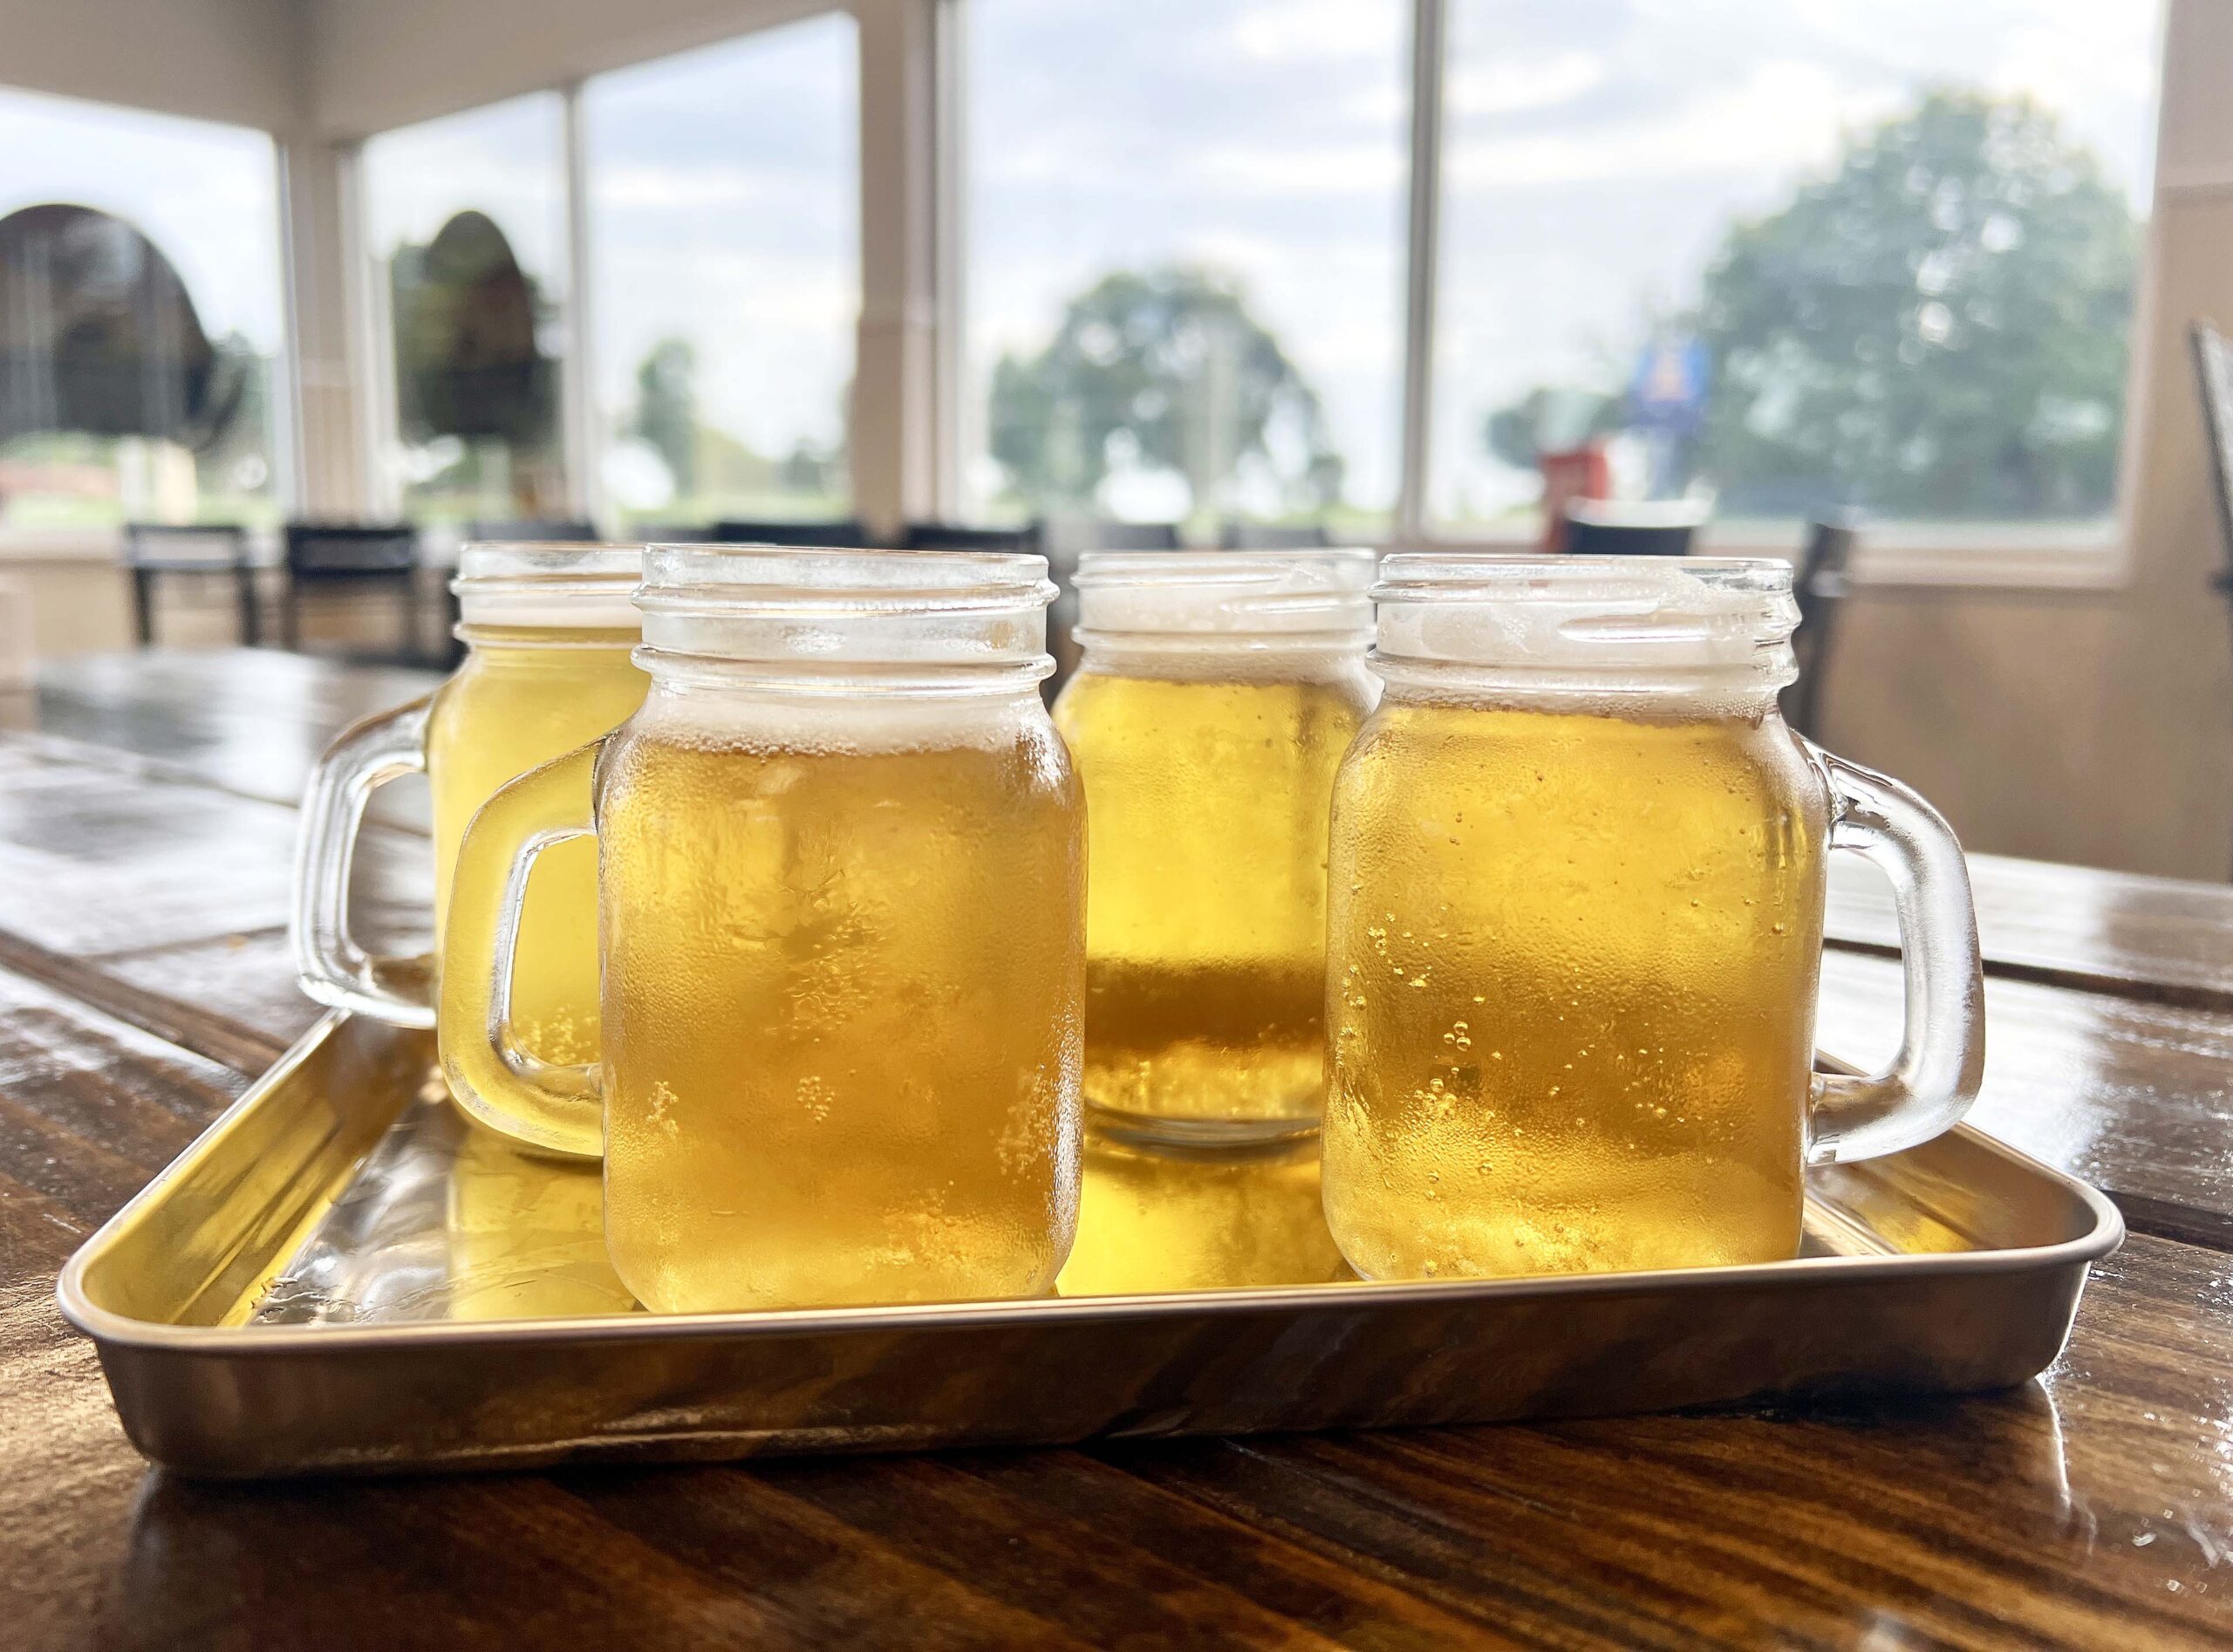 A flight of small-pour beers gave me a chance to sample four beers from a menu consisting of pale ales, IPAs, a sour, a hard seltzer, and a porter. I thought they were all drinkable, but the Galaxy Frontier Pale Ale was by far my preferred beer for its hop flavor that wasn’t overly pronounced.
The brewer told me that he loves experimenting, often making a big batch, dividing it in half, and making two varieties from it.
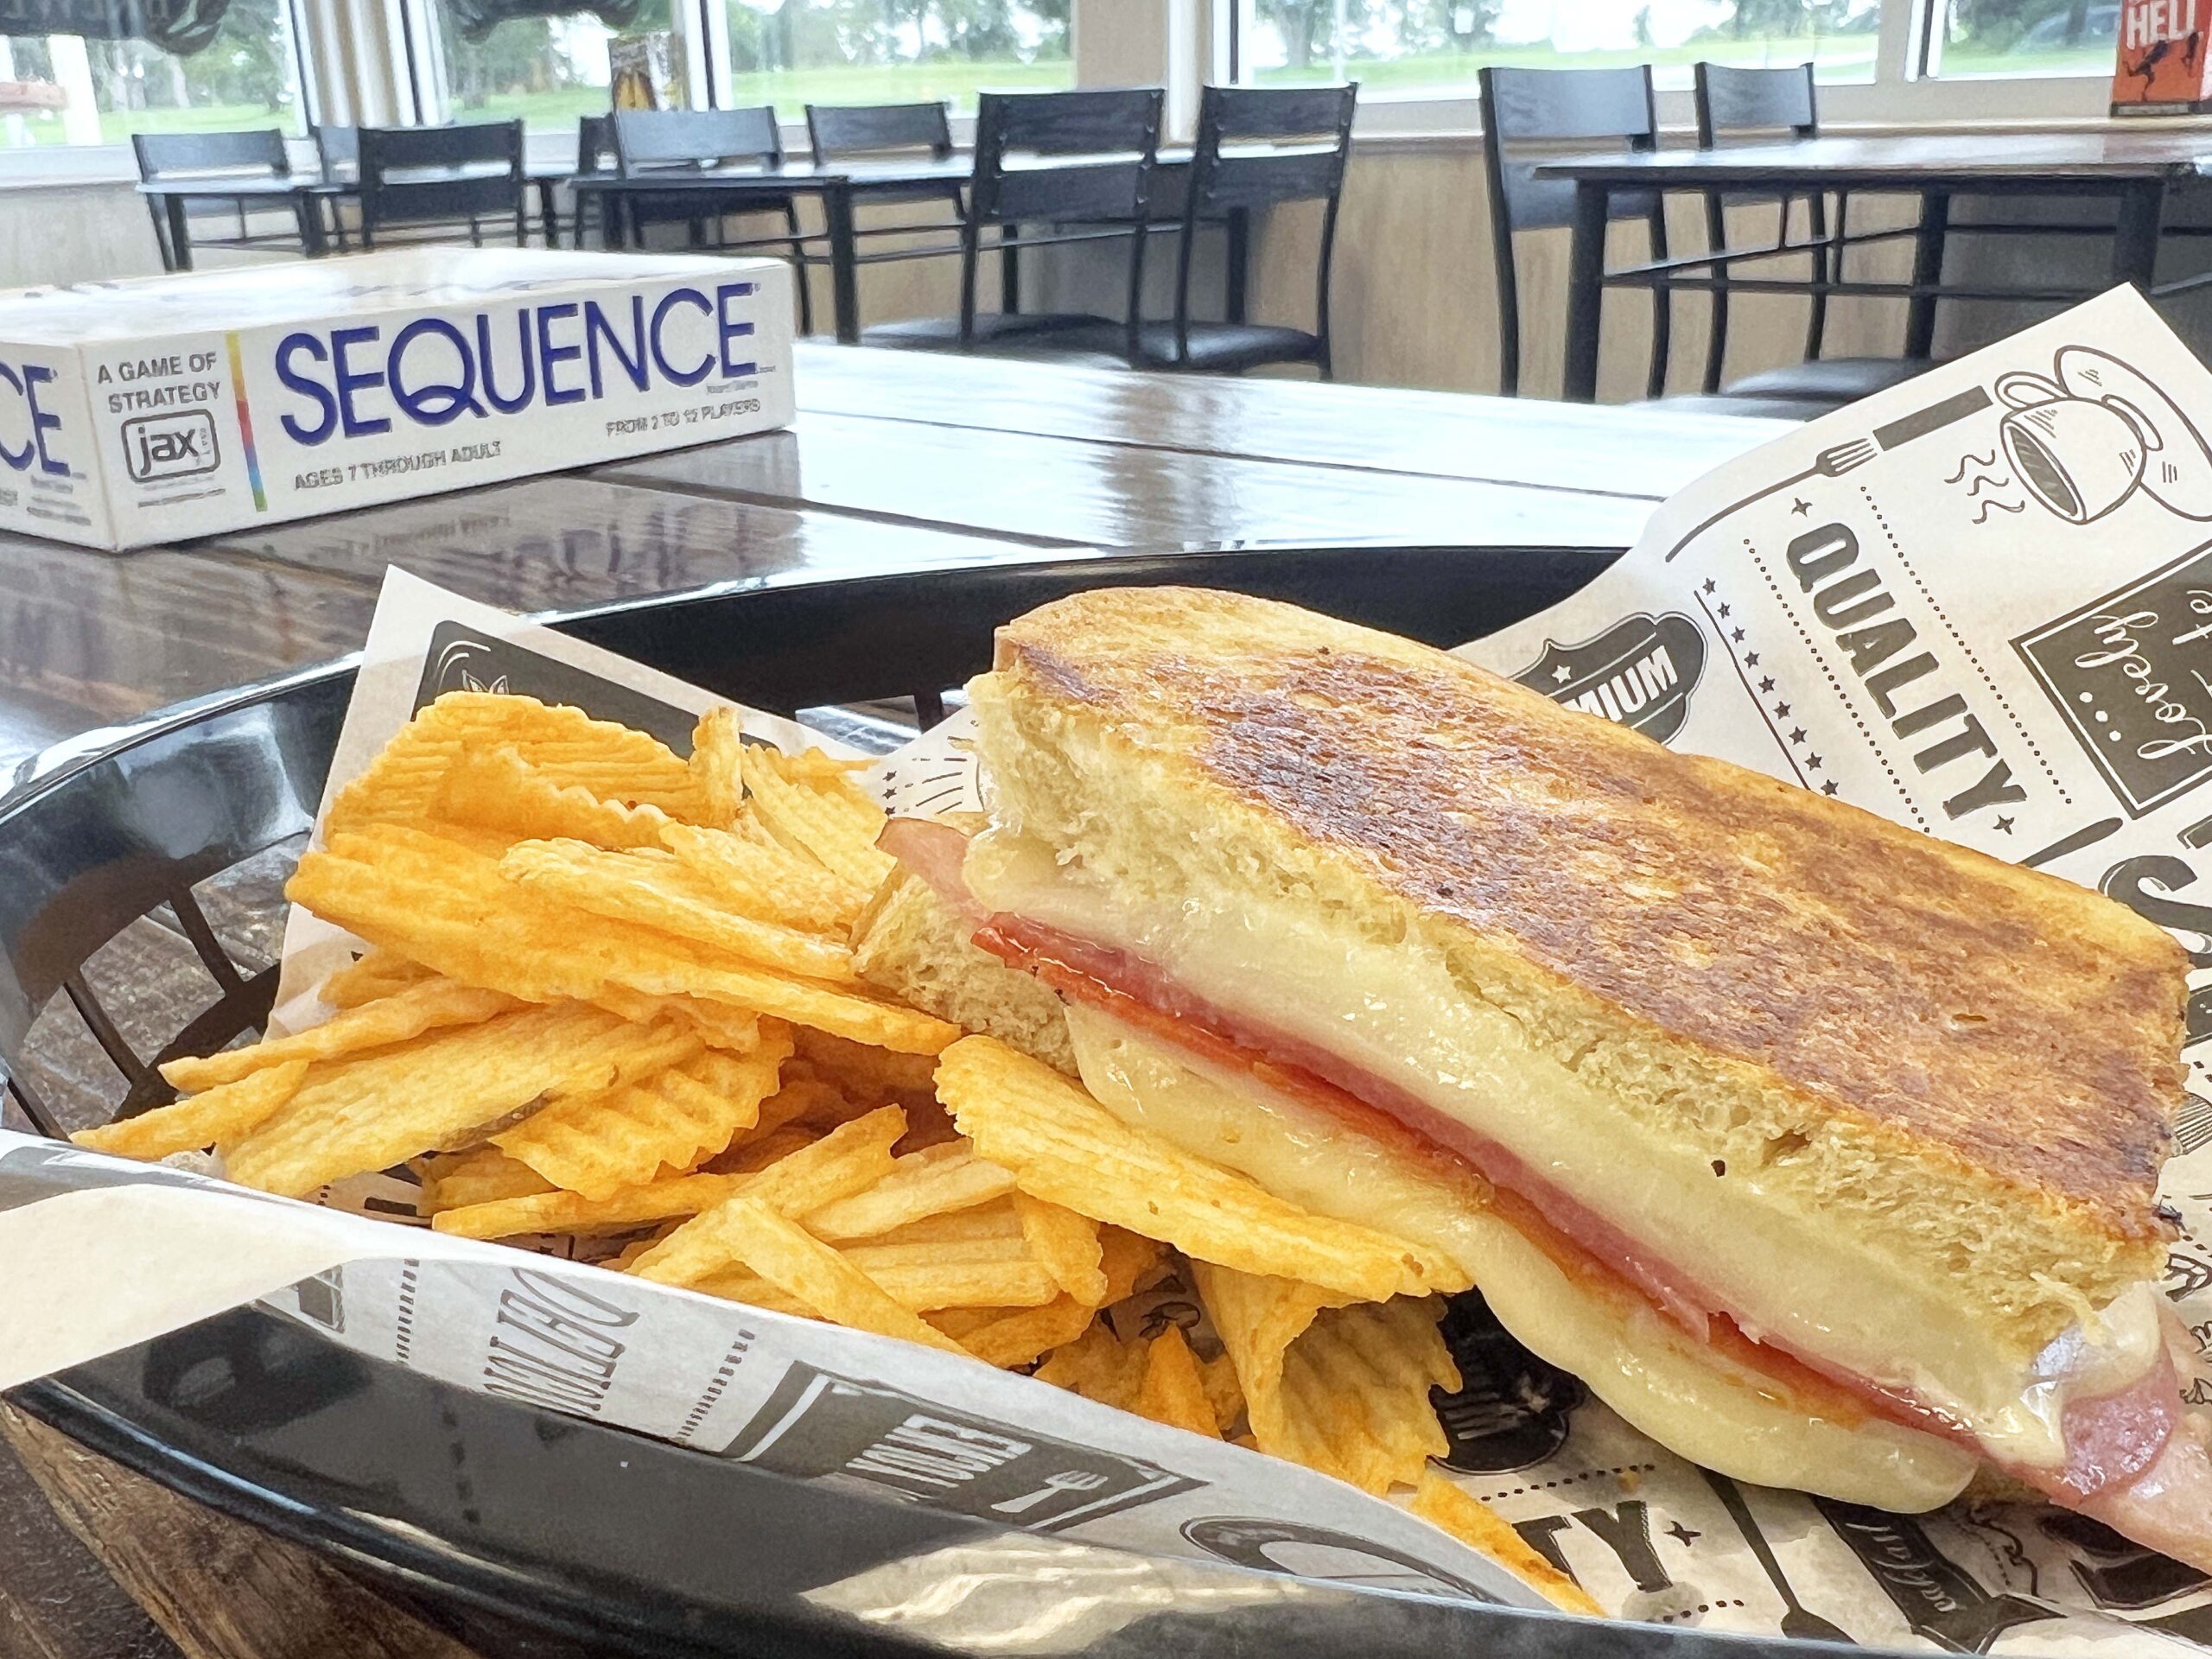 The brewer/owner stayed busy behind the counter pressing hamburgers on the grill and preparing my Italian-inspired sandwich served with my choice of chips.
If you’re looking for a gathering spot to sip and savor while playing a board game, Fly Over Brewing Company is the place. The prices are reasonable, and the folks behind the counter are happy to welcome you.
PRO TIP: Don’t miss $5 Pint, $9 Burger Friday.
The Dore
One restaurant in town is always hopping. The Dore (114 N. Washington Ave.) is a family-owned bar and grill known for hamburgers. For over a decade, customers have come to count on the menu’s selection of comfort classics and daily specials.
After finding an open seat at the bar, I ordered a cheeseburger and sweet potato fries. I was surprised by how quickly my food arrived, given that people continued to fill tables inside and on the back patio during lunch.
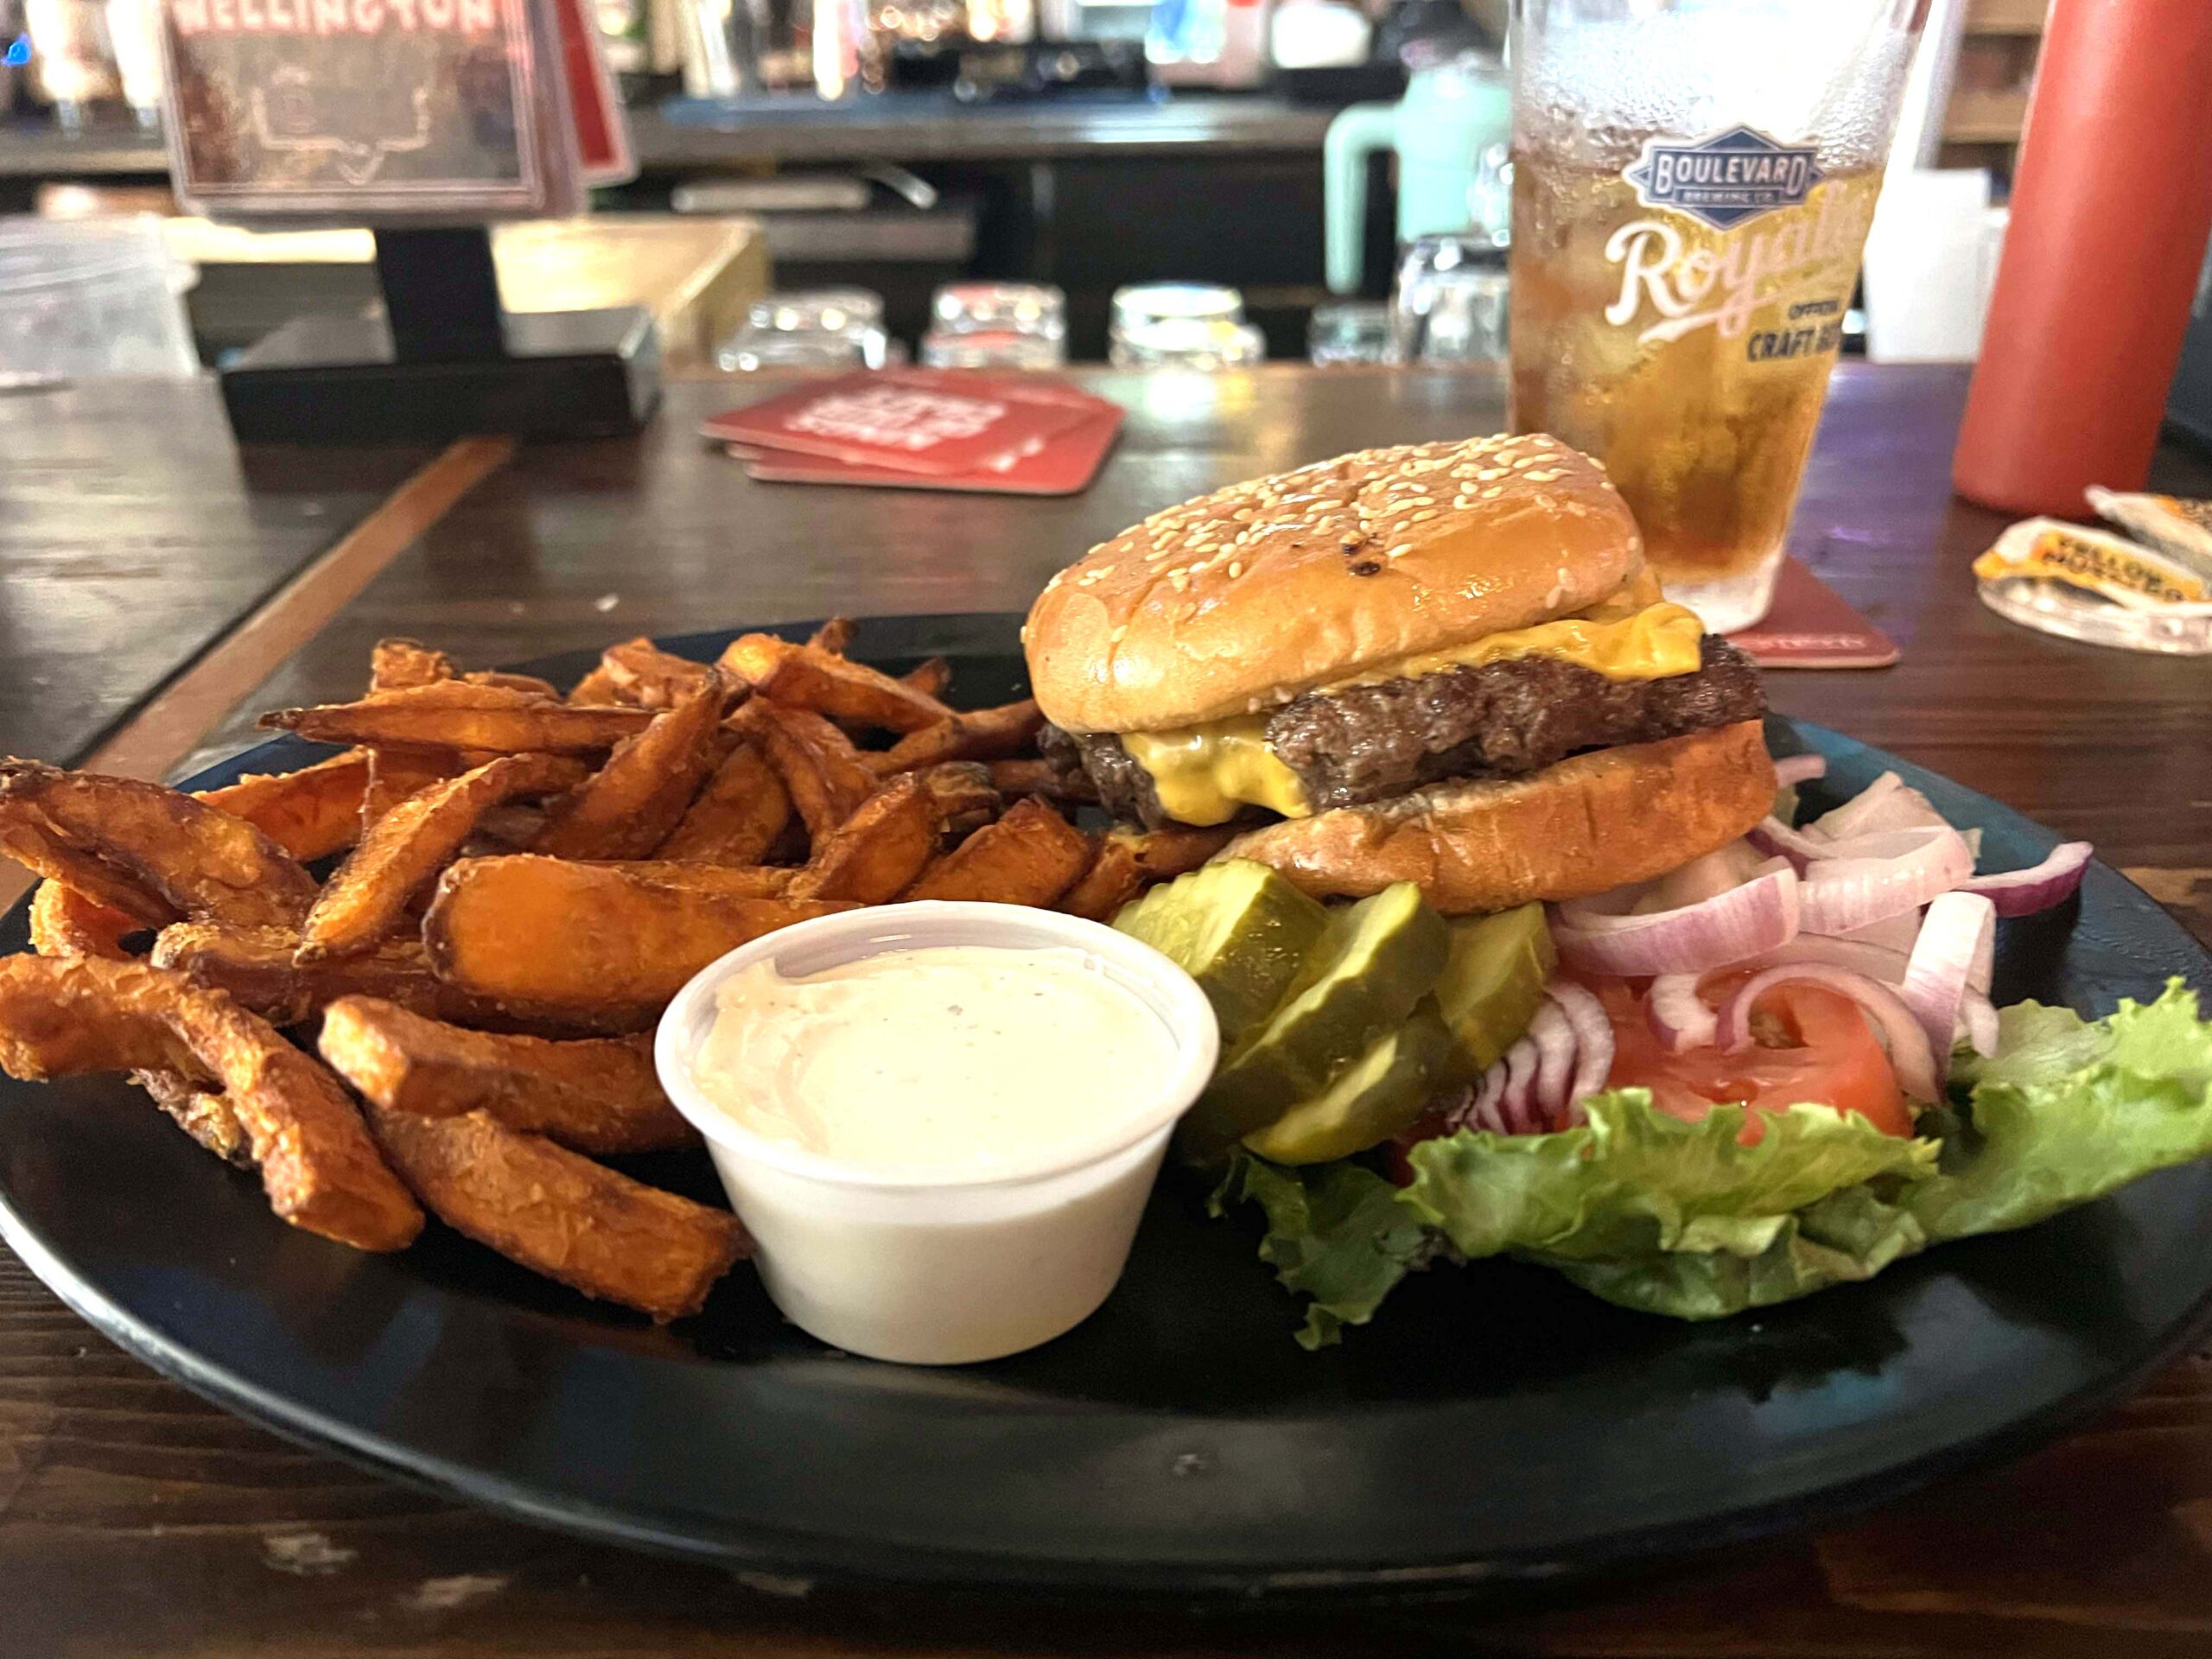 Regular customers watched horse racing and golf on TV while families tended to younger patrons and dined on sandwiches. If you go, Lauren and Amber will take good care of you.
PRO TIP: It’s a busy place at lunchtime. Arrive when the restaurant opens to score a table for two or more people.
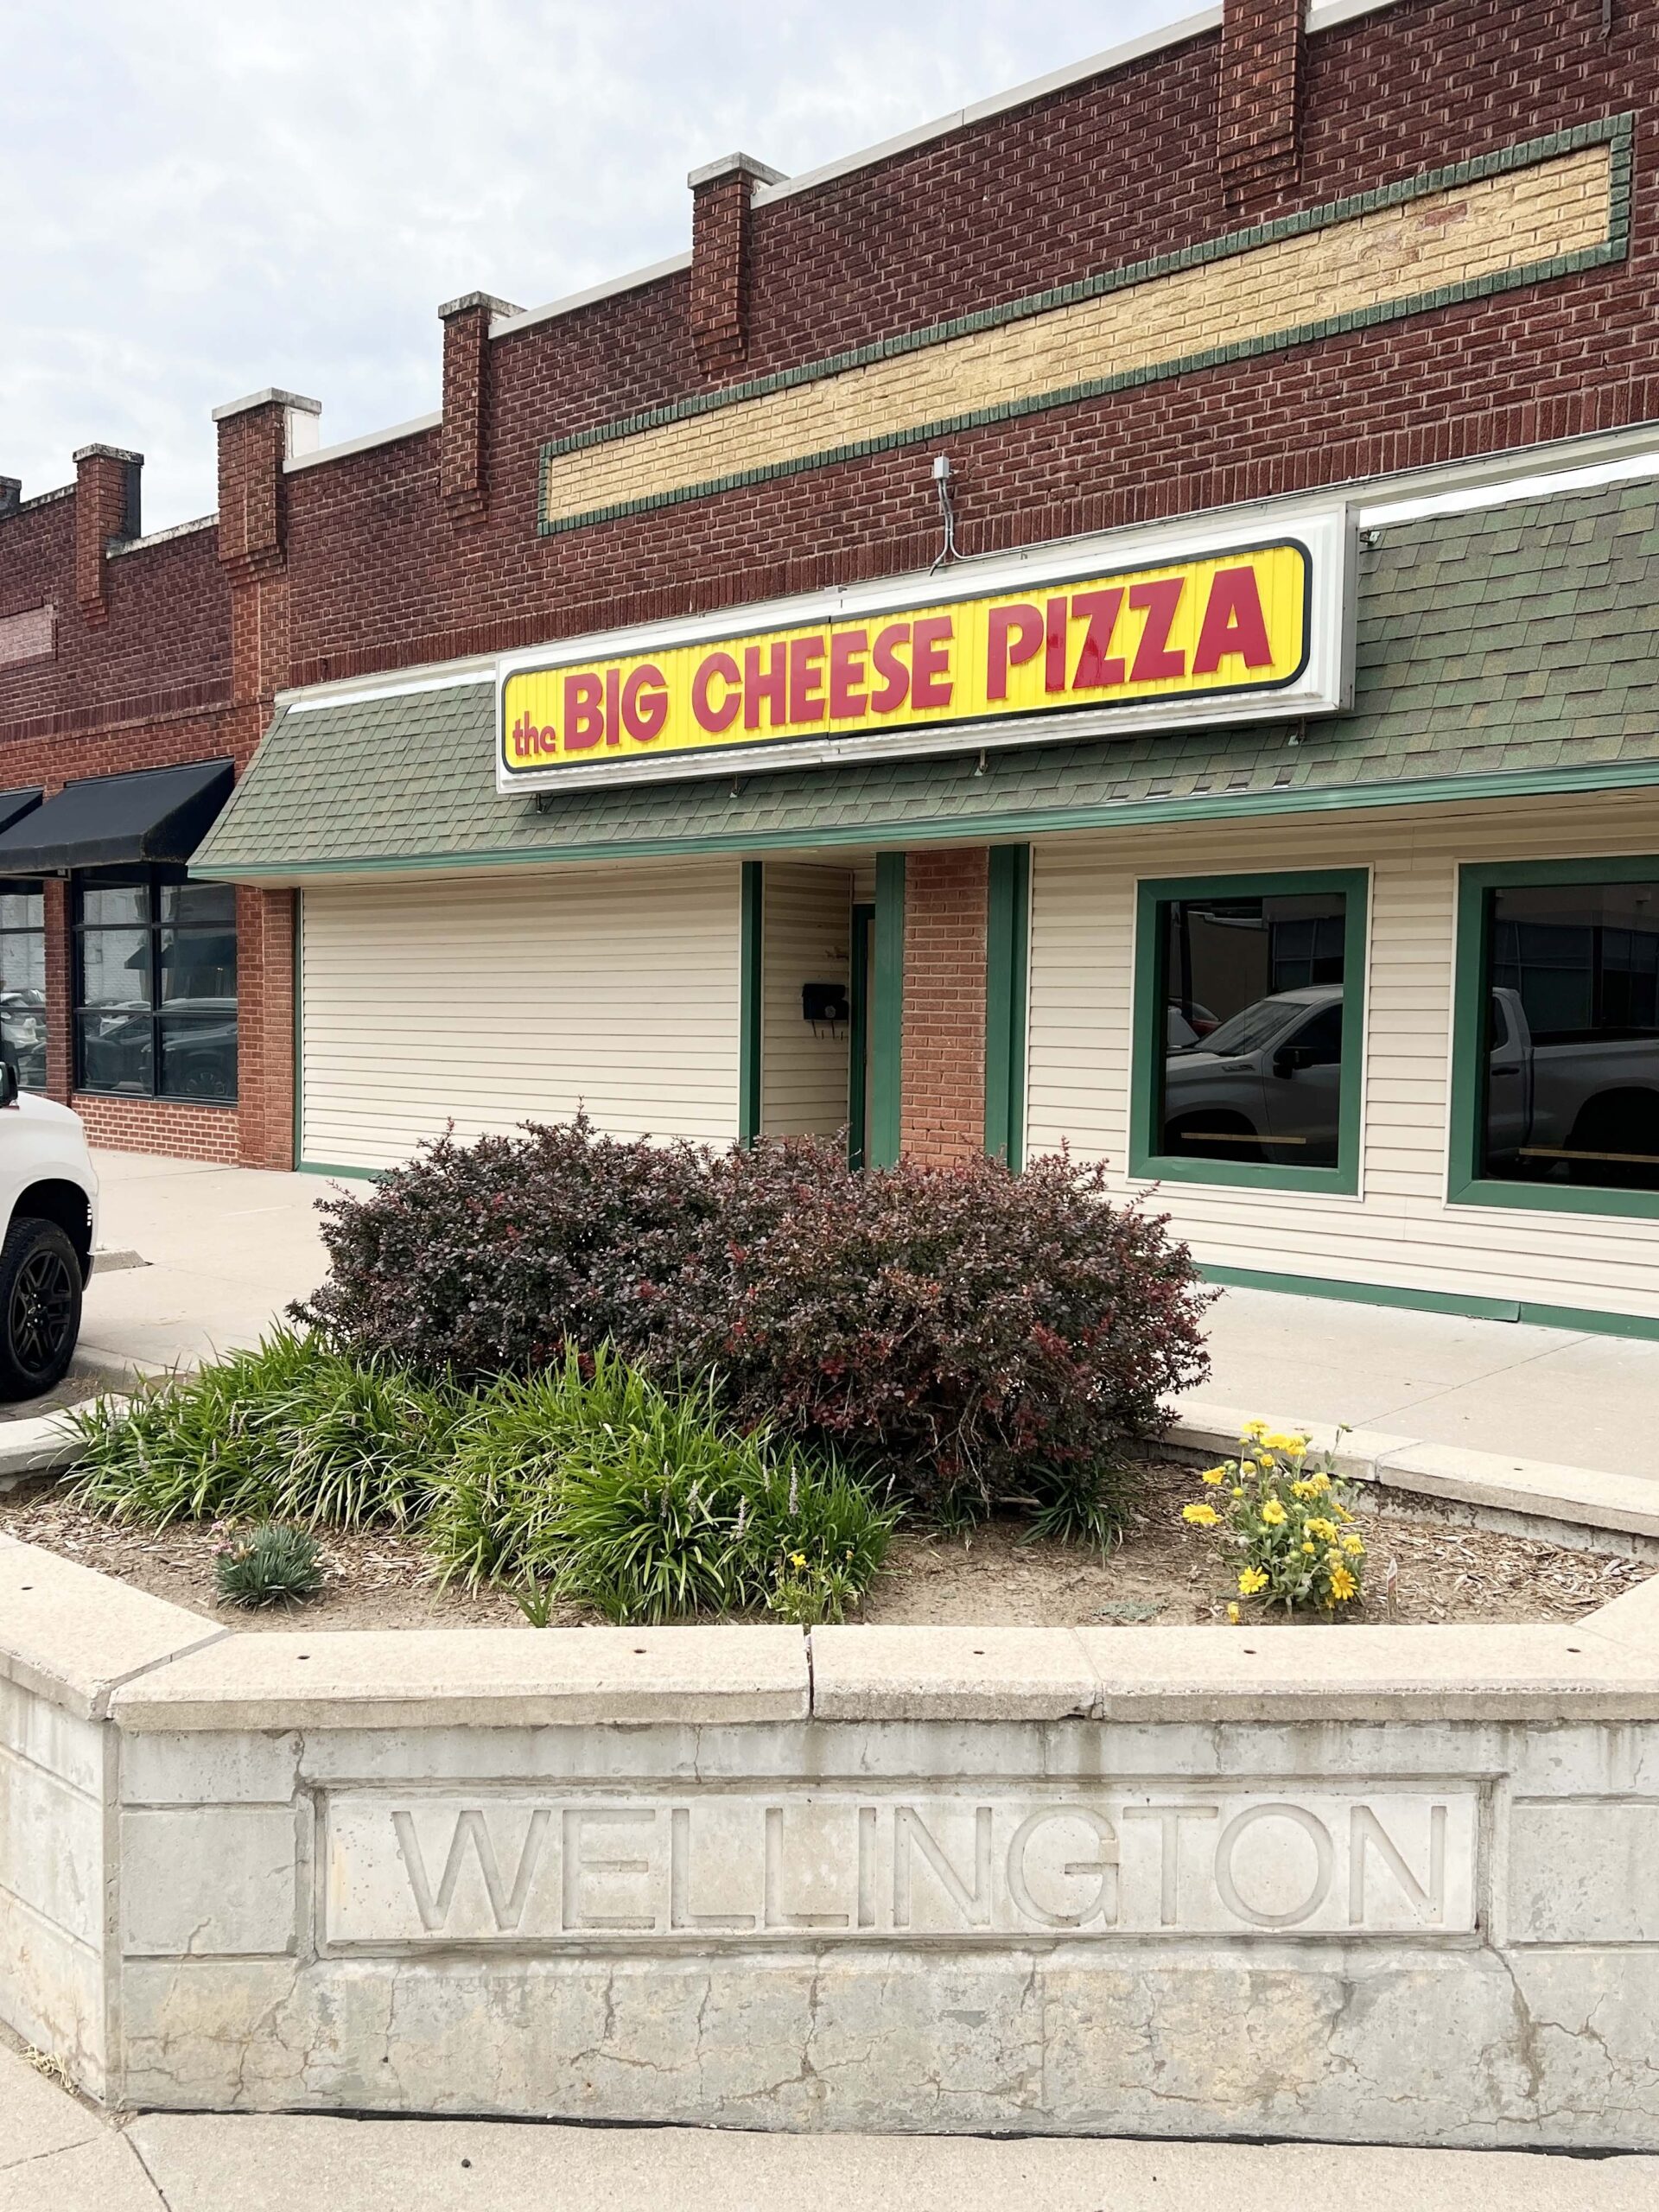
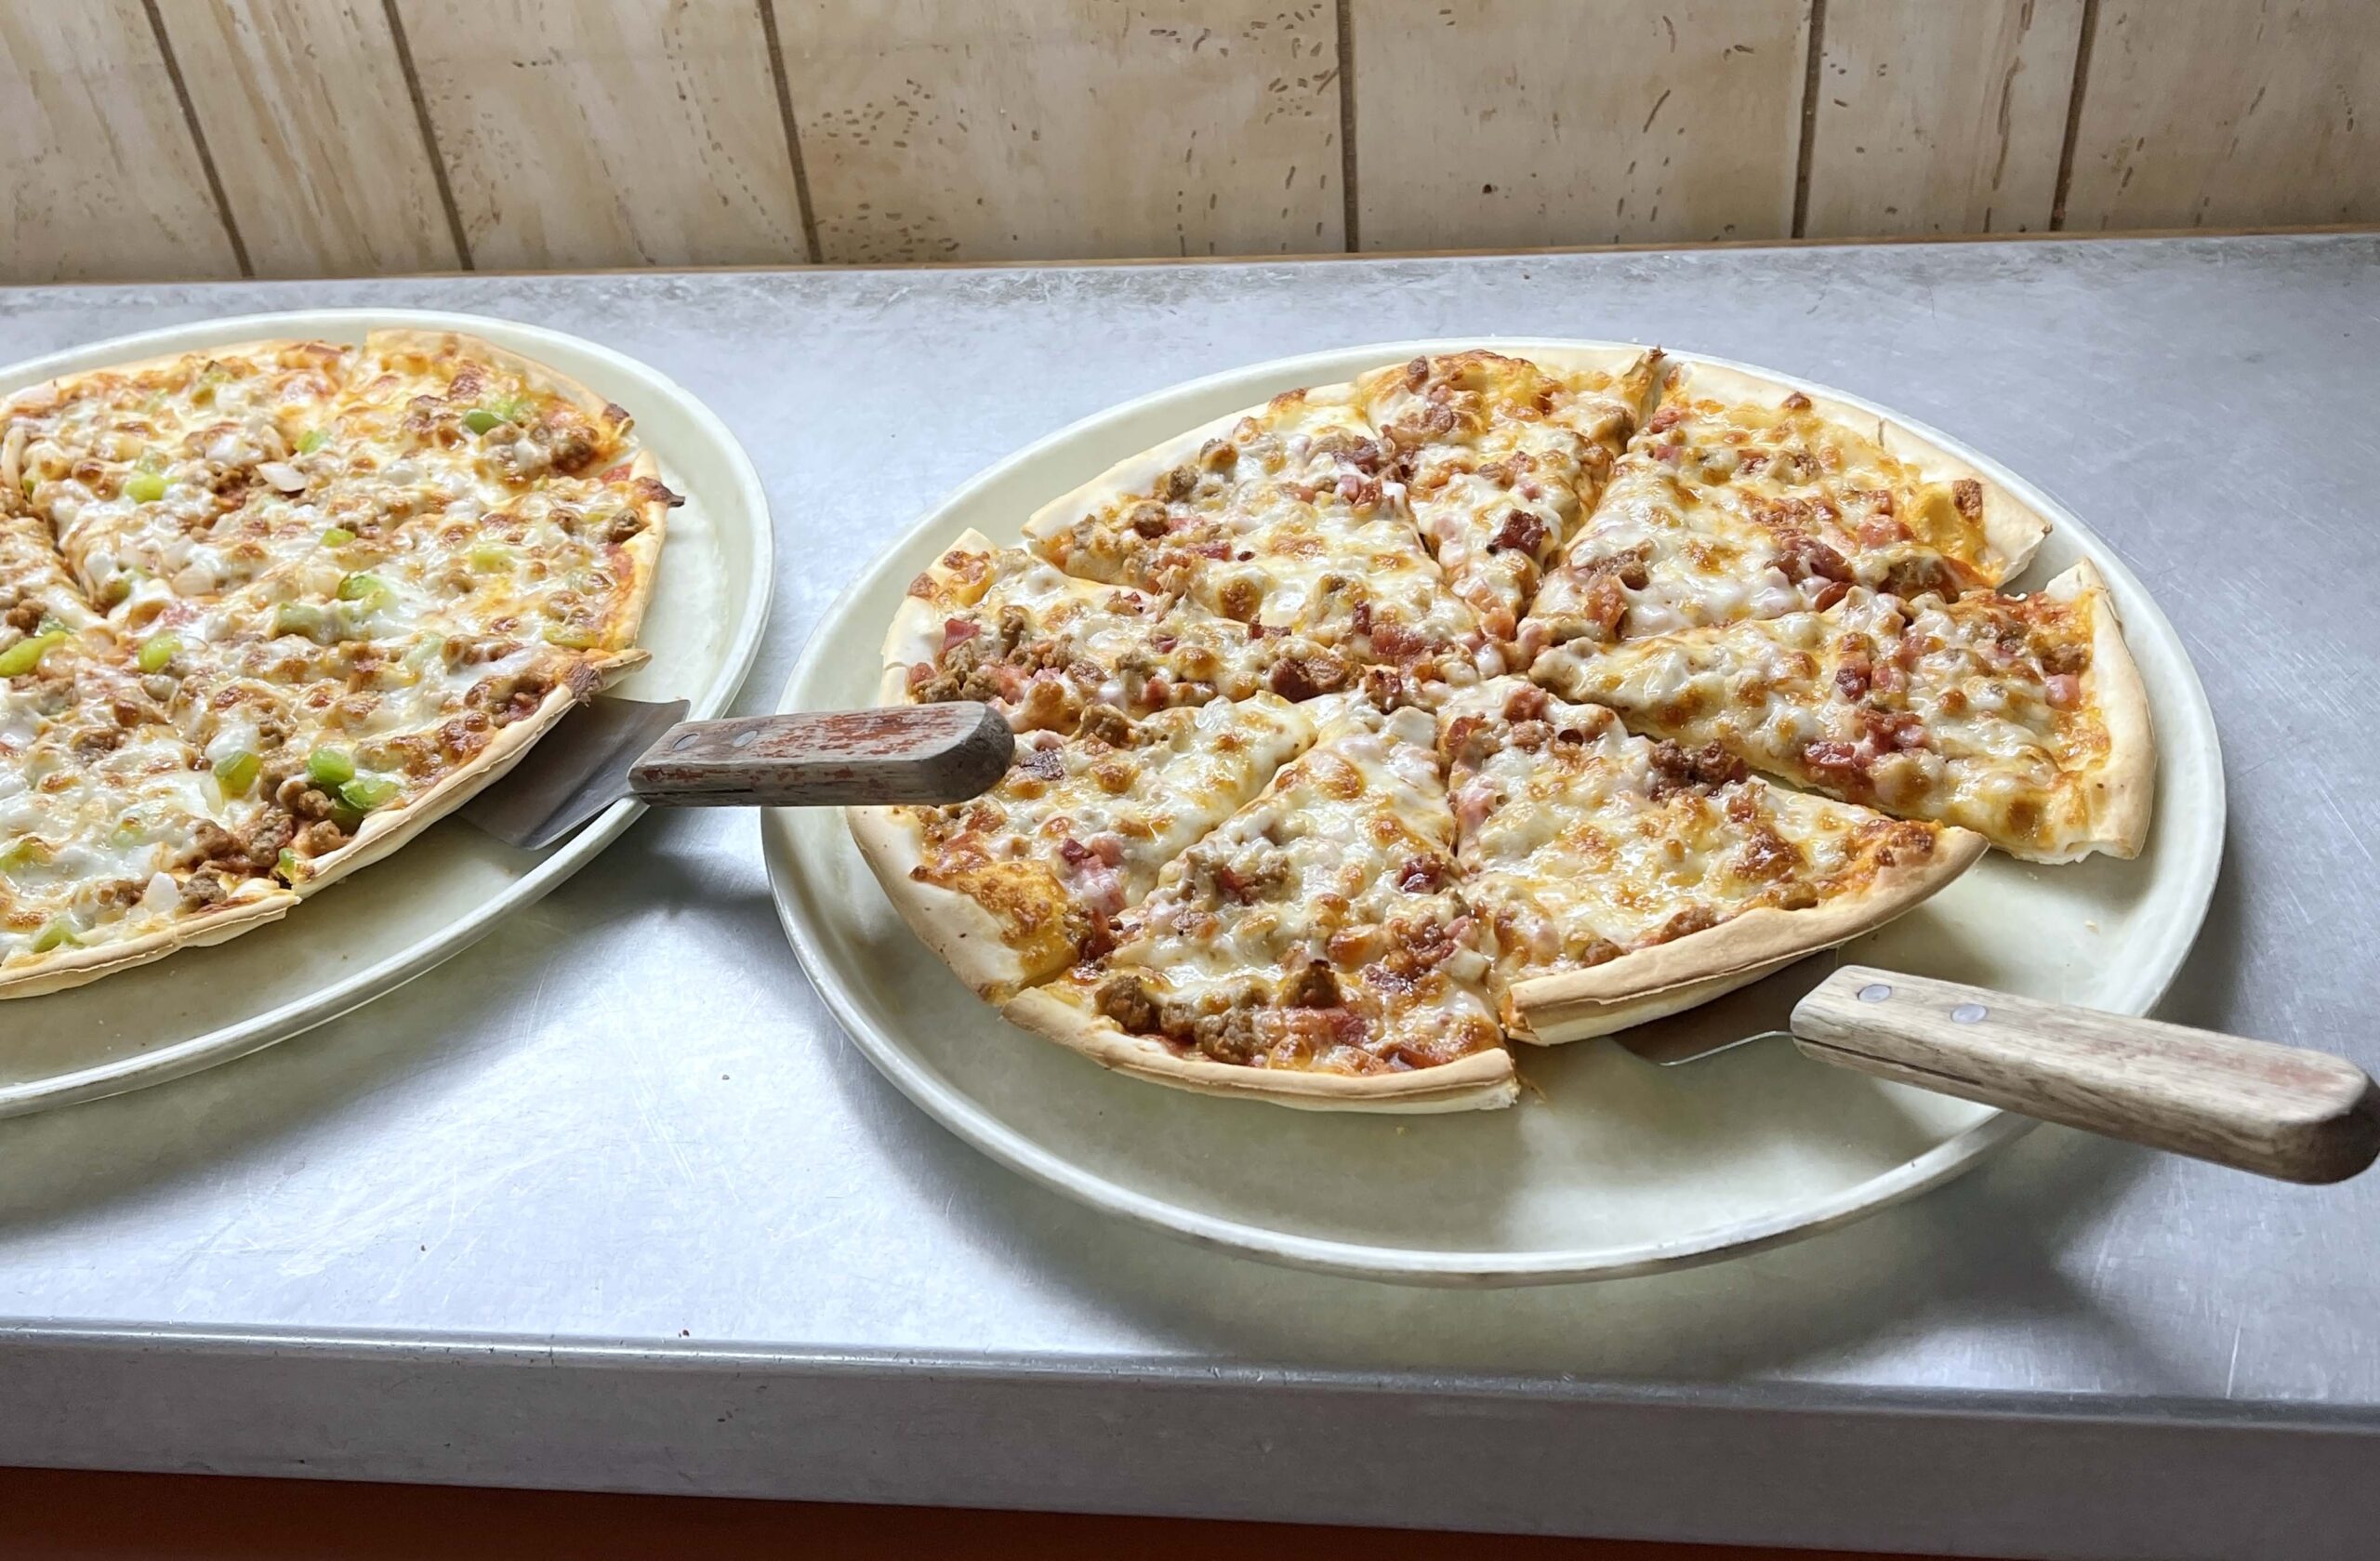
Big Cheese Pizza
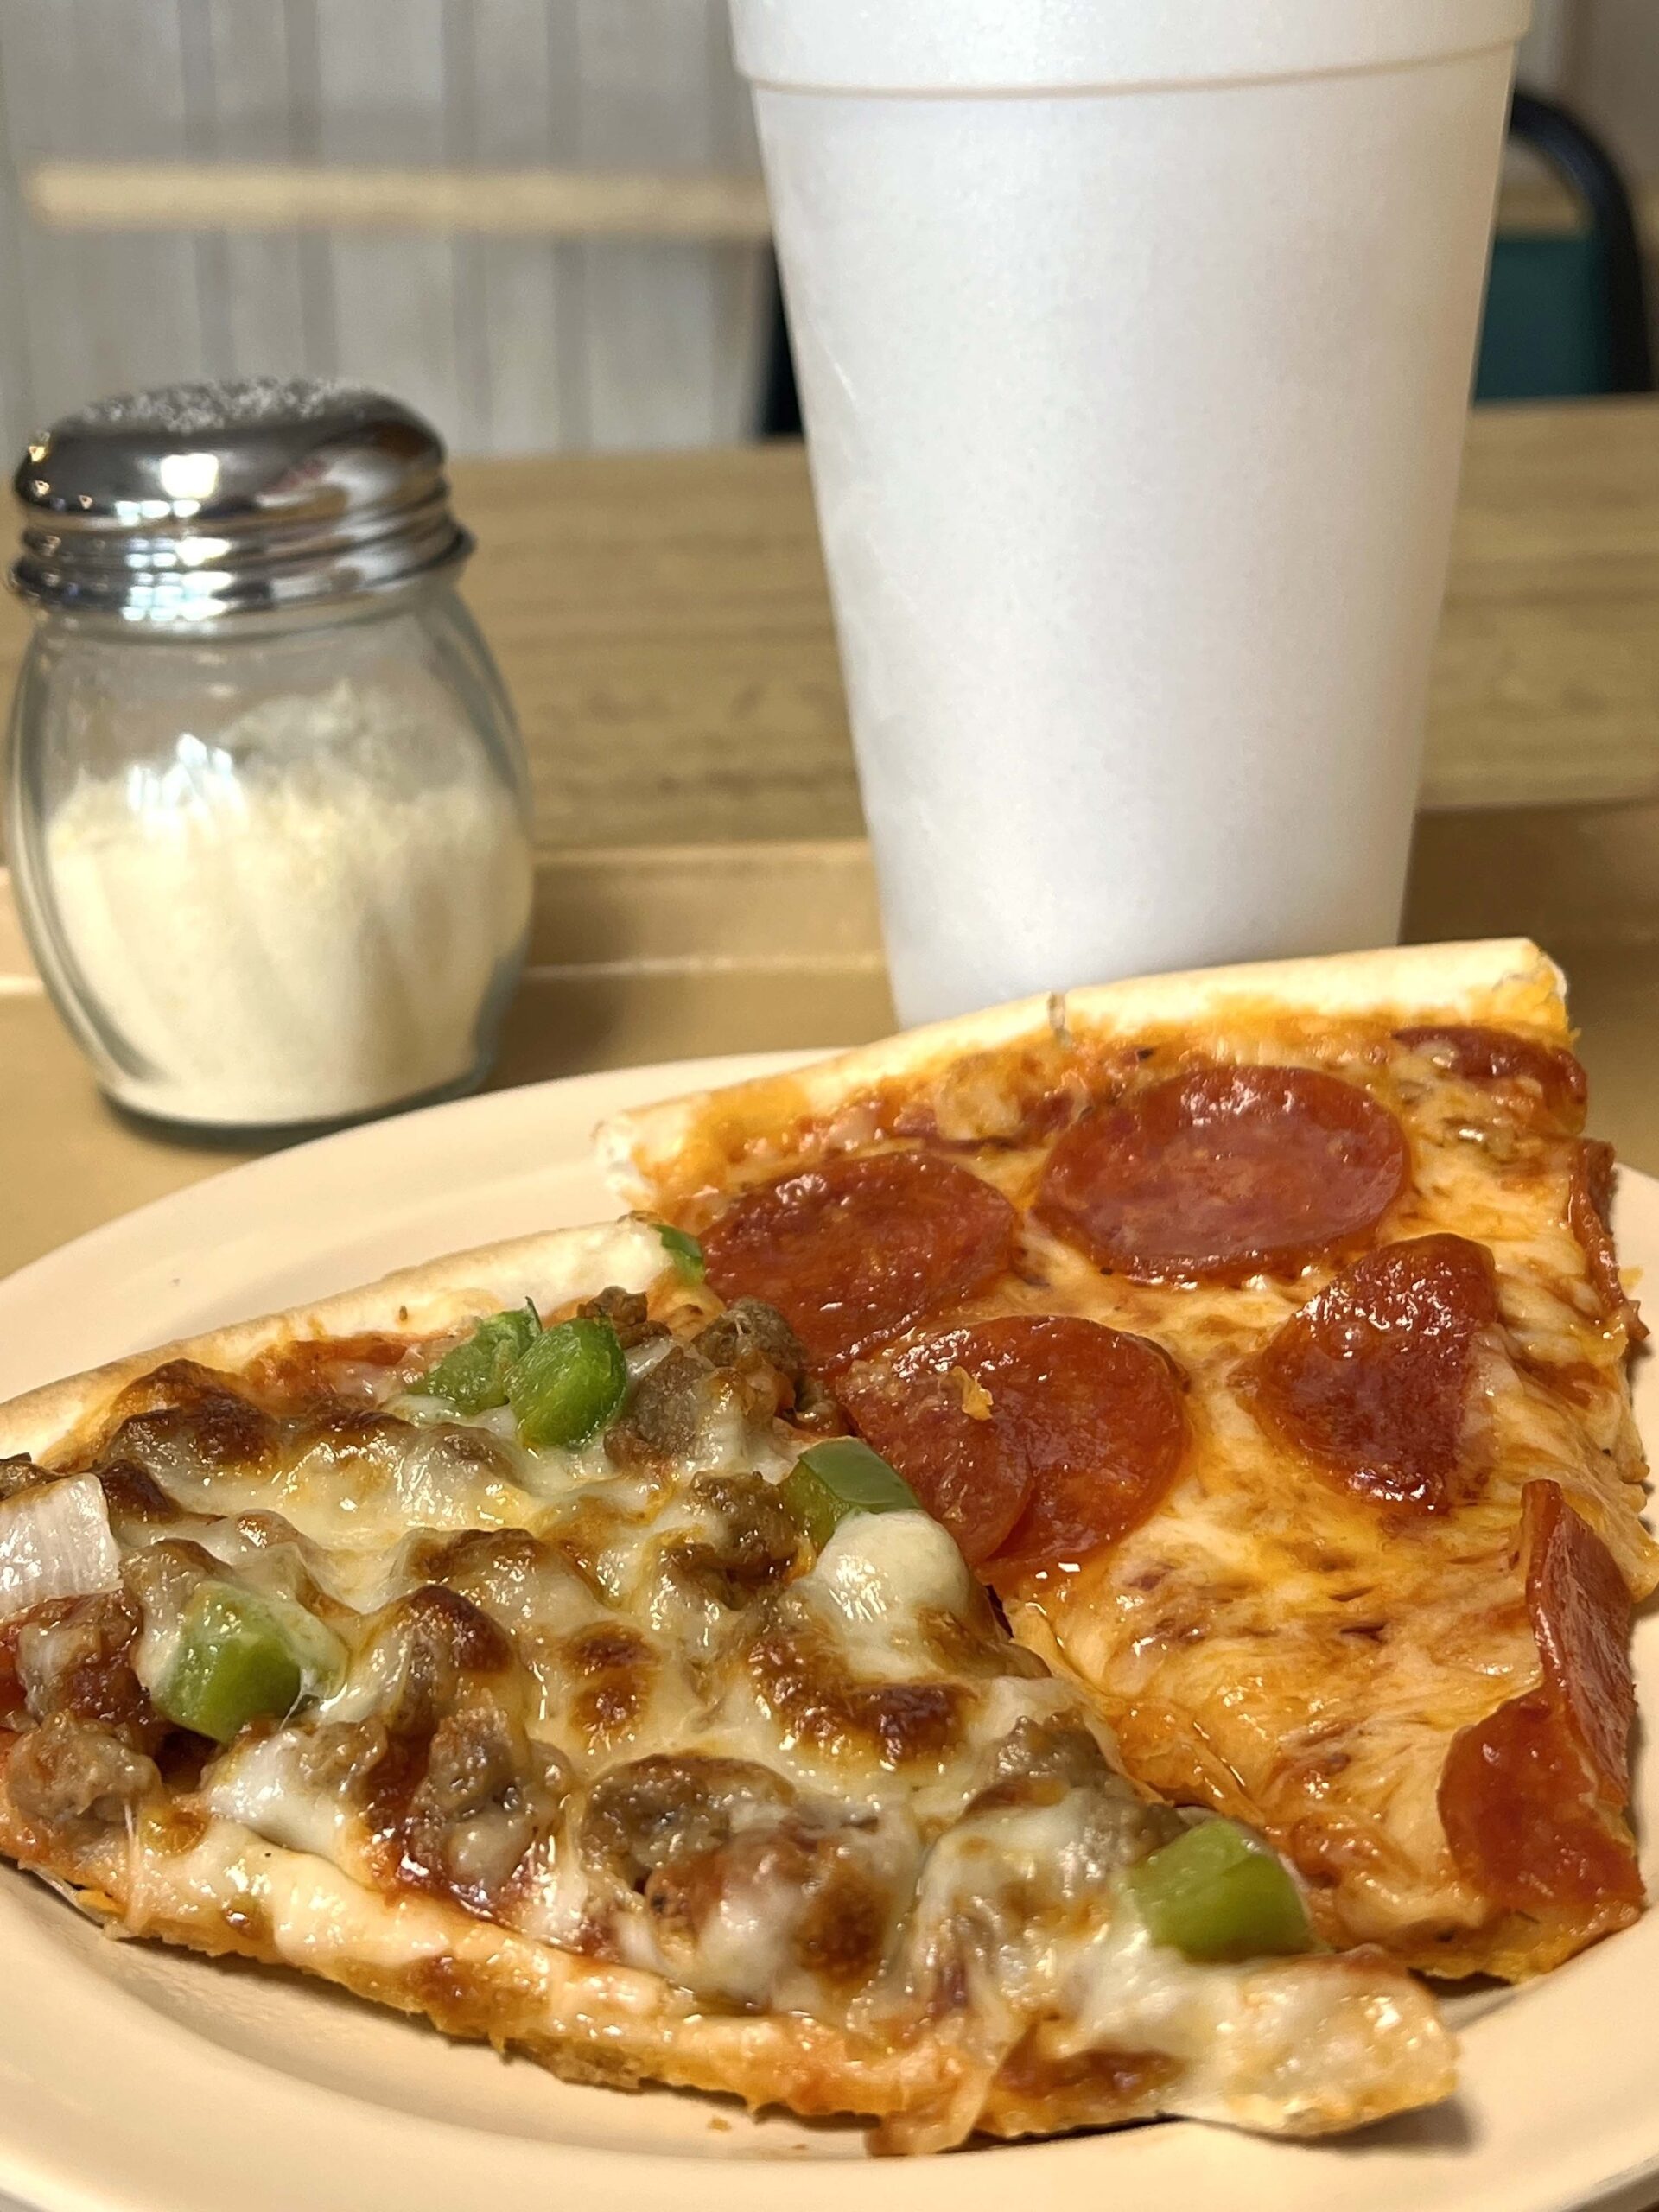
Since 1980, Big Cheese Pizza (323 N. Washington Ave.) has served customers, often busy by Noon with diners arriving for the $11.99 pizza lunch buffet that comes with a trip to the salad bar and a fountain drink.
 Some of my happiest childhood memories after our softball team won a game were eating at Big Cheese Pizza, so I was eager to revisit the Wellington location.
The thin crust pizza topped with meat, vegetables, and copious cheese tasted just as I remembered it. Delicious and comforting. The salad bar selection was underwhelming, but the pizza was worth the revisit.
 The restaurant is a community favorite, often hosting groups in its party room. Vinyl banners of school teams honoring Lady Crusader Tennis and 4A State Girls Wrestling cover the walls. Kids love the toy crane machine.
Wellington Retro Bowl
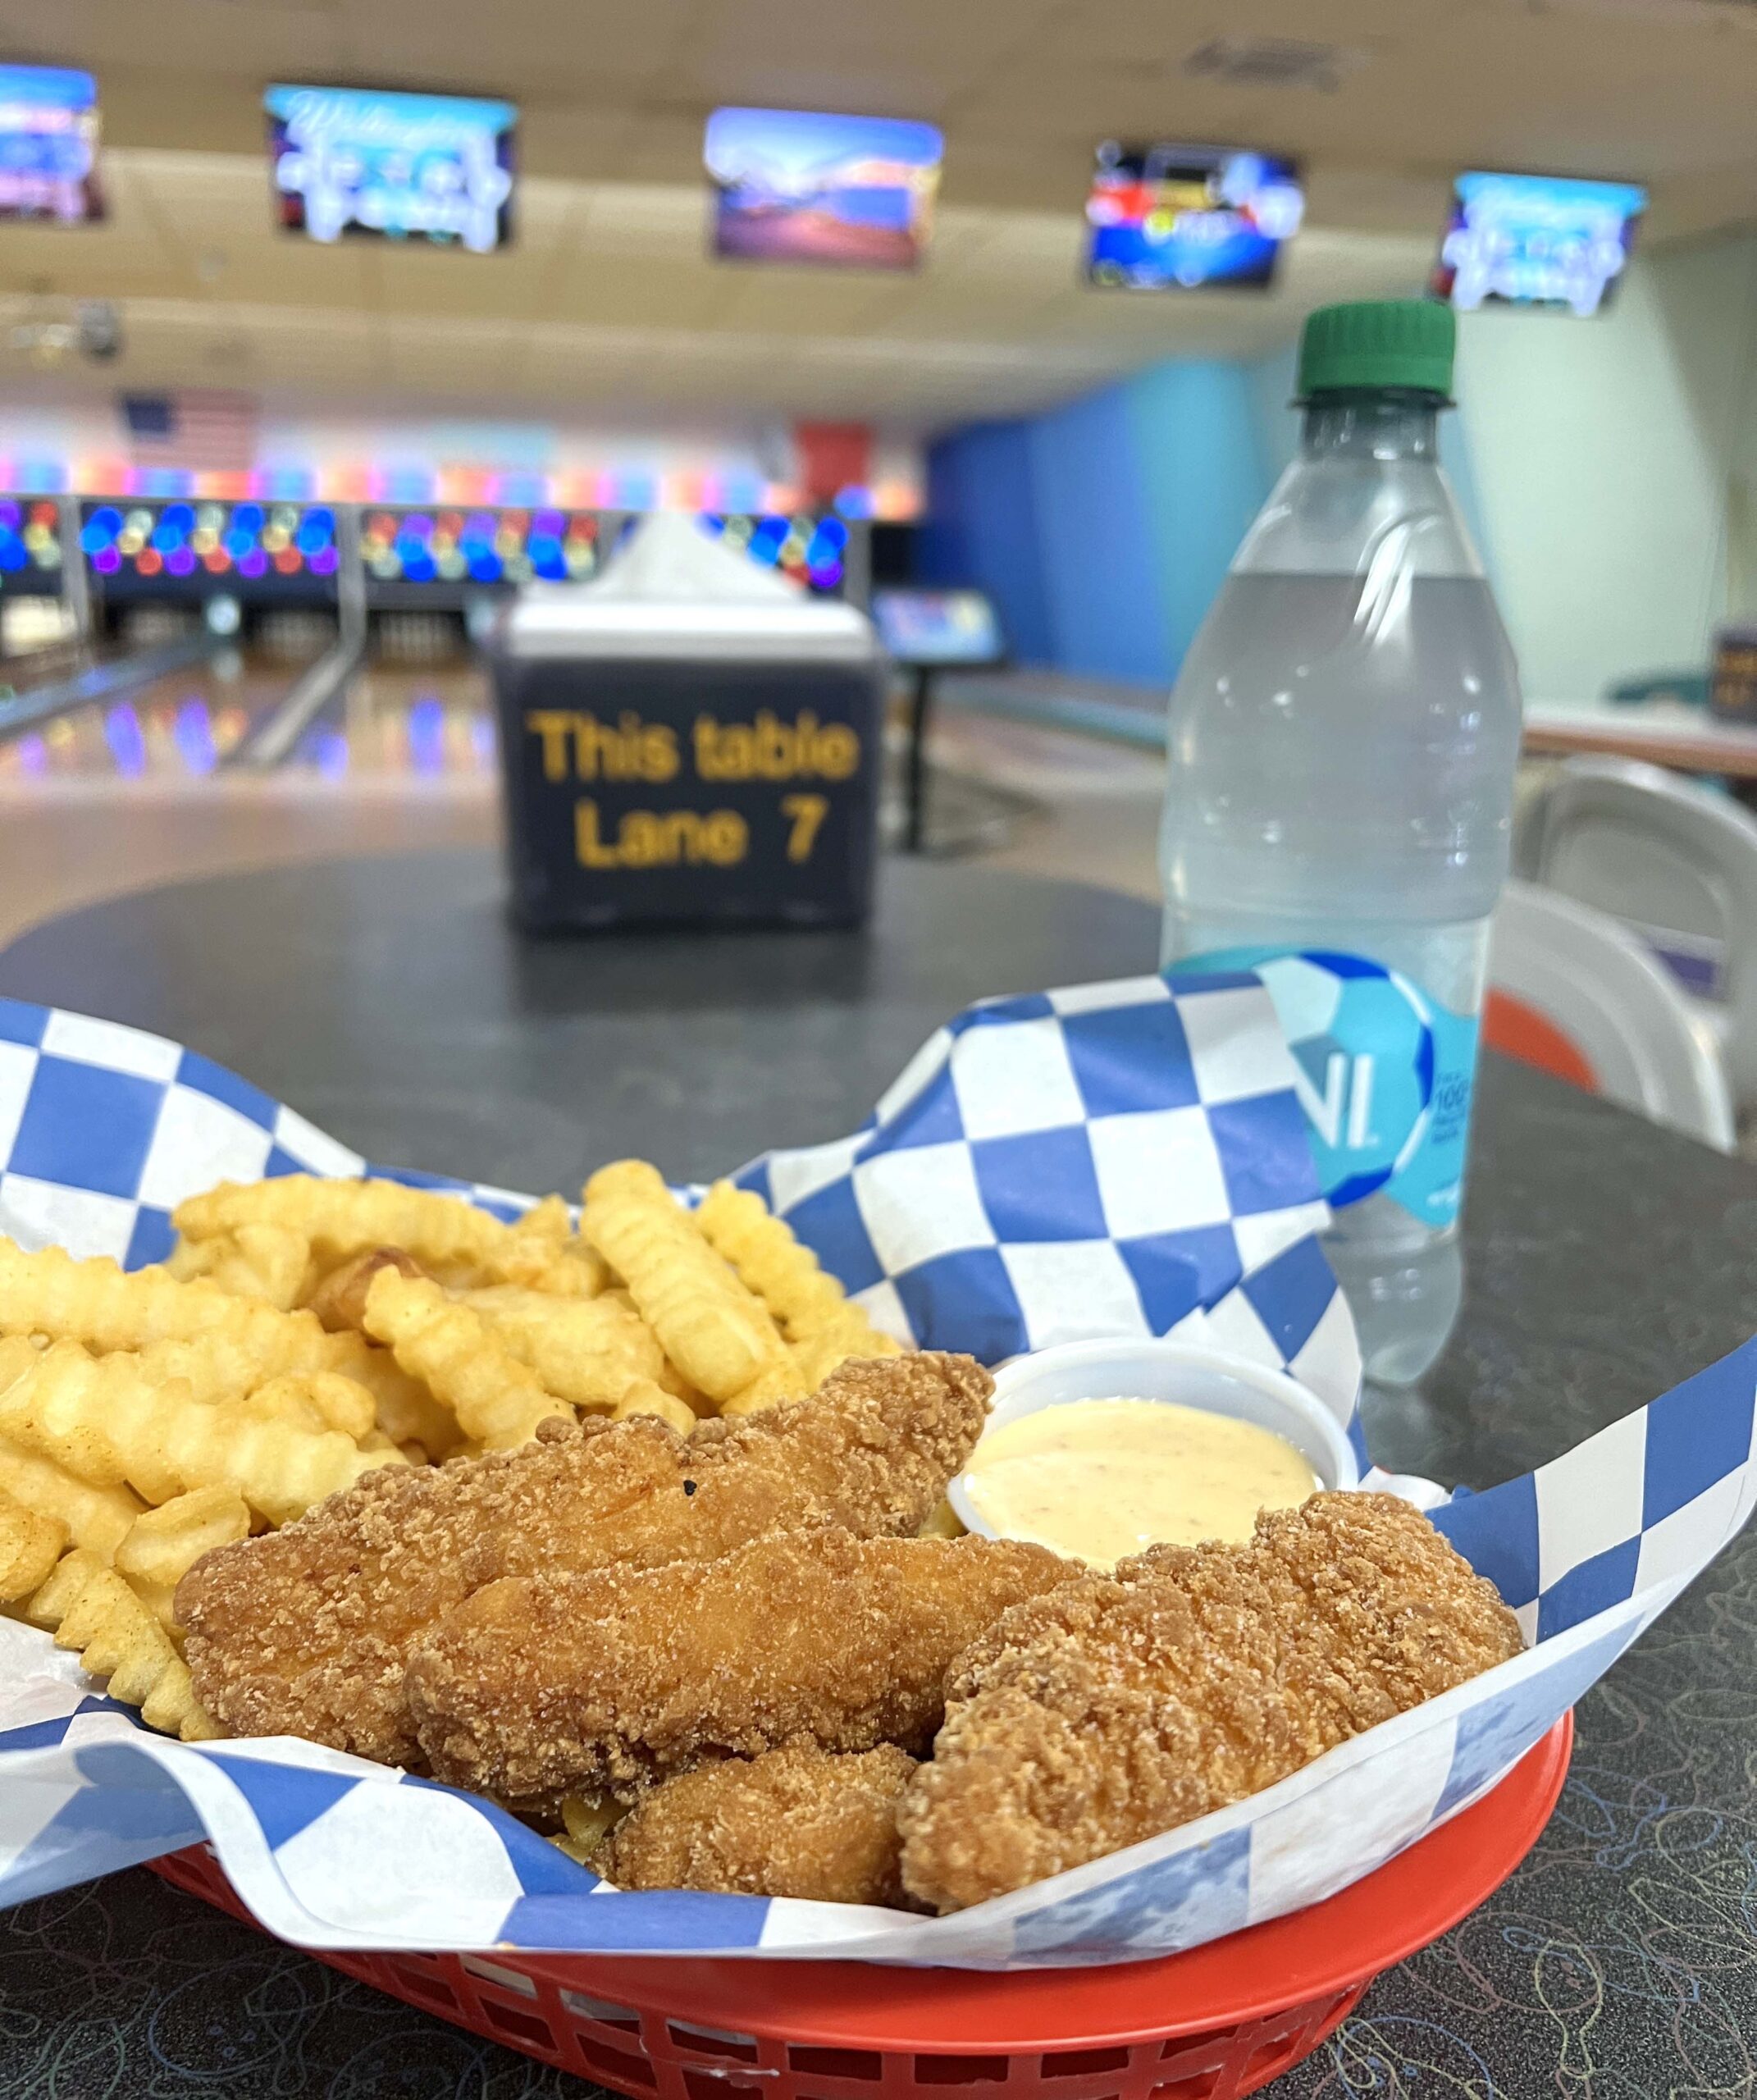
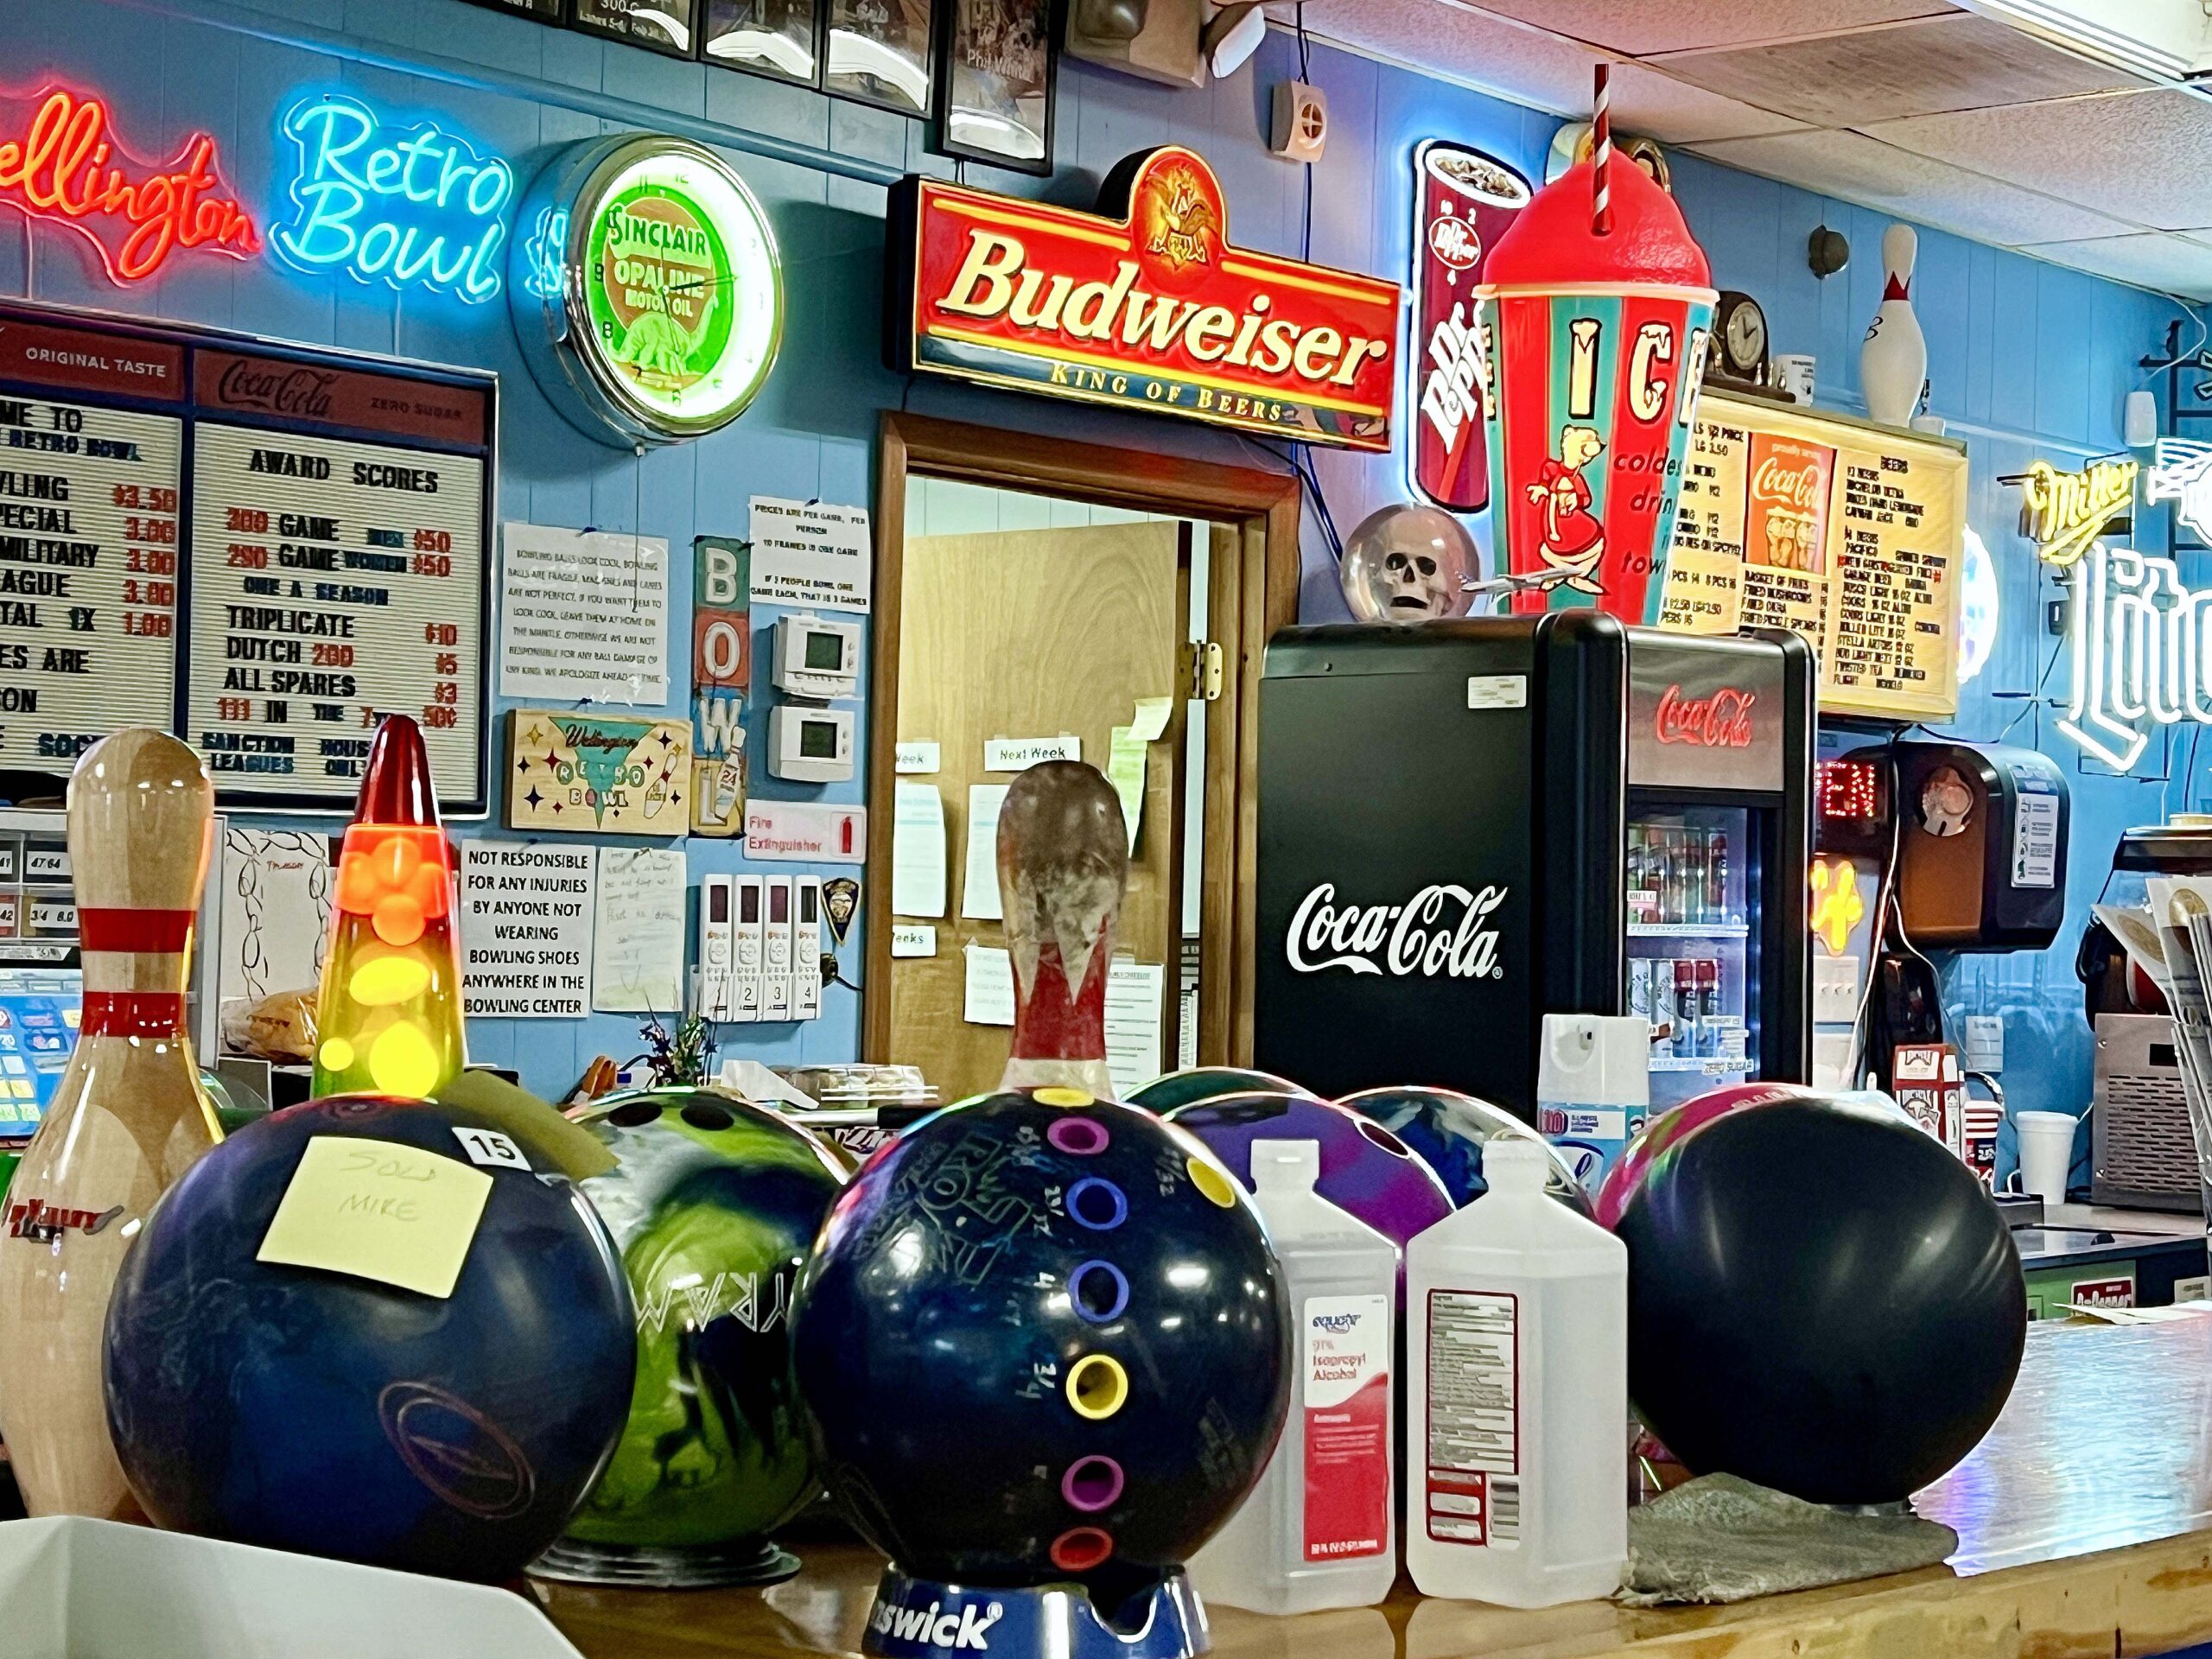
Under new ownership, Wellington Retro Bowl (2111 N. A St.) is exactly what bowlers want when they arrive. The refreshed interior is a throwback to an earlier time, and locals love the food, especially the gluten-free chicken fingers and fries.
 At the concessions counter, a lava lamp sat upon a display housing autographed memorabilia from some of the best bowlers in the nation.
Wellington Retro Bowl’s co-owner is passionate about serving customers the best-tasting concessions food. It’s rare to find good-tasting chicken fingers, let alone gluten-free ones, which is why locals will drive to the bowling alley just to order the meal to go. Other menu items include pizza, nachos, and grilled hamburgers.
Fabiola’s
The food is fabulous at Fabiola’s (302 N. Washington Ave.). If you’re craving authentic Mexican food, it delivers. Since 1997, the family-owned restaurant has attracted regular customers.
By consistently serving good food and providing friendly service, it’s easy to see why.
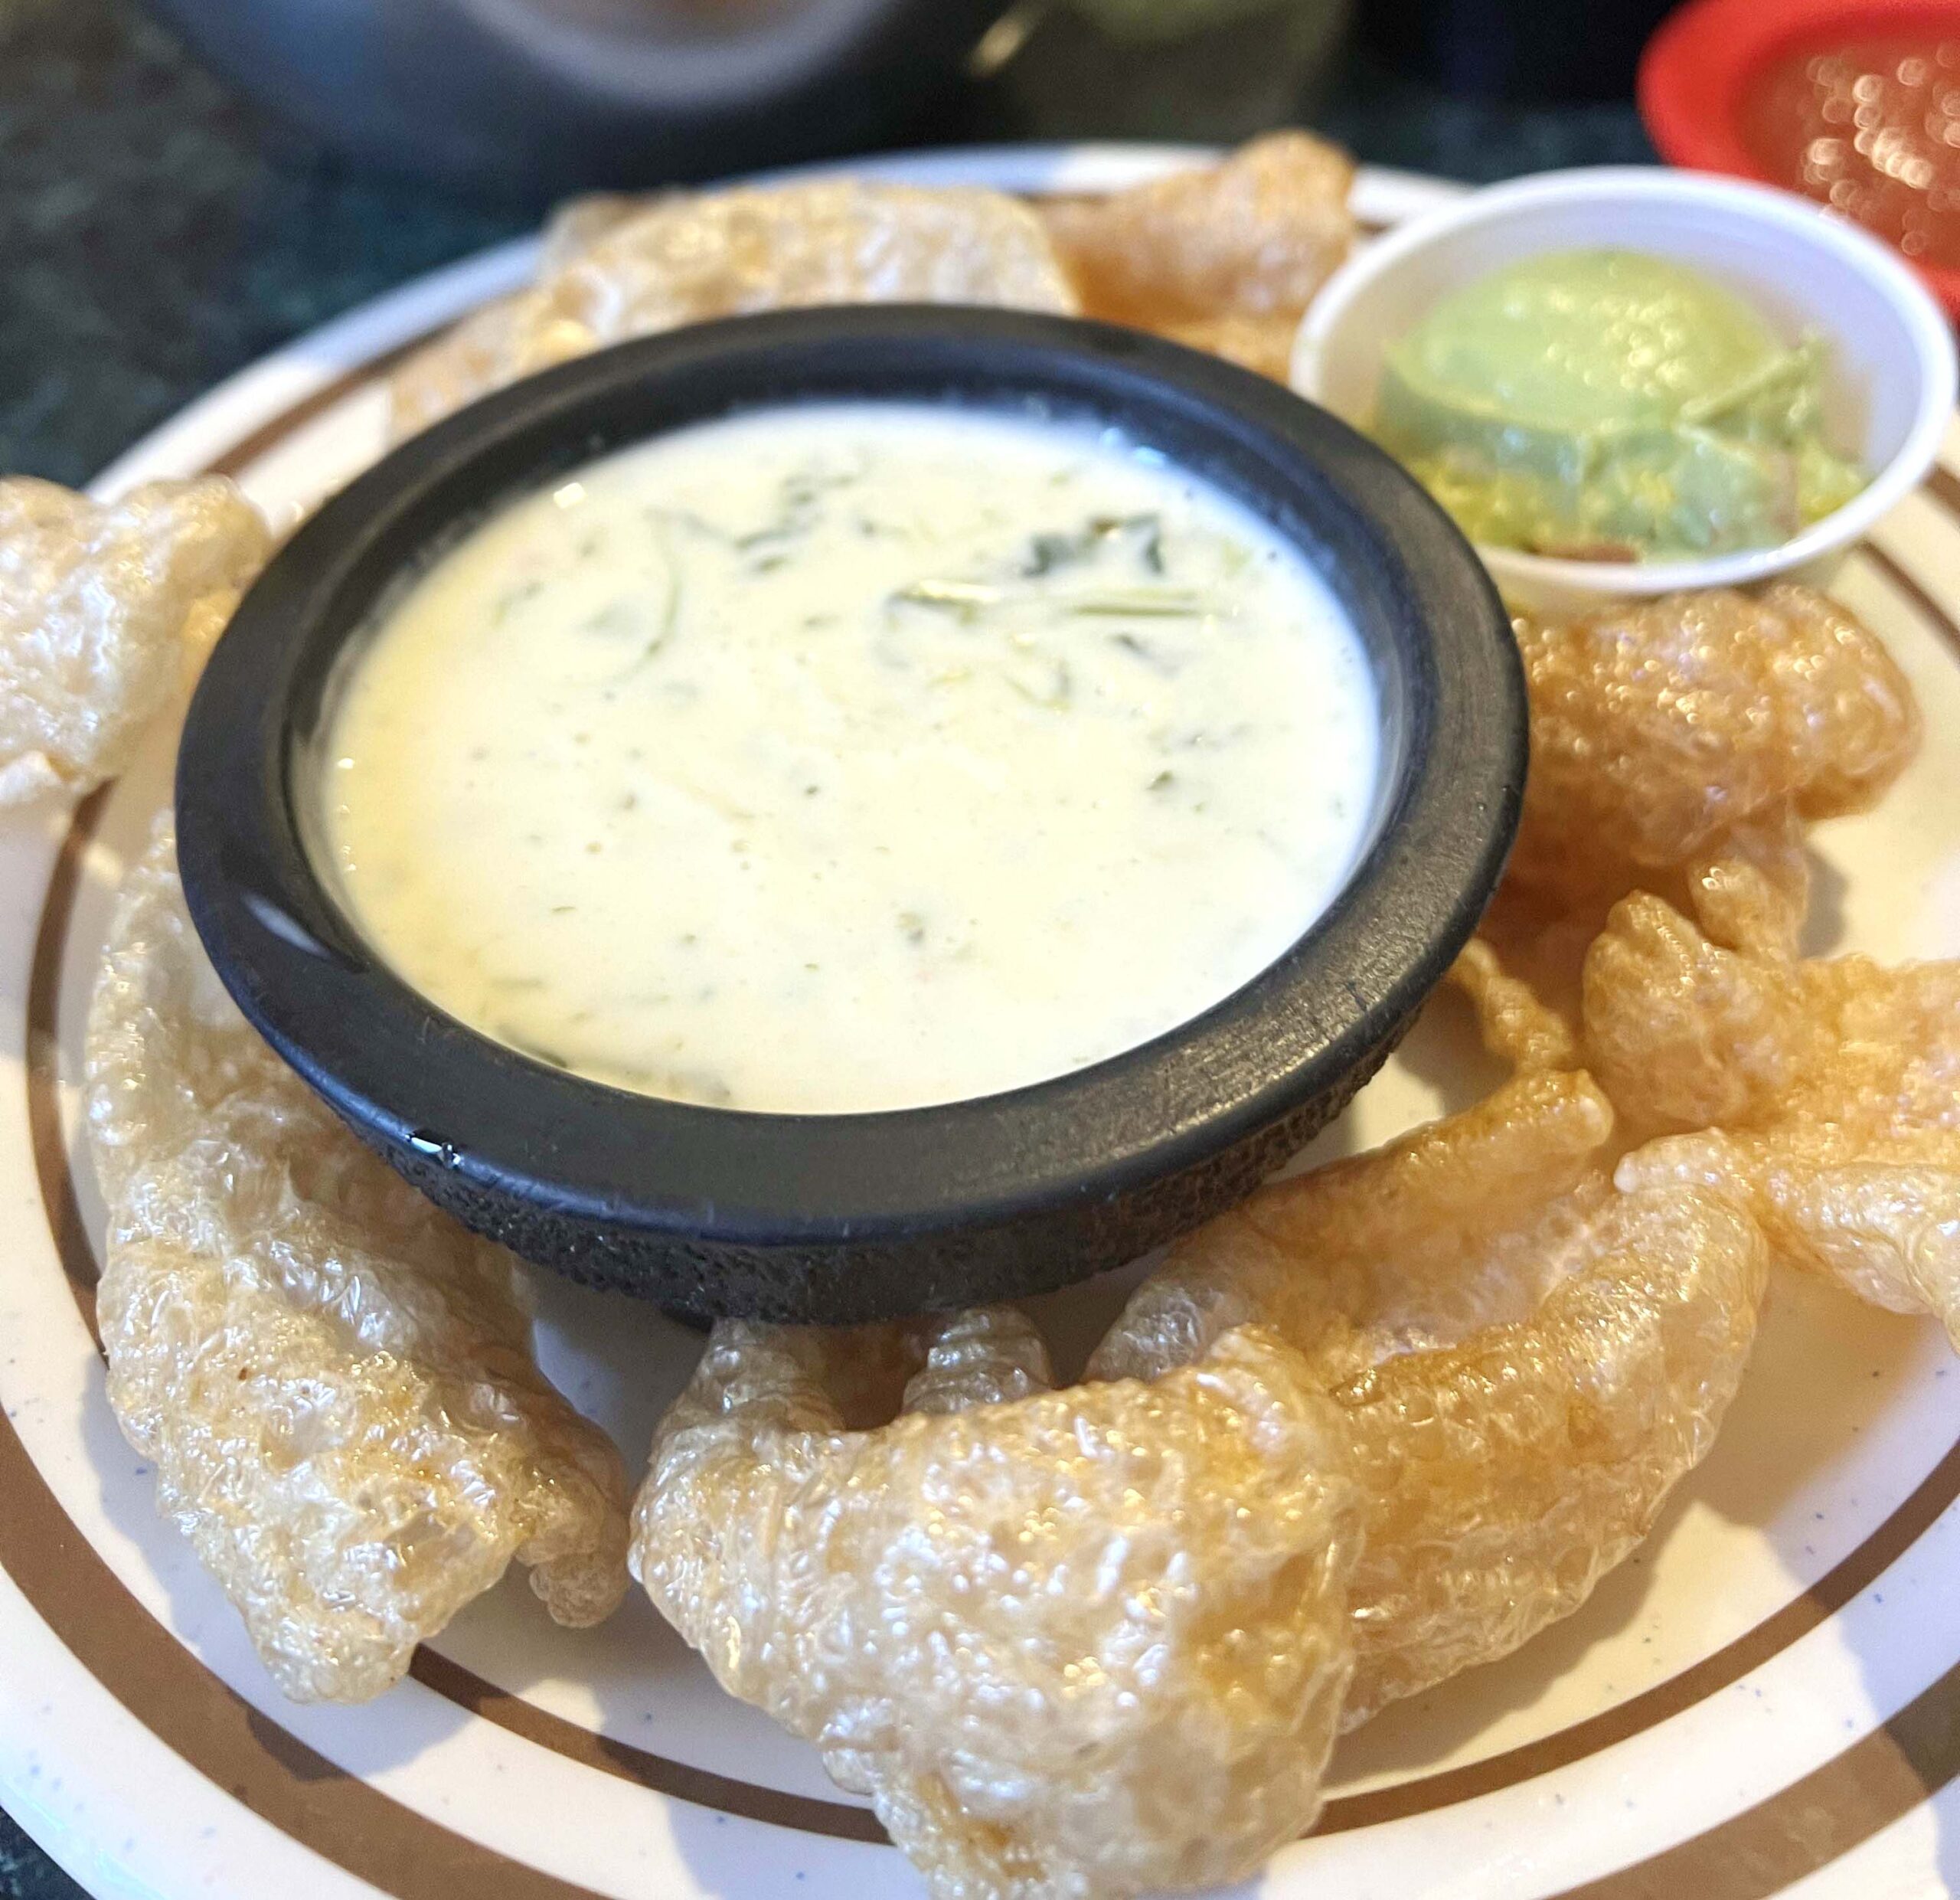 I tried something out of my comfort zone and sampled the highly recommended fresh pork rinds with pepper jack cheese and spinach queso, which I devoured. The rinds arrived at the table, crackling fresh from the fryer.
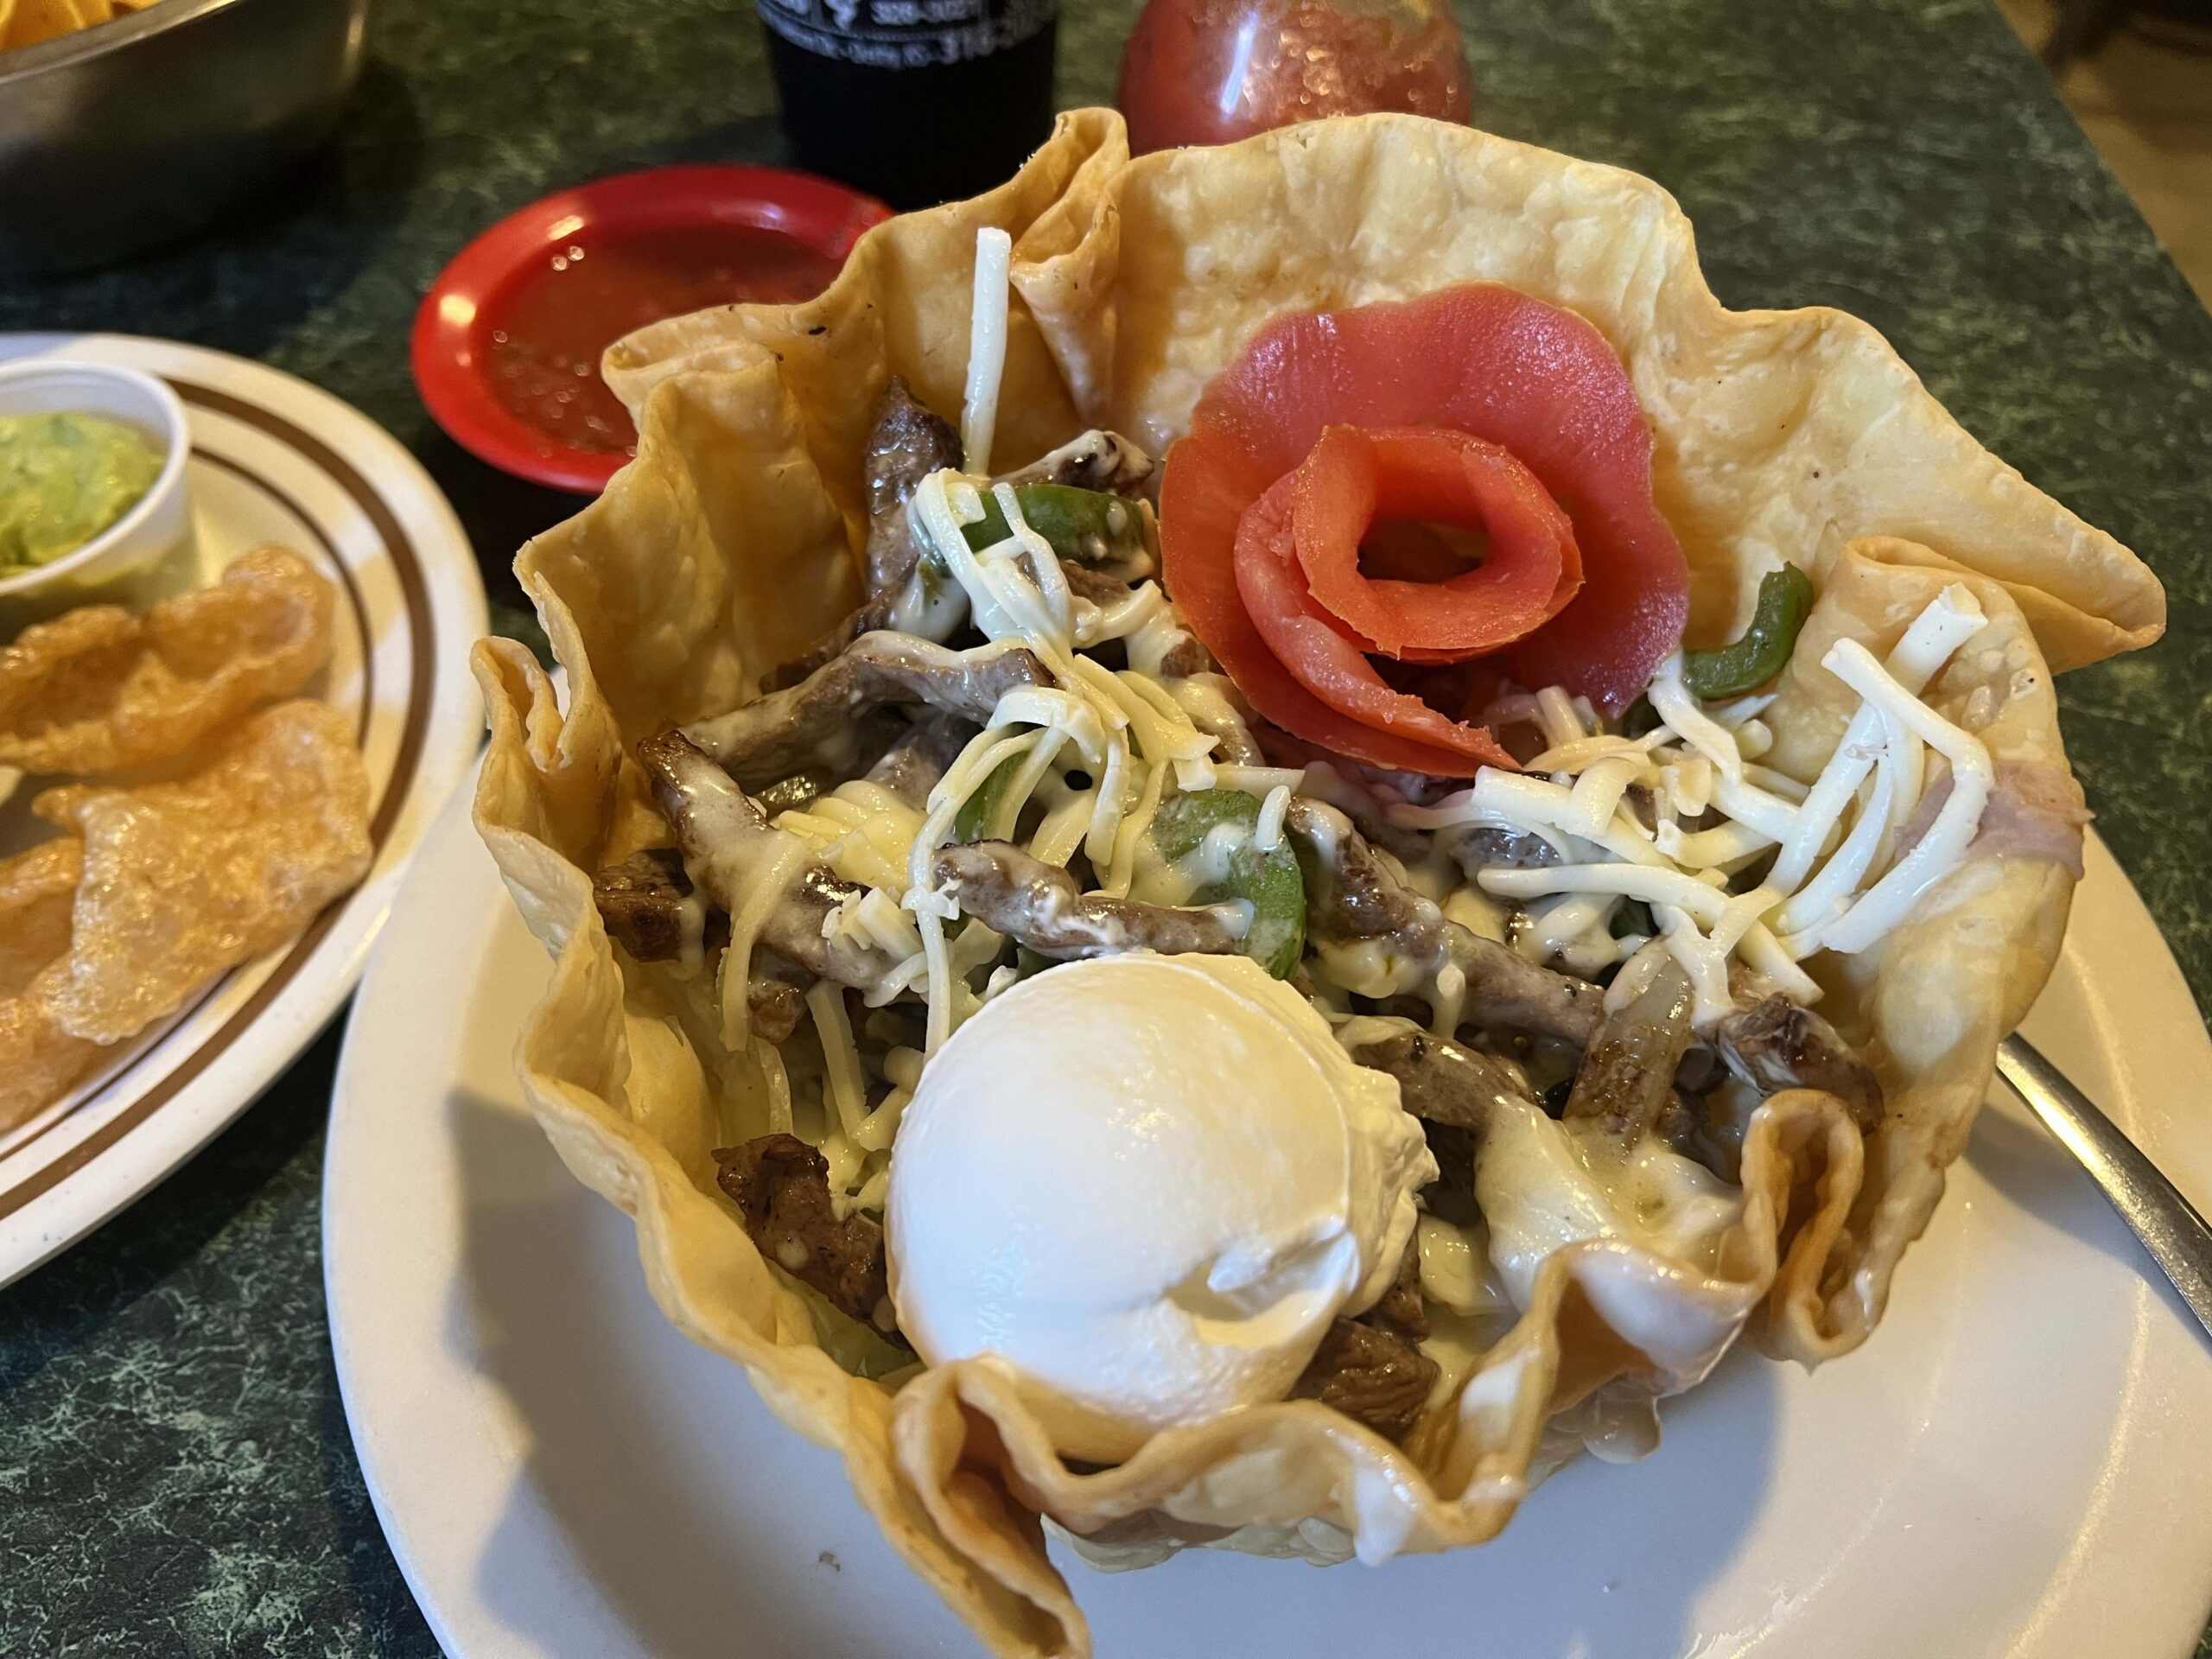
For dinner, I chose a beef fajita bowl, Kristi’s Special, made with grilled onions, peppers, beans, queso, and adorned with a tomato rose. The meat was tender, and the outer shell was crisp.
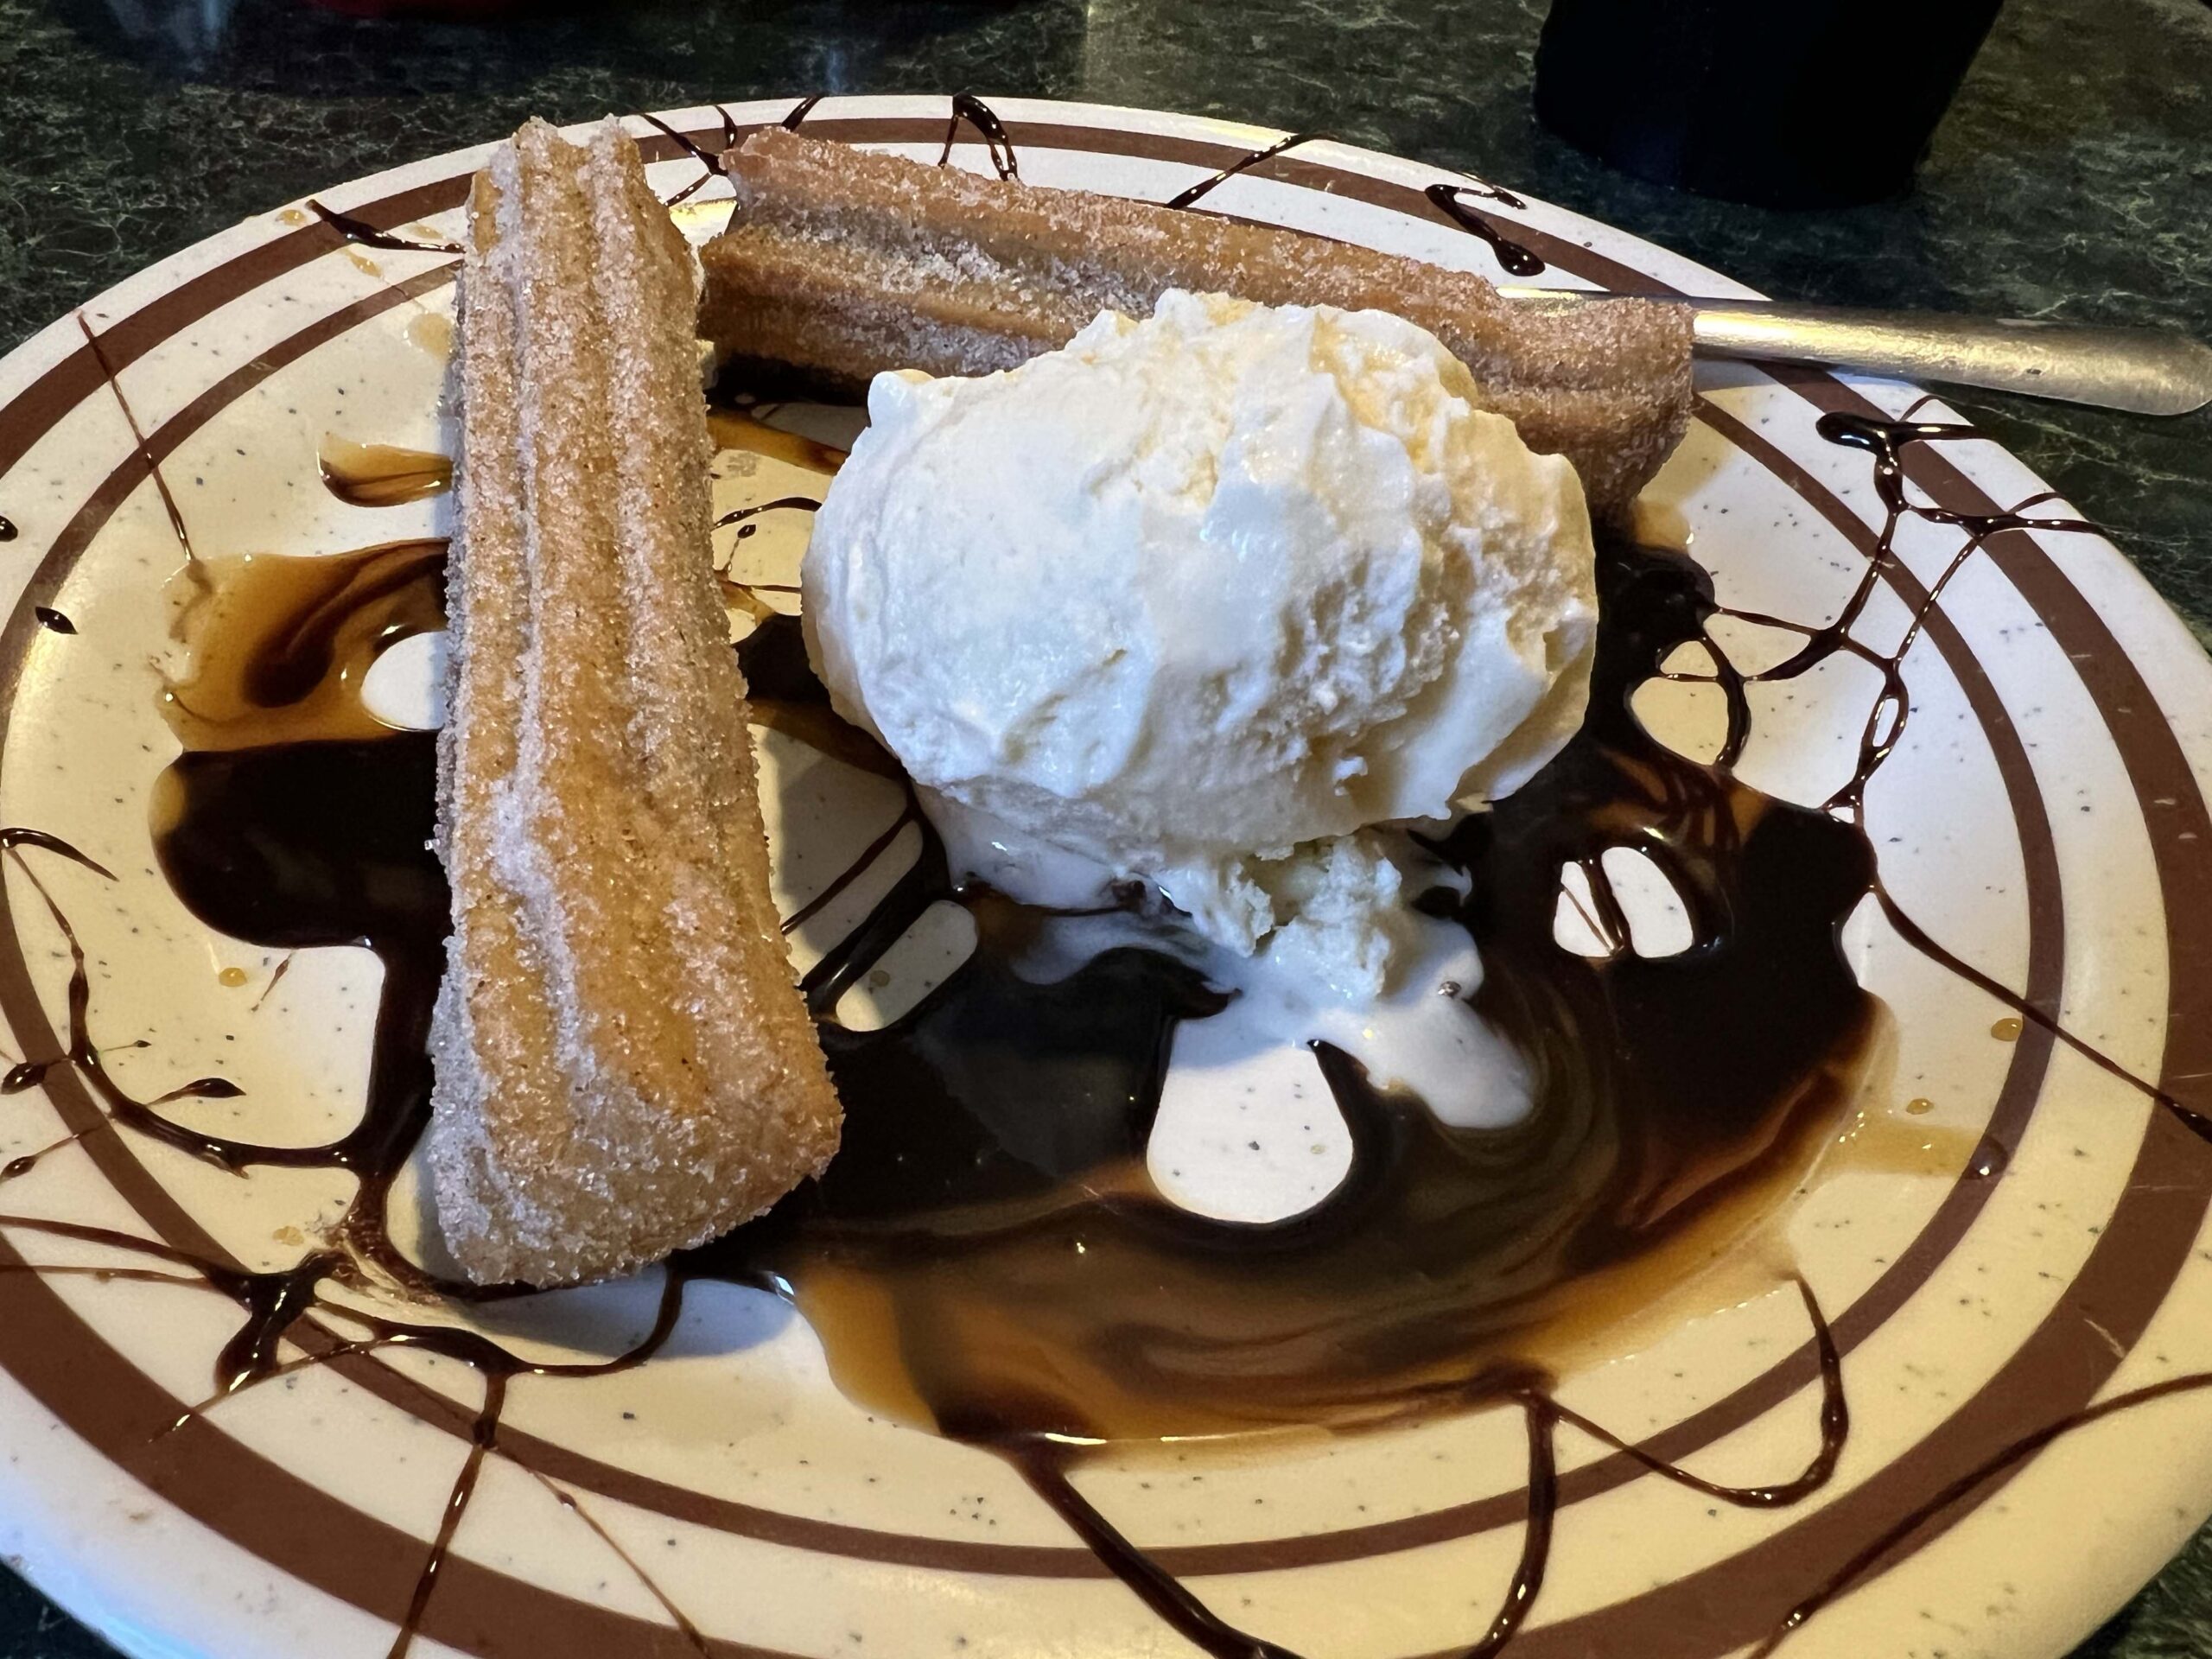
 My server recommended saving room for dessert, and even though I was full, I couldn’t pass up caramel churros with vanilla ice cream, drizzled with honey and chocolate. 100% delicious.
When you visit Fabiola’s, you can expect attentive service from locals who know most regular customers.
I overheard the owner reminding customers that the restaurant was stocked with to-go enchiladas near the register. People can’t resist the food.
 PRO TIP: Visit on Thirsty Thursday for a 1/2-price margarita.
Bottoms Up
Bottoms Up (424 S. Washington Ave.) is where you go when you want a cold beer or cocktail with an order of wings, a burger with house-made fries, or $3 tacos on Tuesdays for lunch or dinner.
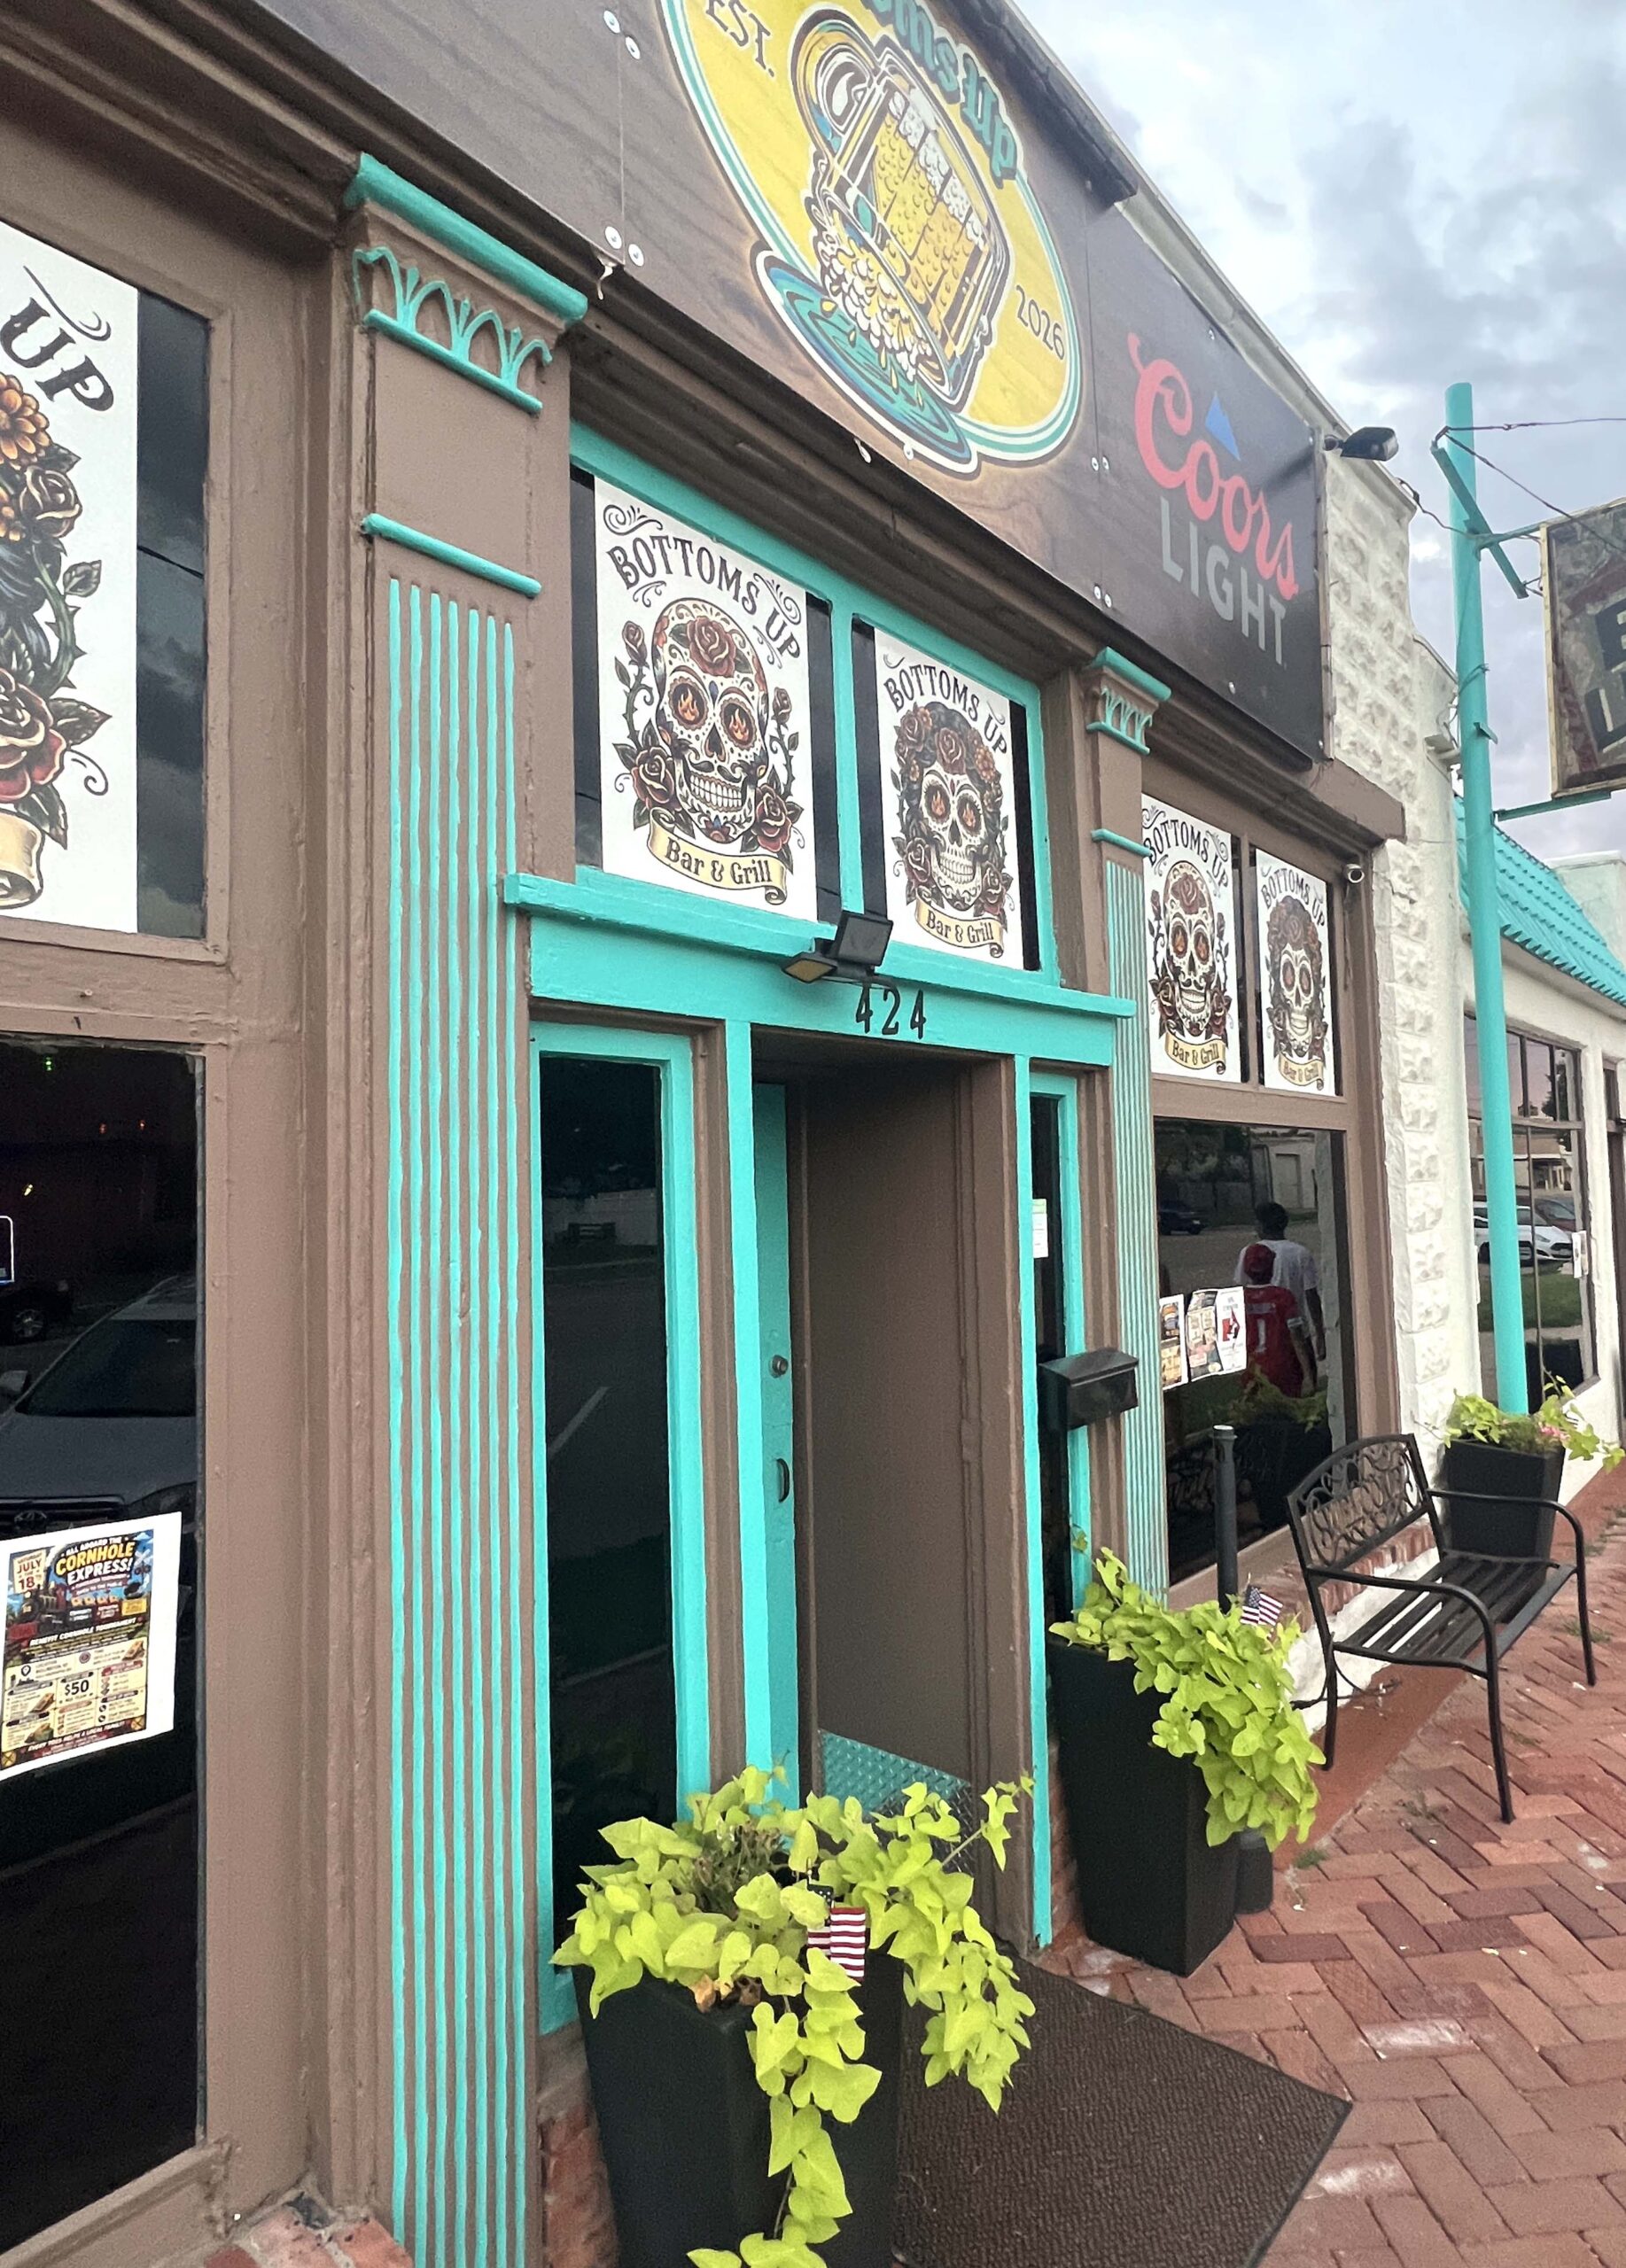 After the sun goes down, the music volume goes up, and it becomes a hangout for locals who want to play billiards while listening to a local DJ play current music.
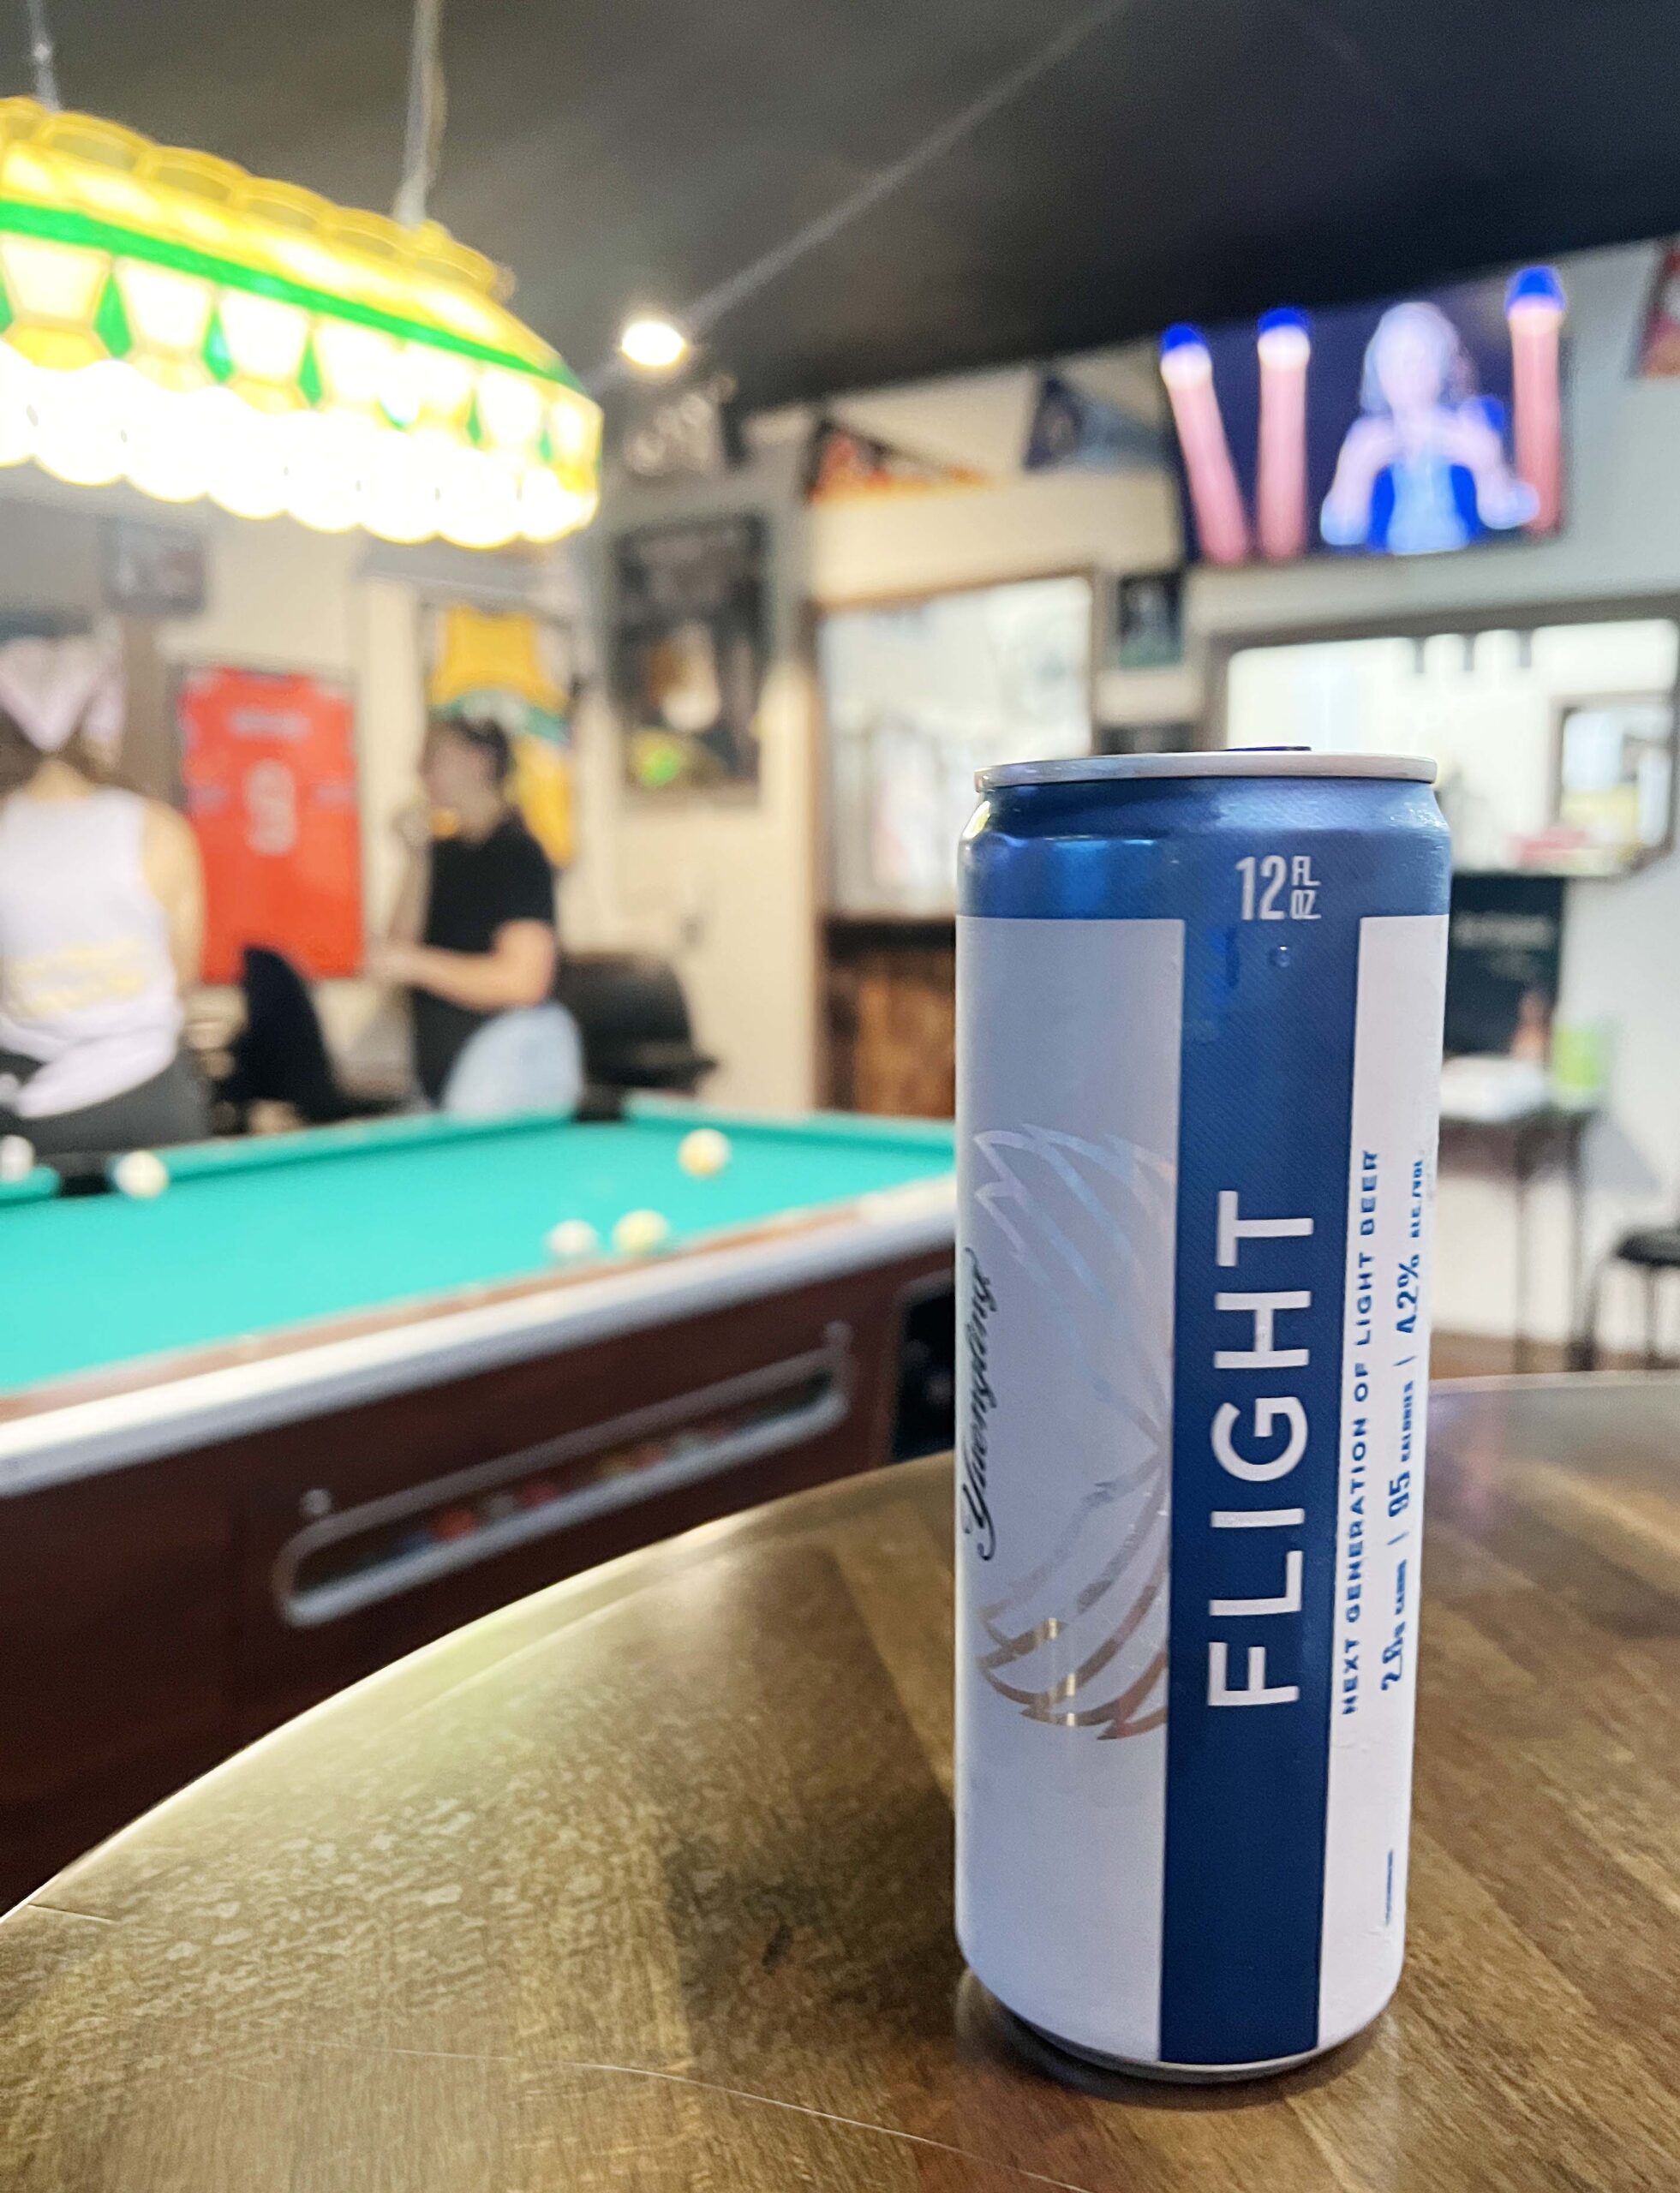 I stopped in for a beer after already having eaten dinner elsewhere. The two-room, small bar was quickly filling up with locals on a Saturday evening.
PRO TIP: Tables are limited, so arrive early if you’re bringing friends on the weekend.
PUBLIC ART WORTH STOPPING TO SEE
Downtown Murals
Searching for downtown art installations is like going on a scavenger hunt. I walked a couple of blocks and, to my surprise, found an artist painting sunflowers on the side of a building using soft brushstrokes.
Local Ursula Goff explained that the concept for each mural panel evolved from organic conversations with locals and brainstorming ideas using an AI app. The sunflowers are a nod to the state’s official flower.
 Goff wants the mural’s vibrant colors to attract viewers who use it as an interactive backdrop to take selfies. The artist said she may not sign the mural because “it belongs to the town.”
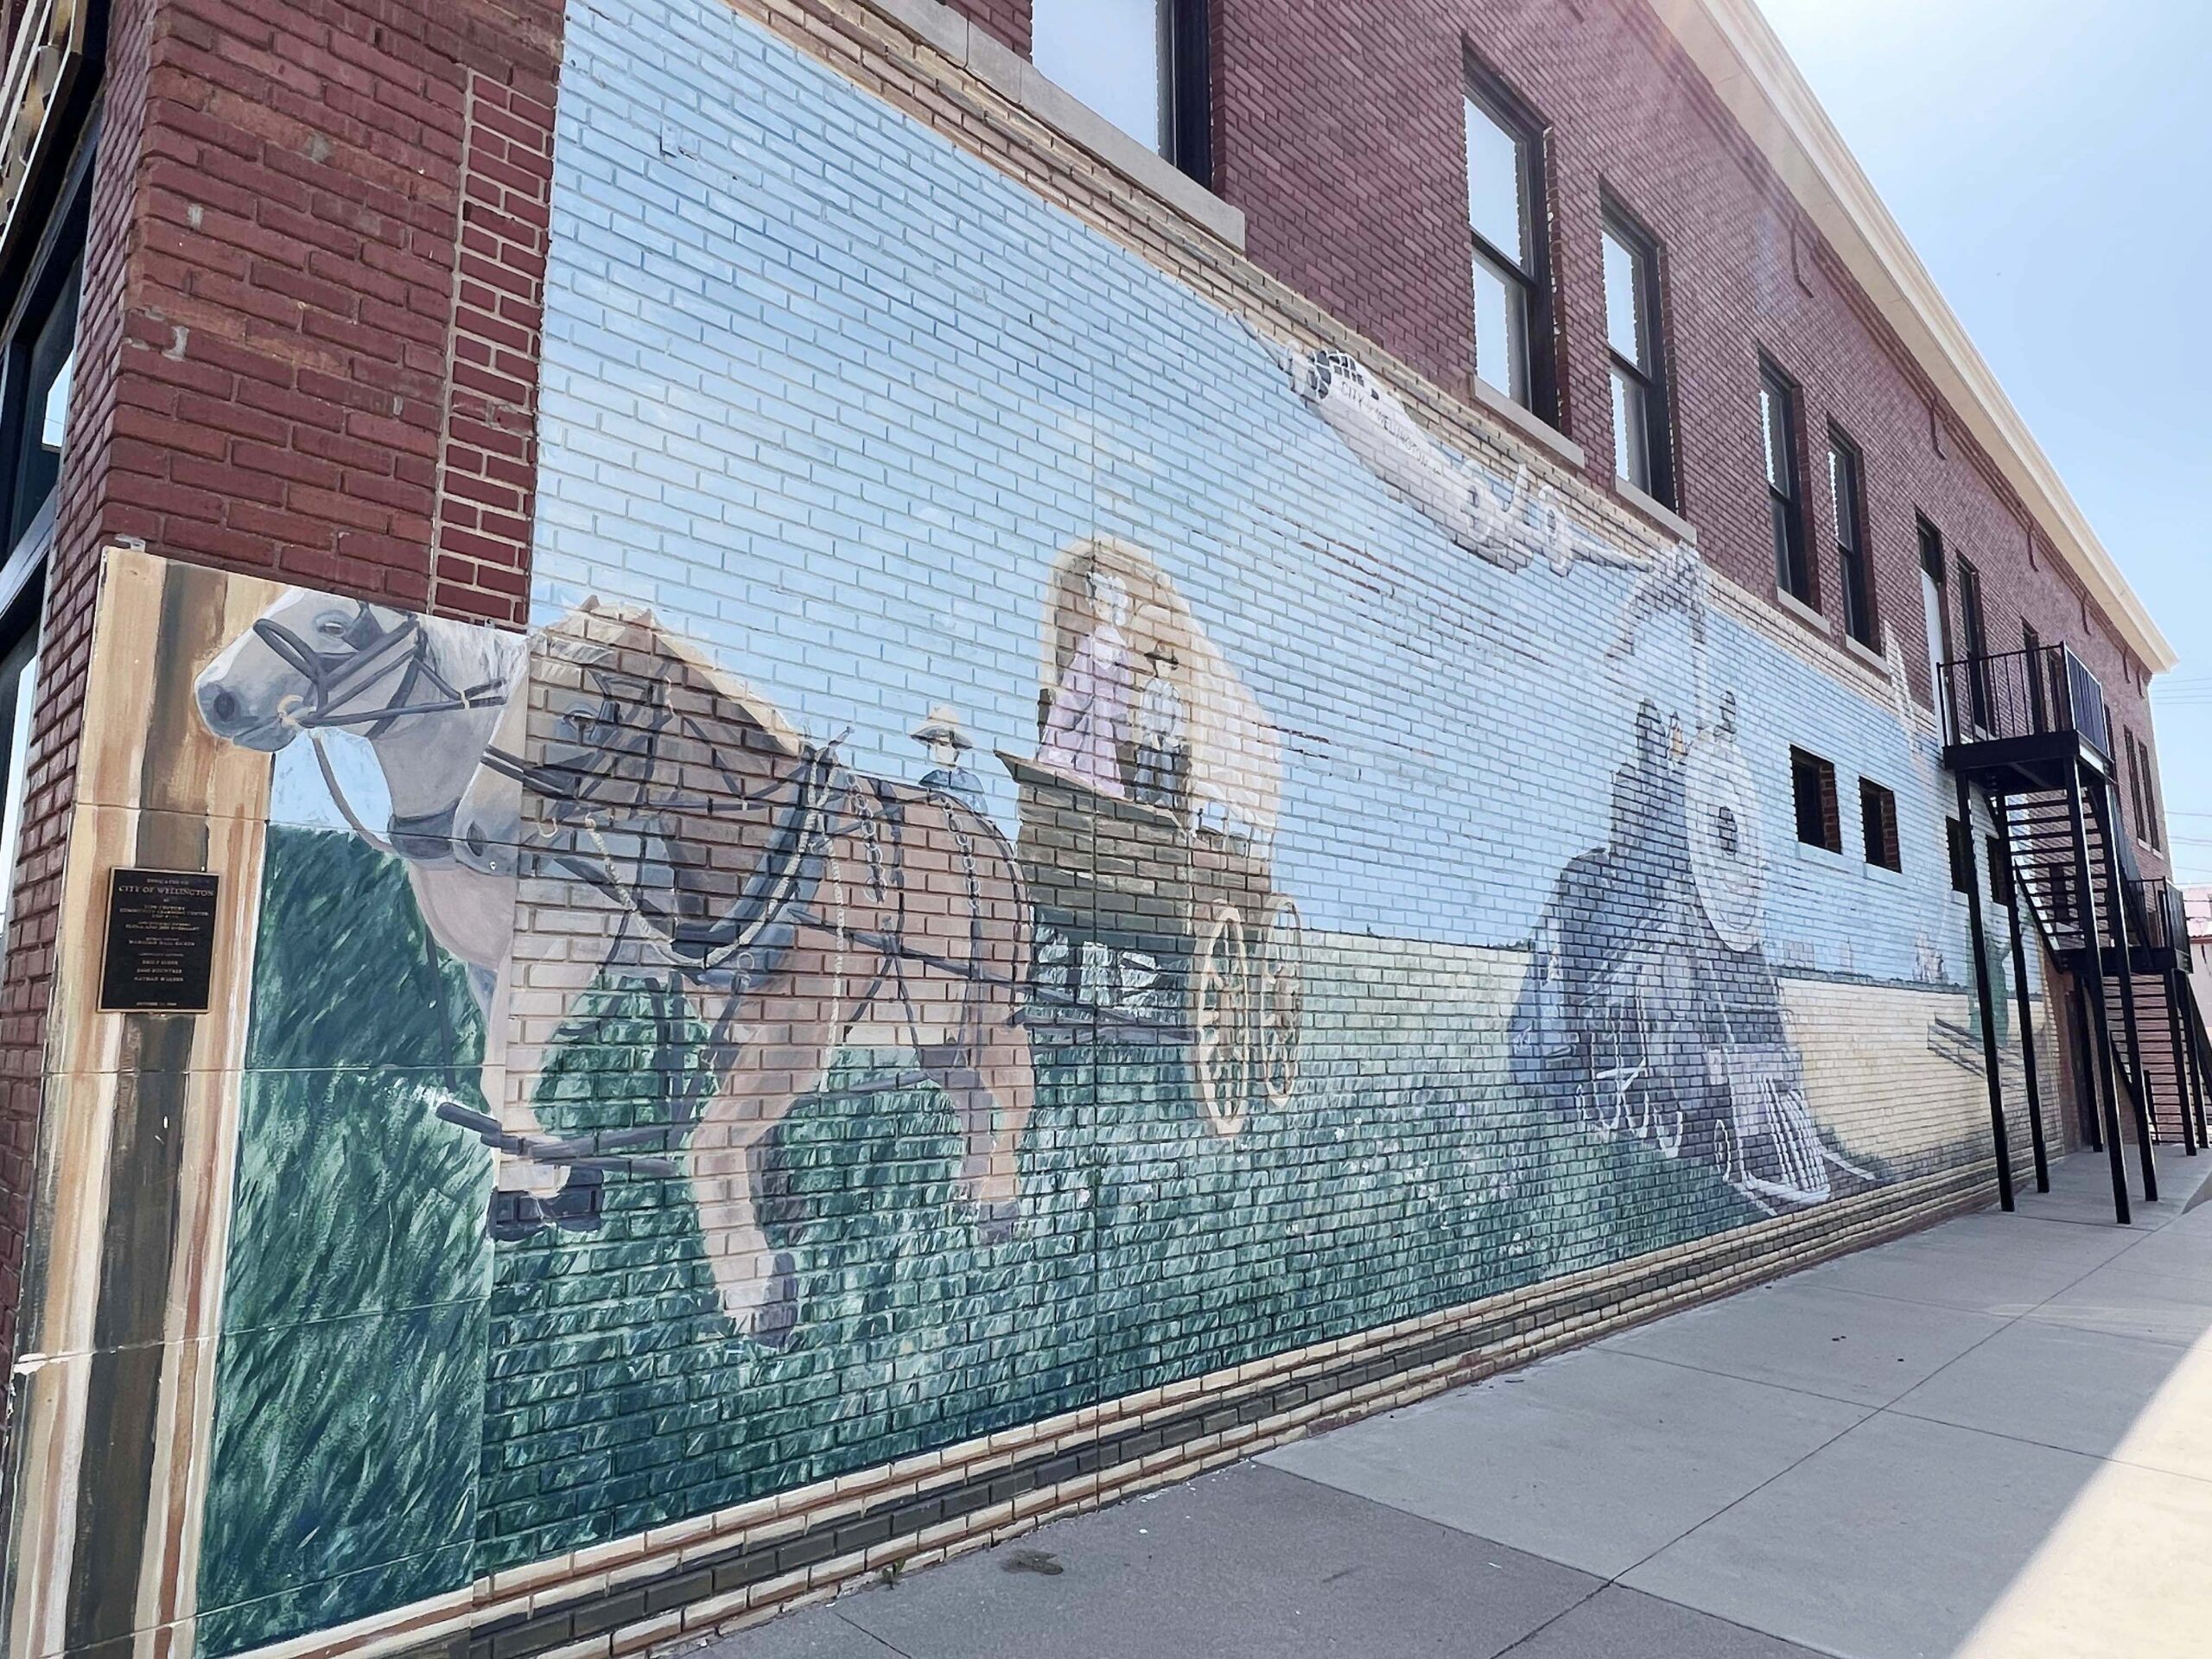 Artist Majorie Hall Bicker painted a scene depicting moments in Wellington’s history around the corner from BeeHive Quilt Shop on 7th Street. Dedicated to the city in 2000, visiting the mural should be part of everyone’s visit to town.
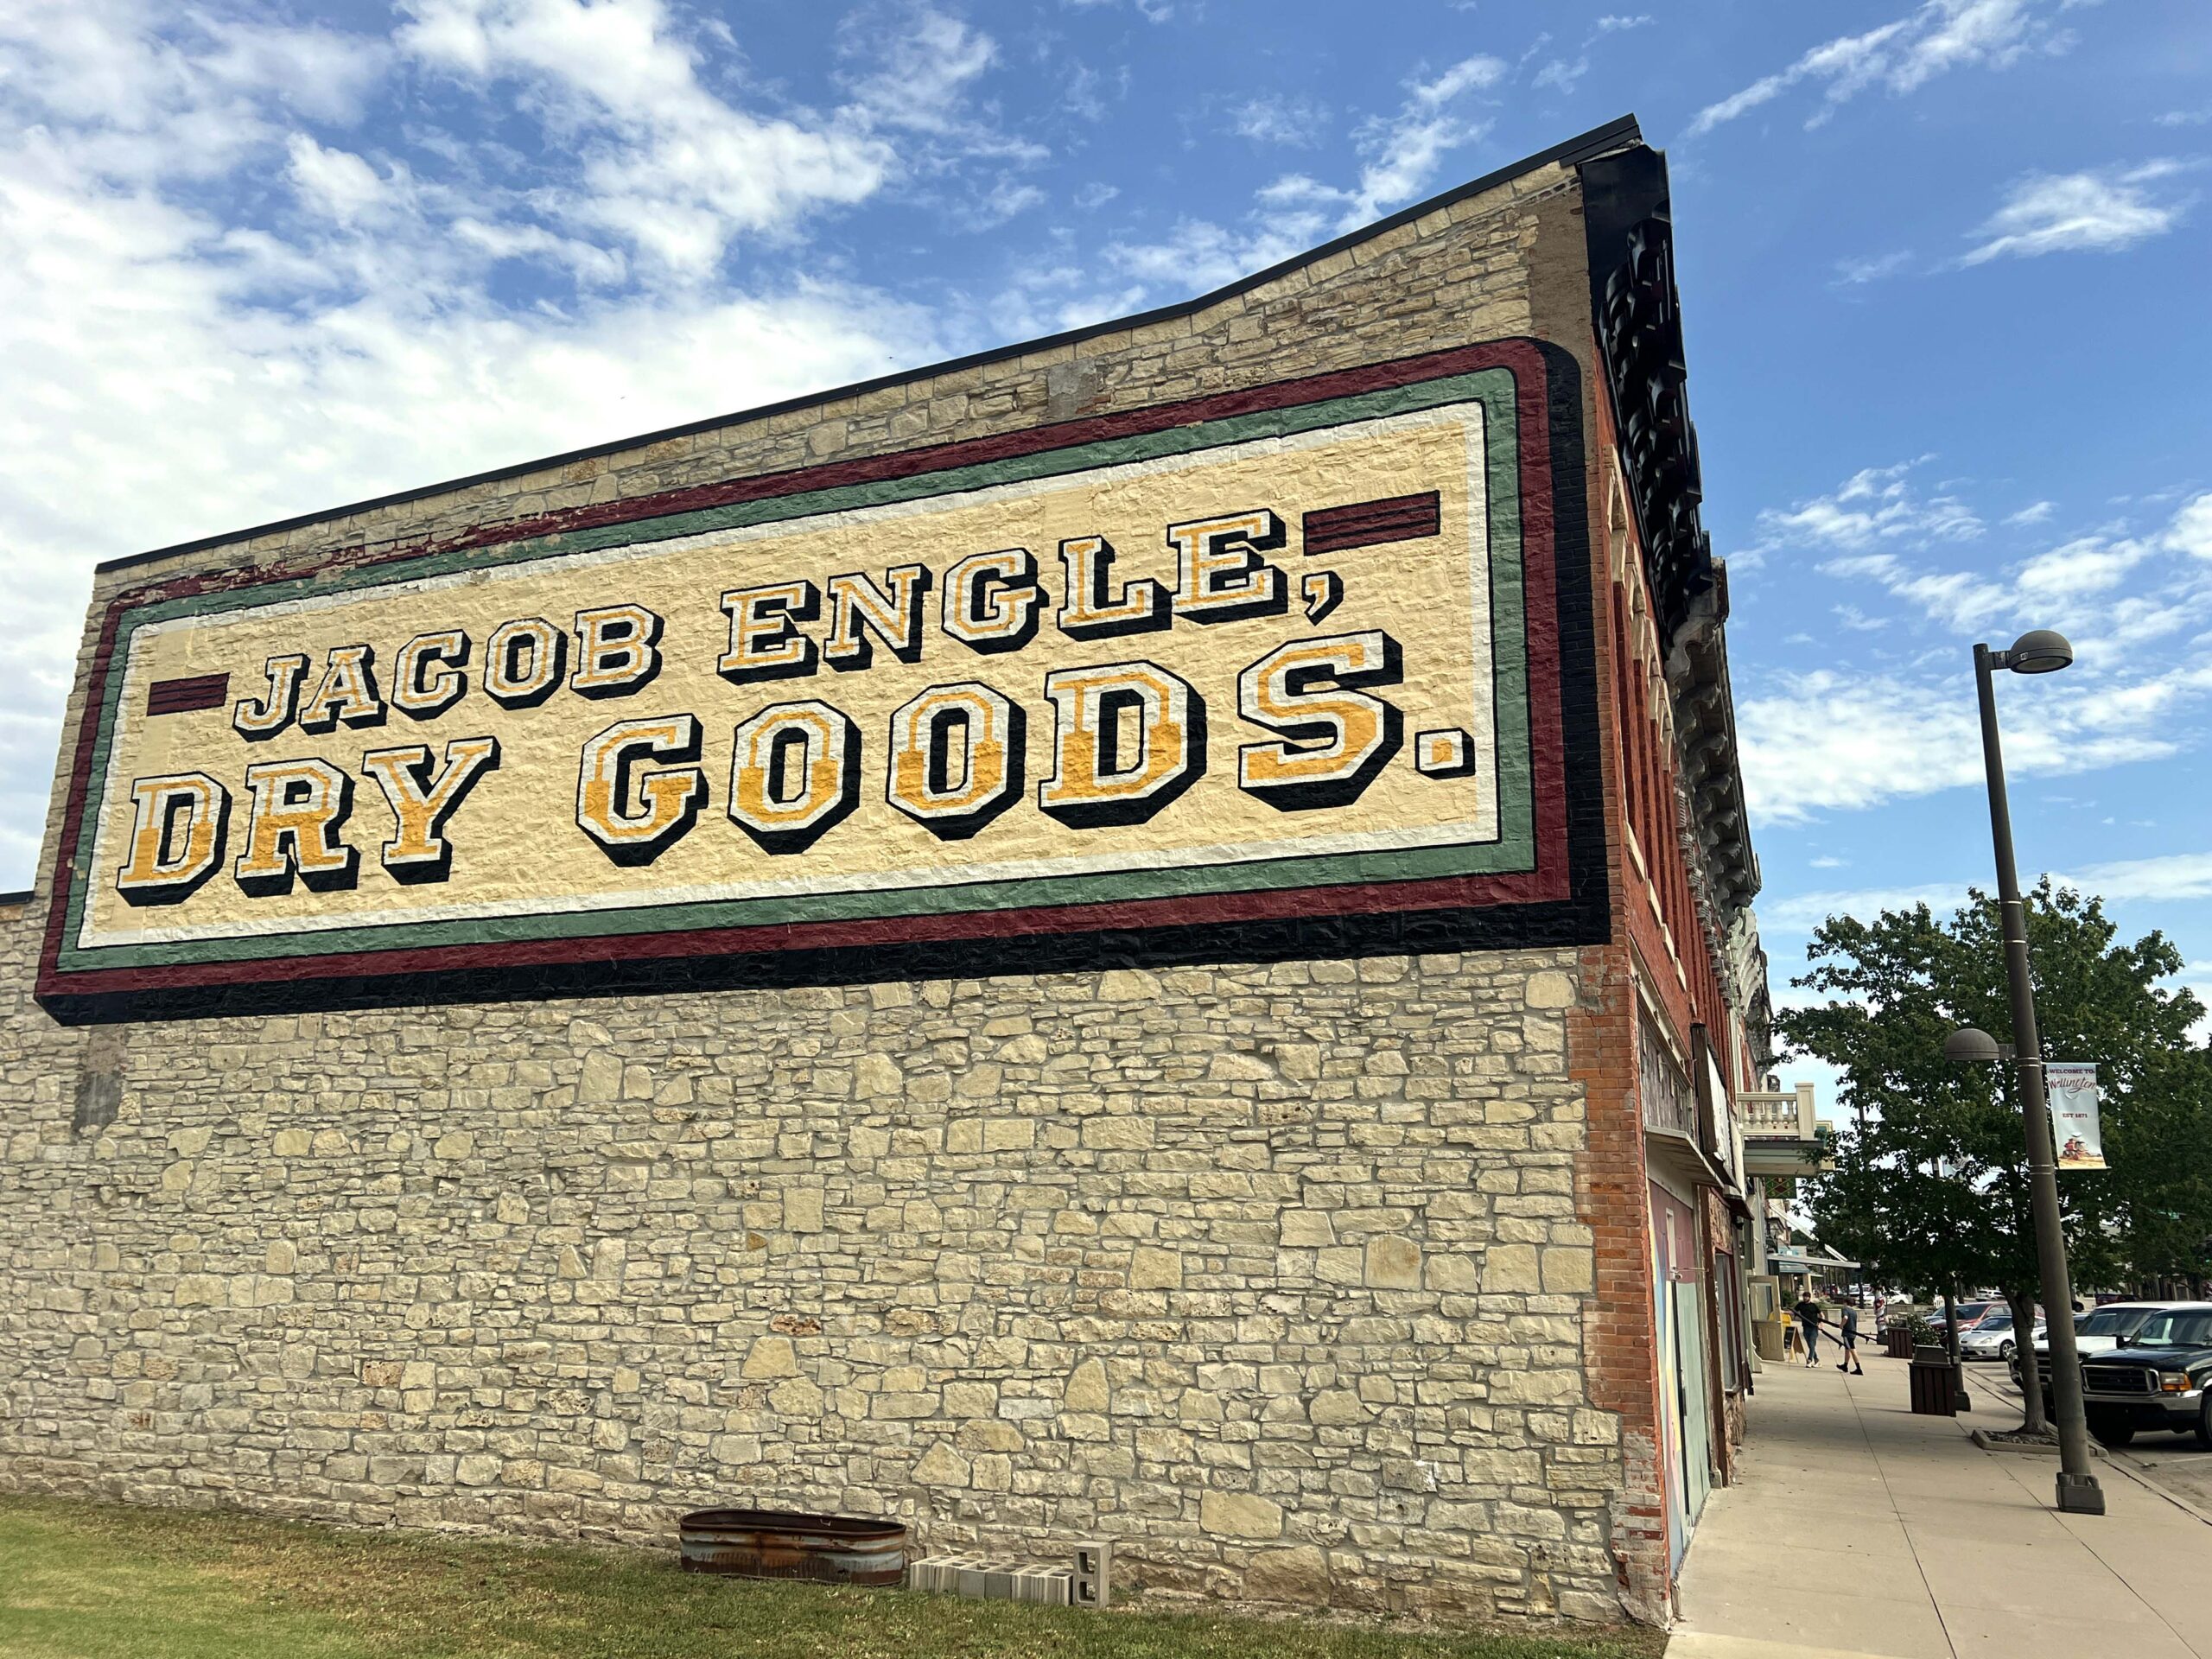 Keep an eye out for ghost signs that appear on downtown buildings. The Jacob Engle Dry Goods sign at the corner of Washington Avenue and Lincoln Street was recently restored for Wellington’s 150th anniversary.
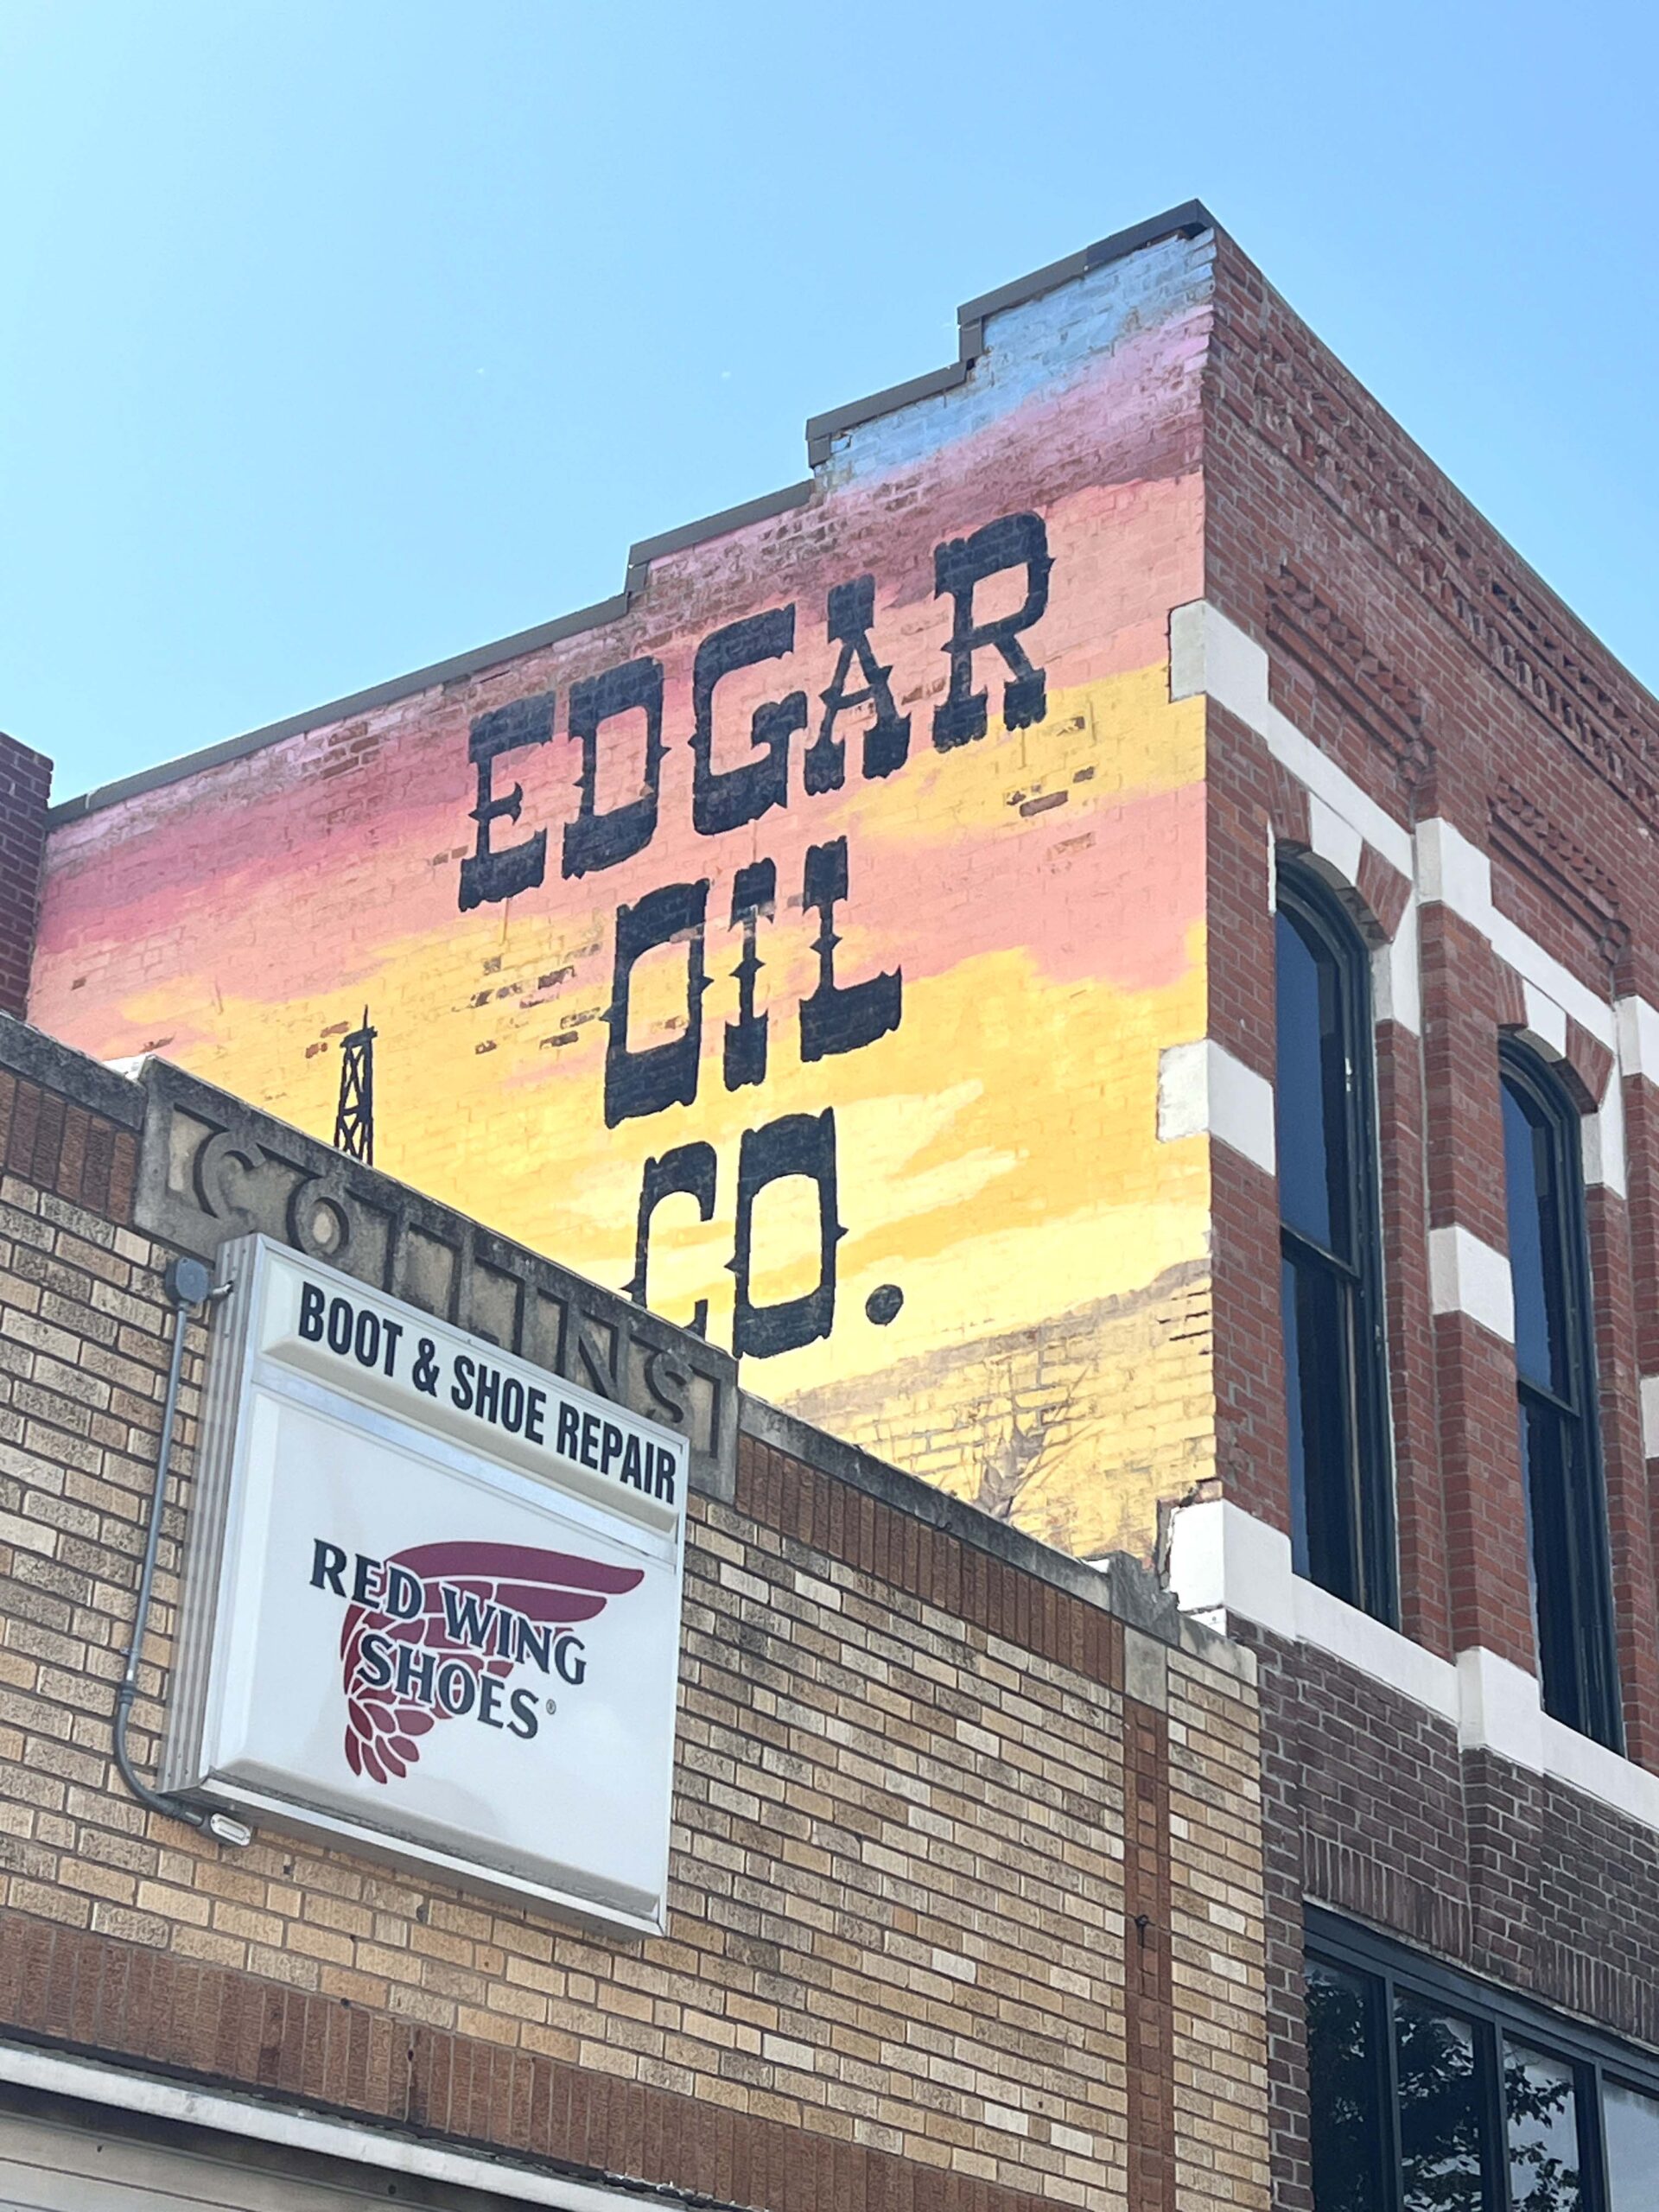 Edgar Oil Company, a local independent operator based in Wellington, is depicted in a mural on Broadway Avenue.
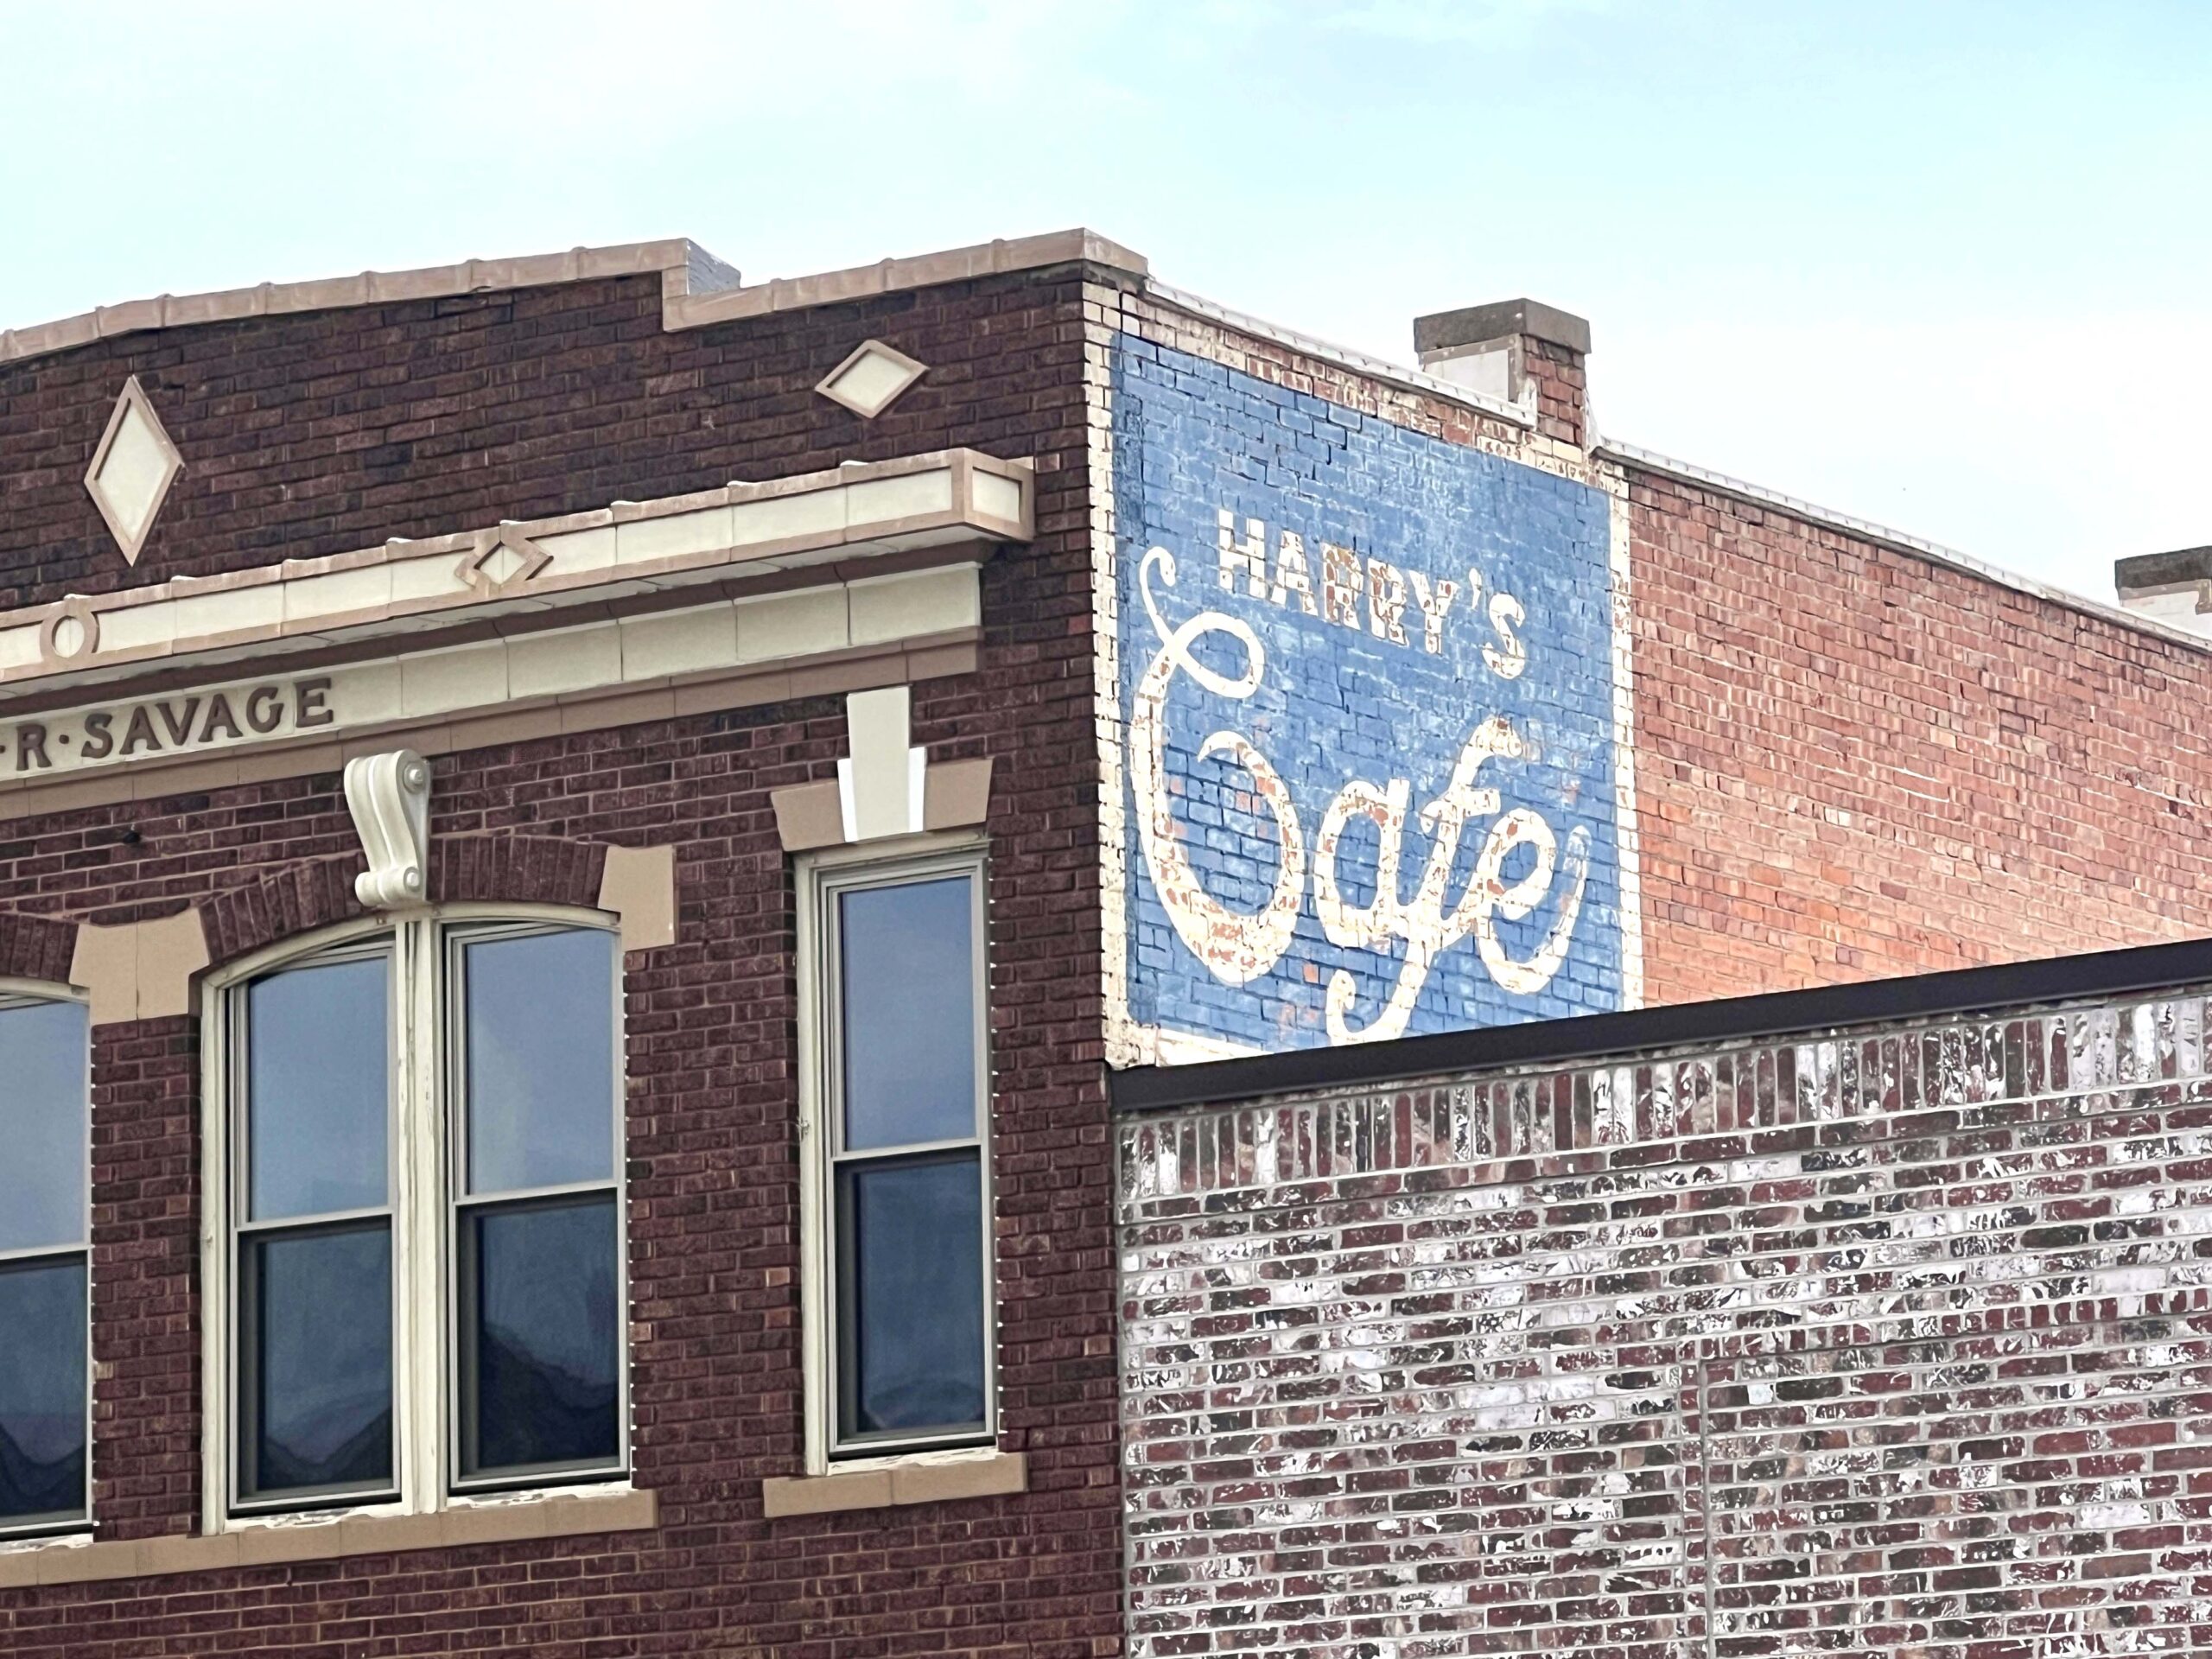 Another ghost sign peeking out above a downtown roofline is the old Harry’s Cafe mural. The restaurant was founded by Harry Clements and operated from the 1920s to the 1960s.
Downtown Sculptures
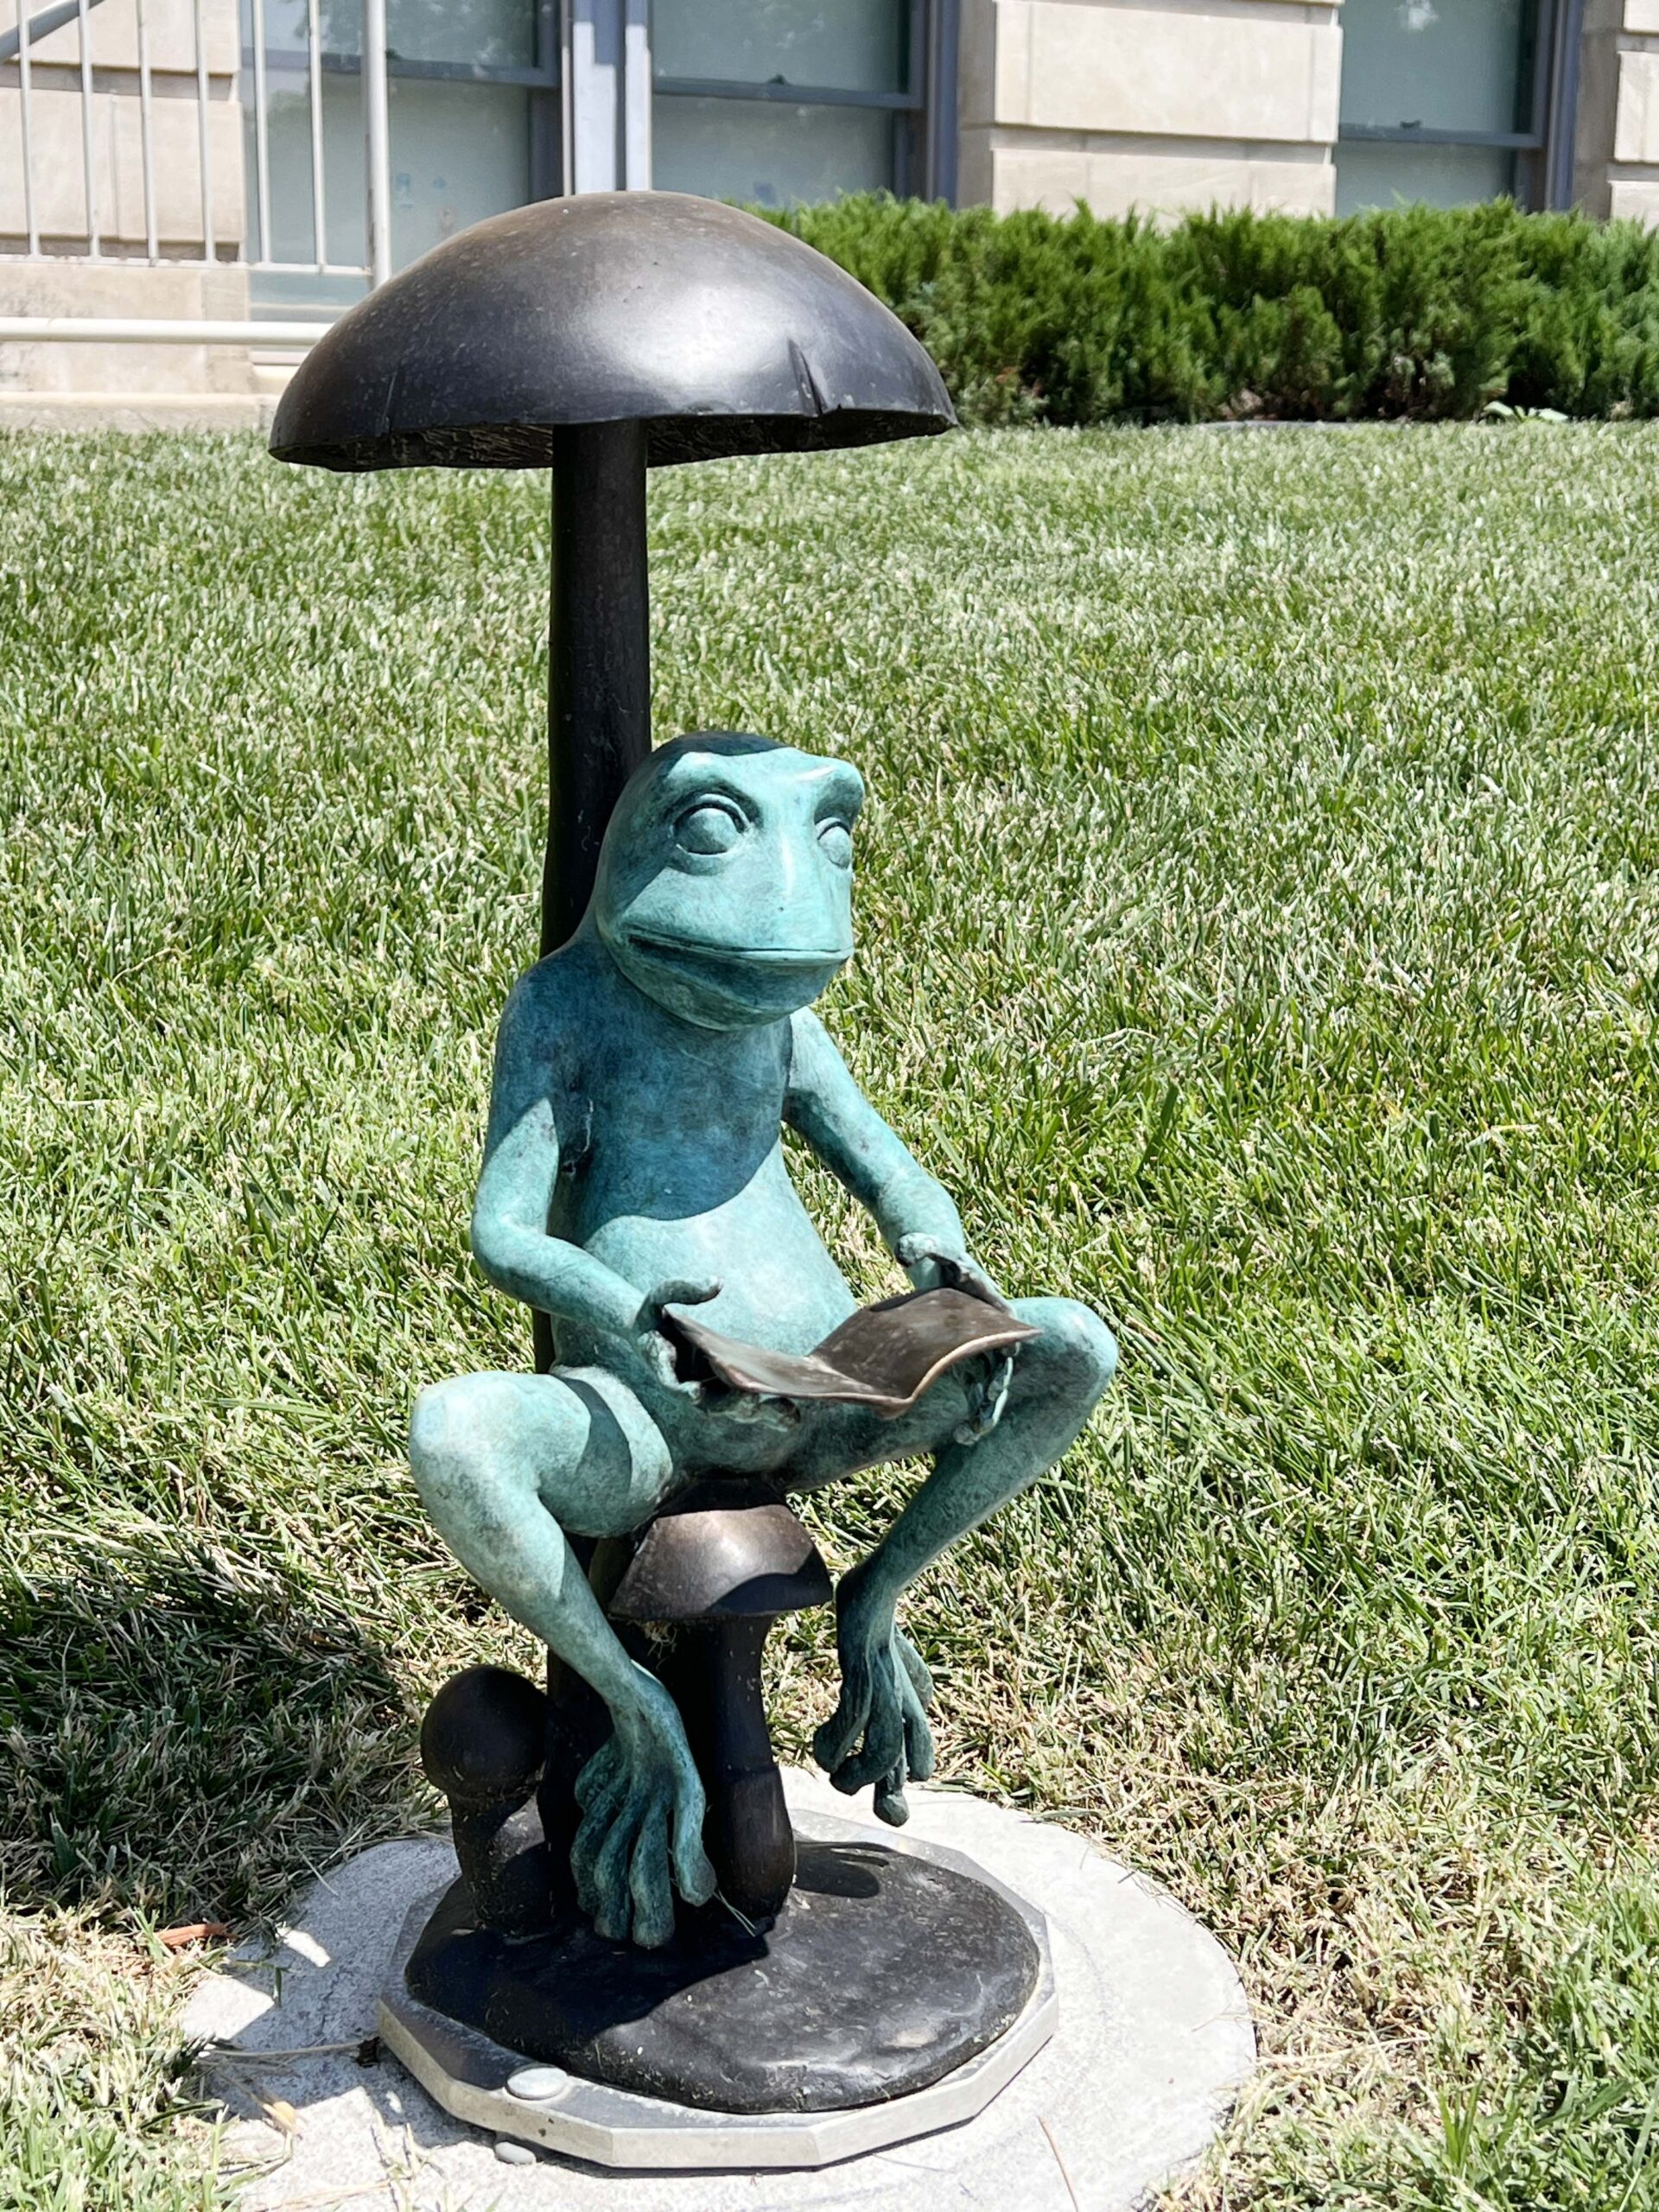 Murals are impressive in size, but it’s the tucked-away sculptures like the whimsical frog and a child reading a book that catch my attention at the Wellington Public Library.
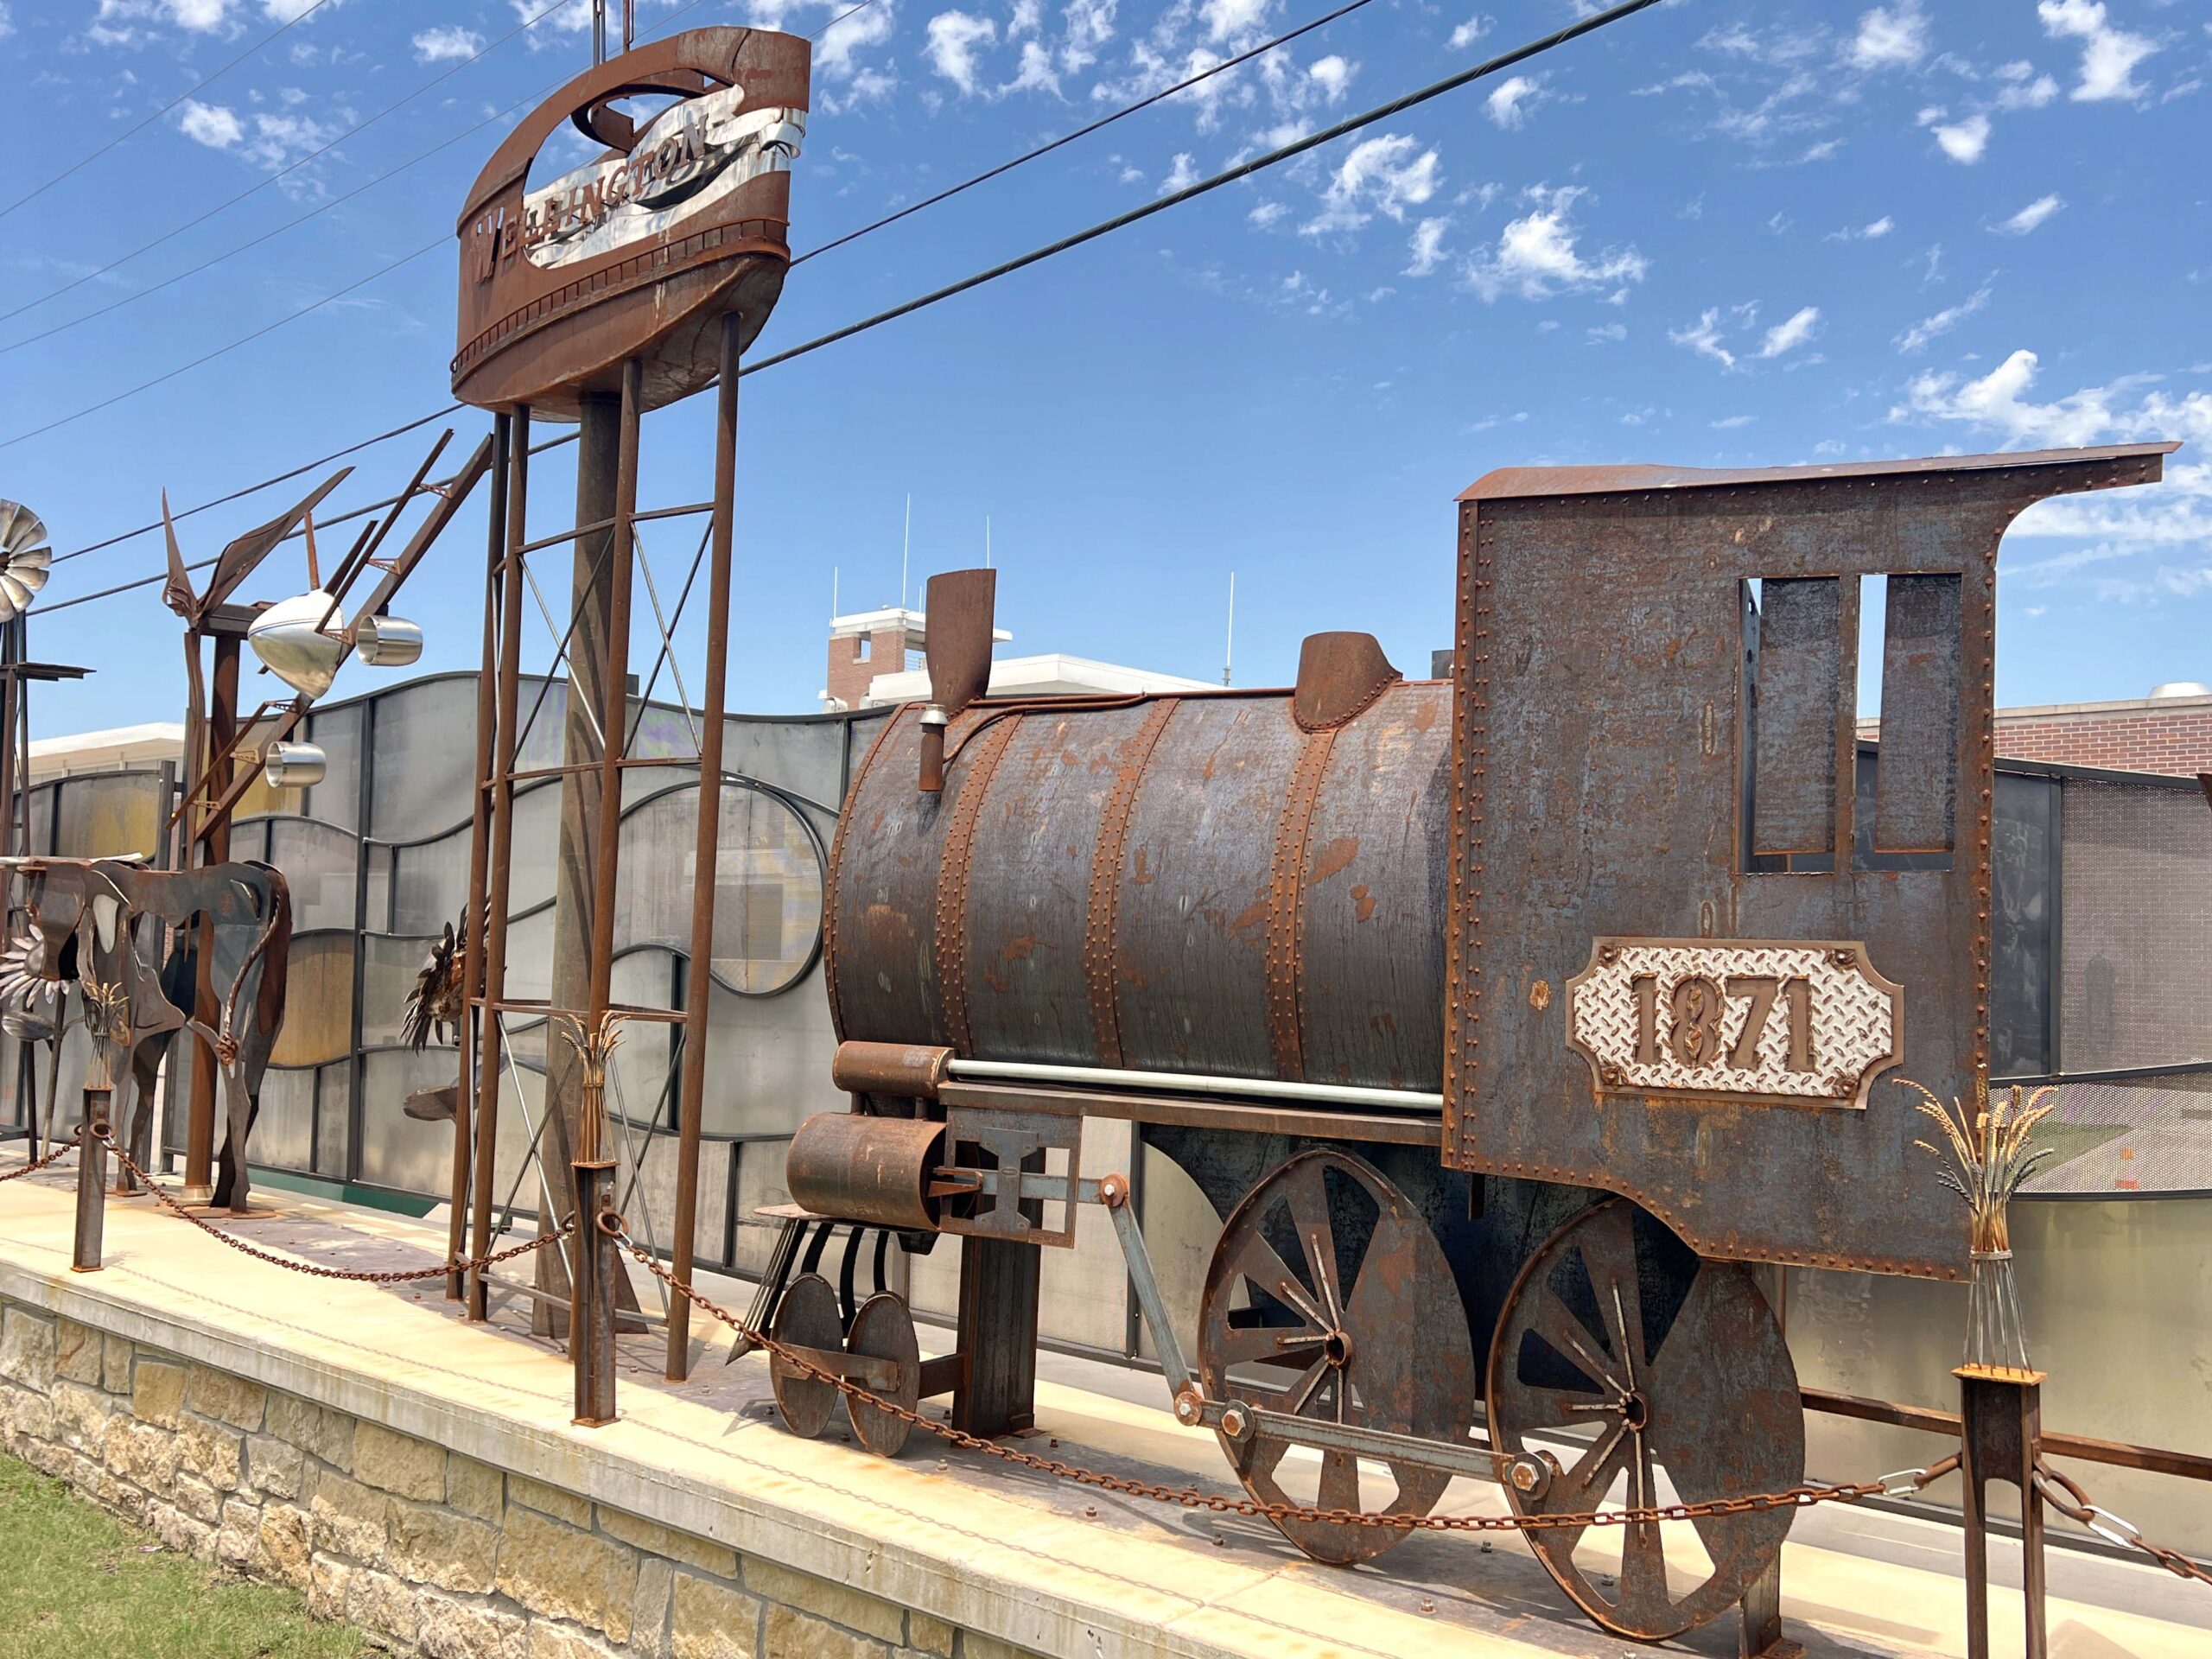 Wellington’s newest art installation, co-created by Ursula Goff and Greg Flickinger, is located at Heritage Plaza on the former Antler’s Hotel Lot.
I appreciated the metal sculpture’s rusty patina, giving it character, as do the cattle, sunflowers, wheat, and railroad-symbolic shapes.
ENTERTAINING STOPS
Wellington Regent Theatre
Nothing compares to watching a movie on the big screen with popcorn in hand. At Wellington Regent Theatre (114 W. Lincoln Ave.), moviegoers can watch first-run films. You can count on screenings on Saturday and Sunday at 2 pm and 7 pm, or Monday at 7 pm.
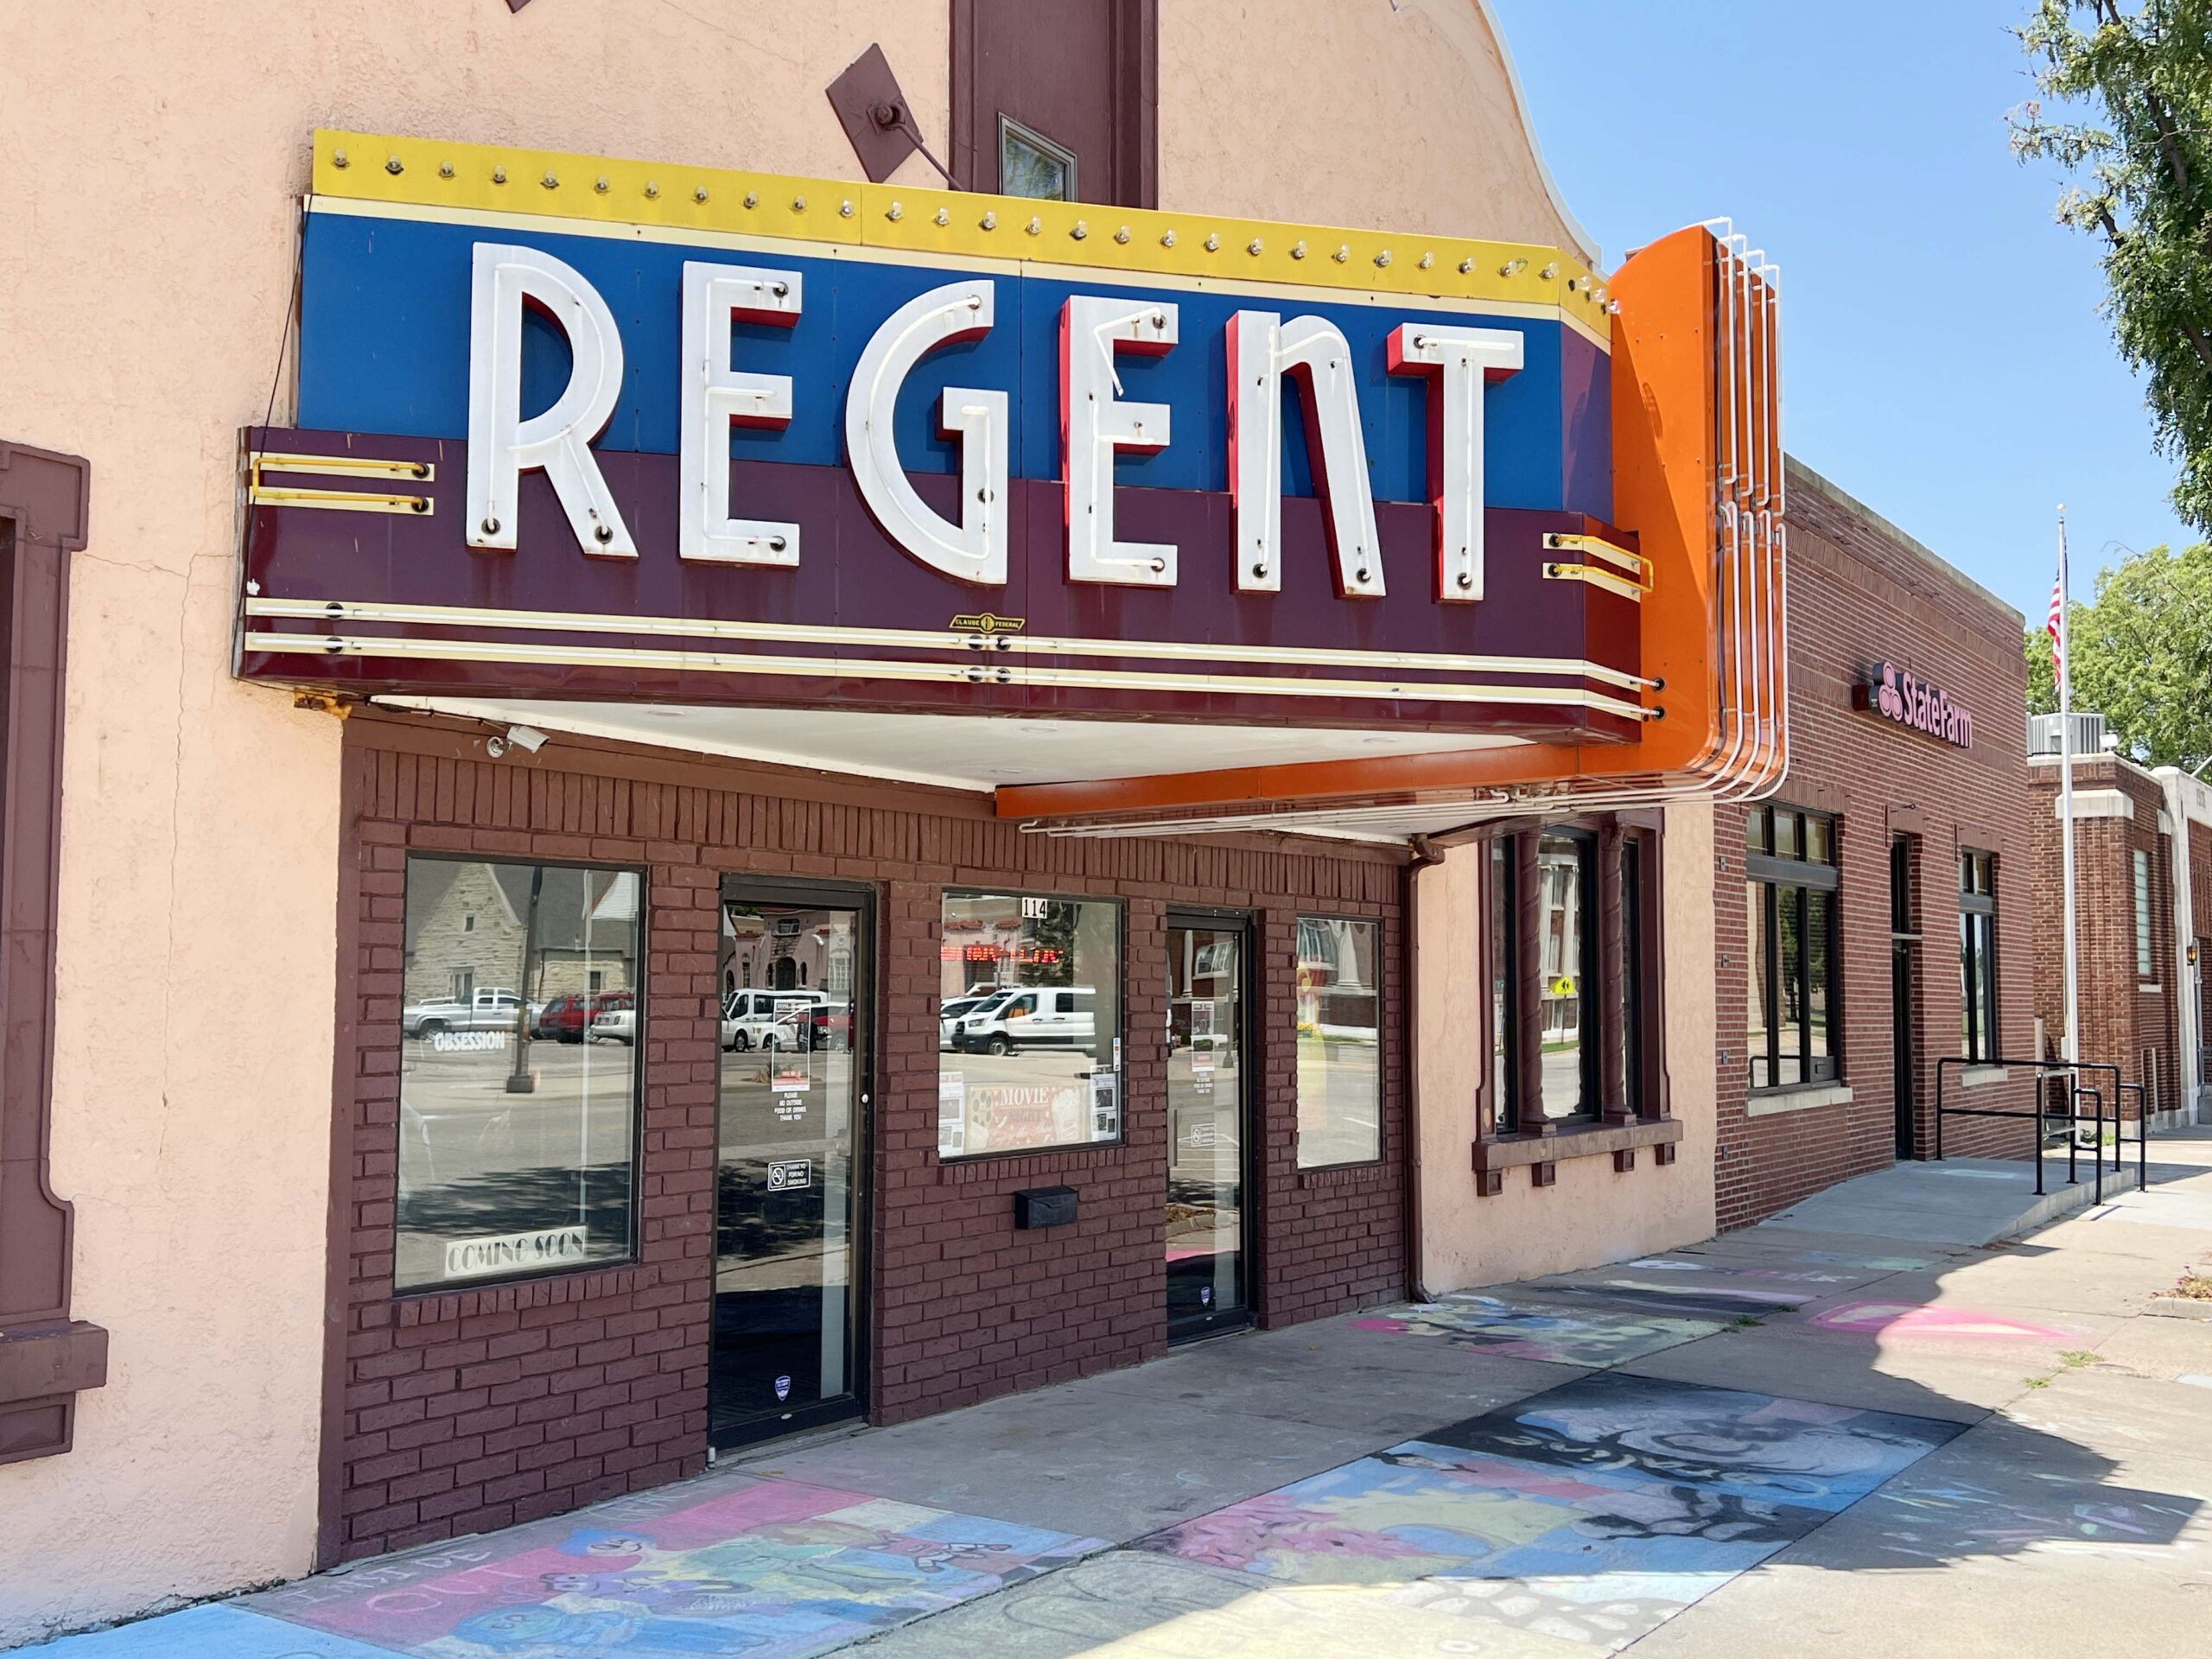 Follow the theatre’s Facebook page to view the latest movie releases and confirm showtimes.
Wellington Retro Bowl
Wellington Retro Bowl (2111 N. A. St.) is experiencing a resurgence after new ownership updated the interior, adding a pro shop and a full kitchen.
Music from the 1980s played as bowling pins crashed at the end of each lane. Bowlers excitedly looked at their posted score on electronic scoreboards. Arcade games, like Ms. Pac-Man, with its familiar waka-waka sound, were heard from the corner.
 I chatted with the co-owners who clearly share a passion for the sport and providing delicious meals and beverages for visiting bowlers.
The 10-lane retro-themed bowling alley is the owners’ passion project. They’ve driven hundreds of miles to buy Brunswick® pinsetters and equipment to outfit the space.
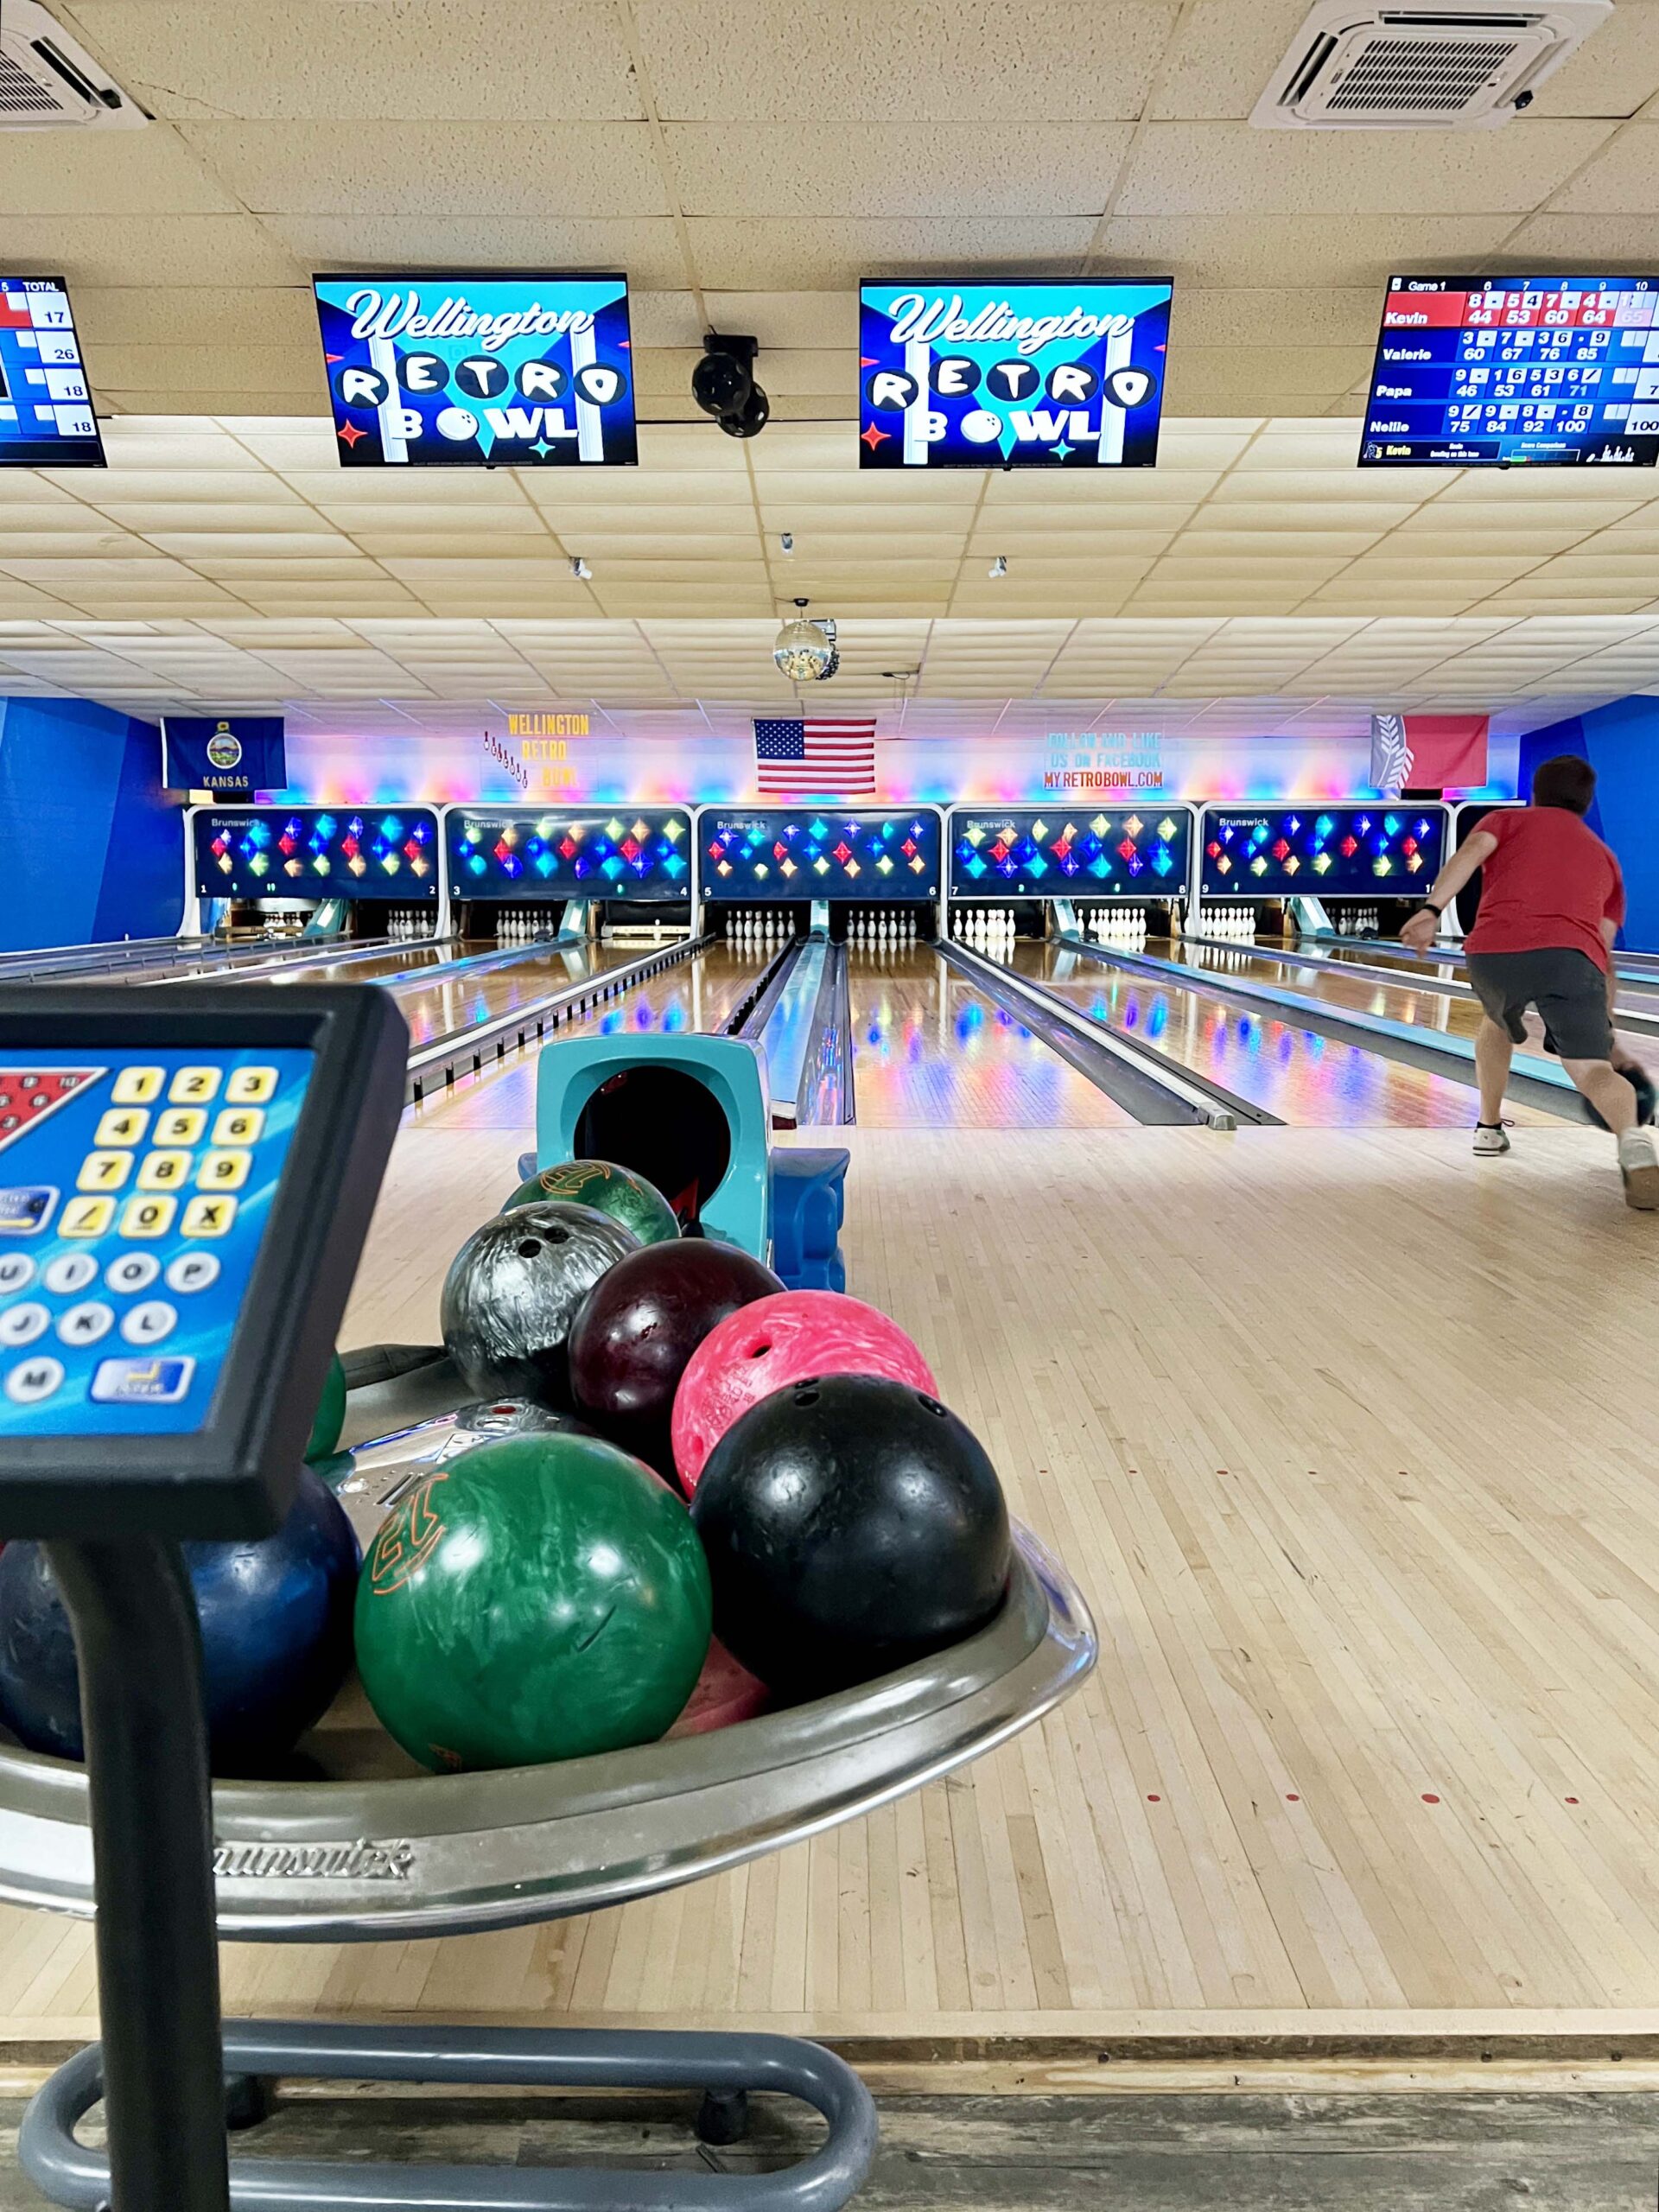 Check the lanes’ seasonal hours and current specials, regularly posted on the Facebook page. The lanes host open-to-the public and league sessions. Expect Cosmic Bowling on Saturdays when black lights glow and cast a neon effect over the lanes.
PRO TIP: Ask about new merchandise, including I’m Just Here For The Tender t-shirts inspired by their favorite menu item.
Wellington Public Library
Did you know that steel-industry tycoon Andrew Carnegie founded 2,059 public libraries and donated over $40 million to fund 1,679 libraries in America?
From 1886 to 1919, libraries like Wellington’s Carnegie Library (121 W. 7th St.) opened to the public to provide access to books.
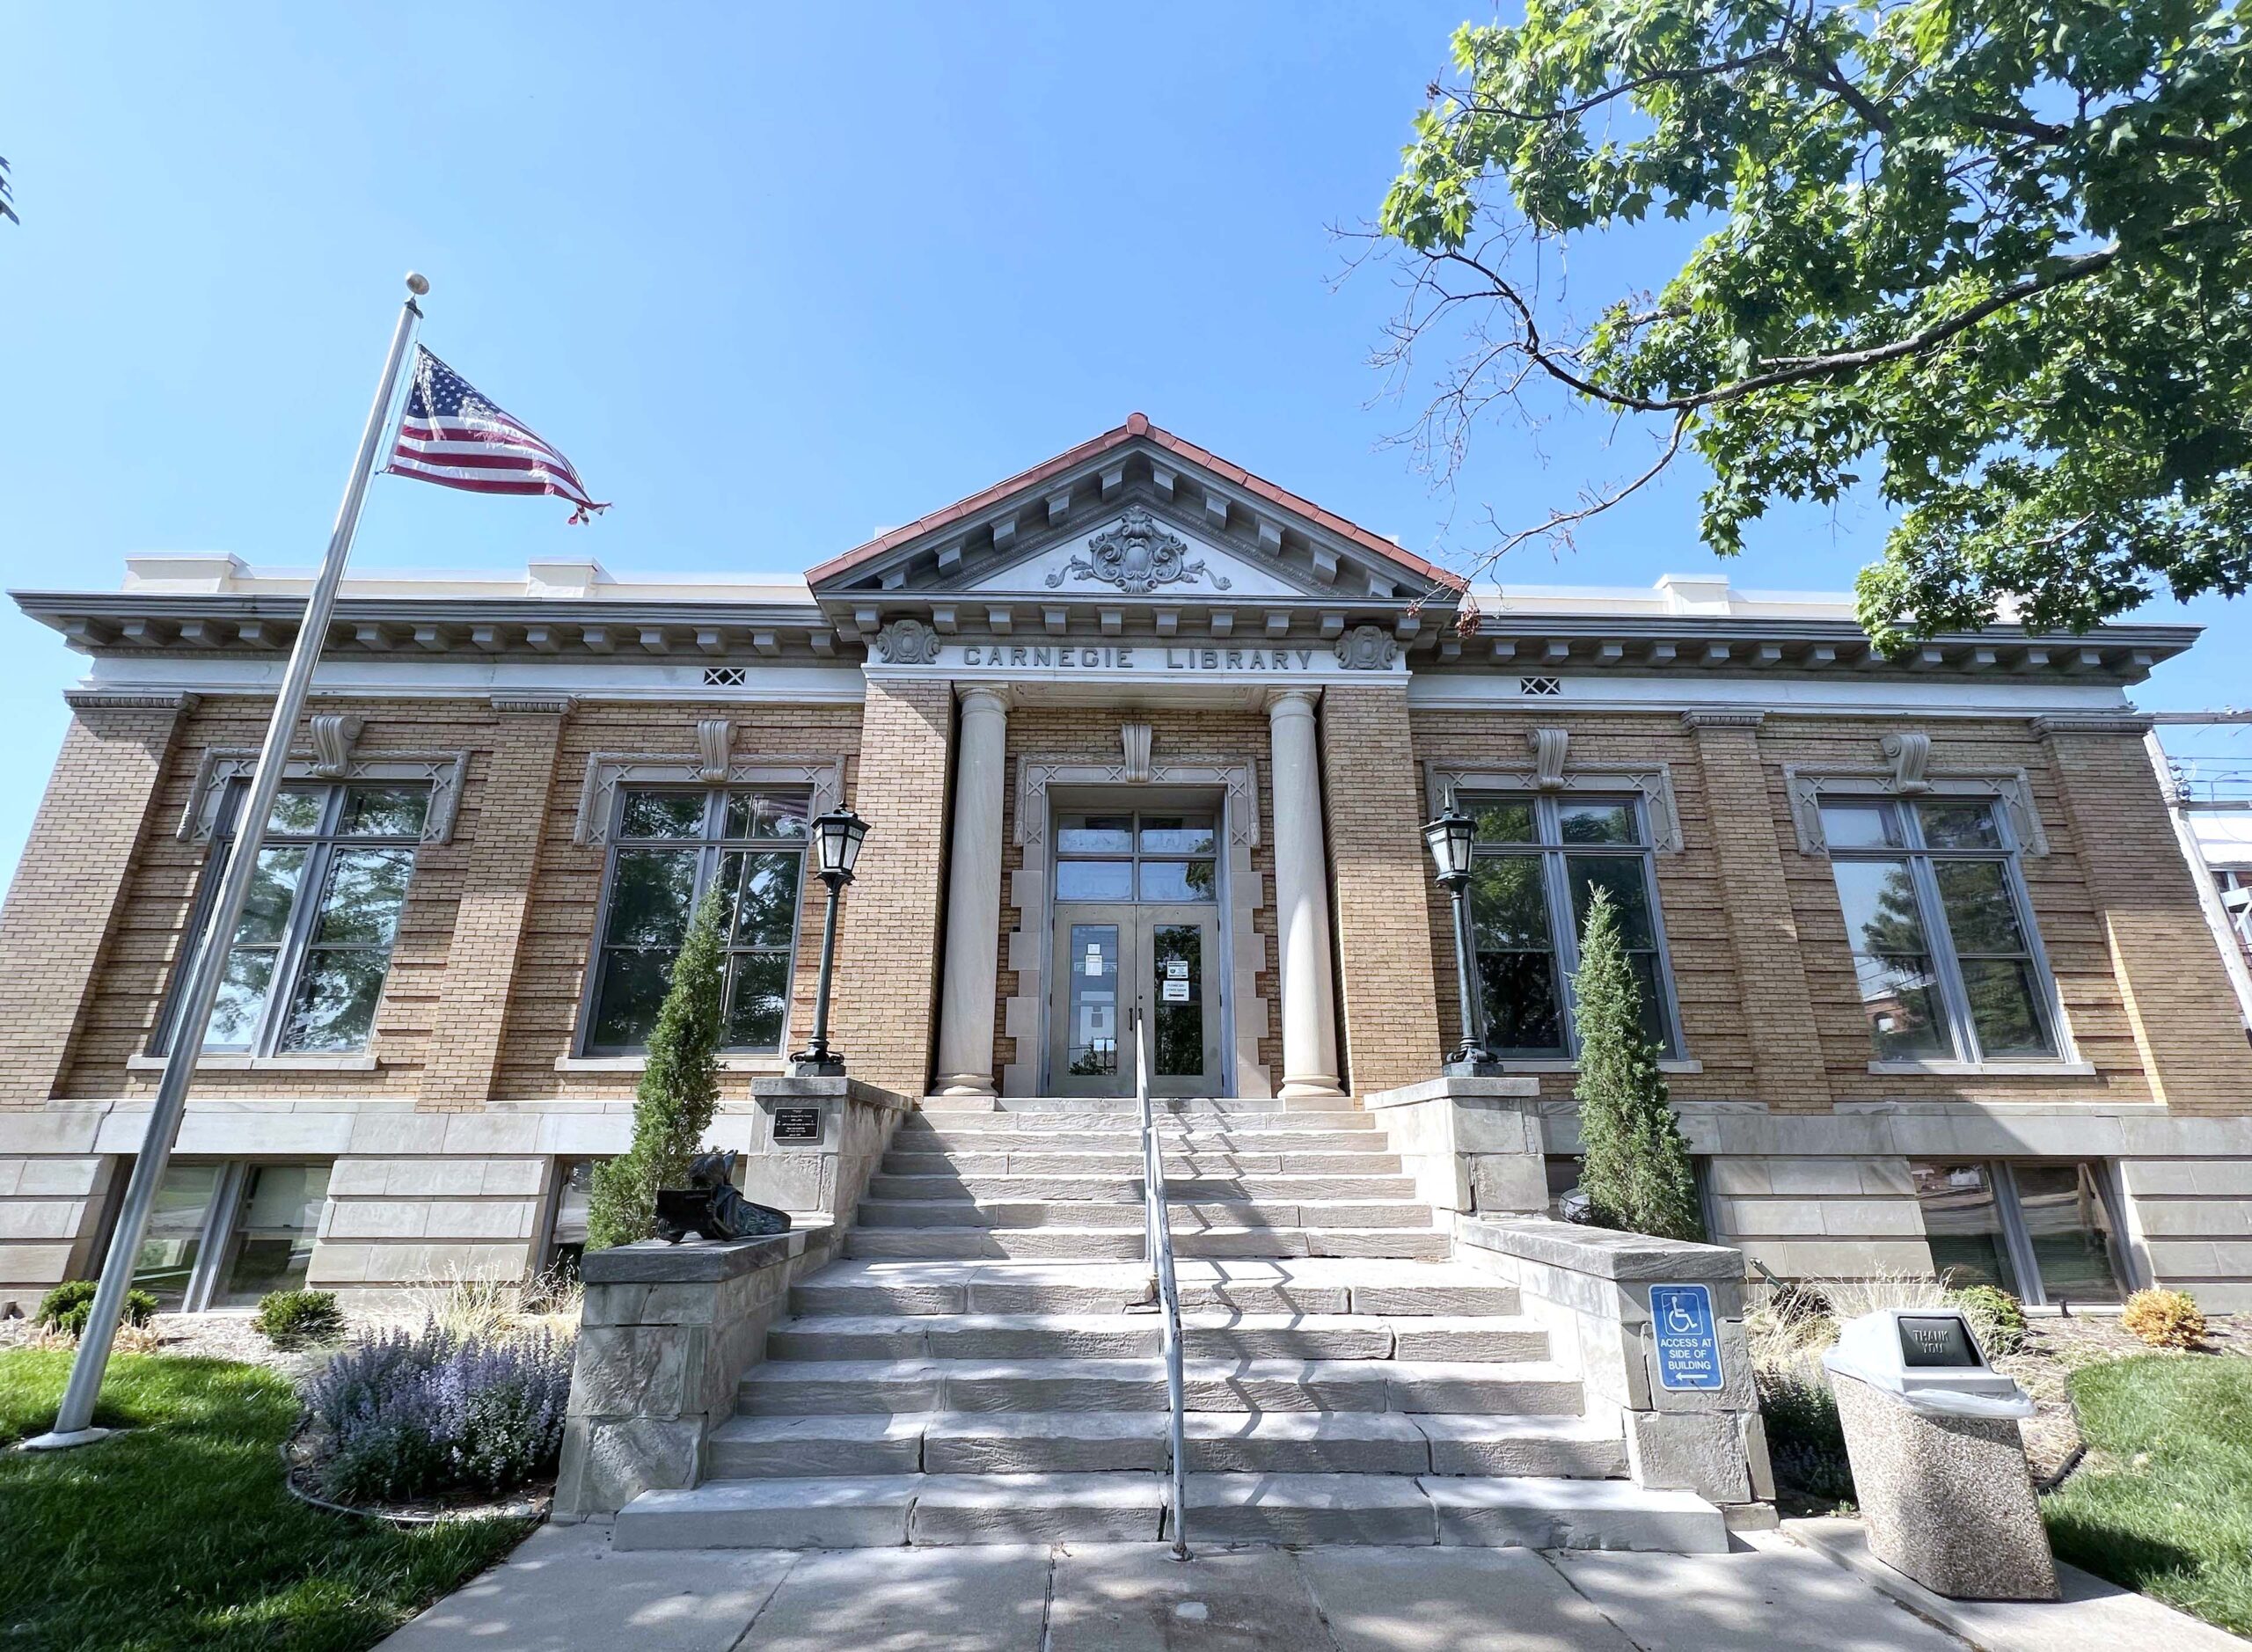 One of 63 Carnegie libraries in Kansas, the Neo-Classical building is listed on the National Register of Historic Places. Visitors without a library card can take advantage of available resources: exhibits, events, and workshops. I sat down and helped complete a puzzle.
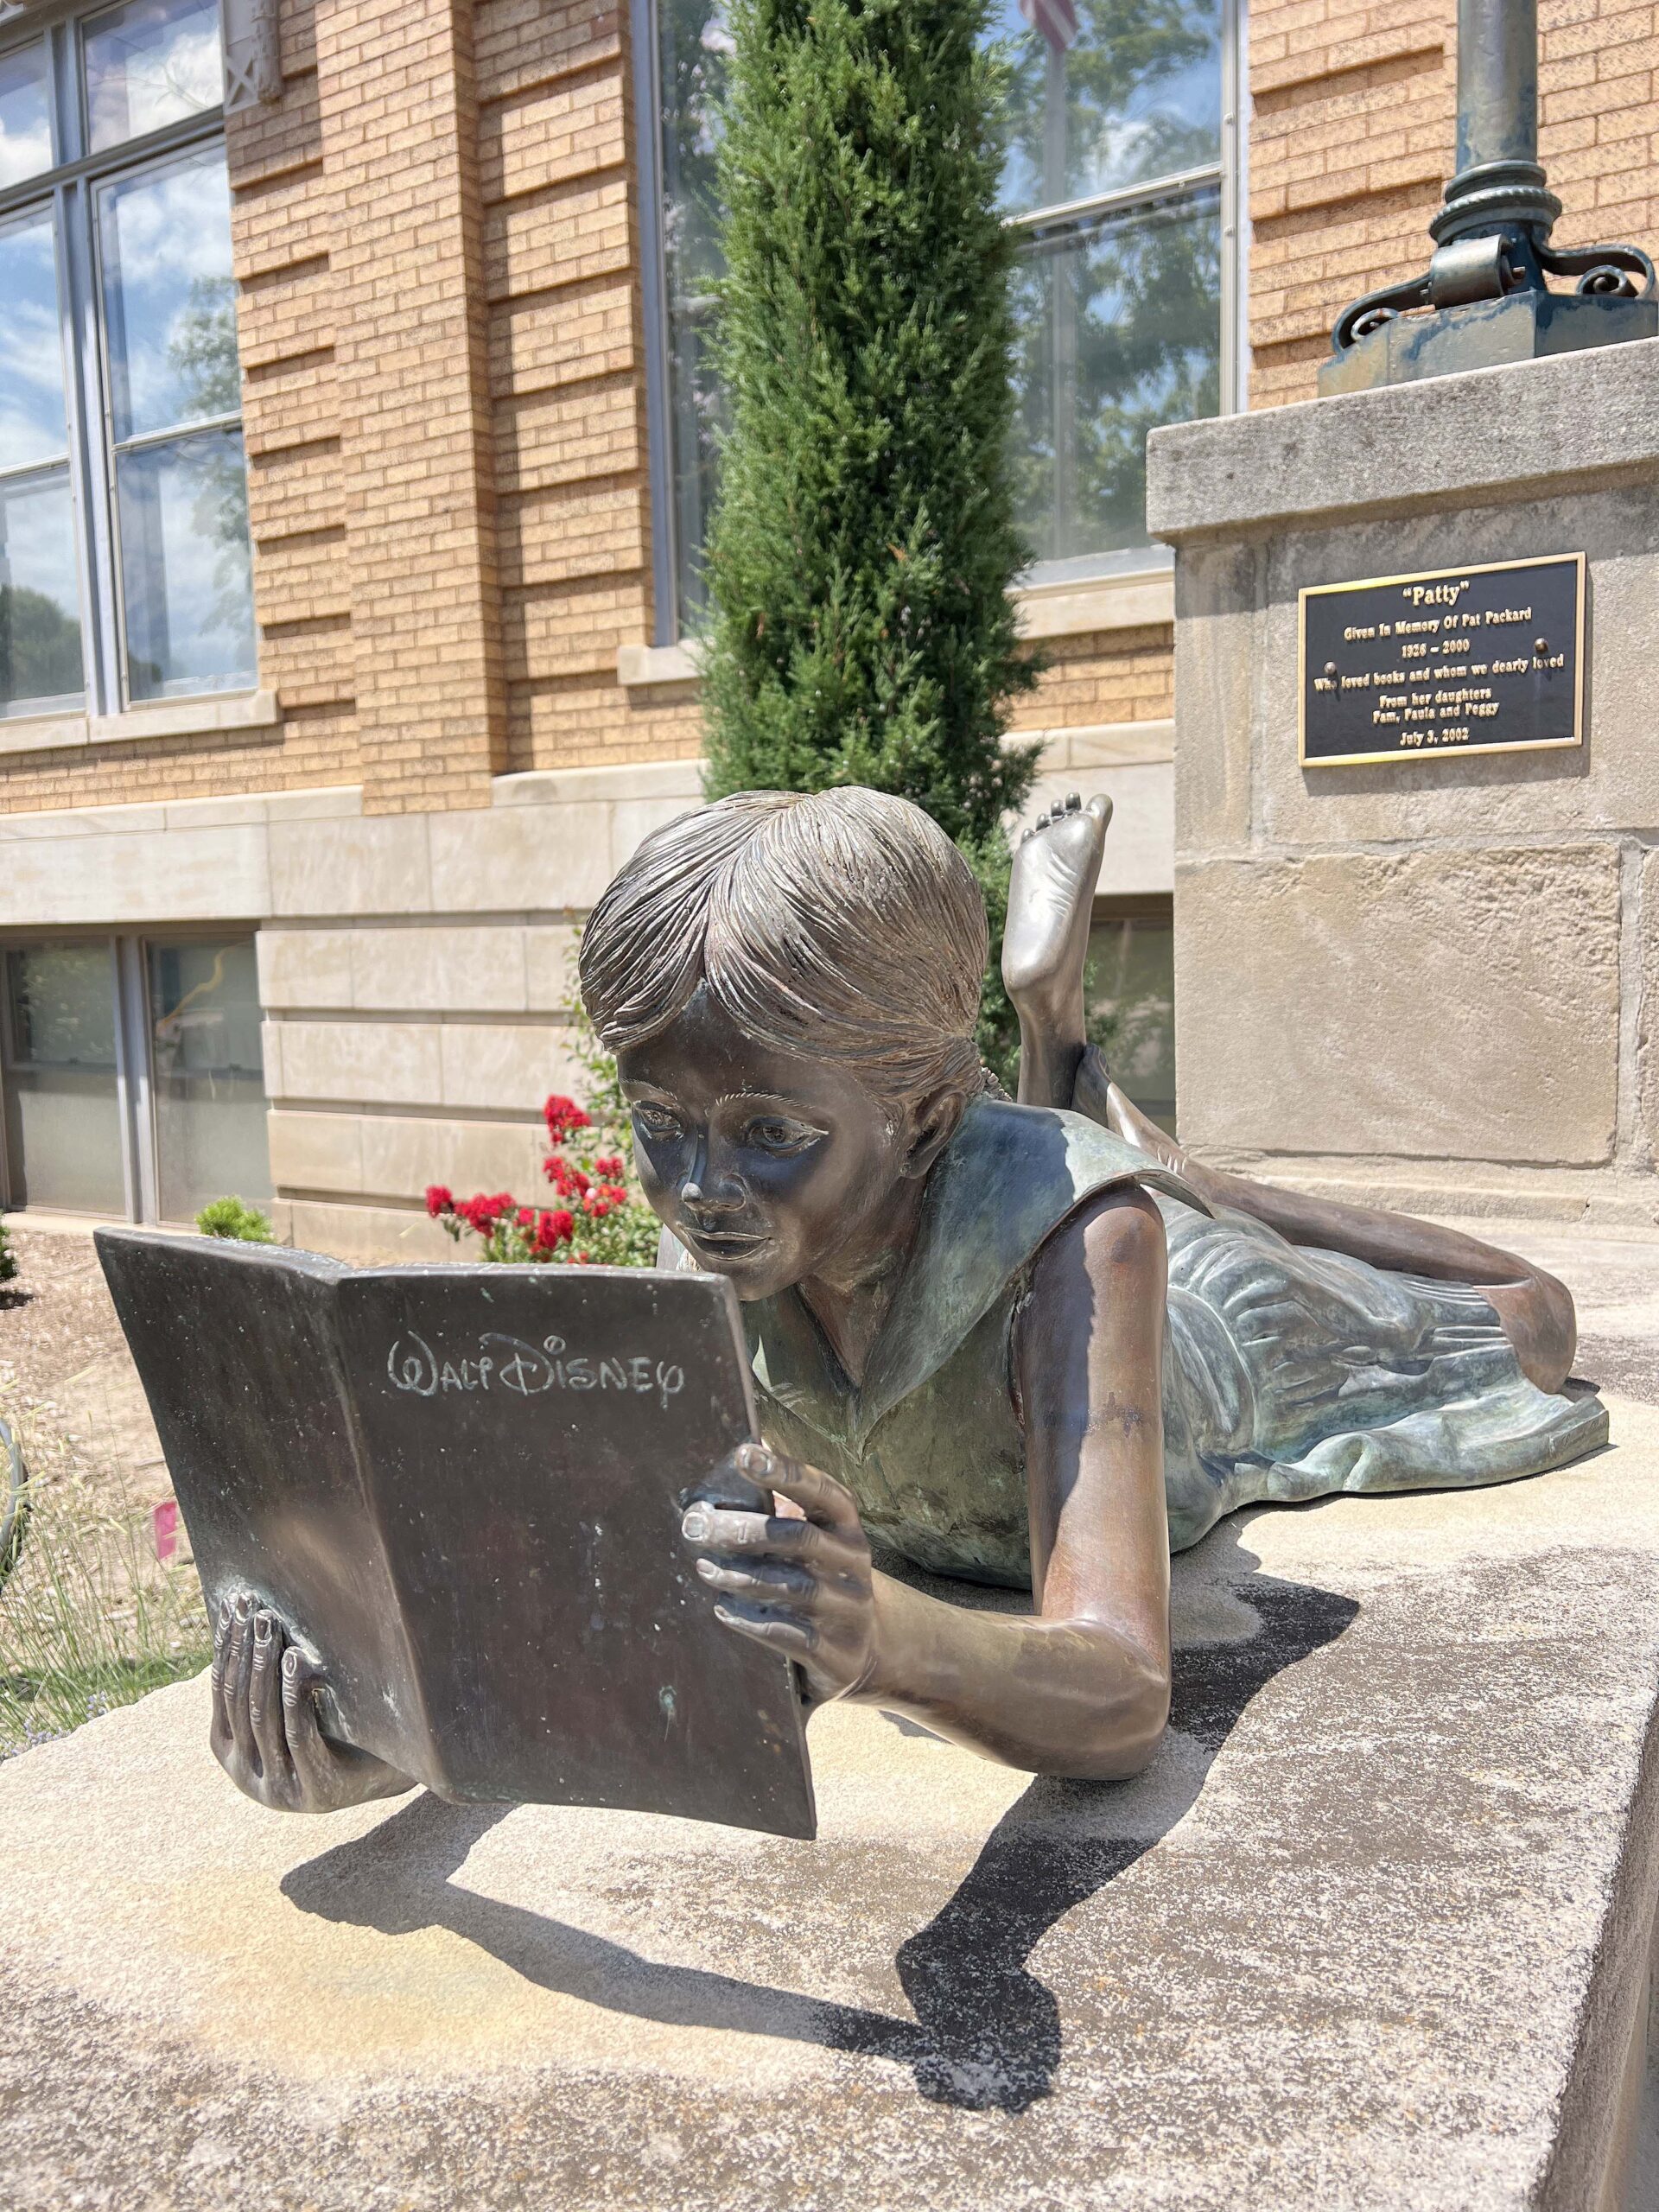 Not all Carnegie libraries still serve as such, so a visit to the Wellington Public Library is worth it to admire its grand design and outdoor bronze sculptures.
Wellington Golf Club
The 18-hole public course at Wellington Golf Club (1500 W. Harvey Ave.) was established in 1919, and continues to test golfers’ skills with fairways lined with trees.
A driving range and putting green offer golfers the opportunity to practice before or after taking to the links.
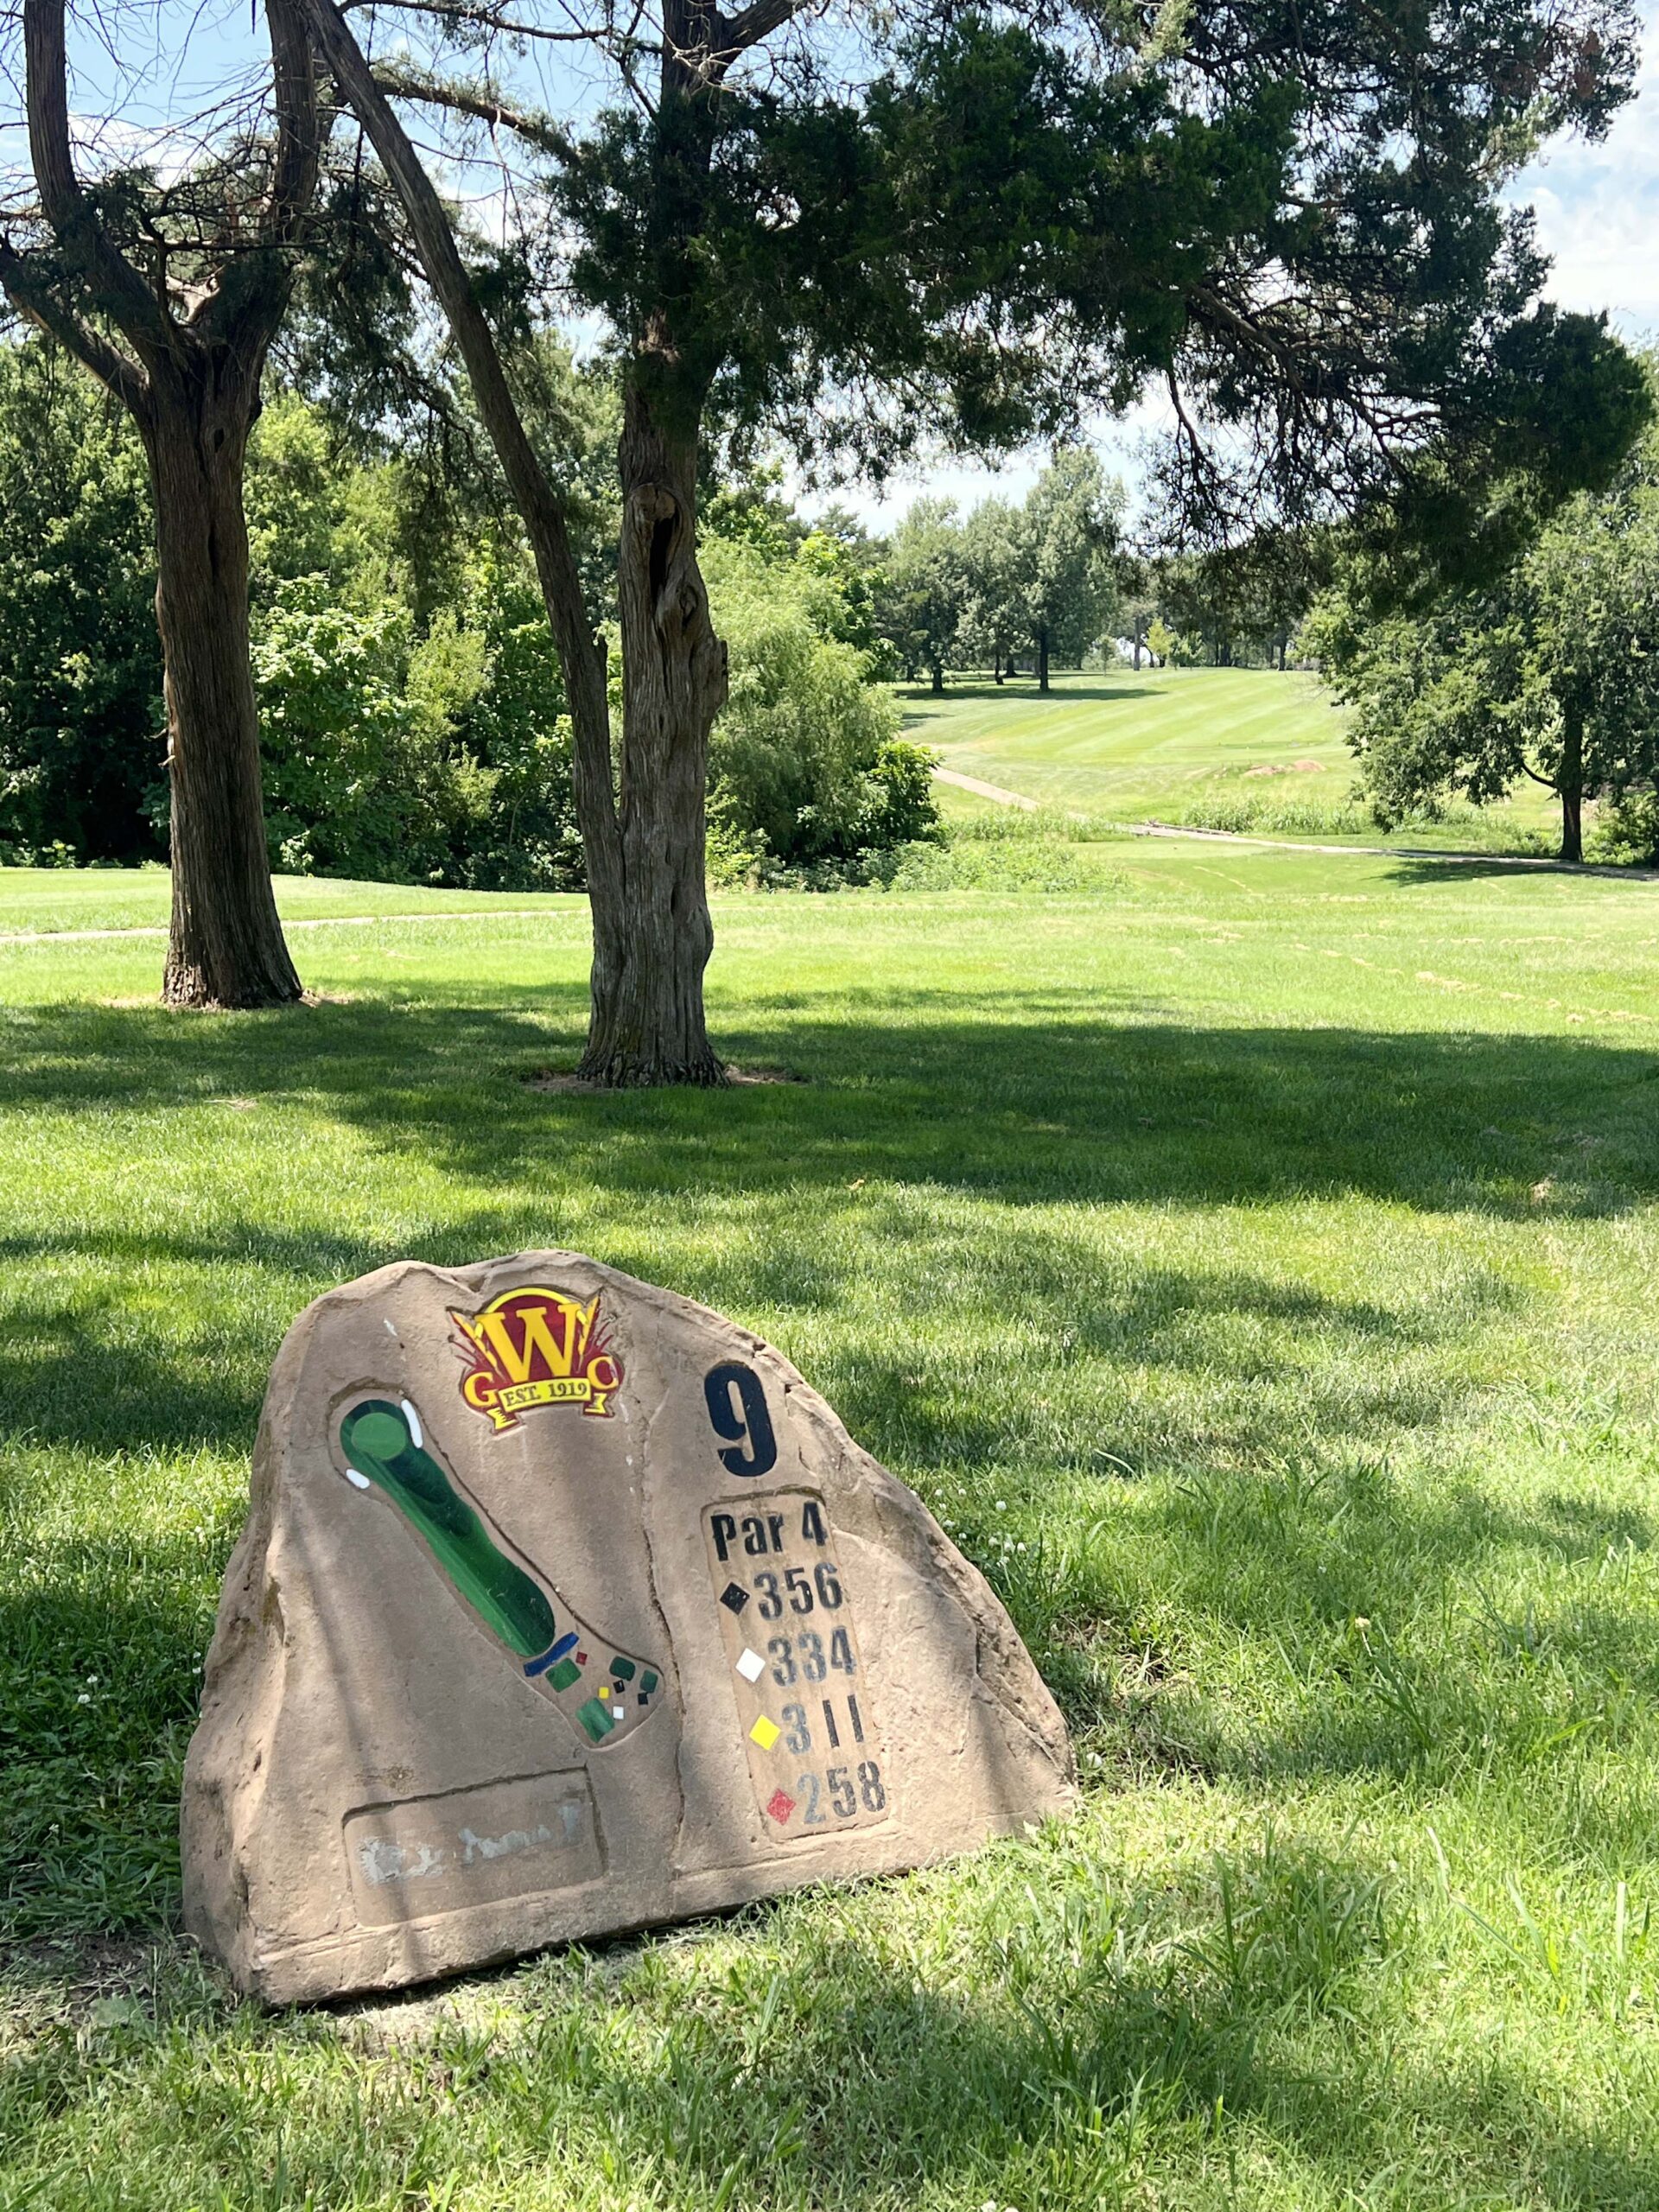 As a one-time competitive golfer, I appreciated the course’s well-maintained fairways and greens, which appeared in solid condition despite the summer heat.
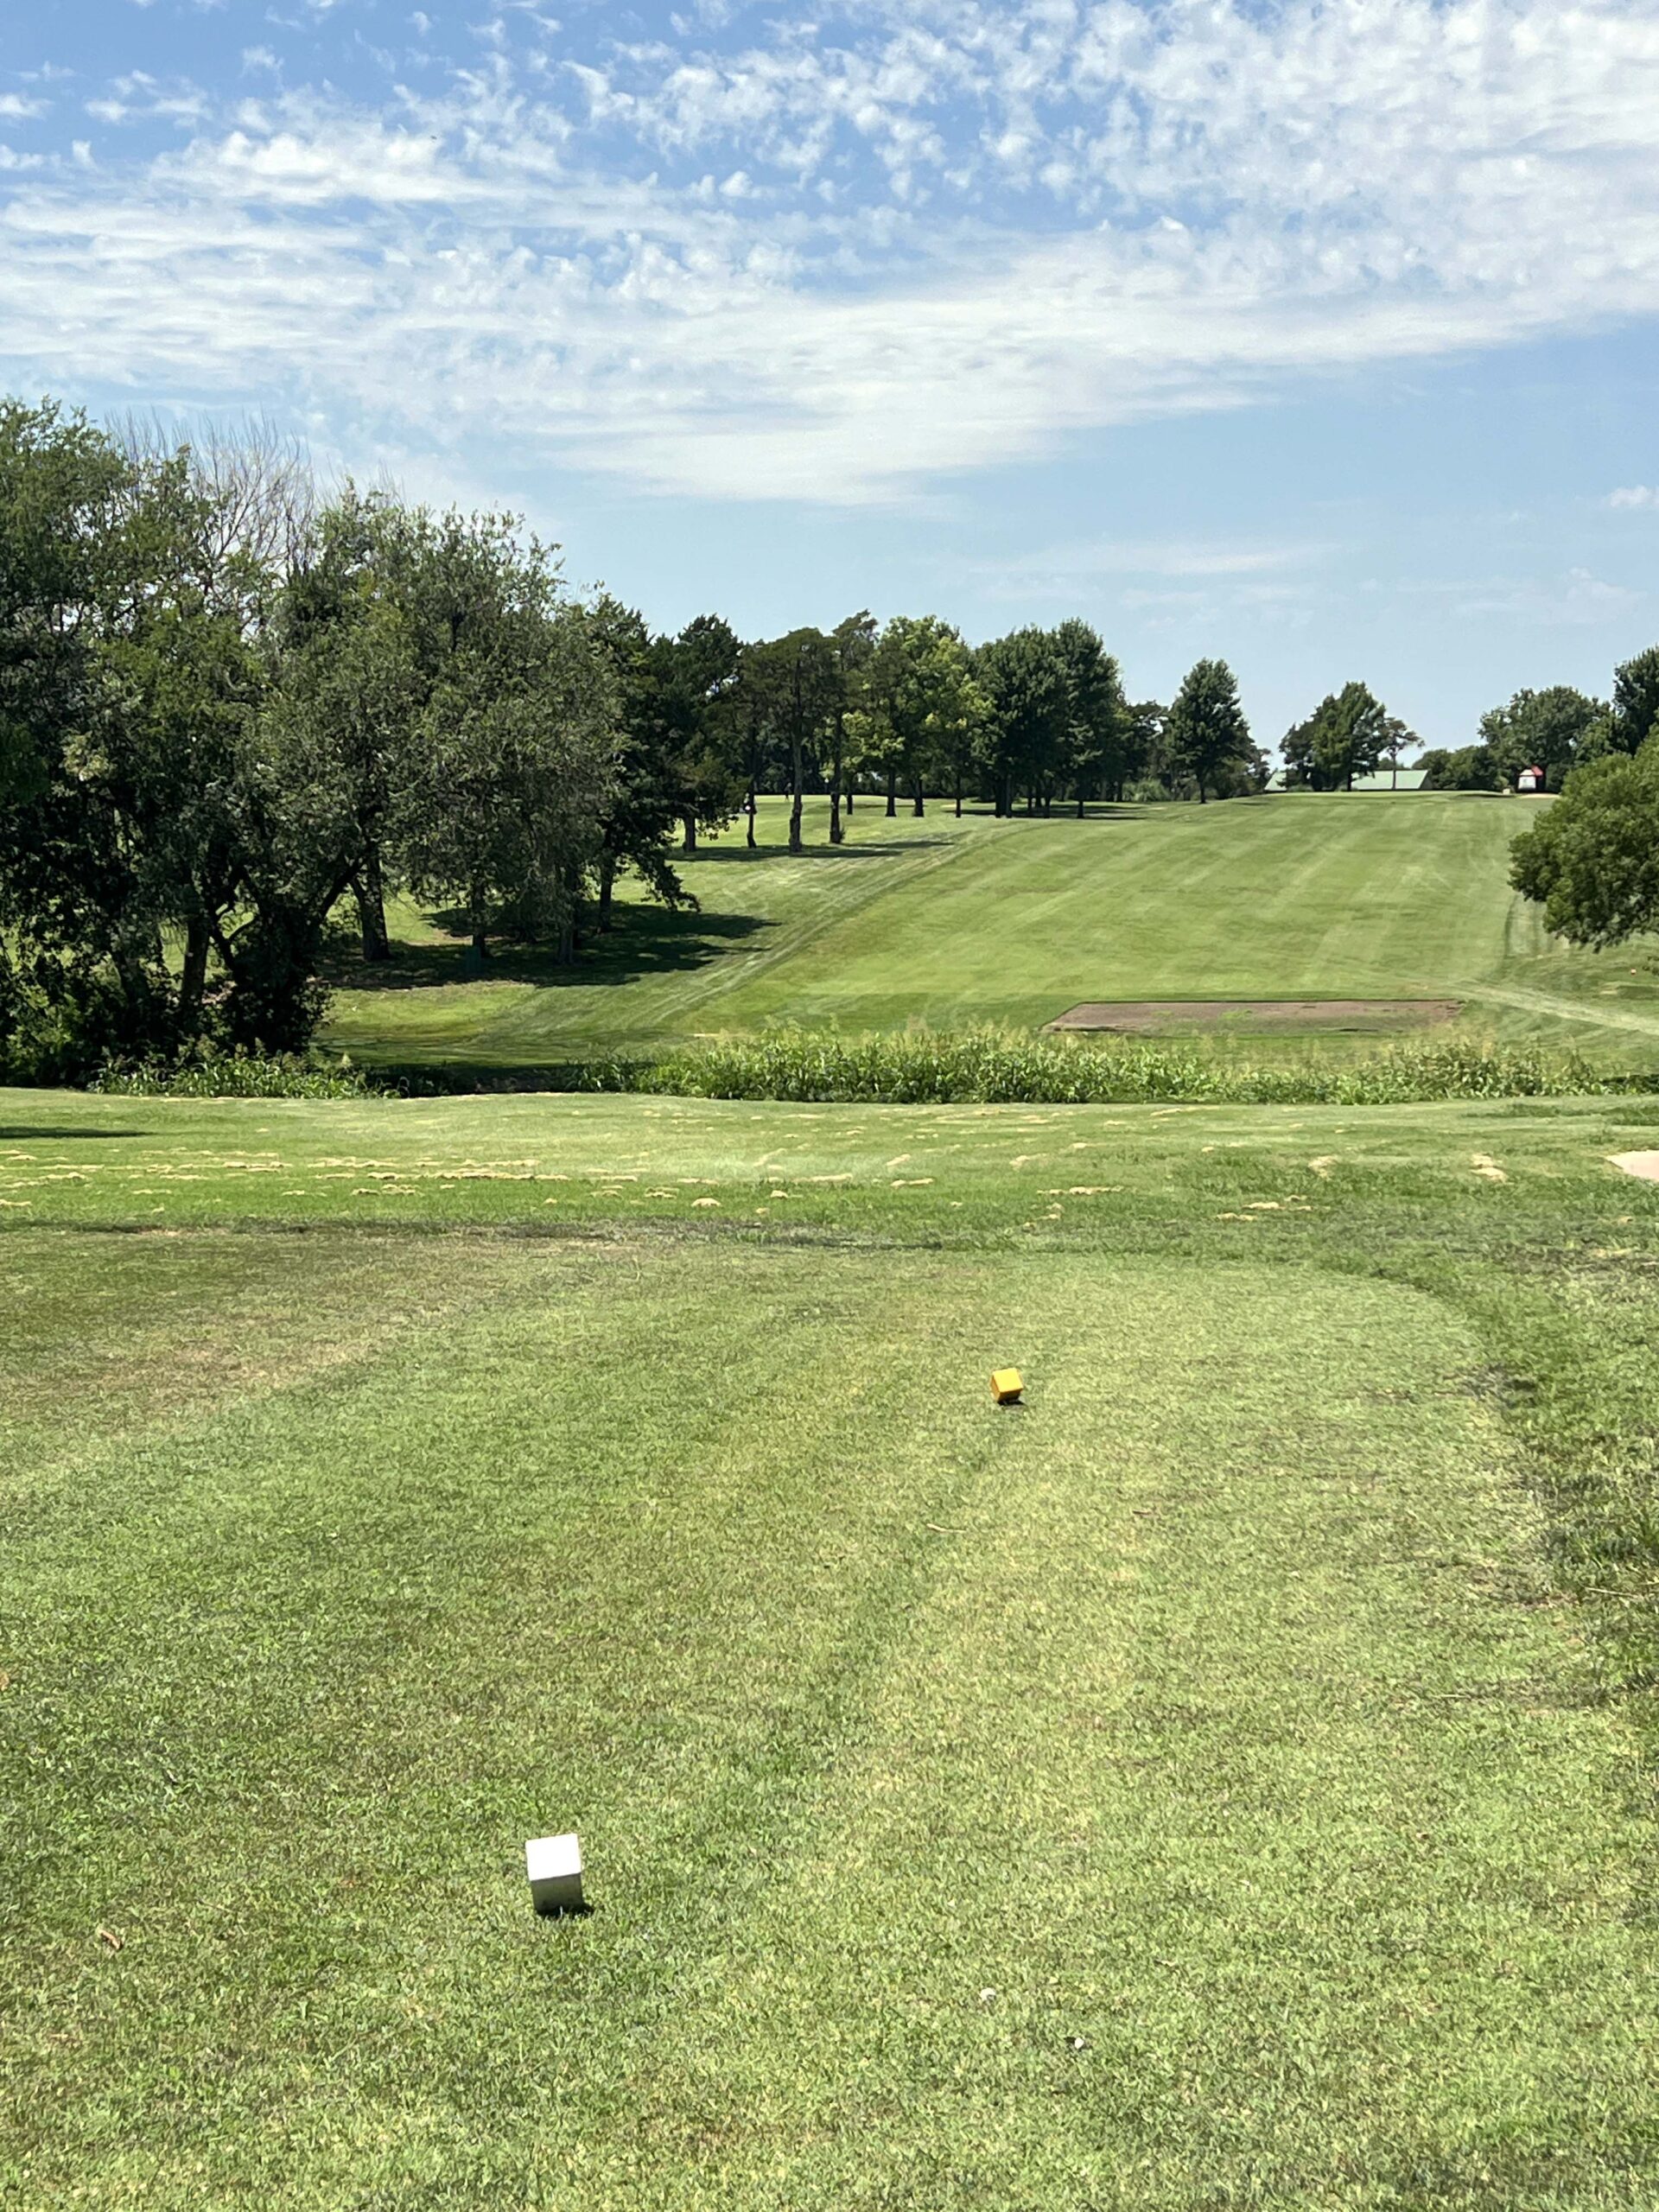 Each tee box includes four options, including competitive tee markers. As a player’s course, you can expect to spend about four hours completing a round.
A round of golf costs between $25 and $38. Purchase snacks or golf accessories at the Pro Shop before driving the golf cart to Hole 1.
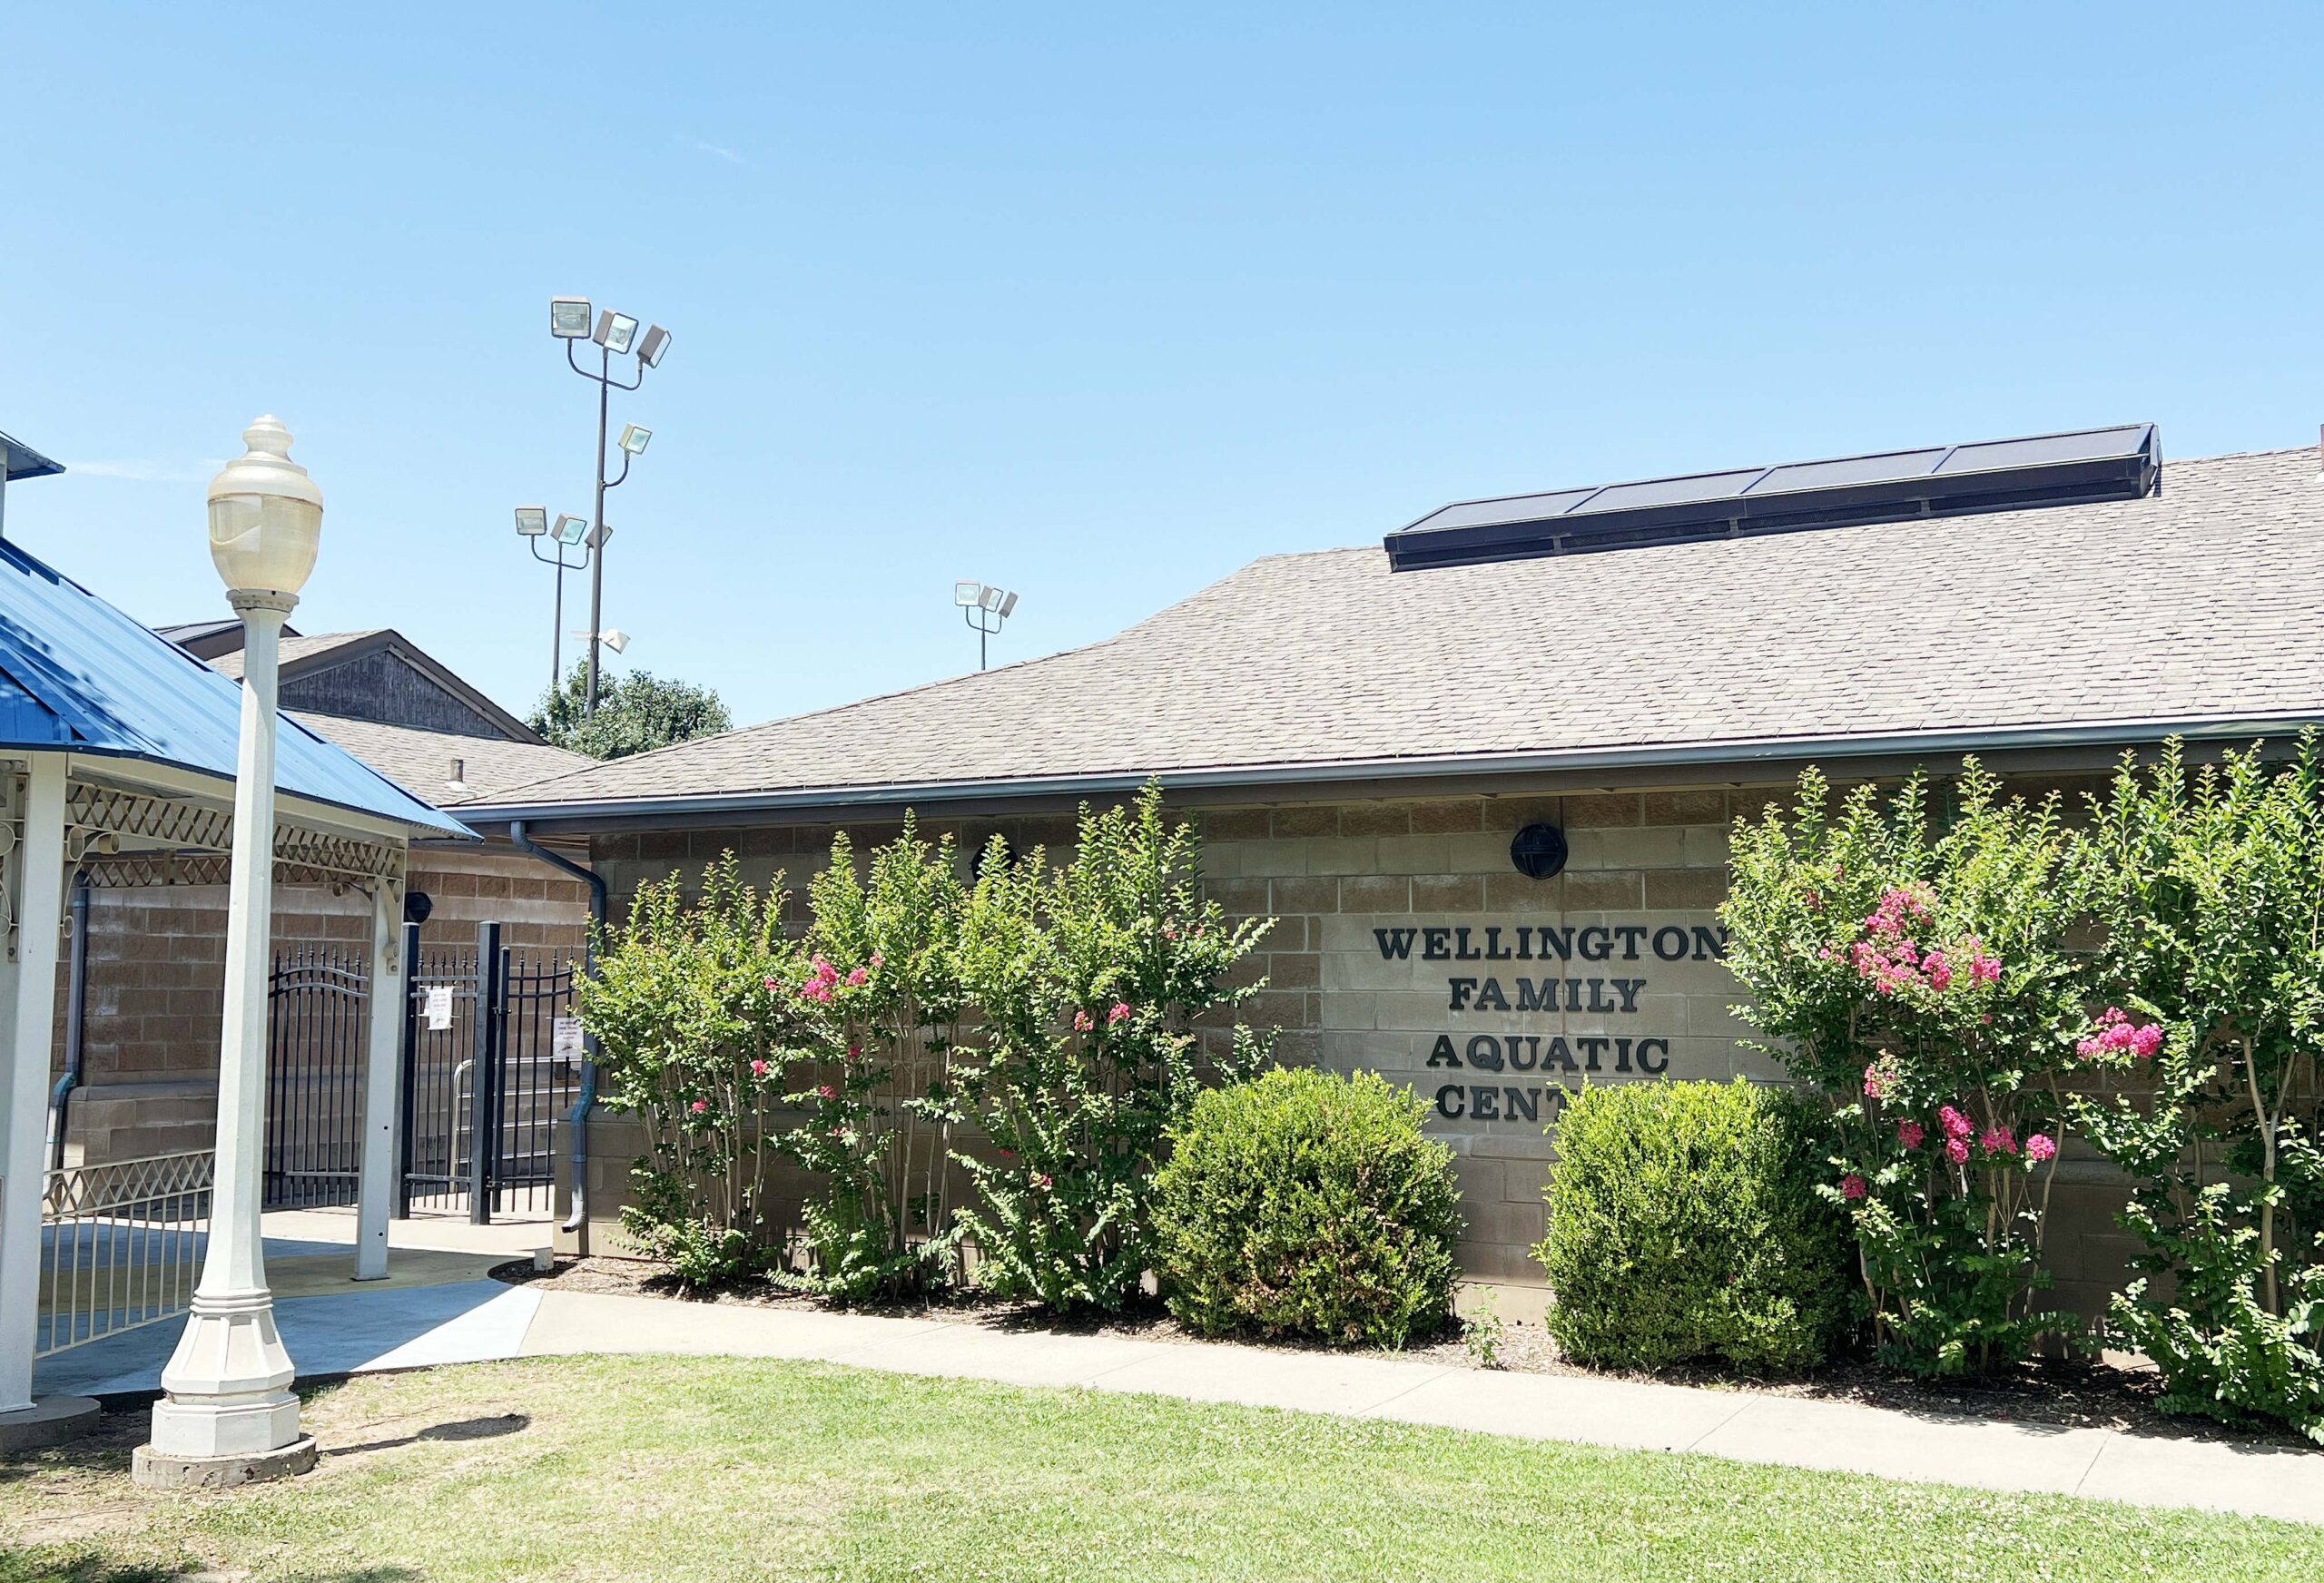
Wellington Family Aquatic Center & Splash Pad
Under the beaming rays of the summer sun, lifeguards watch as families splash in the open water at the Wellington Family Aquatic Center (202 S. Jefferson) from May through August.
Open after 1 pm, the swimming pool features zero depth entry, open and enclosed slides, two diving boards, and lap lanes. A dedicated area with tumble buckets and a mushroom waterfall attracts young swimmers.
 You don’t have to pay to use the Splash Pad accessible by the Candy Cane City playground nearby.
PRO TIP: Call ahead to confirm the splash pad is operating, as it wasn’t during my afternoon visit.
Sumner County District Courthouse
Columbian Mammoth
I also like to locate interesting, obscure places or landmarks when traveling. You know, the kind that ignites your curiosity and you want to pull the car over to see.
Inside the Sumner County District Courthouse (501 N. Washington Ave.), an archeological find unearthed a few miles from town sat inside glass on display to admire – a Columbian Mammoth’s skull.
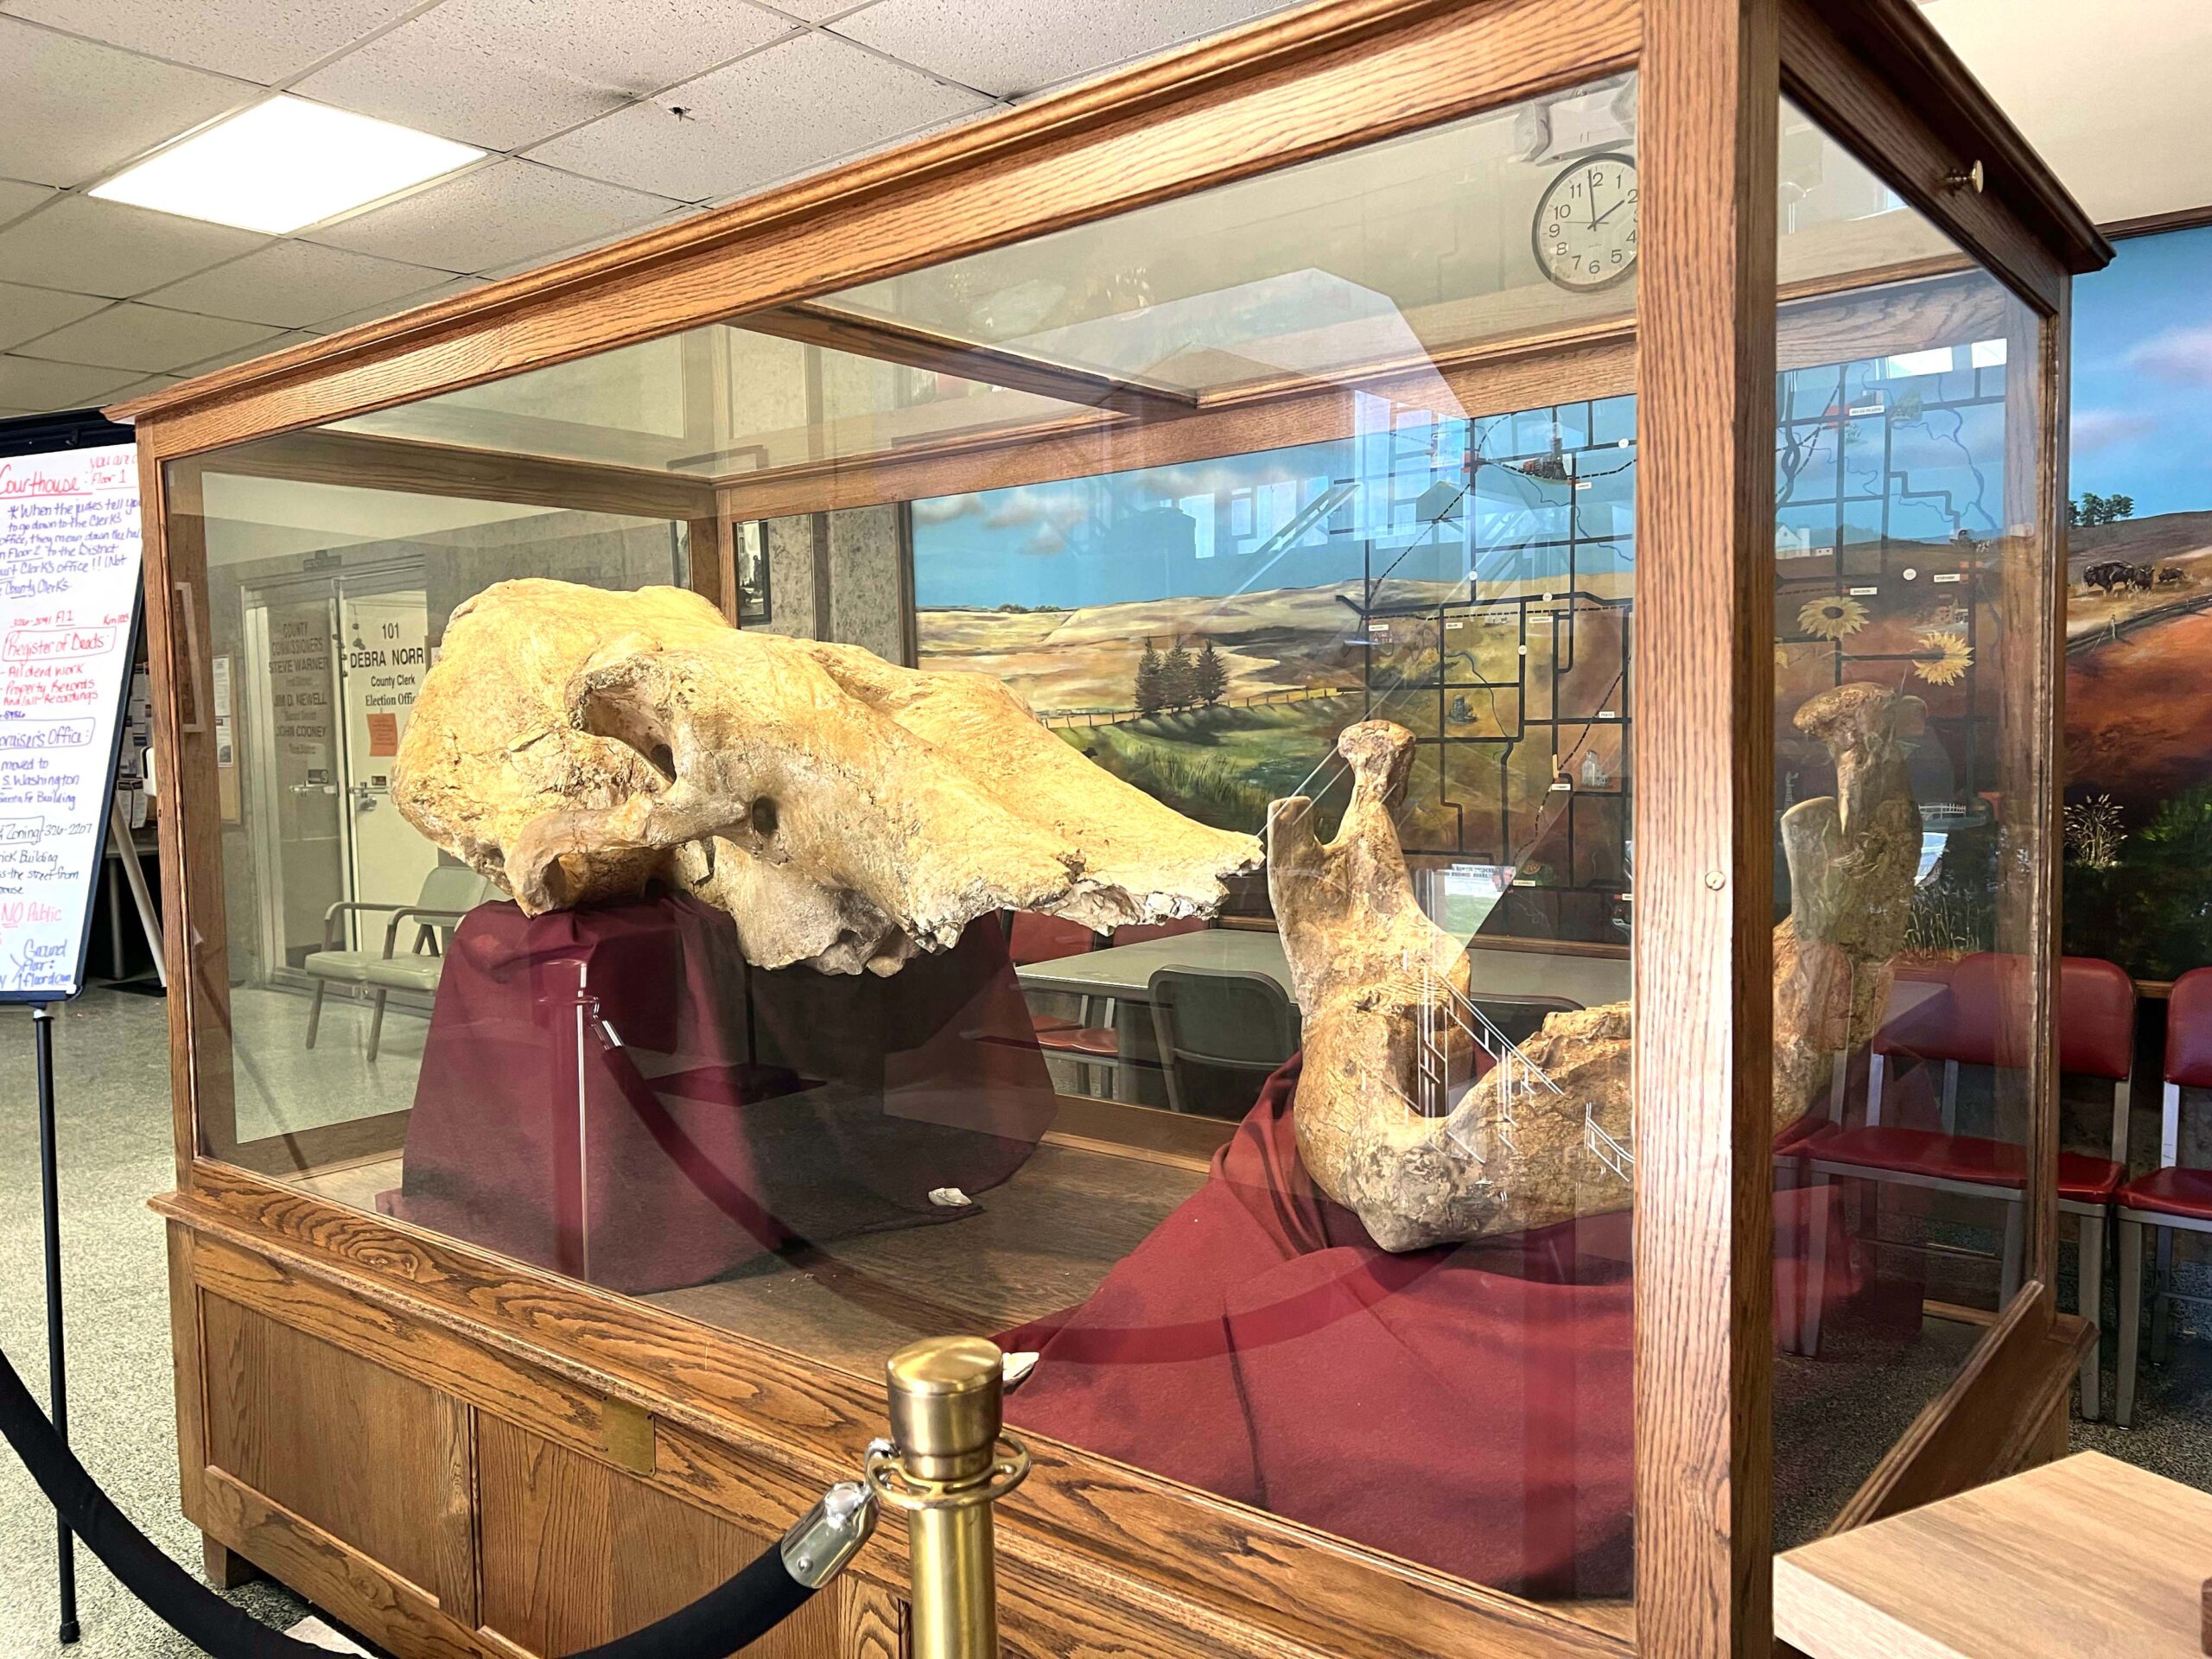 The extinct Ice Age elephant skull was found by Tim Kelly in 1992, and records show that the county’s first farmers found similar bones dating back to the 1870s.
MUST-SEE MUSEUMS
In my experience, tourists don’t always have access to multiple museums in a town the size of Wellington.
Each one includes unexpected treasures, at no cost to the public and donations are appreciated.
National Depression Glass Museum
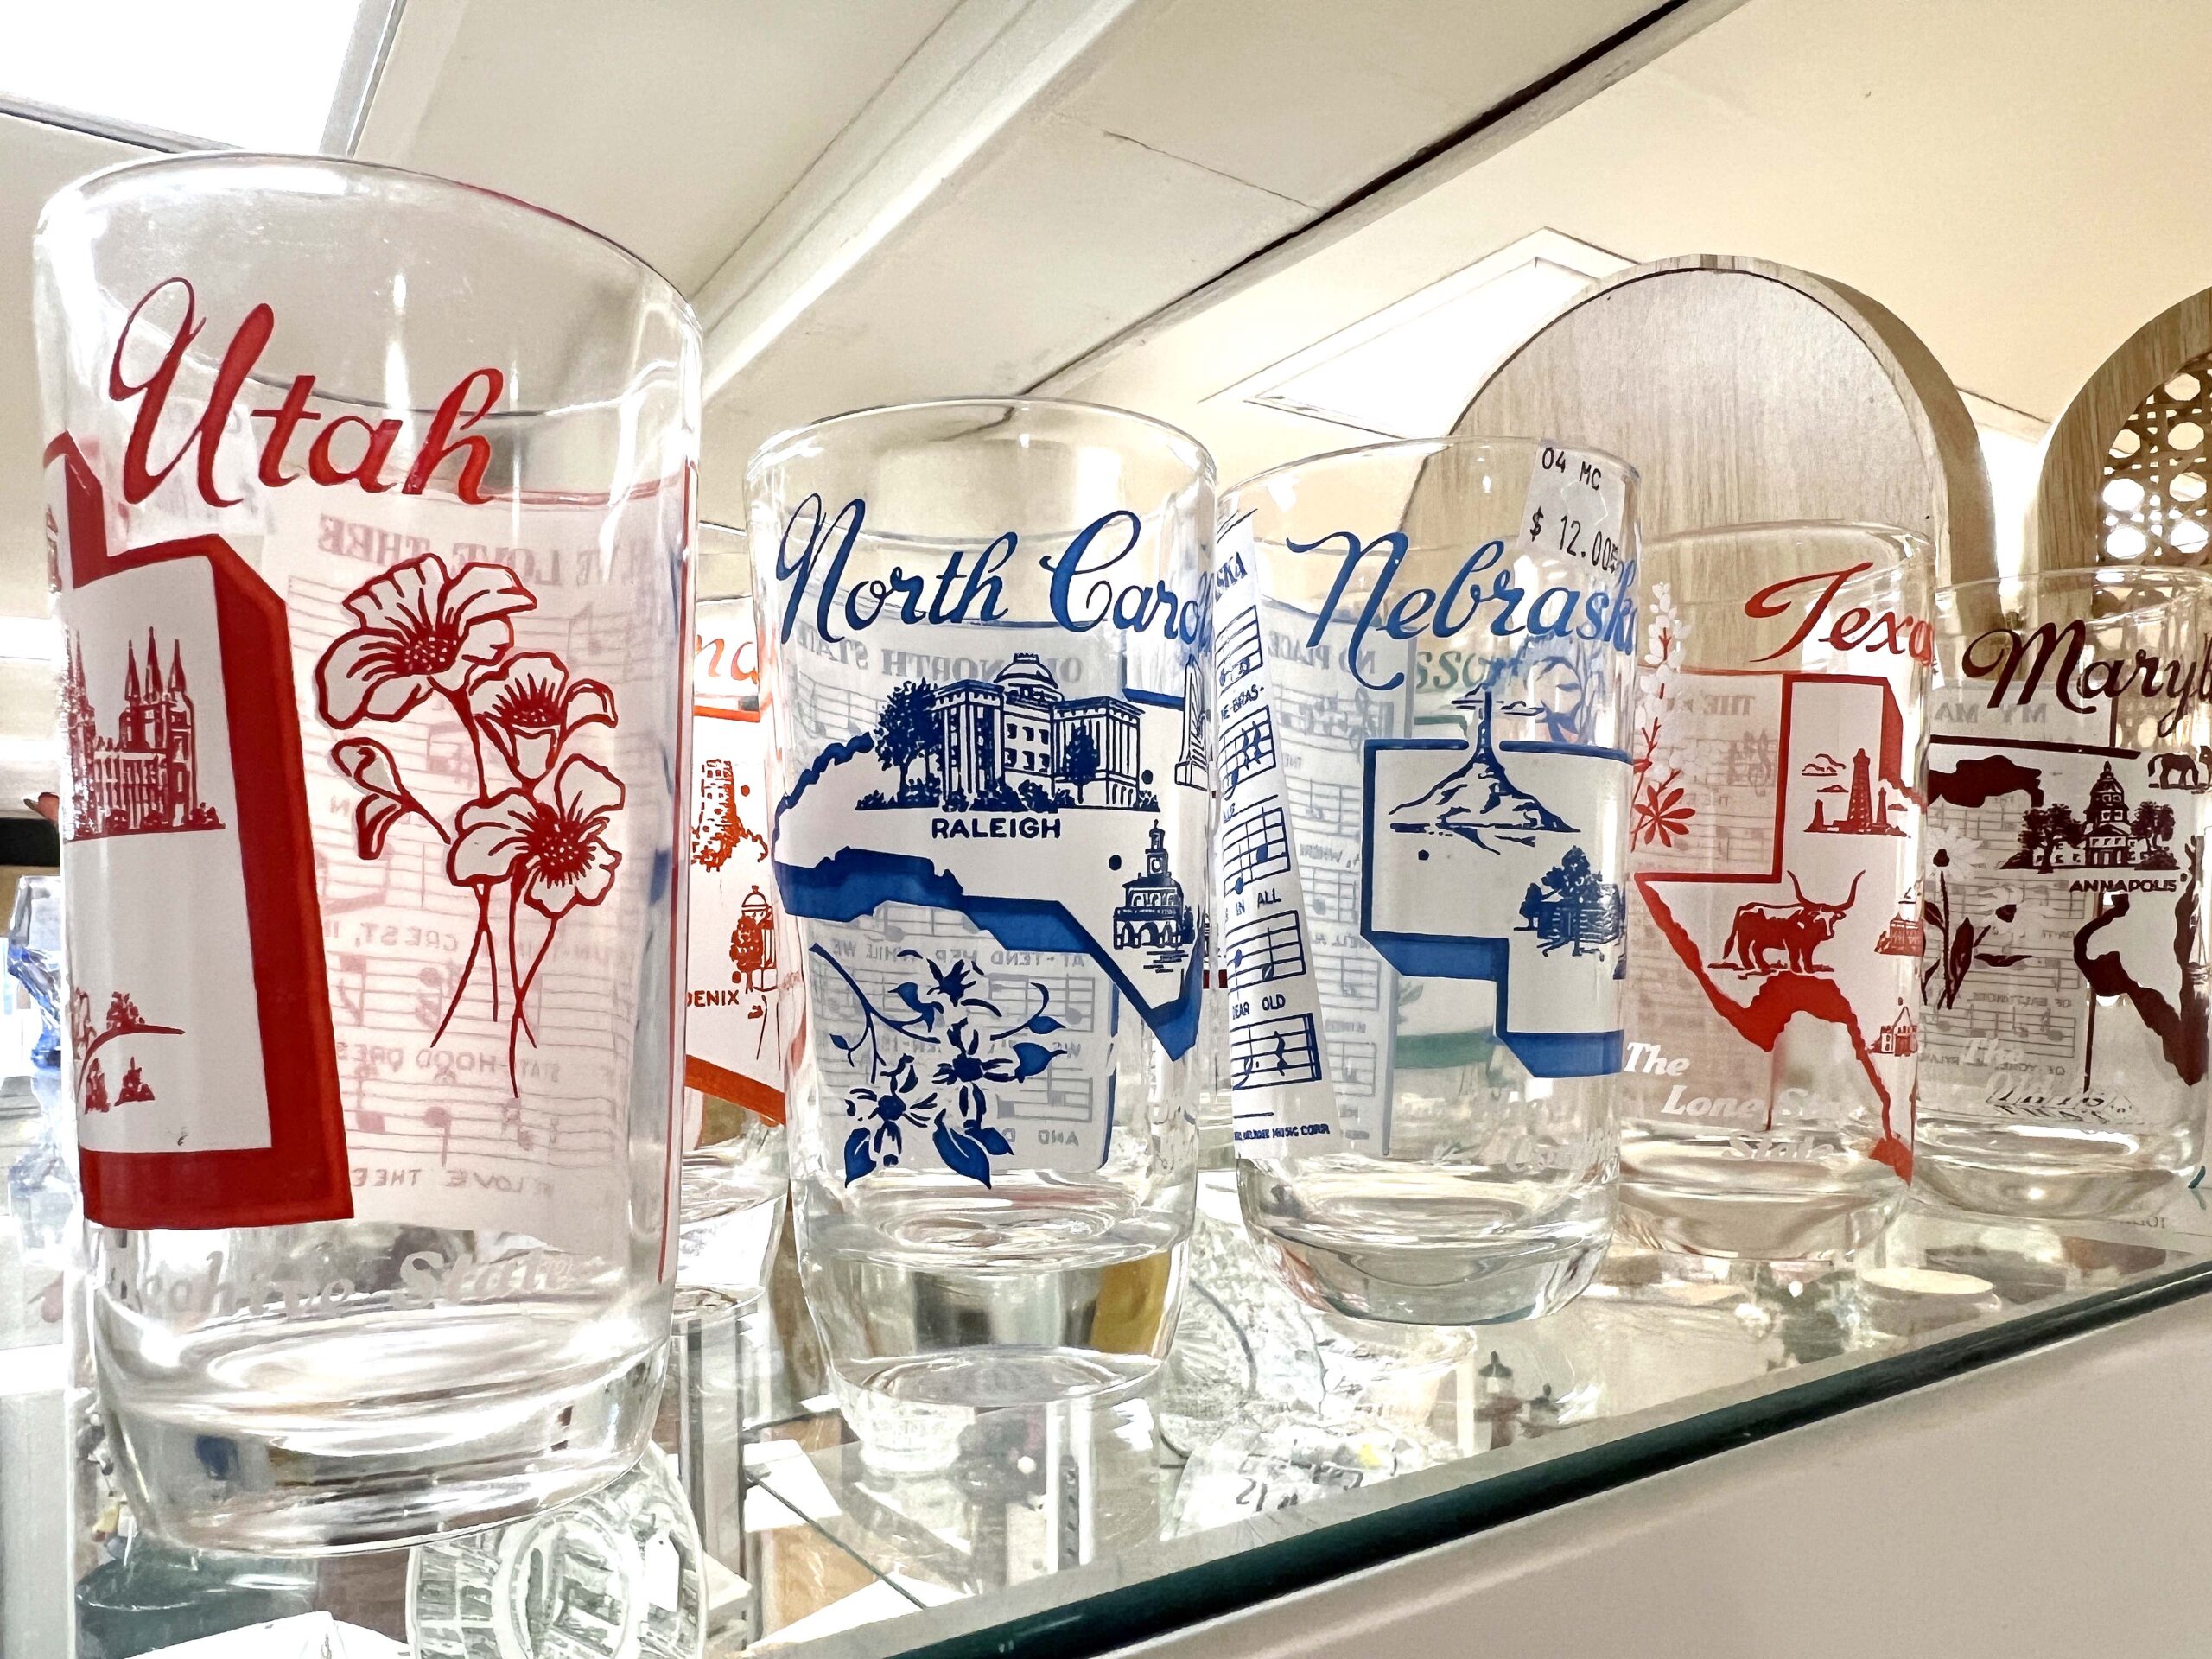
Let the fun continue at National Depression Glass Museum (107 N. Washington Ave.), where the collection will wow you. Even if you’re not someone who collects glassware, it is worth checking out, as the sheer number of delicate pieces in various colors and shapes is impressive.
The museum houses nearly every Depression Glass pattern, and 90 percent of the over 20,000-piece collection was donated. Many cases display the glass donor’s family name.
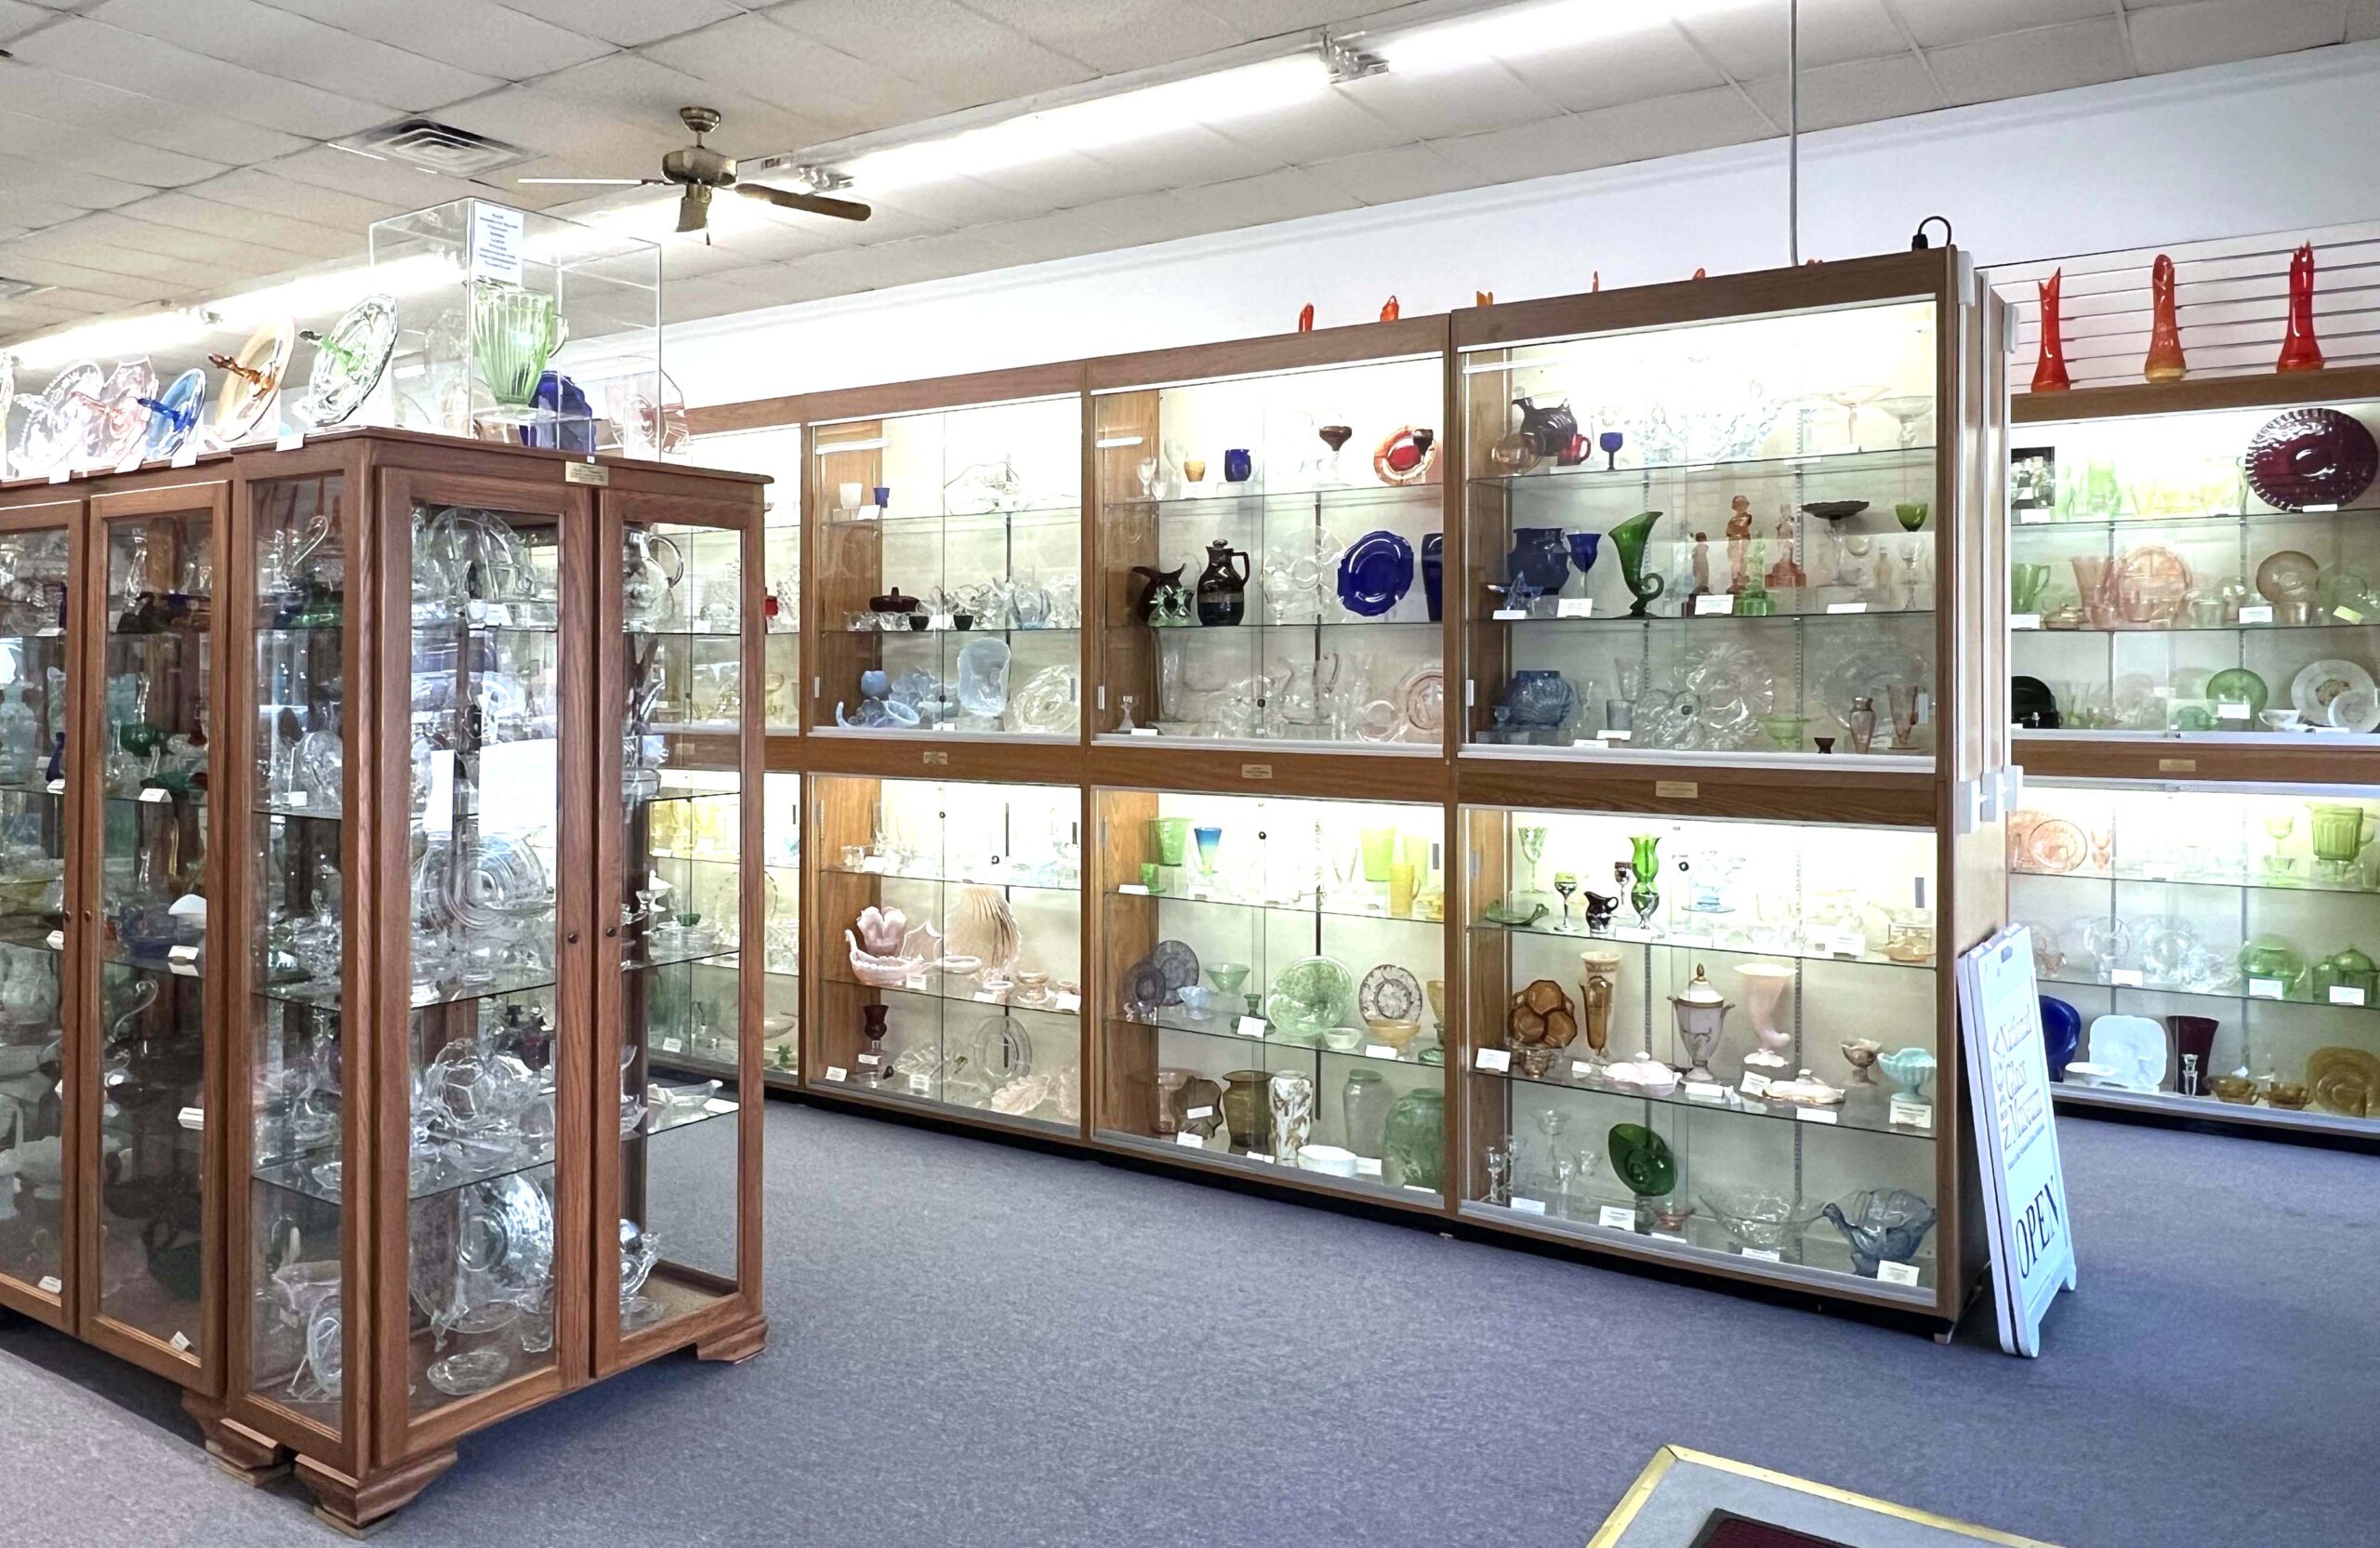 The only museum in the nation that accepts all American glass companies, each case is organized by pattern. During my guided tour, we wandered from case to case, admiring the handiwork of glassblowers and creators.
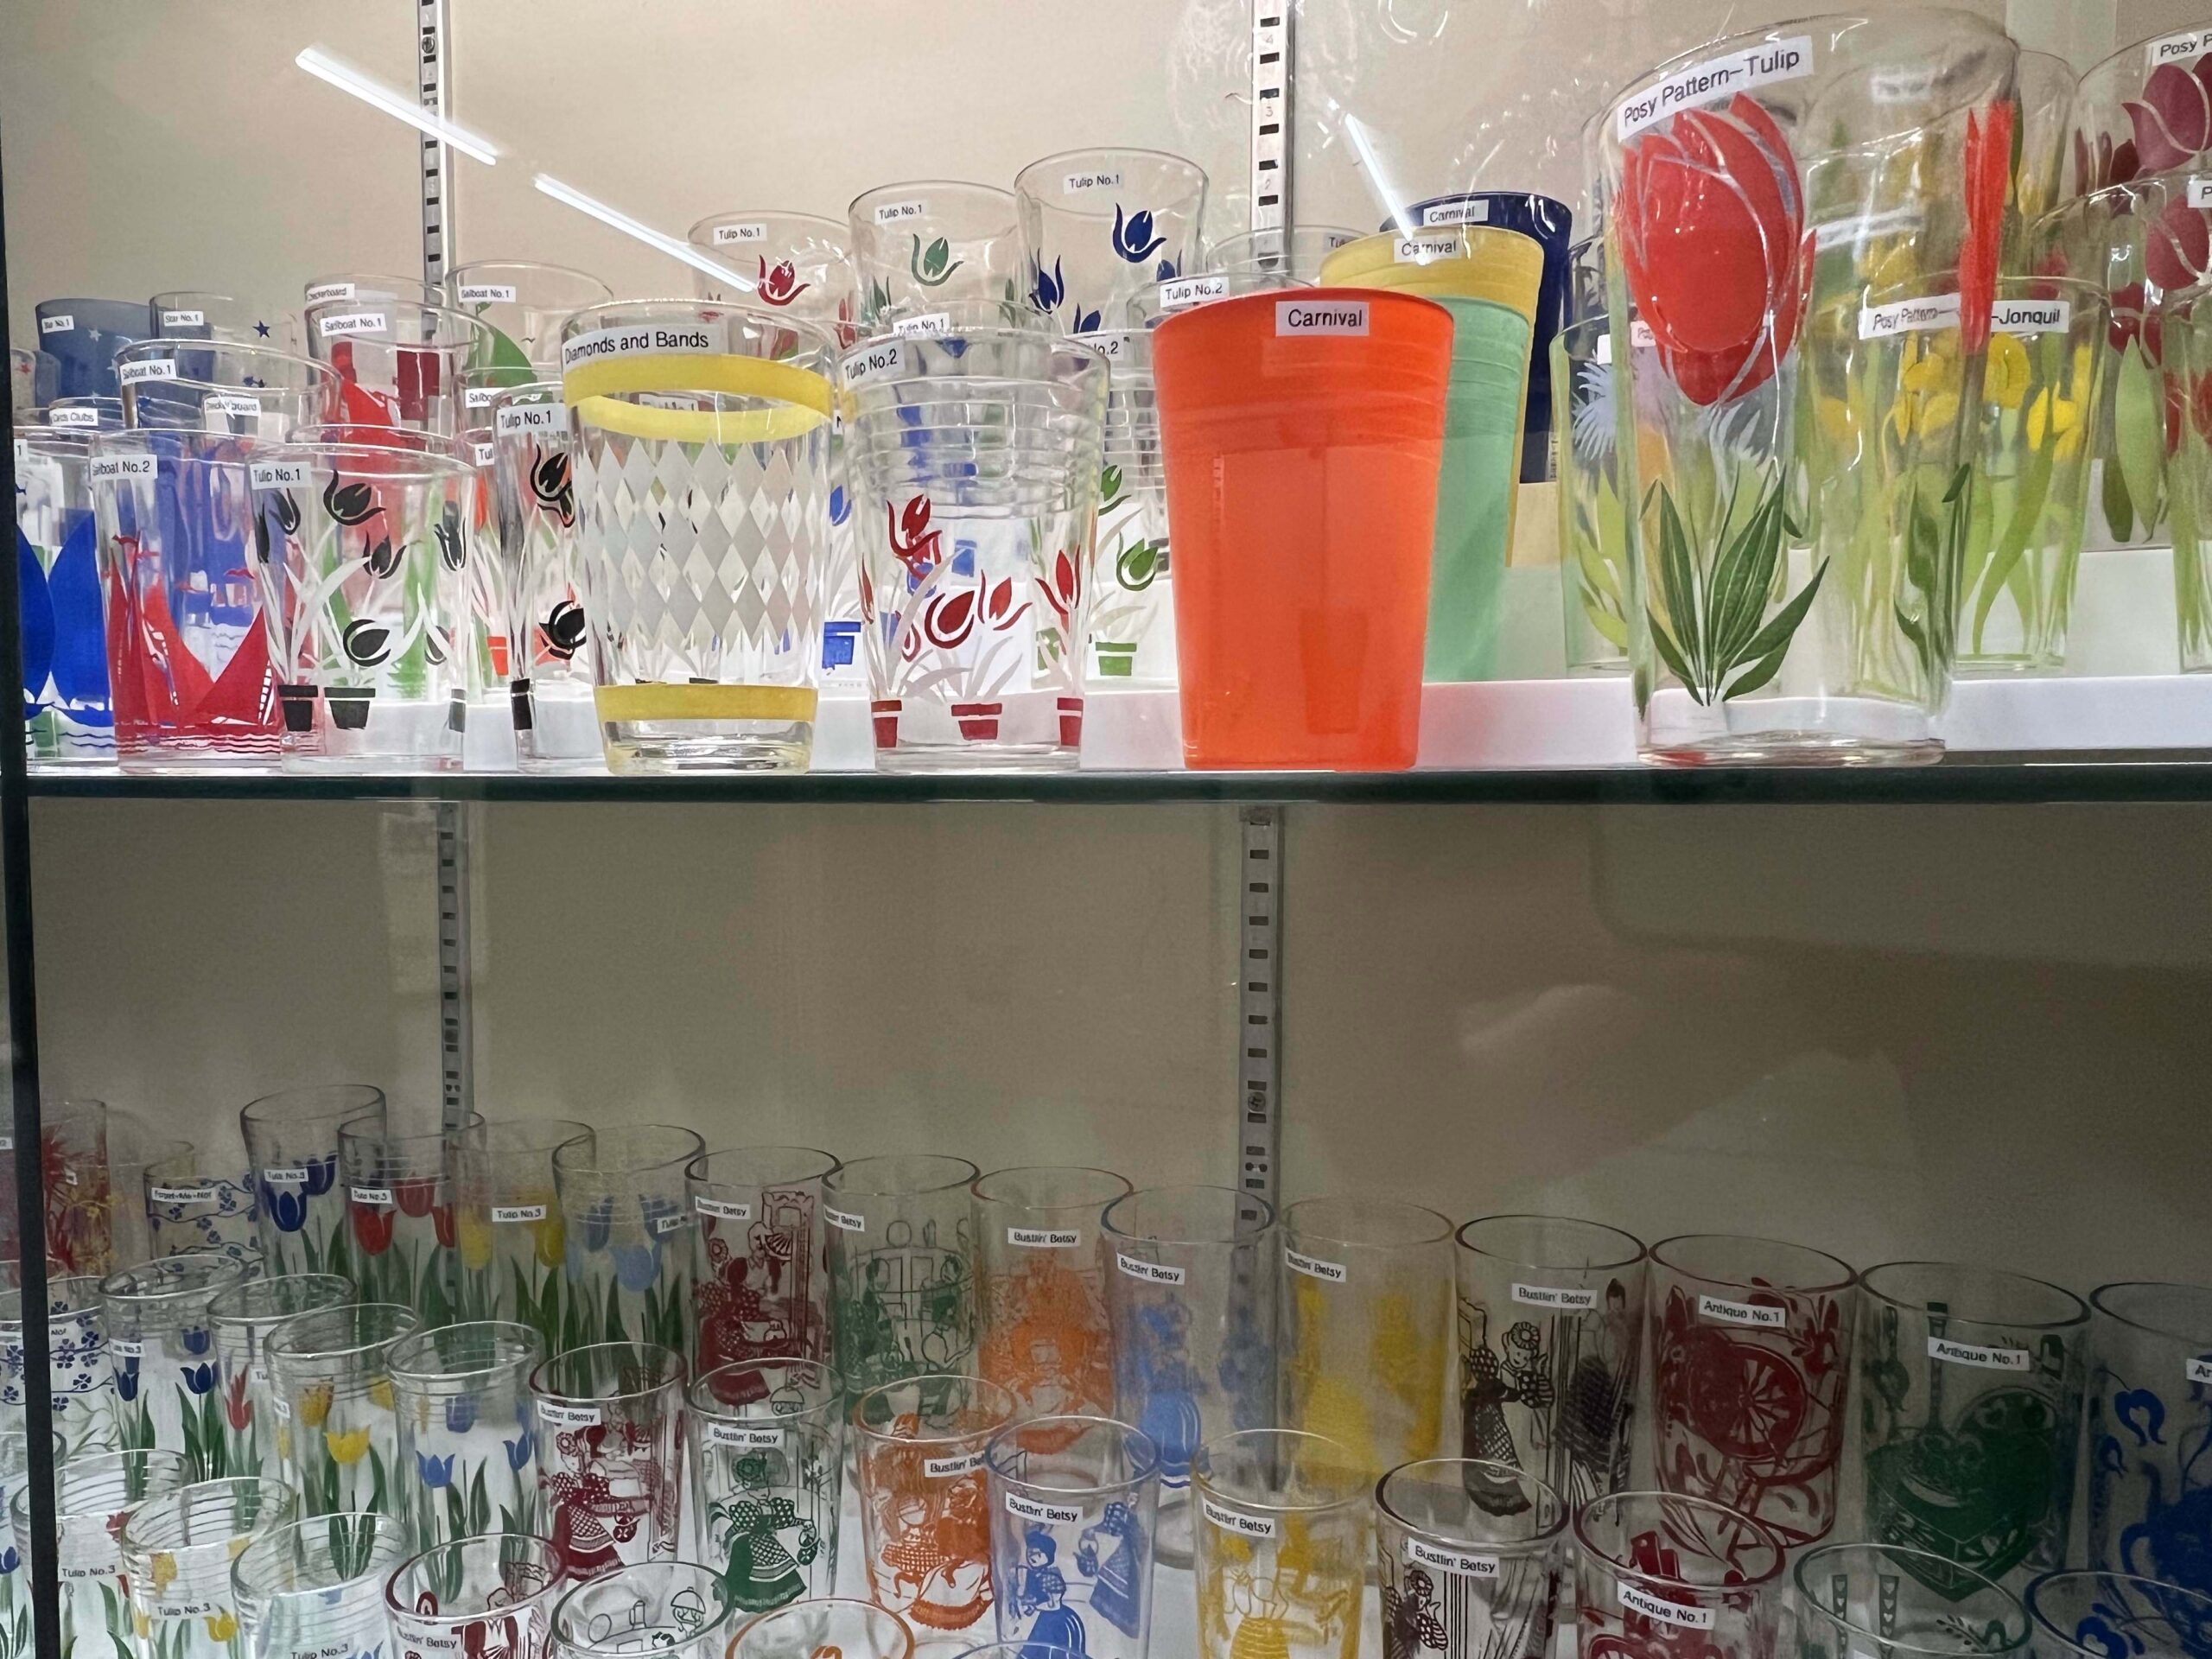 I was mesmerized by the designs, especially with the glow-in-the-dark collection. Brightly colored bowls, muted colored vases, translucent plates, glass utensils – the list goes on.
PRO TIP: If you’re a collector, request access to the free resource library to conduct research.
Chisholm Trail Museum
Giddy up! Chisholm Trail Museum (502 N. Washington Ave.) is a sought-after attraction in Wellington for its historical content.
The town was a central stop on the cattlemen’s trail from Texas to Kansas starting in 1867. According to kshs.org, 2,000-3,000 head of cattle would depart from Texas during the spring en route to Abilene’s stockyards.
 The building itself is a historic treasure. Formerly known as Hatcher Hospital, the facility was operated by Dr. A. R. Hatcher and his staff, who treated patients using state-of-the-art equipment in pristine condition. The building was gifted to the Chisholm Trail Museum in 1965.
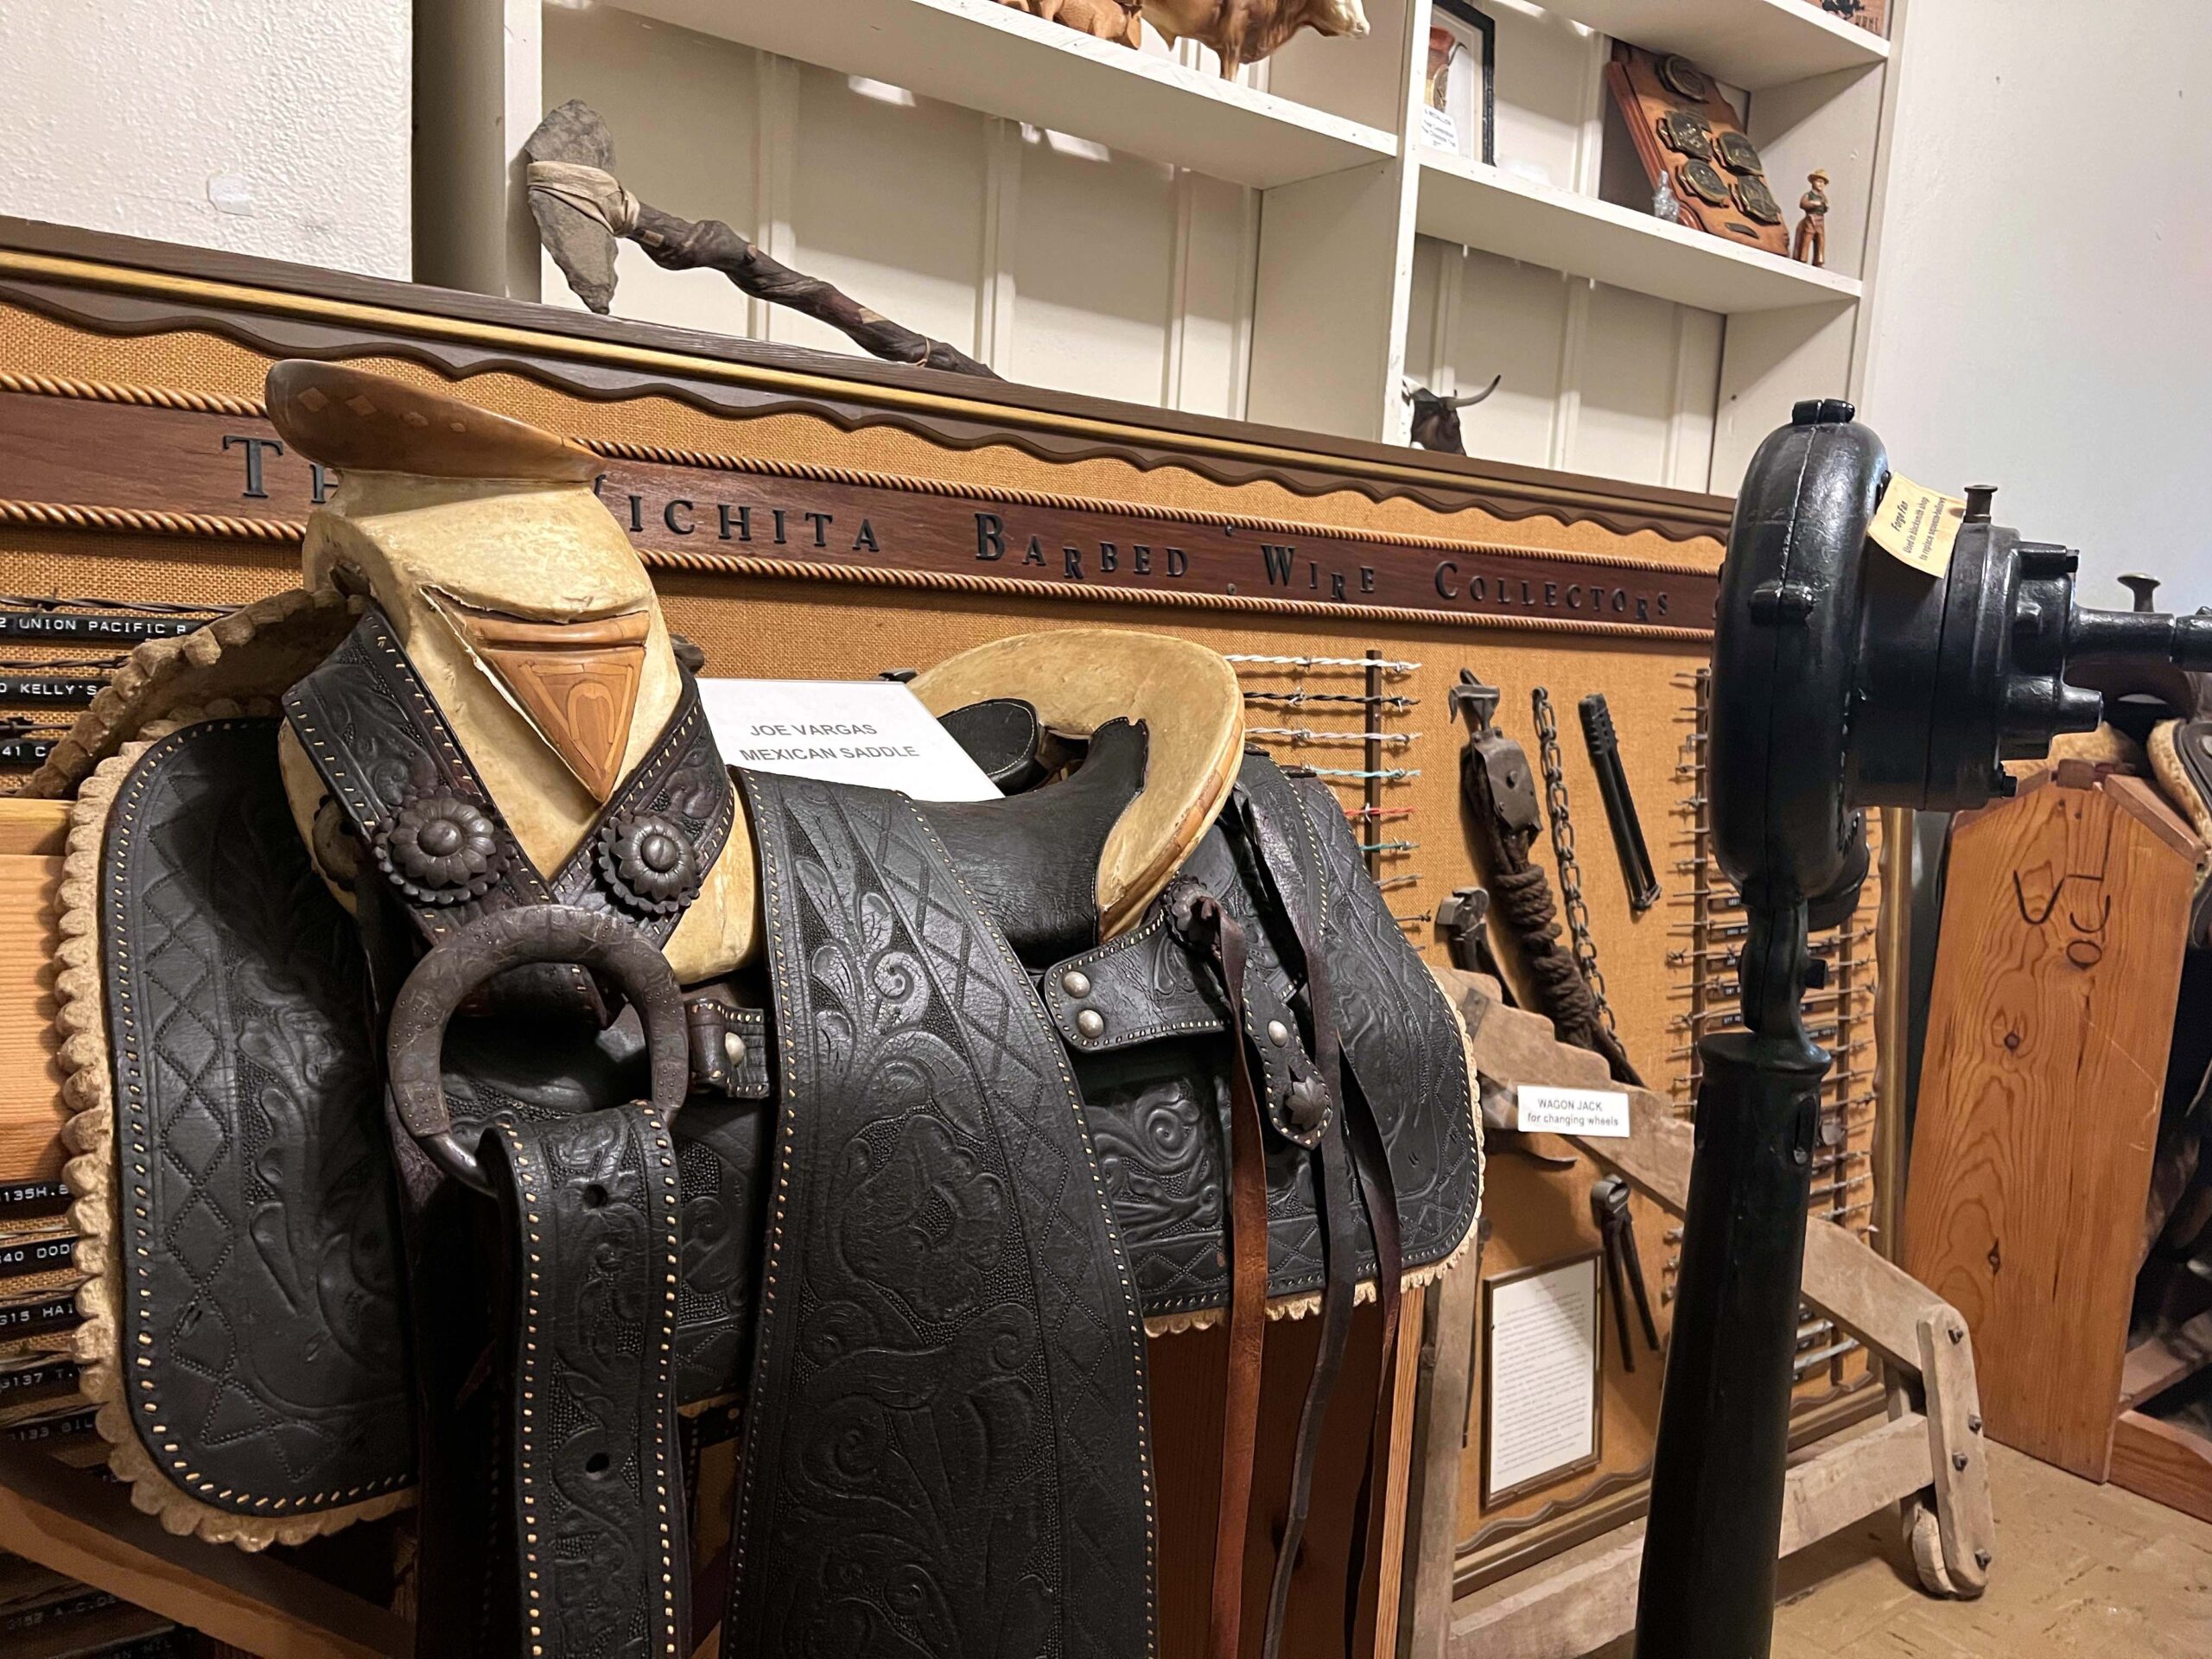
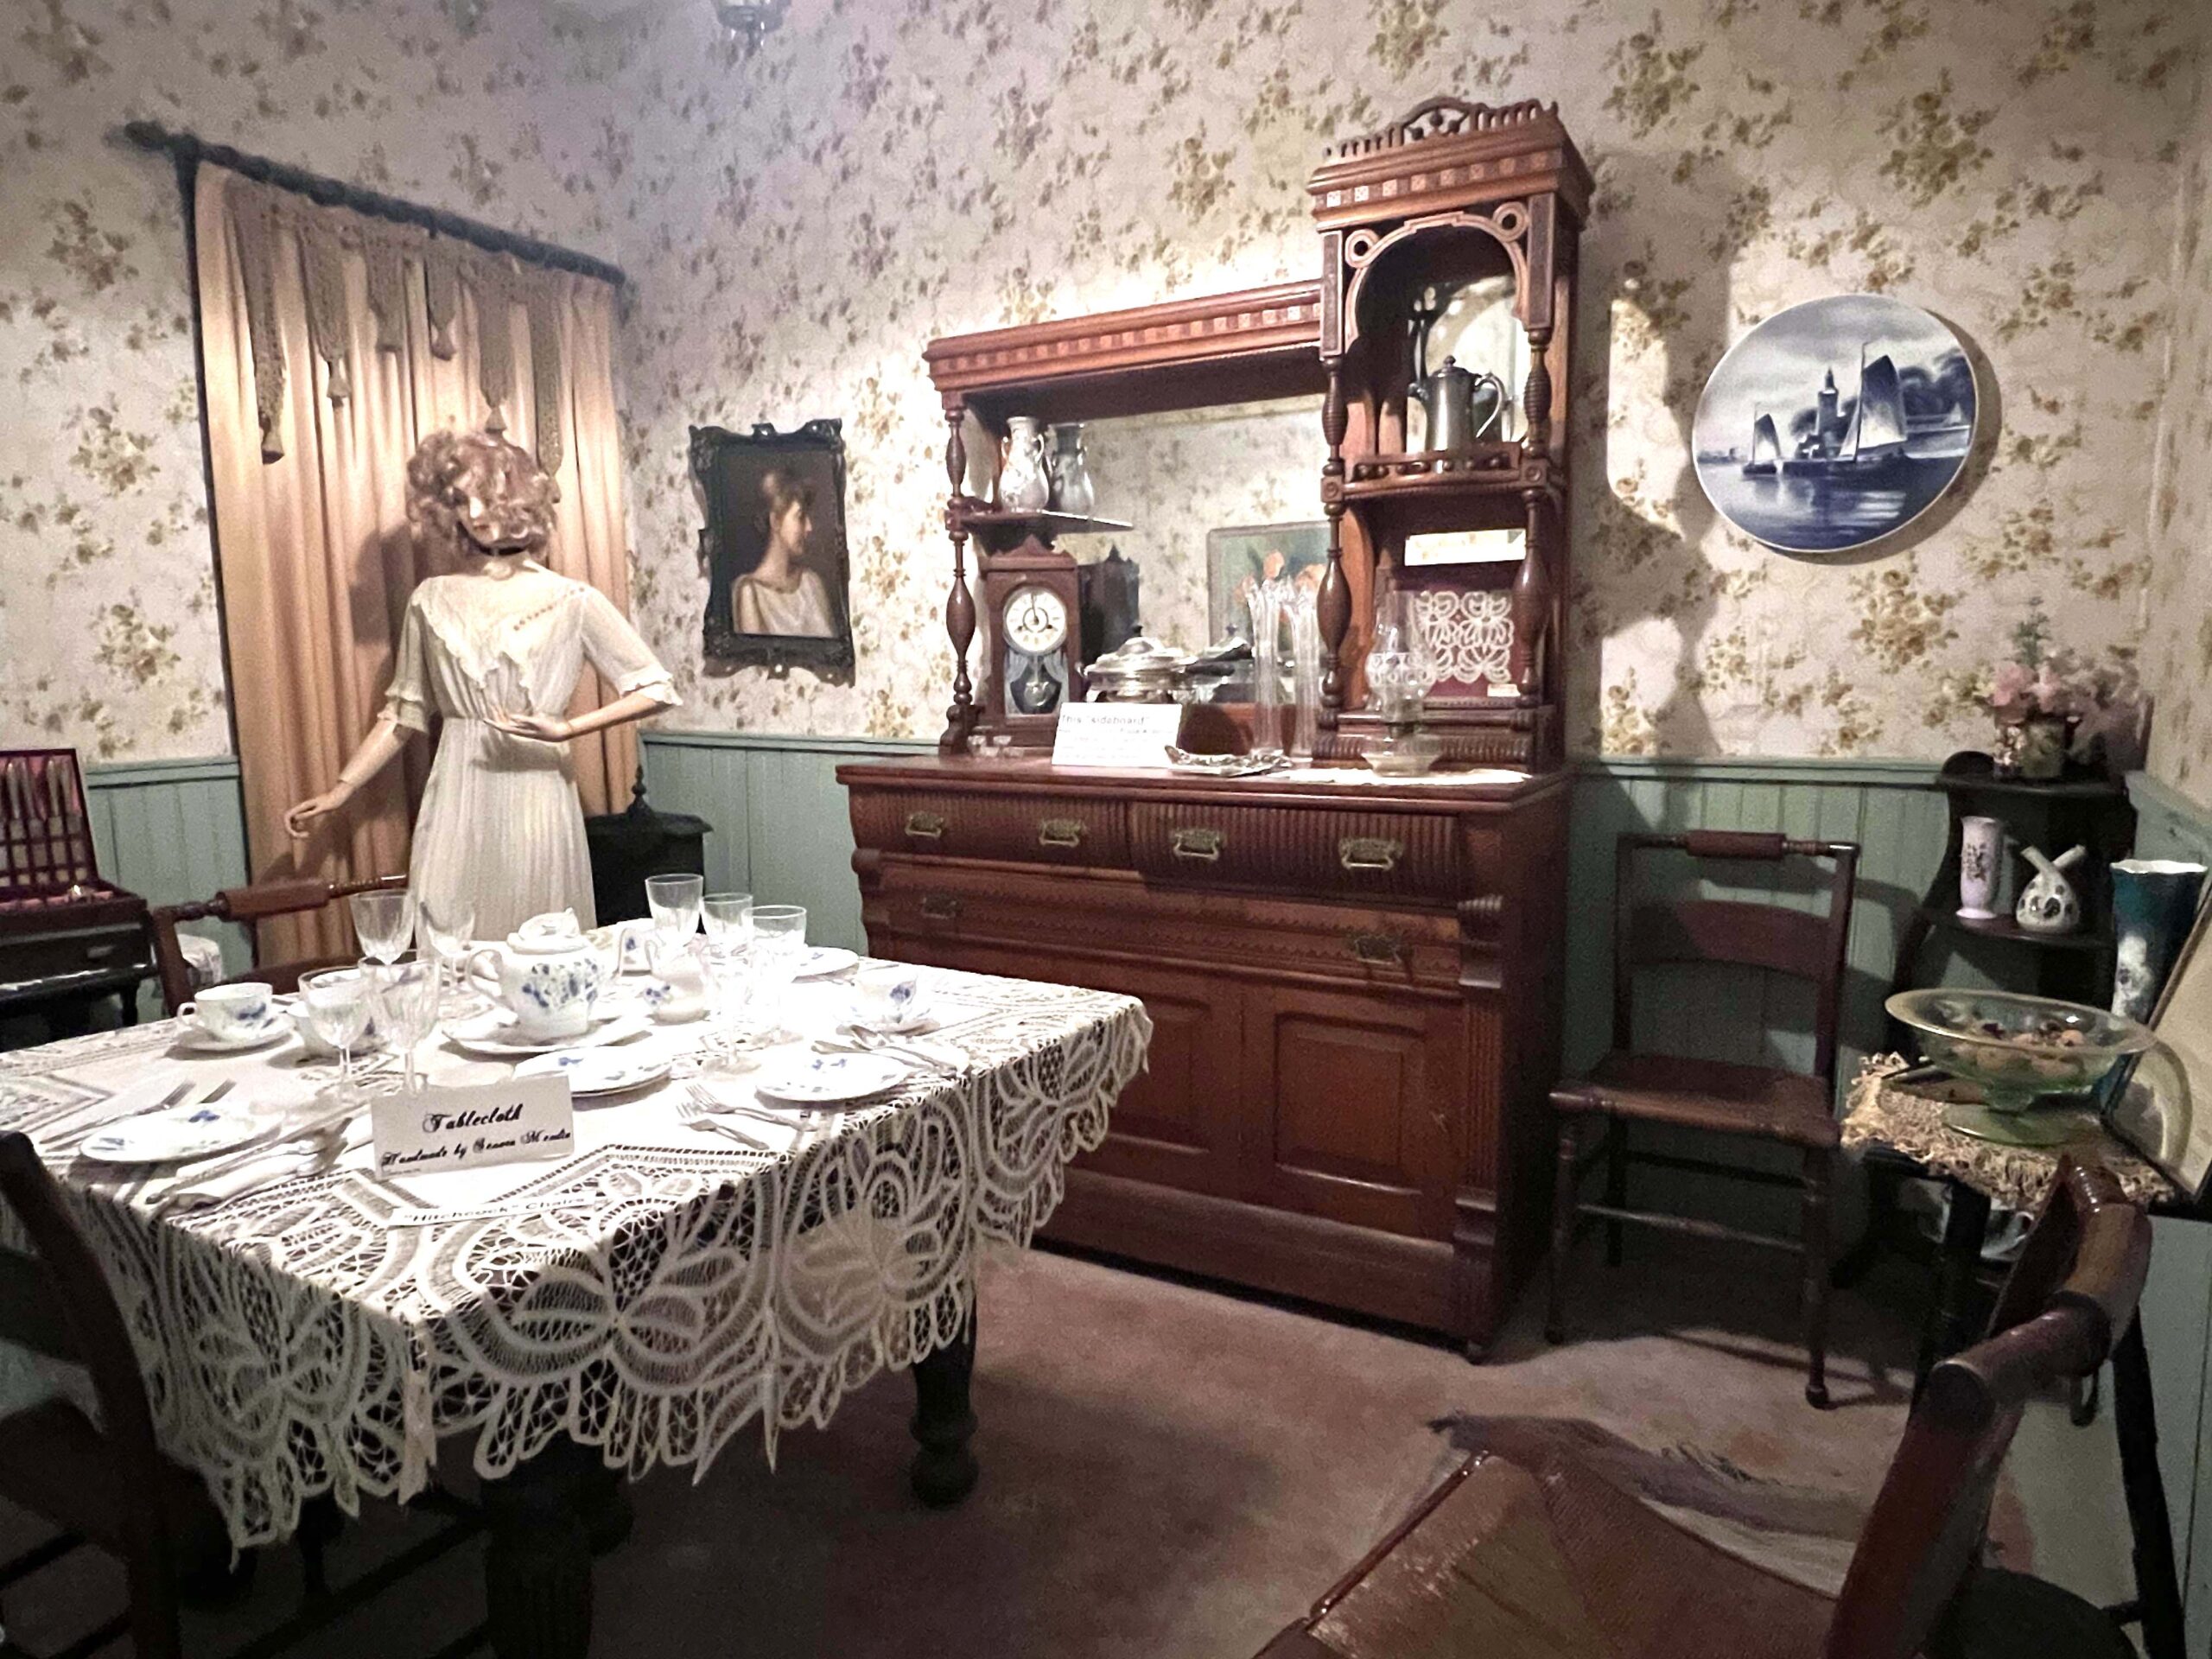
The museum honors Wellington’s history while showcasing artifacts from every decade since its establishment, and each room is designed around a theme.
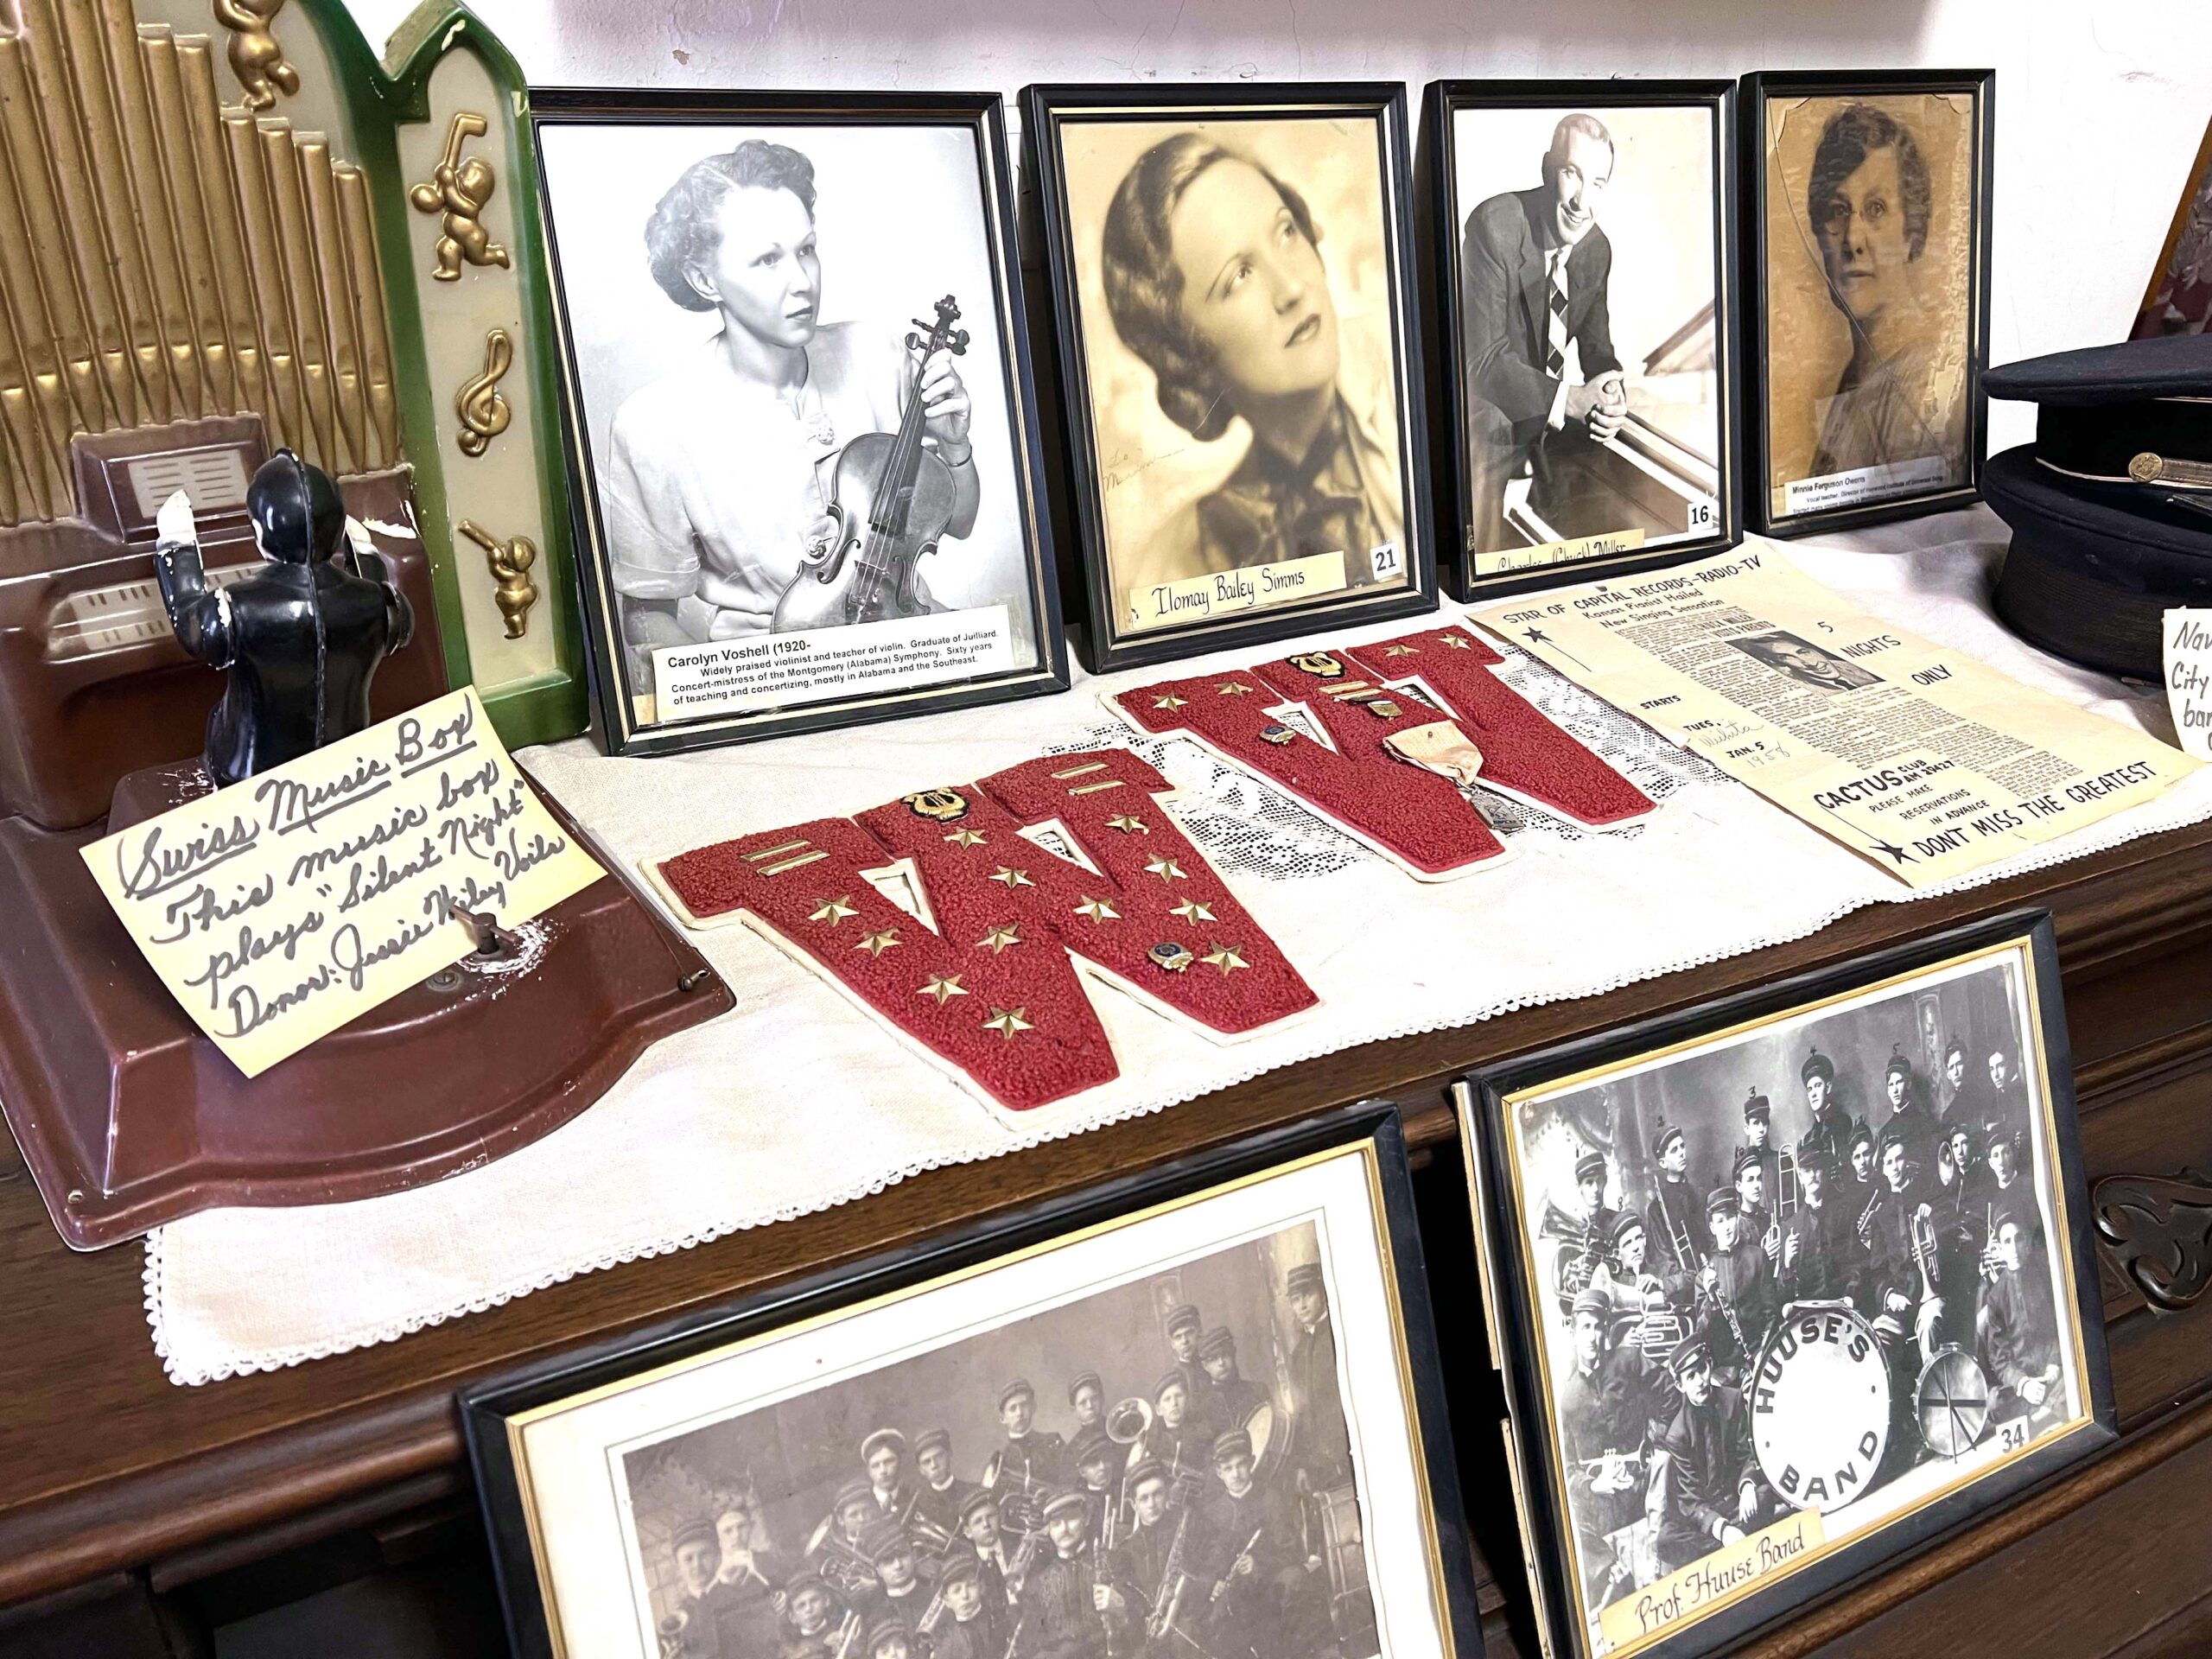
The 1875 Pioneer room contains home goods and tools. The railroad features a wall of framed black-and-white photographs and train memorabilia. Other rooms display antique cameras, old-fashioned dresses, and farm tools, while others are designed to replicate rooms from earlier periods.
Donated pieces of a more quirky nature are also on exhibit. Sumner County’s original high school mascot, an alligator, is encased in glass.
 I was fascinated by the room designed to resemble a vintage soda fountain, complete with a vinyl booth, ice cream dishes, and the Let’s Sell Ice Cream book once used at the Chief Drug Soda Fountain until 1986.
 You’re bound to stumble upon a curated item that speaks to you at the museum. Locals will appreciate the high school artifacts.
 PRO TIP: If you’re interested in touring with a group or outside business hours, contact the museum directly or complete a tour request form.
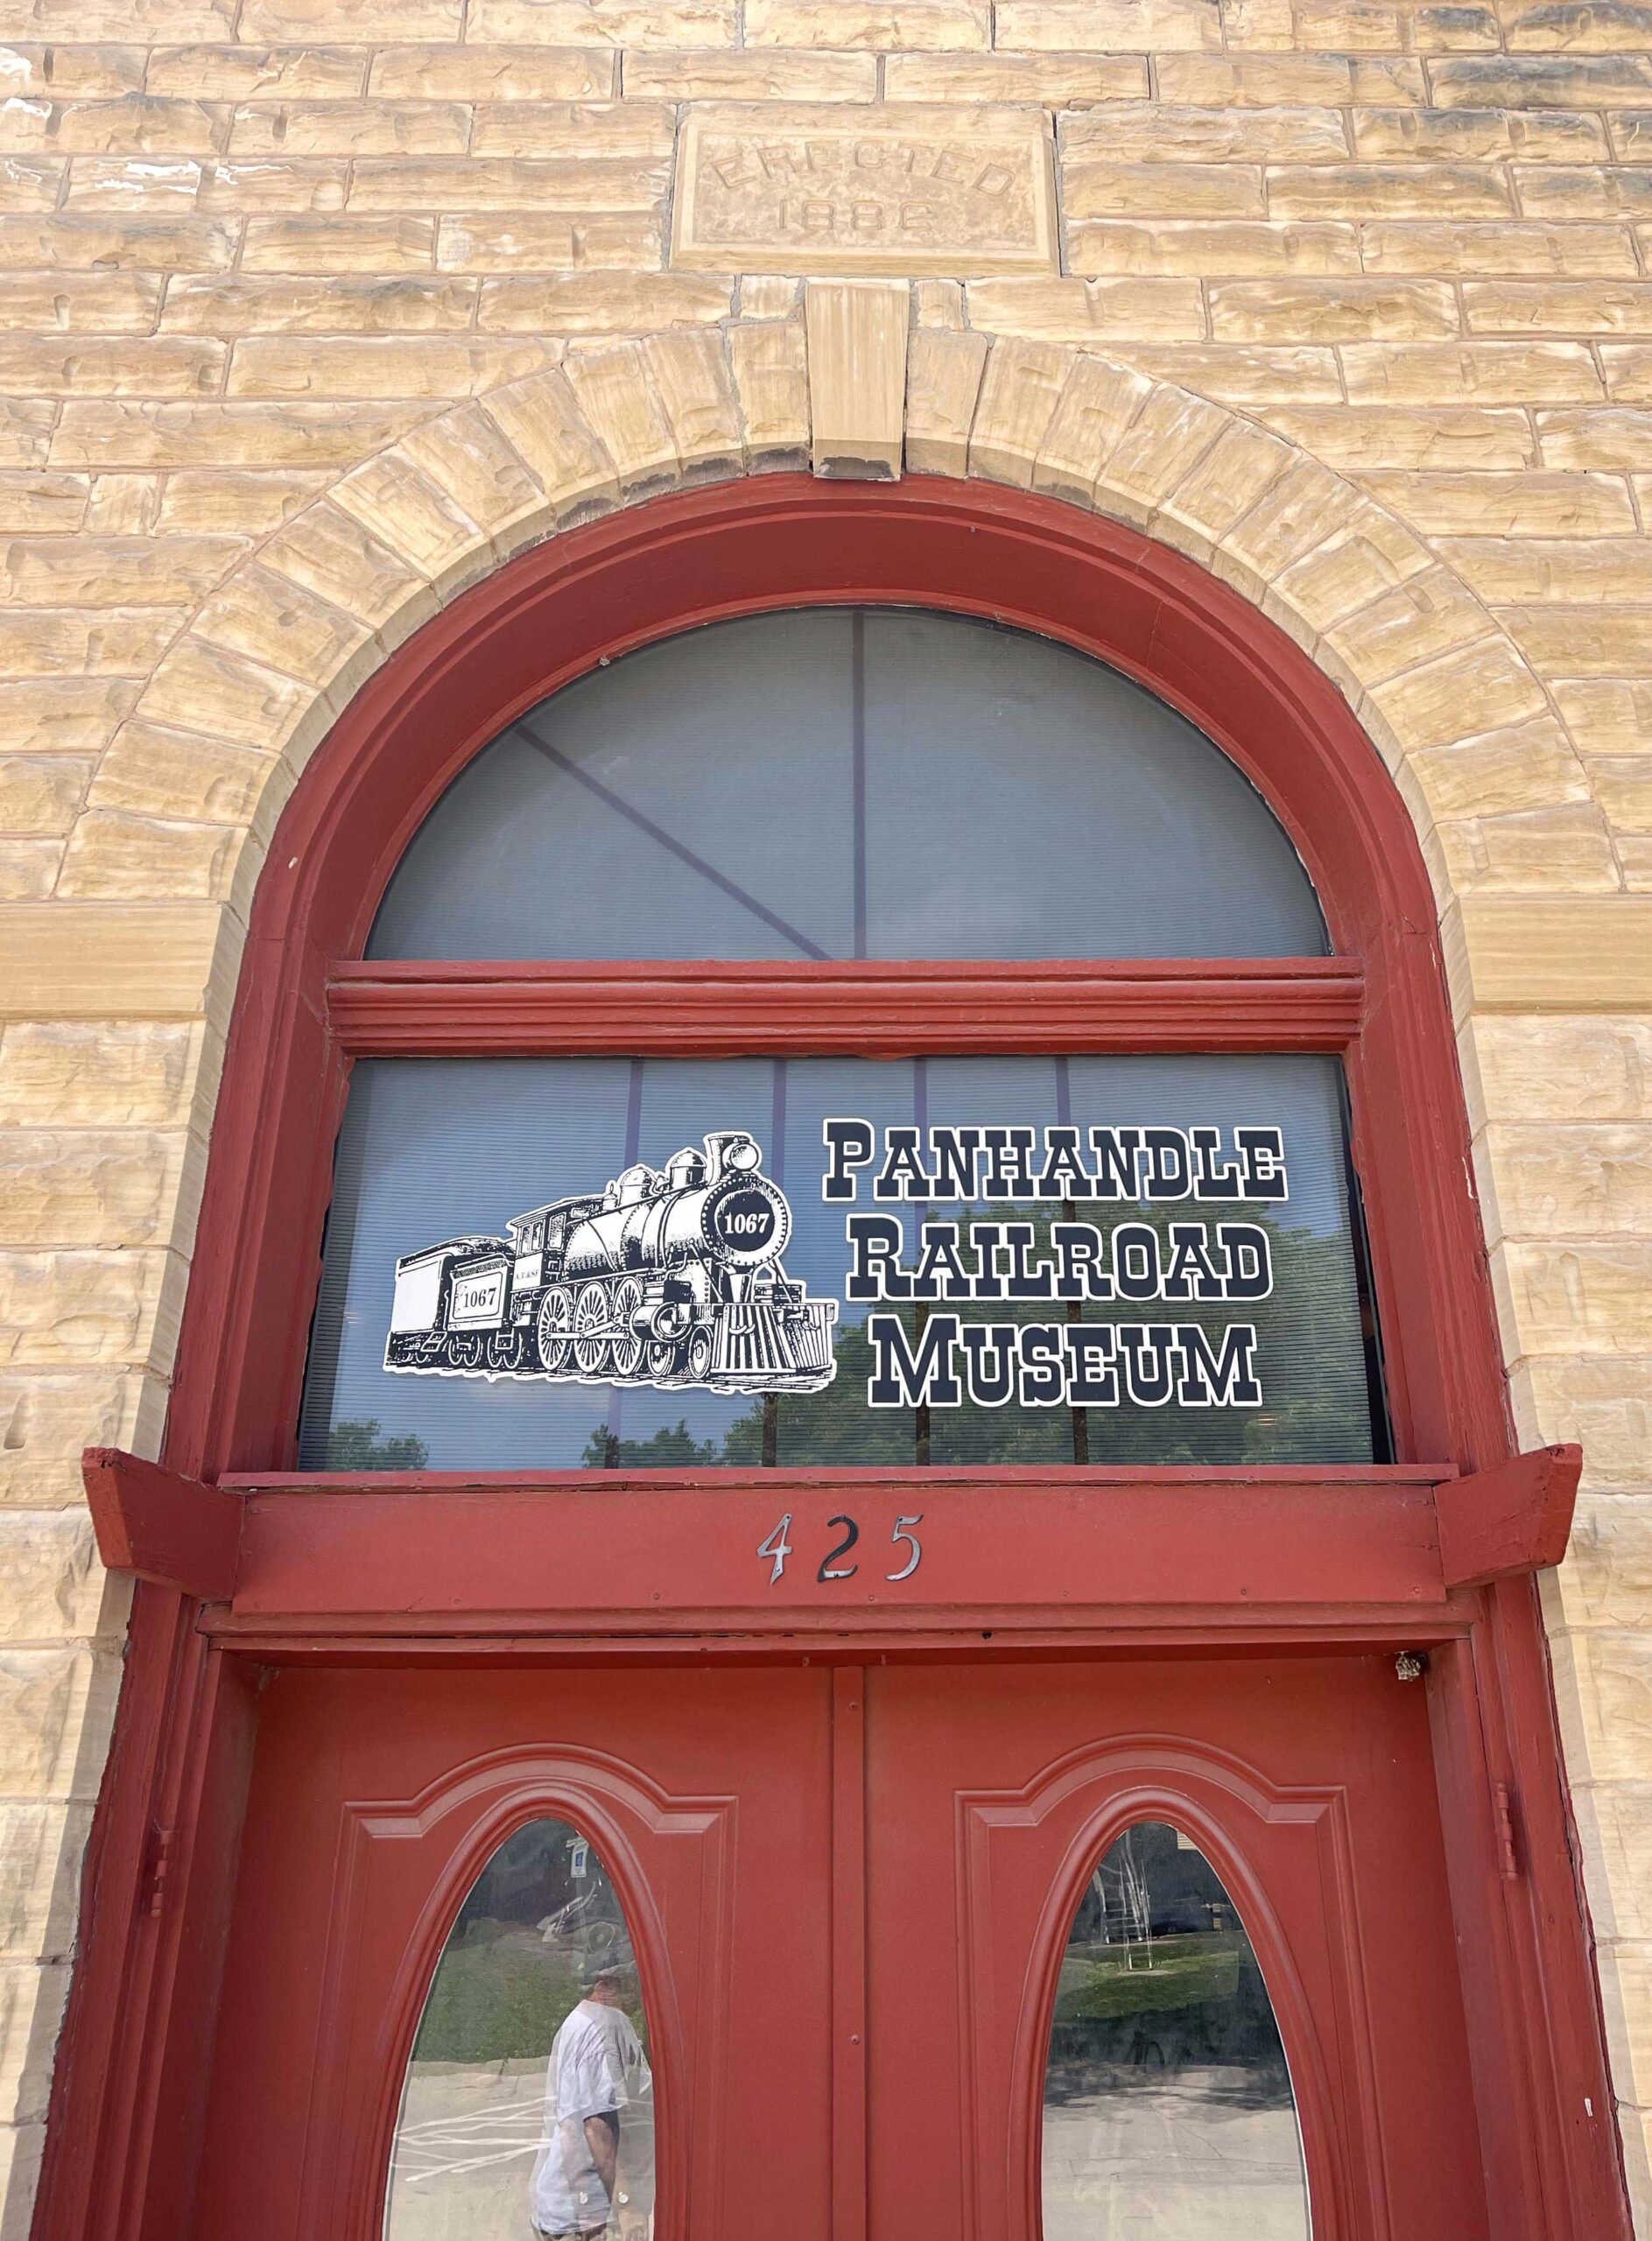
Panhandle Railroad Museum
Railroad lines passing through Wellington increased the town’s population over the years. Panhandle Railroad Museum (425 E. Harvey Ave.), located in a historic 1881 gas manufacturing building at Sellers Park, is a hidden gem for train enthusiasts and curious travelers.
The Panhandle Railroad Museum occupies the original Park House Gallery, listed on the Kansas Register of Historic Places in 1991. It was built for the town’s power and light company and became a recreation center.
After retiring as a train conductor, museum curator Perry Wiley began collecting railroad memorabilia in 1990.
Perry and his wife, Sherry, renovated the building and filled it with the family’s collection, mostly BNSF items. Logo merchandise, uniforms, clocks, depot accessories, photographs, telegraph machines, passenger car dinnerware – you name it, the museum has it.
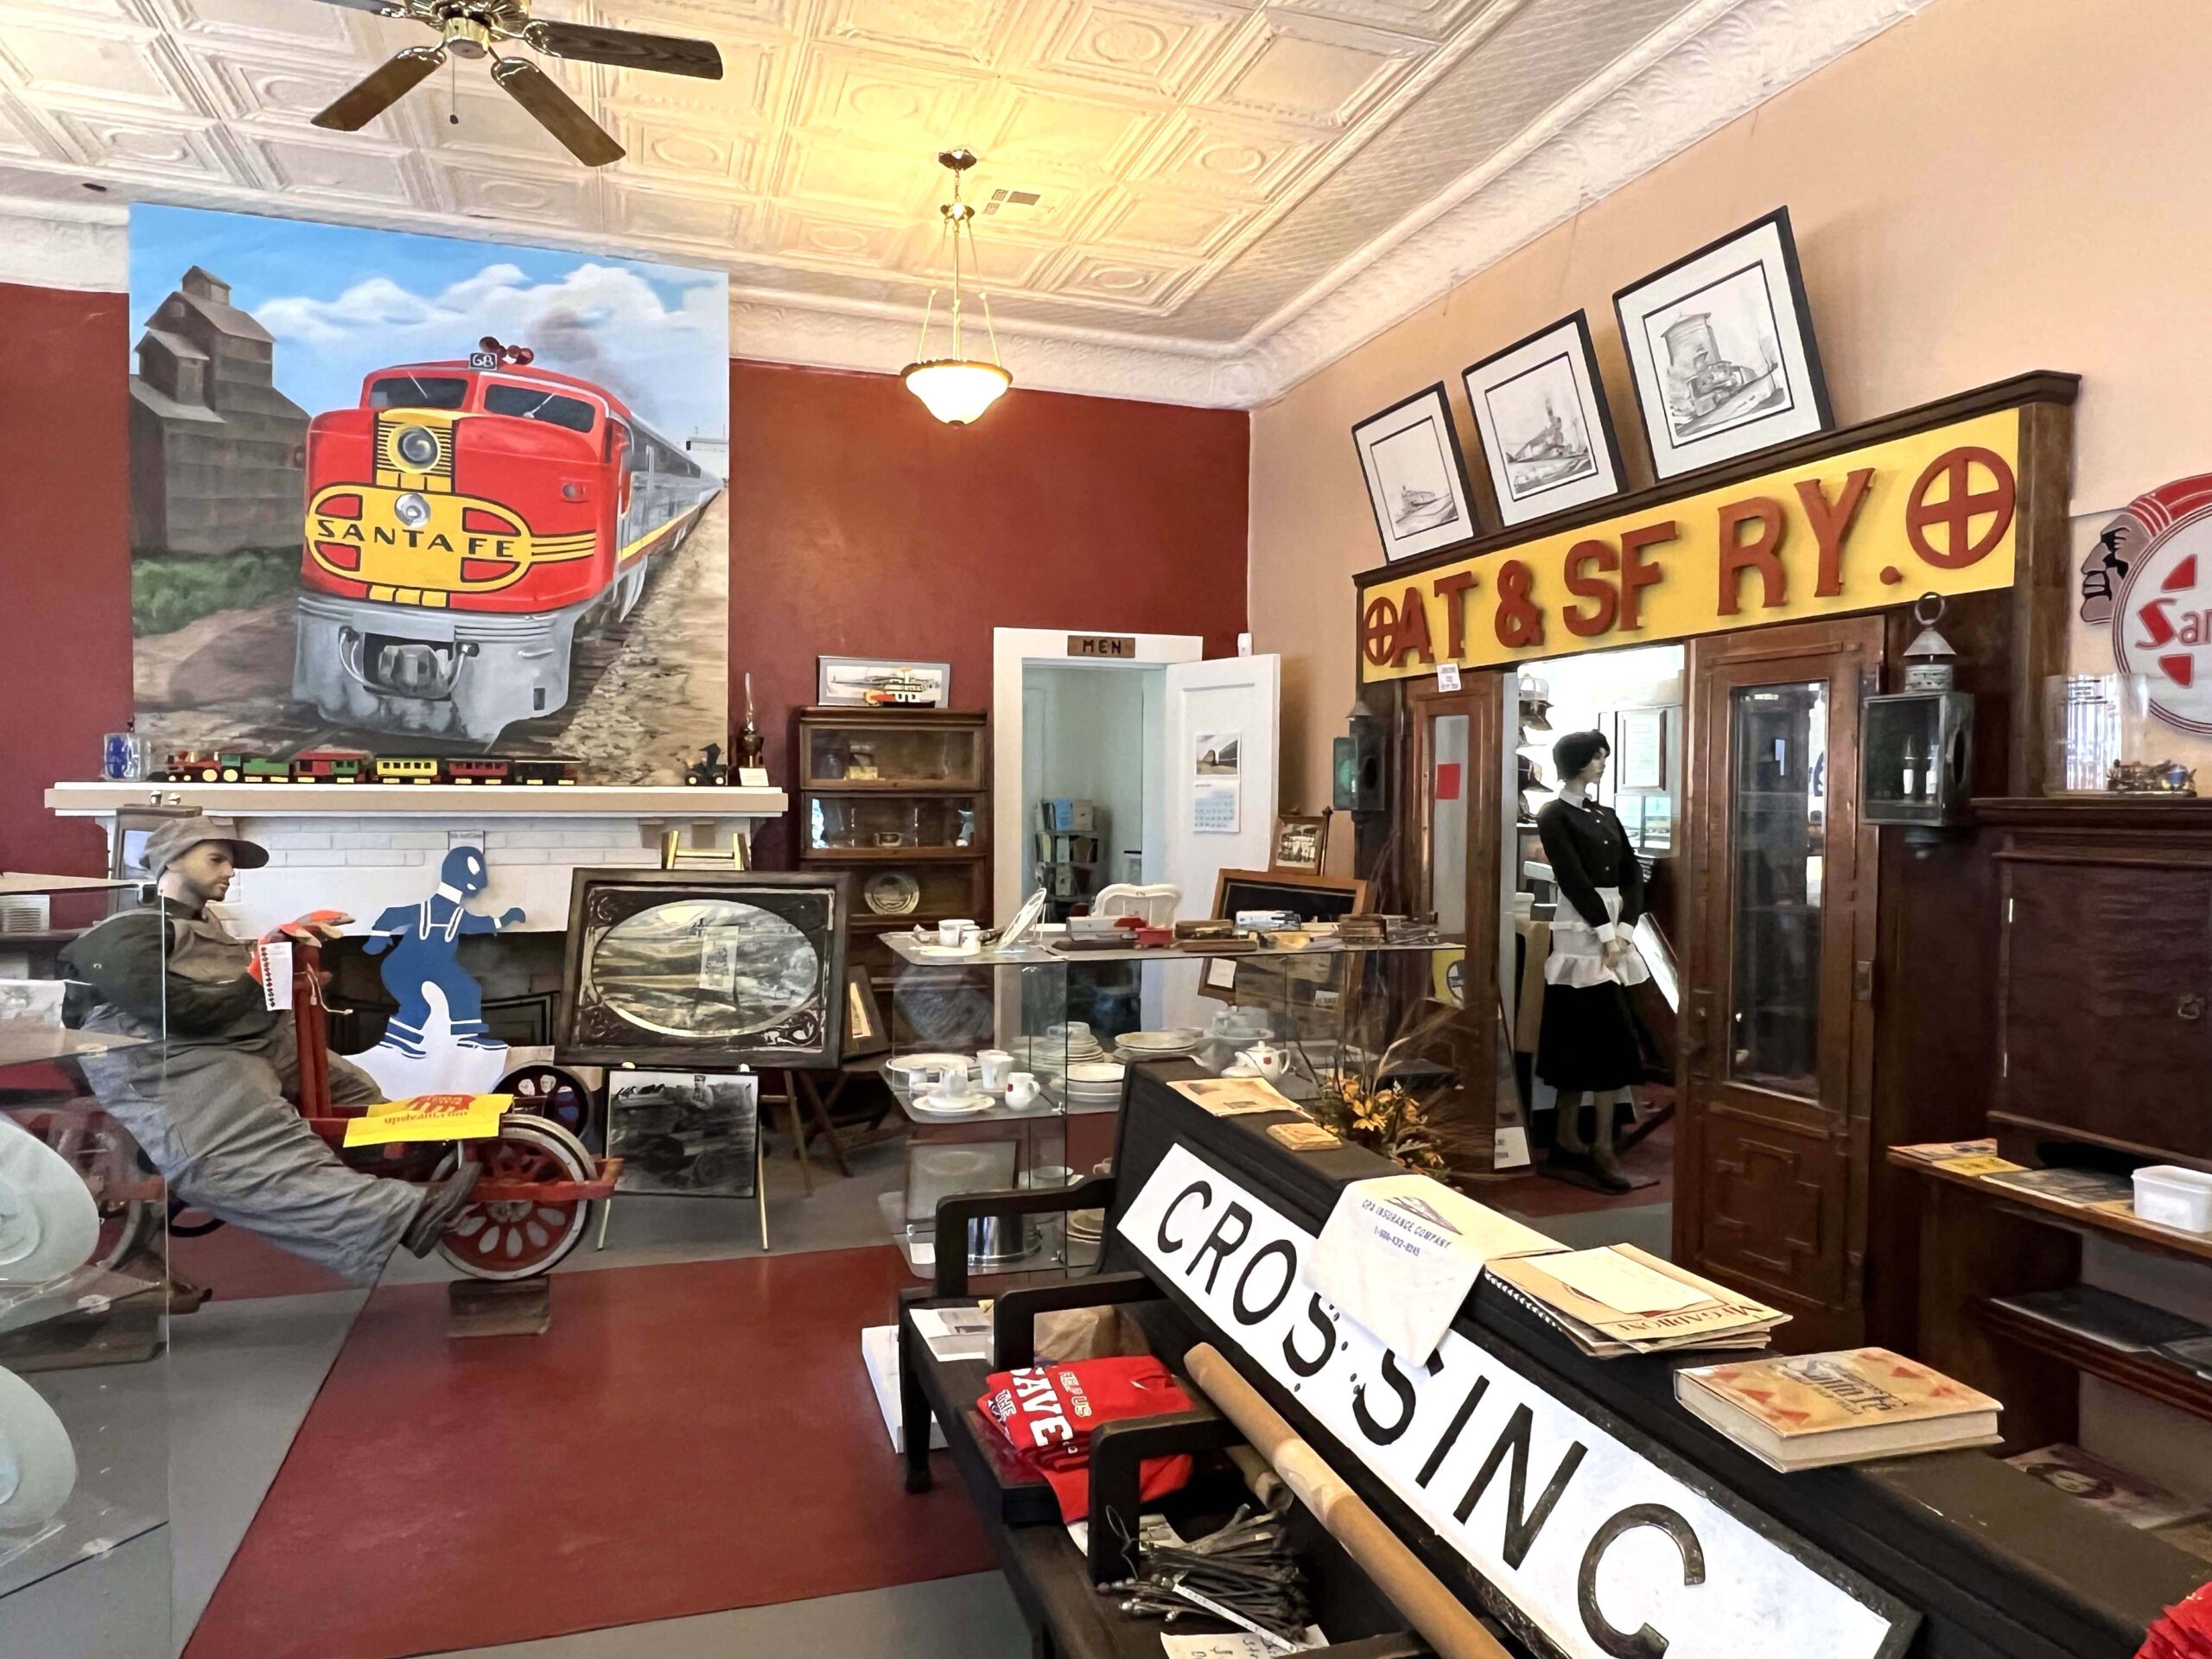 At age 85, Perry enthusiastically leads guided tours of the museum, pointing out items he curated or was gifted, such as the two-sided depot bench and original Santa Fe merchandise featuring the company mascot, Chico.
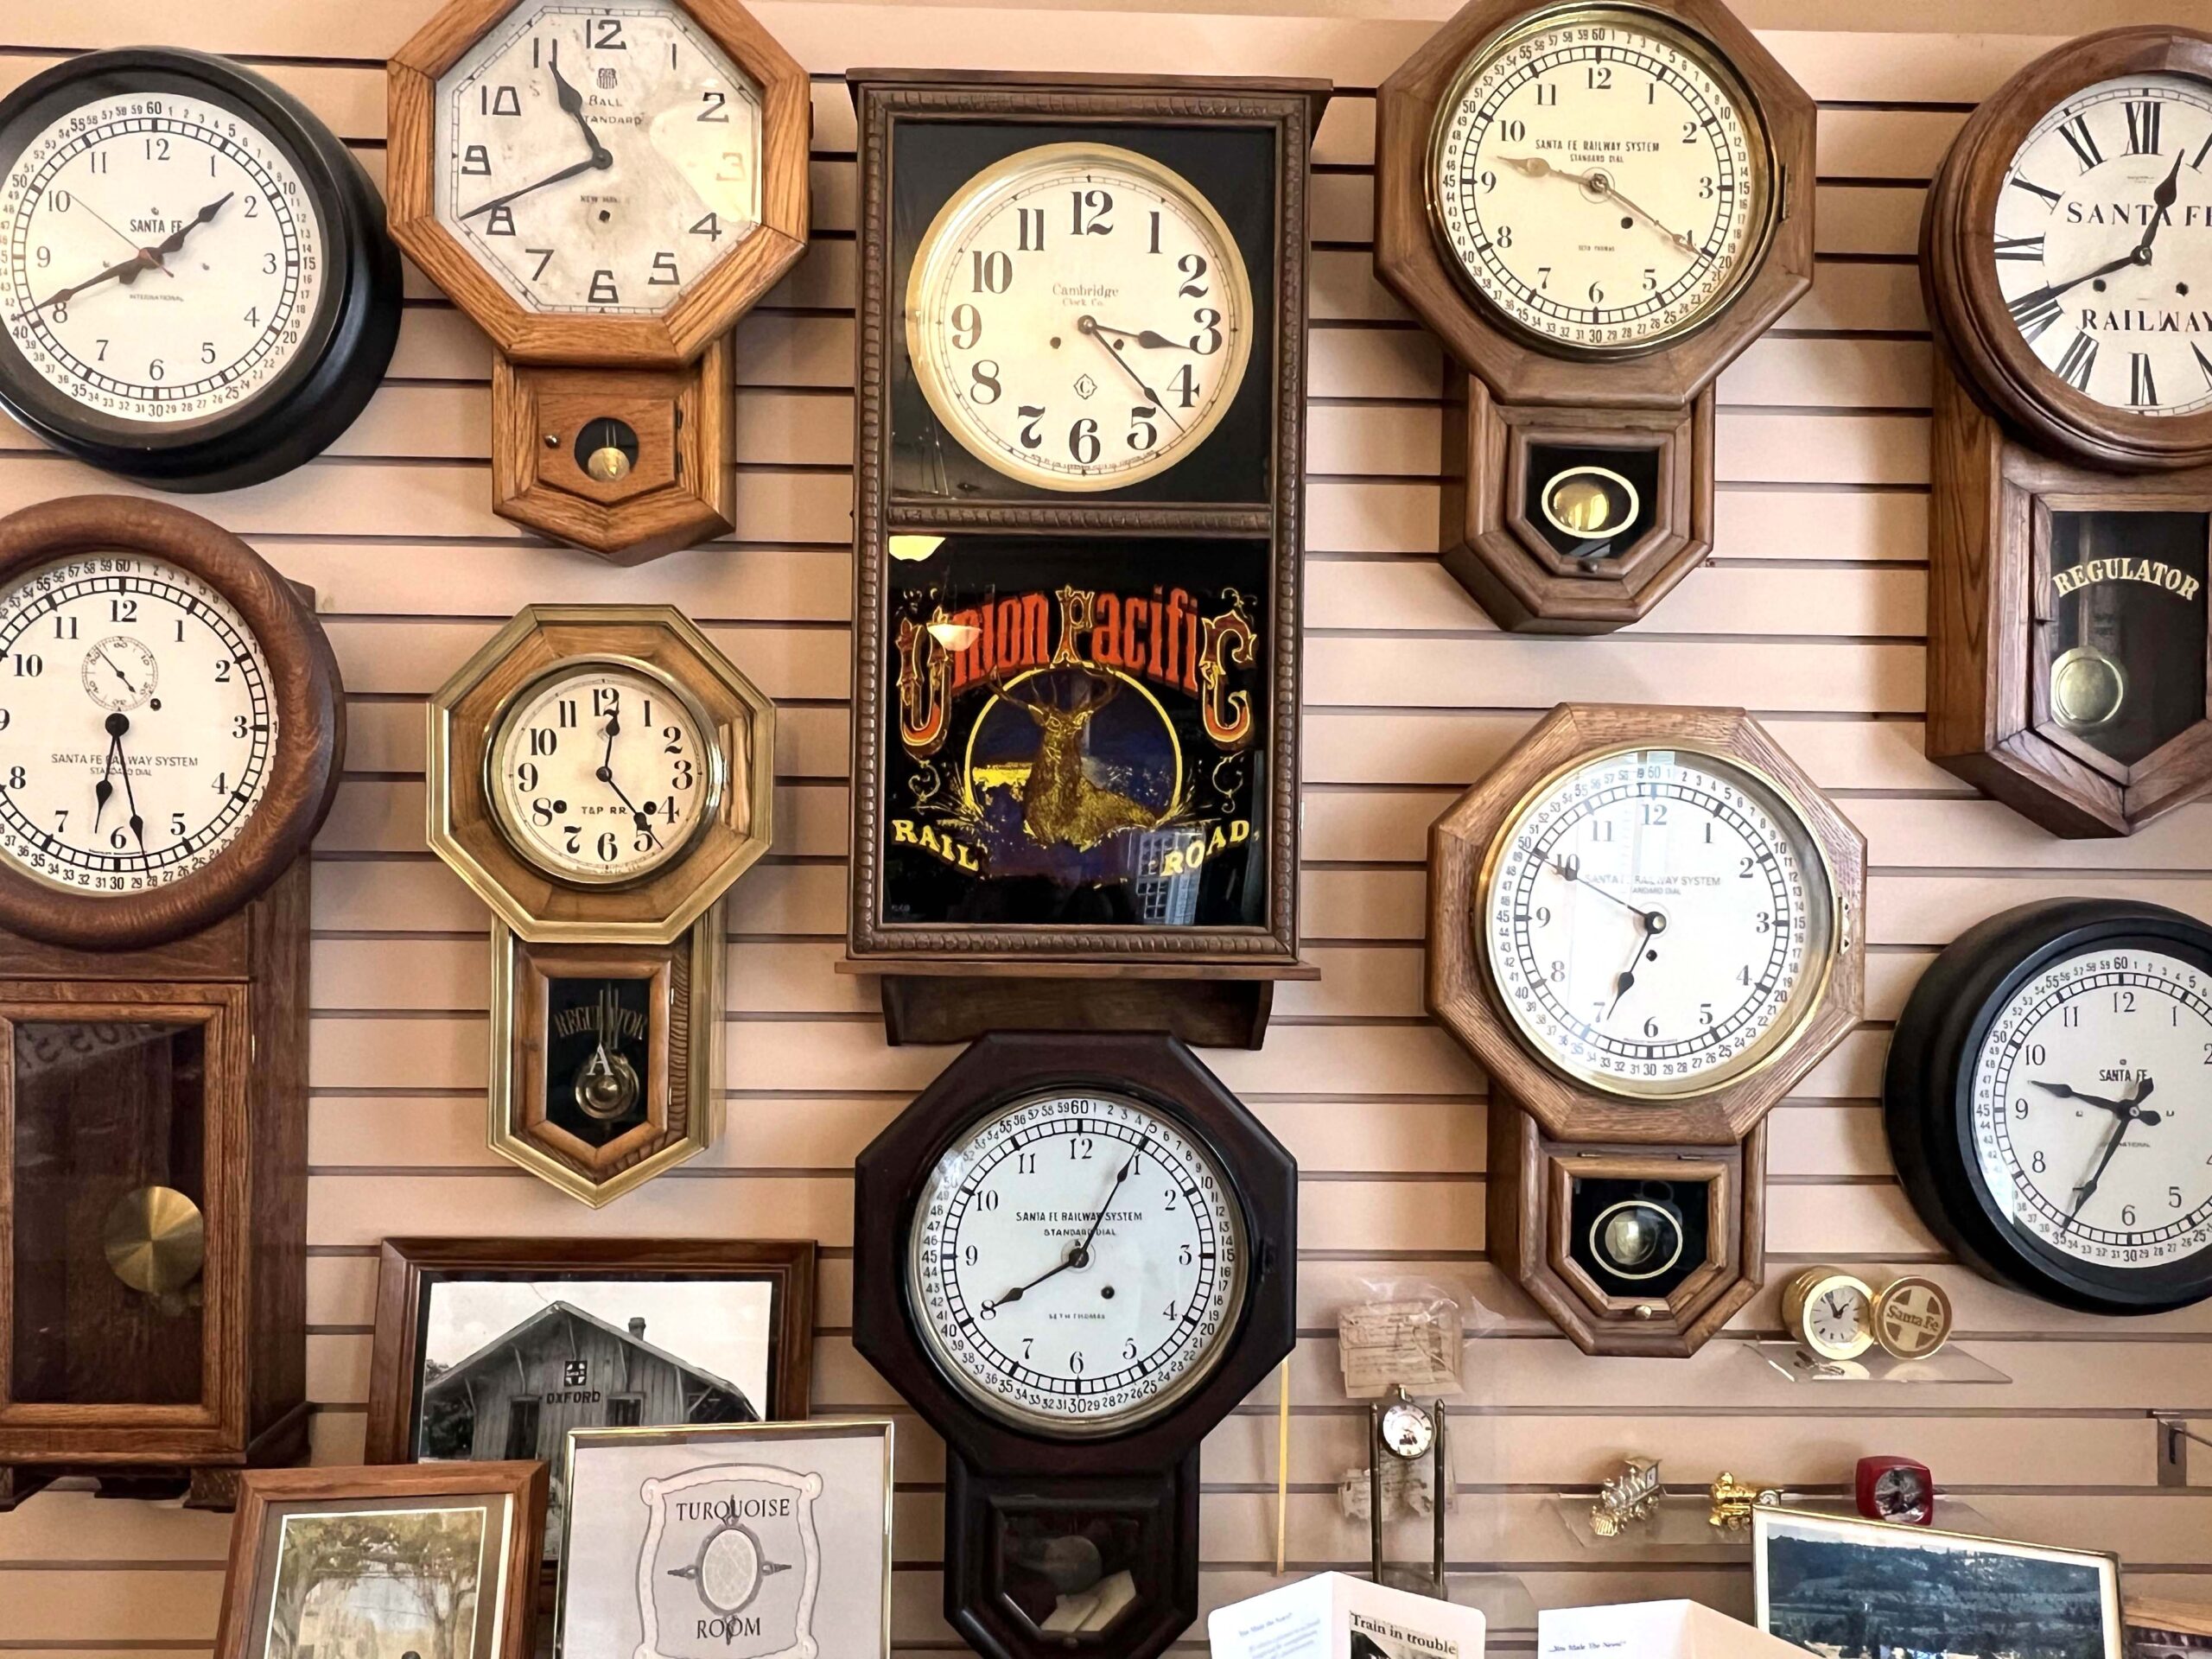
A clock wall displays timepieces that were inspected for the correct time to ensure trains arrived on schedule.
 It’s possible that Perry’s love for the railroad will rub off on you. Not only did I learn about railroad employees’ work, but I also had a better appreciation for the industry that helped develop so many Kansas towns, including Wellington.
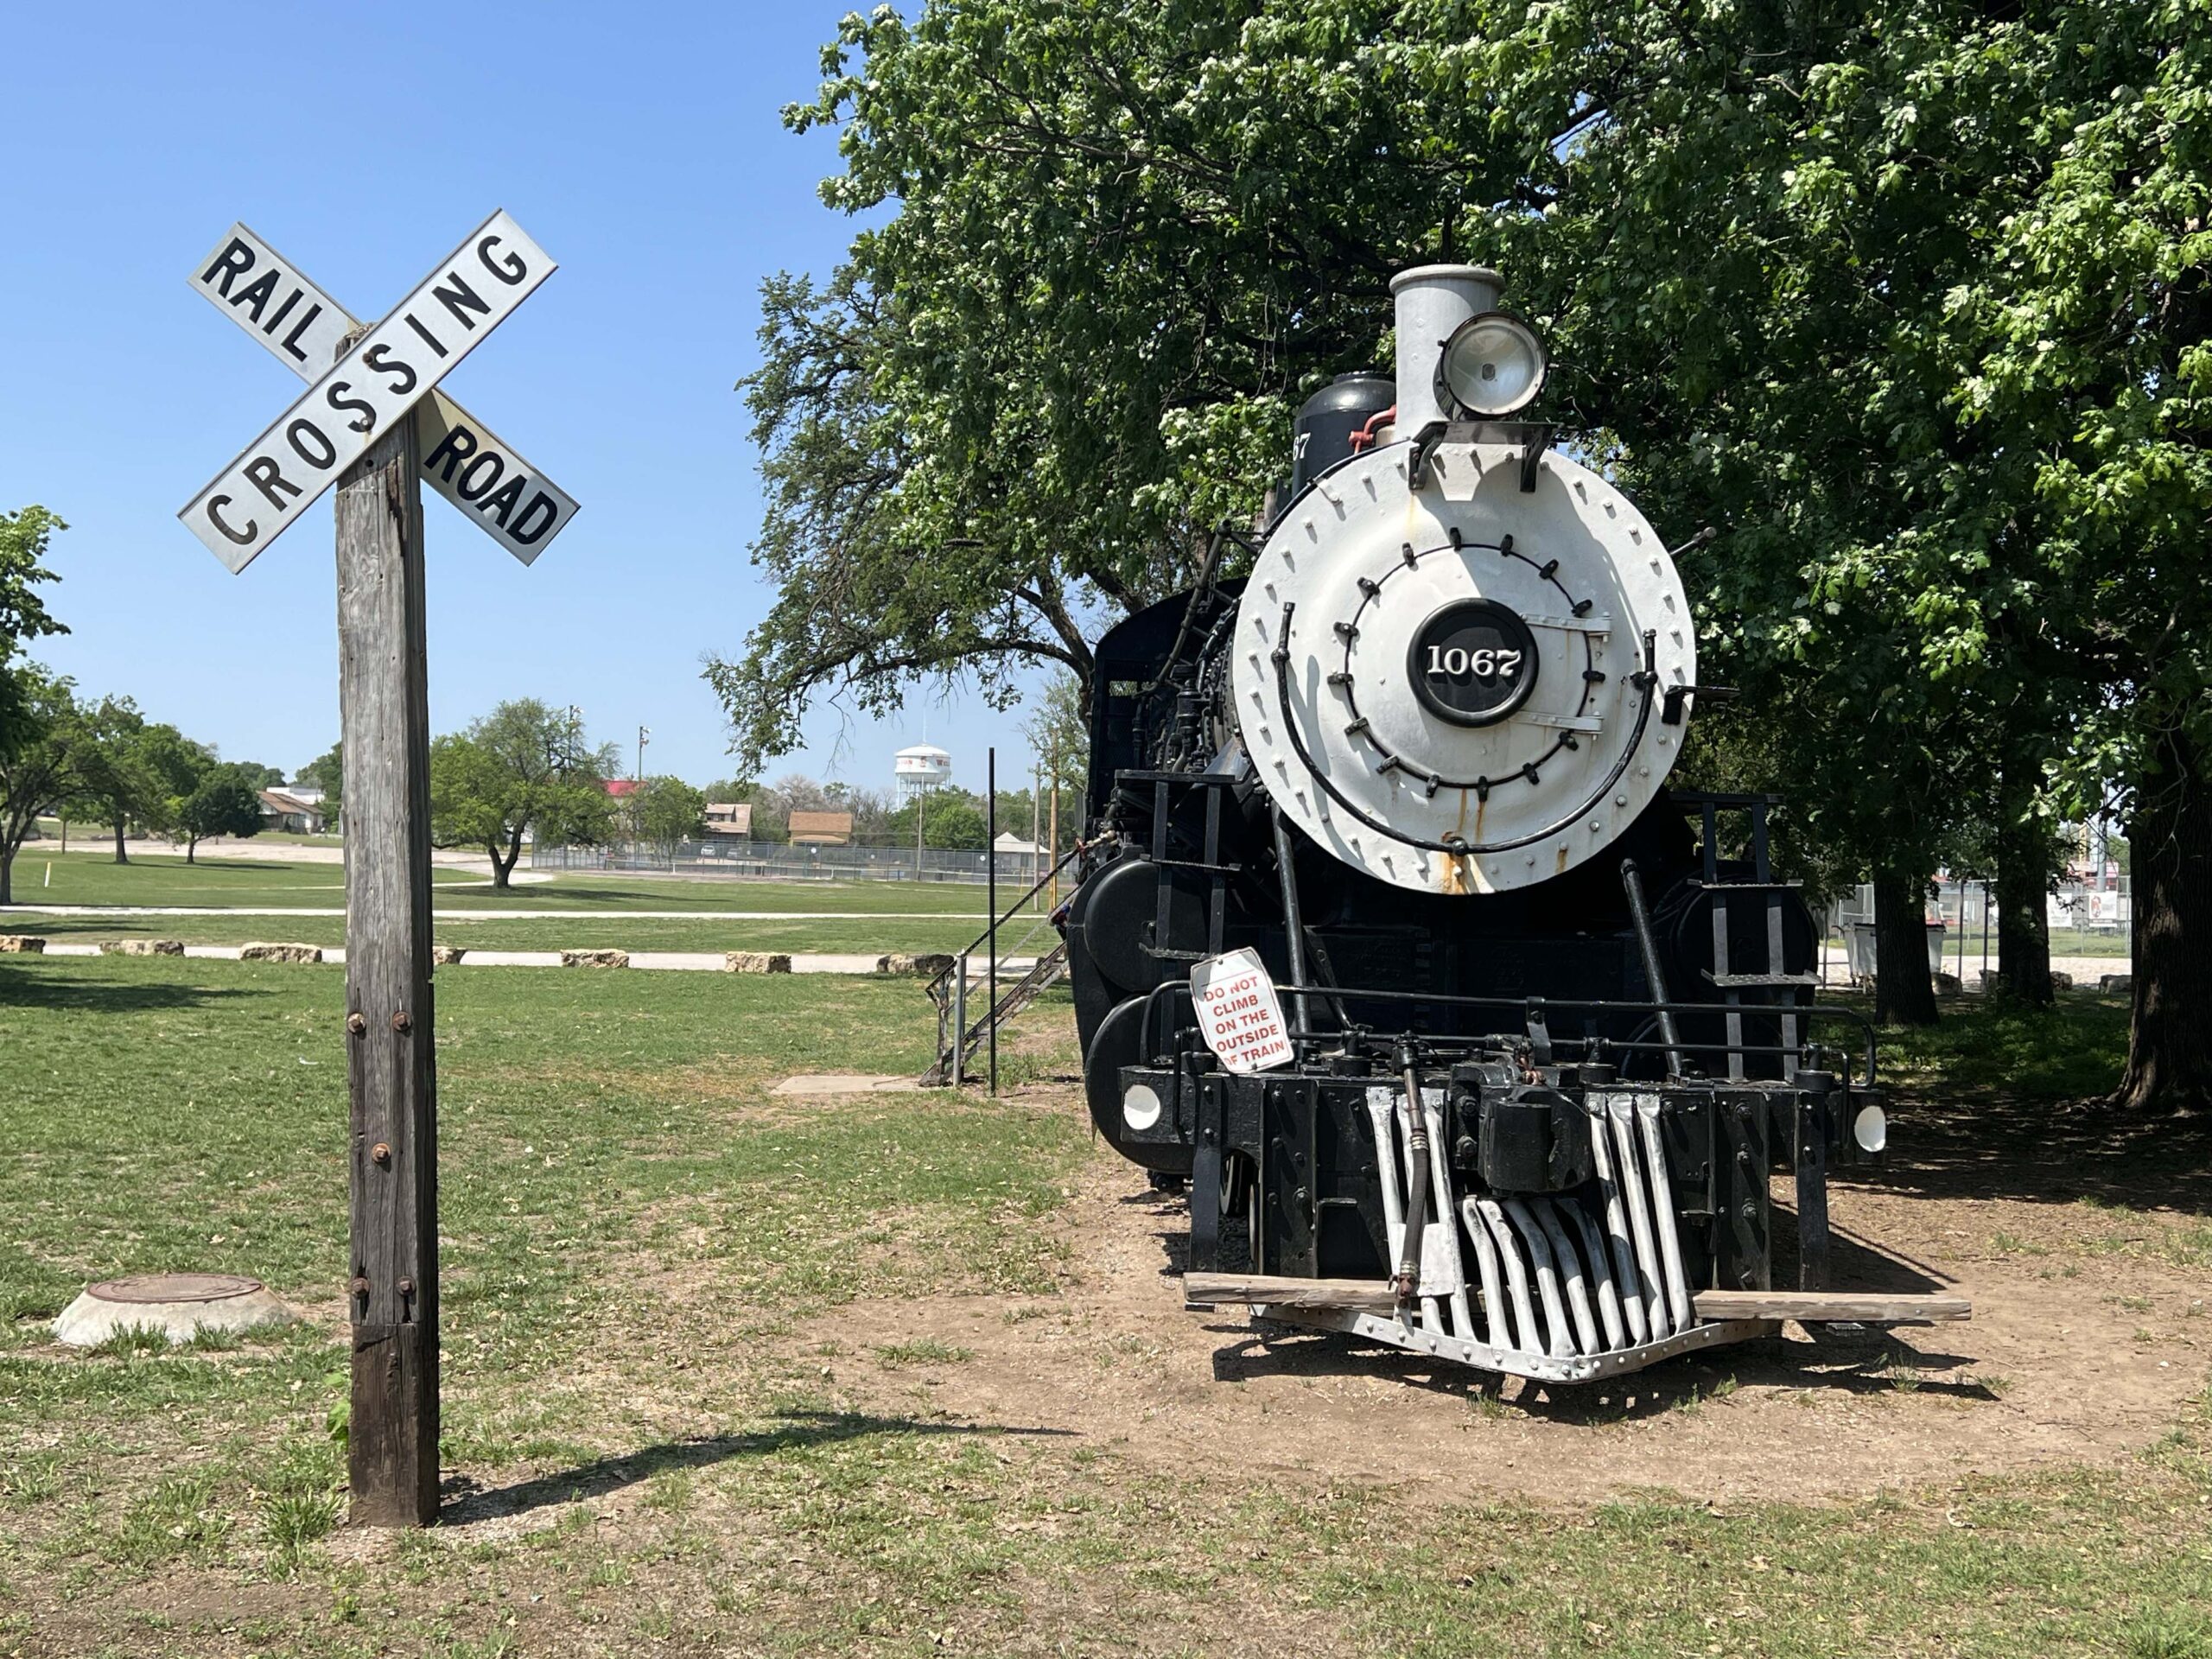 PRO TIP: Take a photo with the 1903 AT&SF steam locomotive on display across the lawn from the museum at Sellers Park.
SHOP ‘TIL YOU DROP
Nothing excites me more than discovering a locally-owned business where I can shop to my heart’s content. On Washington Avenue, several quaint businesses deserve your business.
Wellington’s historic downtown offers one-stop shopping, from women’s apparel to toys and home decor.
Beehive Quilt Shop & Bee Creative Toys
Two stores in one, Beehive Quilt Shop & Bee Creative Toys (122 N. Washington Ave.), share the same space. People travel from far away to check out the quilt shop that stocks over 100 books, dozens of kits, hundreds of notions, and over 1,000 patterns.
The store frequently hosts instructional sessions for quilters of all experience levels.
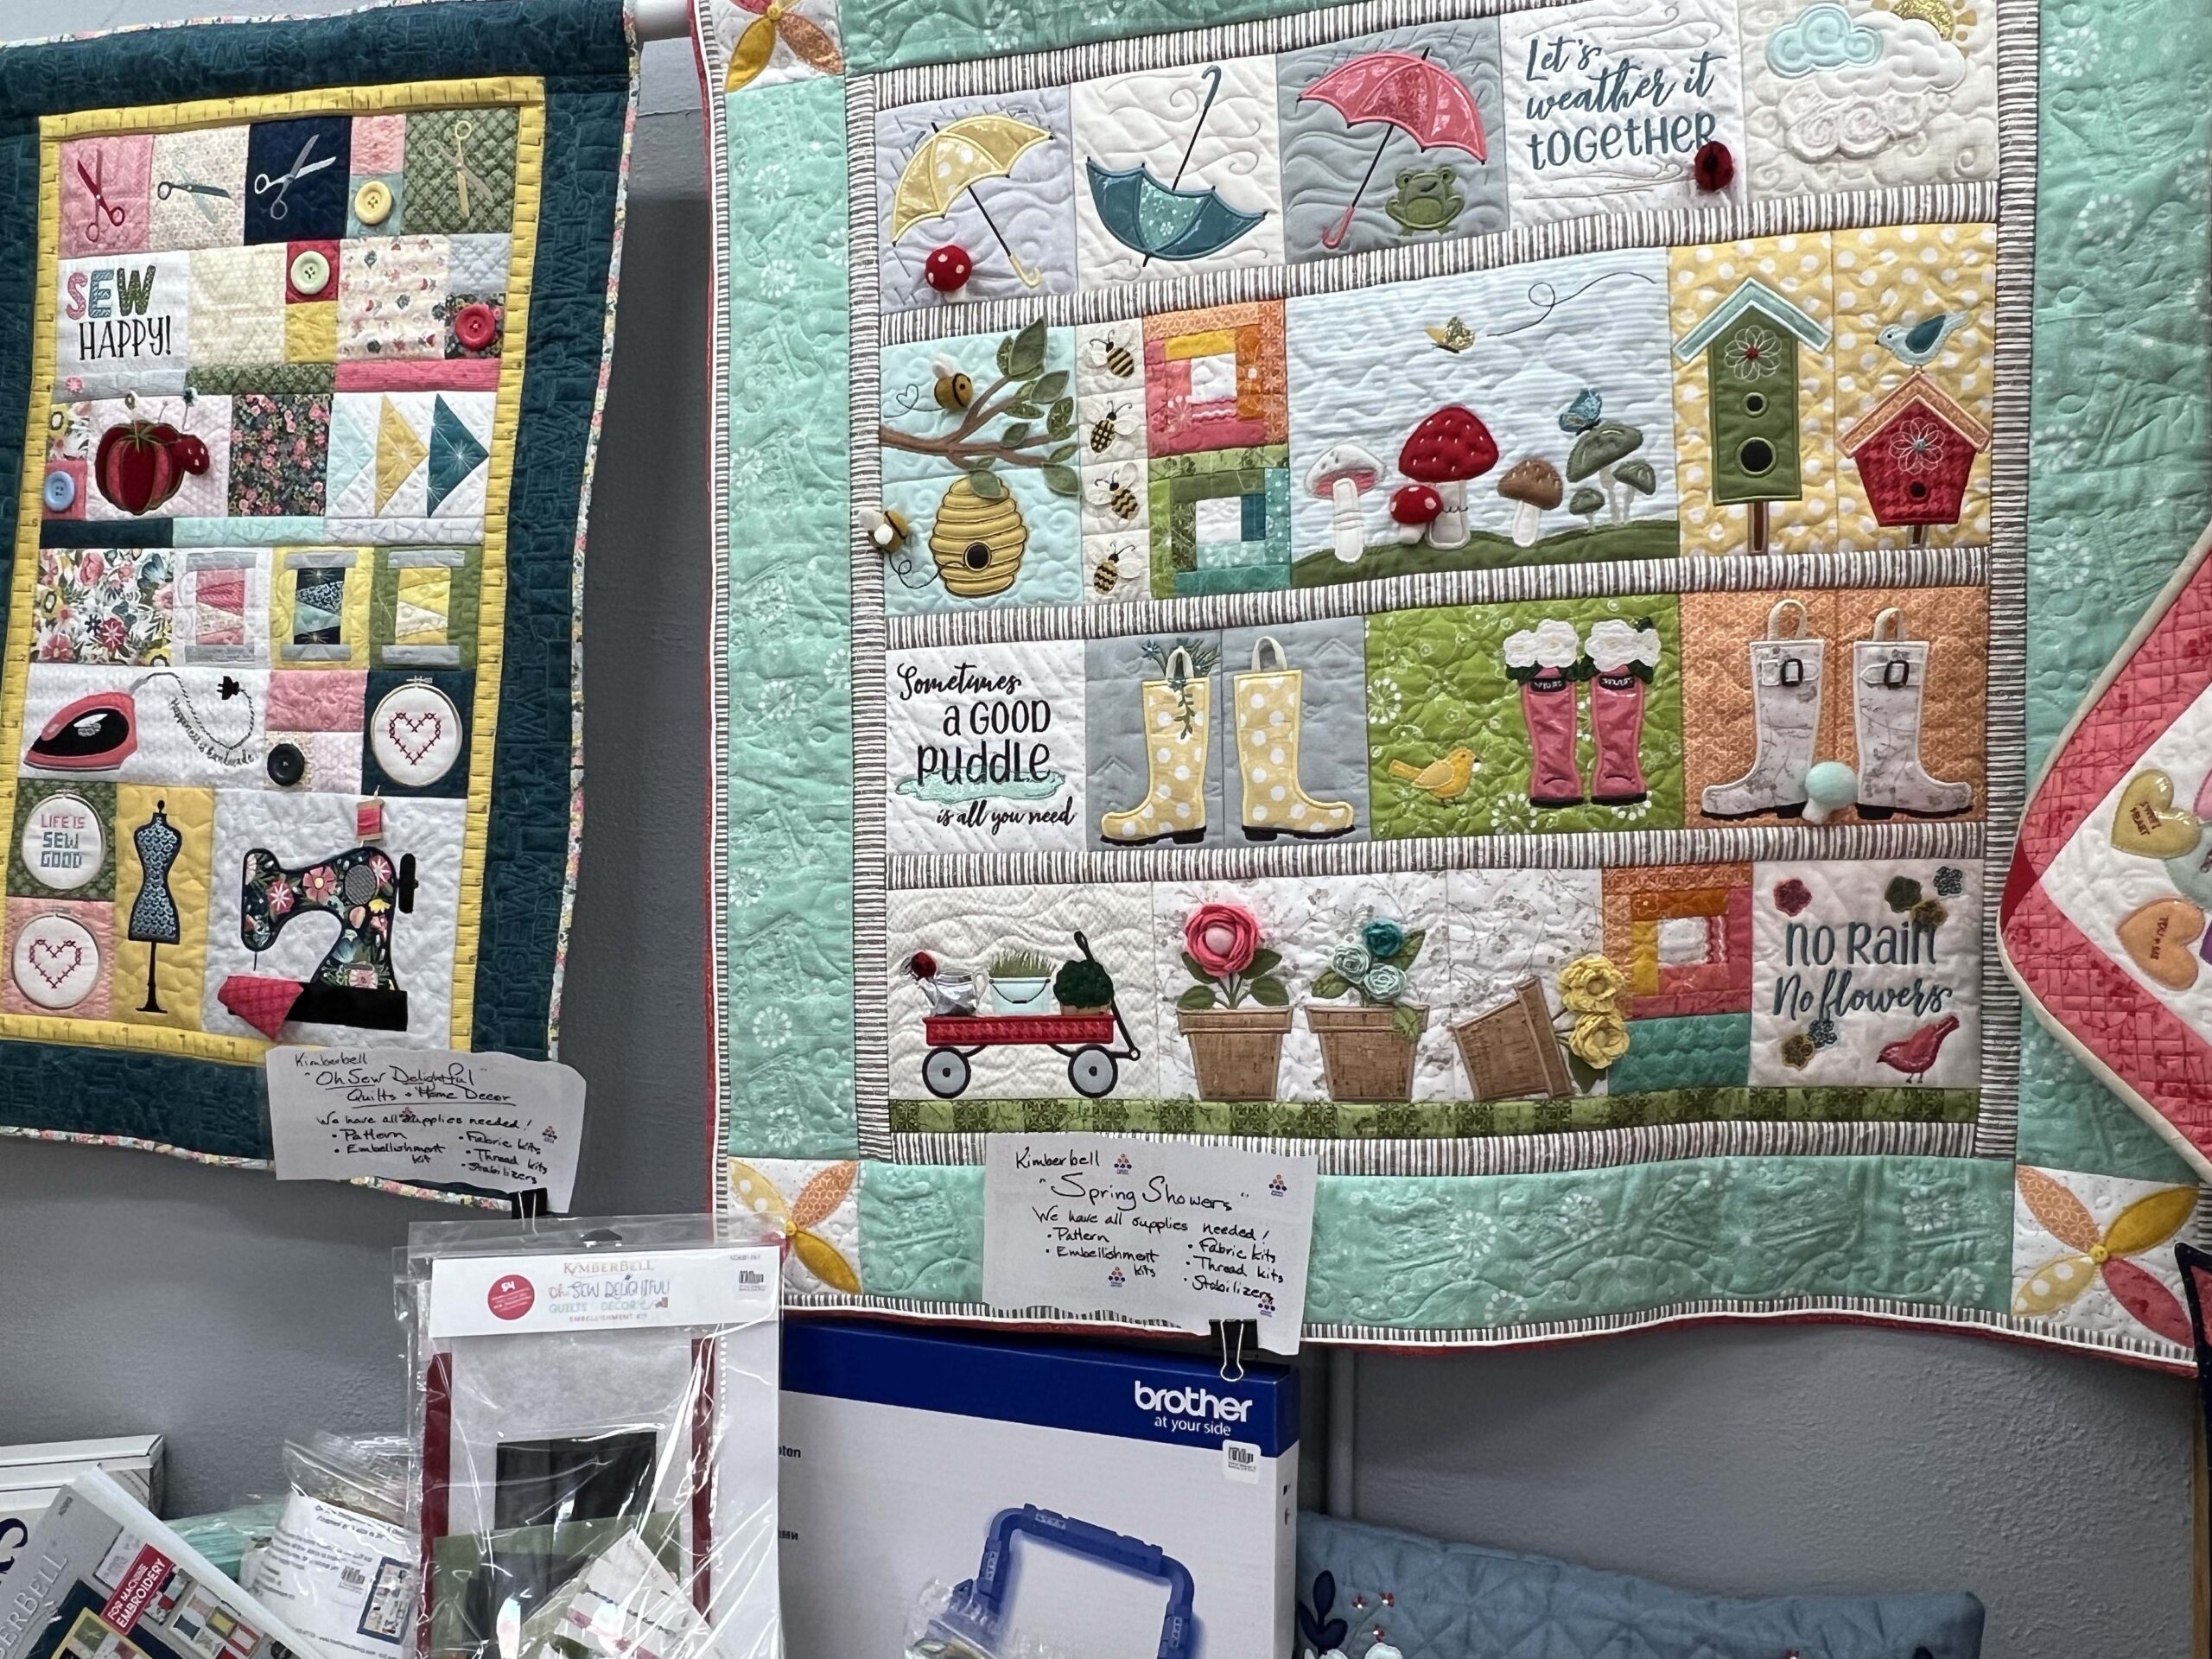 Having visited several quilt shops across Kansas, I was impressed by the staff’s knowledge of on-trend designs and how to teach others the techniques for every kind of quilt.
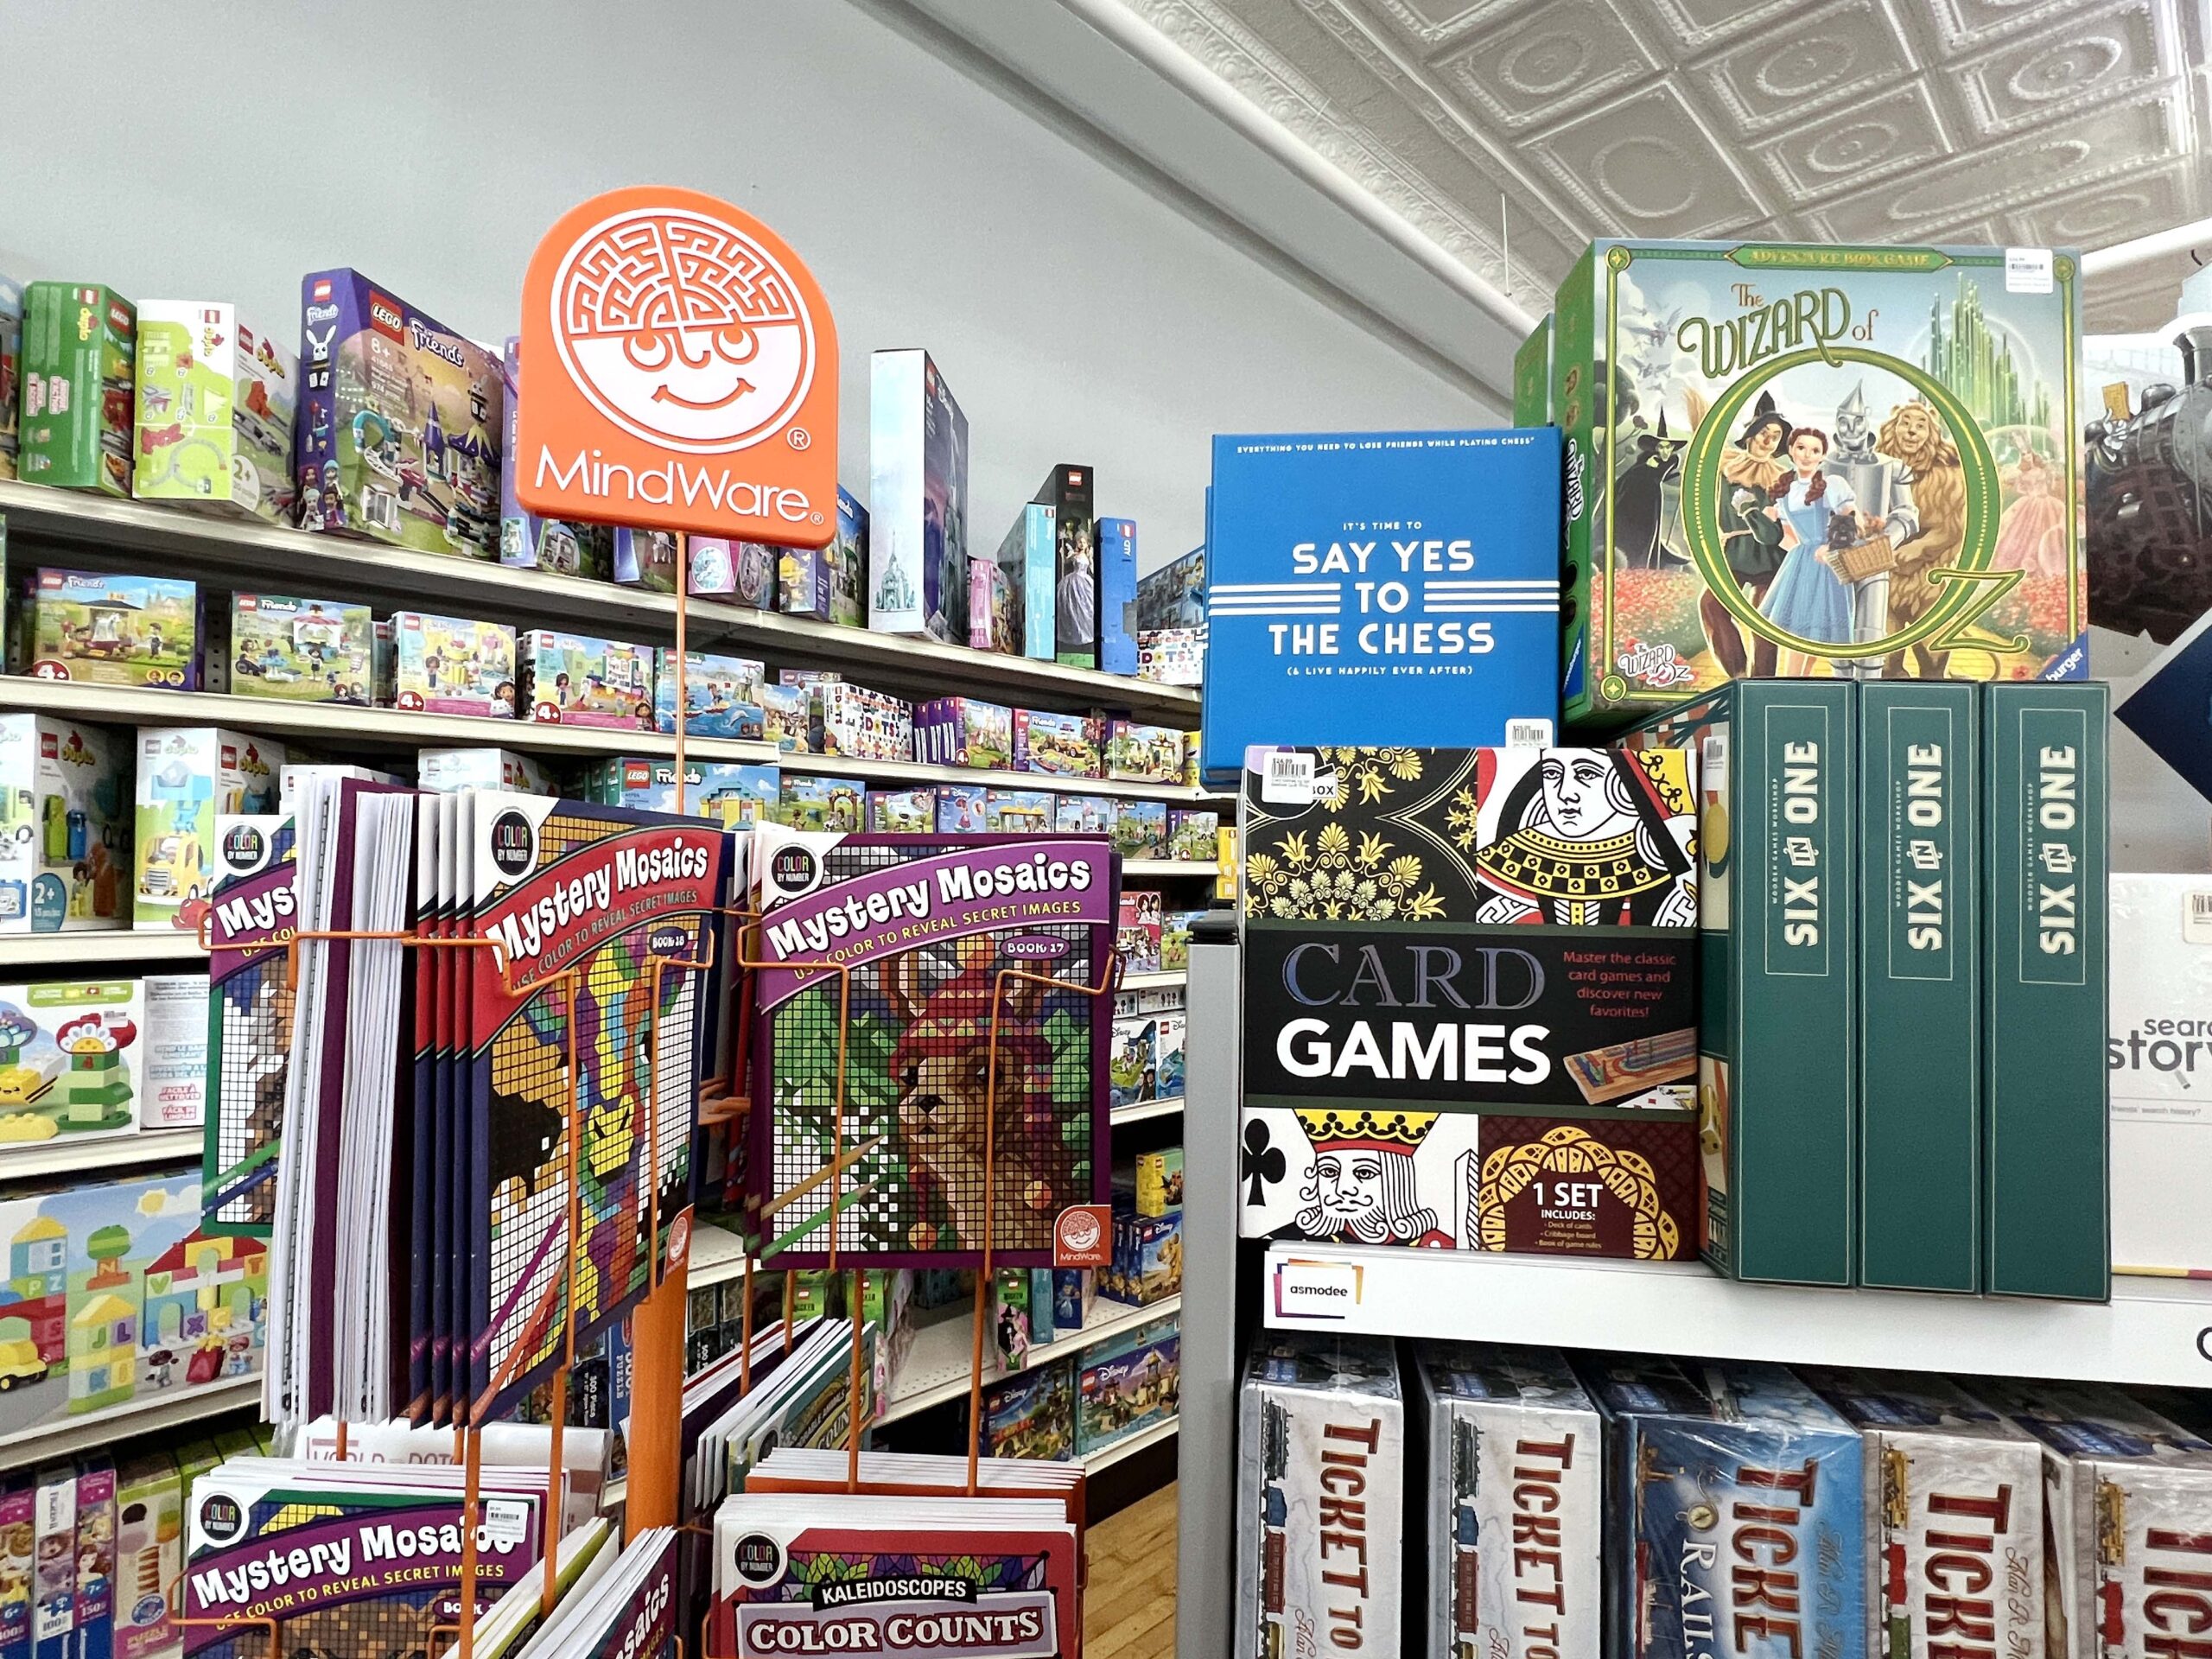
At Bee Creative Toys, shelves and turnable displays are stocked with every kind of game, interactive play set, and plush toy you can imagine. Toys designed for newborns to adults are available. They stock an extensive selection of brands, including Lego®, Fred & Friends®, and Melissa & Doug®.
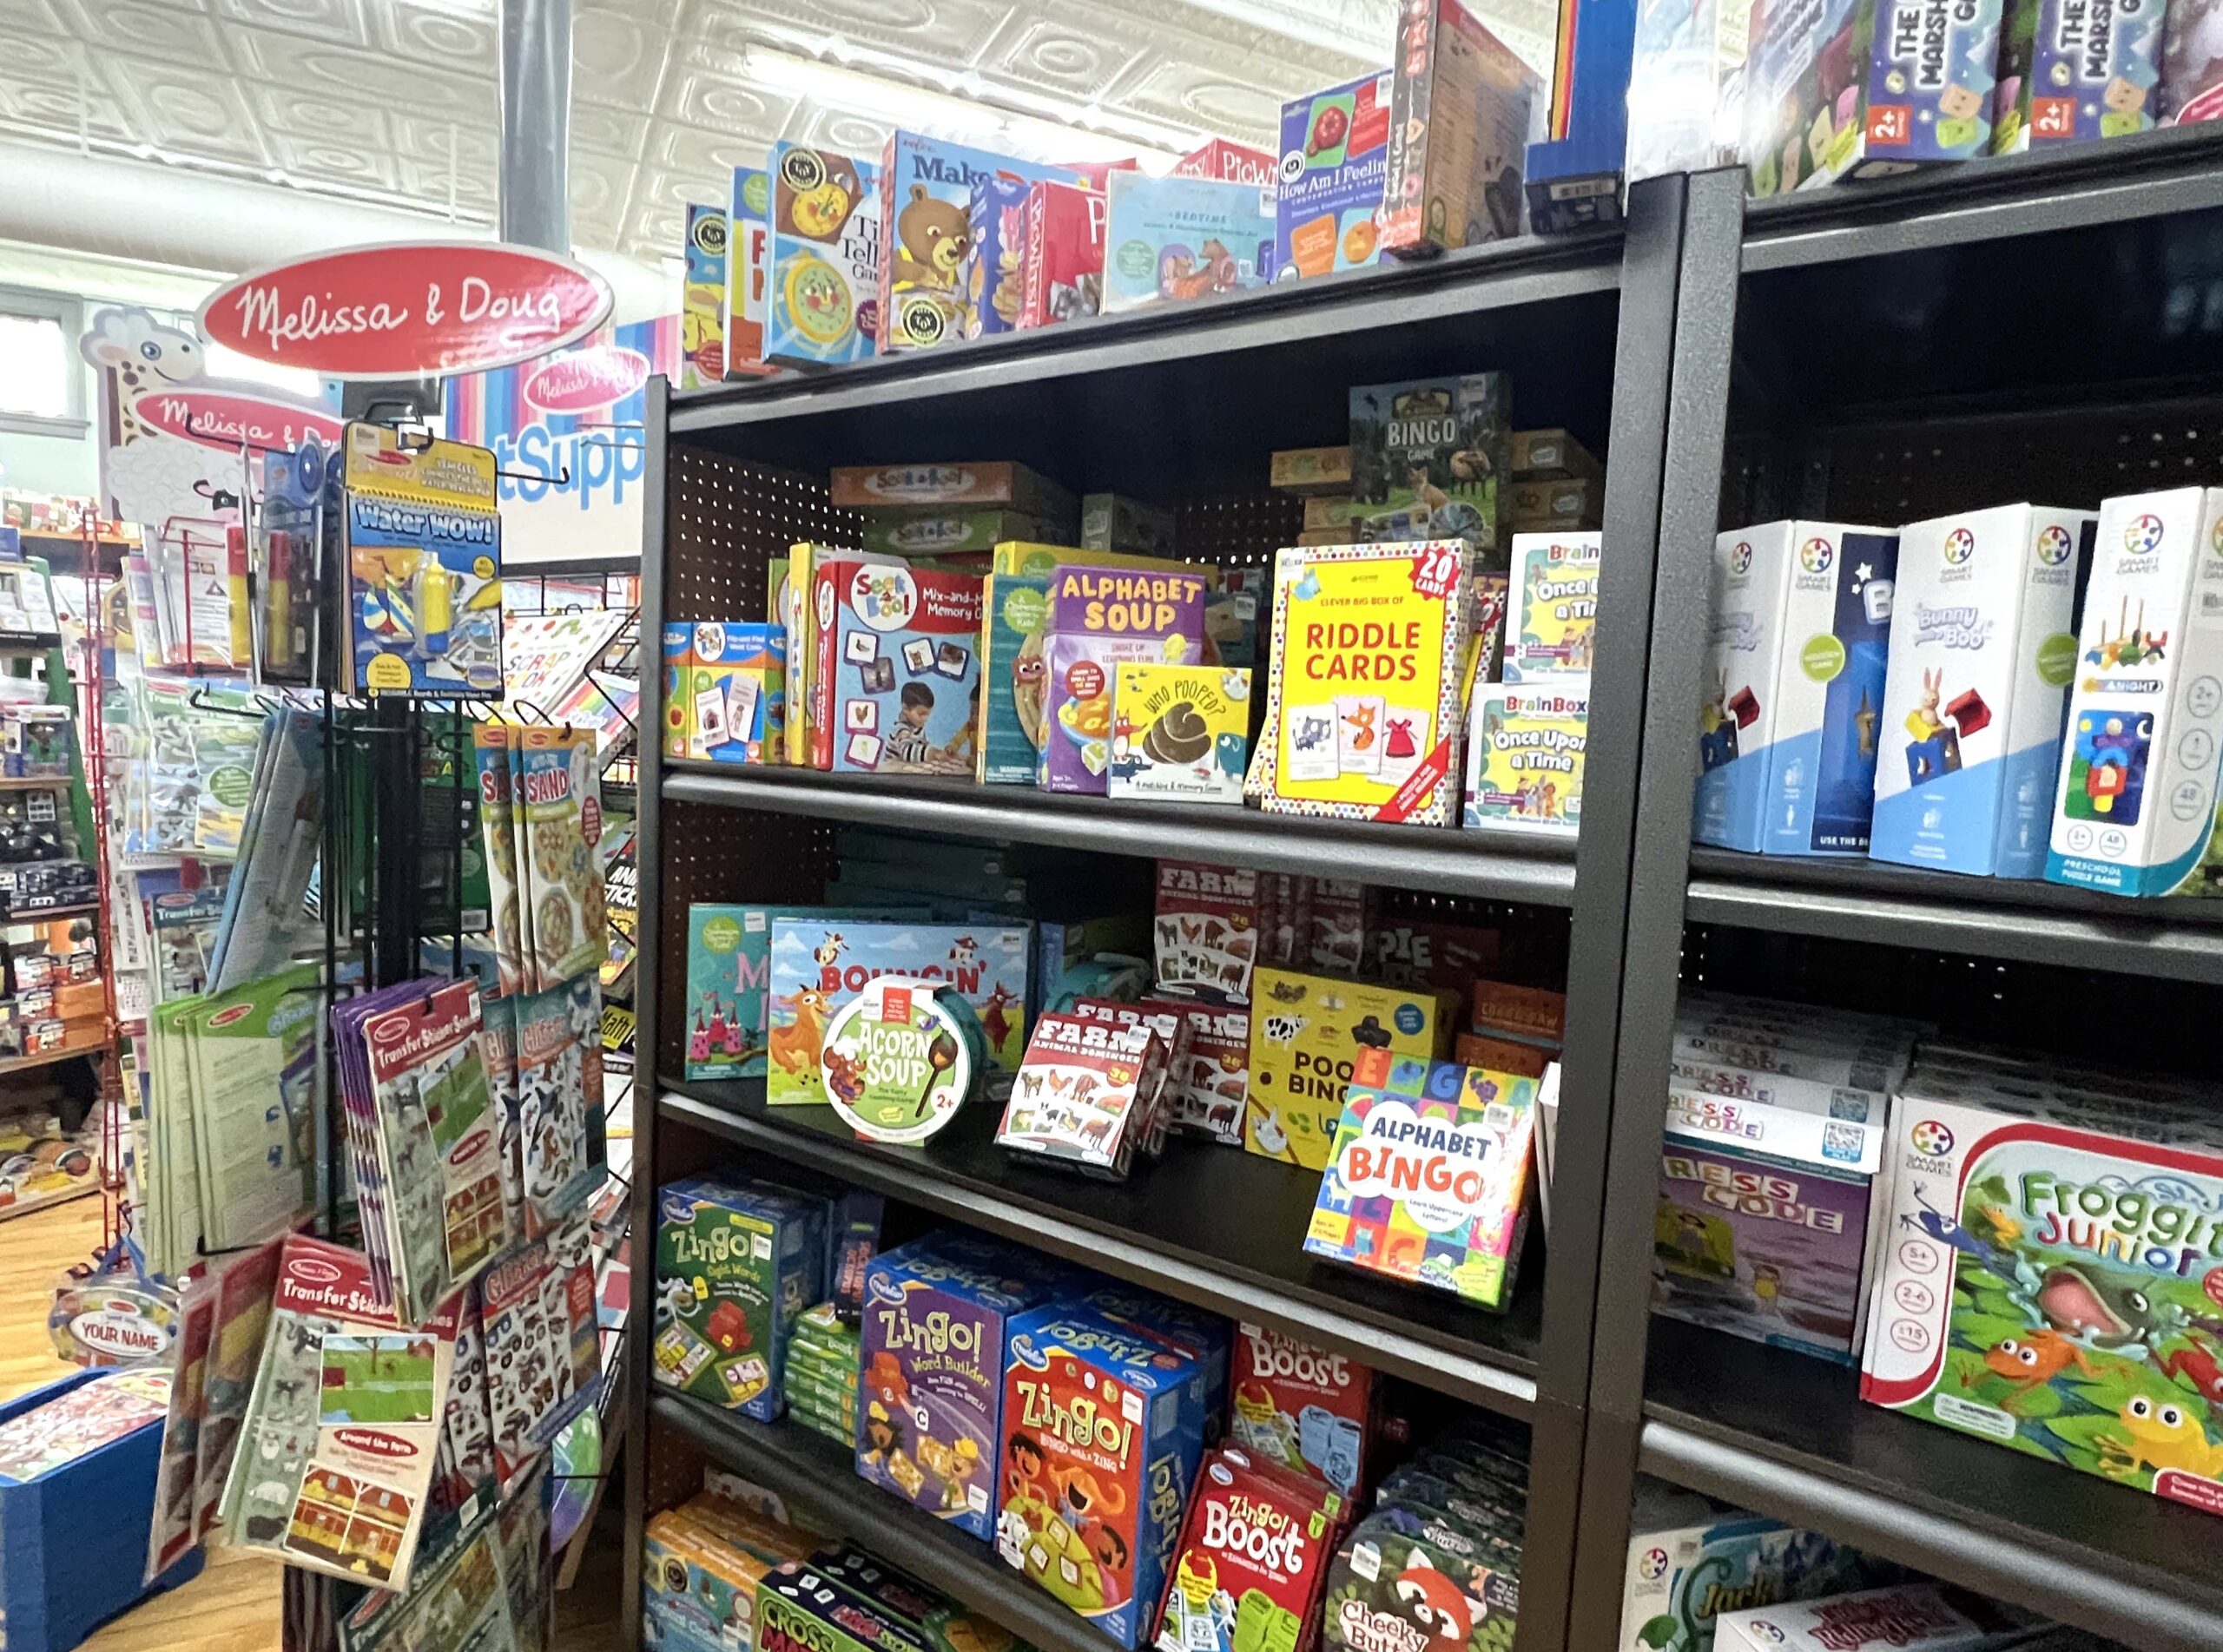 The staff is excellent at finding a toy or game that matches a child’s skill level and interests. If you’re seeking Lego® build kits or puzzles, Bee Creative Toys’ inventory has you covered.
 PRO TIP: Follow the store on Facebook to stay up to date about upcoming events and toy arrivals.
The Gold Corner
The Gold Corner (102 N. Washington Ave.) is one-stop shopping when you’re seeking a new piece of jewelry for yourself or to gift to a special someone.
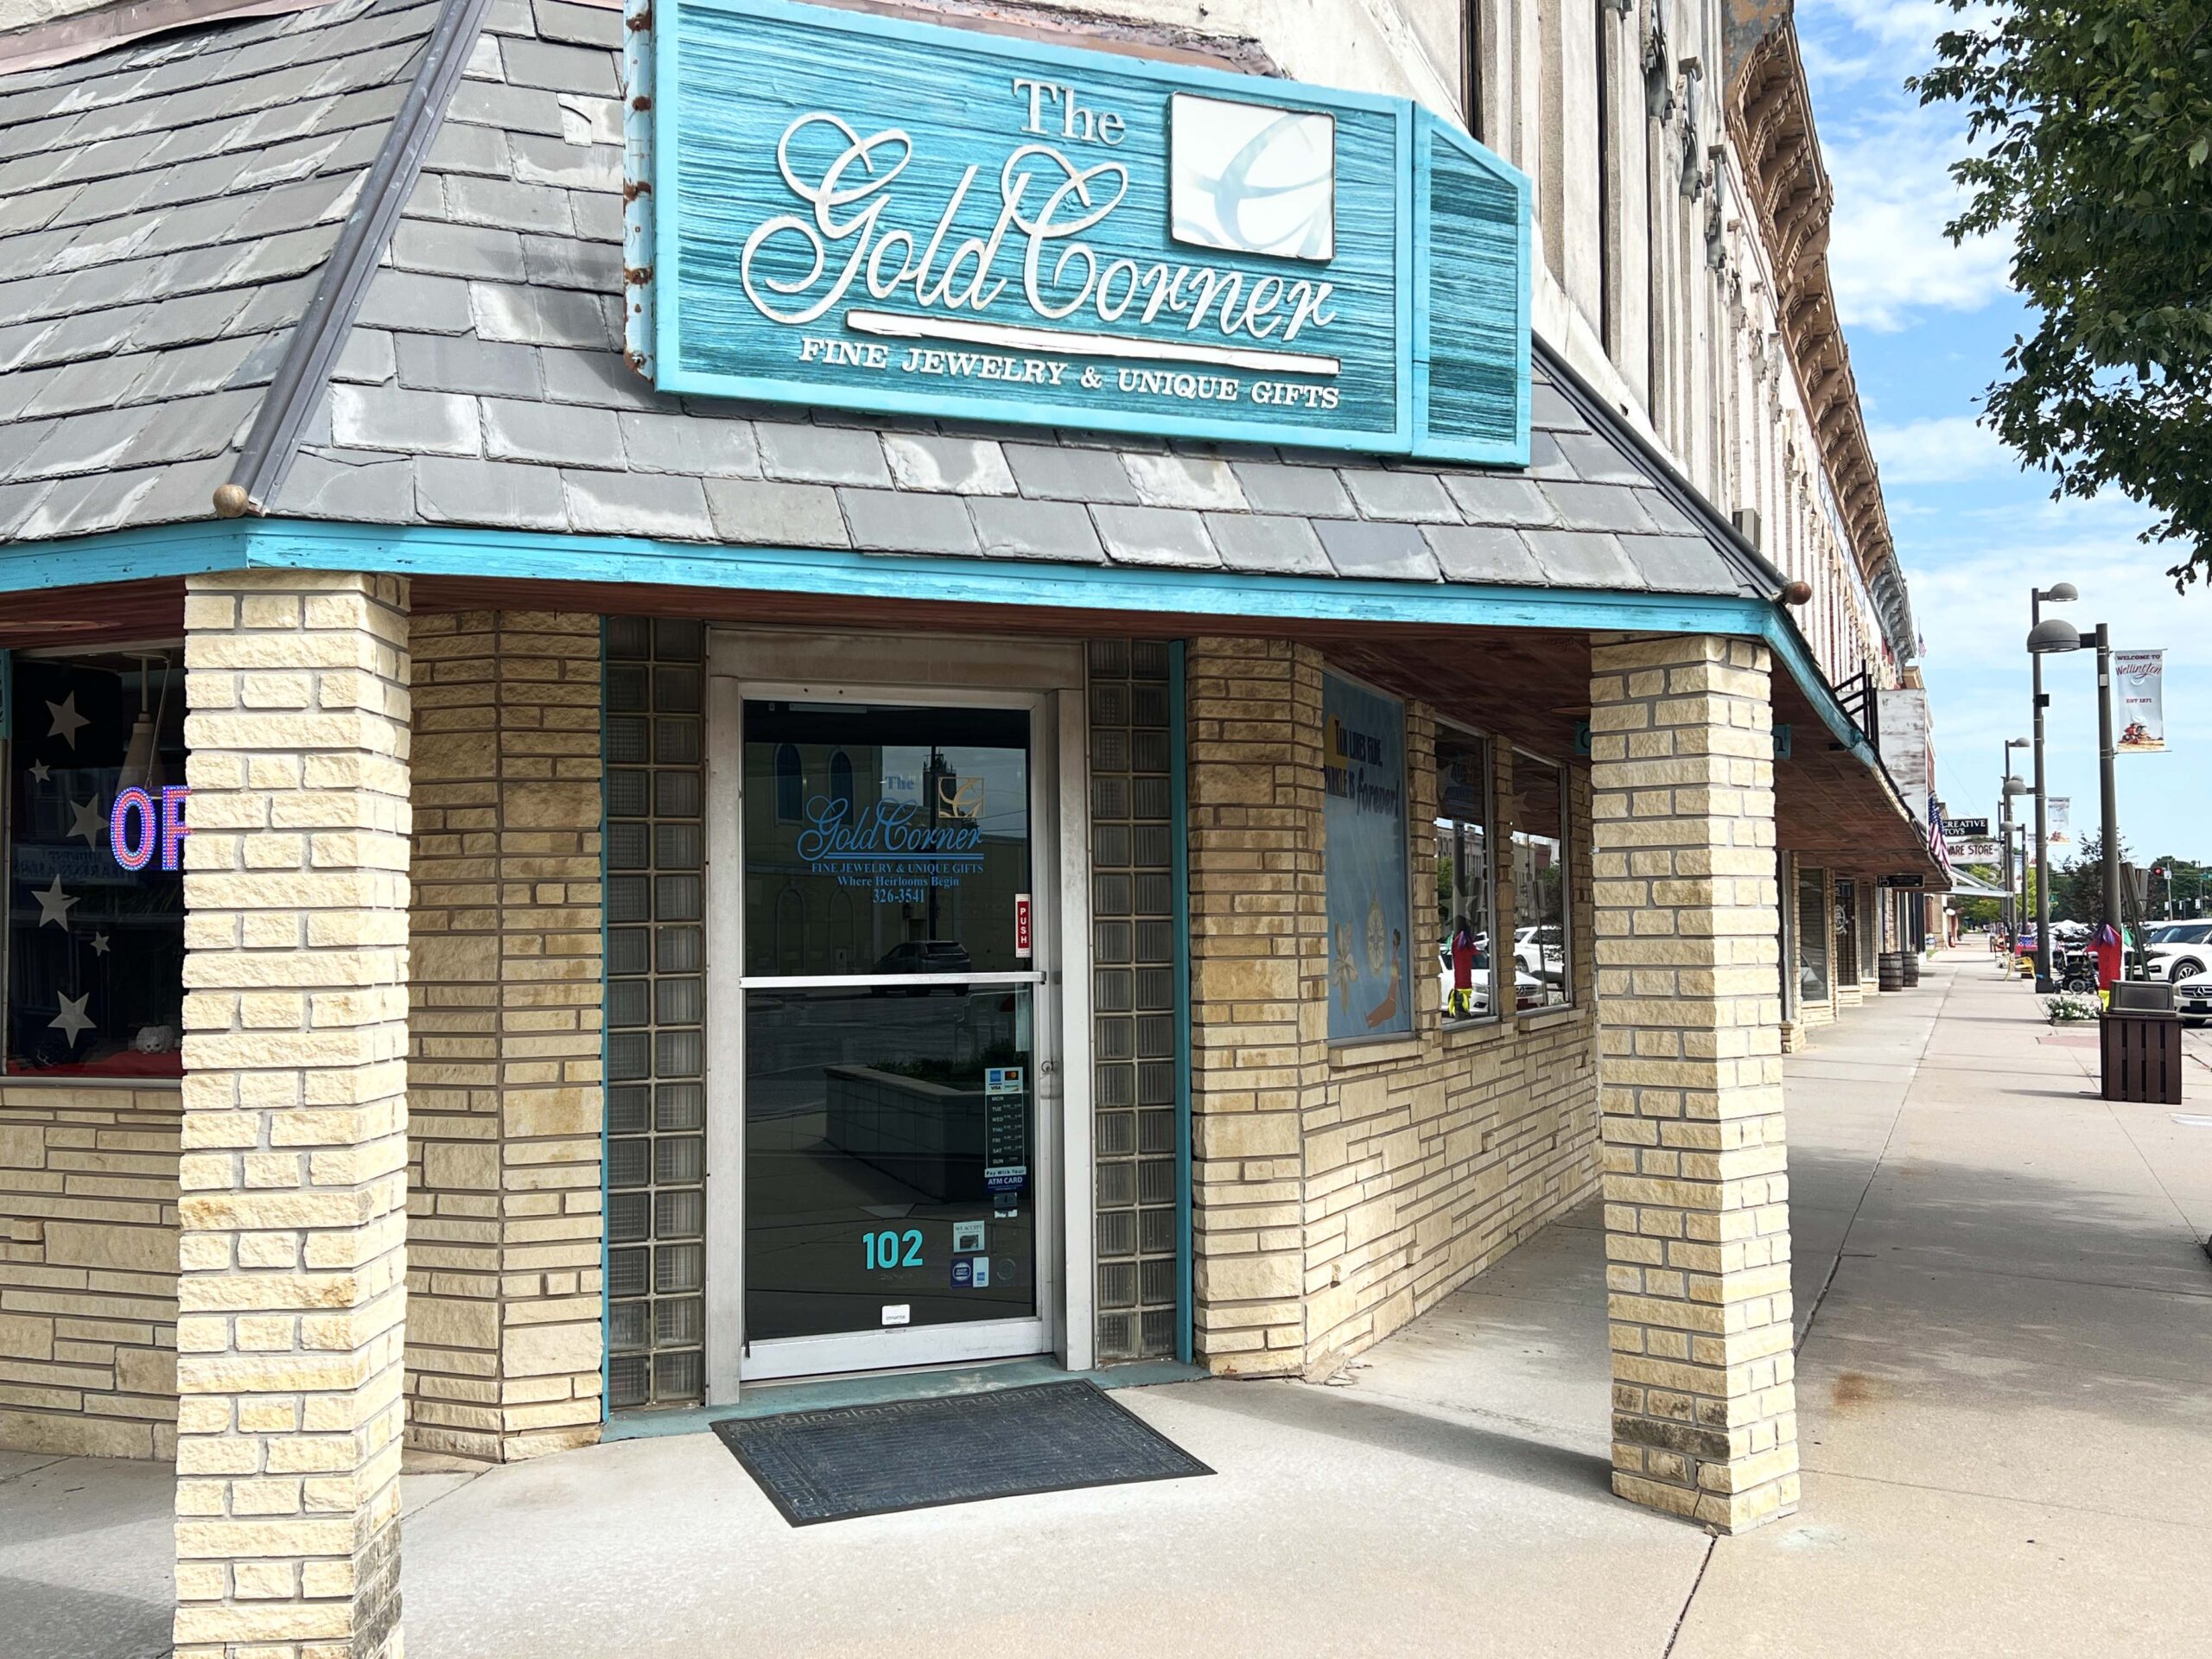 Whether you’re interested in a custom-made ring or shopping for a bracelet, ring, or necklace from designers like ASHI® or Ostbye®, you’ll find what you’re seeking at the downtown fine jewelry store.
The owner is skilled at creating unique jewelry for customers, and the staff has years of industry experience.
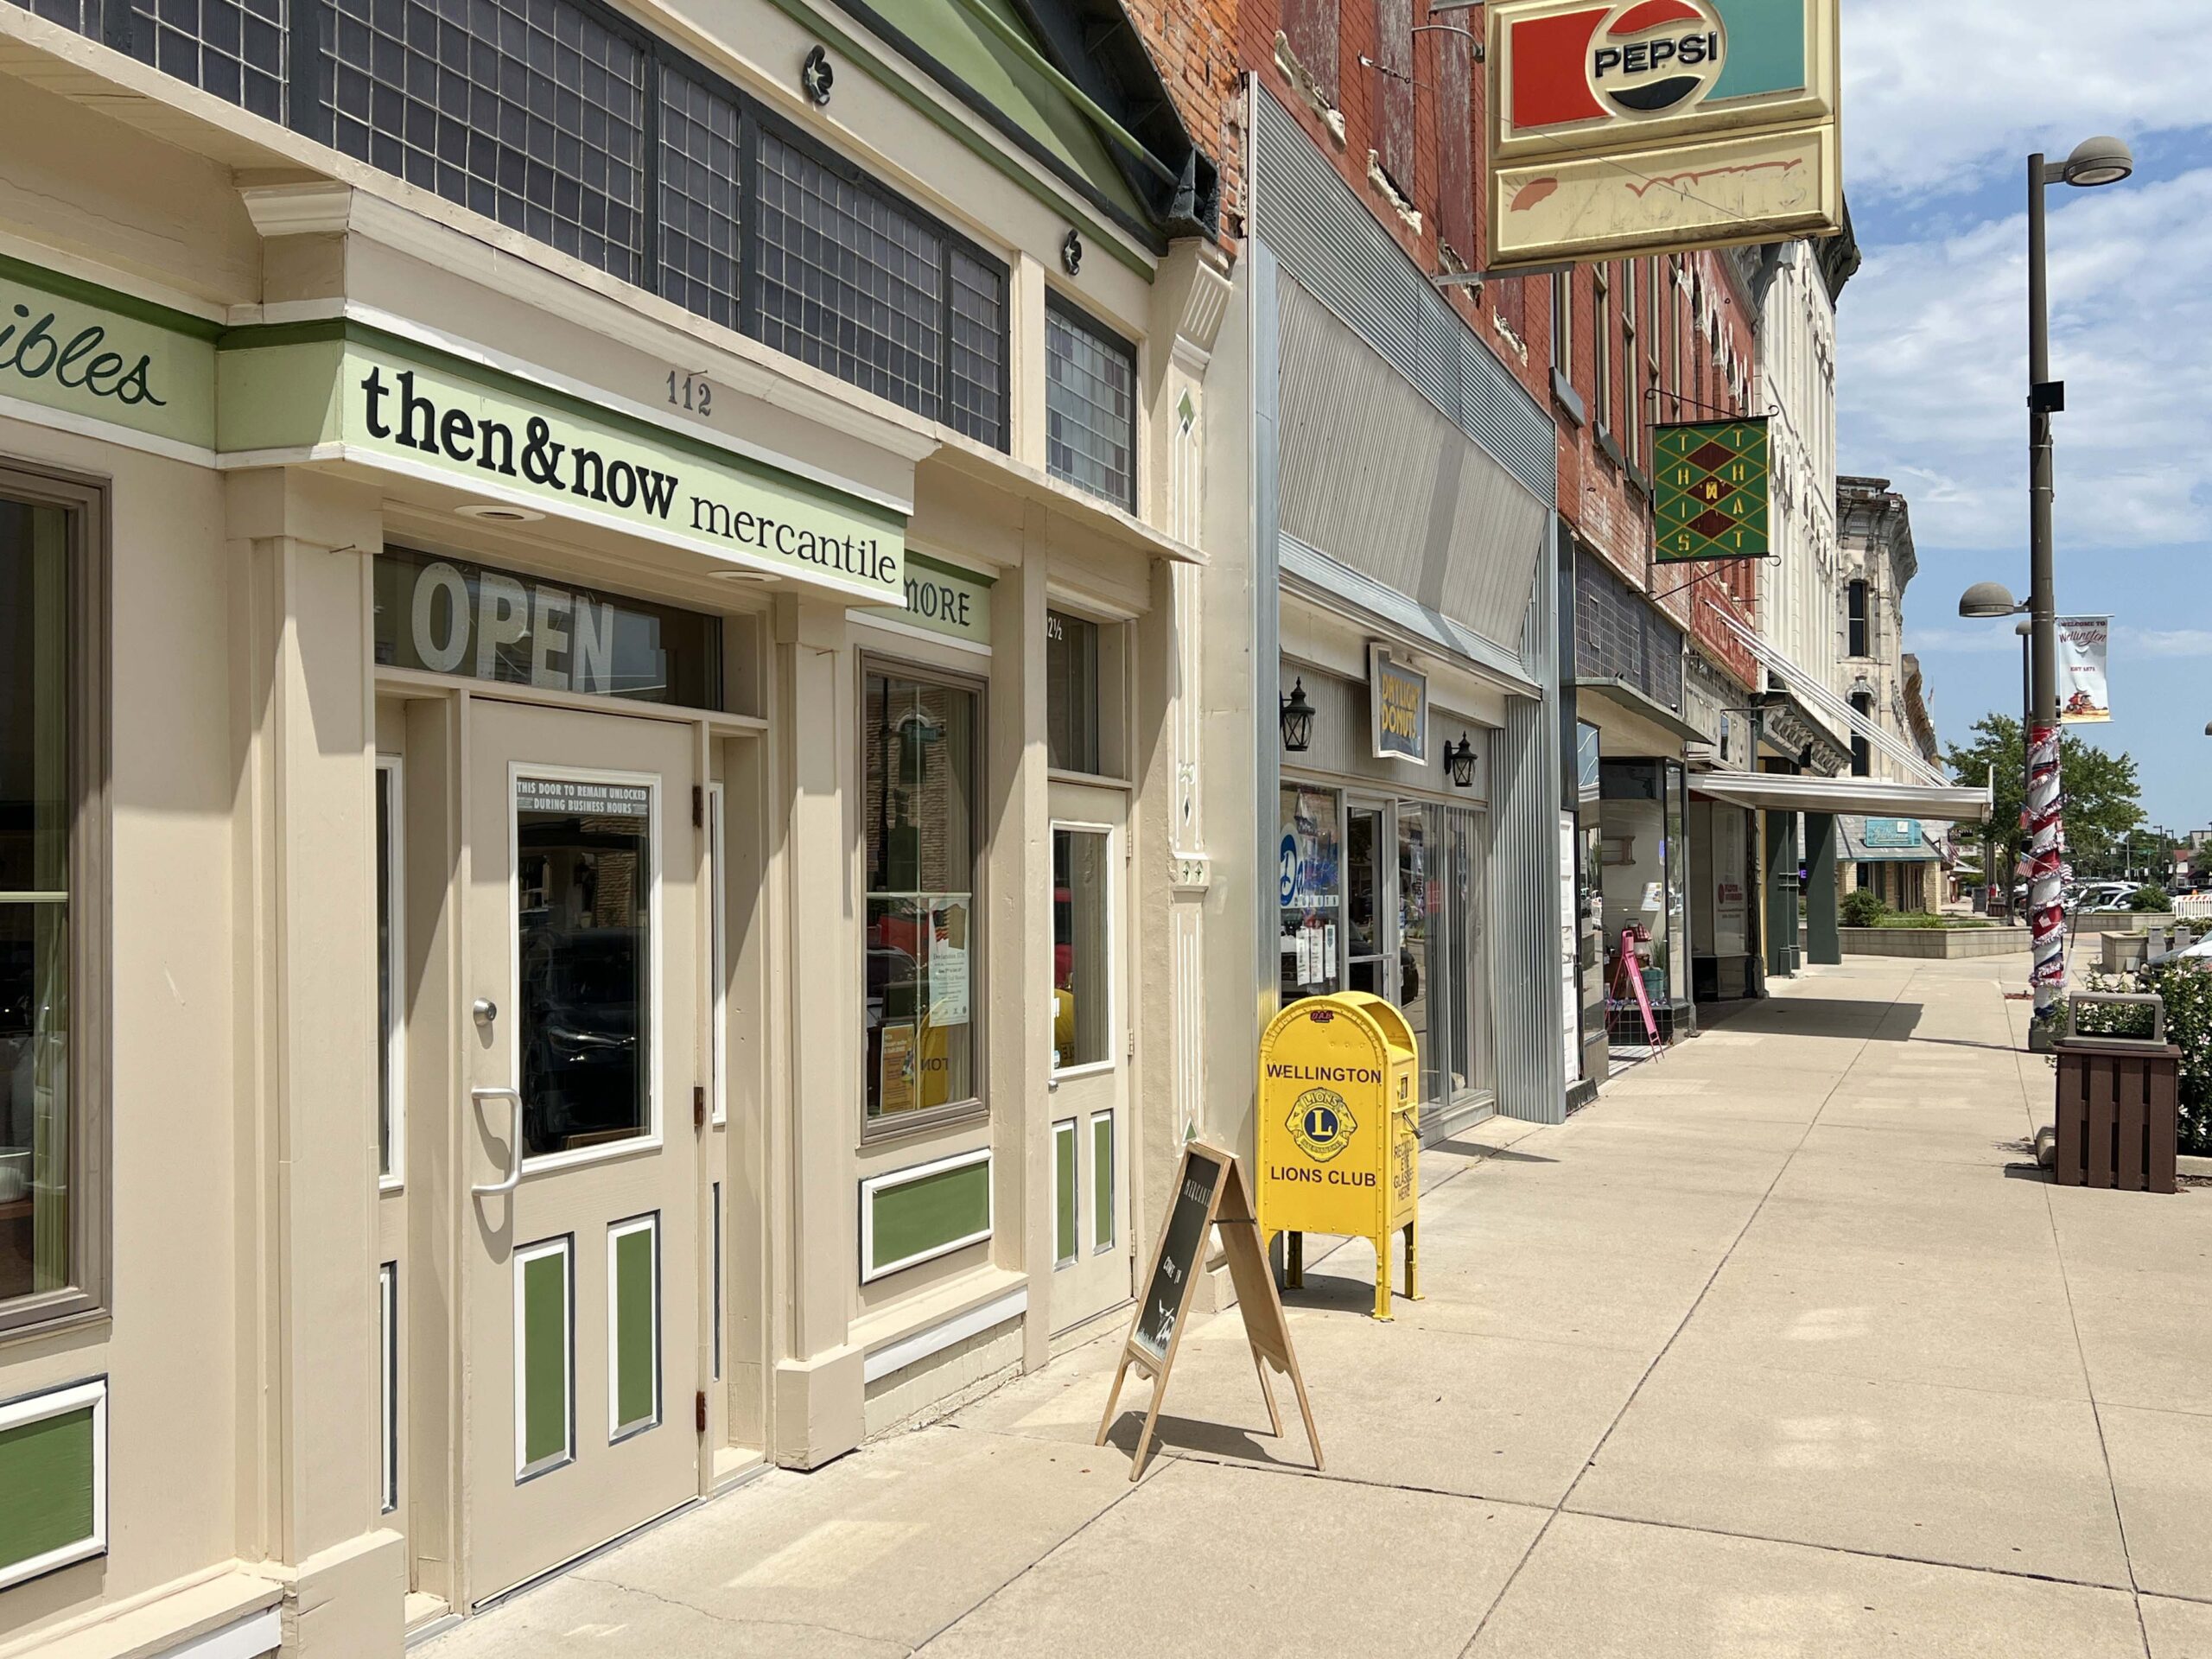
Then & Now Mercantile
One step inside Then & Now Mercantile (112 S. Washington Ave.), and I knew I arrived at an antique shop catering to customers seeking glassware.
Open four days a week, the shop’s copper tin ceilings and limestone exposed walls house display cases filled with every type of glassware you can imagine.
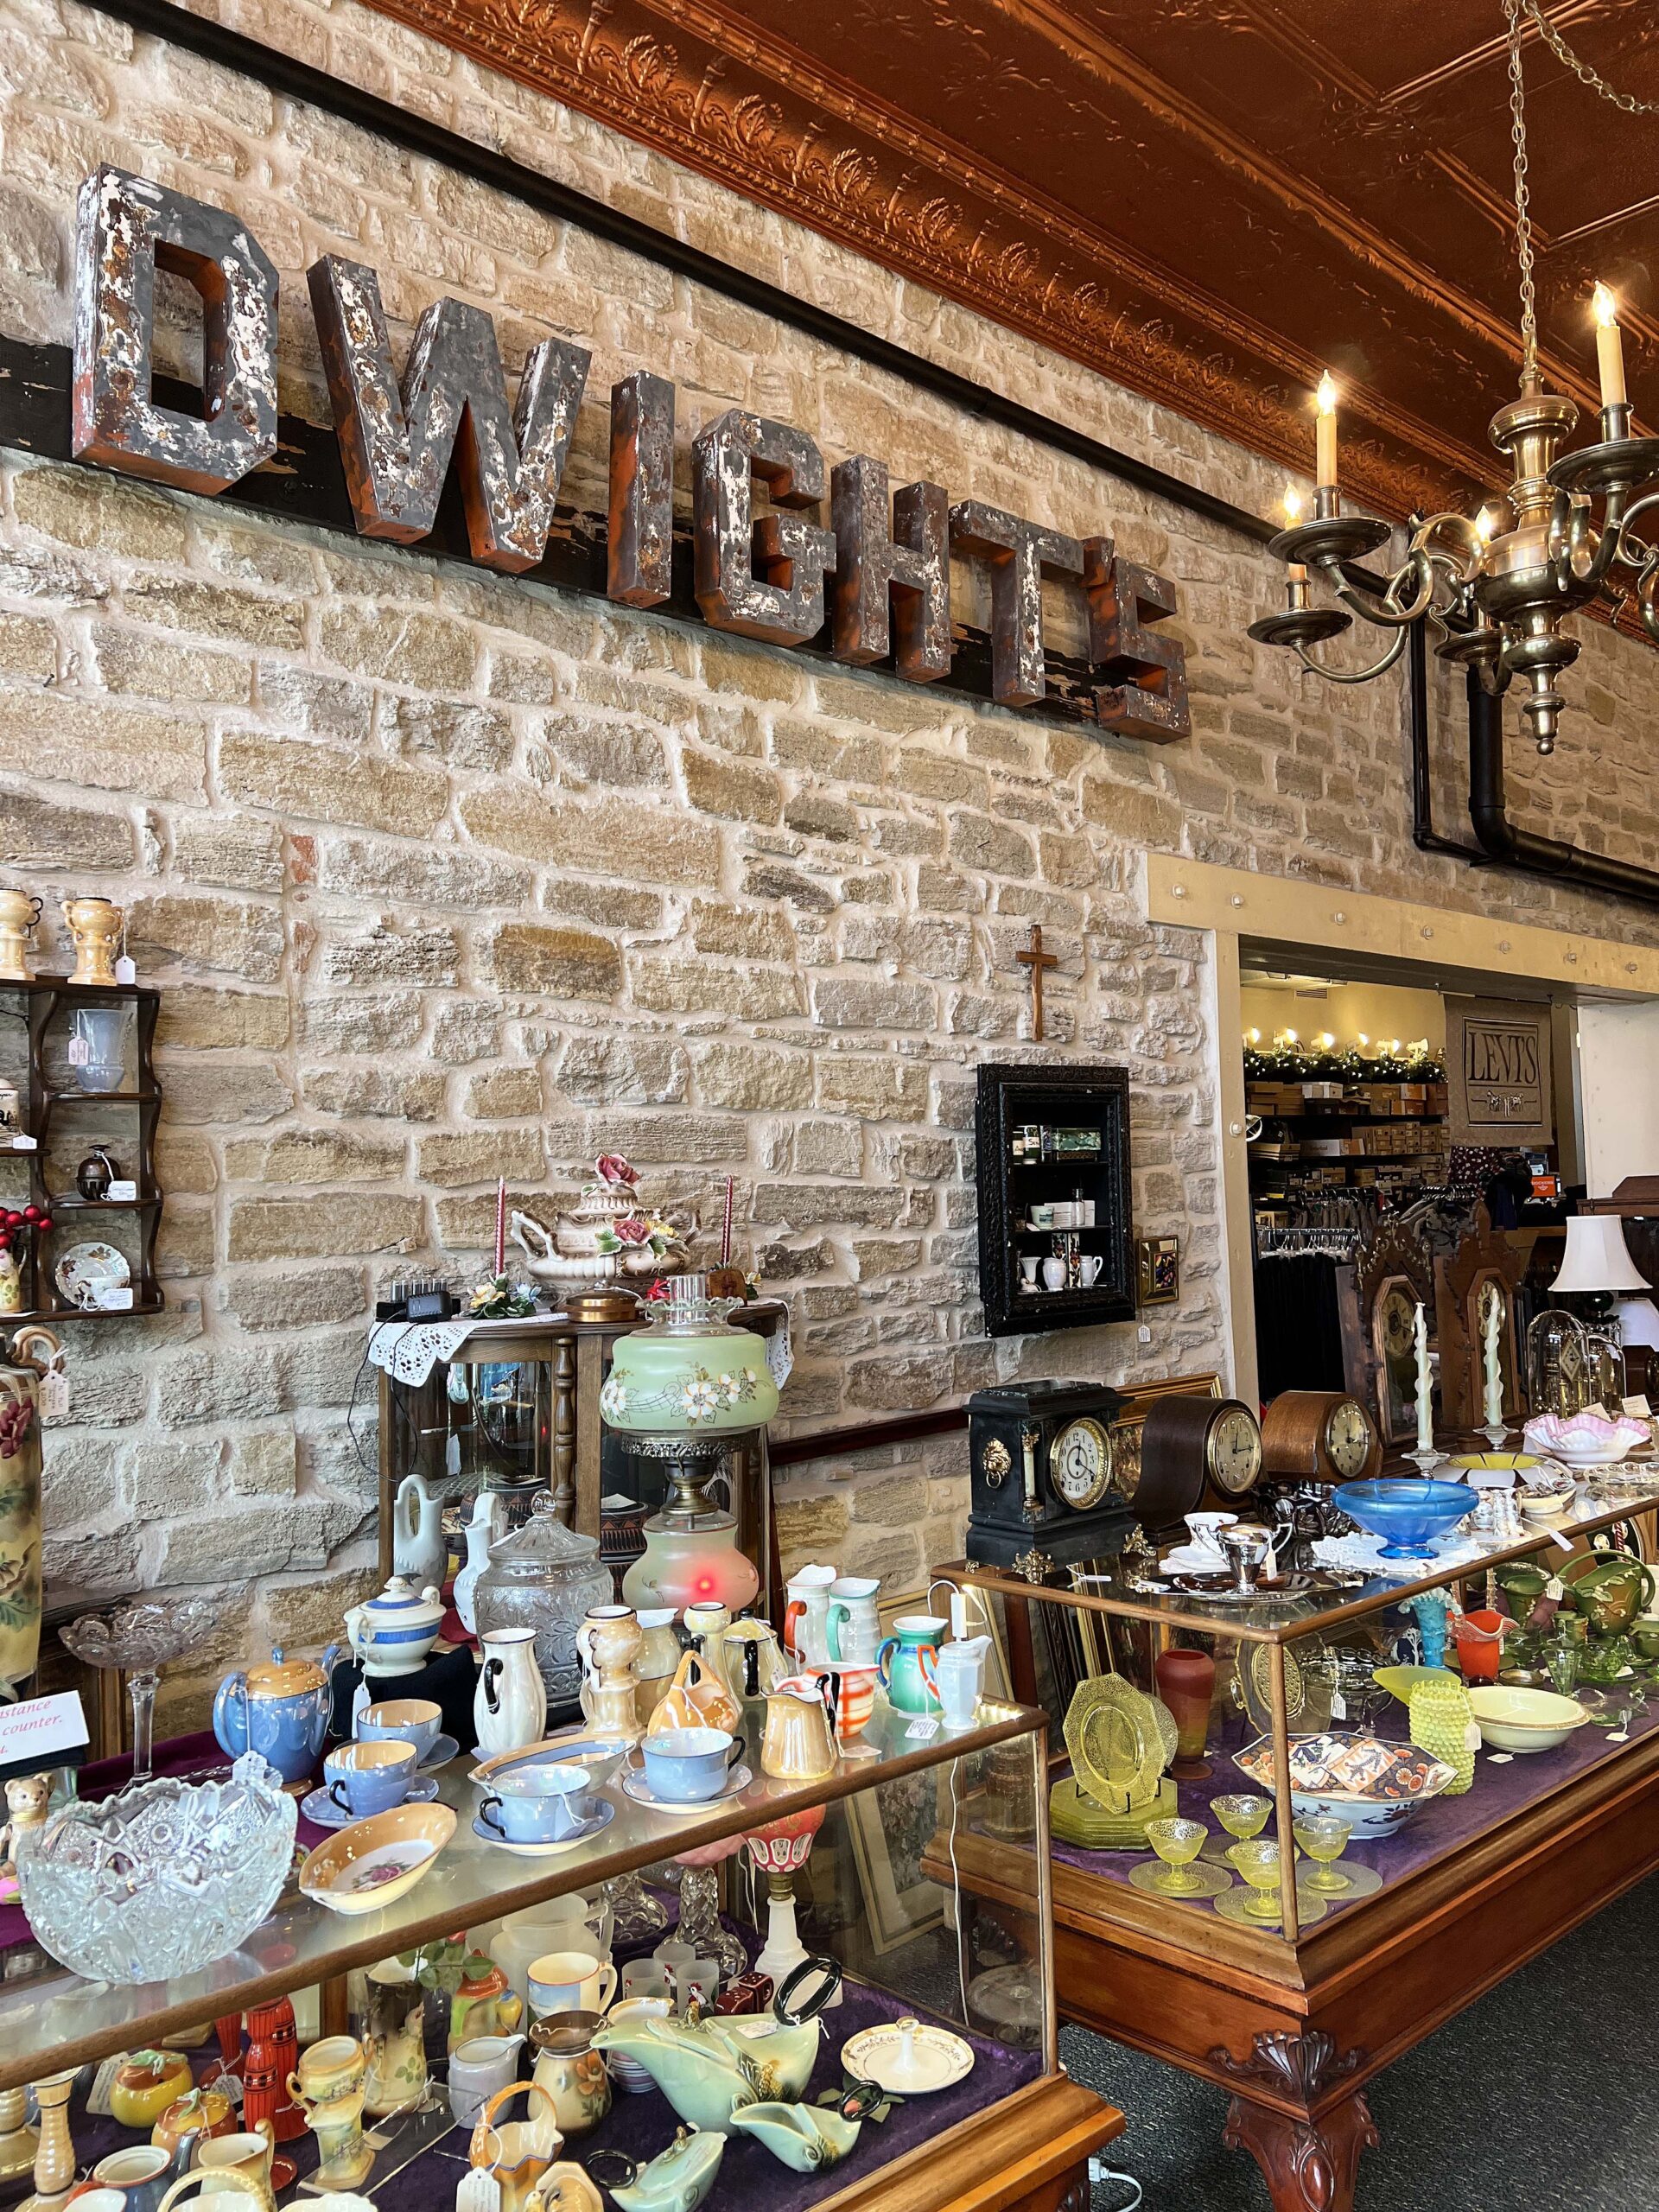 From small collections to individual pieces, glassware of every hue and shape rests amongst antique clocks, lamps, and candle holders with fancy patterns.
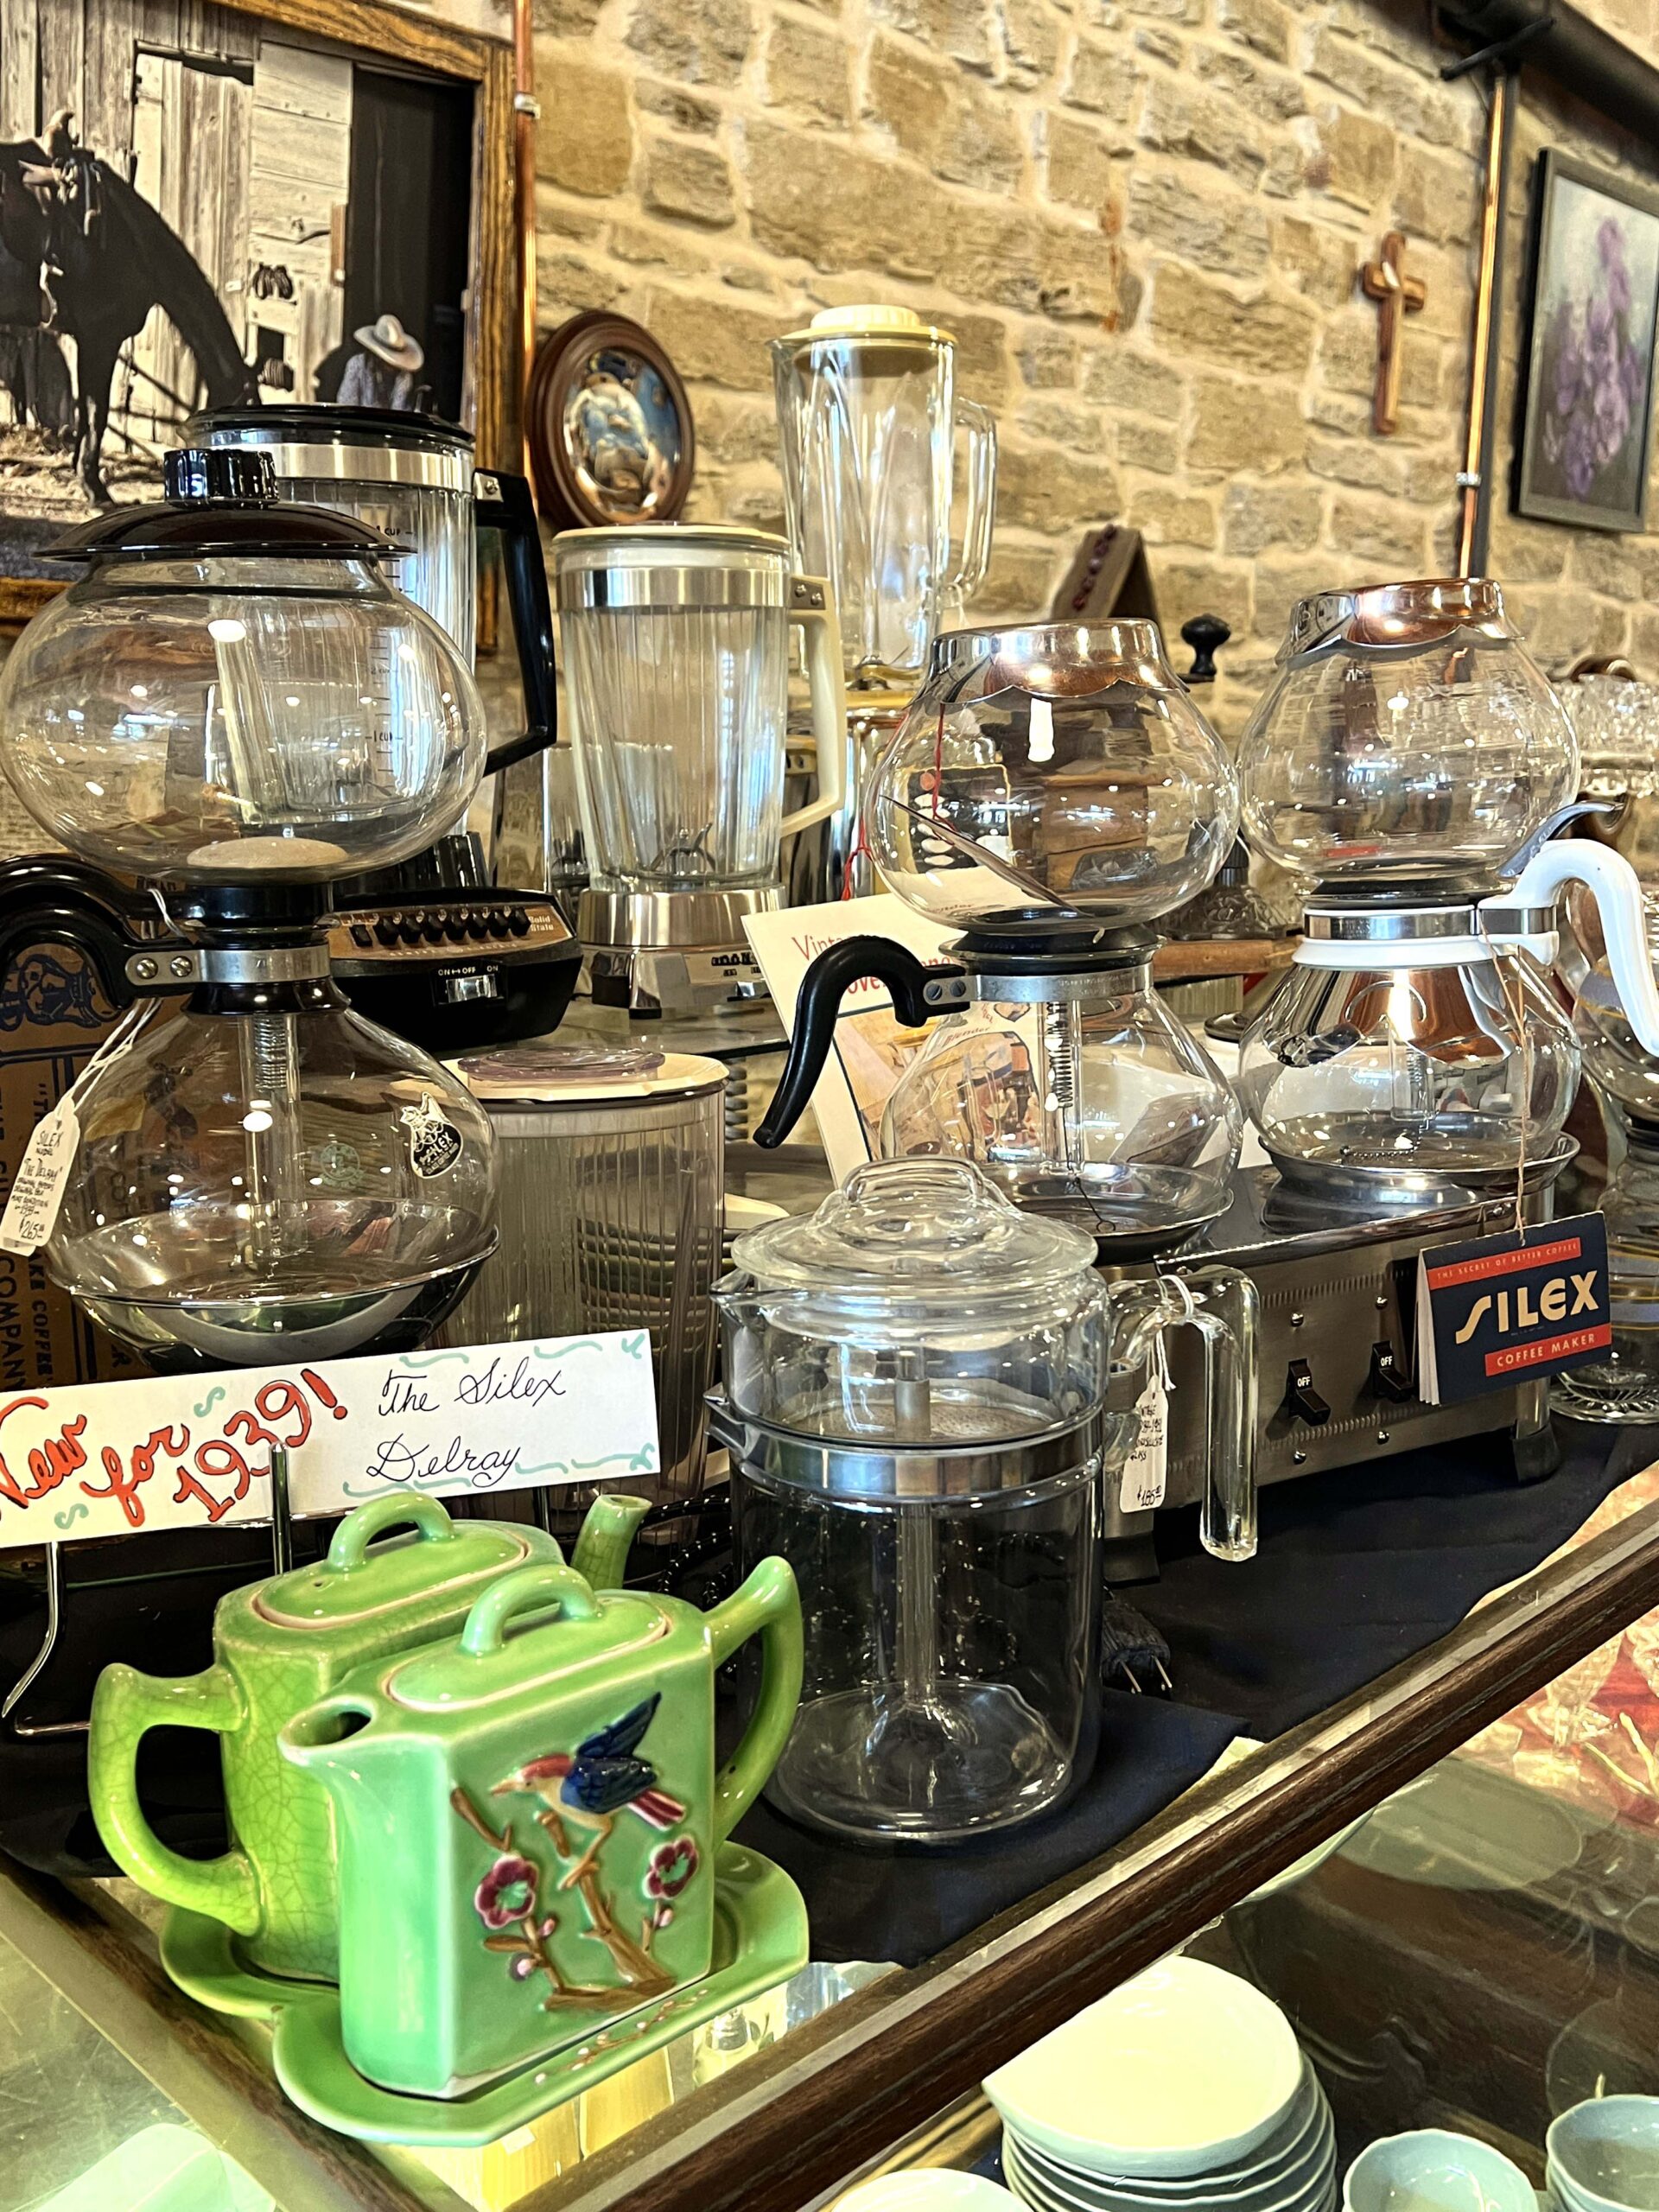
A collection of vintage coffee makers and teapots caught my eye.
 Interestingly, I discovered a second room stocked with jeans, shirts, and hats leftover from the now-closed Frazer’s Menswear. Inventory includes trusted brands like Levis®, Wrangler®, and Pendleton®.
 PRO TIP: View the store’s Facebook page for its latest inventory arrivals.
This N’ That Emporium
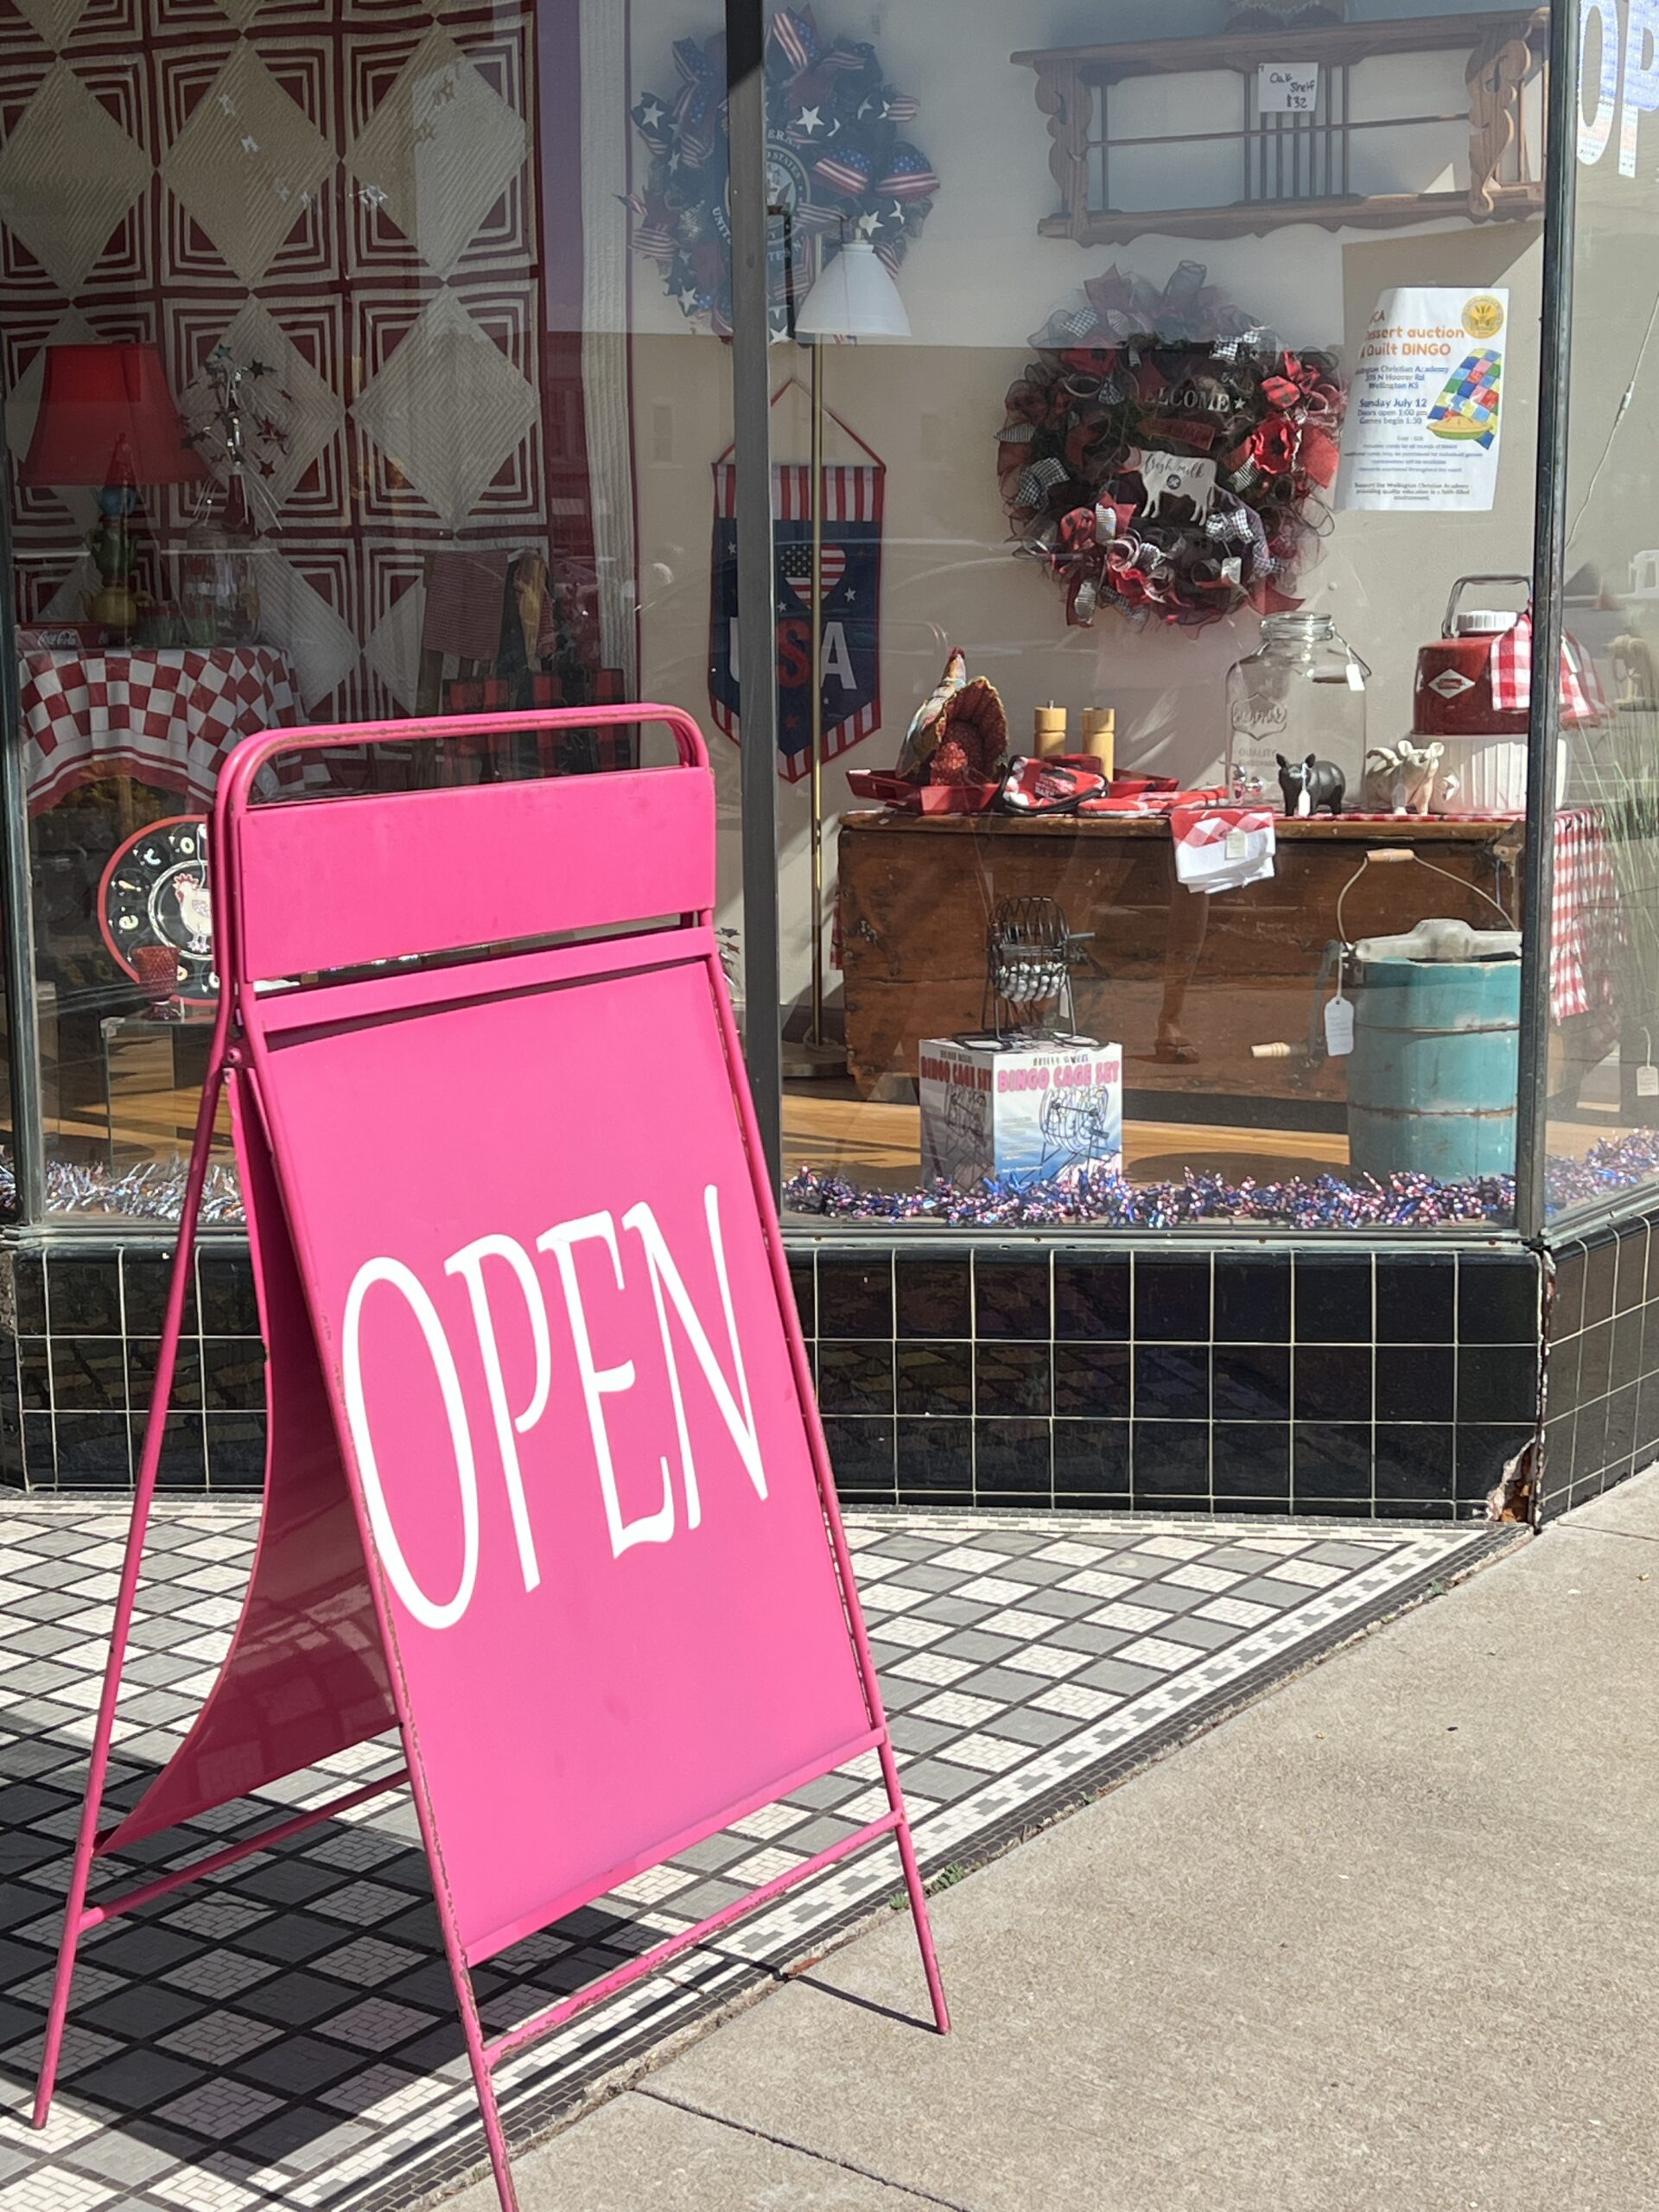
If the pink sidewalk sign is positioned in front of This N’ That Emporium (108 S. Washington Ave.), it’s open for business.
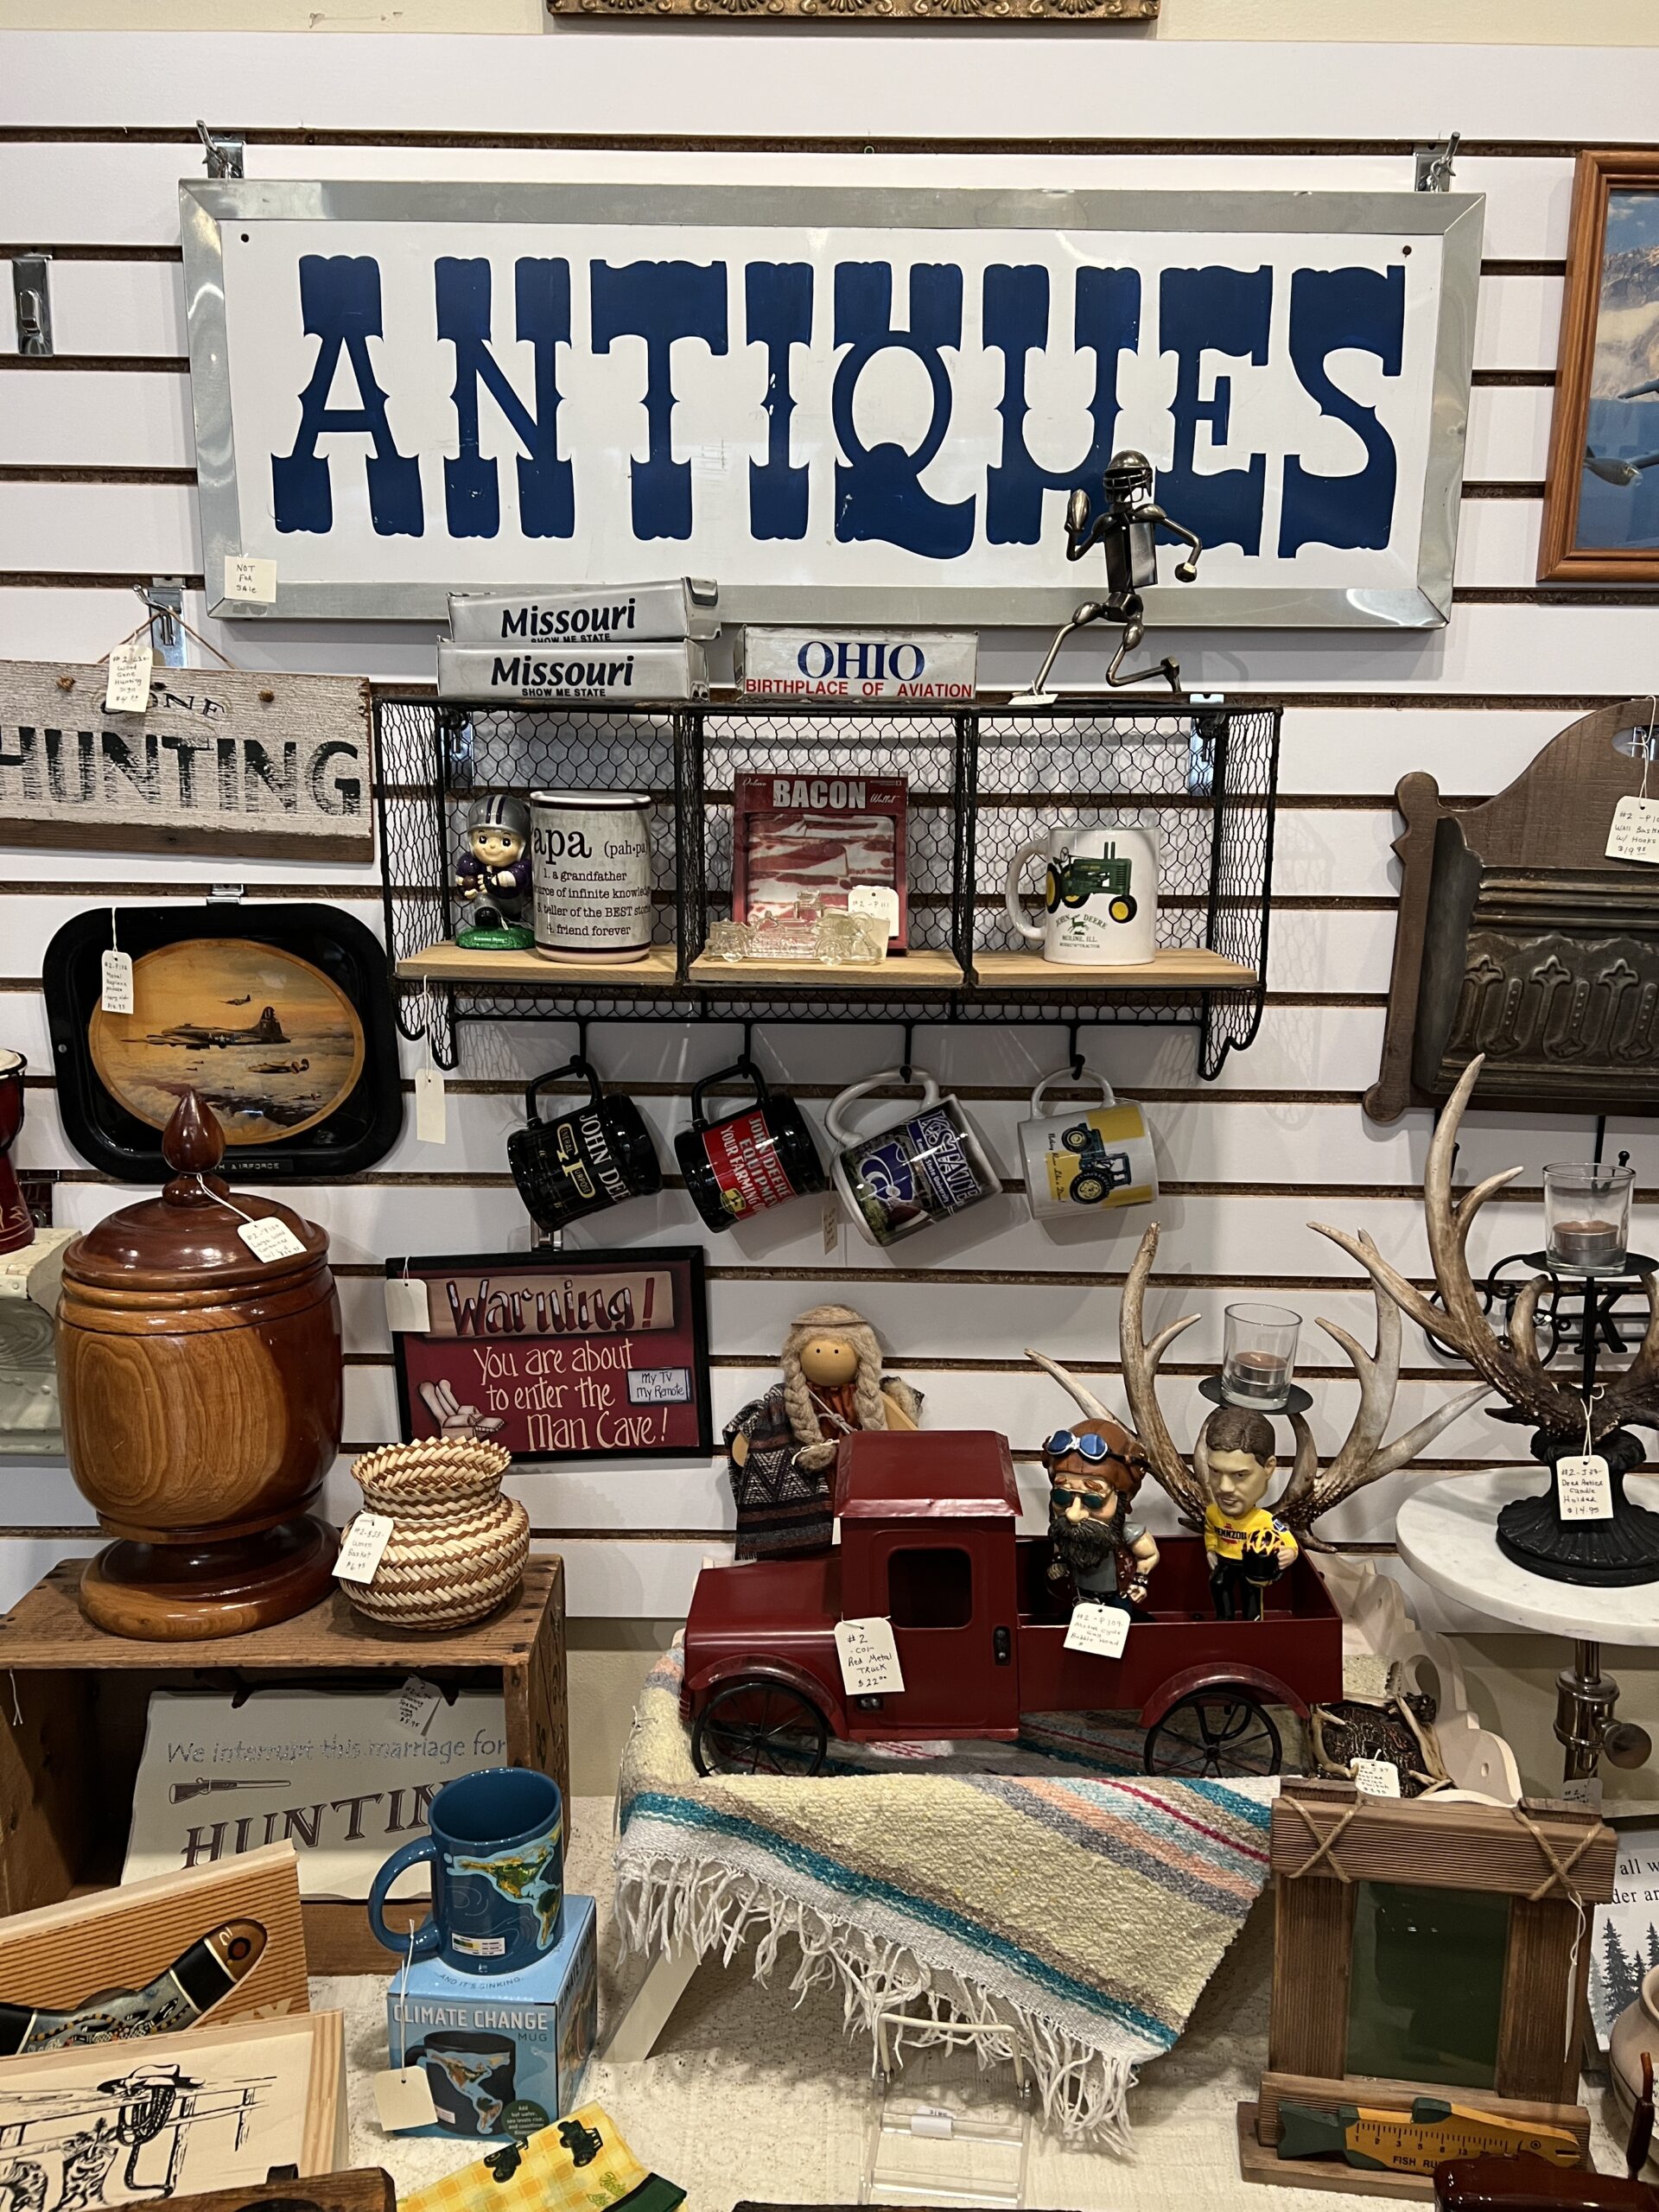 The two-story shop carries a variety of gently used items, ranging from antique home accents to books. The store is divided by vendor spaces, so it’s not uncommon to also find handcrafted jewelry for sale next to retro drinkware.
 The employees behind the counter sat quietly while shoppers like me perused the displays.
 Although there is less inventory upstairs, it’s worth checking out.
Mill Creek Lumber & Supply
Don’t skip Mill Creek Lumber & Supply (623 E. 16th St.), especially if you love a hardware store that caters to local shoppers looking for Kansas-made products and gifts.
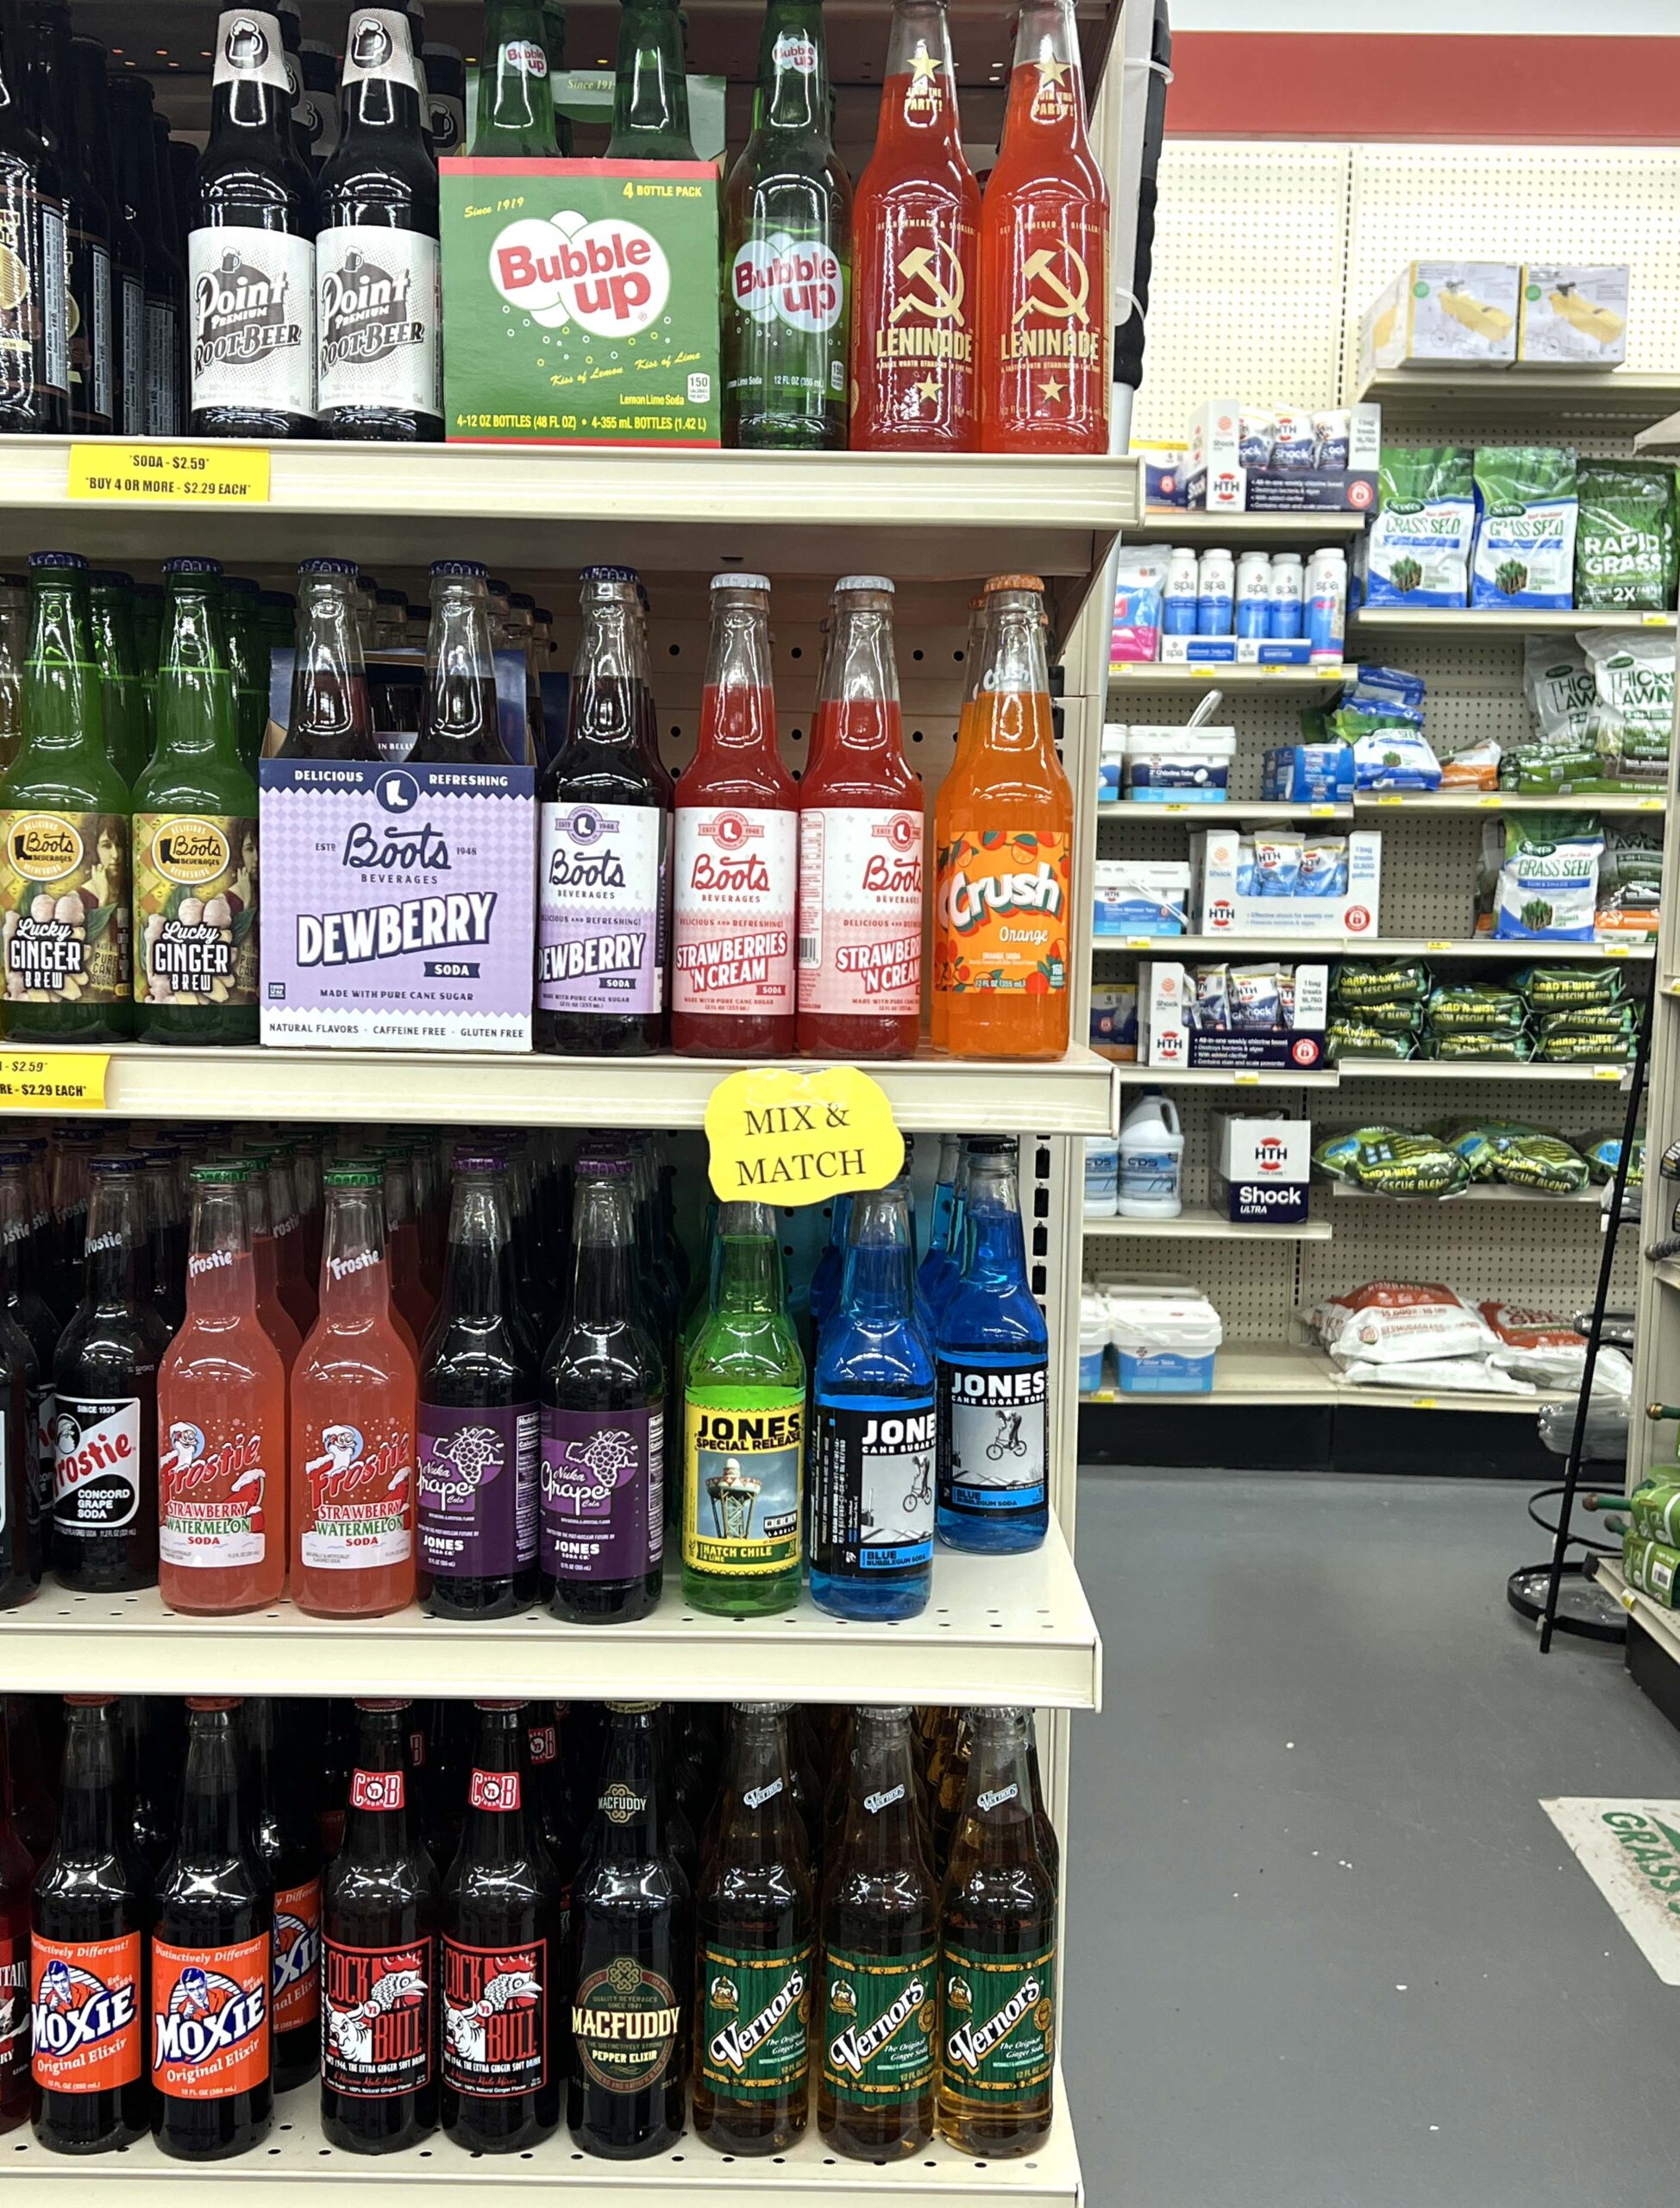
 A local resident told me they carried jarred, gourmet food, and although they didn’t have Kansas-produced honey, I did find jarred pickles, relish, dip mixes, and old-fashioned soda pop sold by the bottle.
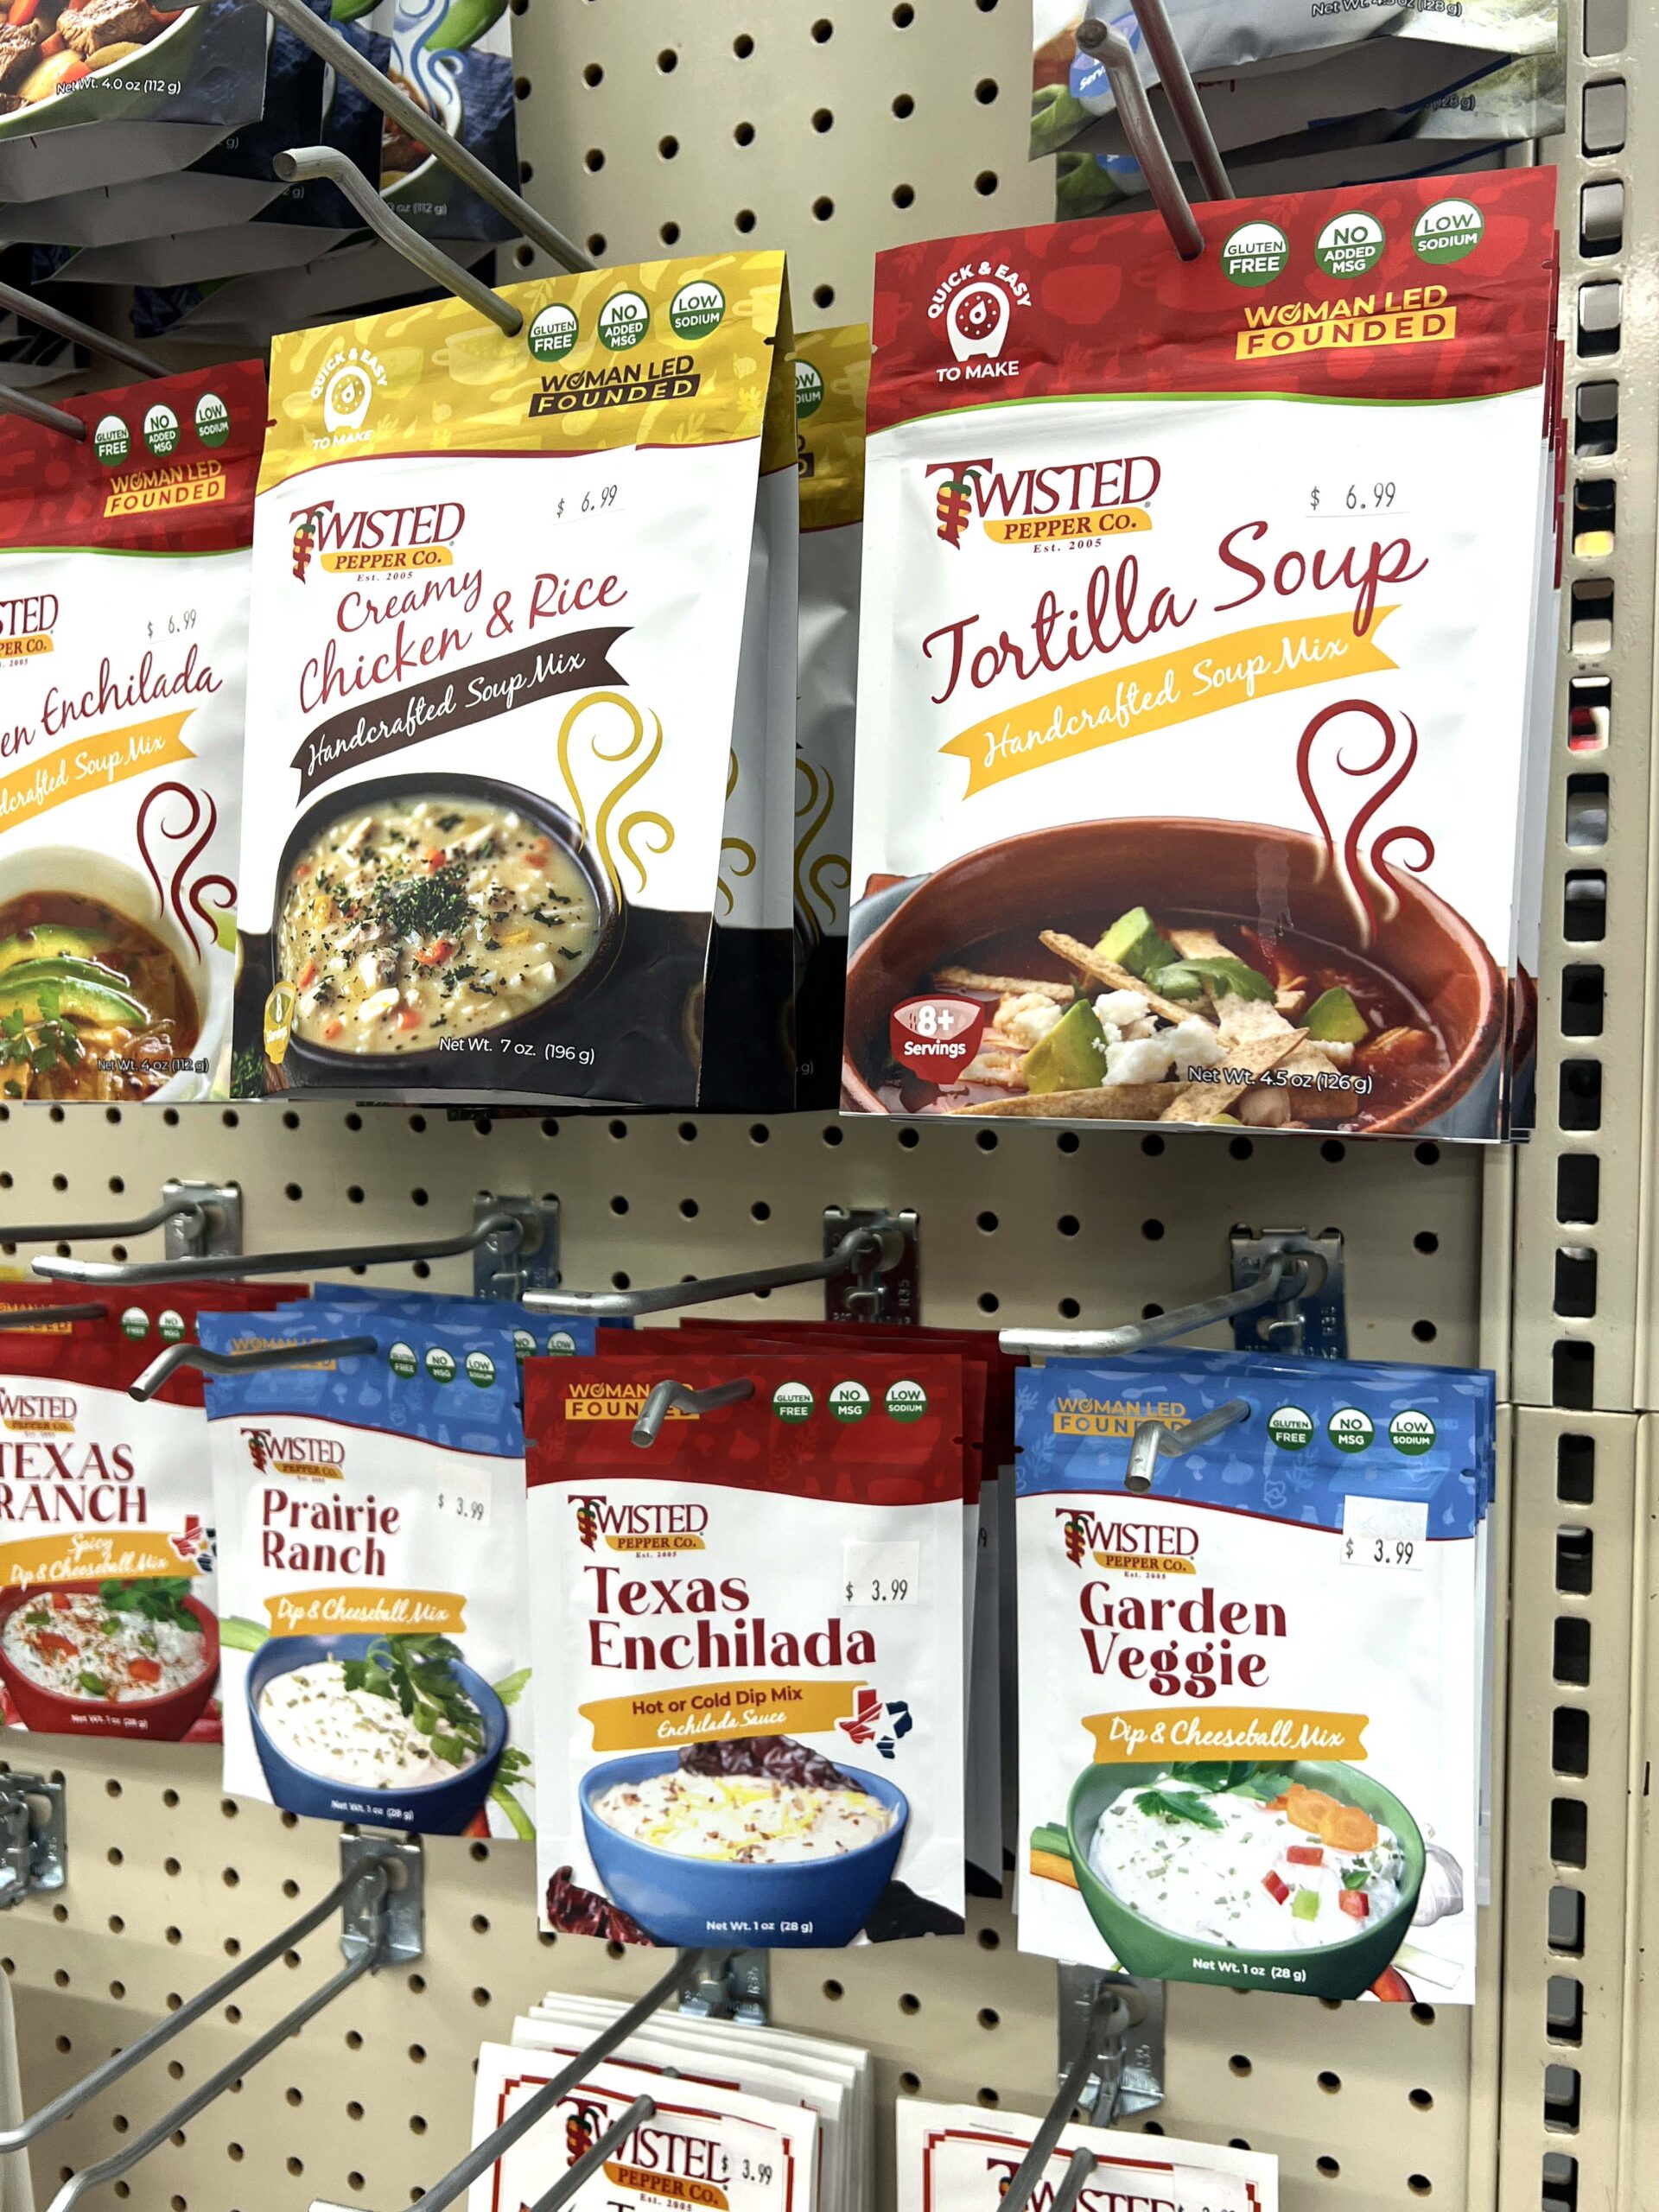 The center aisle displays are home to gift-worthy items like 500-count puzzles, kids’ toys, and packaged candy.
 Friendly employees inquired if I needed any assistance, proving that the local lumber shop is more than just a place to buy home-building supplies.
It’s a community-focused shop selling everything from leaf blowers to lollipops.
IN-TOWN VACATION RENTAL
Wellington Loft
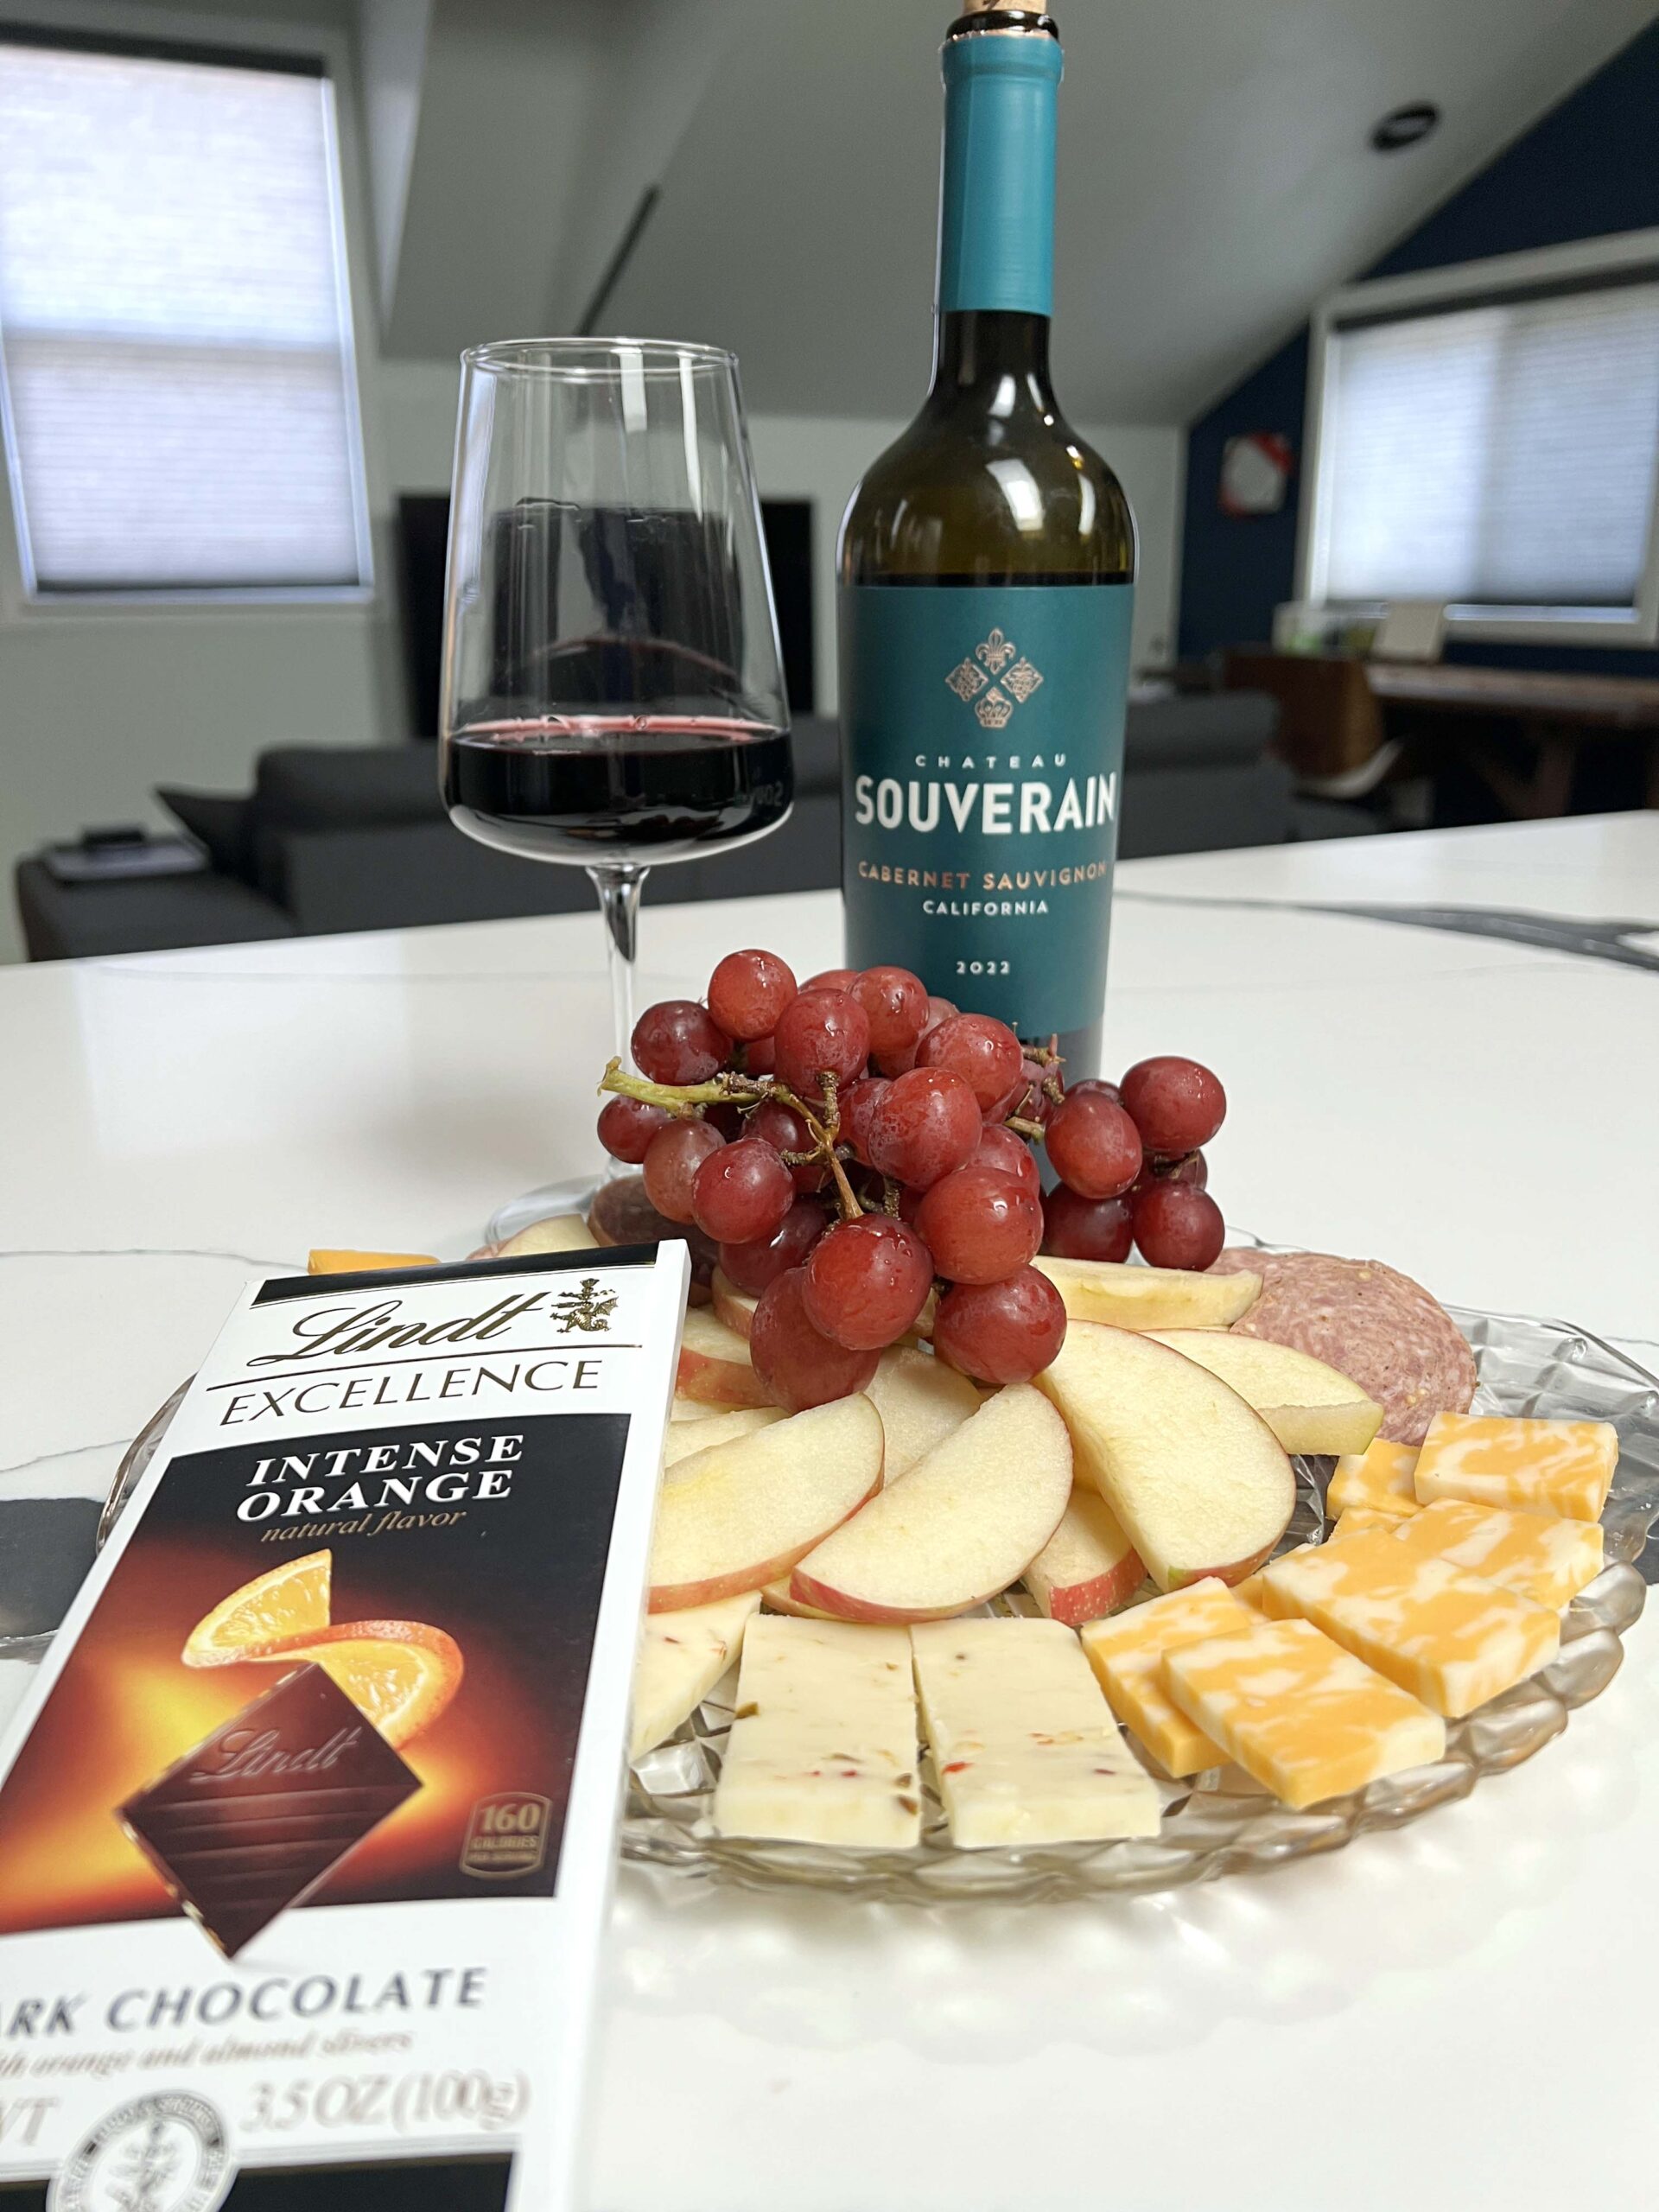
Imagine my surprise when I entered Wellington Loft and saw a handwritten card, a bottle of wine, and charcuterie to welcome my stay.
The owners of the vacation rental go above and beyond to make sure each loft apartment guest feels spoiled, with modern comforts that feel like a home away from home, including delicious snacks and breakfast bites.
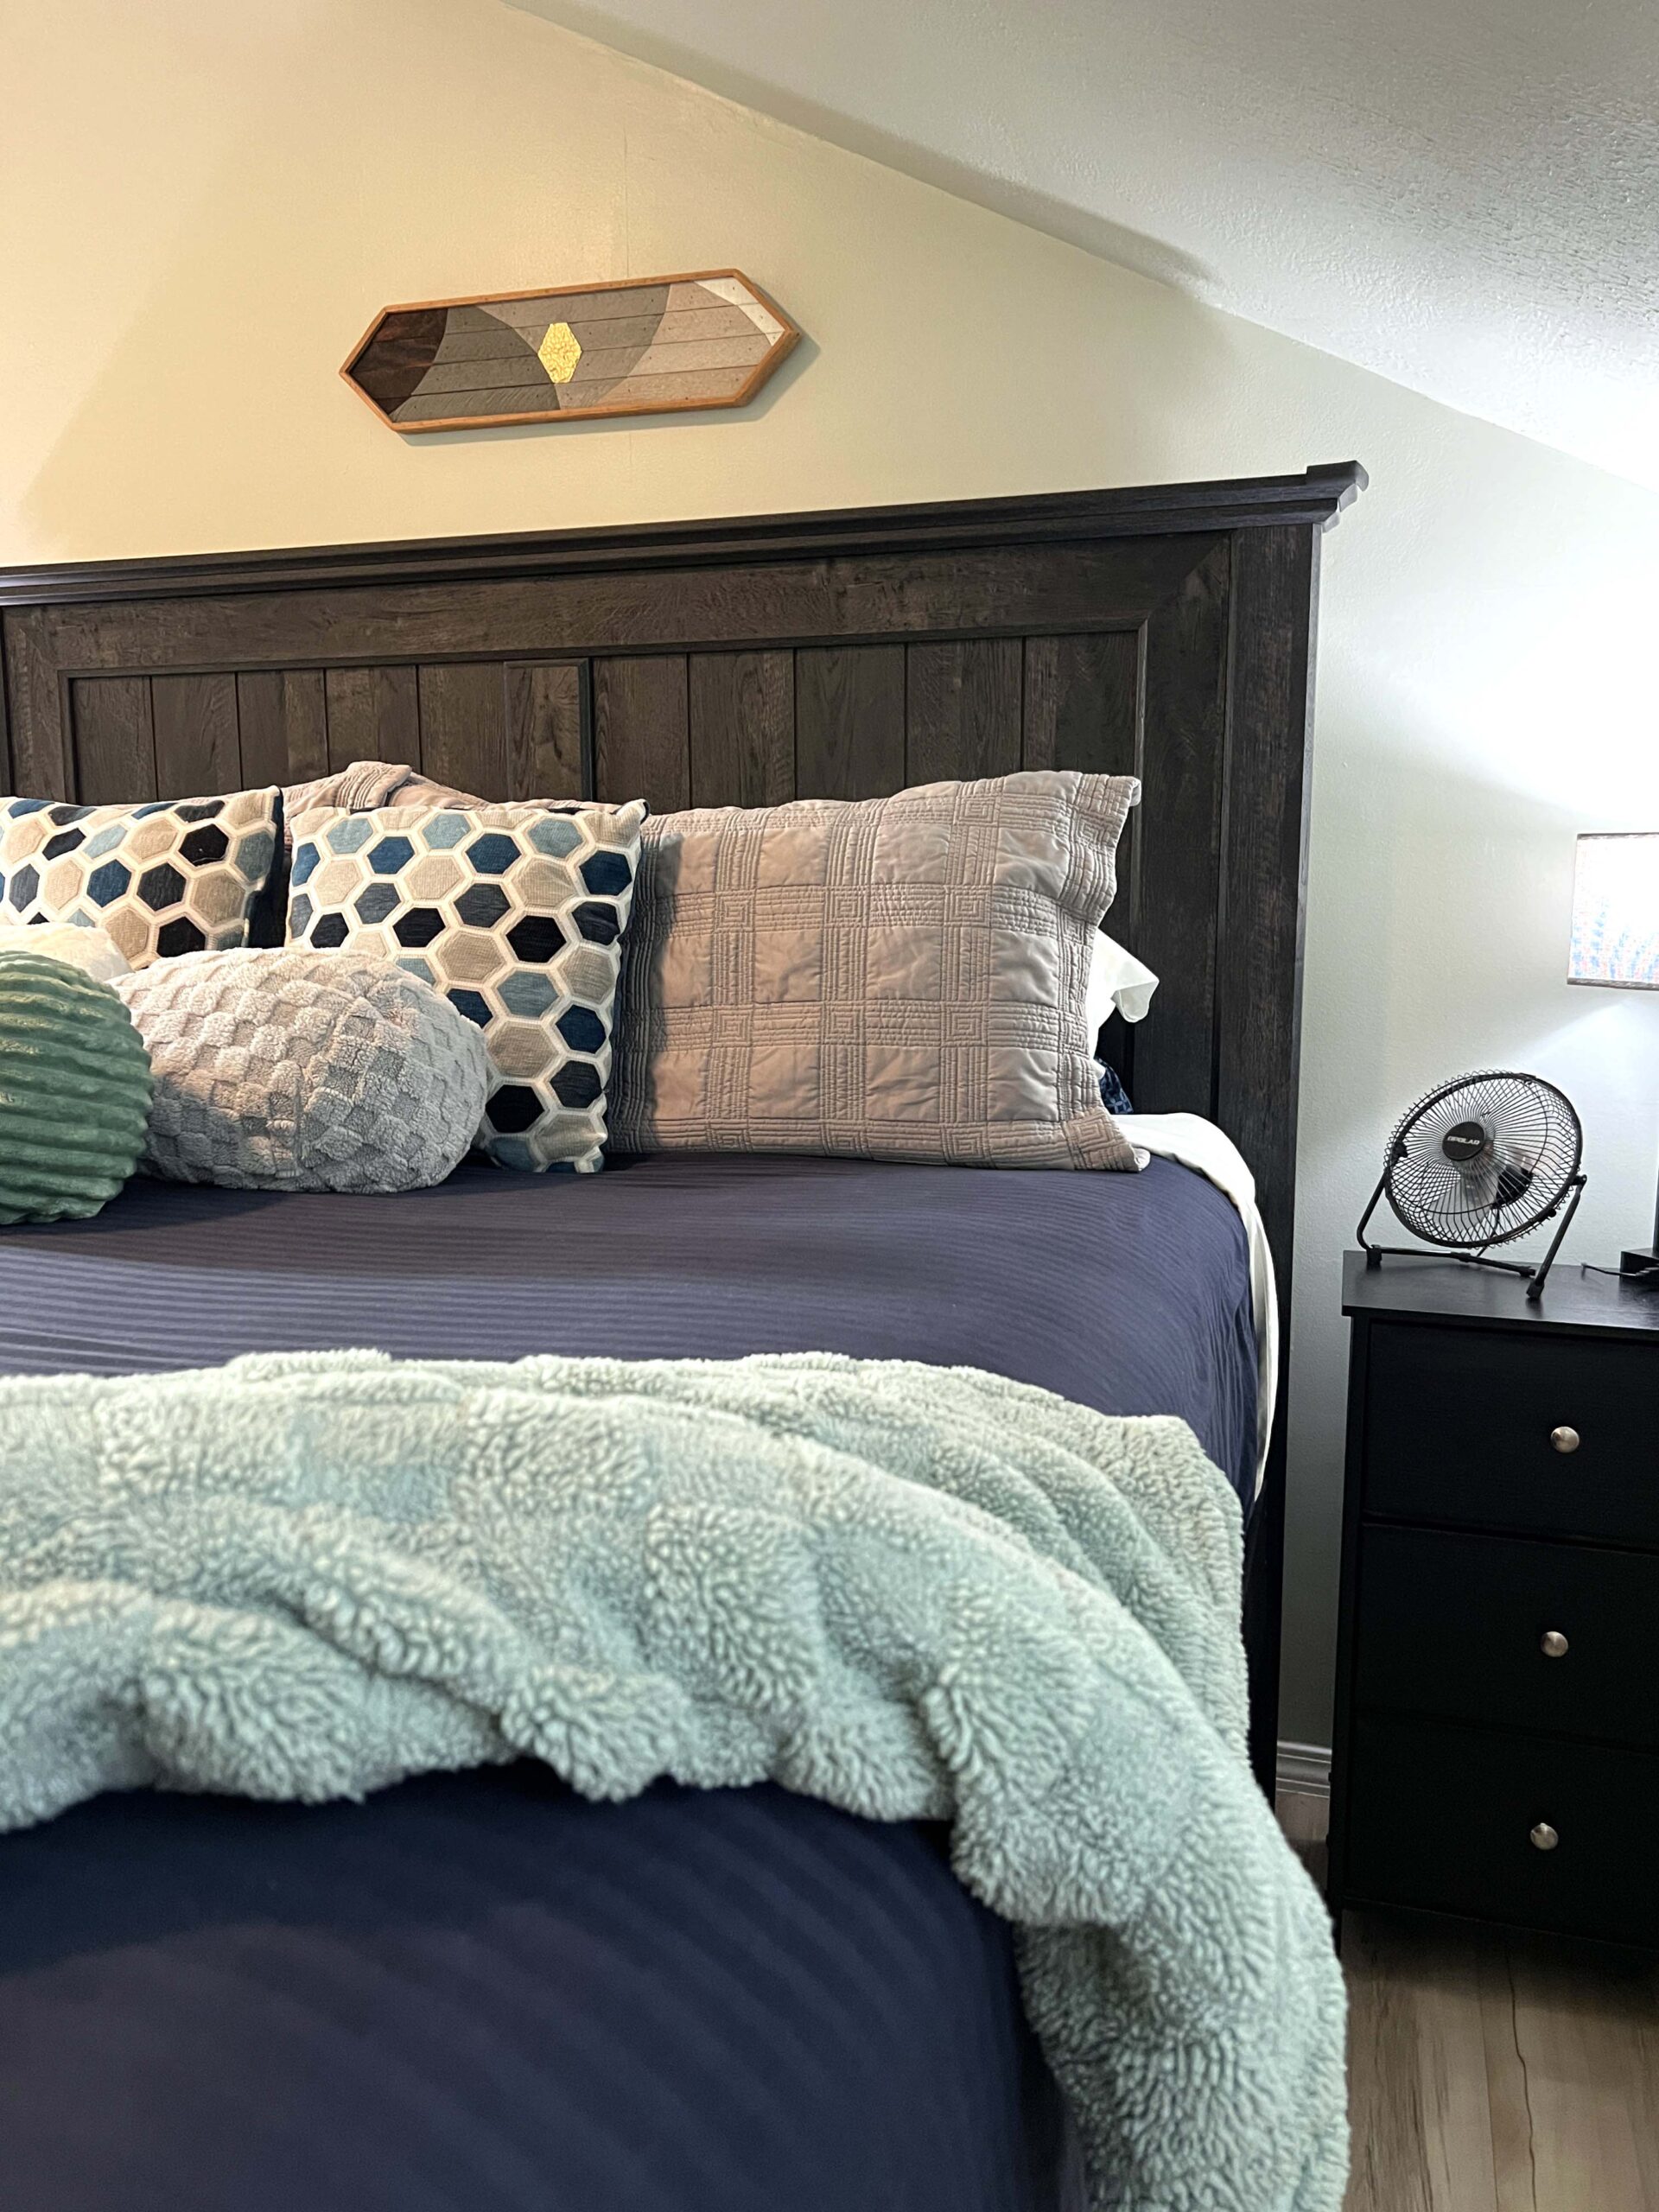
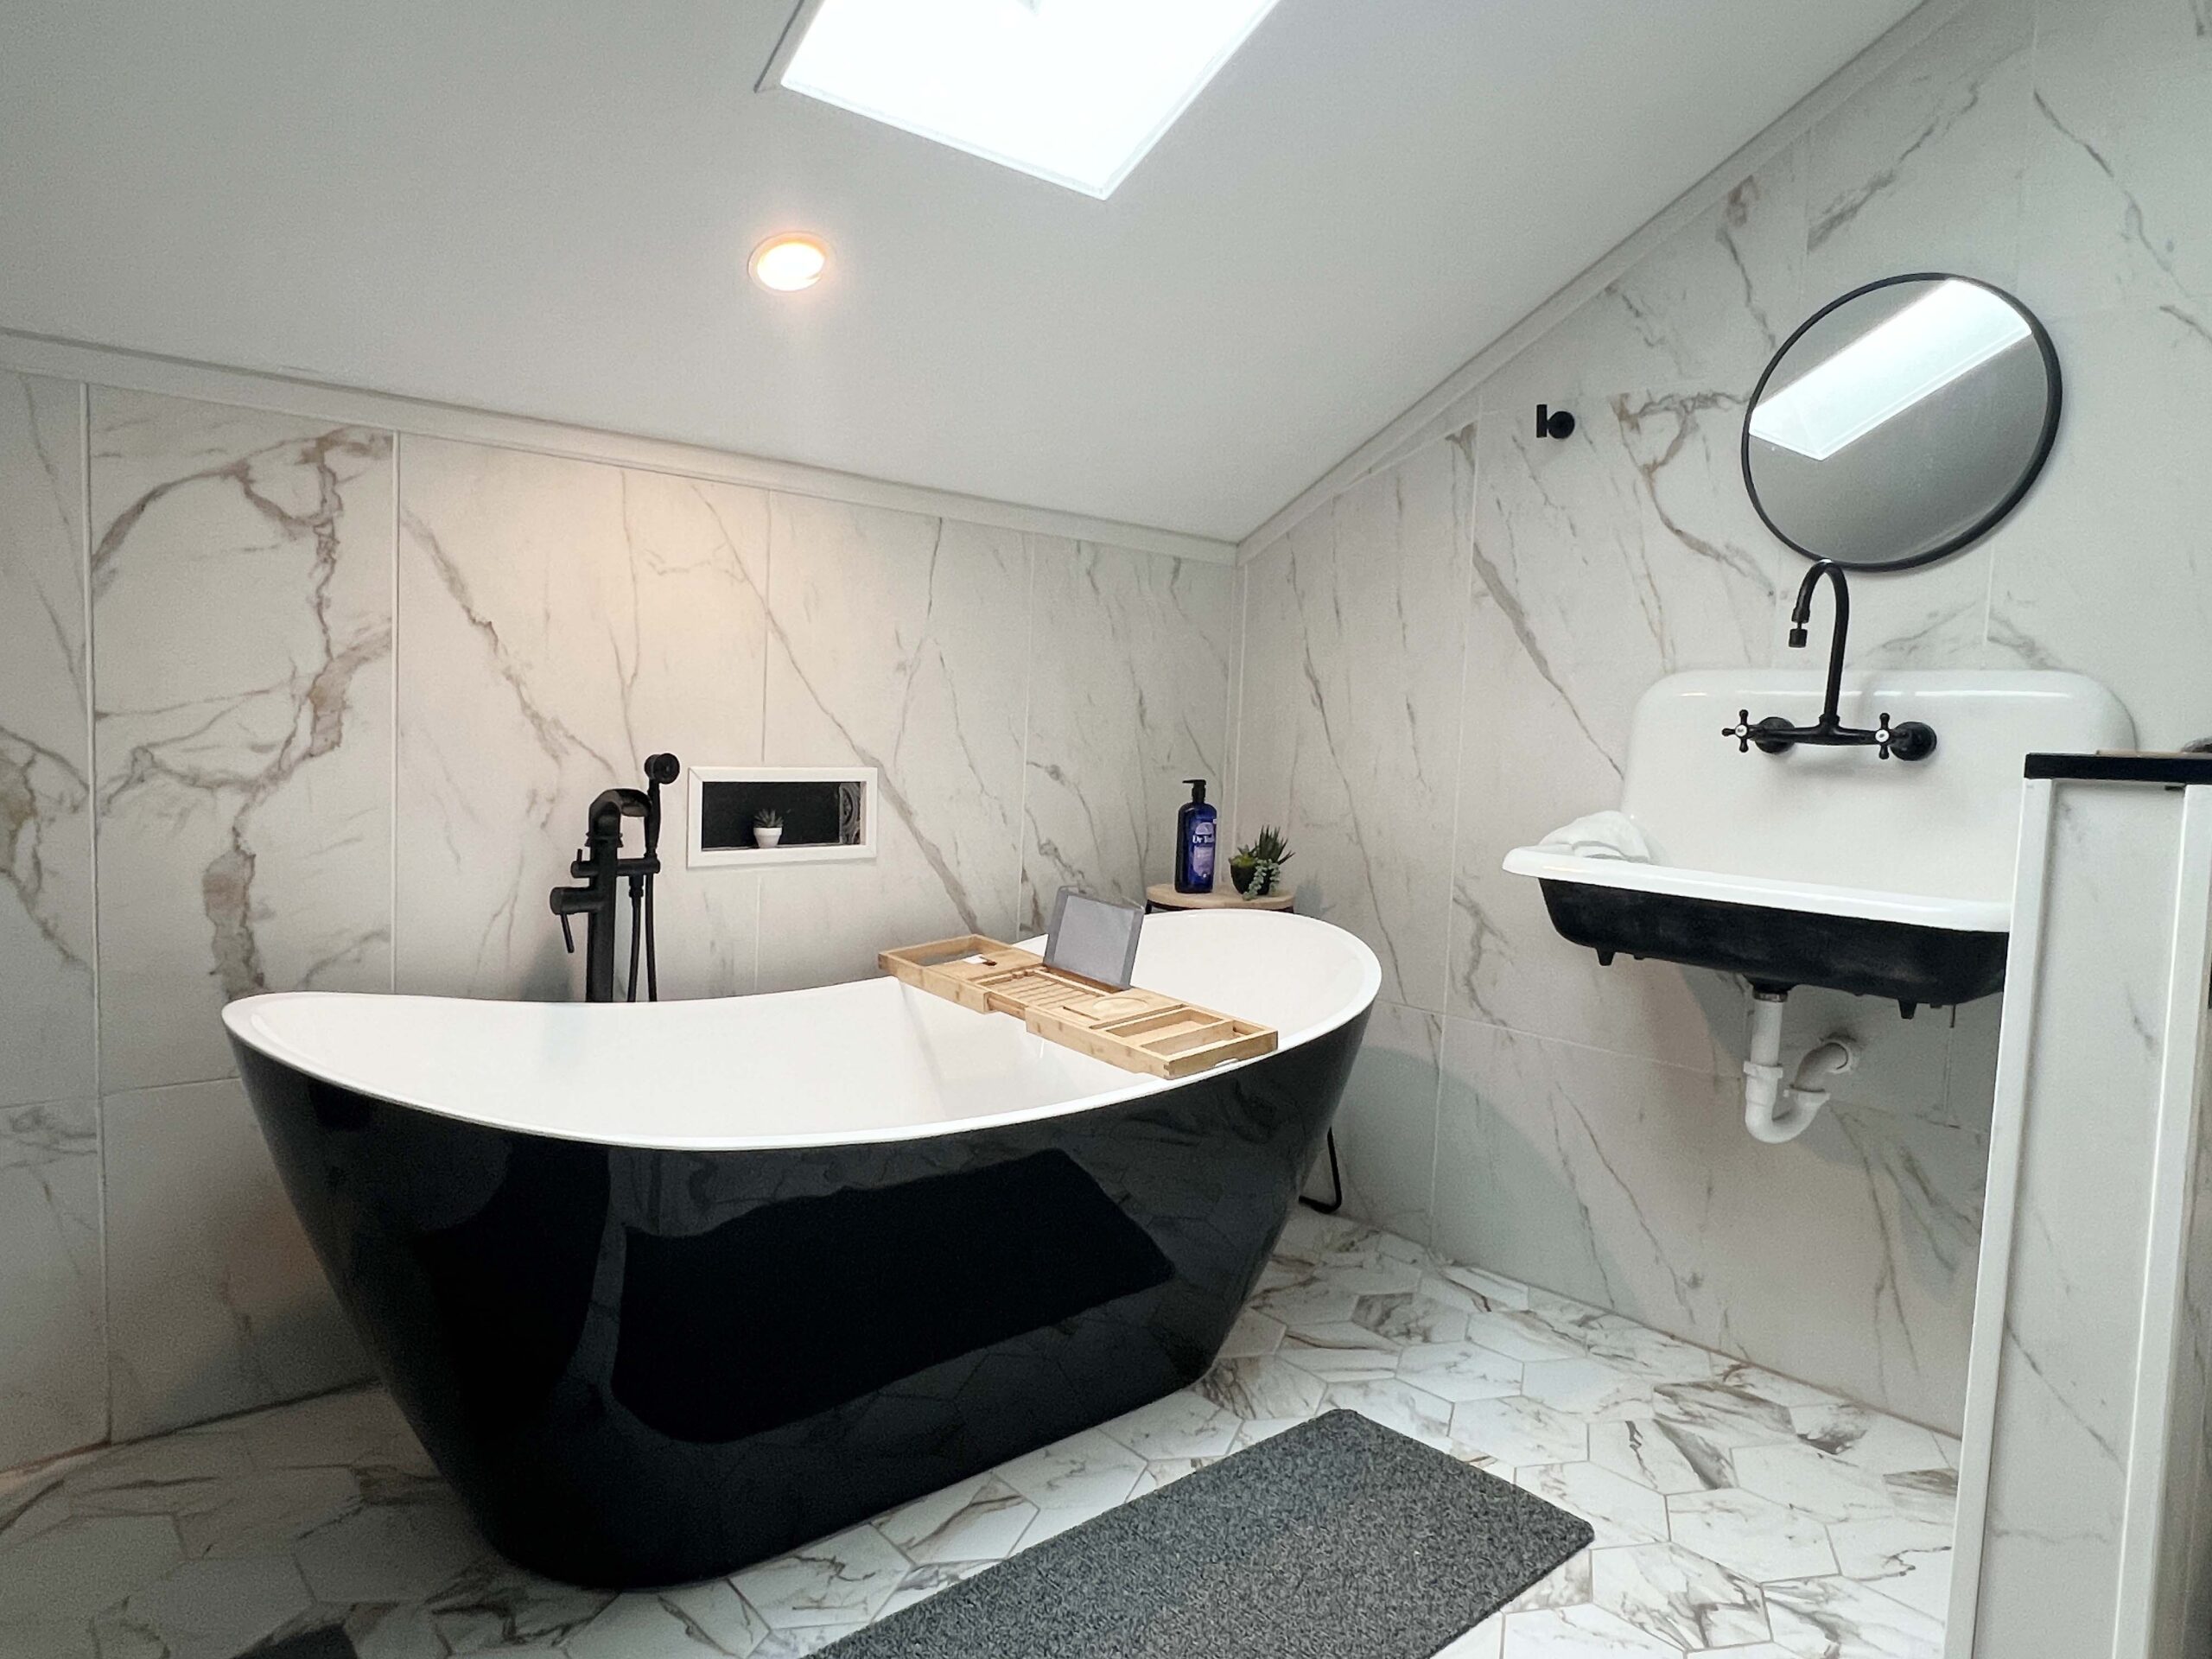
 Dropping my bags at the door, I toured the second-story apartment, discovering an open-kitchen concept, a one-bedroom space with a king-size bed, and a spacious bathroom with a rain shower and a soaking tub.
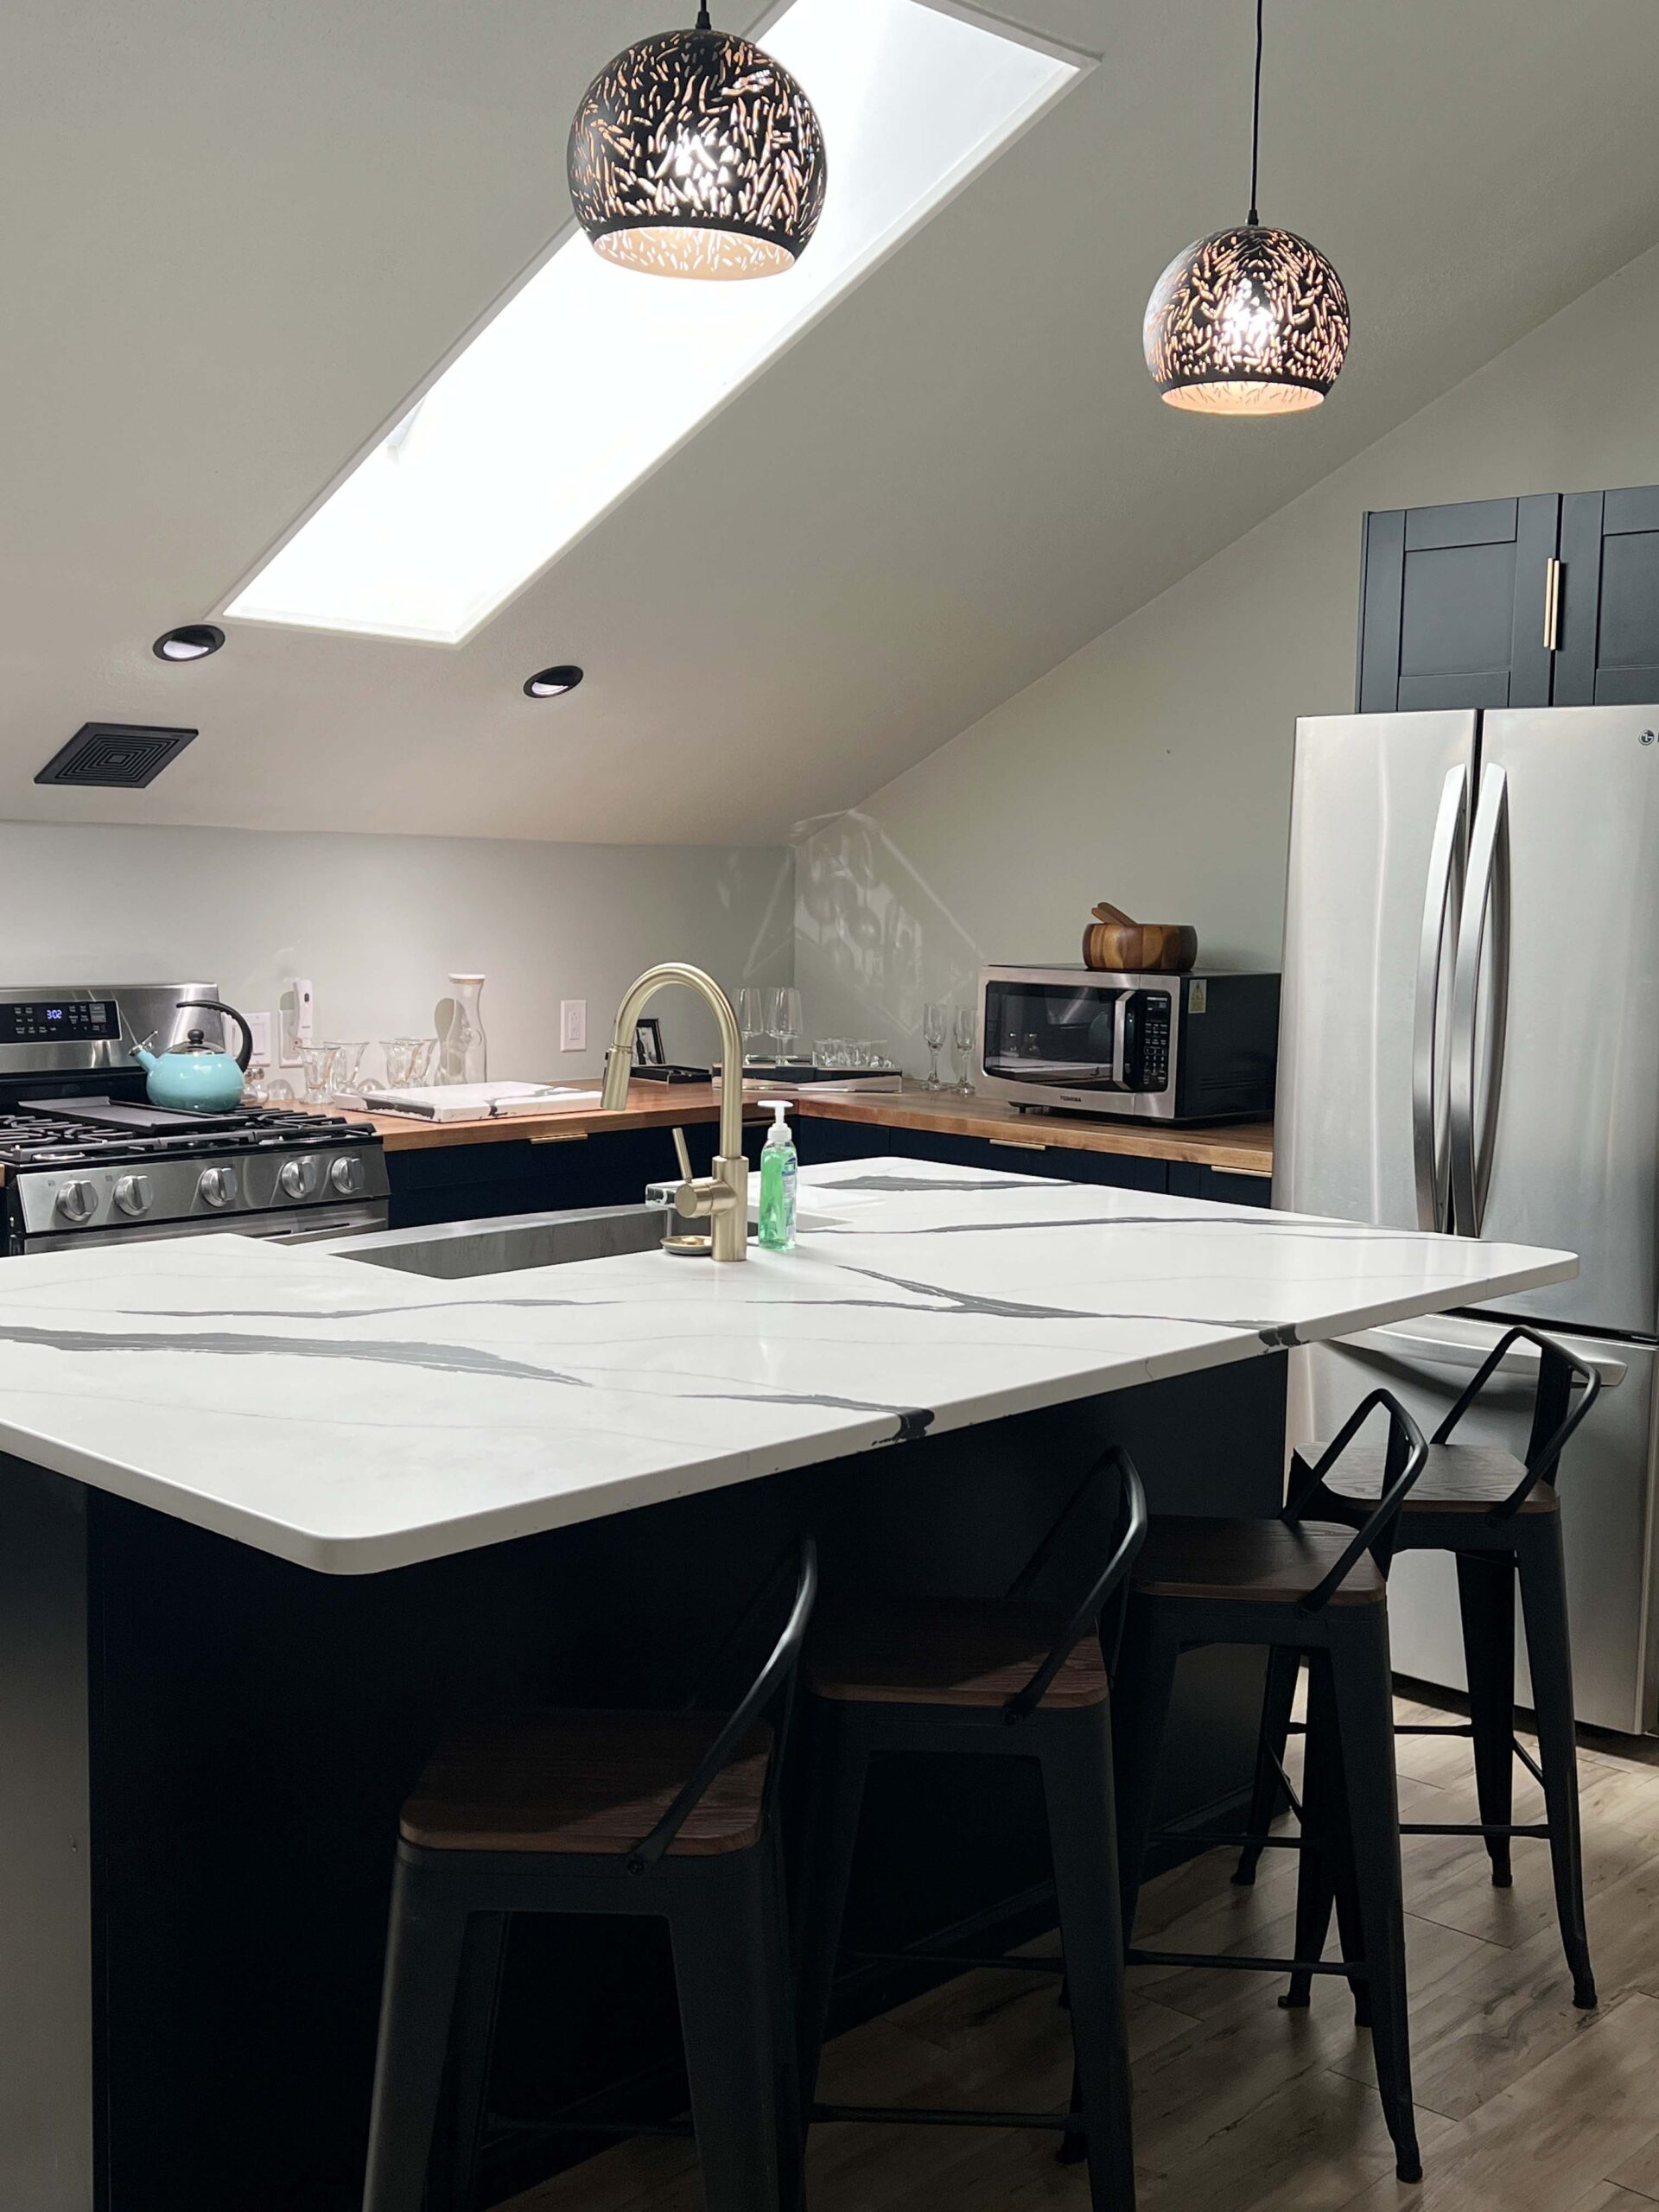 The kitchen and bathroom’s skylights flooded the space with diffused sunlight.
The interior space, with a color palette of grays, white, and muted navy, showcased modern furnishings. For guests traveling with kids, the couch expands into a sofa bed.
 After a day of exploring Wellington on a hot summer day, I just happened to run into the owners in the courtyard, where we chatted about the town and why they love it.
Entering the air-conditioned home, I kicked off my shoes, played music, and poured a glass of red wine. I felt my shoulders drop.
 In the morning, I sat at the kitchen’s island sipping freshly brewed coffee between bites of homemade quiche and scones prepared by the owners’ daughter. To say that I felt pampered is an understatement.
If you’re seeking a quiet getaway complete with a private deck, reserve your stay at Wellington Loft, an Airbnb Guest Favorite.
Guests have dedicated parking, and you may find the chiminea and s’mores station ready for use if visiting during the fall.
ACCESSIBILITY: Guests must use stairs to enter the loft.
RV CAMPING LOCATION
Hickory Hollow RV & Campground
If you prefer to camp where you explore, reserve a spot with full hook-ups or a cabin at Hickory Hollow RV & Campground (705 E. 10th Ave.), located within minutes from the heart of Wellington.
Open year-round, the campground used to be a KOA site, but it looks much different. The owners have added a playground, dog park, bike rentals, pavilion, swimming pool, and catch-and-release fishing.
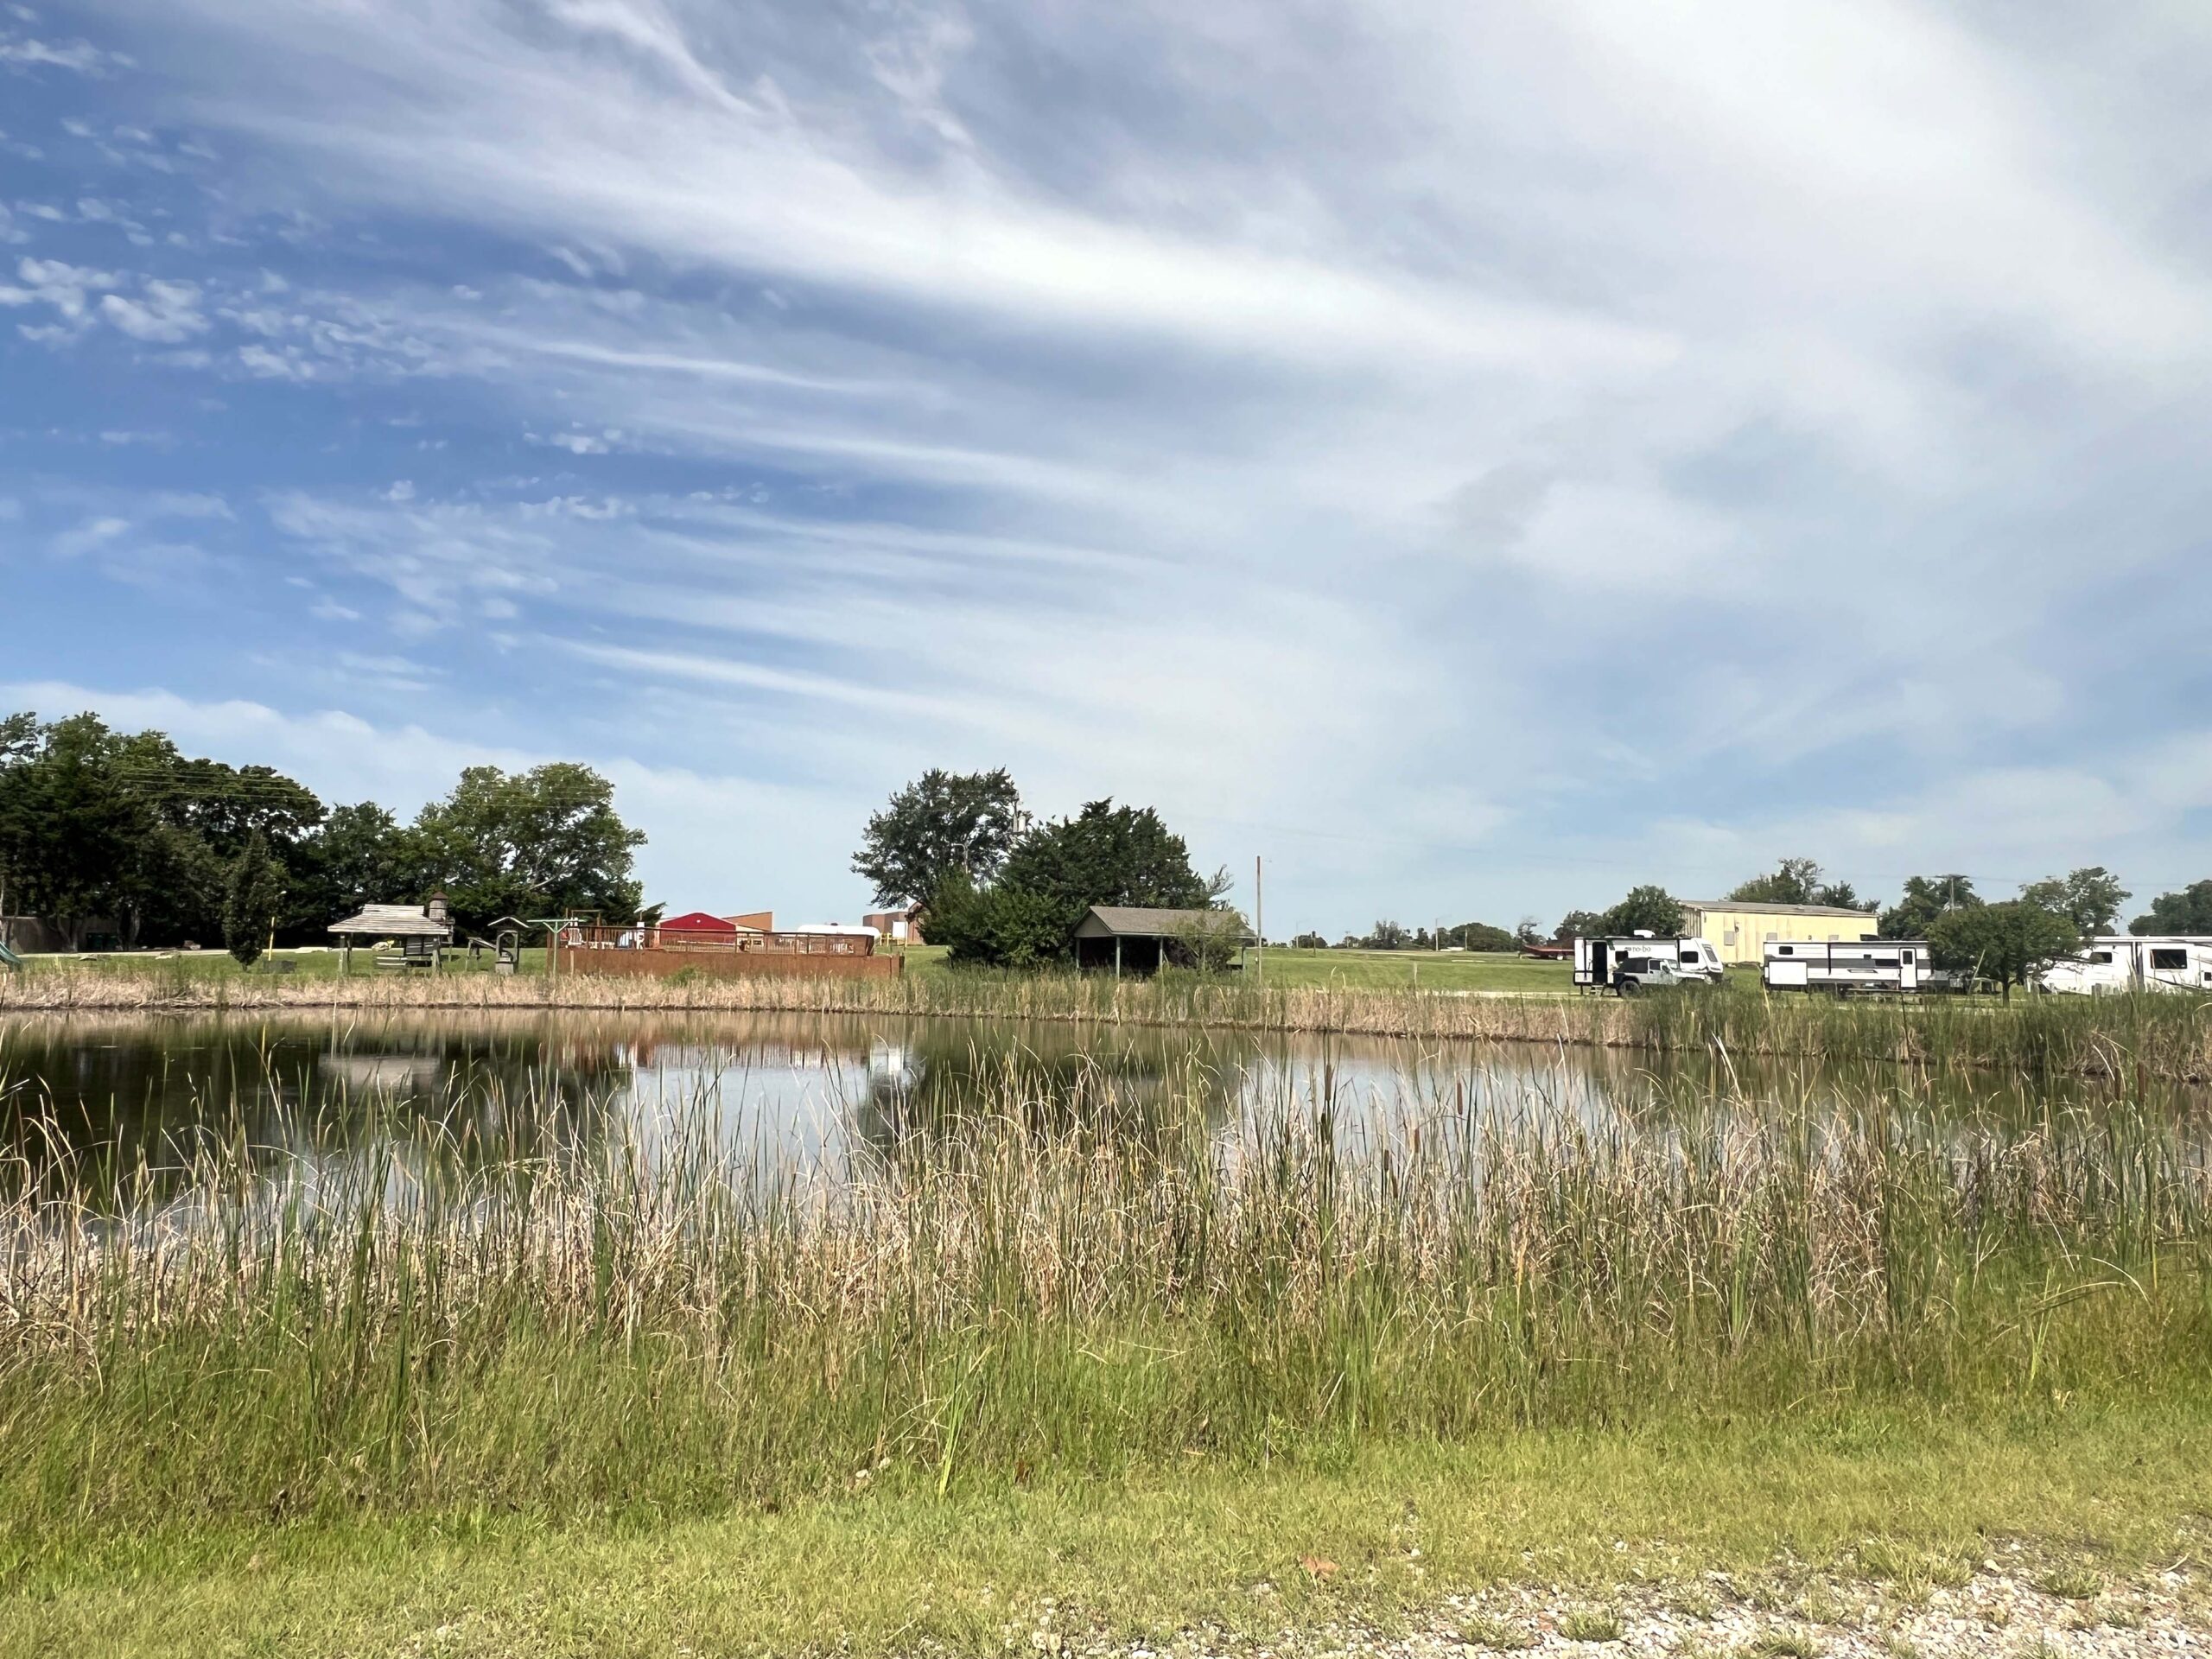 Plan to stay awhile? Campers have access to laundry facilities and you can purchase firewood and propane on site. Review the campground map.
TOP-RANKED ANNUAL EVENT
Kansas Wheat Festival
Don’t miss your chance to experience the Kansas Wheat Festival.
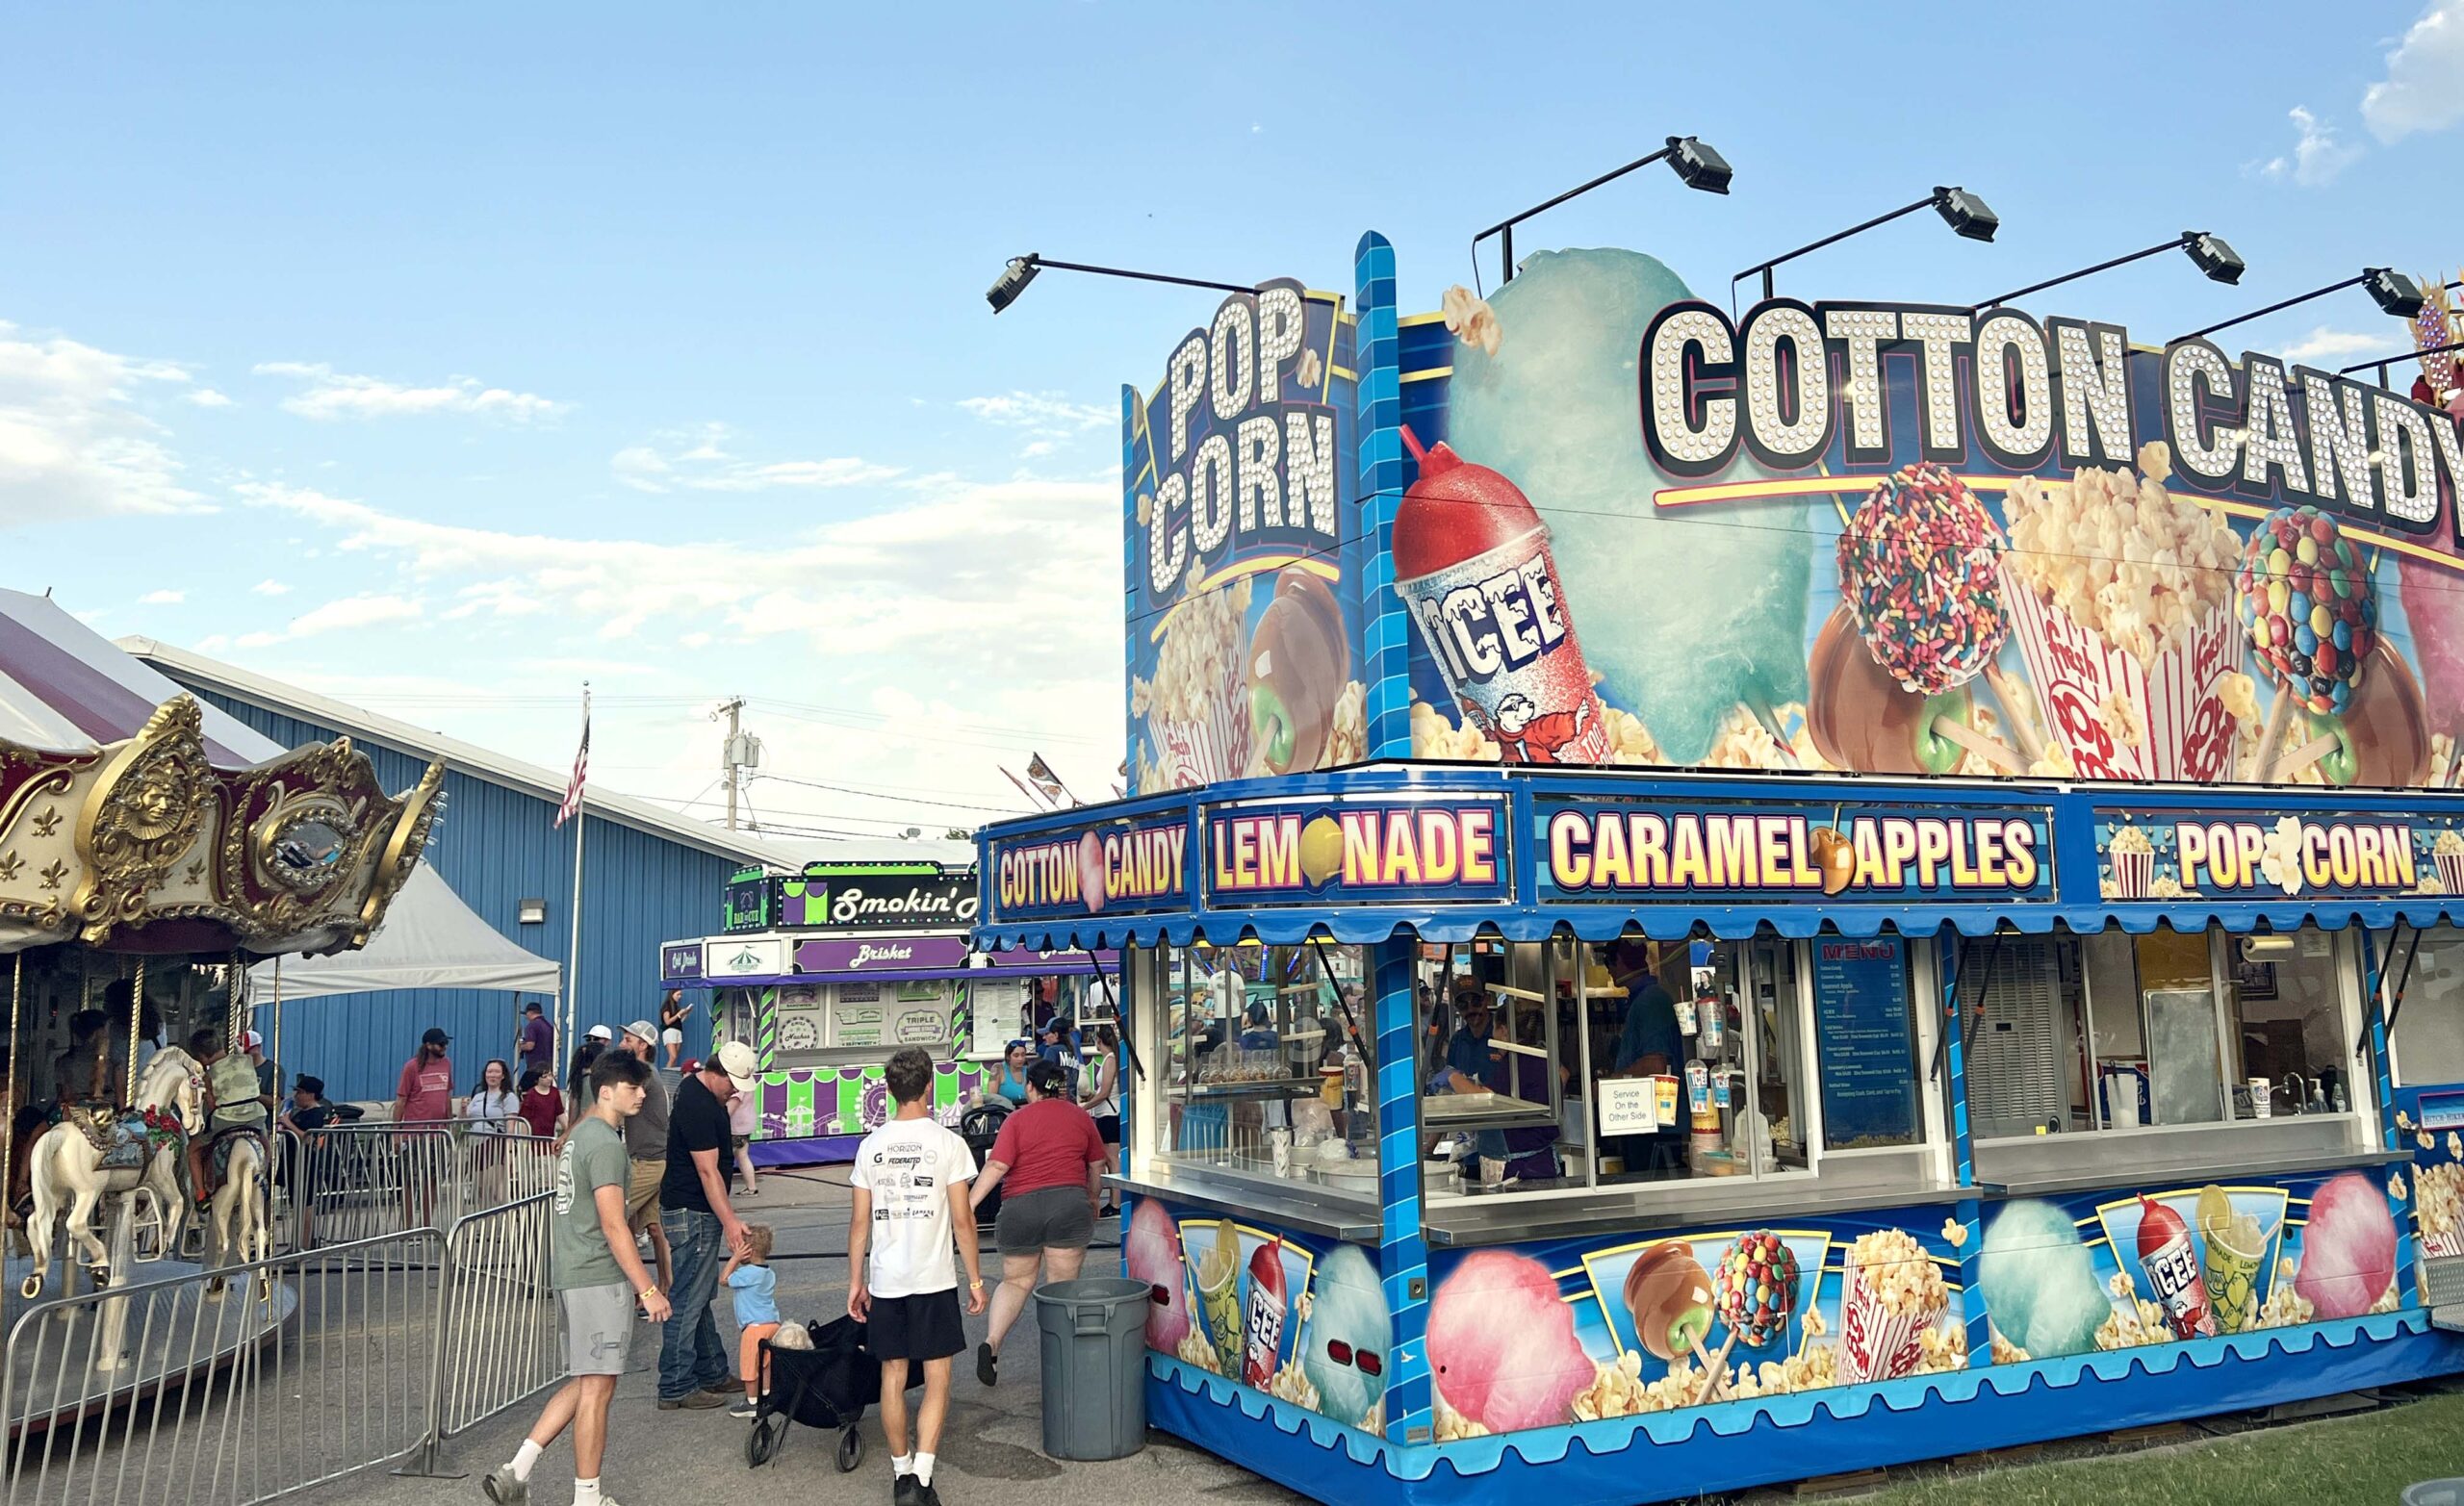
What started over 100 years ago as a parade has become a six-day extravaganza with food trucks, a carnival, live entertainment, contests, and more.
 The festival was on my bucket list for years. Finally, I was able to attend and it lived up to the hype.
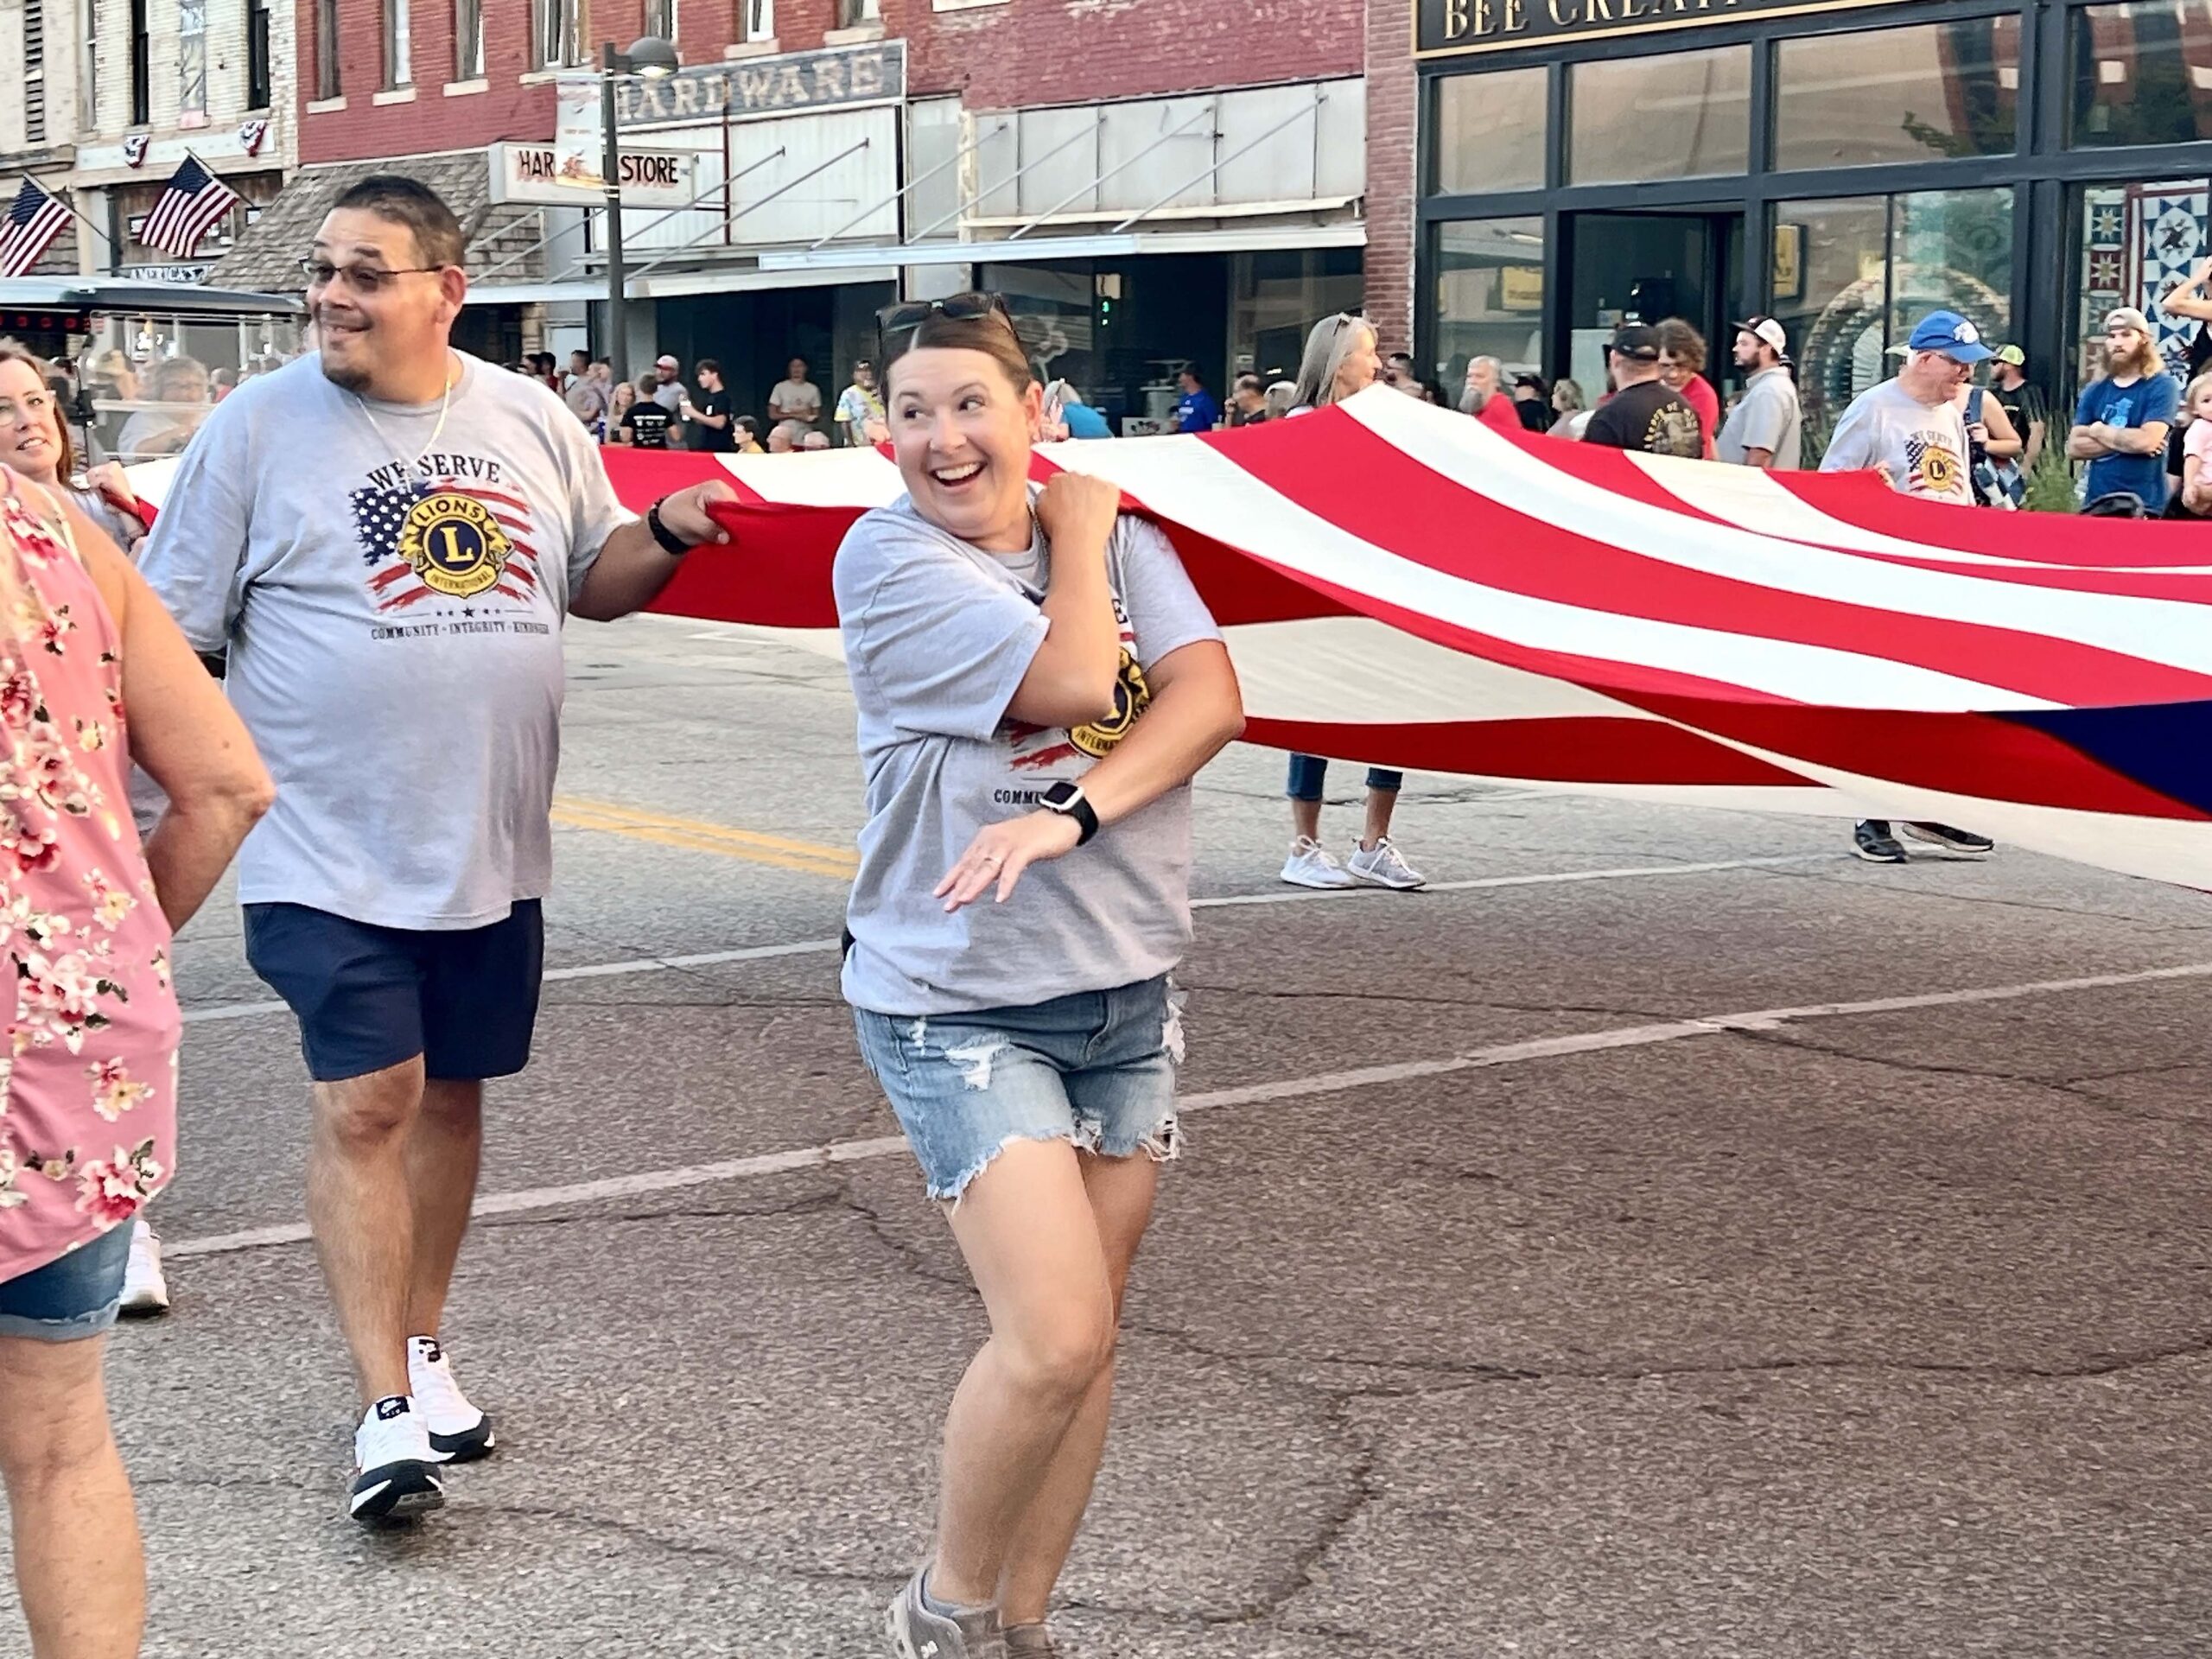
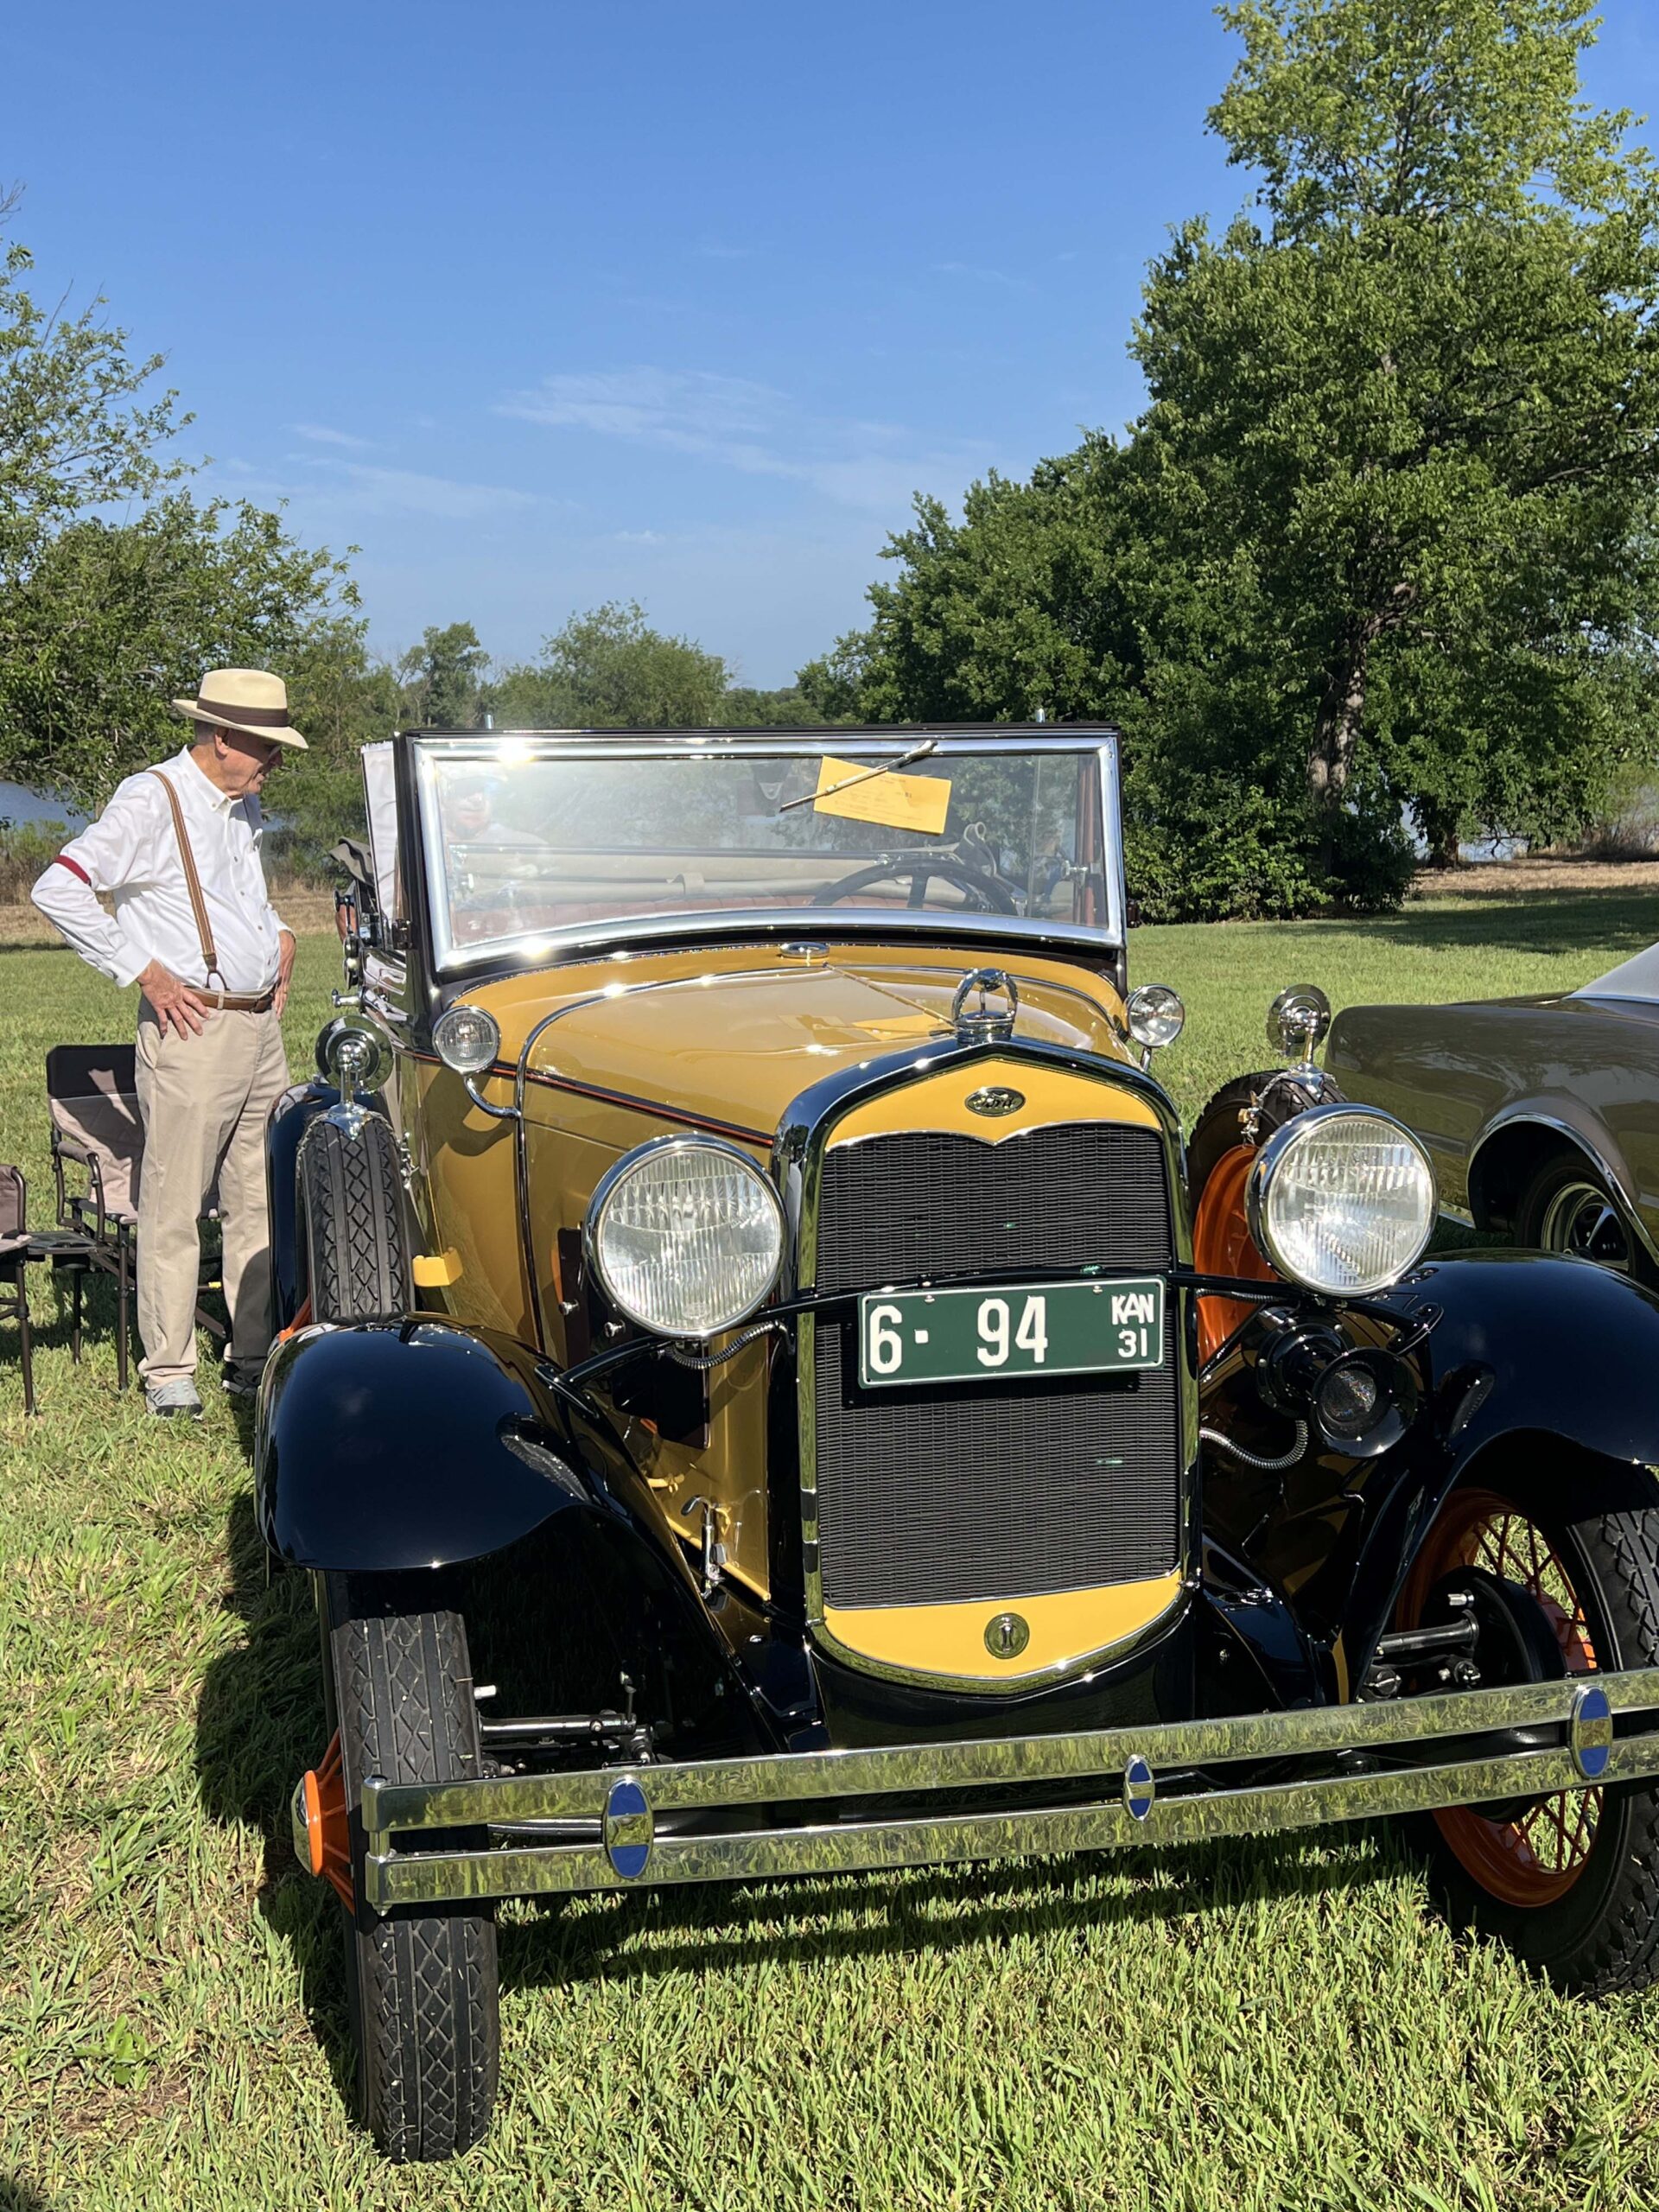
I watched as kids squealed from whirling carnival rides, listened to the town sing the Star-Spangled Banner in unison, admired classic cars and hand-stitched quilts, and watched agricultural demonstrations celebrating the town’s roots.
 People placed lawn chairs along the parade route to eat food truck burgers awaiting the biplane flyover. An evening of live music concluded full days of activities, ranging from sidewalk chalk contests for the kids to the Antique Rod & Custom Car Show.
 In fact, there are so many action-packed activities taking place each festival day, it’s best to carry the official schedule of events with you.
During the day, I went indoors at the venue to admire arts and crafts, hand-sewn quilts, photography, paintings, and an oddities market.
 In true Kansas fashion, vendors taught festival attendees about agricultural practices like threshing wheat and milking cows, giving the festival a state fair quality.
The Kansas Wheat Festival is by far one of the best I’ve attended in the Sunflower State because there is never a dull moment and the community rallies behind it. I say, go for the fun, leave with memories.
 Wellington is a wonderful place to explore top attractions in south-central Kansas. A 36-minute drive from Wichita, it’s the ideal day trip or overnight stay when combined with a full itinerary, including a community event.
I was delighted to meet residents who sincerely welcomed me, and there were unlimited places to explore.
BONUS STOPS NEARBY
The NoWhere Grill
I haven’t personally eaten at The NoWhere Grille in Belle Plaine, but it was recommended by a Wellington resident. Open Wednesday through Sunday, the restaurant is on my travel bucket list for its smash burger and loaded mac & cheese.
Kansas Star Casino
The exit sign to Kansas Star Casino off of Interstate 35 is hard to miss between Wichita and Wellington. I can’t say that I’ve won money there, but I’ve enjoyed the slot machines and gathered with friends over dinner at Tin Lizard Bar & Grill.
 If you love a road trip within driving distance of Wichita, I encourage you to check out Fun Day Trips from Wichita, a quick guide to the region’s top towns.


 The city is the ideal blend of urban attractions, a thriving art scene, and outdoor recreation. You can wake up at a luxury hotel, take a guided historic tour, and sip award-winning
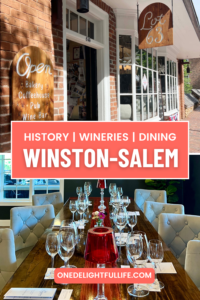
  Use this comprehensive guide to plan your Winston-Salem getaway, a memorable vacation spent amongst locals who exude “twice as nice” Southern hospitality. Although the metro area is home to about 550,000 residents, it feels like a smaller town with big city amenities.
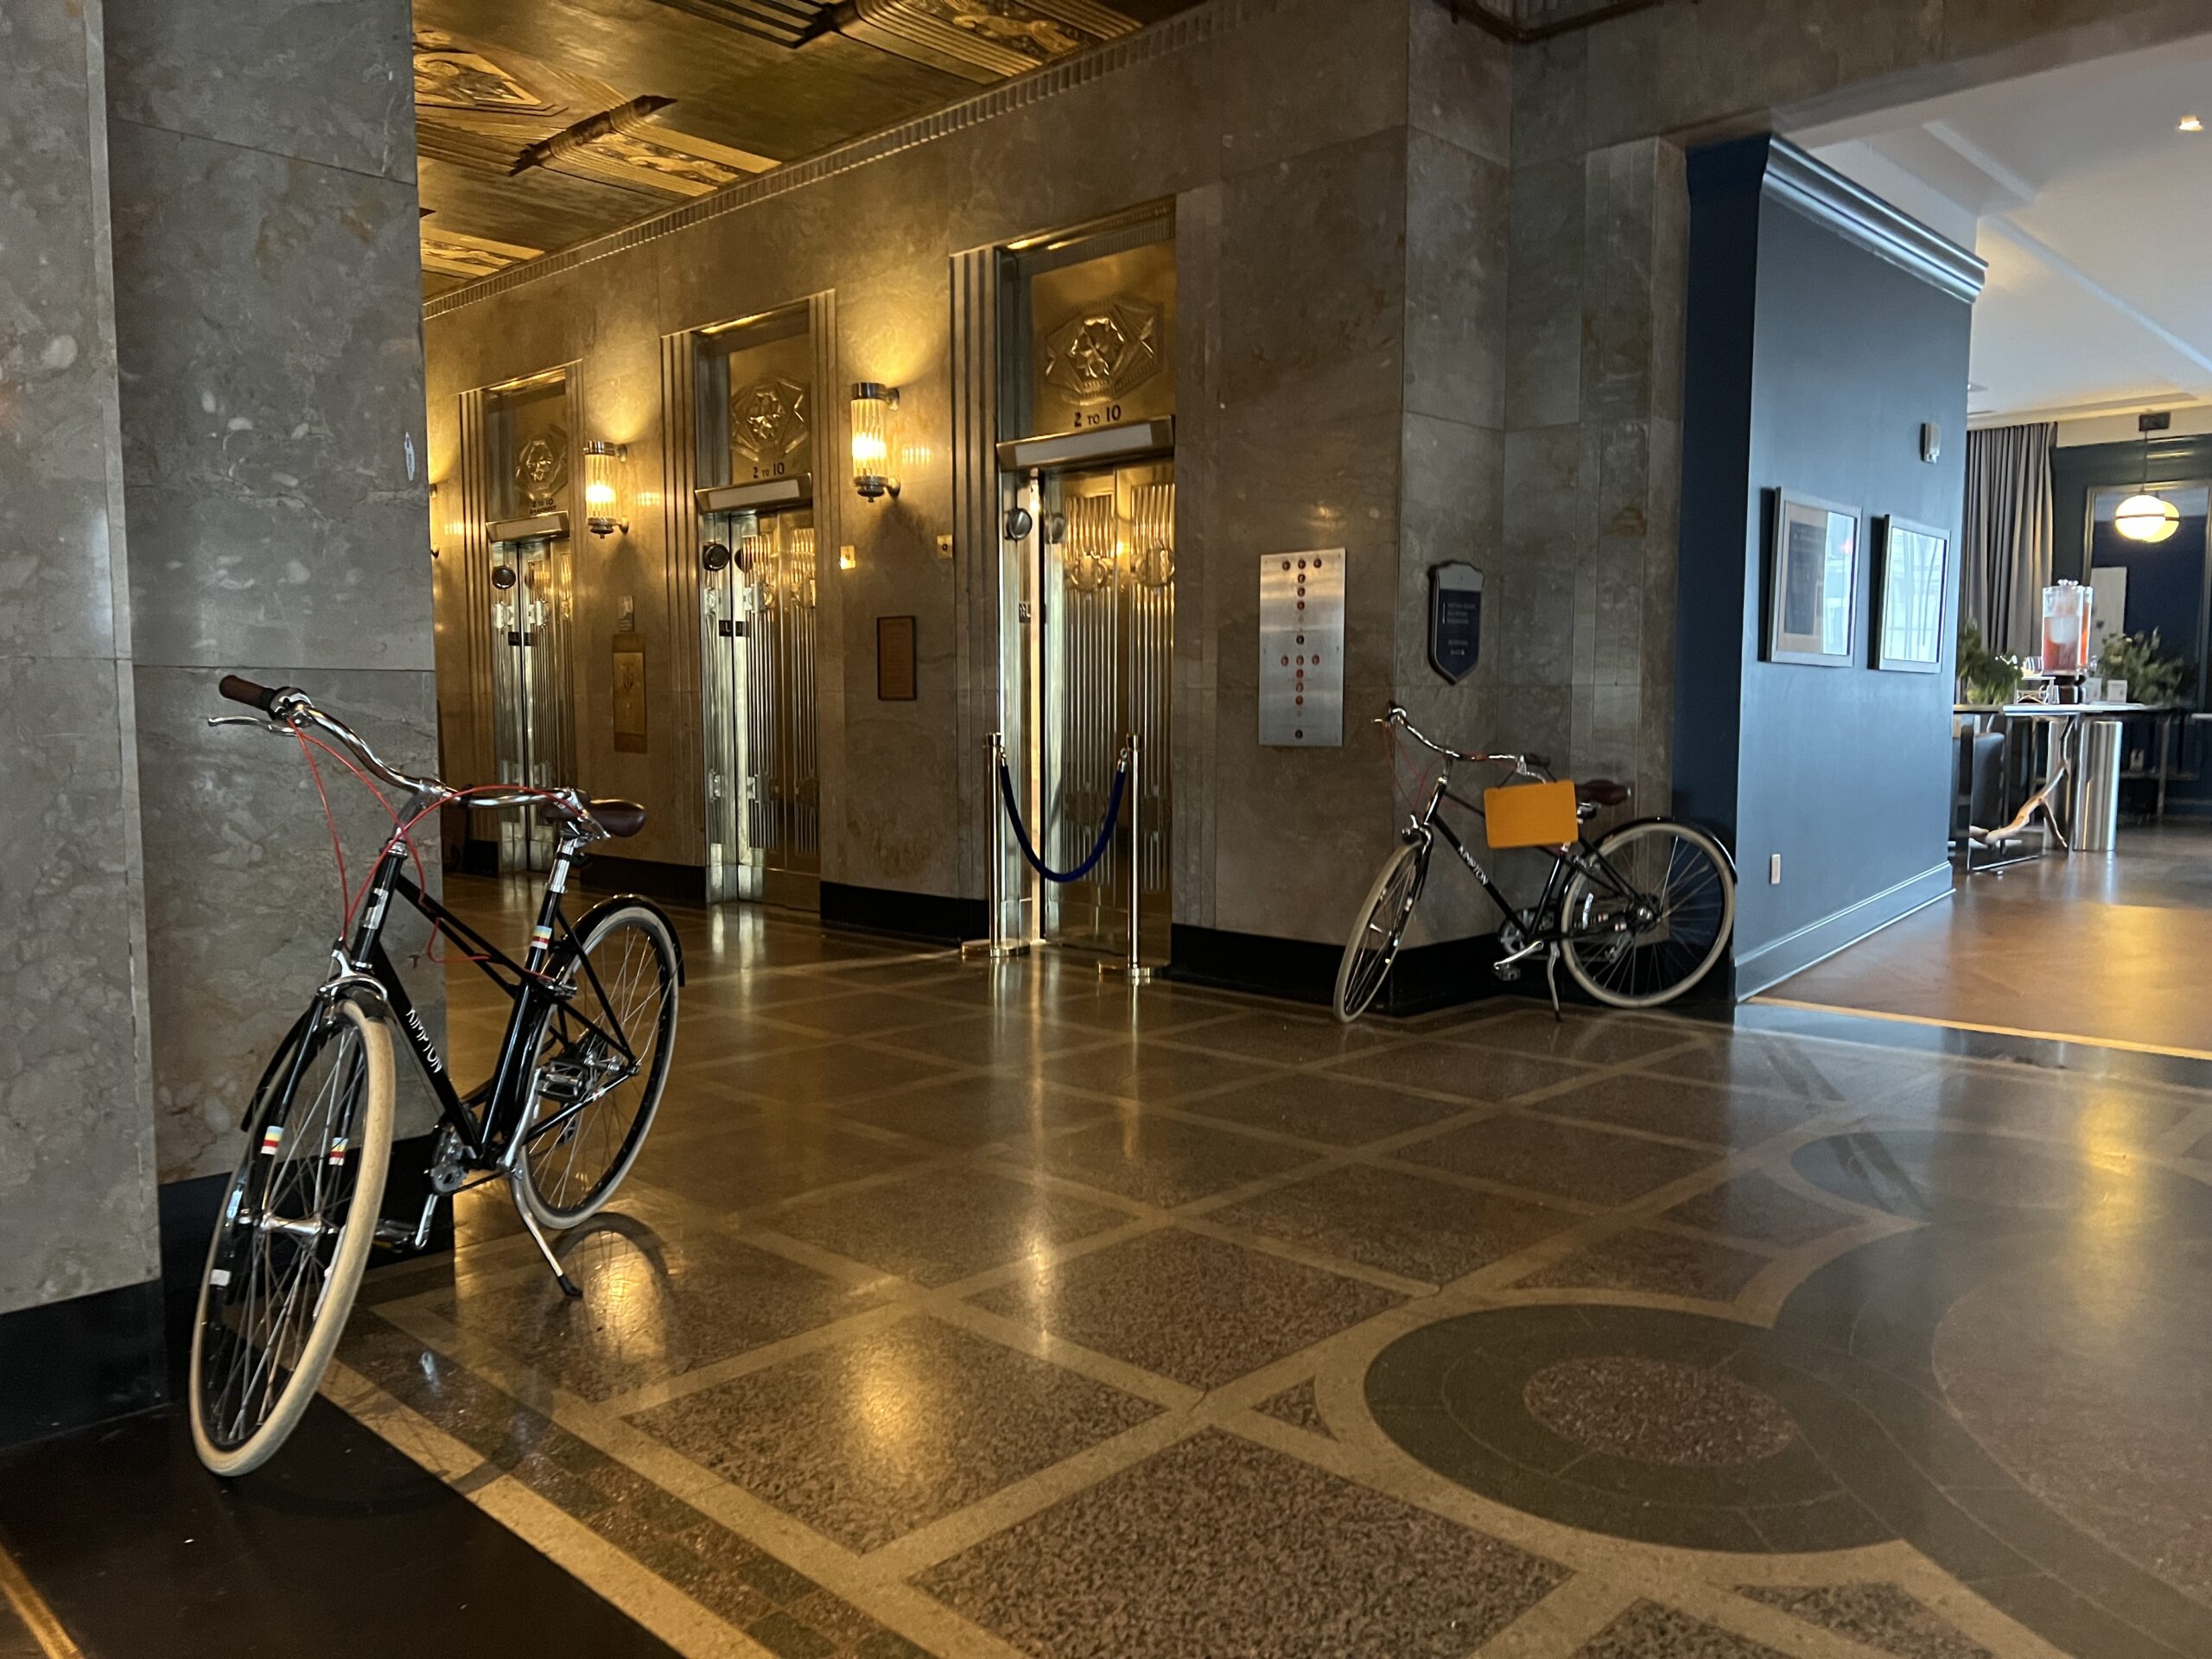 The interior’s metal finishes and Art Deco styling meld seamlessly with a color palette of dark hues with pops of vibrant color. Rentable bikes, an ornamental sailboat on display in the lobby, and nautical oars on the walls embrace a lifestyle of active exploration.
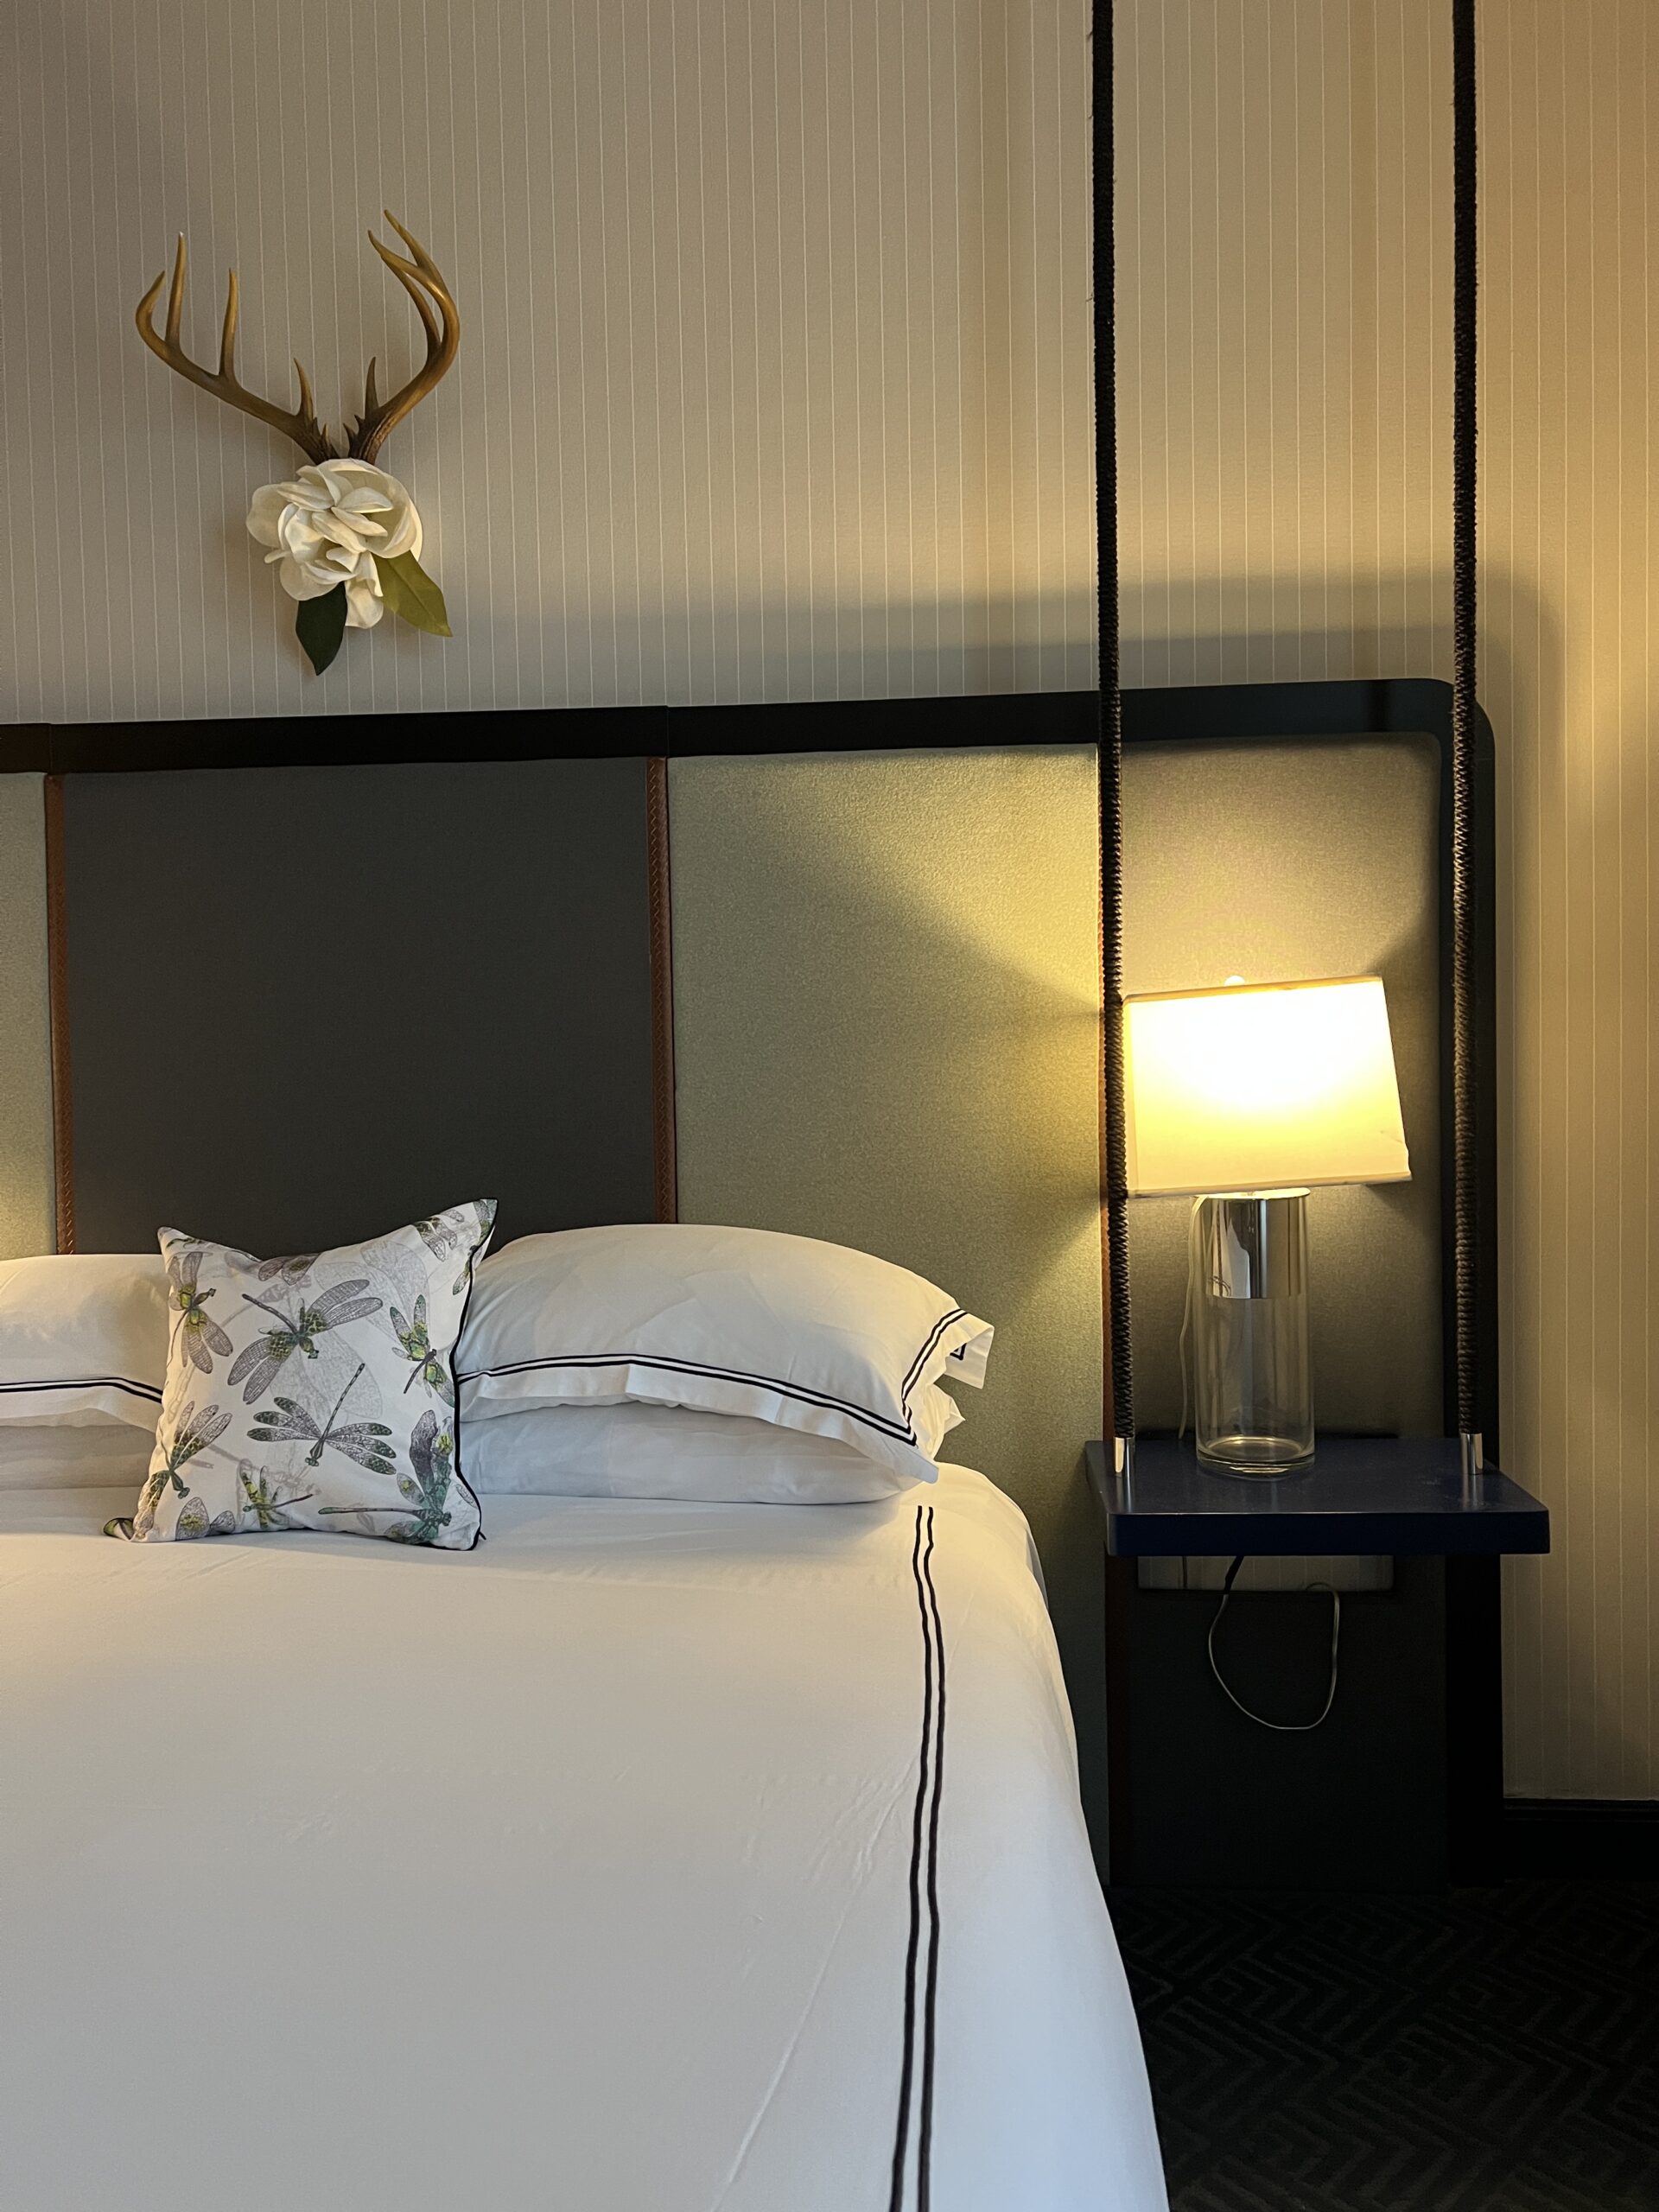 After dropping our luggage in our guest room, we lingered over craft cocktails and an exquisitely prepared dinner at the hotel’s restaurant,
  We appreciated how quiet and secluded our room felt despite the hotel’s full capacity. Our leisurely mornings began with complimentary coffee from soft duvet-covered bedding, before embarking on a full day of activities.
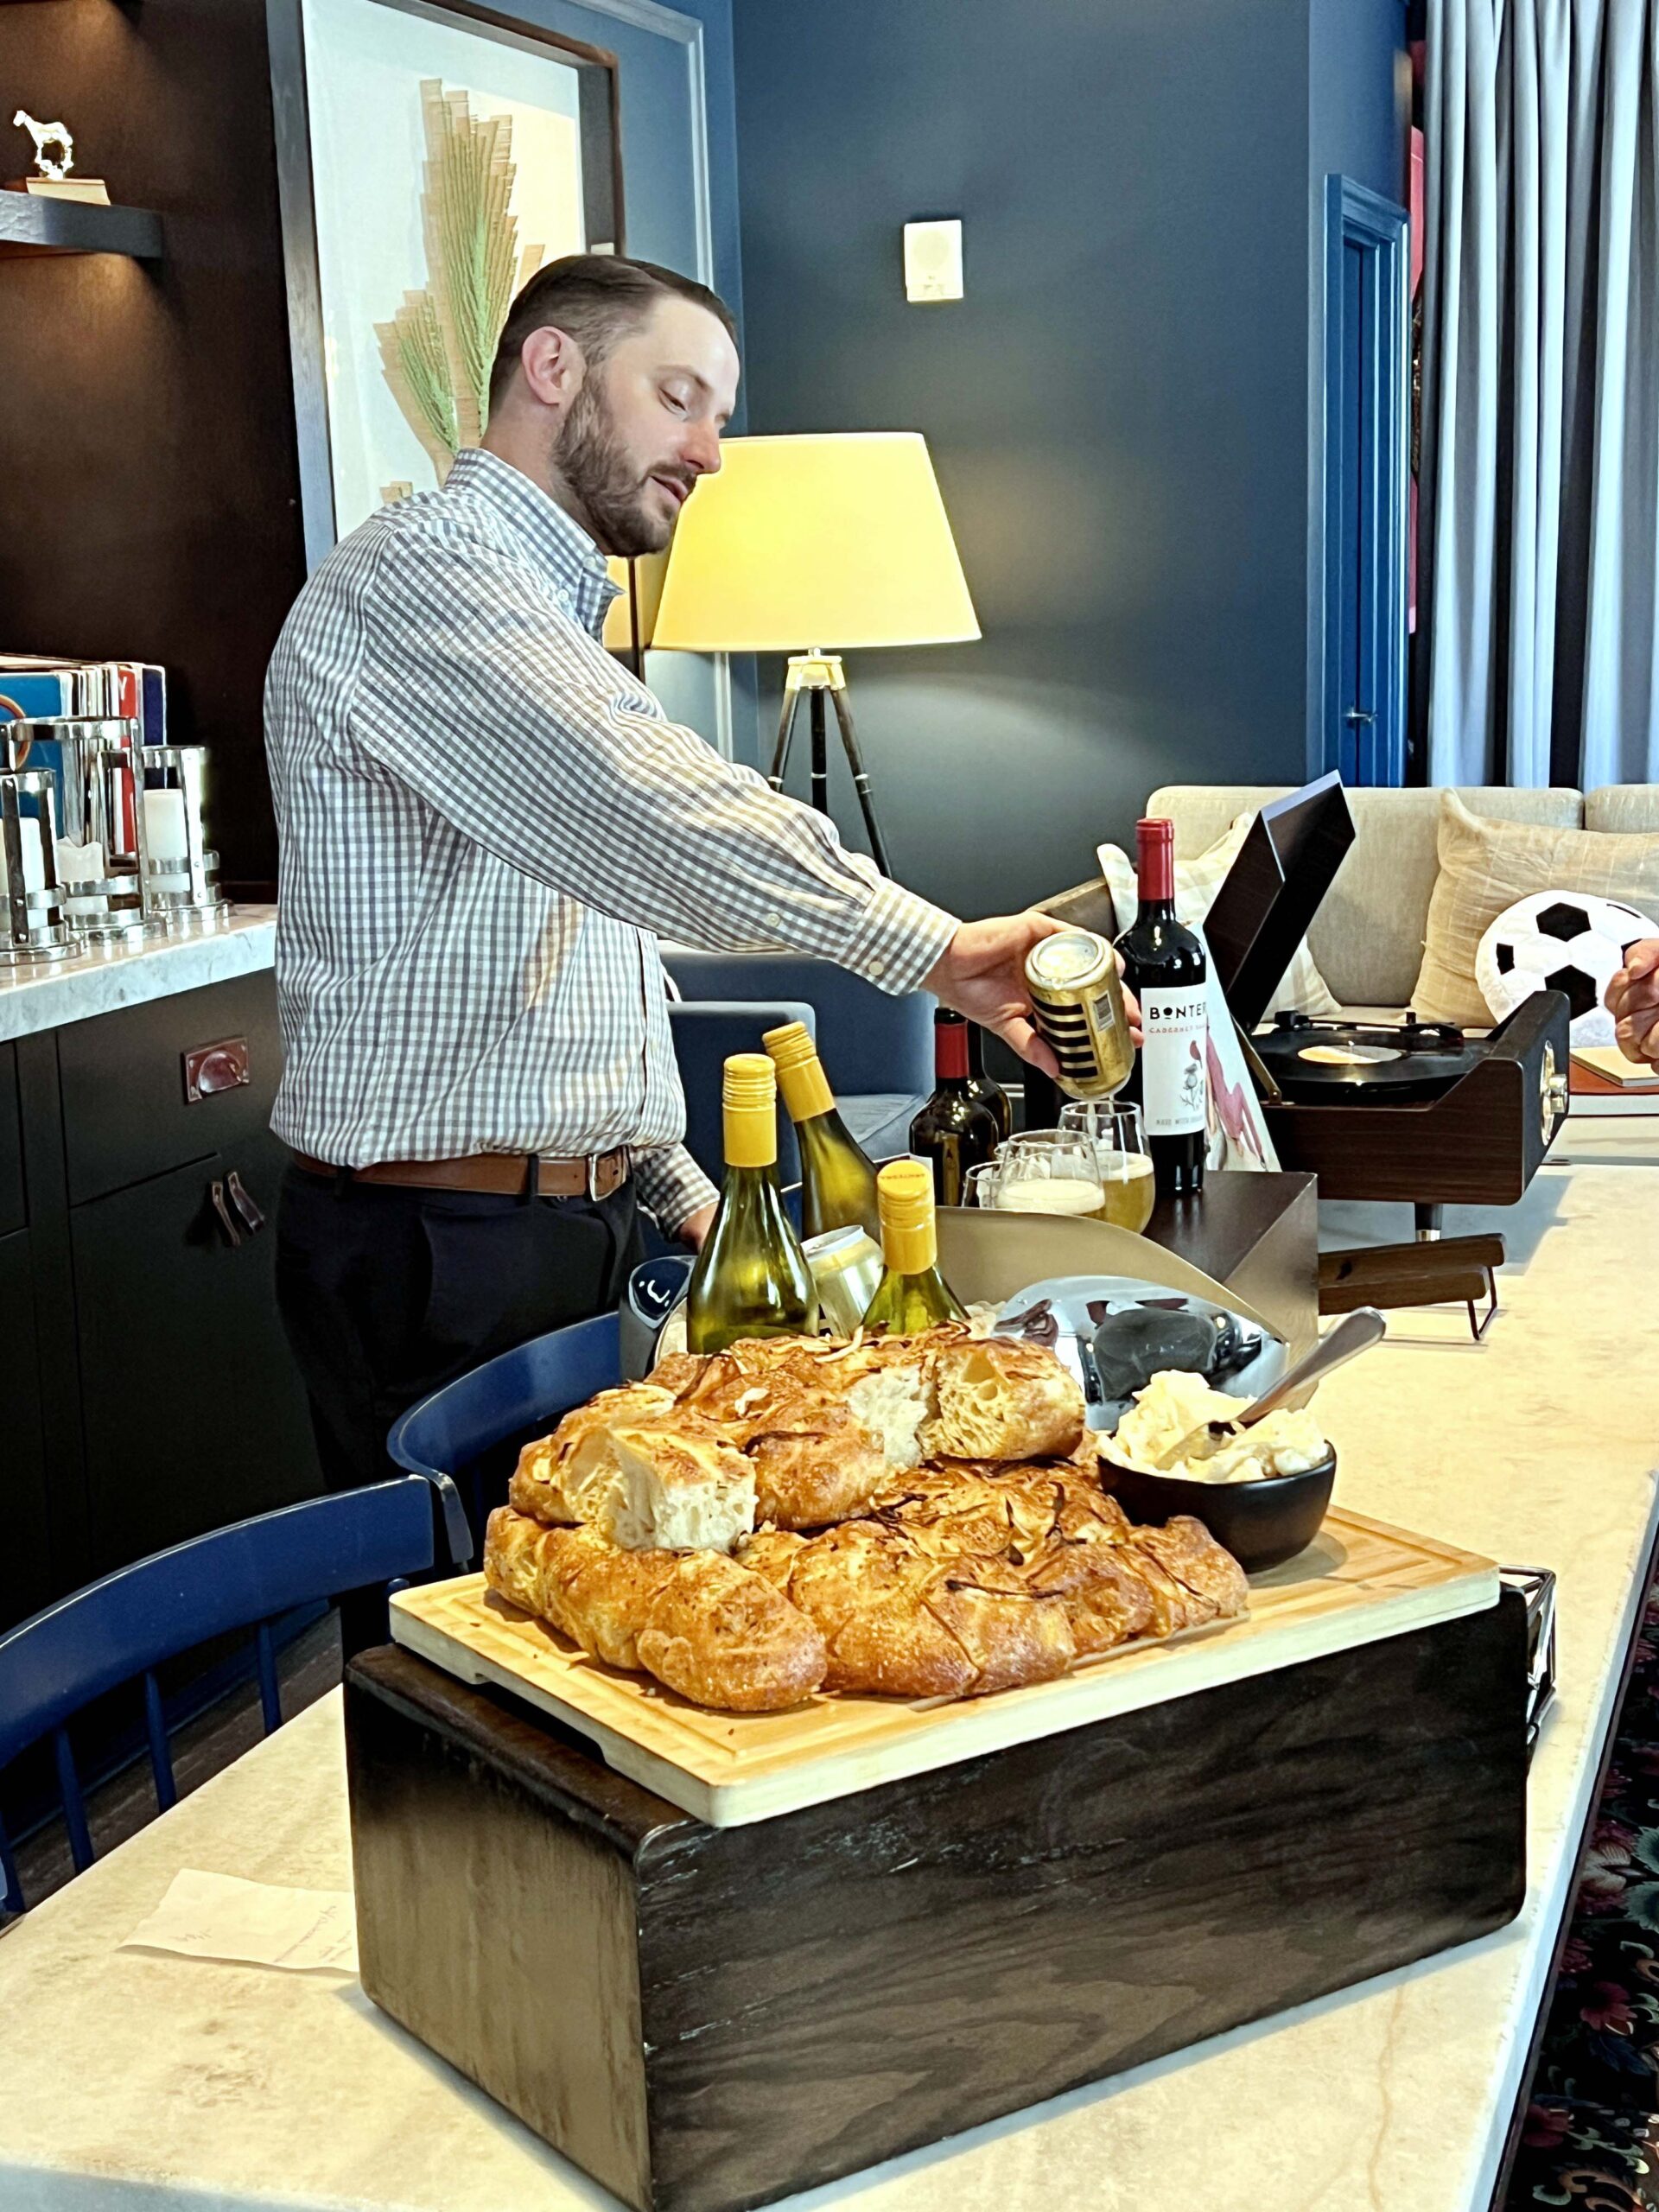 Our weekend getaway at the hotel felt like a continuous date night, with complimentary Happy Hour drinks and game-on competition in the
 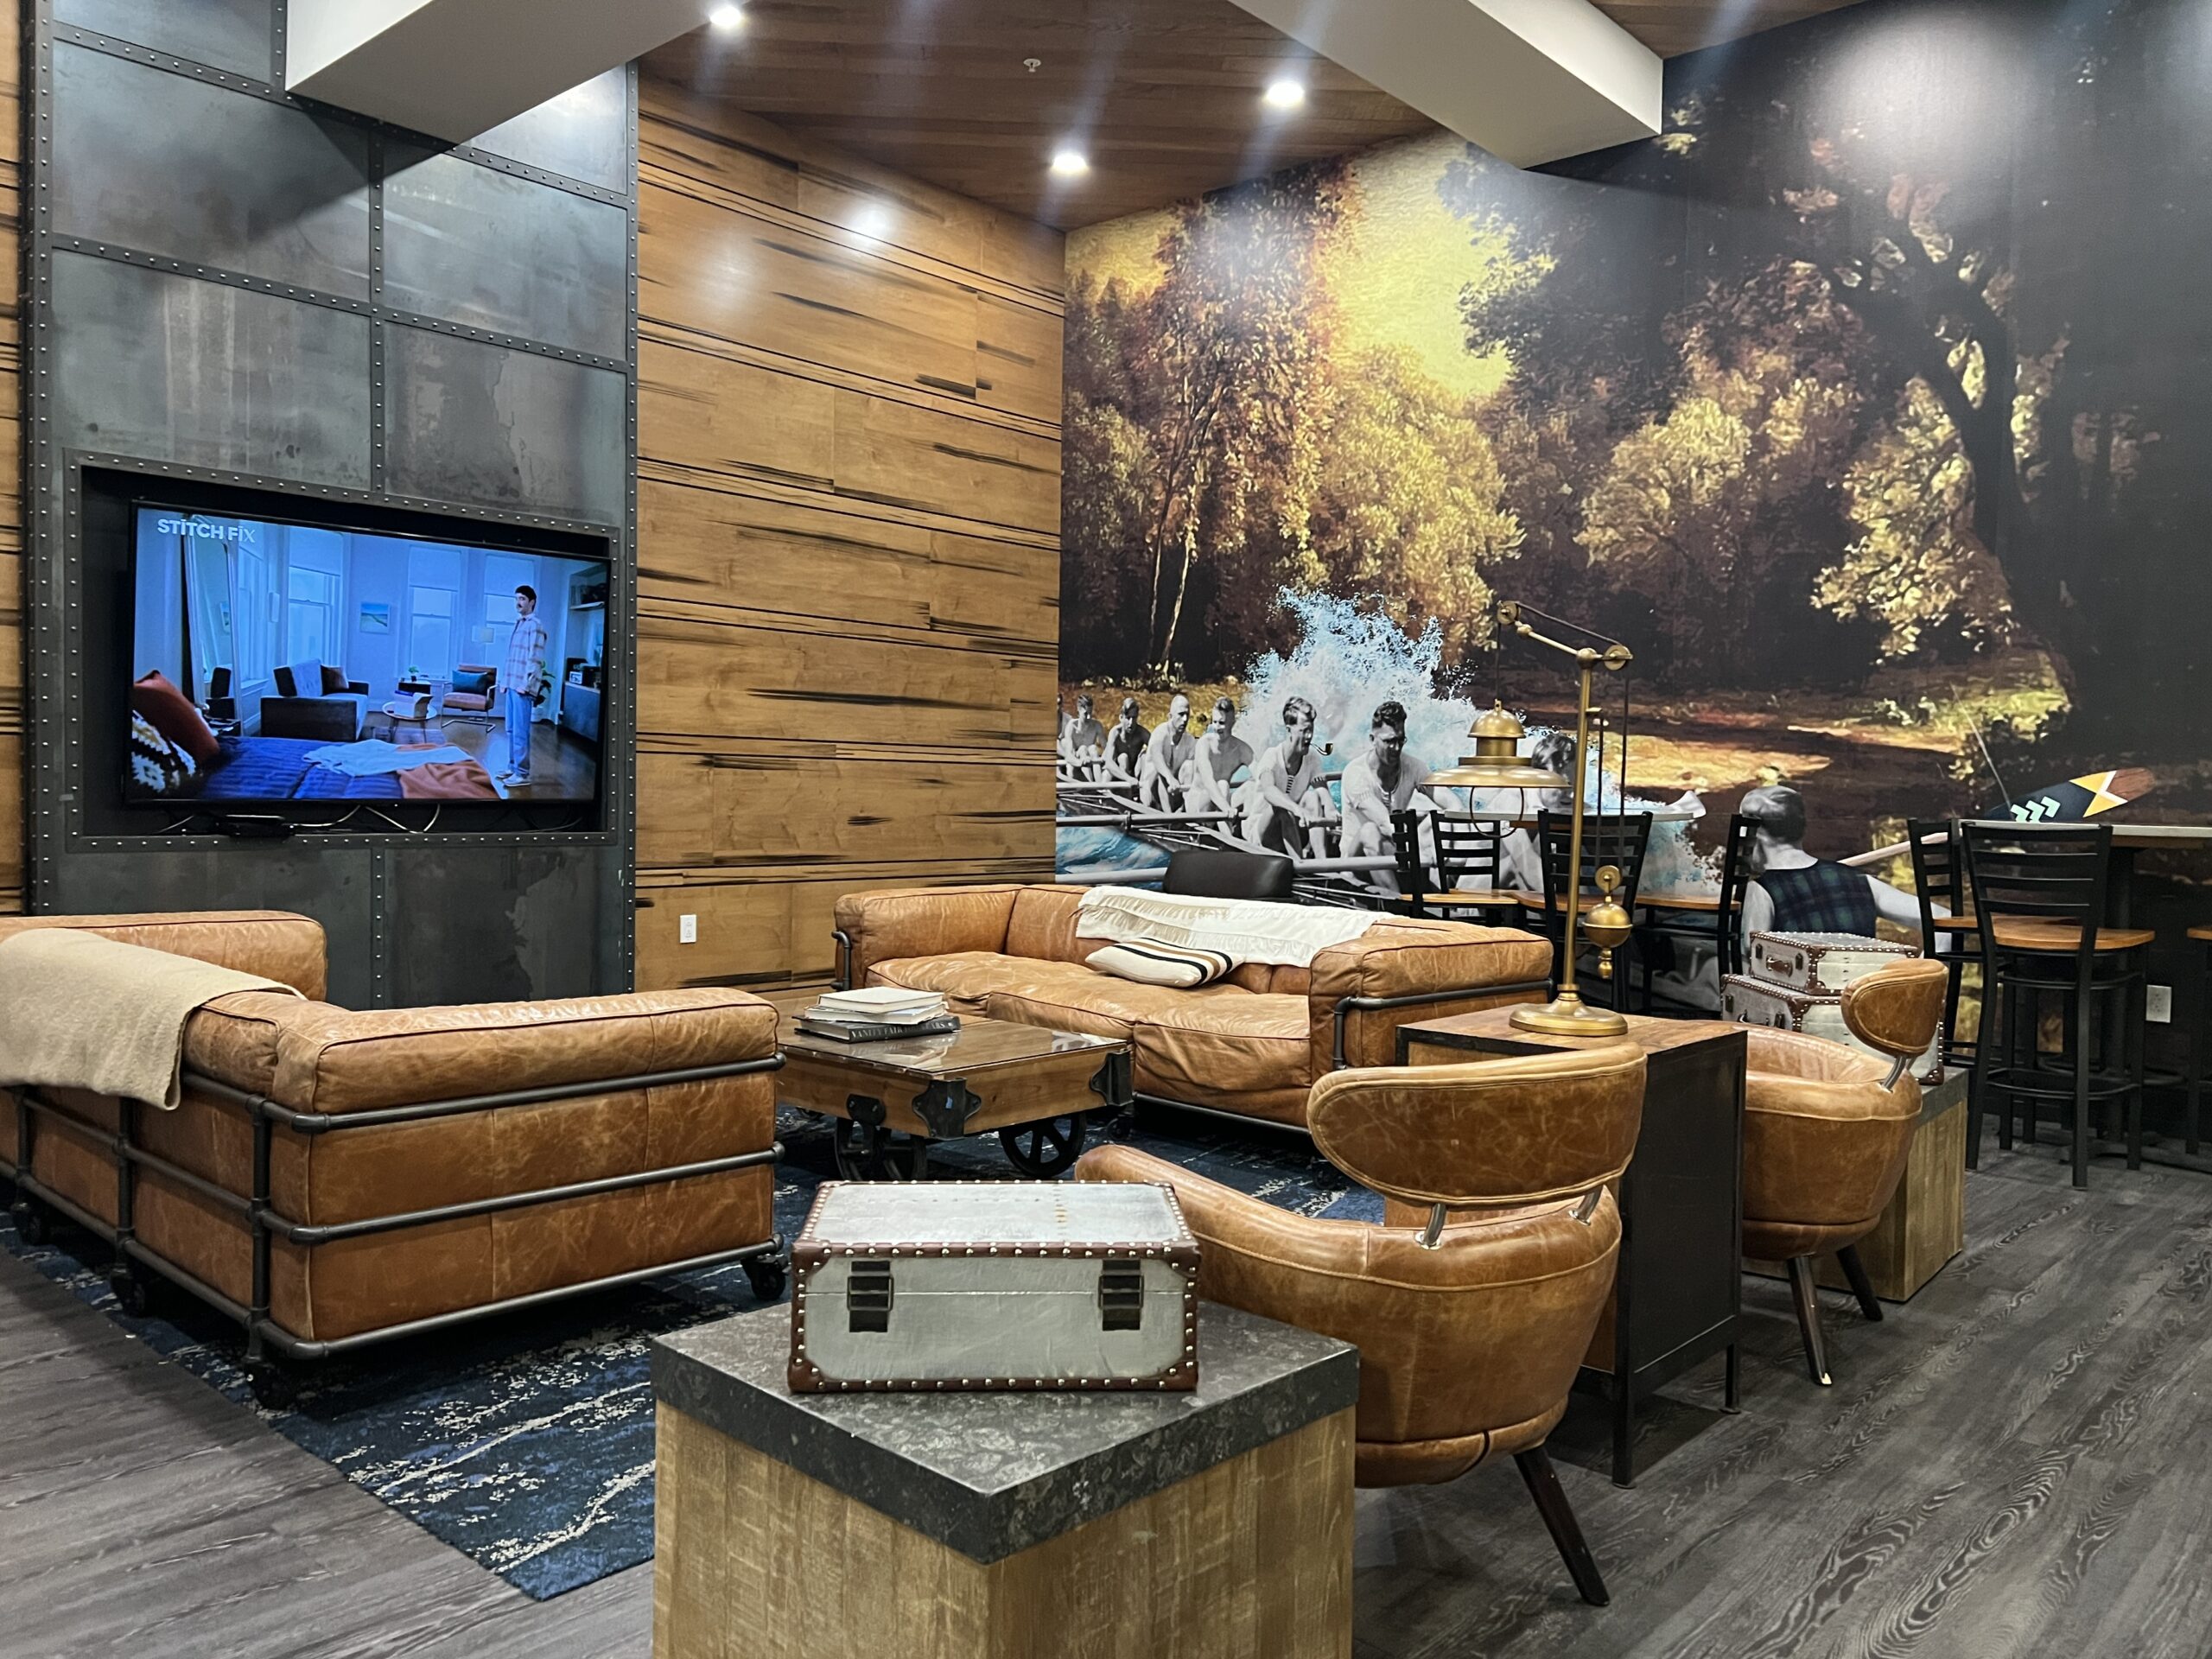 For us, Kimpton Cardinal was the ultimate luxury hotel experience and the each employee we met went above and beyond to make sure we experience da comfortable, memorable stay.
 BONUS: Kimpton Cardinal welcomes
 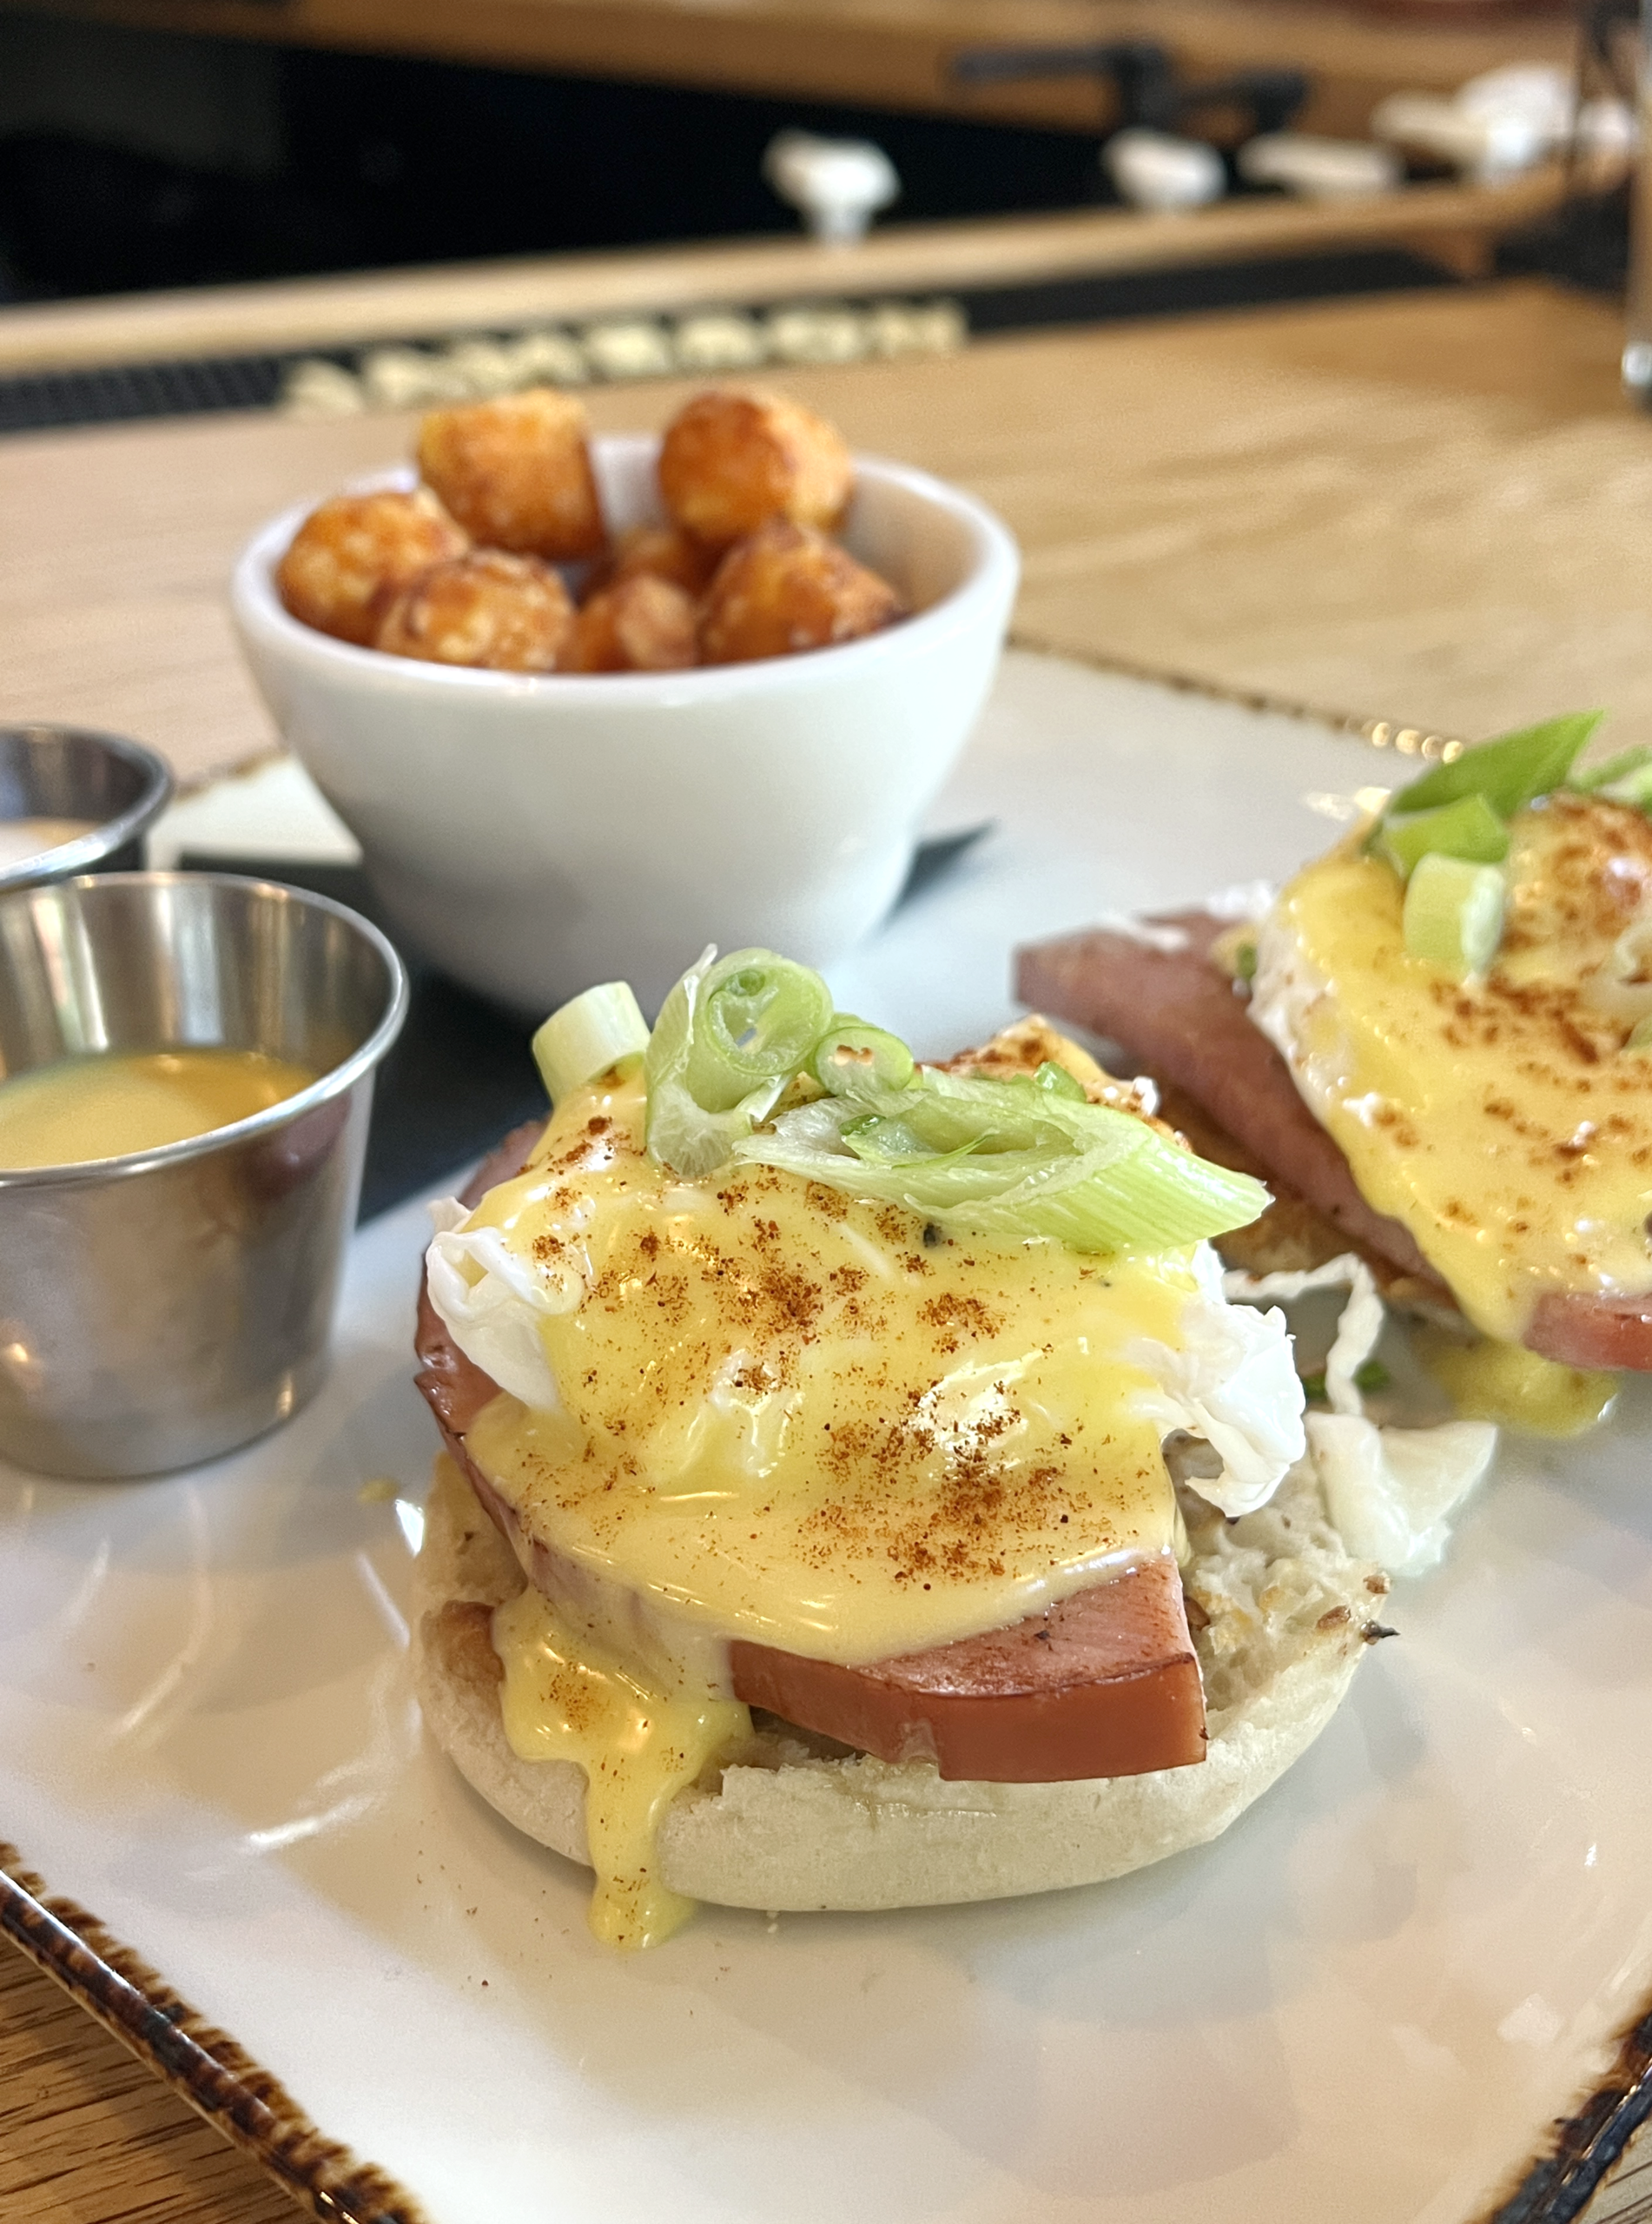 The restaurant is known for its Huevos Rancheros and Hot Honey Chicken, but we leaned into our cravings for the Eggs Benedict served with Virginia Ham and sweet tater tots, which impressed.
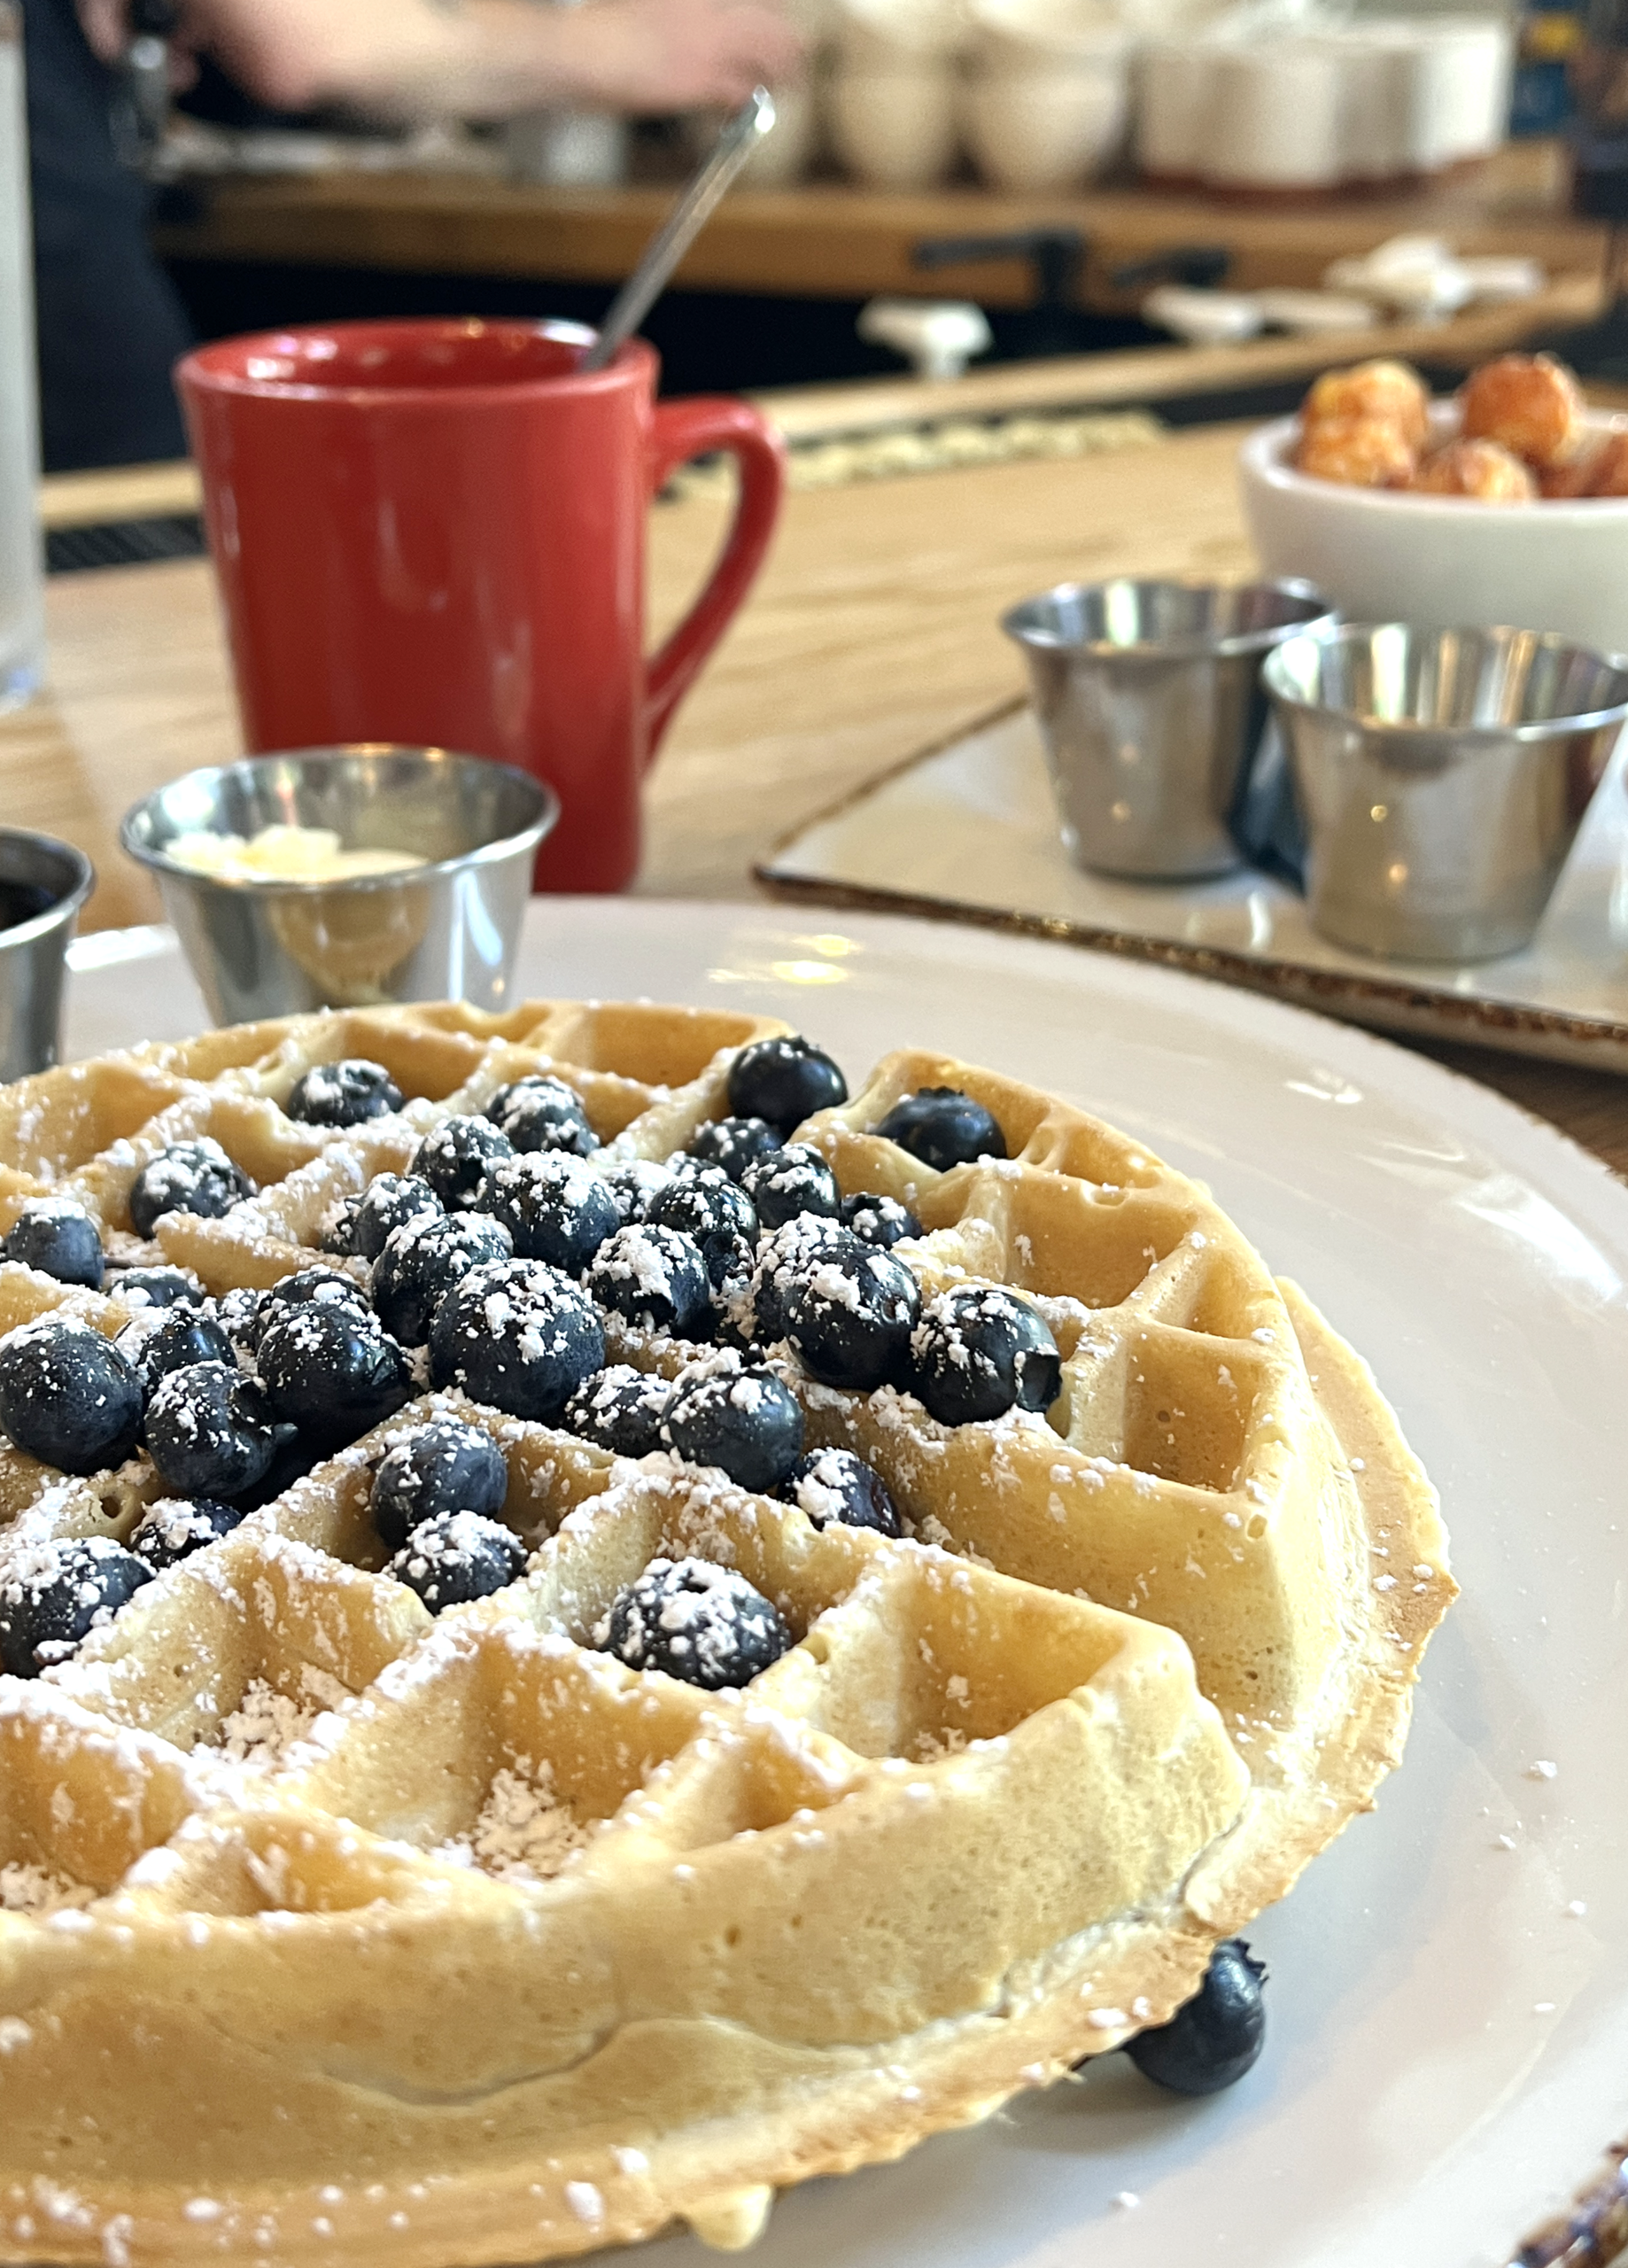 The service was prompt and friendly, and the value for the quality of the meals won us over. Seeking an early-morning meal with a boozy coffee or mimosa?
 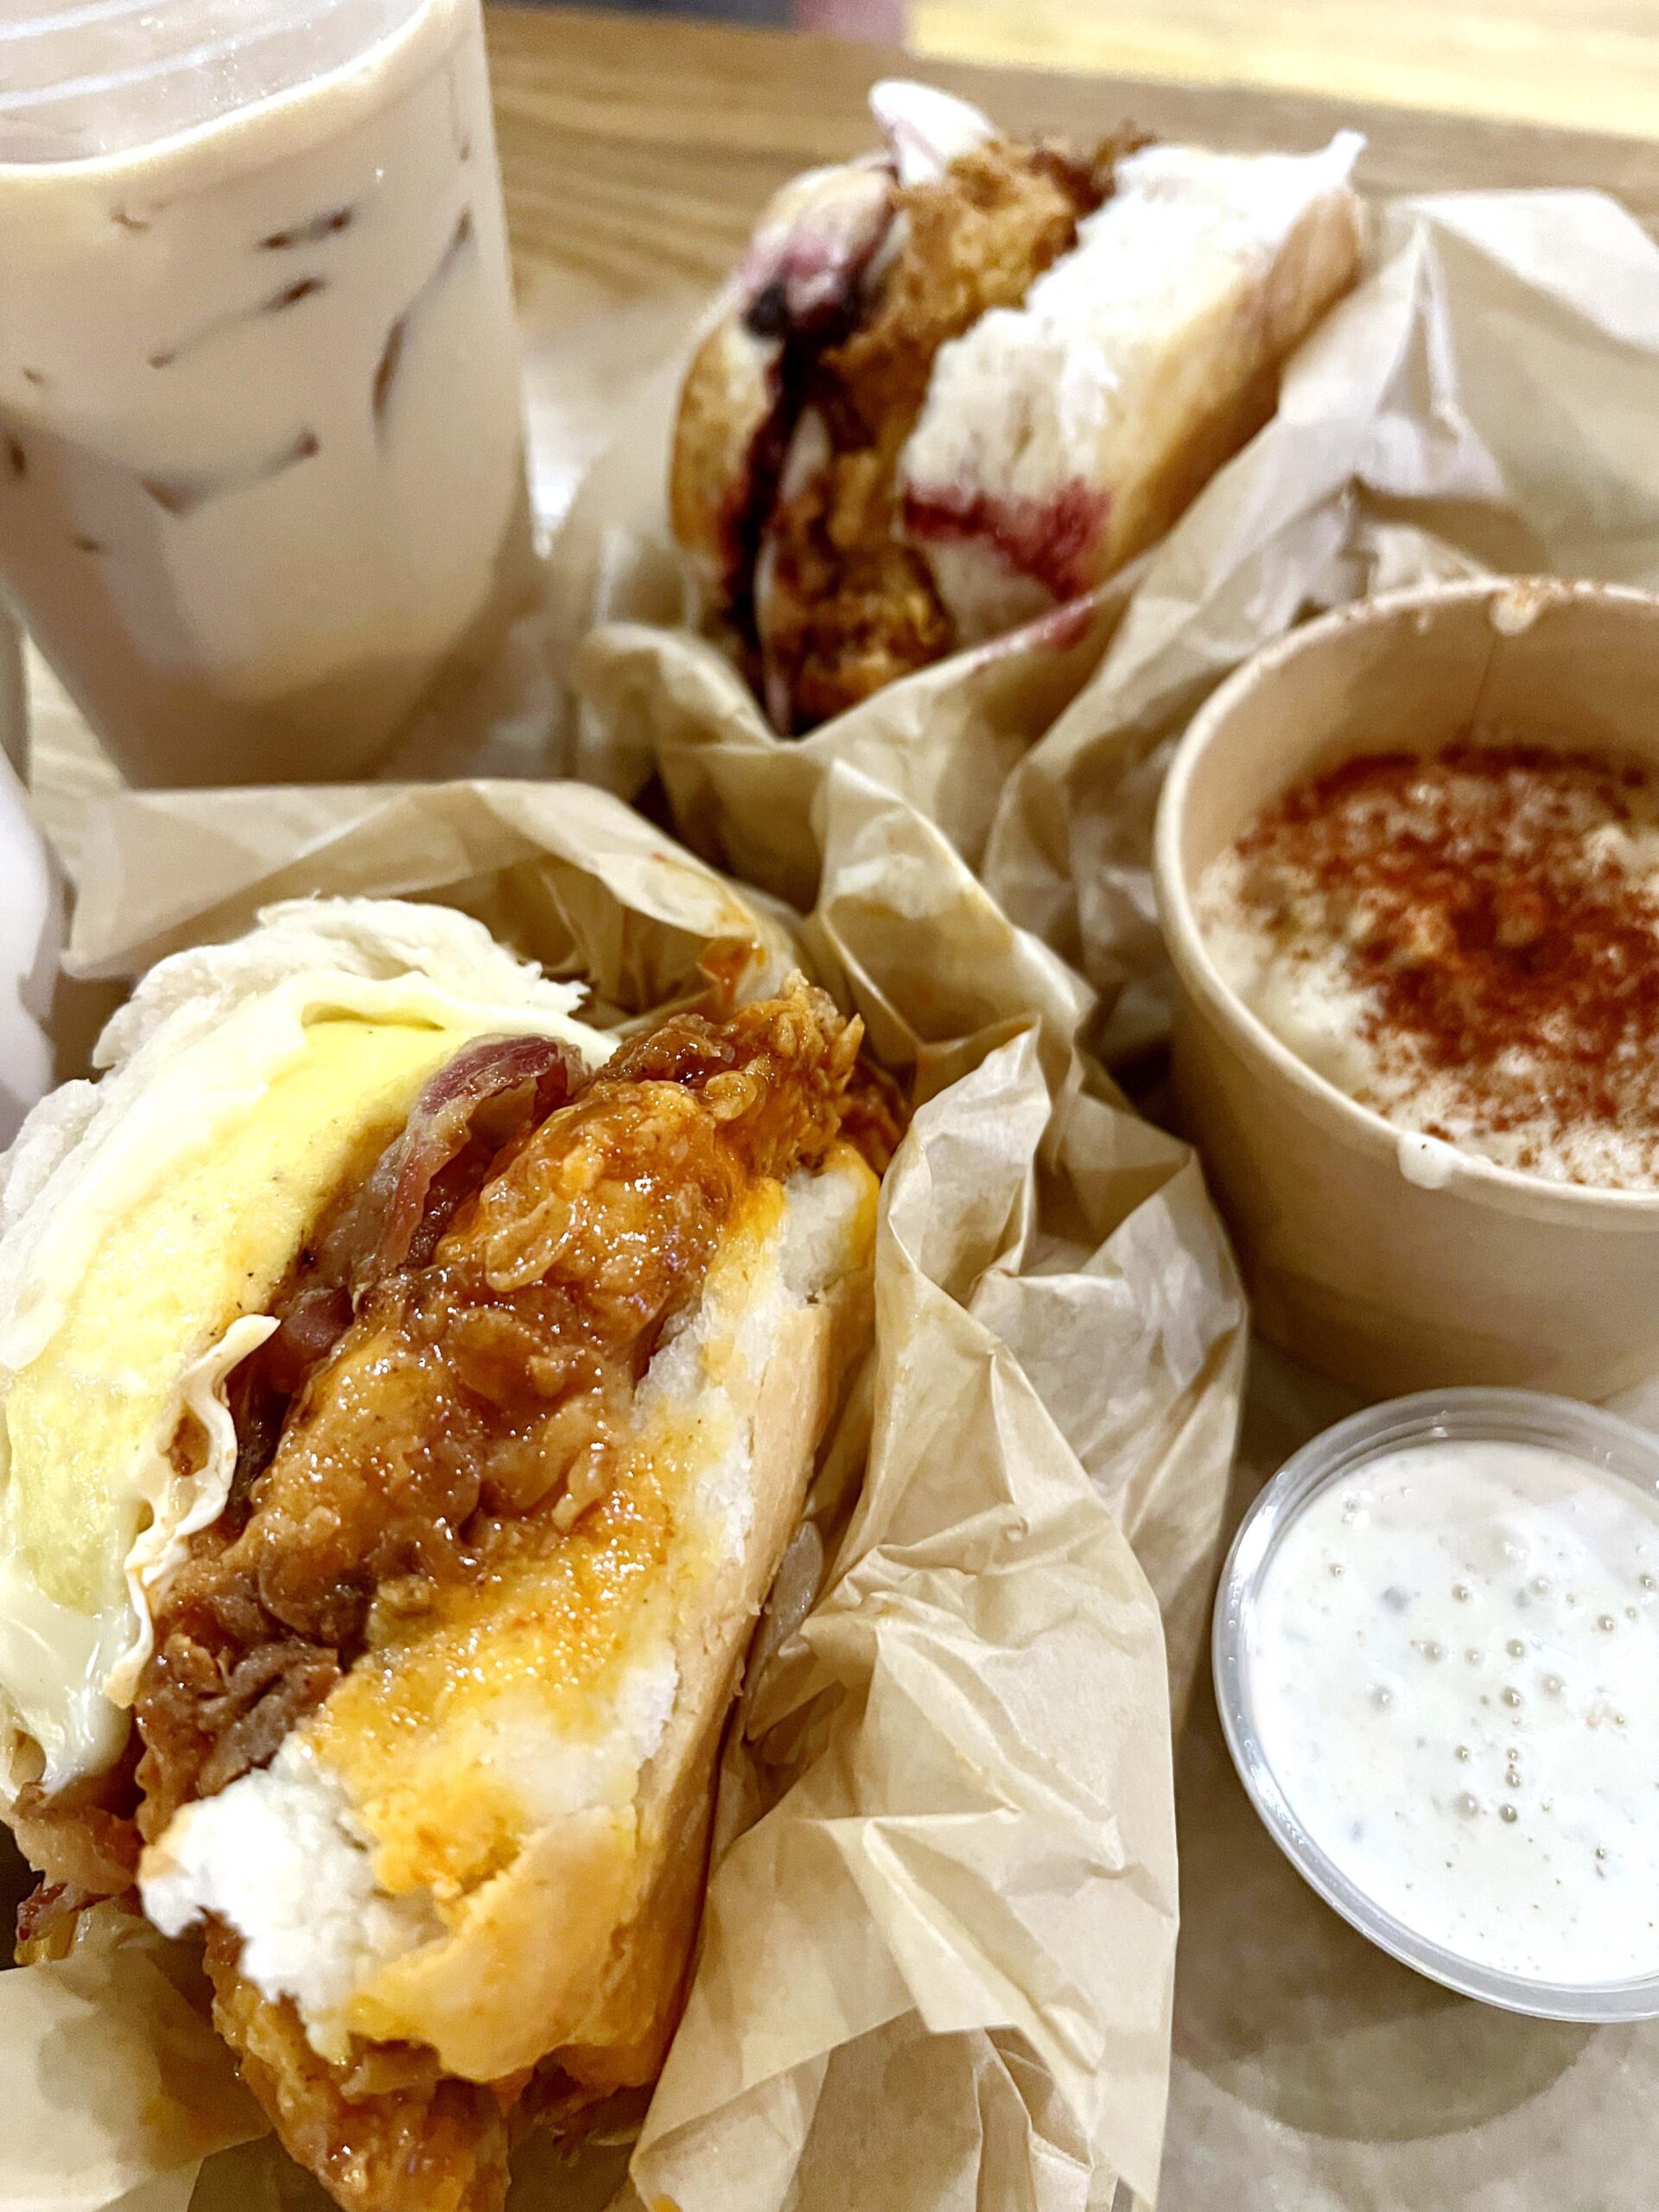 We beat the morning rush, ordering two biscuit sandwiches: a Bluebird and a Hangover Helper, each served with brined and fried chicken. Every savory bite left us craving more.
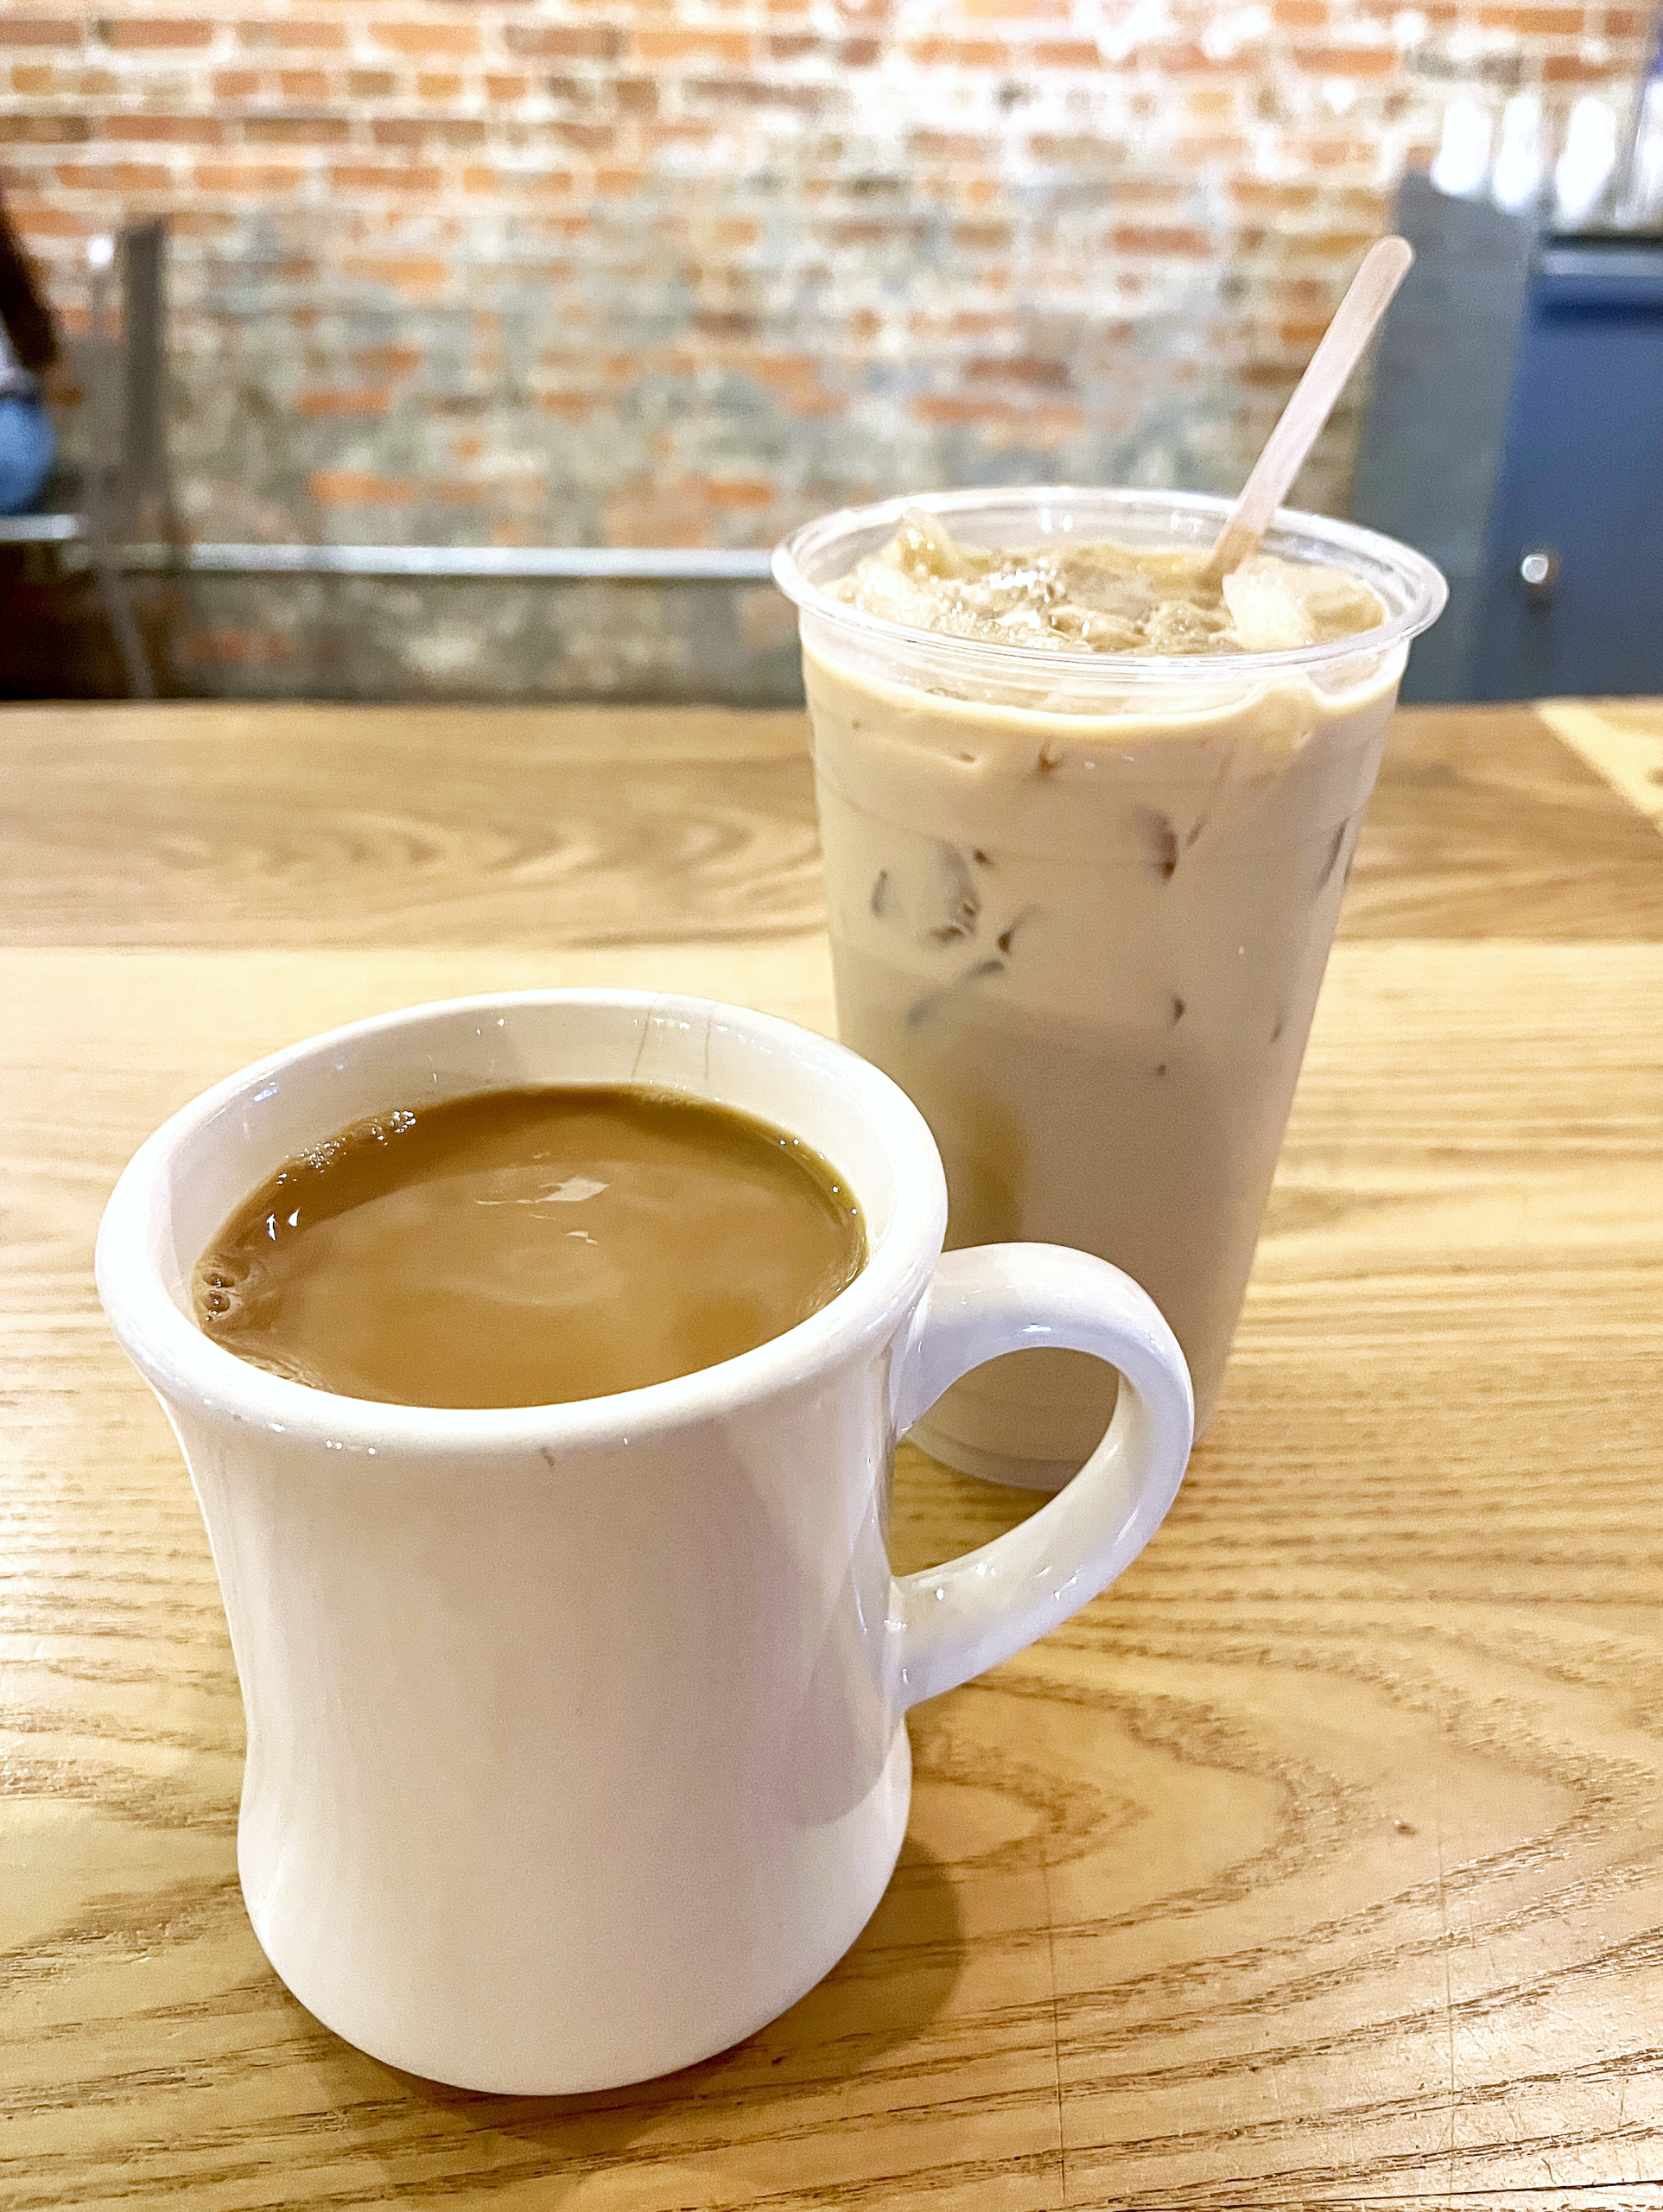 And the coffee? It was downright perfect. But if you crave a boozy beverage, the bar is poised to prepare an Irish Coffee or Espresso Martini to your liking.
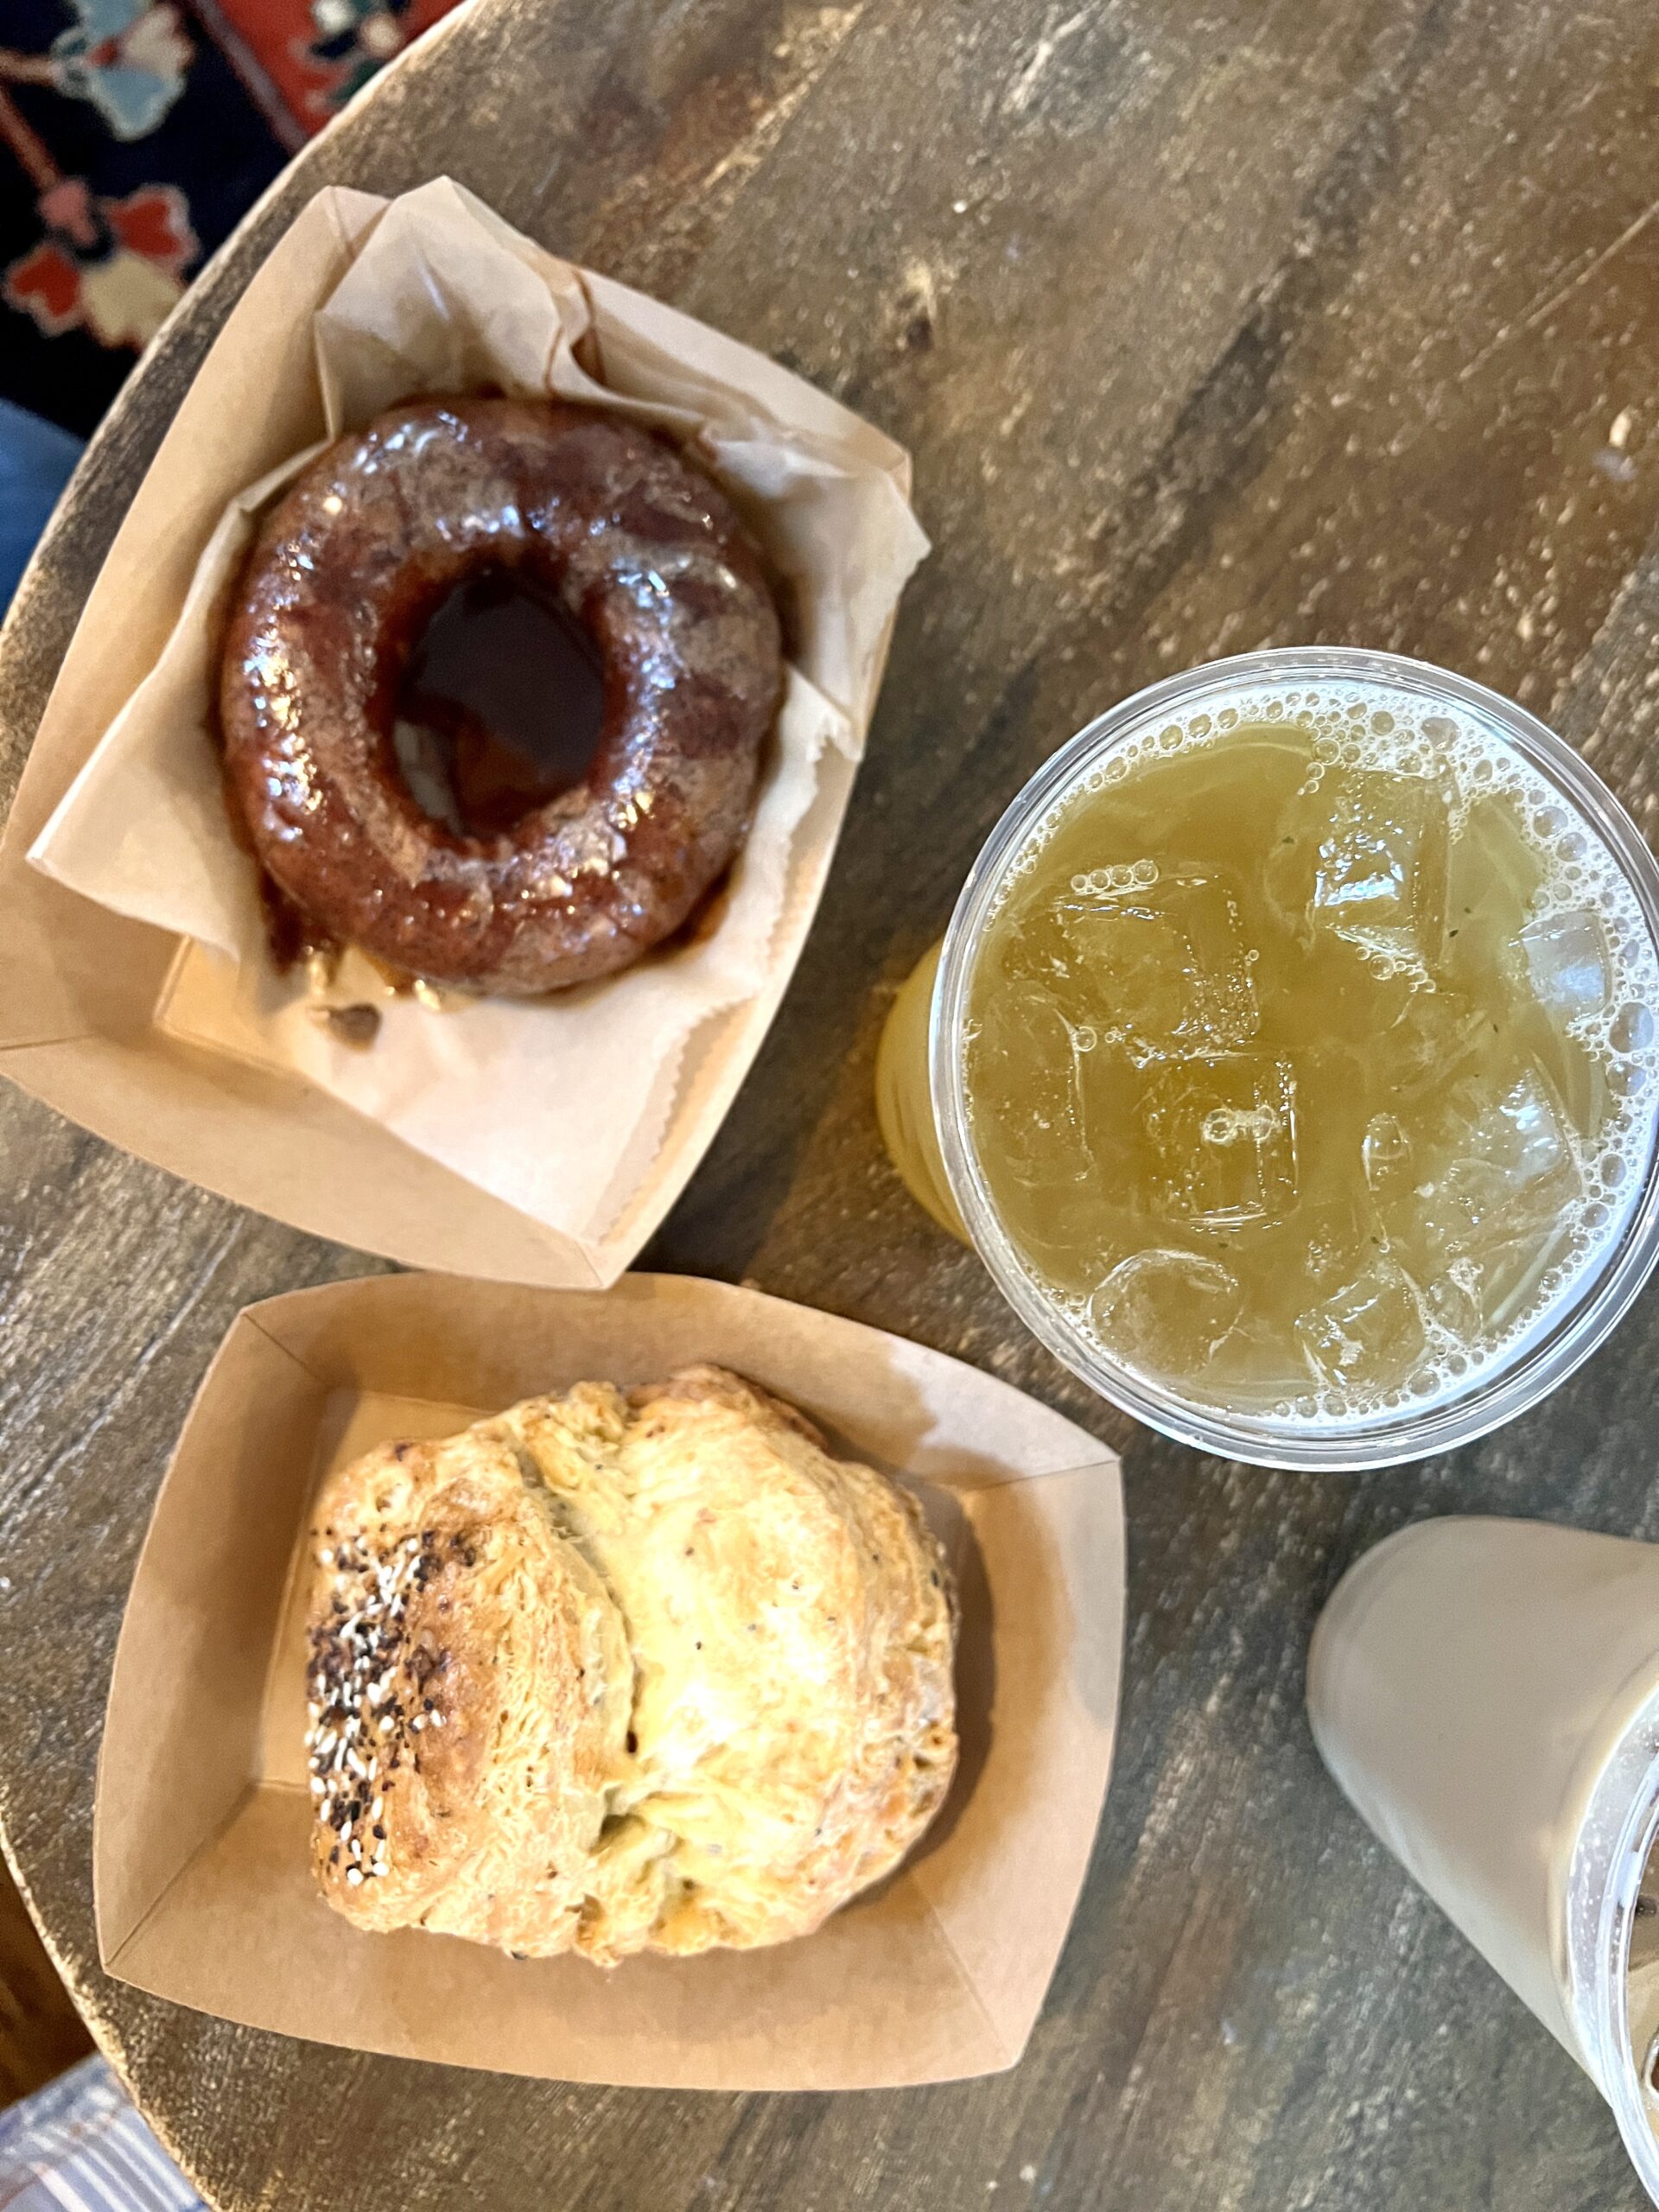 You’ll feel like a kid again, selecting your cake doughnut flavor and icing. No doubt, my warm chocolate doughnut (ready within minutes of my order!) was divine, but the savory scone was scrumptious.
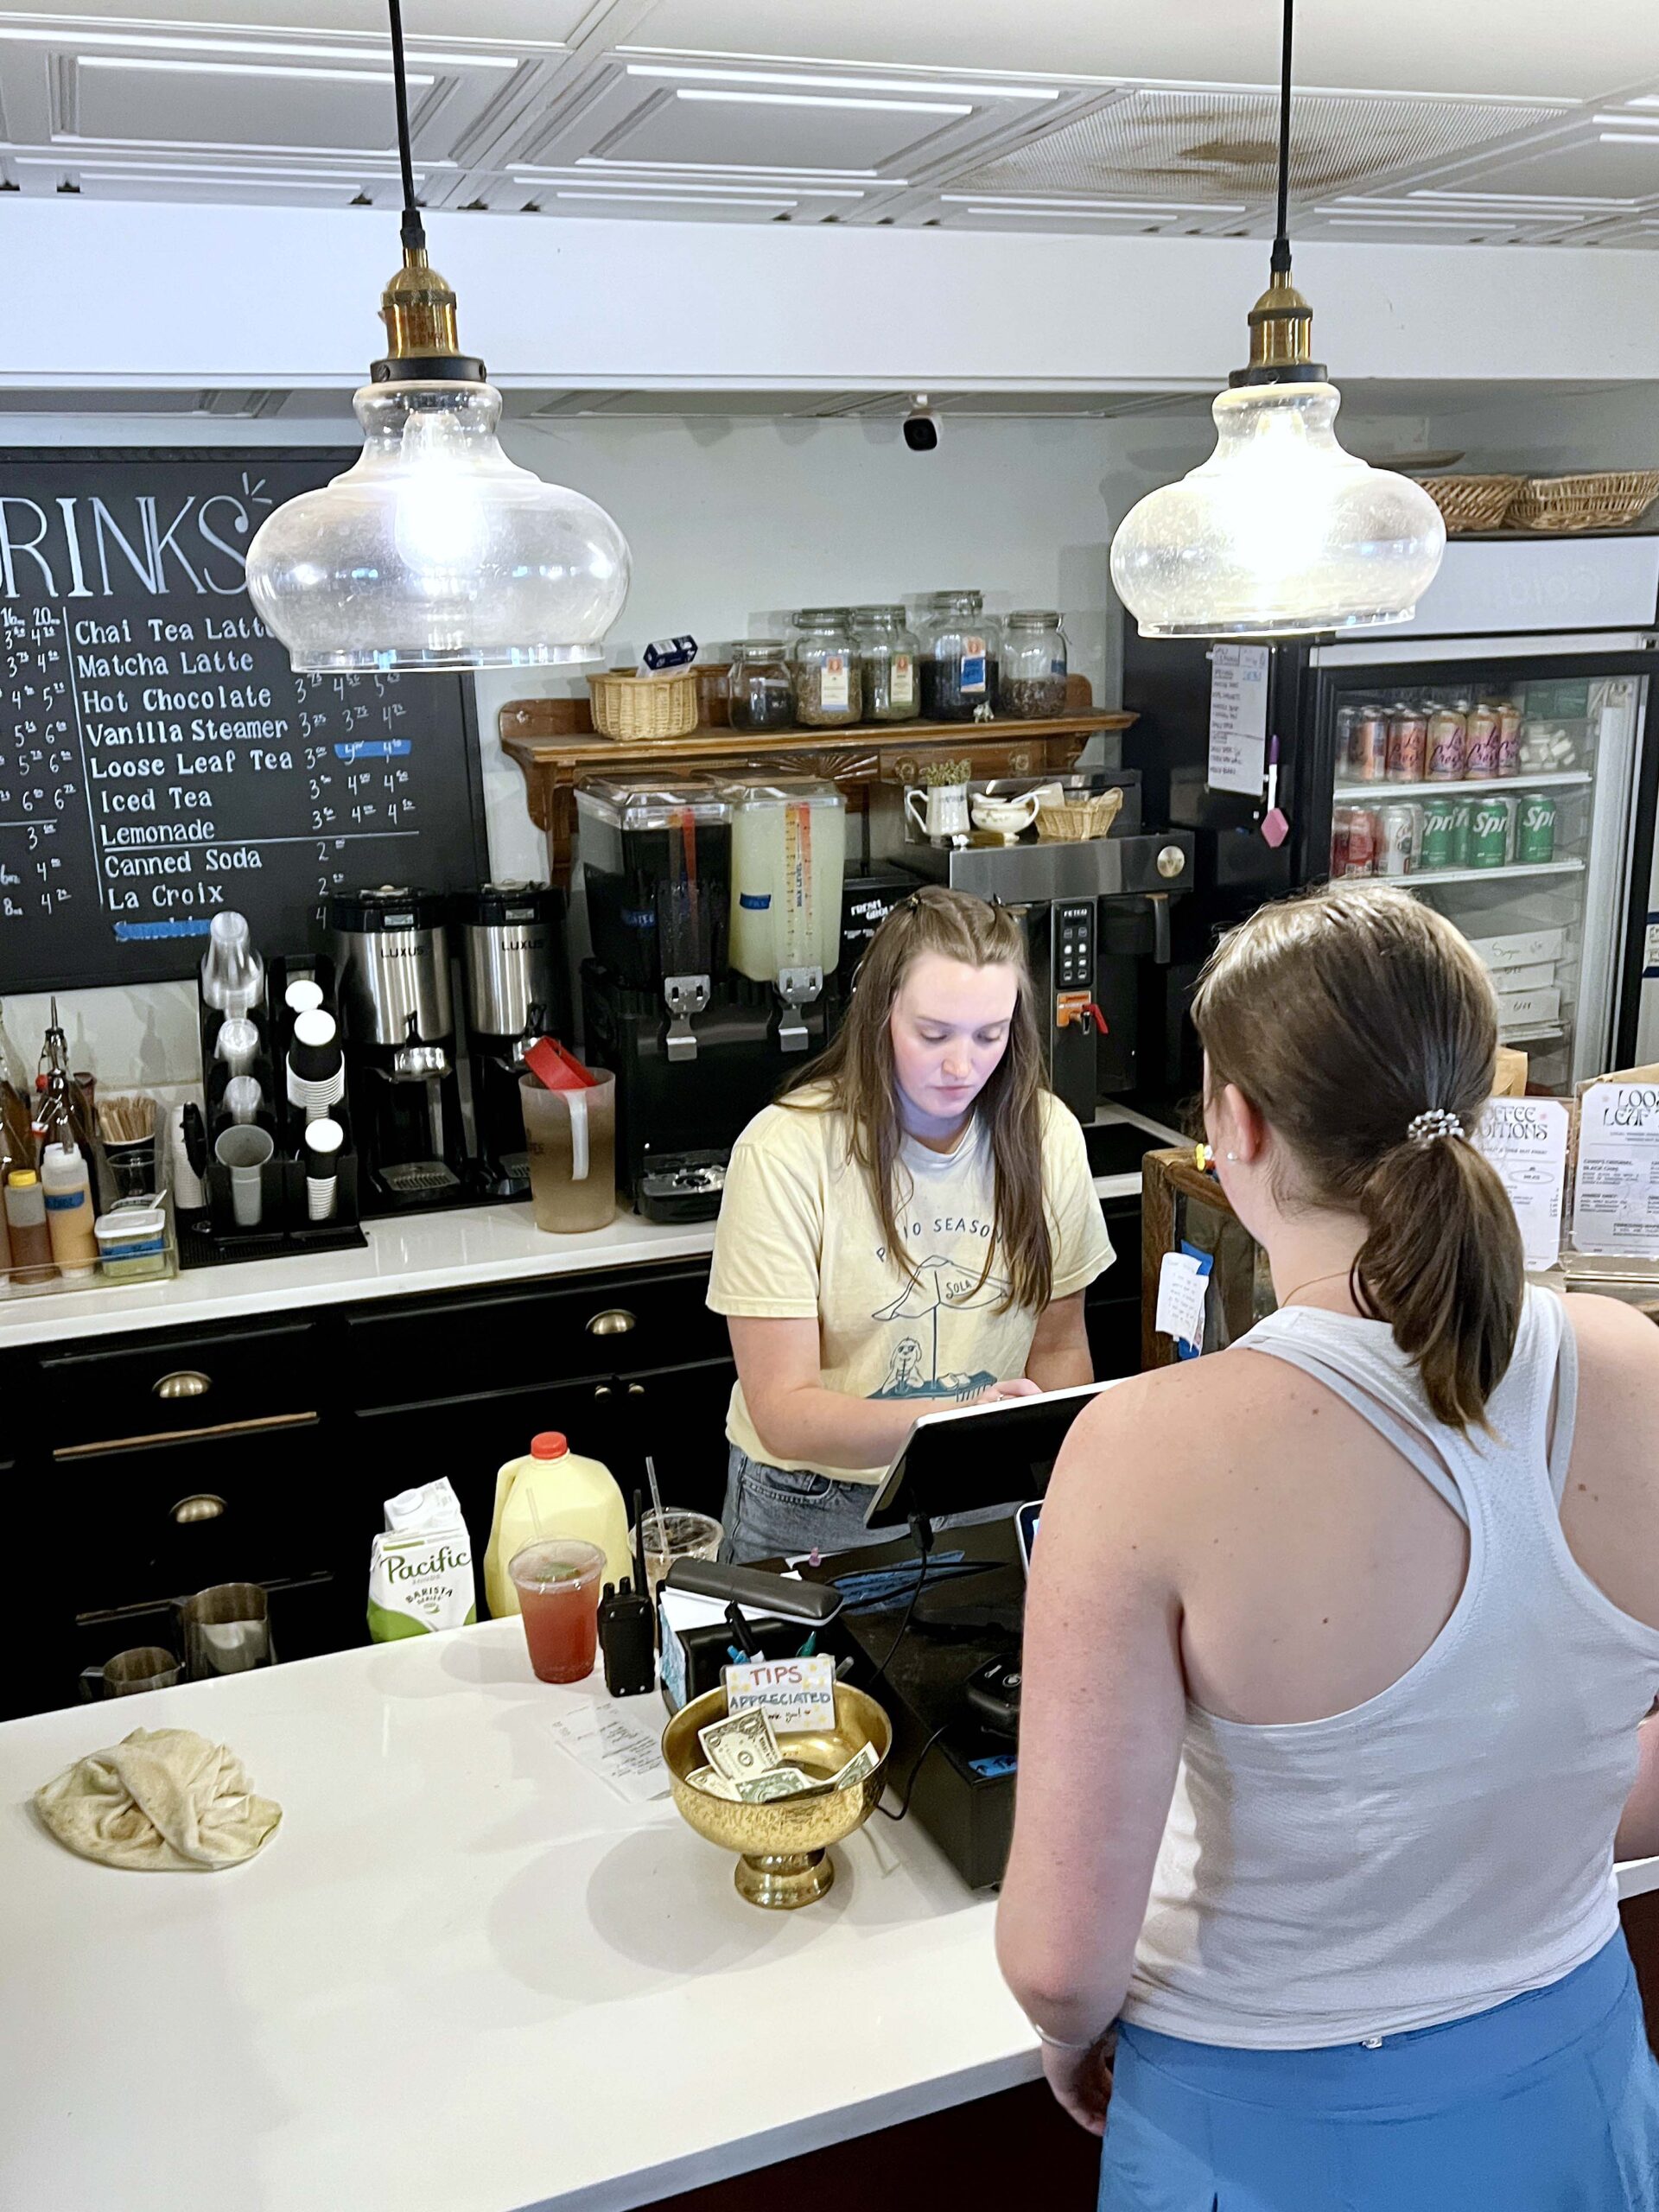 When you arrive, ask to see the seasonal drink menu, or trust that any coffee or tea will satisfy.
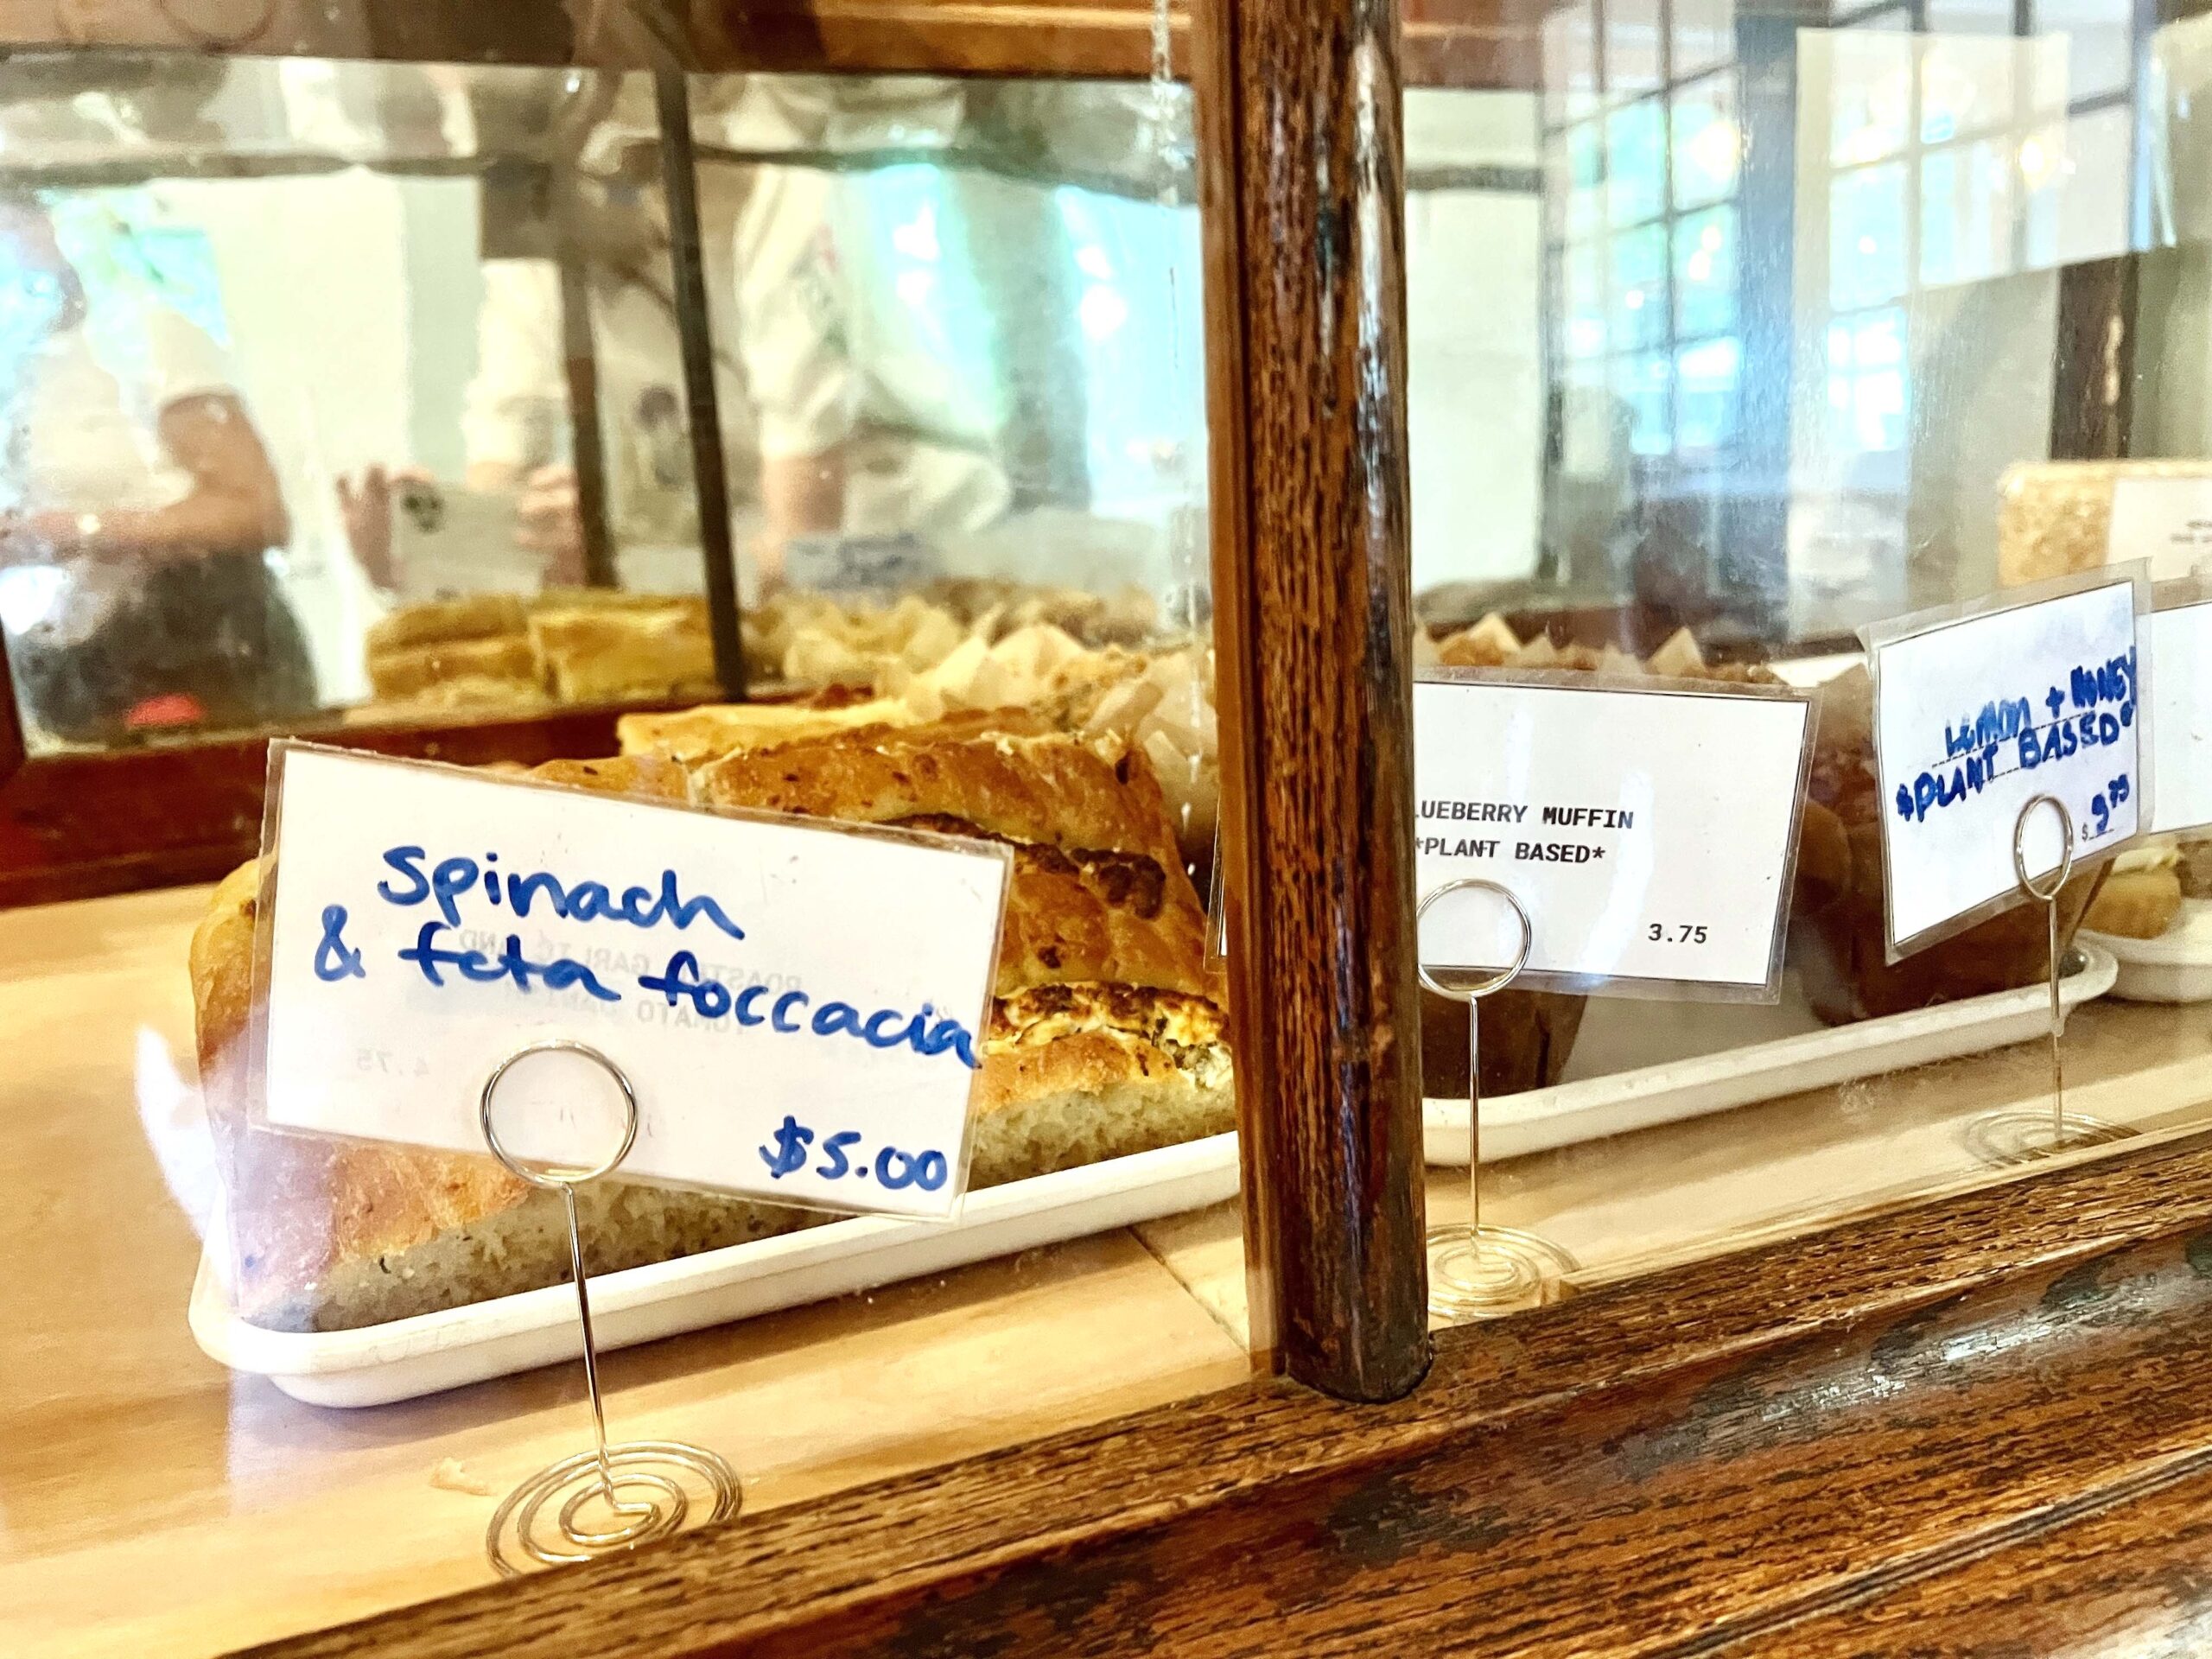 You can order doughnuts individually, by half, or by a full dozen.
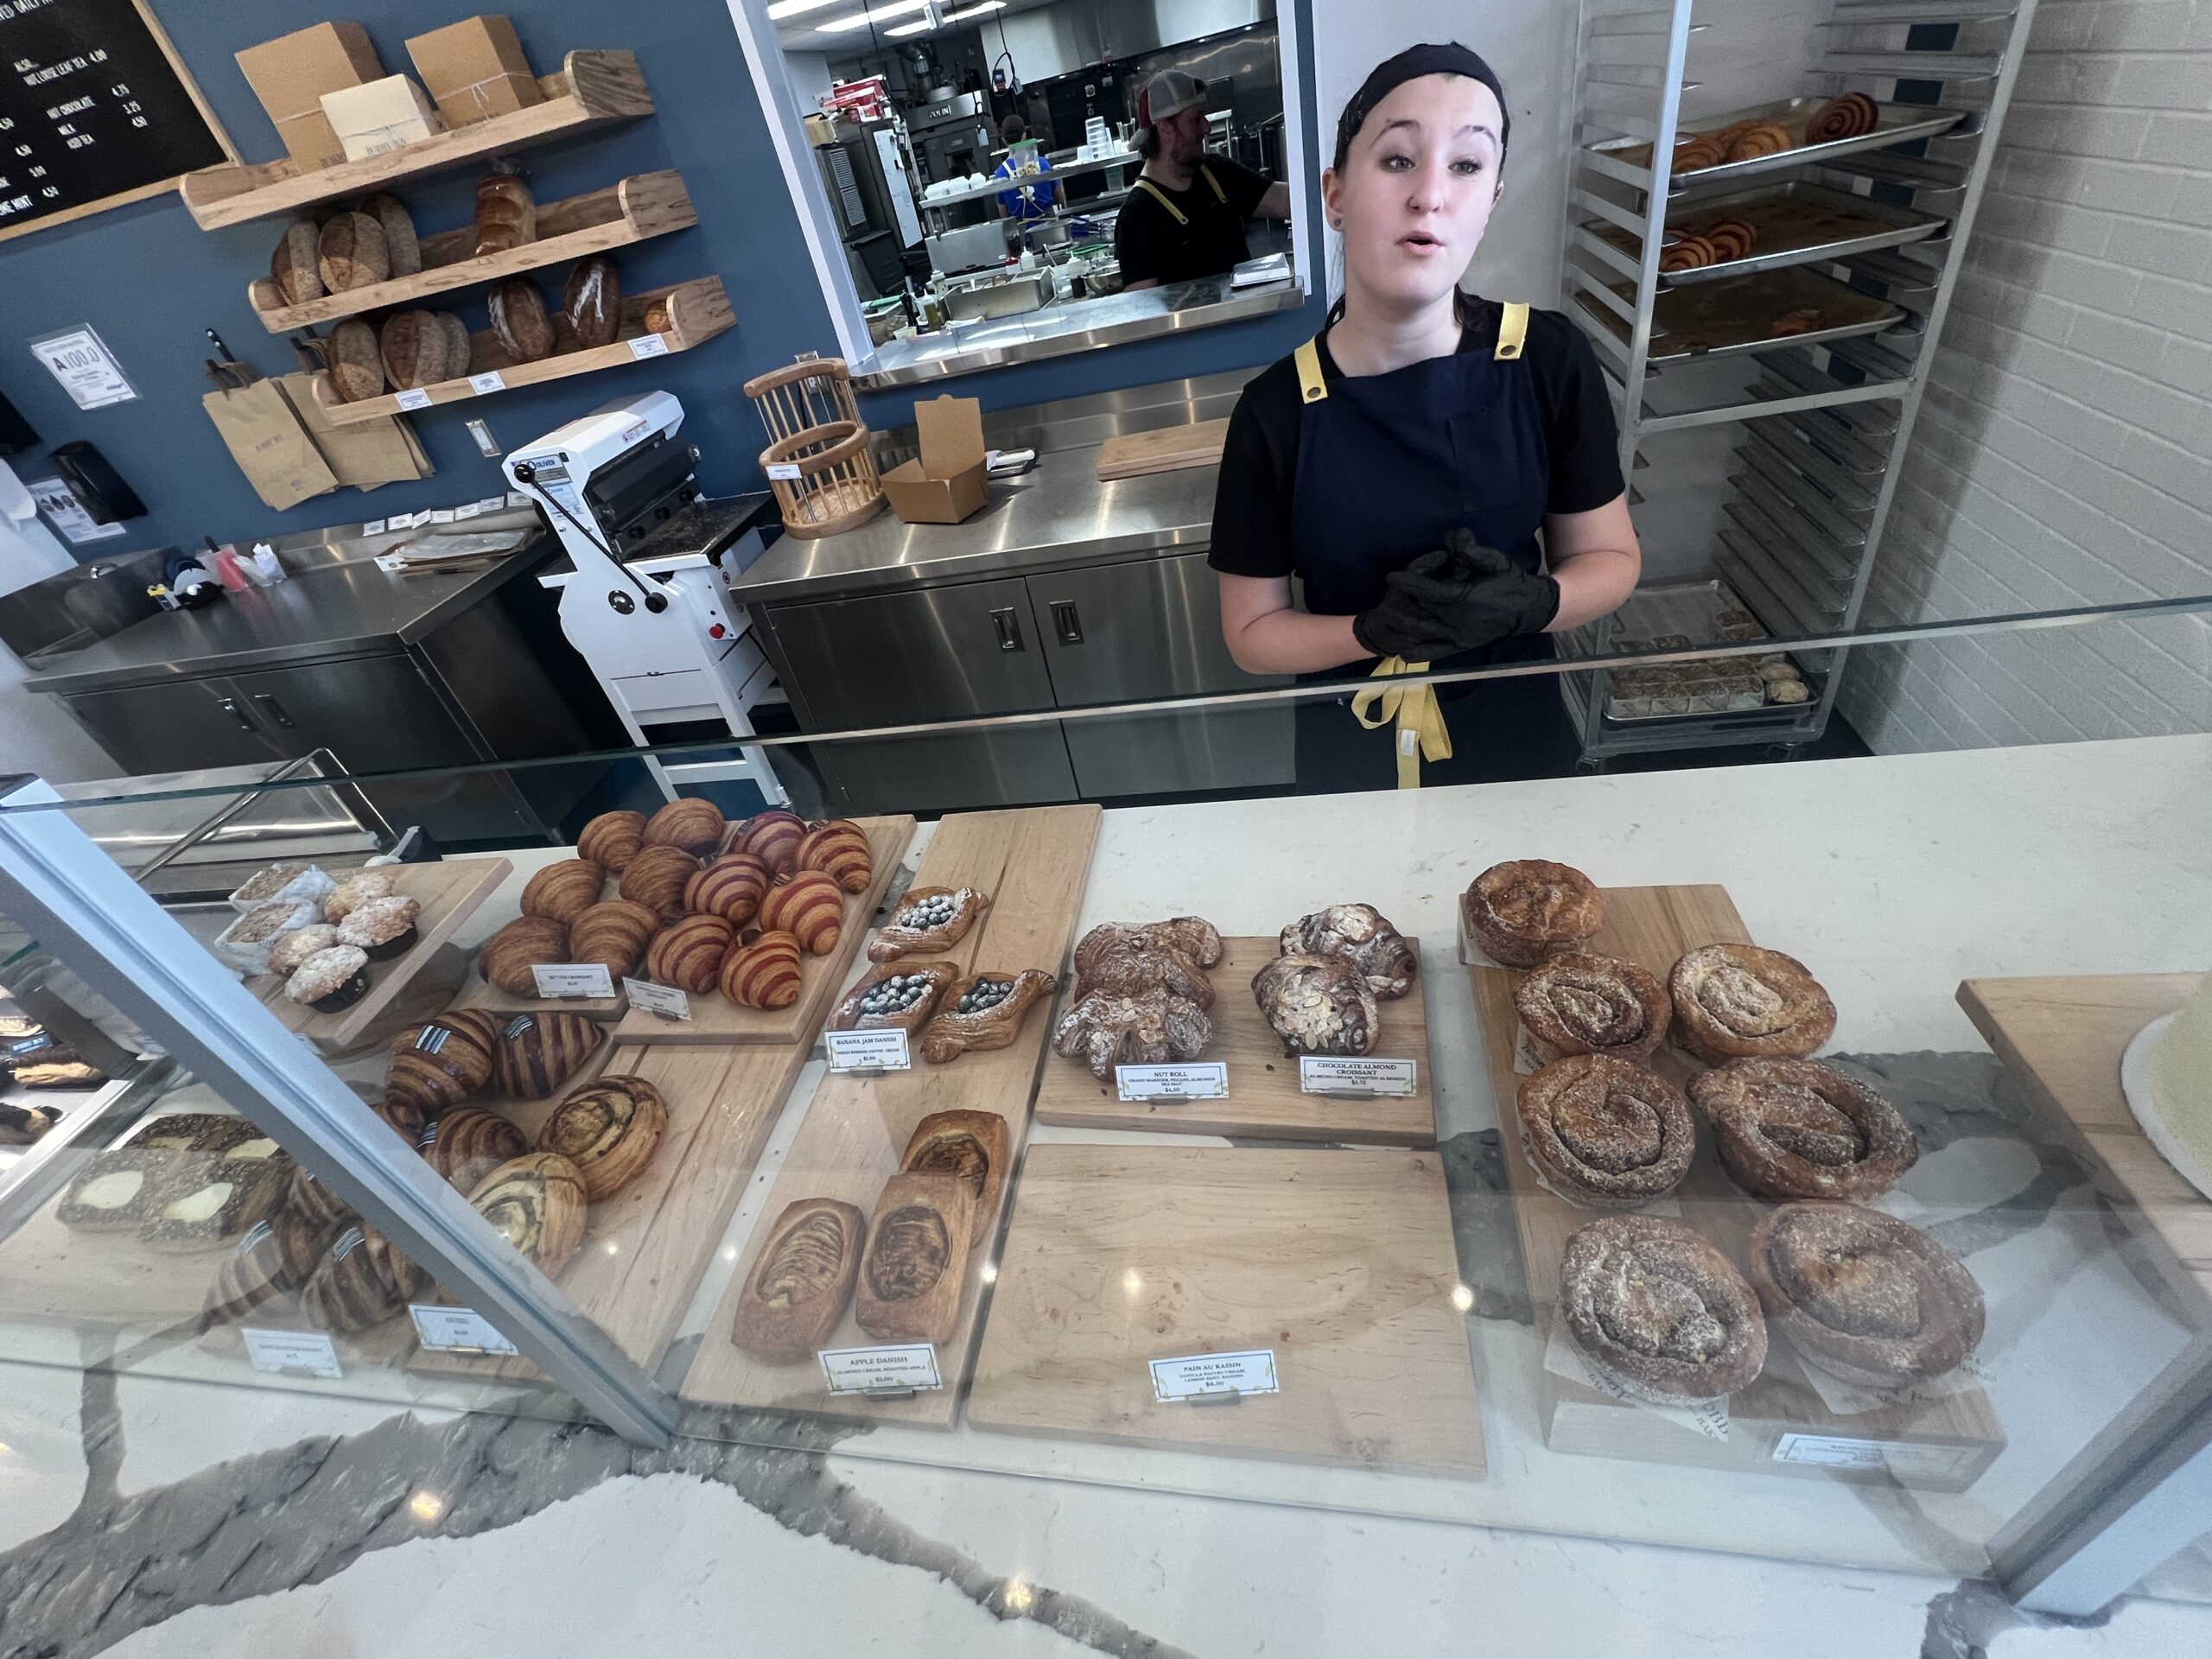 You can expect to find French-inspired pastries available to select from well after the morning hours. Ask about their breads and baguette sandwiches.
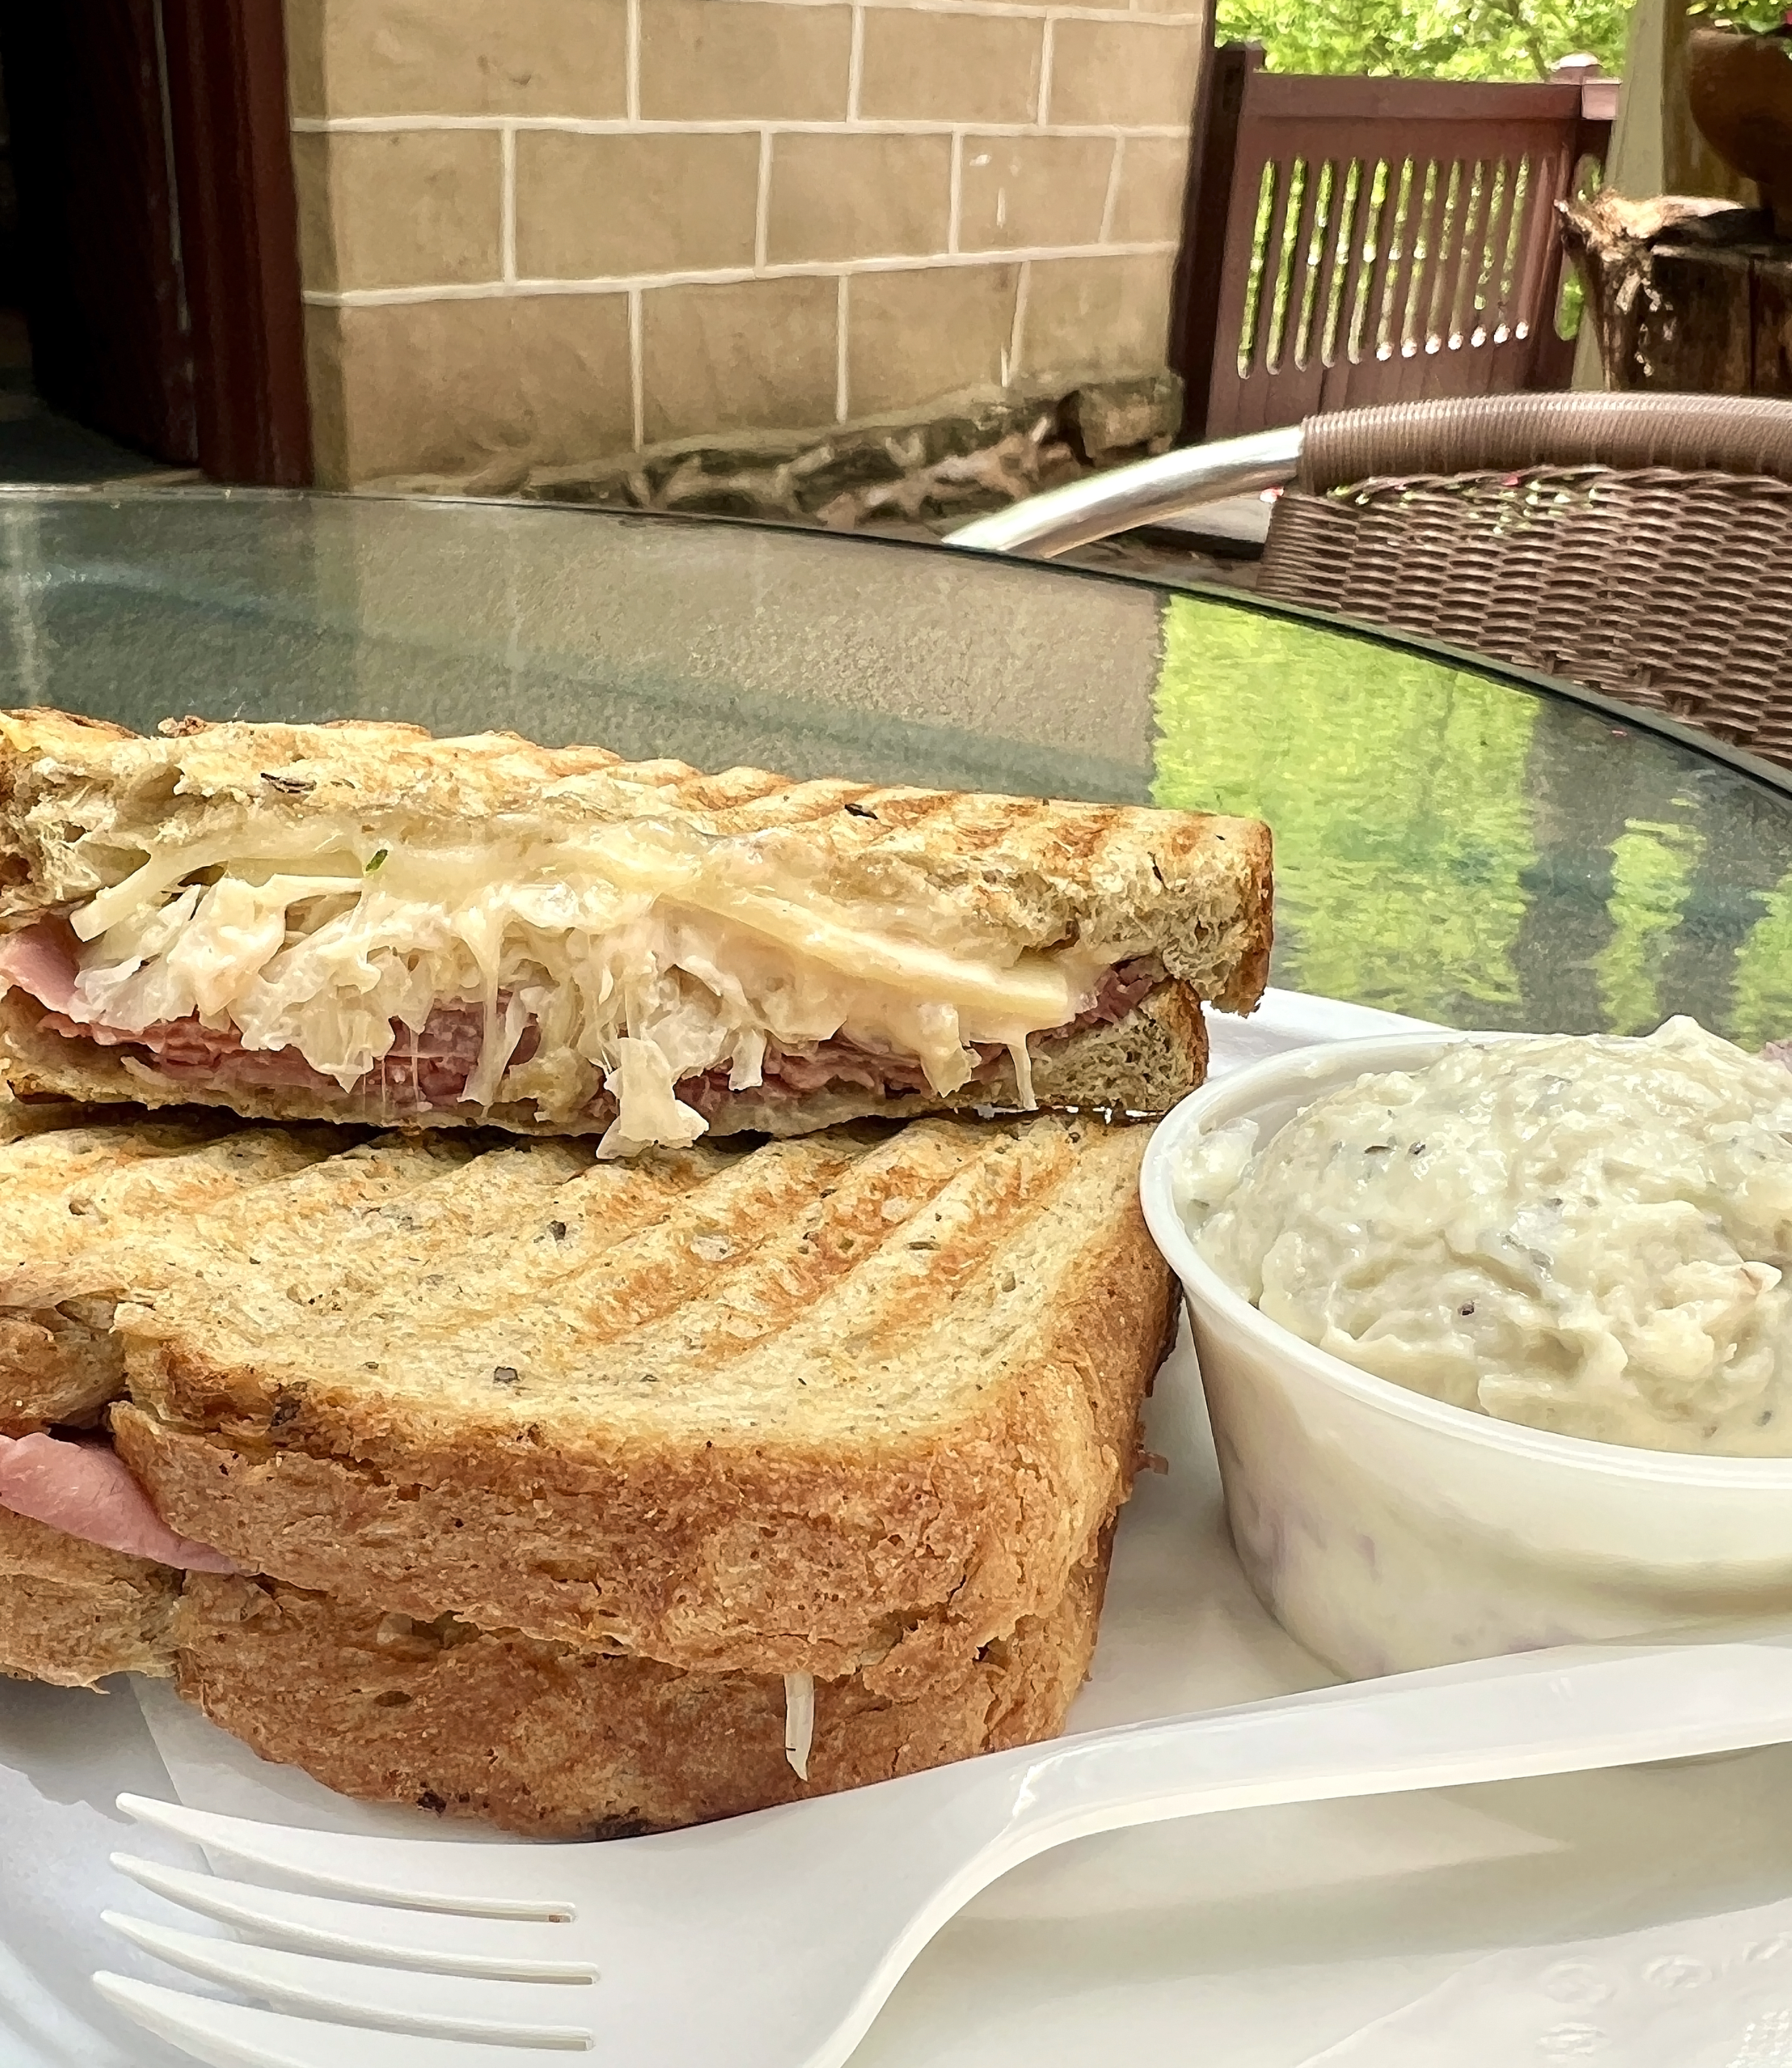 I sipped a Red Oak Bavarian Amber Lager from a can in between bites of a toasted reuben sandwich and potato salad. The patio was filled with senior adults chatting about their day as a musician set up his gear.
 Our table ordered the Spicy Crawfish Eggrolls, which arrived freshly rolled, hot, and crispy. Although I didn’t taste a seafood flavor, I enjoyed them for the crunchy exterior and shredded vegetables inside. The Pimento Cheese served with flatbread and pepper jelly was a table favorite.
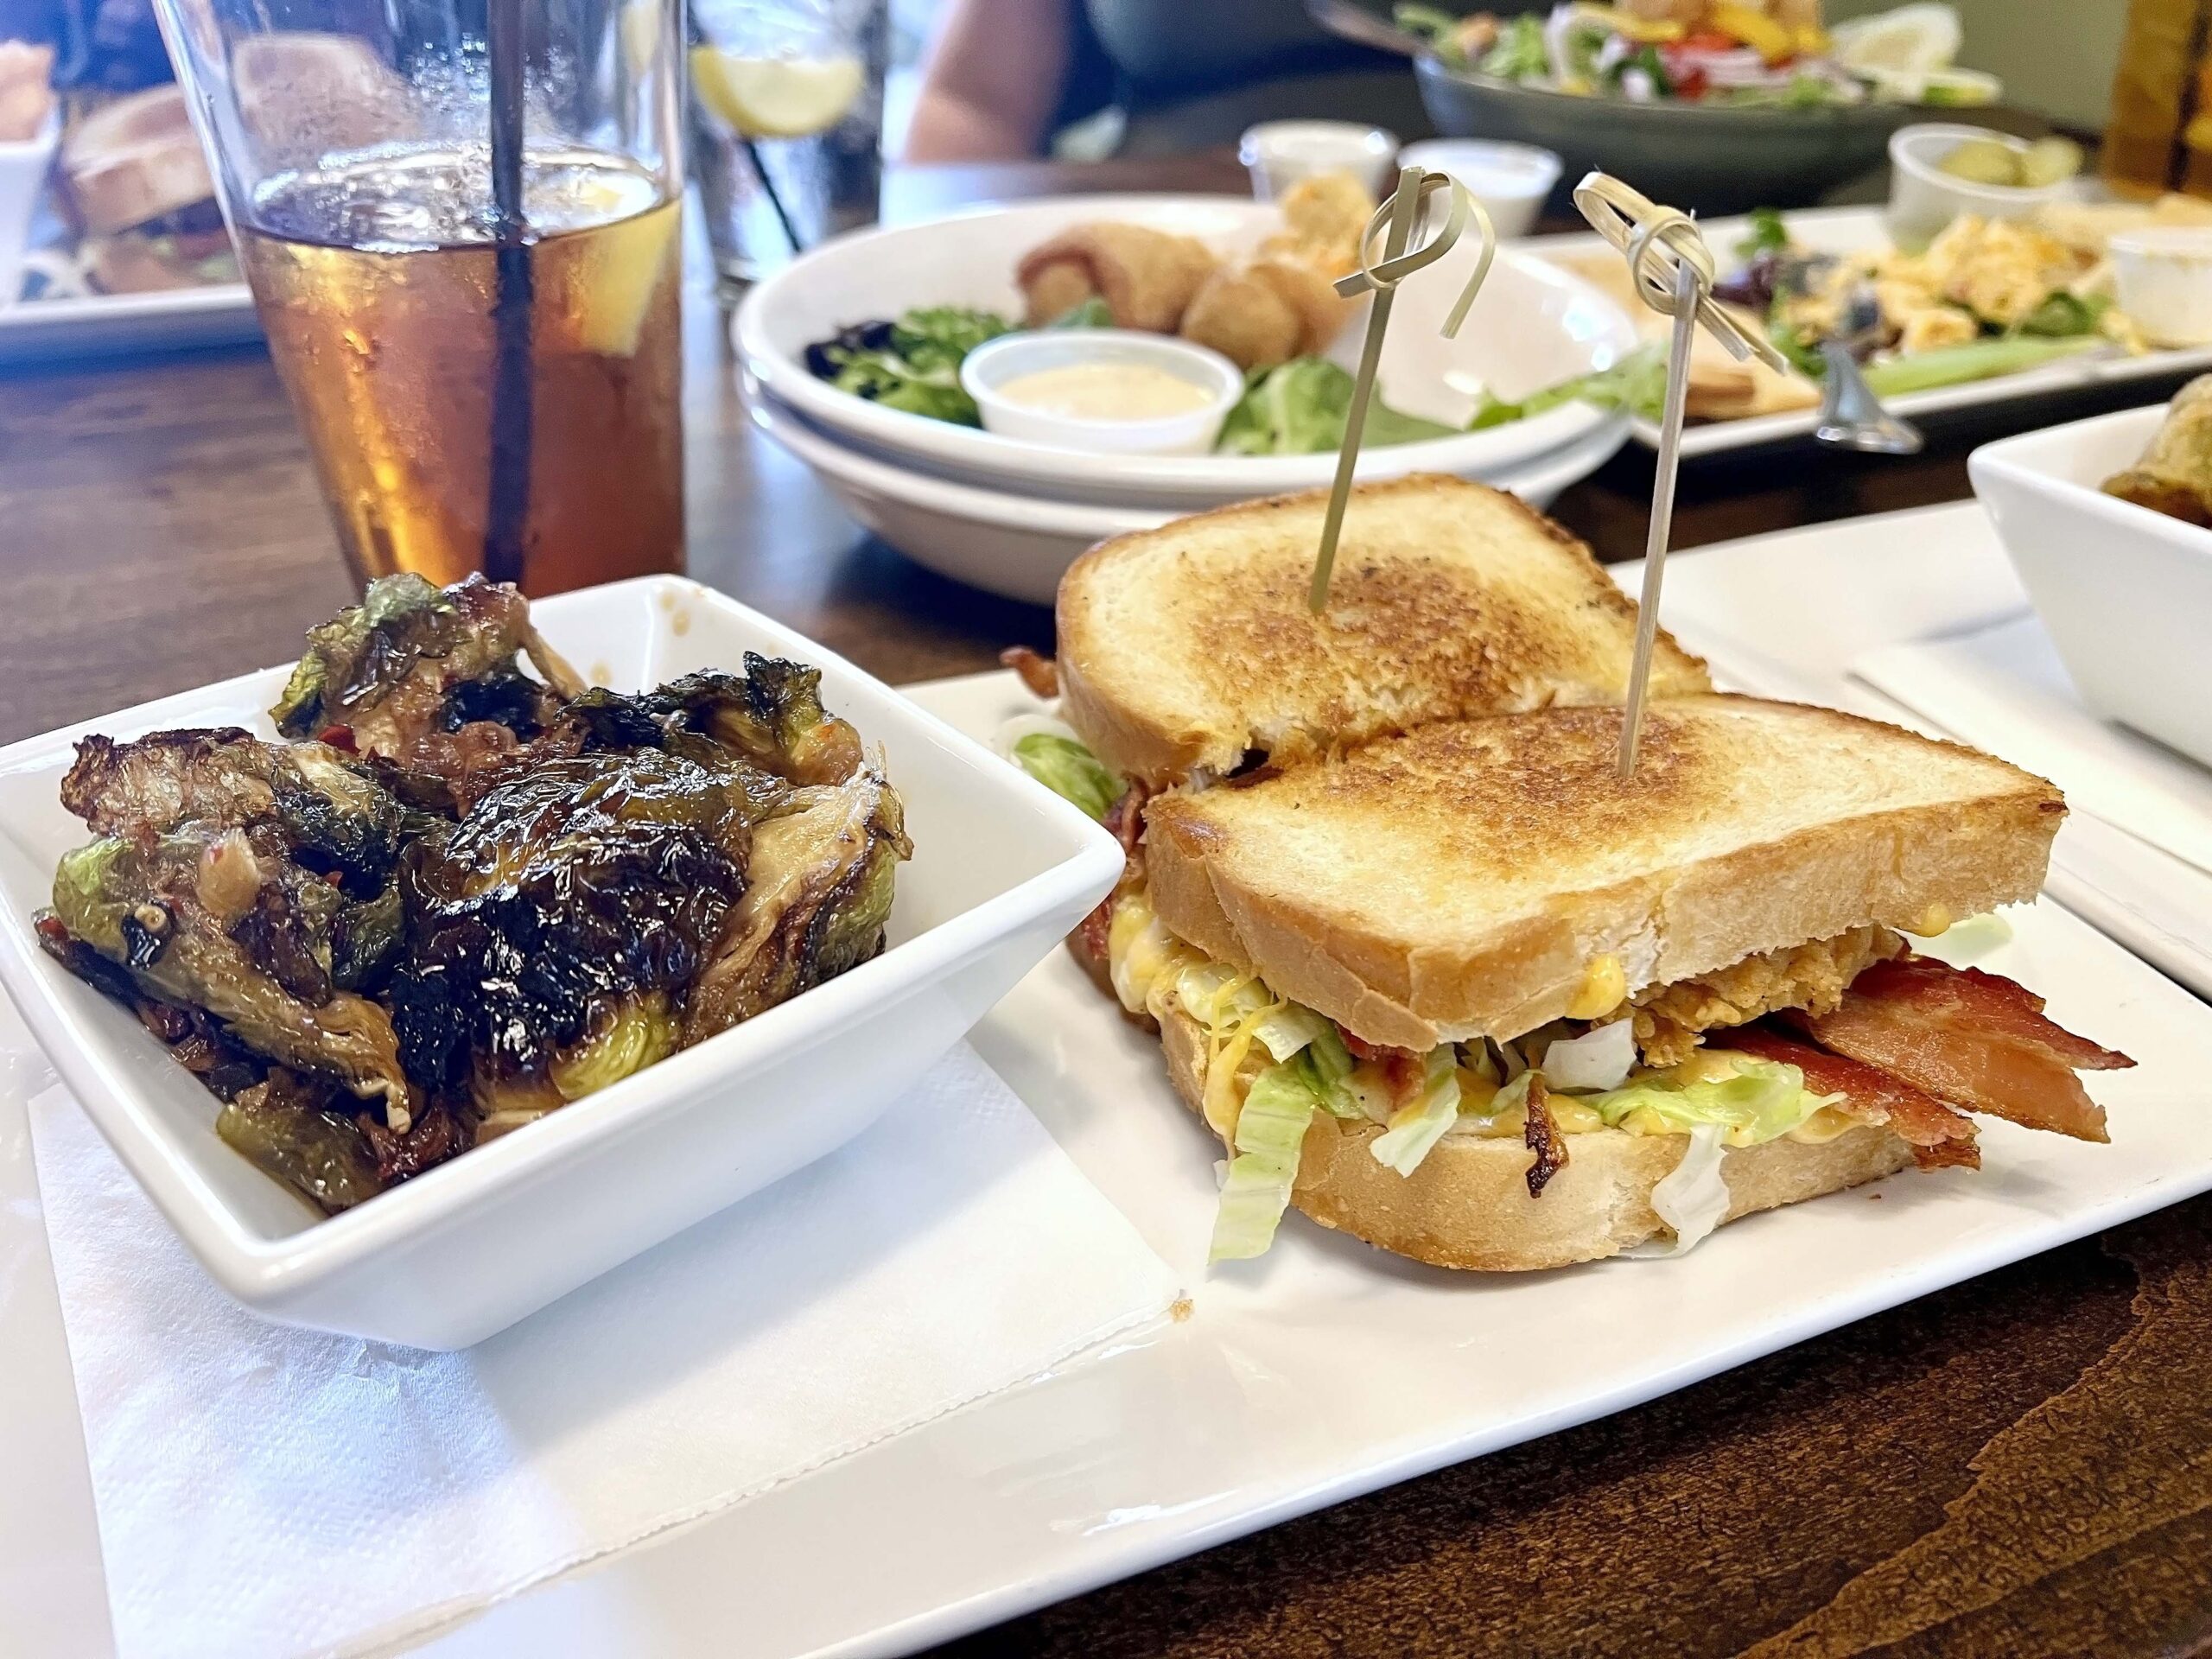 I can attest that the kitchen knows how to prepare an excellent sandwich. The Fried Green Tomato BLT, stacked and slathered with pimento cheese spread, arrived with my choice of side dish, roasted Brussel sprouts.
 Most locals recommended Mozelle’s to us and suggested ordering the restaurant’s famous Tomato Pie. The kitchen sources as many of its ingredients as possible from local farms, brewers, wineries, and creameries.
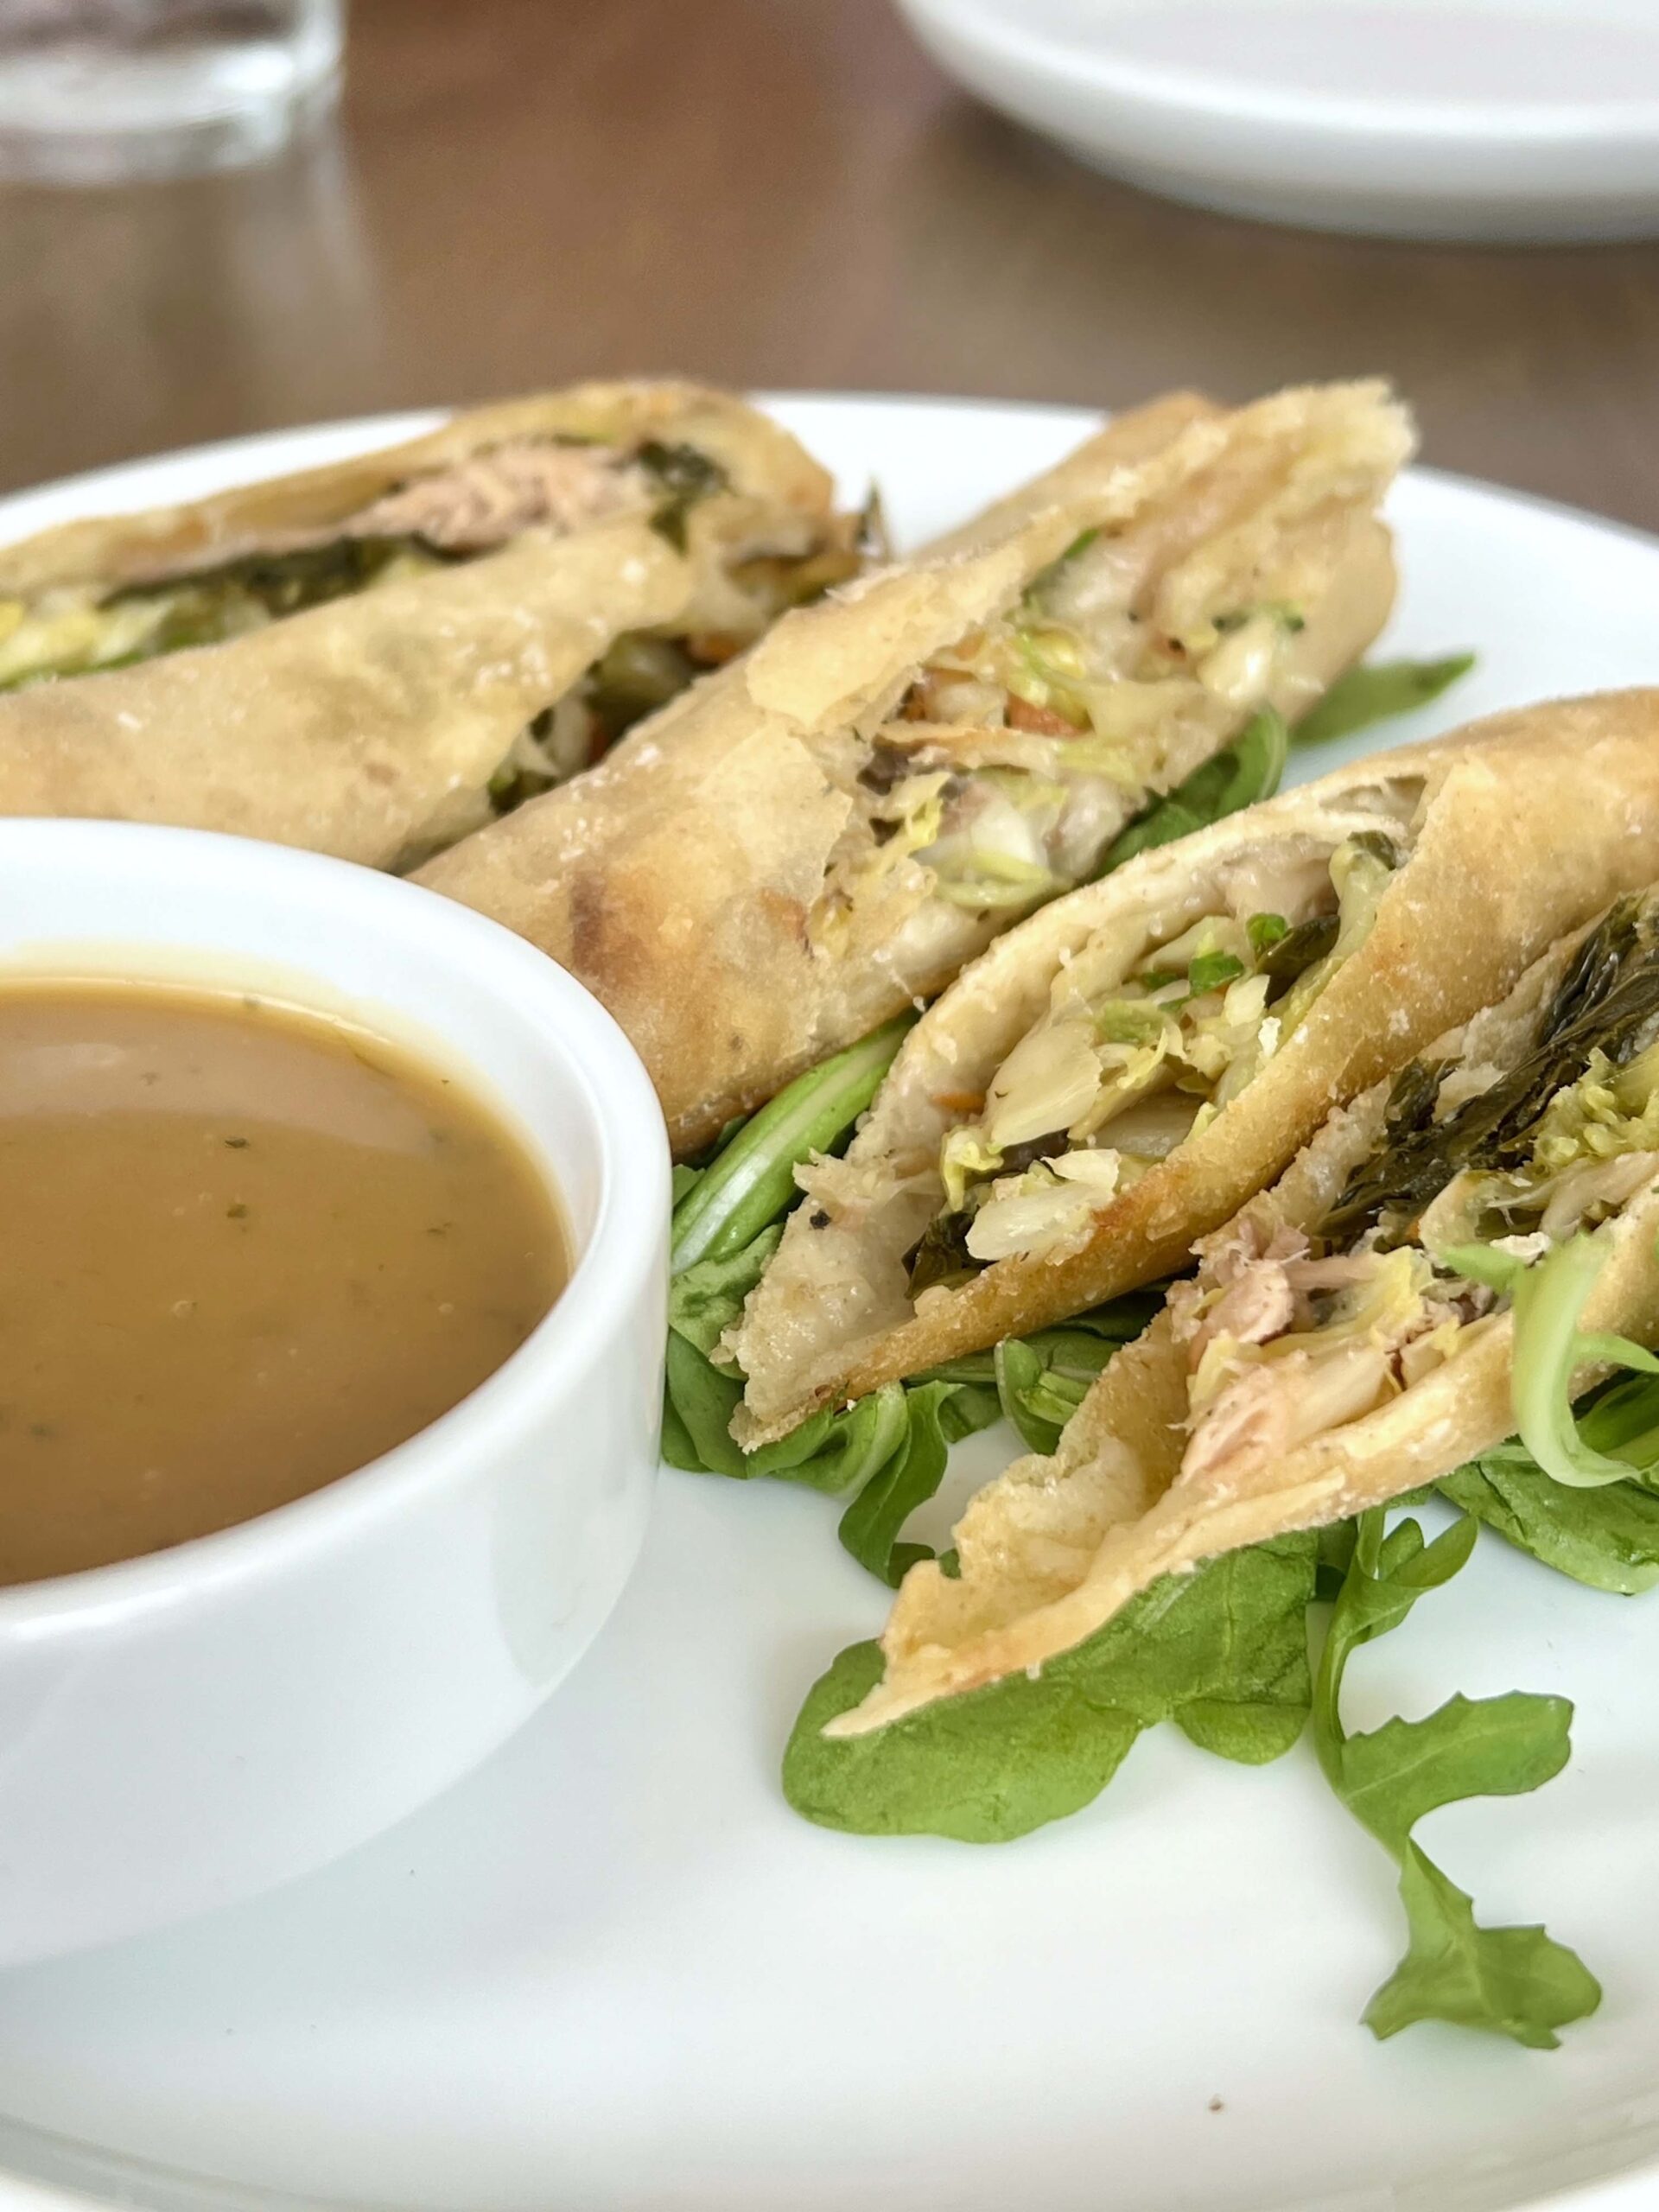 We ordered the Southern Spring Rolls served with sesame ginger dipping sauce as a pre-lunch appetizer, which I was delightfully surprised to see on the menu.
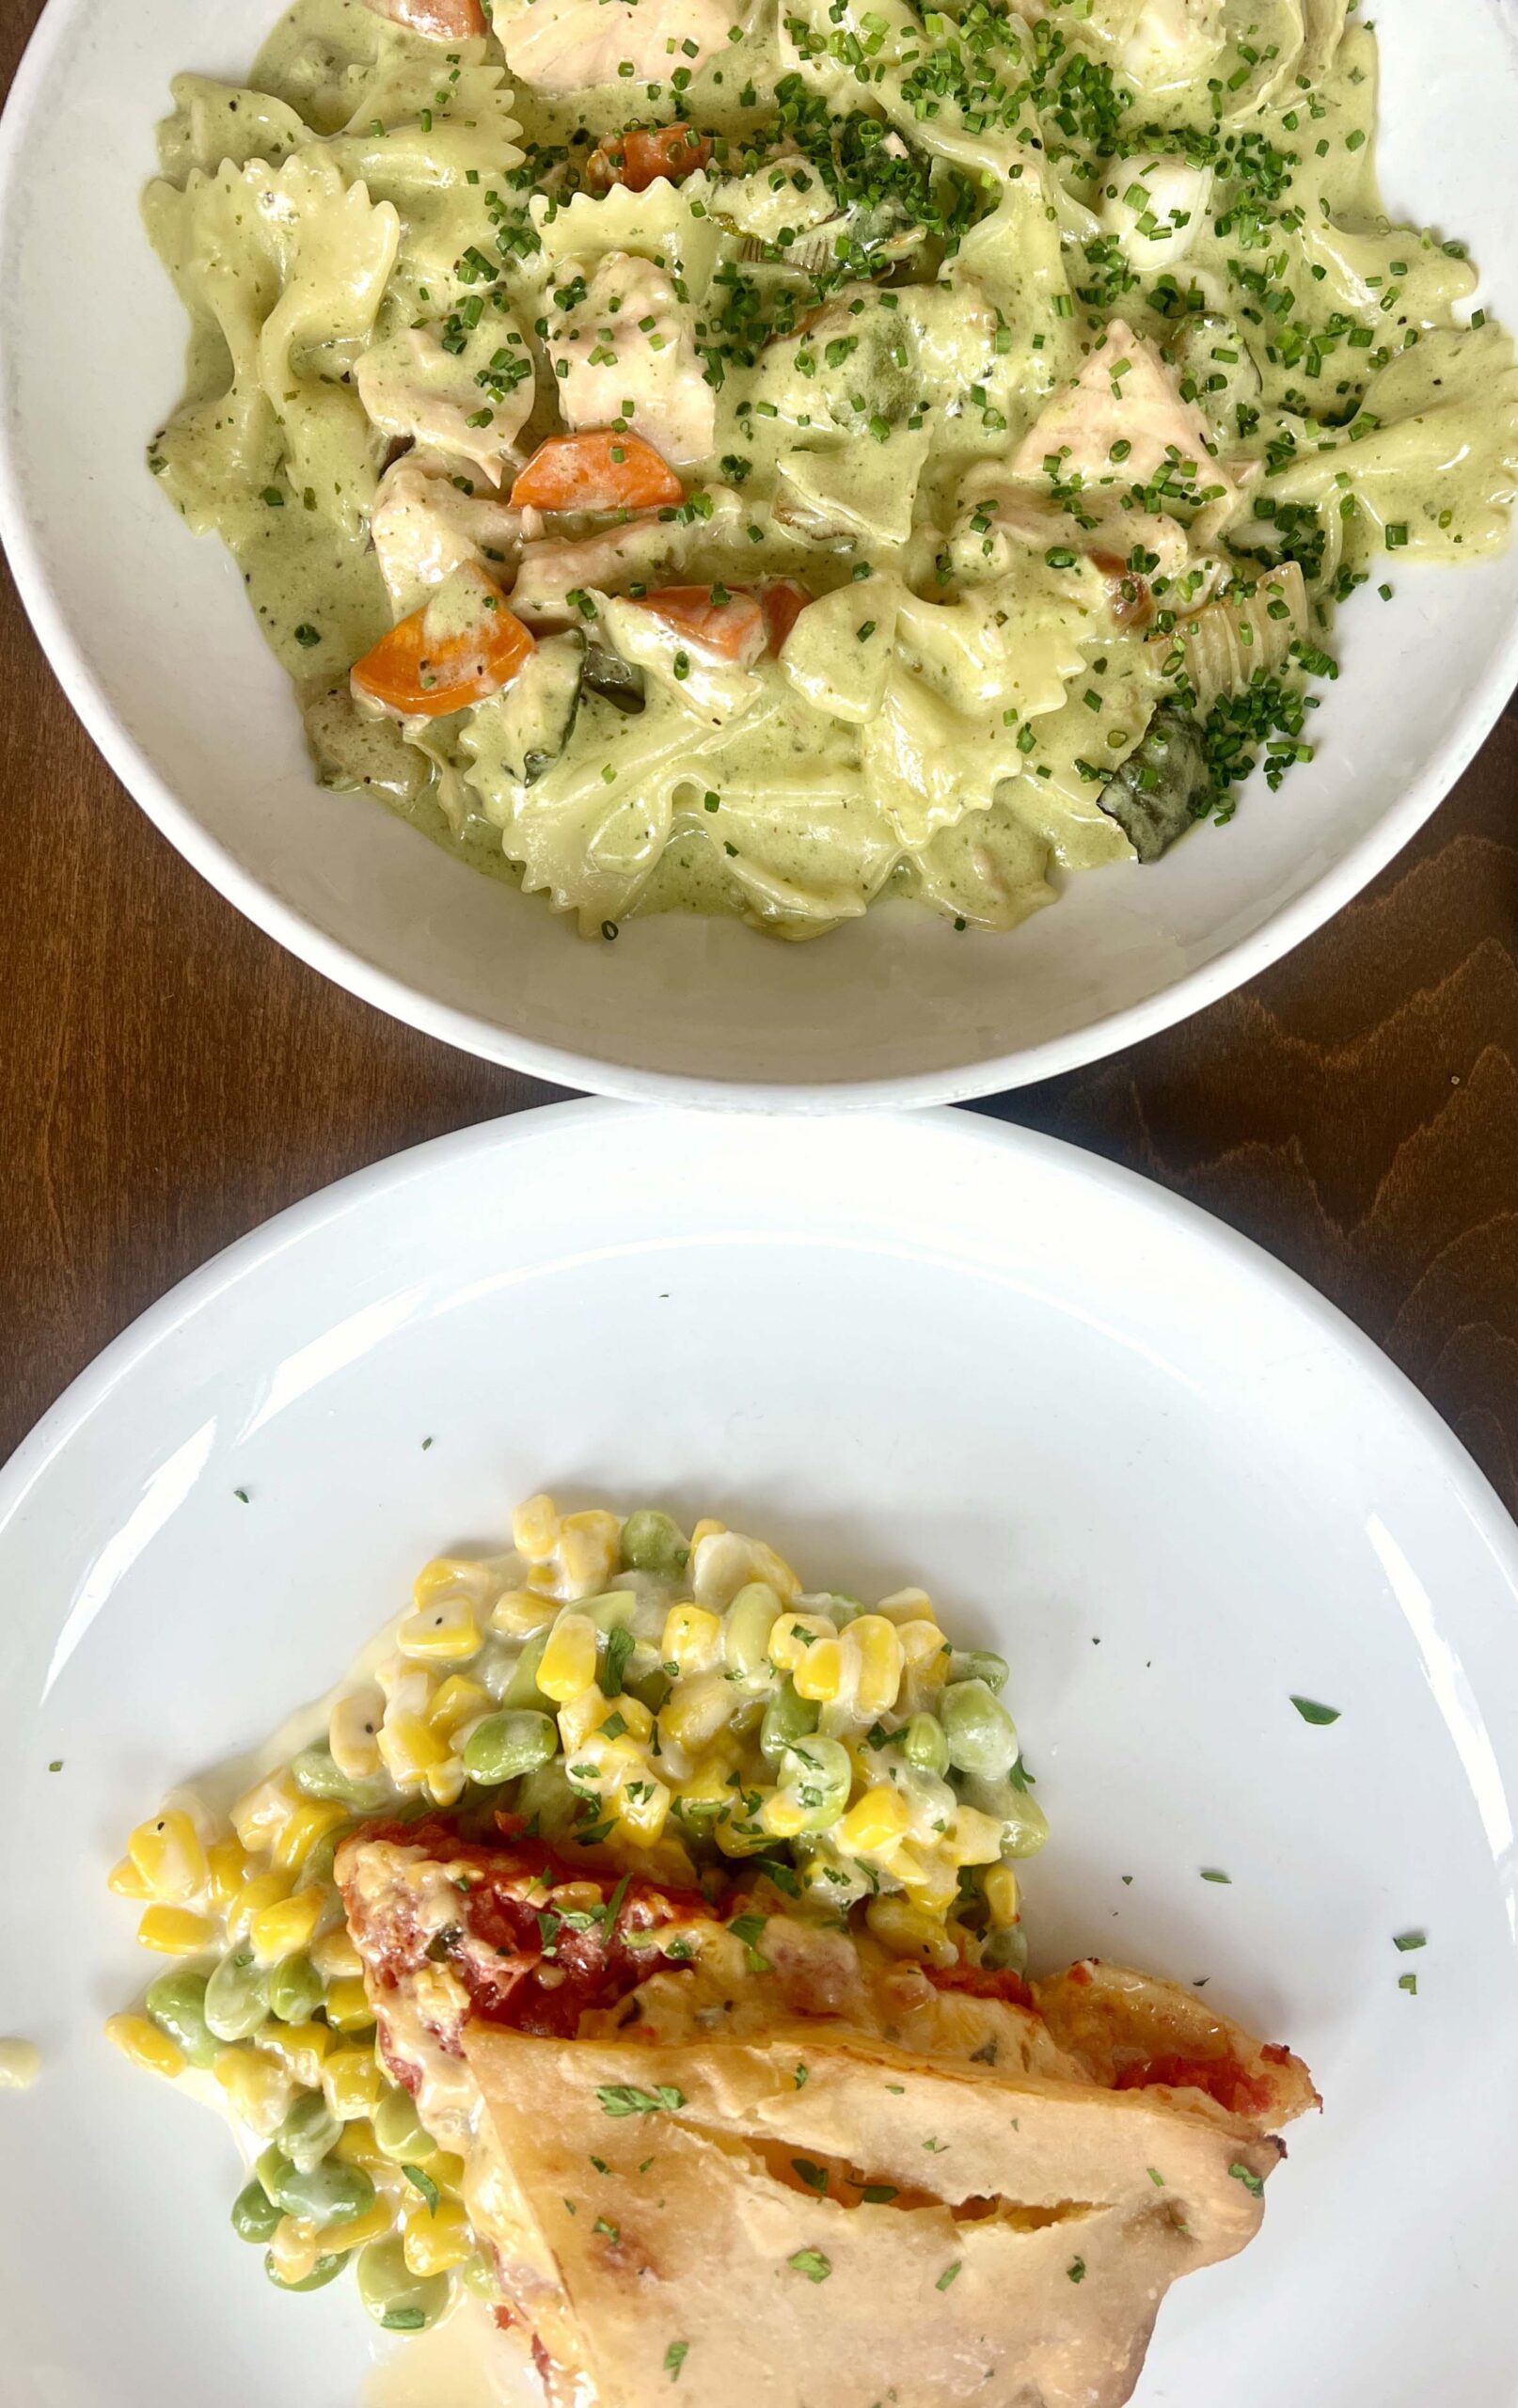 The Seafood Cream Pesto Pasta lunch special was a hearty portion with small chunks of salmon and scallops, both equally delectable.
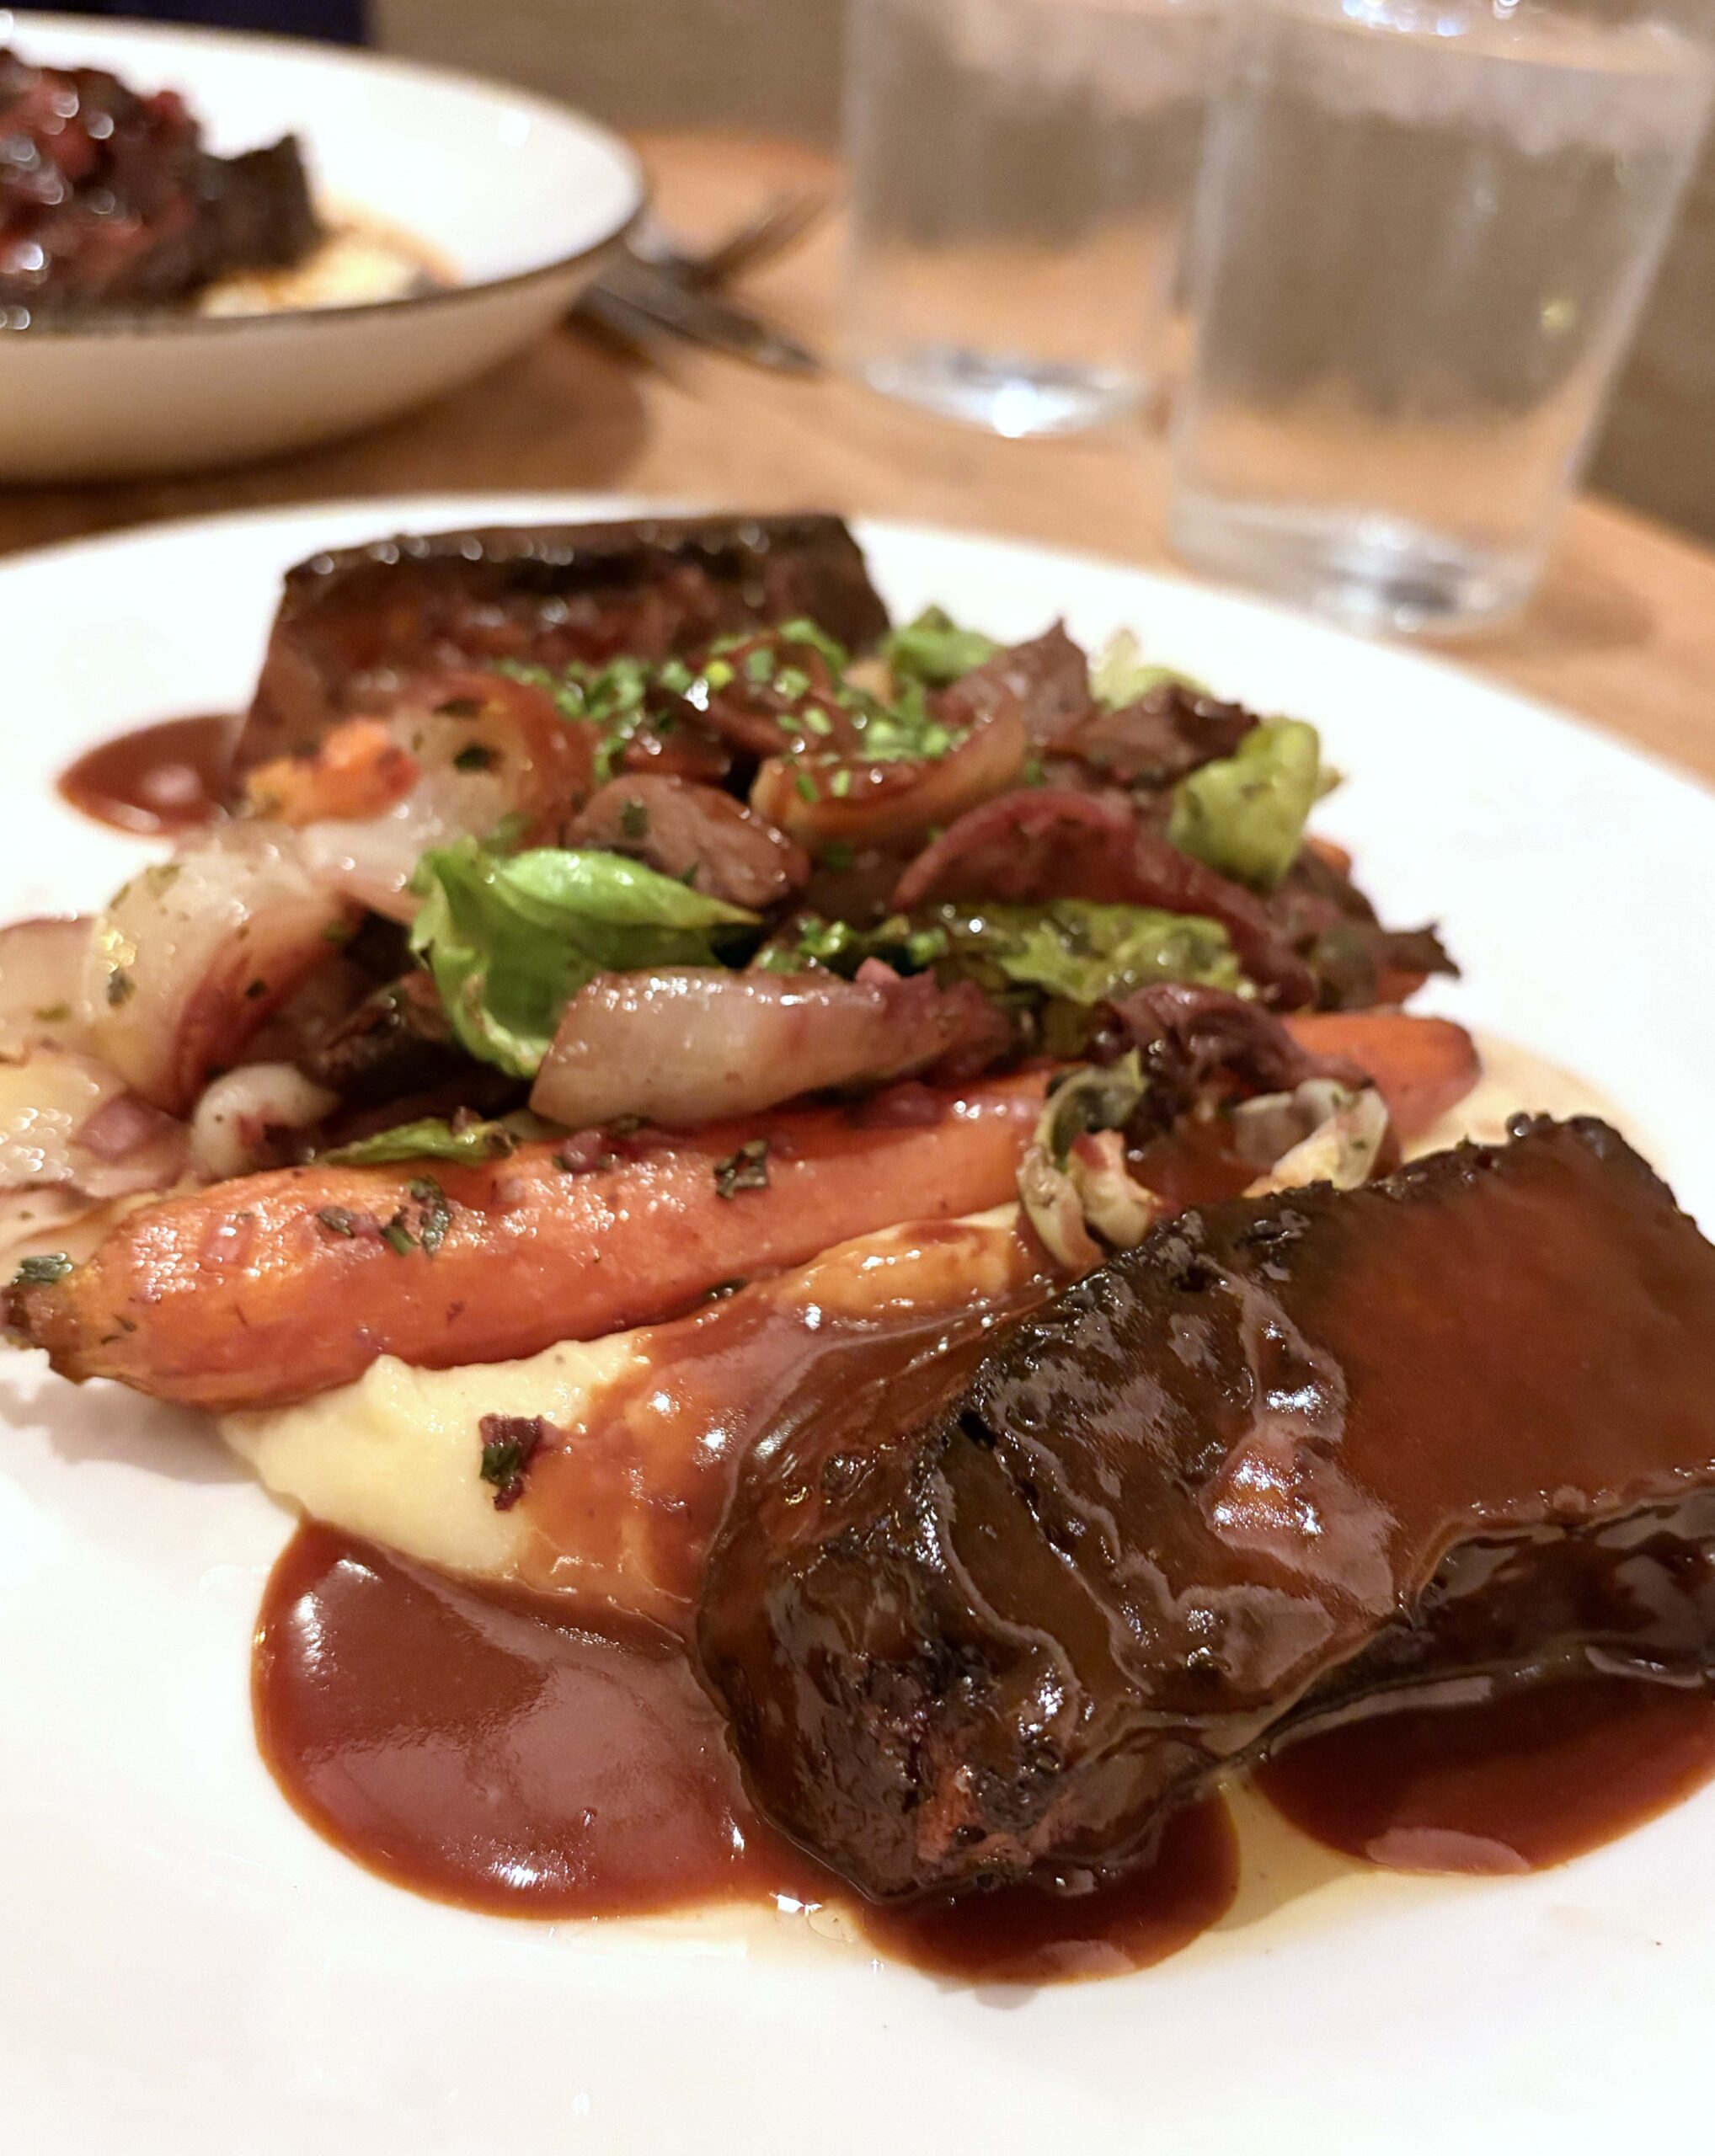 We ordered the escargot as a prelude to a smoked pork chop with grits and braised beef short rib served in a red wine sauce. To say the least, the well-plated meal was one of the best-tasting we’ve had during all our travels.
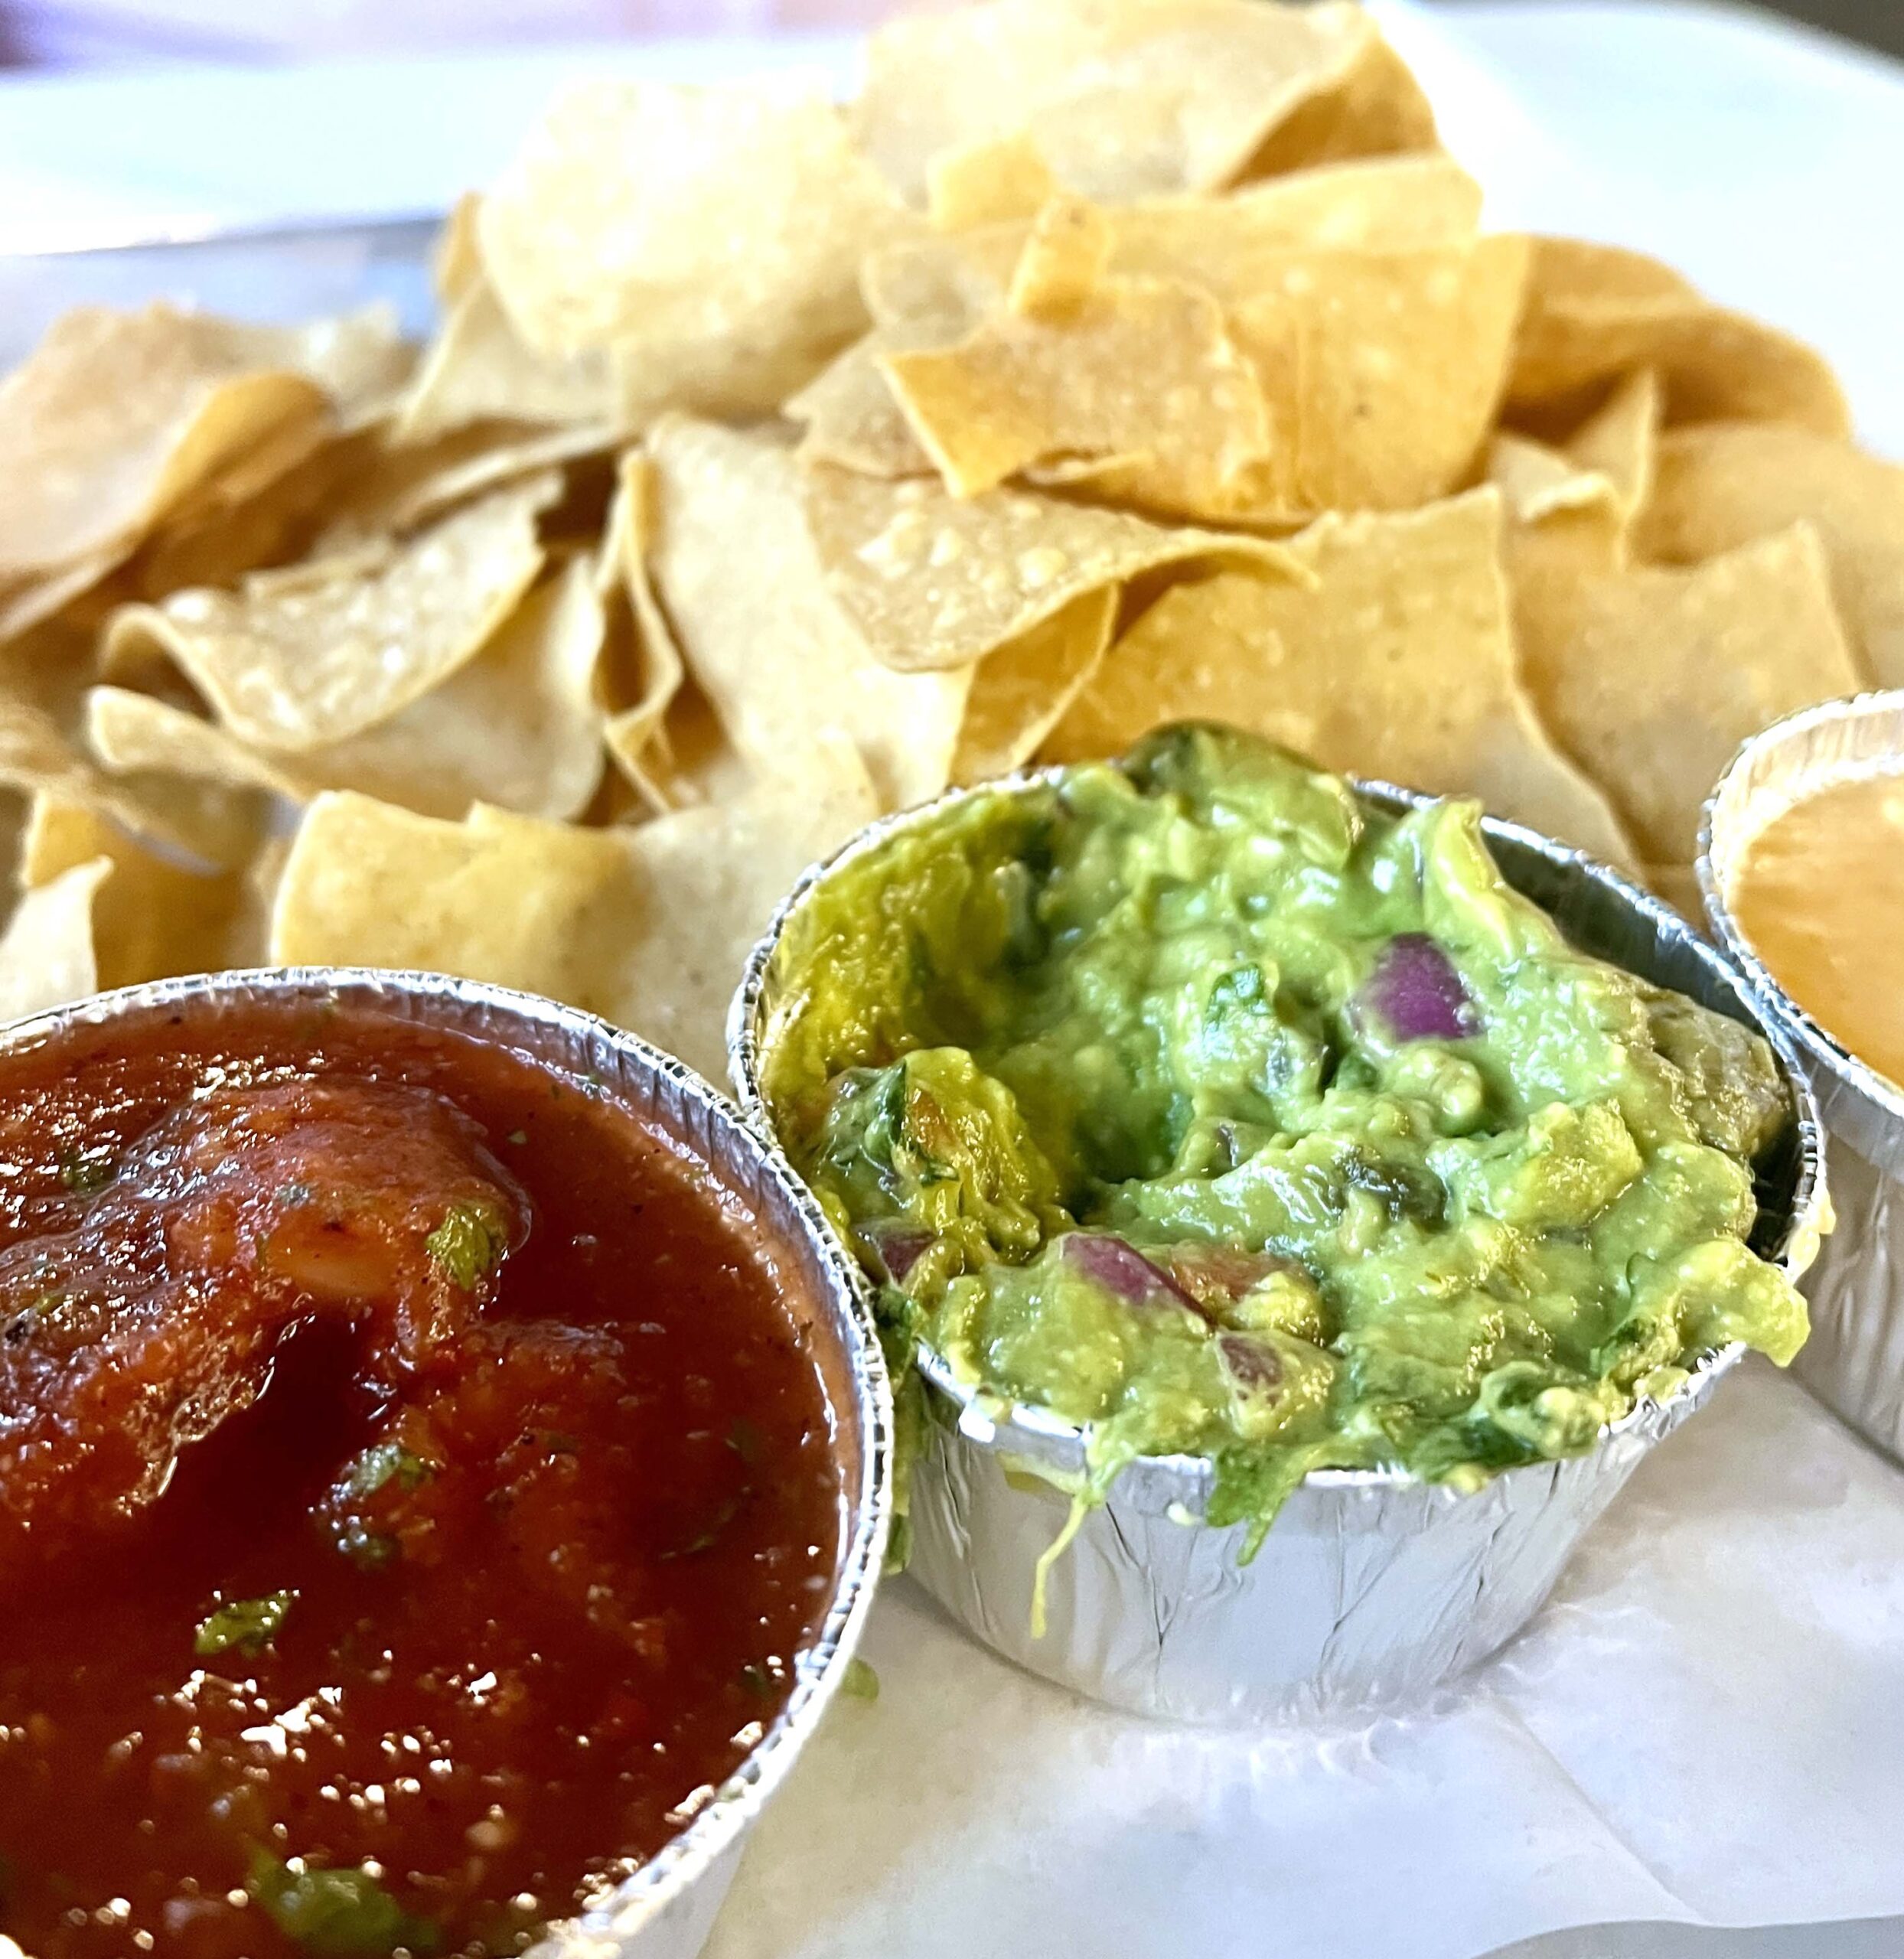 I couldn’t resist ordering the Trinity Tray, a sampling of queso, guac, and salsa with chips for a shareable appetizer over conversation.
 PRO TIP: Follow the restaurant’s
 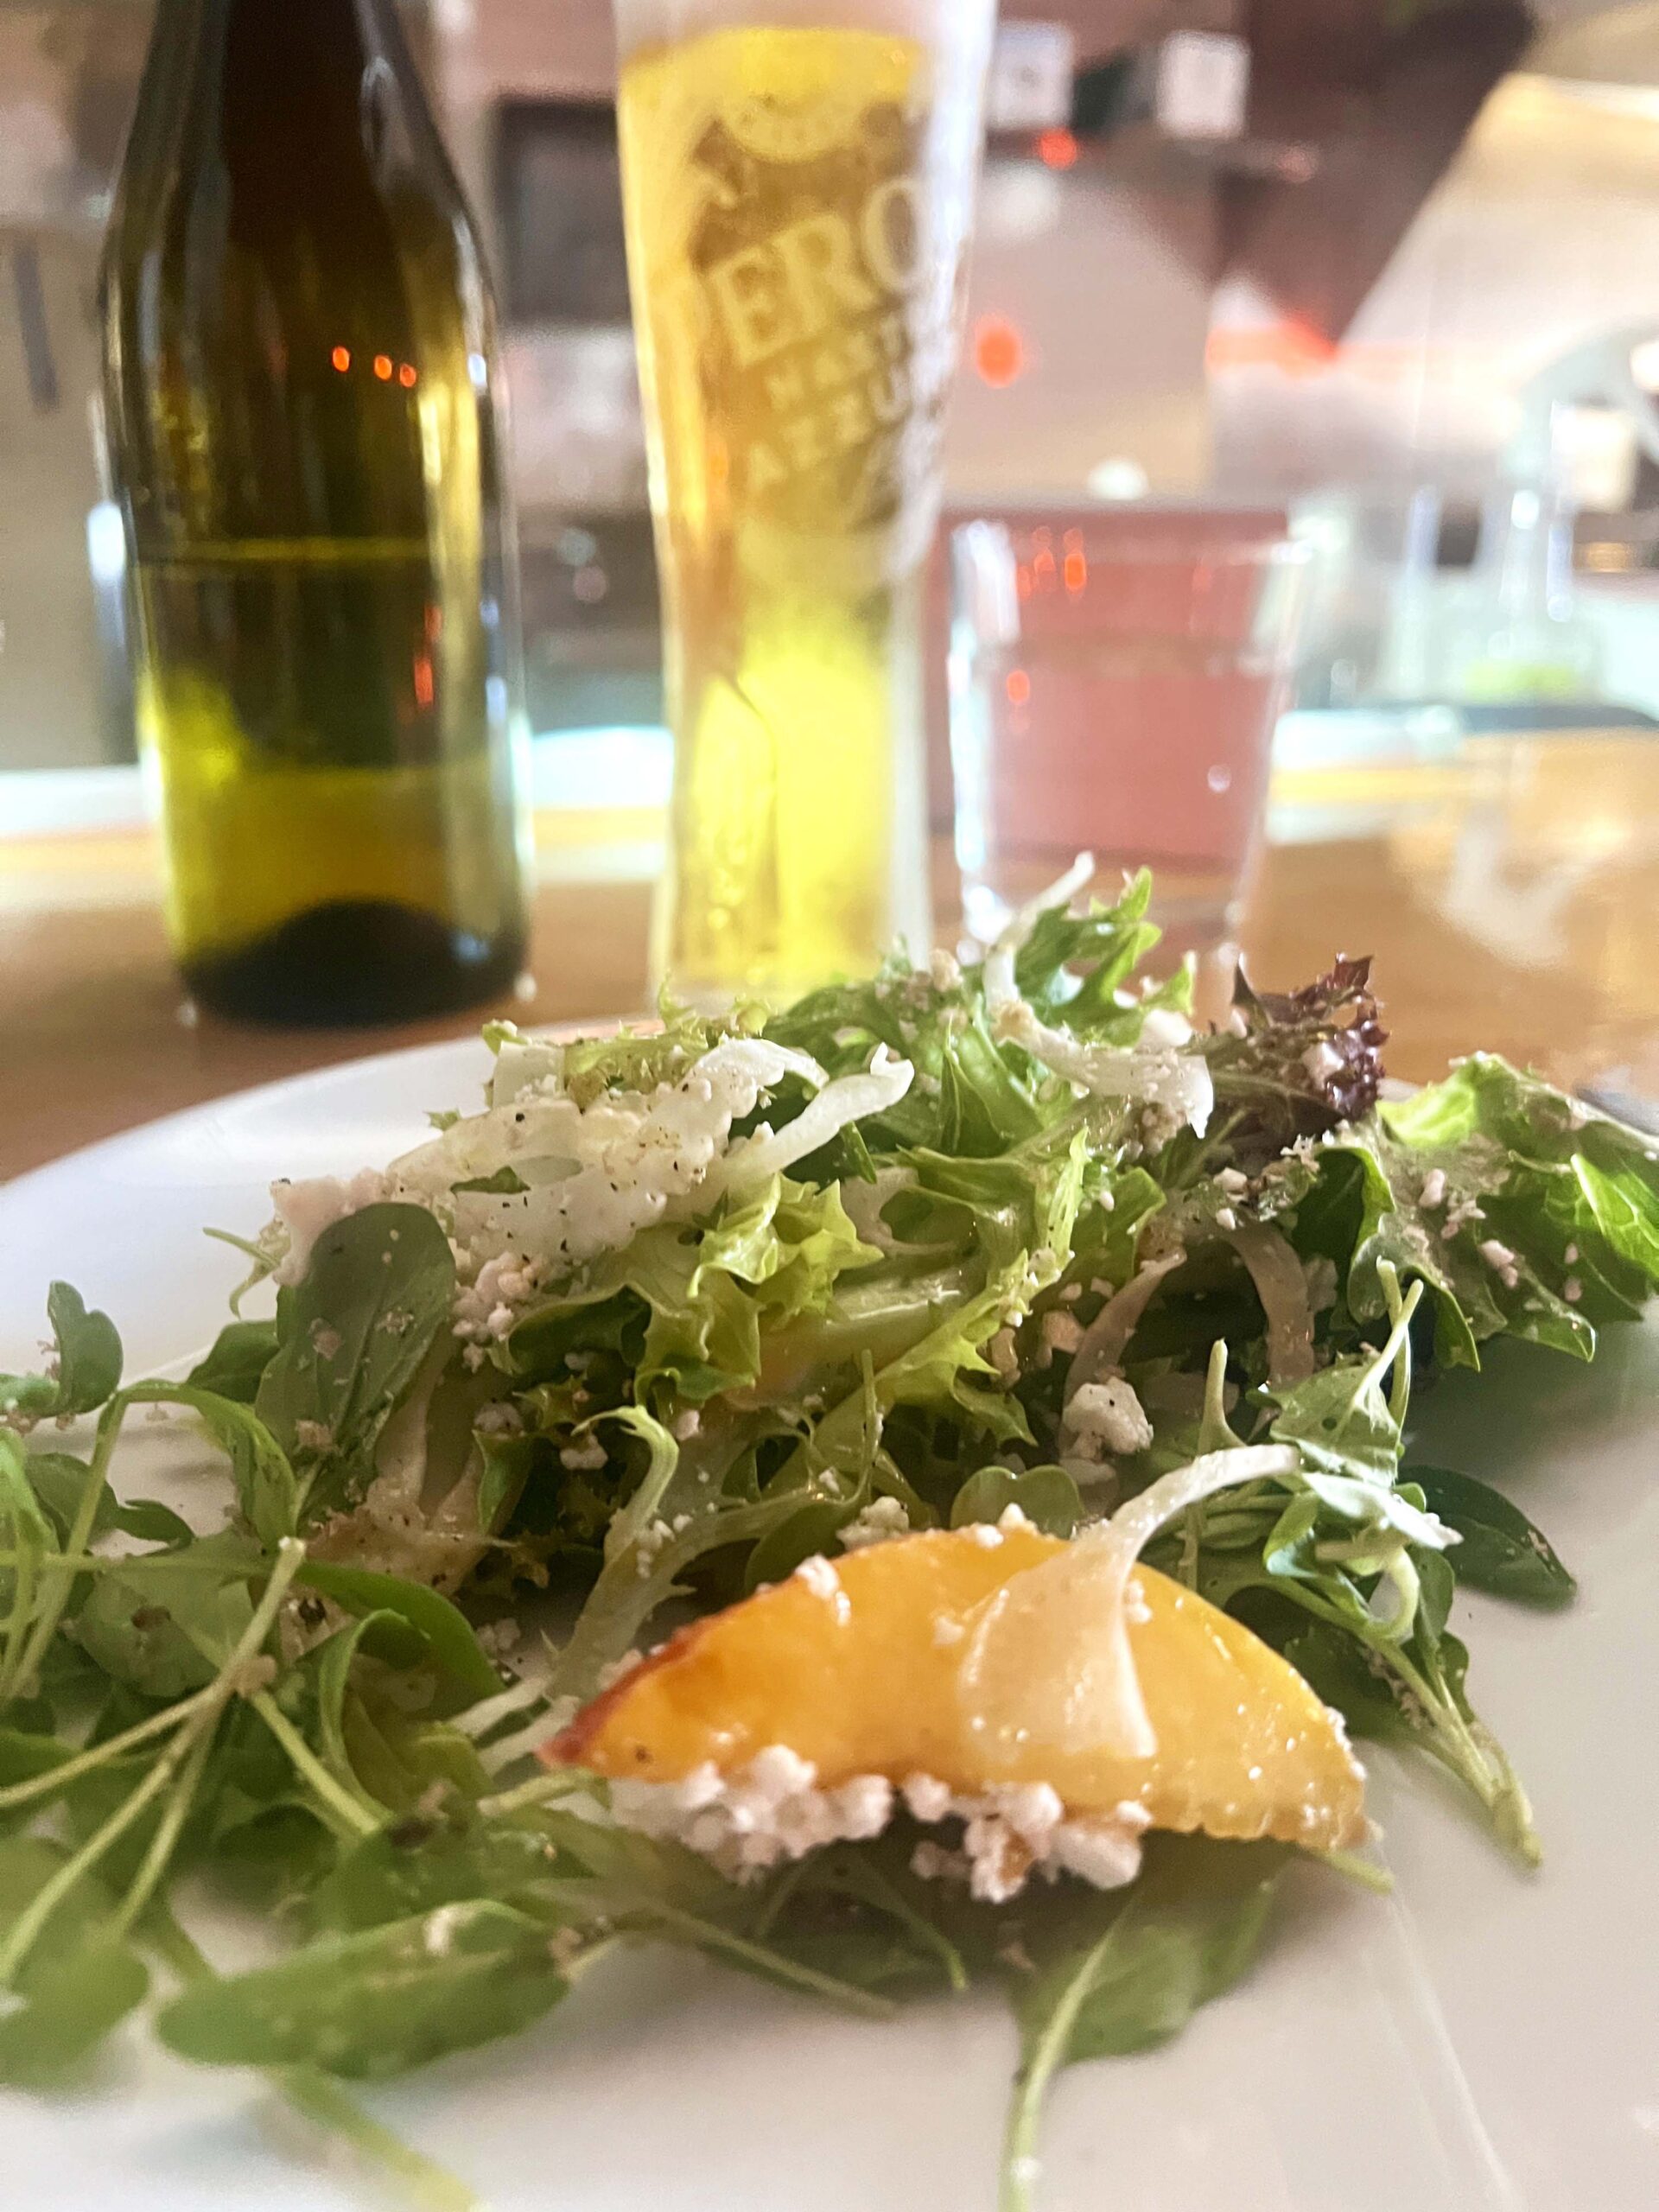 We sat at the pizza counter quietly awaiting Chef Peyton’s welcome to the Pizzakase tasting experience, which gave us a front-row view of the kitchen where he hand-stretched dough. He asked us, “What are you interested in eating tonight?” Our reply, “Chef, we’re leaving it up to you.”
 We chatted with Chef Peyton about his college soccer-playing career and his travels. He told us he travels to Italy more than once a year, as he explained the technique for preparing double-fermented dough.
 For me, the best-tasting of the two pizzas served was the Neapolitan-style fried pizza dough that puffs up into a golden crust and is topped with fresh, high-quality ingredients.
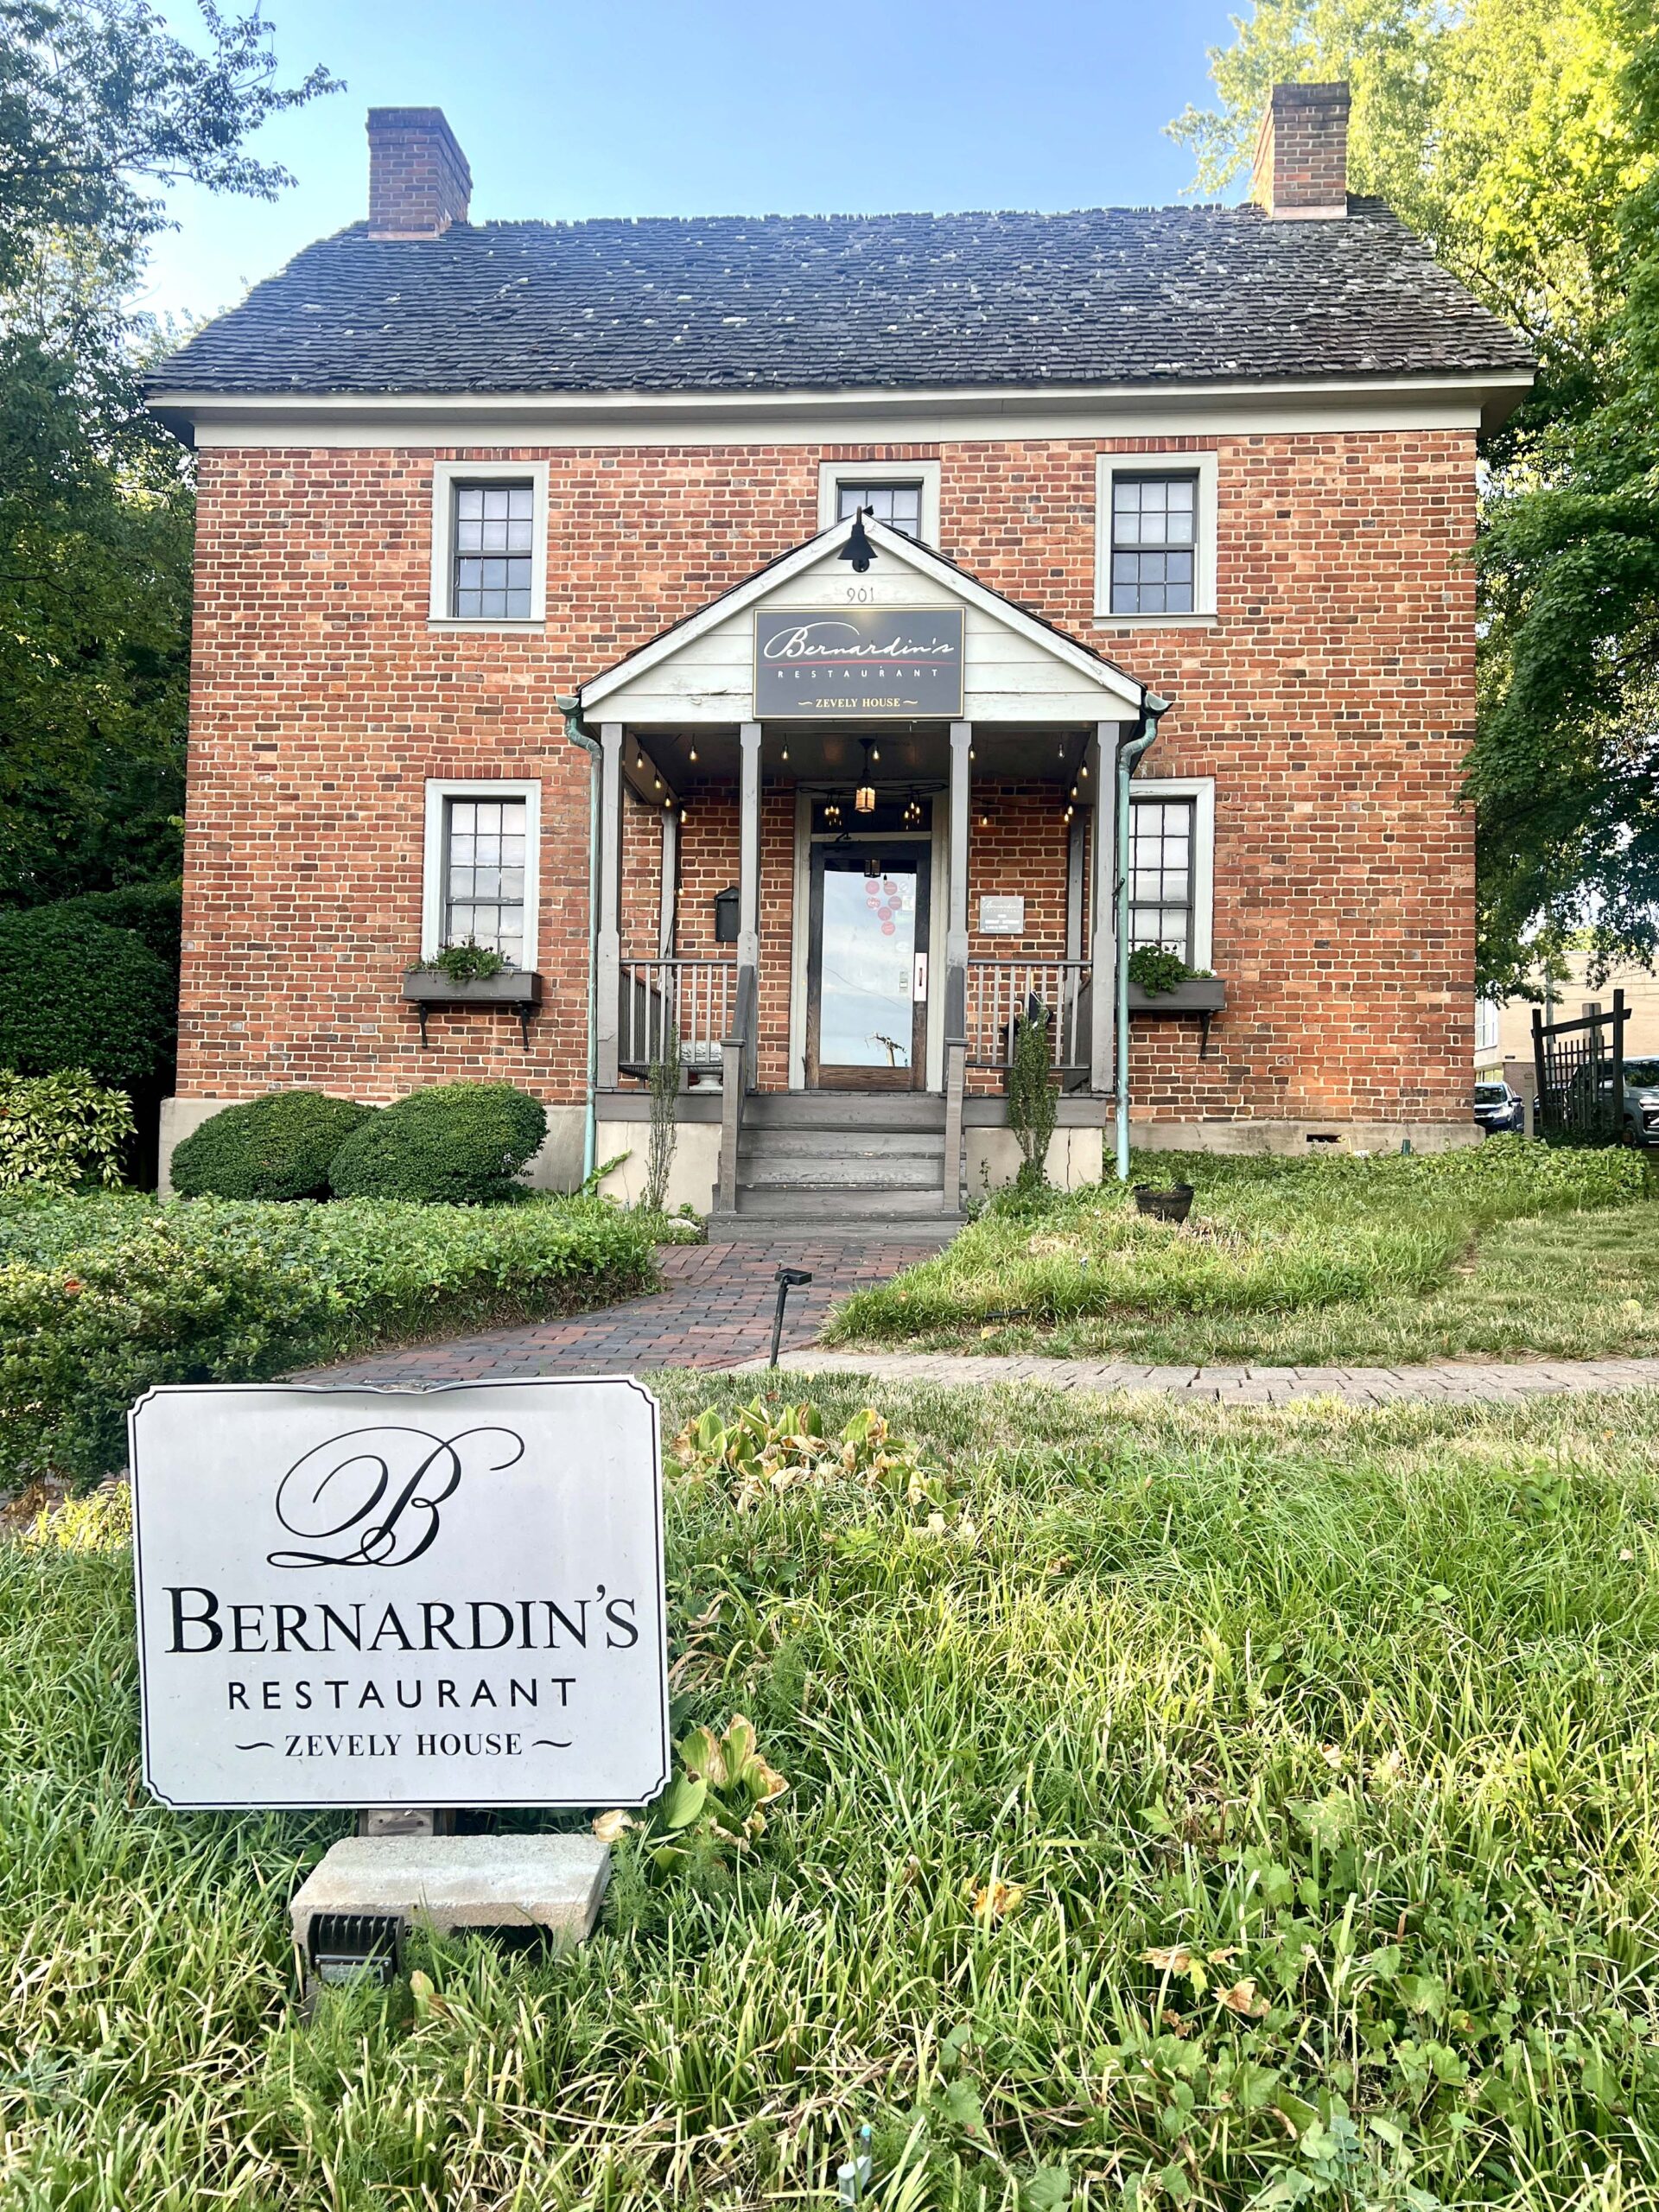 After our server informed us about the evening’s singular dinner special, we chose the Tuna Tuna, an appetizing starter of tuna served two ways over Asian Slaw. Sitting amongst two other couples in the tucked-away room, the setting felt intimate, and we quietly chatted over the backdrop of jazz music.
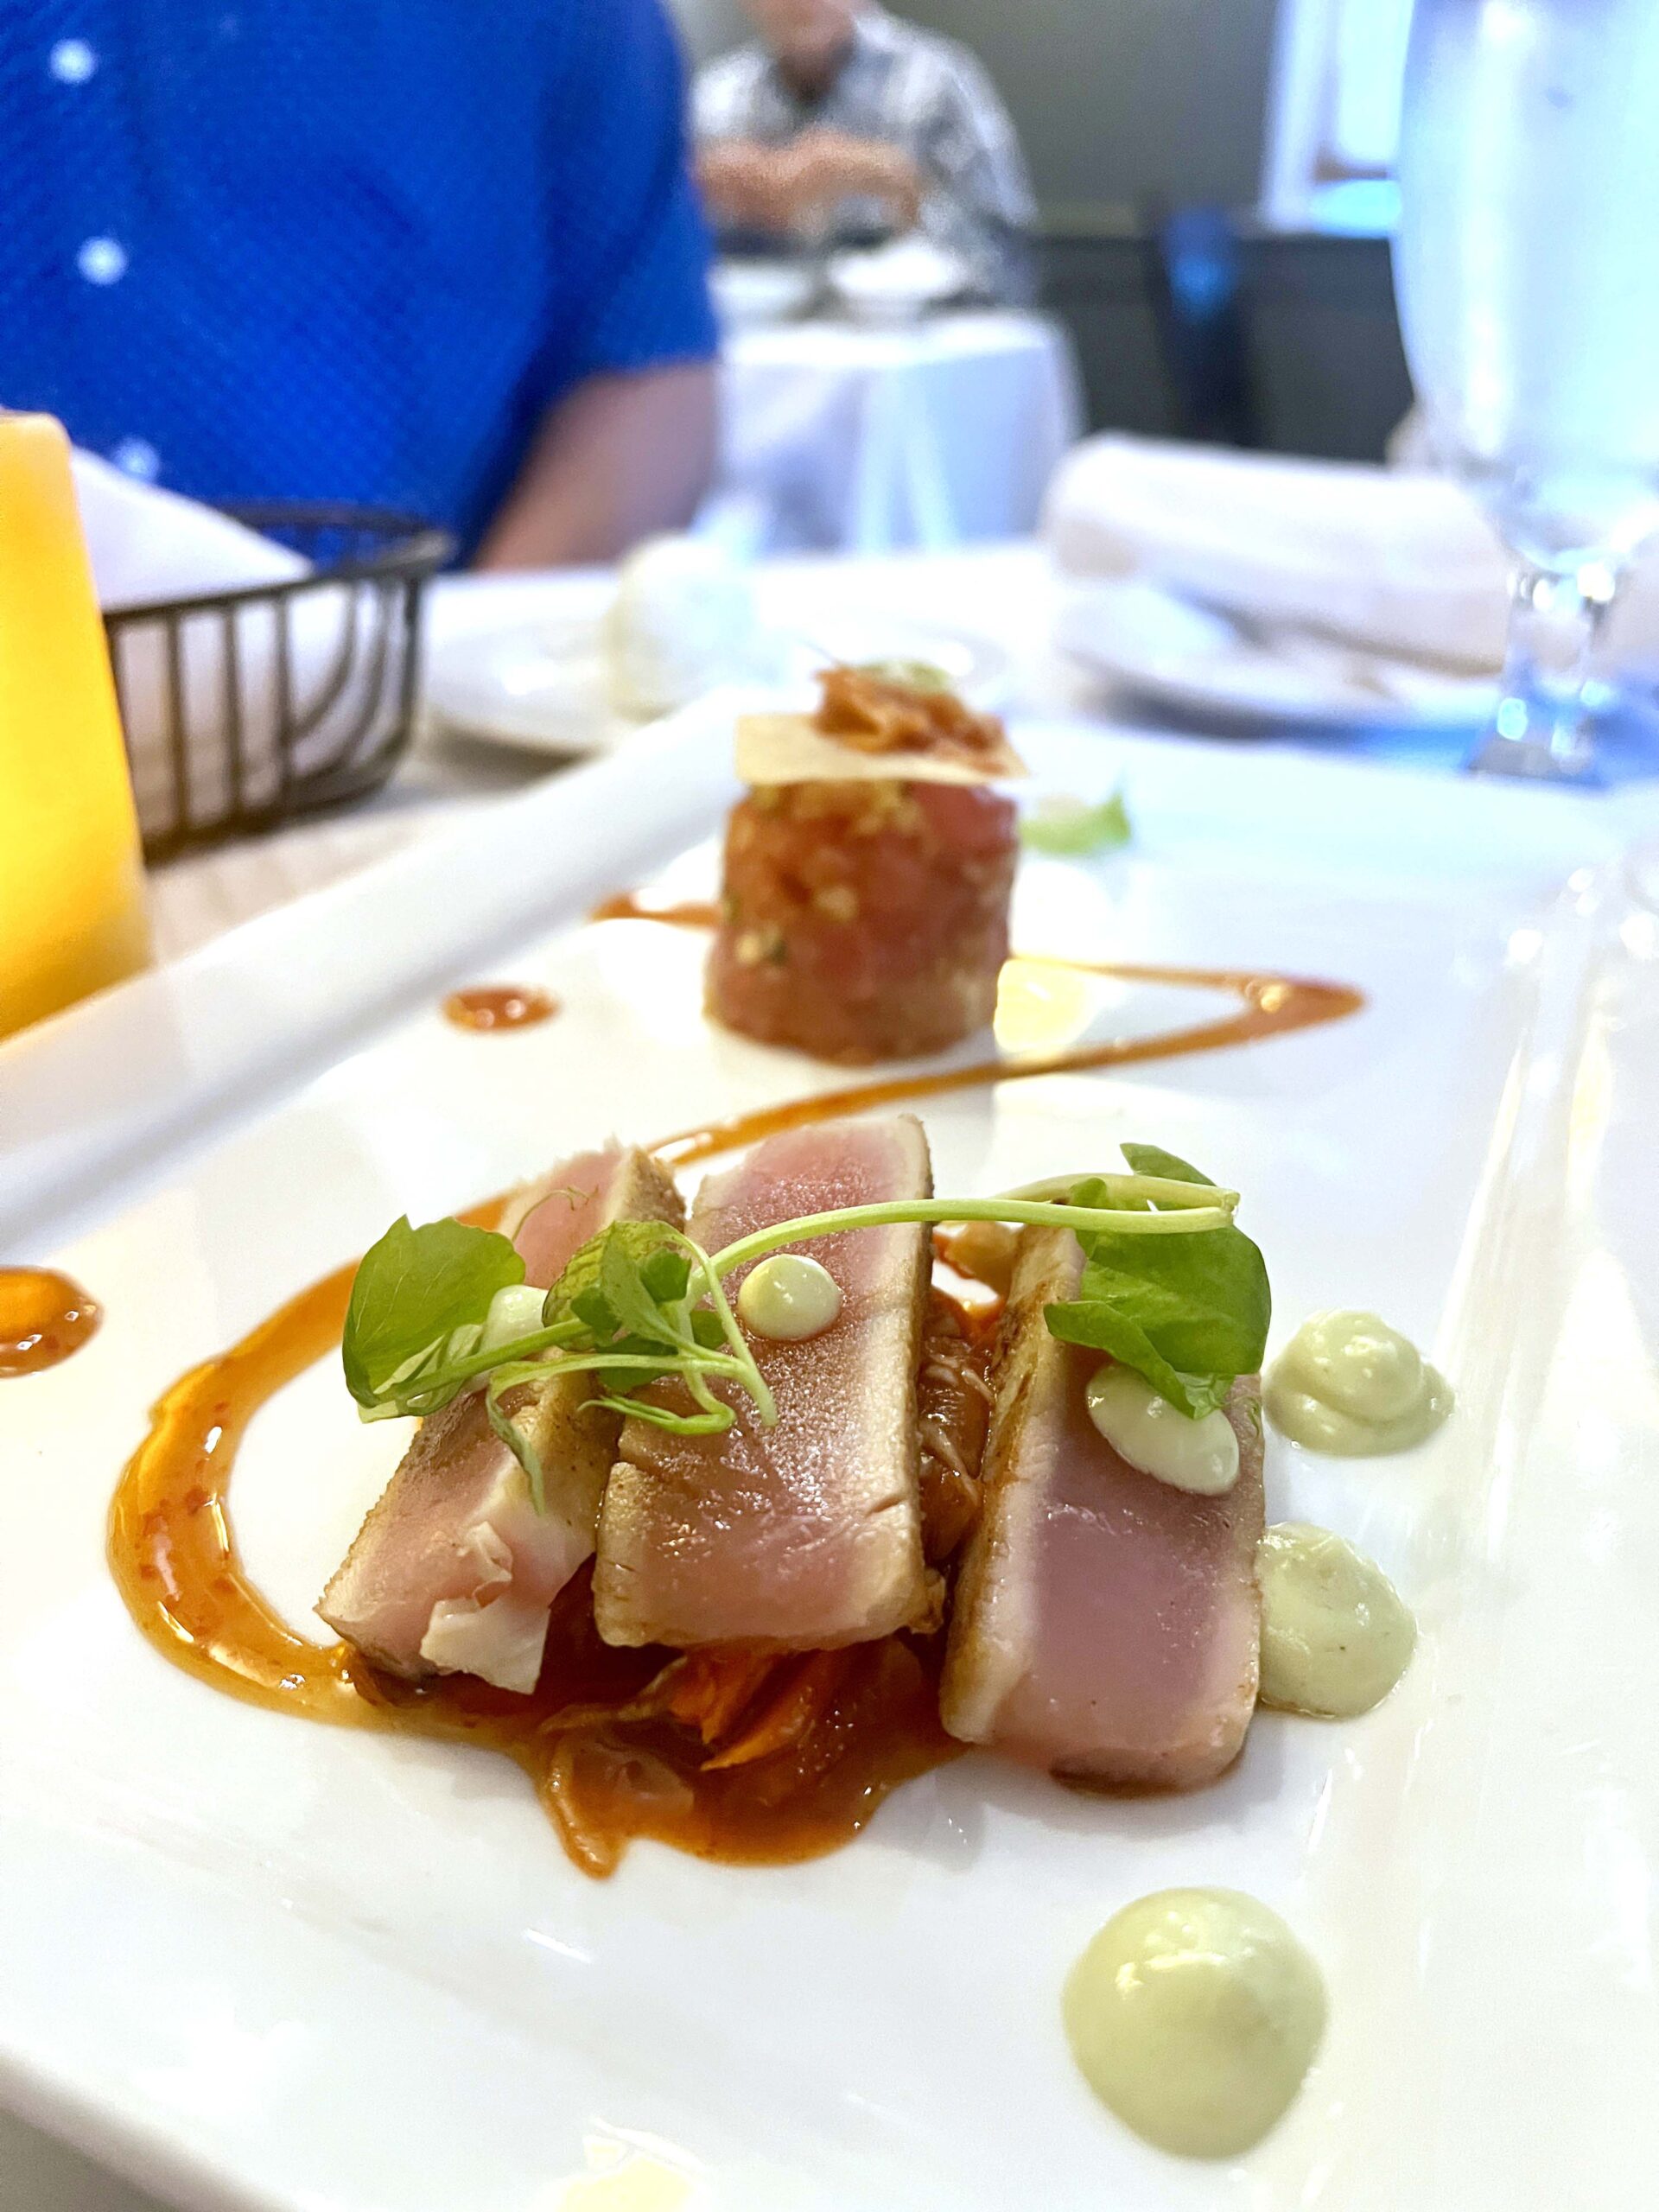 My Cab Filet Mignon arrived beautifully plated and cooked to my liking, served on a bed of creamy horseradish with mushrooms, spinach, goat cheese, and gnocchi.
 After a rich-tasting meal, I wanted a dessert that included fruit but appealed to my craving for a Southern-inspired dessert. The server recommended the Peach and Blueberry Cobbler, which didn’t resemble the biscuit-style classic dish, but it was served warm with vanilla ice cream, and the cake-like dessert satisfied.
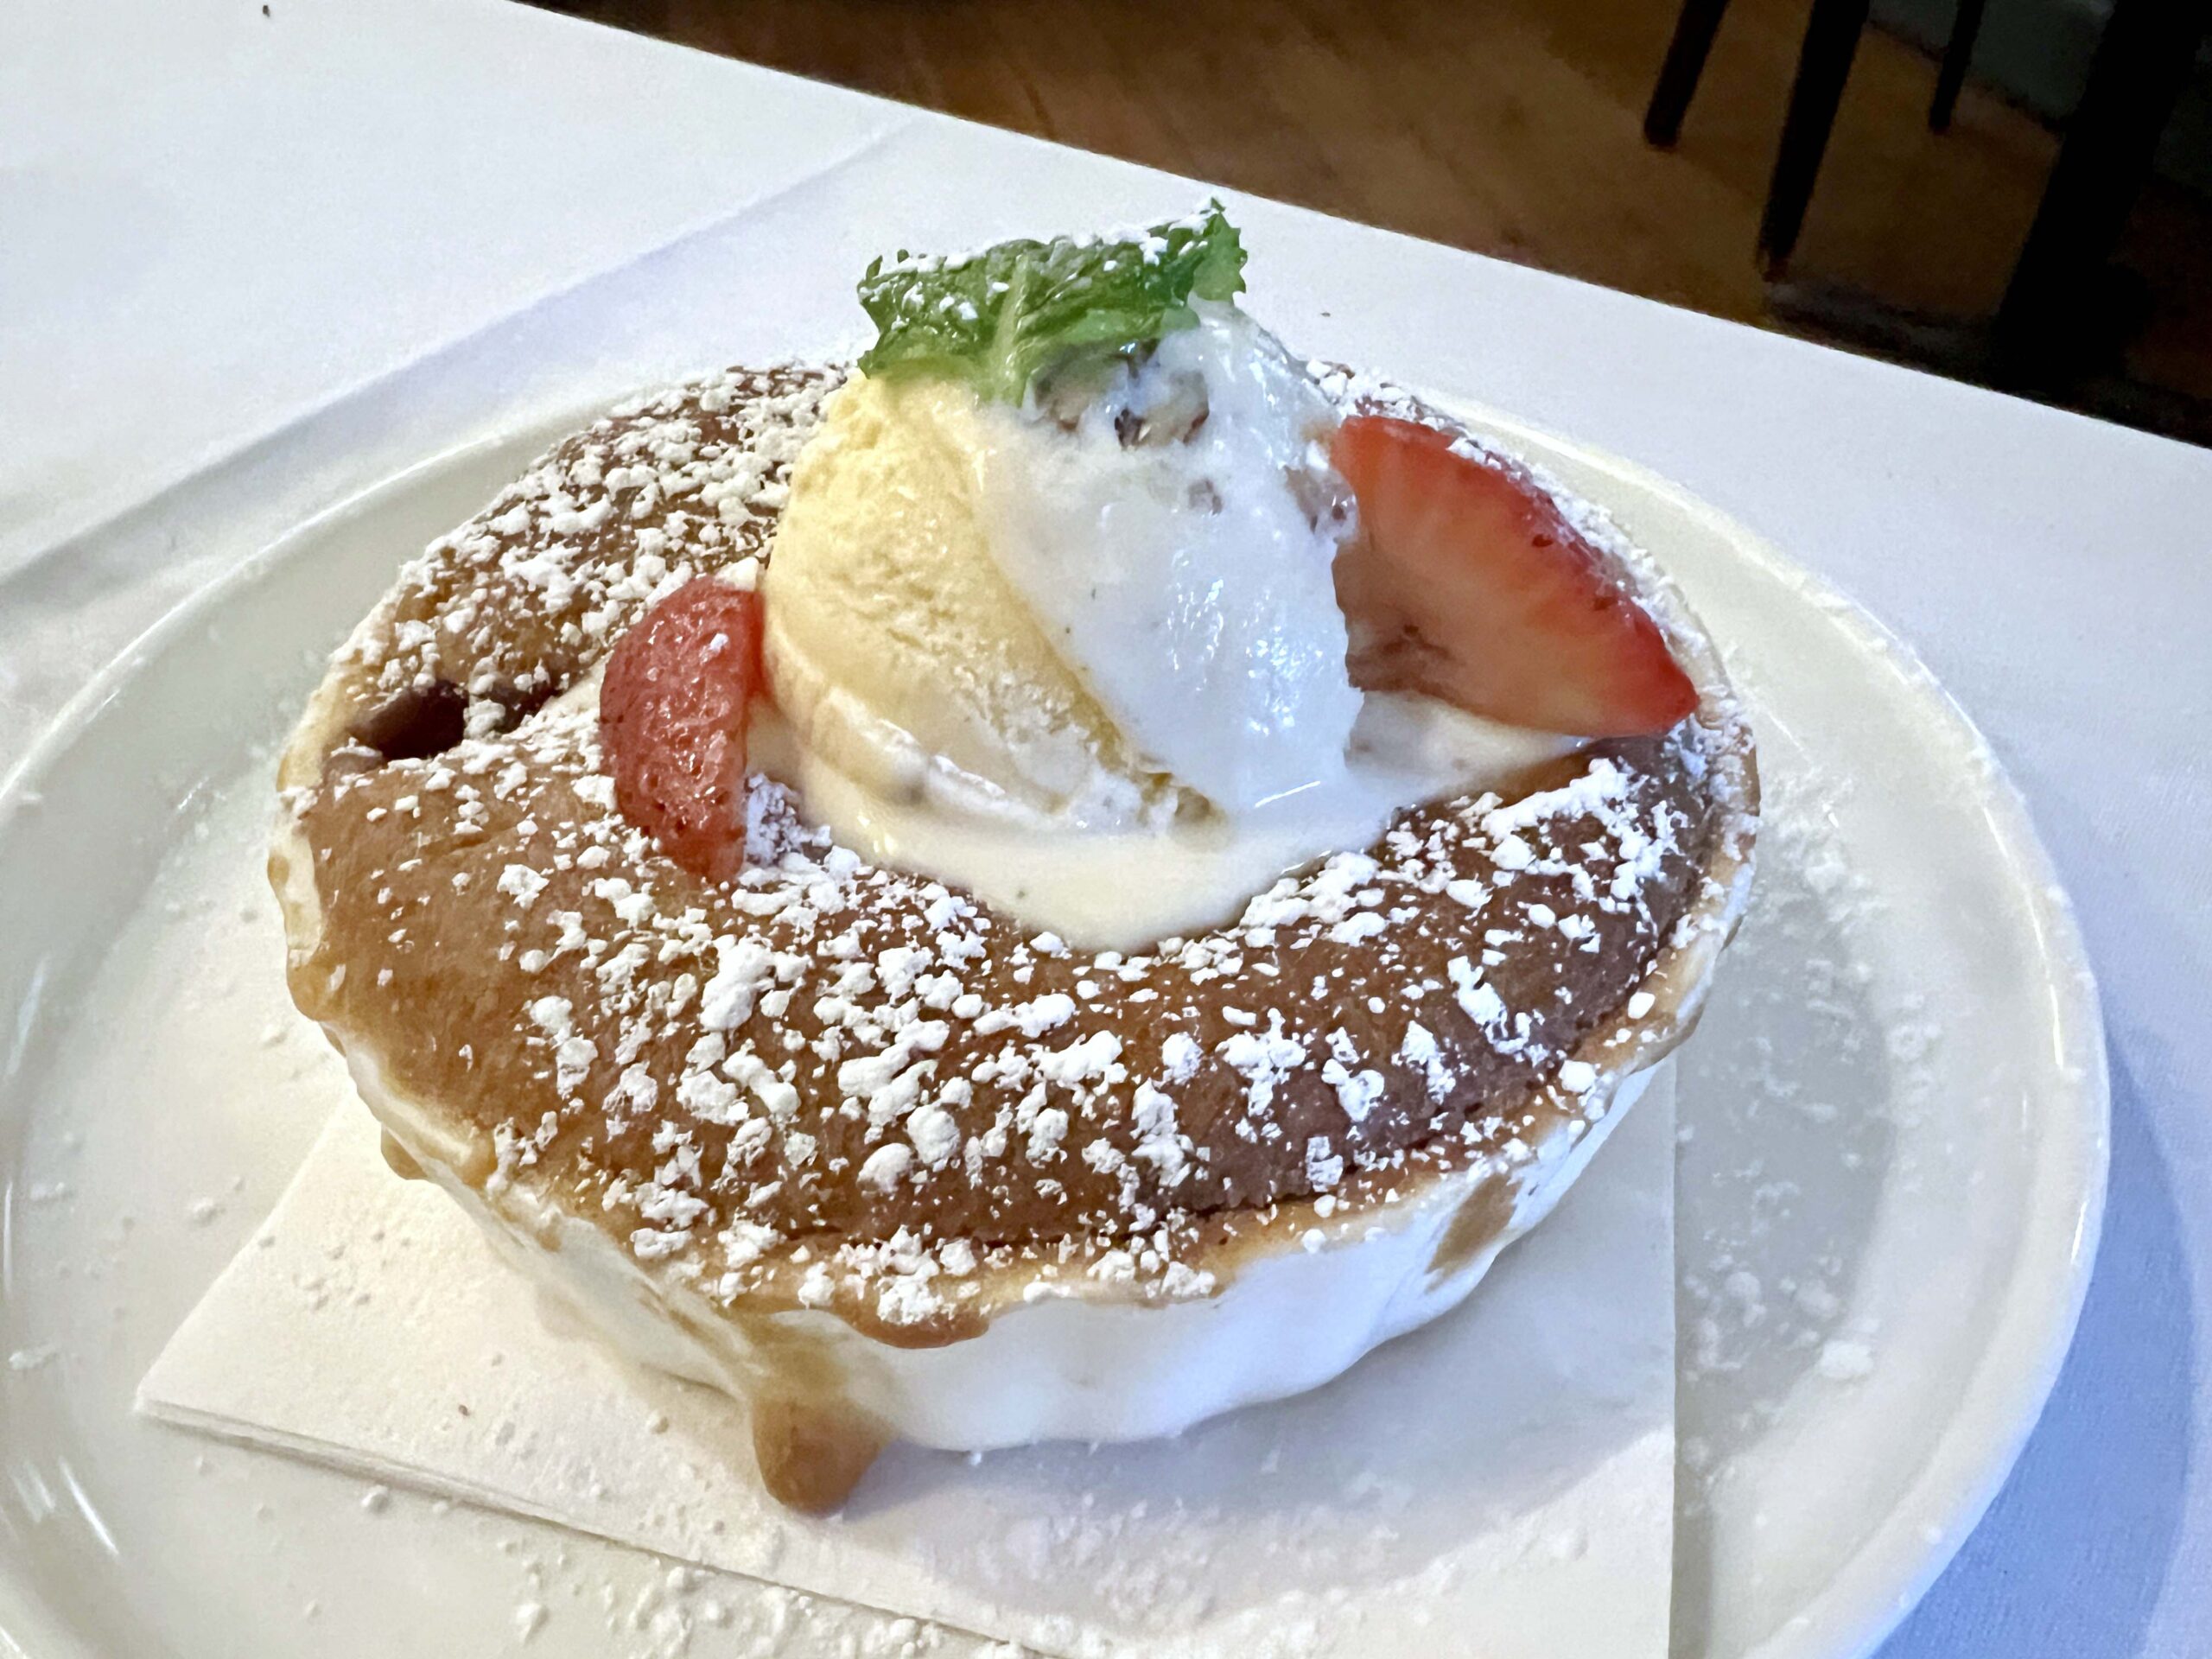 After waiting quite a while for the server to bring the requested check, we paid for the meal and explored the restaurant’s patio, which featured landscaping, a bubbling fountain, and enclosed dining areas.
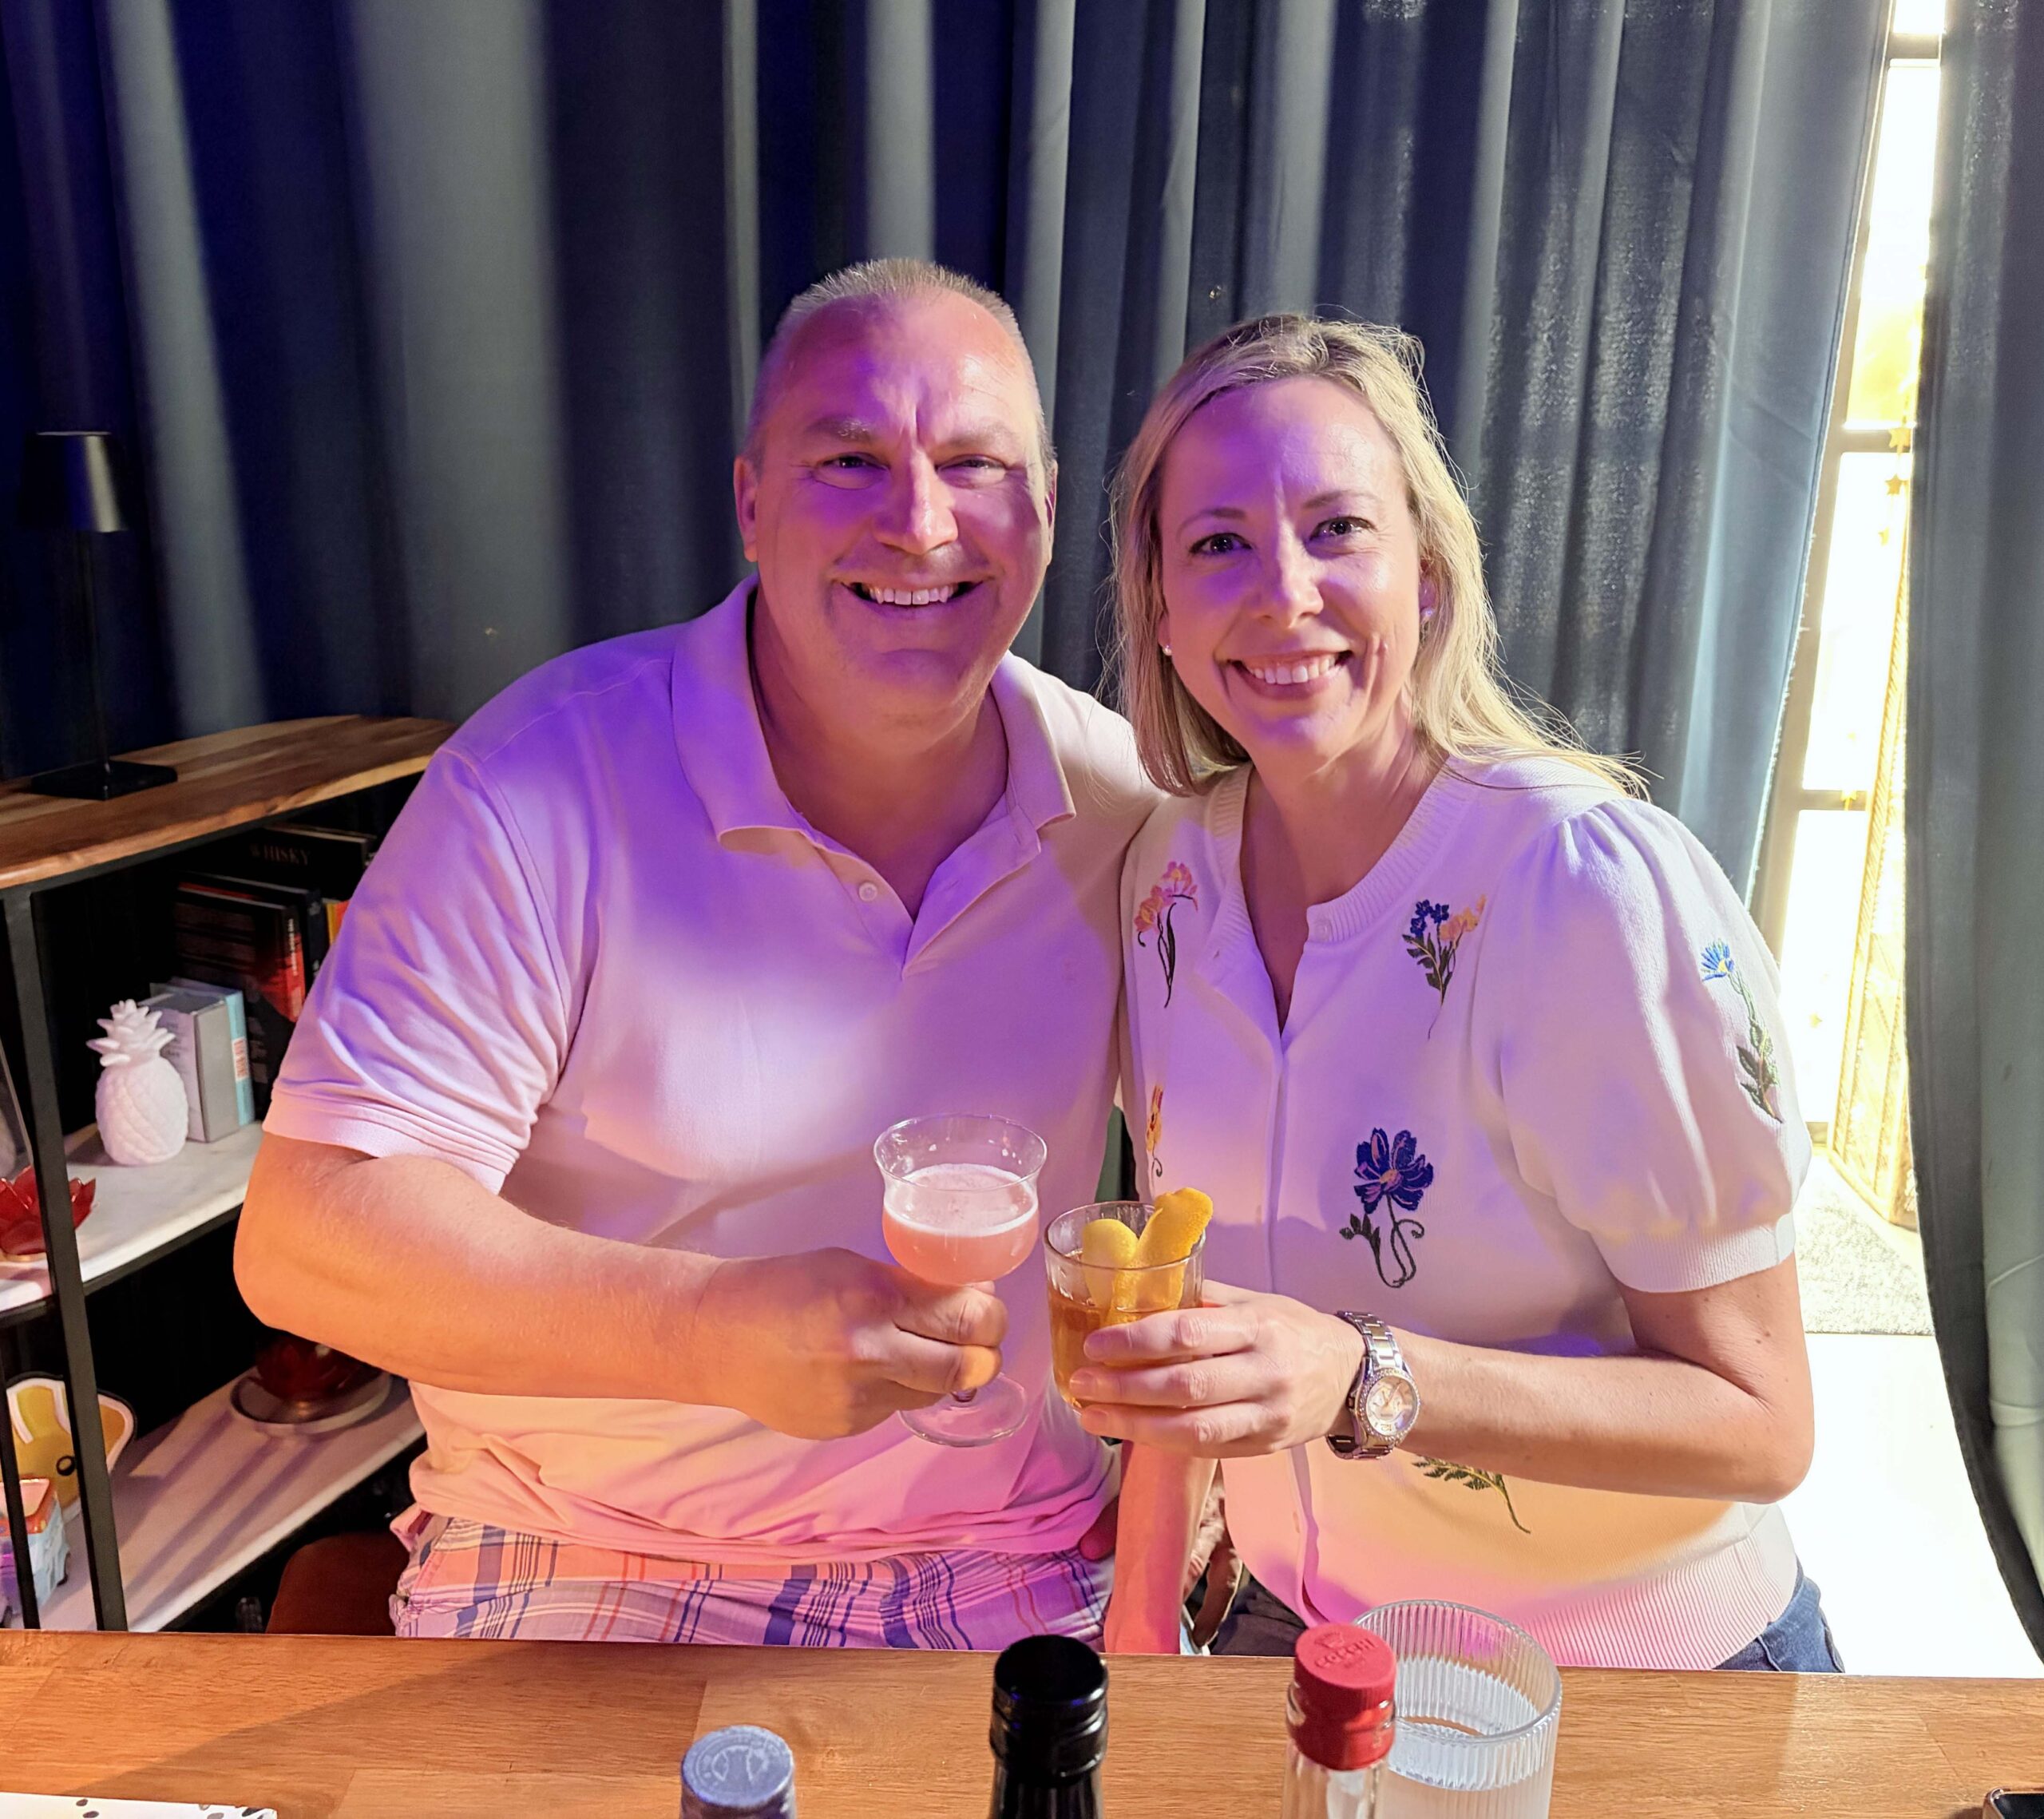 Imagine a speakeasy setting for only a few guests in a curtained-off, dimly lit room where guests are encouraged to let a roll of the dice determine their cocktail order.
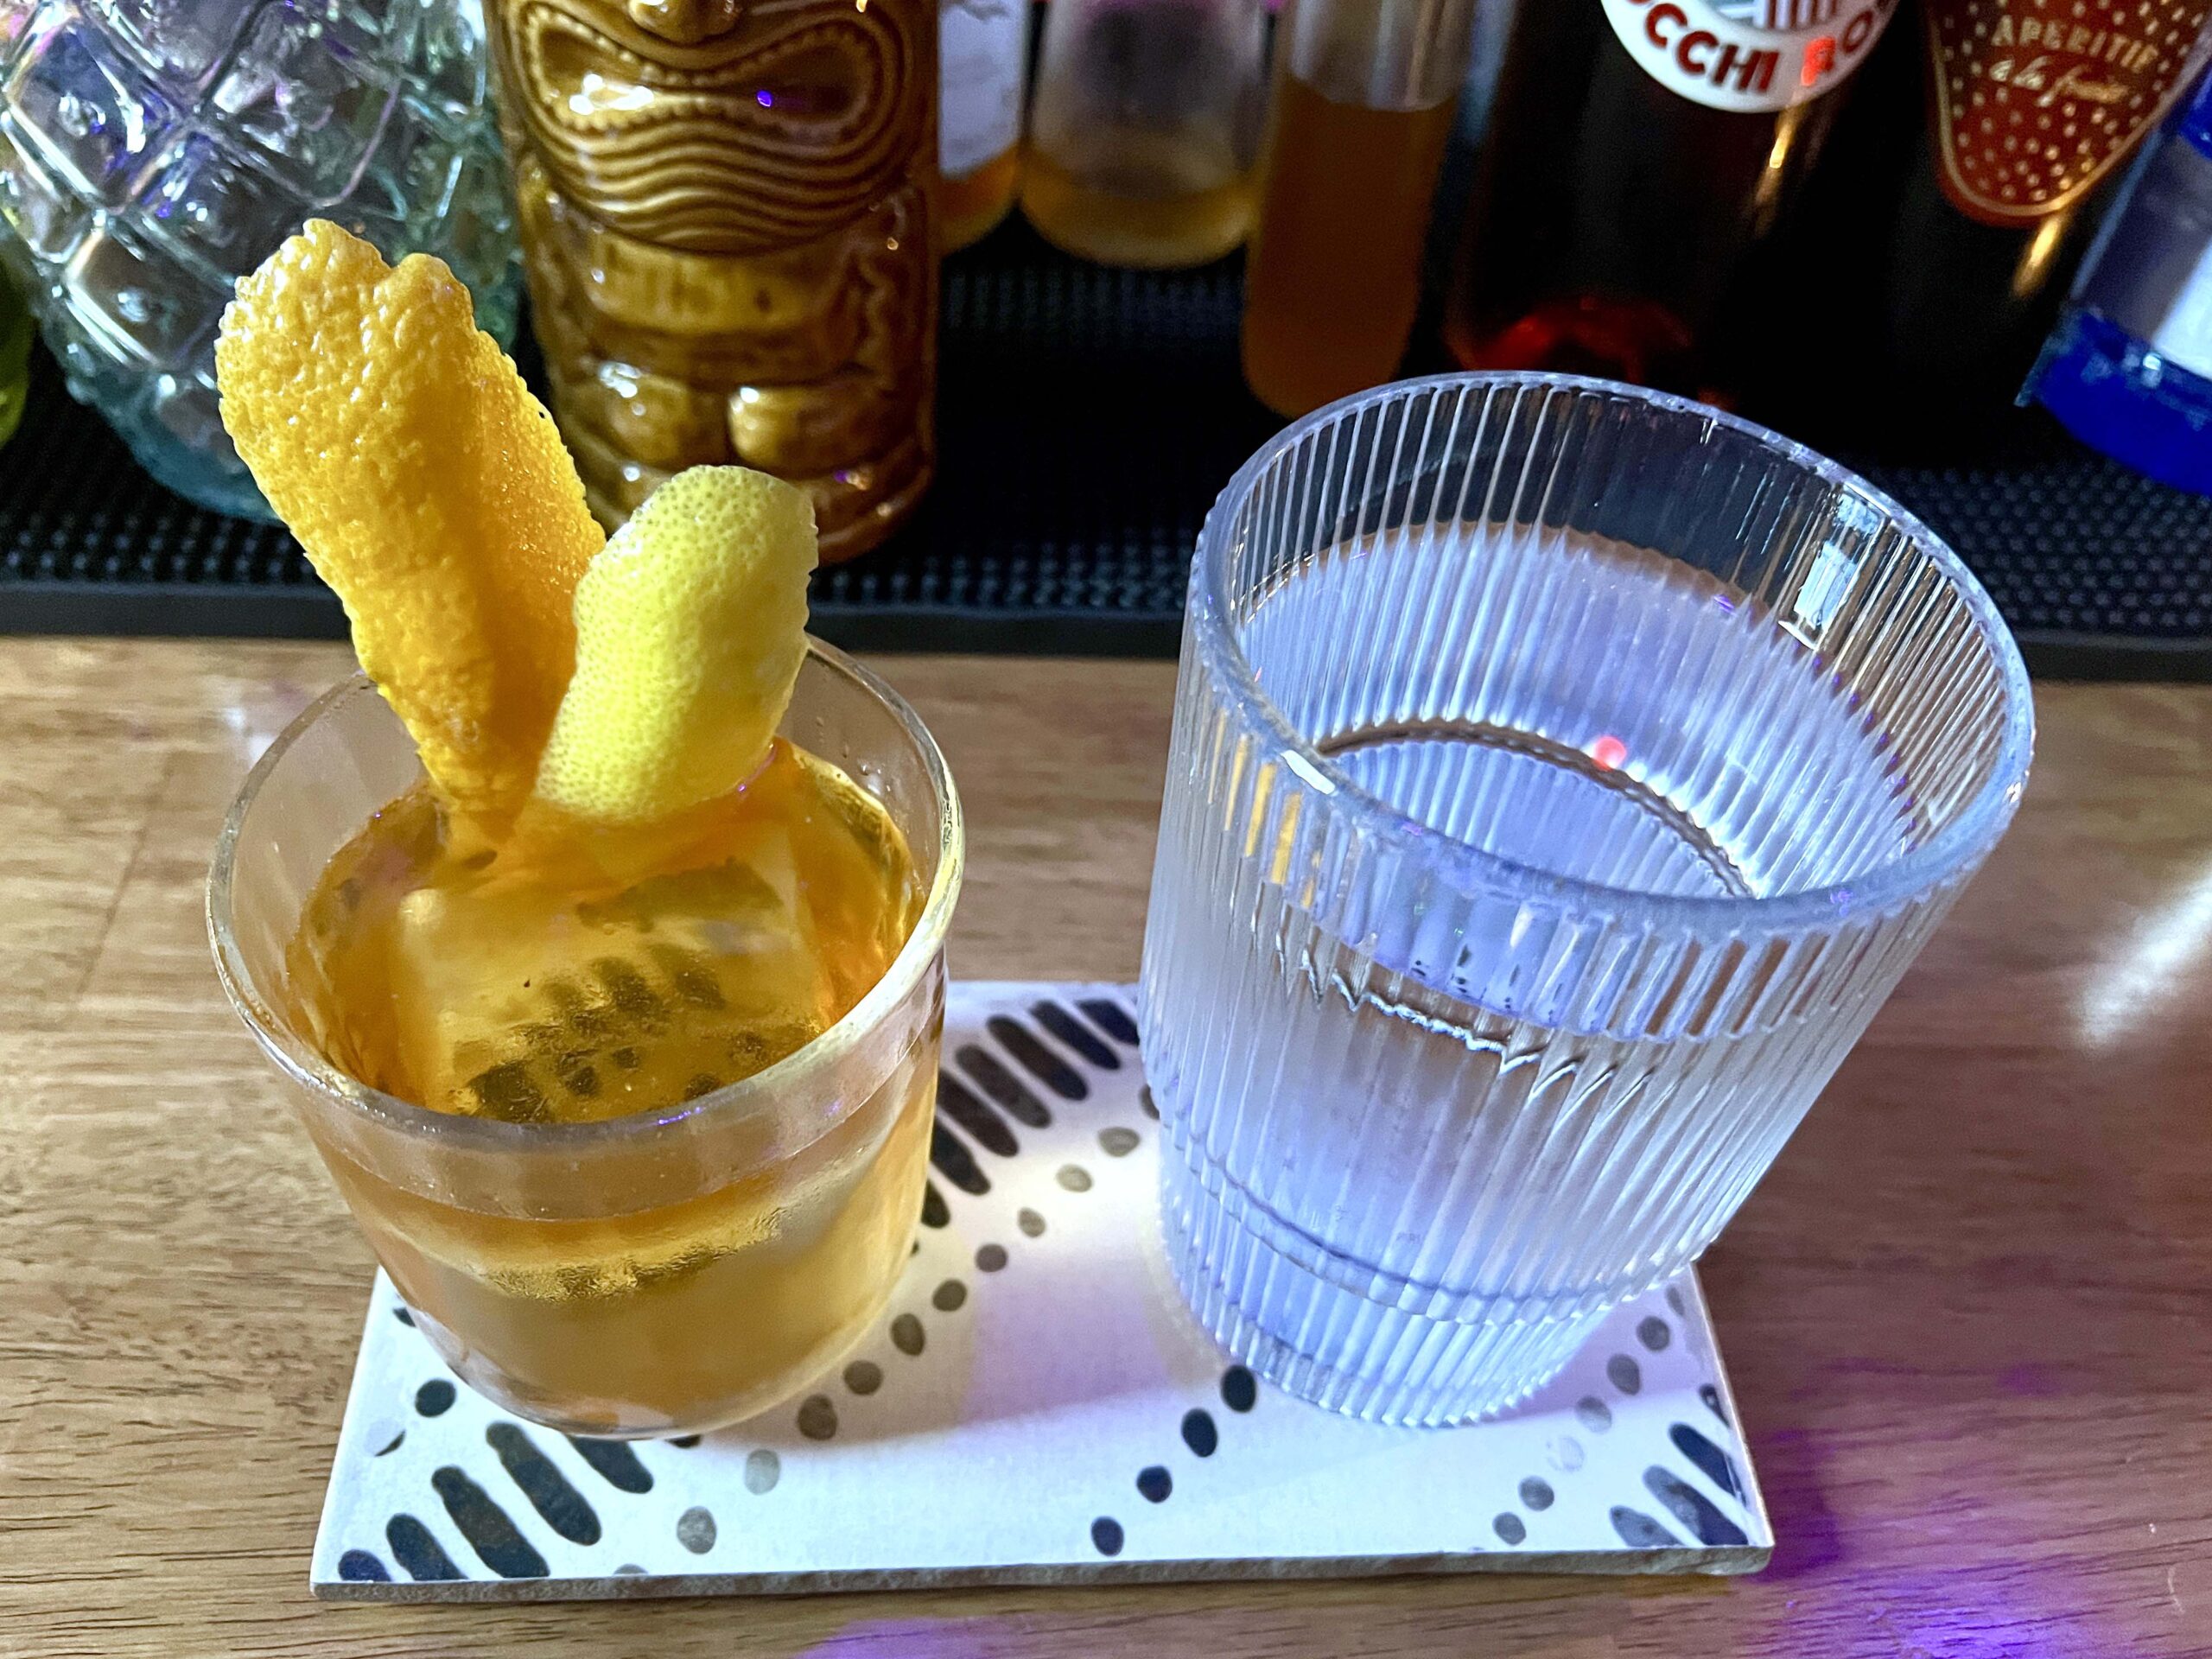 Upon return, it was our task to sip, savor, and guess which spirits were used to create each concoction. Surprisingly, most of my guesses proved correct.
 PRO TIP: Check their
 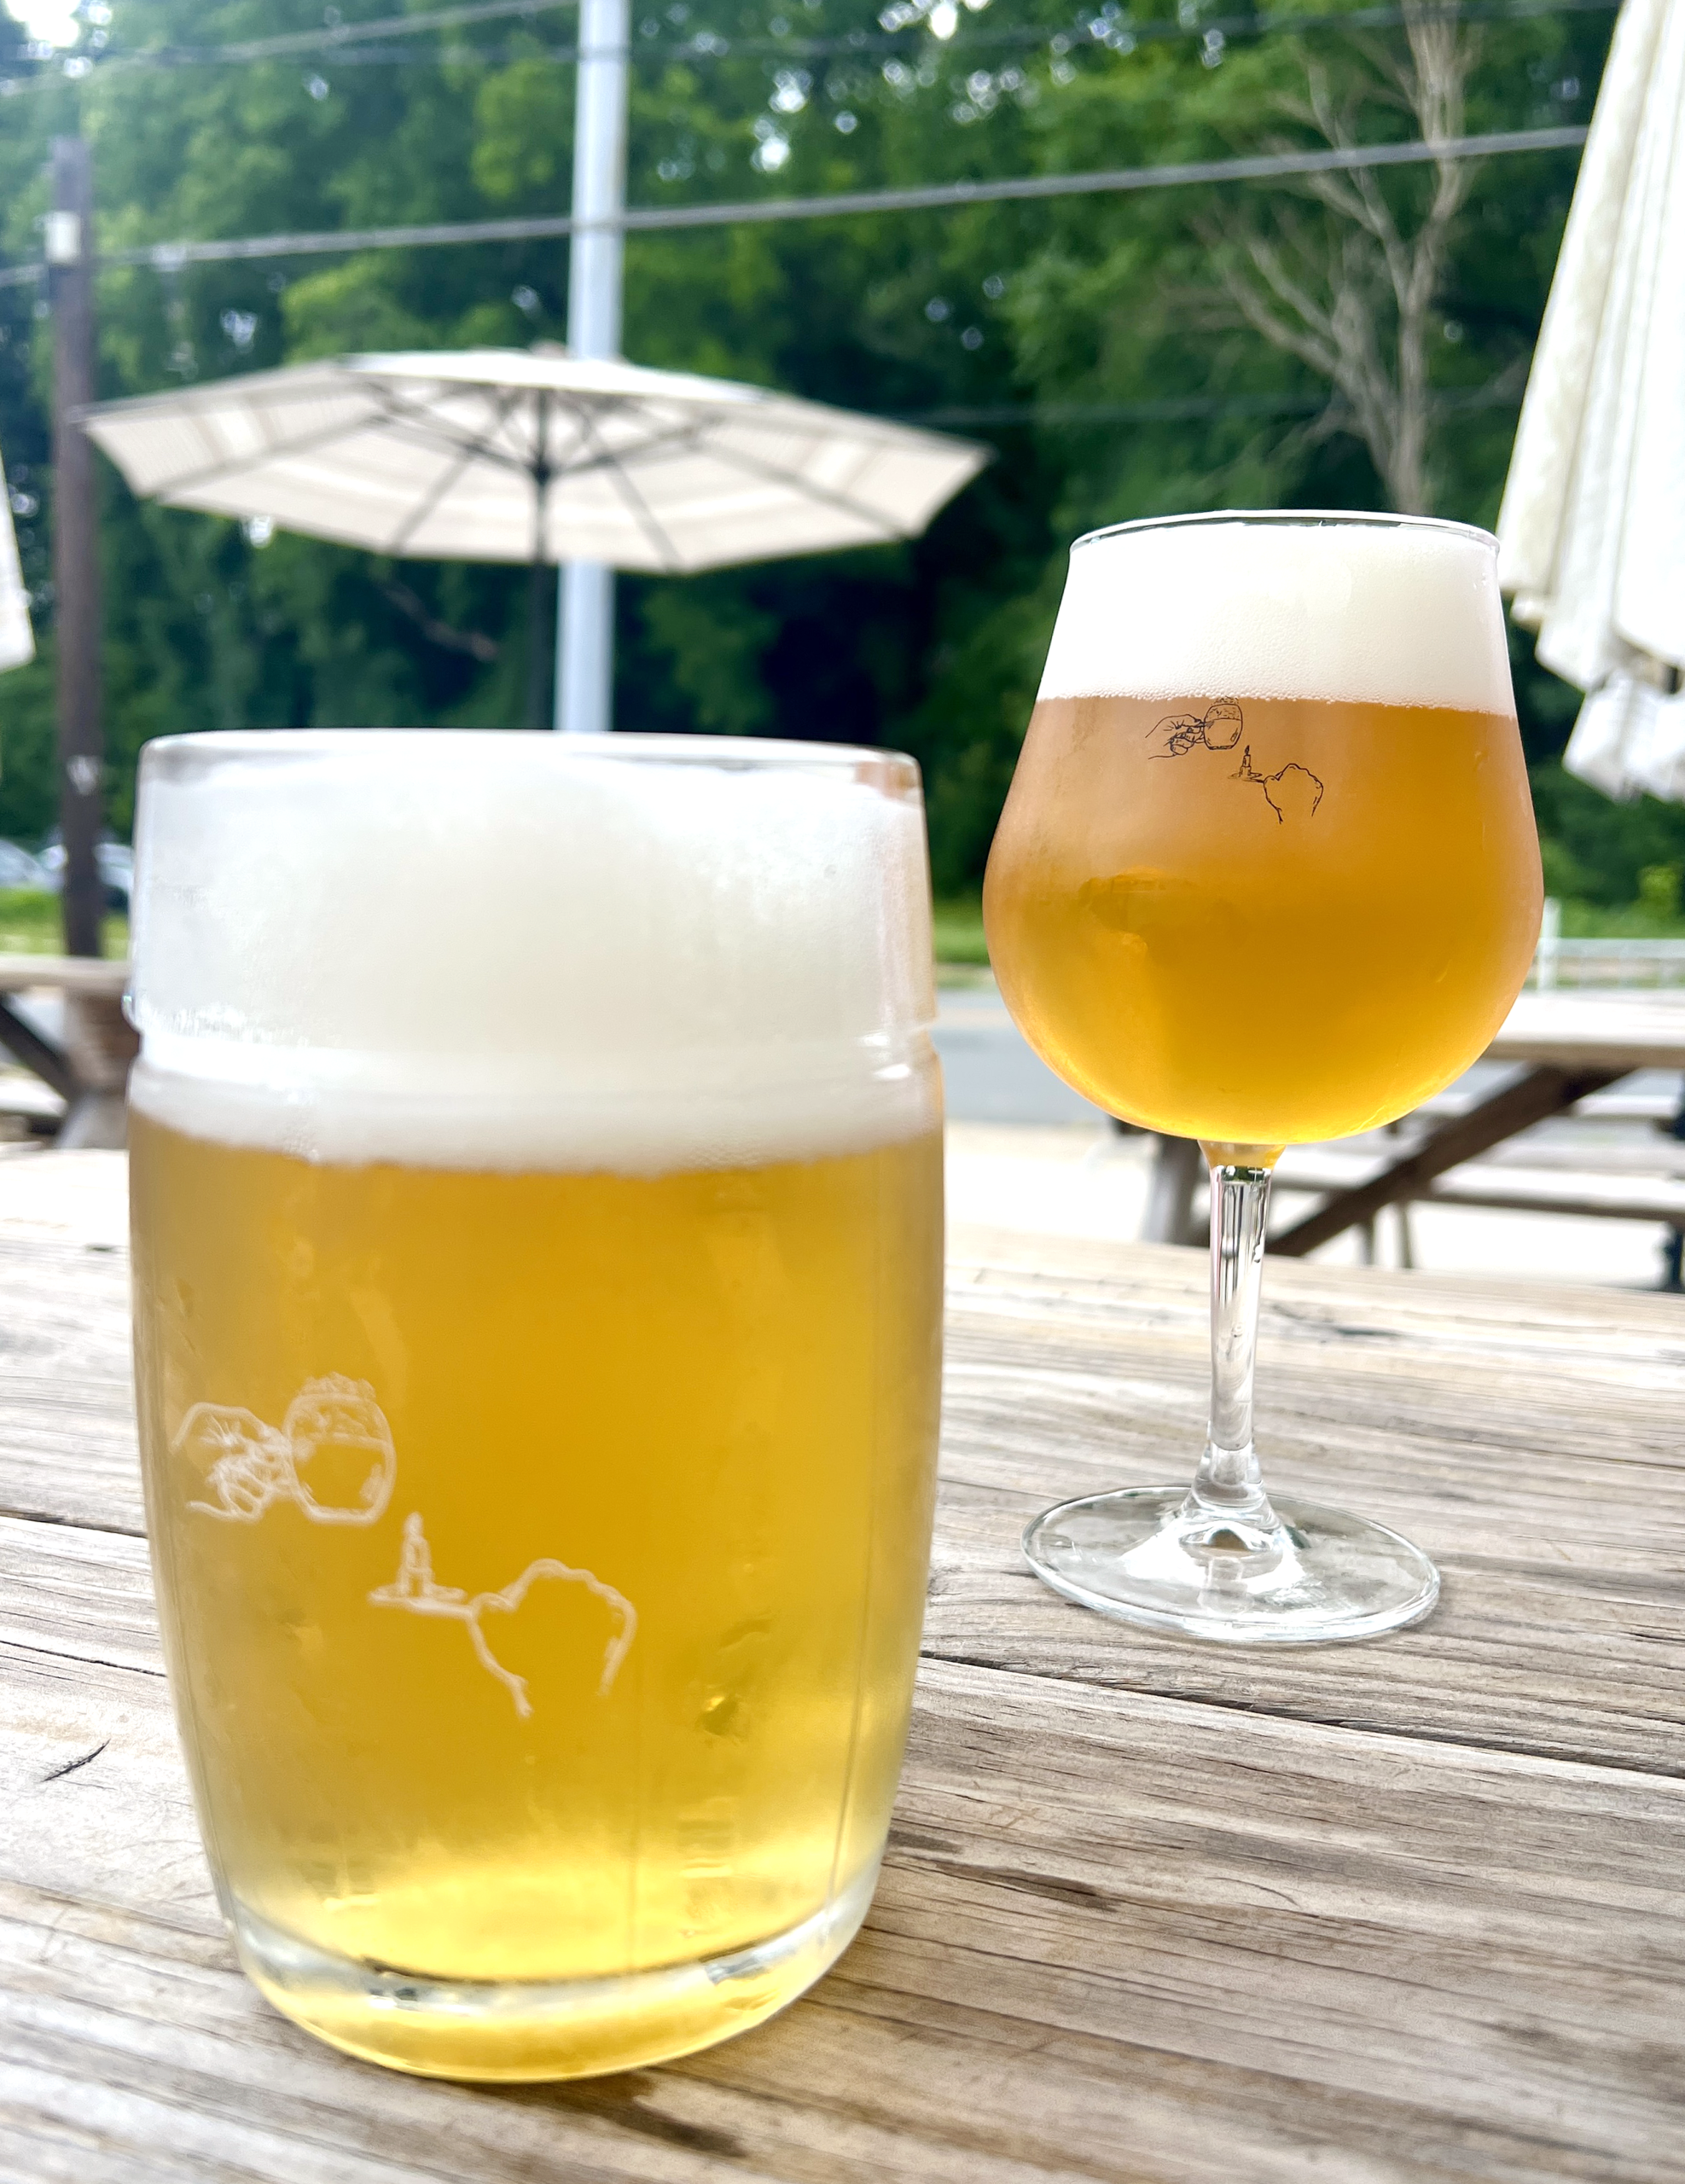 A sprinkling of rain began to fall, but we didn’t acknowledge it while sipping small-batch craft beers in good company.
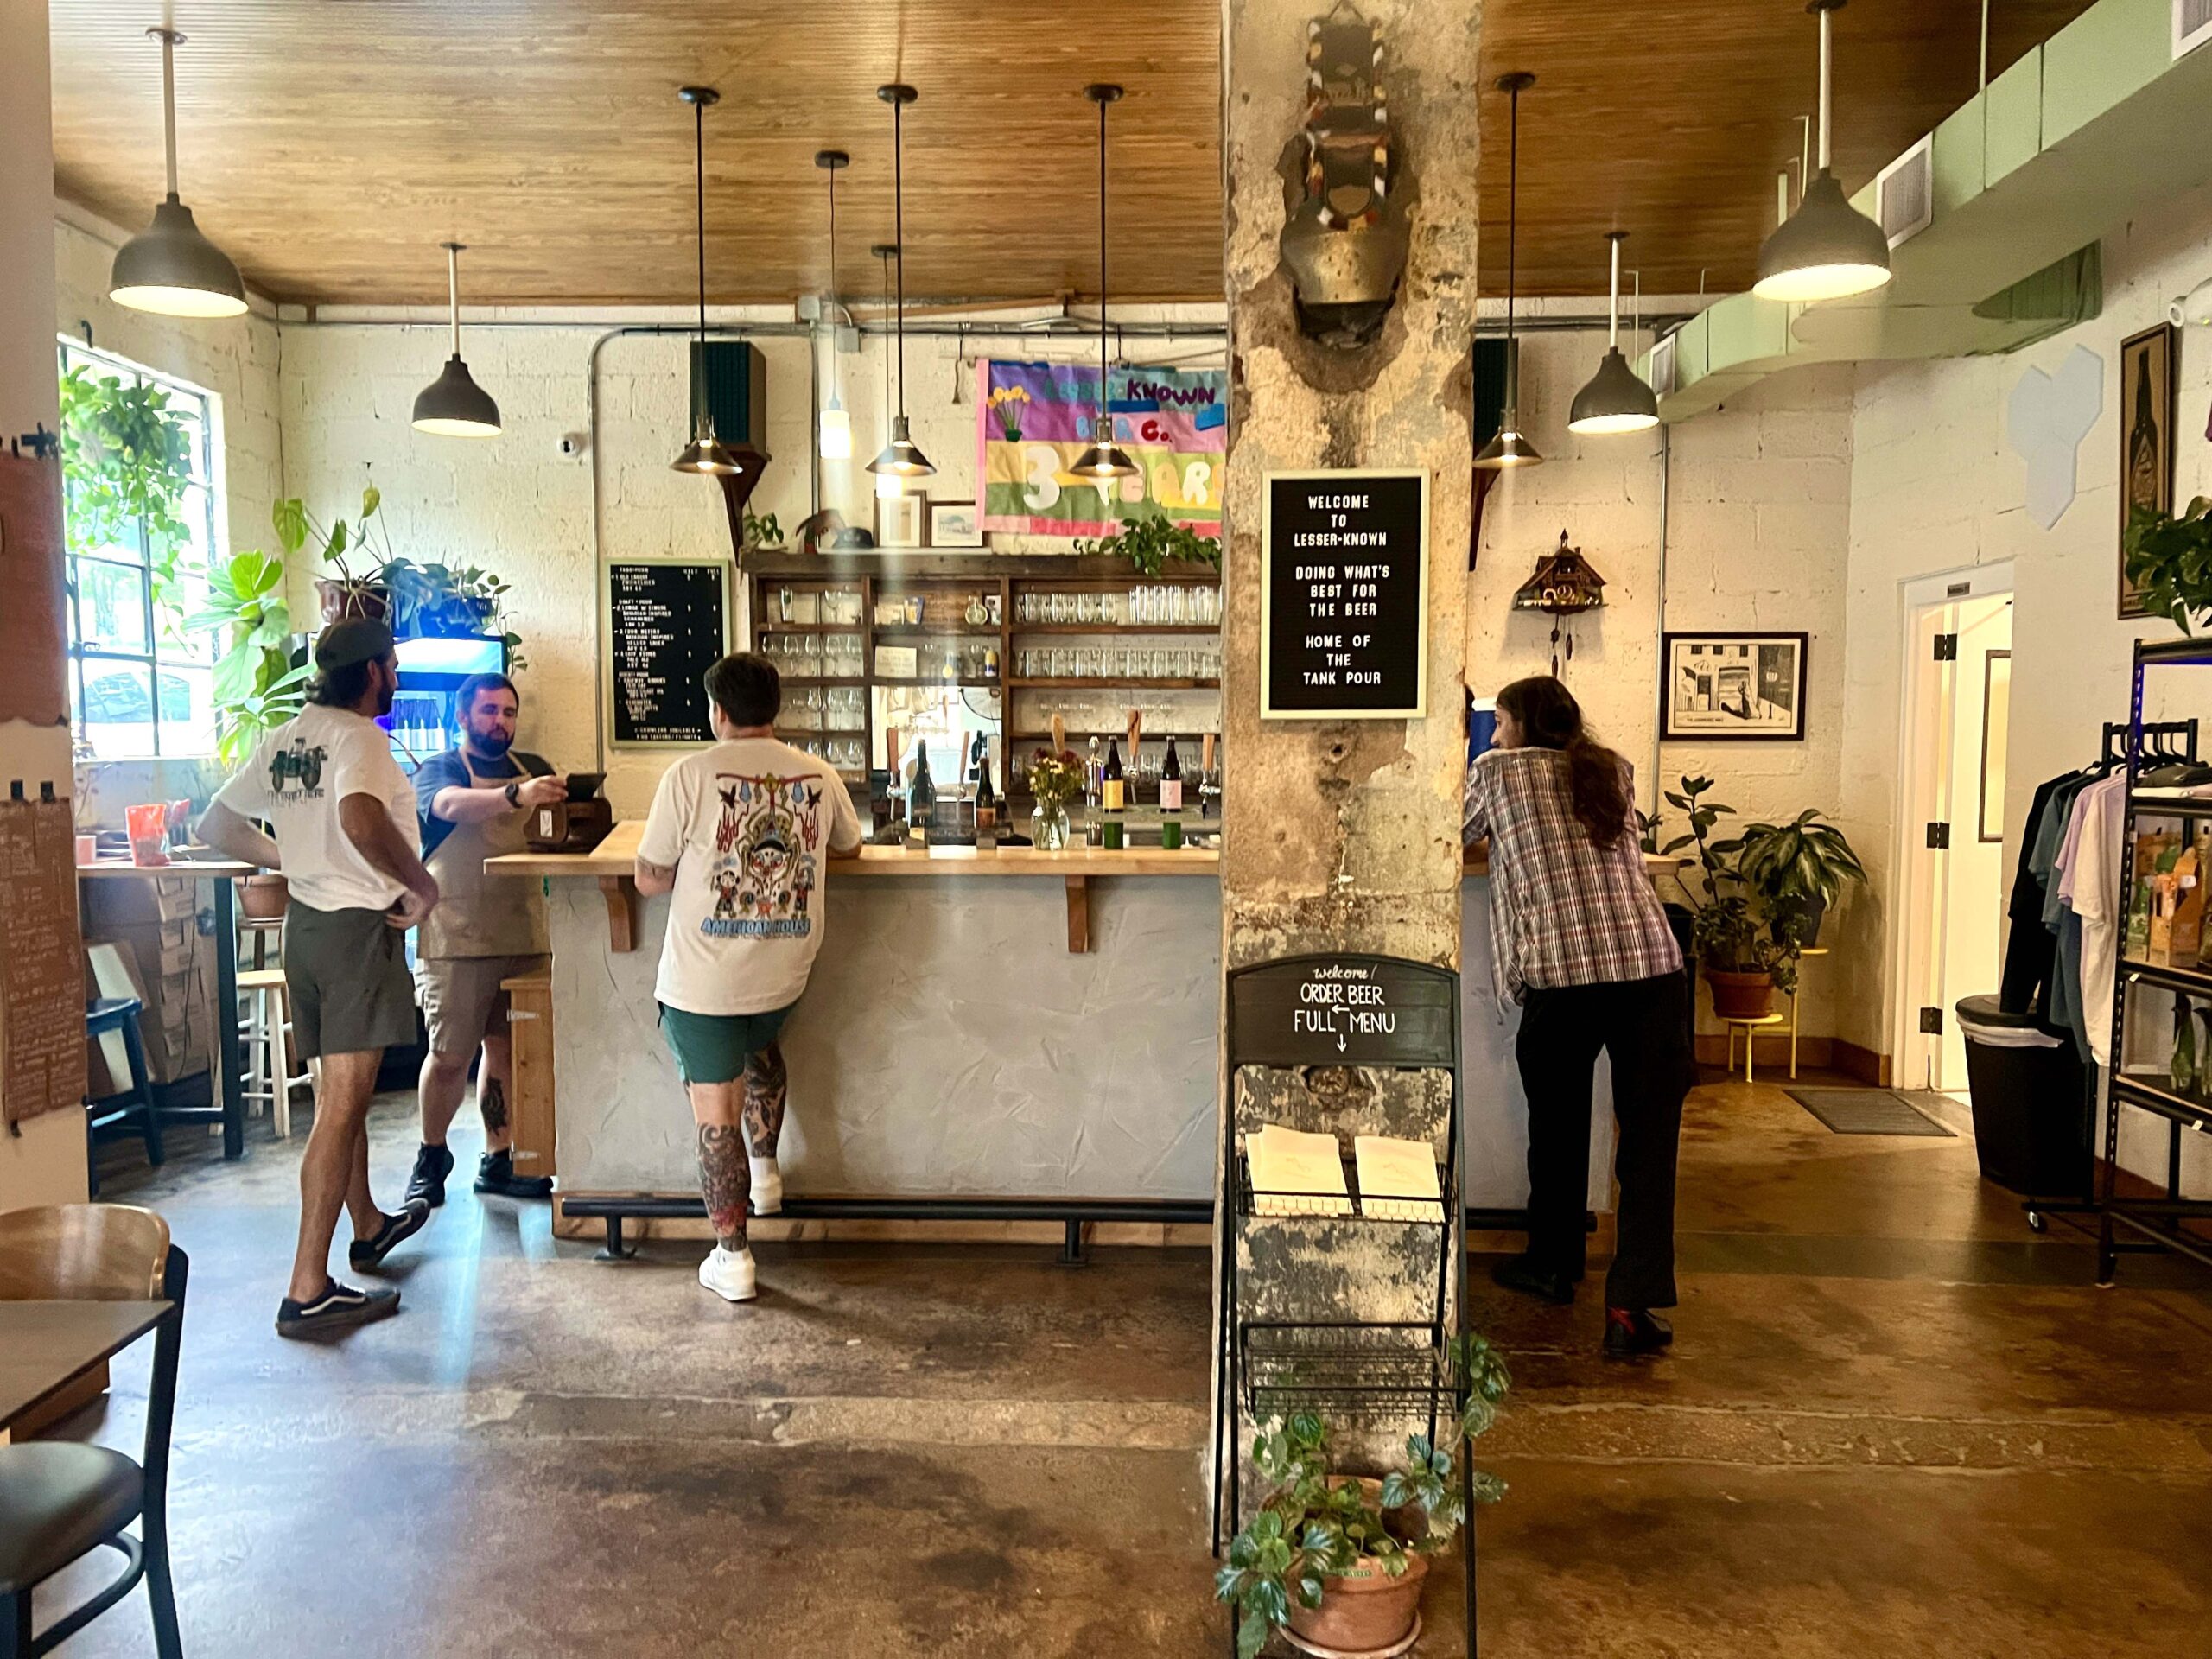 Some of the beers are poured directly from the tanks, while others are kegged and poured from draft lines. It’s this authenticity of the craft and attention to detail that make their beer top-quality, and yes, they do pour non-boozy drinks as well.
 The owners, JW and Kristen Ray, began their winemaking journey with
  I can vouch for Bistro Europa’s excellent cuisine, which earned it a prestigious Diner’s Choice Award by OpenTable.
 Paired with the Cabernet Franc and the Vidal Blanc, the dining experience was exceptional, topped only by the personable waitstaff.
 Online
  The rustic Old-World style is evident in defined by rocks walls and dark wood beams. Inside, visitors discover a massive tasting facility complete with a restaurant,
 PRO TIP: Reserve
  We walked the grounds with a volunteer guide, pausing to learn about specific species of
  Some of the Greater Gardens are color-themed, as Katharine wished, while other sections are dedicated to growing a variety of plants, herbs, and produce, with yields up to 2,500 pounds donated to the non-profit organization, H.O.P.E., to fight food scarcity.
 Following the breathtaking pathways, we discovered original buildings that the Reynolds children used as playhouses. One can explore more than two miles of trails, many of which are paved pathways through thick woodland, which opens up to a meadow.
 NOTE: Casual photo-taking is approved, but formal photography sessions need to be scheduled.
 PRO TIP: Visit during the morning hours during cooler weather. Start the tour in the
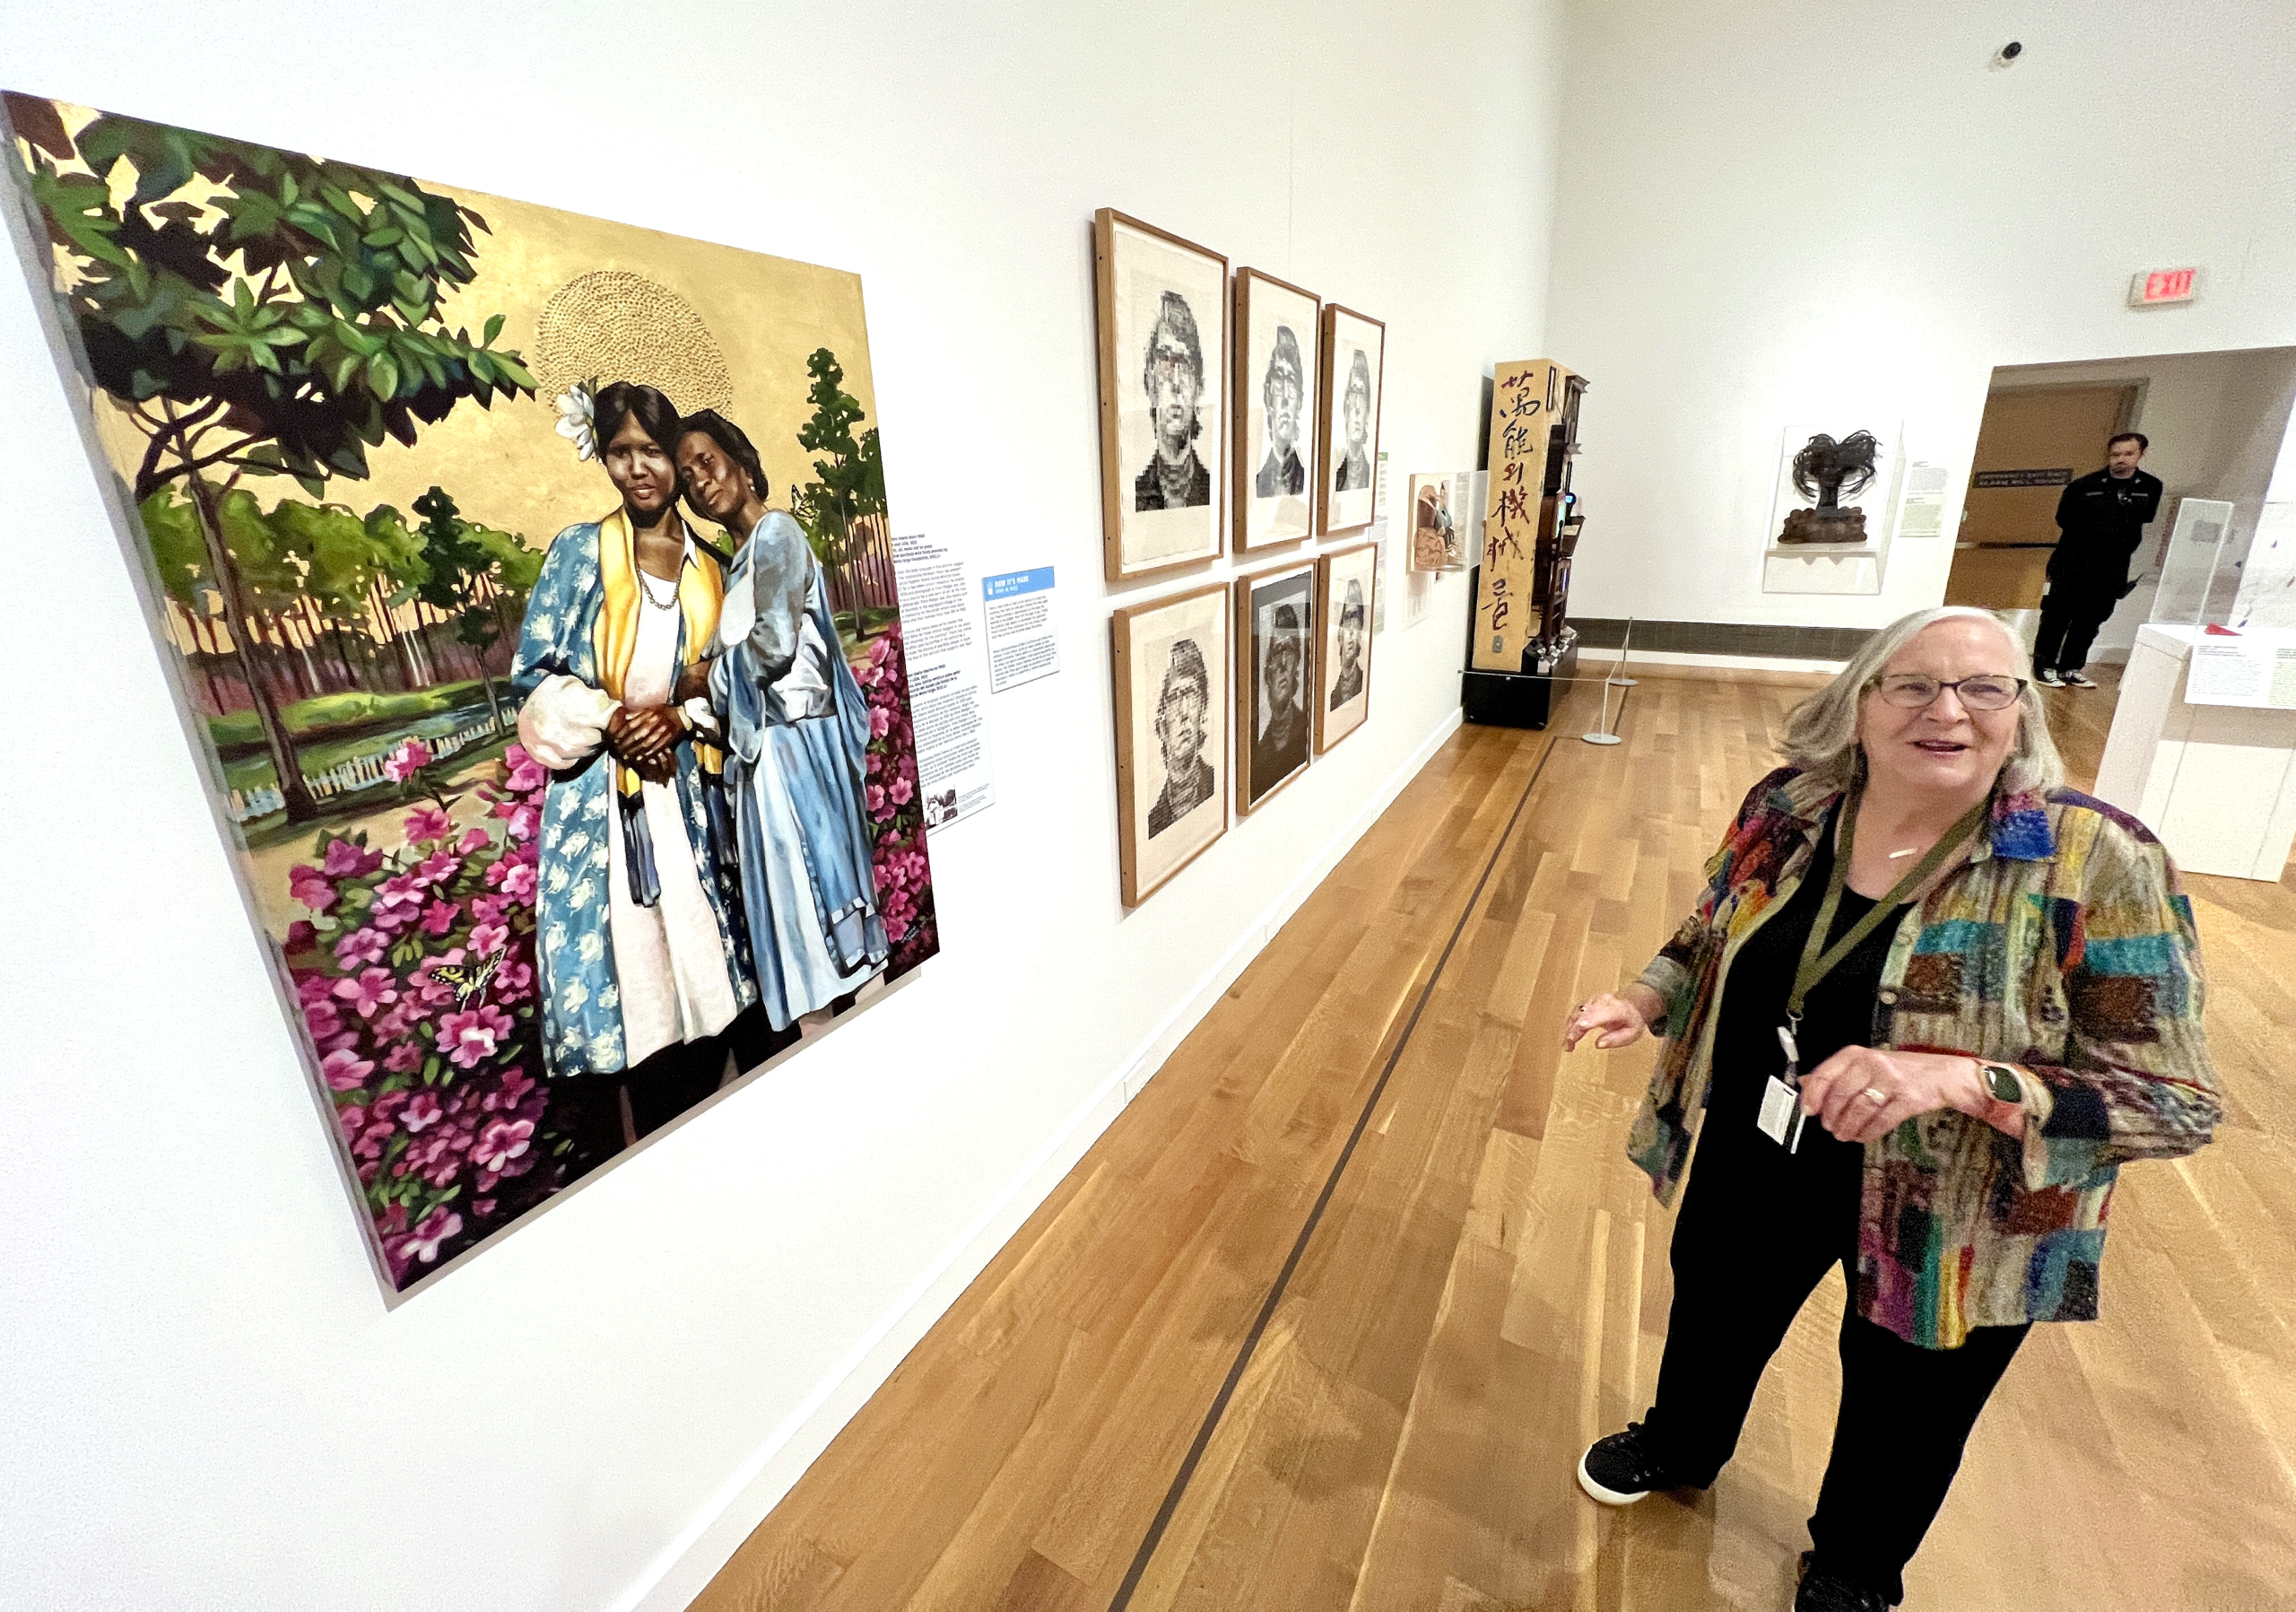 While you can tour it at your own pace, we chose a docent-guided tour that welcomed us to experience the exhibit, “Layered Looking: Making Sense of Art,” freely and without overinterpretation.
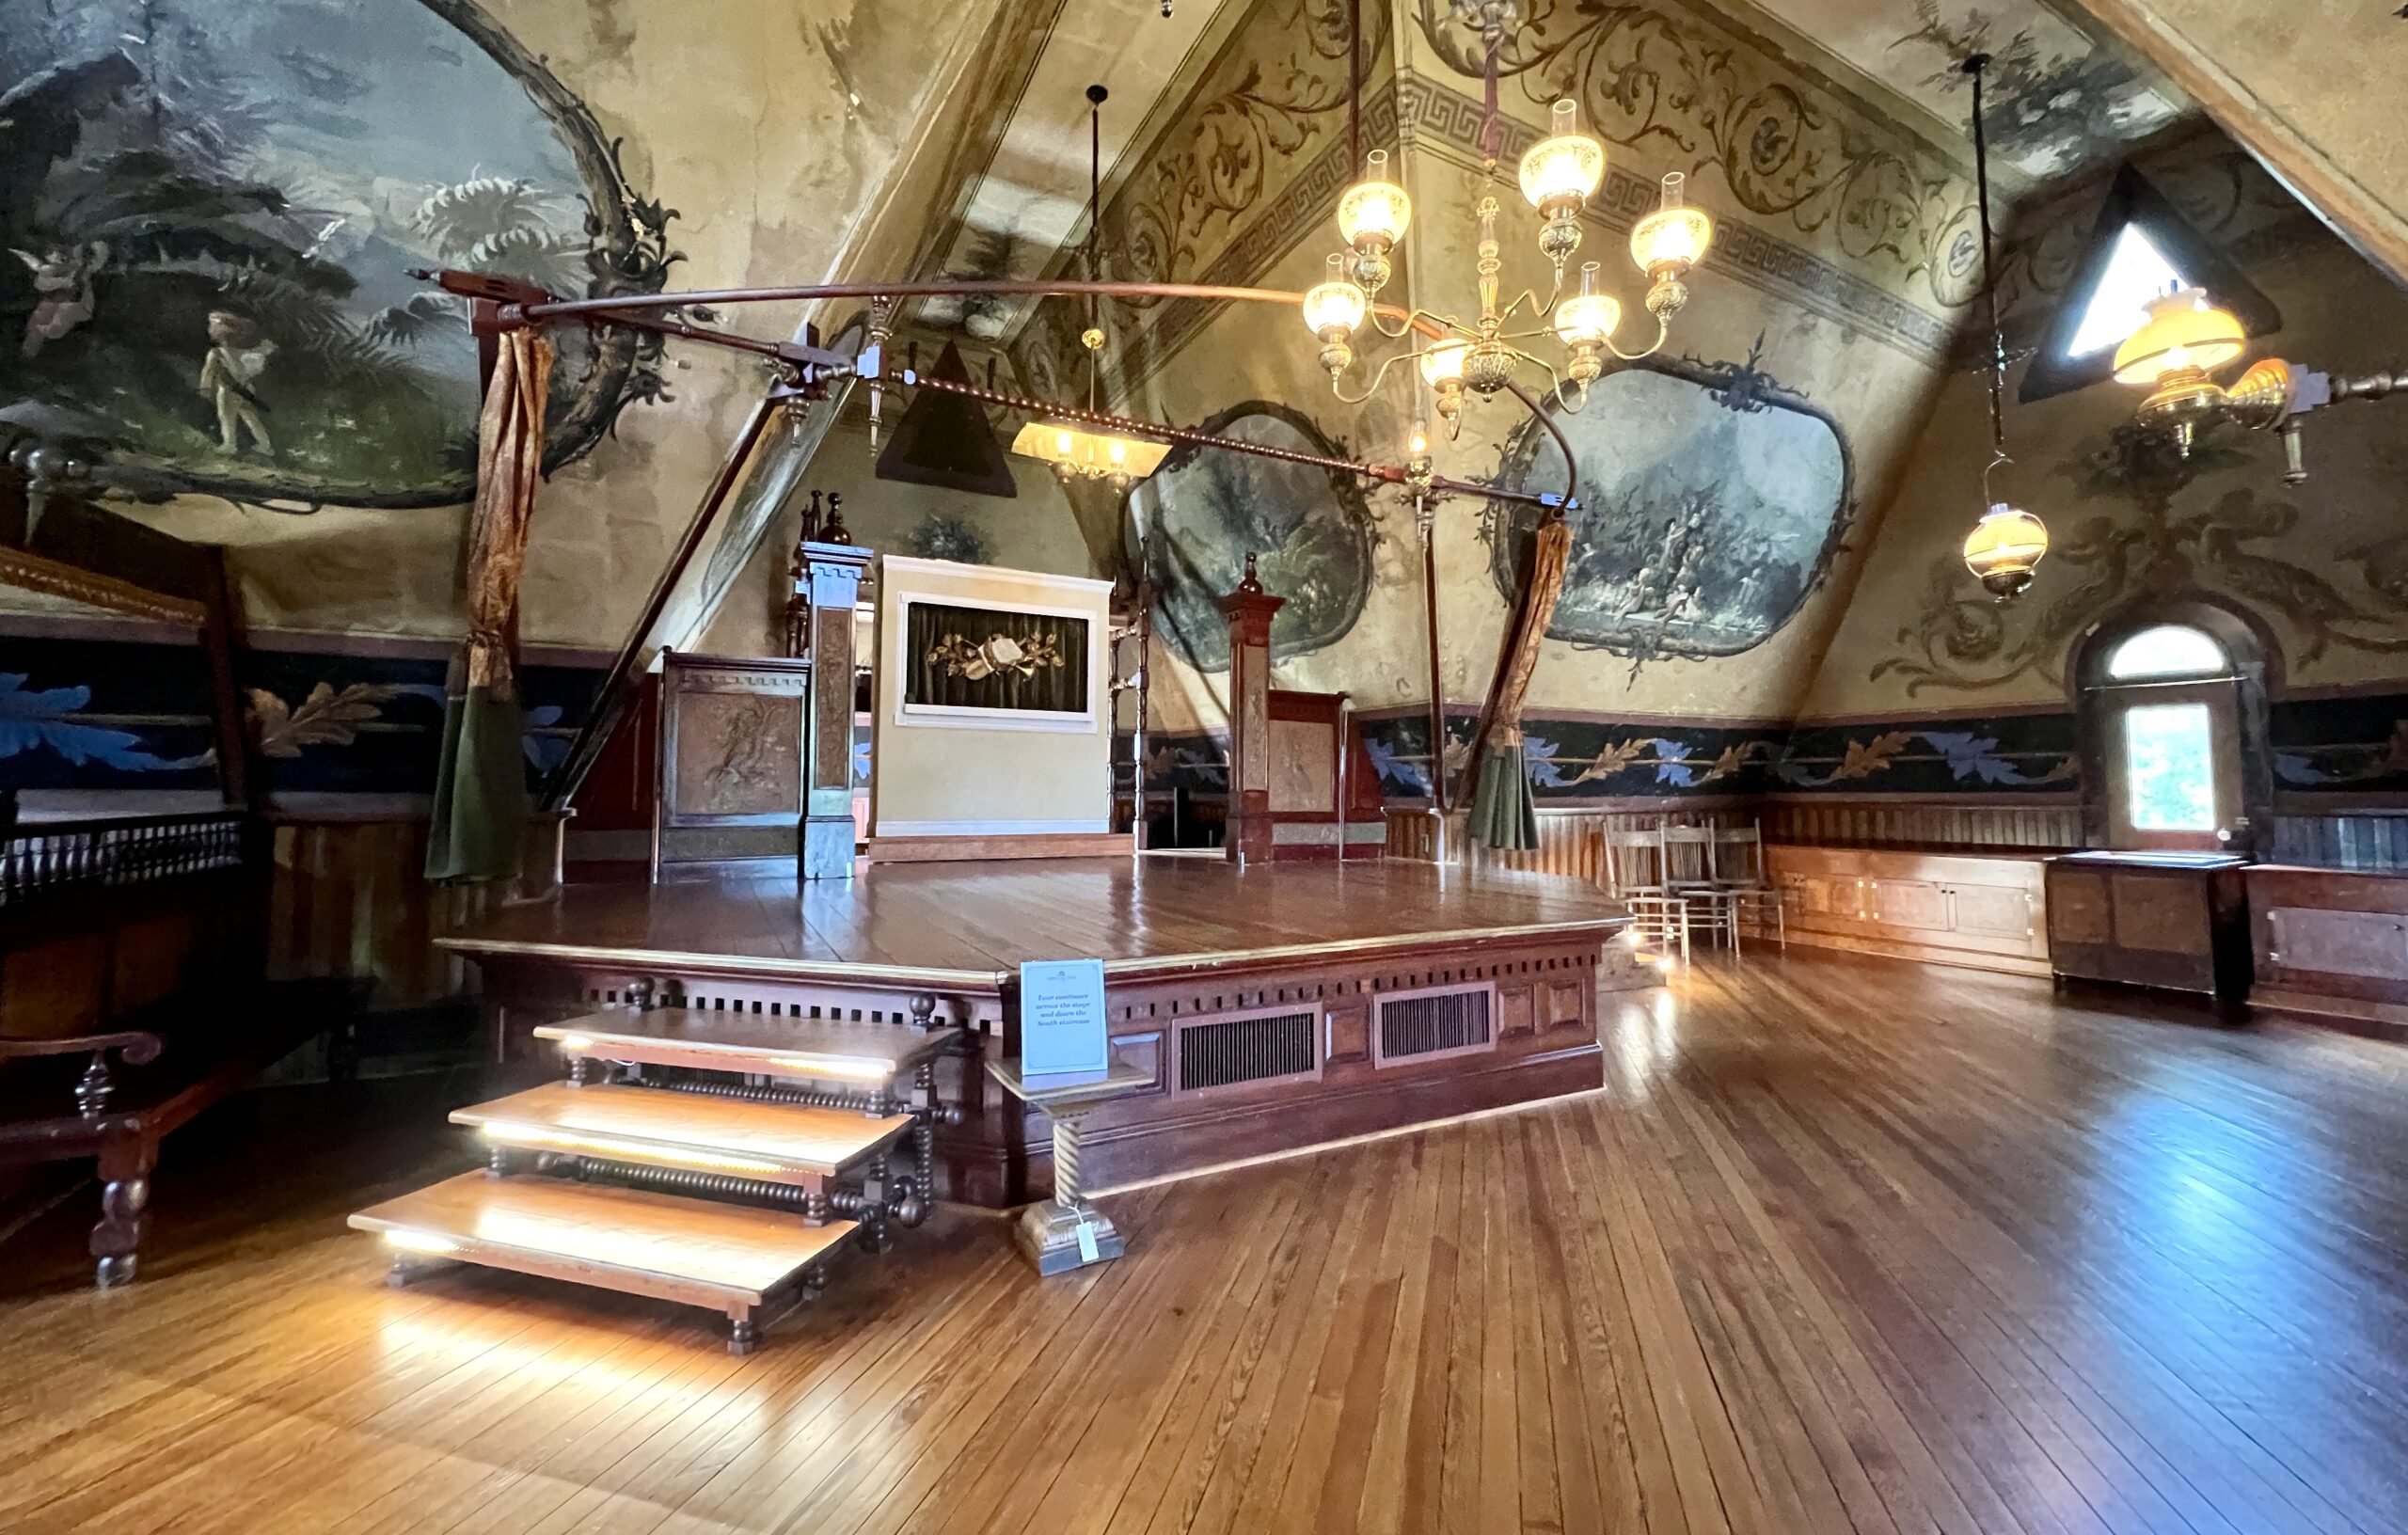 It’s an architectural wonder. Constructed in 1878, it was crafted by interior designer Jule Gilmer Körner as a showcase of his design work, but it doubled as his family’s residence.
 Narrow doorways open to reception rooms, and the Cupid’s Park Theatre is awe-inspiring, as it is believed to be the first private little theatre in America.
 Other points of interest that stopped us in our tracks were the porches with marble picnic tables and a separate home, Aunt Dealy’s Cottage, where an enslaved woman, Clara, lived with the family.
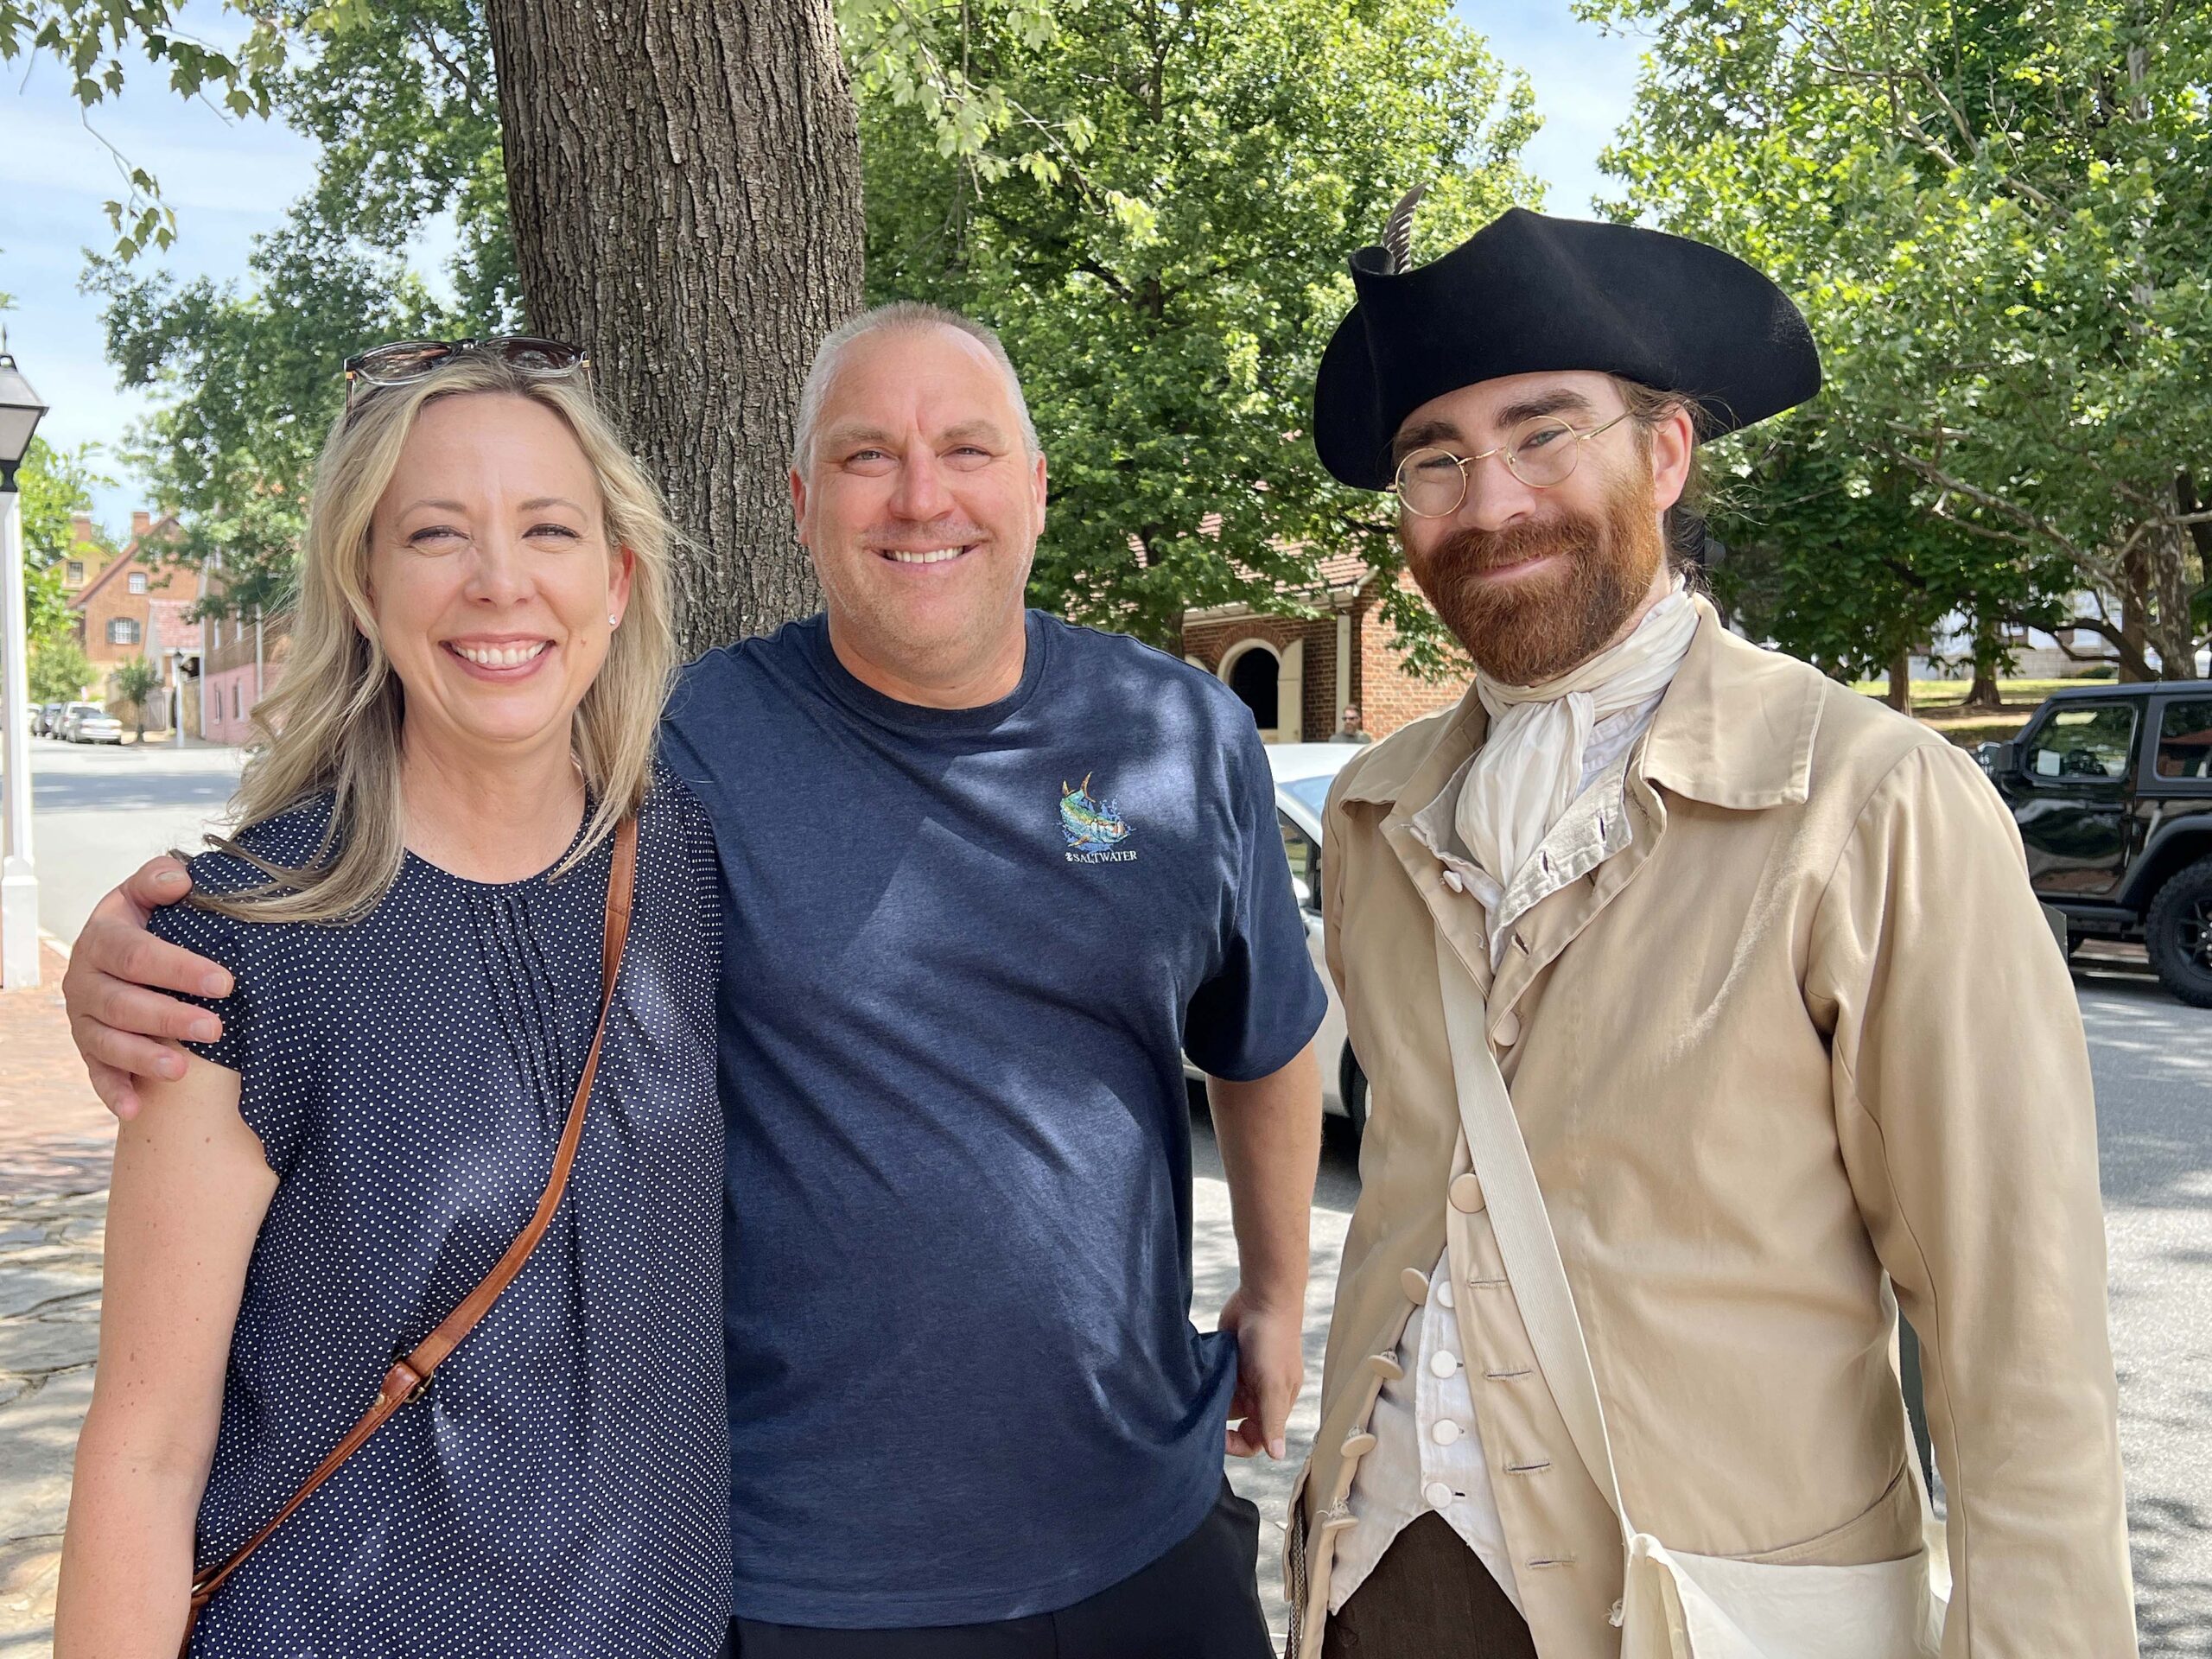 About 40 costumed interpreters demonstrating their craft, from making earthenware to cooking a meal over an open fire, welcomed us to learn about Moravian culture as we entered each building.
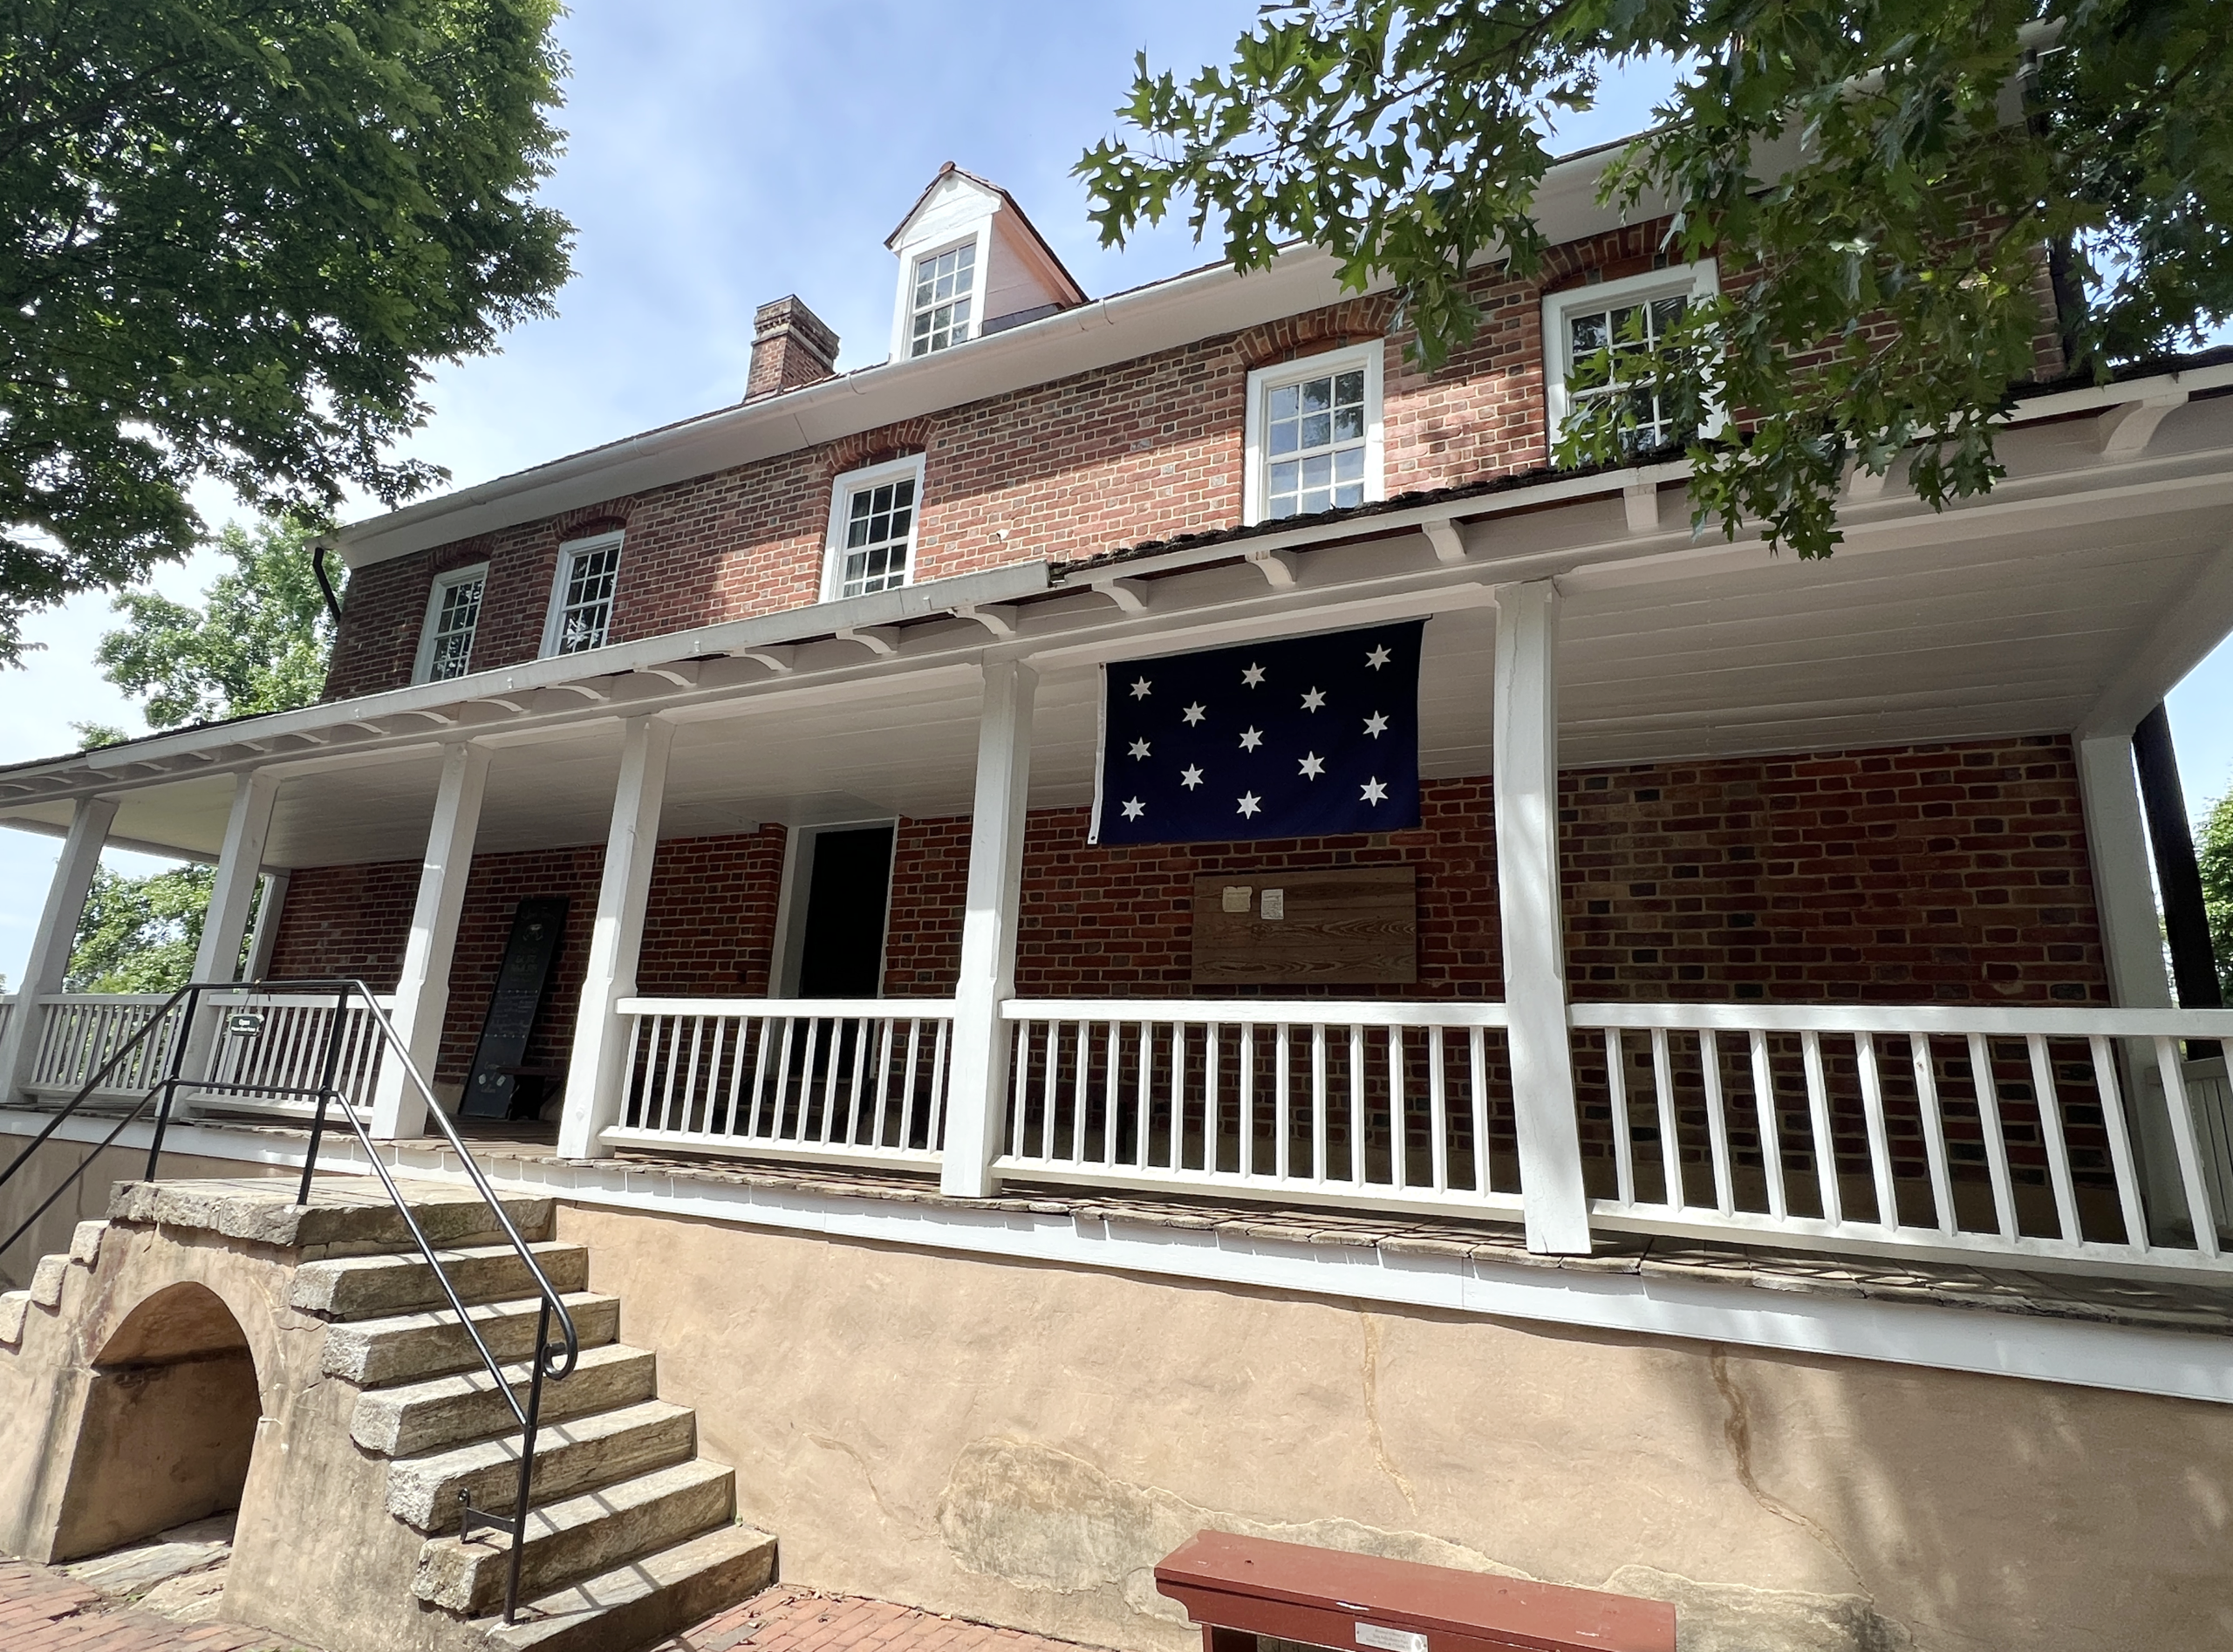 At the Miksch House, a woman gave an oral history of the first family home in Salem. An interpreter told us the history of the sole medical doctor’s practice and how the garden’s herbs were used in tonics.
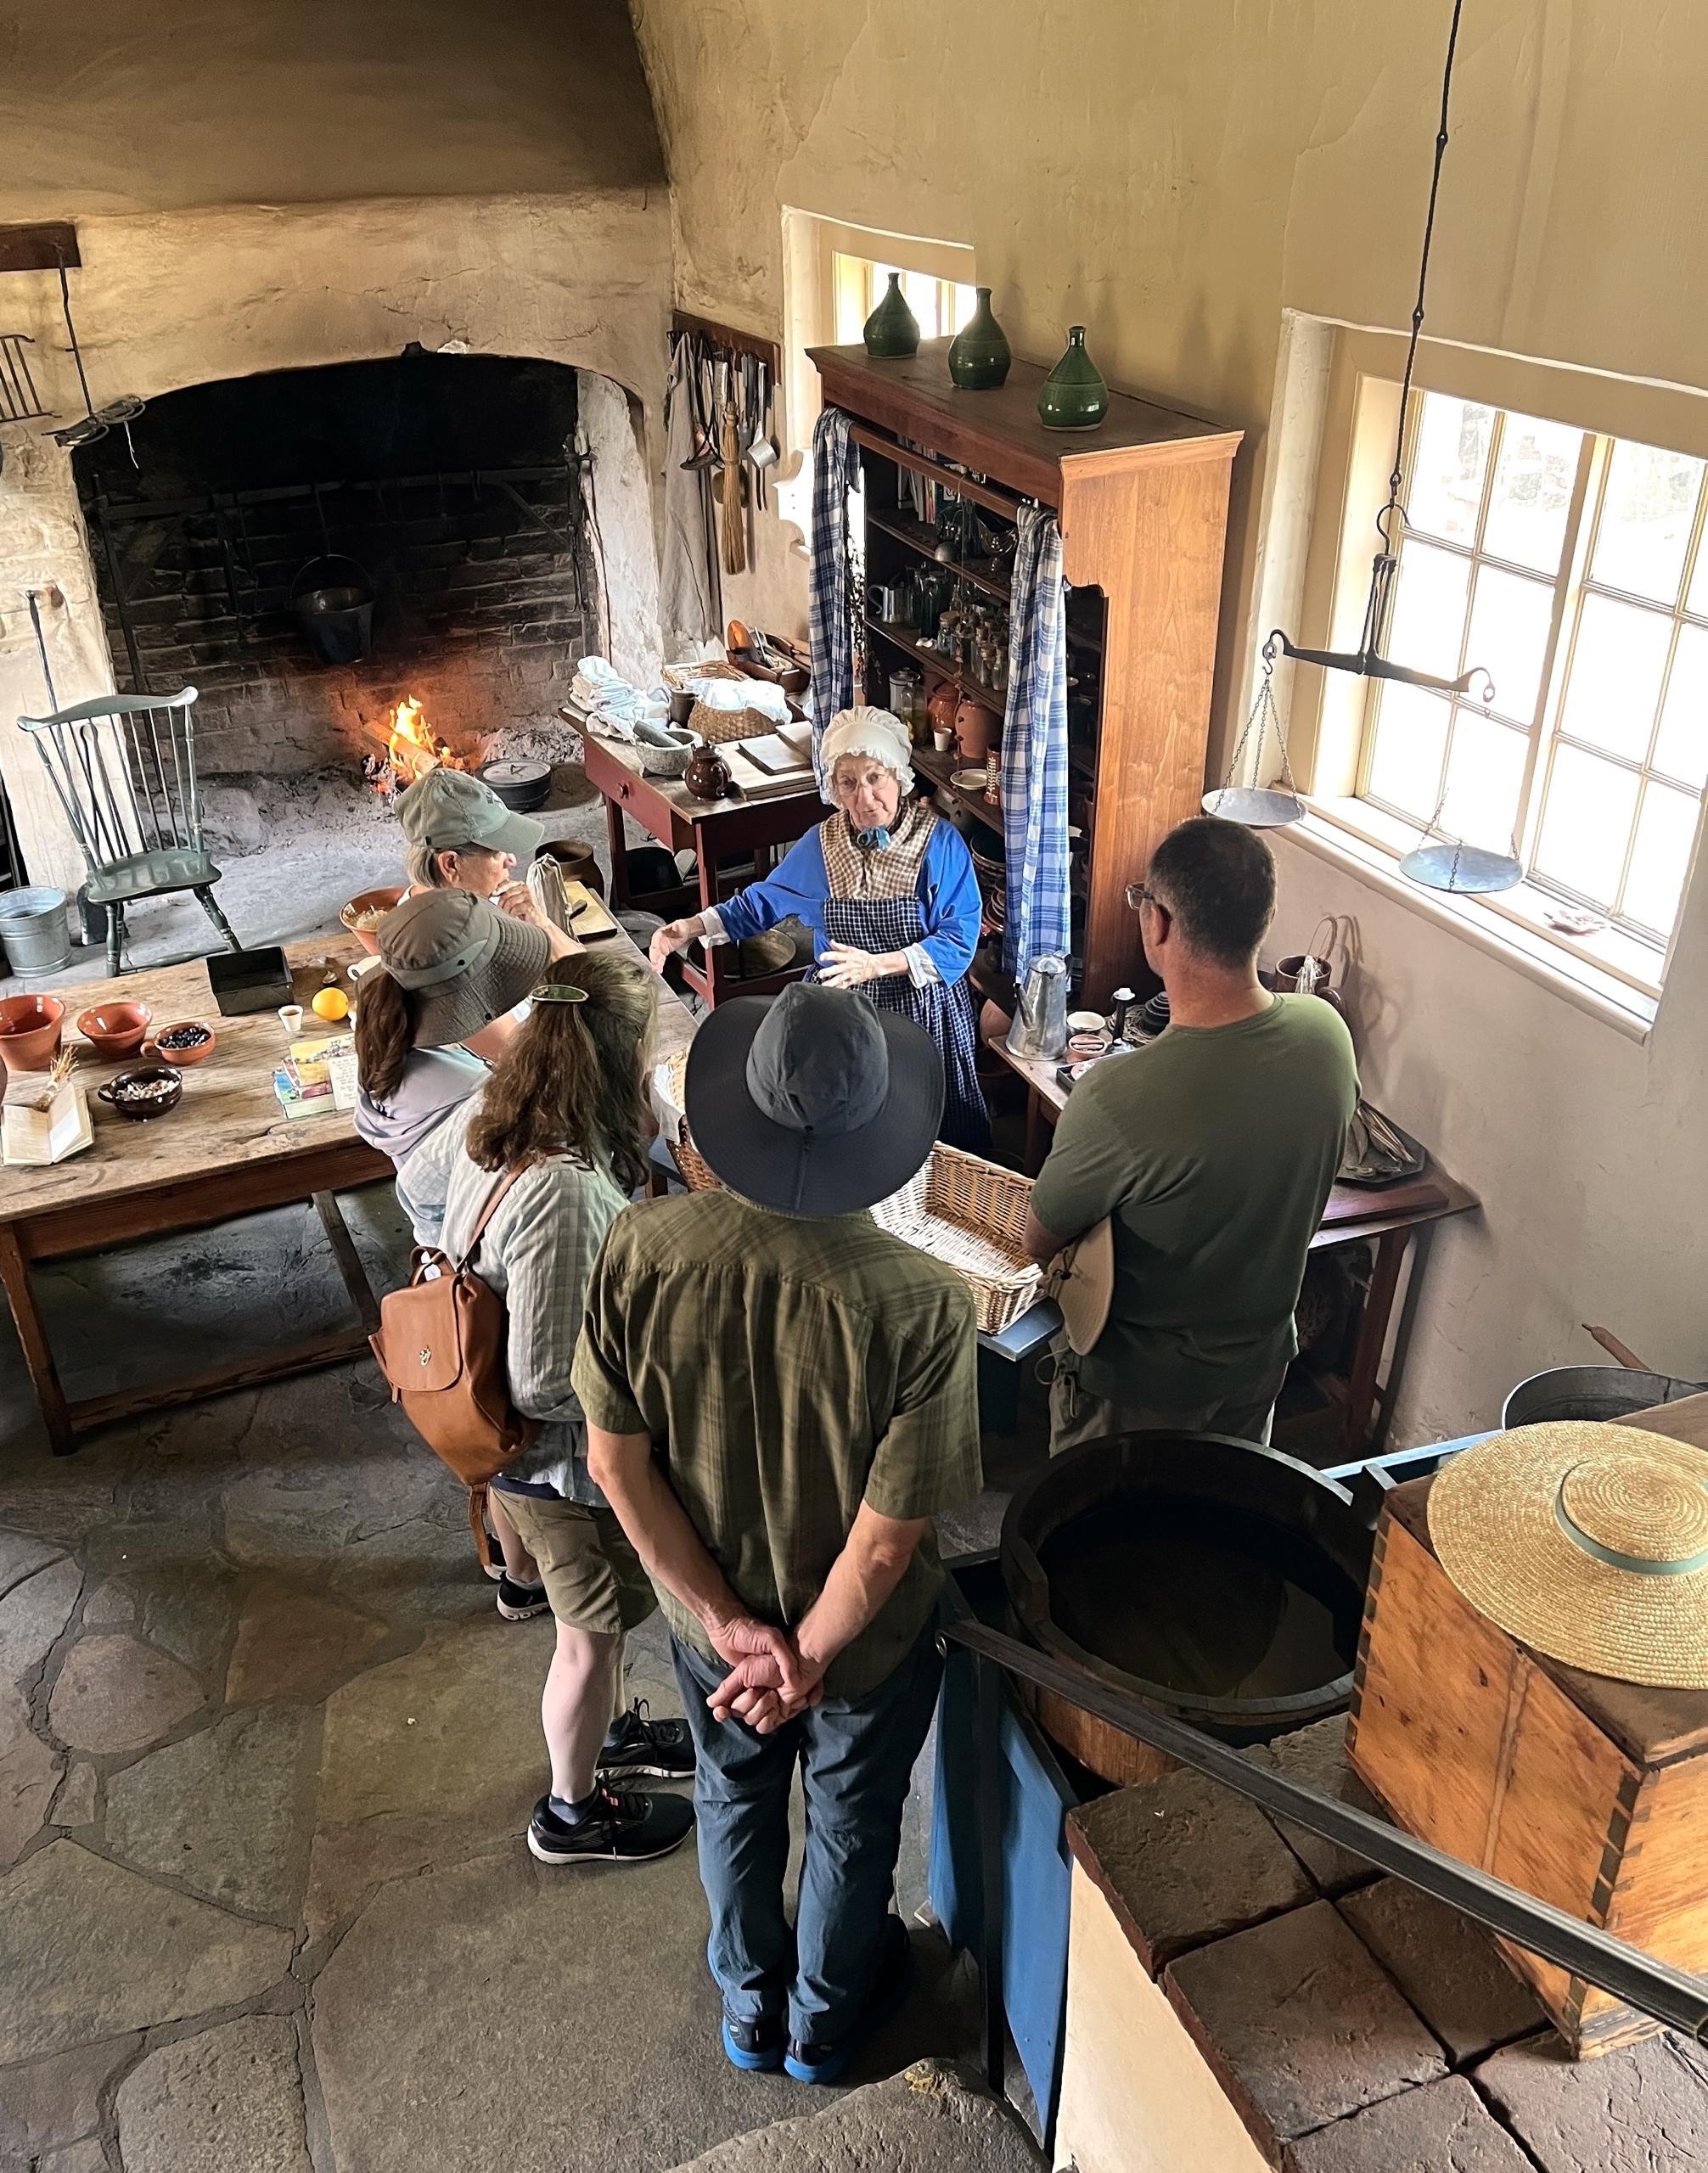 Our two-hour tour was comprehensive, covering the history of the Moravian community and its people.
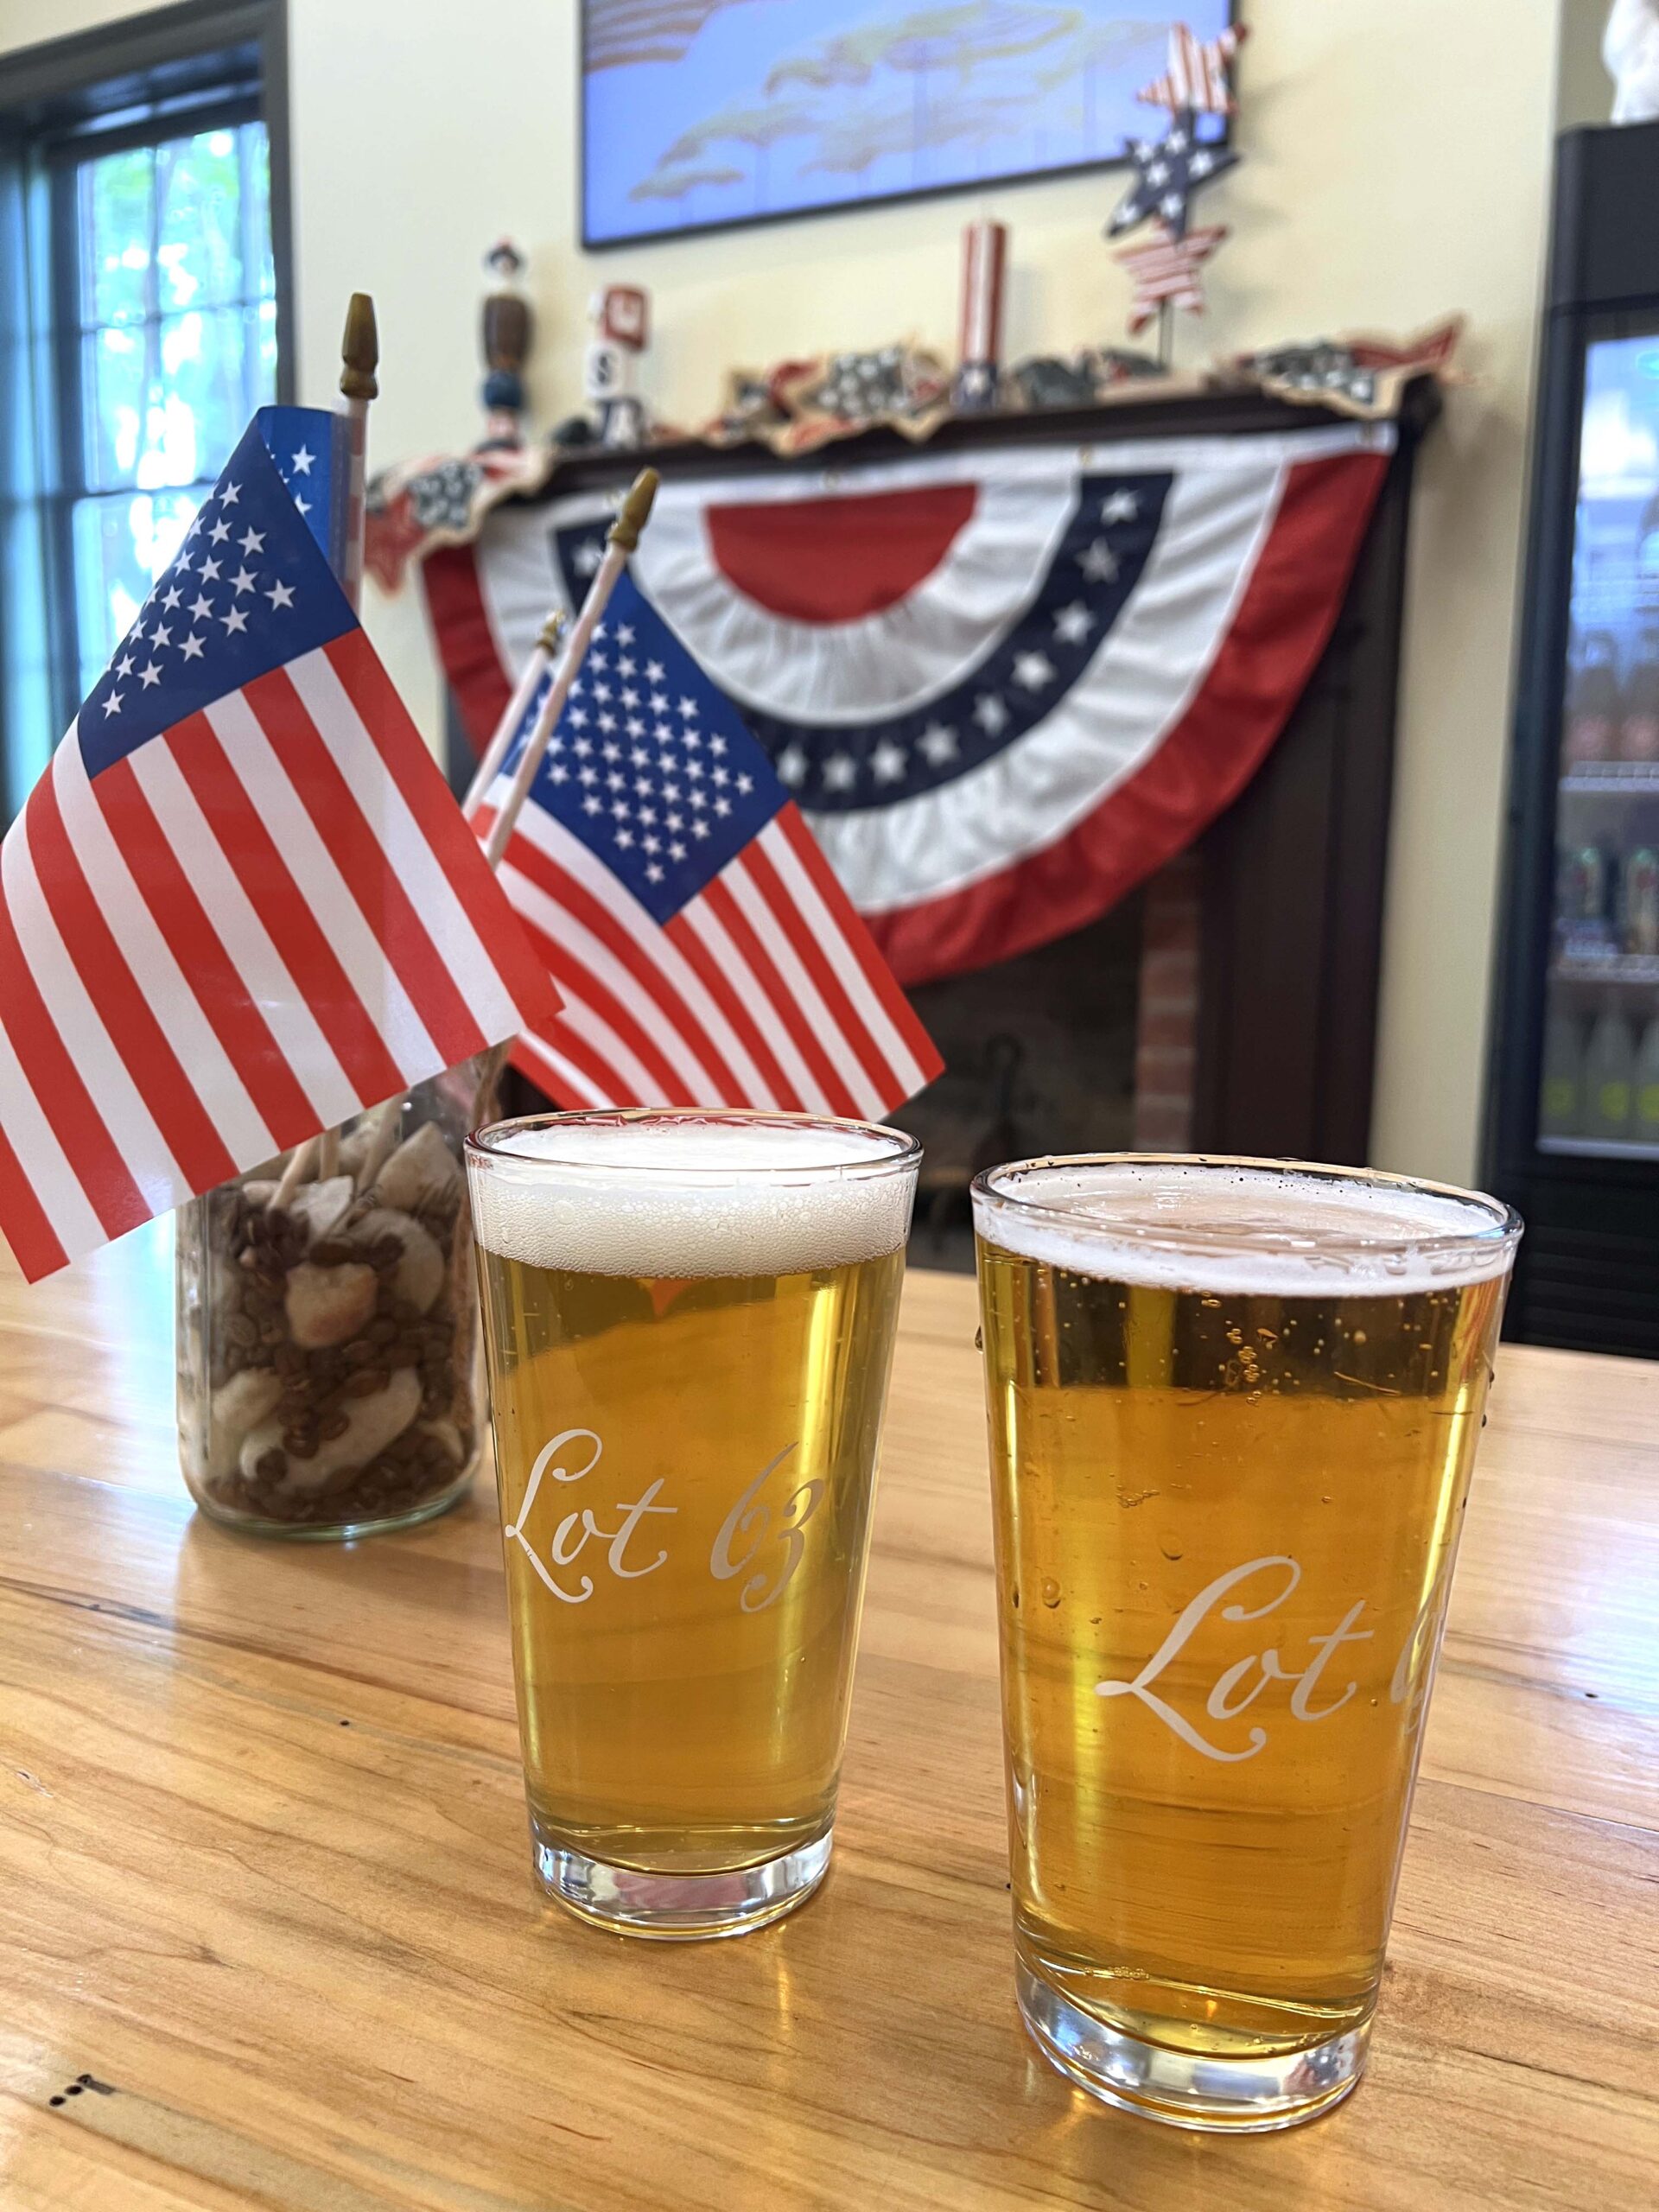 You could spend all day at Old Salem Museums & Gardens. I’d love to return to explore the
 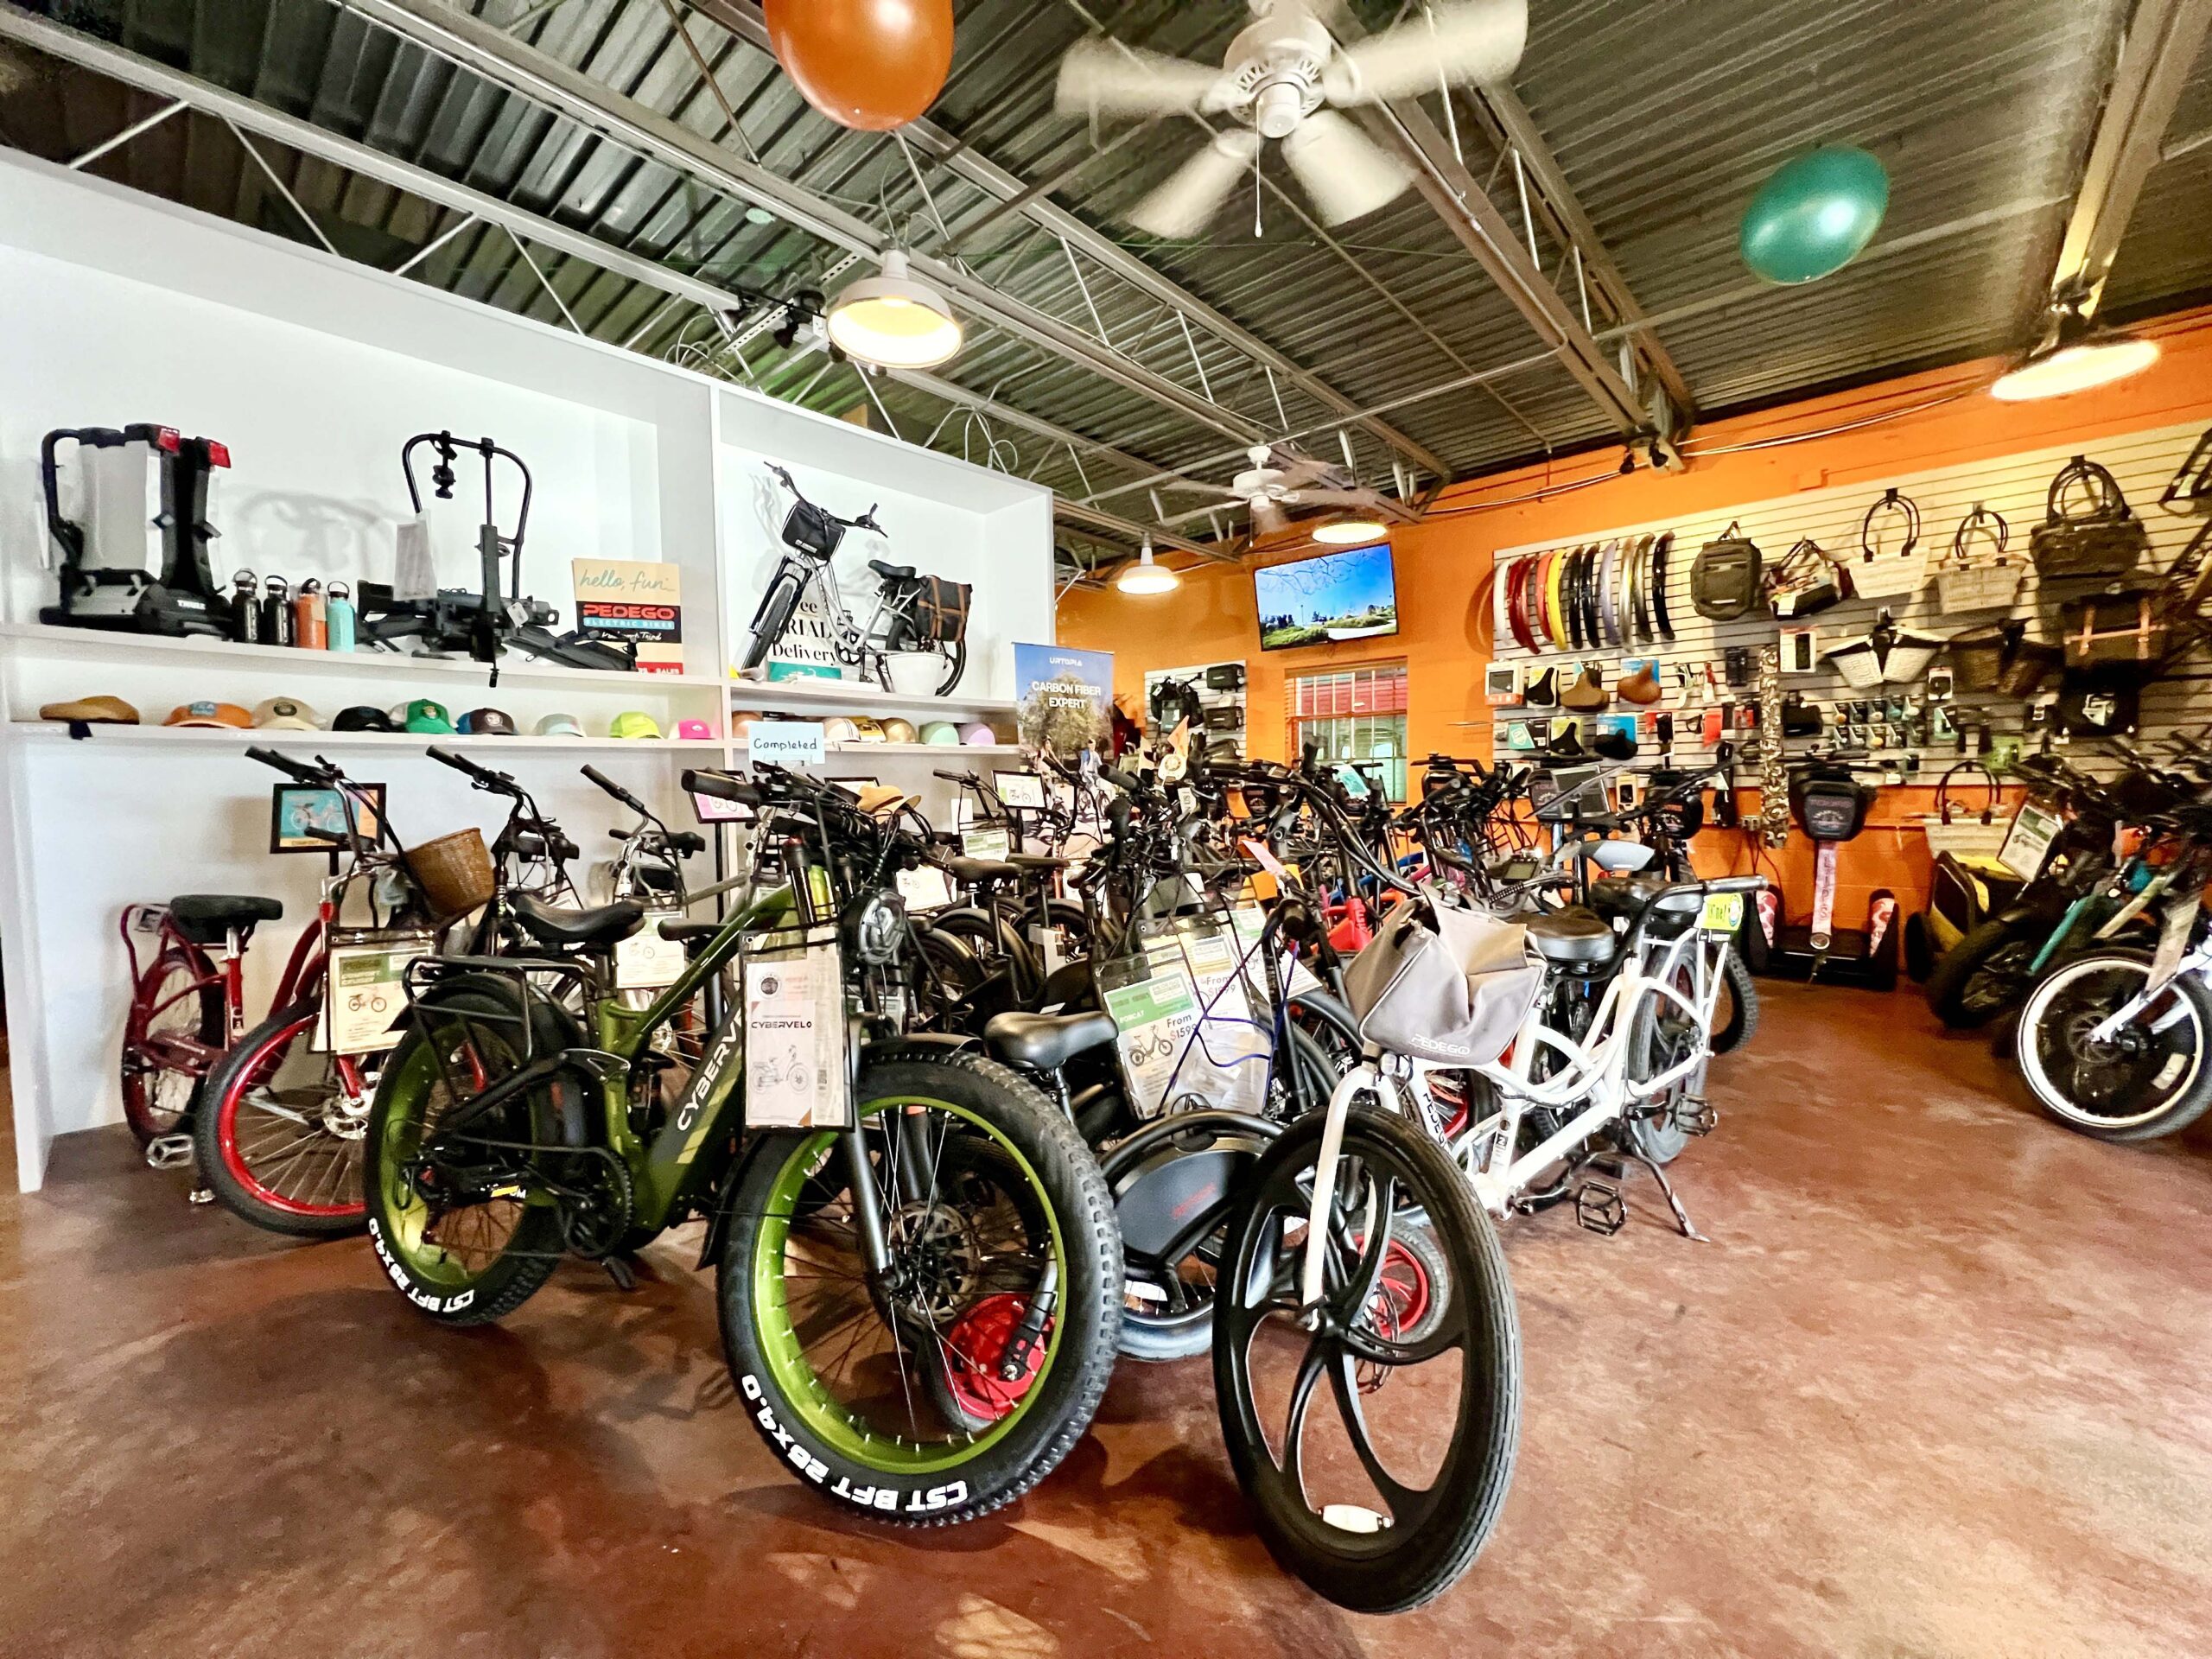 Our guide led us through downtown streets, stopping to tell us about the town’s historic buildings and parks.
 Triad Eco Adventures offers
 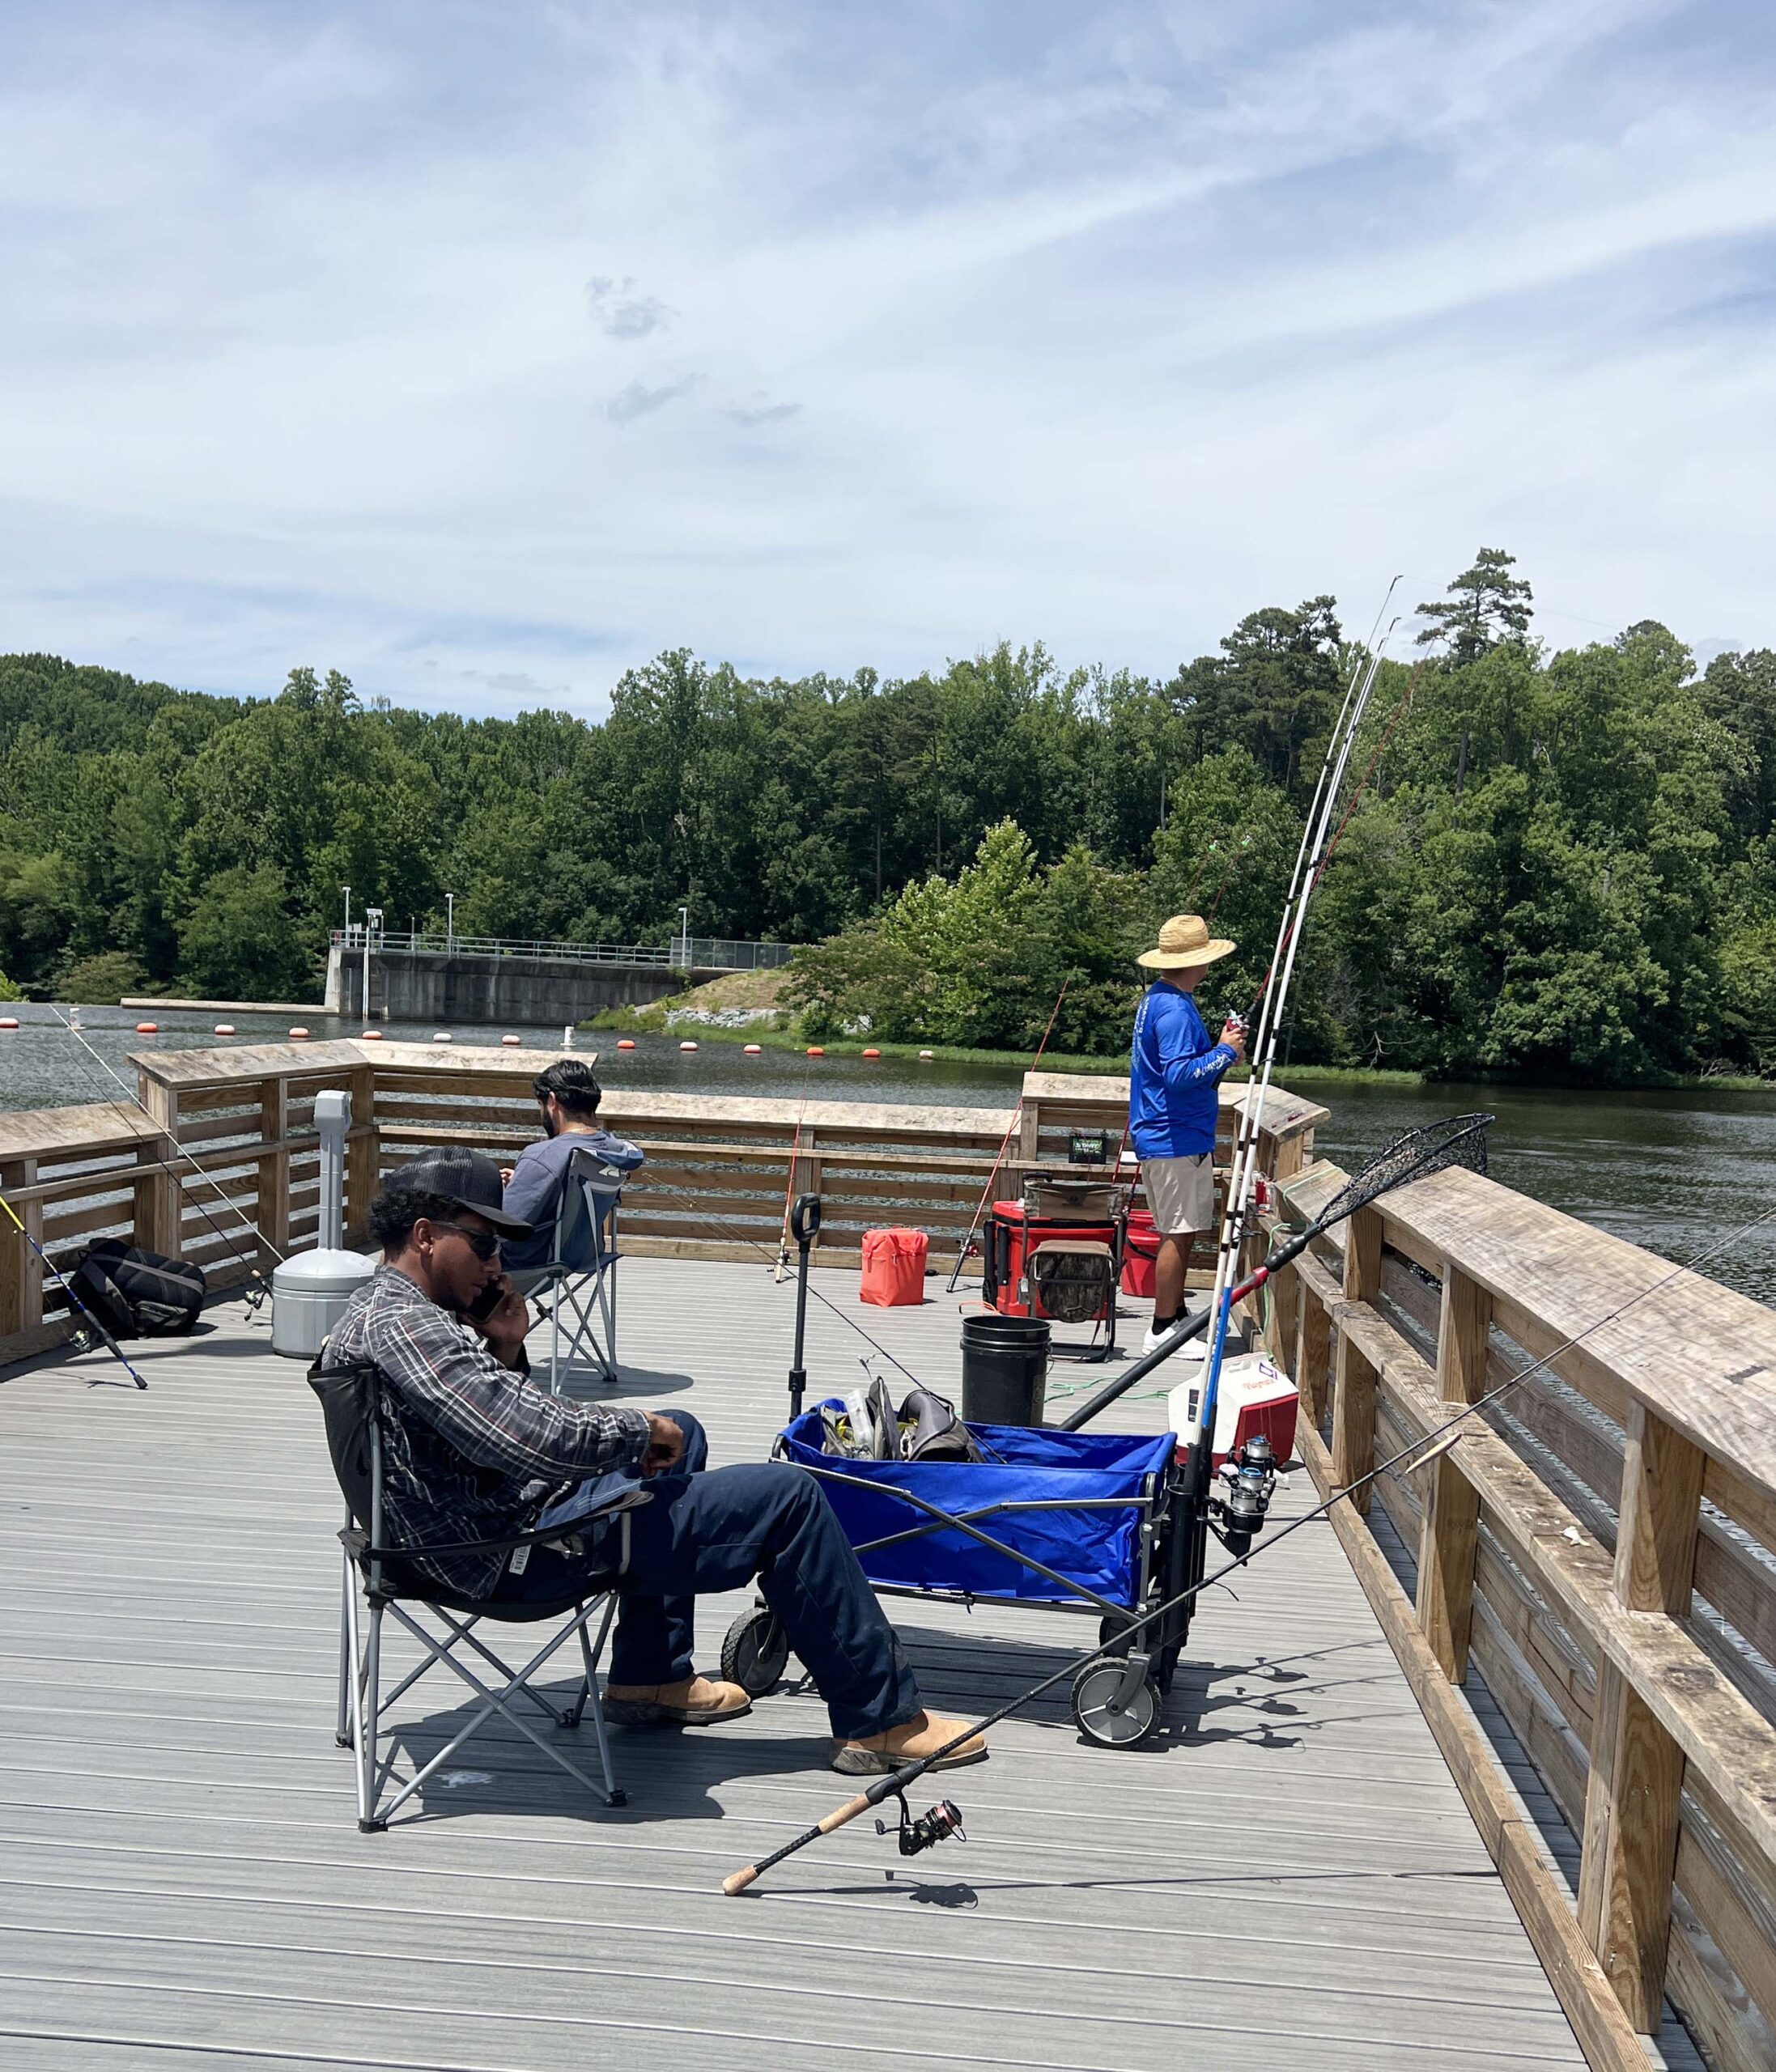 Lake lovers can rent Jon boats or kayaks, or drop a line from the marina’s Fishing Station.
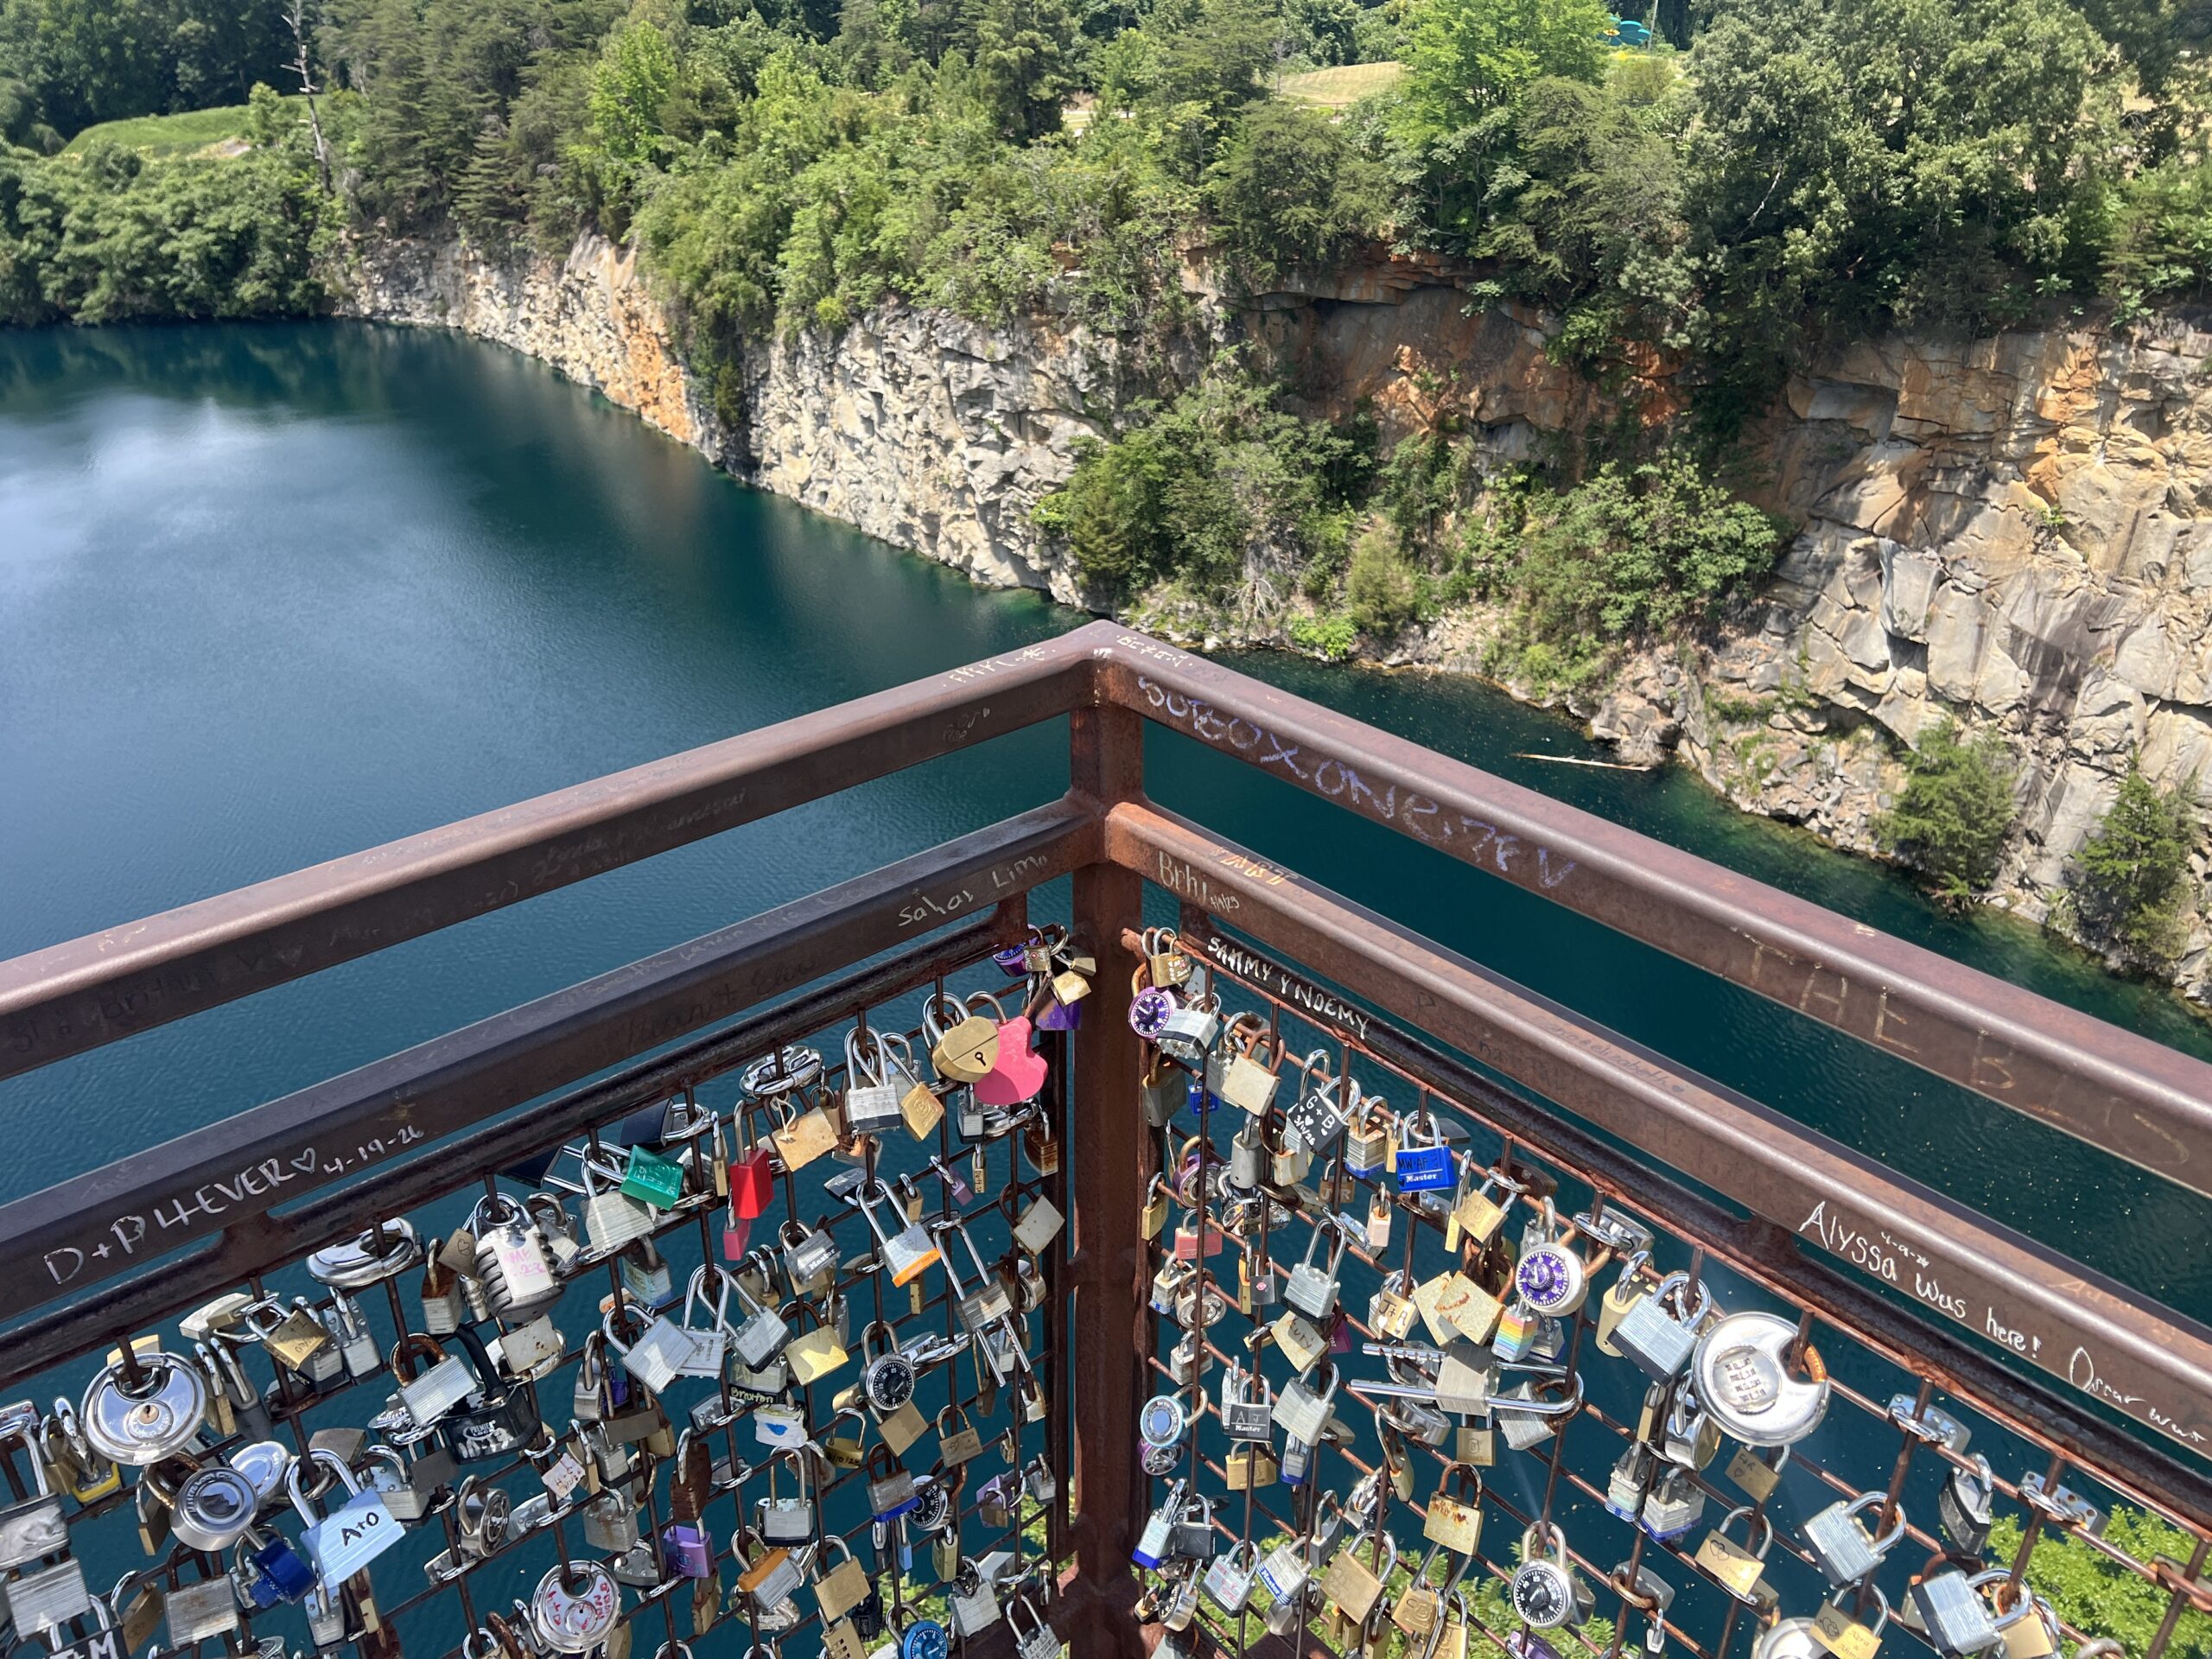 Despite our fear of heights, we made it to the edge of the overlook and were rewarded with a spectacular view.
 You can drive directly up to the parking, and the viewing platforms are paved.
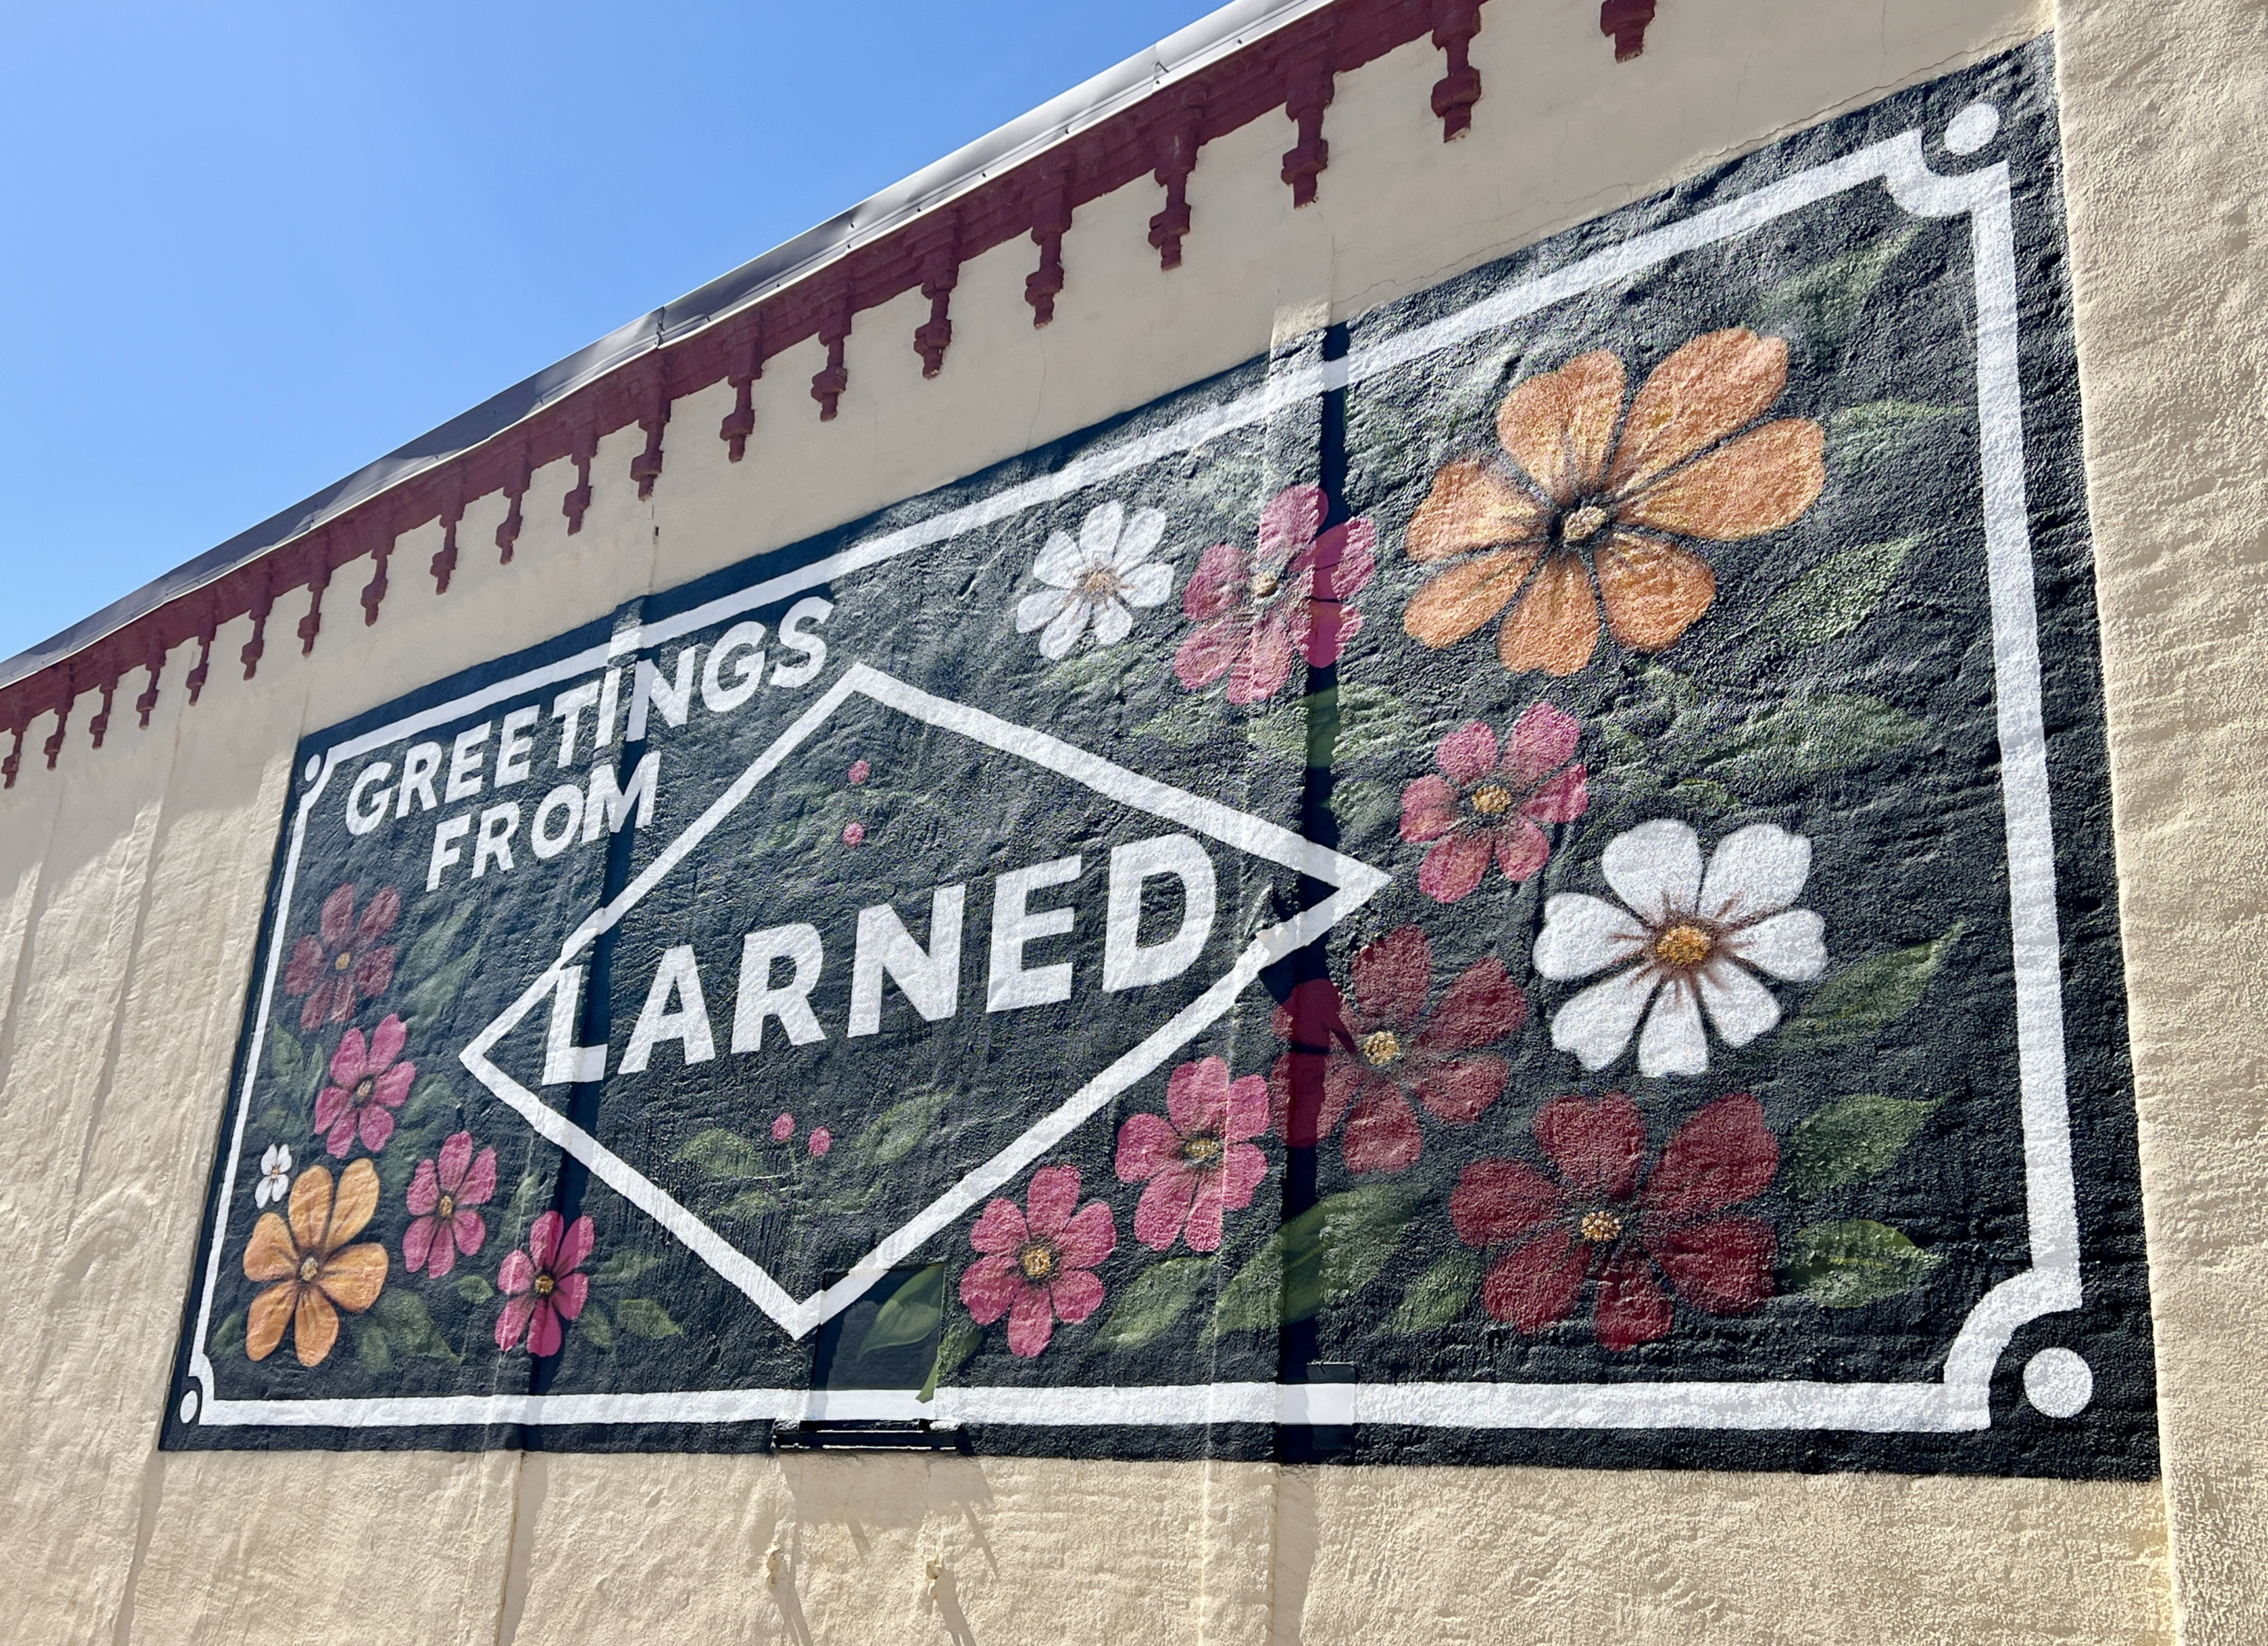 I grew up visiting the region, and my first visit to Larned confirmed that it’s a town deserving of an overnight stay to experience all it offers, from historical tours and outdoor adventures to strolling downtown businesses.
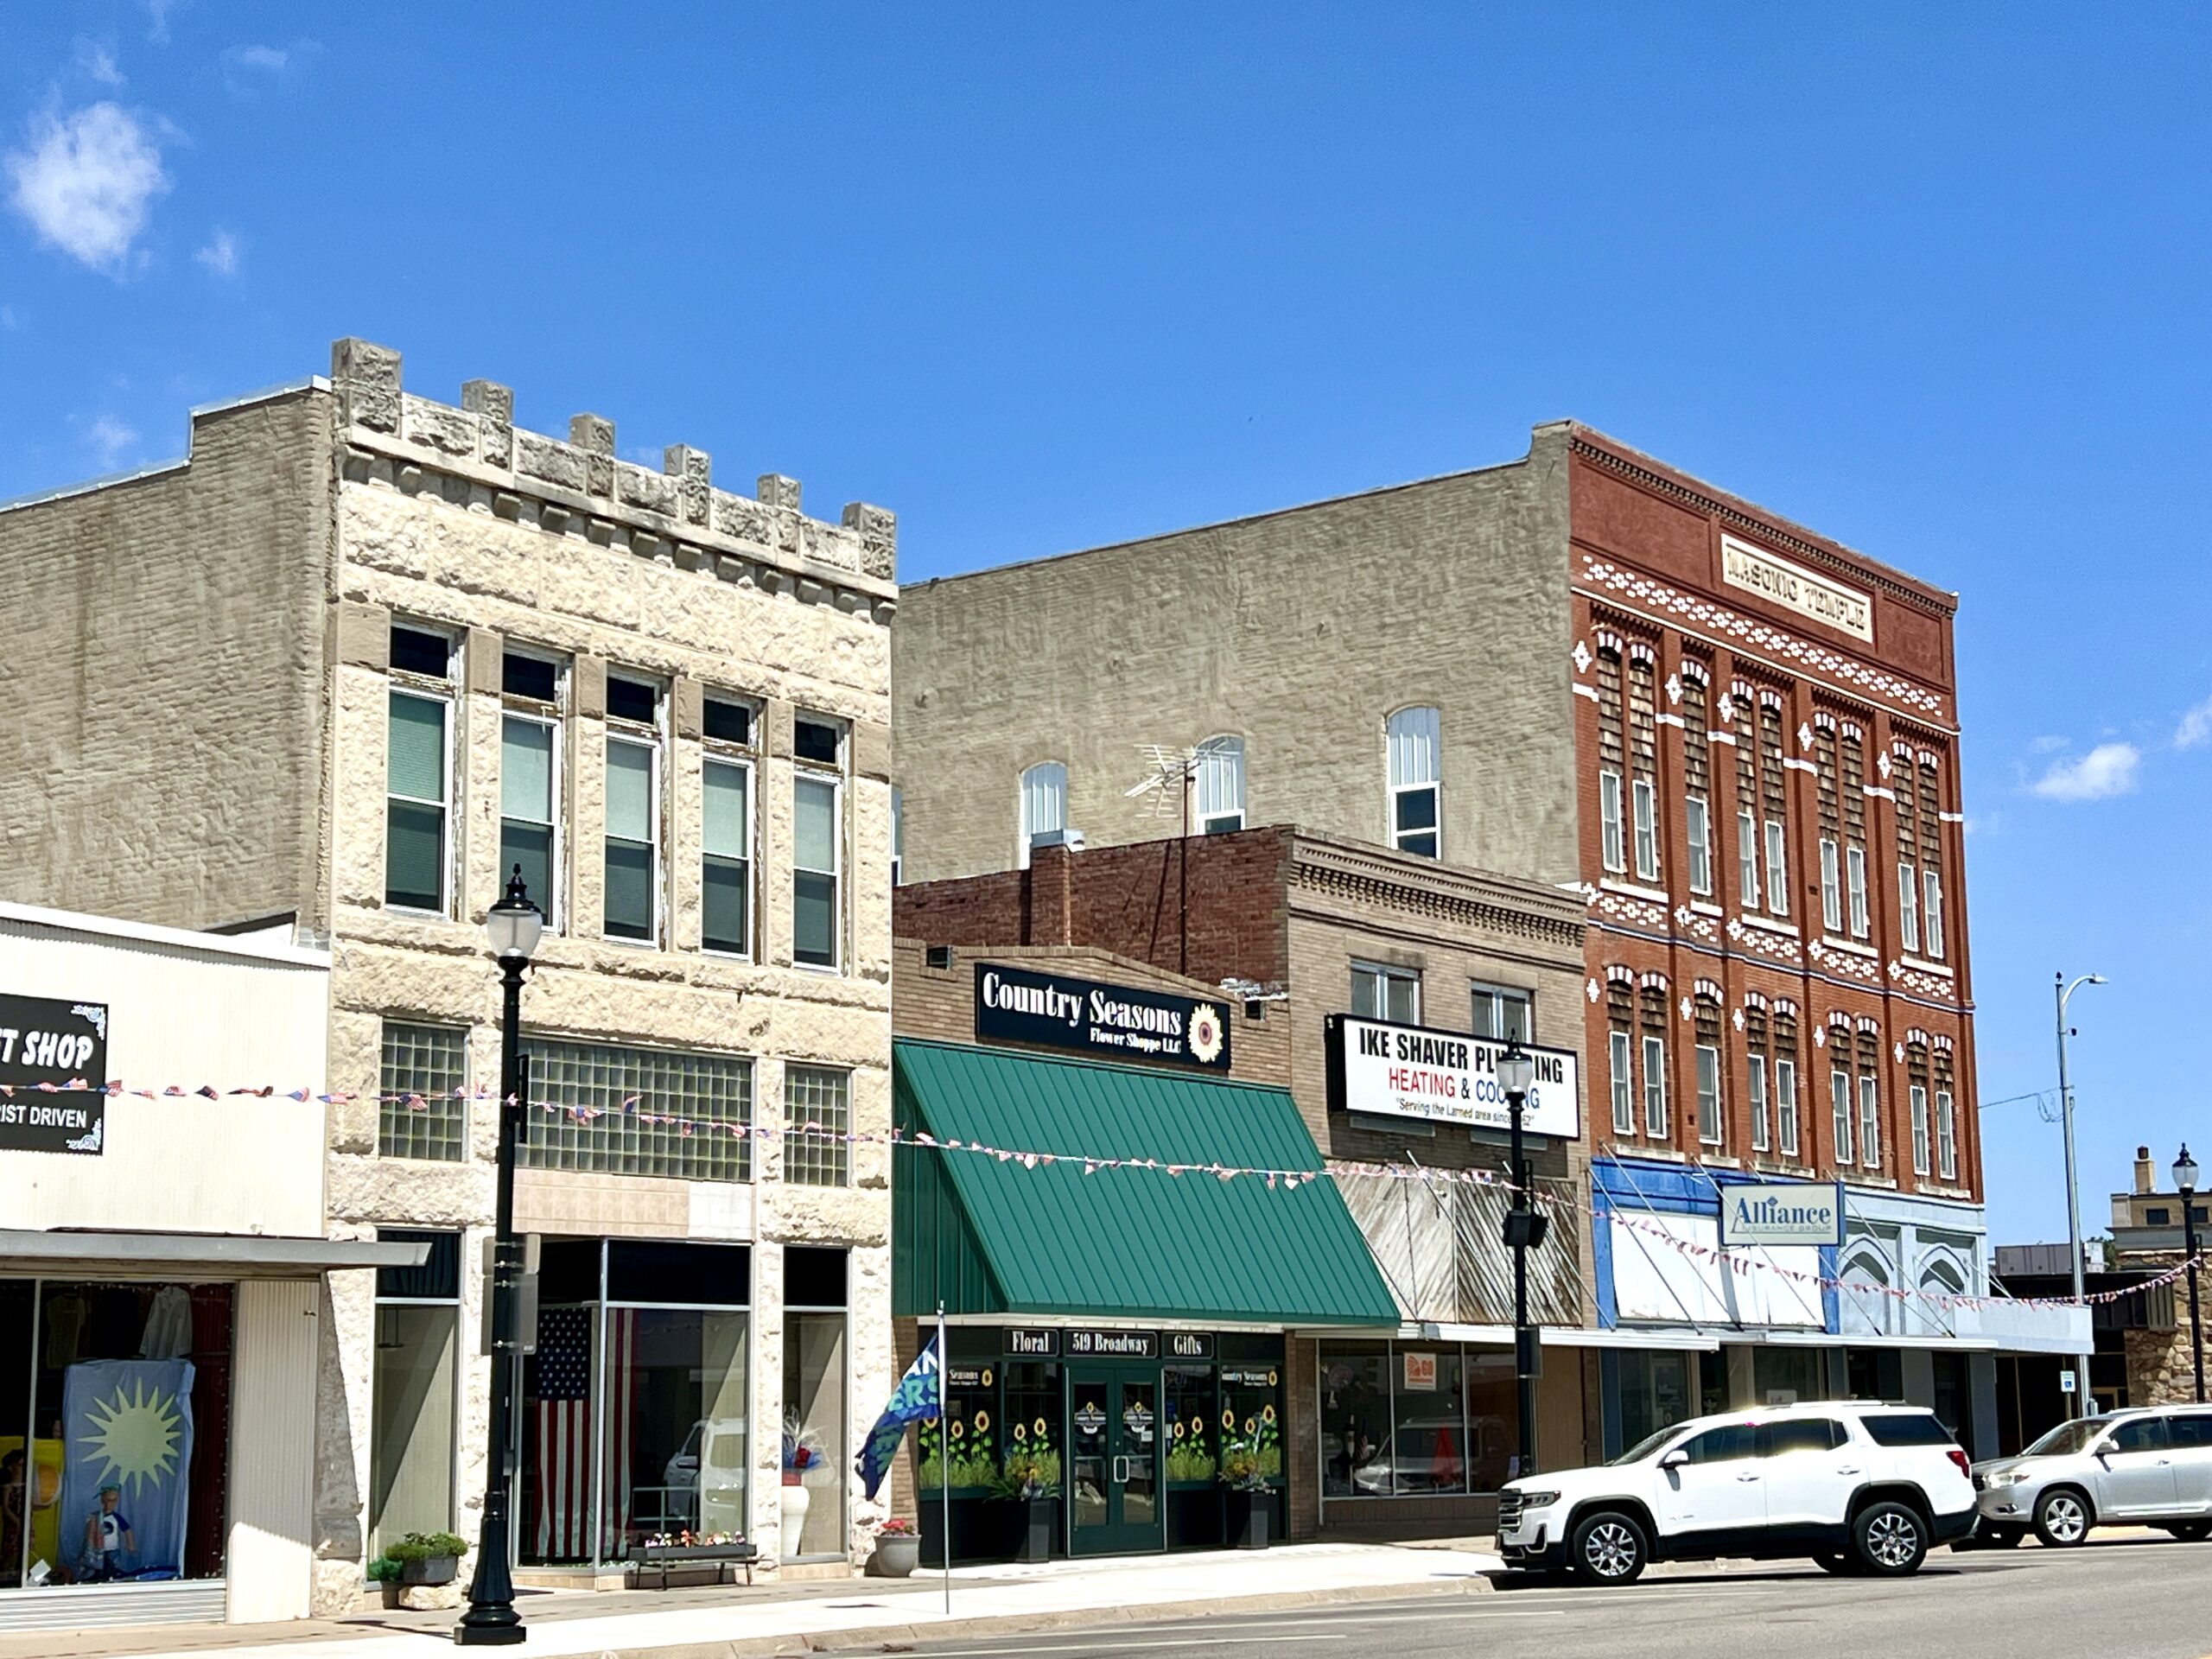 My recommendation is that you visit midweek, when most shops and restaurants on Broadway Street are open.
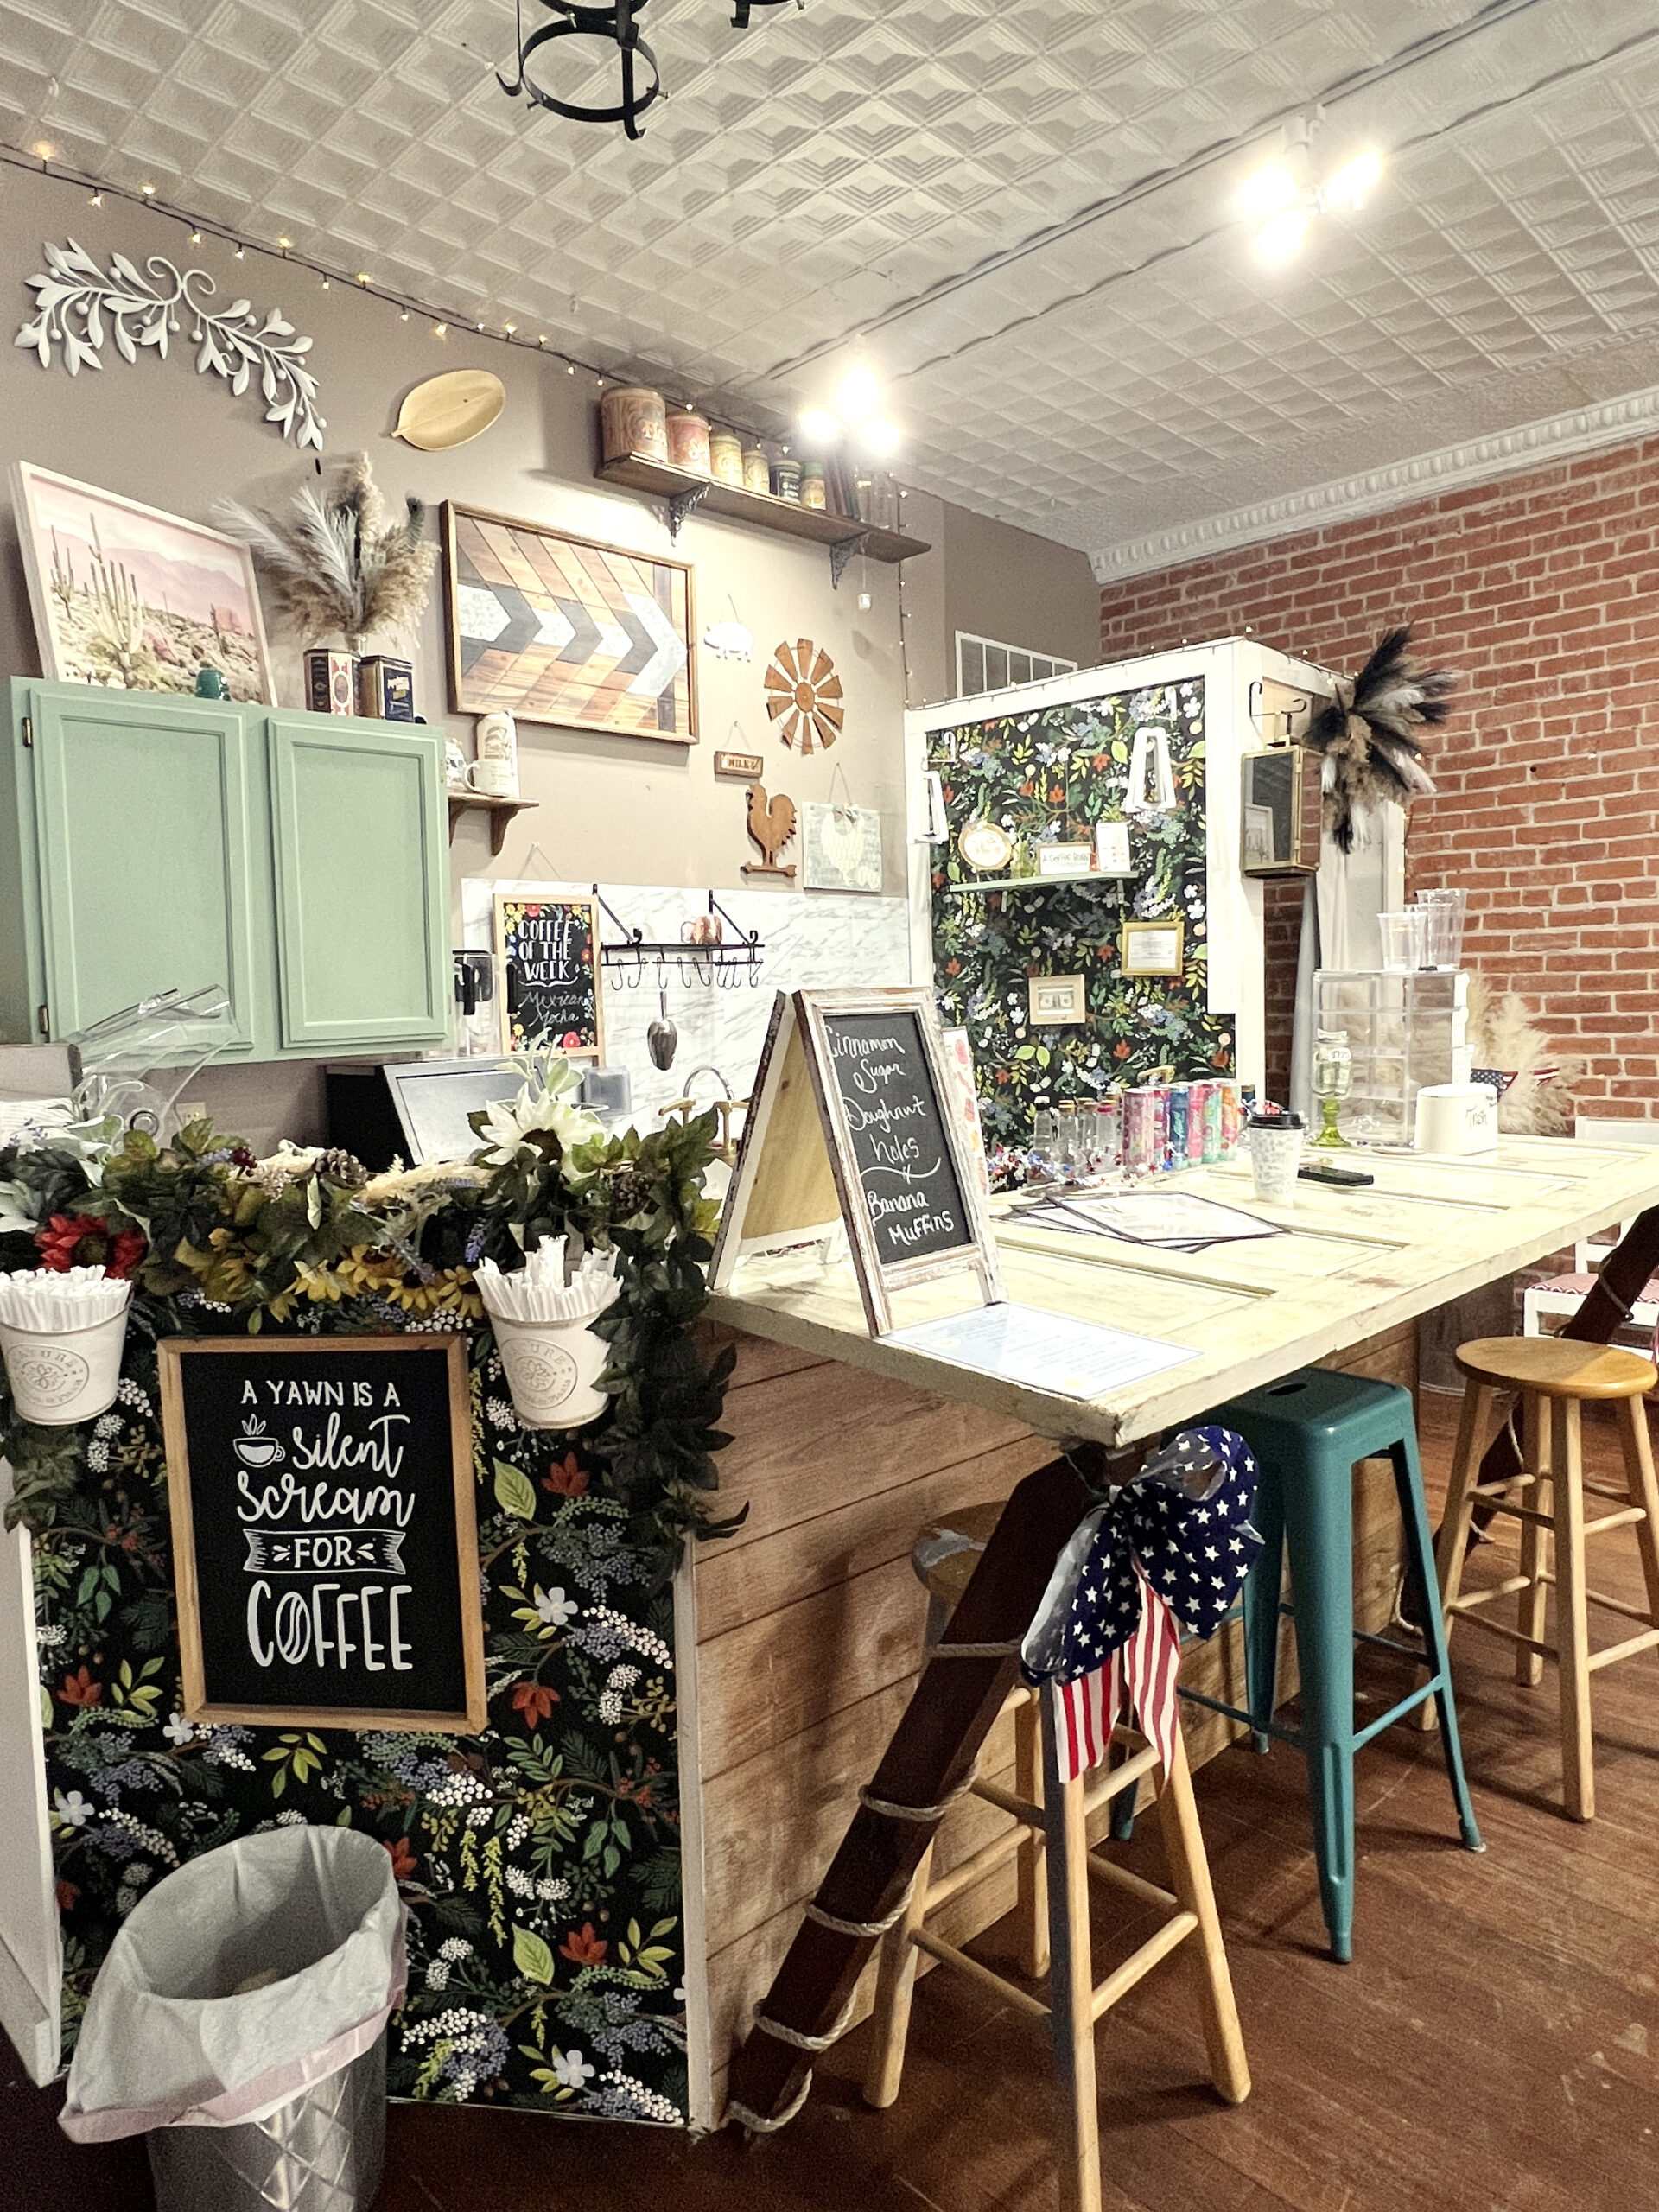 They have a variety of specialty coffee and tea drinks, and I recommend asking to view the seasonal menu. I sipped a Queen Bee Latté between bites of a fresh-from-the-oven banana nut muffin.
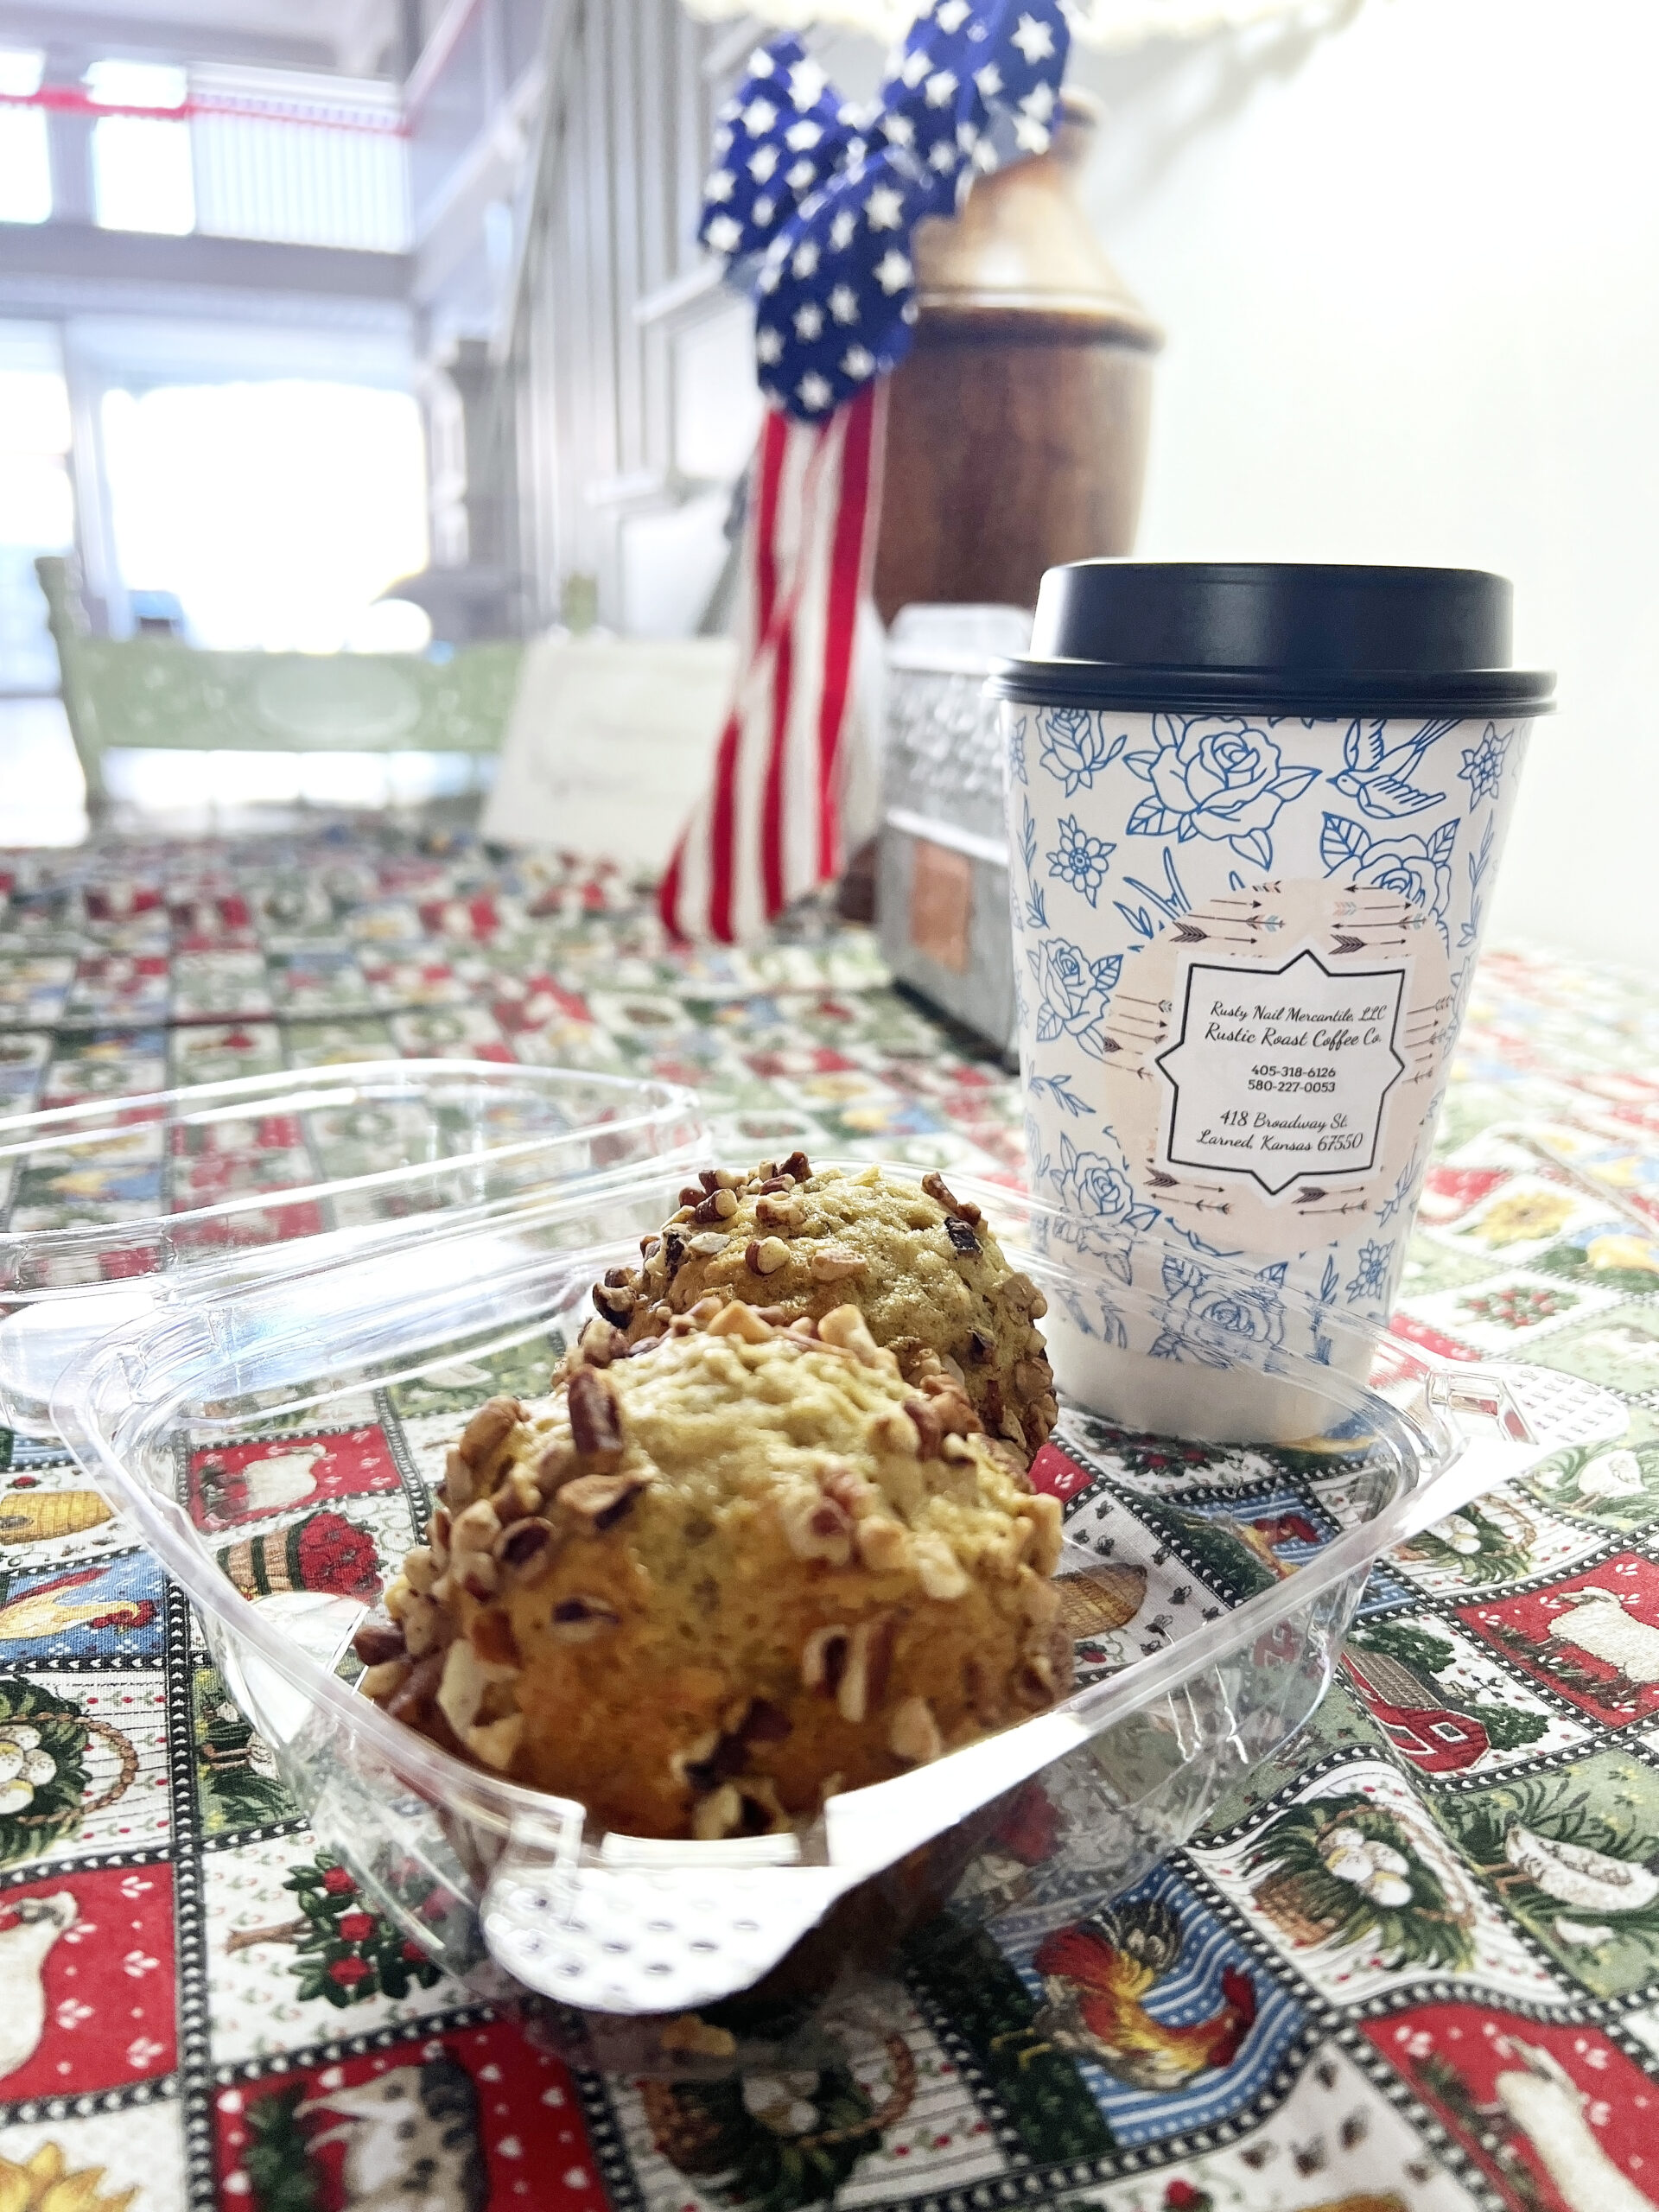 Also known for serving Italian Cream Soda and Dirty Sodas, the shop will appeal to customers with a sweet tooth, offering drinks made with flavored syrups such as Cotton Candy Dream and Cocoa Caramel Kiss.
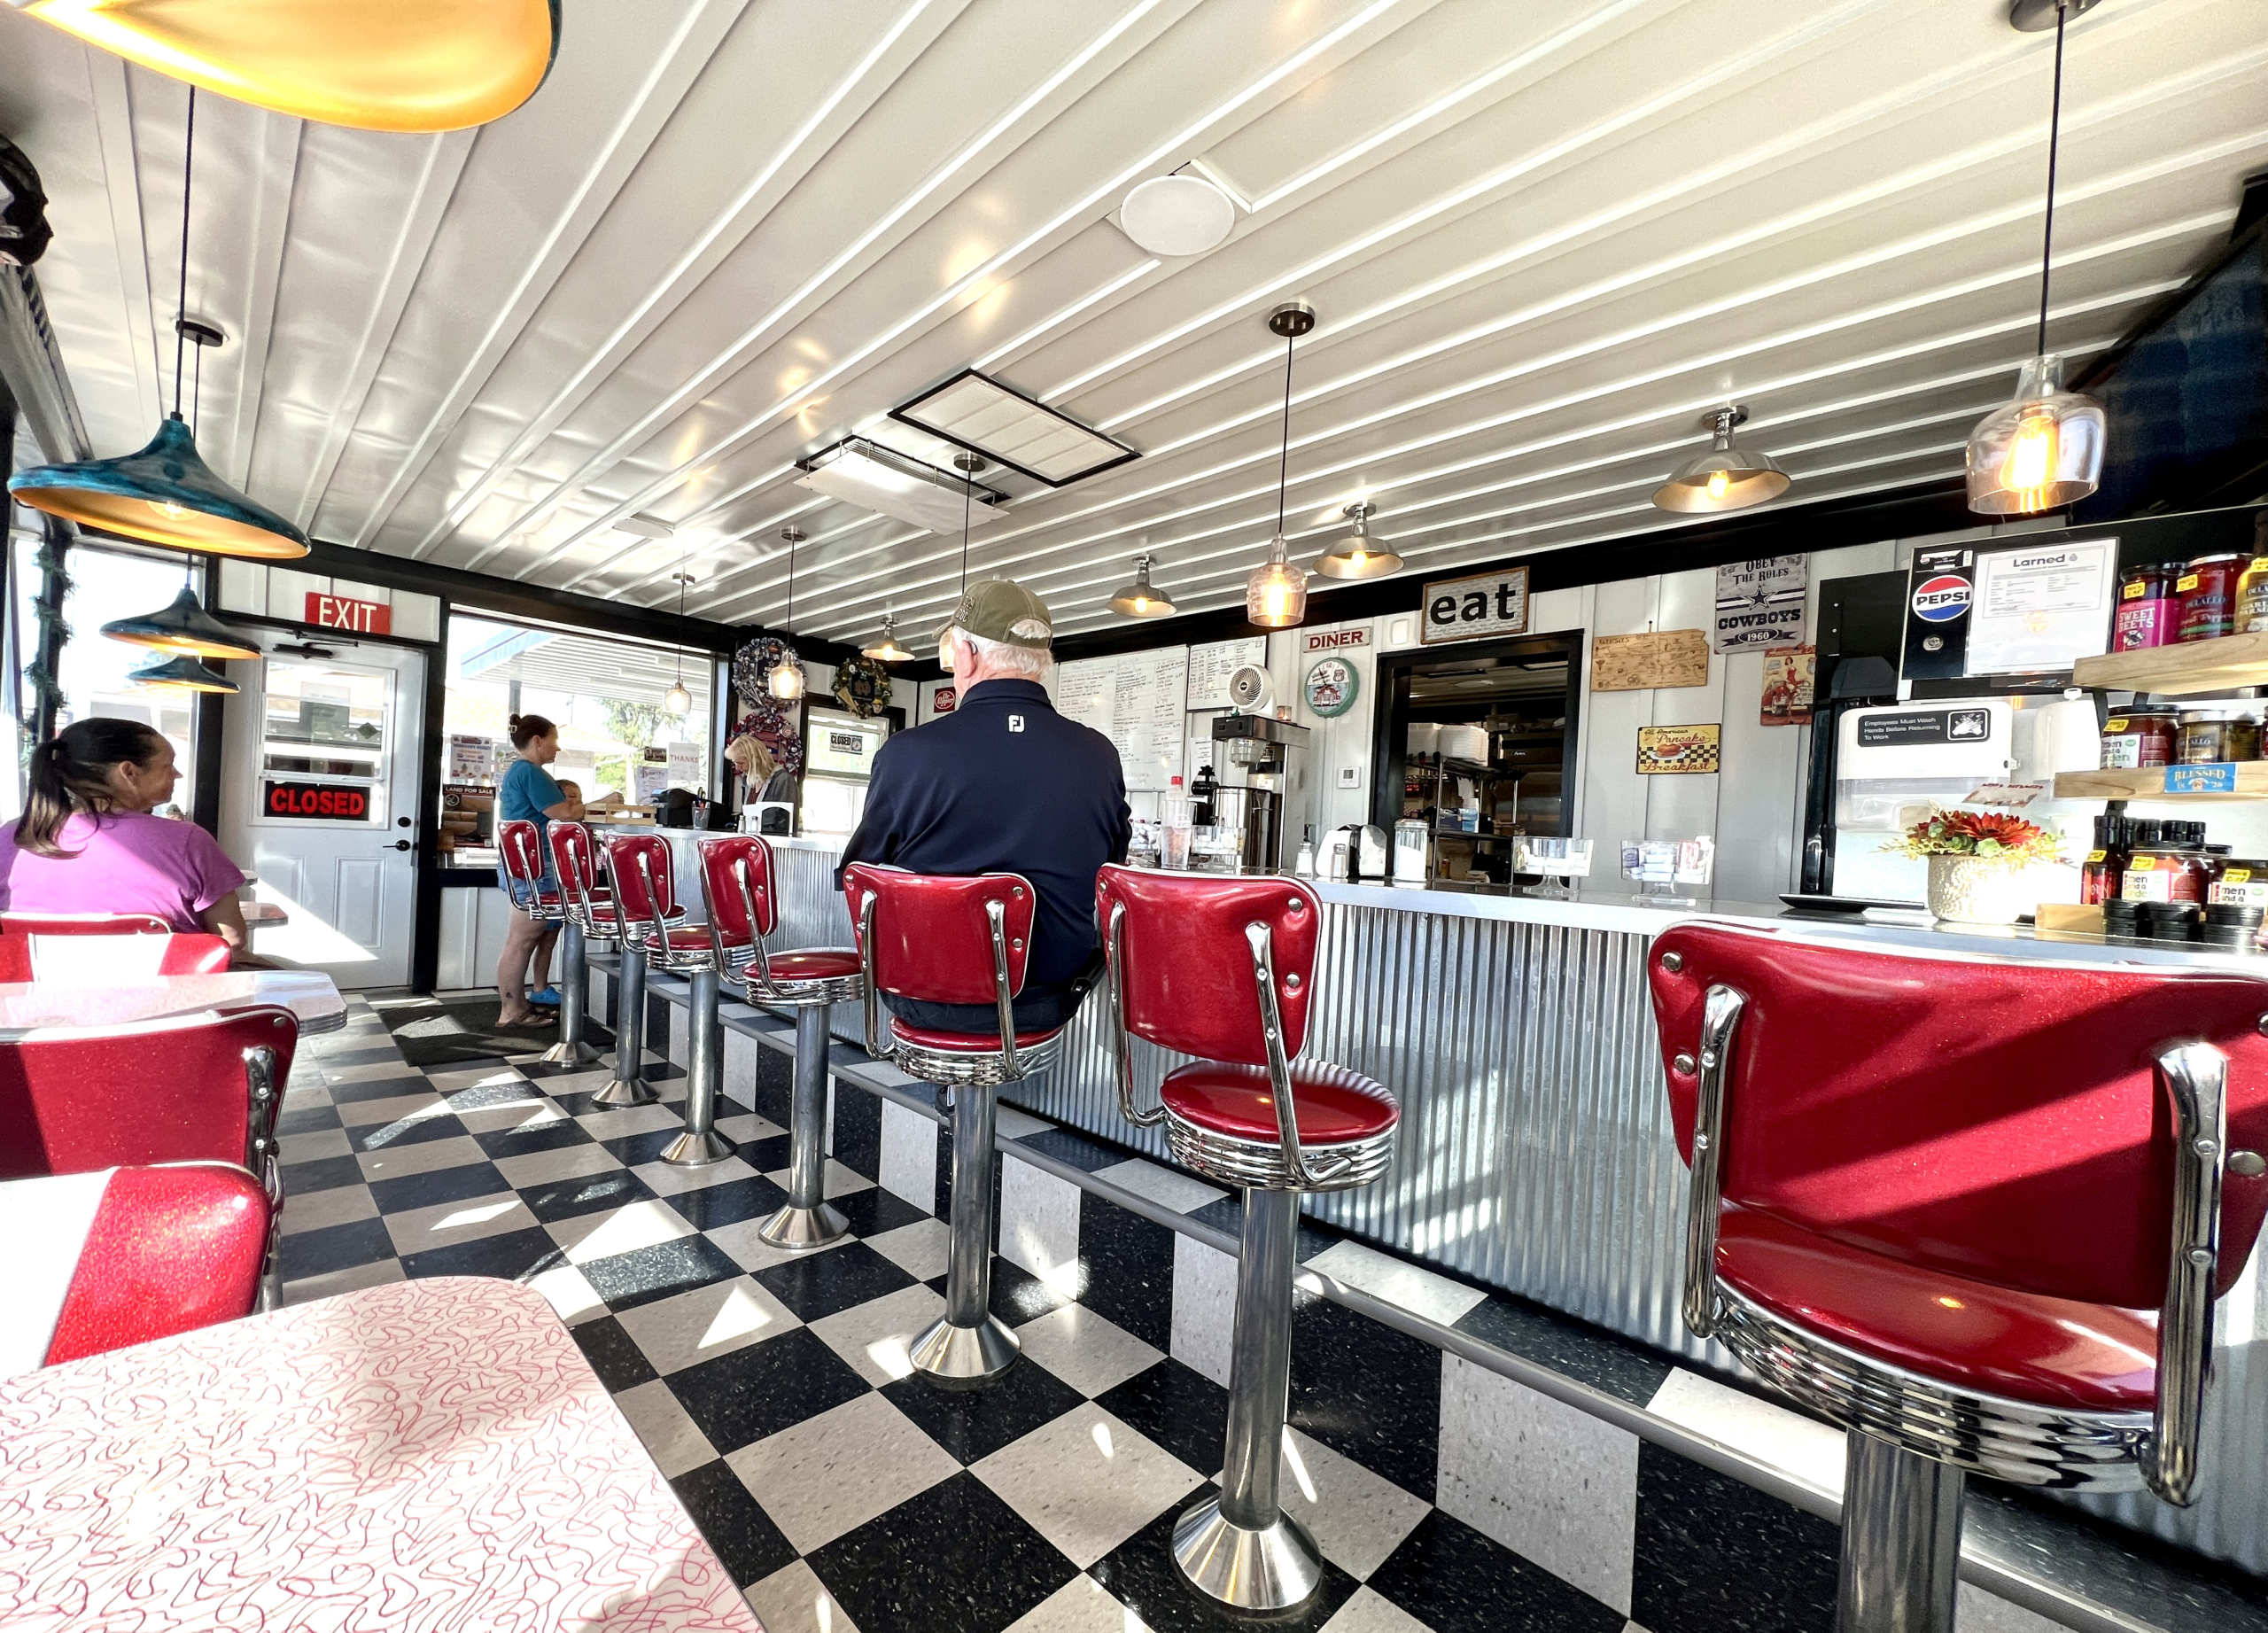 The 13-seat diner smelled of freshly cooked bacon as the morning sun made the vinyl-covered, cherry- red stools sparkle. A television played the news while I awaited a heaping plate of the day’s special: French Toast with eggs and bacon.
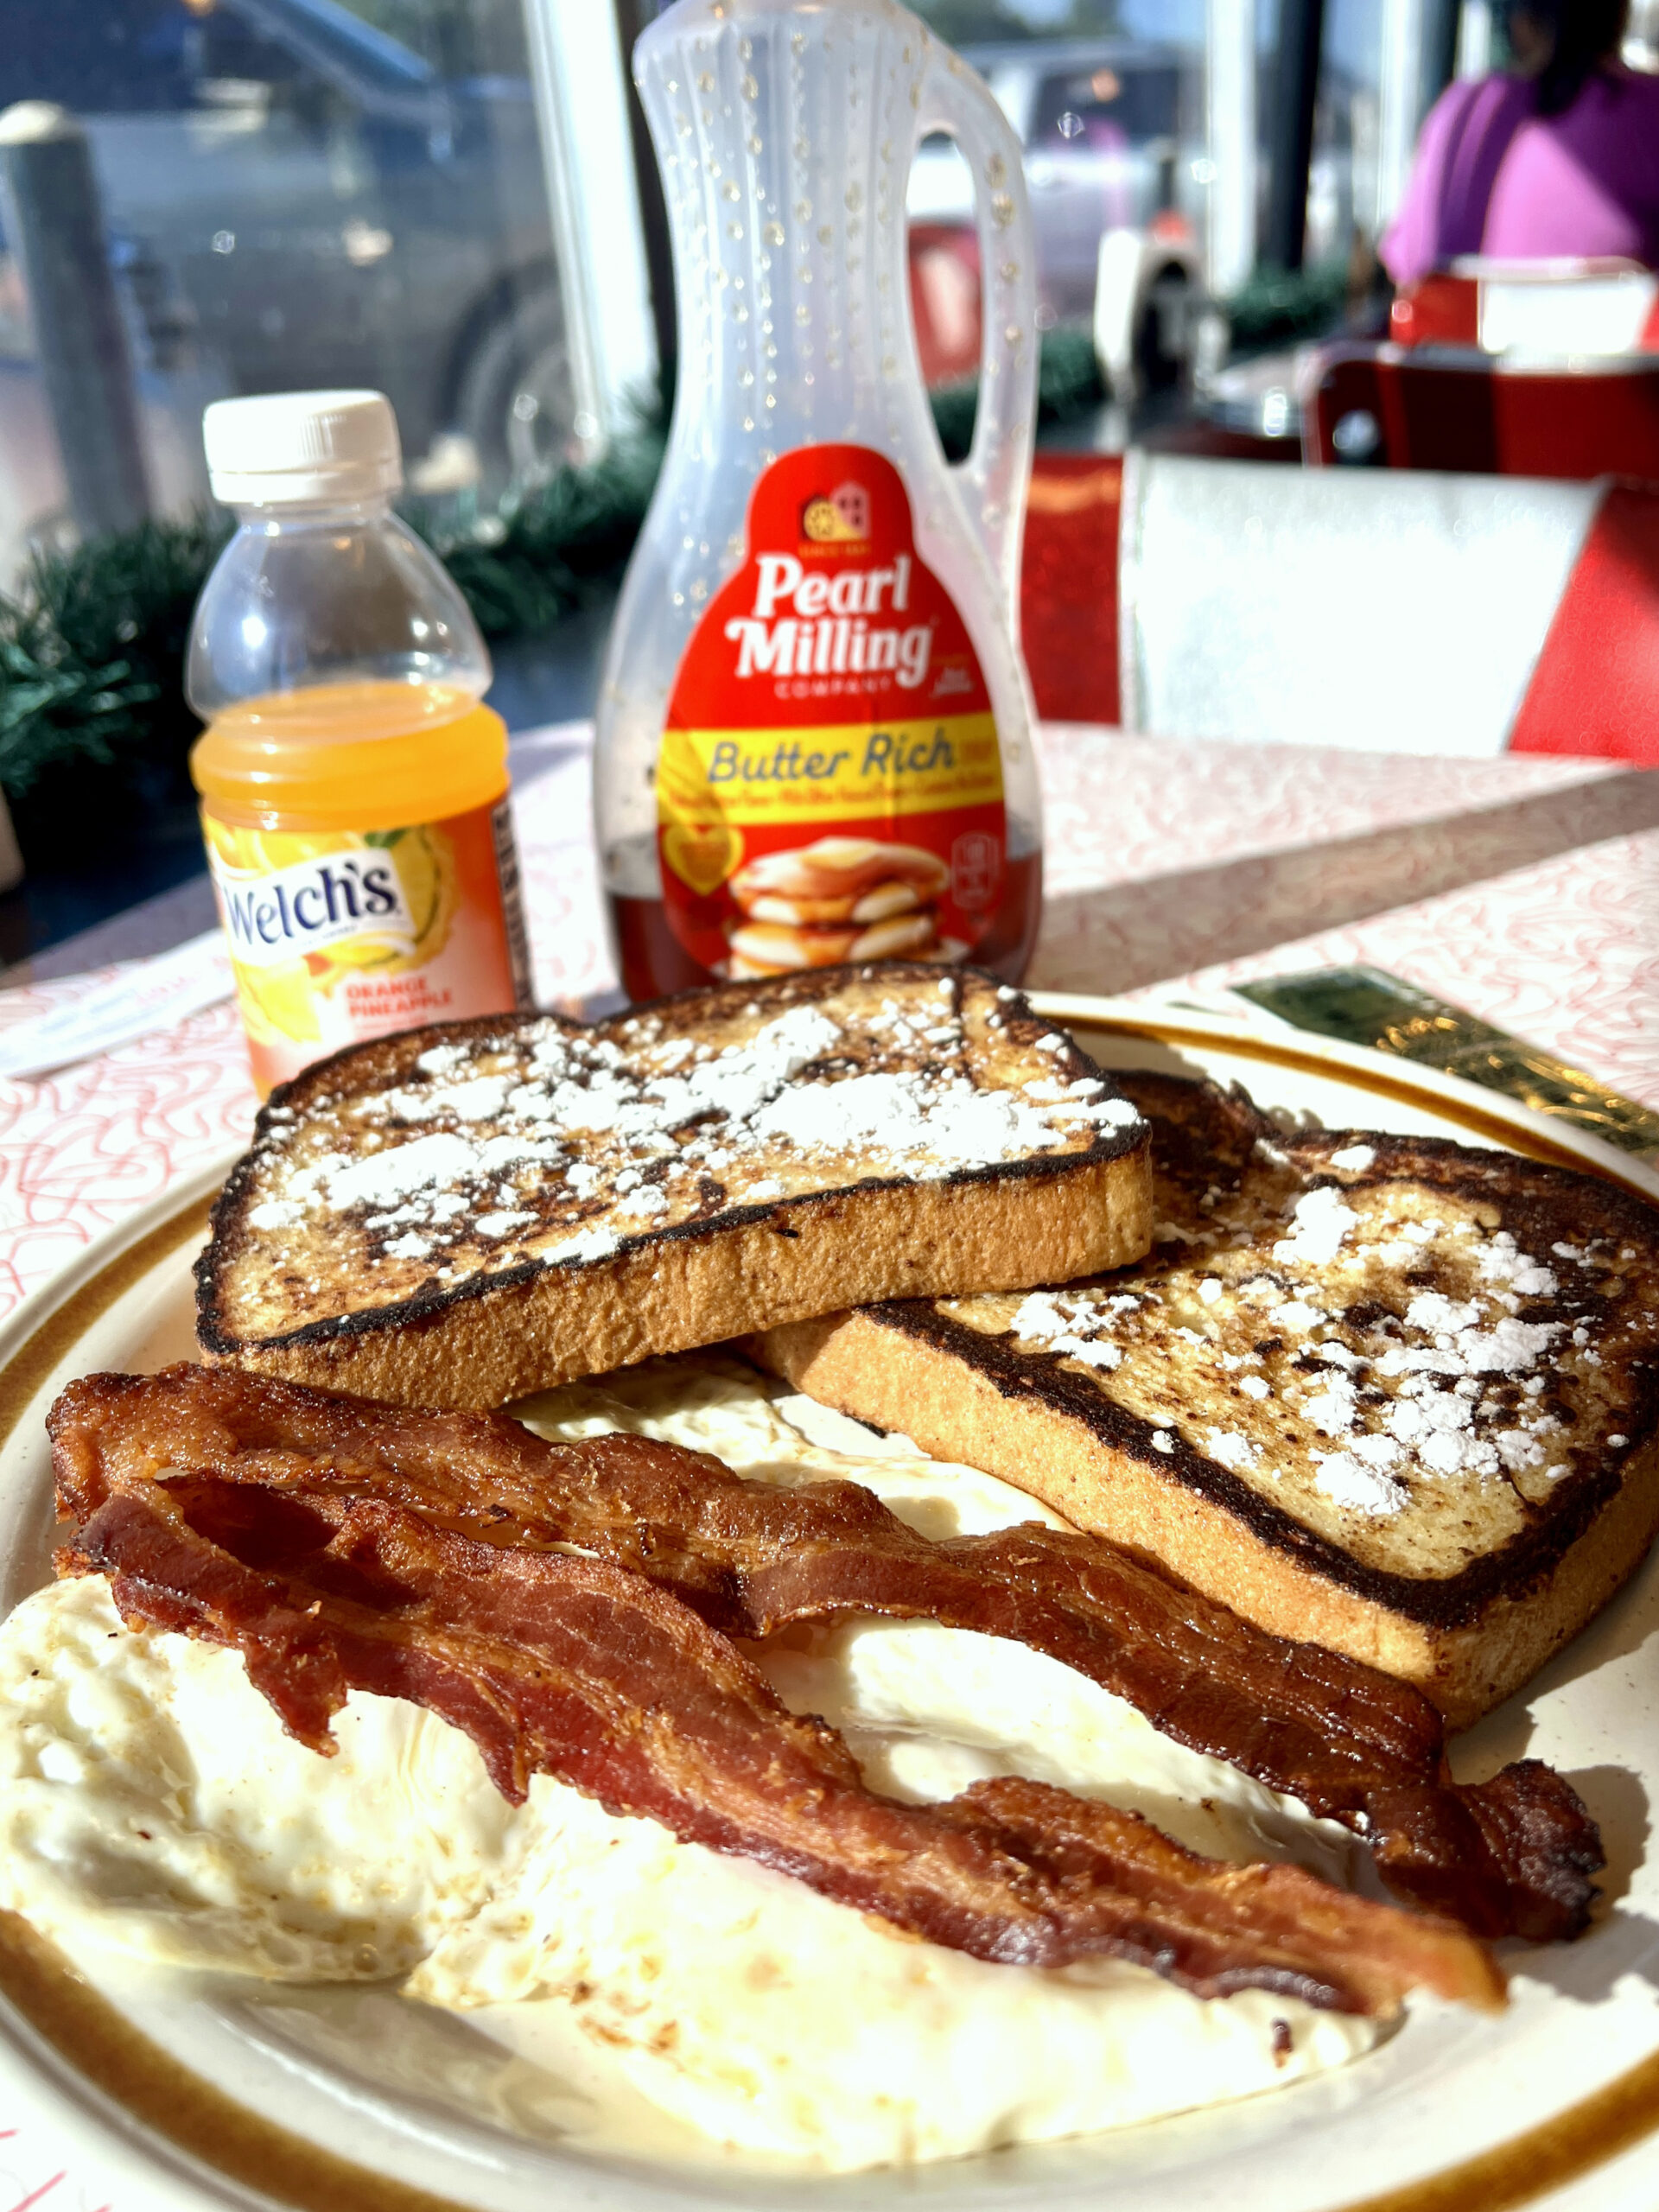 I ate every bite, watching as Larned residents came and went with pick-up orders in hand. The owners greeted each child by name and asked about their summer plans.
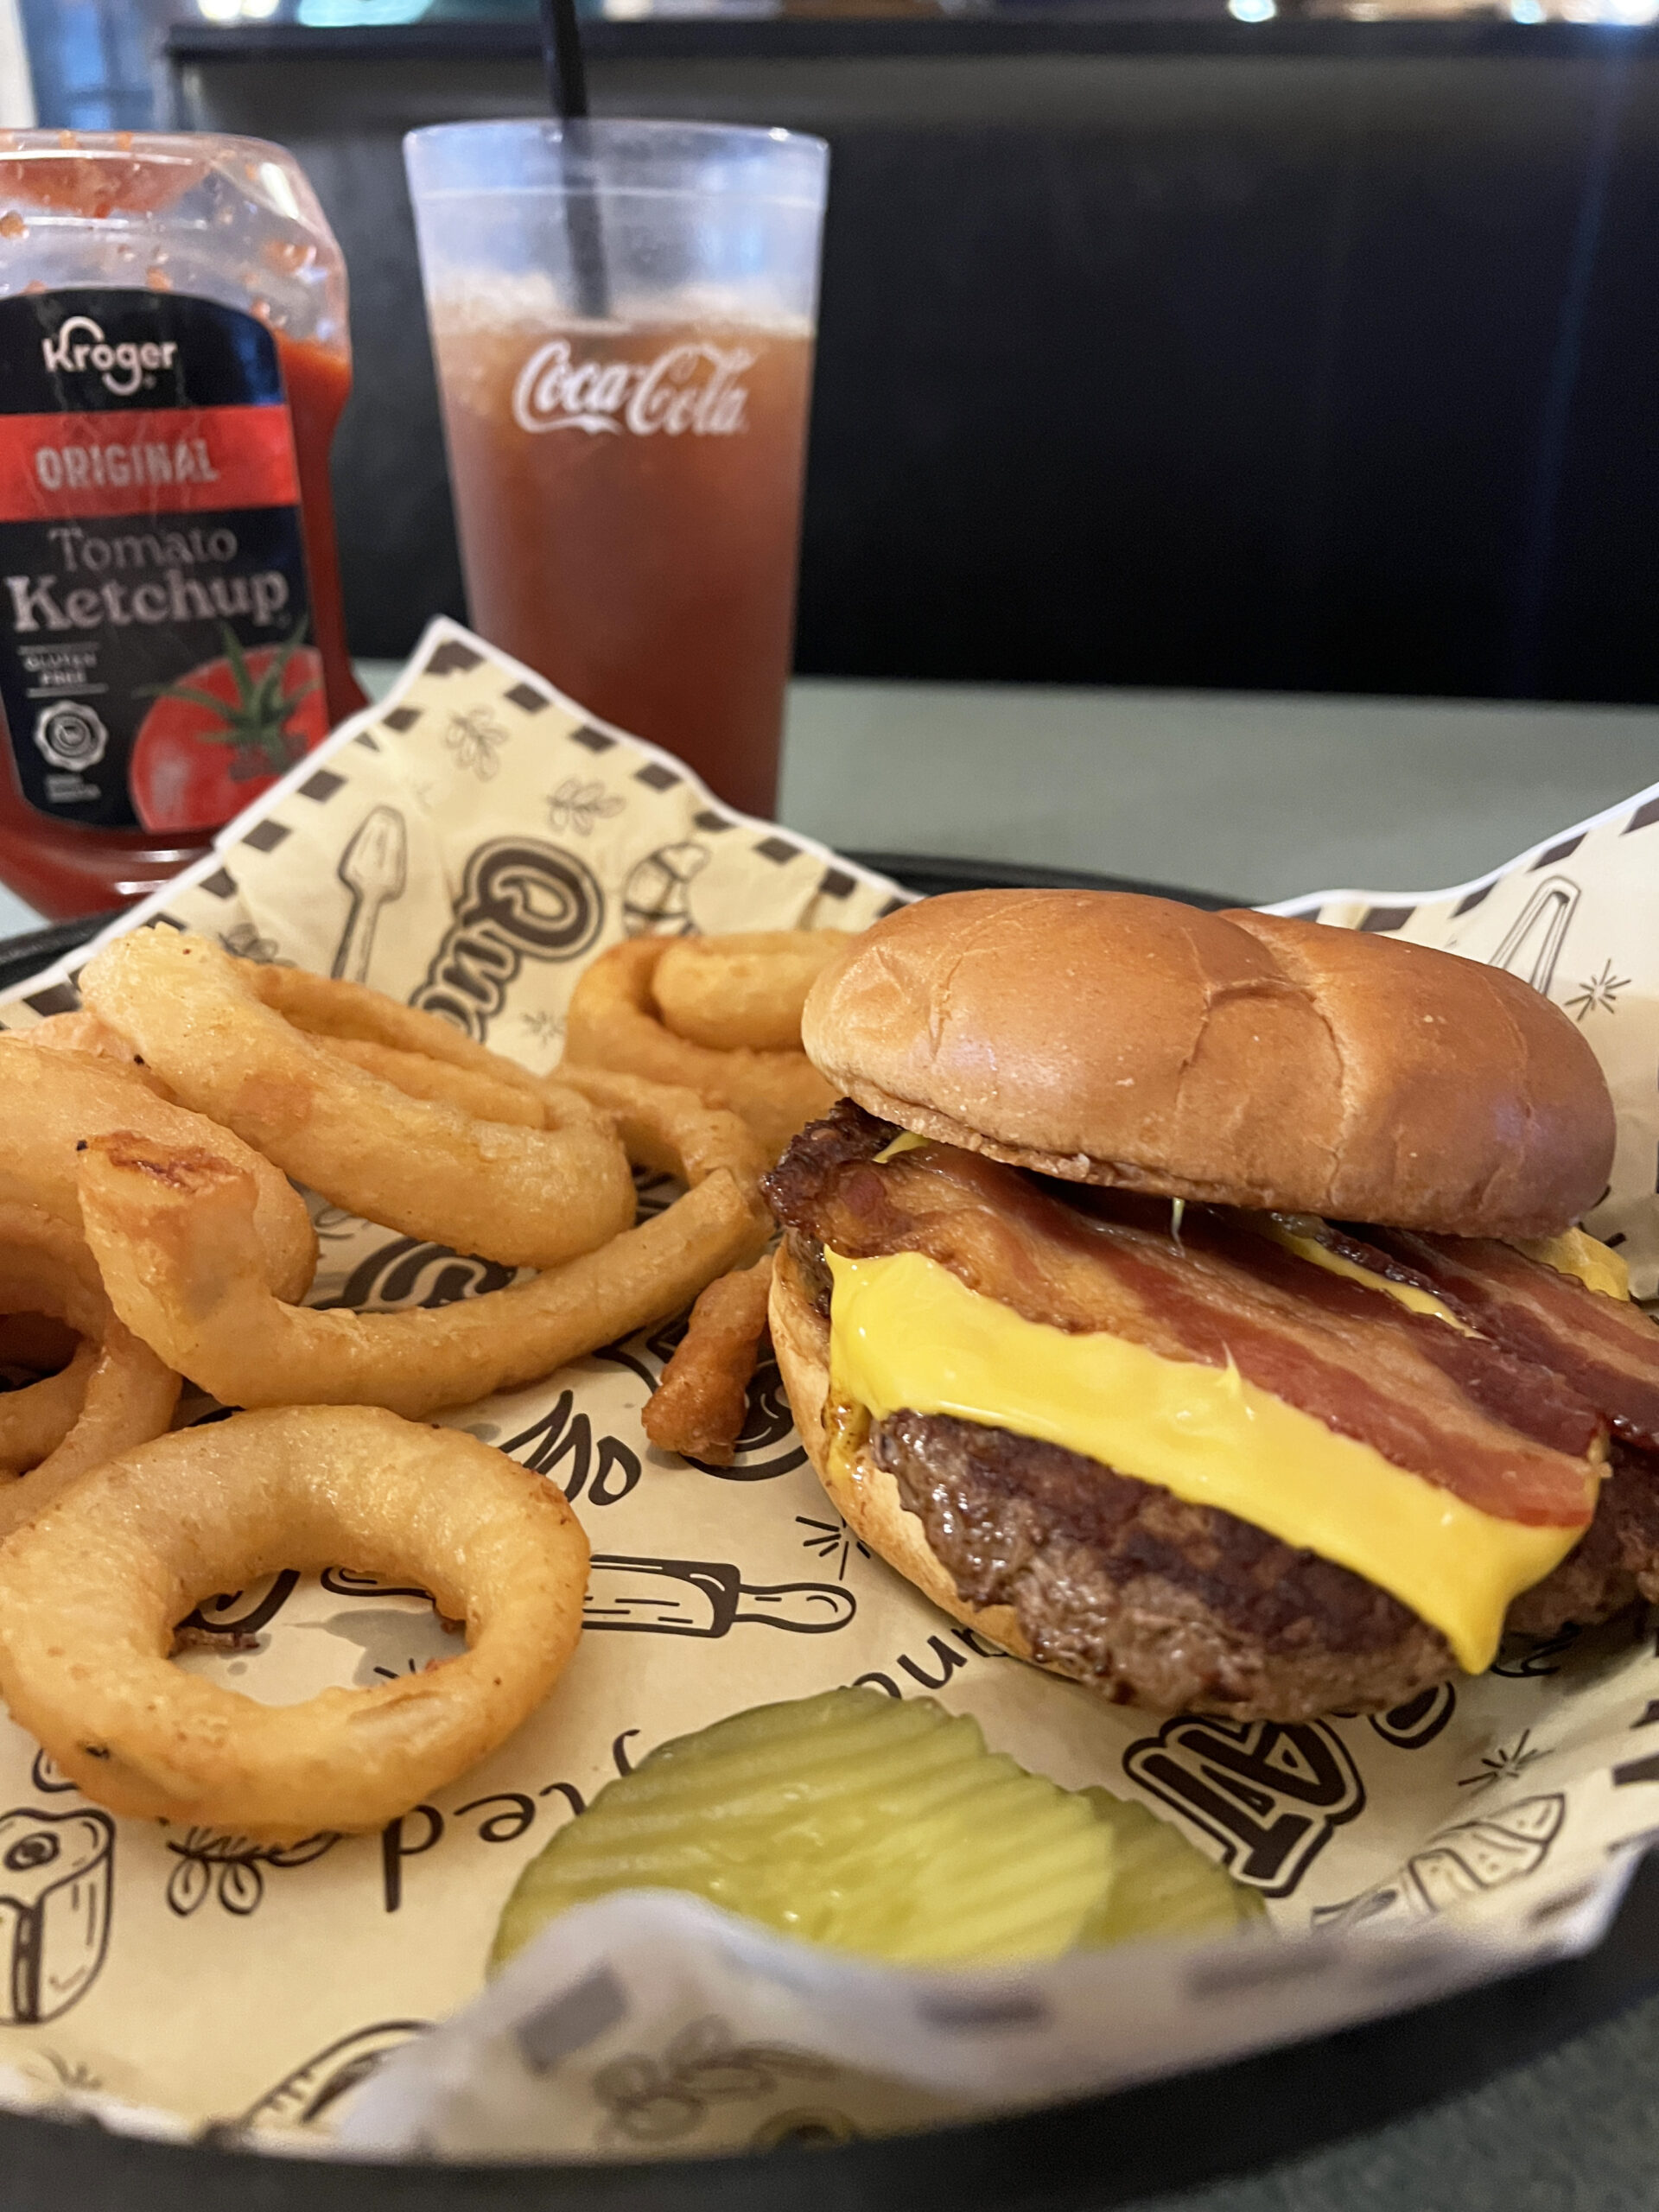 After a morning of exploring, I devoured a well-seasoned bacon cheeseburger and a side of hot onion rings.
 The staff serves beer and cocktails from a full bar, with additional seating near the cash register.
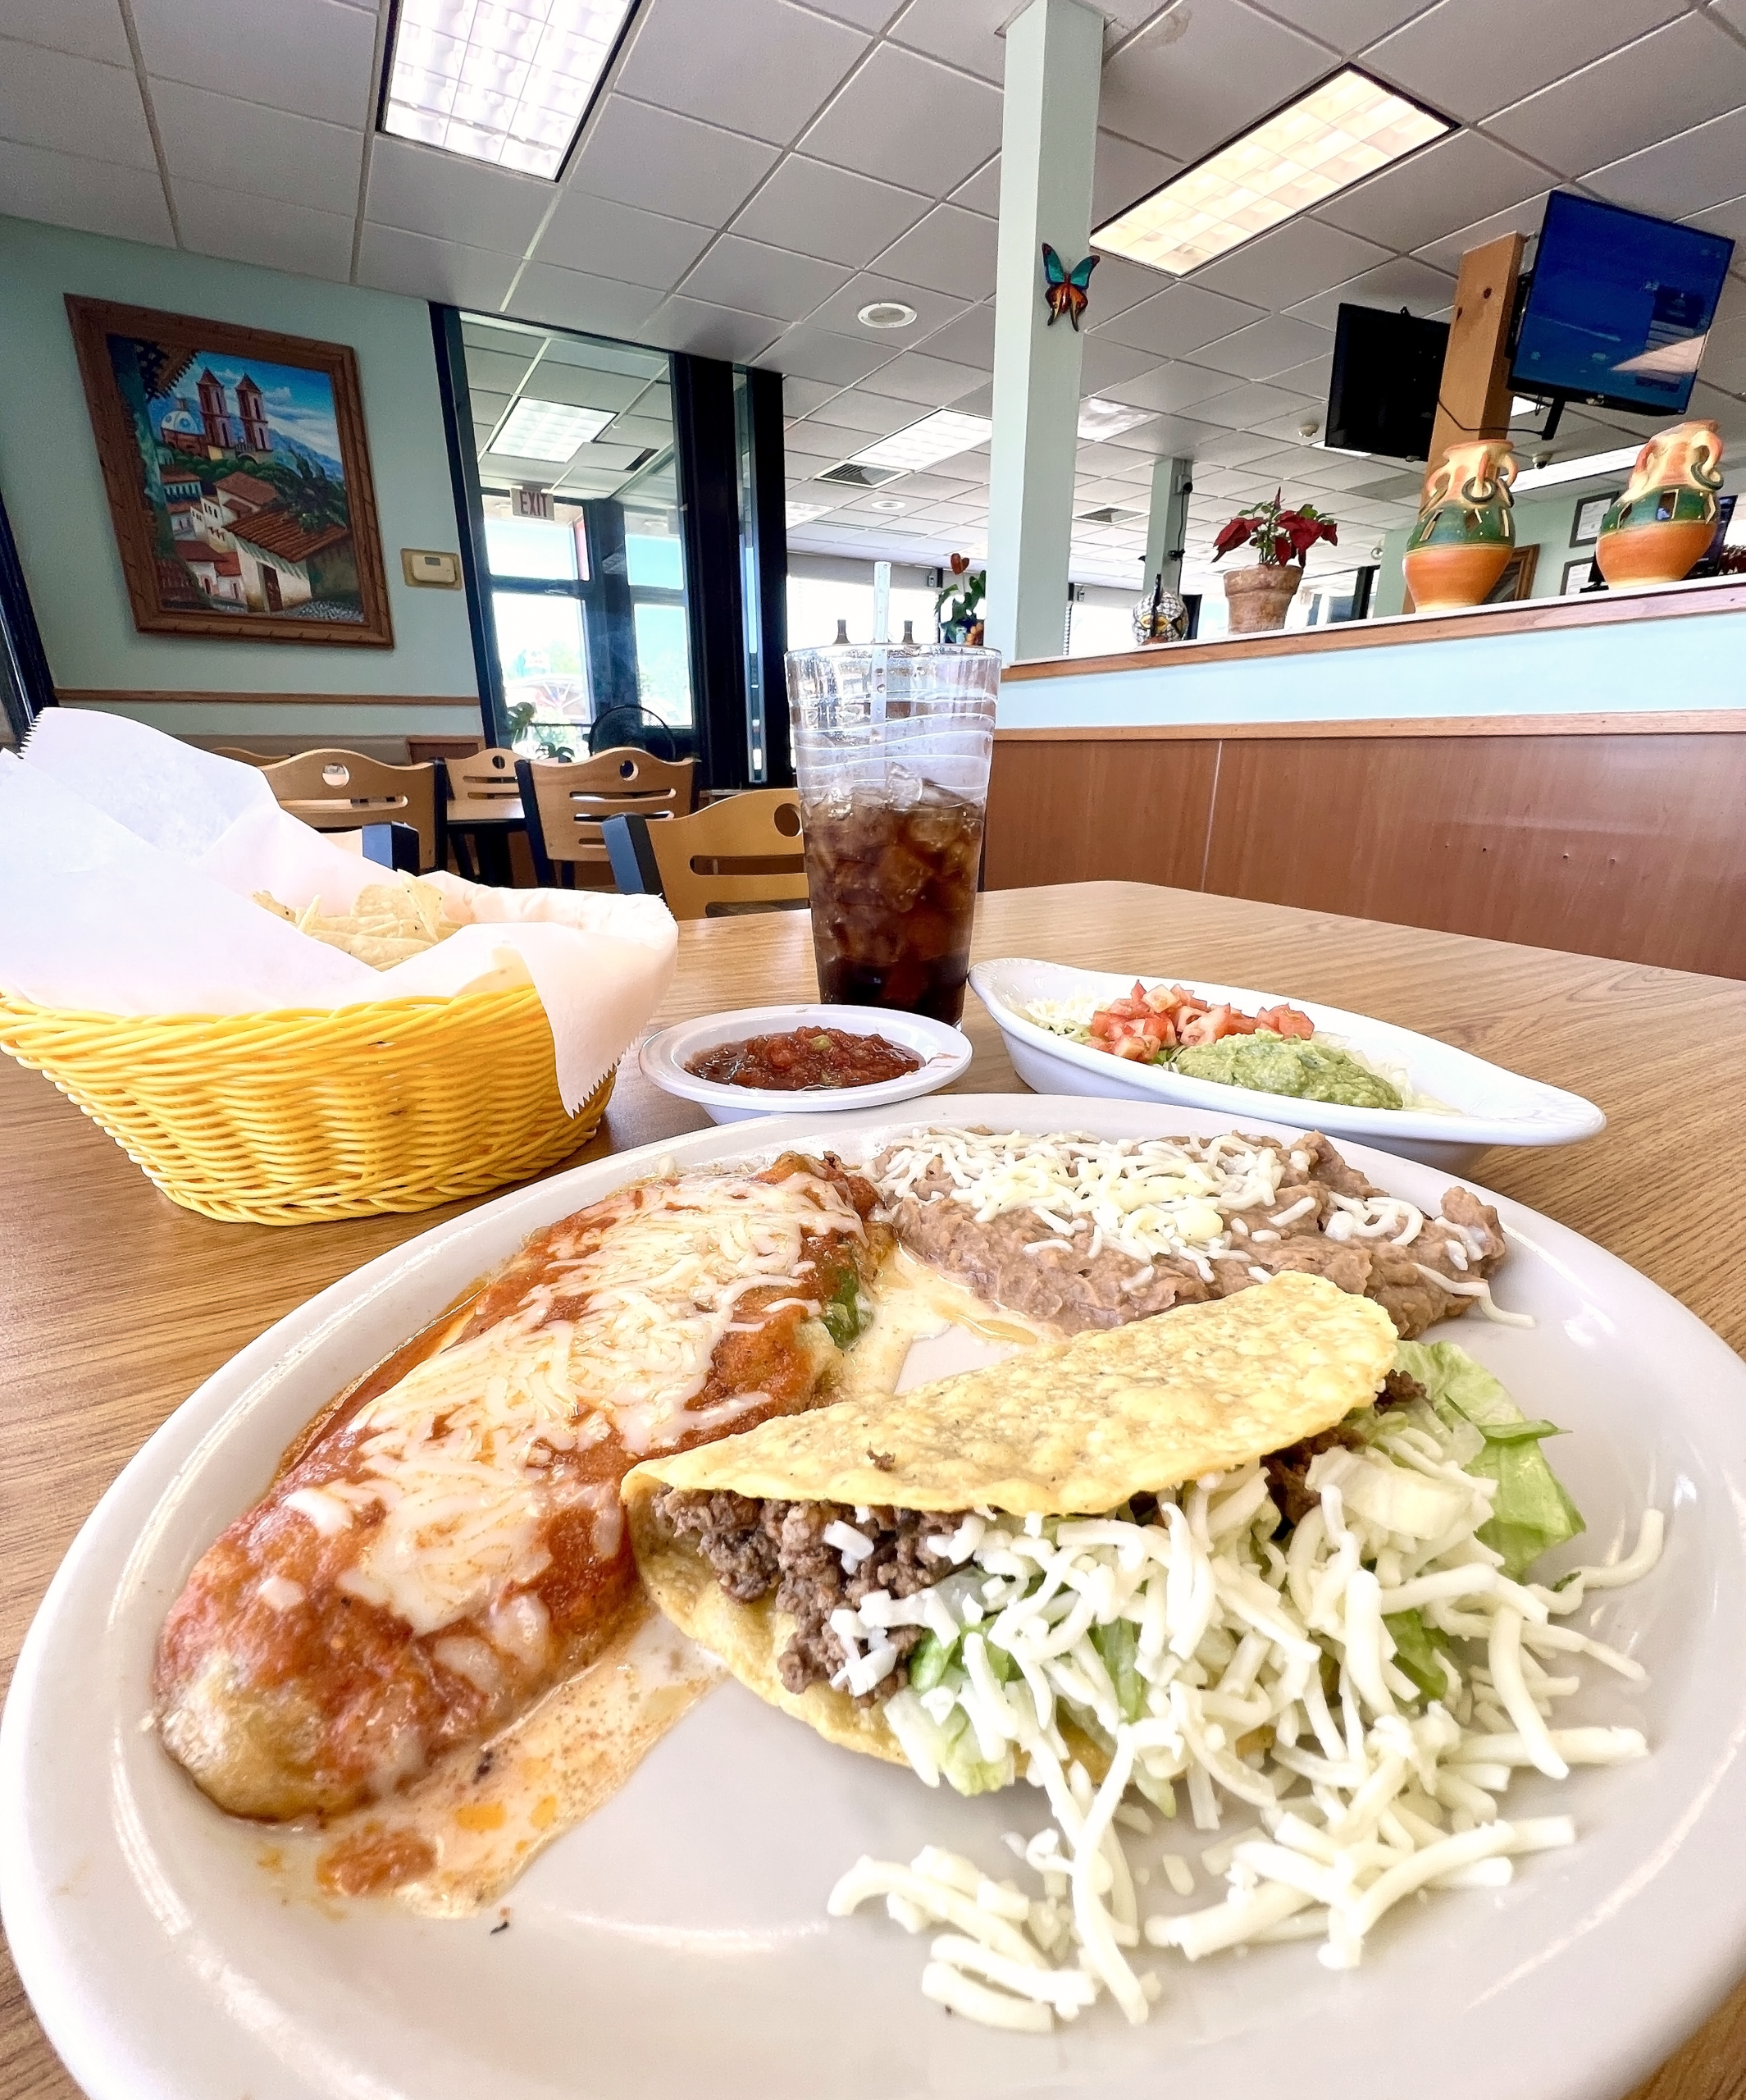 A bell rang, alerting my server to deliver my order: a combination plate featuring a freshly prepared chile relleño and a beef taco with guacamole salad, both from the Luncheon menu. Their salsa is some of the best I’ve tasted while road-tripping through Kansas.
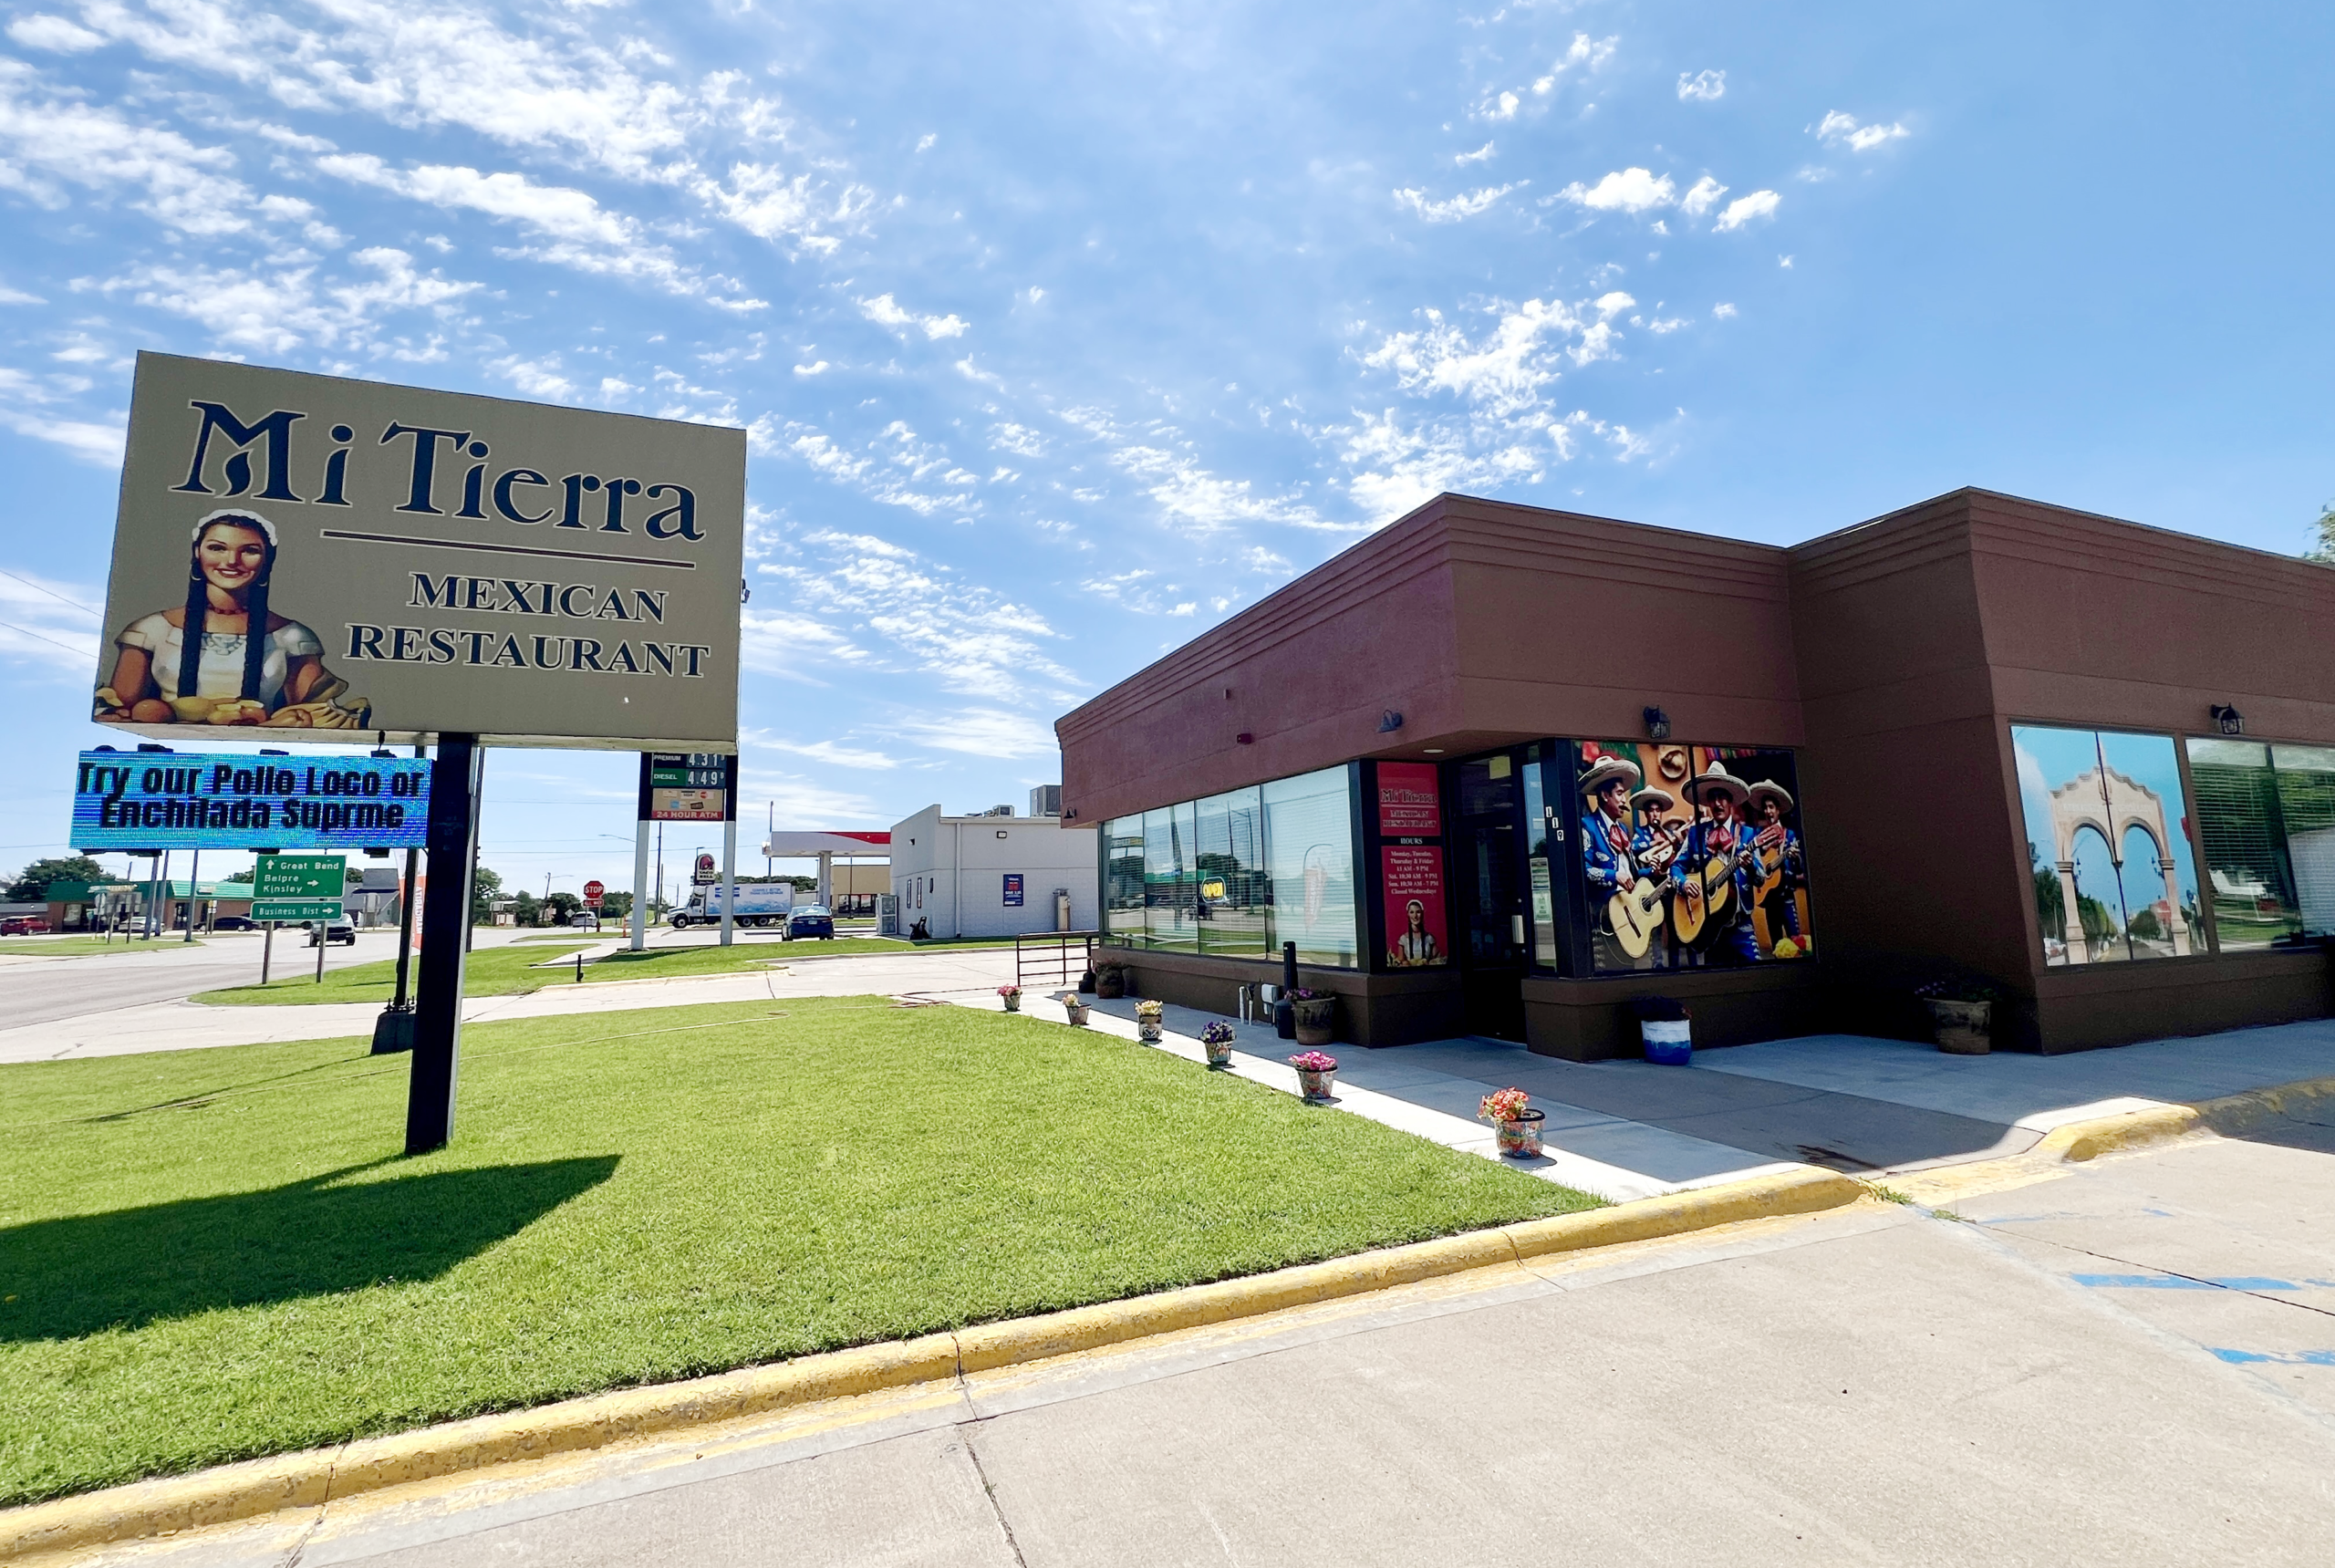 The restaurant serves lunch and dinner specialty entrees you’d expect, plus a rotating selection of bar drink specials, such as margaritas and Mexican beer.
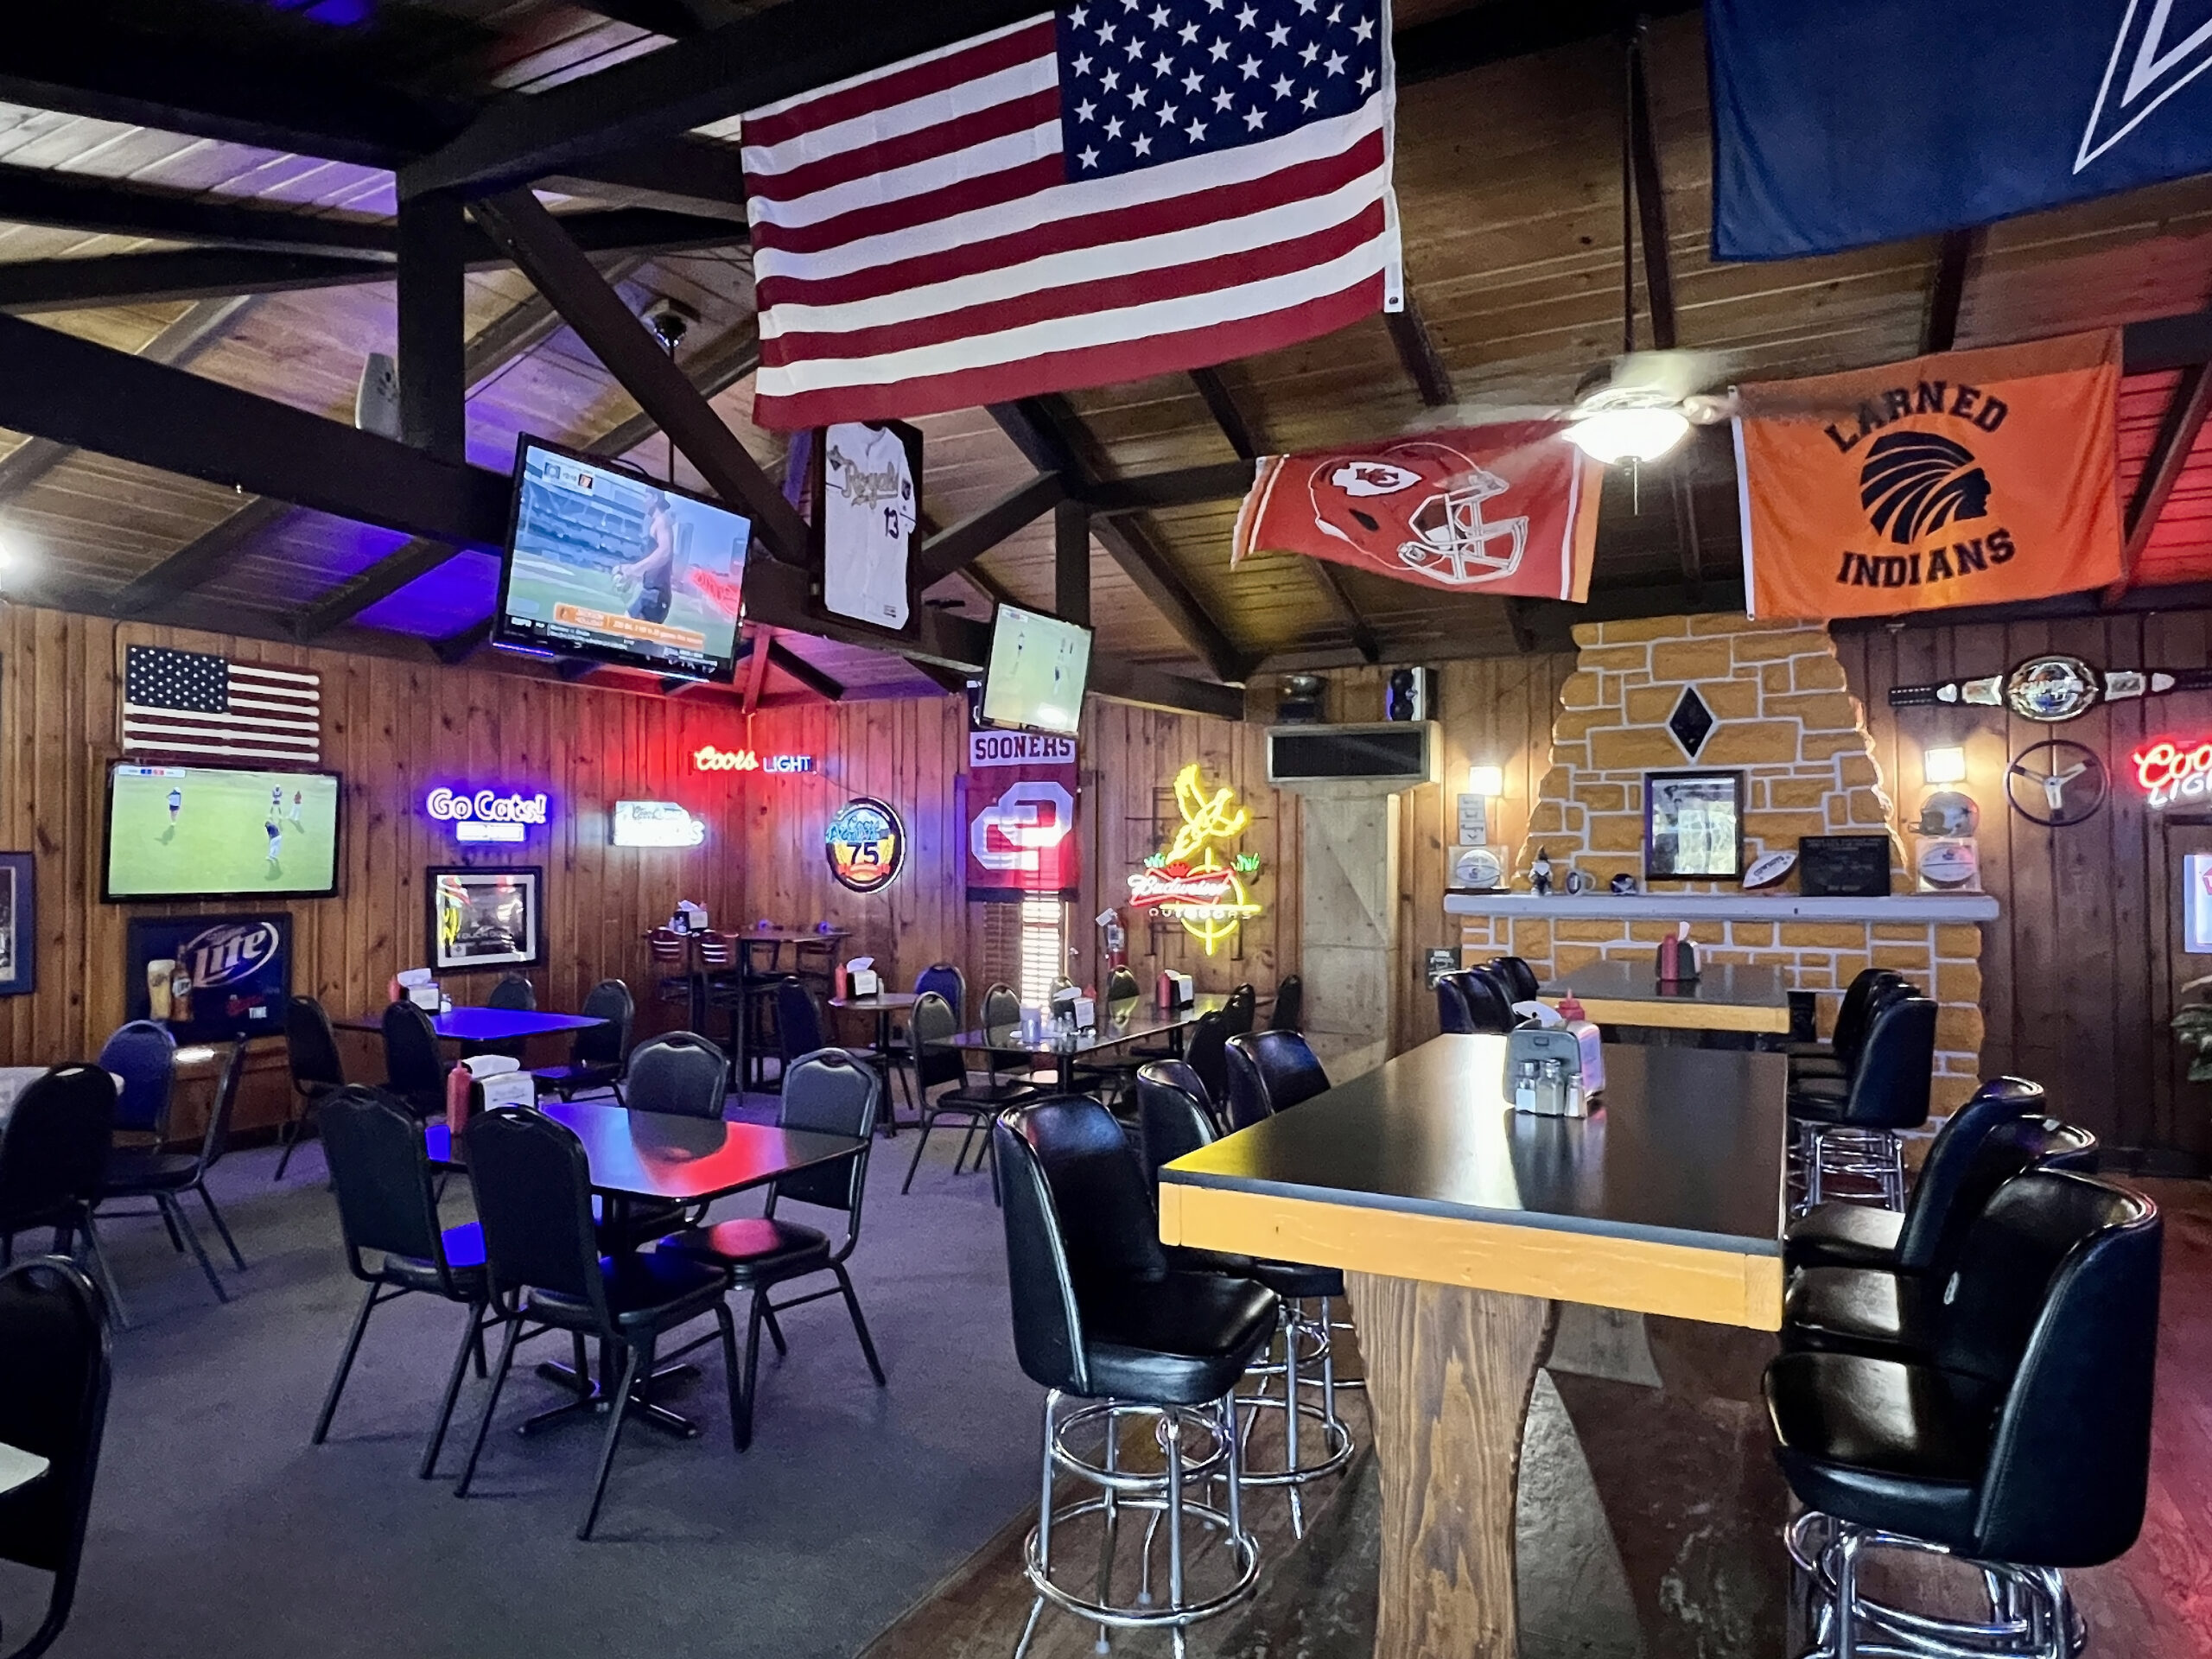 You’ll also find 11 different burger options, steaks, shrimp, or fish with fries, as well as wraps, salads, and protein-packed sandwiches like the Philly Cheesesteak on the menu. Families are welcome at the bar and grill. The kids’ menu features seven meals.
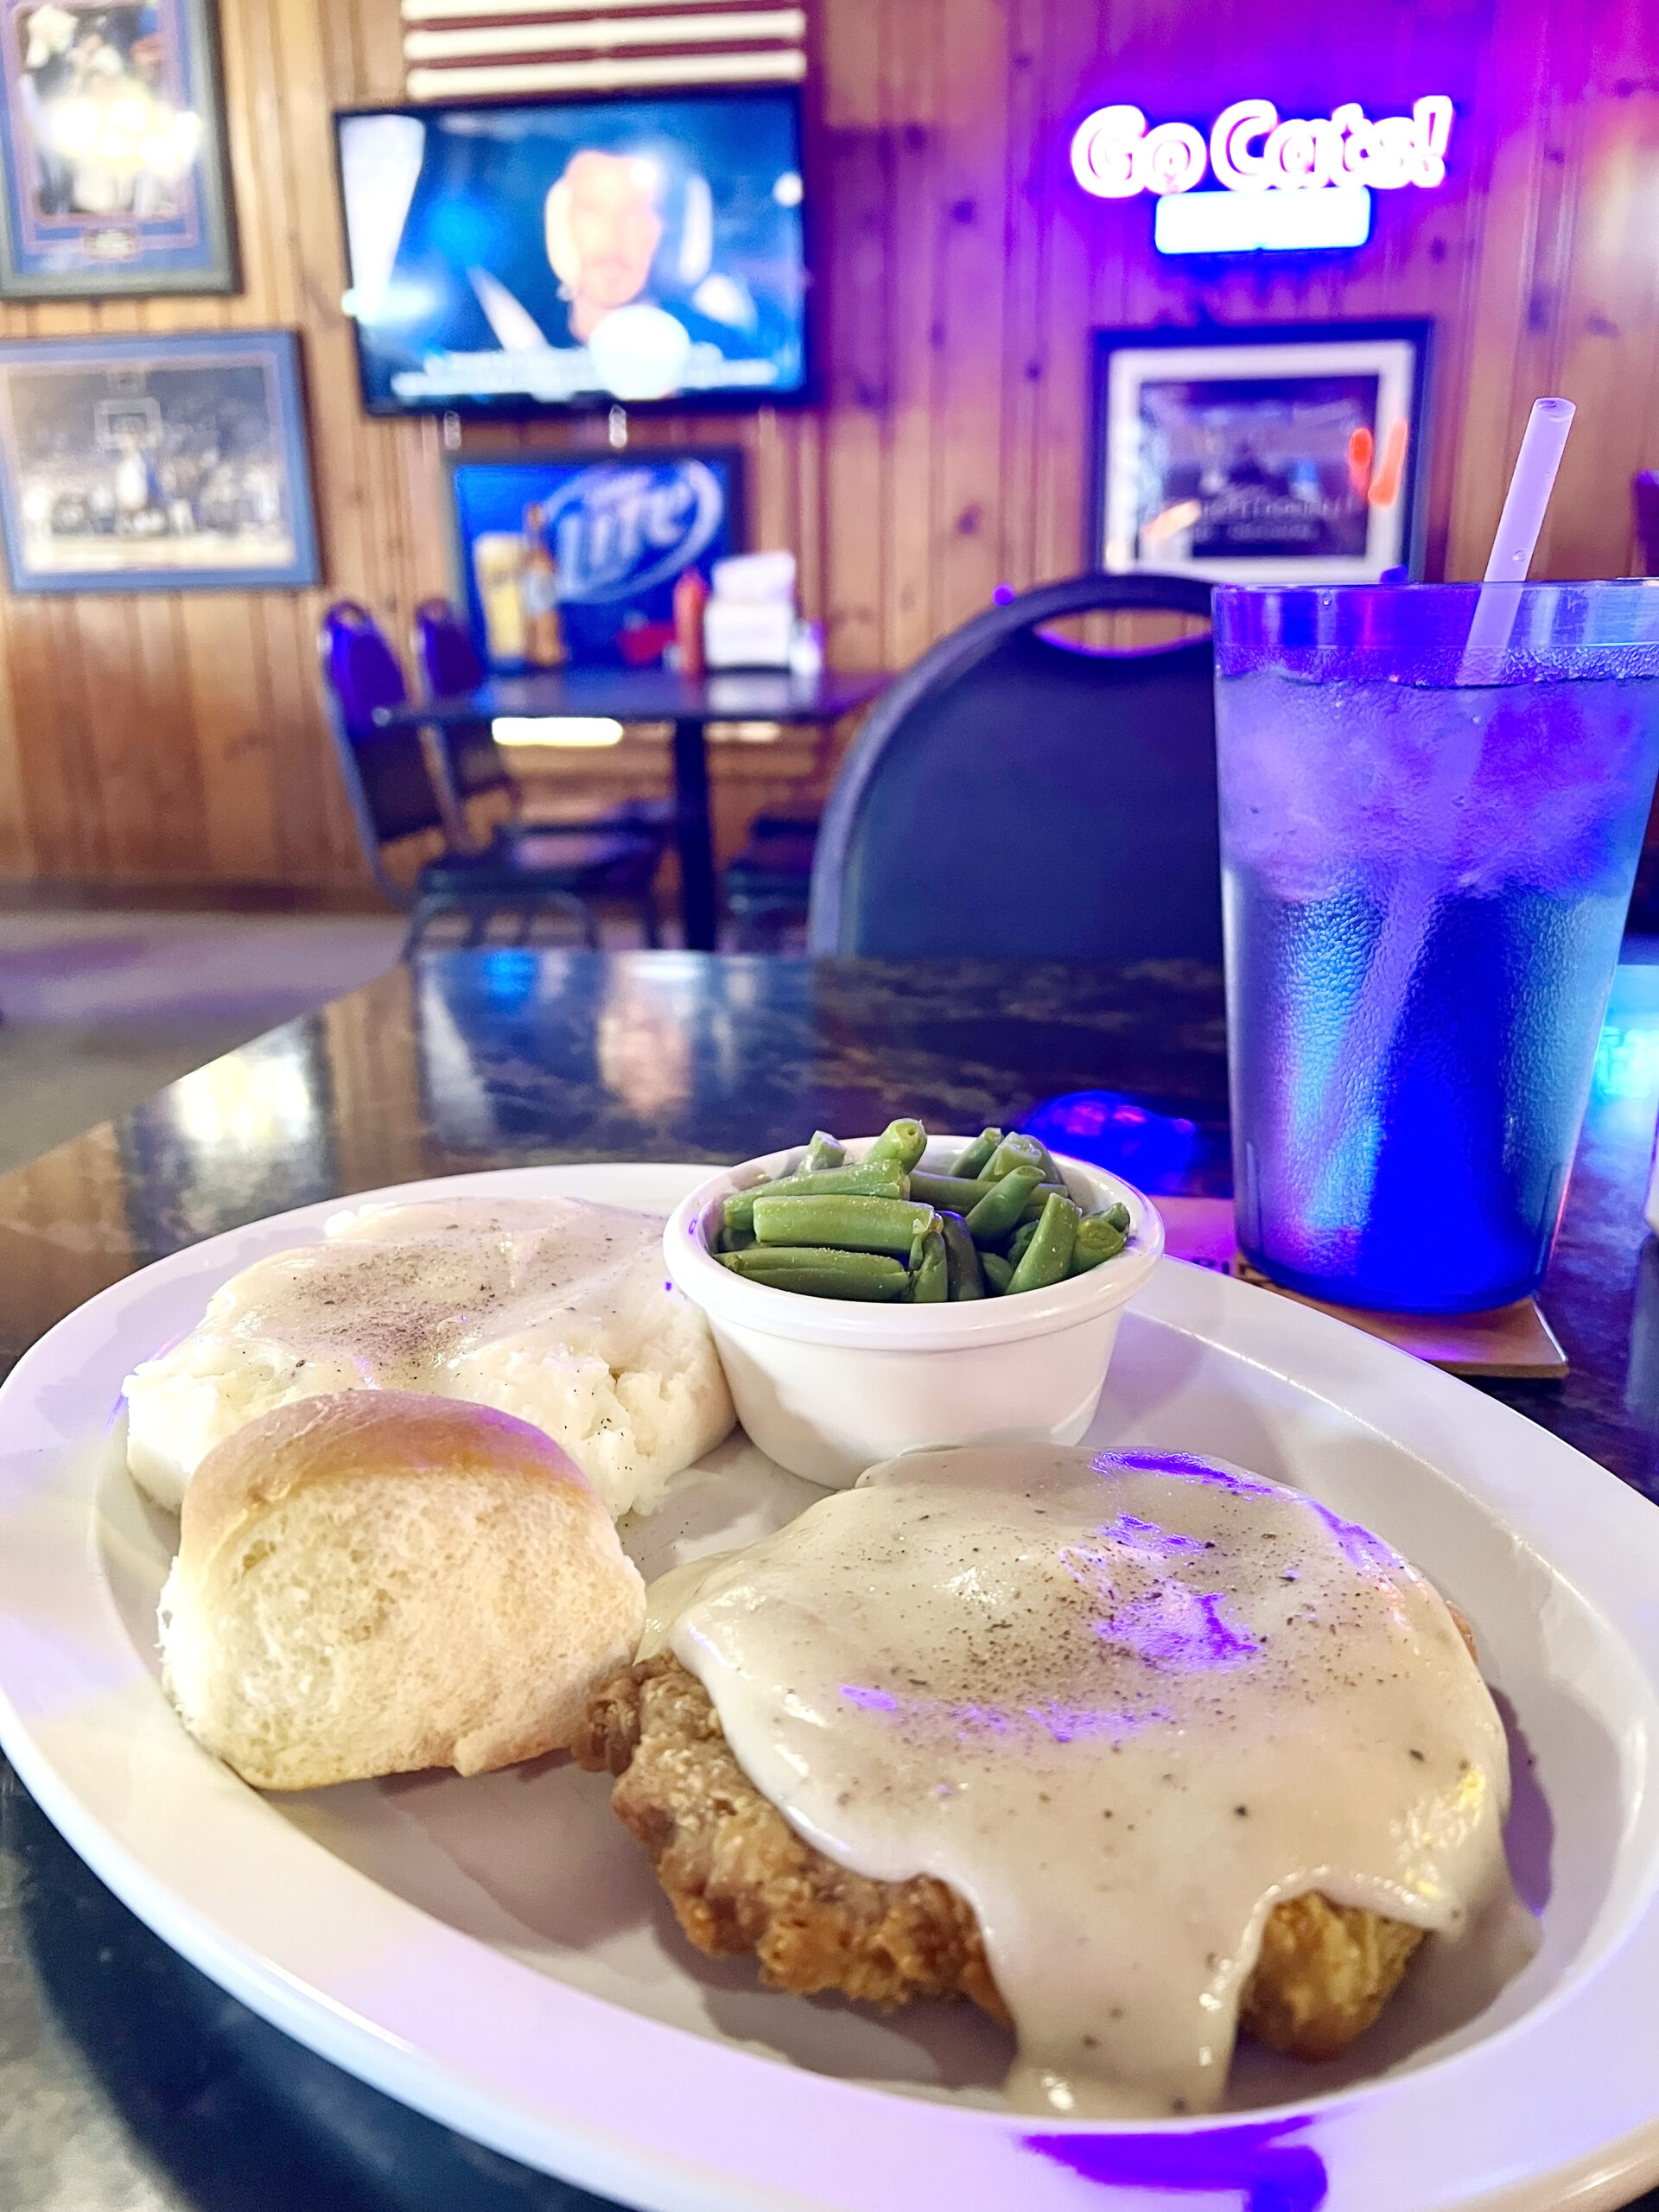 An added touch of salt made my chicken-fried steak dinner better between sips of iced tea. I’m glad I ordered the “small” plate, which was plenty of food for one. My only regret is not planning ahead to enjoy the cheesecake egg rolls.
 The
The 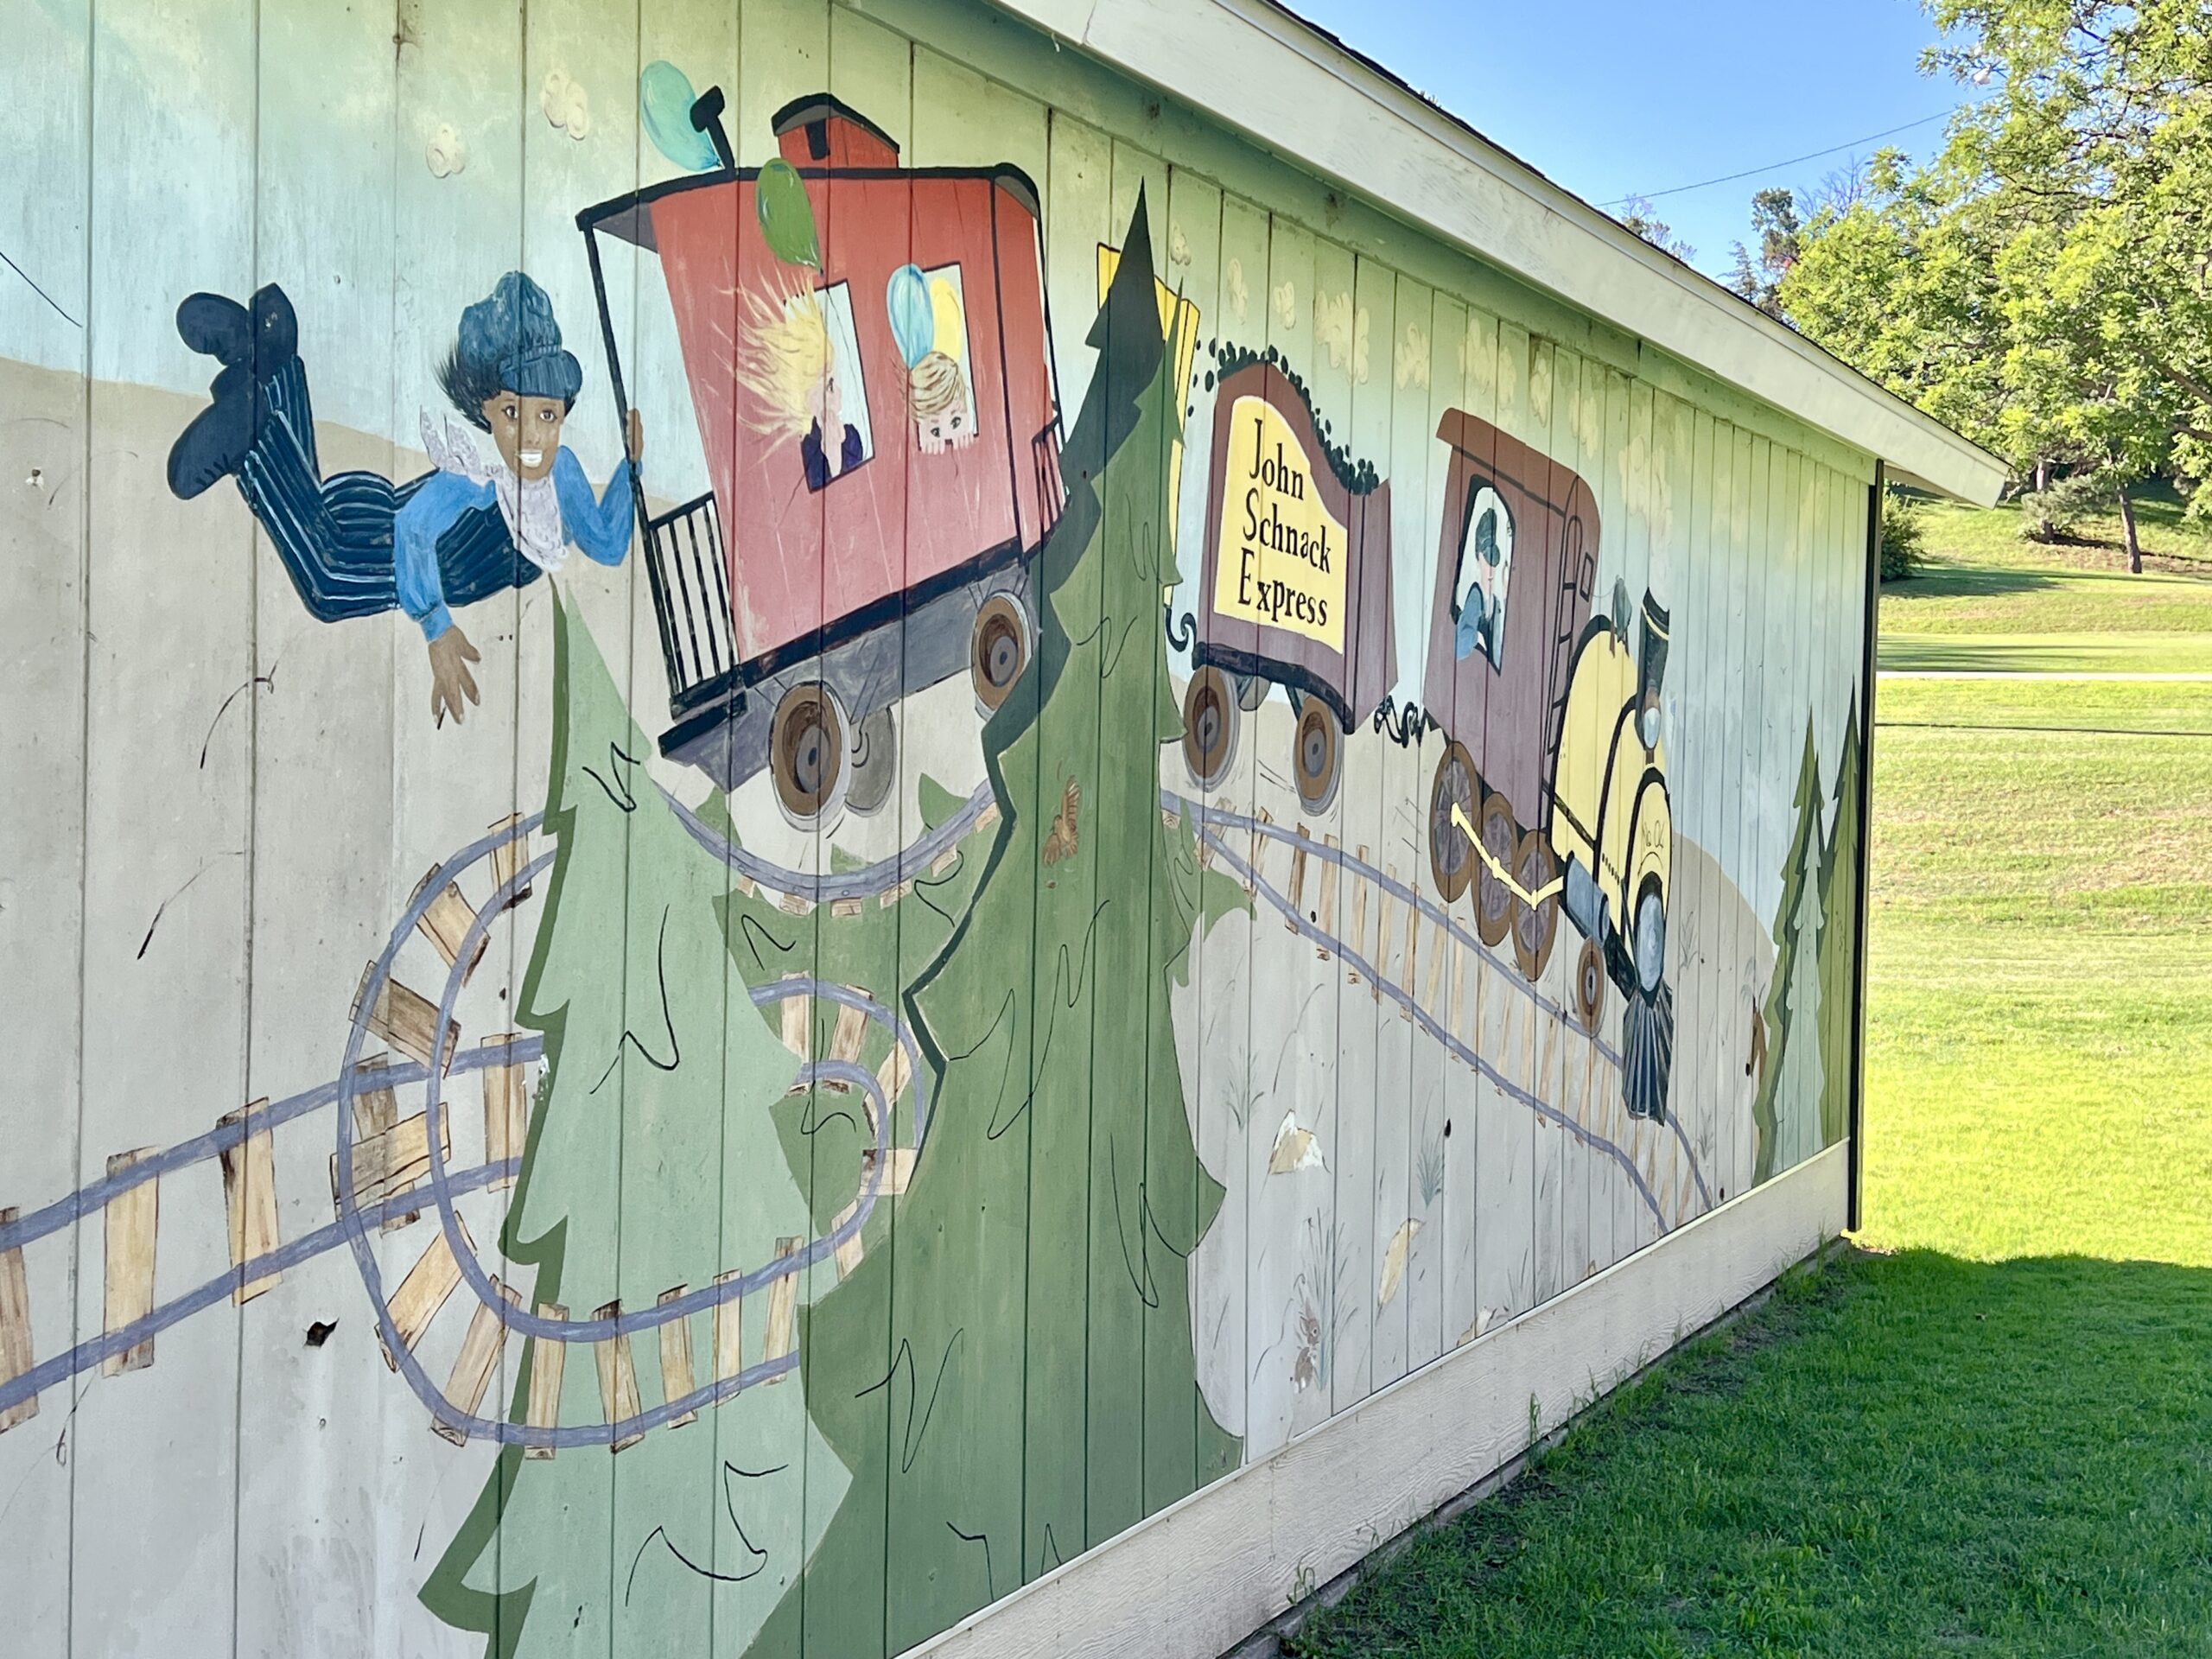 Other areas of the park include a beloved duck pond, basketball and tennis courts, a water fountain, a playground, and picnic spots with grills.
 Park at the gravel lot and then use the paved sidewalk to navigate to the shoreline or extended fishing dock.
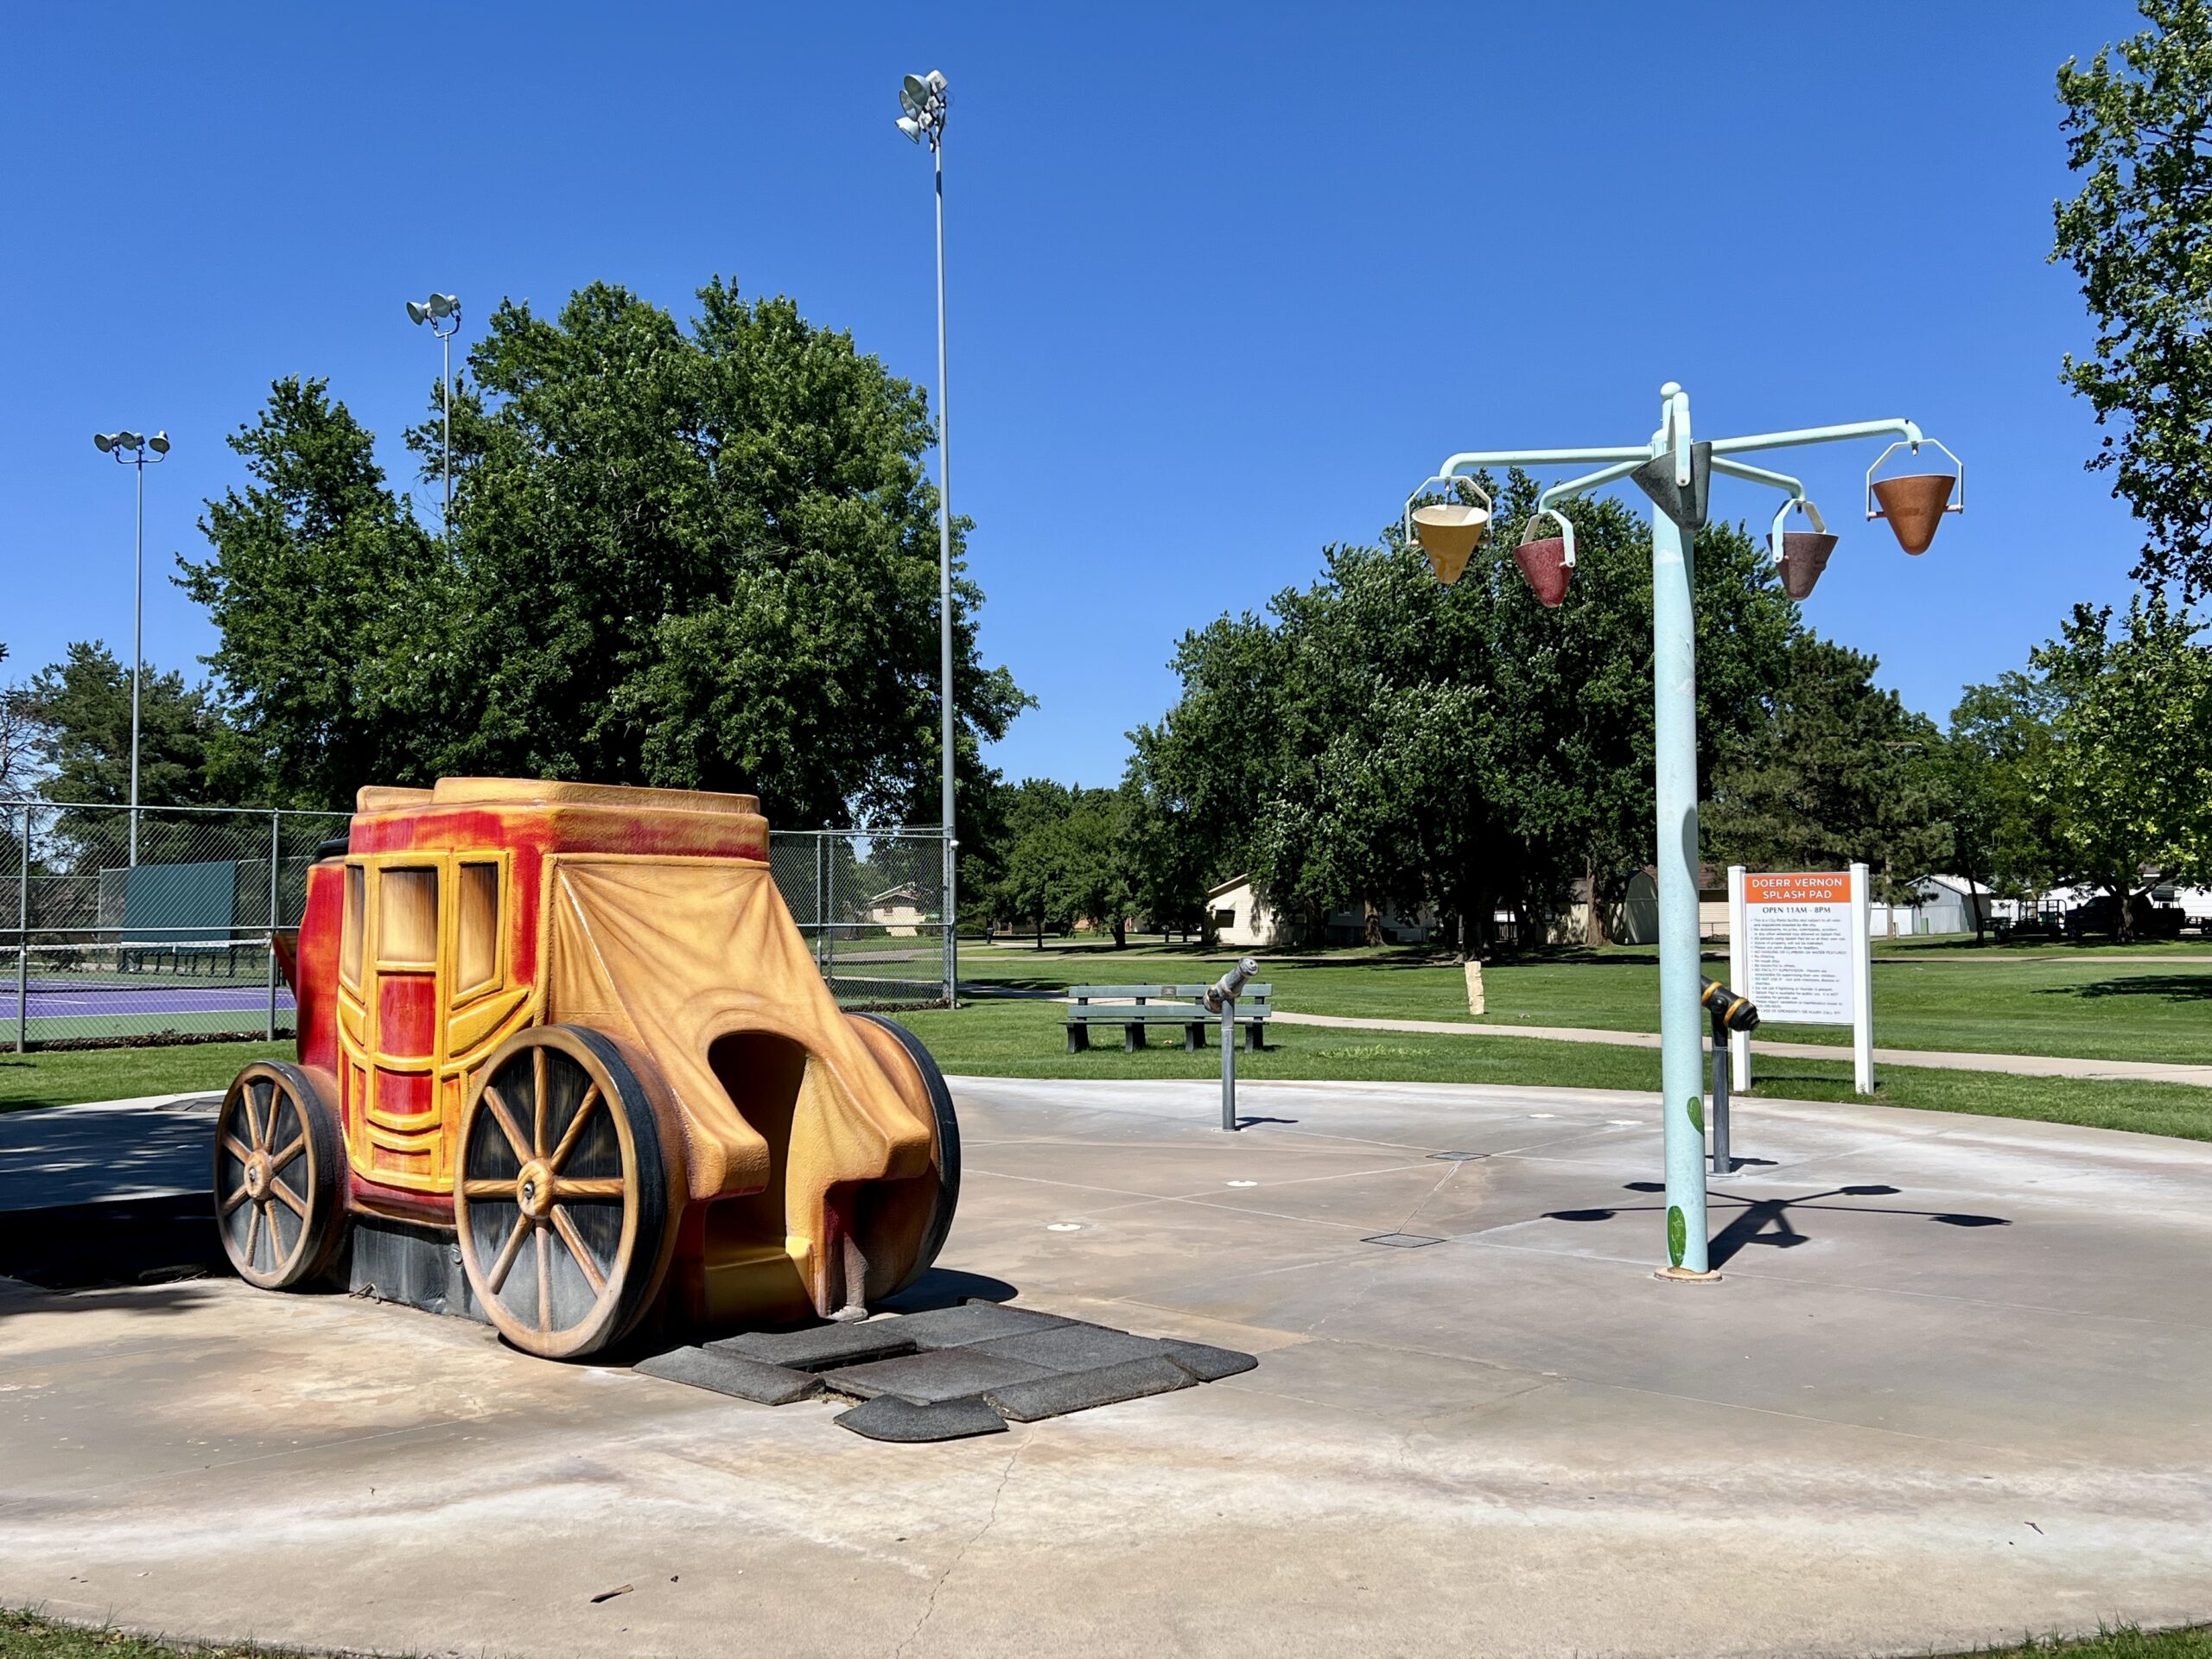 Fancy a game of tennis? Bring your equipment to play at the courts before pausing for a hydration break on a tree-shaded bench.
 The rusted, twisted piece of steel curved toward the sun. An original piece of the World Trade Center in New York, a relic of the 9-11 tragedy, it is a portion of the perimeter column located between the 34th and 35th floors of the No. 2 building.
 PRO TIP: Look under the jagged metal at its base, which includes iron legs scaled to resemble the twin towers.
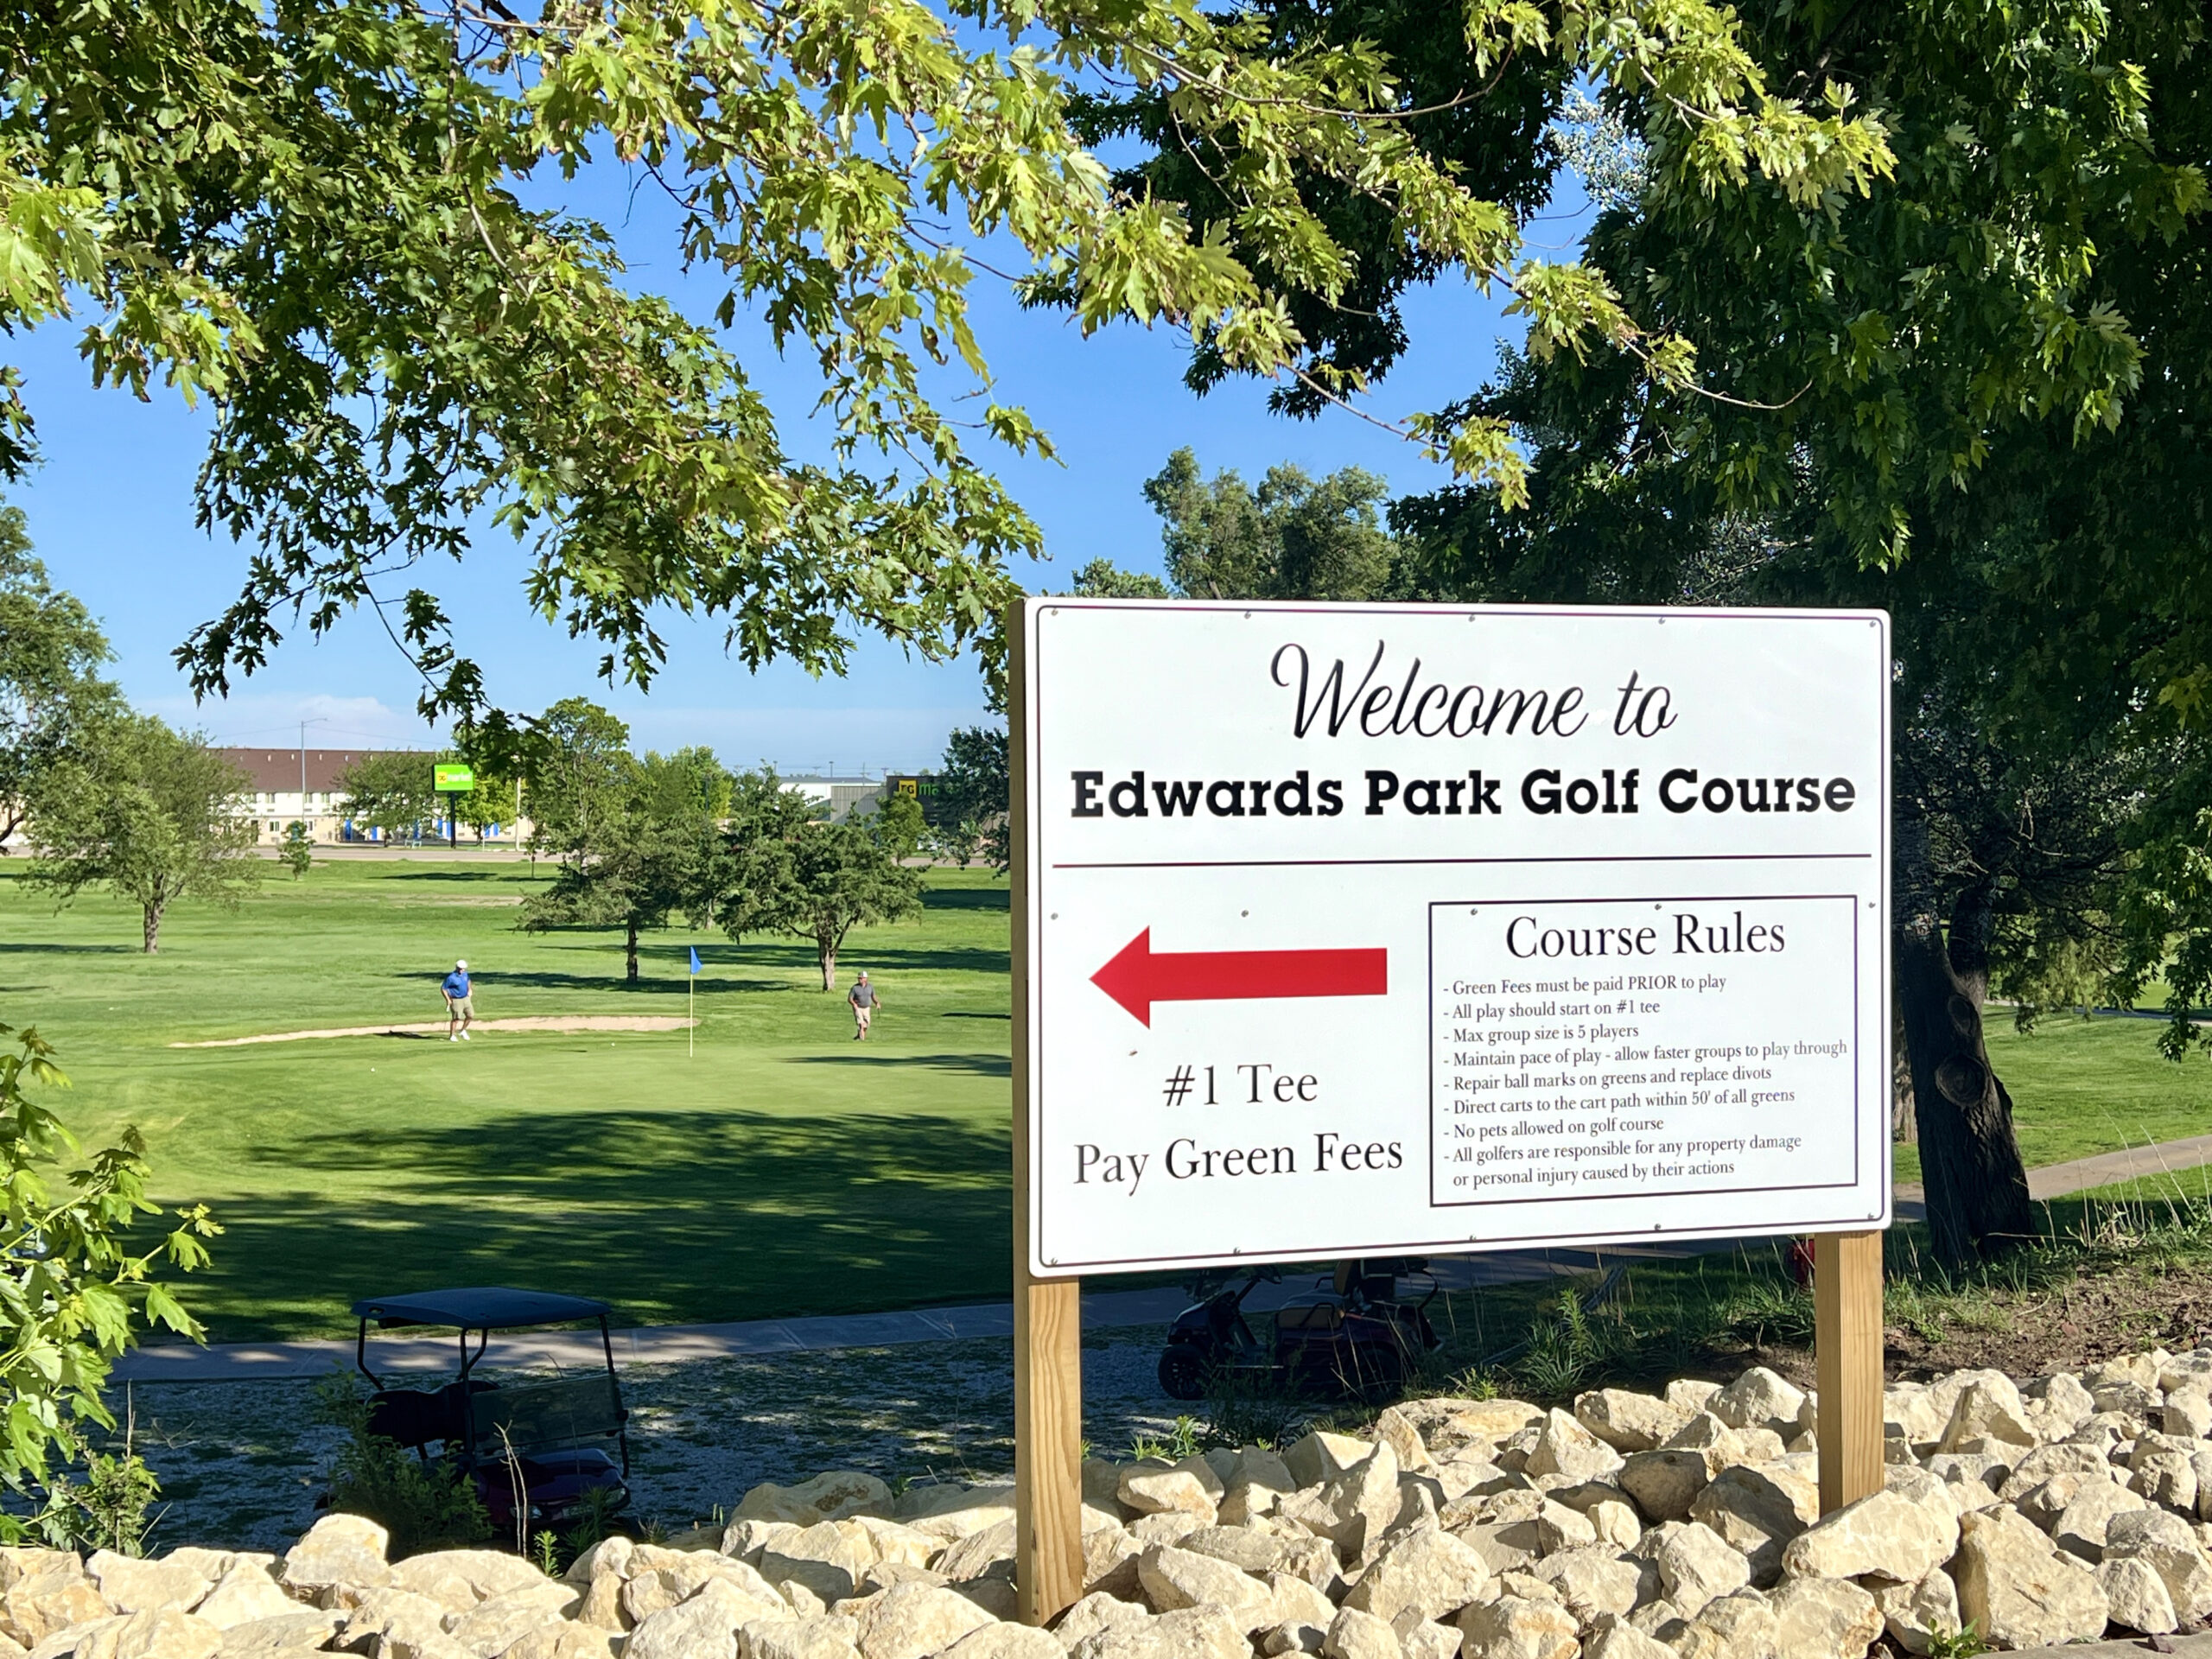 As a former high school golfer, I can attest that the fairways and greens were in top condition, given the hot summer temperatures. Golf carts meandered across the course as a men’s league wrapped up its play.
 Before the railroad connected the West, wagon trains traveled the Santa Fe Trail carrying goods, dreams, and determination across the prairie.
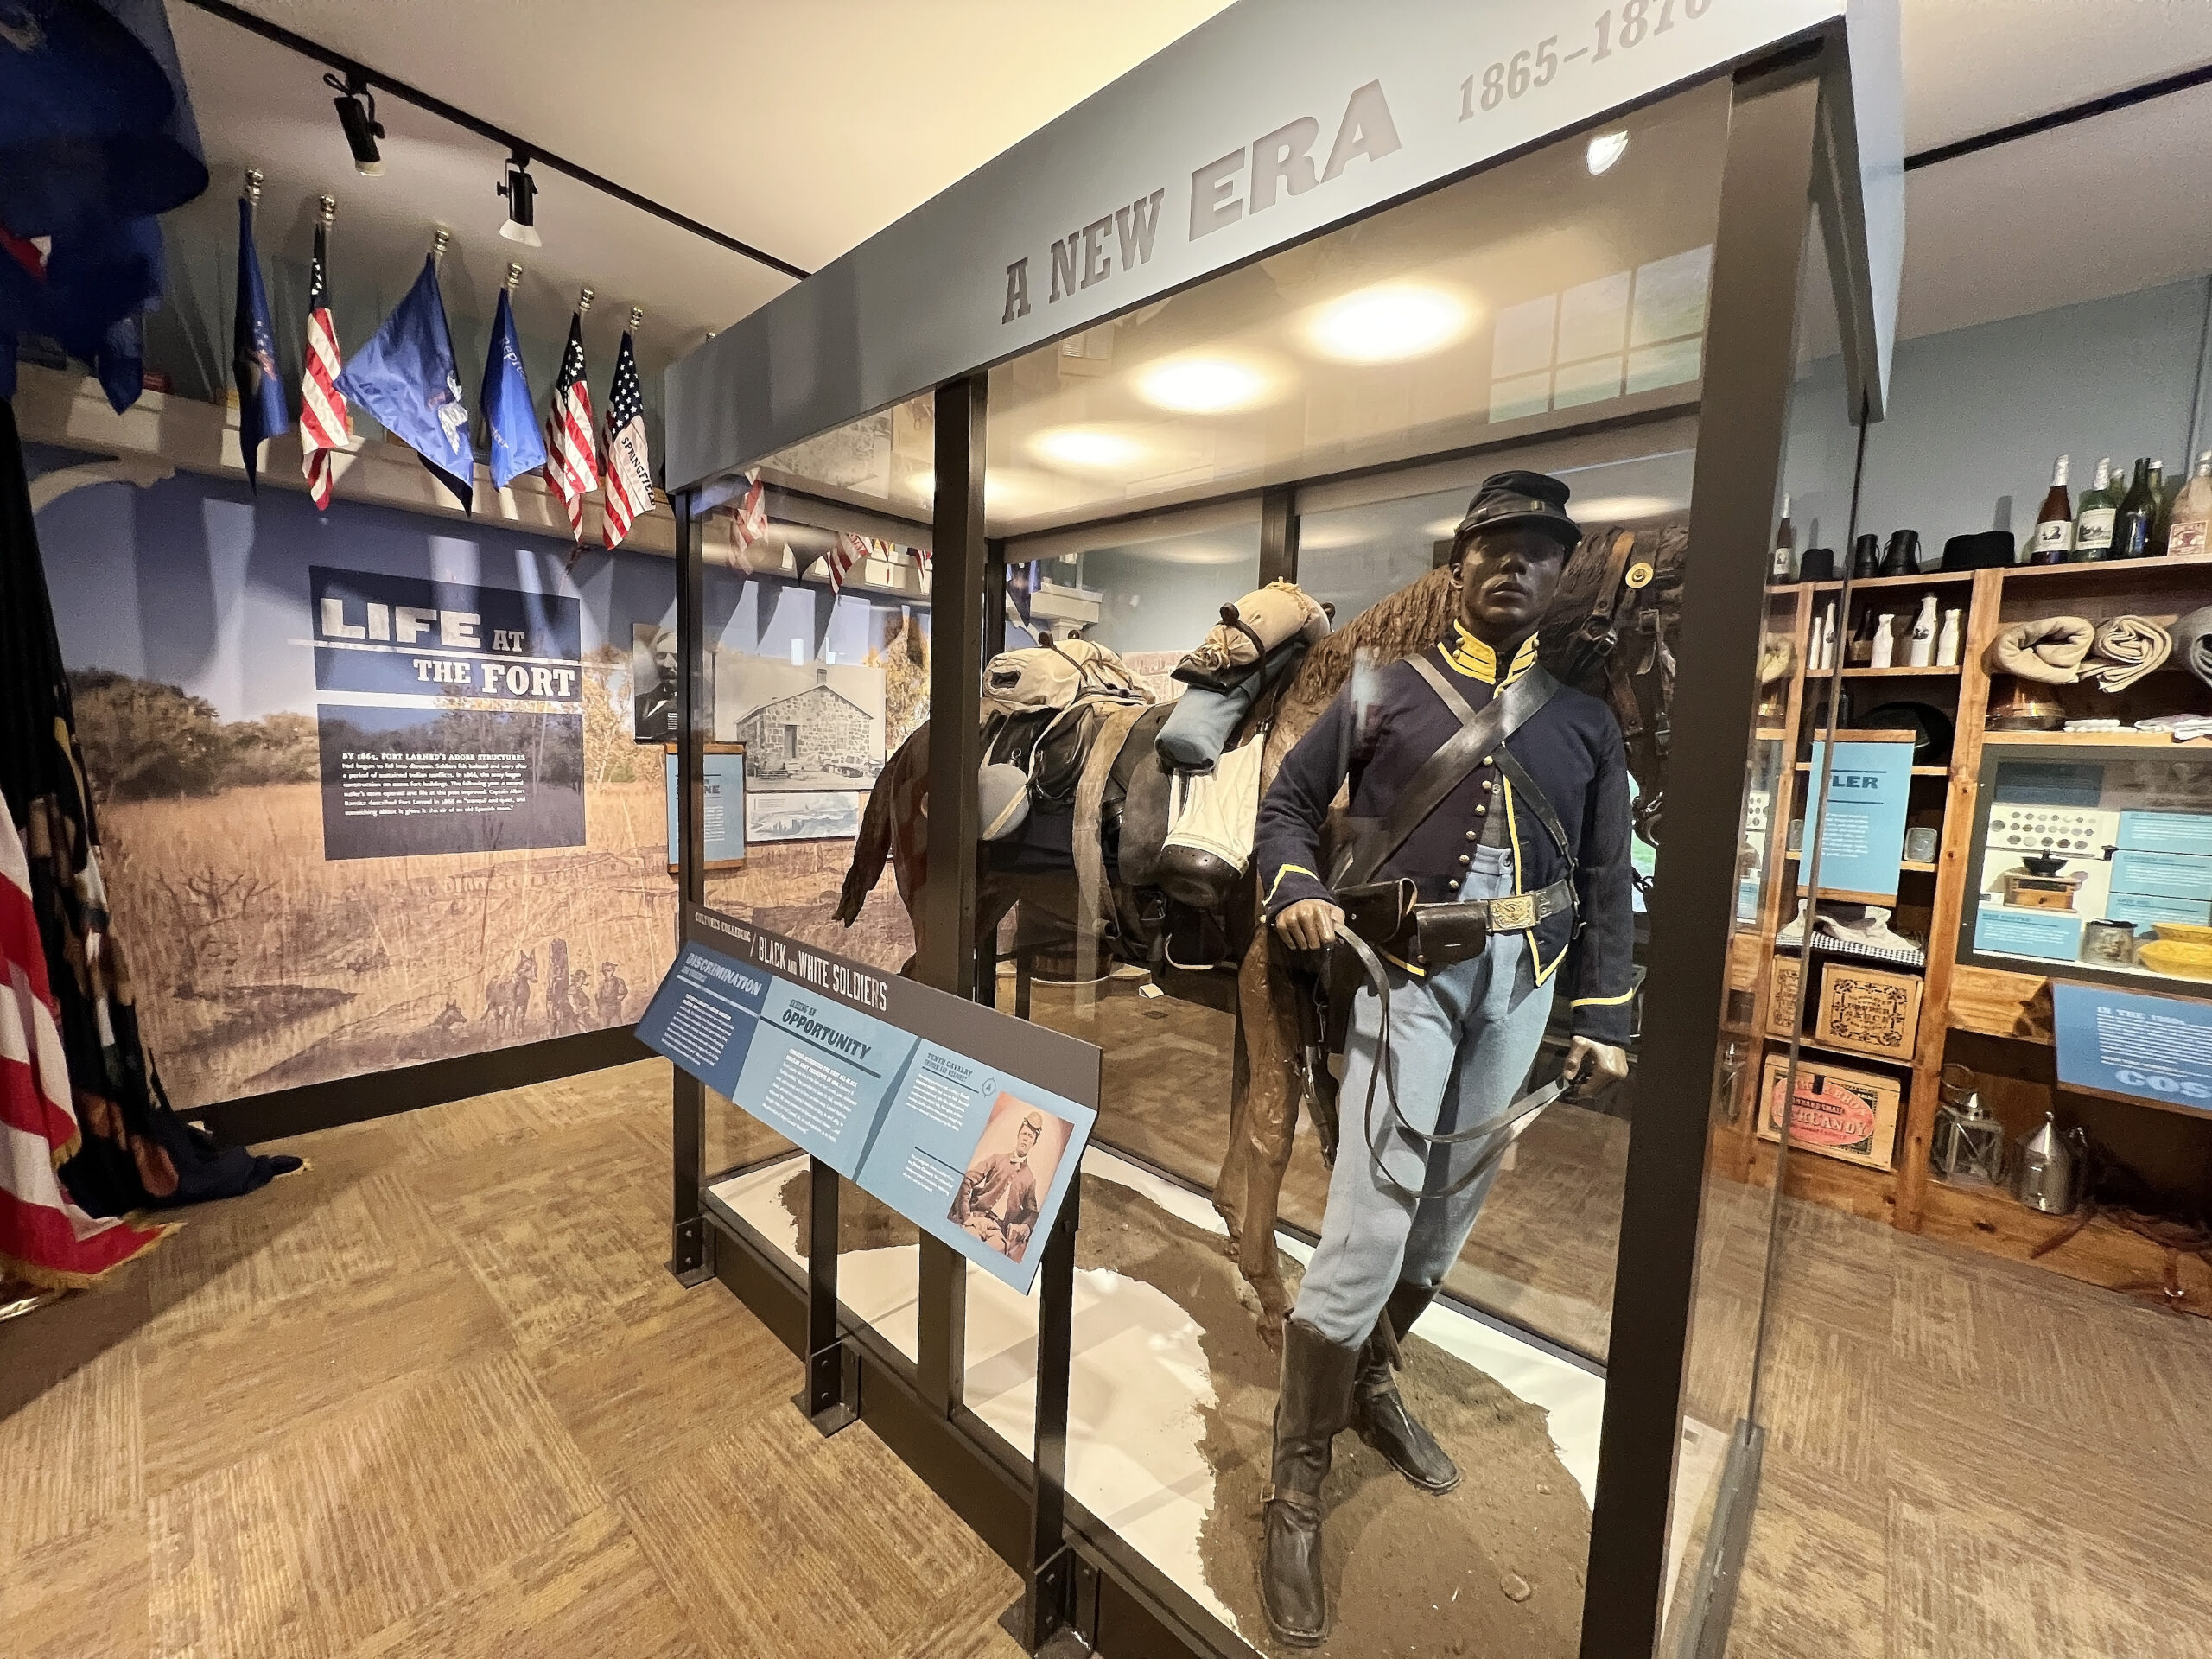 For the most part, the Plains Indians respected the trail’s commerce. However, Kiowa Indians pounced upon Fort Larned on July 17, 1864, stealing over 170 horses and mules, thus creating a reason to escort wagon trains westward thereafter.
 The best way to explore the fort is to arrange a 45-minute guided tour with a park ranger in advance, starting at the visitor center.
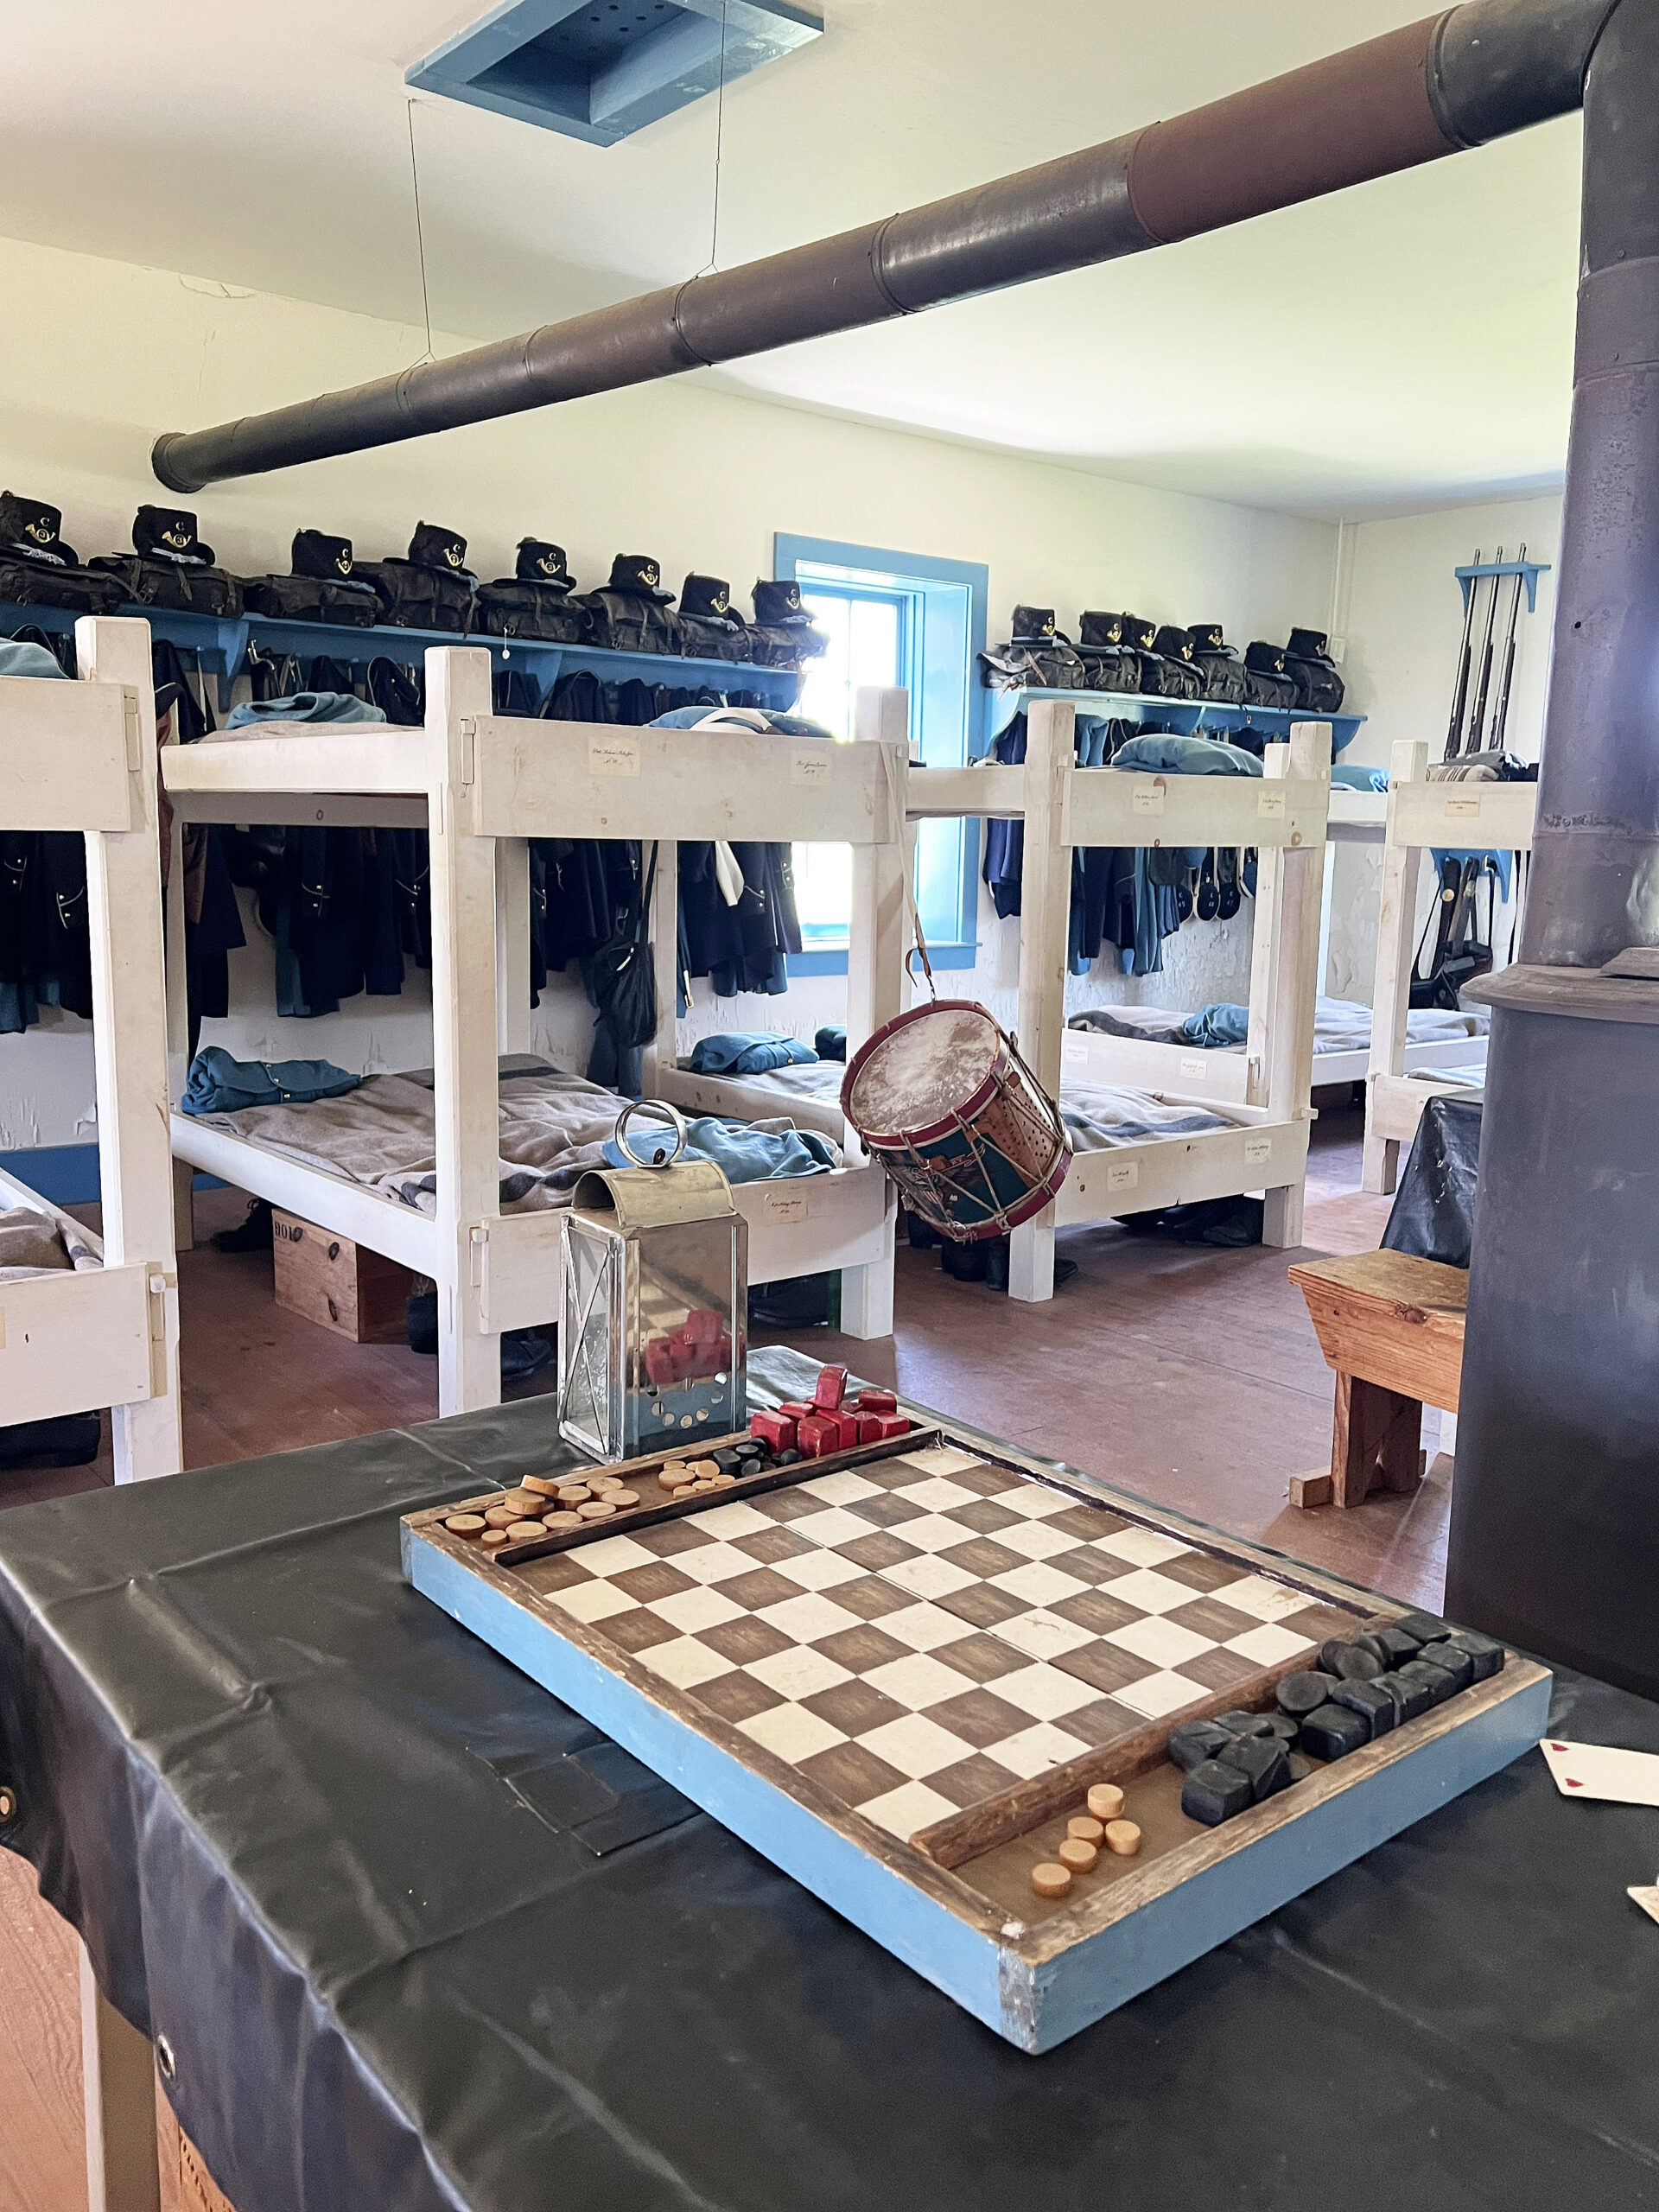 The park ranger’s key unlocked access to the men’s barracks, where 68 soldiers slept in iron beds (two men to a bed) in 1871. The smell of the original wood floors, foot lockers, and vintage wool jackets permeated the summer warm air.
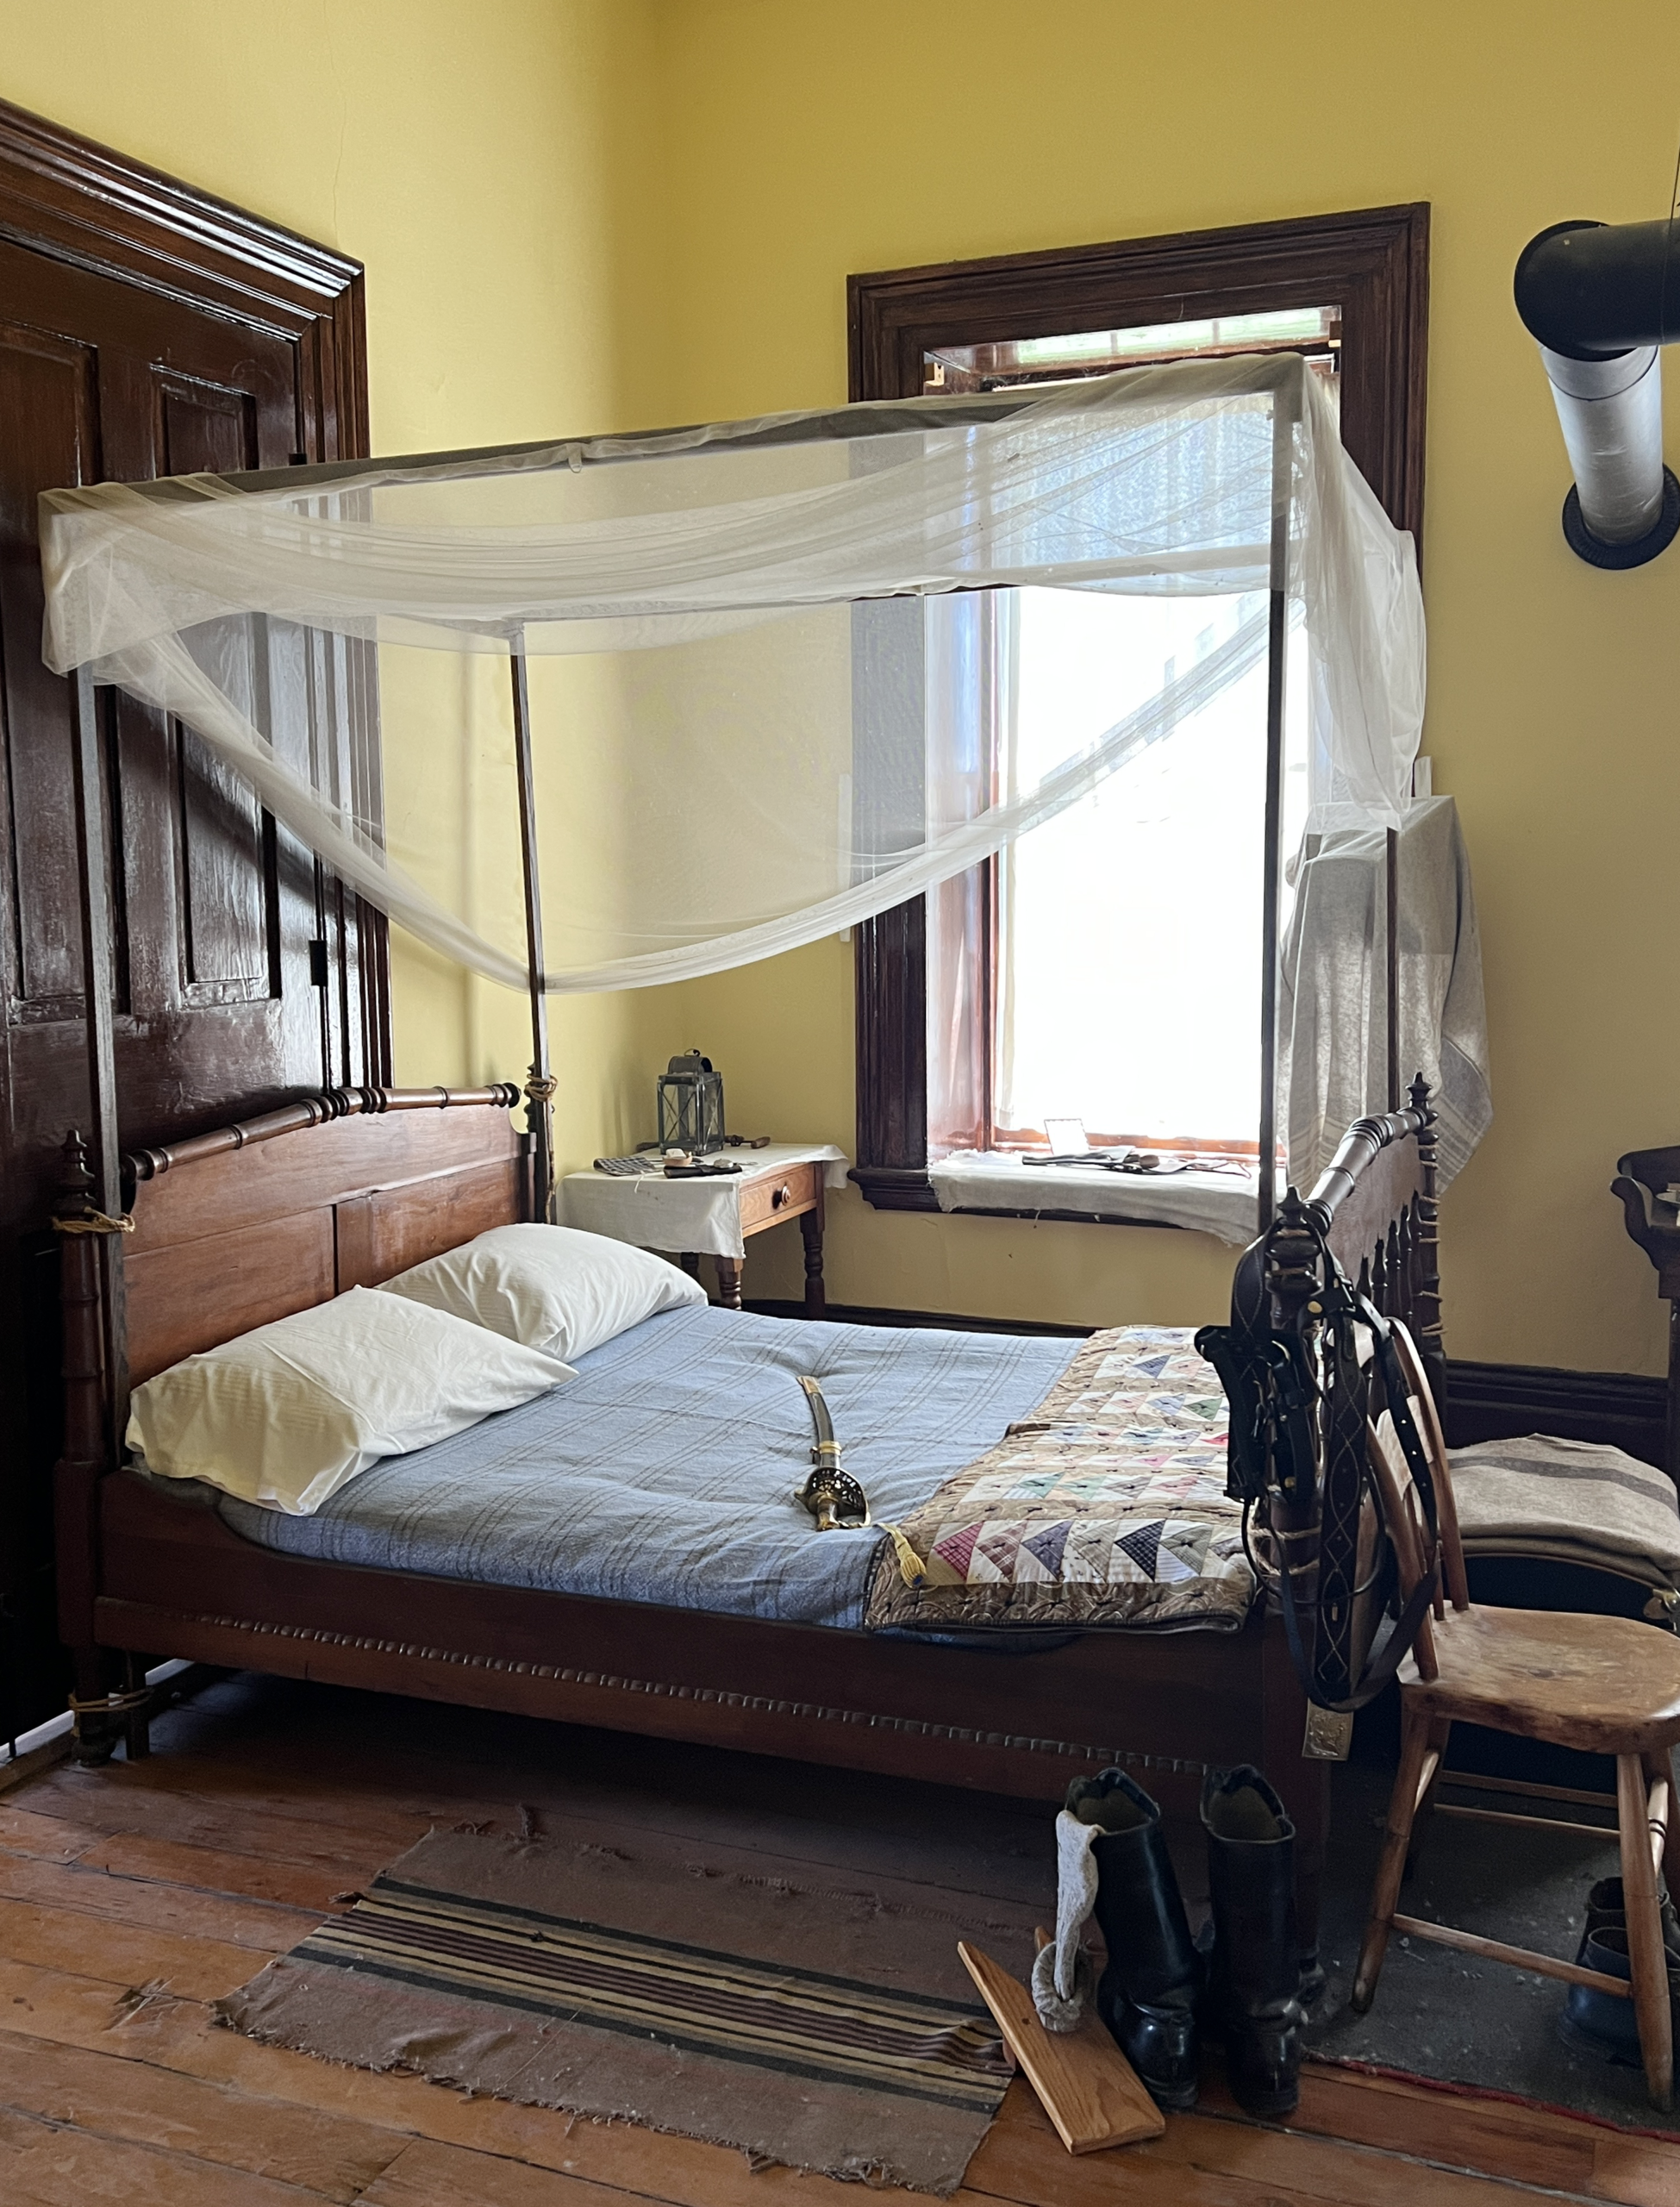 The soldiers’ humble living quarters stood in stark contrast to the officers’ spacious homes, decorated with hand-hewn furniture, rugs, and tables adorned with china and silverware.
 The idea of working as a woman tasked with doing the soldiers’ laundry or tending the fort’s garden in the harsh Kansas heat and cold winters gave me pause.
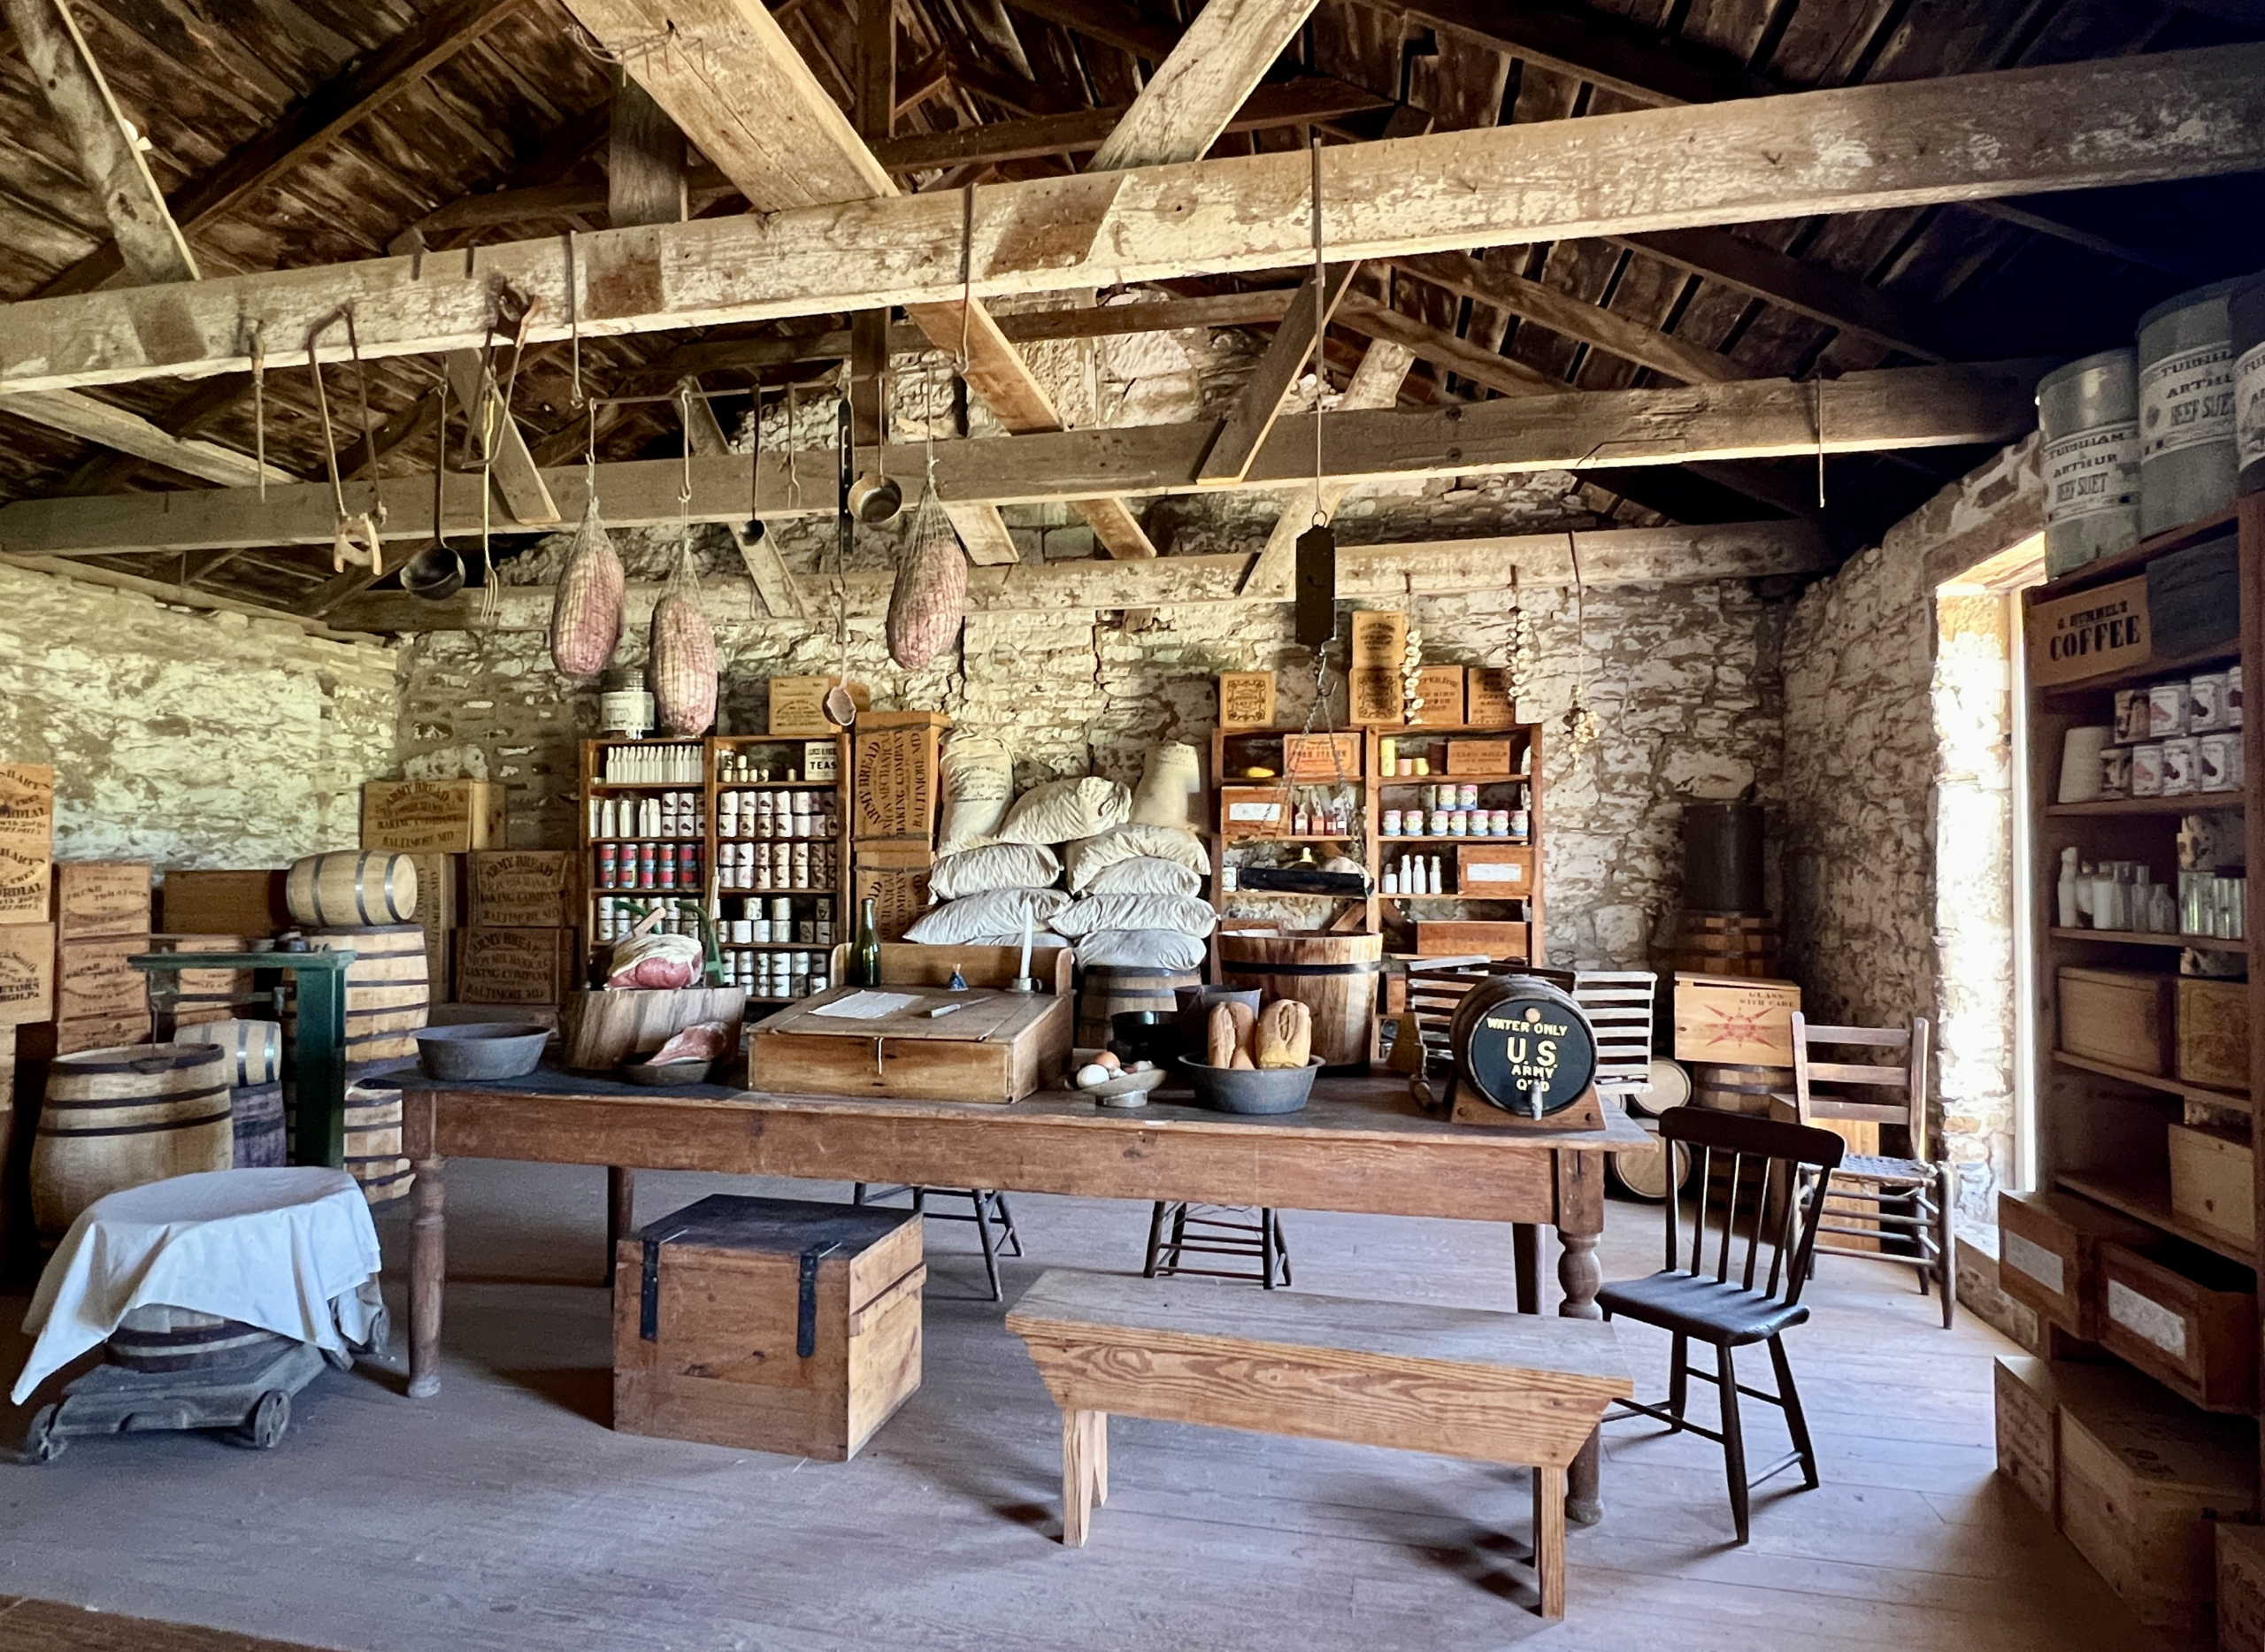 To experience the fort in all of its glory with reenactors in costume giving demonstrations, attend one of the living history events during Memorial Day Weekend (May), Labor Day Weekend, Buffalo Soldier Fourth of July, Candlelight Tours (2nd Saturday in October), and Christmas Past (2nd Saturday in December).
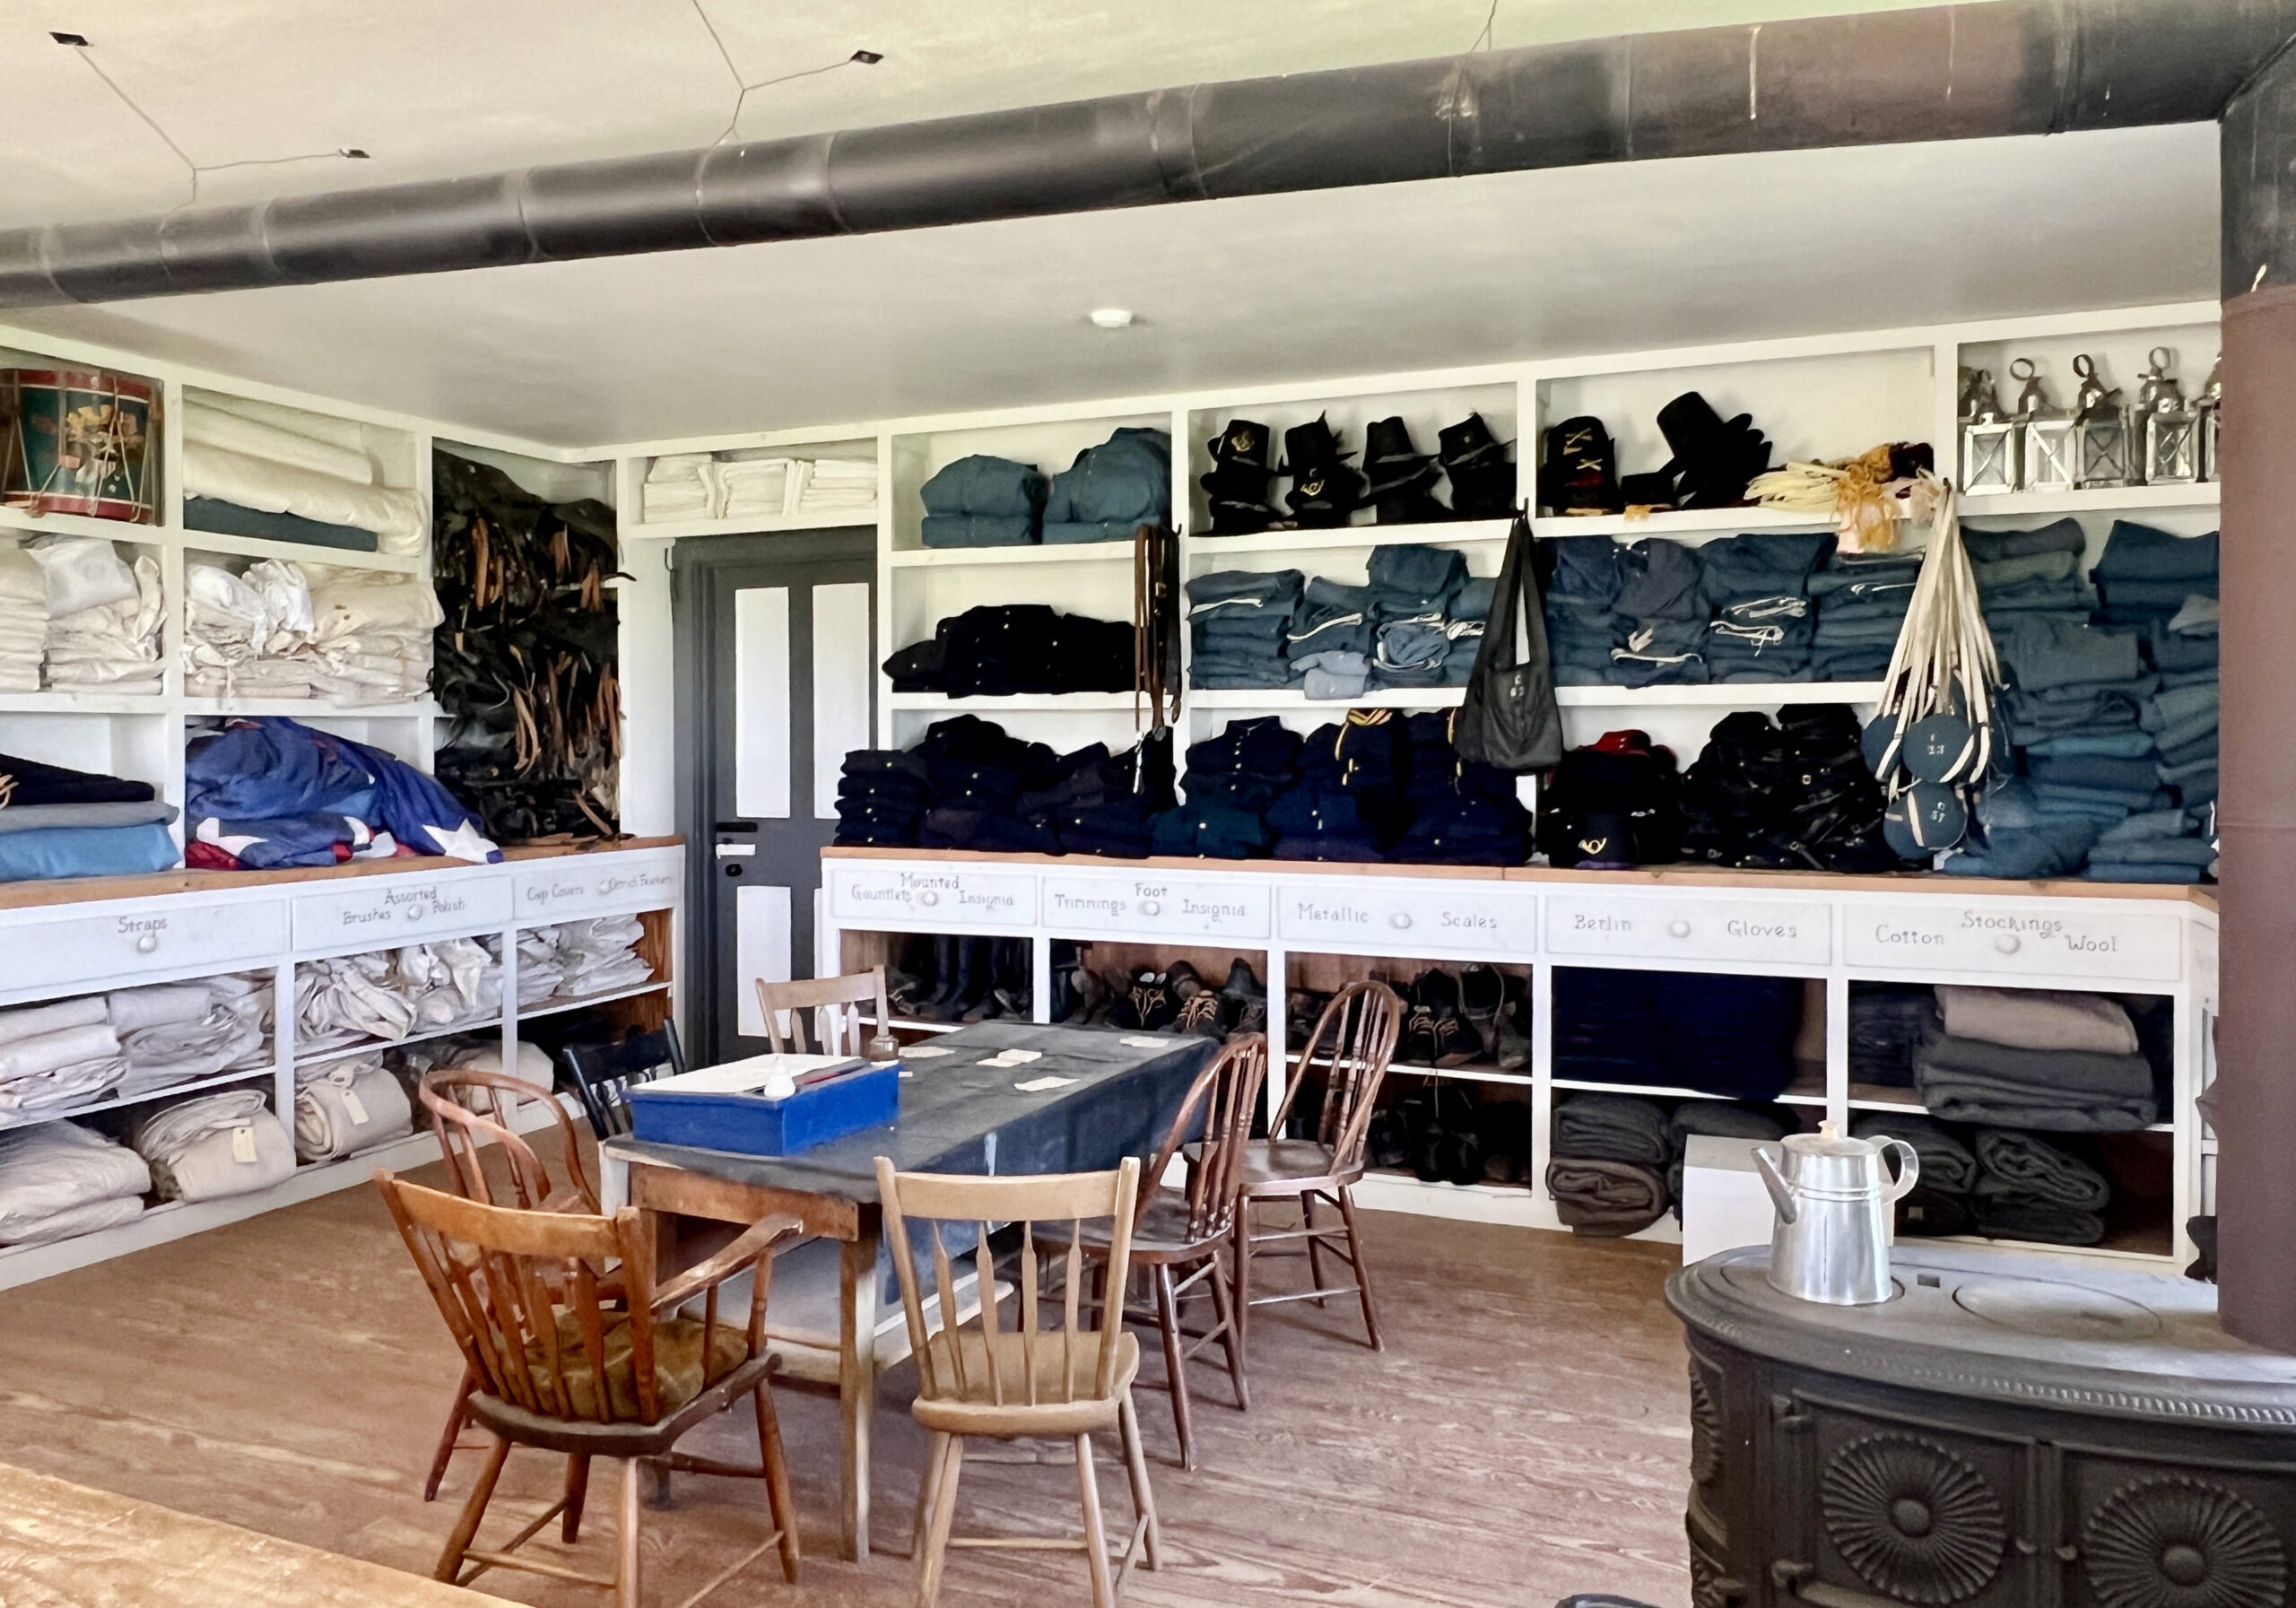 ACCESSIBILITY: While much of the site is wheelchair-accessible over grass or a level, sandy trail, there are required steps to access buildings.
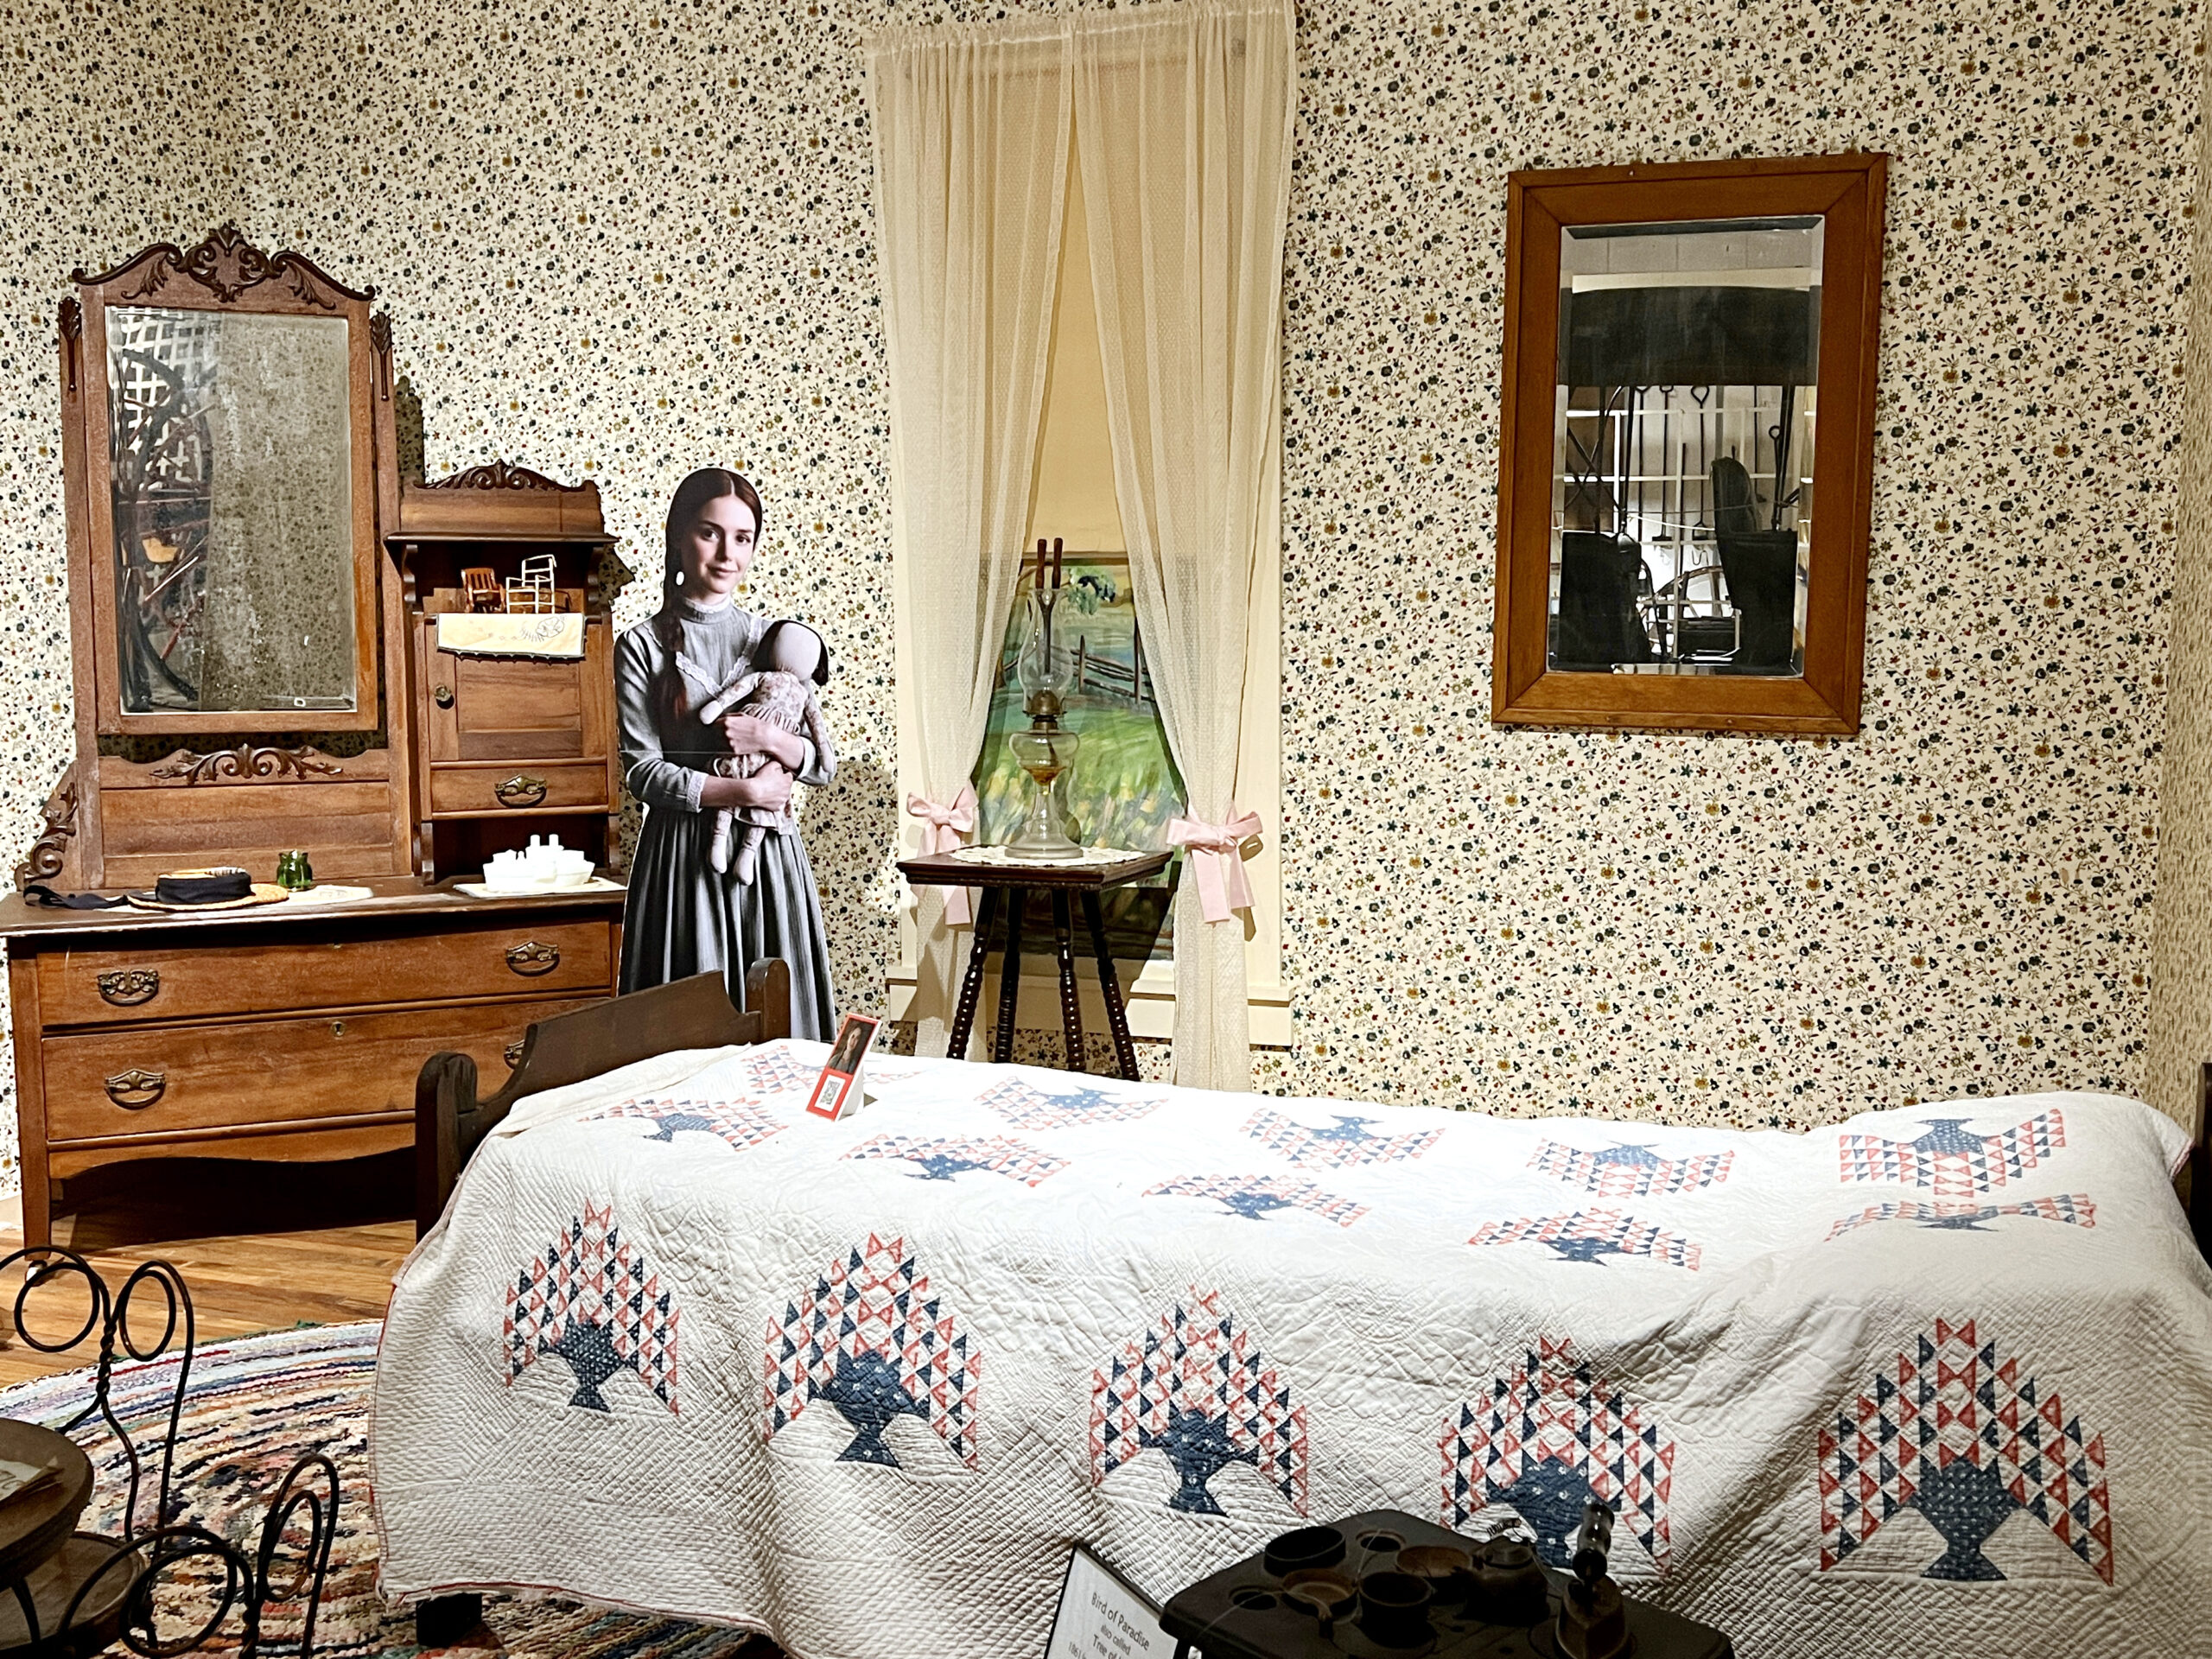 Indian artifacts, trade goods, and historic photos bring the trail era, dating back to 1821, to life.
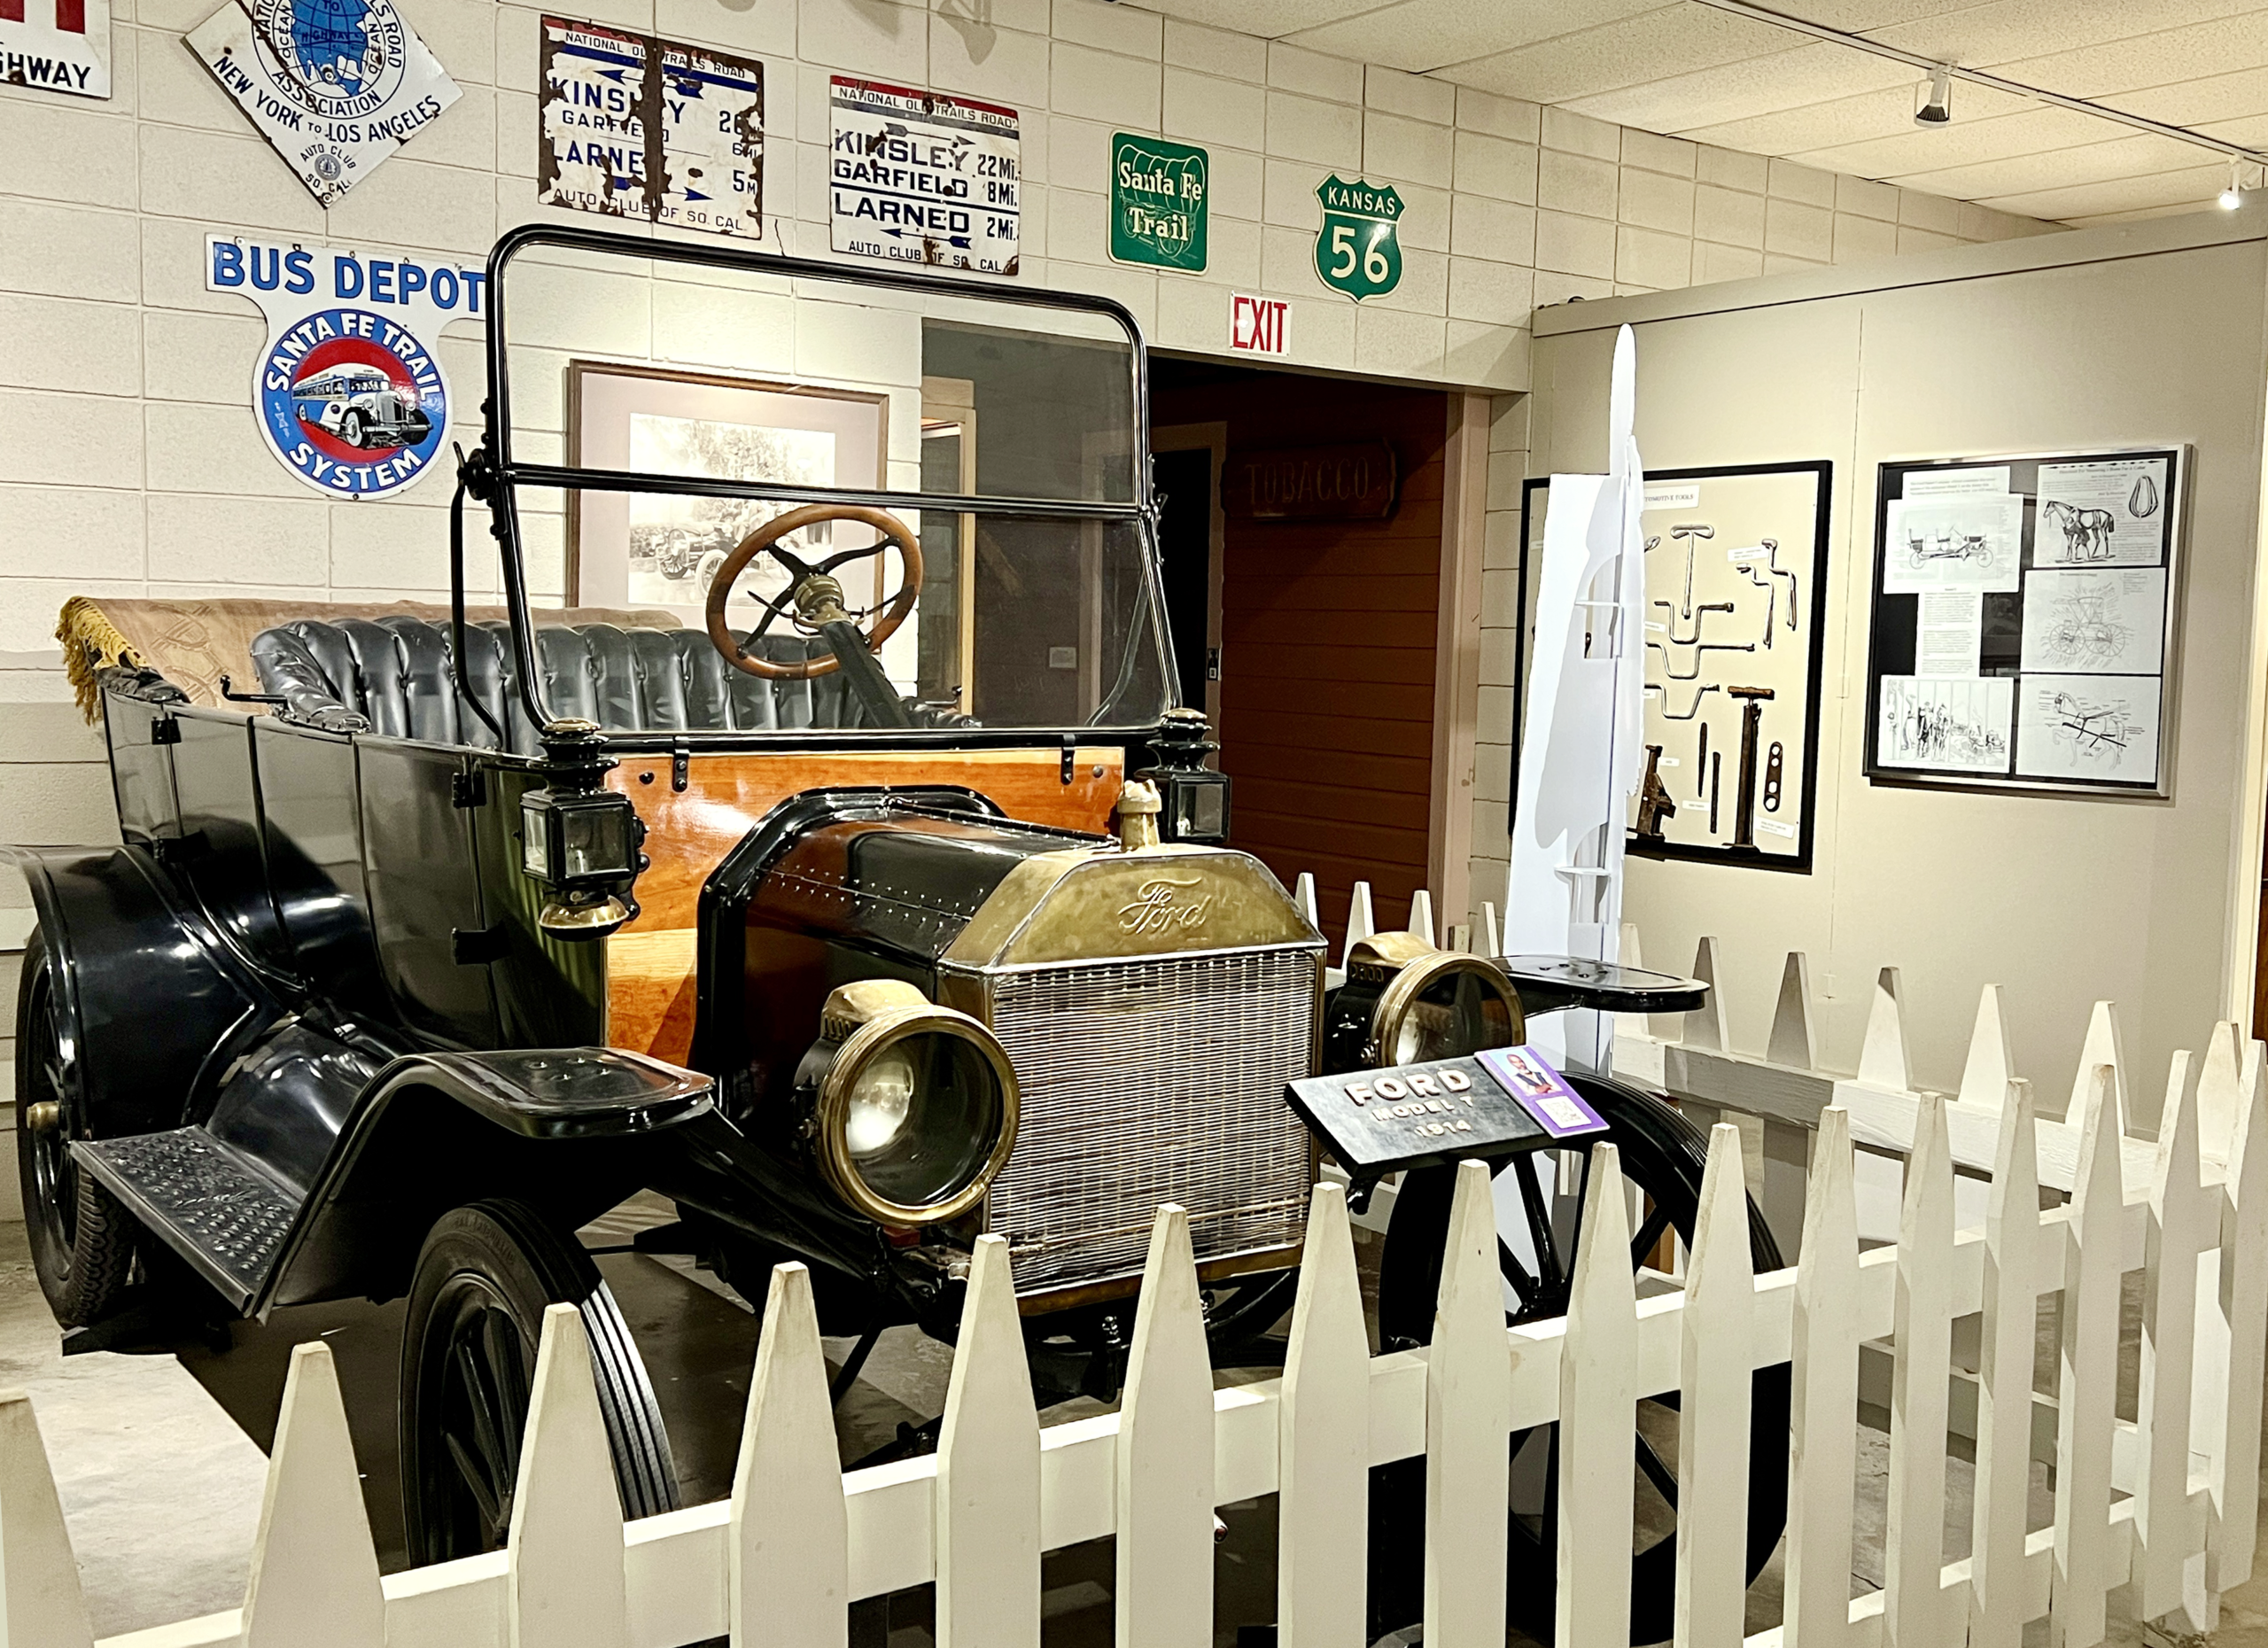 Replica period rooms are designed to help museum-goers visualize what it was like to live in a middle-class home in the 1900s.
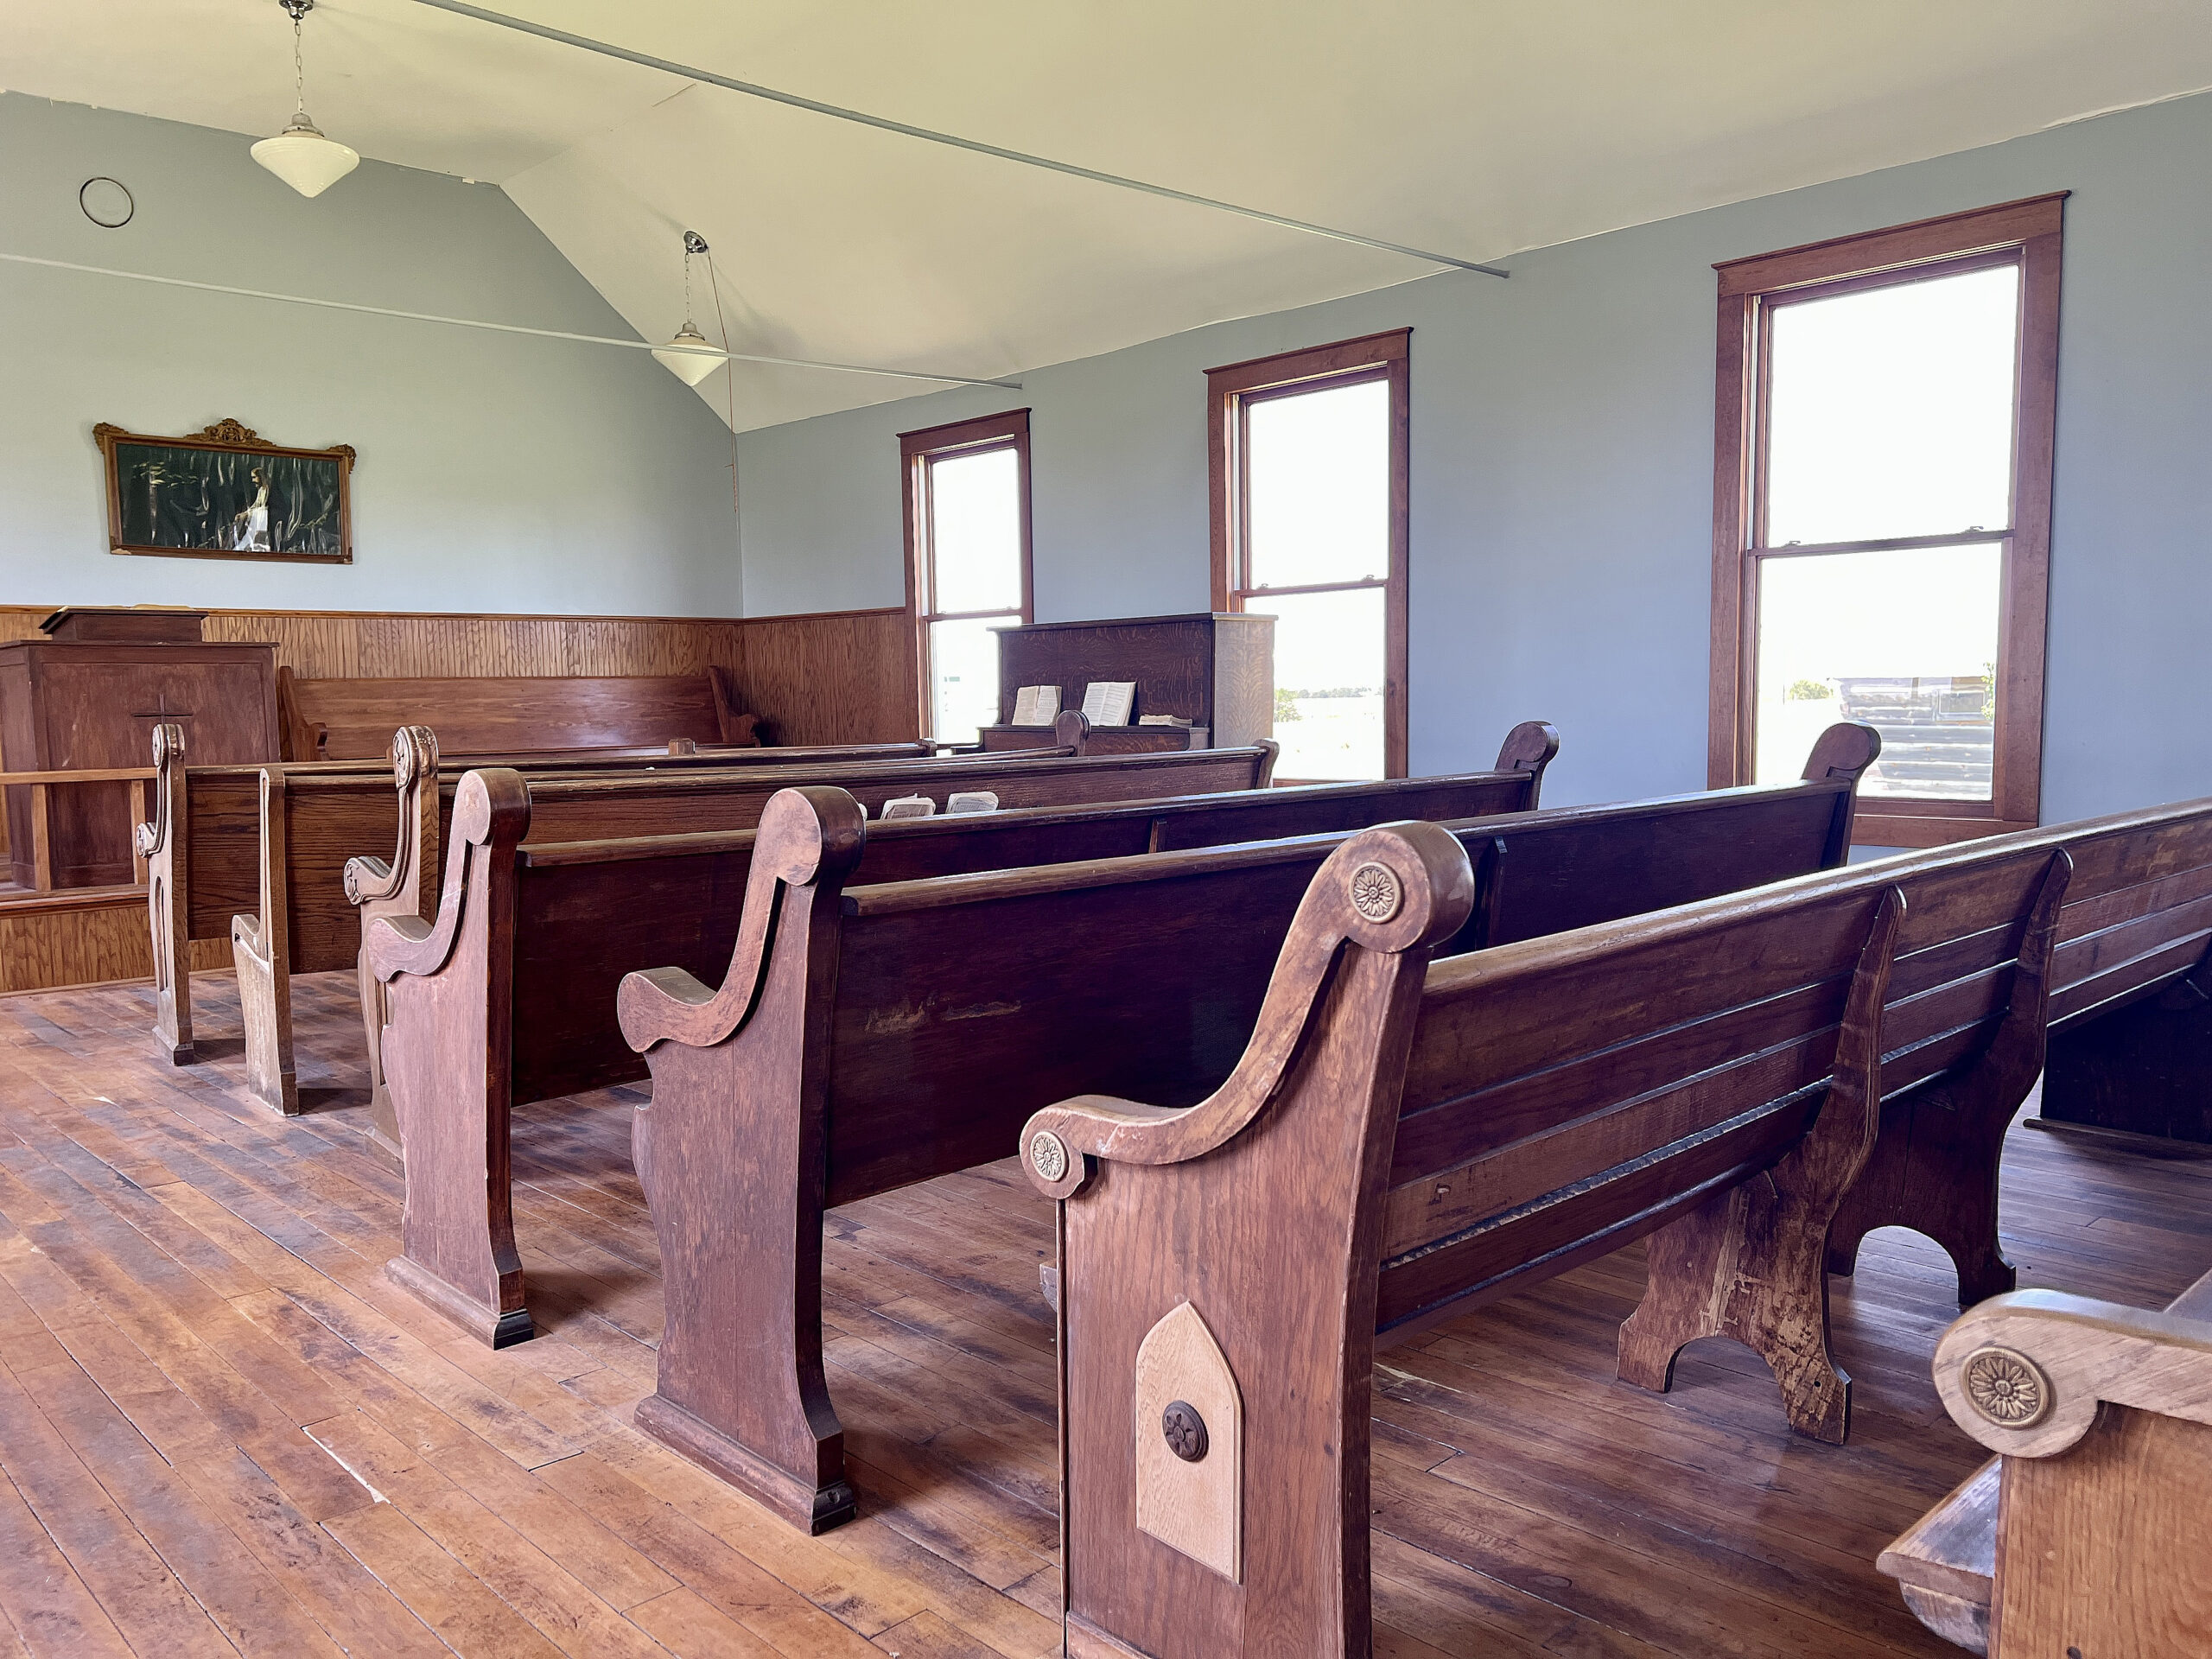 But my favorite part of the museum experience awaited me outdoors, where I took a self-guided tour of the historic Escue Chapel, the first church built by African American residents in the community.
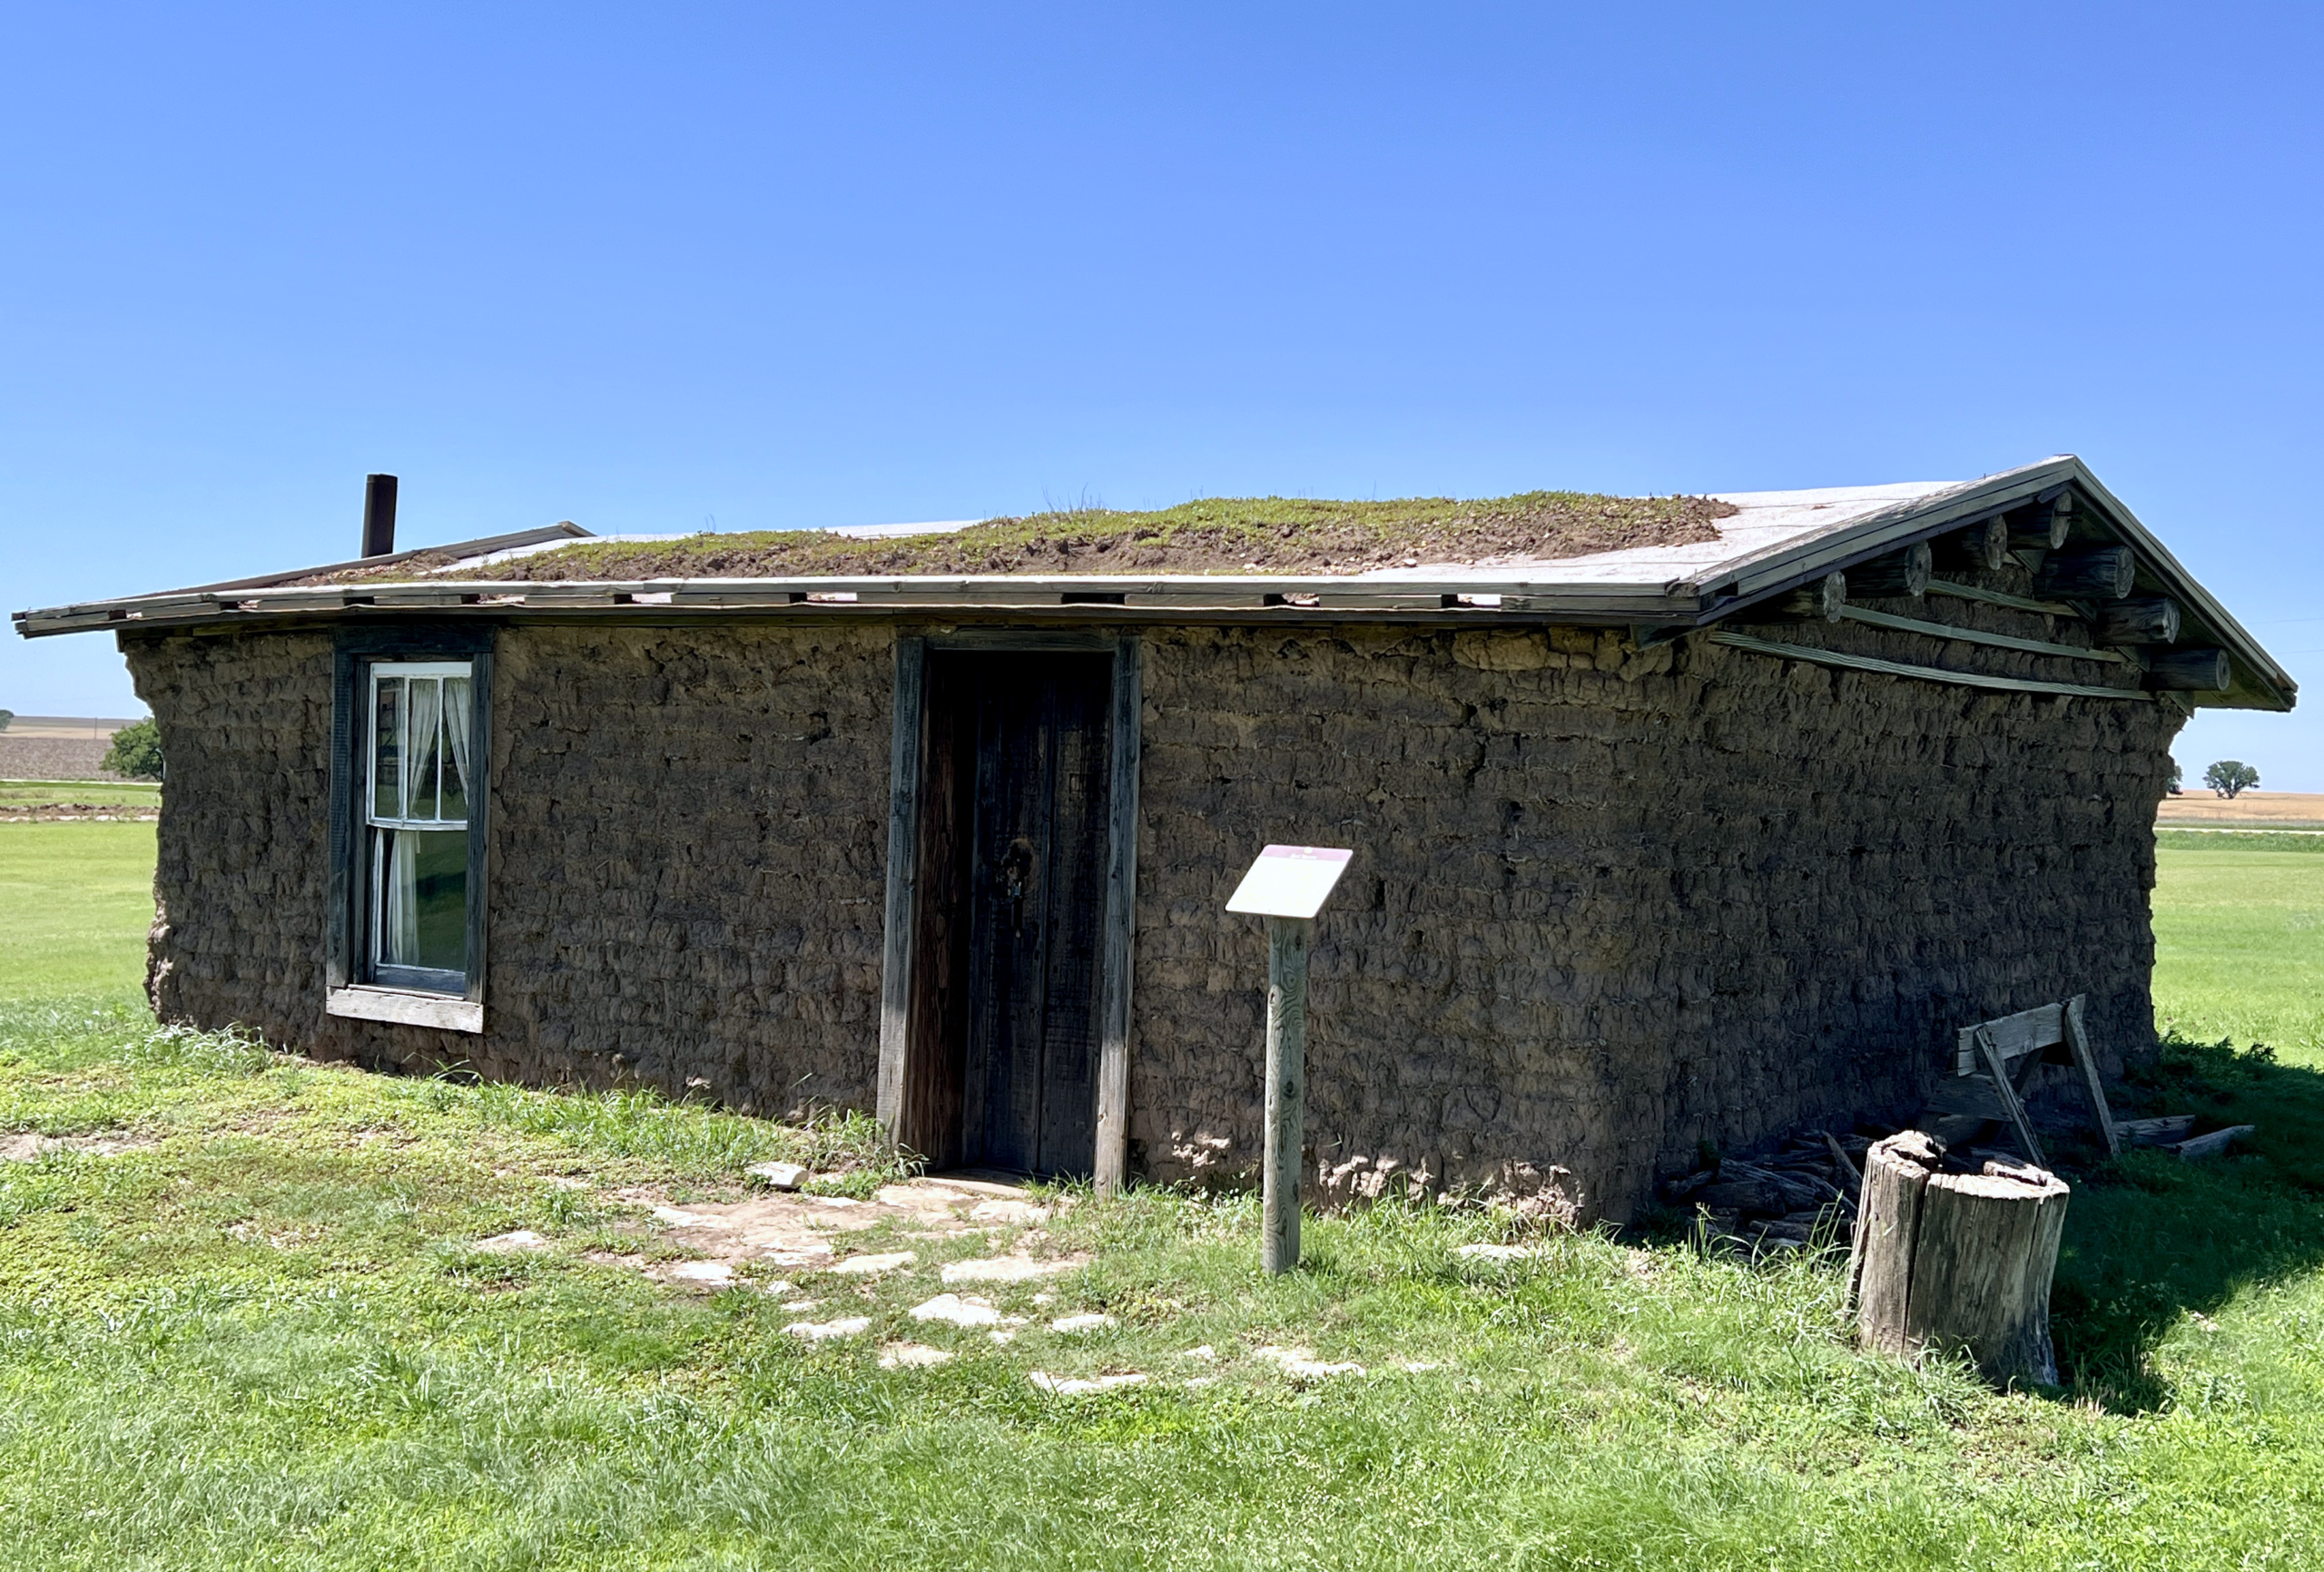 Other outdoor buildings, like the dug-out house and sod house, represent how early pioneer settlers lived on the Kansas plains.
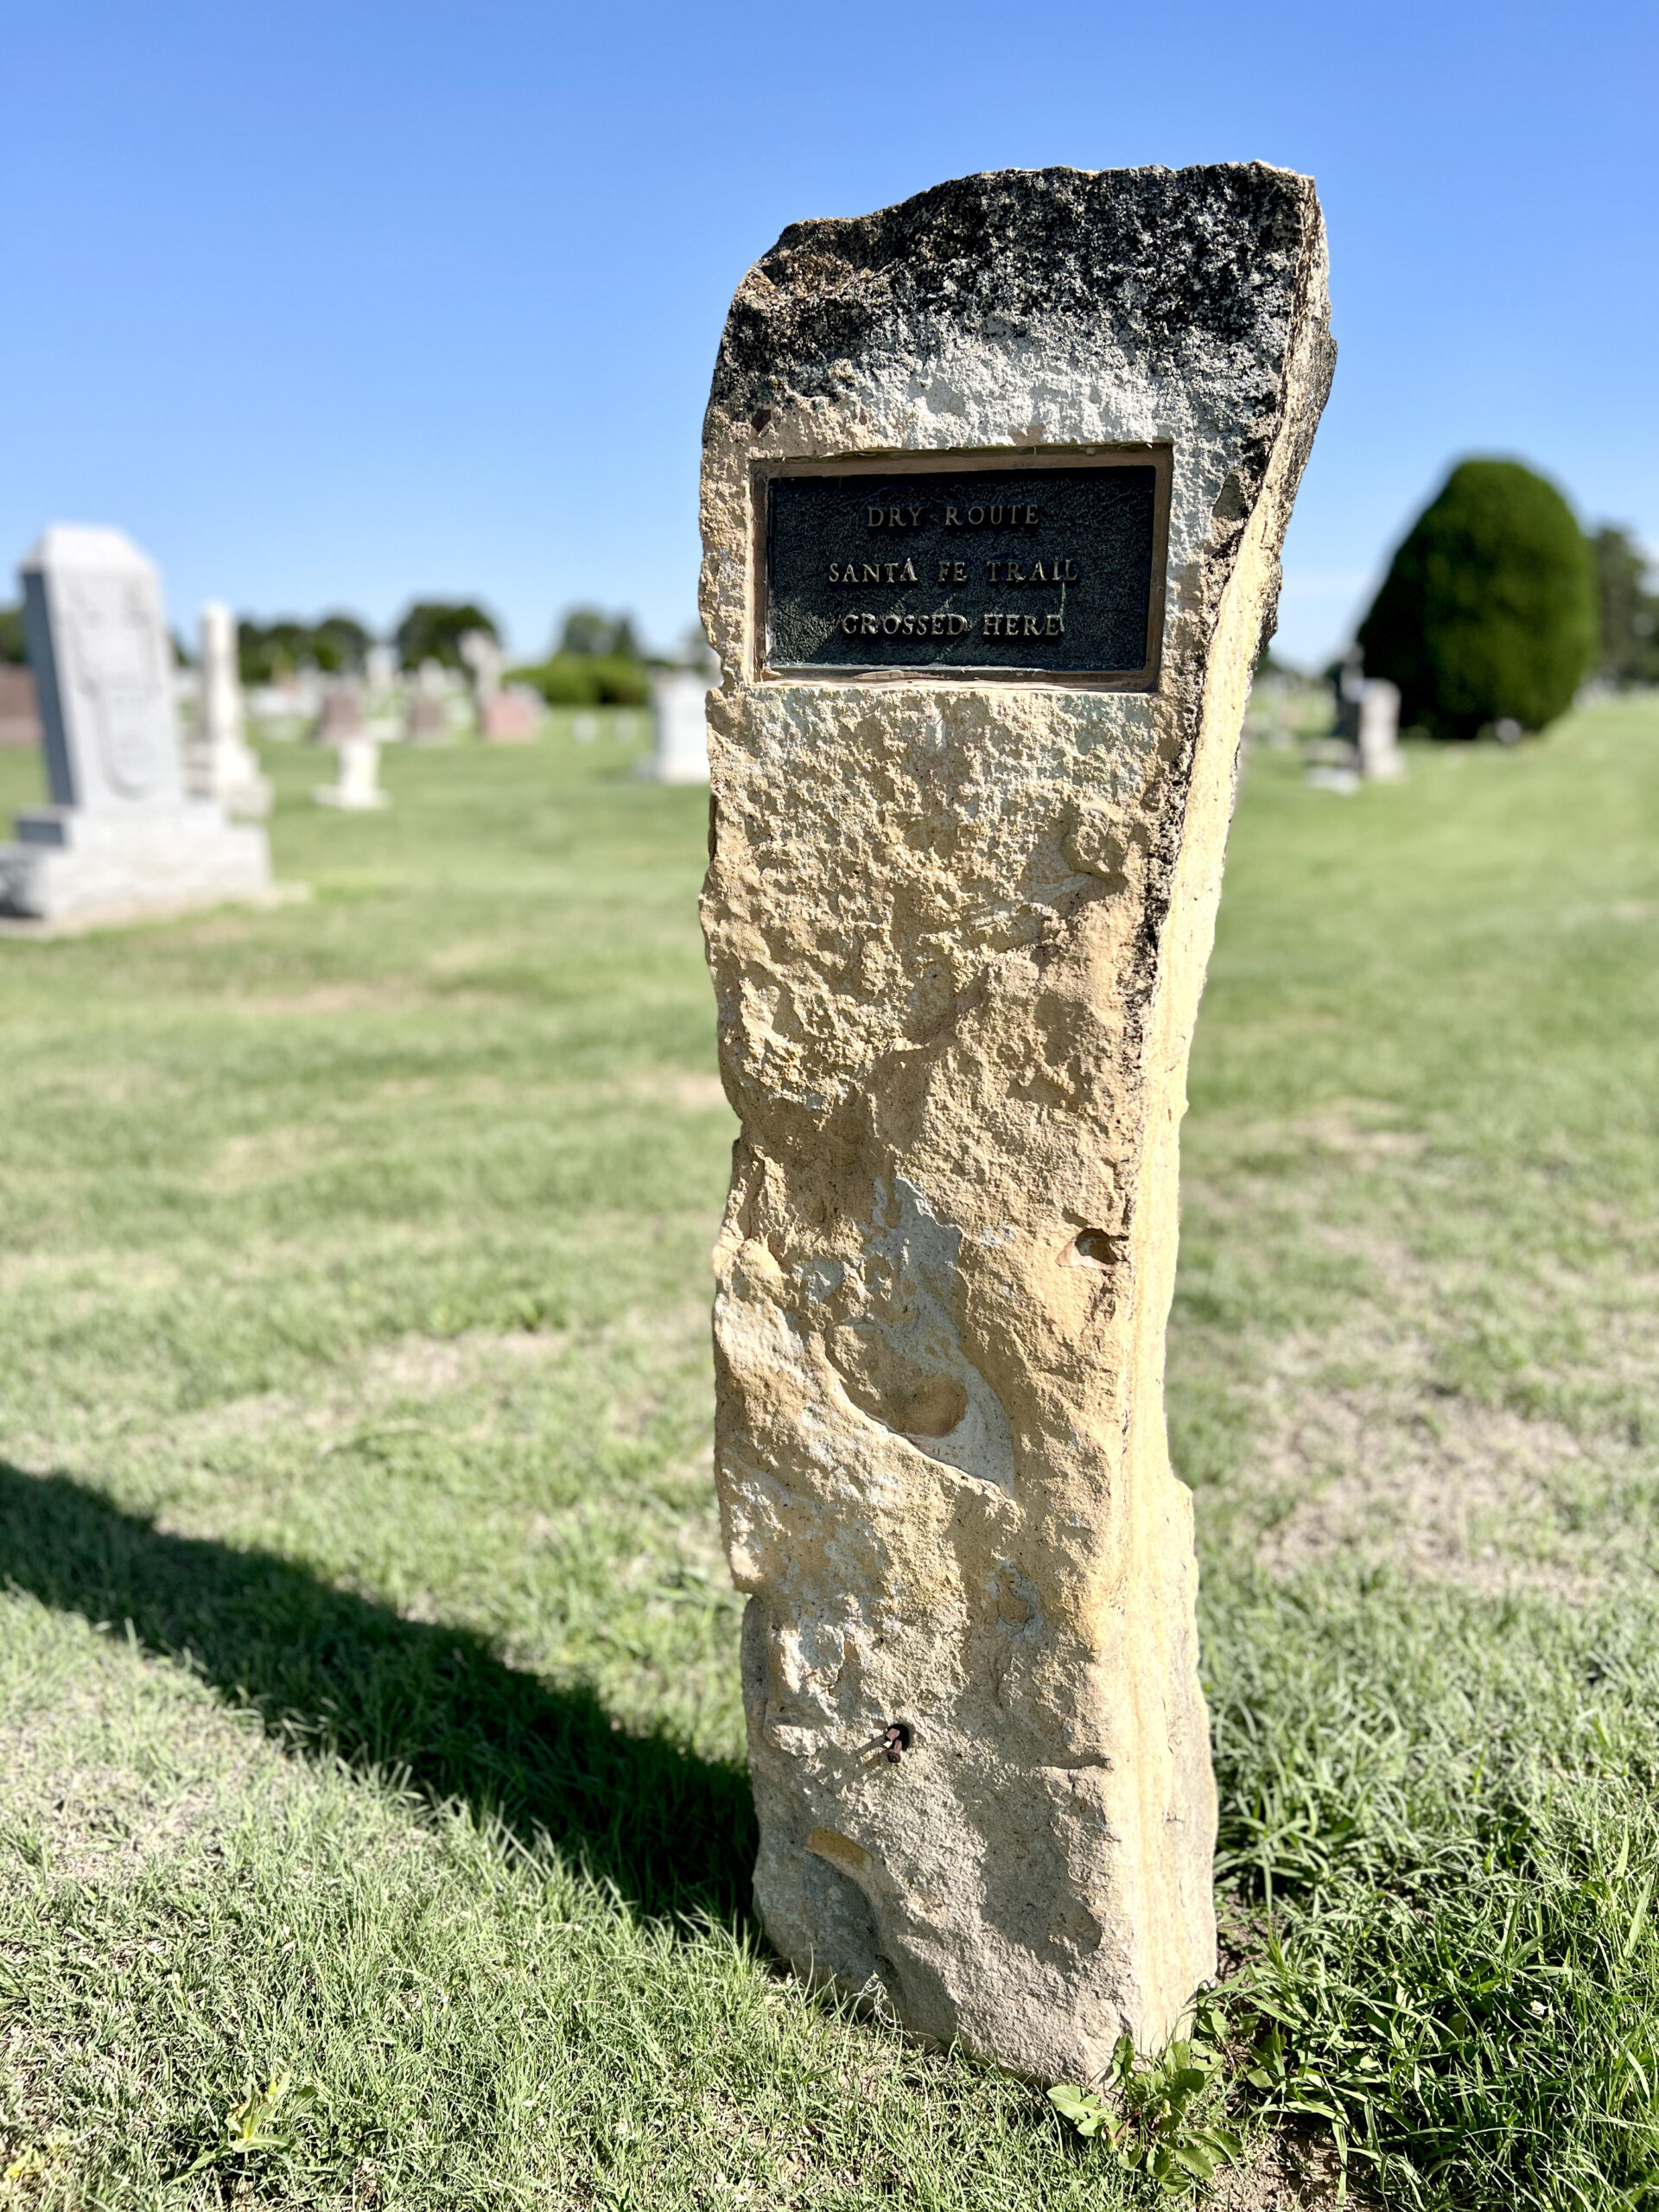 I didn’t see any original wagon ruts nearby, but I did stop to pay my respects at several Civil War graves.
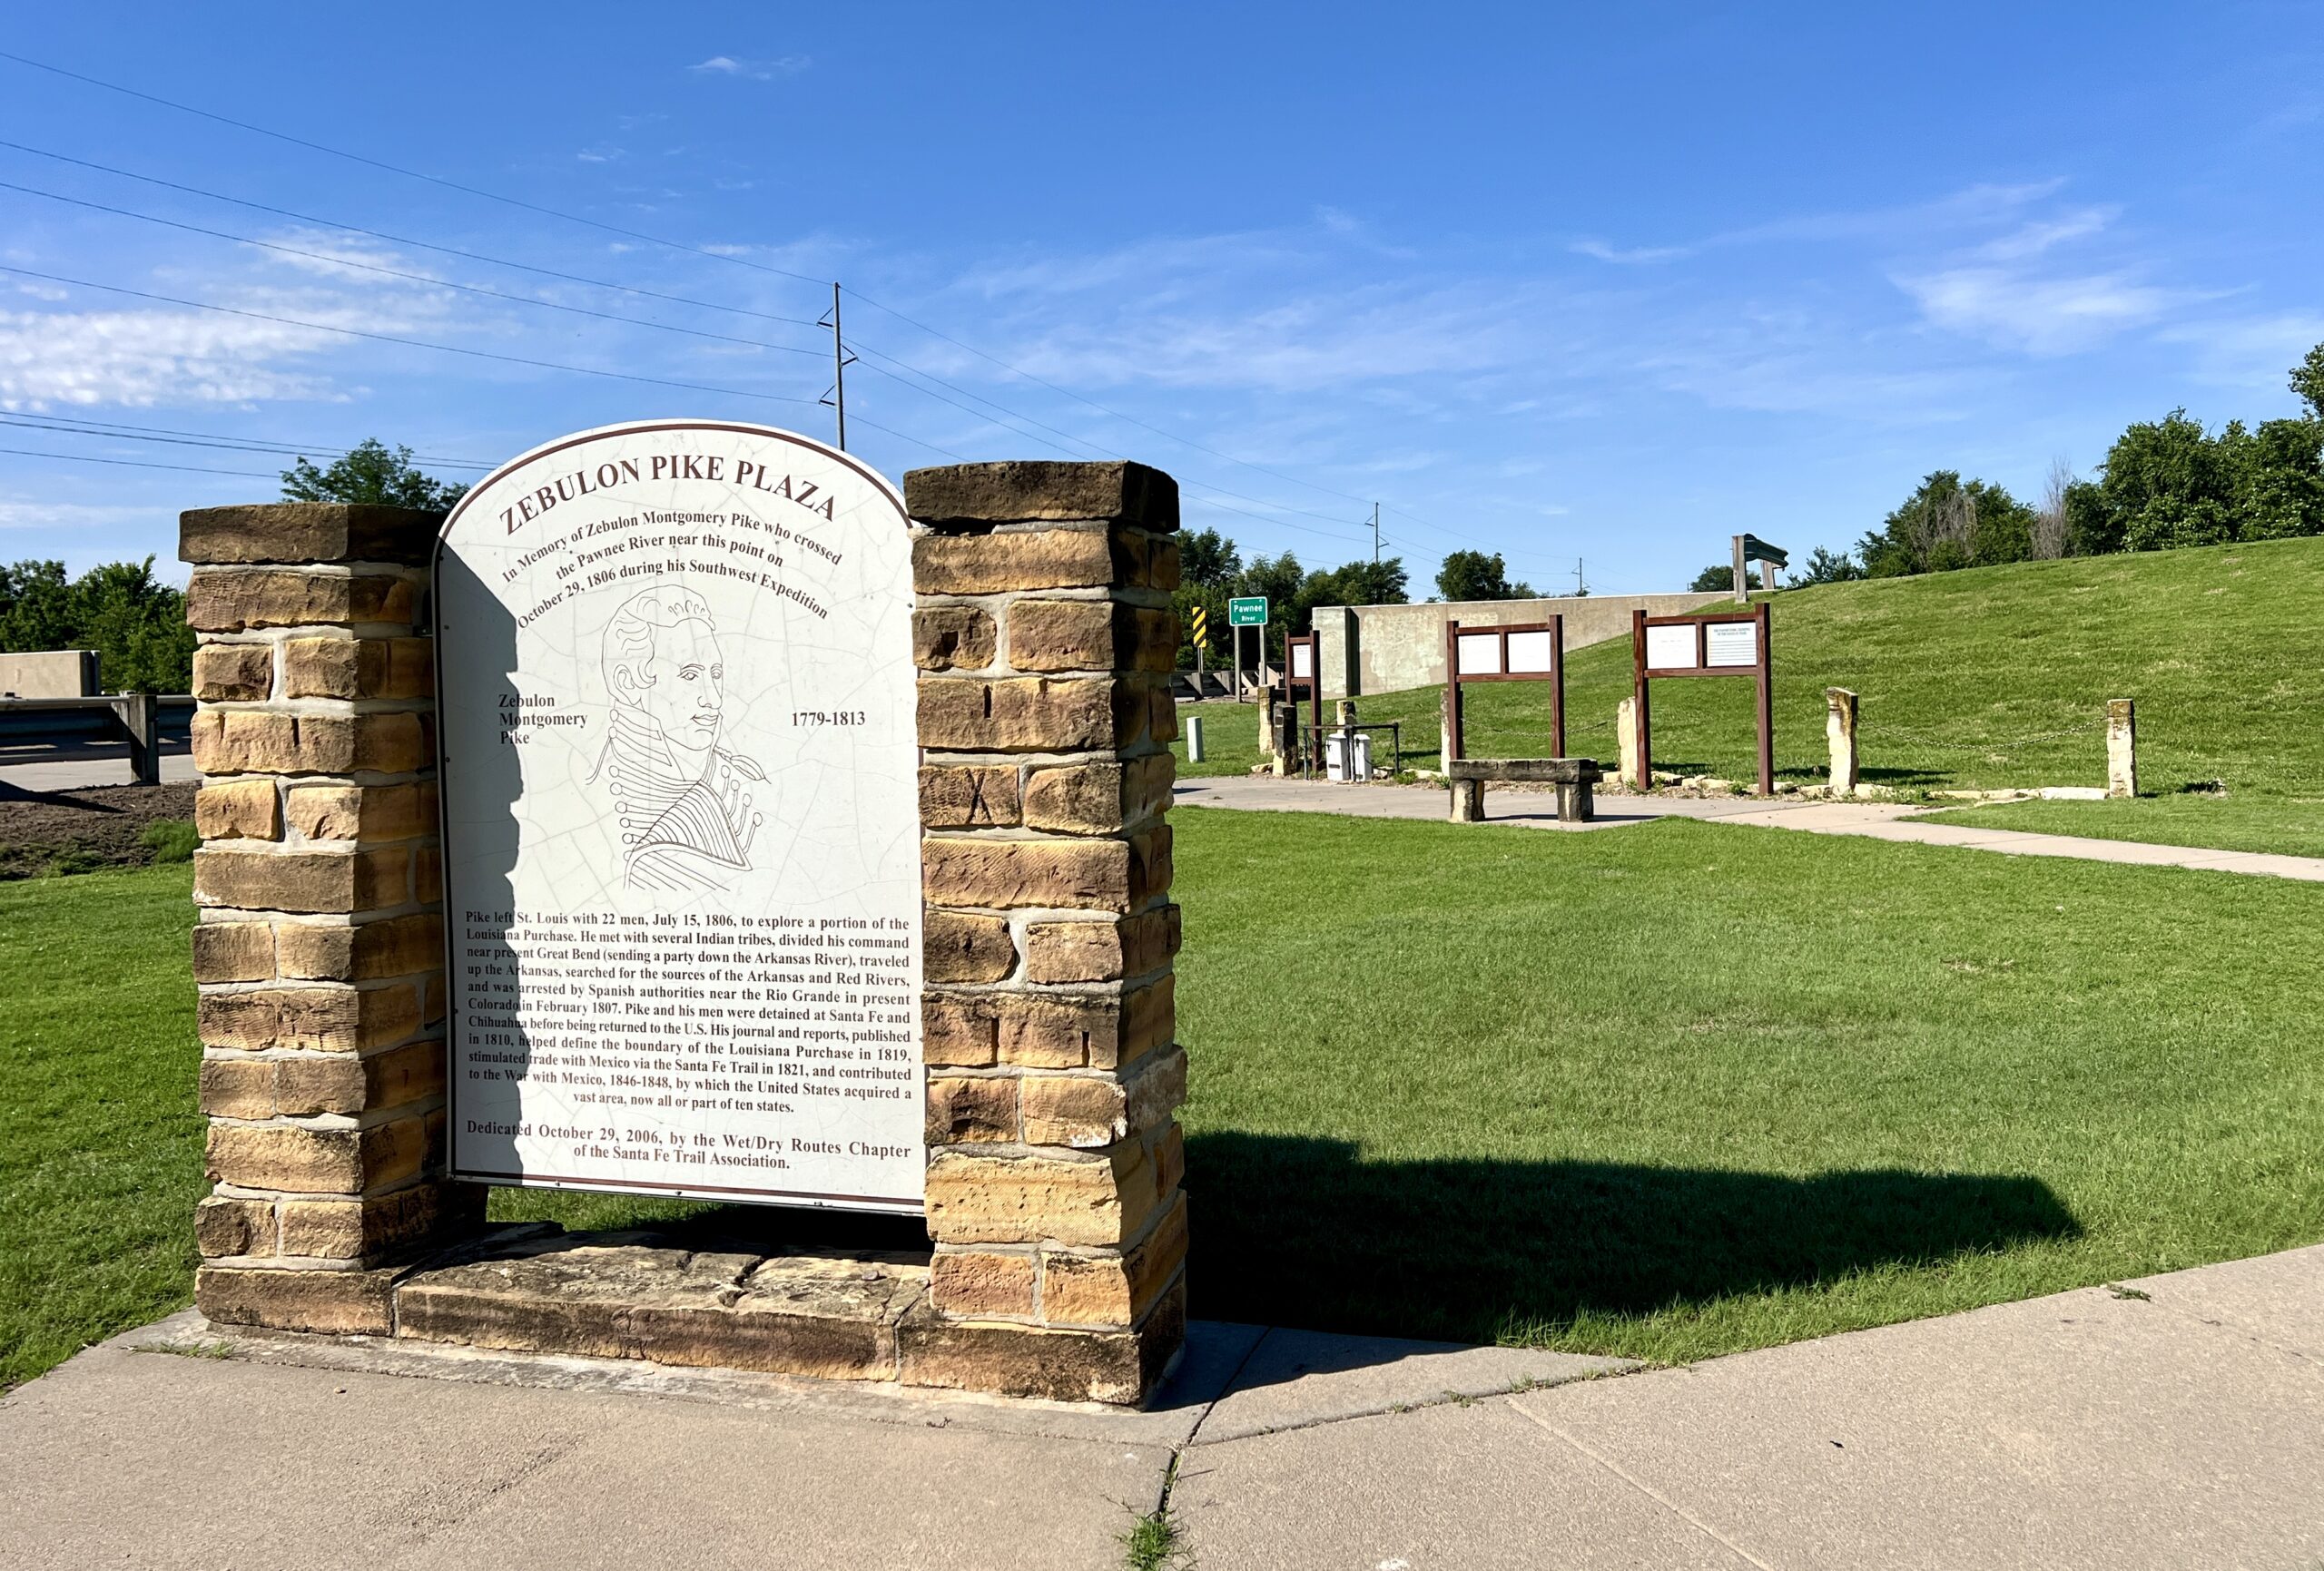 Park at the gravel parking lot and follow the paved sidewalks to the interpretive signs that tell Pike’s story. Take note of the small mock gravestones honoring Private Robert Easley and Private Arthur Hughes, who perished in the area during the 1840s.
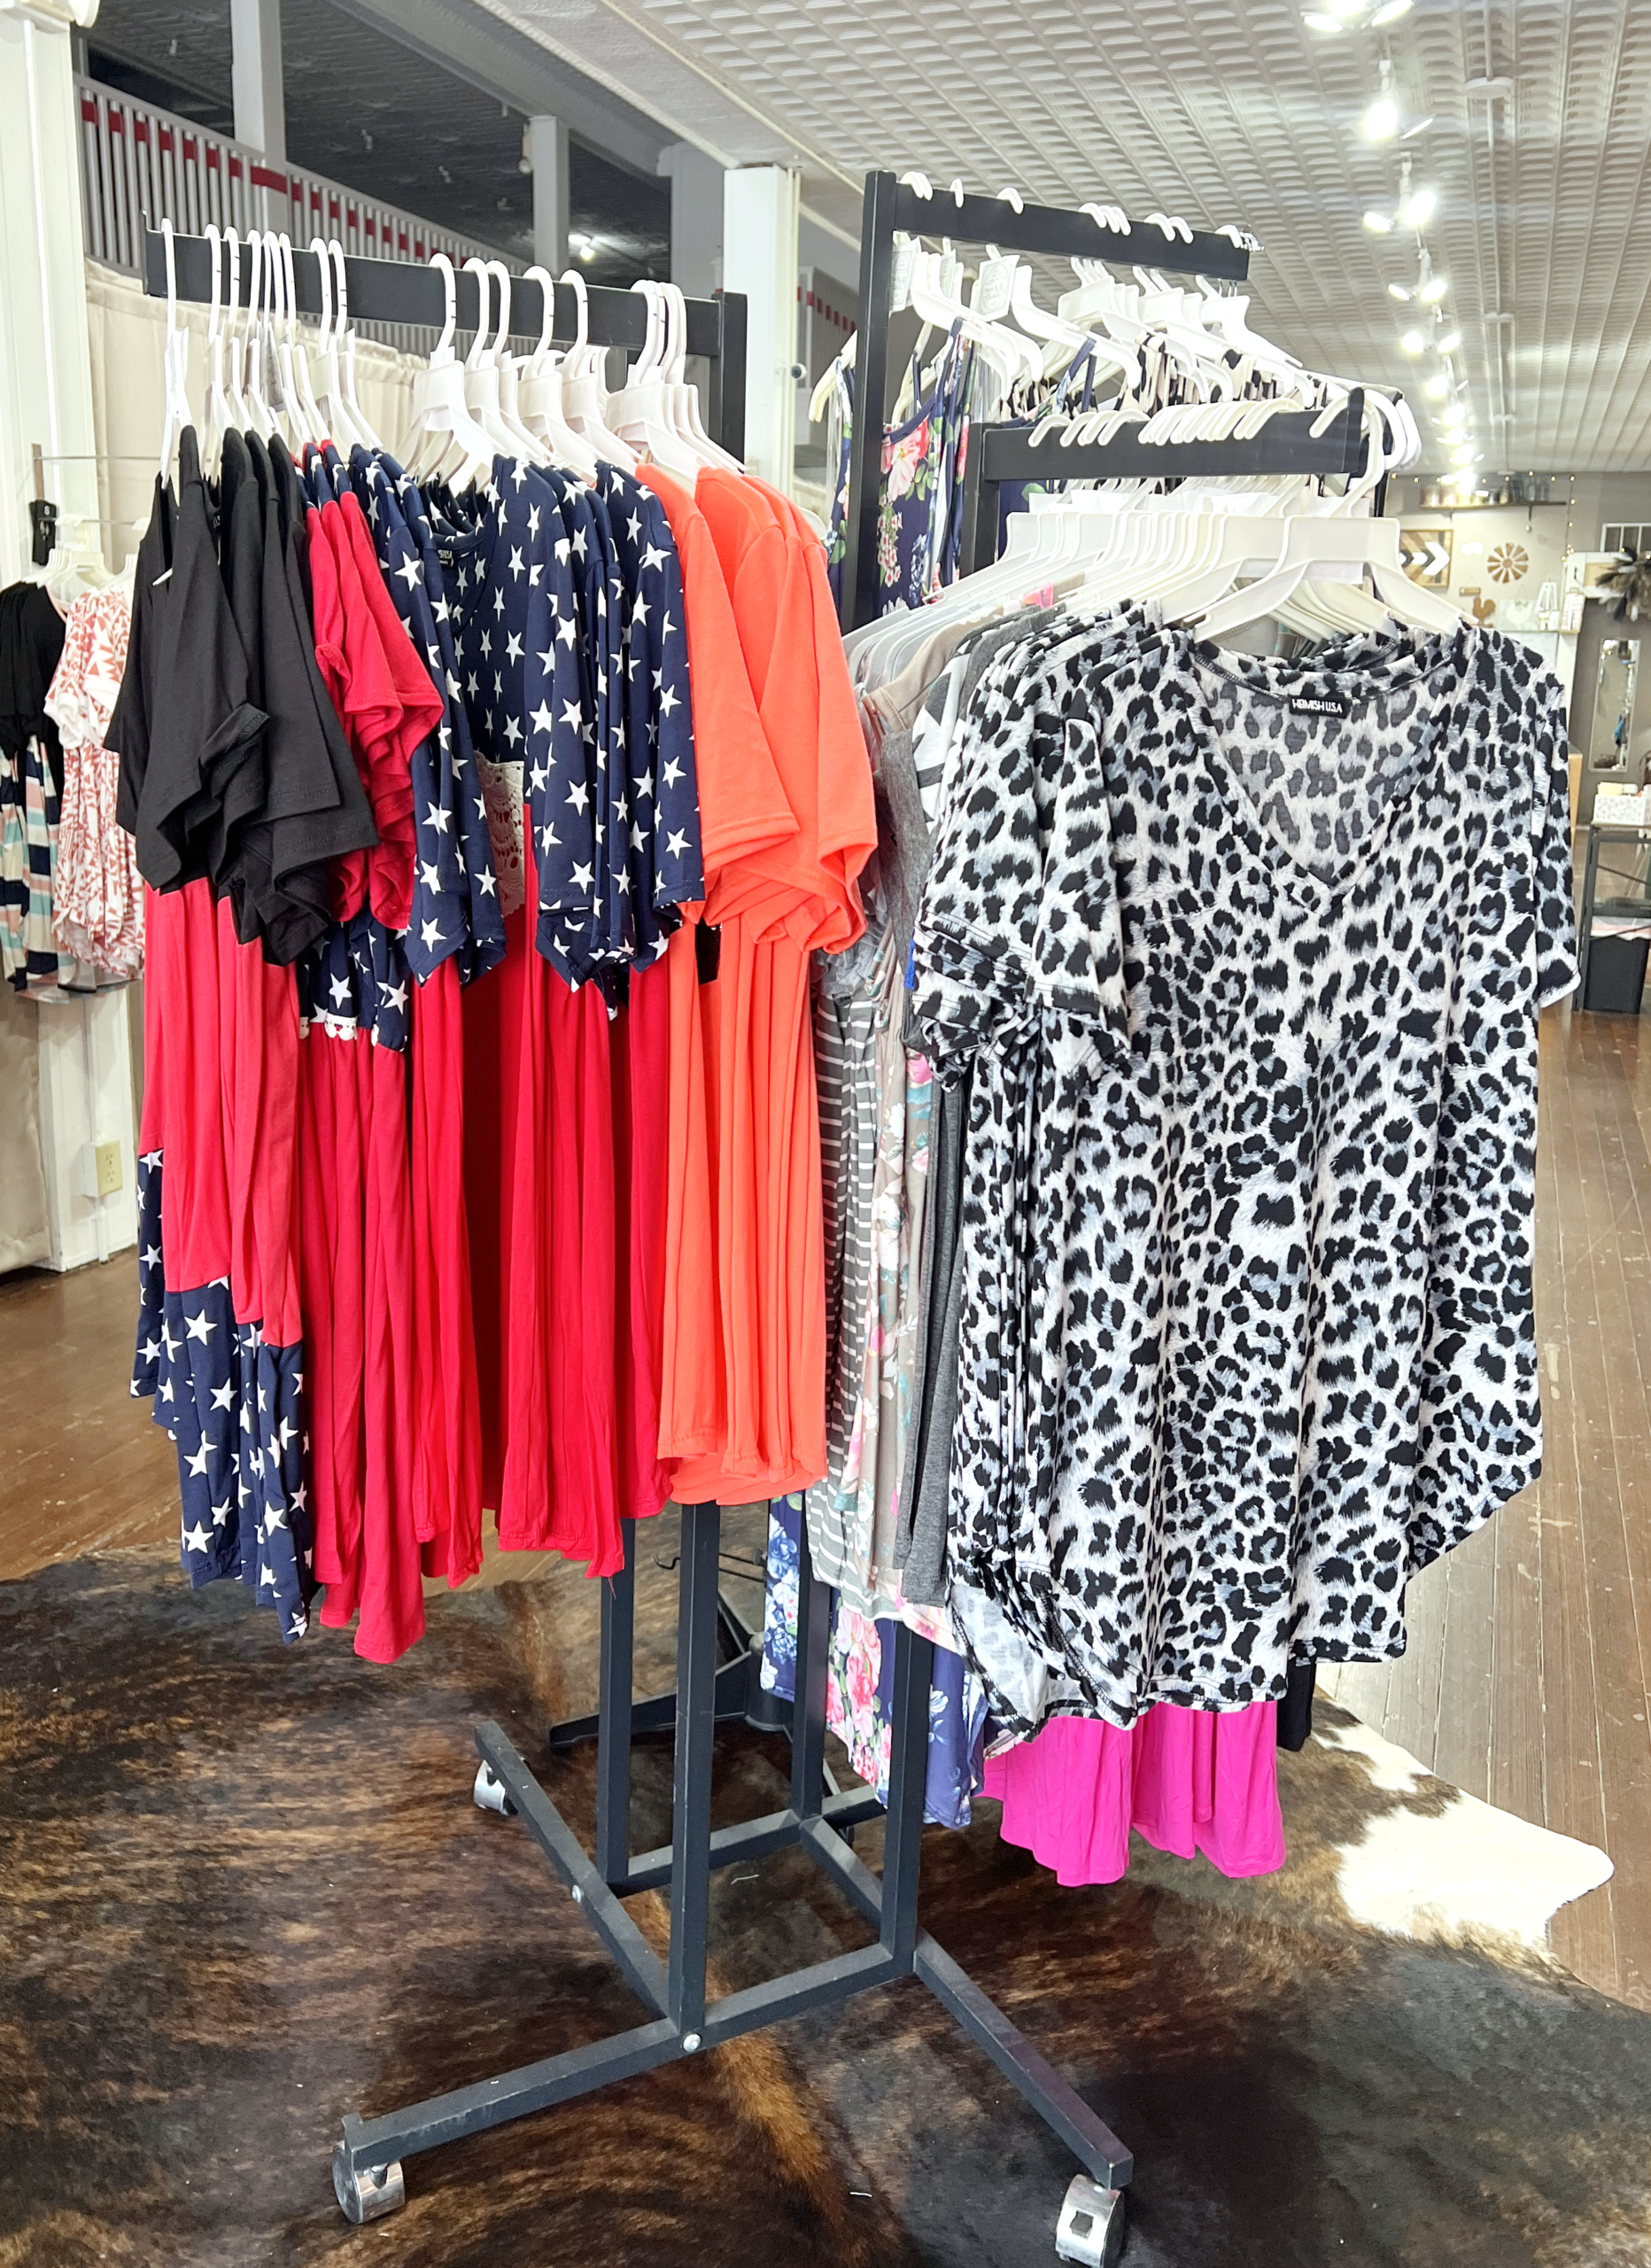 I was pleasantly surprised to find racks of colorful, fashionable blouses and jeans priced at $3 to $10.
 Need a gift for a baby shower or a housewarming party? Shop the retail space for the ideal gift for someone, with country music playing in the background.
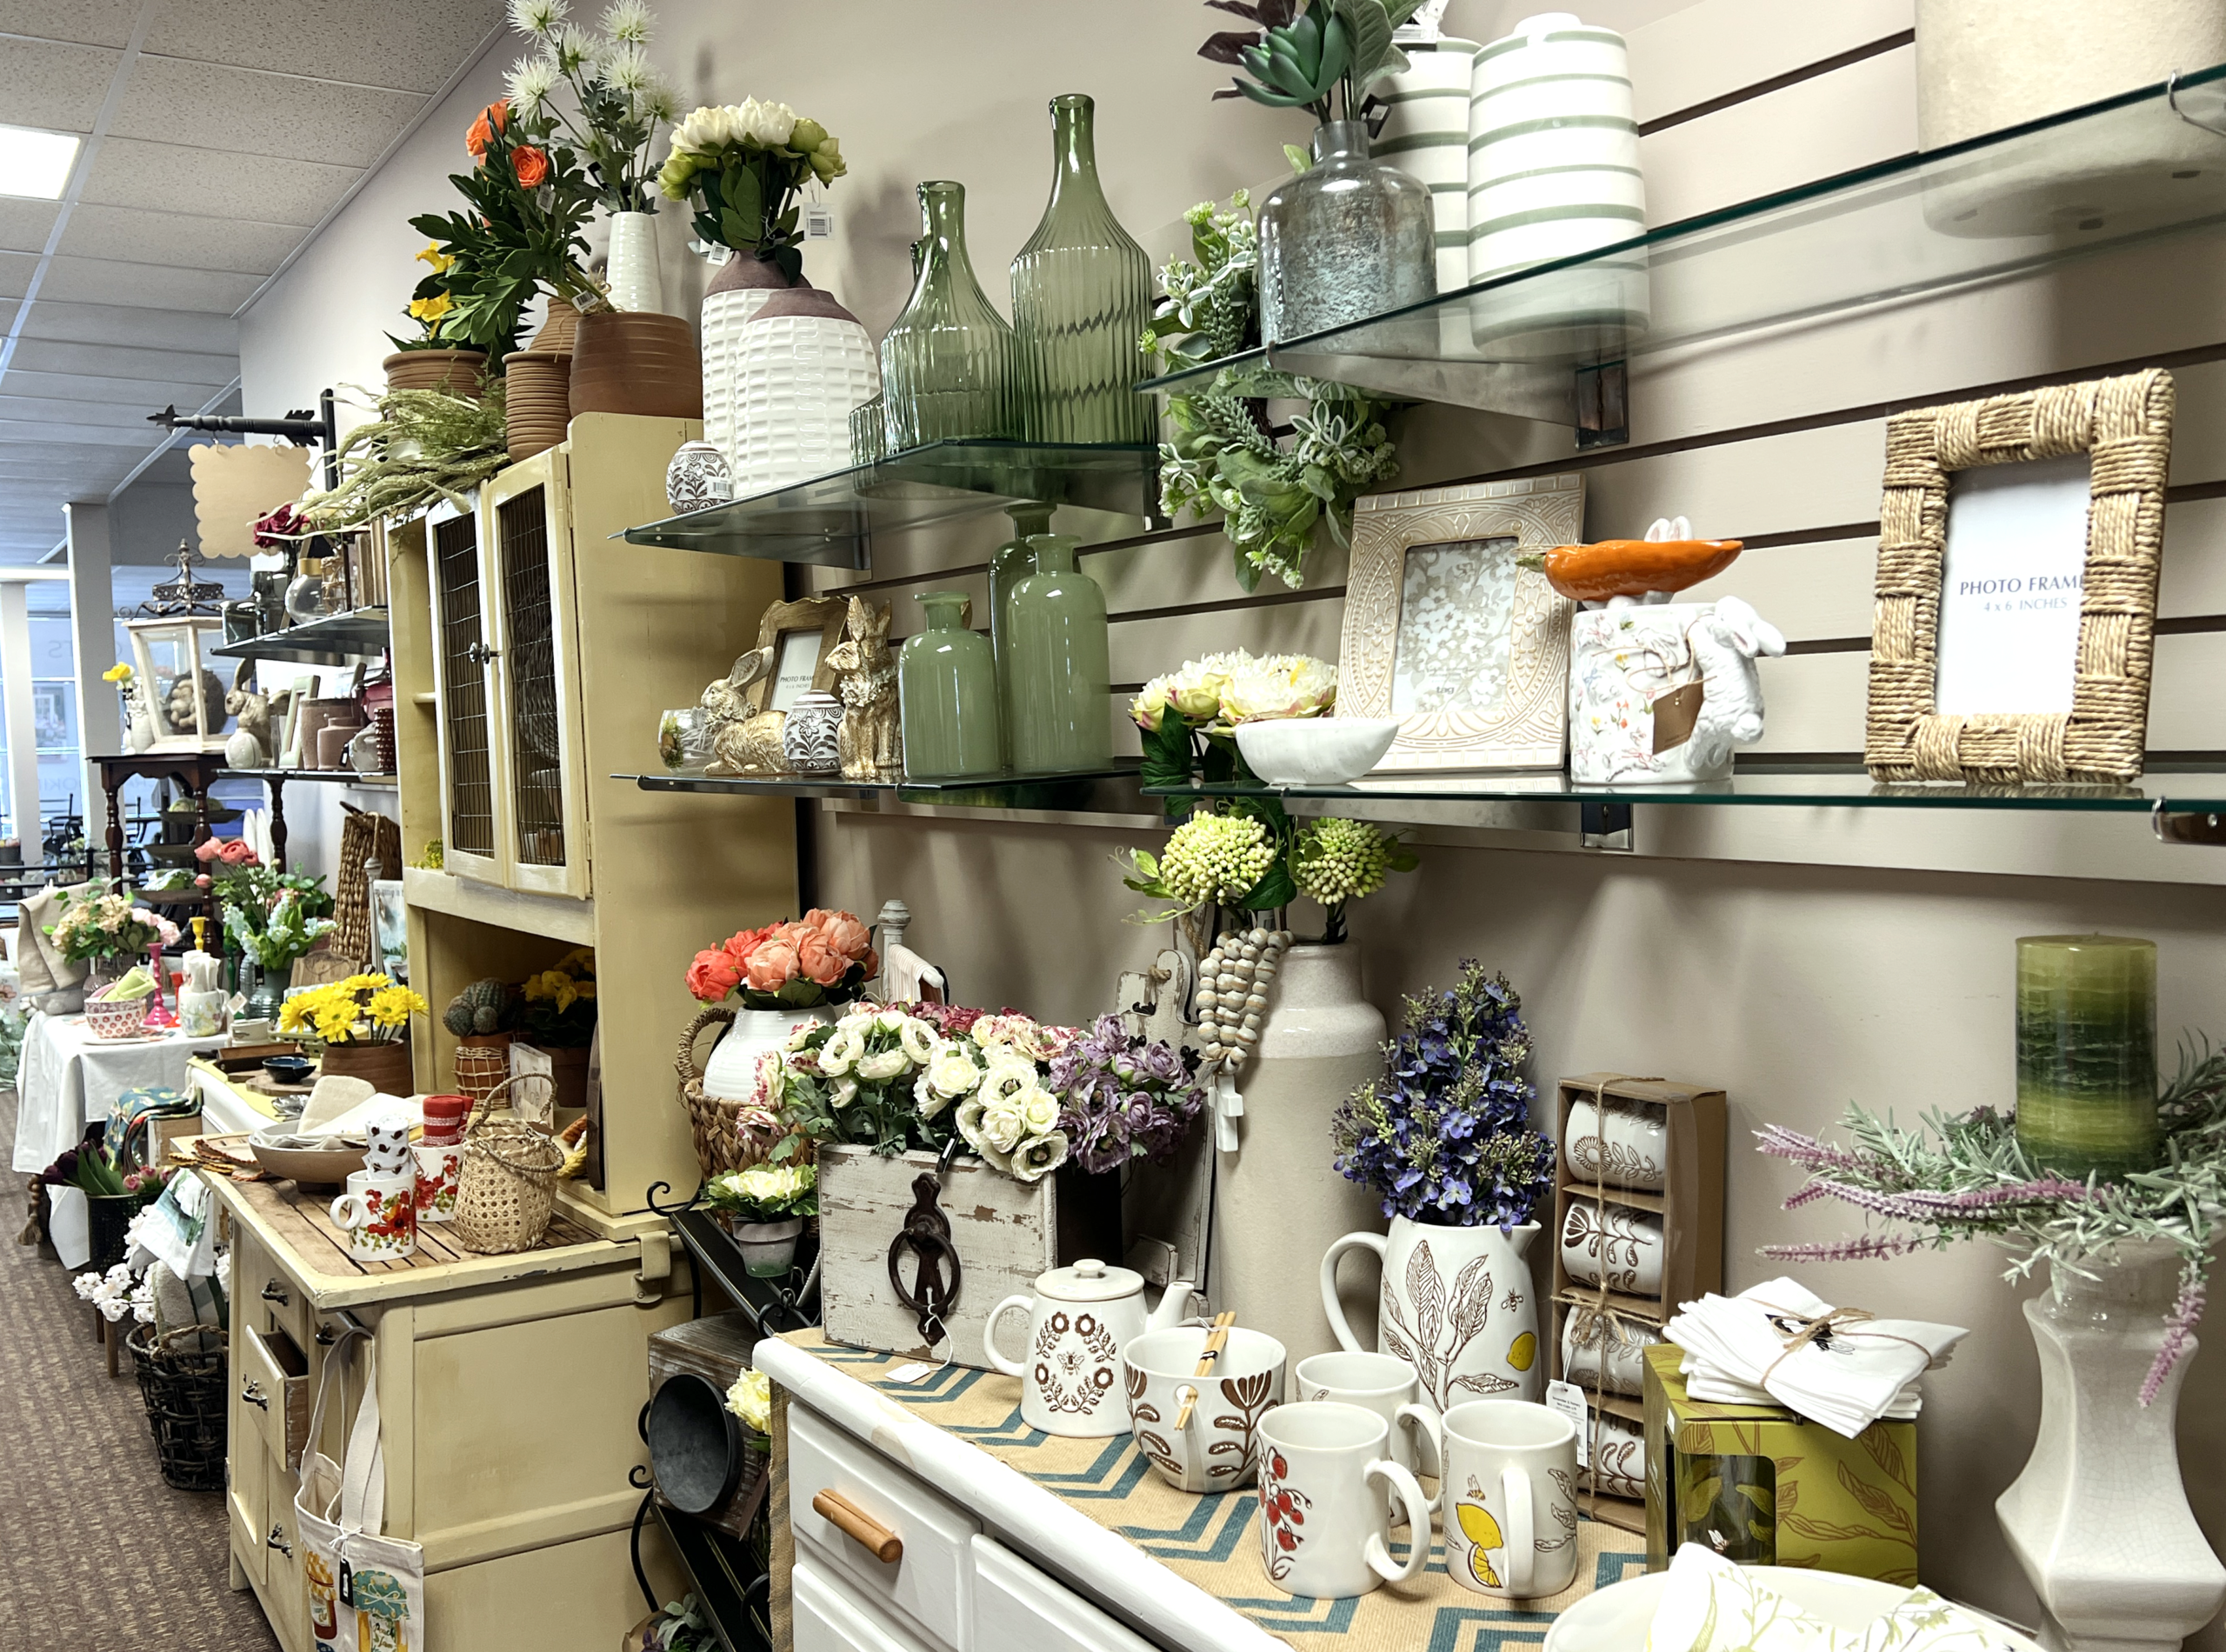 Owned and operated by two sisters, Scraps is a catch-all stop where you can purchase a grab-and-go meal or linger a while over coffee with friends from a comfortable couch.
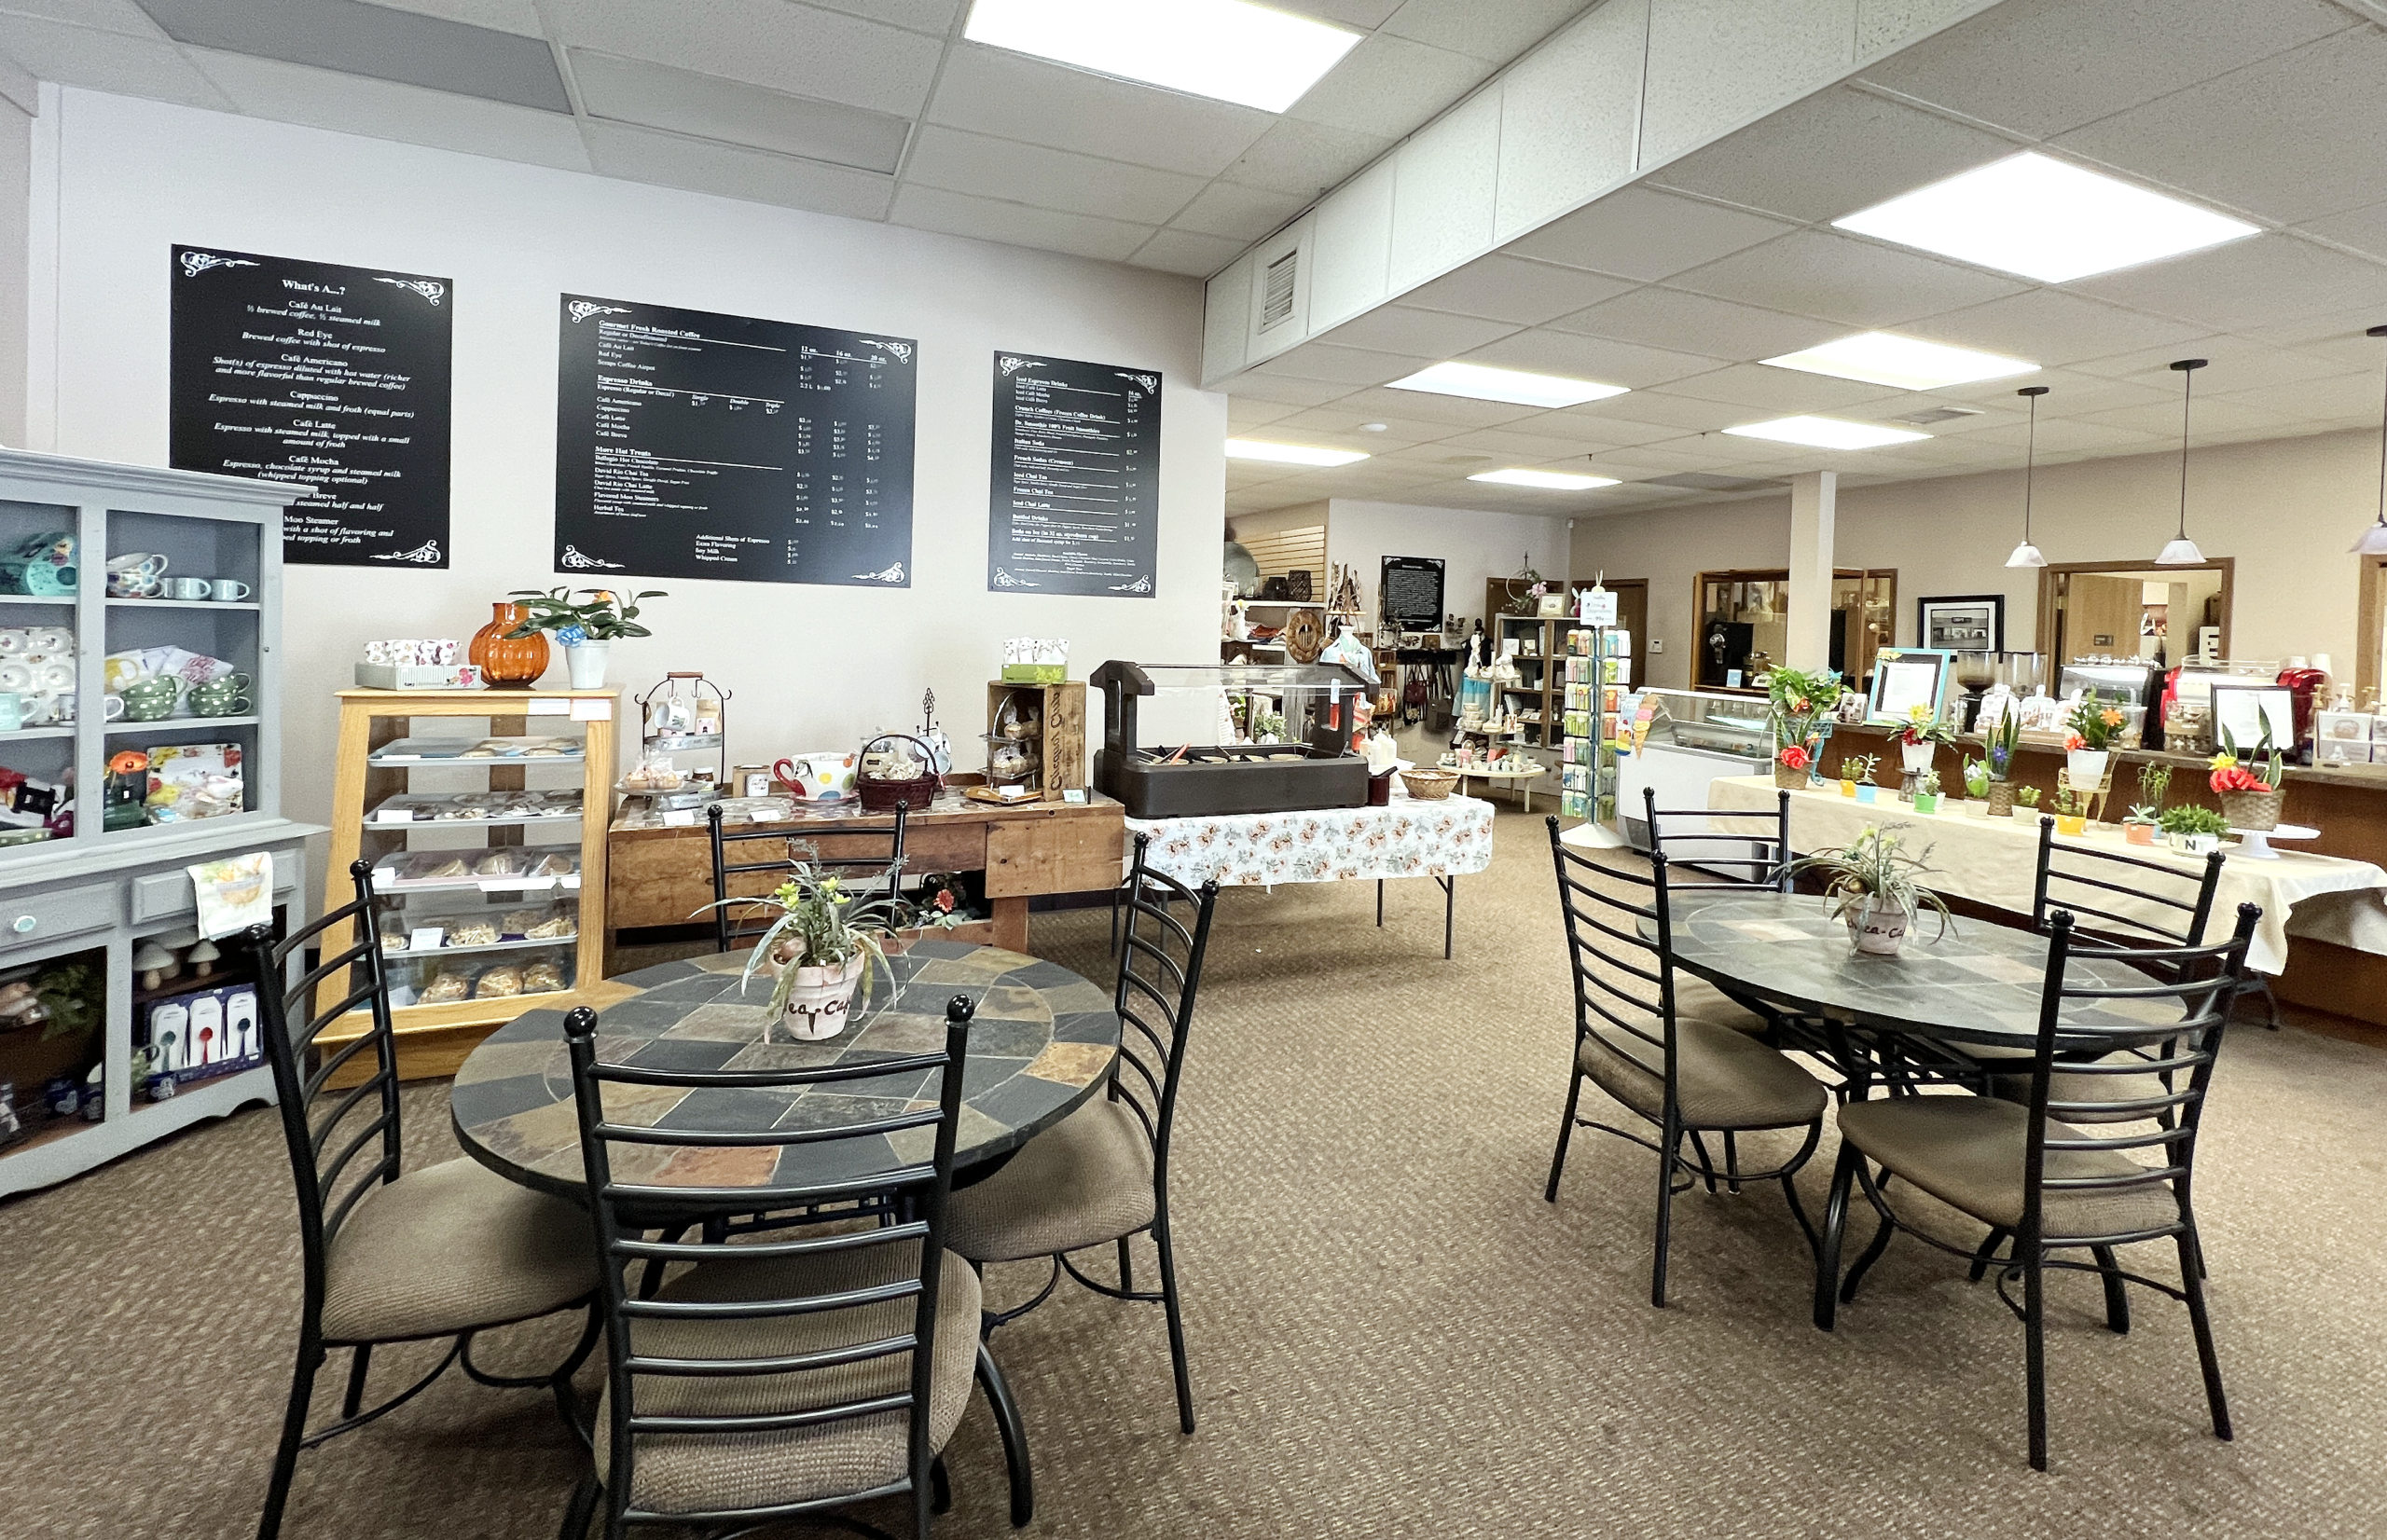 Whatever you need, you’ll find it at Scraps. And should you require wedding supply services, the owners handle it all: catering, cakes, flowers, and tux rentals.
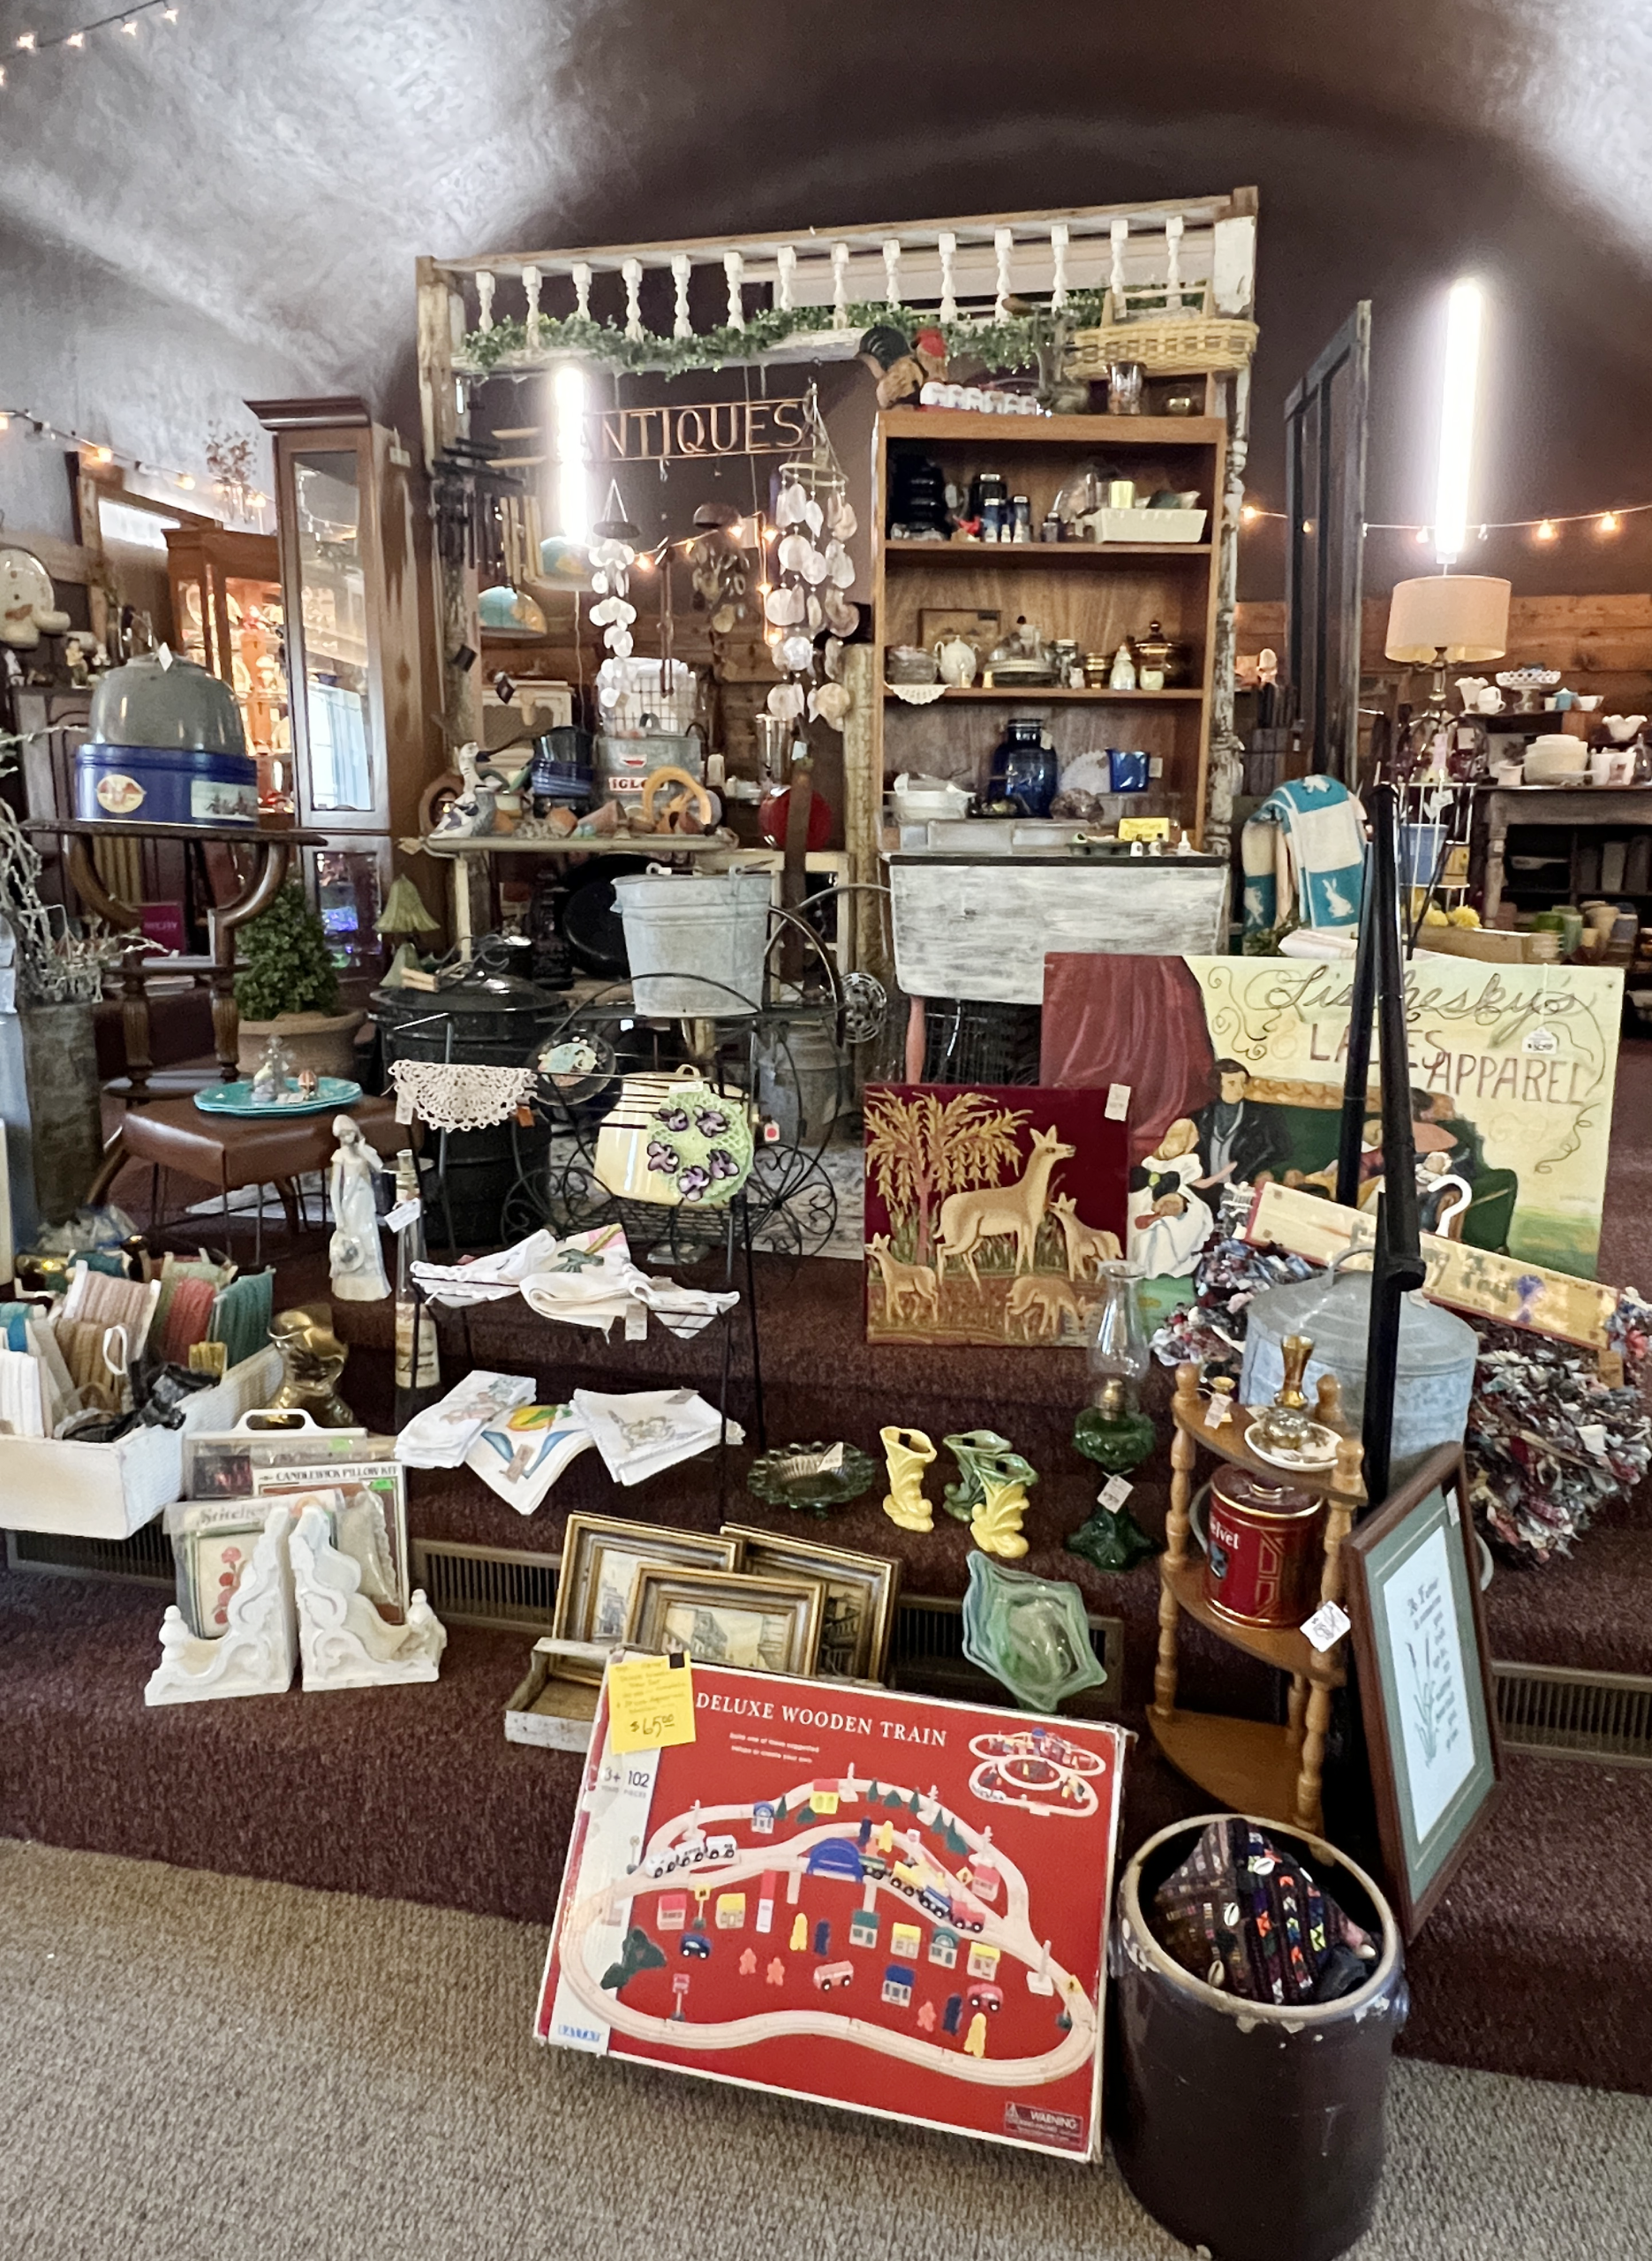 I’ve shopped plenty of antique stores, and this one is an experience. Located in the oldest church in town, dating back to 1897, Old Church Antiques showcases the collections of 18 vendors.
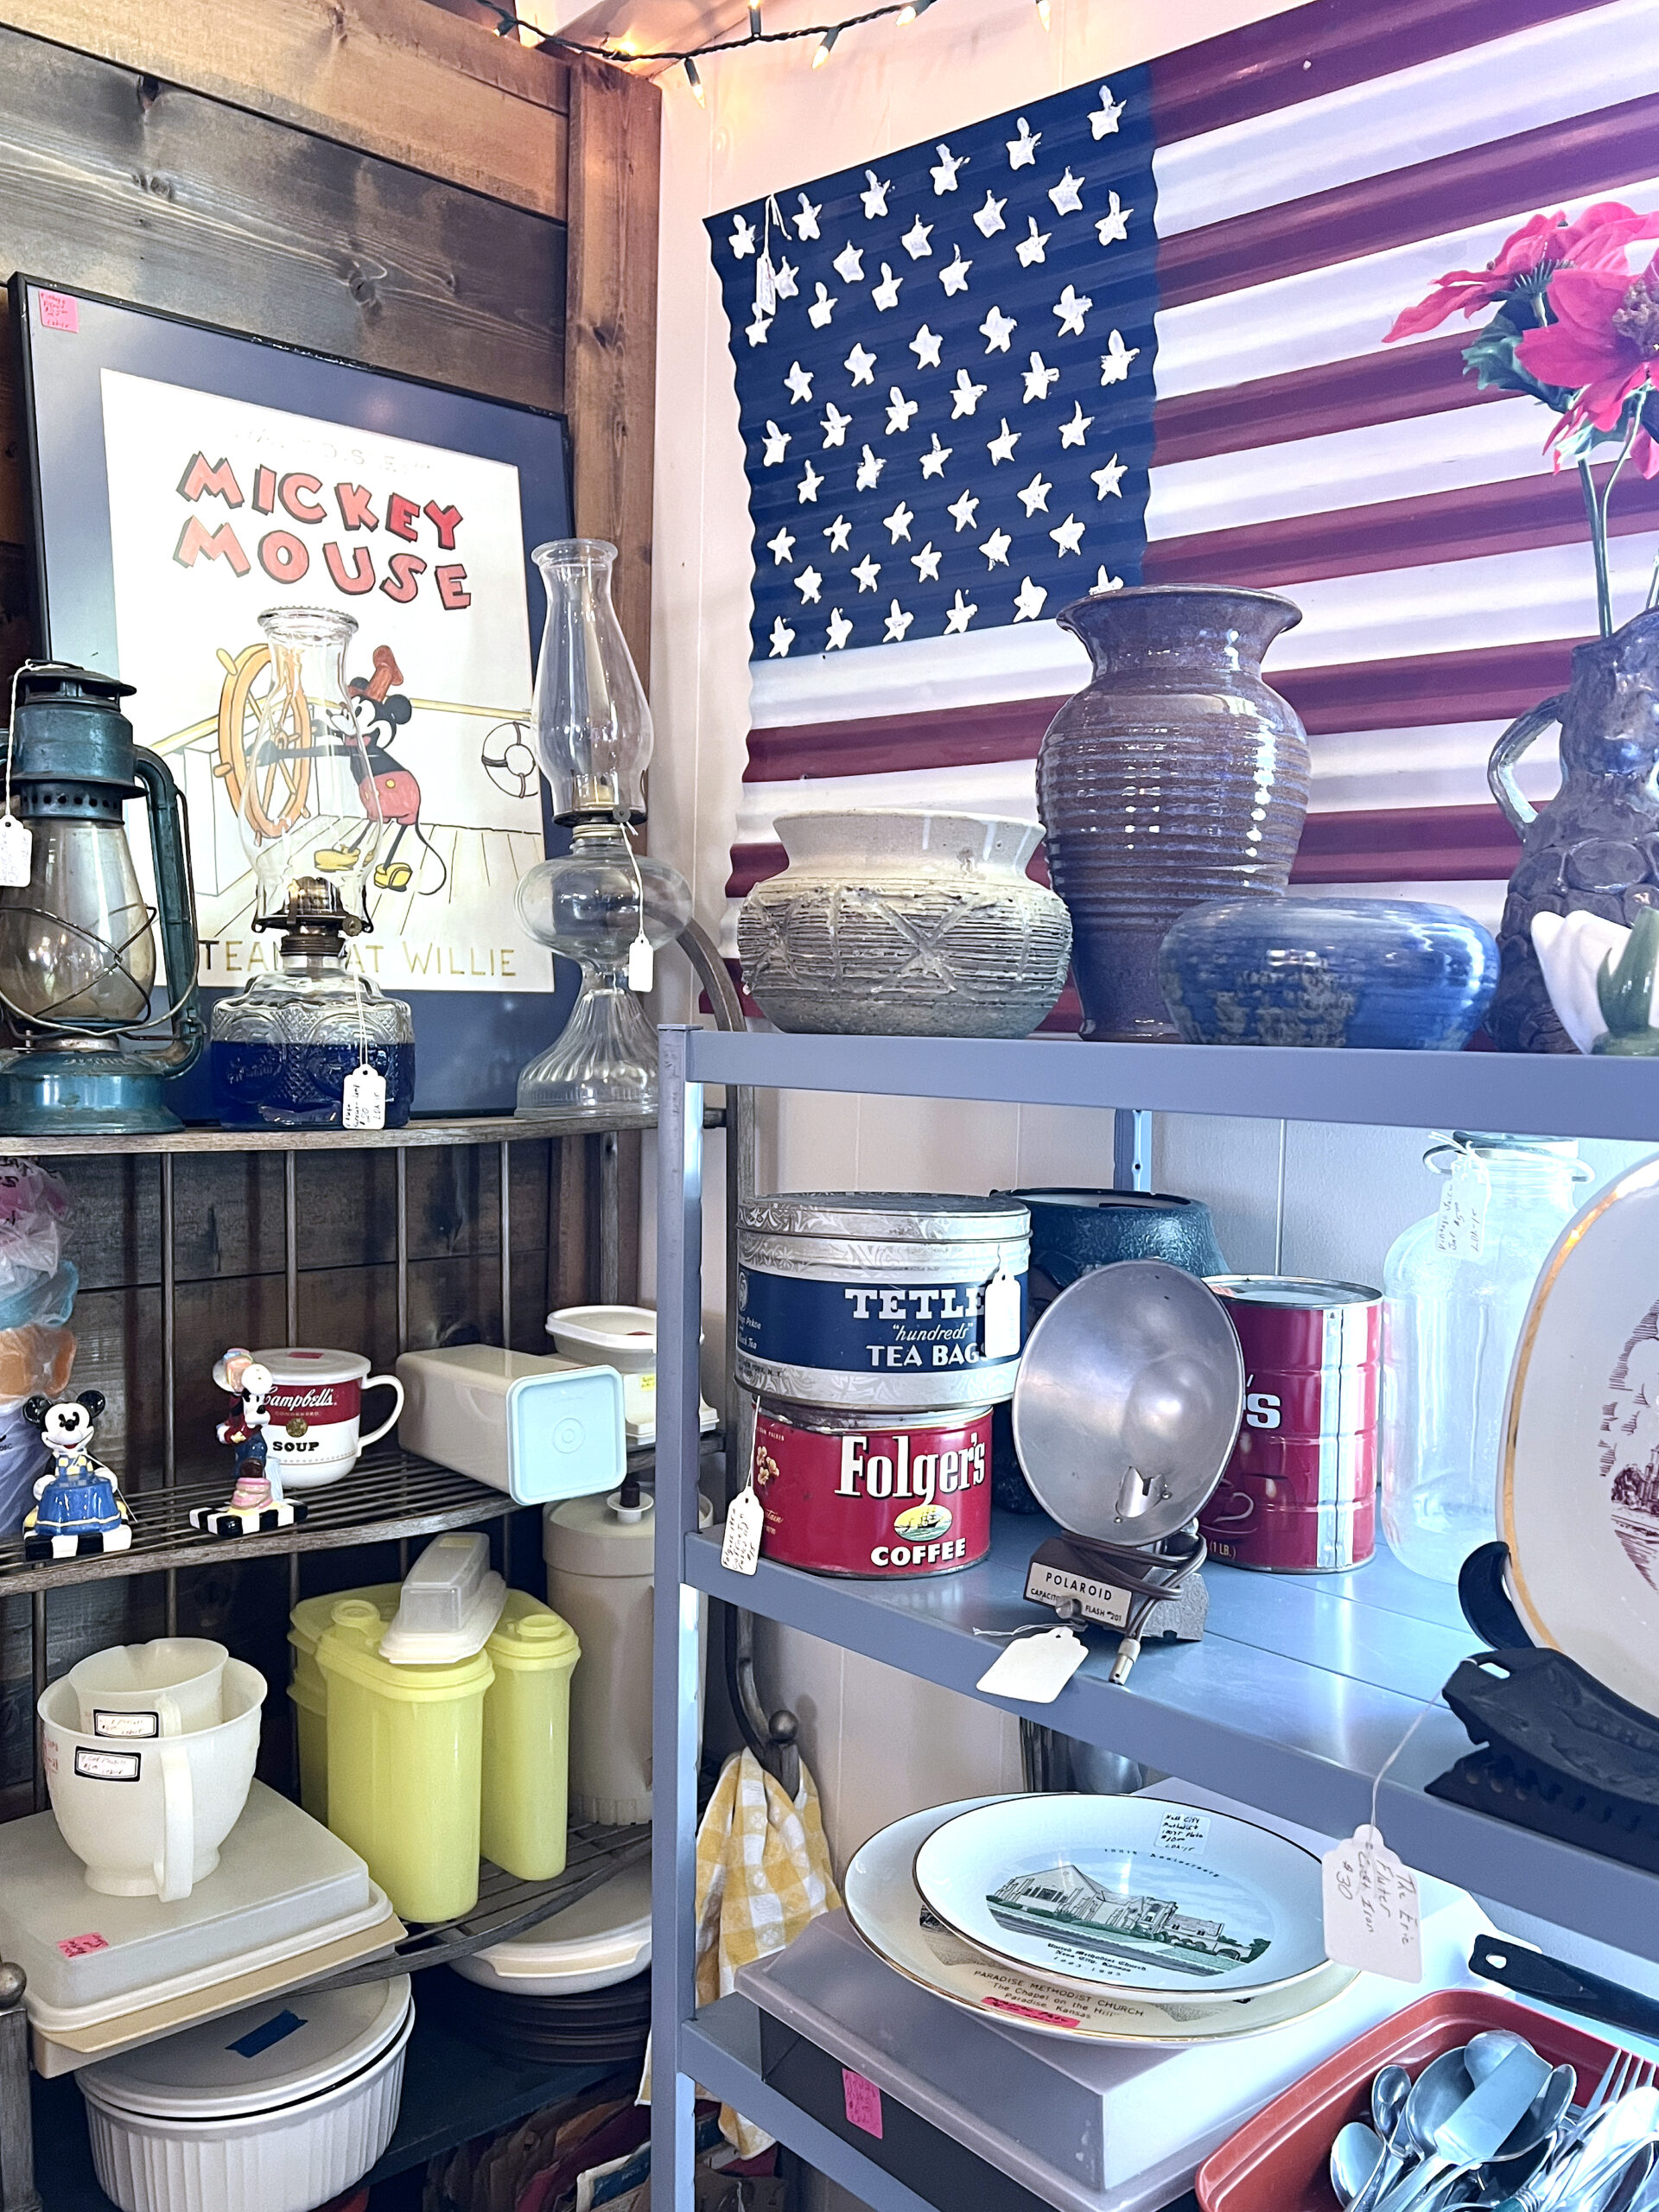 Walk downstairs to the lower level to purchase homemade baked goods from
 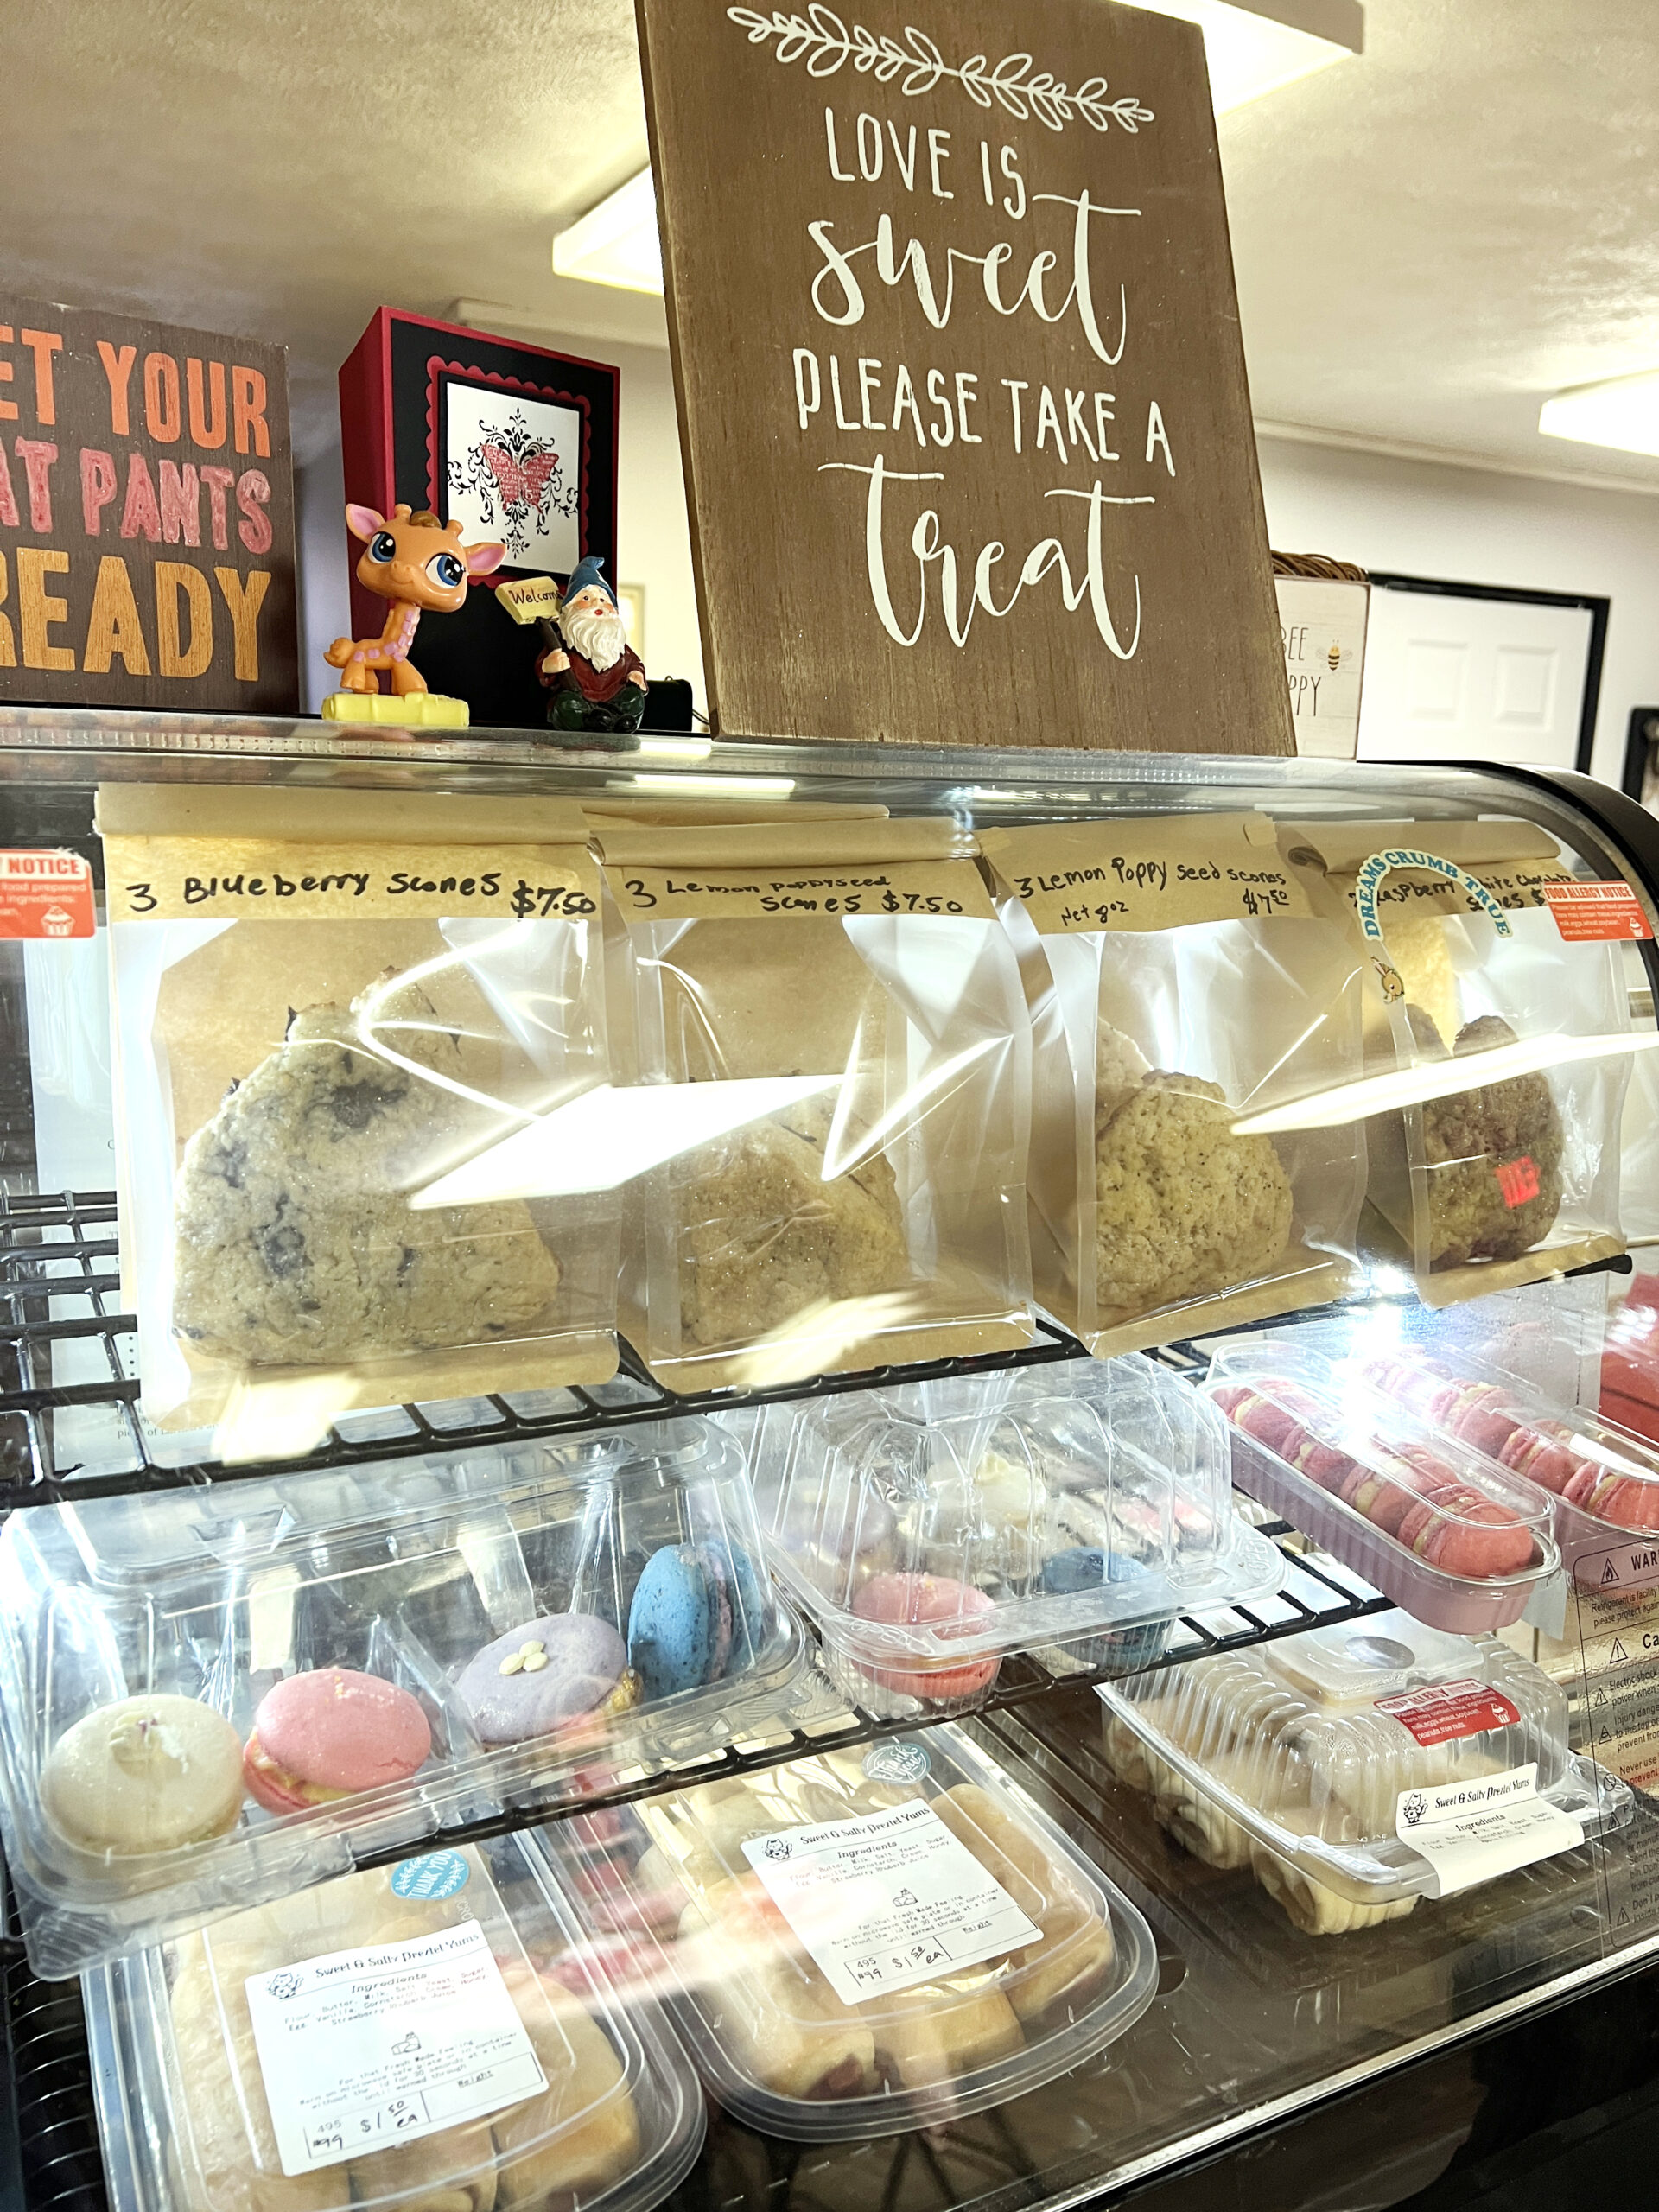 One visit to Old Church Antiques and Blessings Bakery won’t suffice. The store’s inventory and the bakery’s specials are updated frequently, so plan a return trip.
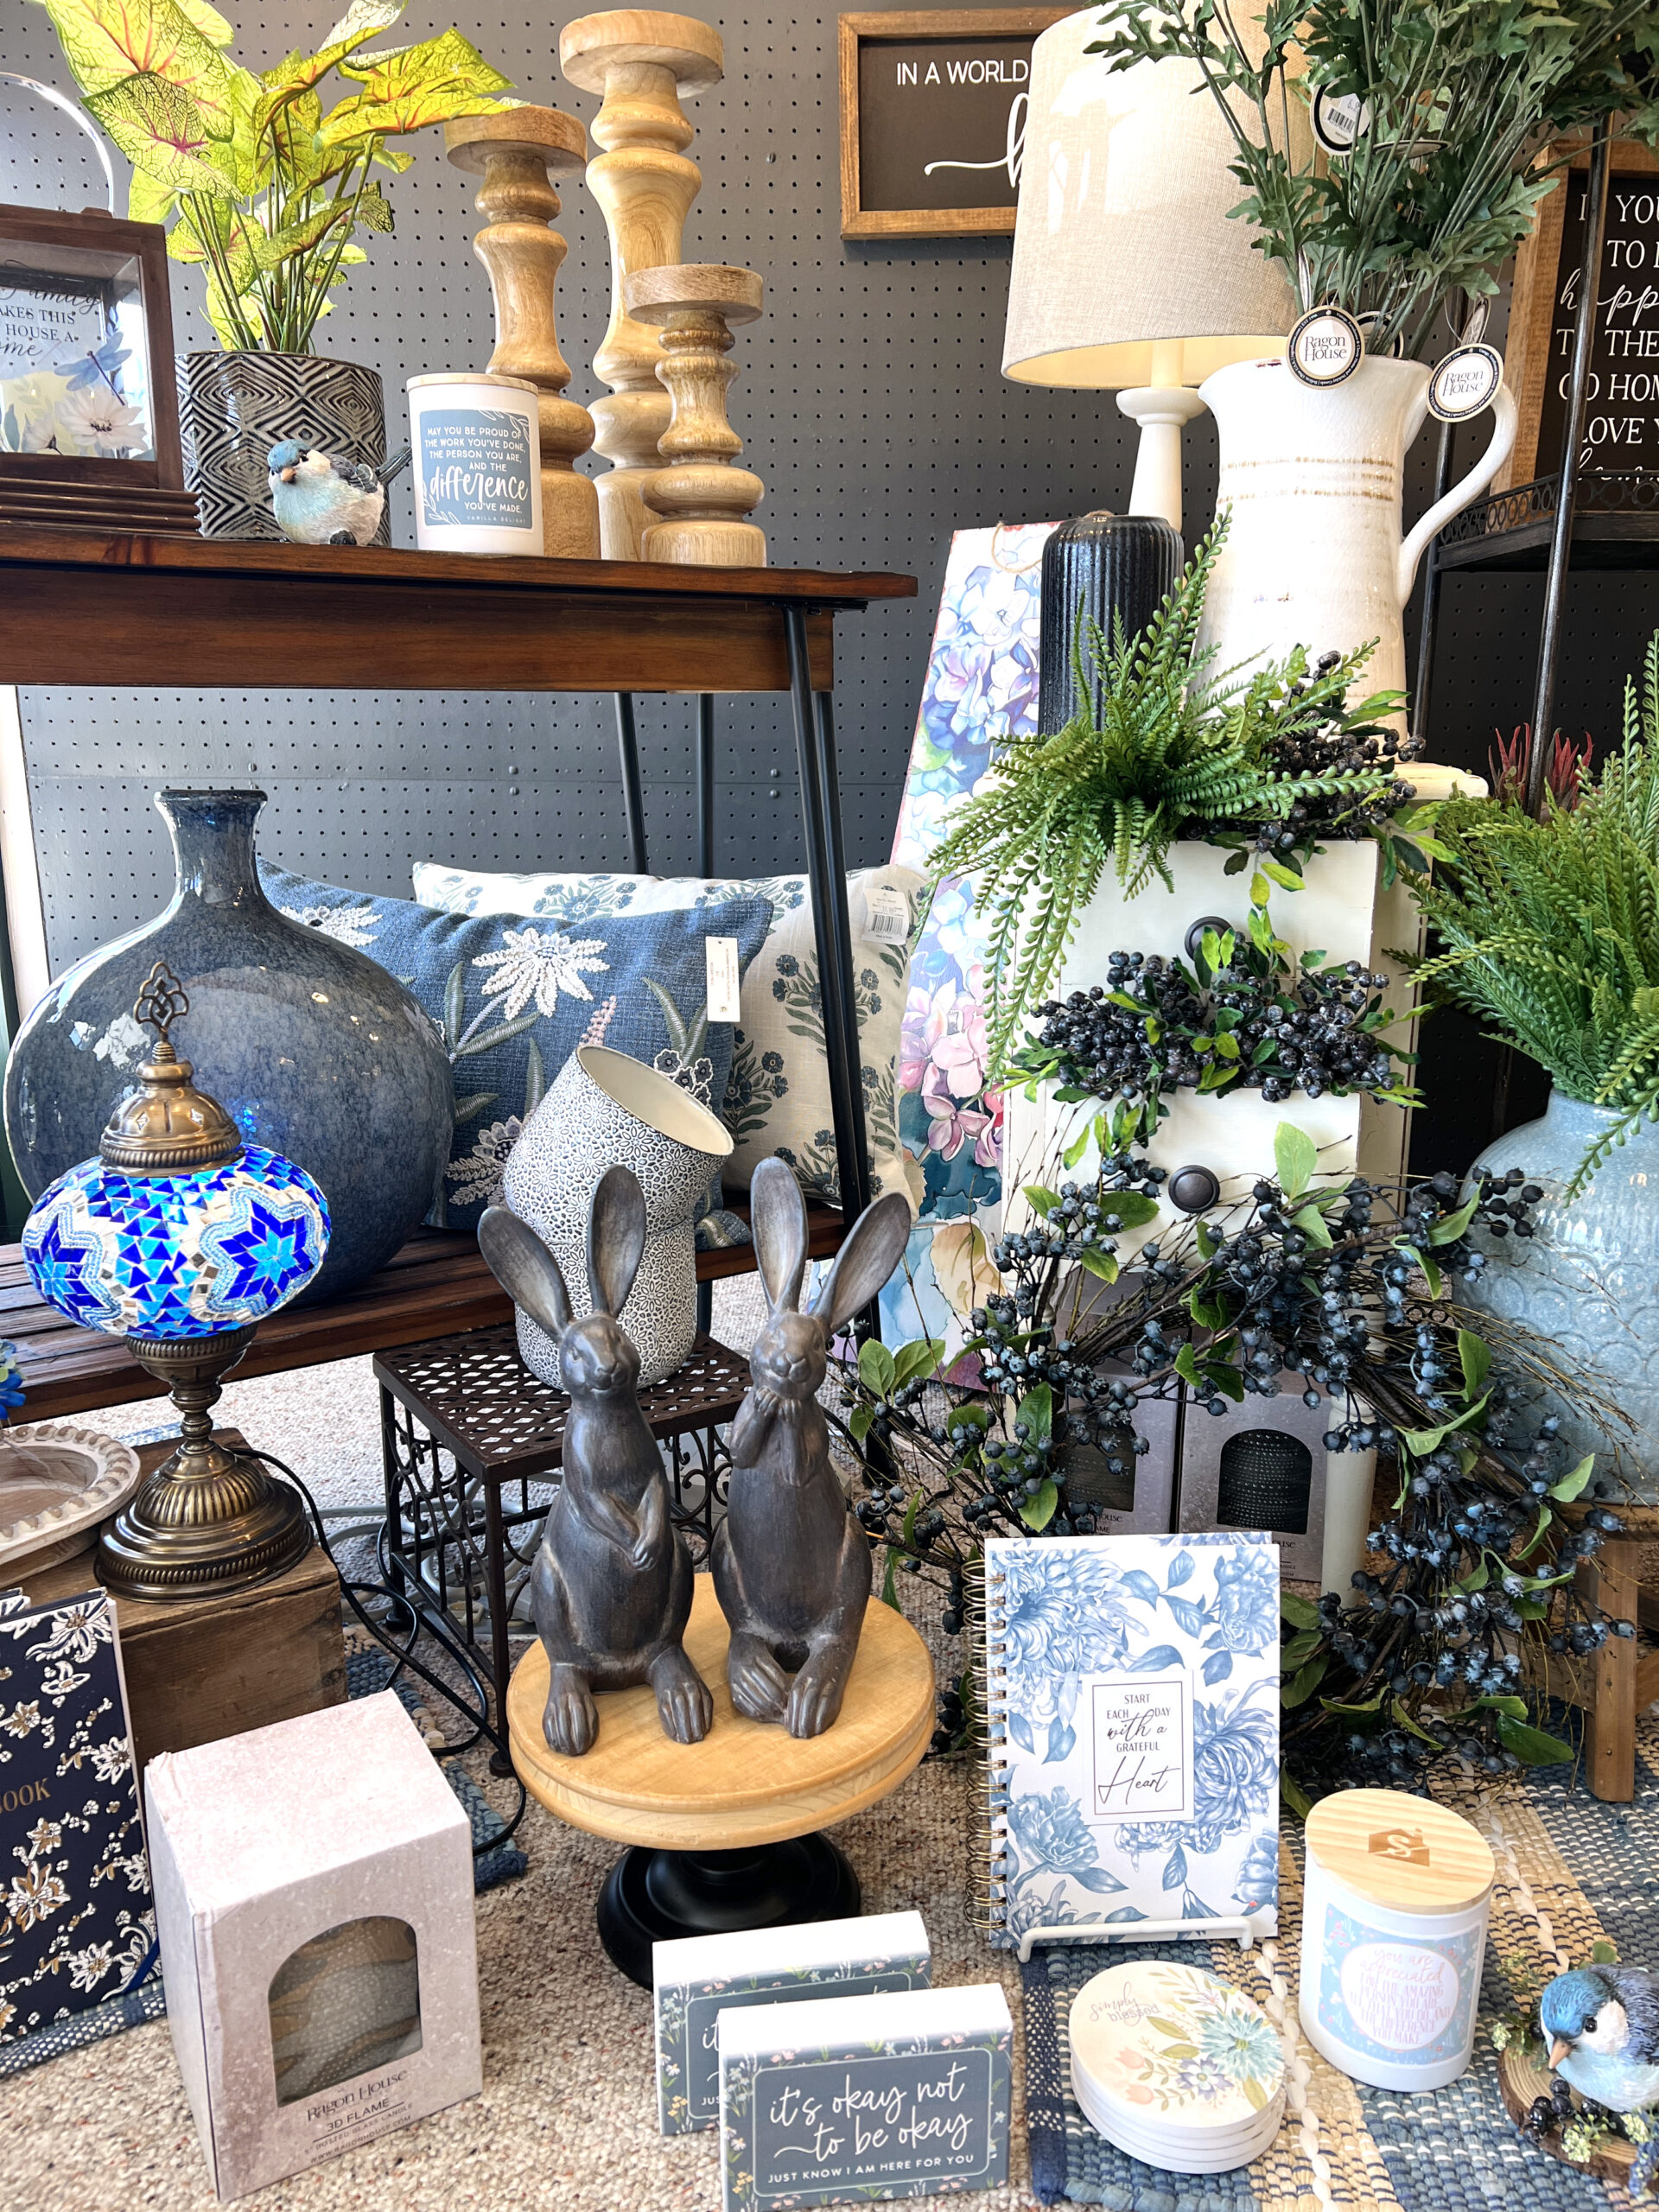 The store is a mainstay for the community, having recently celebrated 20 years of providing fresh floral arrangements, houseplants, gifts, body products, and candy.
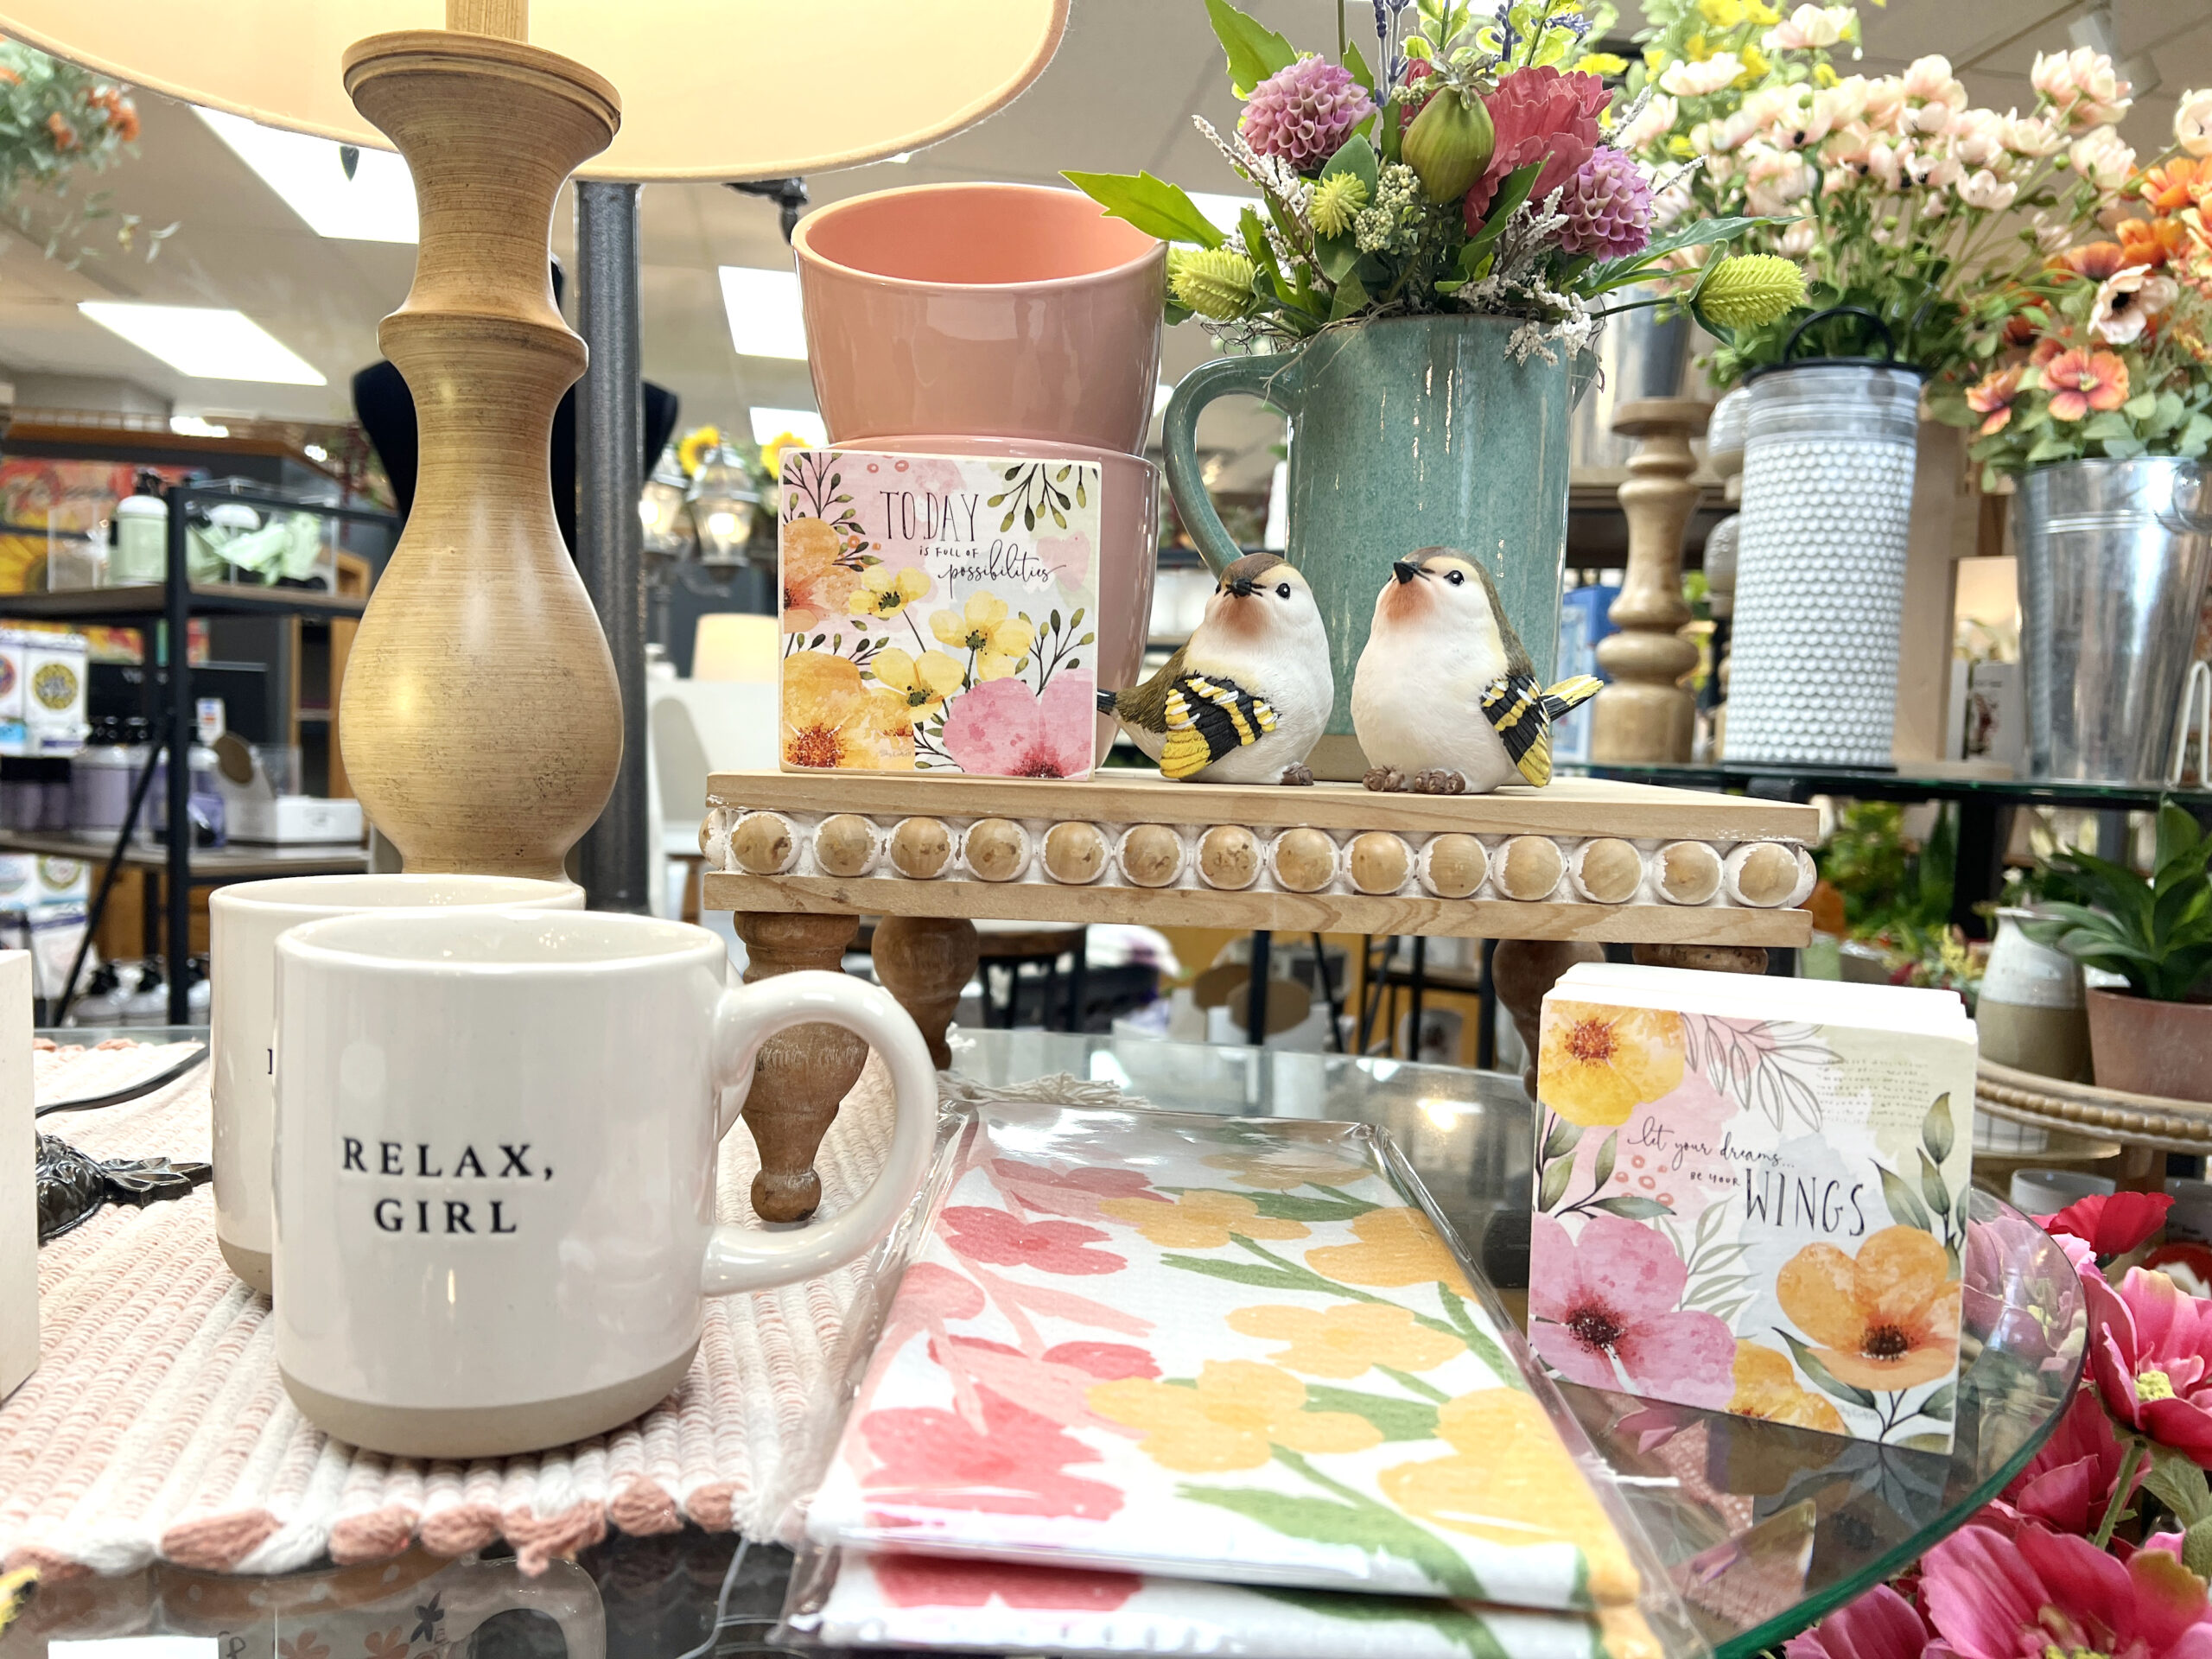 Women will appreciate the keychains, dish towels, and coffee mugs with imprinted phrasing that speaks to them. Many of the home accents are floral-themed, making it a one-stop shop for the gardener in your life who deserves a gift.
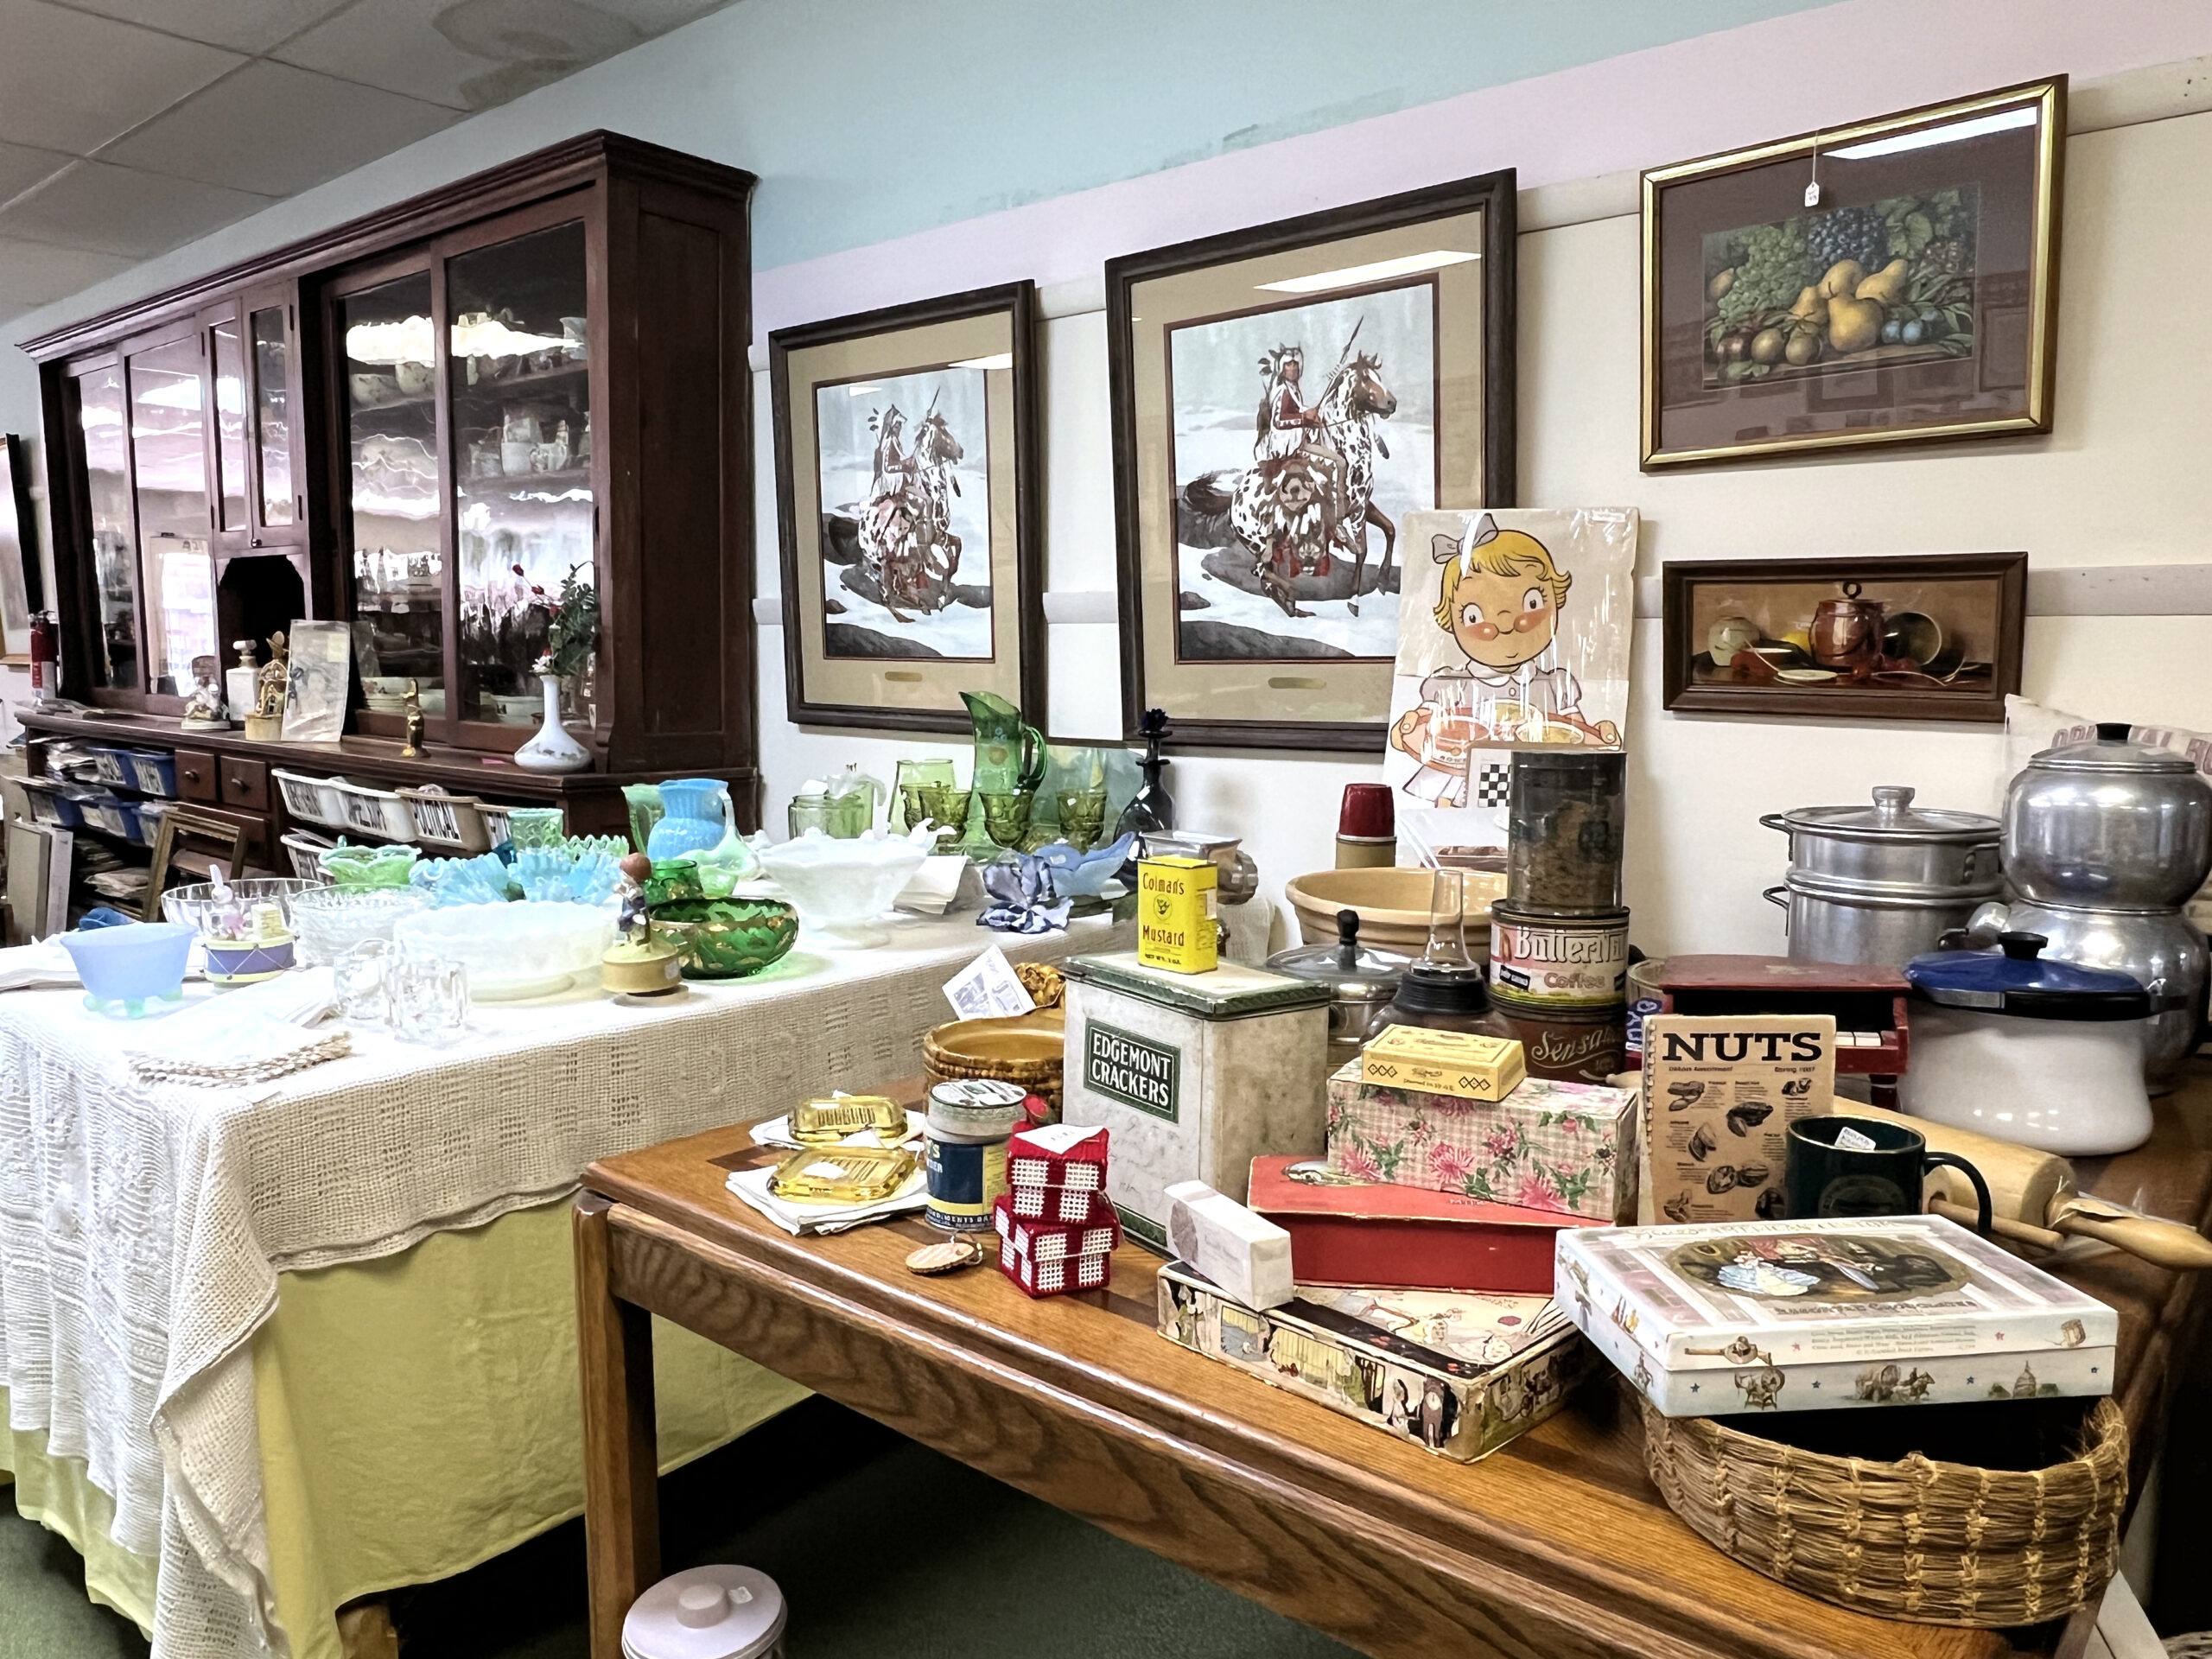 Within minutes of my arrival, Dody took me under her wing, showing me interesting treasures, which included the store’s vast collection of framed artwork and prints.
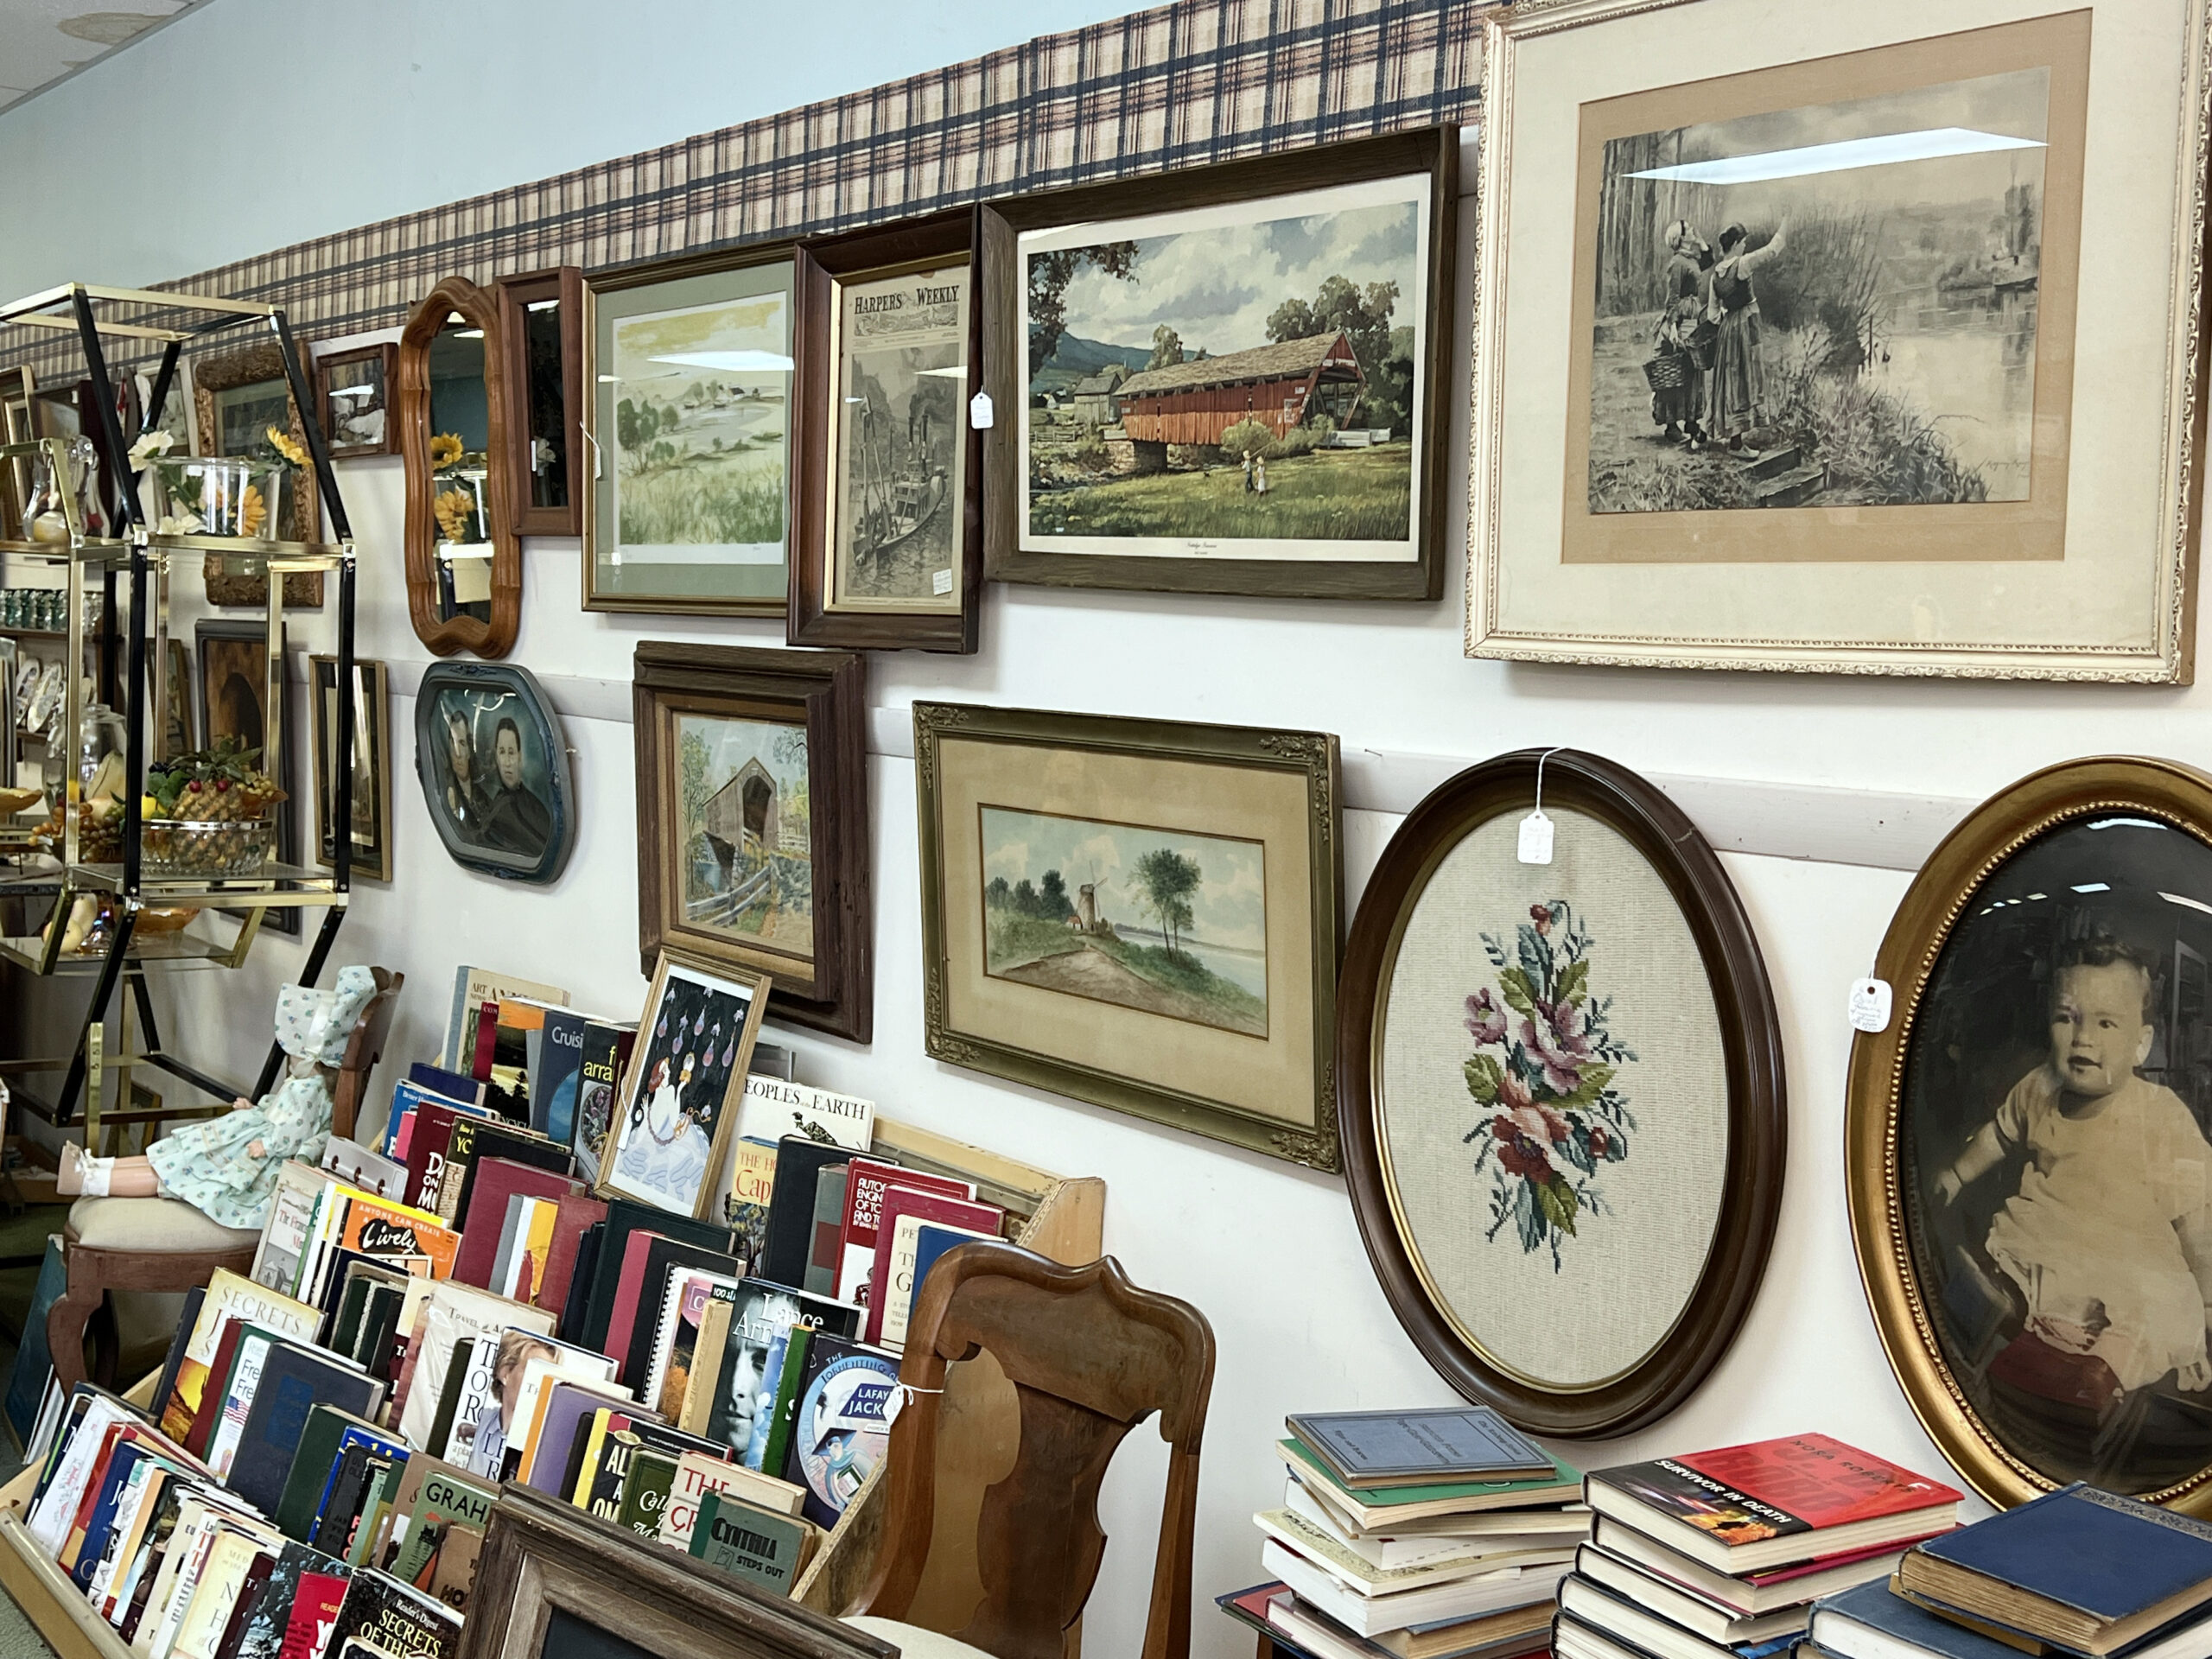 PRO TIP: Walk into the store’s back room to explore shelves of out-of-print, national publications, from magazines to newspapers.
 Located in its current spot since 1952, the store occupies 25,000 square feet of retail space, offering exactly what you need and want for your home.
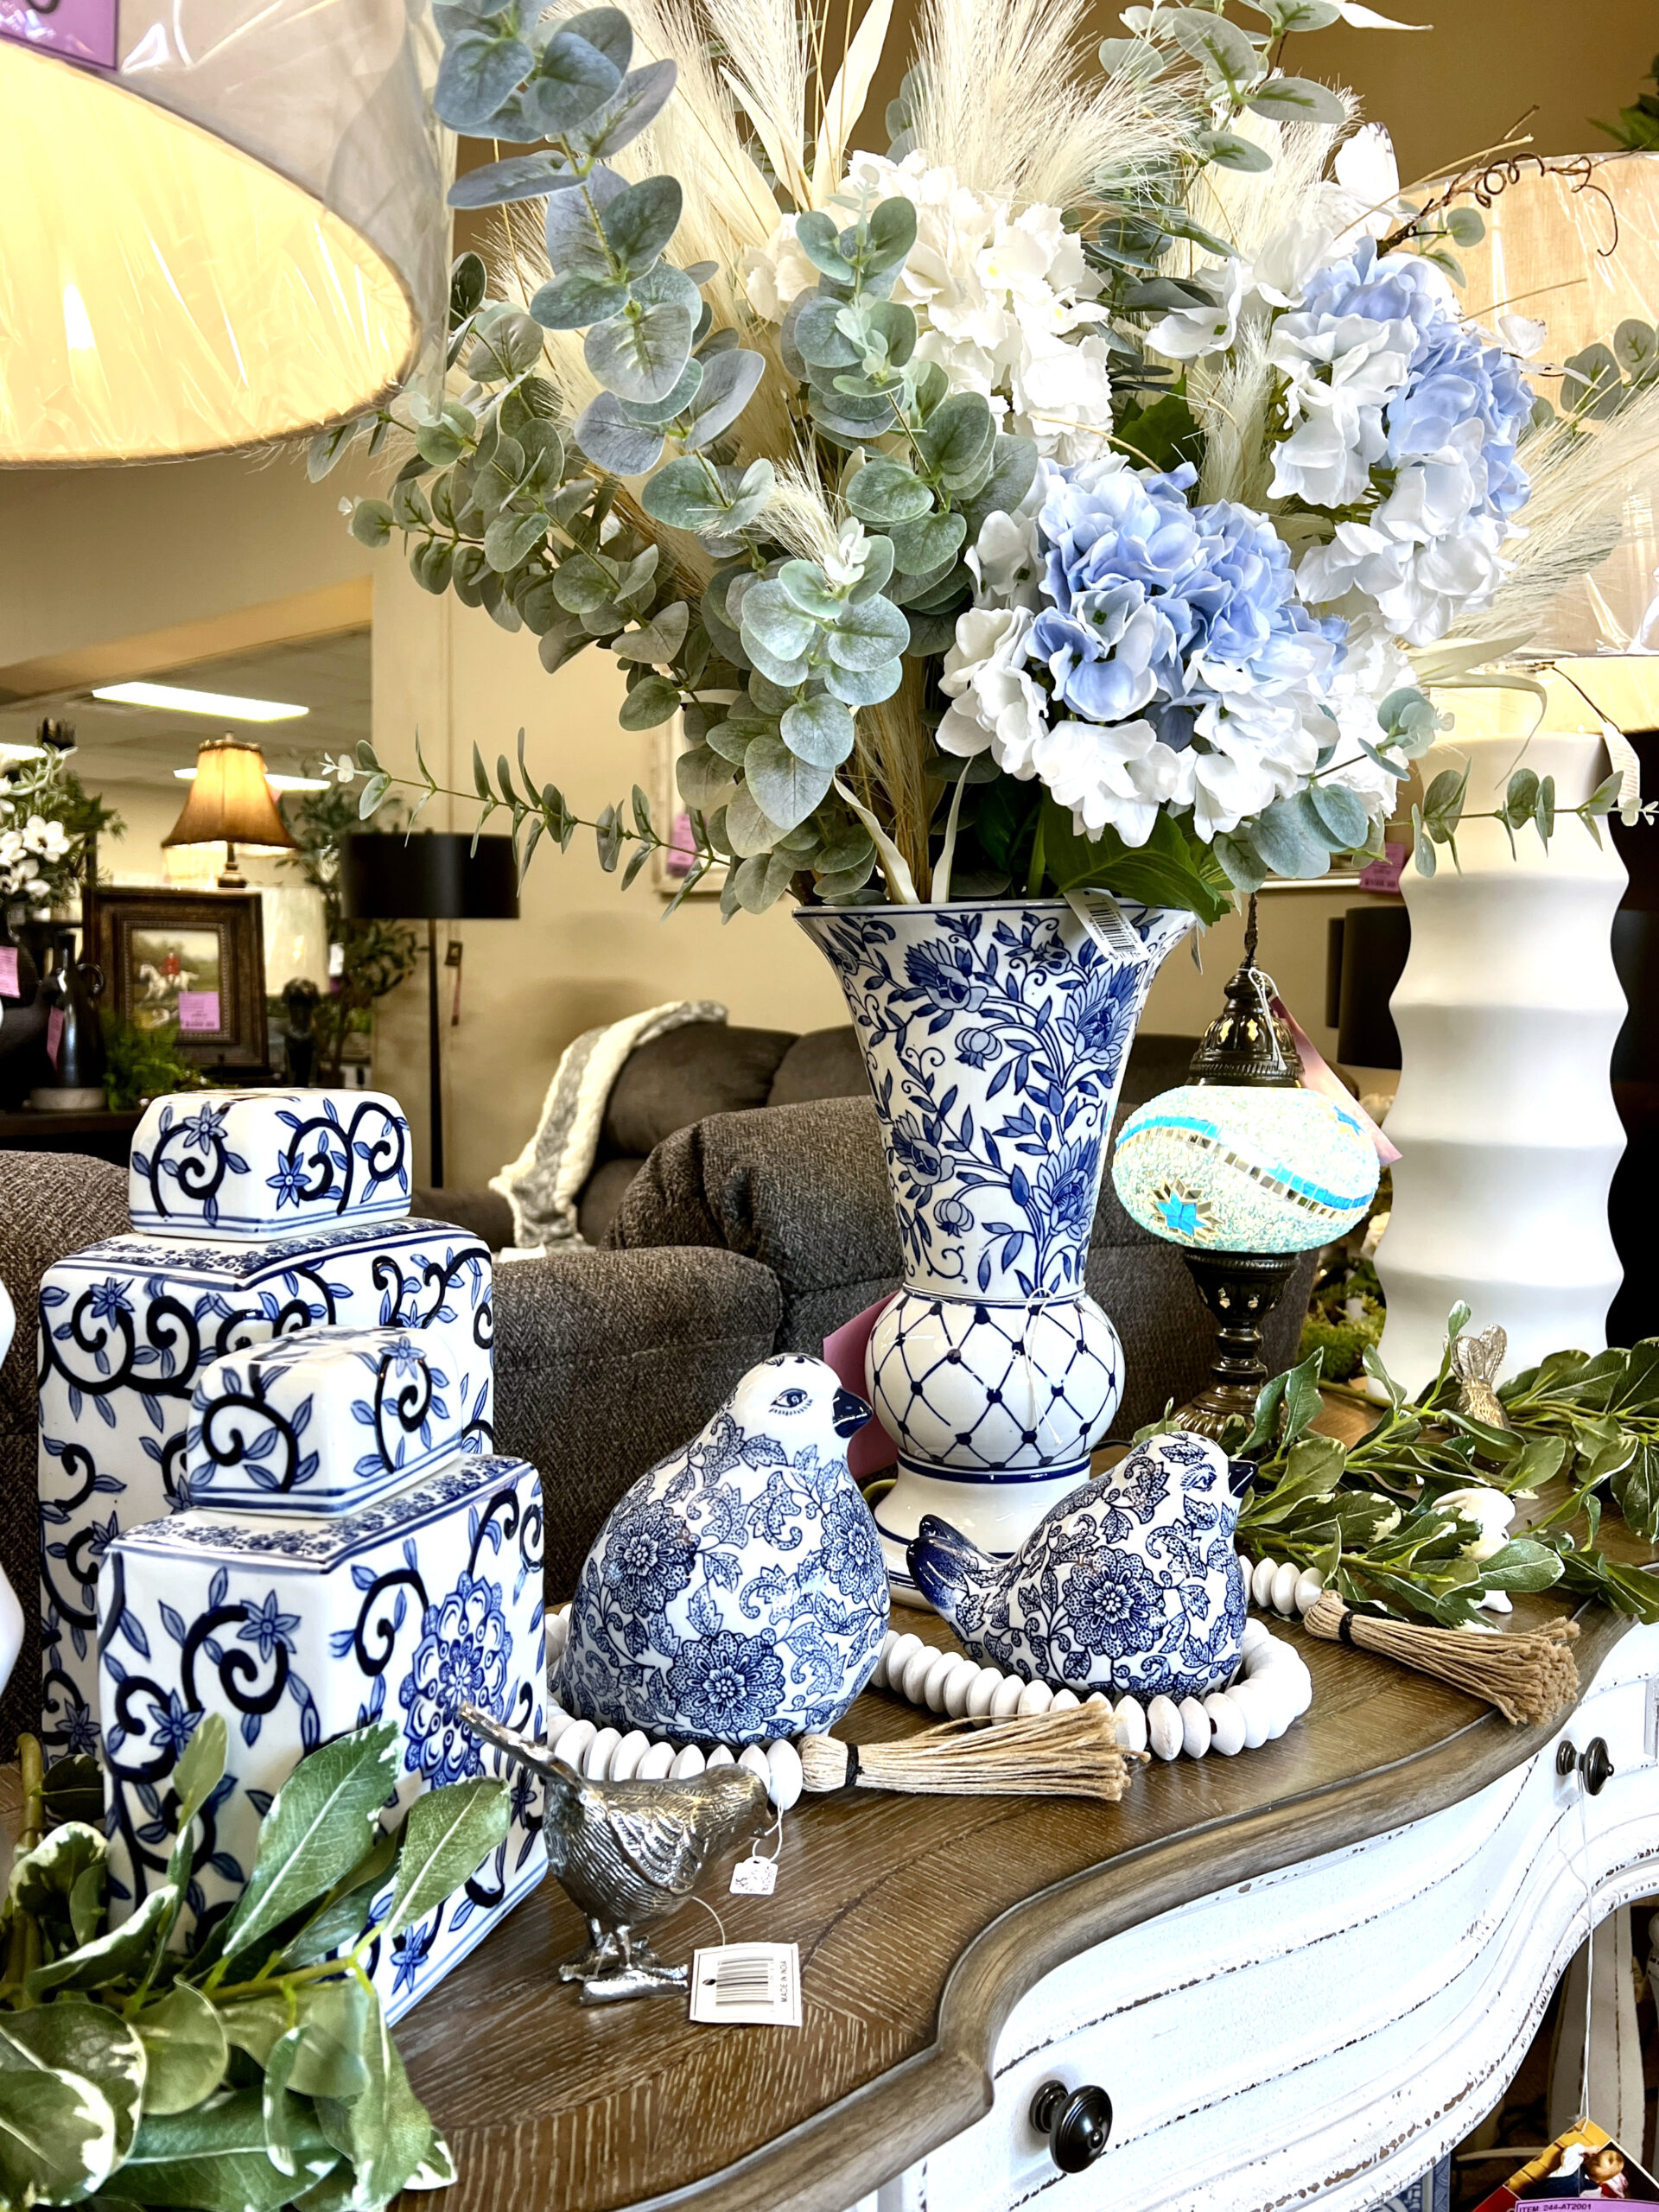 In awe, I told the owner that I wished I had shopped for our furniture at her store rather than making multiple trips to various Wichita furniture stores to redesign our living room.
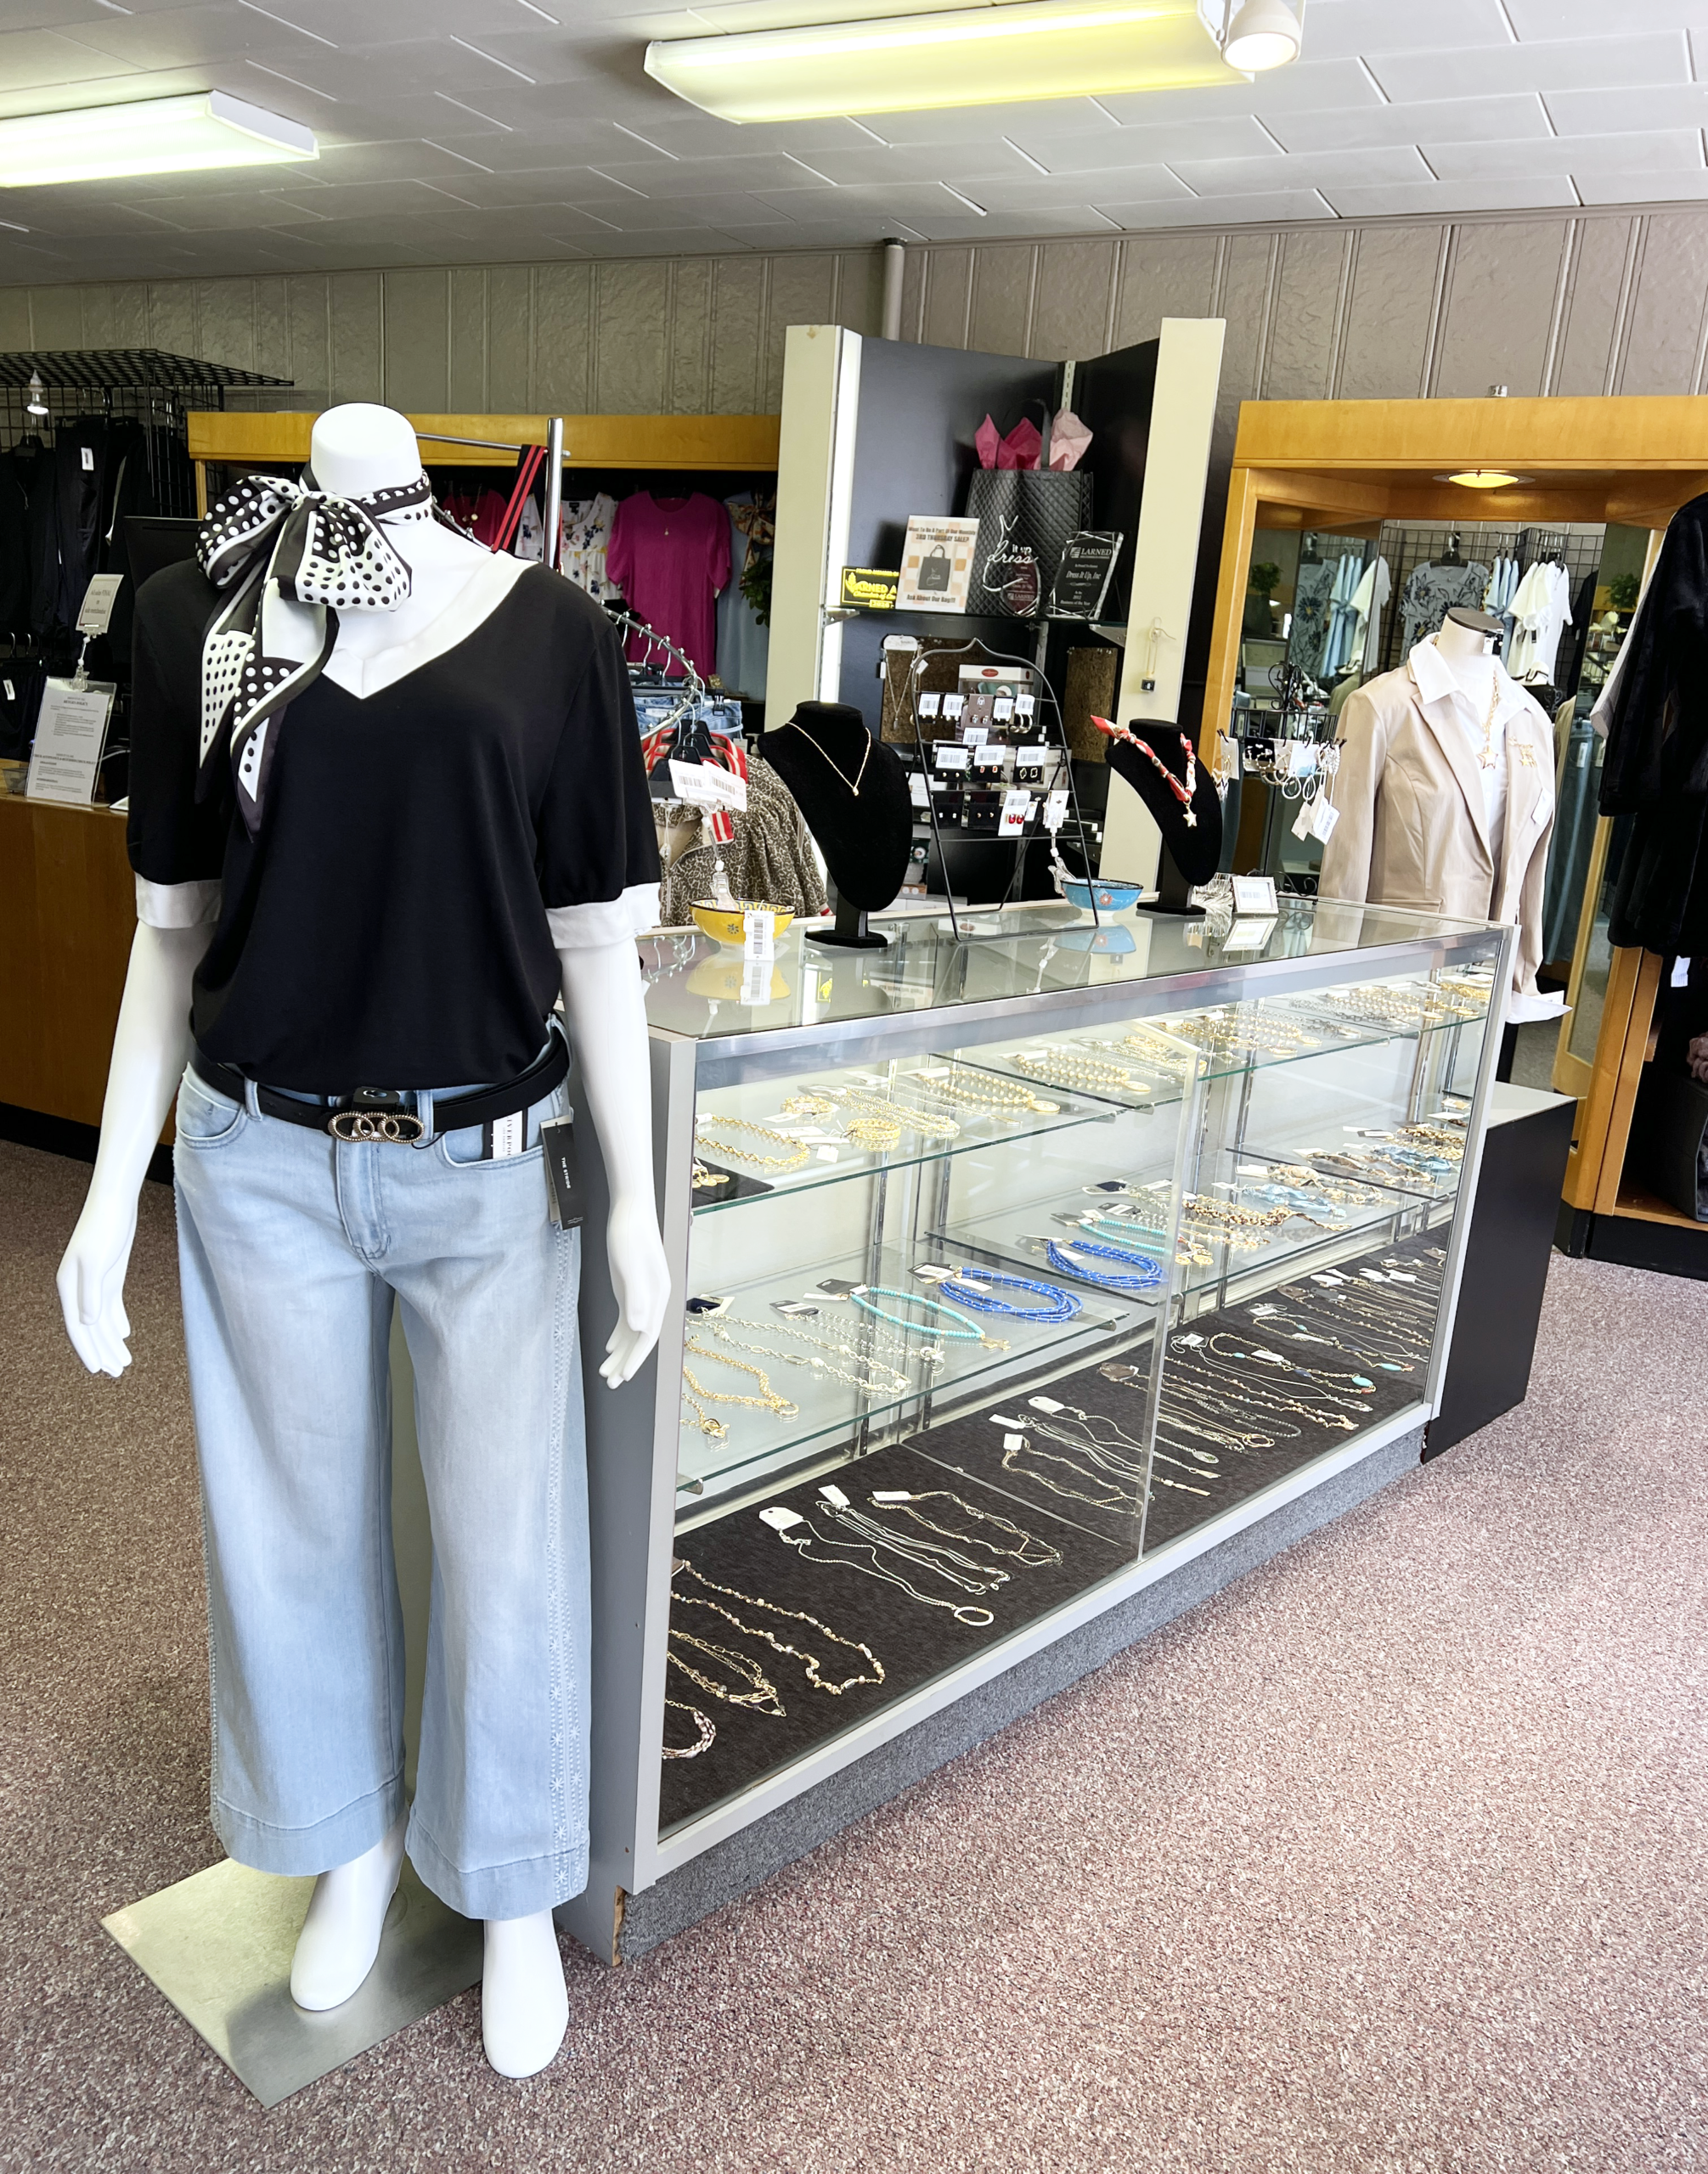 I adored the store’s selection of classic separates and in-season fashions that I tried on a cute, floral dress. The store’s inventory ranges in sizes from small to extra large and appeals to most age groups.
 Dress It Up makes it easy to pull together pieces to create new outfits, adding jewelry and shoes to complete the look. Tessa has her finger on the pulse of the latest fashions, hand-curating pieces for the shop.
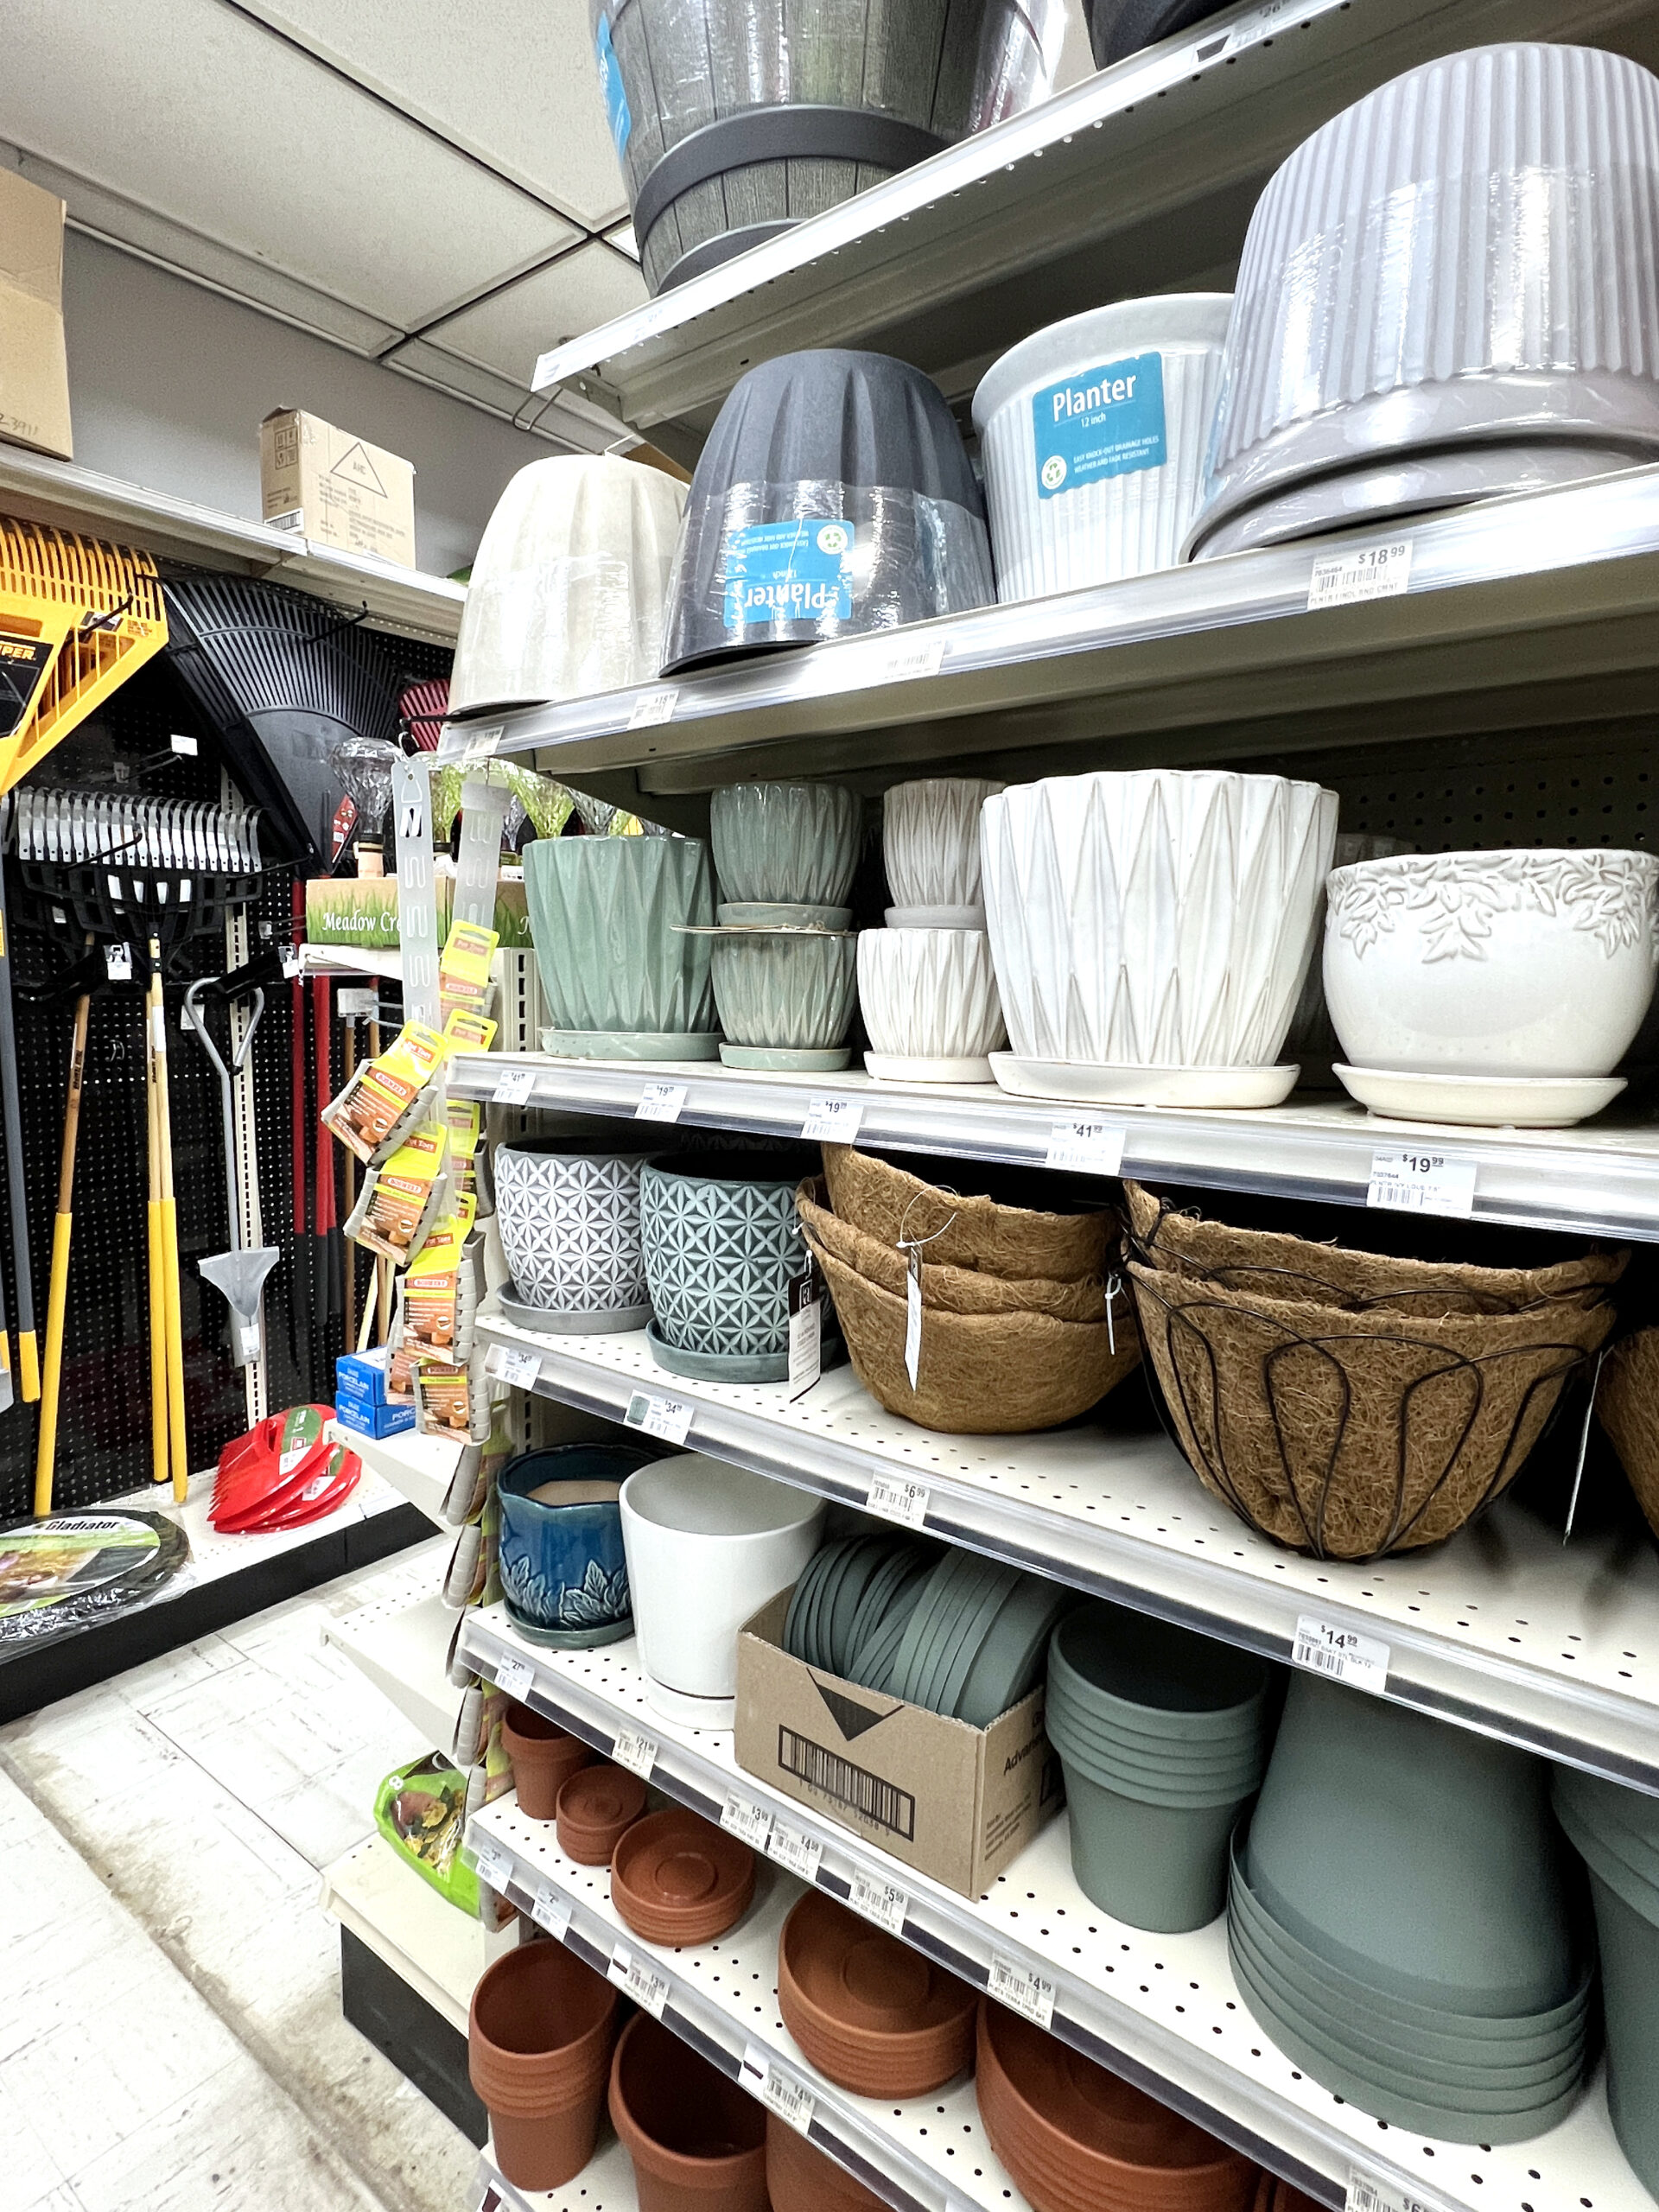 Ready to repaint the interior of your home? The staff at the Paint Shop can personalize your purchase to your DIY needs.
 What makes shopping at Doerr’s Ace Hardware even better? They fundraise for community causes. That’s why I love a locally-owned hardware store.
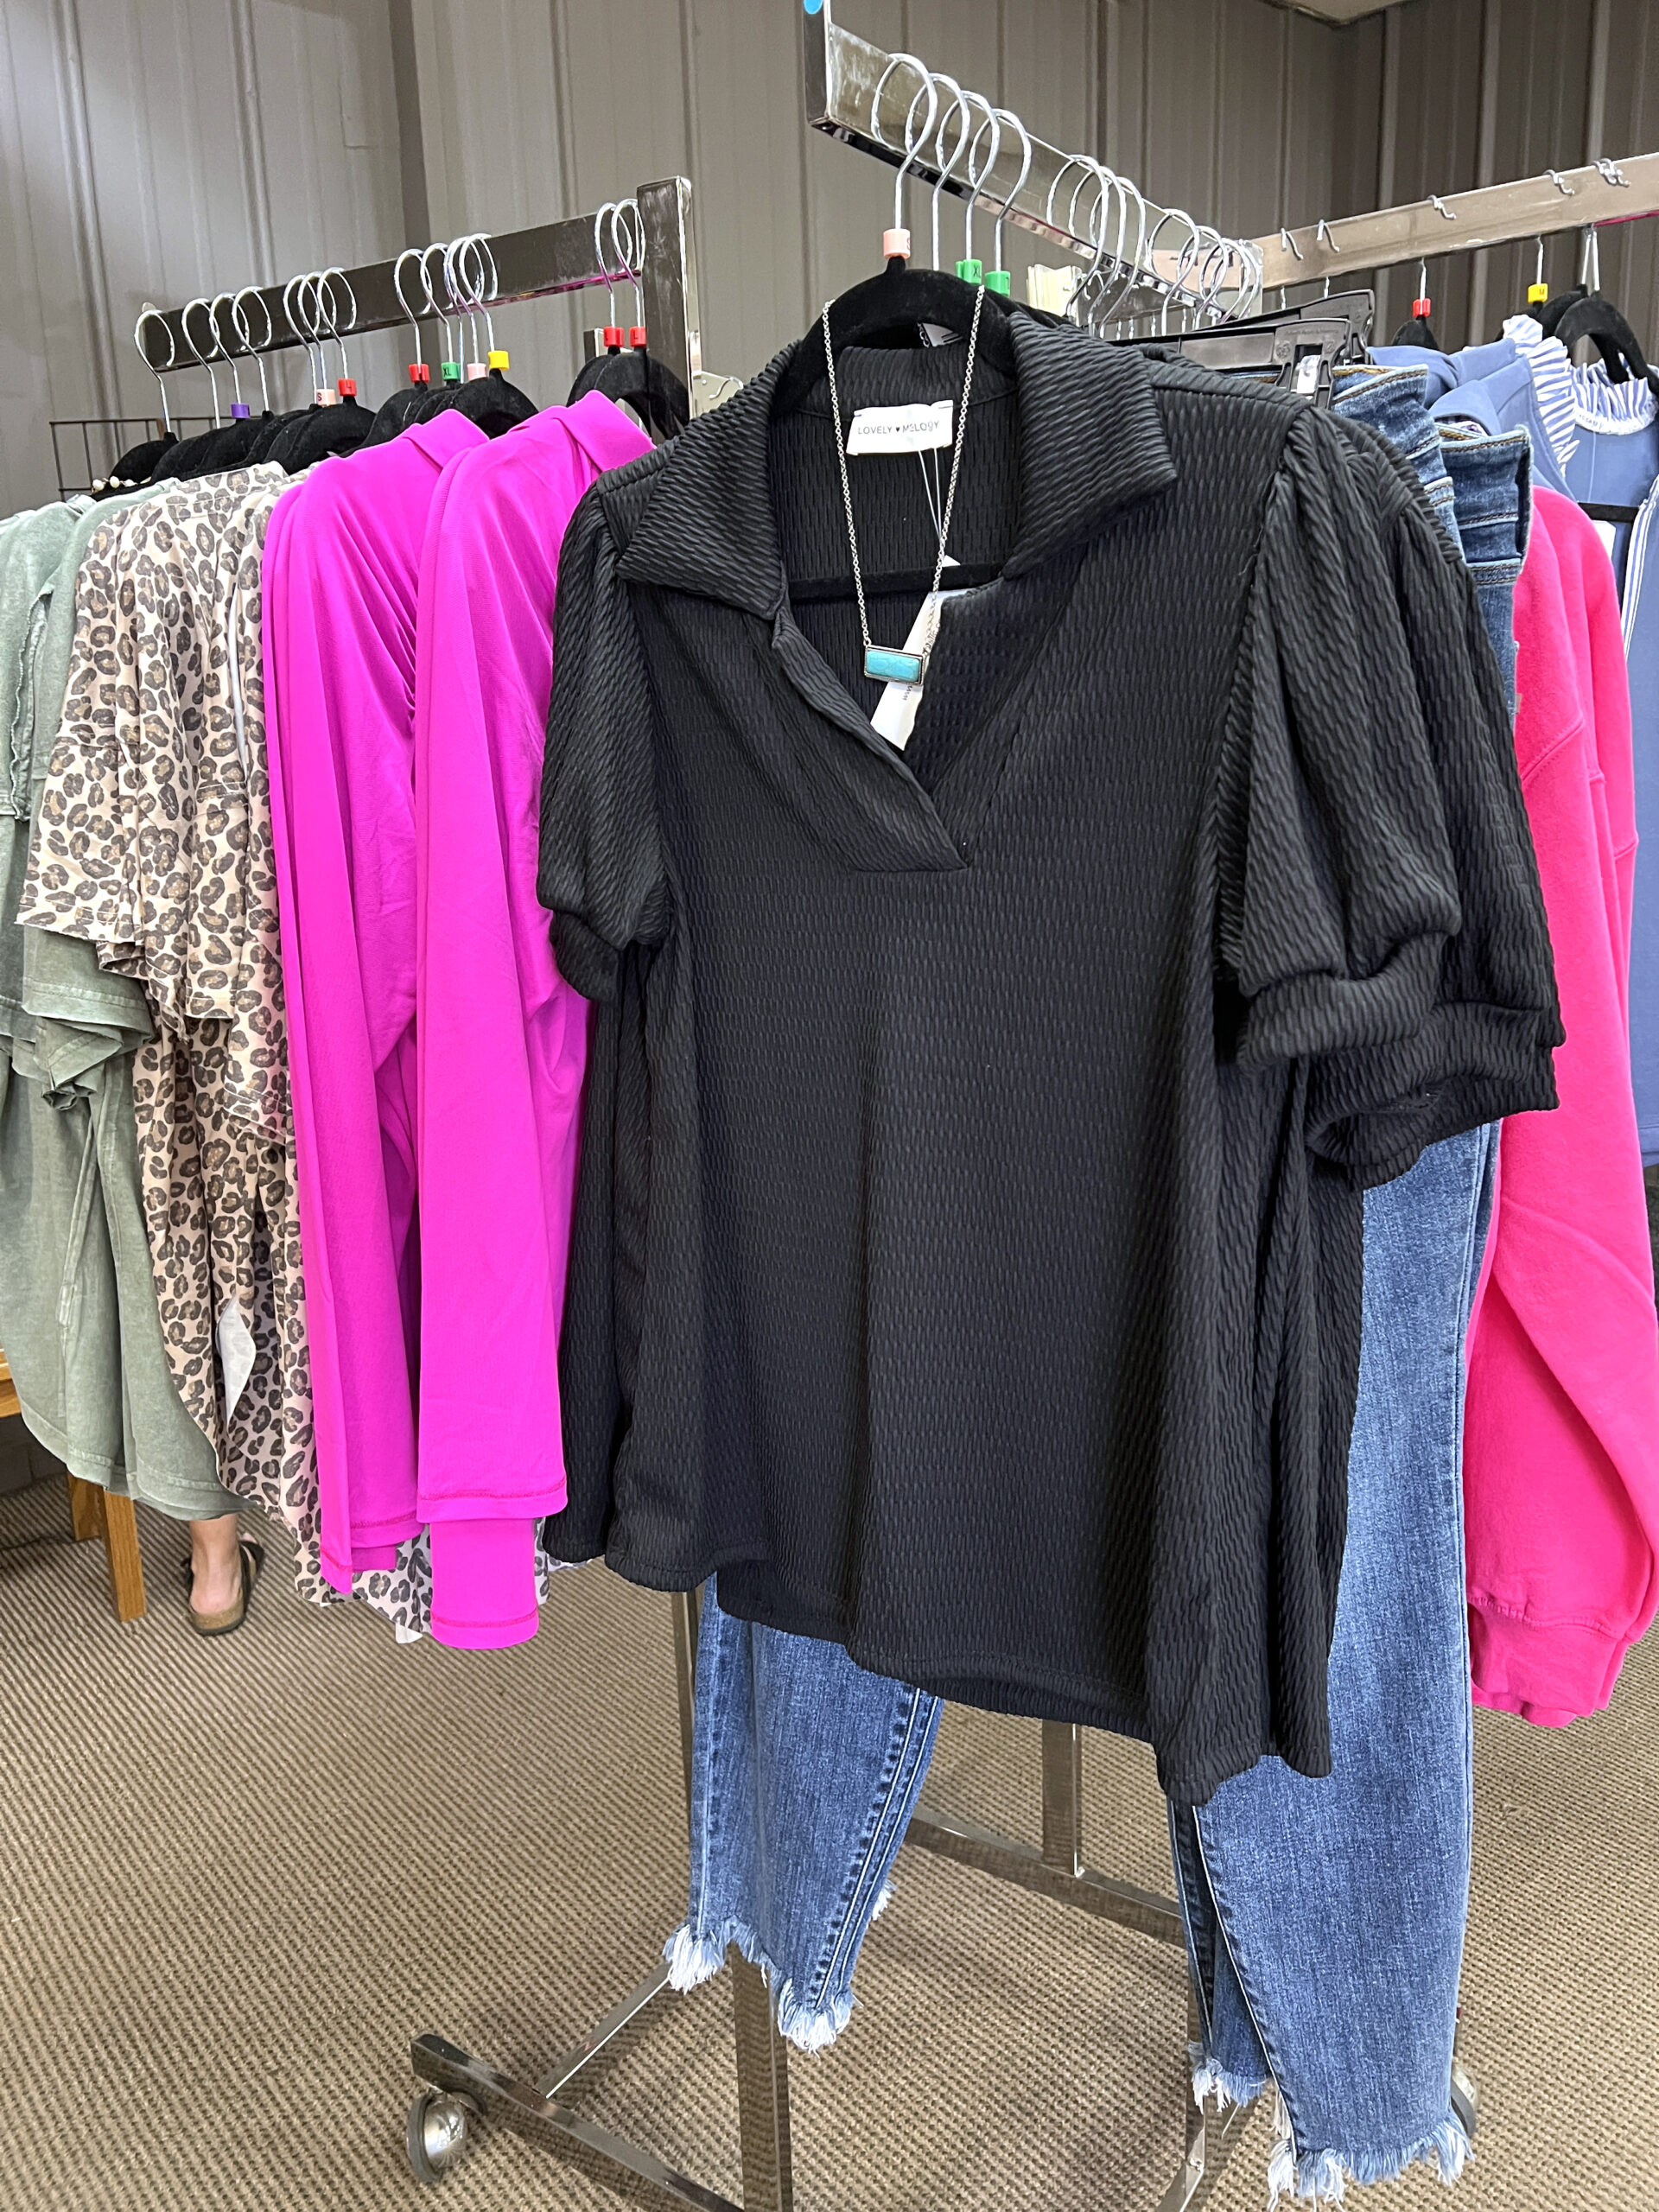 I was pleasantly surprised to find on-trend apparel at a price point most women ages 30 to 70 can afford.
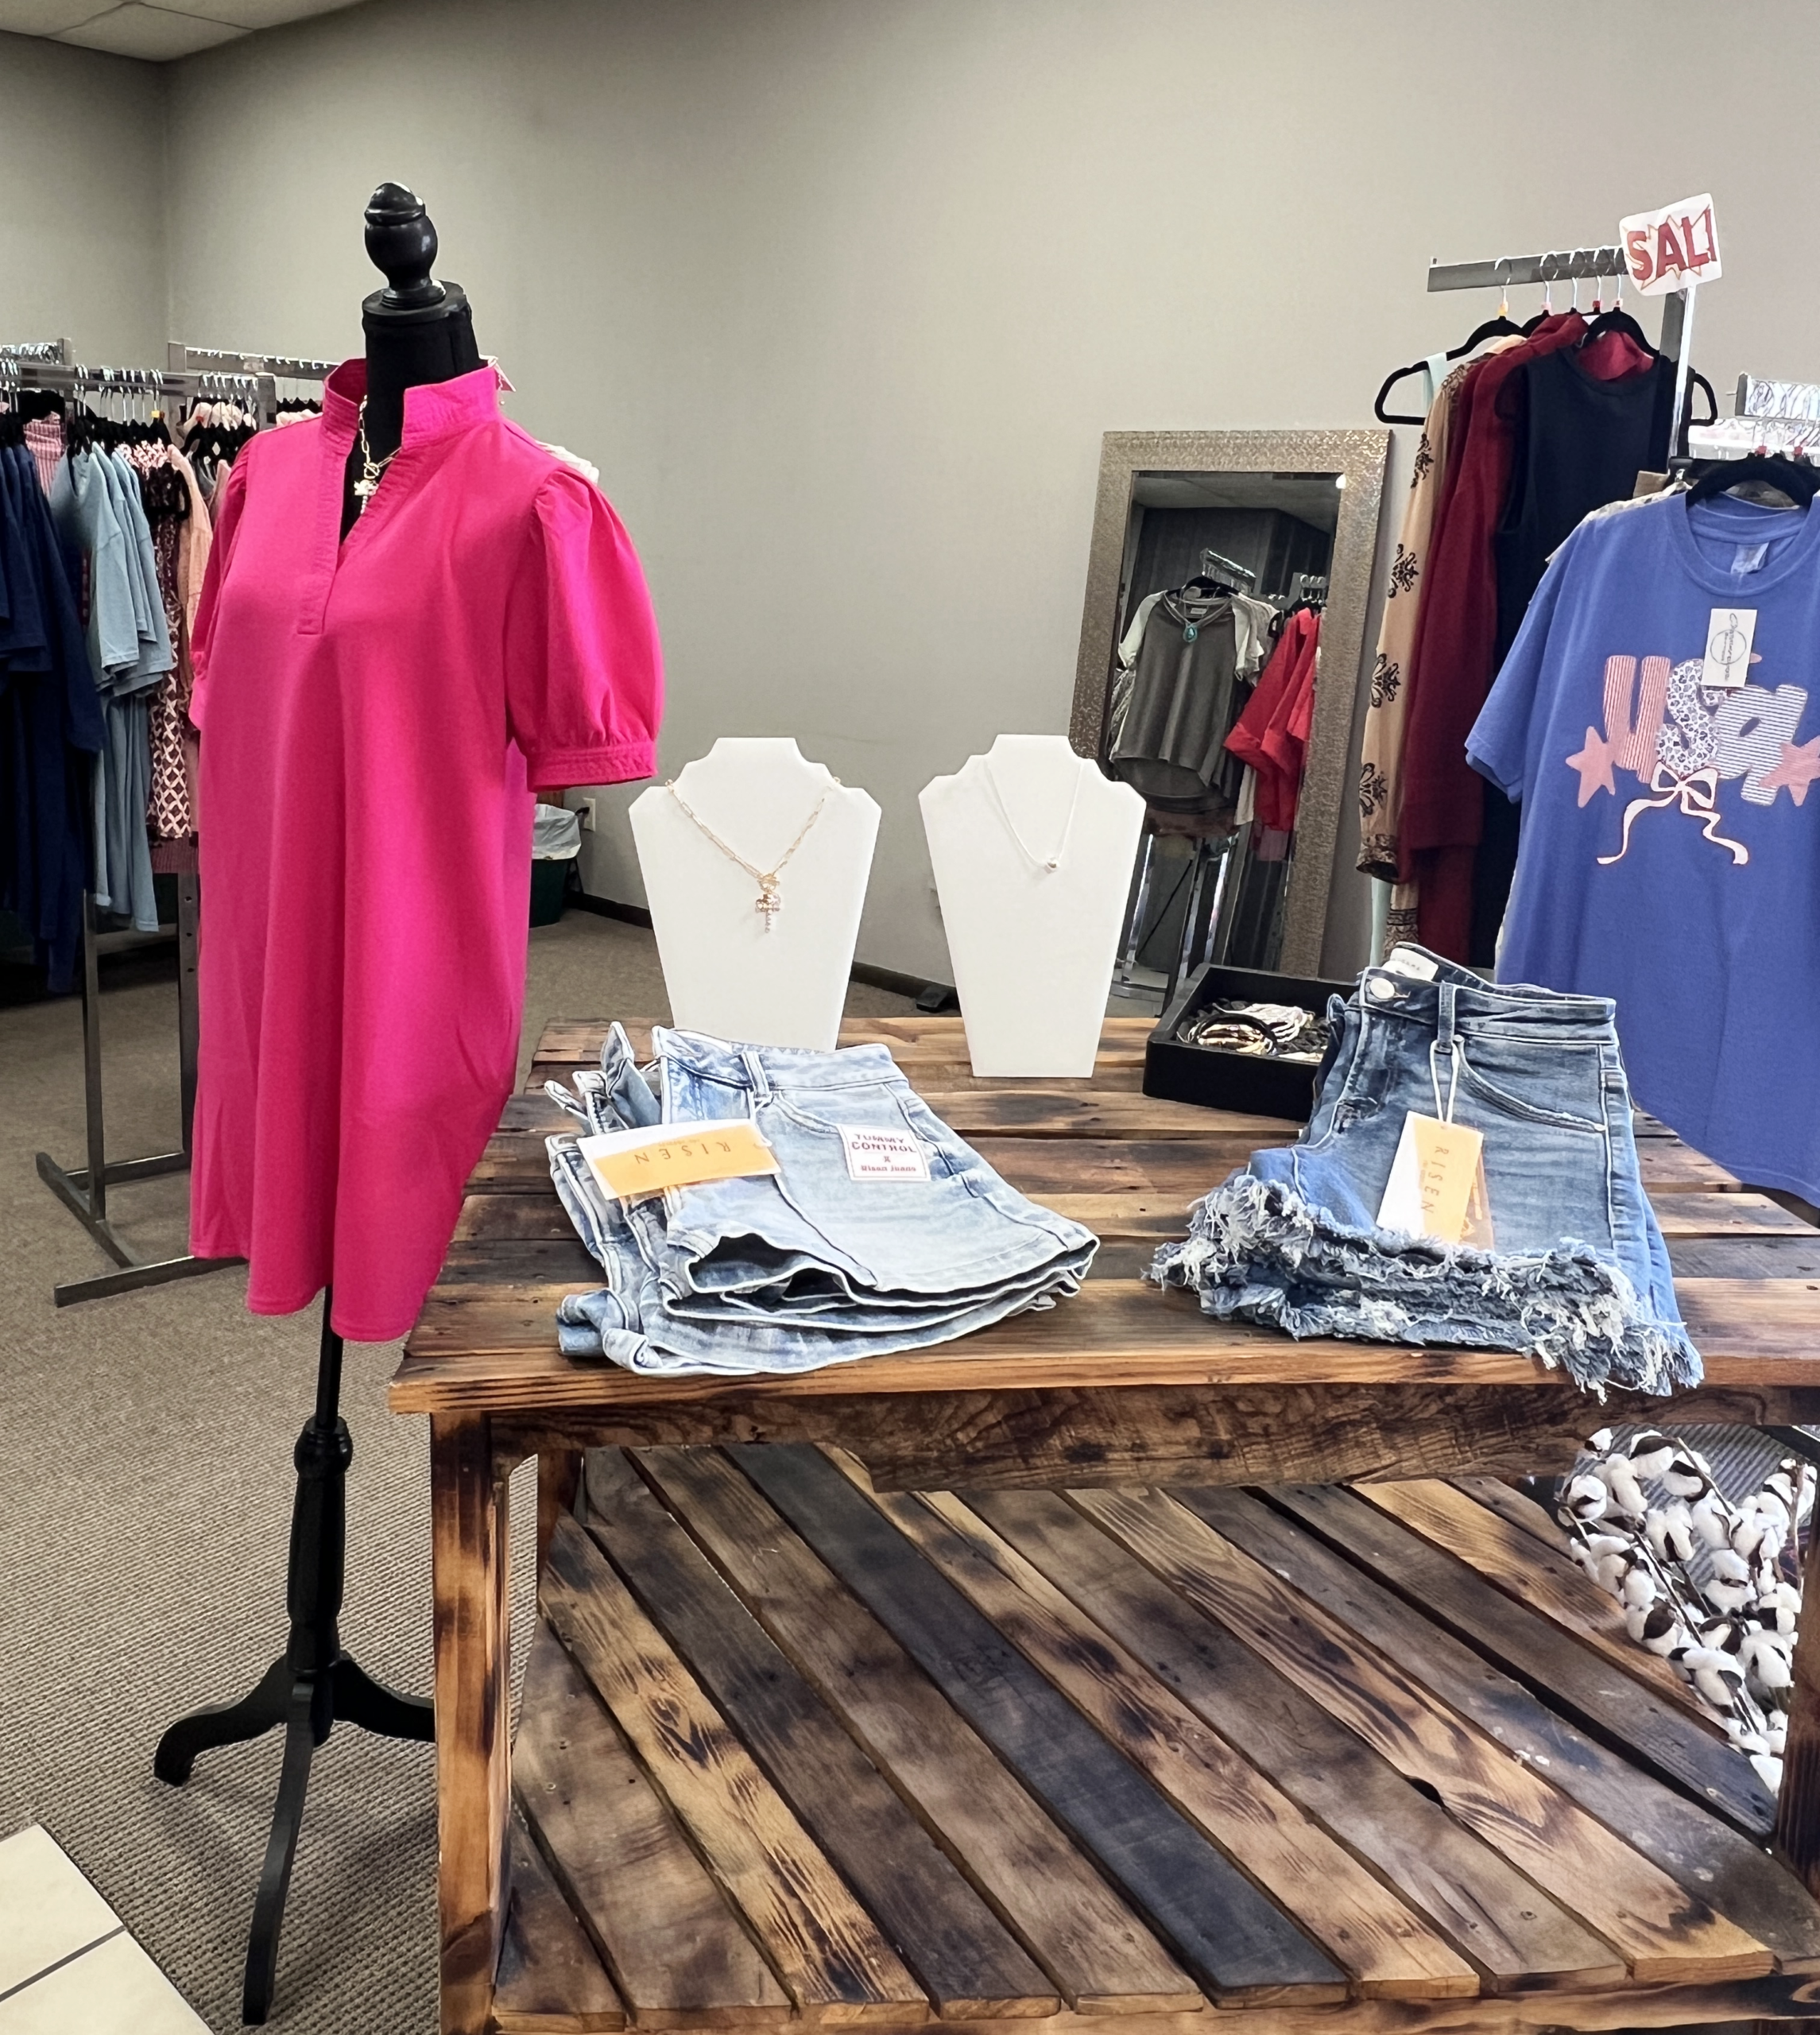 PRO TIP: Watch Crossroots Boutique’s
 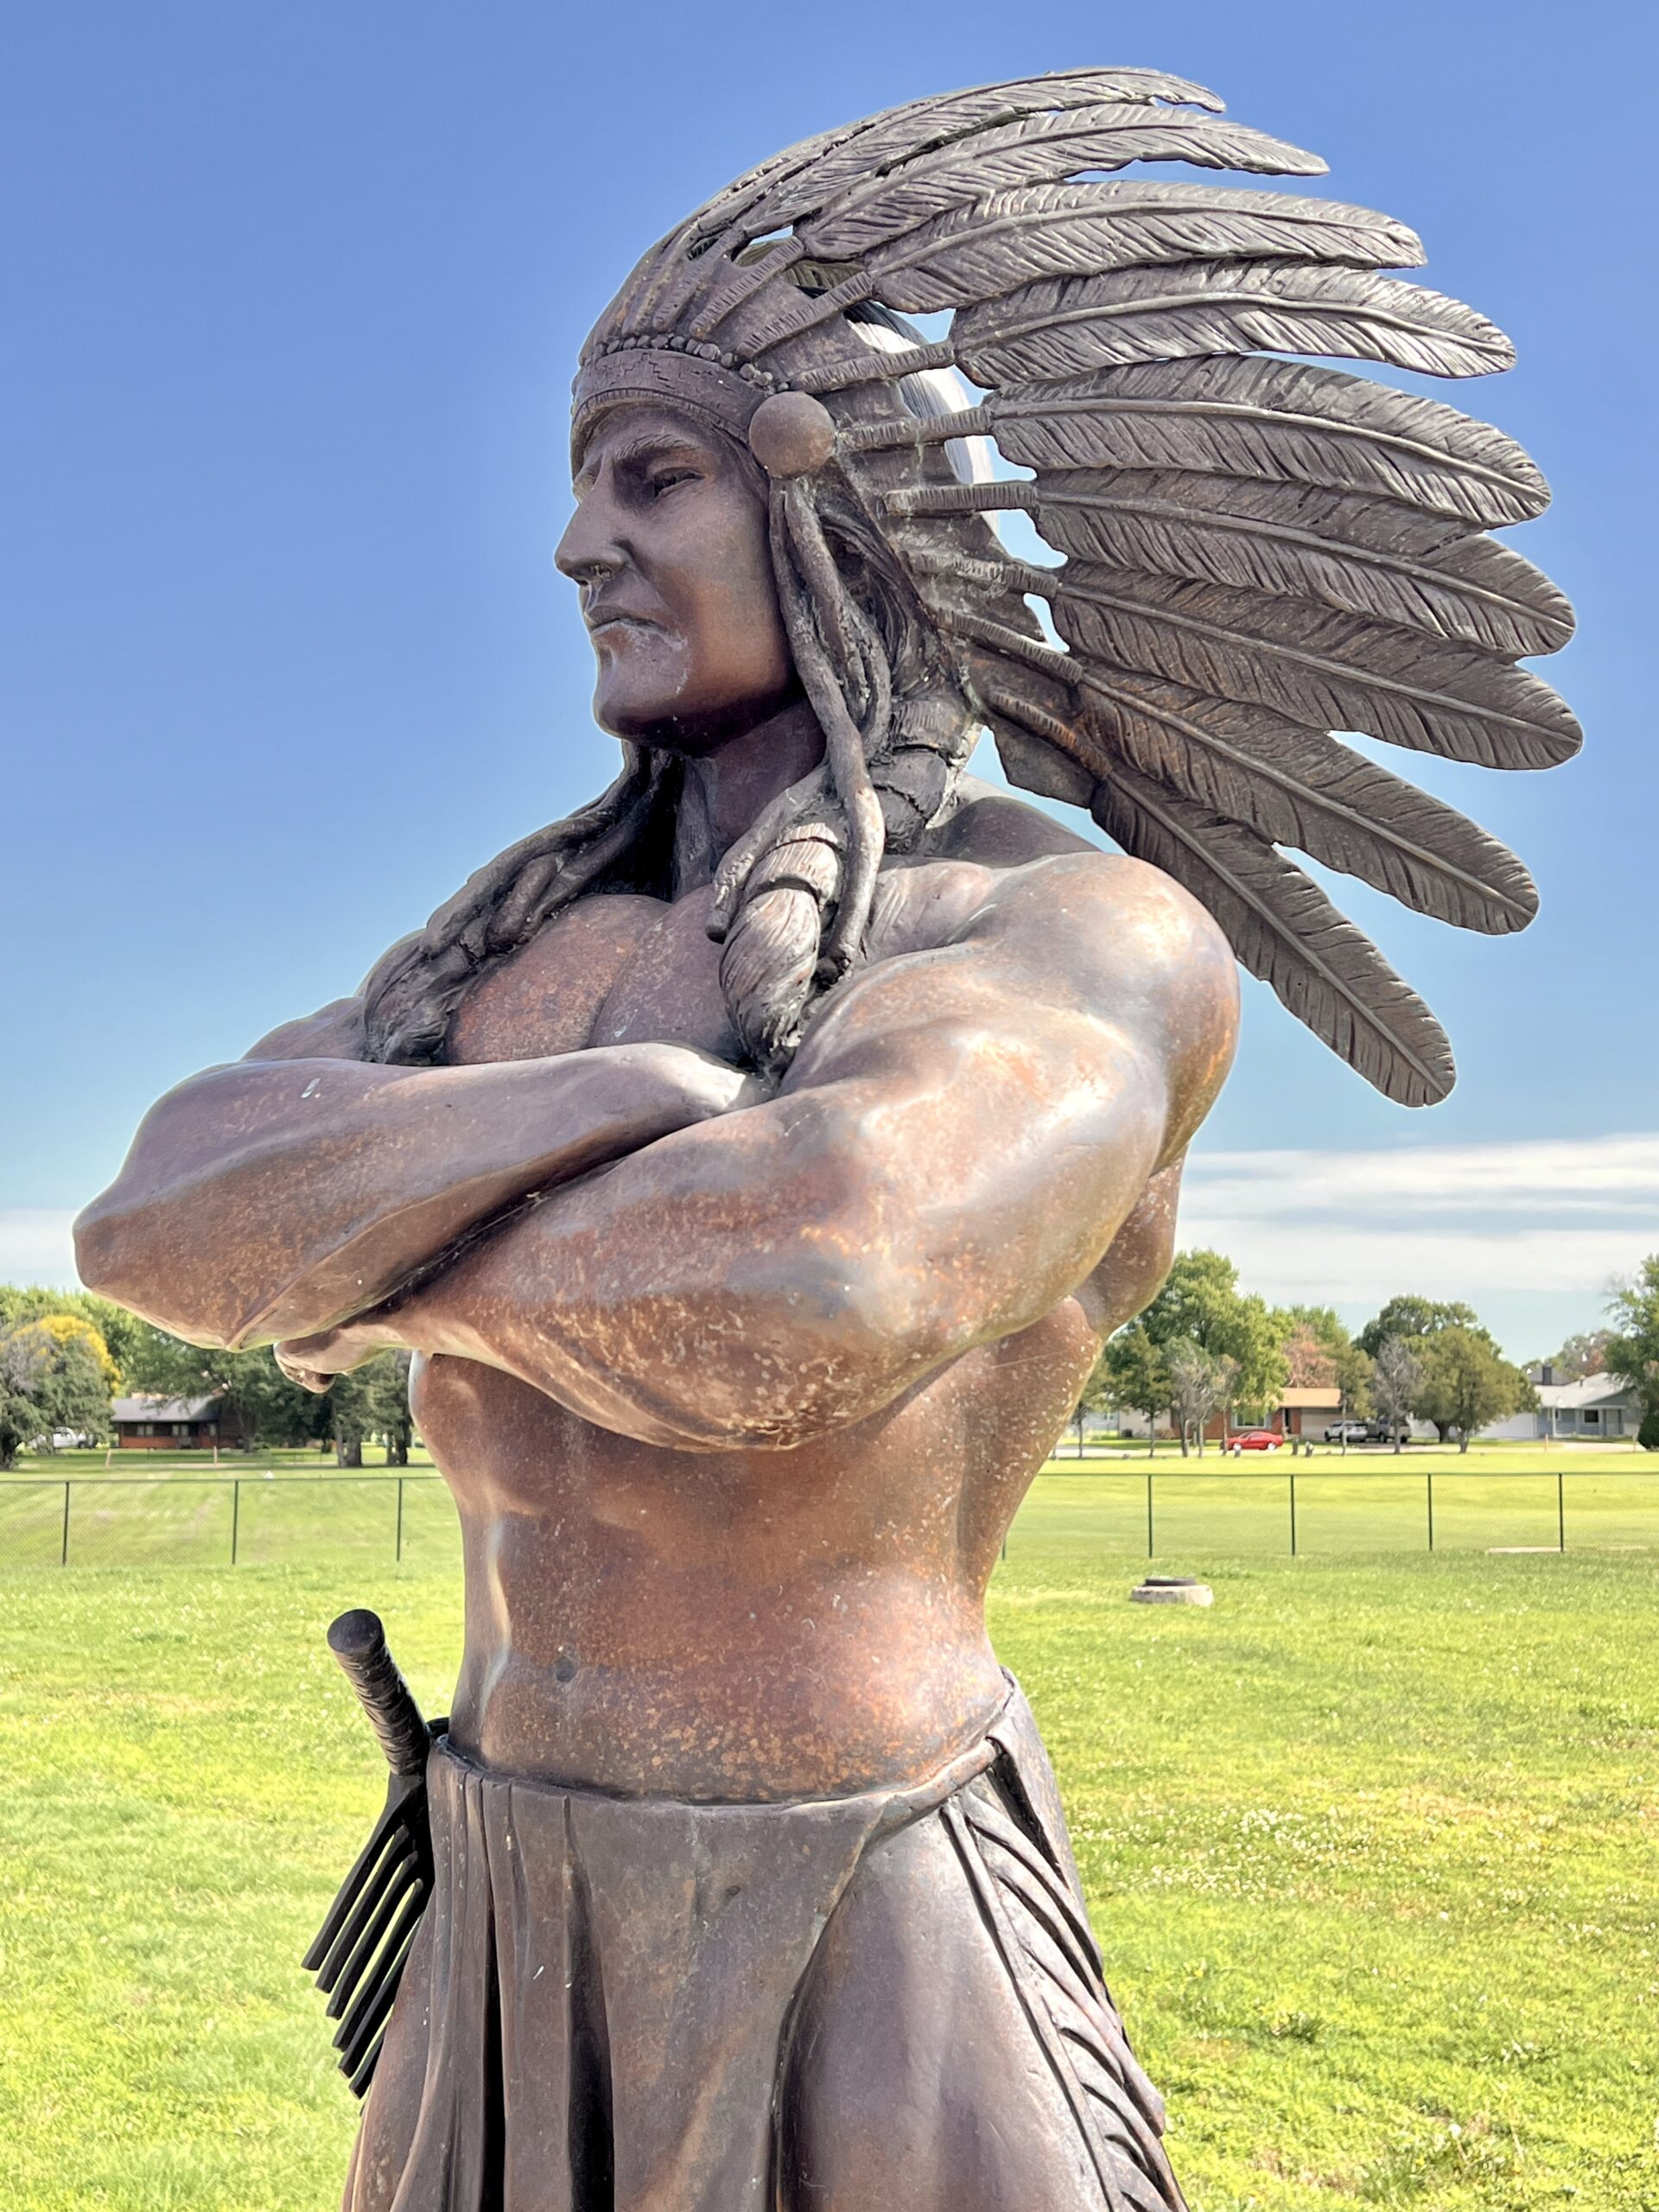 Installed in 2016, the towering, life-size figure with impressive details was made in Los Angeles by Bronzeman using the lost-wax process. A plaque reads, “For the Love of the Game,” in memory of Michael Bartz.
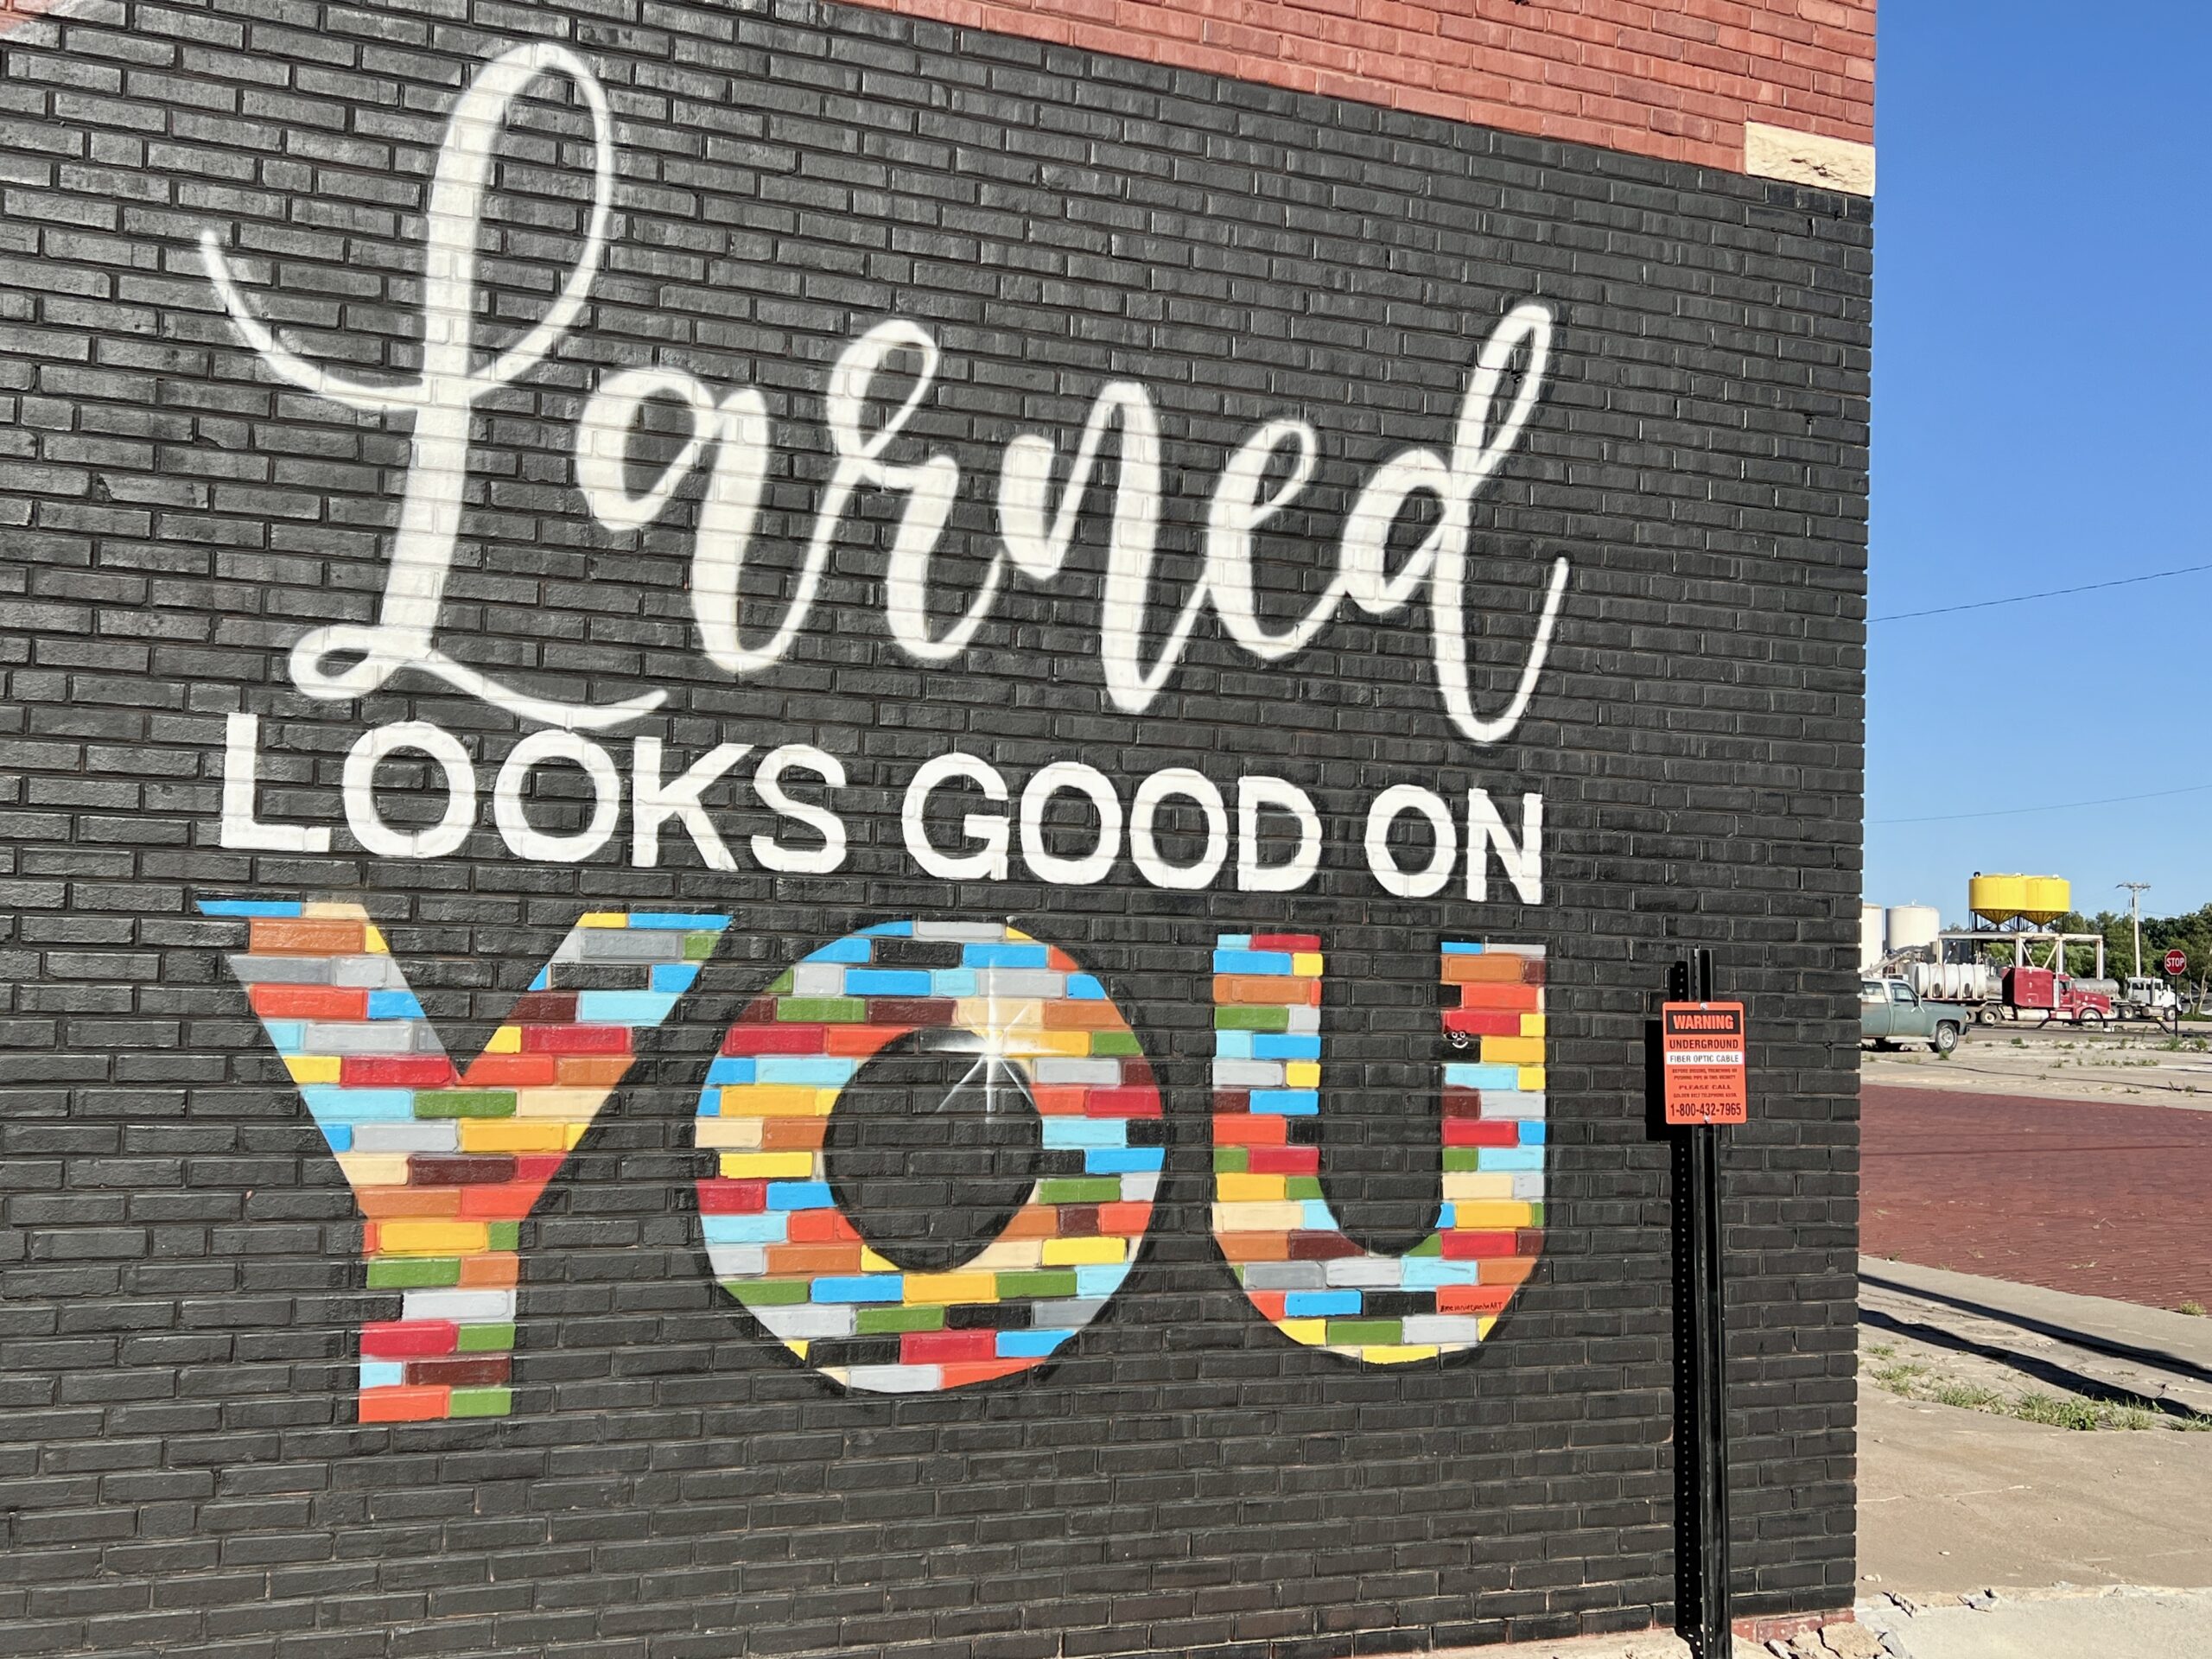
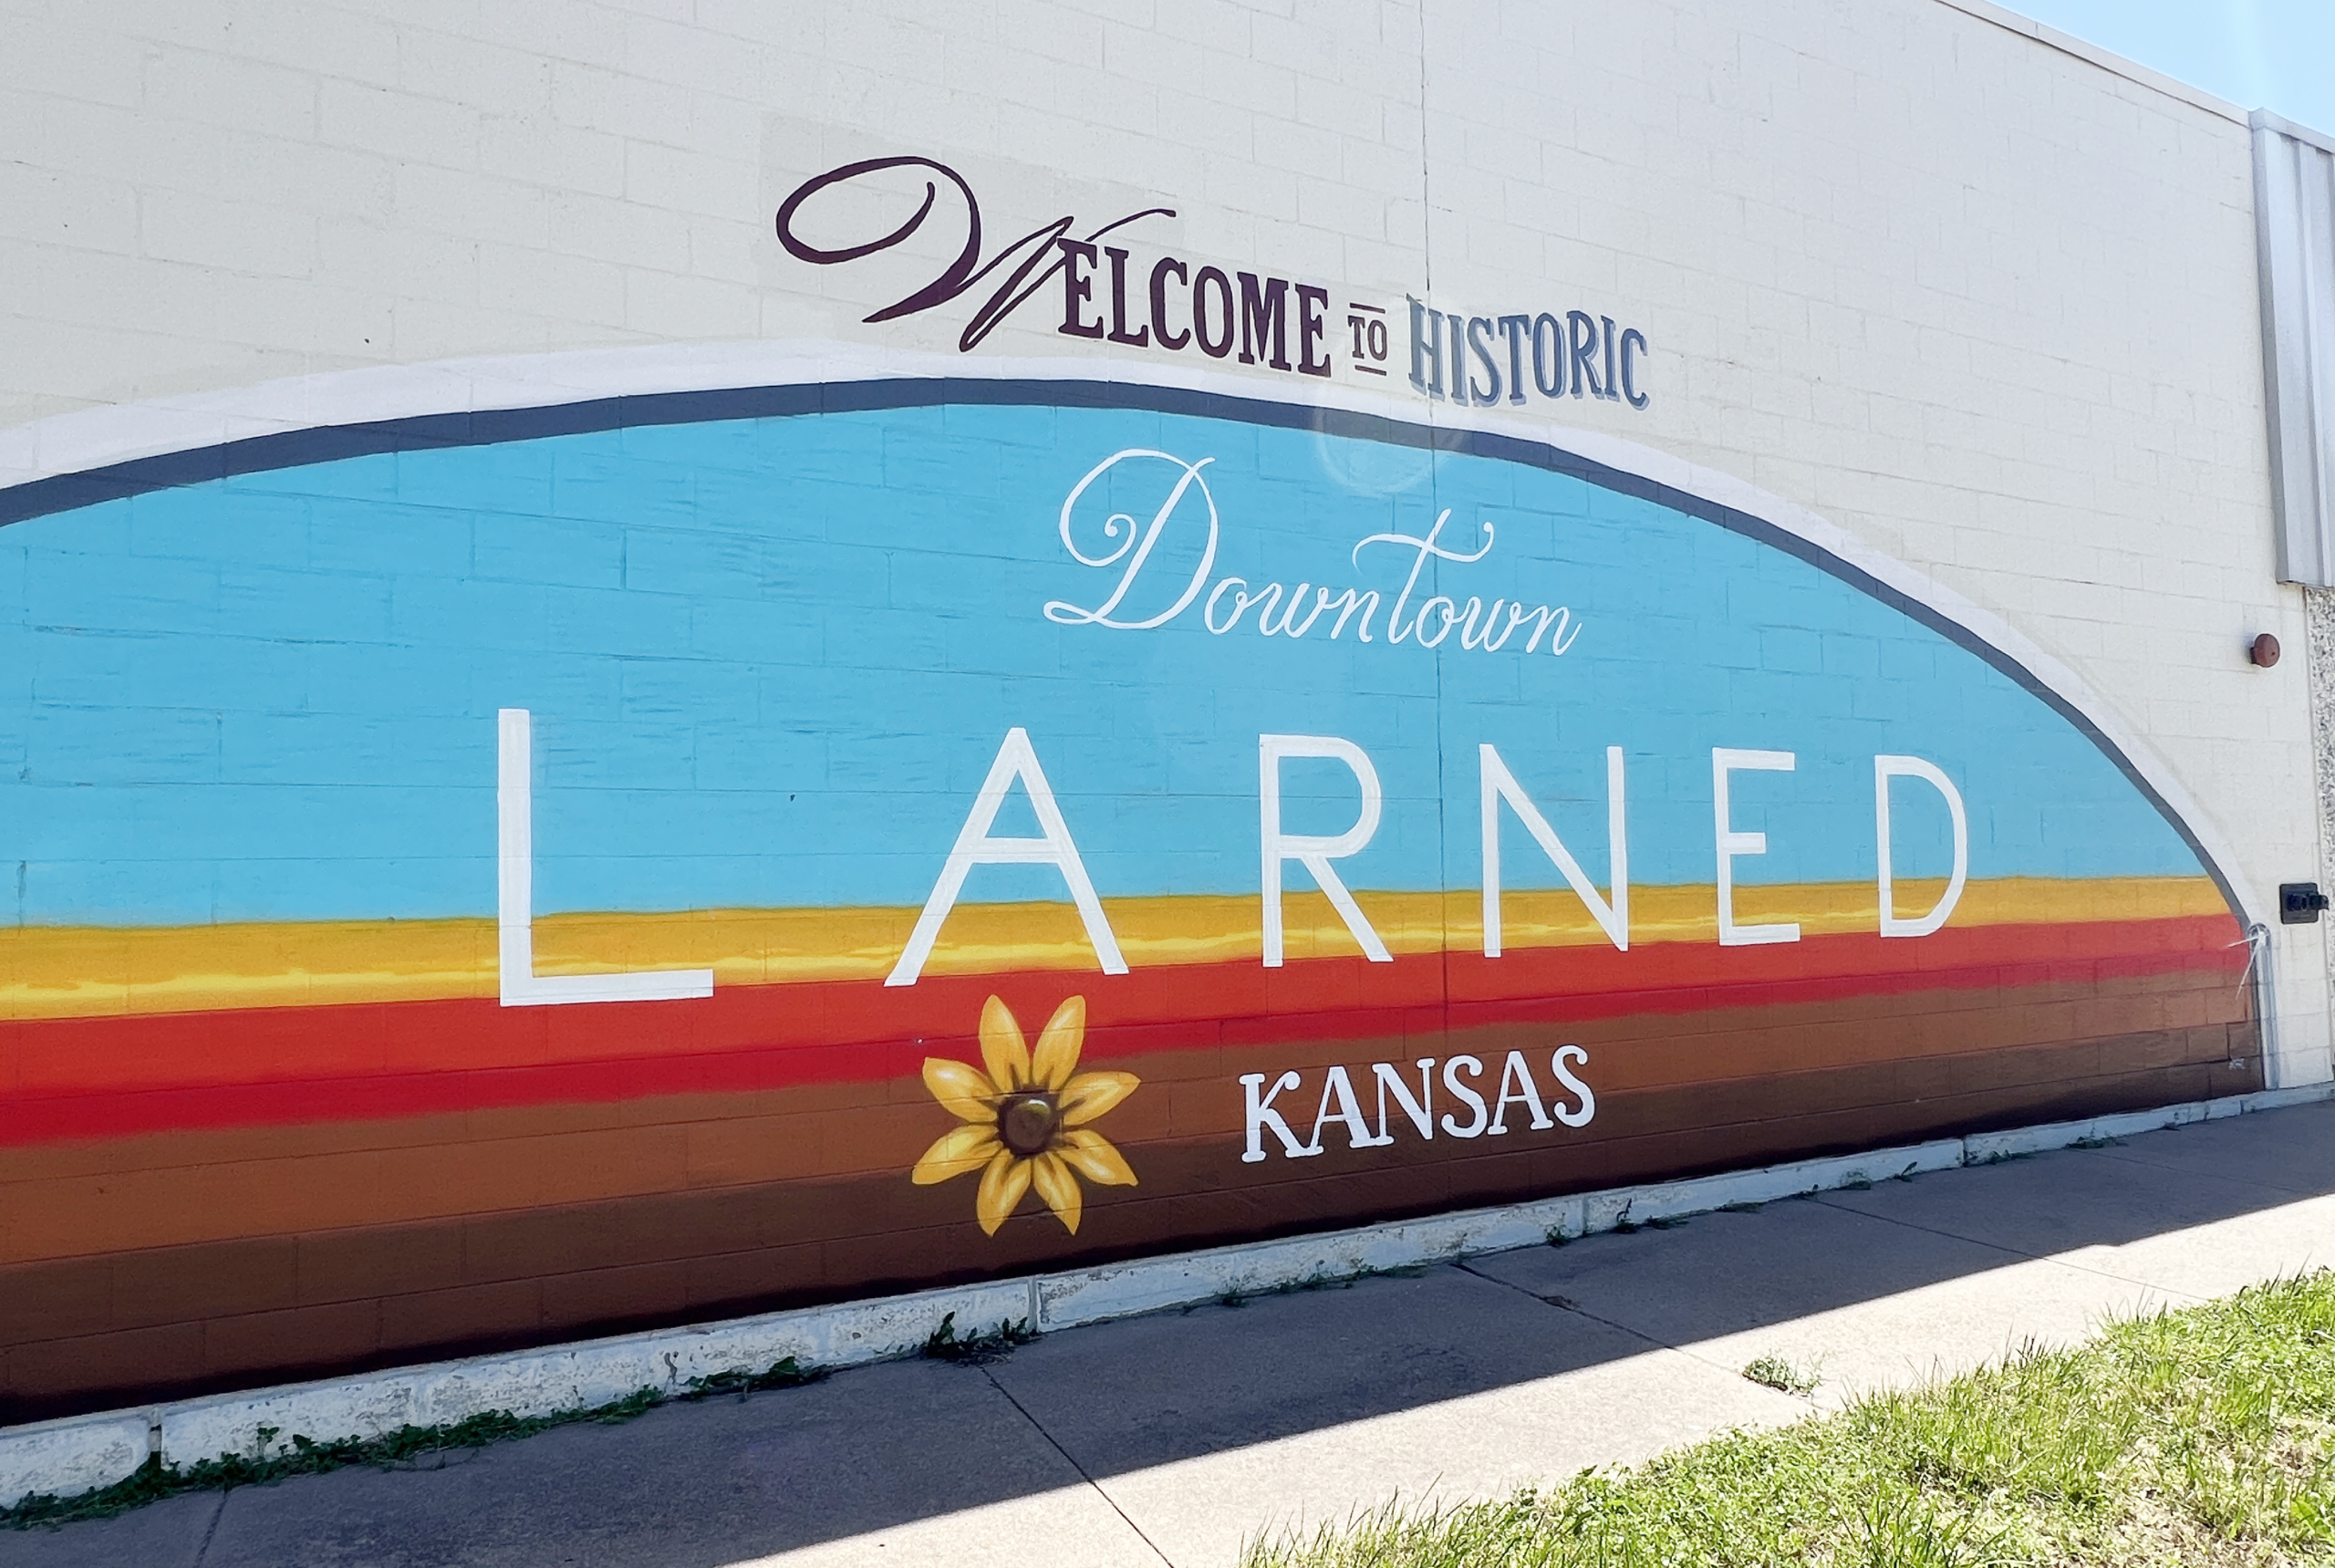
 Die-hard mural seekers will want to keep their eyes peeled for murals adorning buildings at Larned’s city parks as well, like the one pictured below at Doerr Vernon Splash Pad and Park.
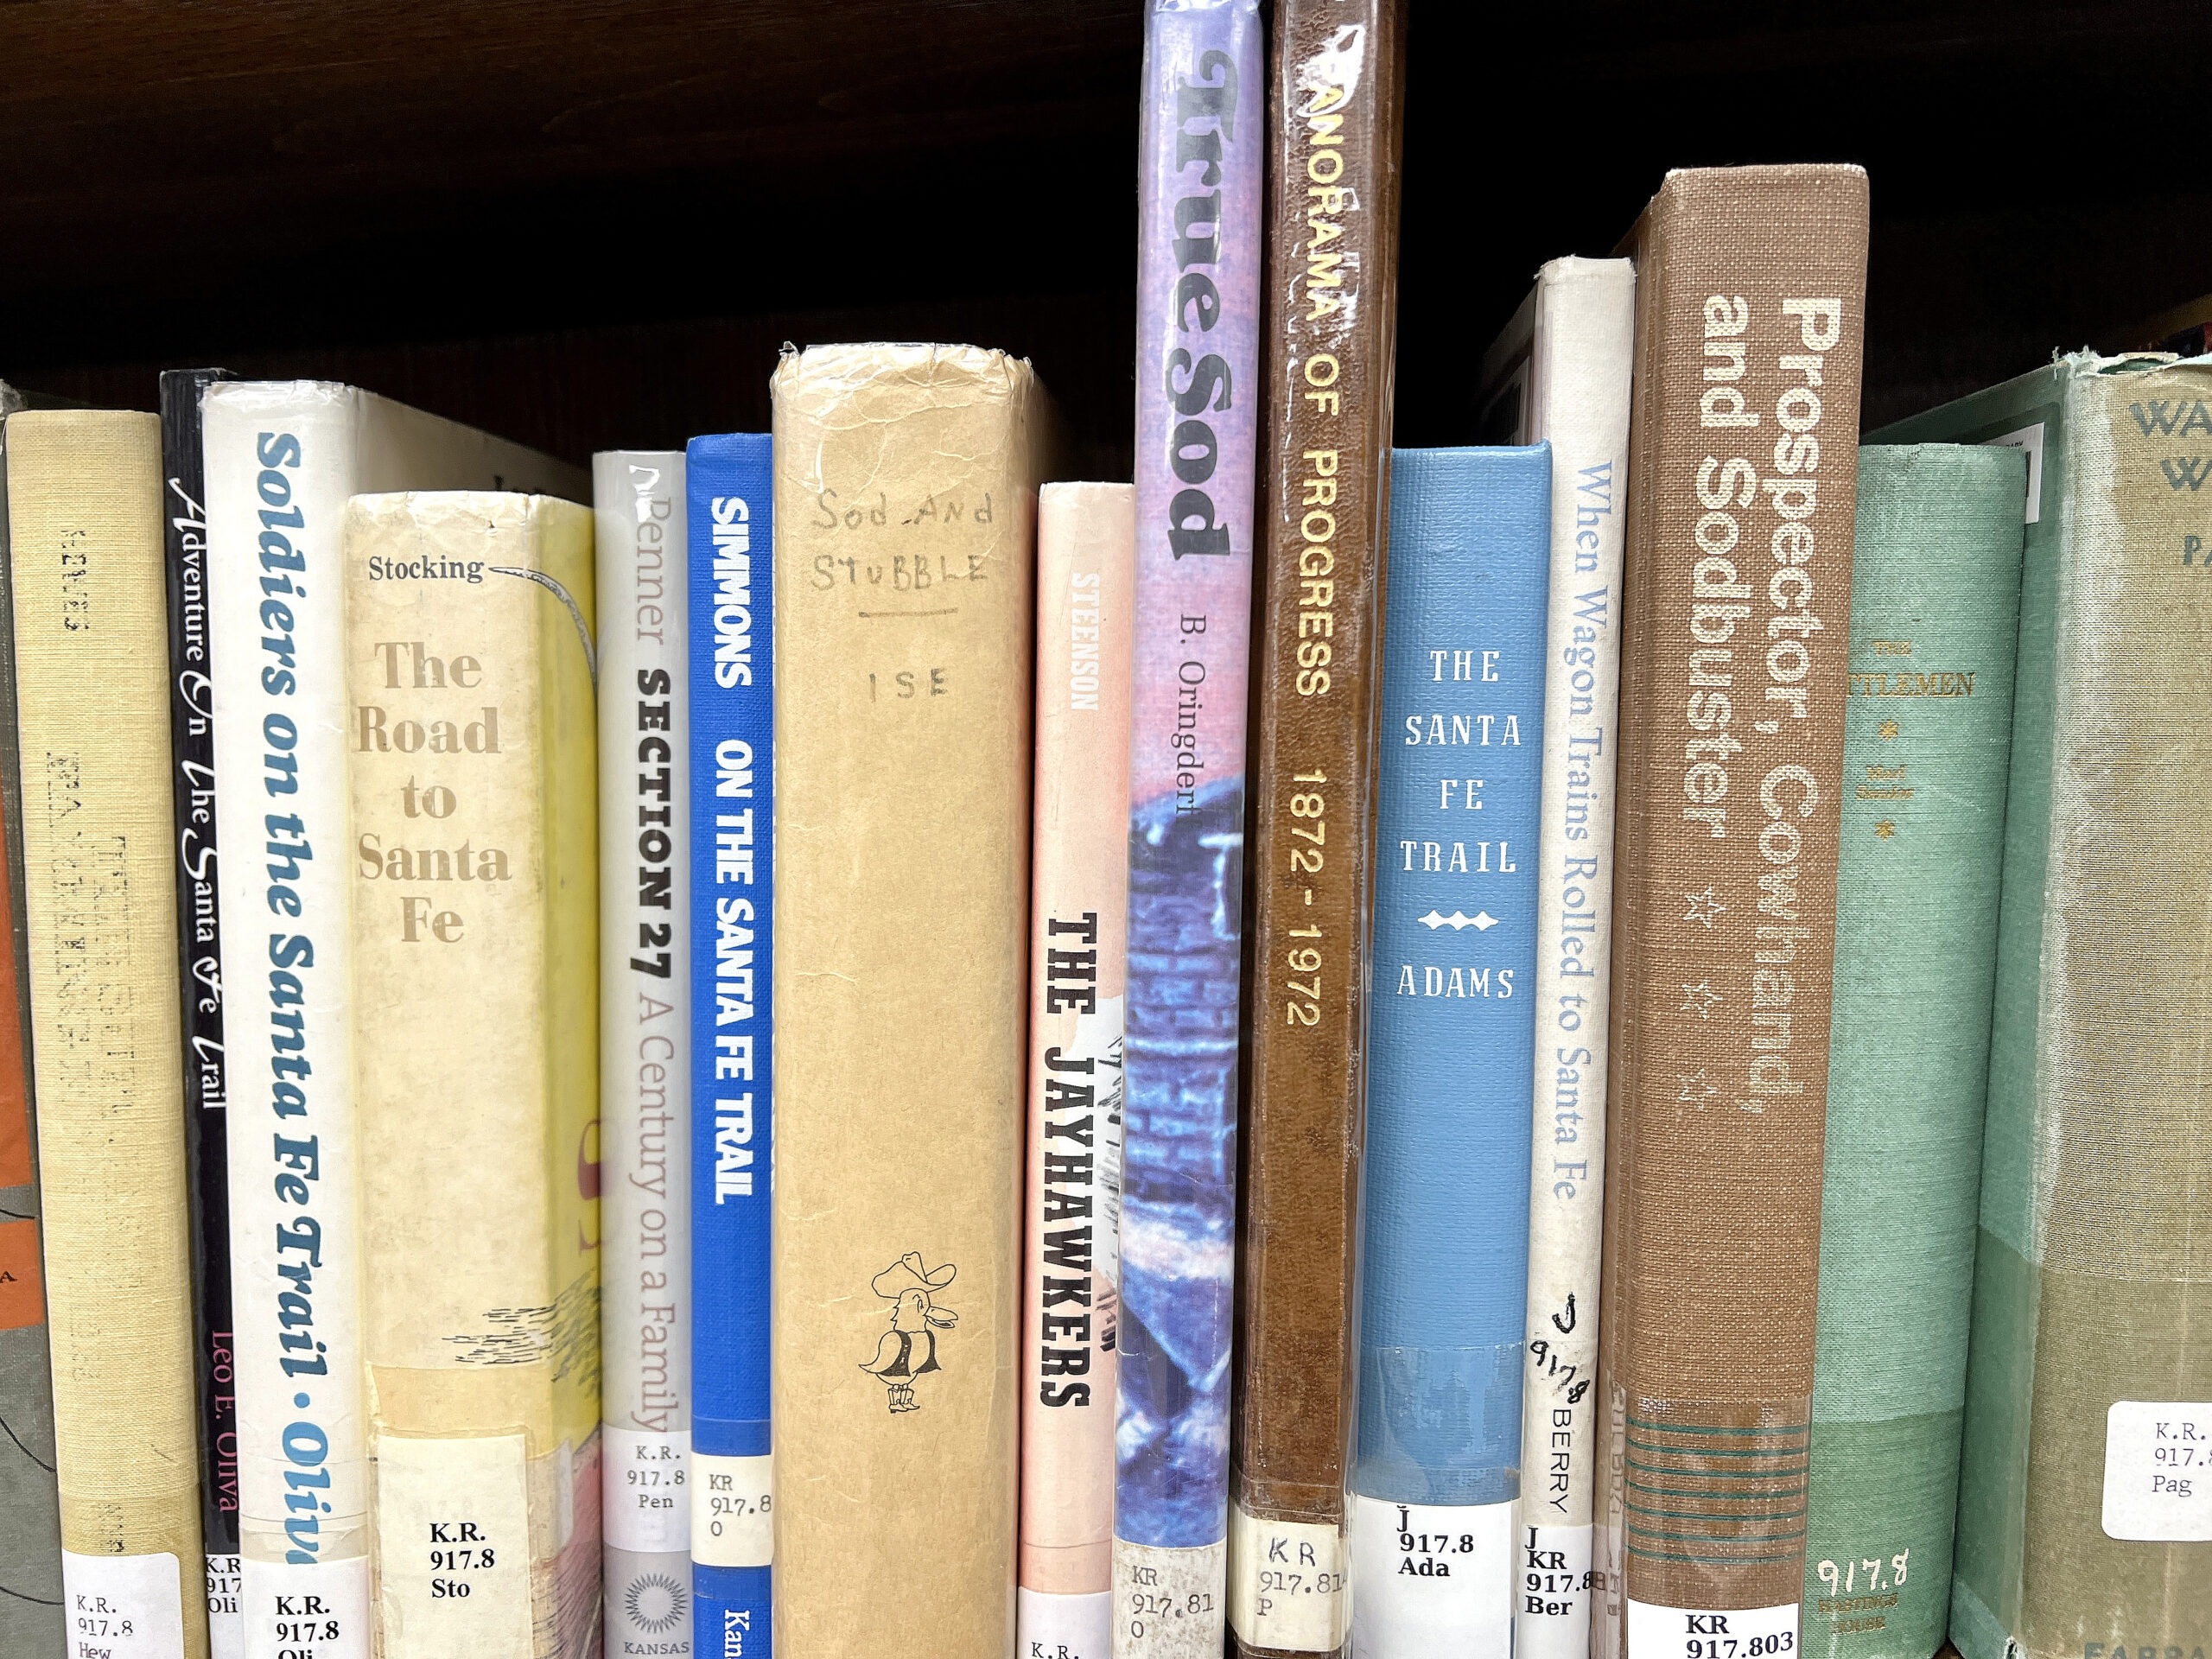 Library staff member encouraged me to use the complimentary high-speed WiFi and to explore the book shelves. During my Kansas Room work session, a second employee checked on me, proving that Larned residents truly are some of the nicest folks.
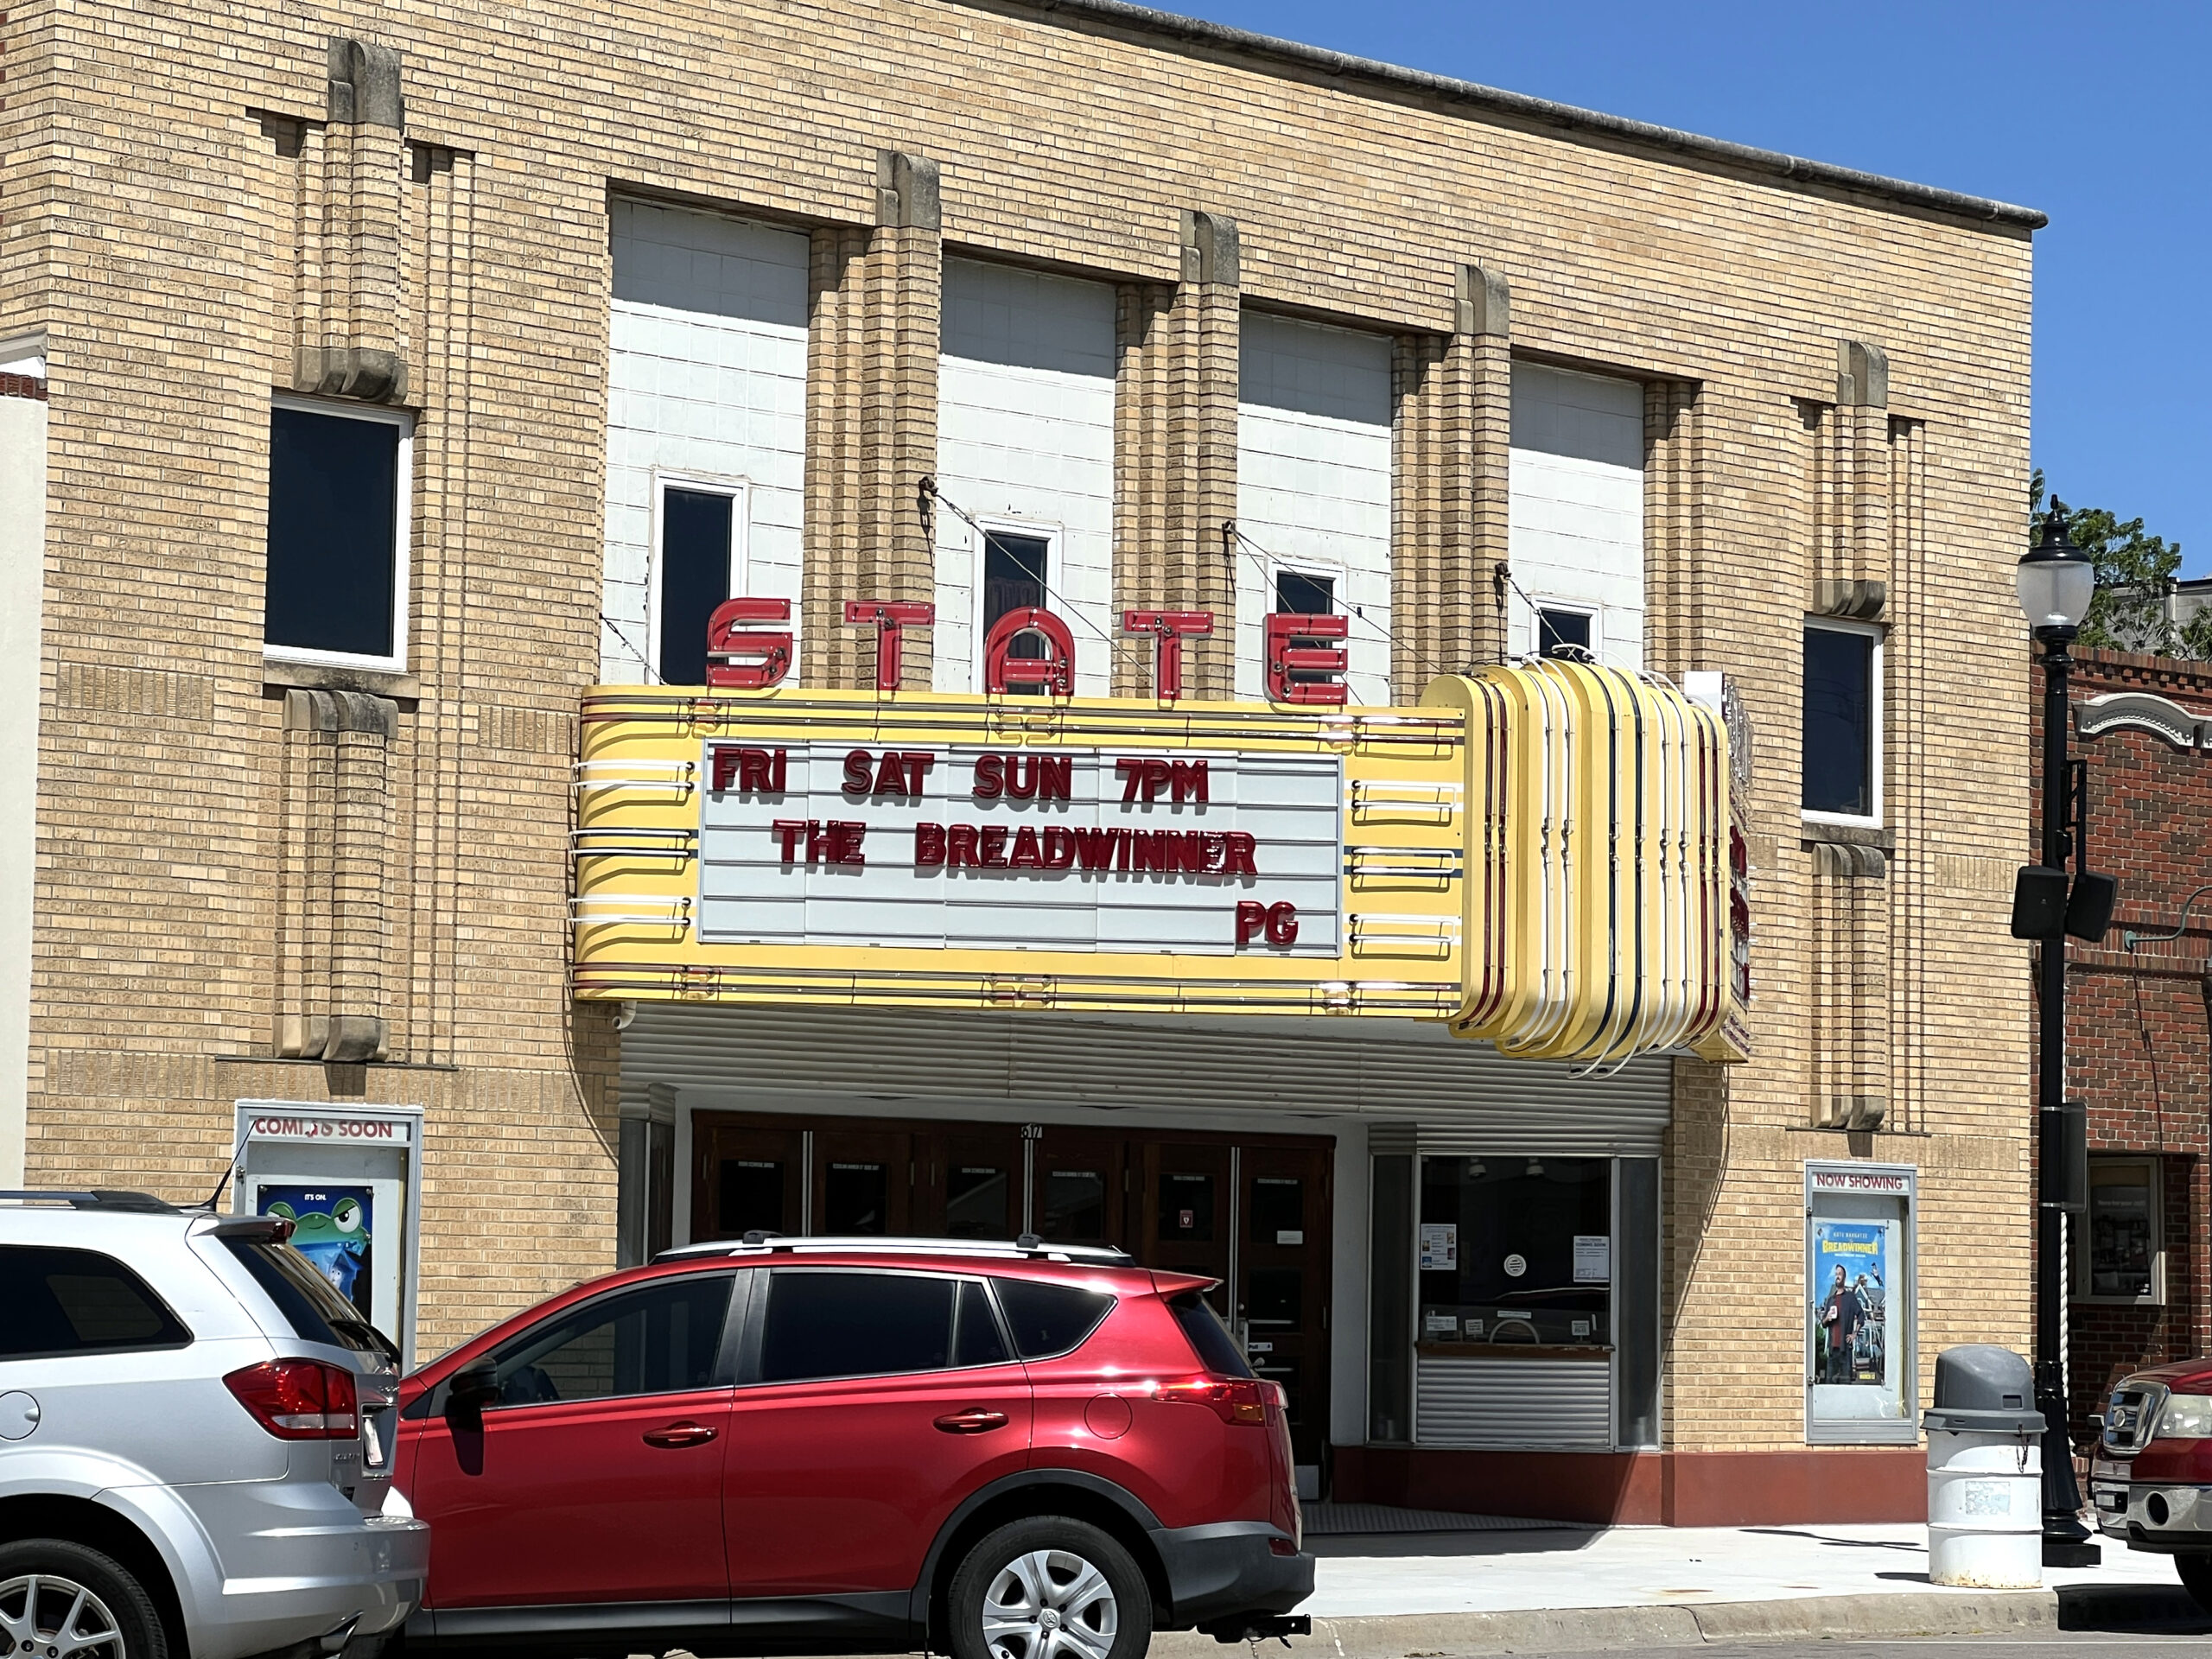 View the theatre’s Facebook page to review
  If you love discovering places where history comes alive and pausing to shop and dine at local businesses, add


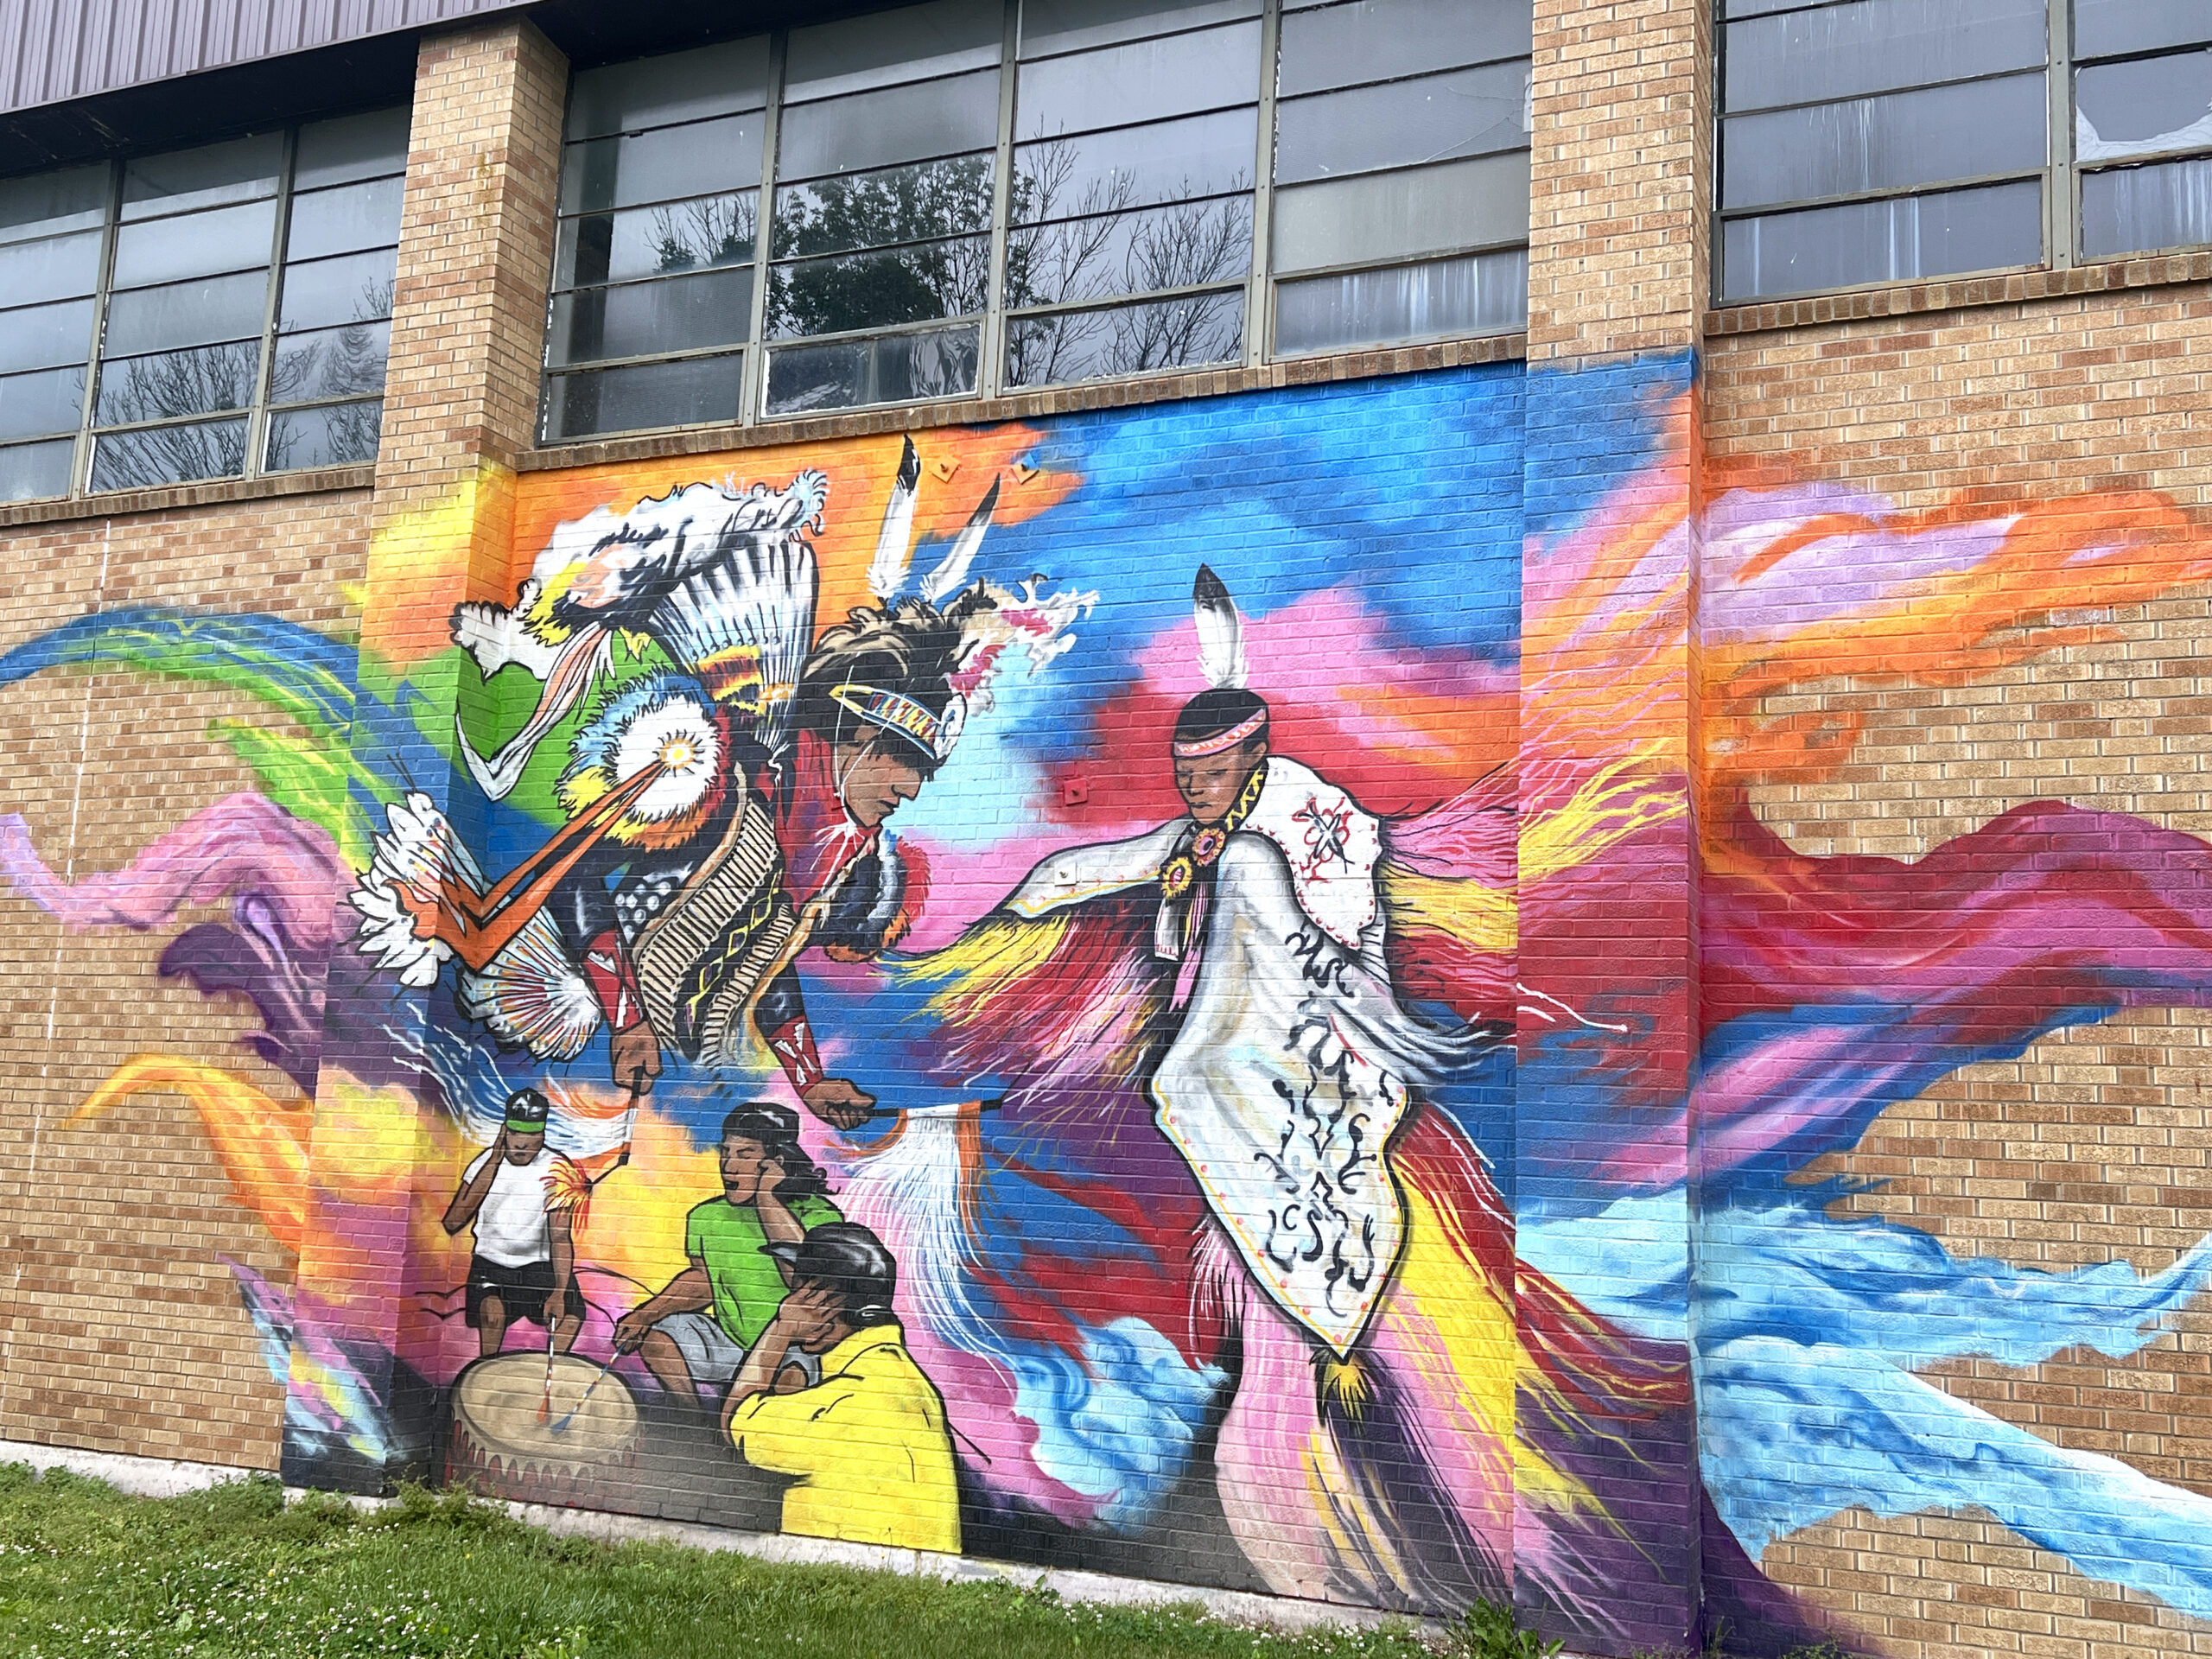 The painting features a Prairie Band Potawatomi singer and drummer, Little Soldier Drum, as well as Fancy Dancer and Fancy Shawl Dancer.
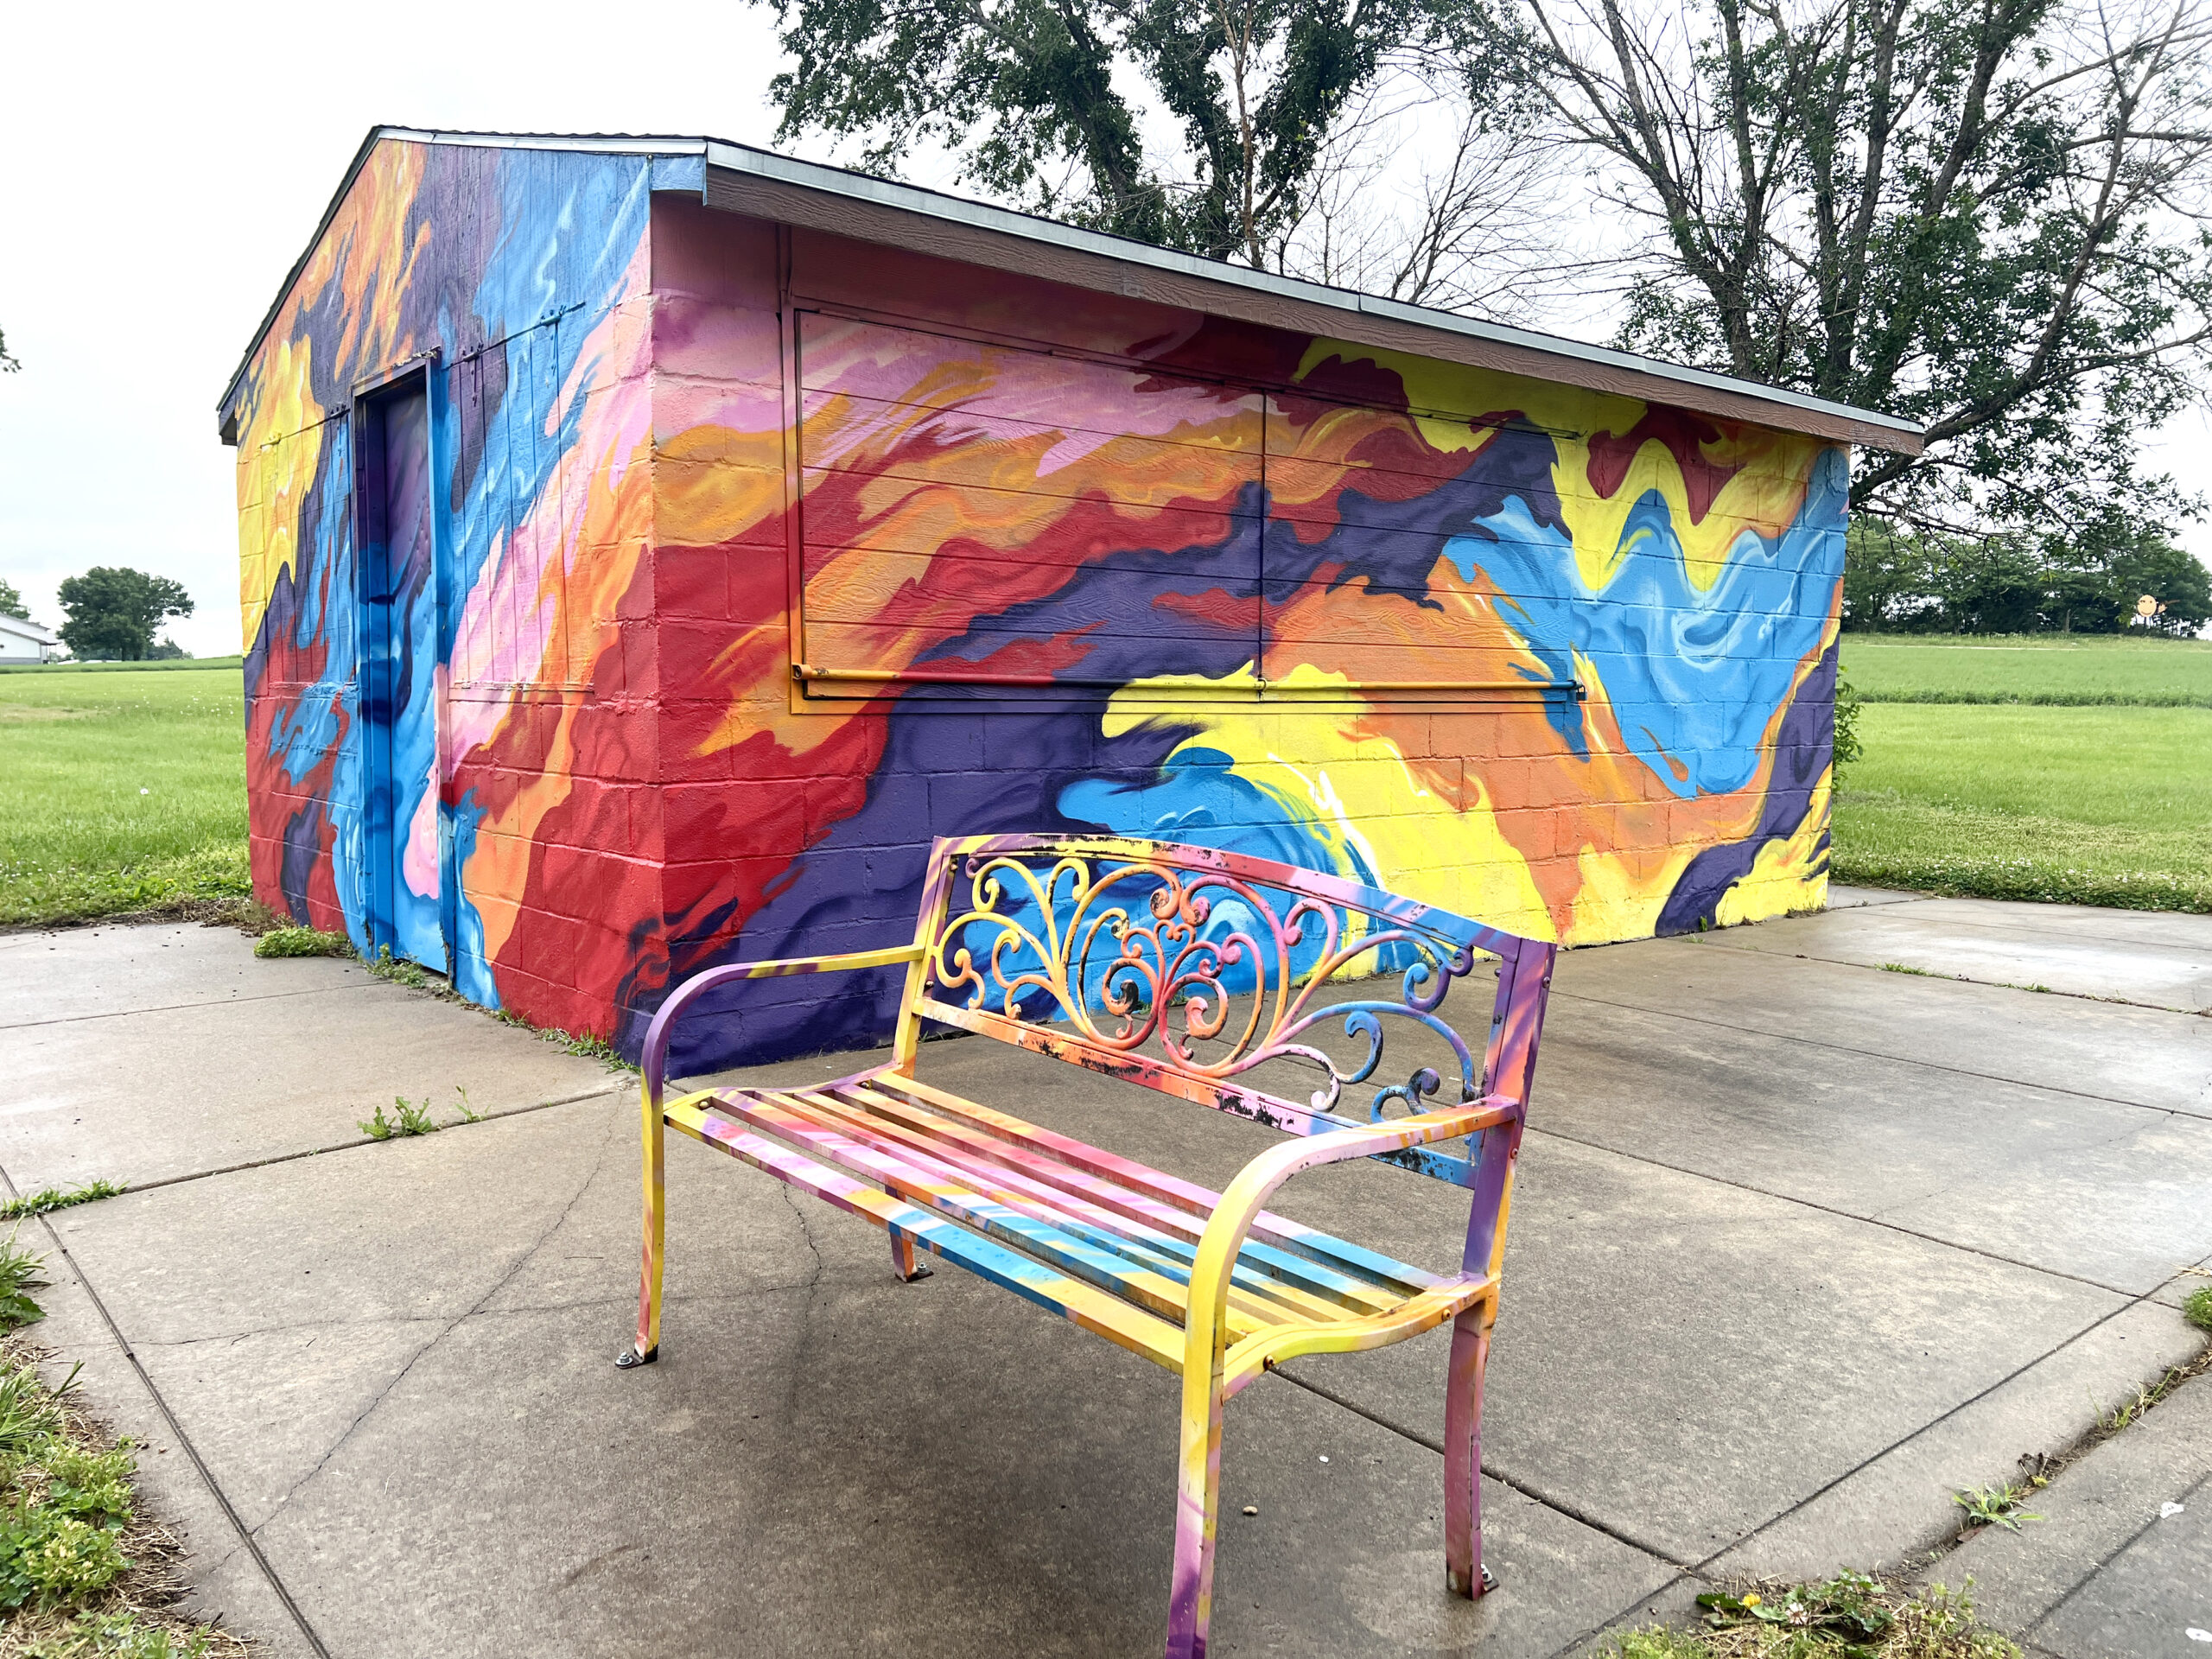 Don’t miss the nearby multicolored murals on the snack shack, propane tank, and a painted bench, which is the ideal spot for a family portrait.
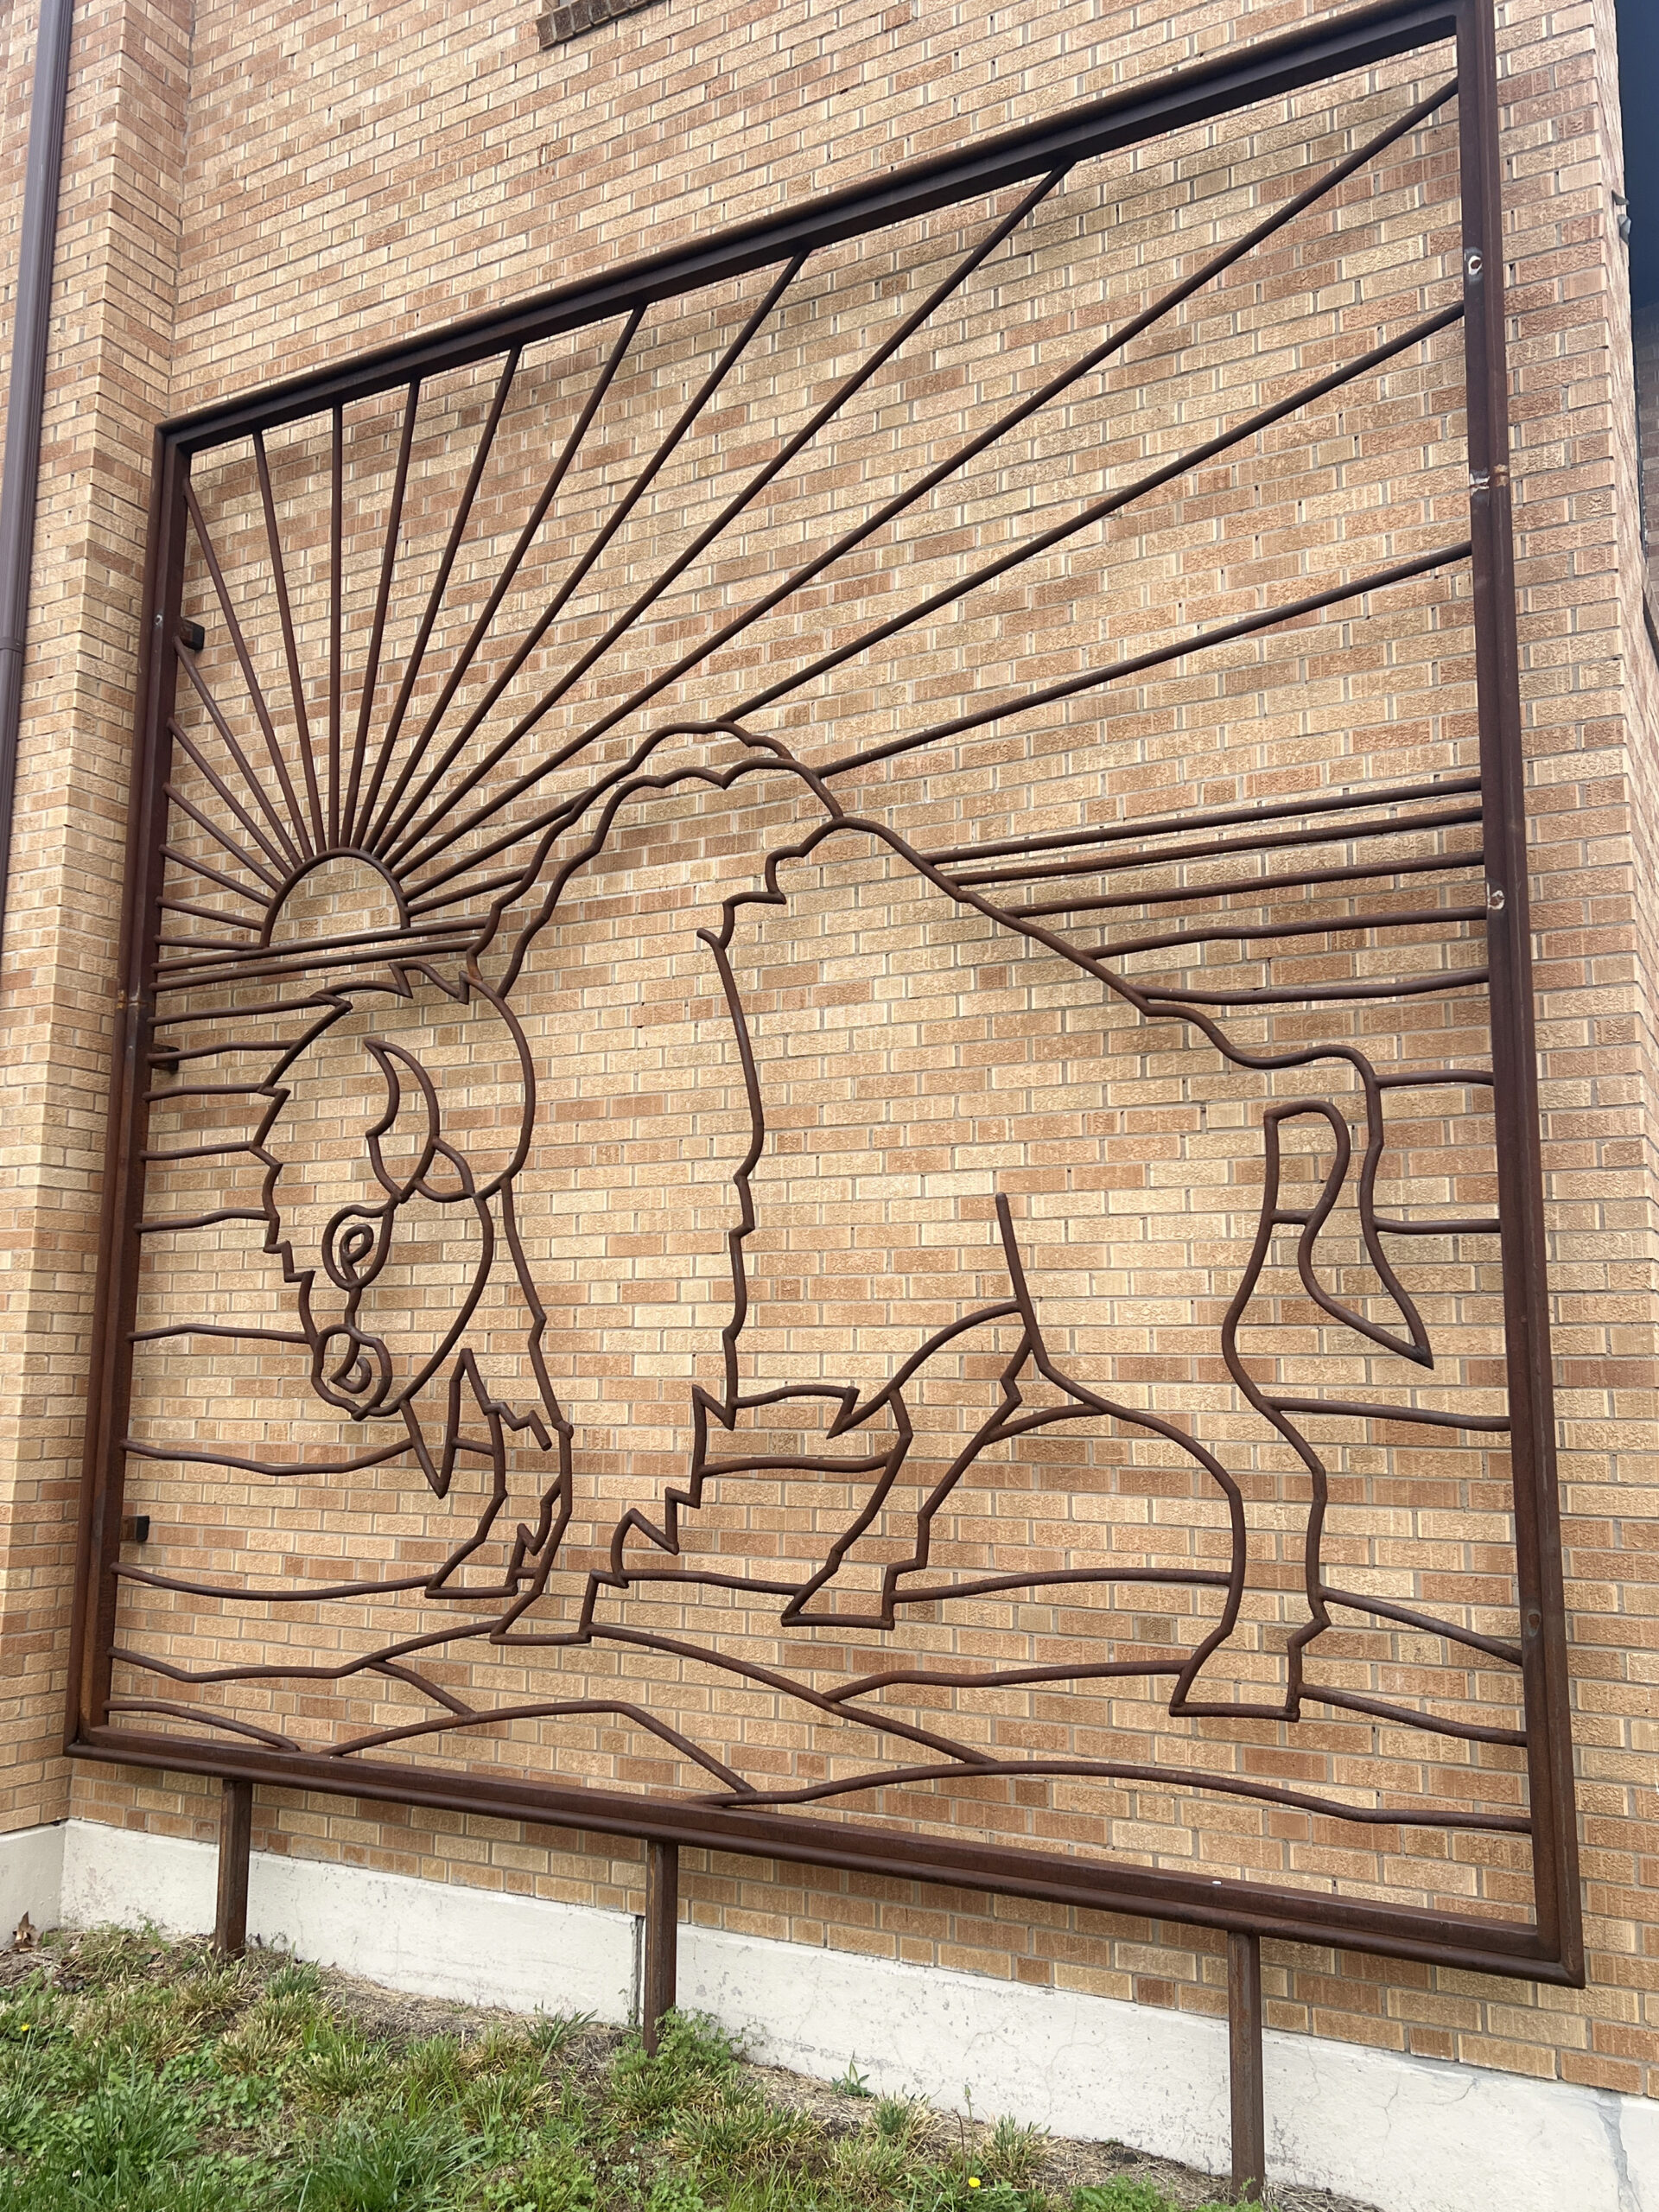 The metalwork installation, one of many media Larson works in, is a nod to the prairie landscape and the American buffalo.
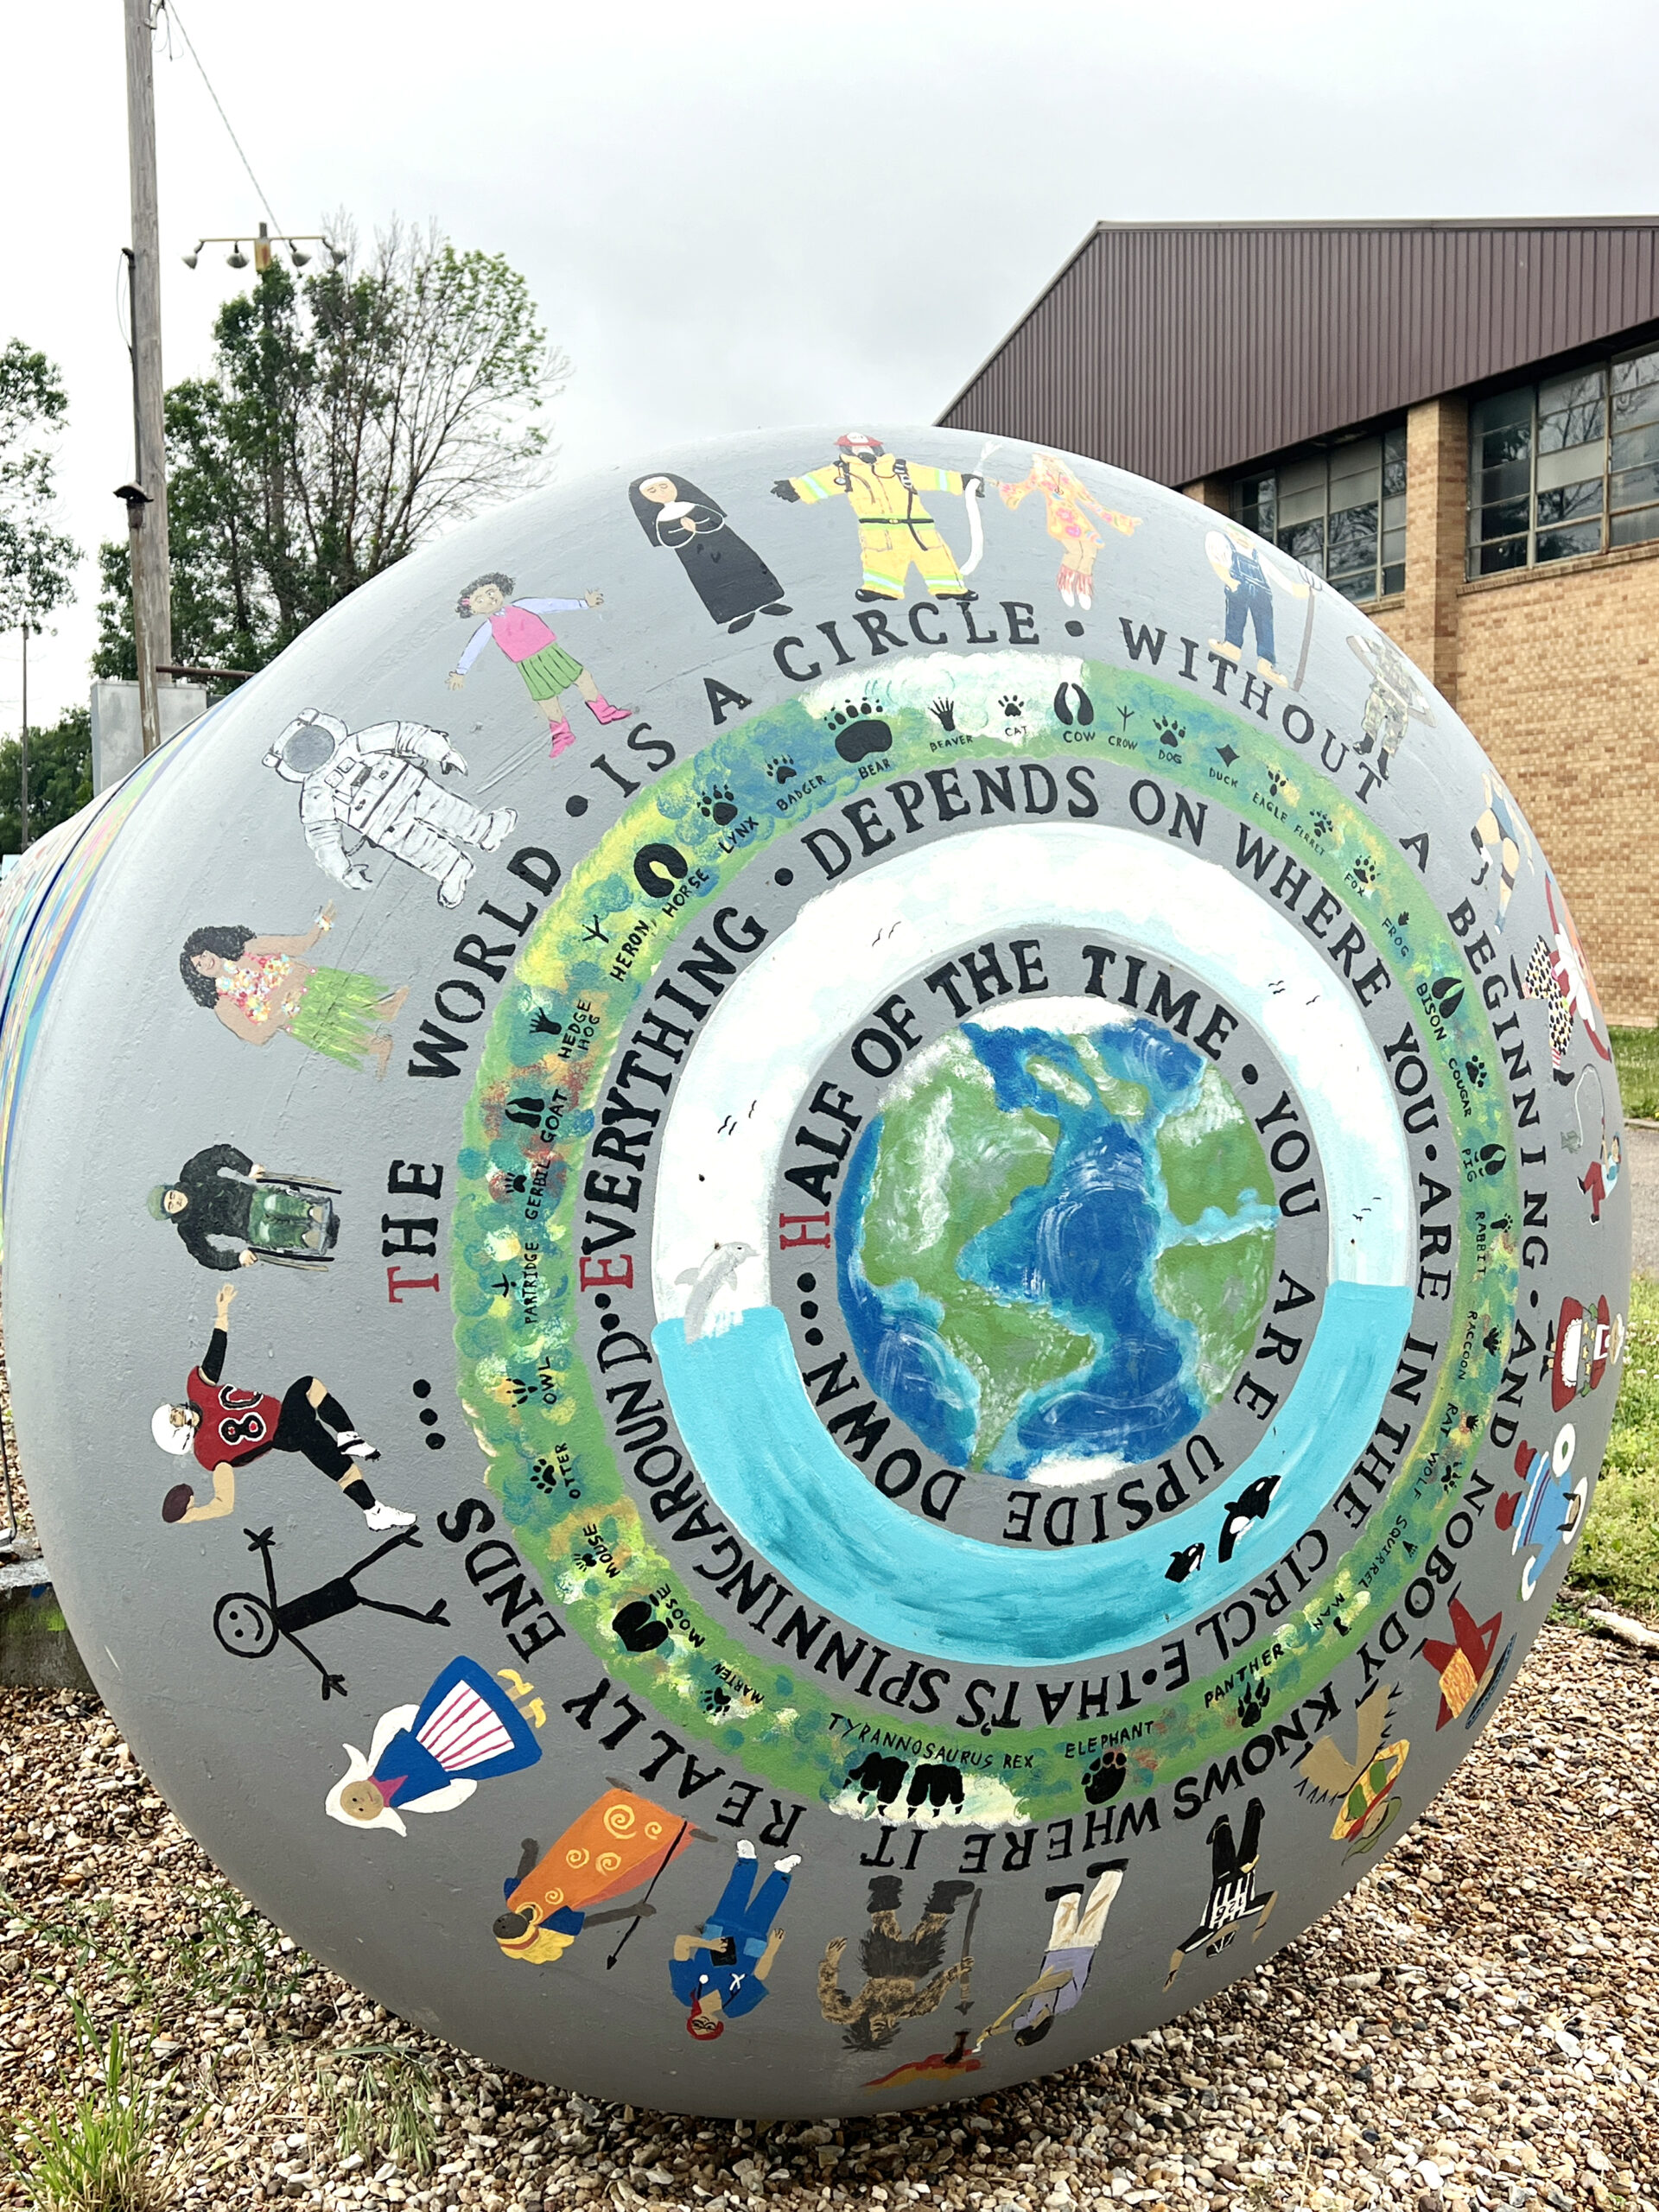 I also discovered more artwork painted on a long propane tank, which celebrates each person’s place in the world. After closer review, I recognized Native American symbolism depicting animals in nature.
 On the opposite side of the community building, you’ll see quilt blocks adorning its facade.
 As I arrived, a local resident delivered farm-fresh eggs for the market to prepare breakfast for its regular customers.
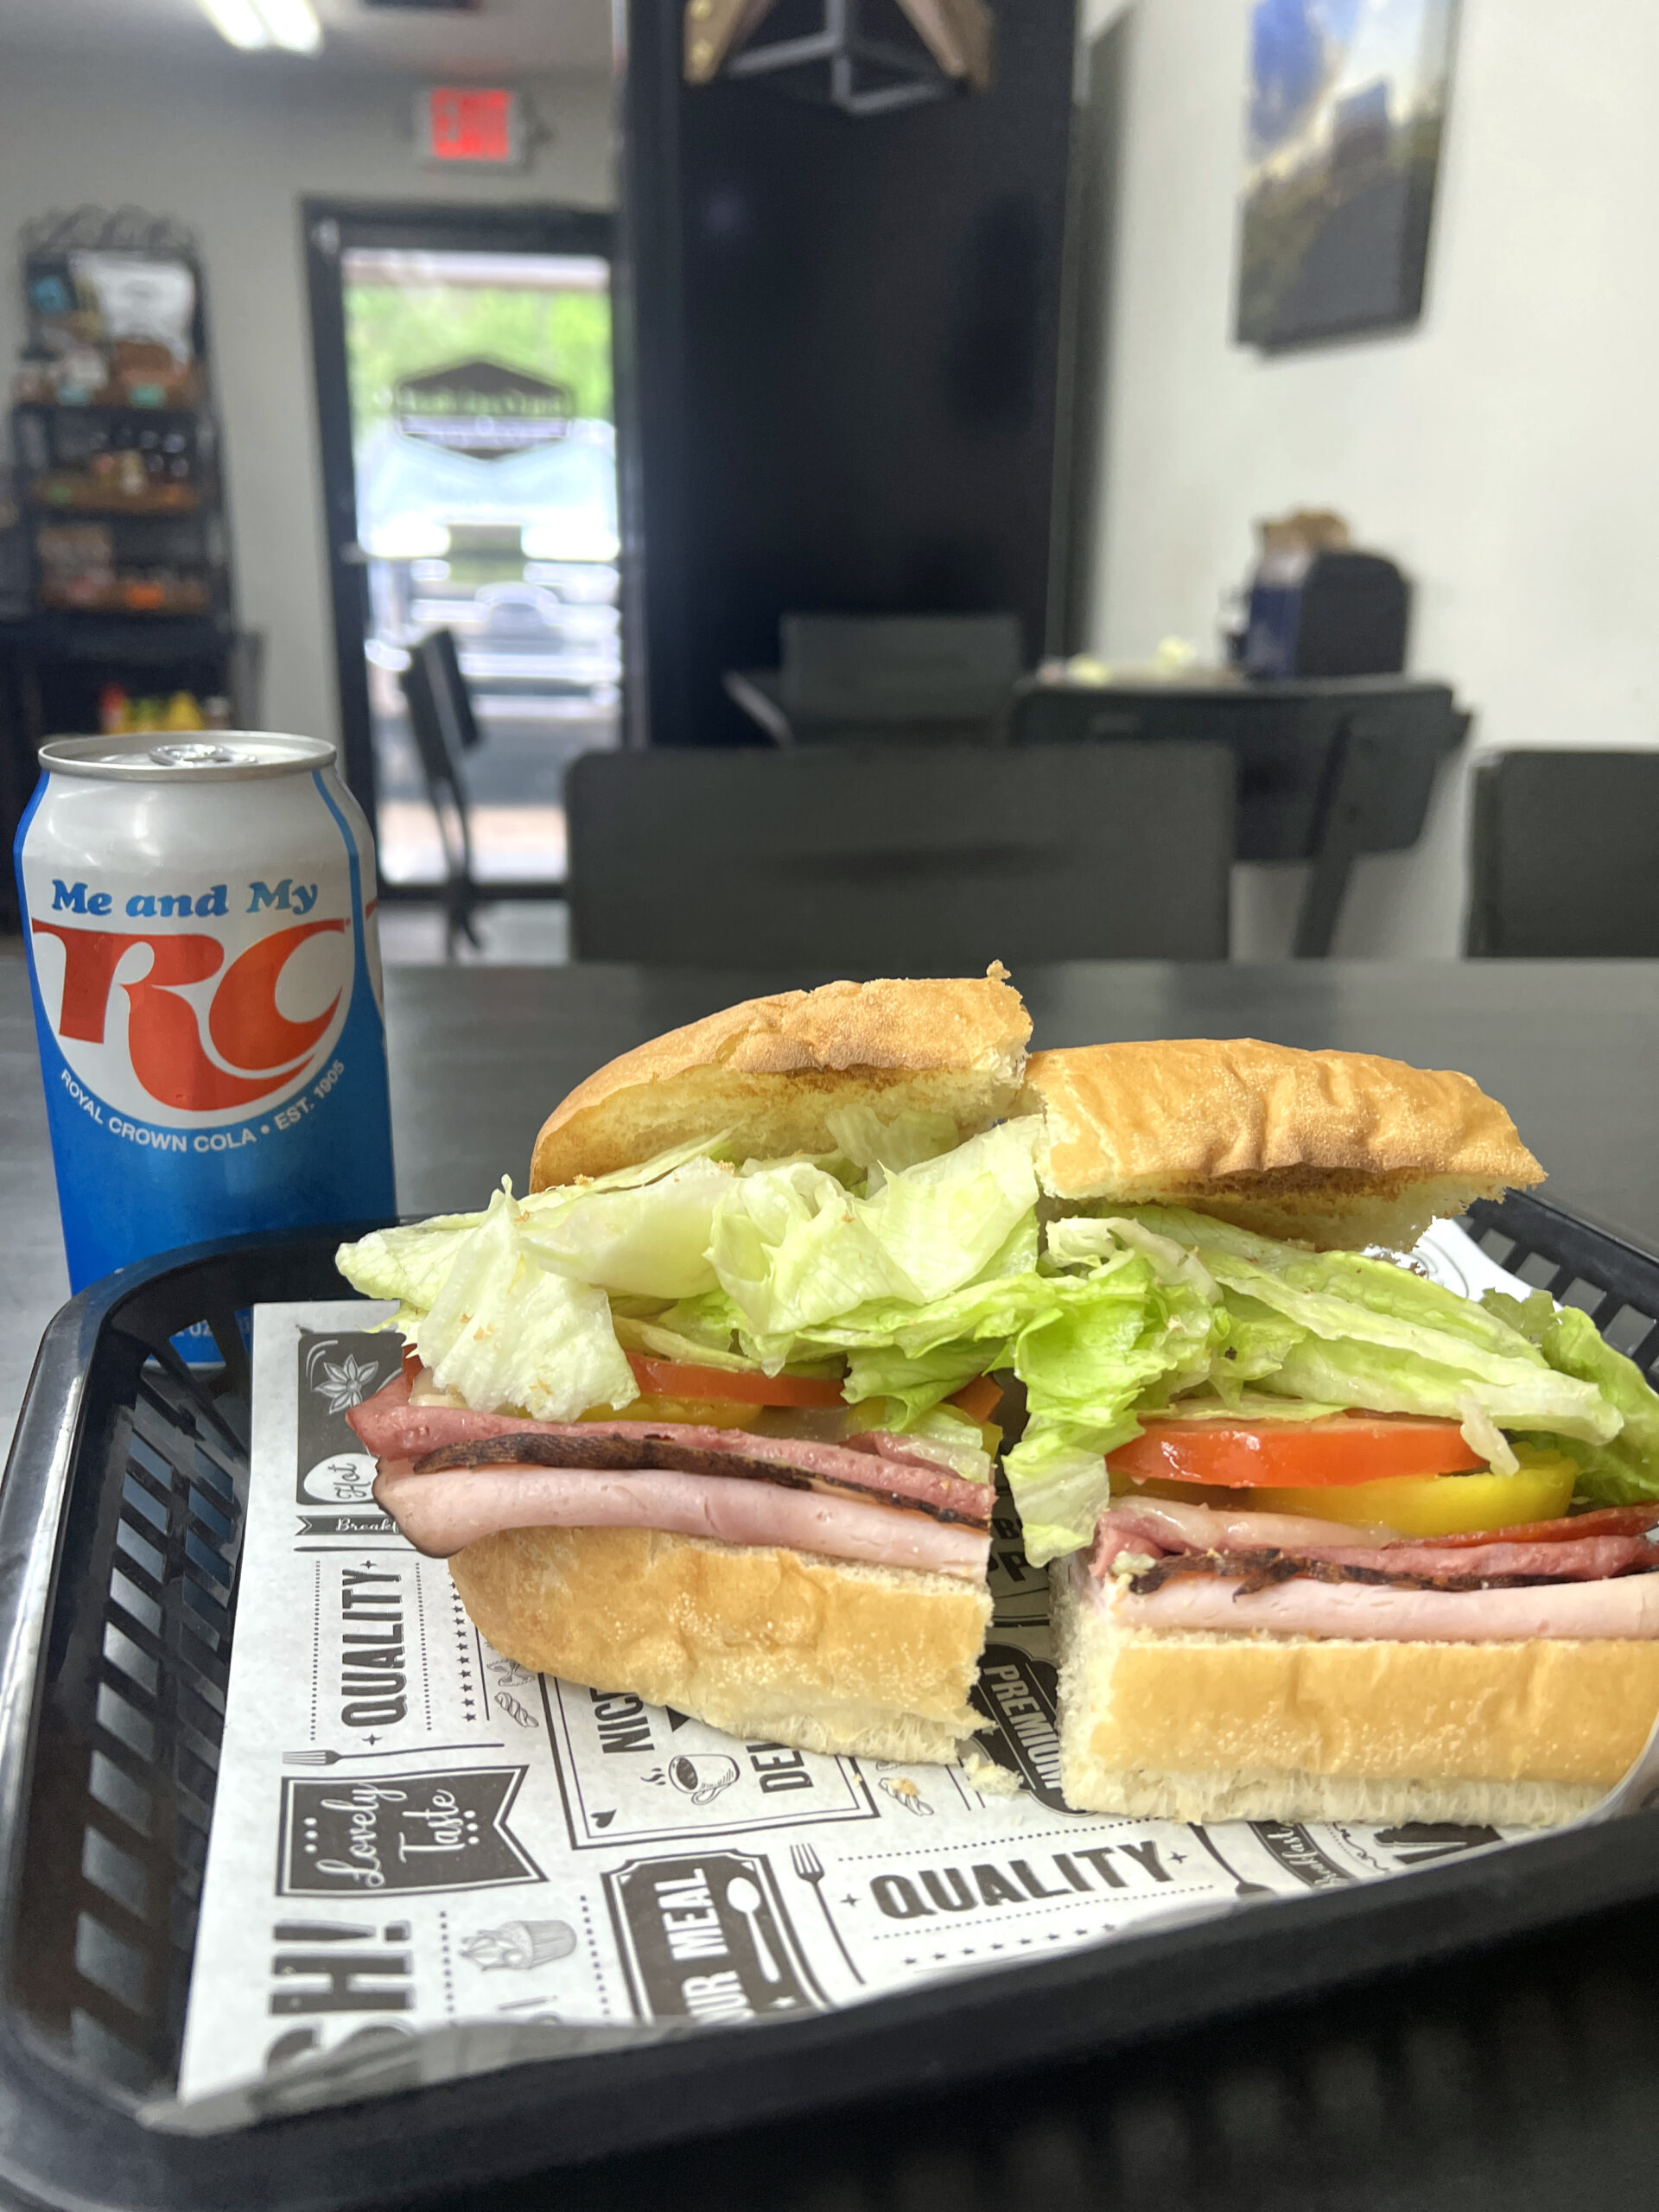 Nikki slices the meat for each sandwich to stuff between pillowy soft bread with provolone cheese, peppers, and a drizzle of Italian dressing.
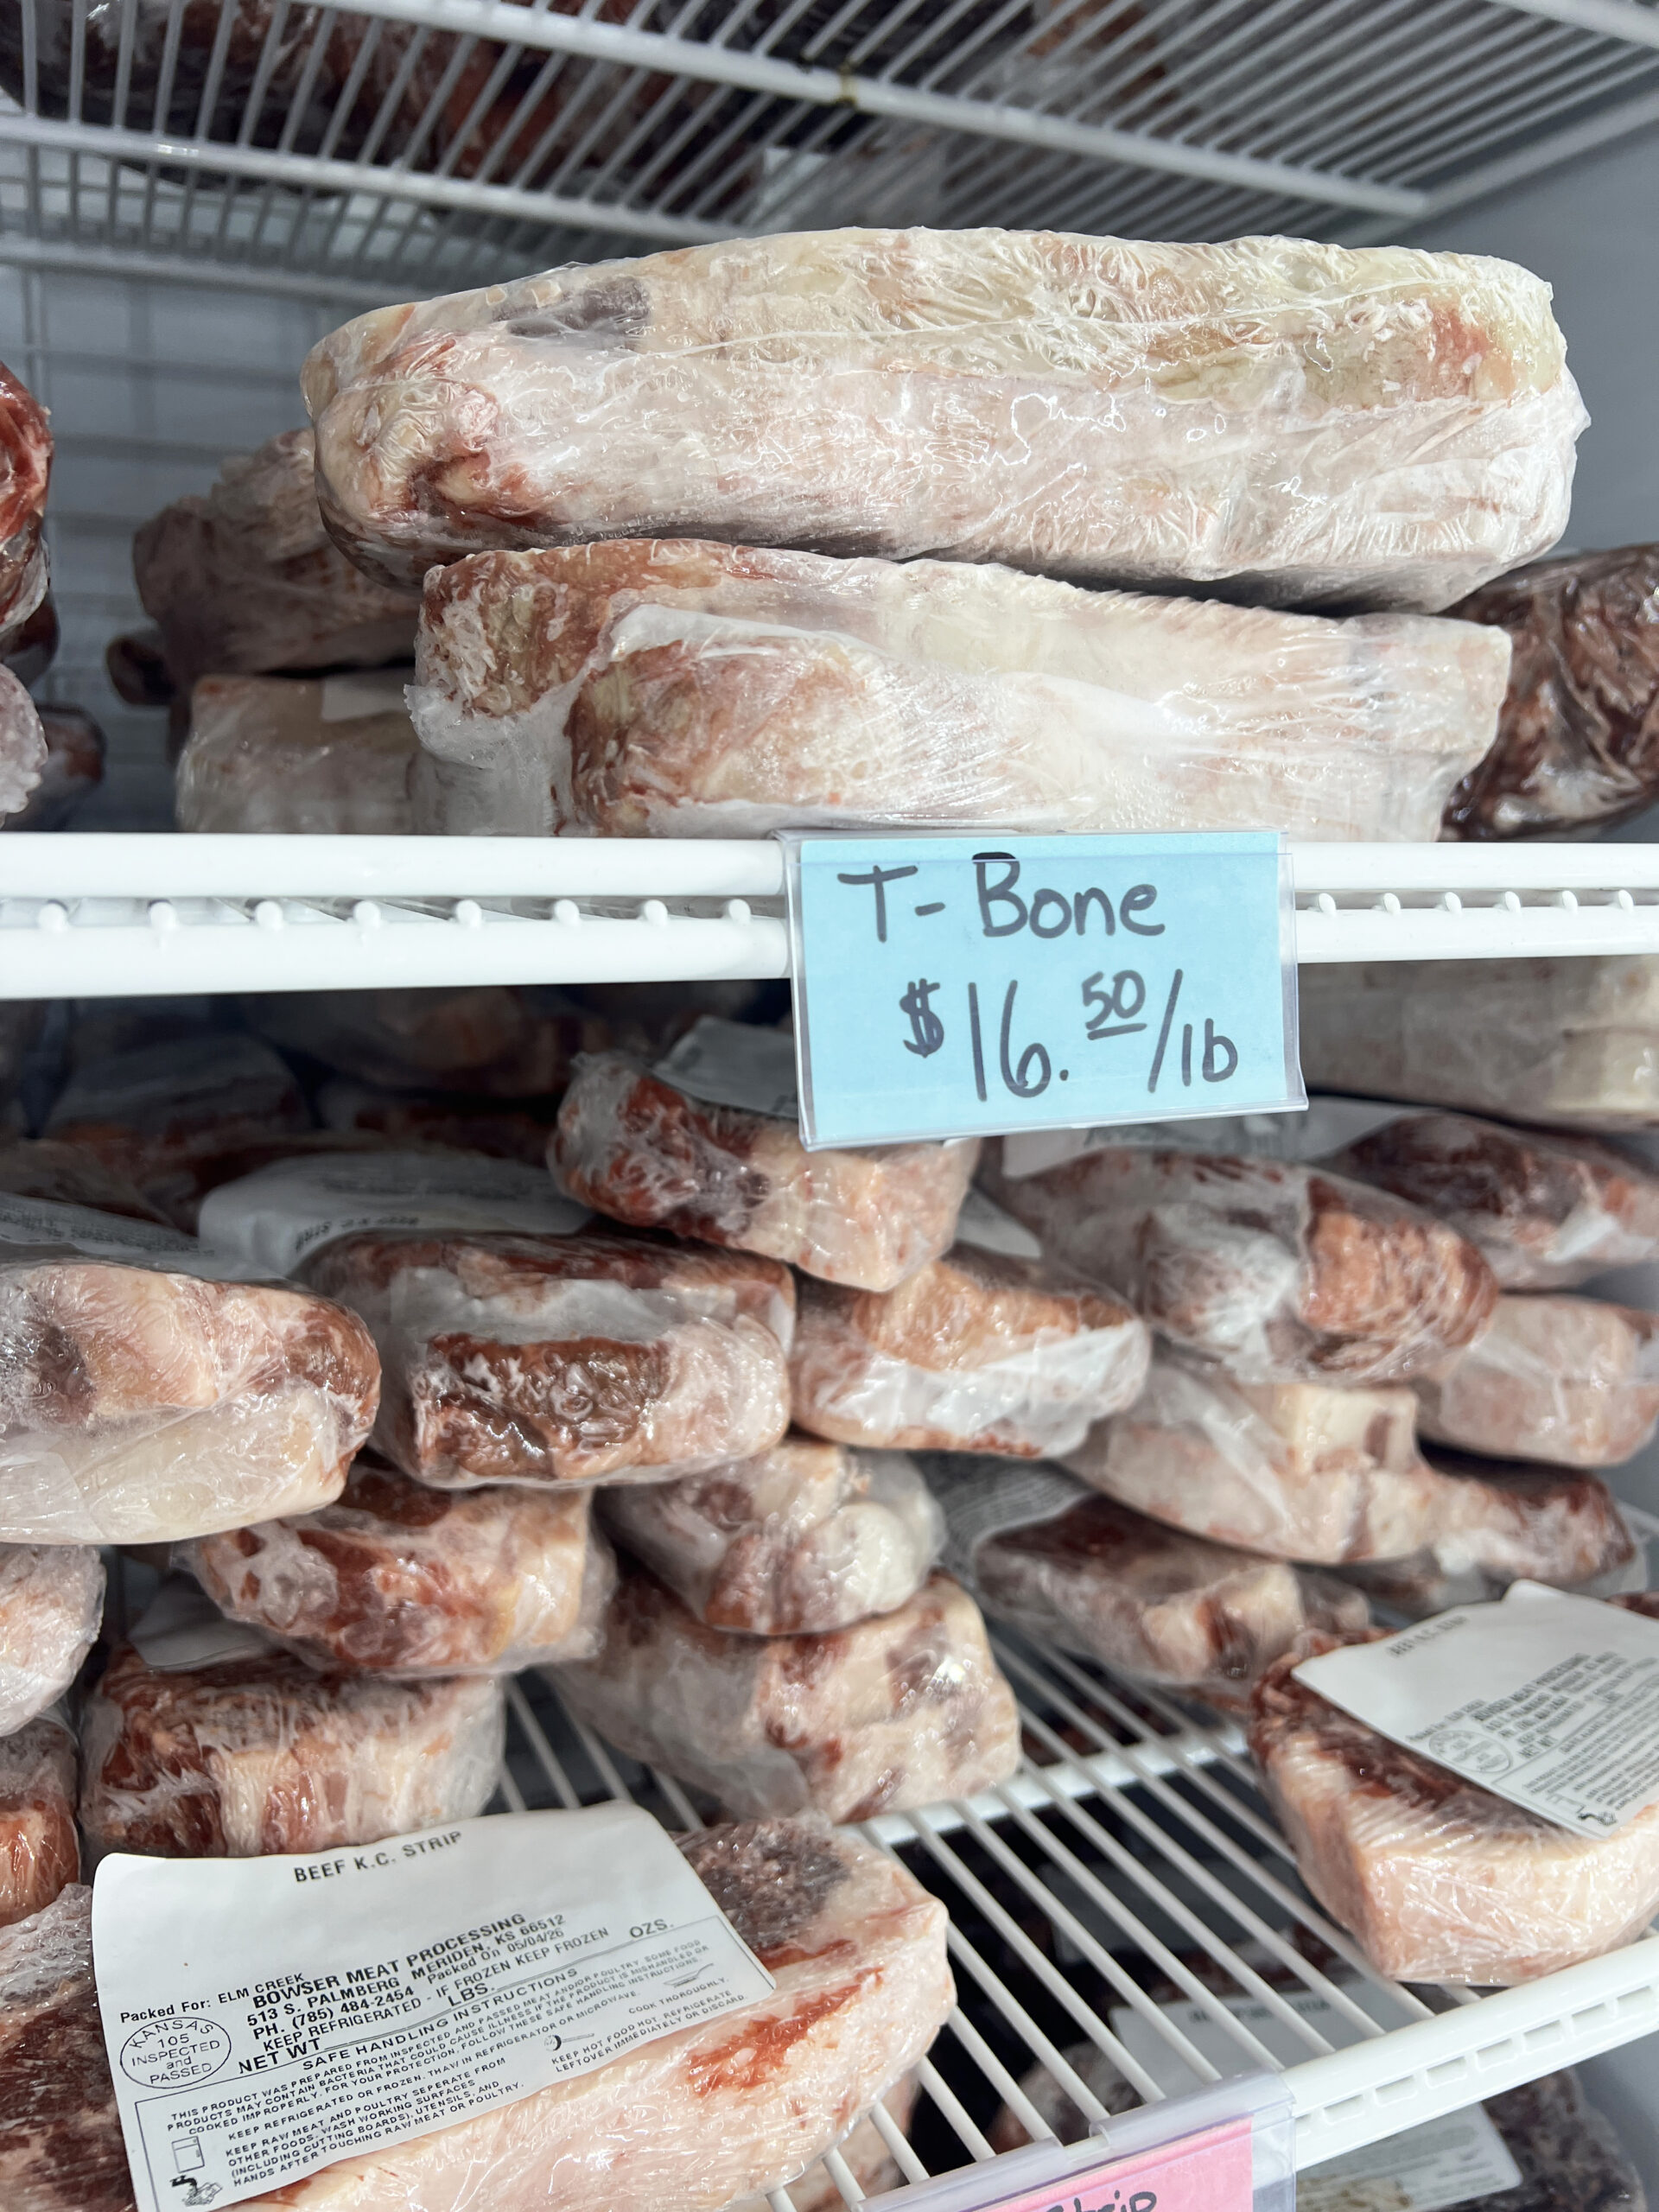 Whether you stop for breakfast, lunch, or grocery supplies, bring a road-worthy cooler with ice to keep your premium cut meat cold.
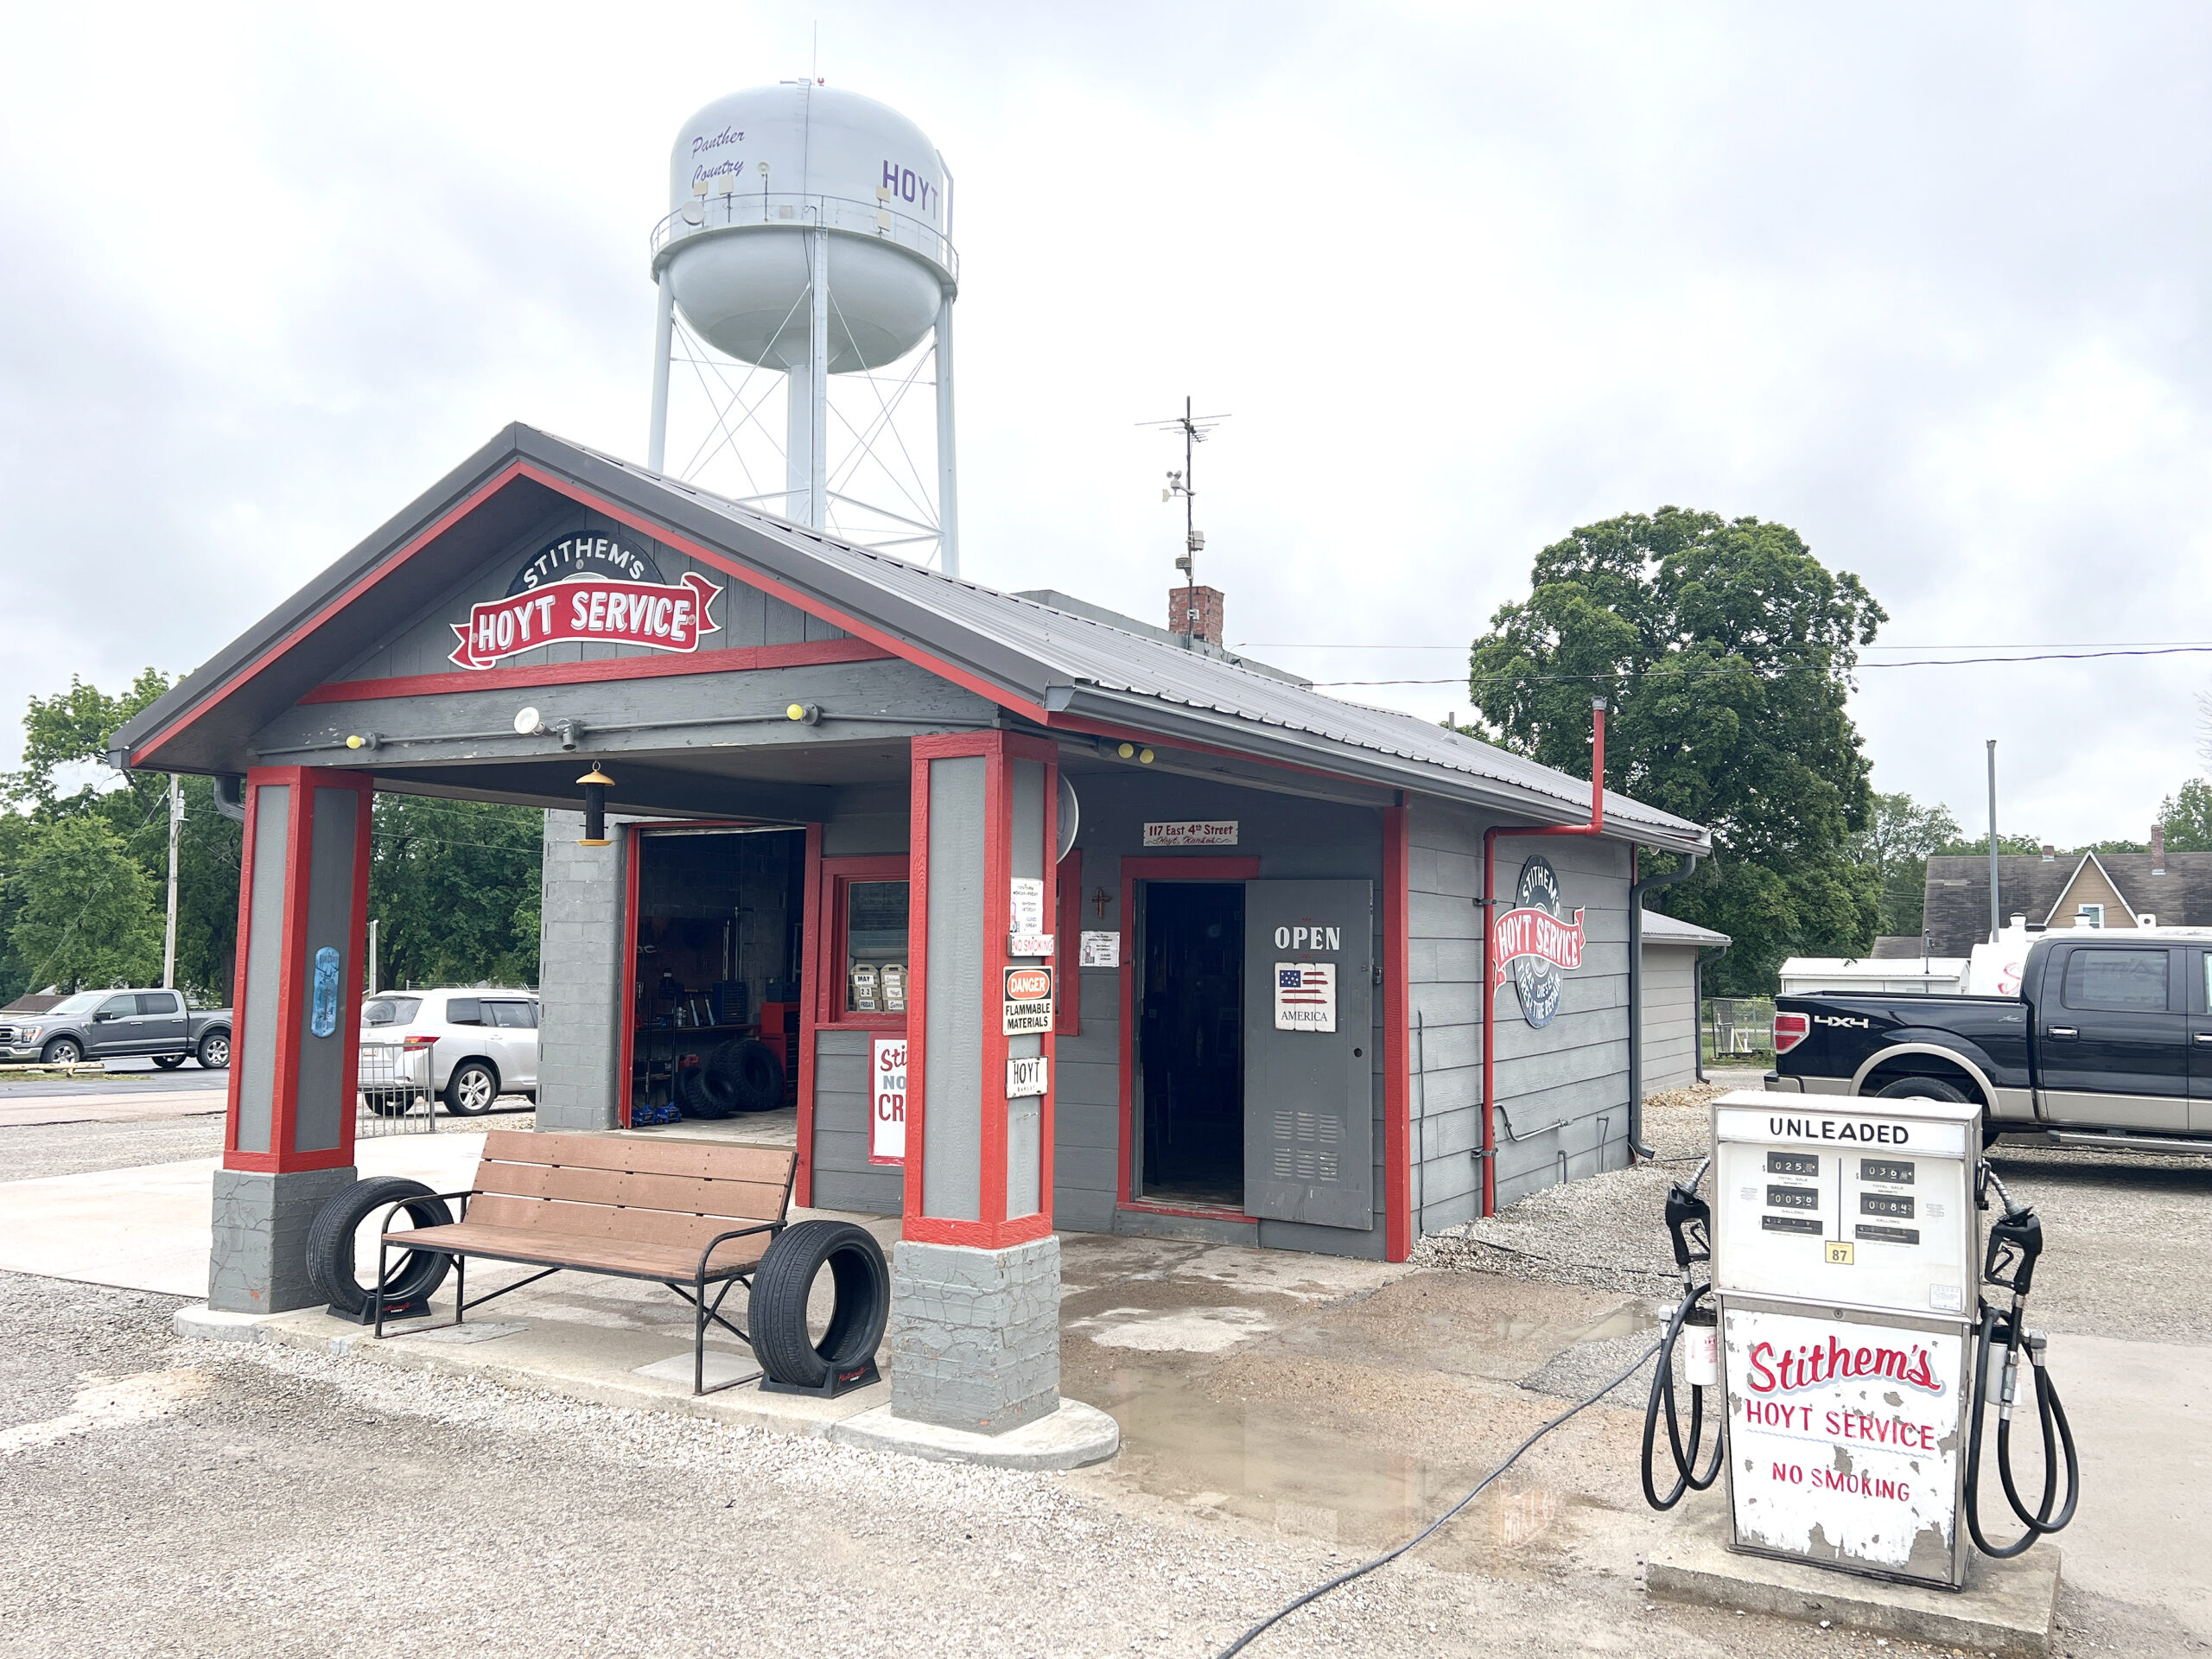 Visiting the family-owned filling station is like stepping back in time, and you should appreciate it before the owner, Jeff, retires and sells the property.
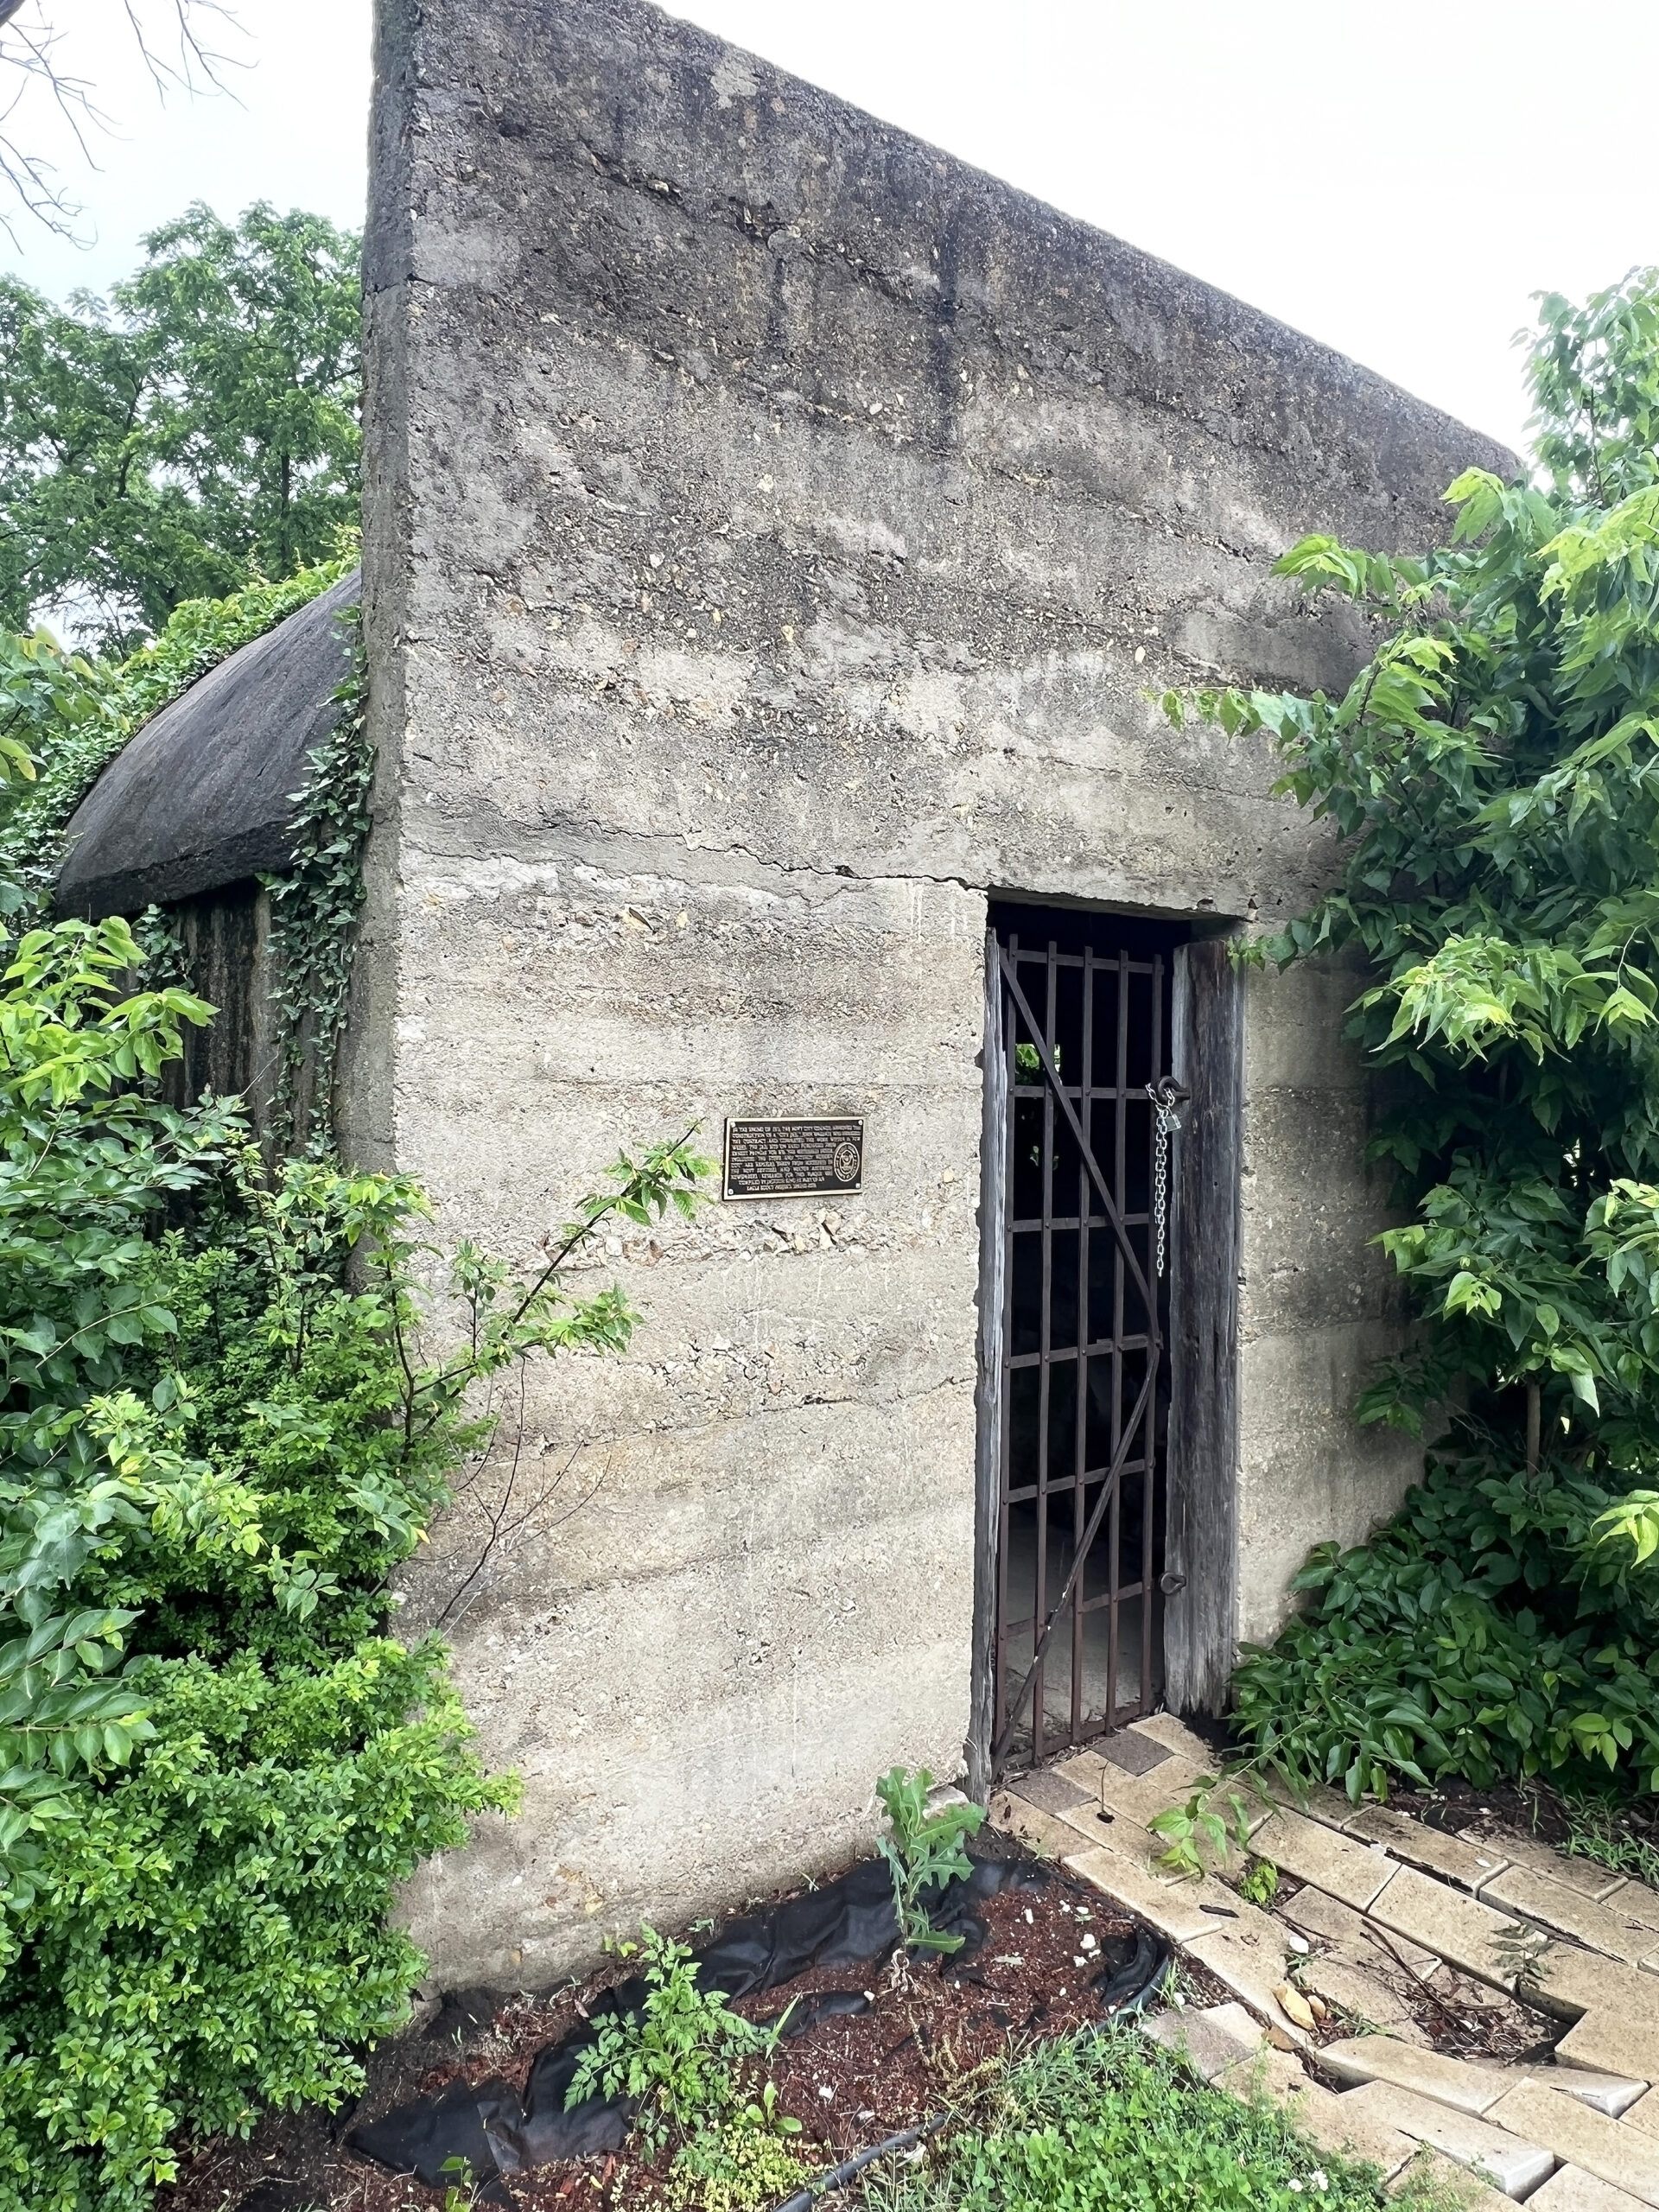 Constructed in 1911, the city jail is the oldest building in Hoyt. The primitive building sits on land purchased for $75
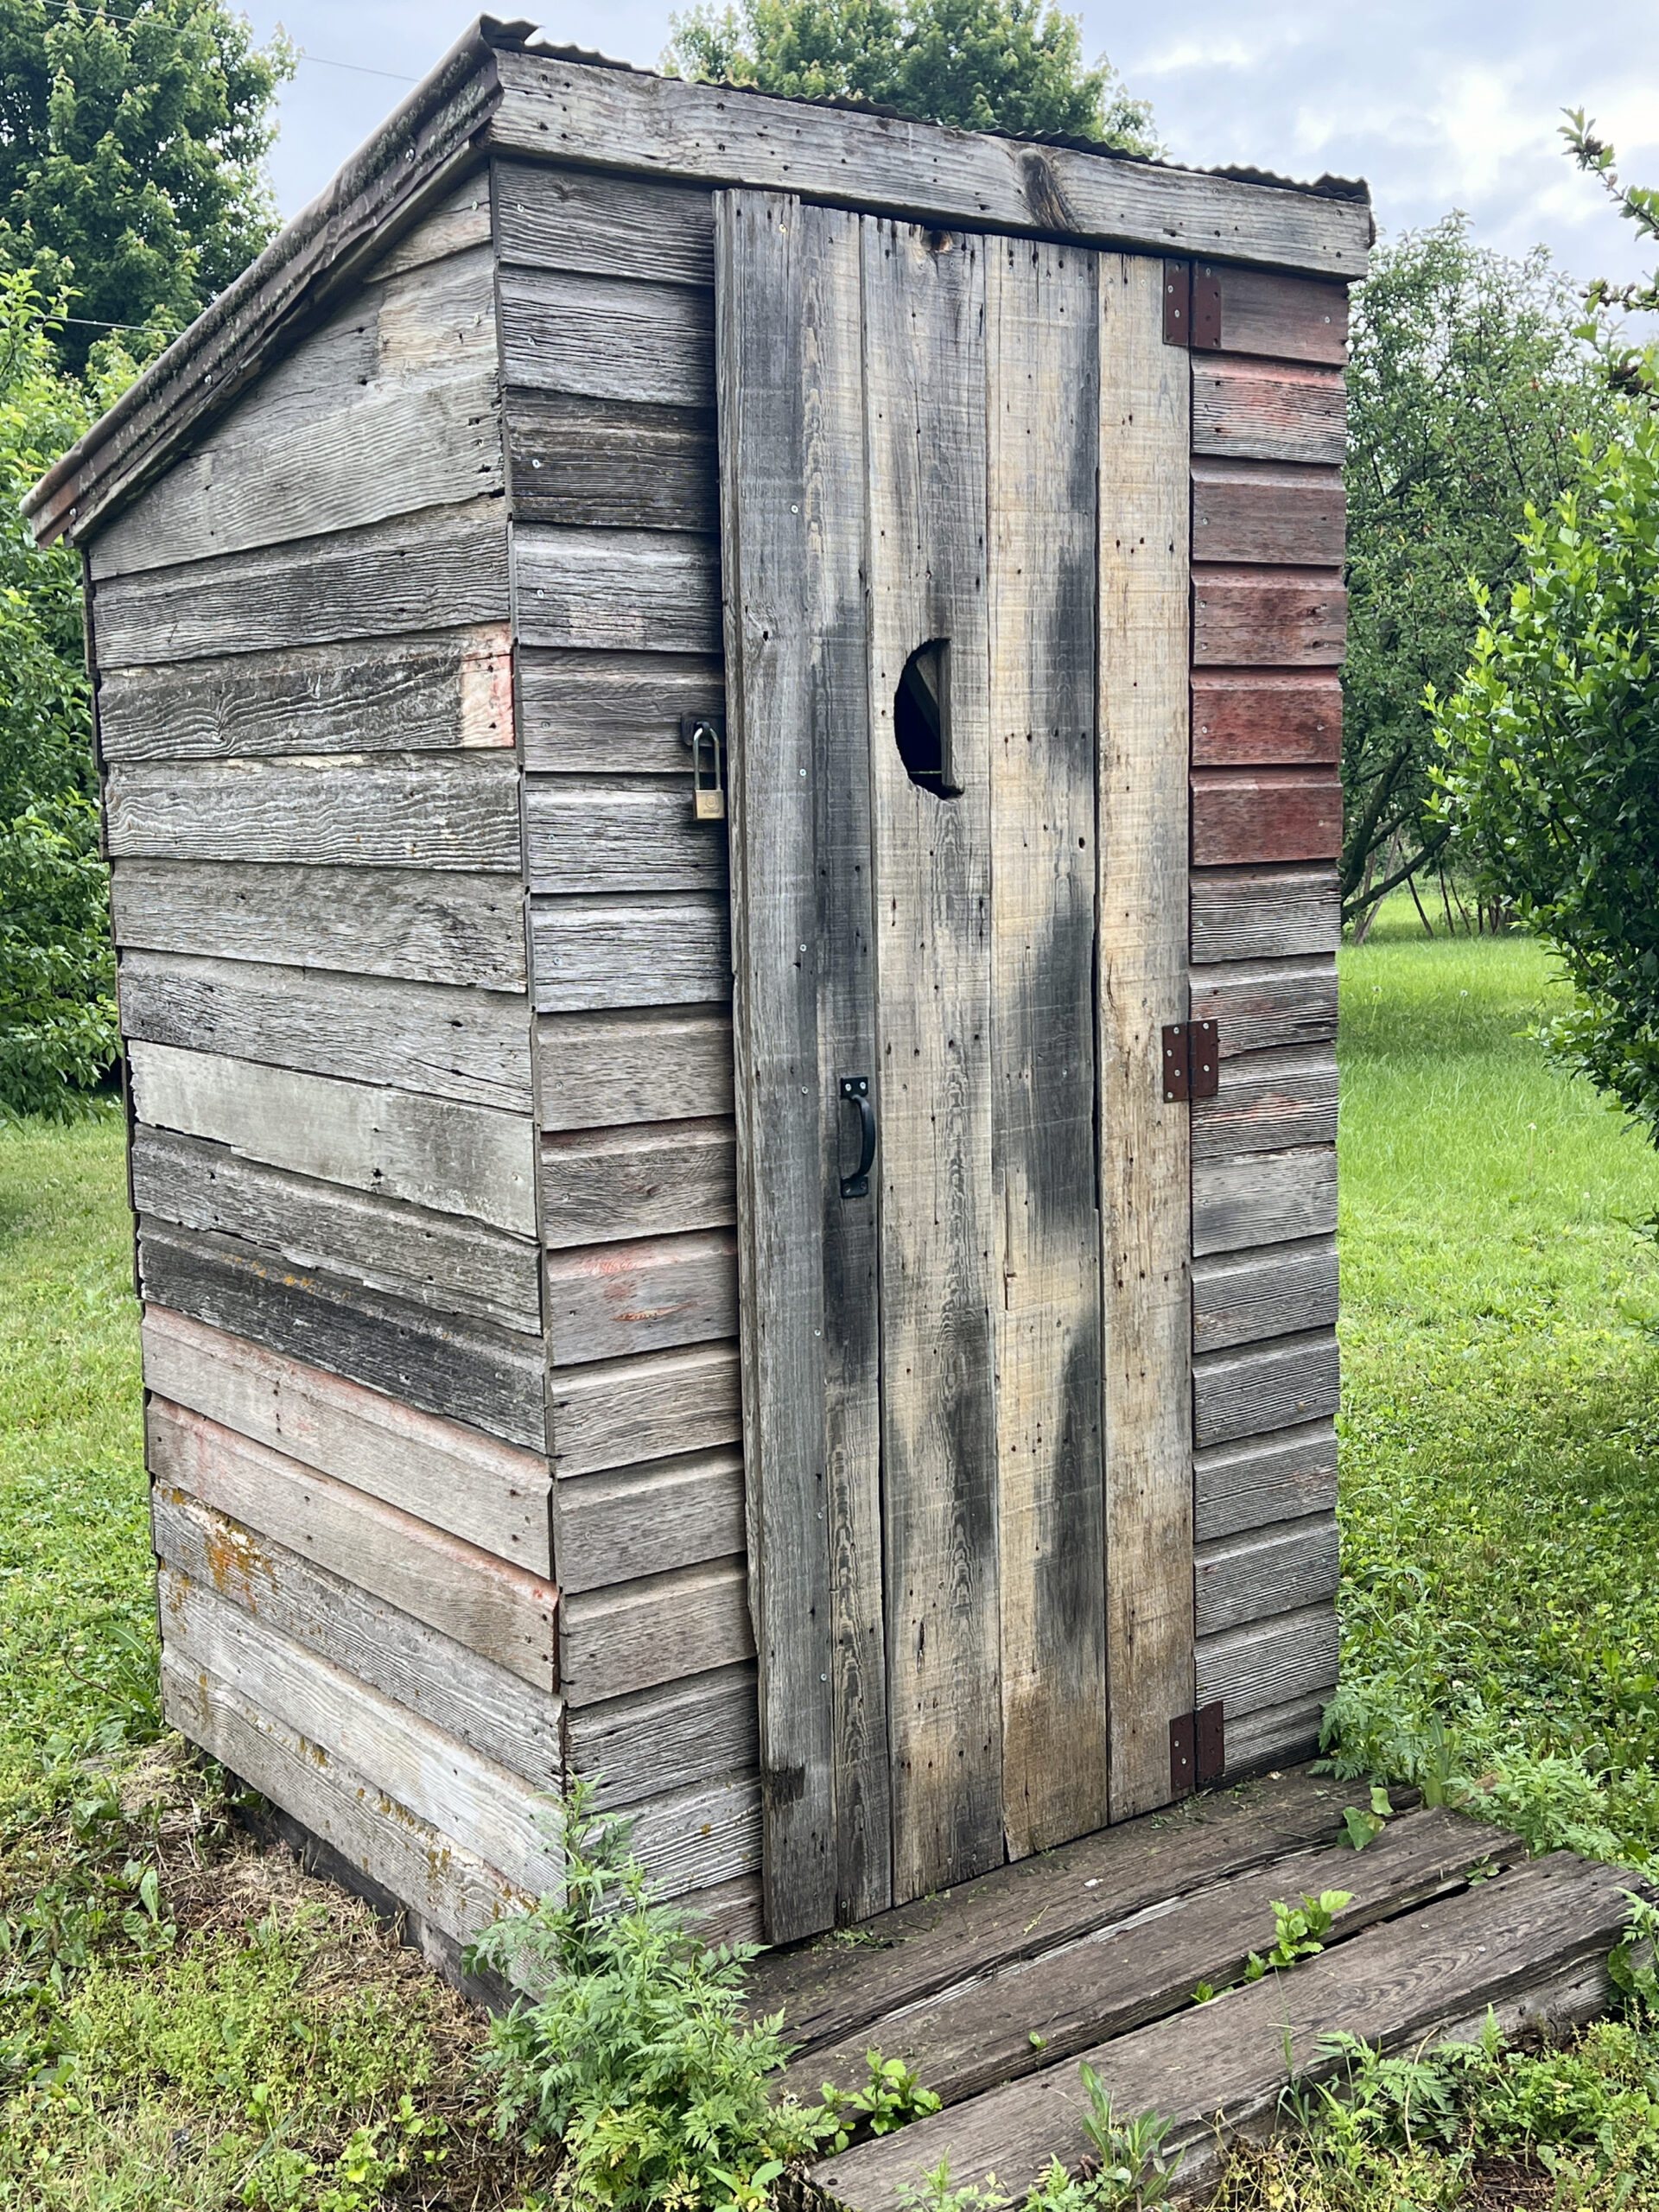 I didn’t have the gumption to open the door to a nearby outhouse, which I suspect was added as part of an Eagle Scout Project in the Spring of 2019.
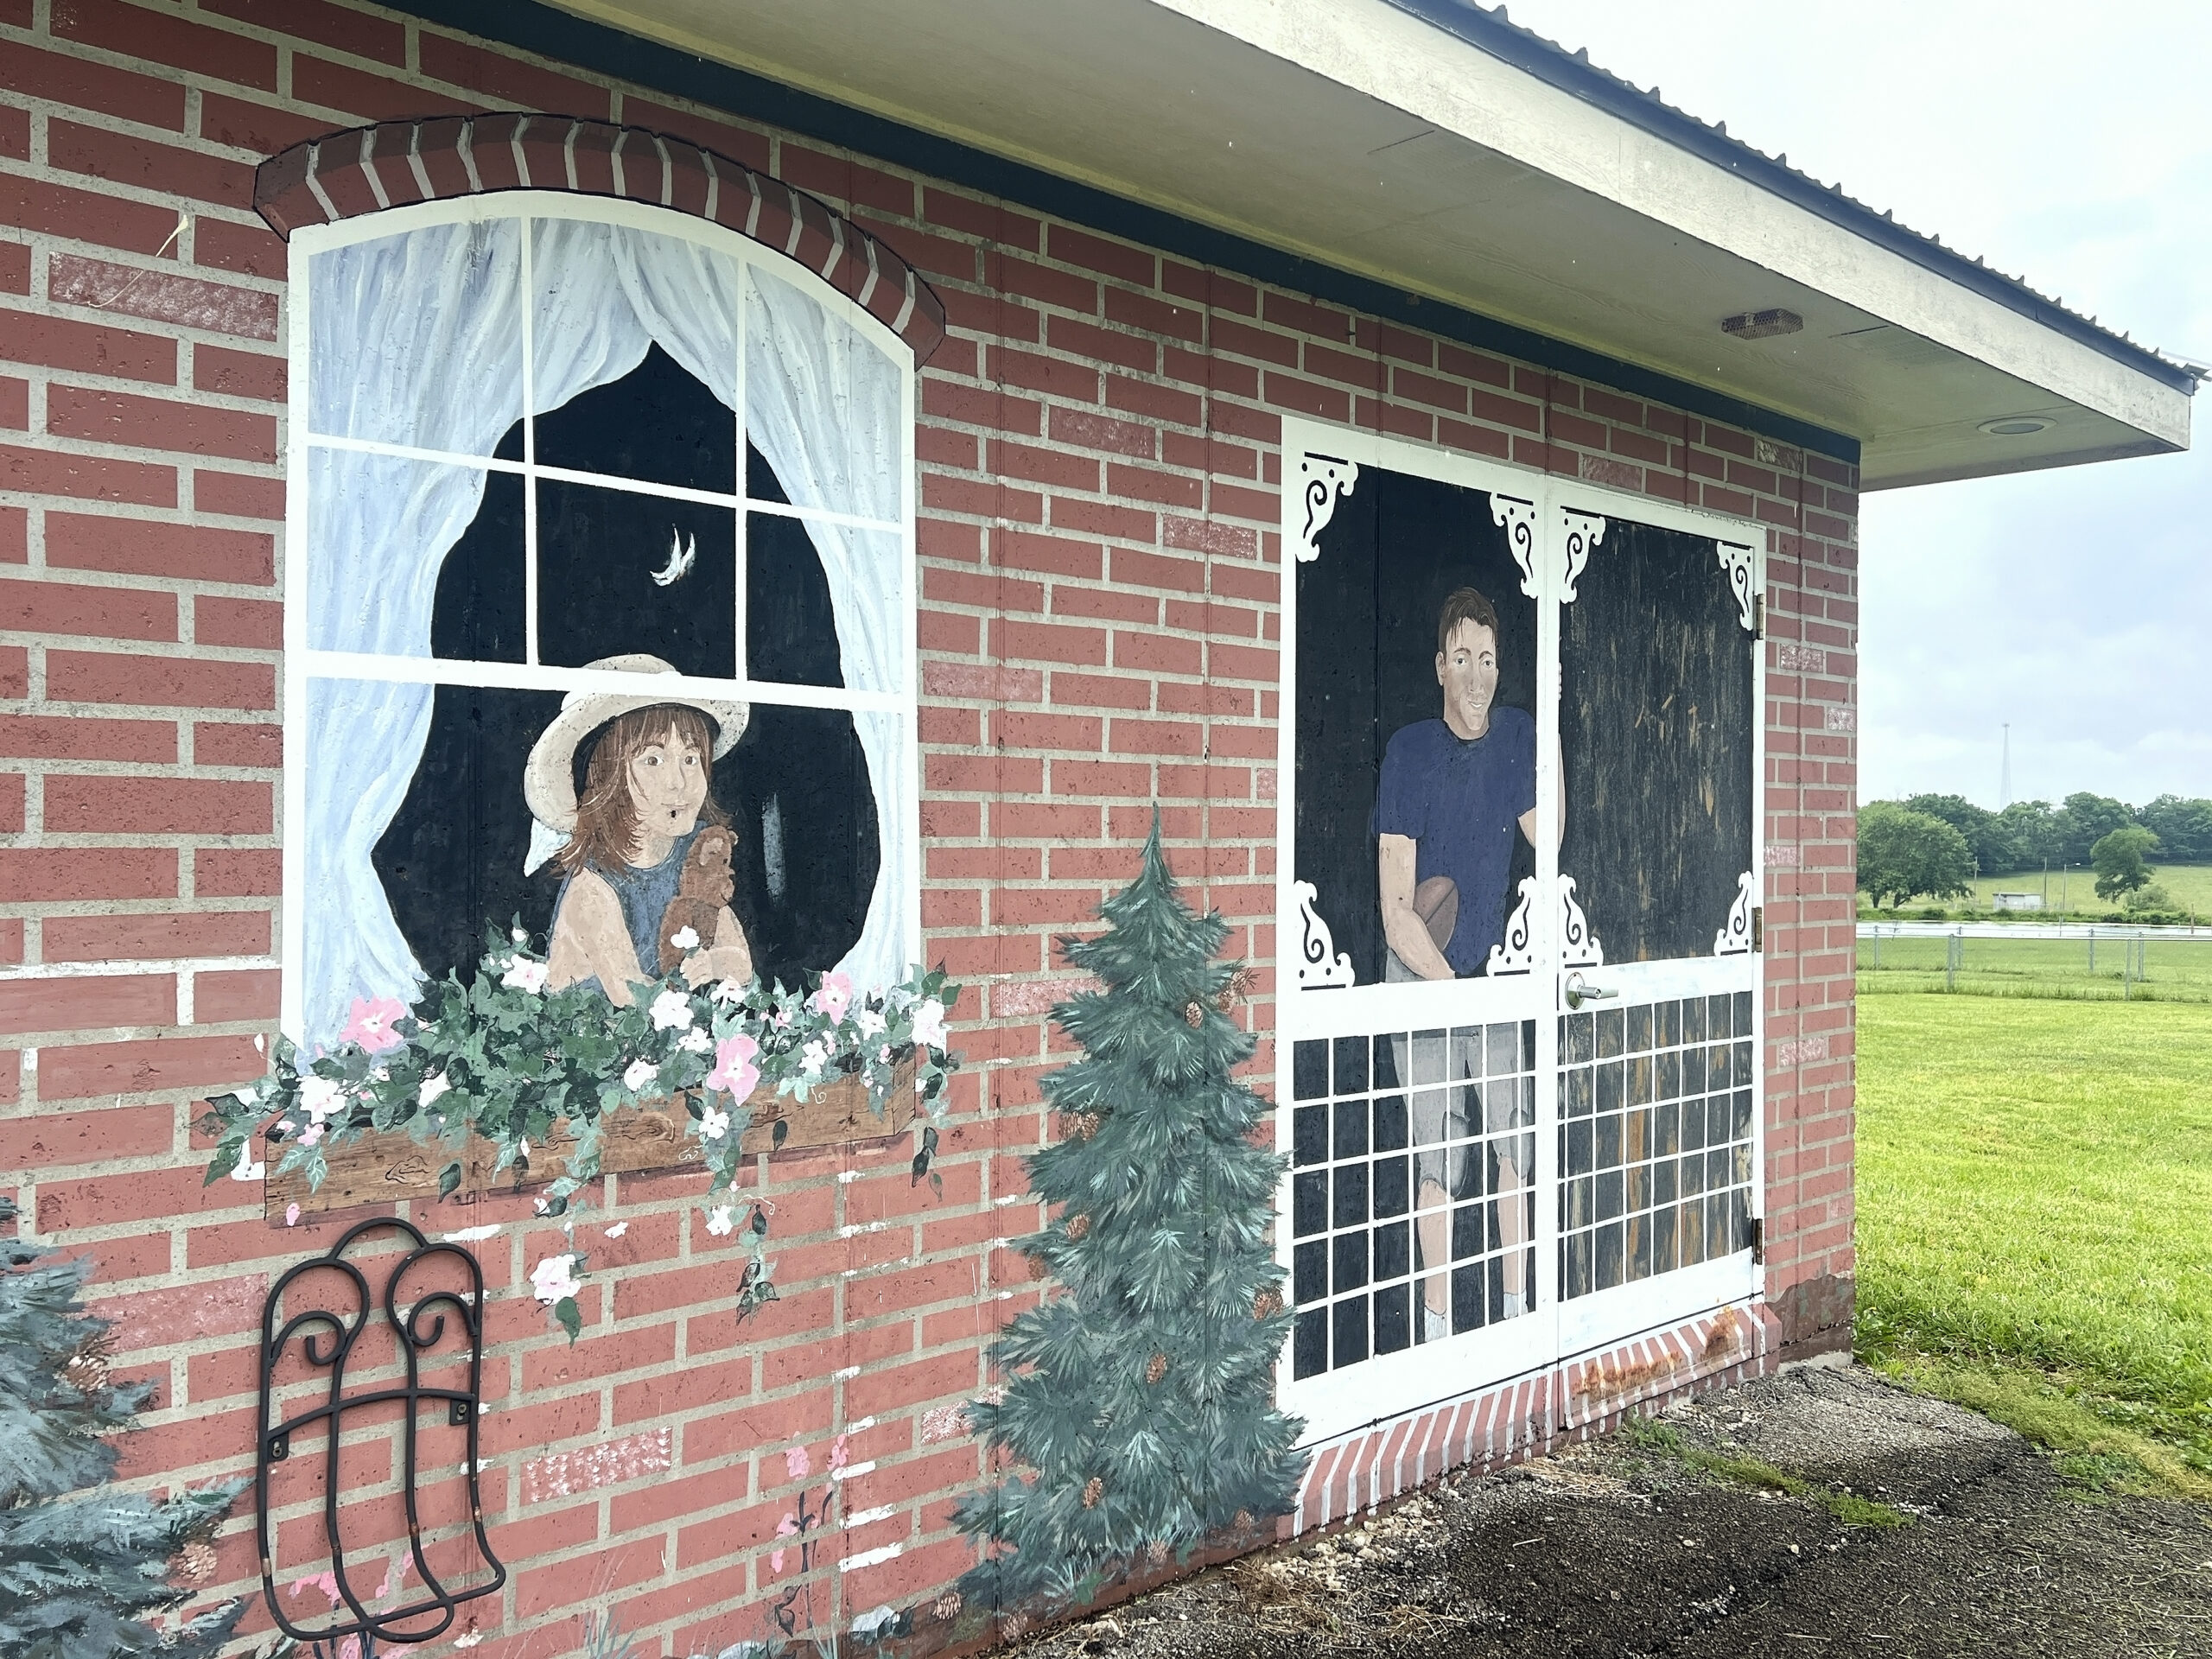 Take a closer look. Each of those faux bricks is hand-painted to look realistic.
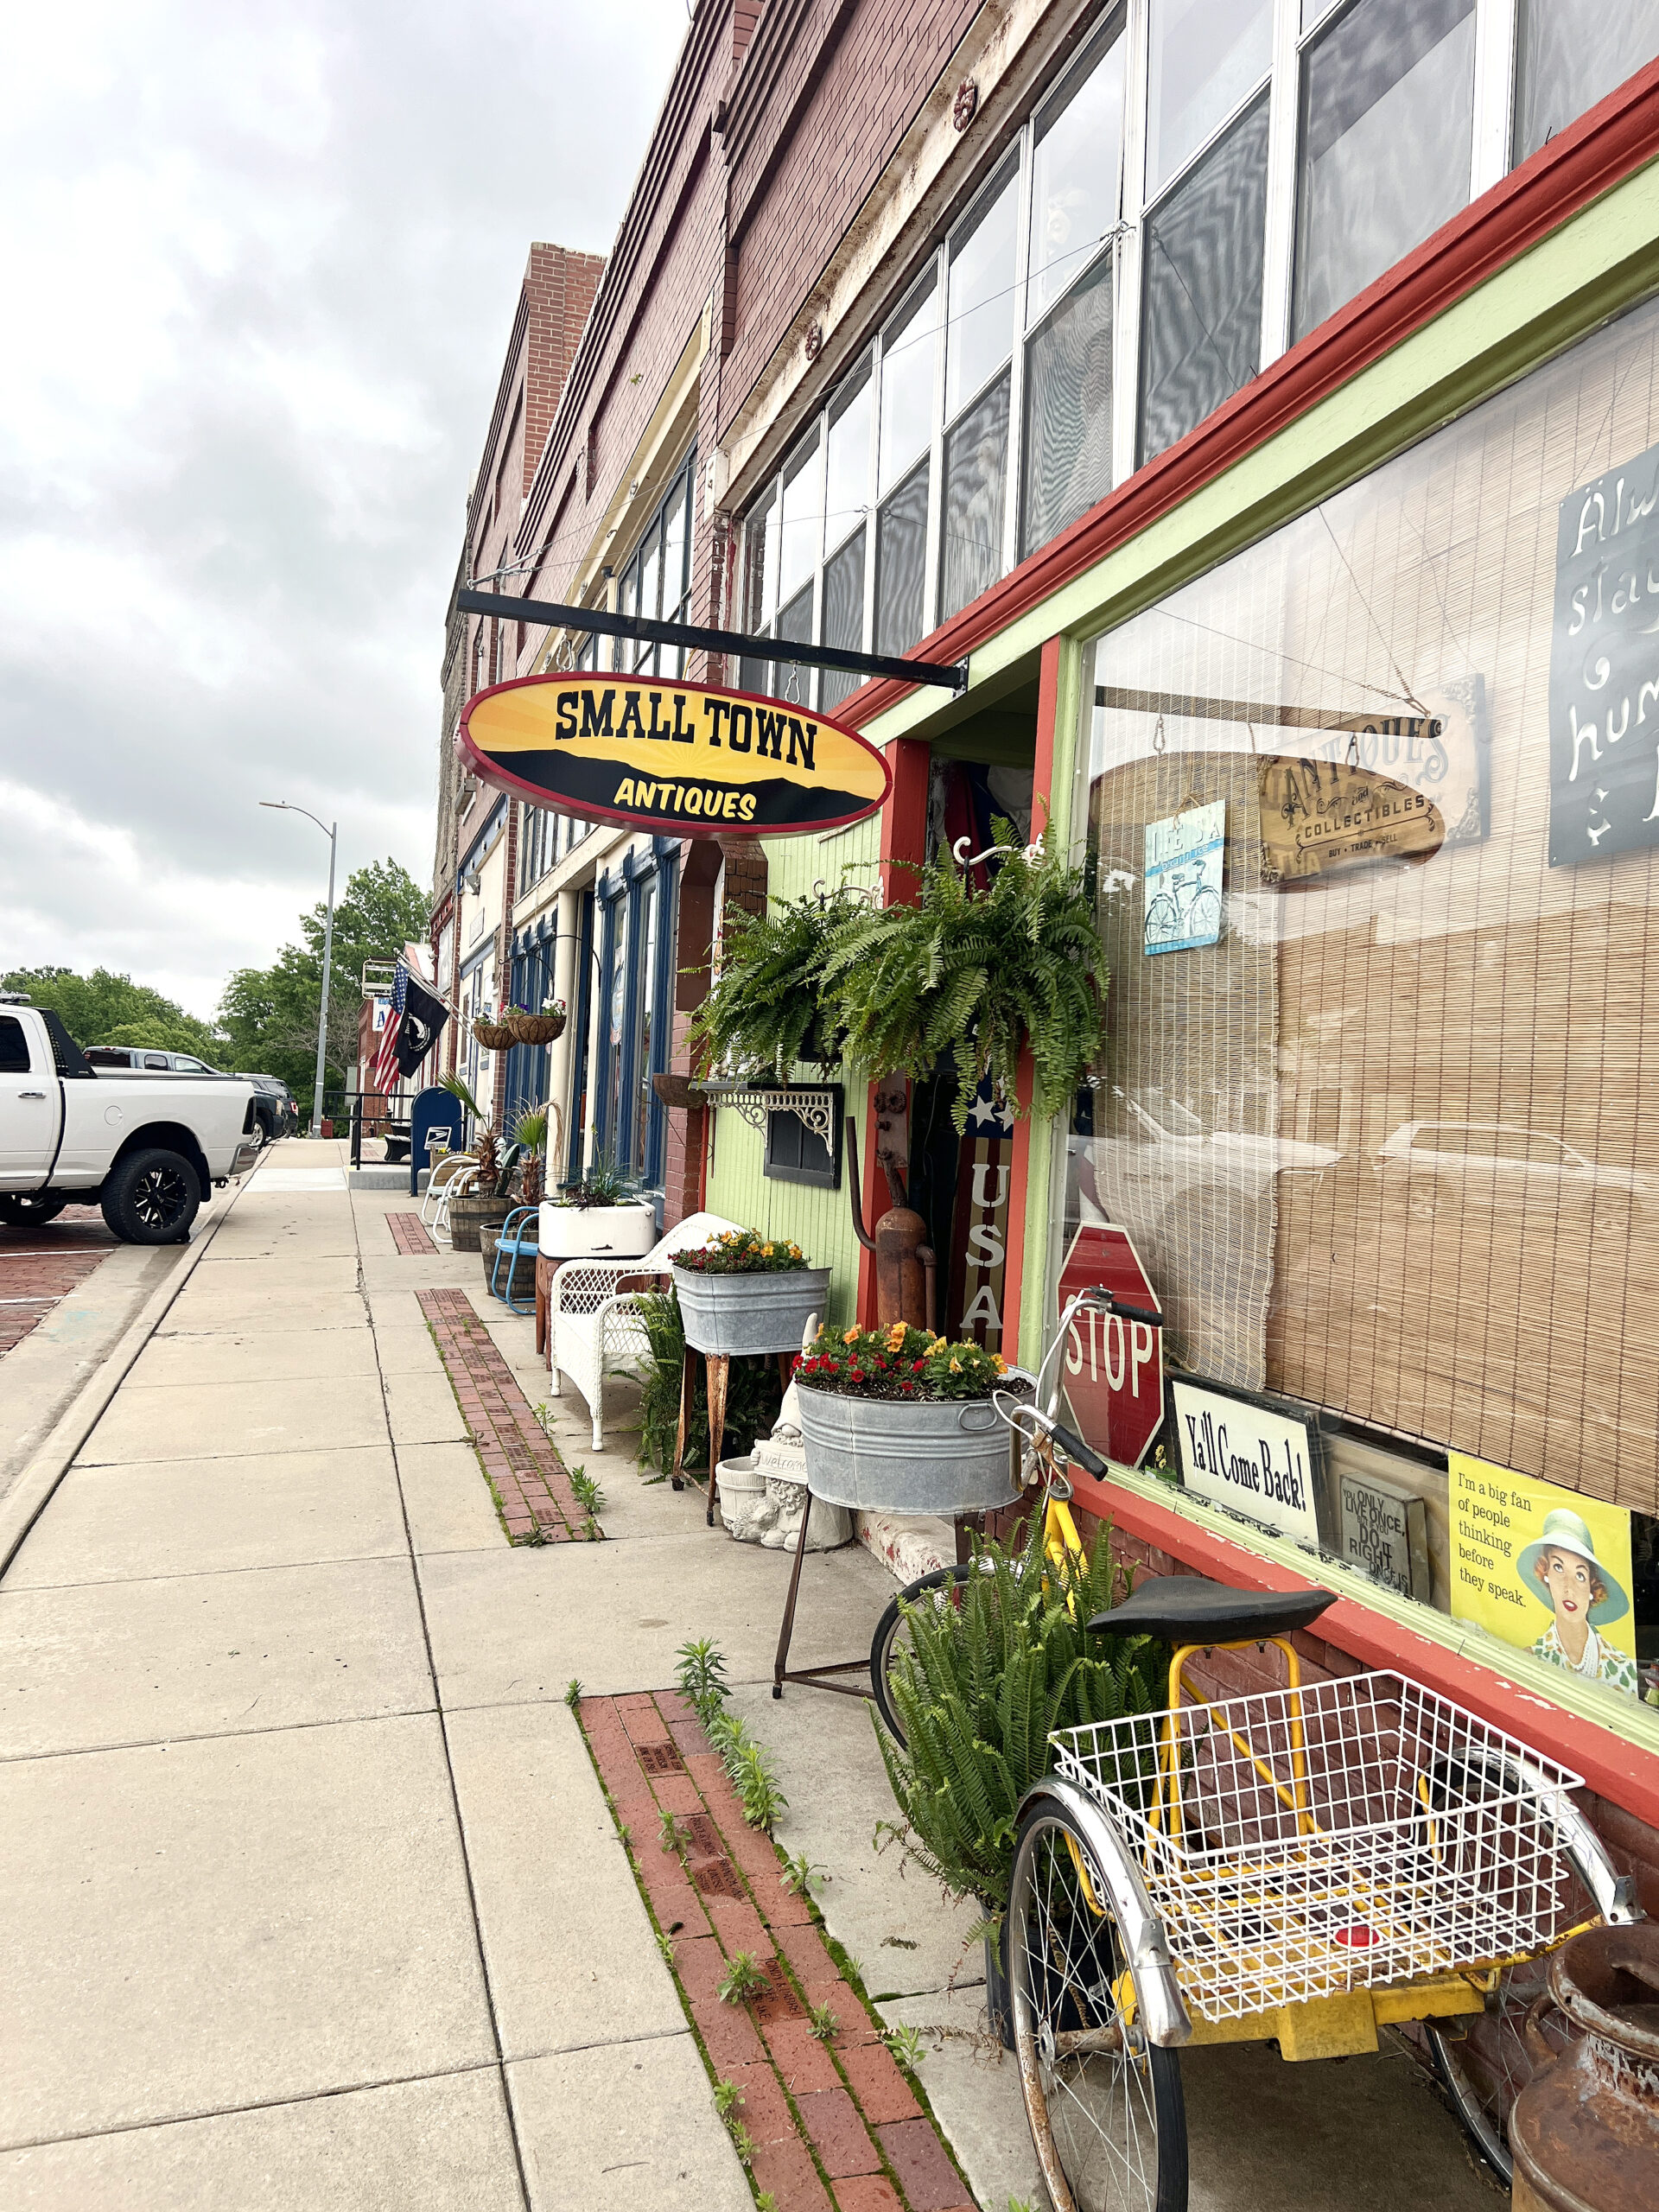
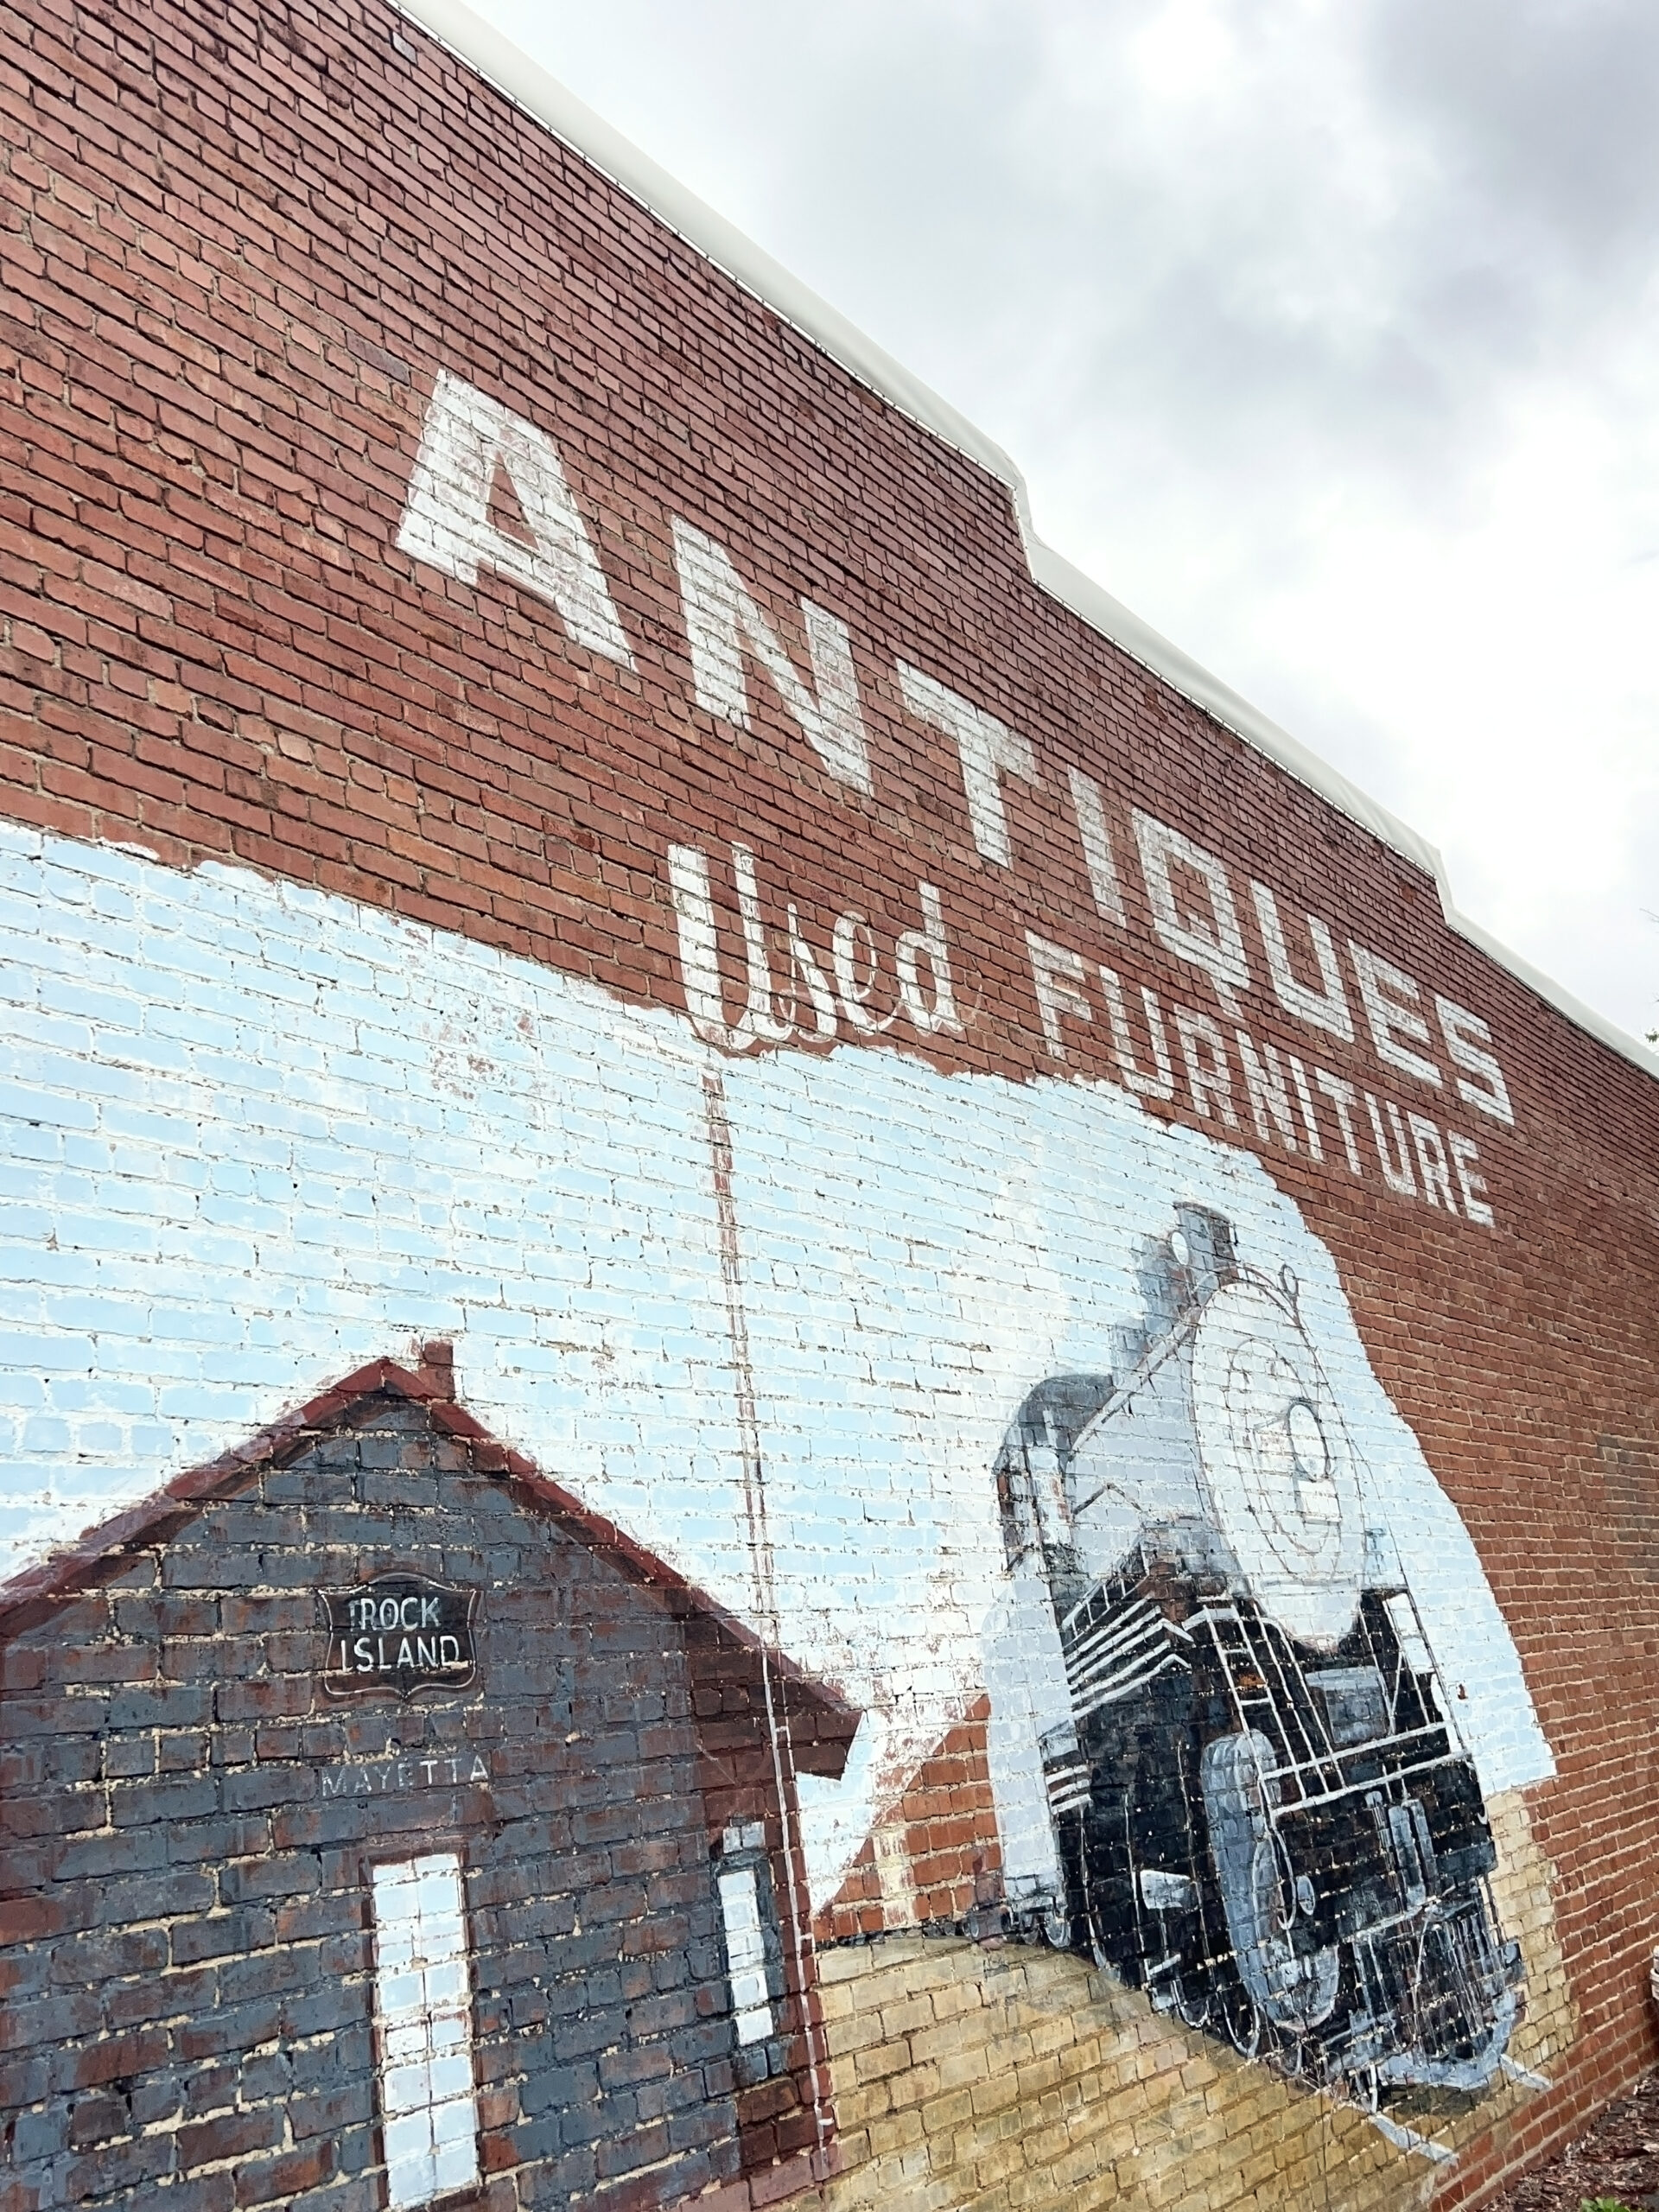 I appreciate that Arnold left the ghost sign of a former furniture sign untouched on the building’s surface above his mural.
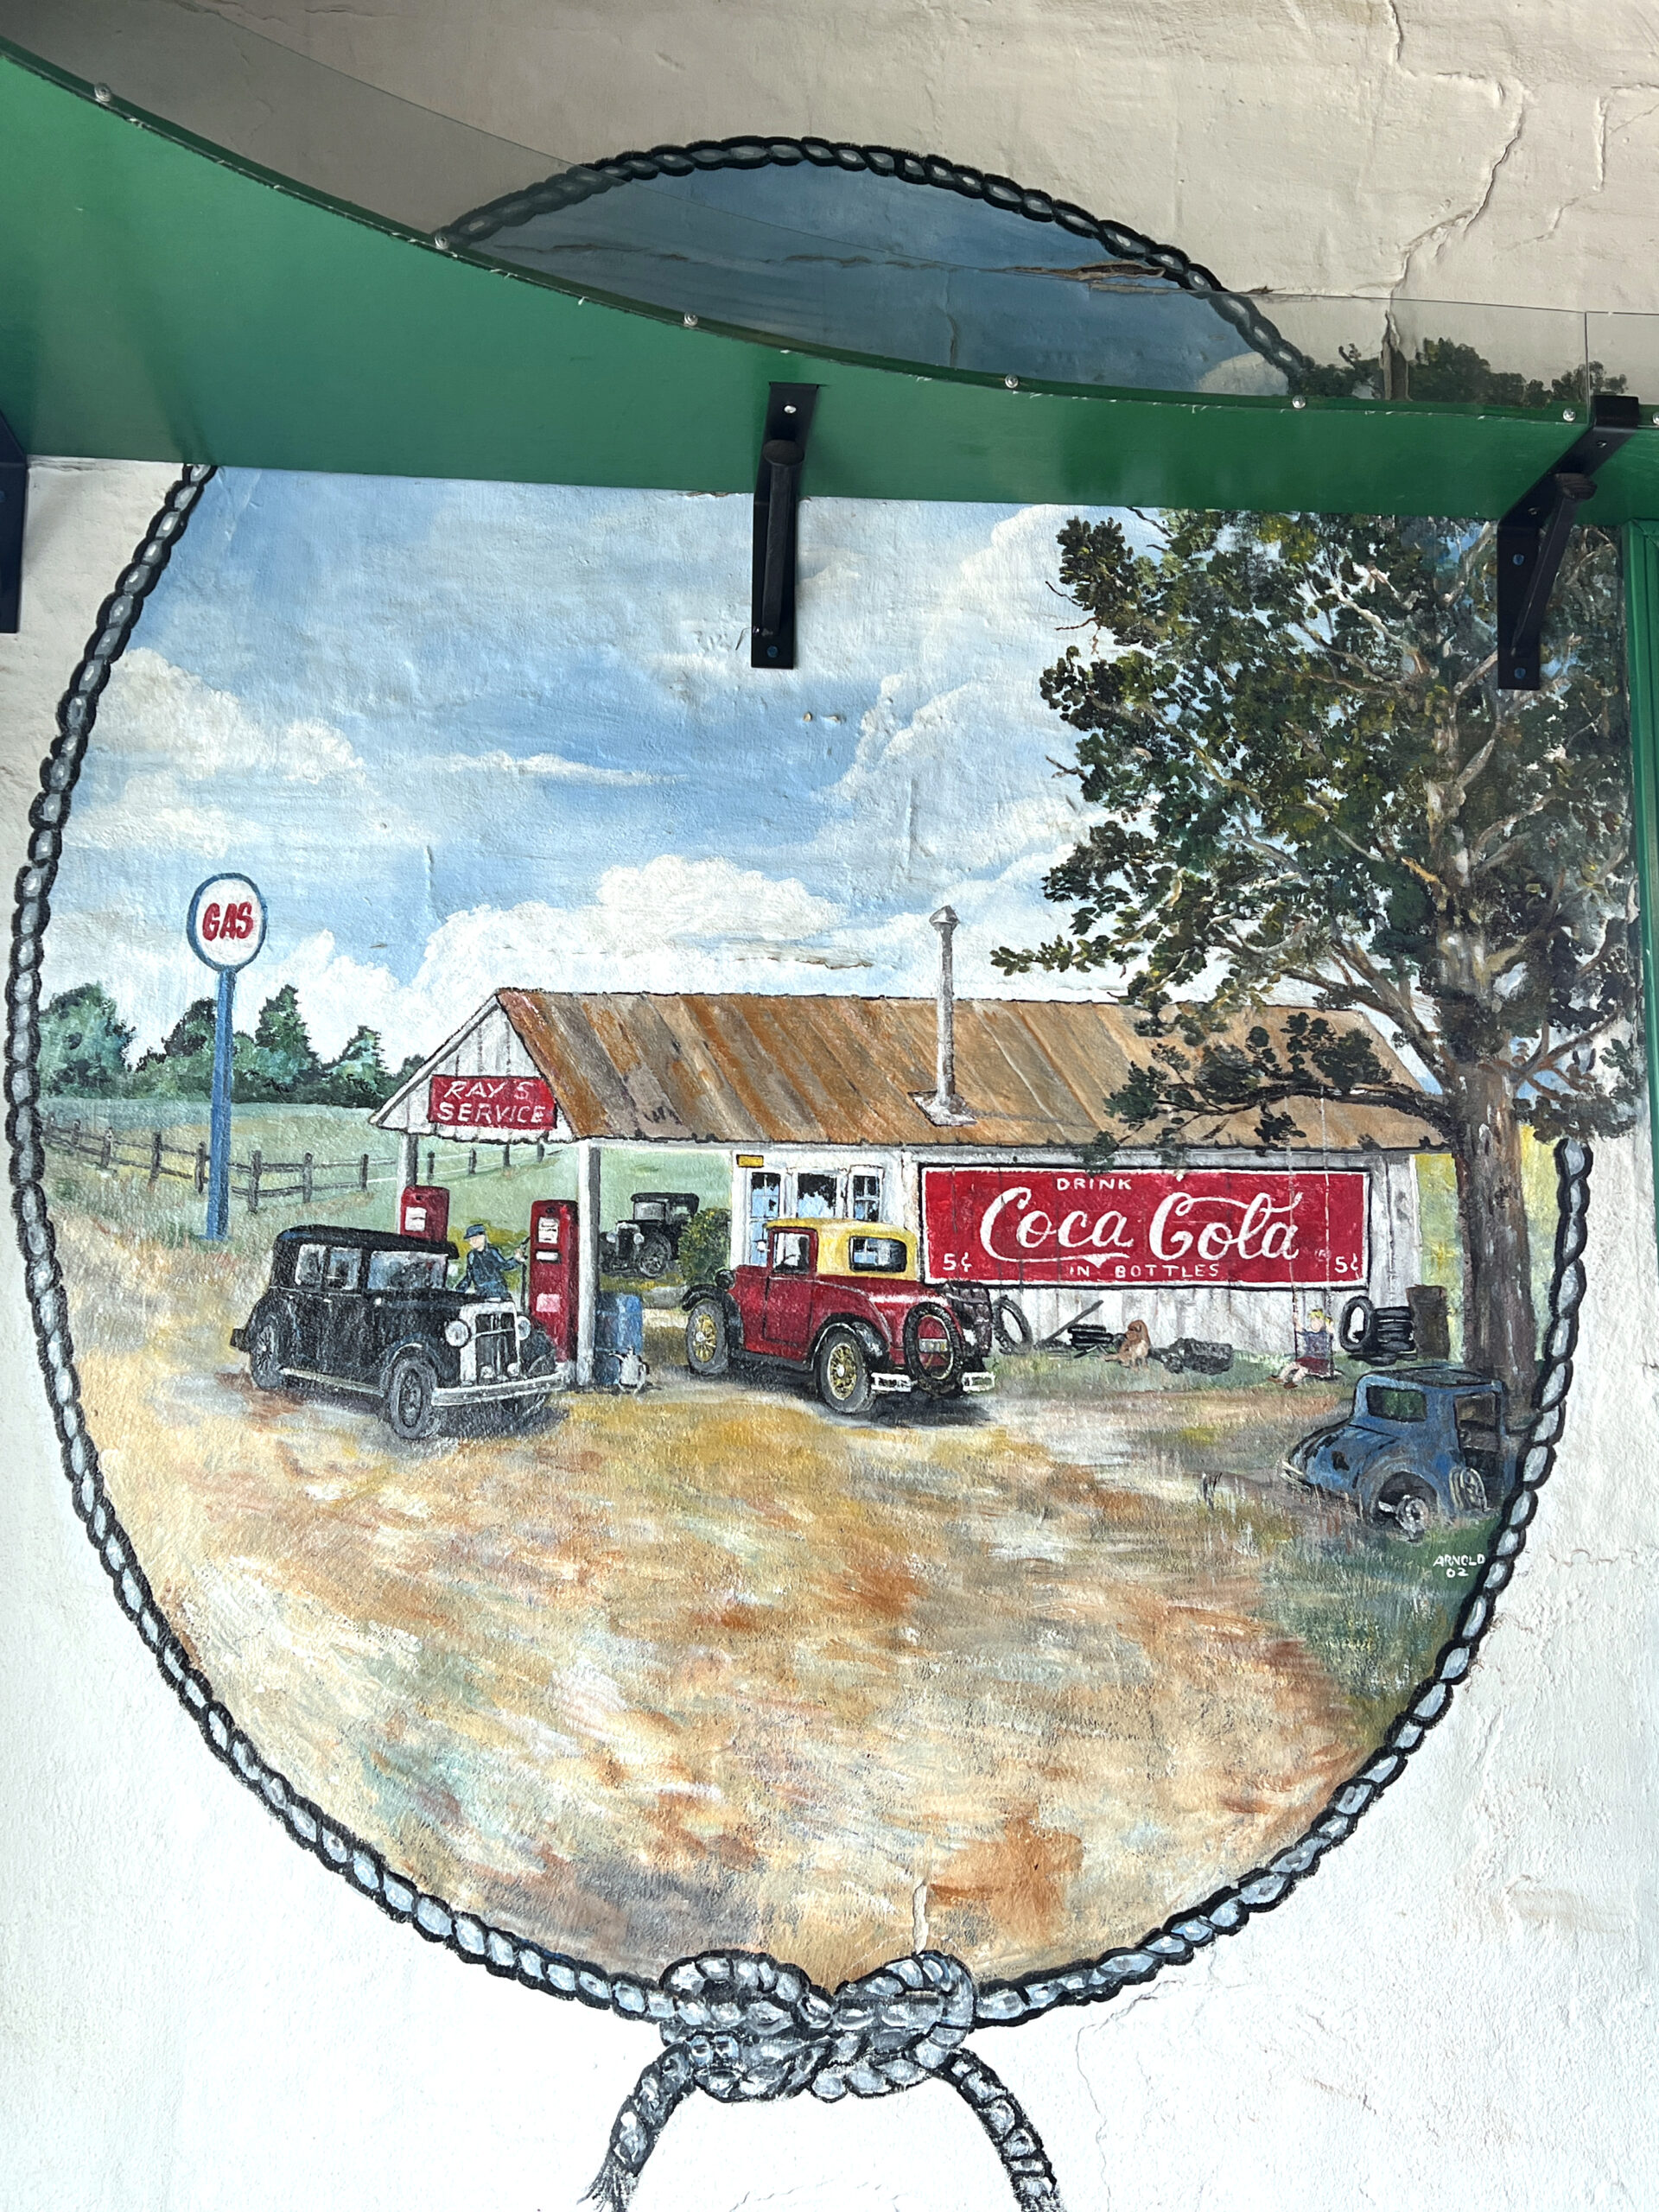
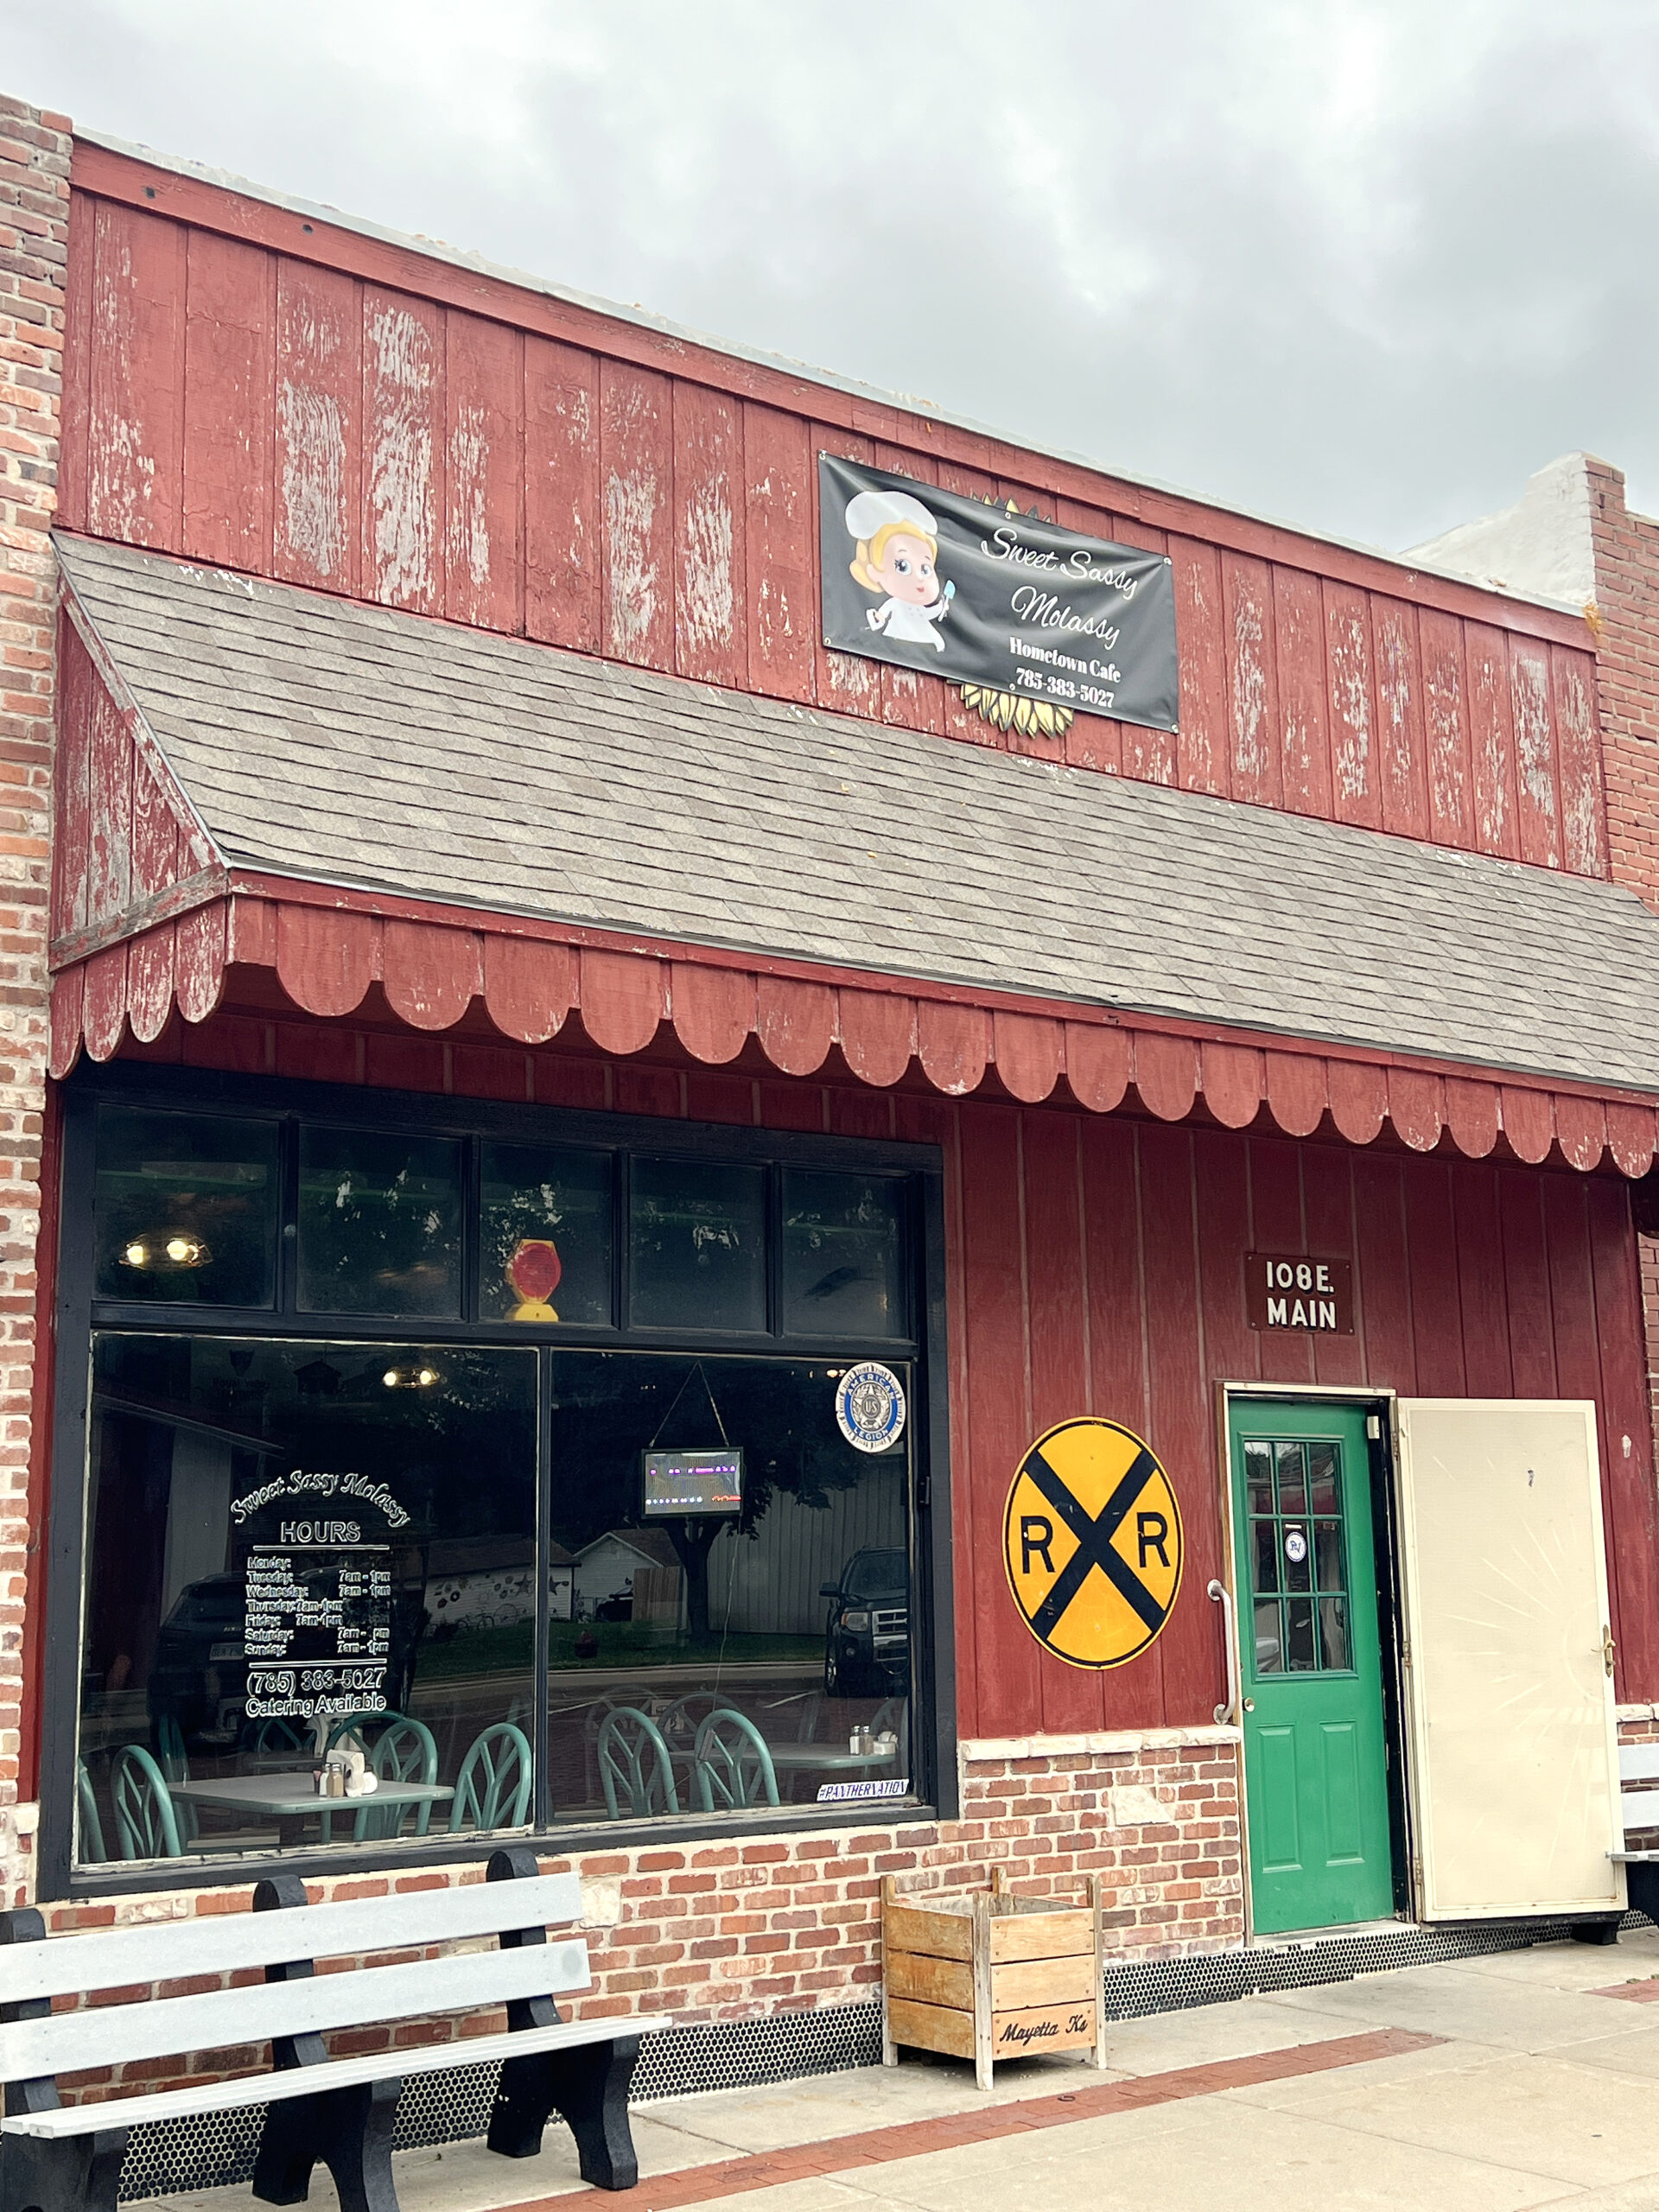 Sweet Sassy Molassy serves breakfast, lunch, and dinner, with menu items ranging from burgers and chicken strip baskets to salads. Ask about ordering cinnamon rolls to go.
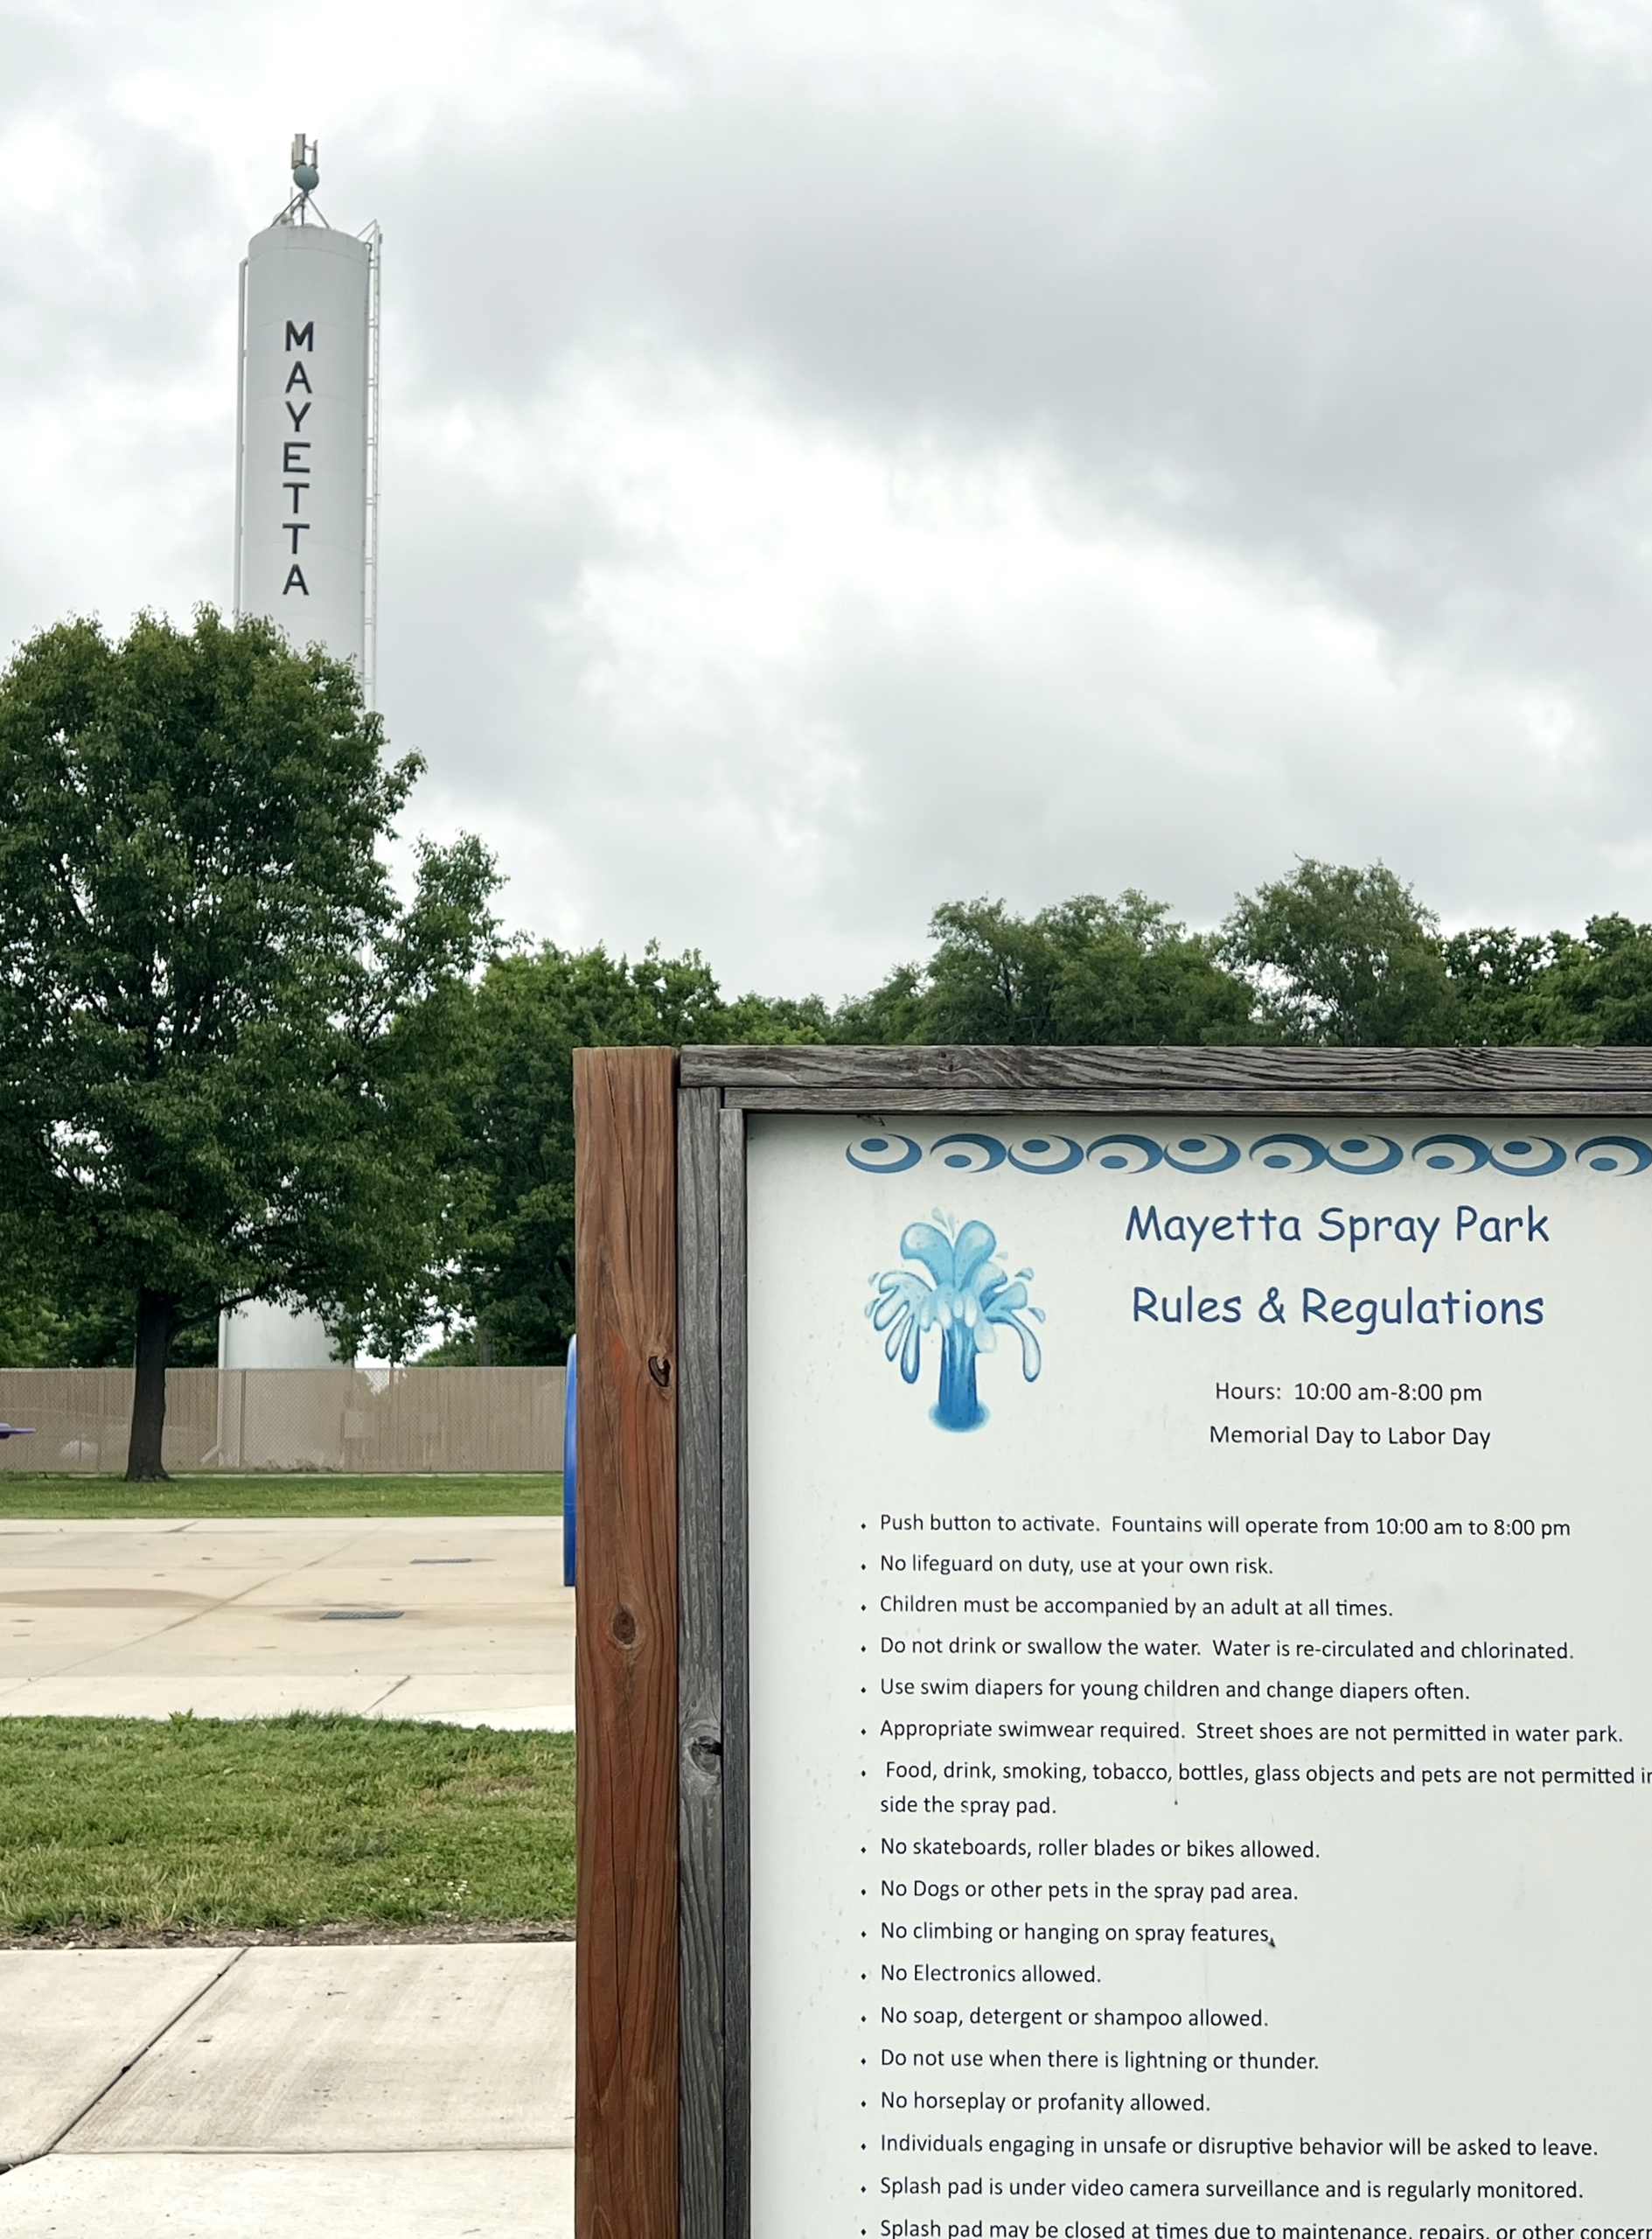 Adjacent playground equipment lets kids burn off energy while parents relax on a shaded bench beneath a canopy of trees.
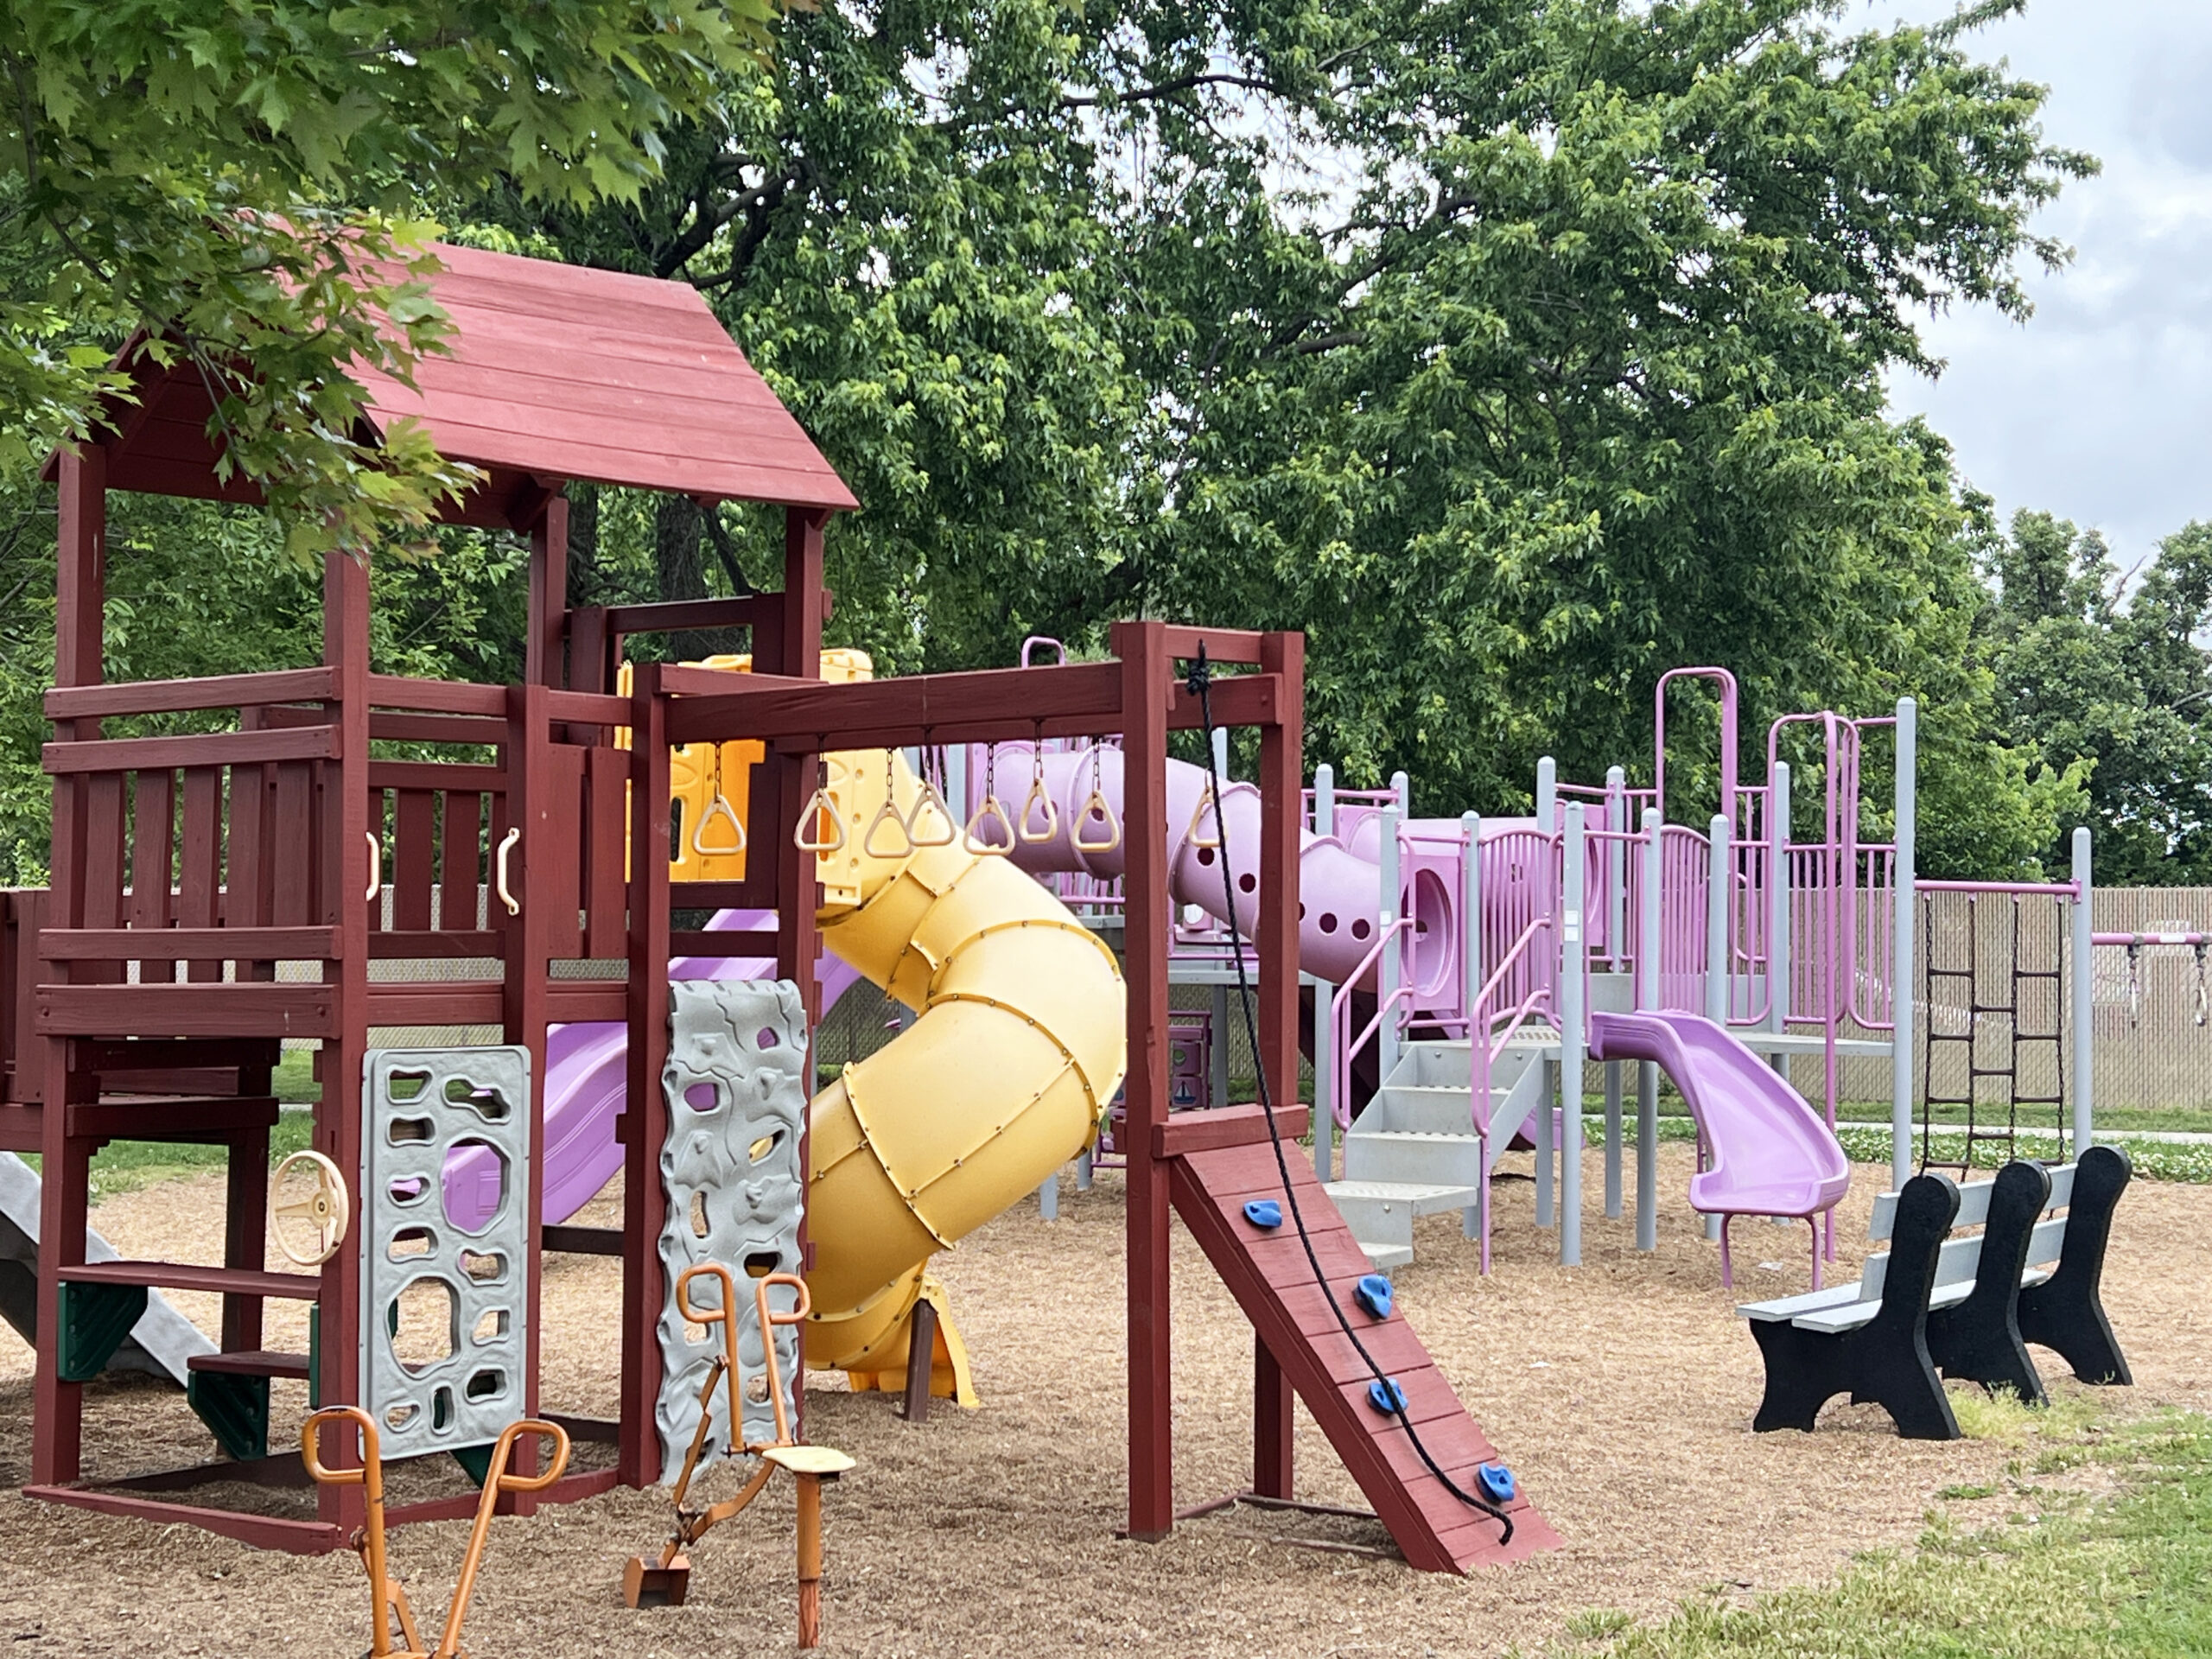 The facilities and available parking are free to use.
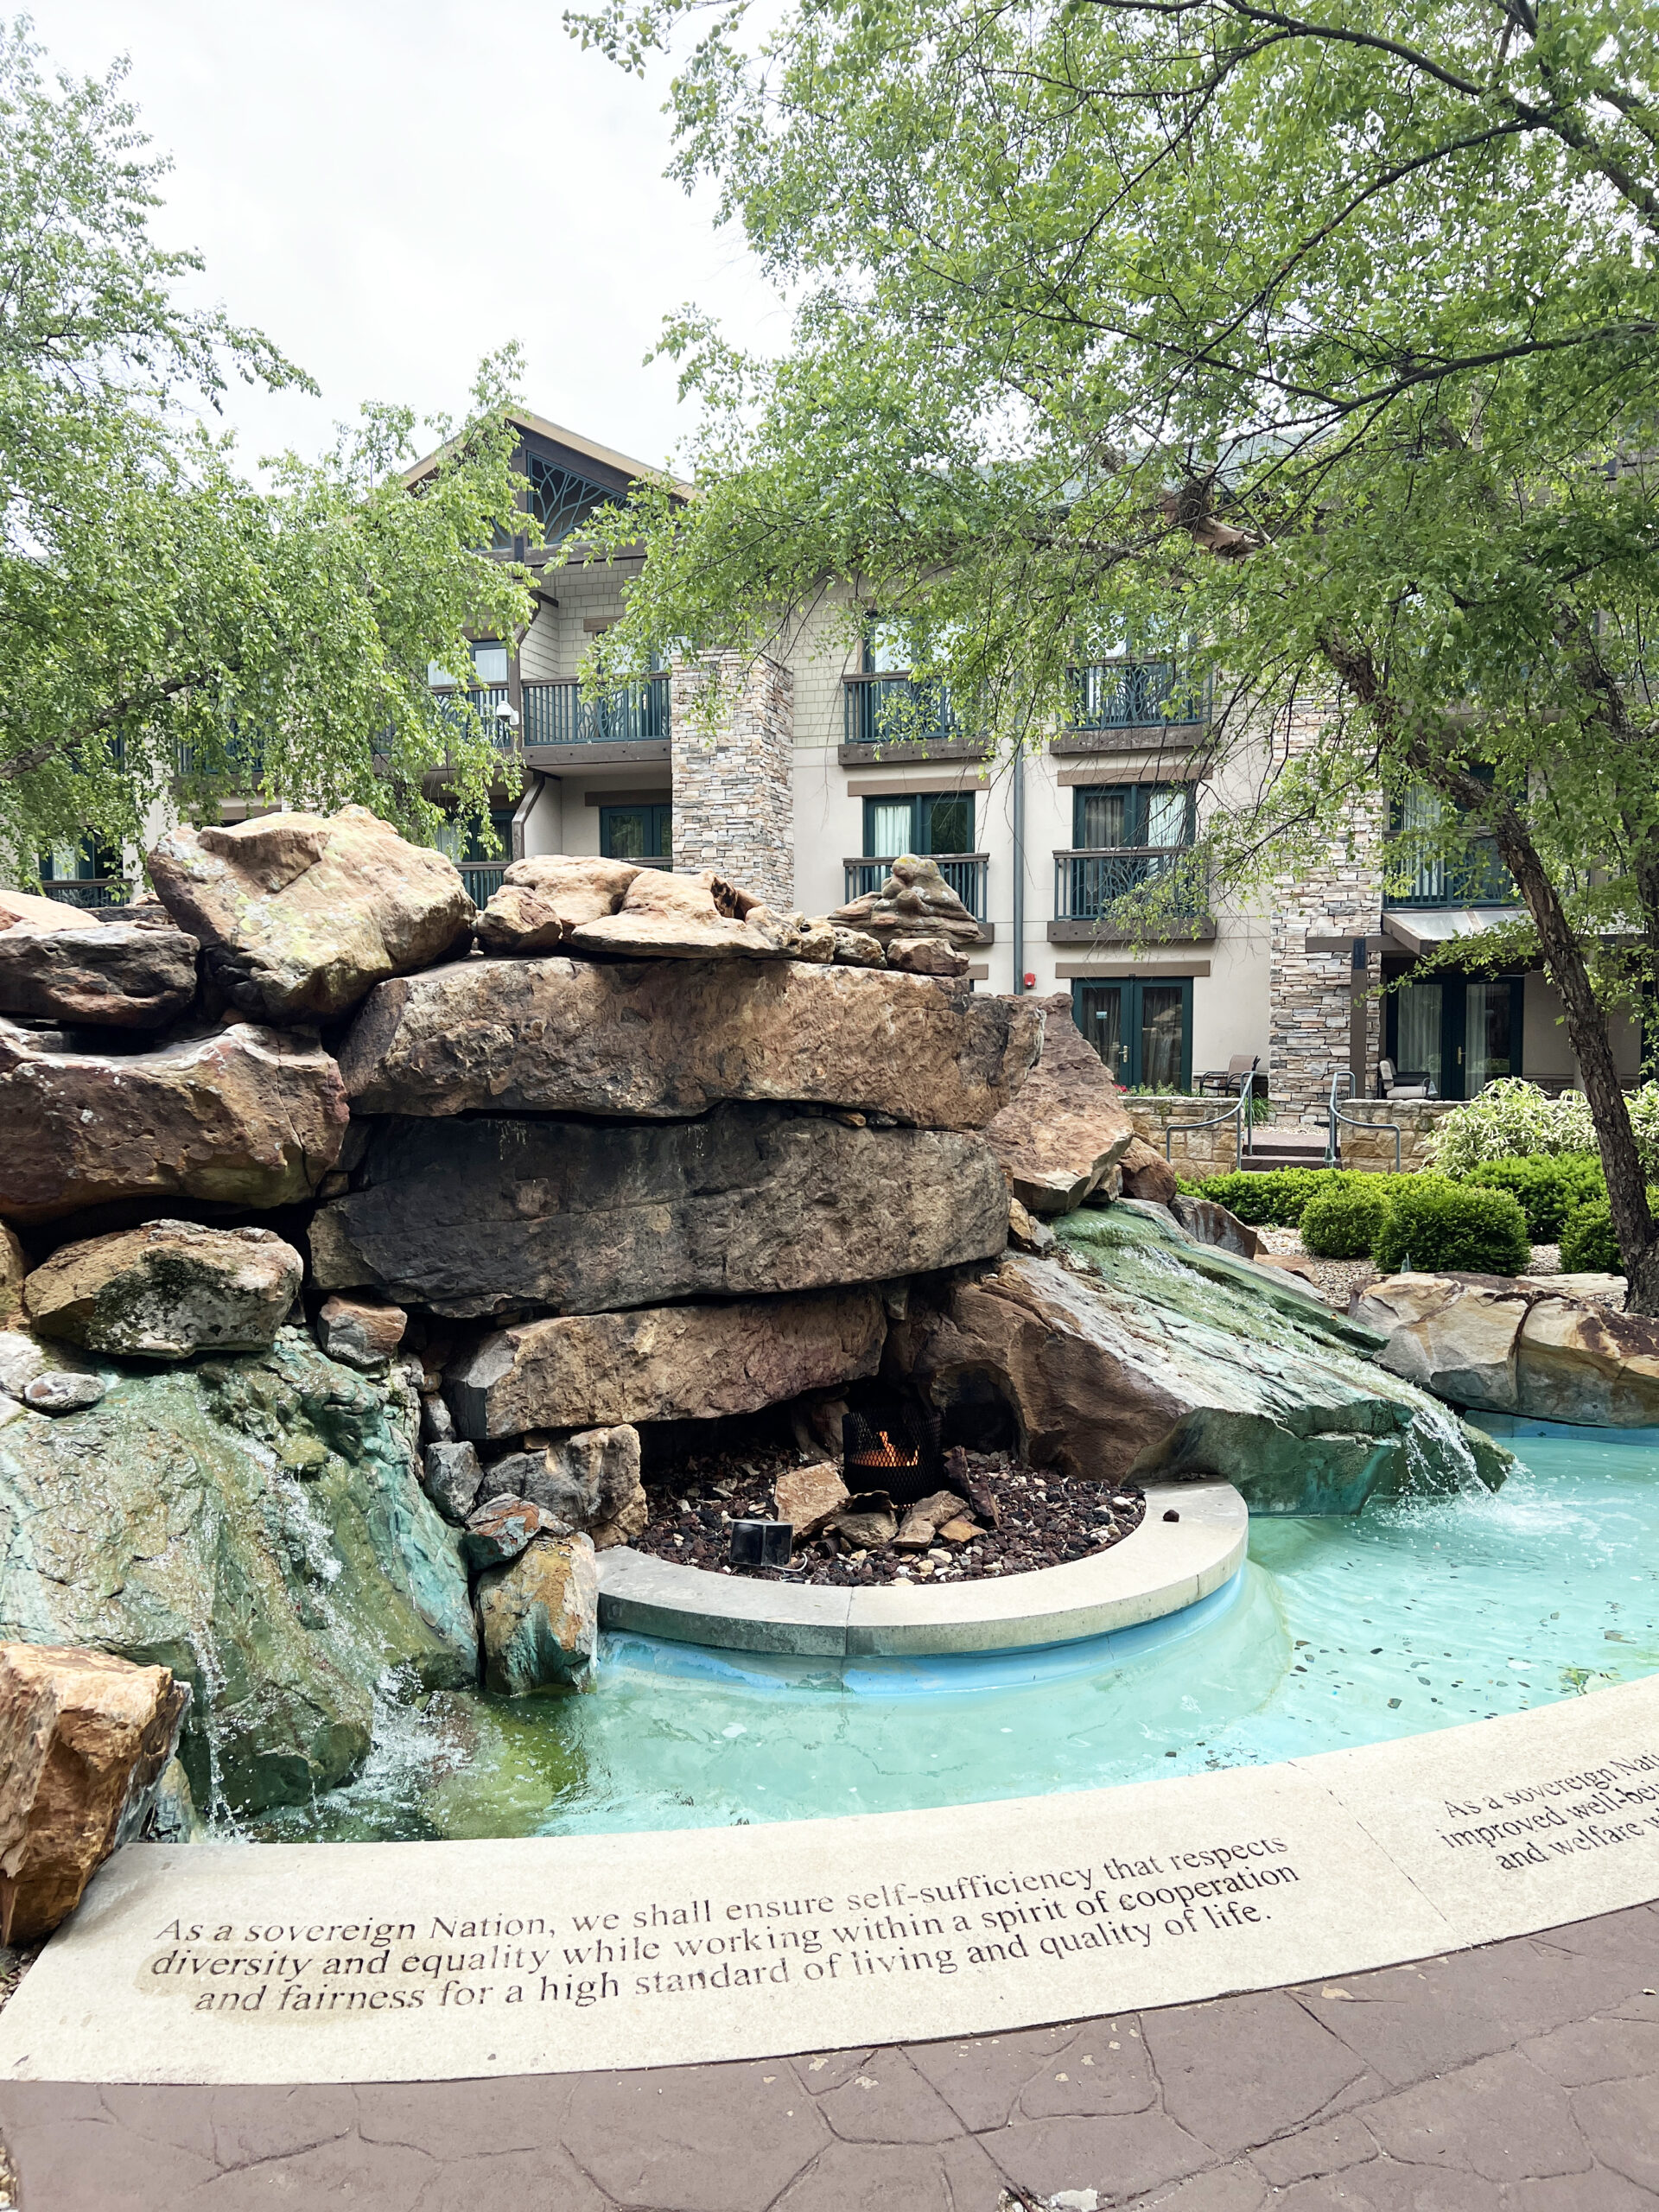 While gambling is not my preferred activity, I took a beeline for its resort, noting a tranquil outdoor courtyard and an on-site spa meant to inspire relaxation.
 As a hotel guest, I could envision myself ordering a cocktail at the nearby indoor bar and sitting in the courtyard as the sun sets and the waterfall trickles.
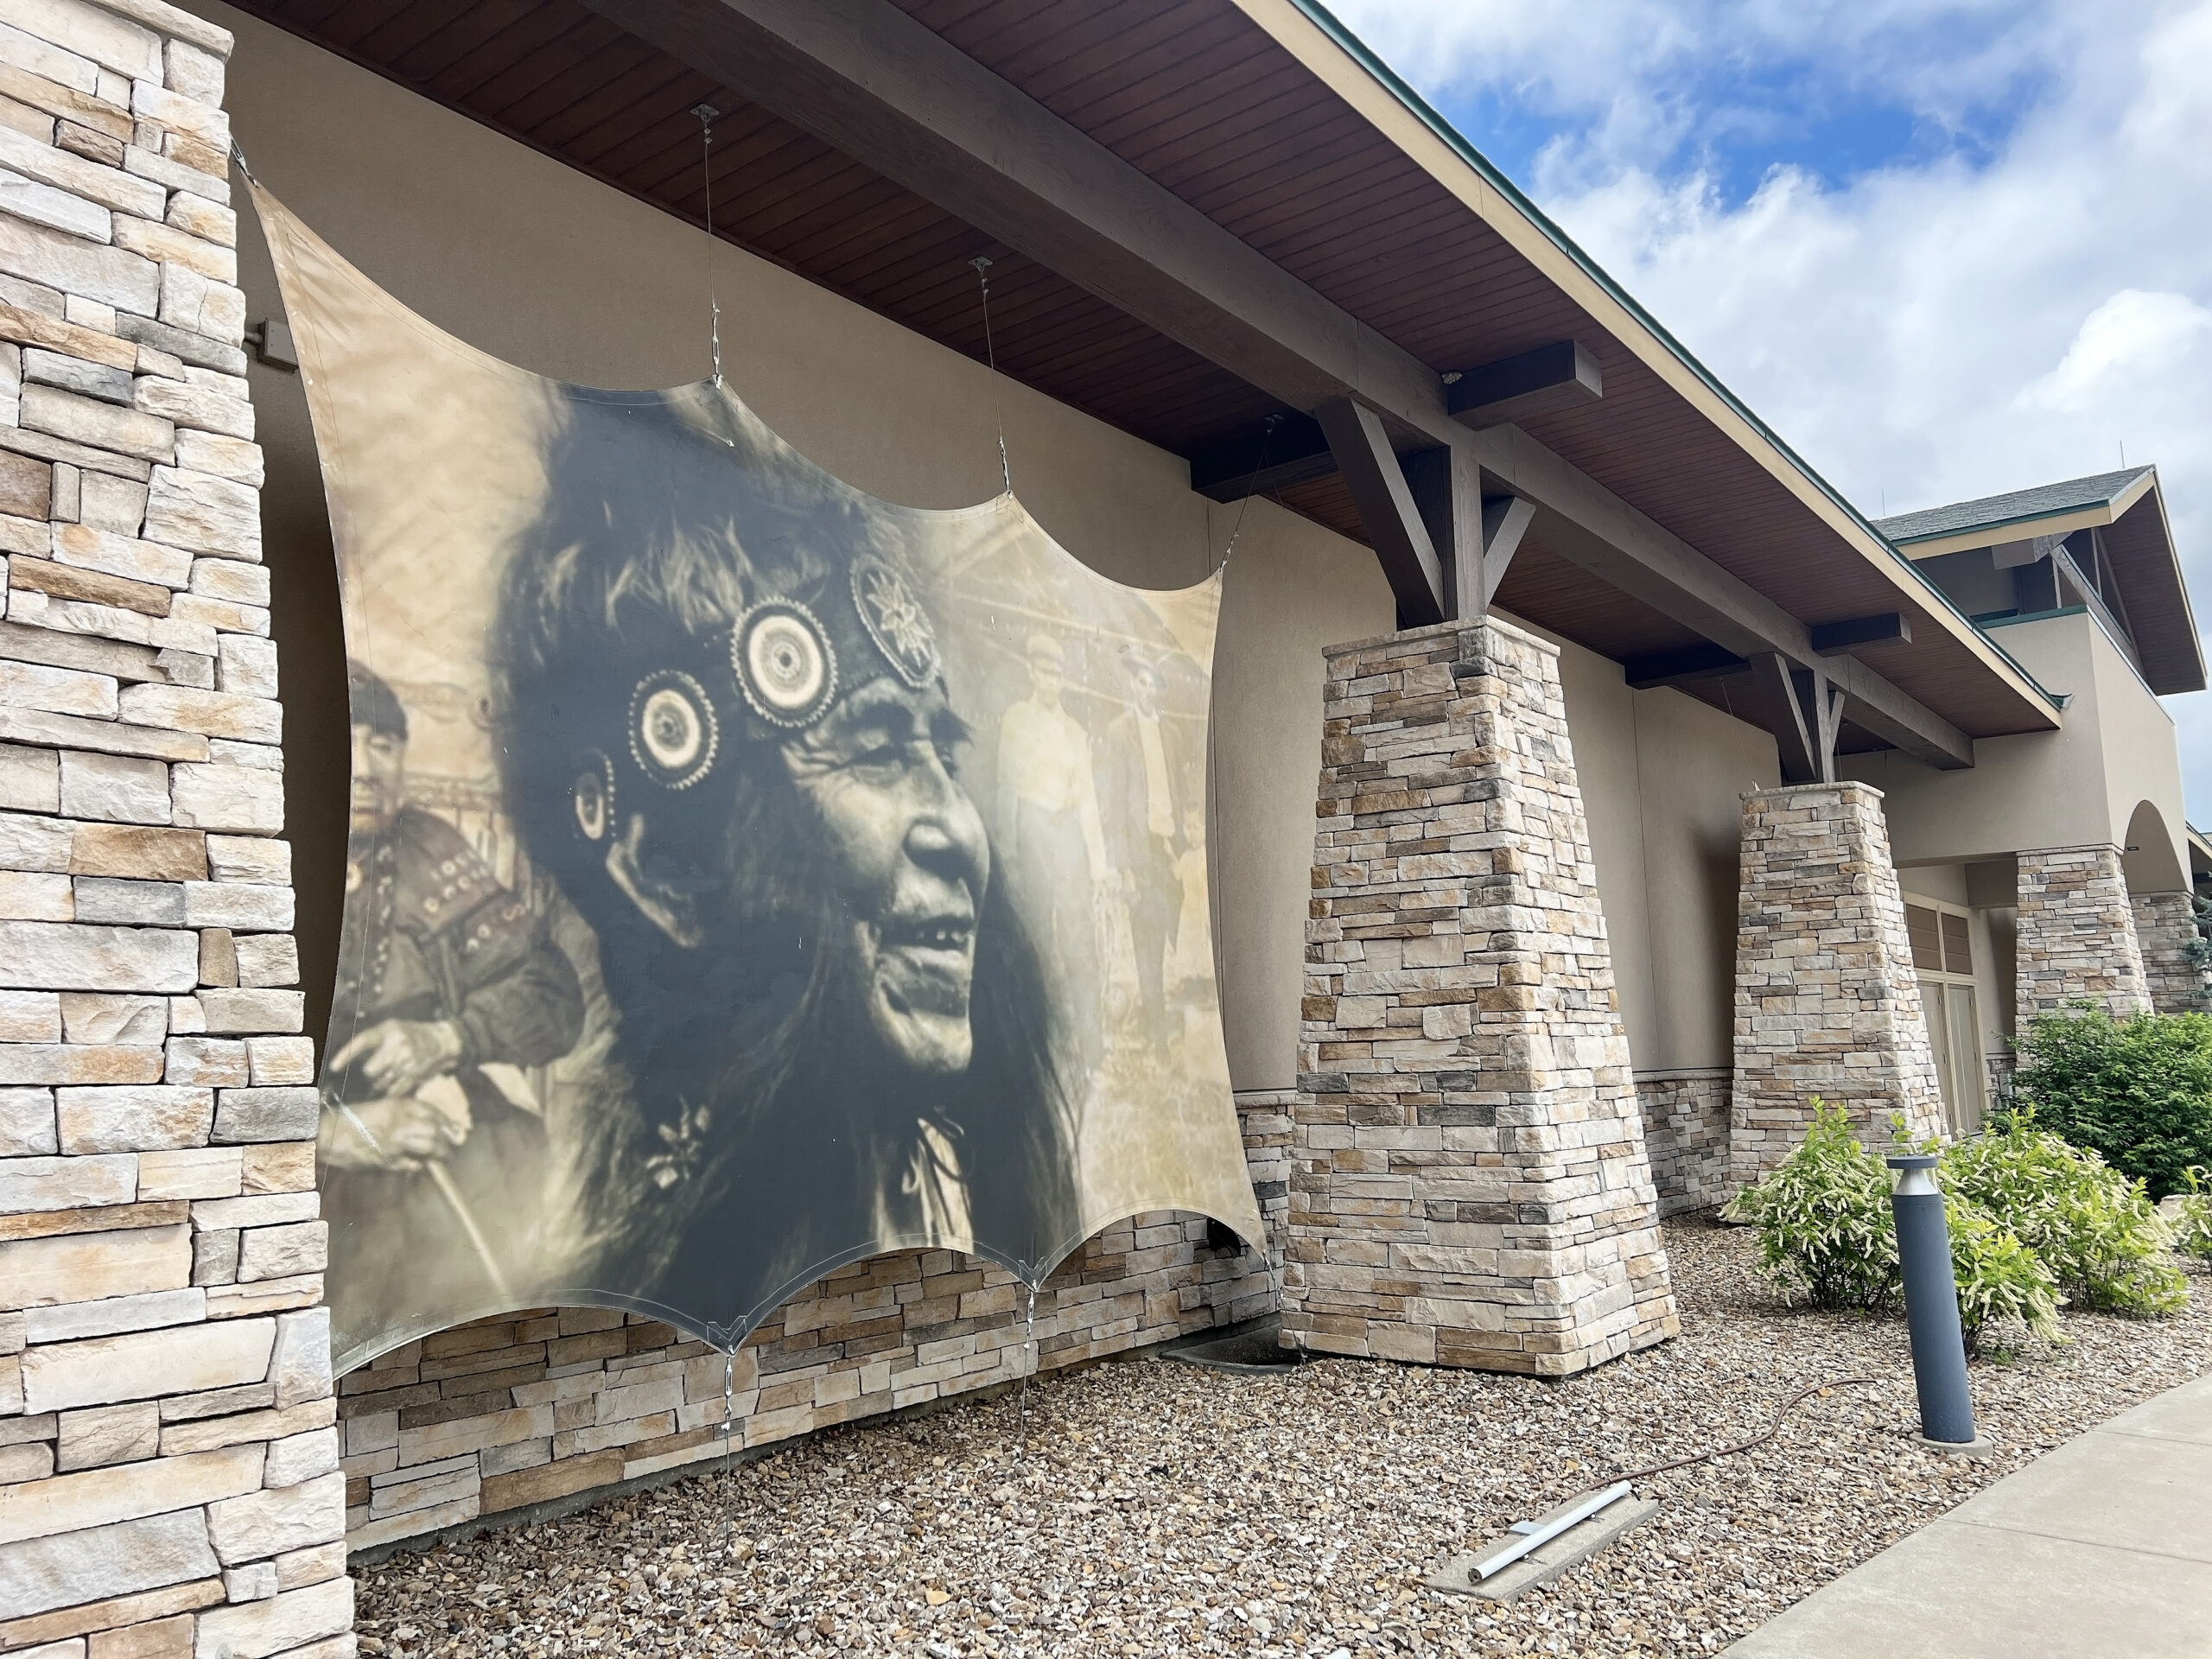 Prairie Band Casino & Resort also hosts live music and stand-up comedy shows. Golfers will want to pack their clubs to play
 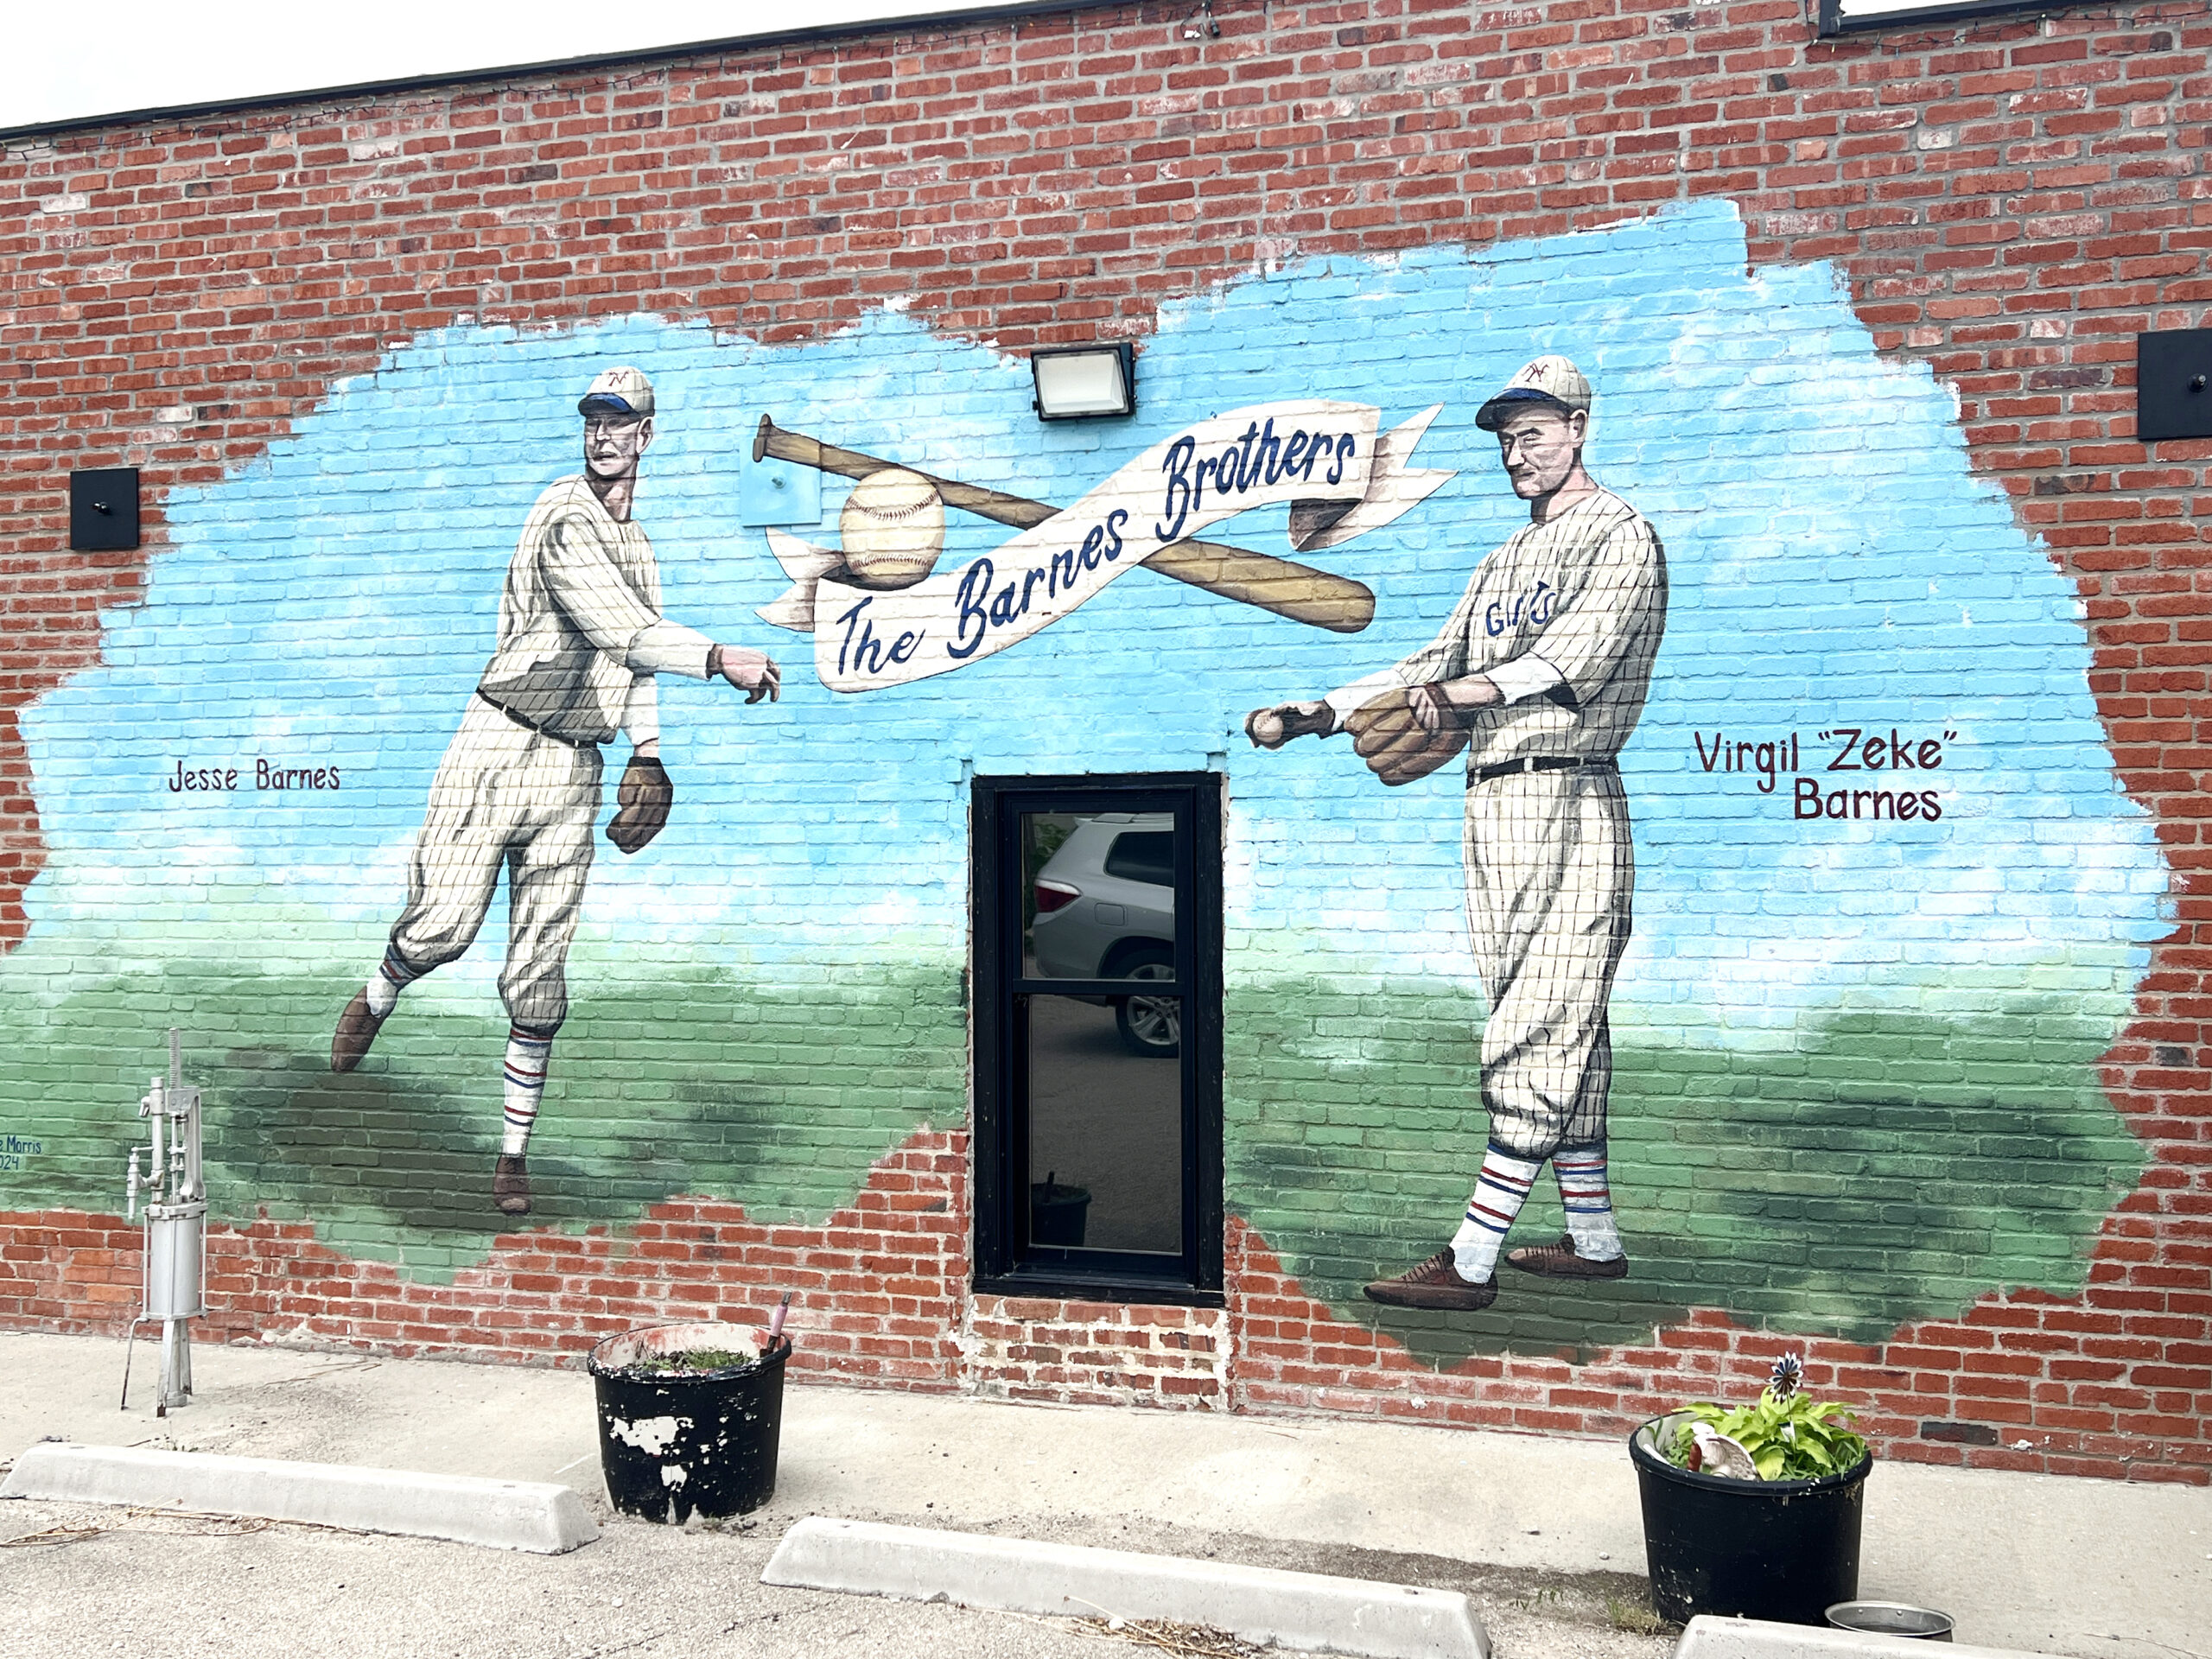 The Barnes family moved to Circleville when the boys were young during a time when they were influenced by their father’s love of the game.
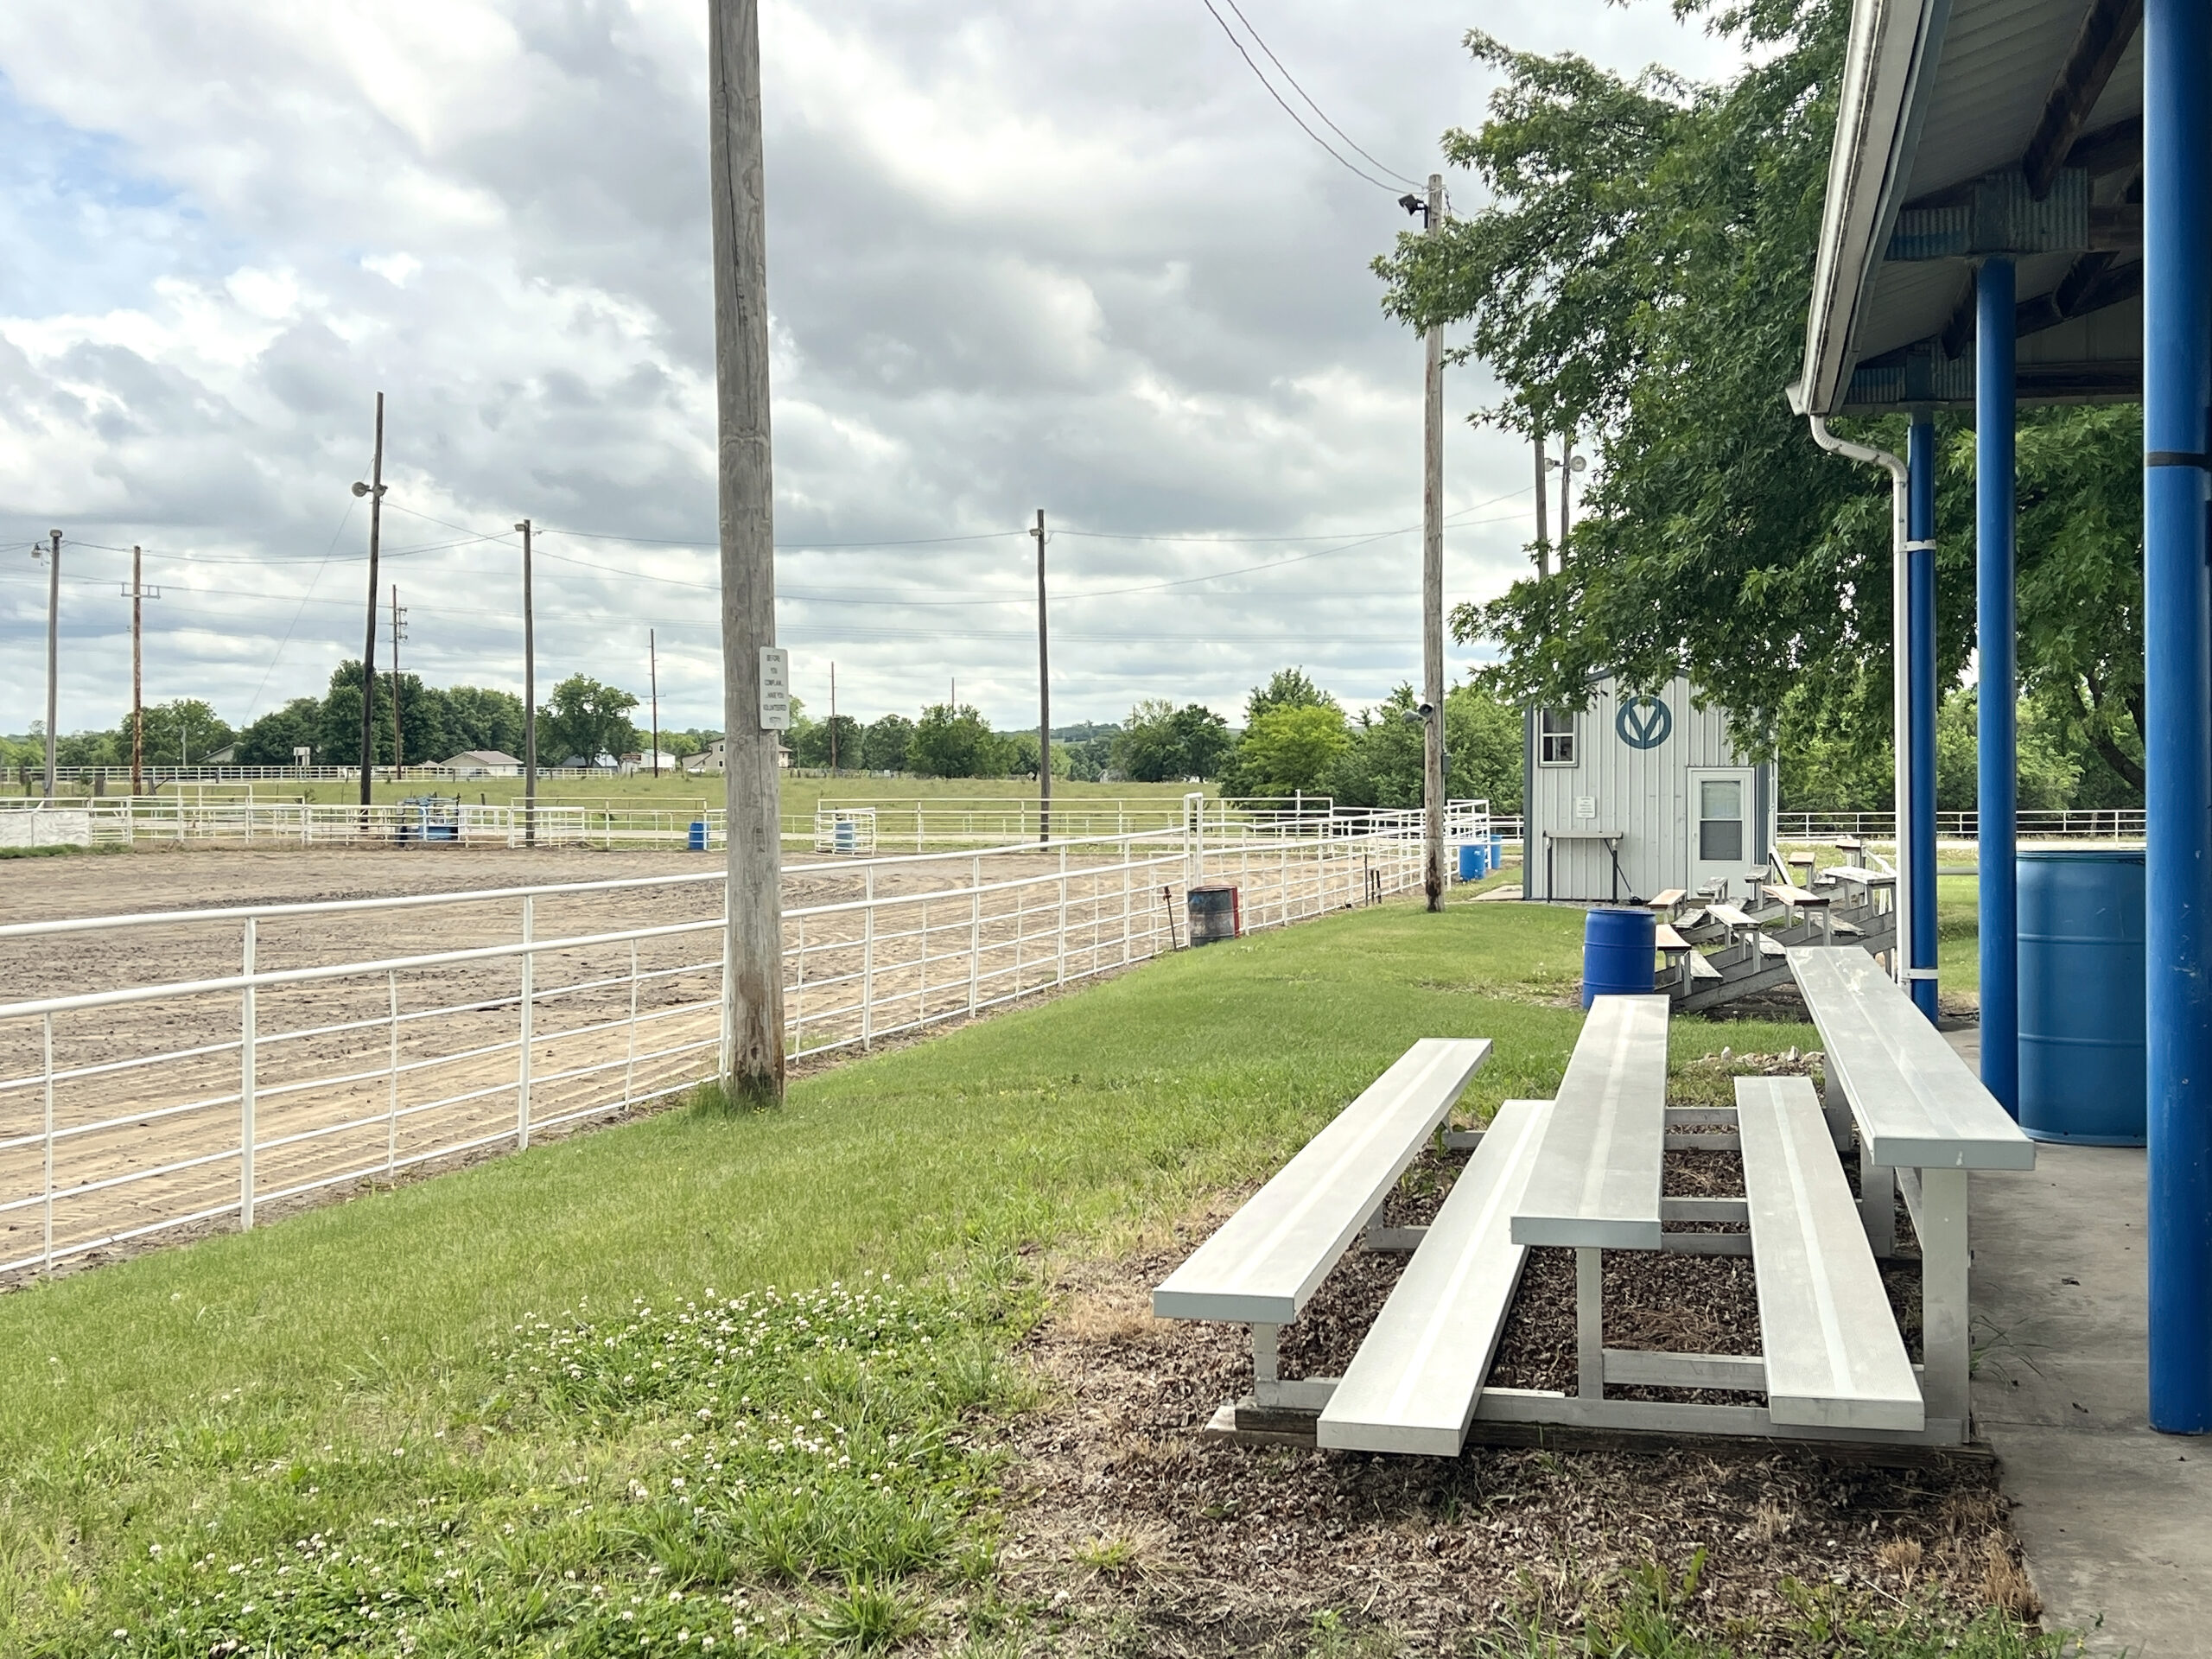 Events like the Barrel Series are posted regularly on their
 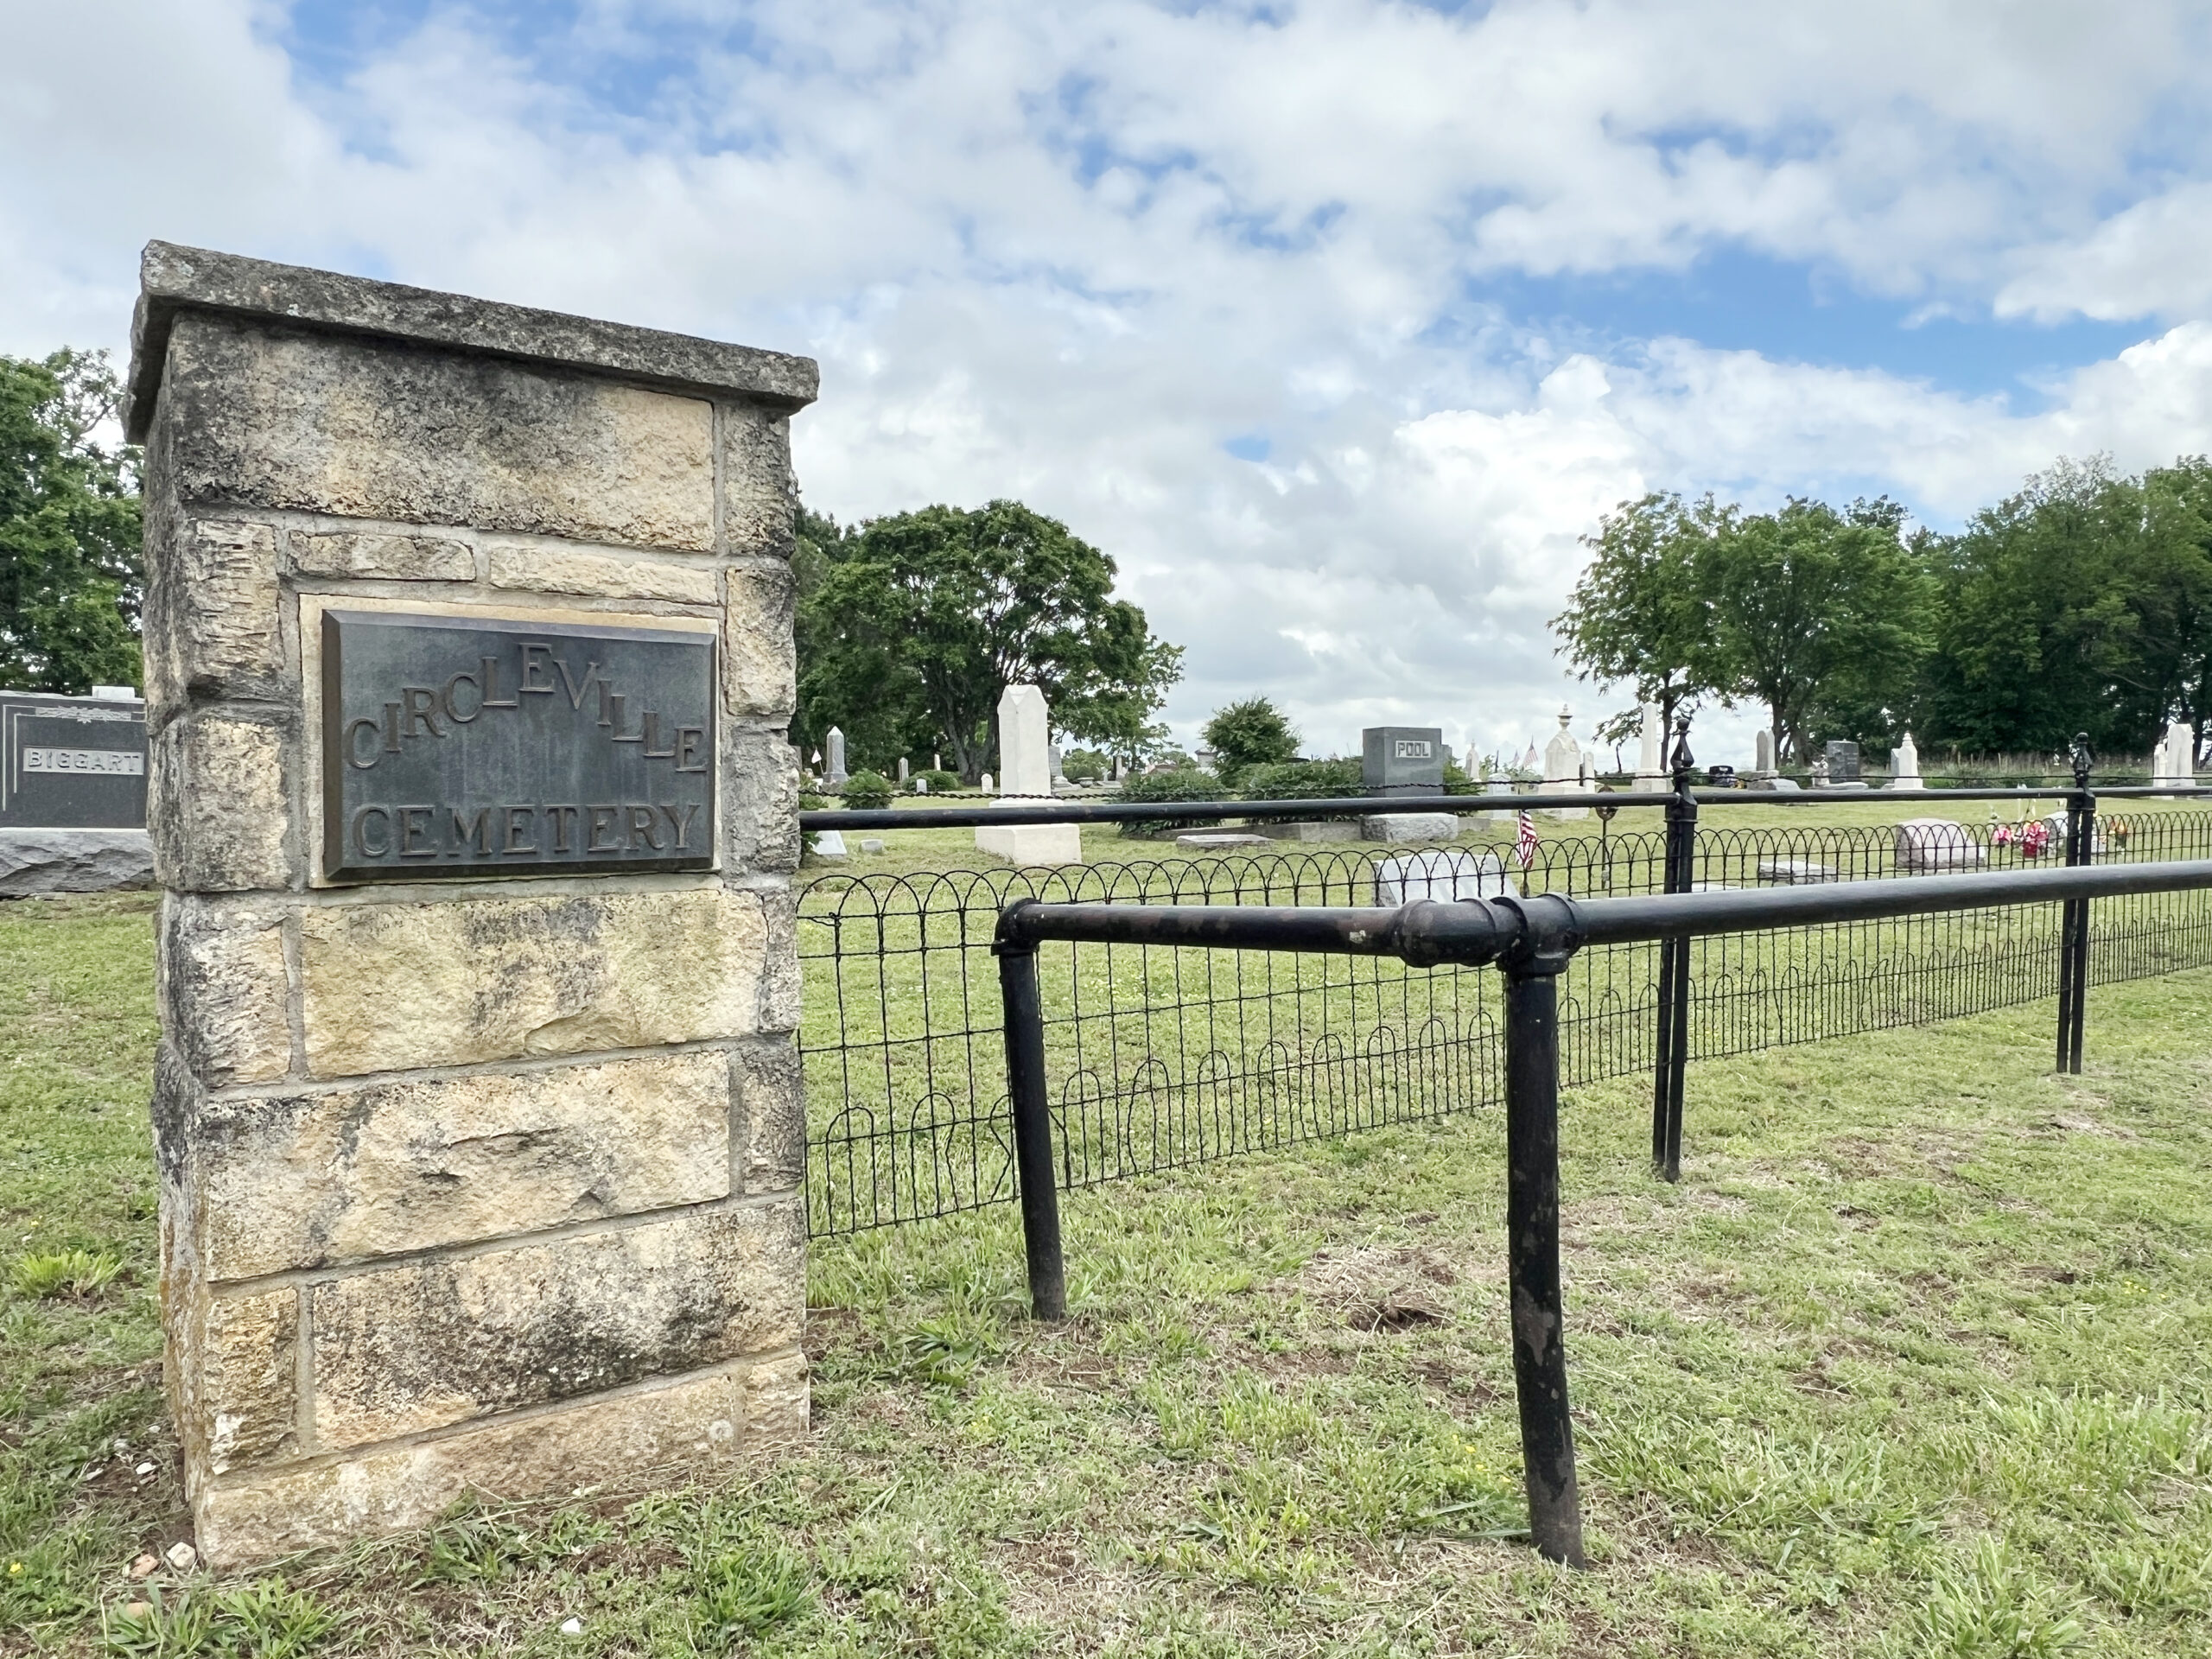 I visited prior to Memorial Day, so numerous gravestones honoring military veterans were decorated by volunteers or family members. As you drive through the small cemetery, you’ll also find a
 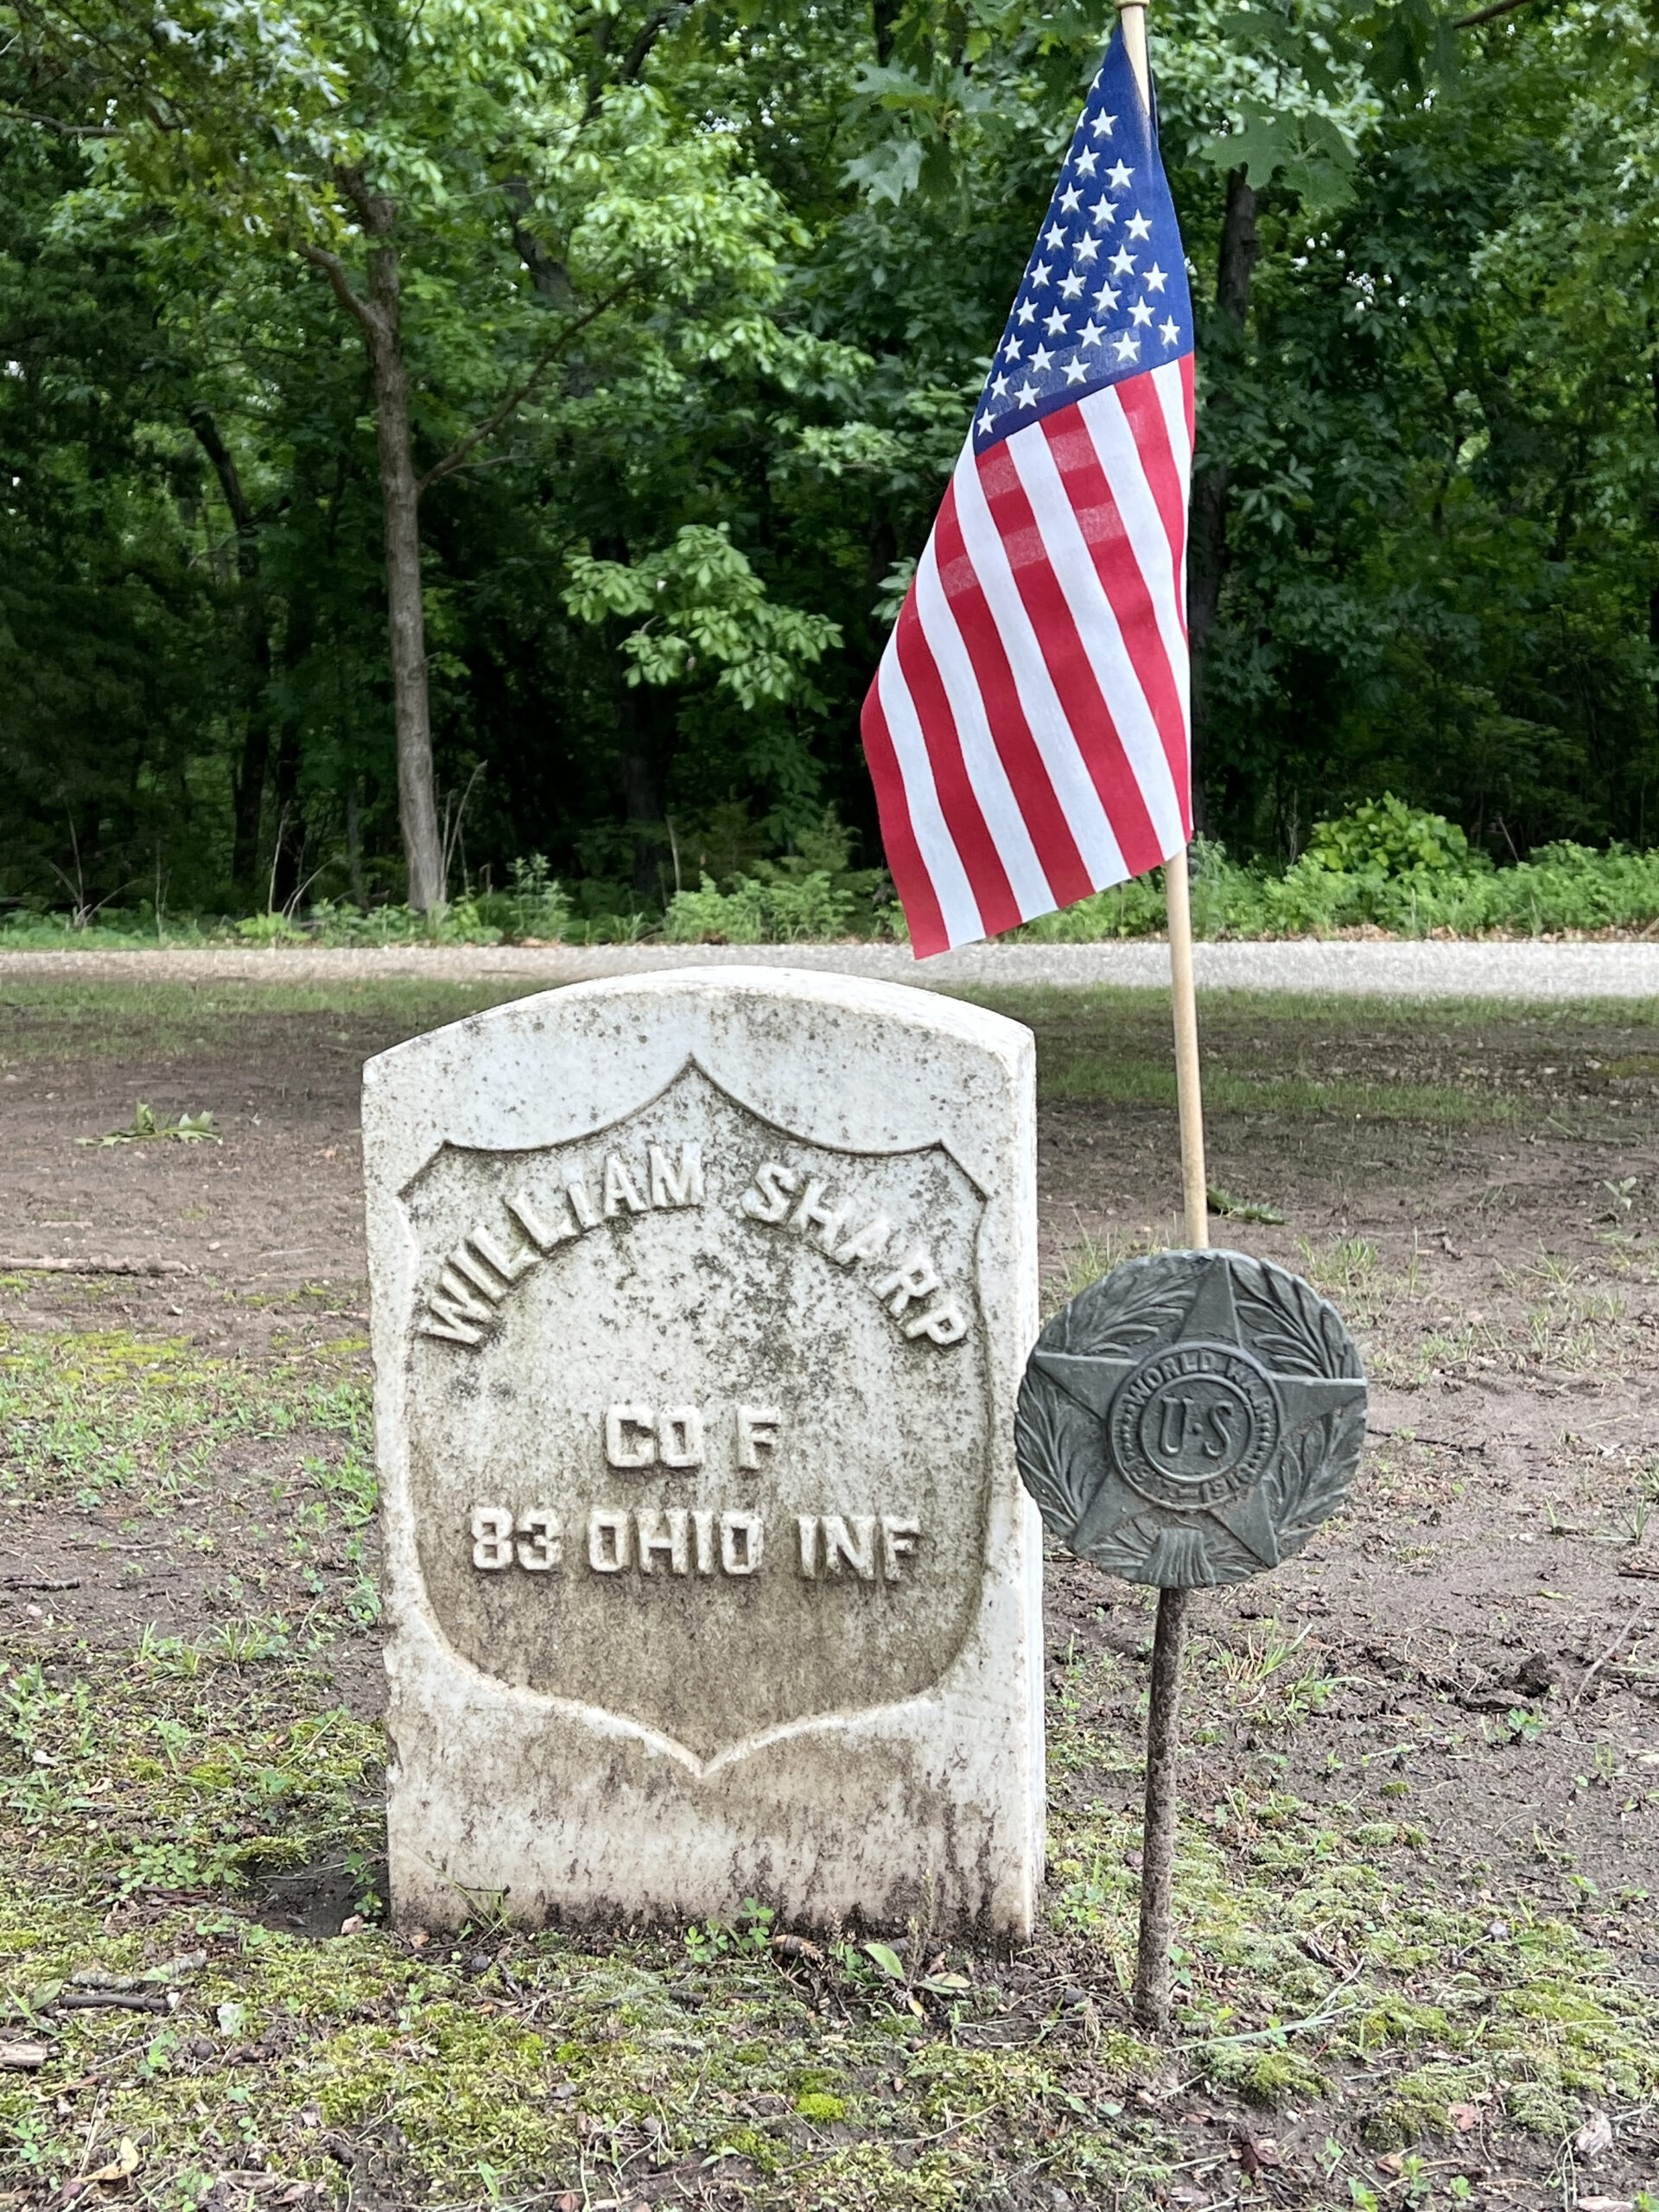 The scene was tranquil, and the only sound I could hear was the occasional neigh from the horses grazing across the road in nearby countryside.
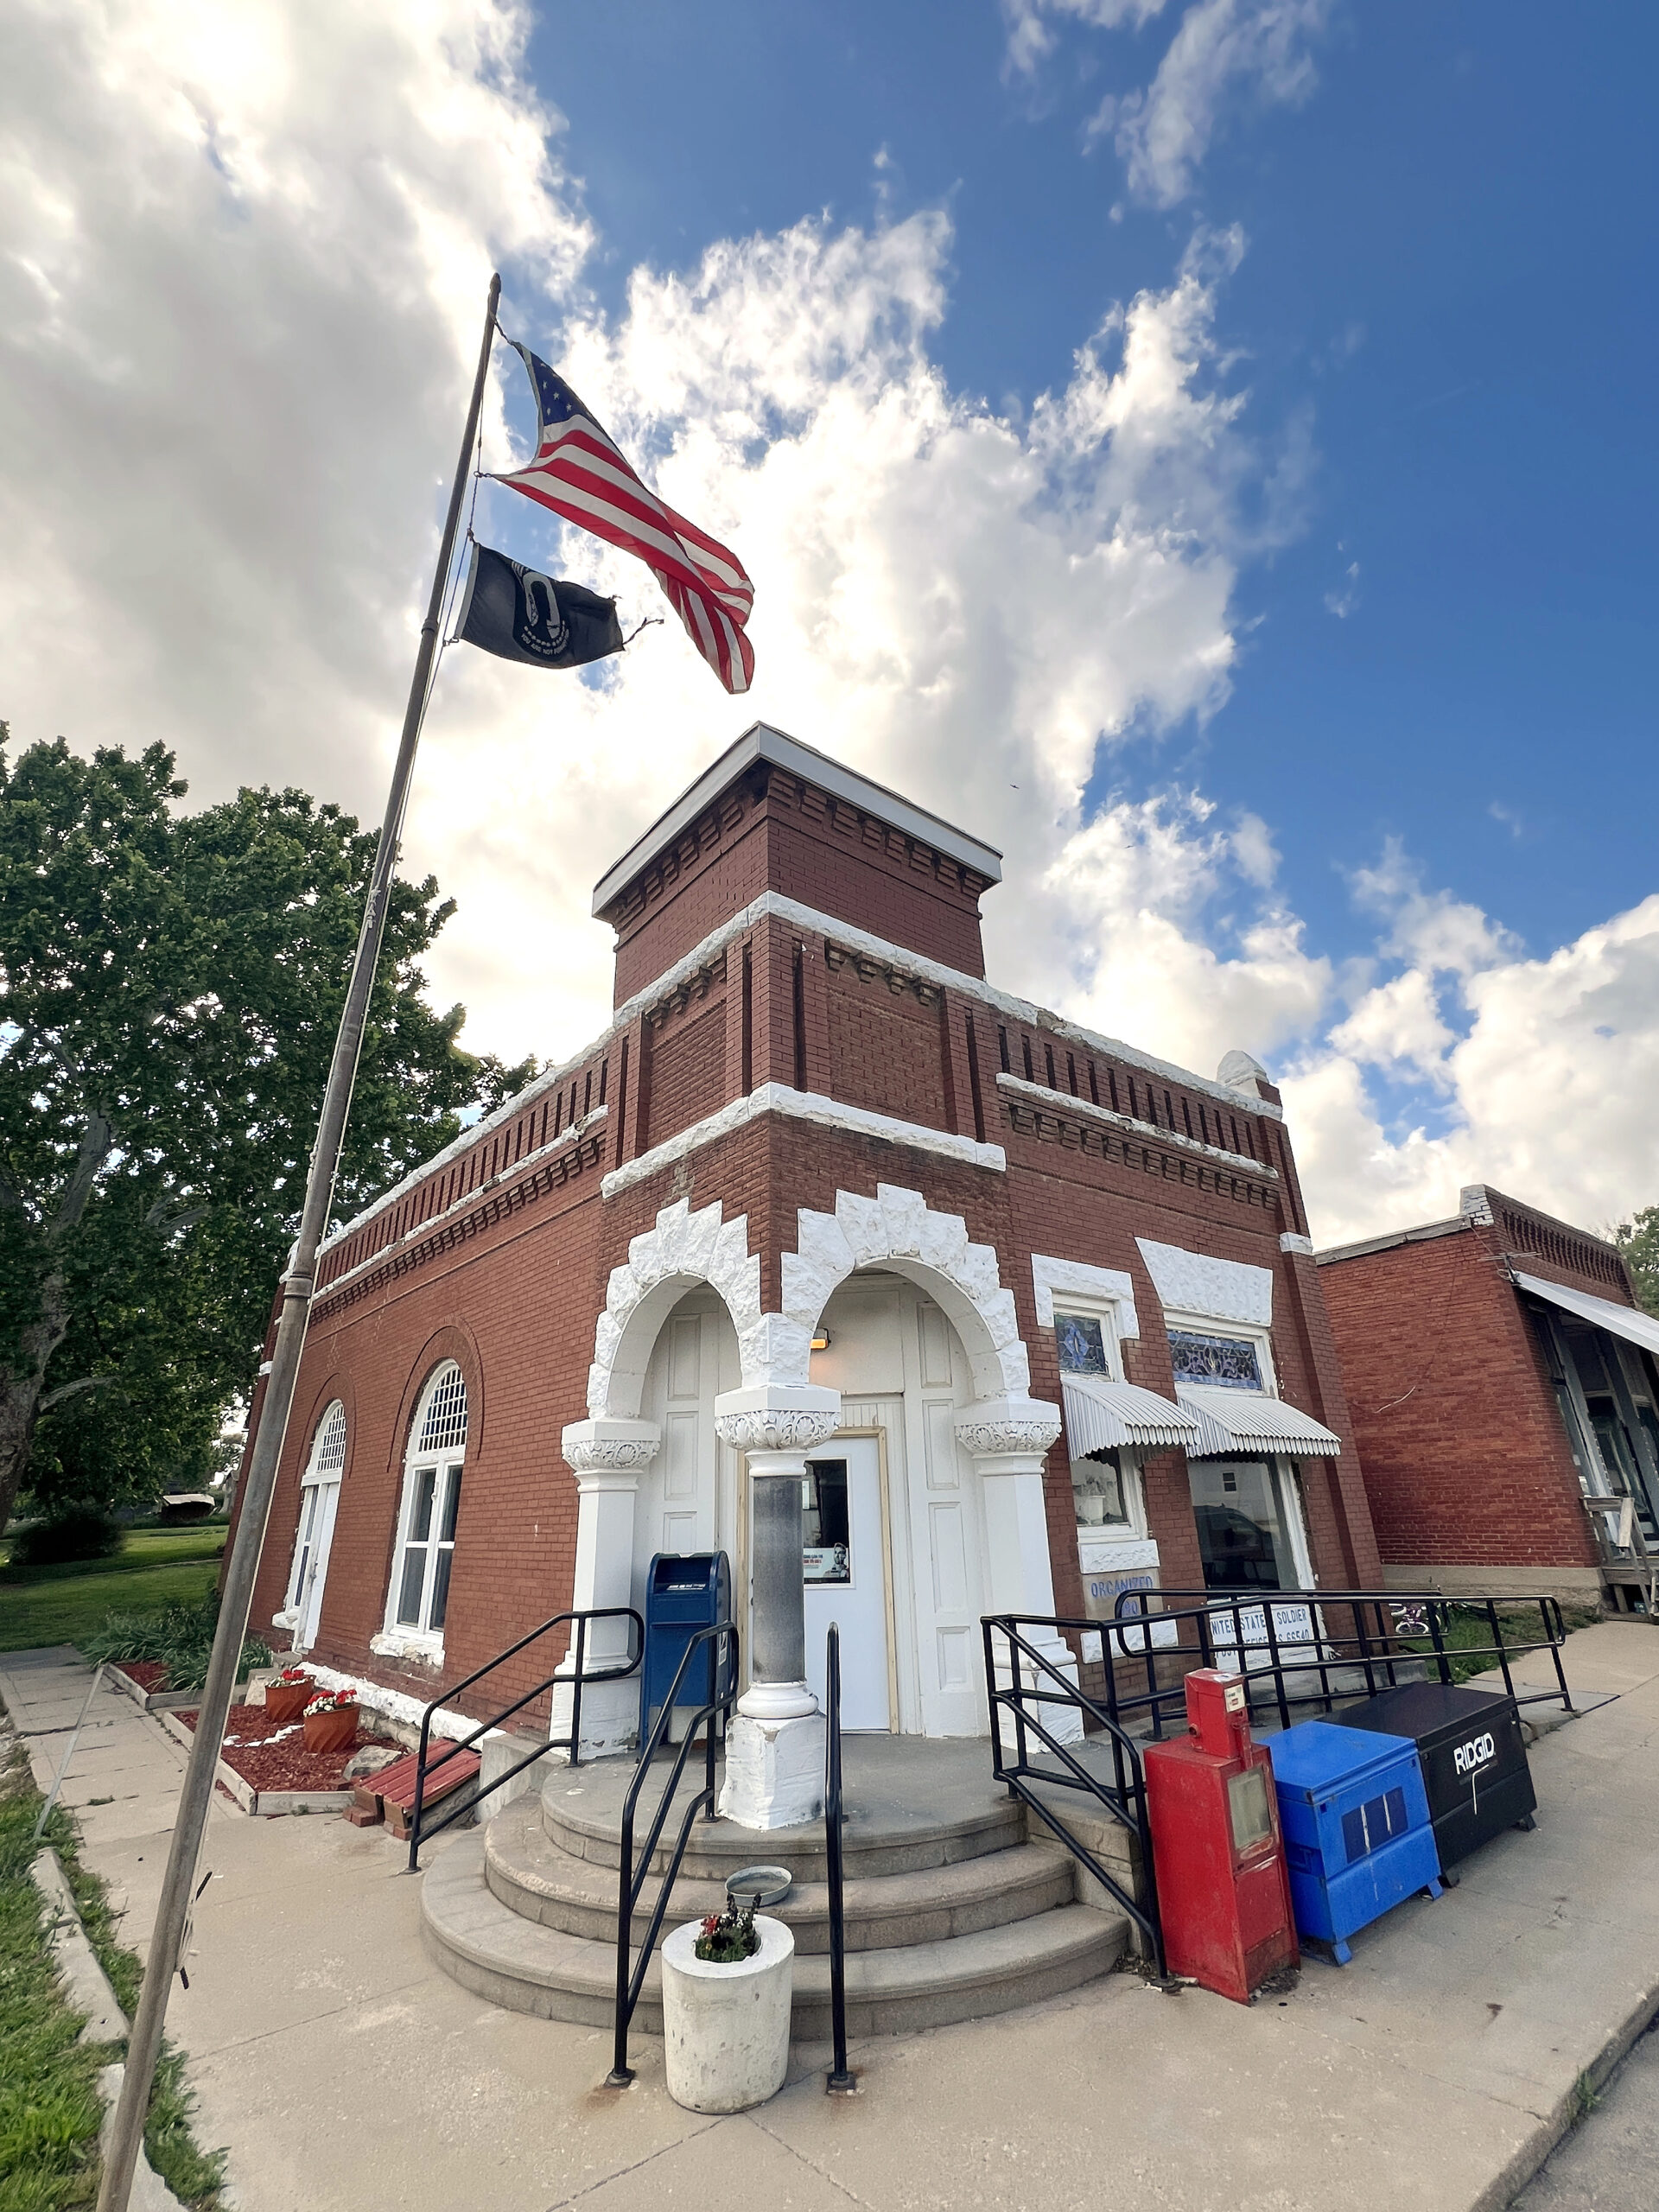 It’s the community hub, where residents not only pick up their mail but also pick up a copy of The Holton Recorder, pausing to chat with locals while their dog sips water from the complimentary bowl on the front steps.
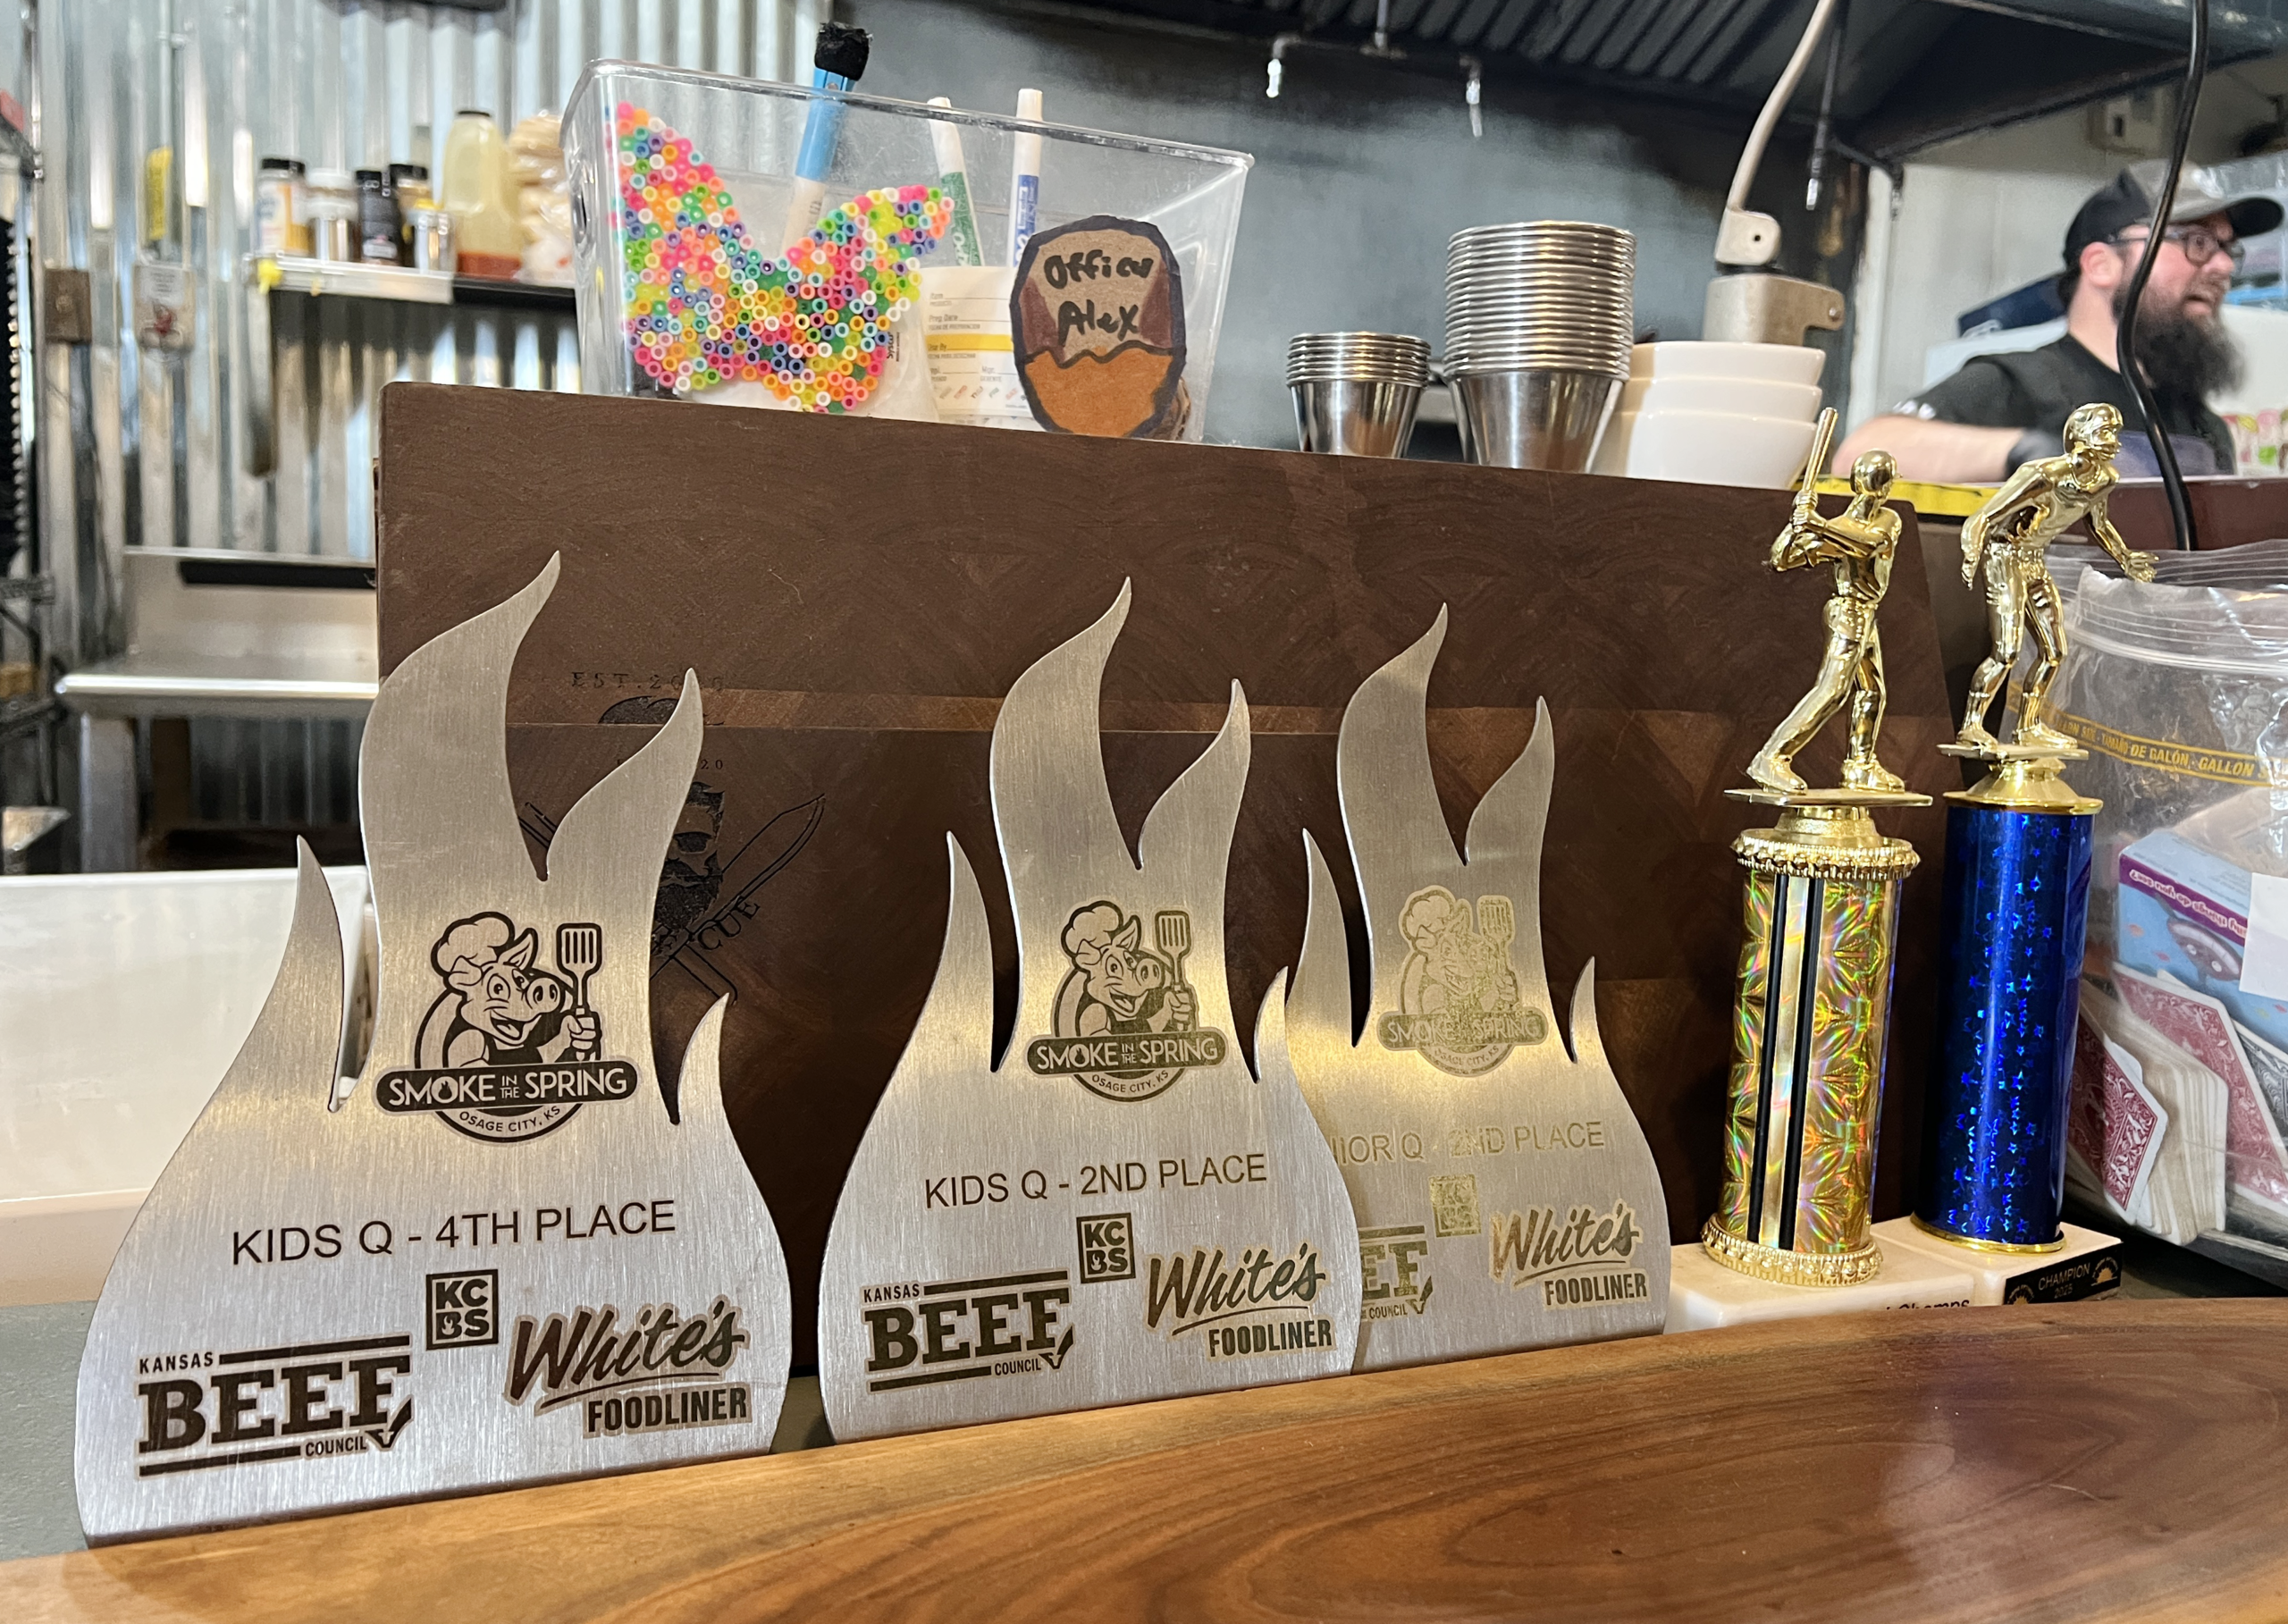 The family-owned and operated restaurant serves meat combination plates and stacked, sauced sandwiches, and you can bet there is a unique meal special written on the dry-erase board.
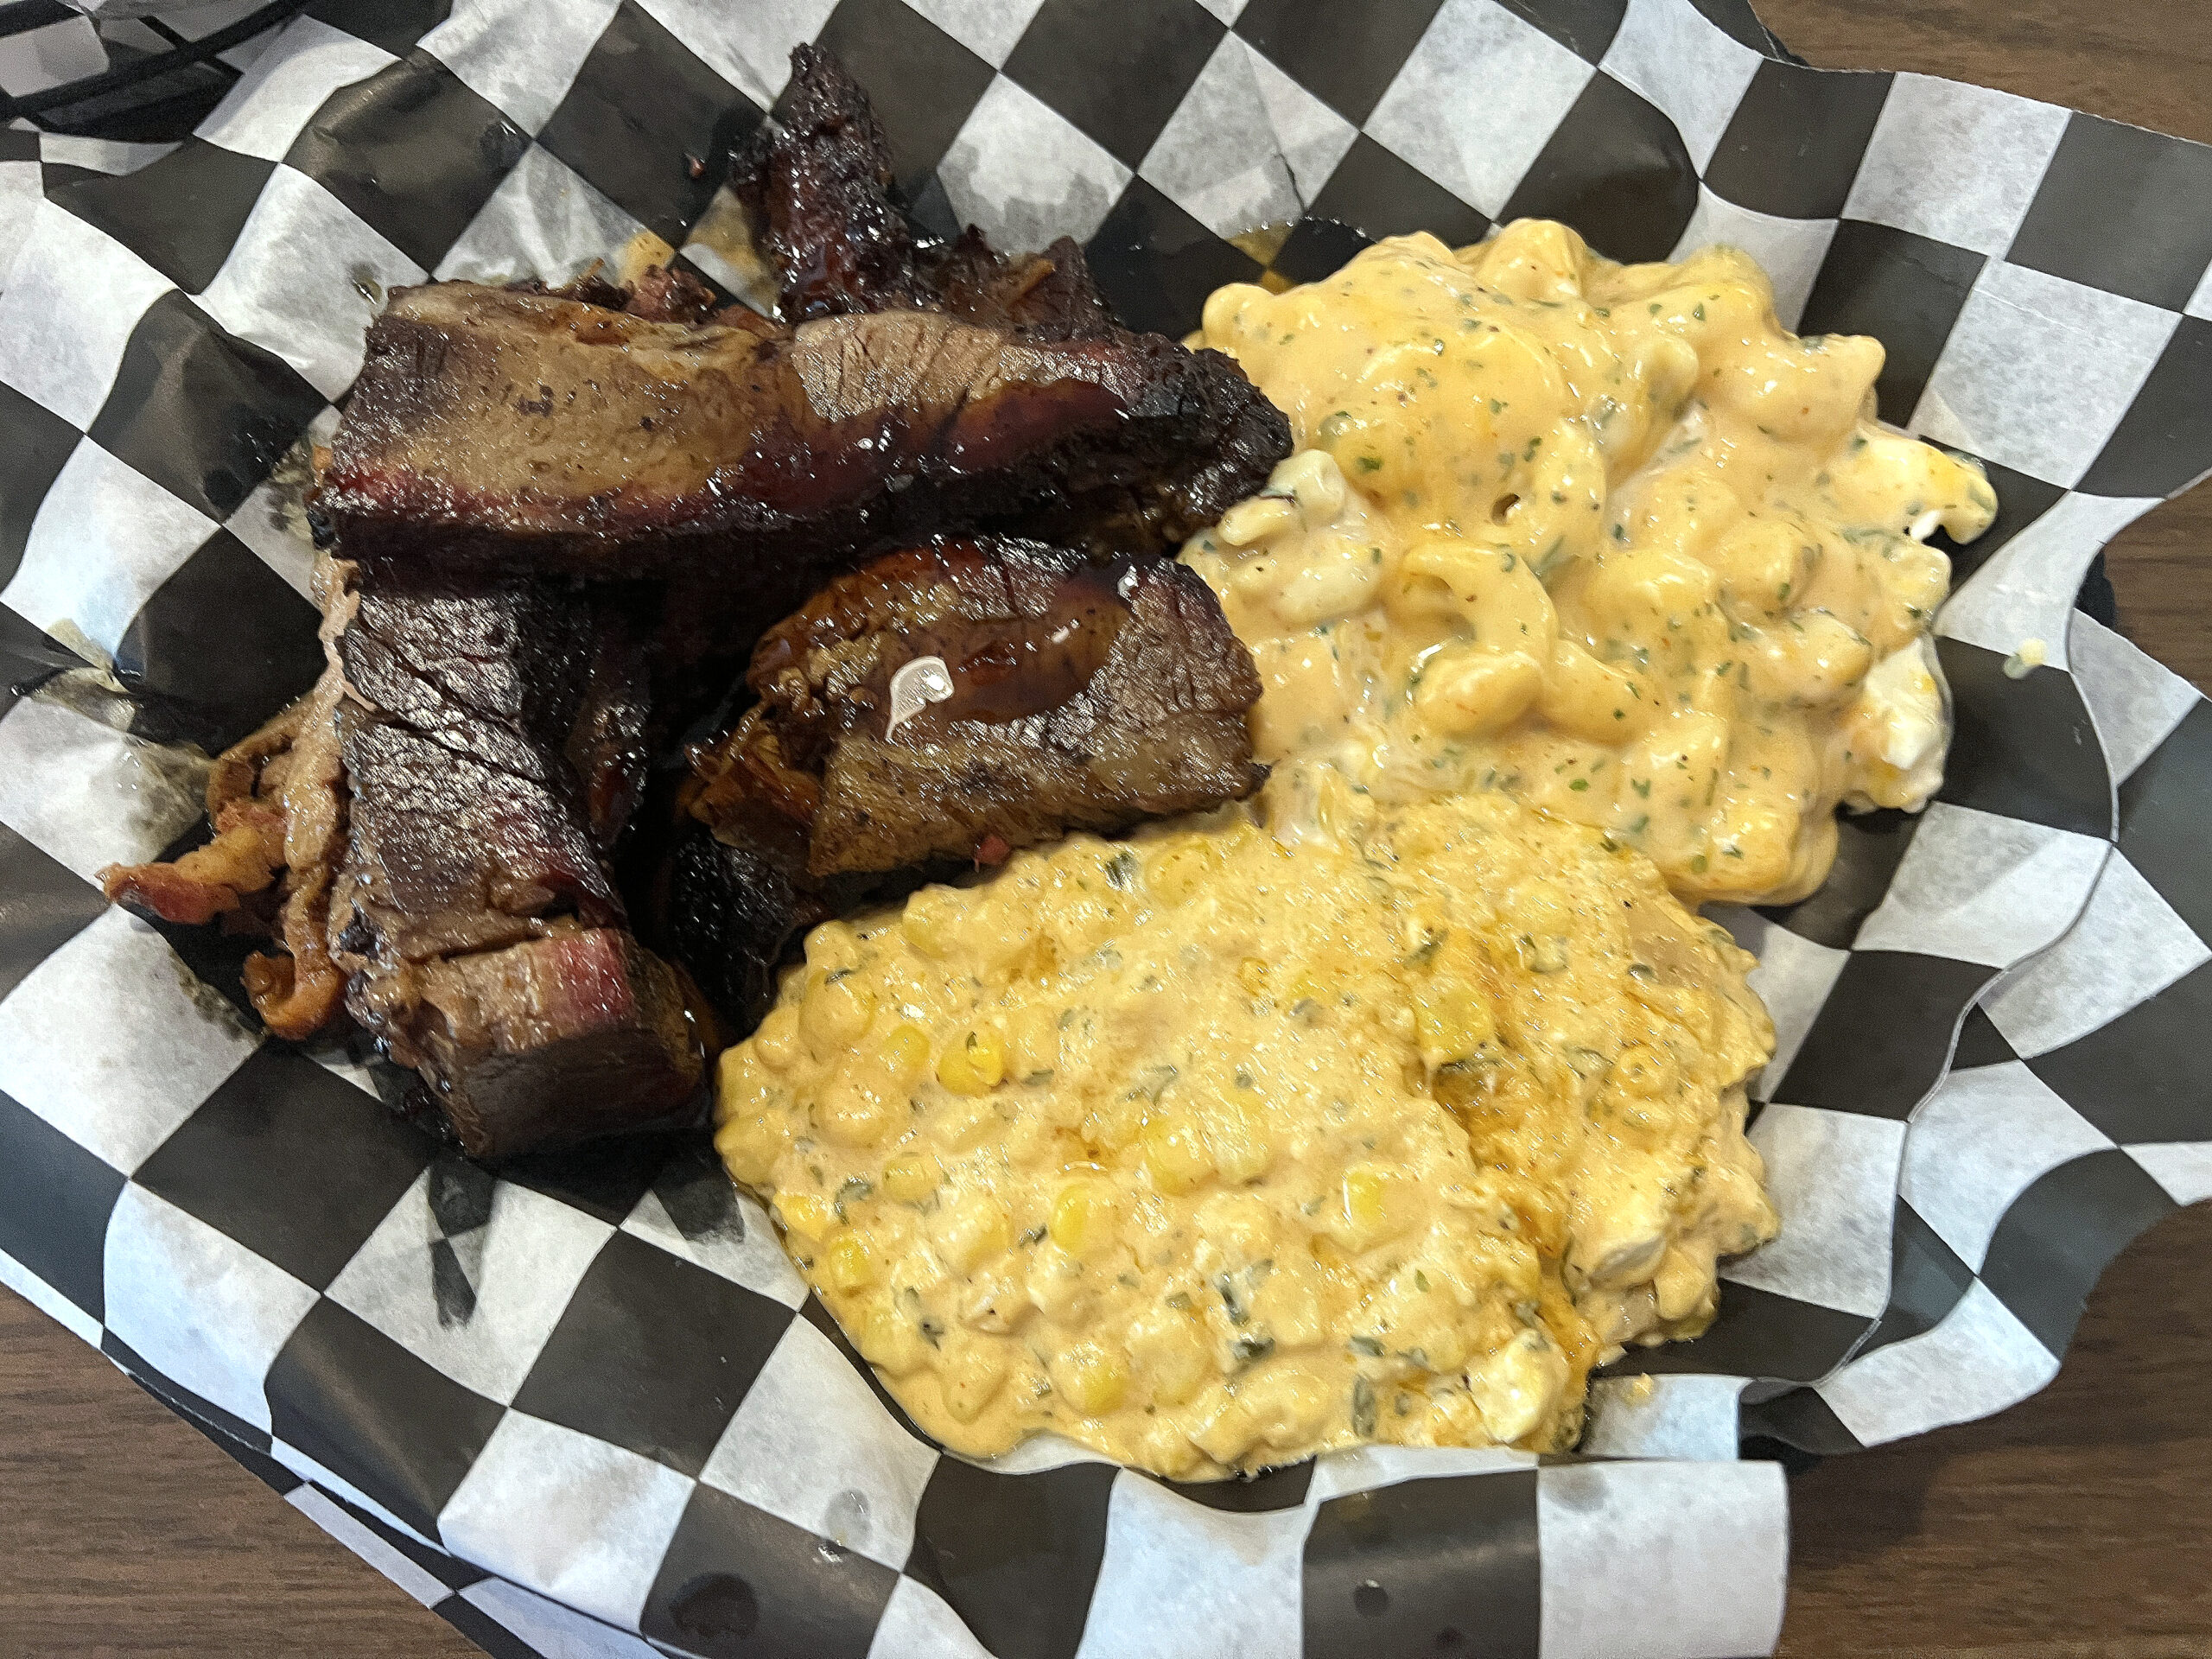 My brisket meal checked all of the boxes, served with my choice of two sides: truffle mac-and-cheese and cheesy corn. Each one was scumptious, and overall I thought the mac-and-cheese was well prepared, although I didn’t detect a truffle flavor.
 I couldn’t resist ordering a slice of homemade pie. A short list of available pie flavors, prepared by a local baker, was written on the glass of a reach-in cooler.
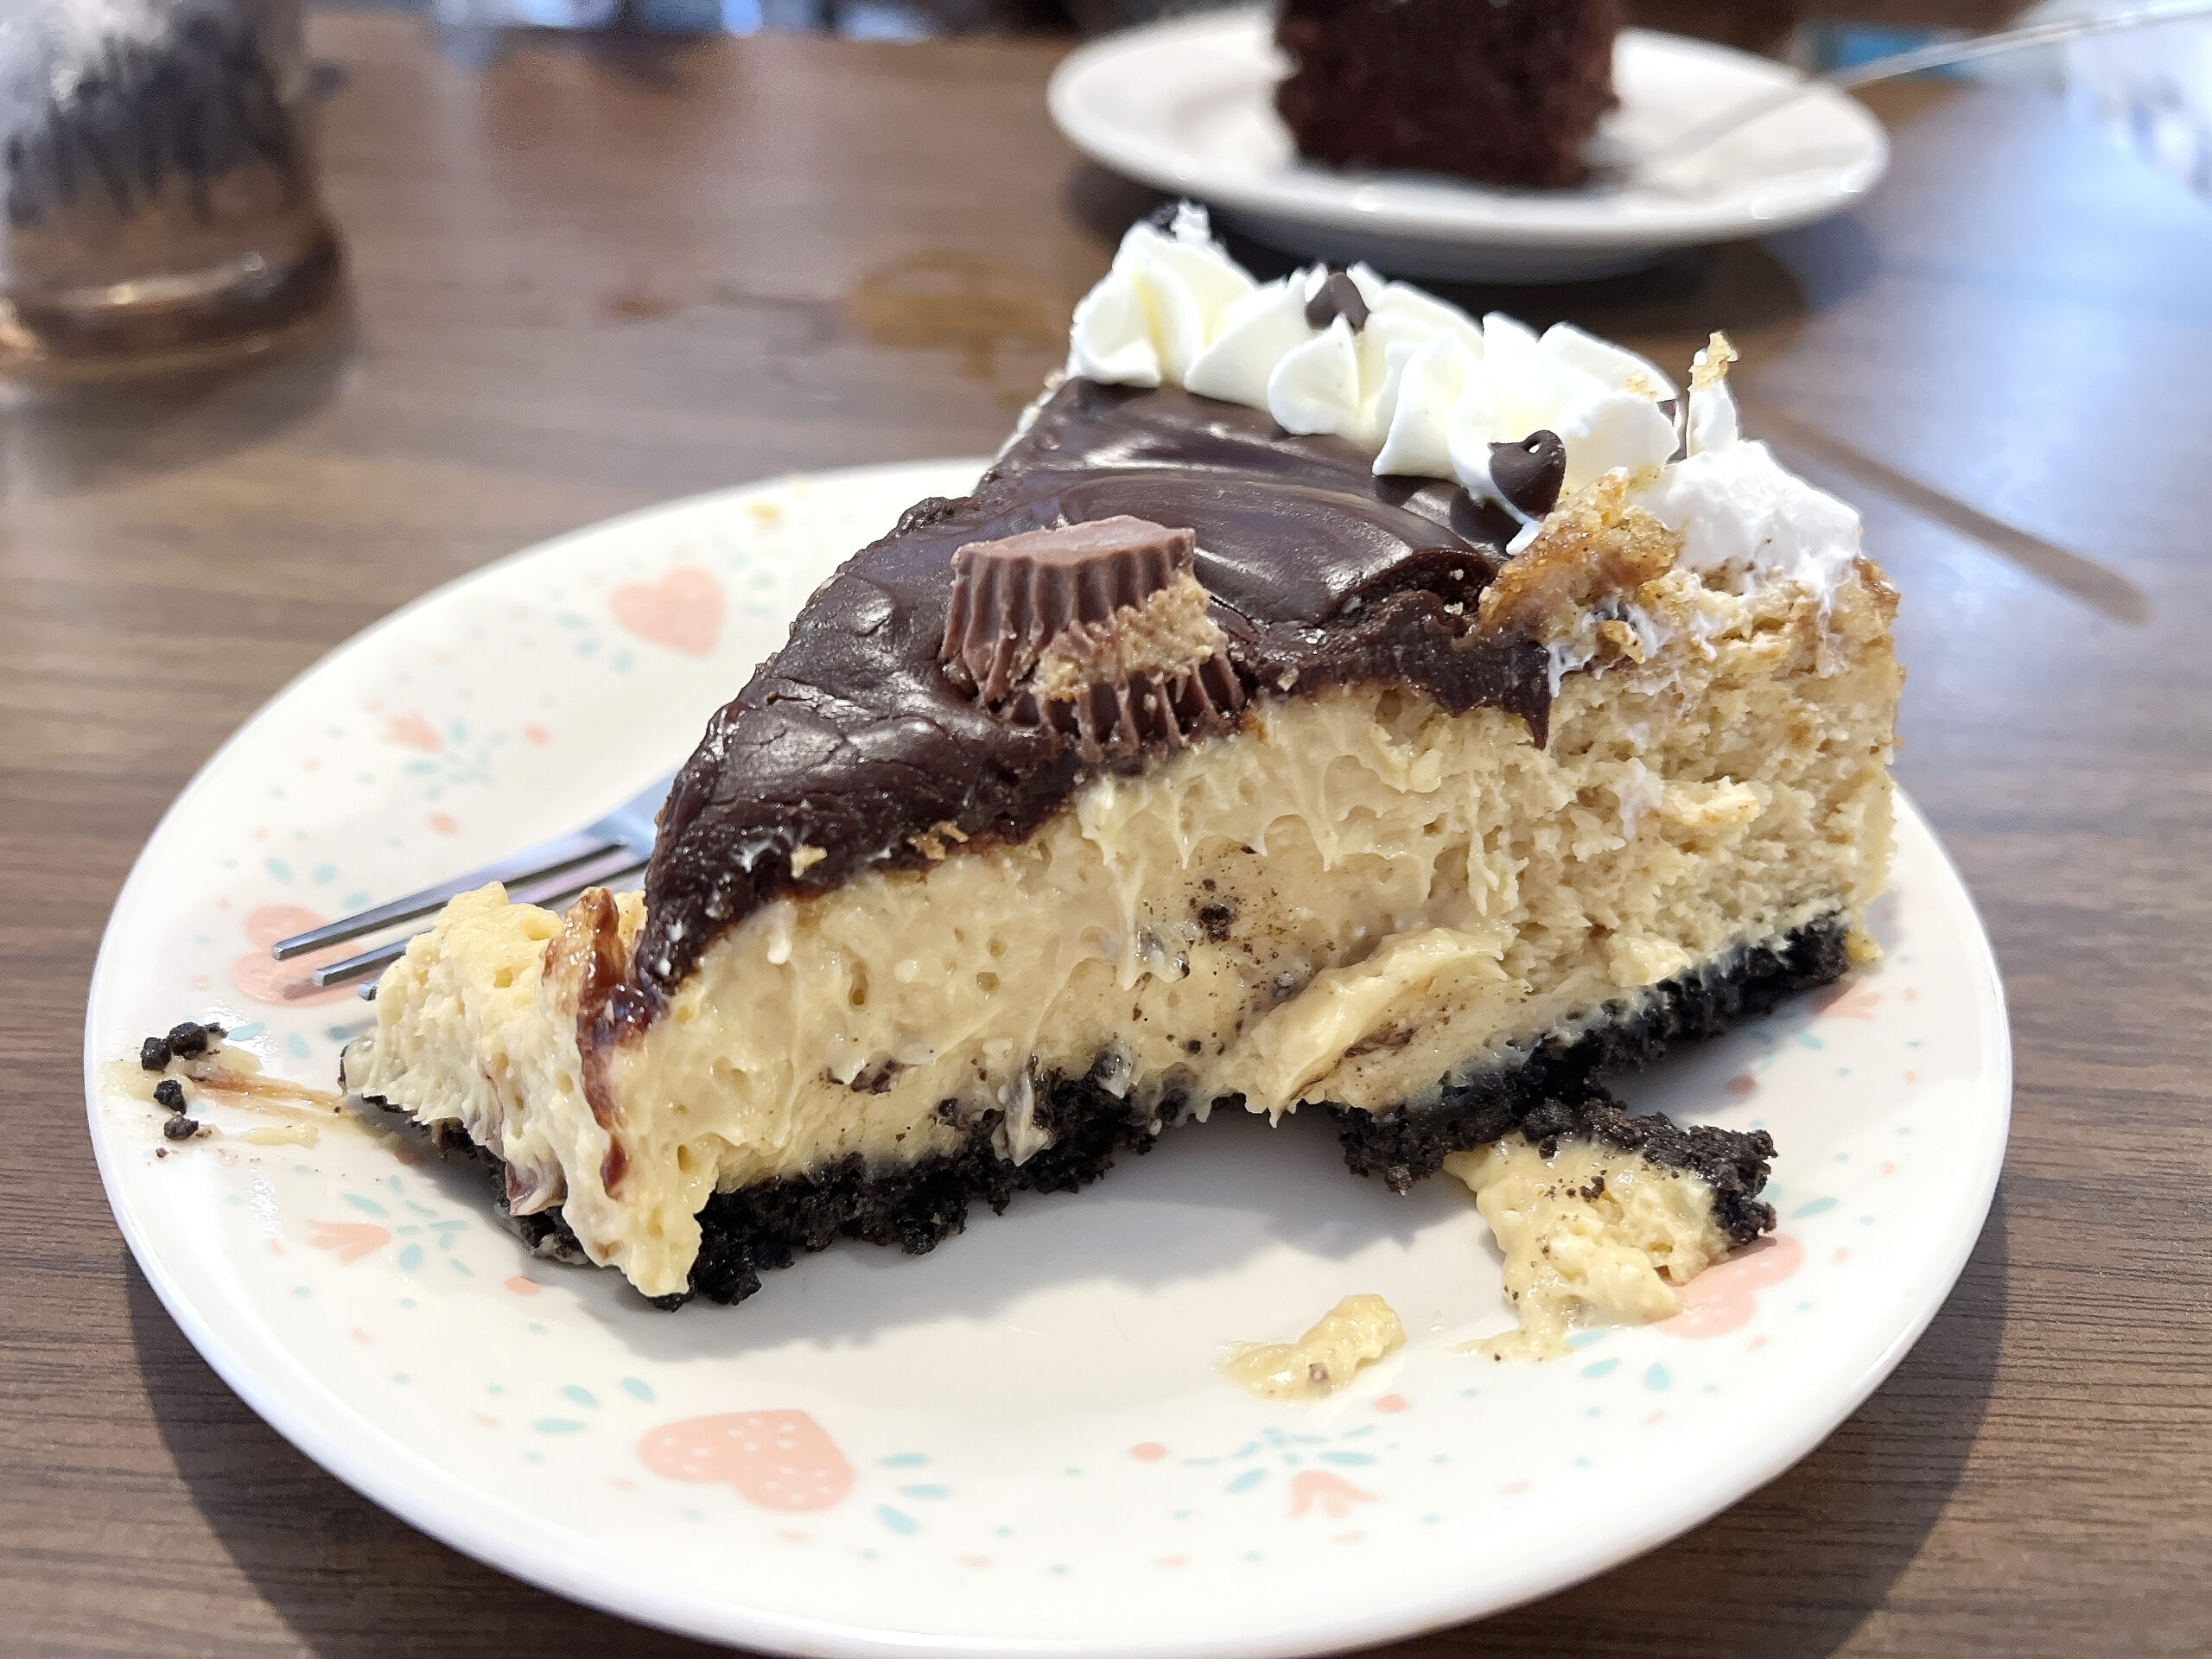 When the baker, who was seated nearby, heard me order a Peanut Butter Cup pie slice, she waved at me.
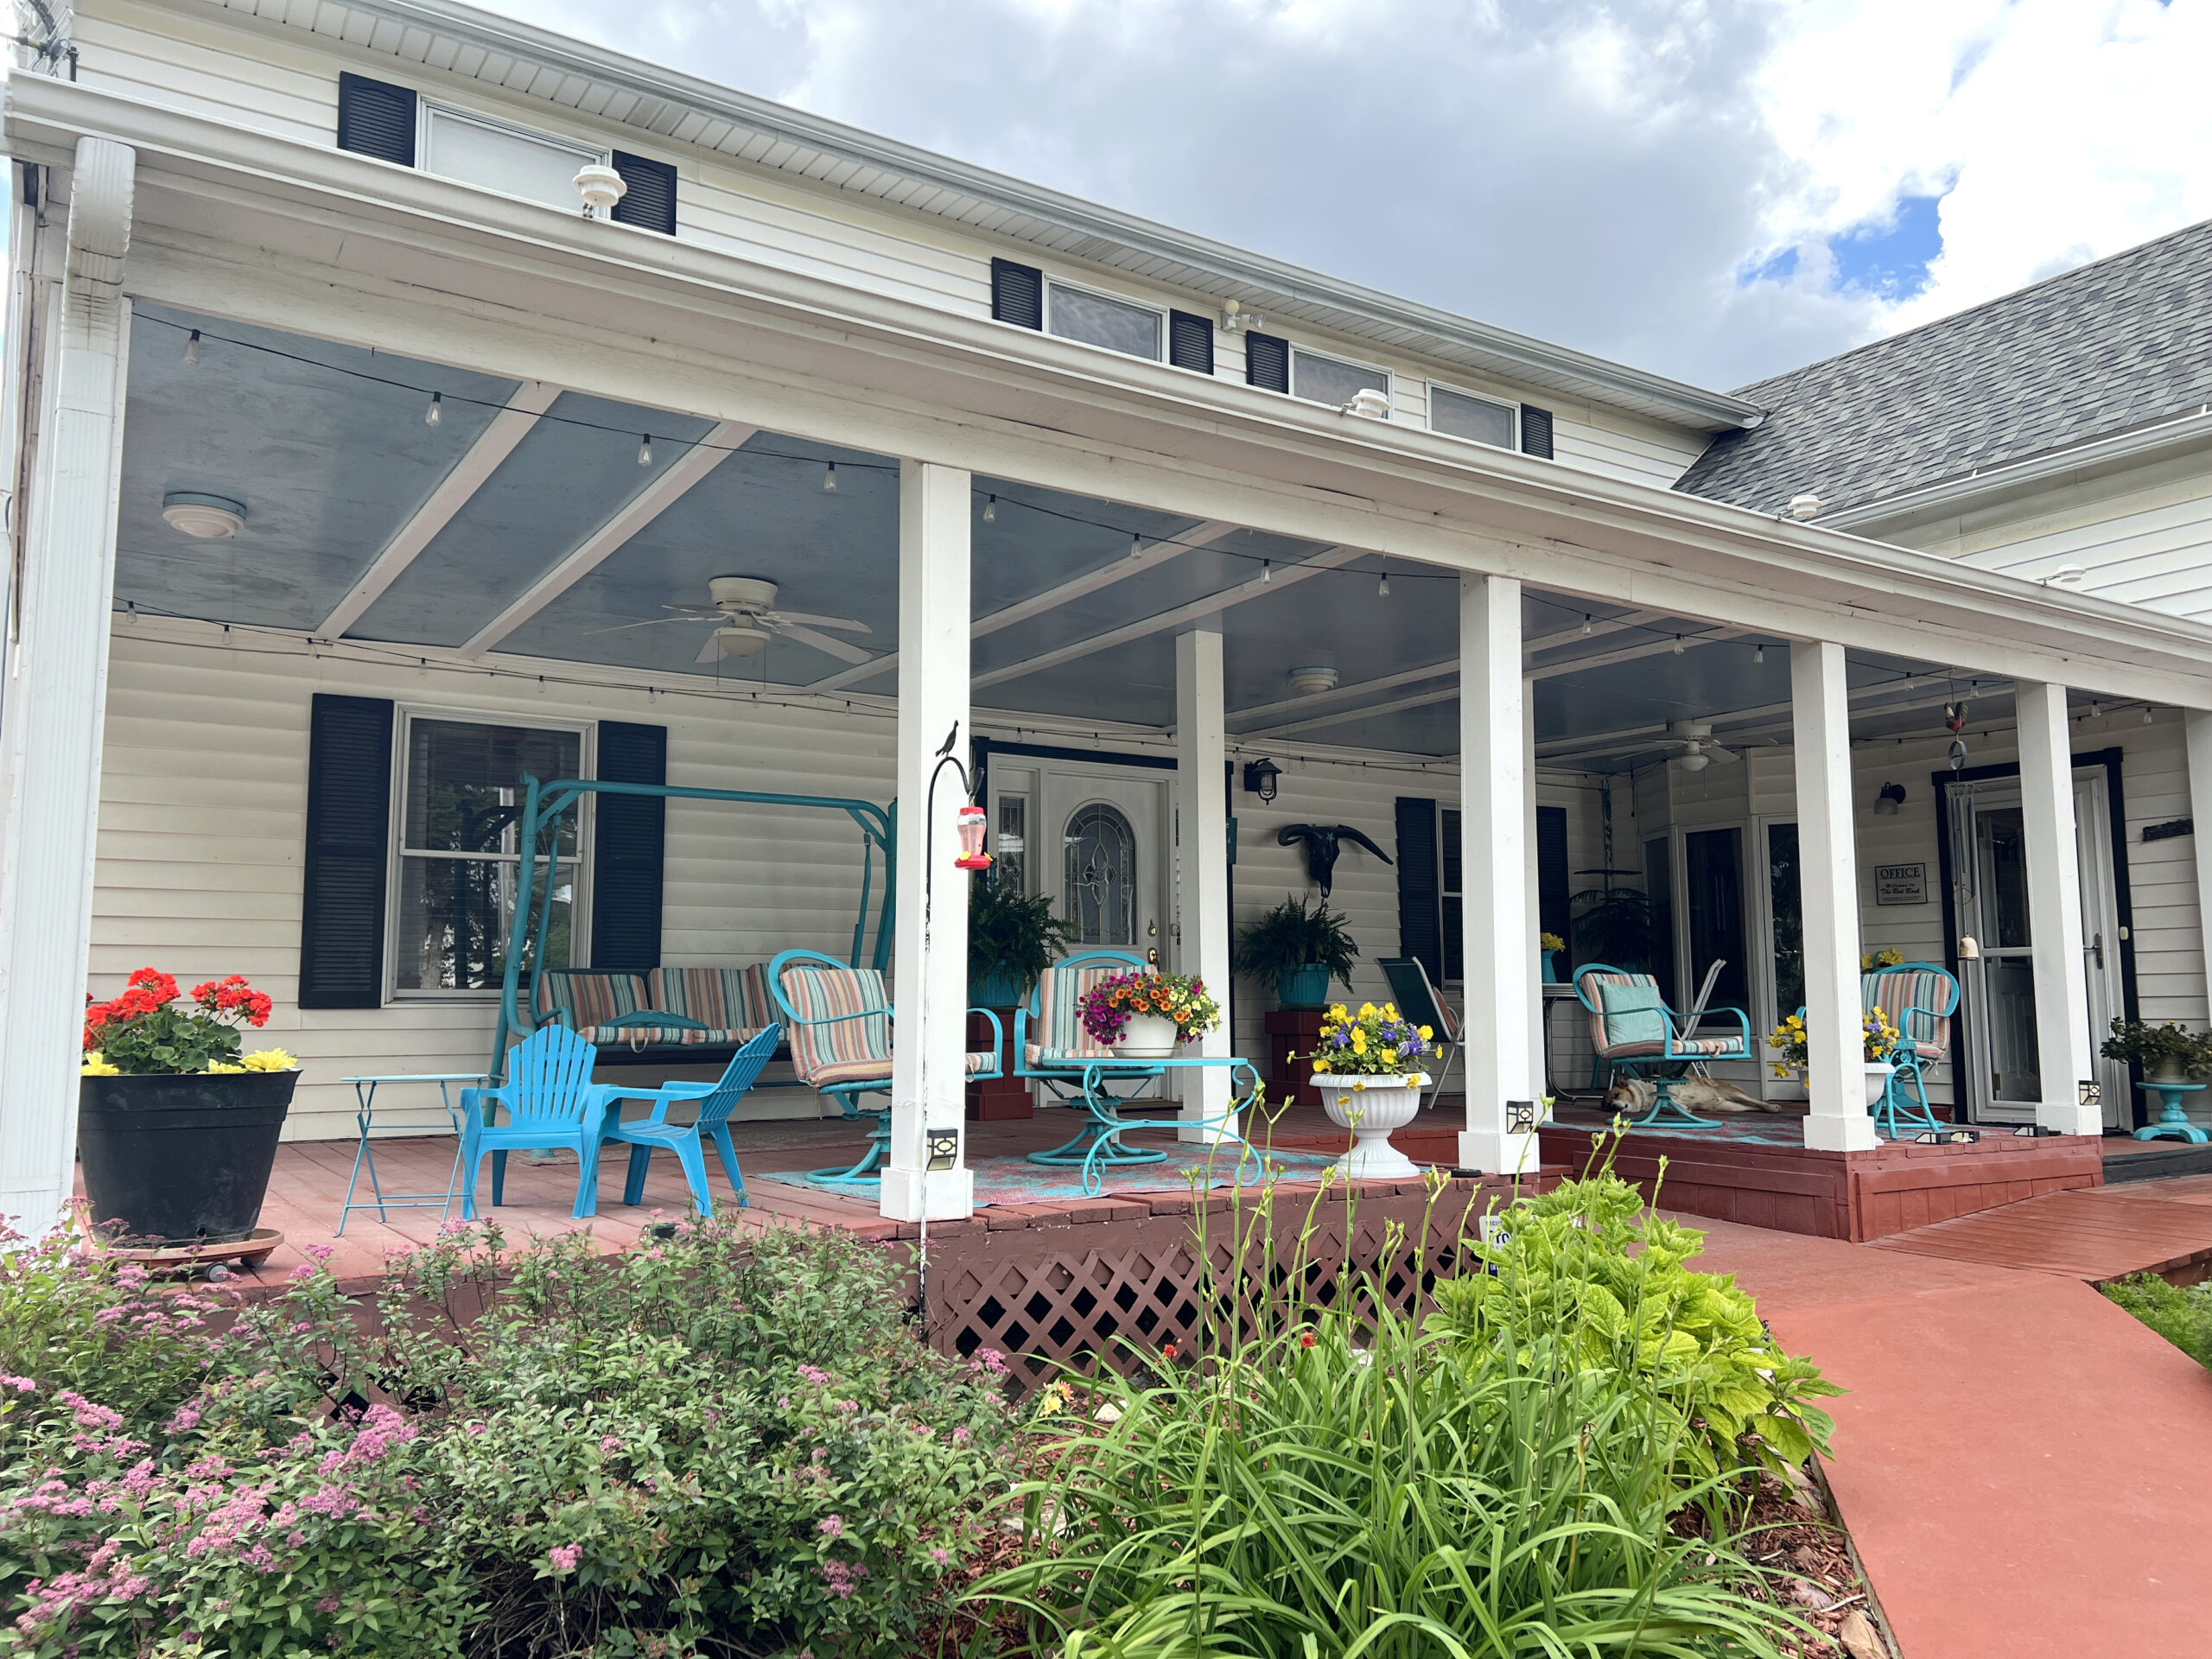 Bill and Debra offered me a freshly baked cookie before we set out on a walking tour of the property, which included gardens, an event center, and additional buildings for overnight guests.
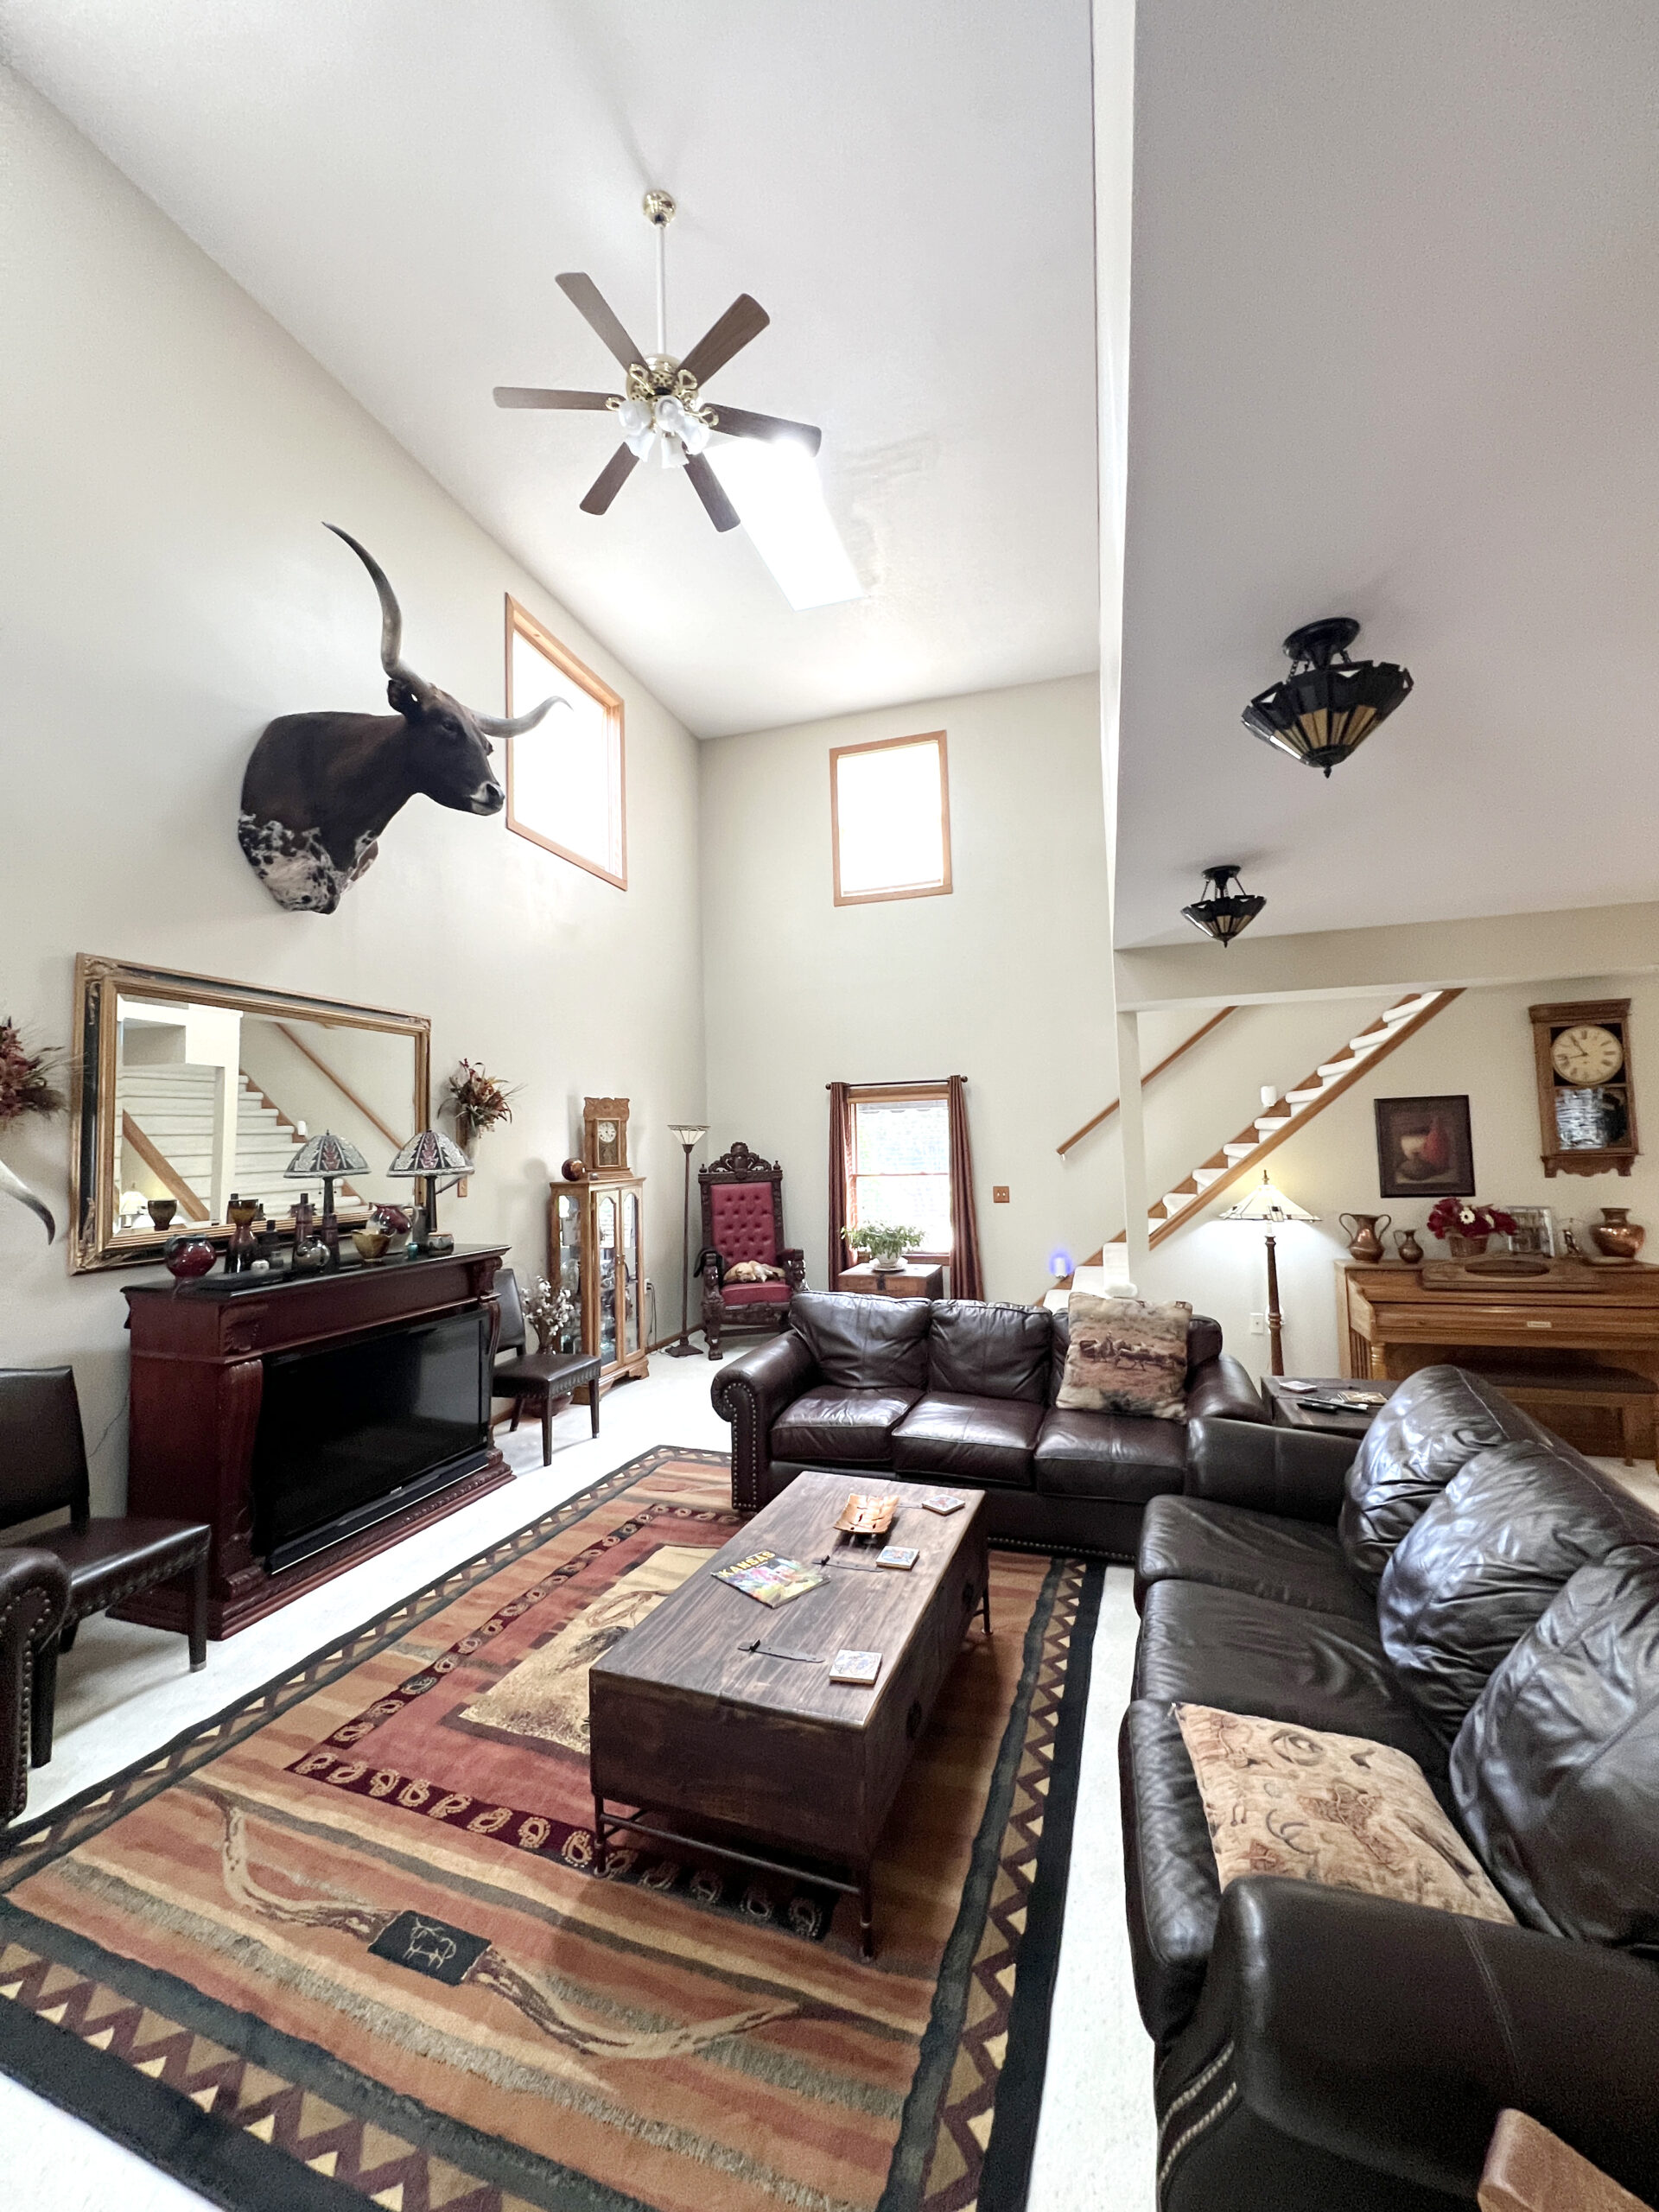
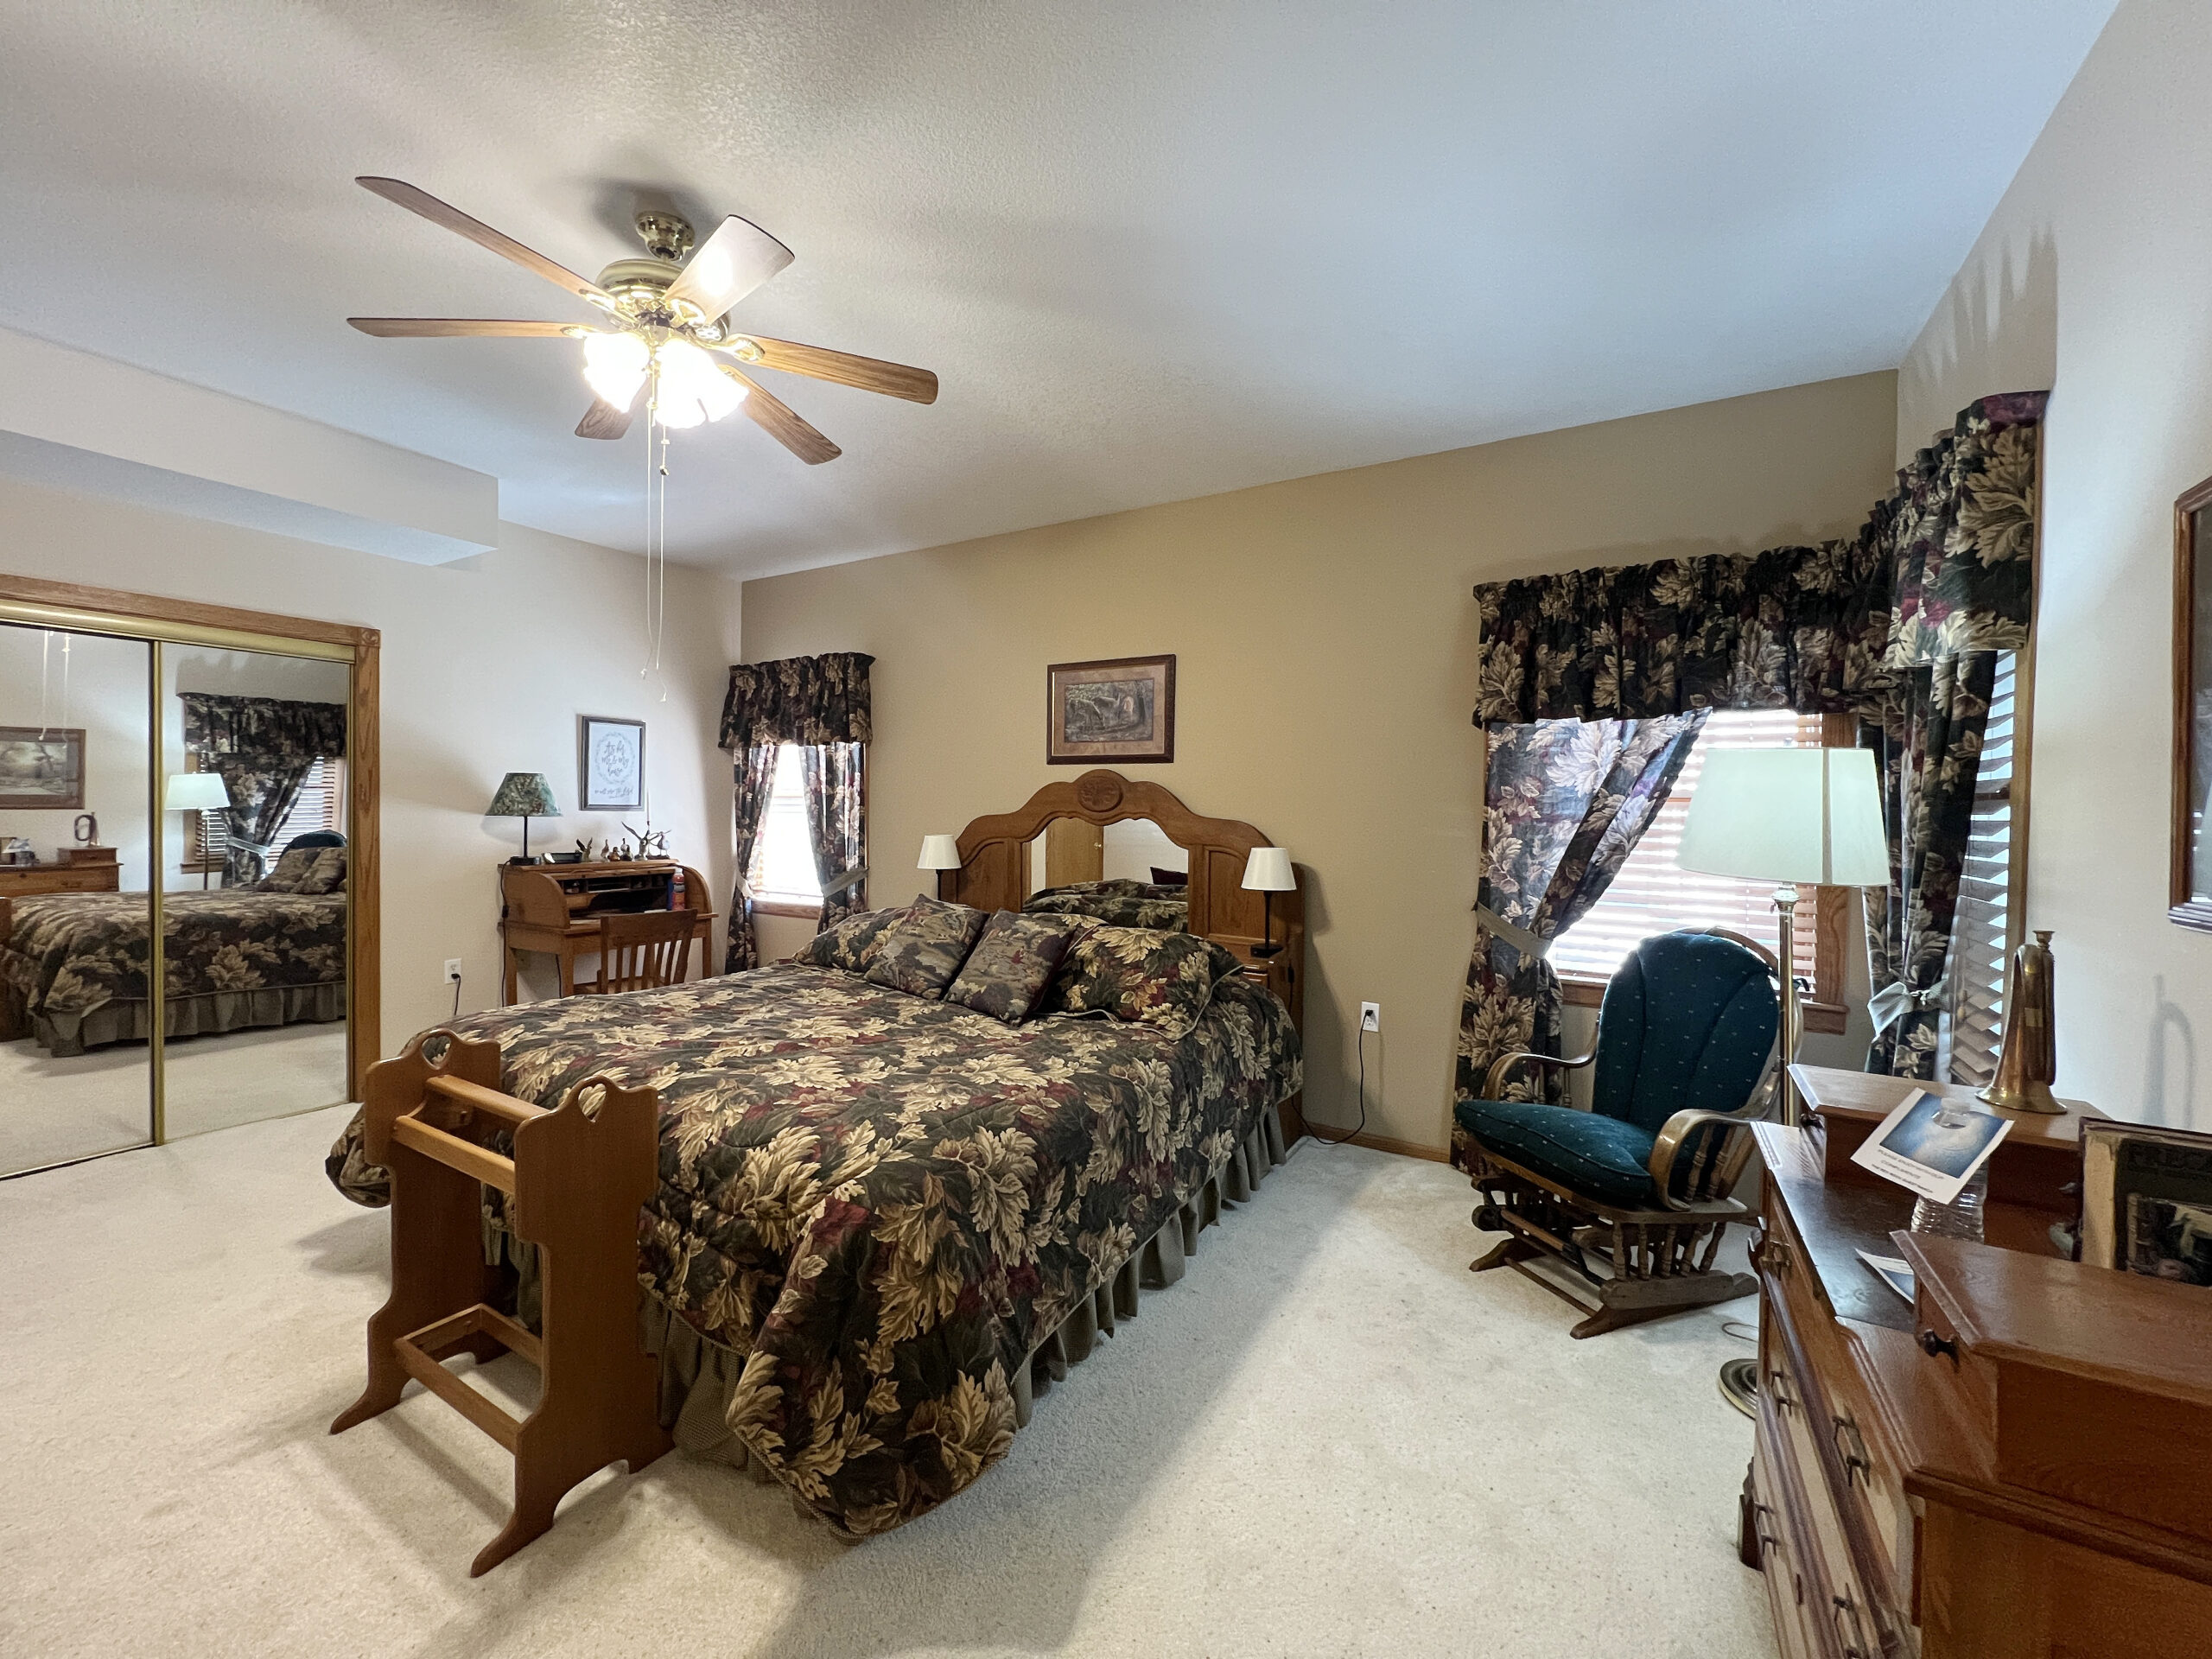 I was amazed to learn that the happily married couple manages the entire ranch and event center, from preparing breakfast meals for guests to hosting weddings and church groups.
 For me, the highlight of my stay was meeting the animals that roamed the ranch. Howdy, a cattle dog, greeted me daily, offering me his paw as we sat and watched hummingbirds dance around a feeder.
 The Red Rock Bed and Breakfast is a delightful place for a getaway that far exceeds your expectations, and one I’d repeat given how comfortable I felt there after getting to know the family who lives on the property.
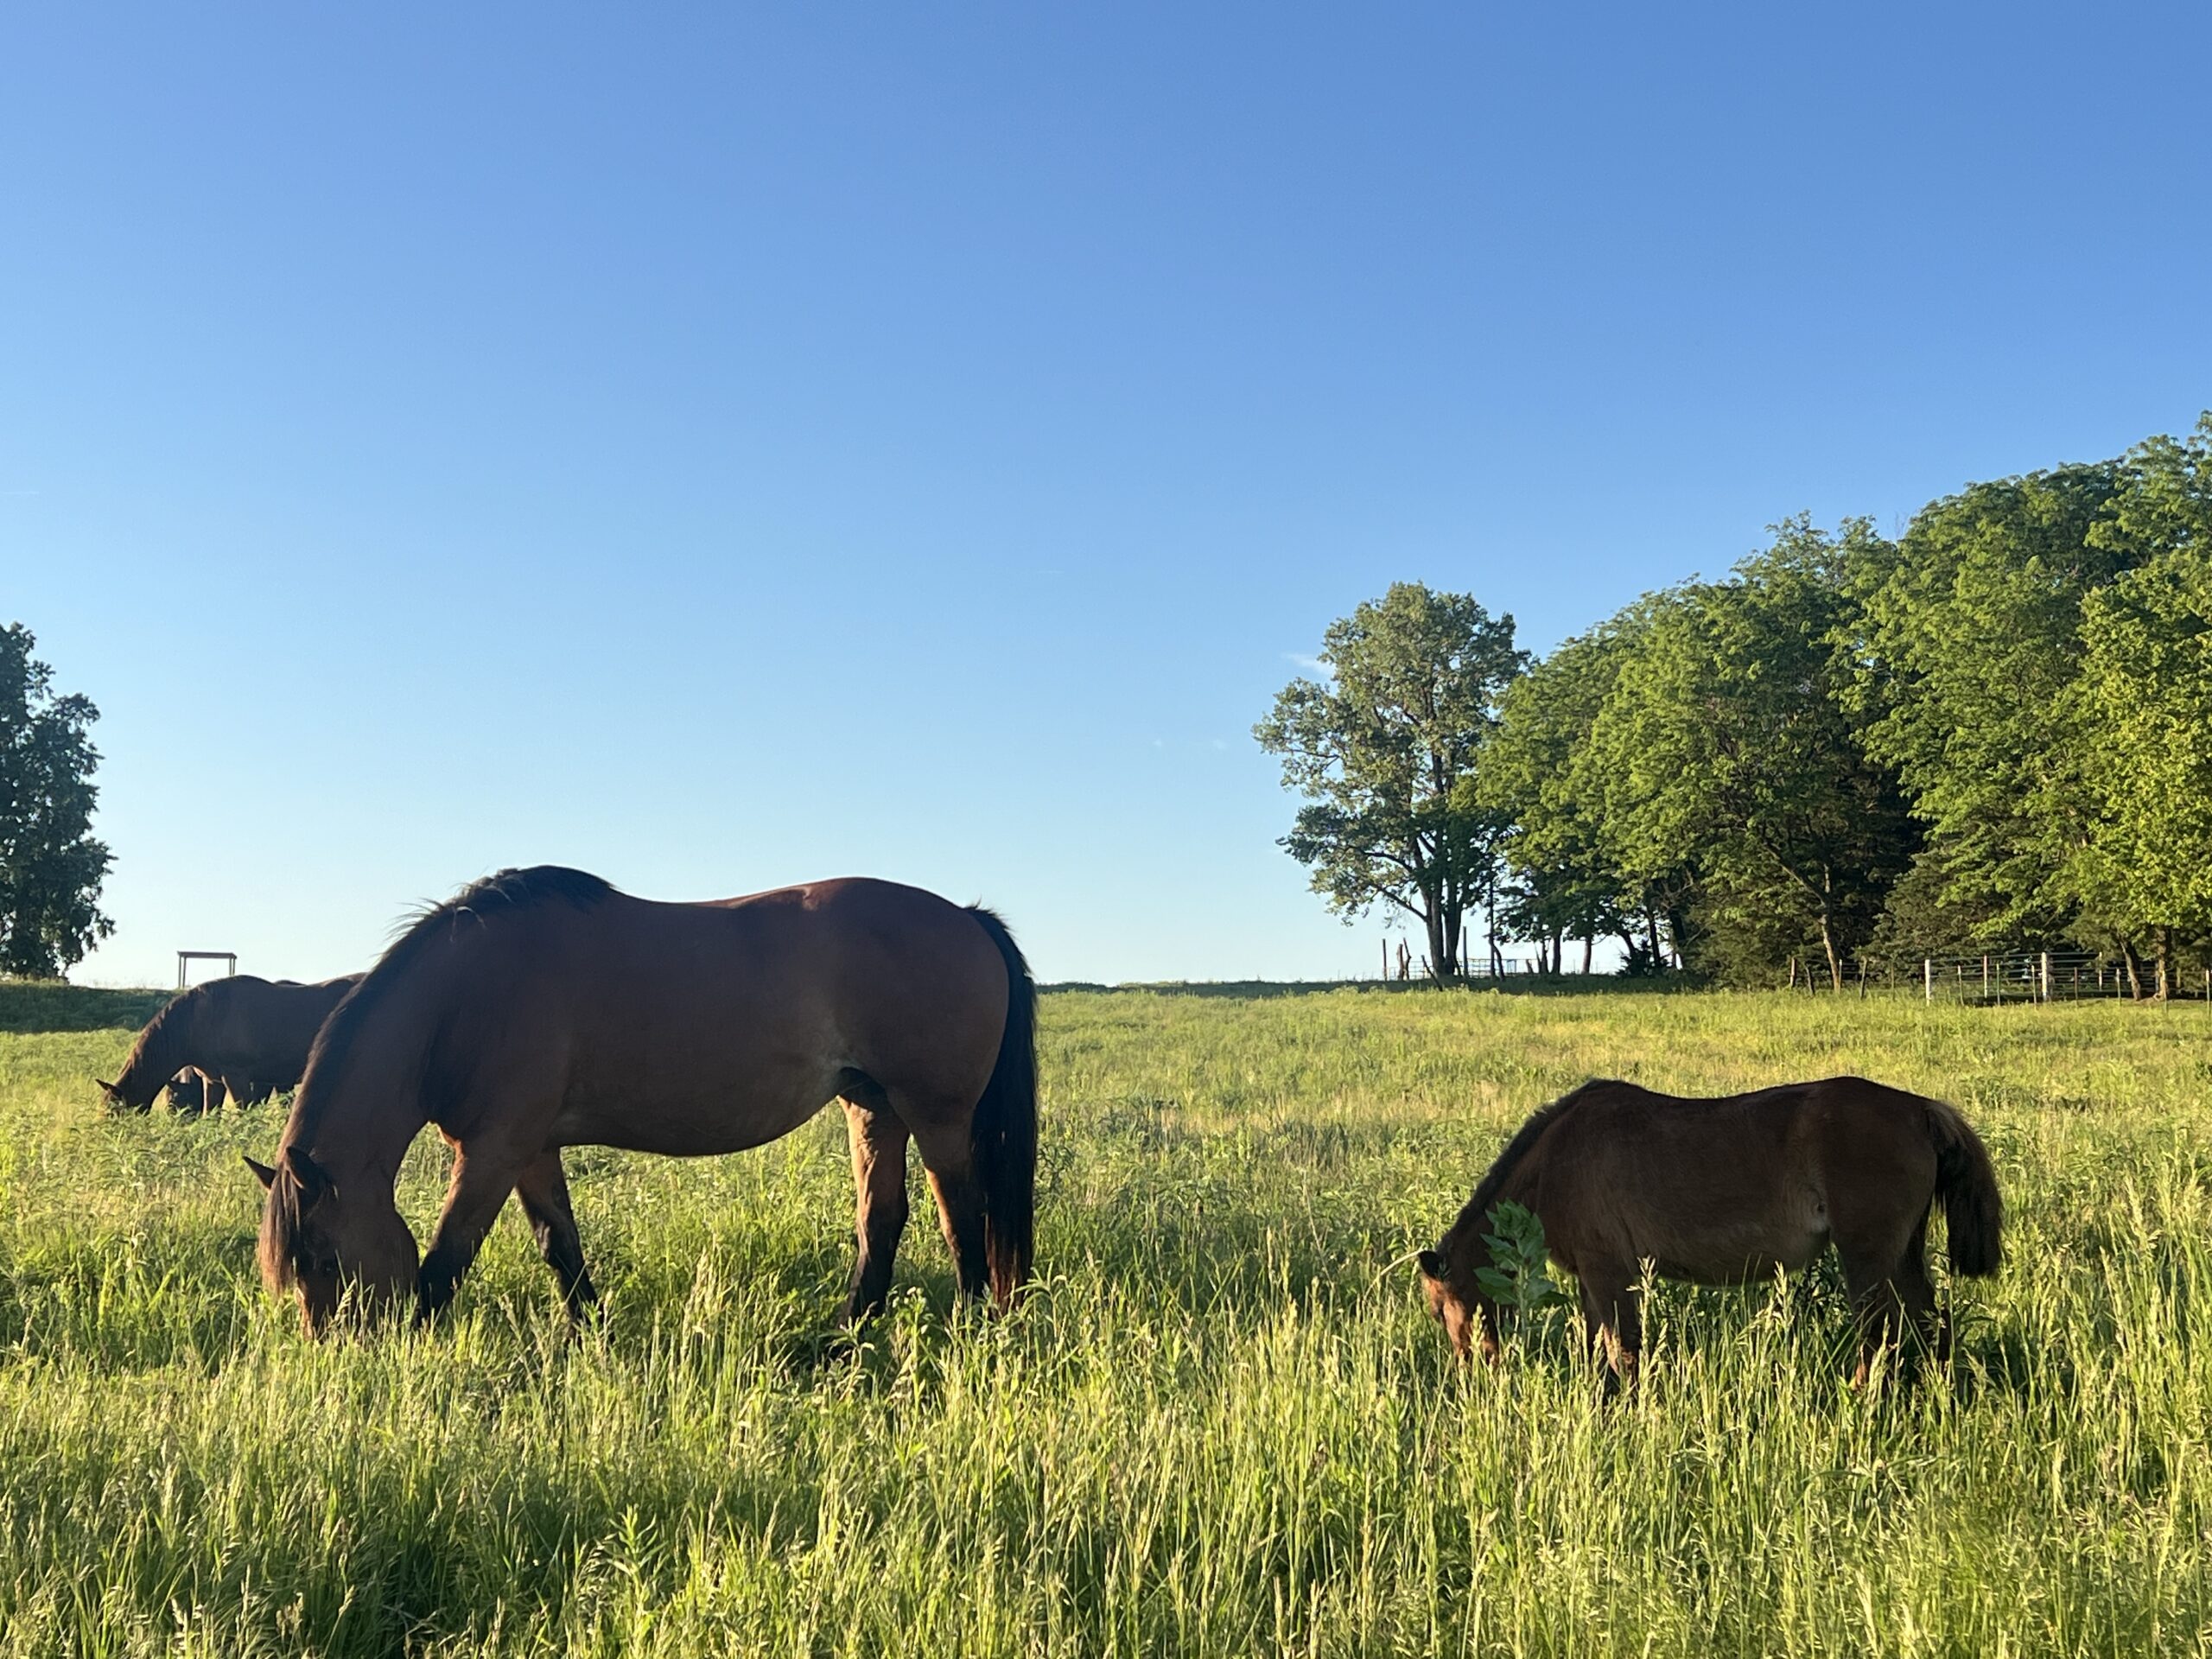 Mornings start with a home-cooked breakfast served in the dining room. Enclosed sunrooms and a wraparound outdoor porch are enchanting spaces for chatting with others or reading a book in the afternoon.
 If you’re seeking adventure, the ranch also offers six miles of groomed walking trails featuring 23 wildflower species.
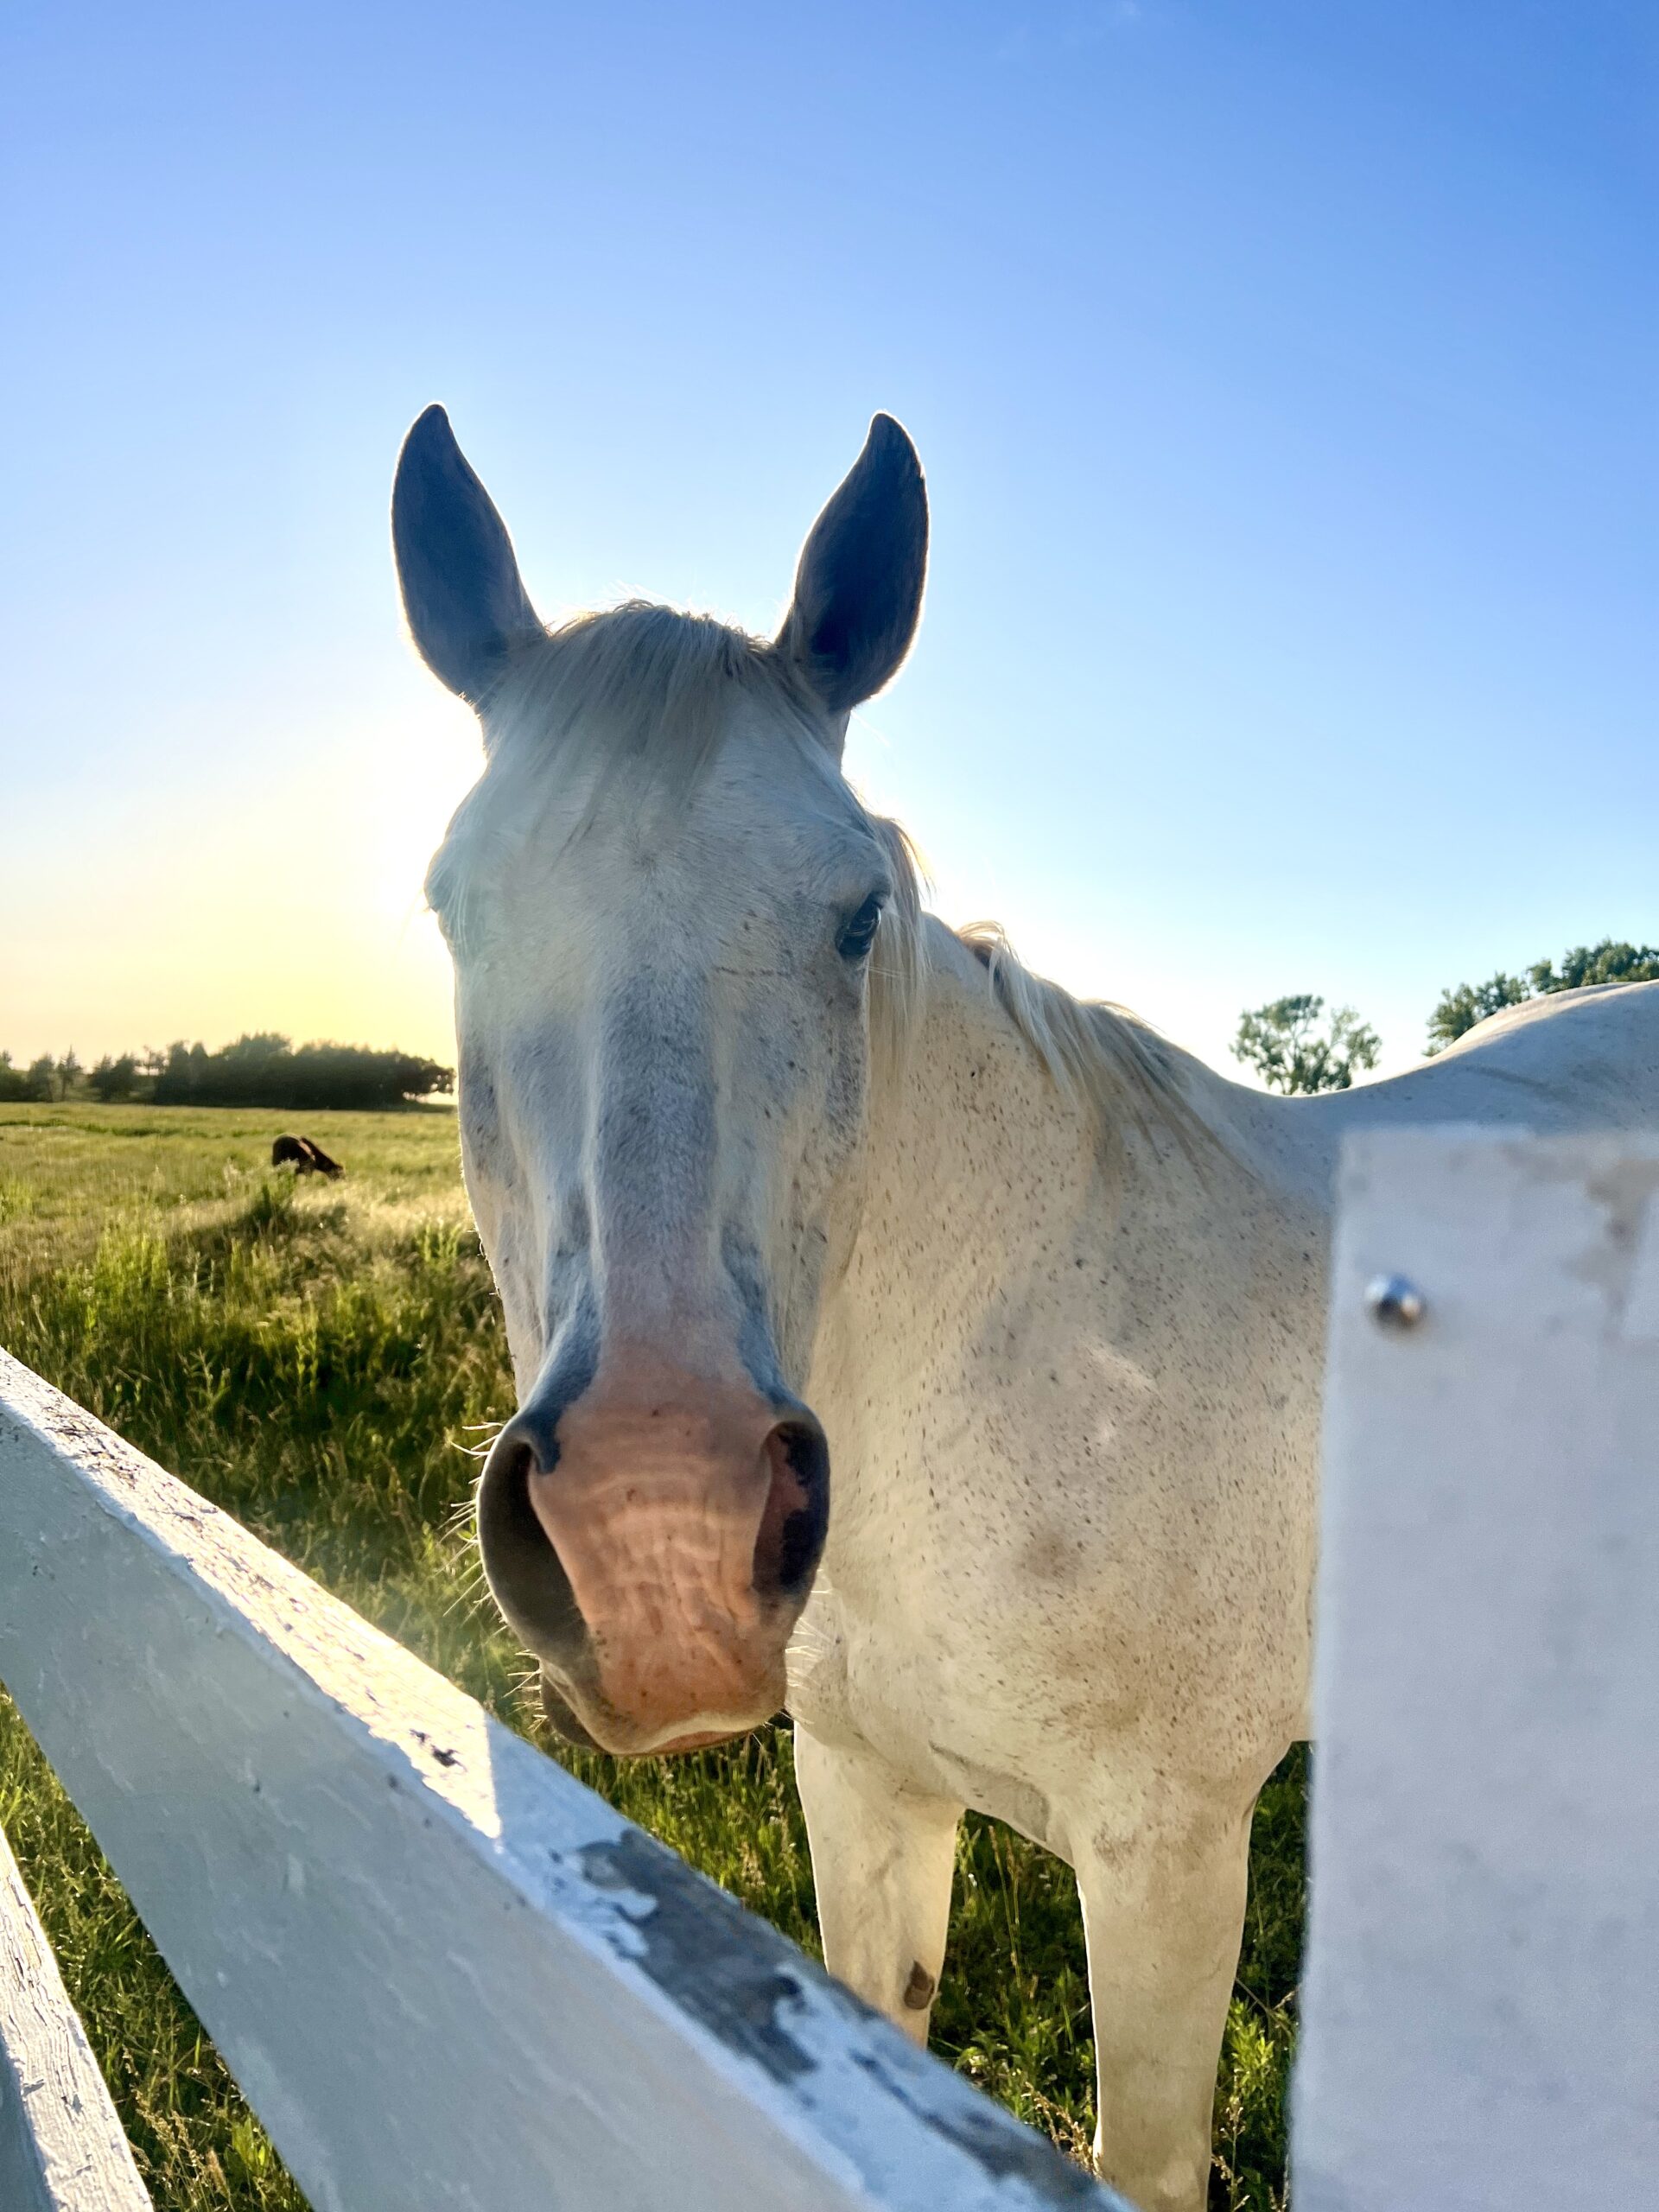 And this list simply scratches the surface of the many
 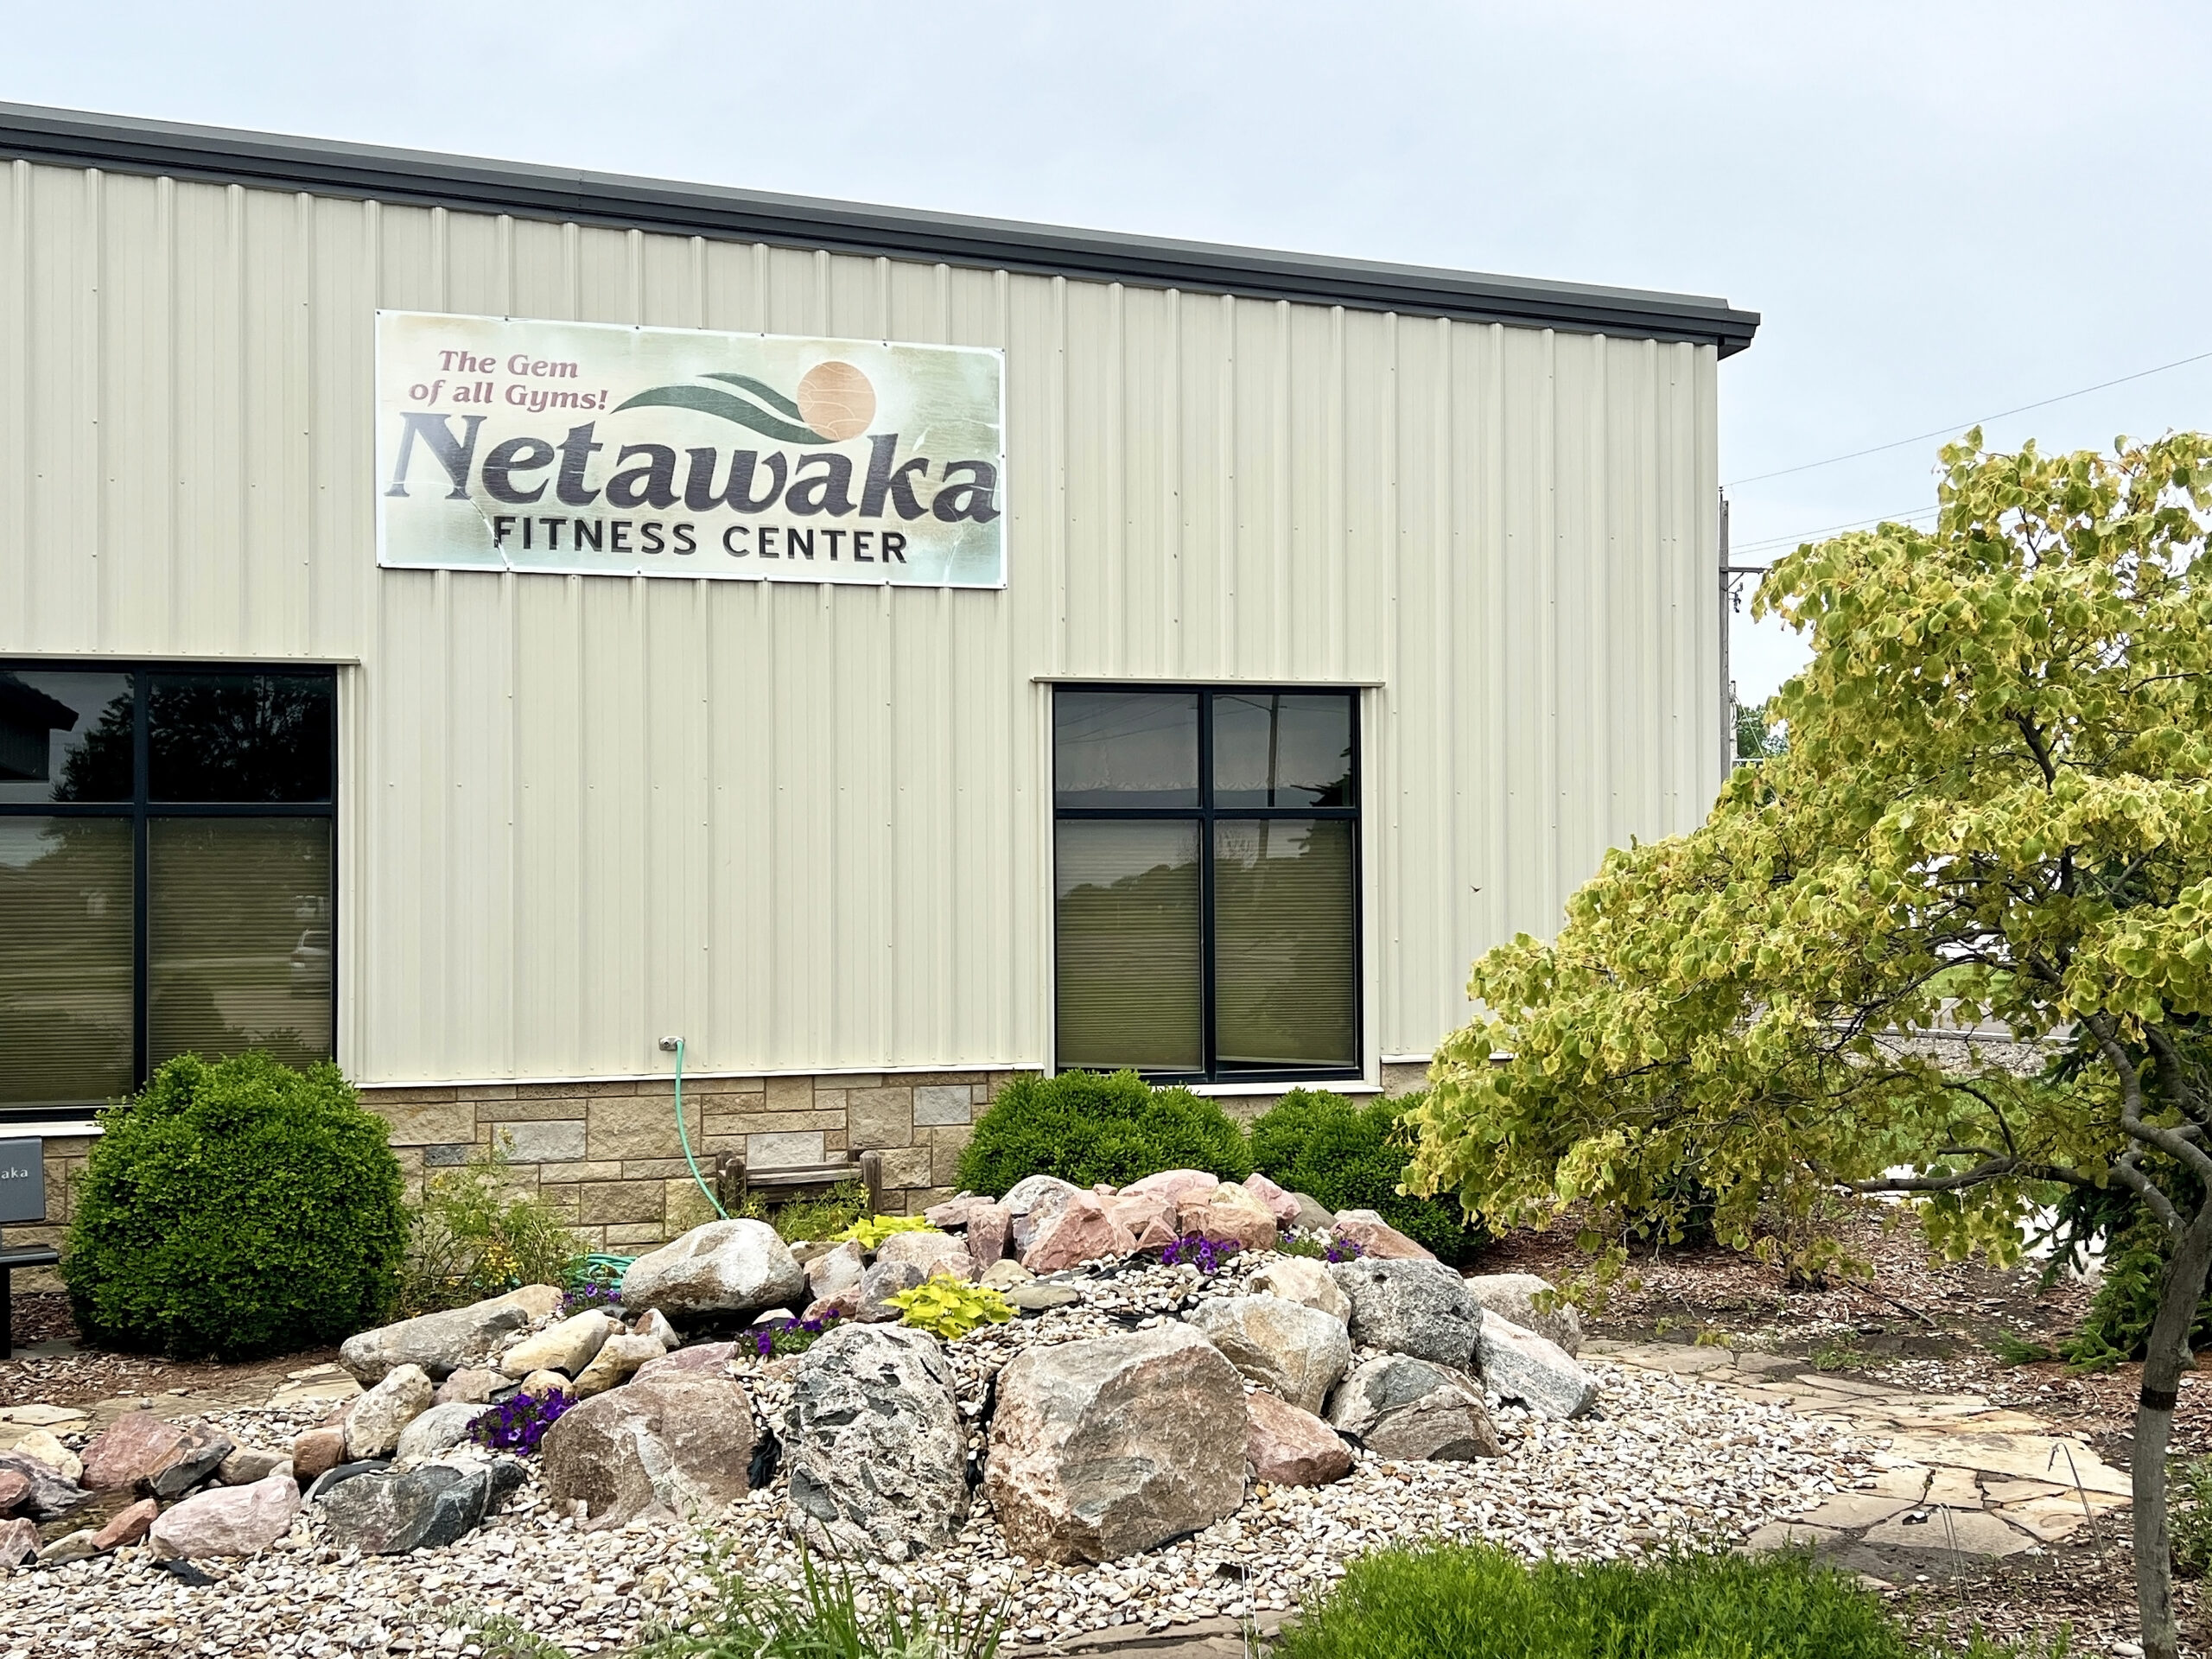 For the size of the community, this gym impressed me with its cardio and weightlifting area, walking lanes, and 8,000-square-foot aquatic center.
 They also have a full-size gymnasium for basketball and volleyball games, and if you’re visiting for the day, the locker rooms offer private access to showers.
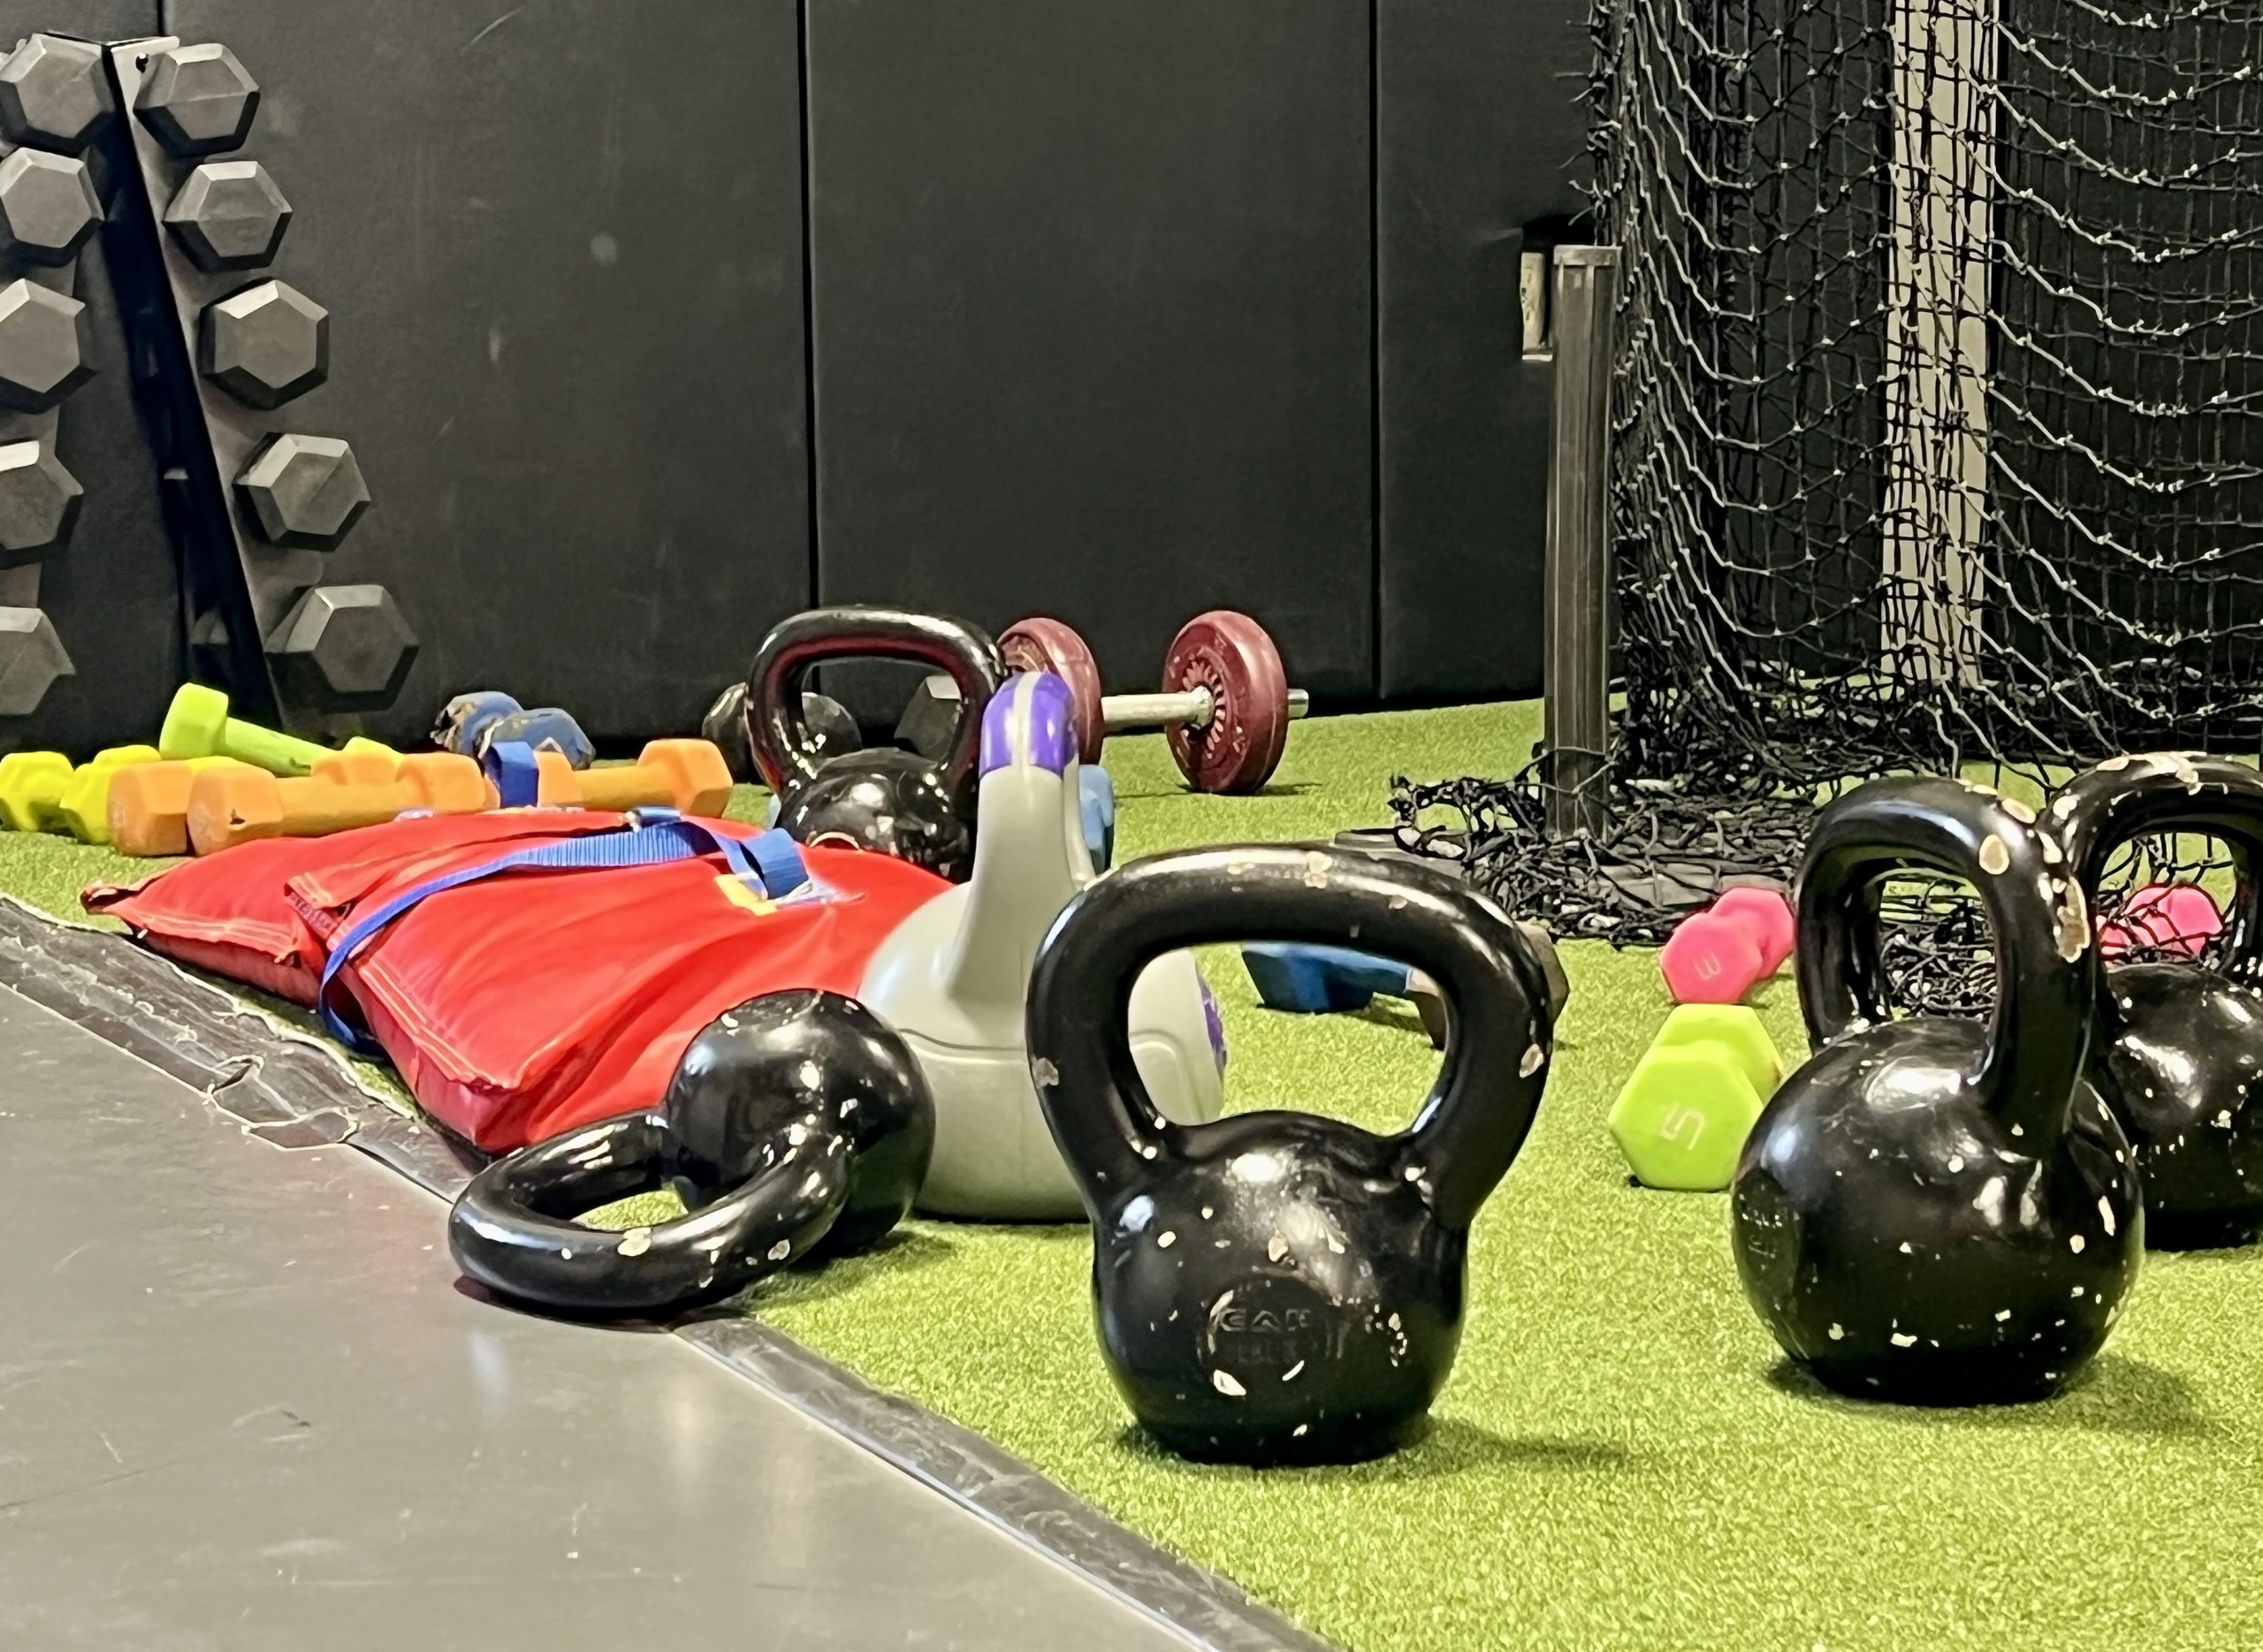 I would compare the fitness facility’s offerings to those at a YMCA, making it a must-stop destination if you like to stay in shape while traveling.
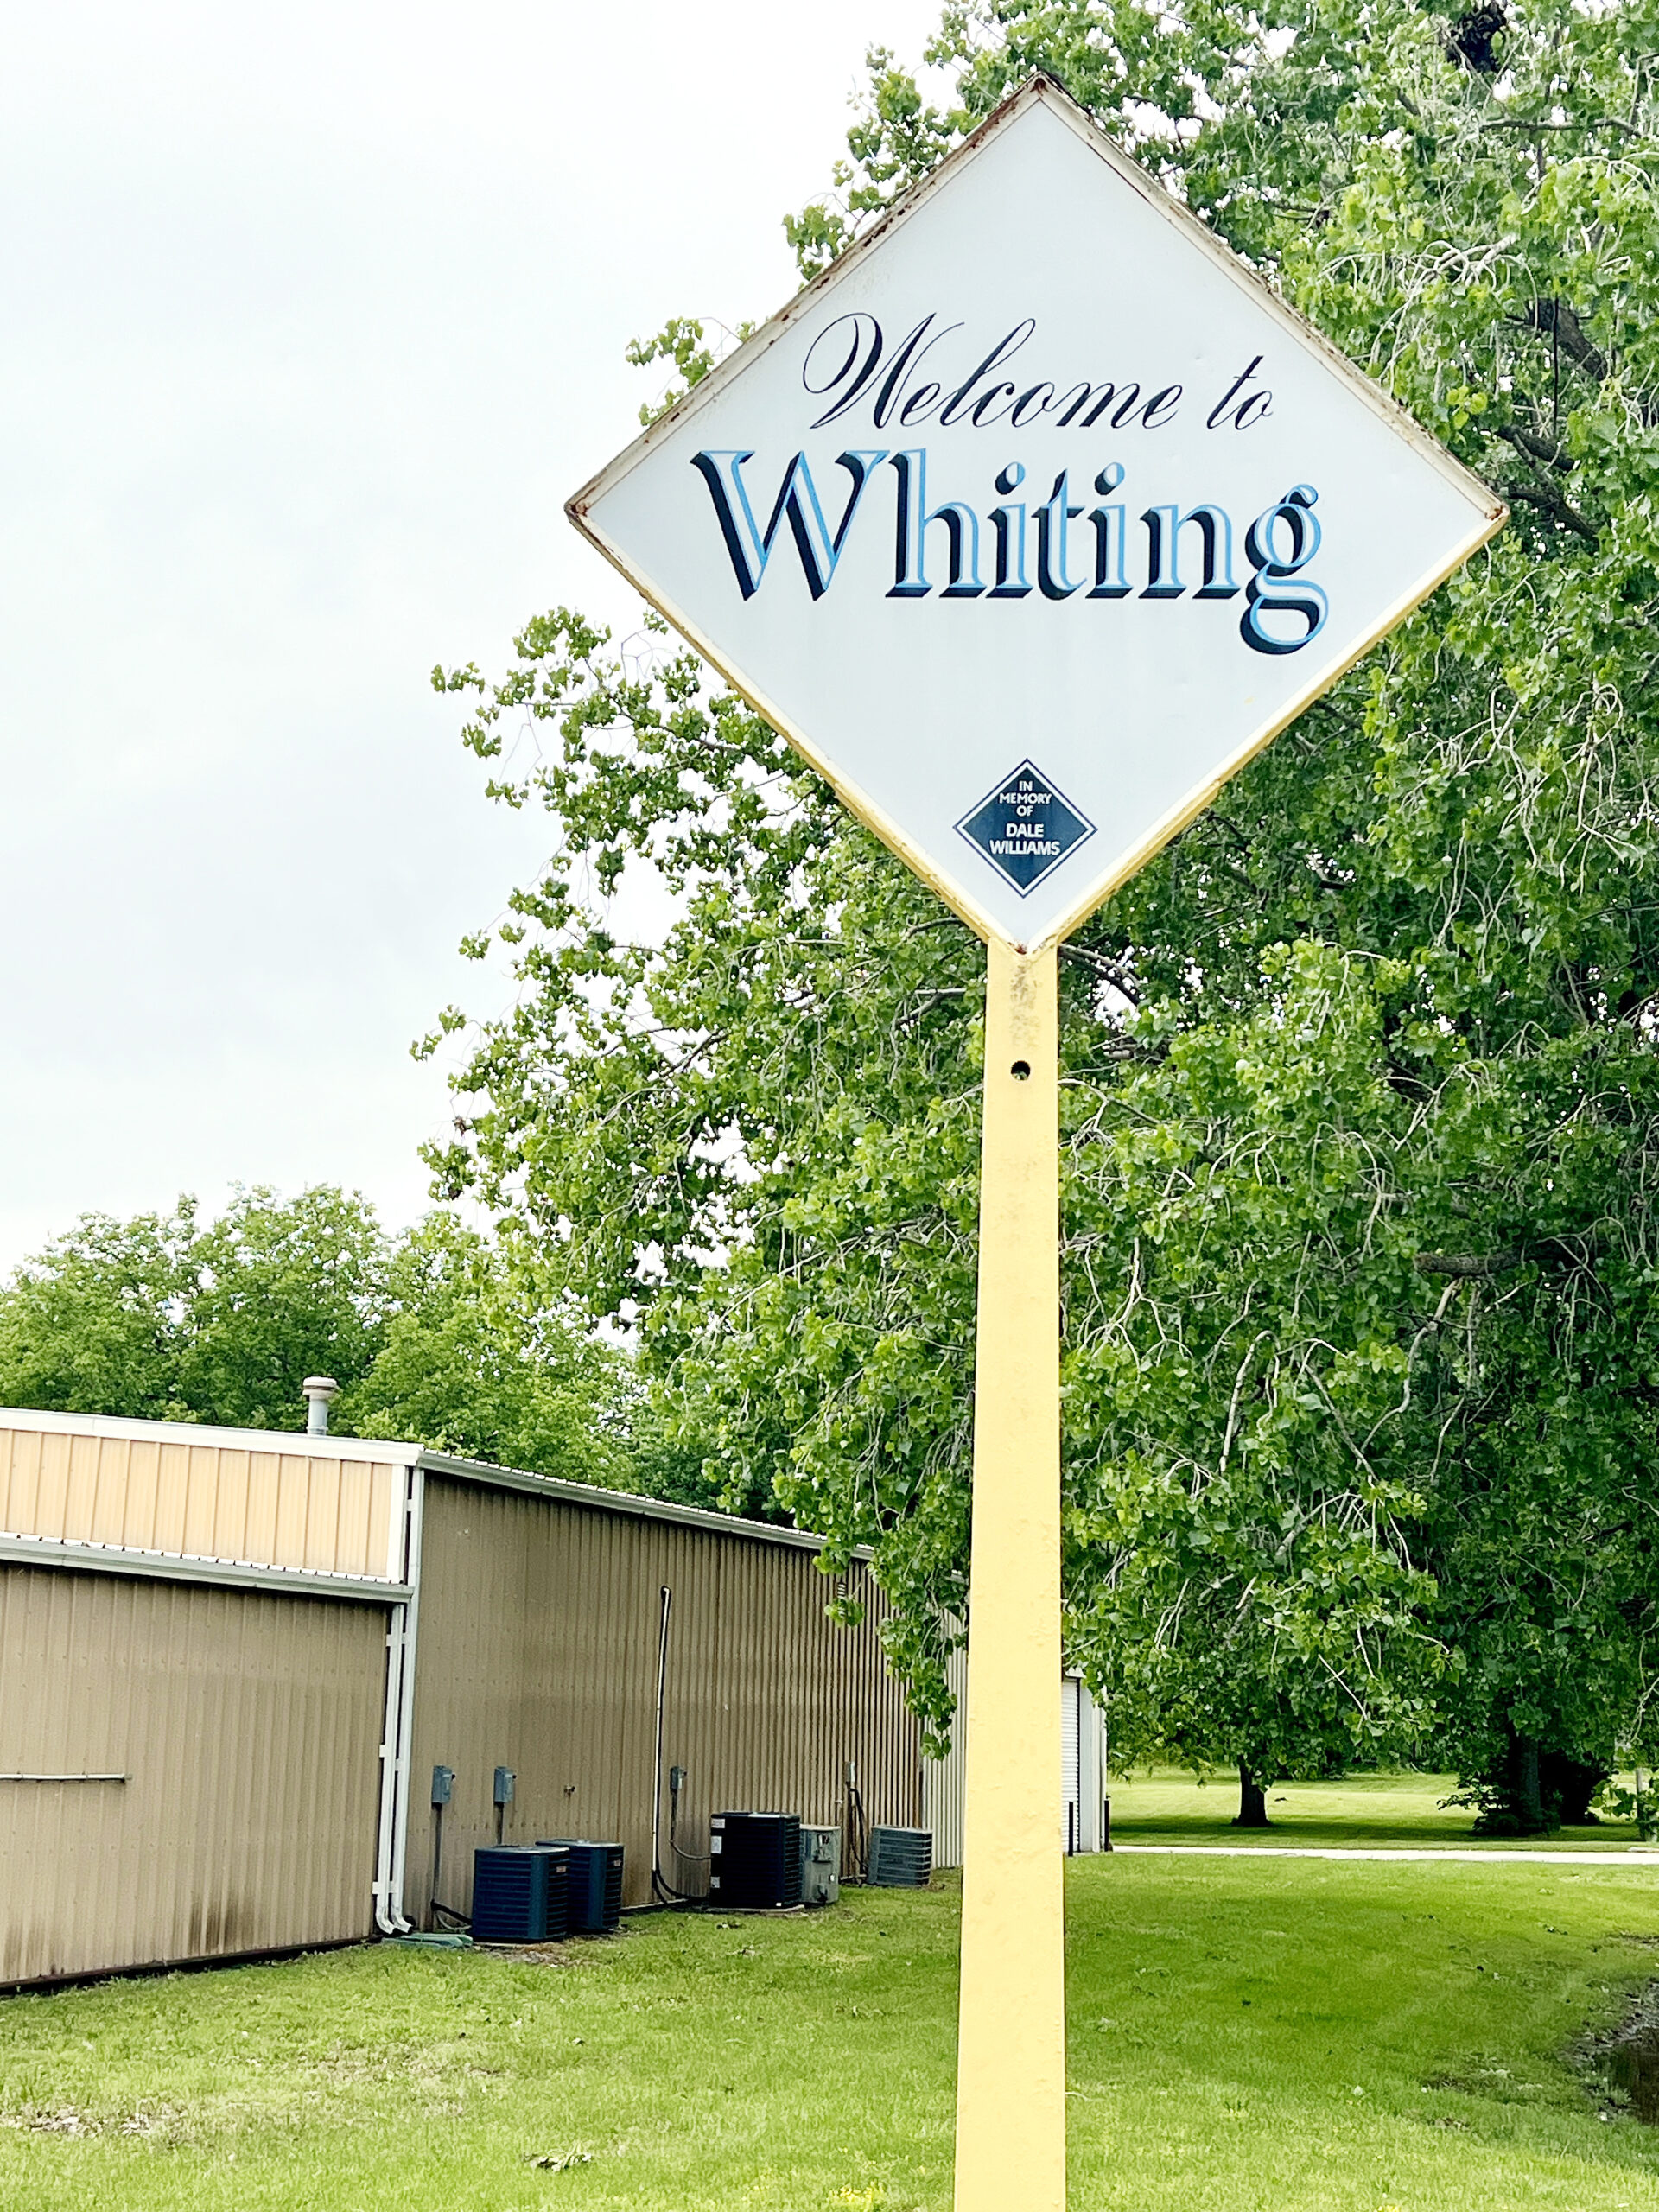
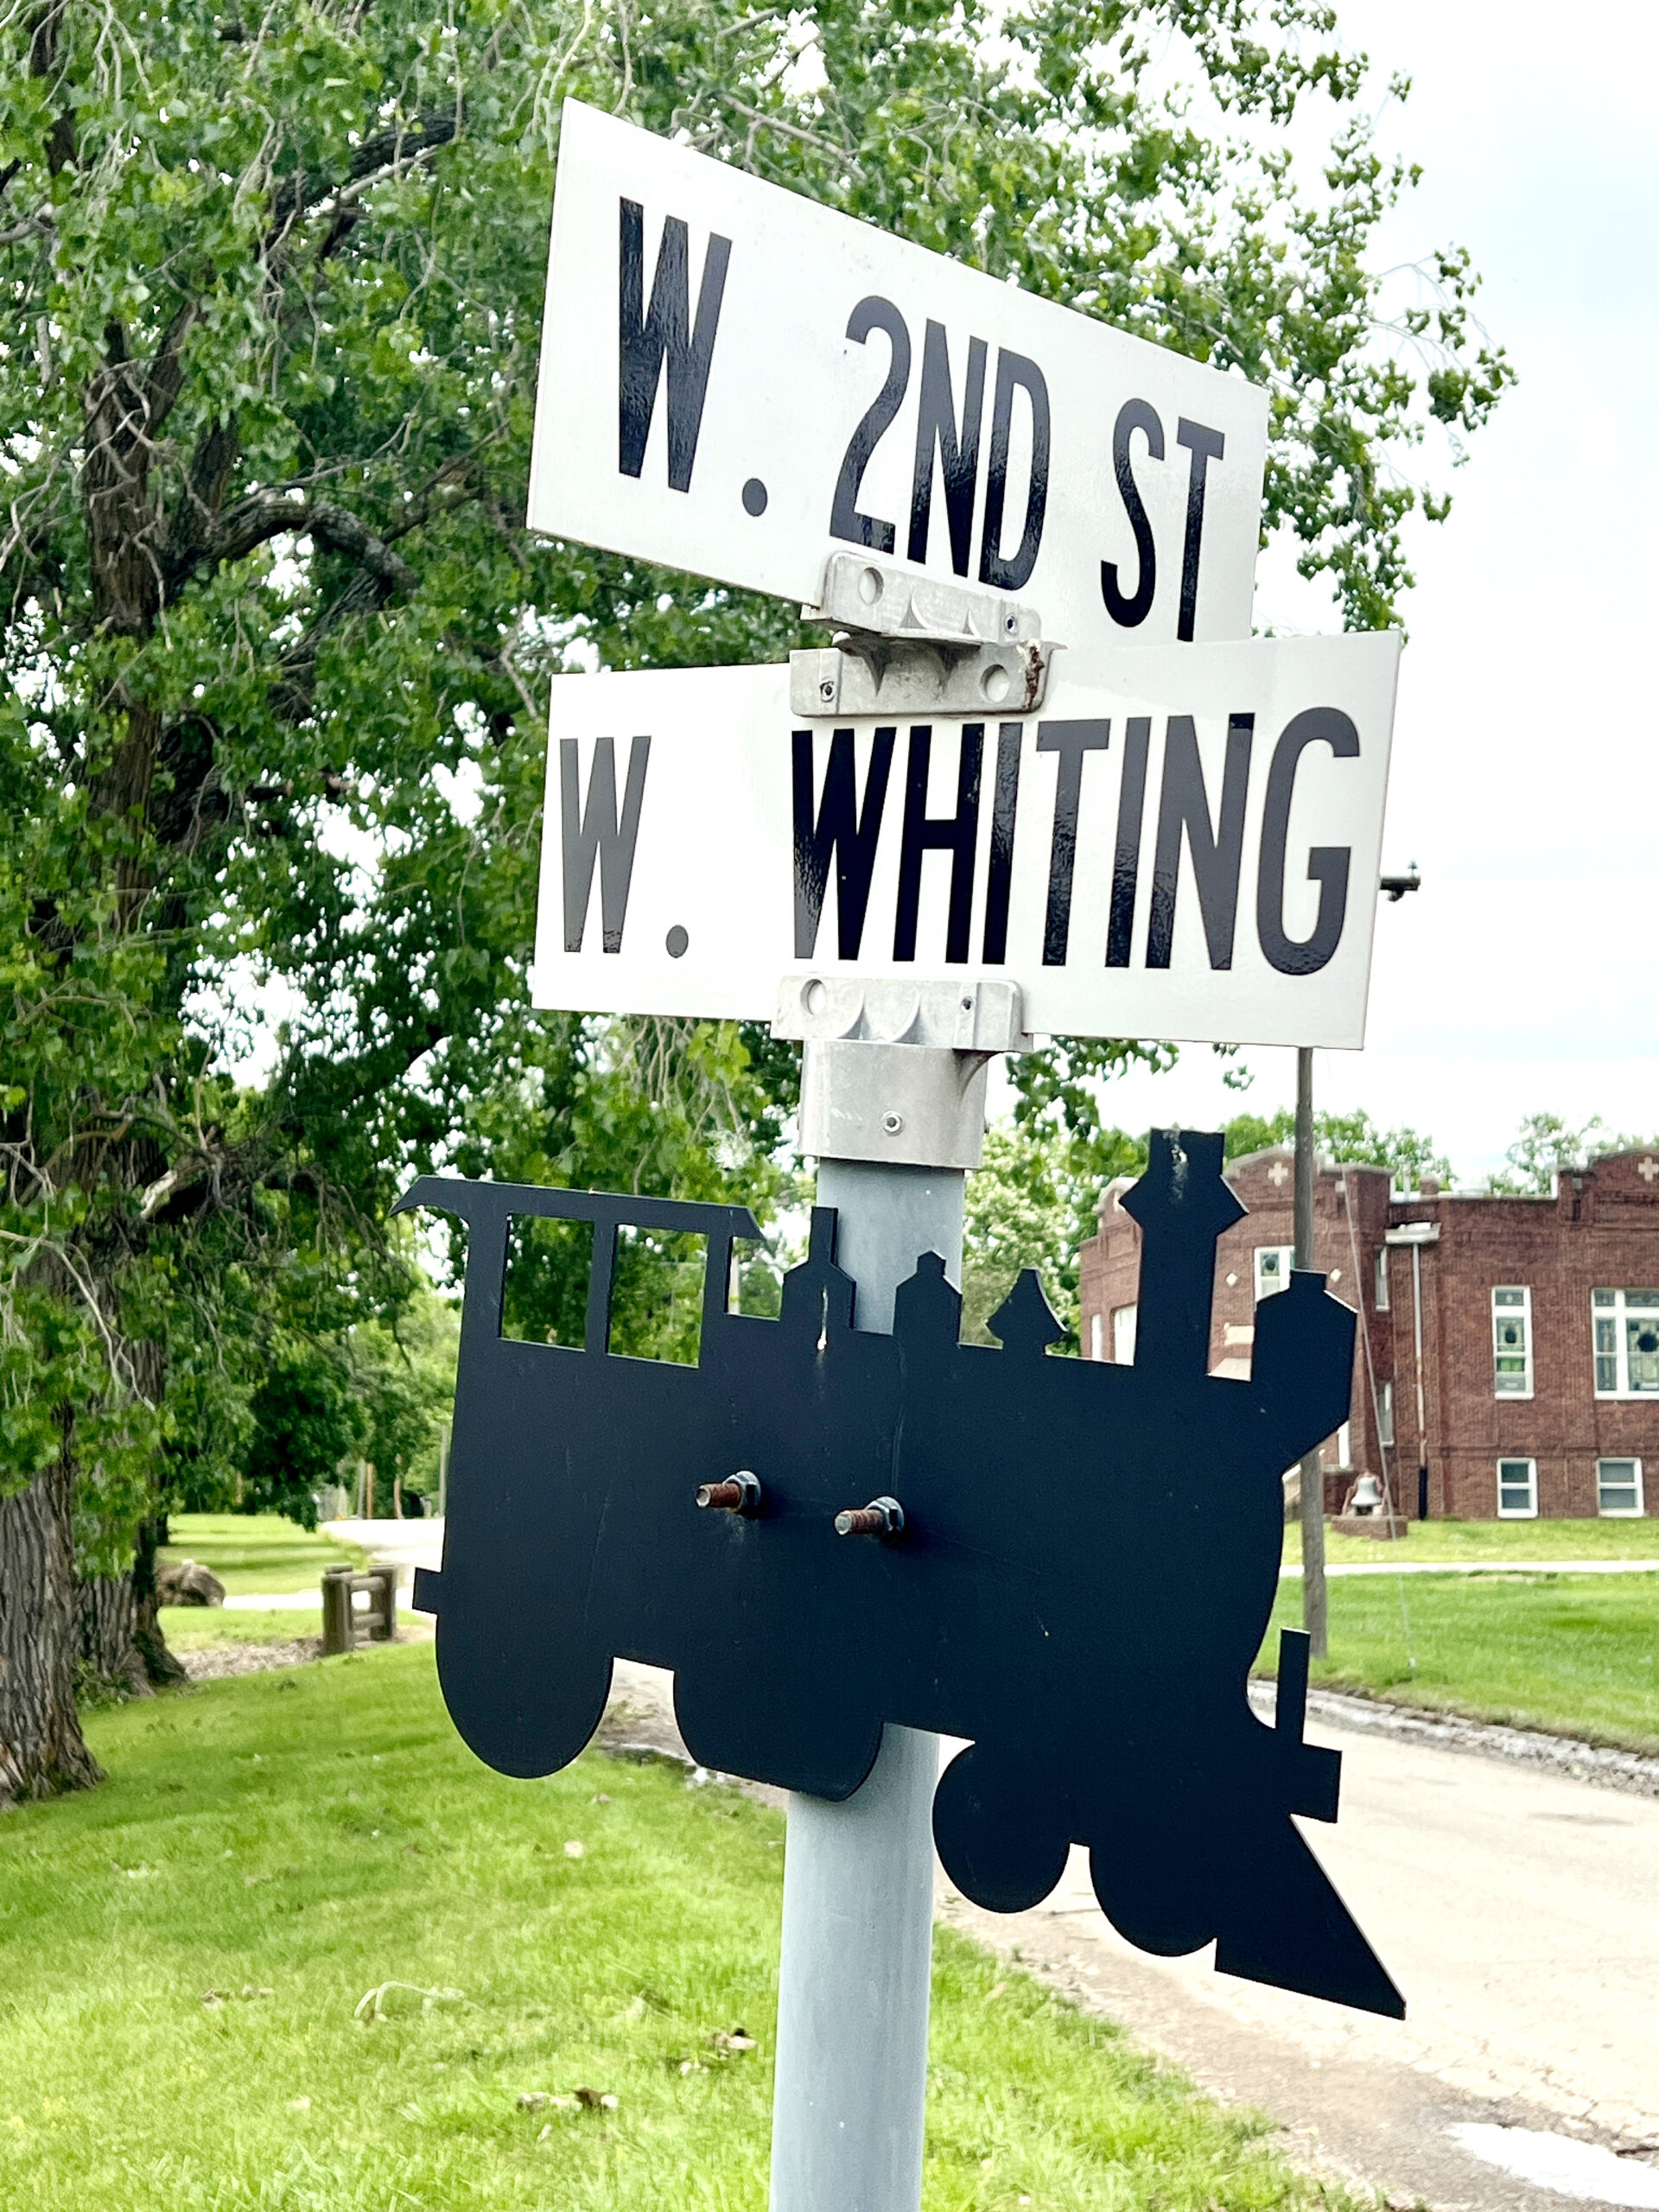
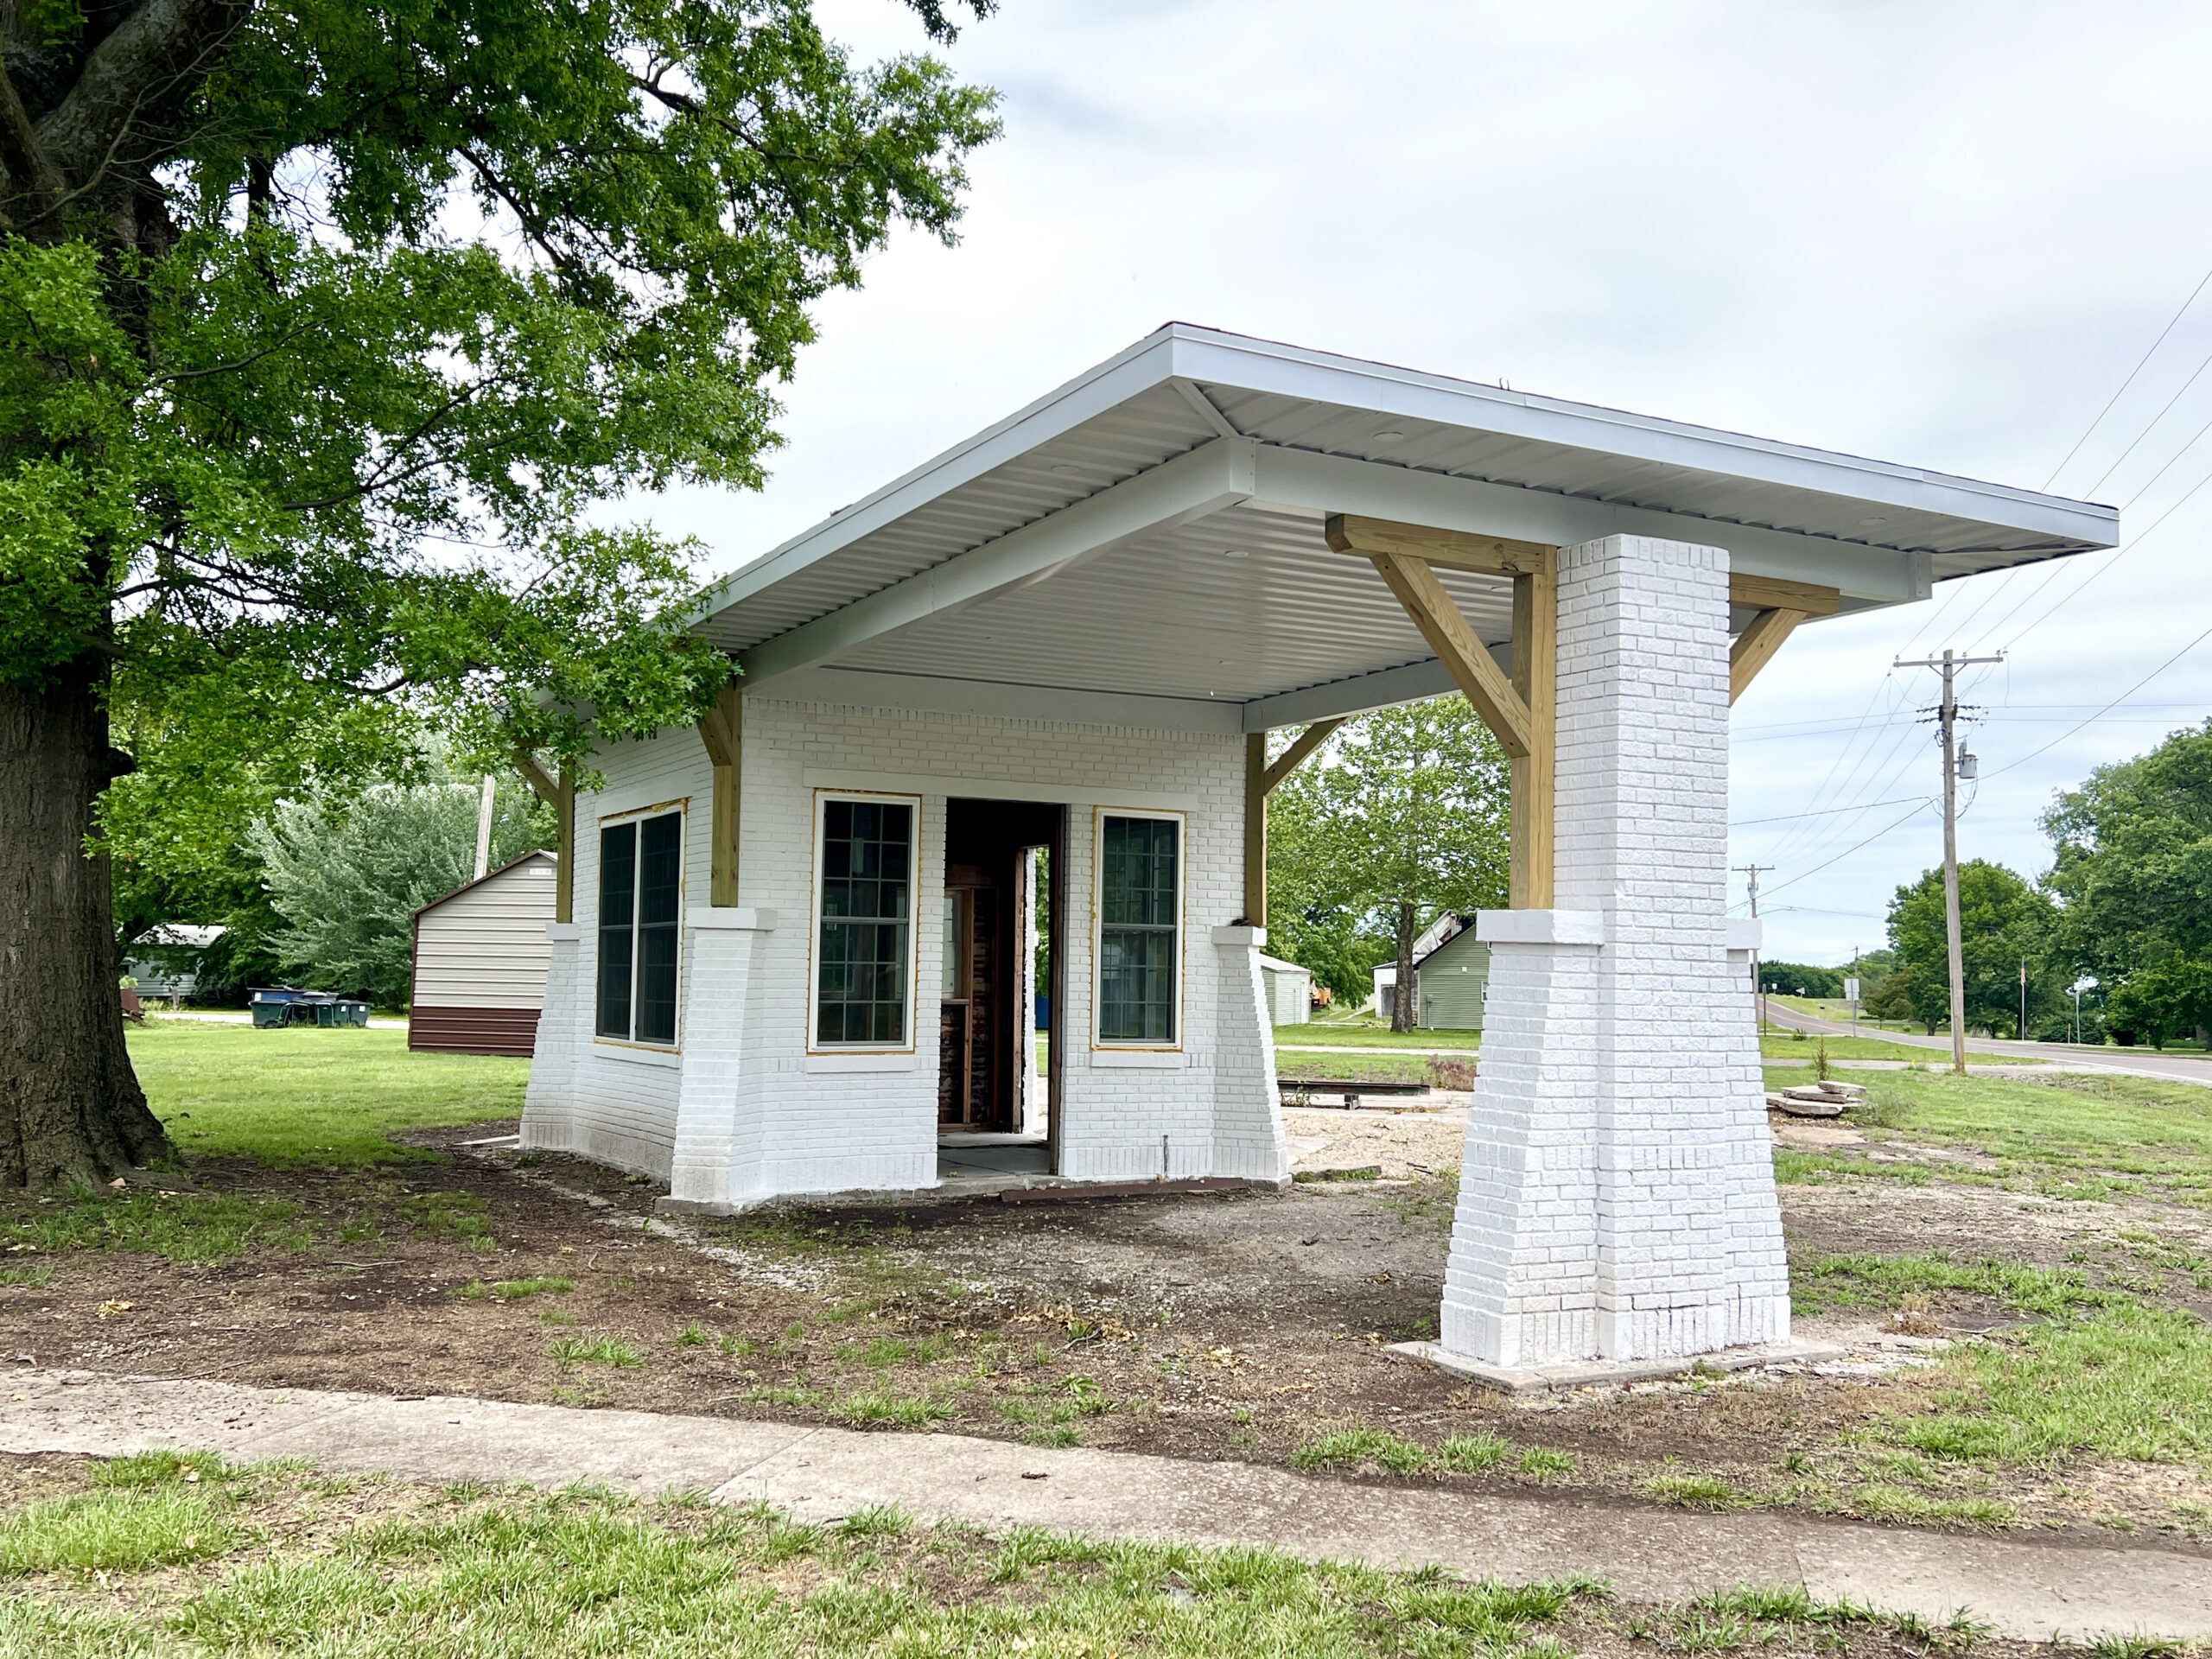 This historic filling station is no longer a forgotten roadside gem, but an appreciated relic of the town’s past.
 I appreciate a small-town grocery store with a deli counter, where a store employee slices meat for each order. And while I didn’t purchase groceries, I enjoyed chatting with an employee as she rang me up for a cold cream soda.
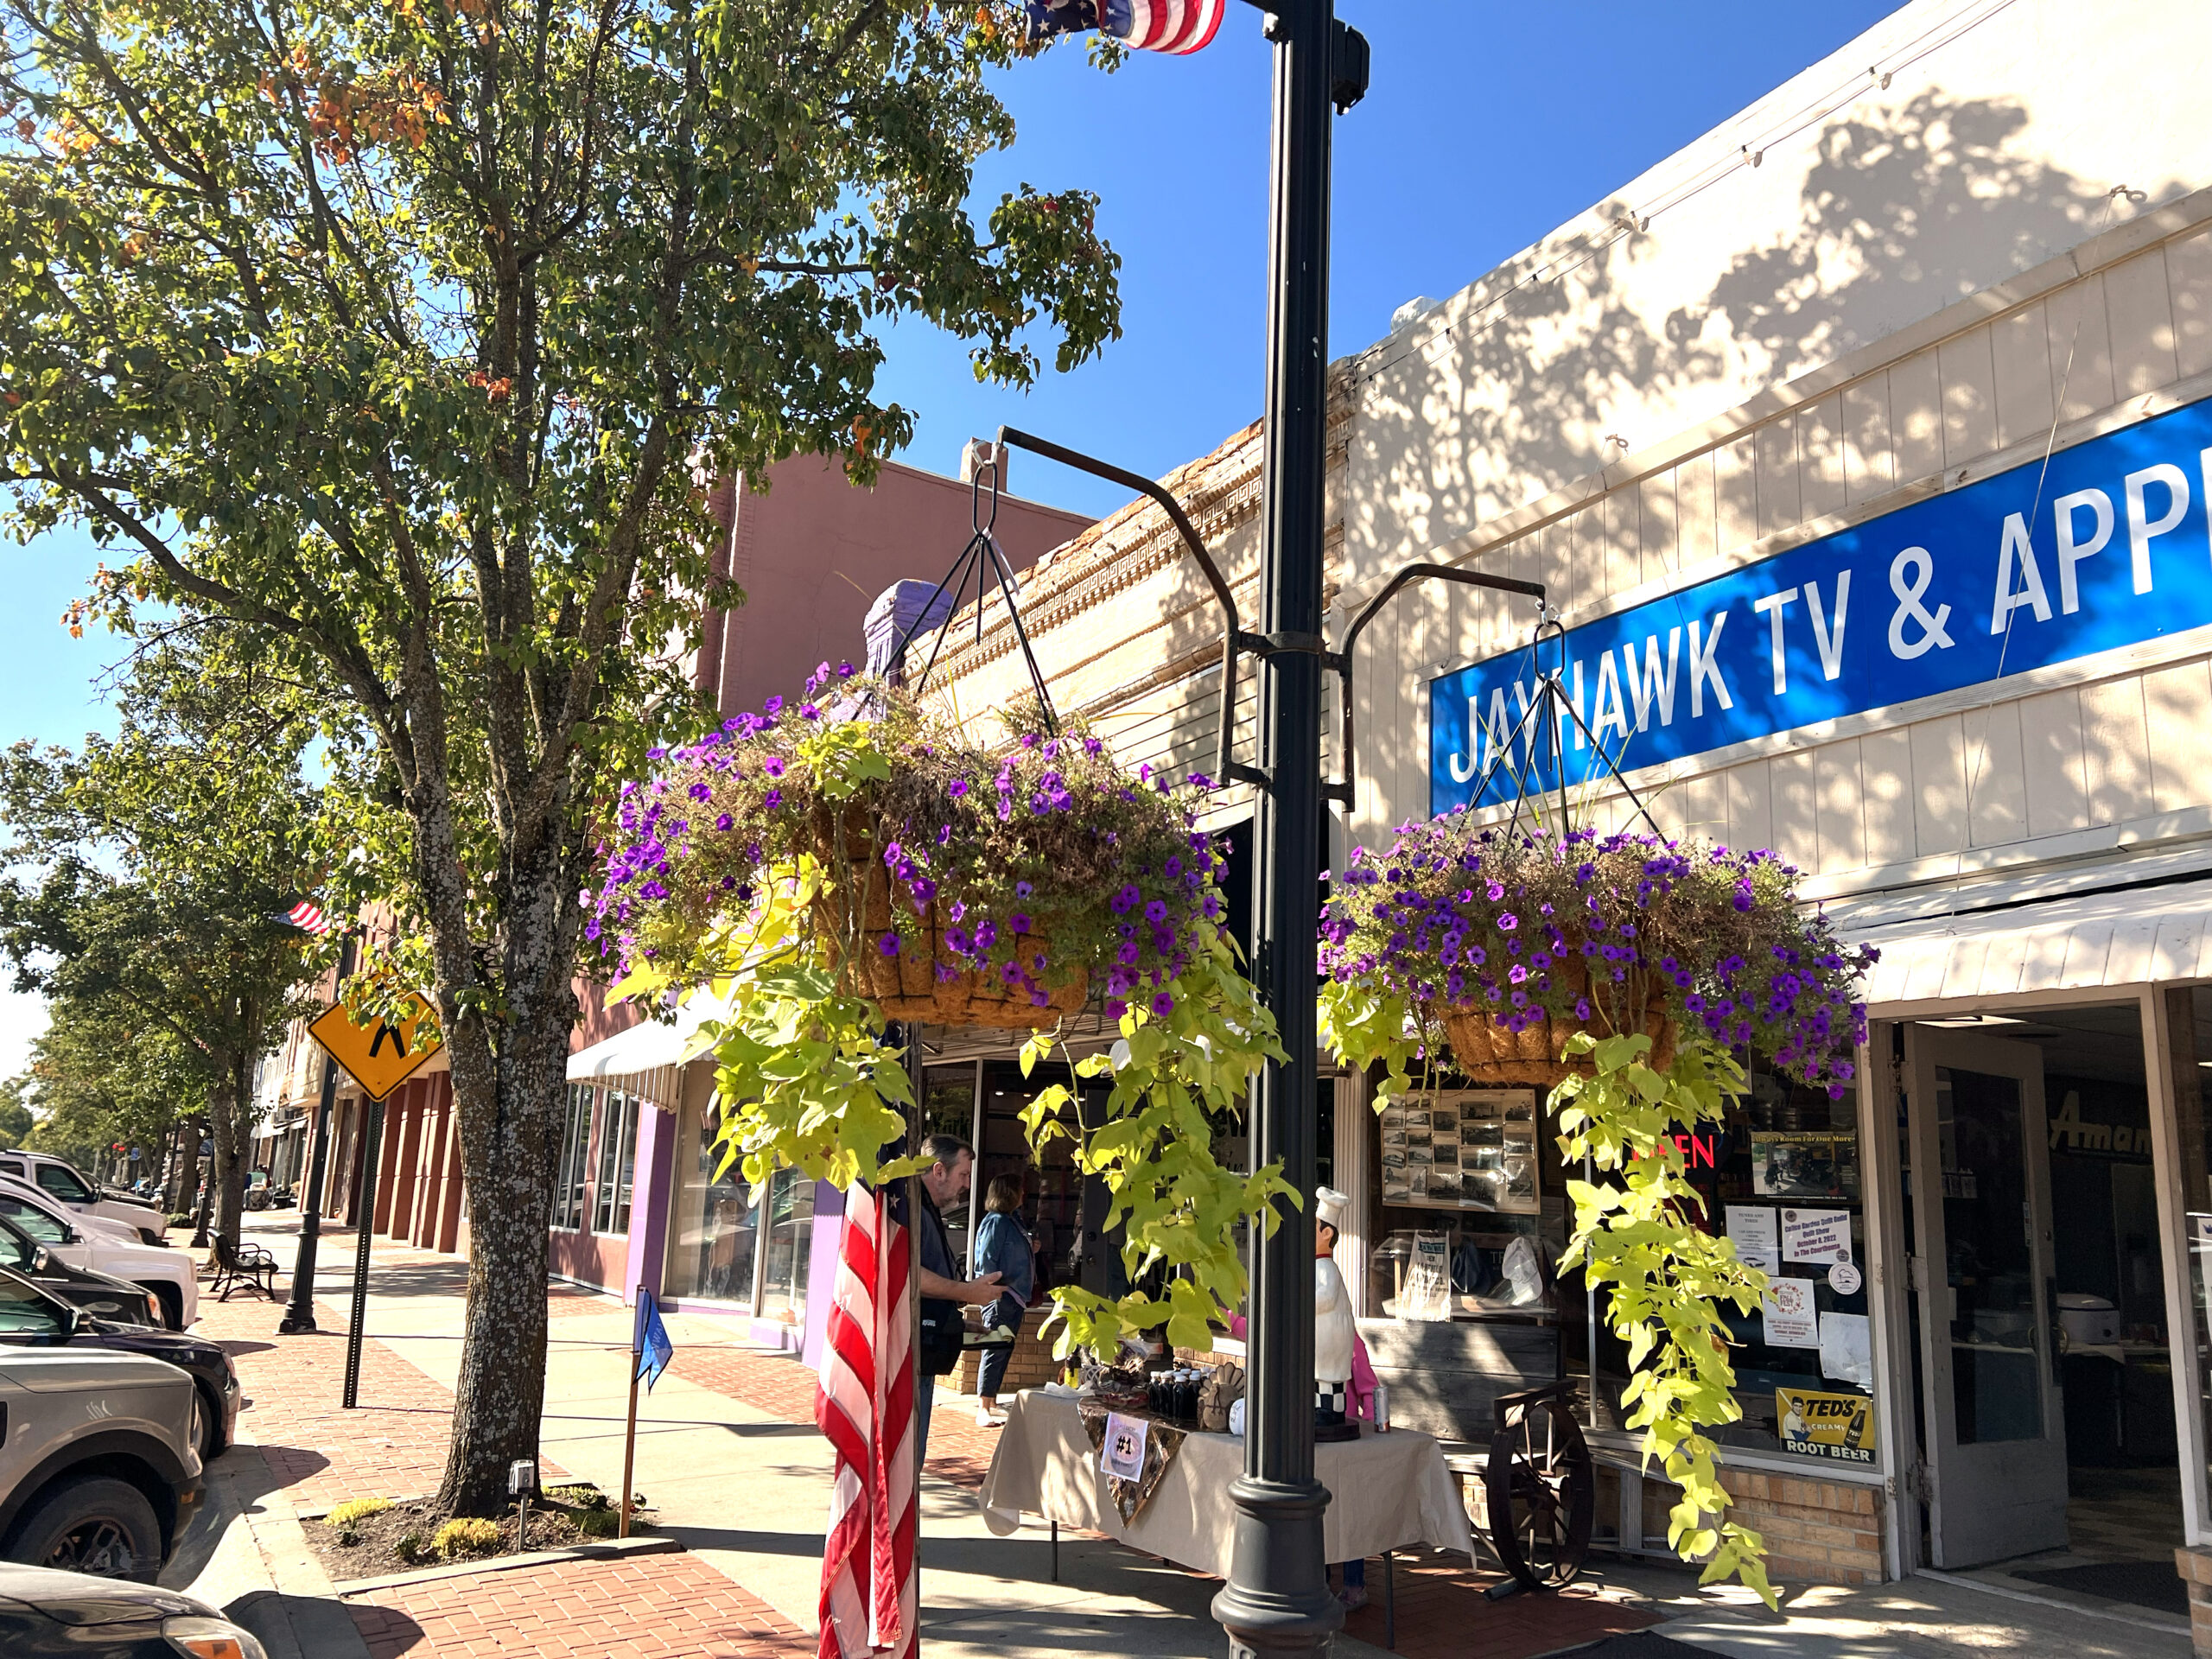 I’ve taken two road trips to Holton since 2022, and each visit reaffirms my love for the county seat.
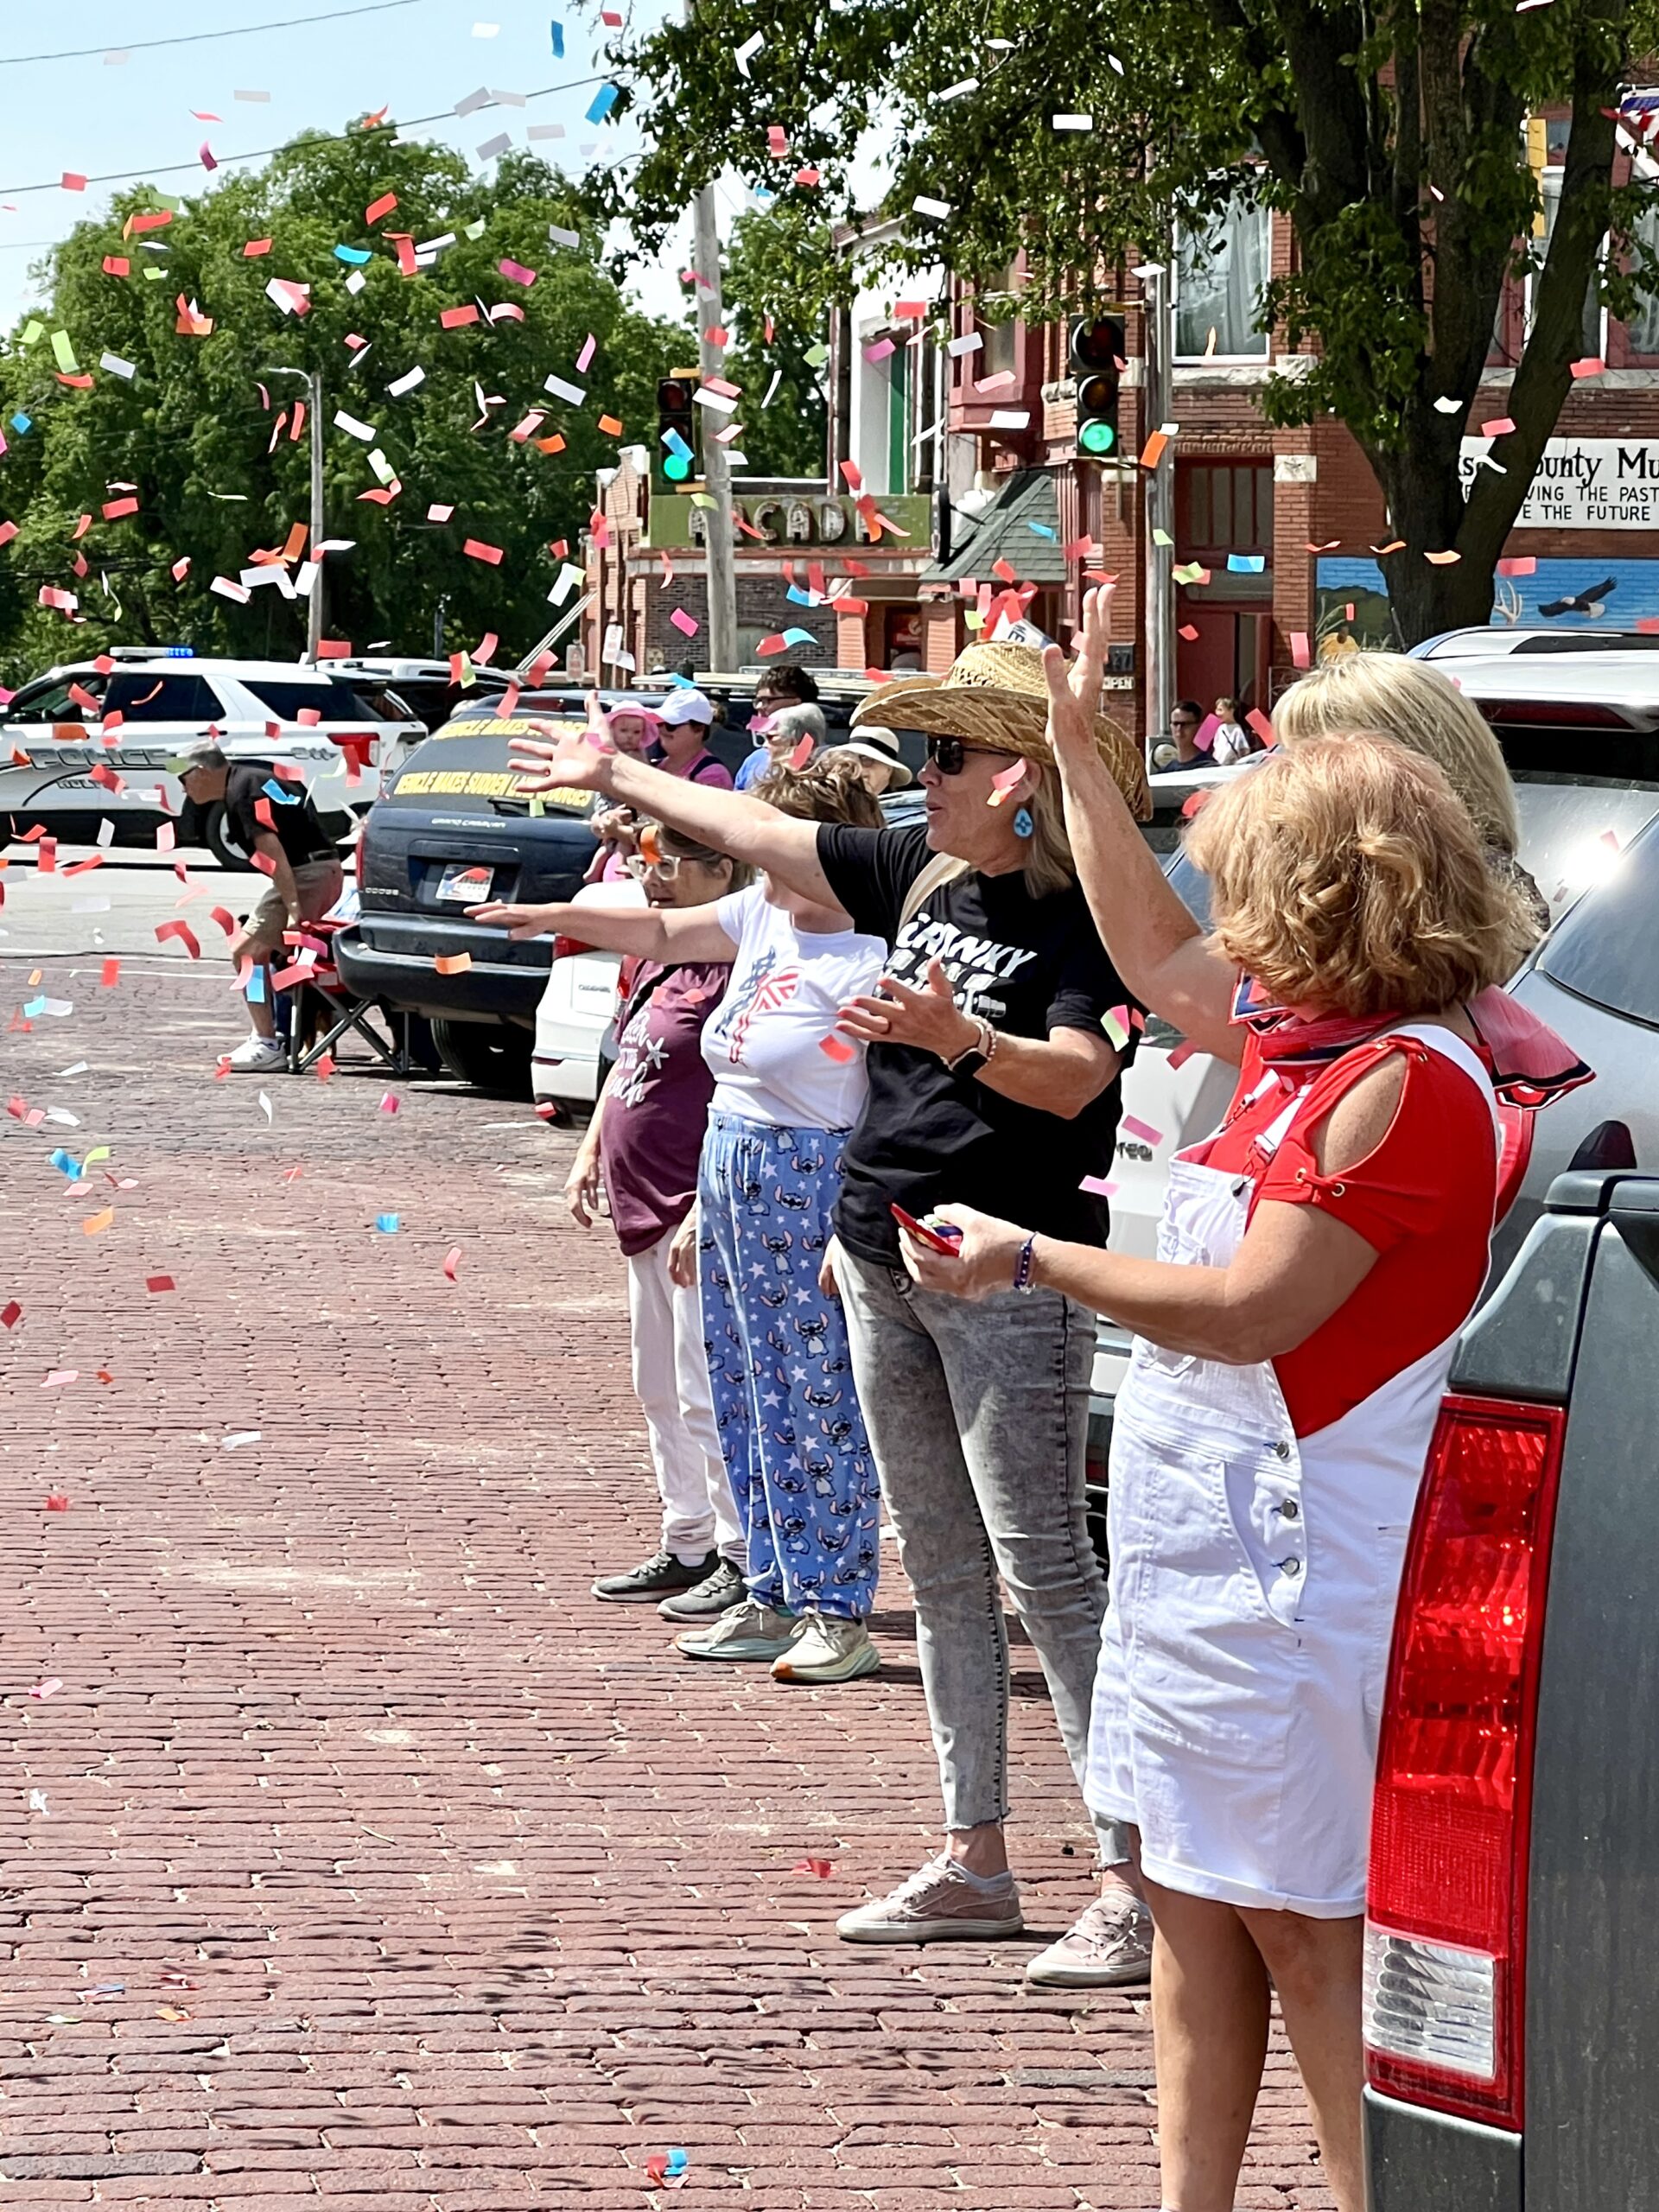 High school alumni cruise around the Jackson County Courthouse square, throwing candy and beads; the sun sparkles on classic cars’ chrome at the car show, and kids play joyfully in bouncy houses nestled among vendor booths as families chat nearby.
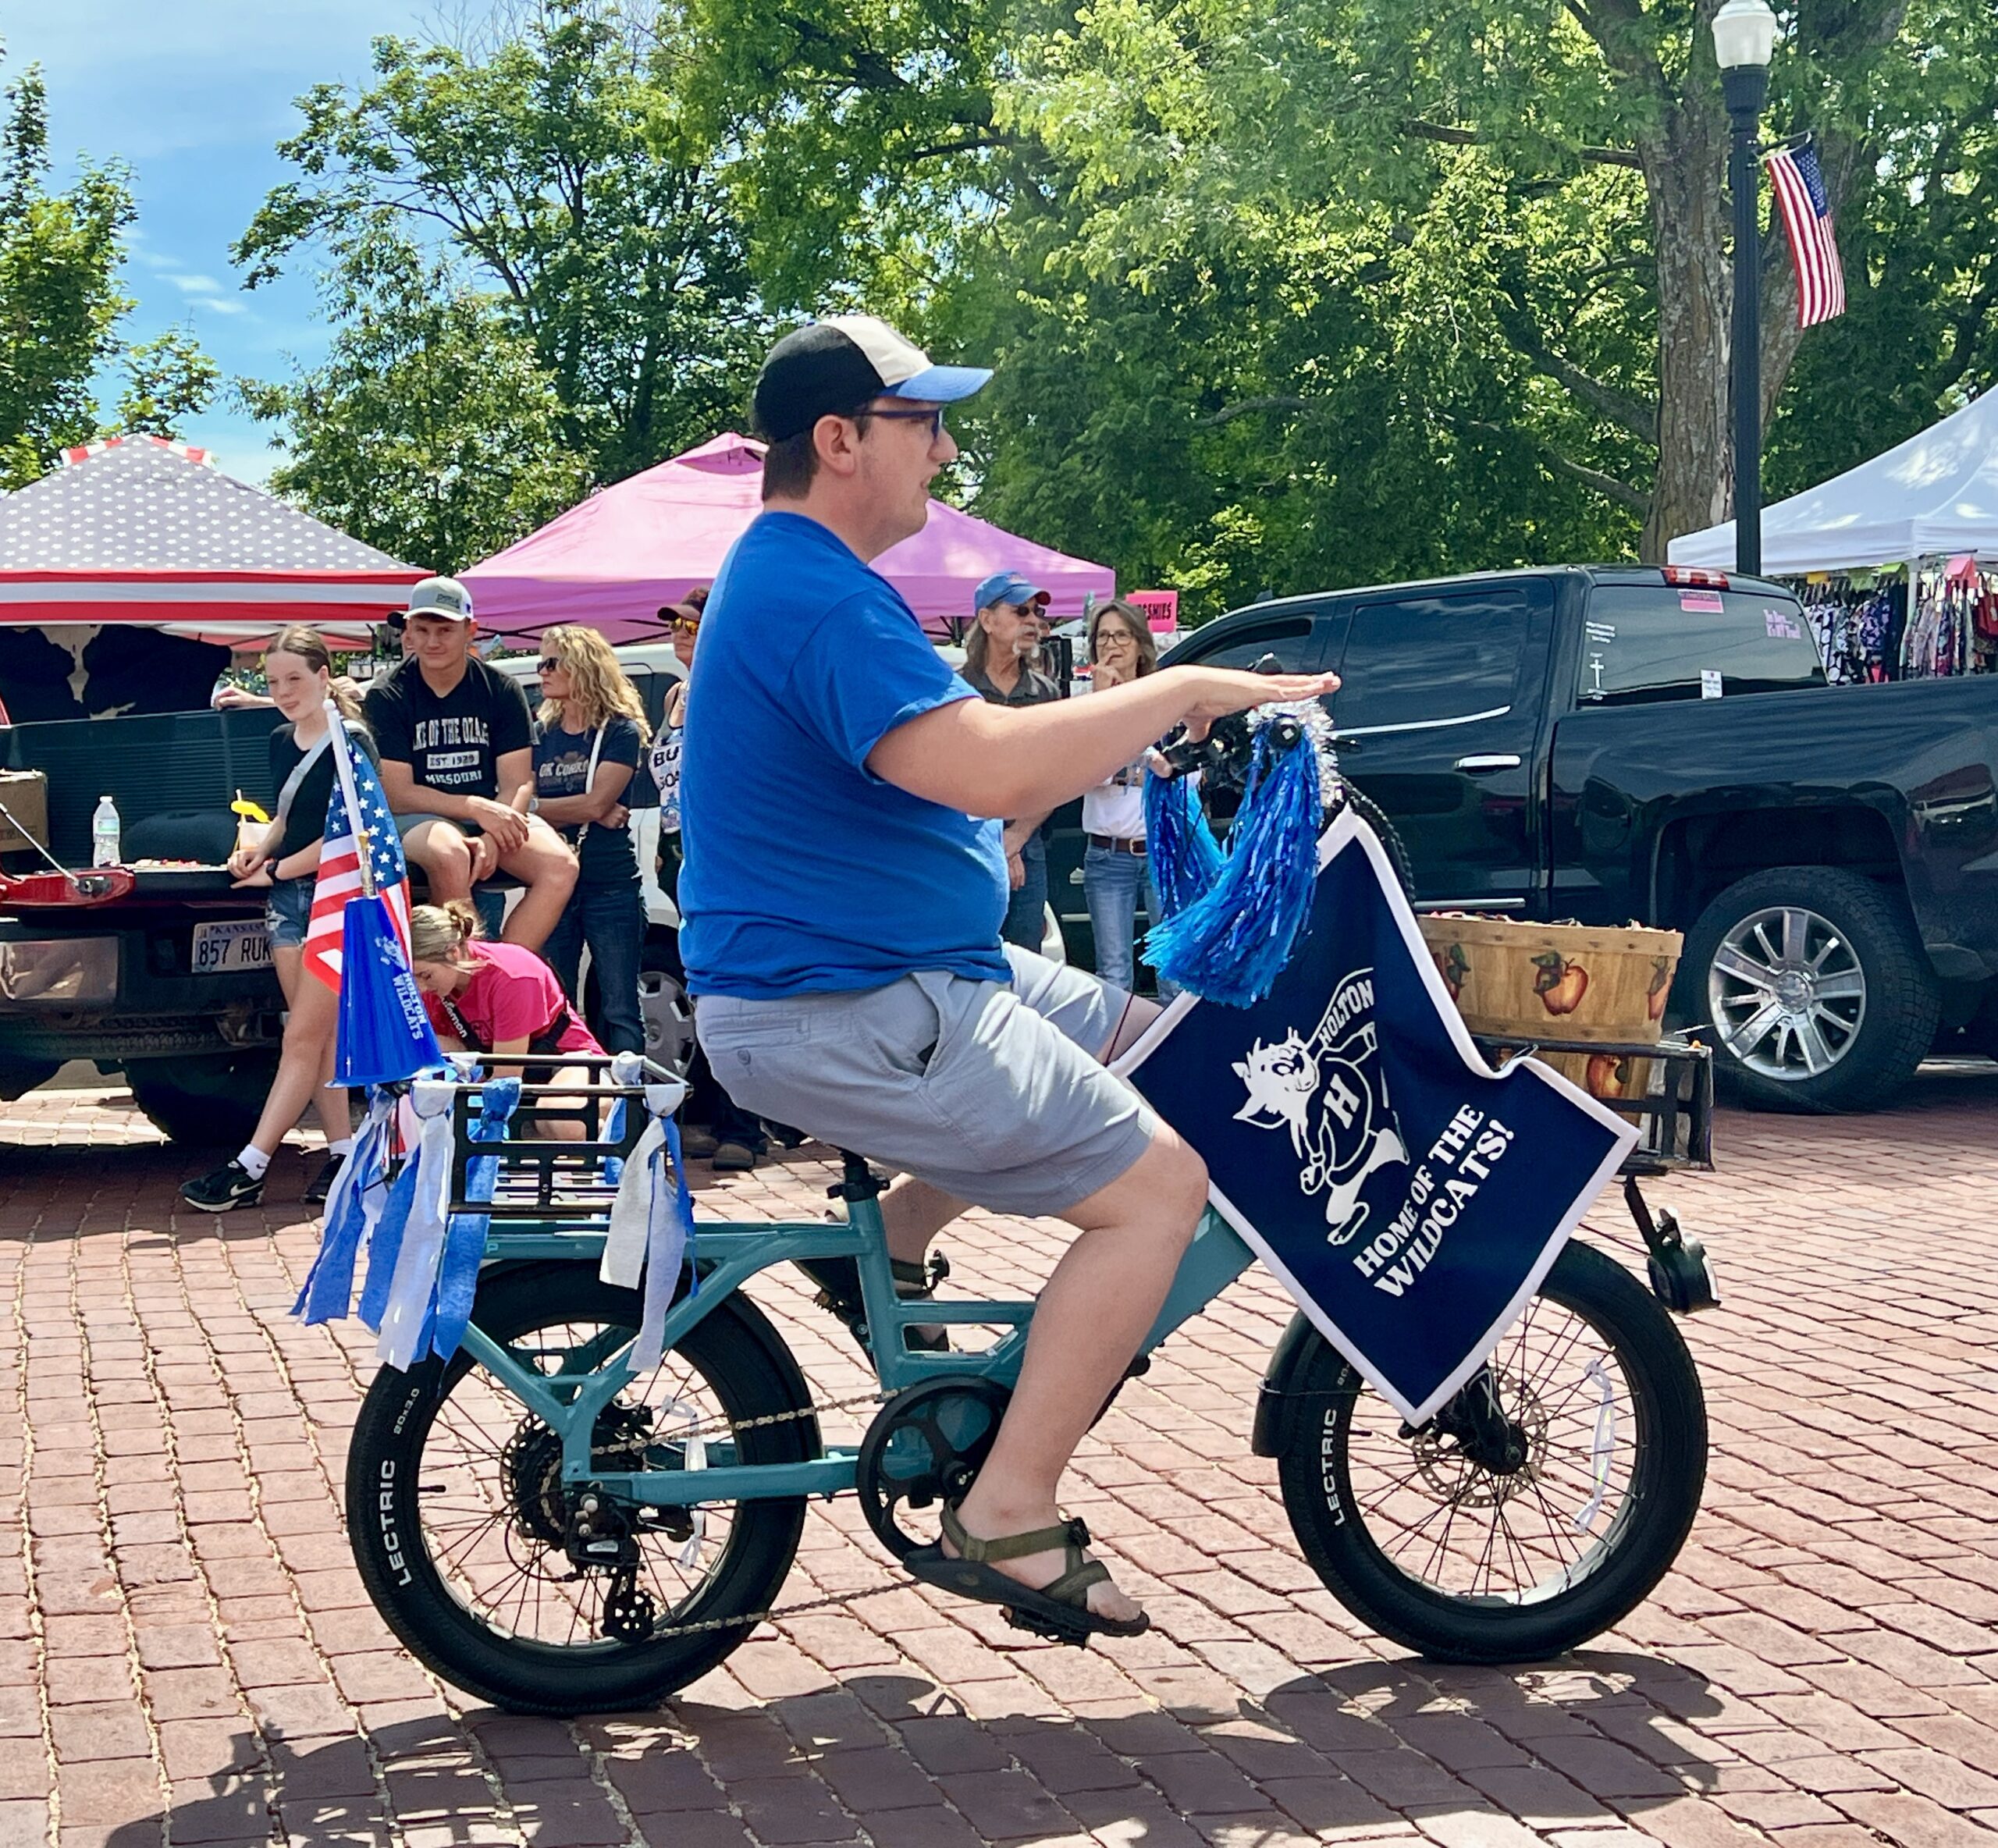 The hum of food trucks’ generators can be heard over the festival announcer’s voice.
 I couldn’t resist striking up a conversation with a couple who sat ready to chat about their car to passersby. They told me the story of the car’s restoration using original parts with pride.
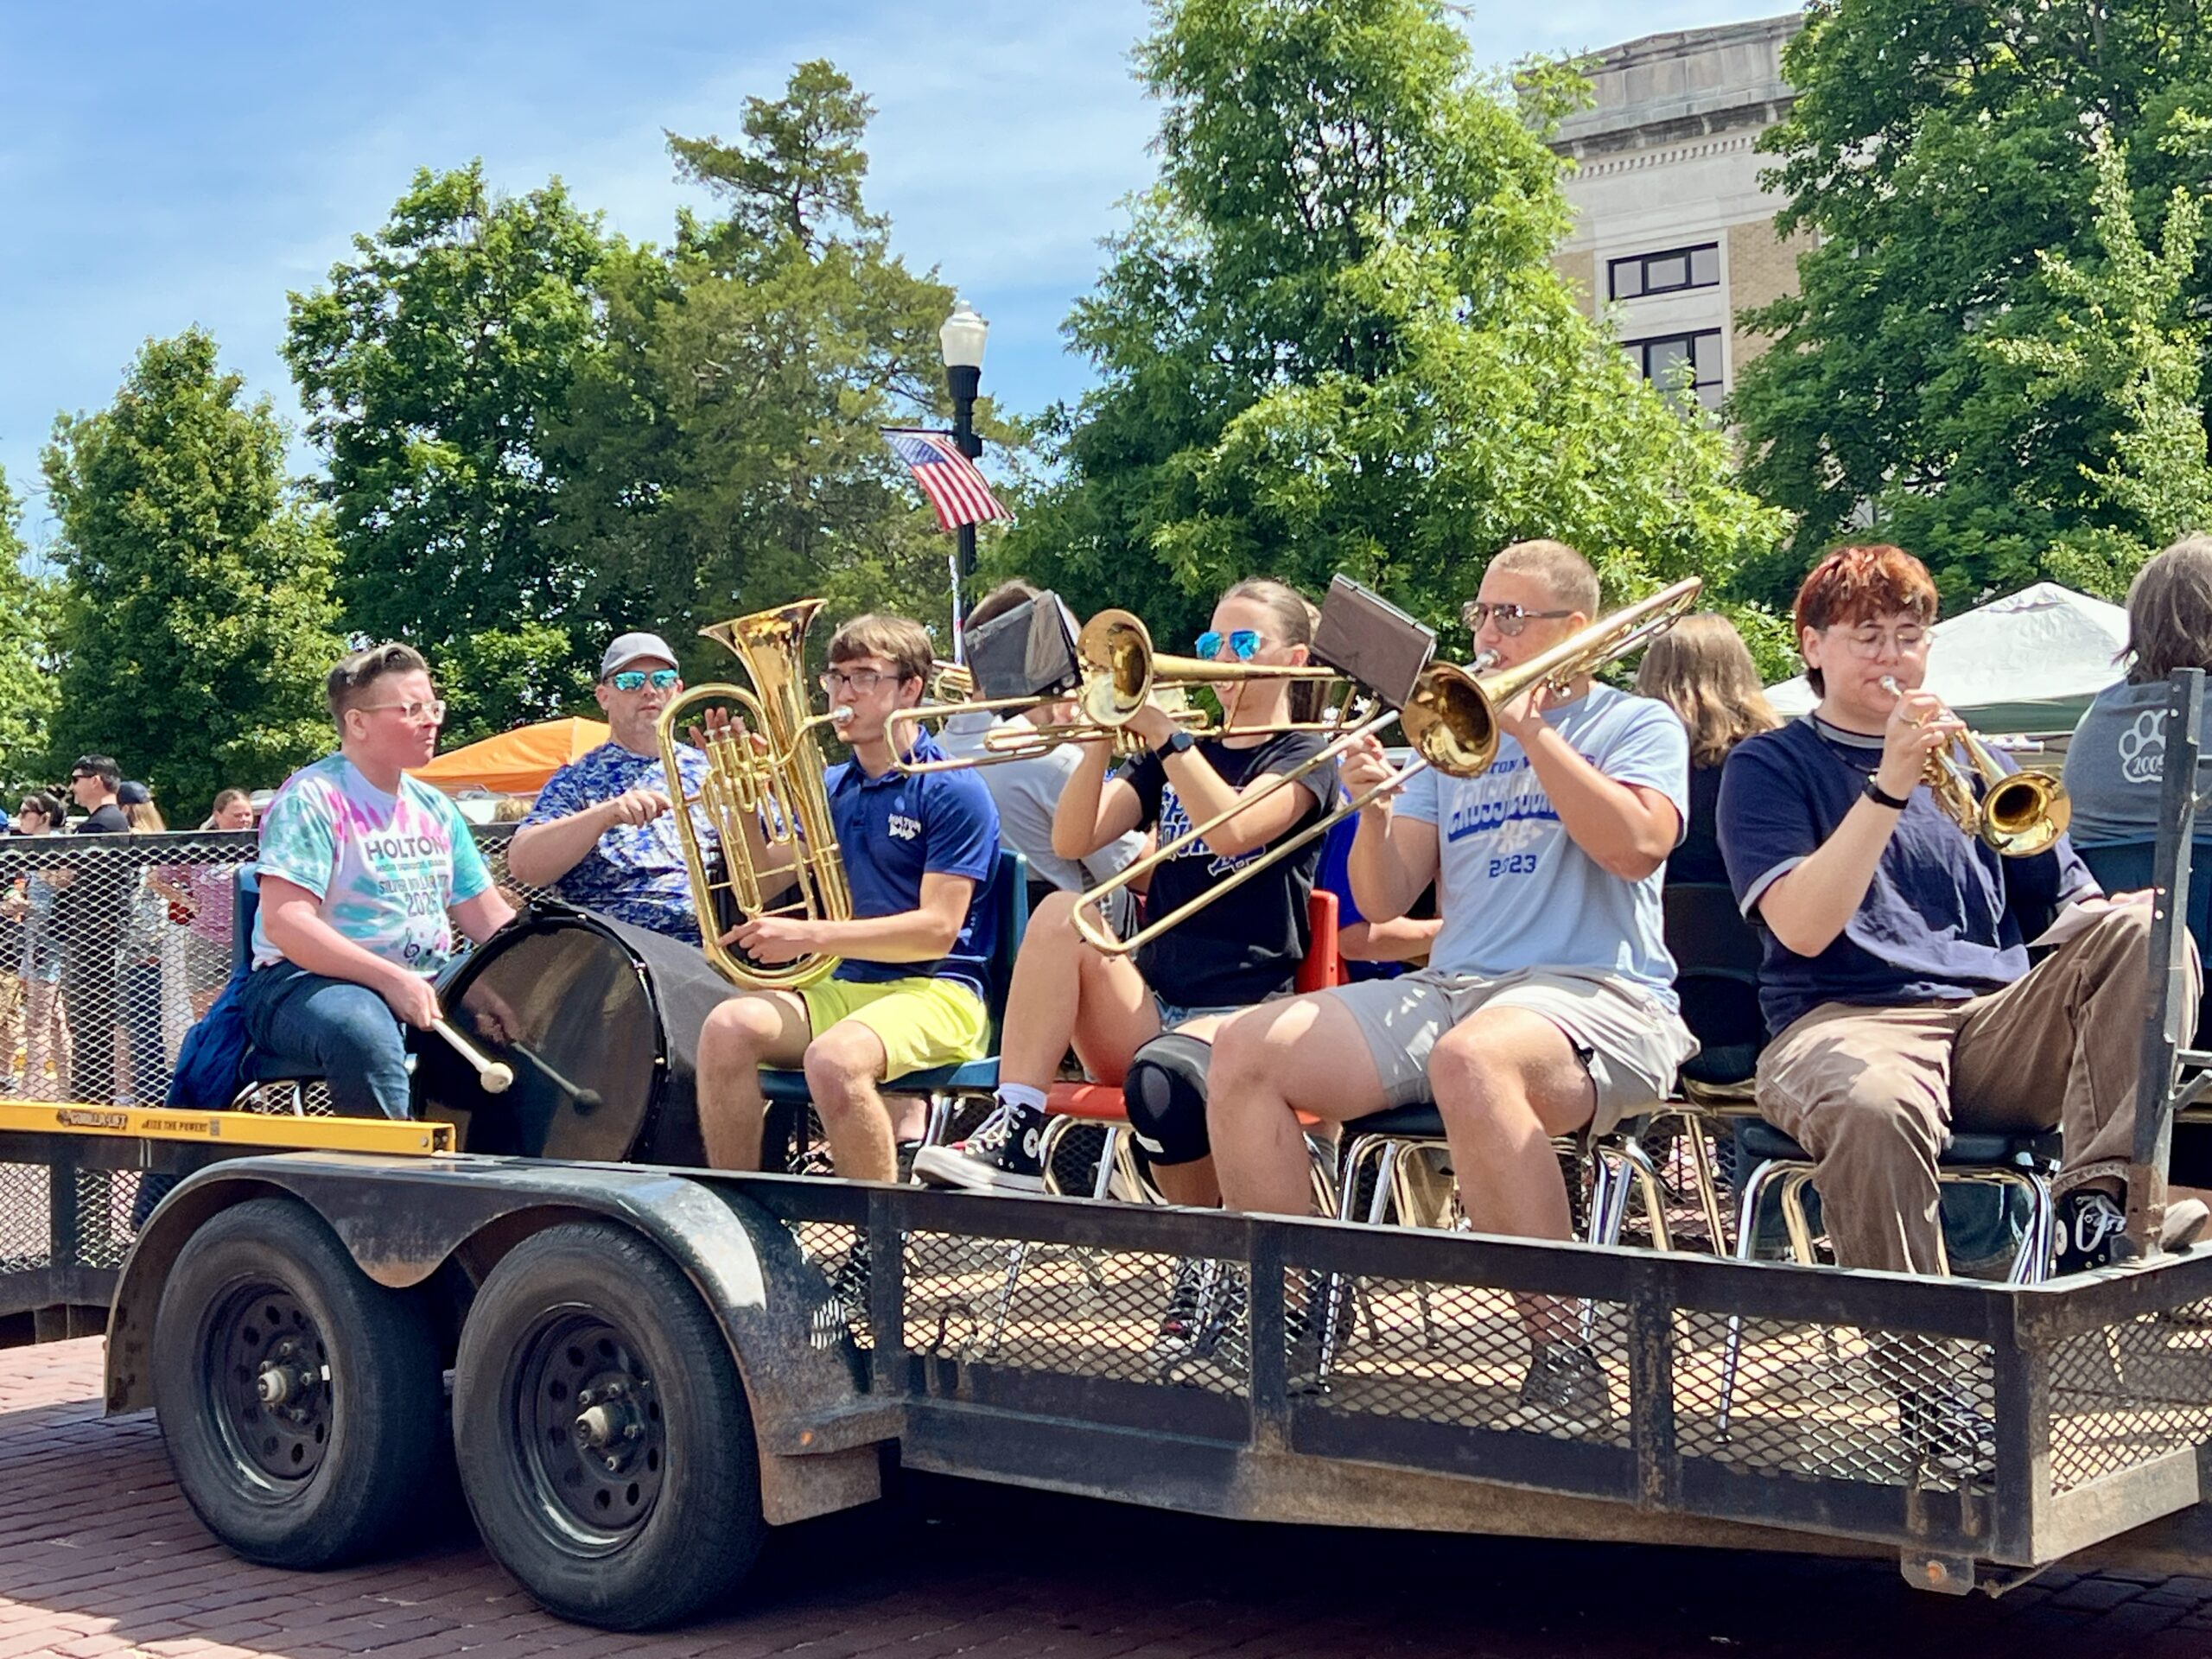 If you buy a maker’s creation or a homemade cookie, you’re likely supporting a small business or a worthwhile local cause.
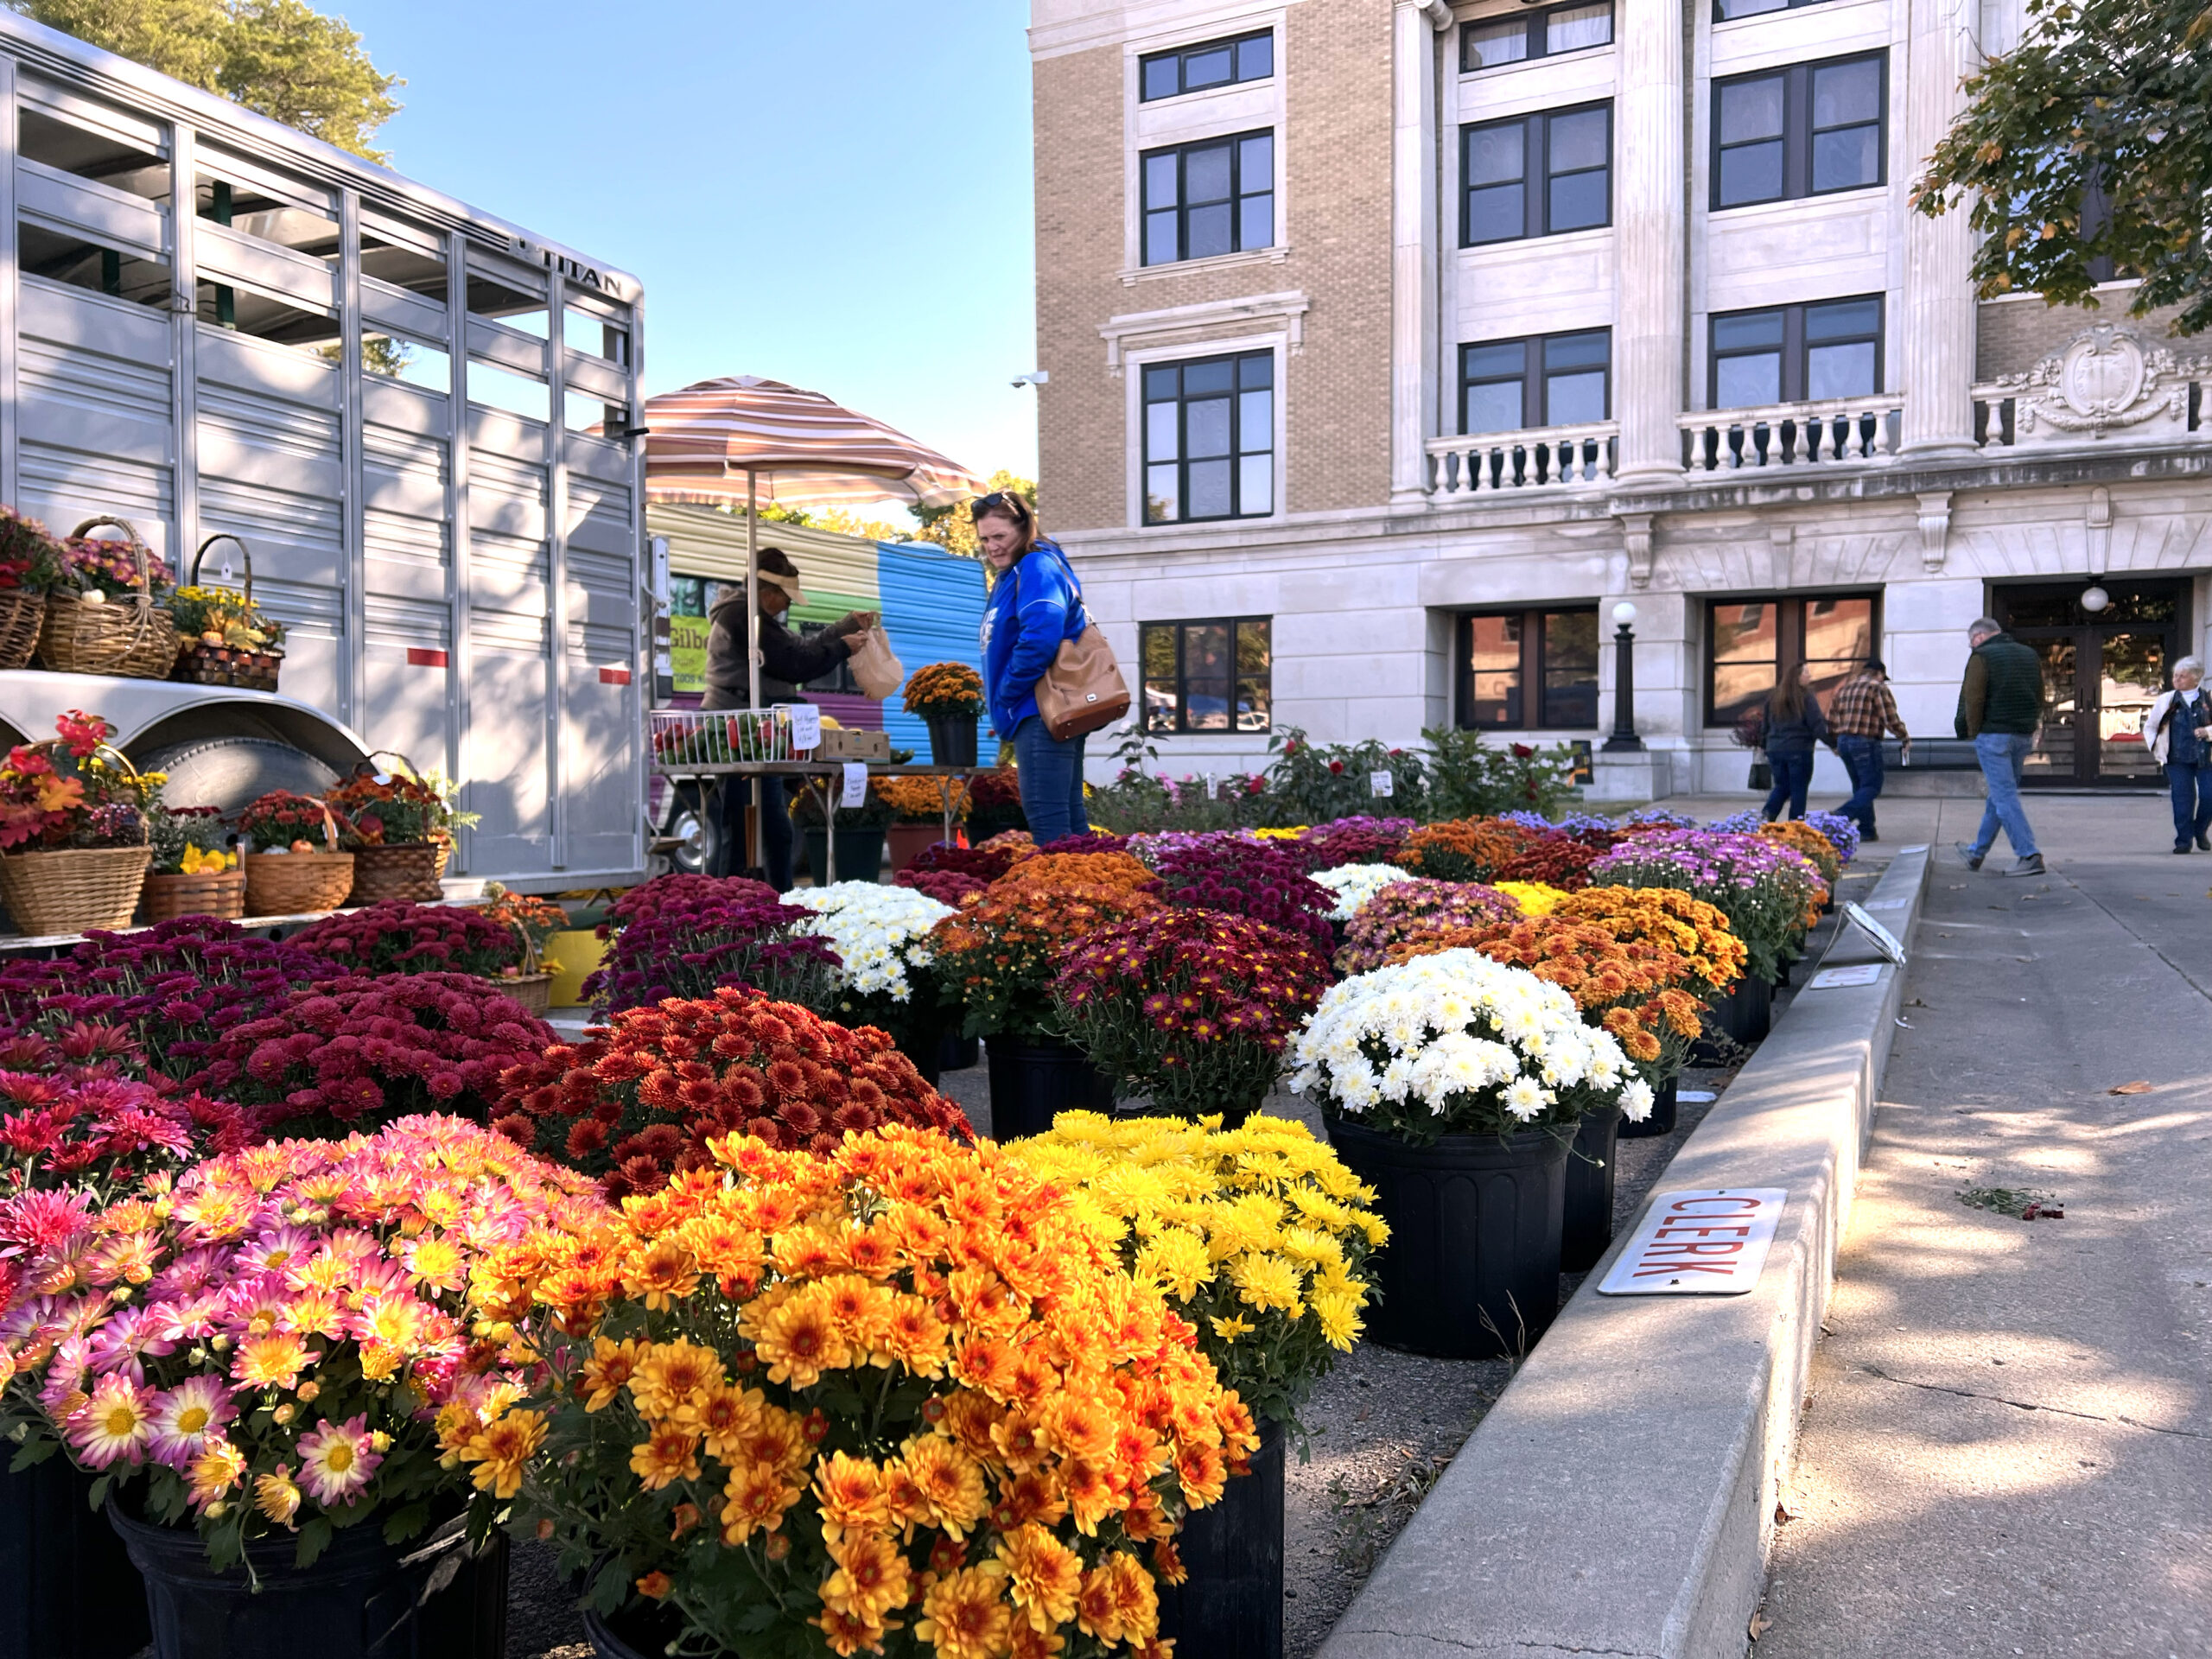
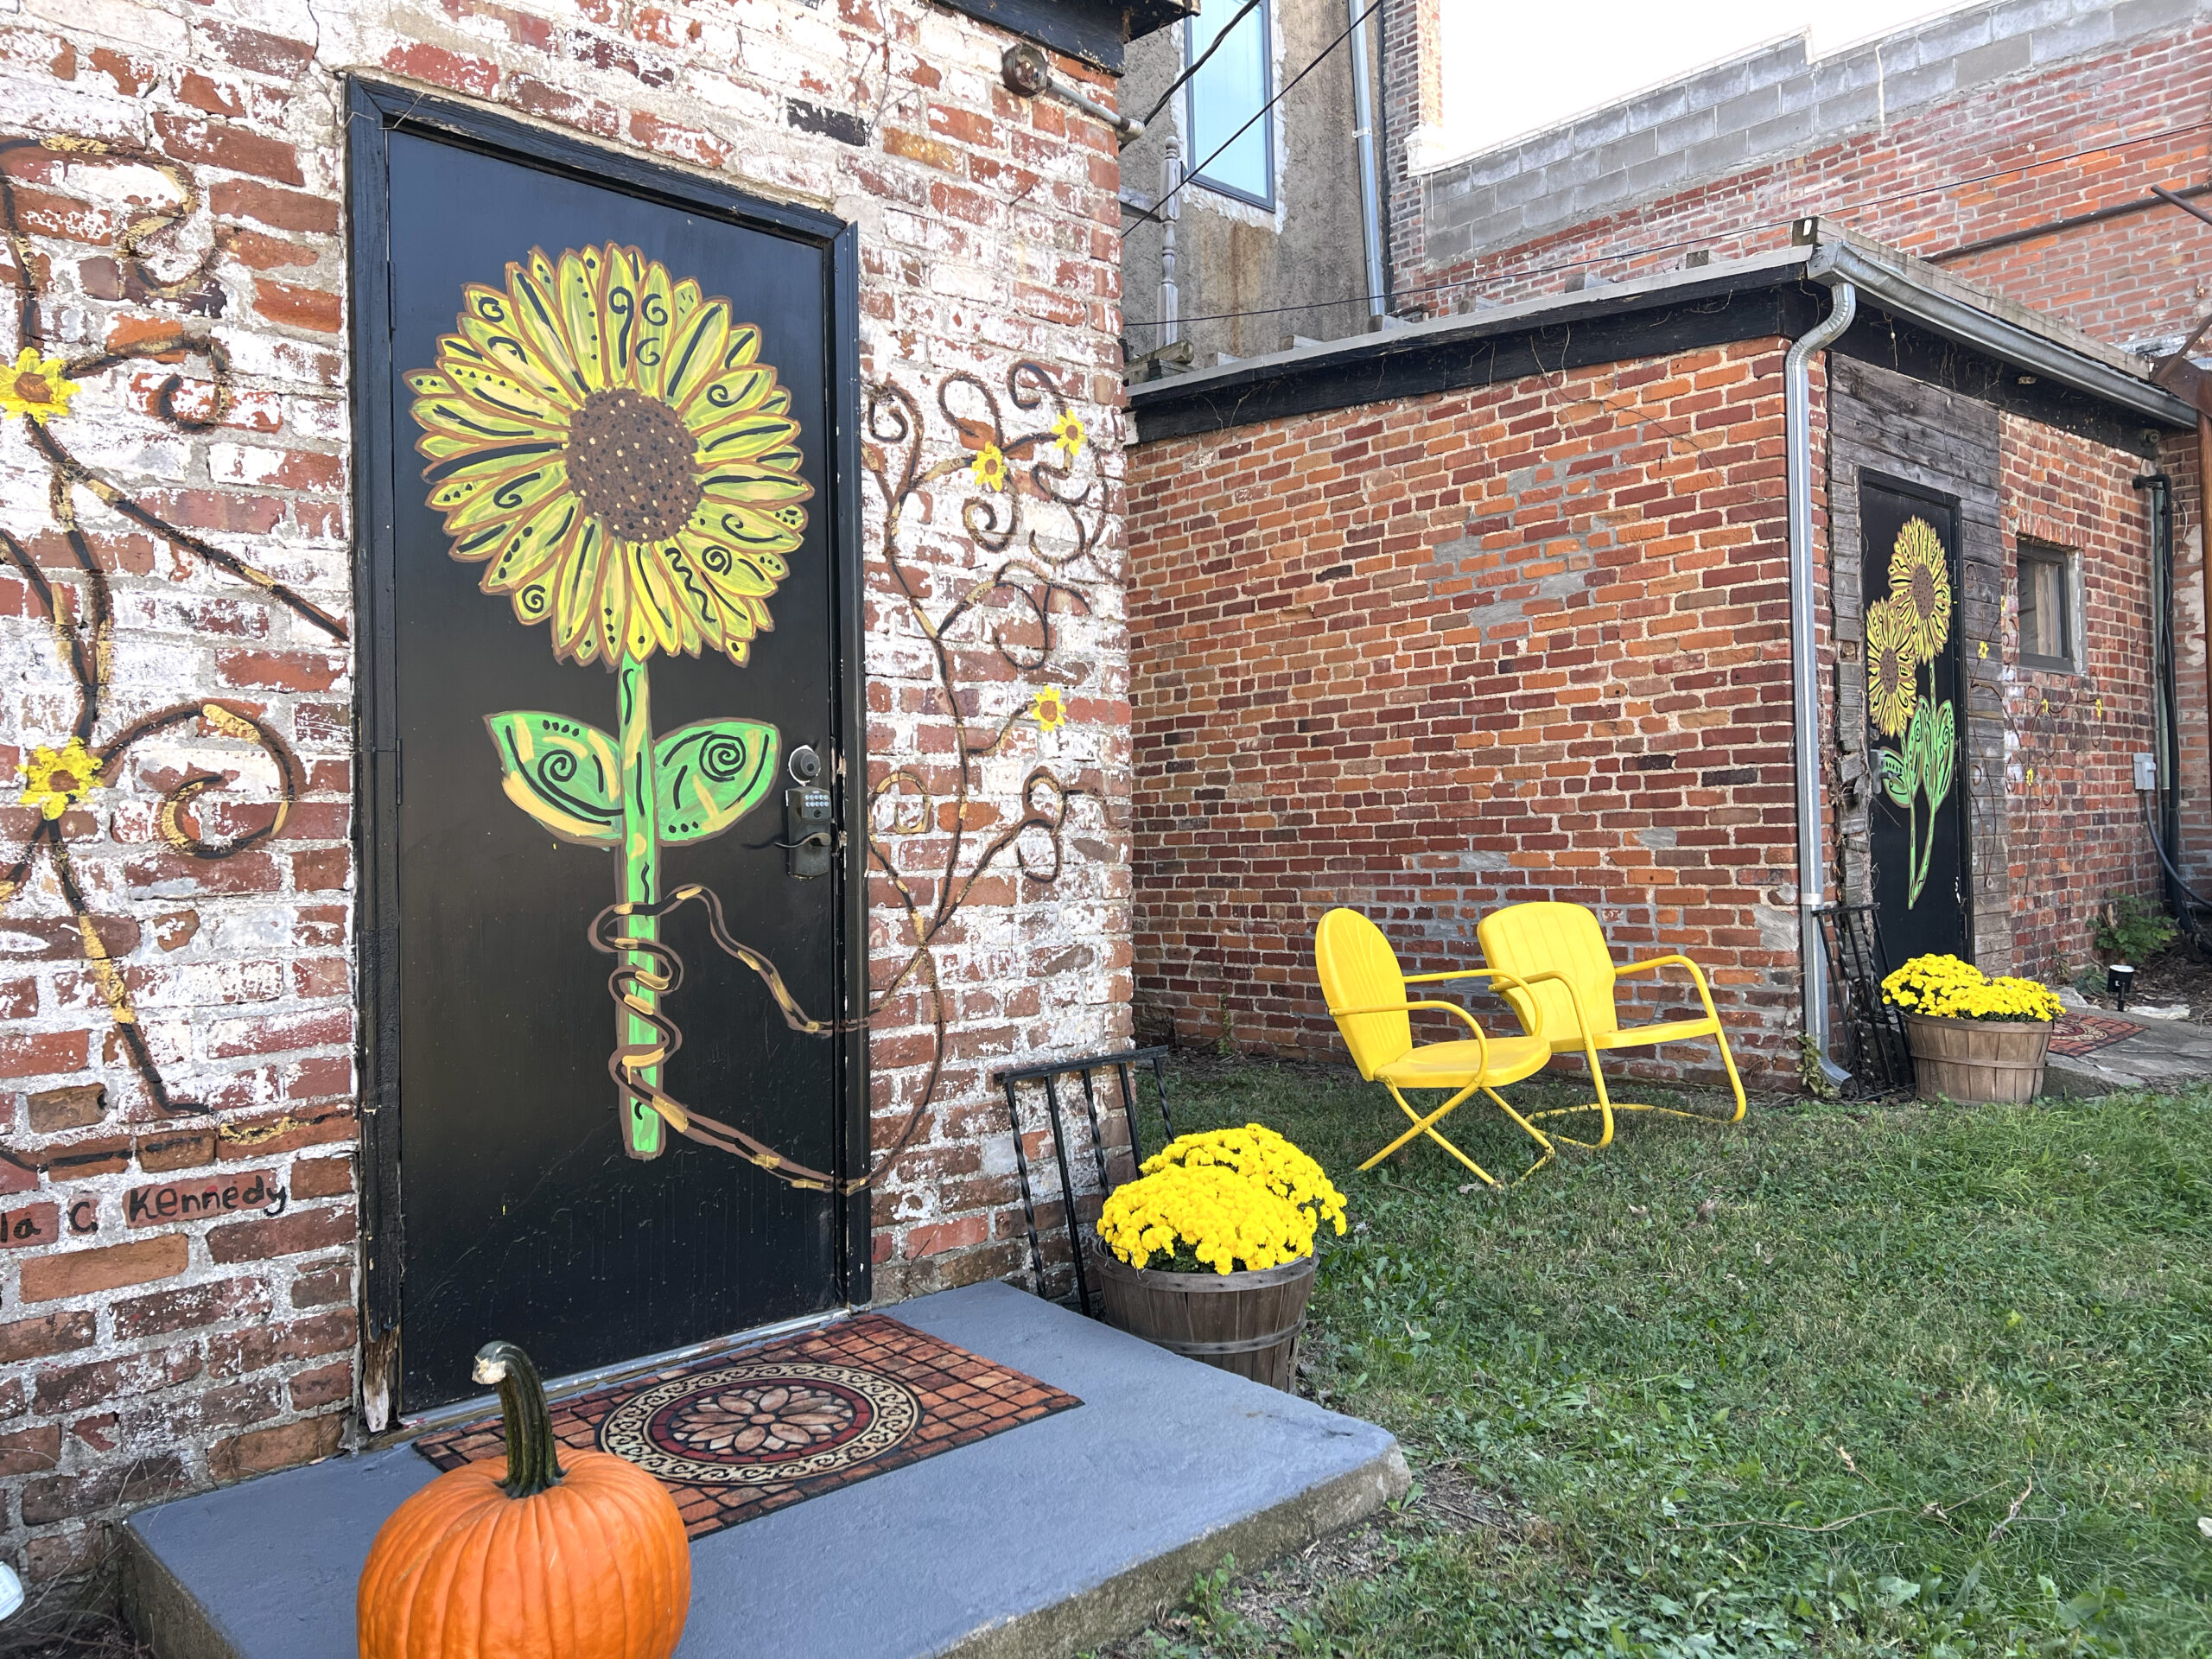 During my self-guided tour, I came upon whimsical paintings depicting flowers and landscape scenes. One door showcased a Mexican restaurant’s theme.
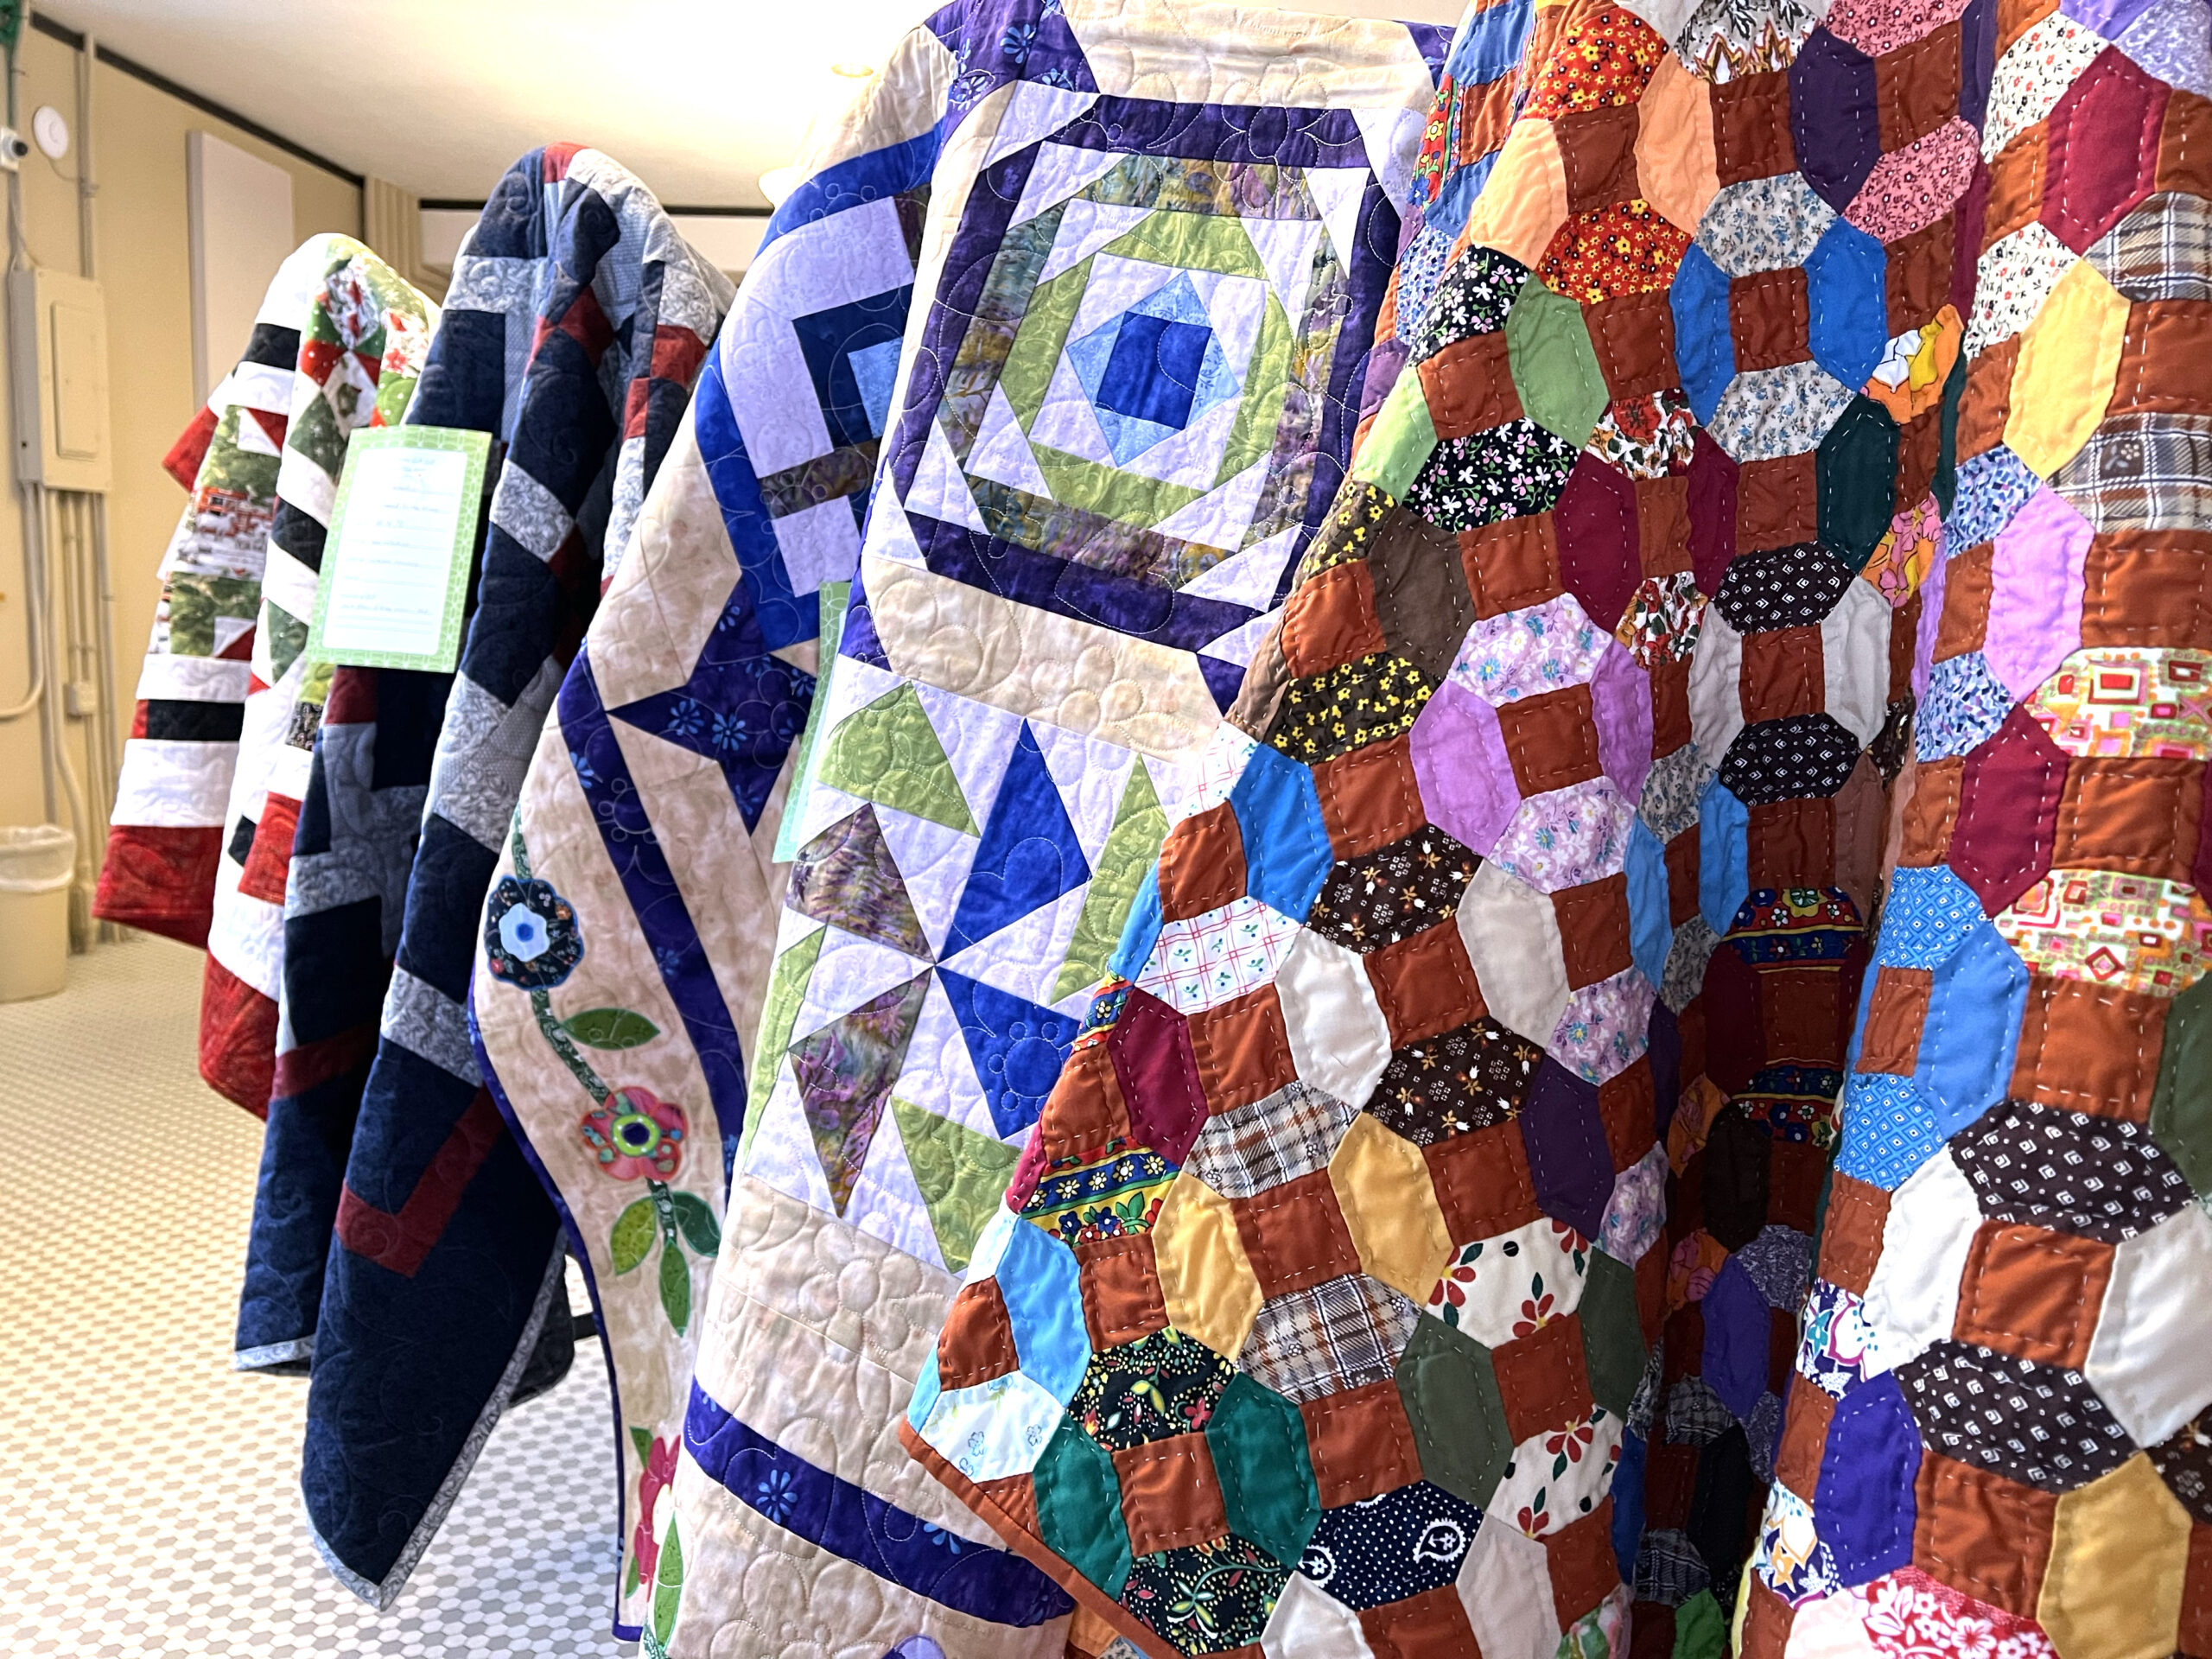 With names like “Giraffes on Parade,” “Random Scraps,” and “Flying Geese,” each quilt is an expression of the creator’s personality. Table toppers and queen-sized bedding creations draw attention.
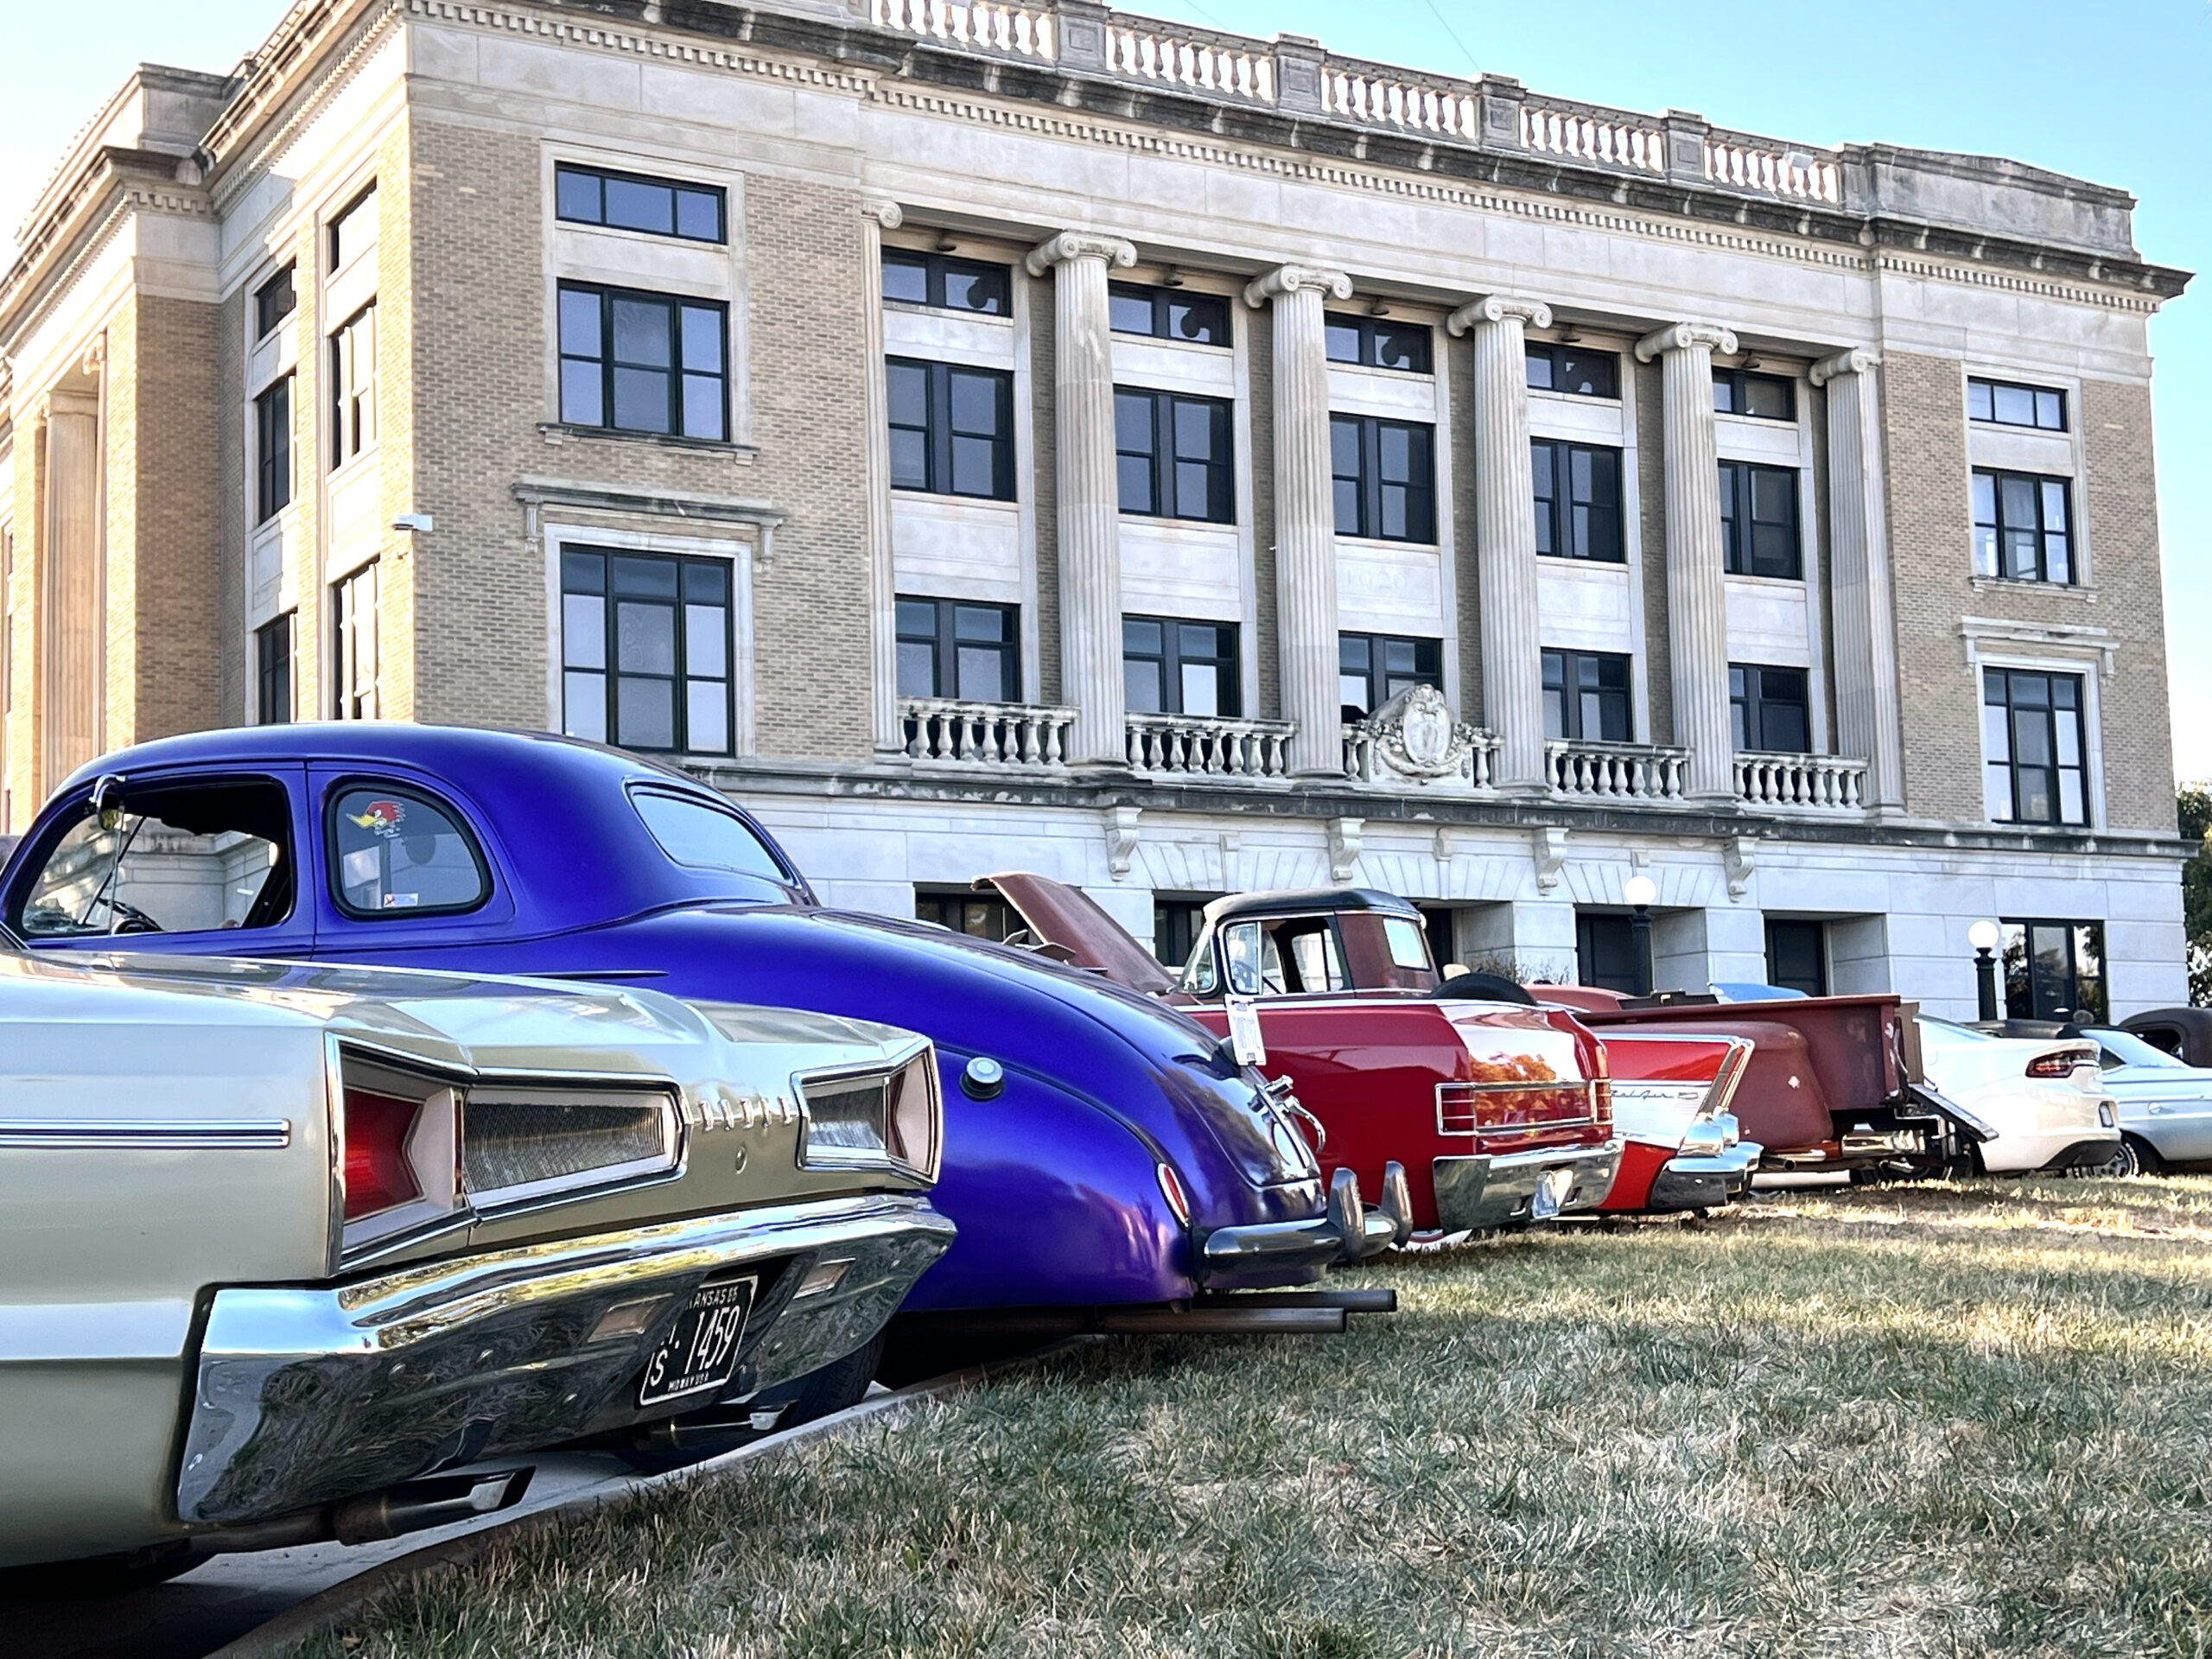 PRO TIP: Don’t miss other Holton’s festivities throughout the year, like fireworks during
 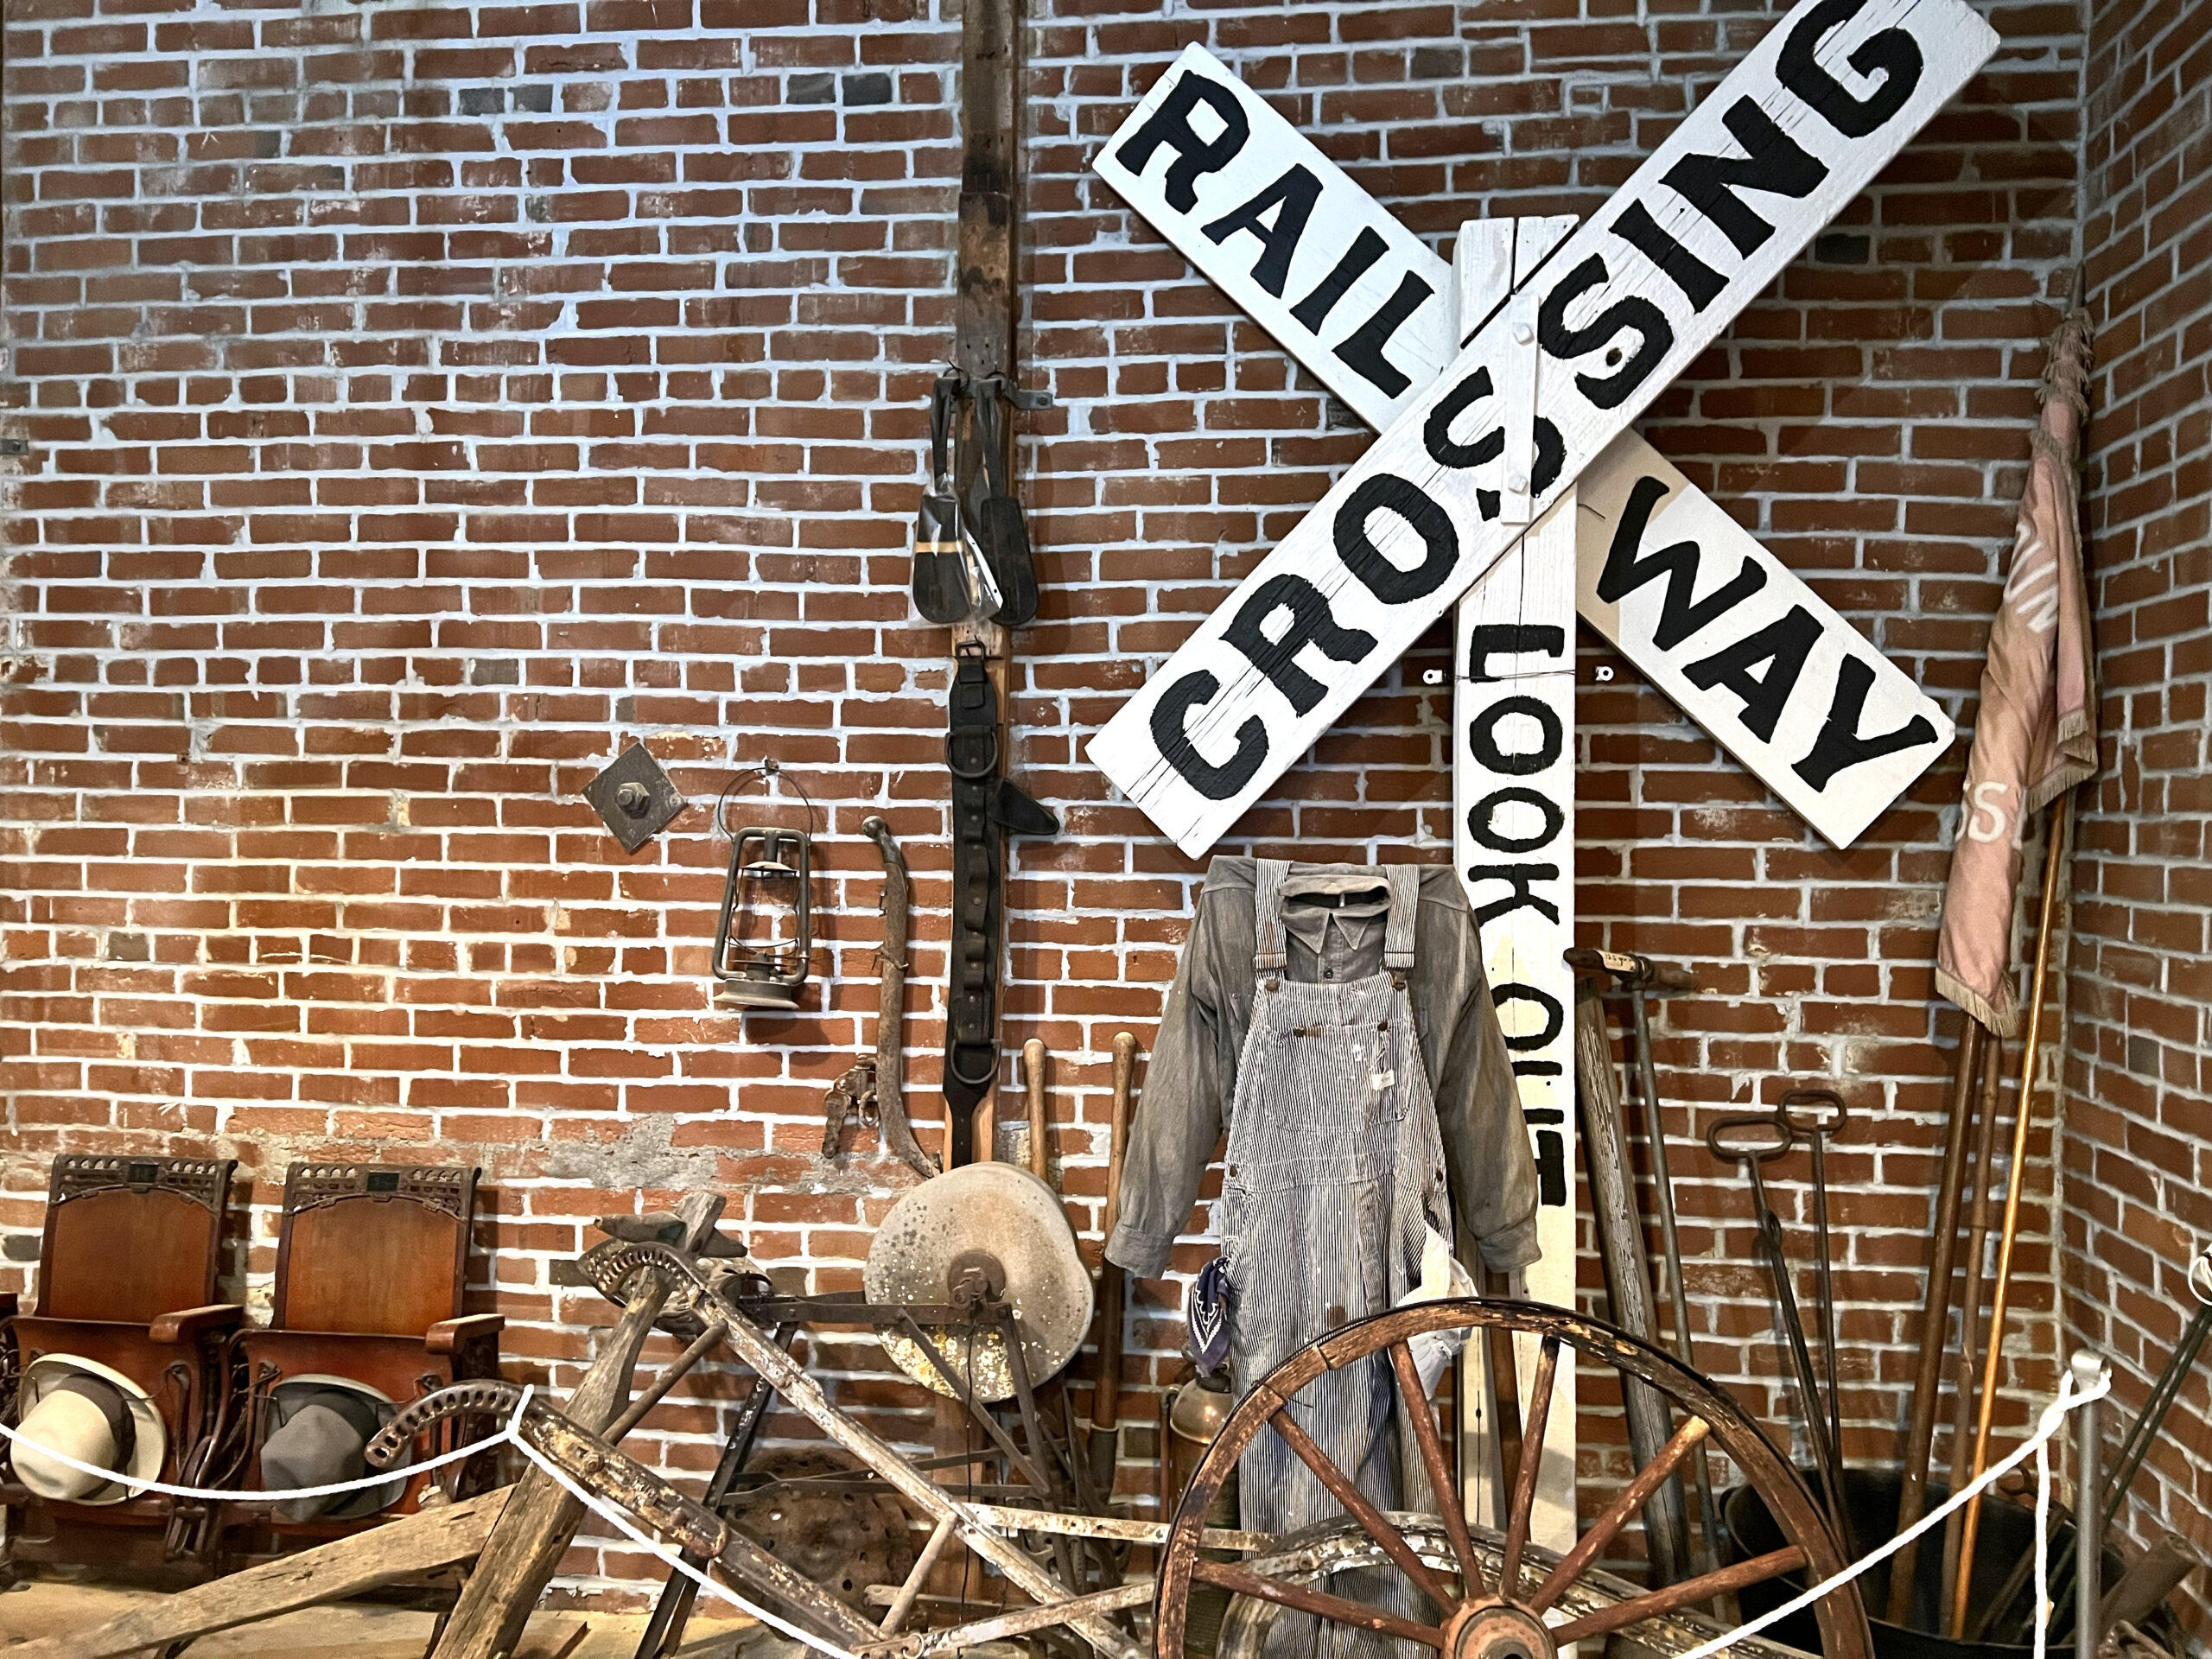 You can expect a free, self-guided tour featuring exhibits on one-room schoolhouse items, Carrie Nation history, barbed wire history, World War I & II memorabilia, and the tools of 1900s trades.
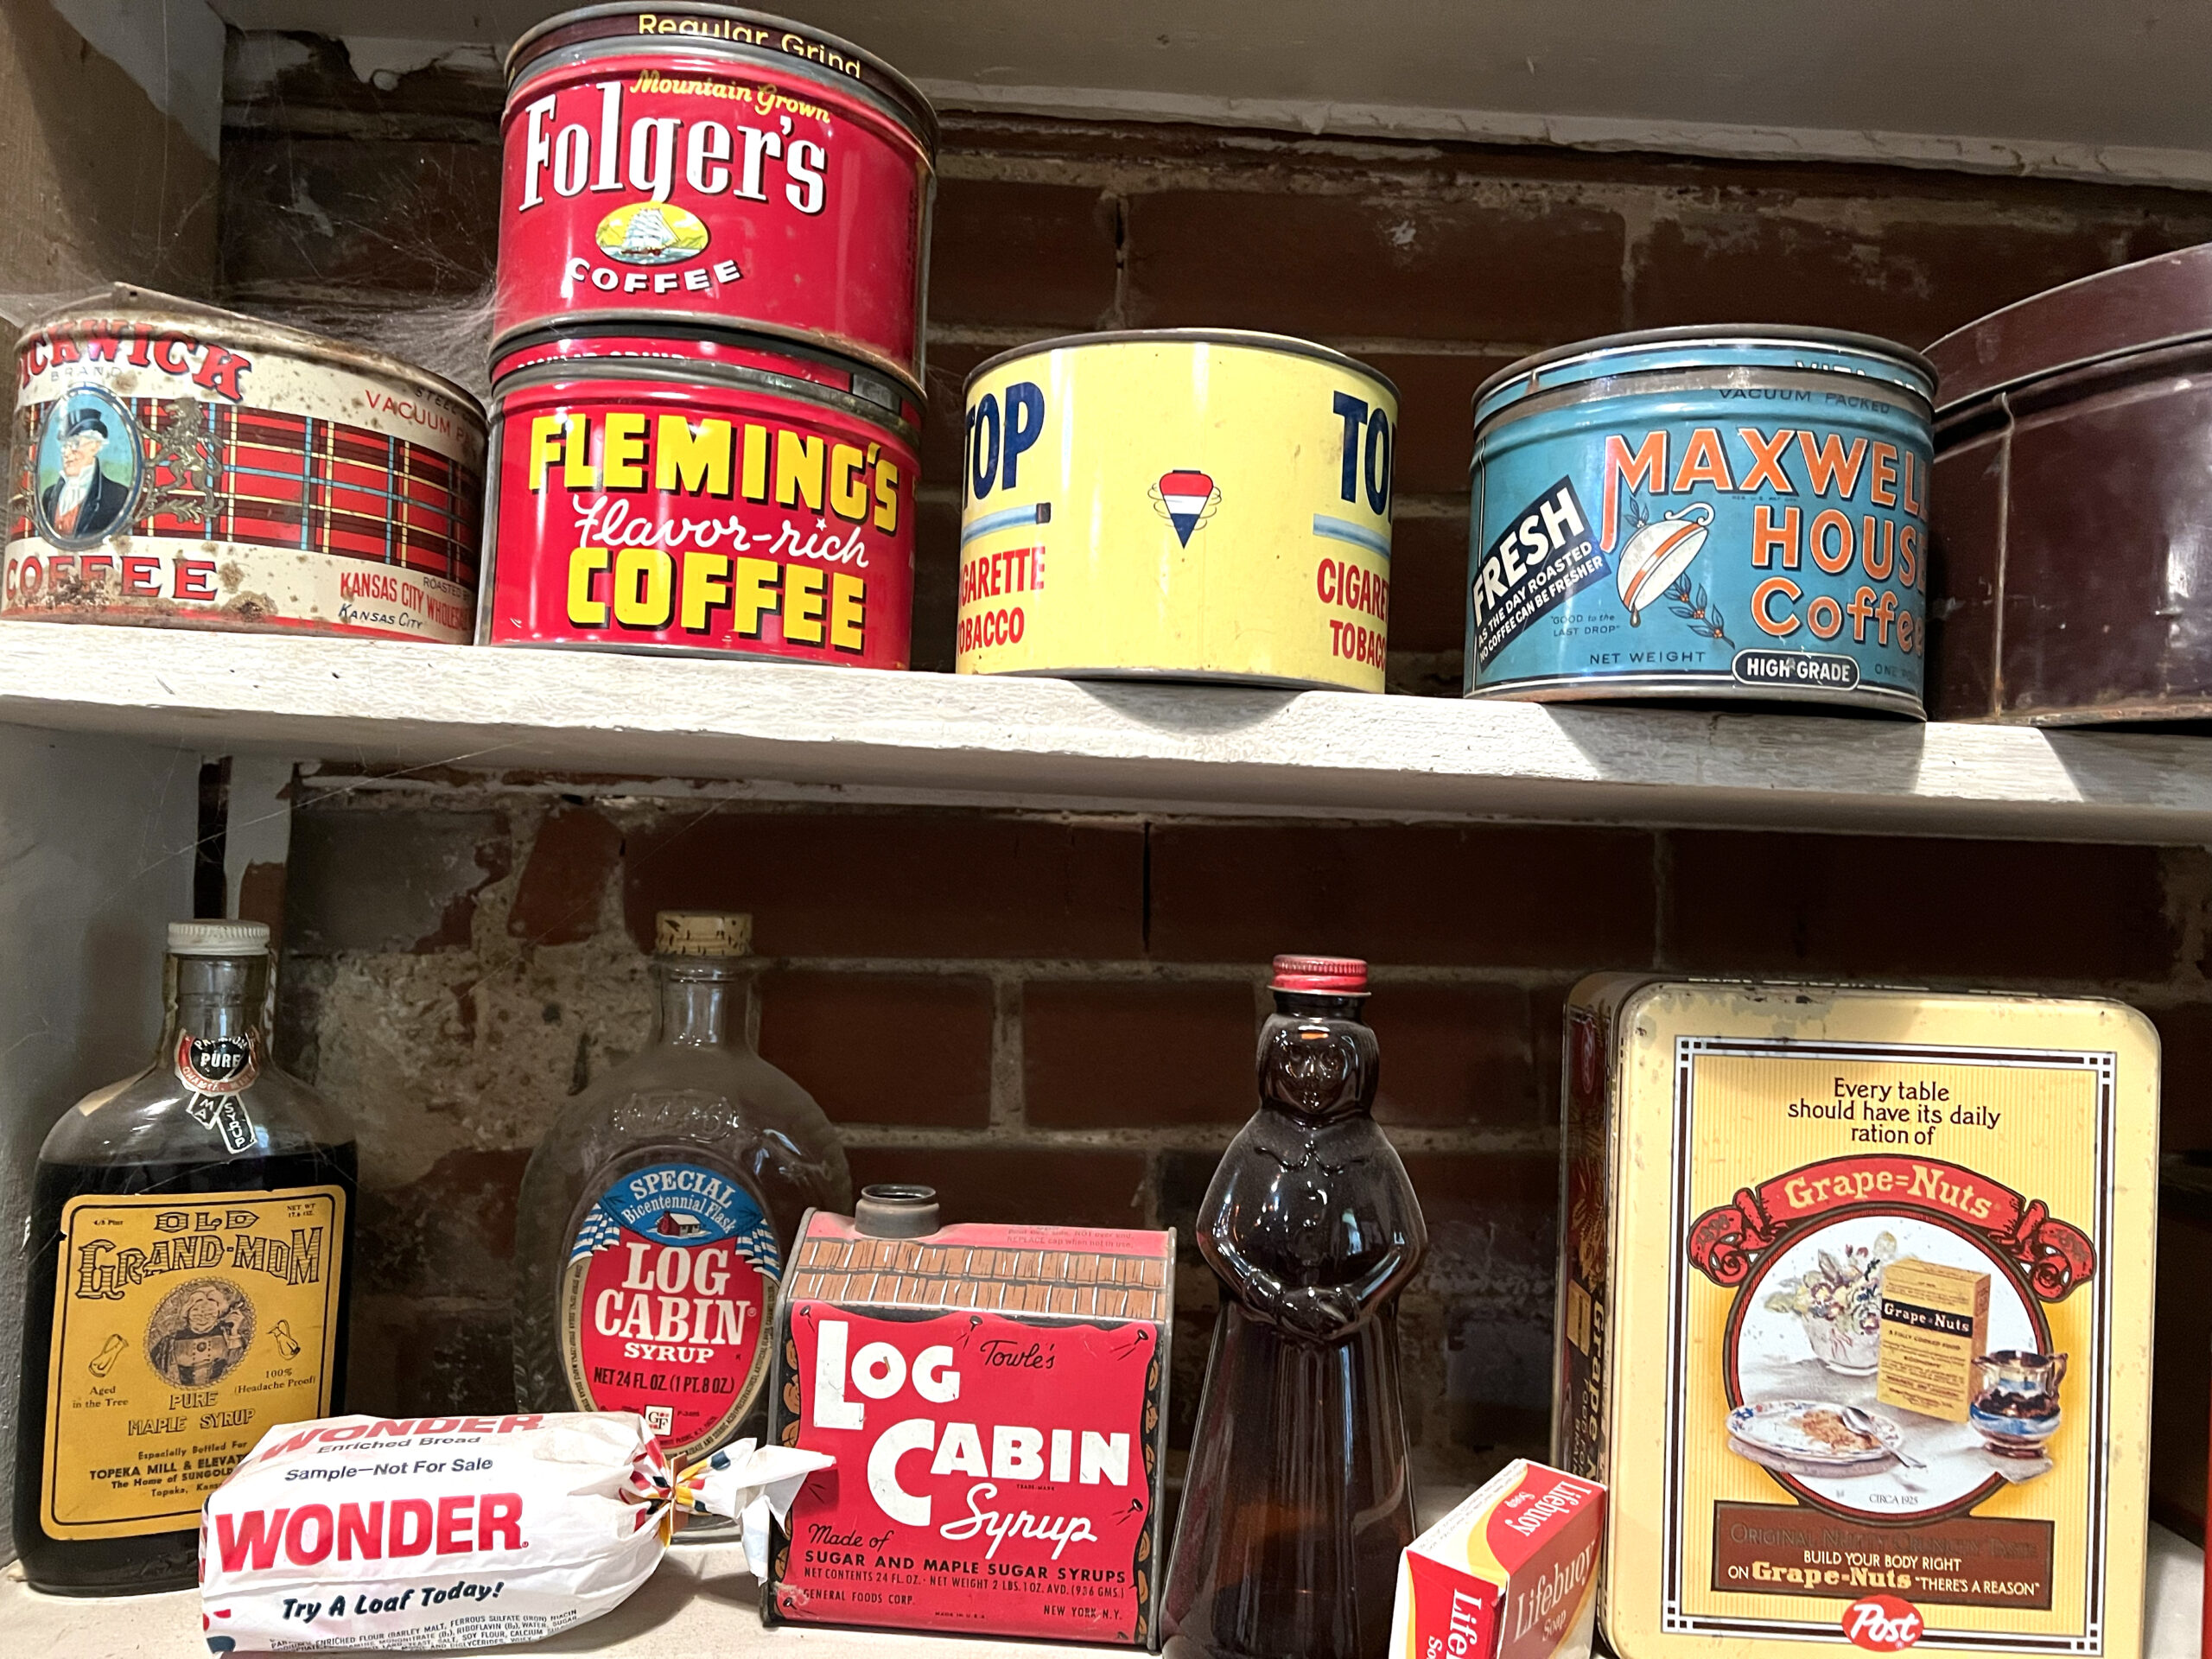 Welcoming history lovers since 1984, the museum is also known for rotating art exhibits, and the artwork is often for sale. View the museum’s hours
  Sign the guestbook at the visitor’s desk when you arrive.
 The homes on the tour are private residences except one, which is maintained by the Jackson County Historical & Genealogical Society.
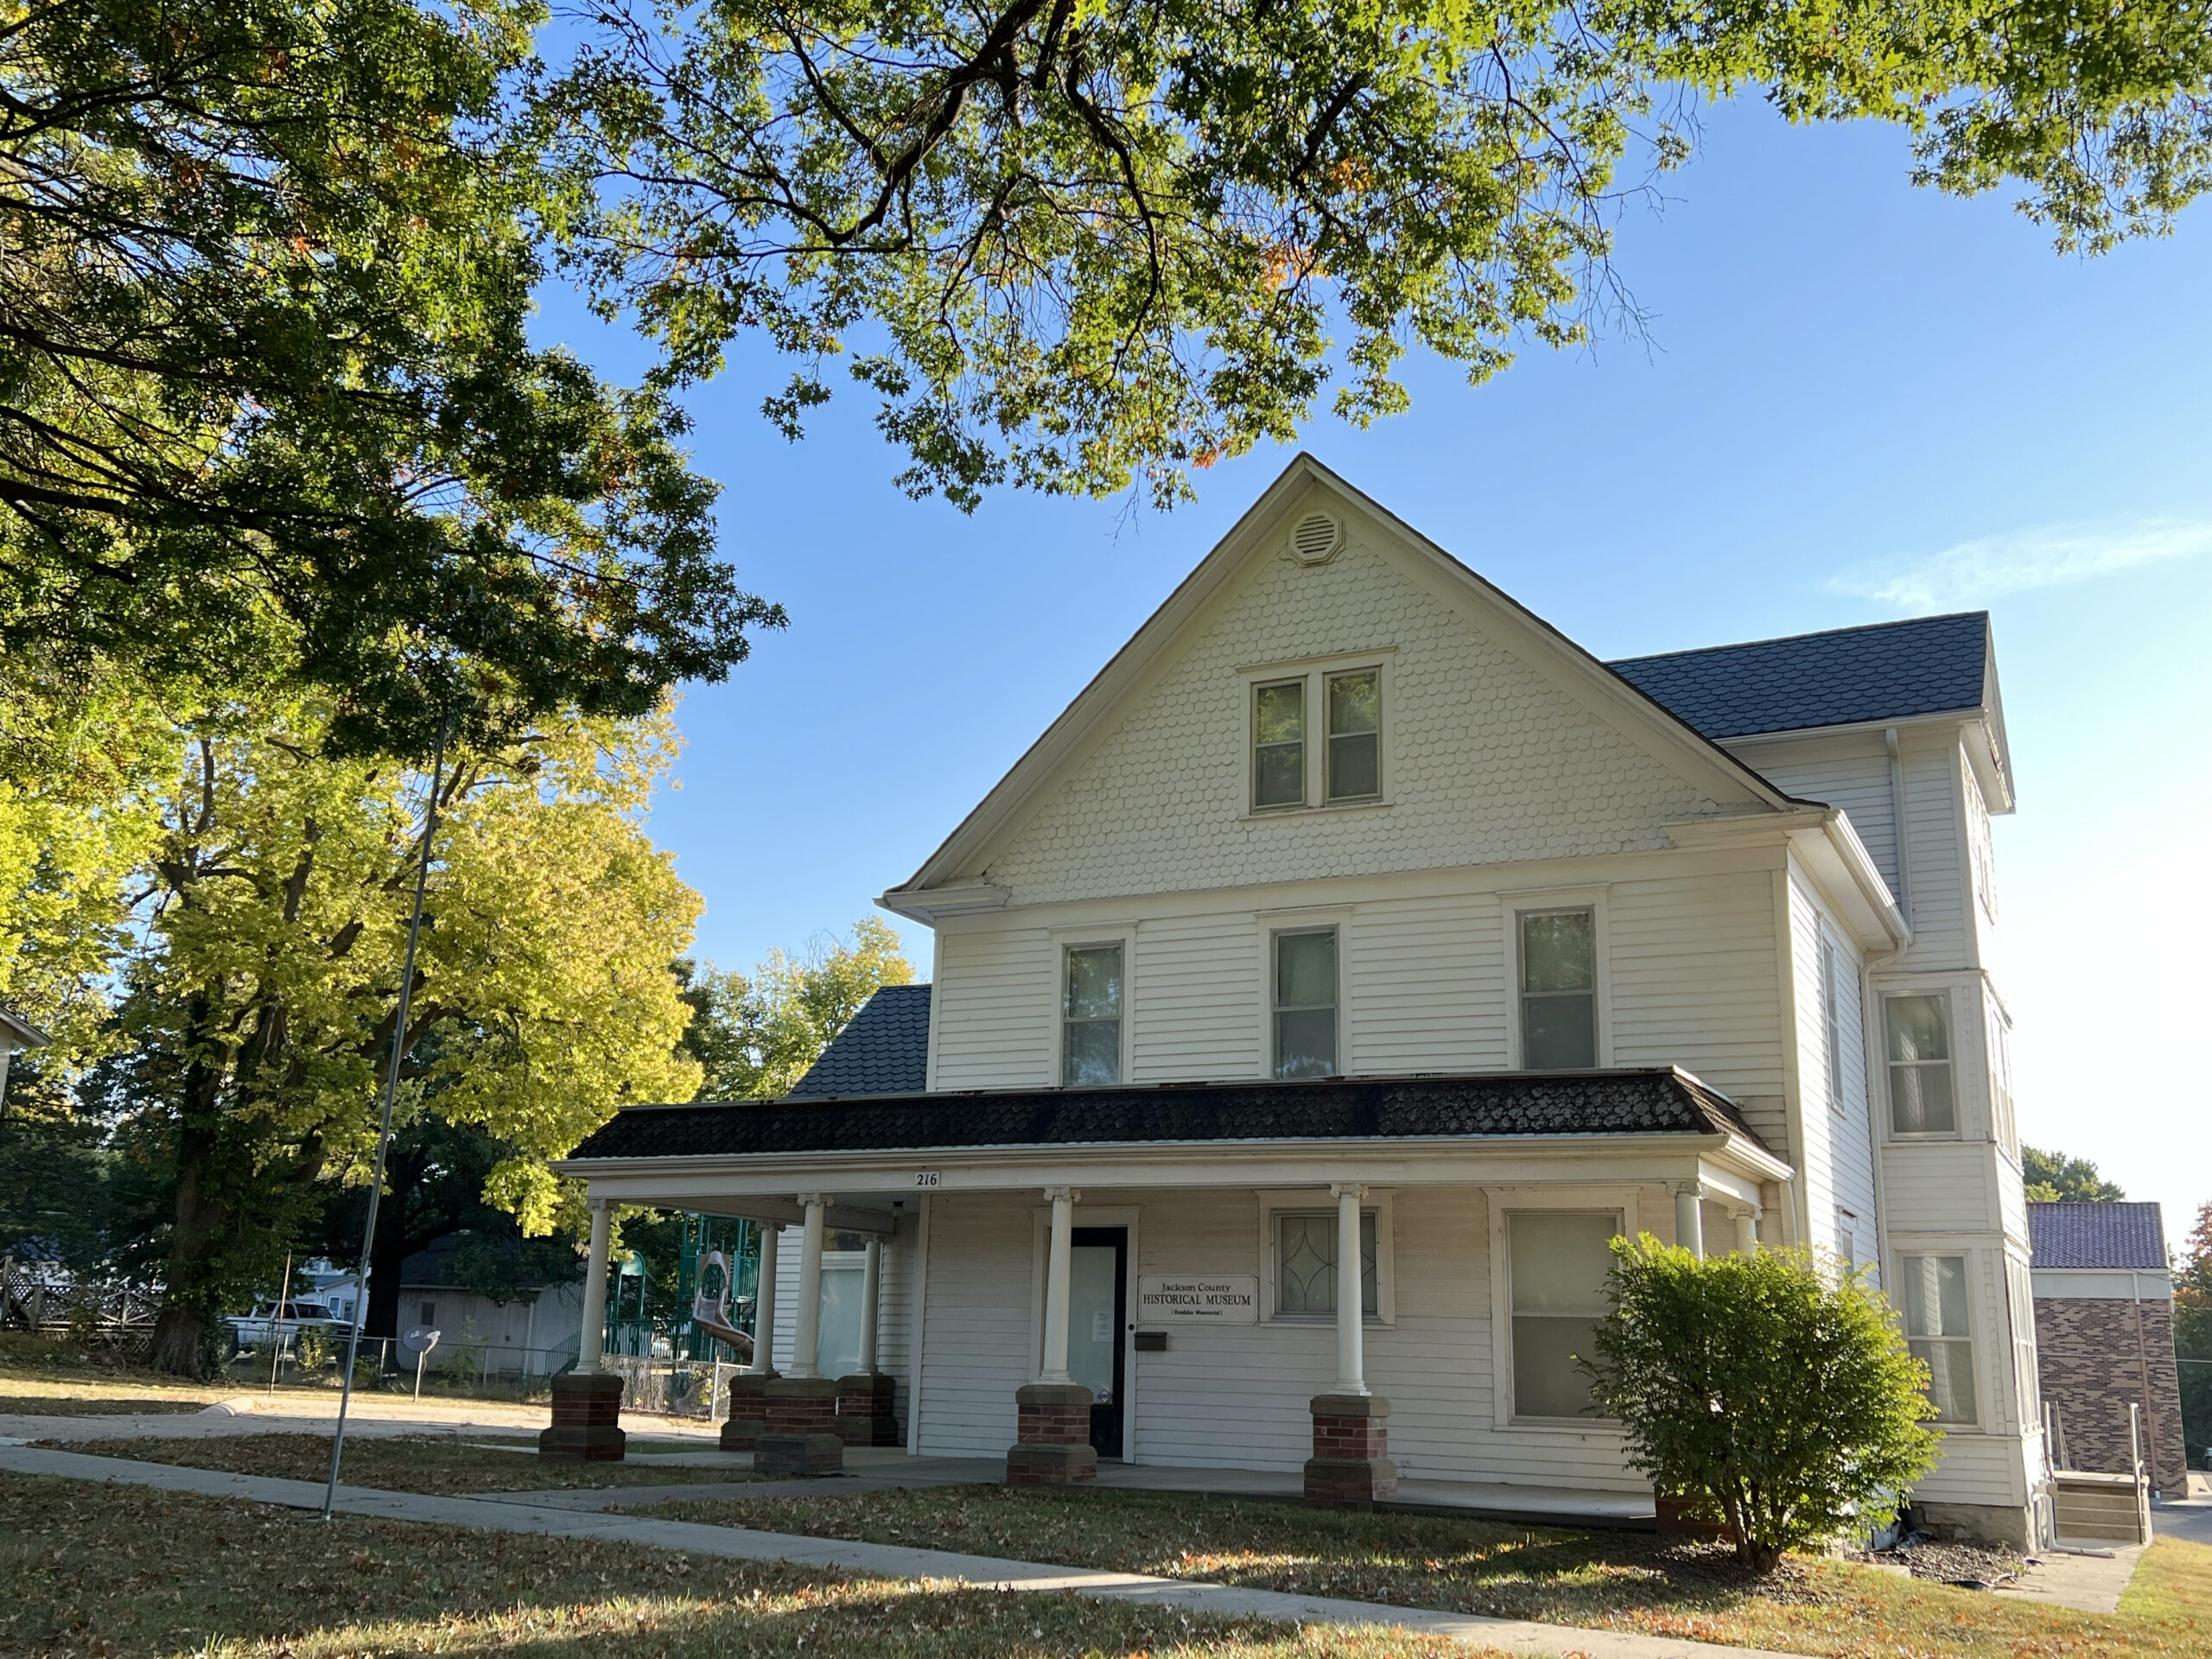 If you want to view the home’s interior, make an appointment with the Jackson County Historical Museum.
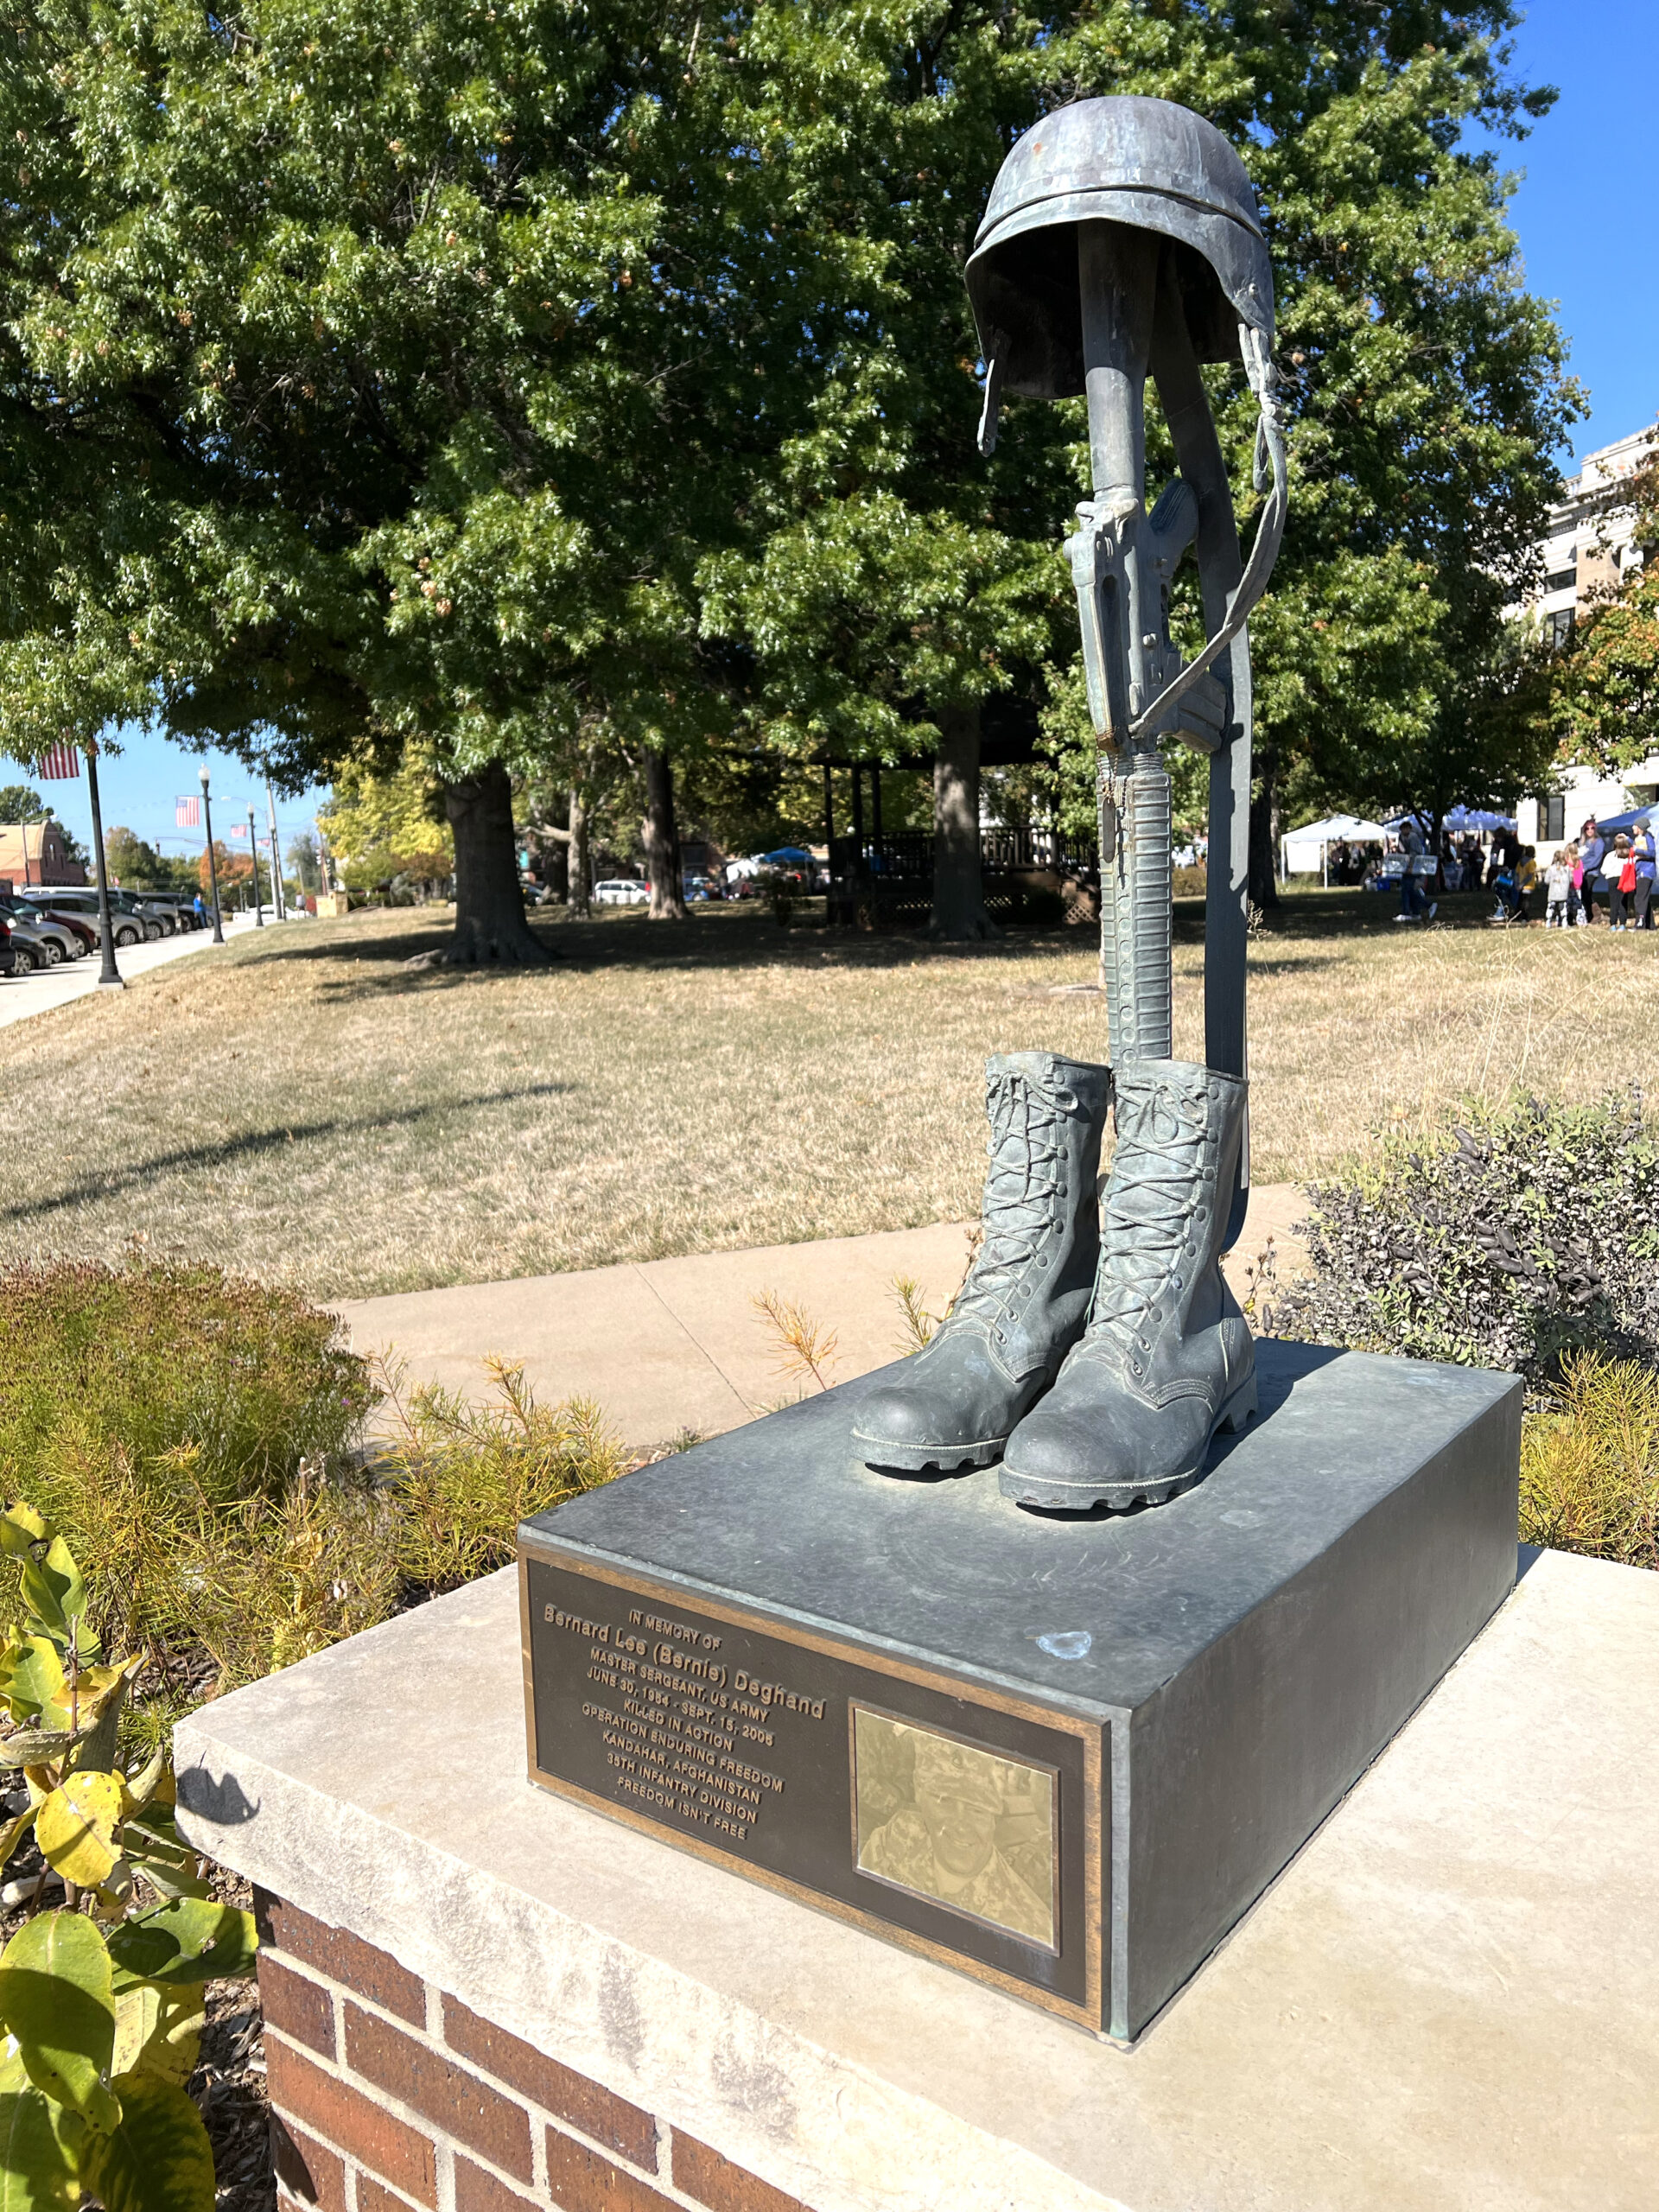 The cannon pictured below is dedicated to Civil War soldiers and sailors and rests at the base of the town sign.
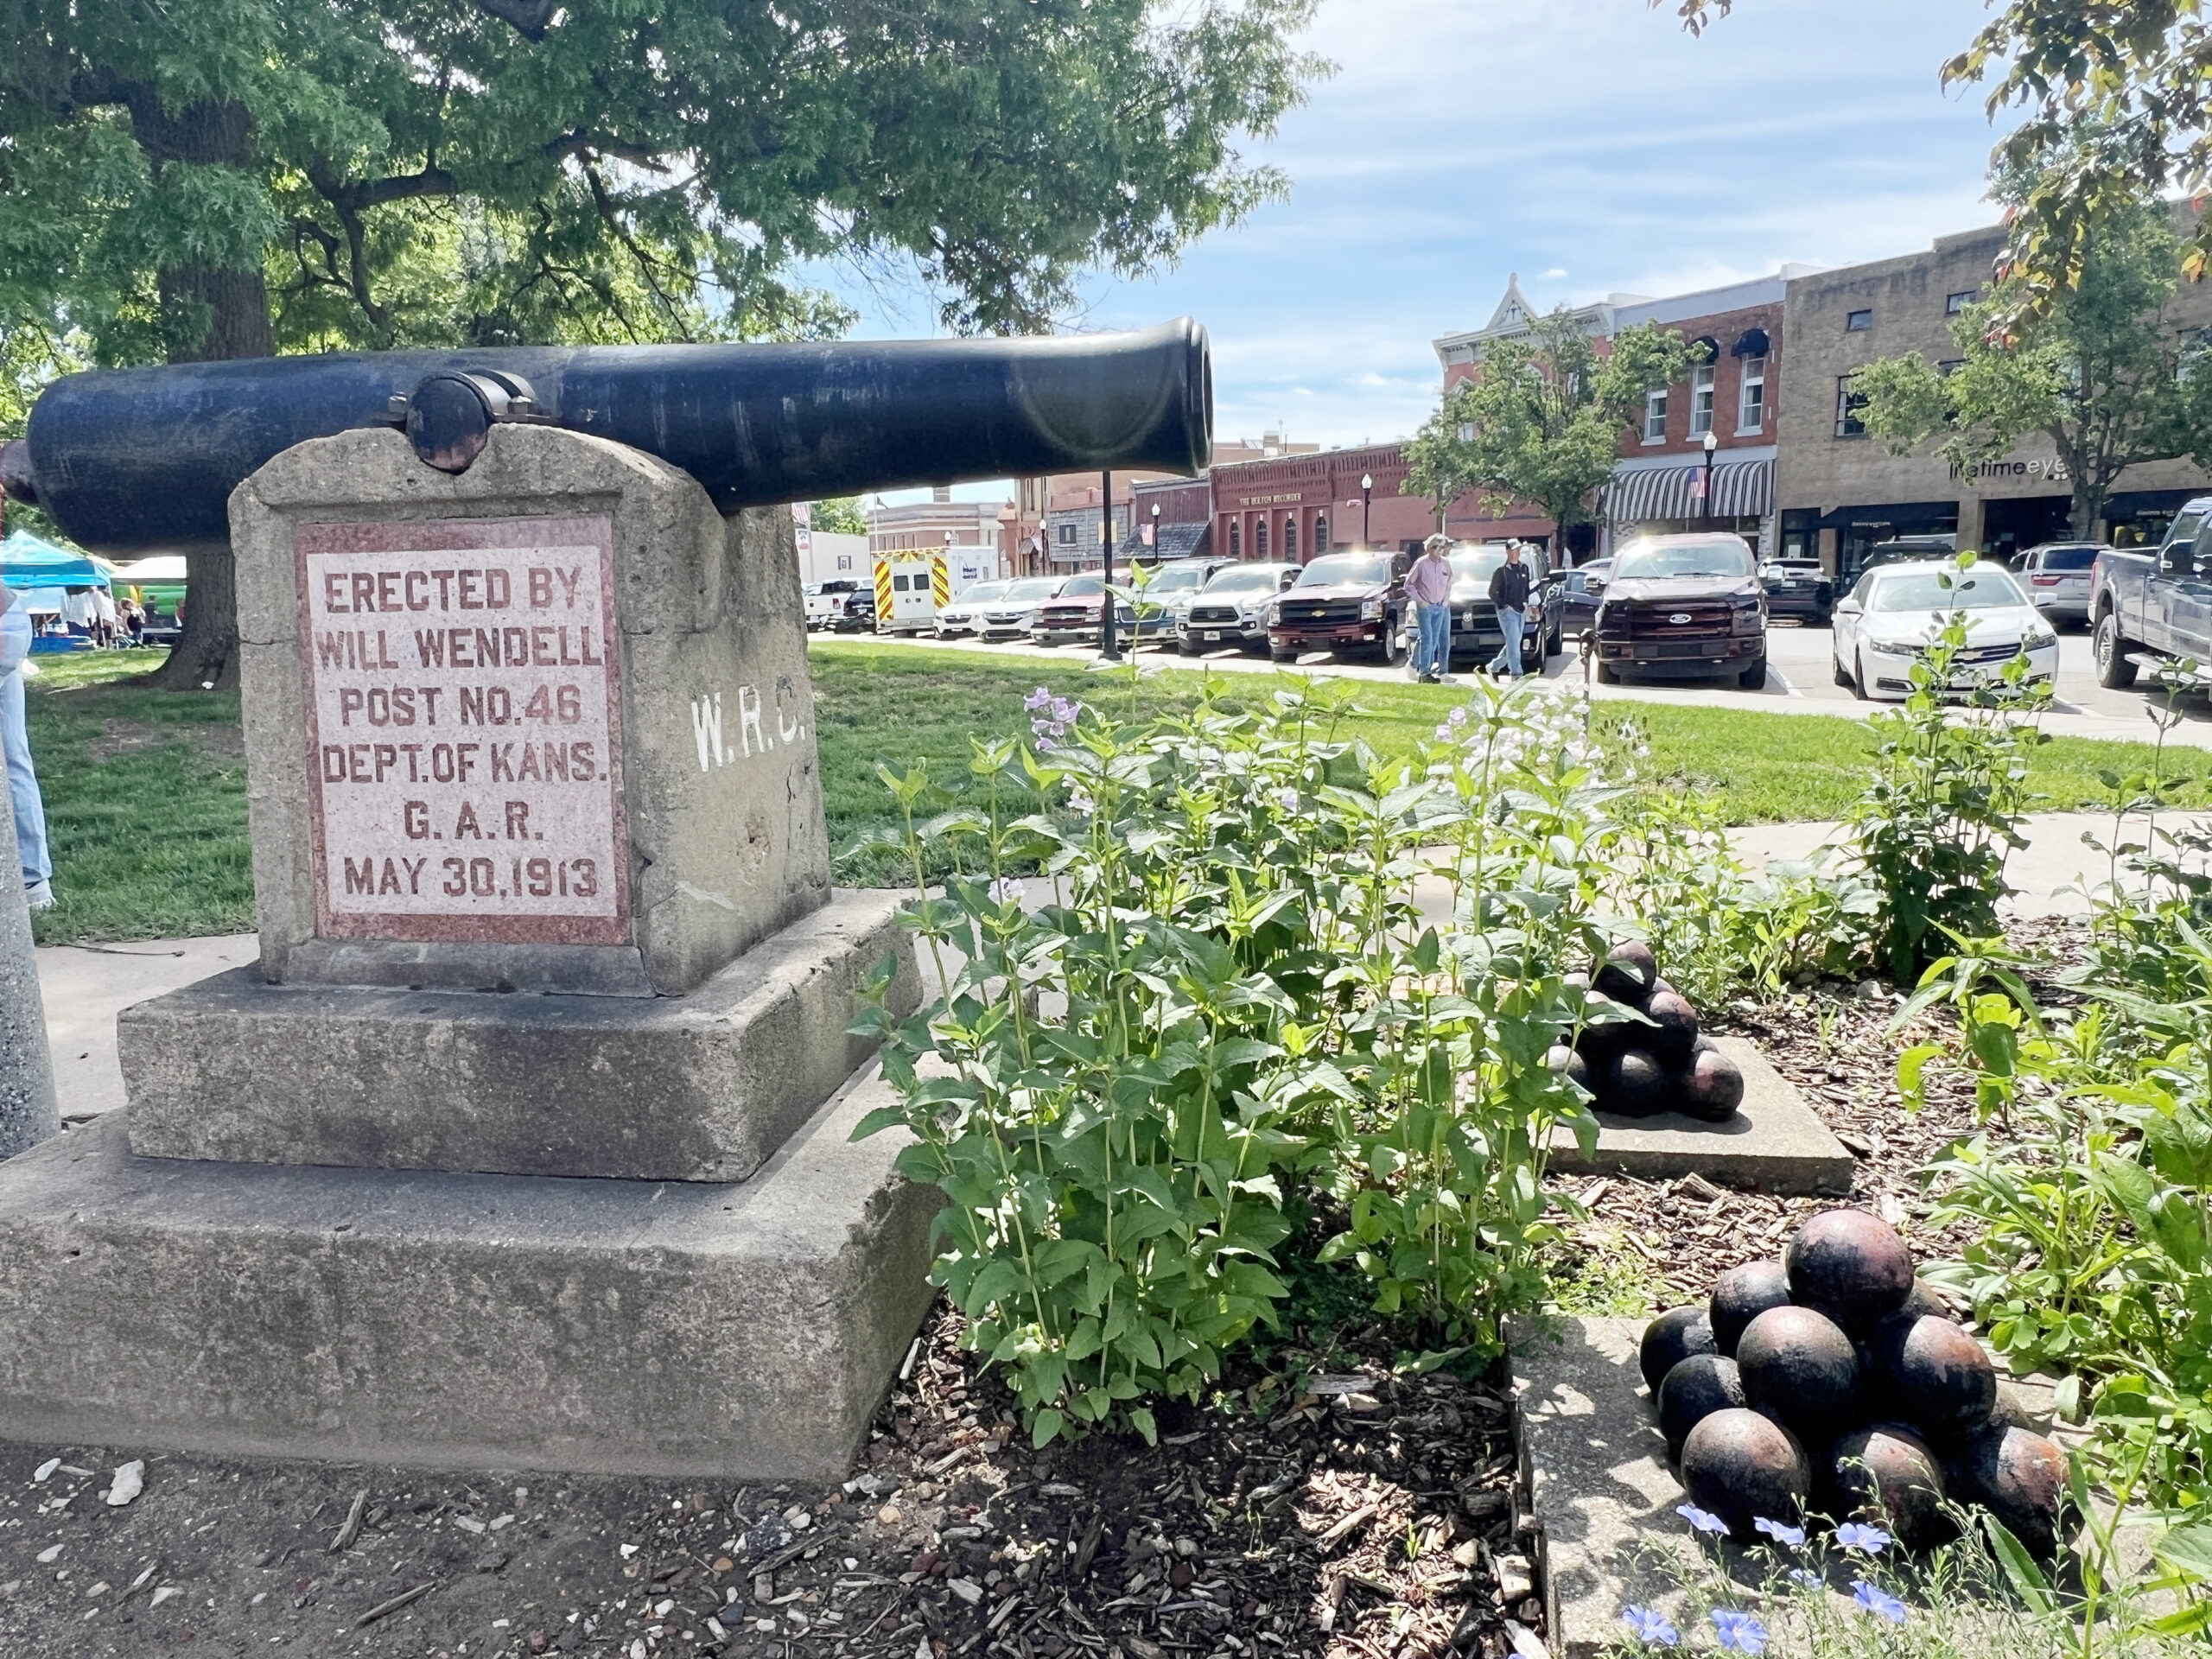 As you continue your walk around the courthouse, you’ll find an original horse water trough, circa 1880, positioned at the base of an old tree, indicating where riders would let their horses hydrate when stopping at the original courthouse square.
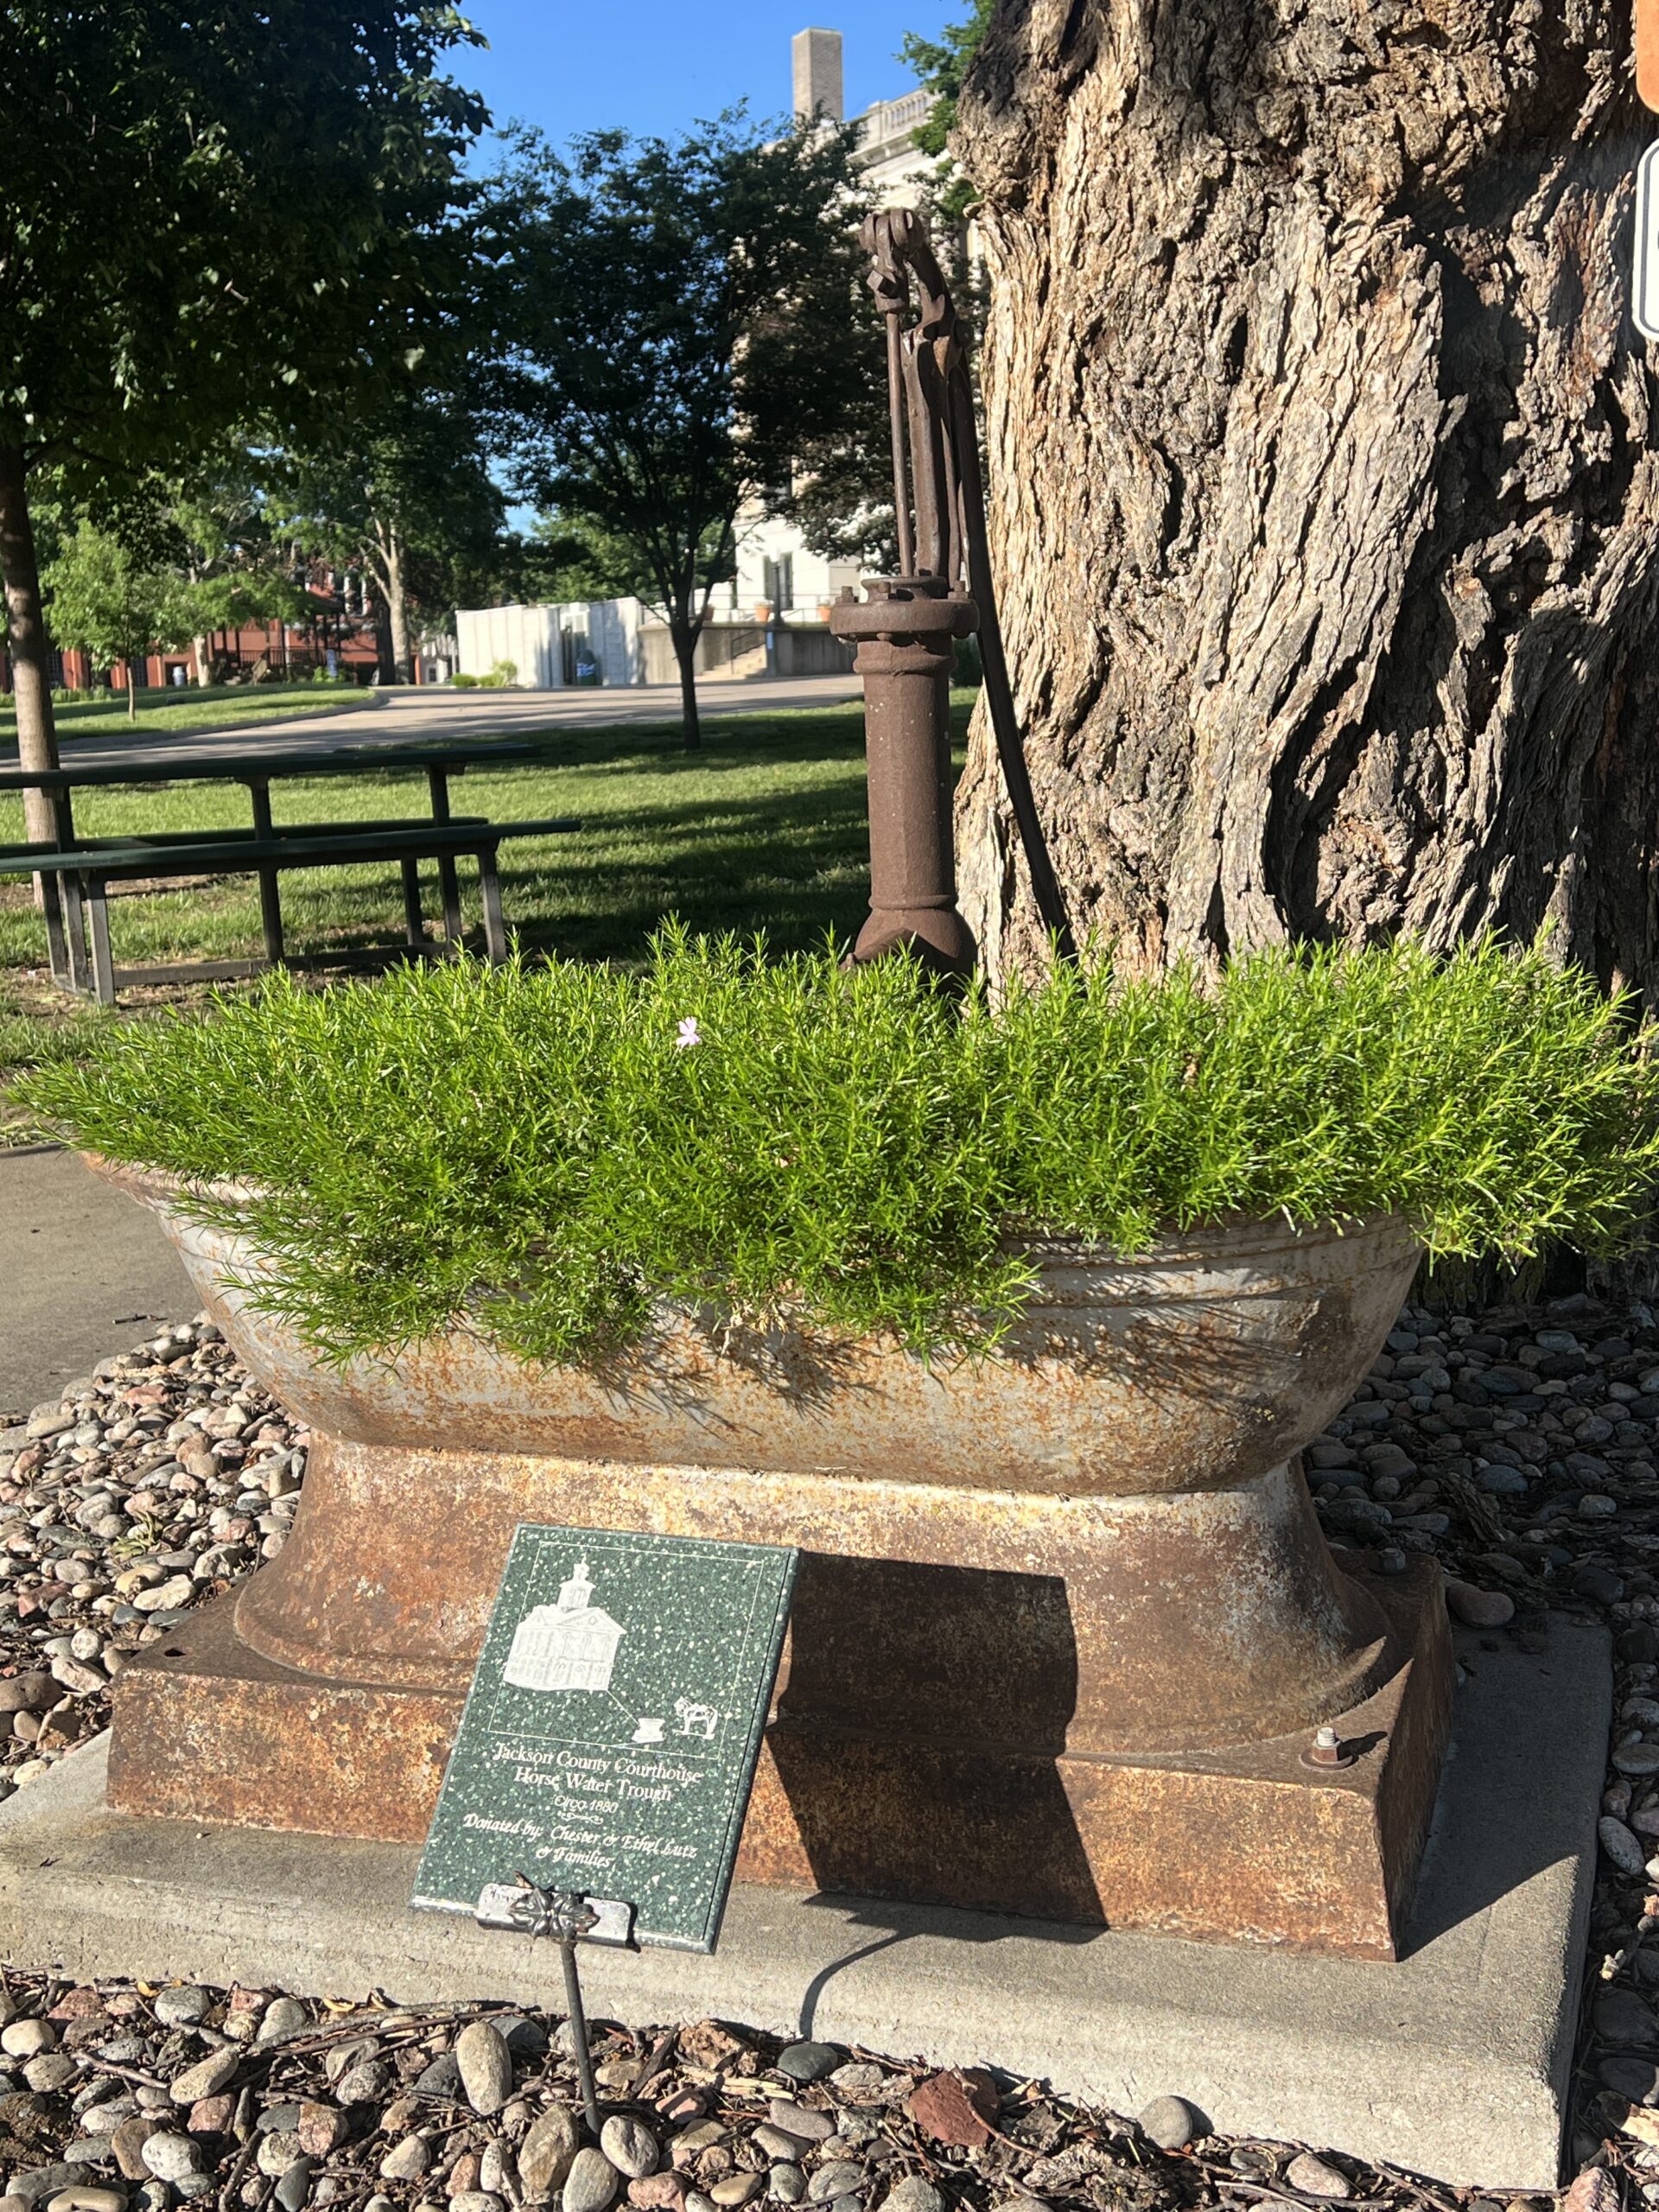 BONUS: Find another livestock water-trough marker north of the Linscott Park tennis court, within walking distance of downtown.
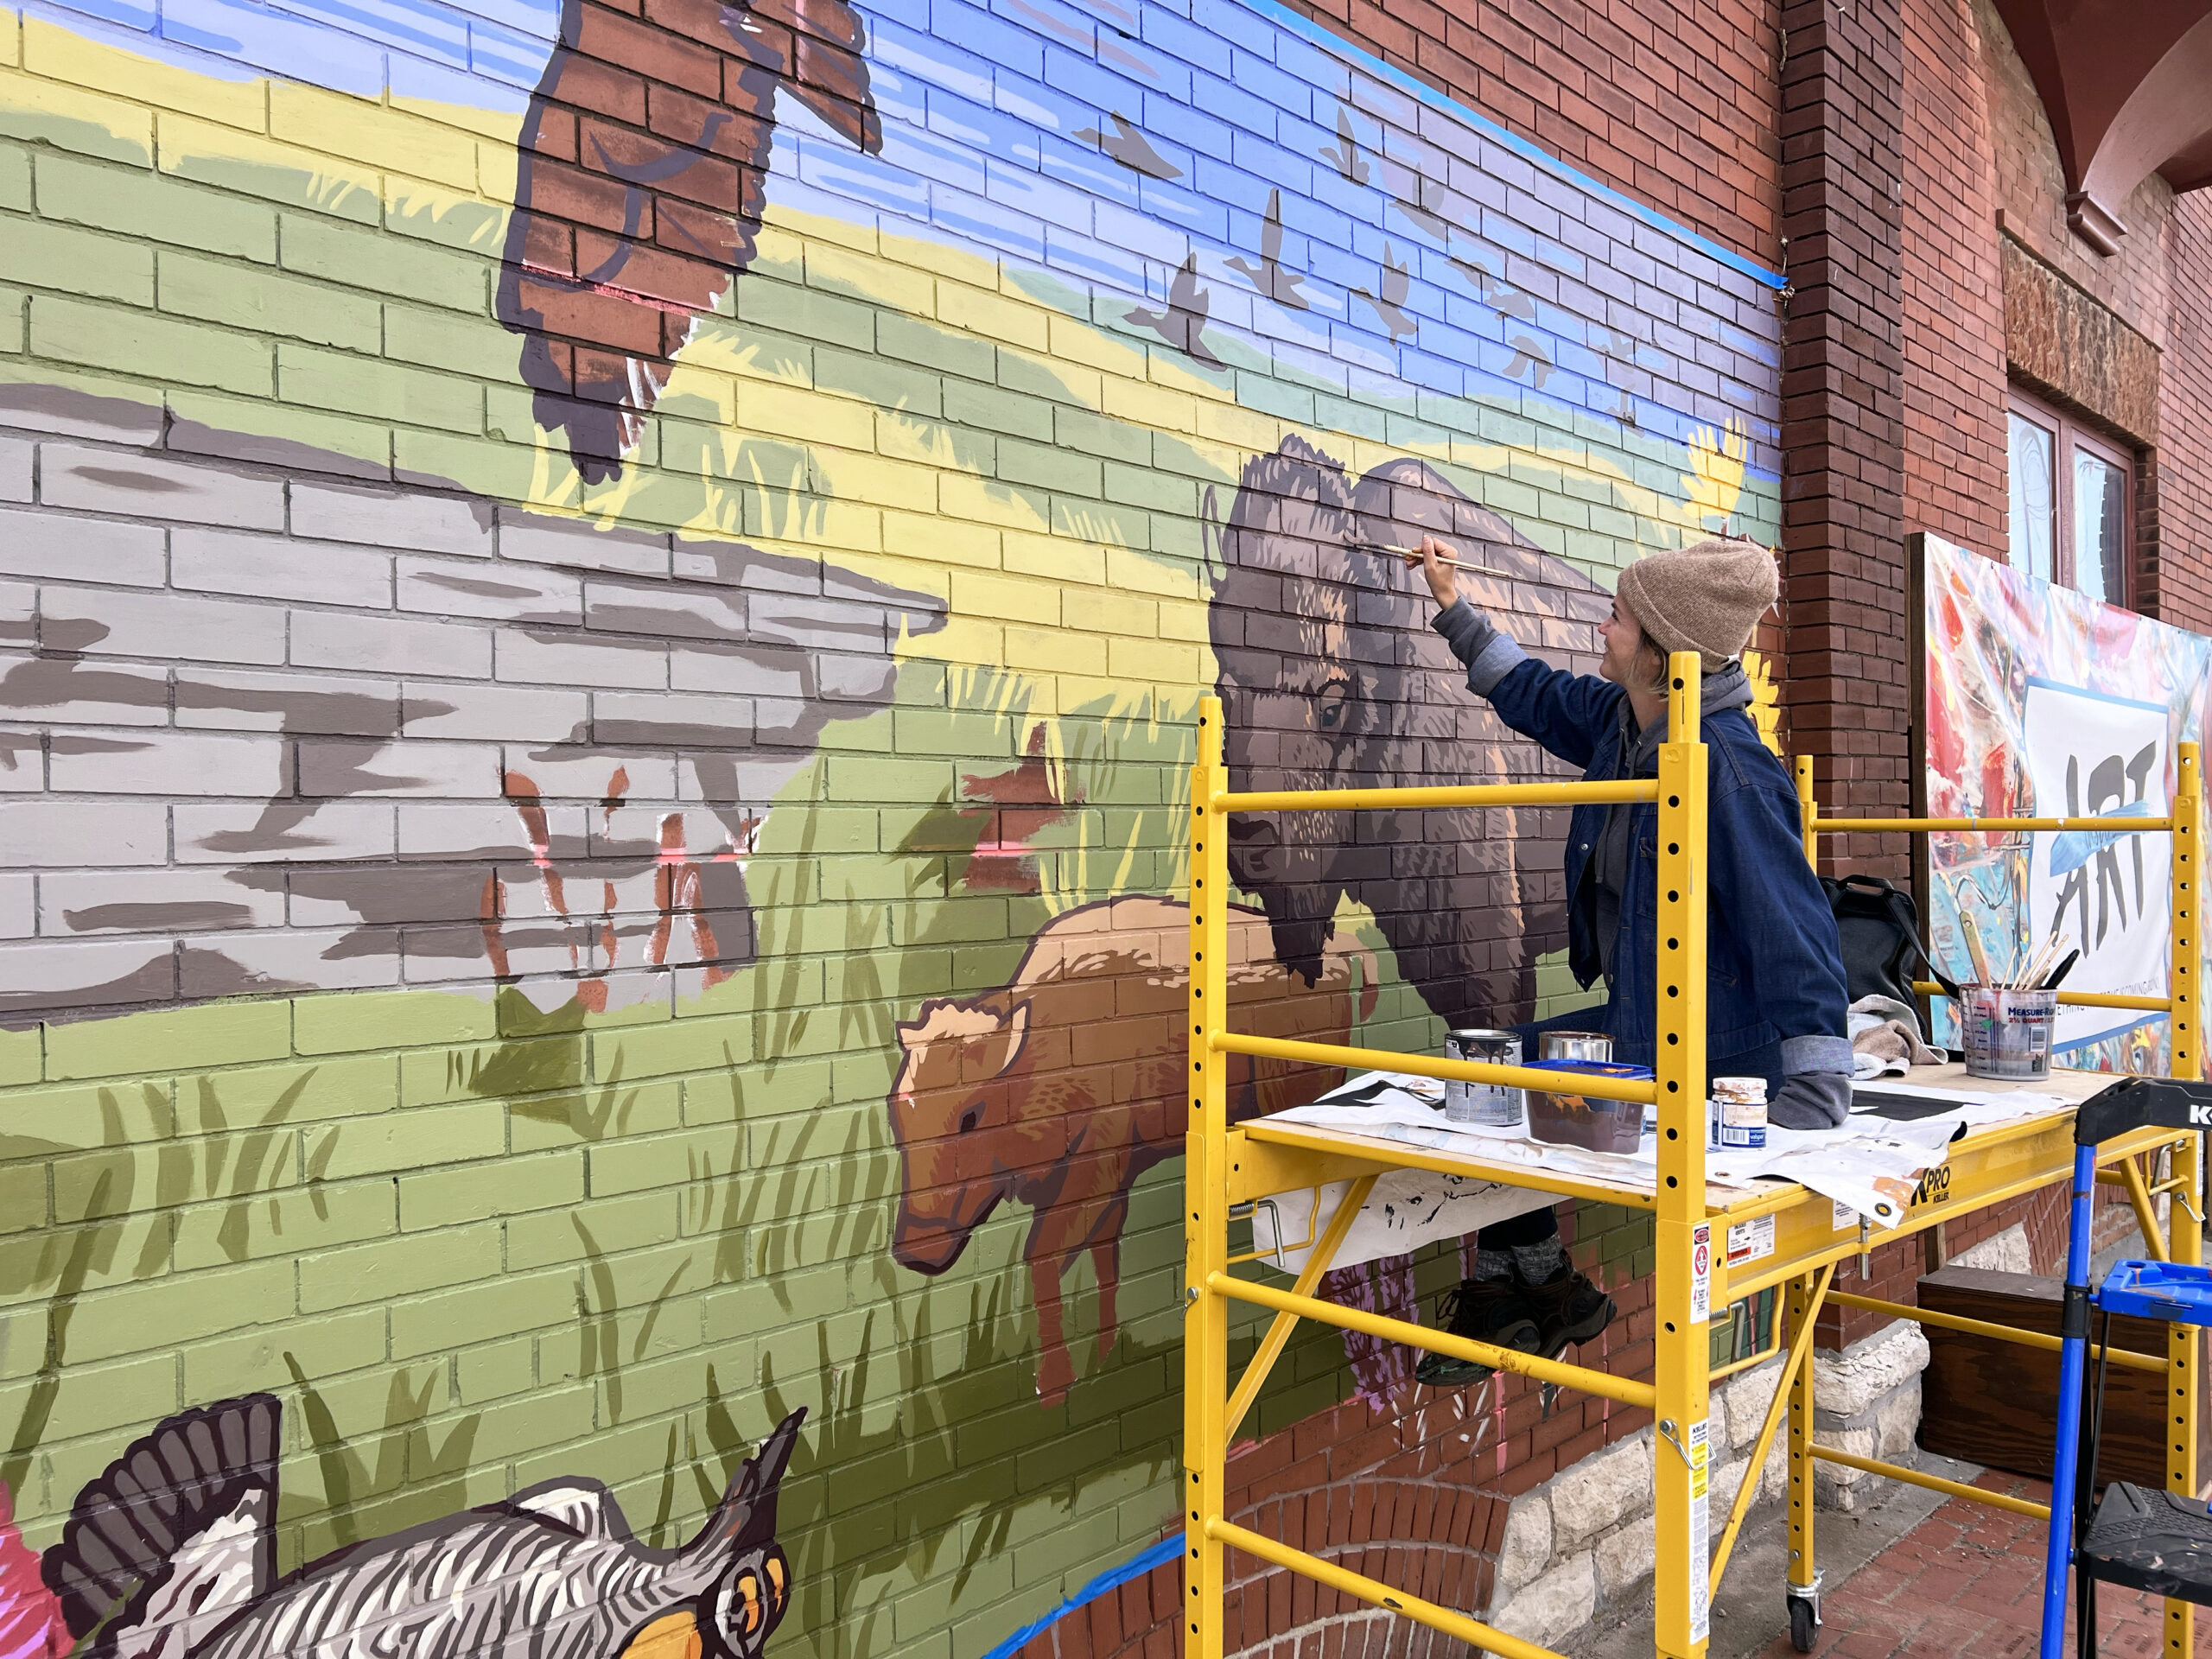 Kernodle’s two-frame mural showcases an early version of how the Tallgrass Prairie used to look when it flourished. The second painting on the right represents the current state of the prairie.
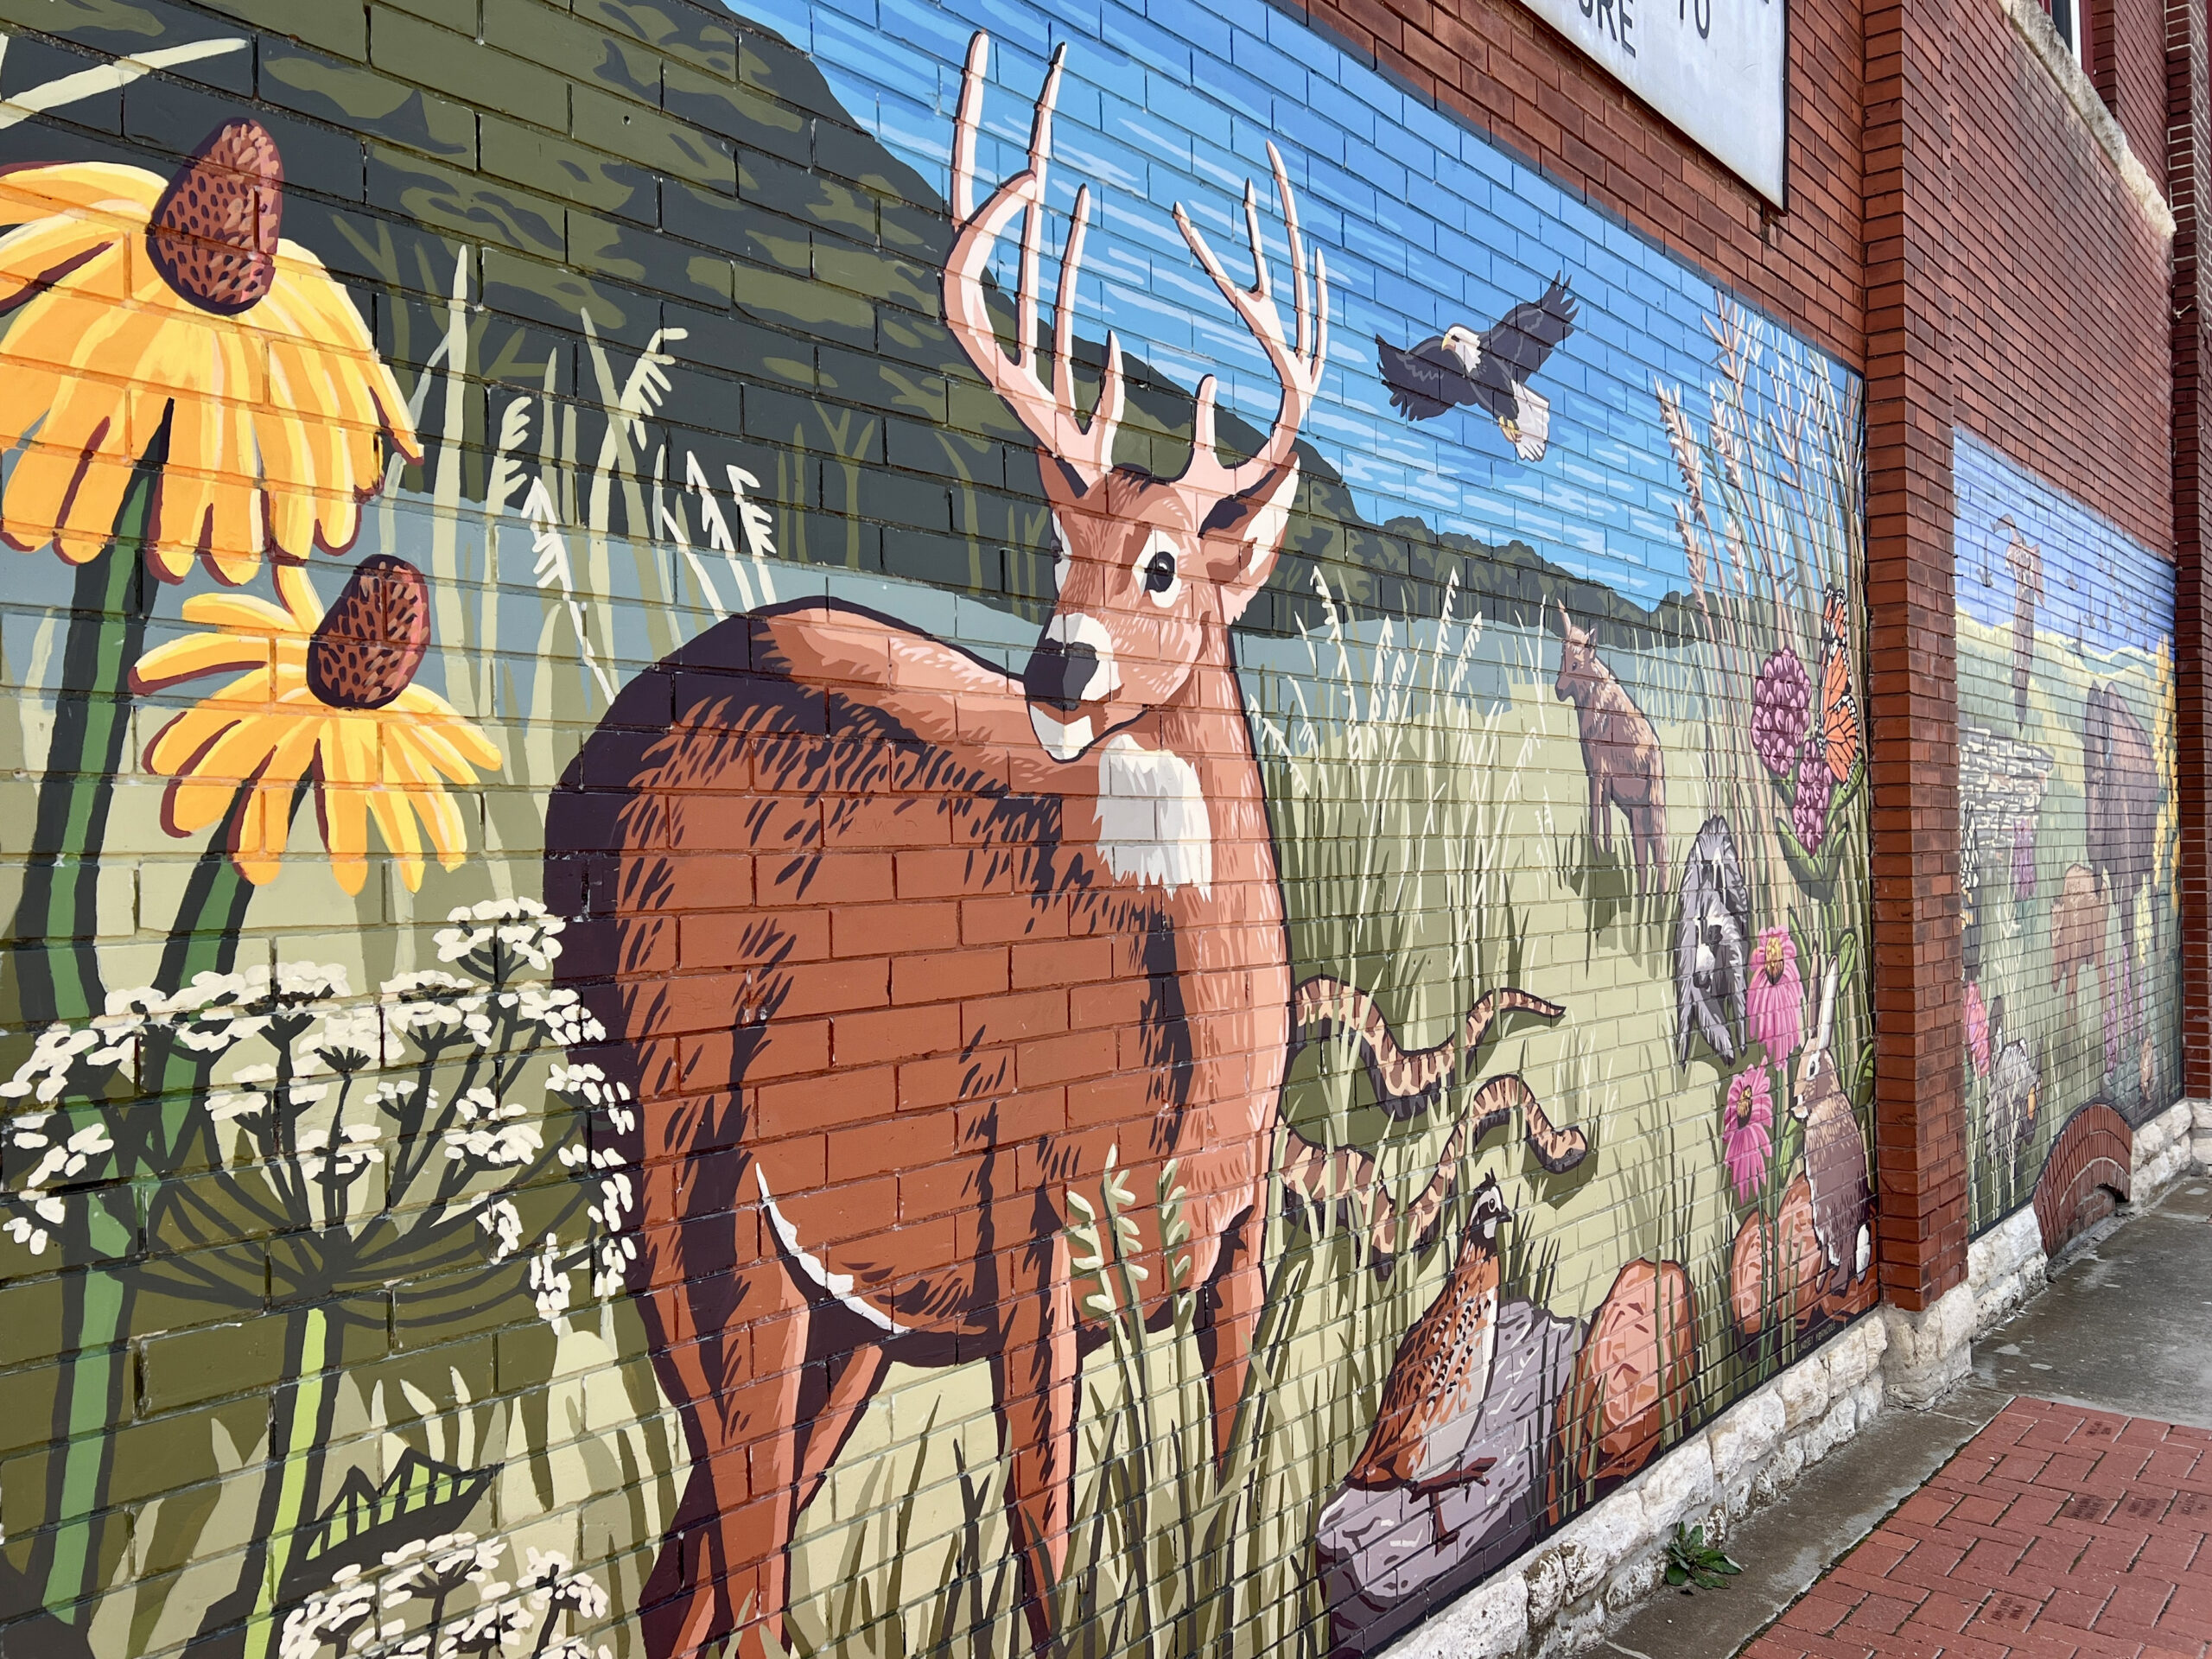 Other murals around town will grab your attention. Cruise just beyond the downtown boundary to see murals like the one pictured below, painted on the side of a building at Banner Creek Reservoir (10975 KS-16).
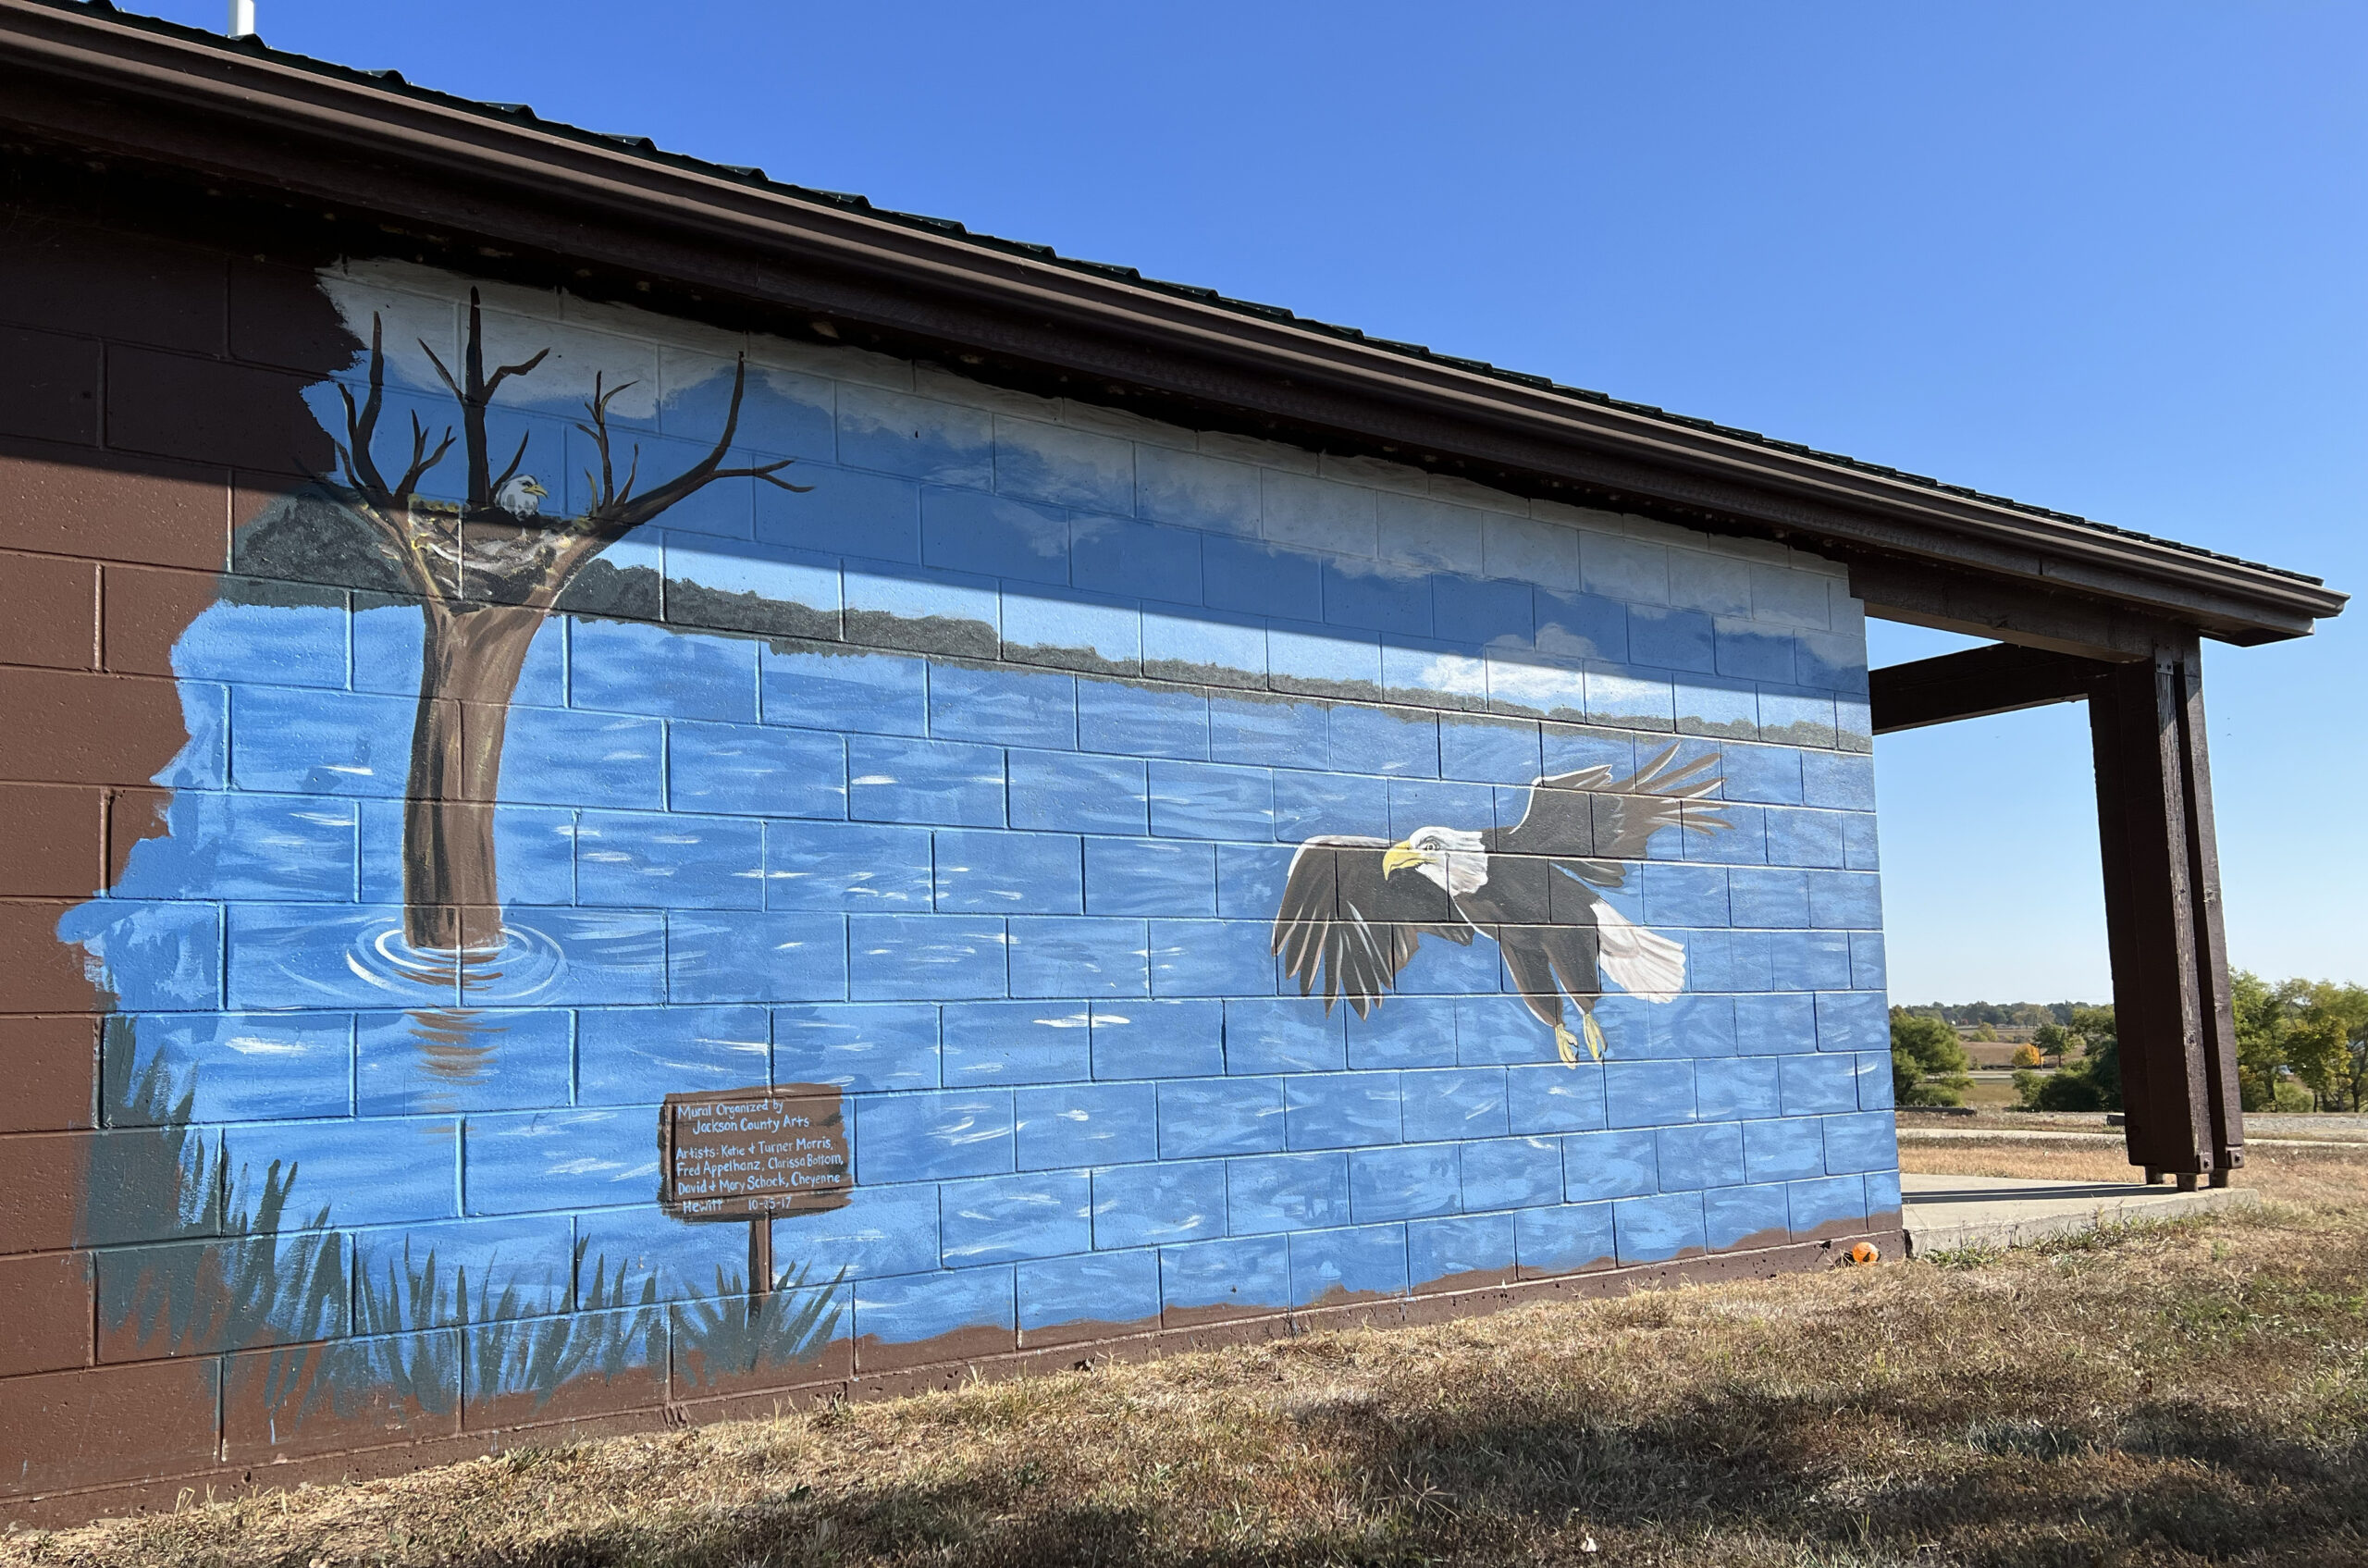

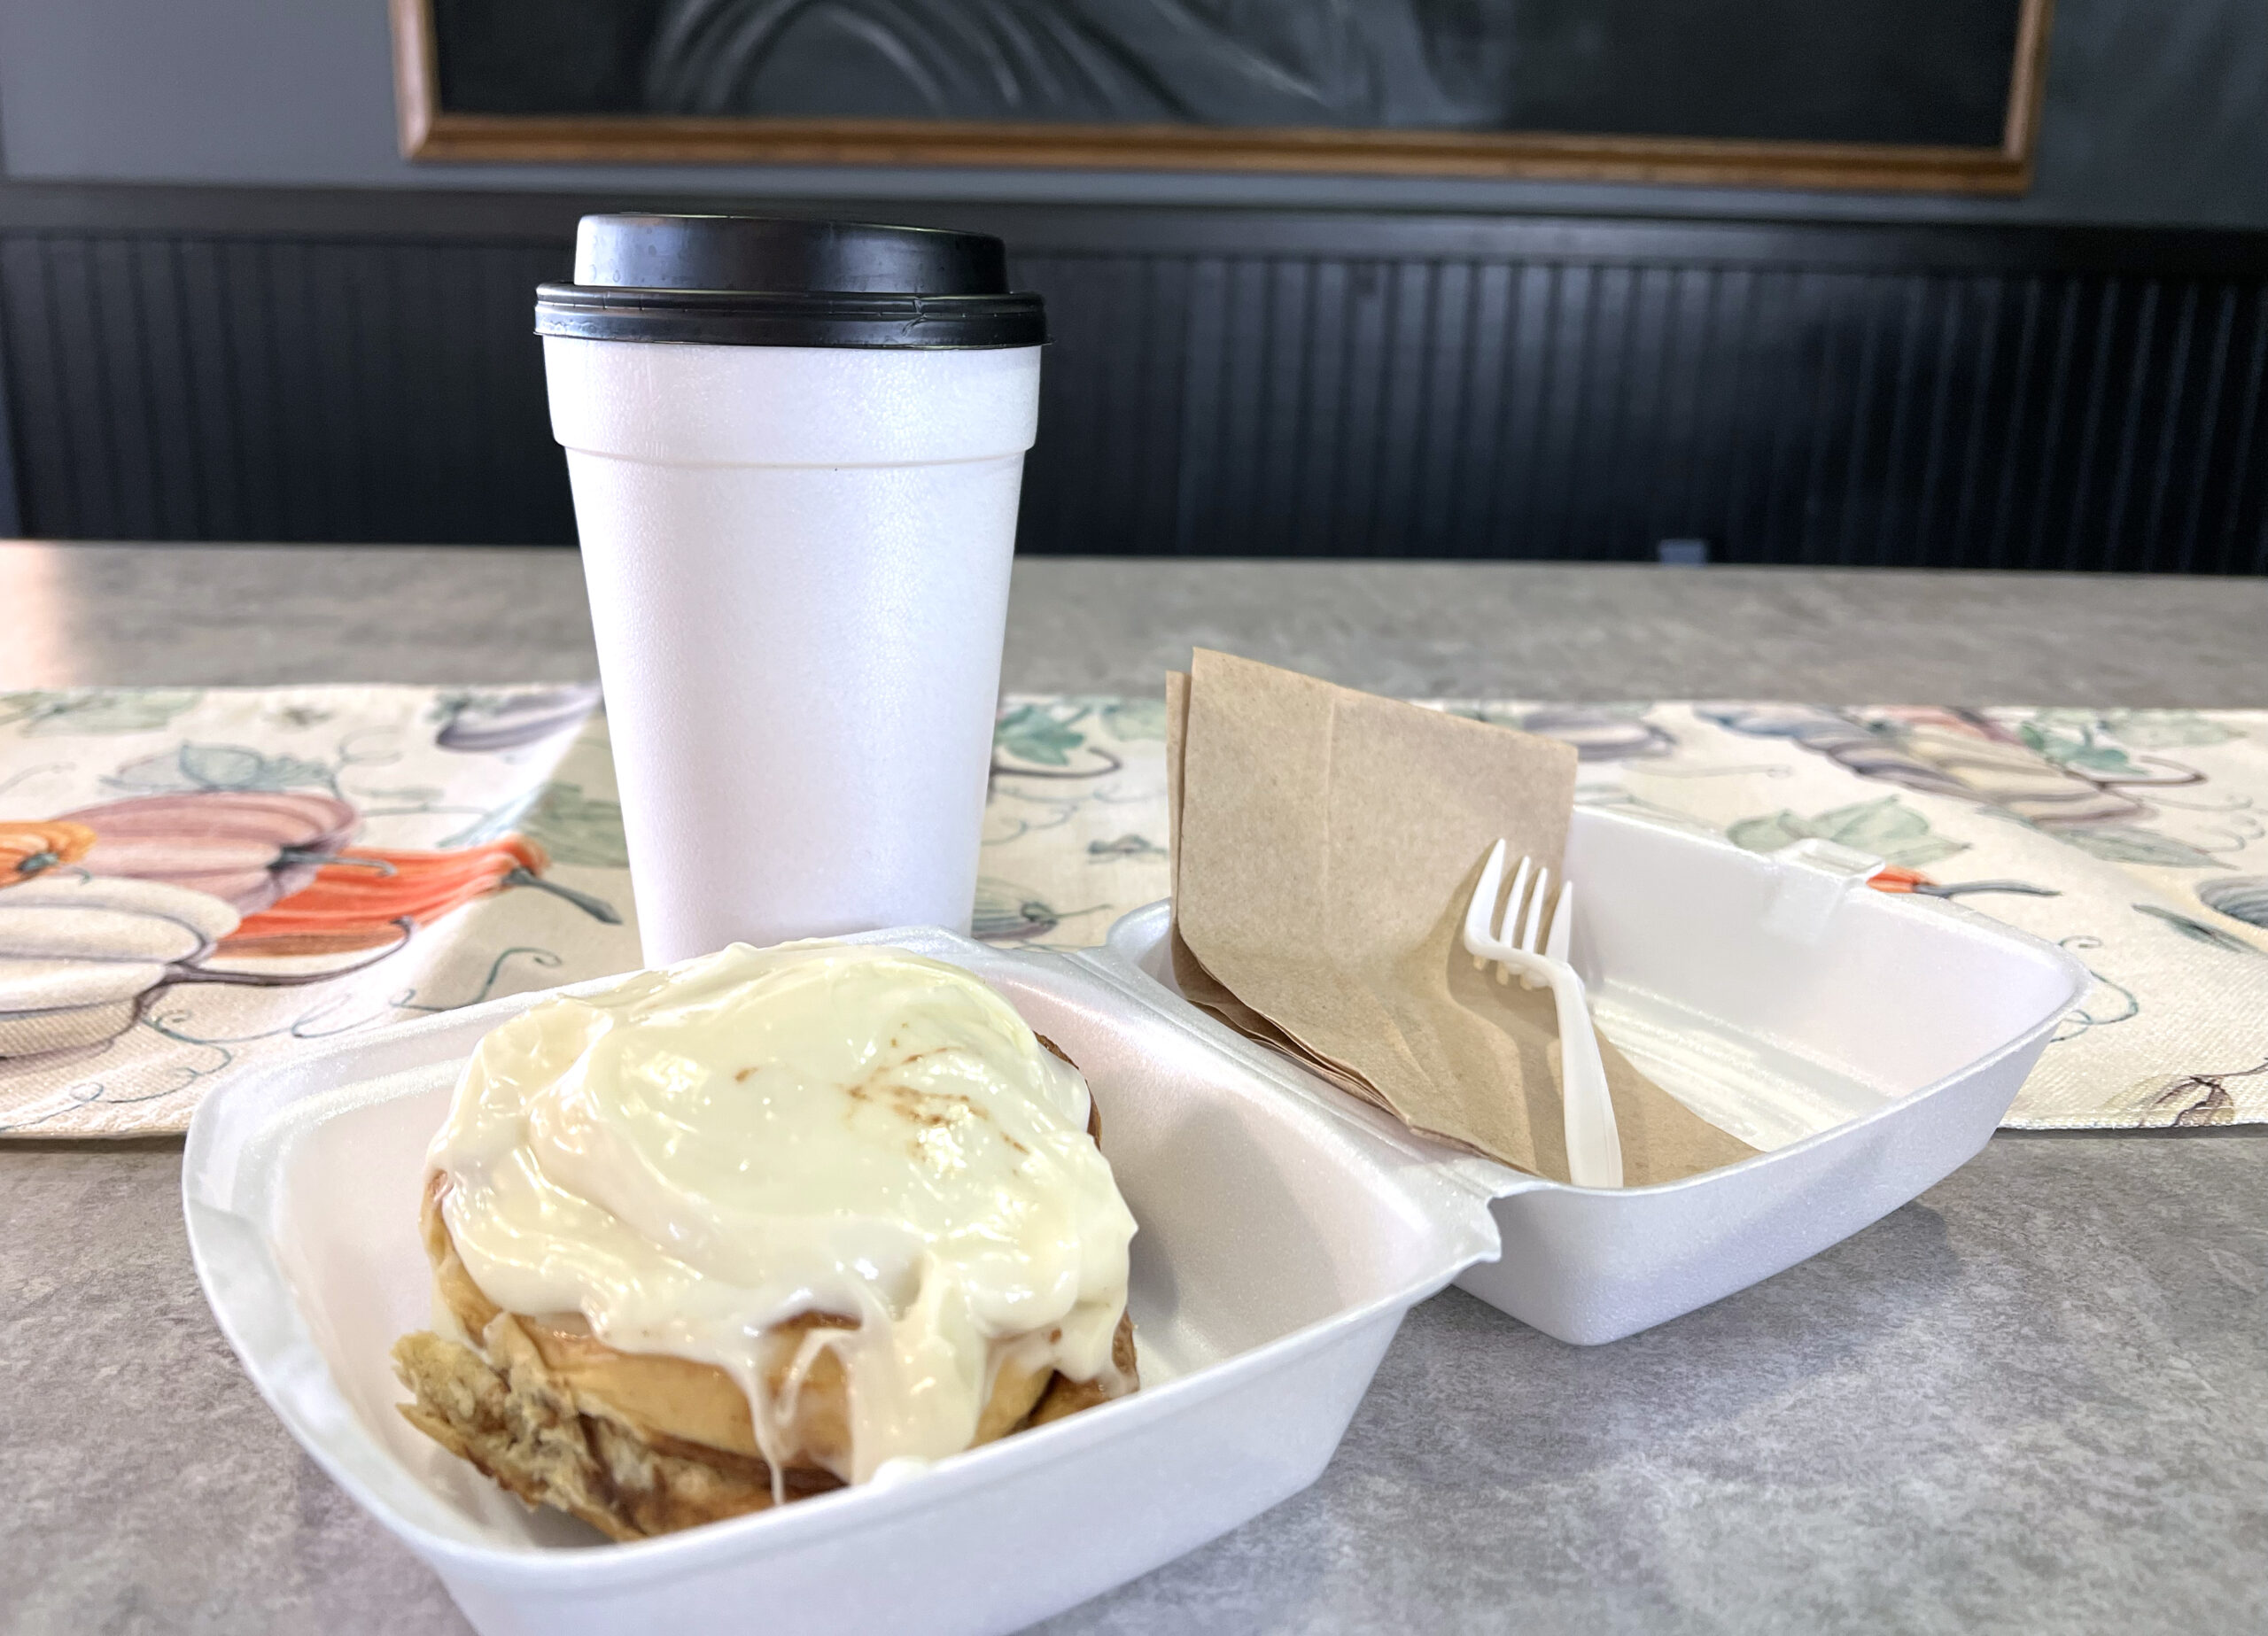 Seated indoors, I noticed that most of the morning café traffic came via the drive-thru. I found the café’s interior inviting. The employees were patient as I chose my menu items and were more than welcoming.
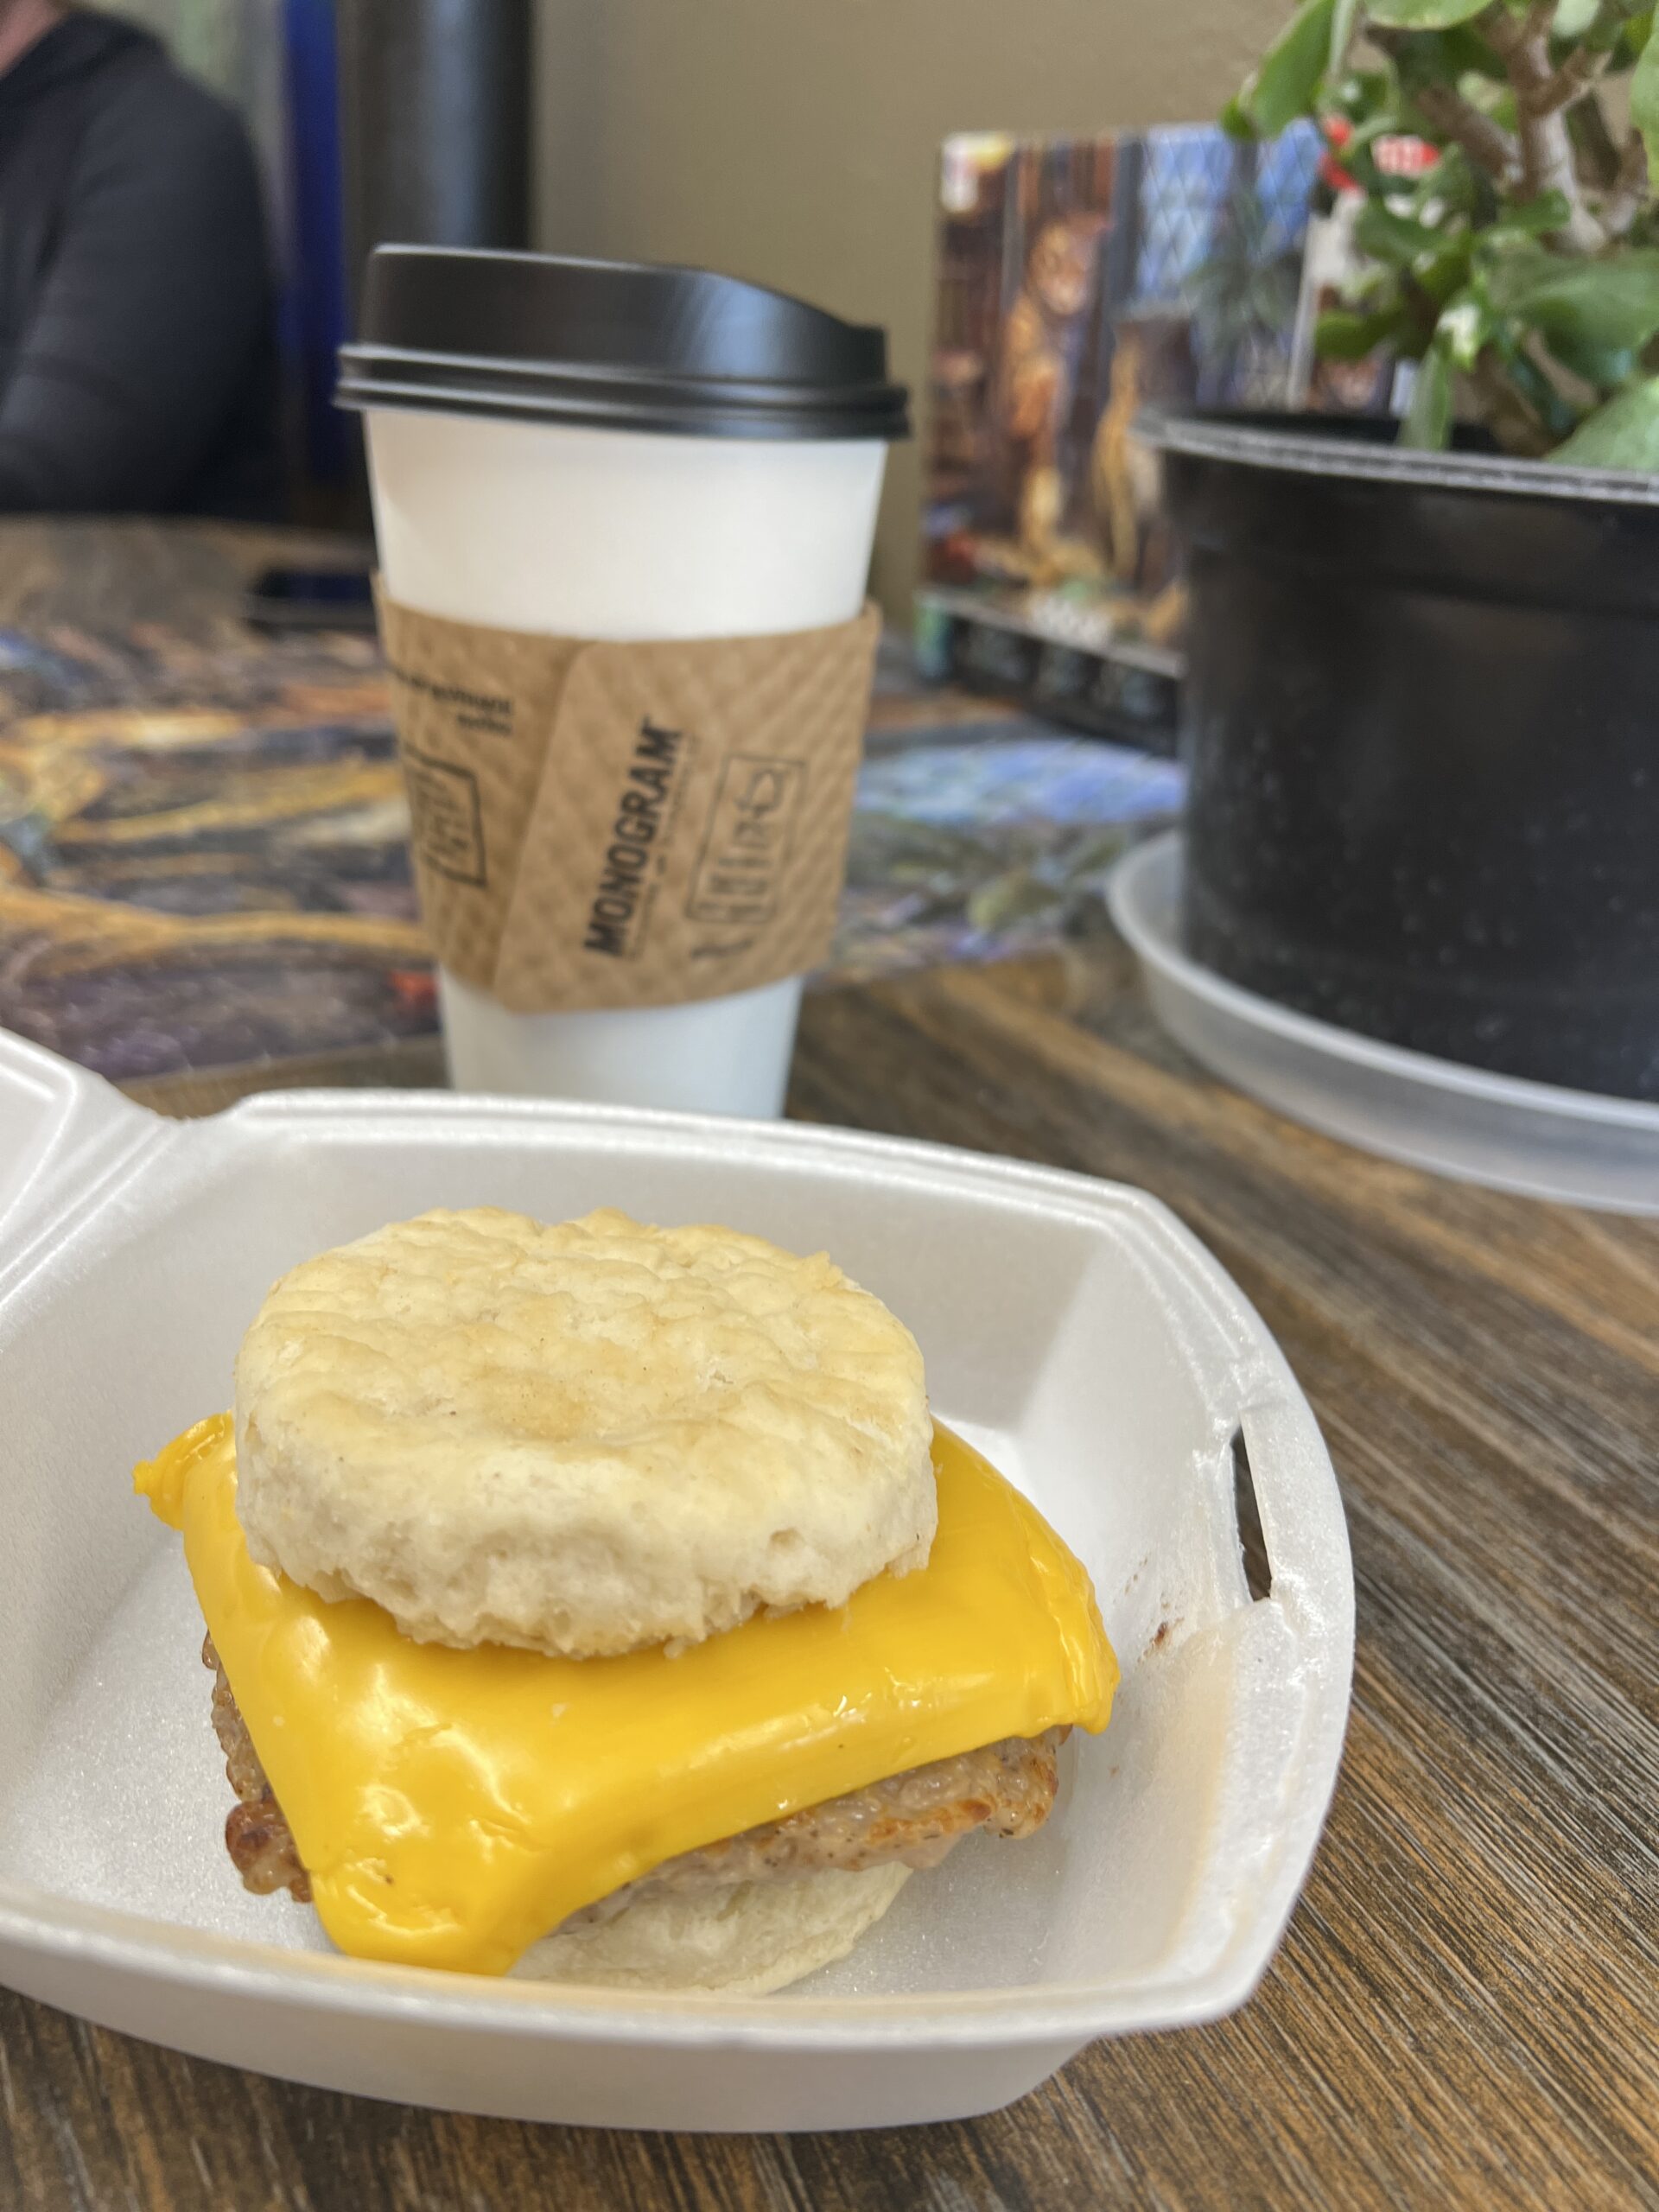 The entire place is adorned with frogs. Paintings, toys, and sit-a-bouts feature the green-colored amphibian. A life-size astronaut sculpture keeps watch over them.
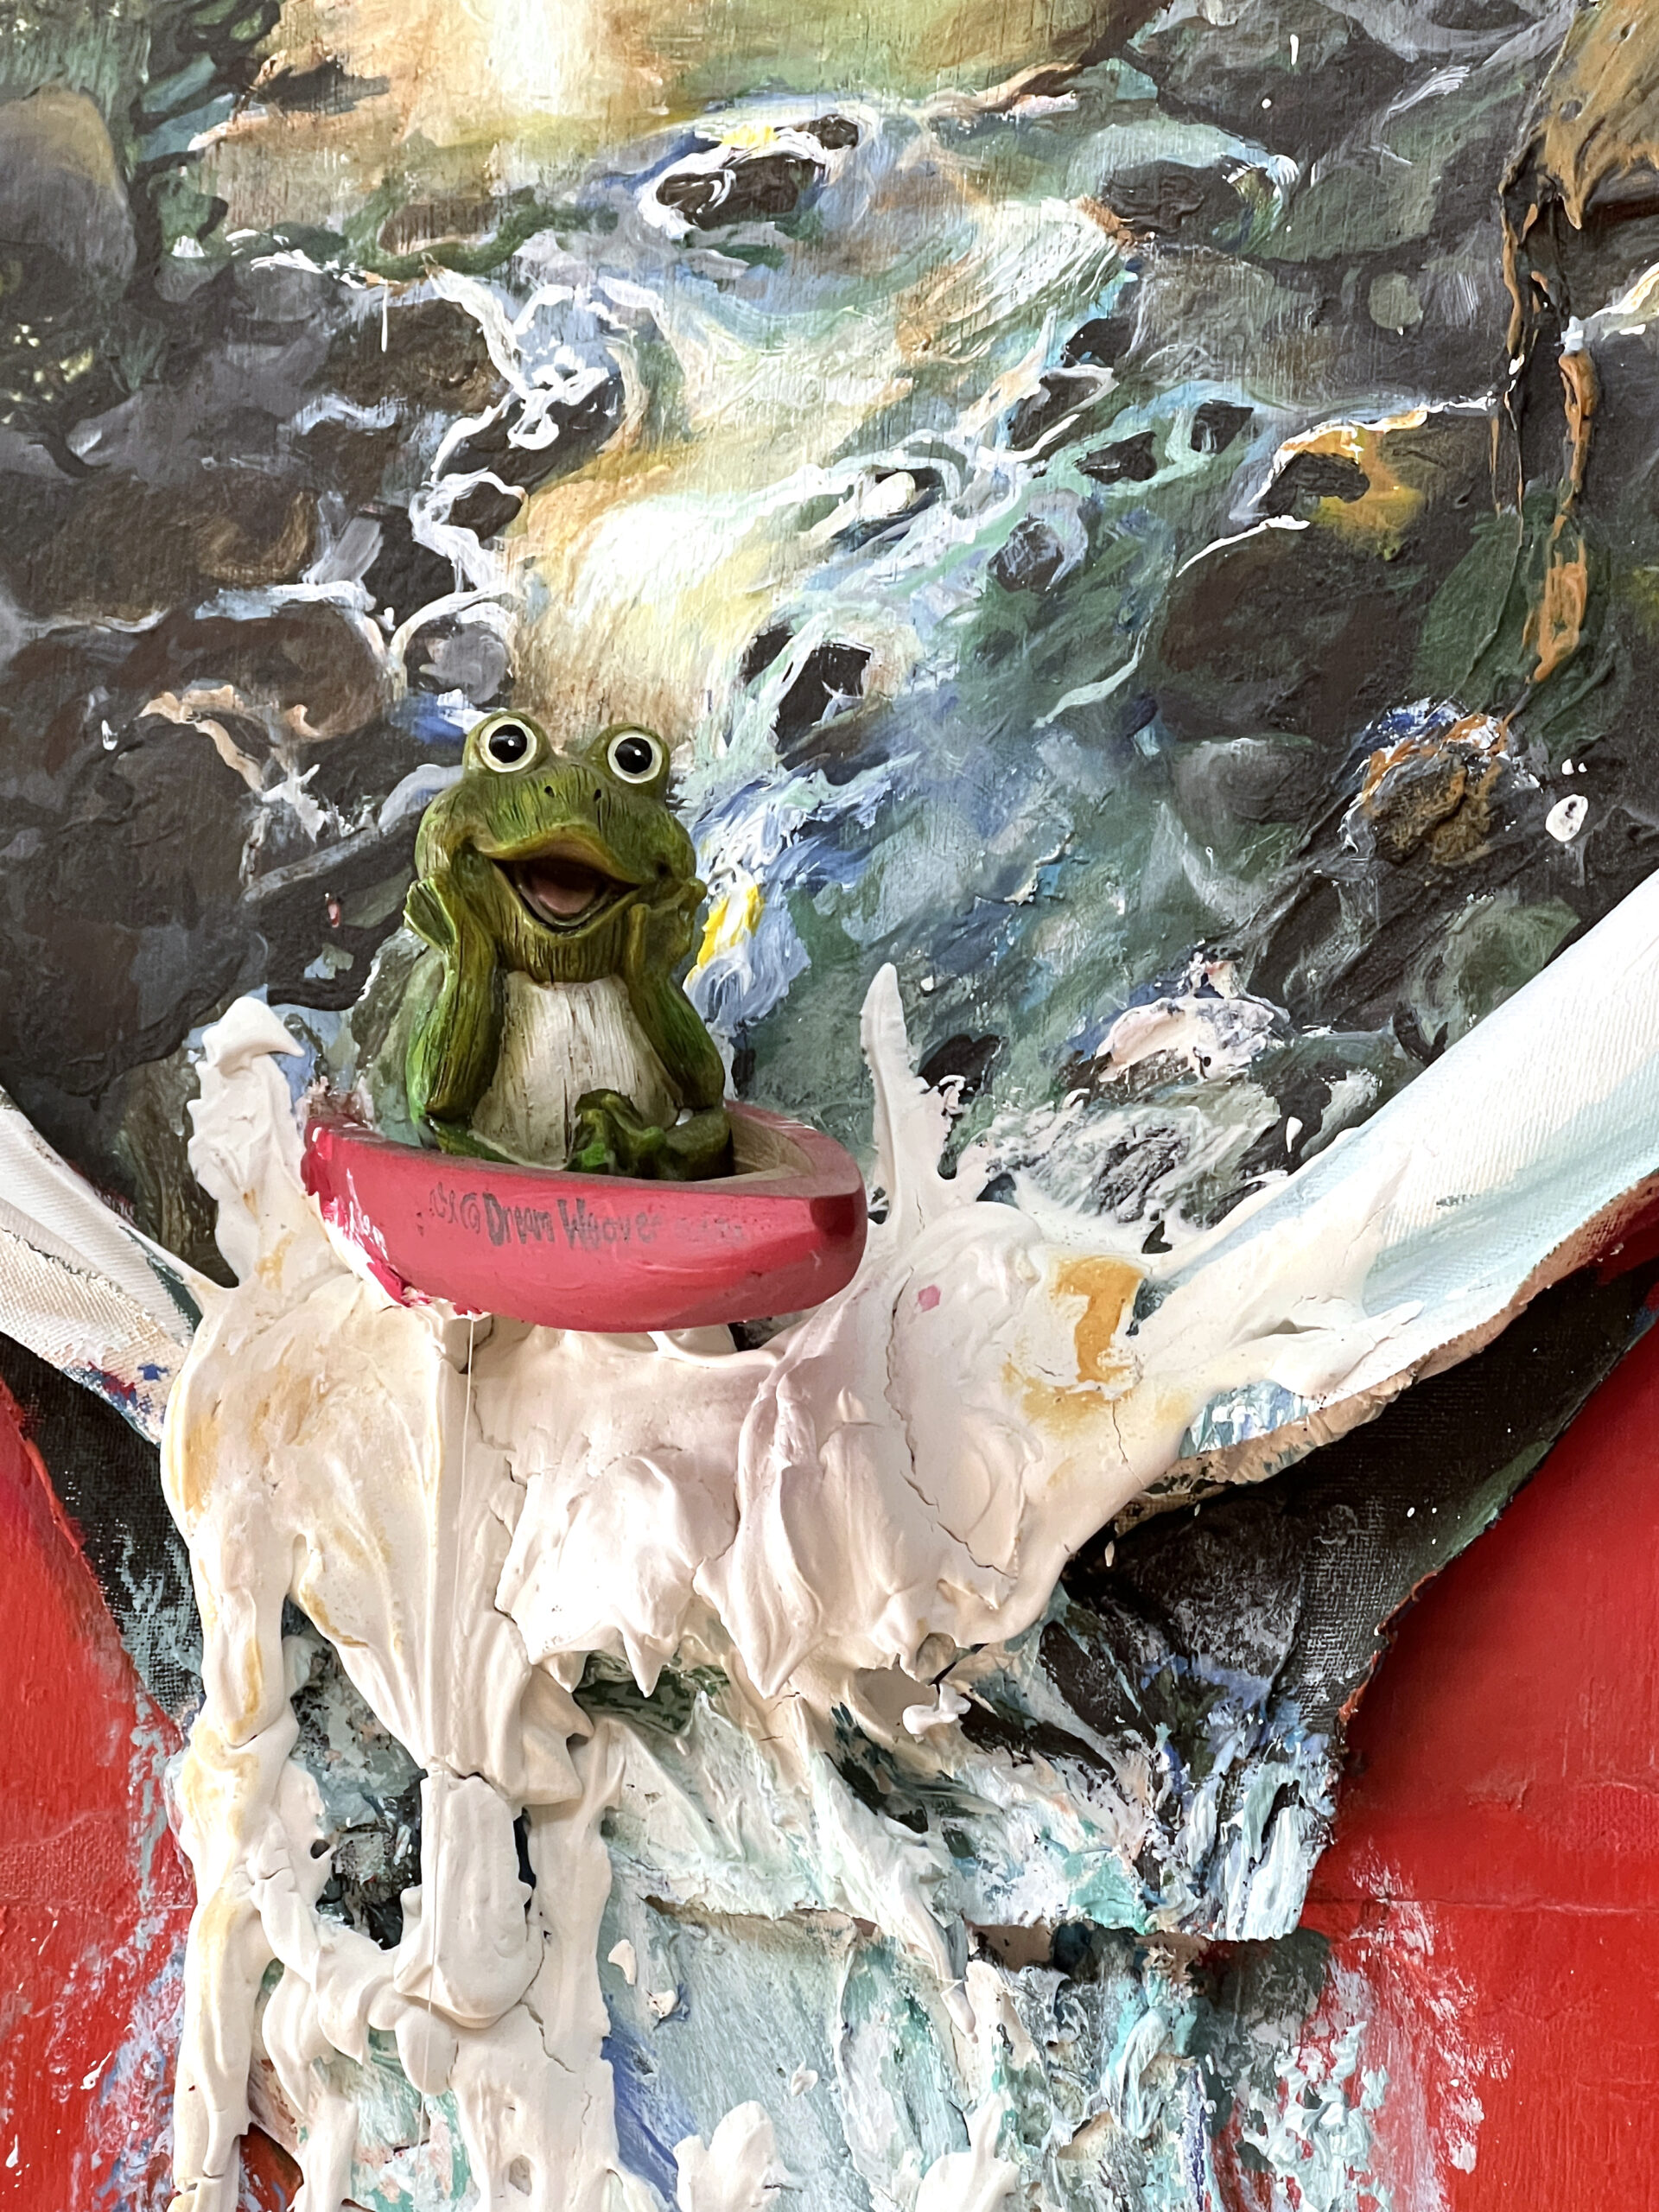
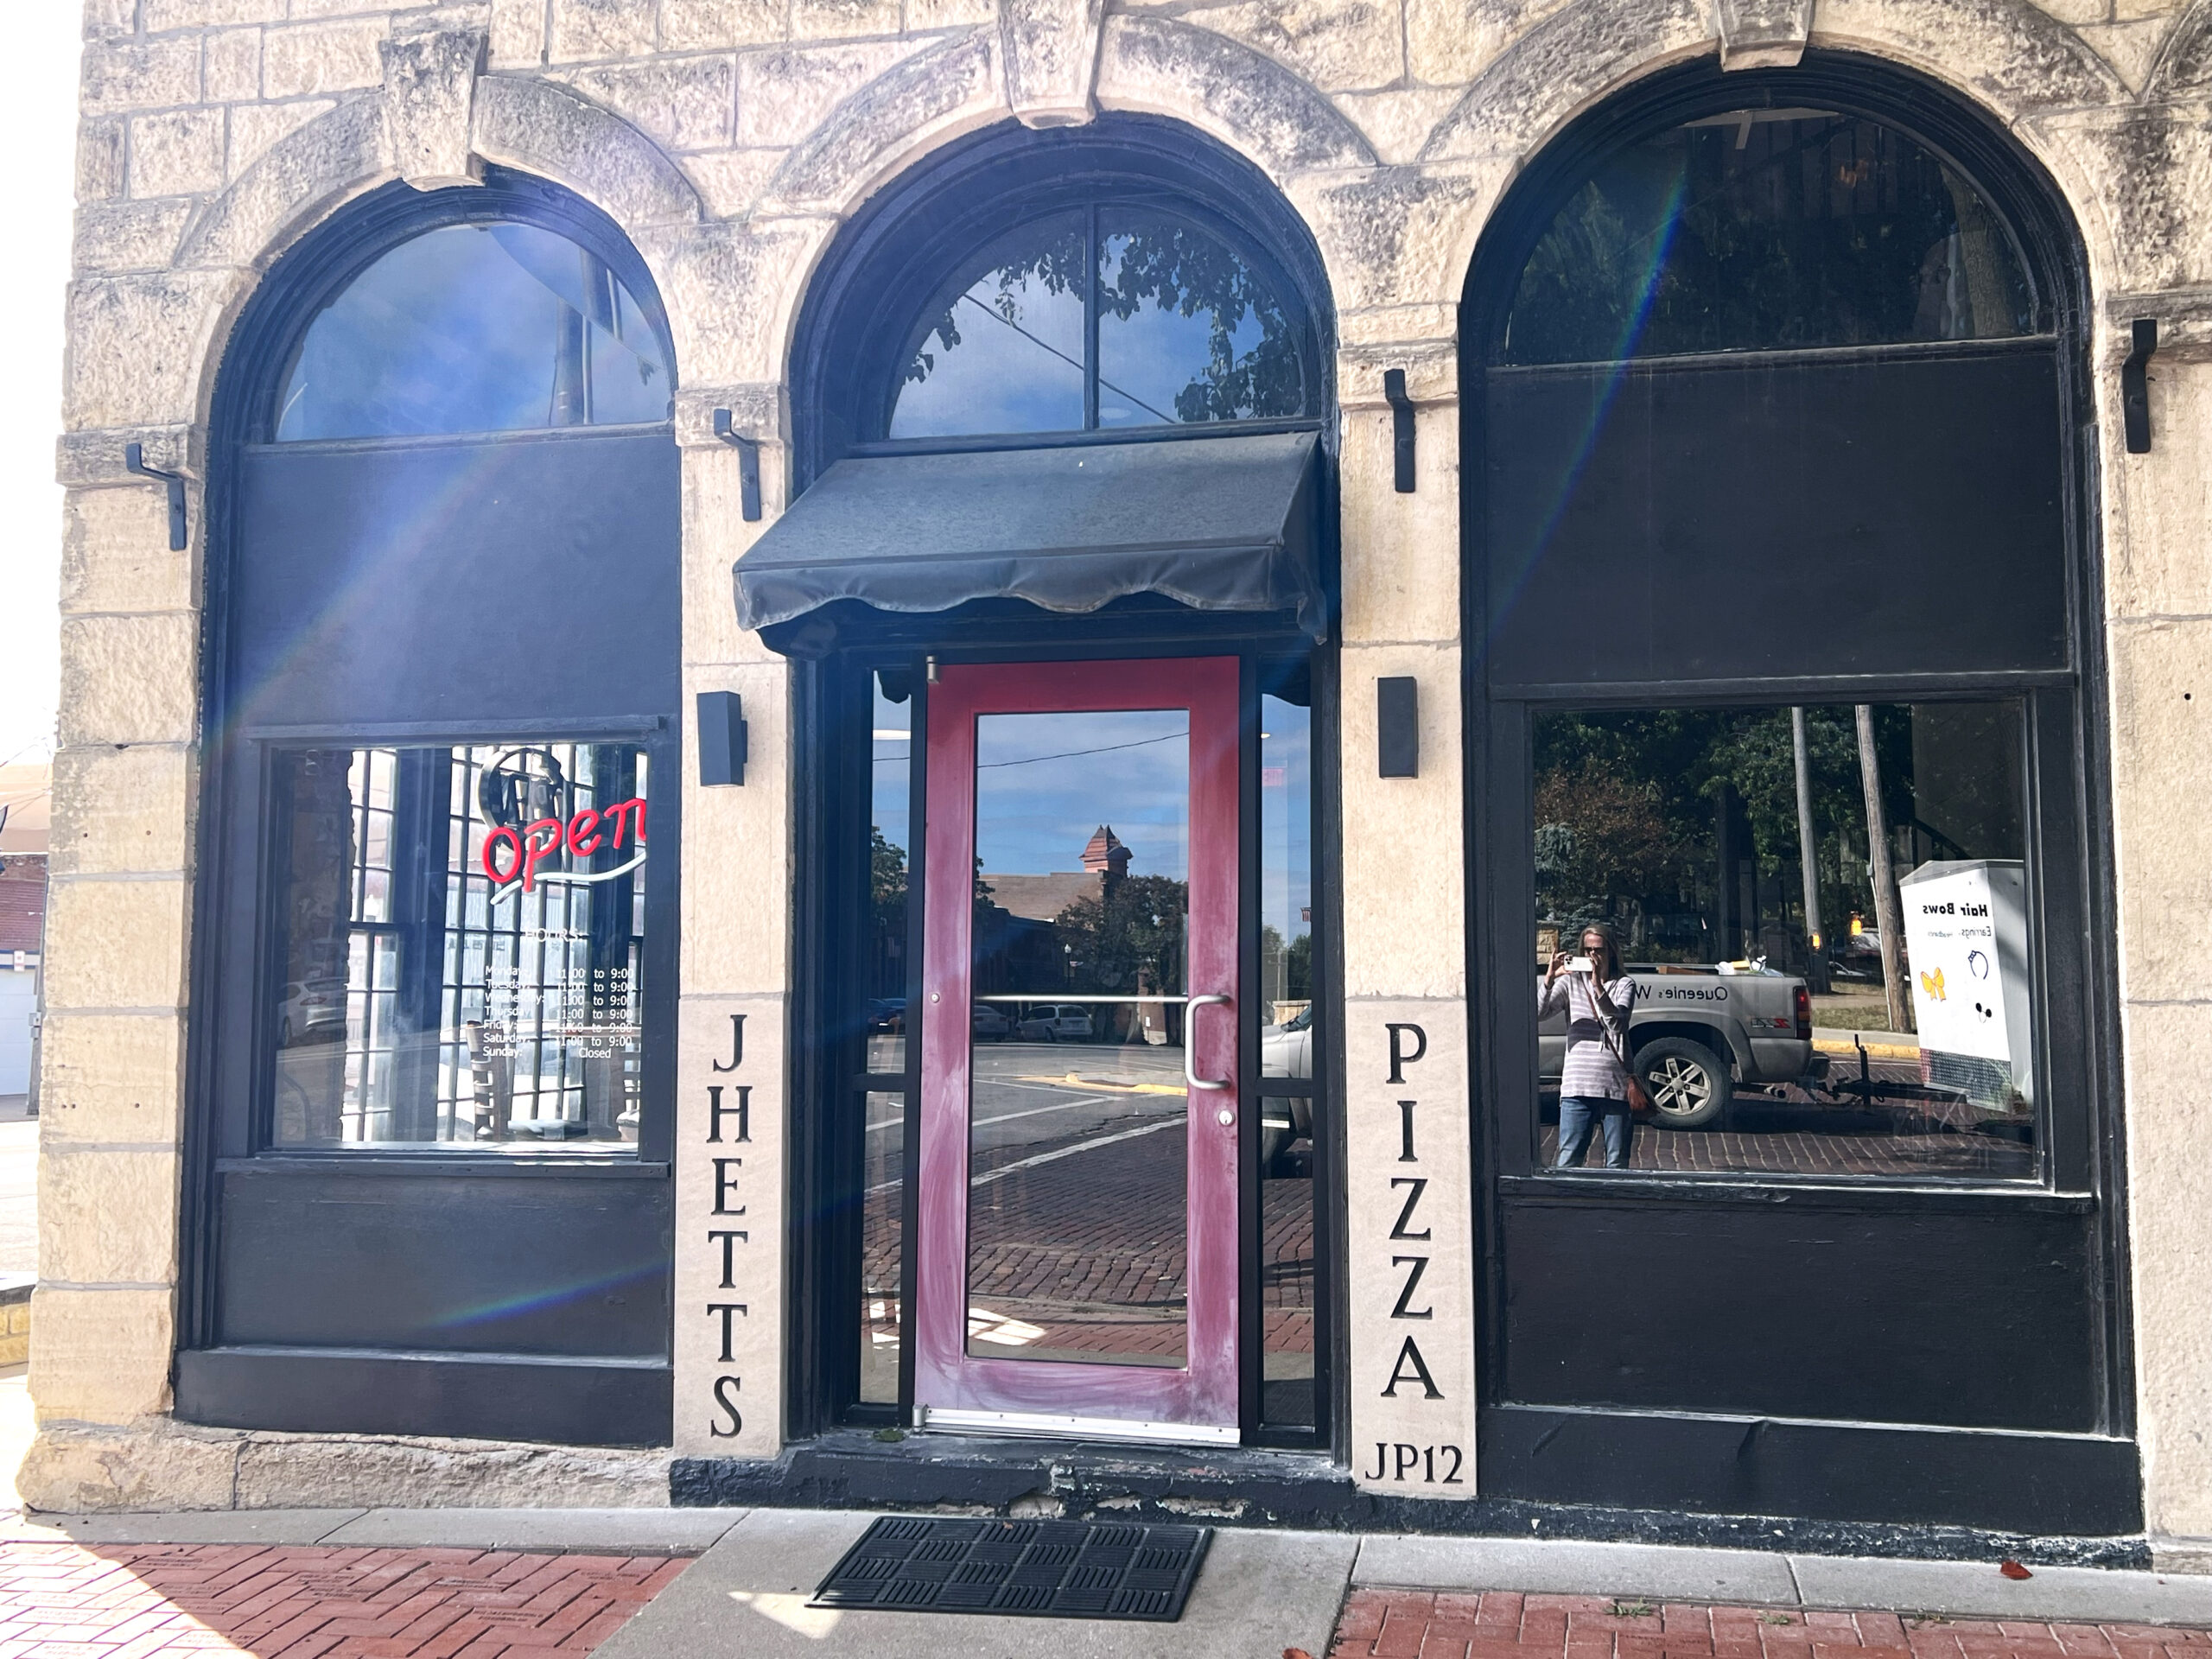 I ordered an 8″ Meat Lovers Pizza at the counter and sat down and waited for it. Families continued to pour into the restaurant looking for open seating. Customers with call-in orders approached the counter. The phone never stopped ringing.
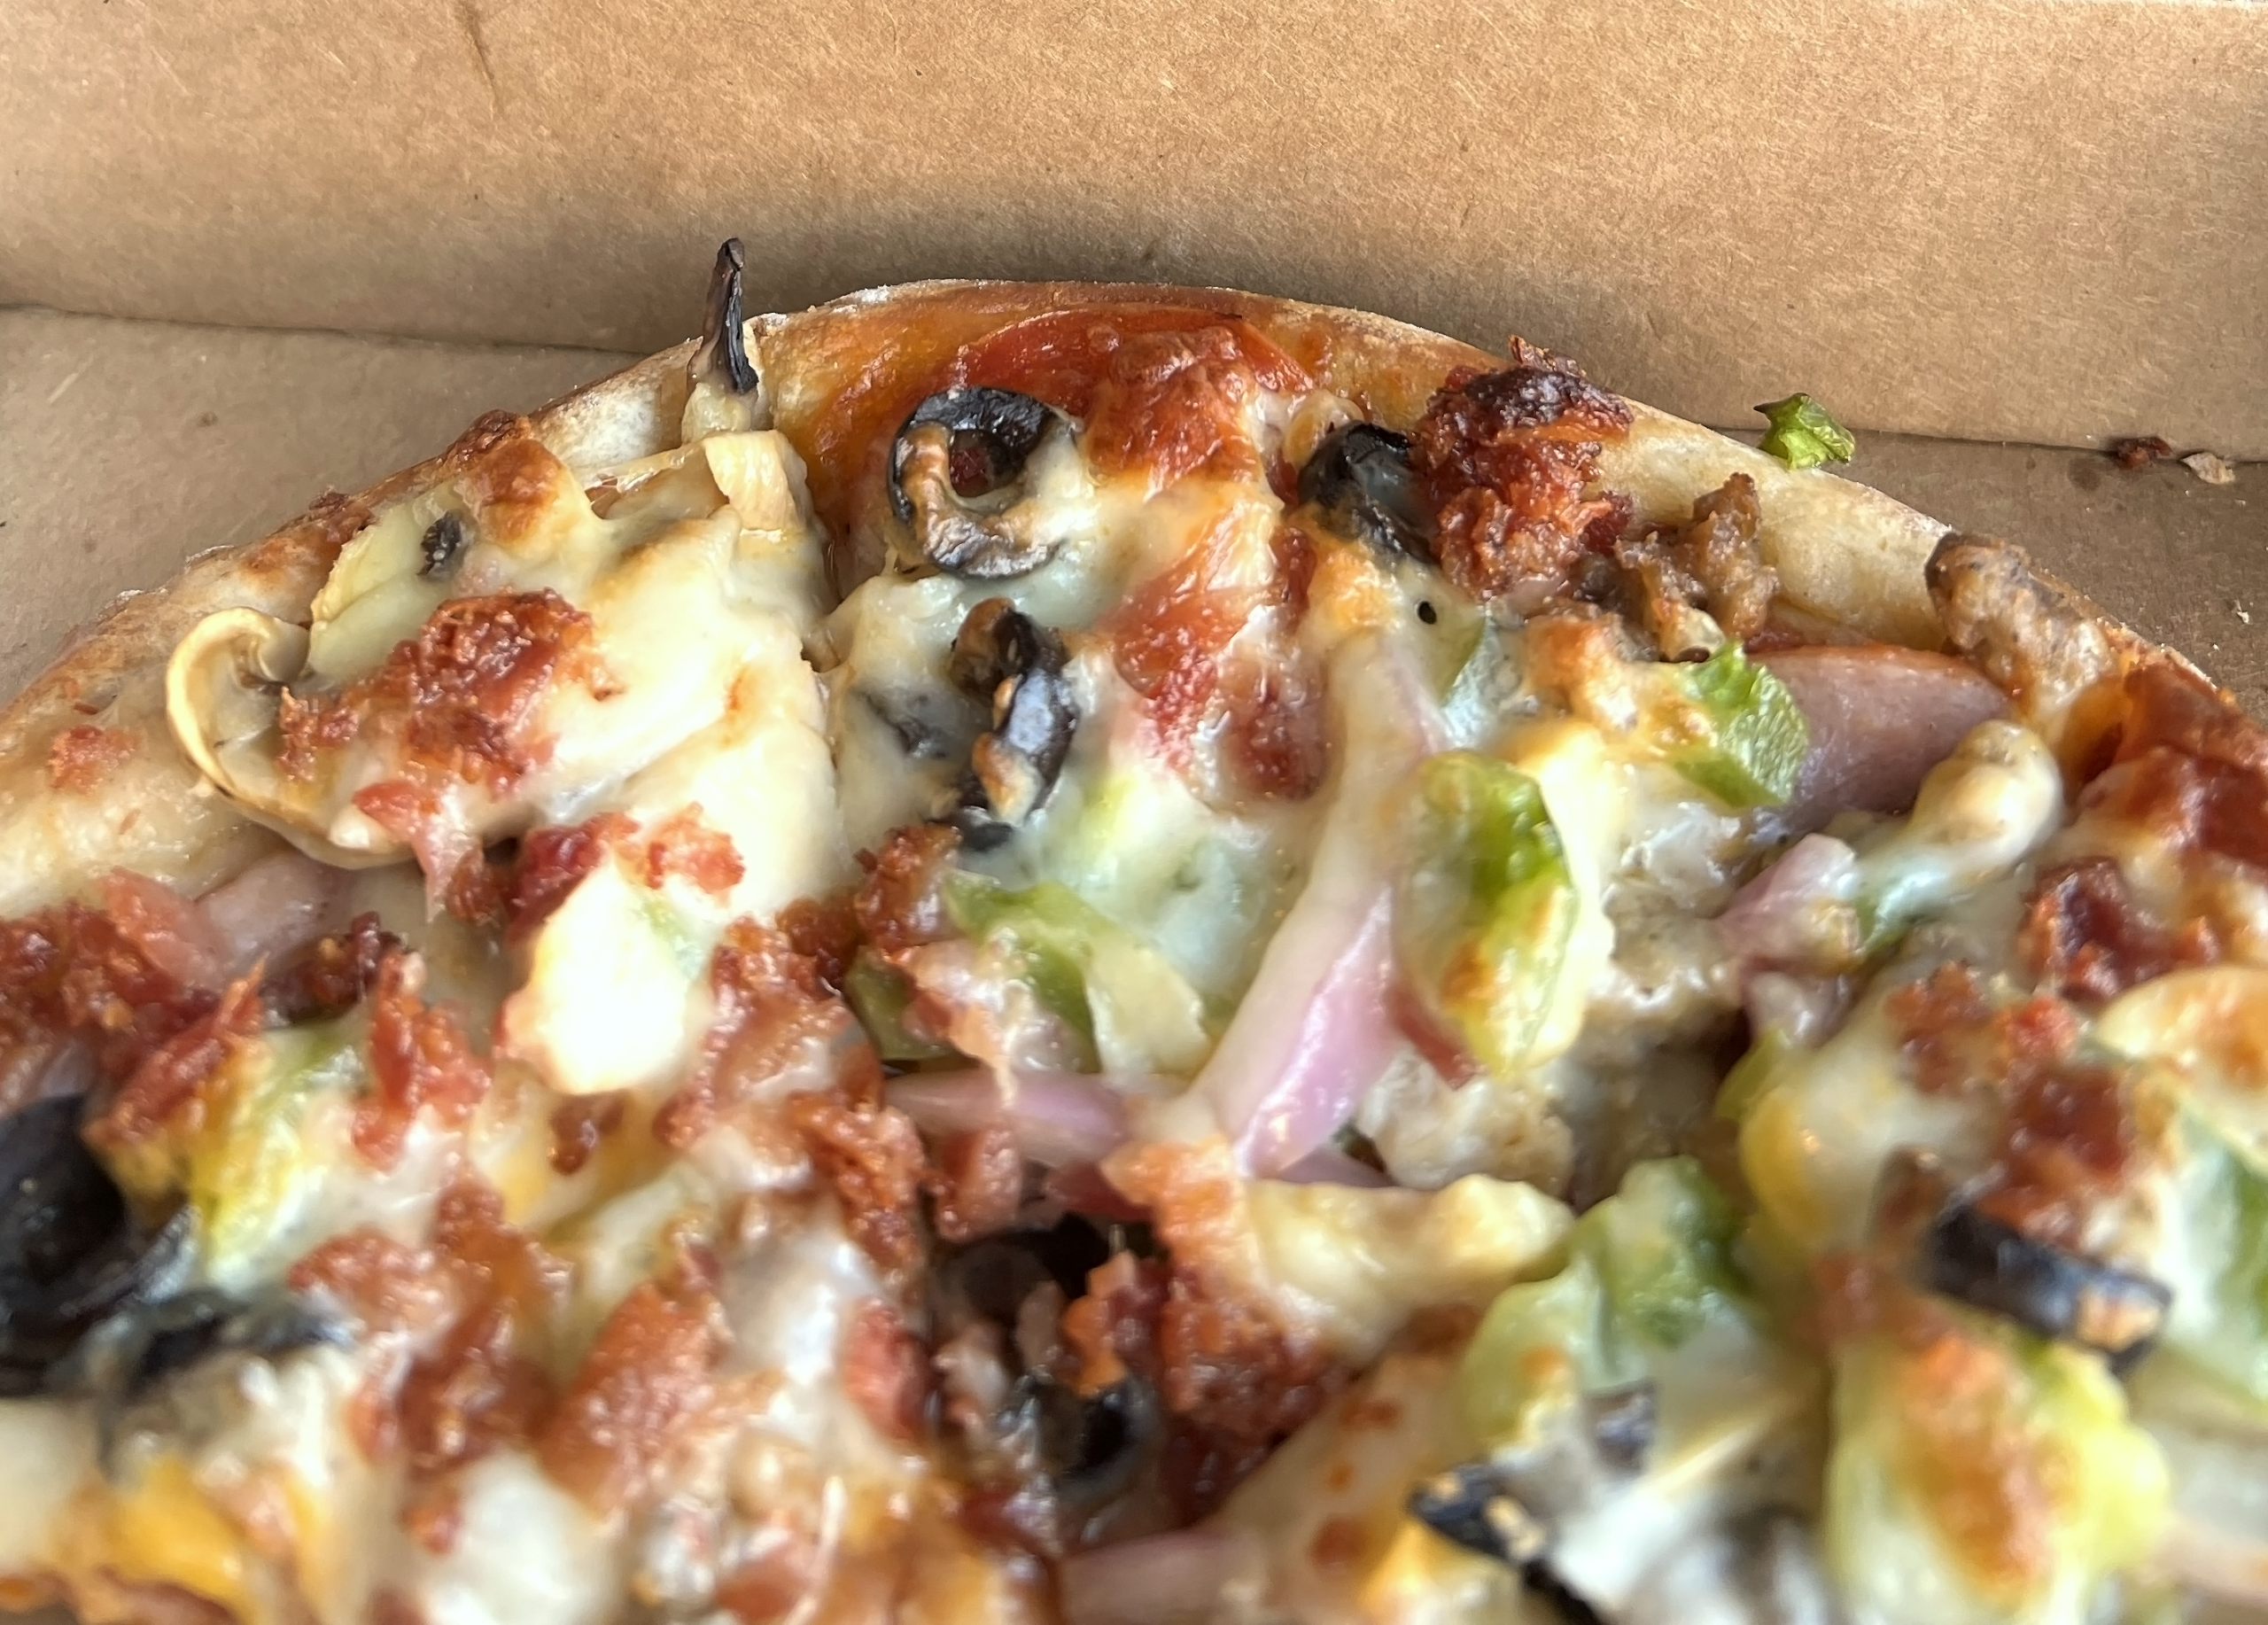 PRO TIP: Beat the lunch rush or call the restaurant for a to-go pizza, especially if you’re visiting Holton during a community festival. Bring cash for payment or pay a fee when using a credit card.
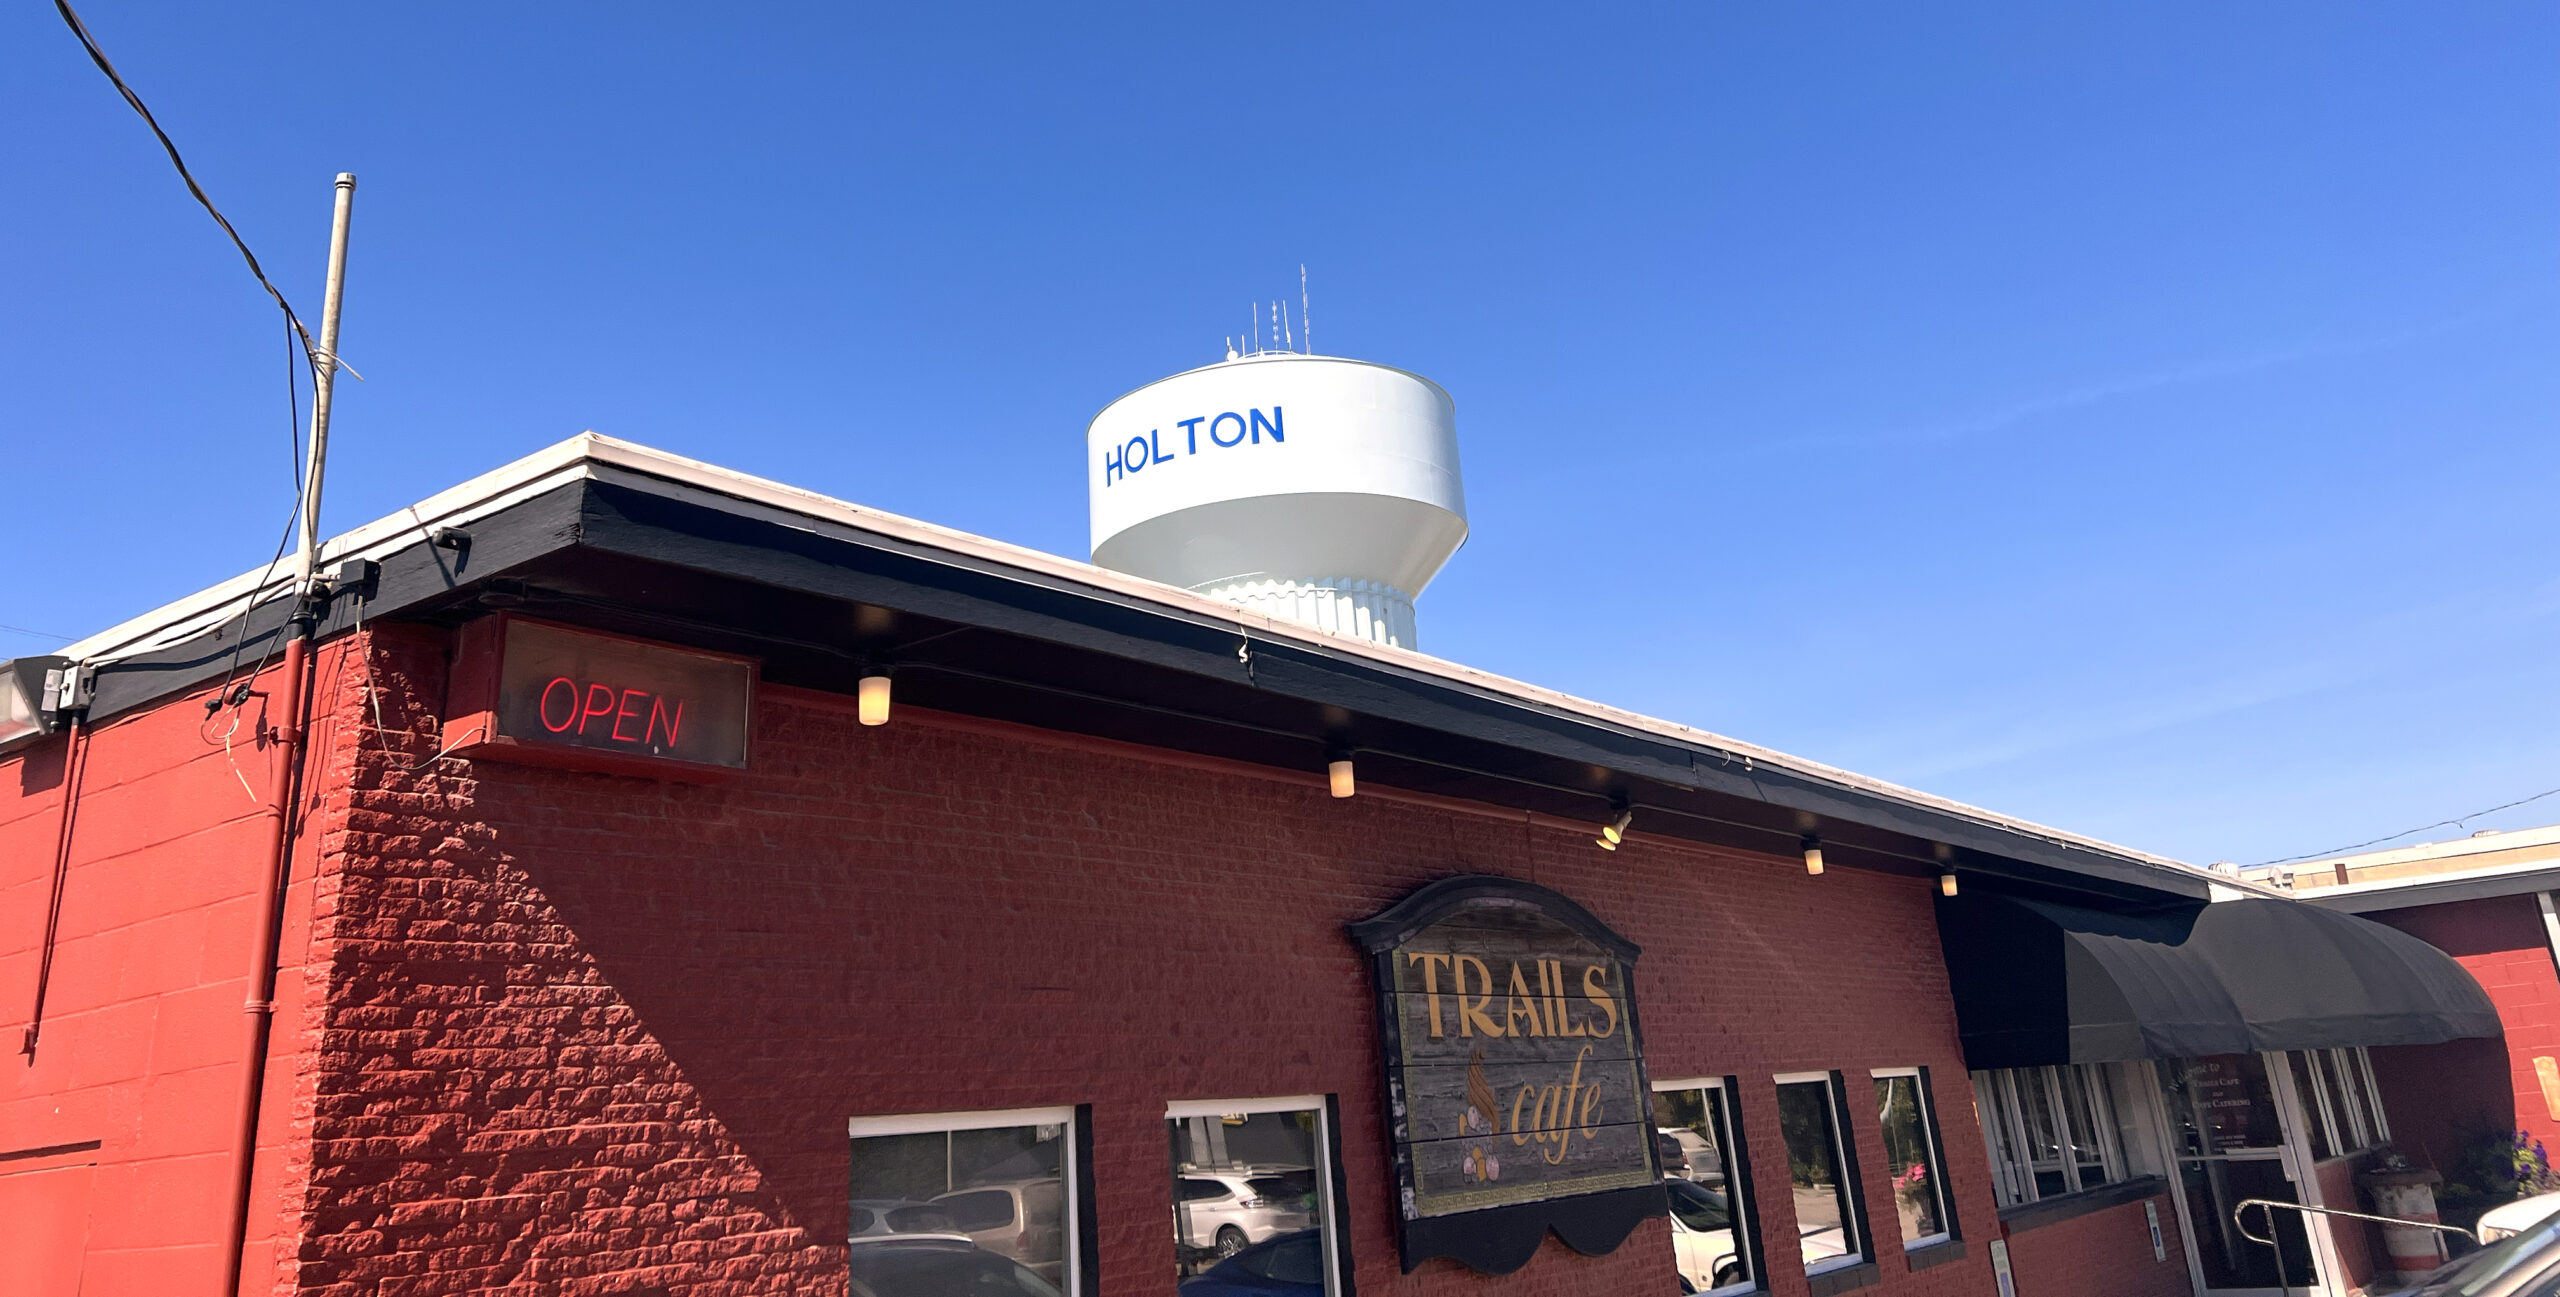 As we made our way to a table, I stopped to peer into a double-door refrigerator stocked with plates of sliced pie. I knew I wasn’t leaving the restaurant without devouring a slice.
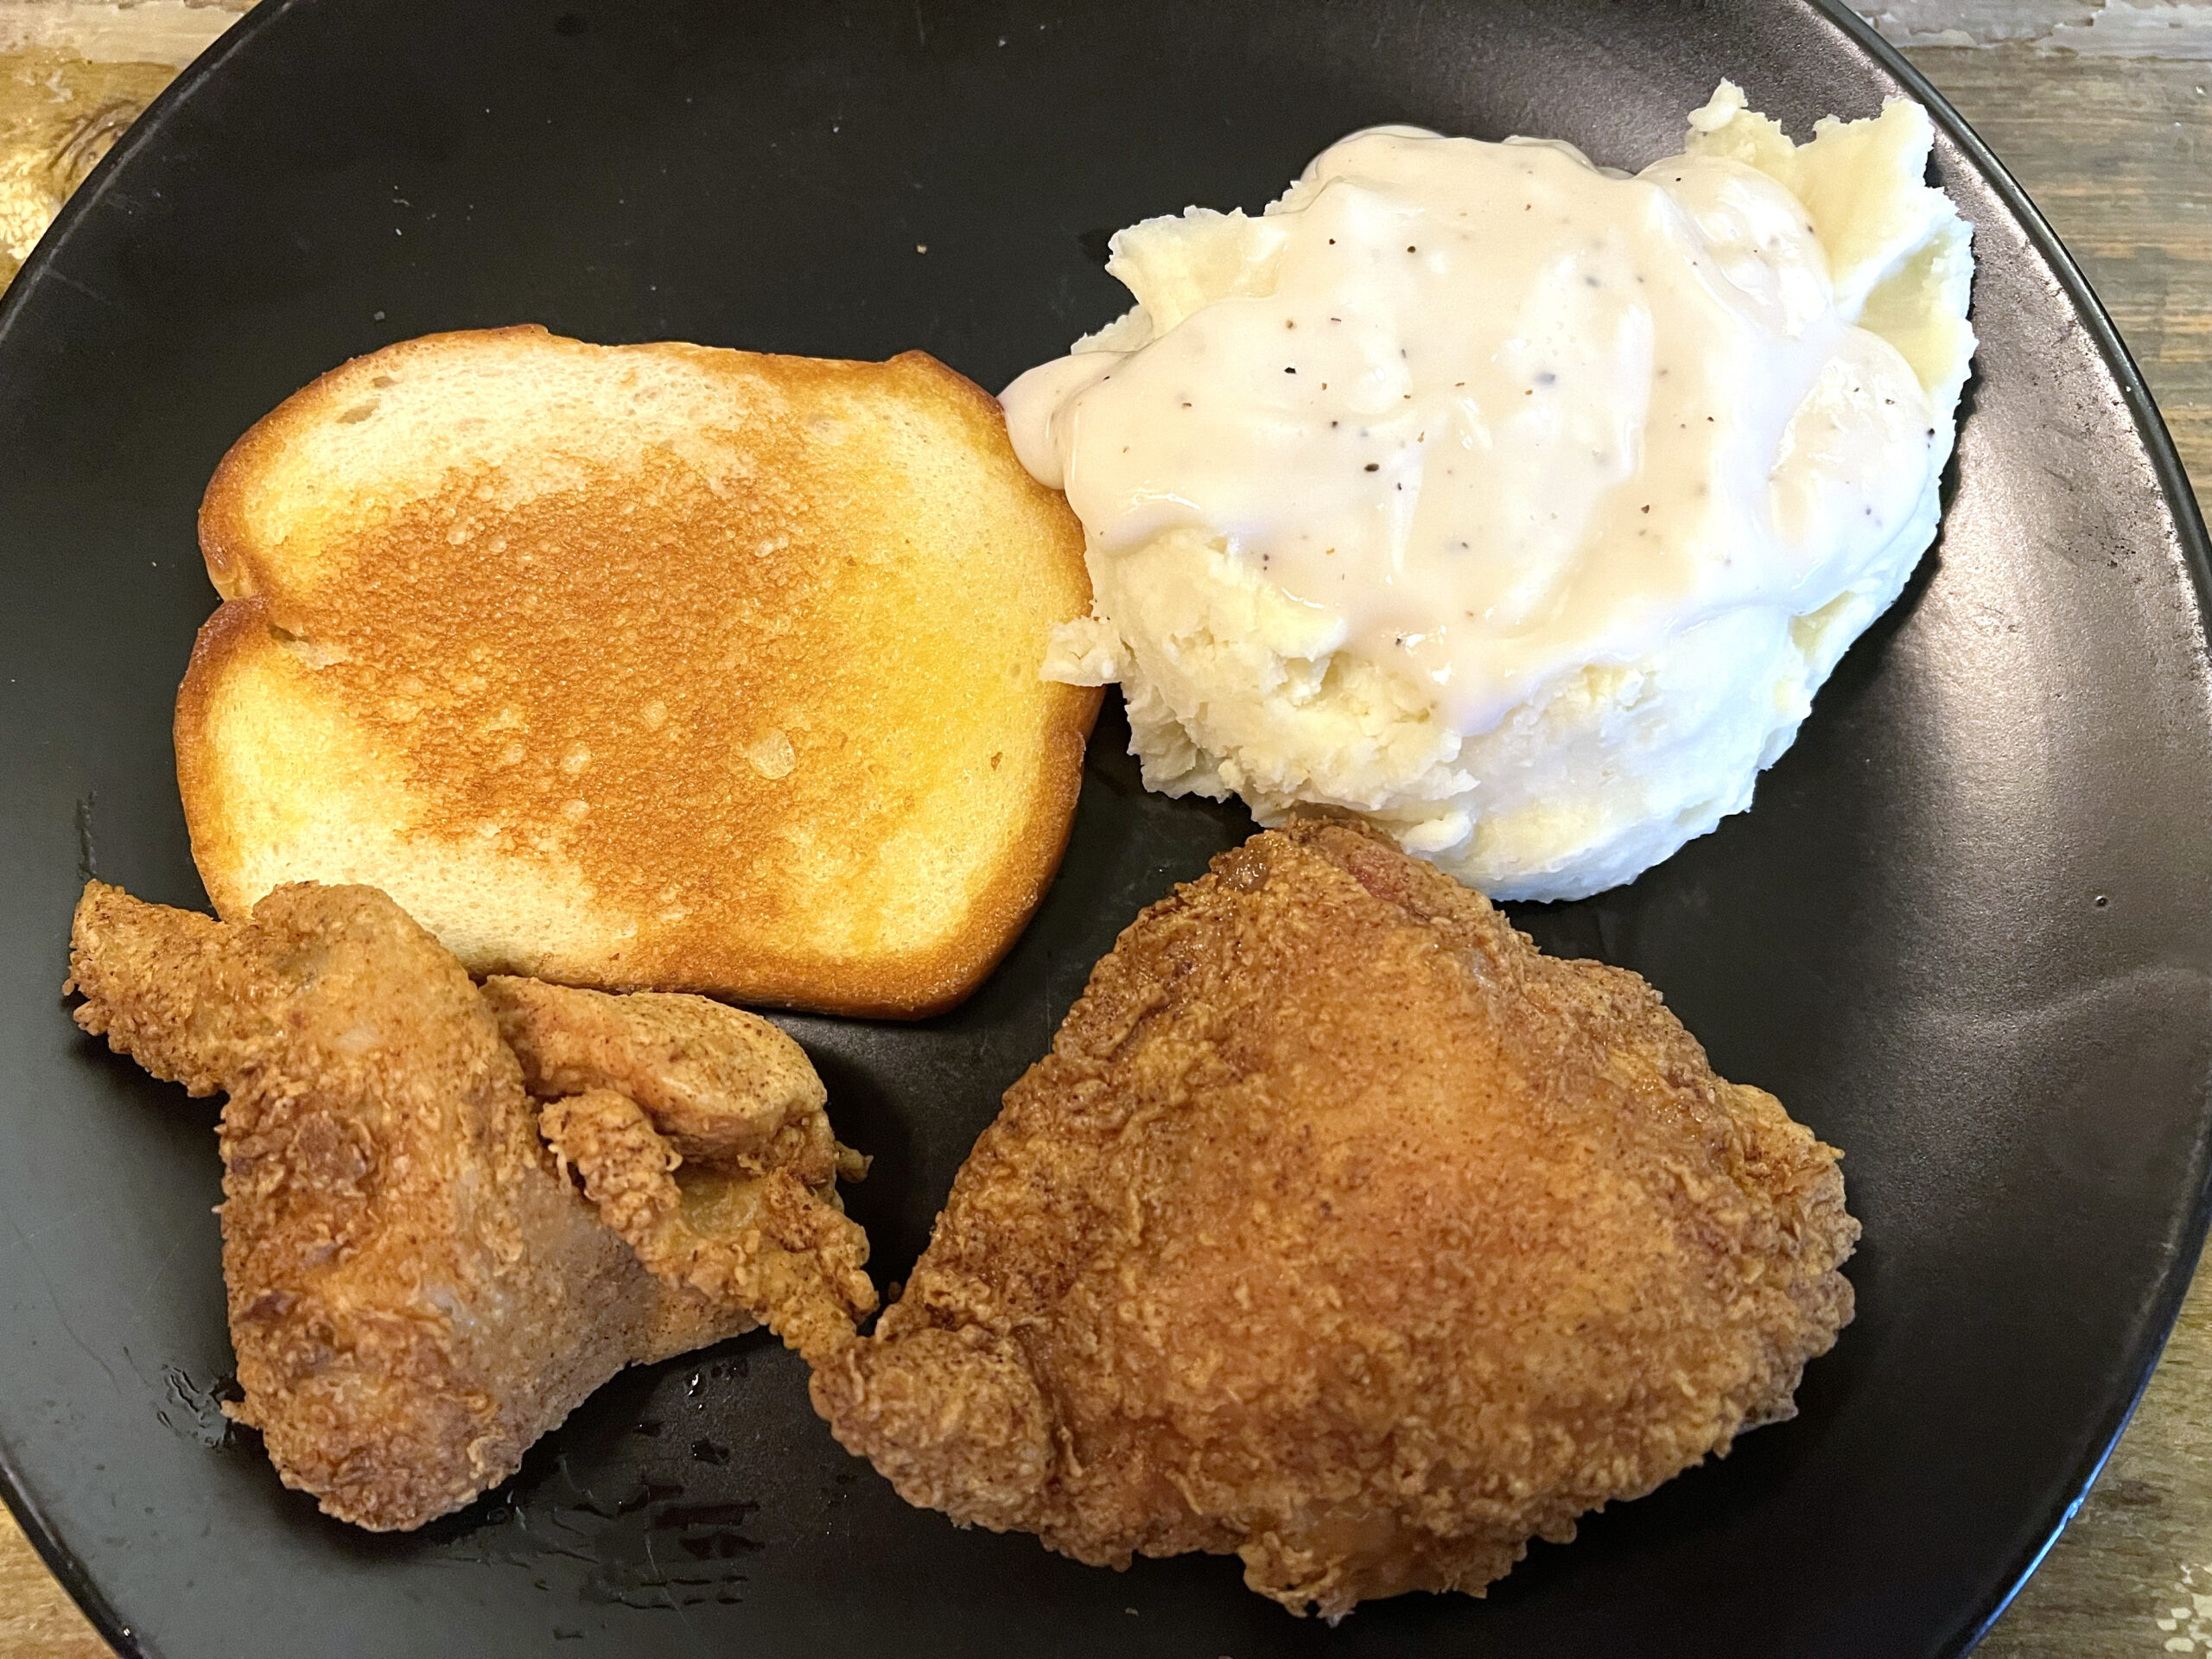 The meal lived up to the hype, and the cafe is worthy of a repeat visit.
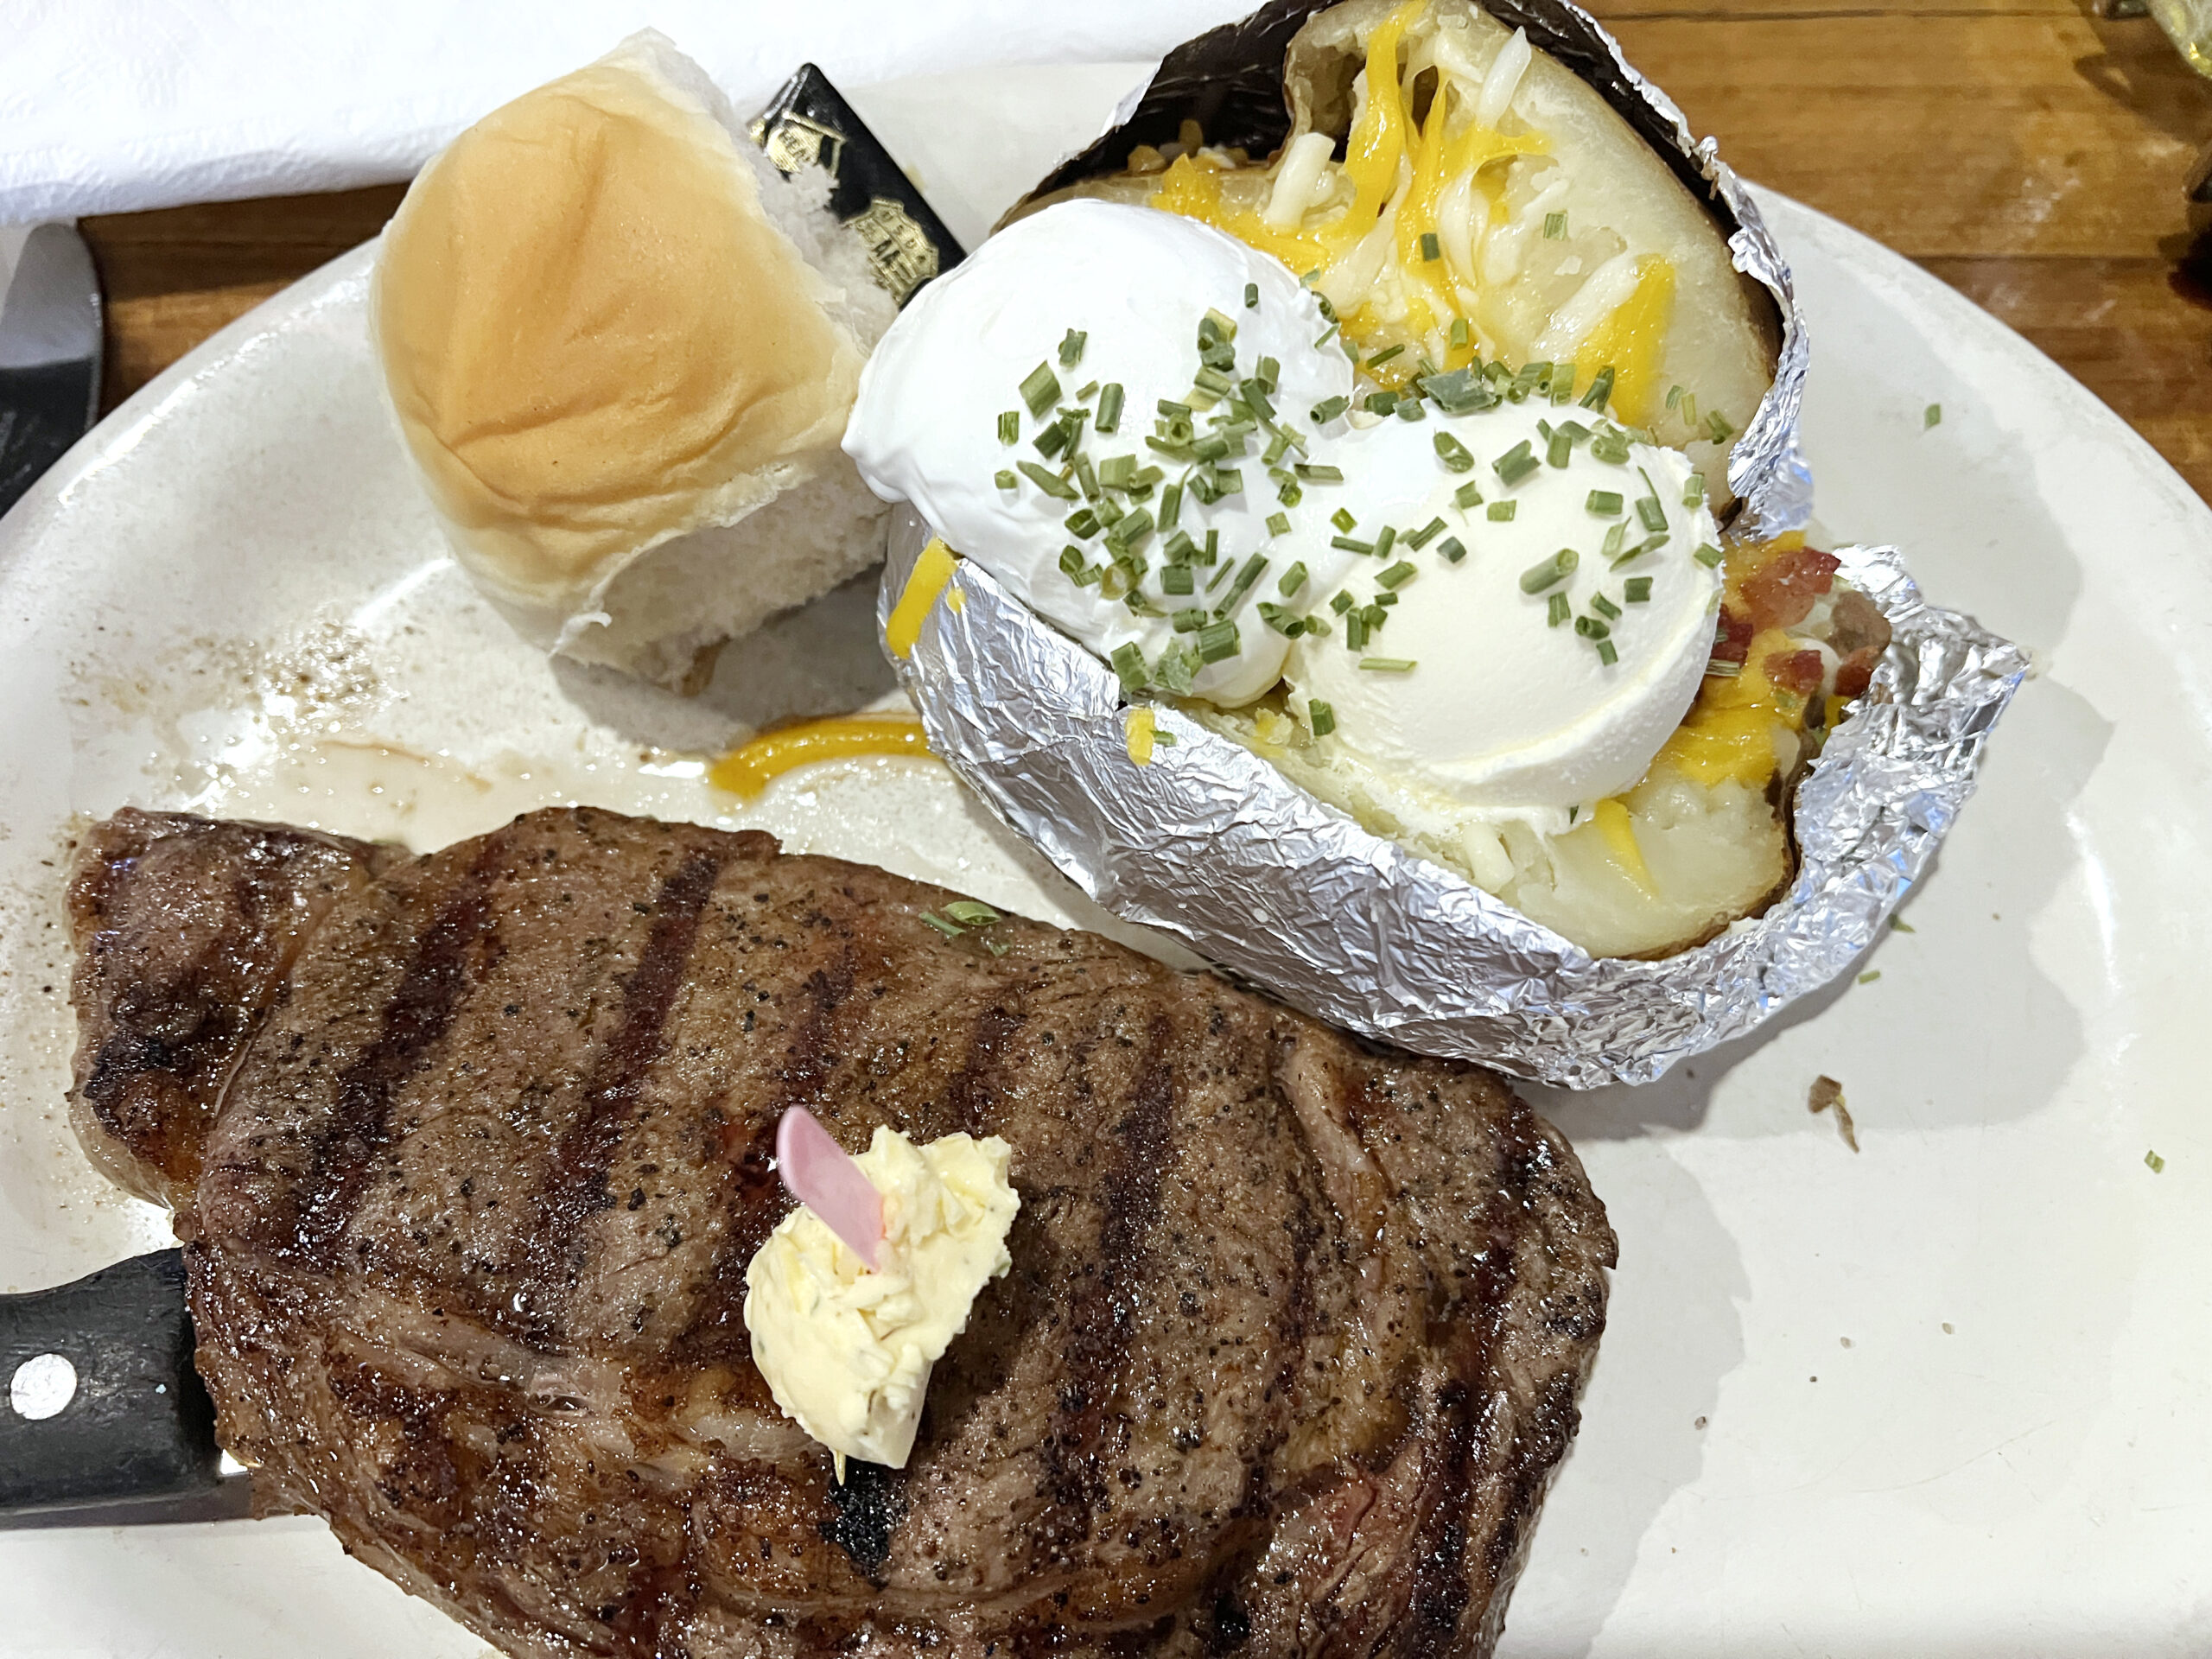 Boomers’ Steakhouse, Grill and Catering gets my vote for the best dinner experience in Holton for its friendly service, quality steak dinner, and strawberry pie (don’t skip dessert!).
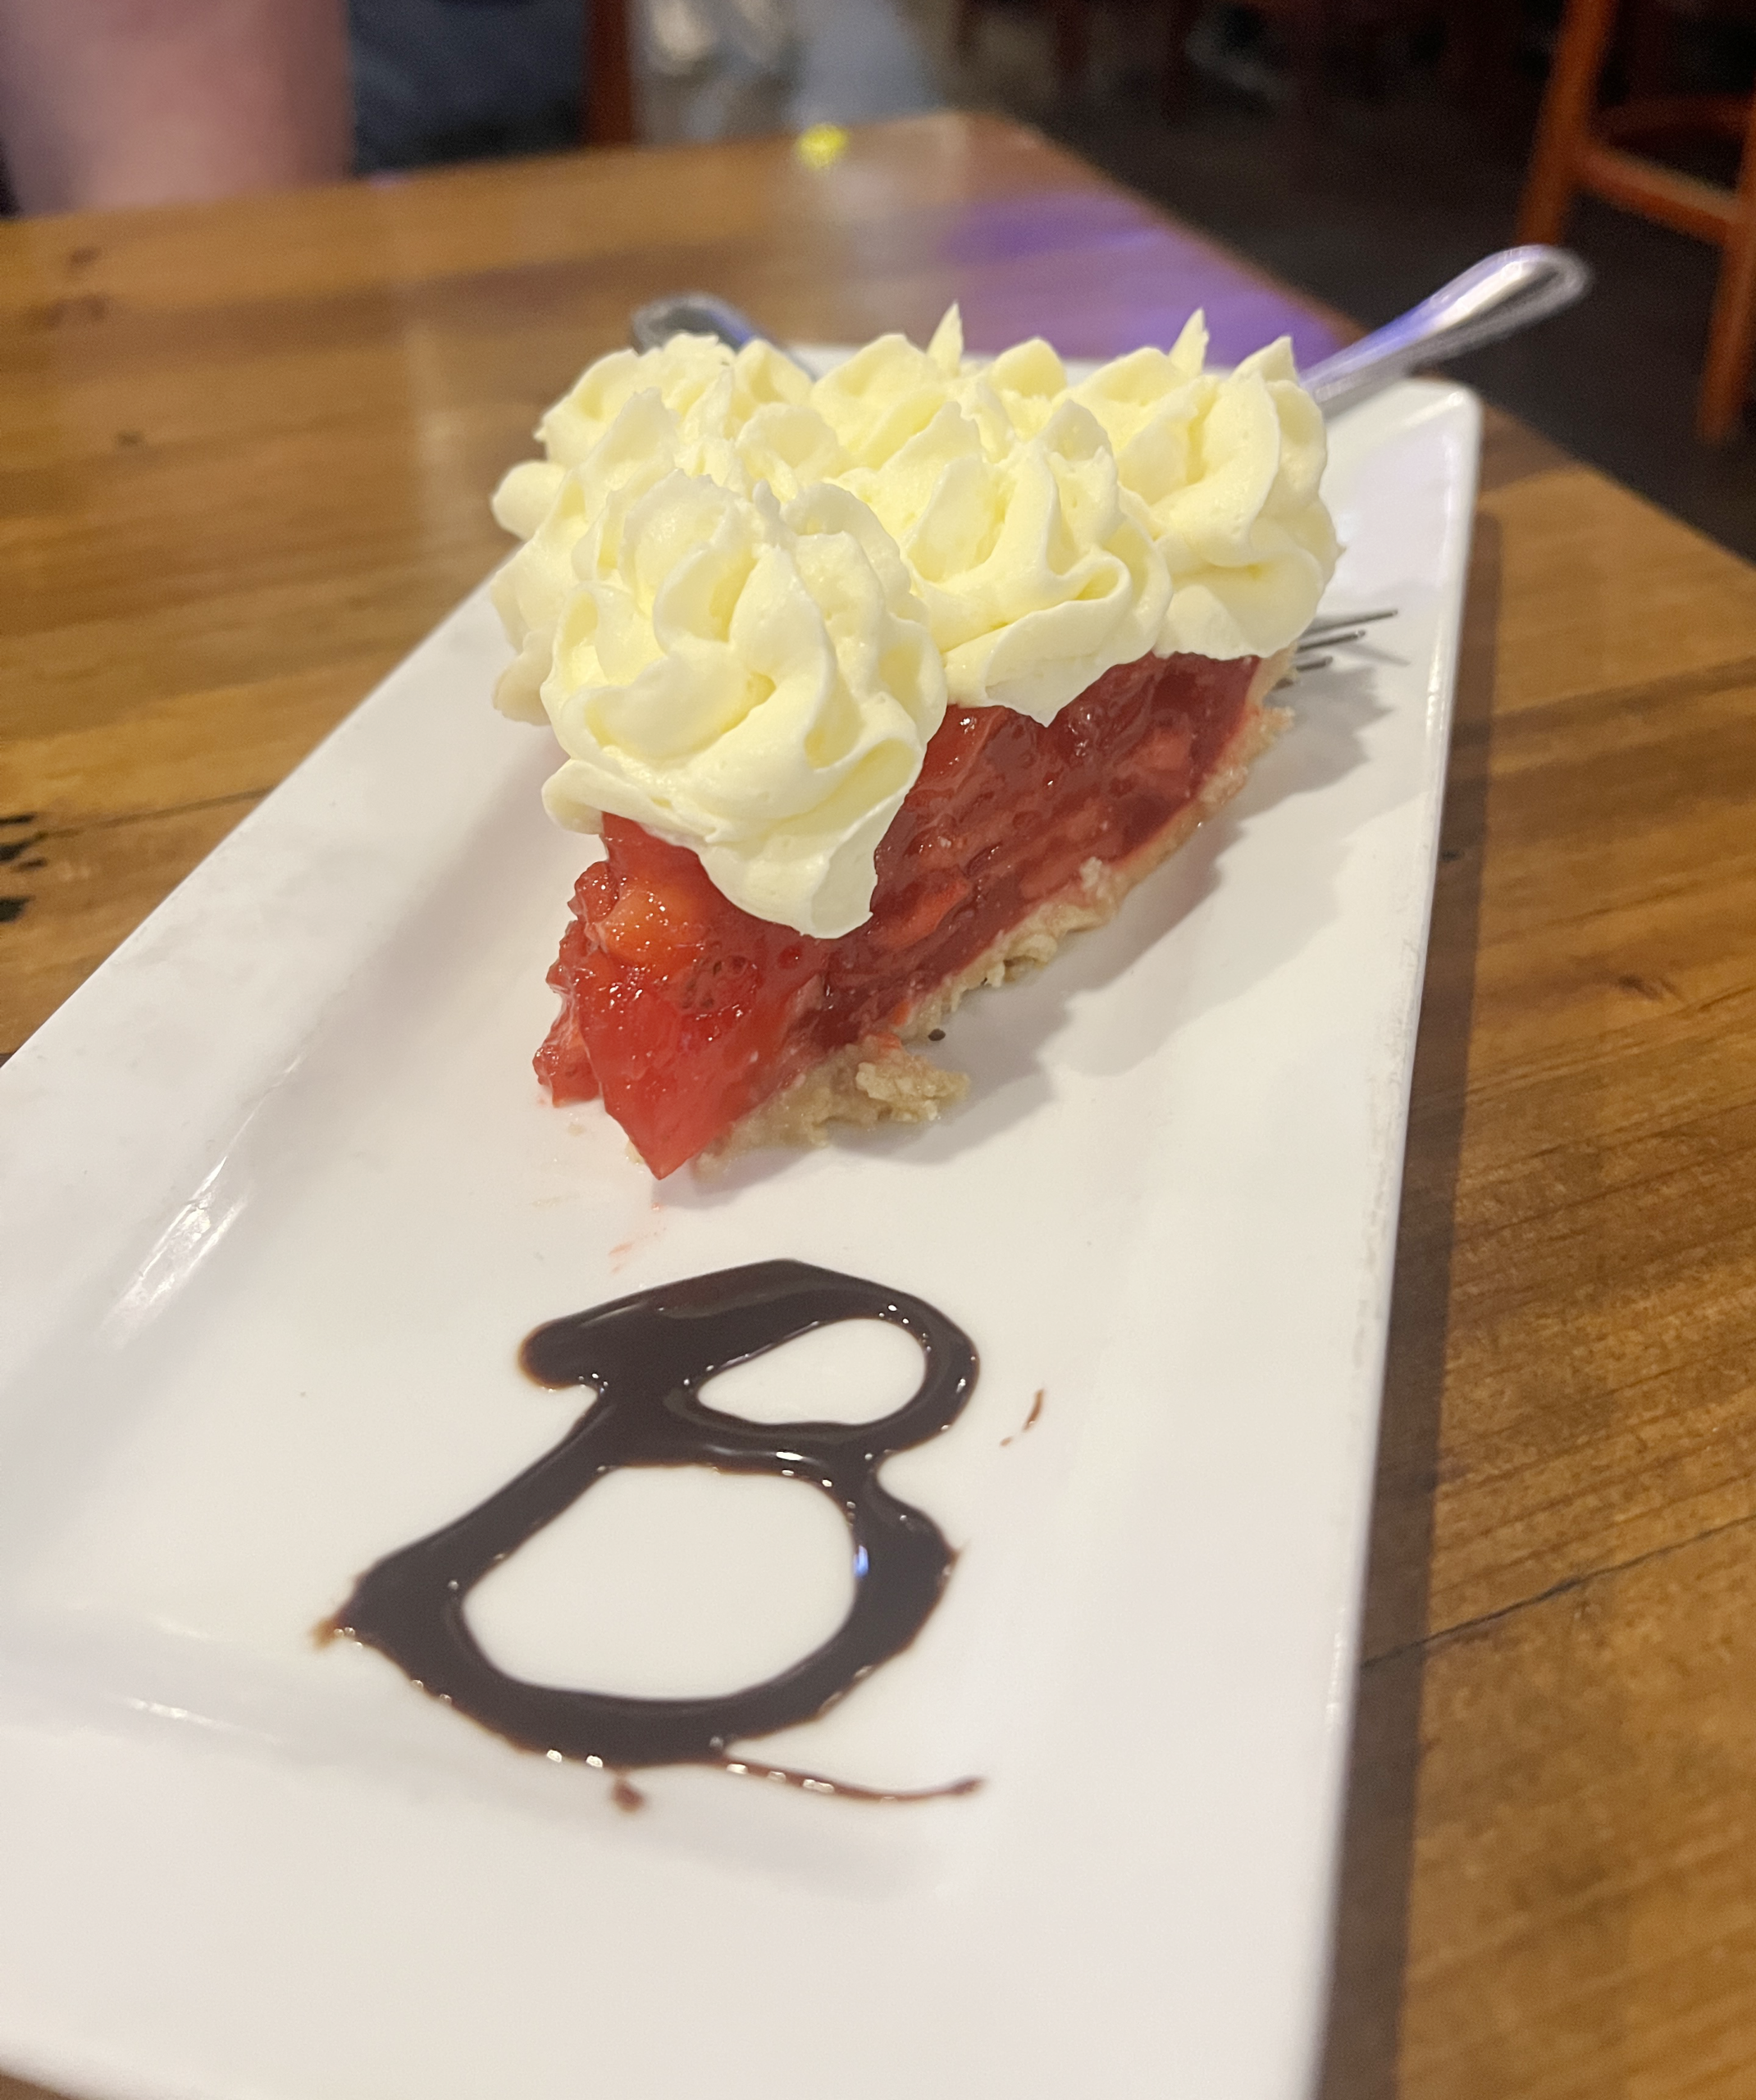 The restaurant includes full bar service, so if you’re hoping to complement your meal with a hand-crafted cocktail, cold beer, or glass of wine, you’re in luck.
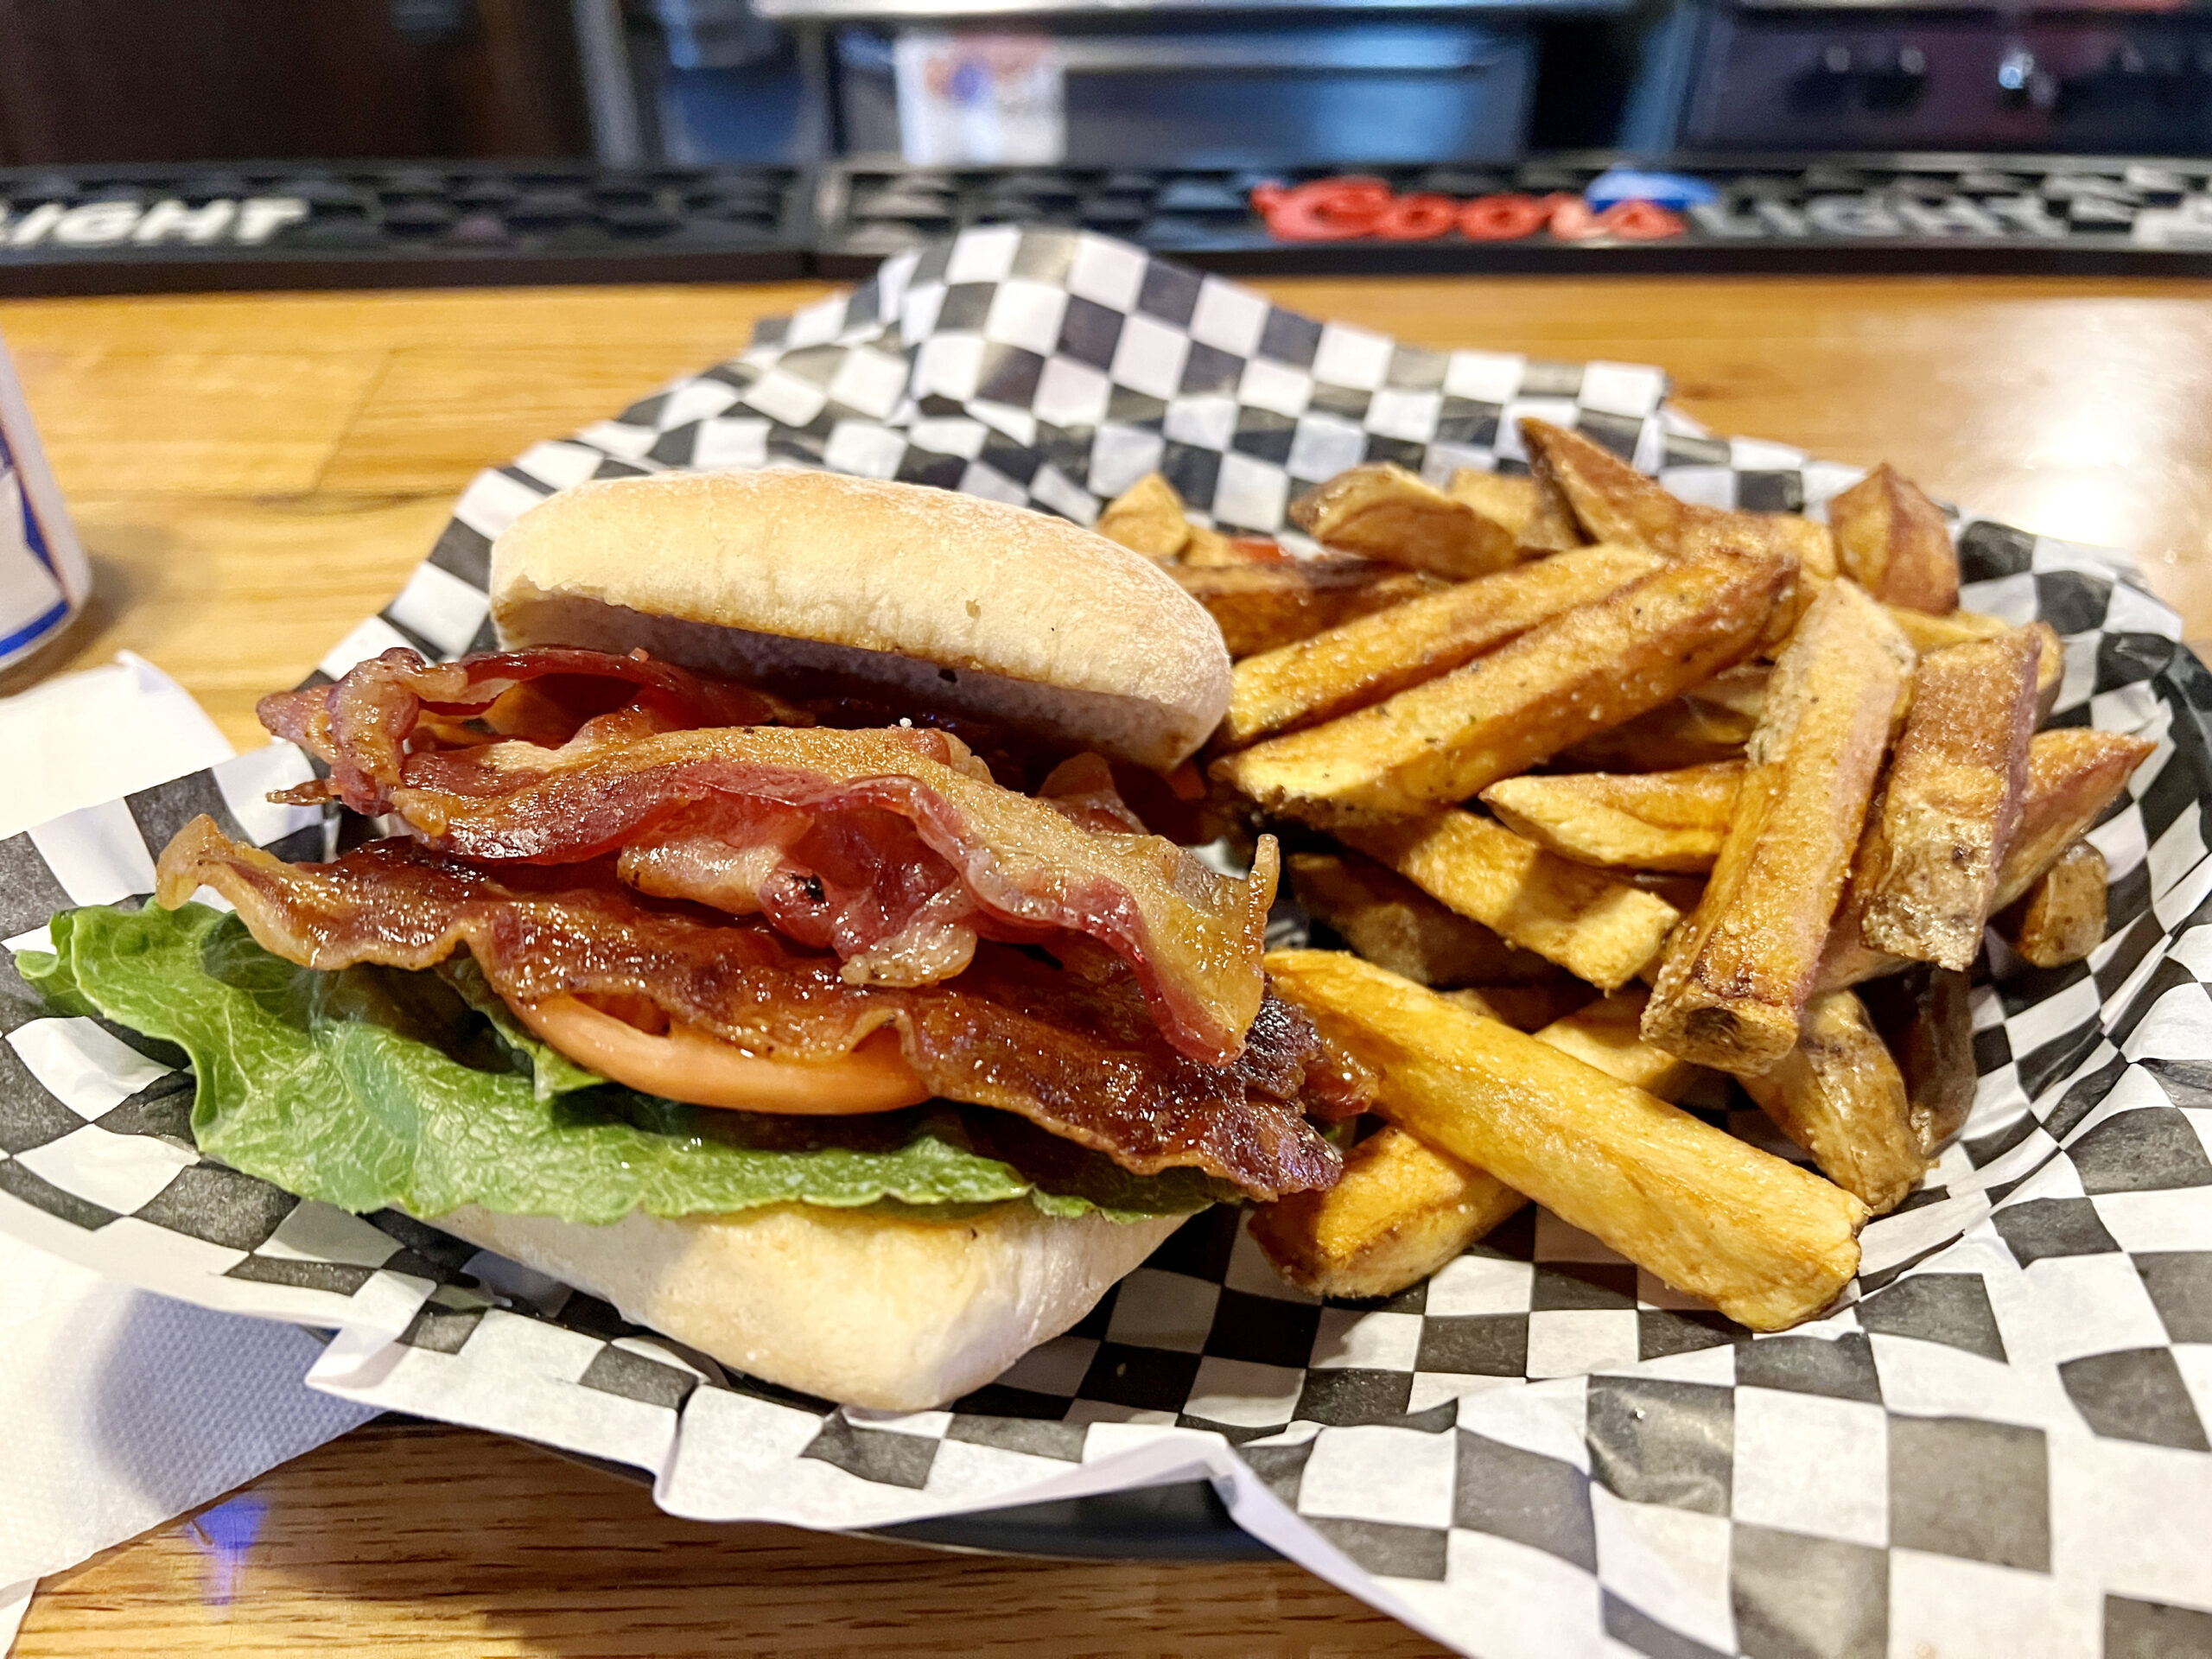 I chose the last open seat at the bar to order a BLT and fries. Packed with Glory Days attendees looking for a bite to eat, I waited about 30 minutes for my meal. Bar-seat diners can watch as staff drops handfuls of fries and appetizers into boiling-hot fryer grease.
 The owner/baker moved to Kansas from Australia, bringing her culinary talents to a loyal following of customers. She prepares a rotating selection of more than 150 cheesecakes sold by the jar.
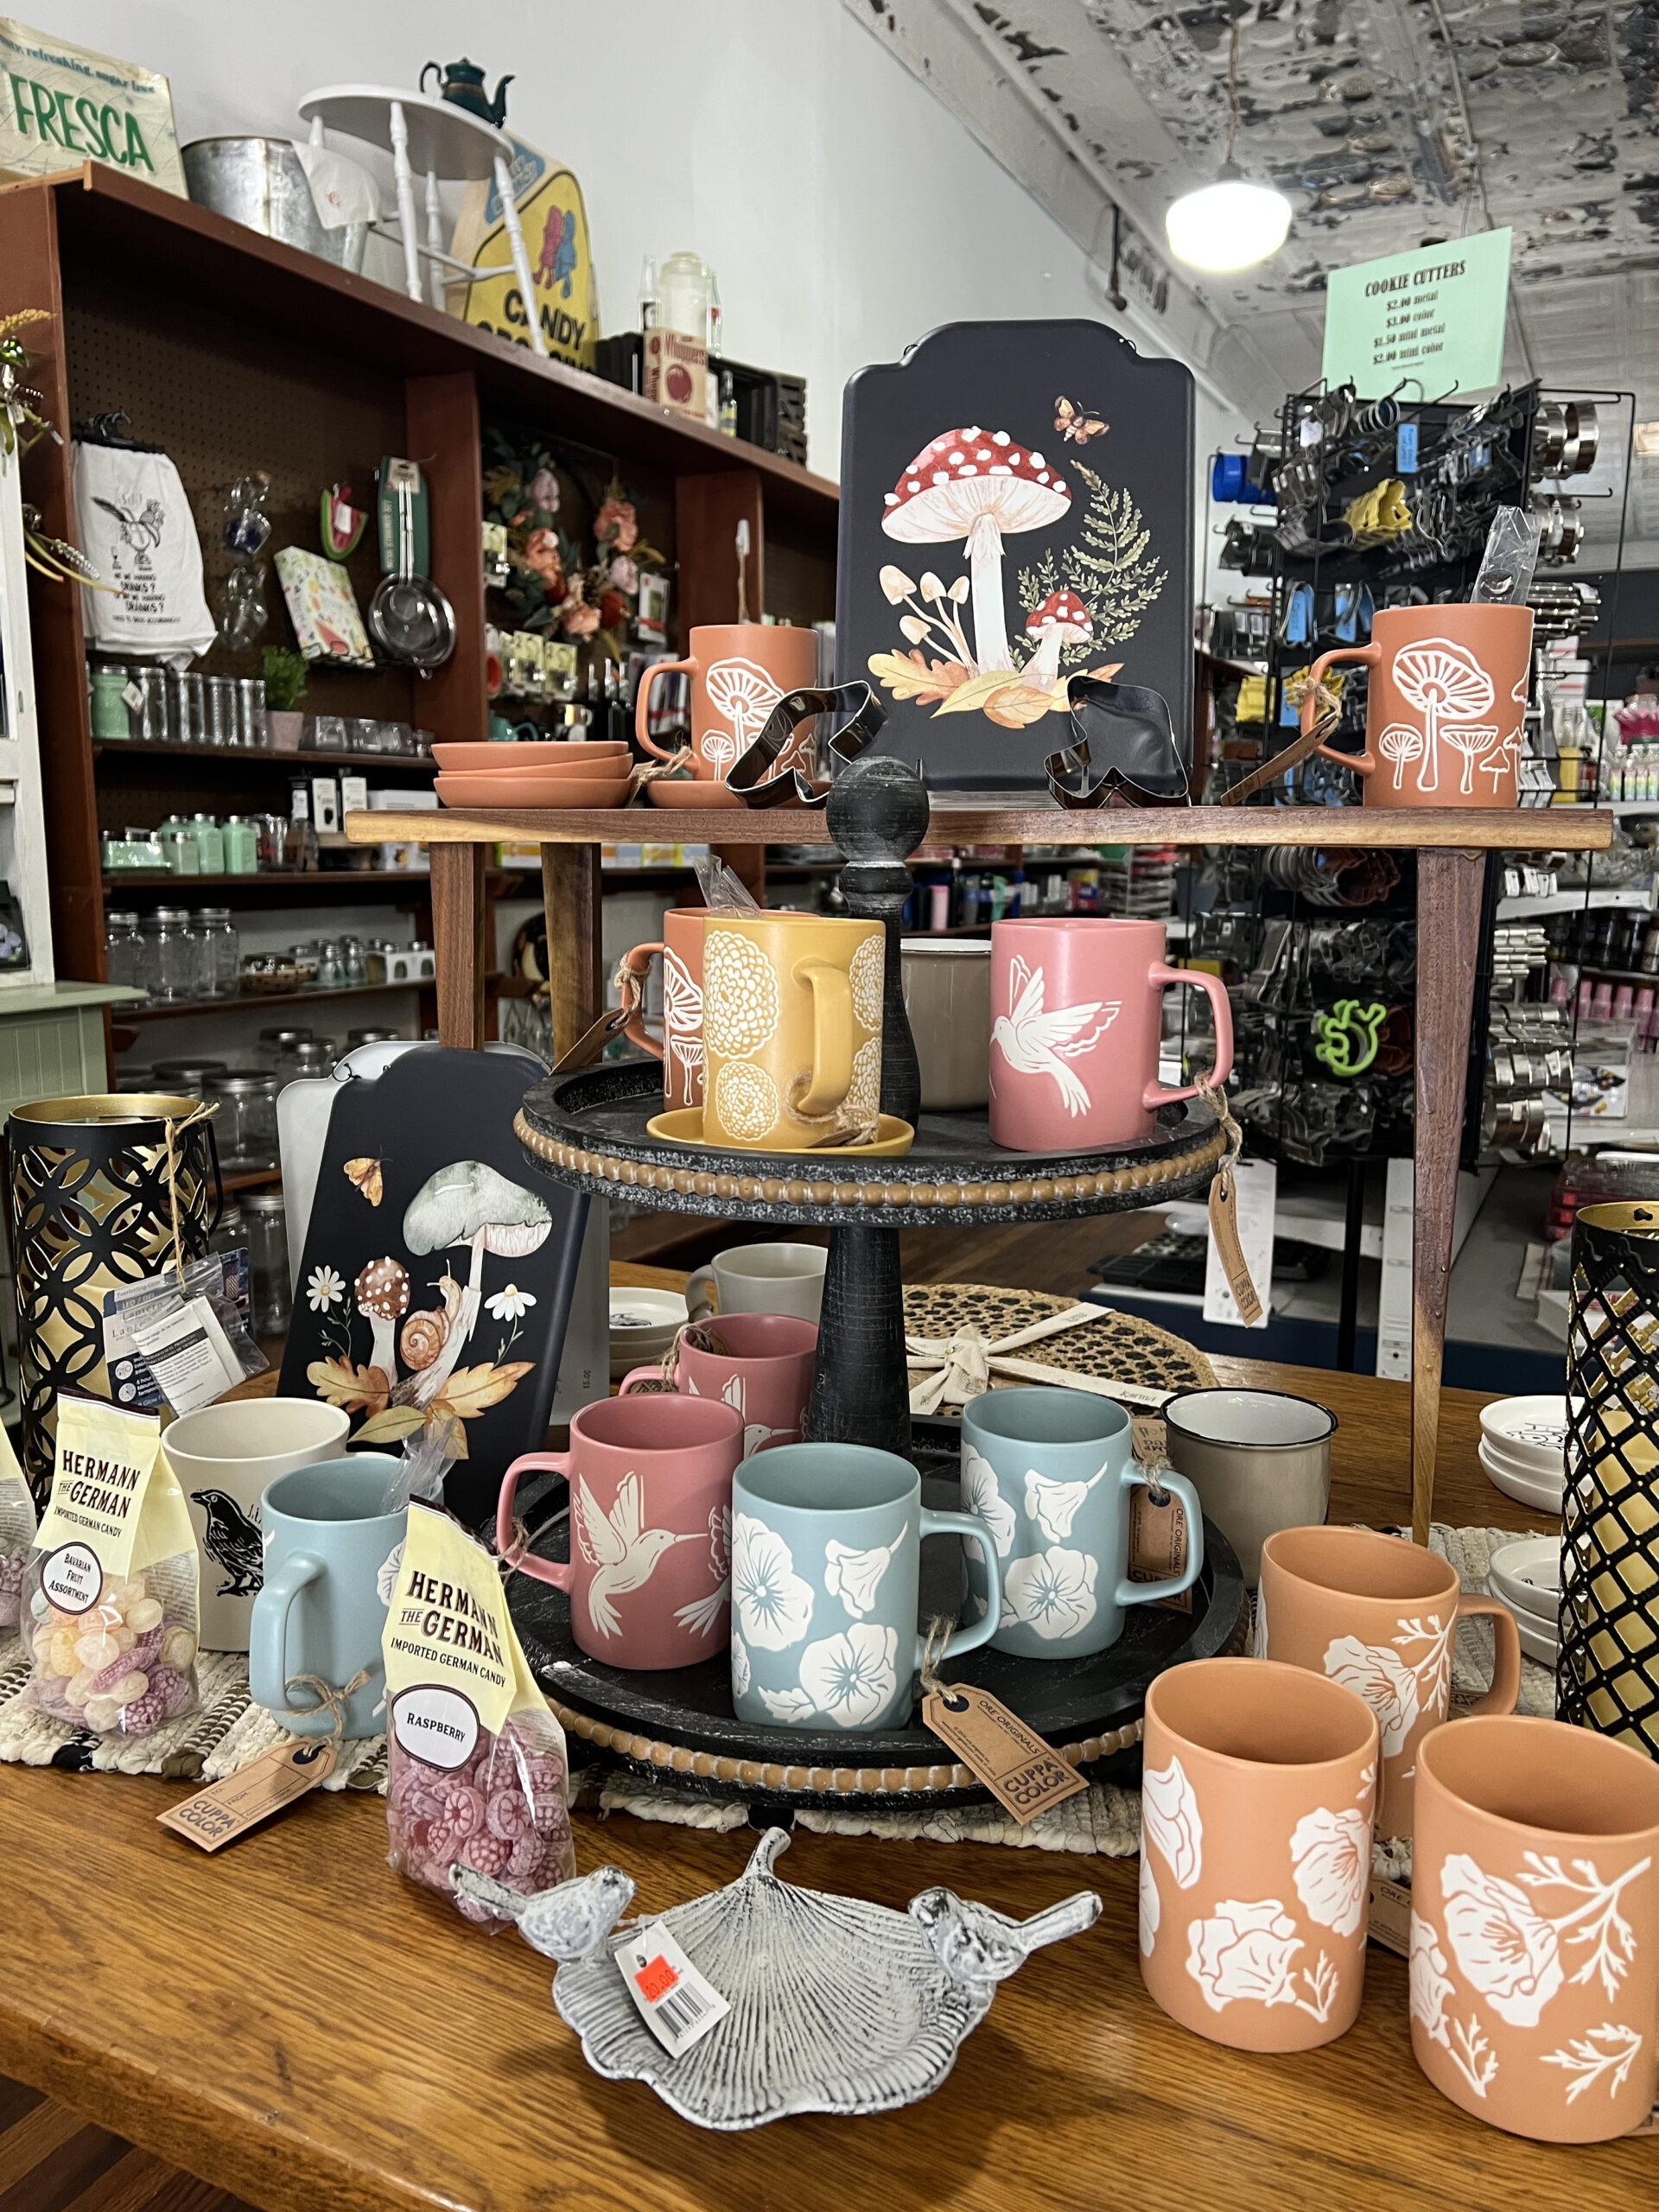 But it’s more than a general store. It’s where locals make memories, from purchasing sweet treats to reserving tuxedos for the high school prom.
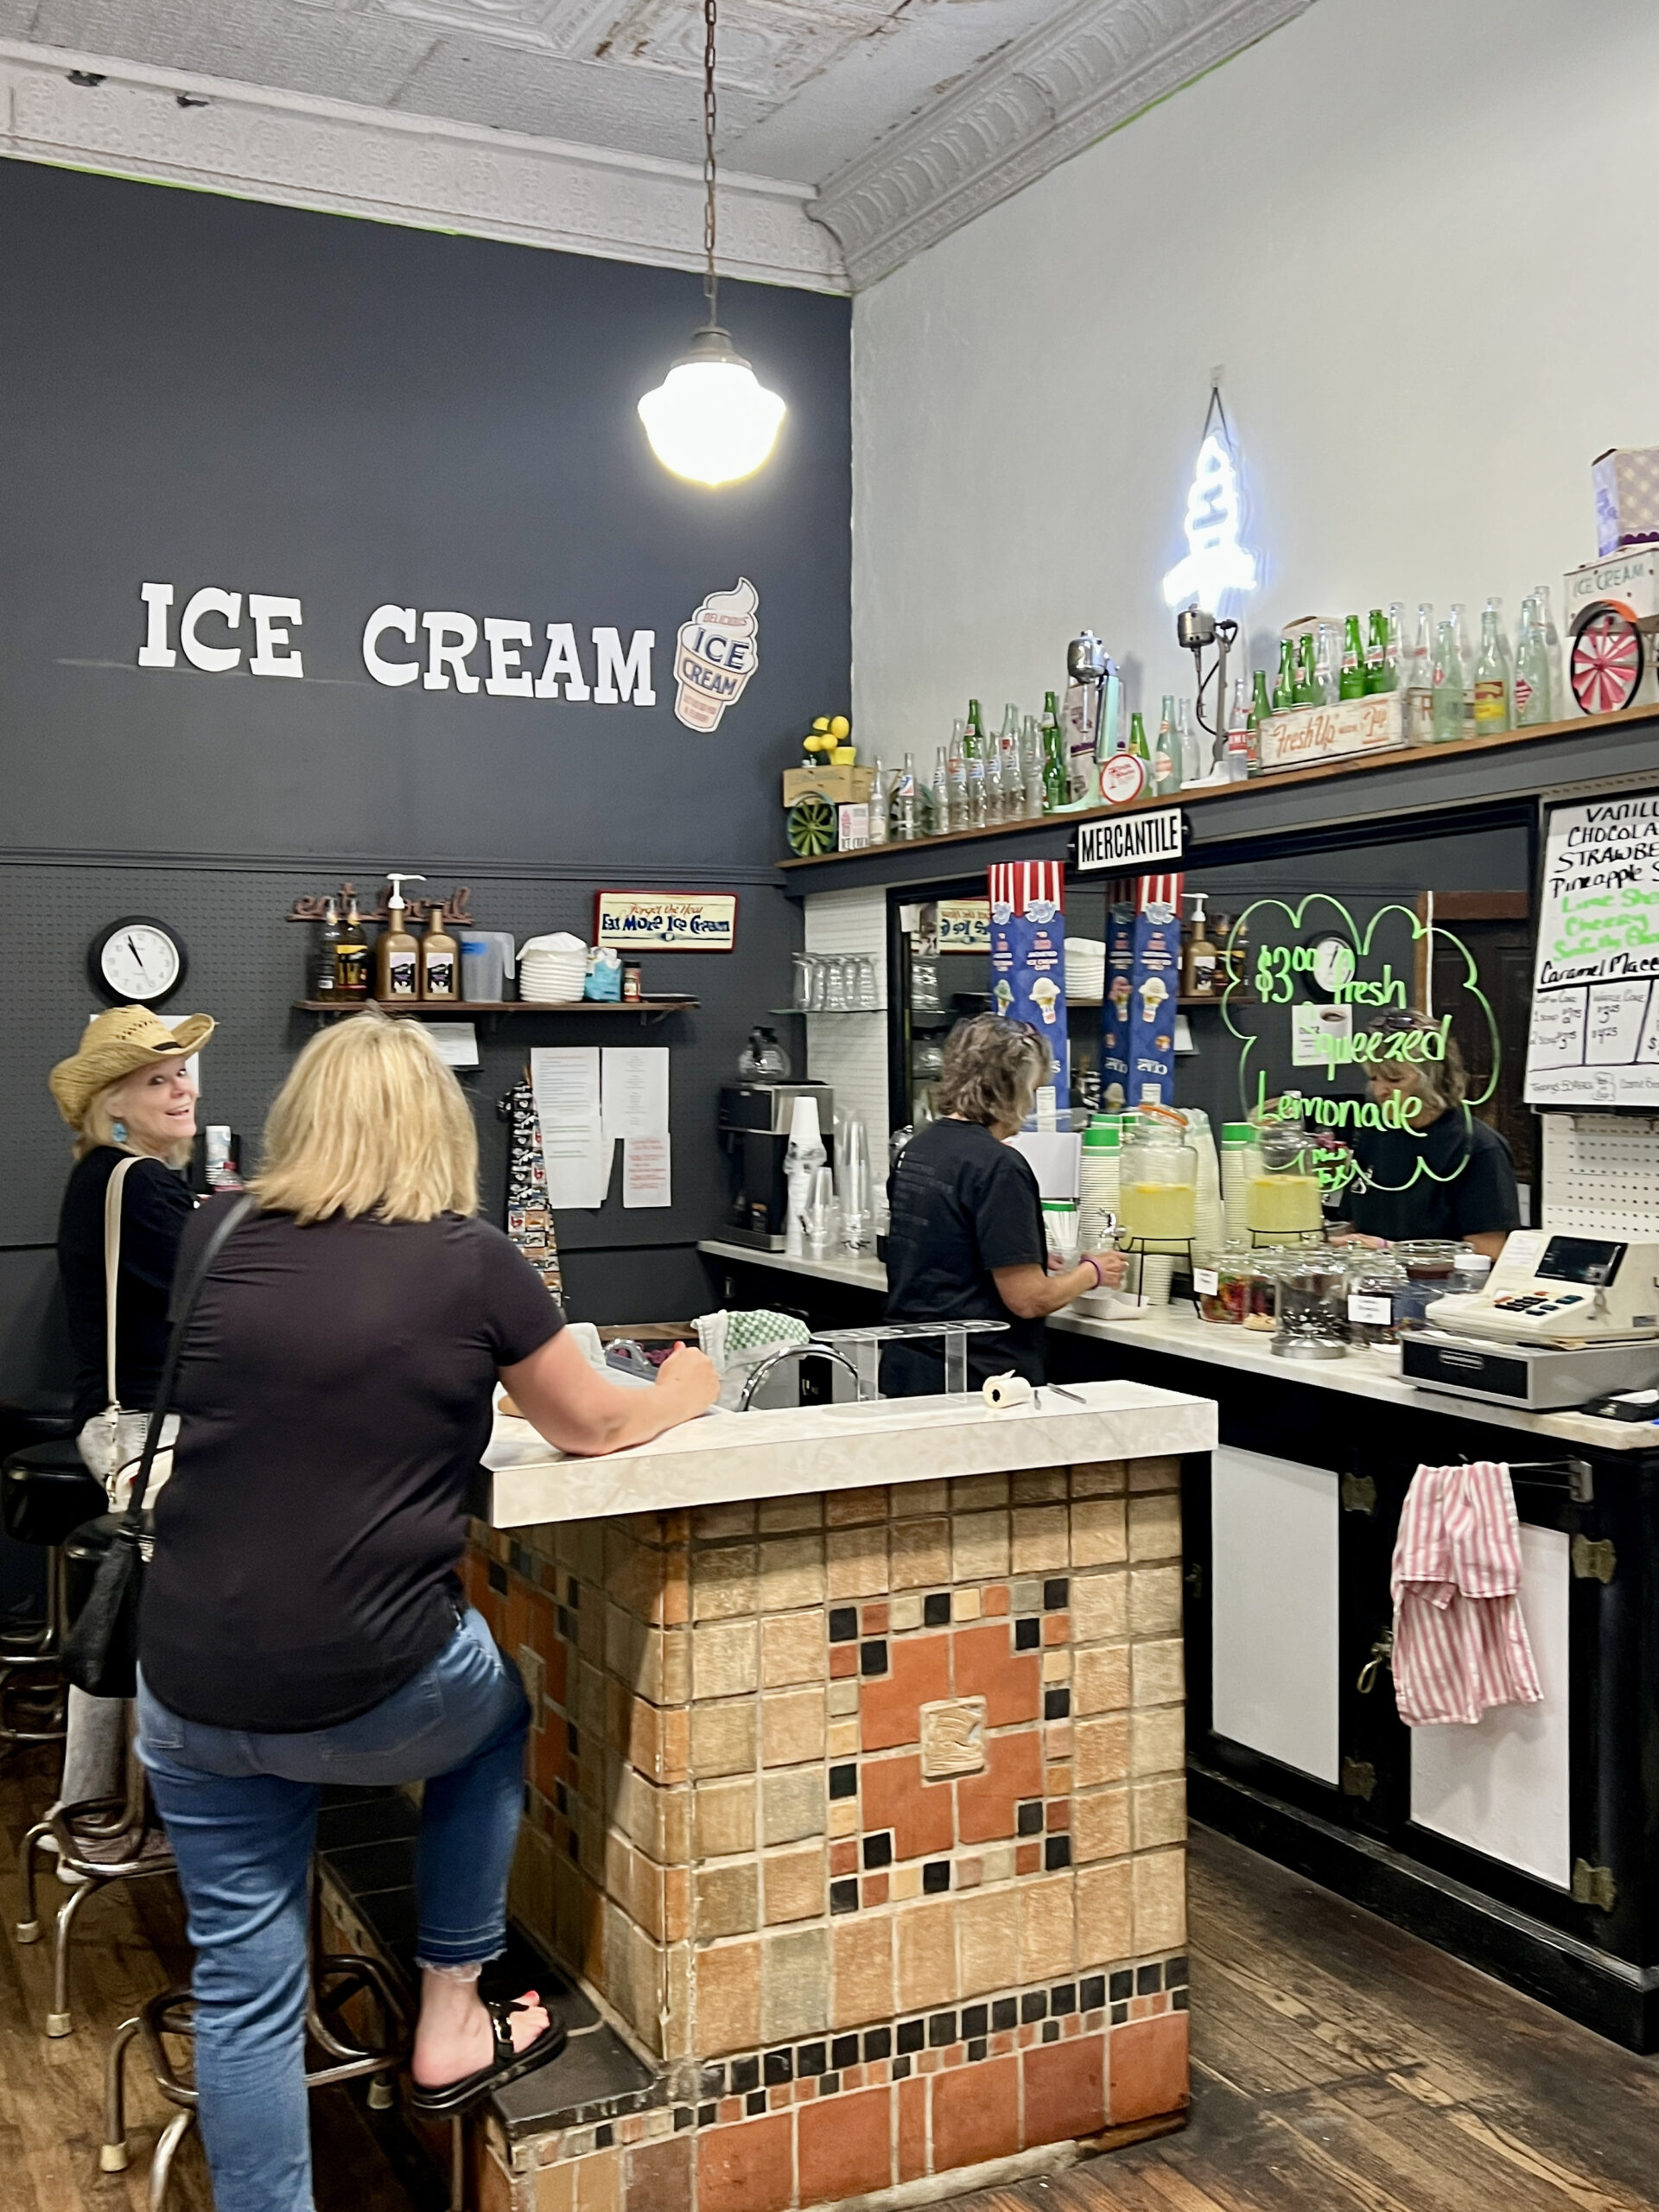 During my visit, I watched as parents pushed strollers and ushered their kids up to the old-fashioned, original ice cream counter to order for them.
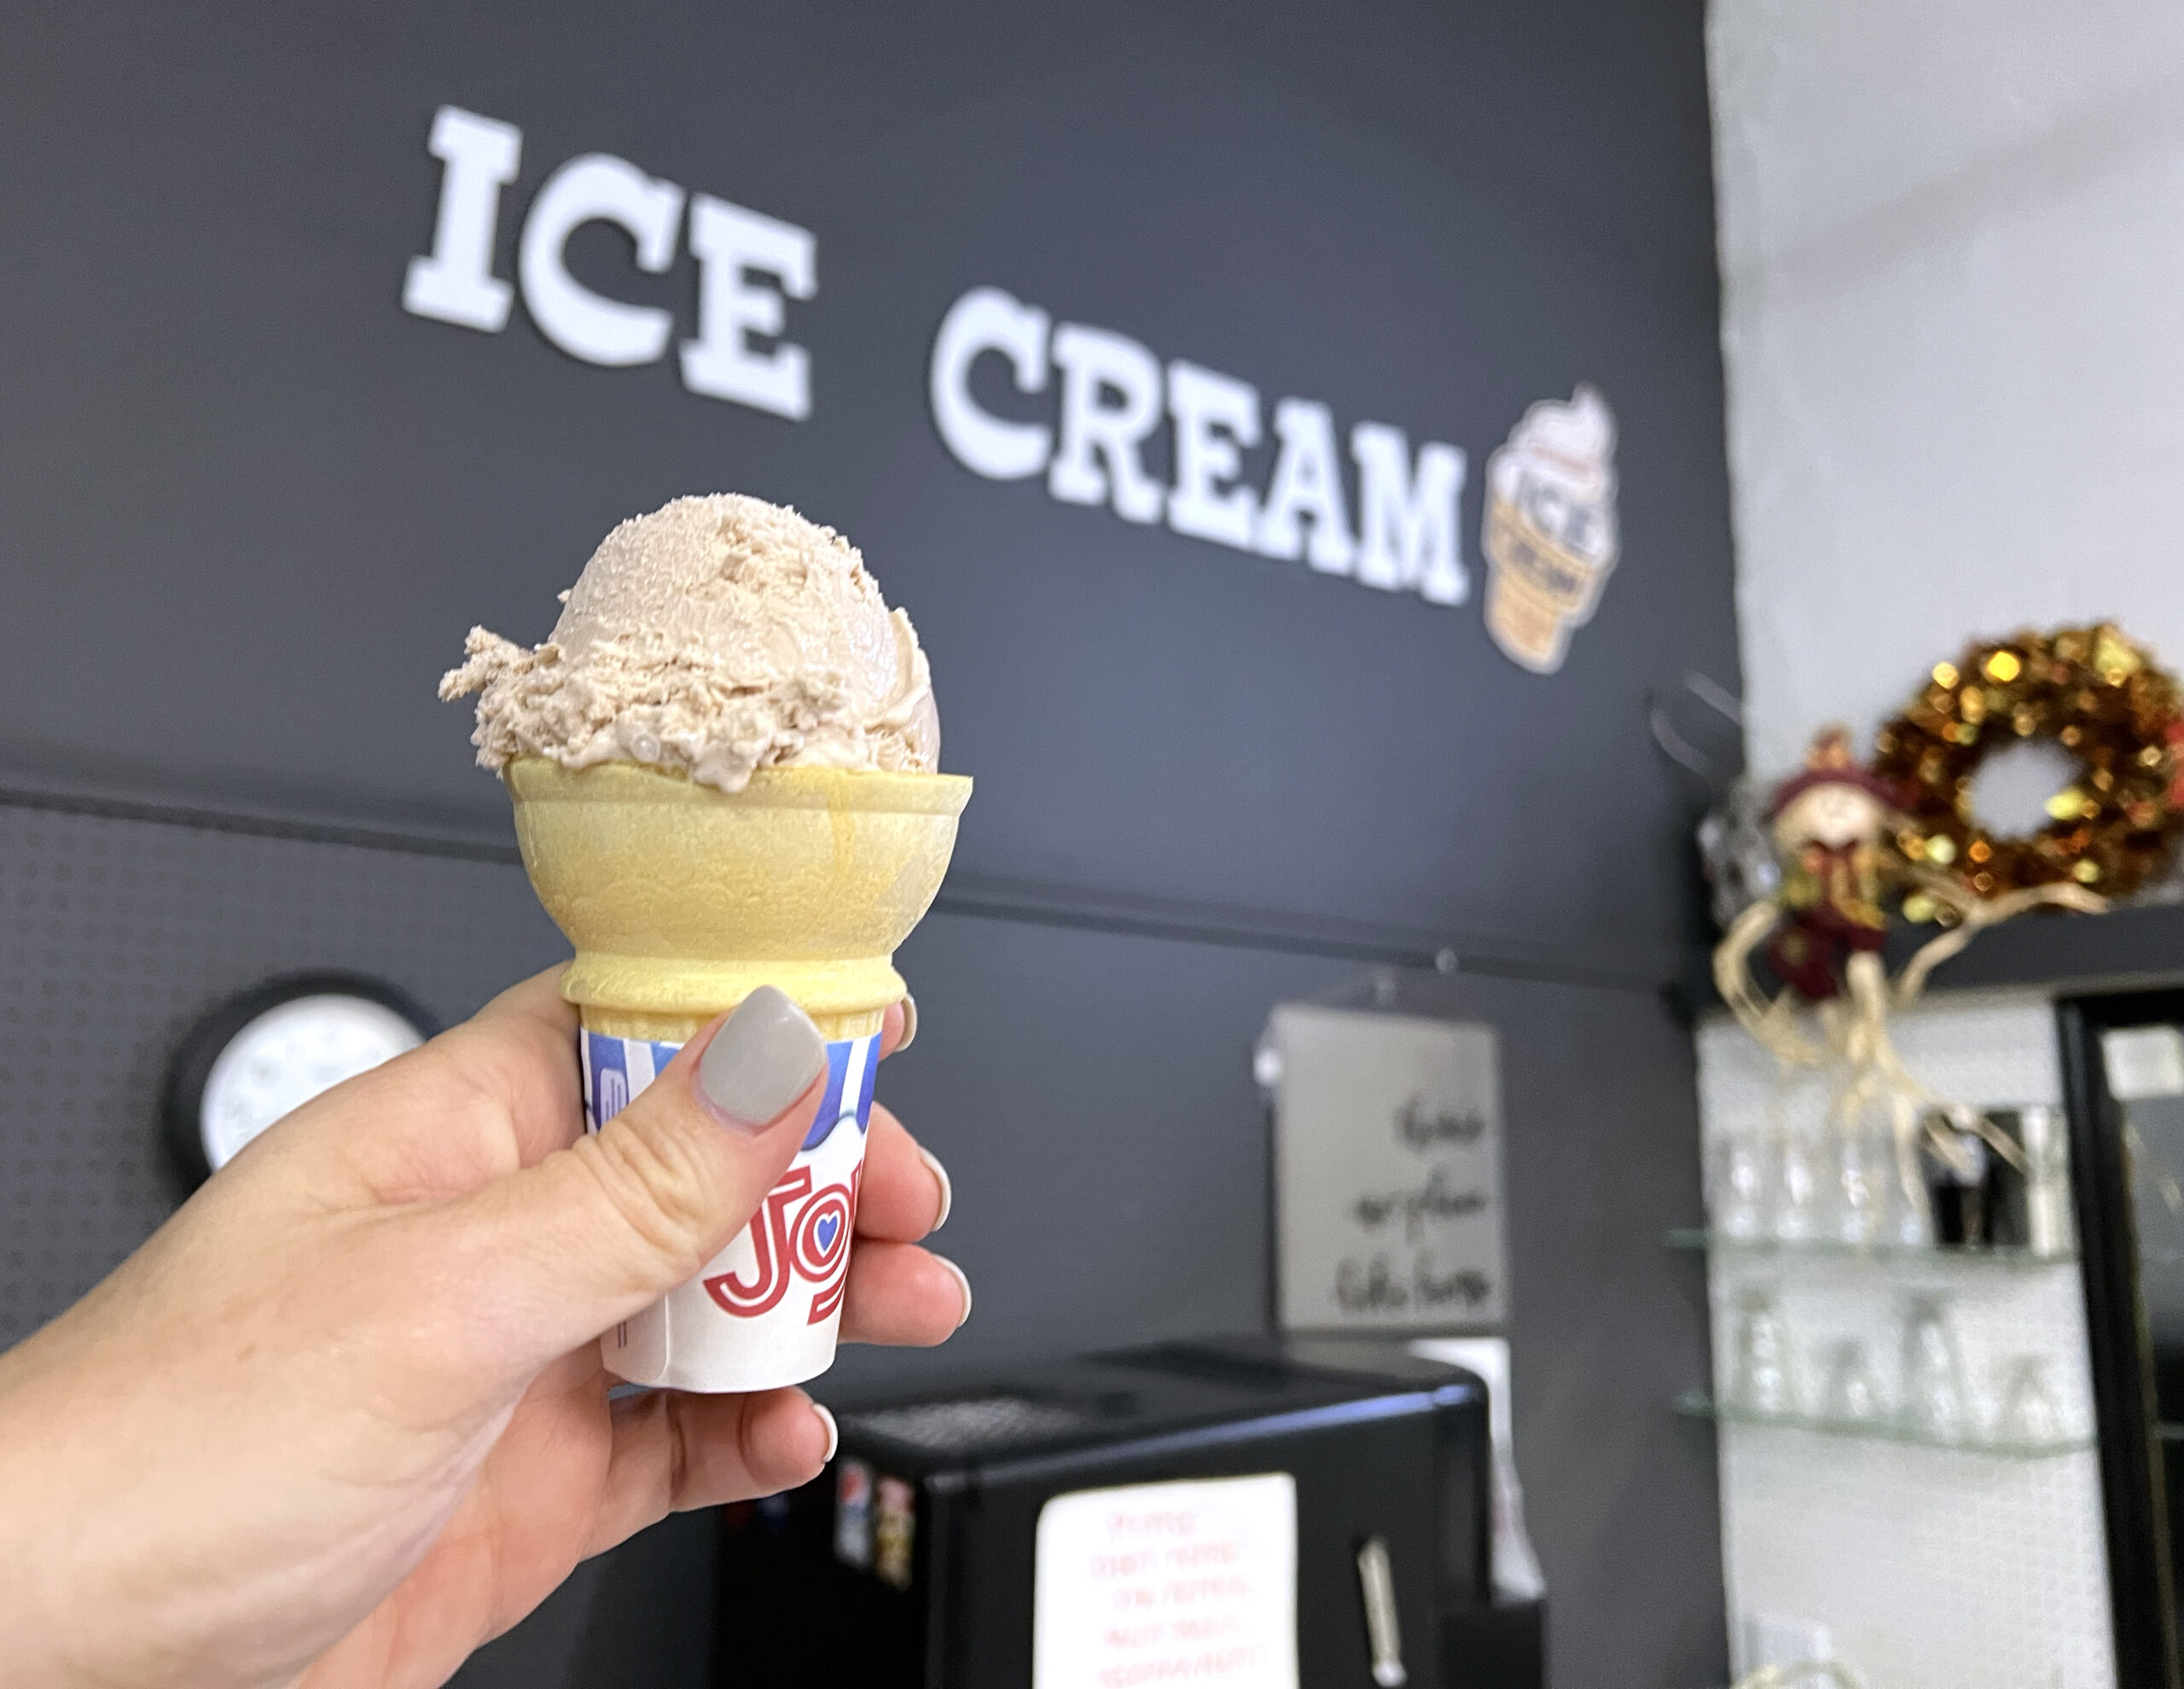 I also spotted kids in the store gleefully looking at the candy shelves and asking their parents for retro candy or premium chocolate bars, which are among the store’s biggest sellers. It’s an after-school drop-by spot for kids who want to buy bulk candy on their way home.
 Holton Mercantile is a mainstay, dating back decades. You’ll appreciate the building’s original floors and tin ceiling. Go for the nostalgia, the ice cream, and shop the store’s inventory to support local.
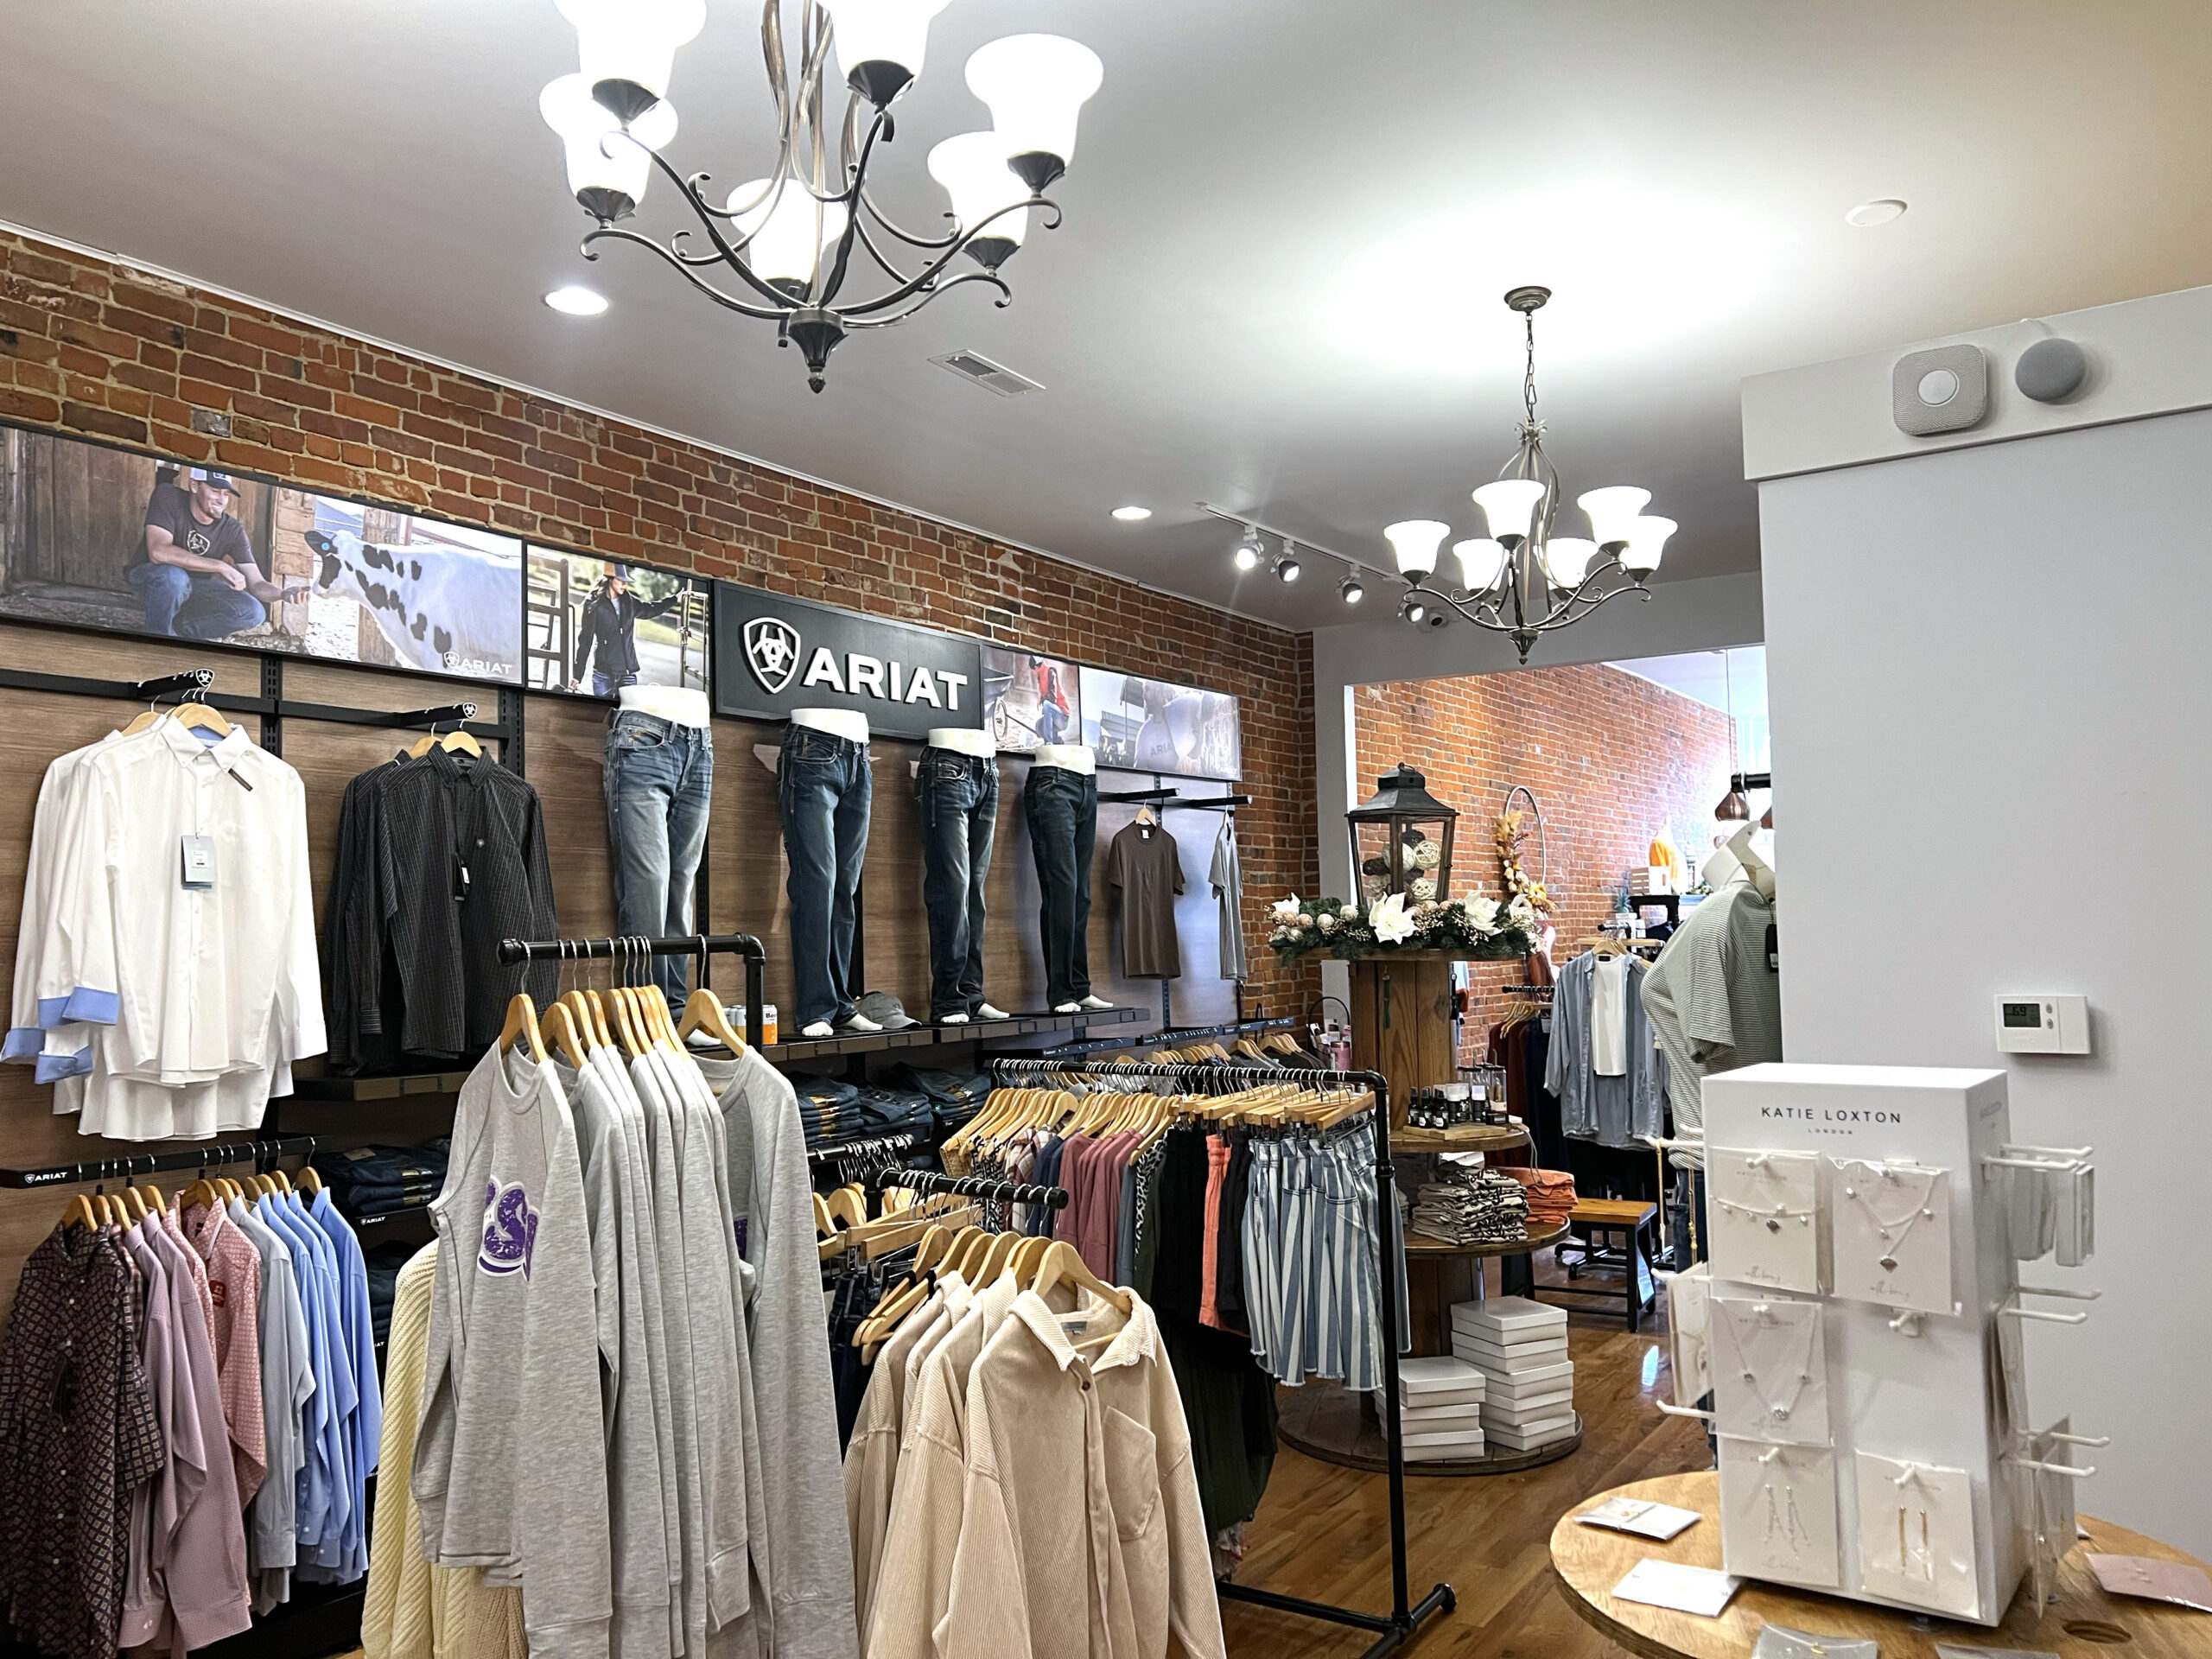 Shoppers earn discounts if they sign up for the “Text Club” and are willing to ship items via USPS to you. If you join their rewards membership, you earn one point per pre-tax dollar you spend.
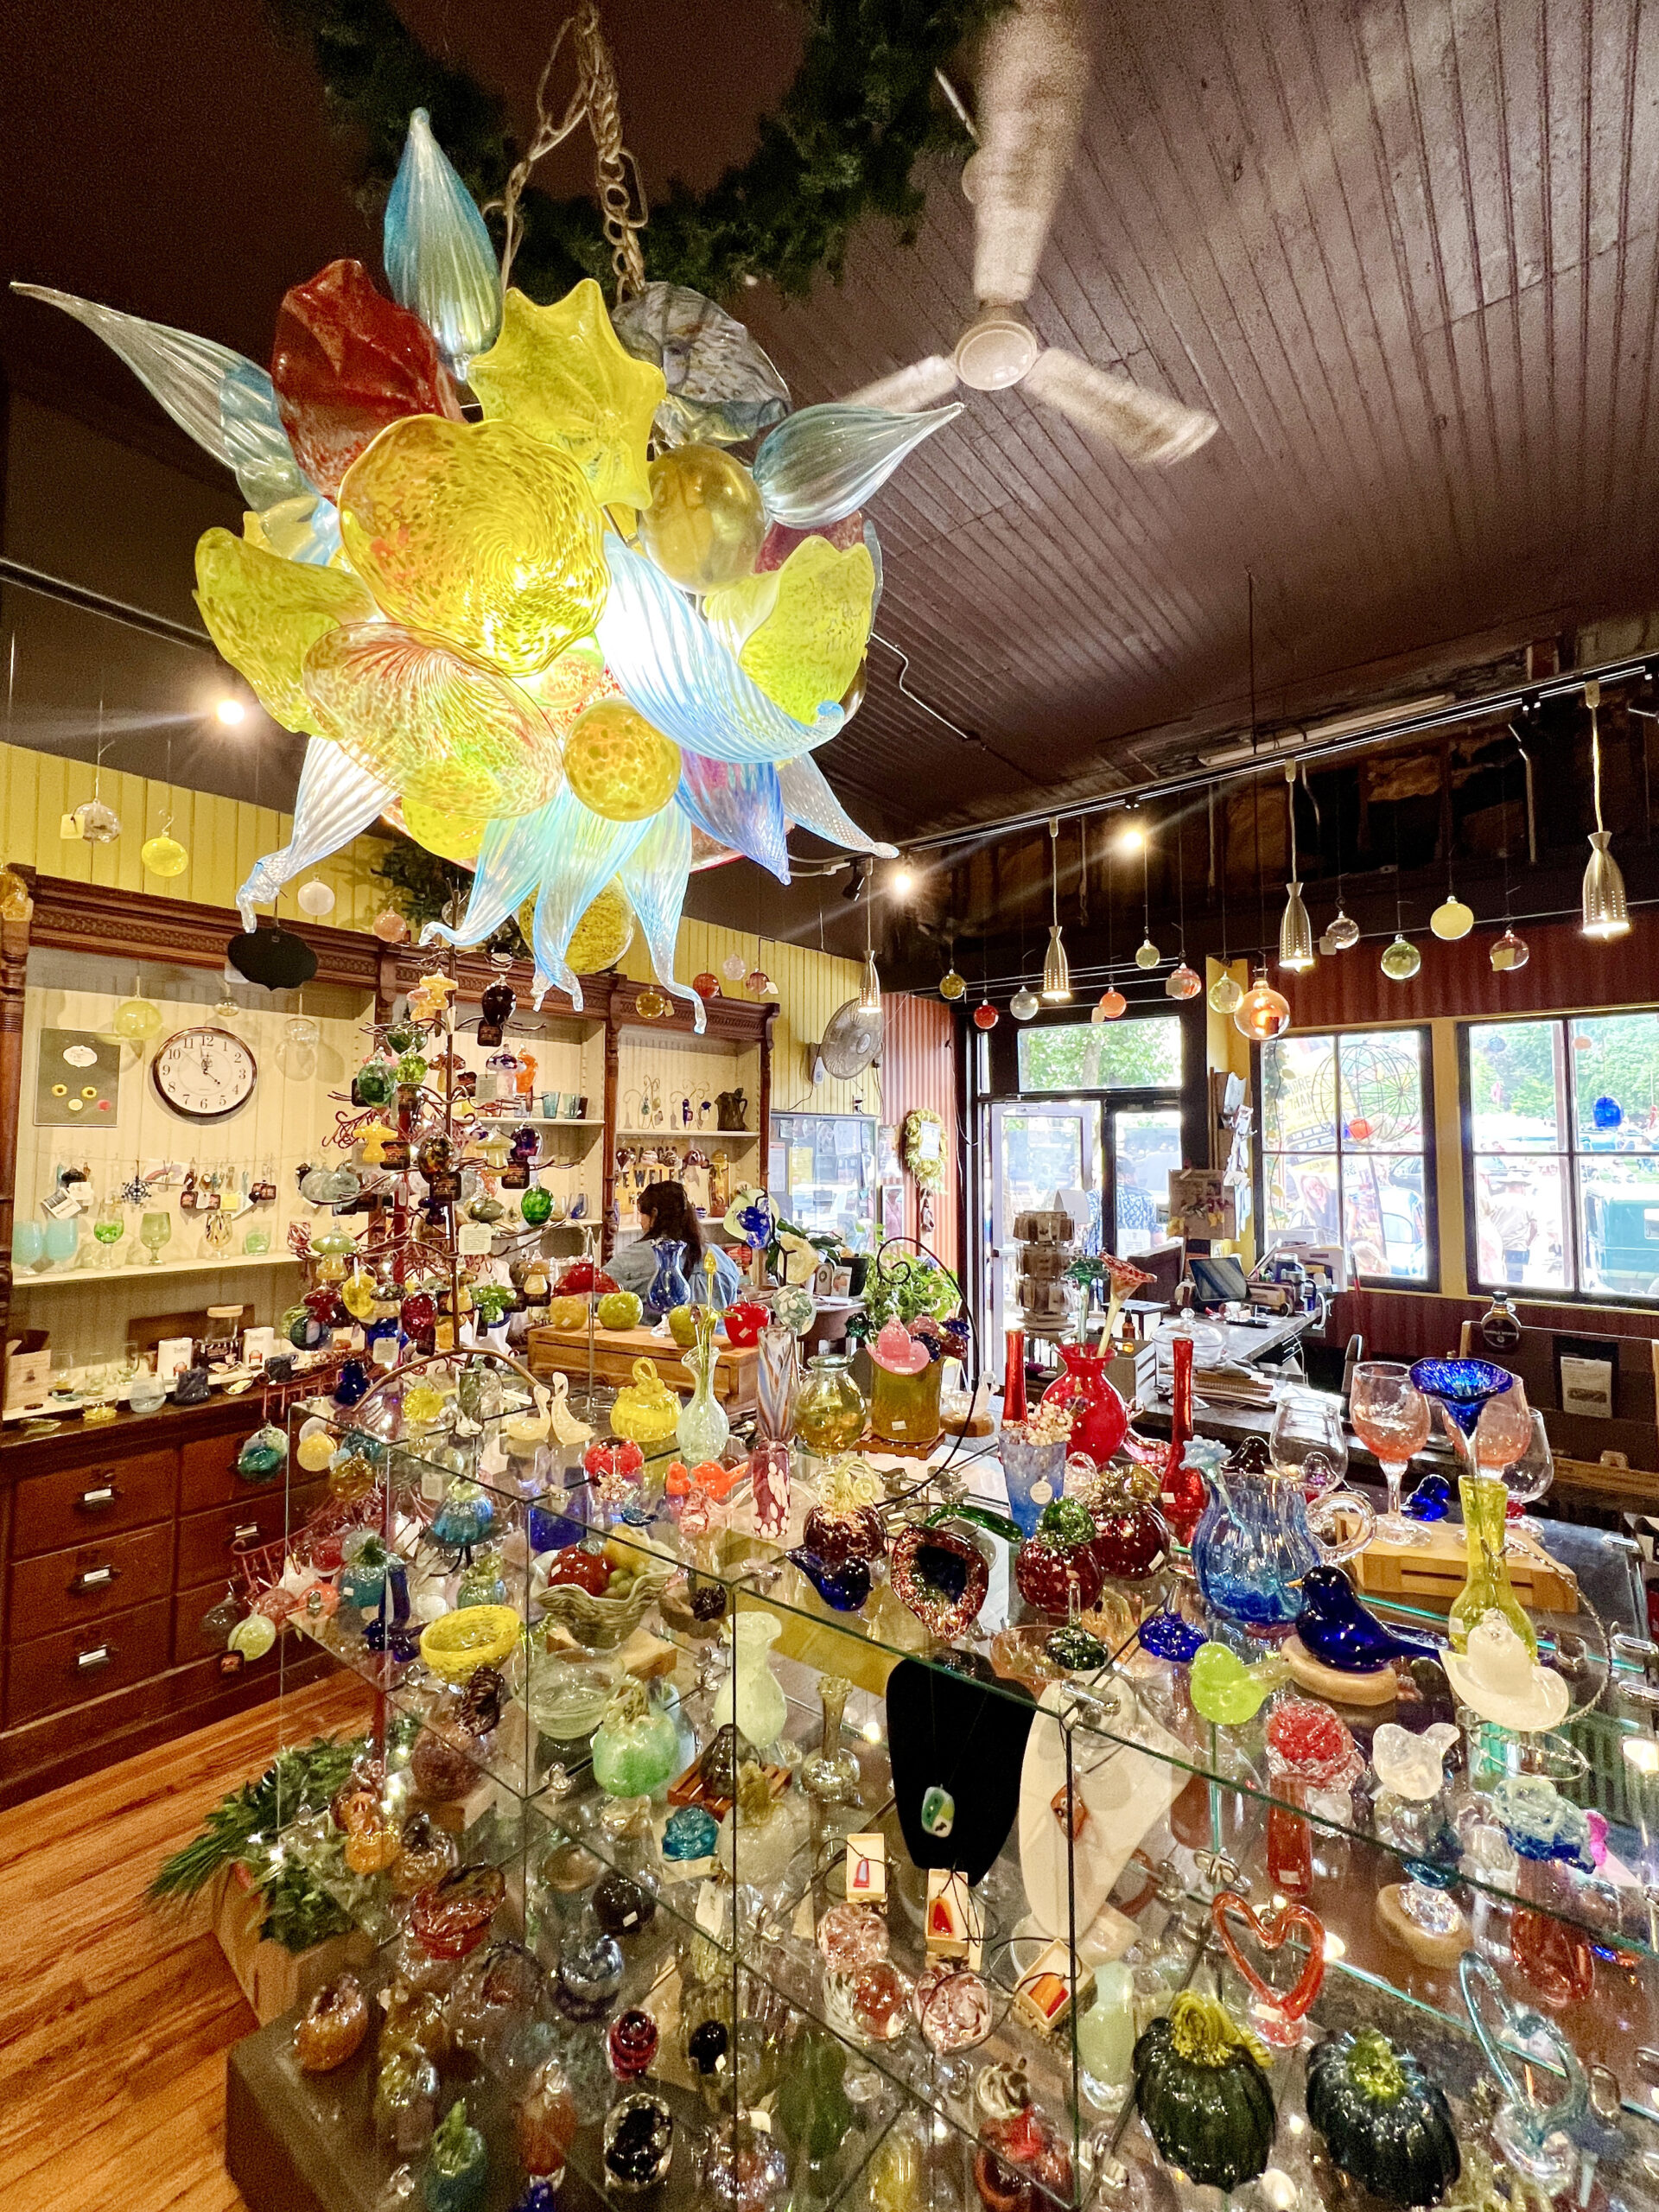 Glass orbs hang from delicate strings on display. The sunlight through the store’s windows shines through pretty paperweights and beams through bowls and colorful vases.
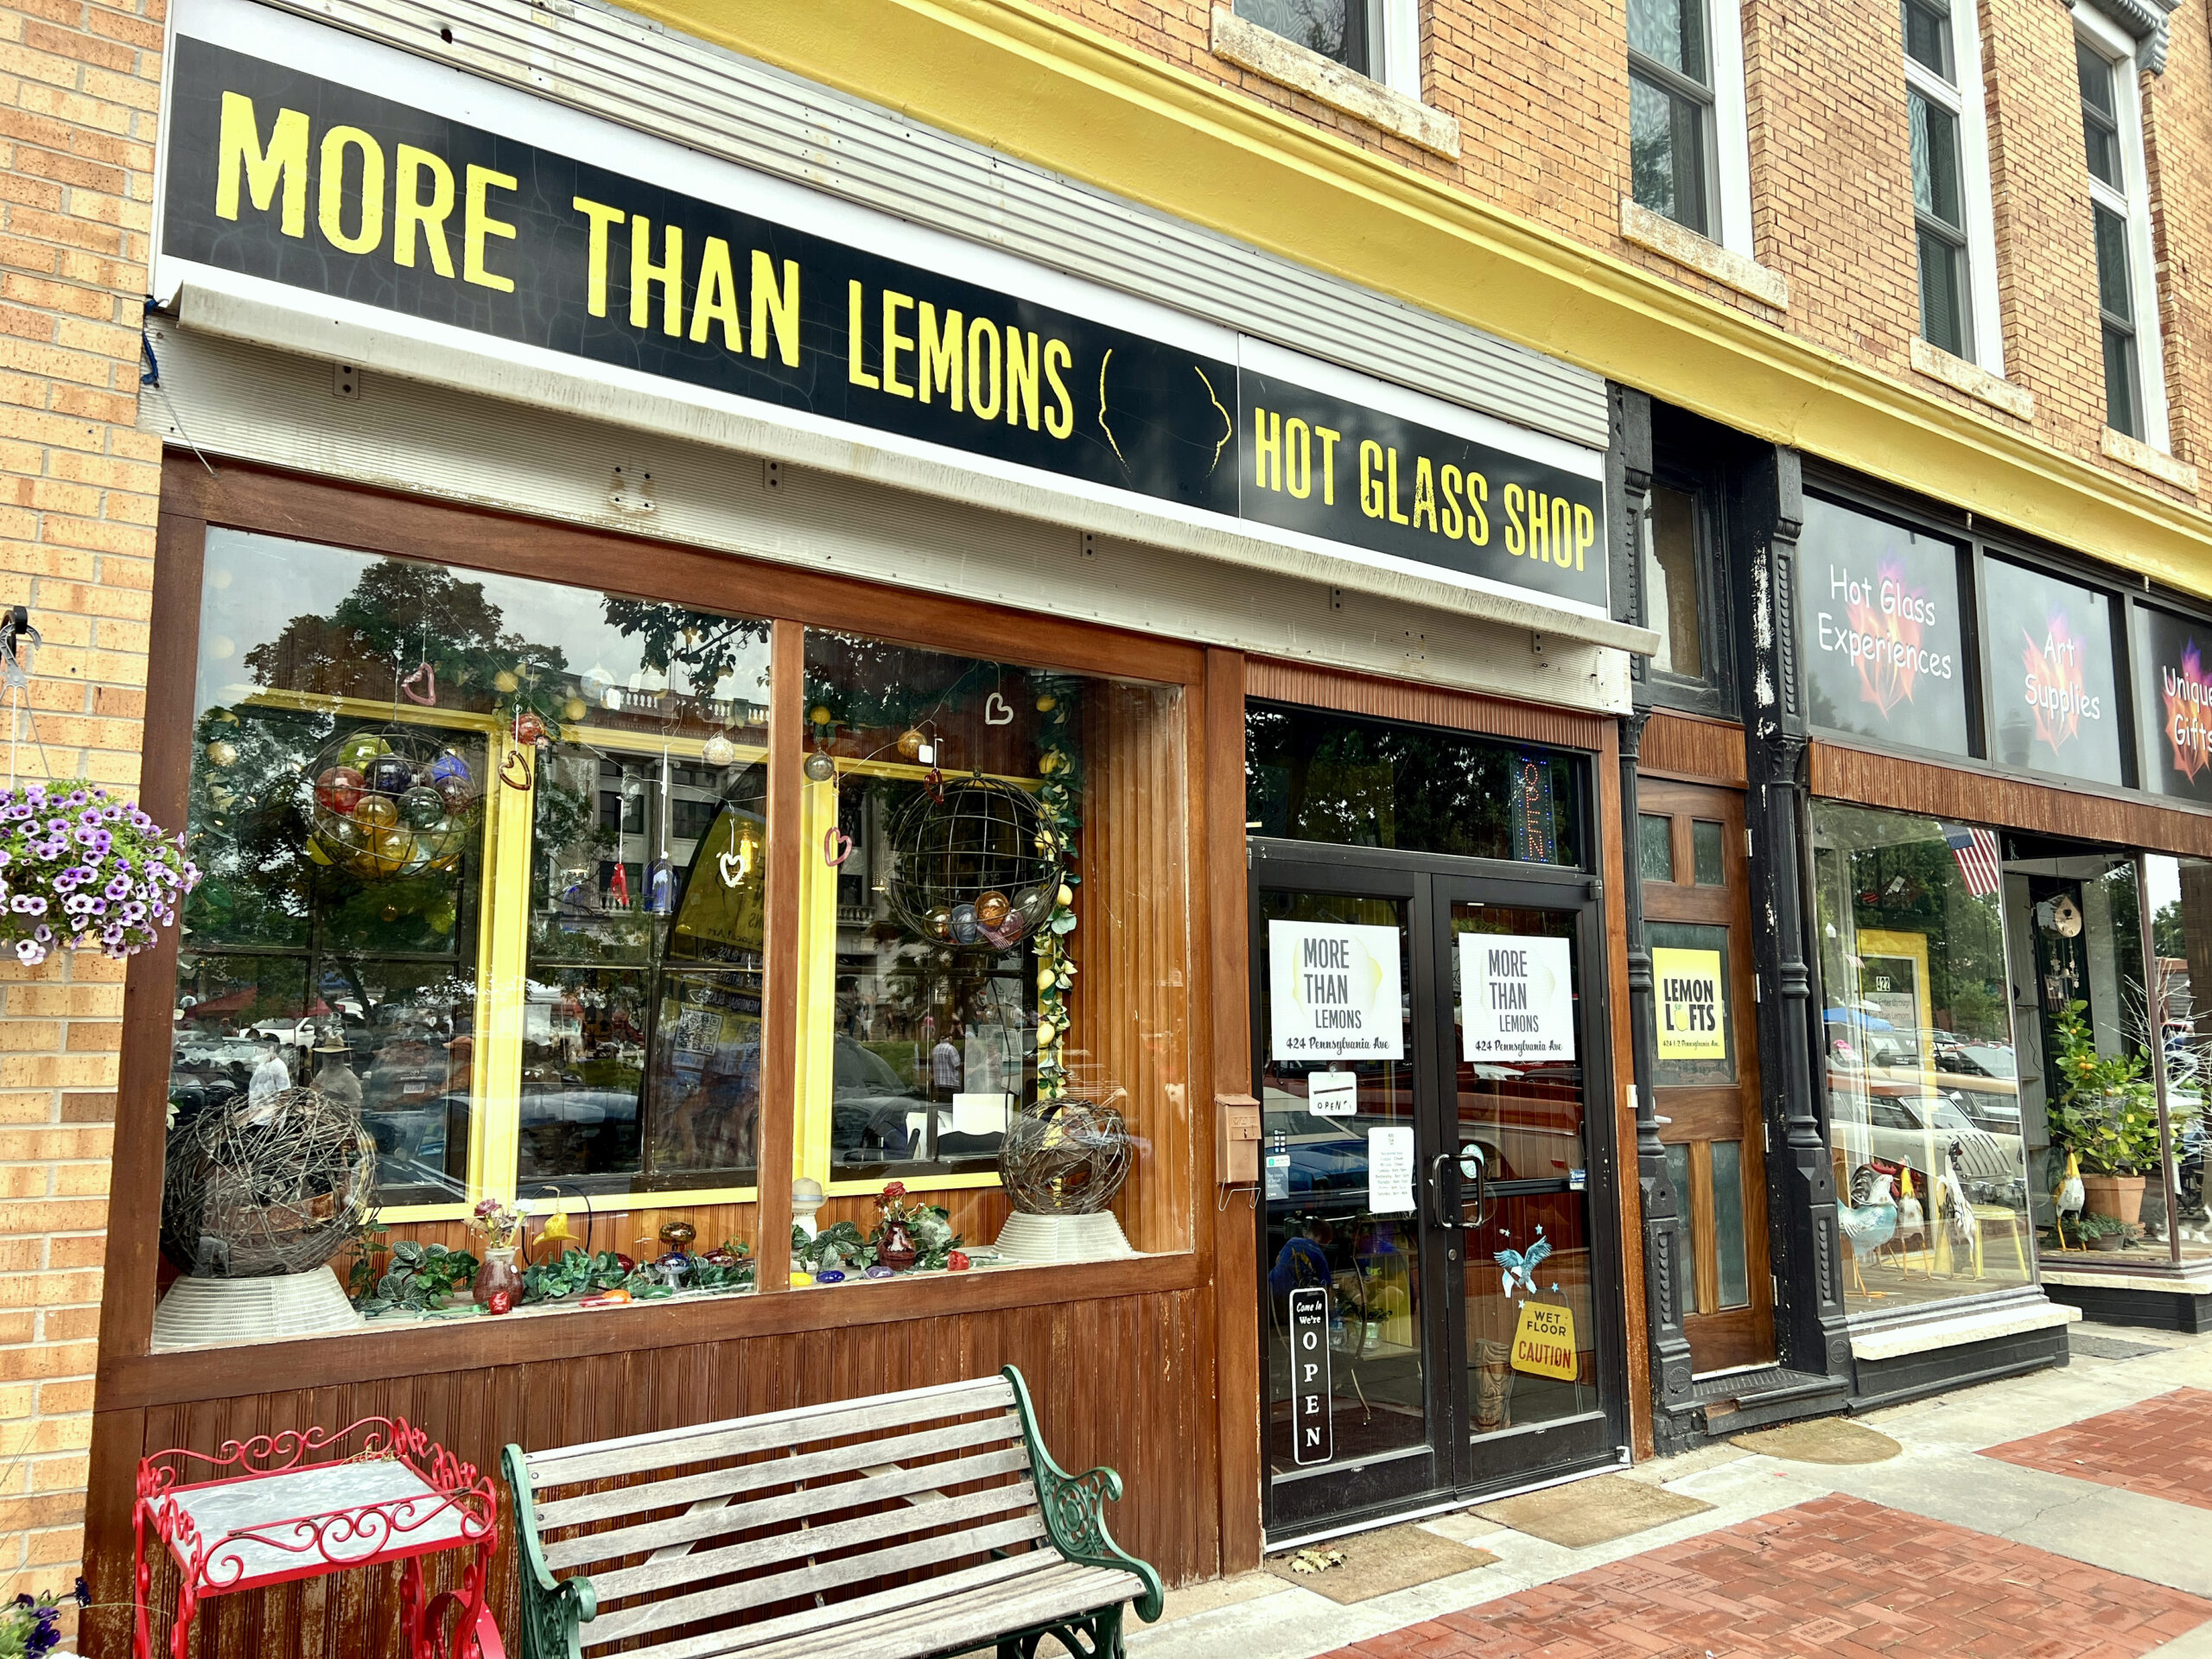 PRO TIP: Check the More Than Lemons
  Displays of battery-operated candles flicker from store shelves nestled next to beautiful plates and framed art. Love the table or the armoire? It’s probably for sale. Seeking Kansas-inspired artwork? Check out Triple B Hilltop Farm’s items.
 At the front of the store, I spied a pop-up floral display with fresh, locally grown flowers for sale on the day of my visit. Jewelry, handbags, and some body projects were displayed near the register.
 In addition, you’ll discover more Kansas-made products, from home decor to packaged specialty foods, on display. You’re bound to want a canister of hot chocolate mix, apple butter, or bread mix.
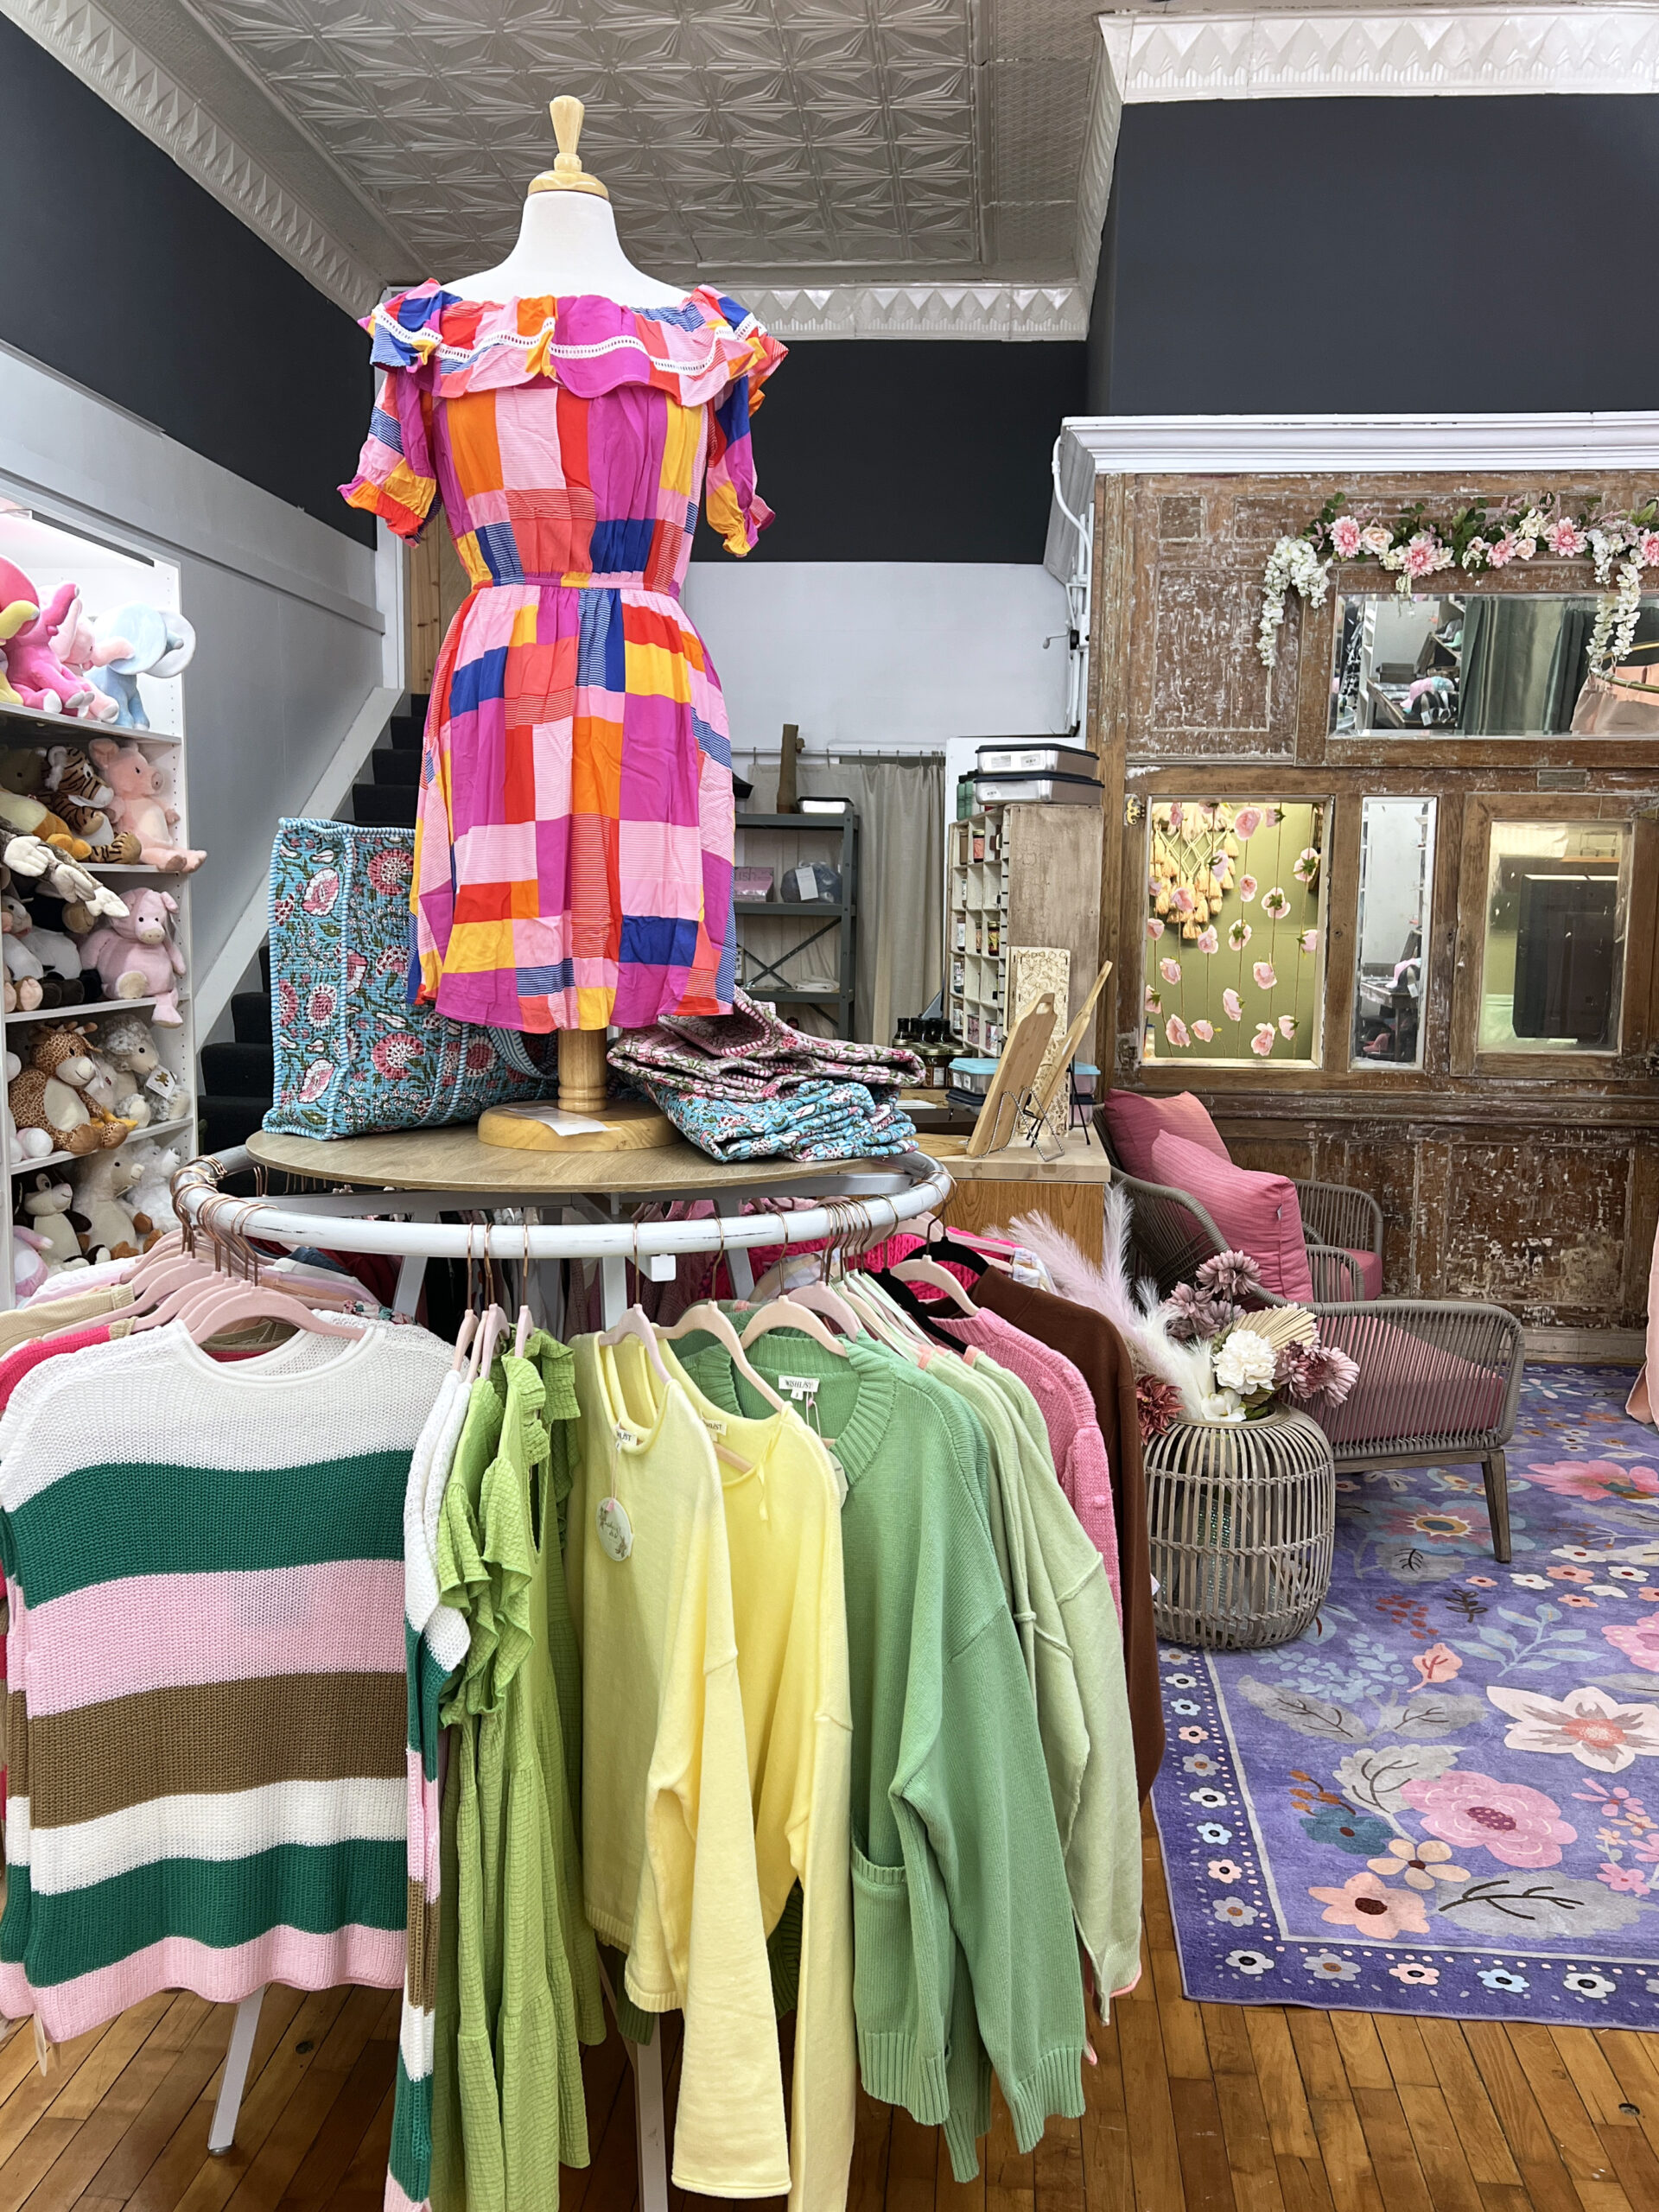 Nearby women discussed accessories as I shopped the rear of the store, which displayed children’s plush toys and clothing and accessories for girls who love pattern and ruffled dresses.
 Rows of all-natural dietary supplements and essential oils line store shelves. T-shirts, hair accessories, jewelry, and Natural Life® gift items can be purchased to create a gift basket for someone you appreciate.
 The inventory consists of twenty-two vendors’ hand-curated antiques, and like me, you’ll find yourself wandering from room to room in search of a nostalgic item that triggers a memory.
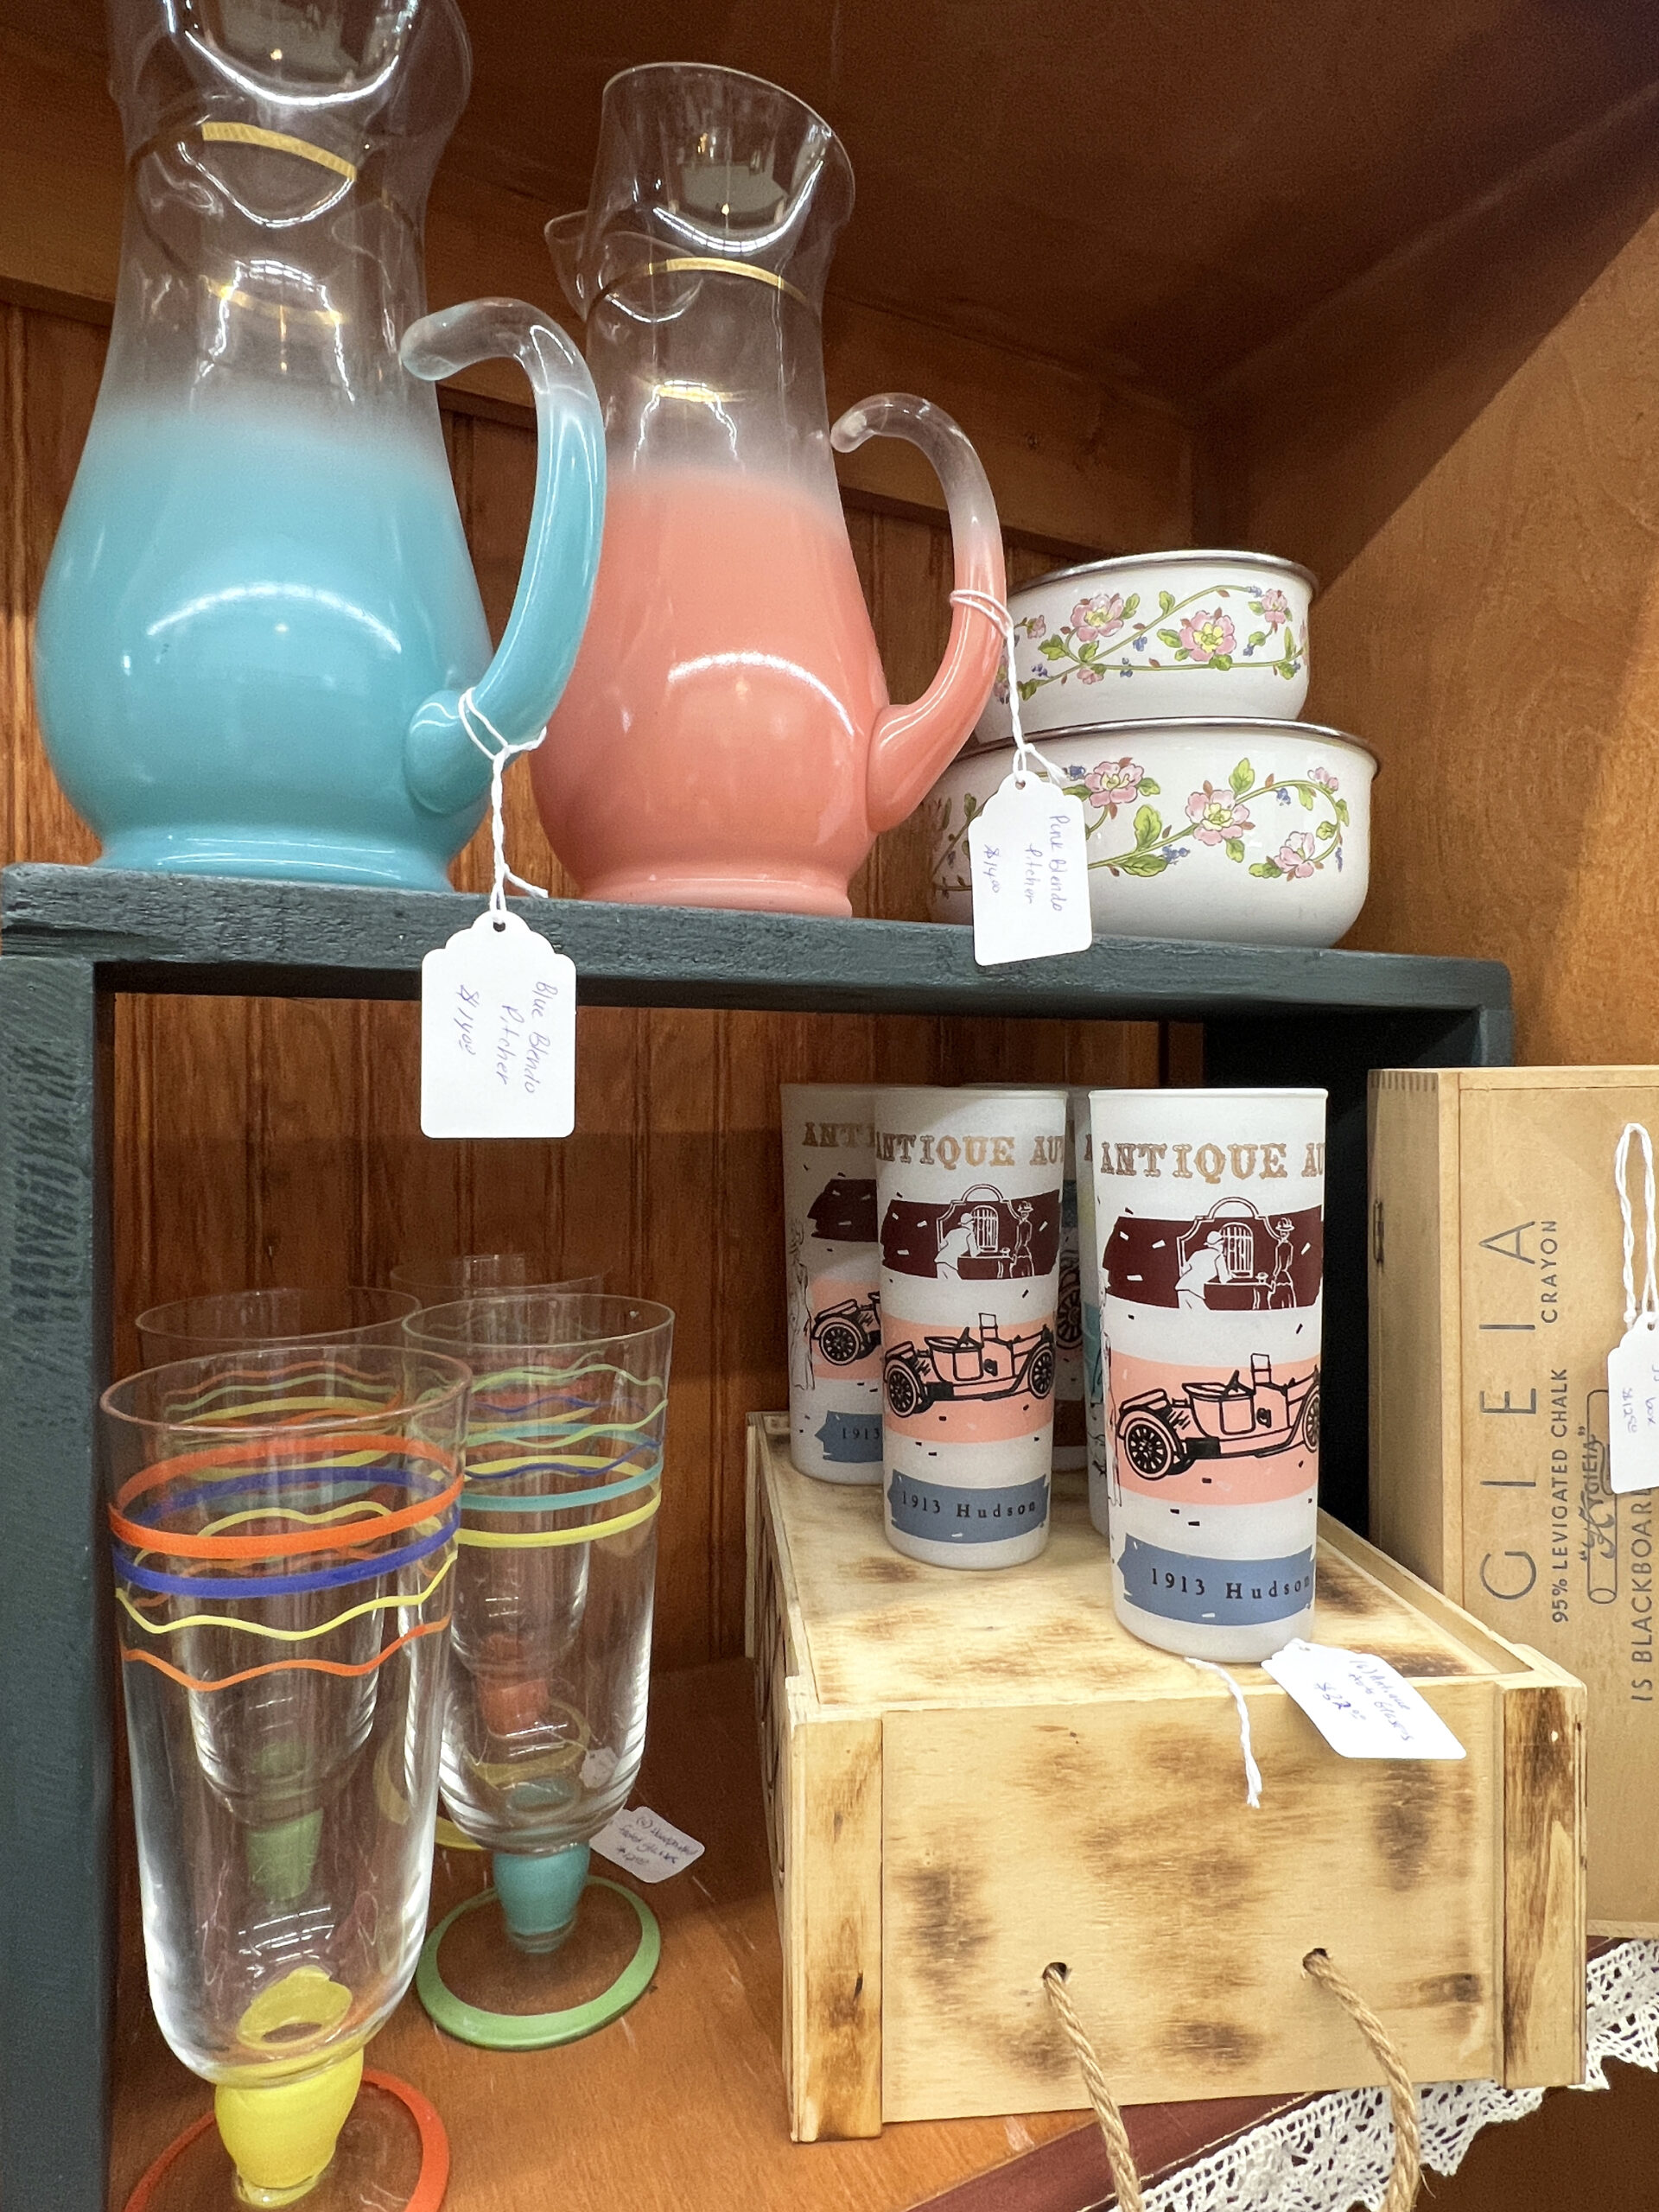 PRO TIP: Road-trippers will want to view the stairway covered in vintage license plates, a photo-worthy backdrop.
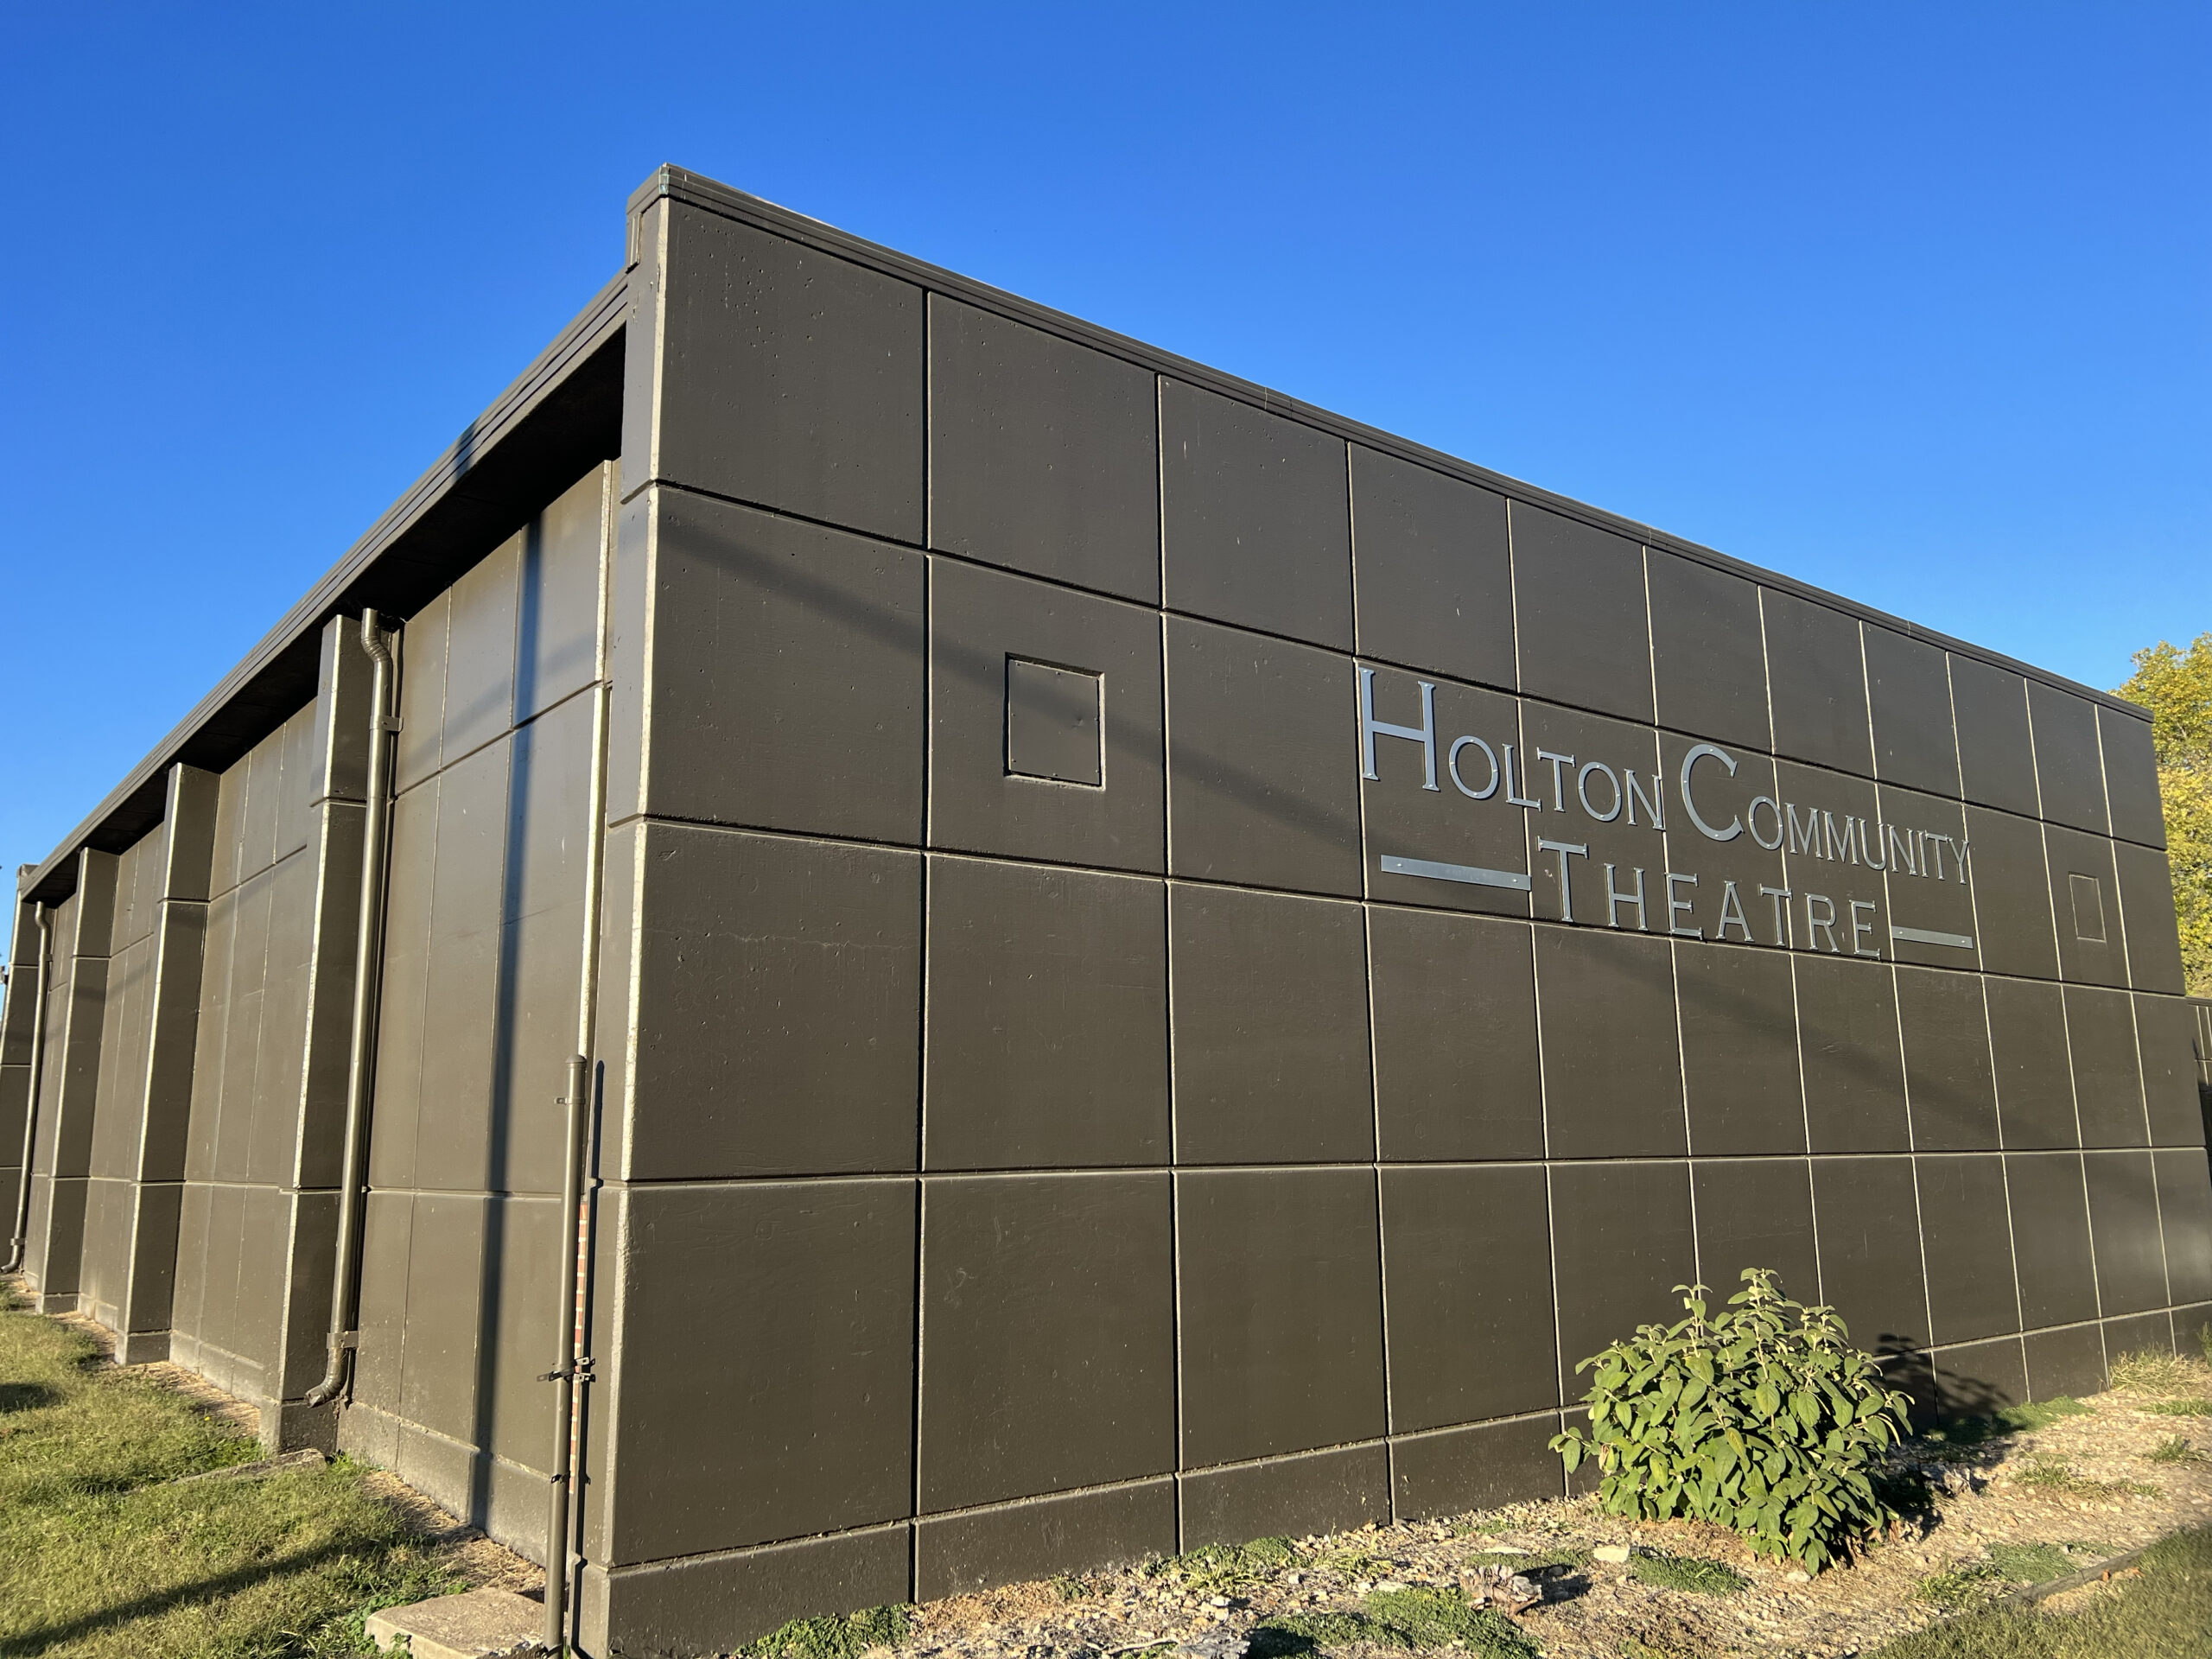 Prior to the performance, attendees enjoyed a catered homestyle meal with dessert at community tables with other audience members. Affordable cocktails were available for purchase.
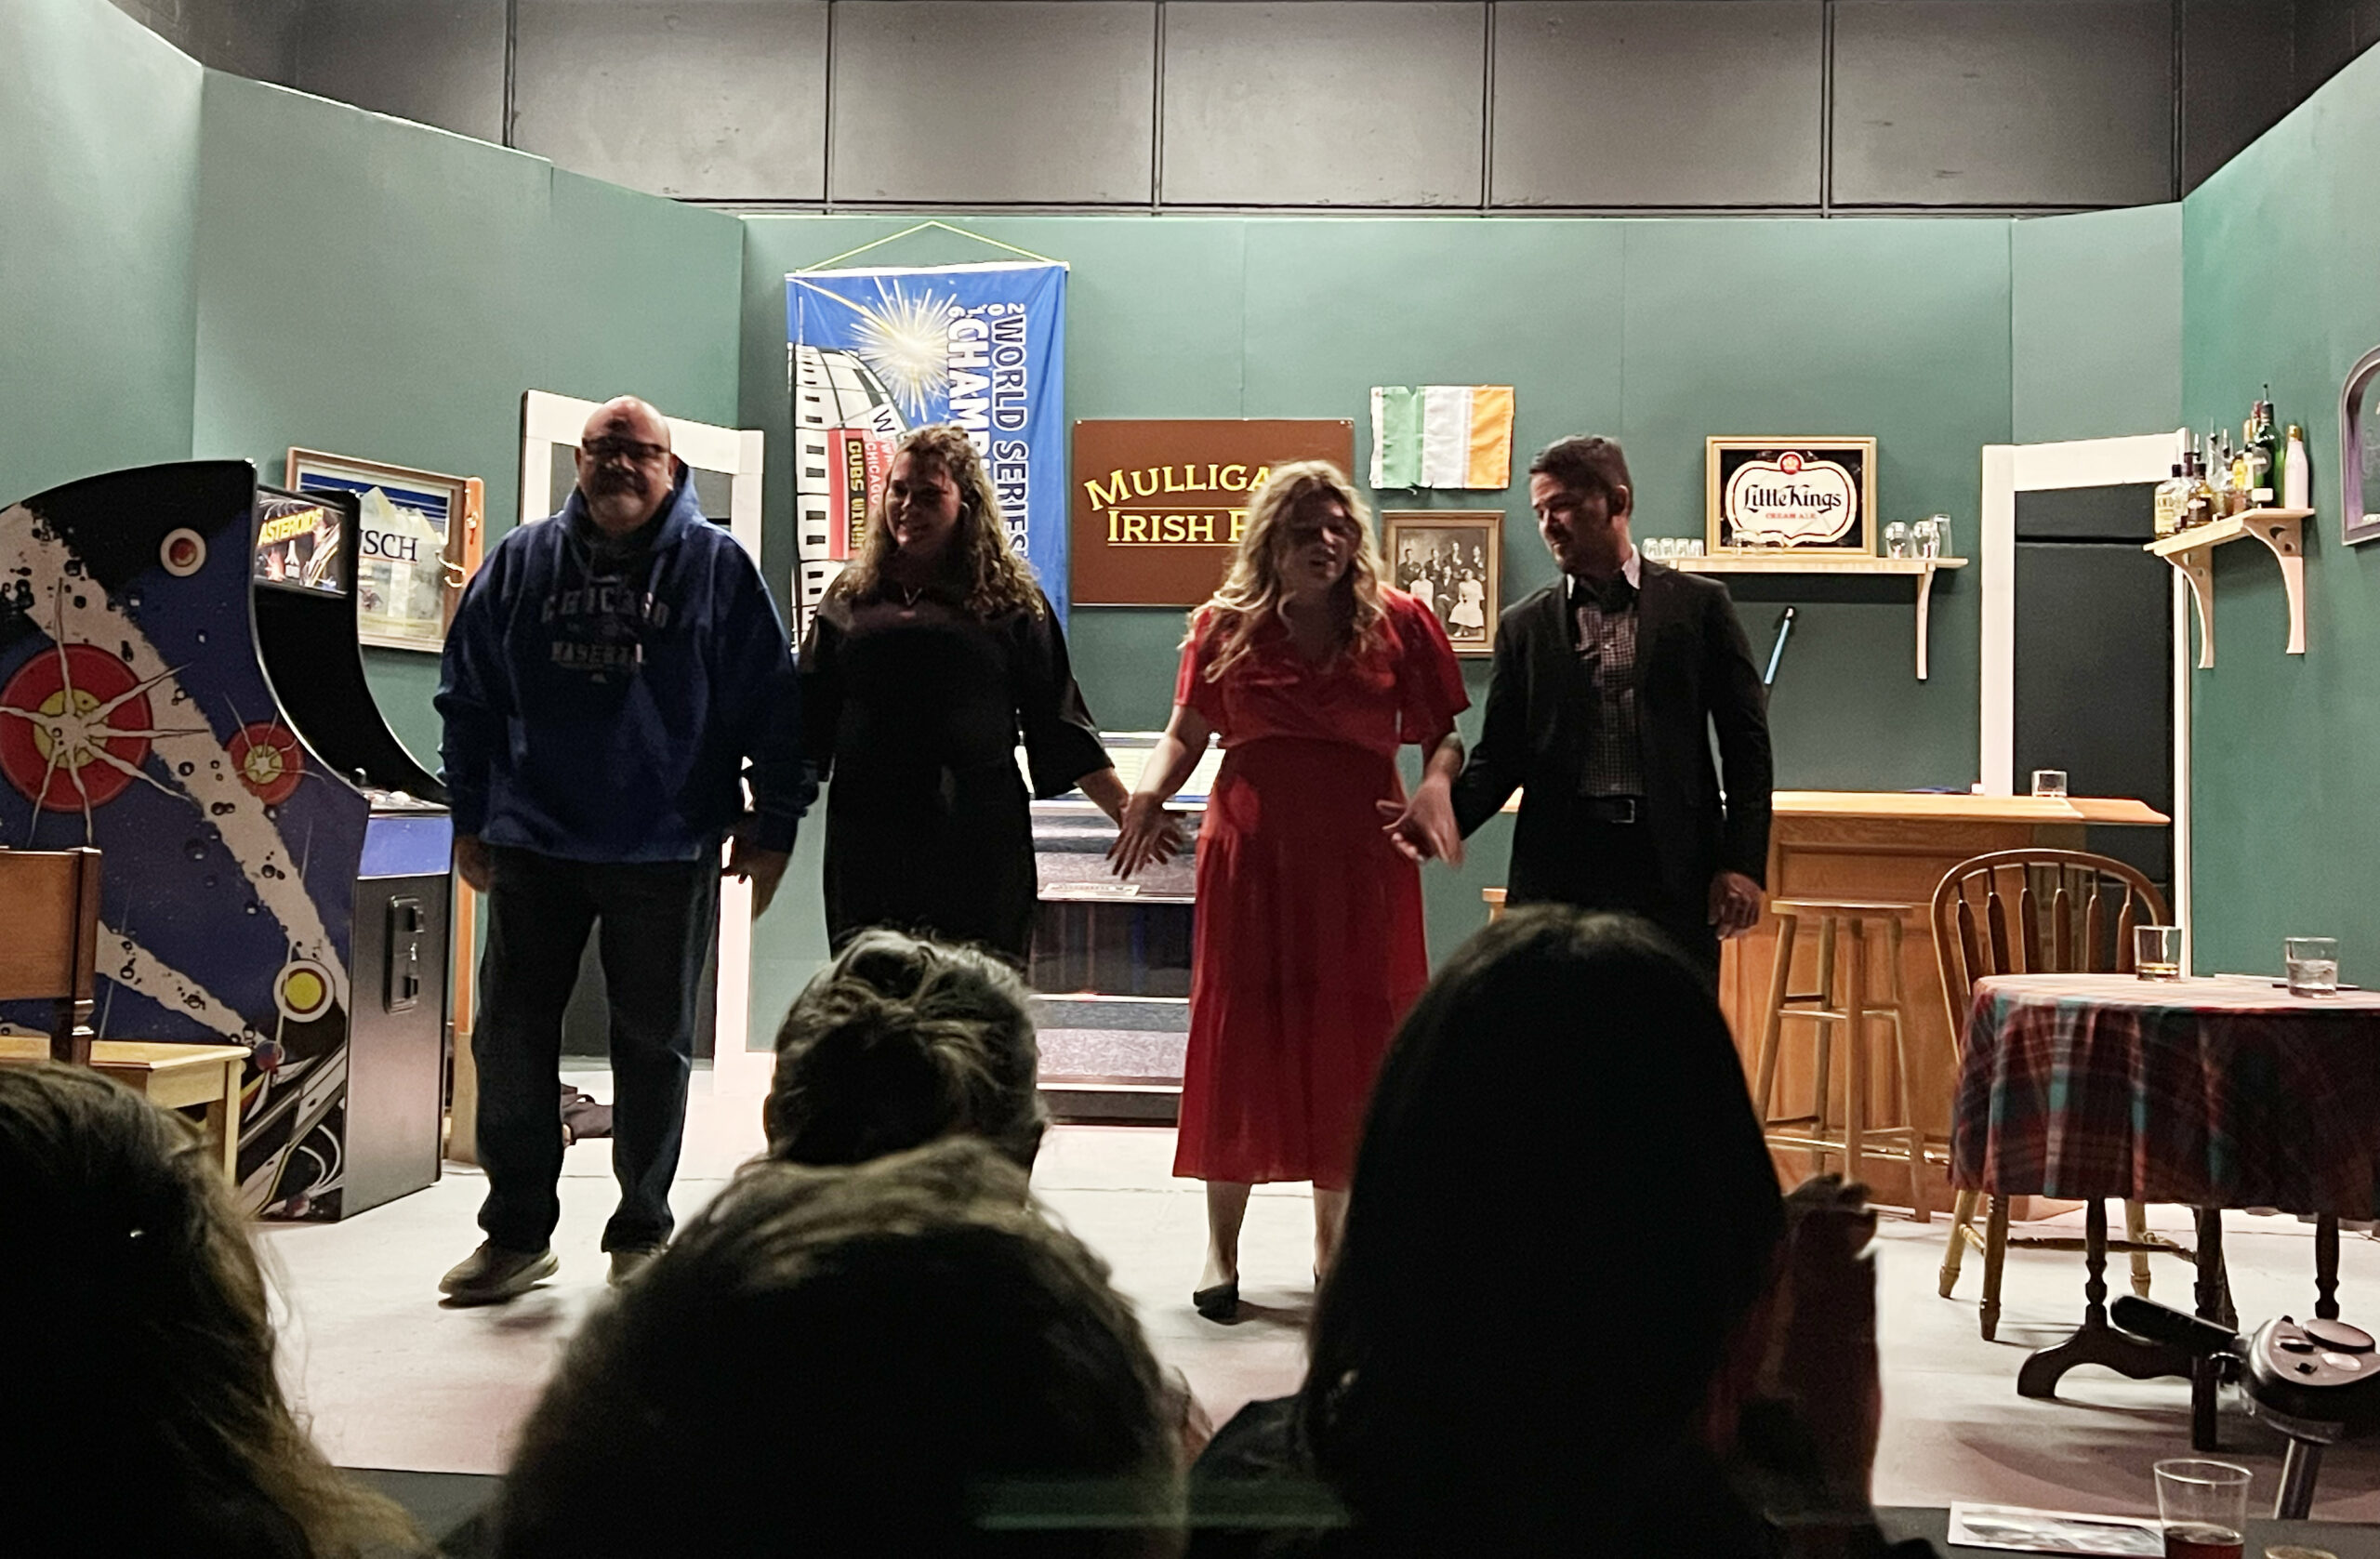 I’d highly recommend planning your trip to Holton around the theater’s upcoming performance. To view the event schedule and reserve a ticket, visit the box office details
 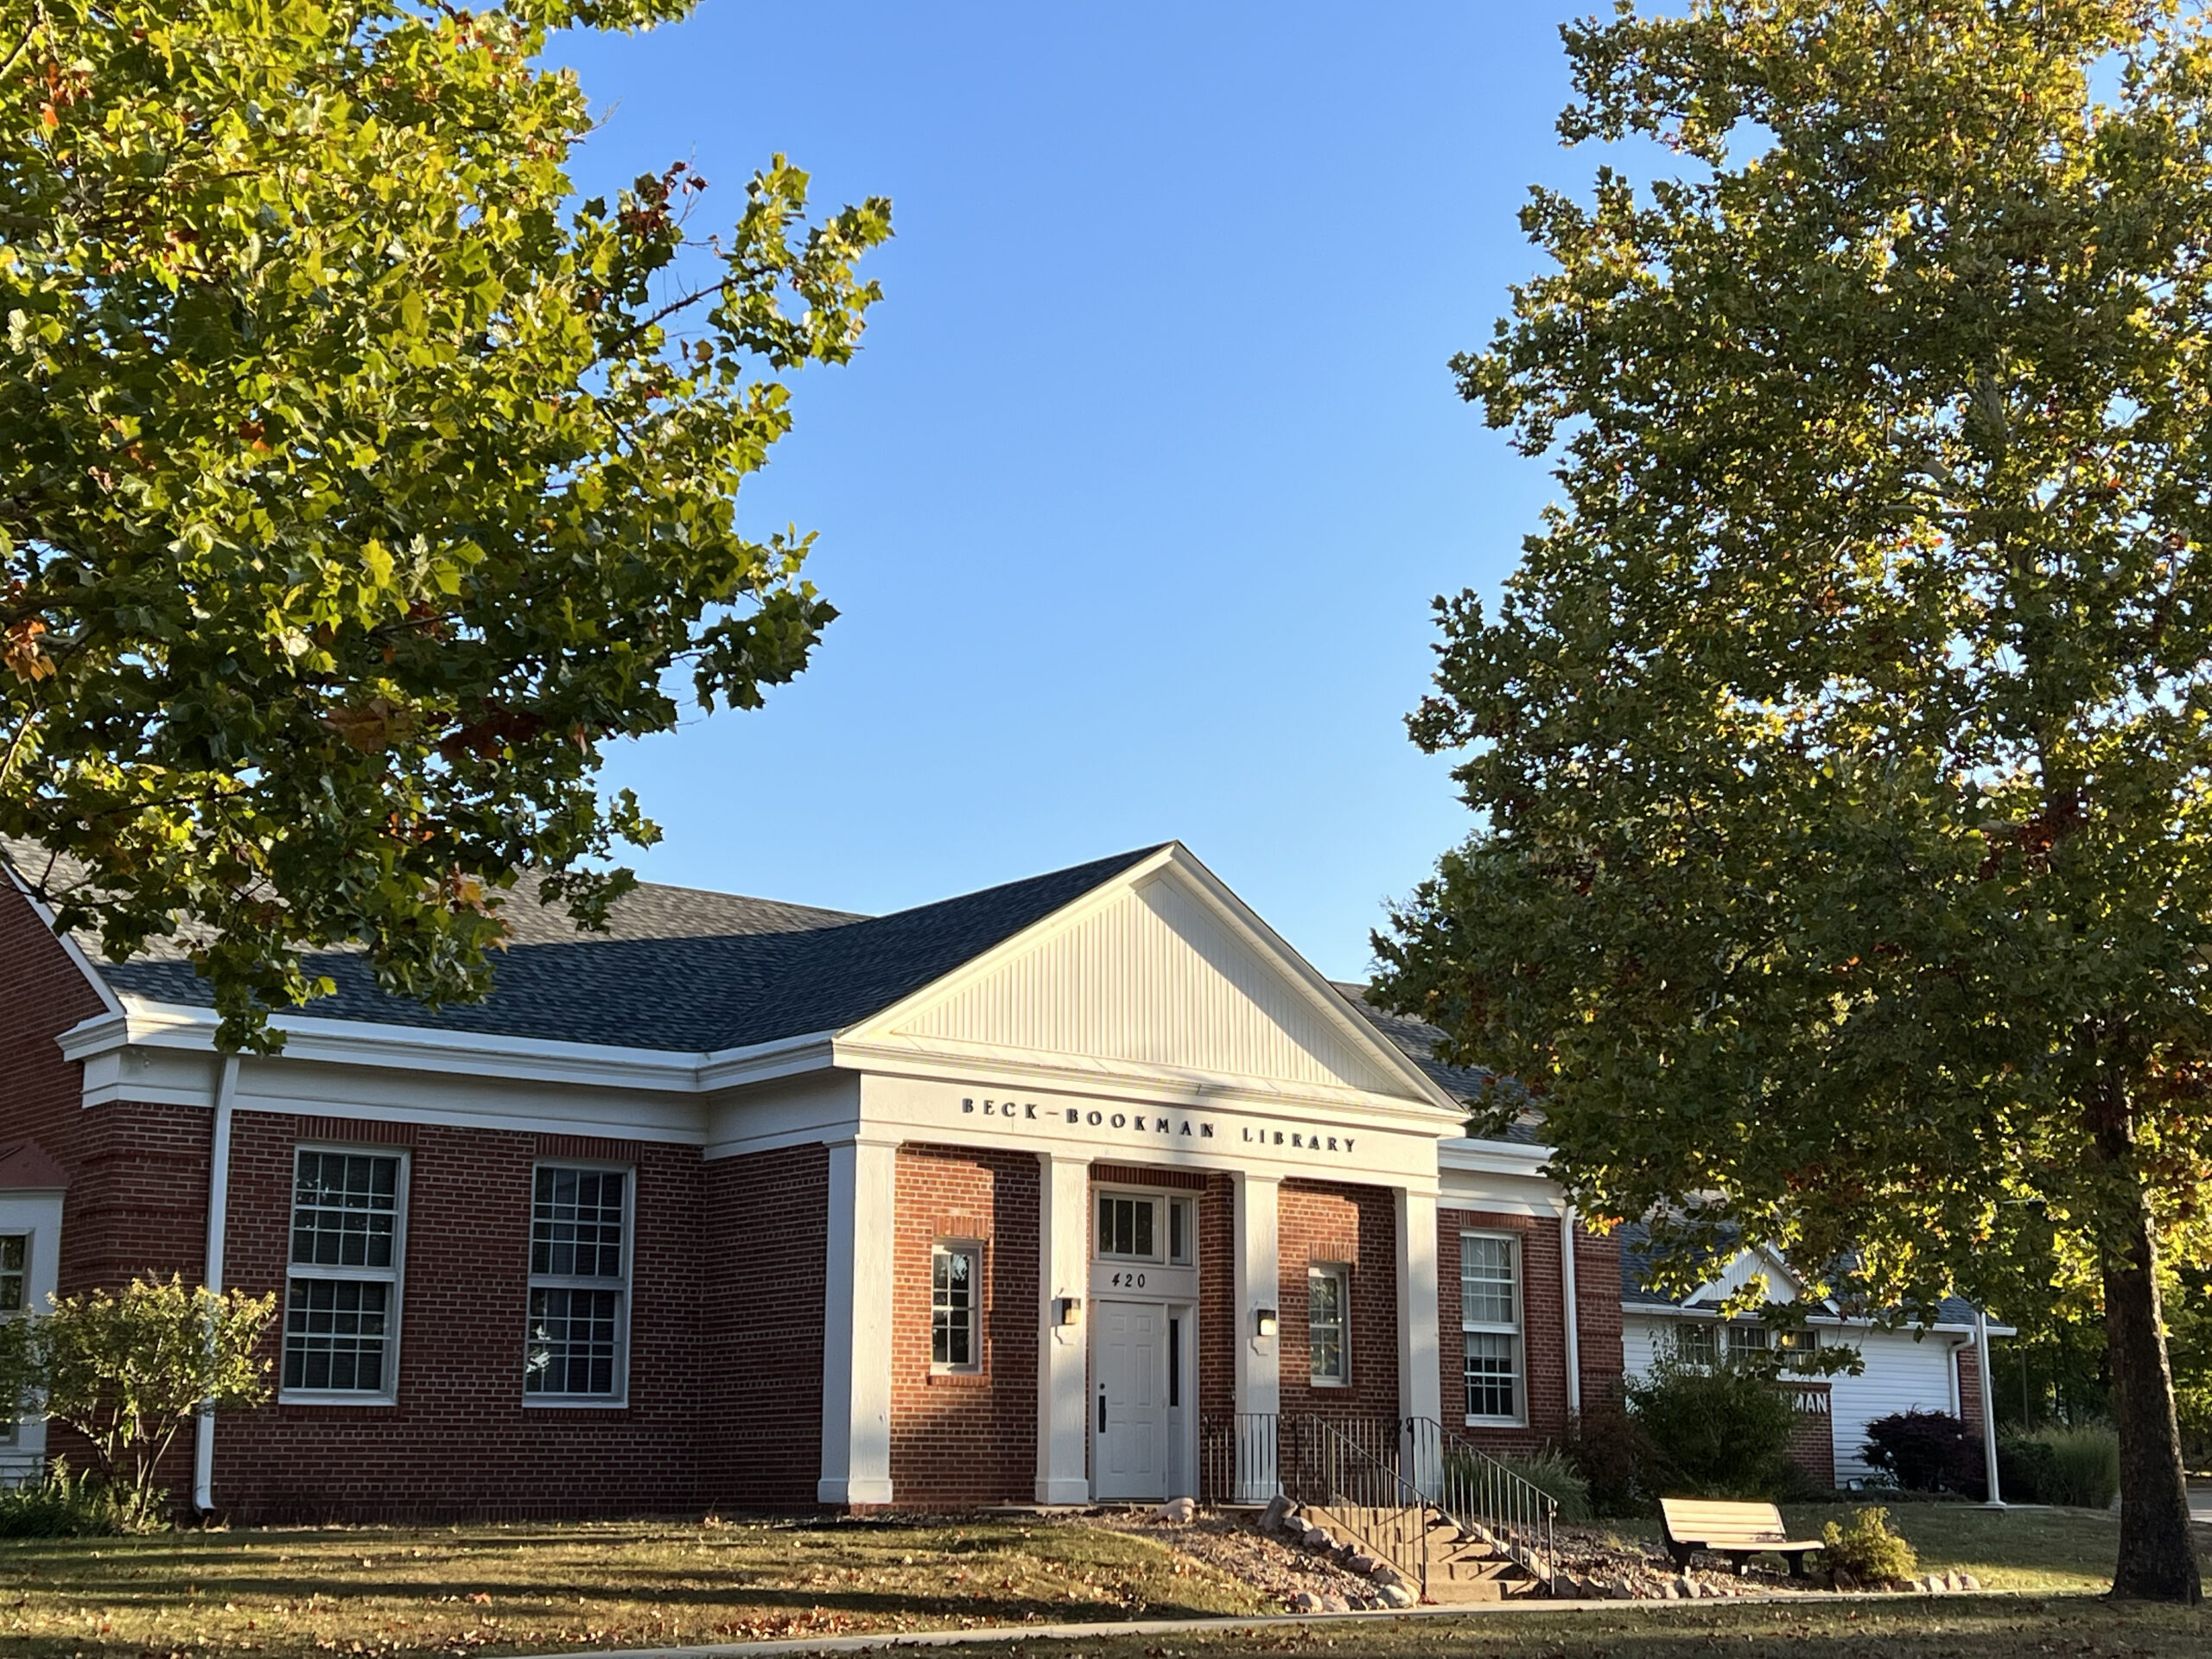 It was named in honor of Major and Mrs. Milton Moses Beck, who were early residents of the town. The library has remained open to the public since 1952.
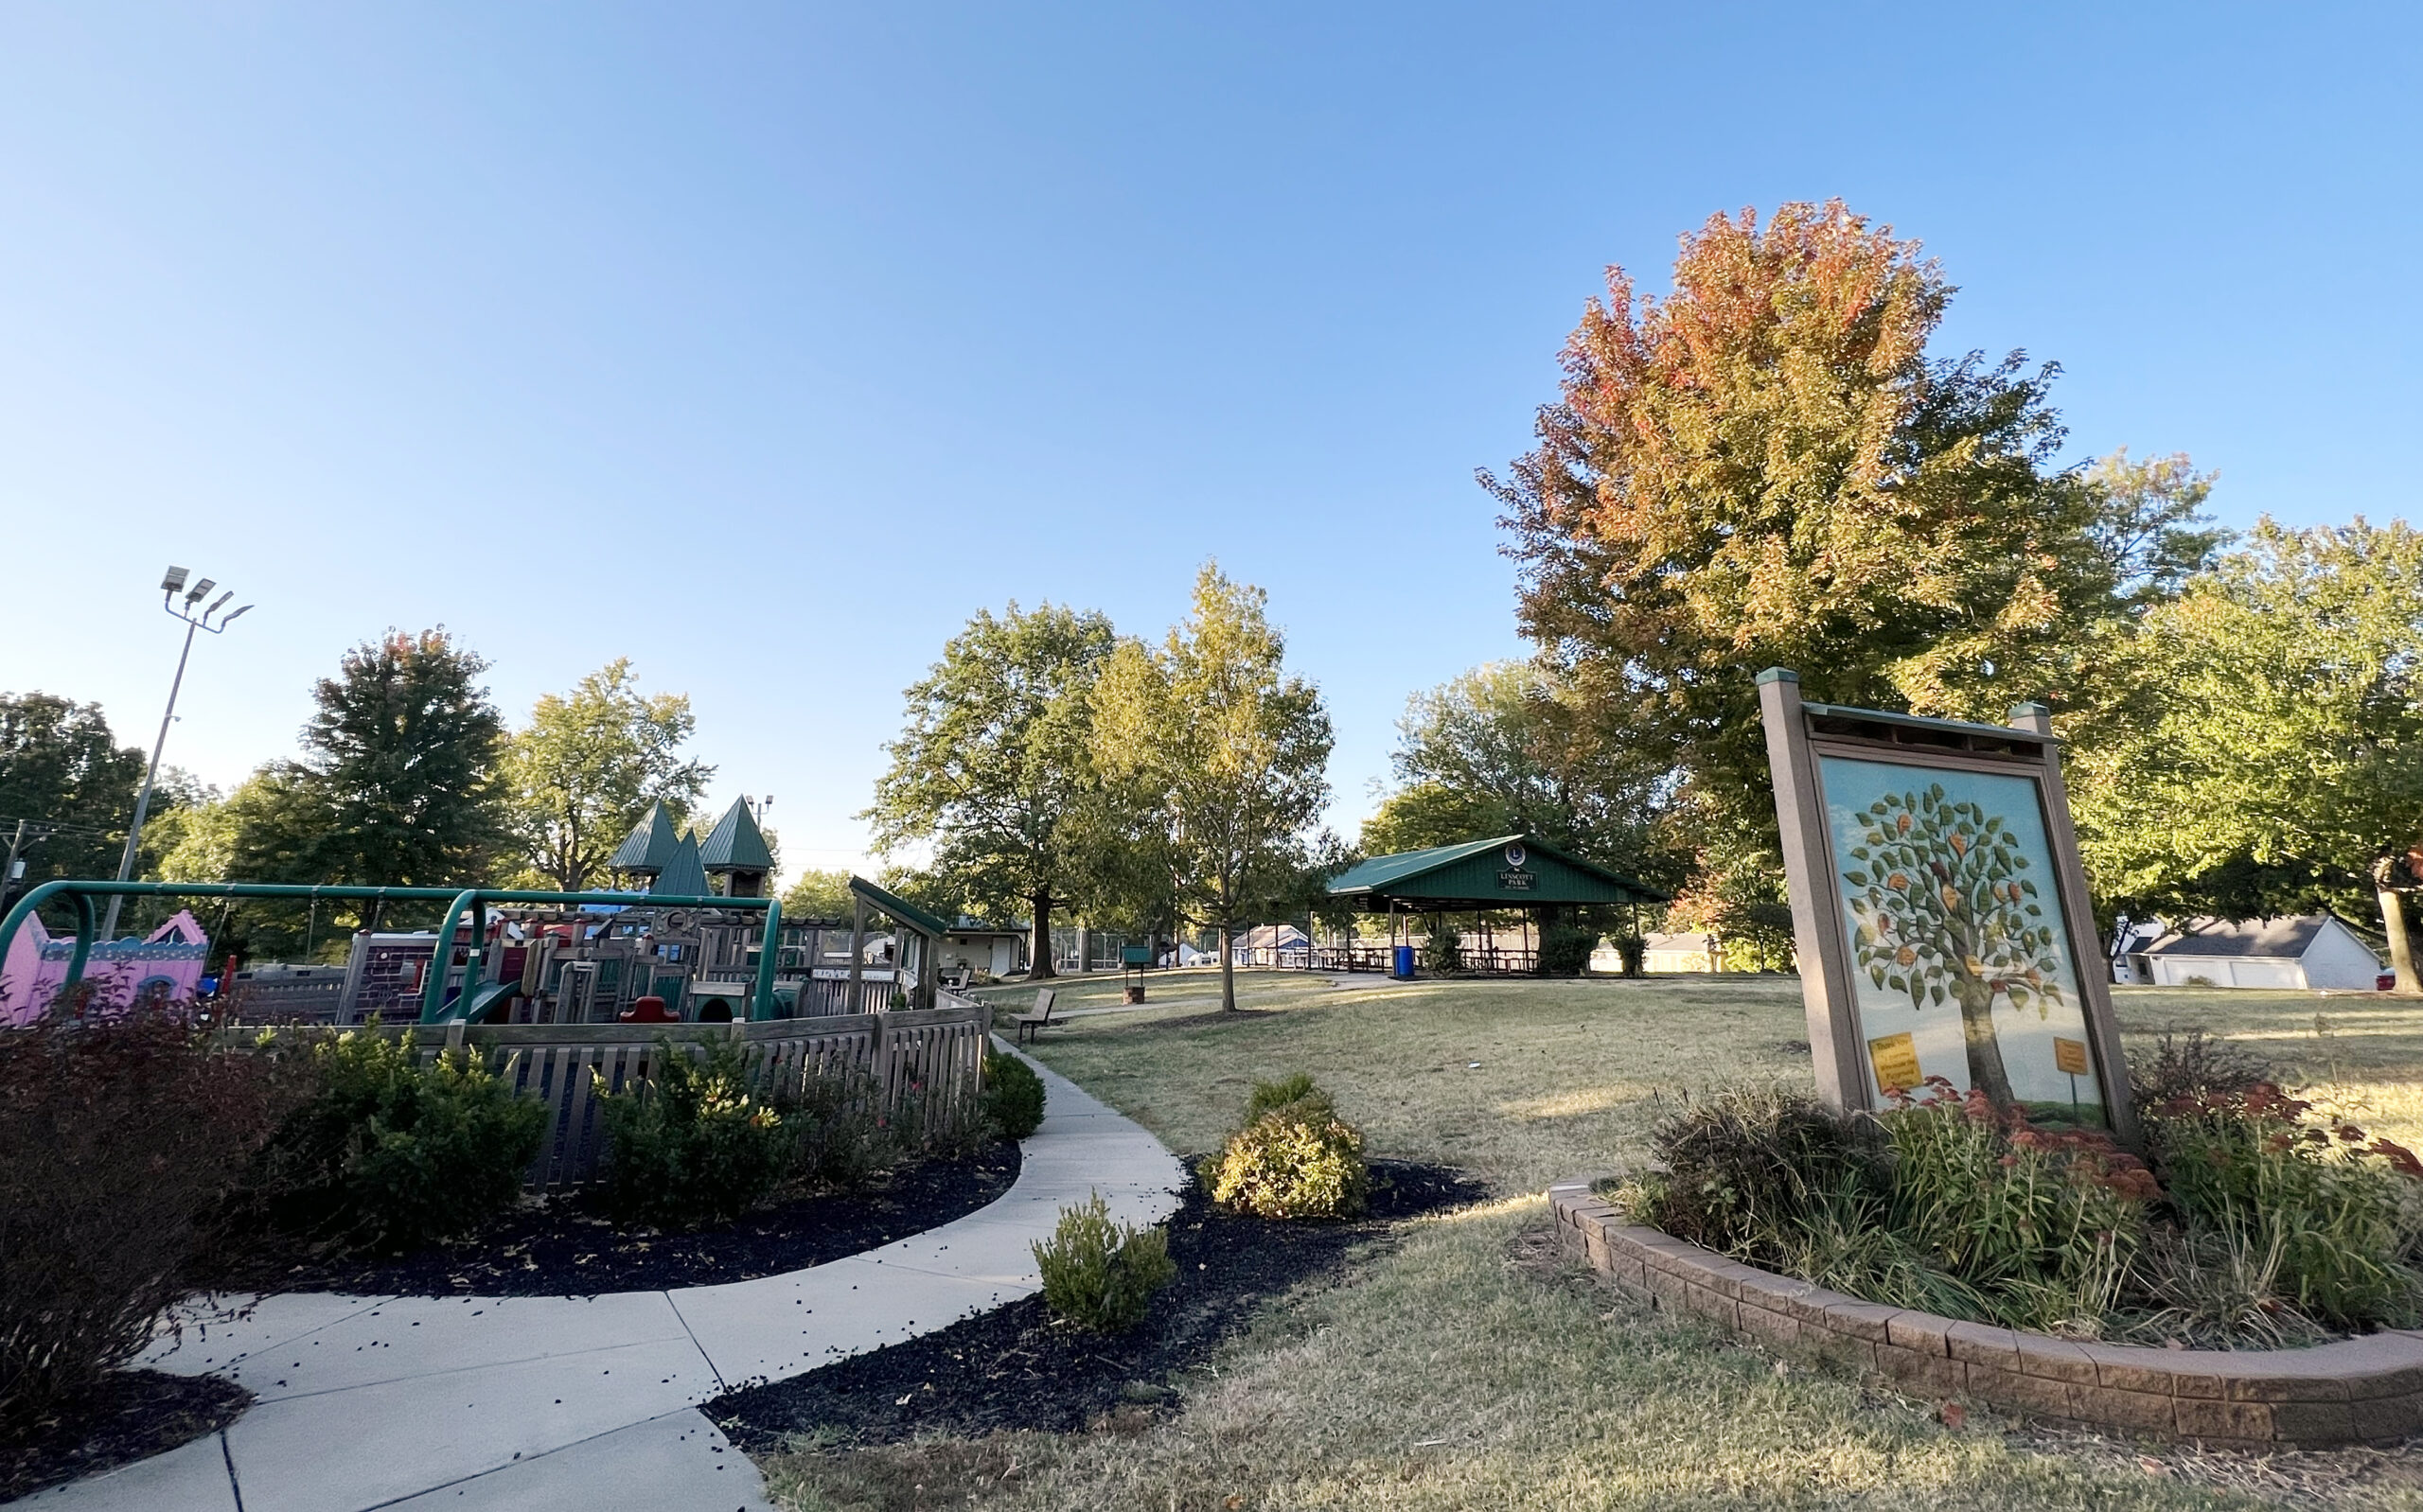 The Veterans Memorial impresses. Holton is a Purple Heart City, so the on-site memorial honors every medal recipient. A World War II memorial pays tribute to Company “E” of the 137th Infantry, which died in the war.
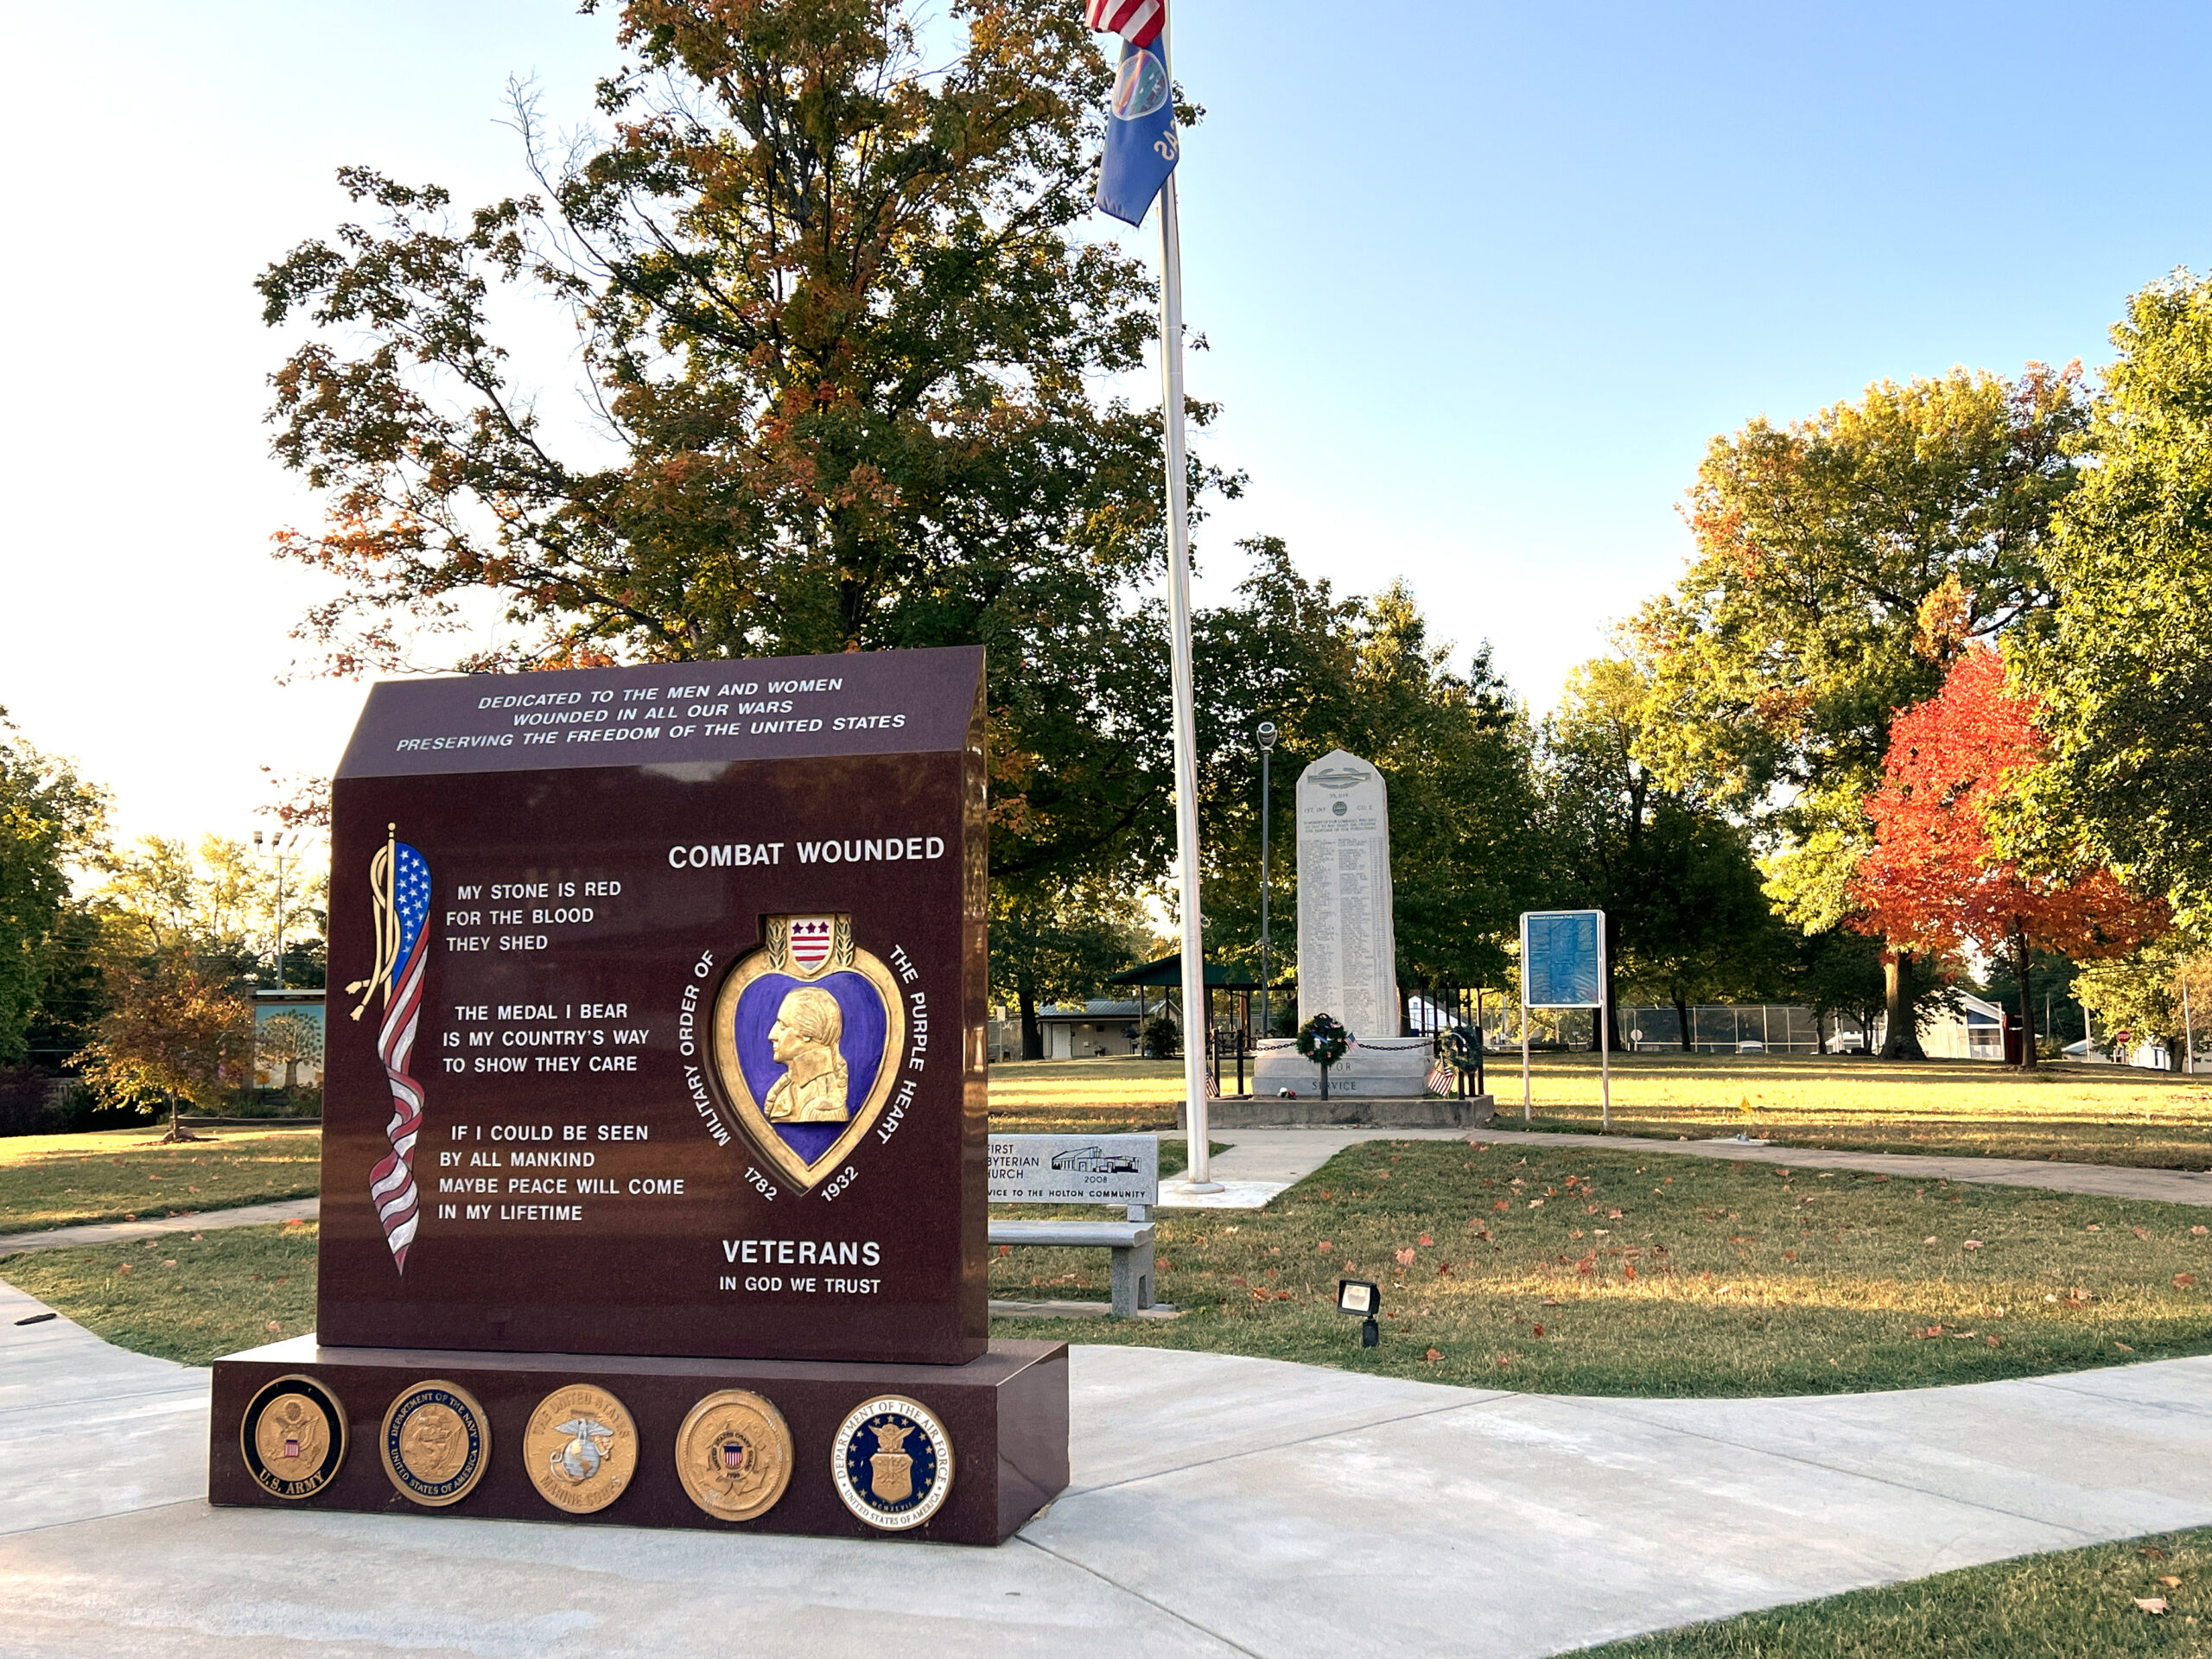 The park features tennis and basketball courts, playground equipment, and a shelter house available for reservation. The park is one of six public
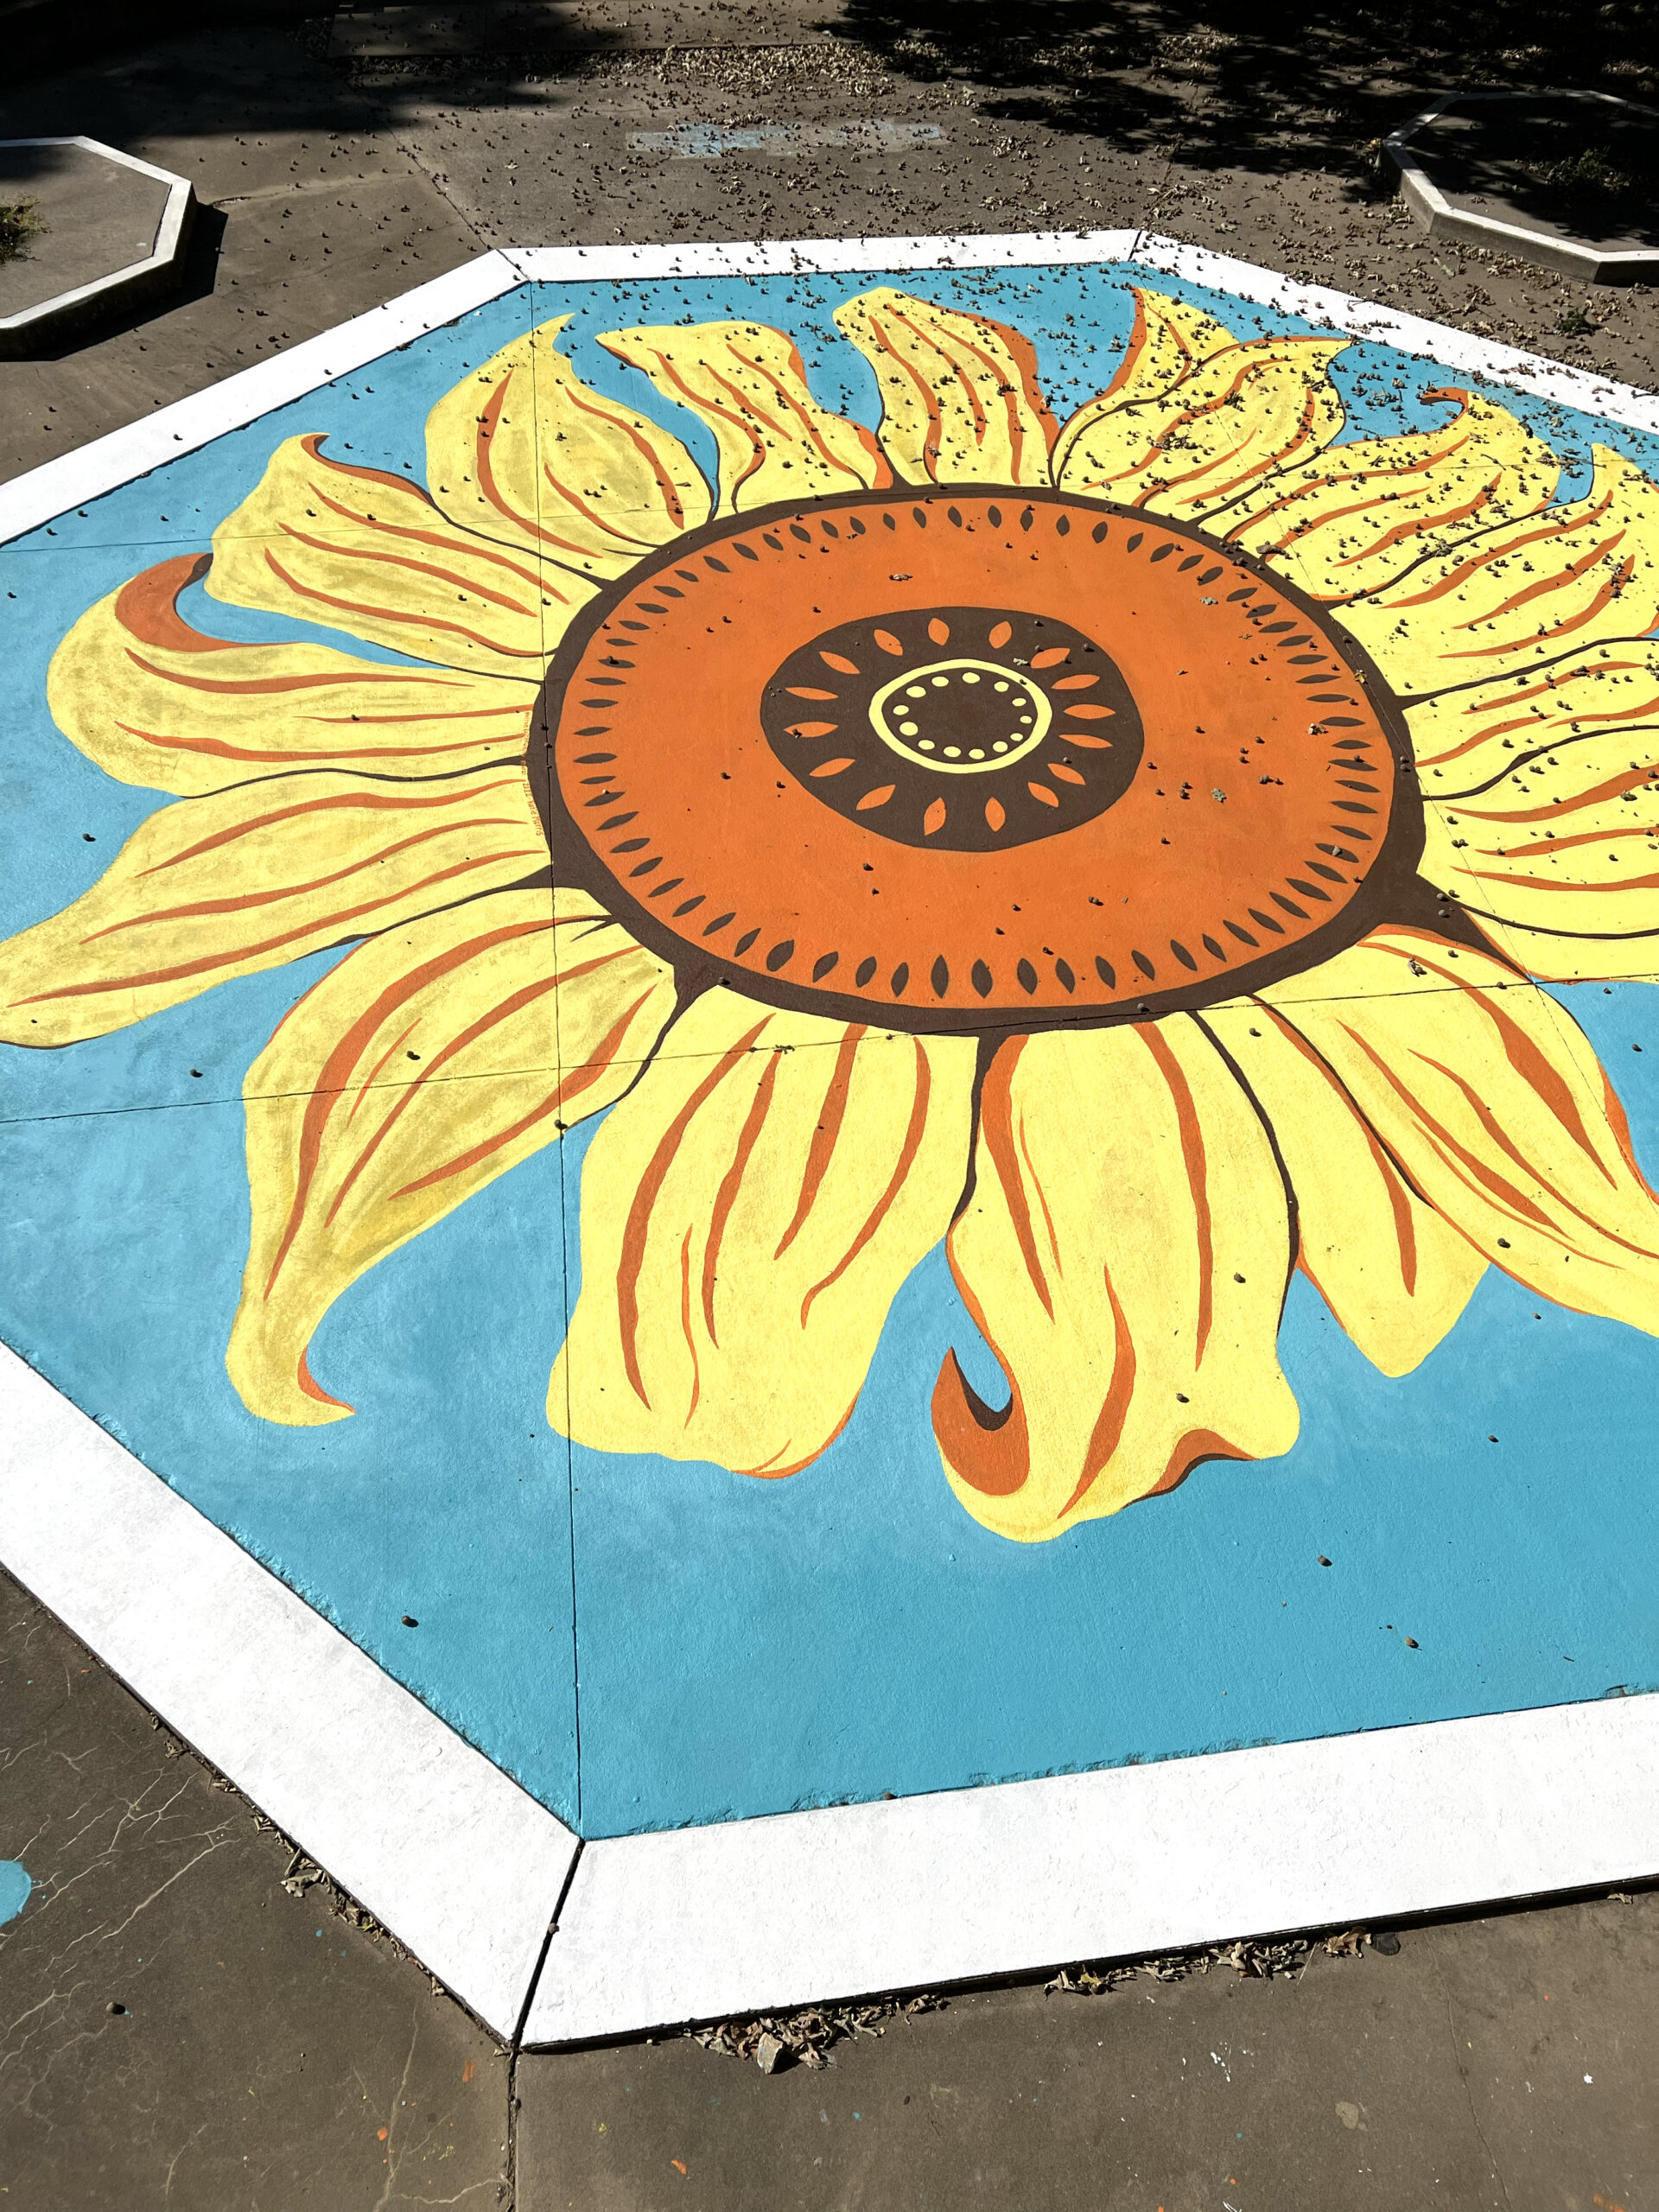
 As I looked for a clear or colored orb, I appreciated the picturesque views, including fishing piers, a 9-hole disc golf course, and campsites. Walking trails weaved around the lake.
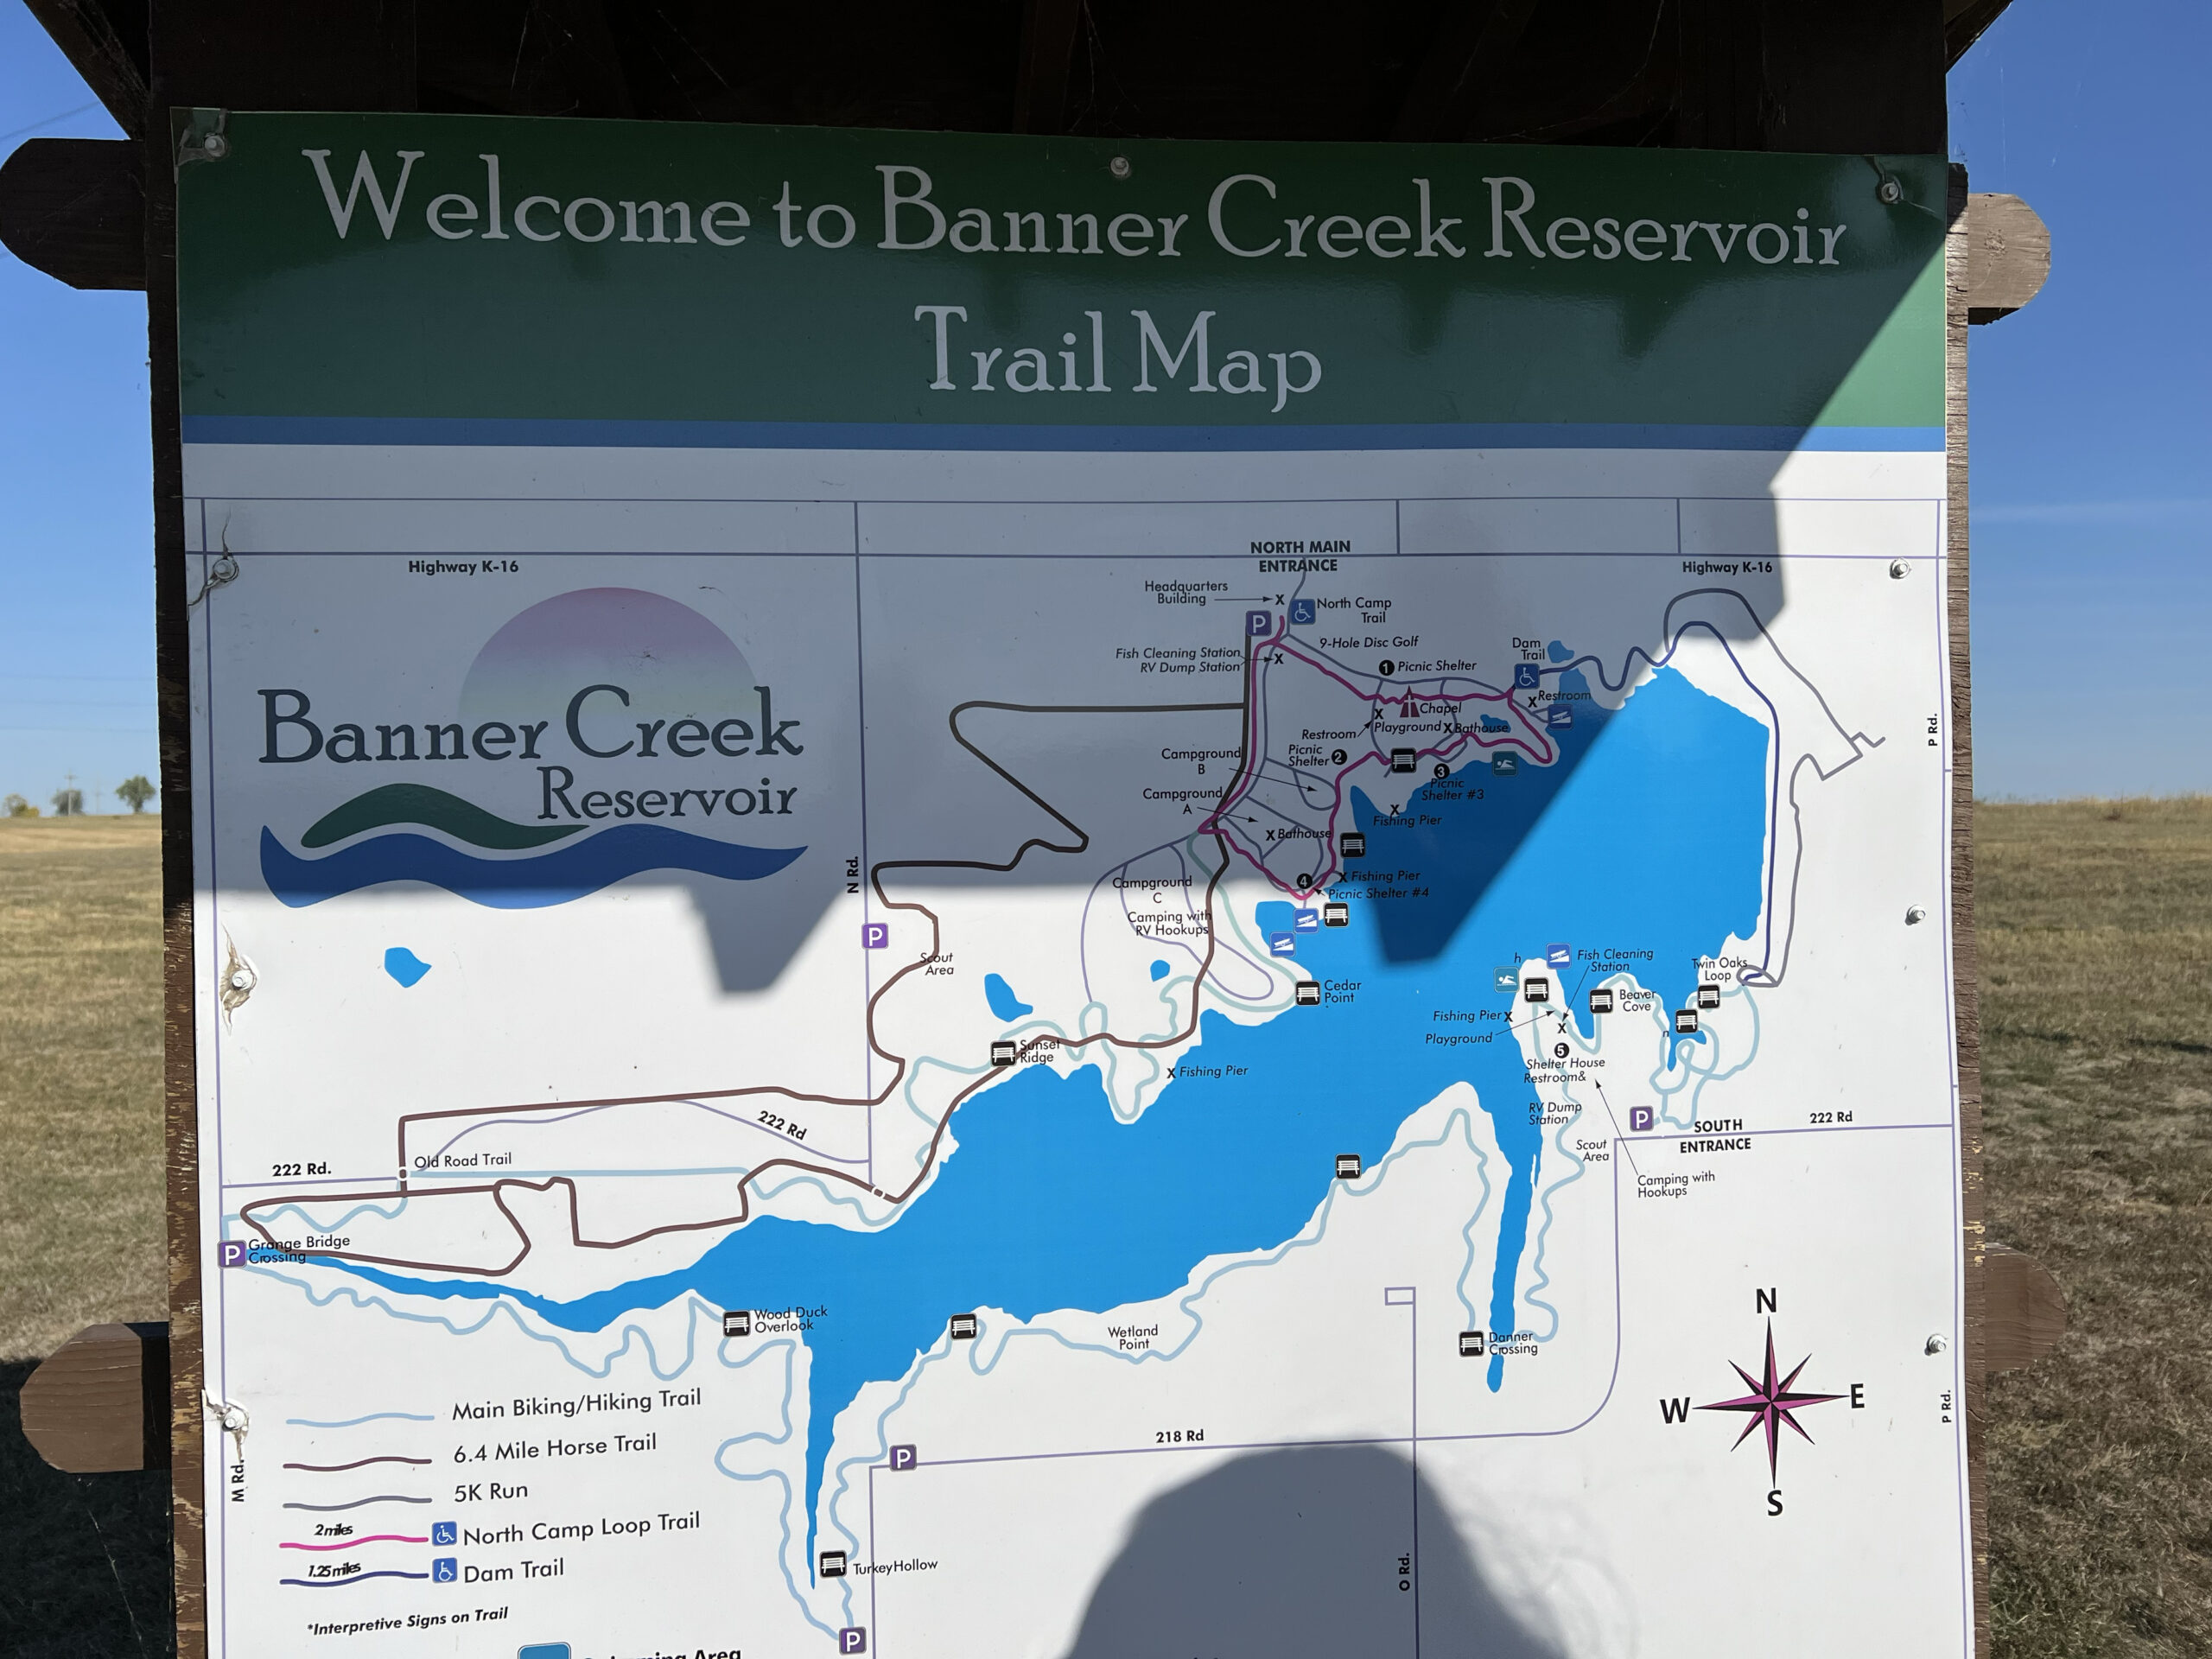 Unfortunately, I didn’t find an orb, but I enjoyed the search.
 The reservoir, established in 1997, is an outdoor lover’s playground with free access to miles of hiking and biking trails, campsites, bird-watching, and fishing for catfish, walleye, and largemouth bass.
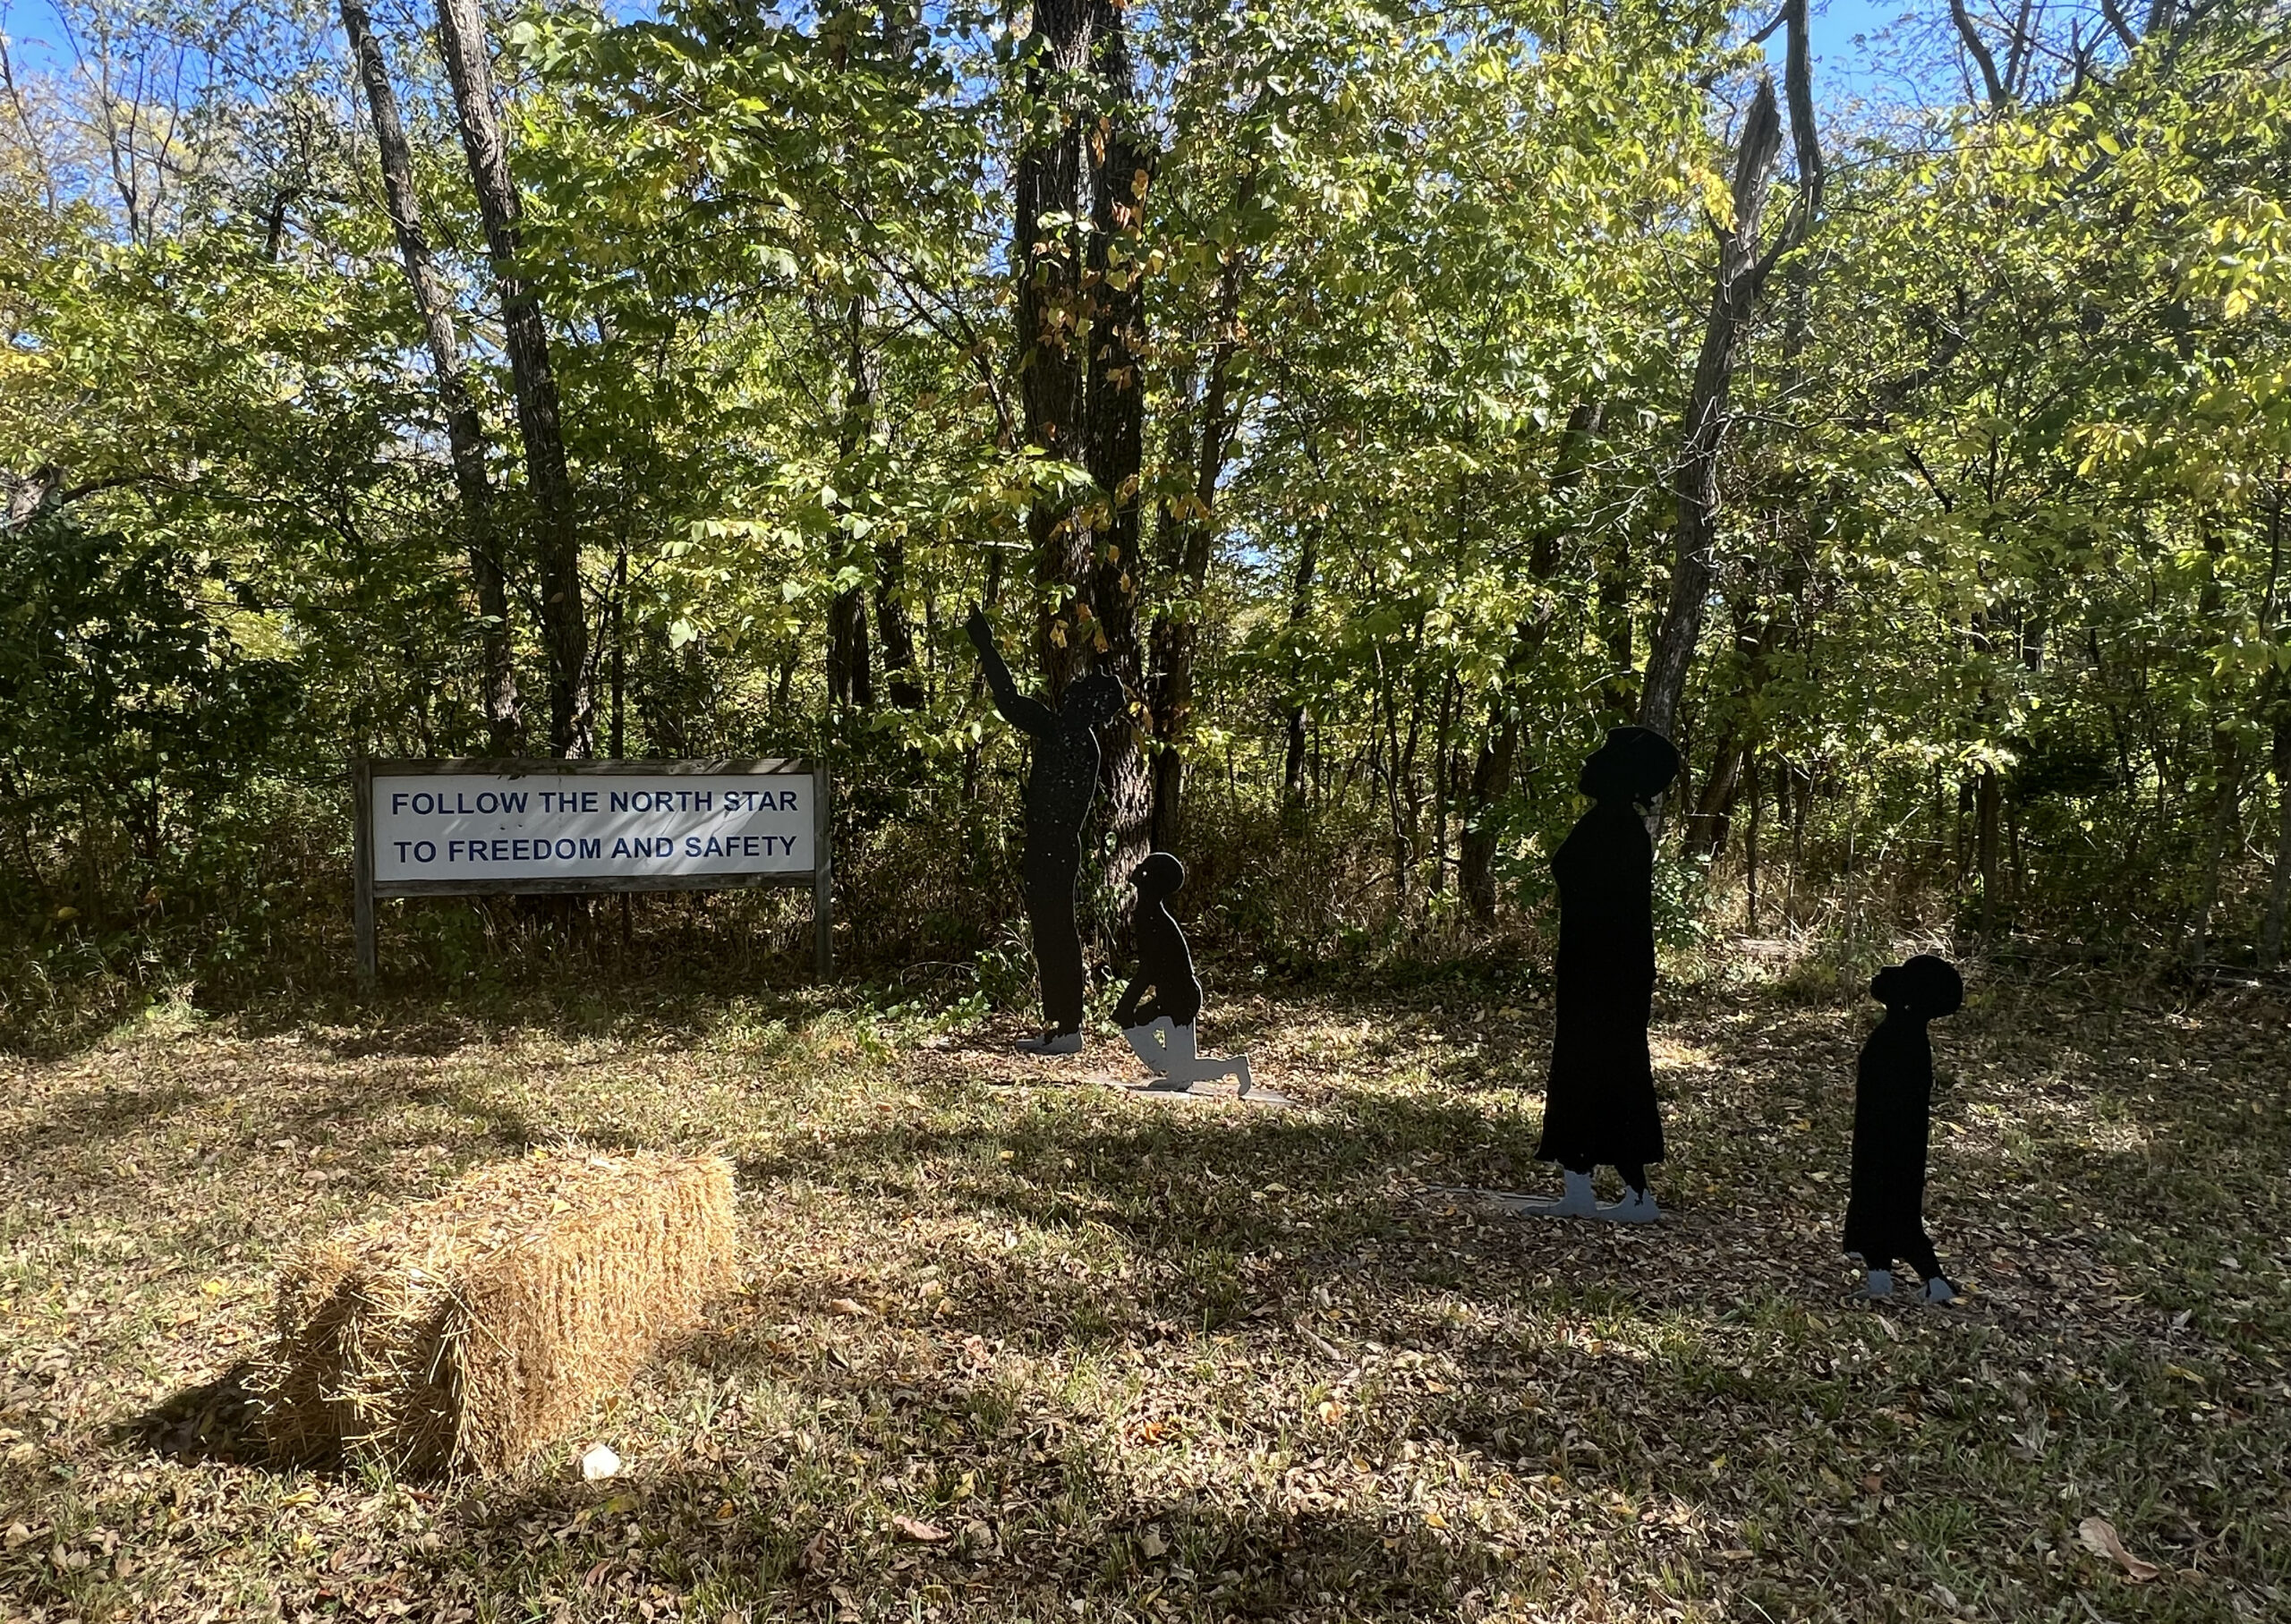 After visiting countless Kansas towns, I’ve decided that Holton is not only one of the most welcoming, but it also offers more than enough to see and do during a visit. You may need to visit multiple times, like me.
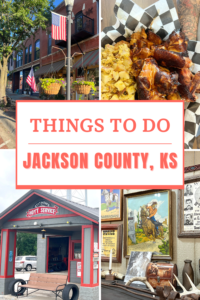
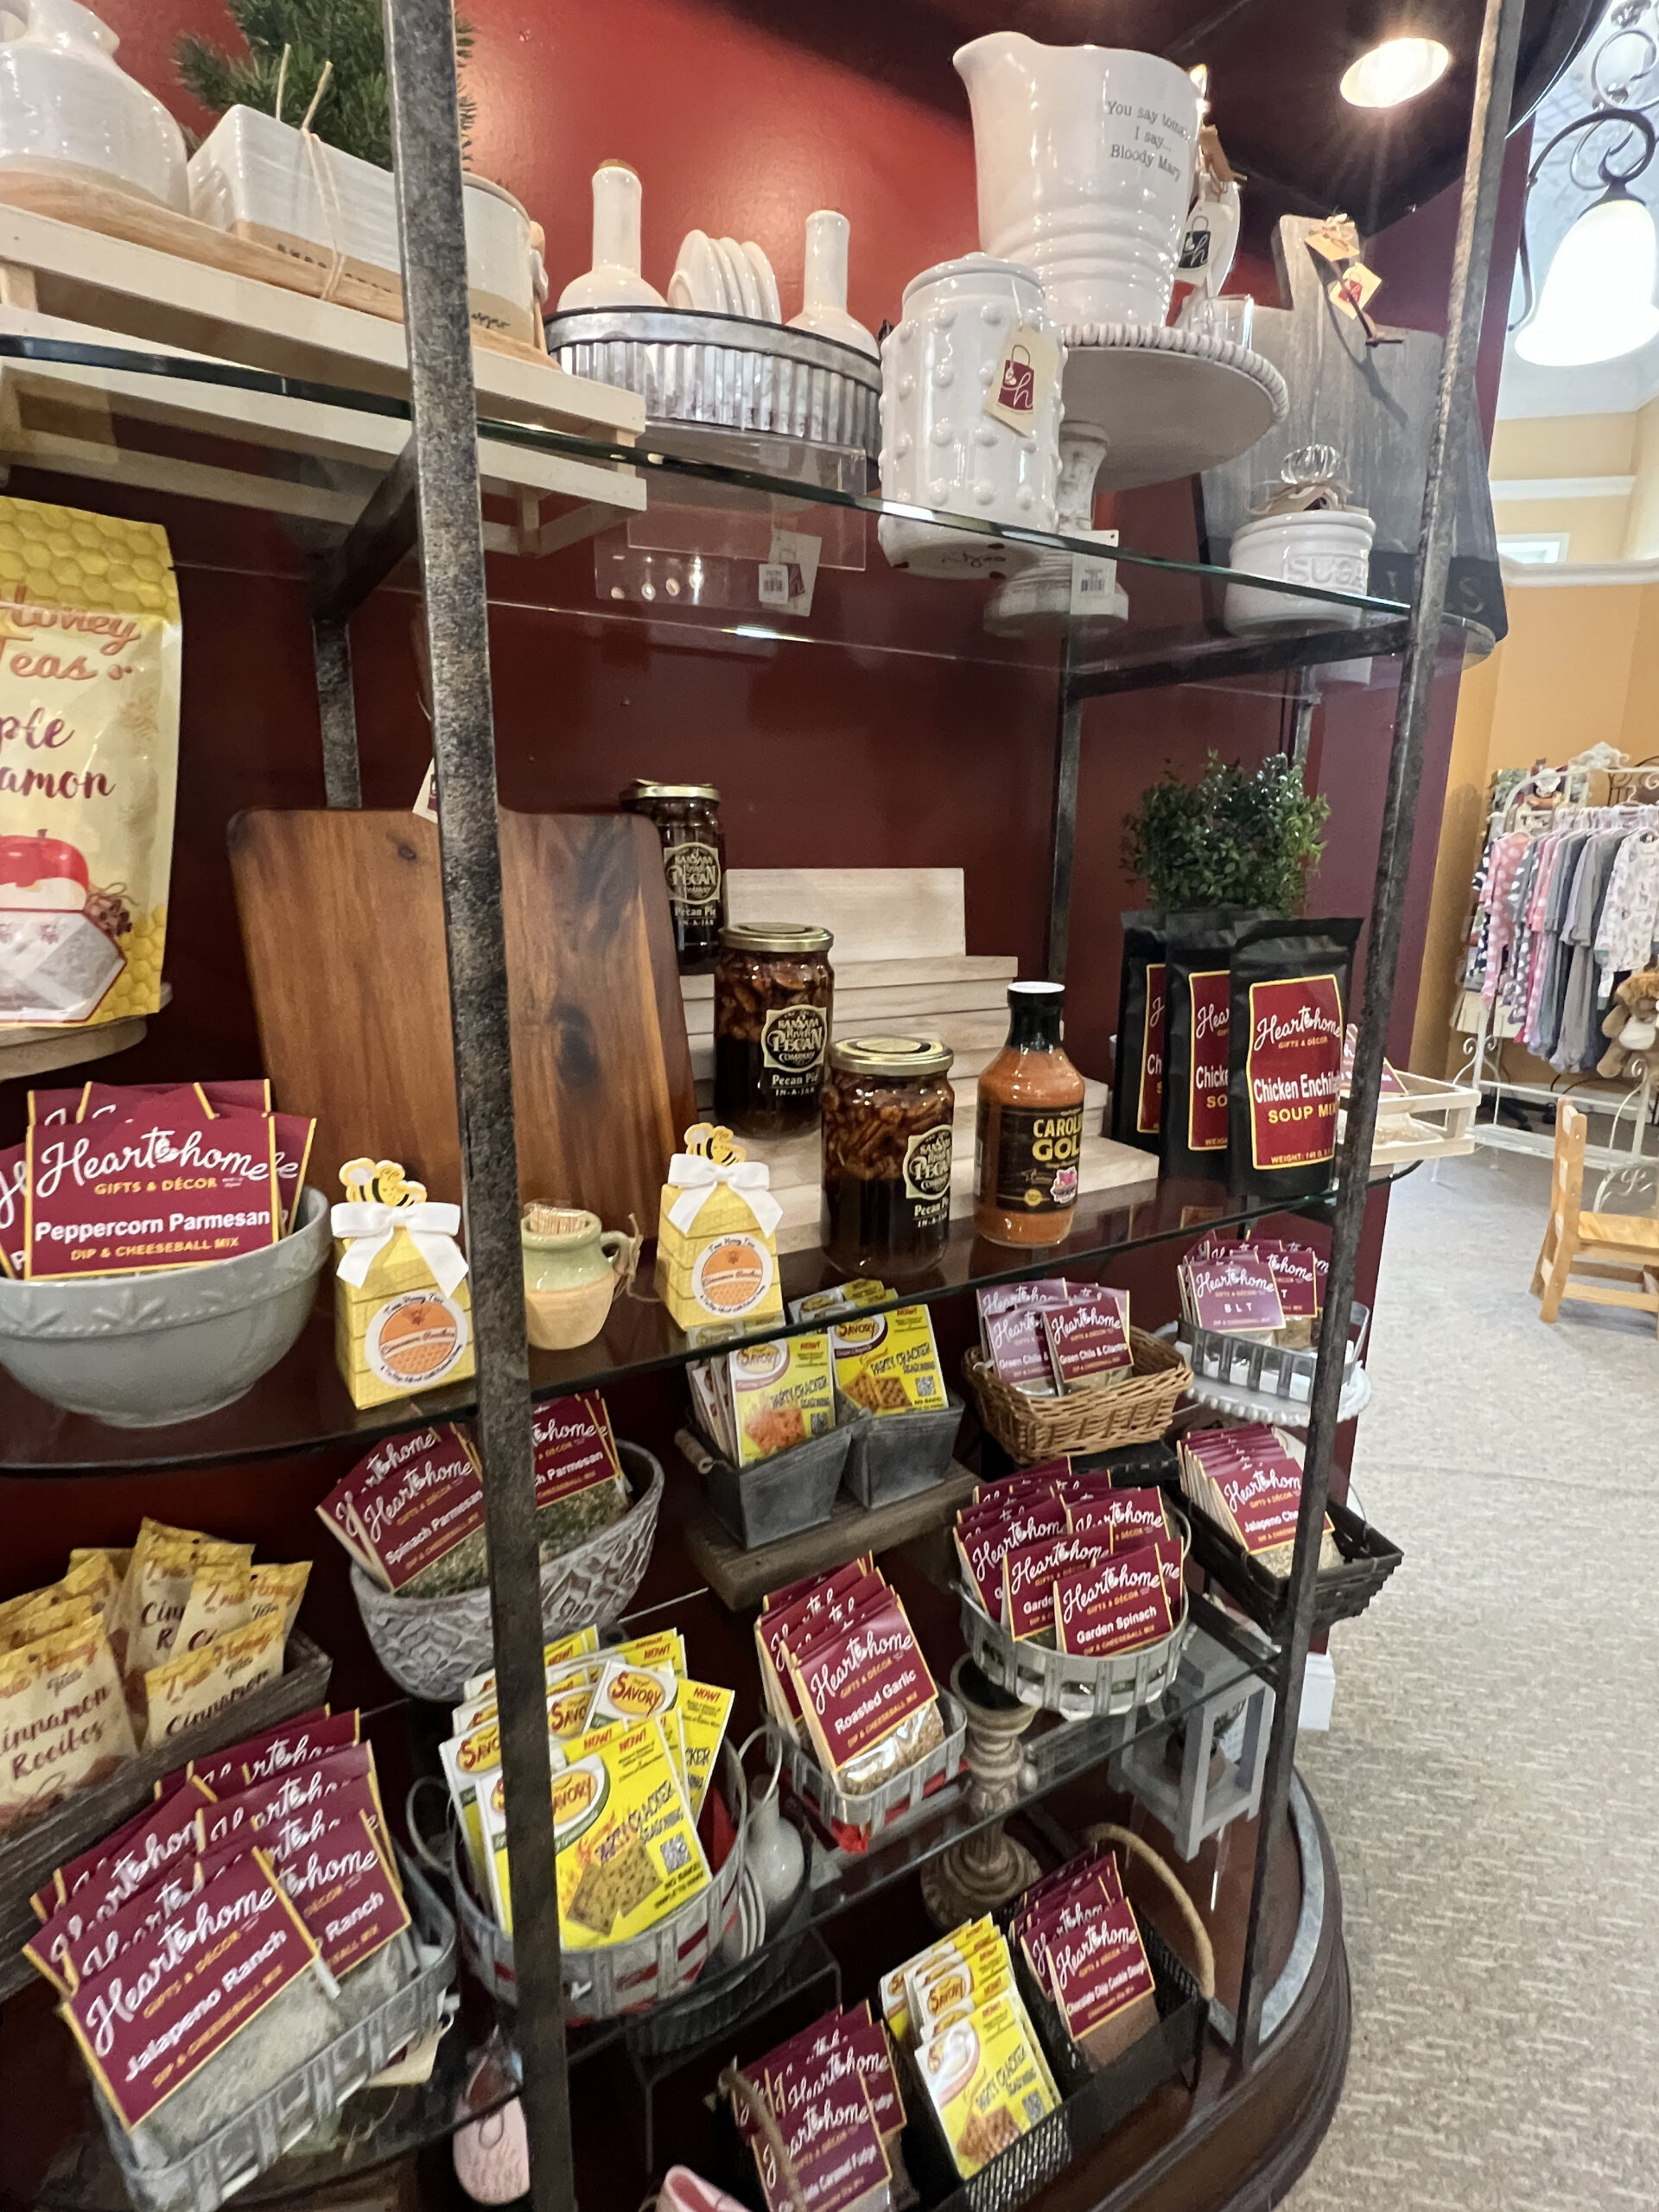 Shoppers travel miles to shop at the store for Nora Fleming, Spartina purses, Vera Bradley bags, and Melissa & Doug toys. The front of the story features in-season displays.
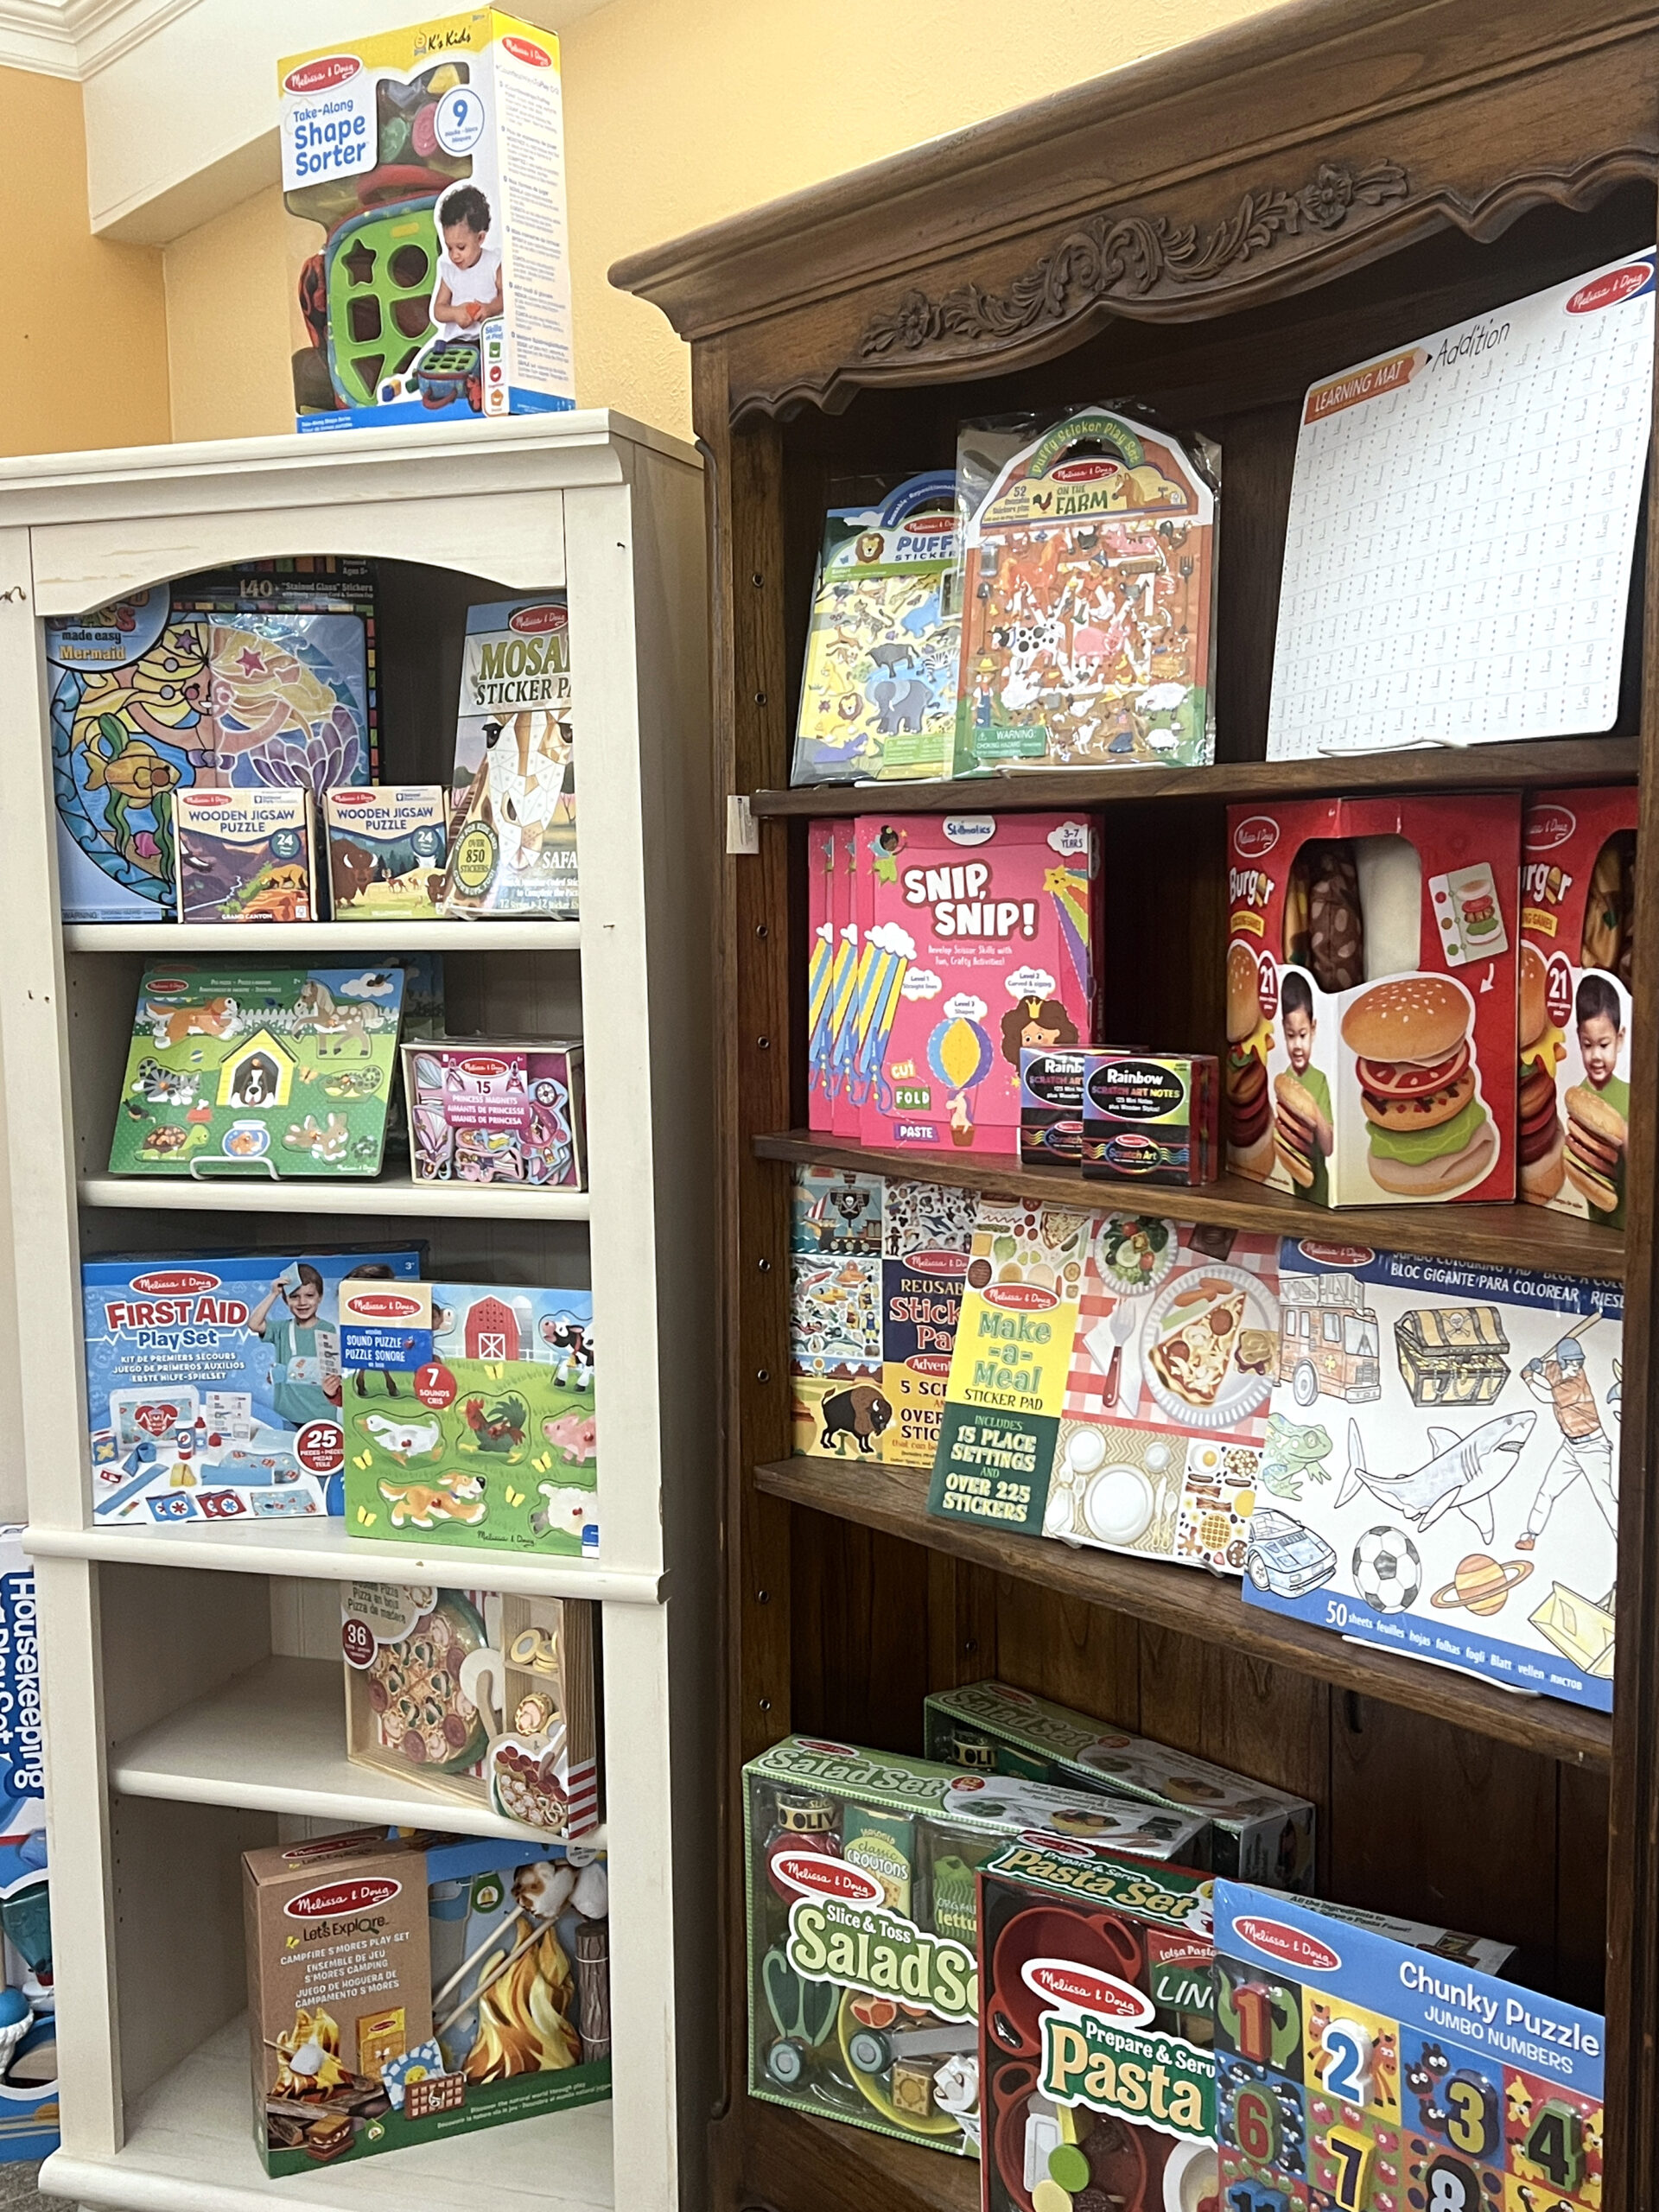 NOTE: The store’s owner is closing its doors for good after 12 years of business on June 27, 2026.
 Travel to Holton for an overnight stay to explore a small-town setting with some of the state’s top attractions. You’ll never lack for something to discover in this charming town north of Topeka.

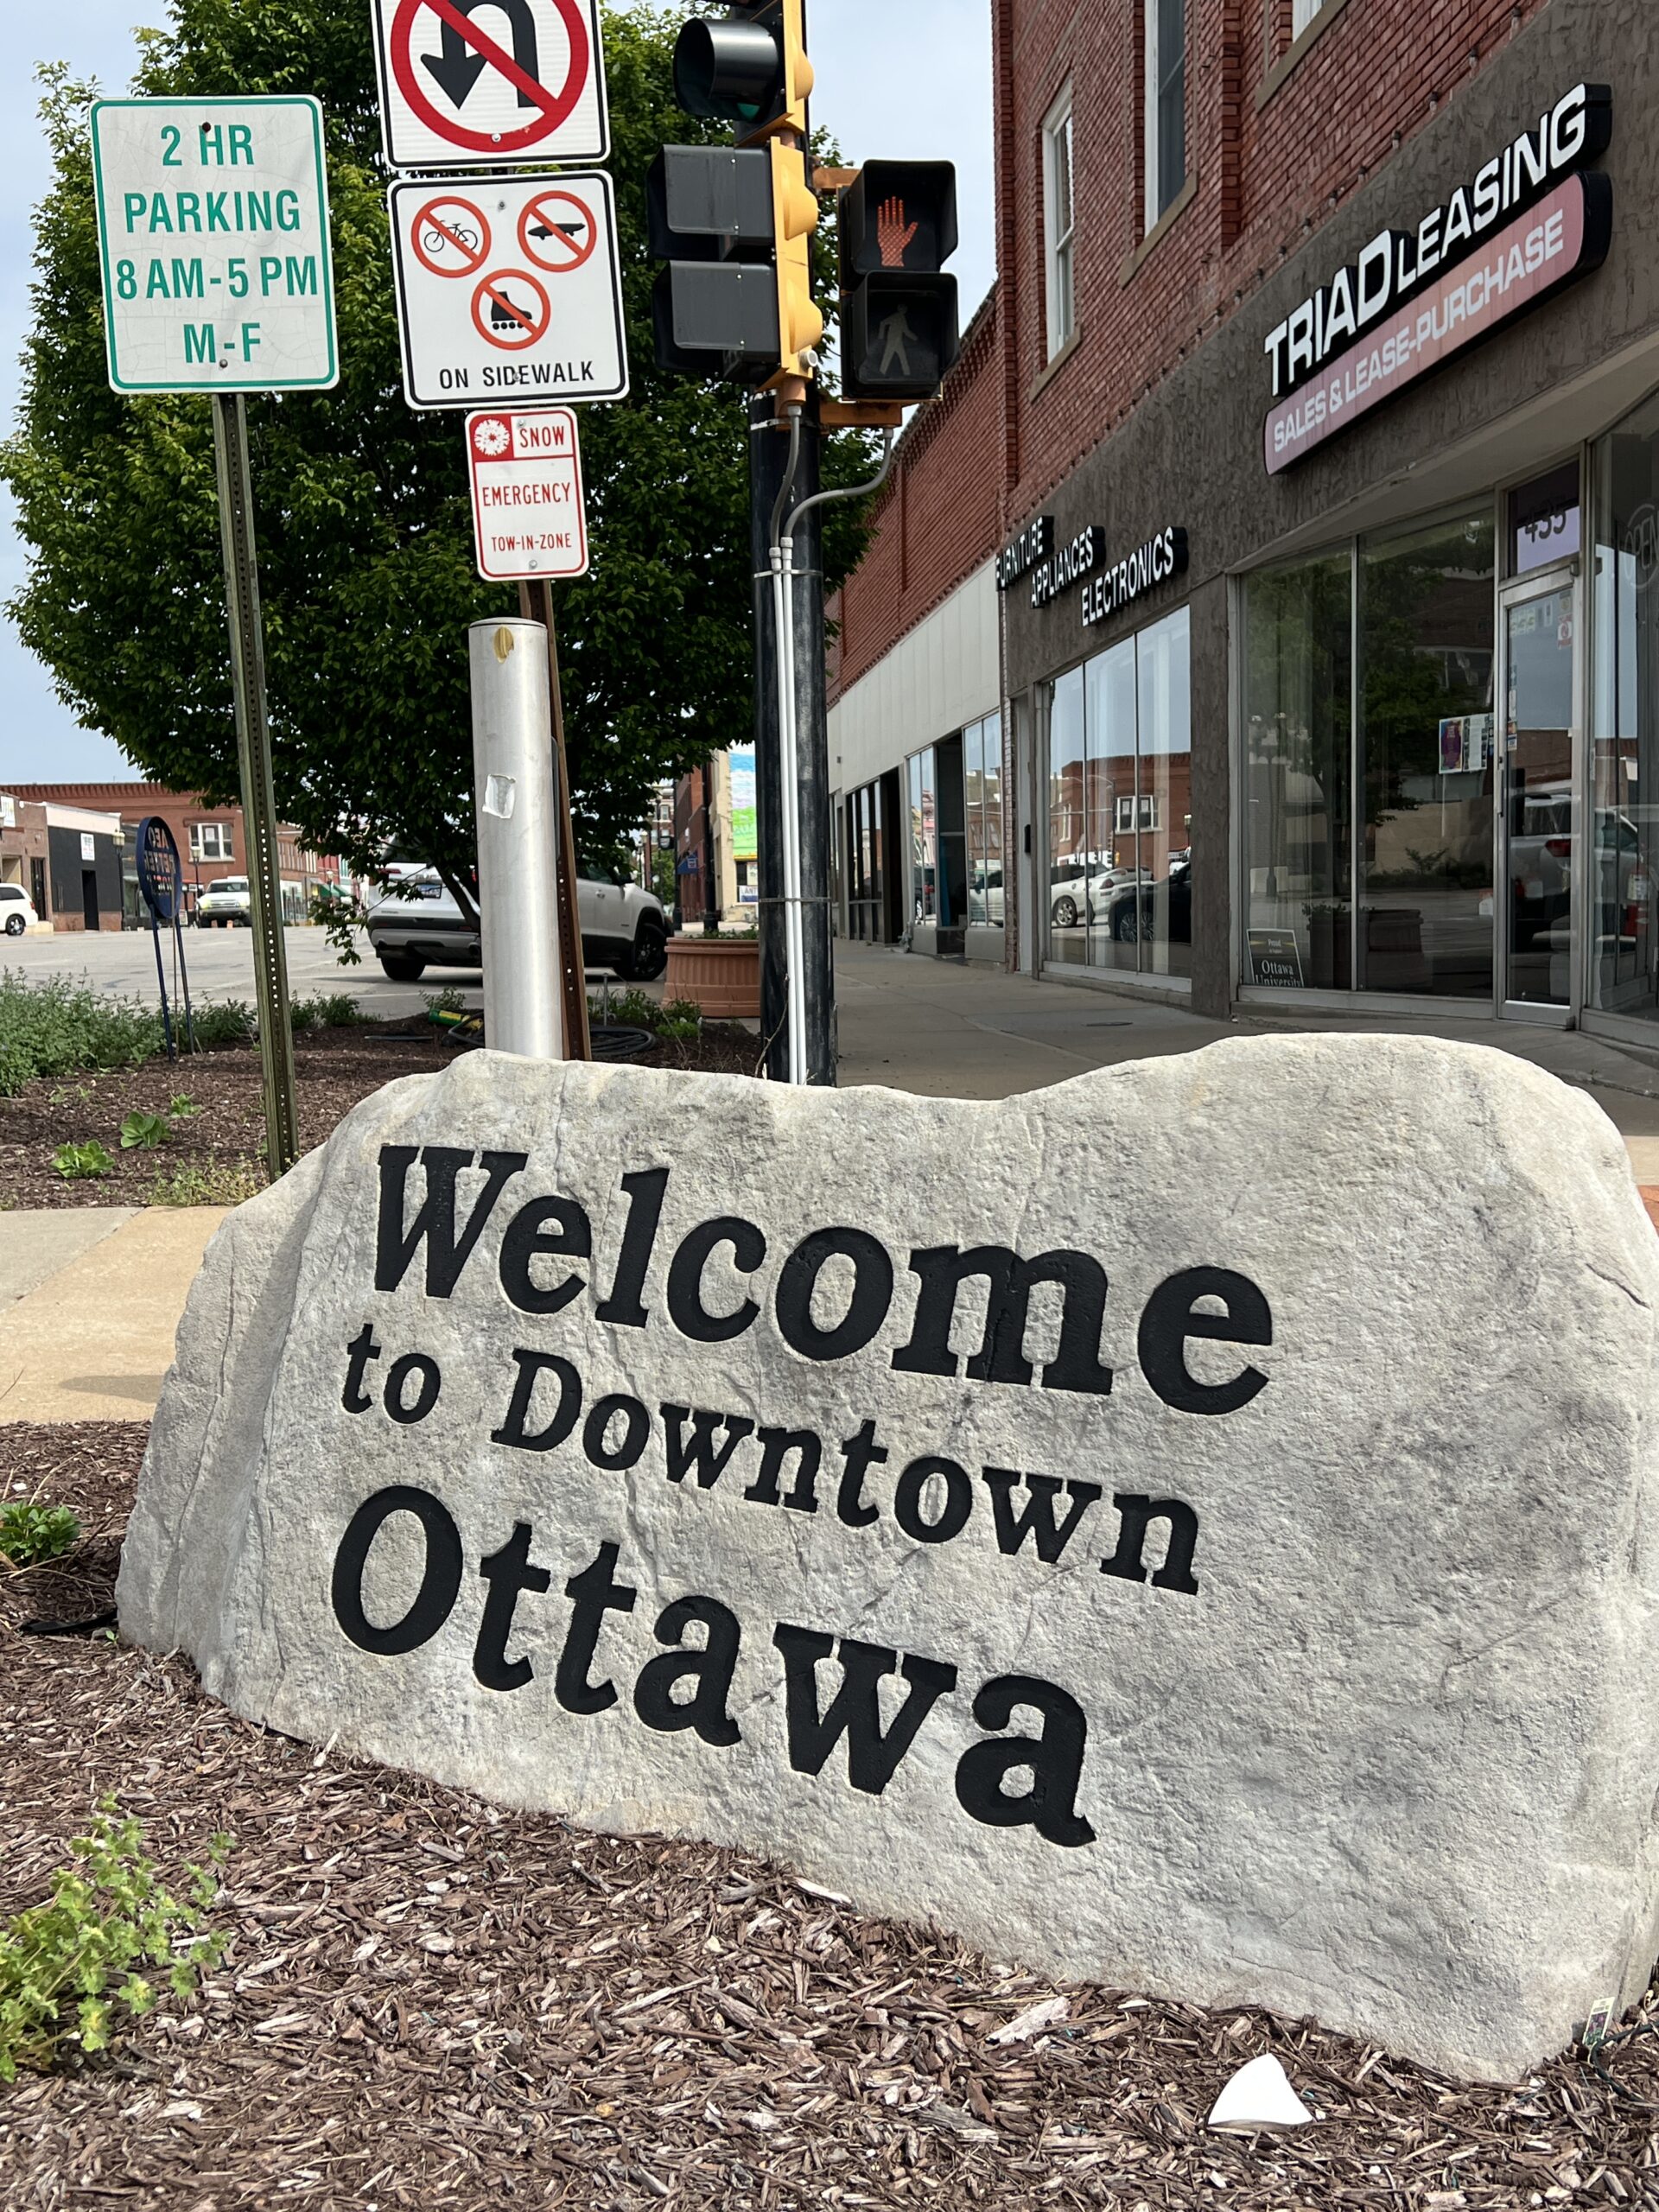 The Franklin County Courthouse, an architectural marvel, anchors the four-block stretch of a walkable district, where every crosswalk is flanked by attractive landscaping and historical signage. Bike racks are situated along Main Street.
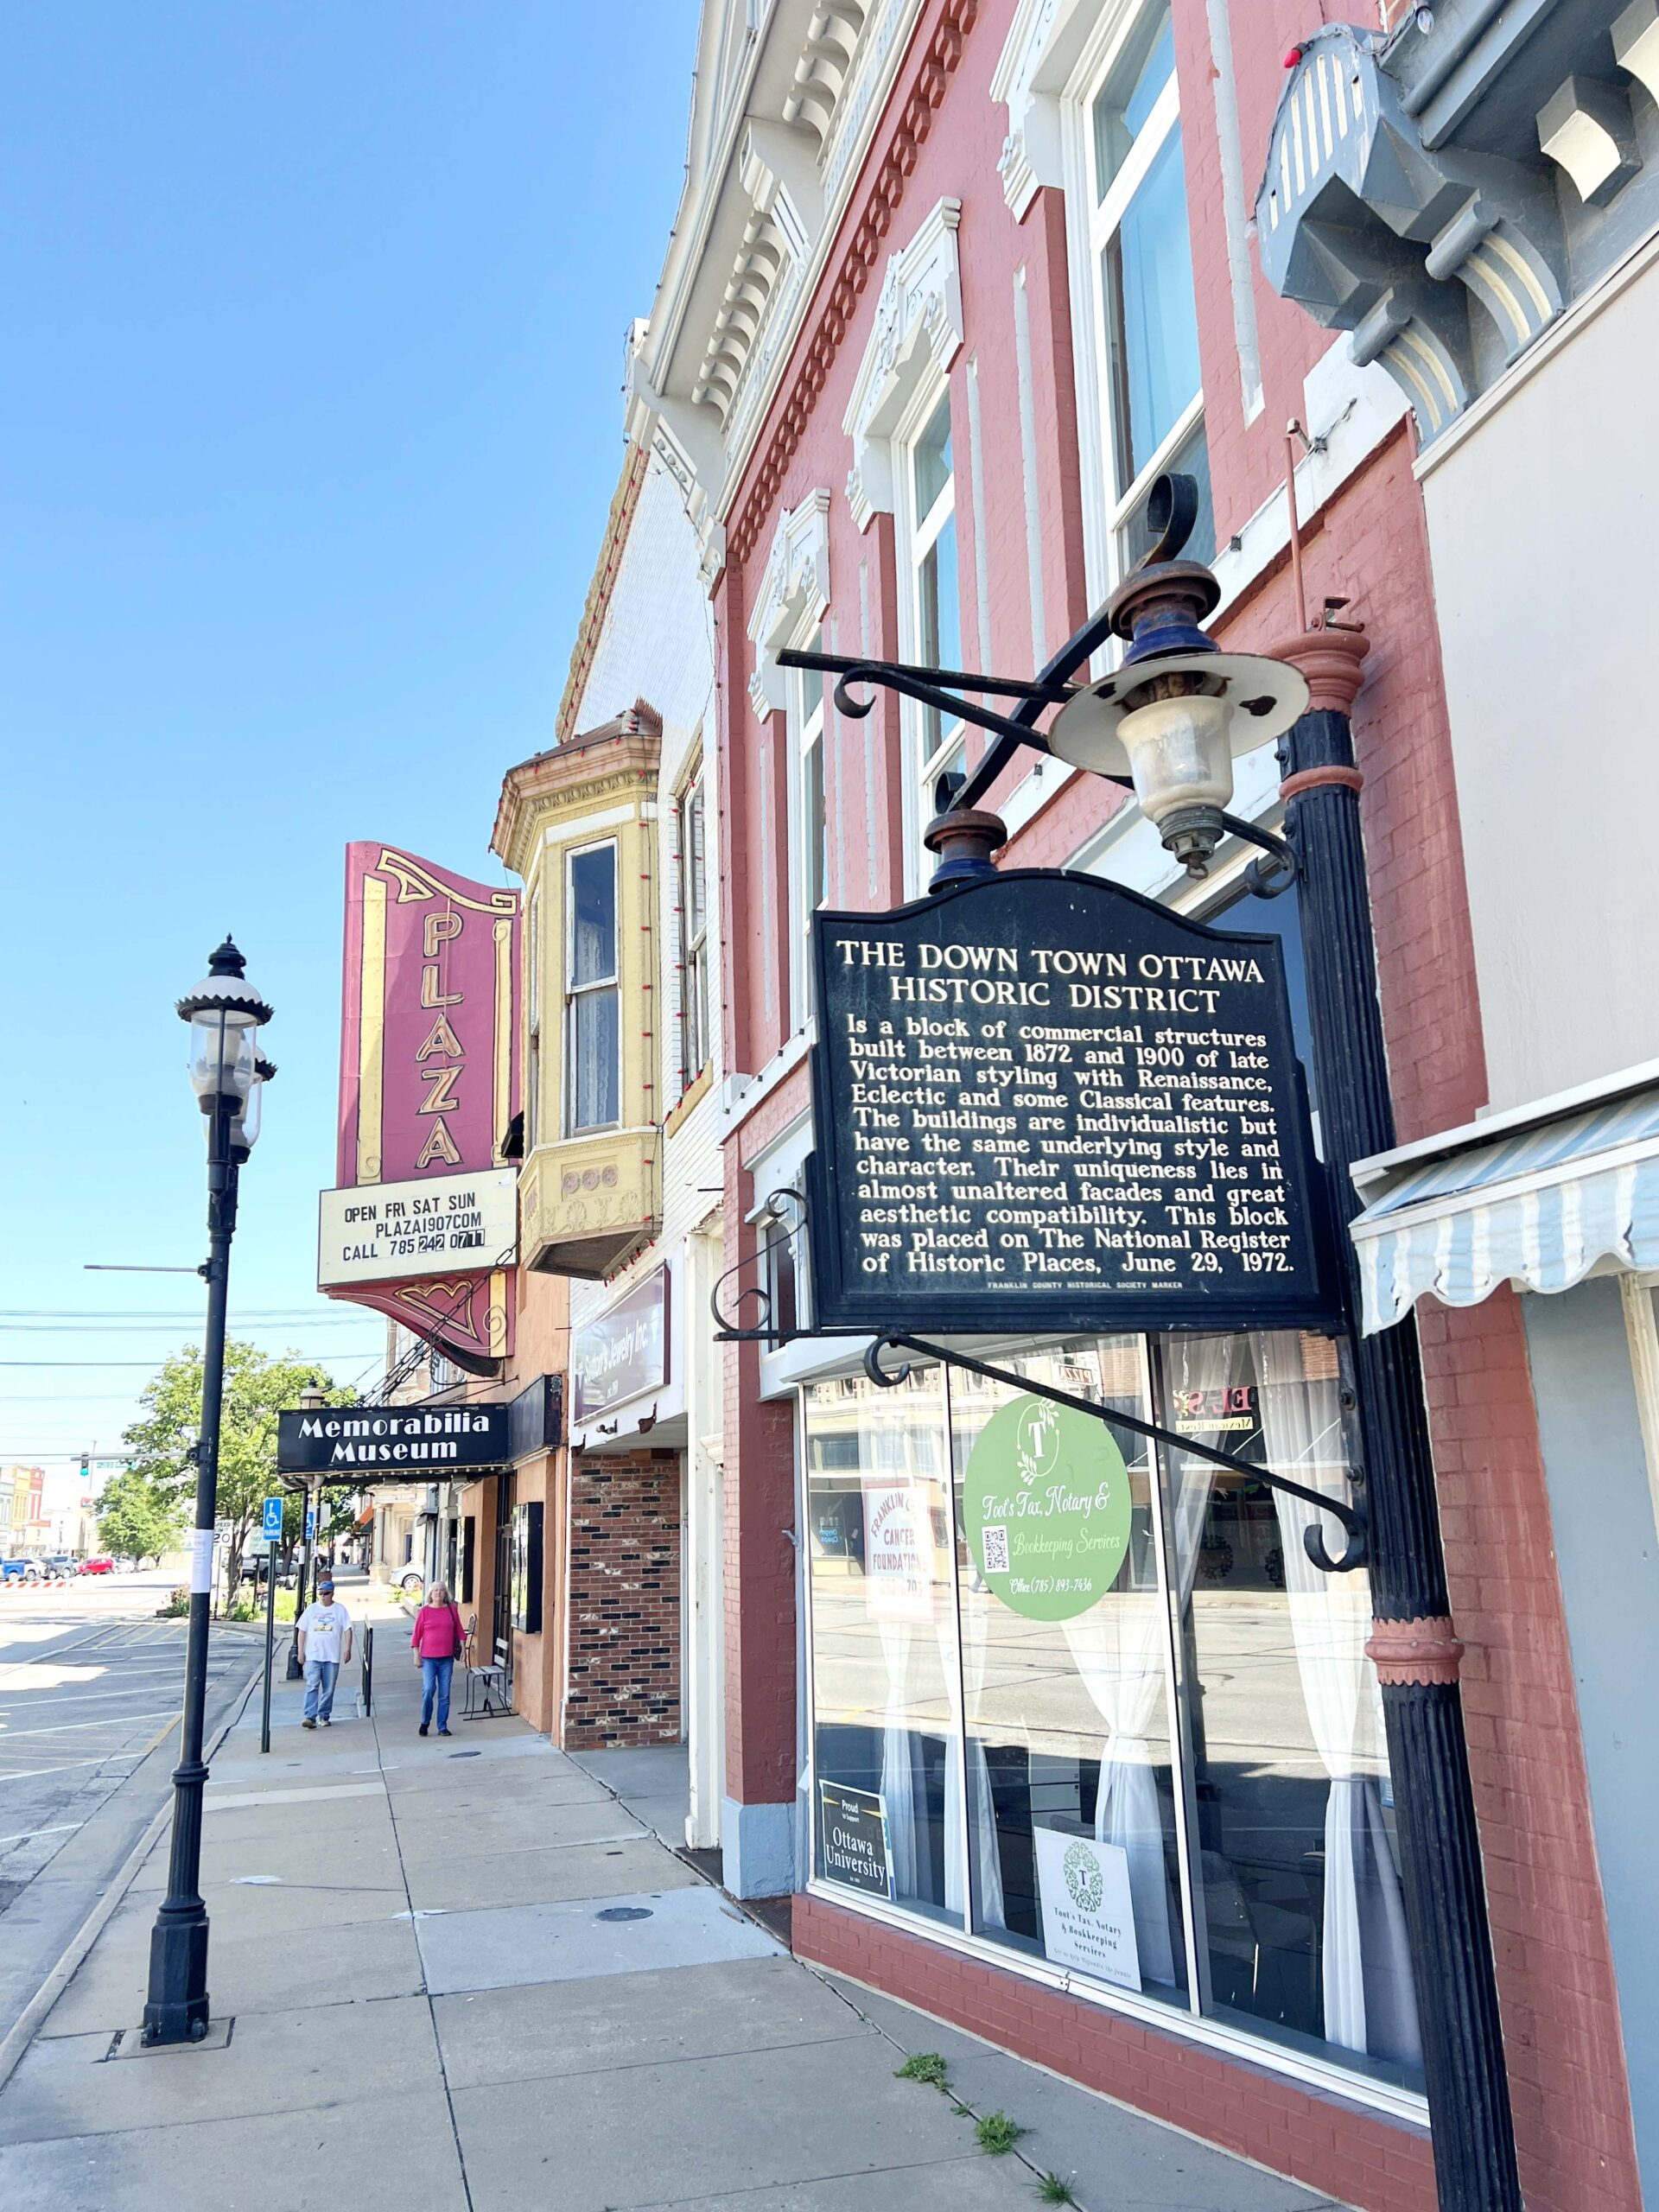
 You’ll never need for anything because the owners live on the property, which includes three bedrooms and two full bathrooms. I found the
 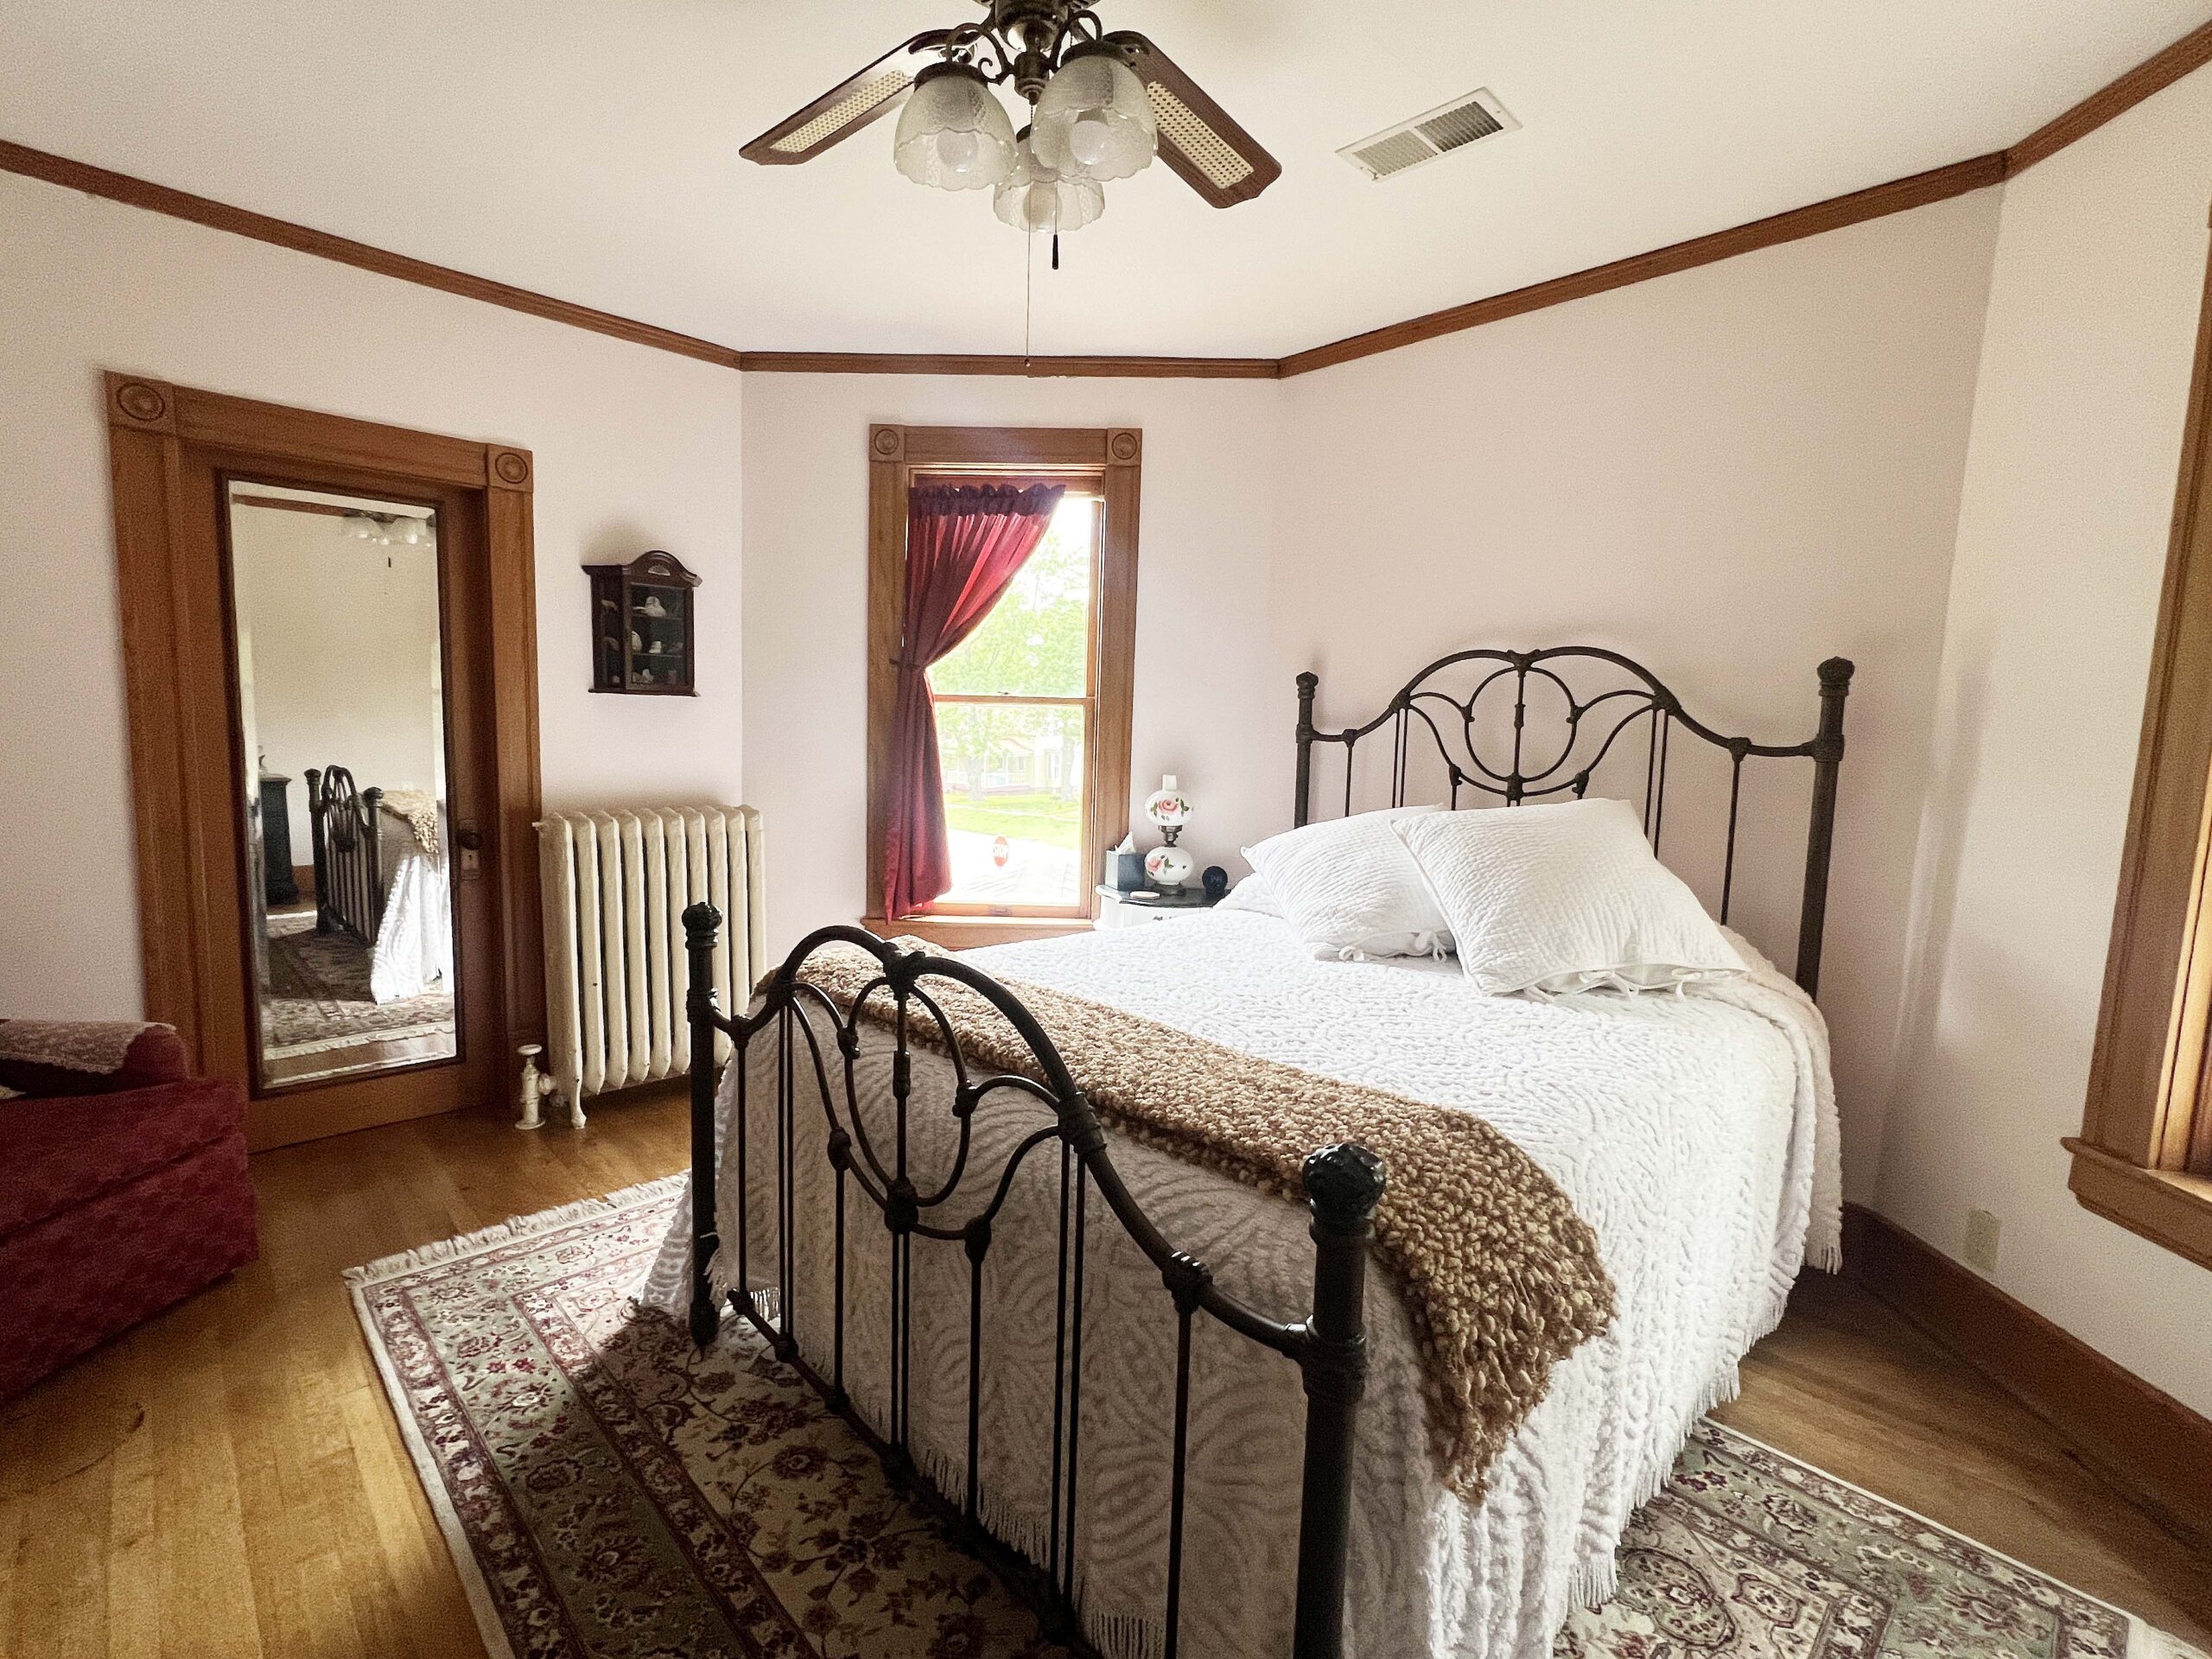 Each room includes a queen-size bed, a television with streaming channels, high-speed Wi-Fi, and access to a community lounge with a beverage station and refrigerator.
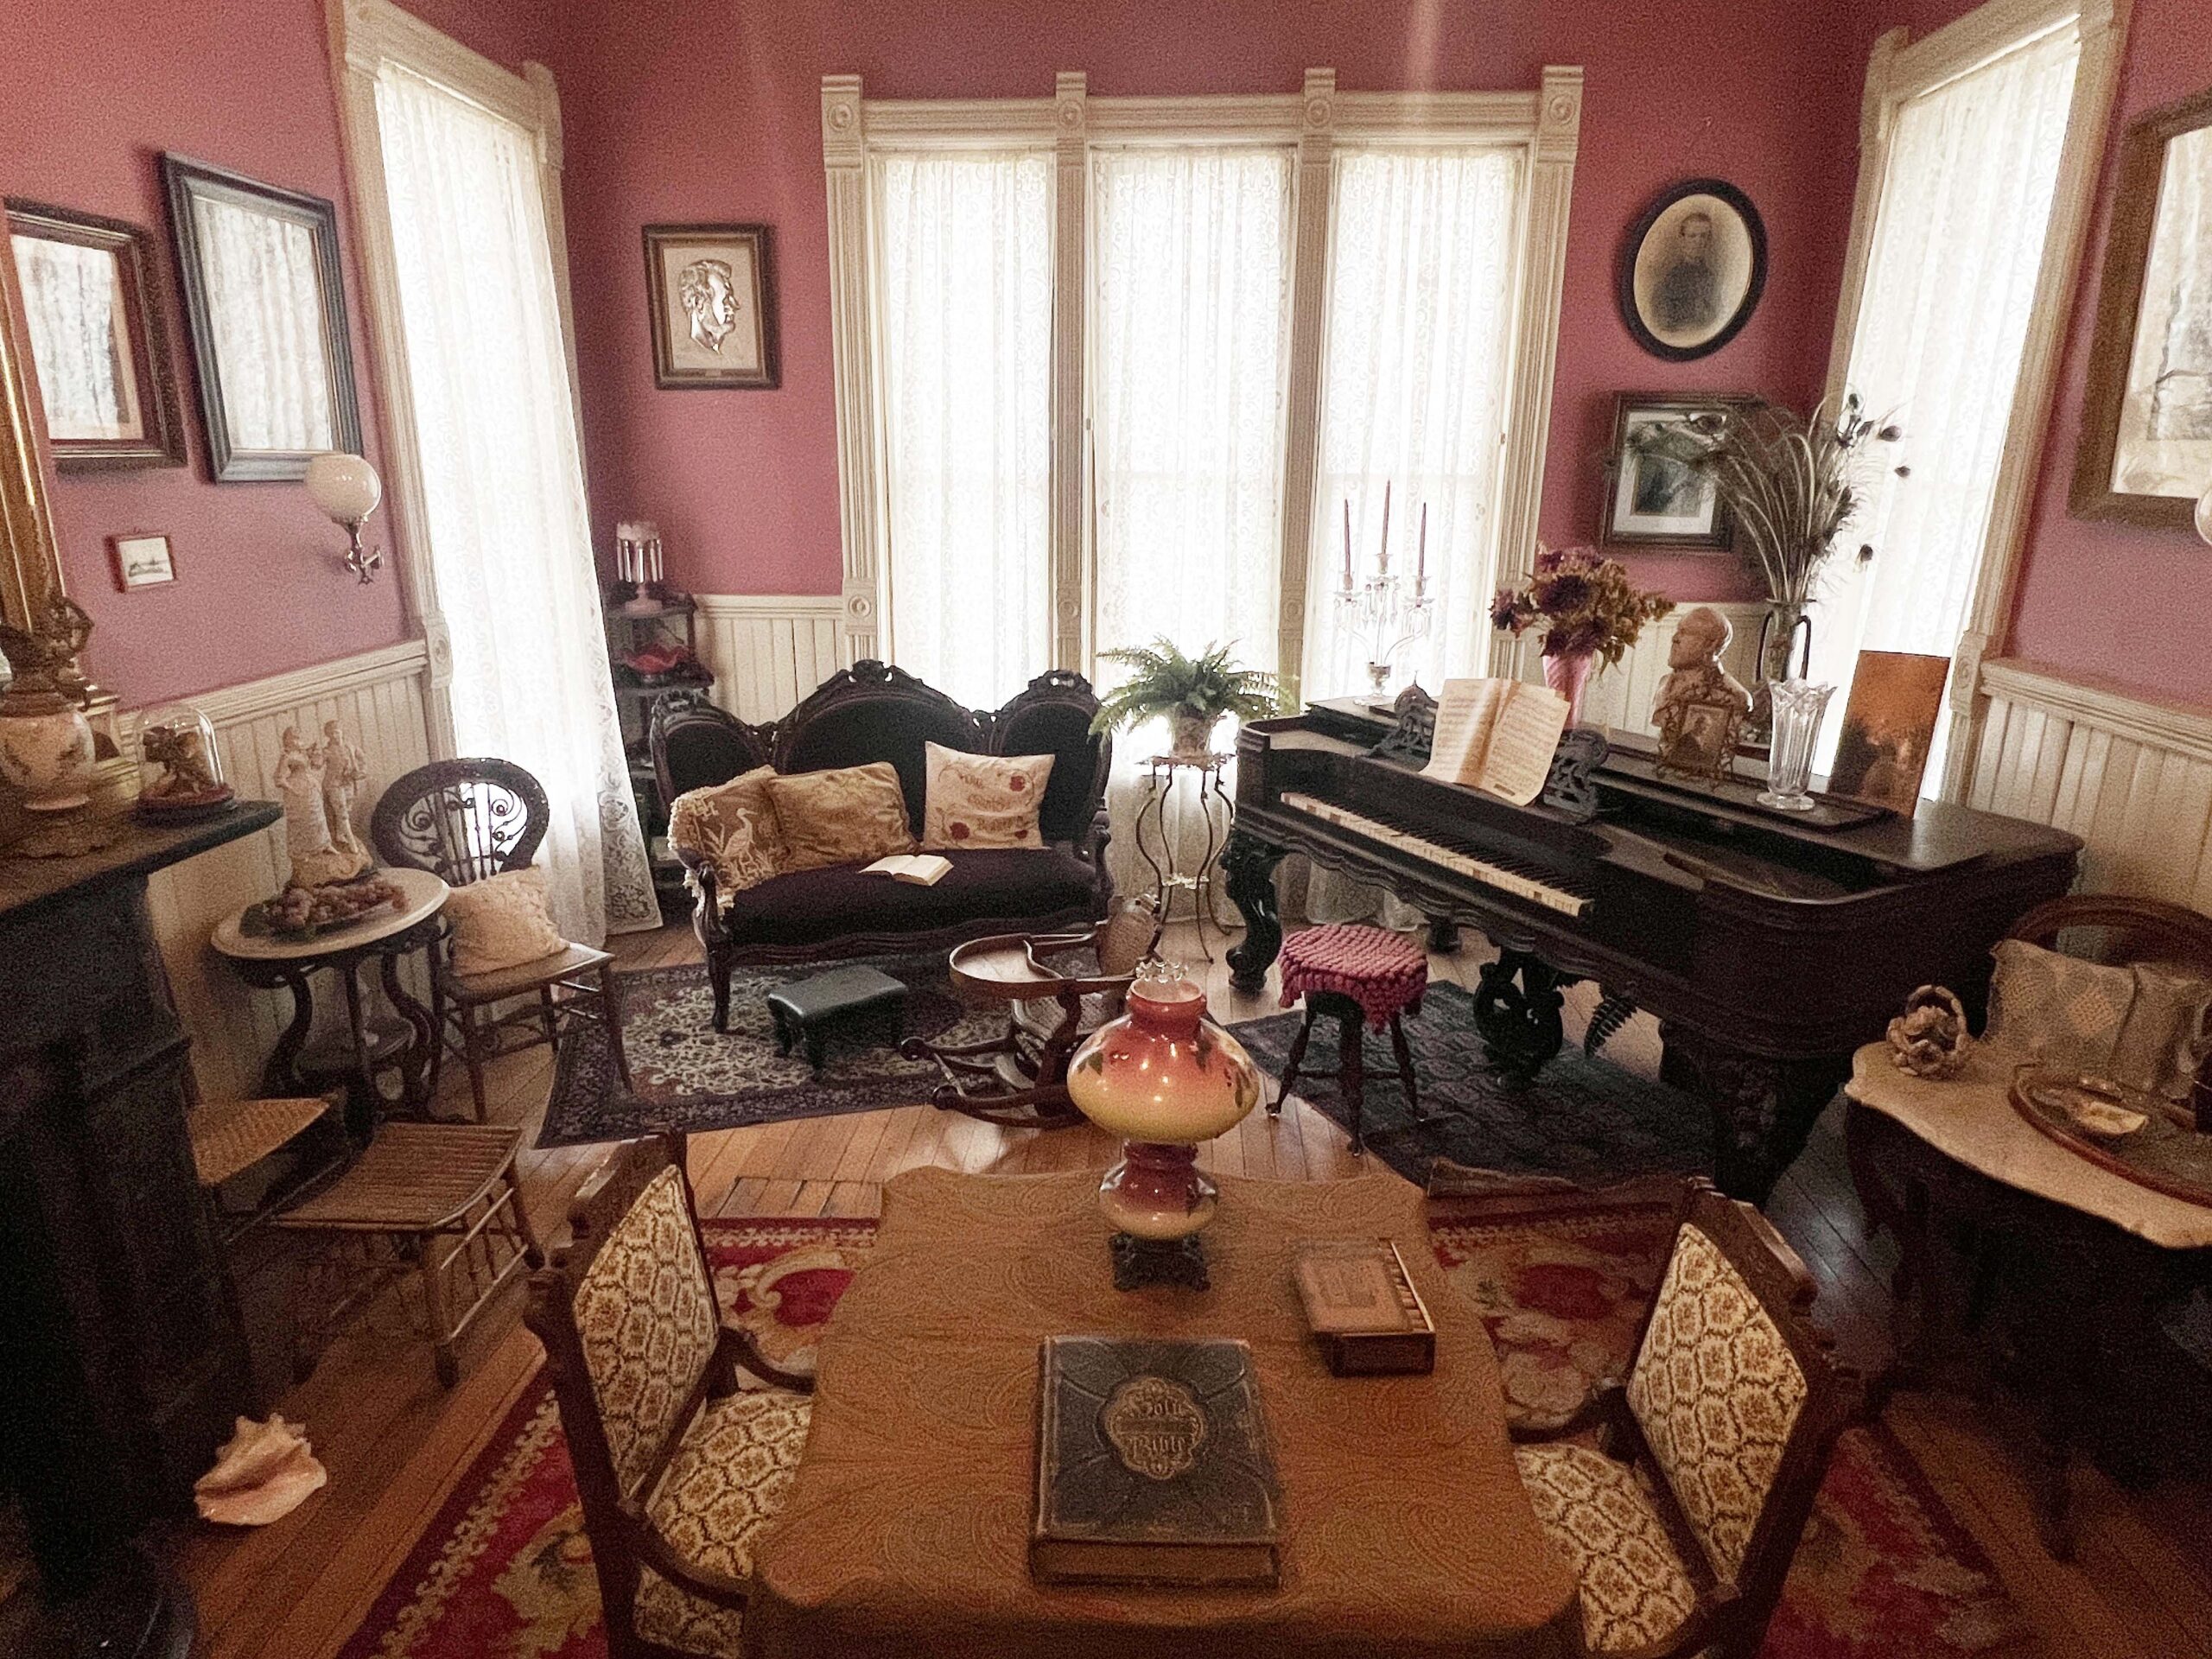 I came and went as I pleased, using the front door’s keypad entry. I had my choice of first-floor living spaces to read a book surrounded by antique furniture and paintings created by a local artist. Each one spacious enough to host a group.
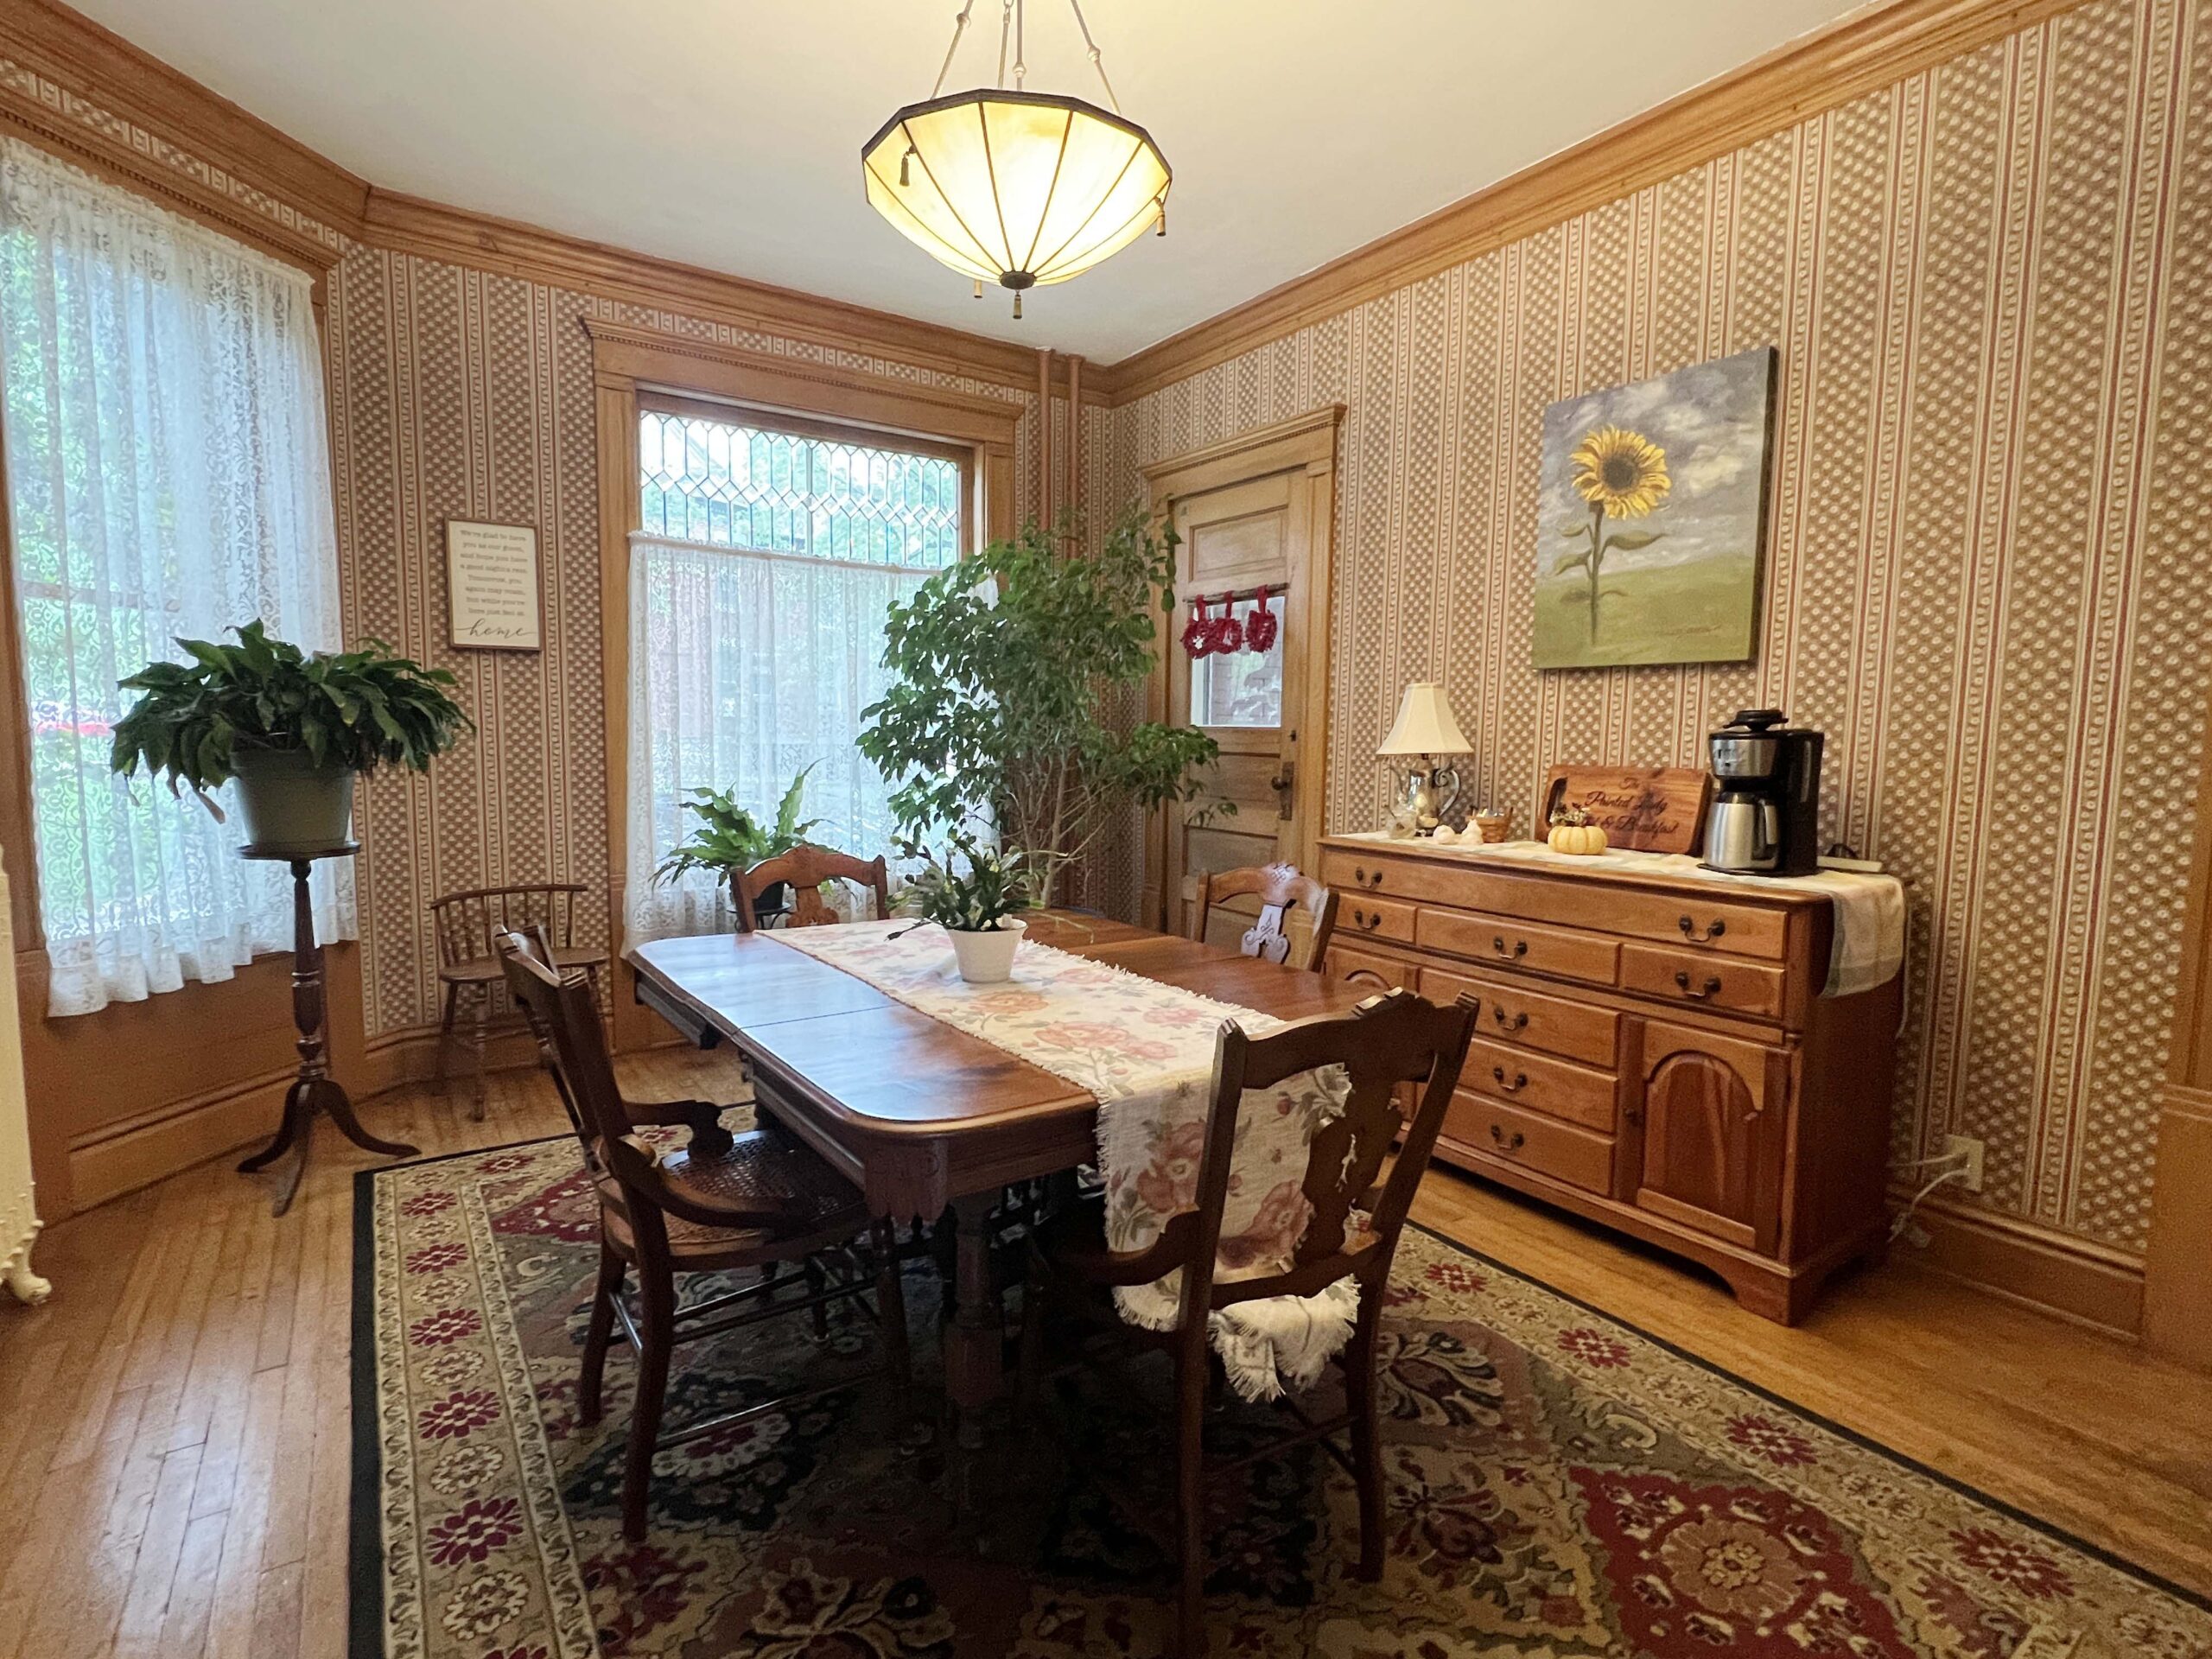 I awoke to the sound of birds fluttering among the old, native trees visible from my bedroom windows. Moving to my private balcony, I sipped coffee and listened to a rooster crow as the sun warmed the hostas and flowers below.
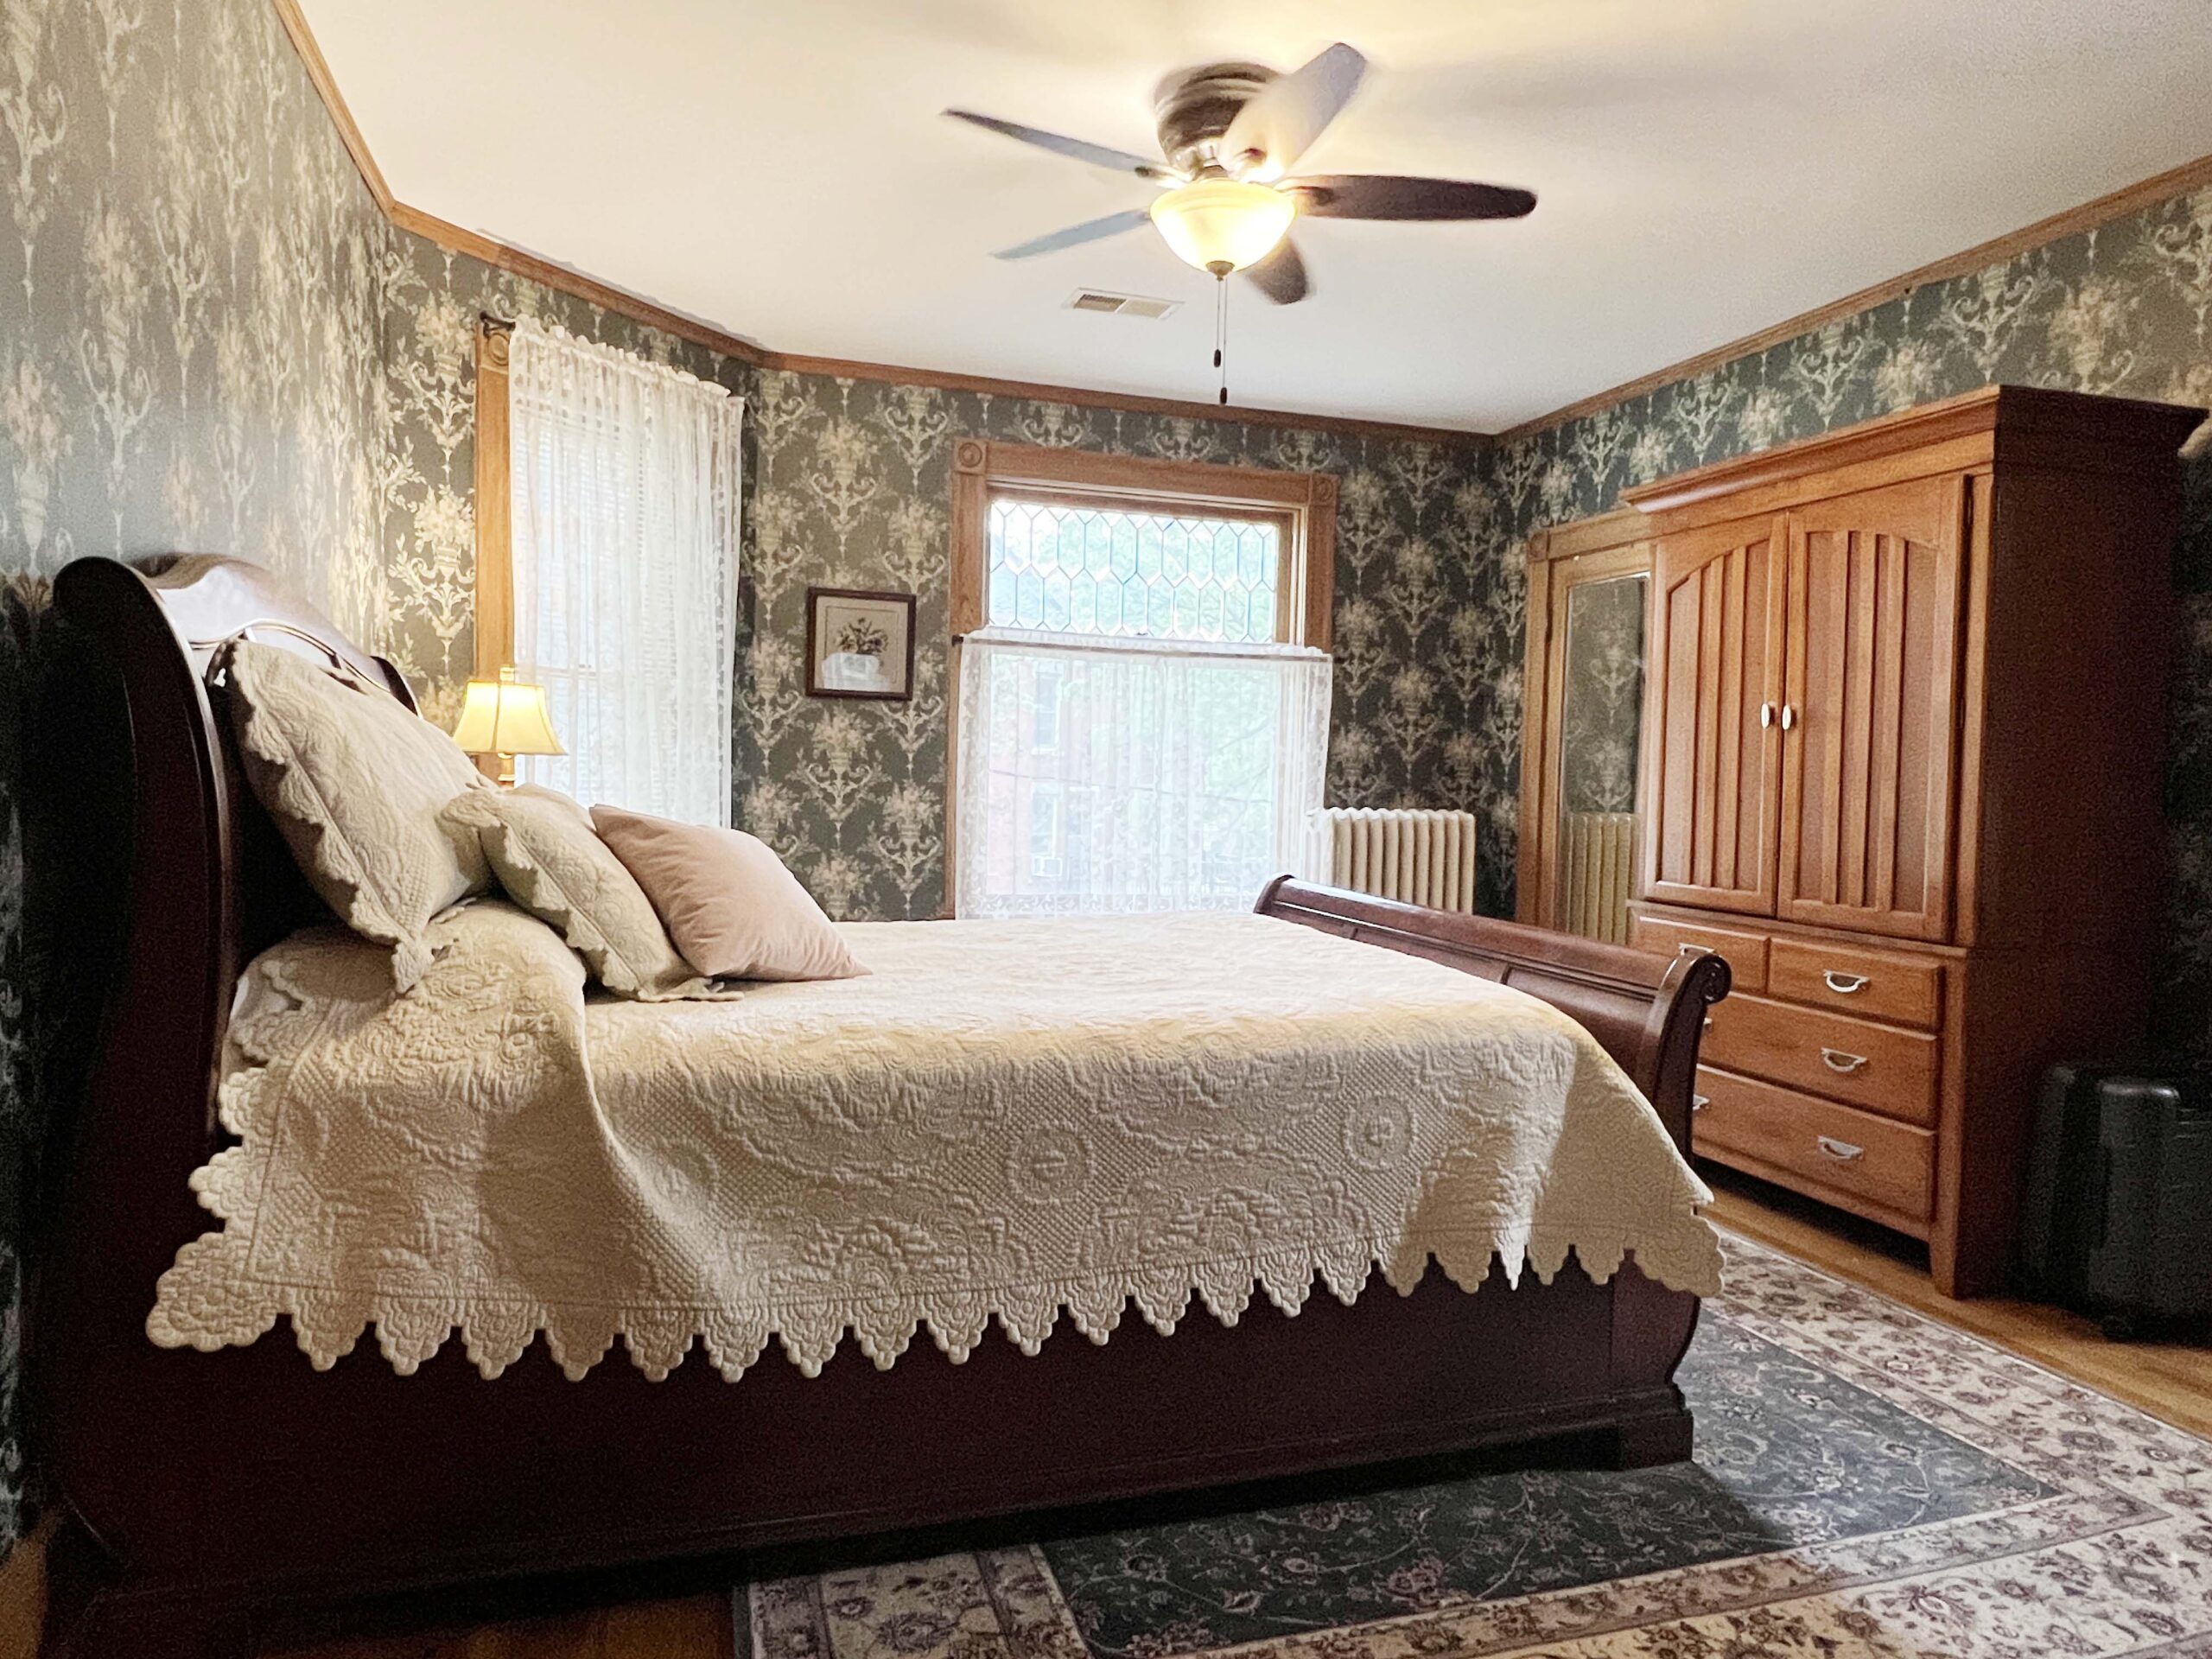 At breakfast, Sharon served homemade Polish crepes filled with whipped cream and topped with strawberries. I love meeting new people, so we chatted about their business and swapped travel stories.
 You won’t find a more appealing place to stay in Ottawa, and you’ll leave feeling as if you made new friends after meeting Steve and Sharon. Reserve your stay
 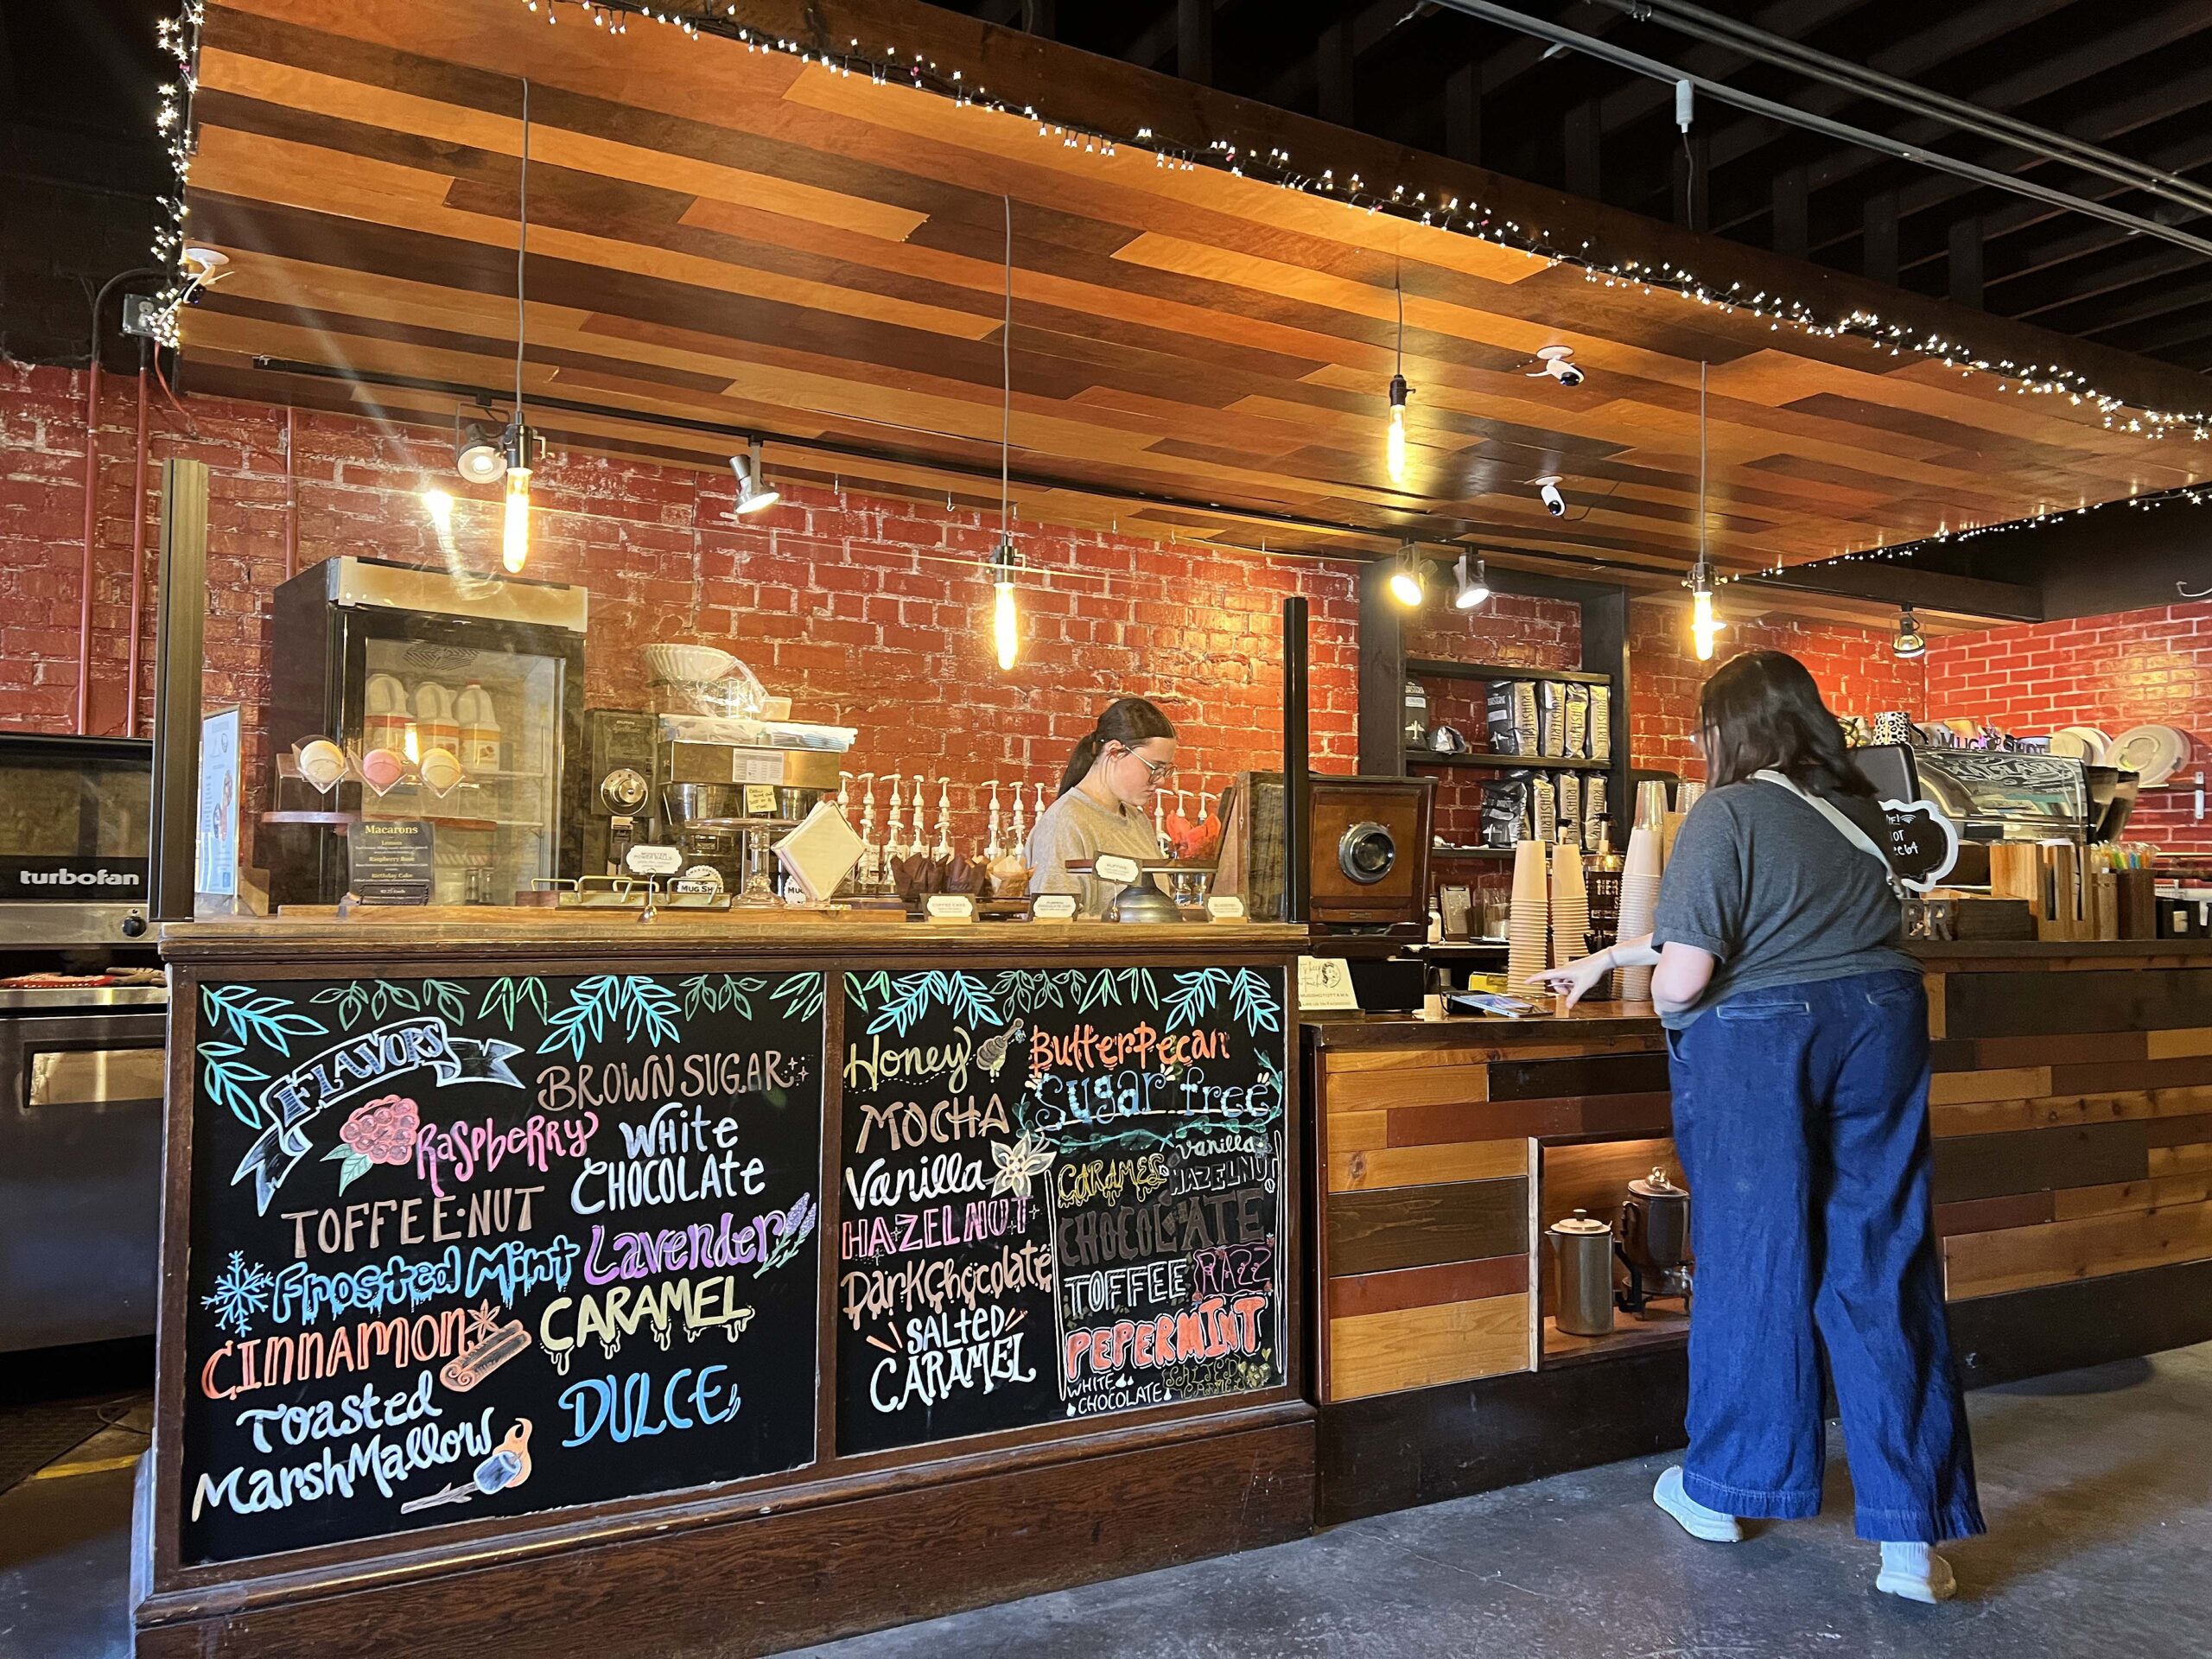 The cafe glowed with a warm hue of gold and orange as light bounced off the wood and brick walls. The smell of freshly brewed coffee permeated the air. A small grouping of women gathered at a table, as I made my way to order the Mug Shot’s most popular espresso drink, the Librarian Latté, prepared with molasses, vanilla, and cinnamon.
 The cafe is the ideal place to escape to for a conversation with a friend or to read a book on the cafe’s plush chair, situated beneath built-in bookshelves and nostalgic posters. Go for a latté prepared with house-made syrups and a freshly baked muffin.
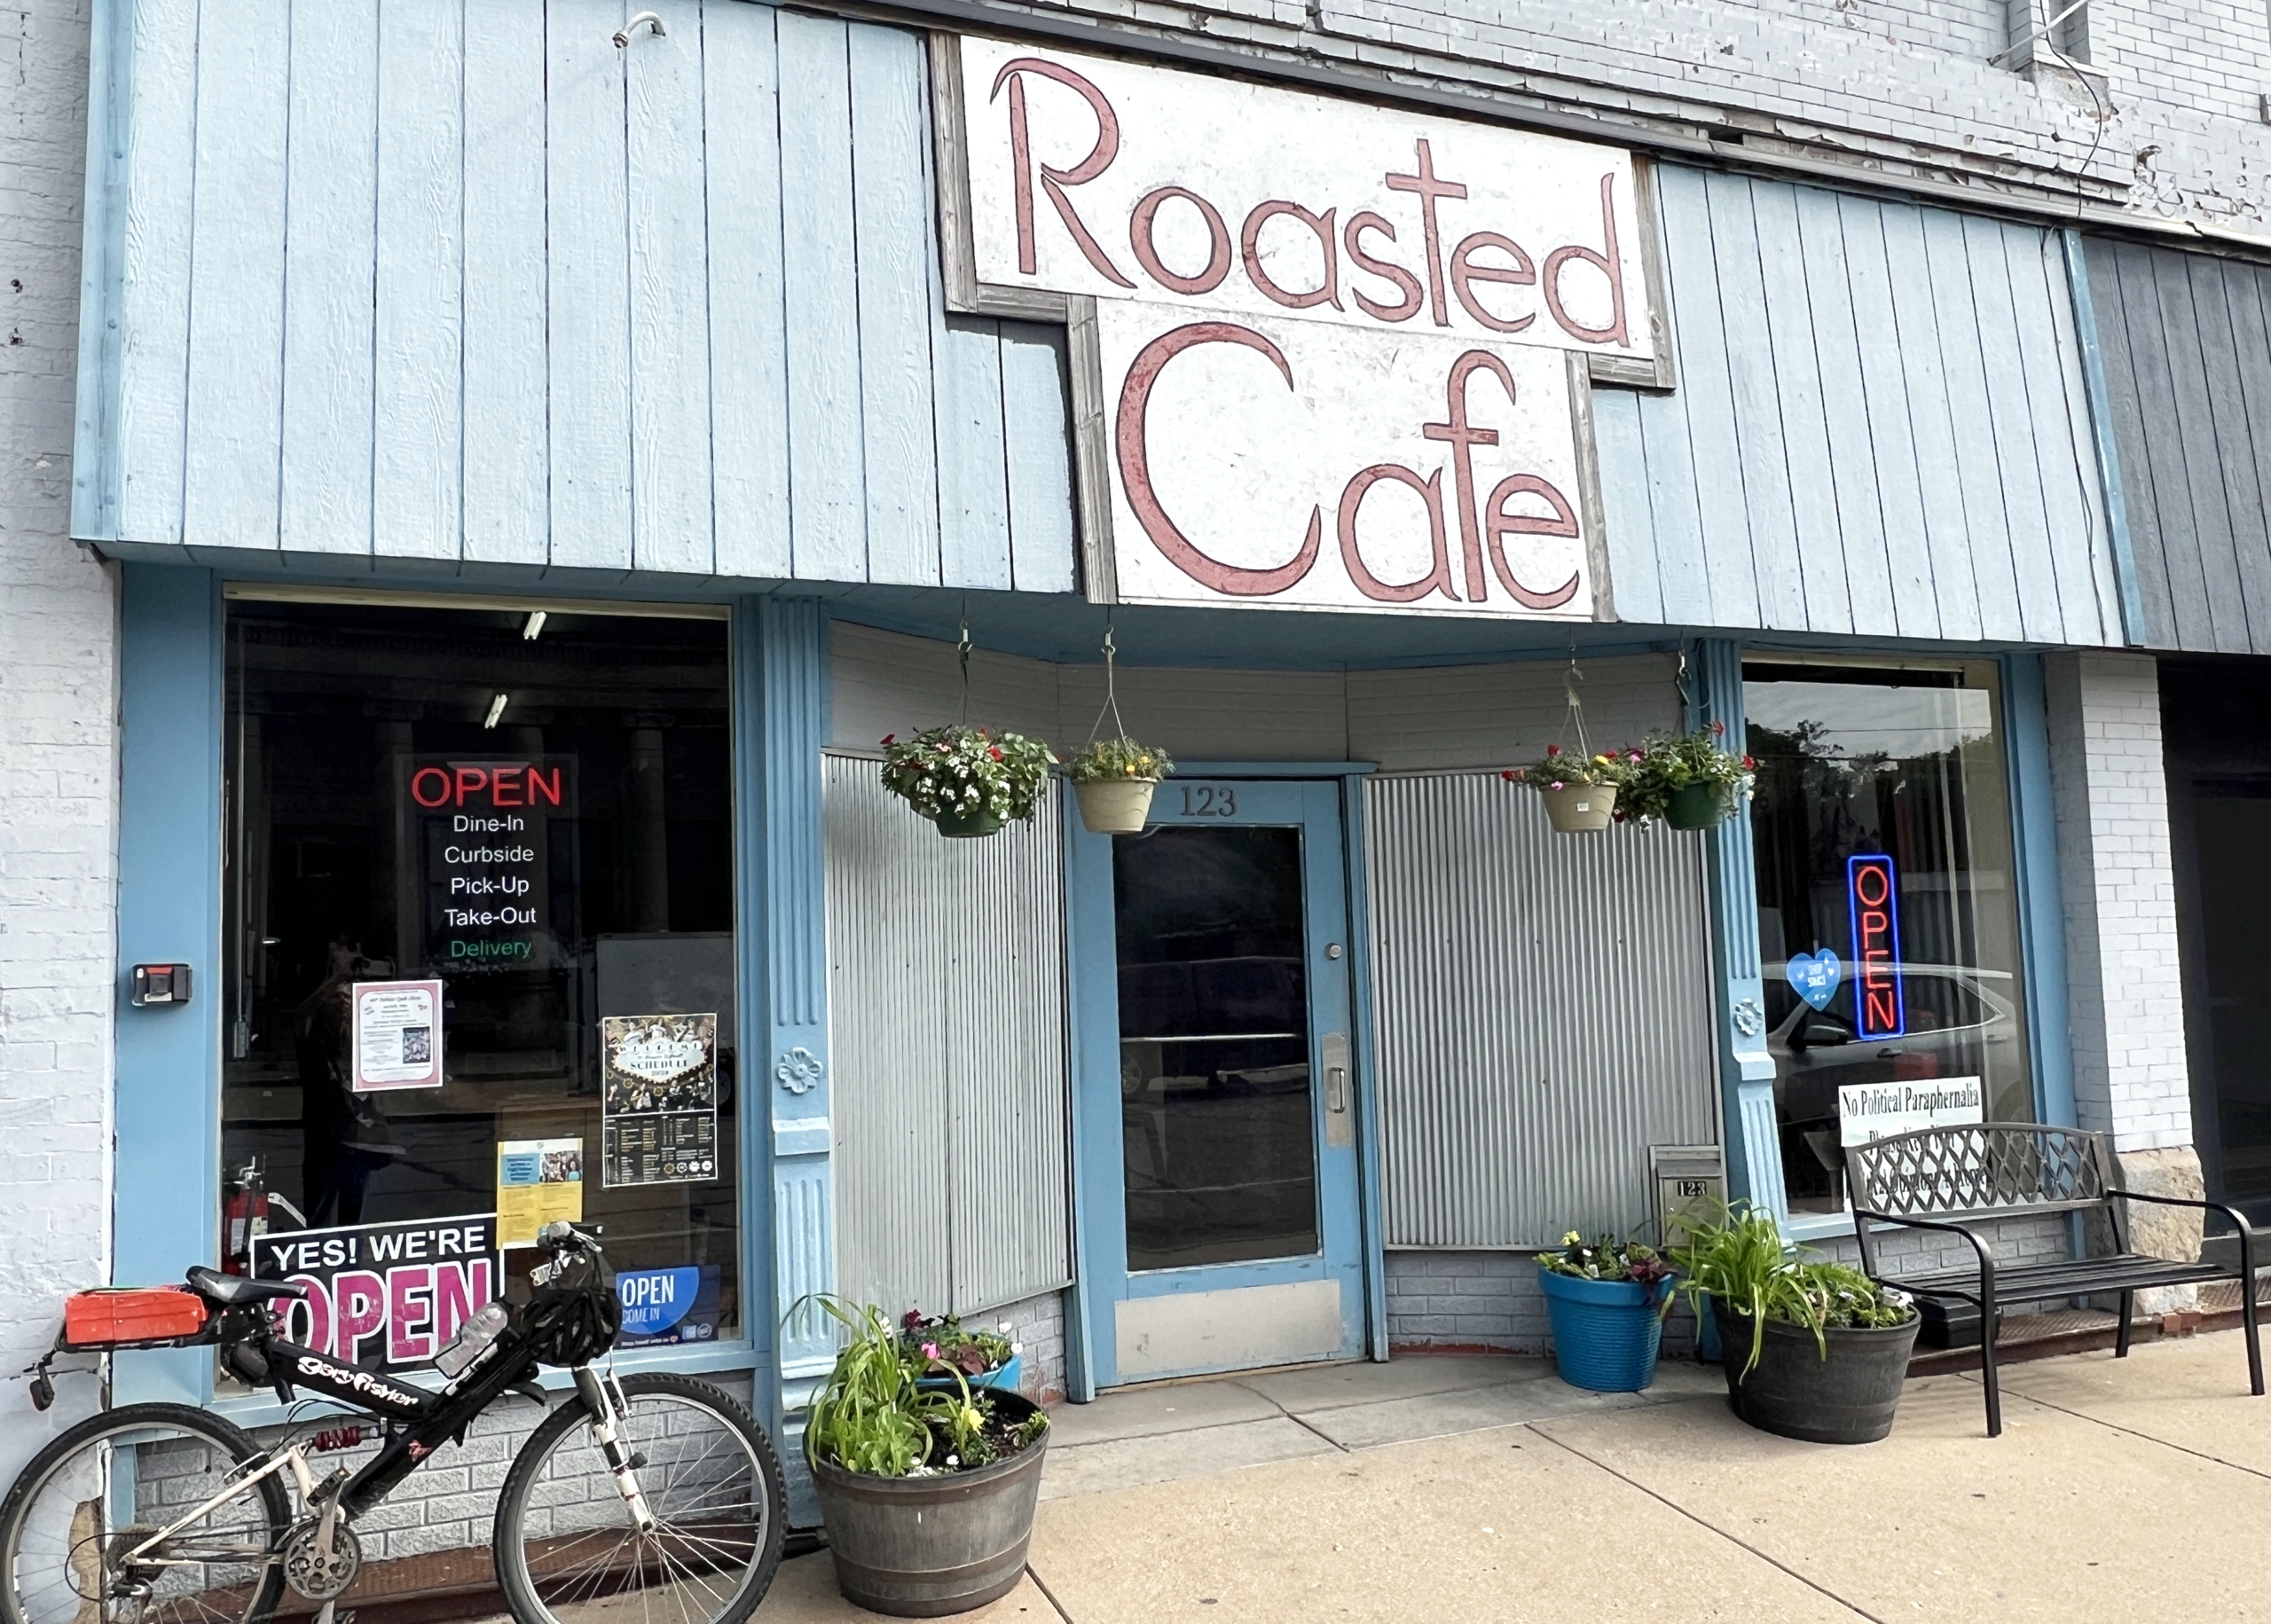 A nearby couple chatted about the day’s plans. The server warmly greeted a regular customer at the door. The place was abuzz on a Sunday morning with the sound of clanging plates and conversation.
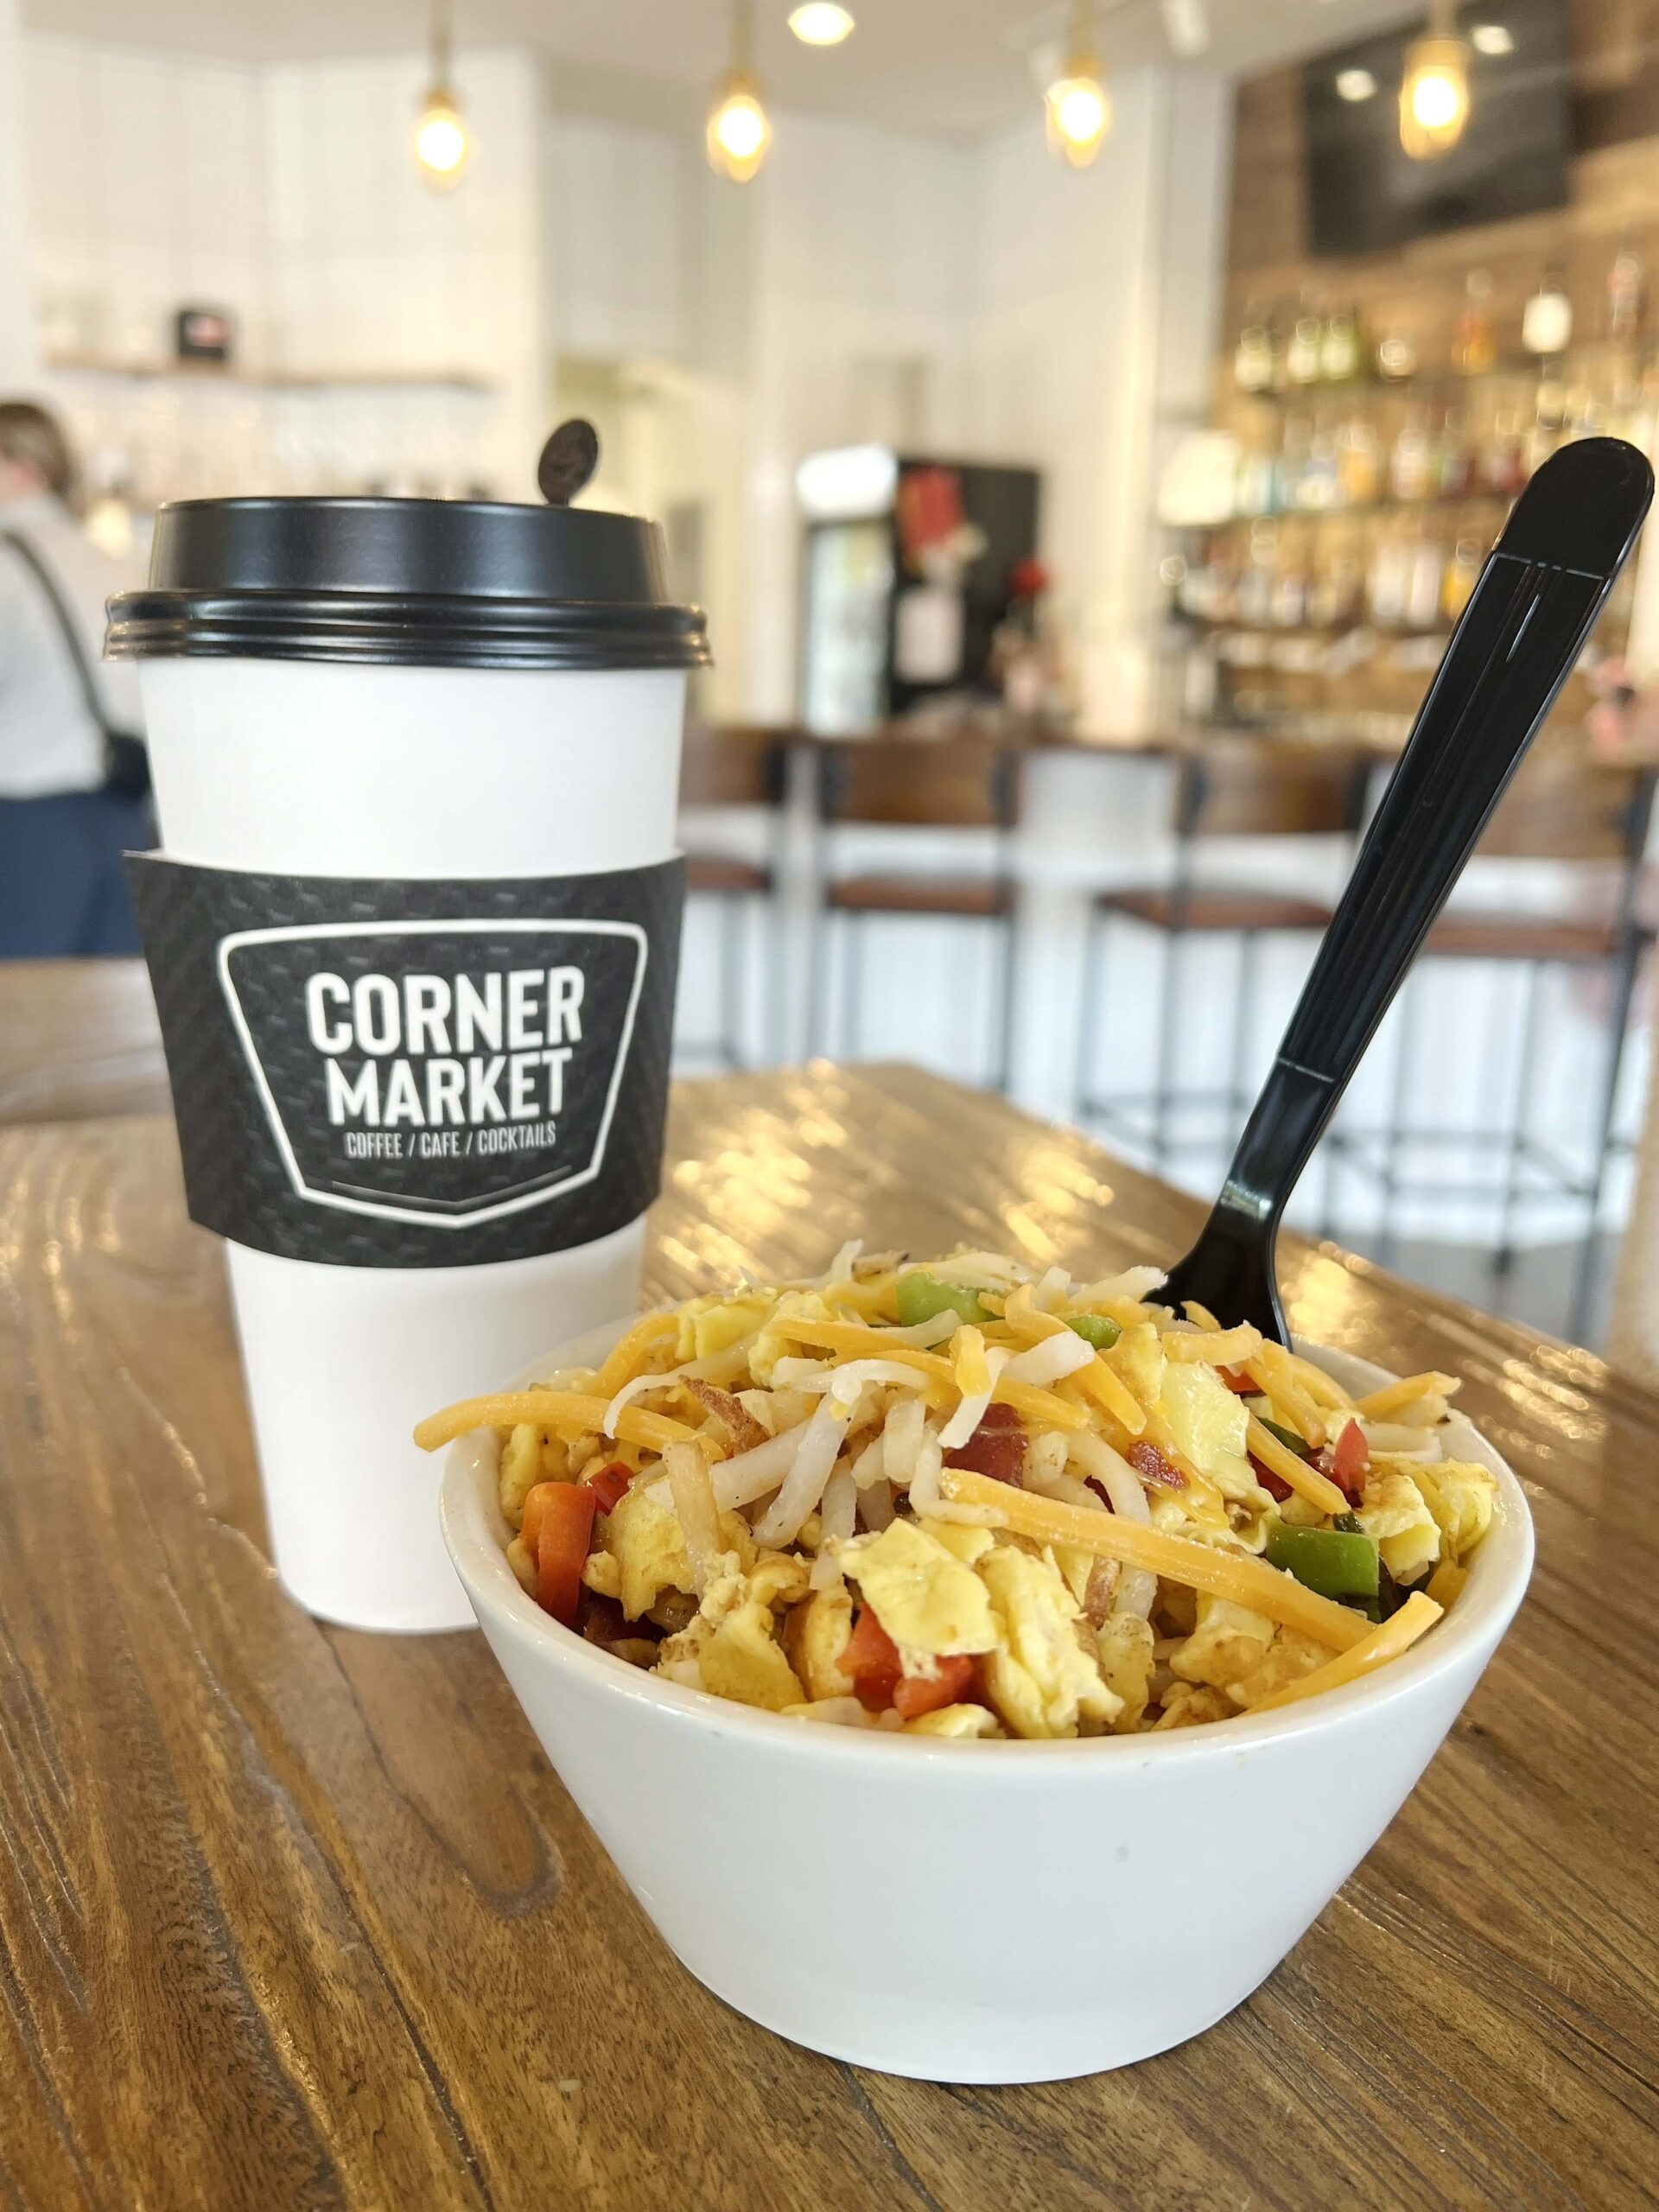 I can vouch that the Breakfast Bowl was made to order with fresh ingredients, and the chai latté was frothed to perfection.
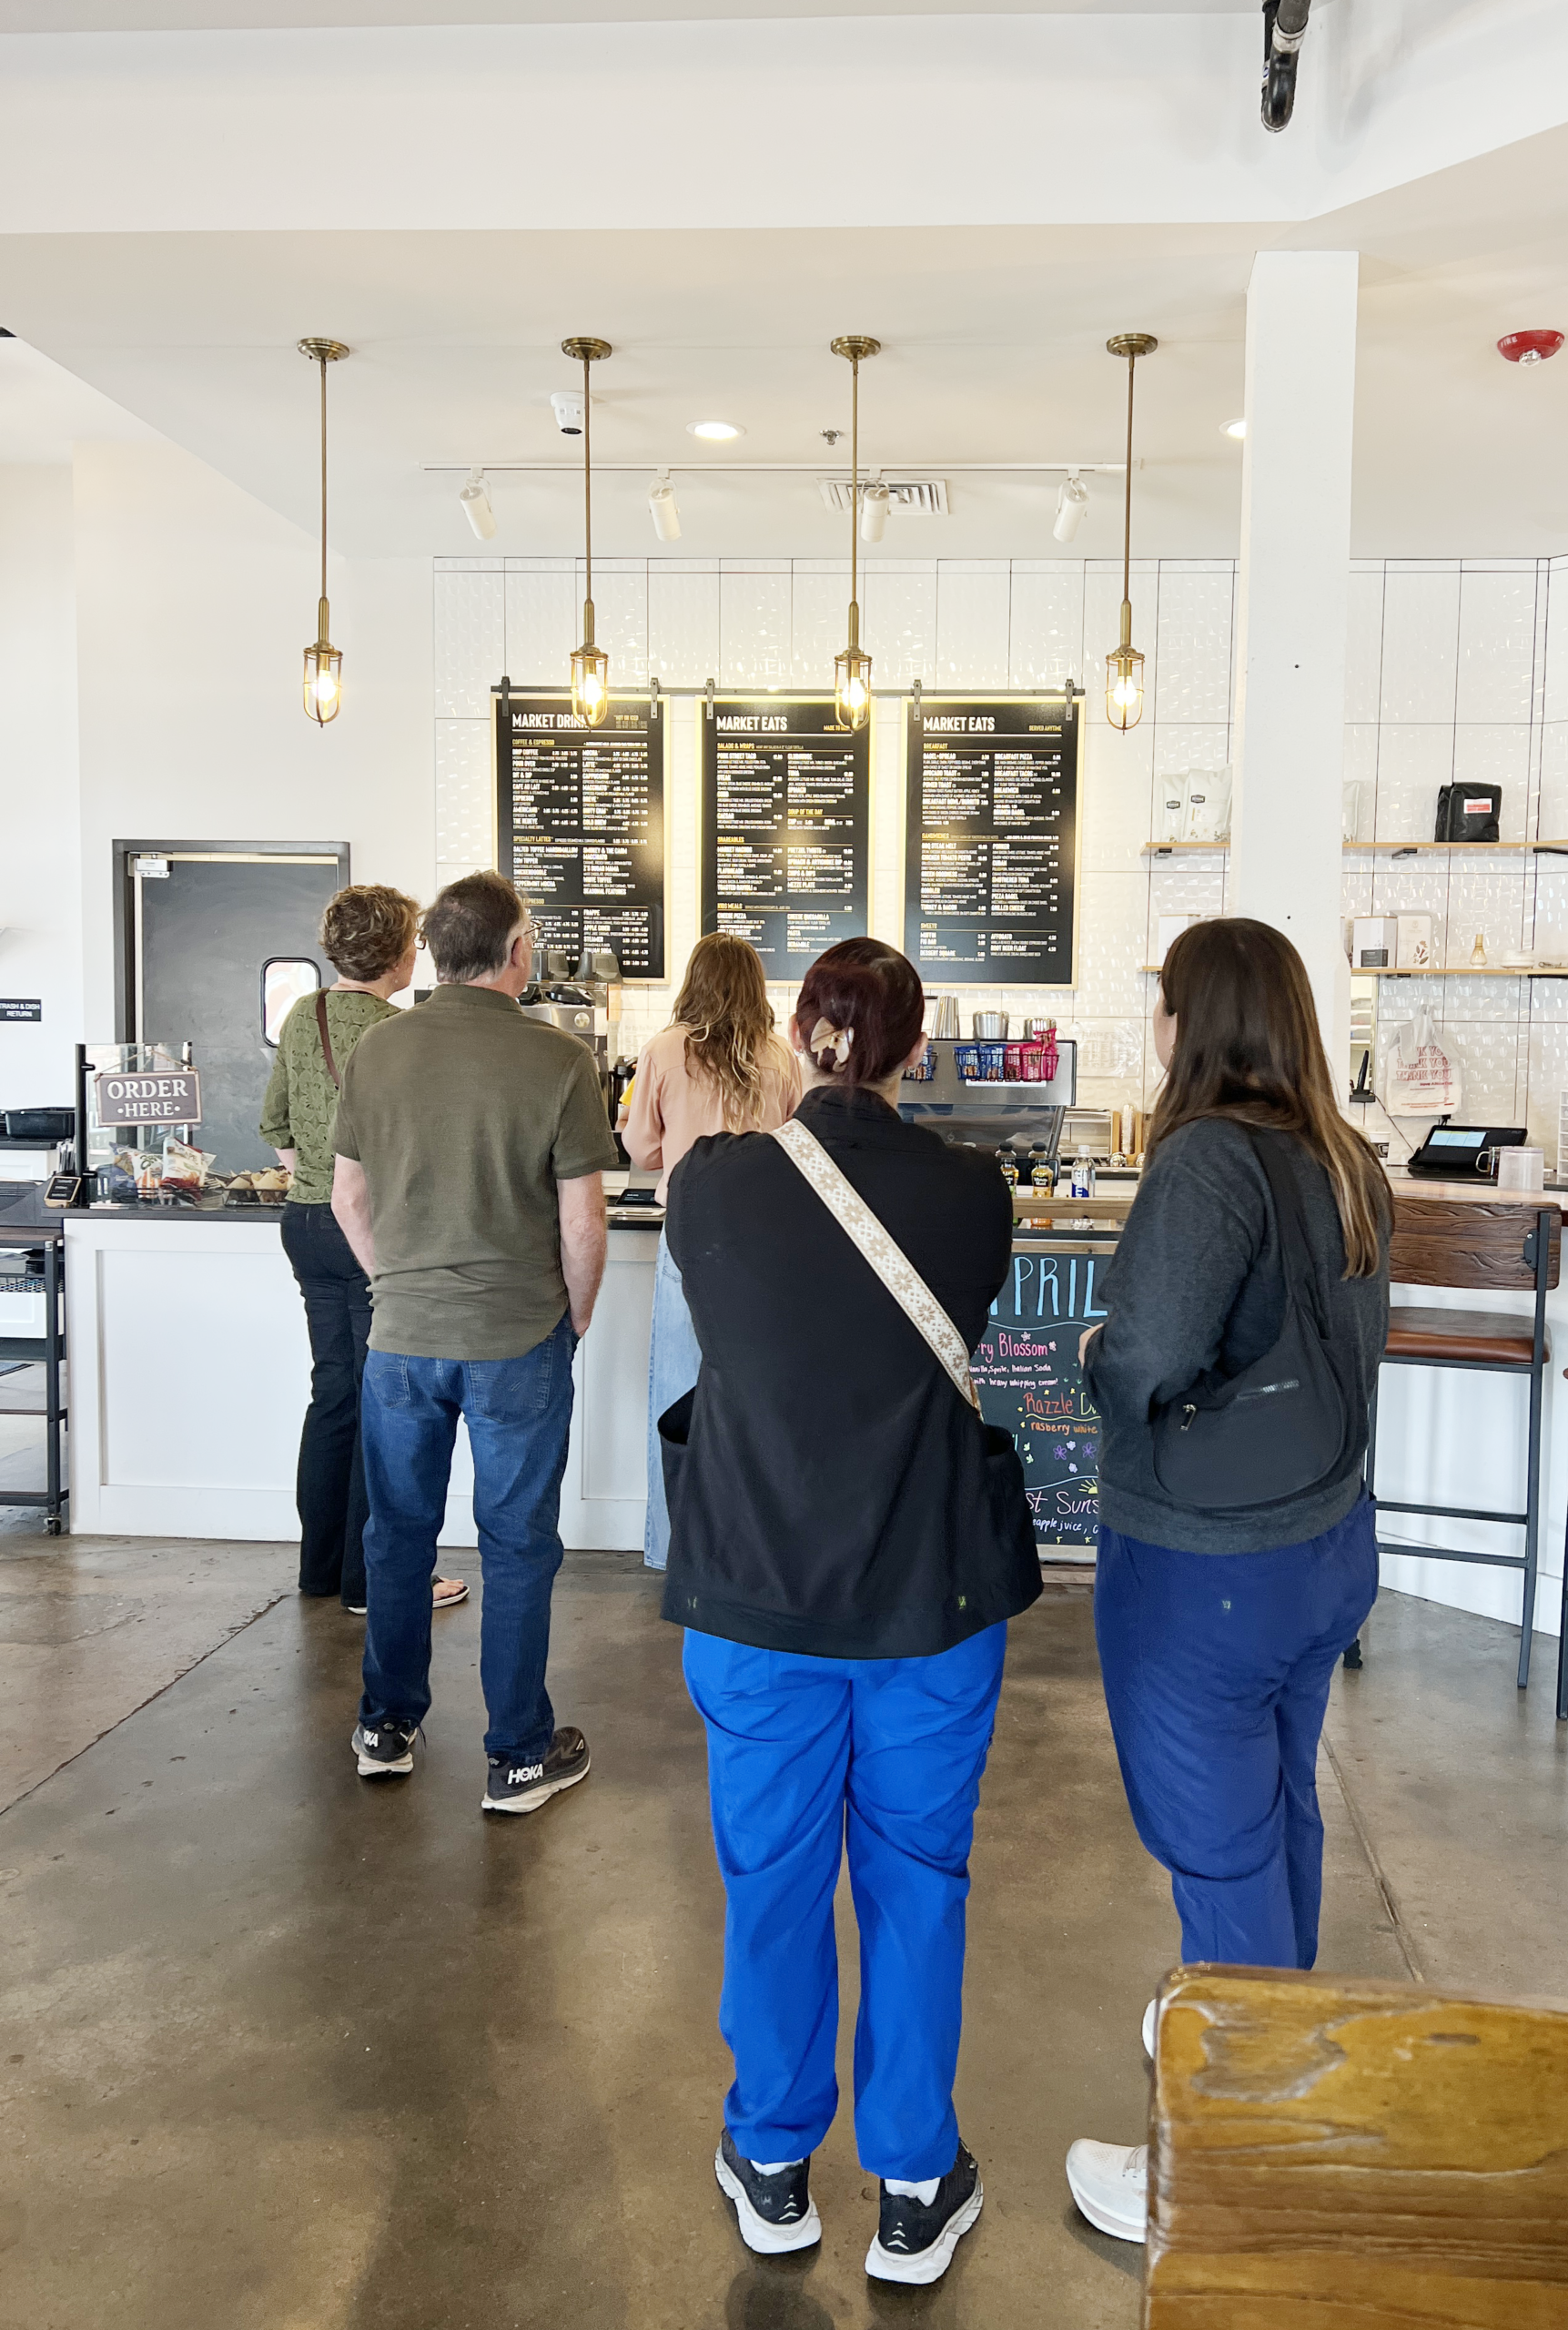 Kids will appreciate a menu dedicated to them, ranging from PB&J to a pasta entree. In the evenings, adults pony up to the cocktail bar for shareable nachos and boozy beverages.
 My Quesabirria (flattened tacos with shredded beef) was prepared with fresh ingredients and served with a side of house-made birria sauce. The hand-shaken house margarita was served promptly, which was fantastic considering the dining area was nearly full, and overflow customers were enjoying the patio at lunchtime.
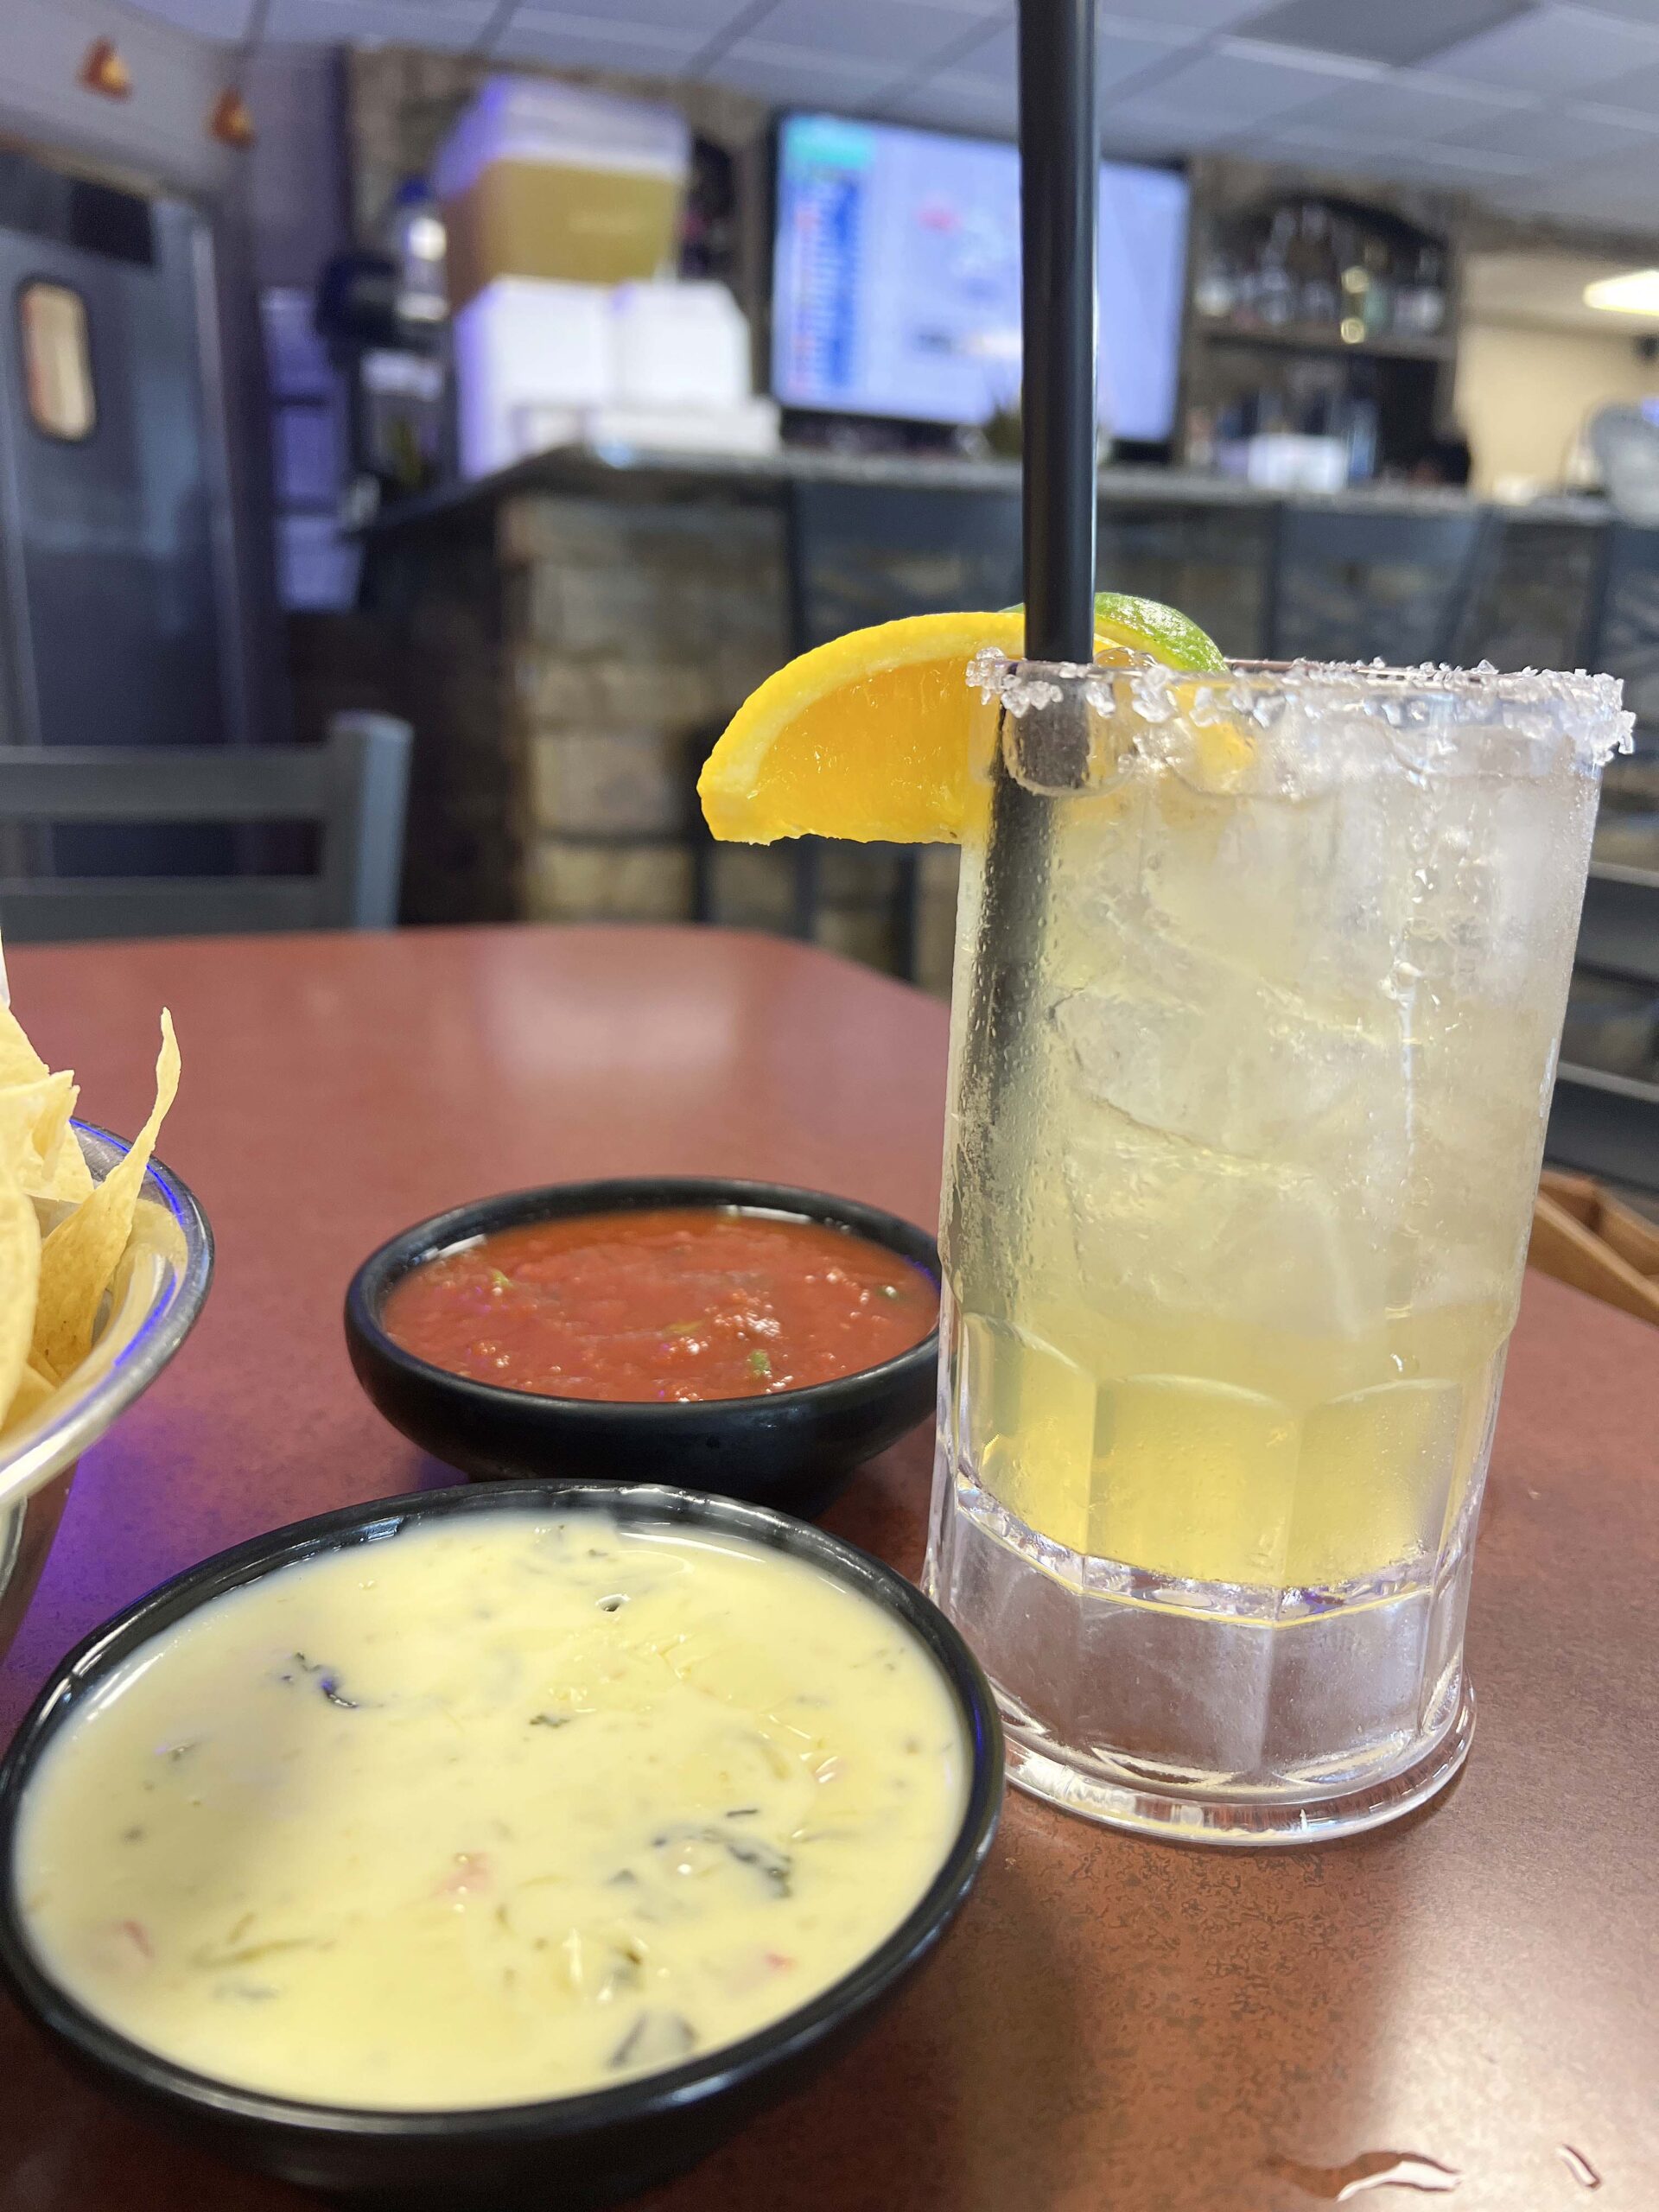 Every detail of my dining experience was noteable, from the attentive service to the thoughtful presentation.
 My Reuben sandwich, cooked by the owner, was served on toasted rye bread with plenty of sauerkraut and signature Grub Sauce.
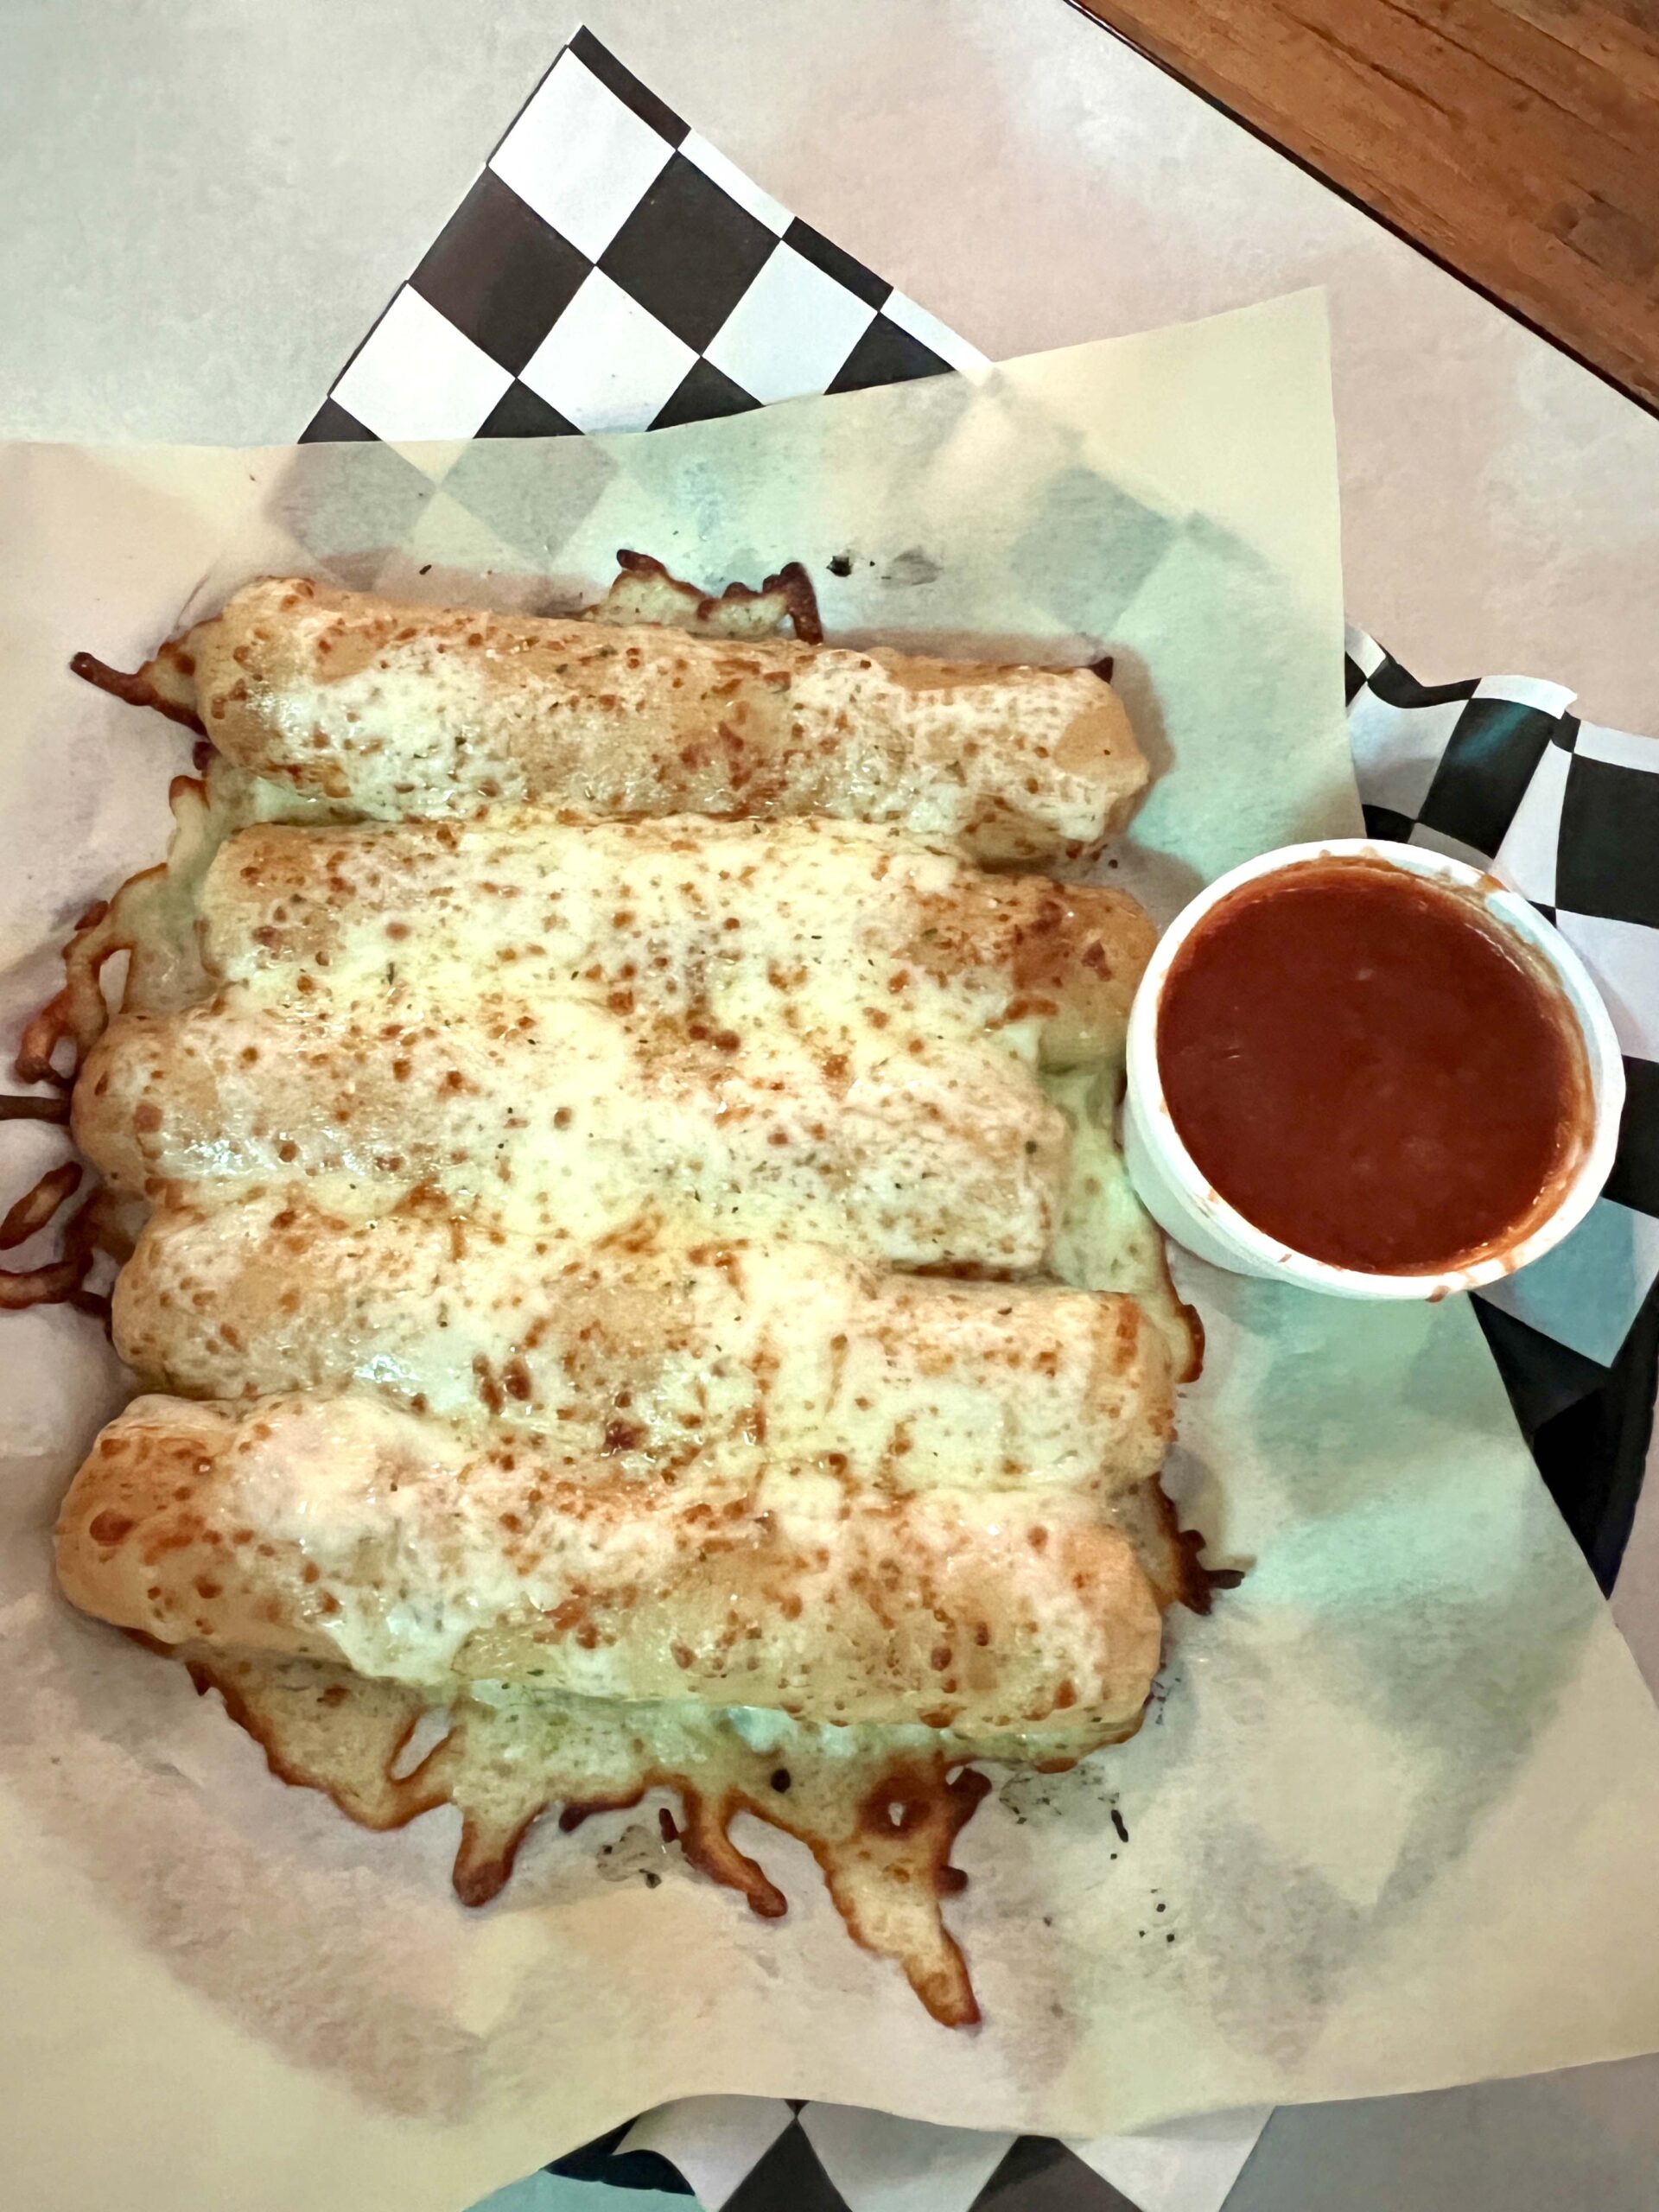 My server said the lunch buffet, featuring pizza and a salad bar, is well-liked Monday through Friday from 11 am to 2 pm.
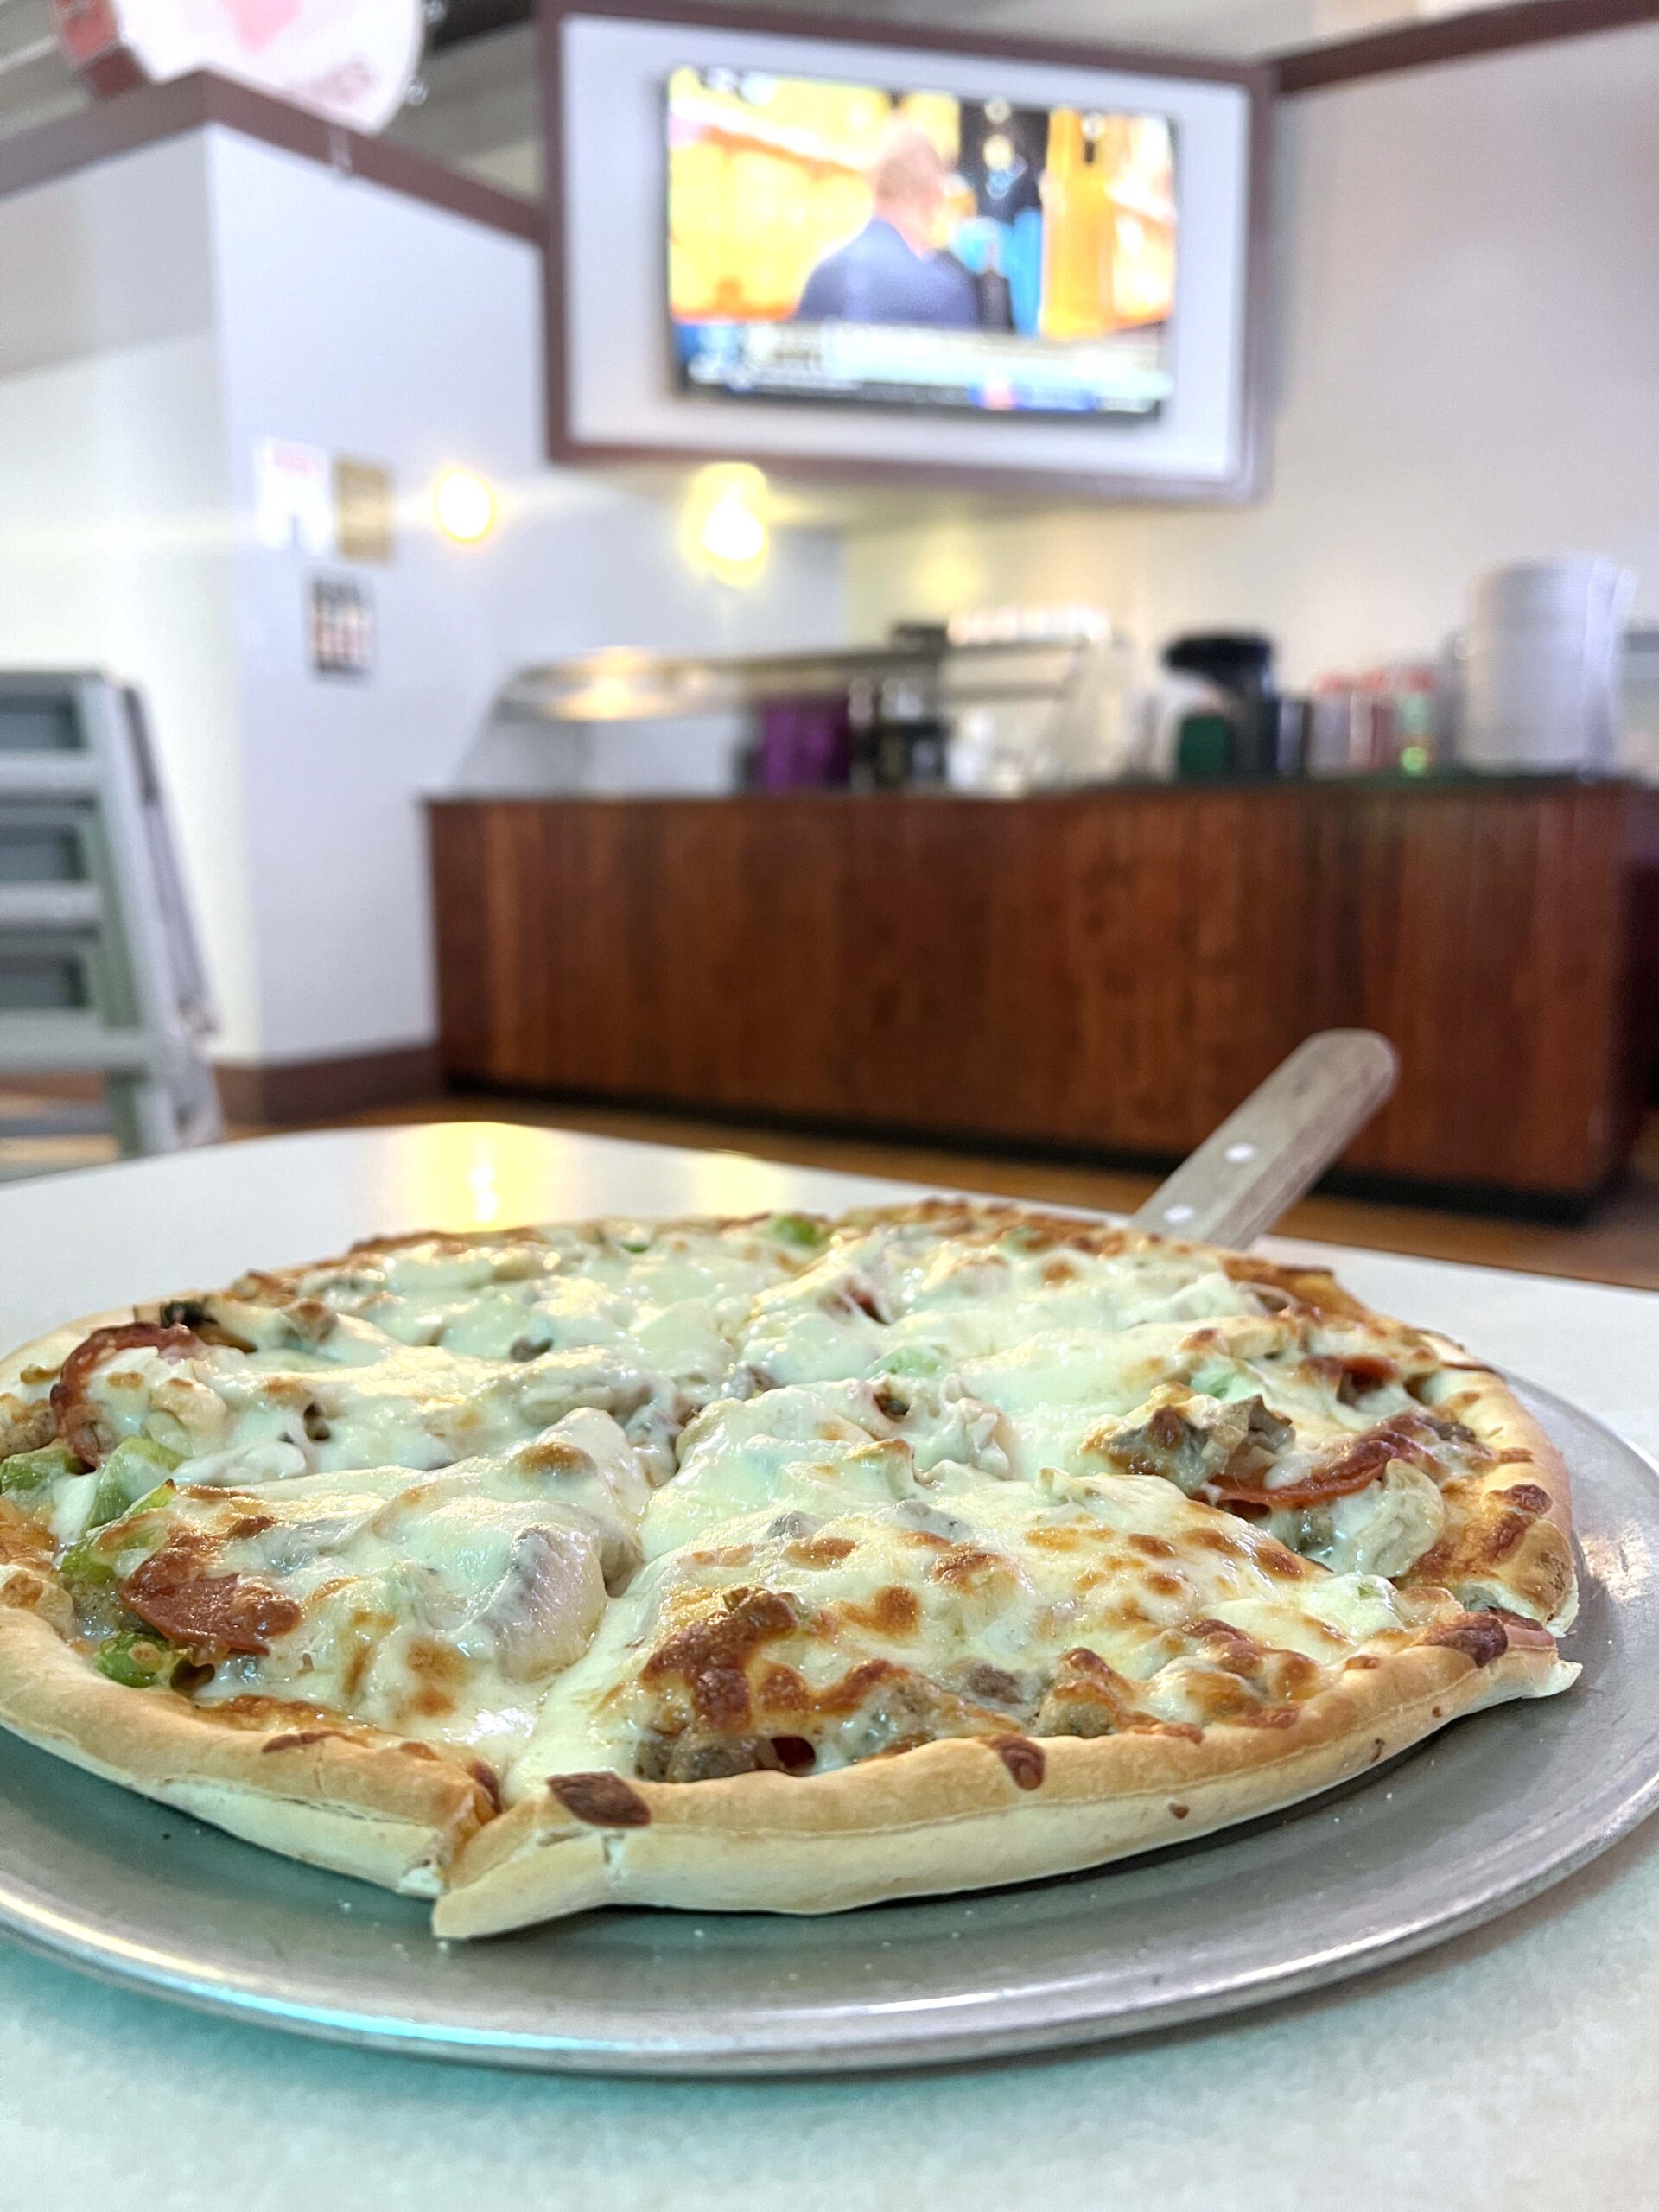 I watched the NFL Draft while enjoying soft cheese bread, followed by a small Super Combo Pizza. Each one tasted so good that I requested a take-home box.
 We enjoyed a scrumptious three-meat platter with perfectly cooked, hand-cut fries and BBQ pit beans that were rich in flavor. Smart diners will save room for raspberry-filled donut bites.
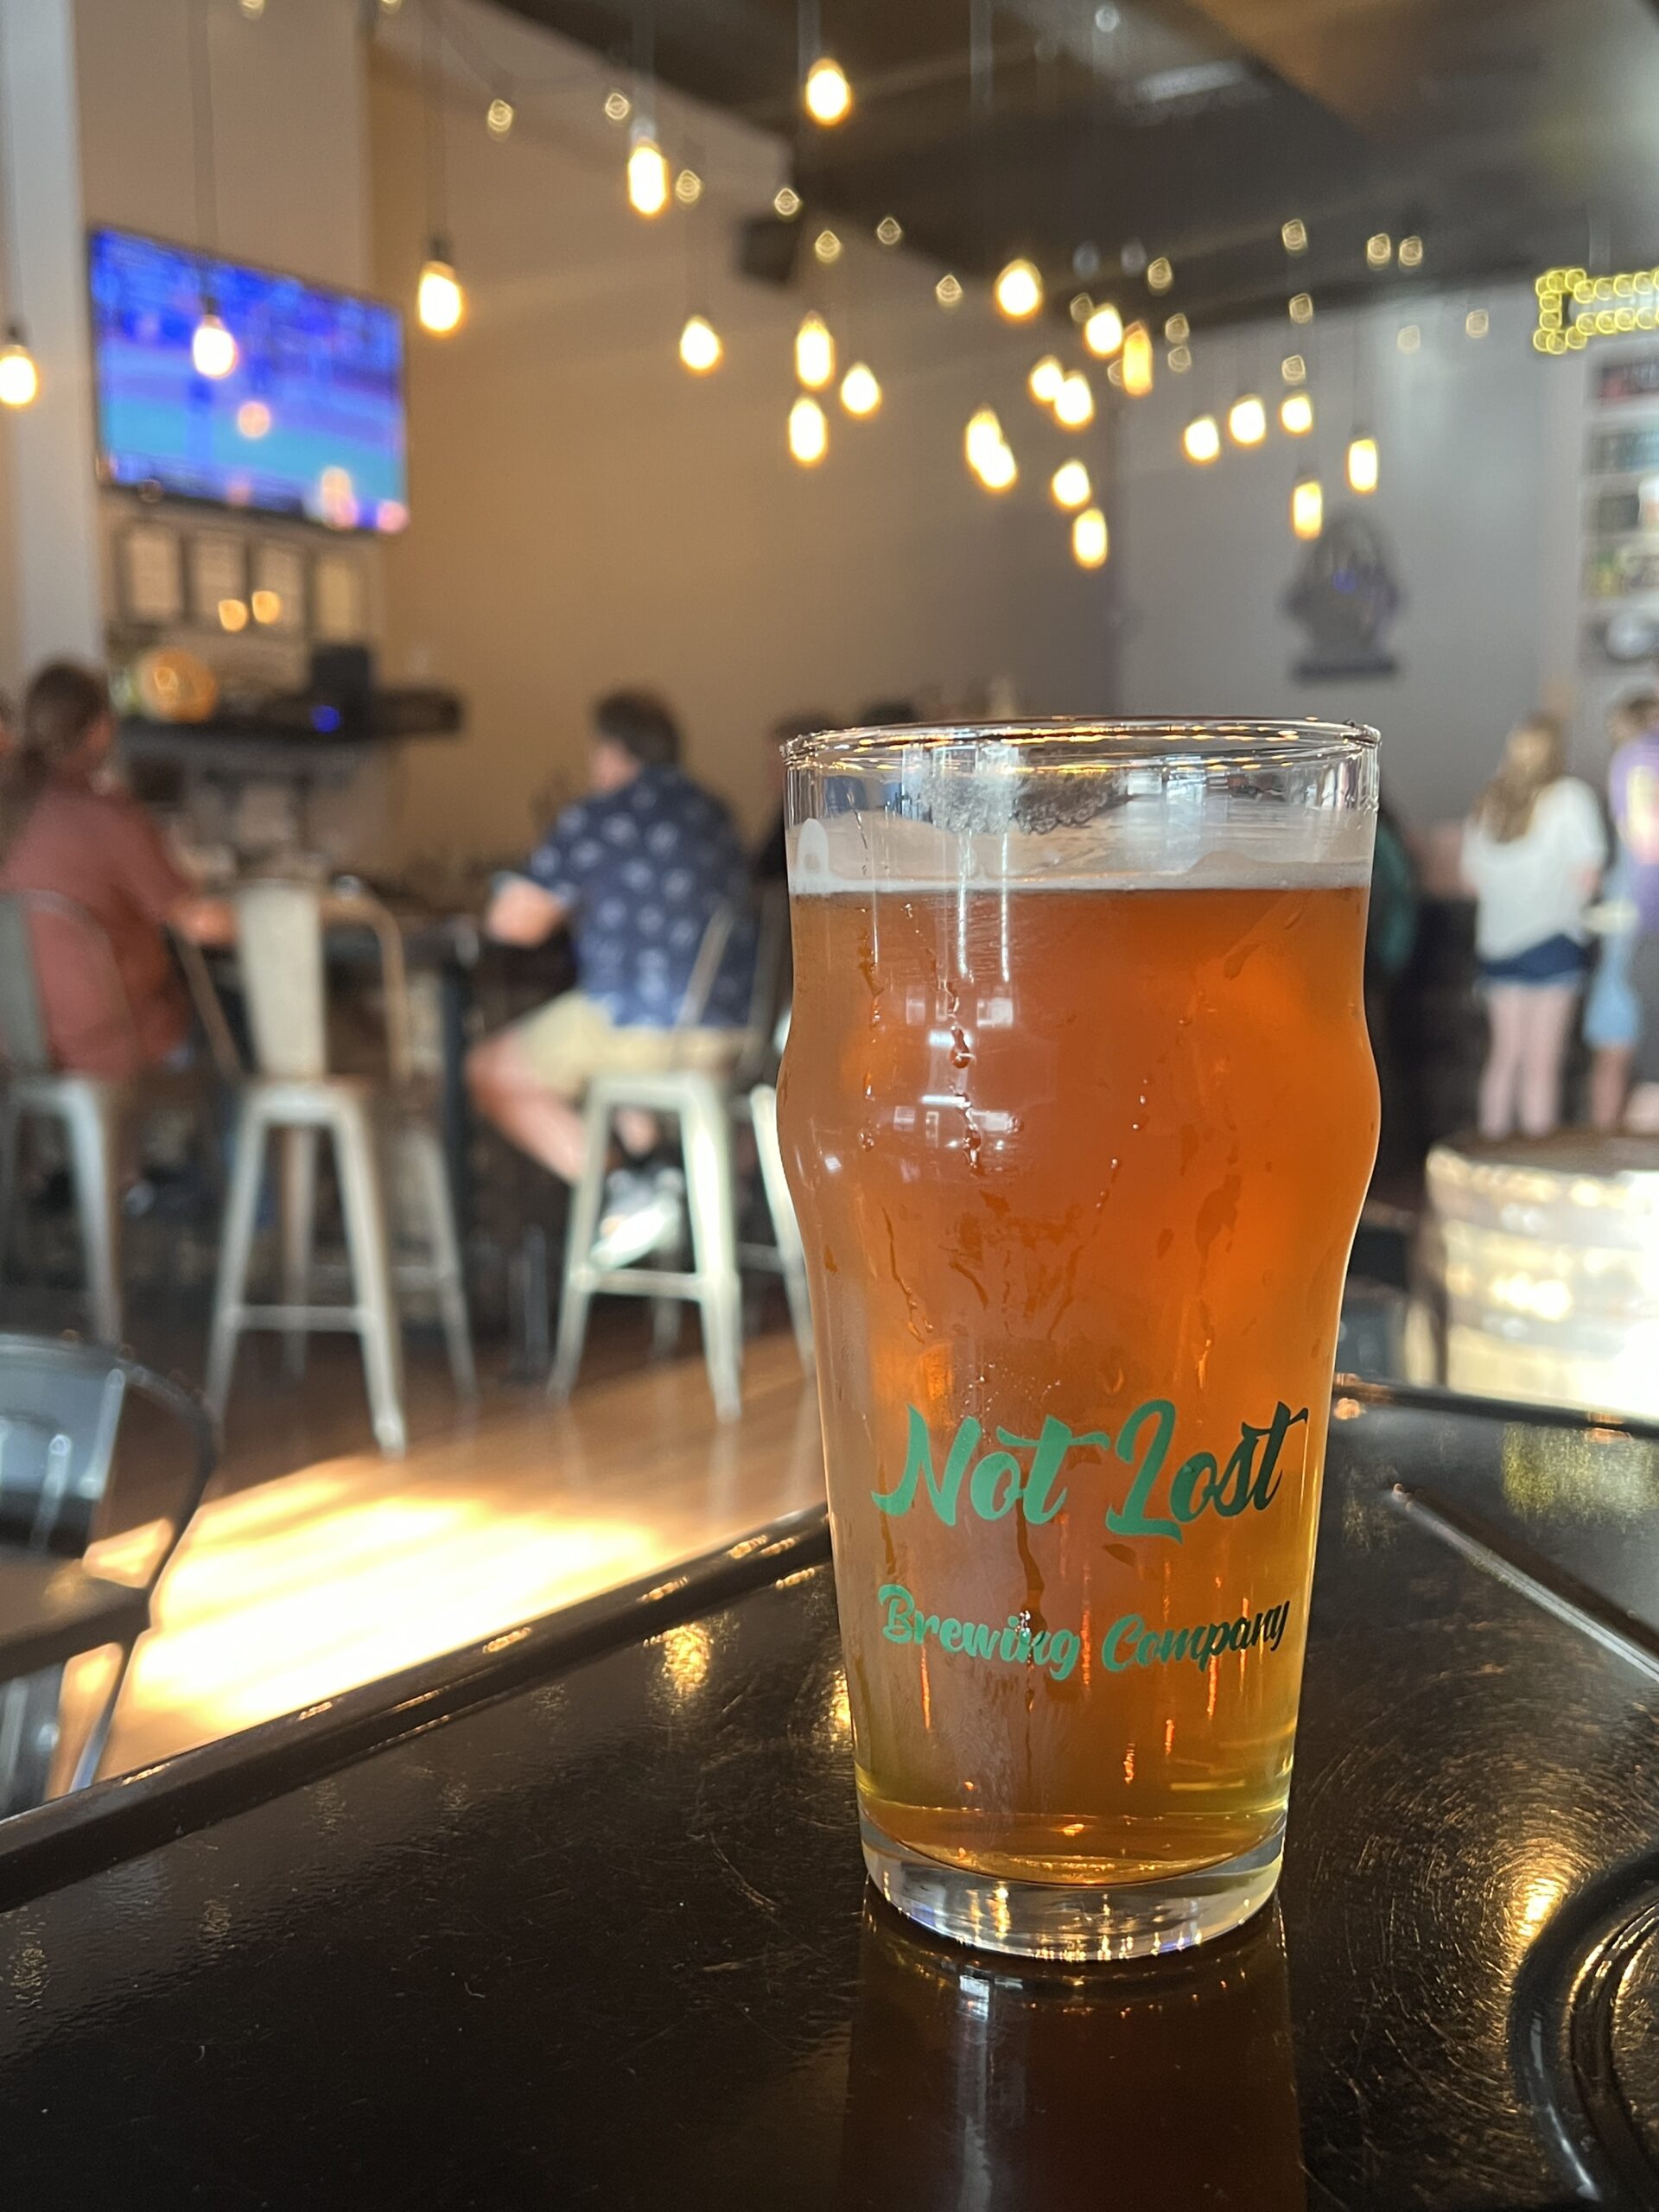 Beverages purchased at the brewery can be enjoyed in the downtown Common Consumption Area, so it’s common to see customers drinking beer and cocktails while walking along Main Street within marked areas.
 A perk I don’t often experience during my state-wide travels, the Common Consumption Area gives everyone a chance to mingle and enjoy evening events downtown as they casually stroll with a drink in hand. Regular customers opt to sit at the bar and drink from mugs.
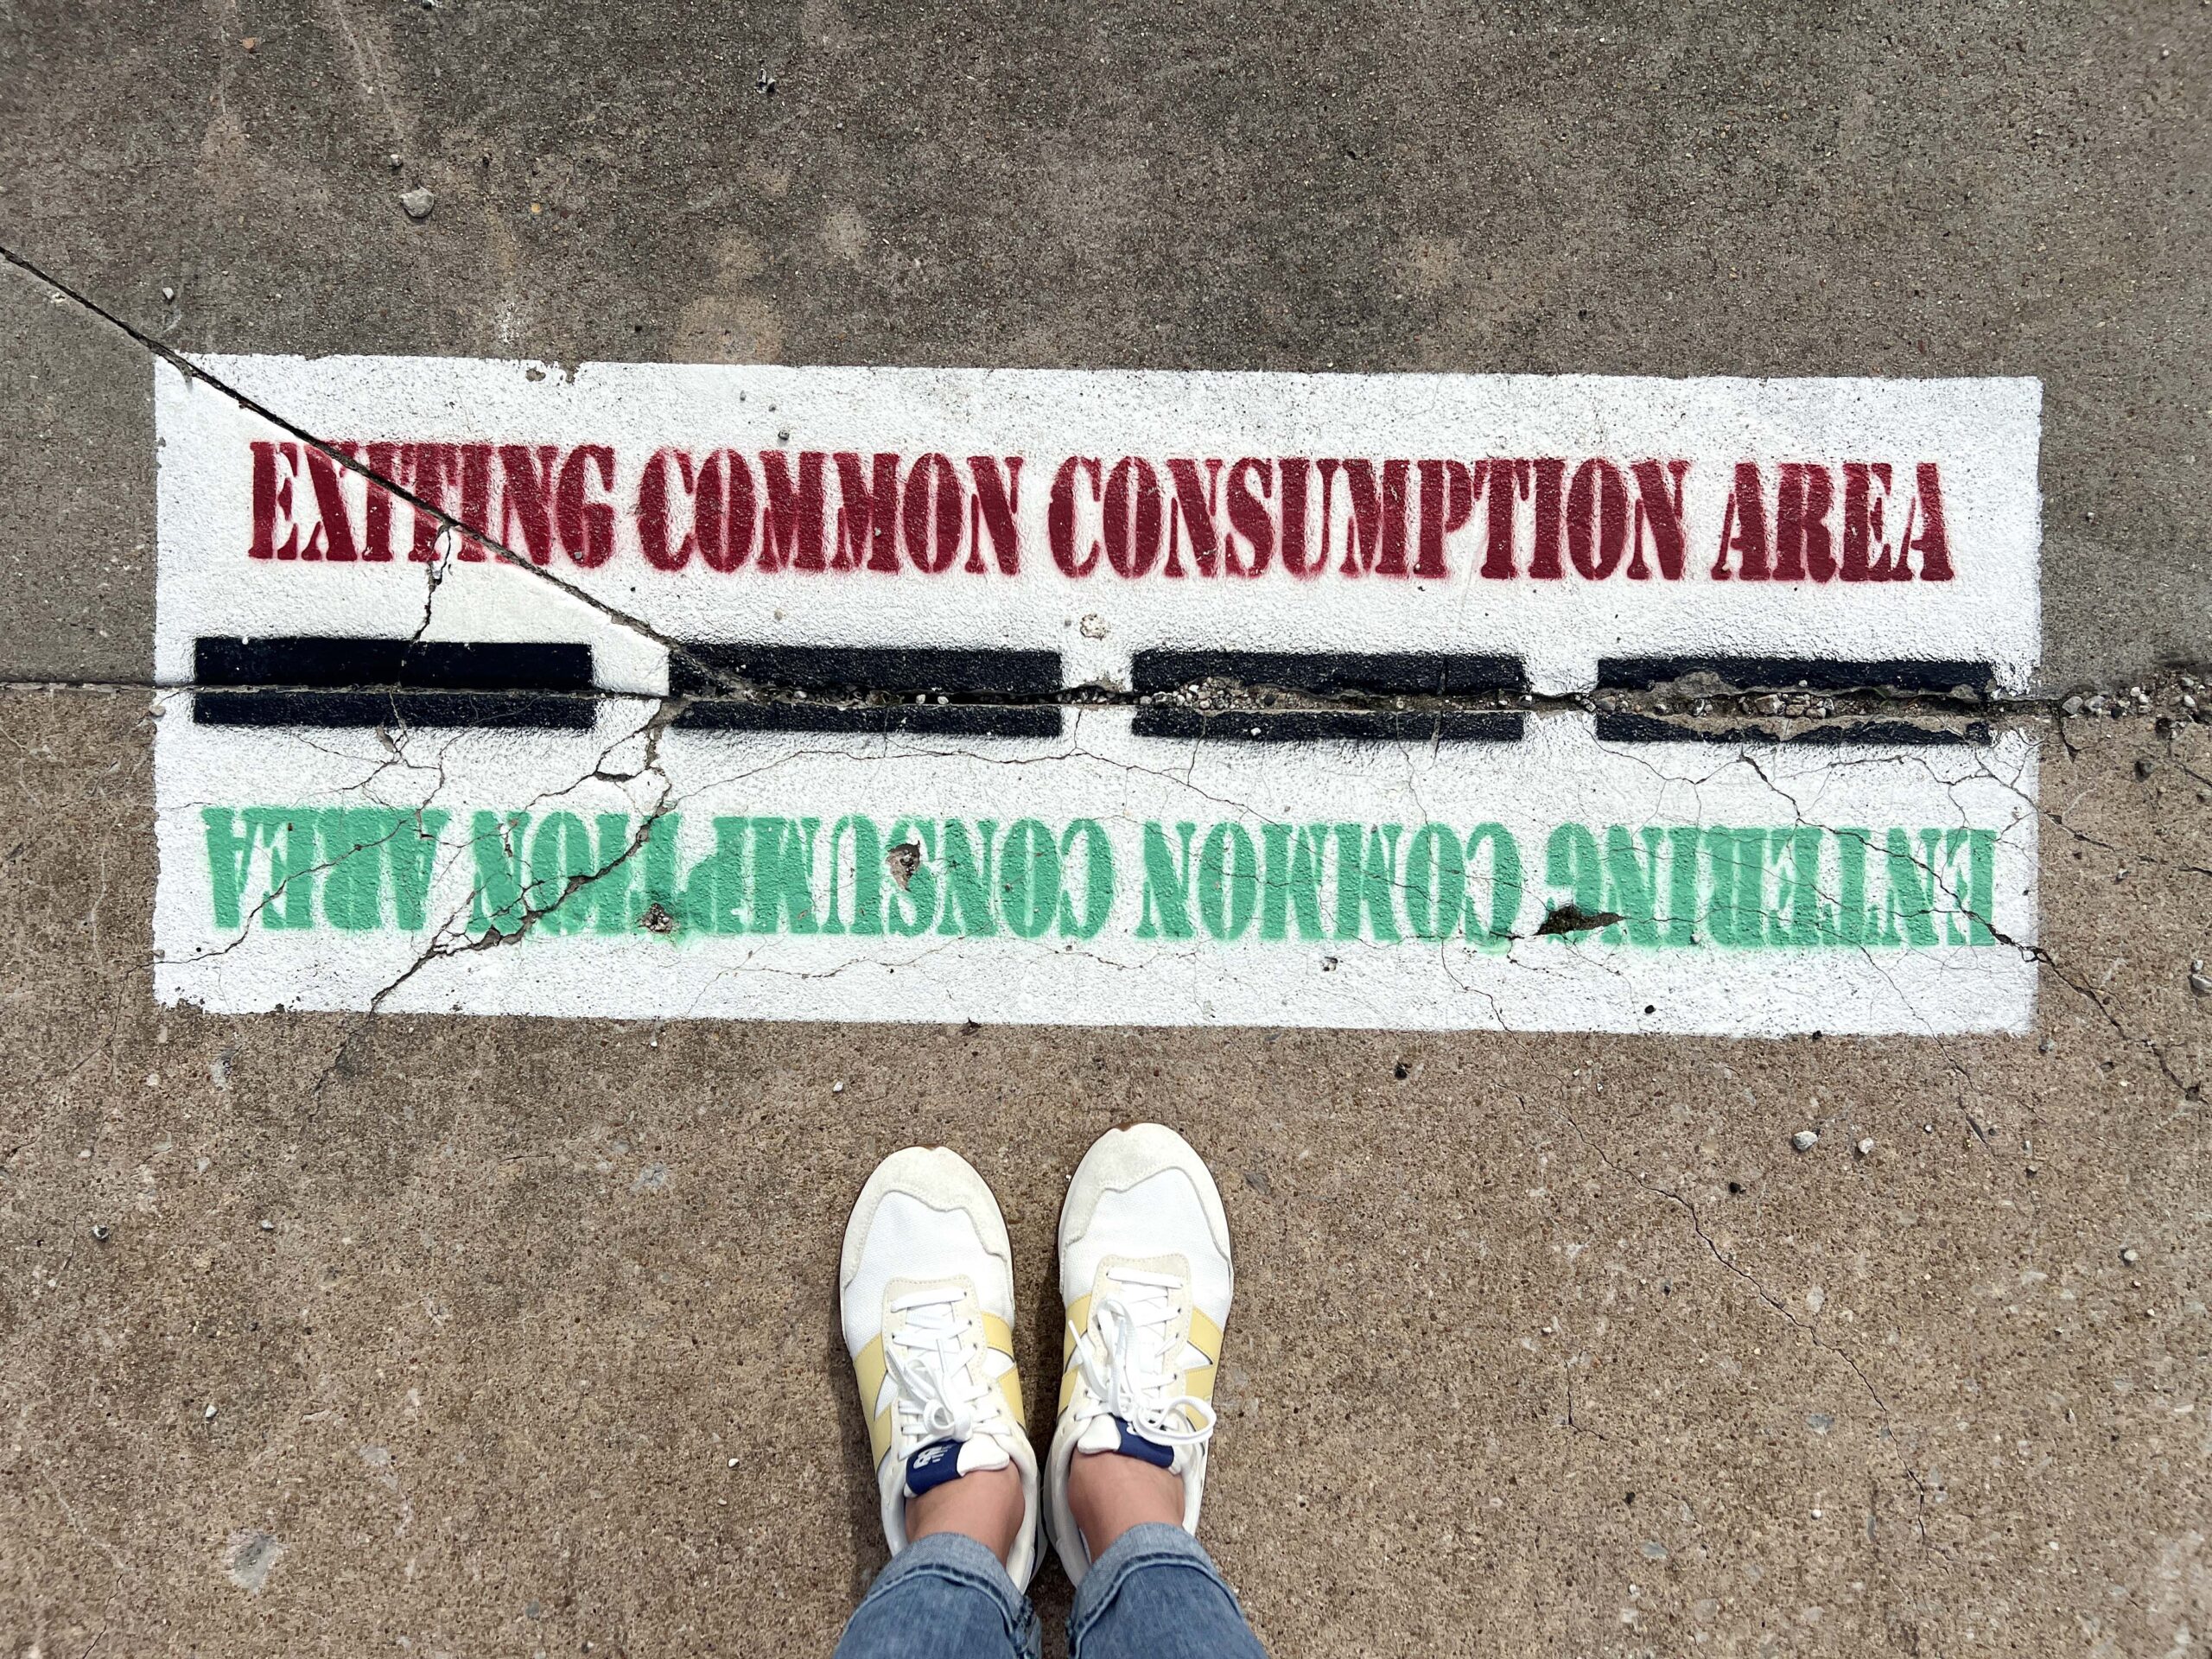 Gentry’s Gold (5.7% ABV), an English pale ale, reminded me of a refreshing, game-day beer. Not sure what to order from the beer menu? Bartenders recommend a Regular Beer as a starter before moving on to more complex ones like a milkshake IPA.
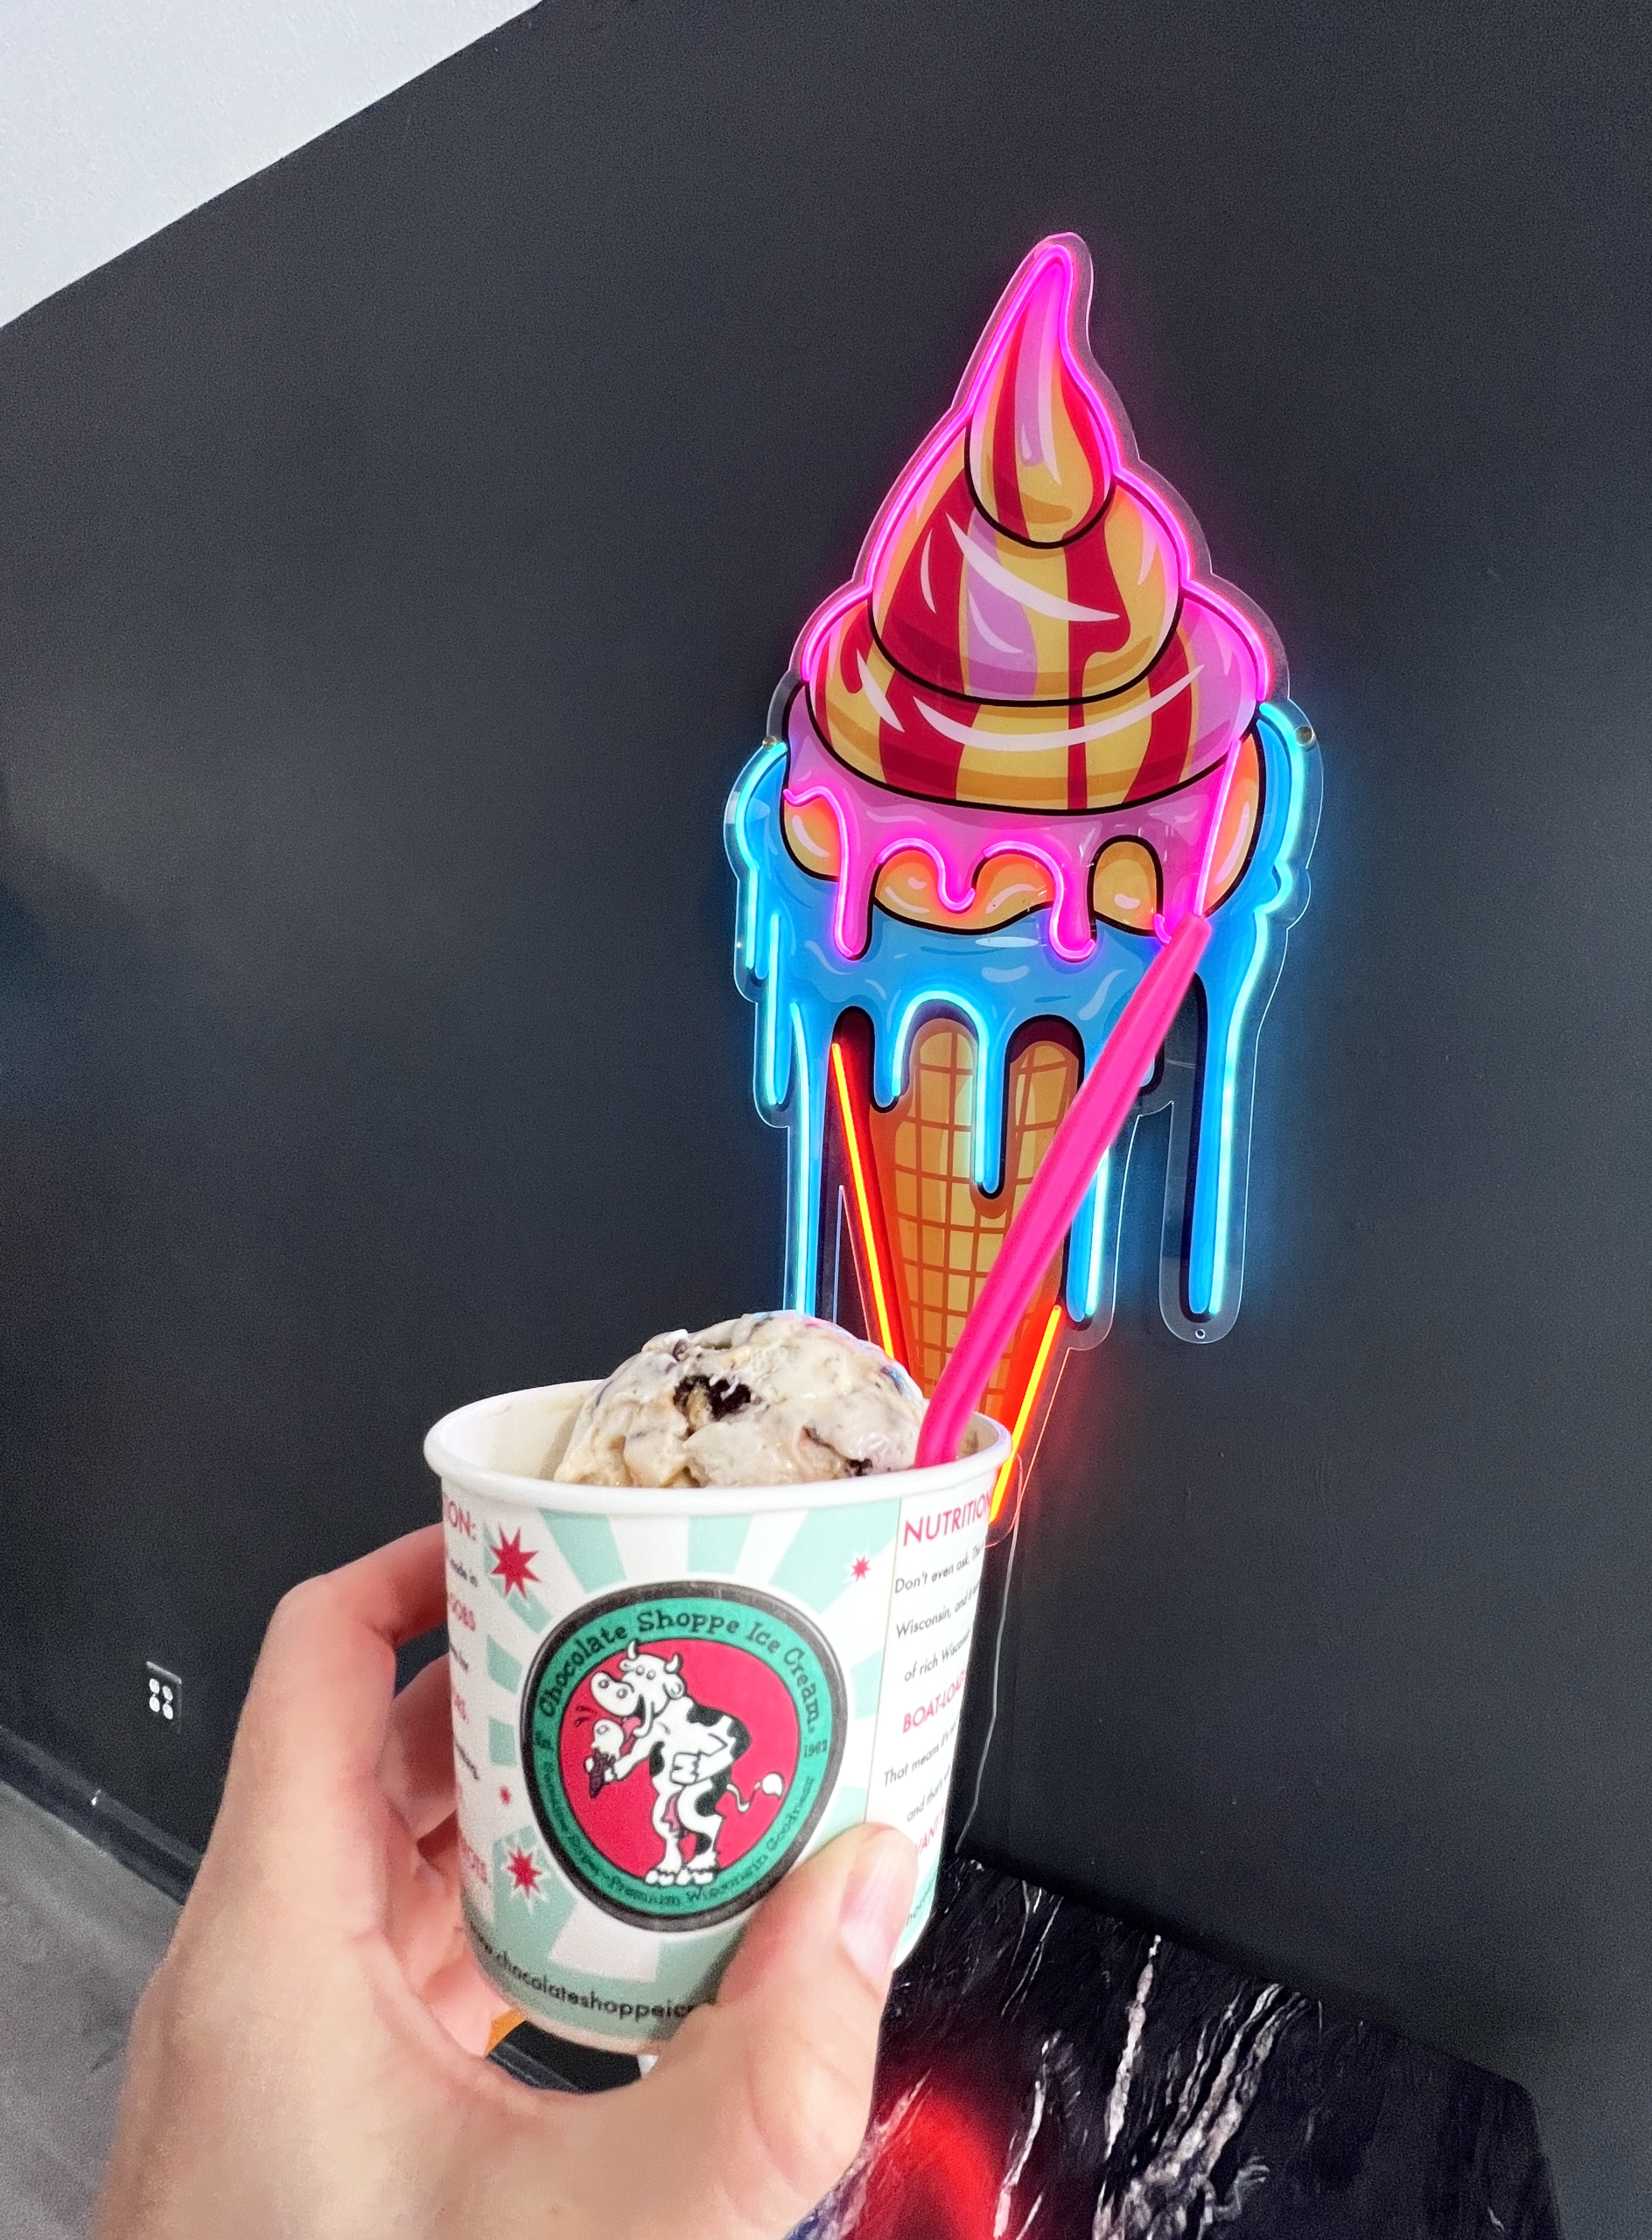 A bit overwhelmed by the selection of ice cream options and a menu featuring ice cream-topped waffles, I kept it simple, ordering two scoops served in a cup: Exhausted Parent® (coffee and bourbon) and Munchie Madness (Oreo® and peanut butter cup).
 PRO TIP: Inquire about vegan, non-dairy, and Italian Ice flavors.
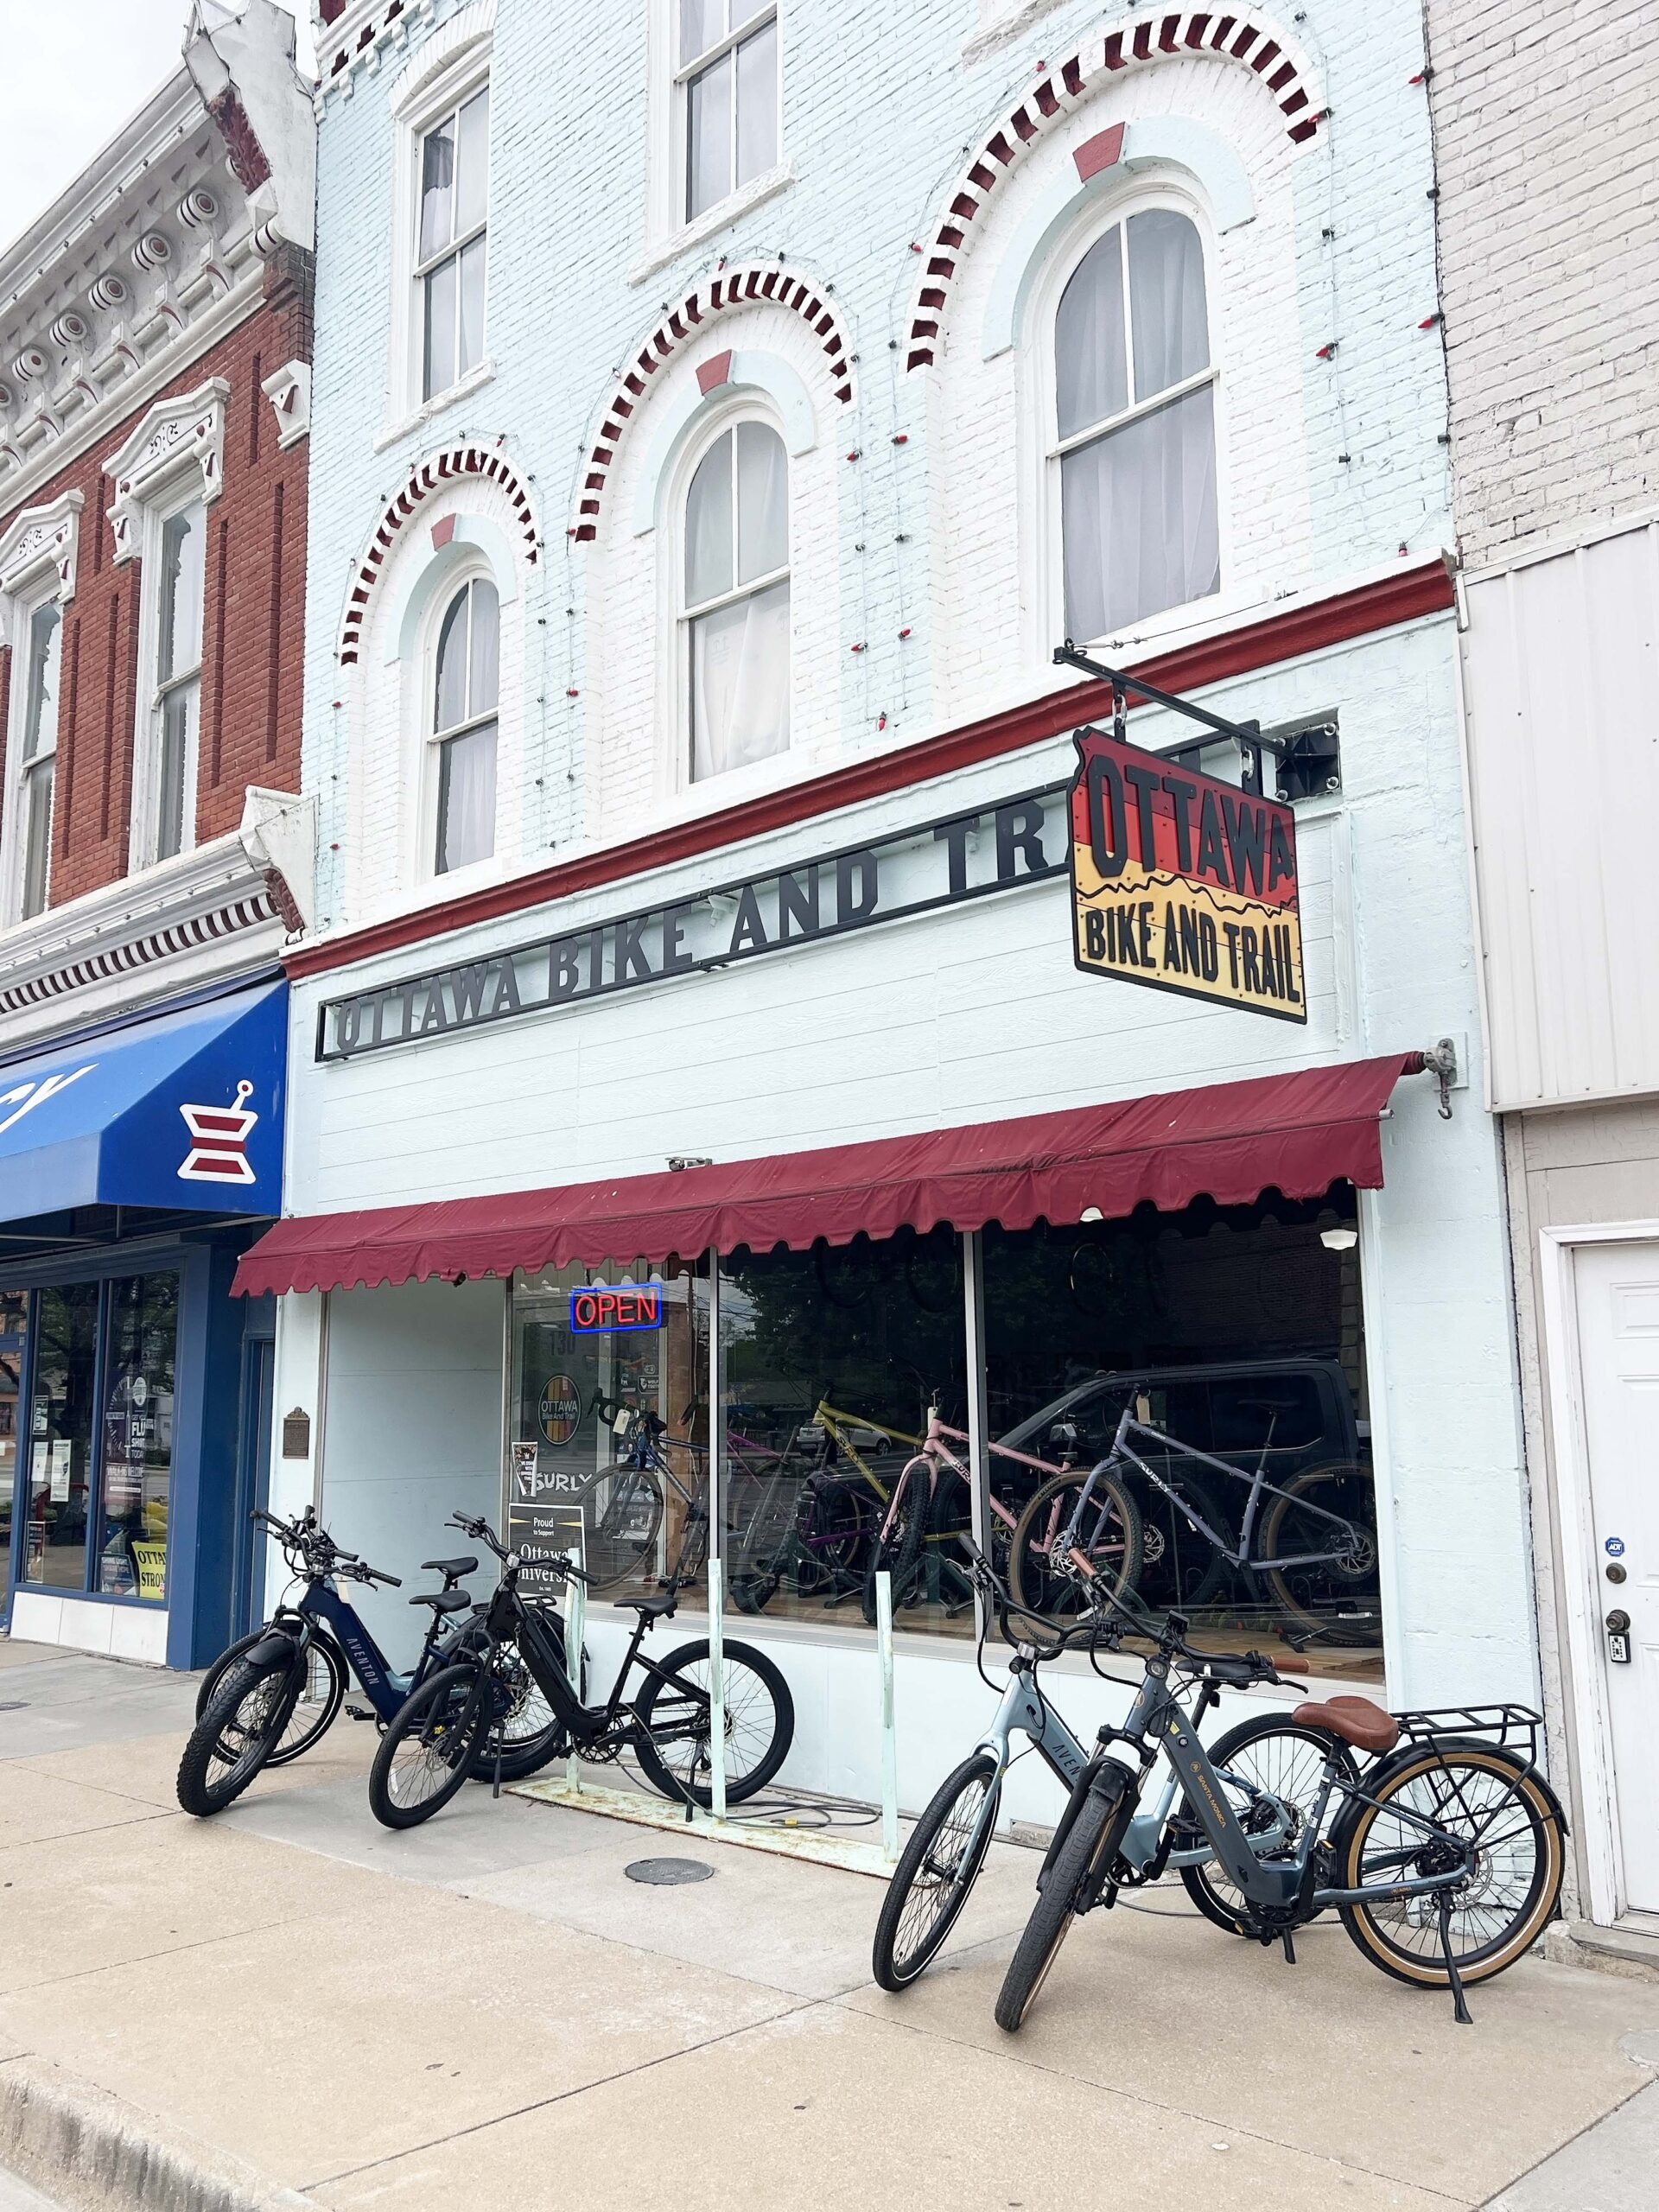 Ottawa Bike and Trail supports Kansas bike and gravel races and often hosts group rides starting with free coffee and a social hour. Follow the store’s
 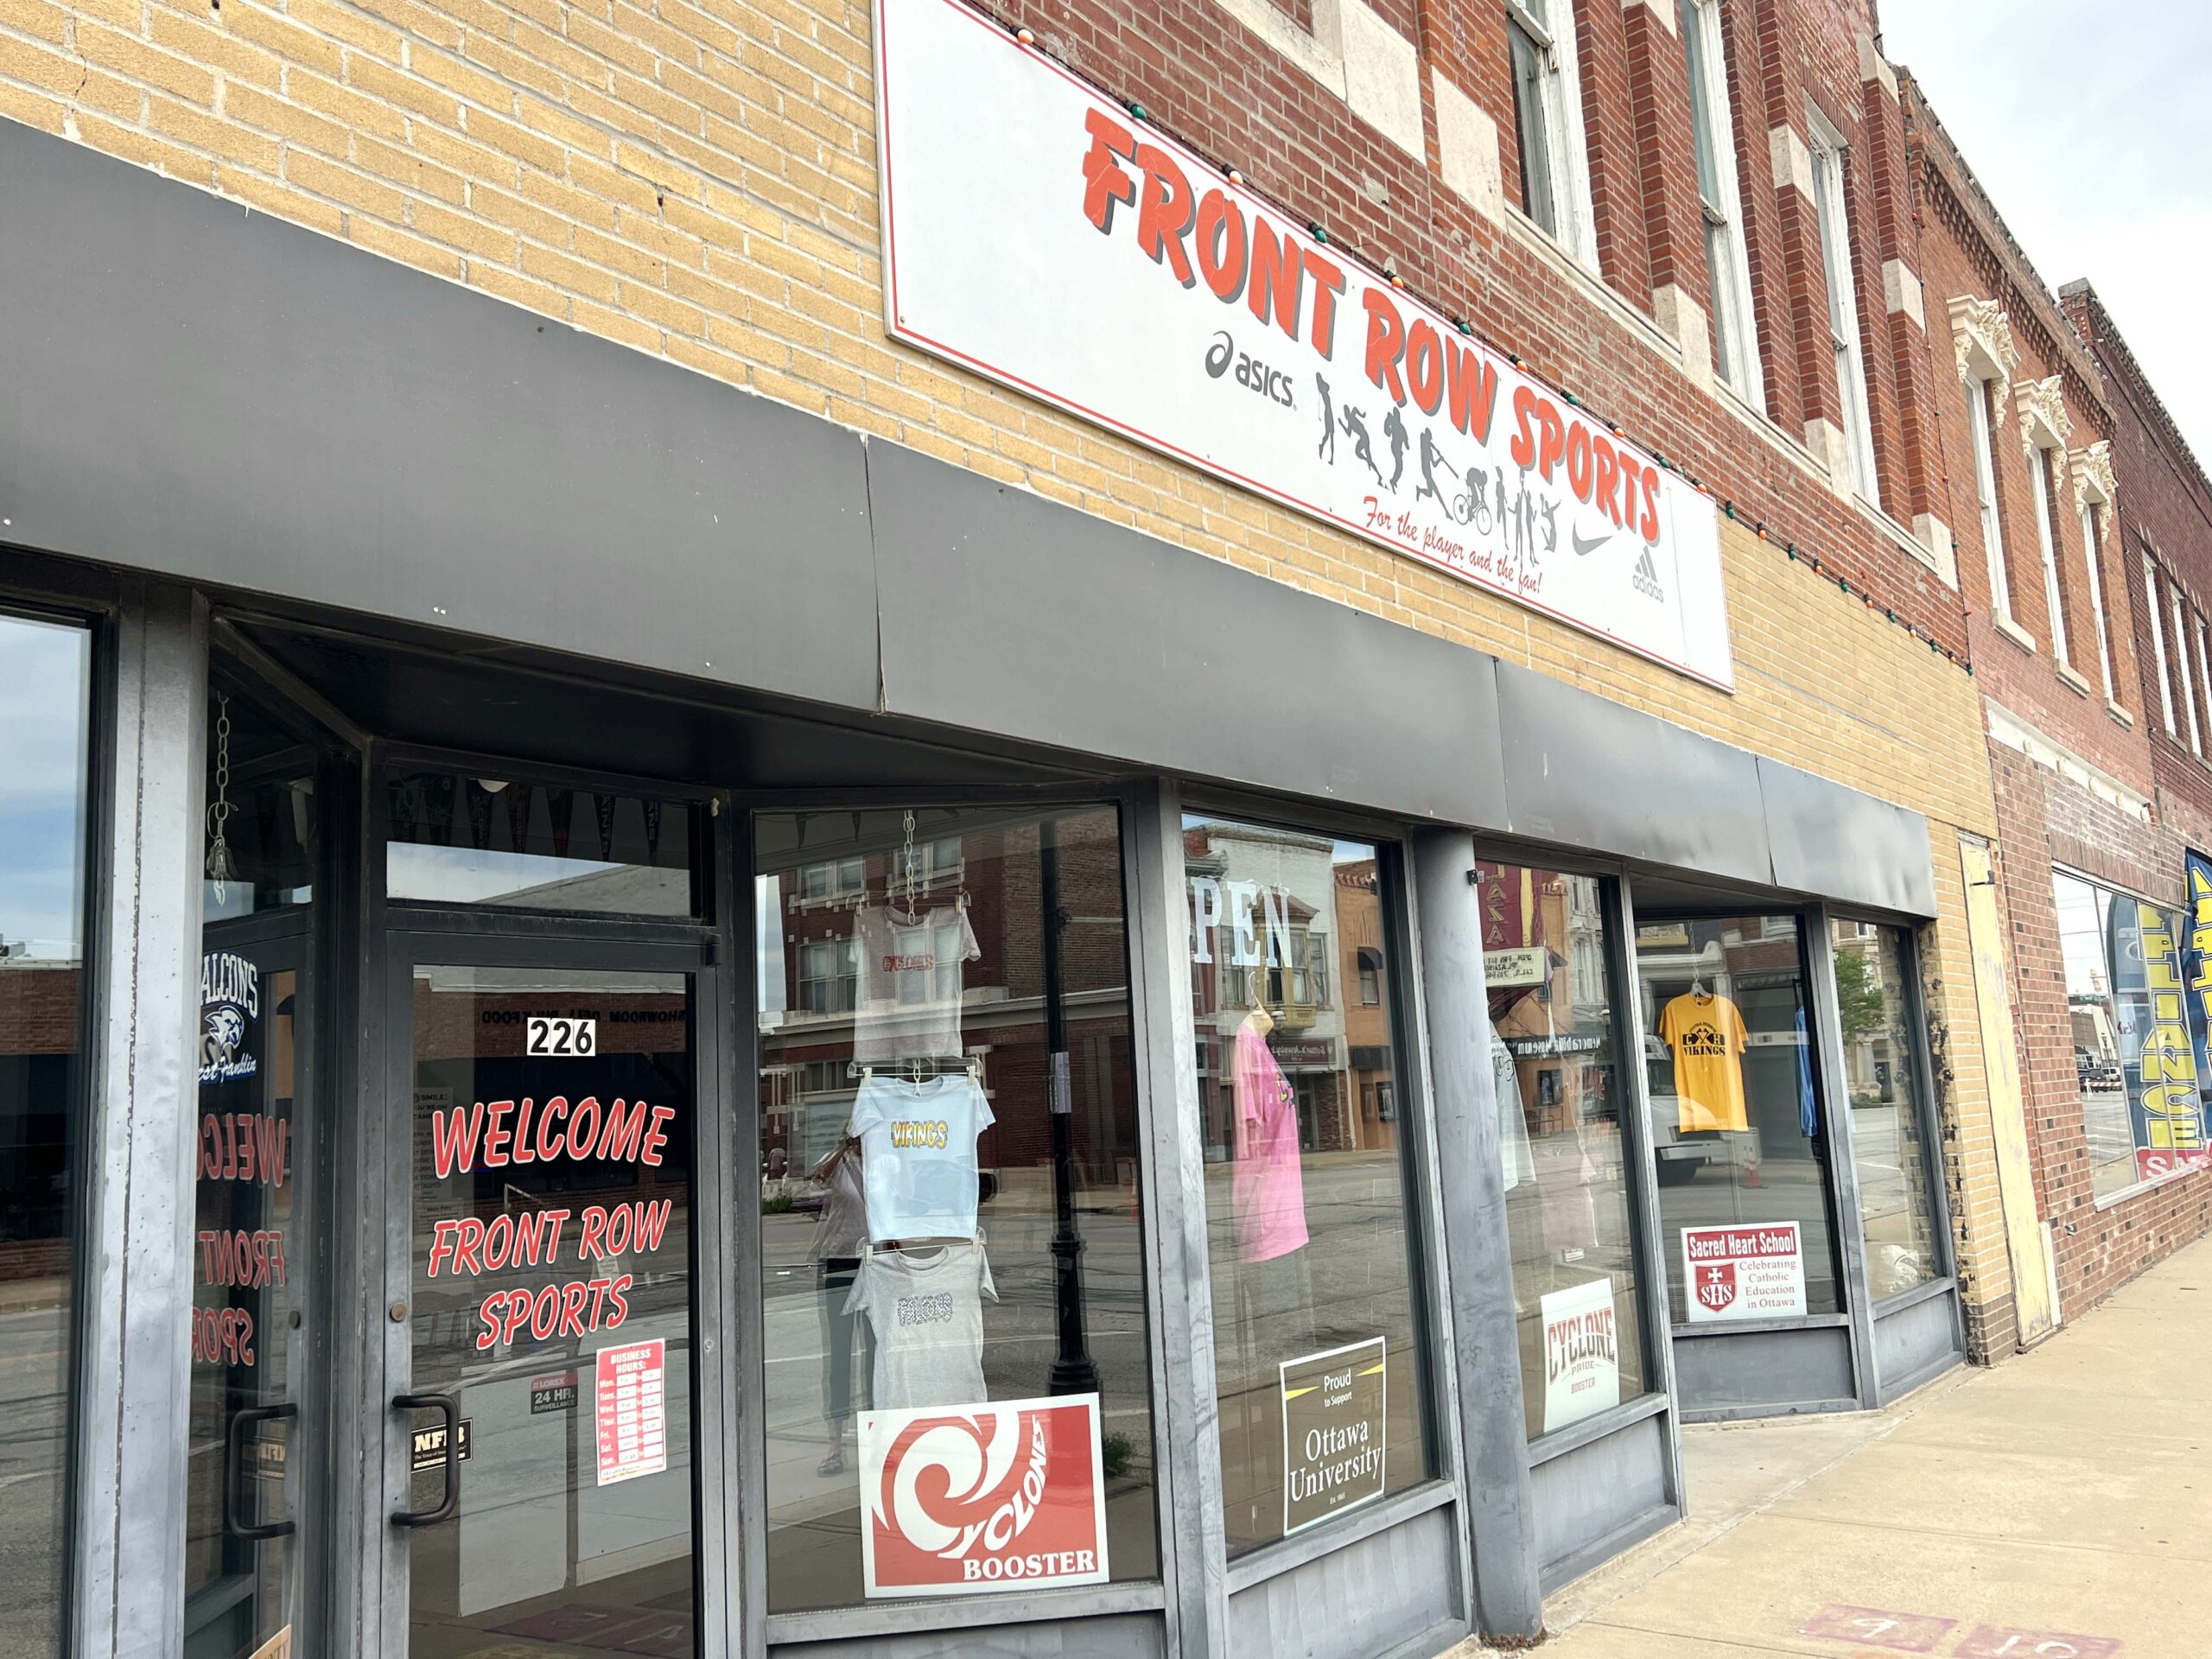 They were not open when I was in town. Shoppers should arrive during daytime hours on Monday, Tuesday or Wednesday.
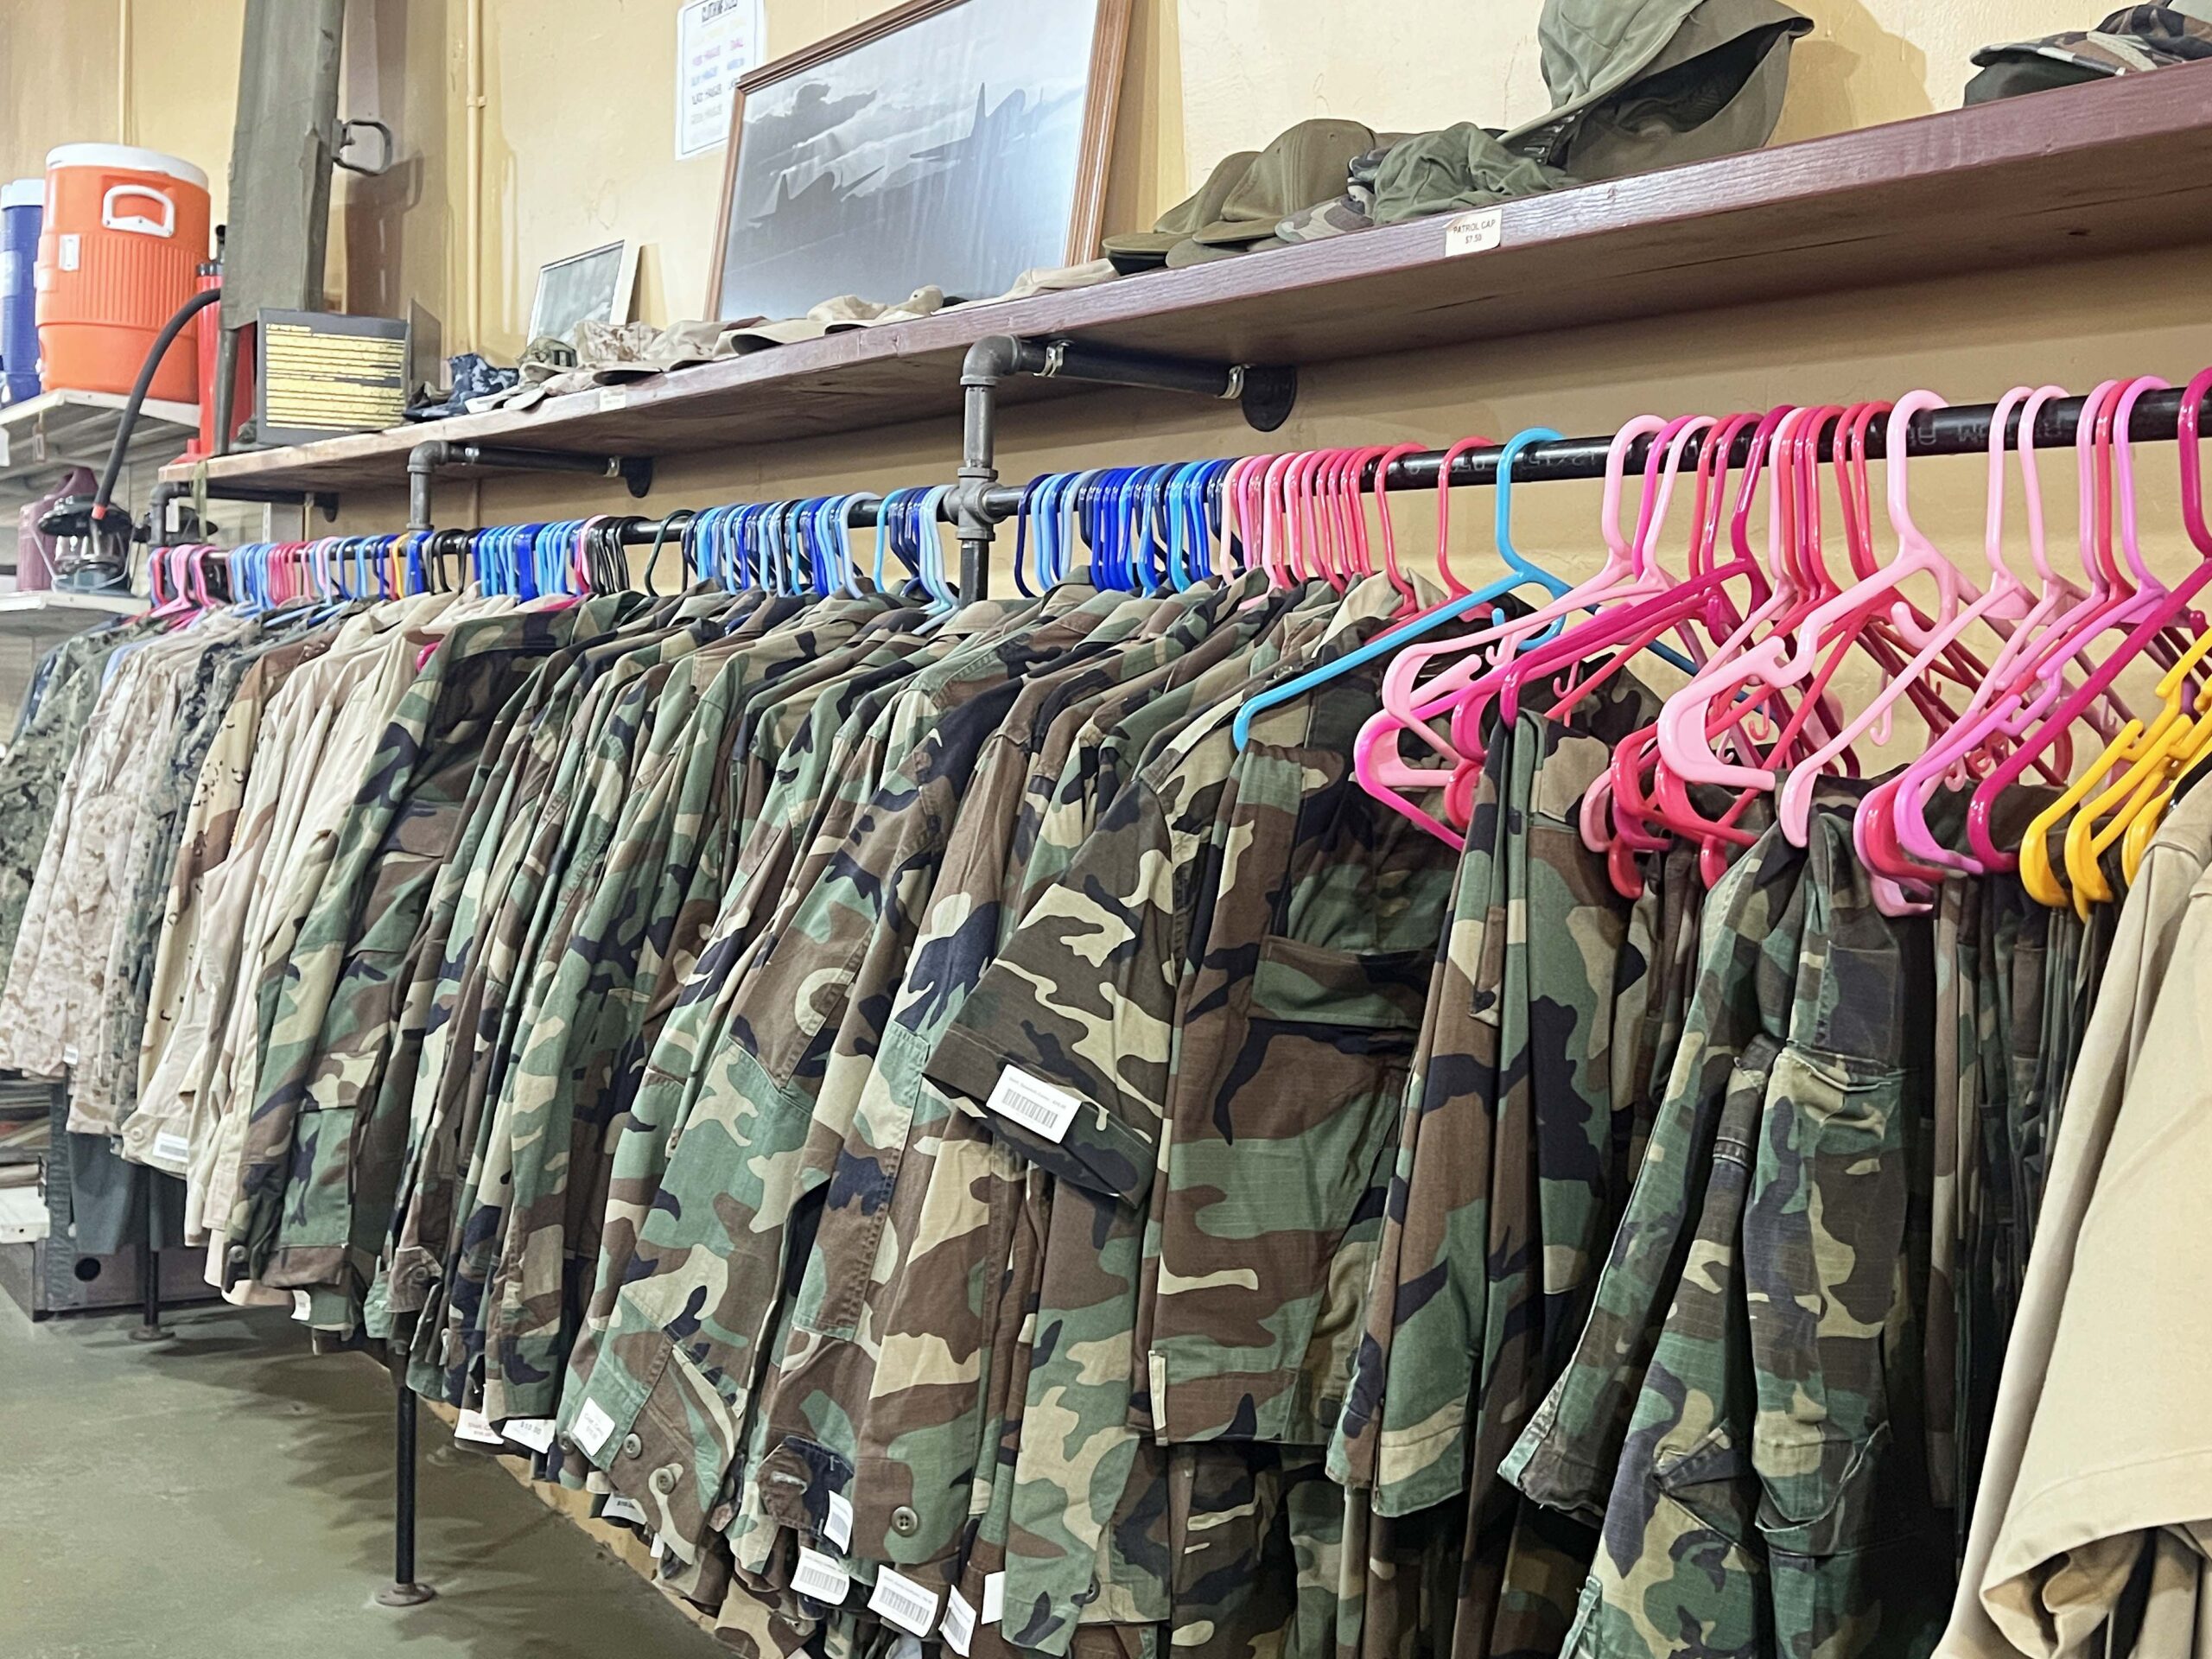 I felt a sense of patriotism, taking note of stacks of footlockers and military flags. The owner, who also operates The Painted Lady Bed and Breakfast in town, is welcoming and eager to help customers find what they need.
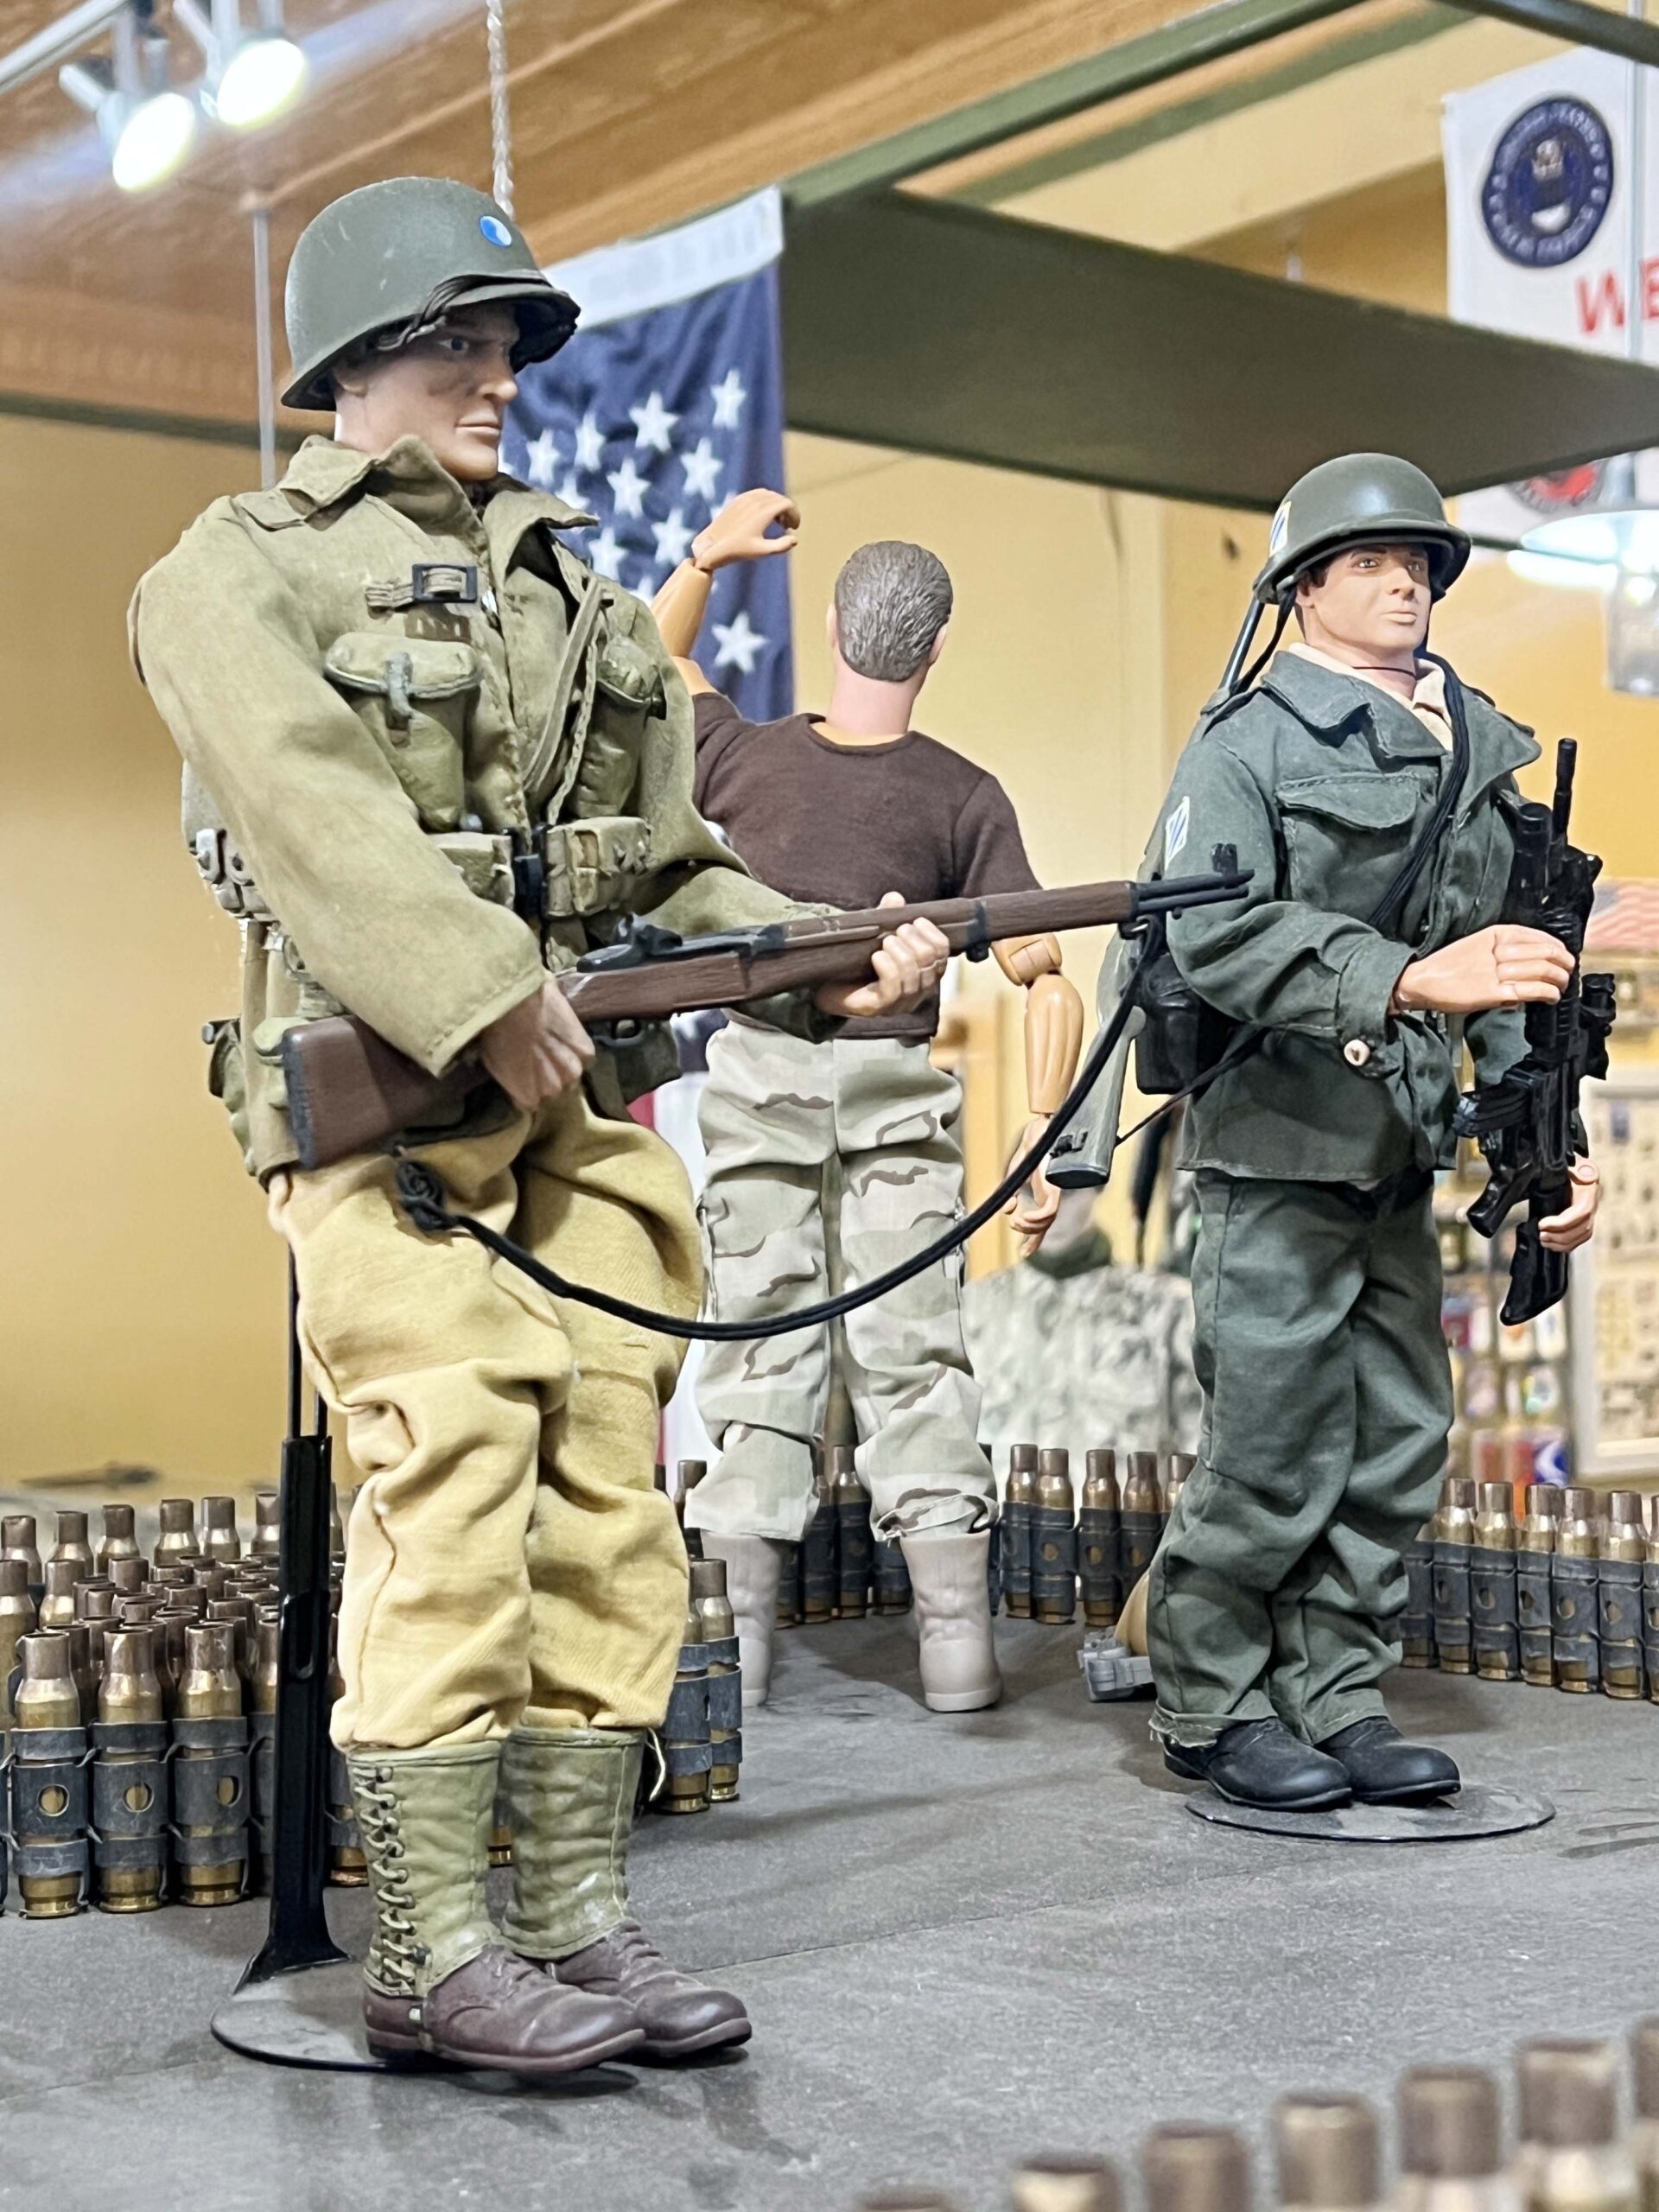 The store’s
 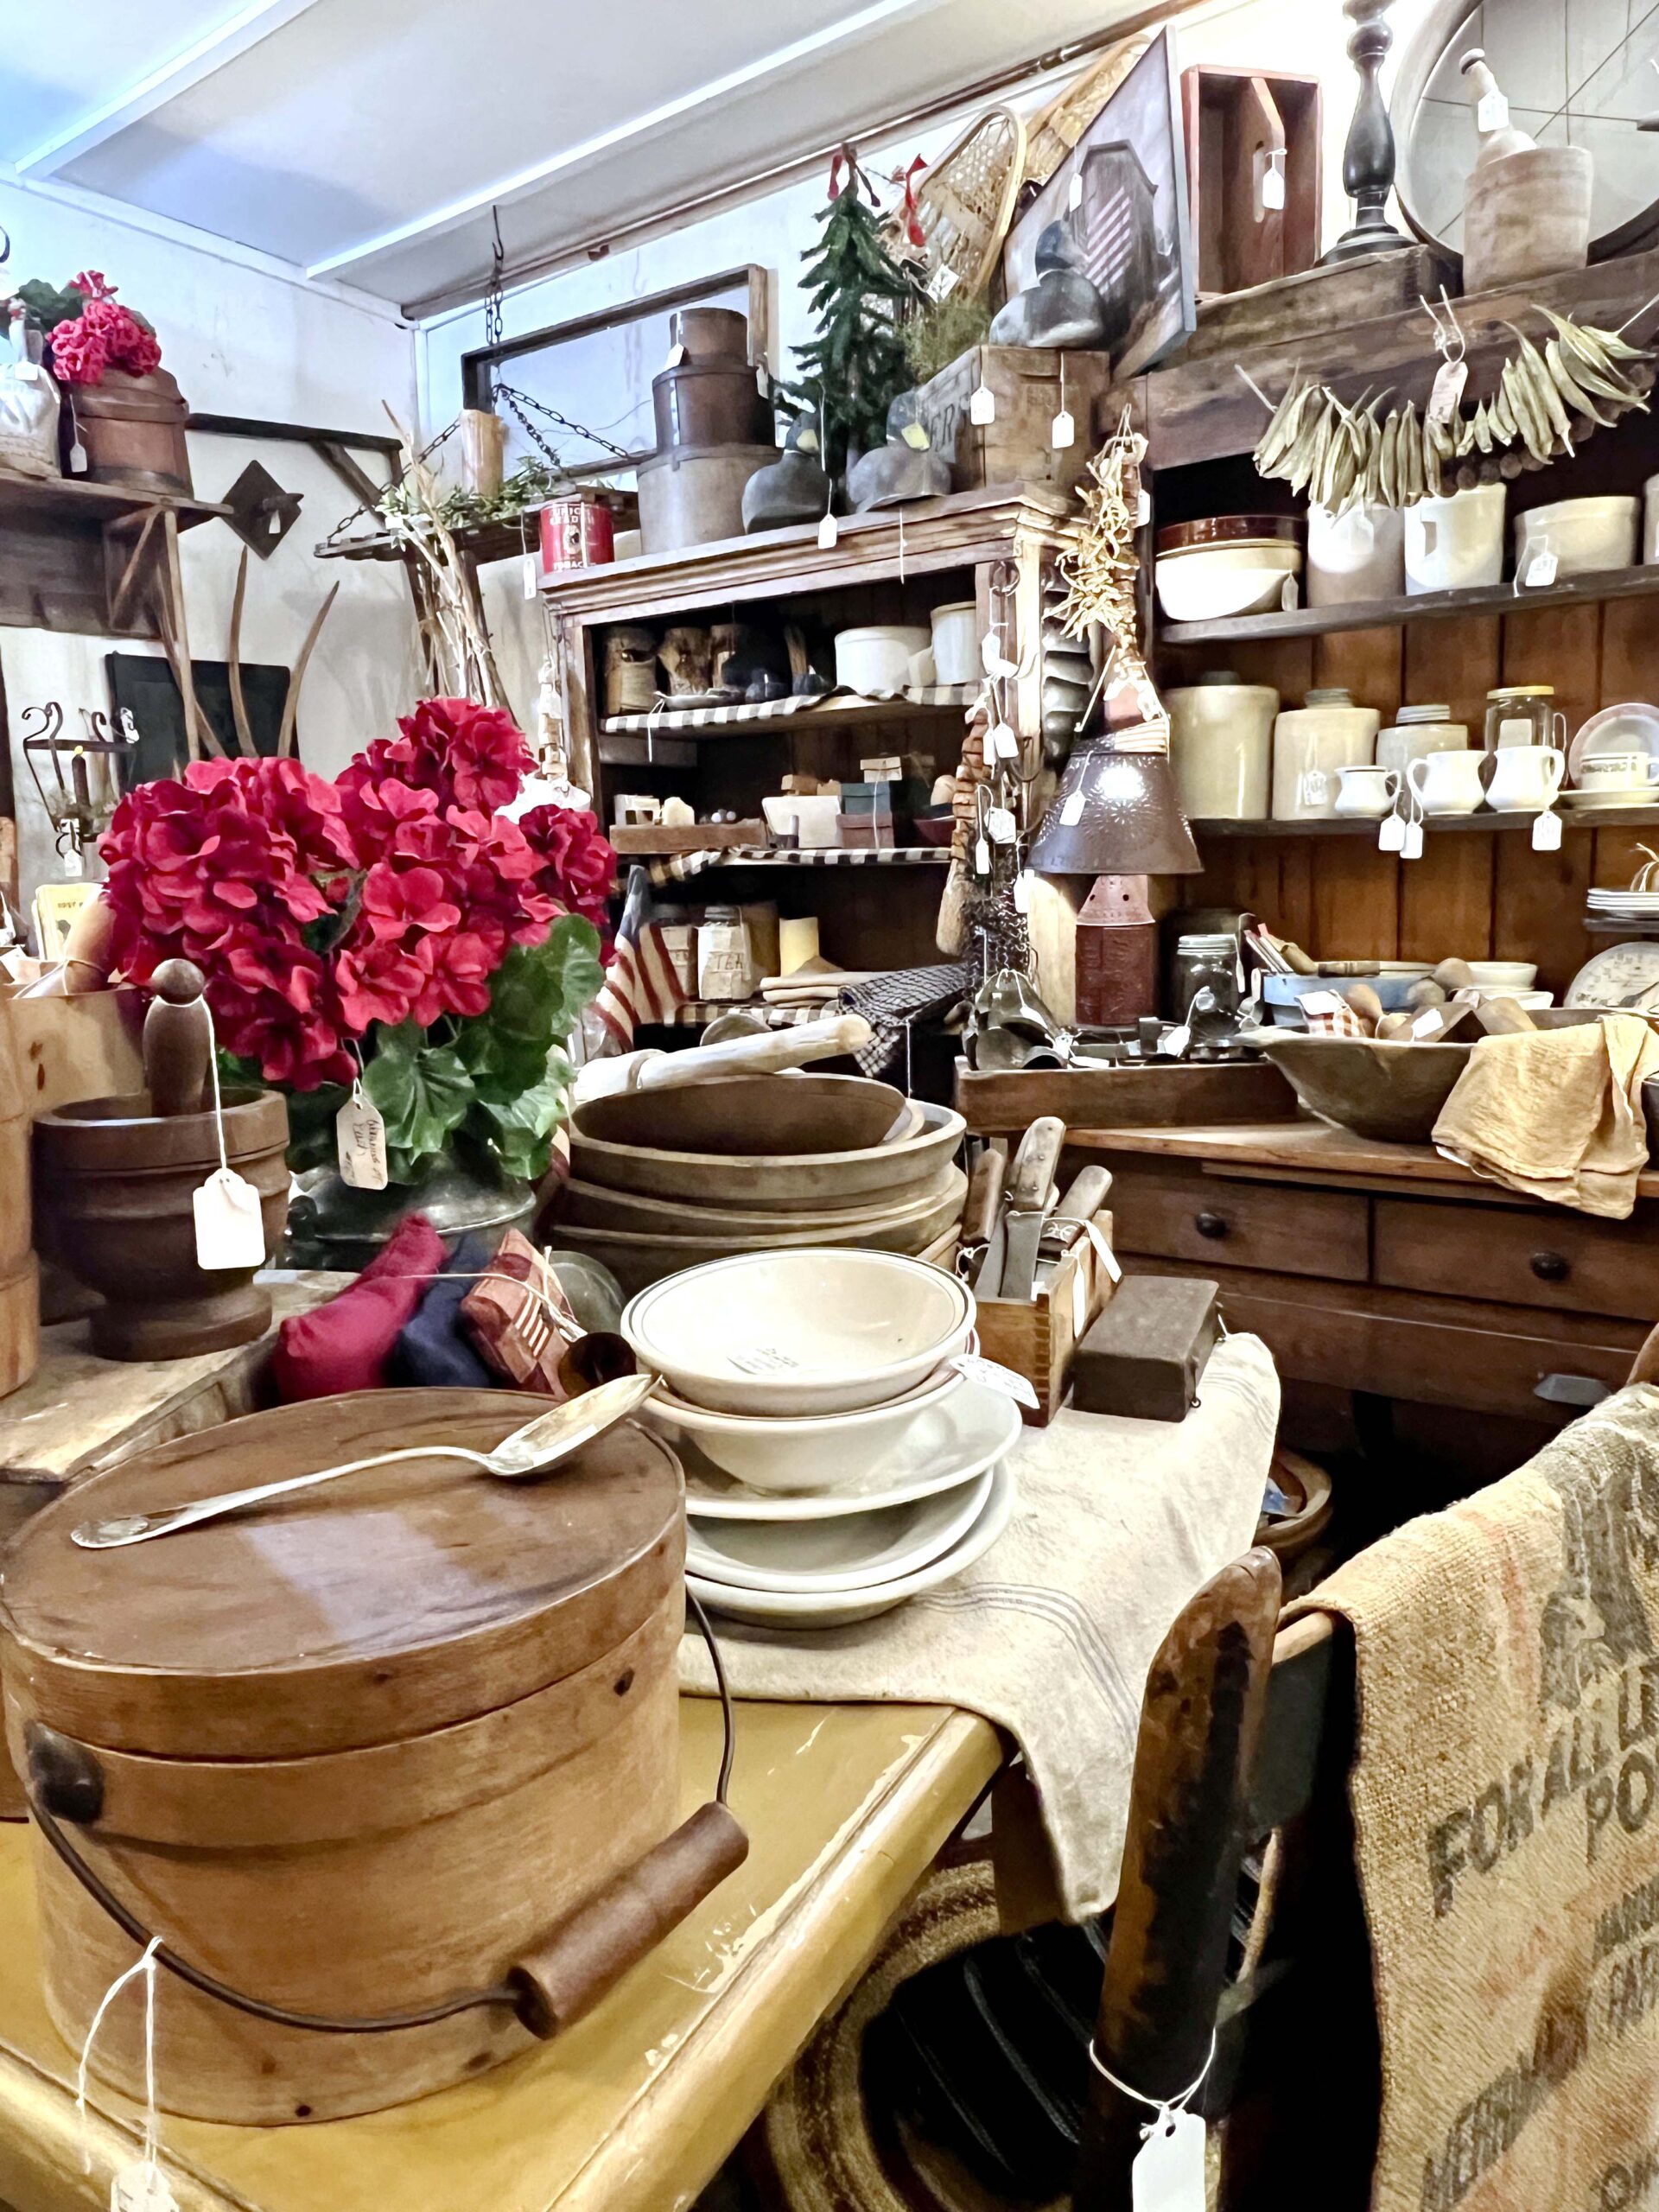 A lot of its inventory is Americana and country-farmhouse in theme; however, you’ll discover spaces with dishware and sit-abouts spanning the decades.
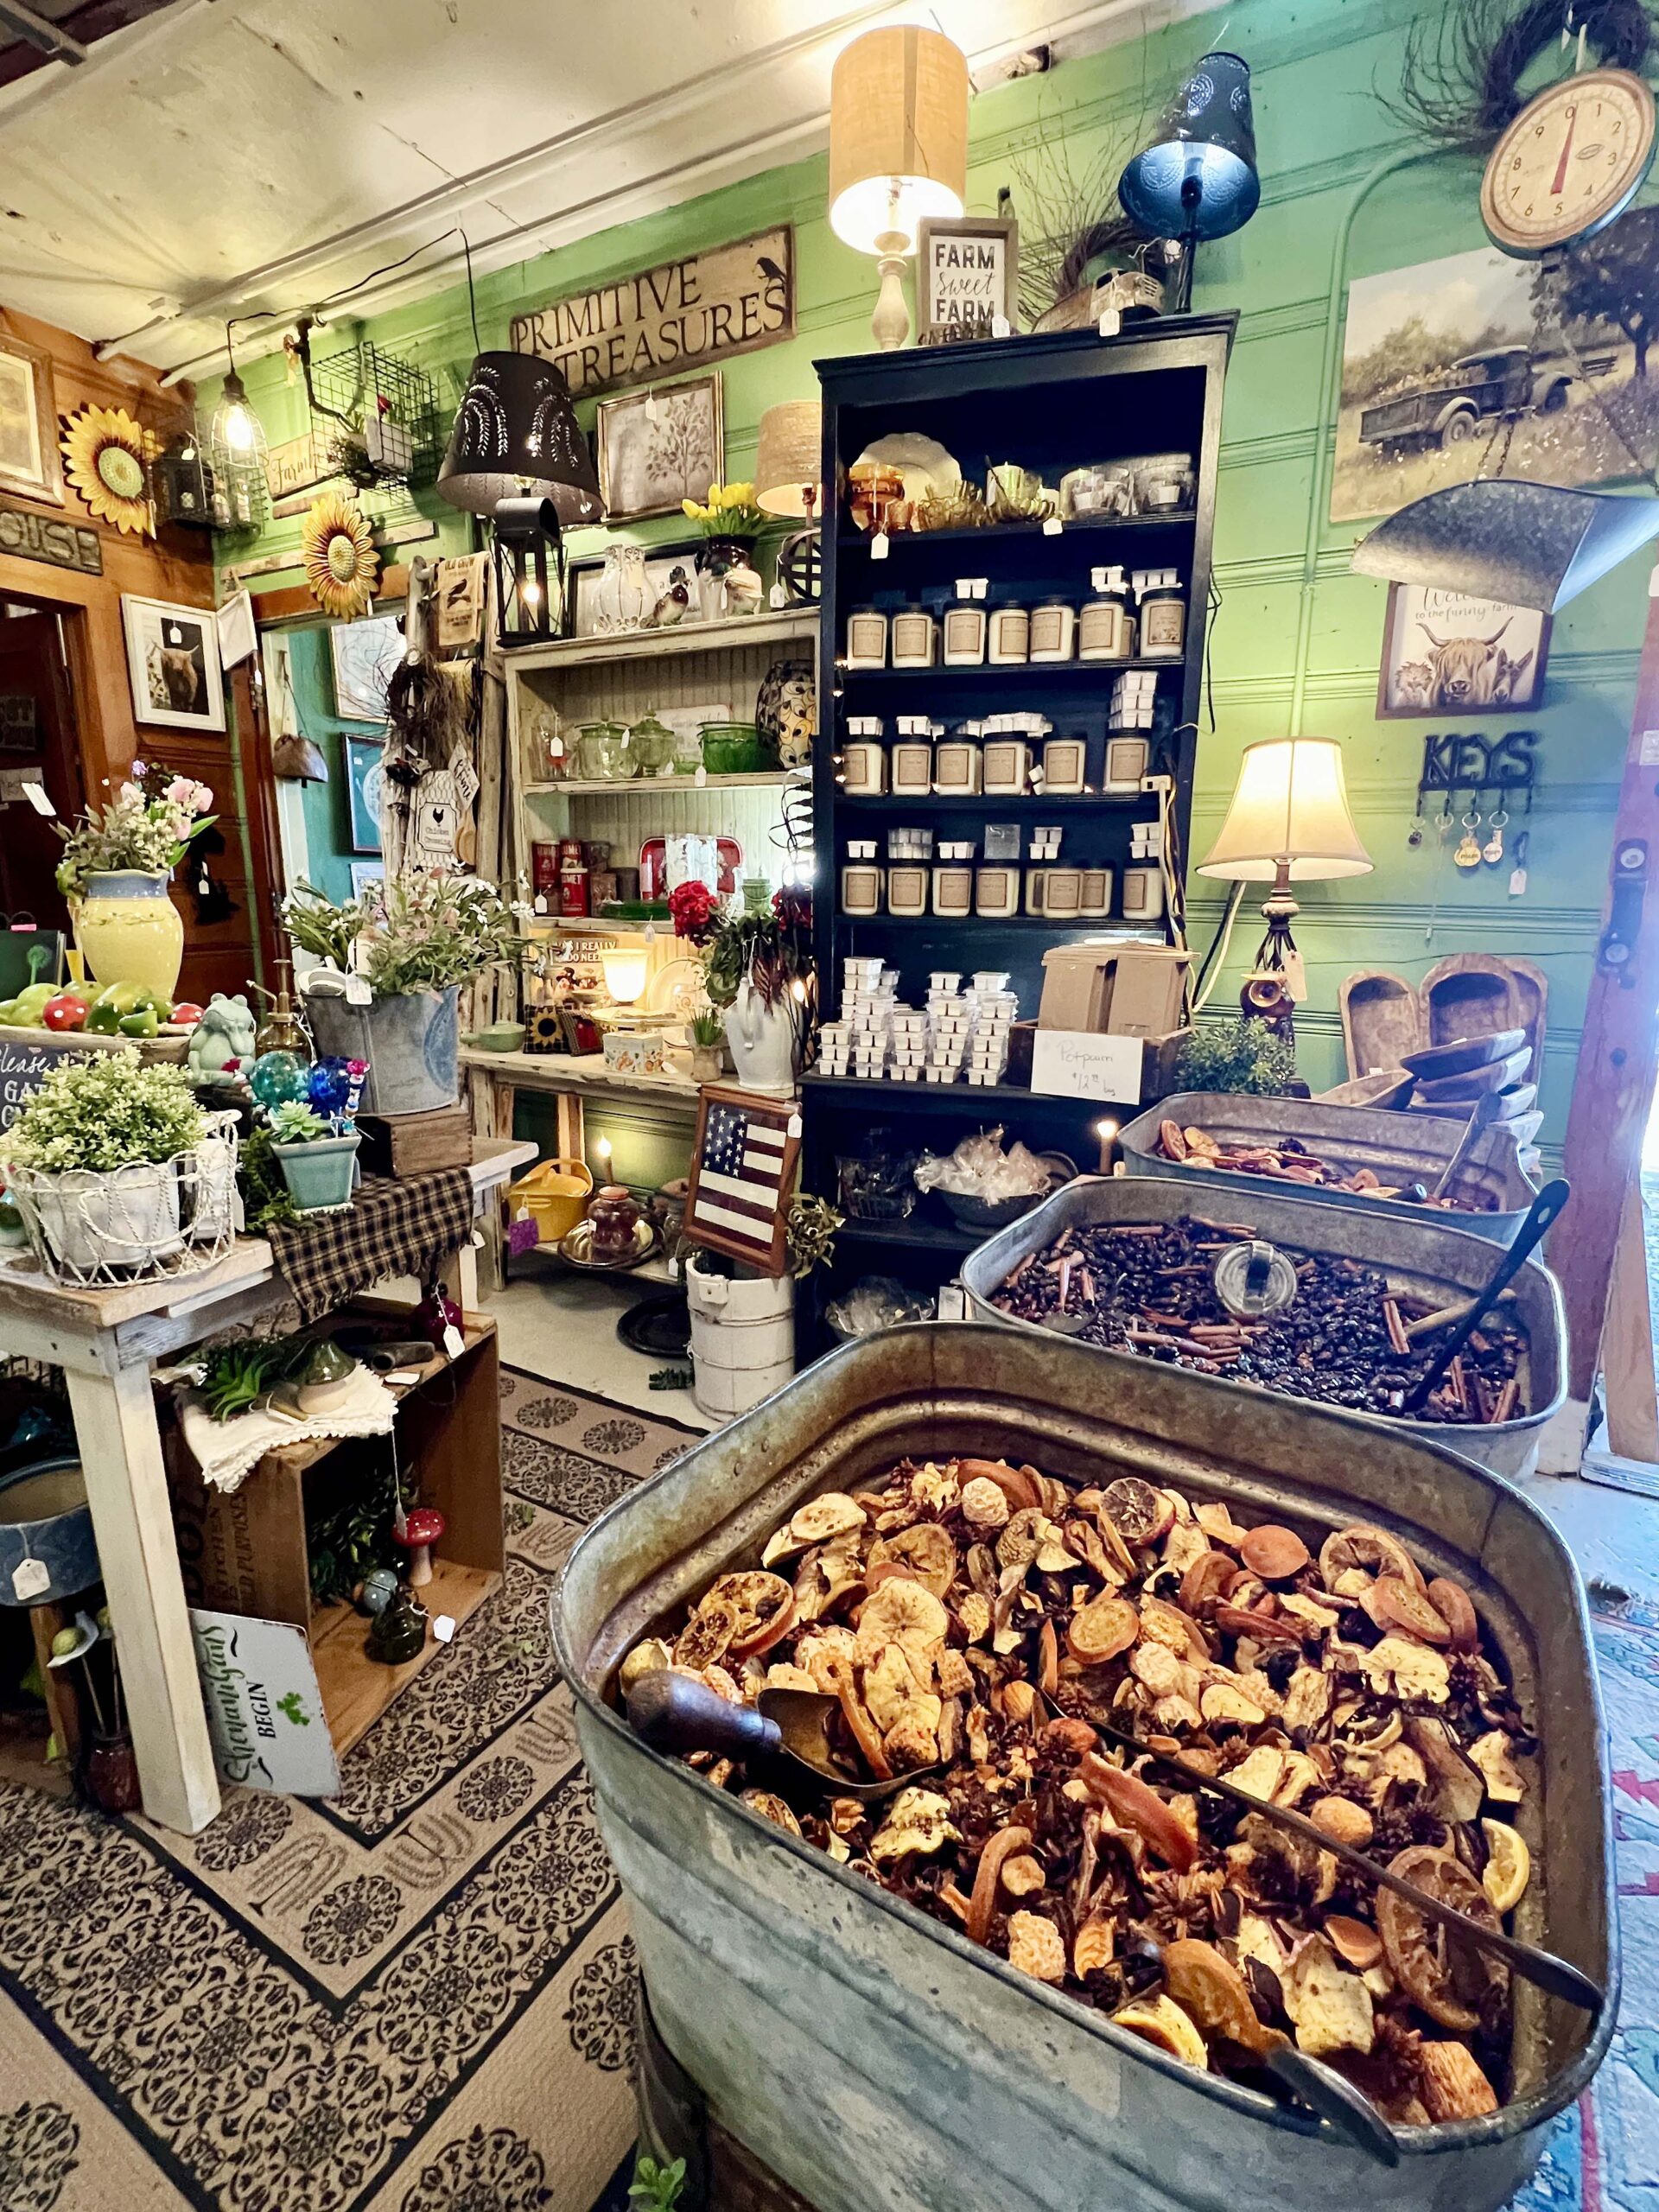 A separate building, “the barn,” is home to more rusty, farm-style items. It’s here you’ll find a cast-iron bed frame or a massive wooden spool that can double as a table.
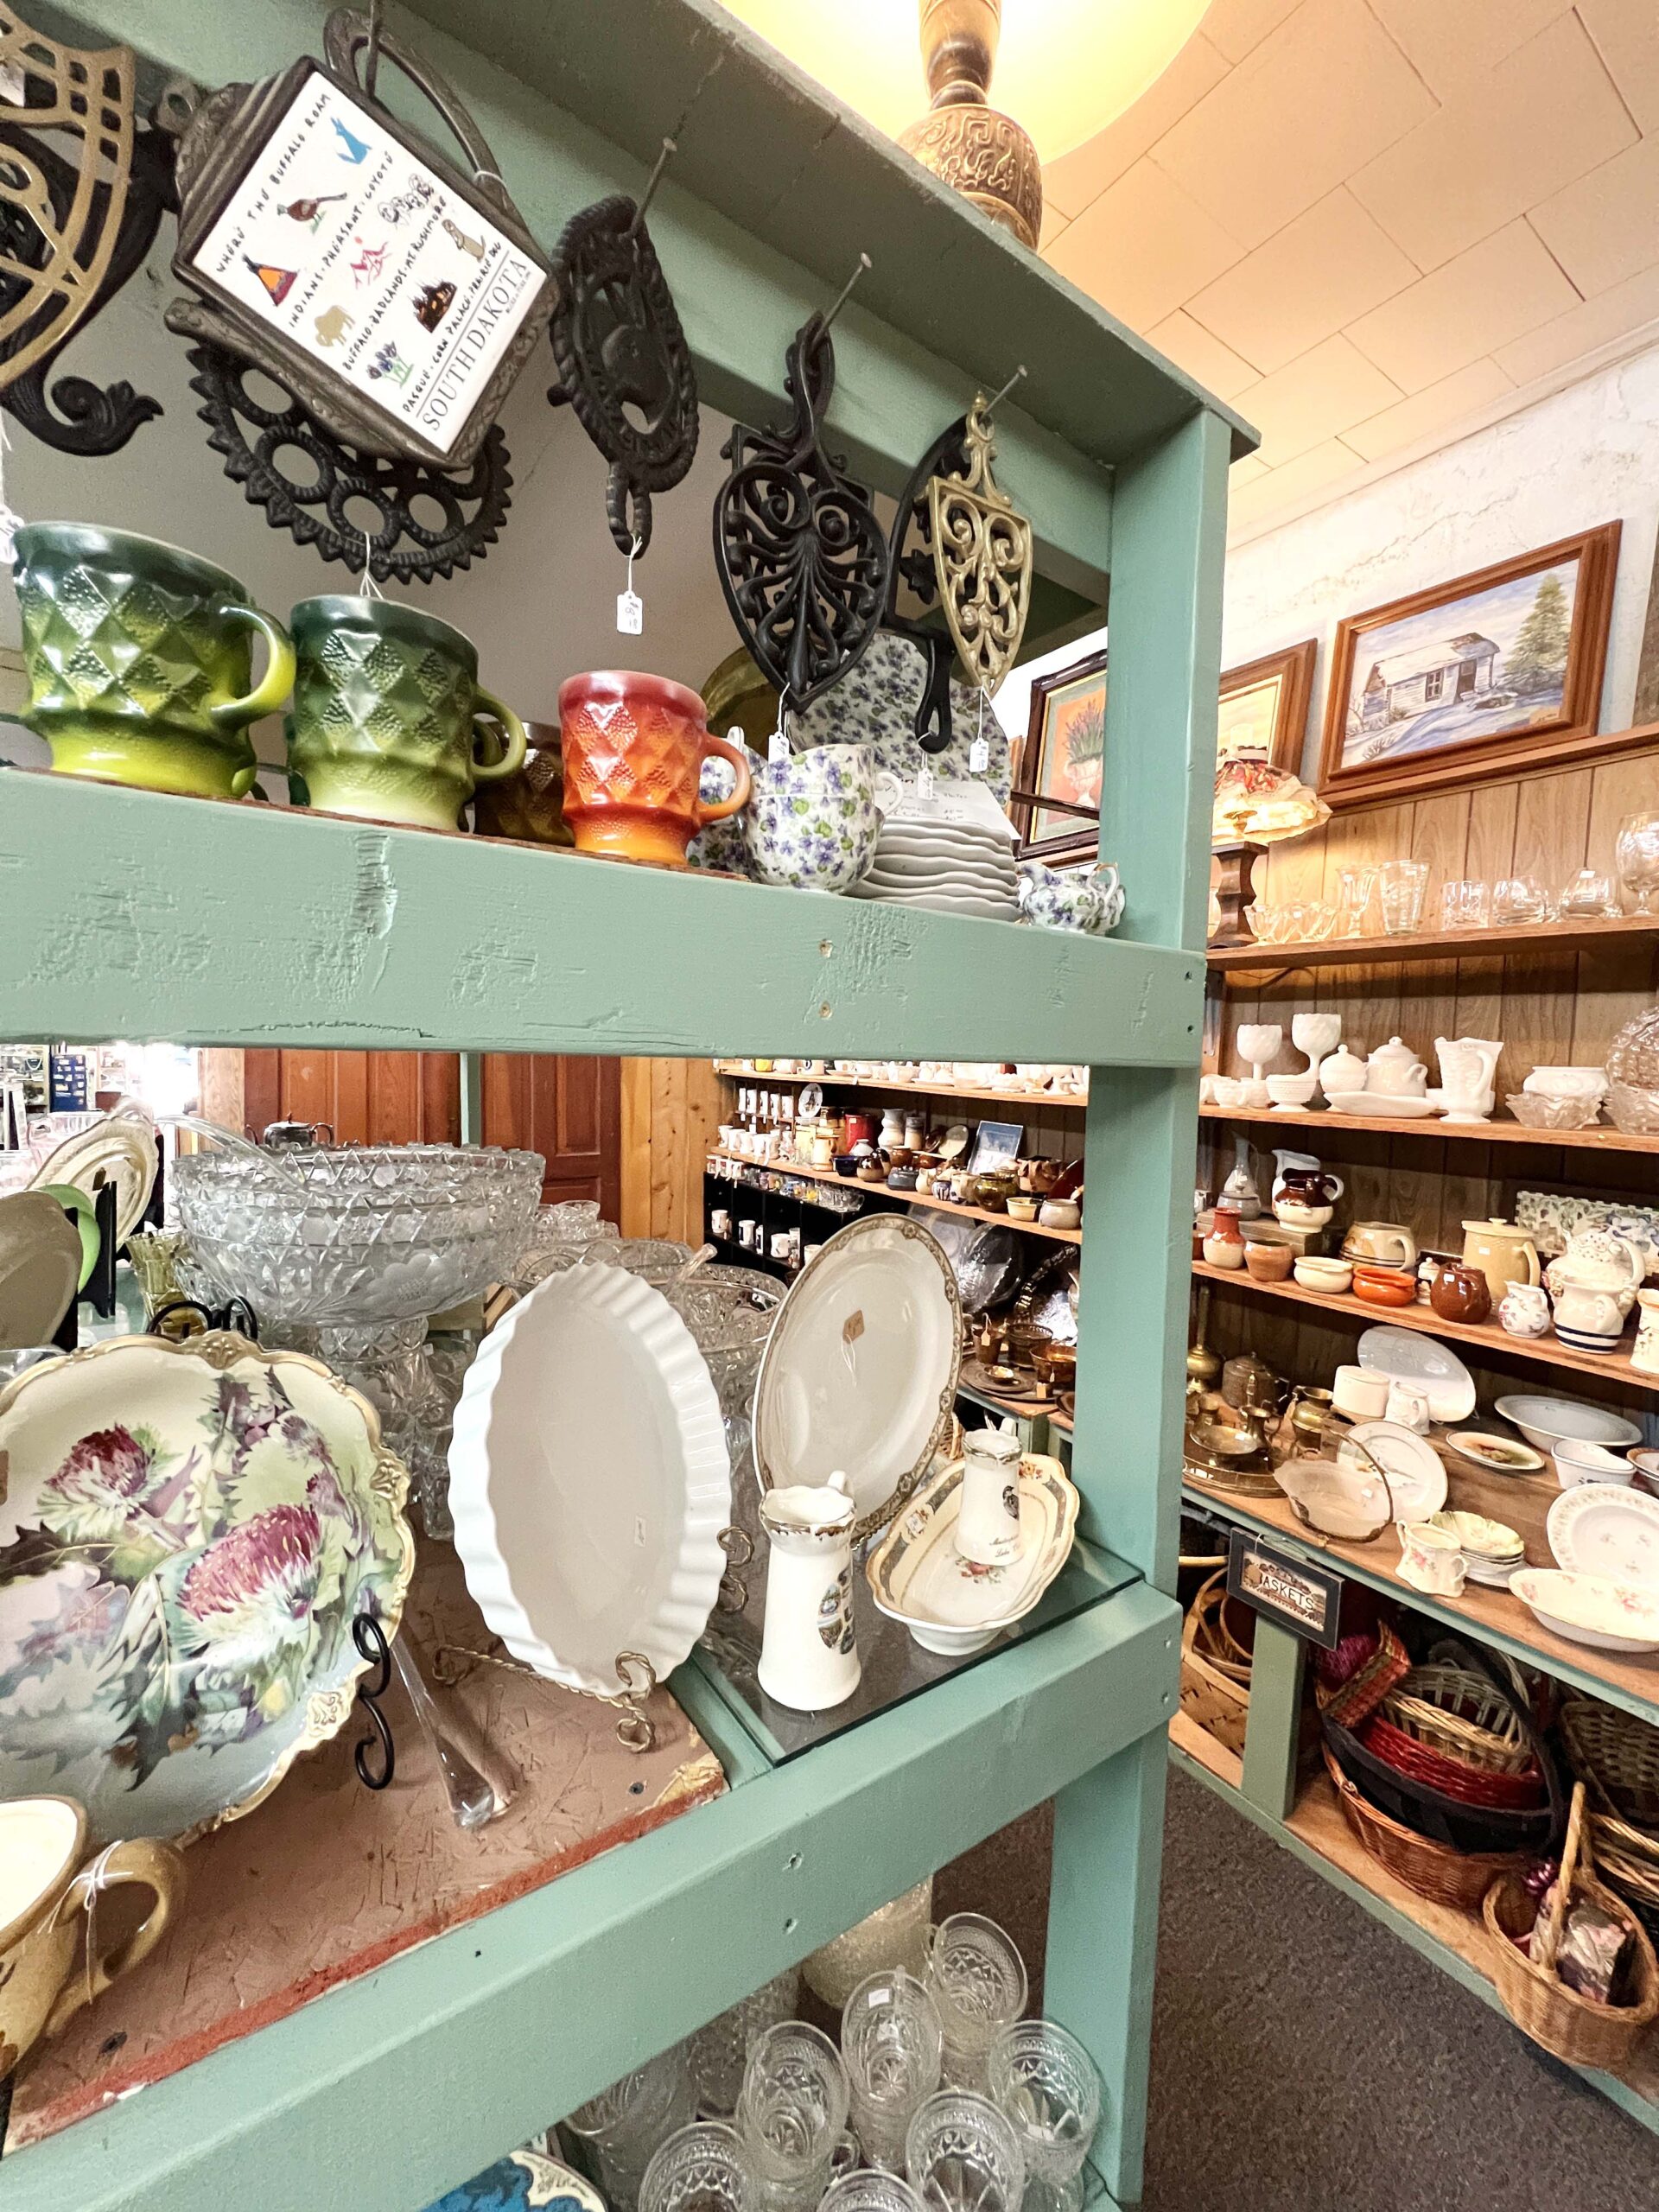 I thought the items were reasonably priced, and a 20% off sidewalk tag sale caught my eye. Stacks of Corning Ware, vinyl records, commemorative plates. You name it, she carries it.
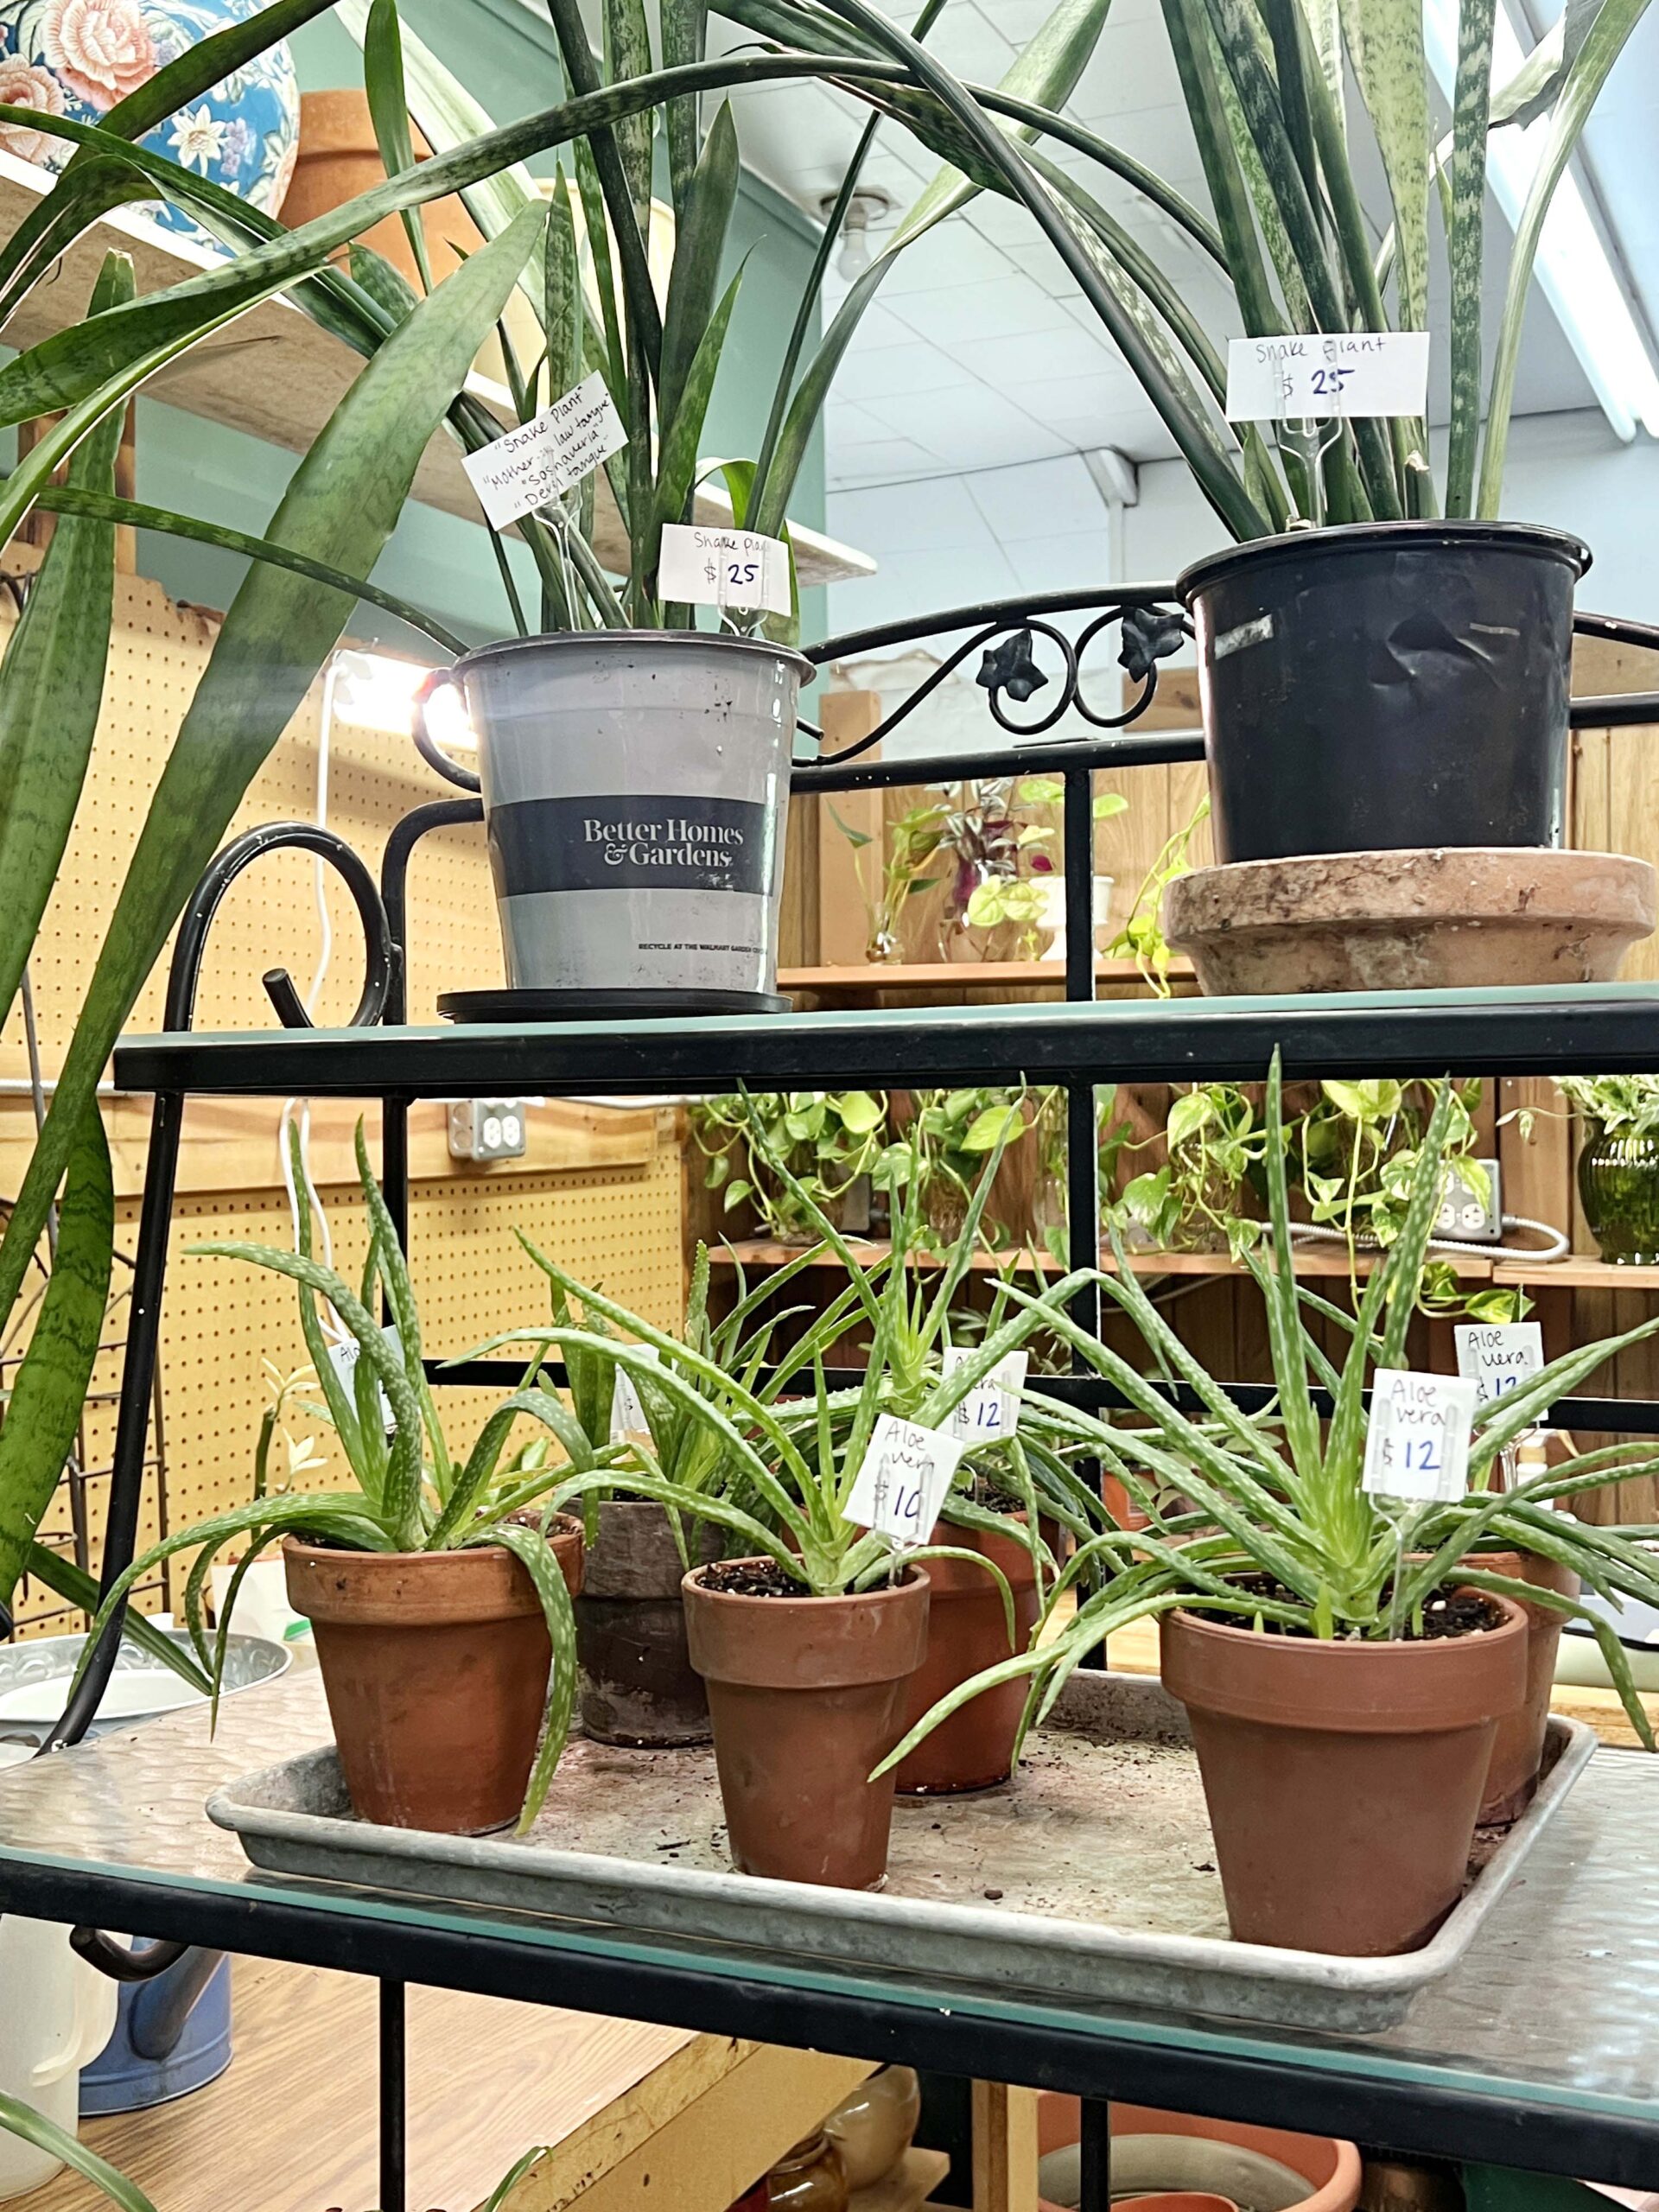 Look for individually priced houseplants in containers, available for sale at prices you won’t find elsewhere.
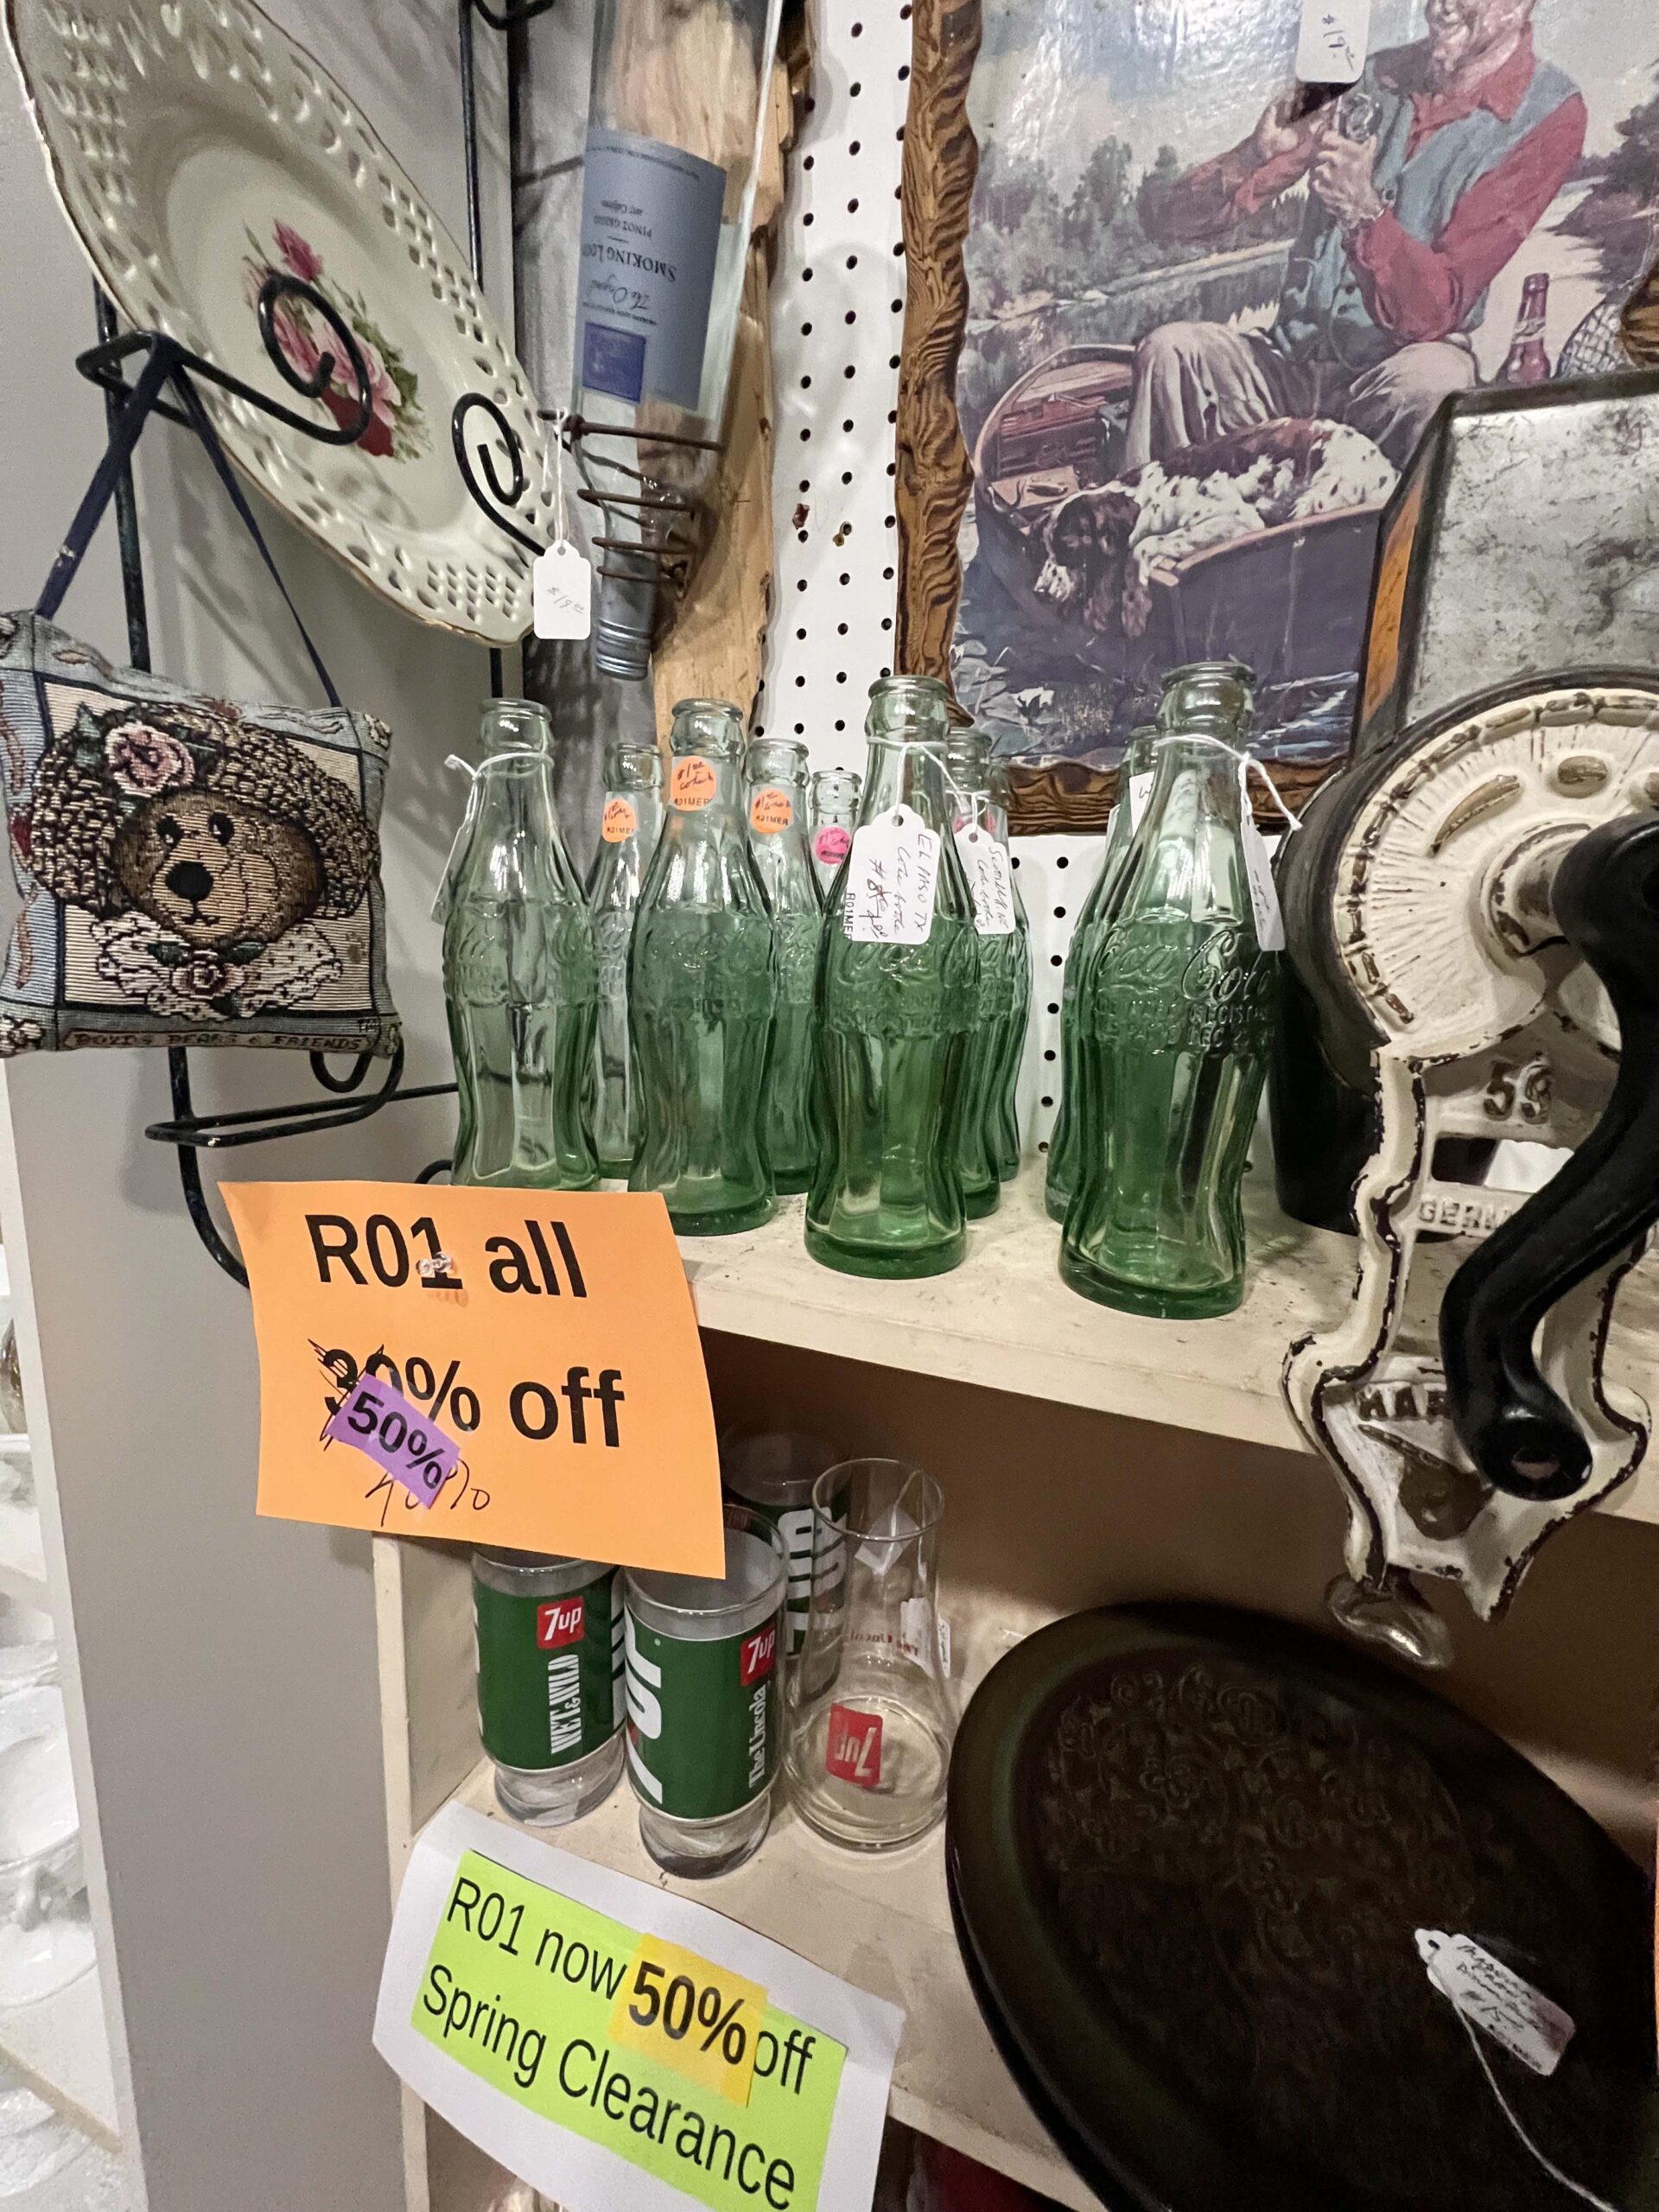 For those who appreciate a shopping quest where they can dig into boxes of textiles or look high and low for an item, Kim’s Corner is for you.
 PRO TIP: Don’t miss the Everything’s $1 section.
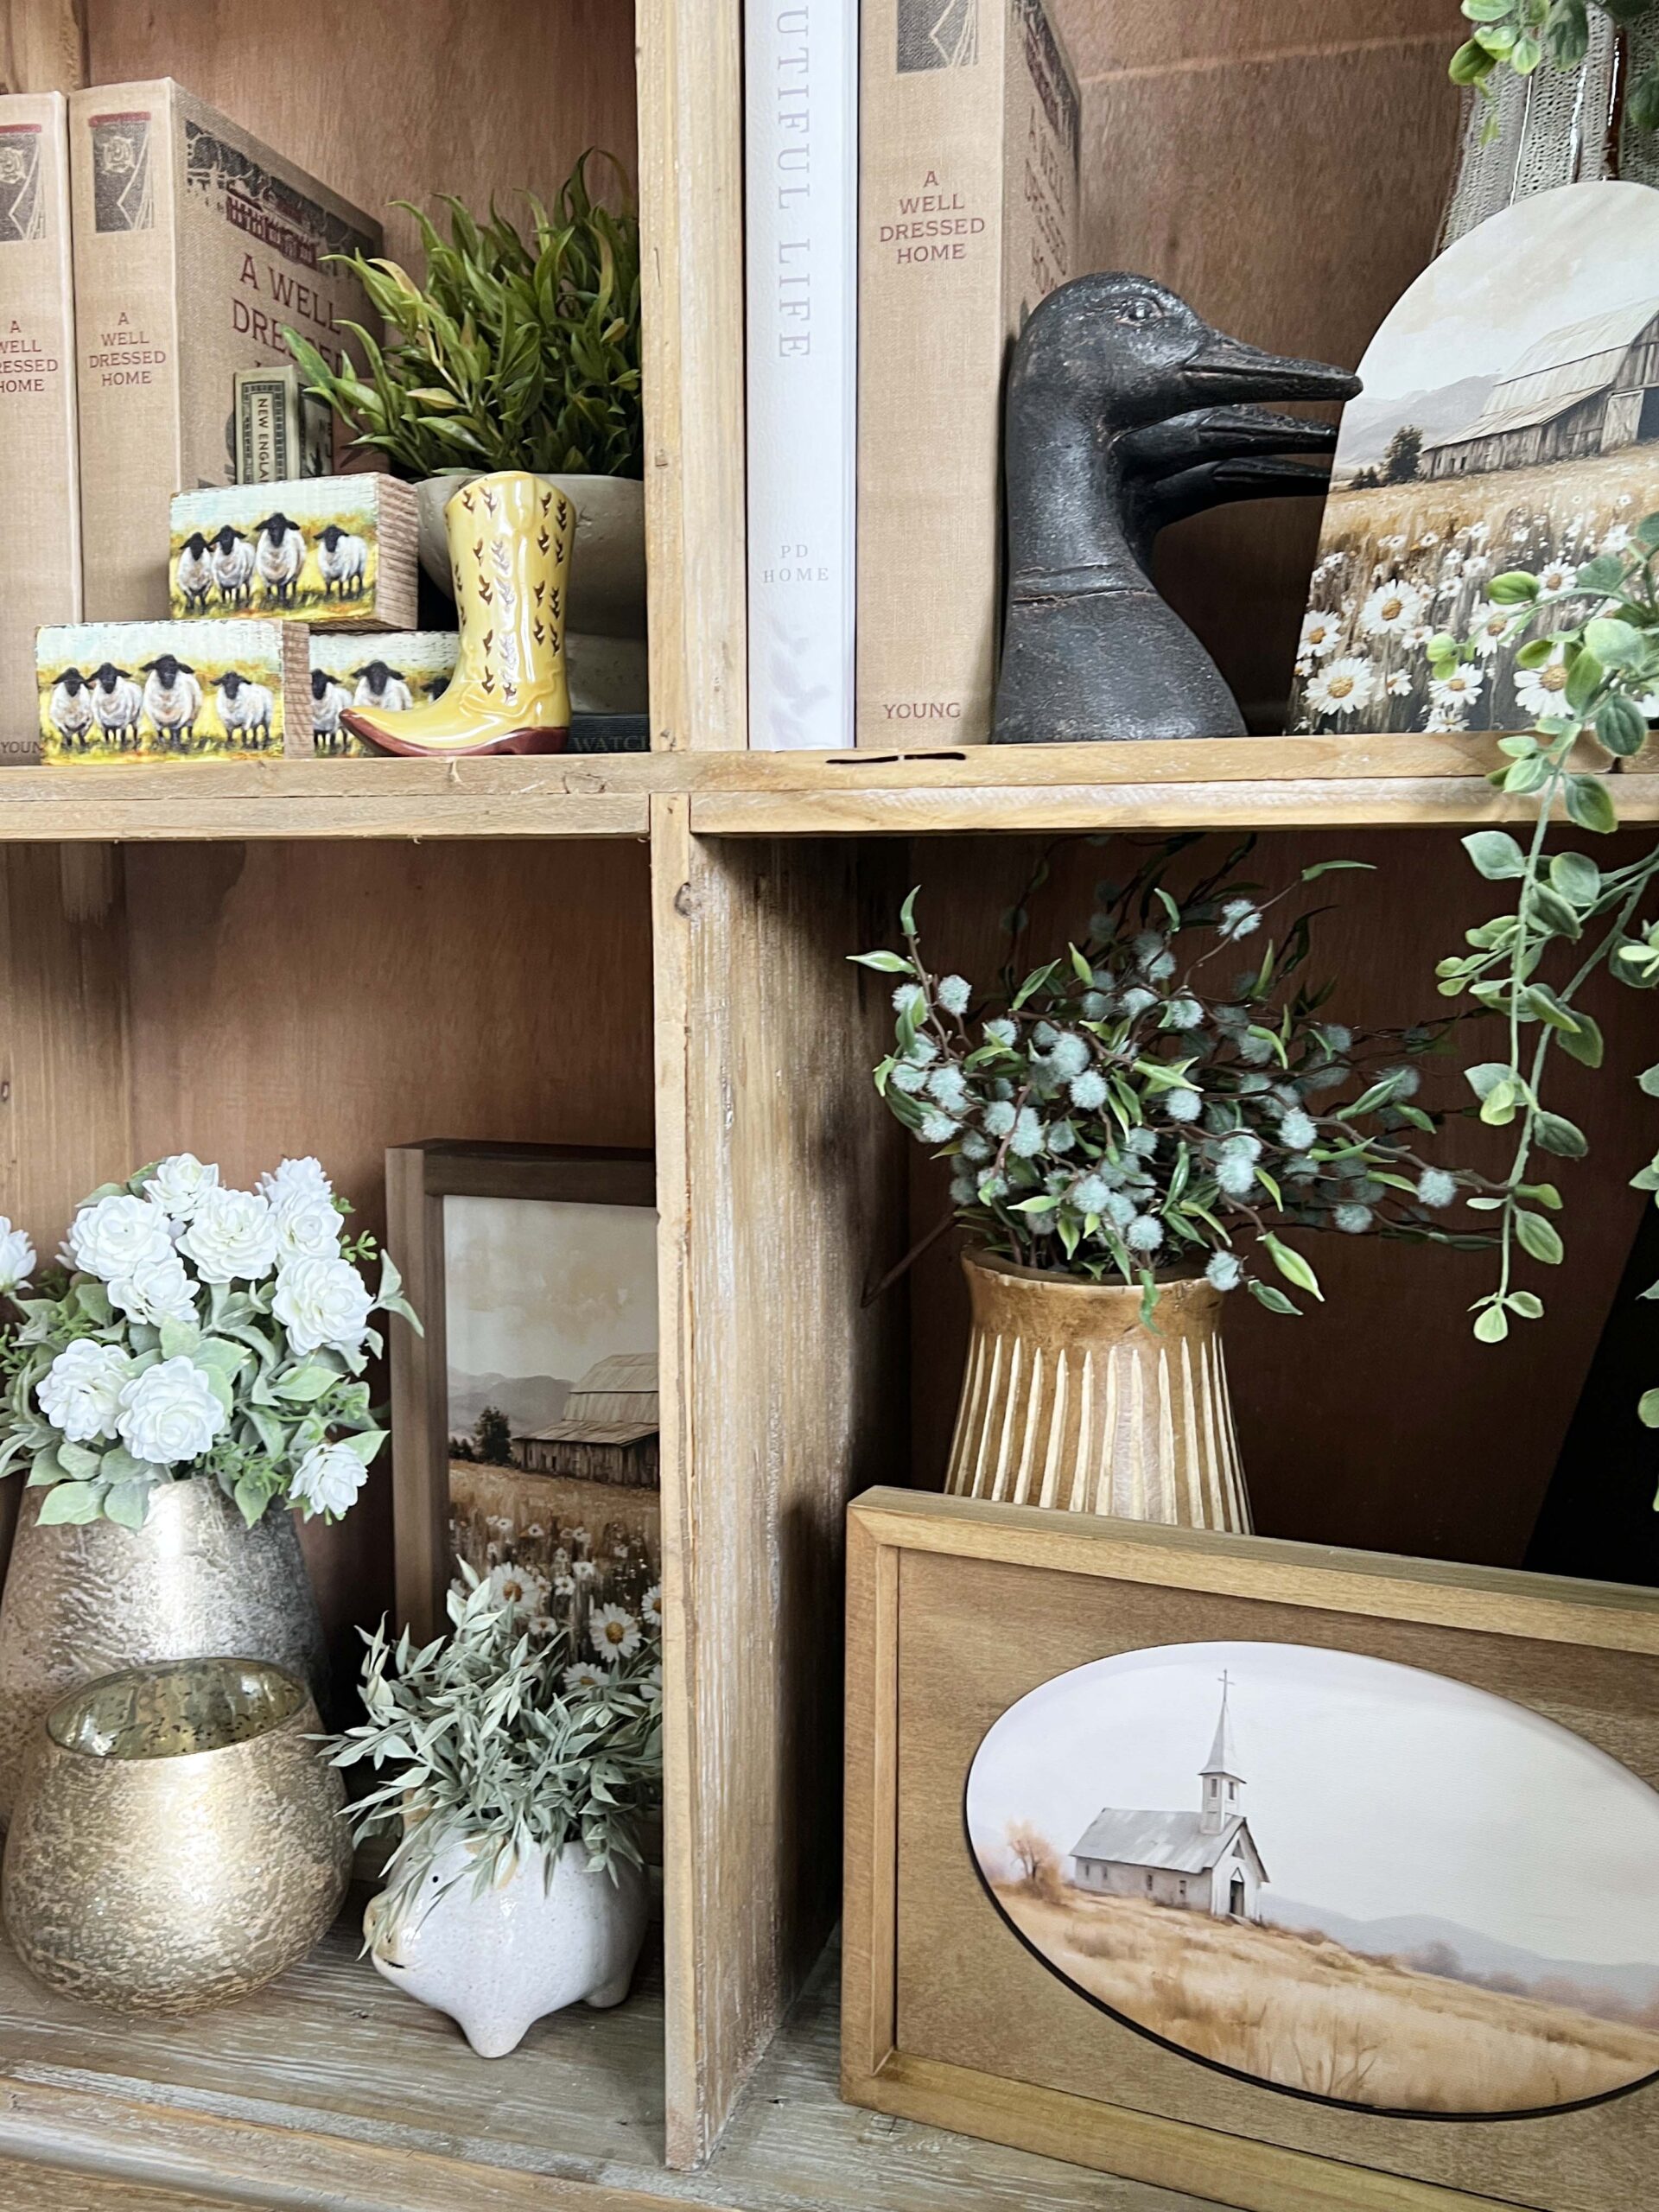 The owner, who curates inventory from the Atlanta market, attracts shoppers who appreciate a neutral motif punctuated by a pop of color. I had a wonderful time getting to know her as I quickly moved items to the register I planned to purchase.
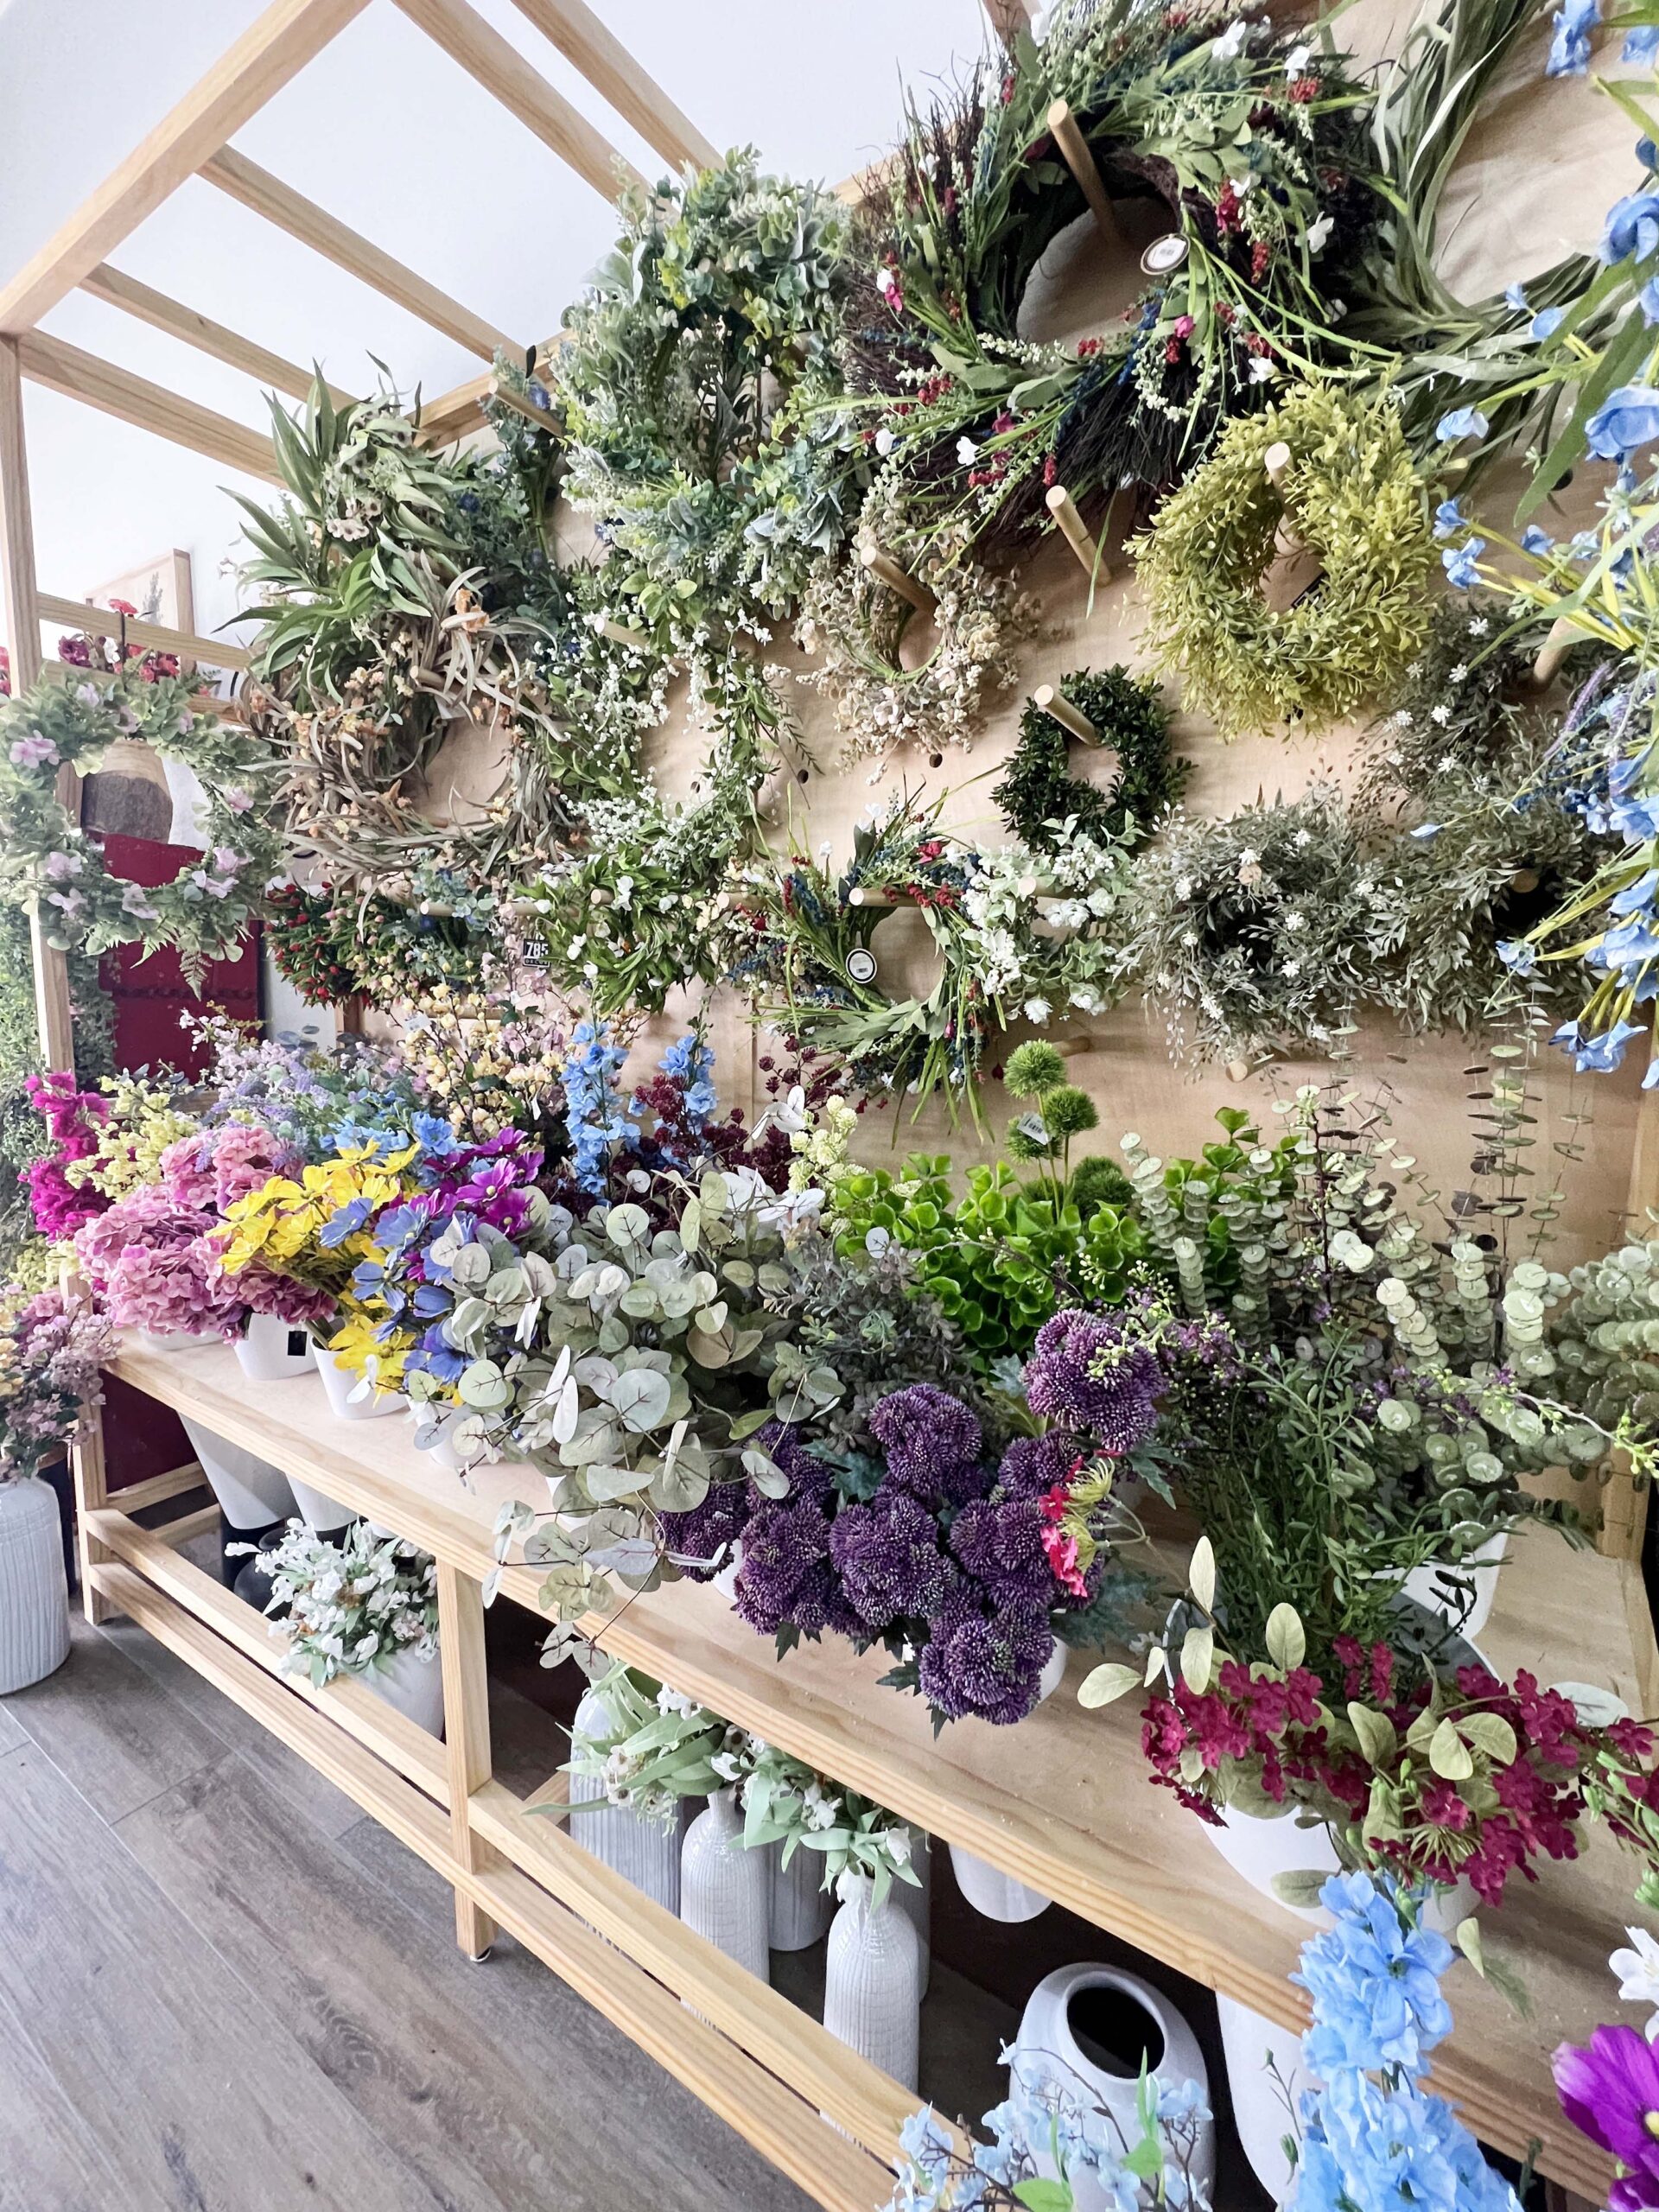 Her store is also the only one in town that sells faith-based journals.
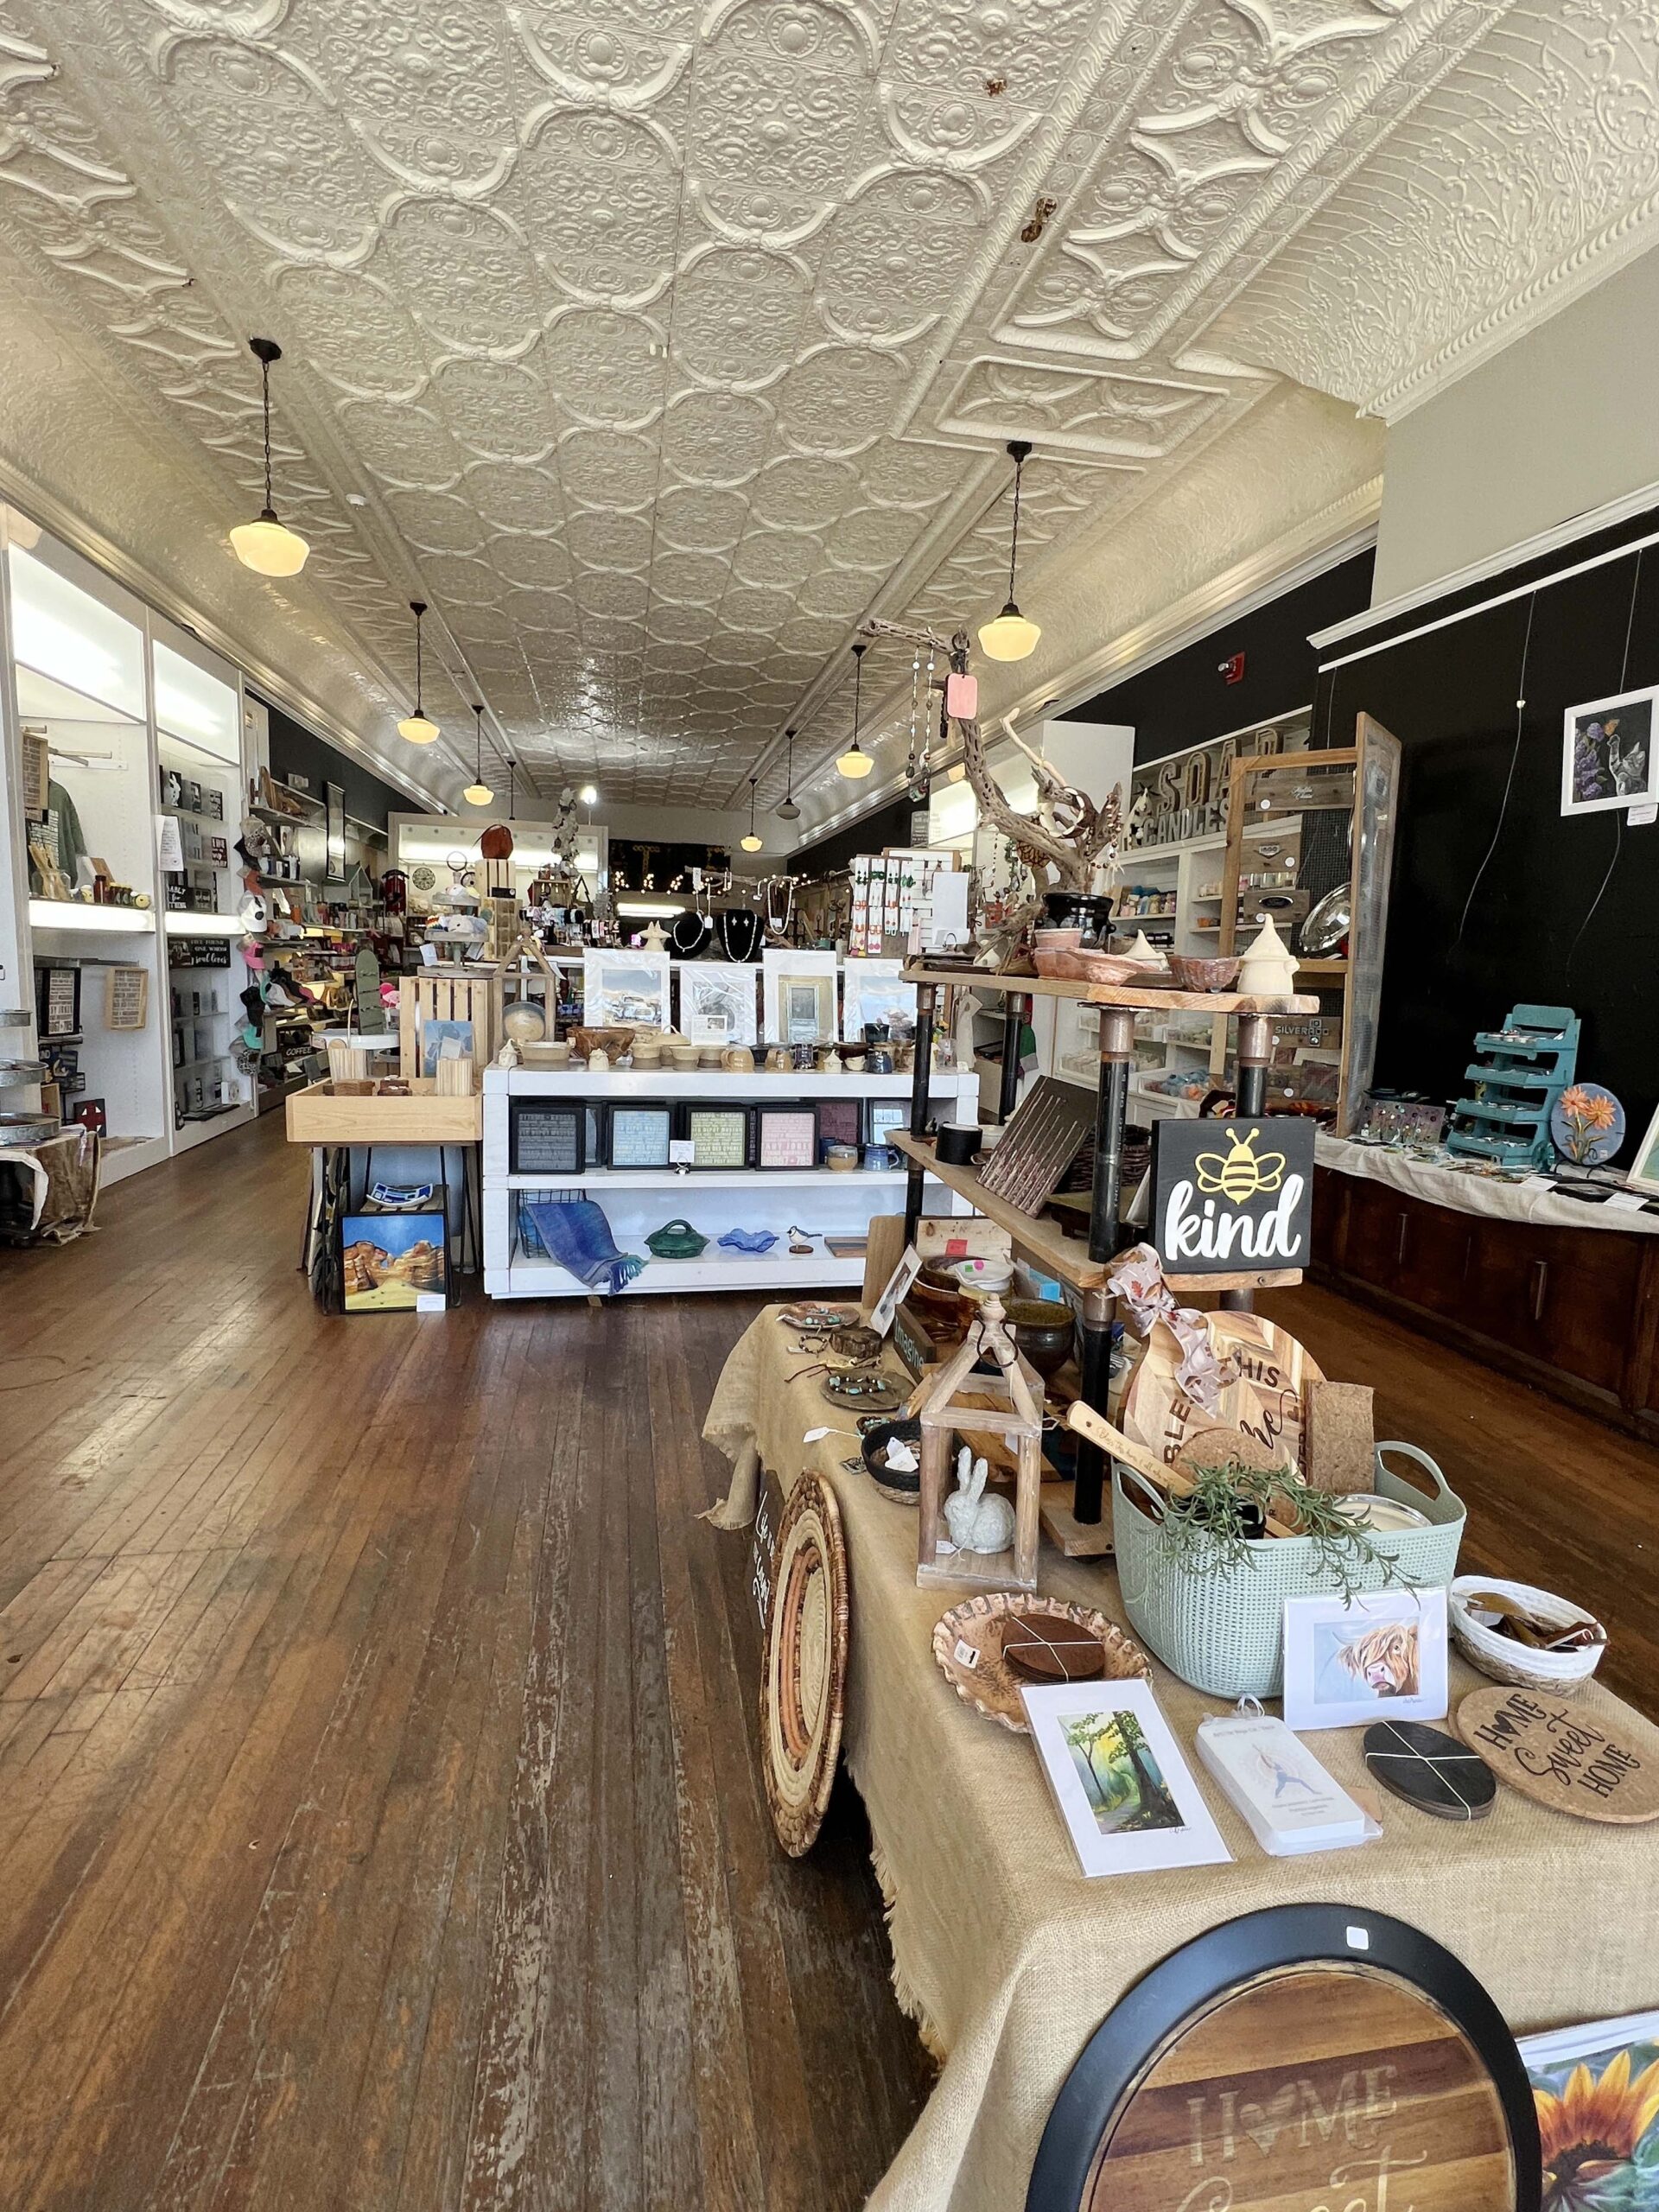 Unlike some makers’ spaces I’ve toured, The Collective Heart is thoughtfully designed, dedicating a space for each vendor without overcrowding the store. Jewelry, signage, leather goods, wall art, woodwork, and even bath products make up the bulk of the merchandise.
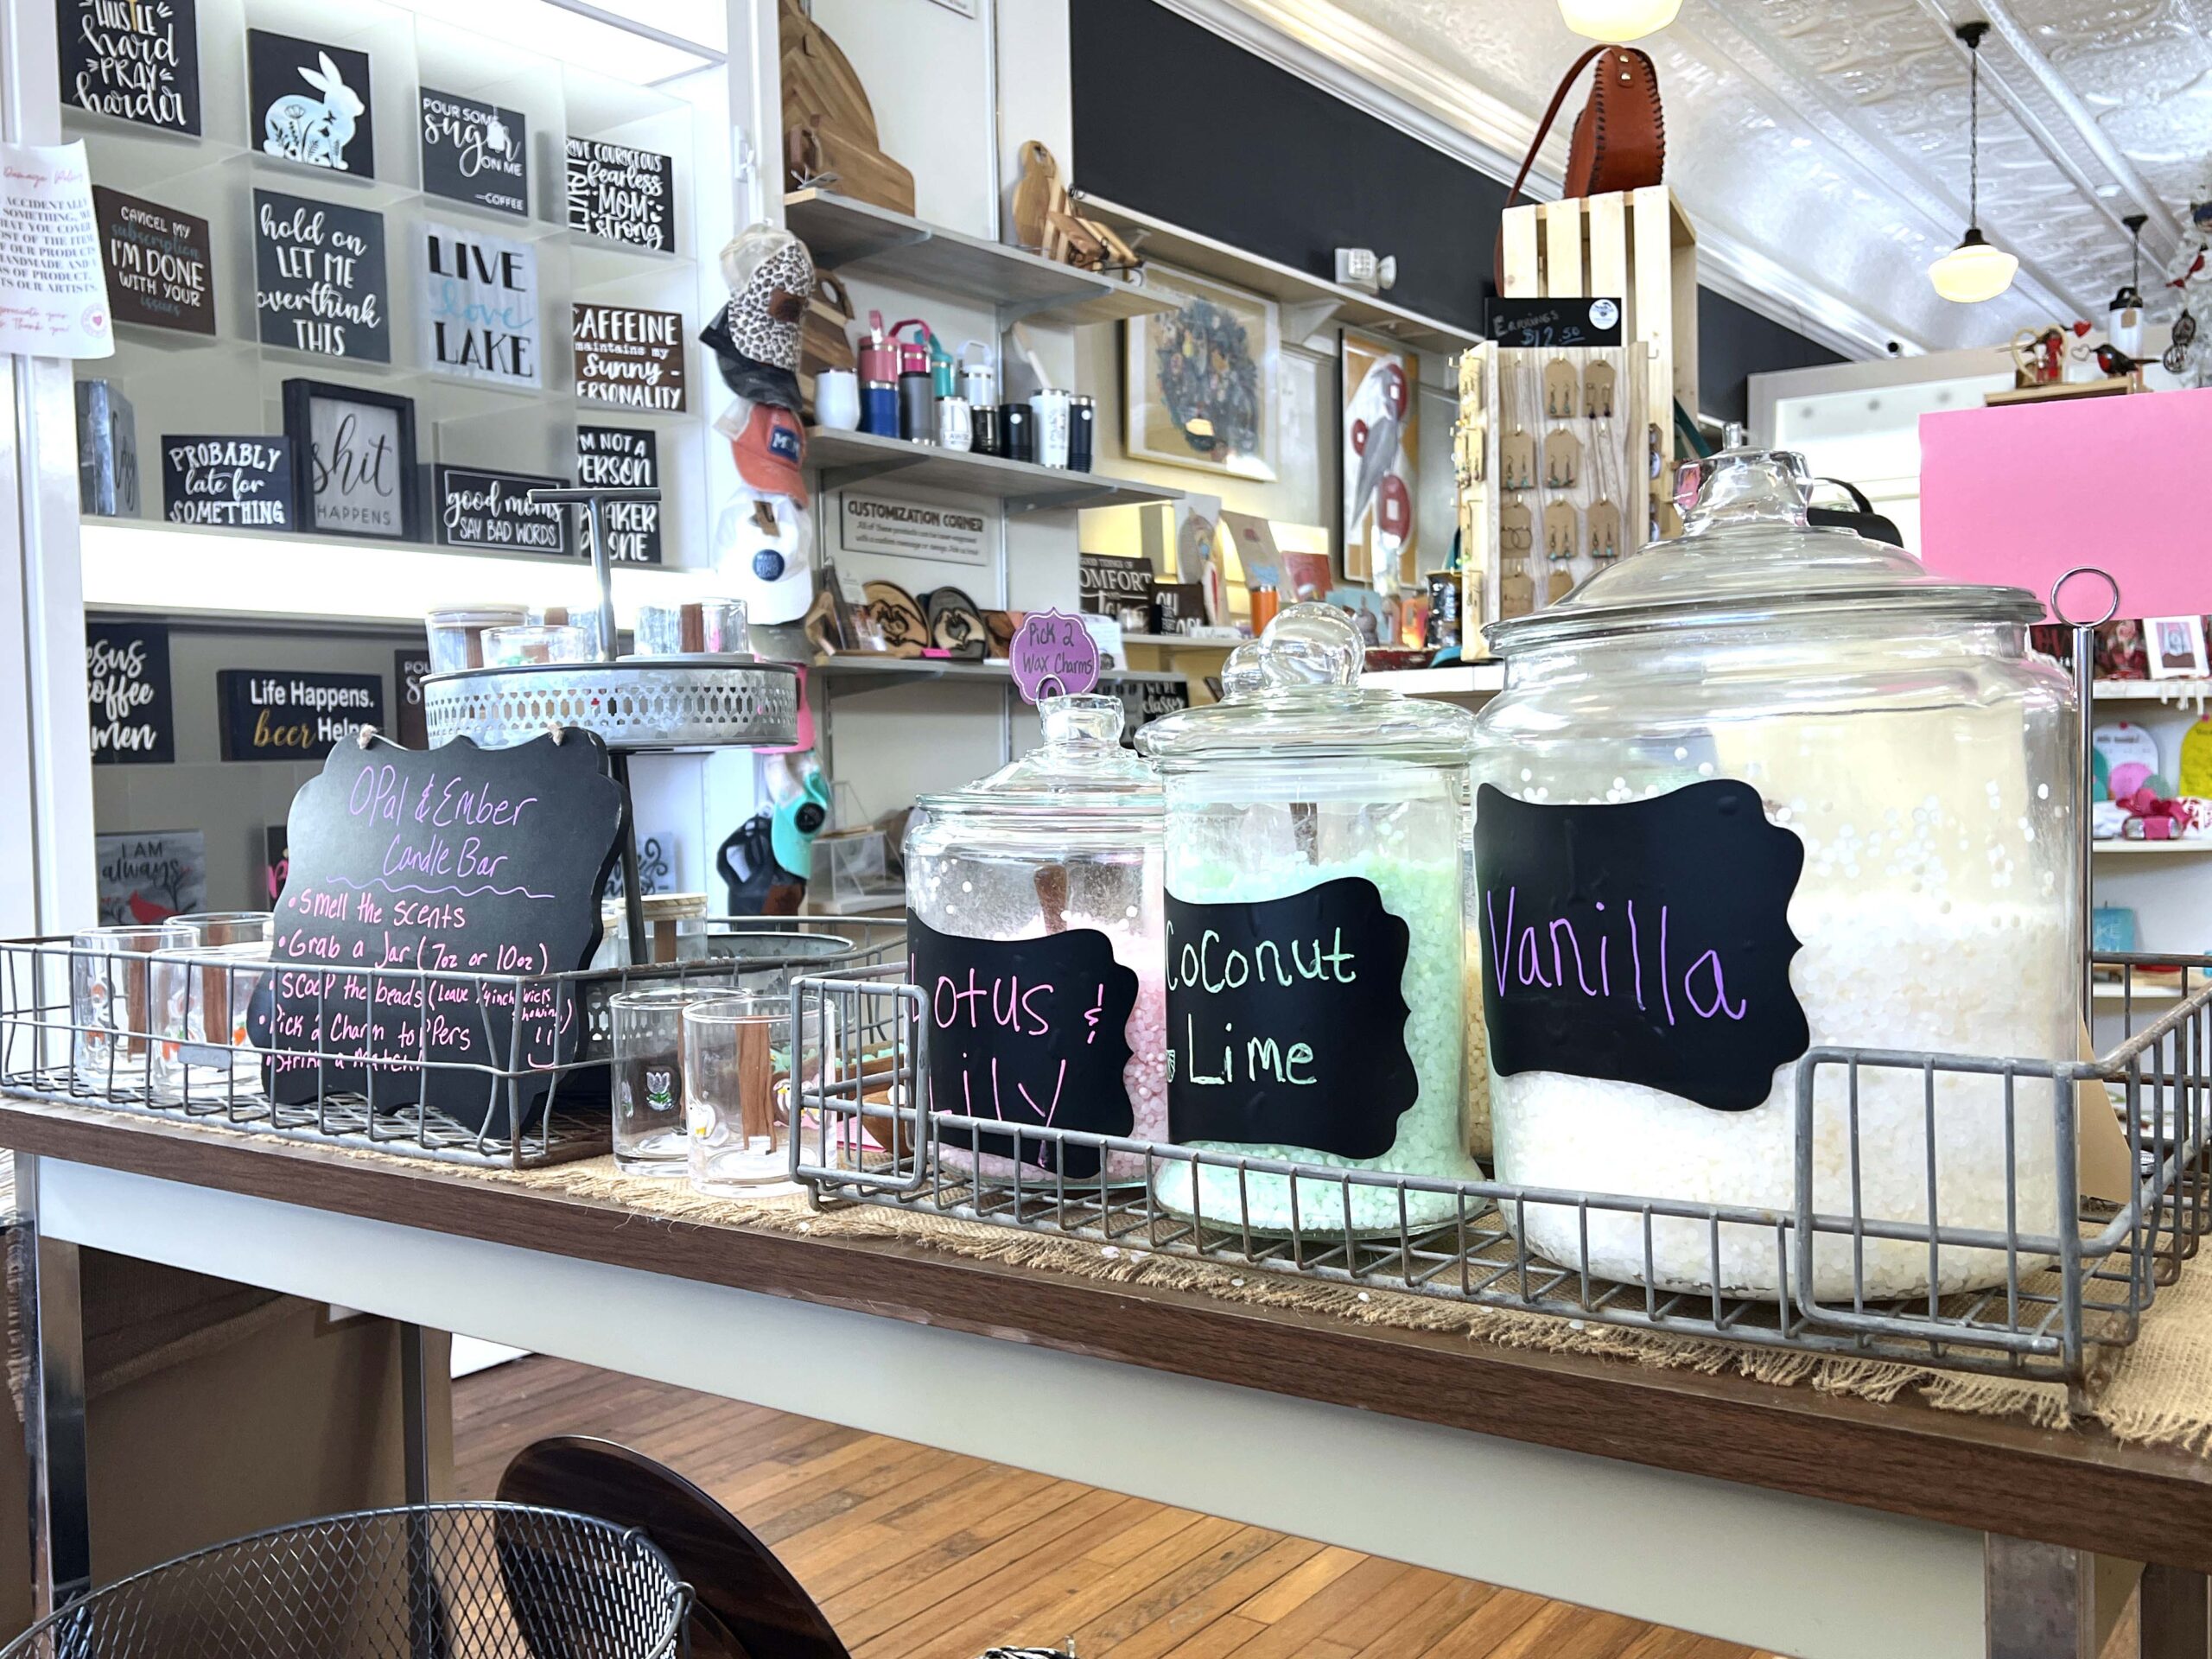 PRO TIP: View their upcoming all-ages art classes on their
 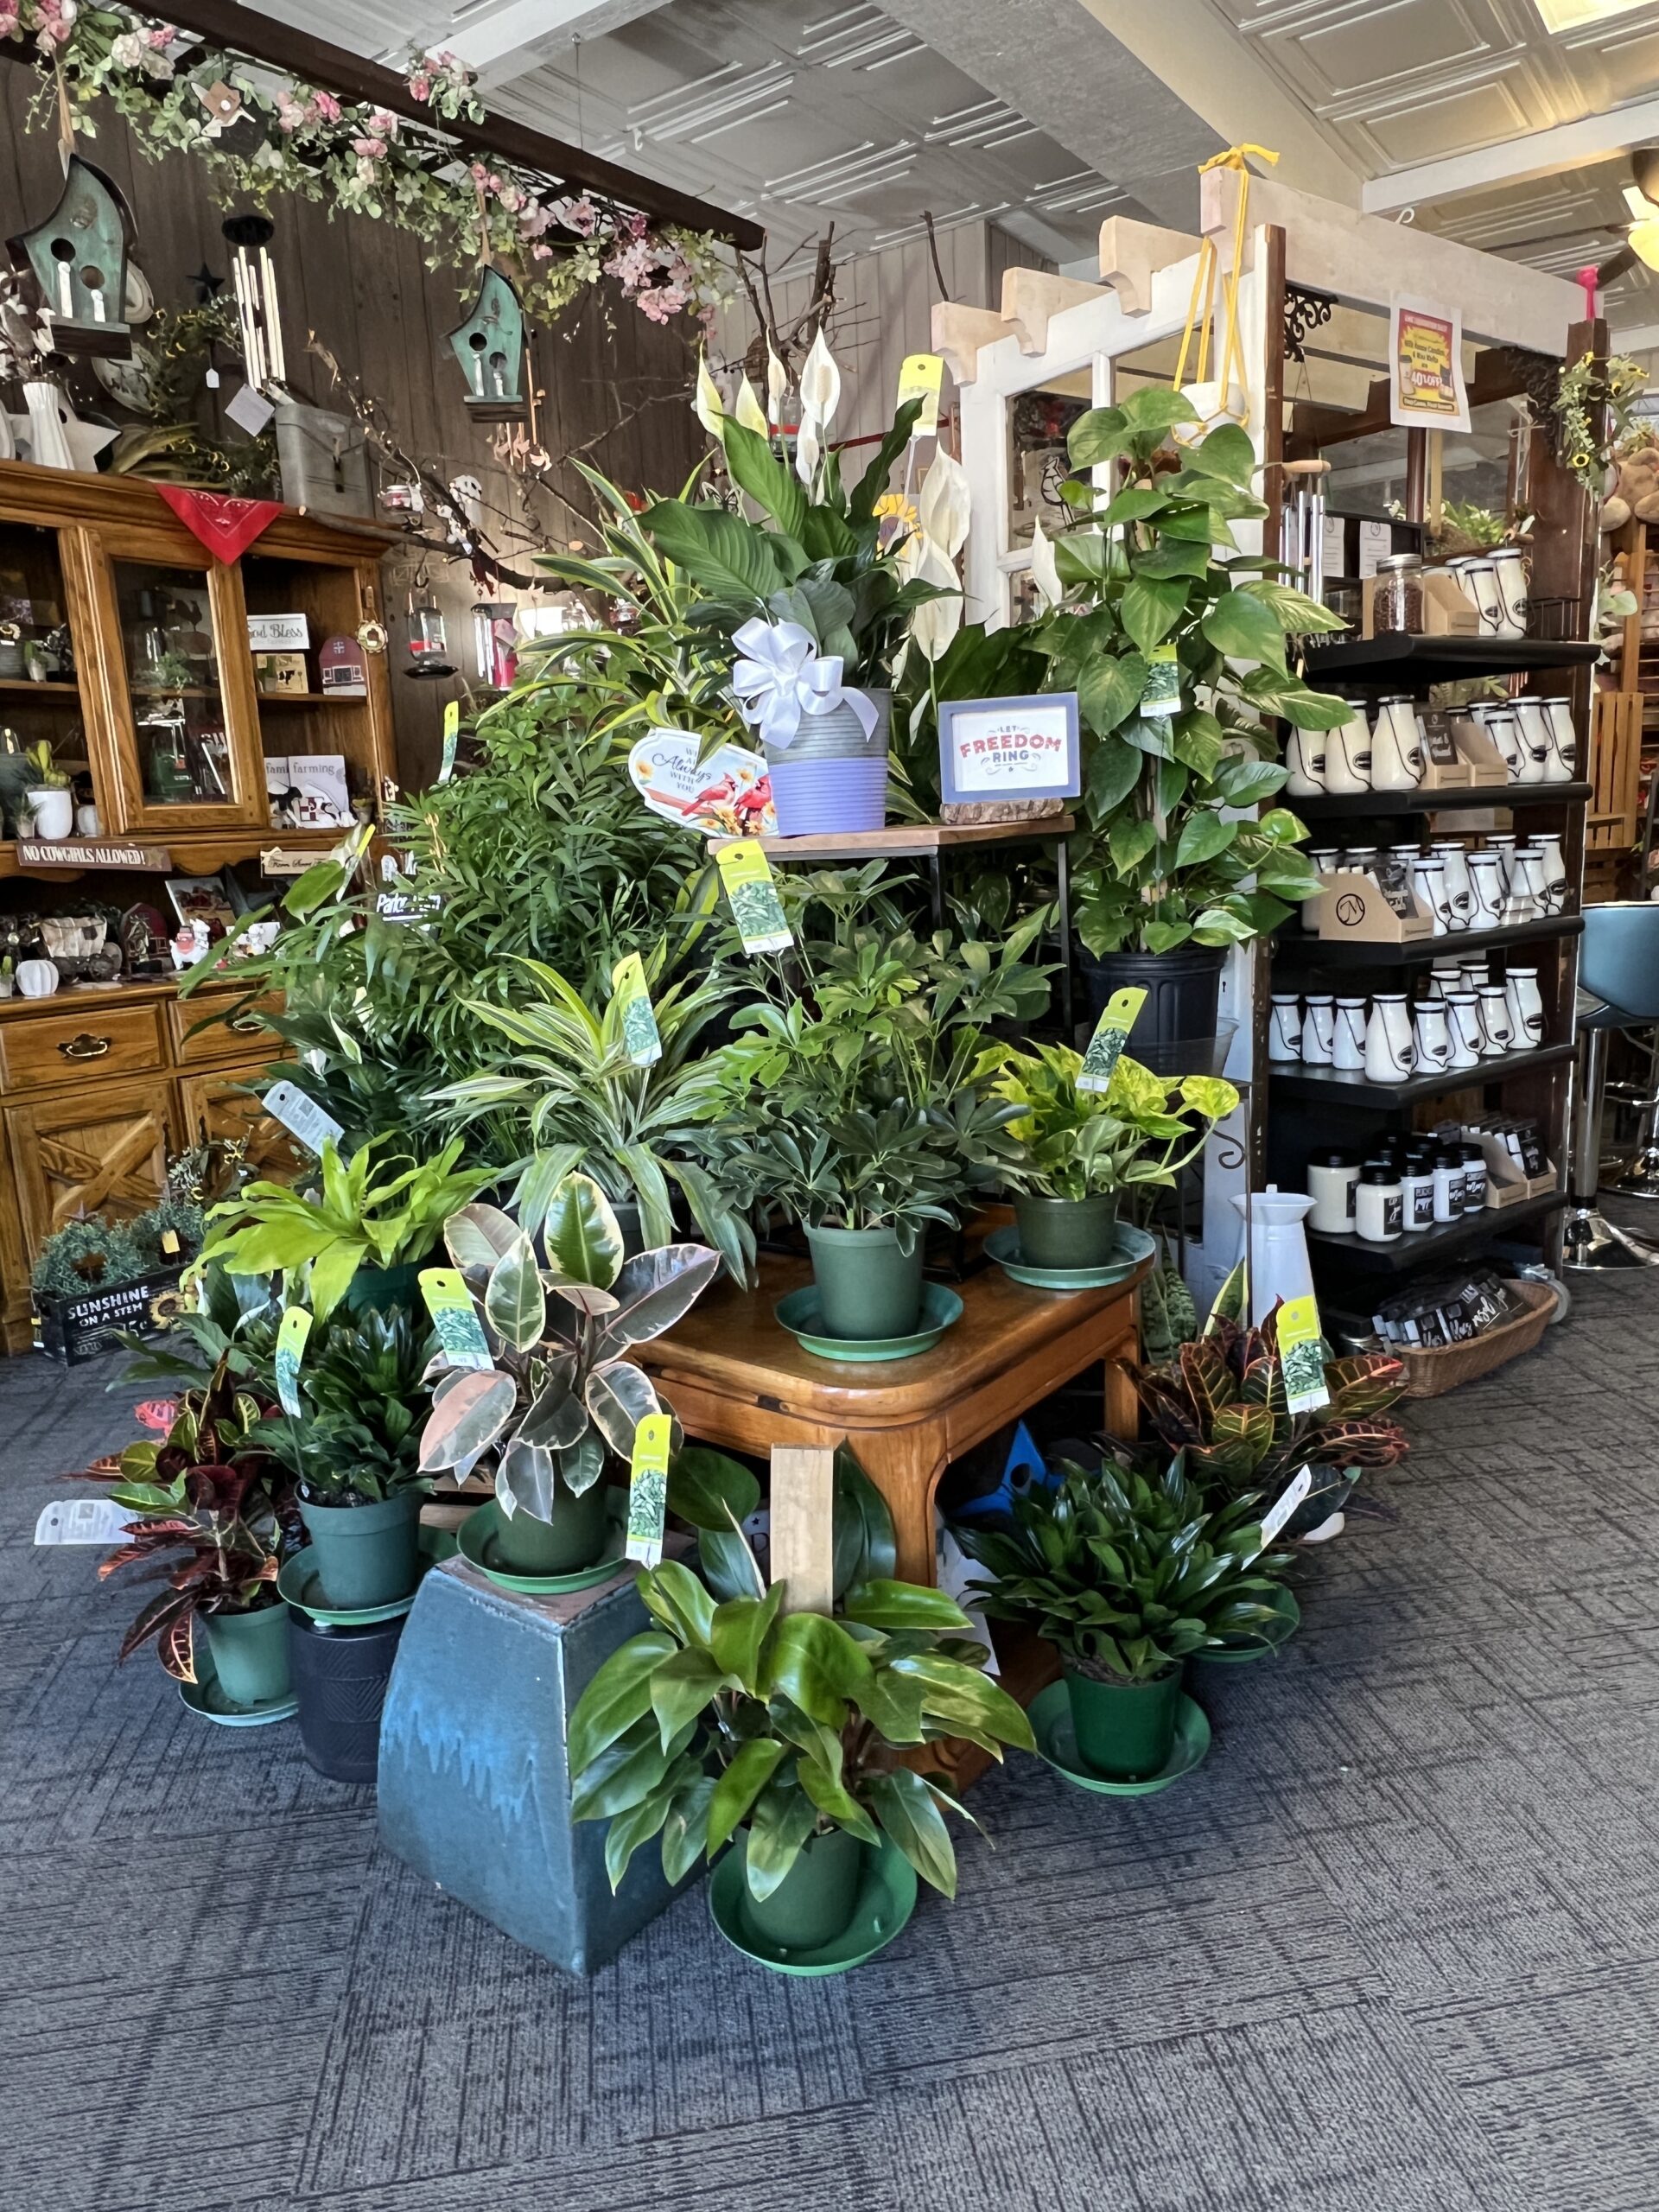 The family-owned and operated store has served the community for more than 40 years, providing floral arrangements, houseplants (tropicals included!), chocolate truffles, toys, and locally hand-poured candles, and more to walk-in gift seekers.
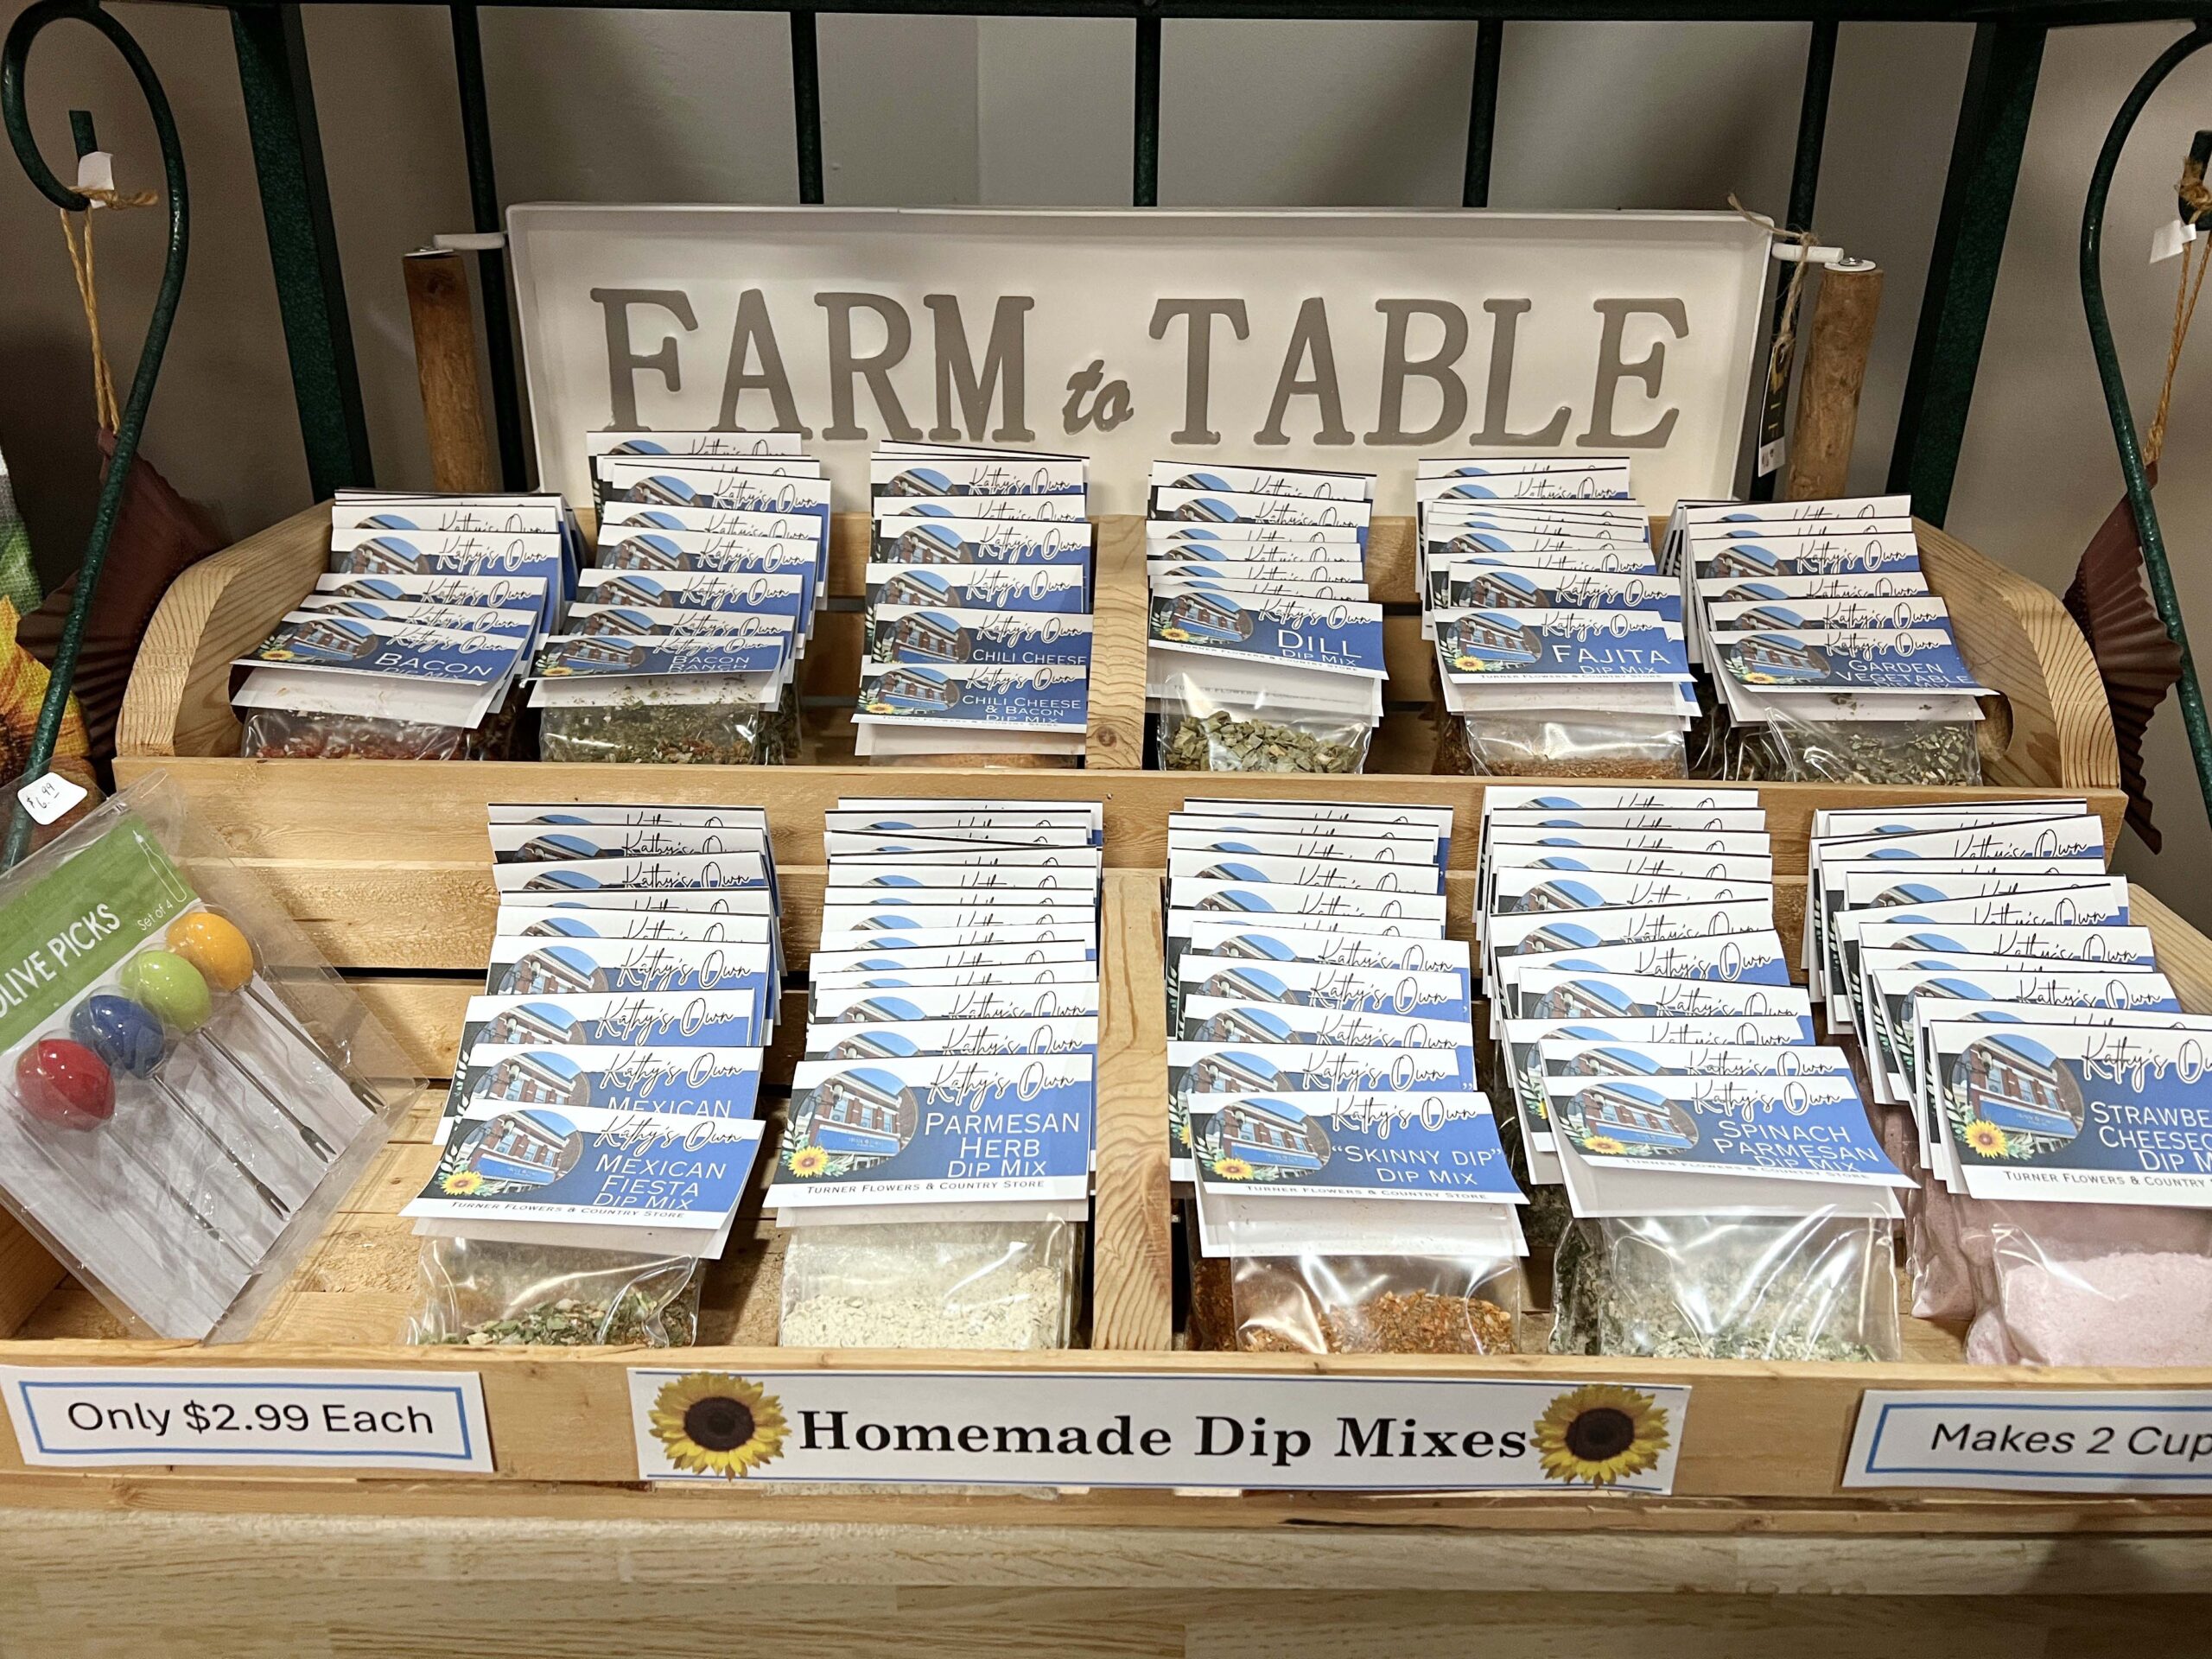 Don’t miss the homemade dip mixes, jarred jams, and jellies in the specialty foods section. Crafters appreciate their vast selection of DMC embroidery floss. Families with kids will find their Lego® Botanicals a must-have whimsical purchase.
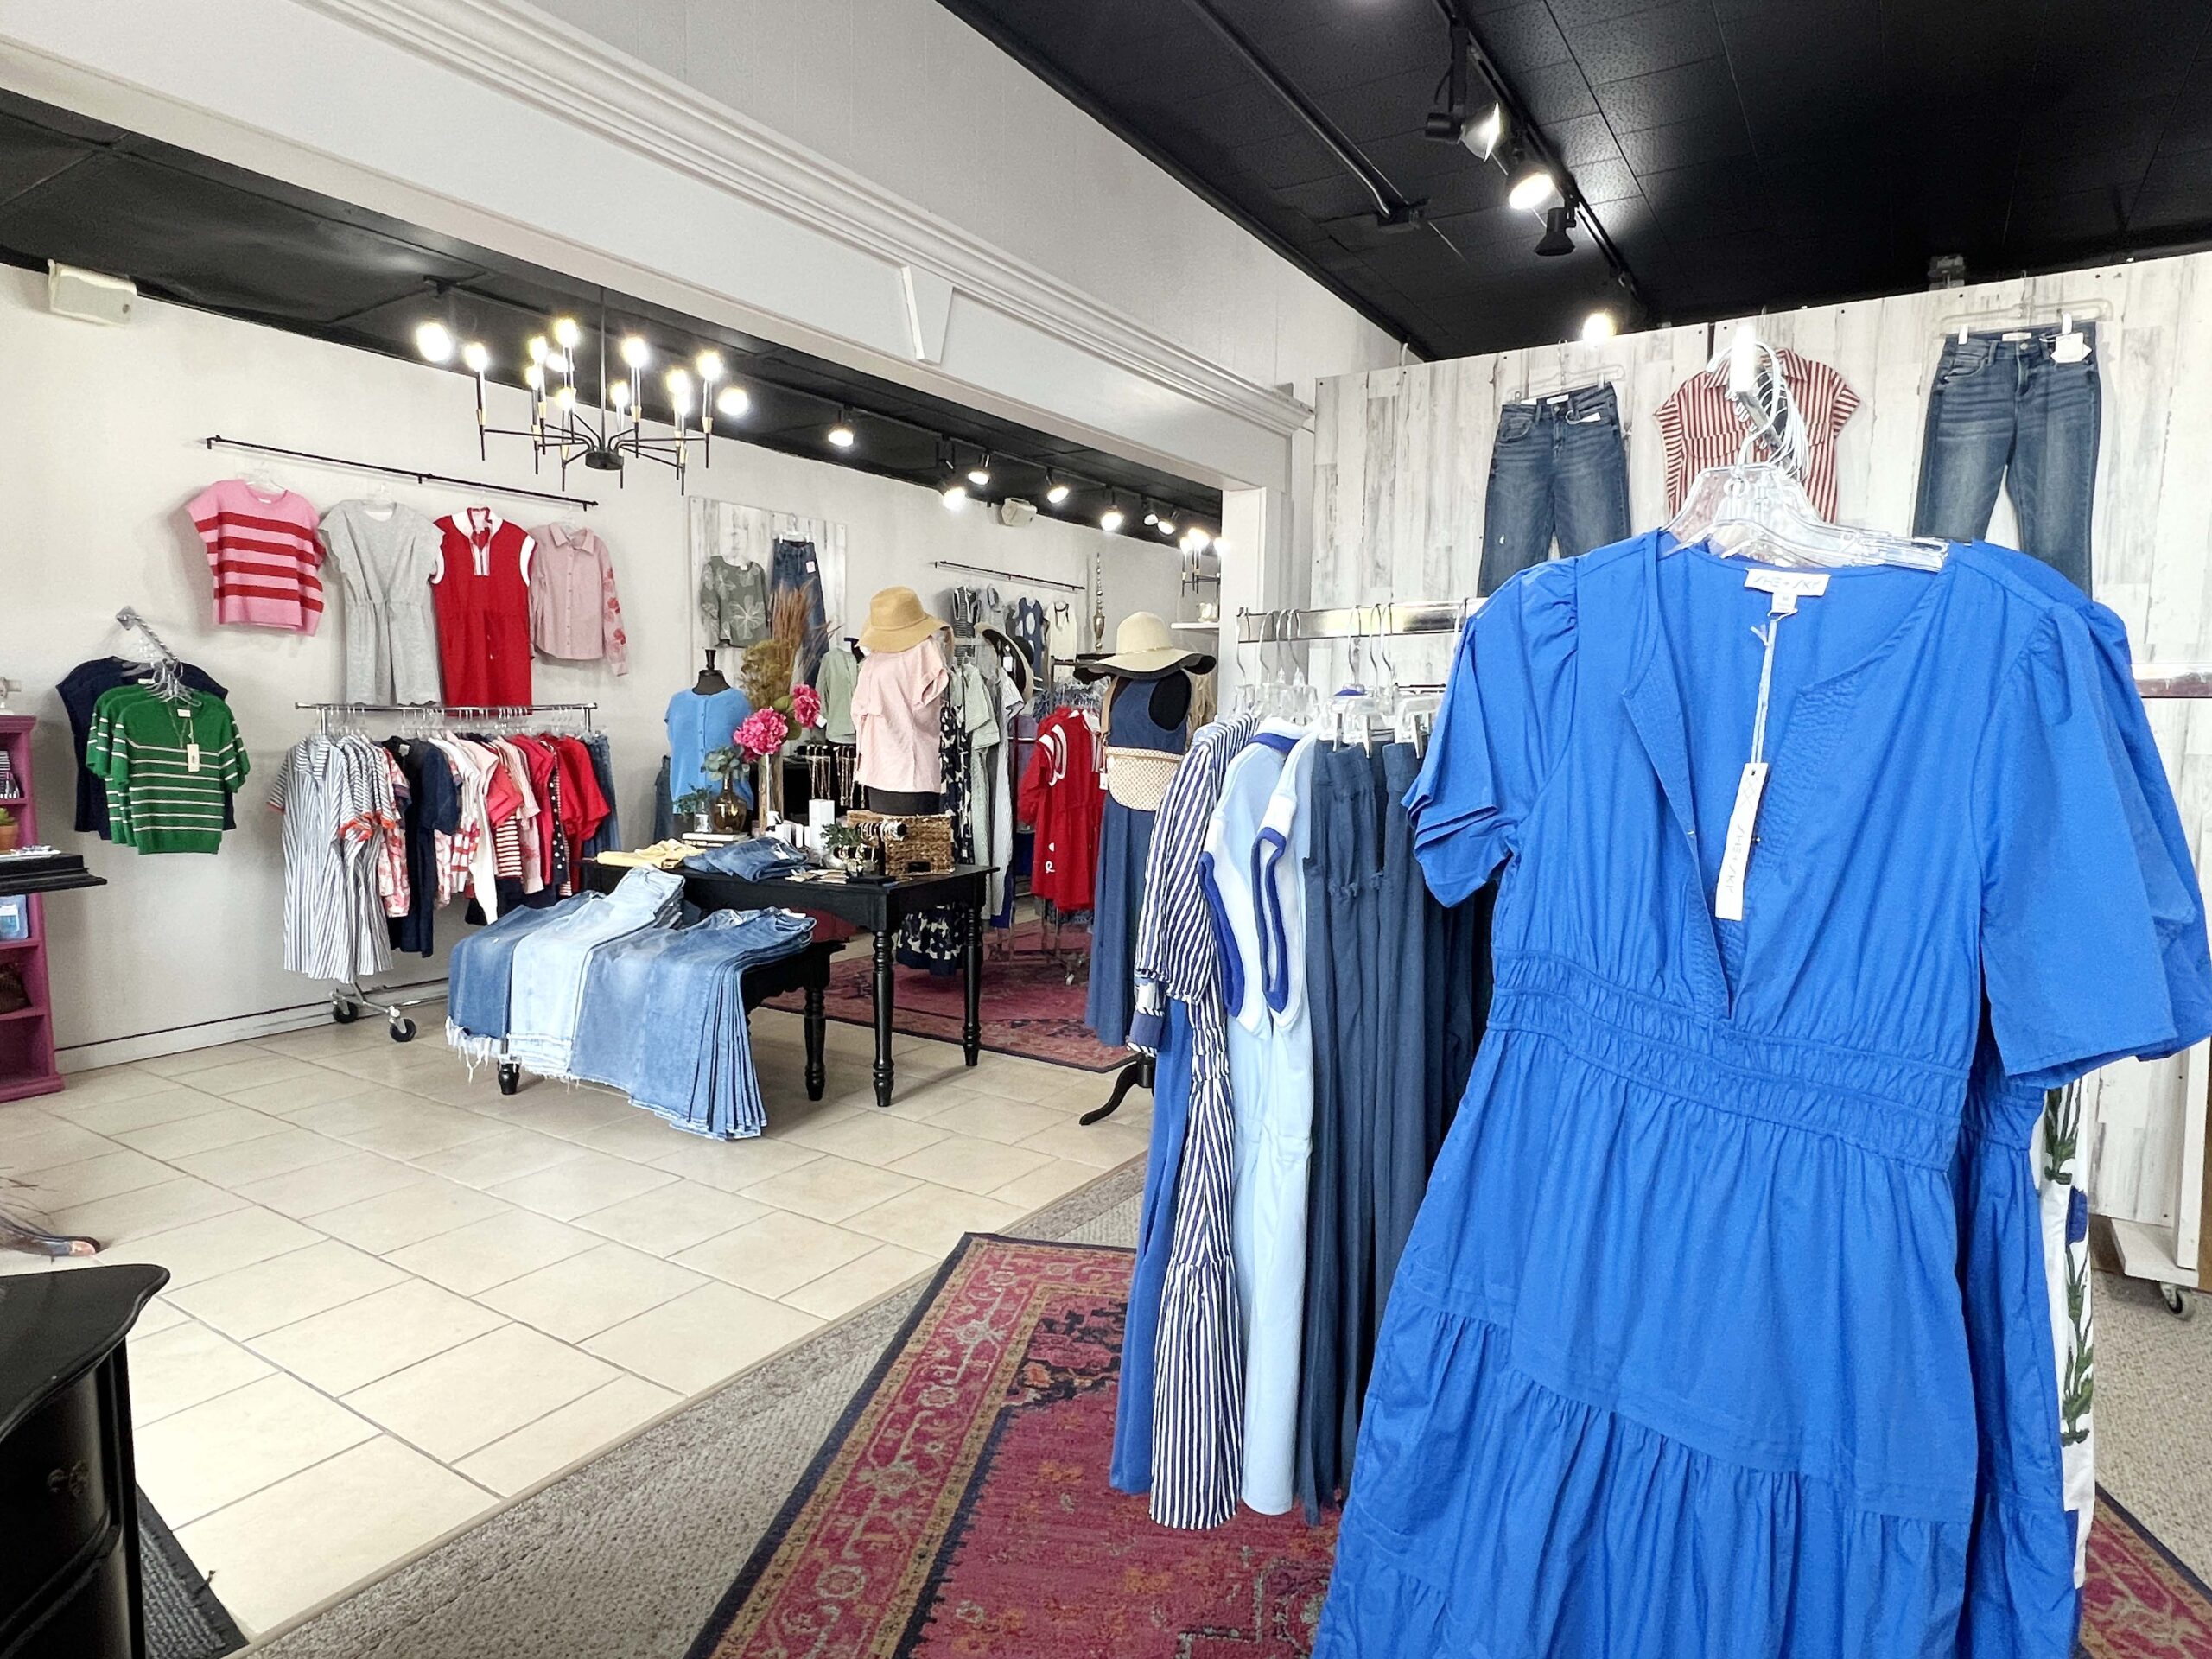 If you’re someone who wants to build a wardrobe capsule for traveling, they make it easy to pull together multiple outfits from a handful of pieces.
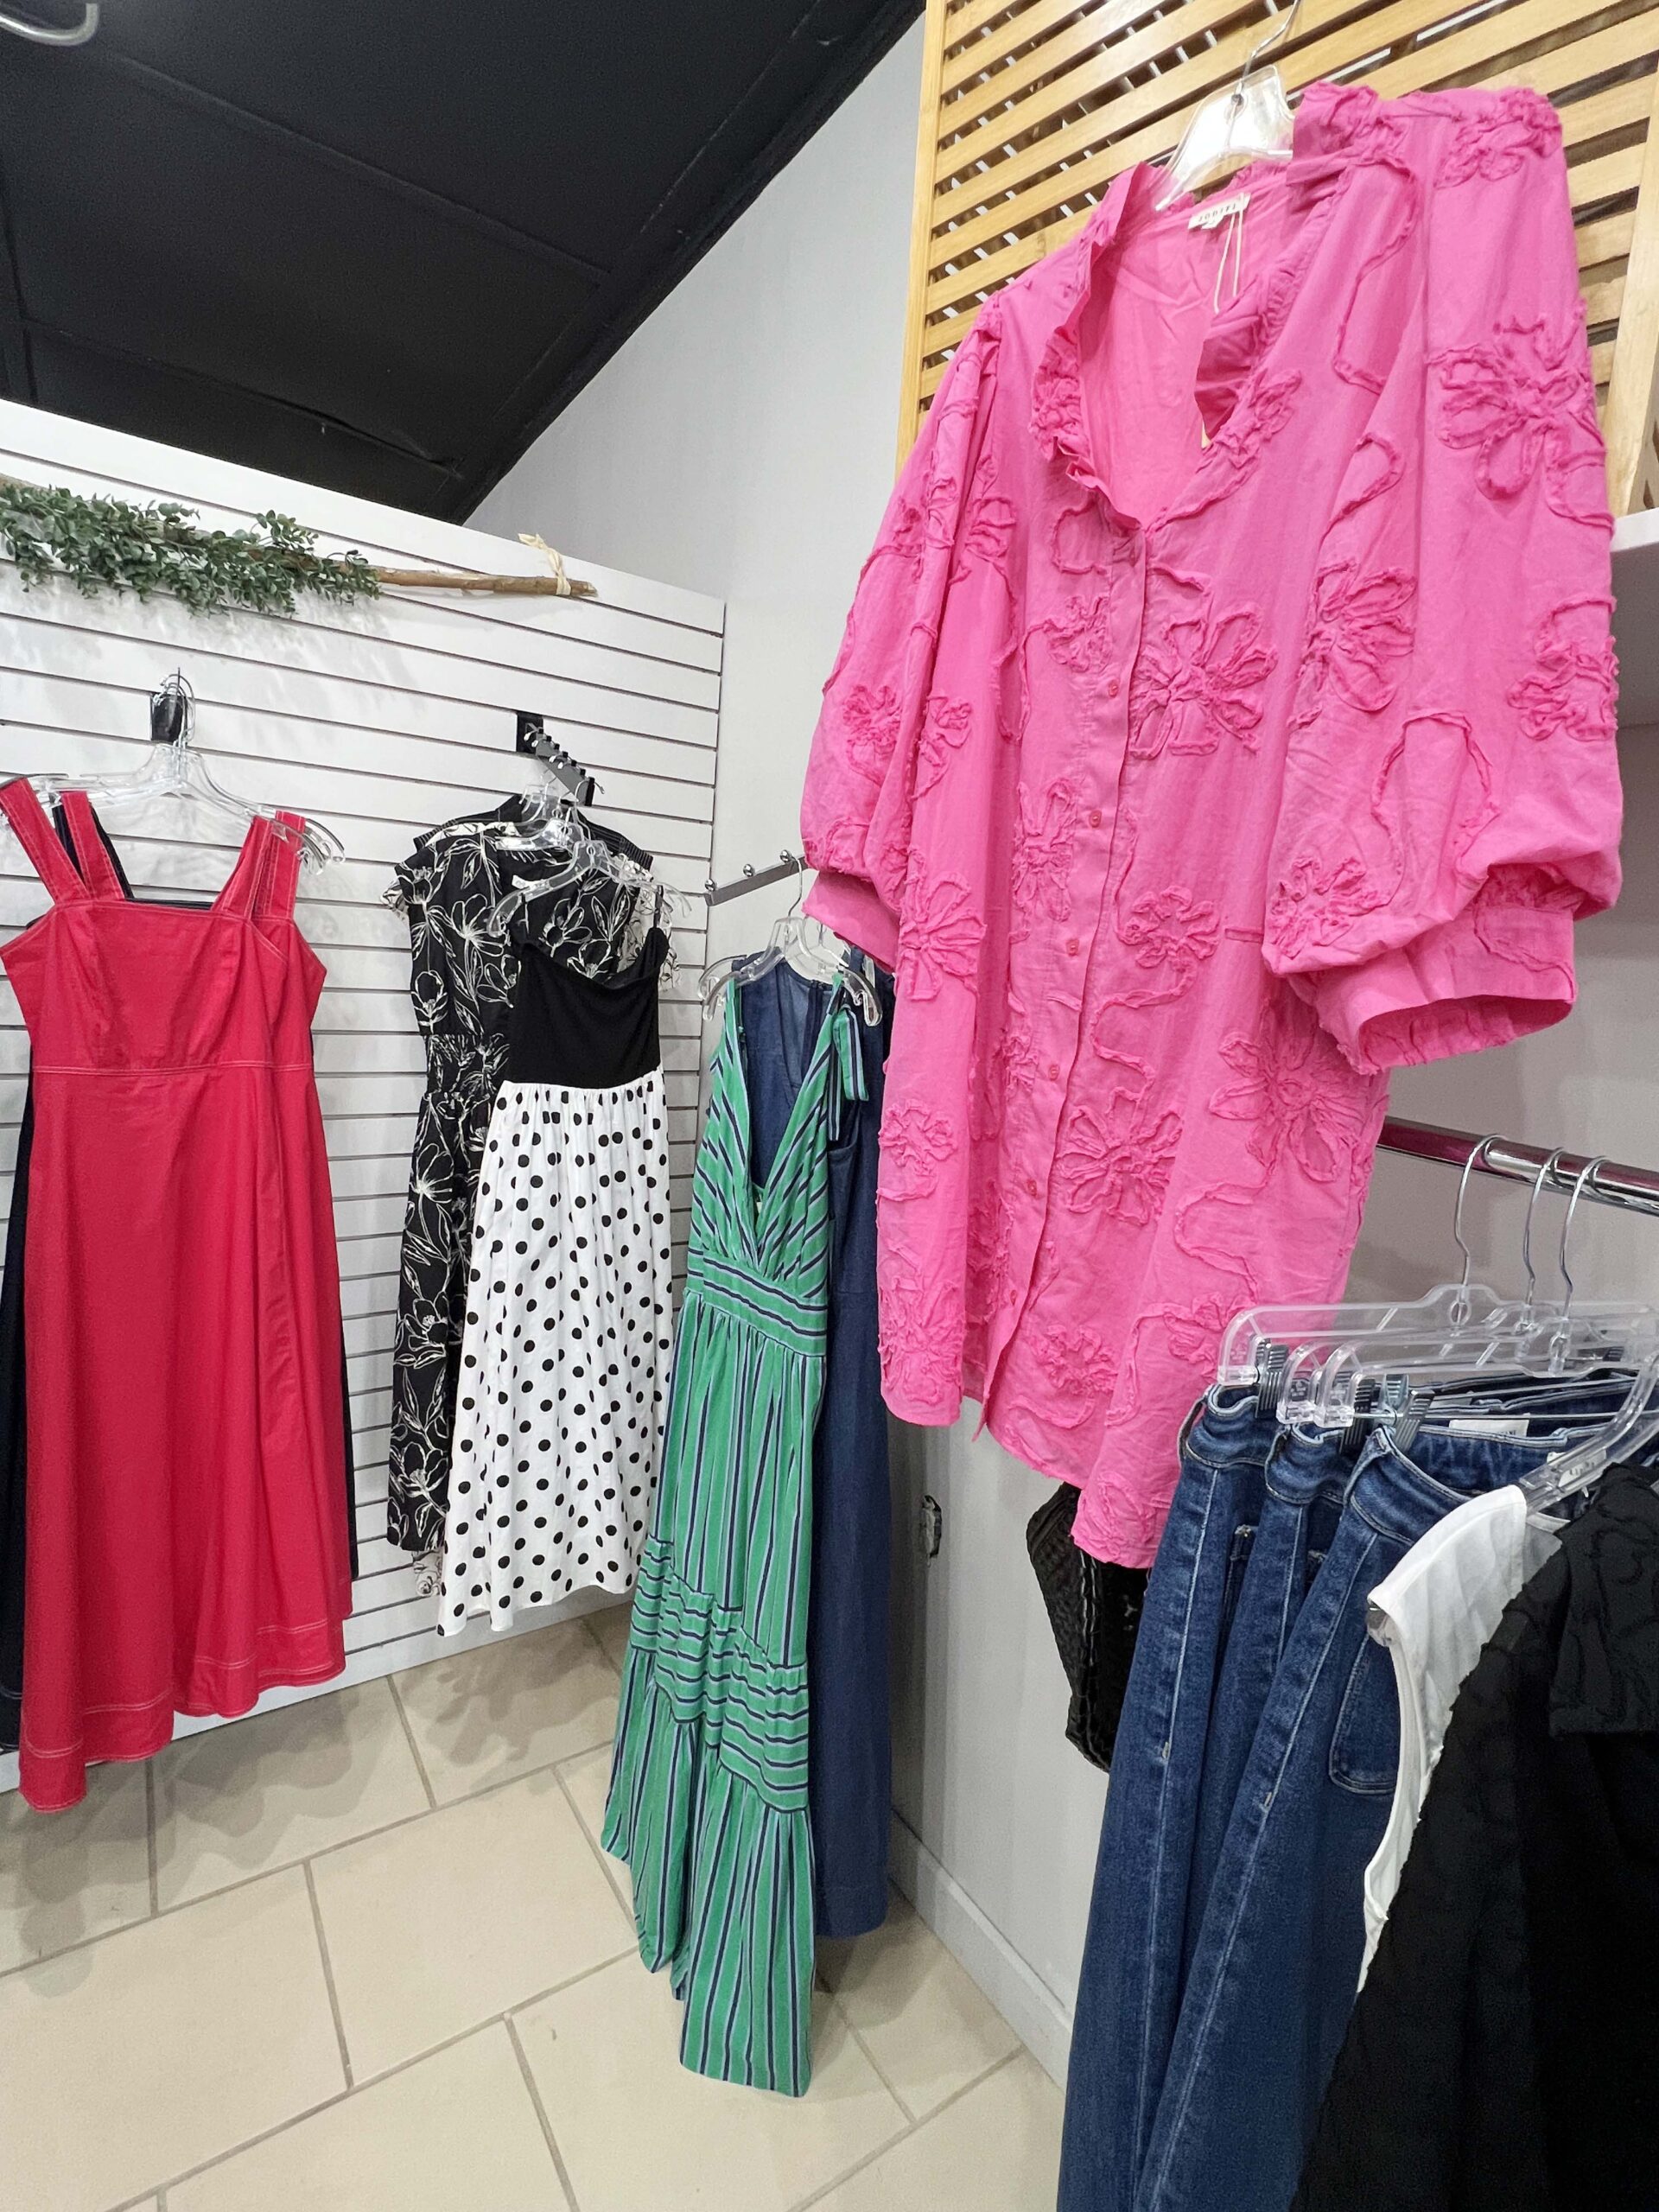 The styles are reflective of female shoppers ages 30 and up. Puffer bags, jewelry boxes, and classic jewelry simplify packing for your next road trip.
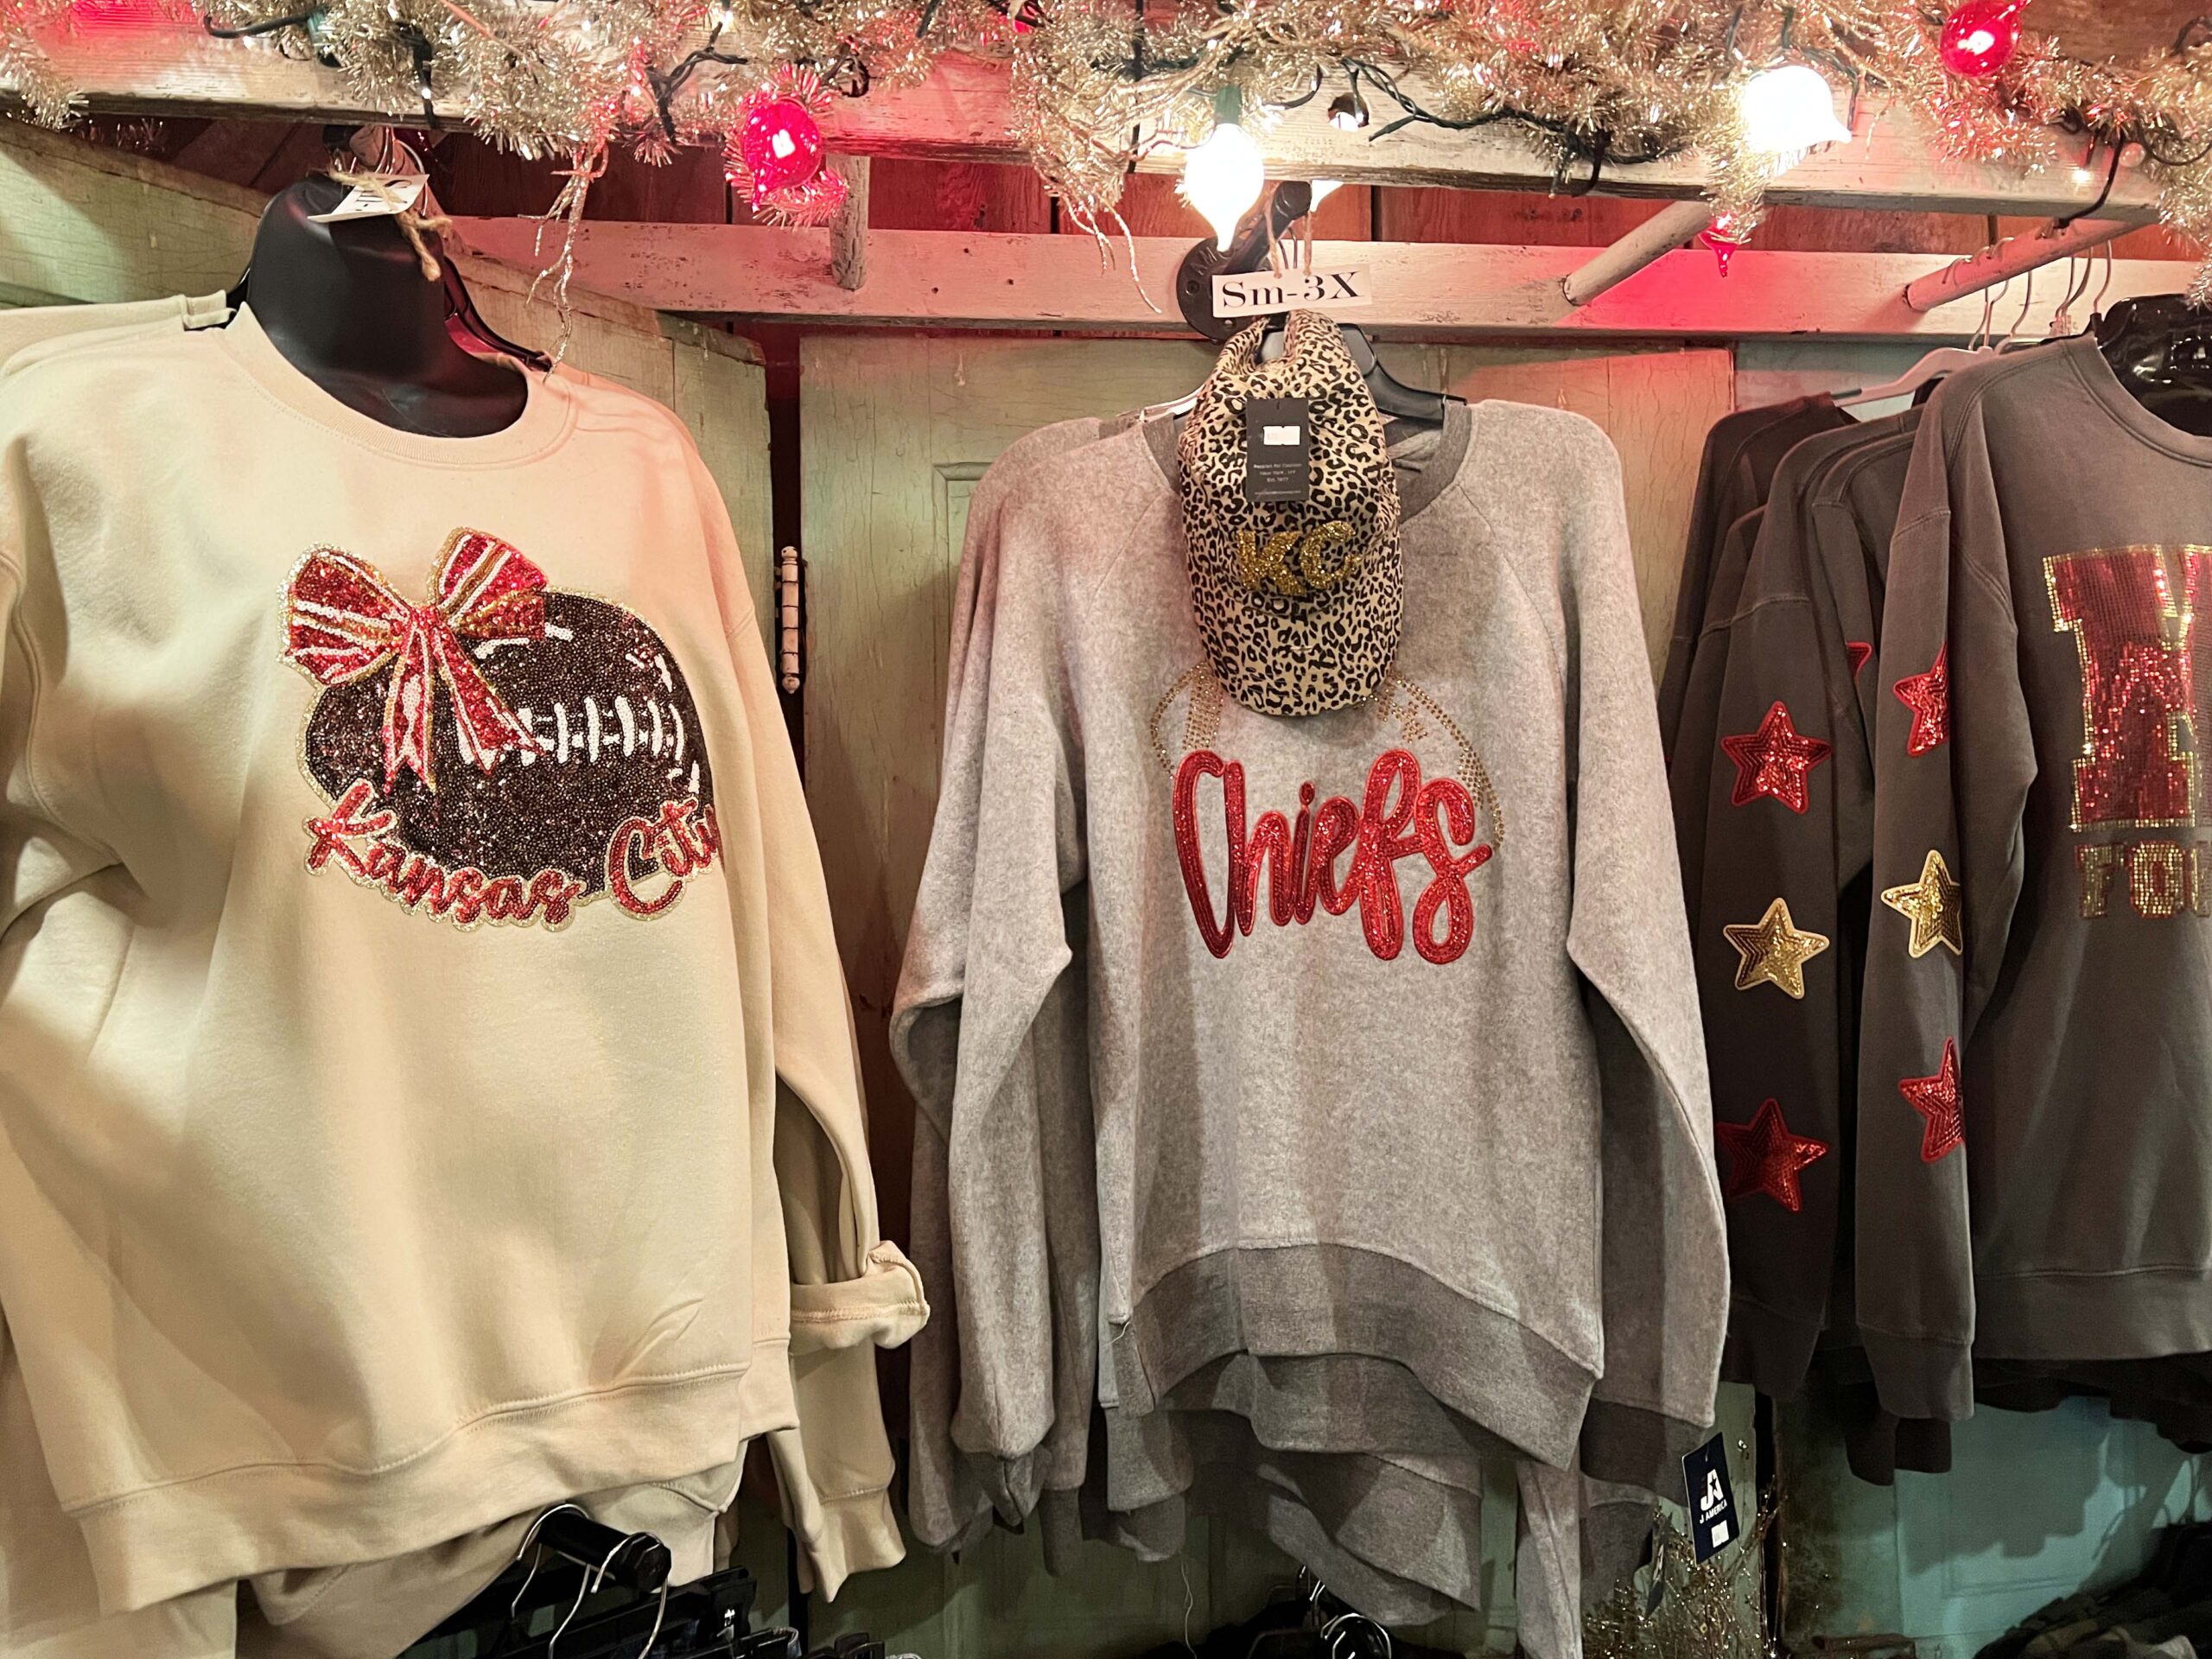 One moment I’m ready to purchase a new Kansas City Chiefs shirt with a cute handbag, and the next moment I’m spotting a jarred candle I want.
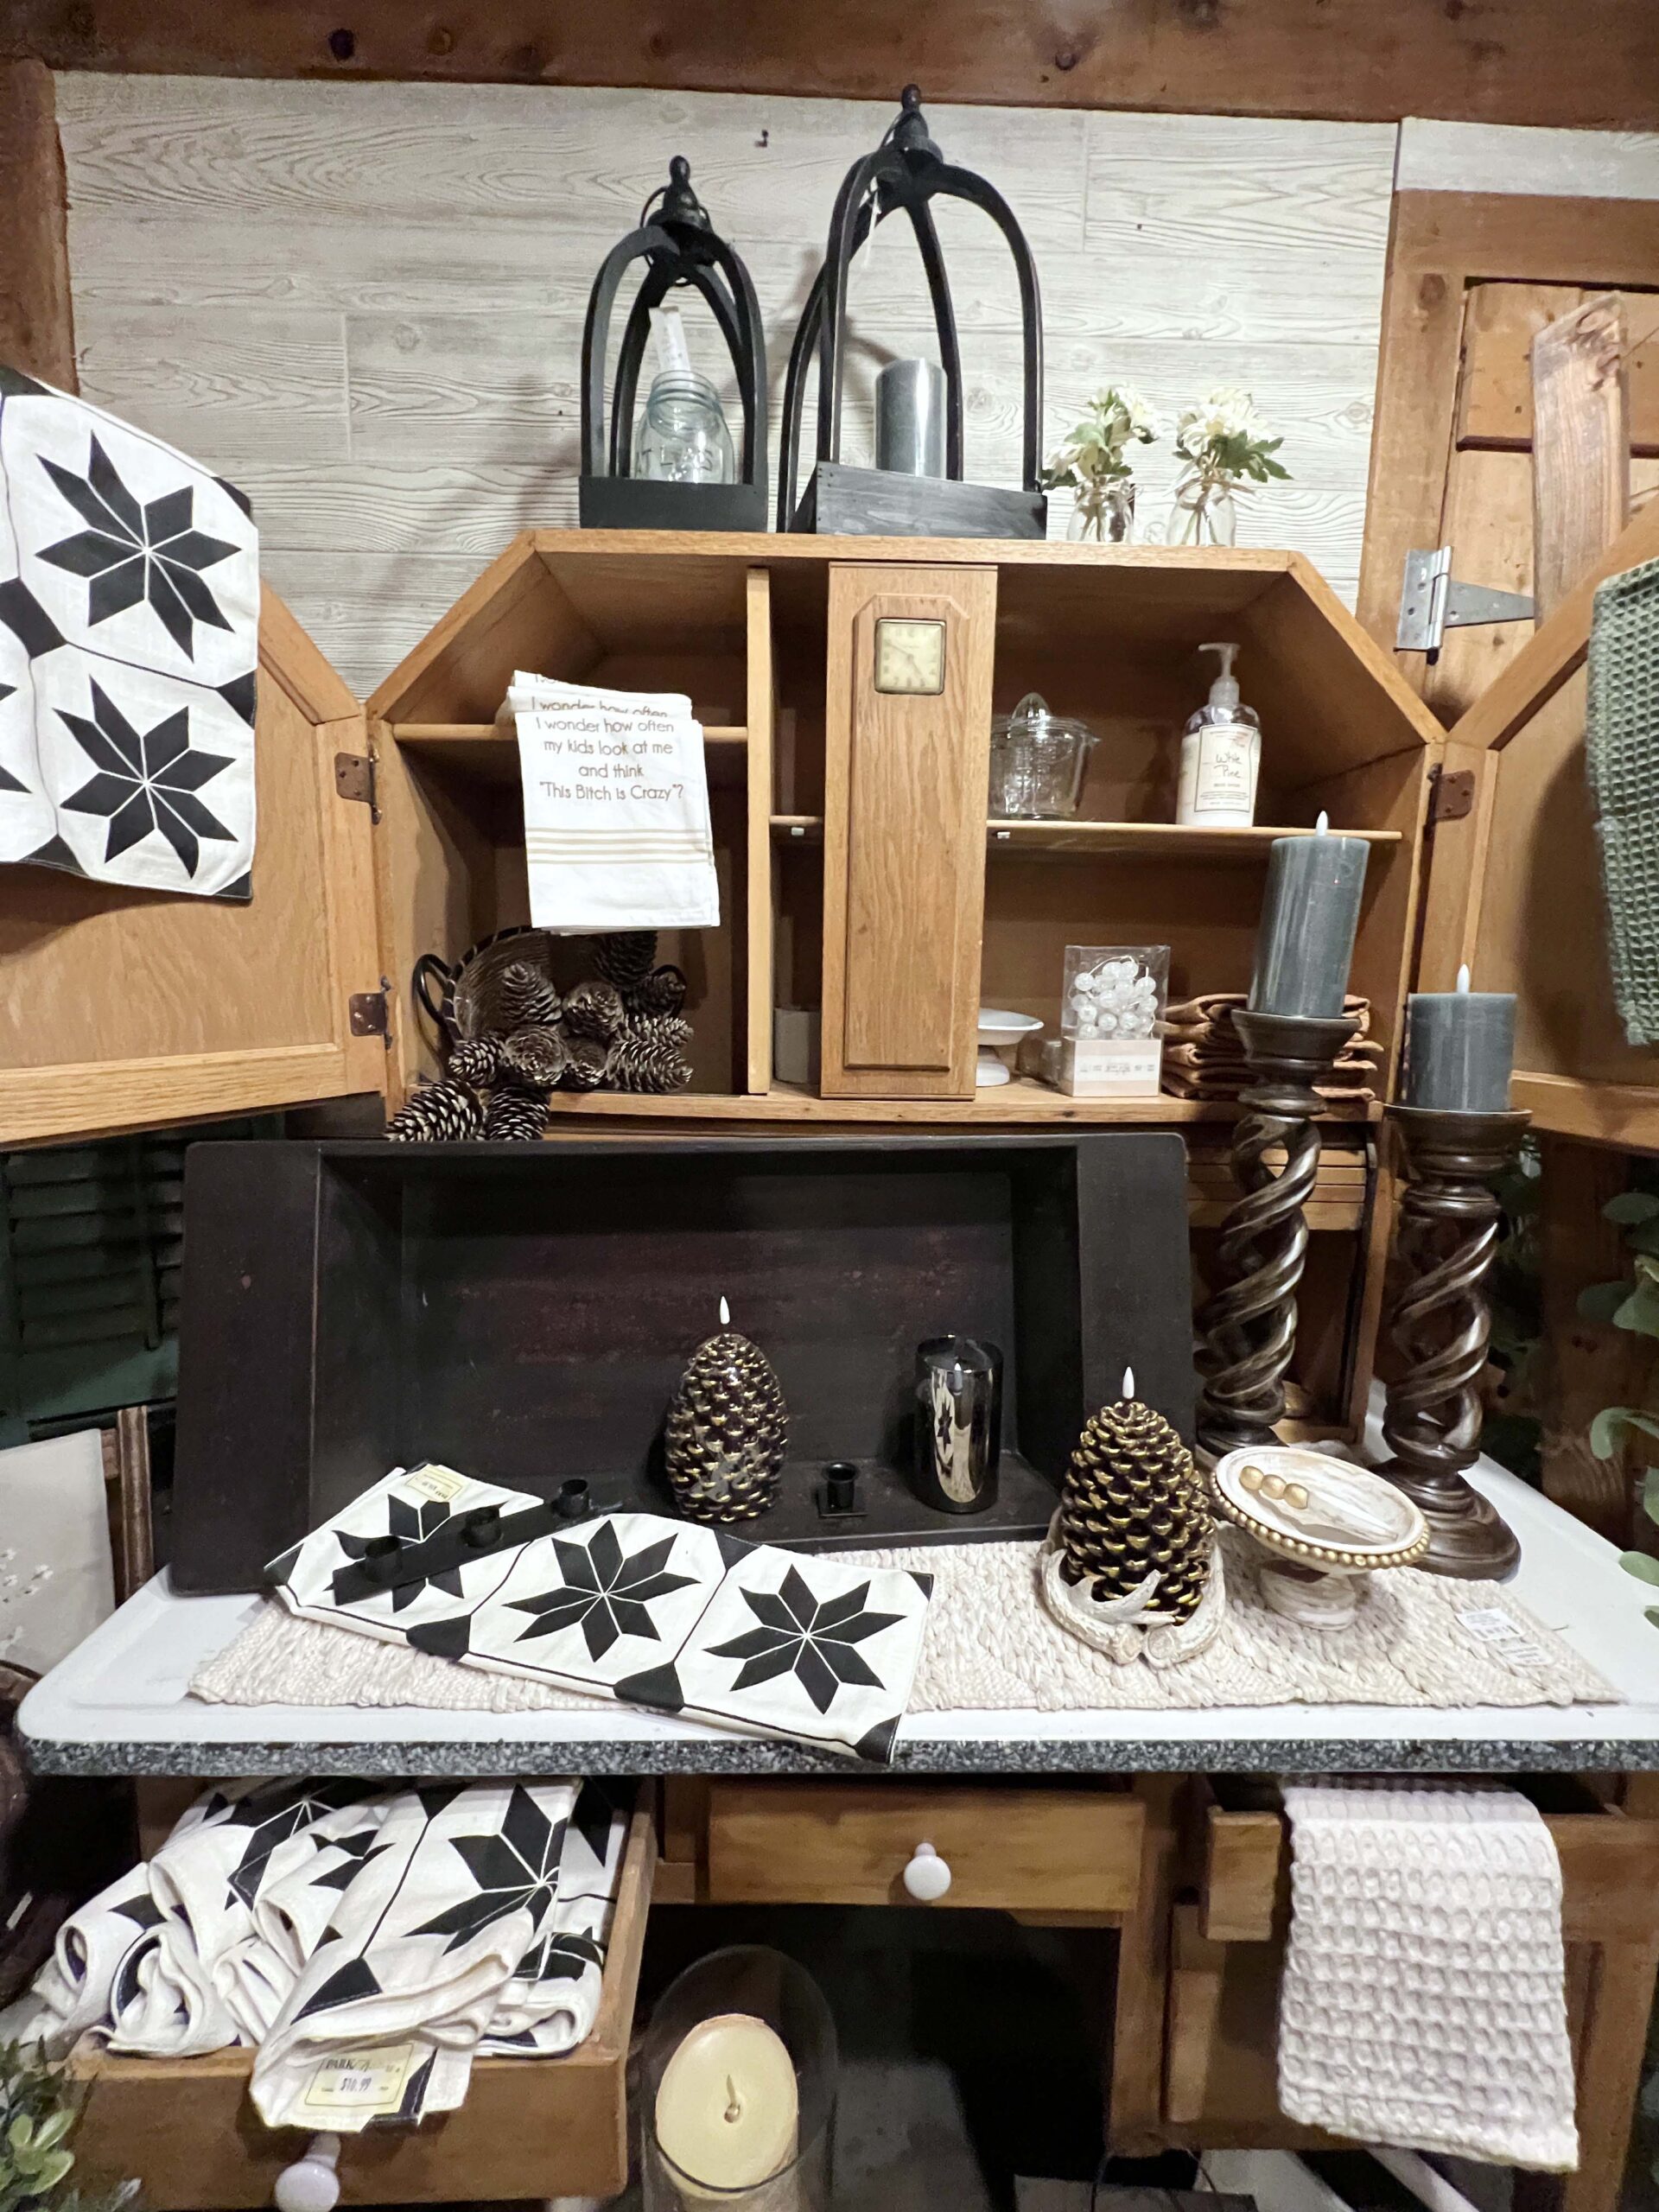 Expect whimsical gifts like embroidered kitchen towels with funny sayings, bejeweled sandals, cocktail drink mixes, and everything in between.
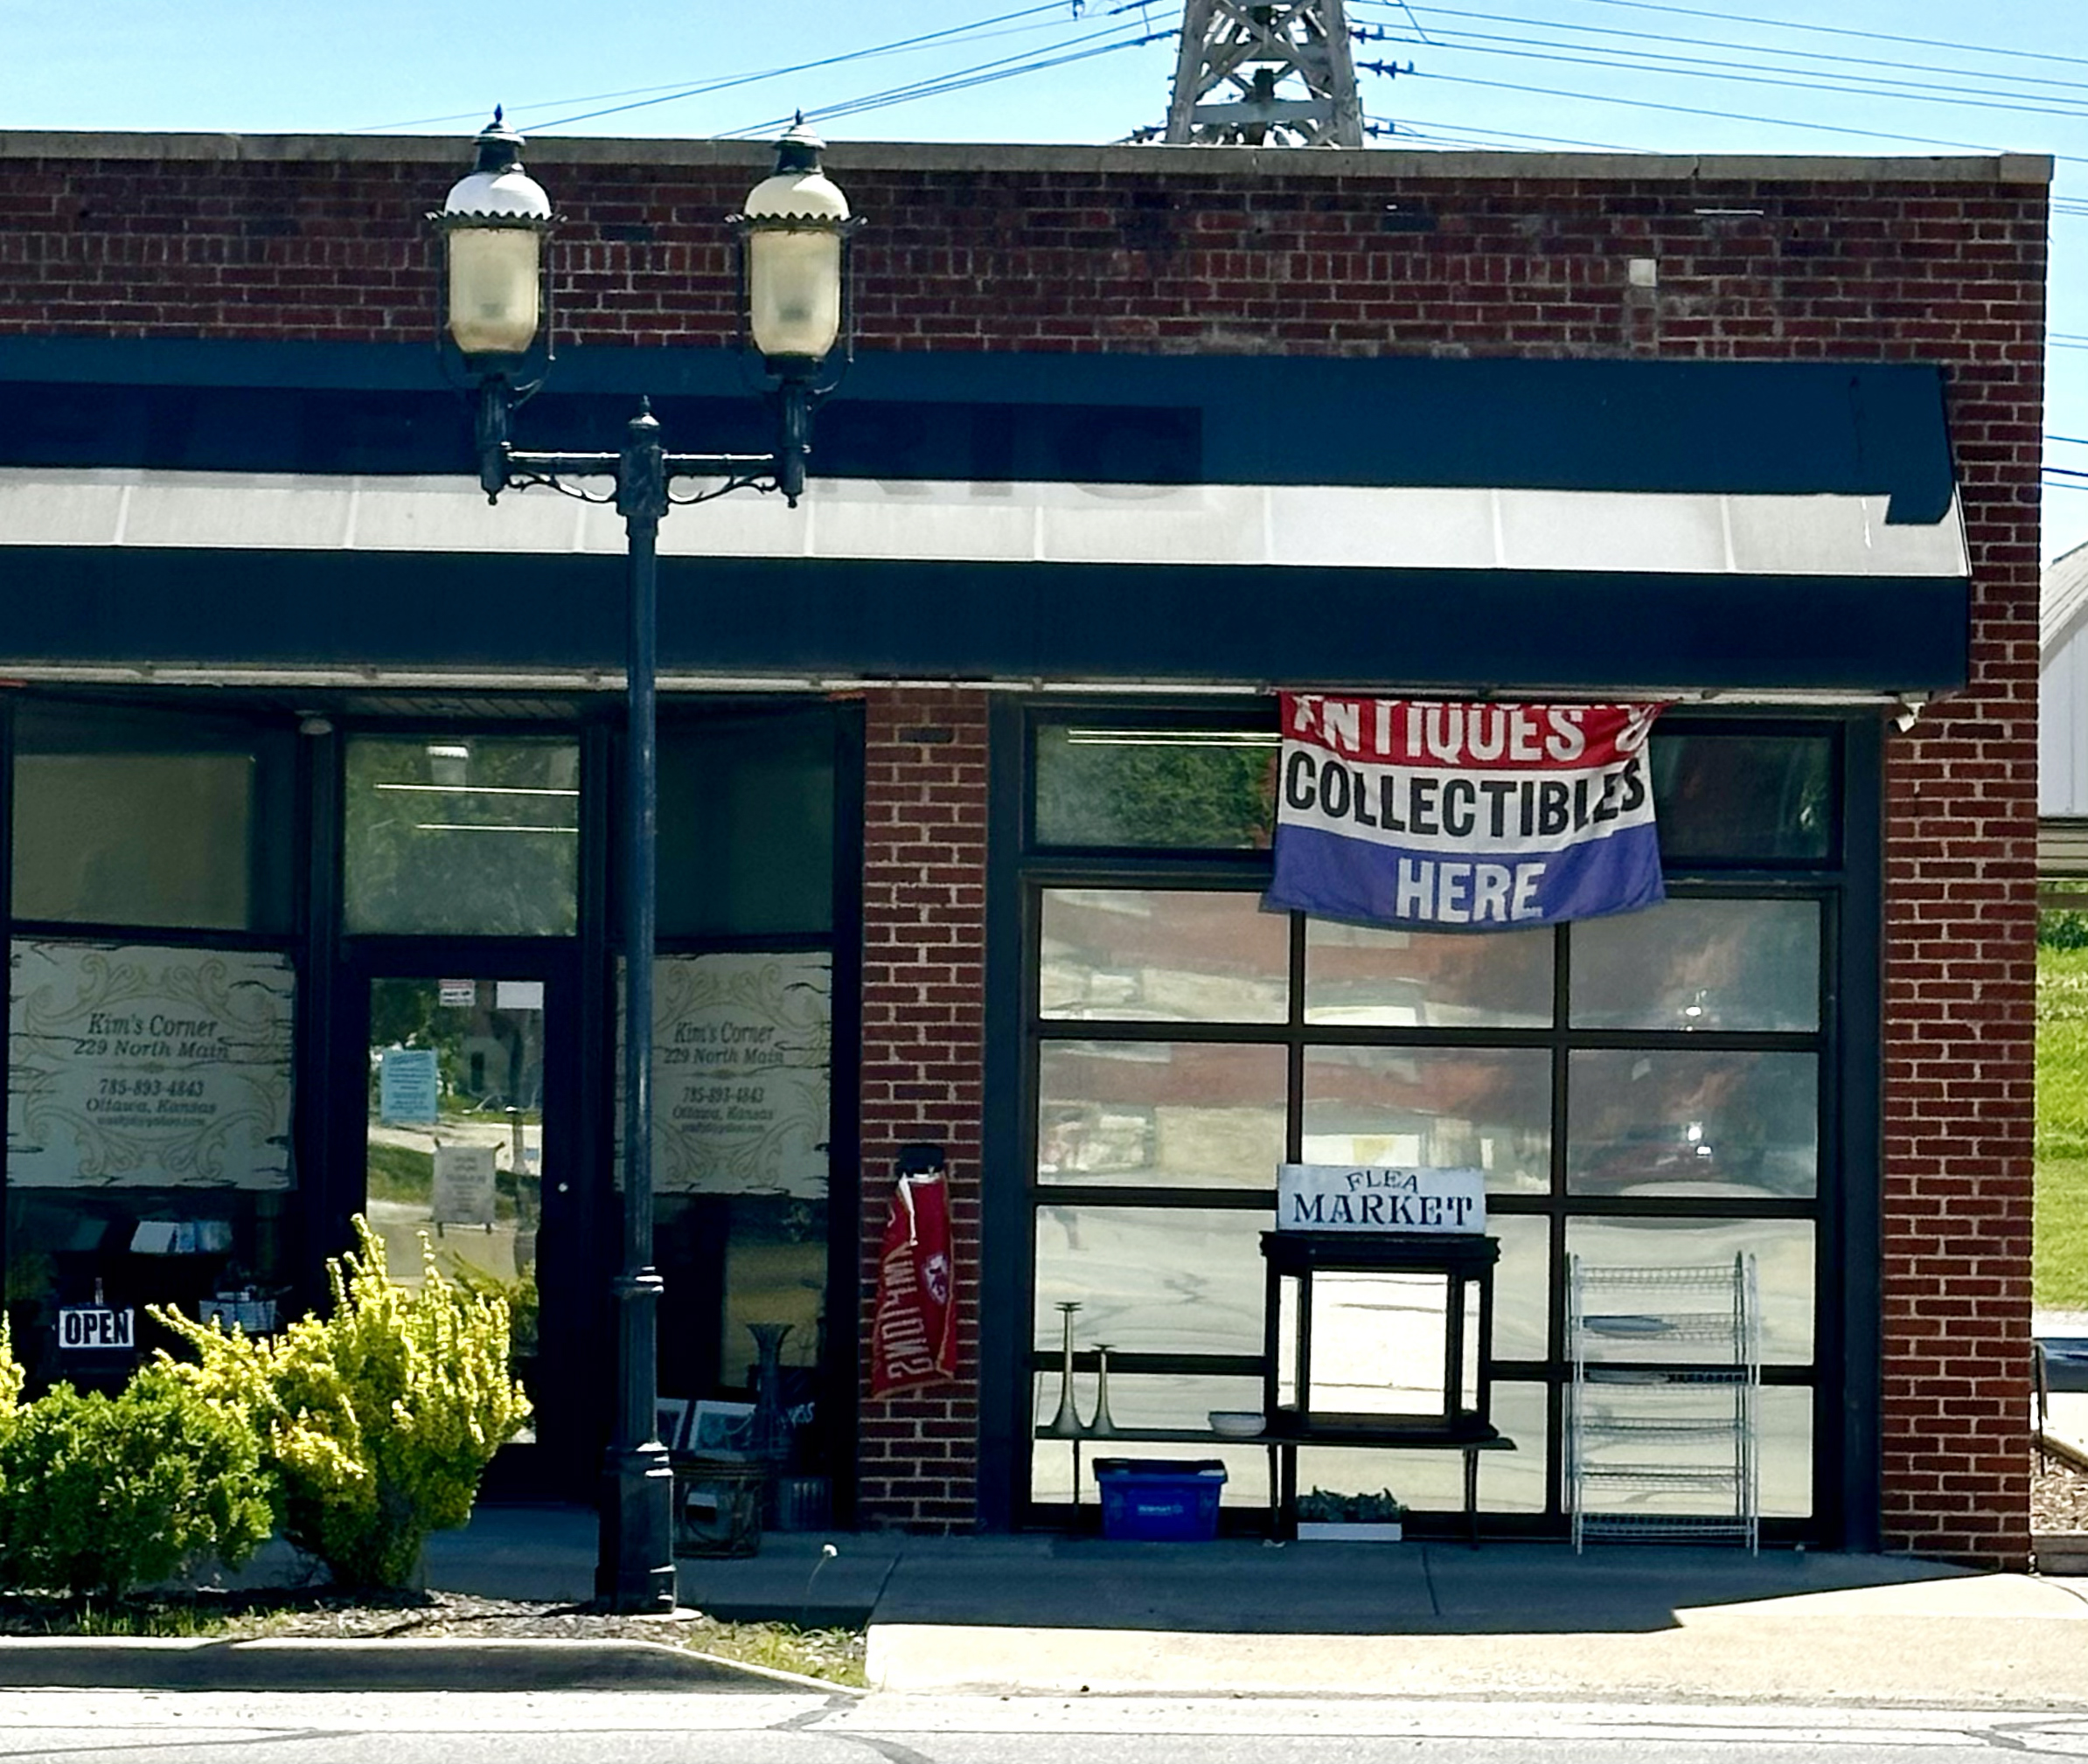
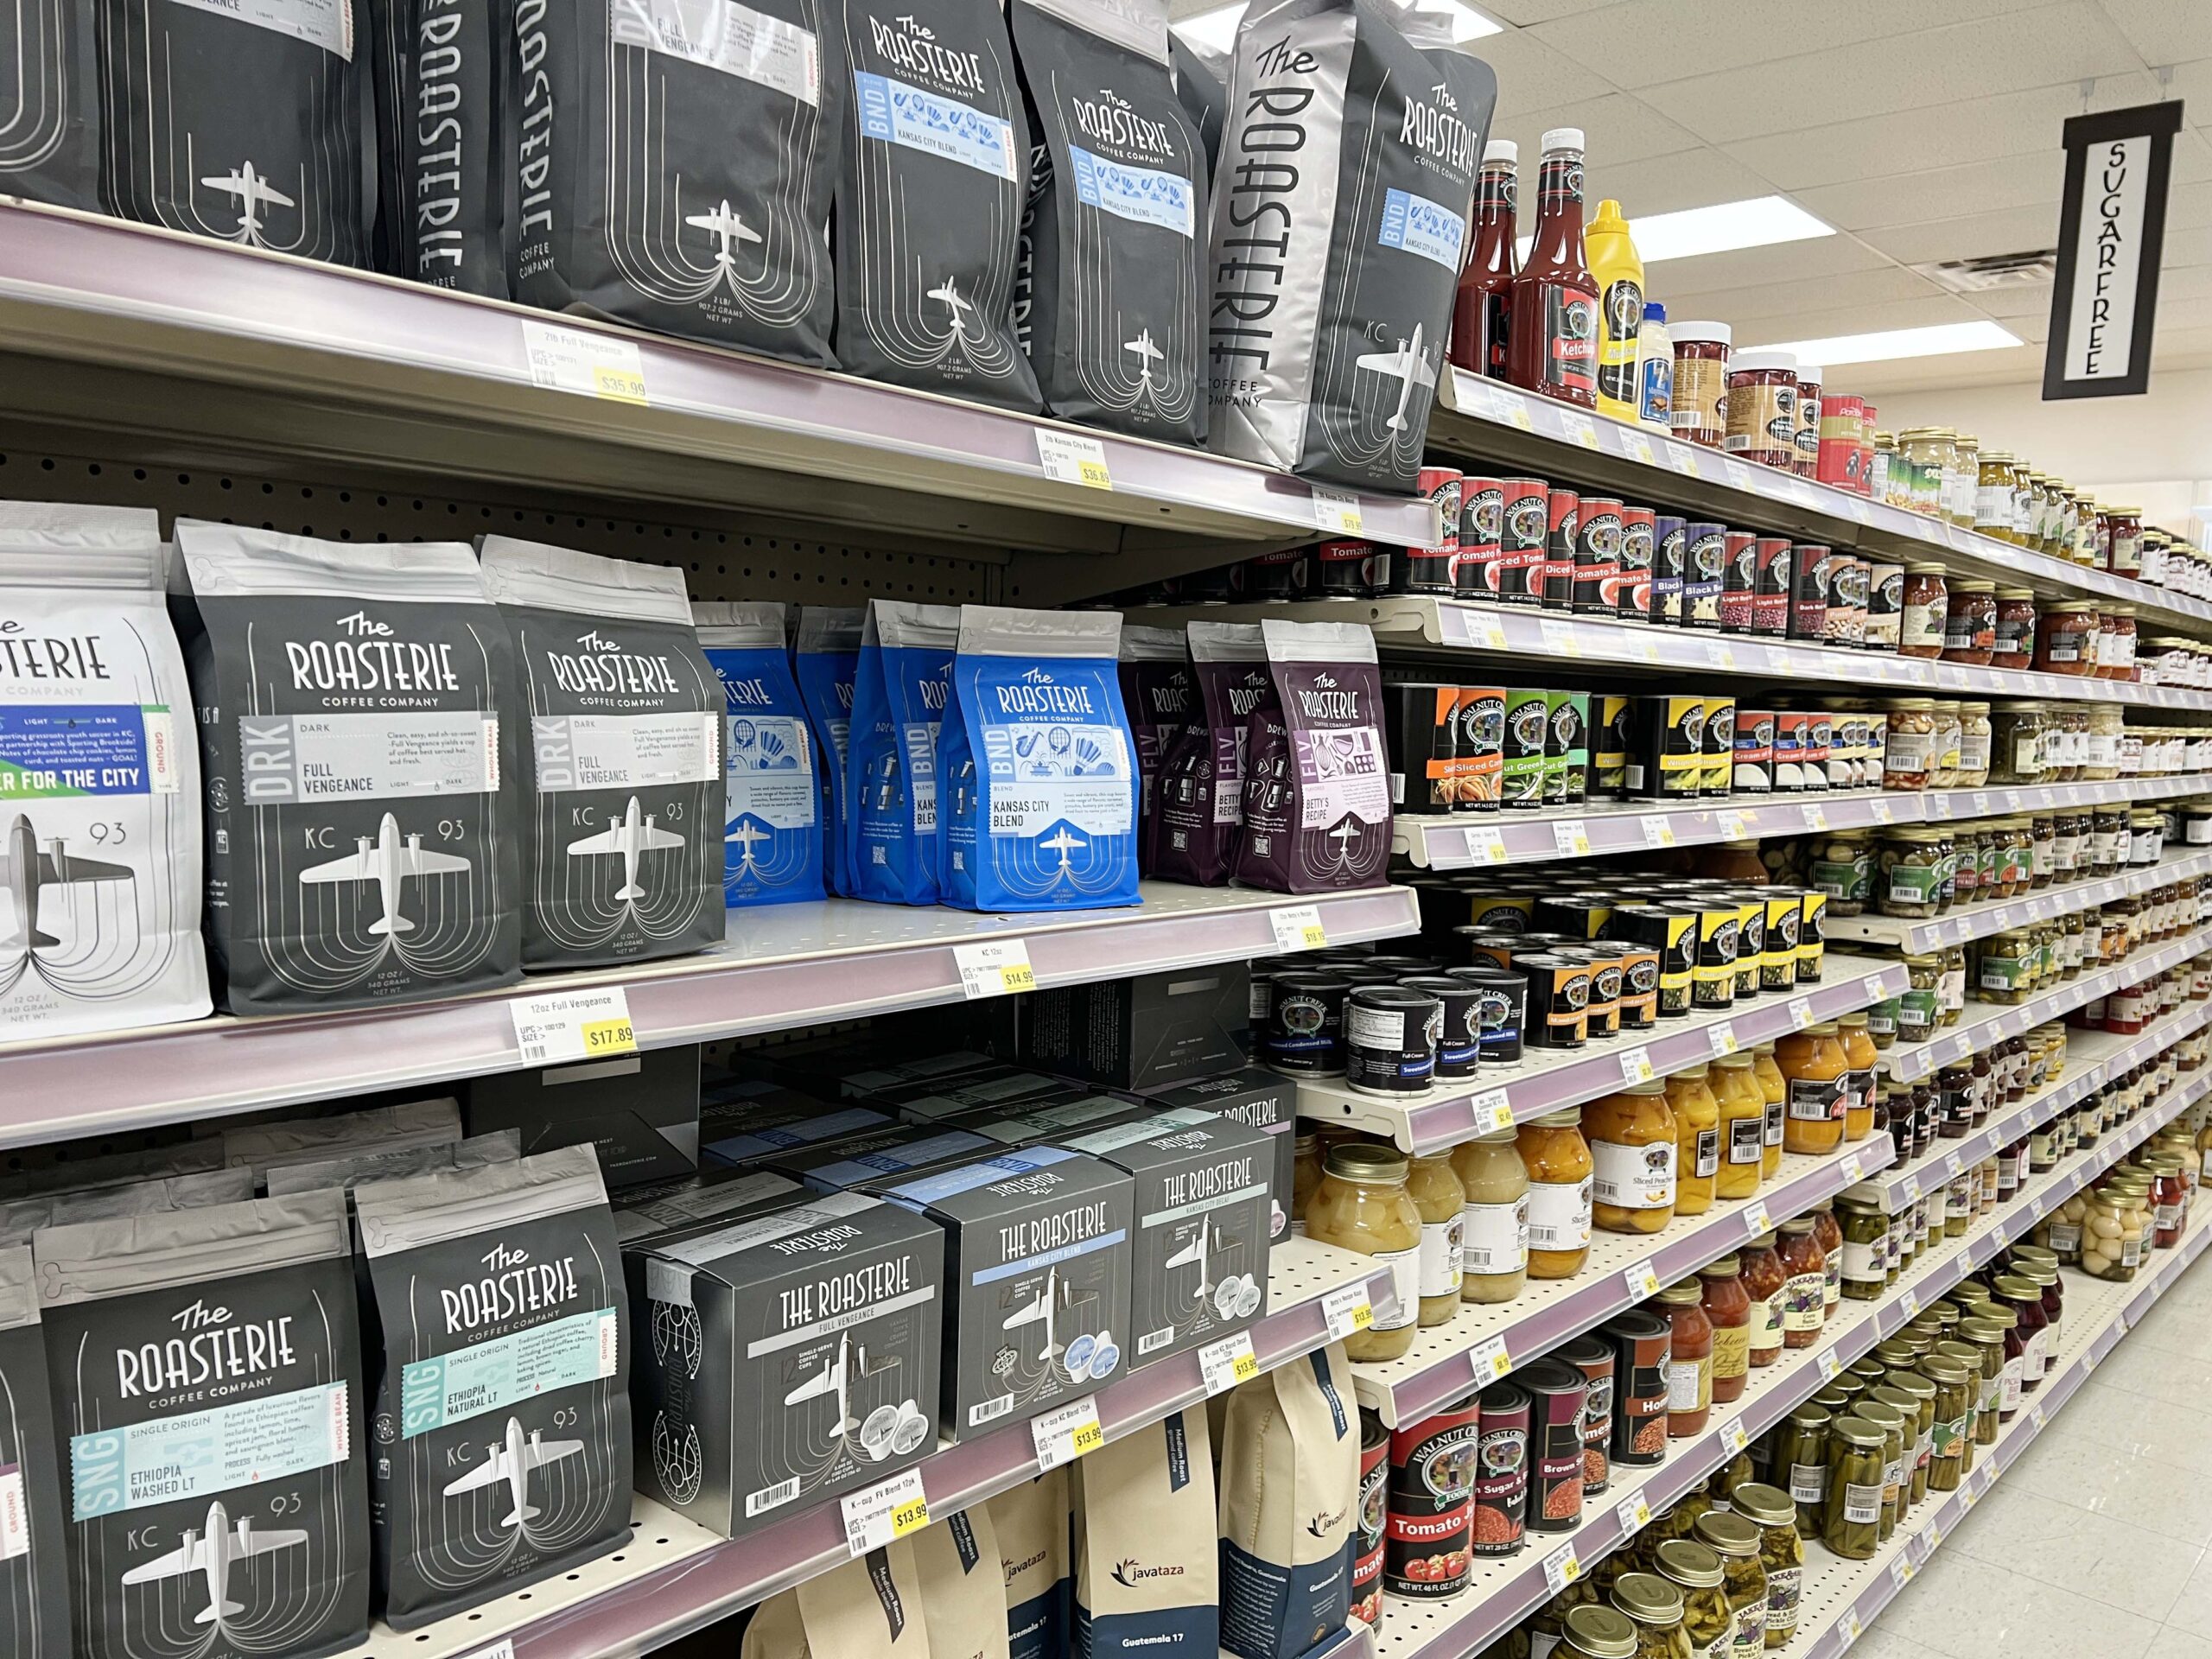 Midwest-made products, including quite a few recognizable Kansas brands, line the shelves.
 Purchase a made-to-order Reuben or corned beef sandwich to take back to your lodging accommodations.
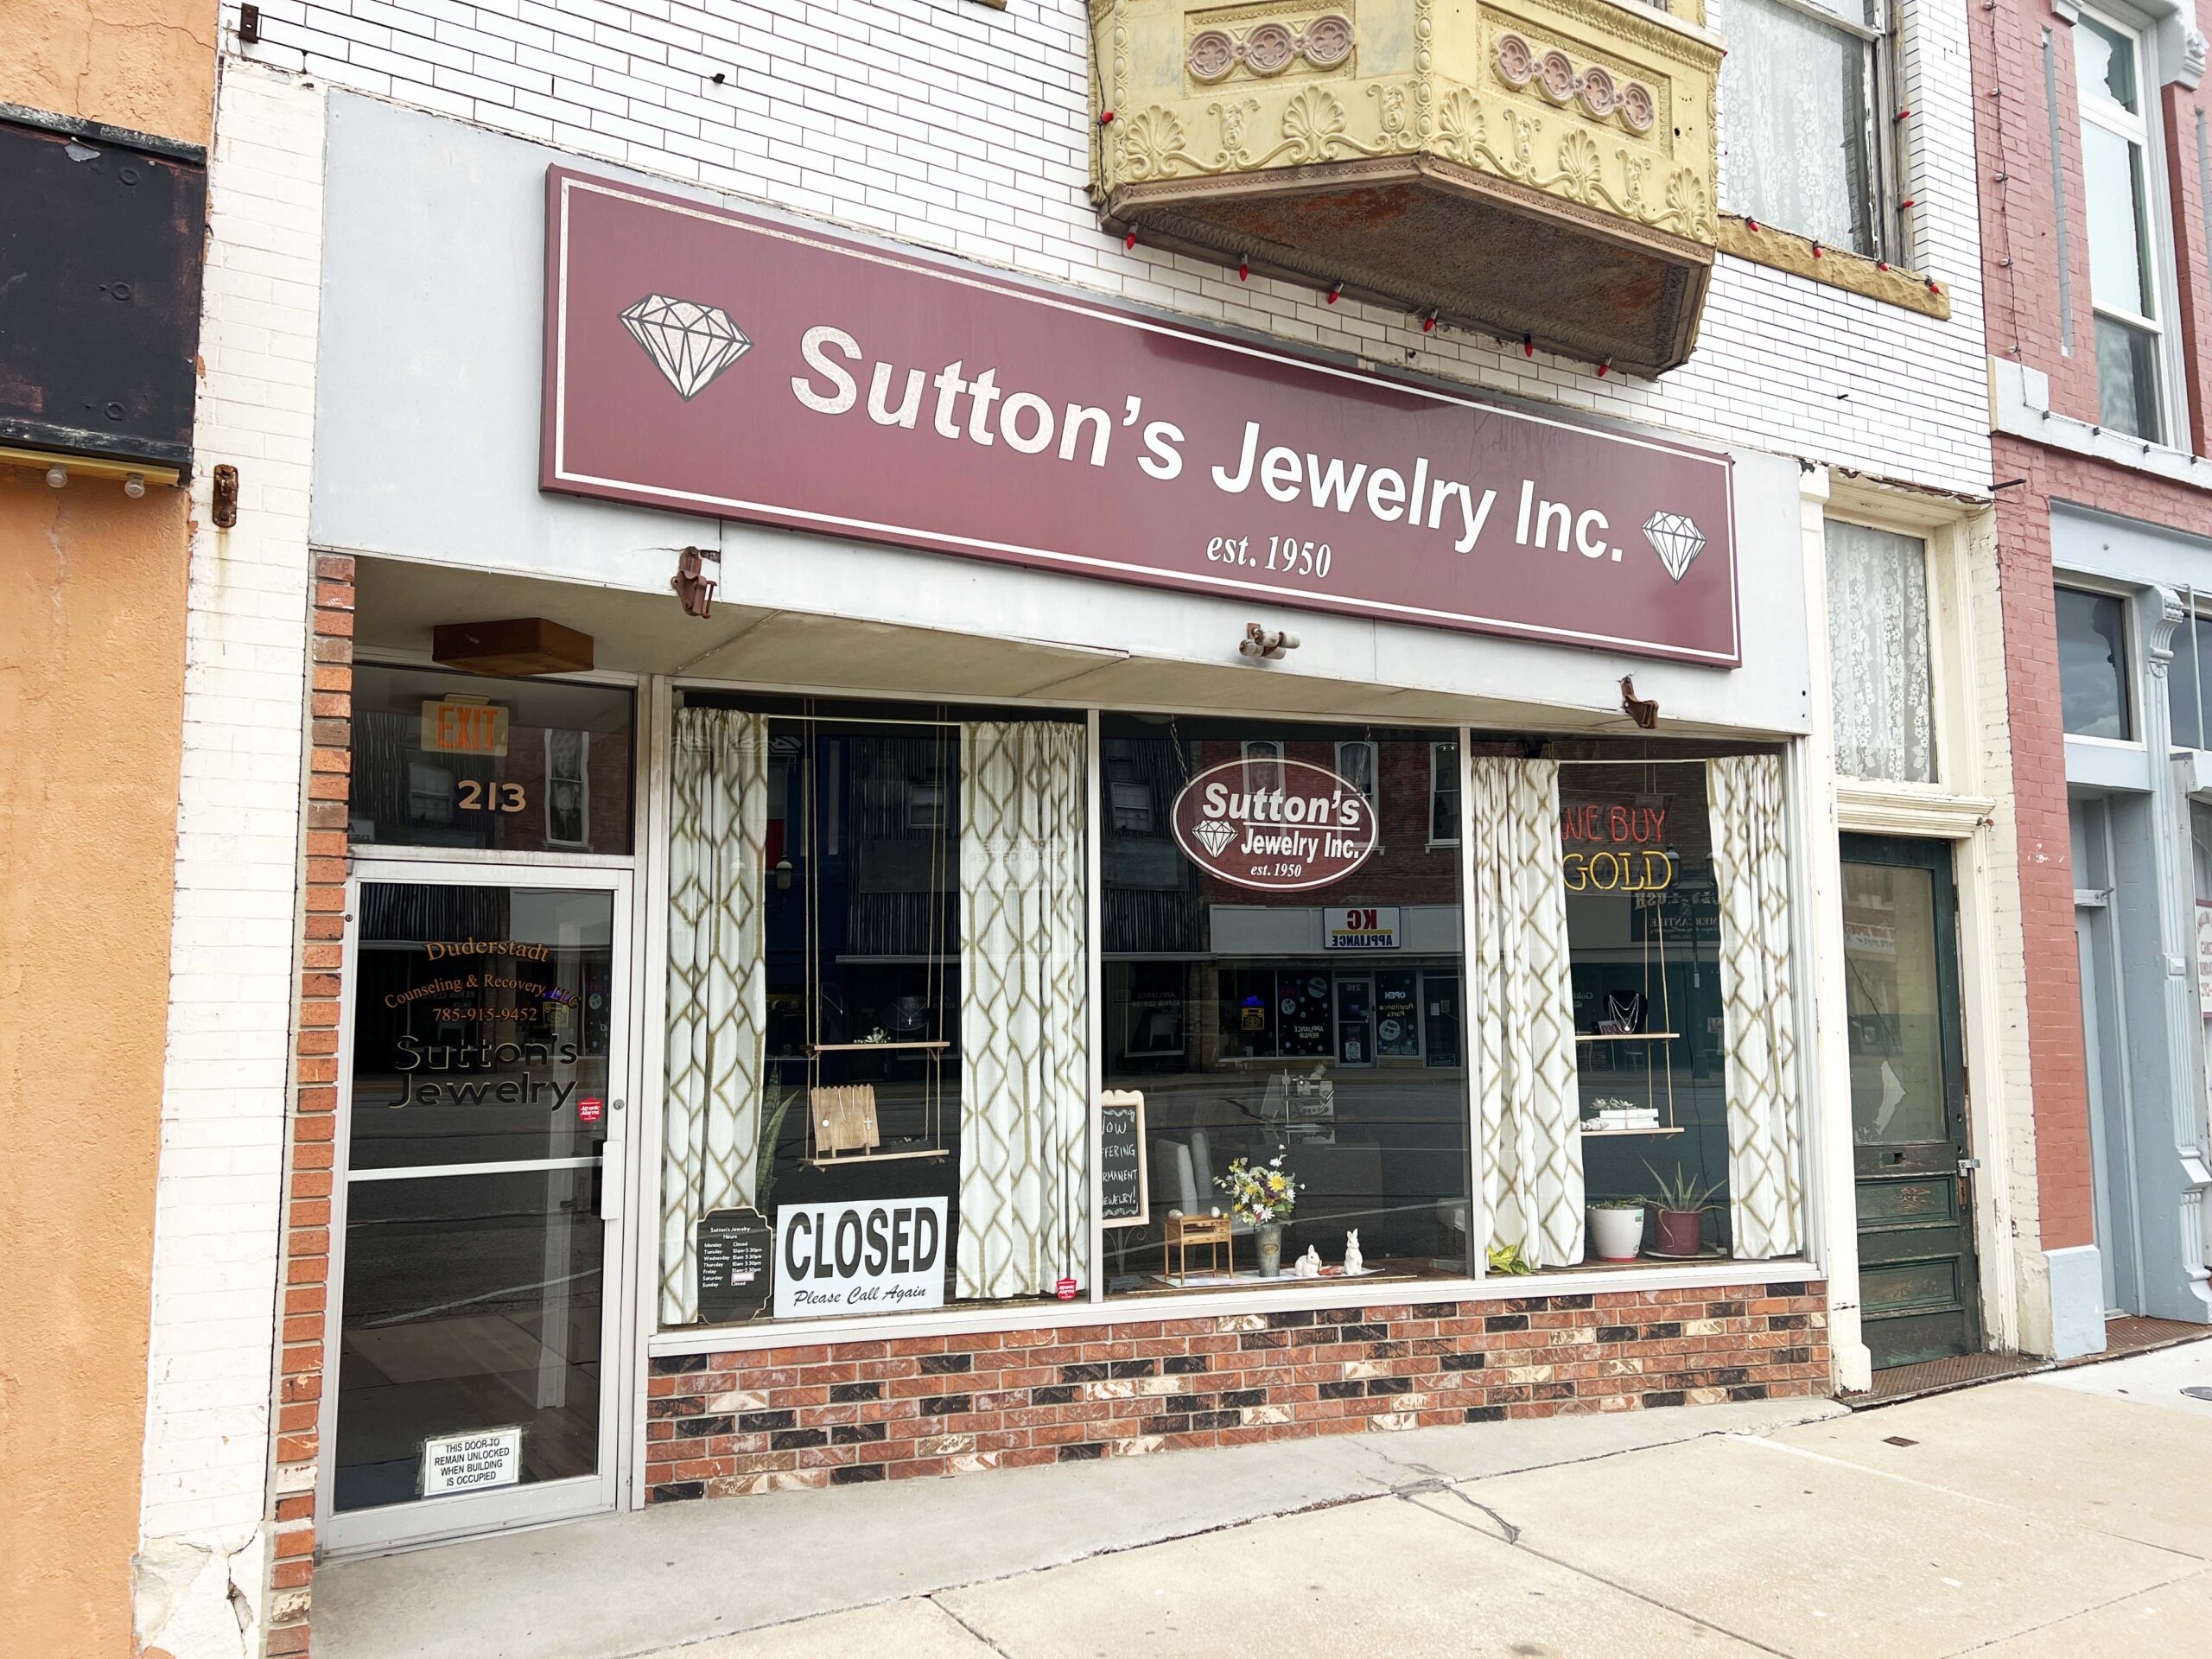 Staff can clean your jewelry at no charge while you shop.
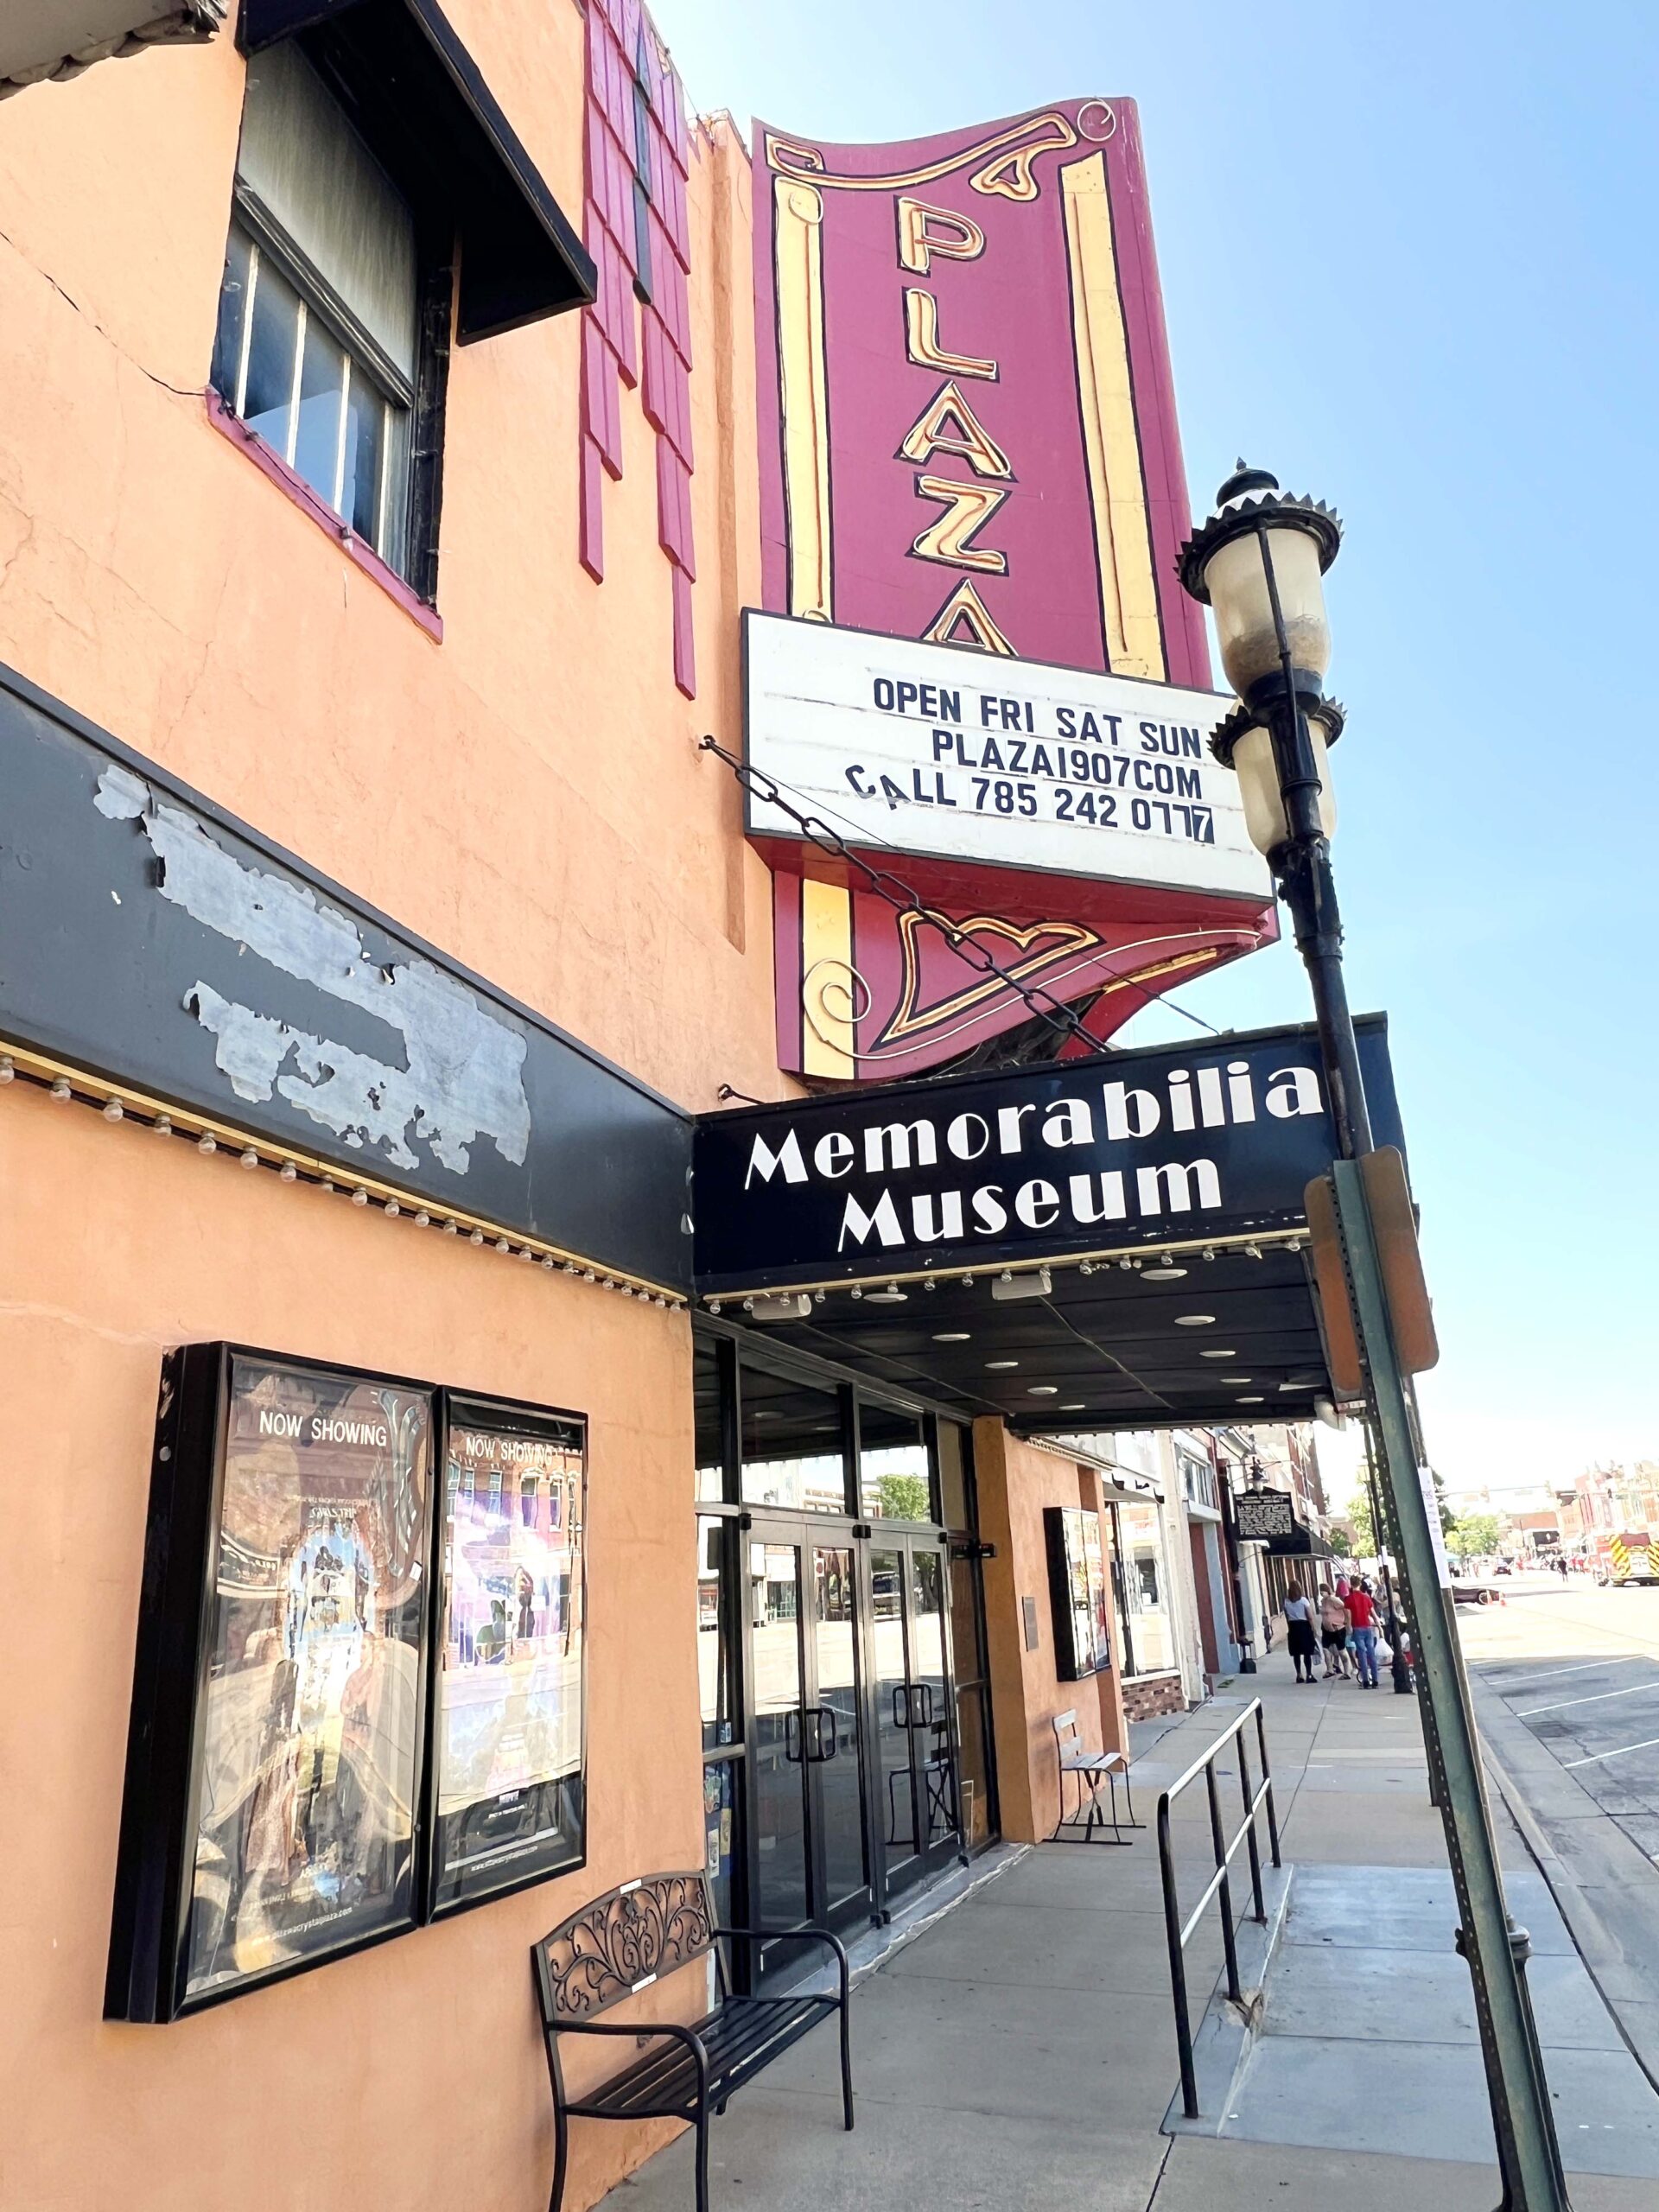 View the current movie screening and purchase tickets
 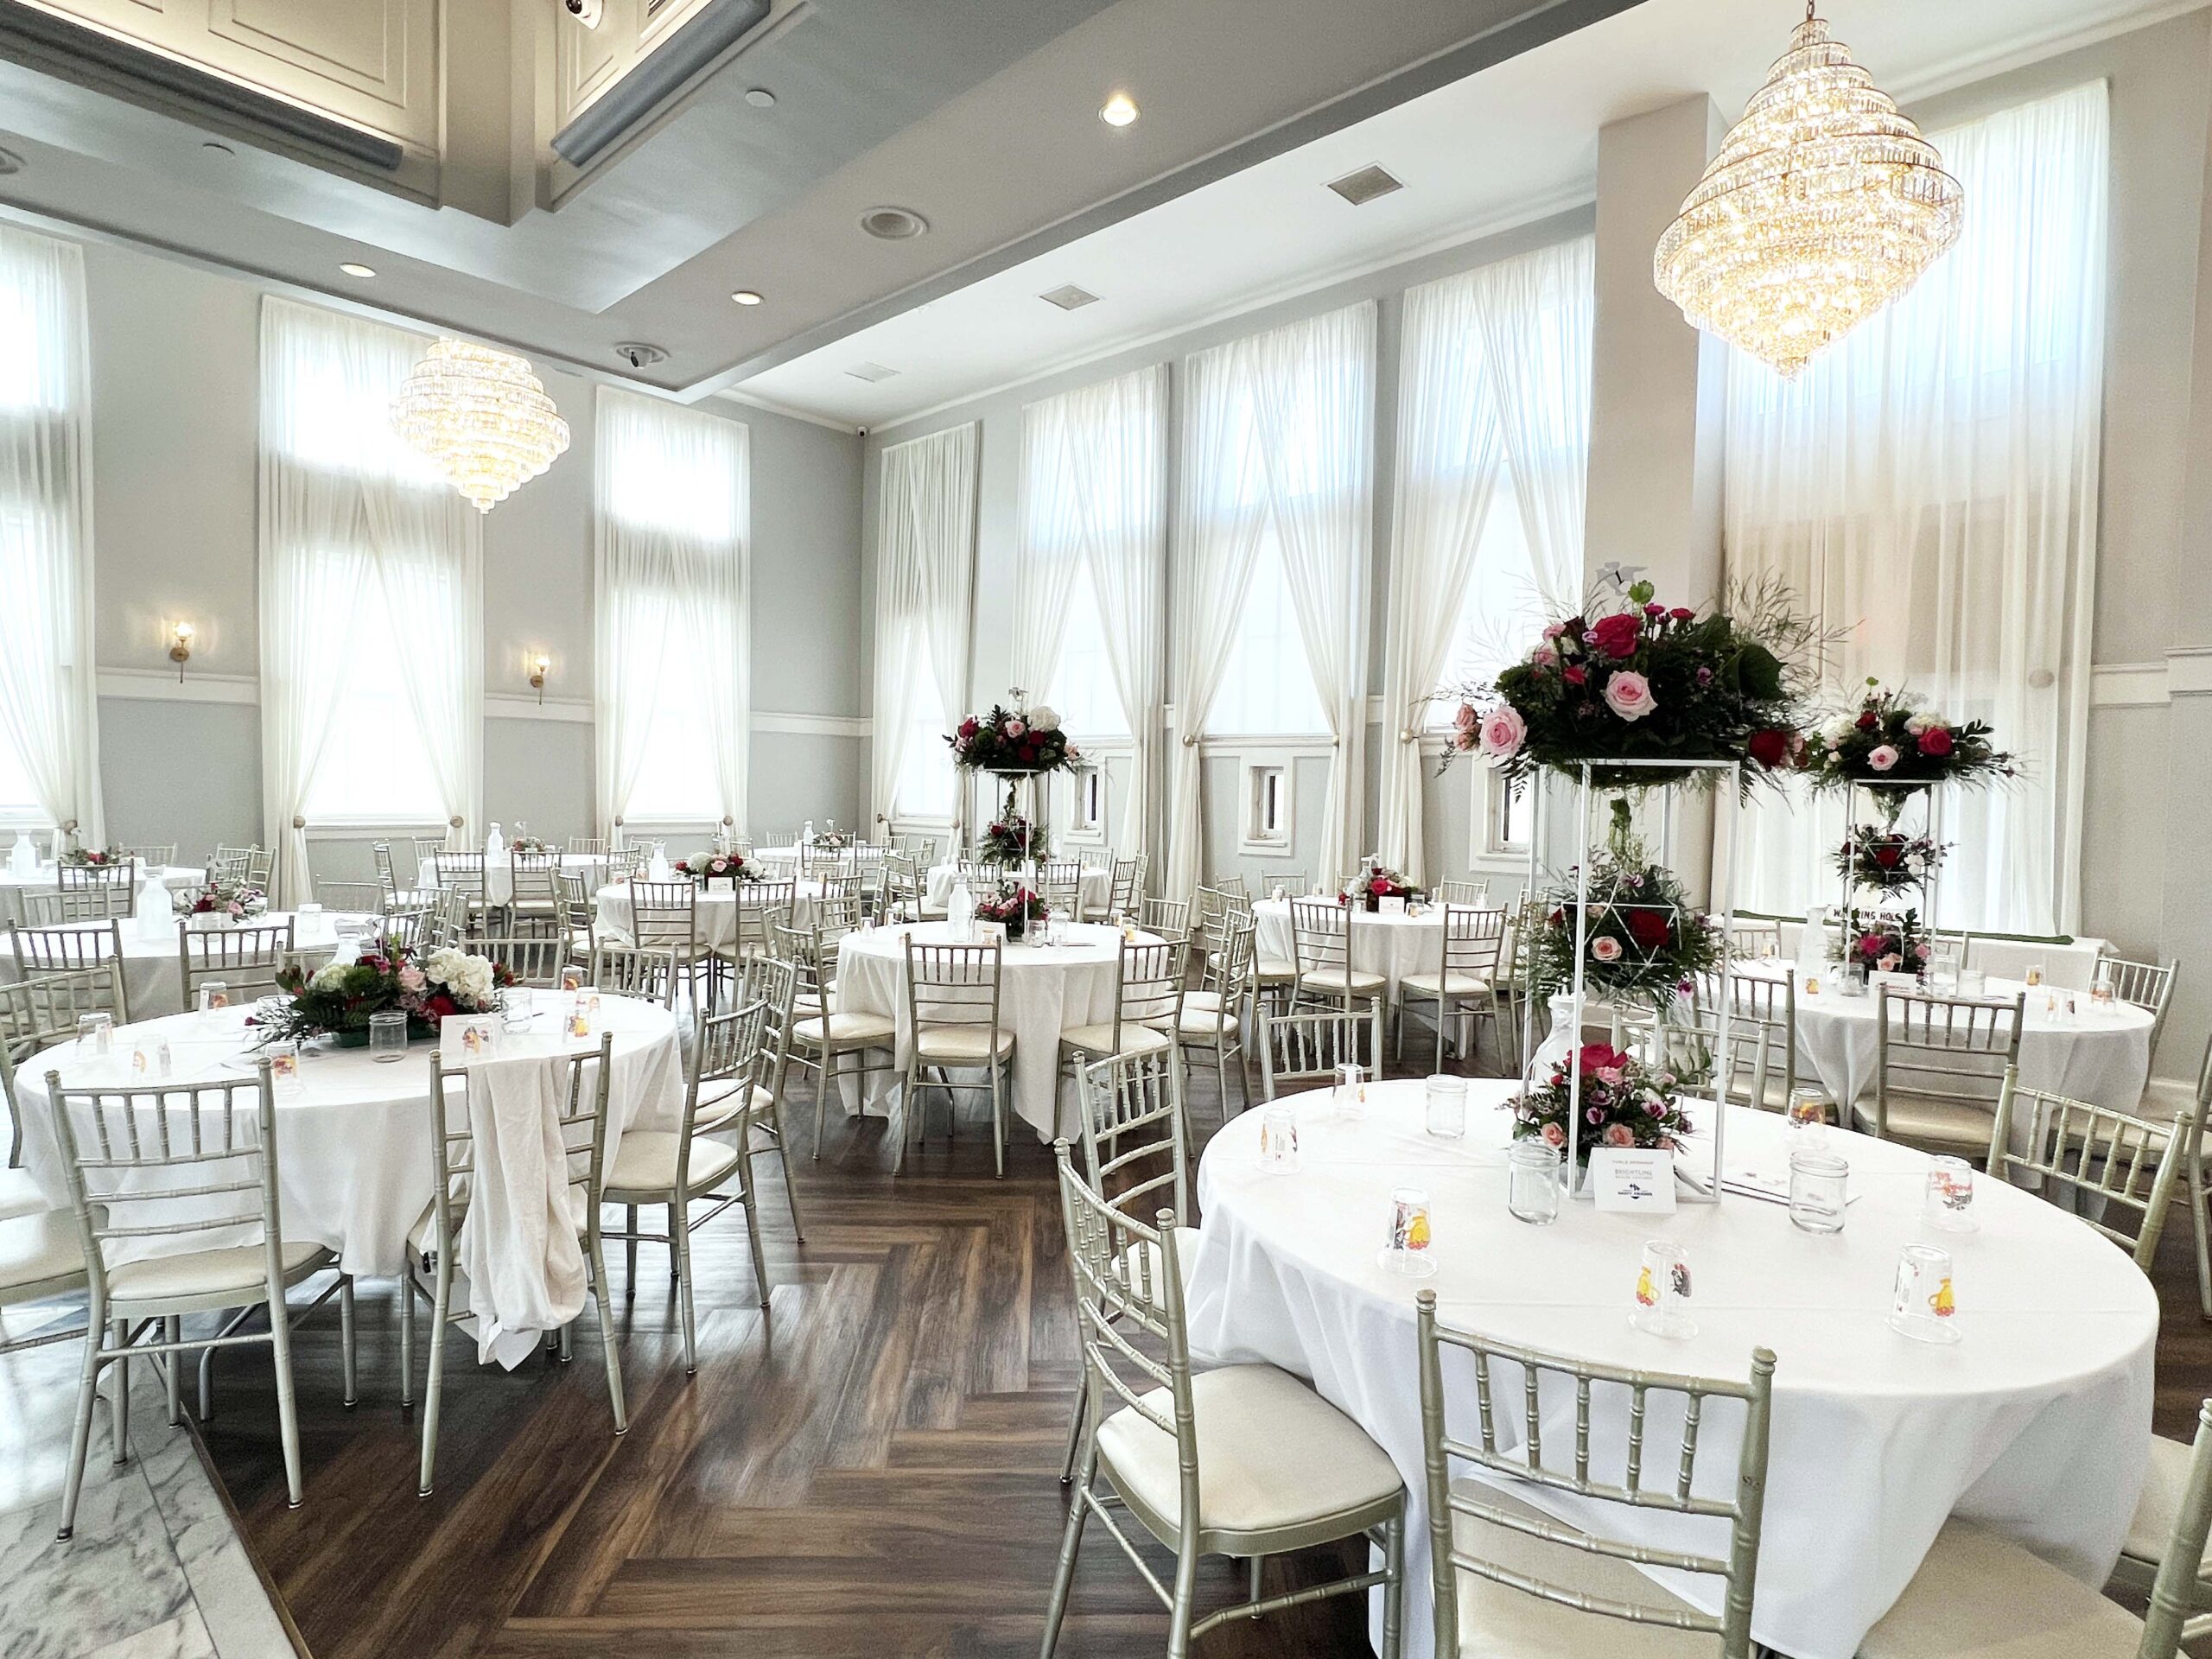 Lincoln staff did a beautiful job of setting up the tables underneath bejeweled chandeliers. A cocktail bar and silent auction table were prepared to serve up to 200 guests.
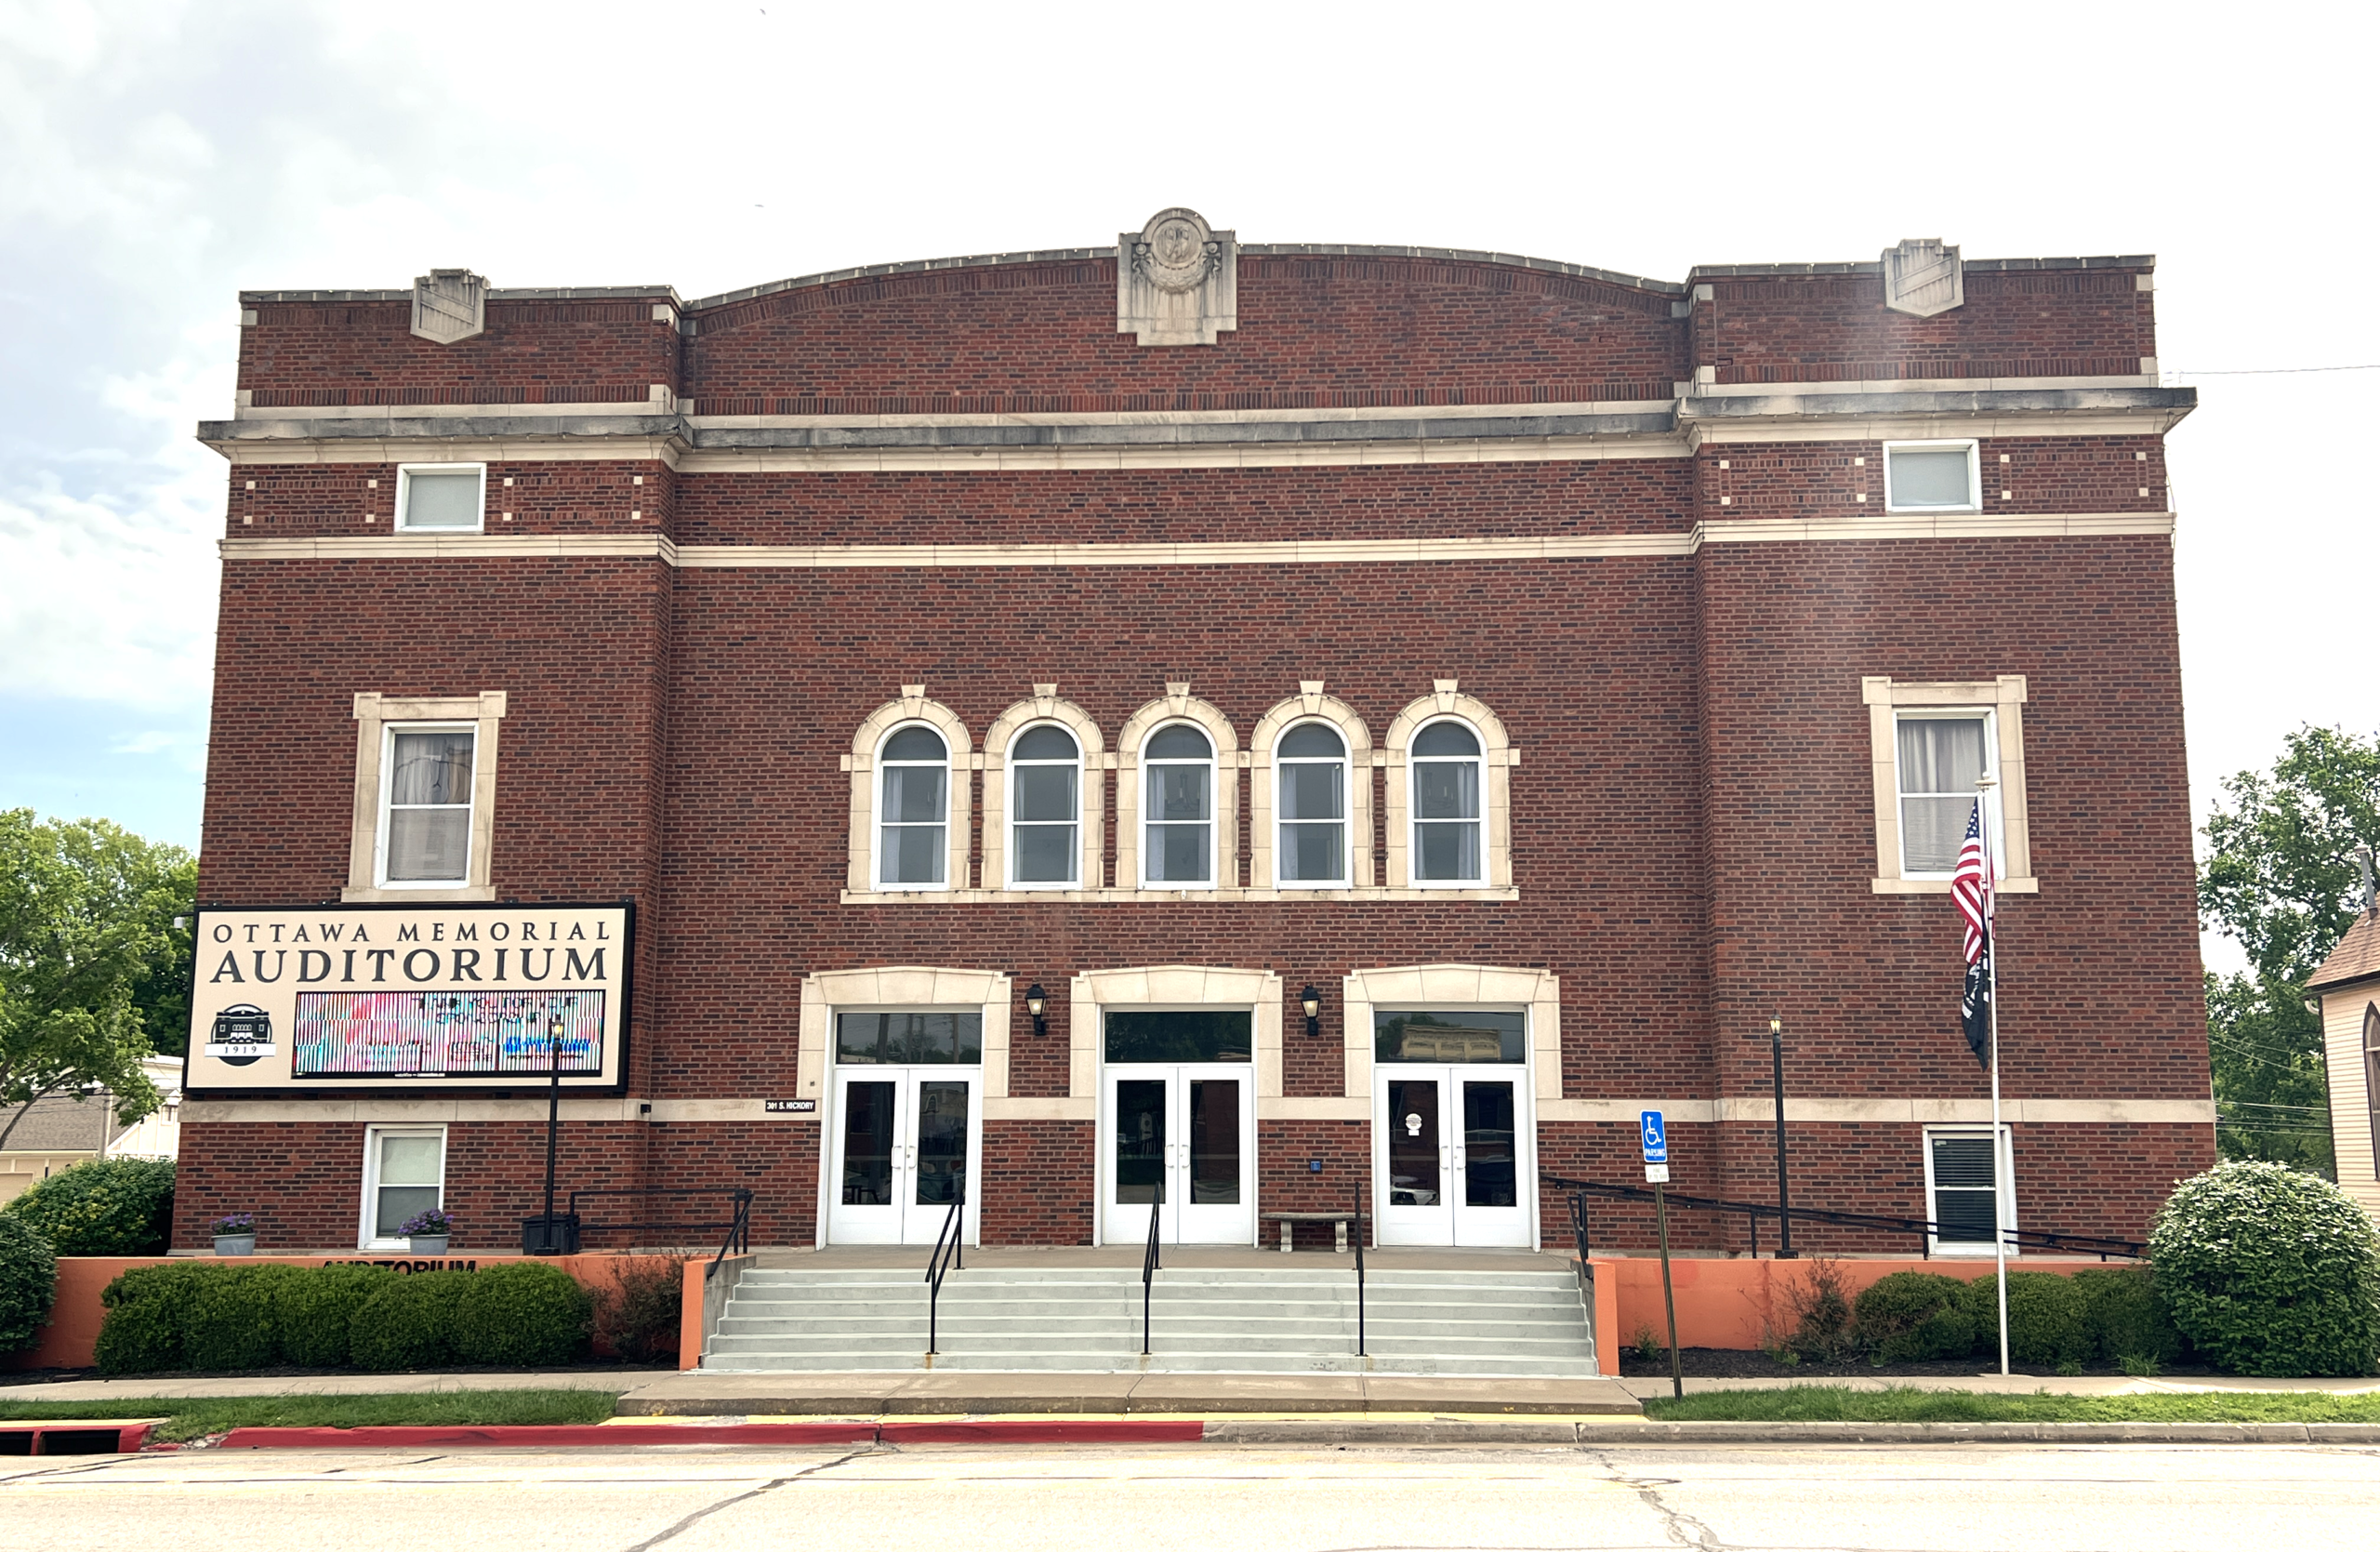 From traveling bands and sports watch parties to murder mystery dinner theater, you’ll find an event worth planning your itinerary around. Check the auditorium’s
 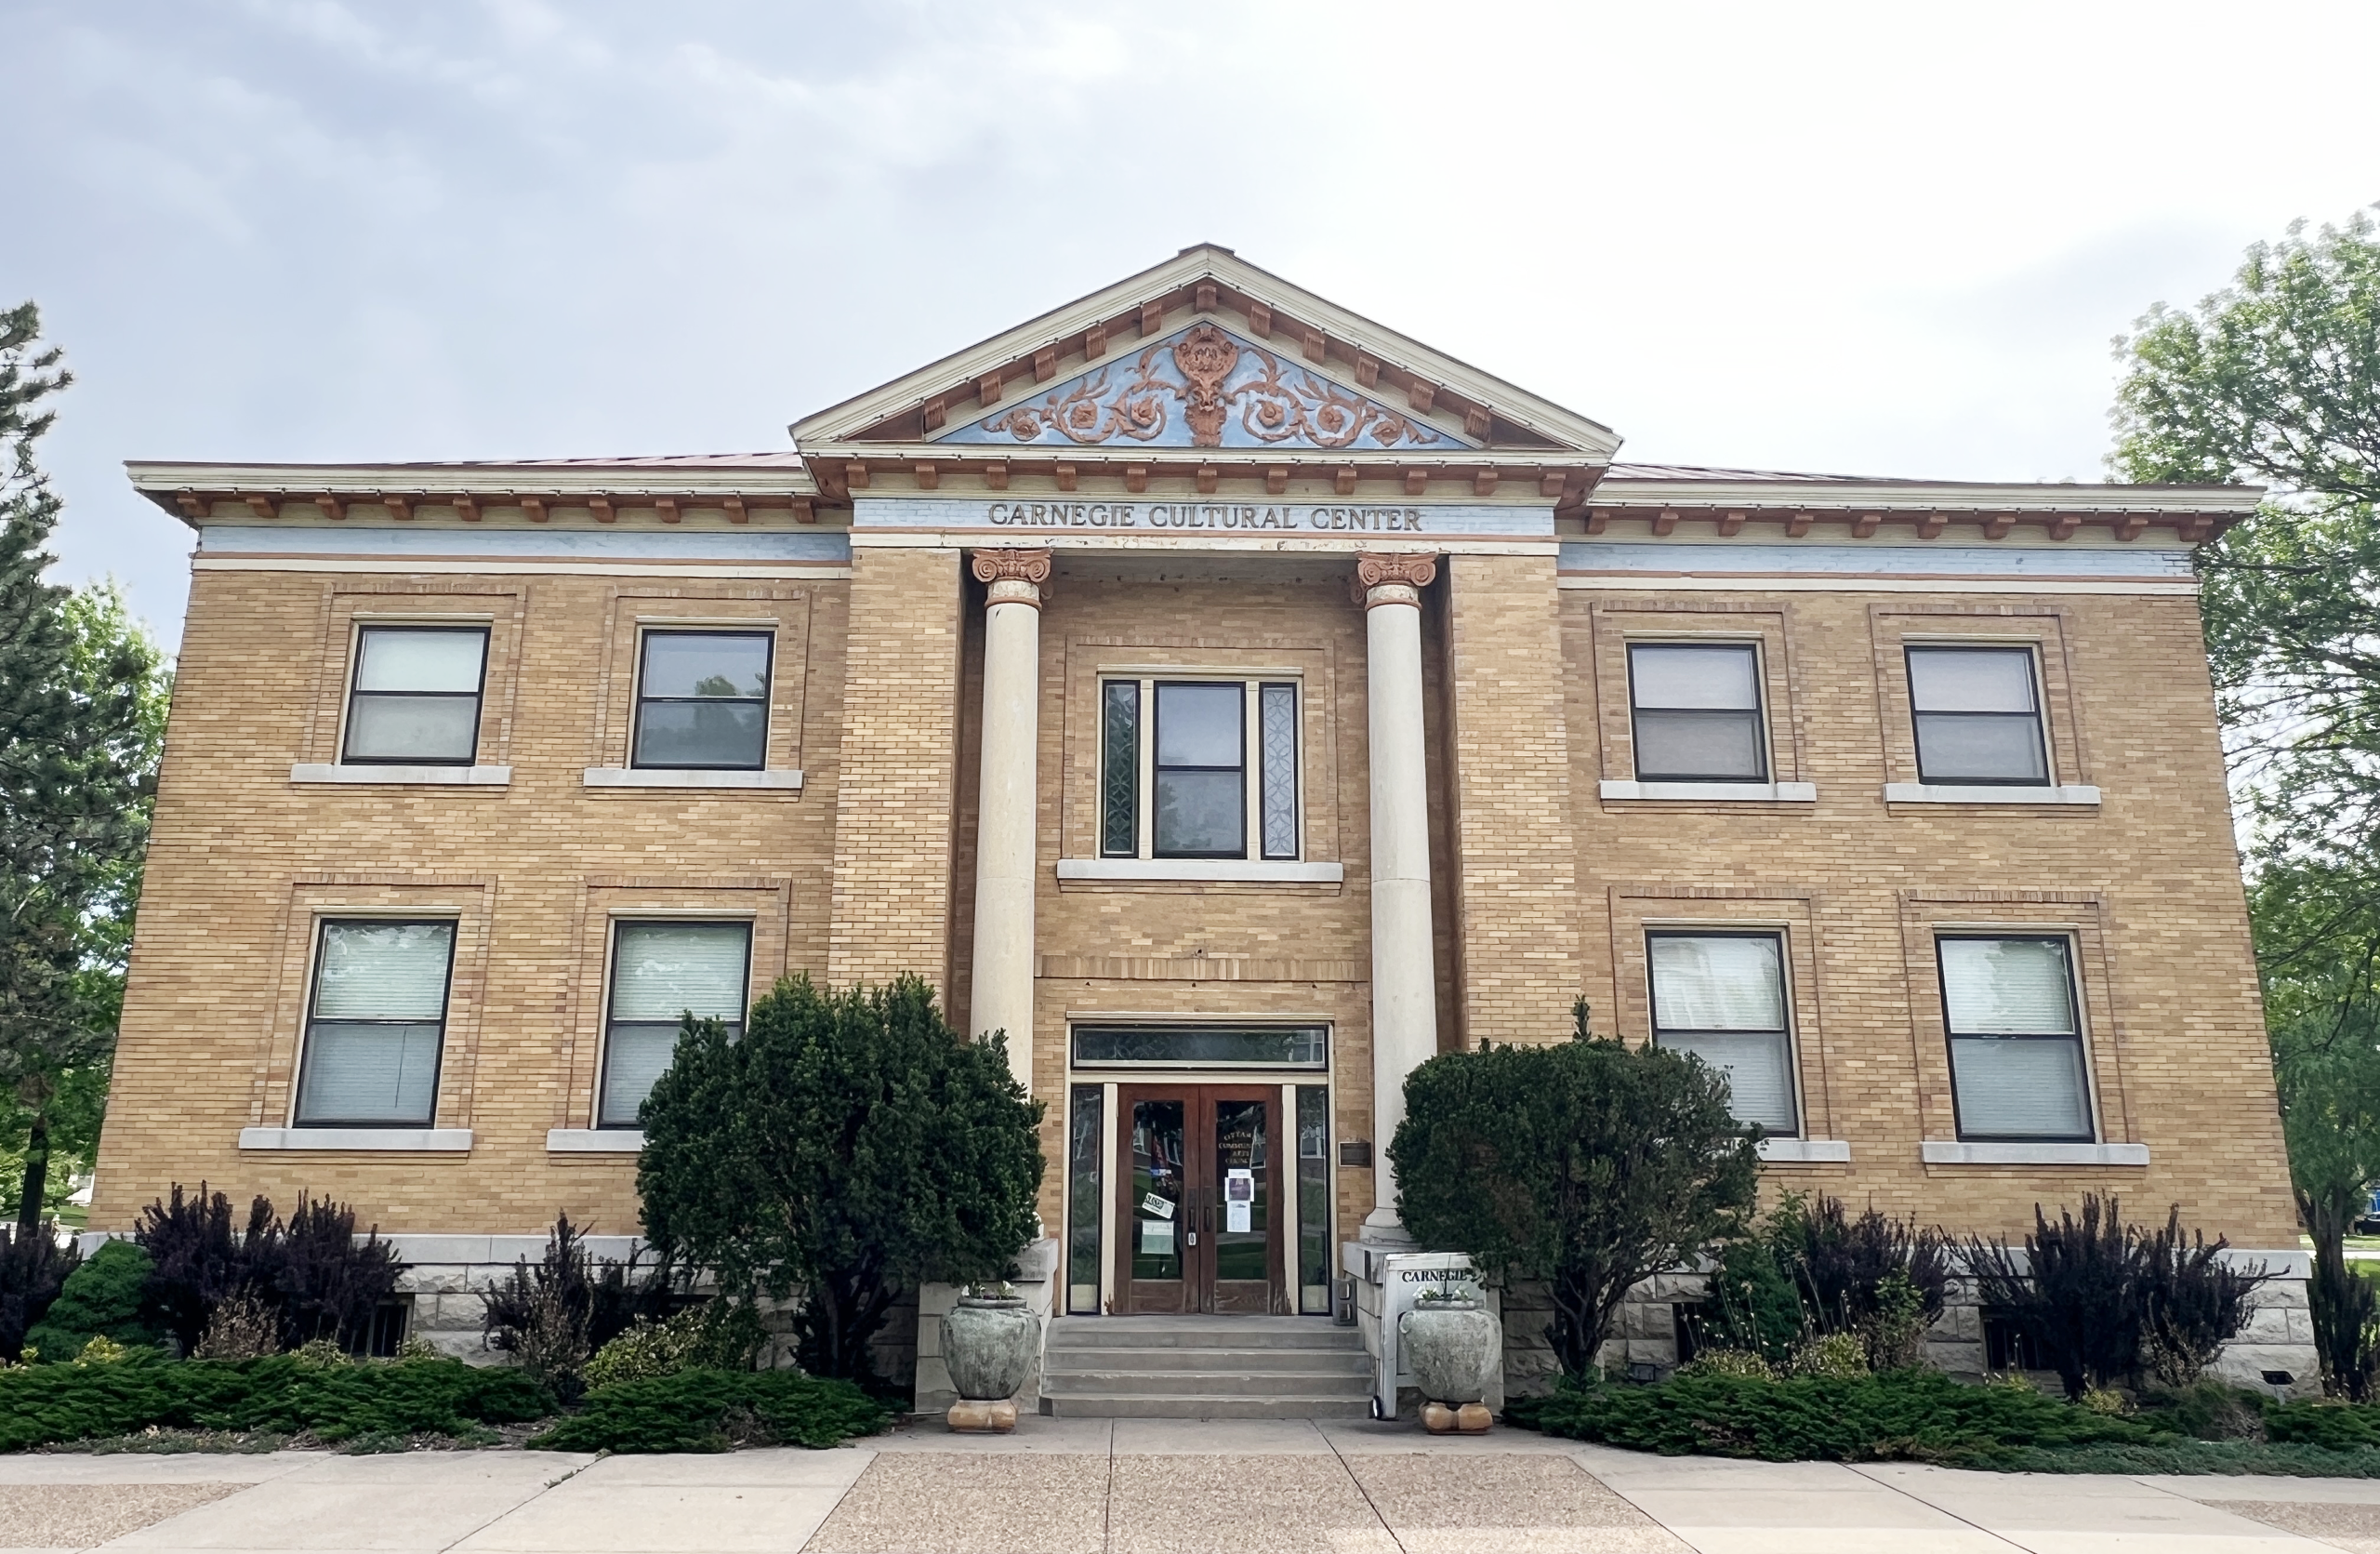 If you want to view art without taking a class, tour the rotating monthly exhibits showcasing work by local and visiting artists.
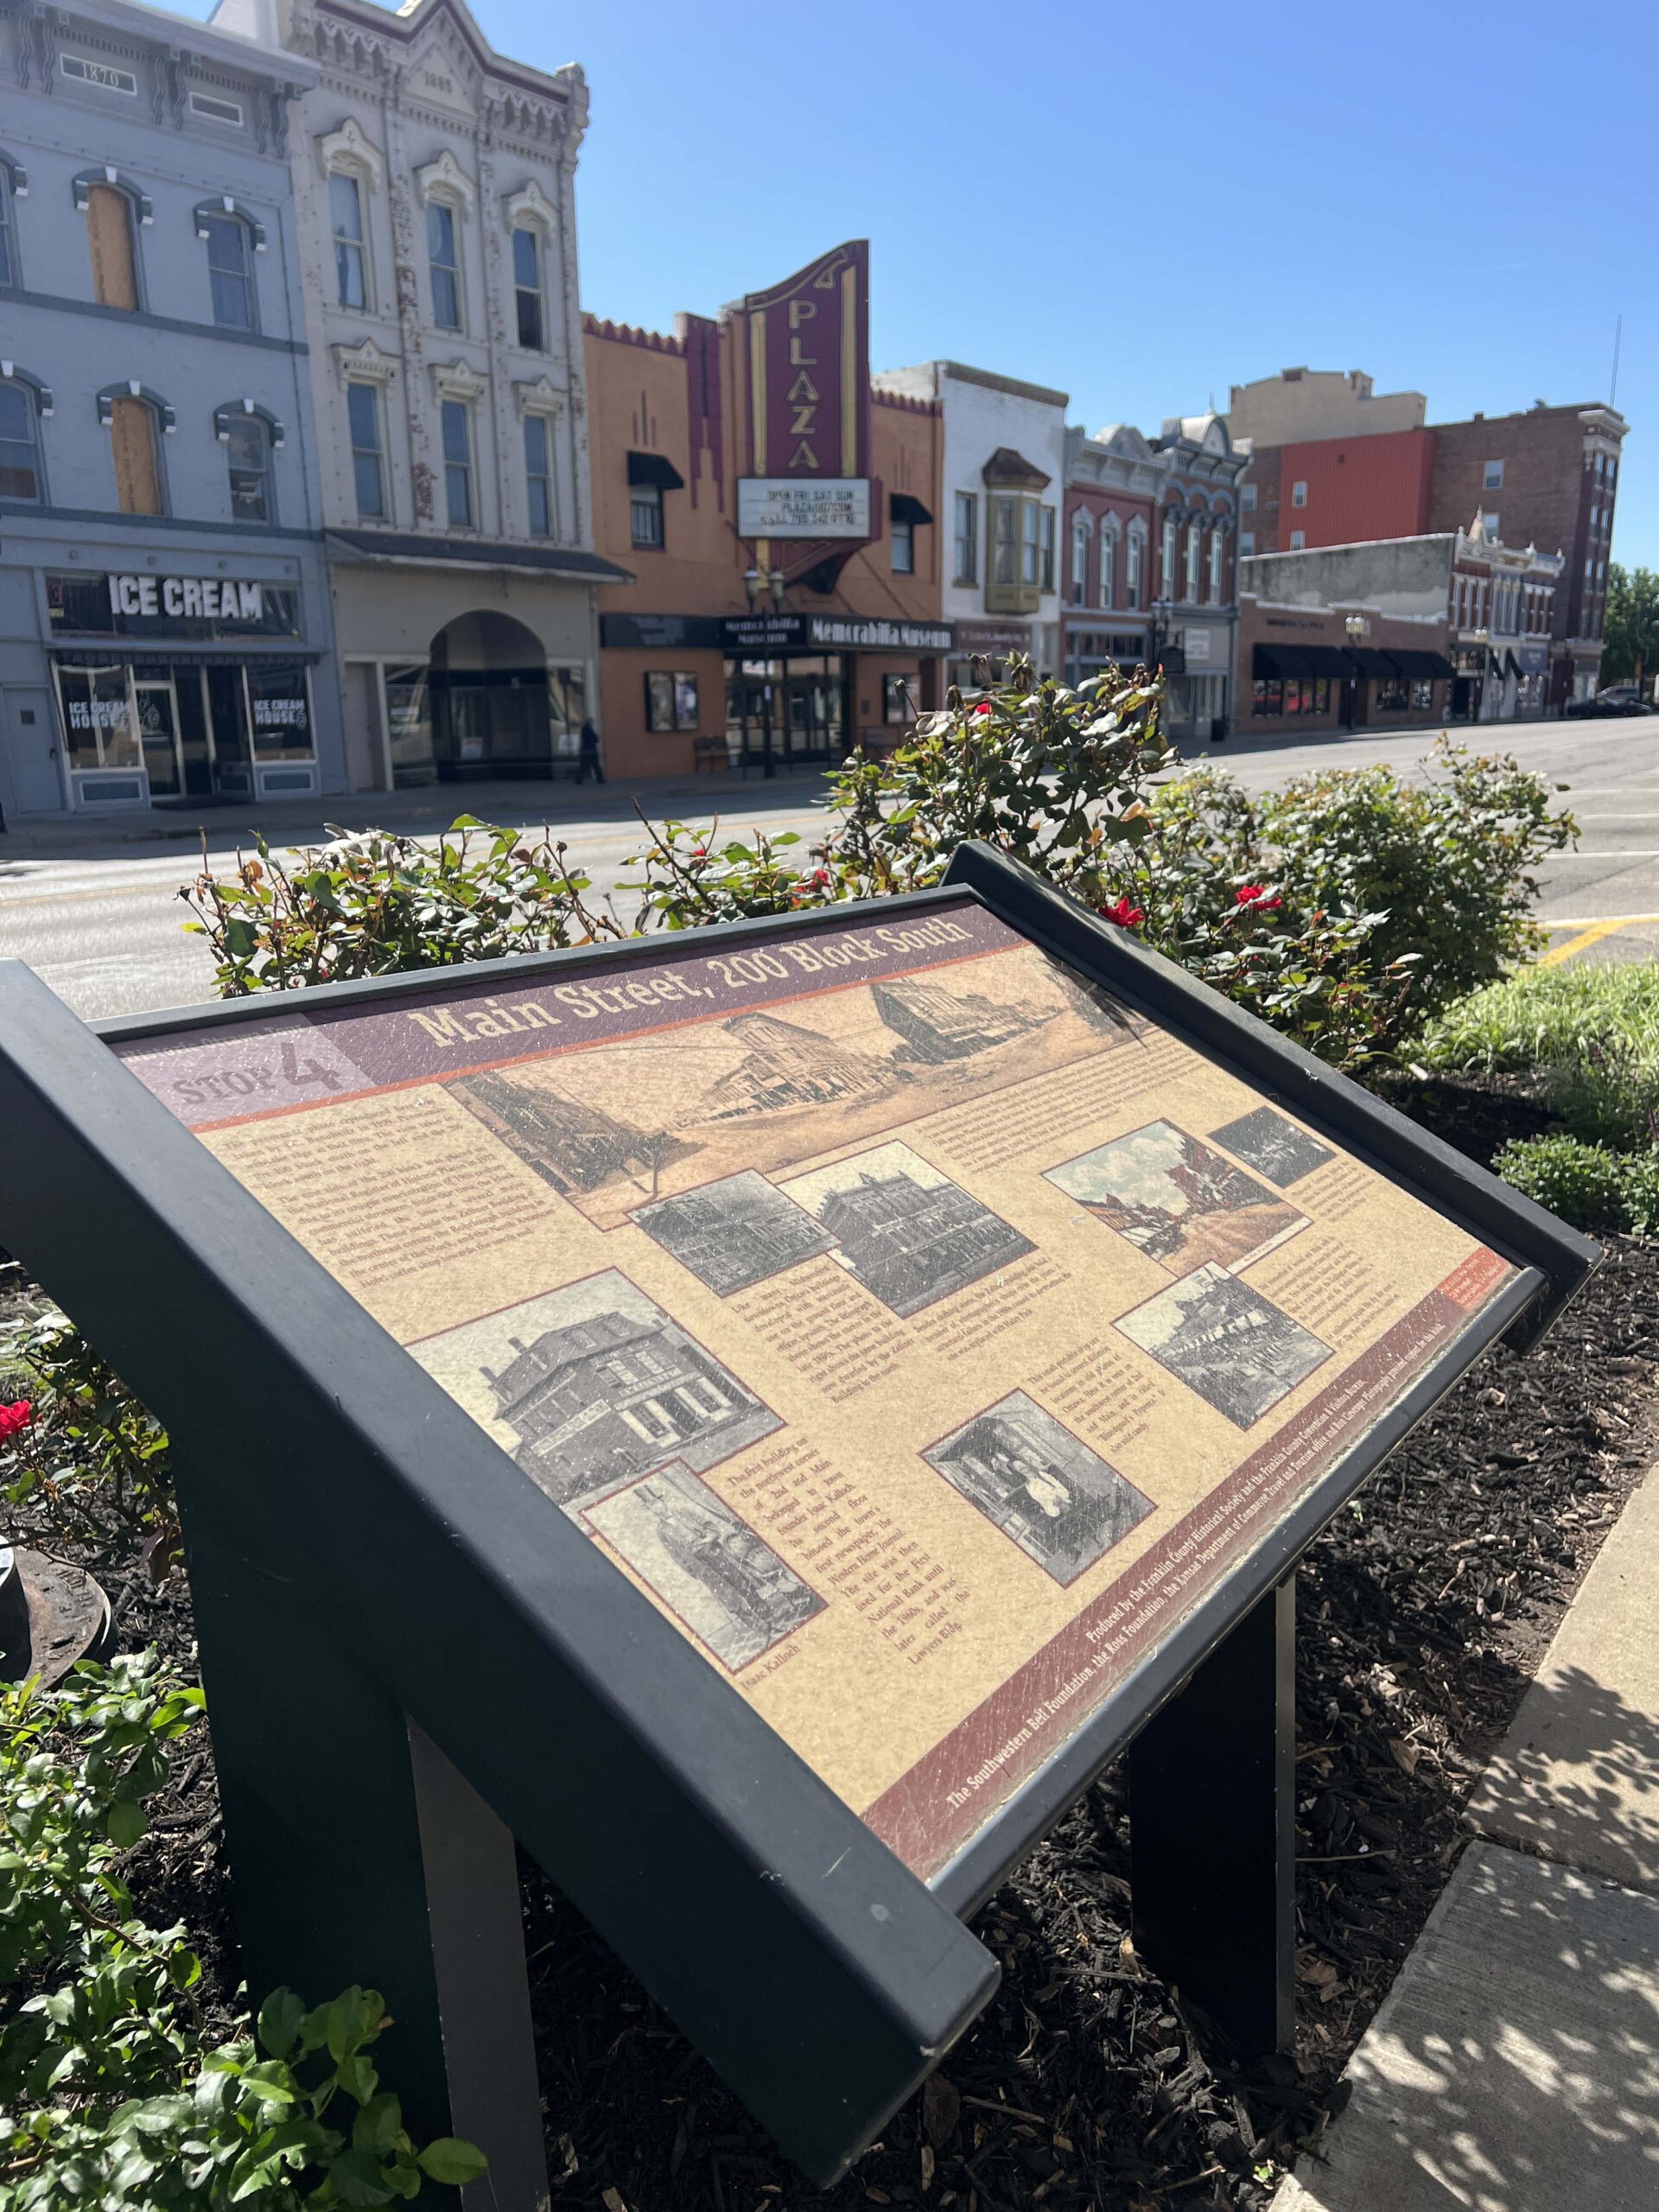 To learn more about Franklin County Historical Society’s guided tours or upcoming events, click this
  Washington’s signature details, including carved stones, are evident in this building, nine libraries, and 12 other Kansas courthouses.
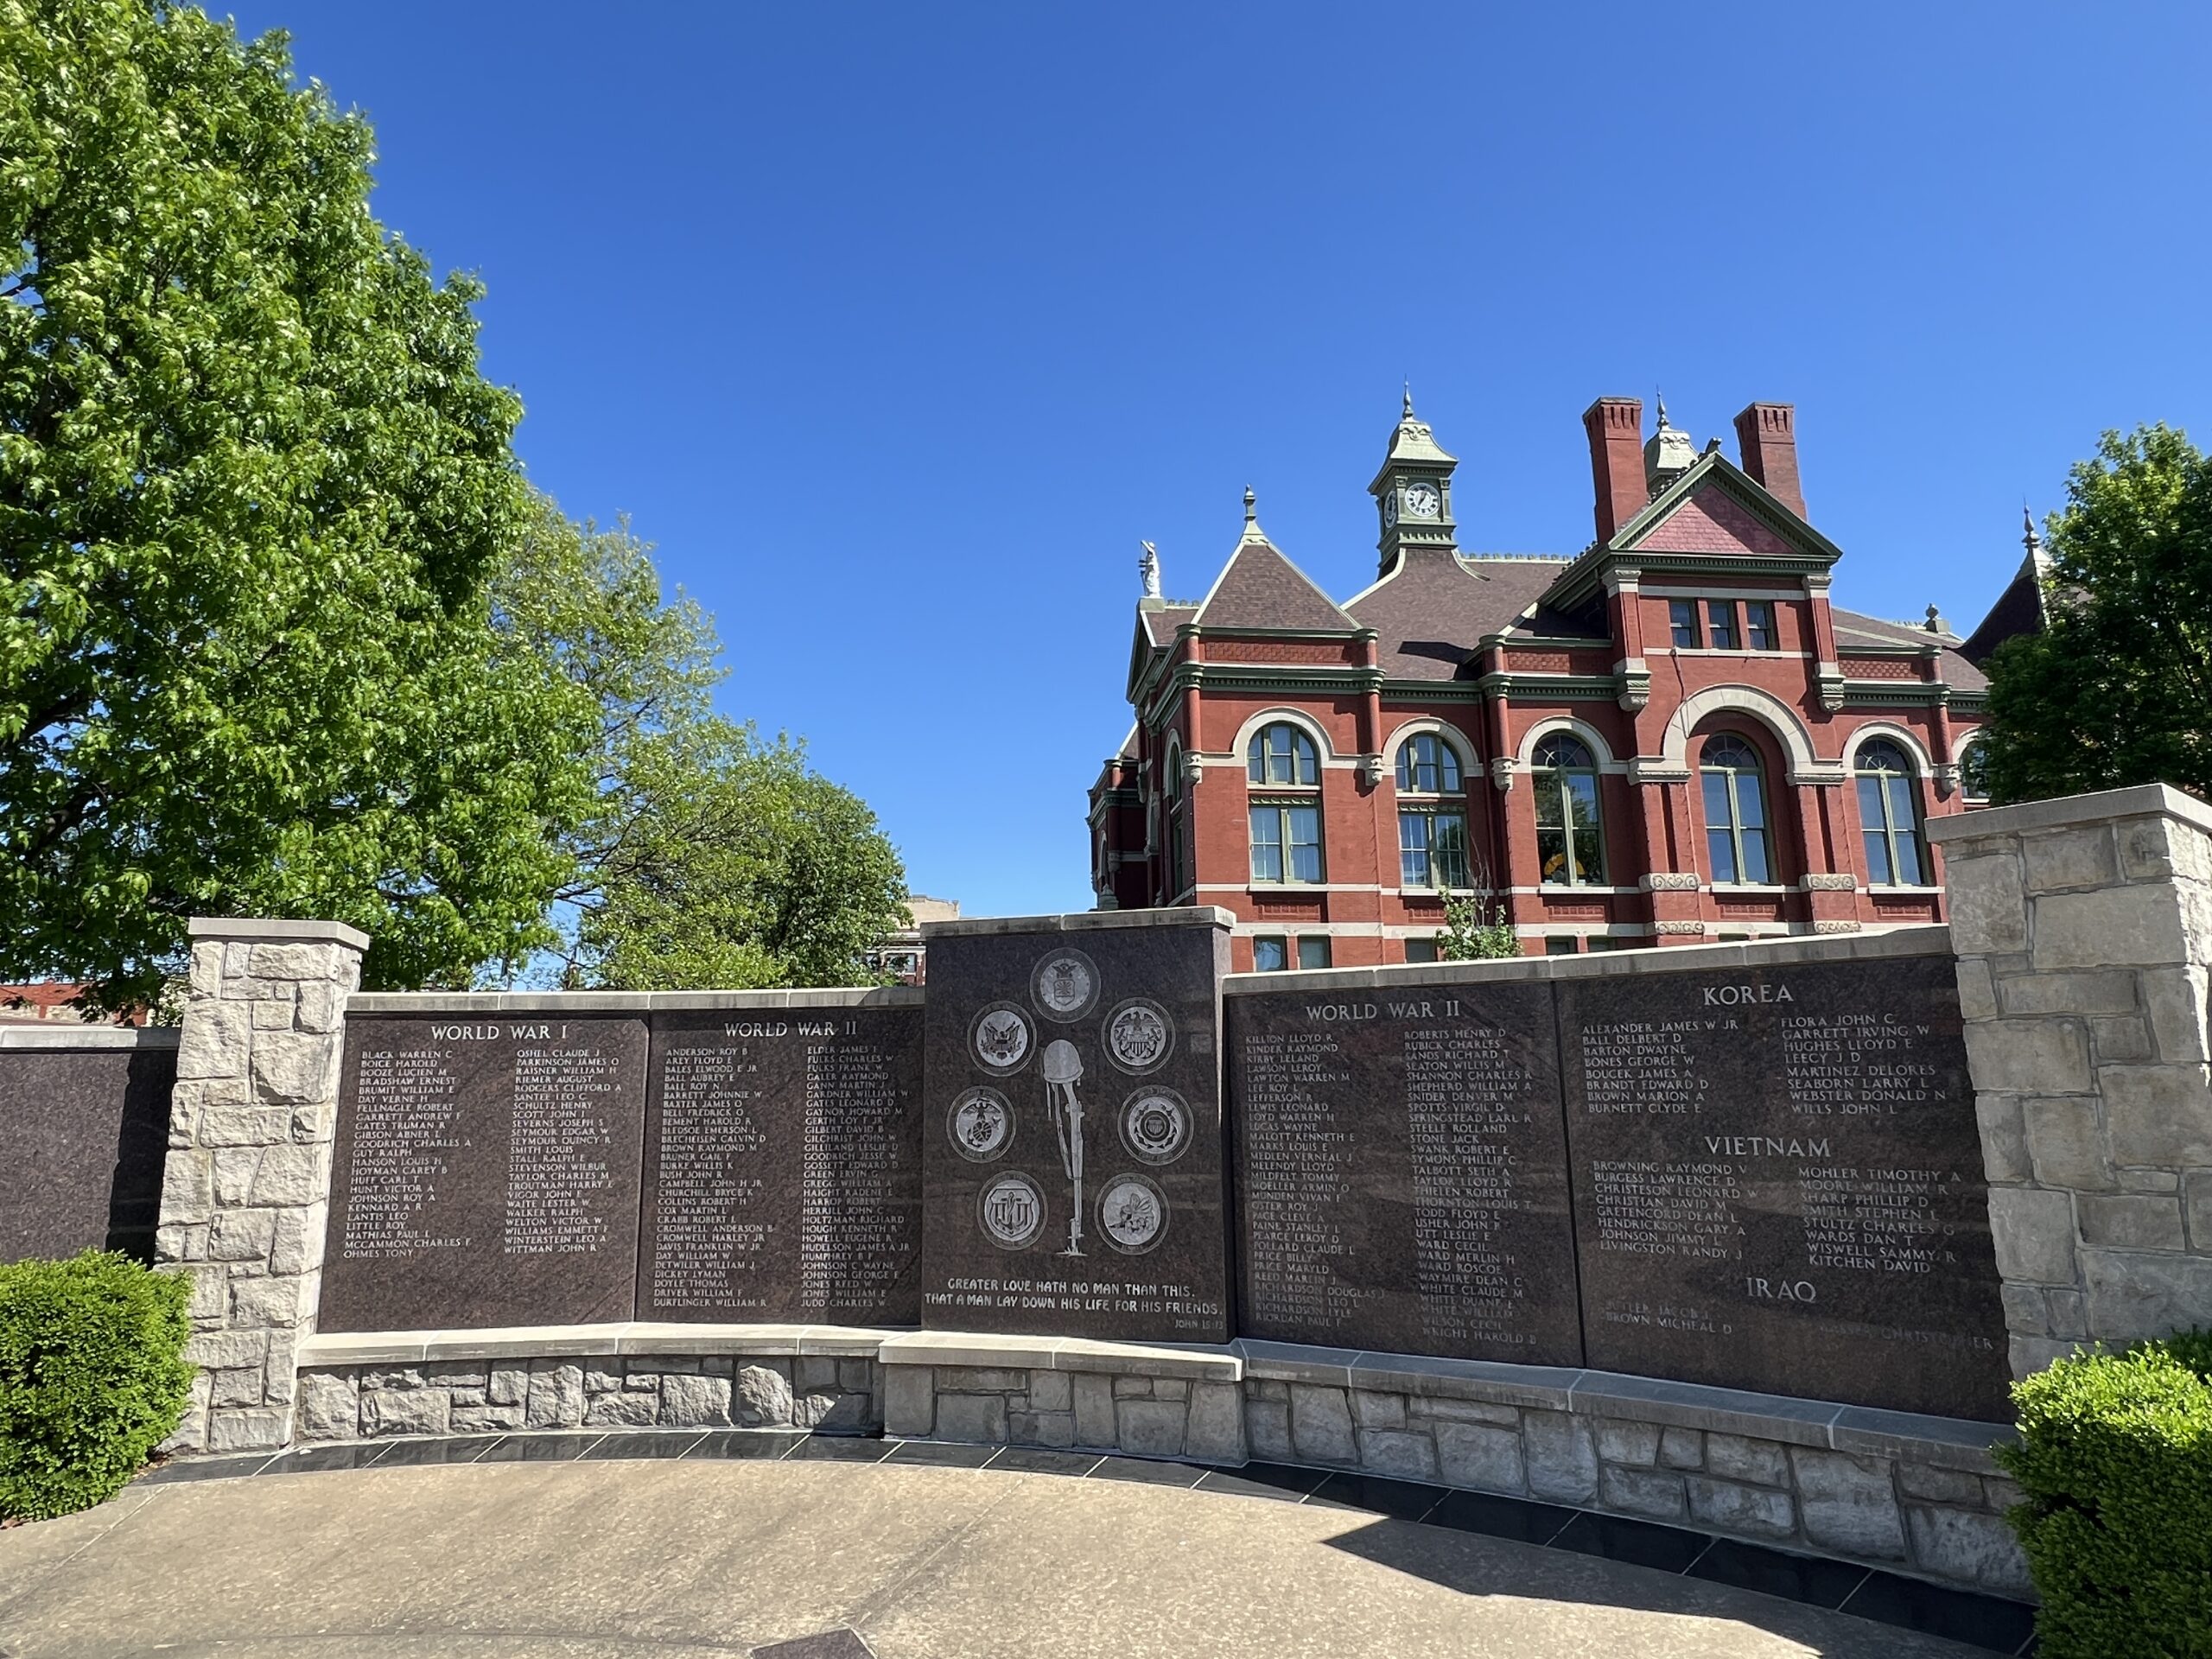 Don’t forget to pause and honor those who gave all at the
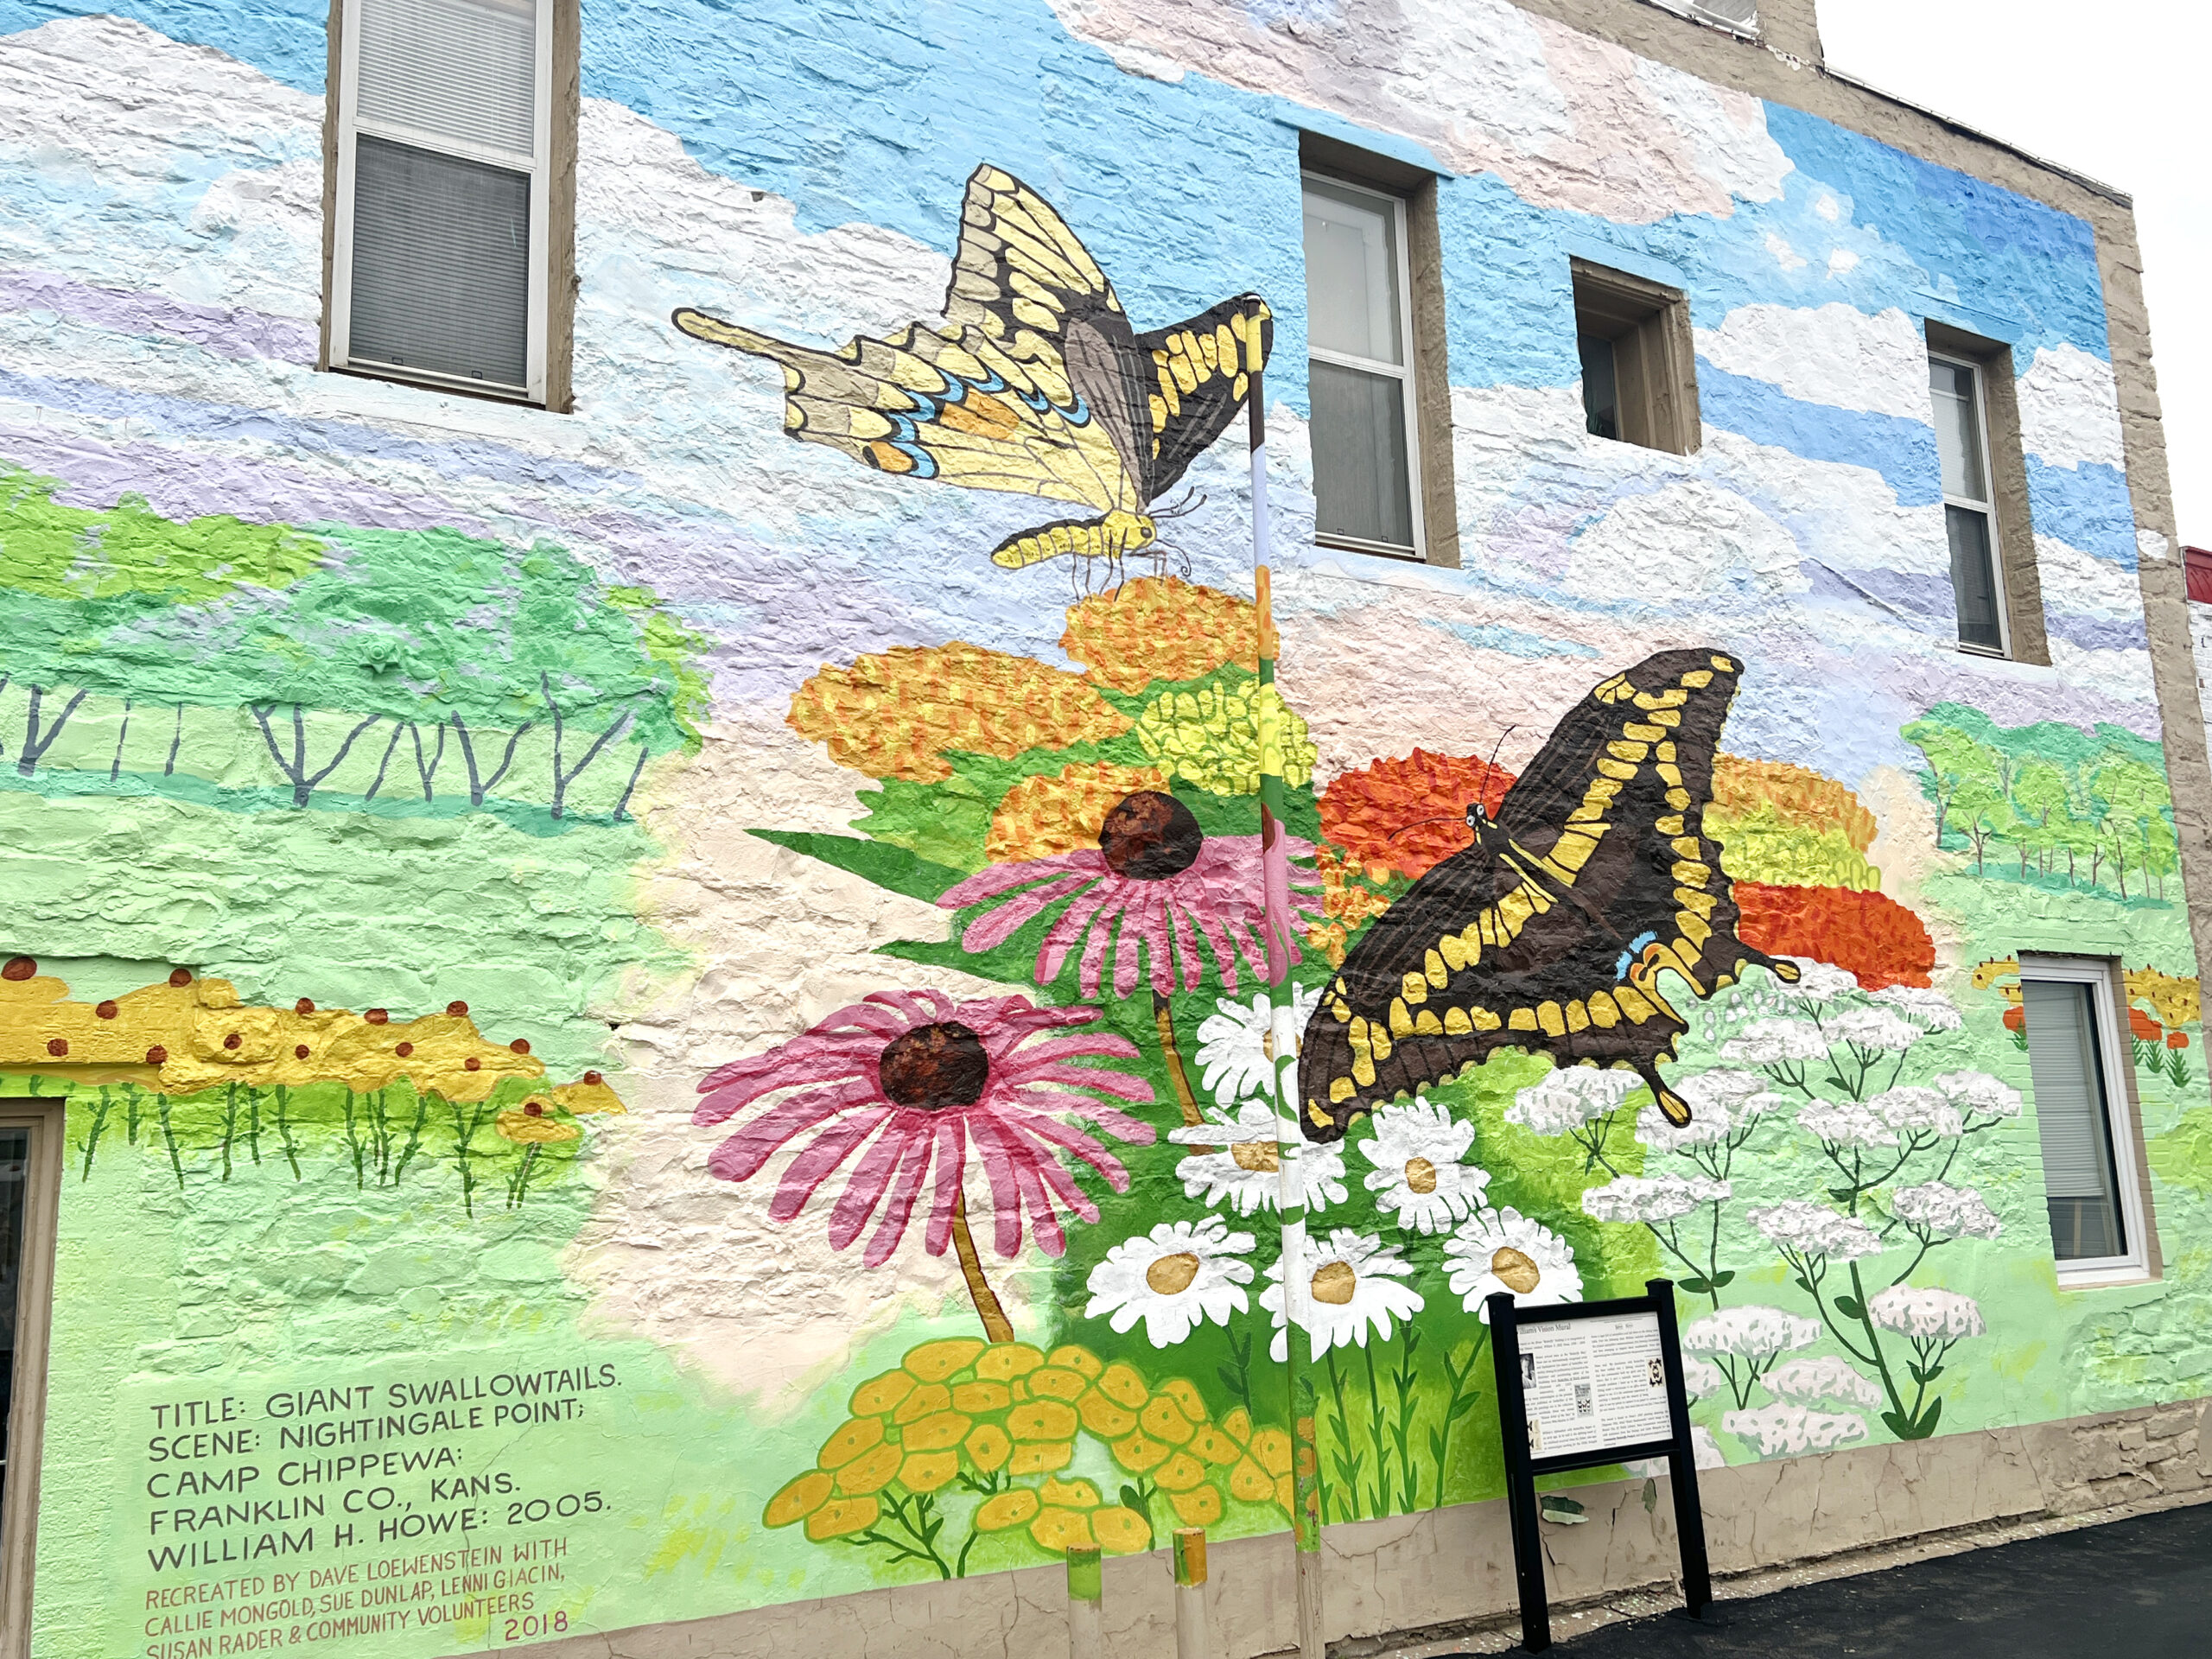

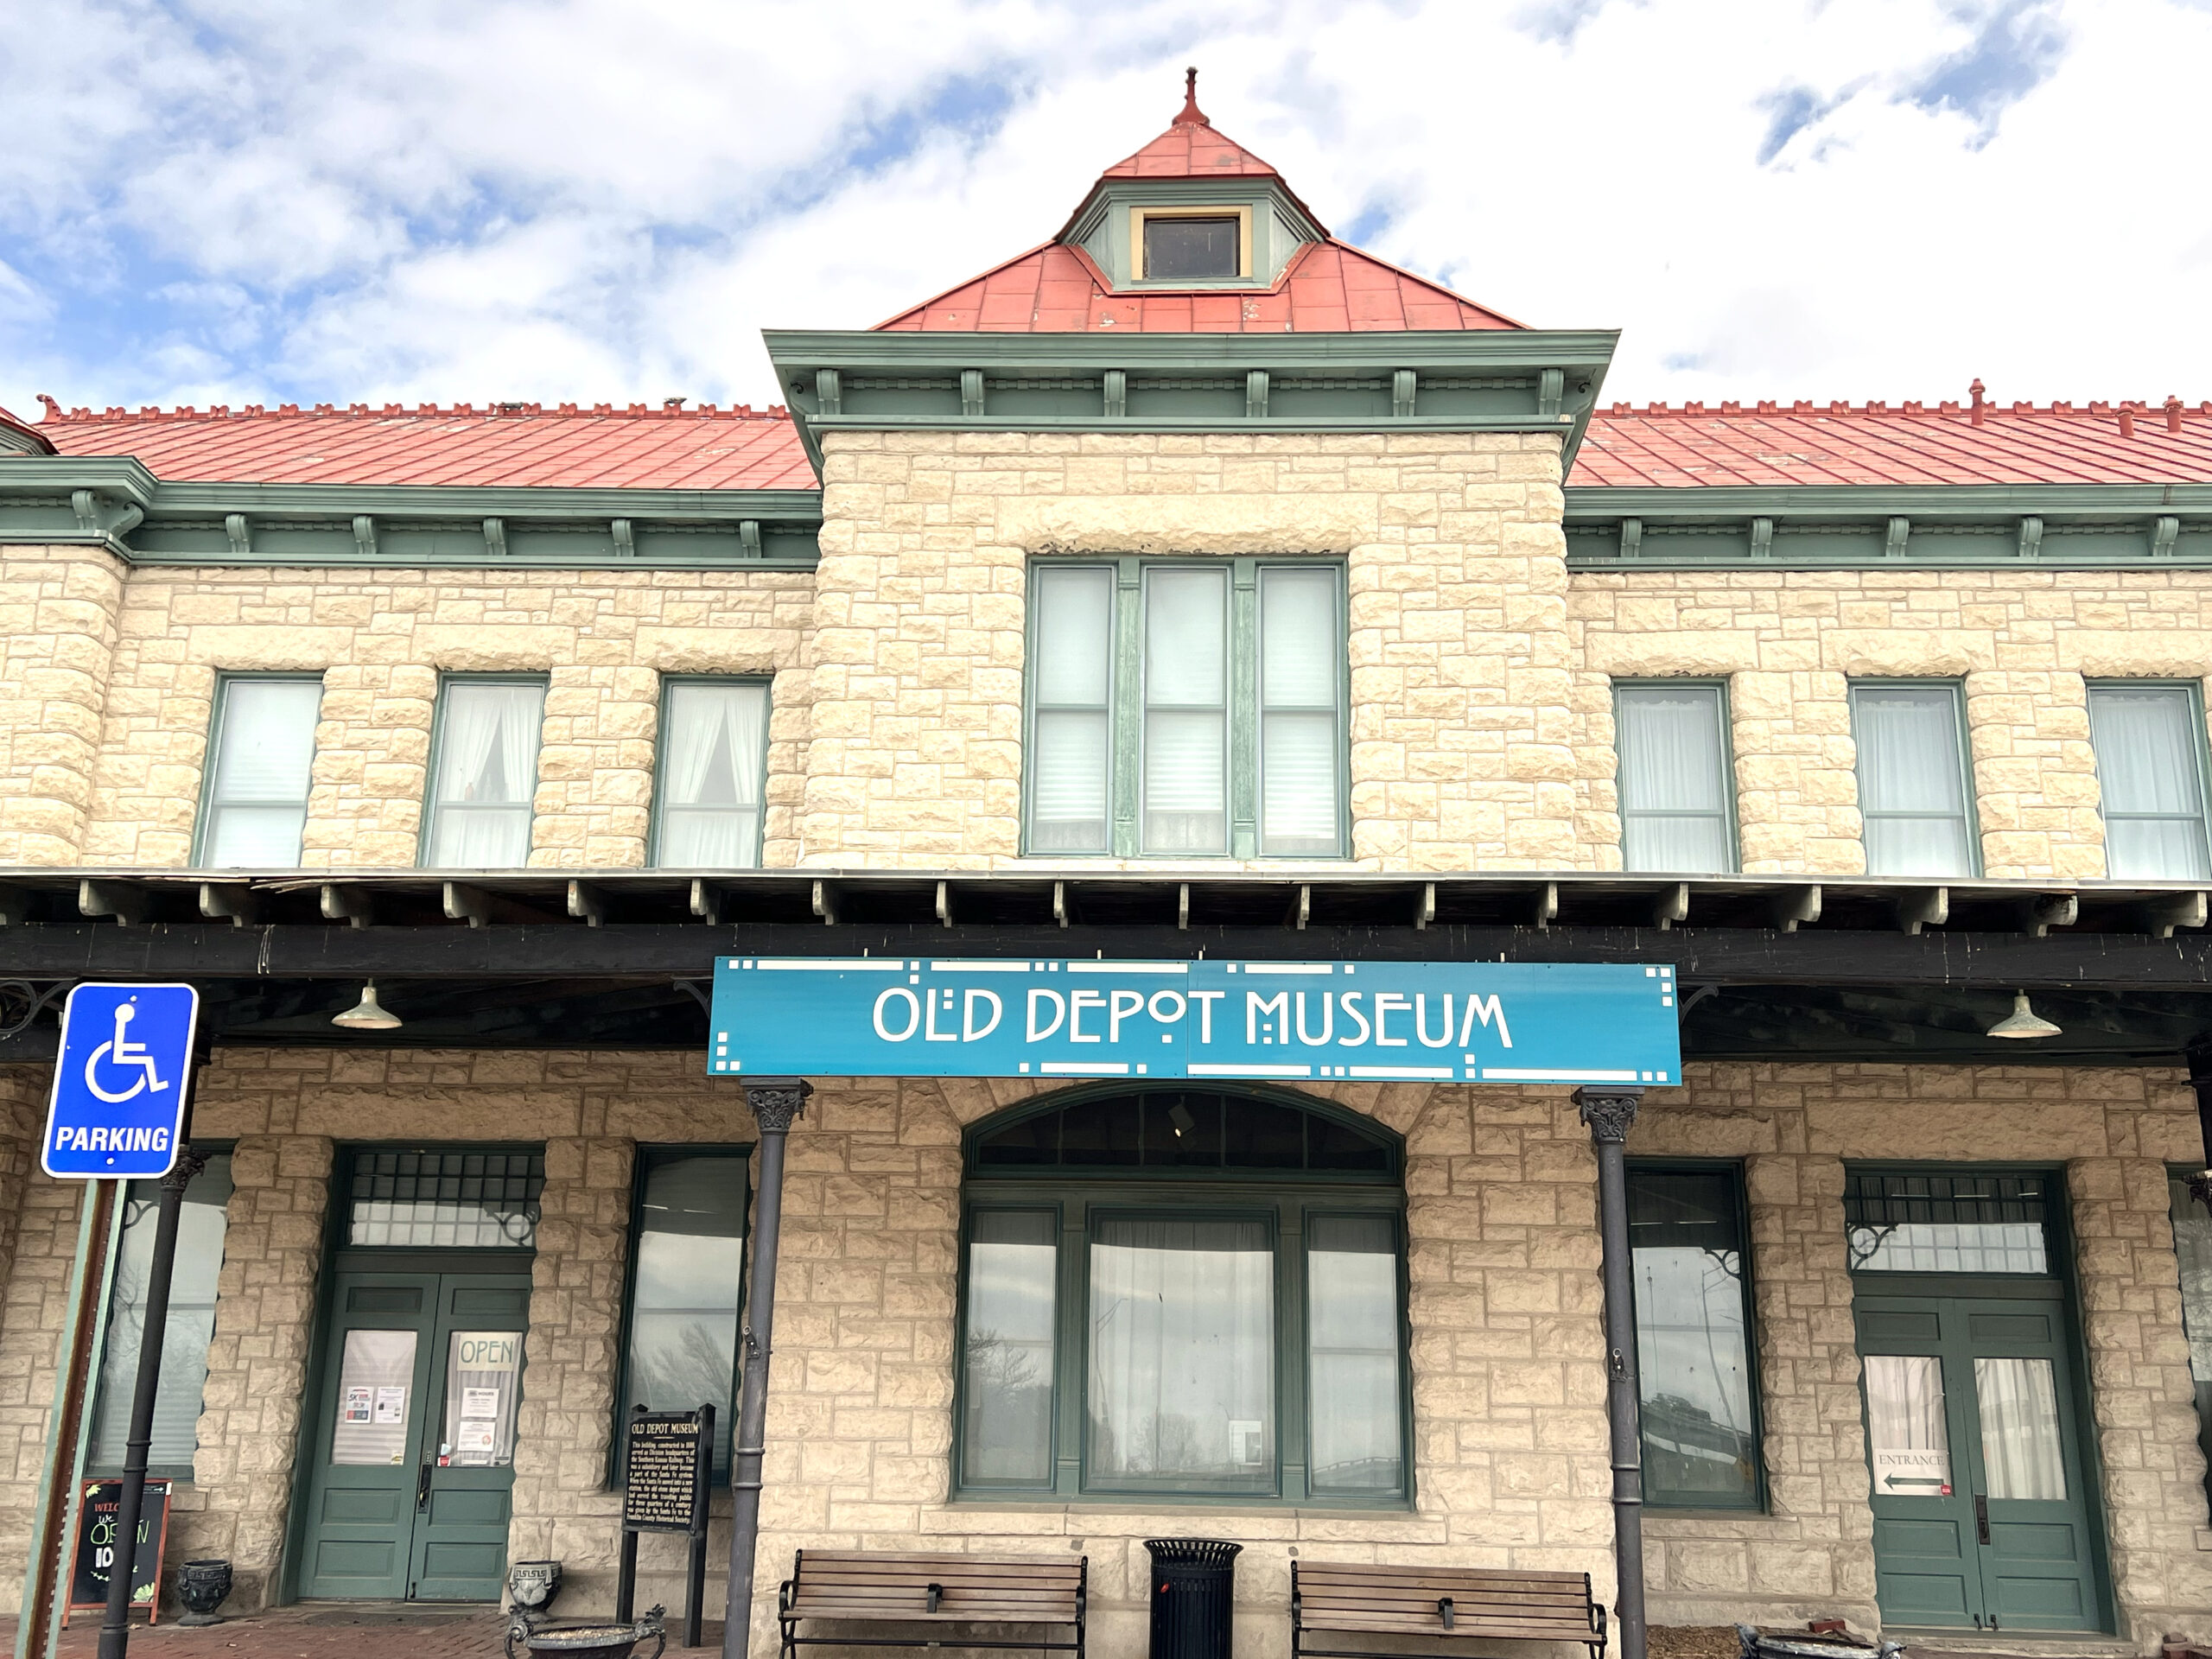 When several railroad companies wanted to be the first one to traverse Kansas, county leaders advocated for the Leavenworth, Lawrence, & Galveston Railroad. In 1867, Franklin County fund the project if the LL&G reached Ottawa by January 1, 1868. The train arrived on time.
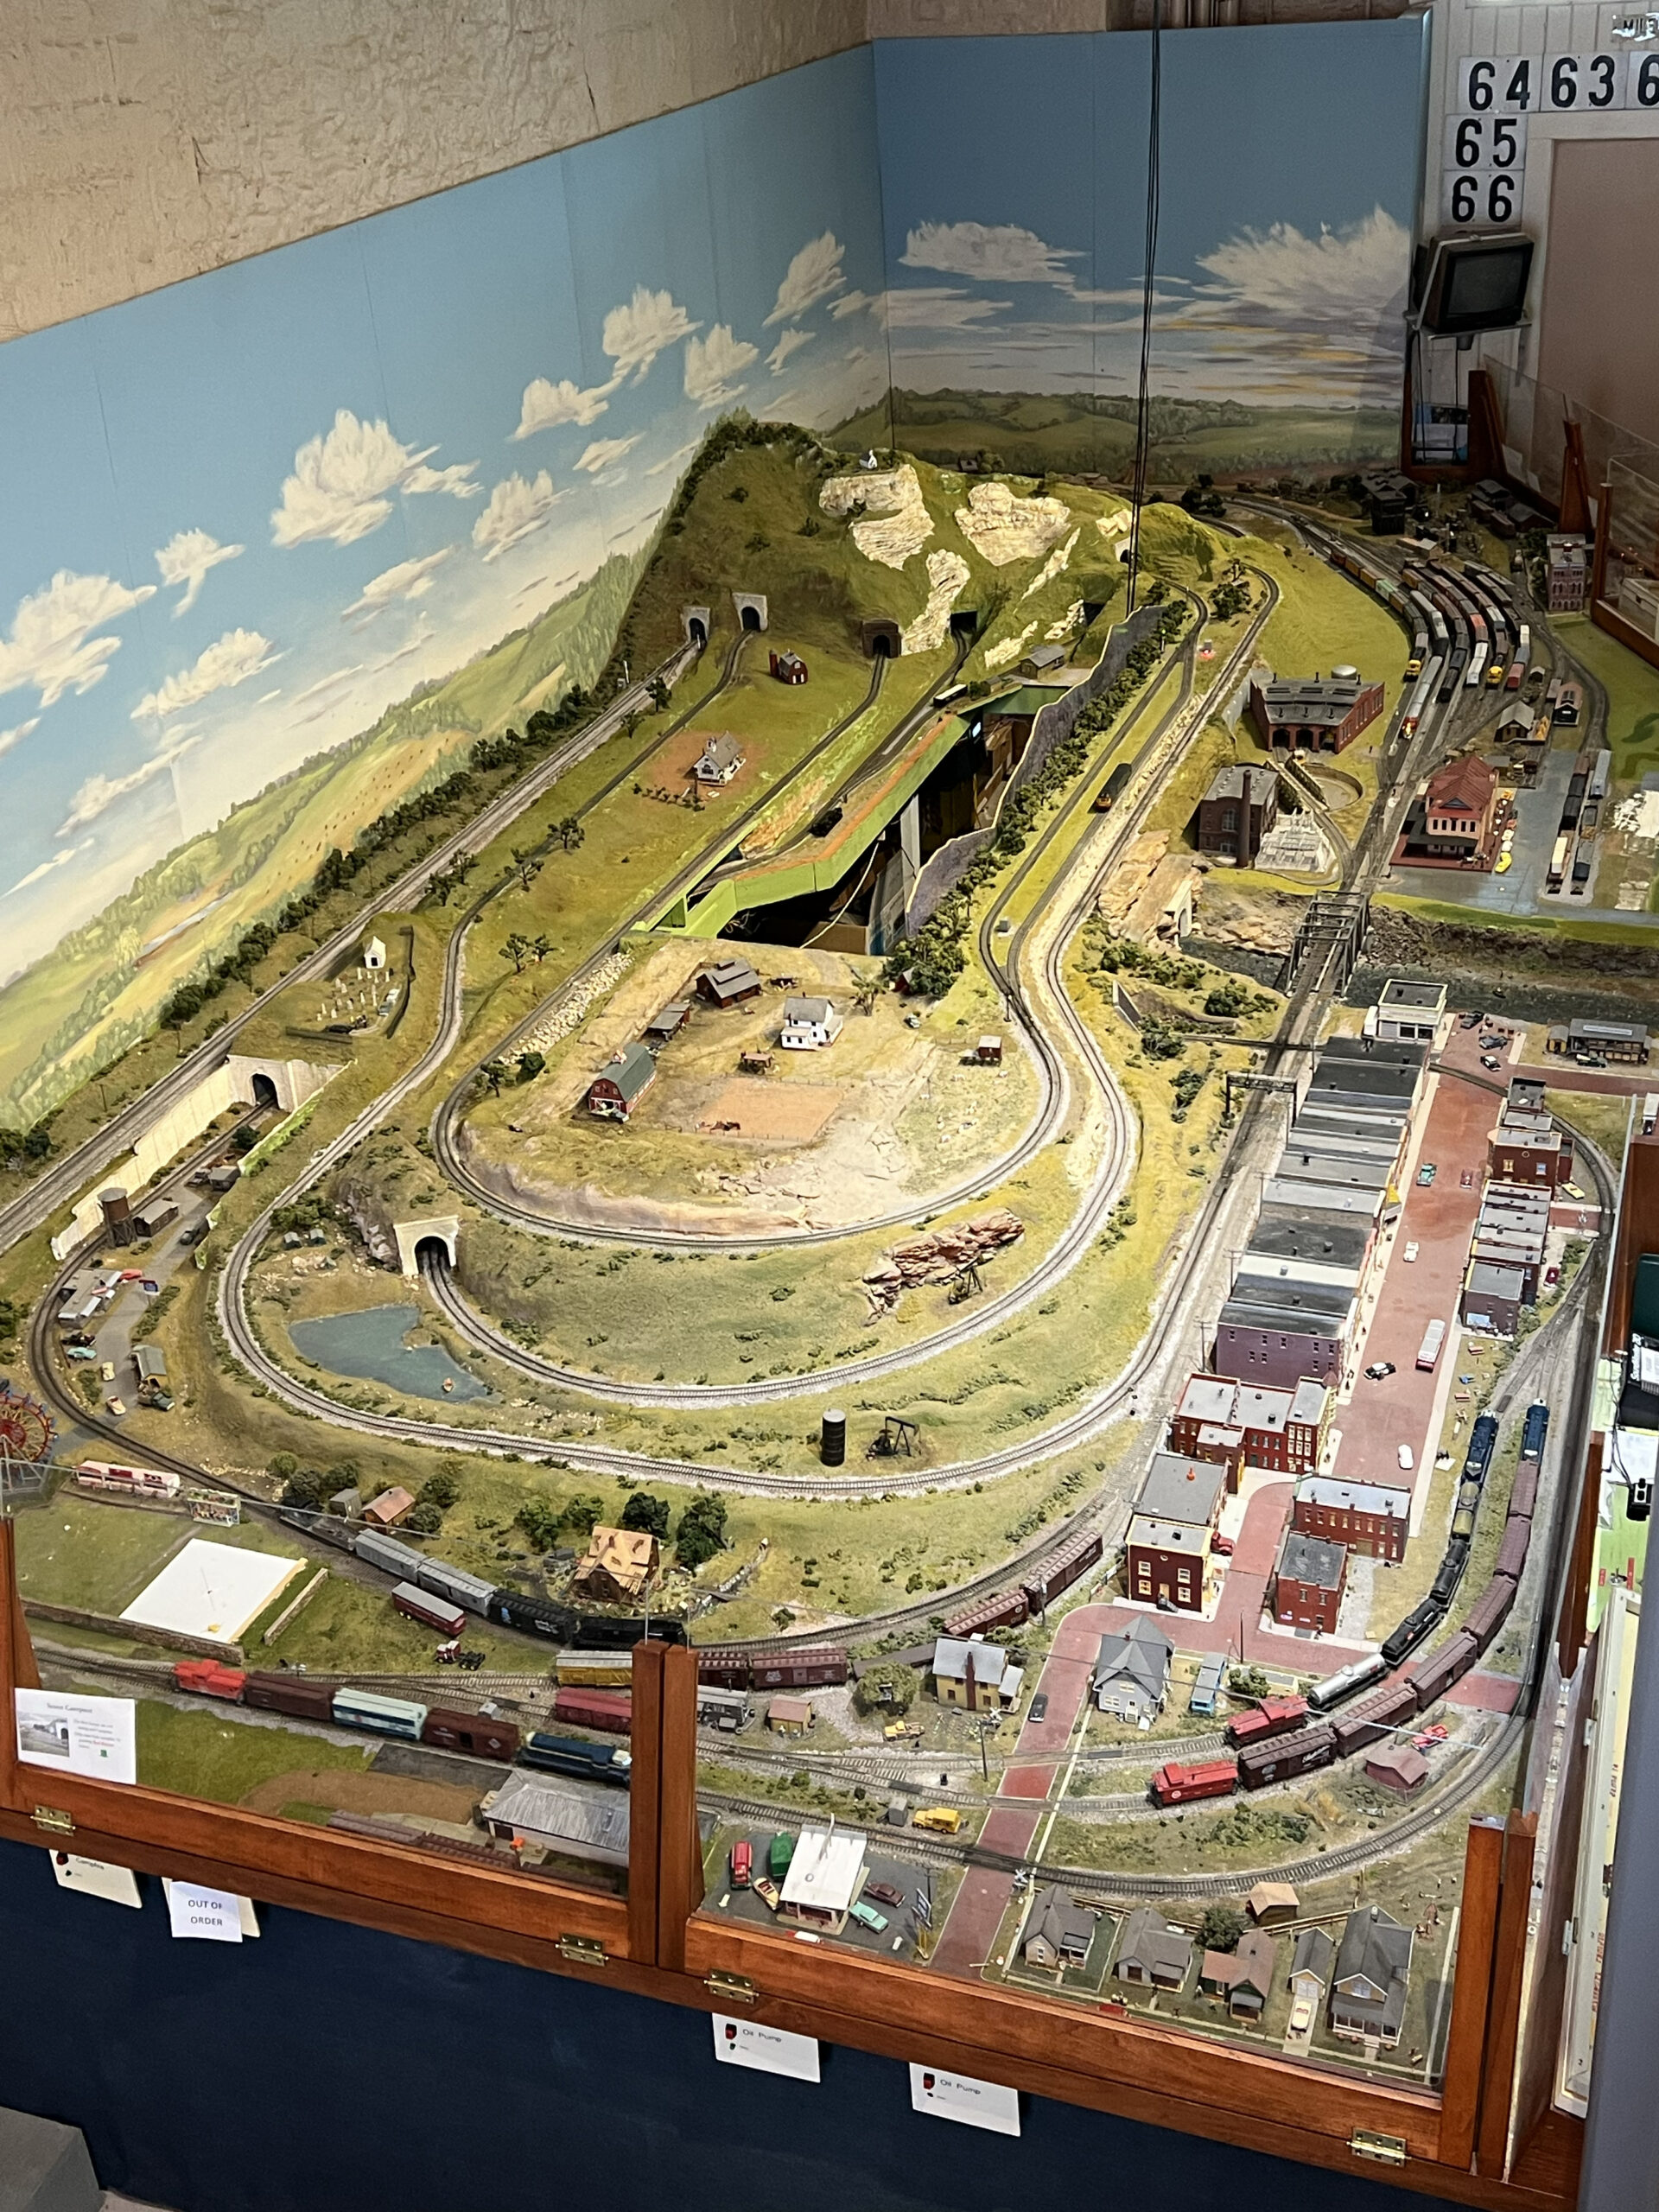 Like the courthouse, the depot was designed by George P. Washburn and currently houses historical exhibits.
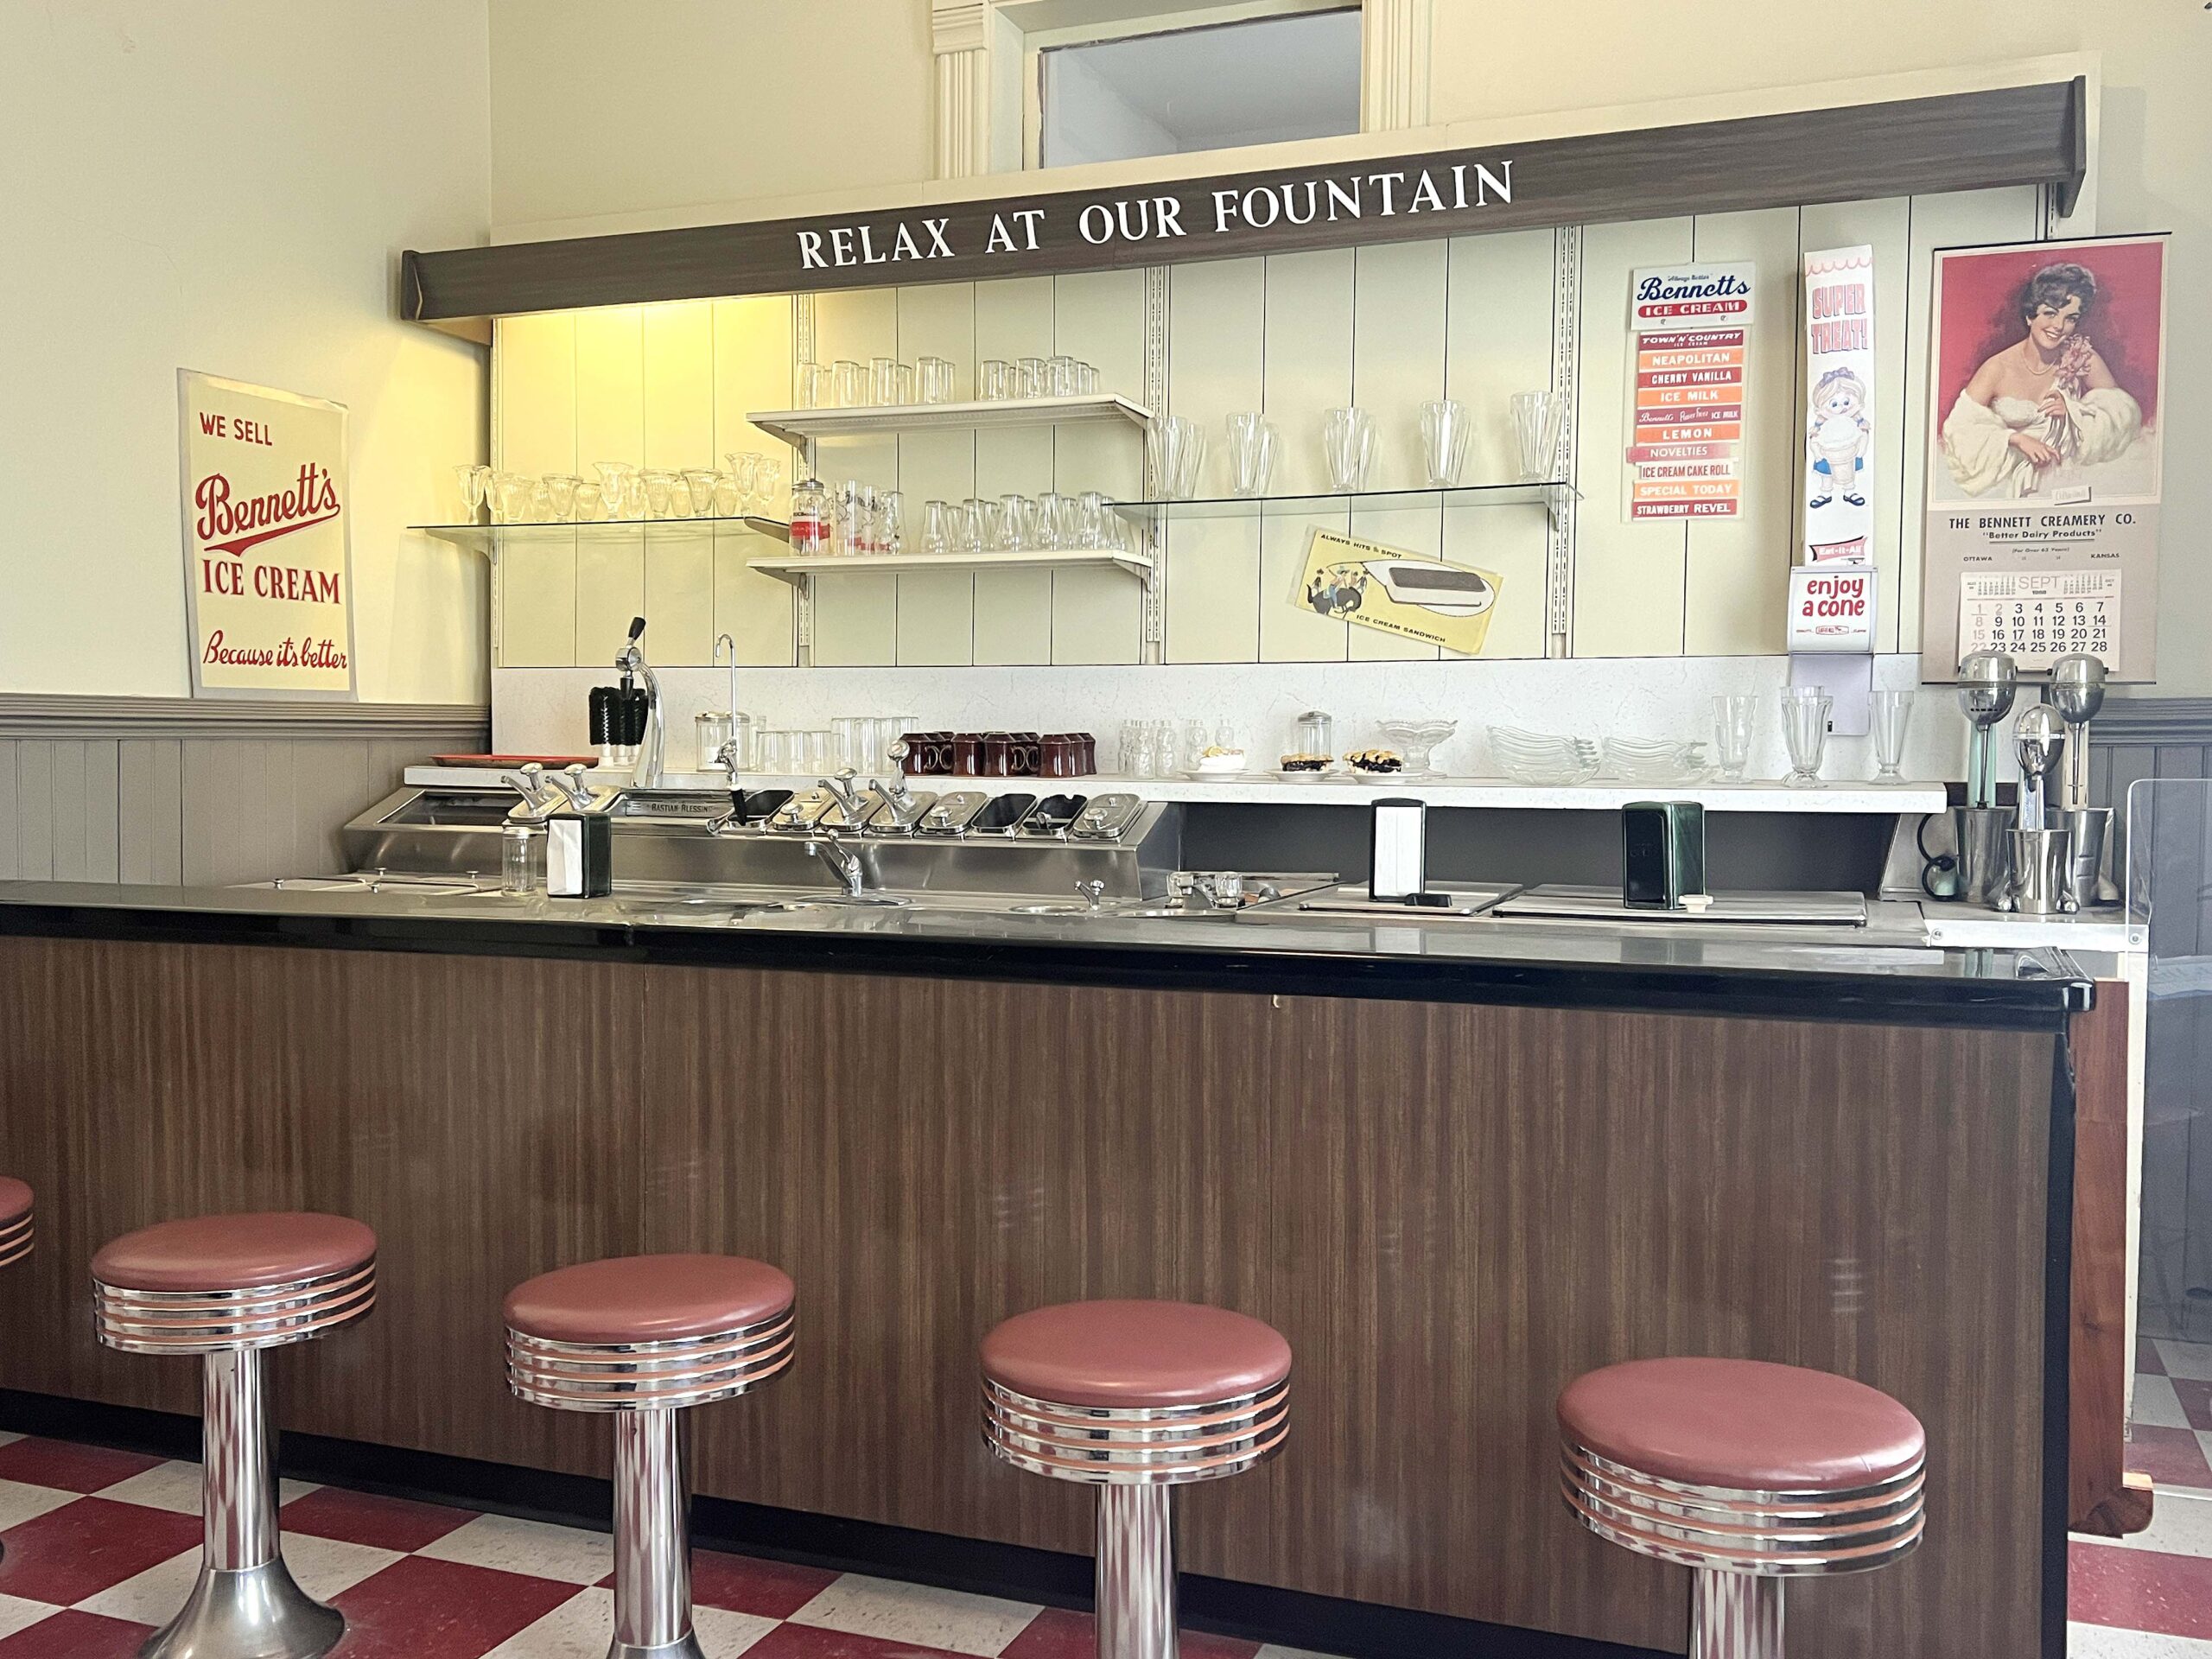 The Old Depot Museum’s collection of artifacts, photography, and thematic rooms is free to tour (donations appreciated).
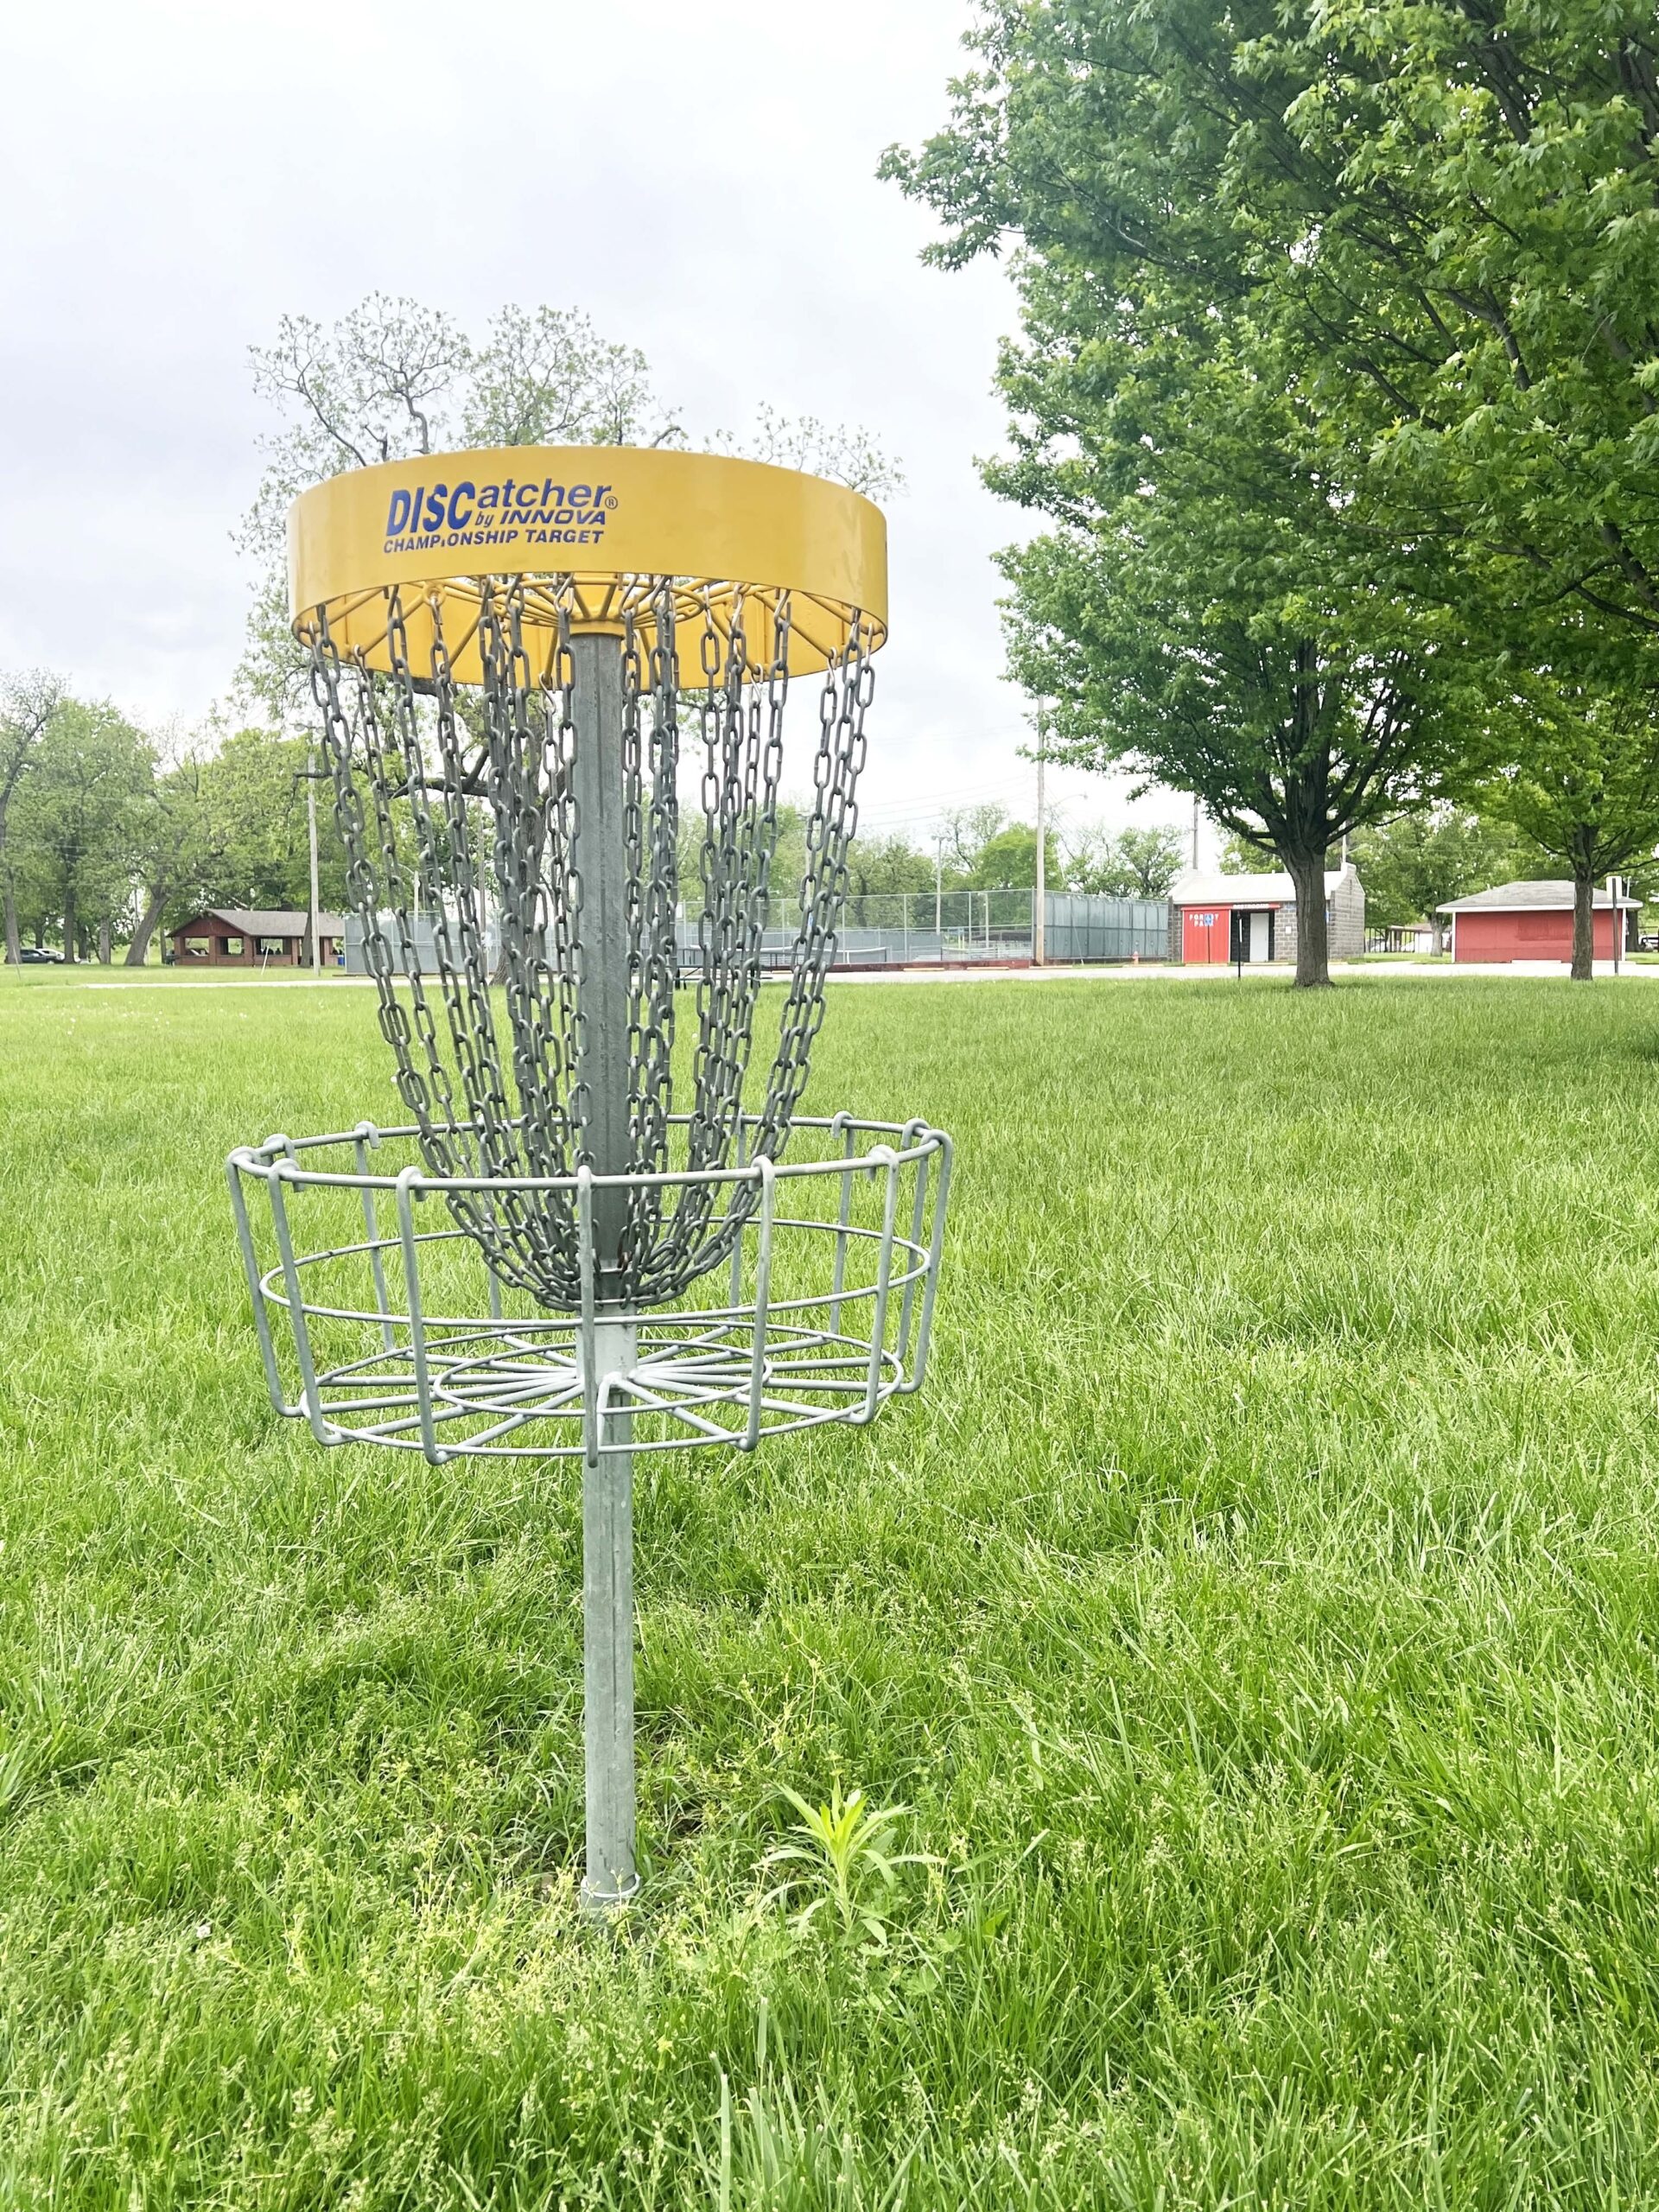 If you play disc golf, bring your gear to play the
  Traveling with little kids? Consider attending storytime and open play sessions, often announced on the library’s
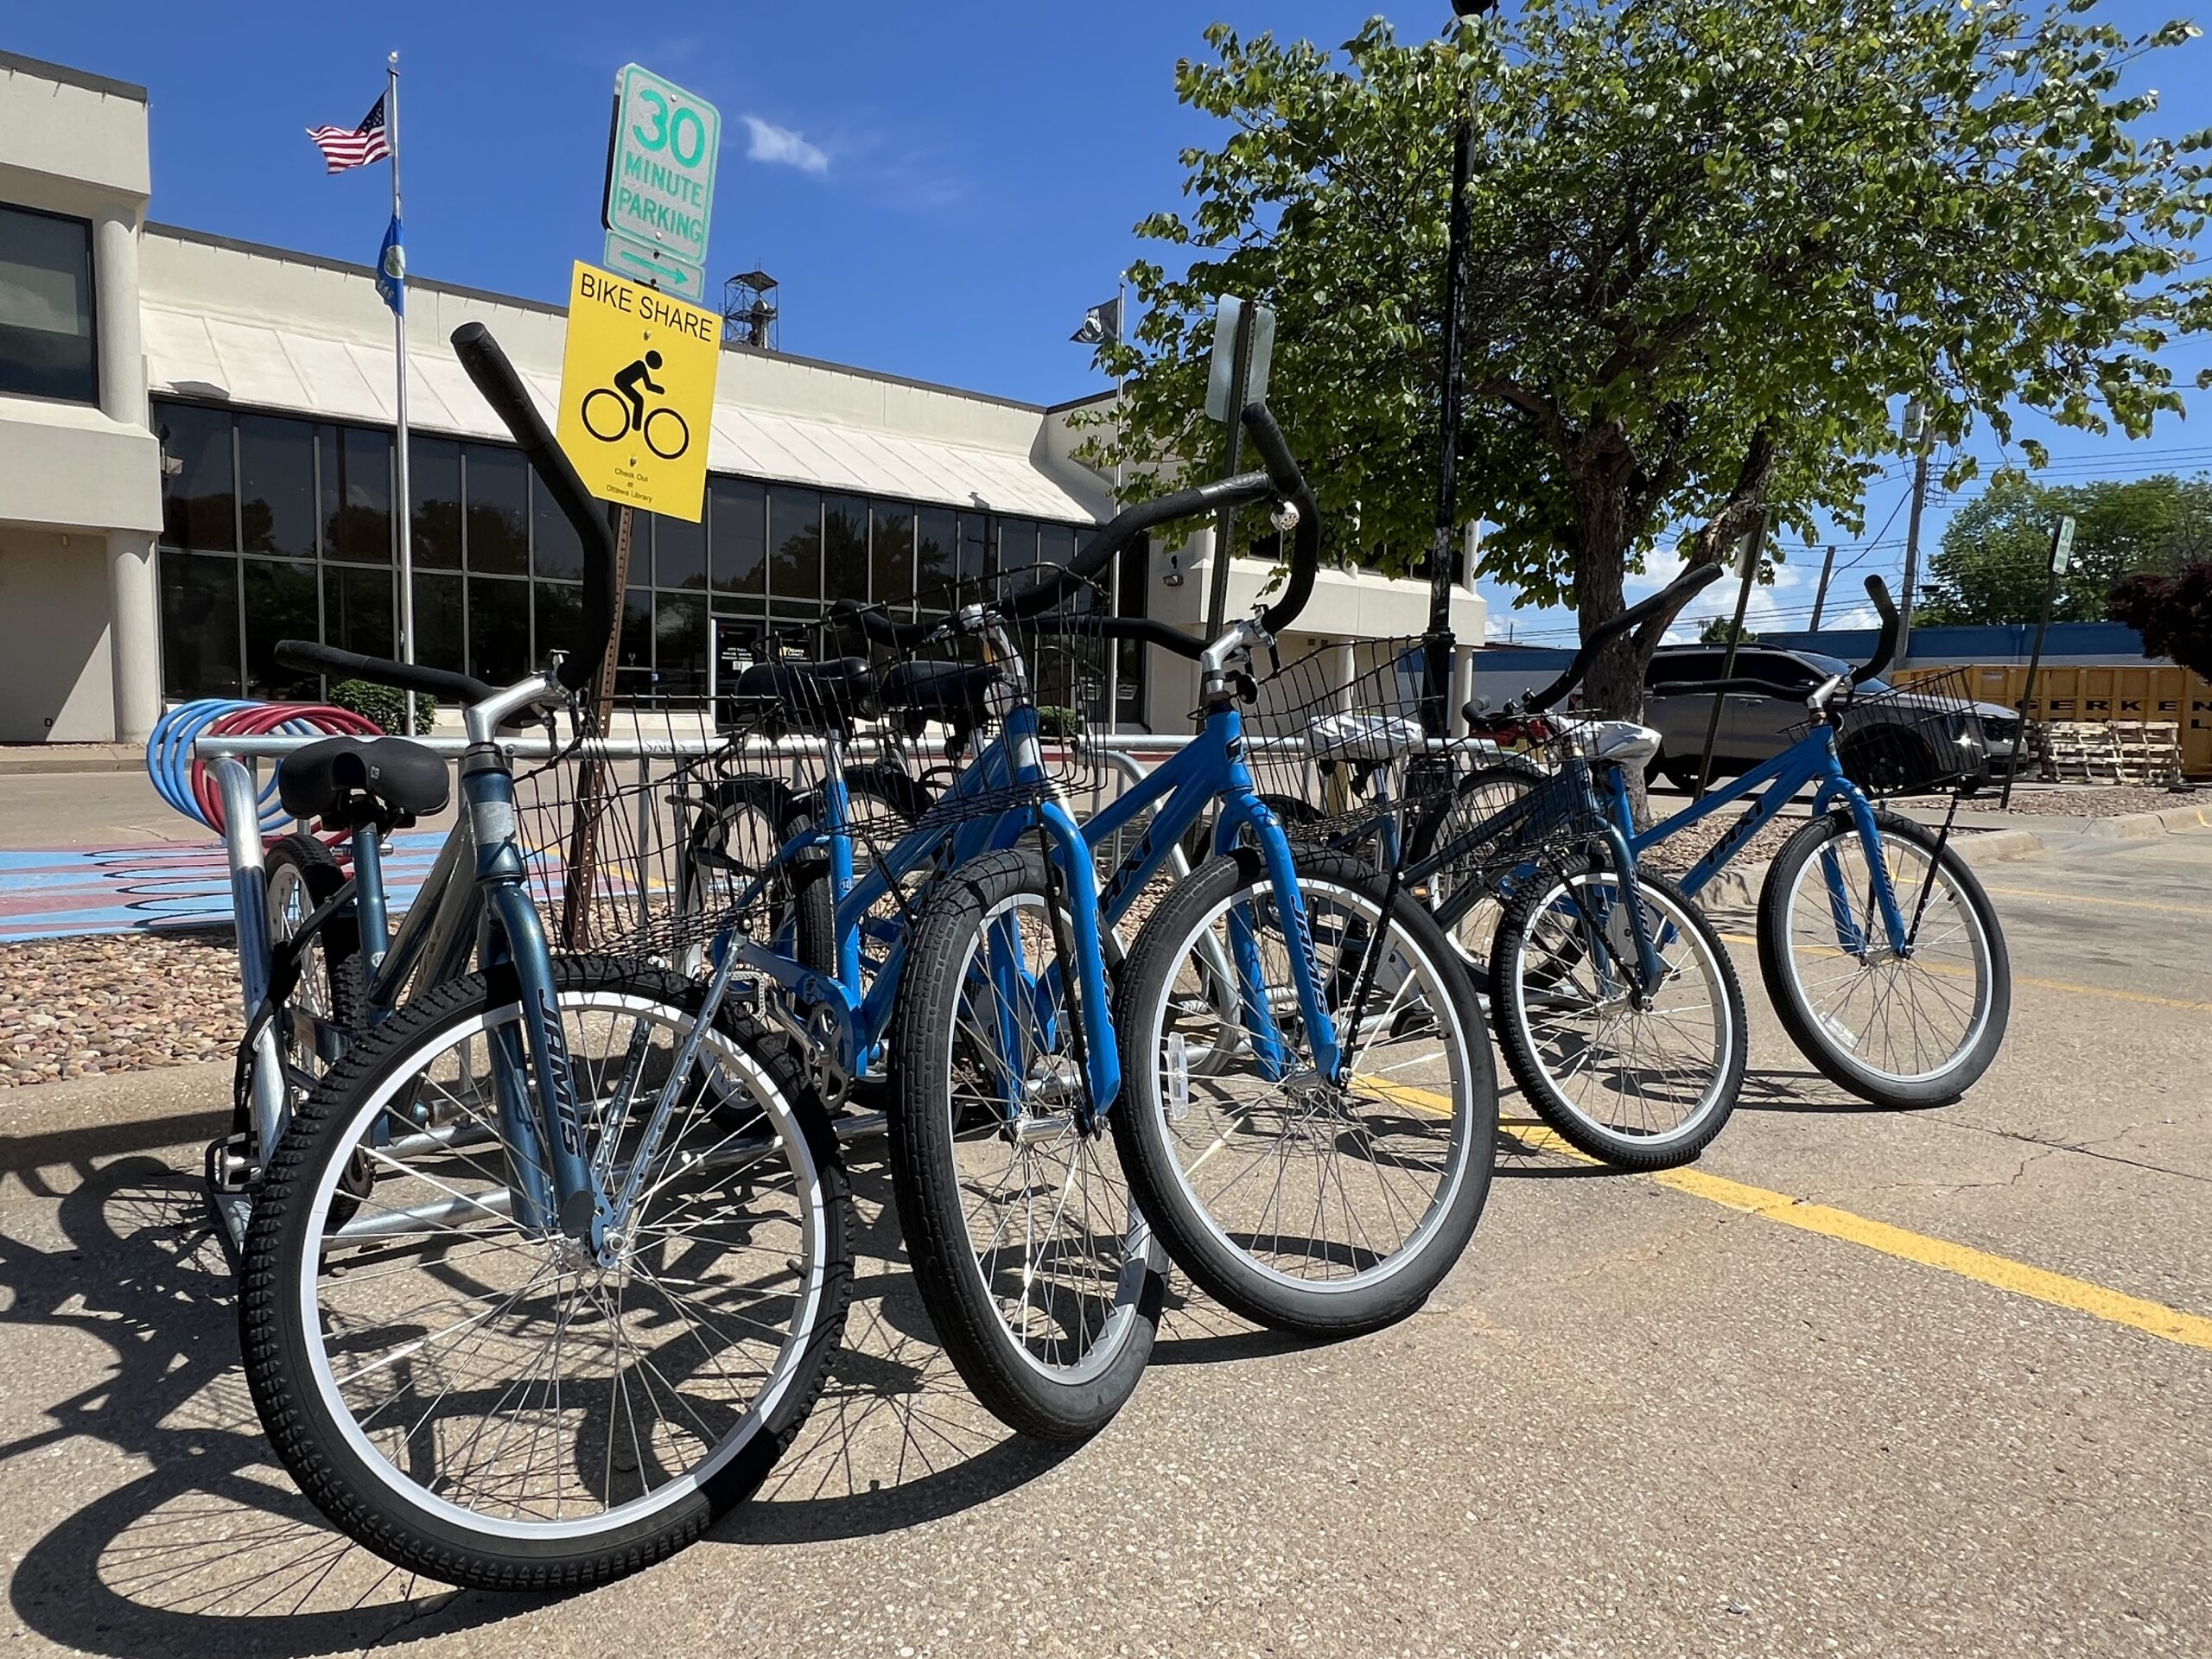
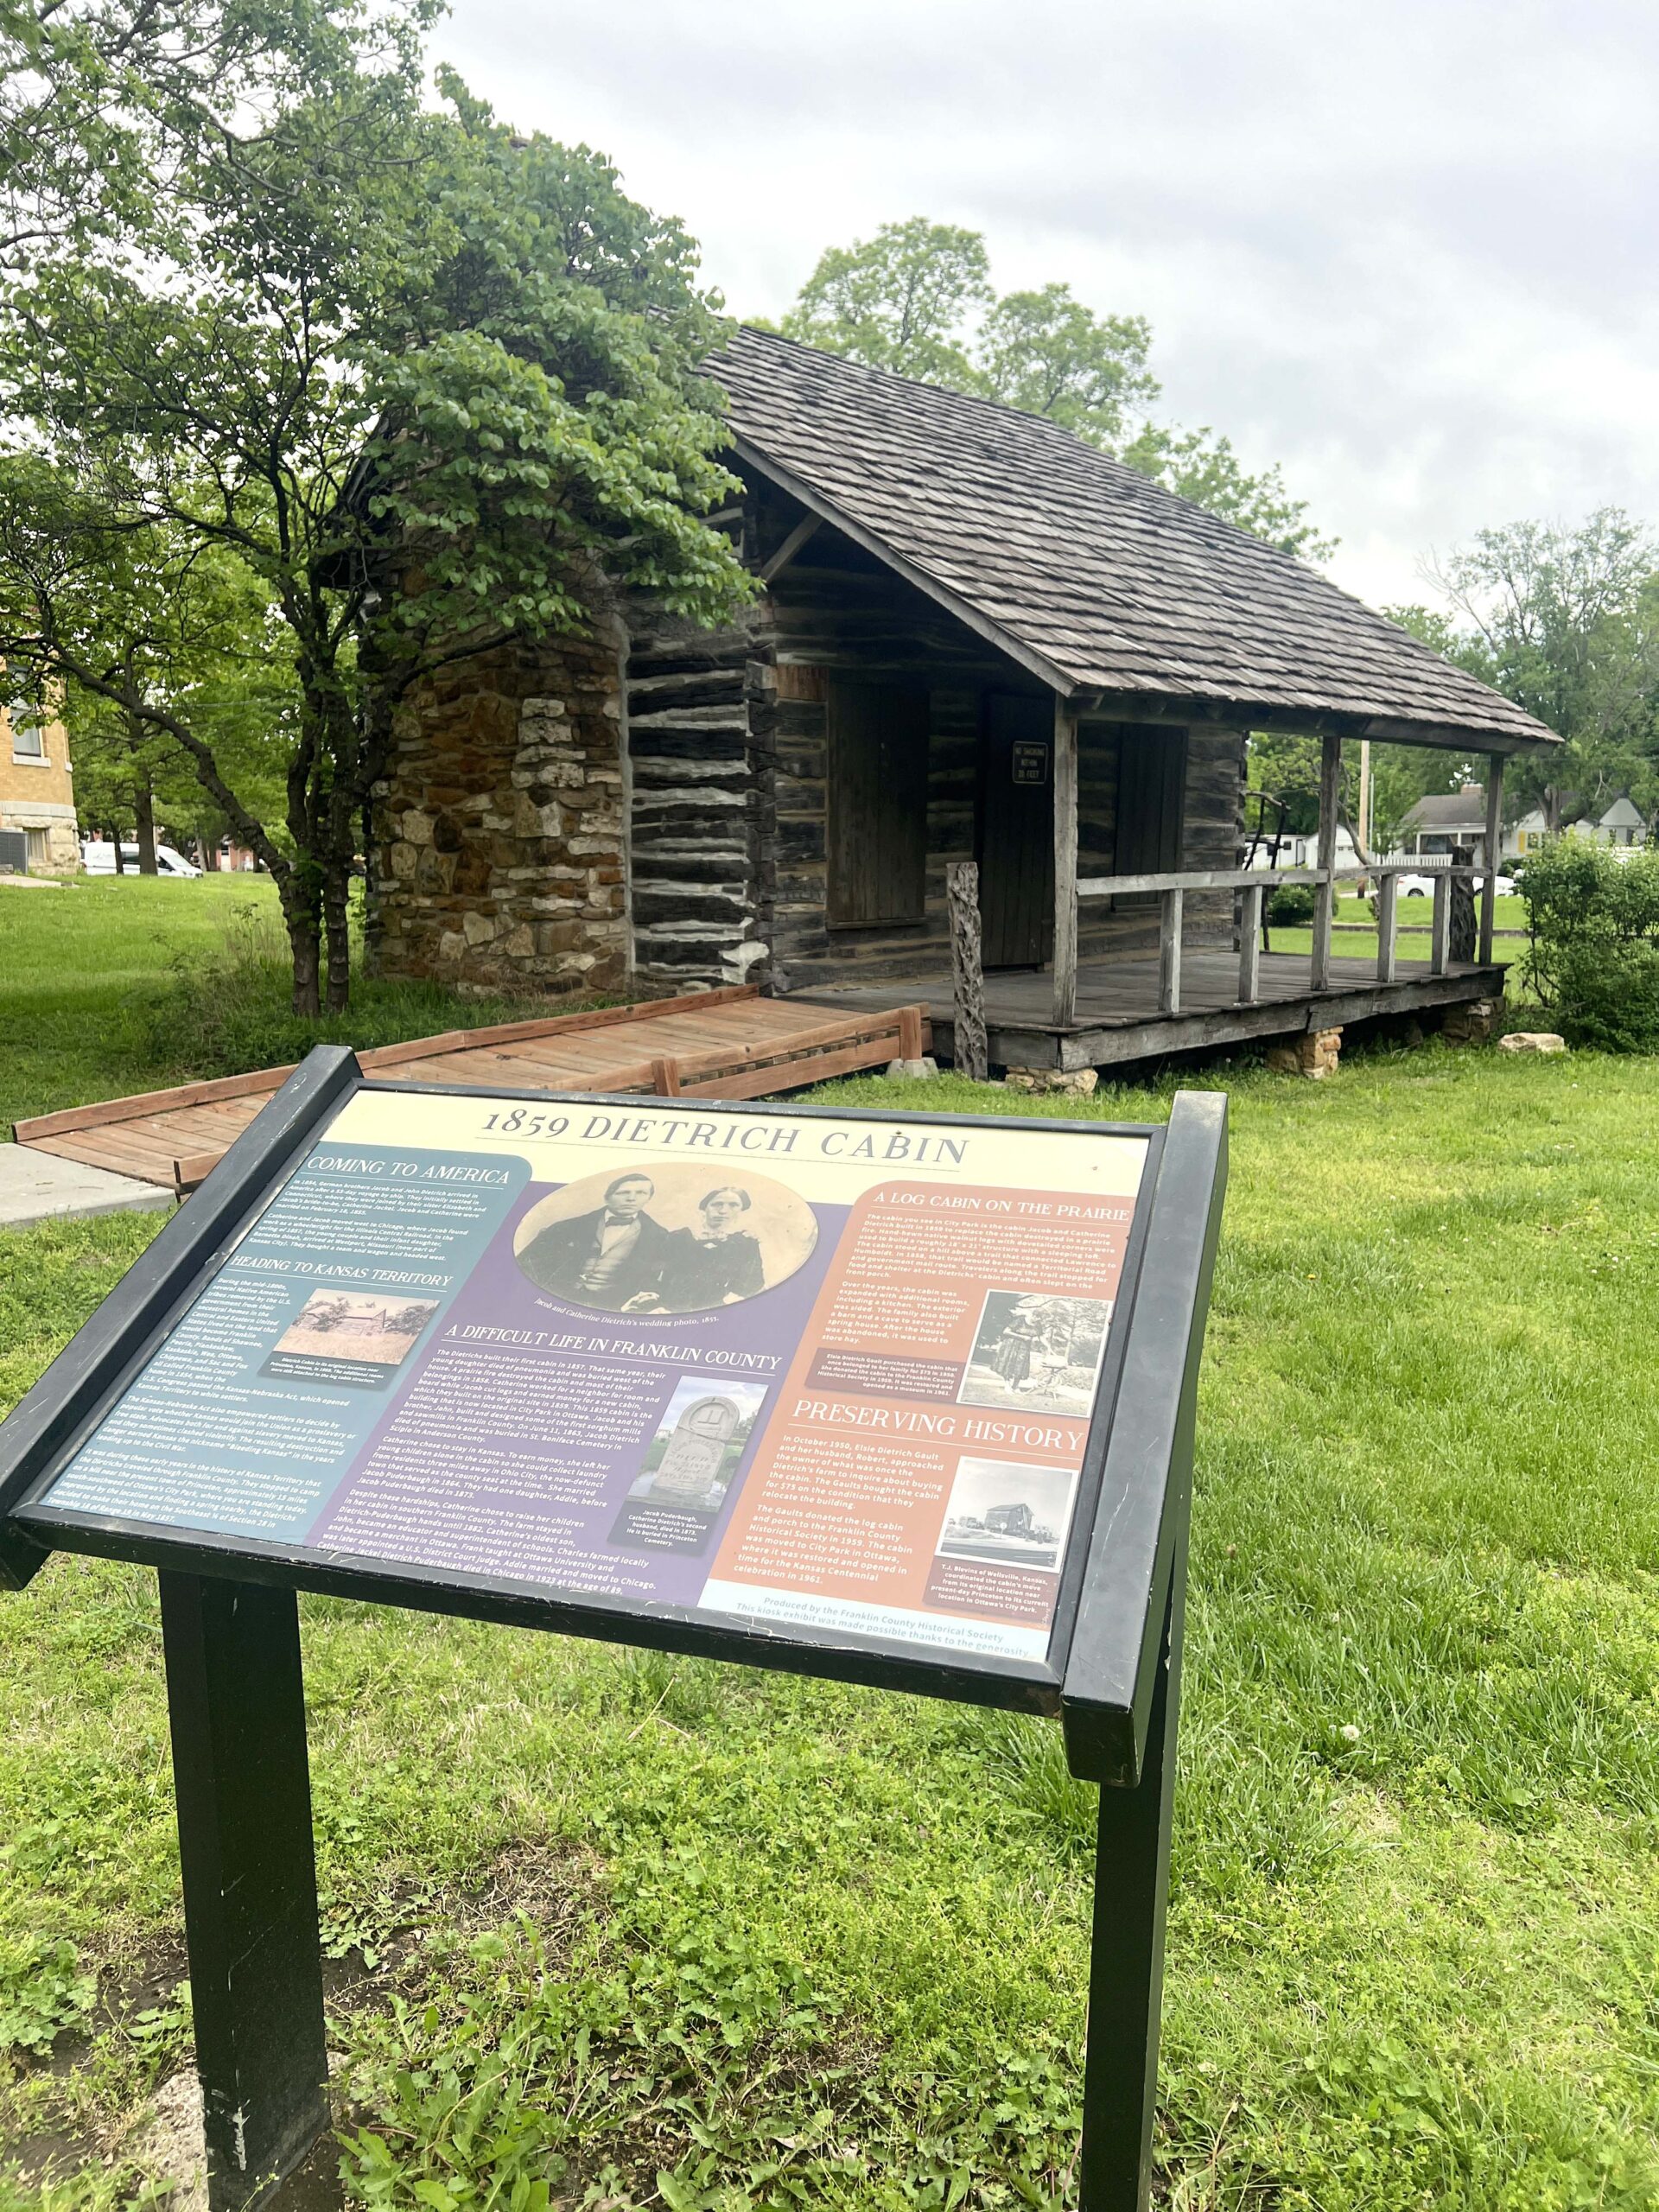 View links to ten city parks and the Prairie Spirit Rail Trail
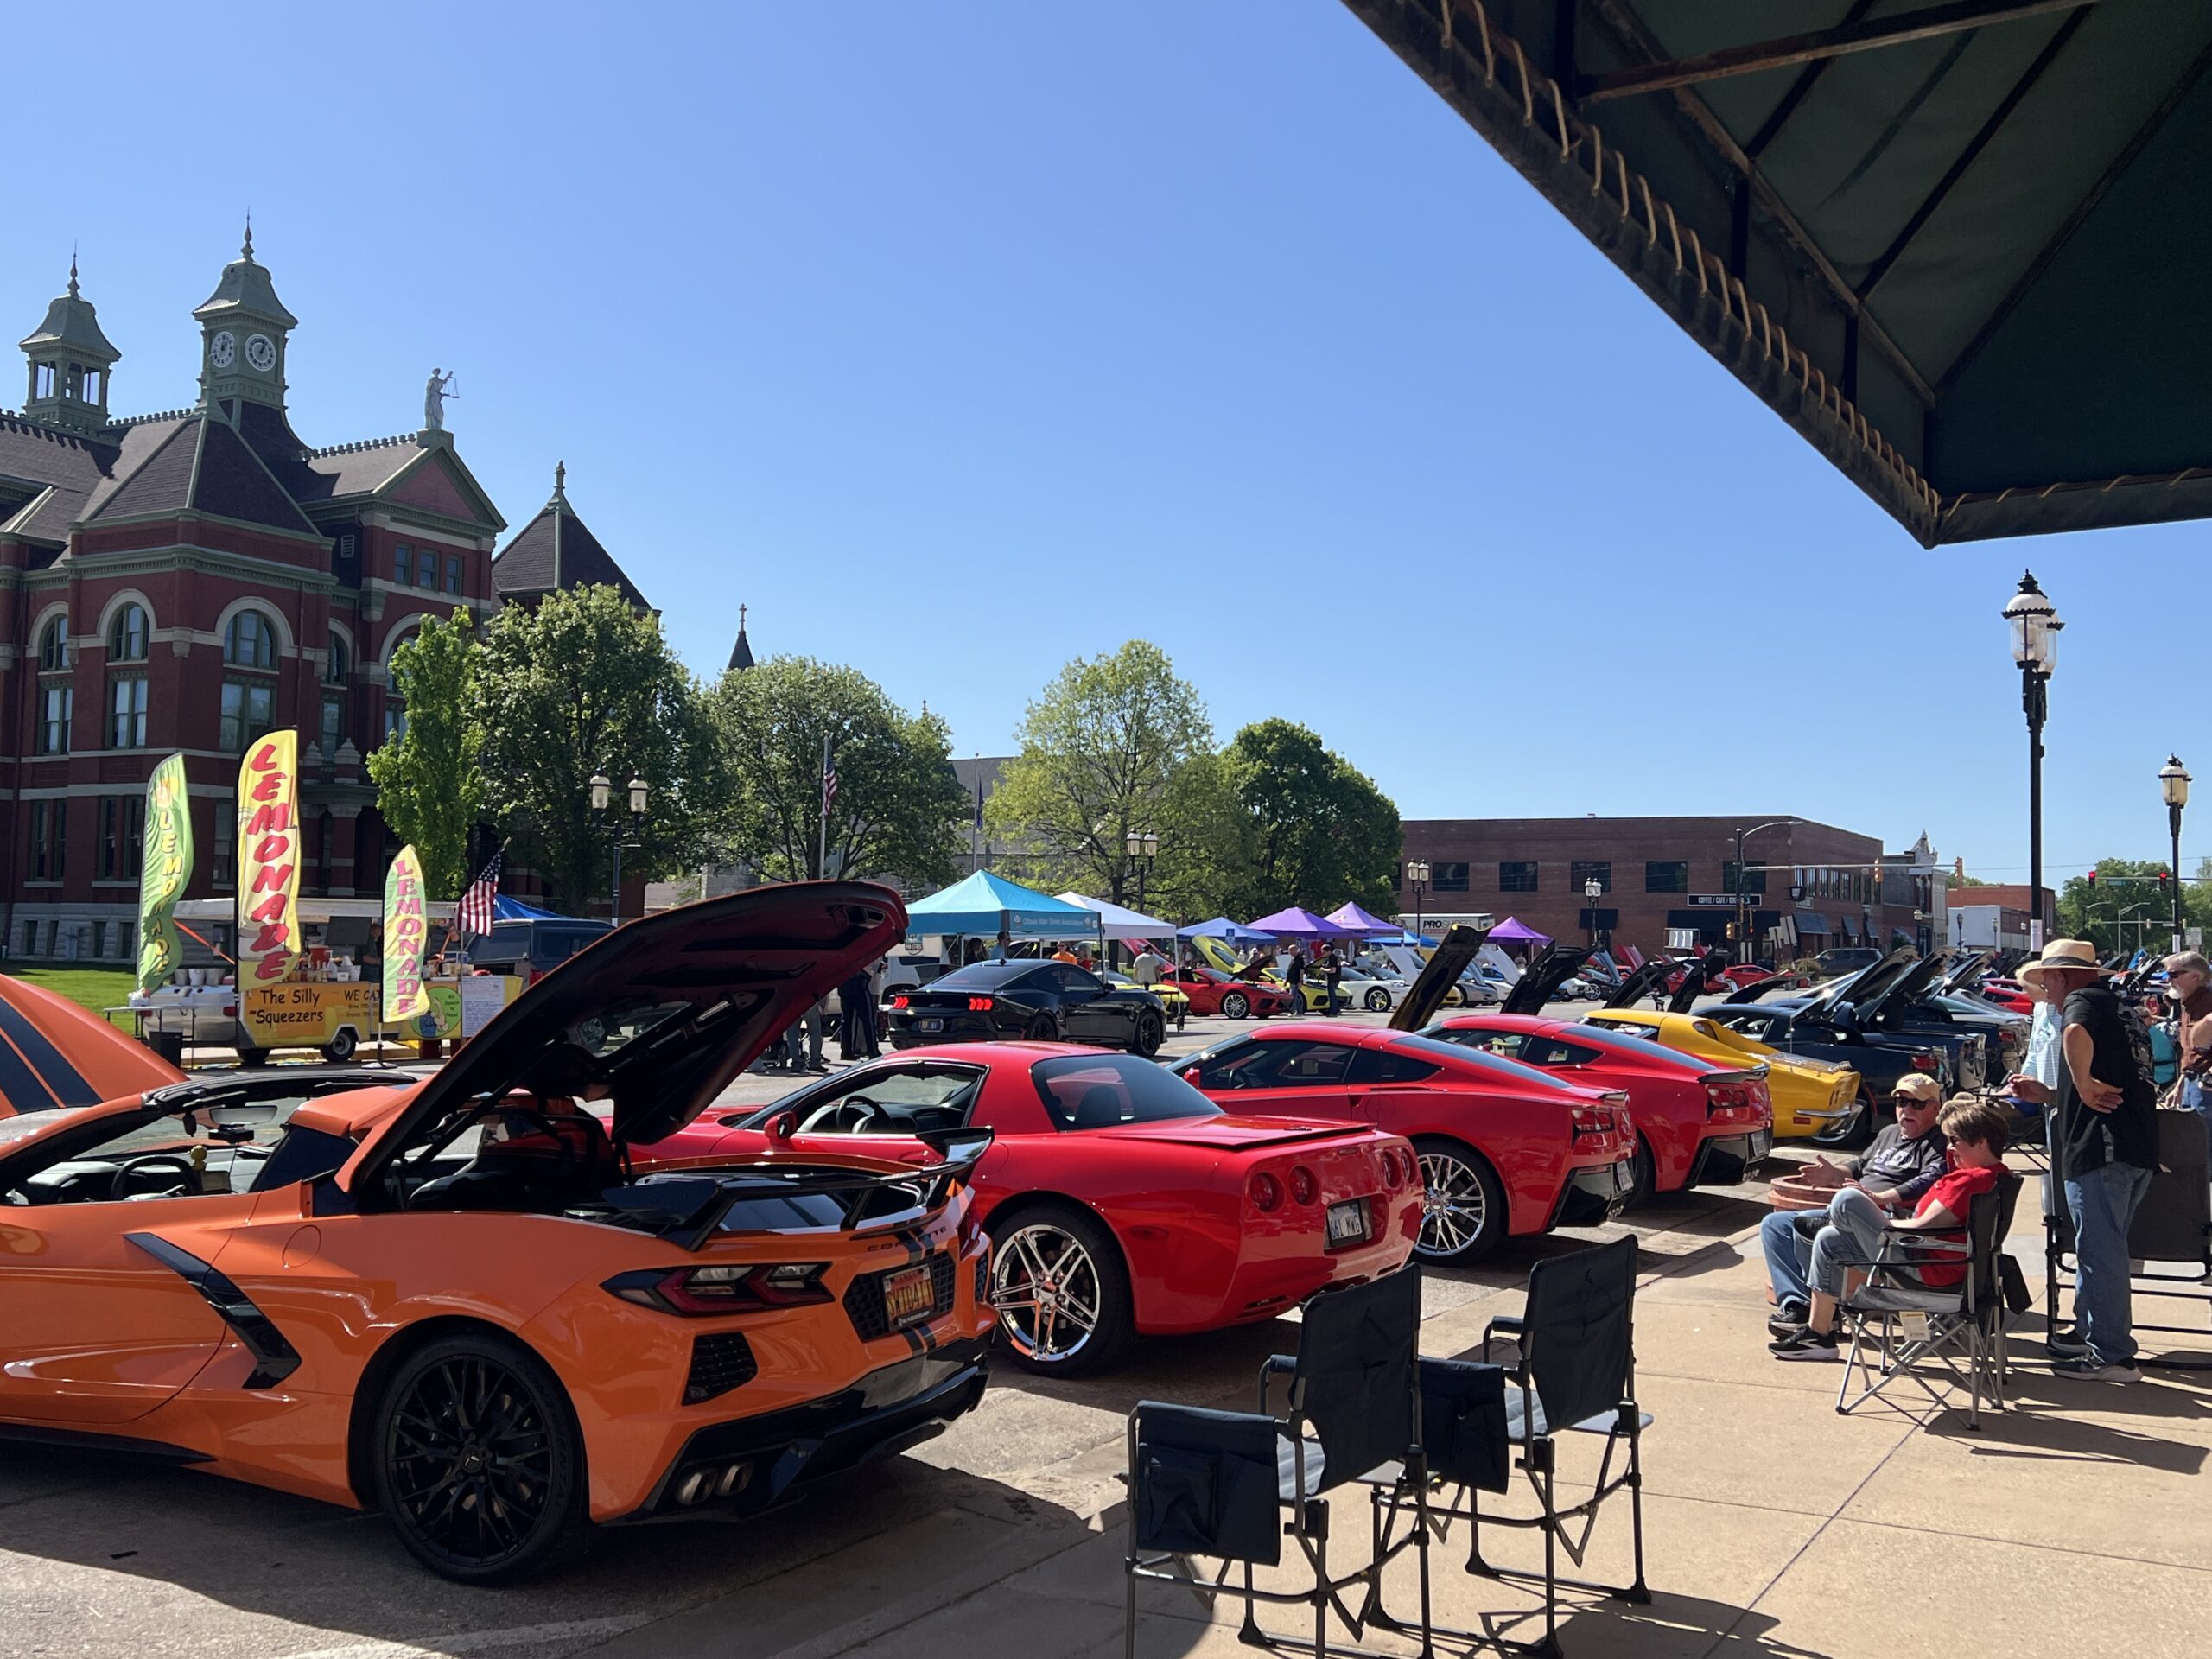 Other must-attend events include late-night shopping during Third Thursday on Main, the Brews, Beats & Boutiques / Moonrise Bike Ride (September), Boo Bash Candy Parade (October), Shop Small Saturday (November), Christmas Open Houses on Main Street (November), Christmas Parade (December), and Main Street Mingle (February).
 What’s not to love about Main Street Ottawa? Kind business owners welcome you into their retail shops and restaurants in a bustling, well-kept downtown district marked by historical buildings and charming store windows.