Affiliate Disclosure: As an Amazon Associate, I may earn commissions from qualifying purchases from Amazon.com.
Without a doubt, our planet is suffering from the effects of global warming. How can each of us make a difference when true change requires the work of millions of people to protect the planet? If everyone took one action a day to improve the way they interacted with the environment, the ripple effect would make a difference. Let me tell you a story.
When I moved to the mountains of Colorado in my early 30s, I brought all of my urban living habits with me. I lived a lifestyle of consumption without a thought about my carbon footprint.
Once in Breckenridge, I immediately noticed how others appreciated the location so much that lived to protect it. Recycling was mandatory. Minimalism was an acceptable way of life. People preferred to repurpose and reuse rather than buy new ones. They truly cared about the environment.
 I began modeling their behavior. I drove my recycling to the neighborhood deposit bin every week. I took a second job working for a green cleaning company. My fruits and vegetables were purchased from the farmer’s market. Eventually, I was living a more sustainable lifestyle.
Today, we can’t deny climate science. The planet needs us to put in the work. To protect it. Join me in actively taking the initiative to protect Mother Earth by making these lifestyle changes. (Yes! I take ALL of these actions regularly.)
What could you start doing today?
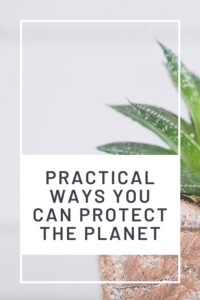
PRACTICAL WAYS YOU CAN PROTECT THE PLANET
- Shop local whenever possible
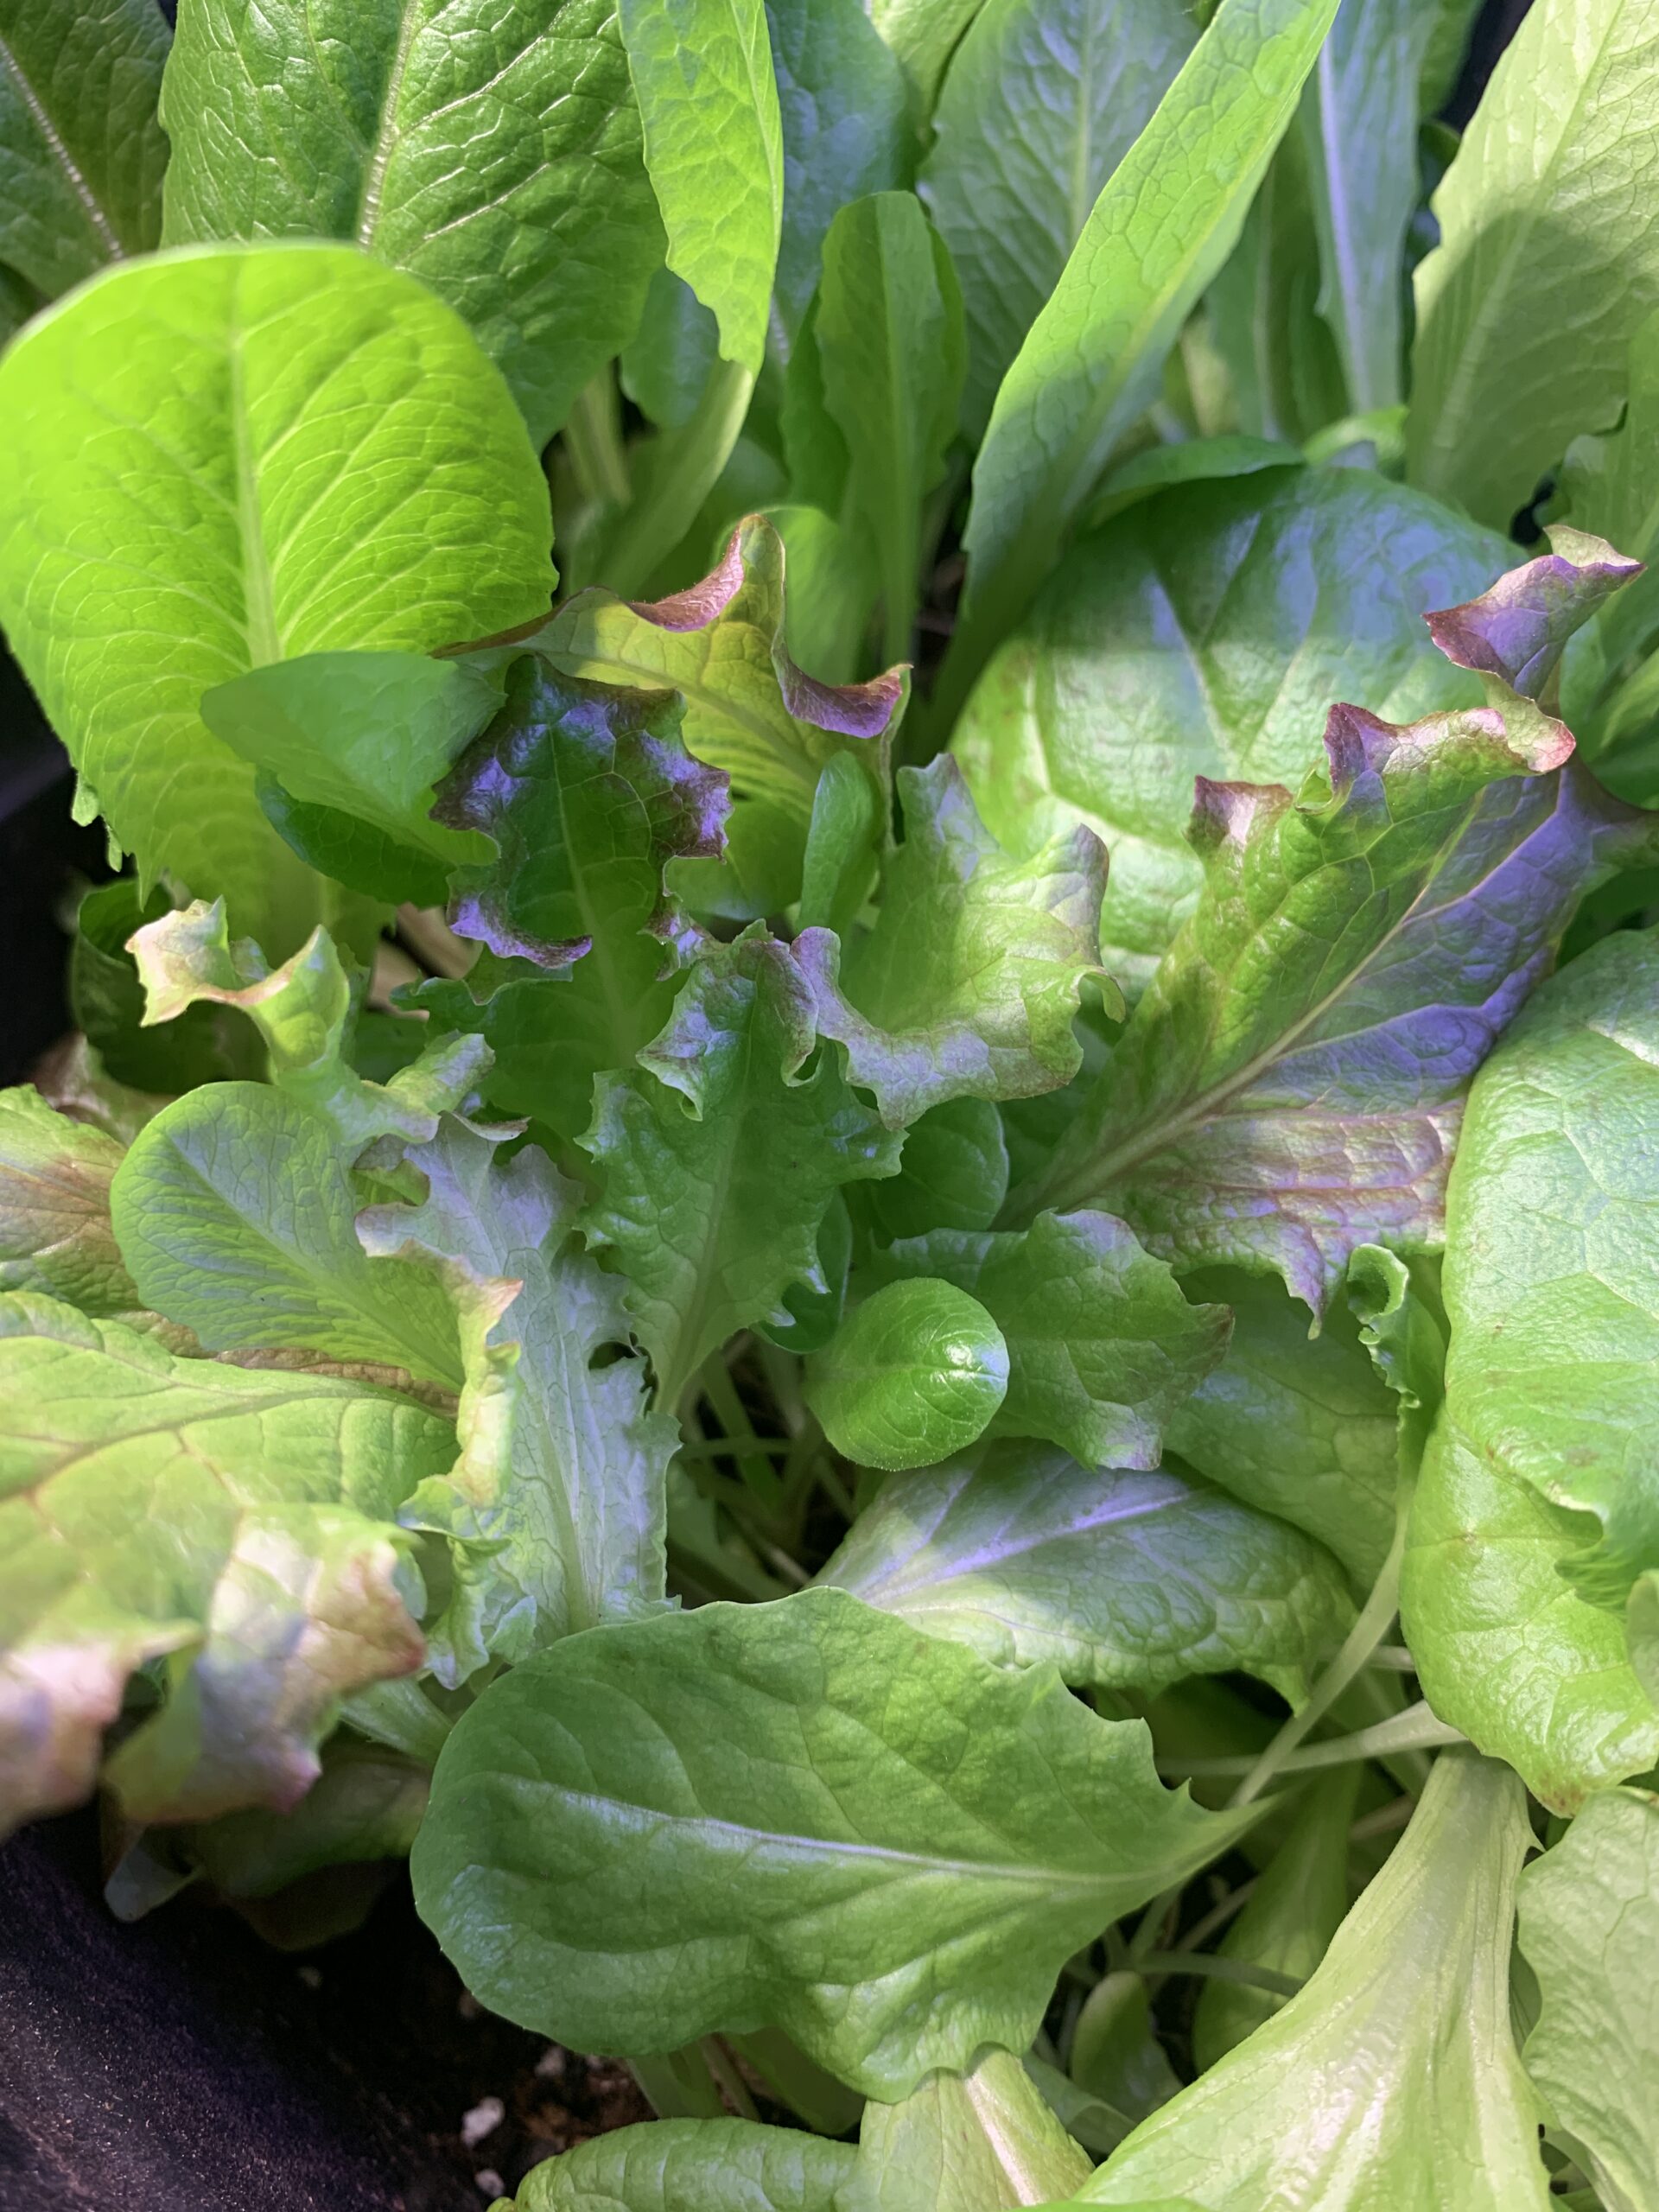
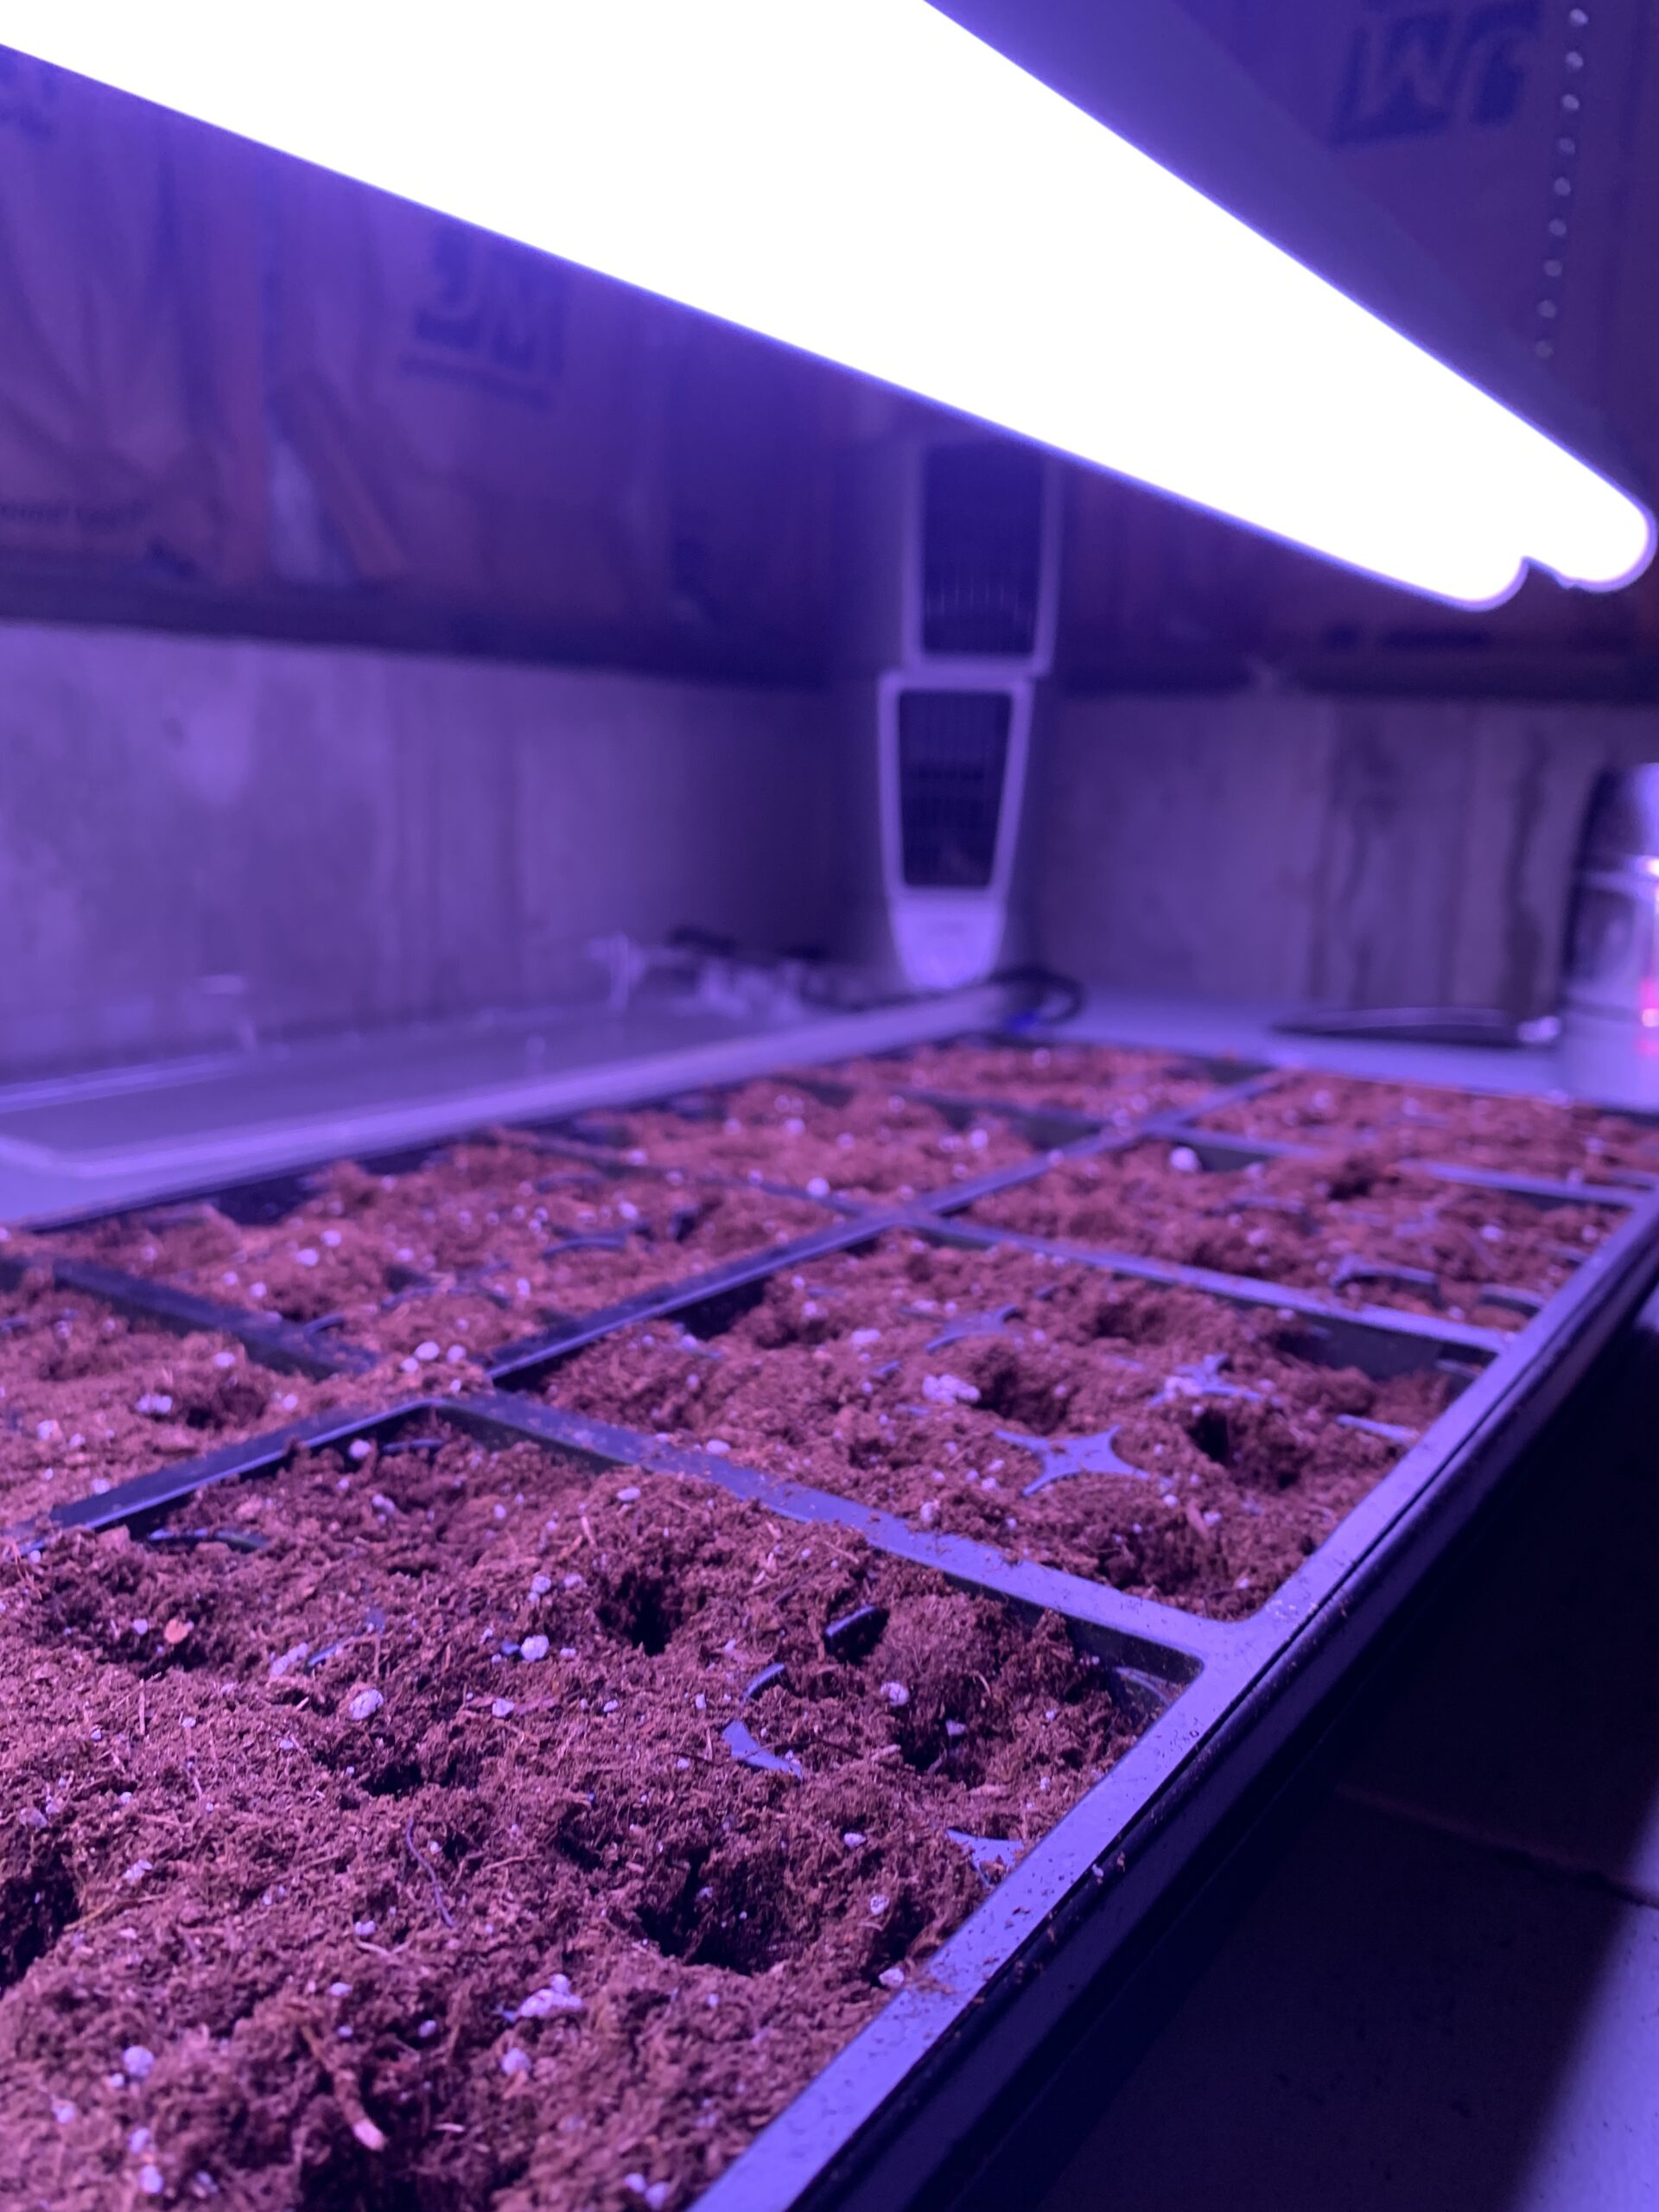
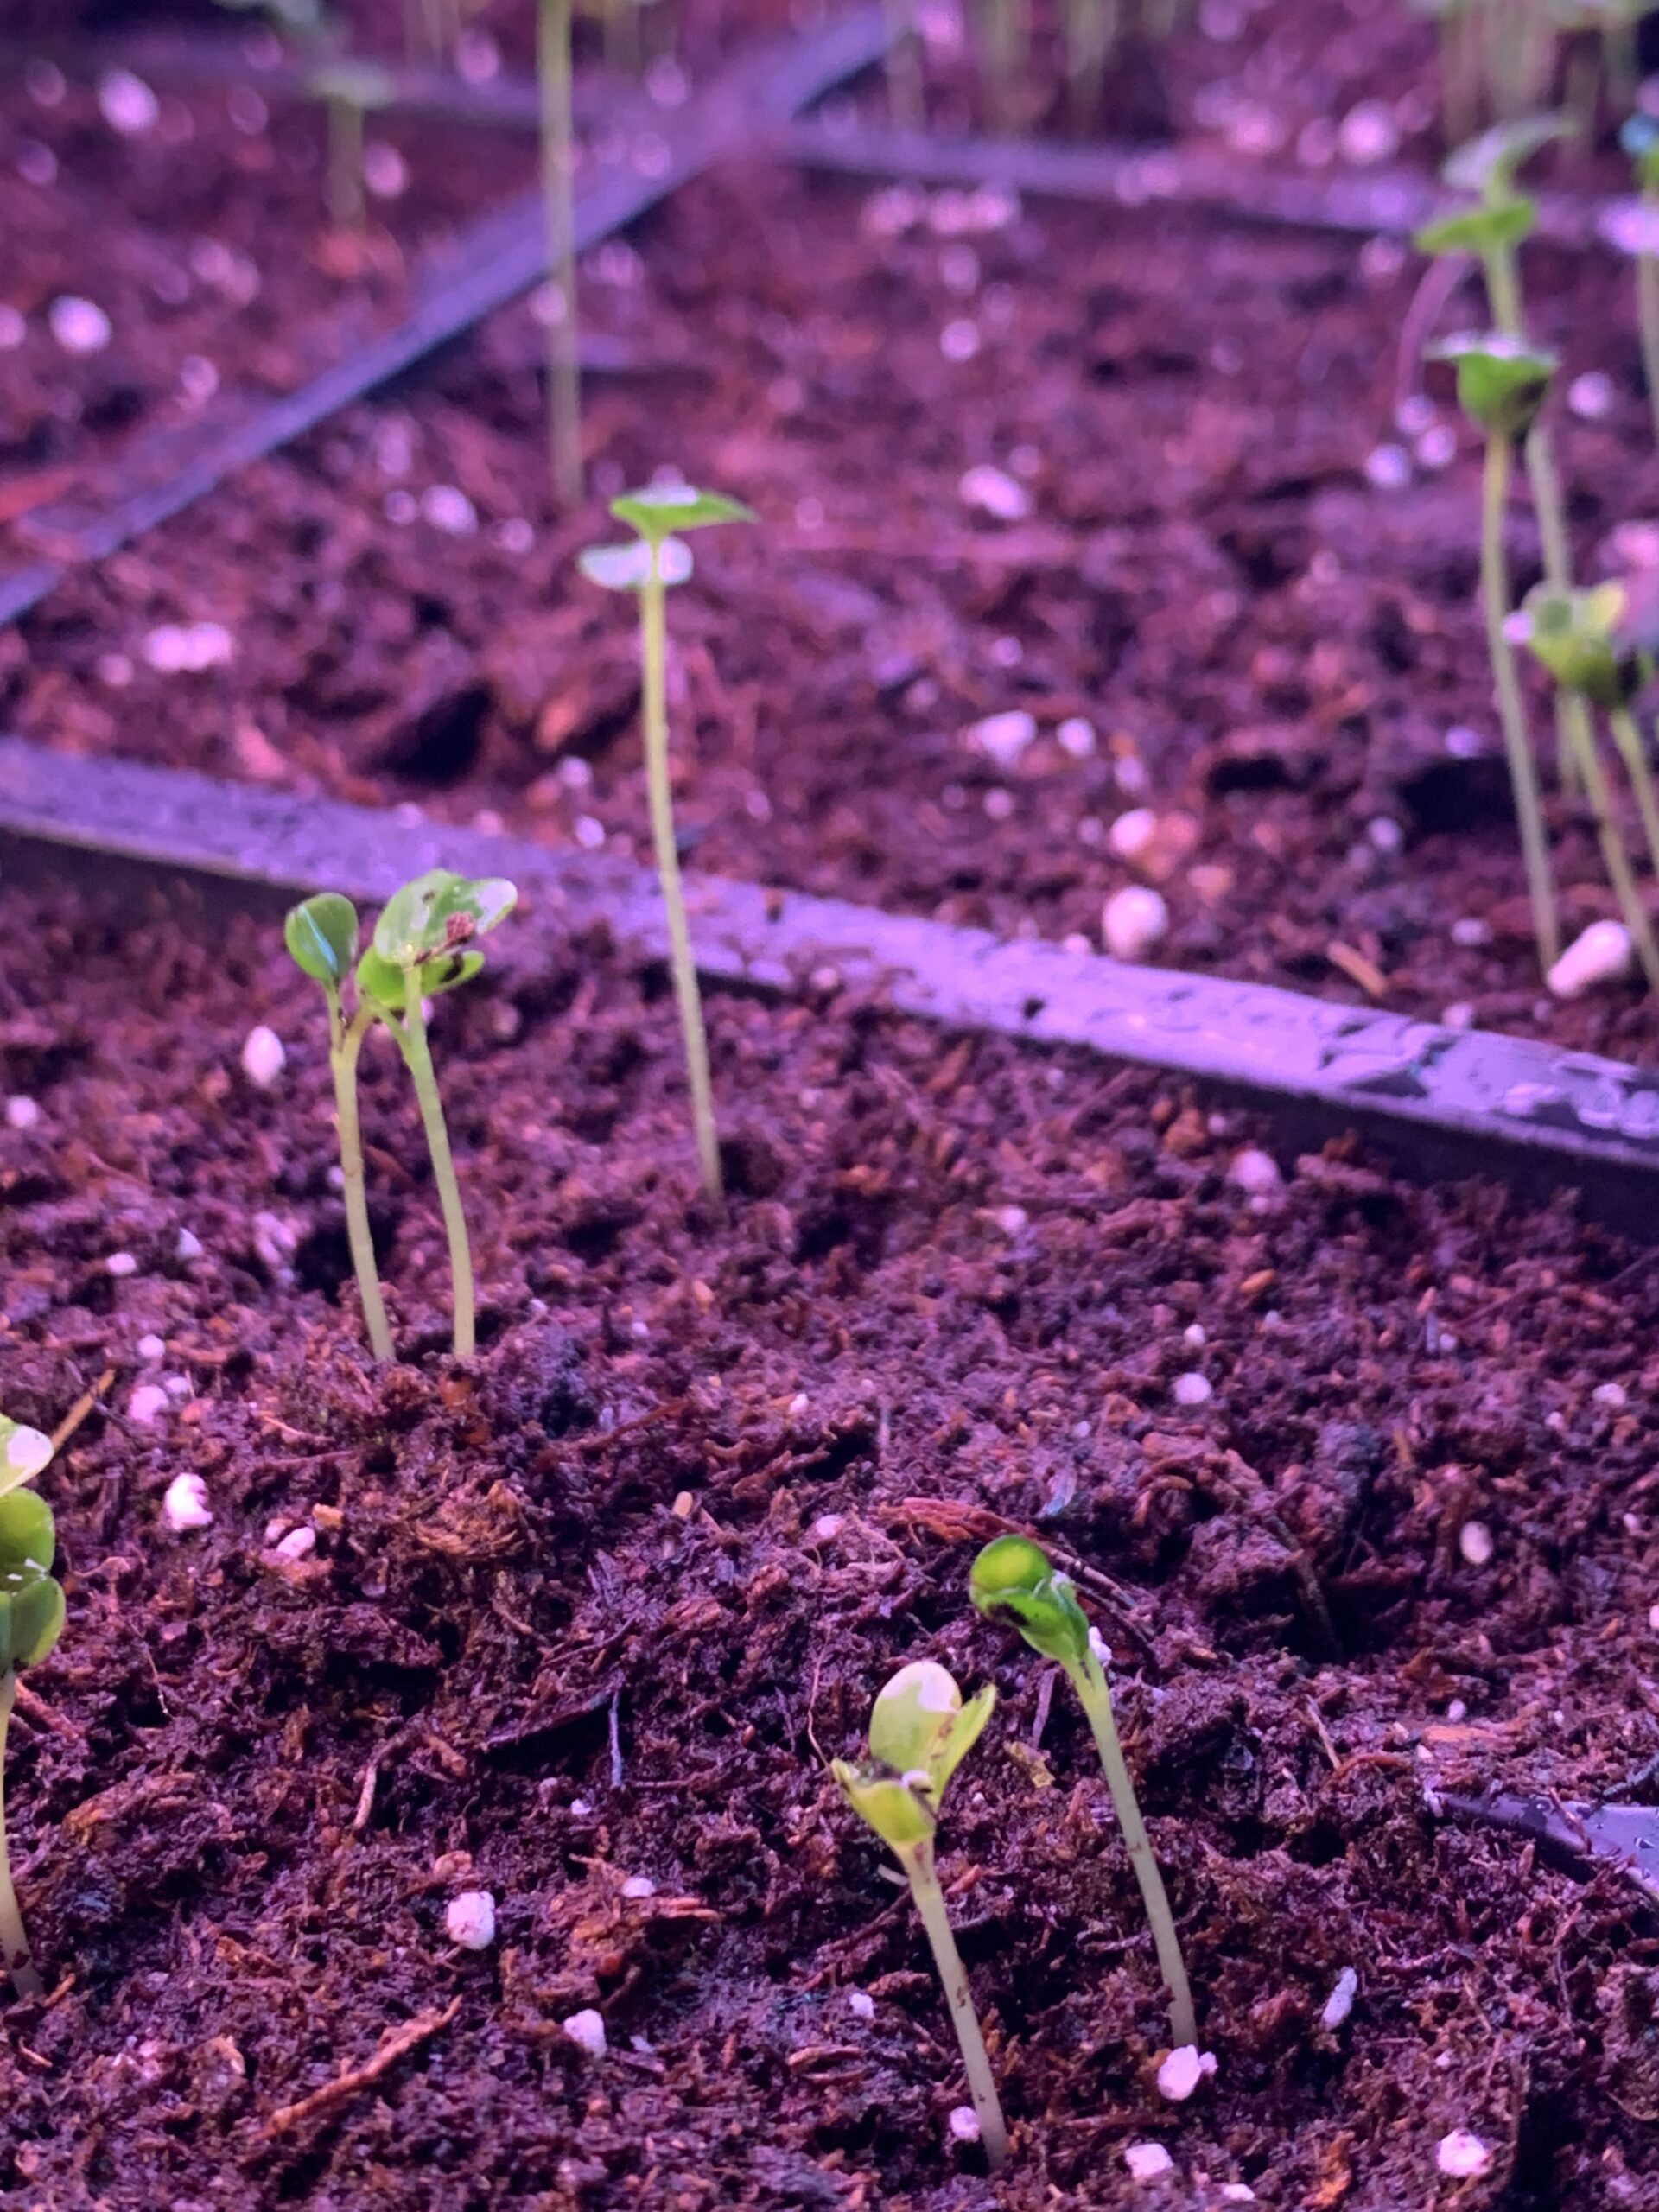
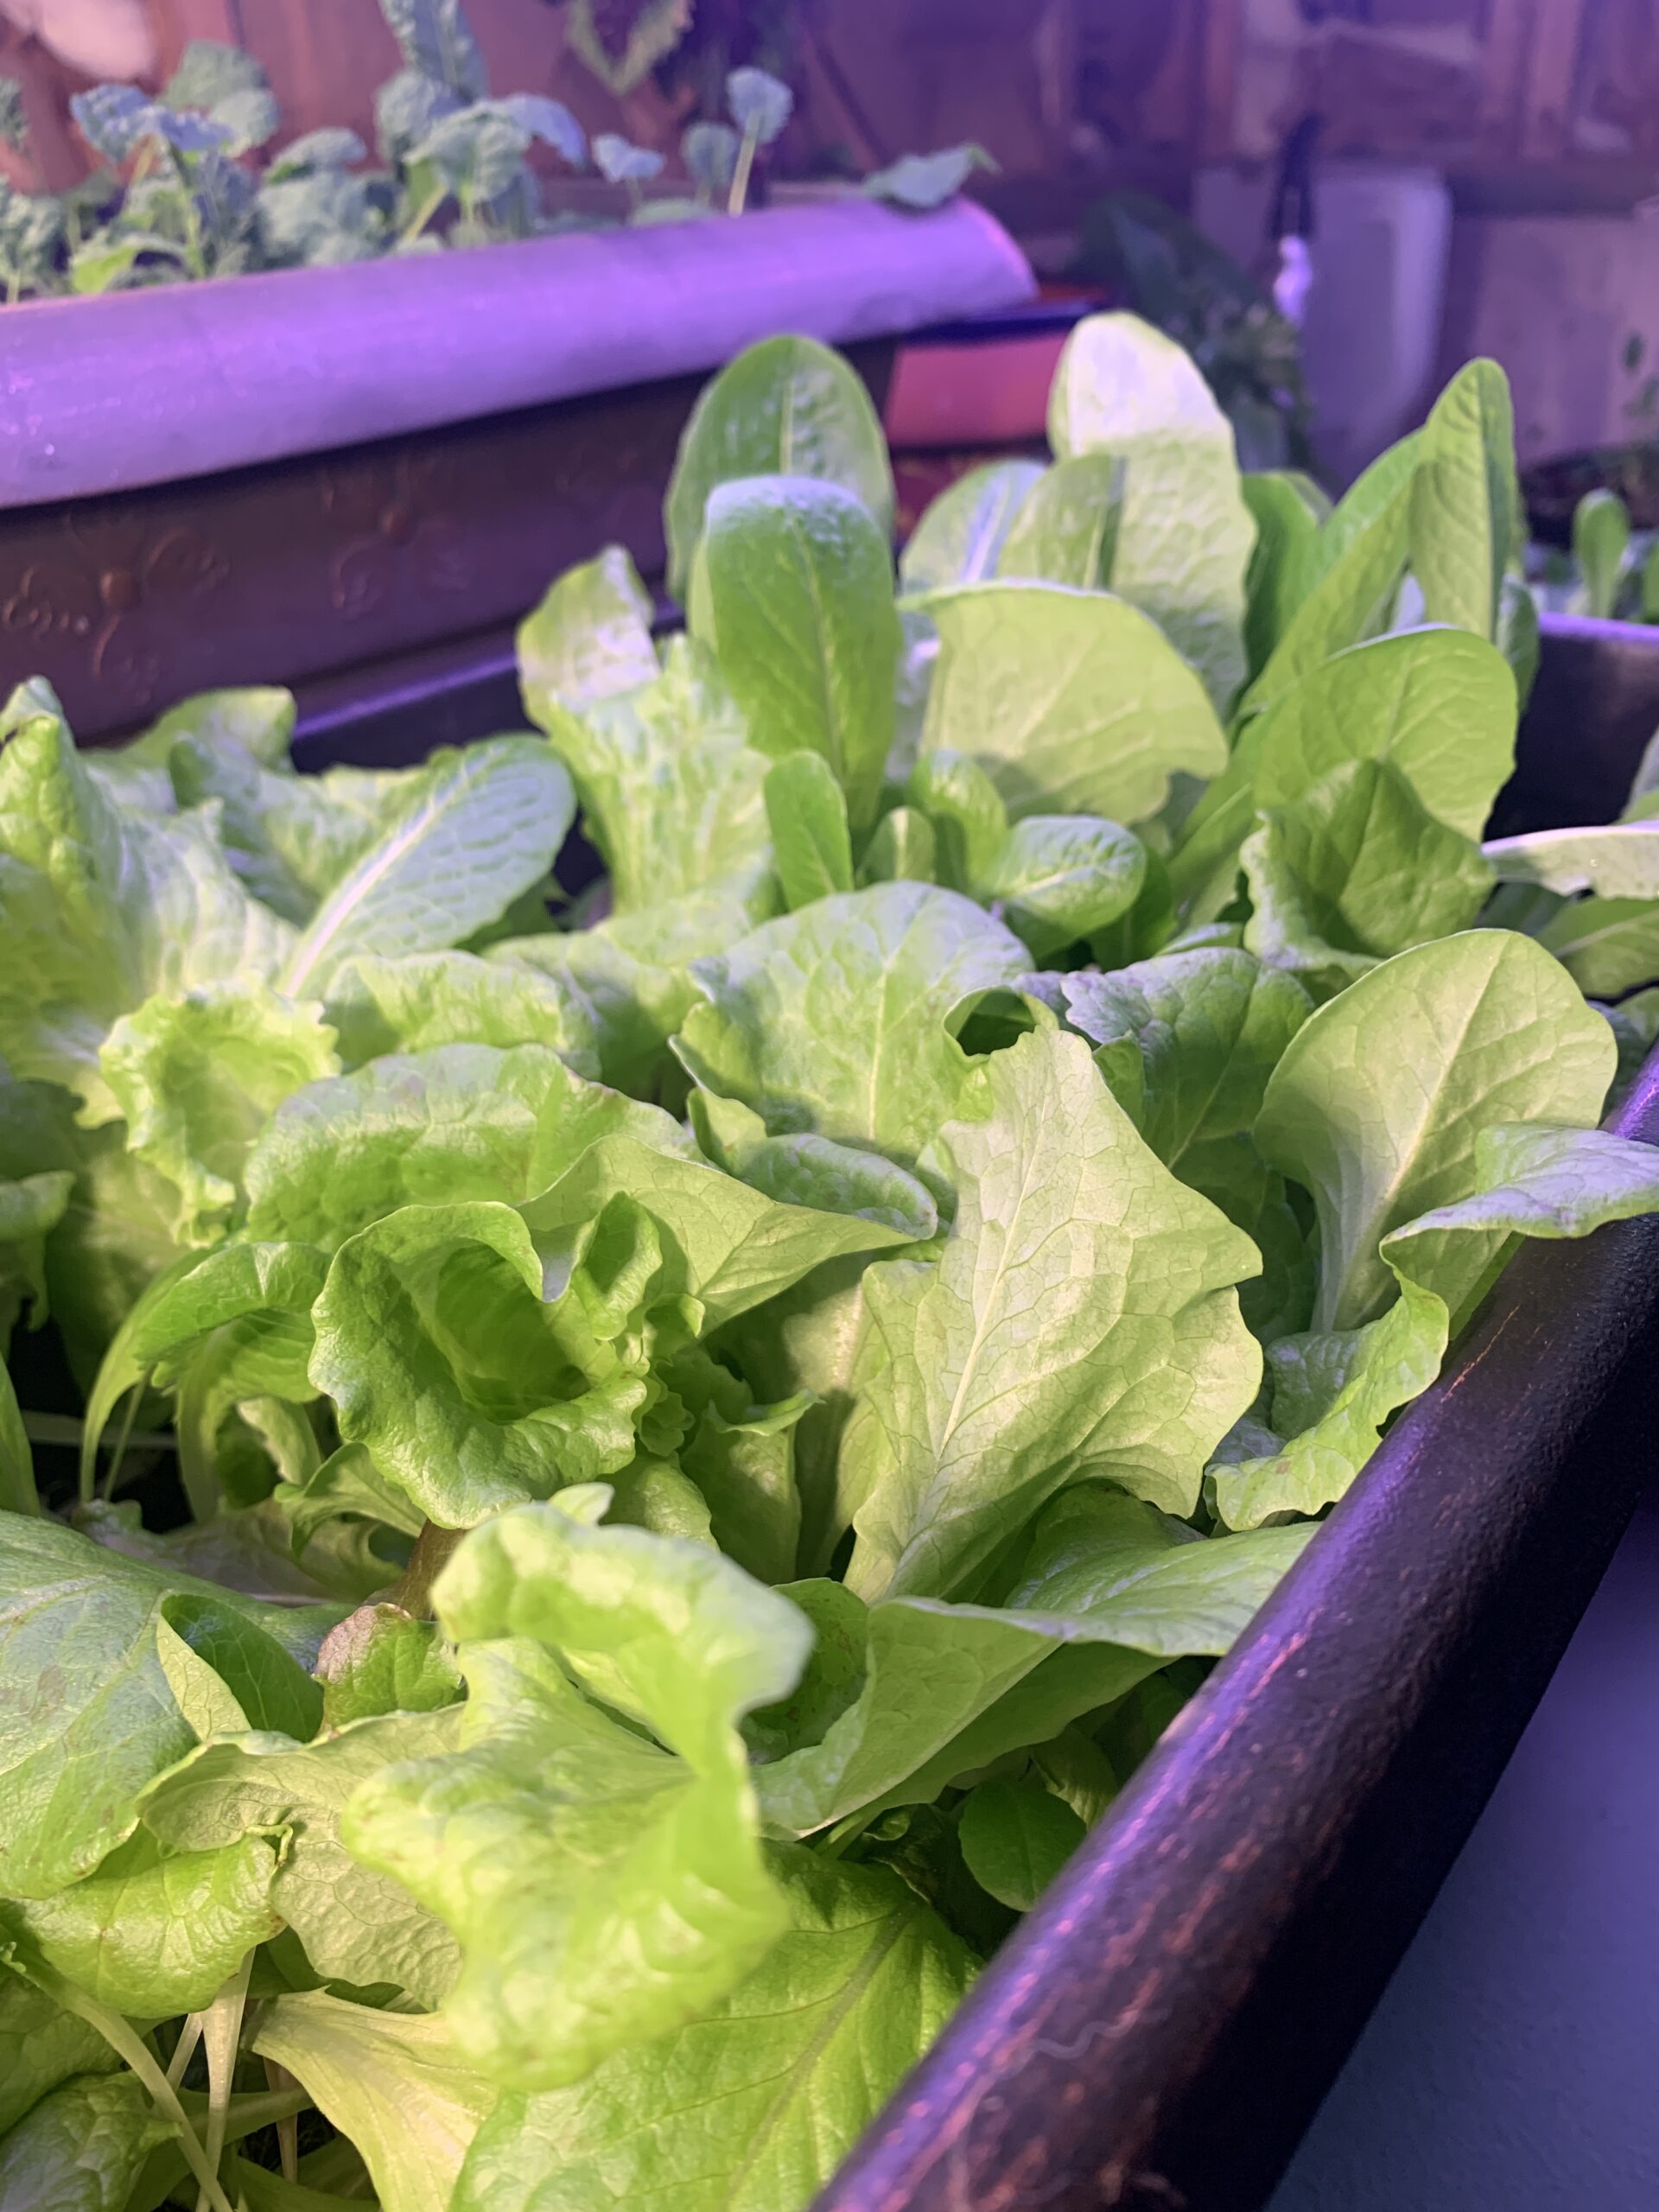
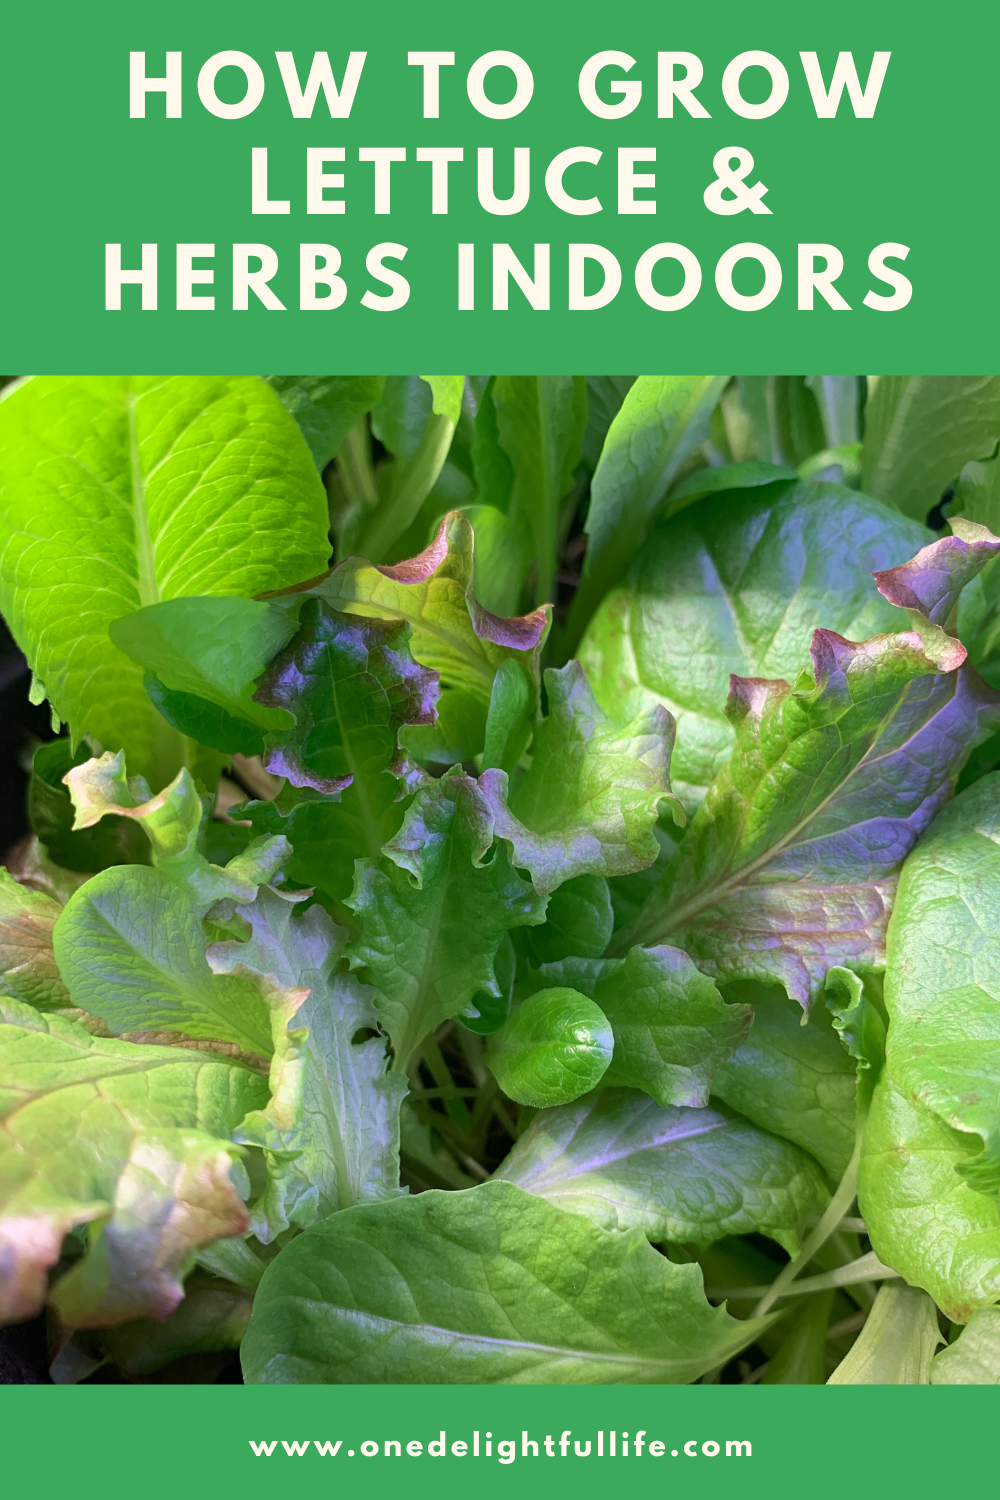
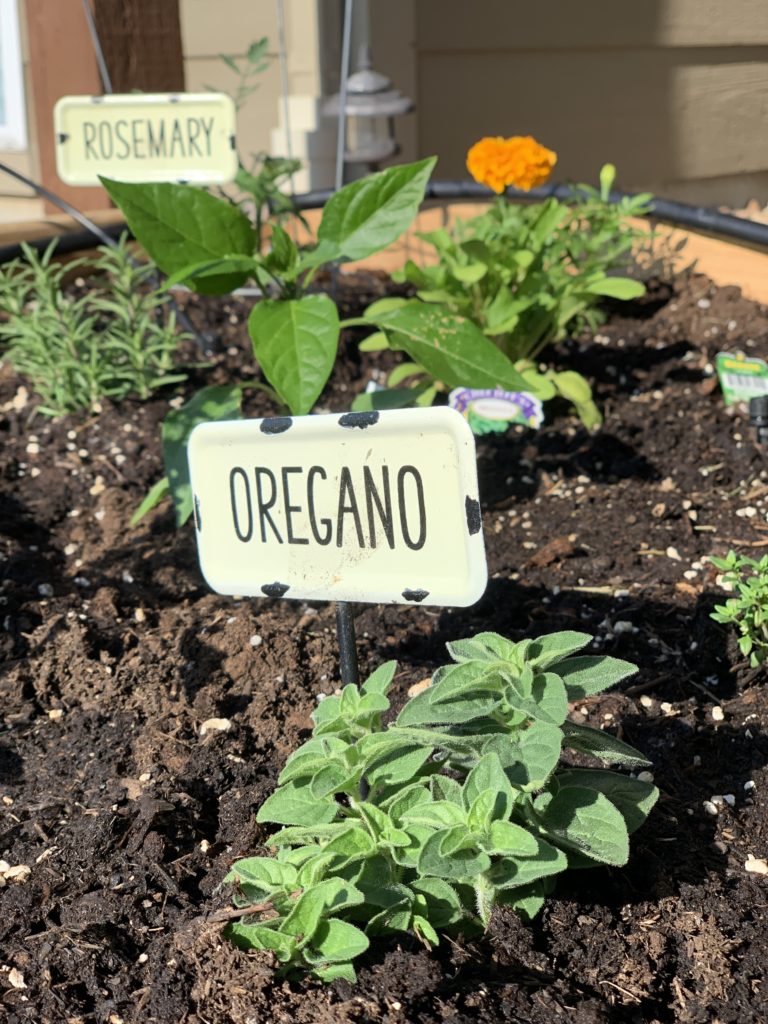
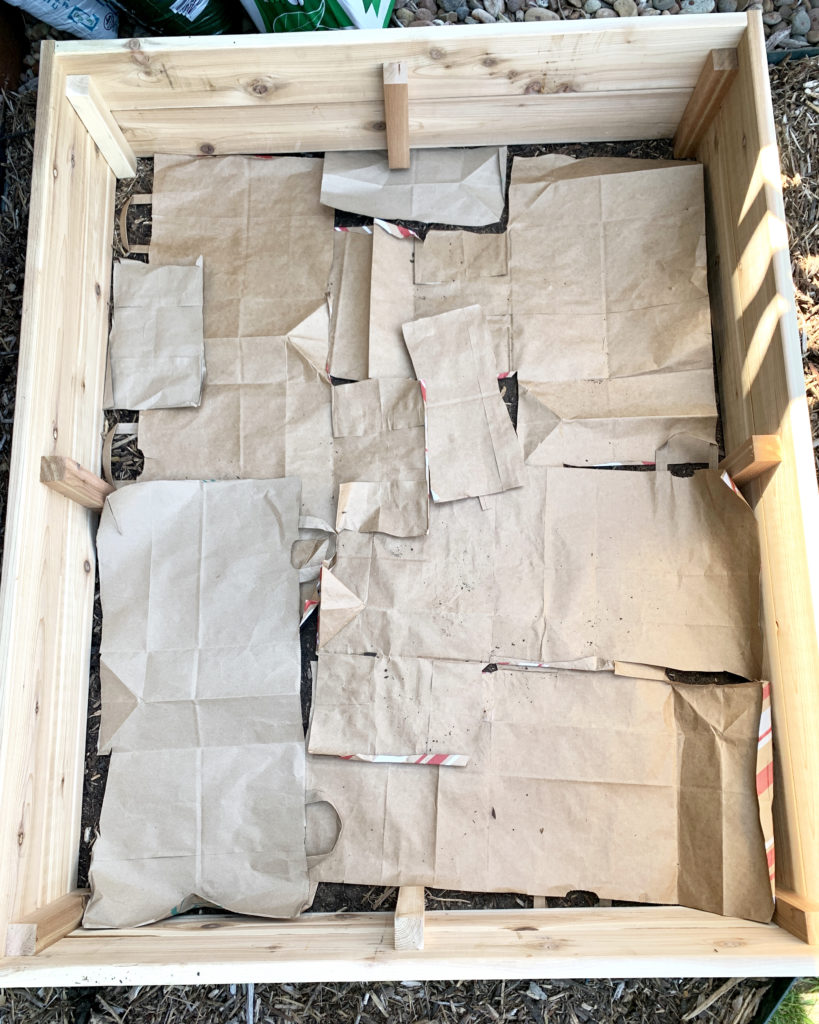
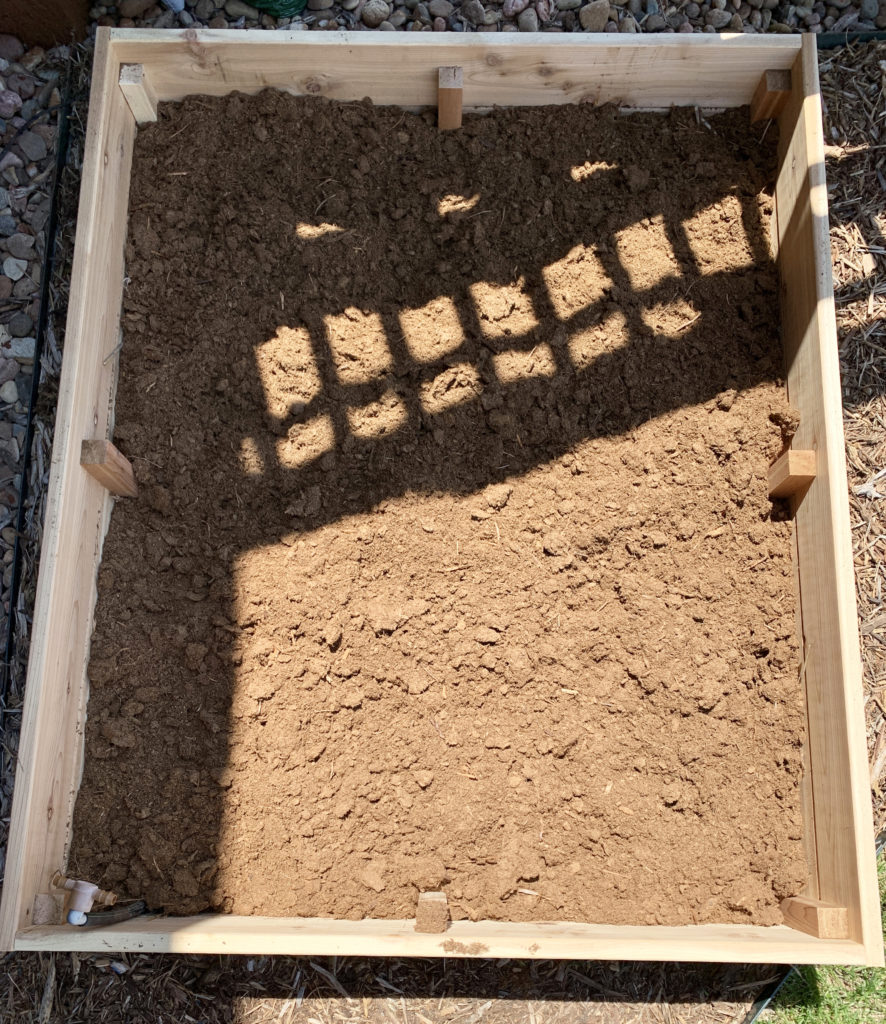
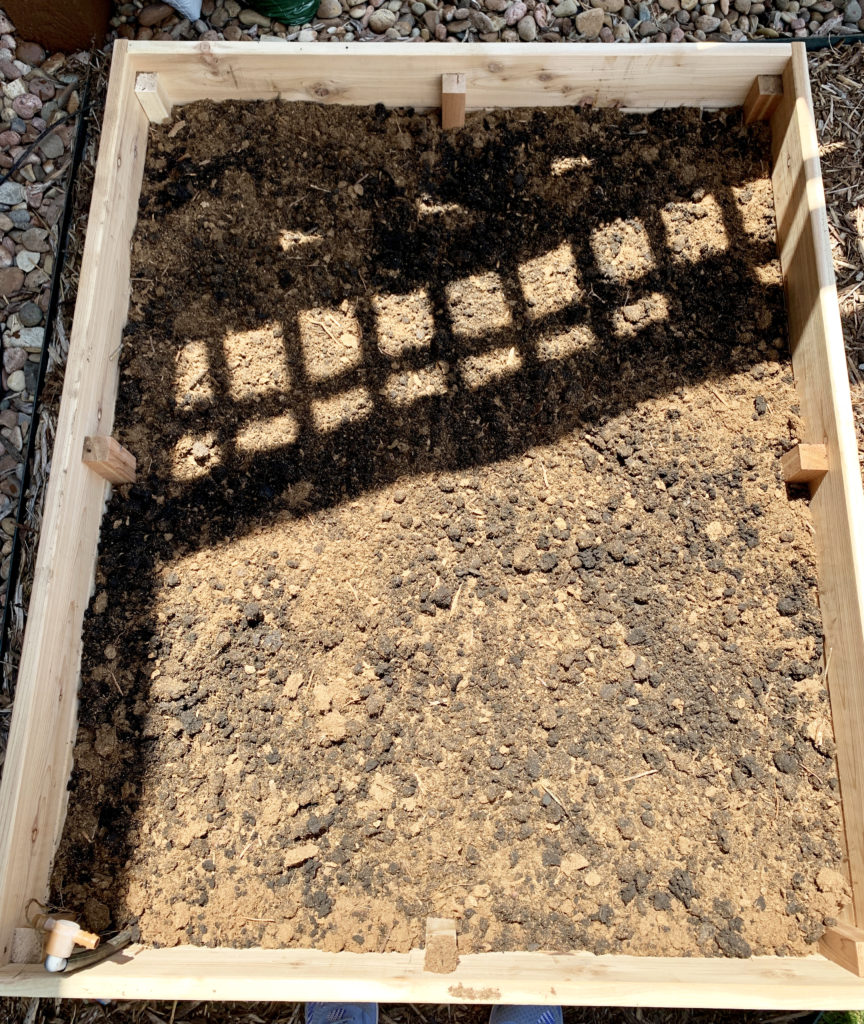
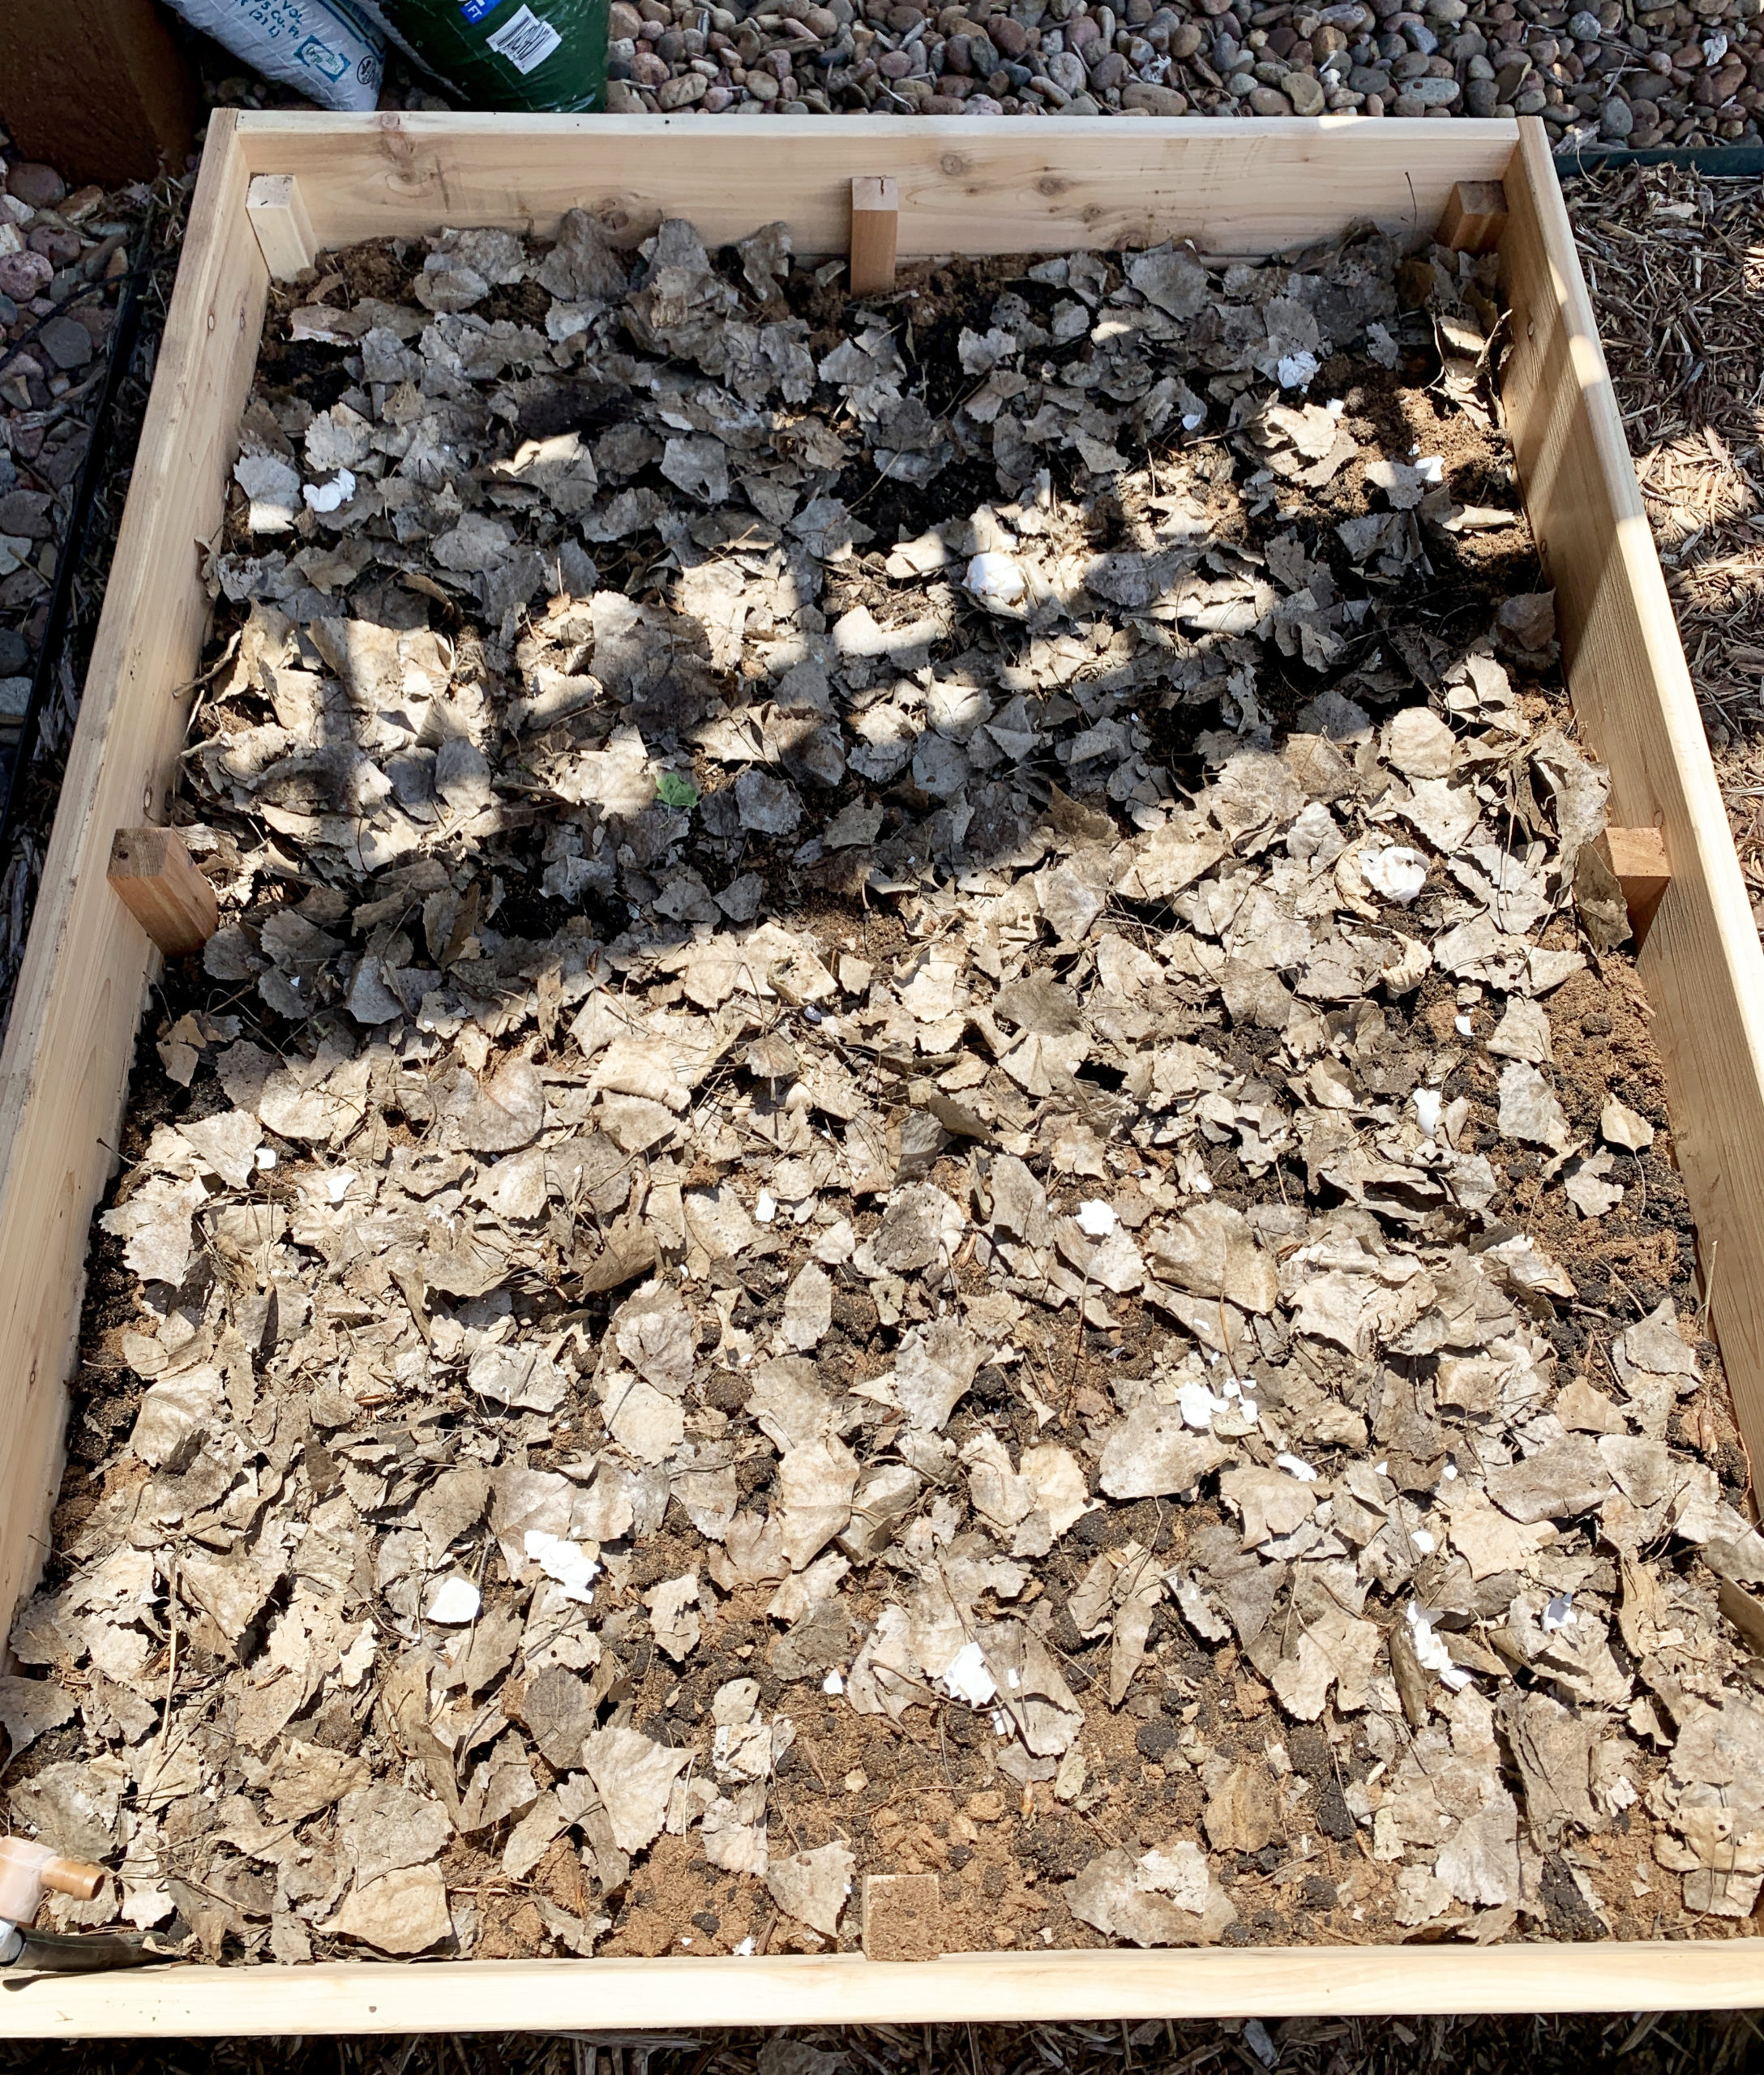
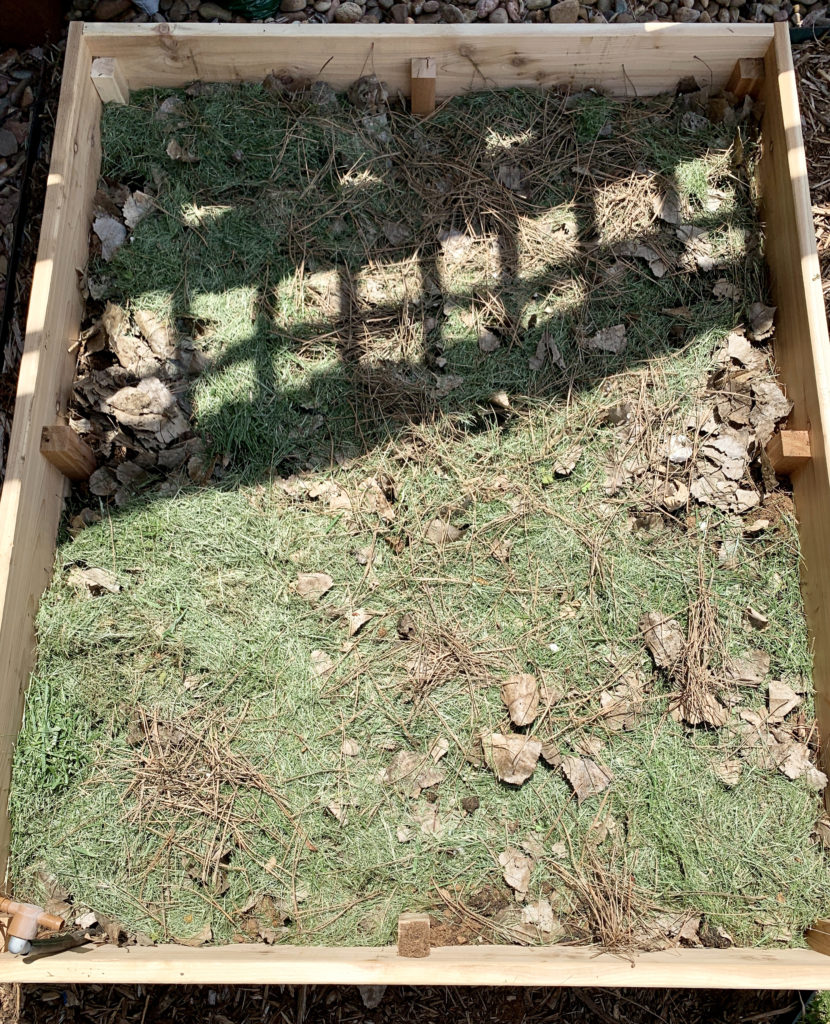
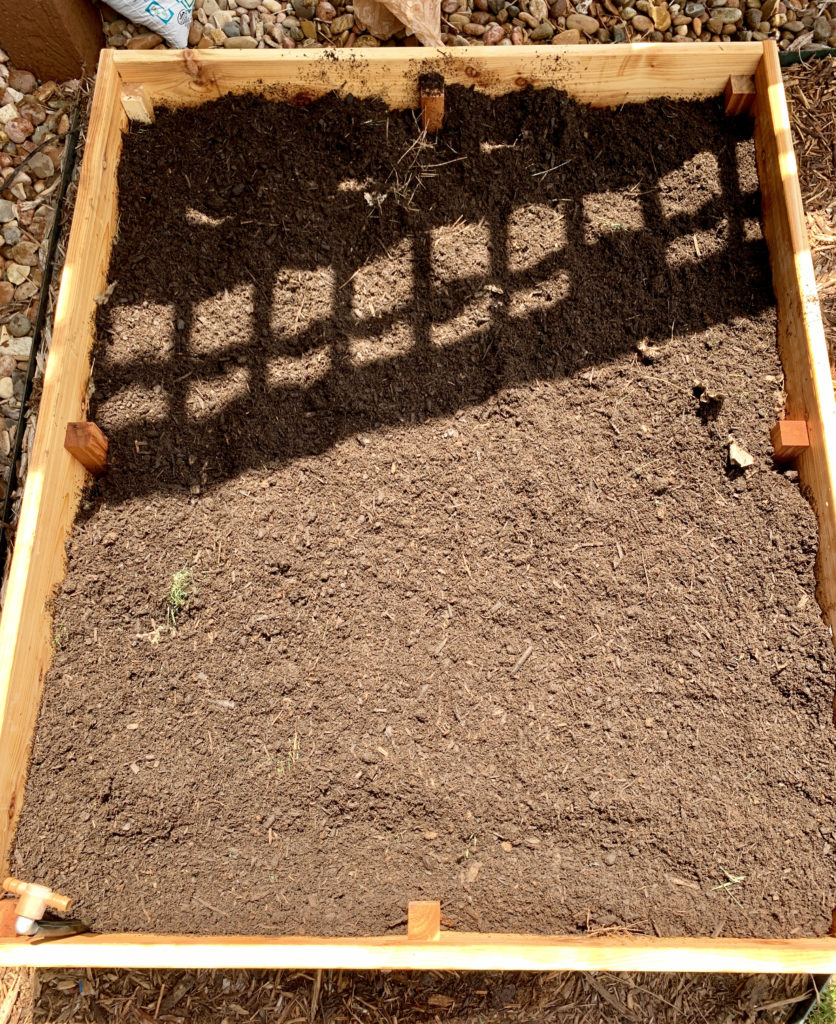
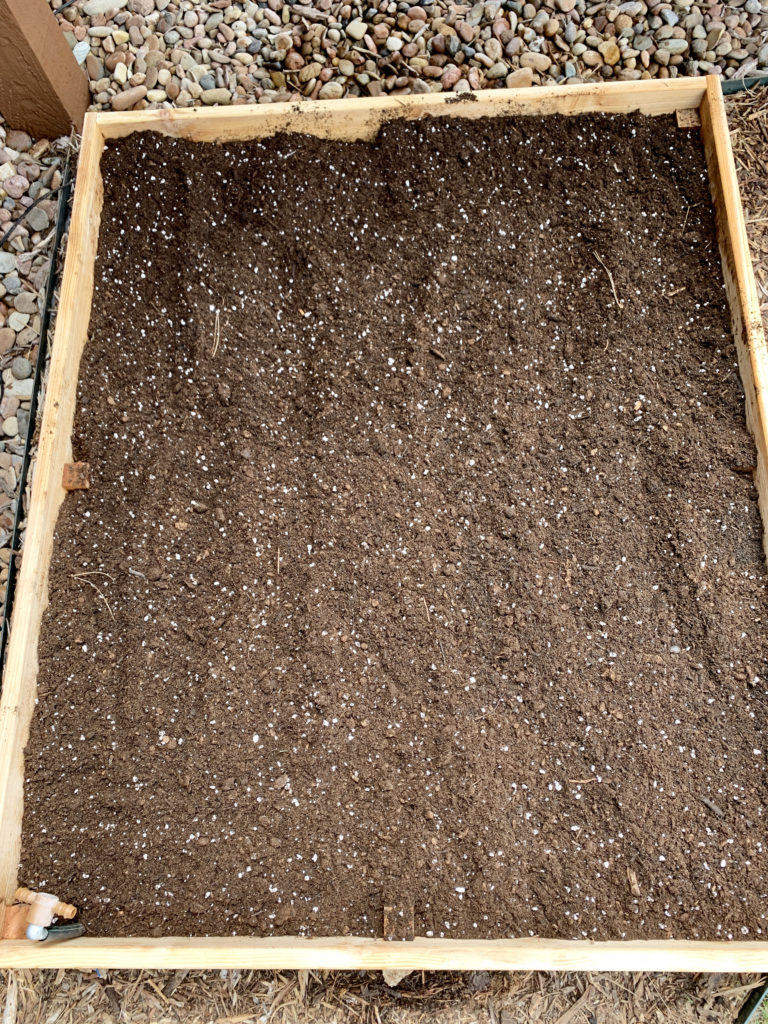
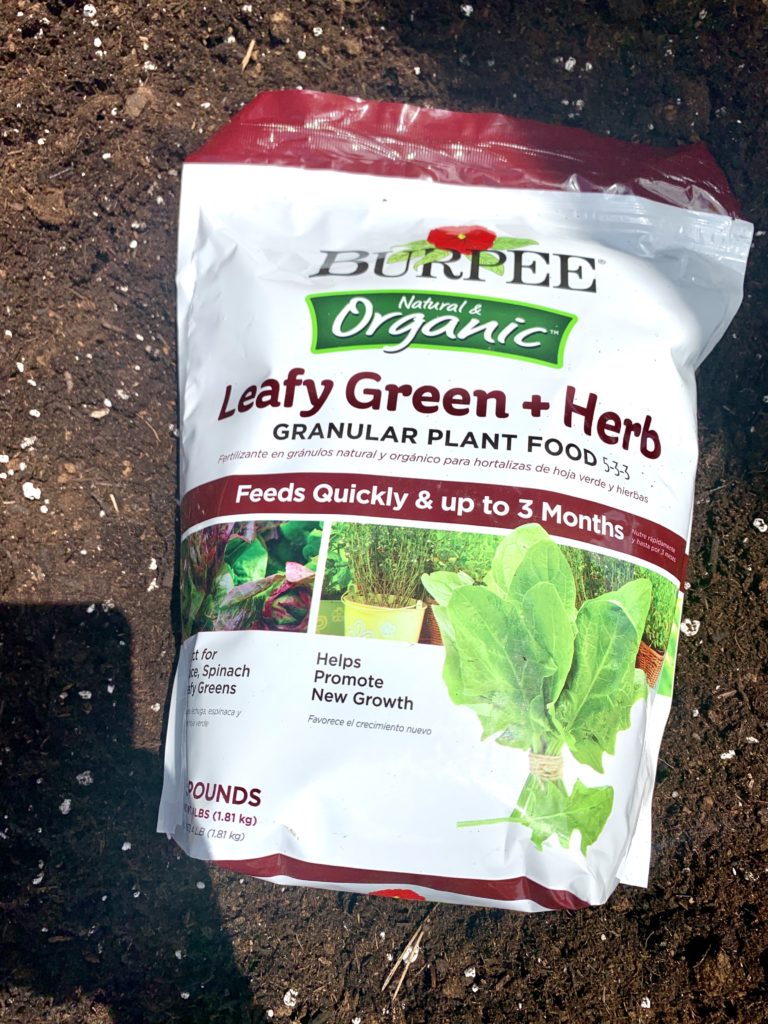
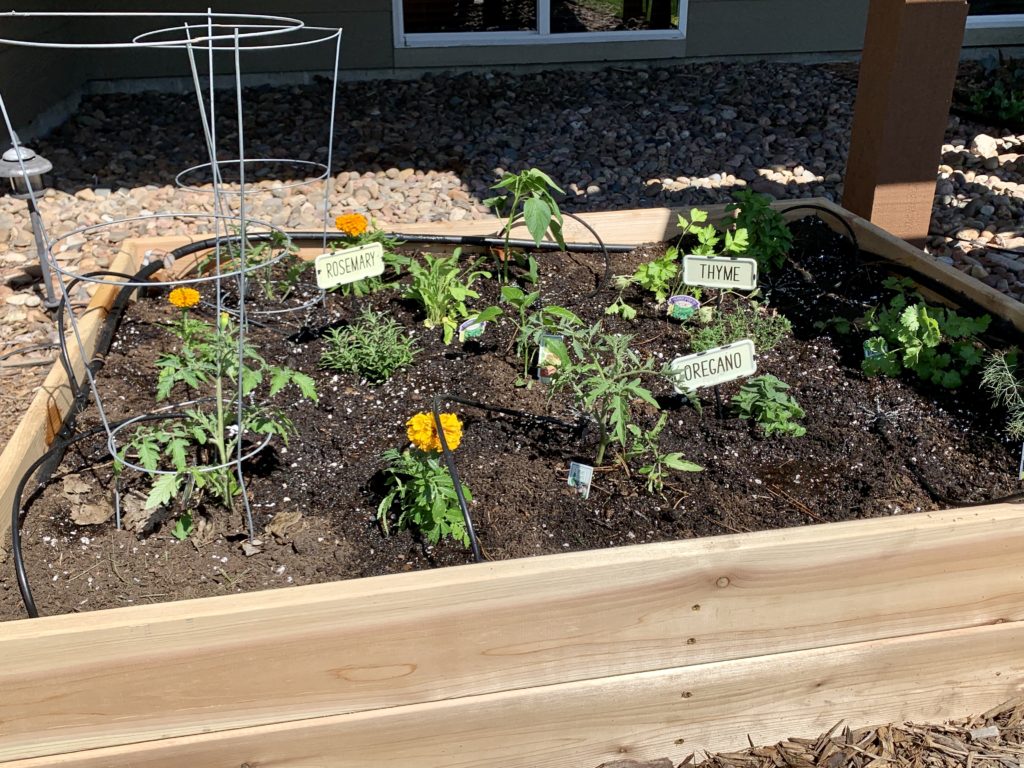
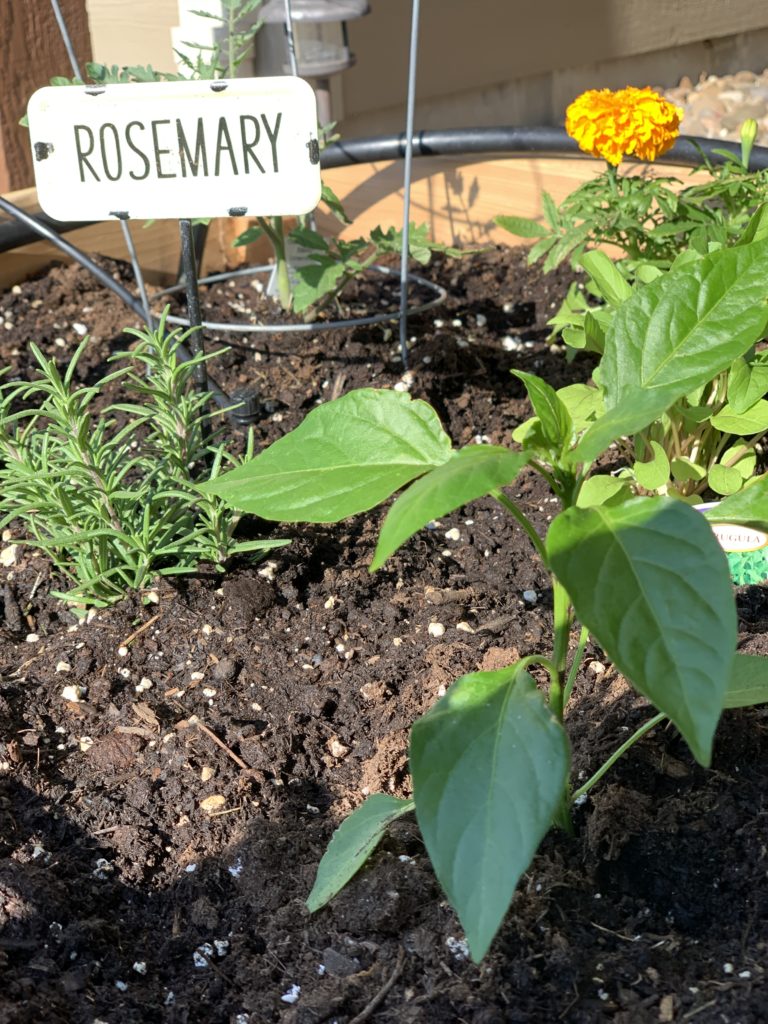
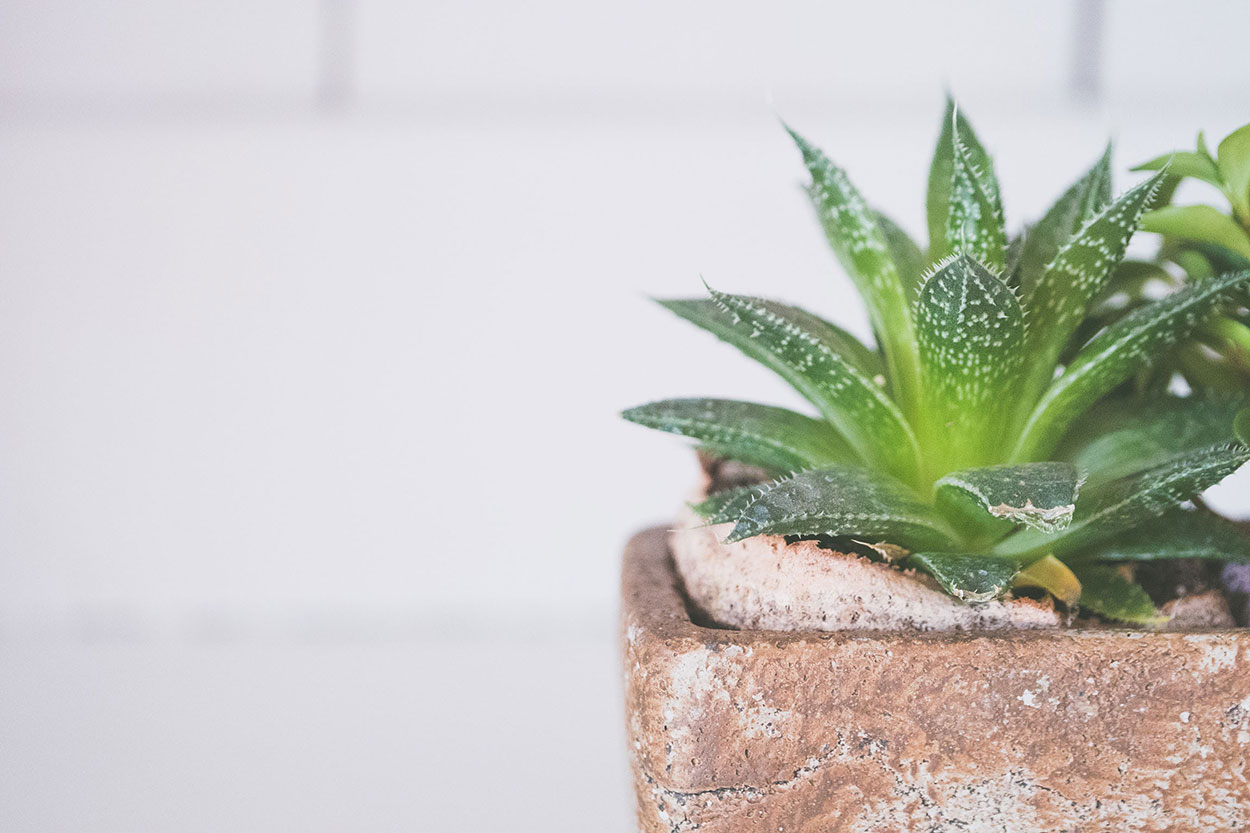
- Grow your food.
- Use cloth bags for your groceries.
- Switch to LED bulbs.
- Mend your clothes.
- Turn off the faucet when brushing your teeth.
- Reuse glass containers.
- Drive a fuel-efficient car.
- Pick up litter.
- Use reef-safe sunblock.
- Make compost and use it in the garden.
- Eat what you can consume. Avoid food waste.
- Use laundry dryer balls.
- Upgrade to glass storage containers.
- Opt for bamboo toothbrushes.
- Buy rechargeable batteries.
- Use body washcloths vs. plastic loofahs.
- Make organic cleaning products.
- Program your thermostat when away from home.
- Wash your hair every other day.
- Upcycle second-hand items.
- Opt for a reusable drink container.
- Donate clothes.
- Use glass or metal straws.
- Grow bee-happy plants.
- Shop the farmer’s market.
- Explore the outdoors vs. indoor entertainment.
- Start a community garden.
- Reuse Ziplock bags or switch to beeswax wraps.
- Wash your clothes in cold water.
- Buy supplies in bulk.
- Can or quick pickle vegetables.
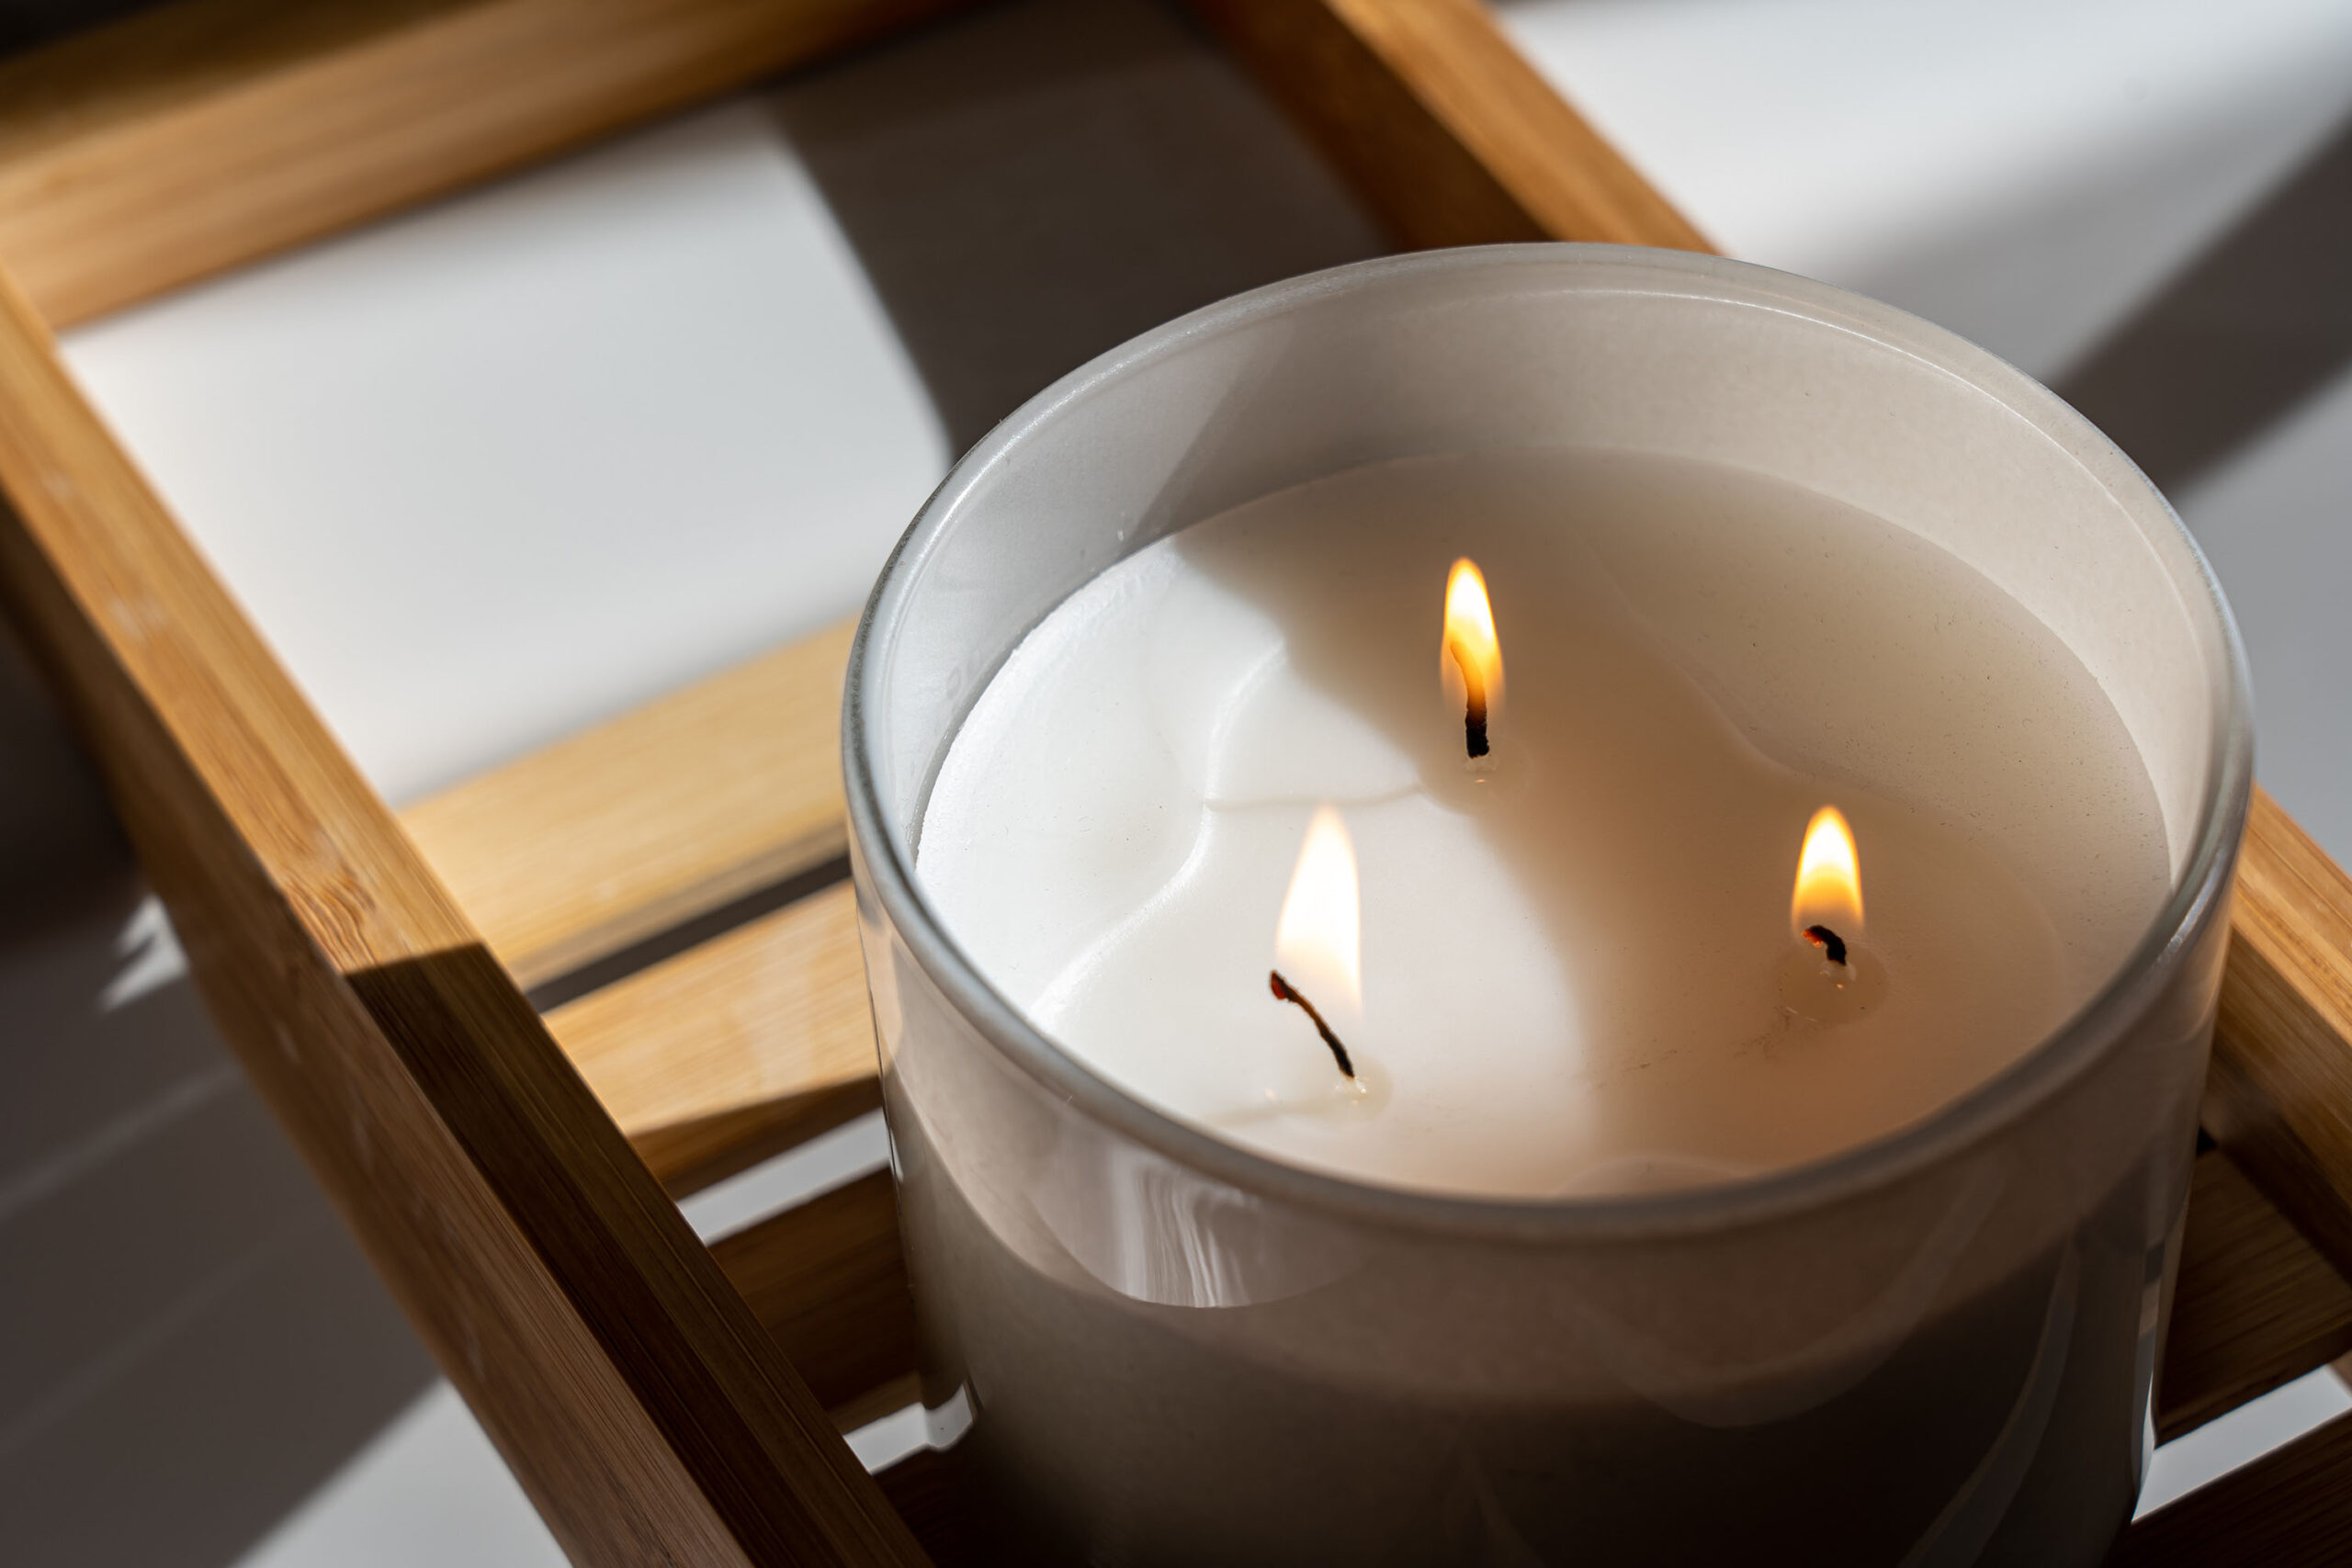
- Choose soy vs. beeswax candles.
- Use Little Libraries.
- Plant a tree or shrub.
- Use dimmer light switches.
 “Everything that we need for our survival and well-being depends, either directly or indirectly, on our natural environment. To pursue sustainability is to create and maintain the conditions under which humans and nature can exist in productive harmony to support present and future generations.” — United States Environmental Protection Agency
If you are someone who believes in living more sustainably and taking active steps to protect the planet, I encourage you to share this post with others, and as always, I invite your comments below.
Bonus! Another post you would enjoy is Simple Ways to Reduce Your Use of Plastic, a guide to lessening one’s dependence on single-use plastic.