Do you shop at the farmers’ market in your town? Lately, I’ve traveled downtown to the market looking for locally grown vegetables and Kansas-sourced meat to use in new recipes. Since becoming a gardener, I’m more interested in knowing where my food comes from and how it is treated before I eat it.
The benefit of shopping locally is ten-fold, but some of the primary reasons I enjoy it is because 1.) The produce is organic and better in flavor 2.) I’m supporting the livelihood of Kansas farmers. 3.) I enjoy making friends with fellow foodies and discussing recipes.
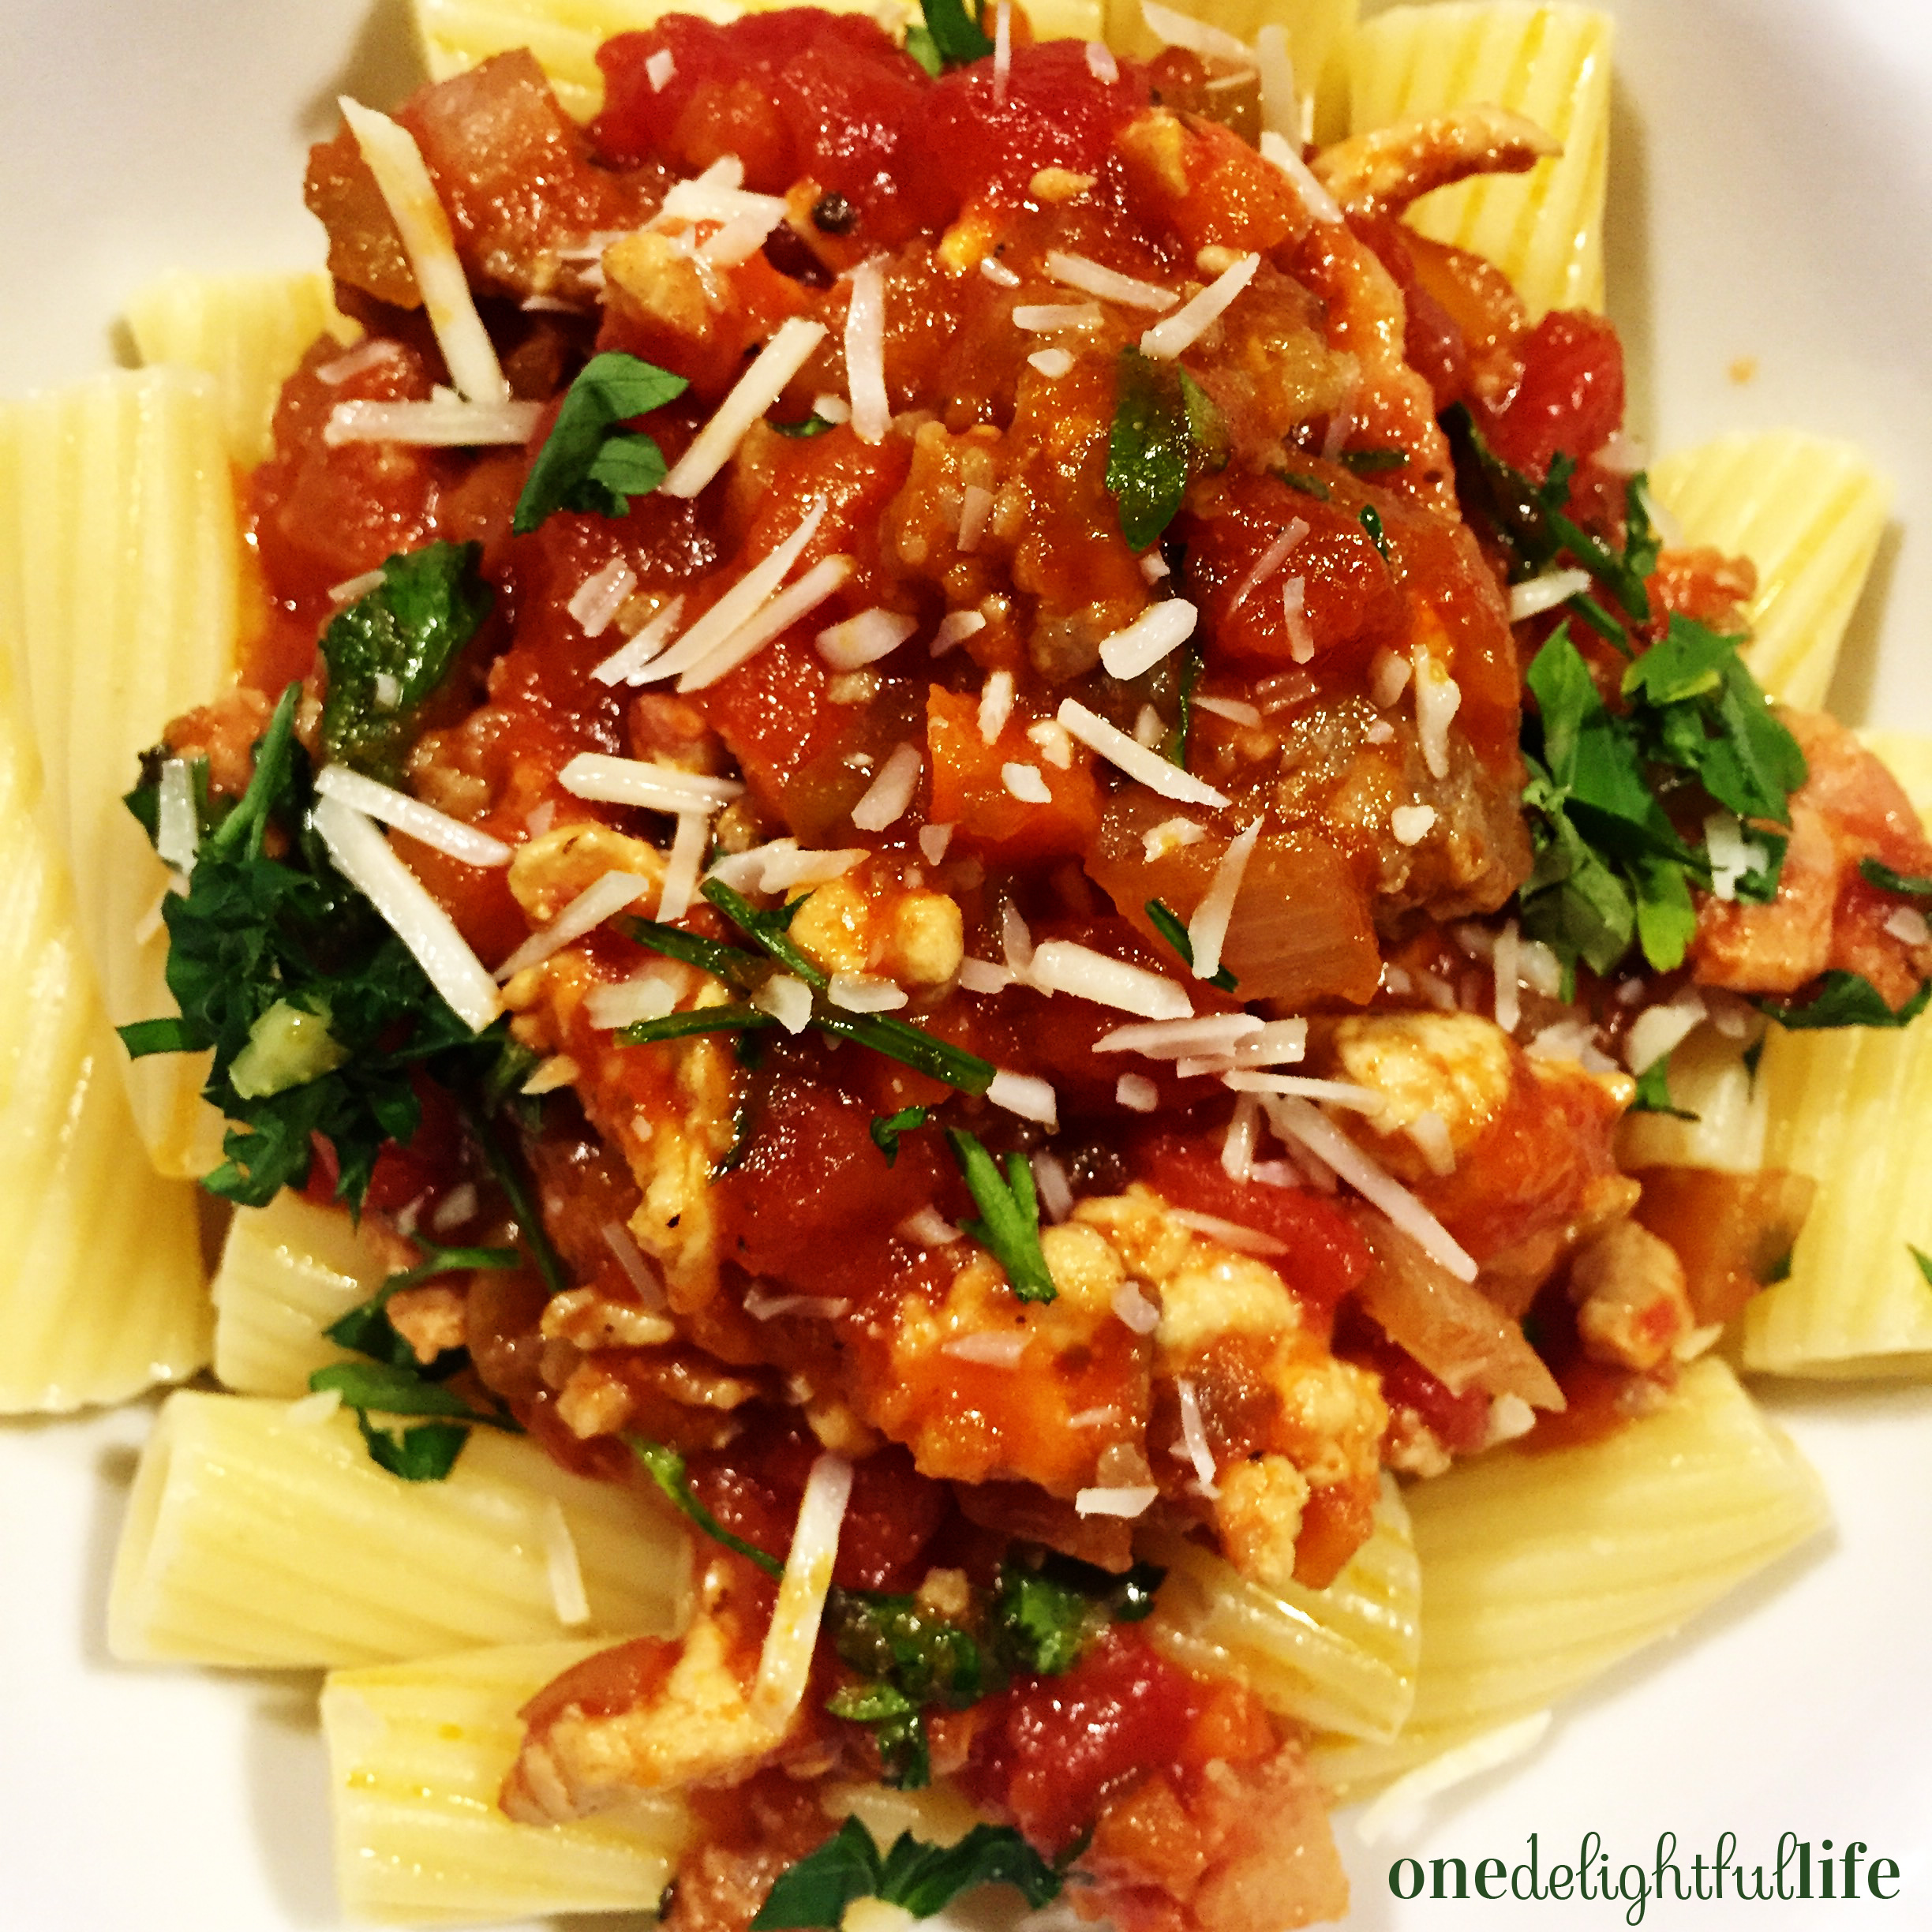
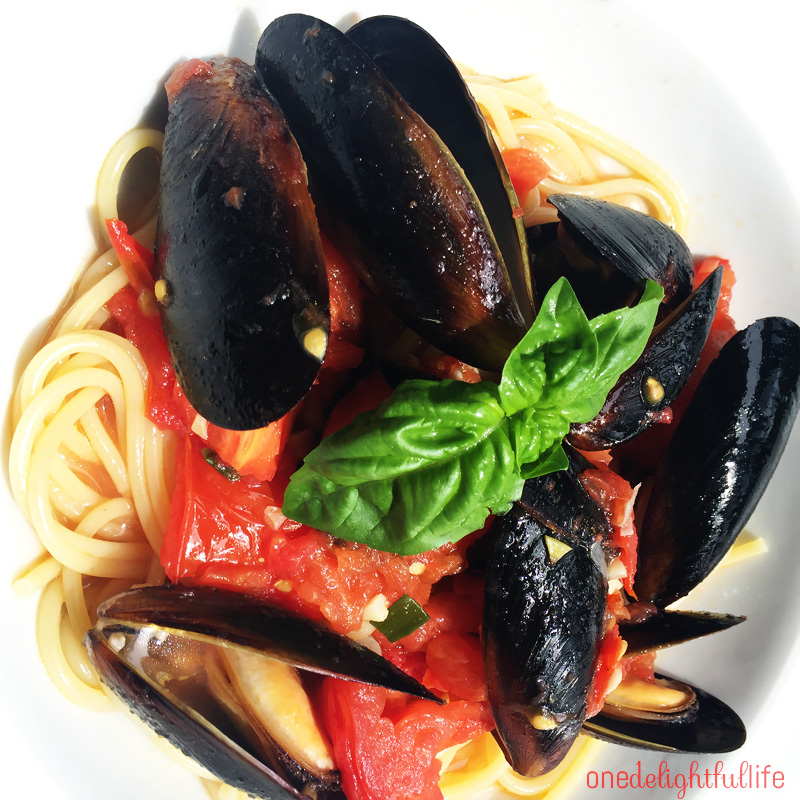
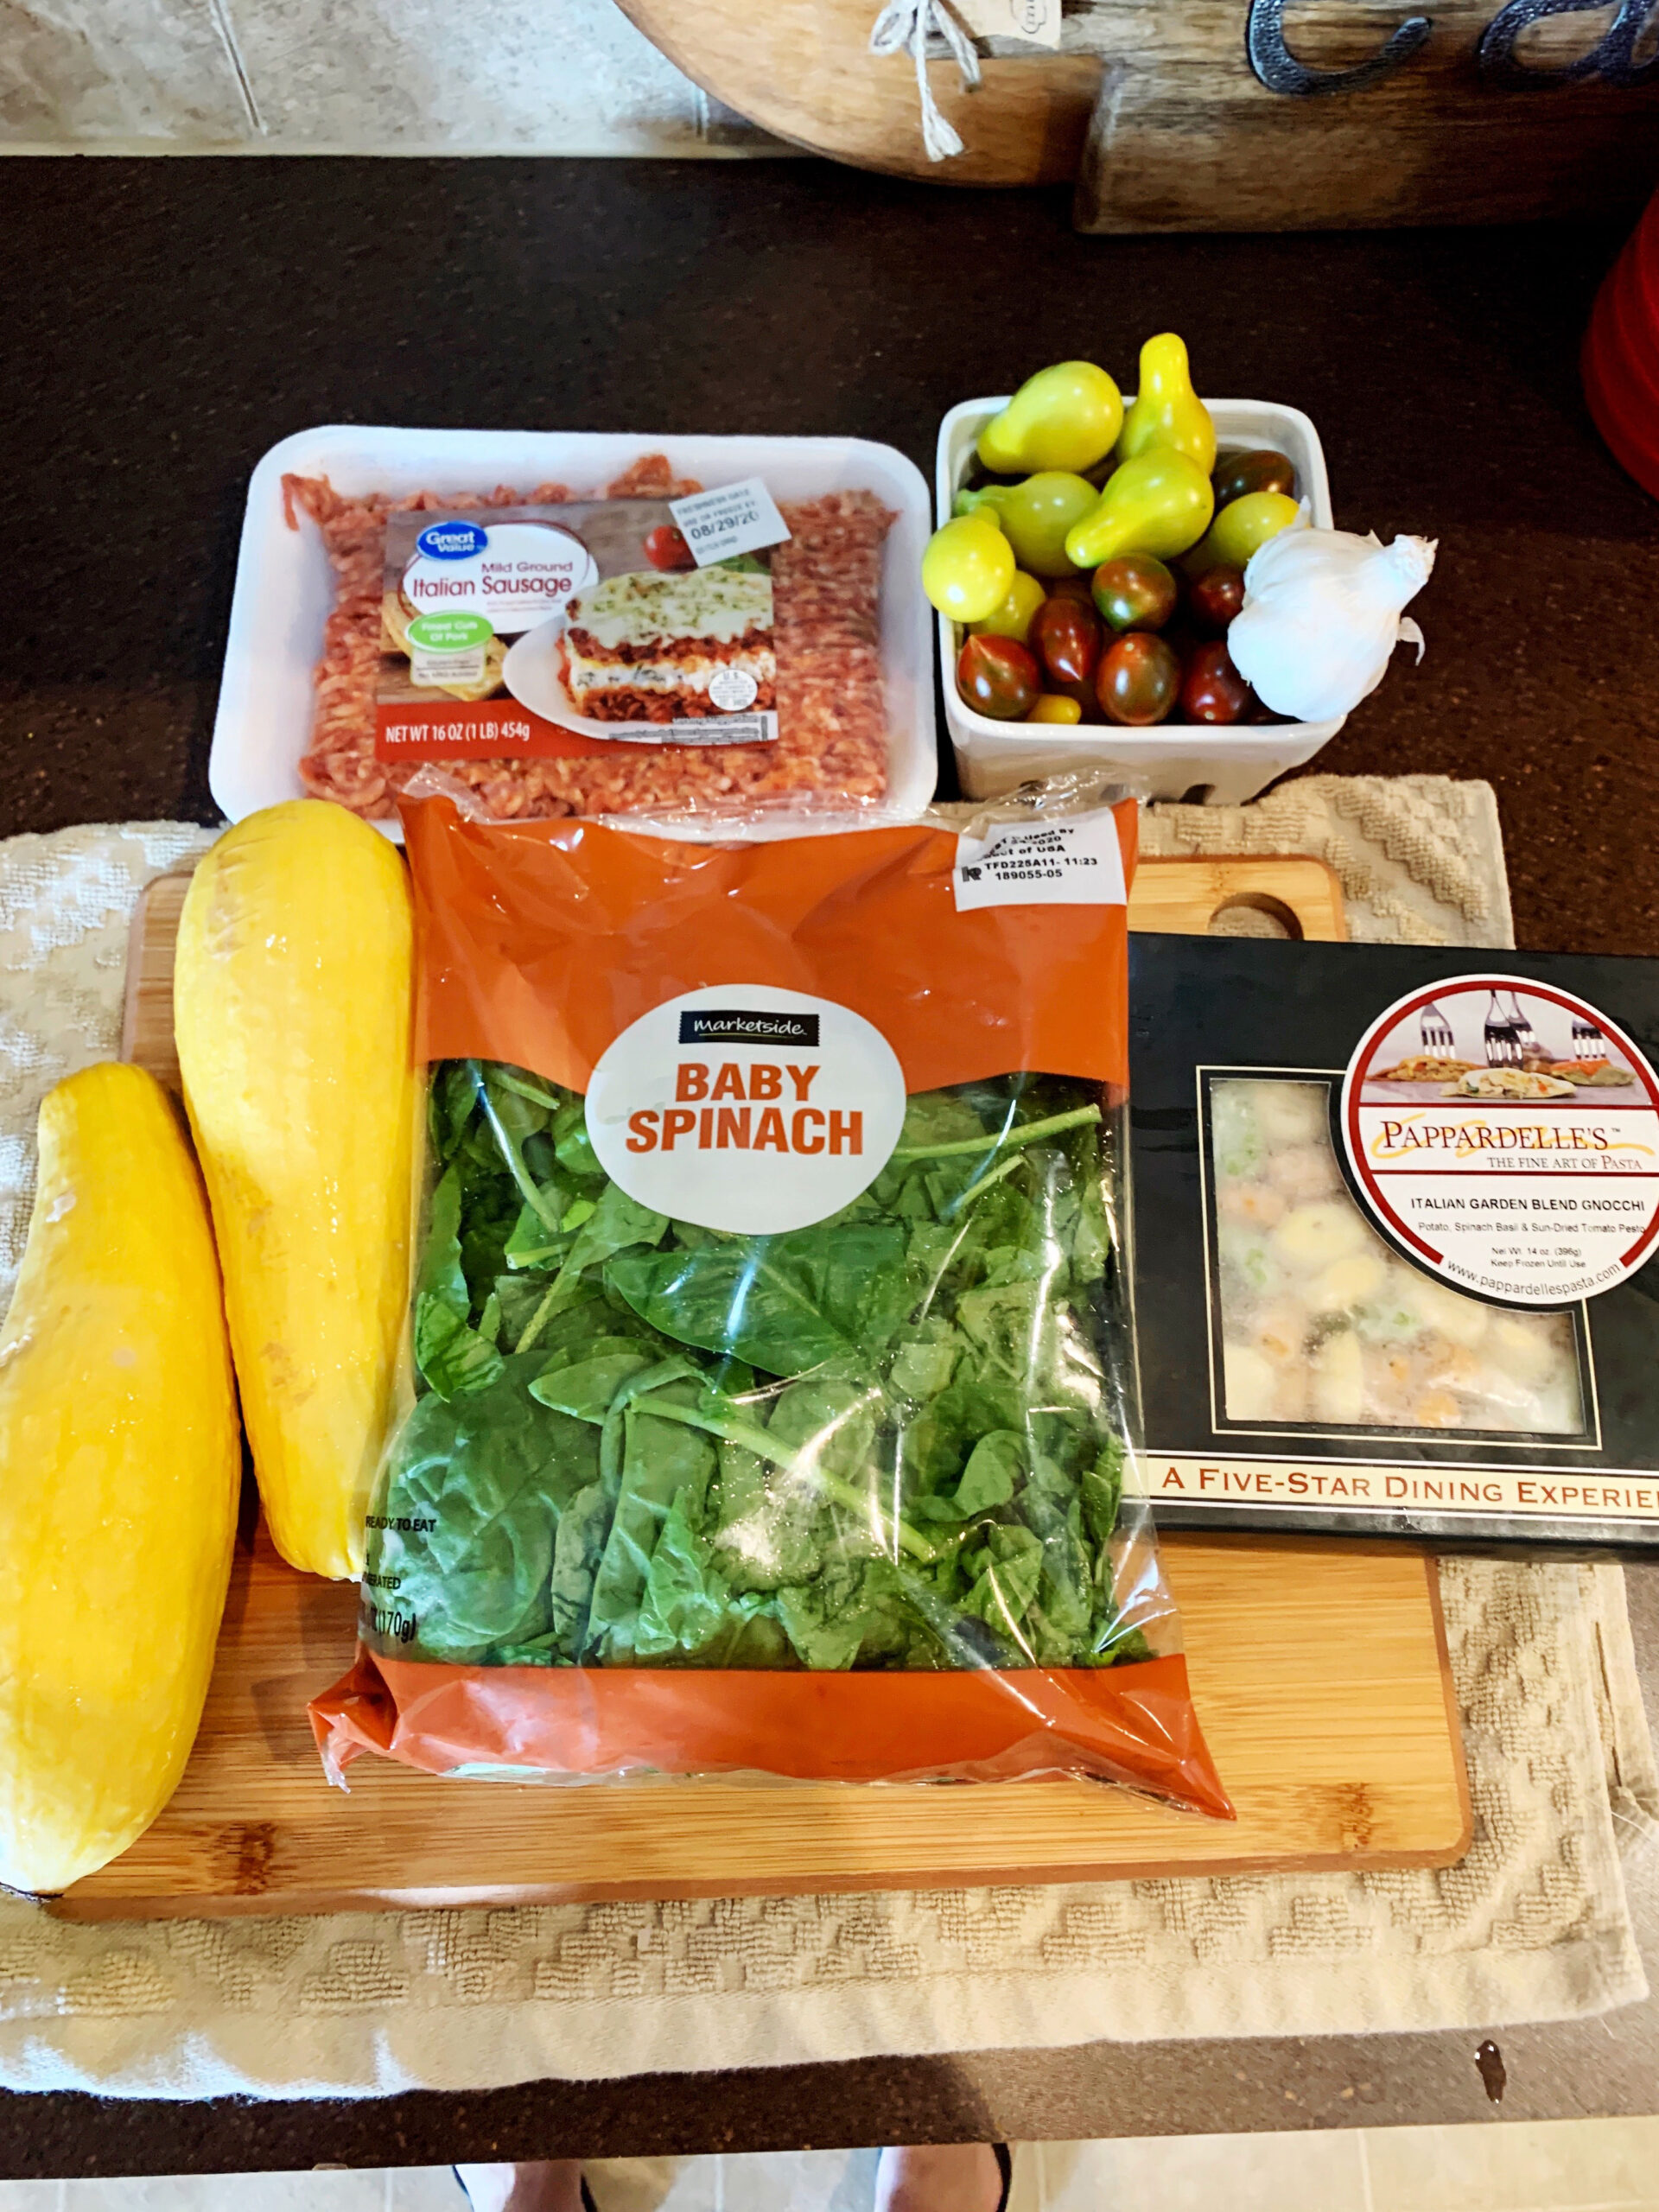
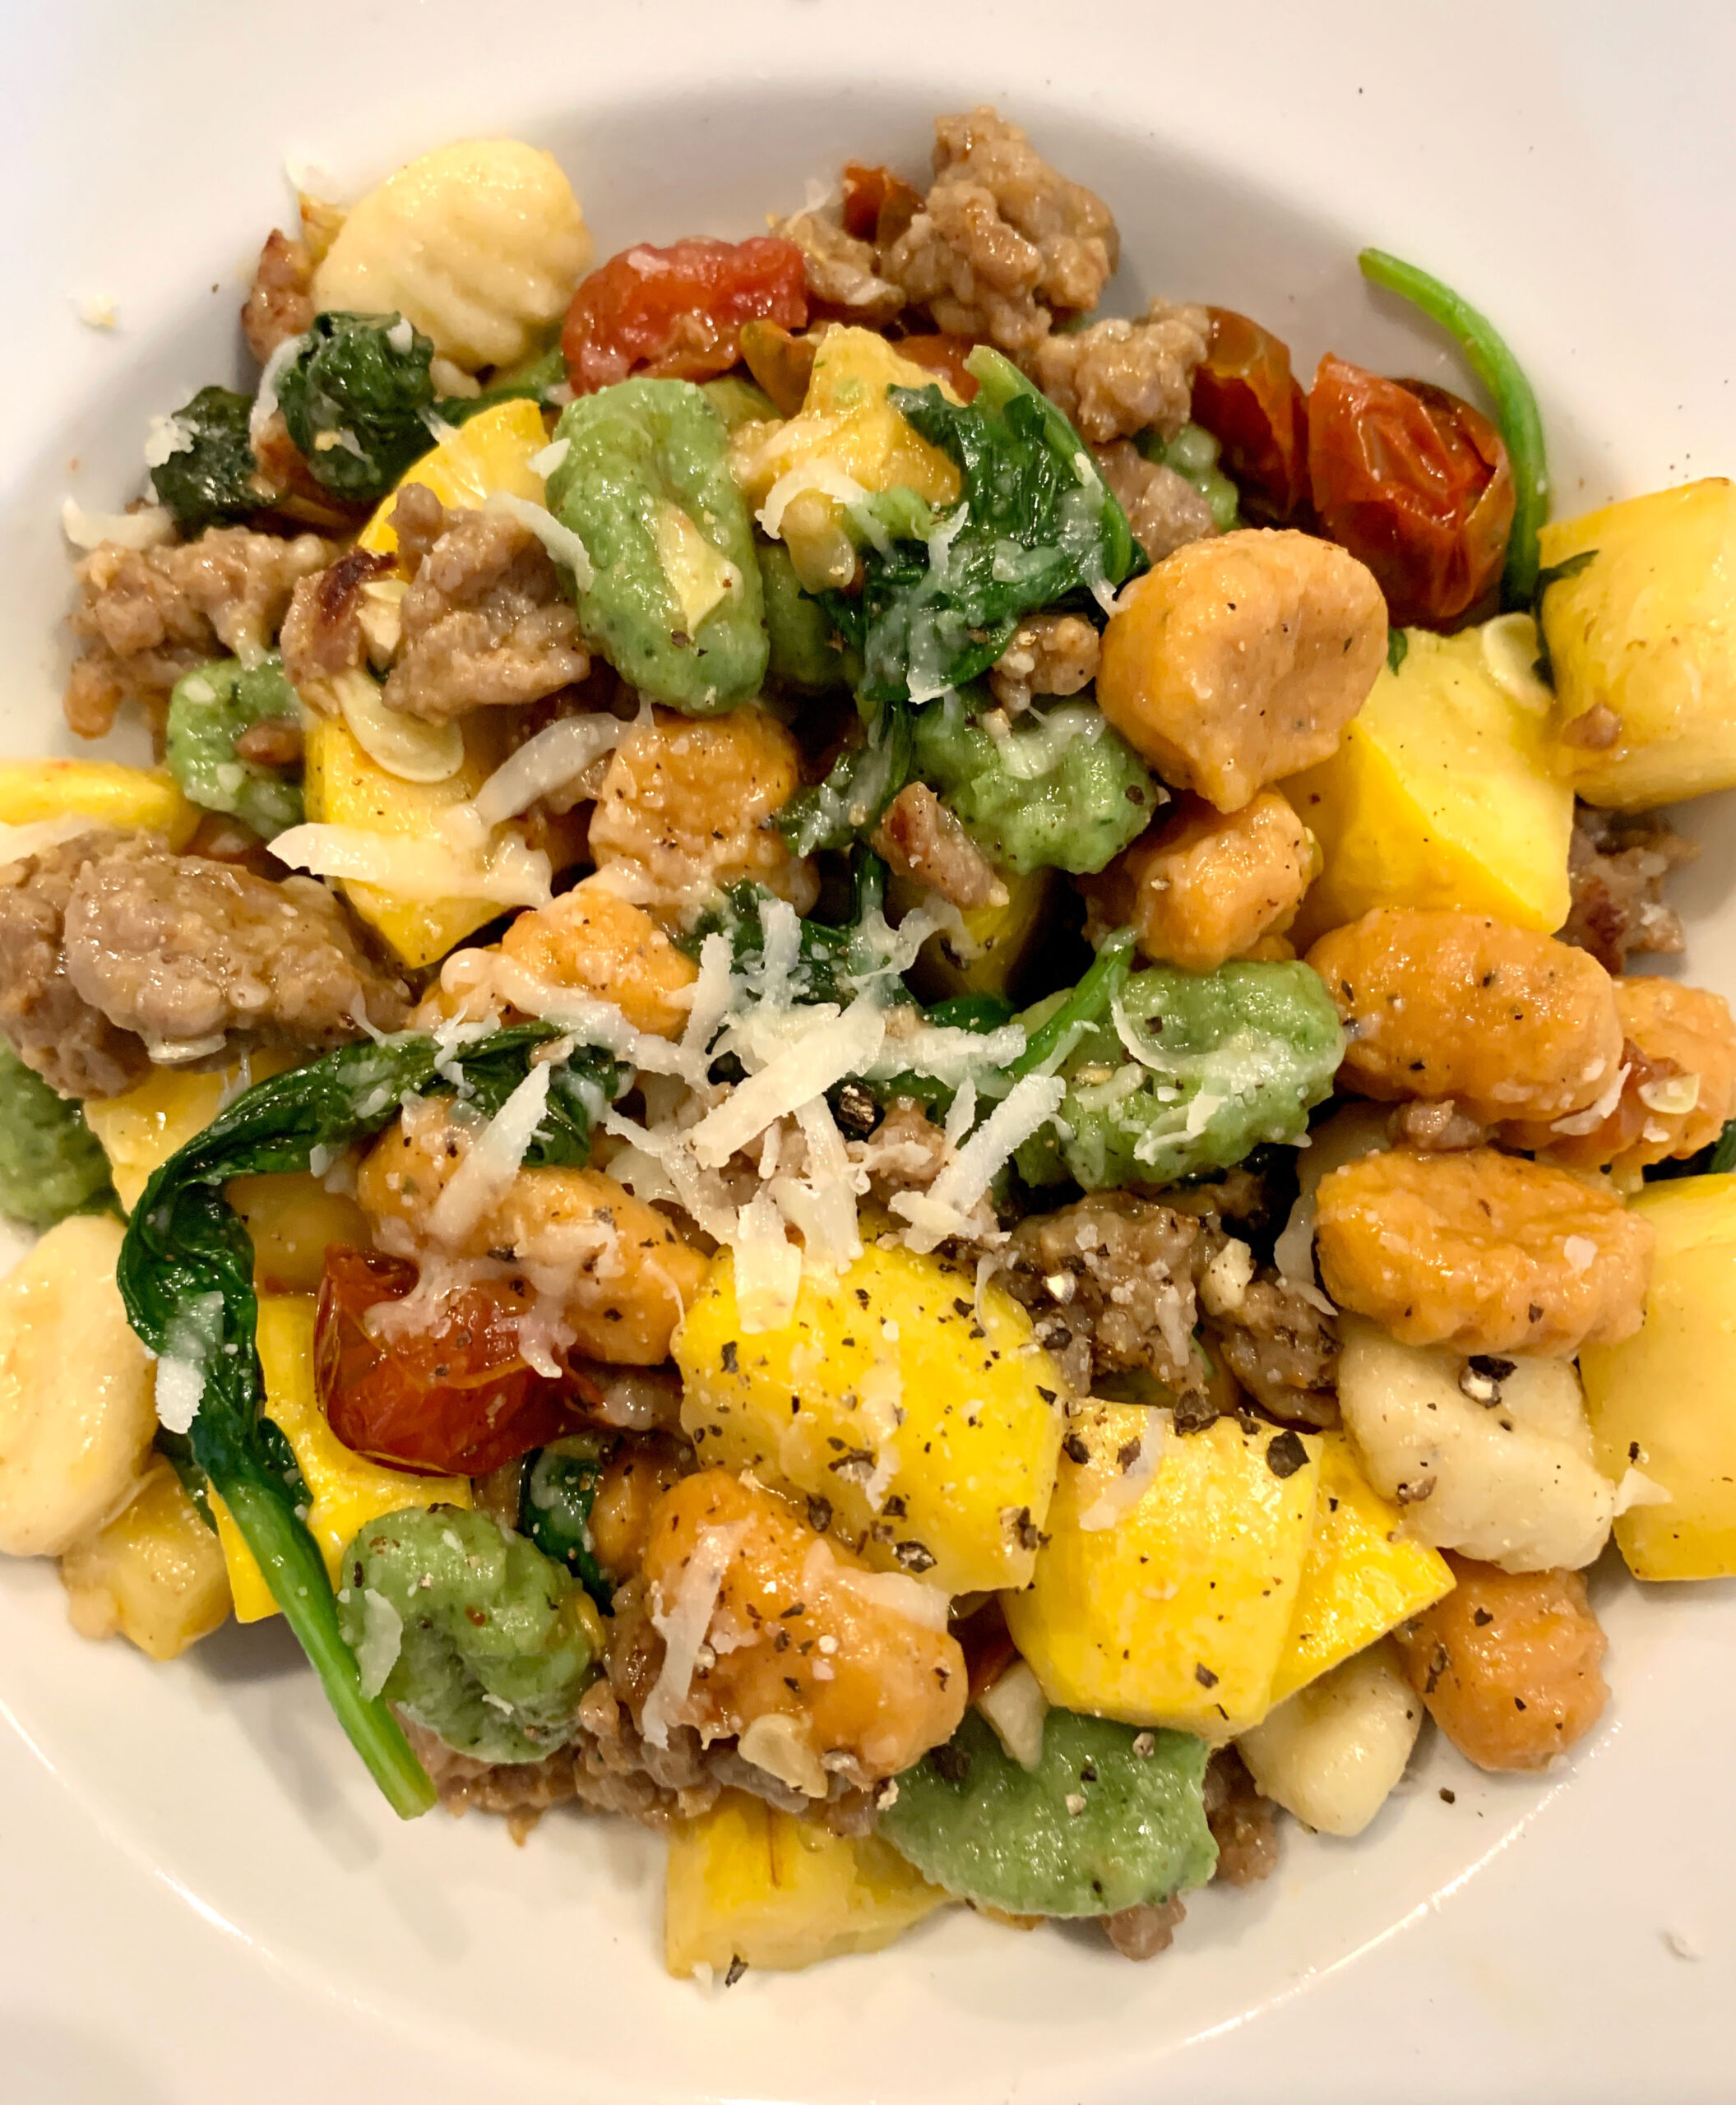
I prepared Gnocchi with Italian Sausage, Yellow Squash, and Spinach after purchasing two yellow squash and a box of fresh pasta from market vendors. Inspired by the ingredients and a similar recipe by Gordon Ramsey, I prepared an easy, weeknight meal full of flavor and layered in texture. The pasta dish turned out to be scrumptious. I loved the pillowy soft gnocchi (made from potatoes!) with the chunky veggies and sausage crumbles. Consider making it for your family this week.
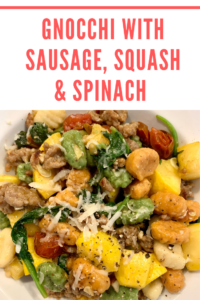
Gnocchi with Italian Sausage, Yellow Squash and Spinach
Ingredients
- 14 oz. gnocchi
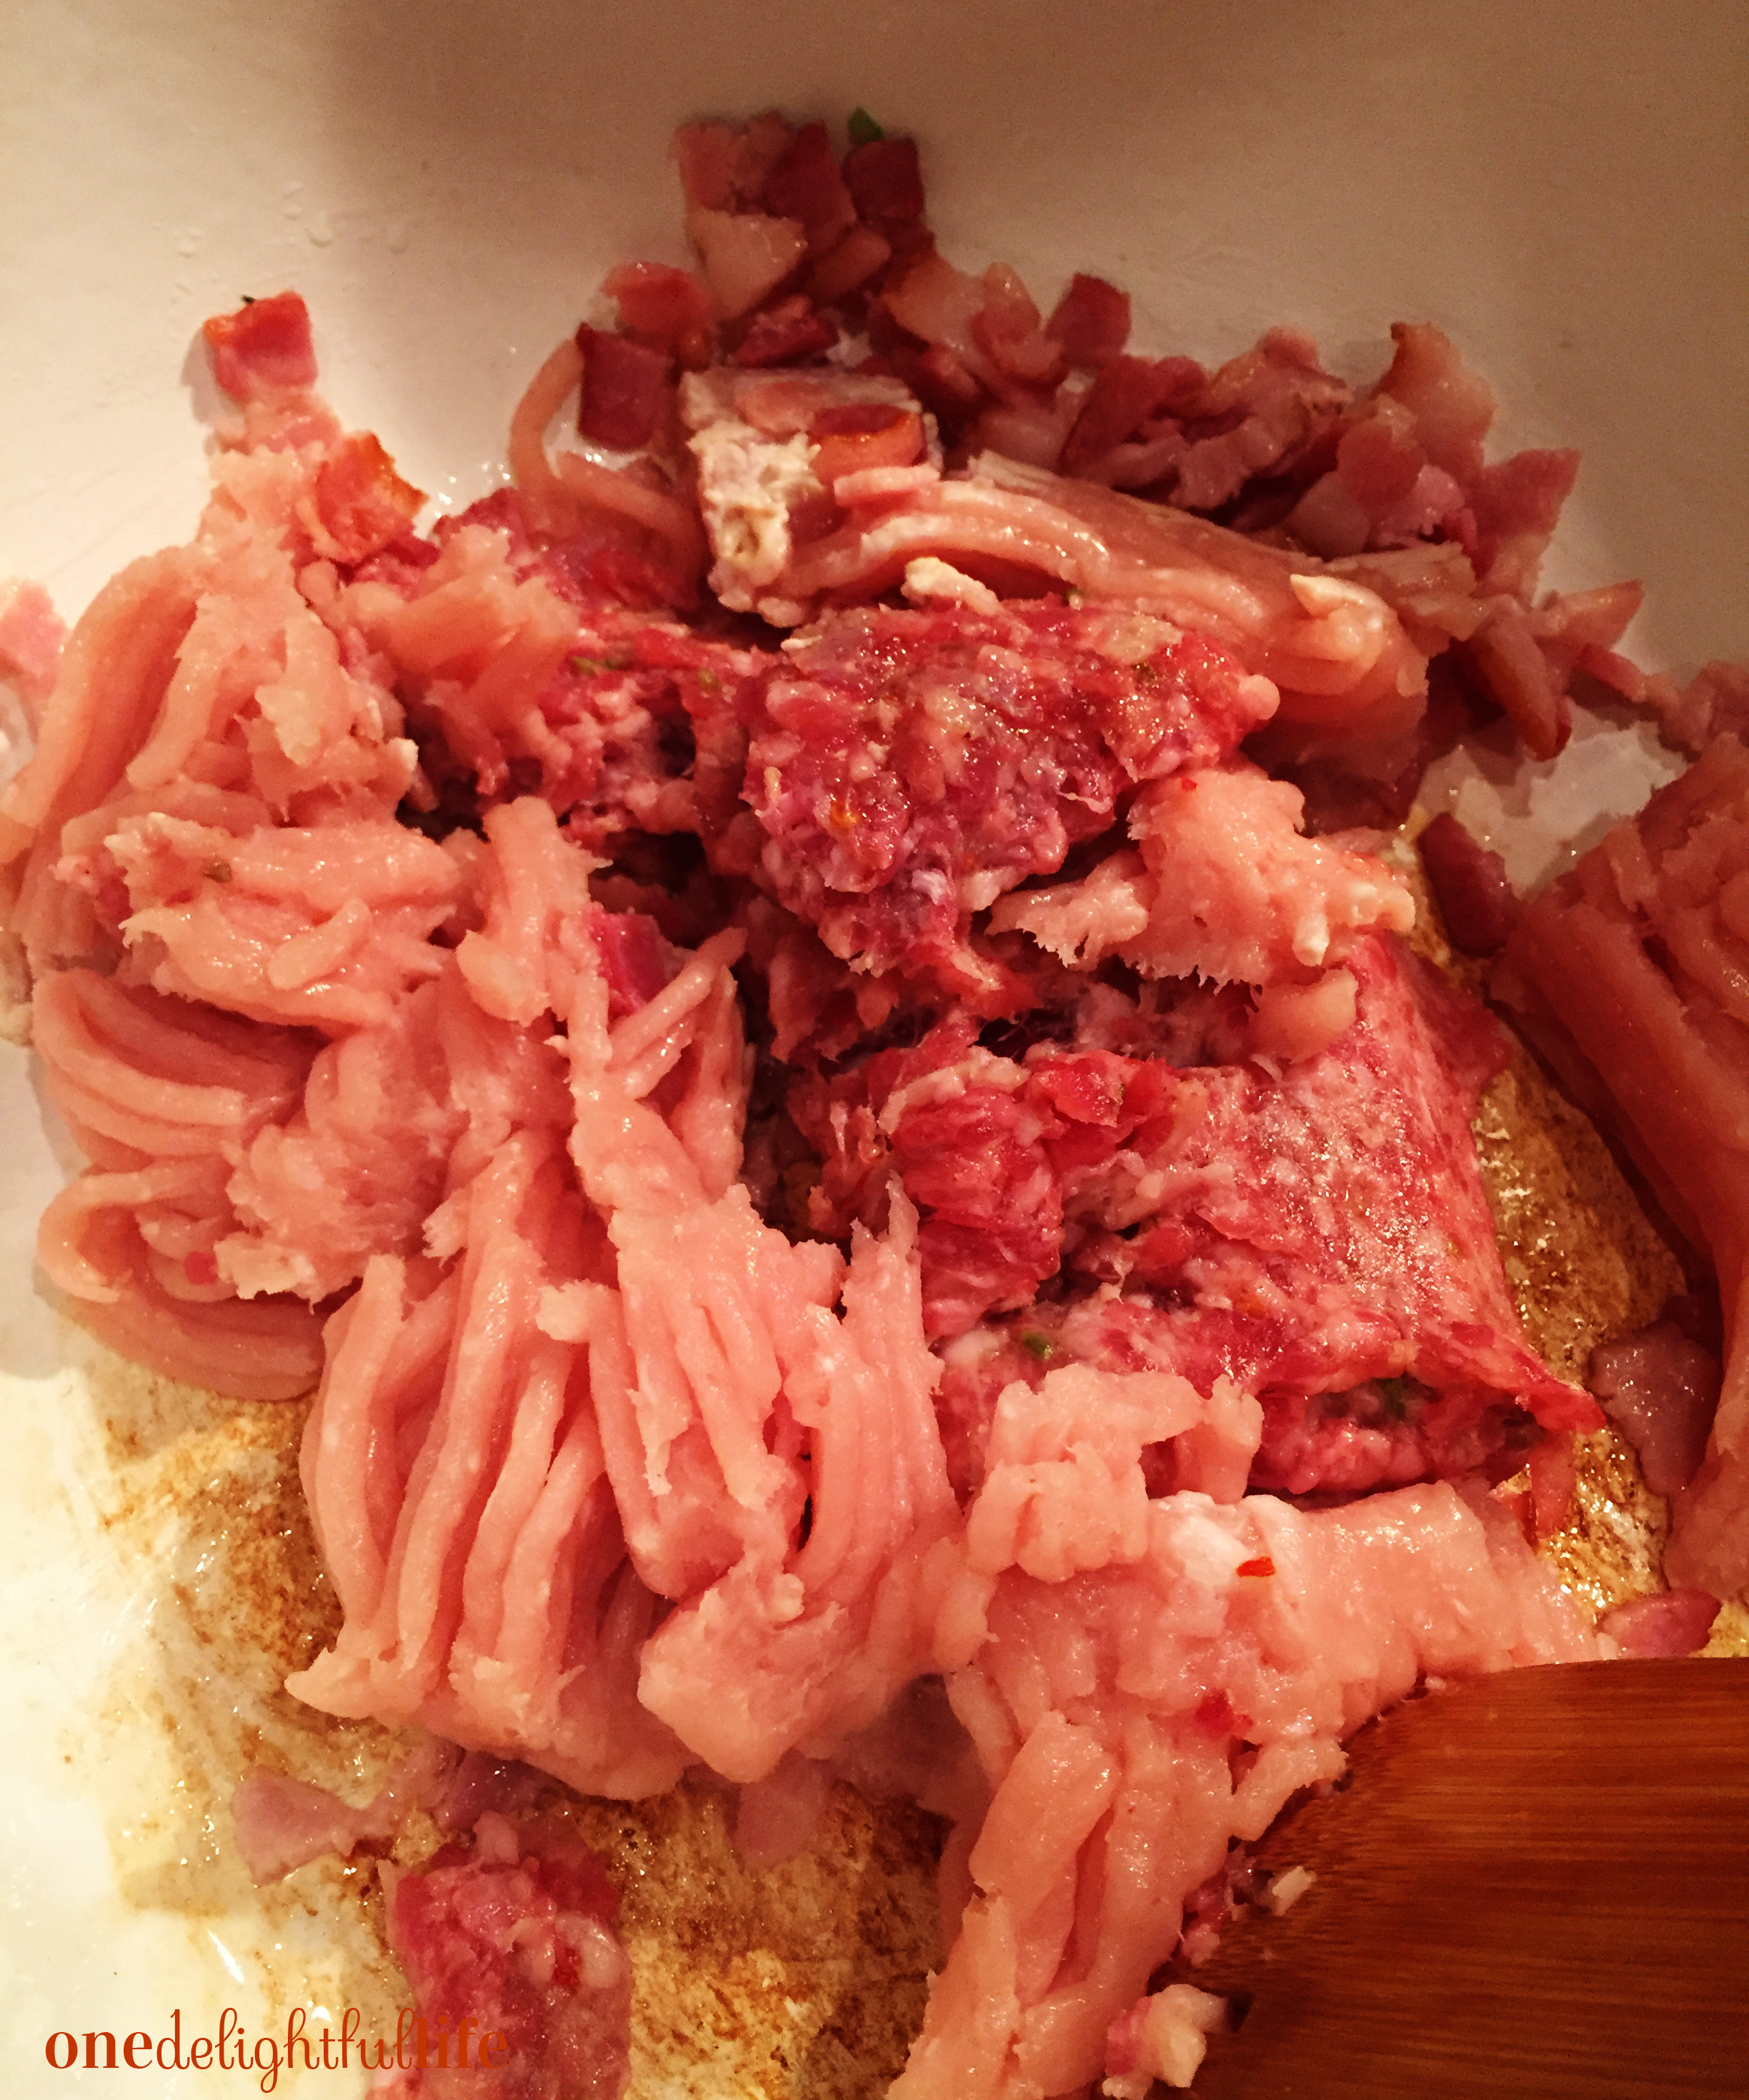
- 1 lb. ground mild Italian sausage
- 2 T. olive oil
- 2 diced yellow squash
- 3 diced garlic cloves
- 1/2 bag of baby spinach
- 1/2 pint of cherry tomatoes
- Salt and Pepper
- Shredded Parmesan
Instructions
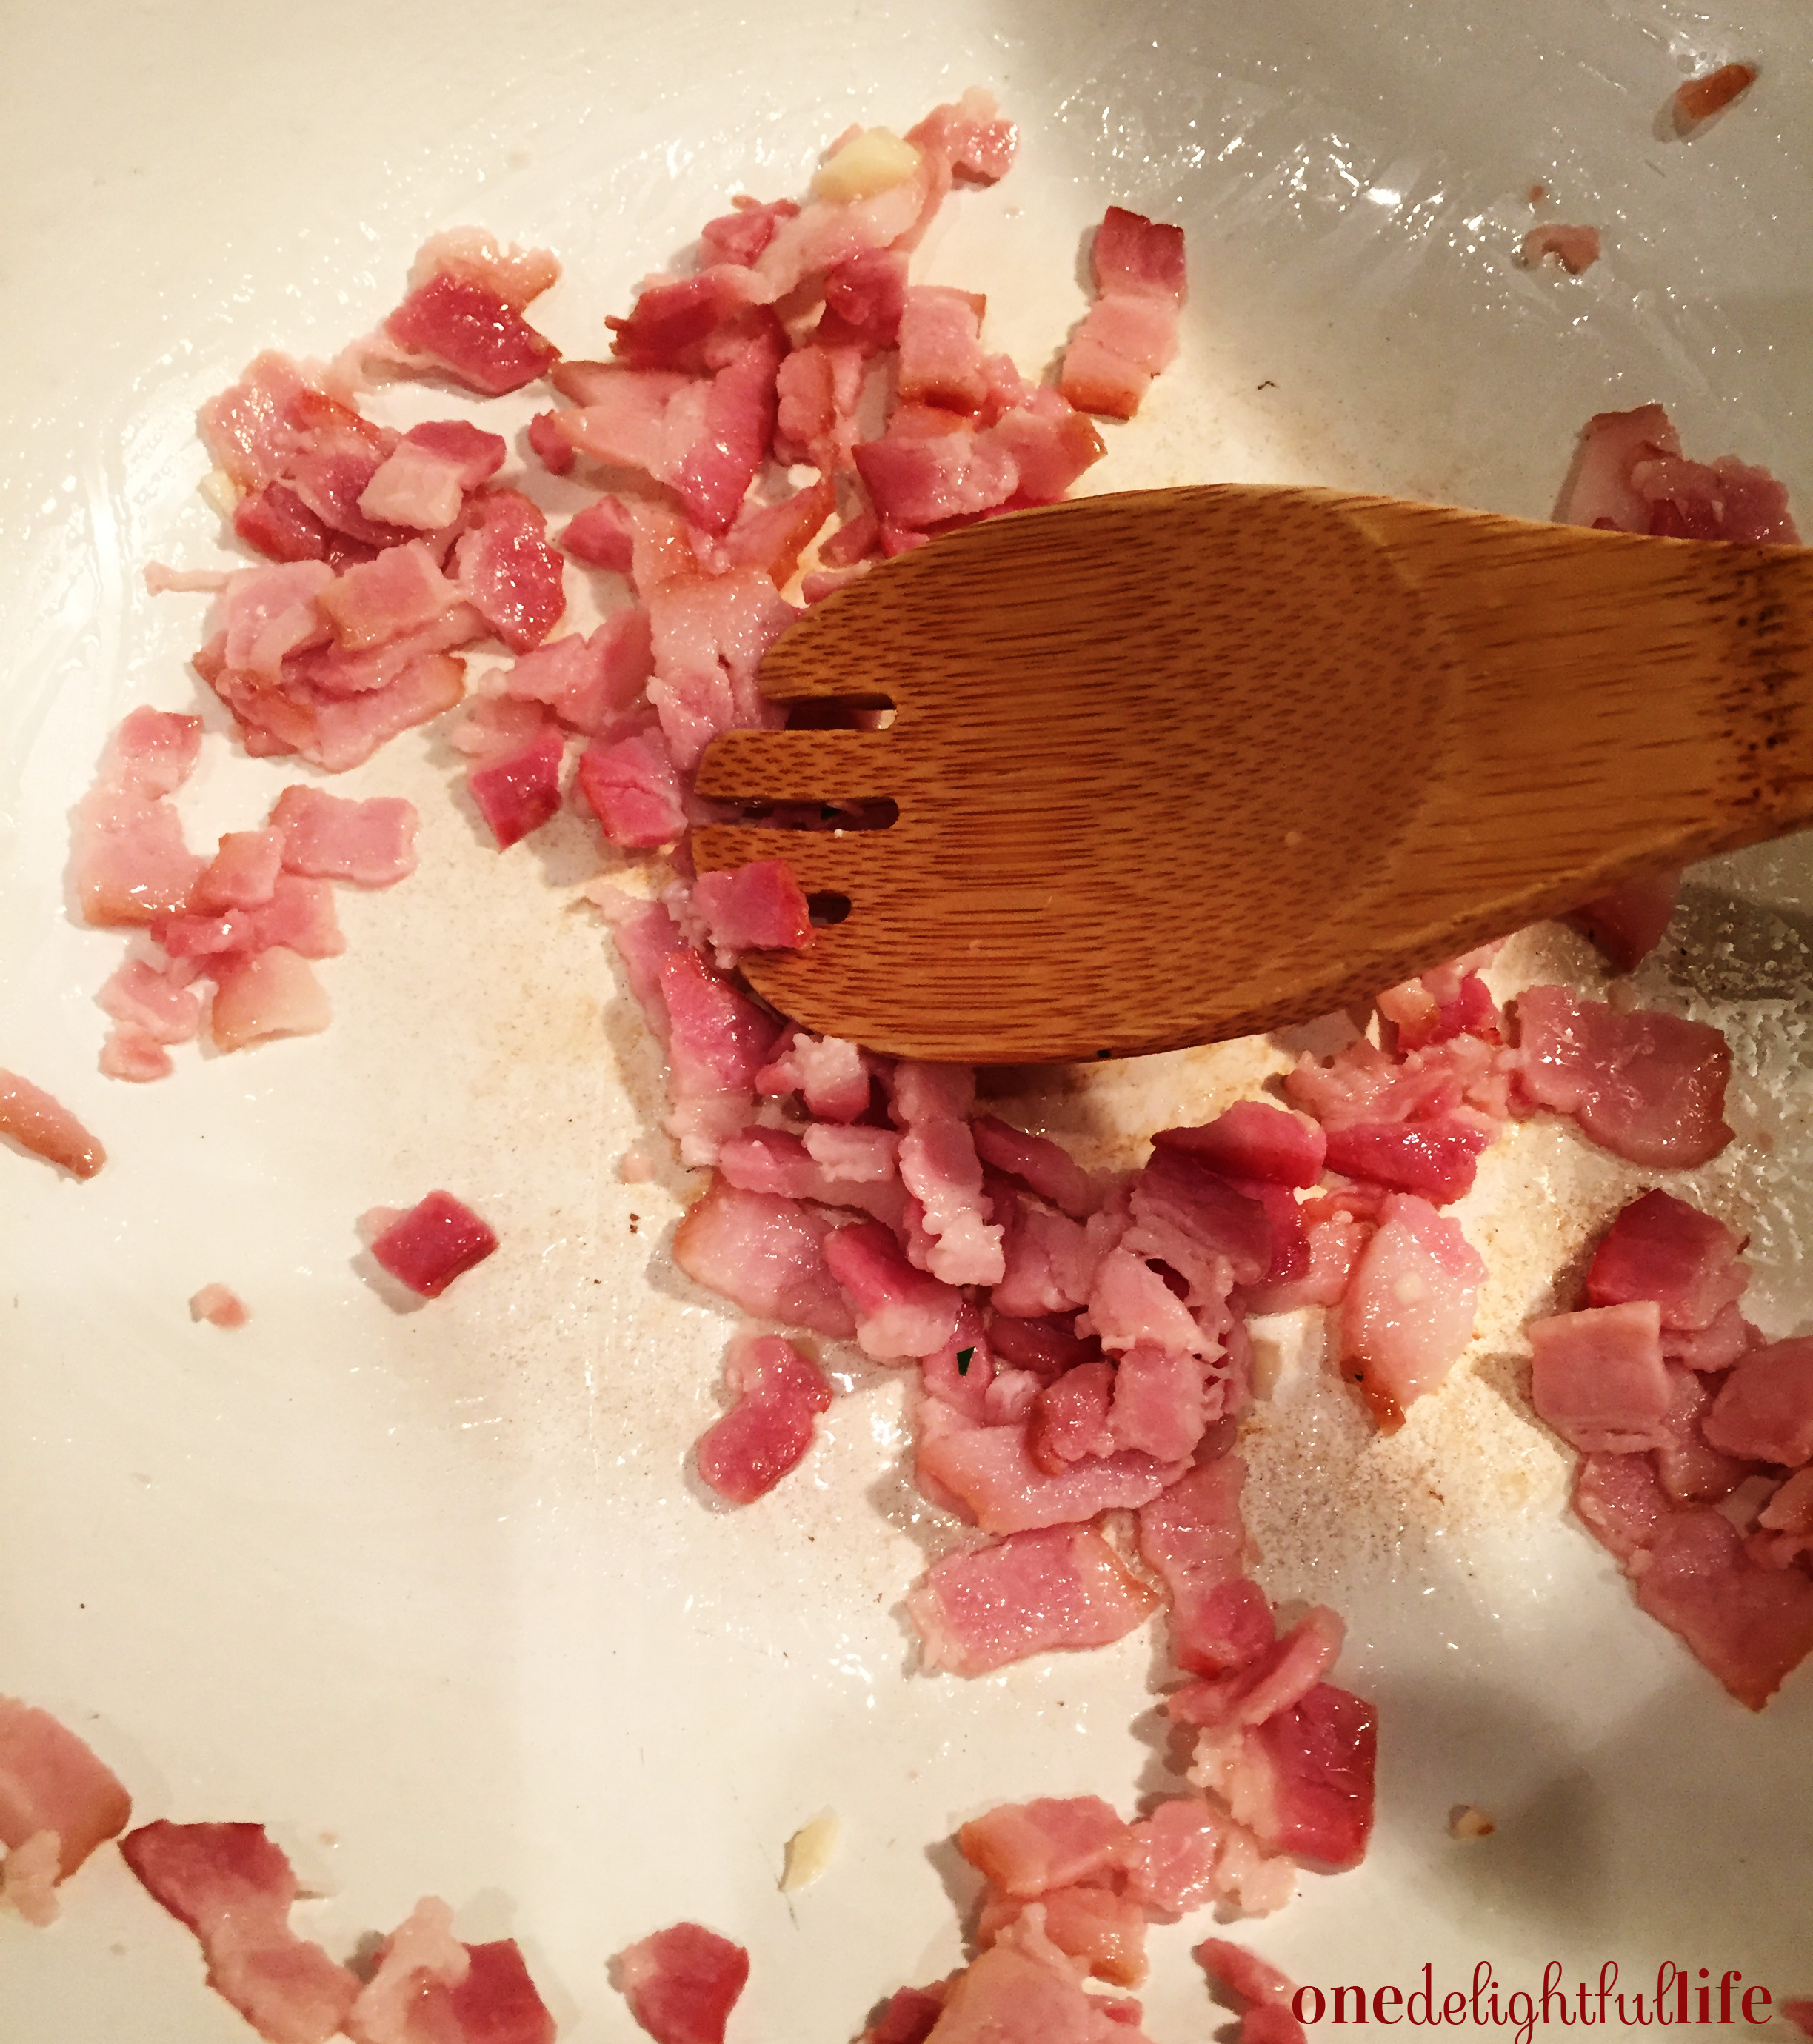
- Brown the ground sausage on medium high until broken down and caramelized.
- Remove sausage from the pan and drain on a plate of paper towels.
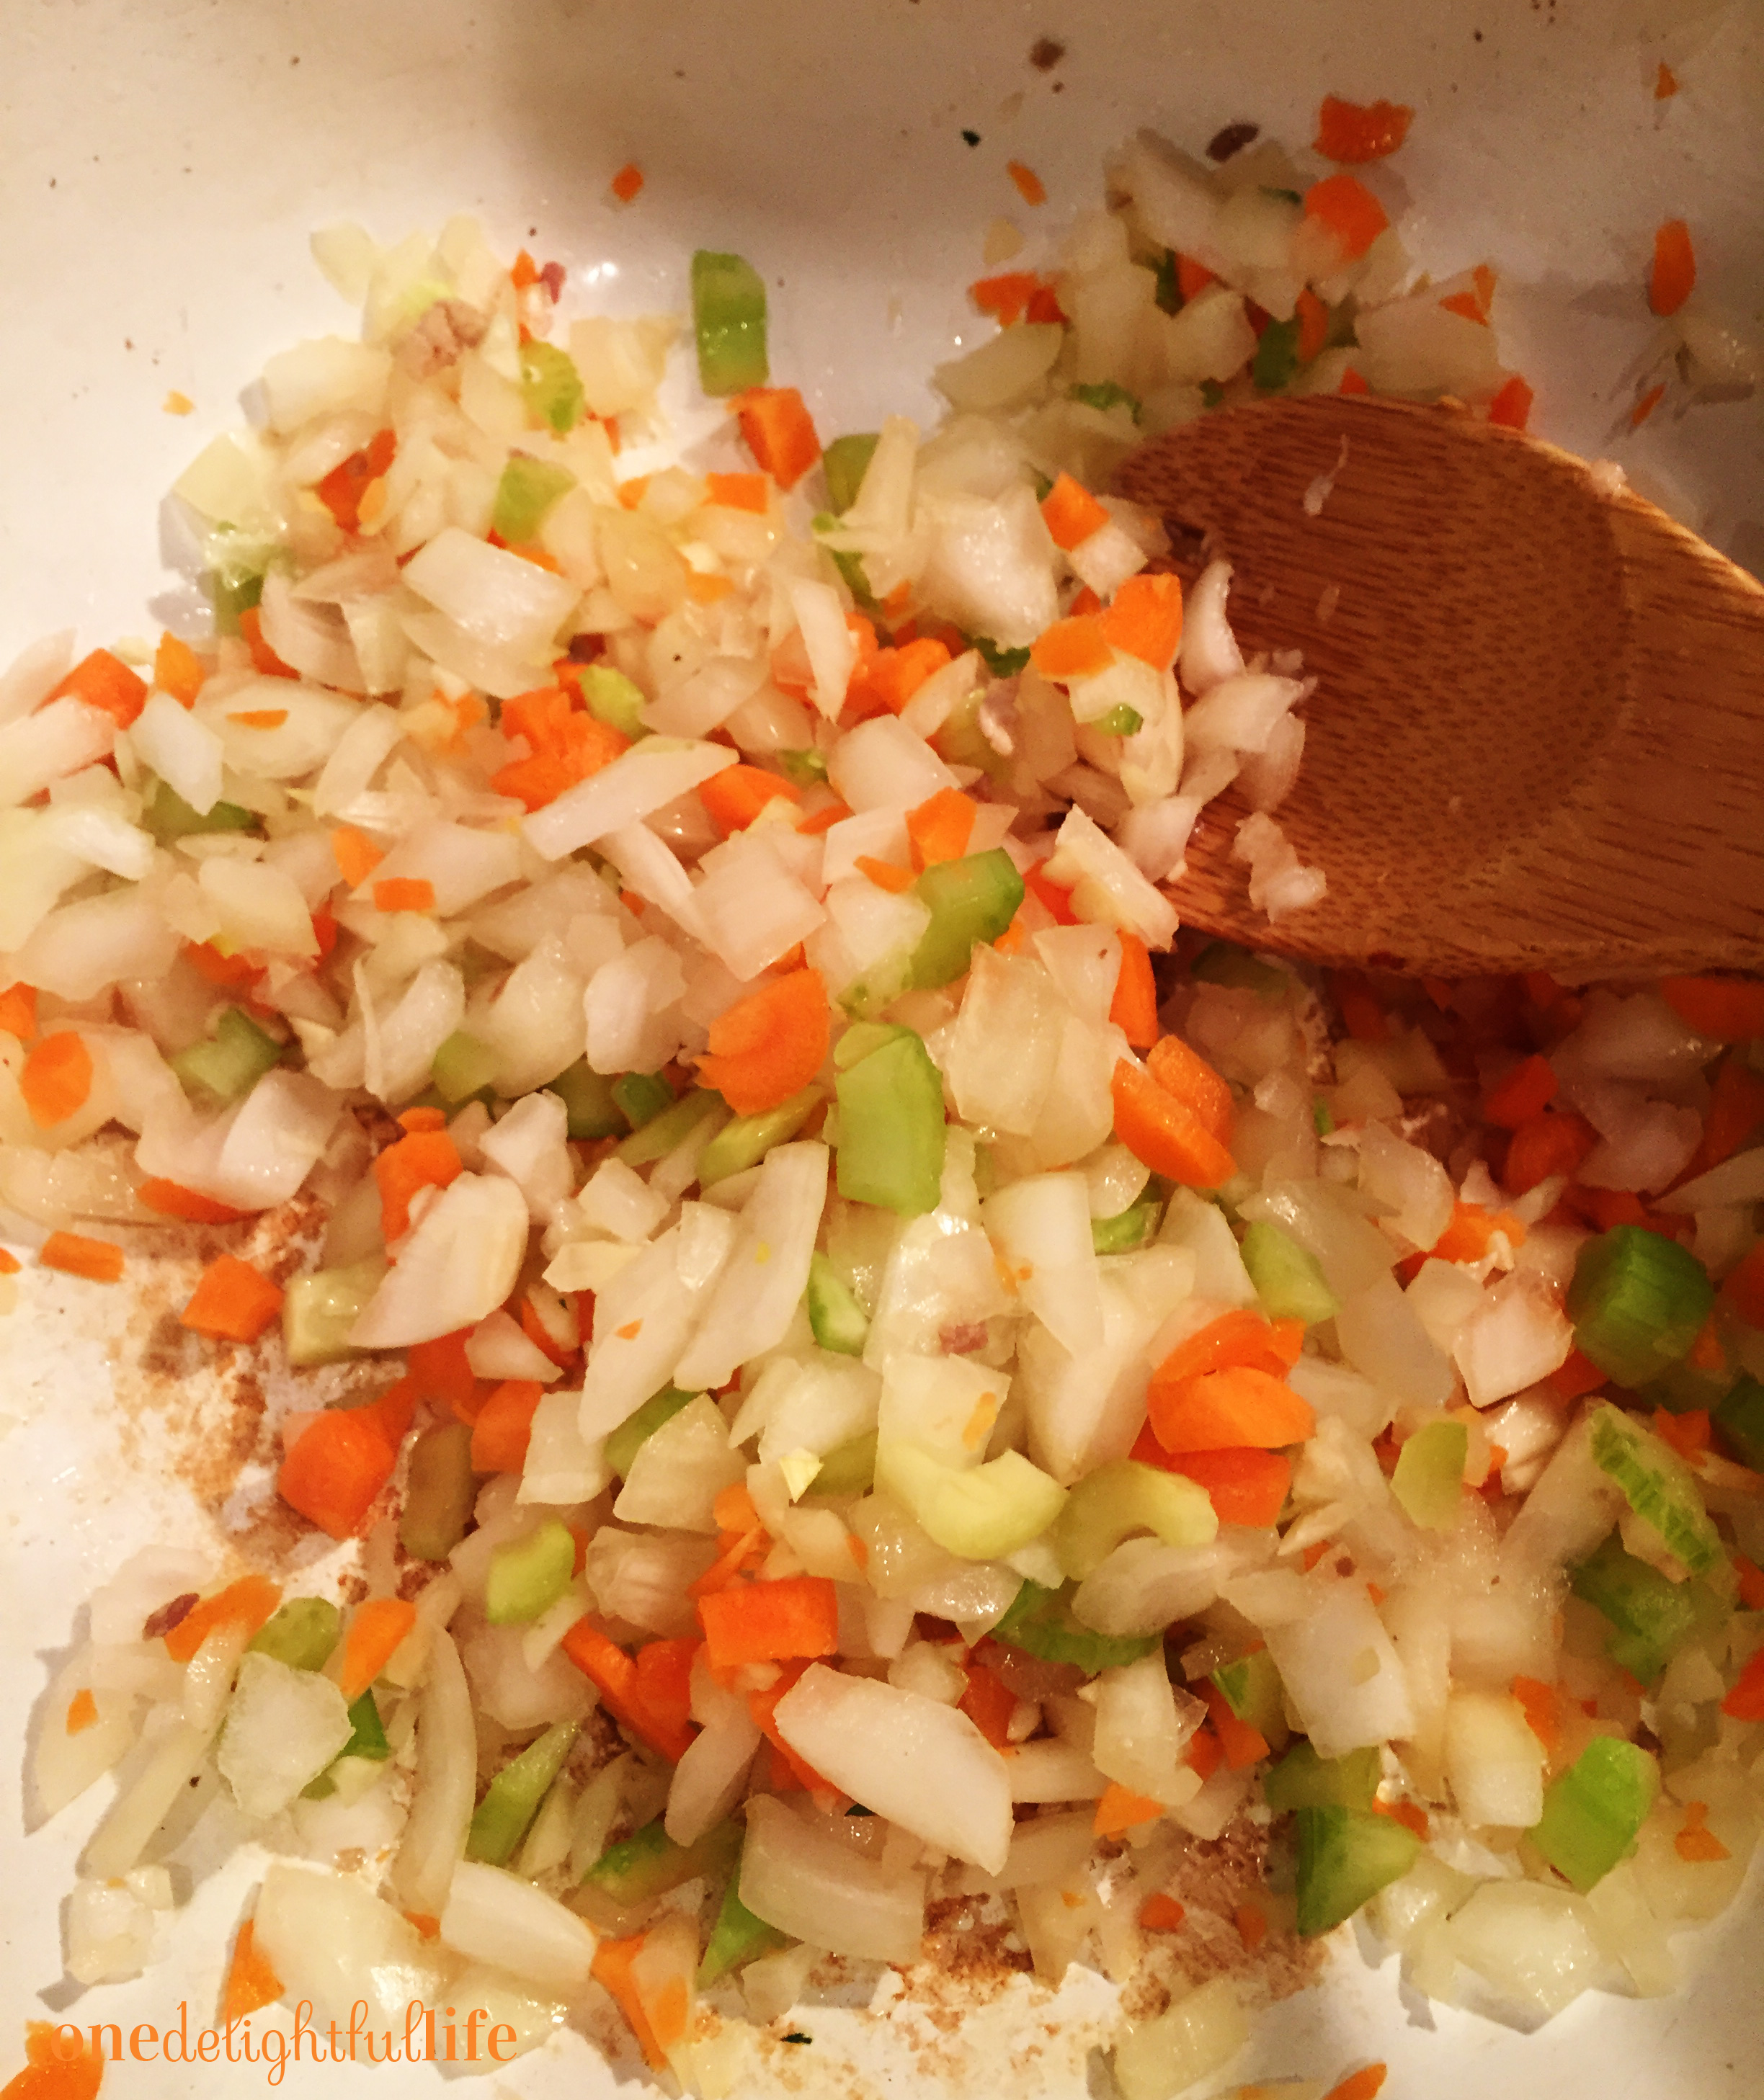
- In a separate pan, add the olive oil over medium heat.
- Add the diced yellow squash and stir occasionally until the squash is softened.
- Add the diced garlic and stir until incorporated.
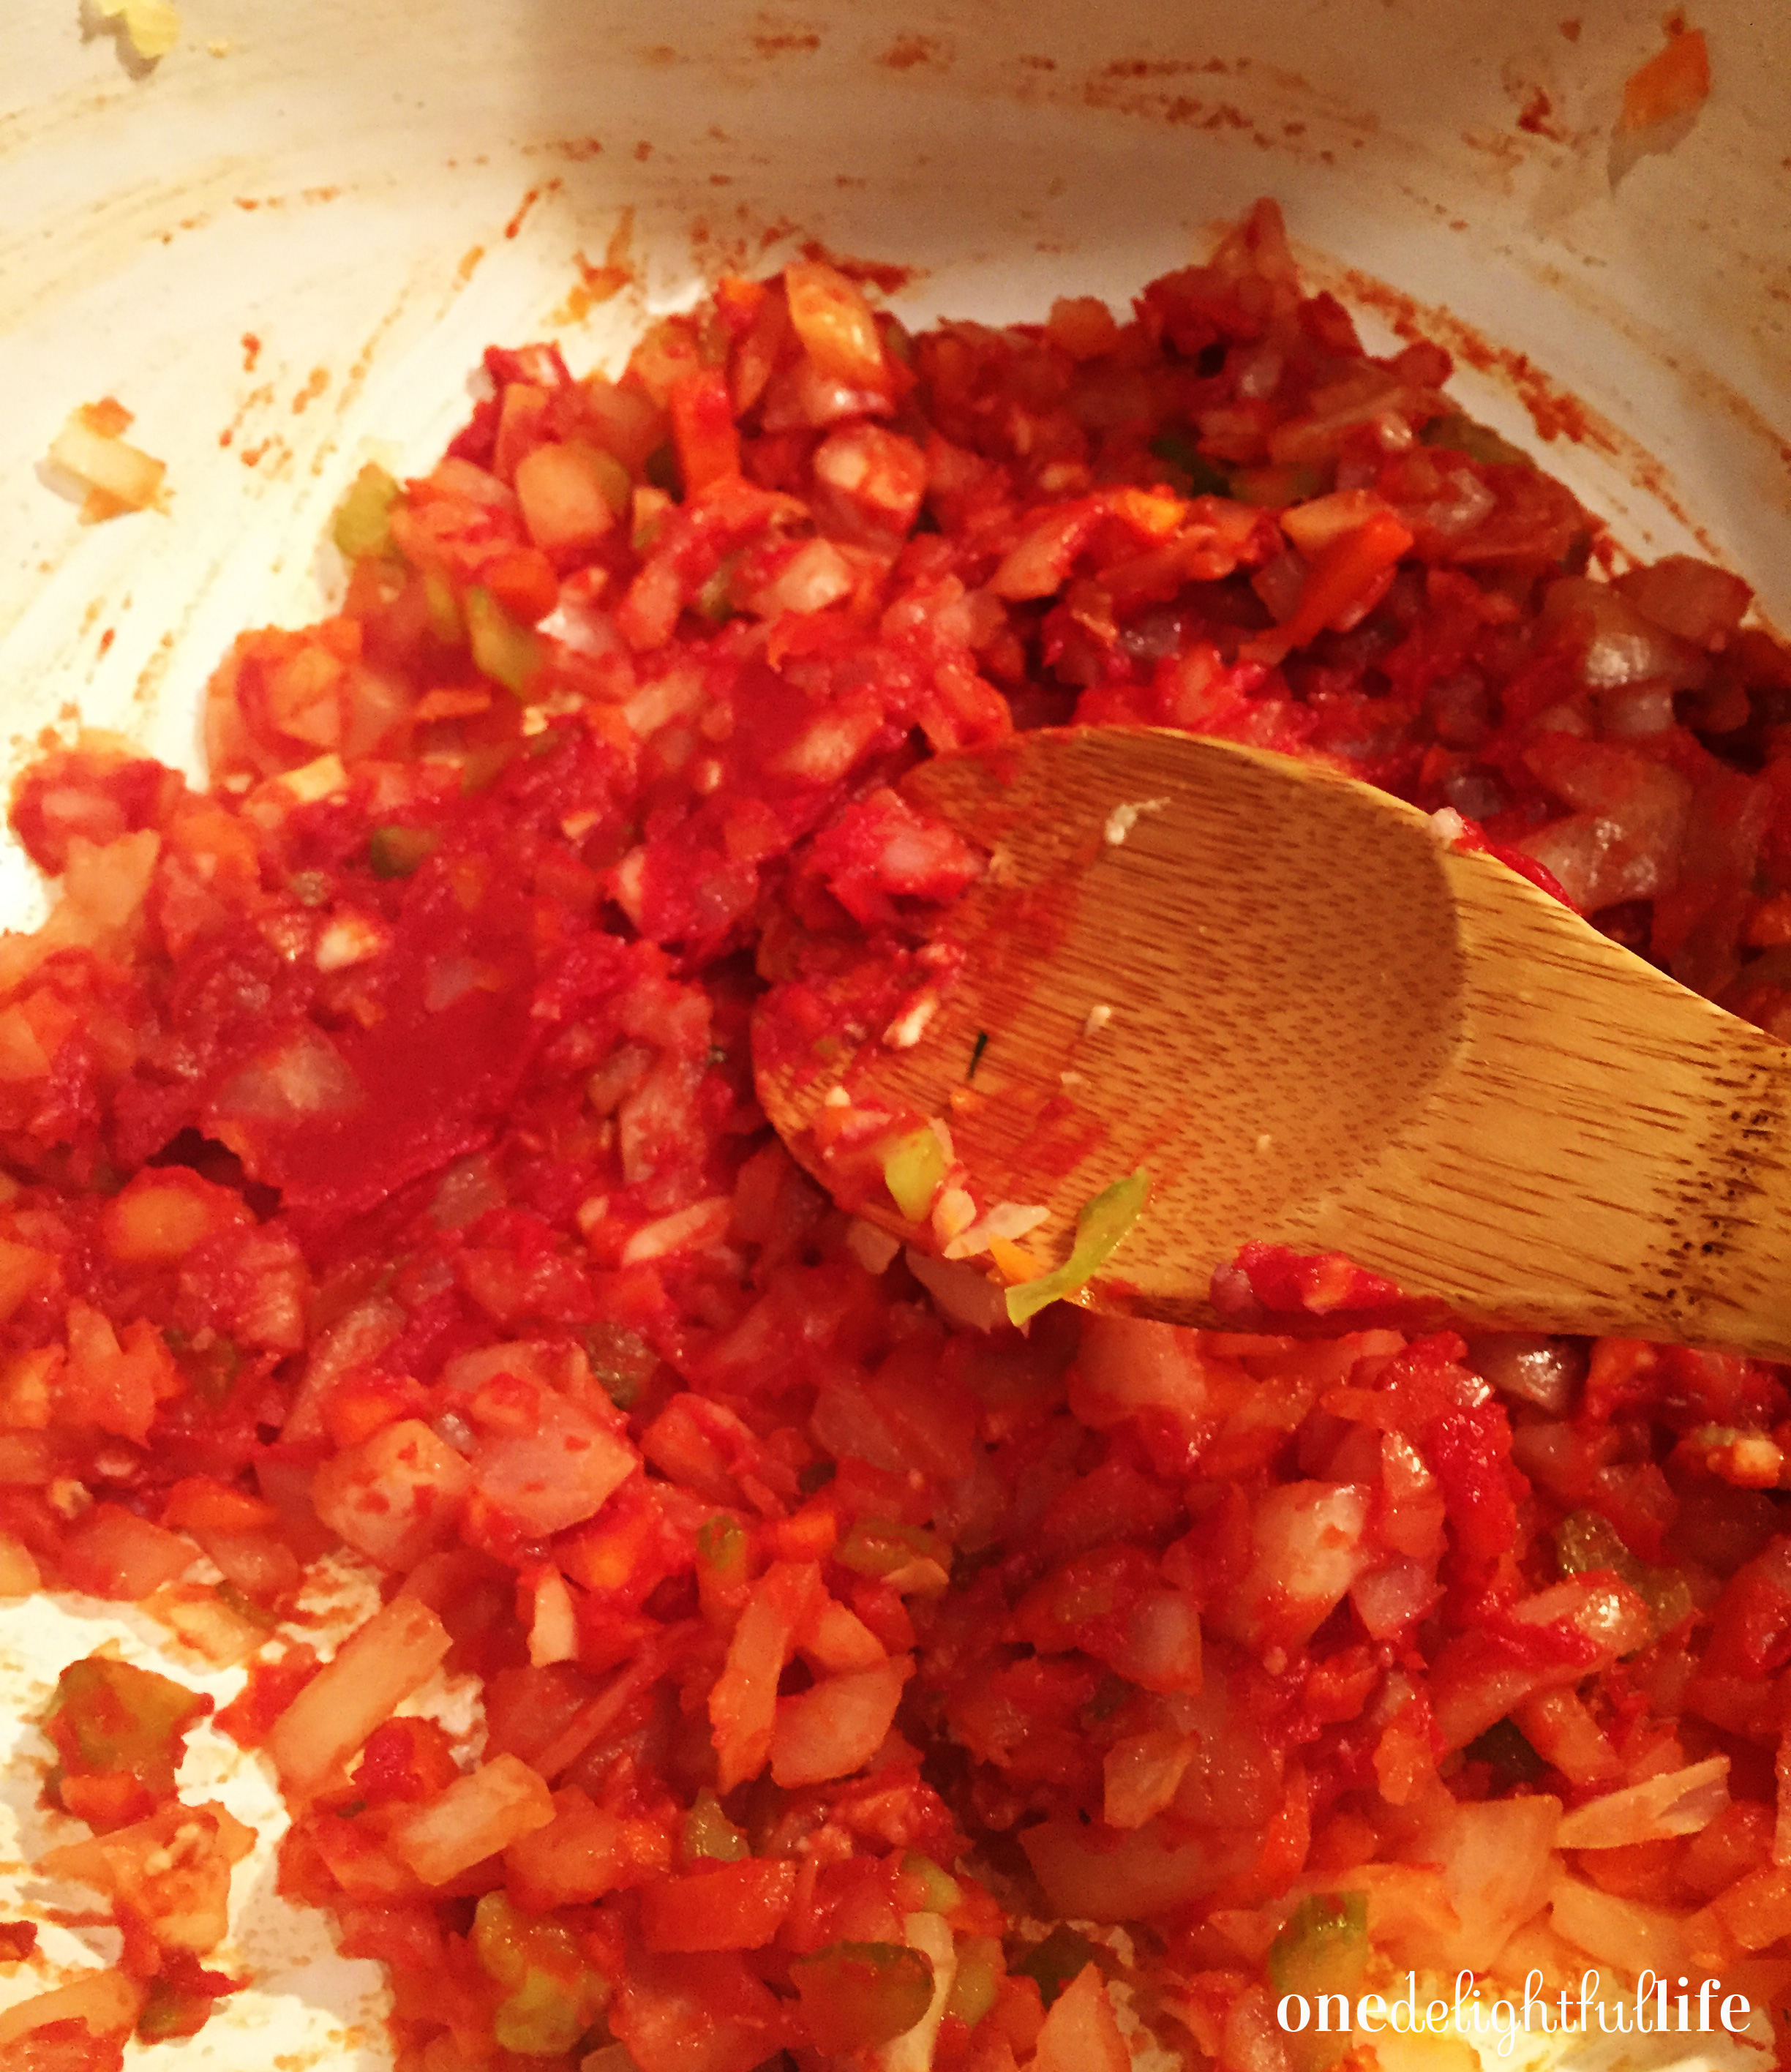
- Add the spinach, tomatoes, and stir.
- Add the drained sausage to the squash, garlic, spinach, and tomatoes. Stir until well mixed and turn the stove on low.
- In a large saucepan, bring salted water to a rolling boil.
- Add the gnocchi and stir it occasionally for 2-3 minutes until the pasta floats. Using a slotted spoon, drain the gnocchi by the spoonful and add it to the pot of sausage and vegetables. Gently fold it all to incorporate the ingredients.
- Add salt and pepper and sprinkled Parmesan on each serving while hot.
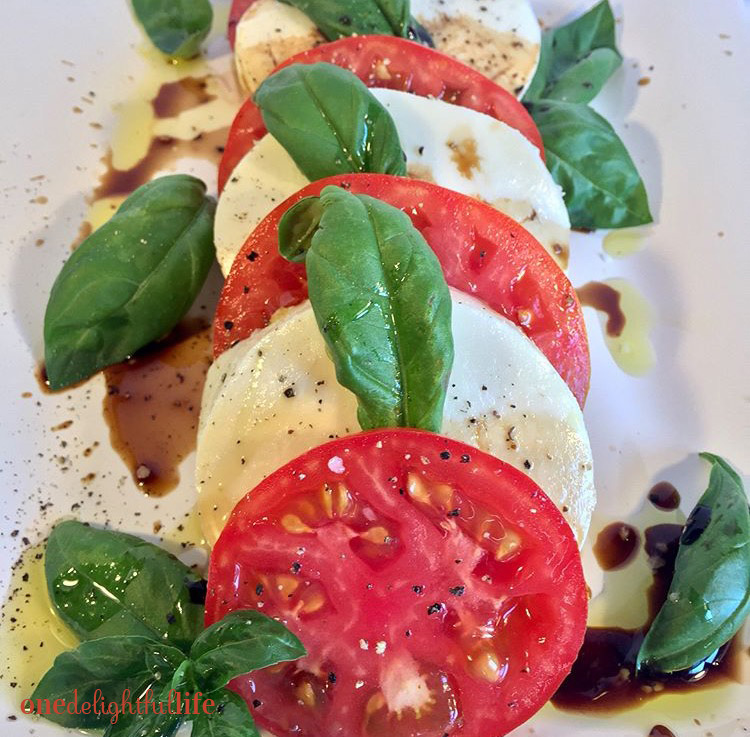
You could also sprinkle a few ribbons of fresh basil on top of your warm bowl of pasta. I didn’t choose to do that since the gnocchi I purchased was already flavored with spinach and sun-dried tomatoes.
If you love tomatoes, add more! Wish this recipe included mushrooms? Don’t have yellow squash; have zucchini instead? Trust yourself to swap or add ingredients.
If you make this recipe for two people, you’ll have at least two servings leftover for the next day’s lunch! Of course, let me know what you think of this yummy weeknight meal in the comments below.
Oh, and if you LOVE squash, try my recipe for Buttery Spaghetti Squash with Garlic and Feta. It’s a delightful side dish for any fall season meal.

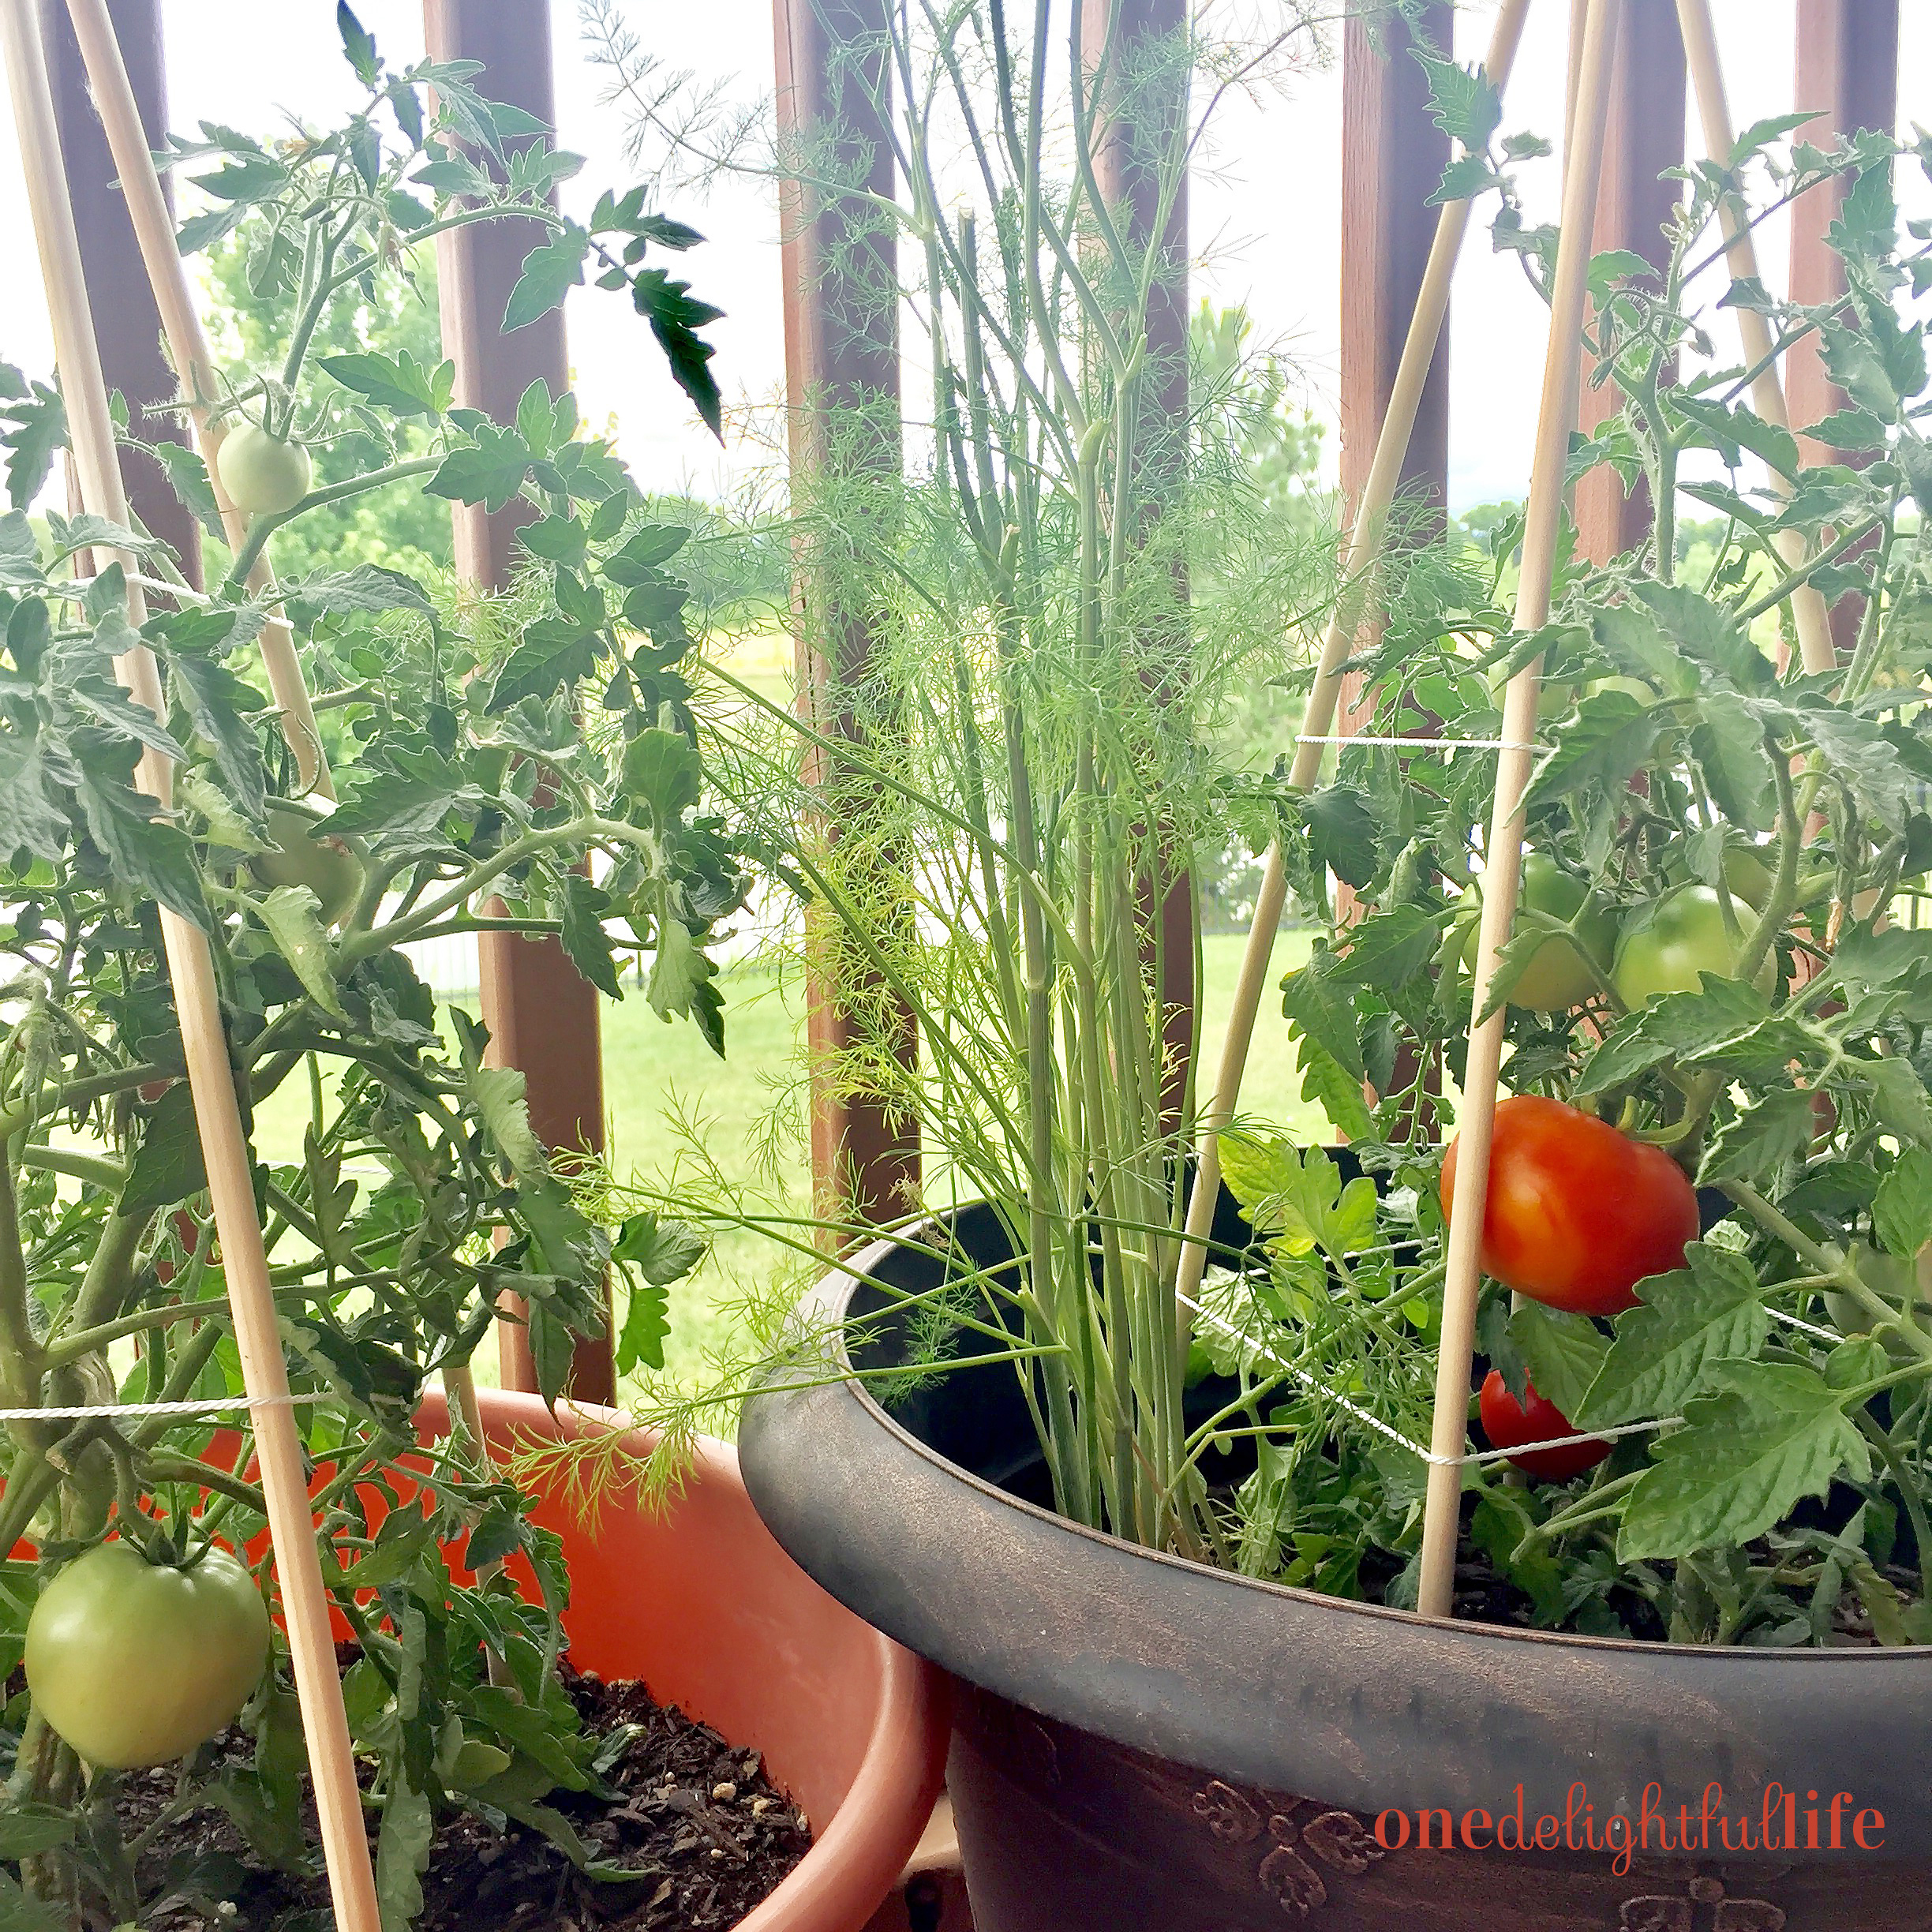
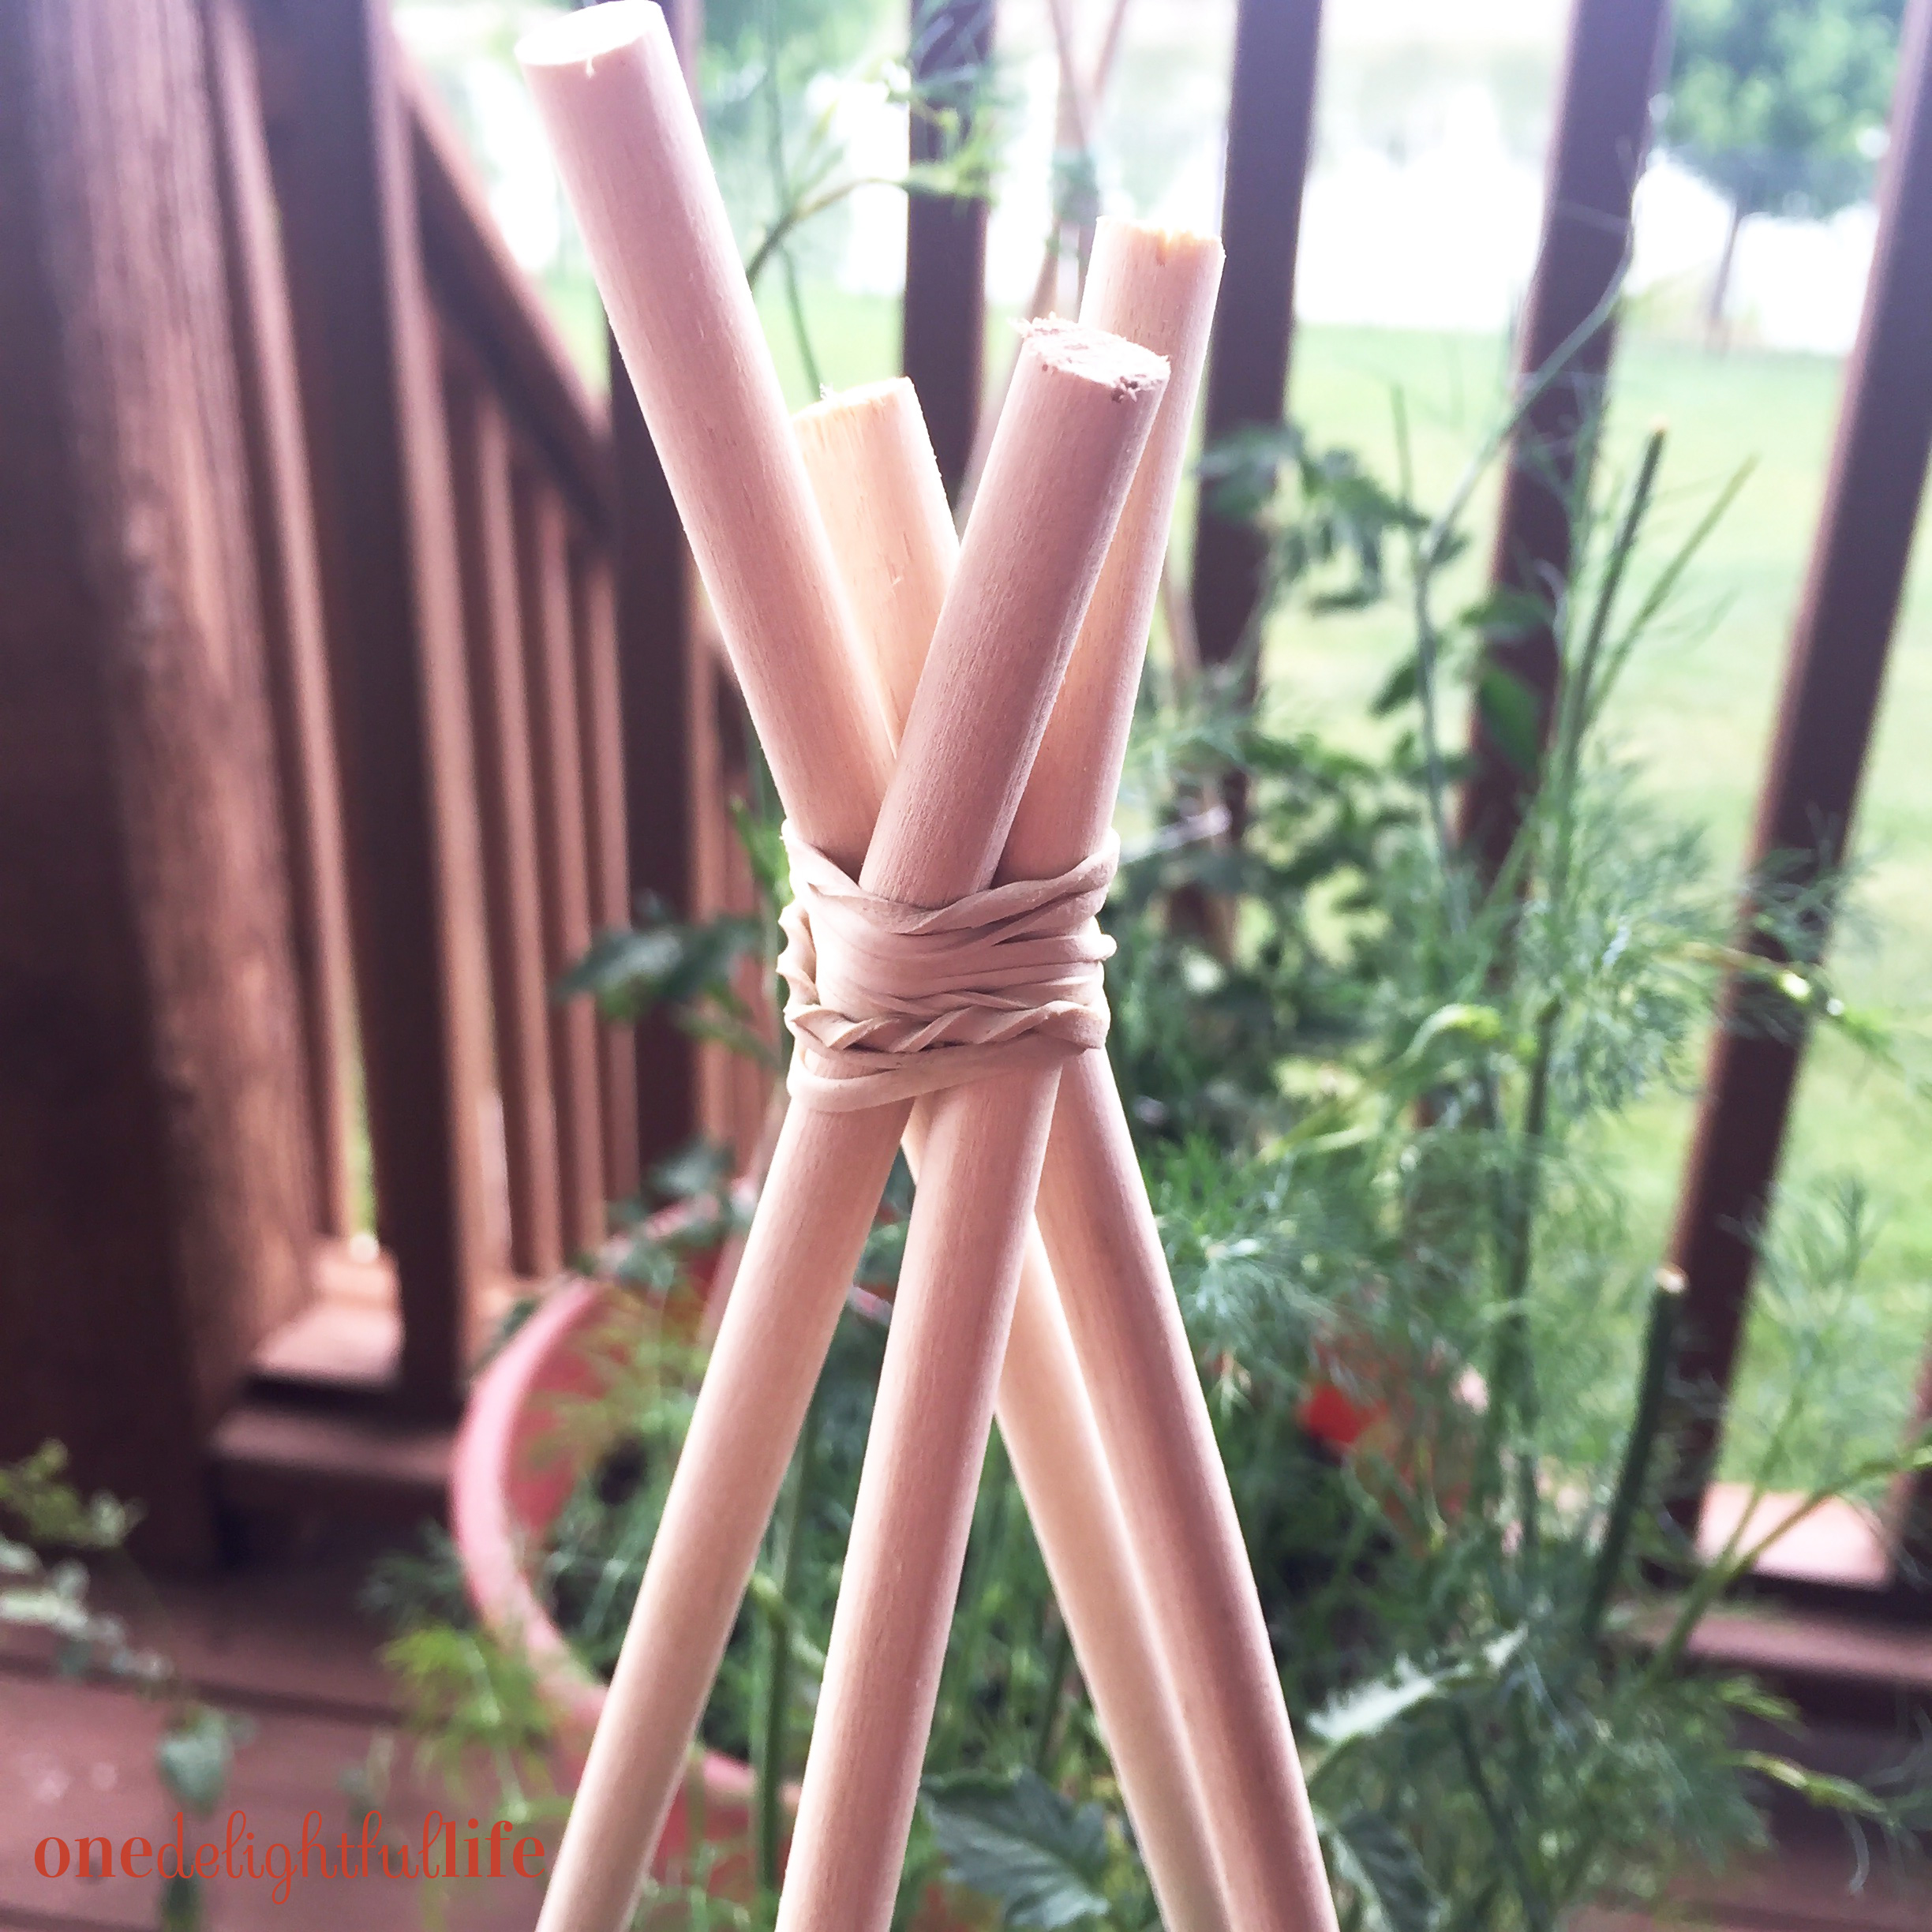
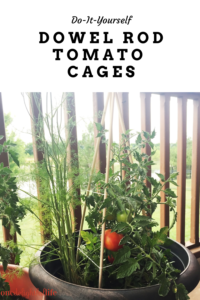
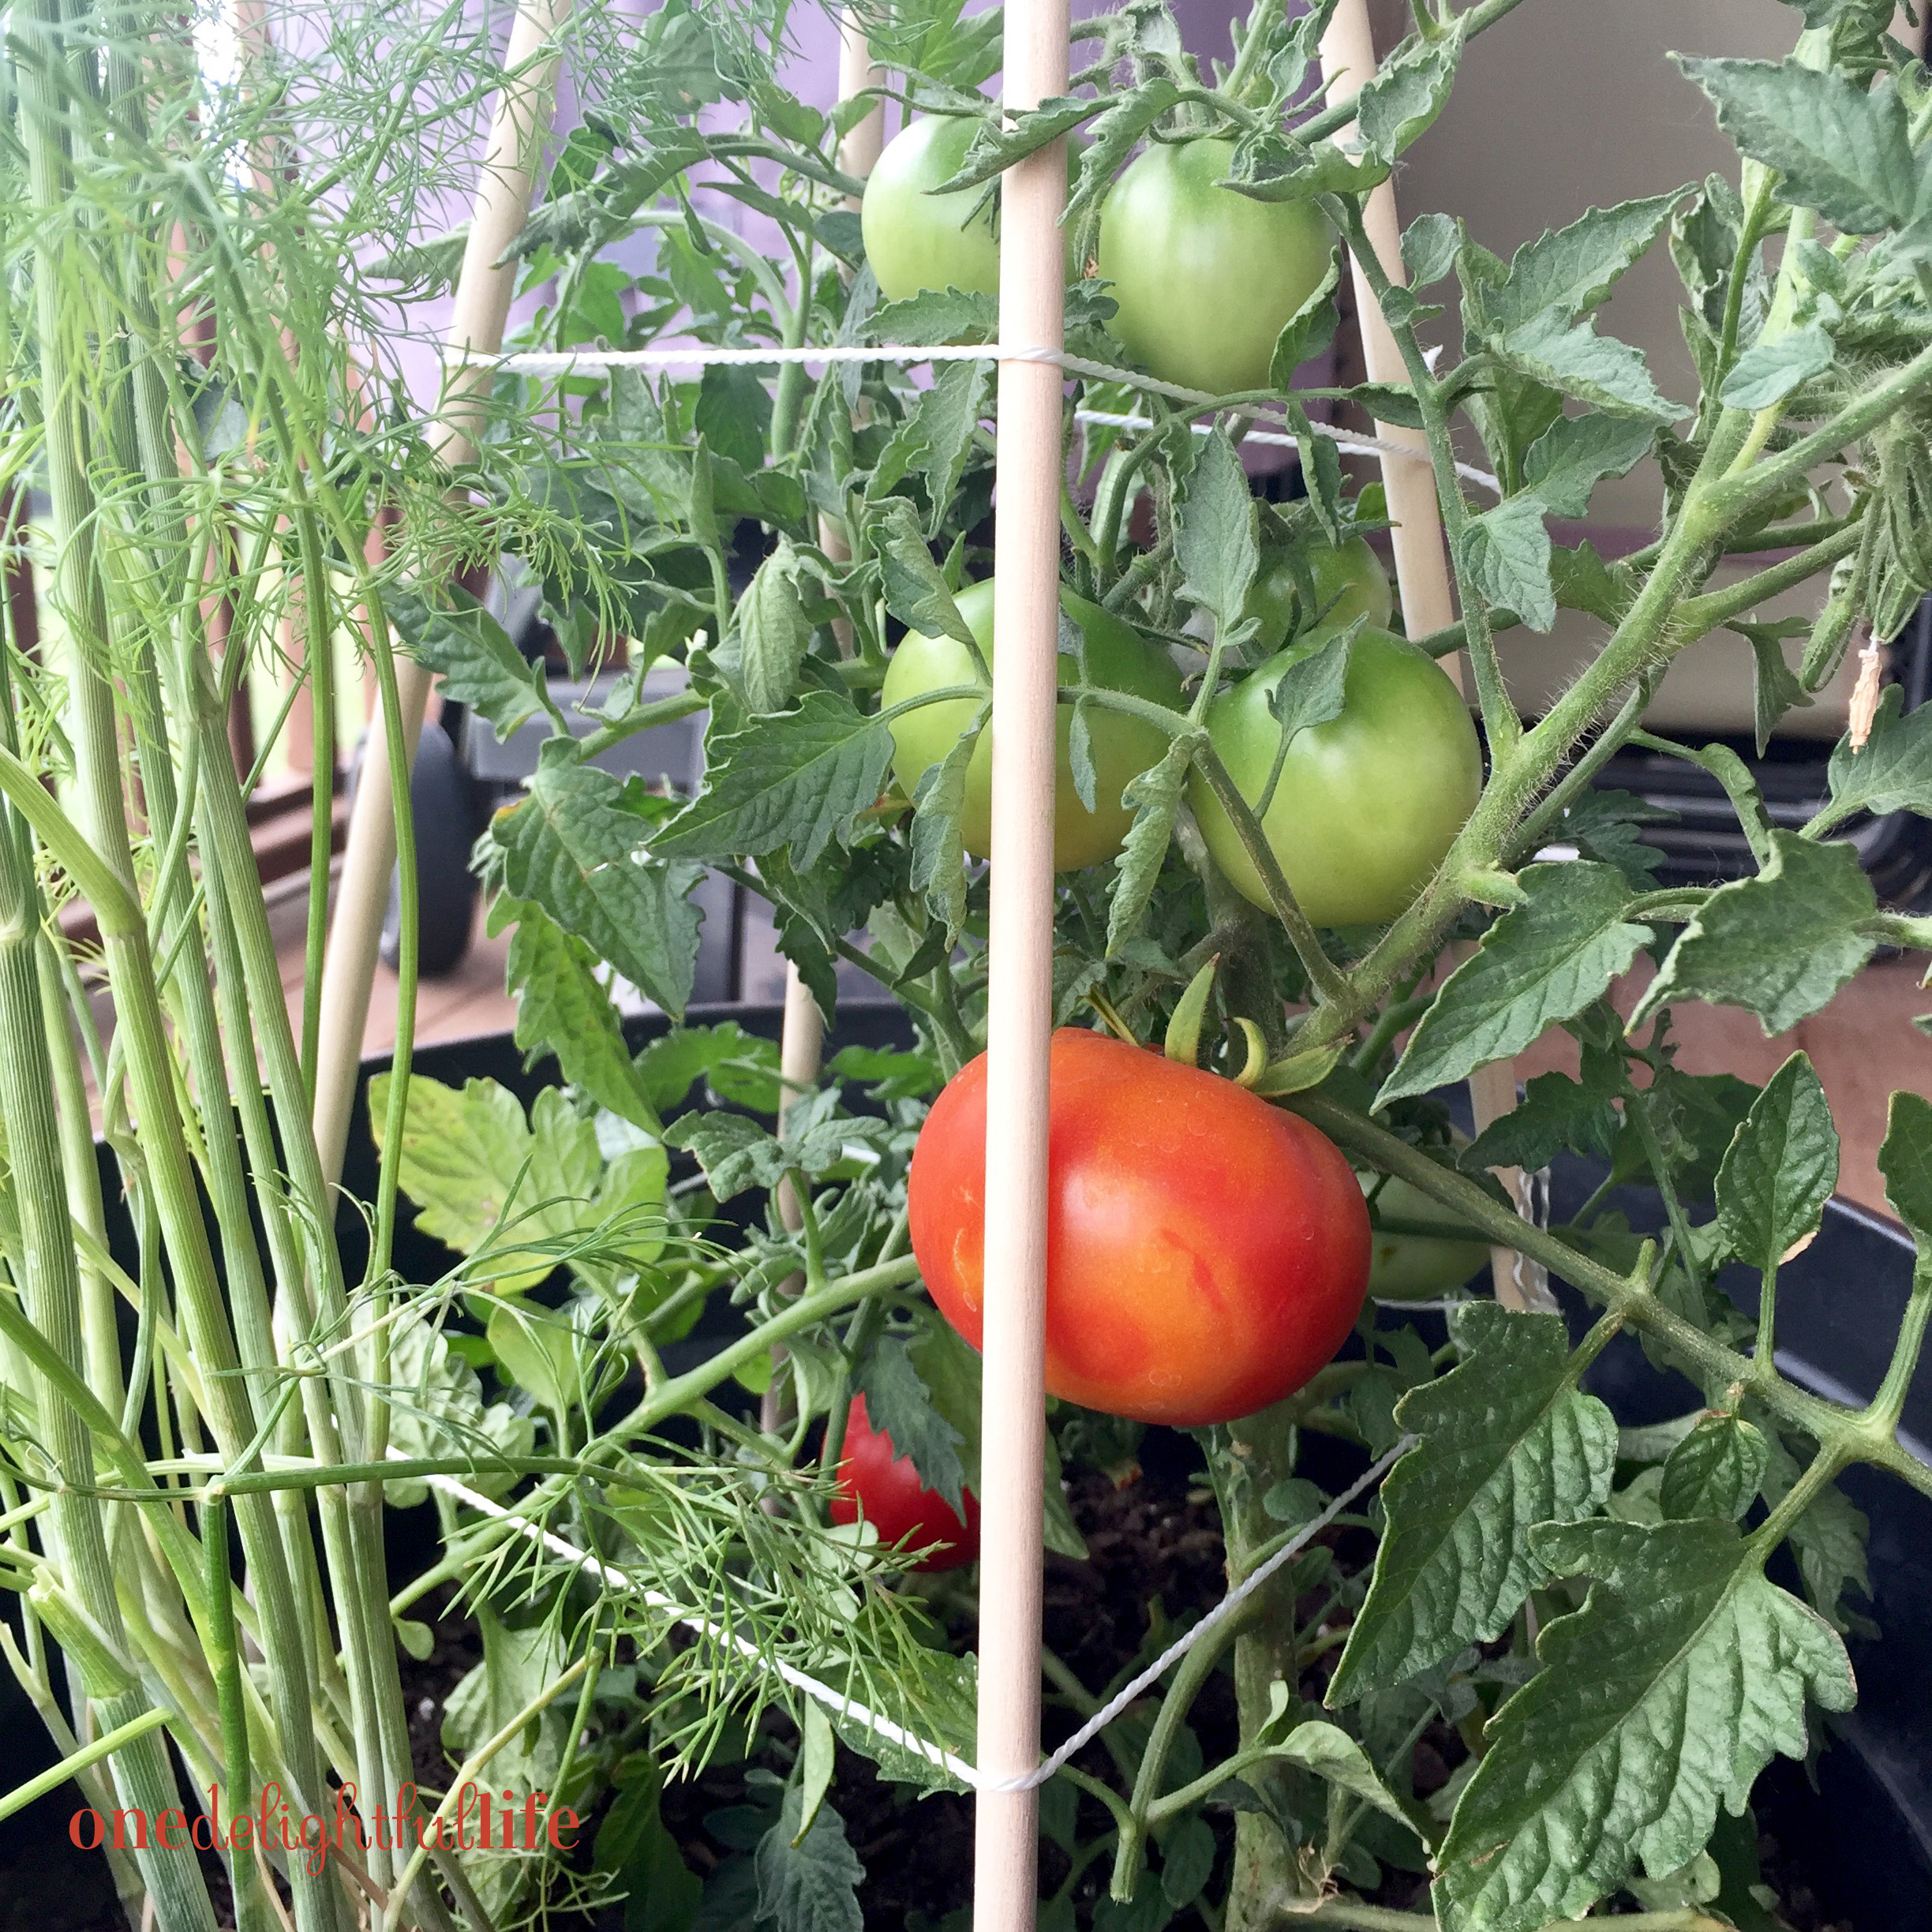 That’s it! I’ve been pleasantly surprised that I haven’t needed to reposition the dowel rods or twine even after moving the pots several times. I think you’ll agree that this do-it-yourself method for building a tomato cage is not only inexpensive but incredibly easy to do.
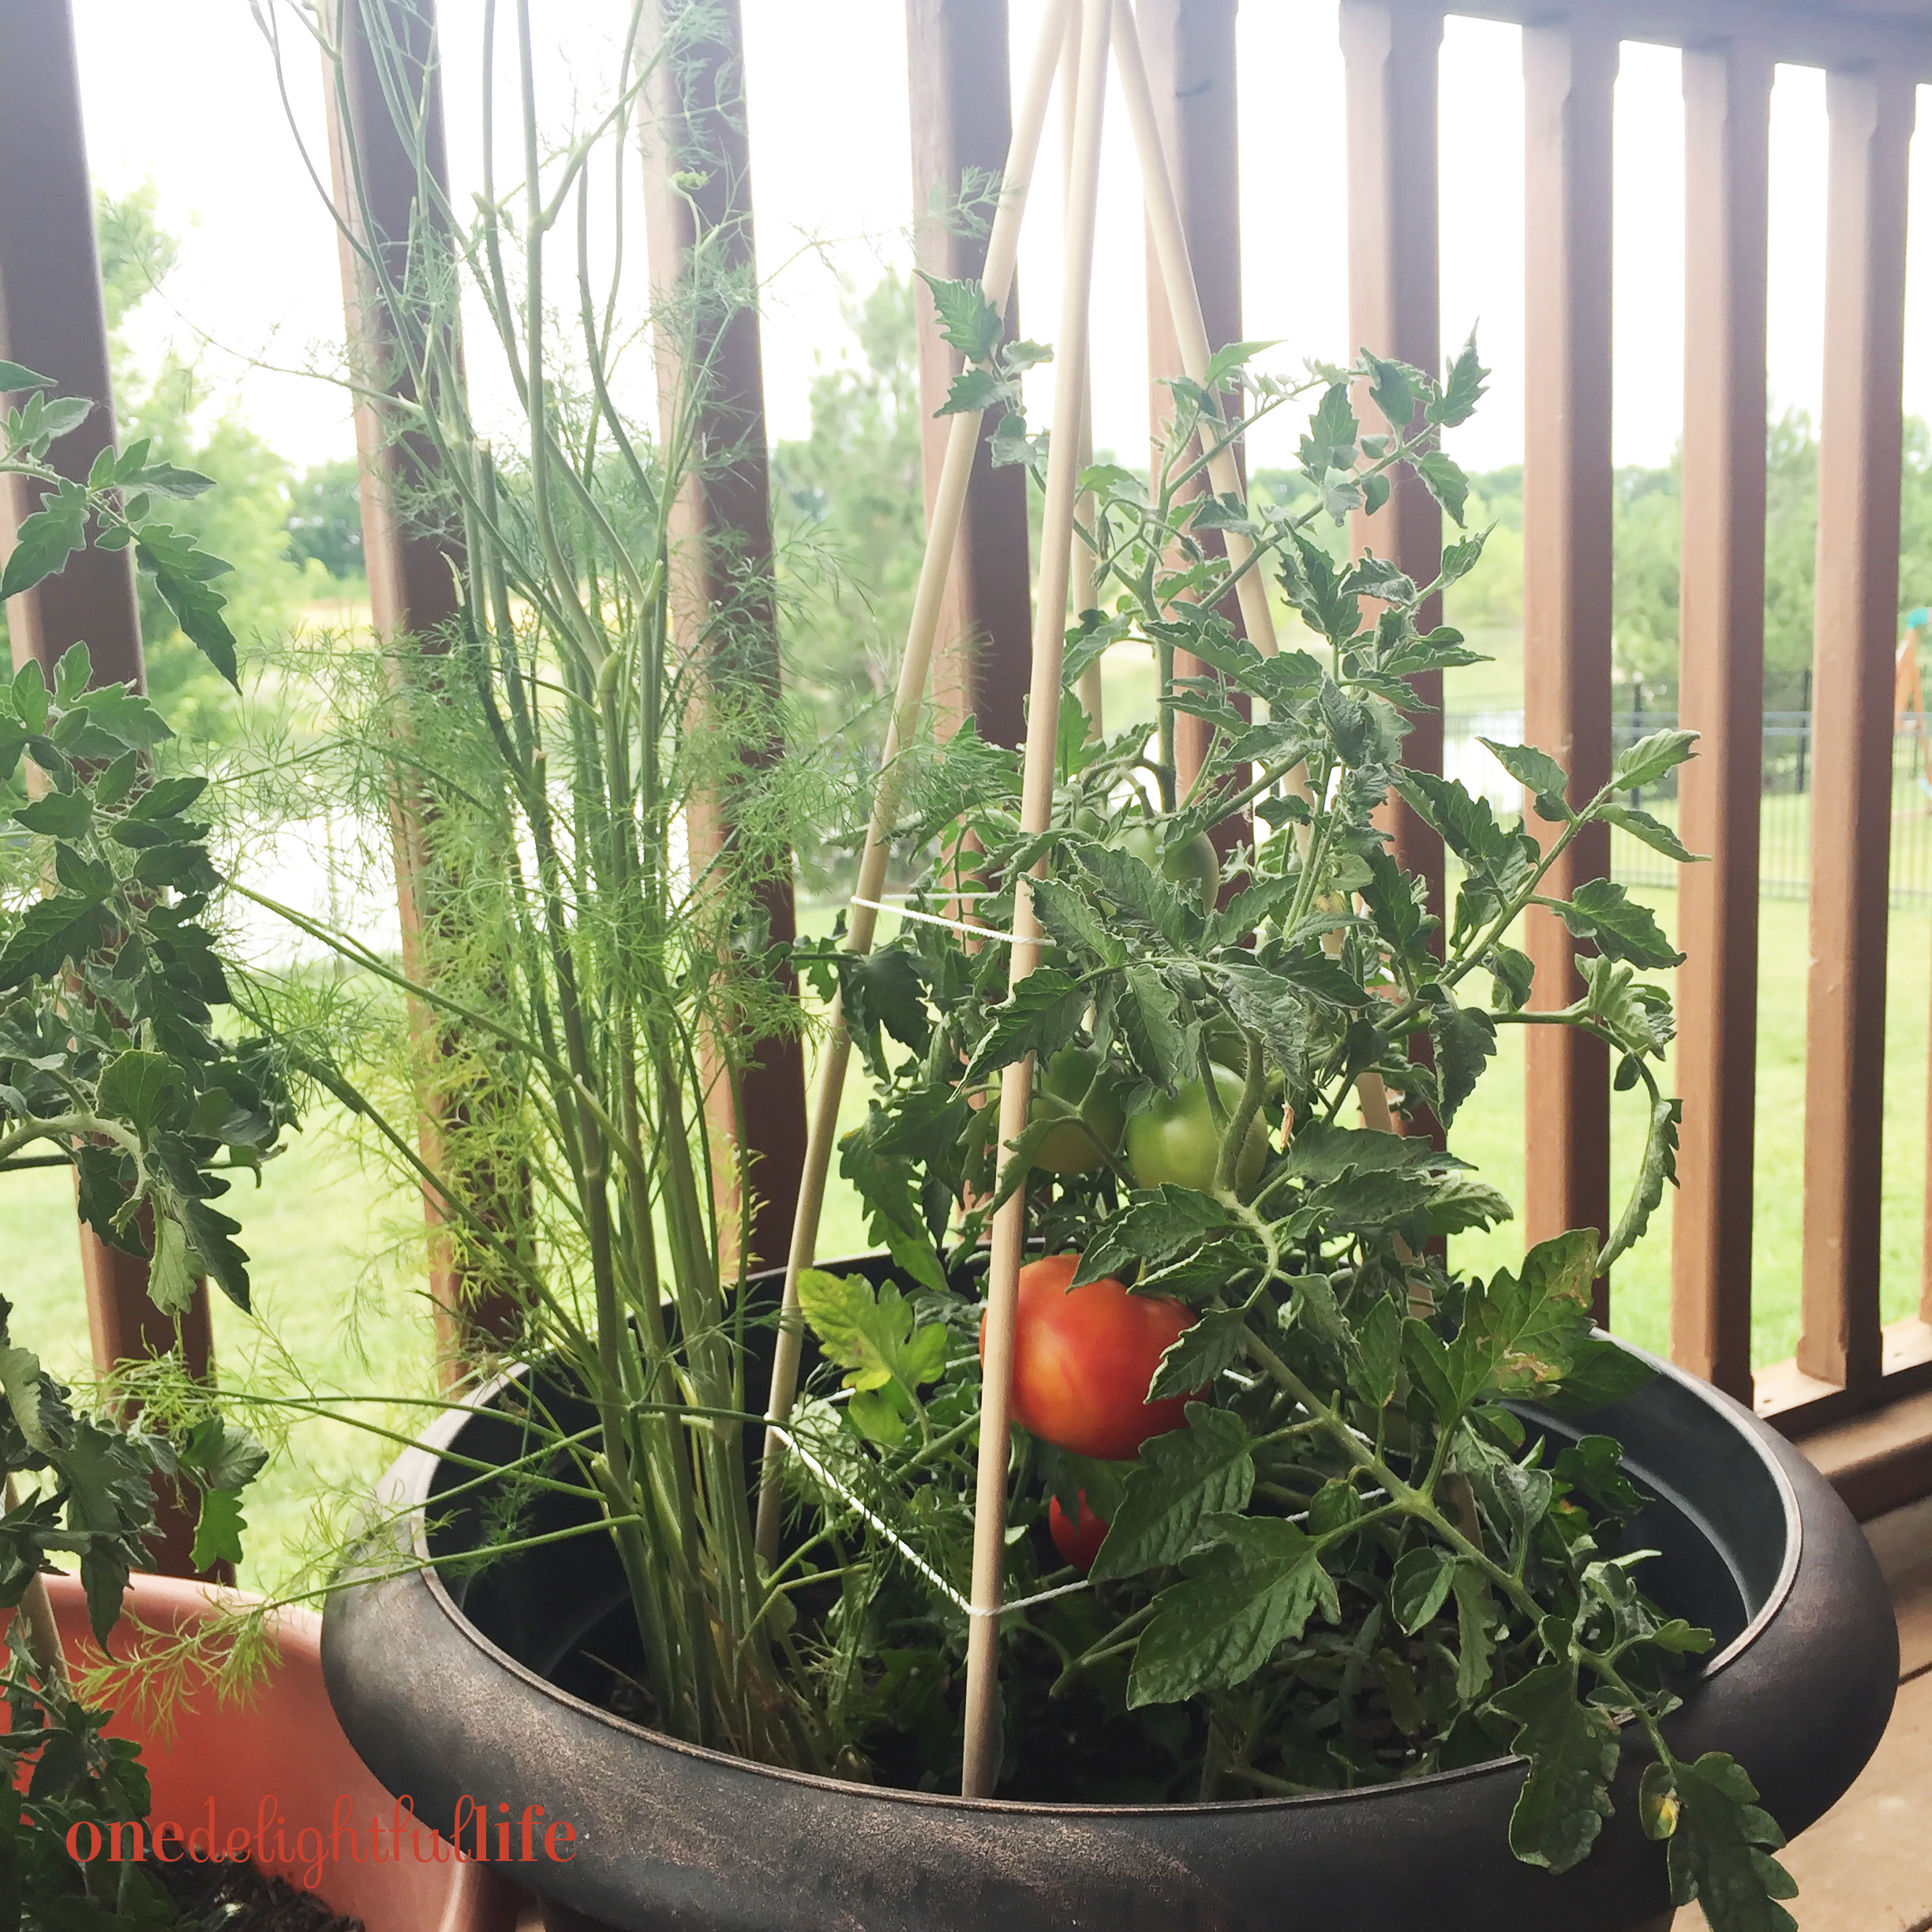
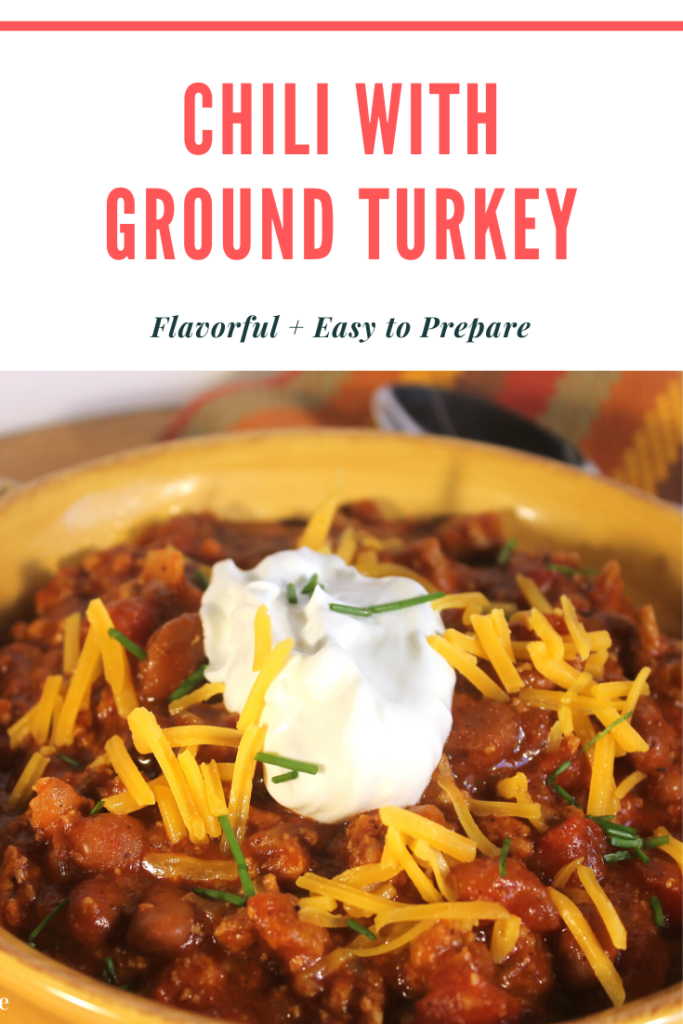
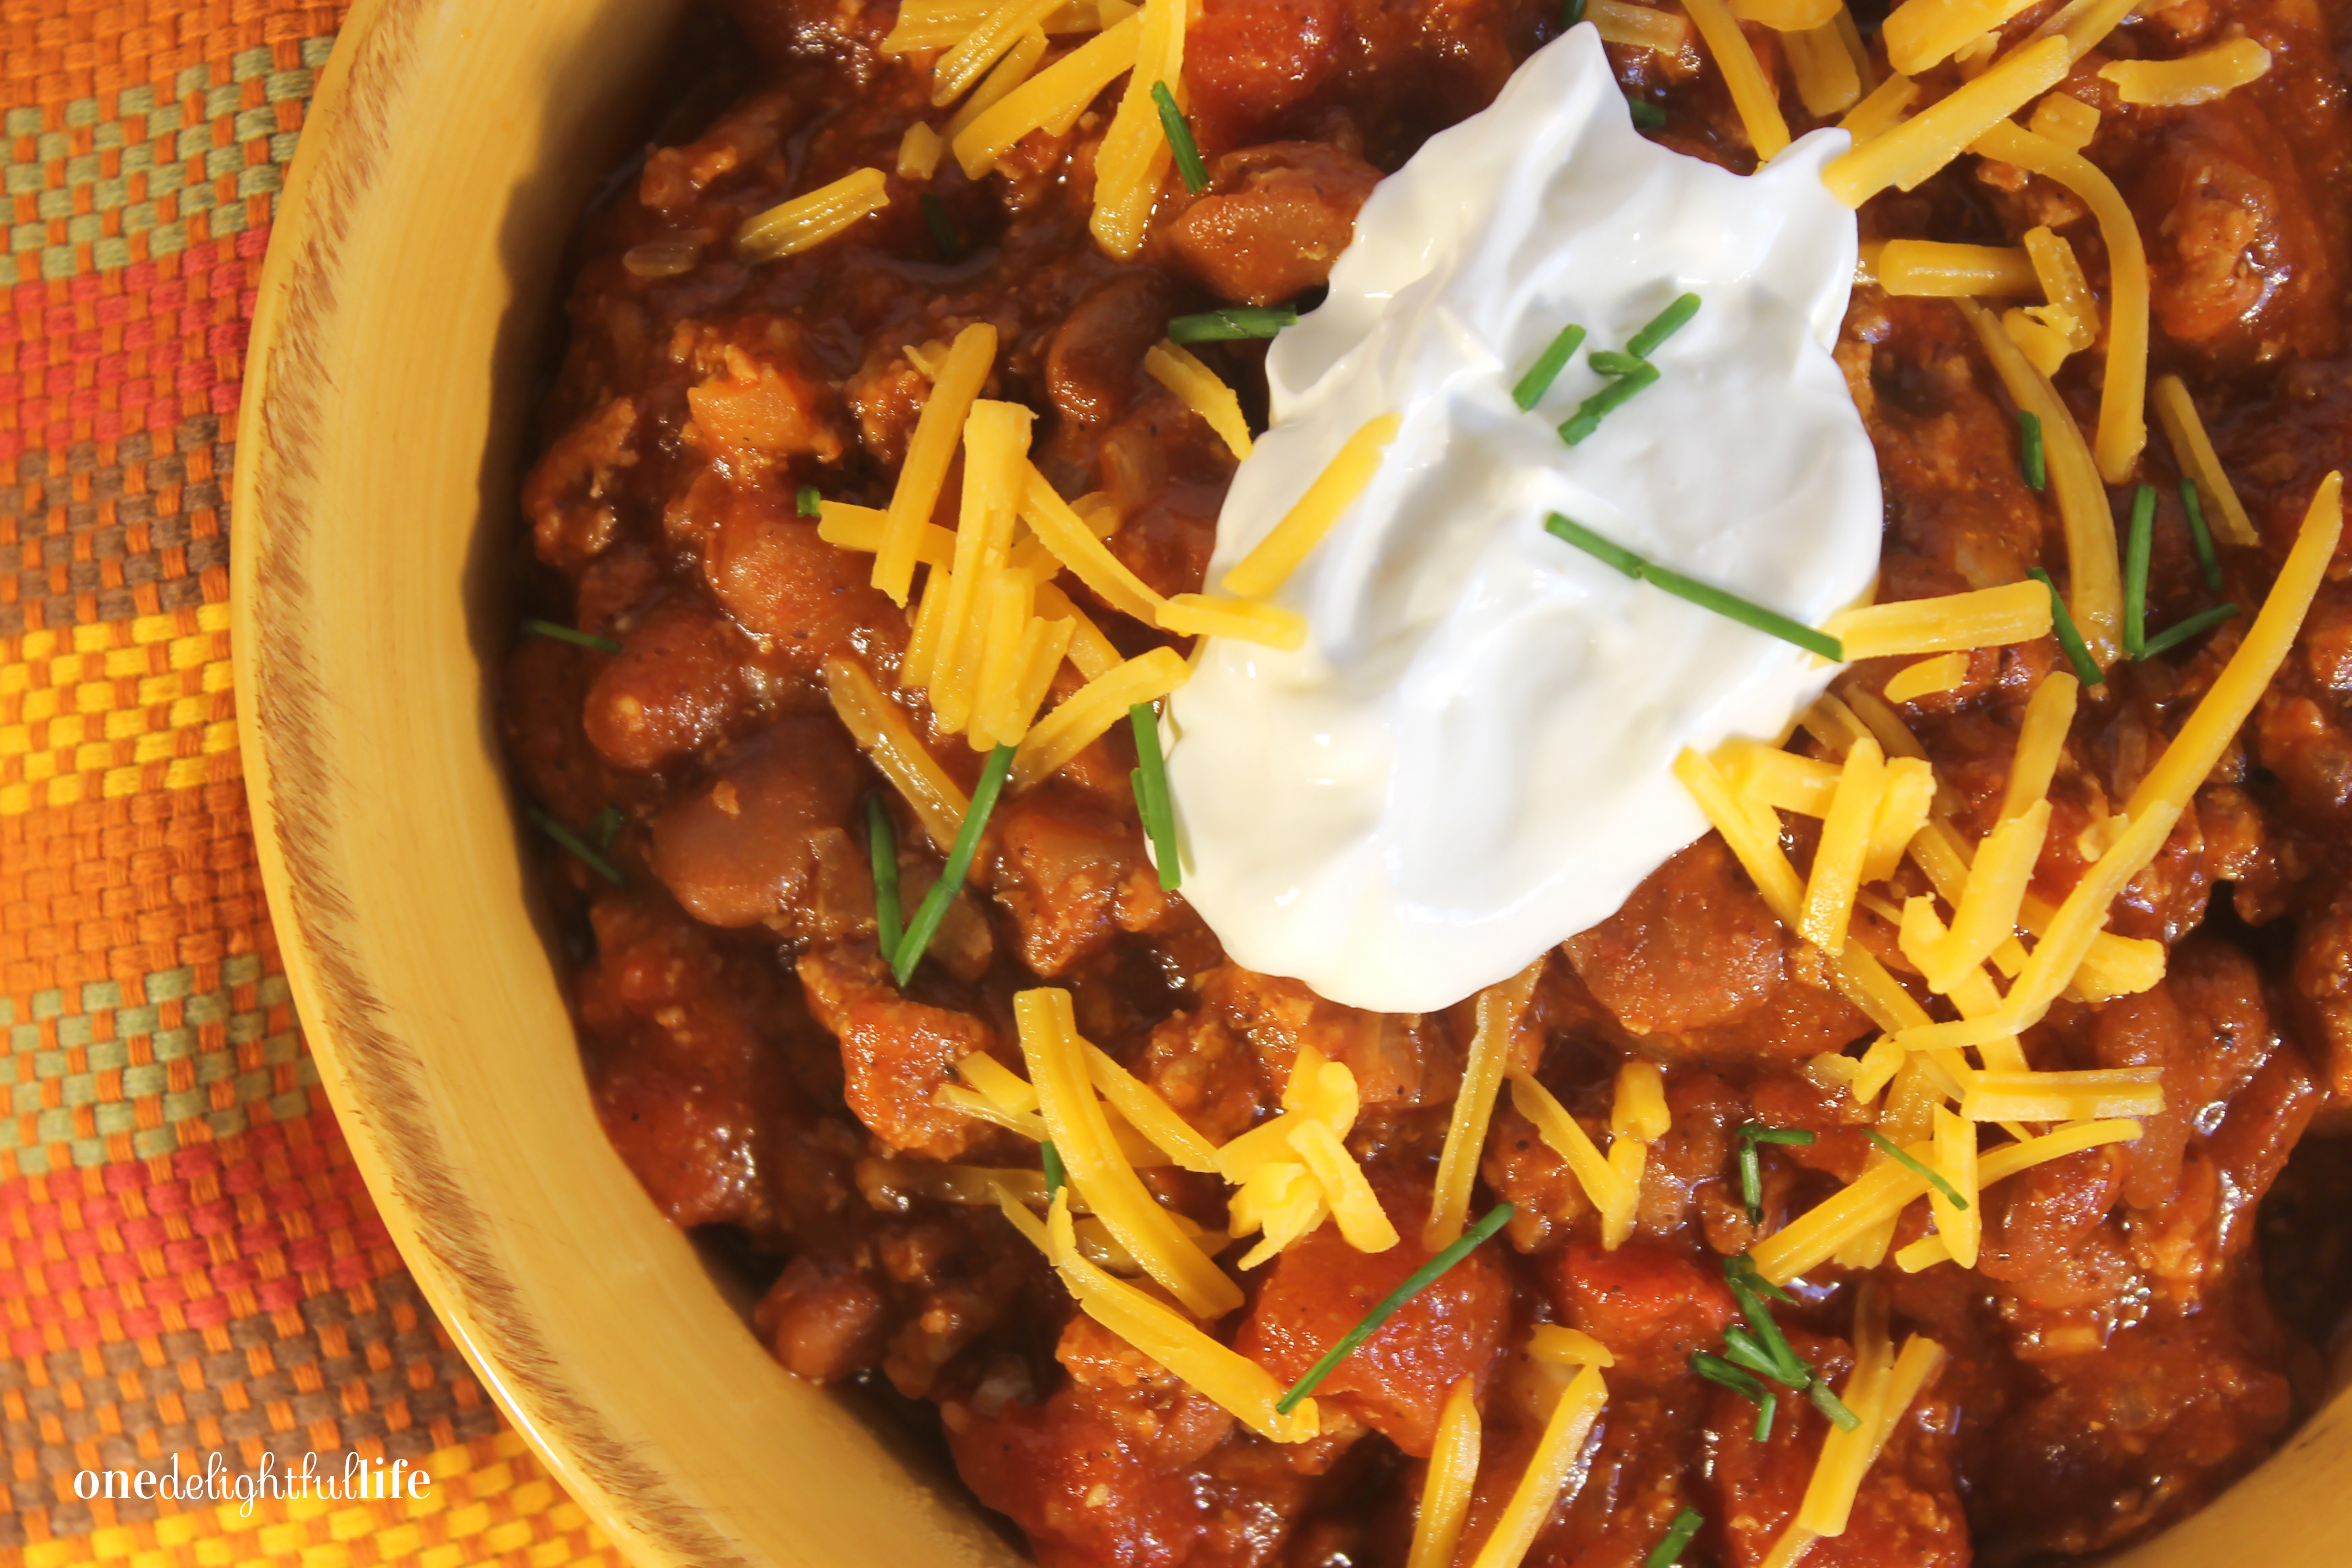 I prefer a thick tomato based chili served as the base for a multitude of toppings. Lone Star Turkey Chili with Sour Cream and Chives is not a overly spiced chili, but if you want more heat you can add a couple smoked ancho peppers (that will crank up the heat!) to the pot or top a bowl of chili with fresh sliced jalapenos. Because people like their chili with different levels of heat, I keep it simple and provide options for toppings, like a “buffet o’ heat” ranging from bottled sriracha to sliced peppers. The sour cream cools of the heat and balances the acidic tomato flavor.
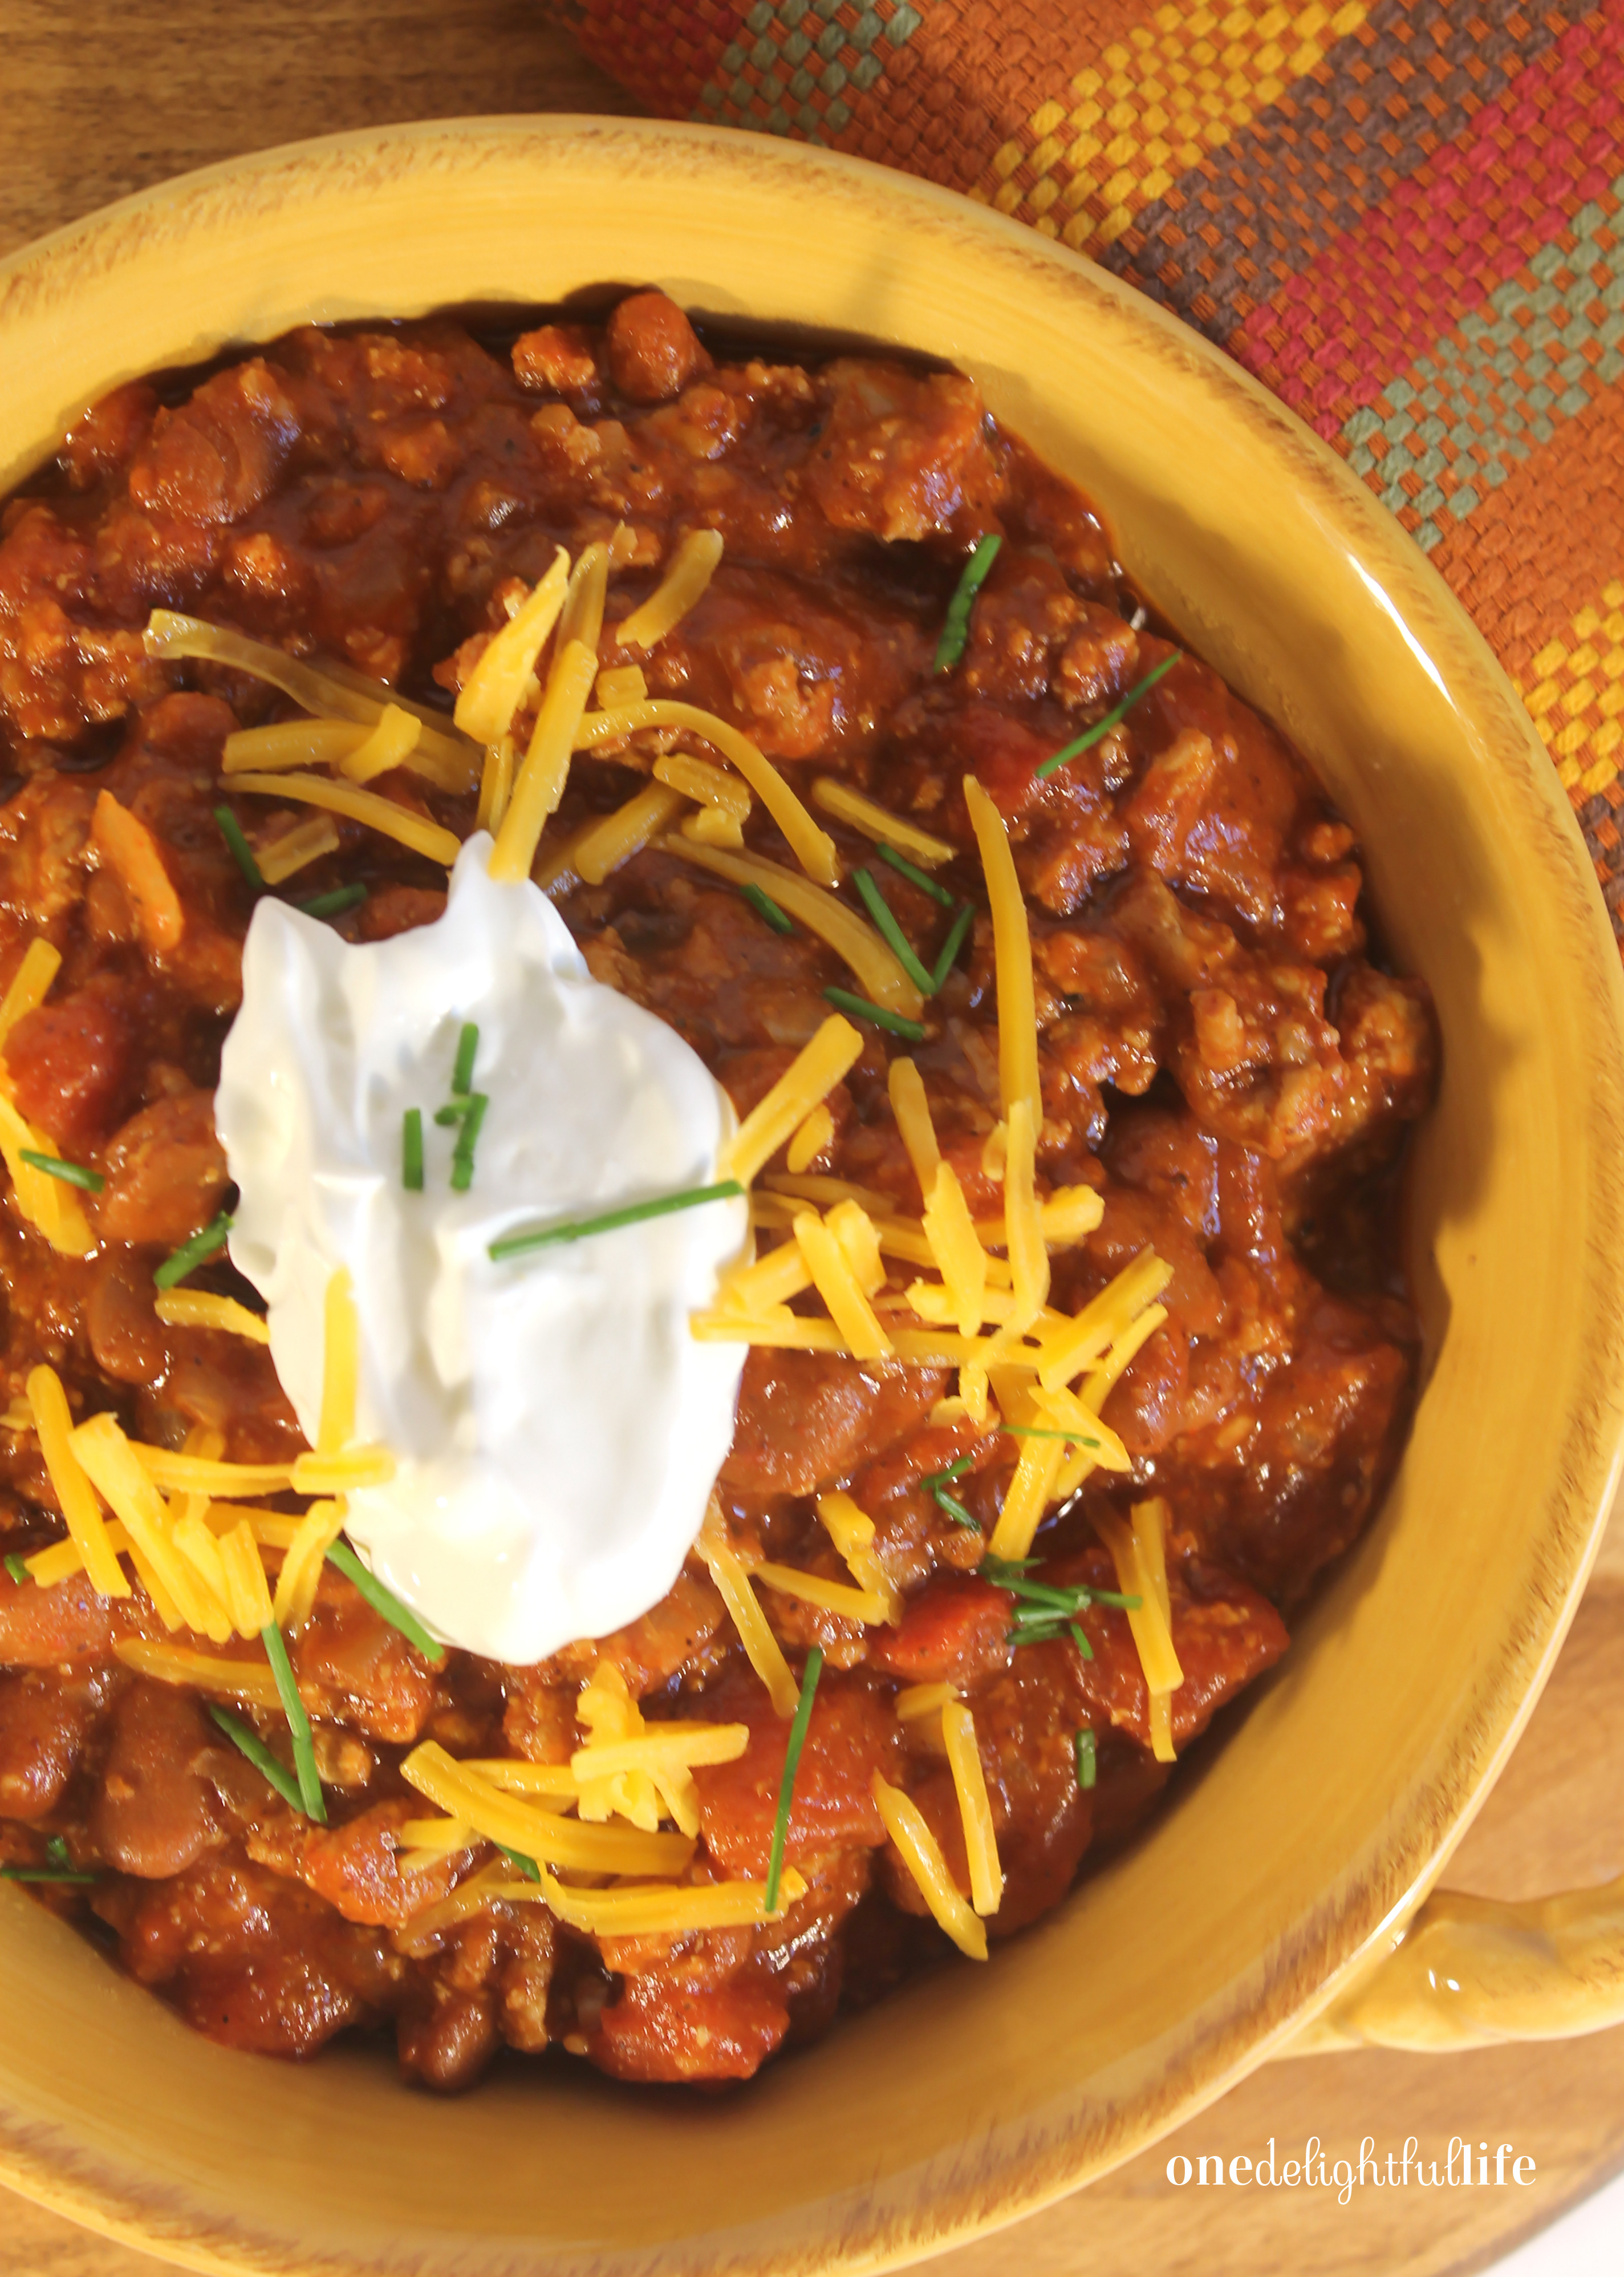 Saute the garlic and onions in a tablespoon of melted butter until soft before adding a pound of ground turkey. Over medium heat to medium-high heat, stir the meat with the garlic and onions continuously until it is cooked thoroughly, Because there is no grease to drain (healthier!), you can then add the canned ingredients, mix well, cover and allow to cook on a medium-low simmer until the chili reaches the consistency you prefer for serving (typically about 30 minutes).
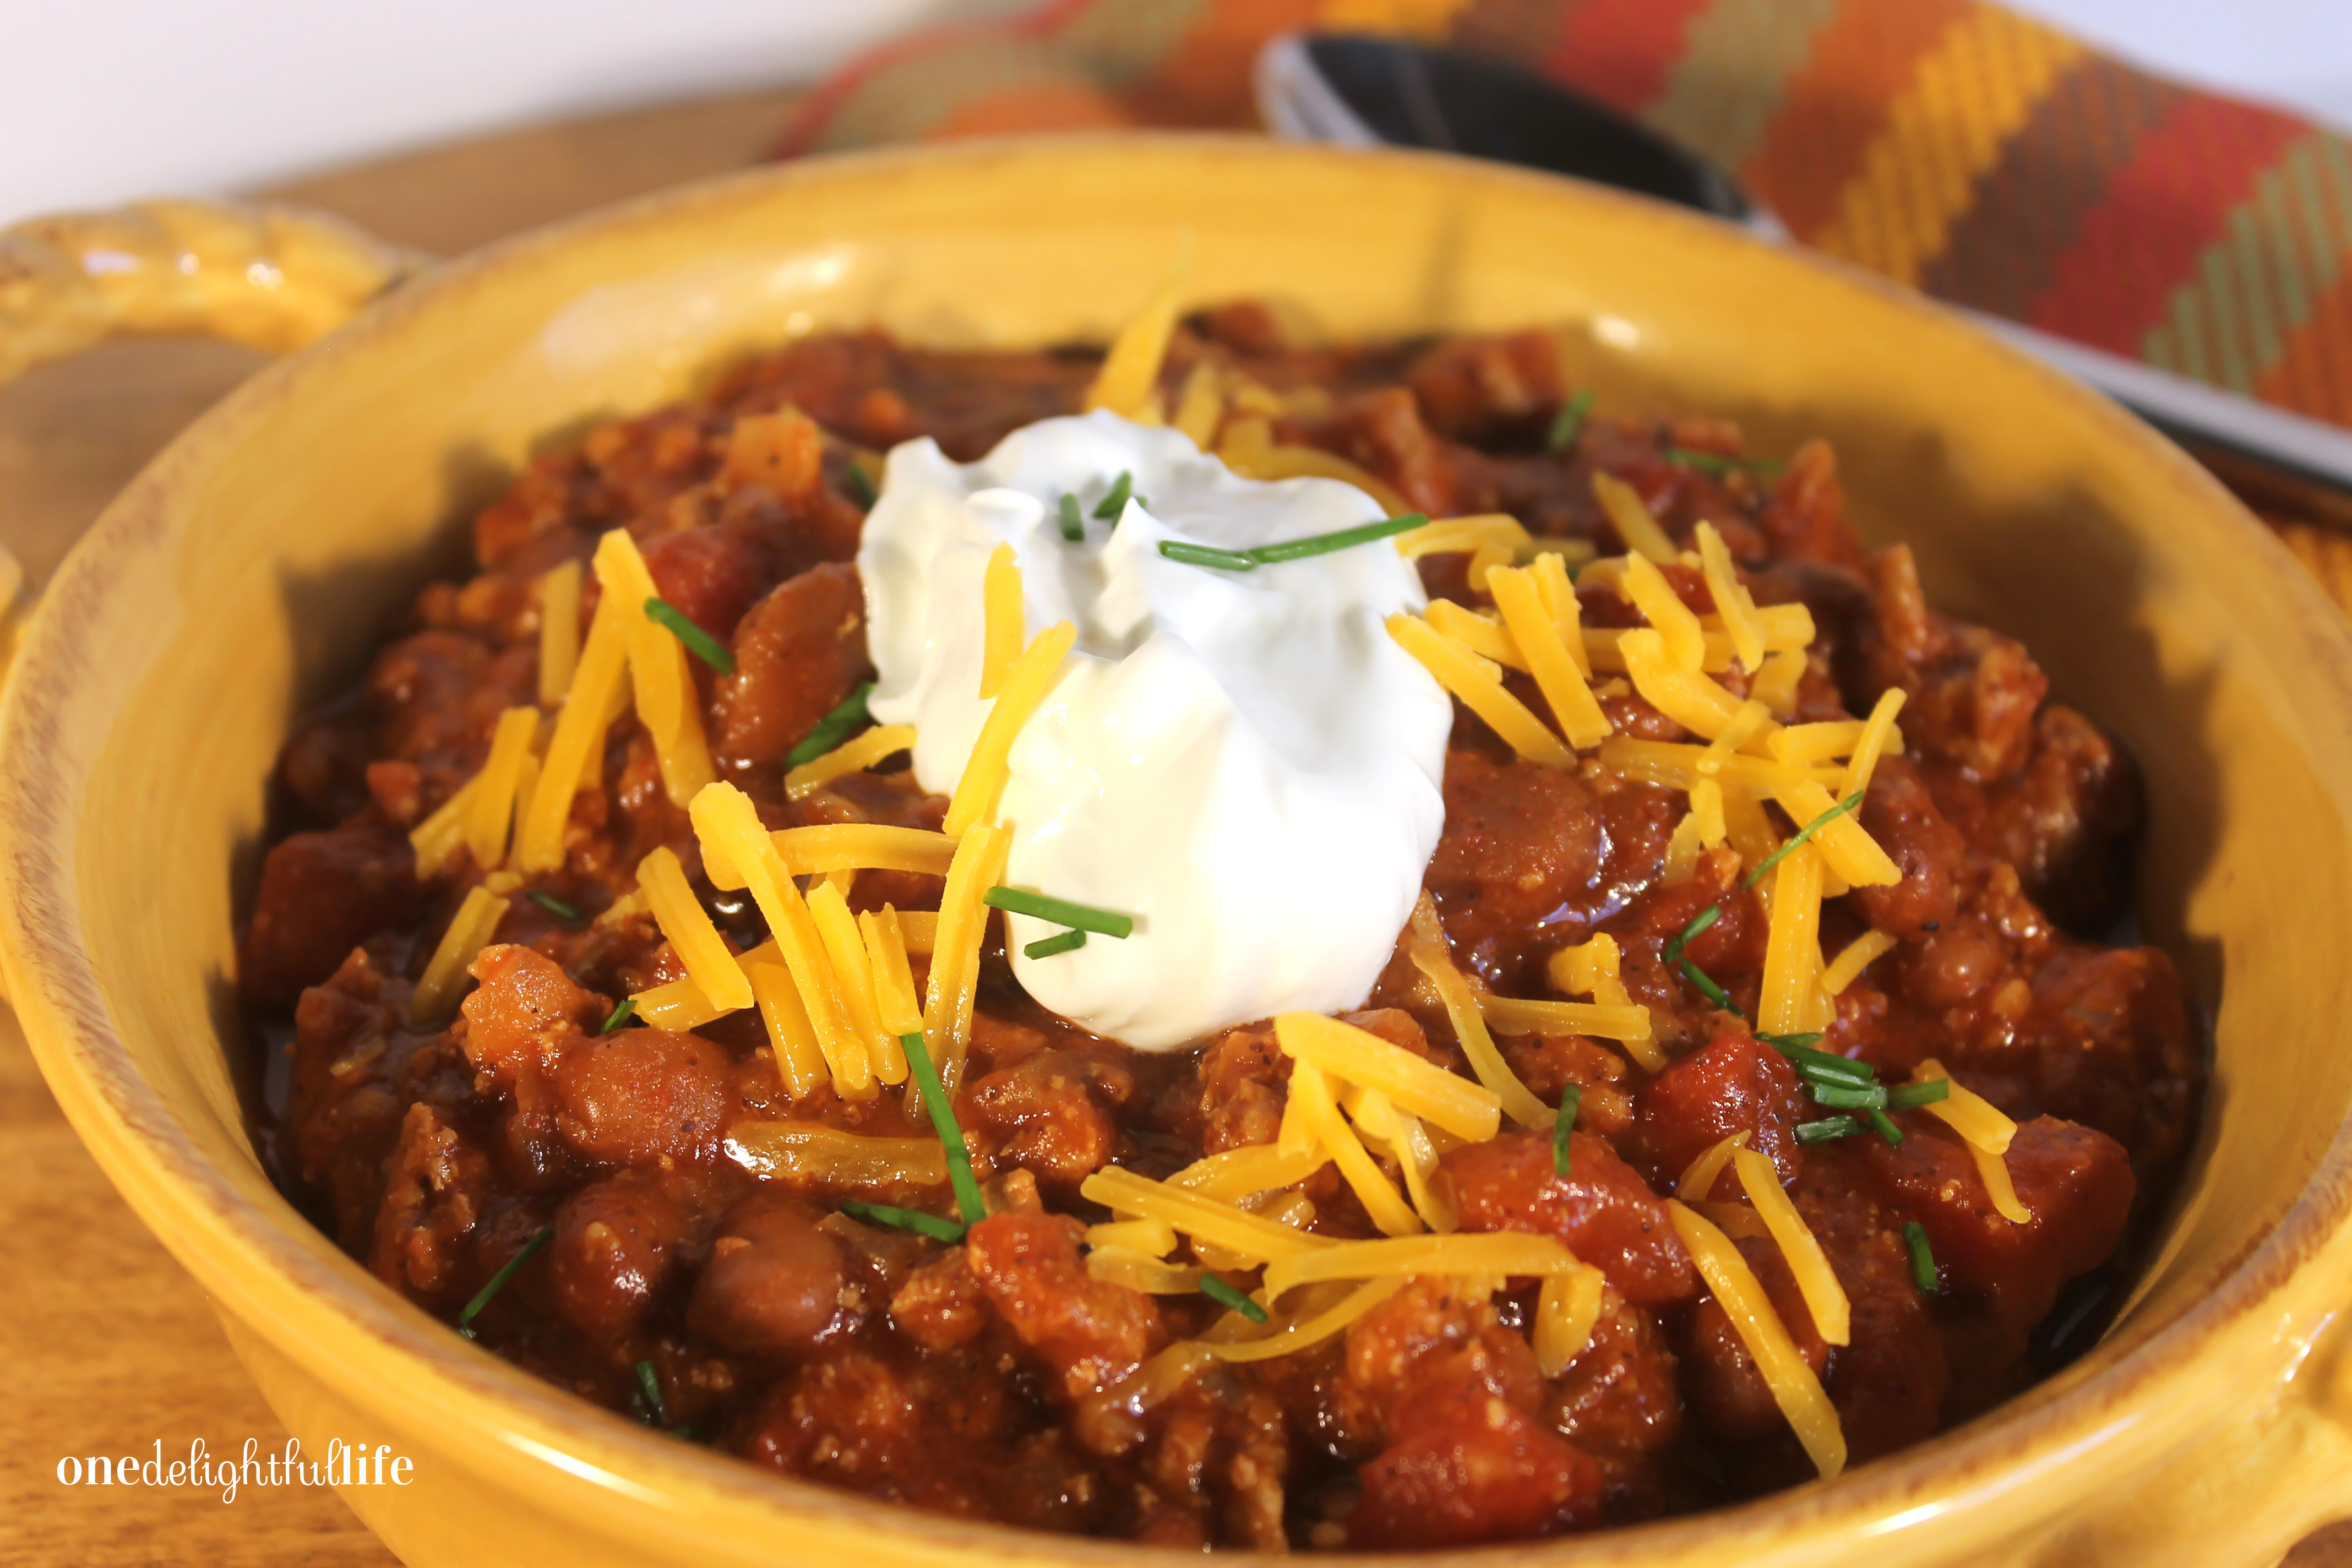 Remember to provide options for toppings for your chili fans. I grow fresh herbs in container pots so adding fresh chive was as easy as chopping some and sprinkling them on top of added sour cream and cheddar cheese.
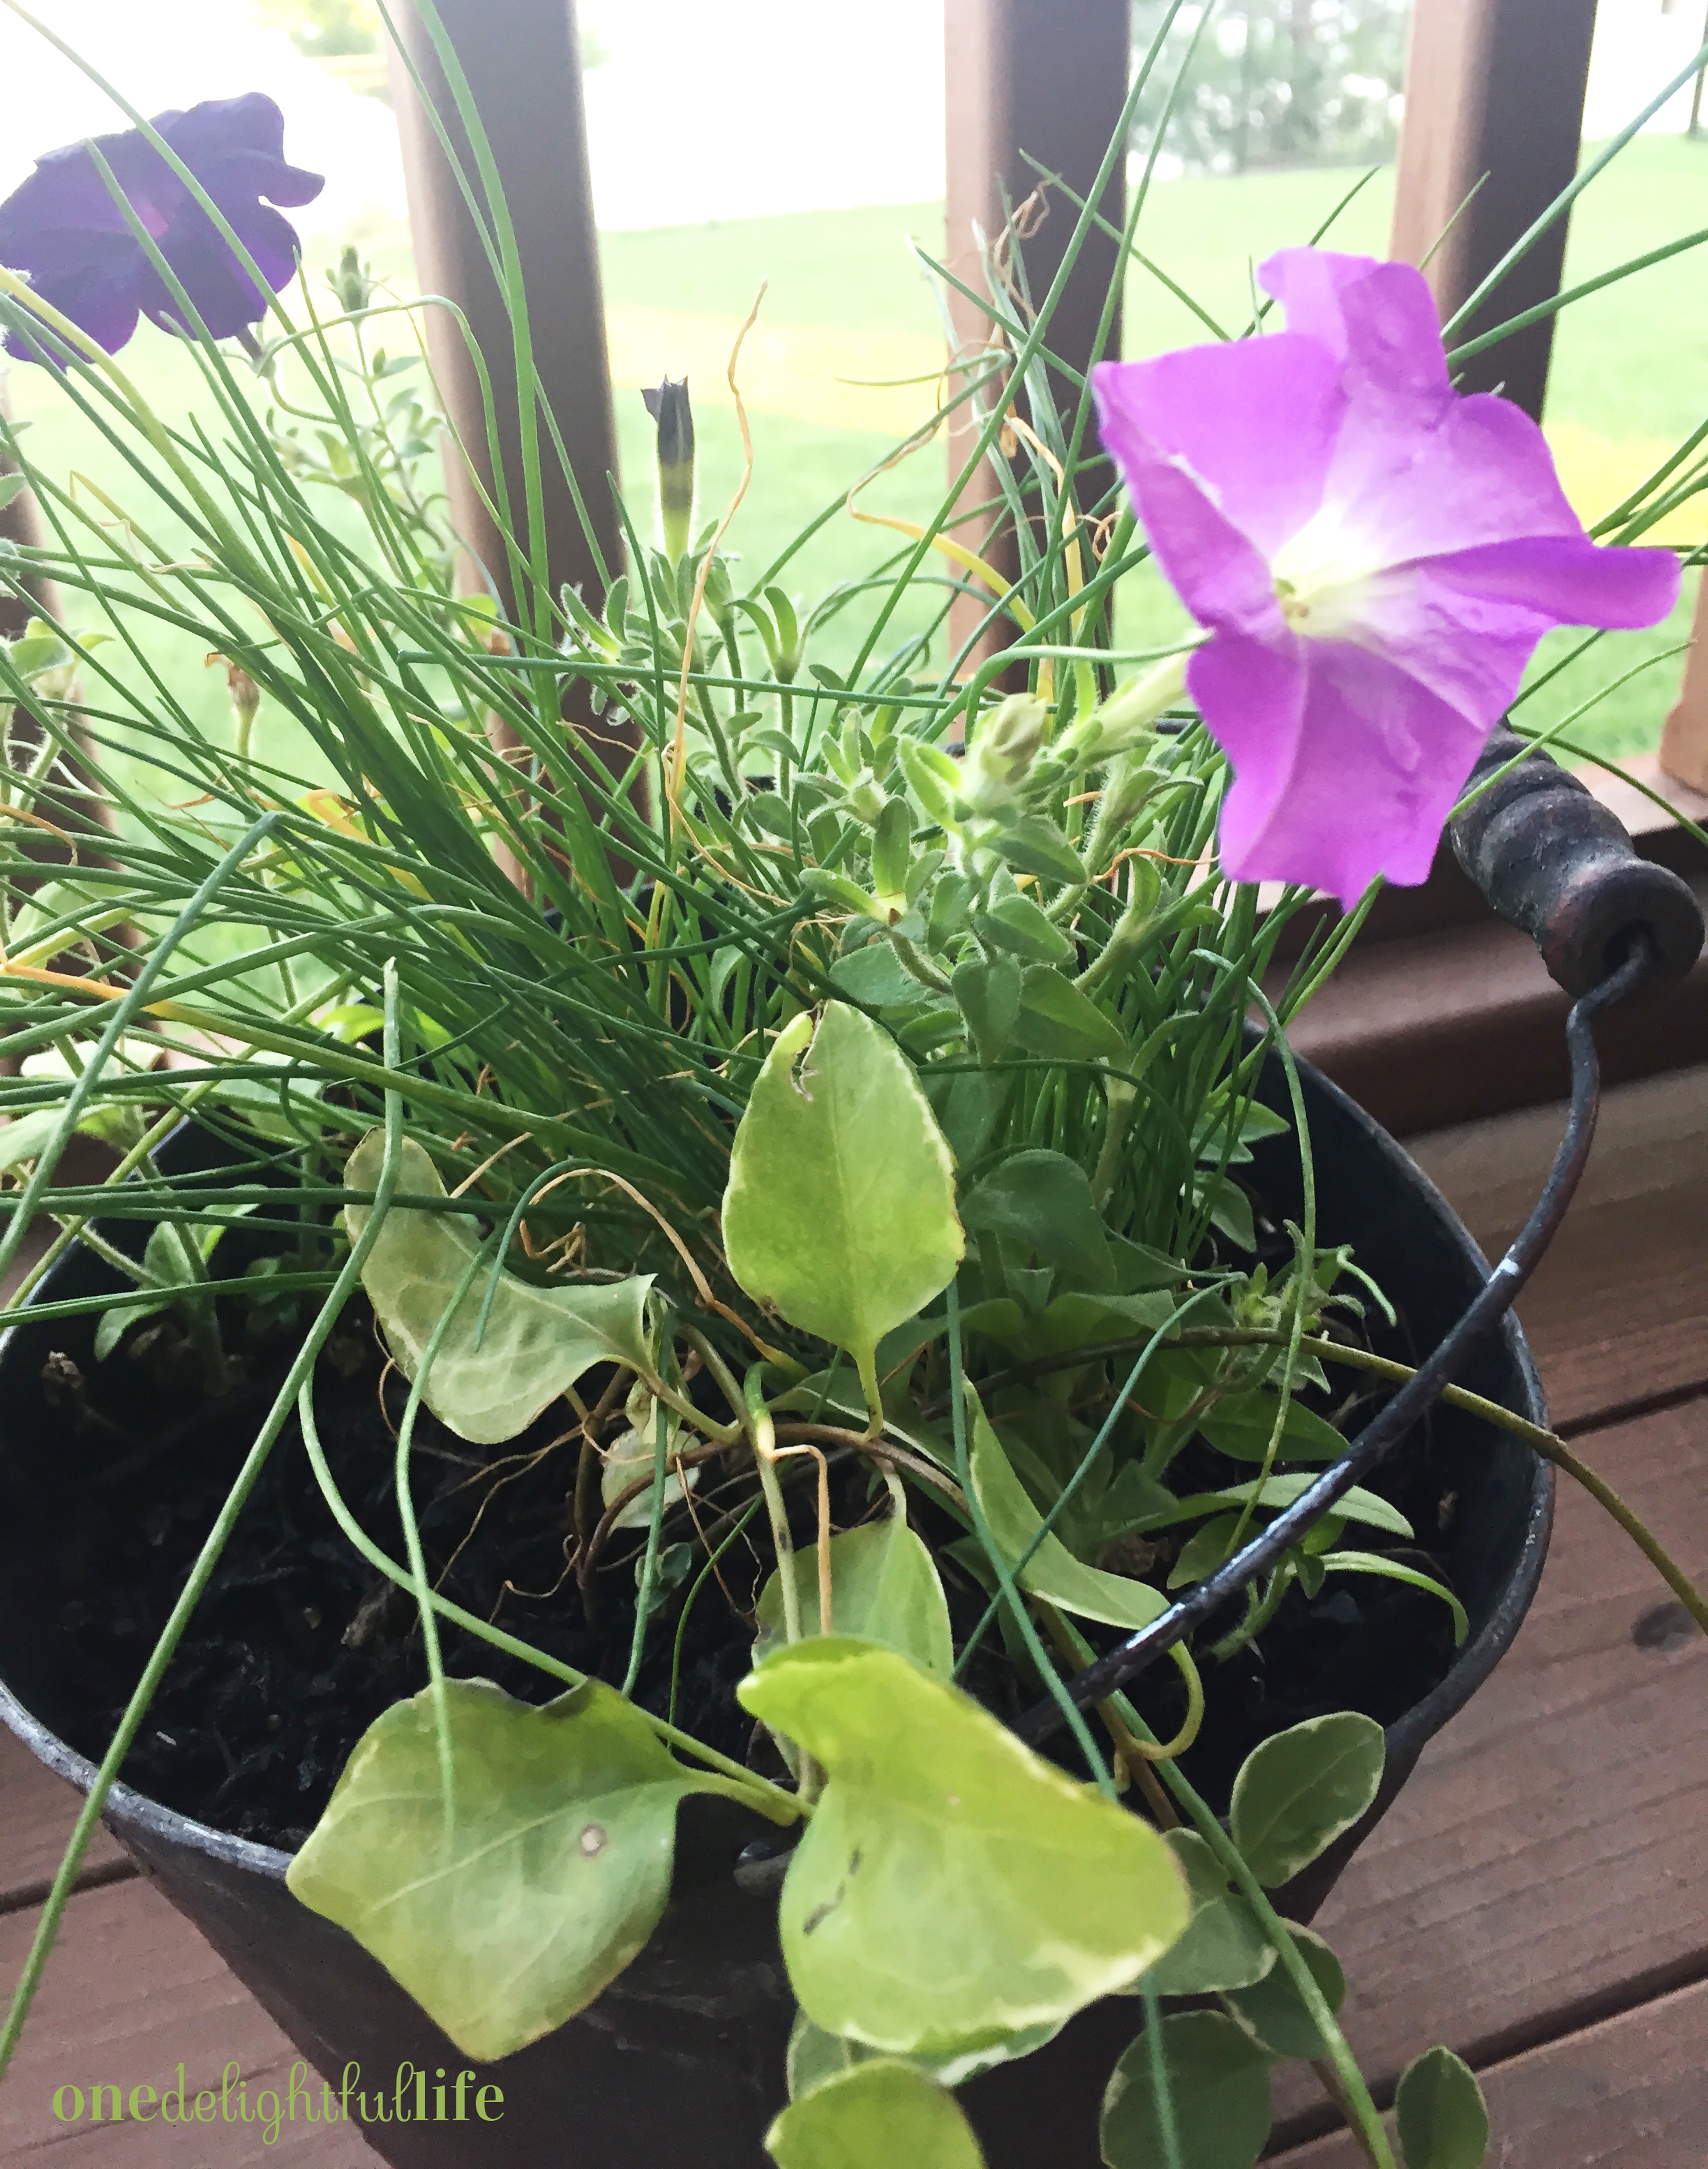
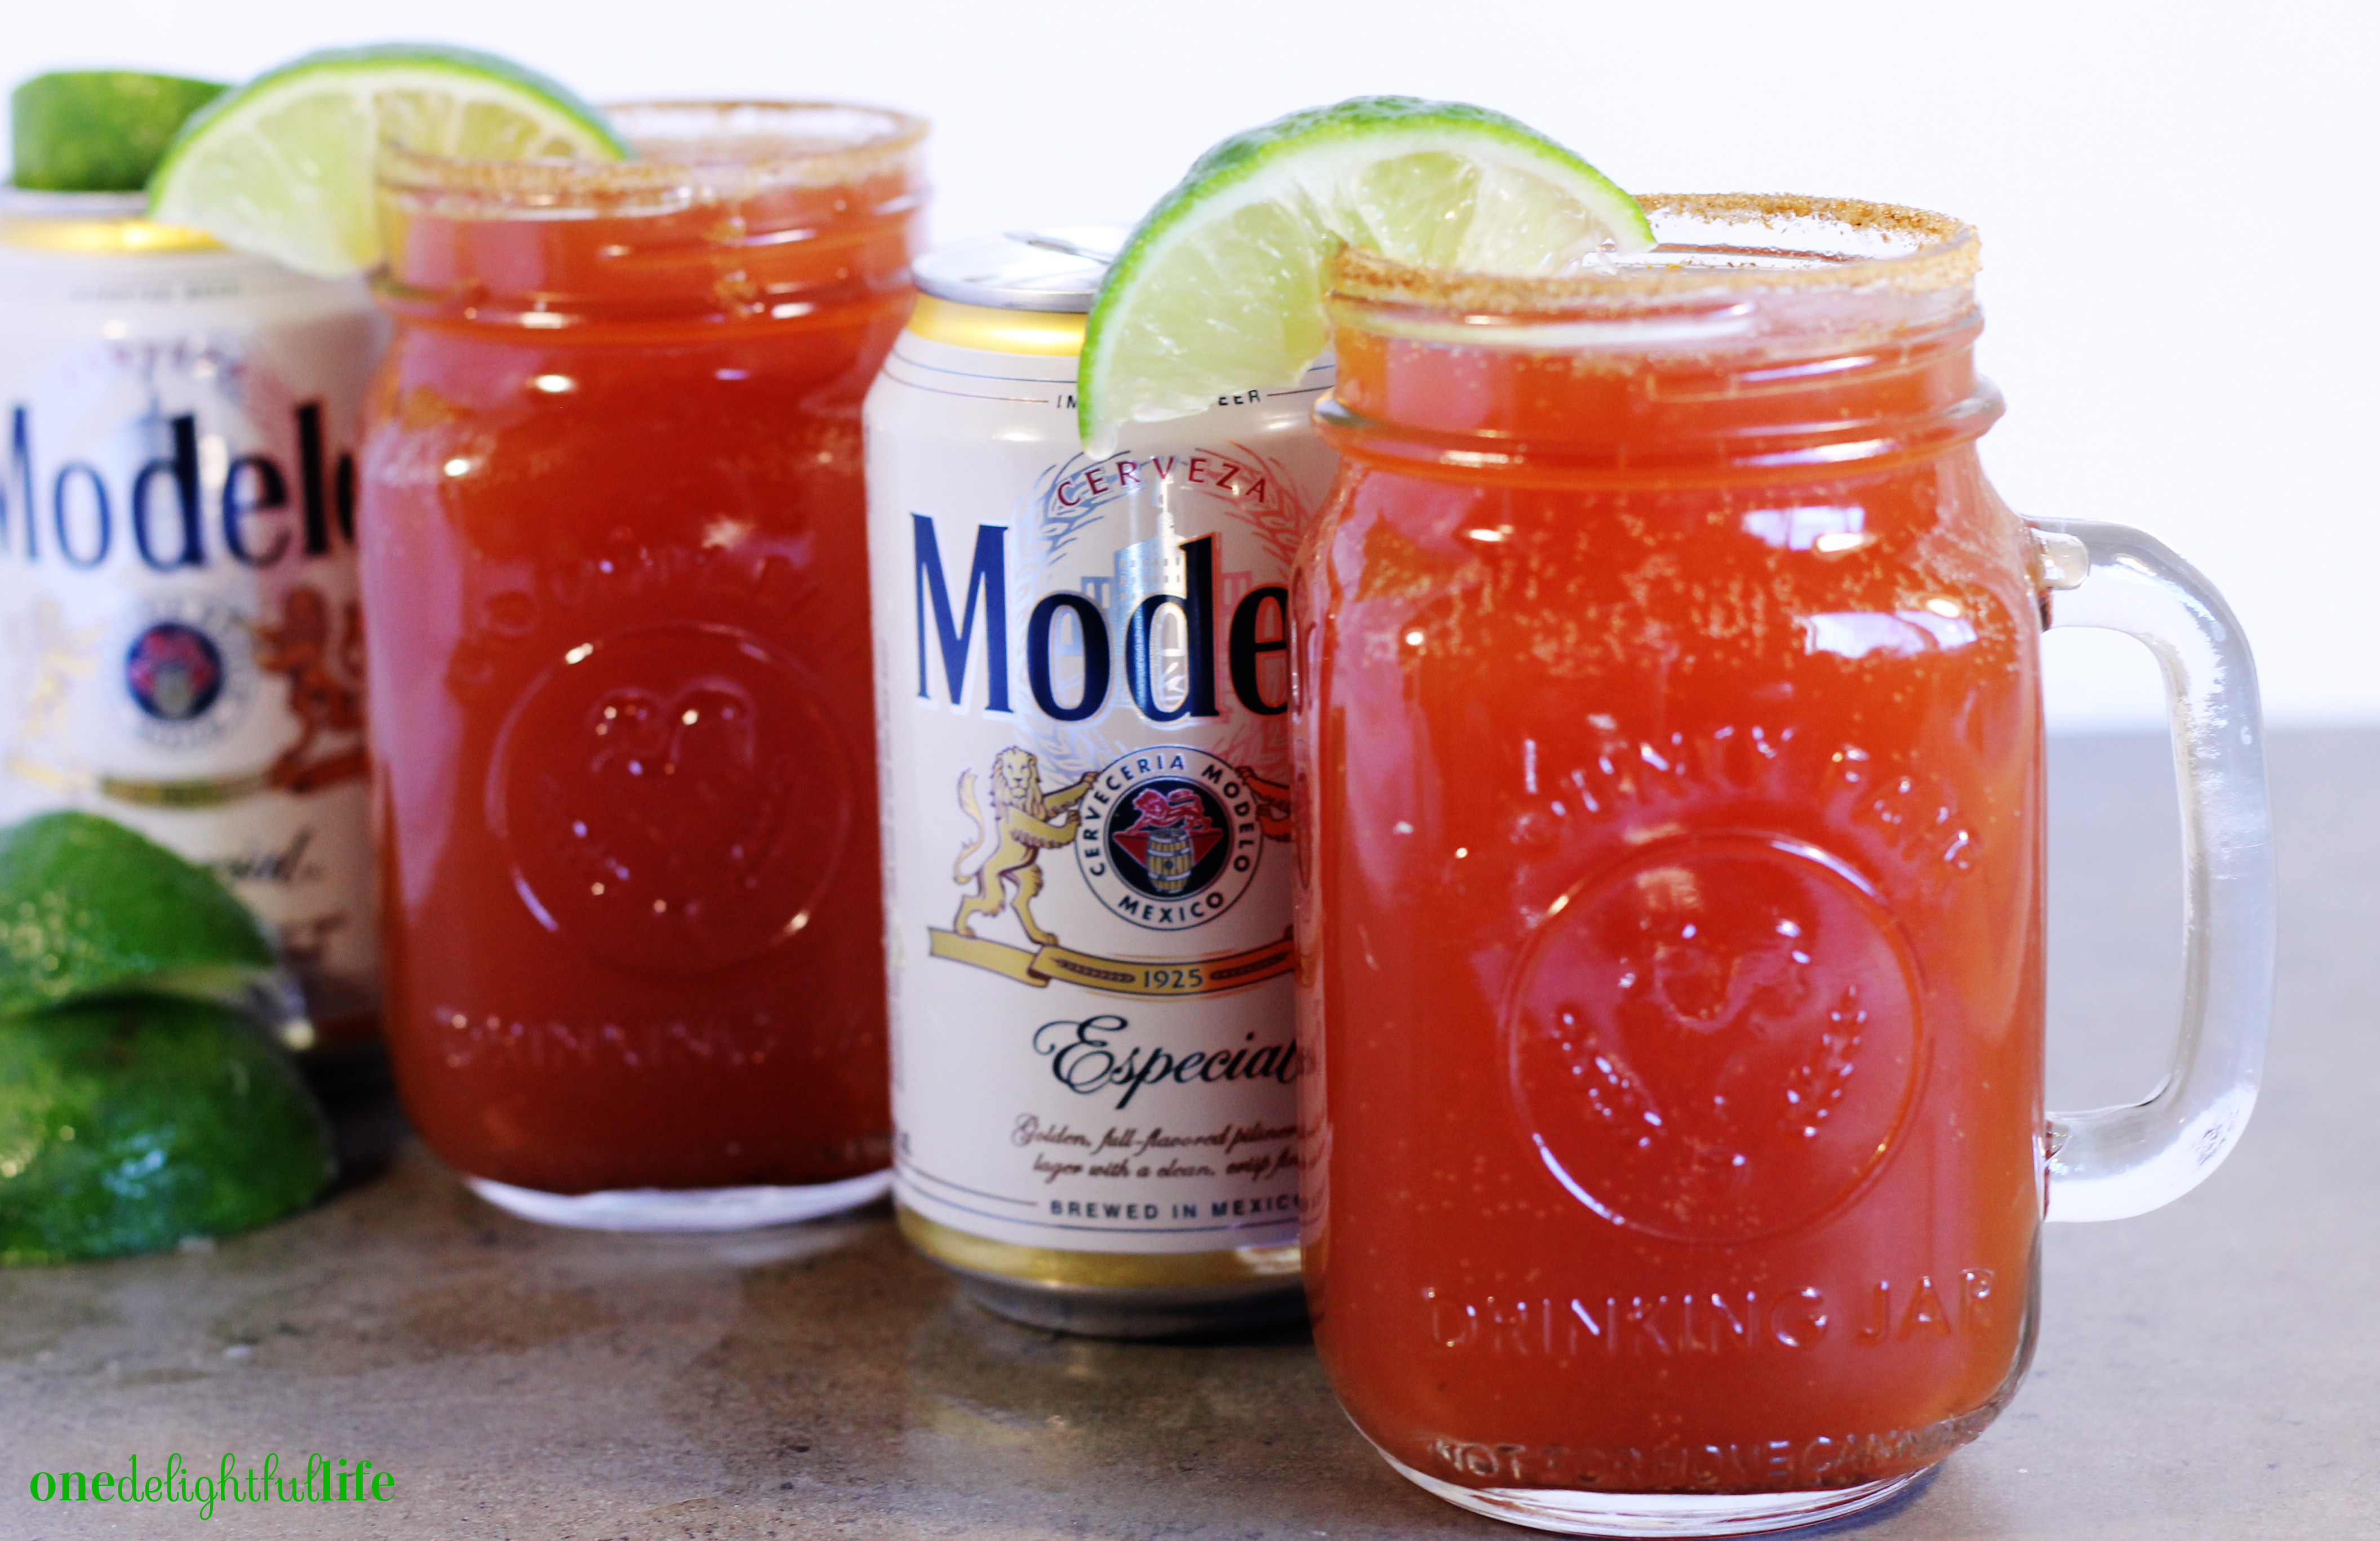 Great served during the hot summer months, the Mexican cocktail also compliments taco night or burgers off the grill equally. We tend to drink a few while cheering on our team on Sunday afternoons. Lighter in flavor intensity, it’s an more approachable than a Bloody Mary.
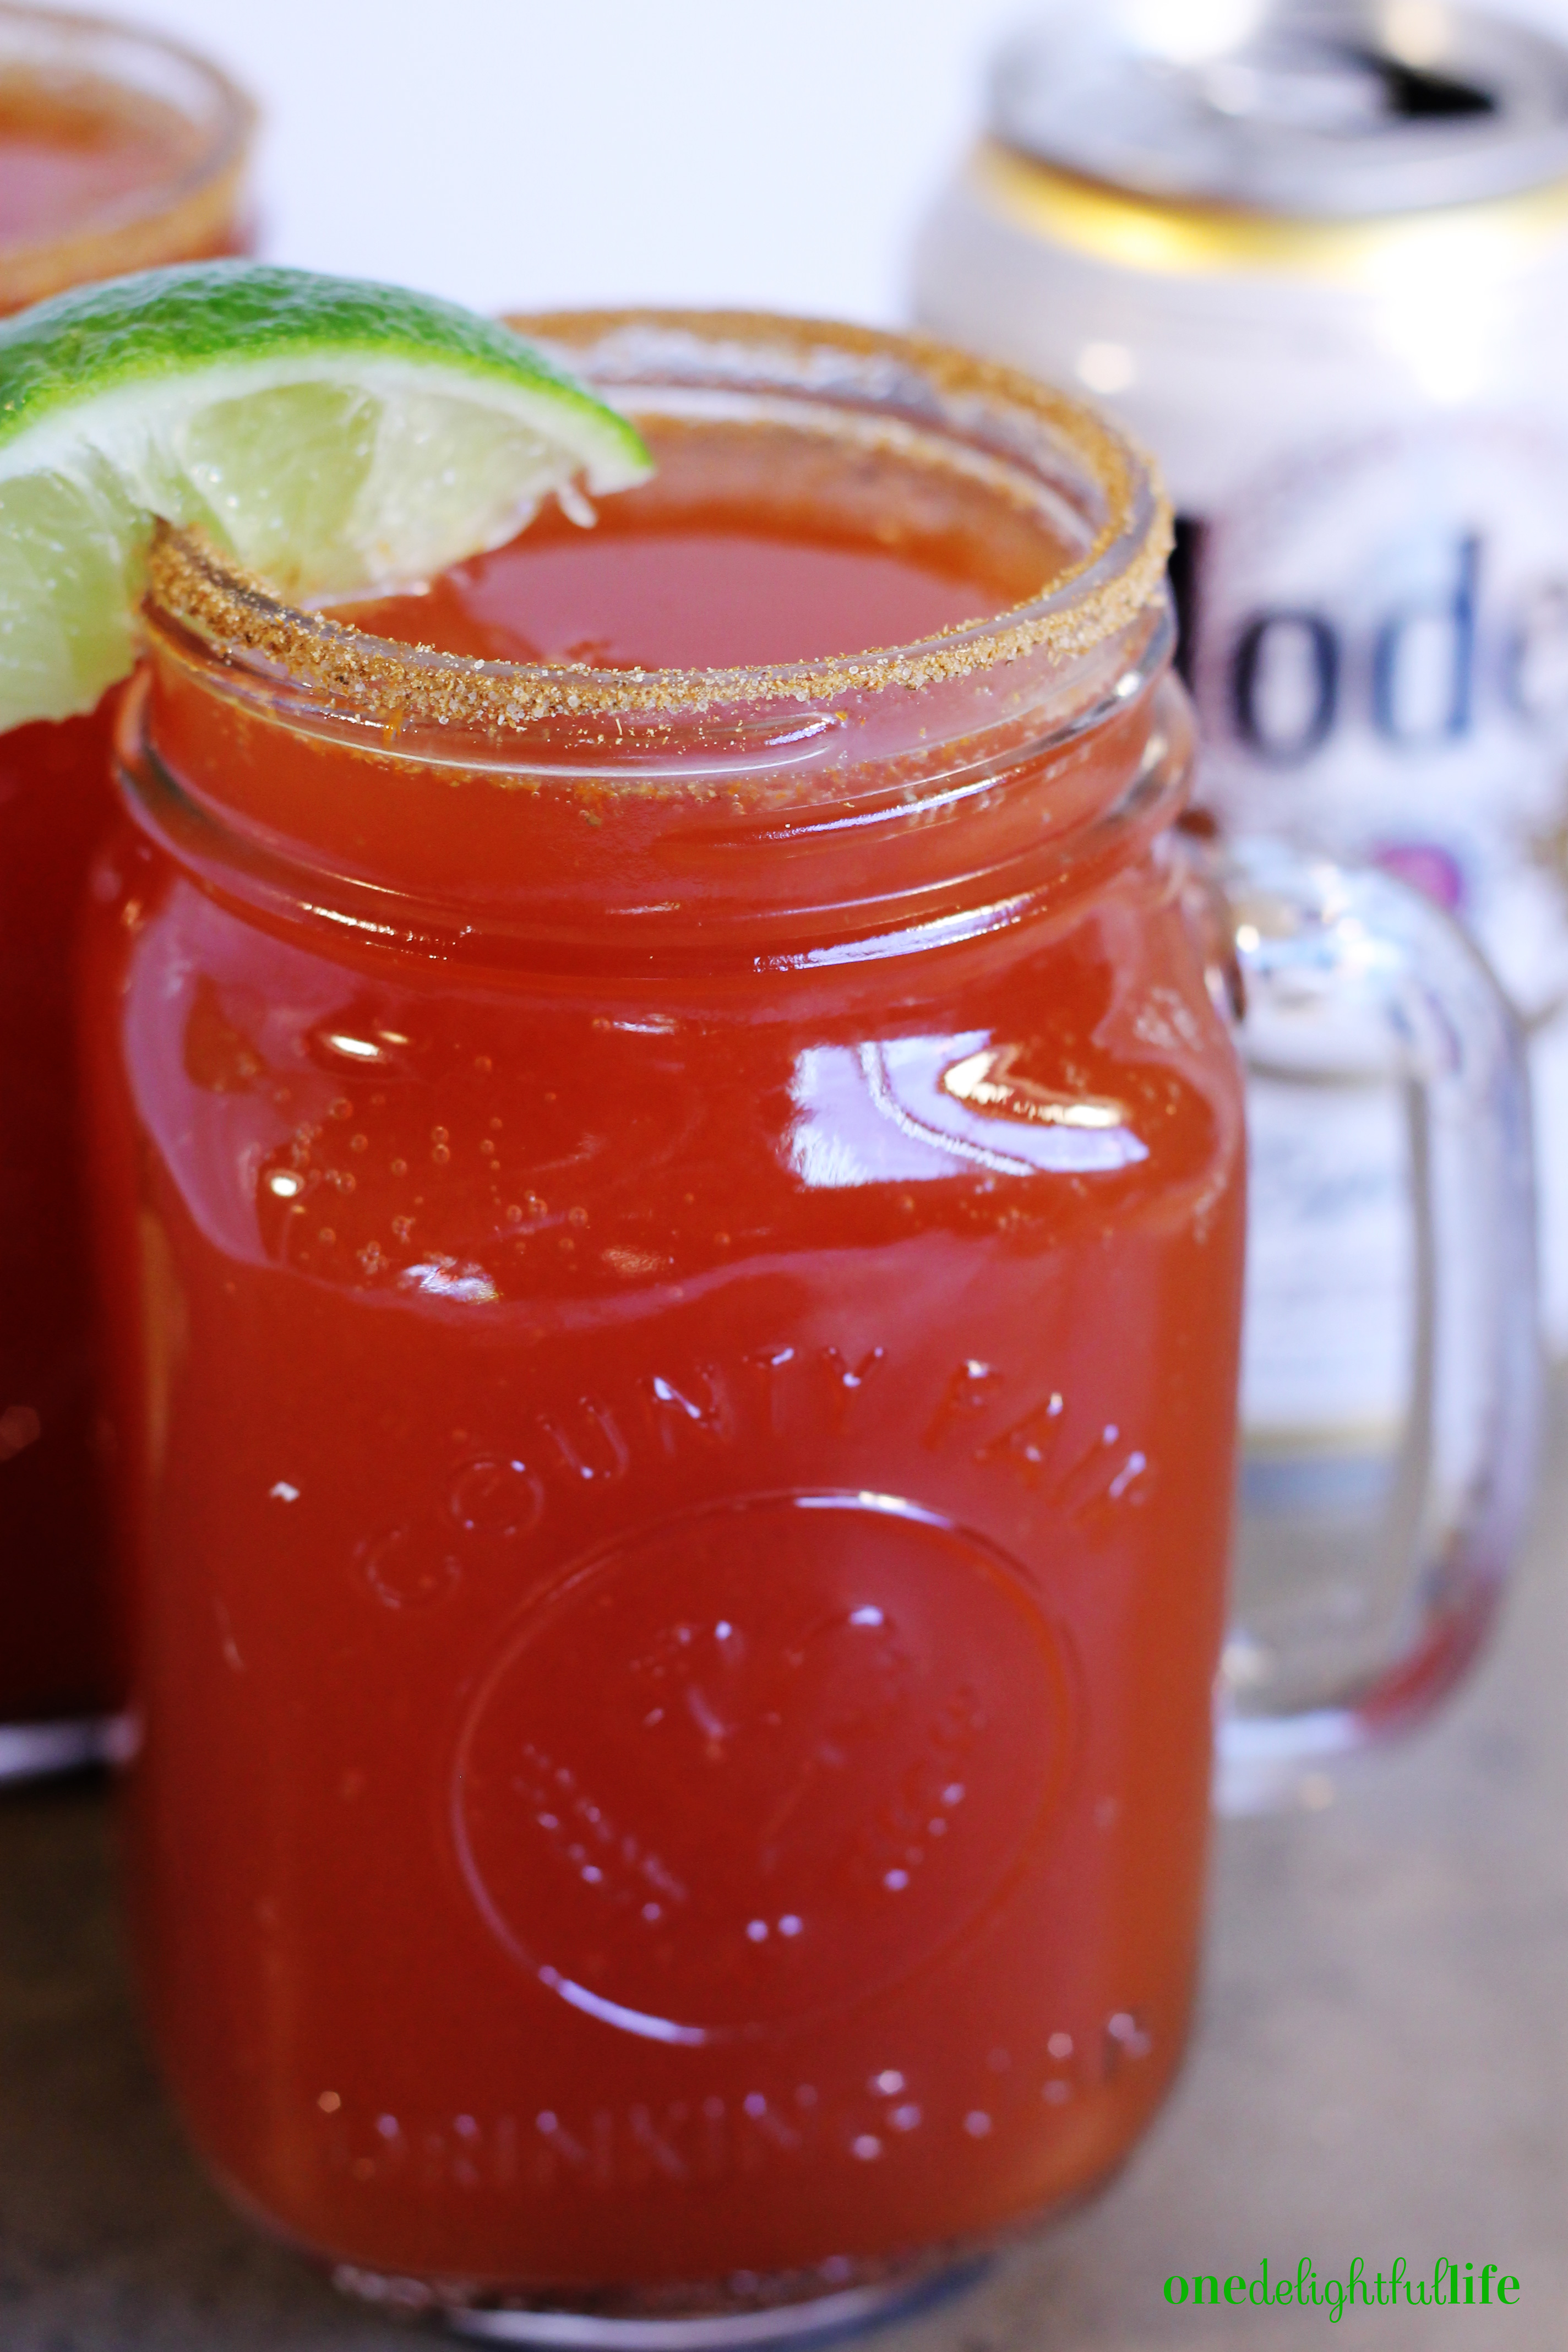 Like a Bloody Mary you can add spicy flavor to a Michelada as well. I suggest swapping
 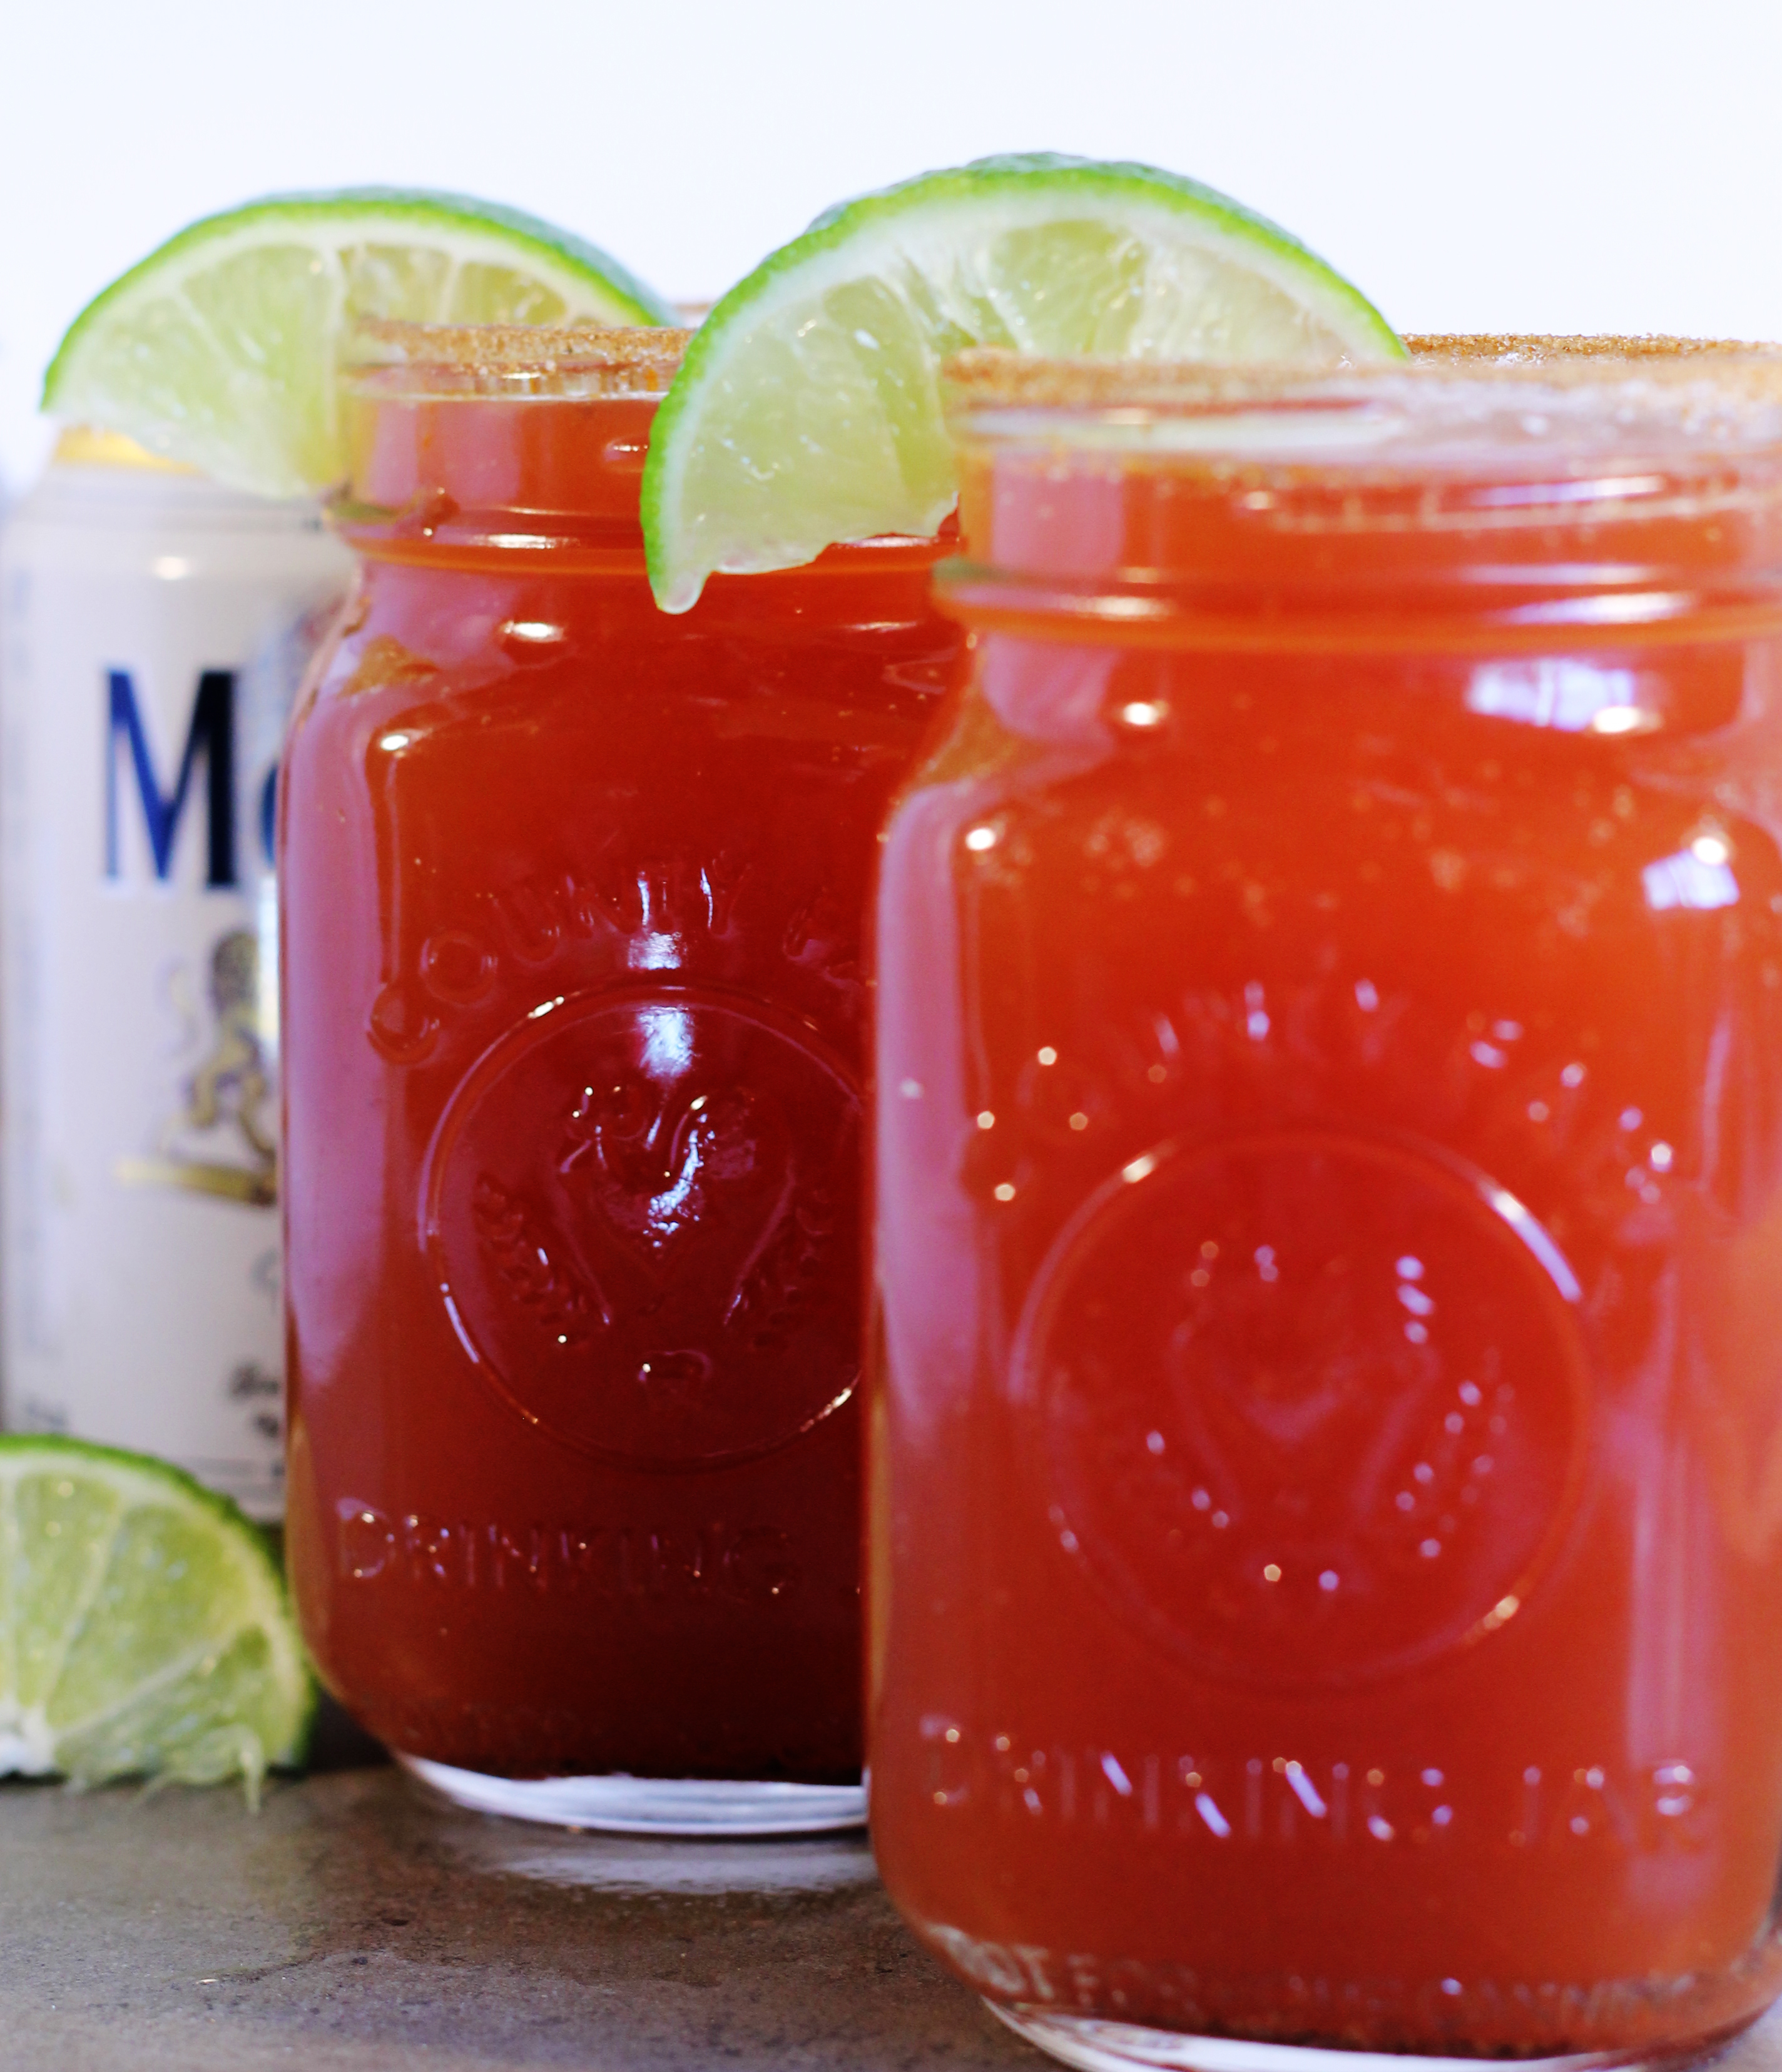 Let me know what you think of my Michelada recipe below. If you have the ultimate beer cocktail recipe of your own, please share it so I can add it to my recipe box.