Updated May 2026
Could you eat ice cream daily? I’m weak for ice cream, often eating it after dinner several times a week, so it’s no surprise that I stop for a cup or cone whenever I’m traveling.
The smell of freshly baked waffle cones. Chrome stools. A cooler filled with a variety of colored ice cream and gelato flavors. What’s not to love?
 Discover Kansas ice cream and gelato shops serving unforgettable scoops on my list of favorite sweet spots, all locally owned and operated.
PRO TIP: Inquire about vegan, non-dairy flavors, as some of these ice cream shops may stock them.
Coolest Ice Cream Shops in Kansas to Add to Your Road Trip Itinerary
Pace E Bene – Atchison
At Pace E Bene (503 Commercial Street), the family-run café is situated in the back of a Catholic-based bookstore, a hidden gem that serves coffee, baked goods, panini at lunchtime, and imported gelato.
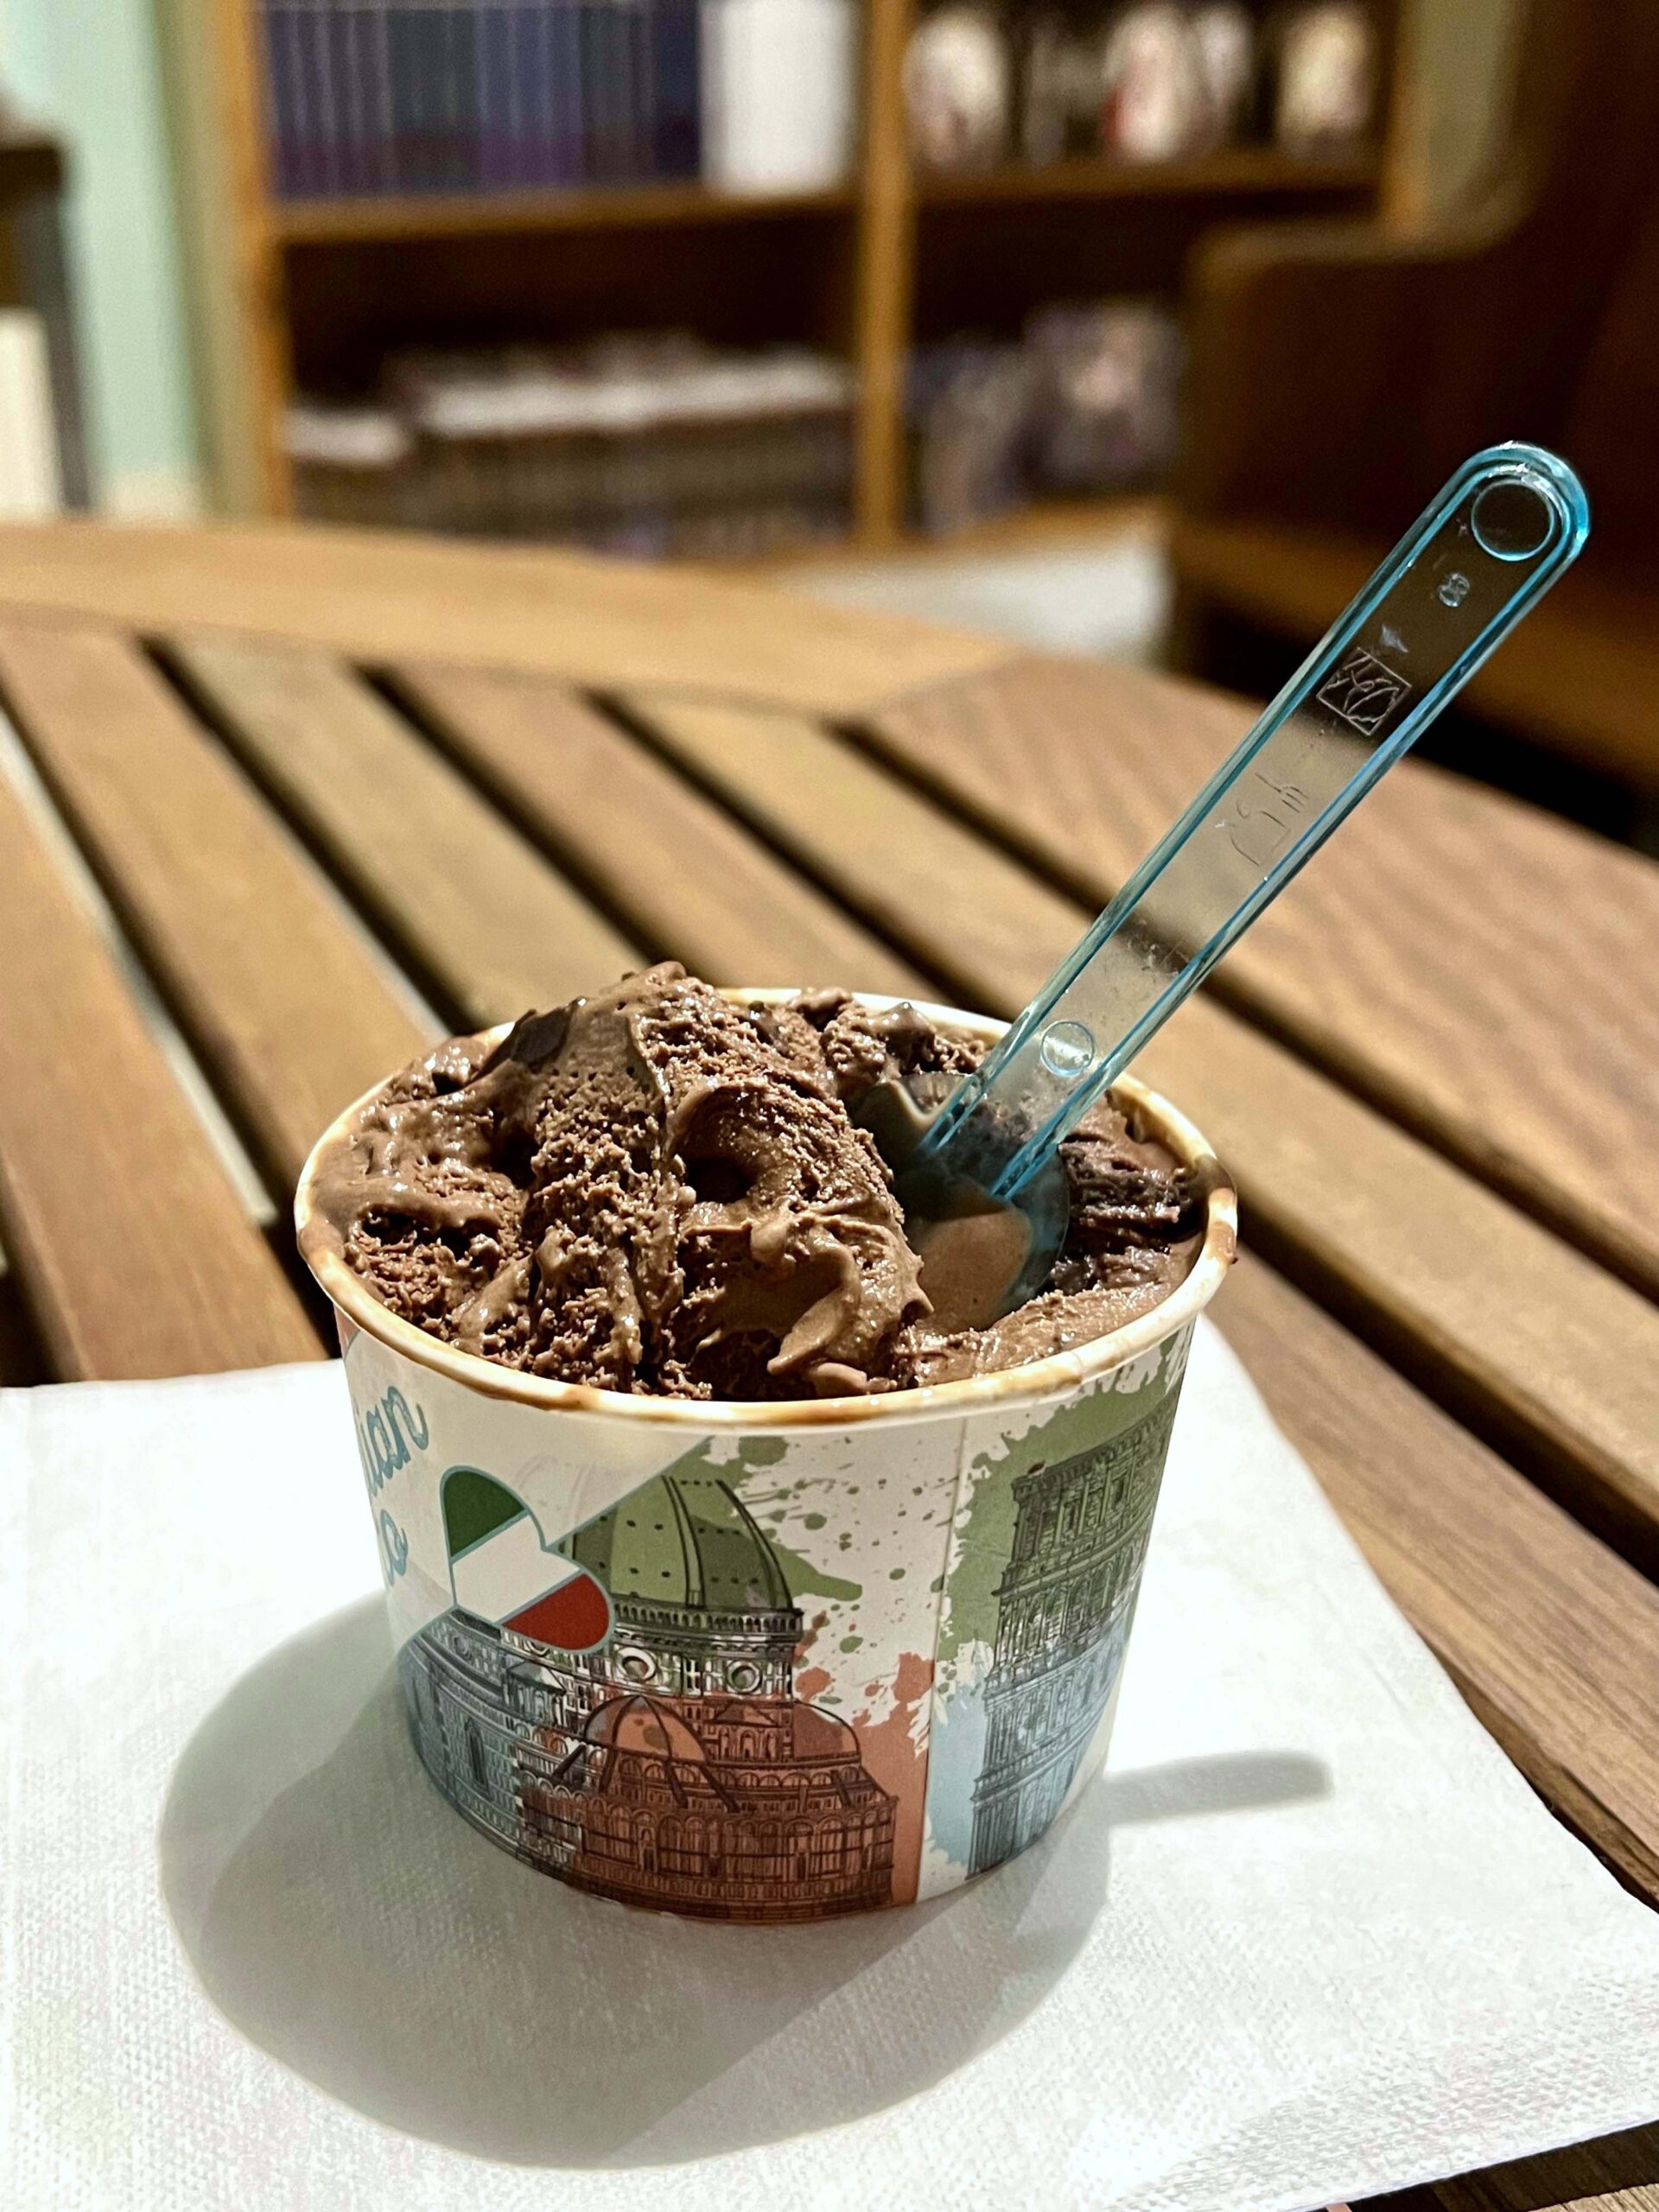 Cozy up with ice cream in the lounge and enjoy it while reading a book or solving a puzzle.
CuppaYo – Andover
Save room for dessert at CuppaYo (626 S. Andover Road), where self-serve frozen yogurt is available in numerous flavors, and the toppings are nearly endless. To me, frozen yogurt is just as tasty as ice cream but with less fat.
 CuppaYo’s topping stations include chunky bites of chocolate, cookies, and gummy candies, but for more health-conscious customers, you’ll also find fresh-sliced fruit and nuts.
Olde Mill Ice Cream Shop – Bonner Springs
Choose from over a dozen Blue Bell ice cream flavors at Olde Mill Ice Cream Shop (611 W. 2nd Street). A sucker for comfort food, I chose a cup of Blueberry Cobbler. They can also serve scoops of your favorite flavor inside a plain or flavored waffle cone.
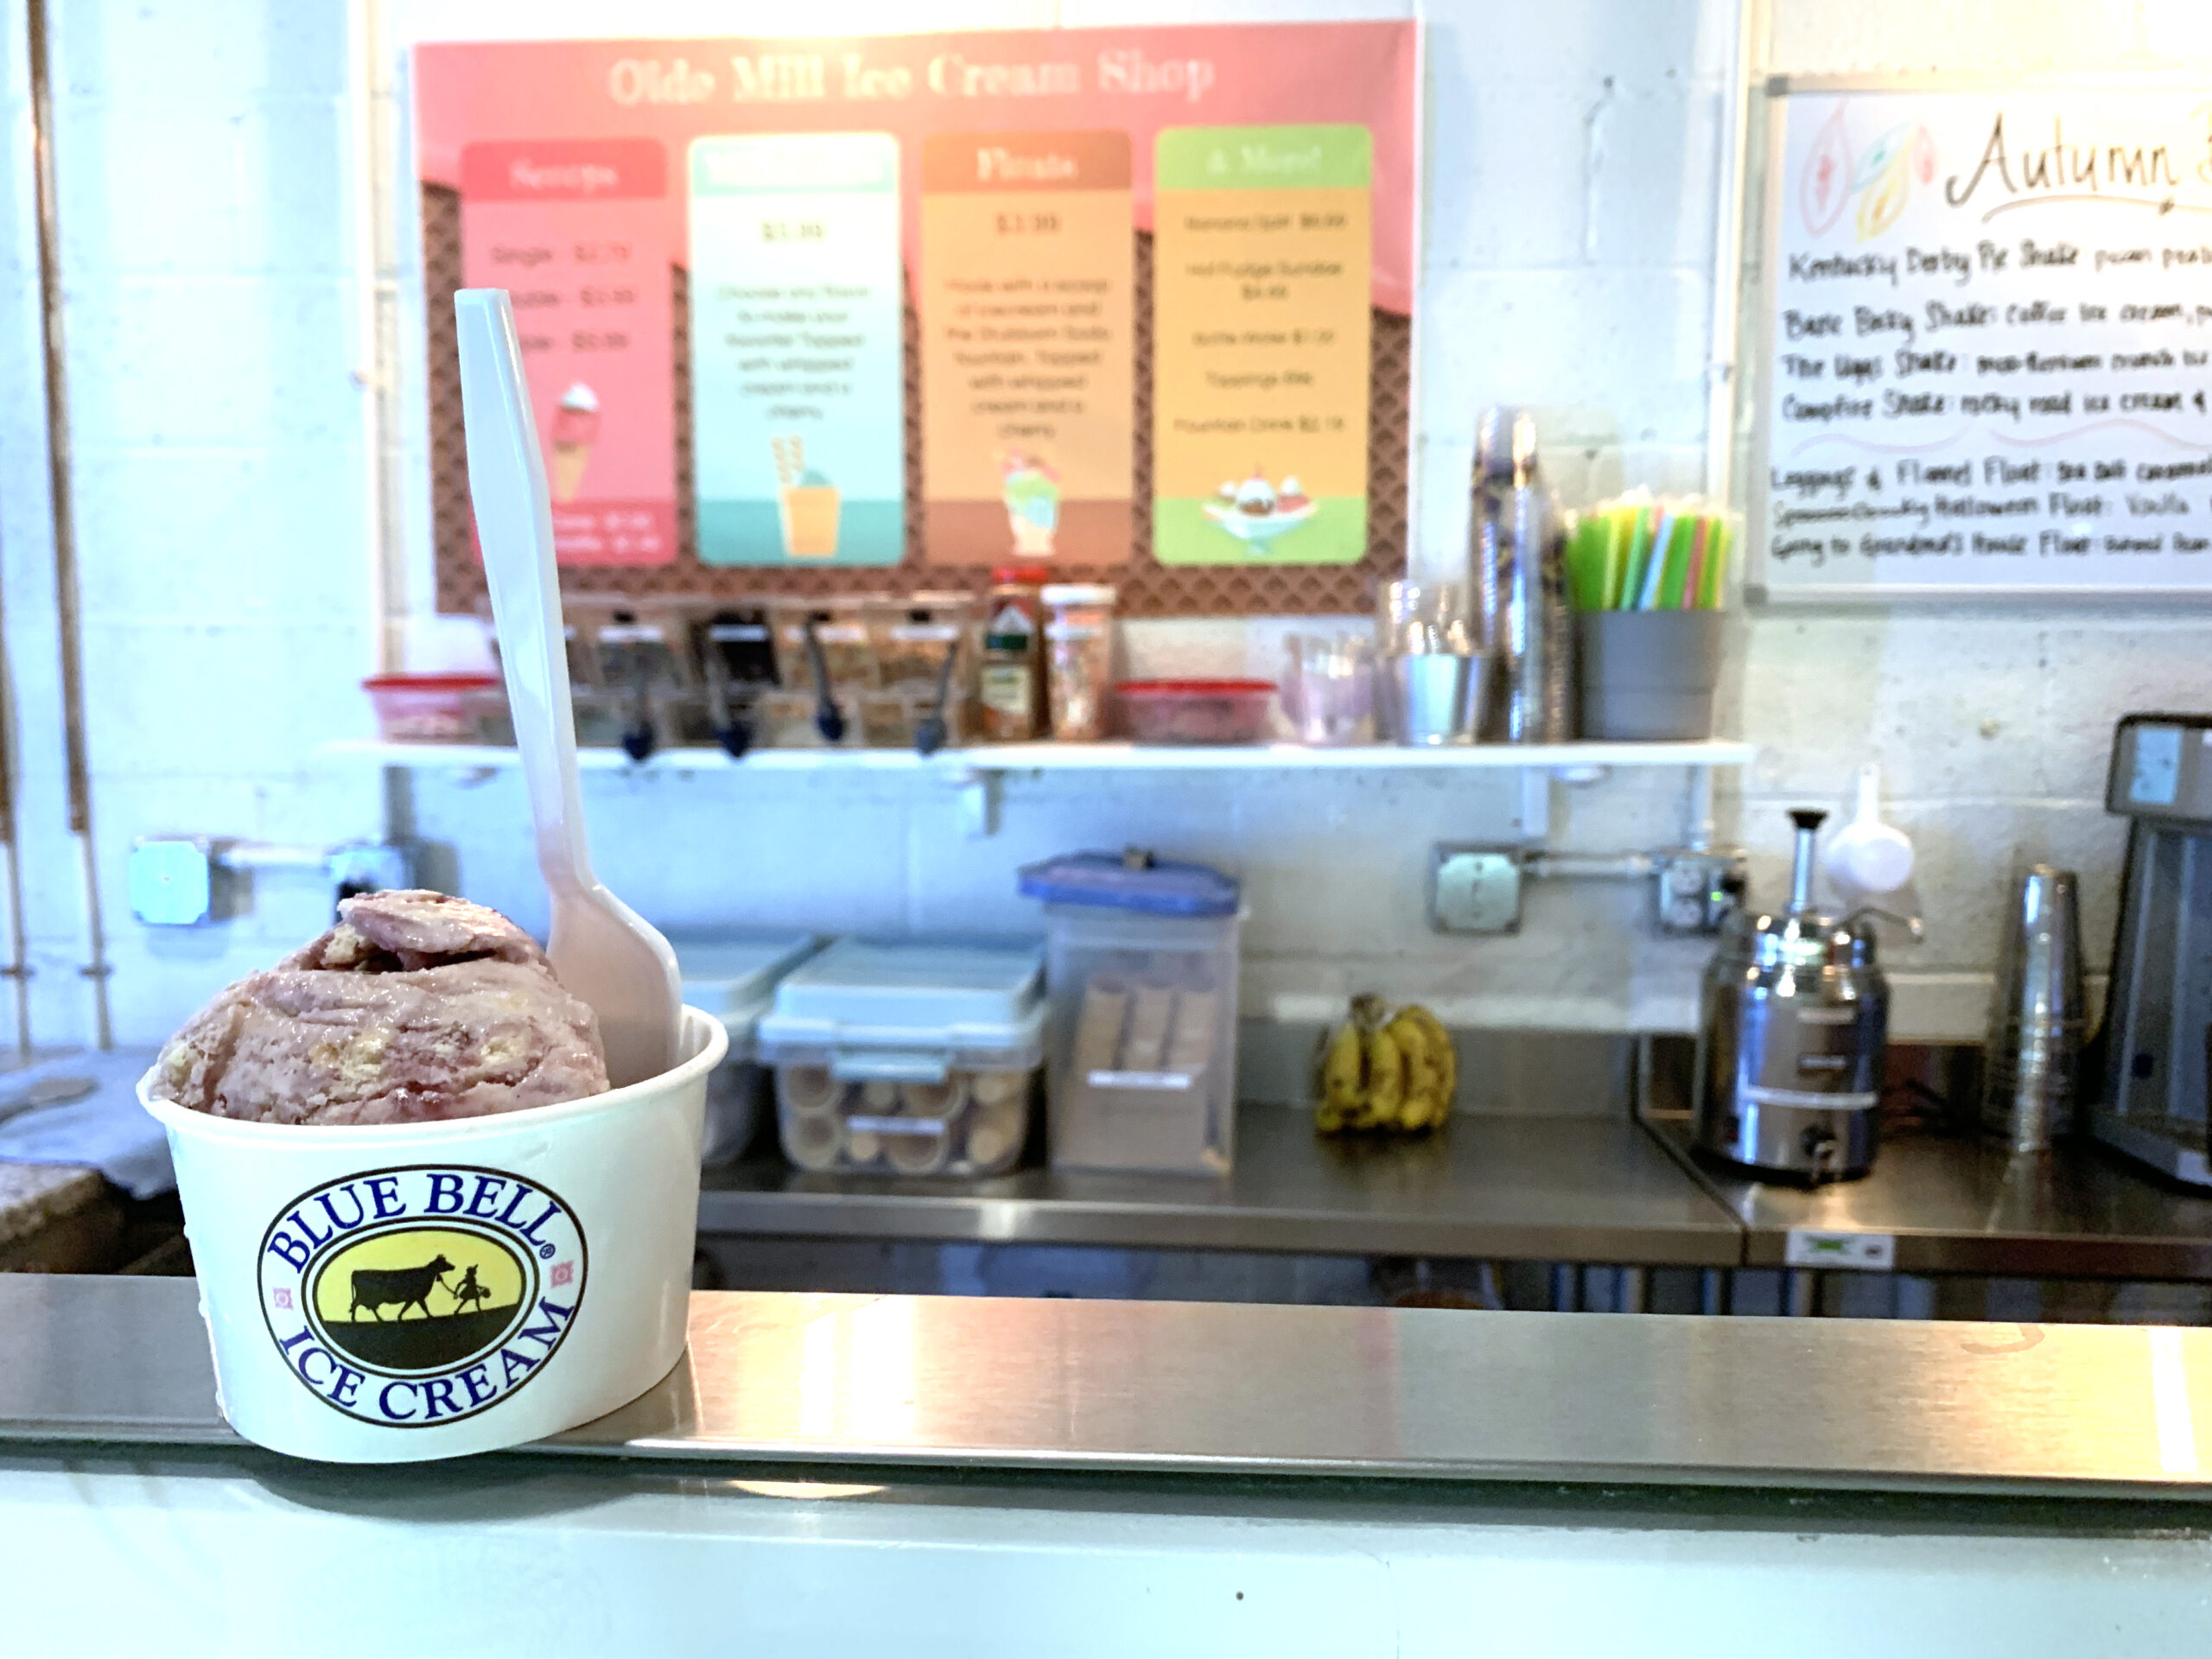 If ice cream floats are more your thing, they’ve got you covered. Choose from one of eight flavors from the Stubborn Soda fountain. Open during evening hours, the dessert shop also serves customers milkshakes and ice cream sandwiches.
Main Street Sweets – Burlington
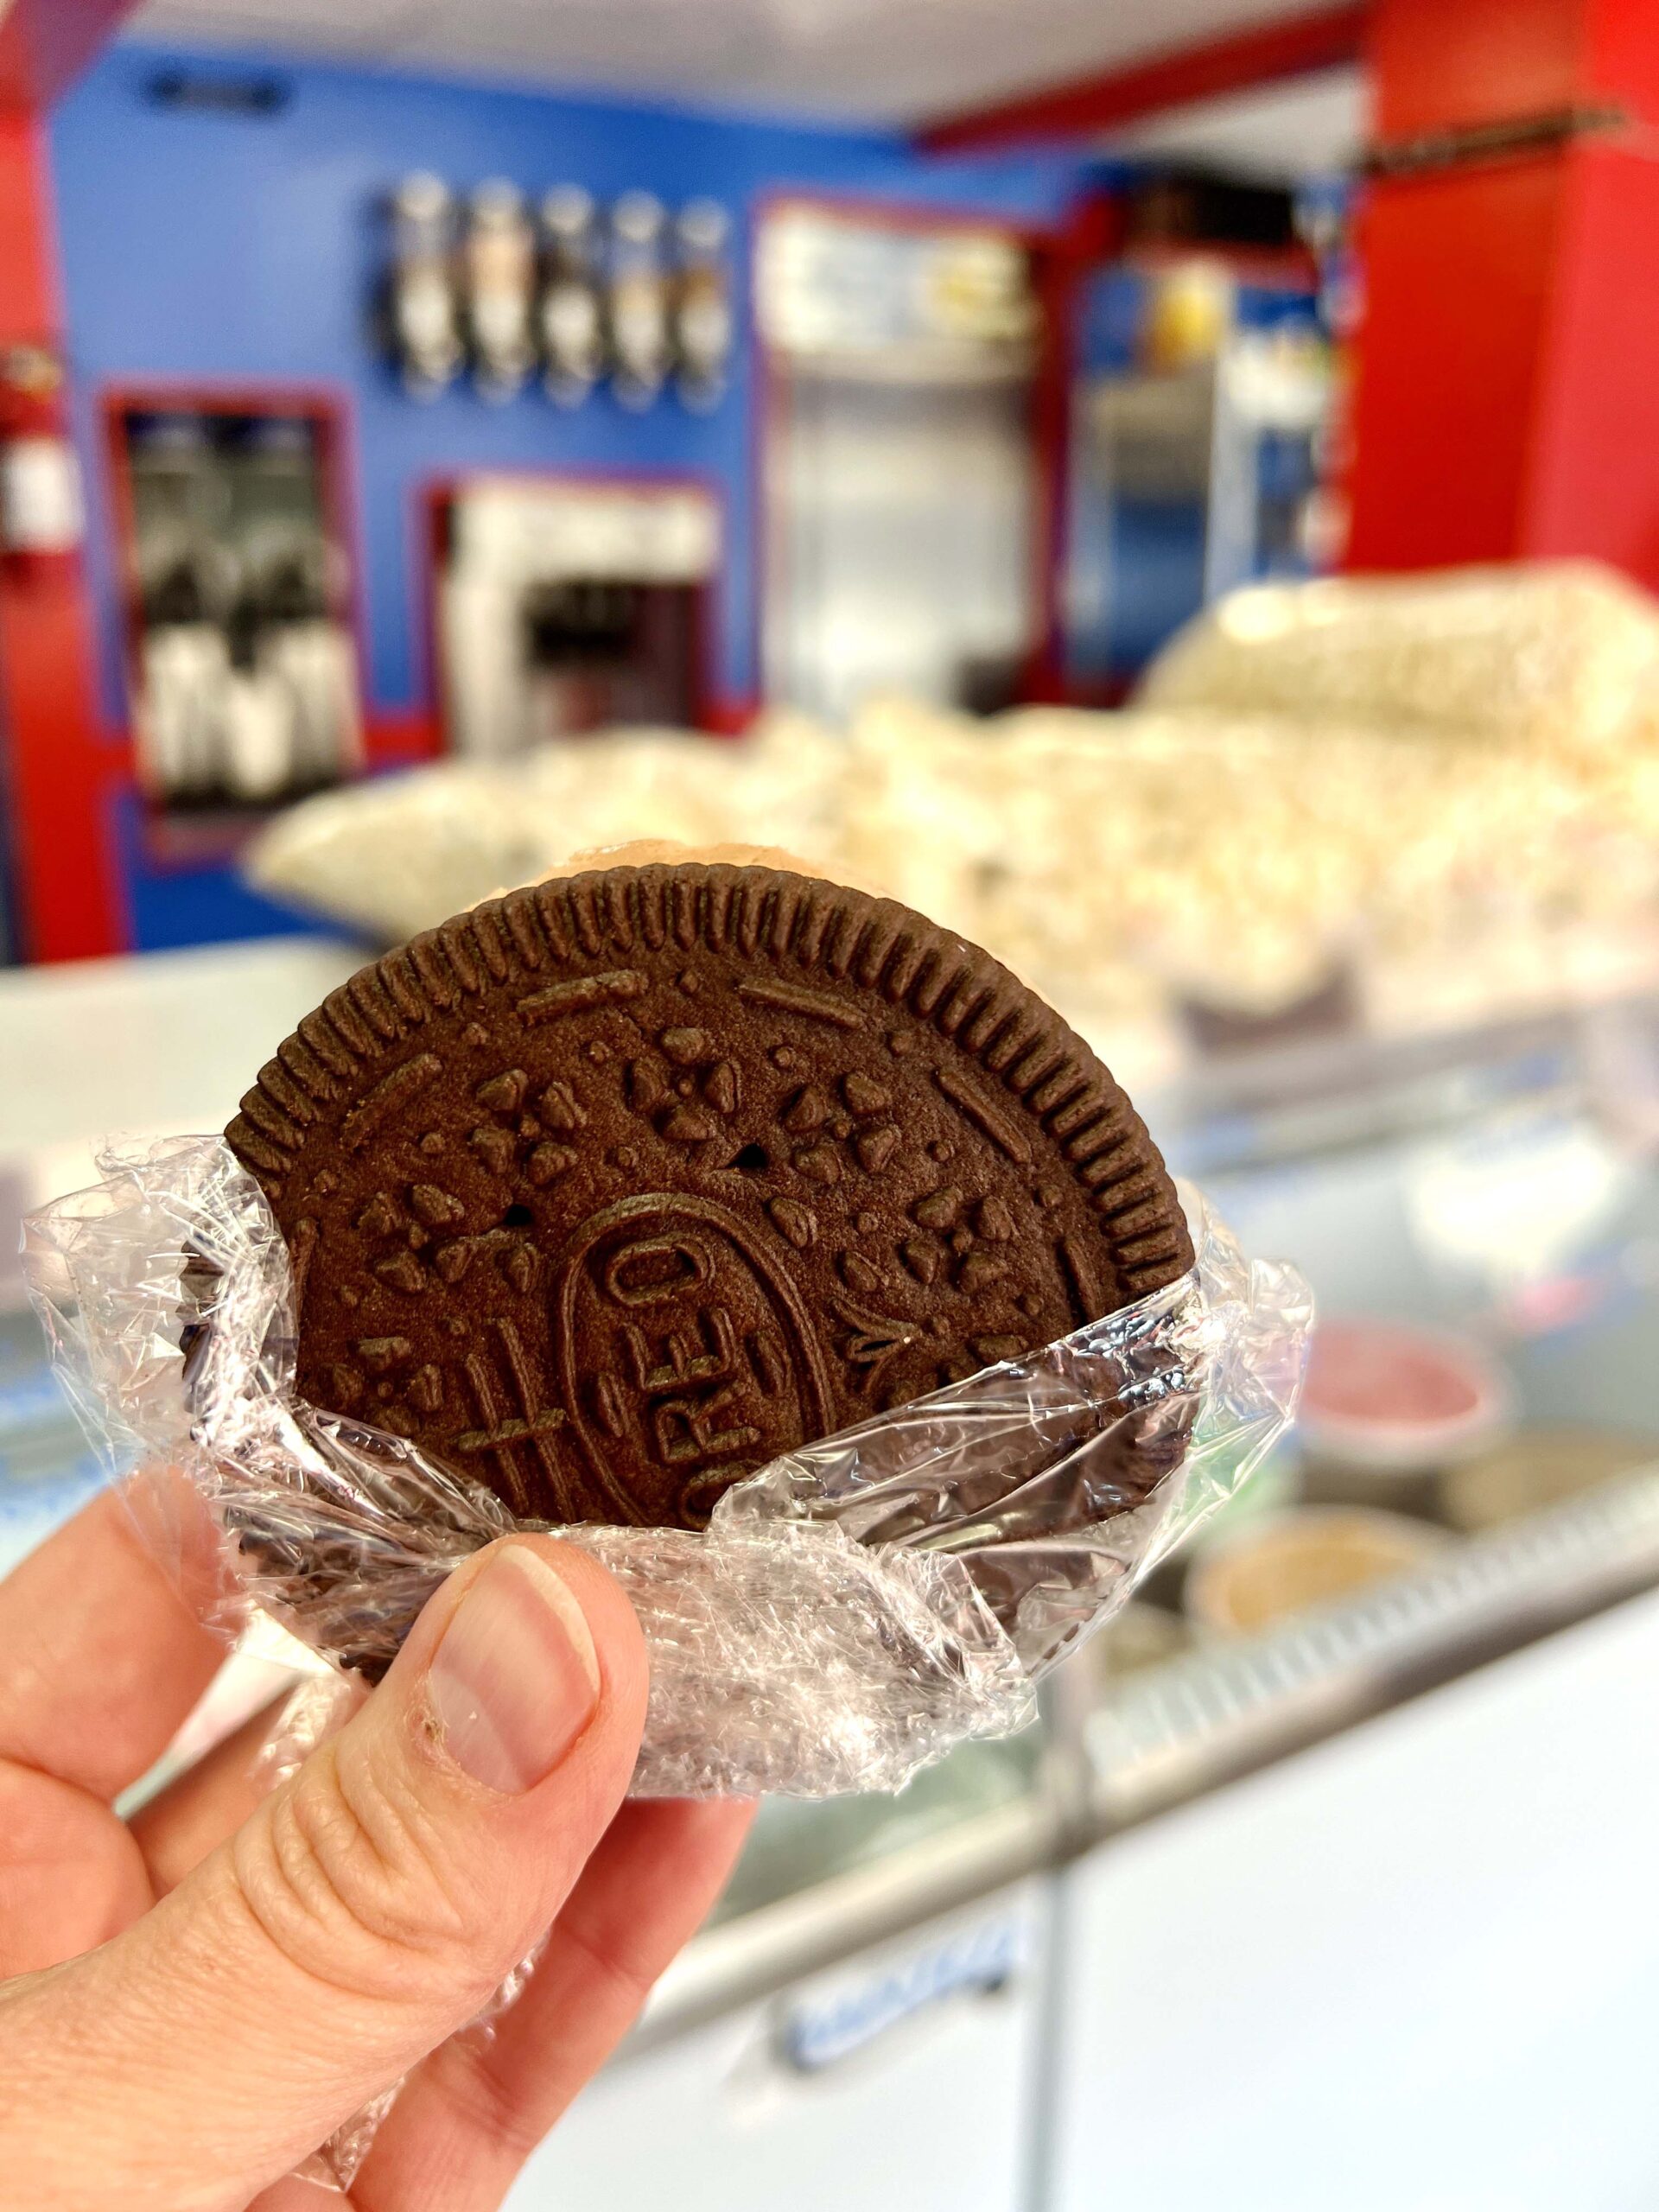
A family-owned business, Main Street Sweets (316 Neosho St.) serves rolled ice cream, boba, drink infusions, paninis, and cups of soup.
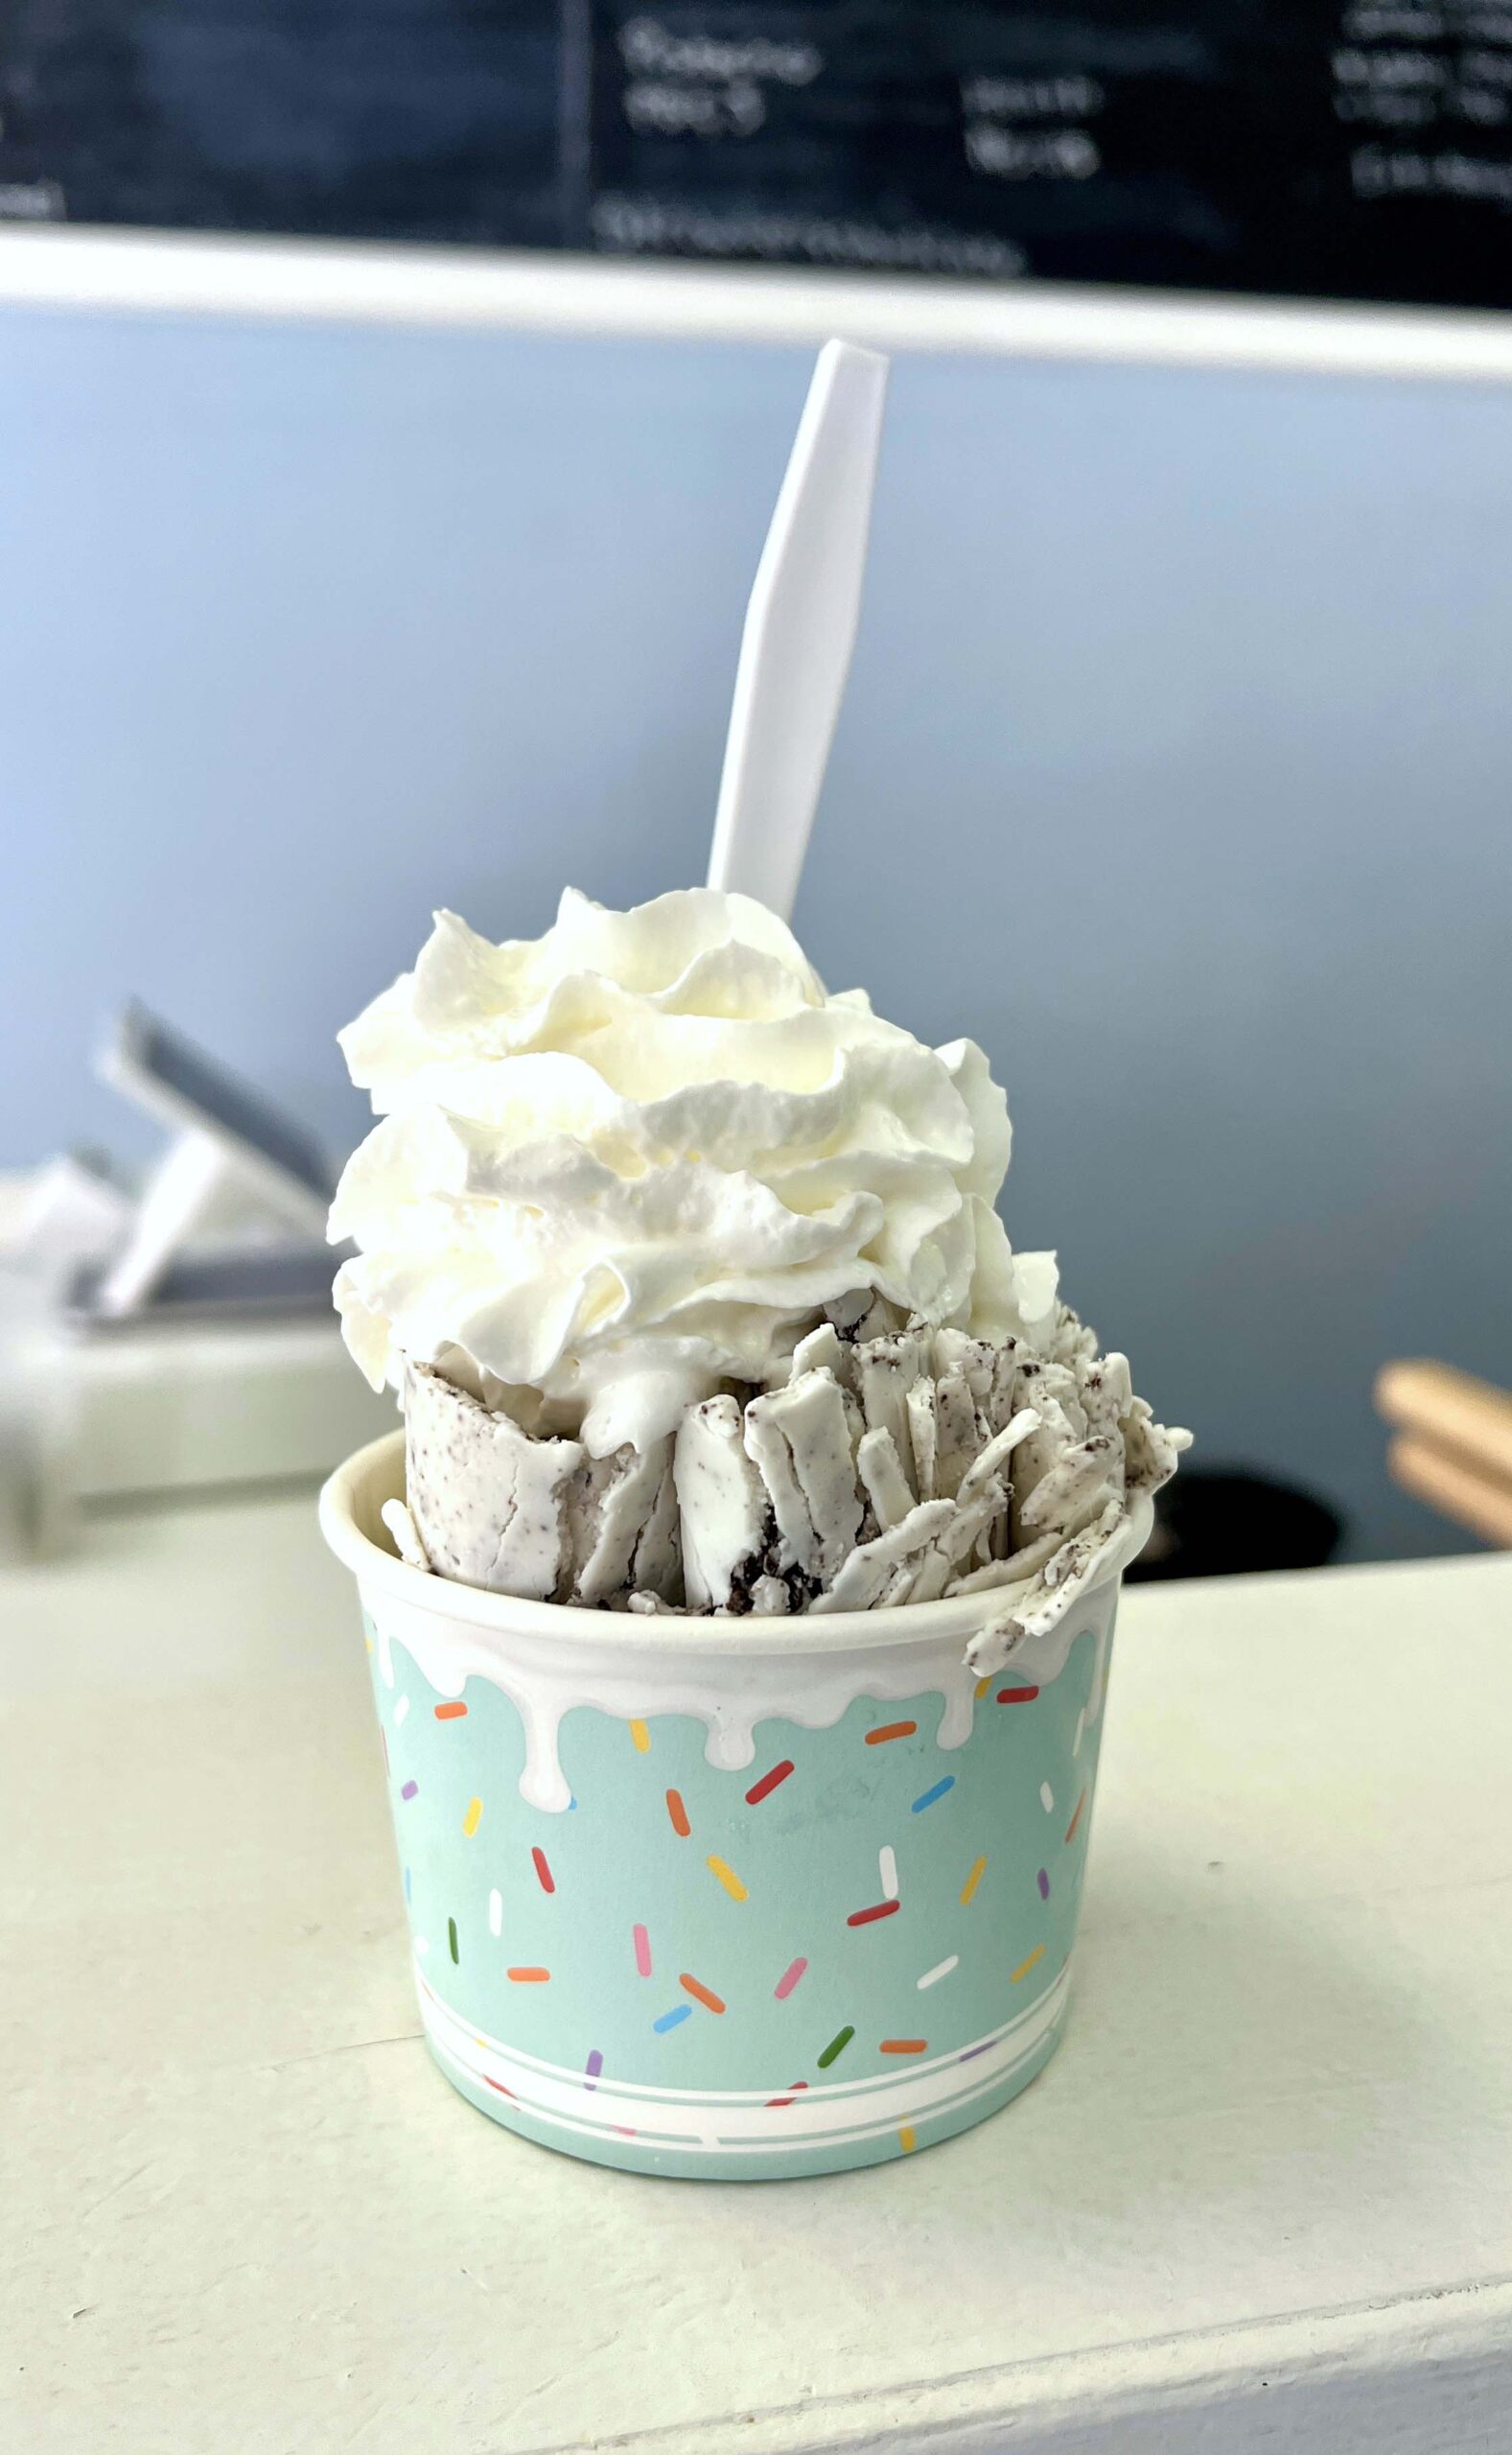 I watched as an employee combined Oreo® cookies with vanilla ice cream on a frozen surface, then pushed them into cigar-shaped rolls.
Main Street Sweets is a must-stop. I loved my ice cream so much that I didn’t even realize it was gone until the last bite.
Sweet Savings Bank Ice Cream Parlor – Burlingame
That sweet smell? It’s freshly prepared waffle cones. You’ll find Sweet Savings Bank Ice Cream Parlor’s (102 W. Santa Fe Ave.) selection of premium hand-scooped ice cream and Sundaes Your Way hard to resist.
And I can vouch that their giant milk chocolate chunk cookie (larger than a dinner plate) is soft and scrumptious.
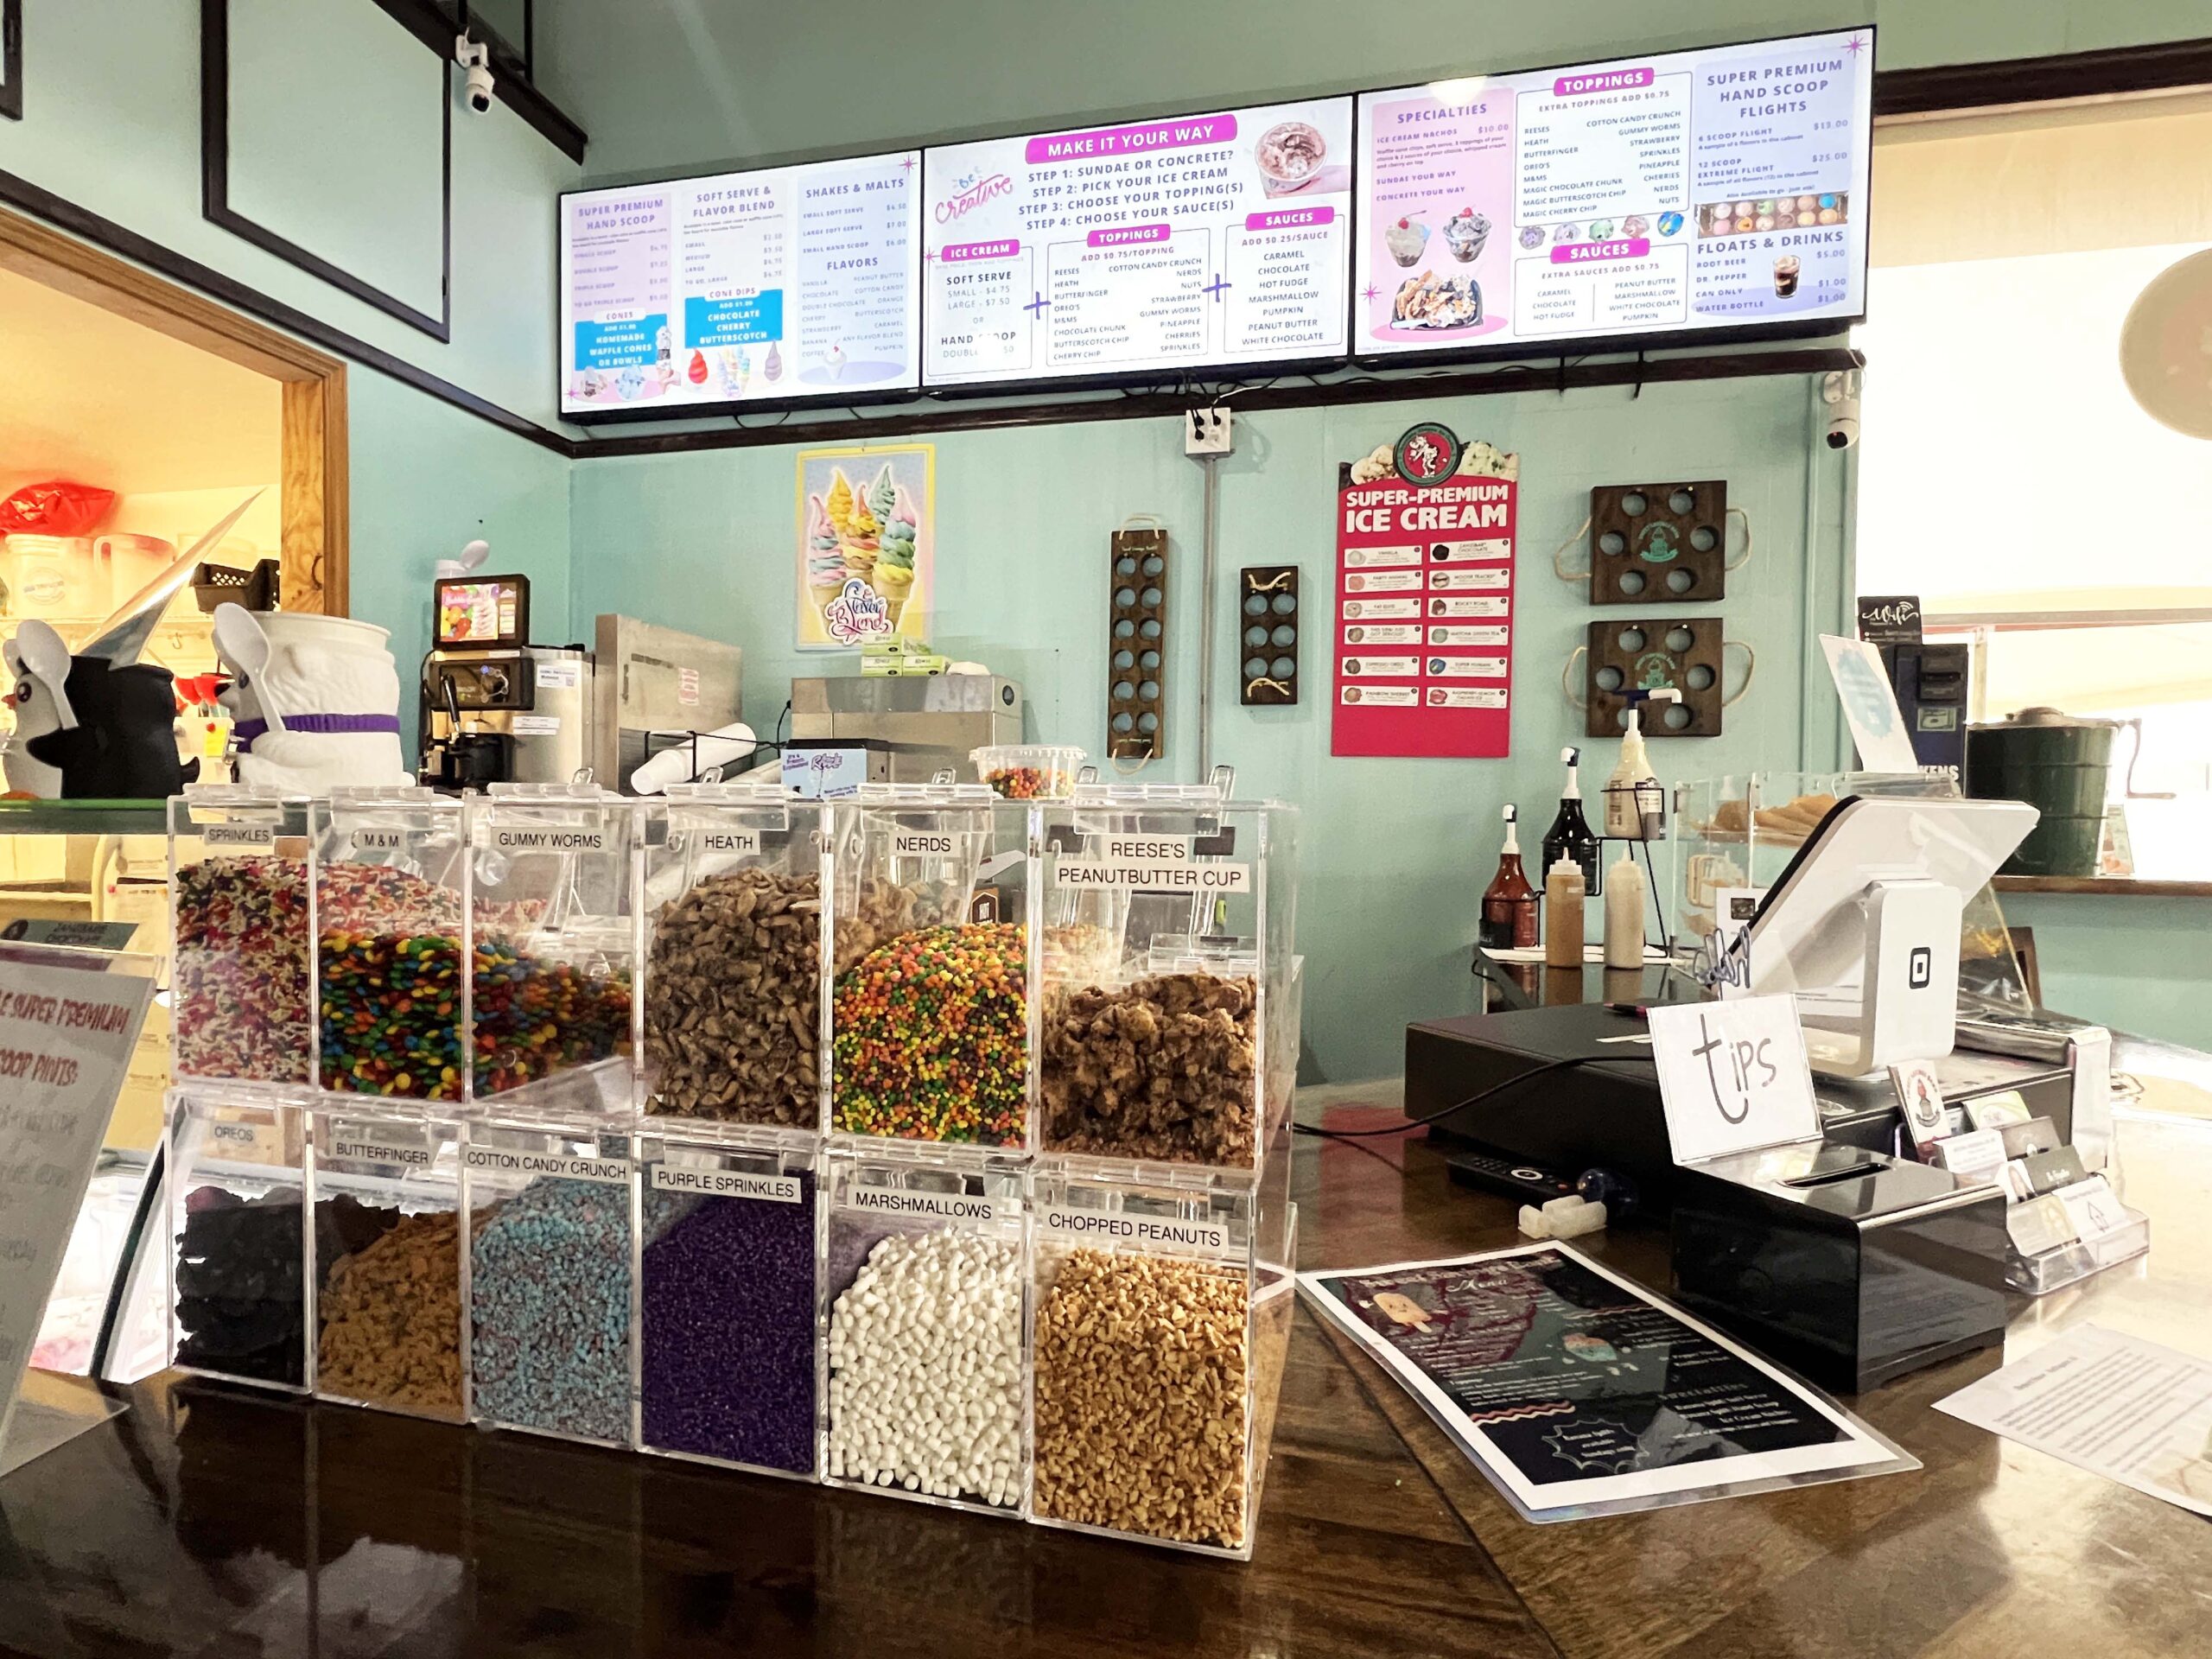 If you prefer soft-serve ice cream, order a Concrete with toppings and sauces of your choice. Families should try a flight of six to twelve scoop flavors.
Weg’s Ice Cream Shop – Carbondale
Owned and operated by a retired pipefitter and current volunteer firefighter, Weg’s Ice Cream Shop (224 Main St.) serves hand-scooped premium ice cream, soft-serve ice cream sandwiches, shakes, and kettle corn.
 Bring the kids for Movies in the Courtyard on Saturdays during the summer from 6 to 9 pm when the owner projects family-friendly films.
PRO TIP: Weg sells “ugly Oreo® ice cream sandwiches” by the bag (the ones that don’t meet his perfection standard) at a discount.
Cardinal Drug Store & Gifts – Chanute
Step back in time and sip on some nostalgia at Cardinal Drug Store & Gifts (103 E. Main Street), where the historic soda fountain is stocked with the best-tasting ice cream and fudge. There’s nothing like an old-fashioned ice cream float from a classic soda fountain—bubbly, creamy, and oh-so-dreamy.
 My cherry vanilla ice cream soda was so yummy I closed my eyes upon first sip. Watch an Instagram reel of mine made by an employee.
Soul Sister Scoops – Courtland
A super cute ice cream shop, Soul Sisters Scoops (328 Main Street) was definitely worth pulling over. Not only do they serve Wisconsin ice cream, but you can order multiple flavors for a big waffle cone or cup.
 The shop is connected to Soul Sisters Ceramics, where the owner hosts ceramic paint parties and the retail space is stocked with home decor goods. Located in a renovated gas station, Soul Sister Scoops is adorable.
Granny’s Chip Chocolate Ice Cream & Candy Shop – Frontenac
What if the key to longevity was to eat a bowl of ice cream before going to bed? The woman who inspired Granny’s Chip Chocolate Ice Cream & Candy Shop did just that and she lived to be 102 years old.
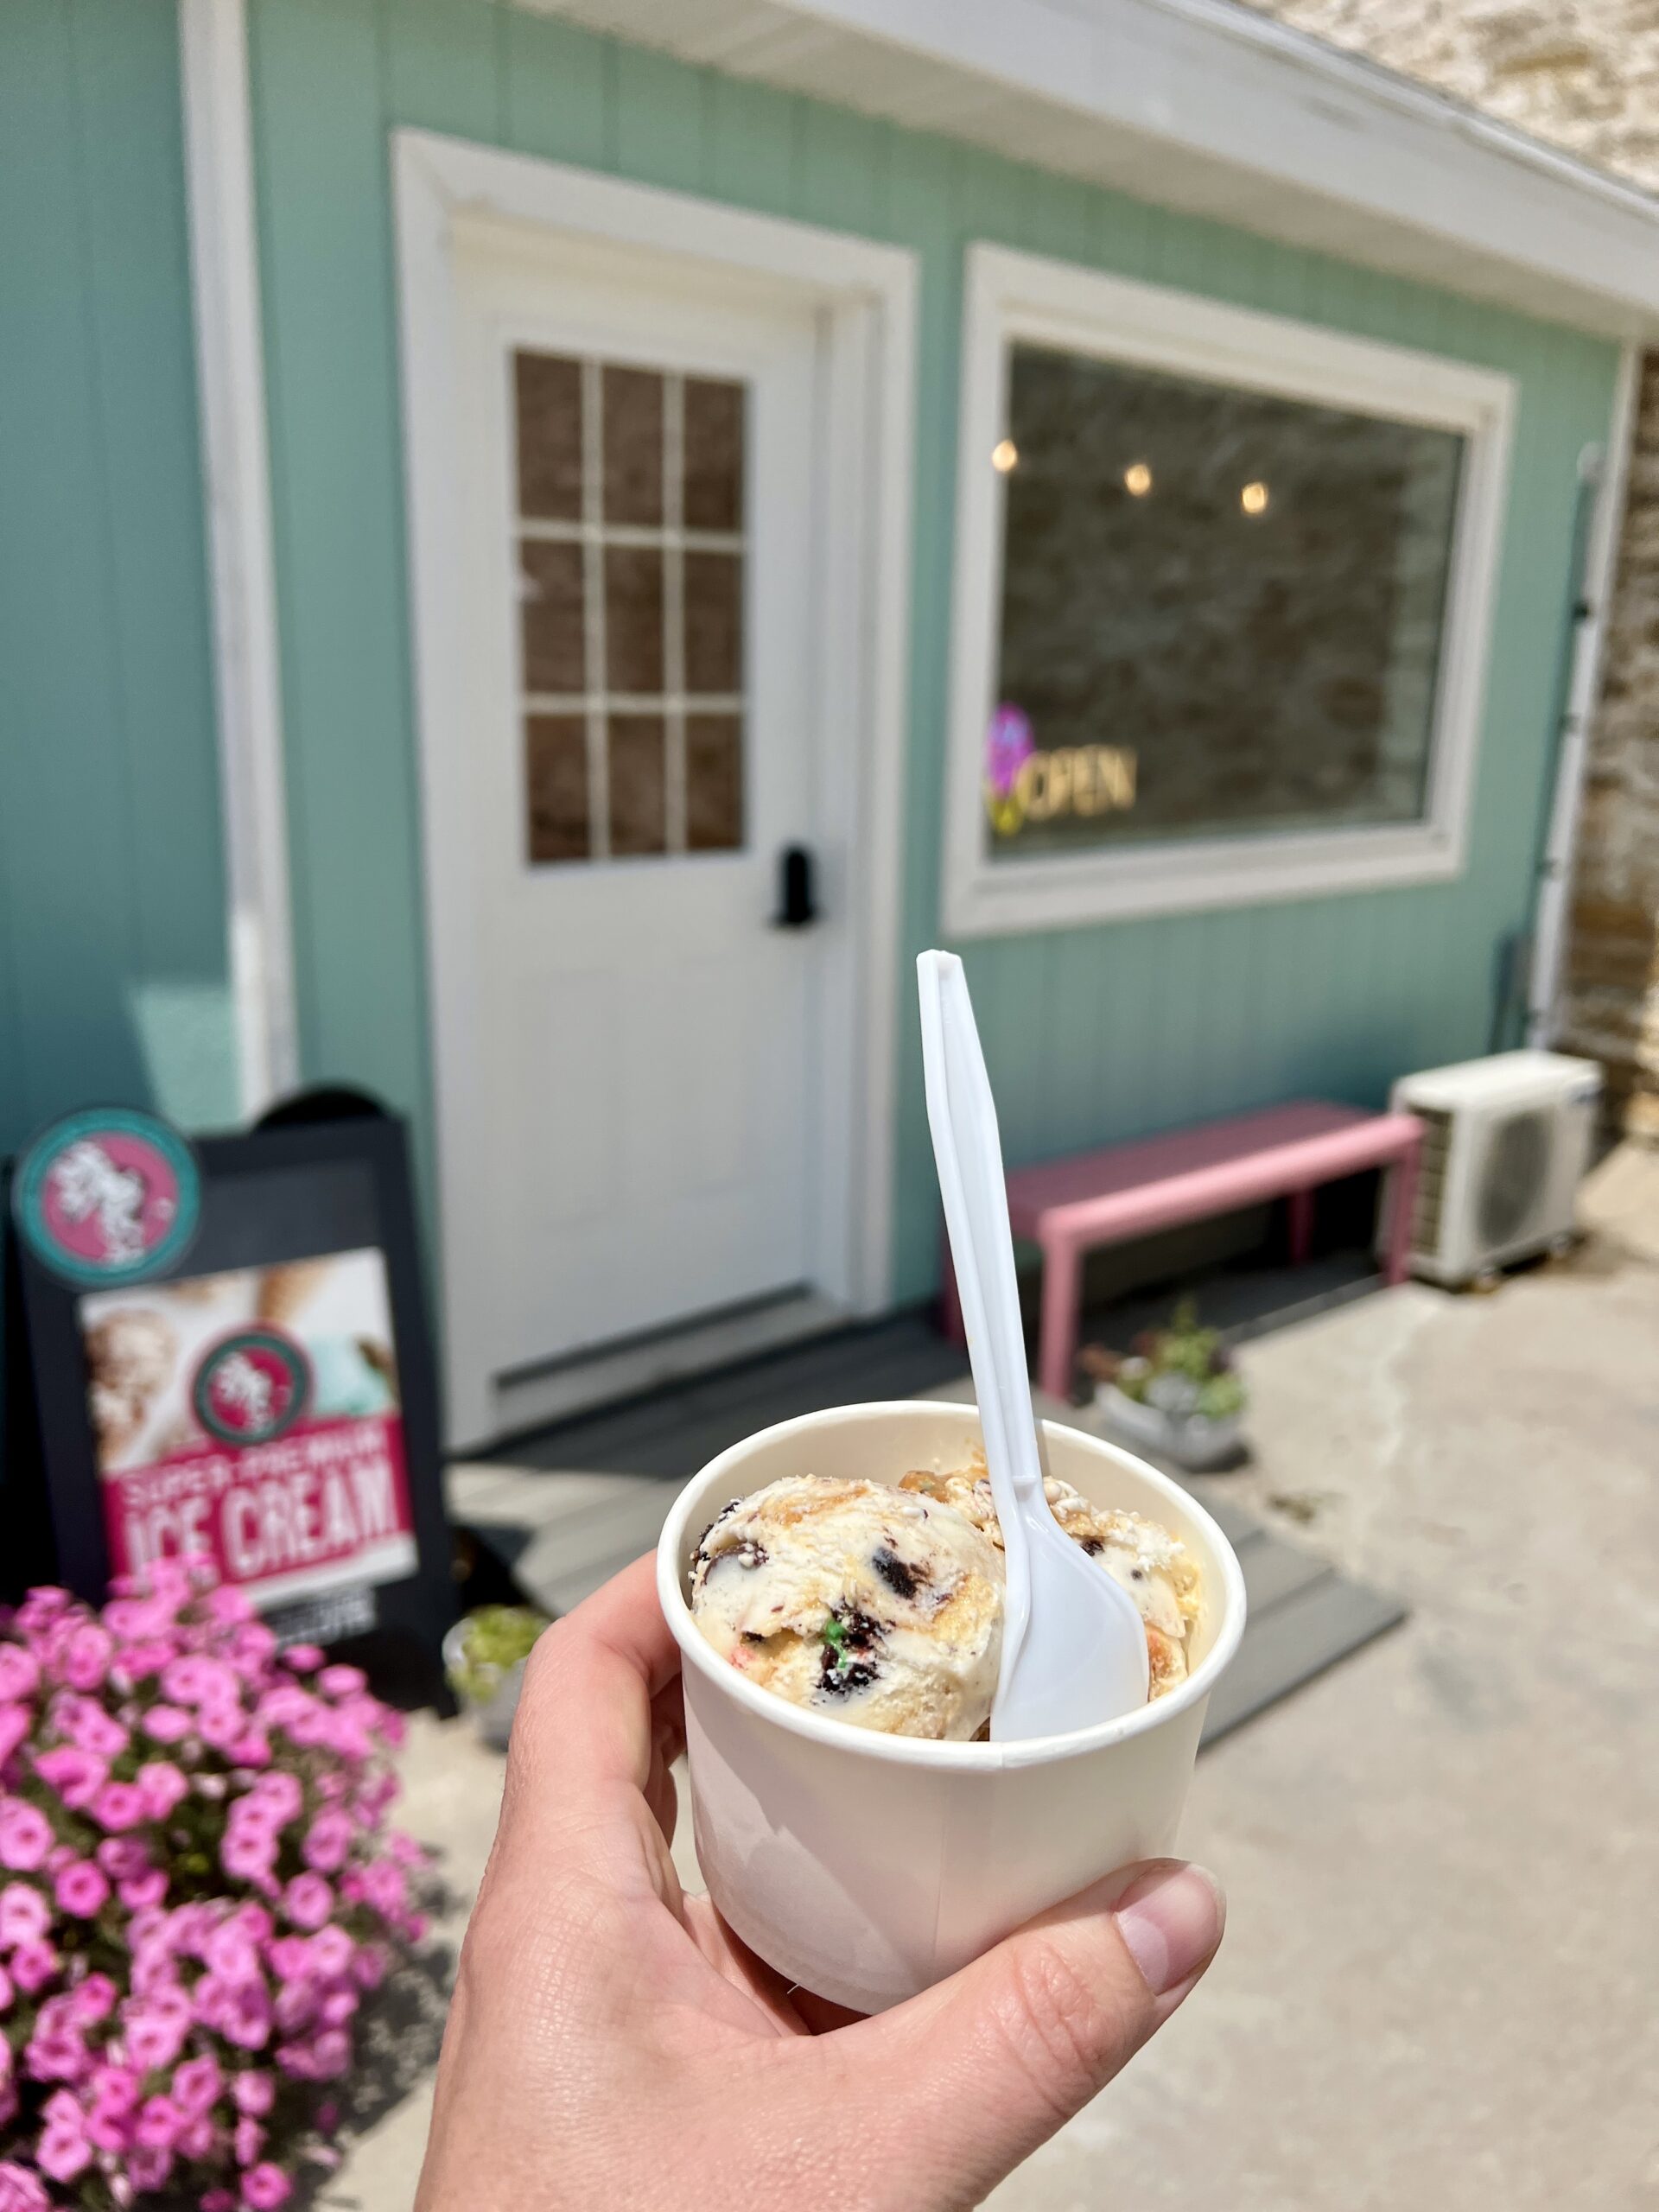
 The Frontenac ice cream shop is a community hub six days a week, where families gather to enjoy premium ice cream available in nearly 50 flavors. The store stocks super premium ice cream made with 16 percent butterfat, which tastes rich and flavorful in every bite.
 Go classic with a single or double scoop, blend your favorite into a thick, dreamy milkshake, or order an ice cream flight so you can sample four flavors in one go. Chocolate Fudge Brownie? Yes, please. Chocolate Chip? Of course.
Traditions Soda & Sandwich Shop – Garden City
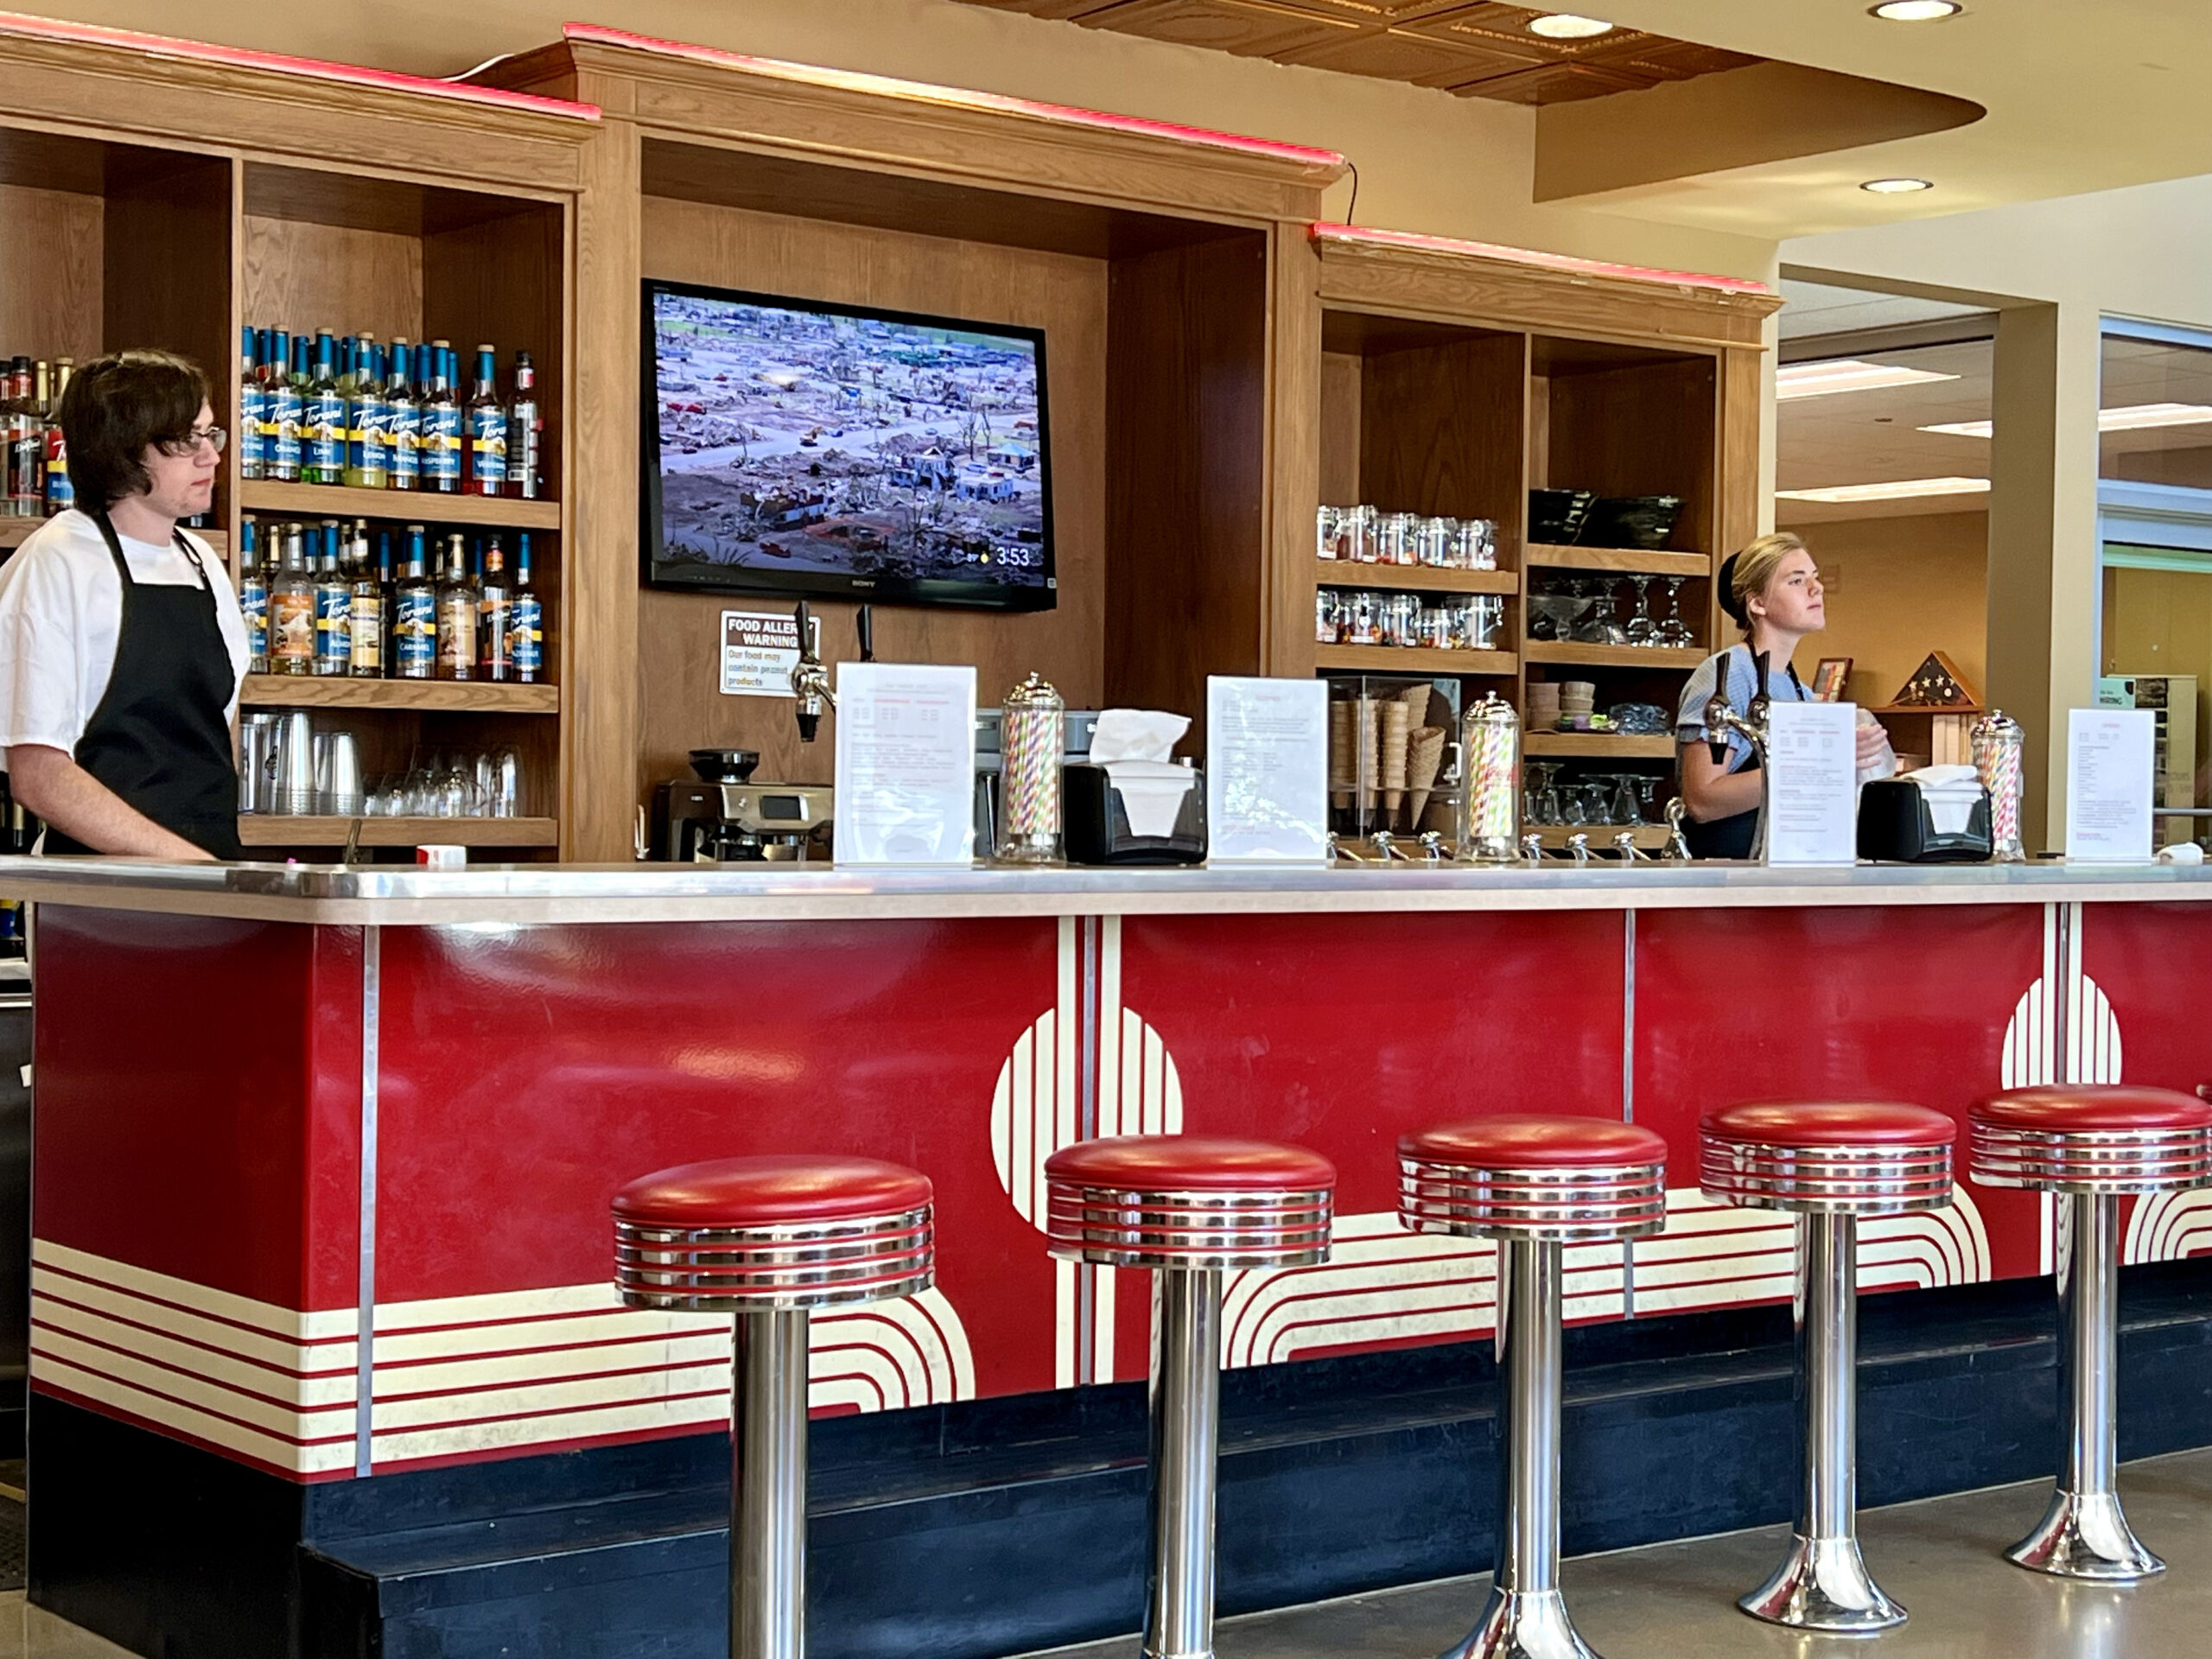
To visit Garden City without stopping at Traditions Soda & Sandwich Shop (121 W. Grant Avenue) would be a crime. A Garden City original since 1925, a throwback menu showcasing 5-cent root beer, tin ceilings, and an old-fashioned soda fountain are nostalgic throwbacks.
 Claim a booth or a counter barstool during lunch or dinner hours to order a made-to-order burger with fries and a thick chocolate malt or shake. I recommend sitting at the counter to see a view of the bustling kitchen staff.
Hunter Drug Soda Fountain – Greensburg
Be sure to visit the restored Hunter Drug Soda Fountain, located inside the Kiowa County Historical Museum (320 S. Main Street). It’s a great place to order a tasty Vanilla Coke or banana split. I nestled into a sunlit booth and enjoyed the view of the outdoor pond and landscaping.
 Tell them you want to try the EF5 Challenge ($40). If you can eat 15 scoops of ice cream and 10 toppings in 30 minutes, you get your photo on the Wall of Fame.
Holton Mercantile – Holton
Holton Mercantile (415 New York Ave.) is a general store that carries everything from cards and seasonal decorations to kitchen tools and puzzles. They operate an old-fashioned soda fountain counter in the rear of the store.
 The store often hosts an Ice Cream Bar Day during Second Saturday downtown shopping events. Choose from seven ice cream flavors and endless toppings.
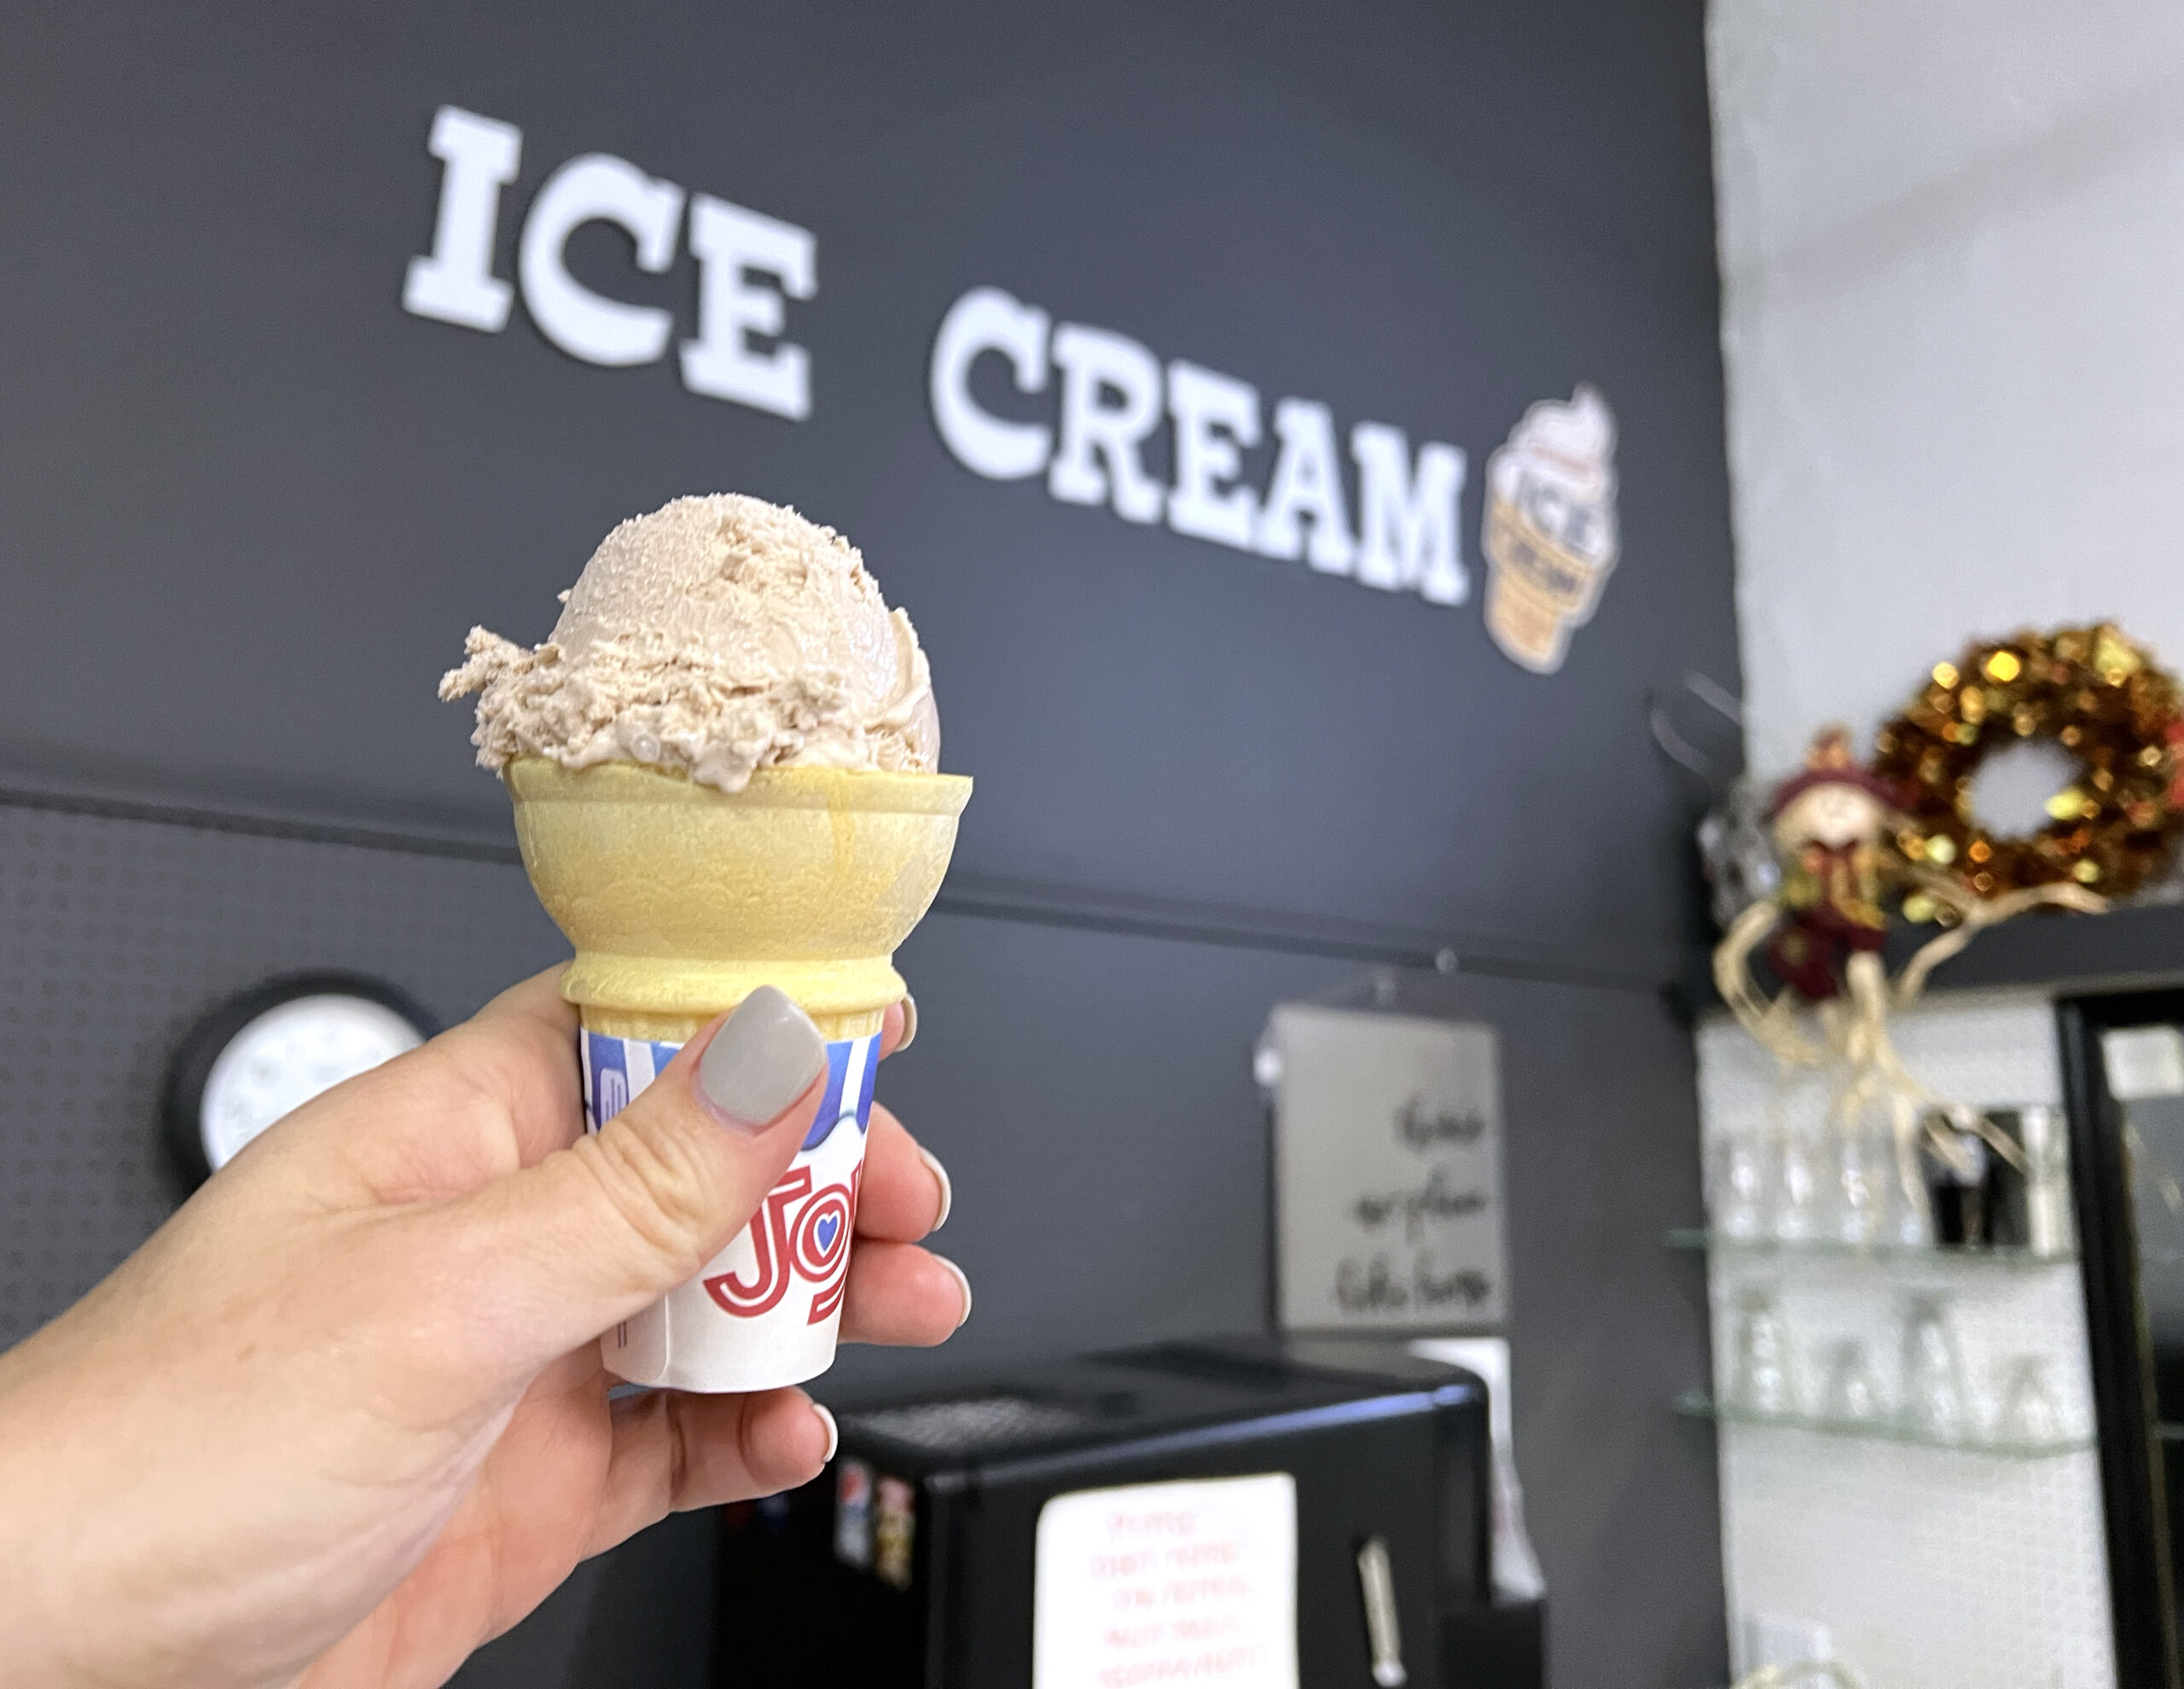
Hildebrand Farms Dairy – Junction City
Hildebrand Farms Dairy (5210 Rucker Rd.) offers guided tours of its cattle farm and milk production facility, and every visitor is welcome to sample homemade soft serve ice cream available exclusively at the farm store.
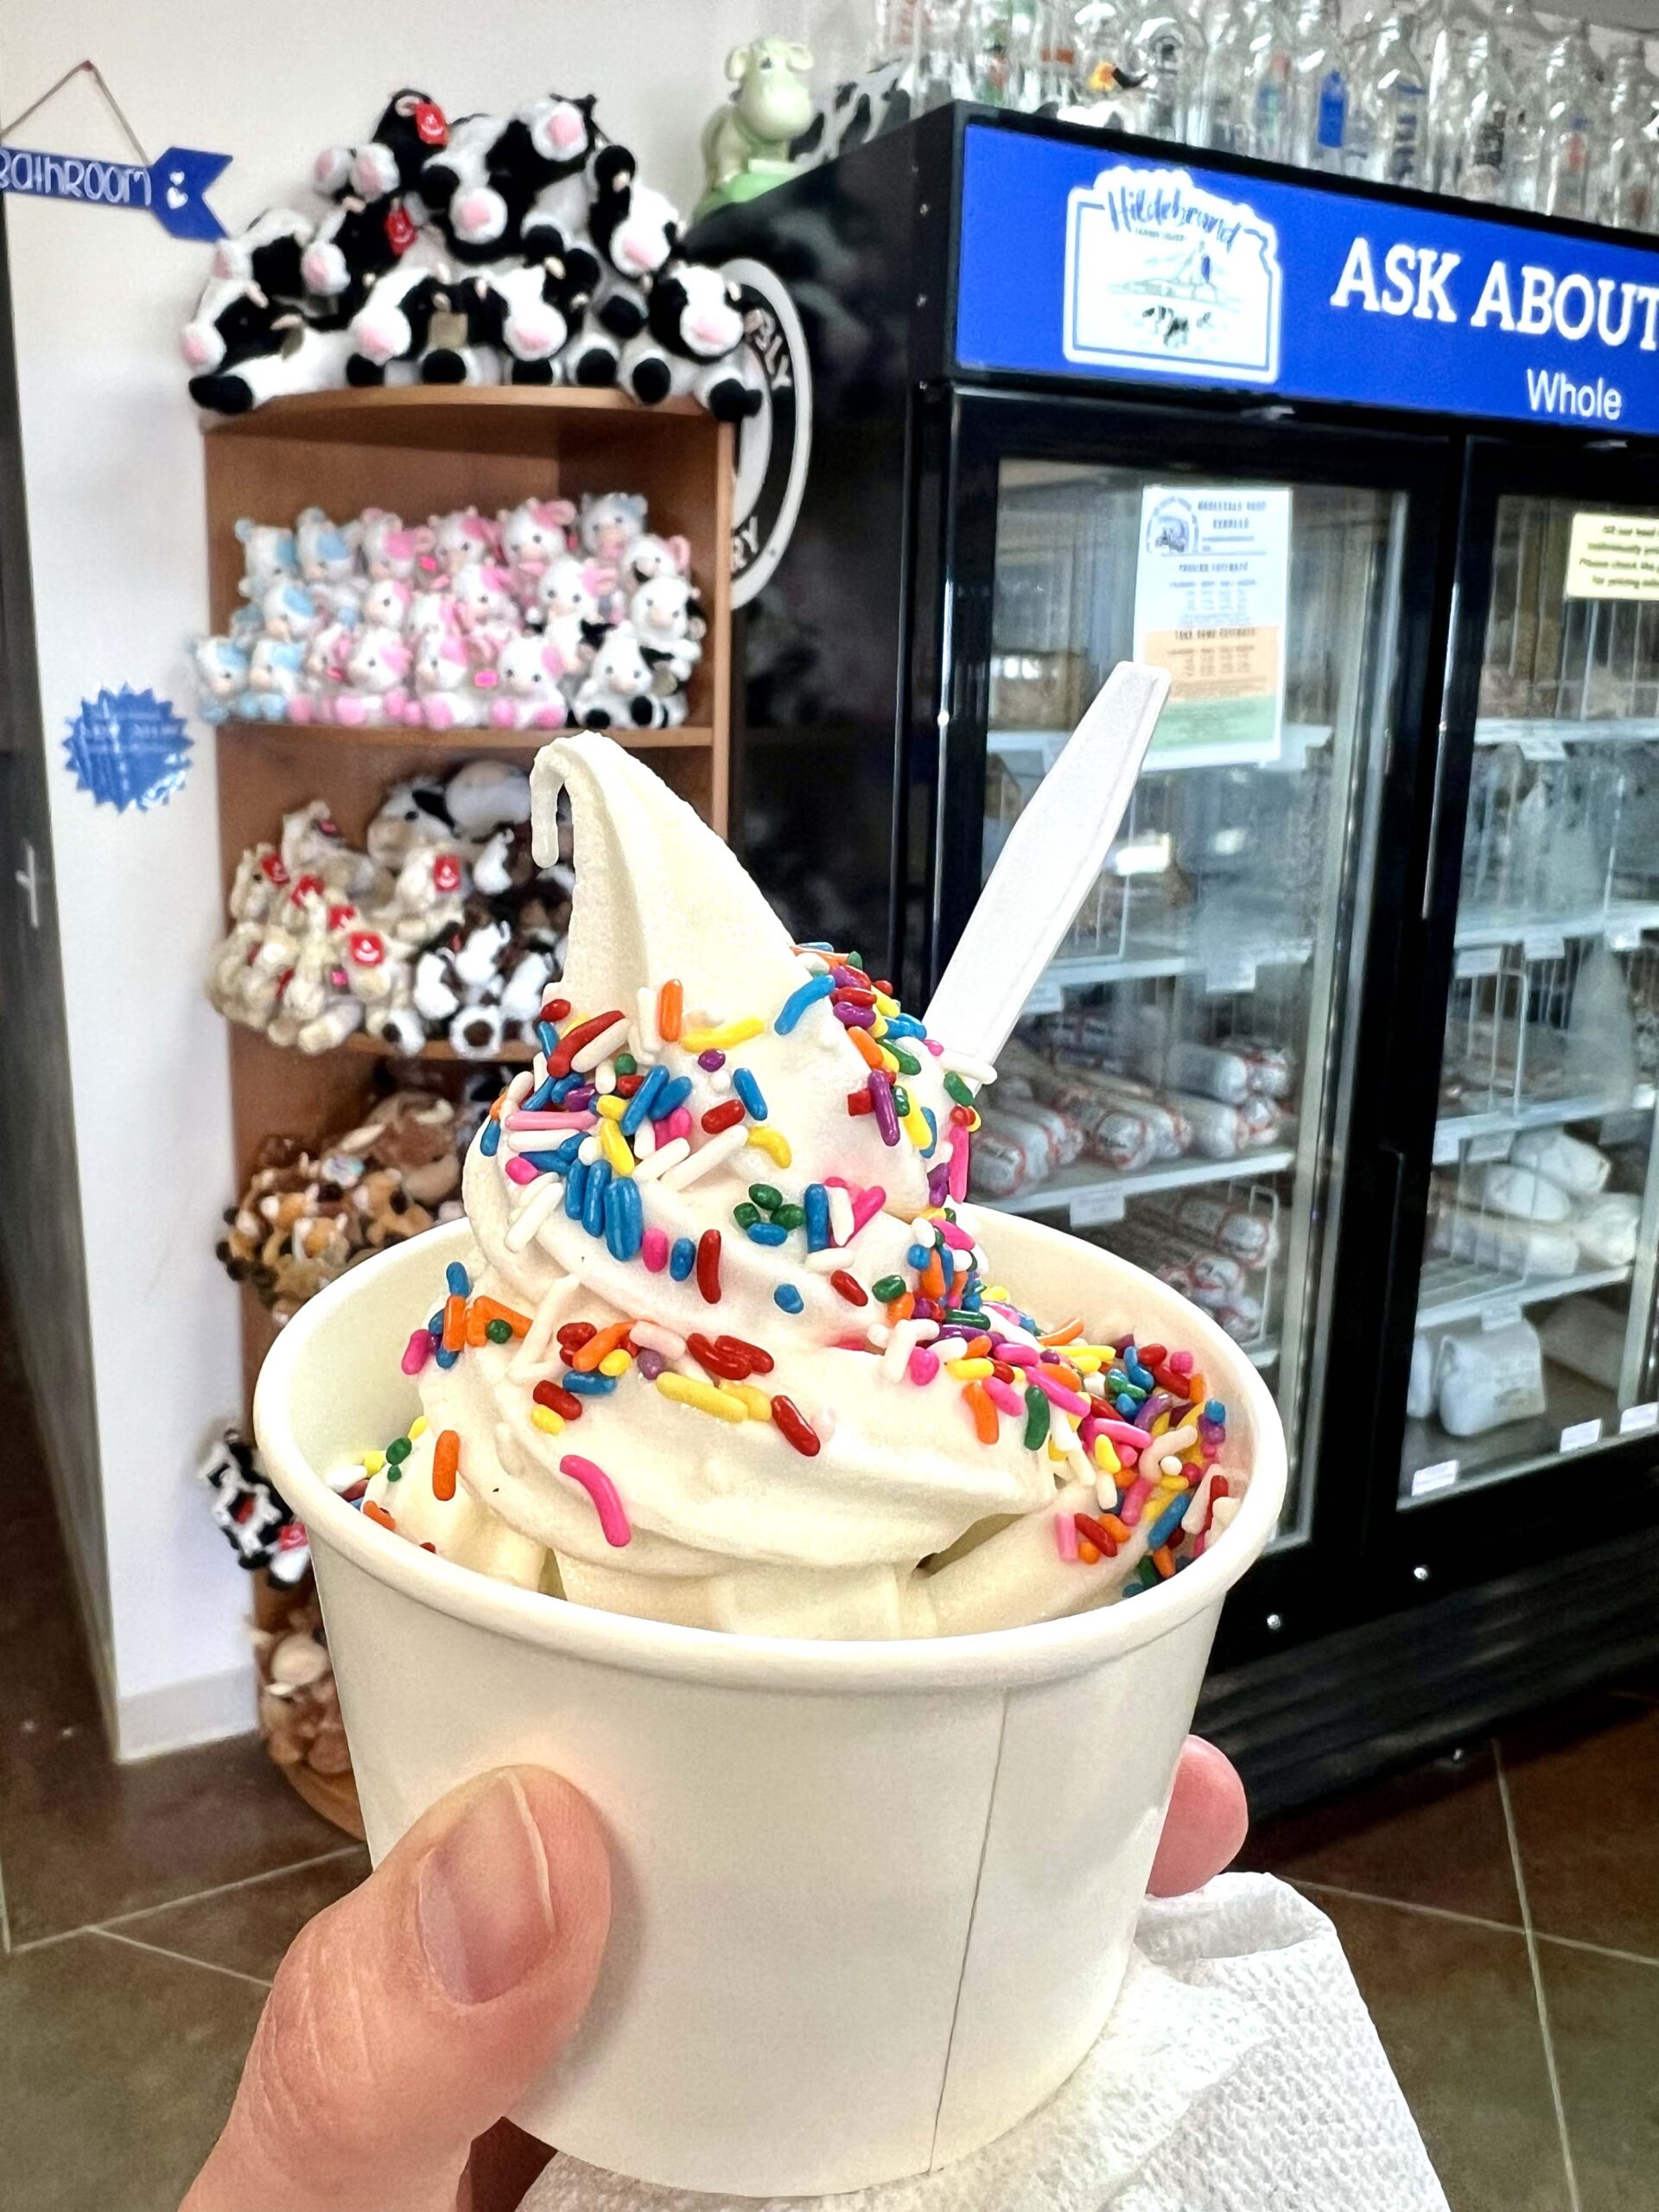 An employee will serve vanilla ice cream in a cup, and you have a choice of crumbled cookies, nuts, or sprinkles for toppings.
Frost and Flour – Junction City
When you’re craving dessert after enjoying dining downtown, Frost and Flour (725 N. Washington St.) serve imported Bliss Artisan ice cream by the scoop and homemade baked goods. The sweet smell of freshly baked cookies (the size of small plates!) fills the space.
 I was offered tastings of any ice cream and ultimately decided on Brown Sugar Maple in a small cup. The ice cream was creamy and rich in a cinnamon roll-like flavor.
Indigo Moo’d Ice Cream – Lindsborg
Considering all of the Kansas ice cream shops I’ve visited, Indigo Moo’d Ice Cream (125 N. Main Street) exceeds many of the in quality of homemade ice cream. Besides, the unique seasonal flavors keep me returning for more.
Indulge in a classic waffle cone treat or a single dip in a cup at the Swedish-themed shop or sit outdoors on the patio. Try the Lingonberry Vanilla ice cream.

Sweet Thang Cafe – Olathe
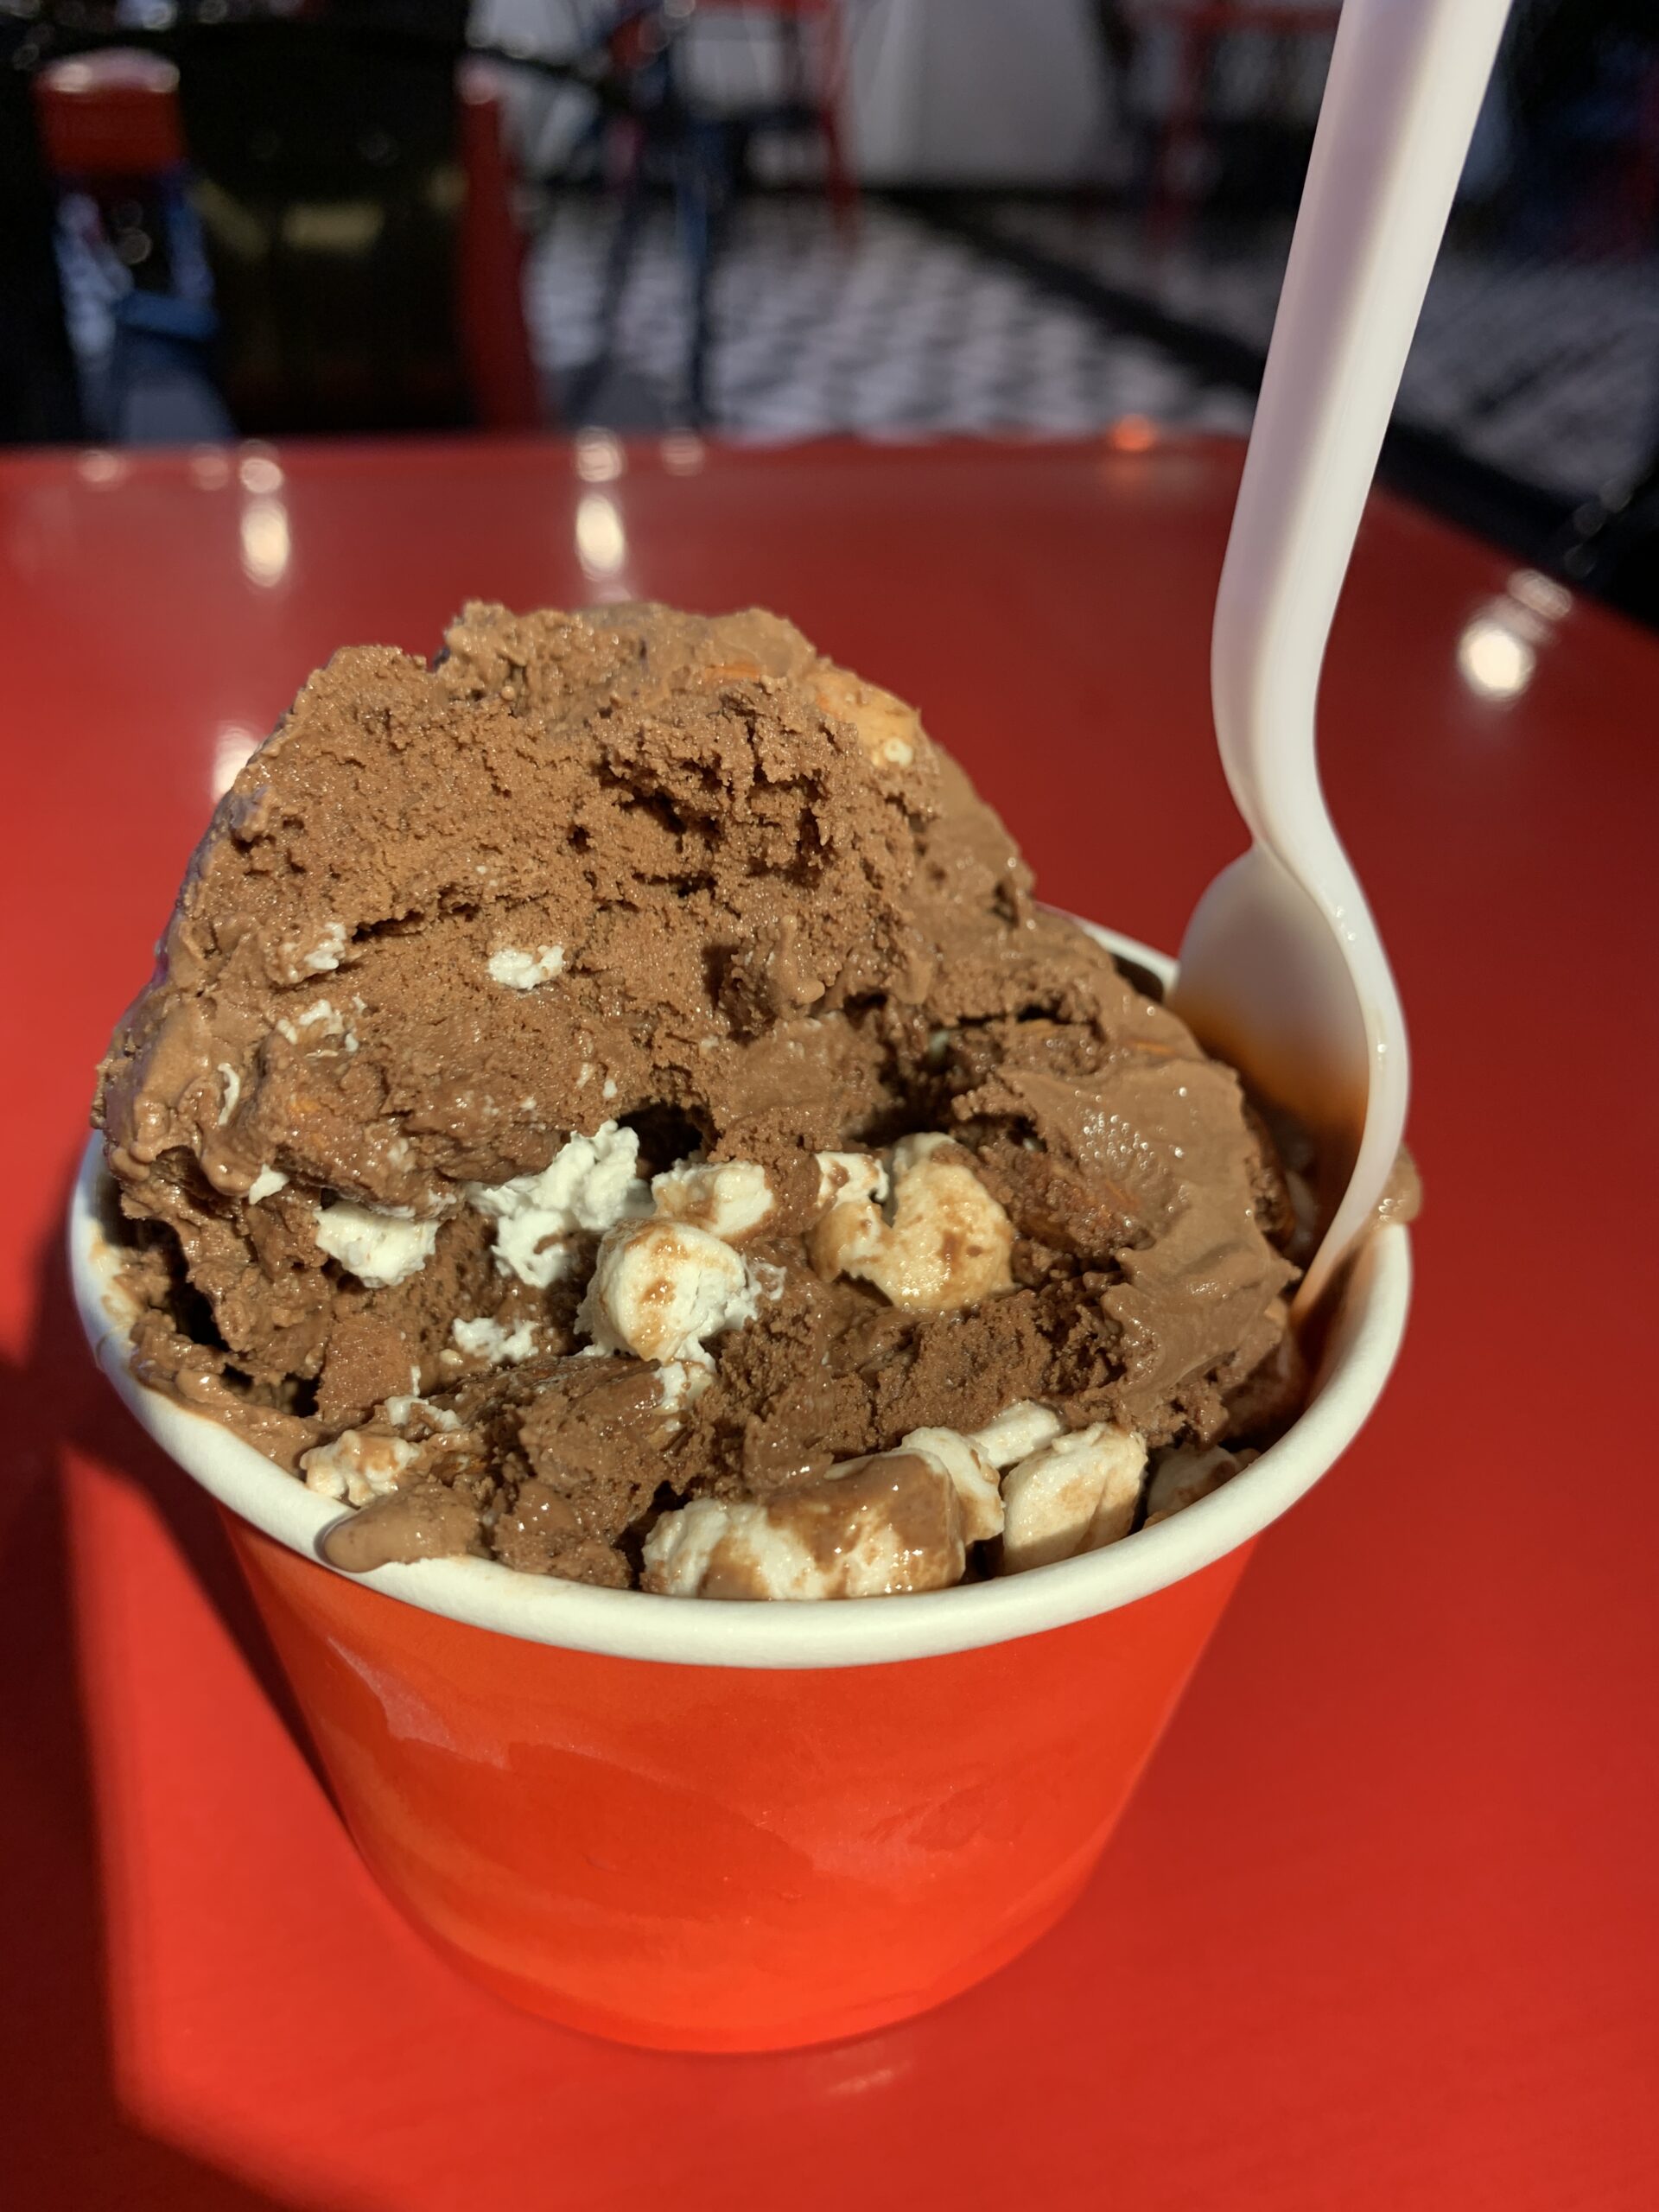
Opened in 2019, Sweet Thang Cafe (1088 W. Santa Fe Street) the dessert destination is incredibly popular with locals. The moment I walked in, I knew I was in the right place. “Welcome!” the staff exclaimed.
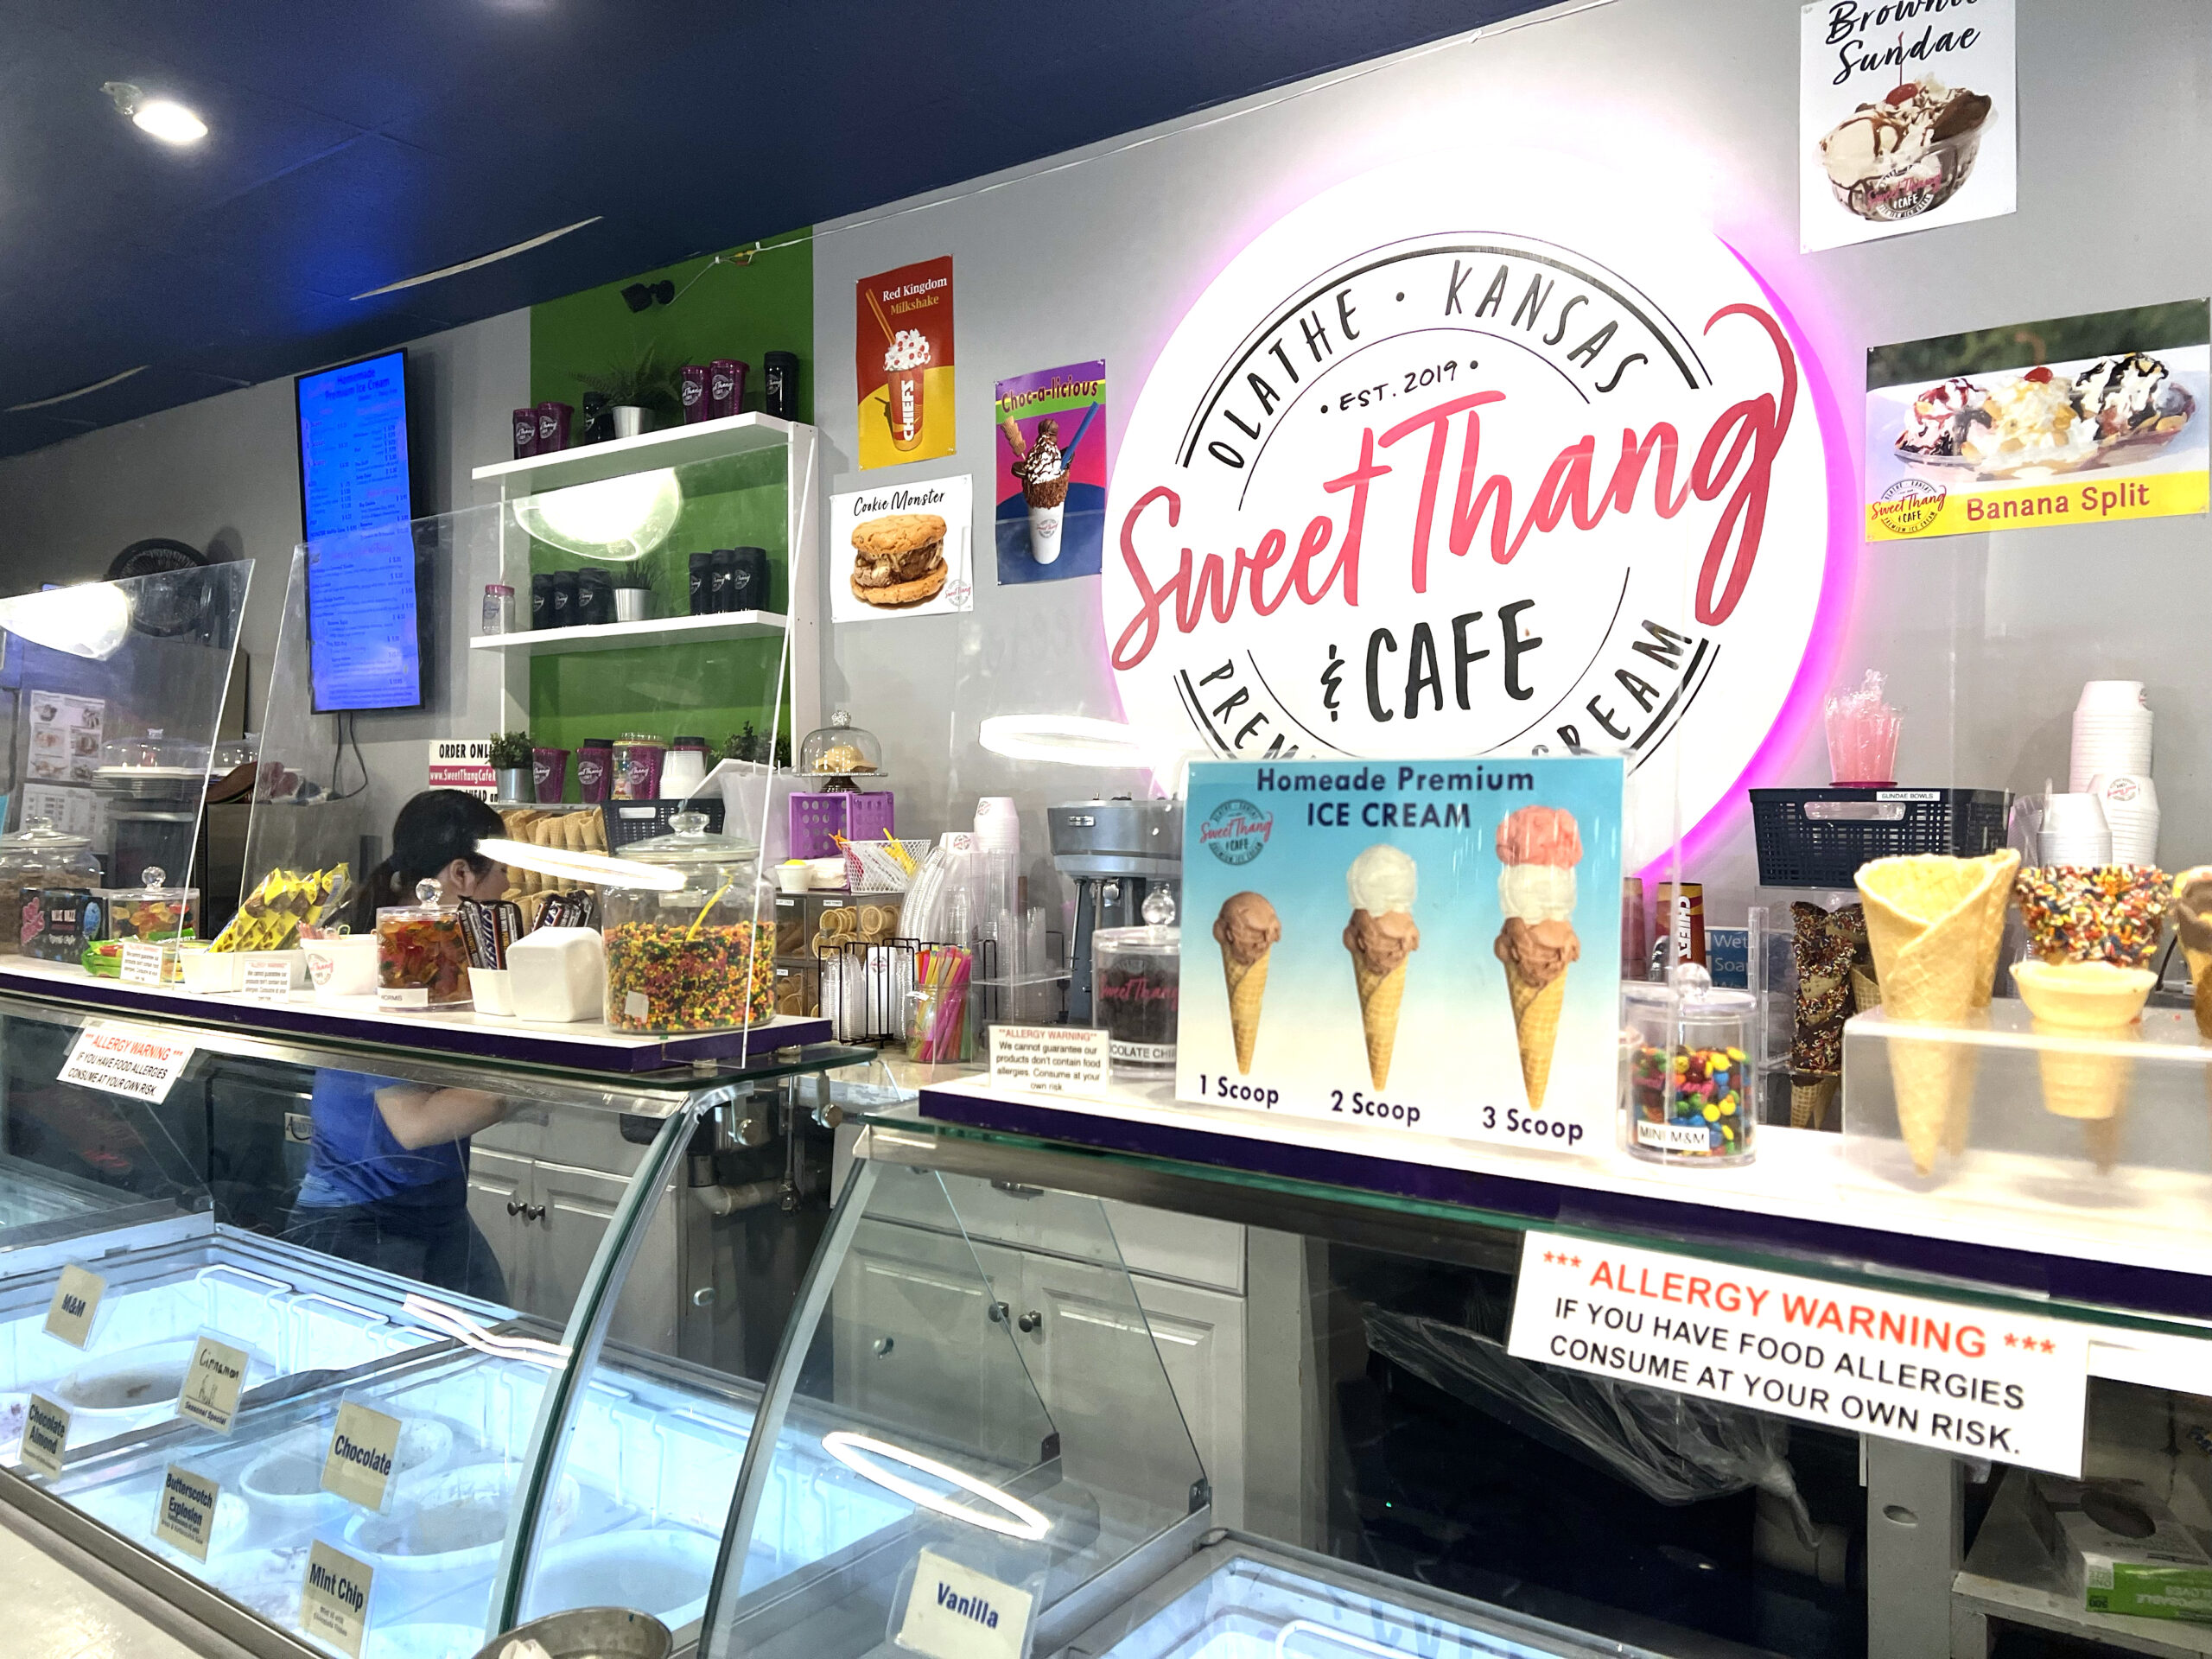 Ice cream, baked goods, and candy dominate the menu, and the place smells like freshly made waffle cones. I opted for a double scoop of Rocky Road ice cream, but seriously, you can’t go wrong no matter your menu choice. I recommend taking a few minutes to view the Flavor Wall before committing to your ice cream order.
Ice Cream House – Ottawa
My favorite road trips always include an ice cream treat, so I was pleased to discover Ice Cream House (205 S. Main St.) serves super-premium scoops and shakes every day.
The ice cream is sourced from Madison, Wisconsin, and tastes exceptional thanks to its high butterfat content, which gives it a rich, dense flavor.
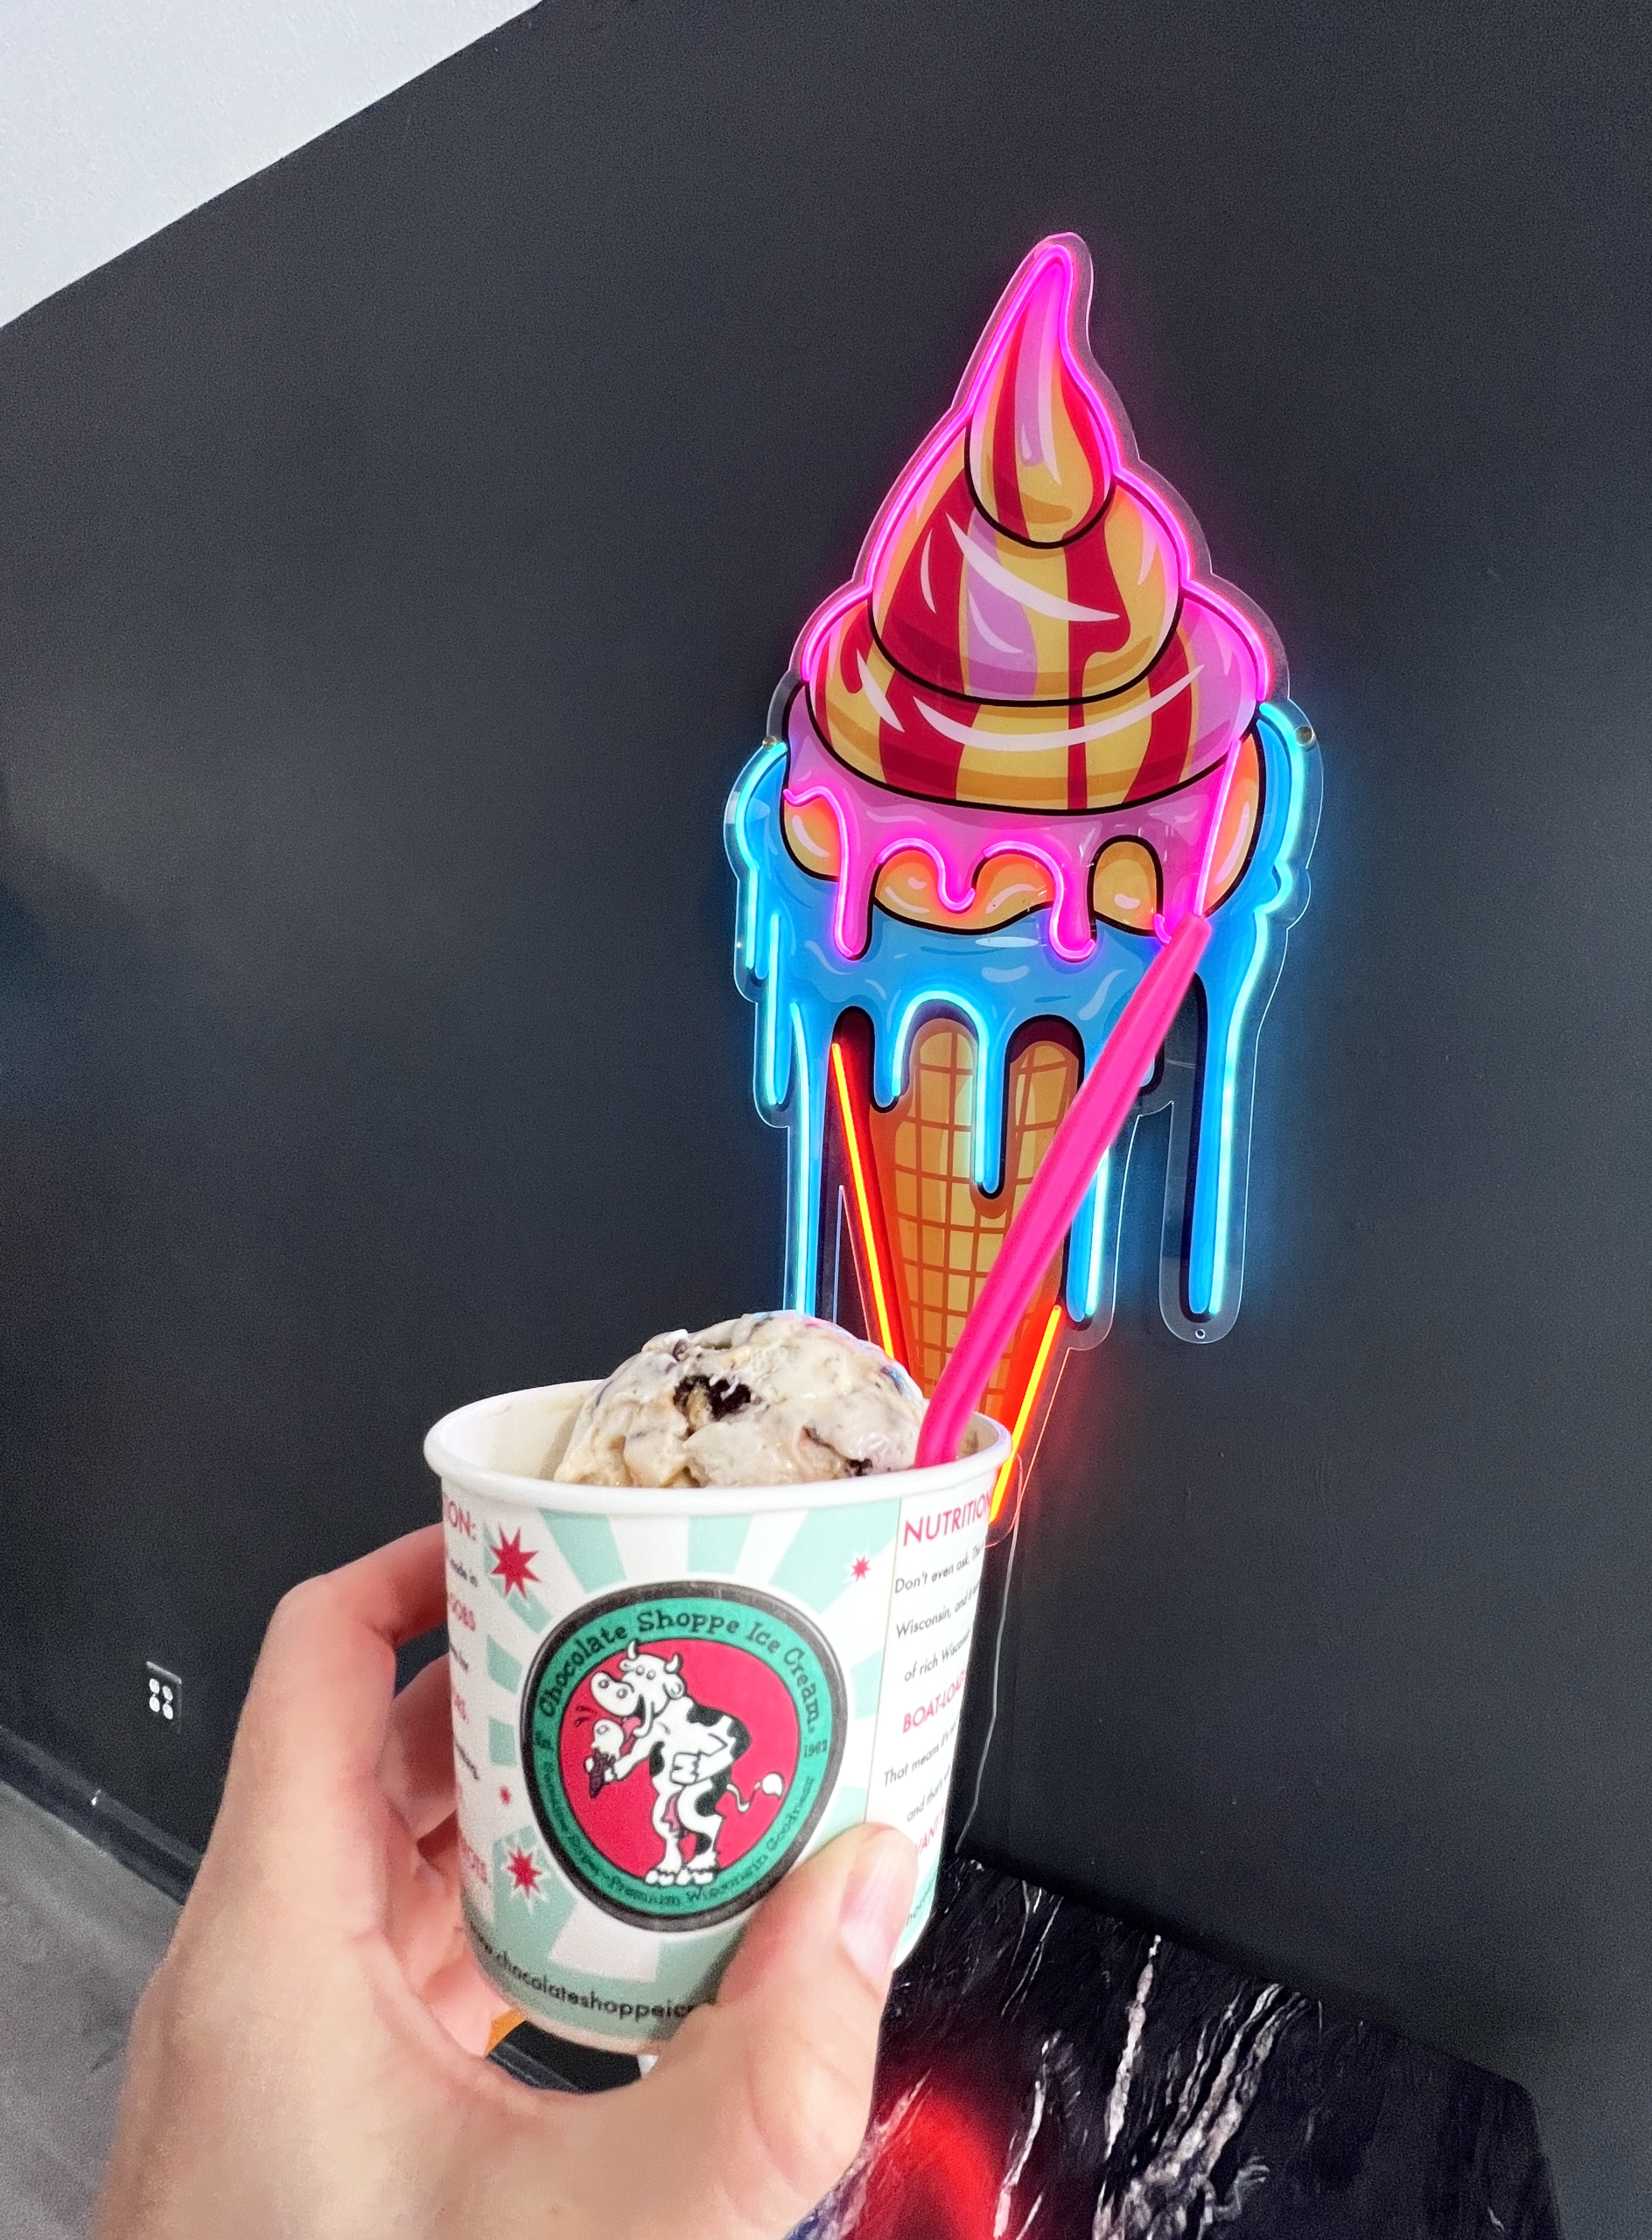 A bit overwhelmed by the selection of ice cream options and a menu featuring ice cream-topped waffles, I kept it simple, ordering two scoops served in a cup: Exhausted Parent® (coffee and bourbon) and Munchie Madness (Oreo® and peanut butter cup).
Dagney’s Ice Cream – Salina
Word on the street is that Dagney’s Ice Cream (105 E. Iron St.) serves some of the best-tasting ice cream around.
With 29 flavors on the menu, I was determined to select the best one. I sampled the Maple Bacon (it was incredible!), but eventually settled on Rocky Road, a flavor recommended by a local.
 Thick, chunky, and dense in flavor, it satisfied. Word to the wise! Order a smaller size than you’re craving. The ice cream is filling. If you love it, they sell to-go pints.
Bogey’s – Salina
After a trip to Salina, people often ask me if I stopped at Bogey’s (1417 S. 9th St.) for ice cream. It’s a Salina mainstay. The fast-food restaurant serves over 100 different shake flavors and is known for its chili cheese fries and burgers. My chocolate-vanilla twist ice cream cone hit the spot.
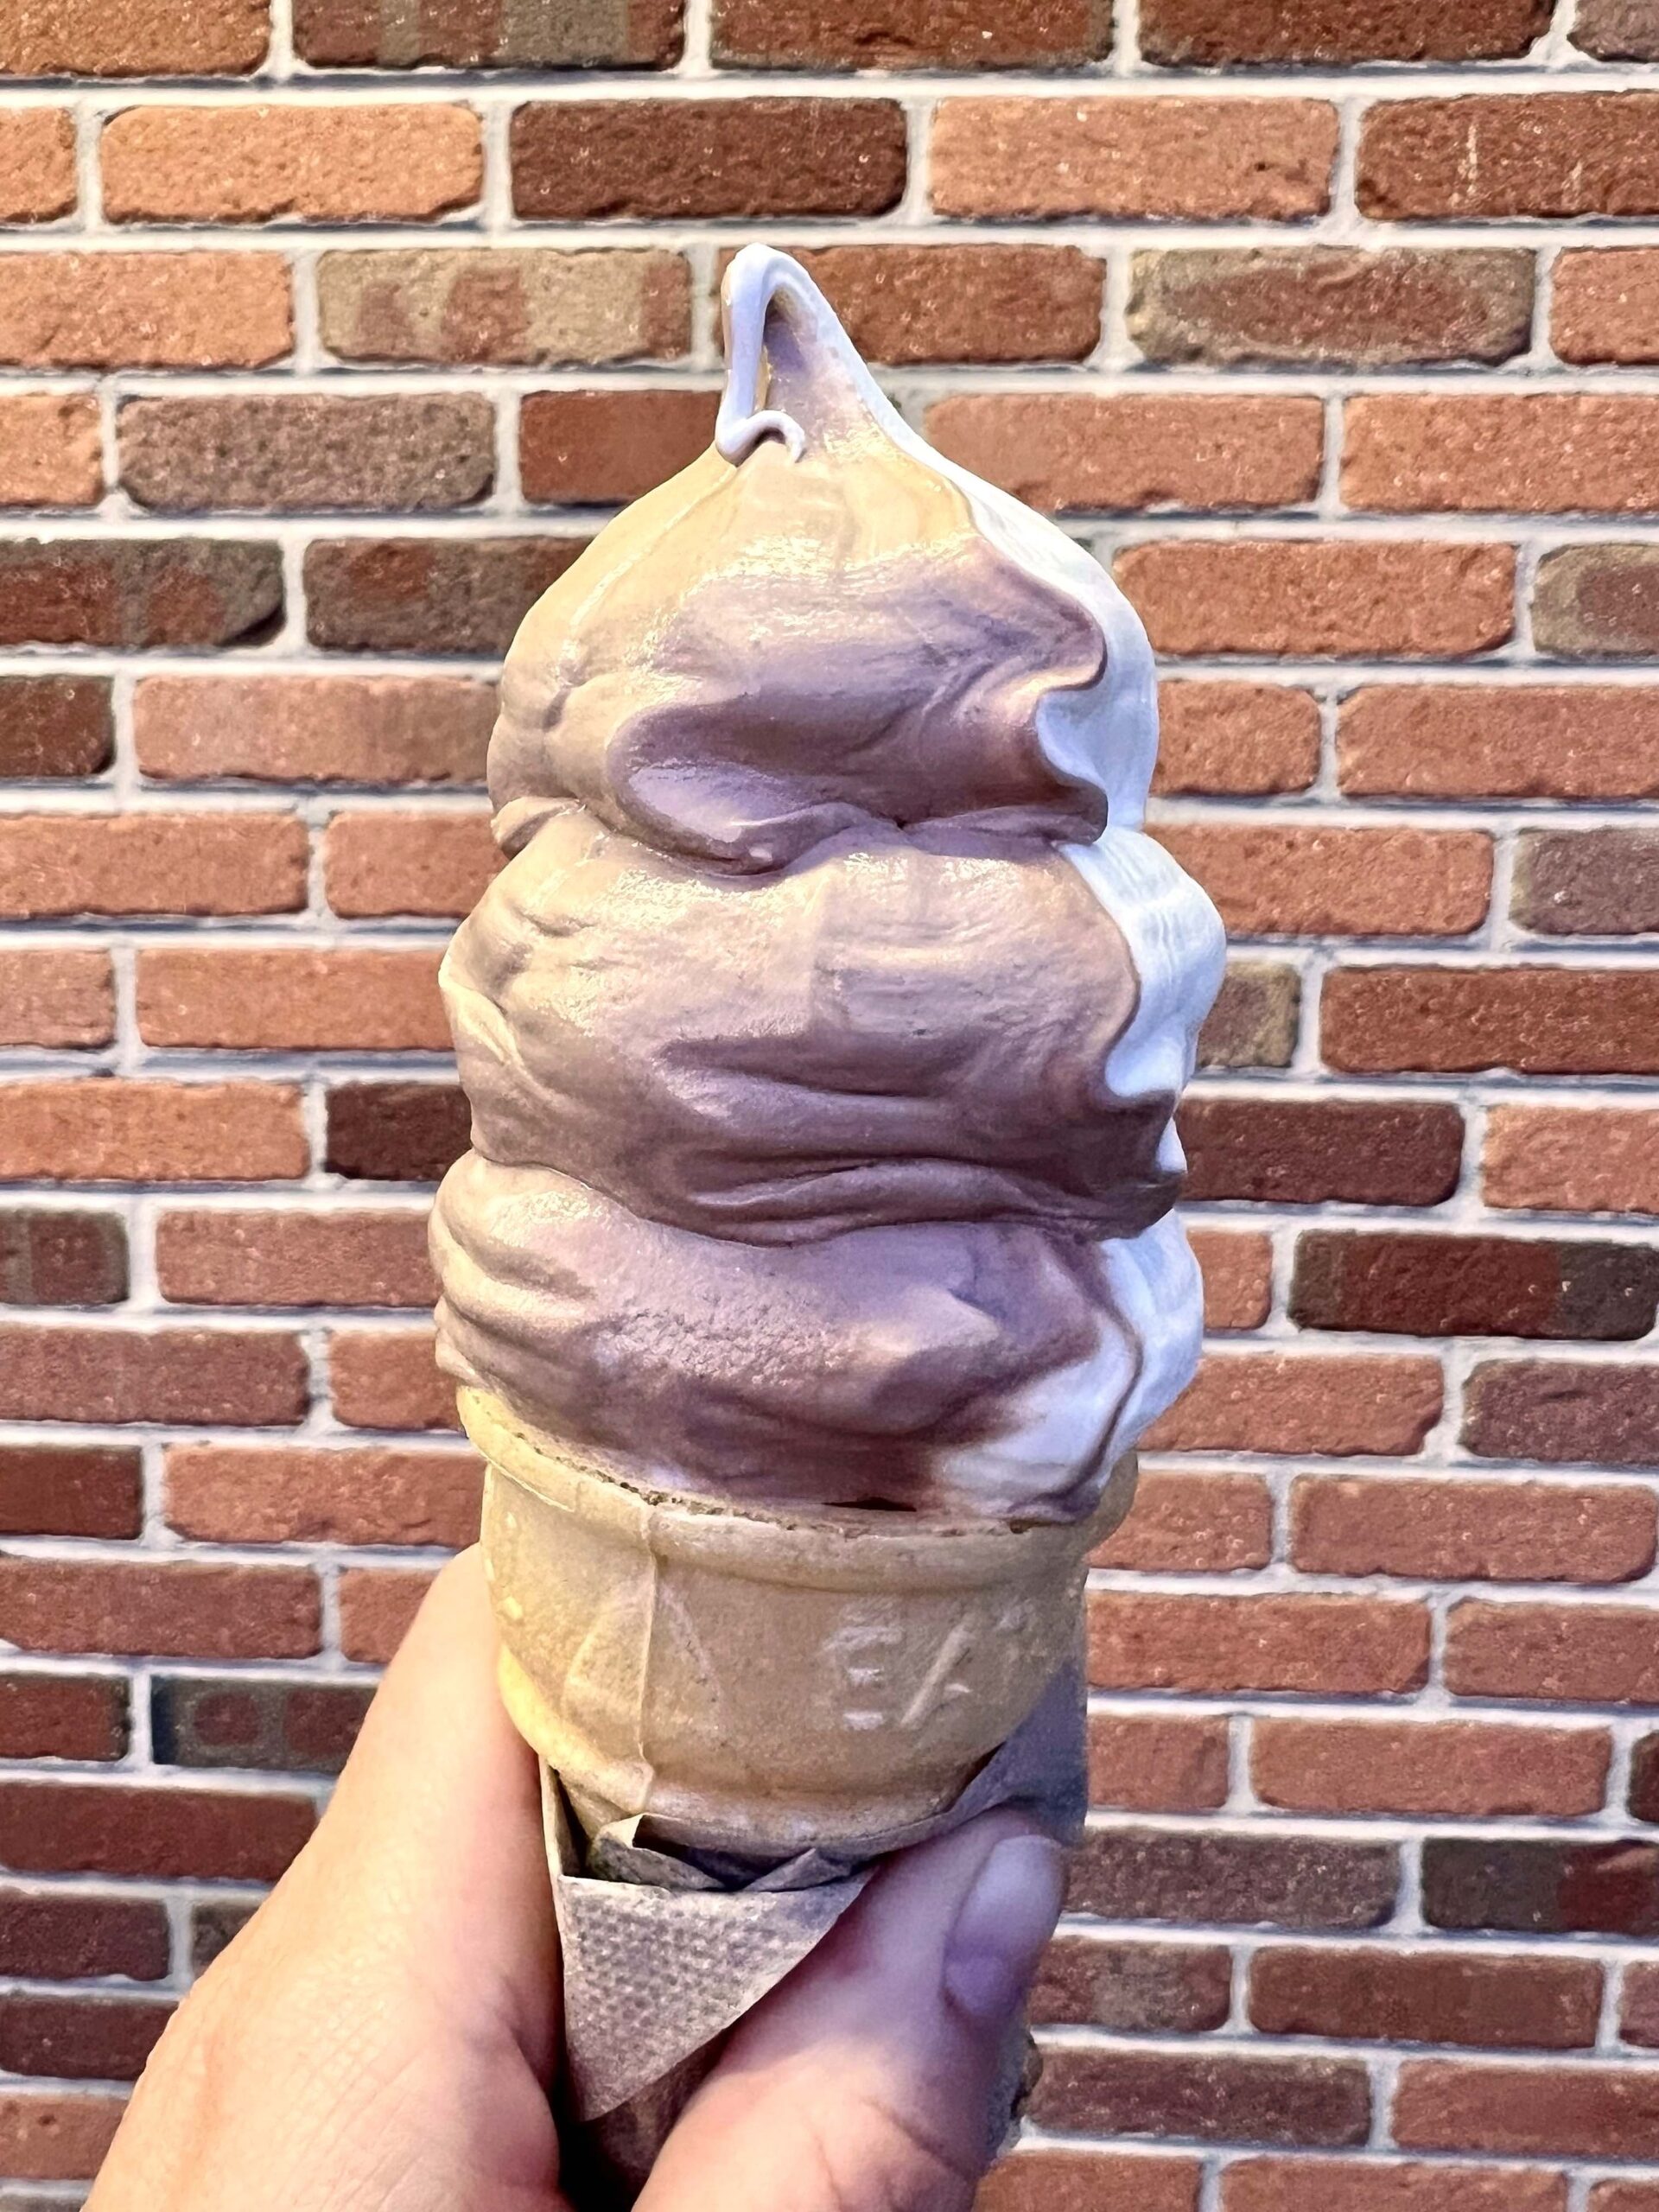 Bogey’s is a busy place. Consider dining outside on the patio where fewer people are seated. In a hurry? Order via the drive-thru window.
Cornerstone CoffeeHaus – Seneca
Cornerstone CoffeeHaus (431 Main Street) is an architectural gem. When shopping along Main Street, step inside the 1874 bank building, which is now part coffee shop, and part old-fashioned soda fountain.
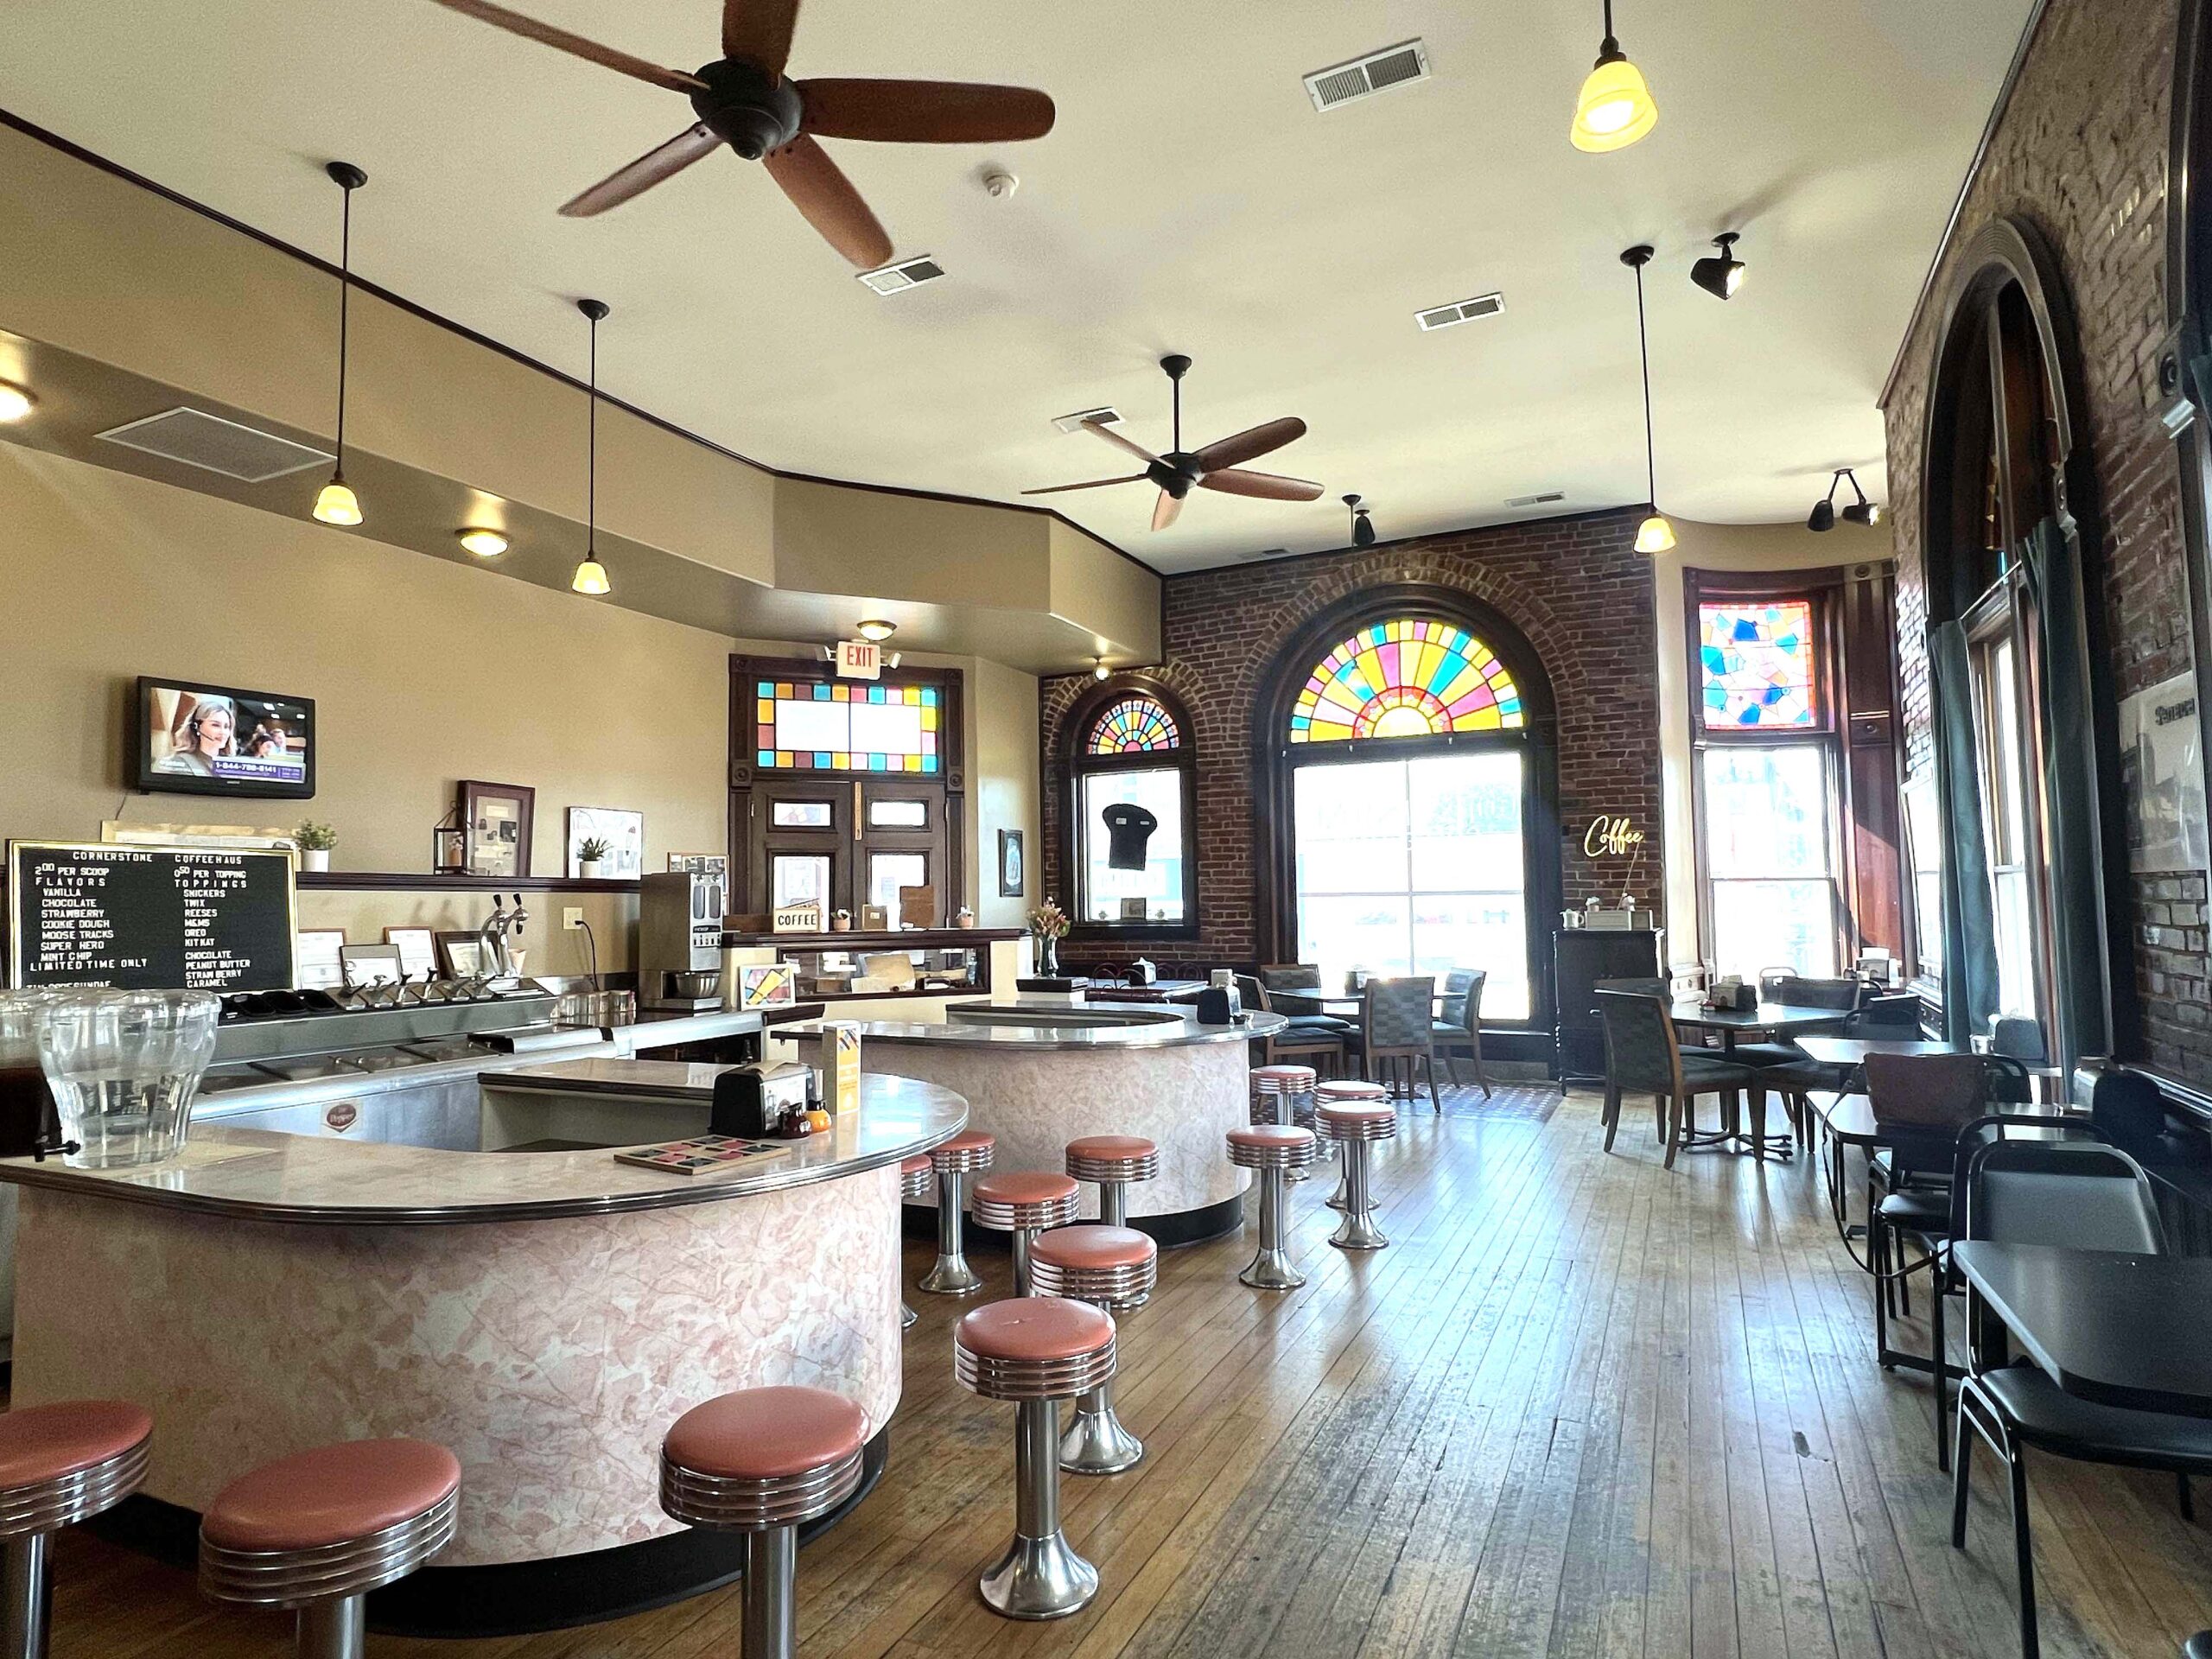 Forget your cares as you sip a latté or enjoy an ice cream sundae or ice cream flight at the horseshoe counter, an original from Harsh Drug Store.
Pop’s Sweet Shop – Spring Hill
A day with ice cream is more delightful at Pop’s Sweet Shop (115 S. Main Street). The owners, originally from New York, opened an old-fashioned ice cream counter in historic Spring Hill to provide the community with a gathering place.
 They serve Blue Bell Ice Cream by the scoop, in a malt, or as a shake, along with homemade fudge and organic cotton candy. Nana’s homemade Italian cannoli are a local favorite.
Gibson Health Mart Pharmacy – WaKeeney
The secret ingredient to WaKeeney’s charm? The people and an ice cream treat at Gibson Health Mart Pharmacy (125 N. Main St.), an old-fashioned soda fountain in business since 1892.
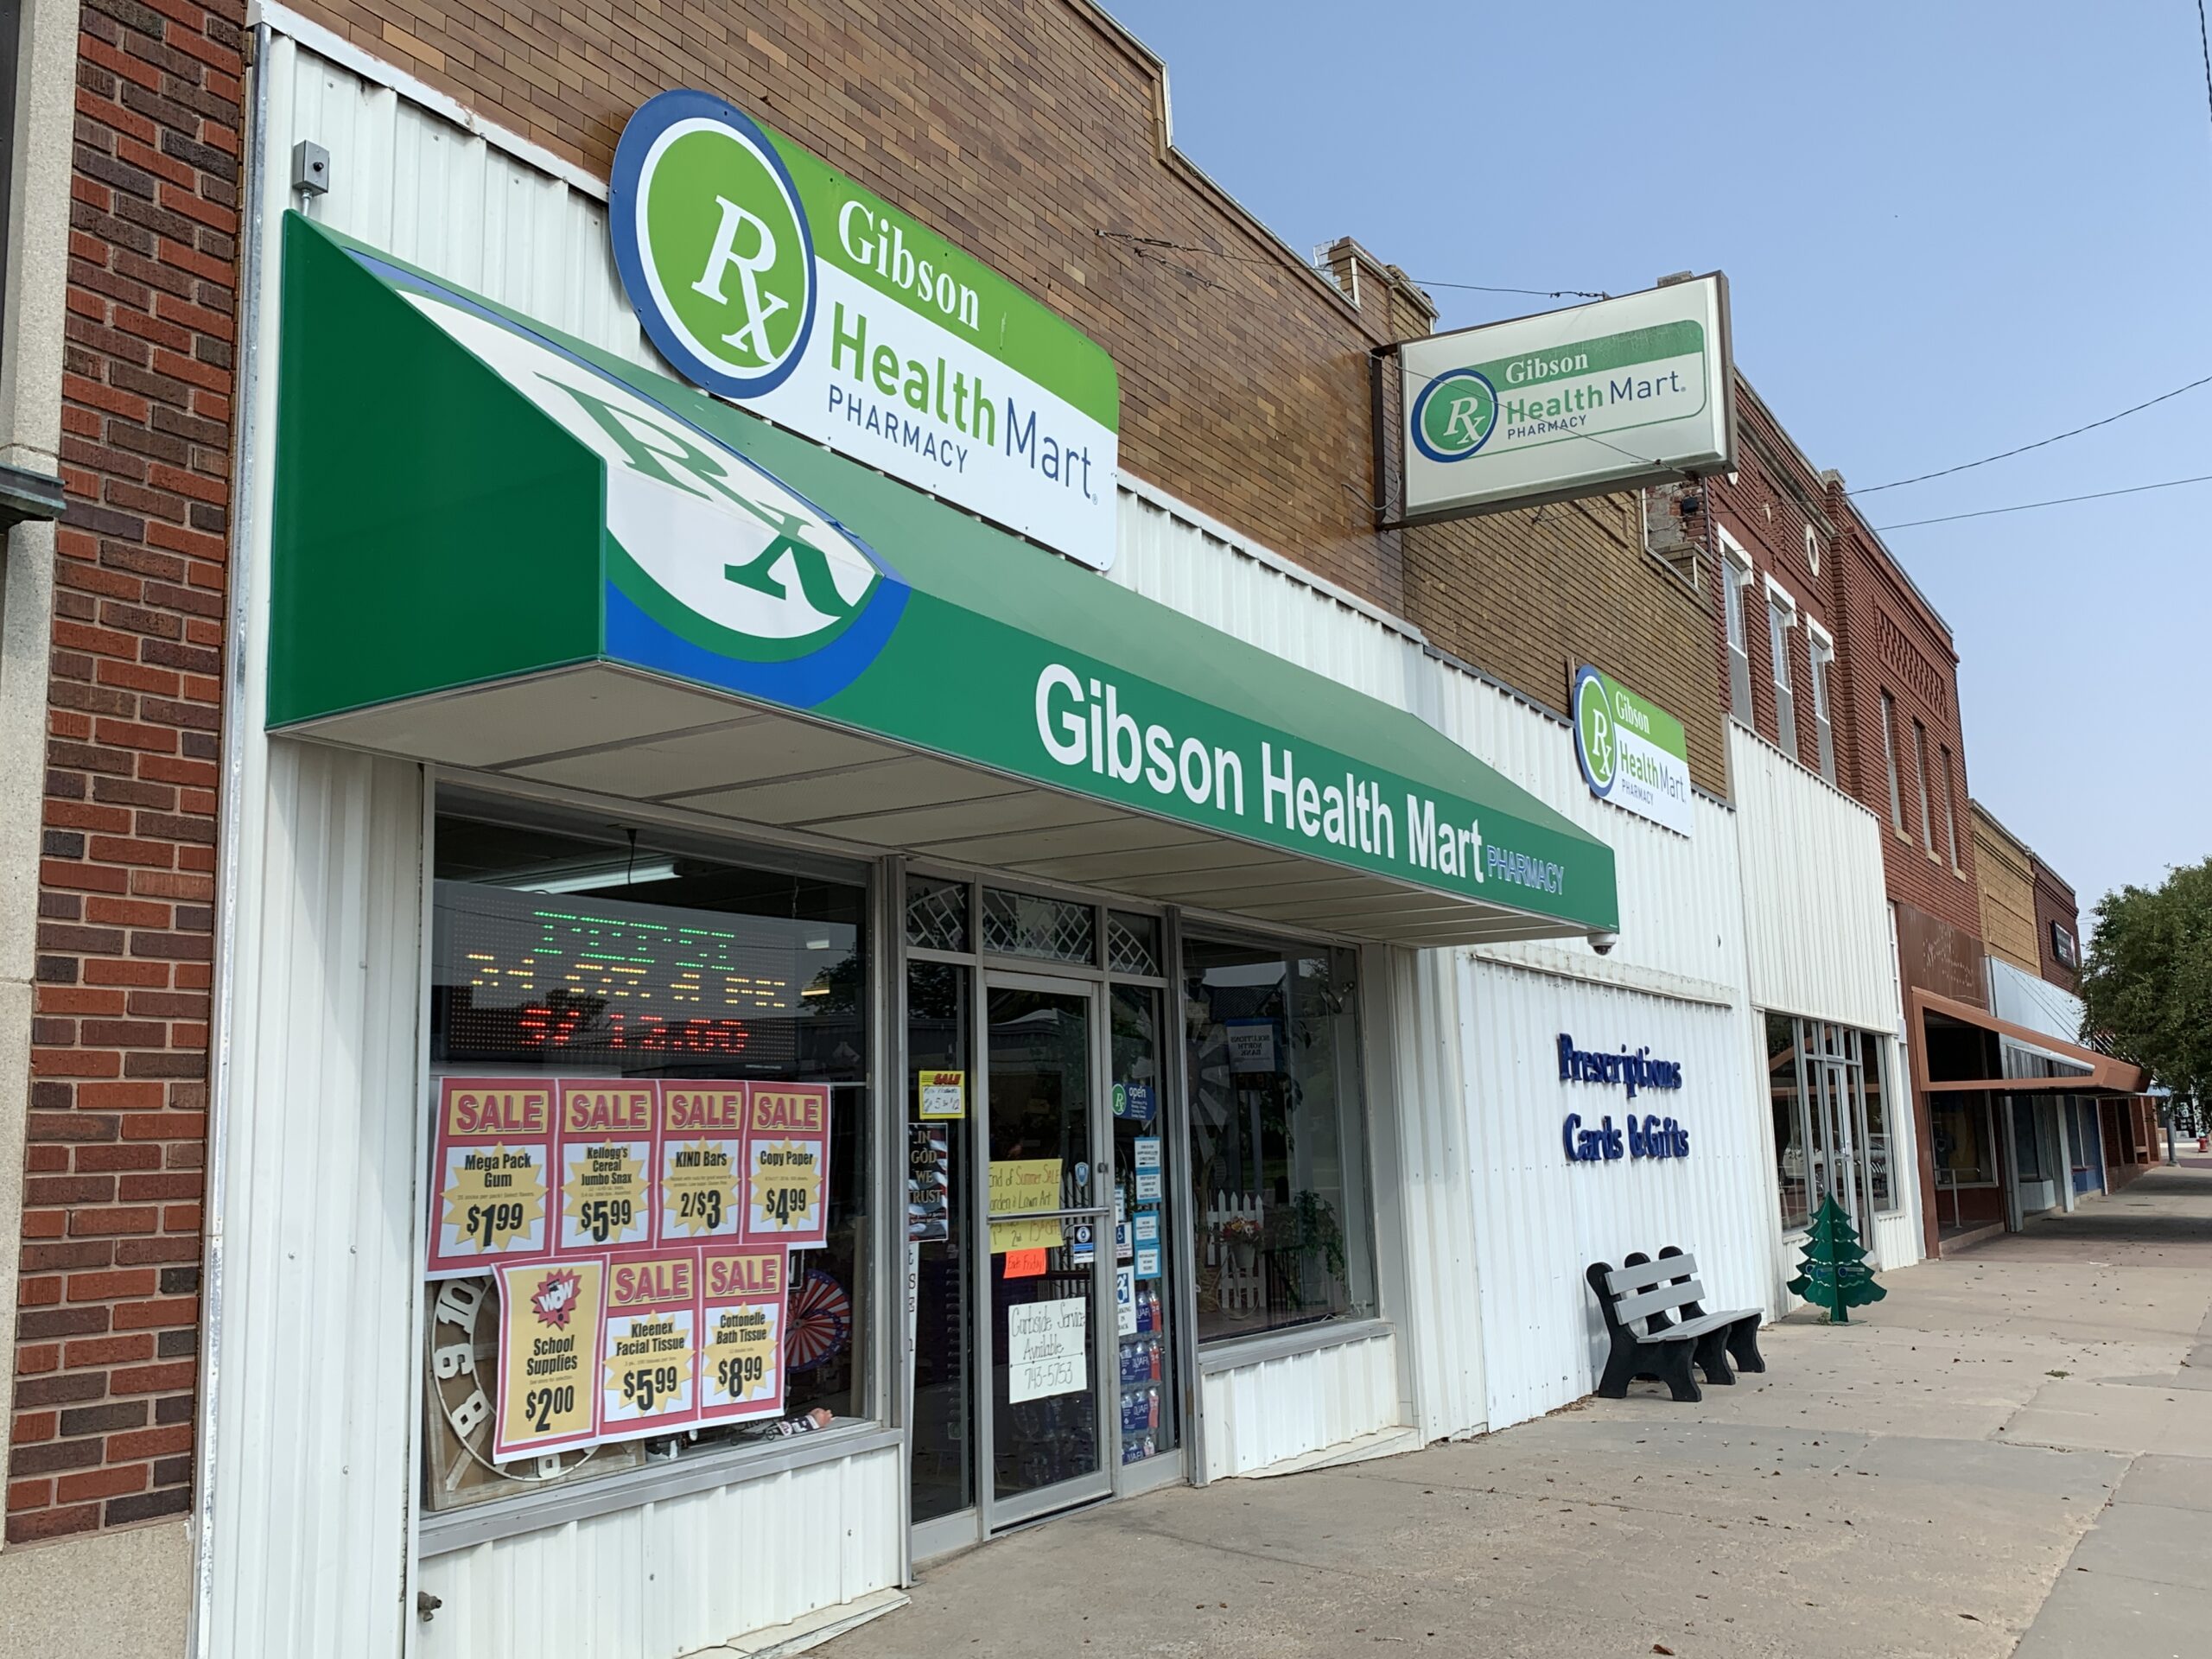 One of about forty authentic soda fountains still in operation in the state, Gibson’s includes seating for nine patrons. Thirsty? Flag down any employee who is ready to happily whip up an malt, shake, or soda drink for you.
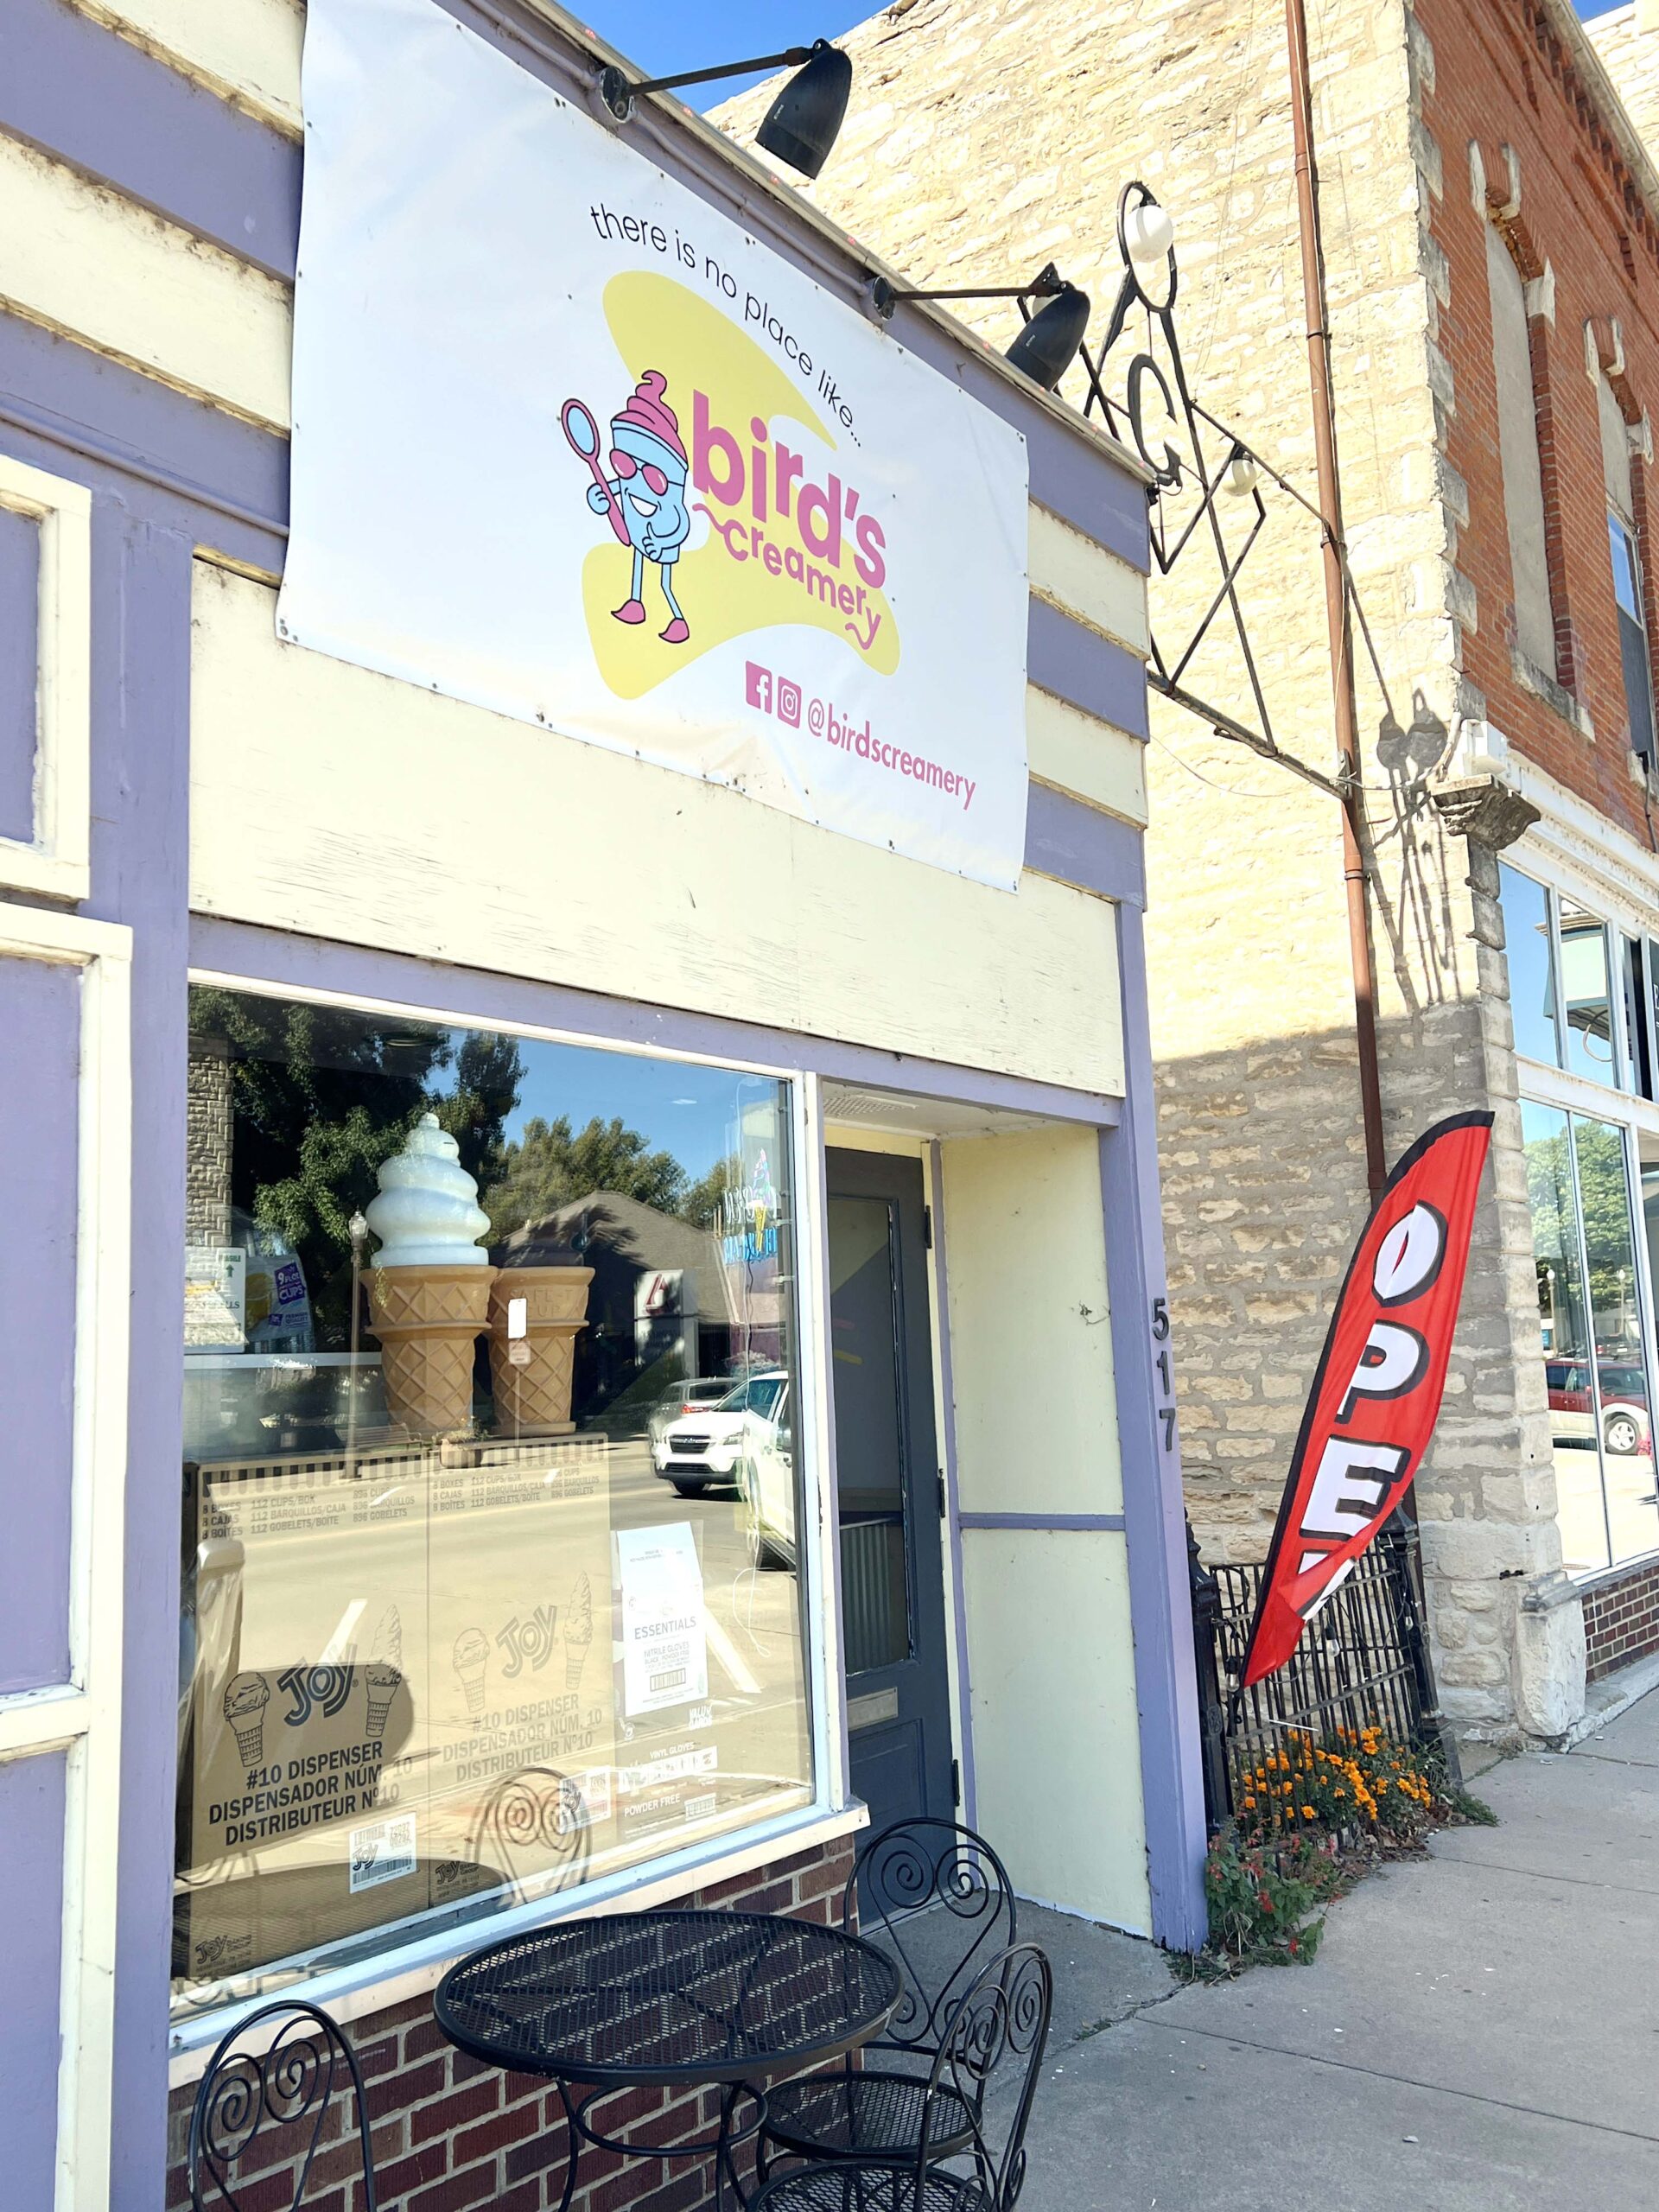
Bird’s Creamery – Wamego
Located a short drive from Manhattan, the town of Wamego offers visitors multiple sweet surprises including Bird’s Creamery. Not only does it serve homemade ice cream, but the owner added scratch-made pizza to the menu.
 The list of hard scoop ice cream flavors were hard to choose because they all sounded delicious. After the employee offered me a sample, I quickly decided on my first choice, Salted Vanilla Bean served in a Munchkin (small) cup. The names of the serving sizes are a reference to the town’s Wizard of Oz theme.
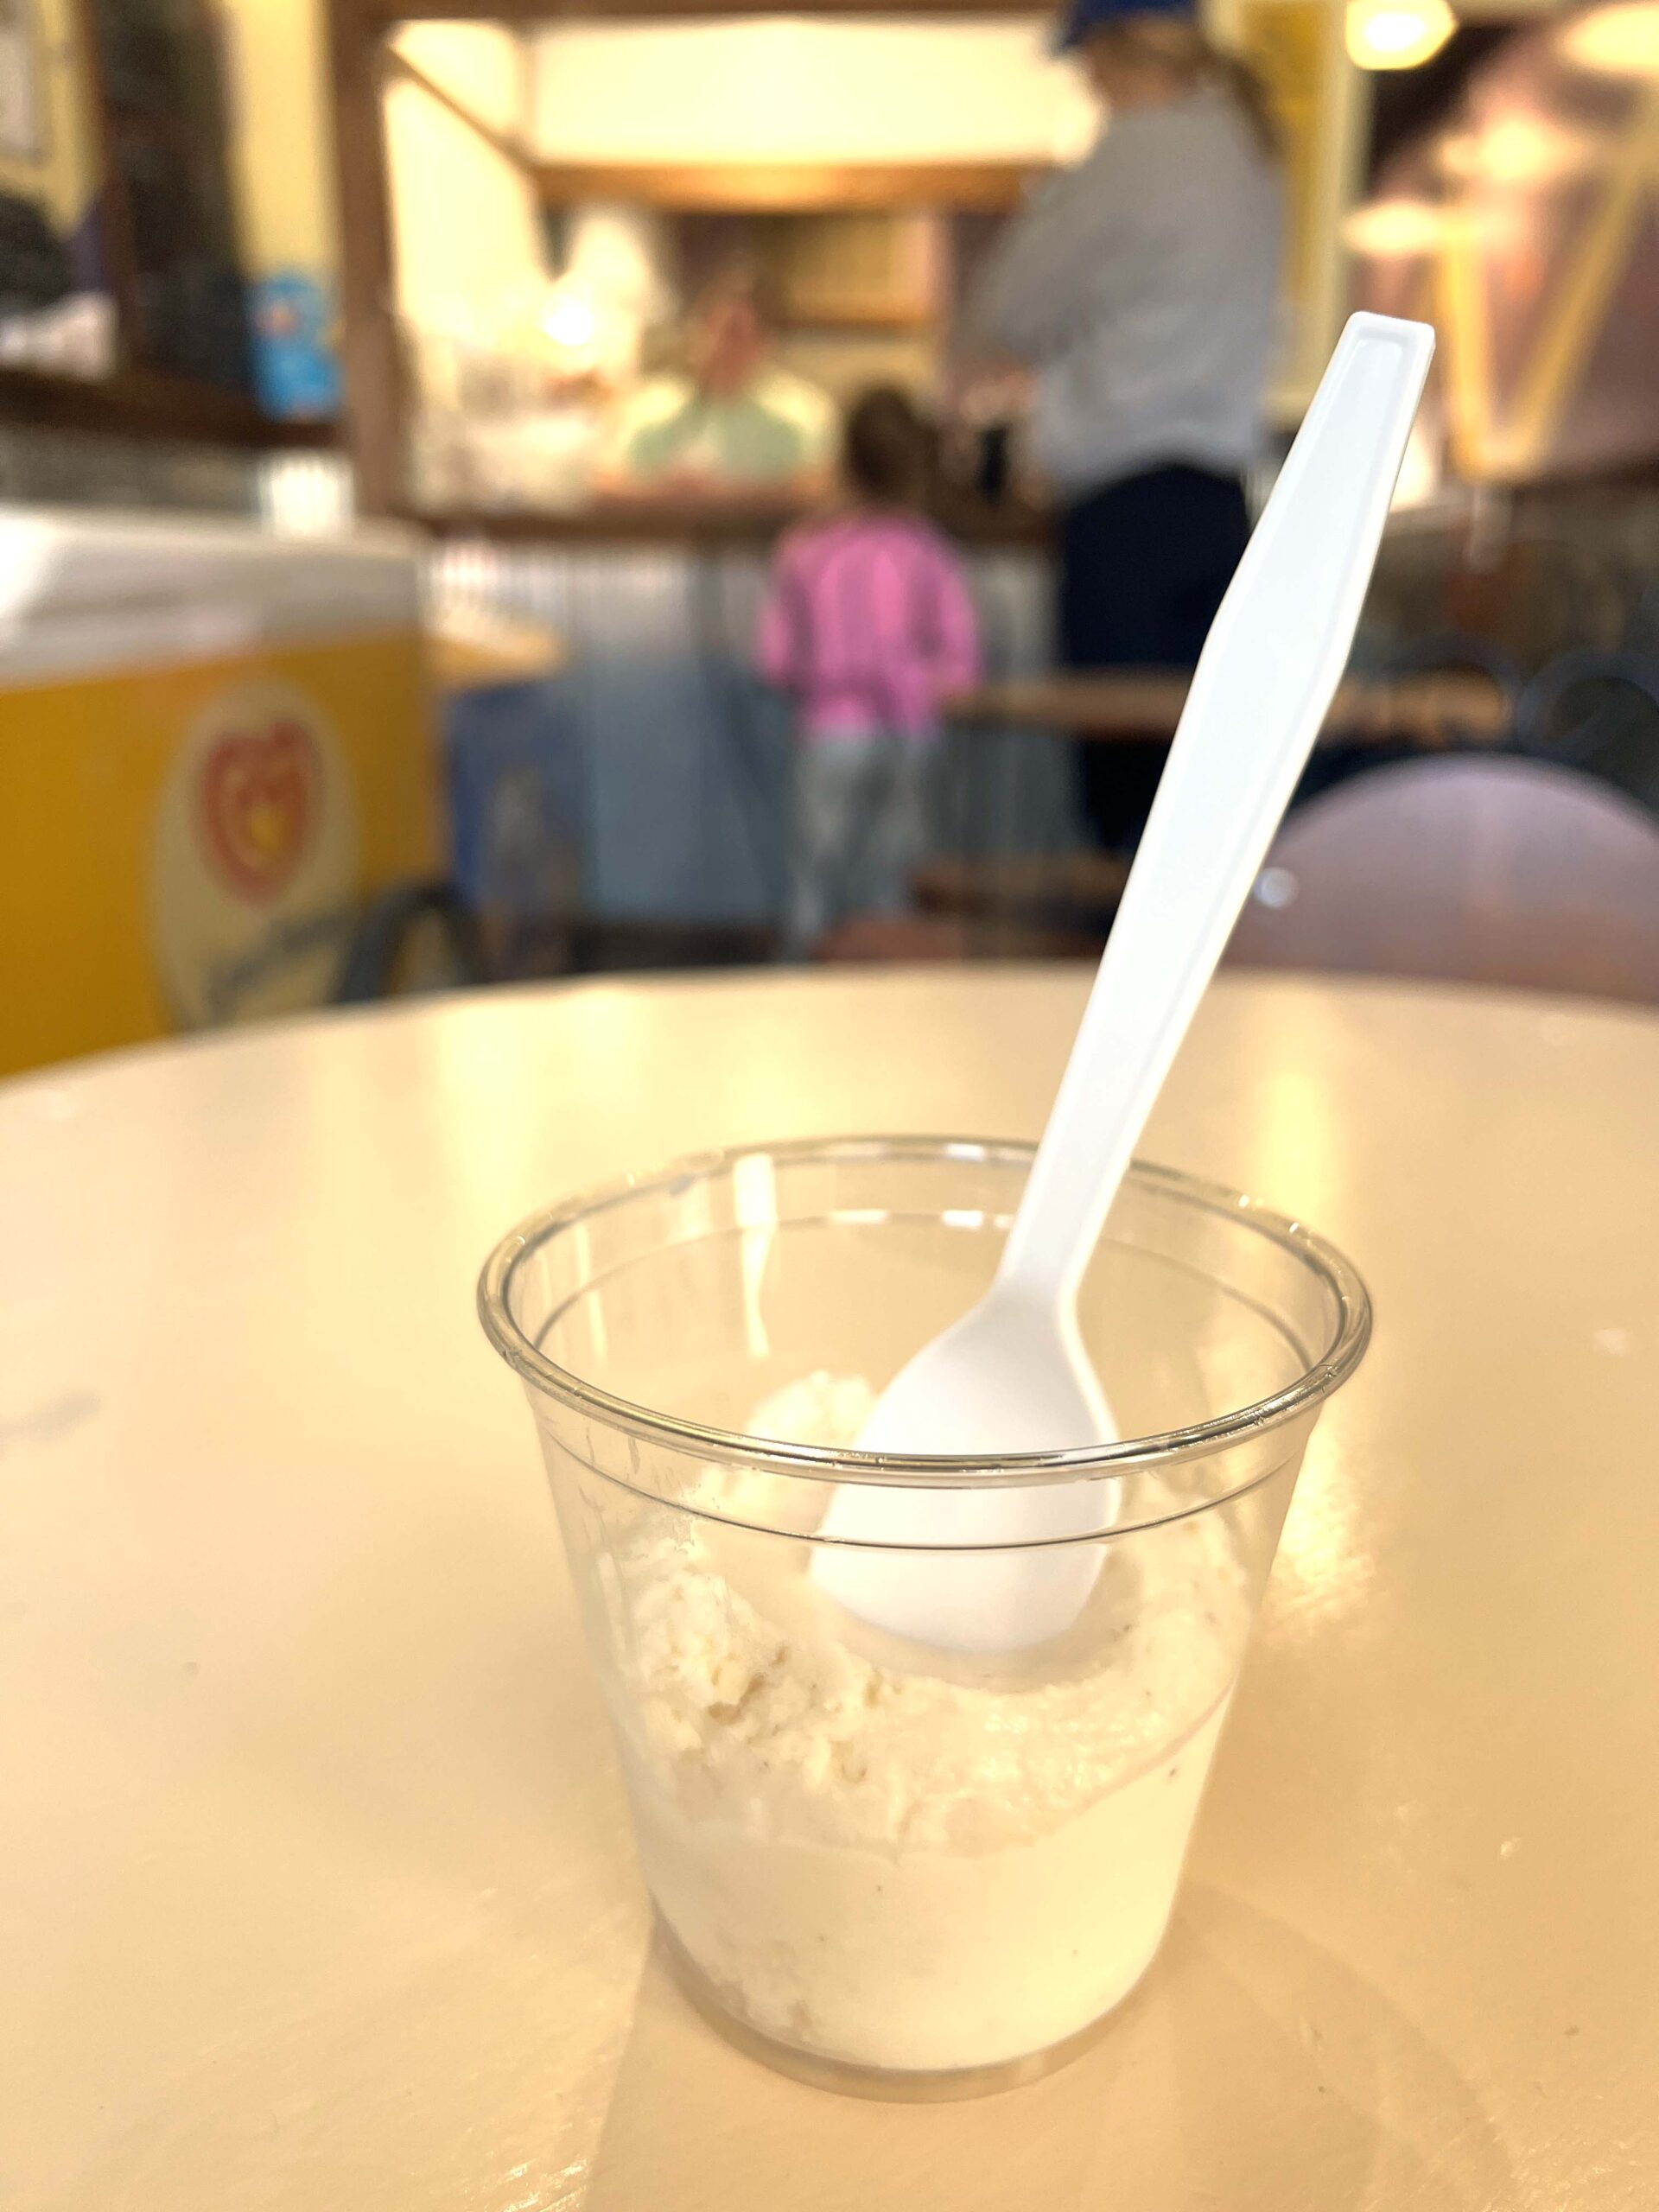 The classic ice cream flavor reminded me of the homemade ice cream my grandparents used to make the grandkids using the hand-cranked mixer.
I chatted with the owner, a friendly local who turned his hobby into a business. He’s passionate about offering locals and visitors quality ice cream and pizza. Run, don’t walk, to Bird’s Creamery for down-home delights.
Old Mill Tasty Shop – Wichita
Diners of all ages have enjoyed ice cream sundaes and authentic drinks at Old Mill Tasty Shop‘s (604 E. Douglas Avenue) old-fashioned soda counter since 1932. I’ve been visiting it since the early 1980s.
 Take a step back in time and order one of the restaurant’s most popular desserts, an turtle sundae. Watch a consistent flow of customers arrive and listen to the shake machine whizz as you sit at the marble counter enjoying each bite of your sundae.
Frost – Wichita
For years, locals have loved stopping into Frost (3429 E. Douglas Avenue) for one-of-a-kind ice cream flavors and baked goods such as scratch-made cookies, brownies, and pie.
 A great way to find out about their latest small-batch ice cream flavors is to monitor their Facebook page, which is where I learned about their Sweet Corn Ice Cream served for a limited time. I also recommend their fruit sorbet, which uses seasonal ingredients.
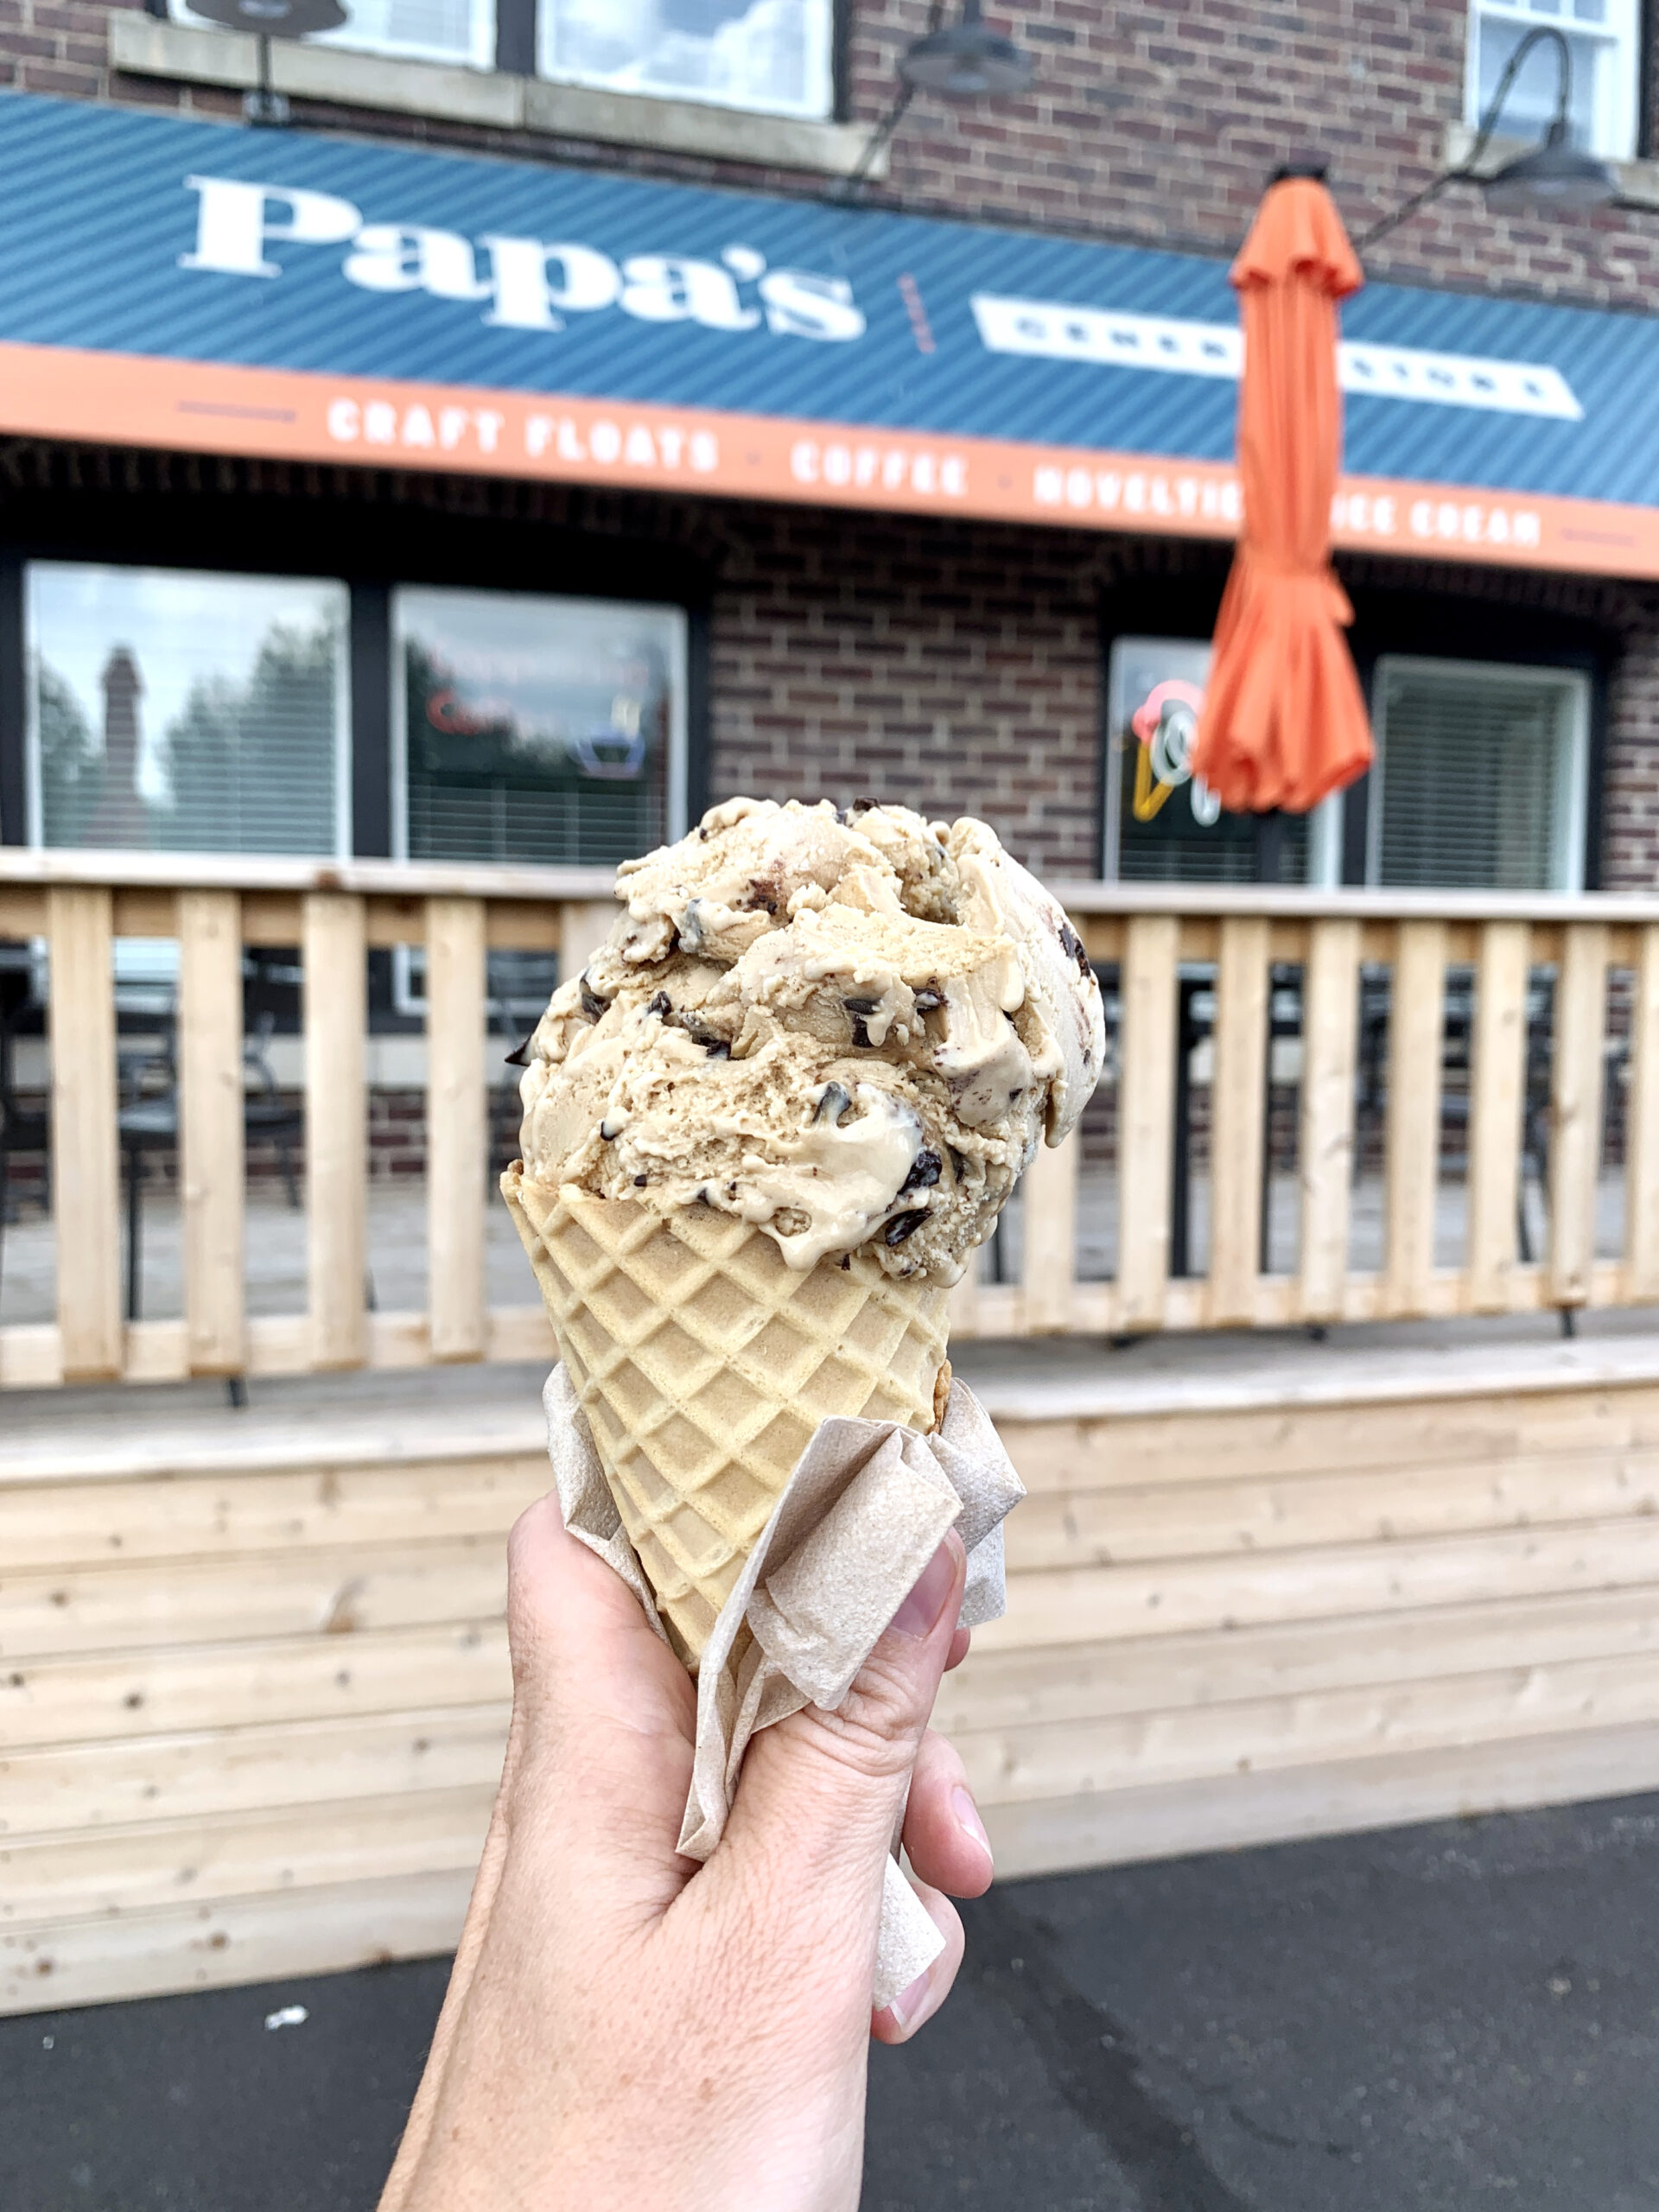
Papa’s Ice Cream & Treats – Wichita
Go to Papa’s Ice Cream & Treats (Two Locations) if you’re an ice cream lover who likes to add unique toppings and mix-in ingredients to sundaes or shakes.
Known as the Home of the Extreme Shake, I’d recommend bringing a fellow ice cream fan with you to help you finish a towering Cinnamon Crunch Love or Monster Cookie Mania, which is topped with a mountain of whipped cream and cookies with drizzle.
 Of course, if you want a single dip cone or cup after a Coney Island hot dog lunch, the staff is happy to serve it.
Bonus Stops
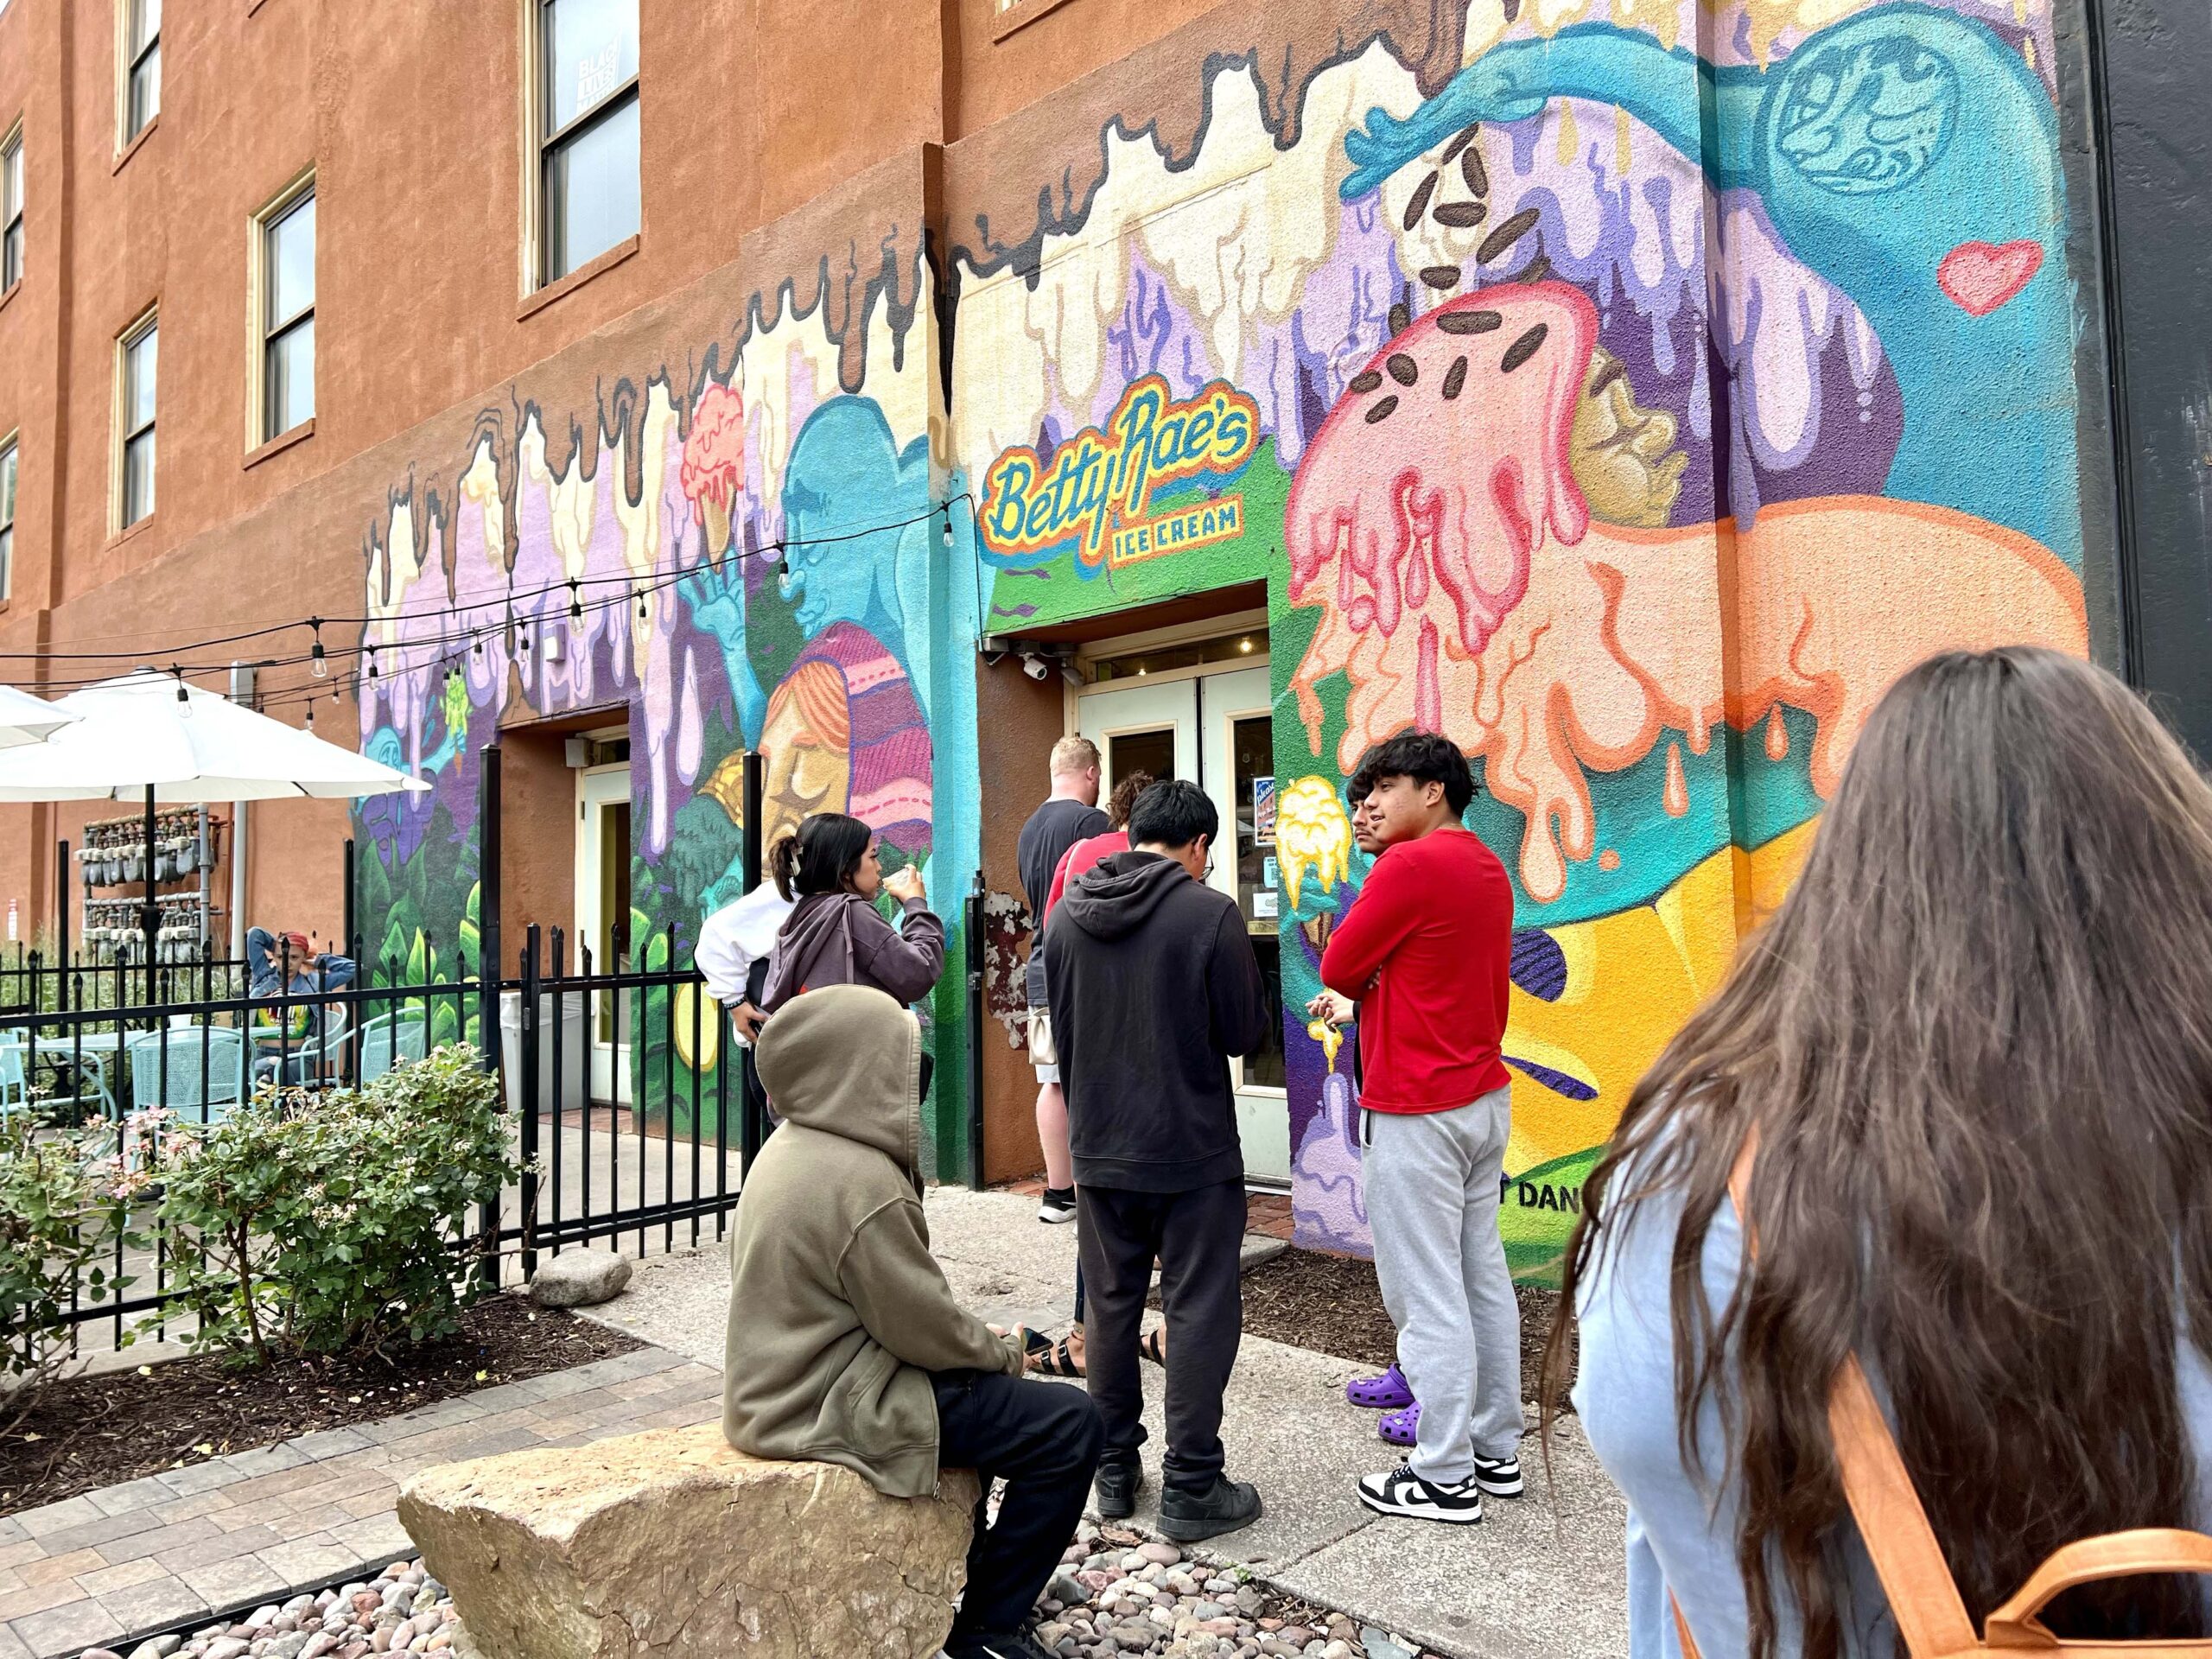
If you’re traveling to Kansas City, Missouri, I highly recommend visiting the ever-popular Betty Rae’s Ice Cream. They also have locations in Nebraska and four in Northeast Kansas.
 Additionally, stop in Newton at Prairy to pick up several pints of Kansas-made Salted Creamery Ice Cream. Once you try the Key Lime Pie, you may never be the same.
This list does not include every Kansas ice cream shop, but it’s a good reference for finding one to curb your cravings. I hope to add Sylas and Maddys in Lawrence to my next road trip agenda.
Also consider following other foodie trails I’ve created, including Kansas Coffee Shops and Mexican Restaurants.


 If you’re planning a day trip beyond Wichita and seeking candy shops, consider adding So Sweetish in Lindsborg to your itinerary. For more inspiring posts on Wichita’s food destinations, read about

 PRO TIP: Cash only. An ATM is located at a bank nearby.
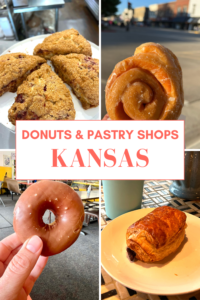
 Tasty Pastry Bakery & Coffee Shop is open every day except Sunday. Arrive early to order the best pastry selection. The coffee is hot, and the donuts are fresh.
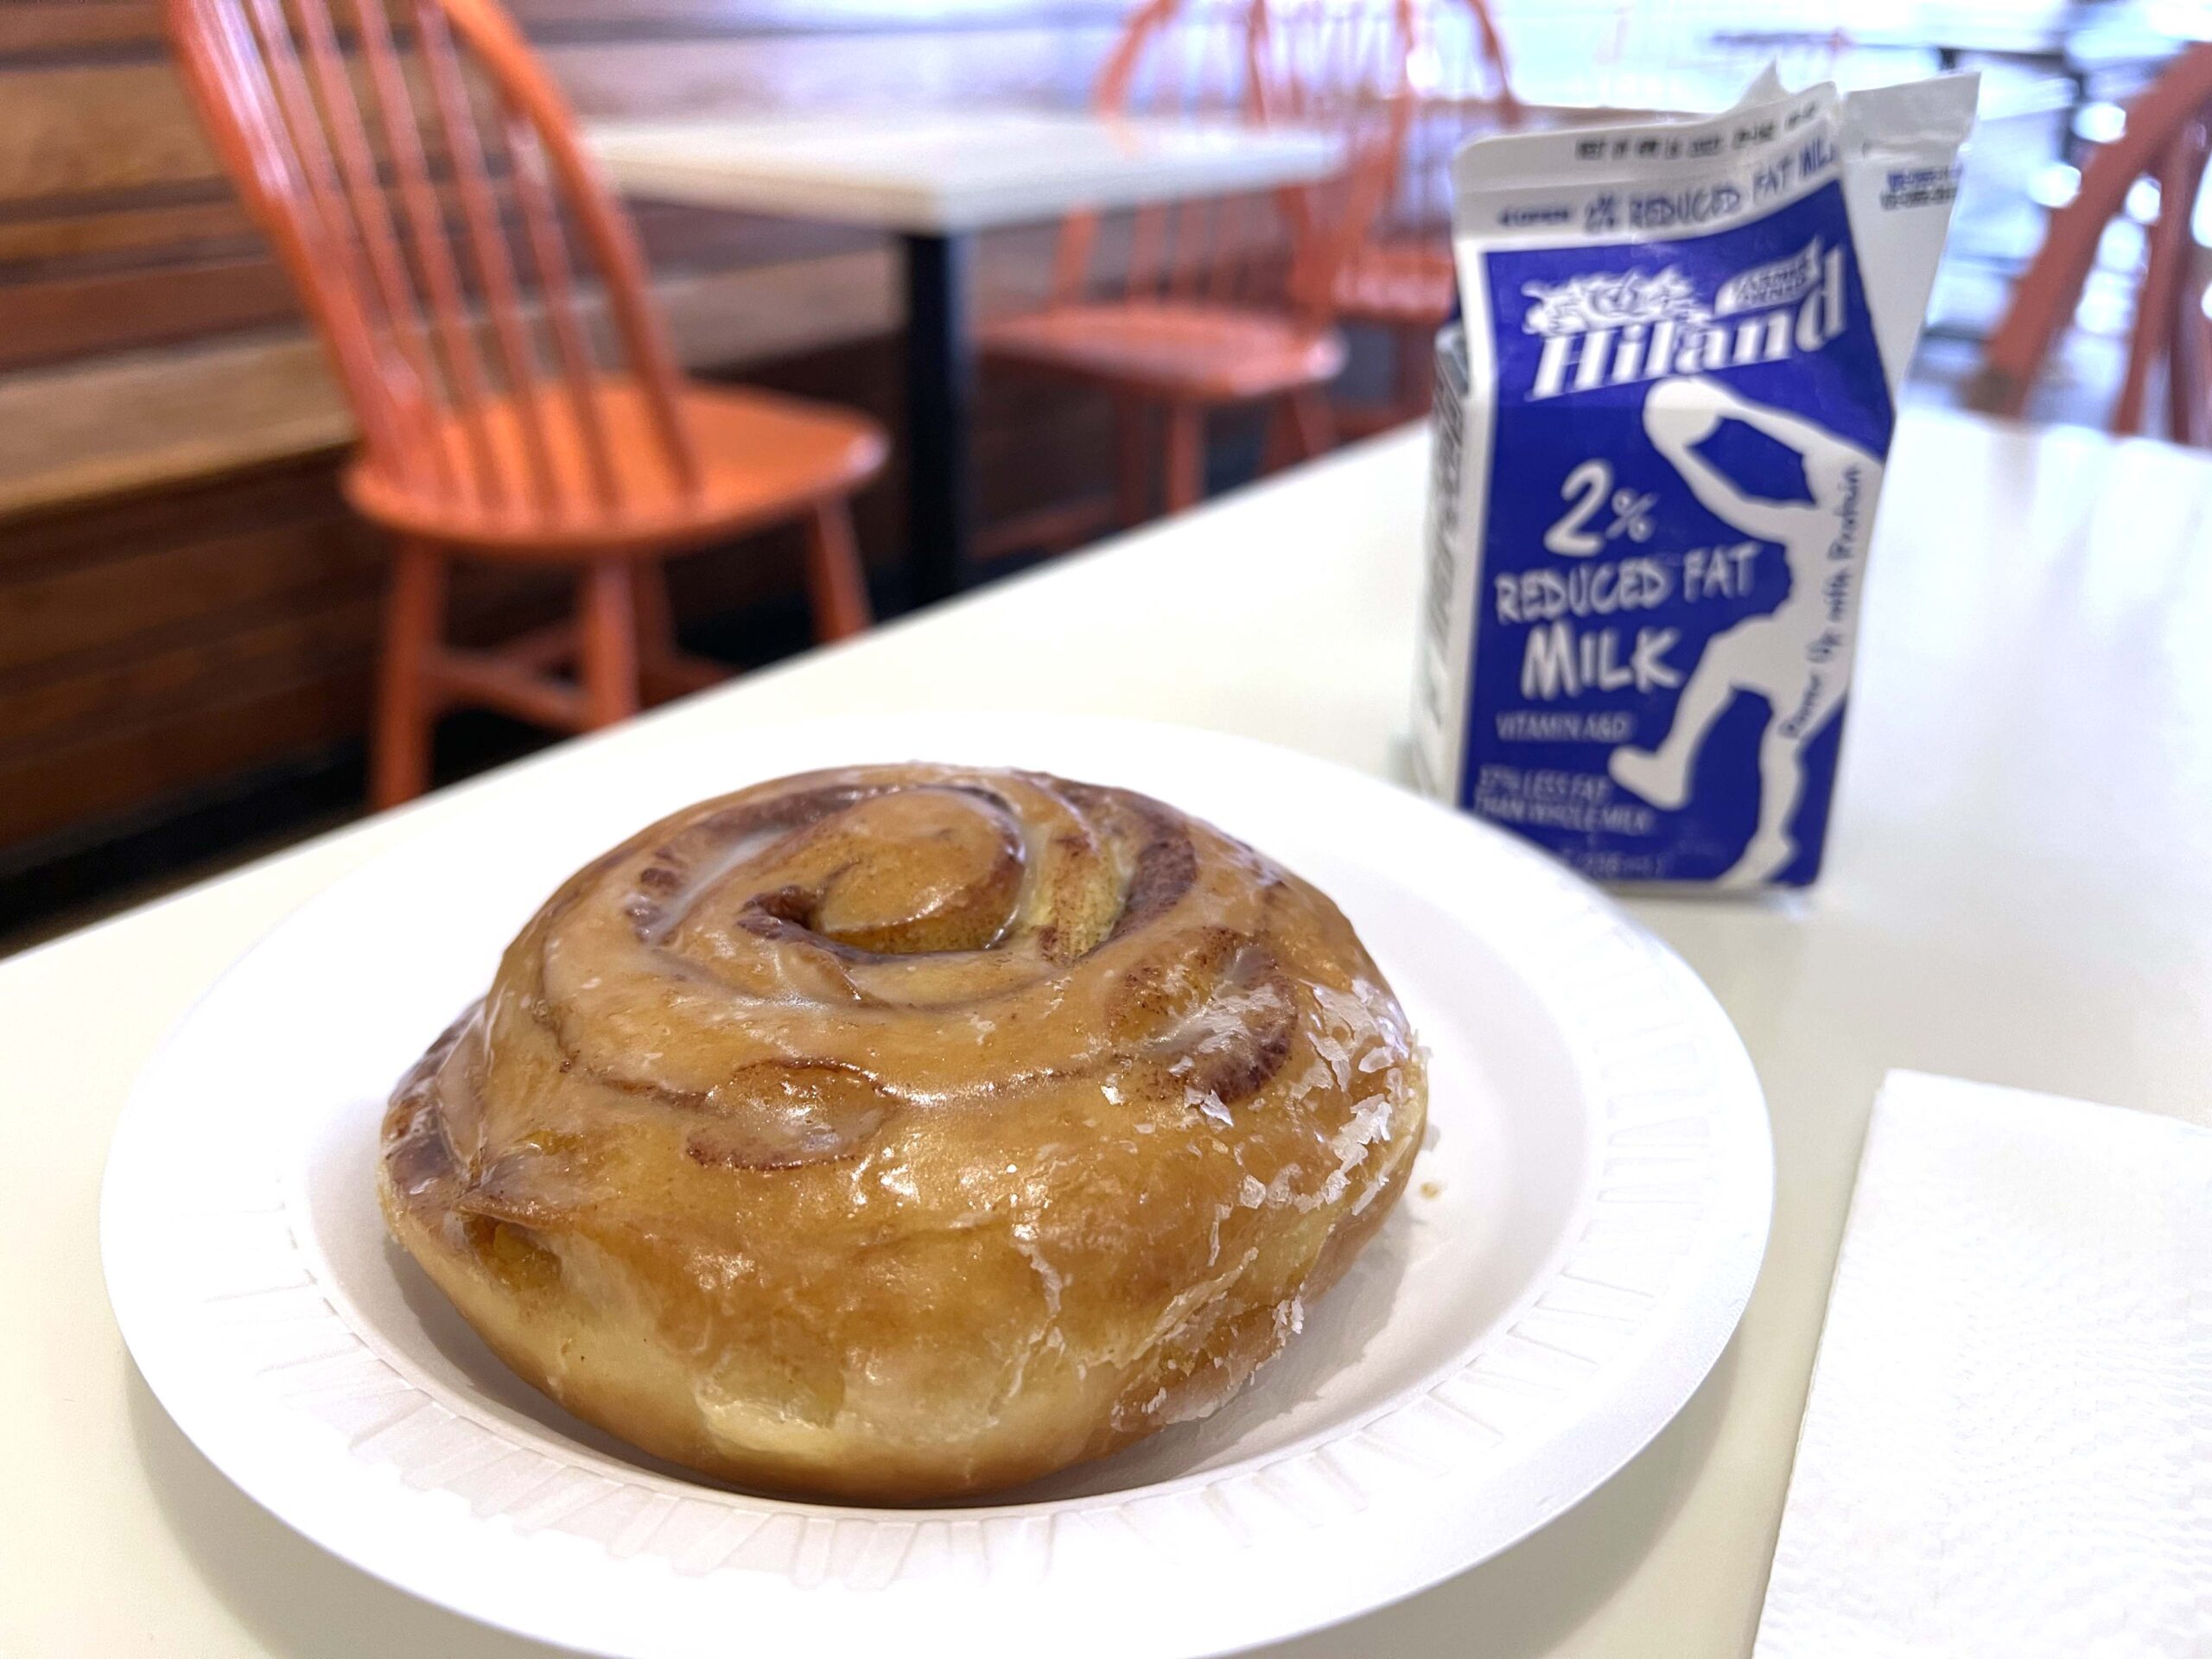 Other bakeries in Lawrence worth checking out include
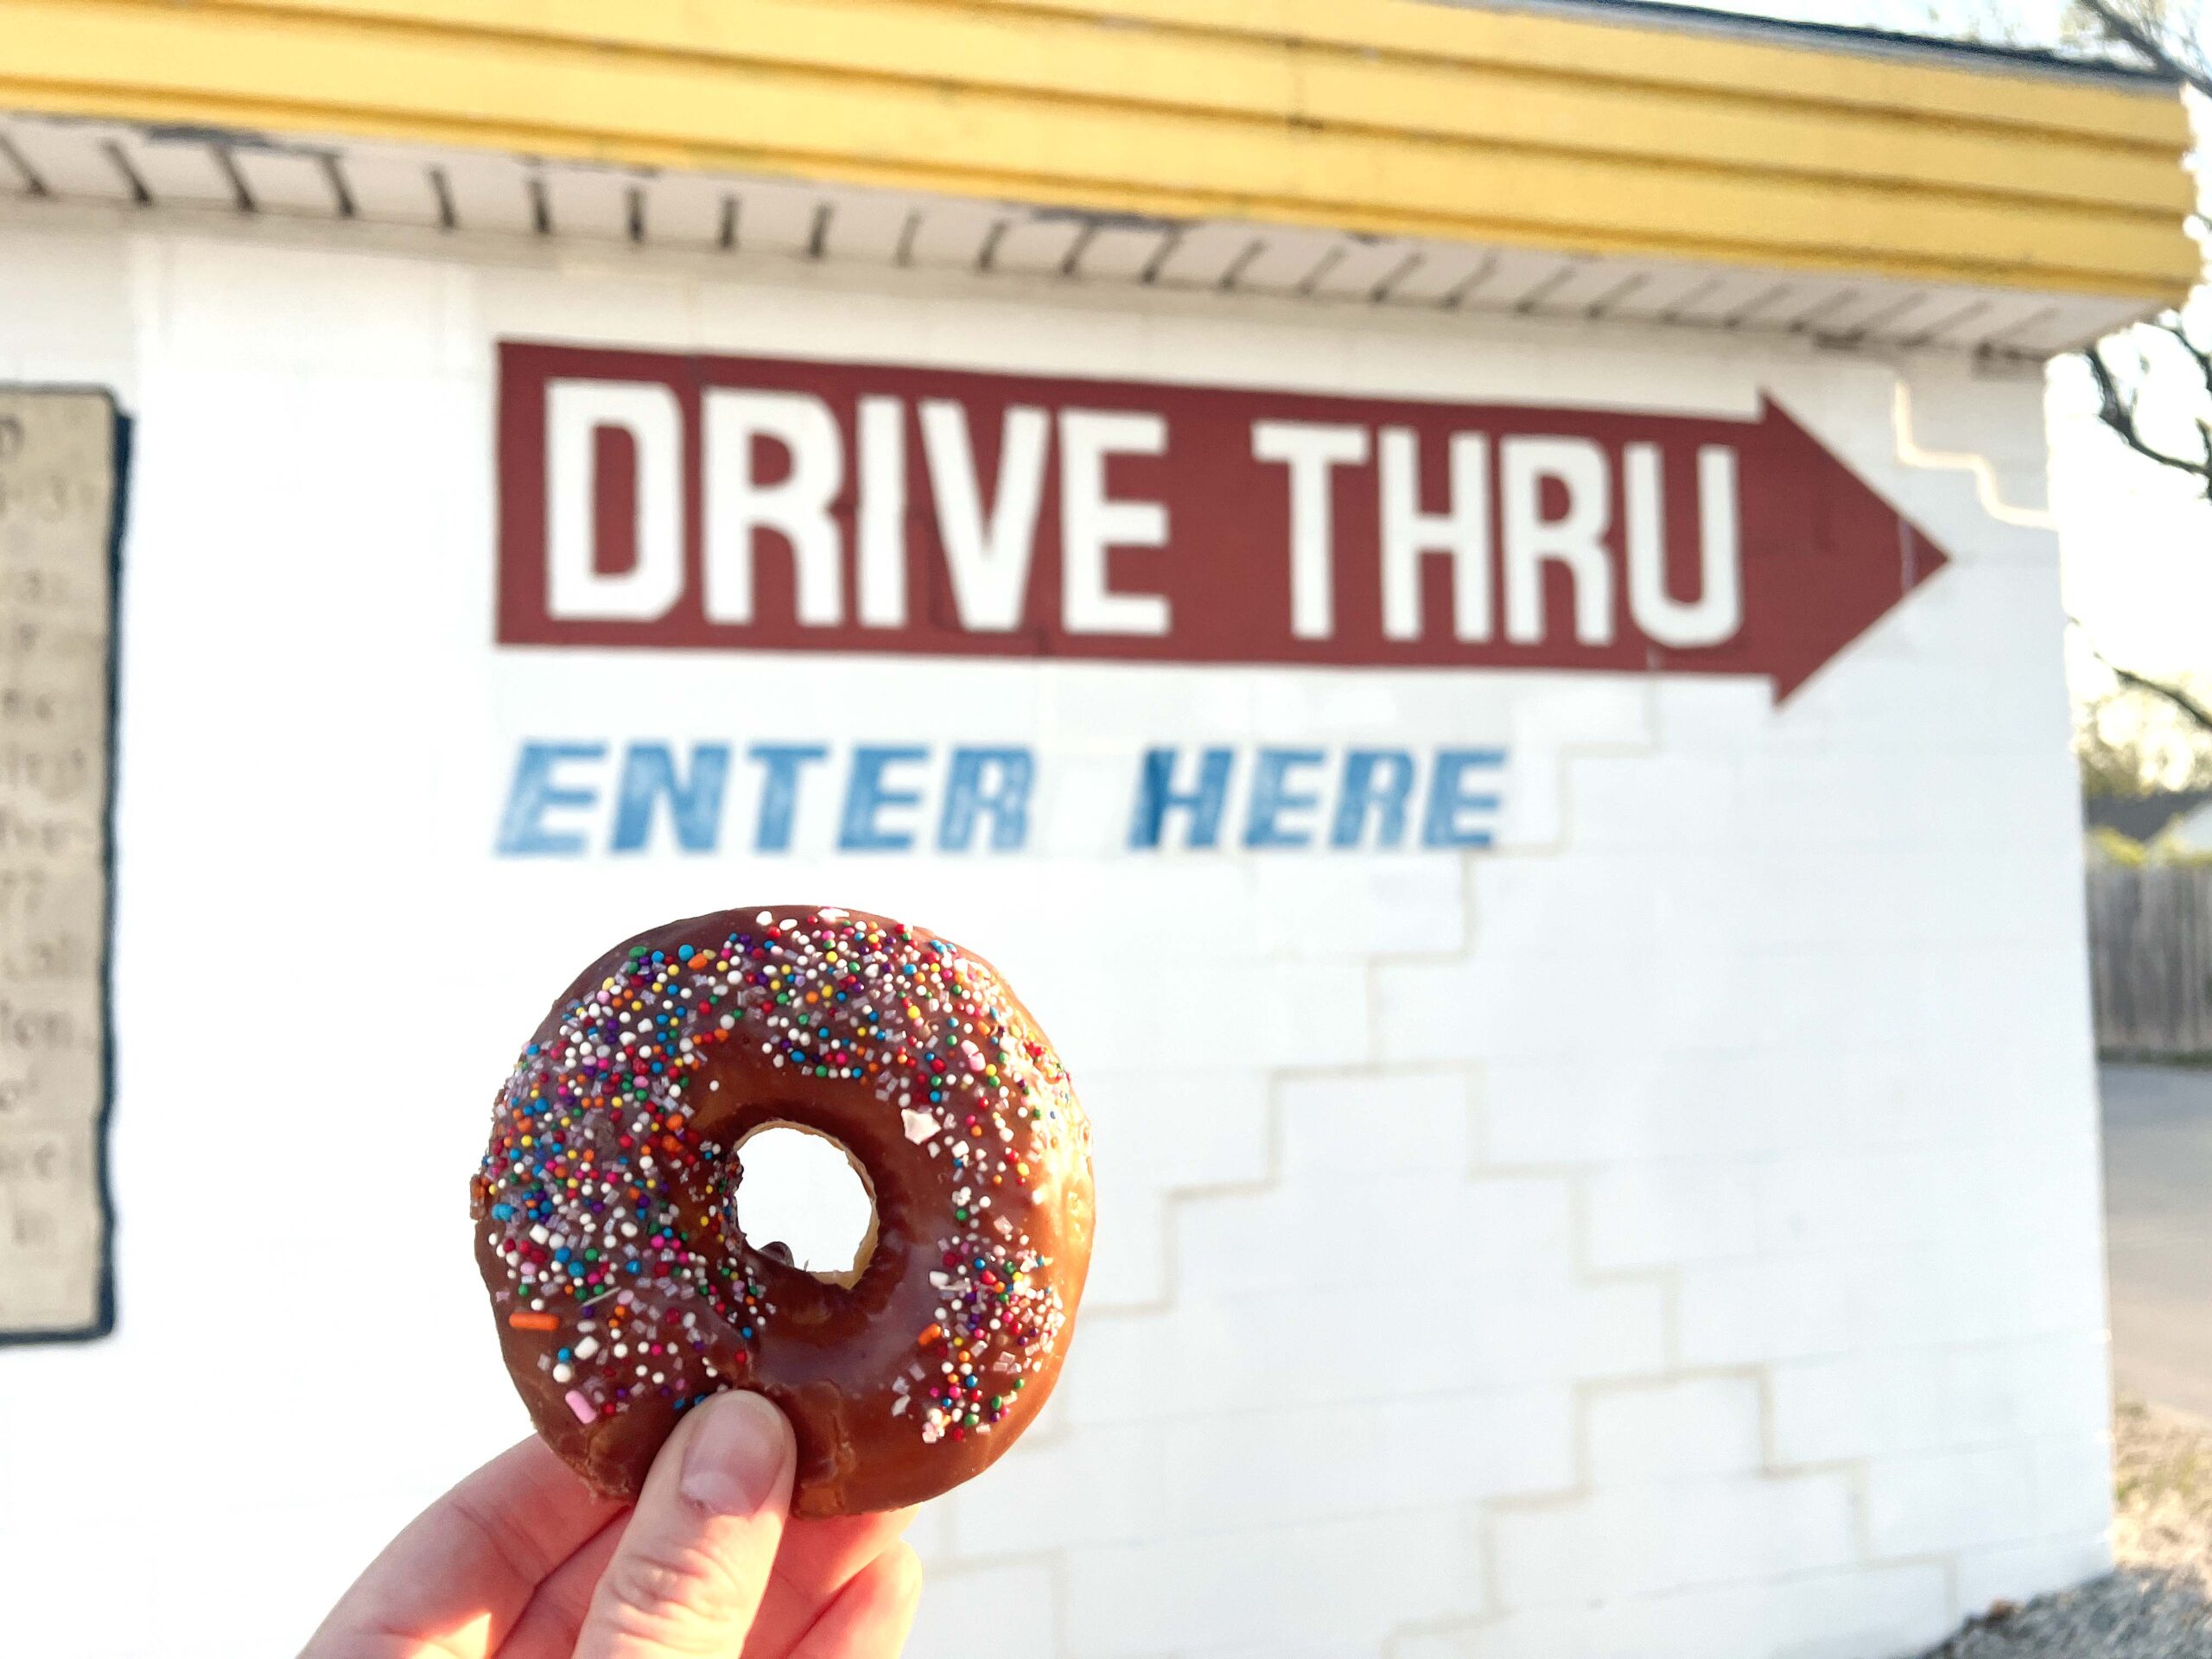
 Not only do they serve delectable pastries for early-morning crowds, but their baristas can also prepare a short list of classic coffee or hot tea drinks. Late-day patrons may appreciate the bar menu.
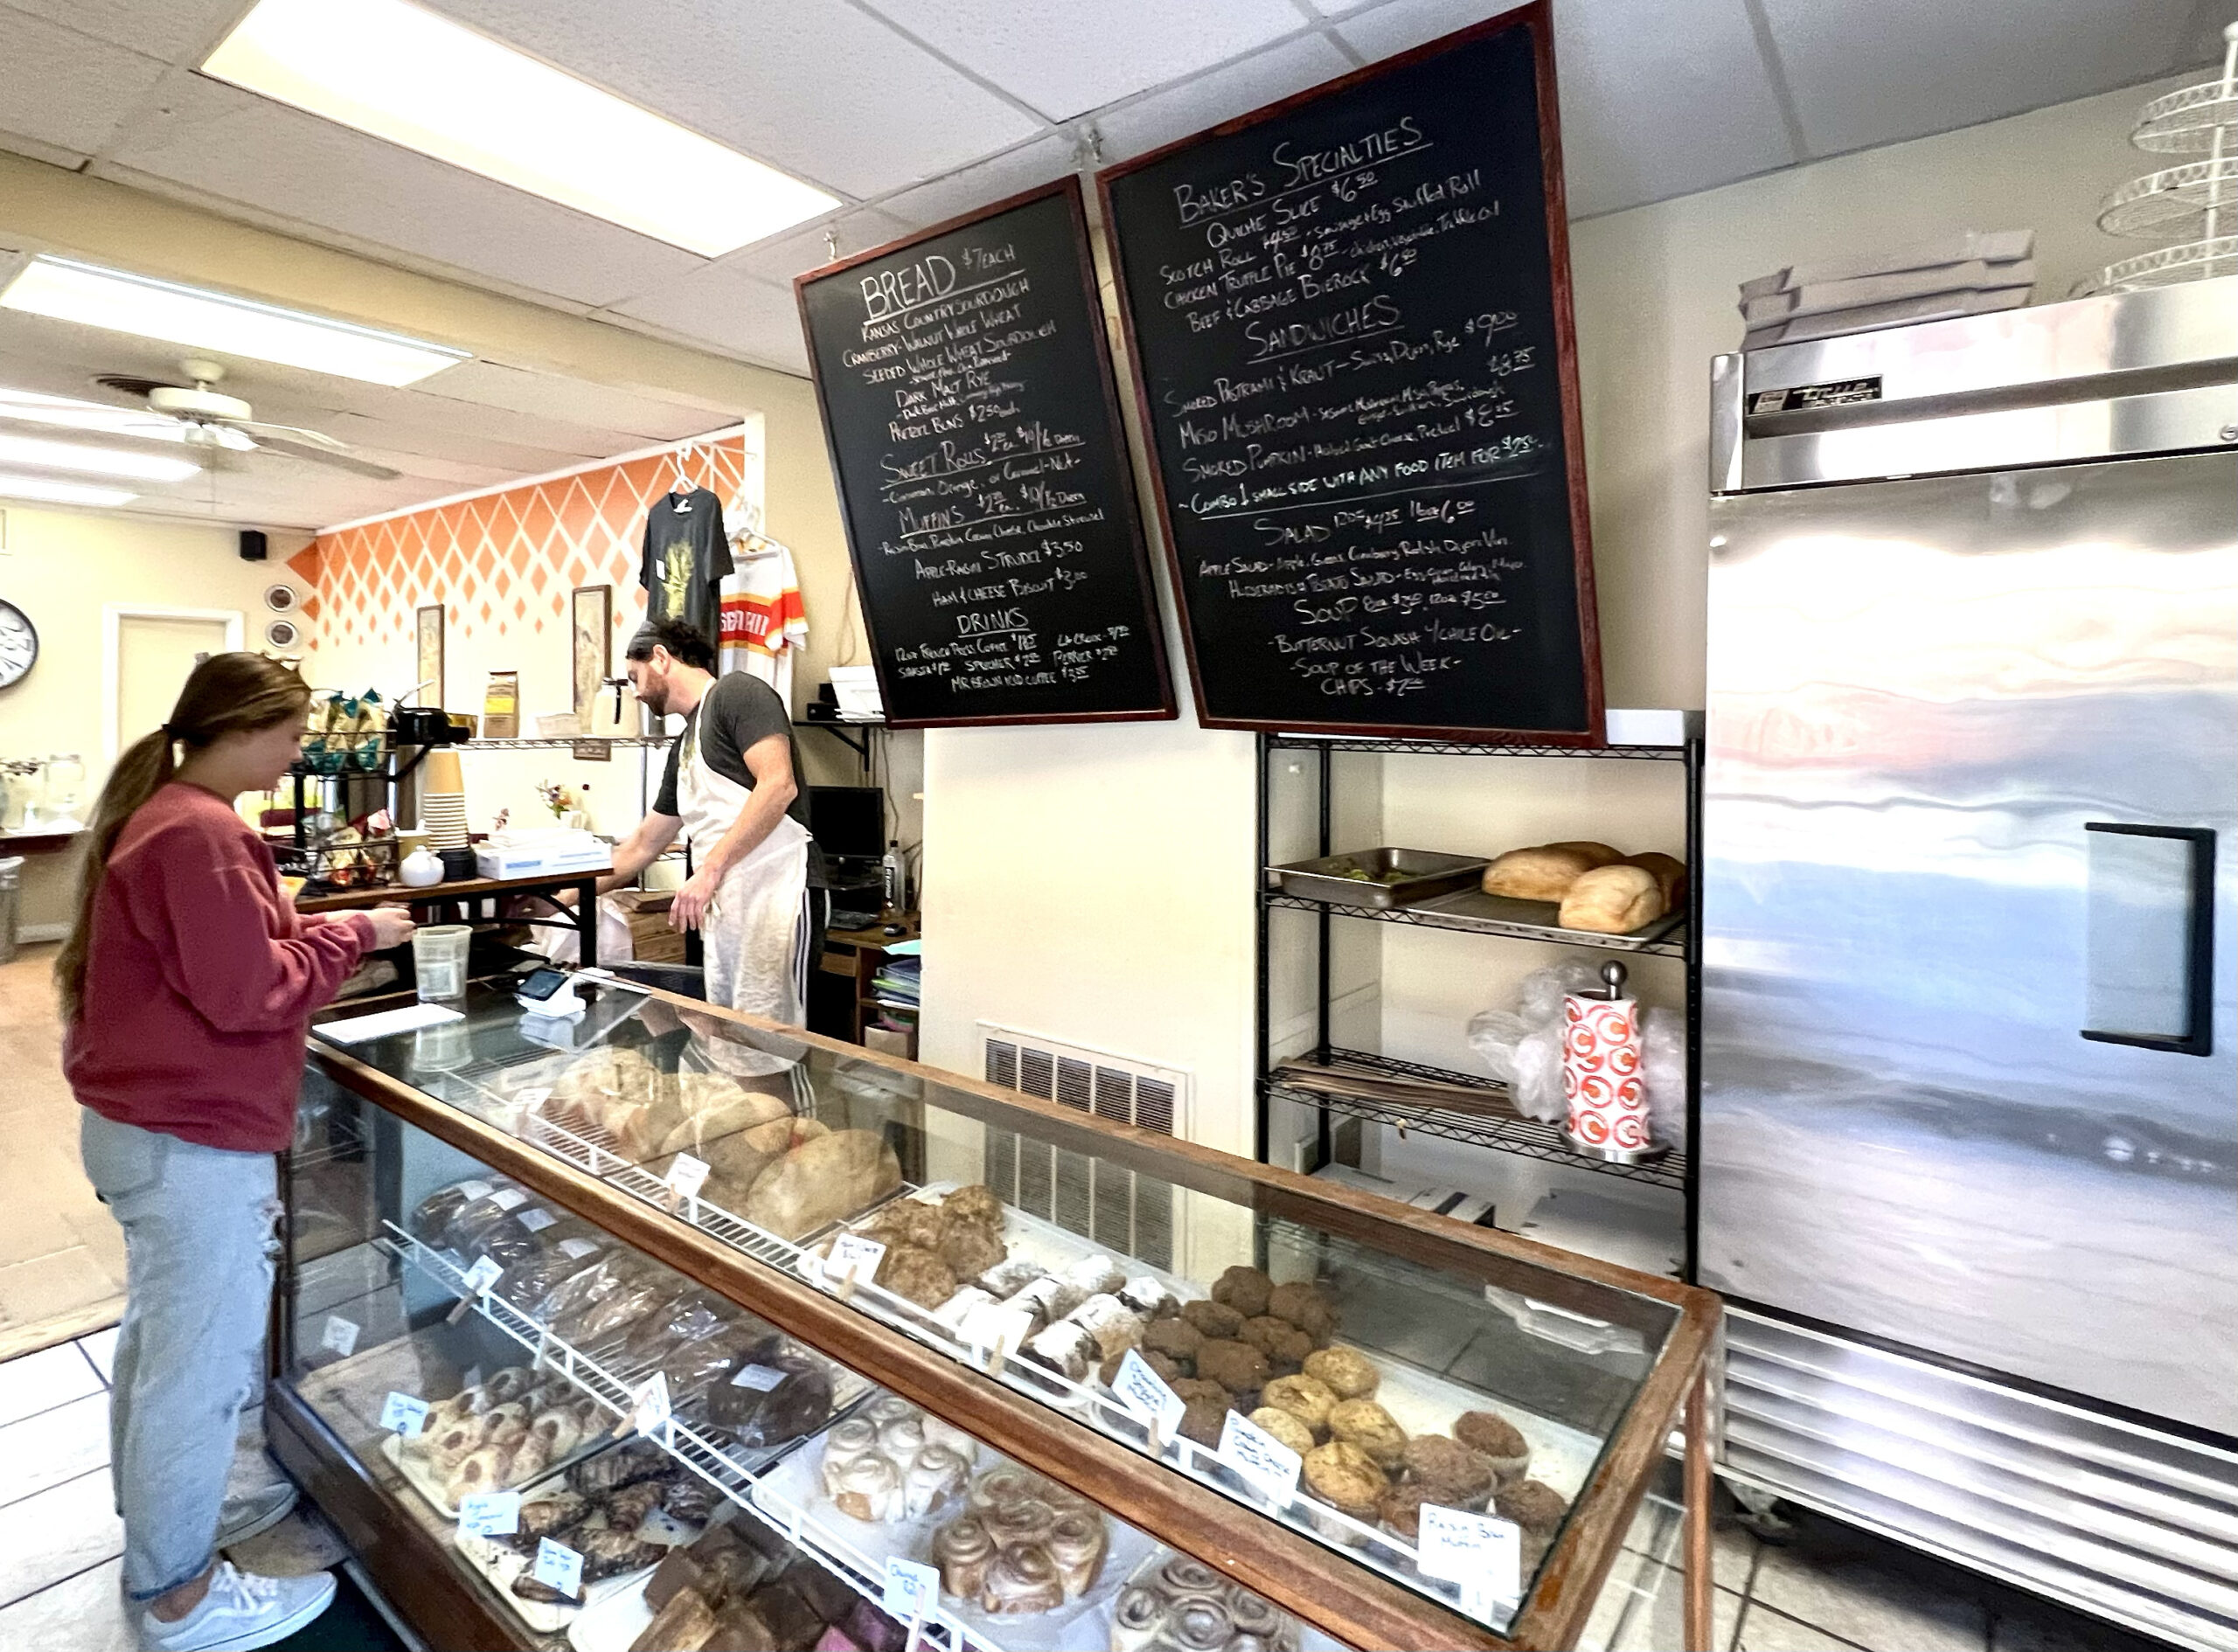
 The display case is refilled with cake and old-fashioned style donuts as they run out. Expect to find bottled drinks, including cold coffee brands and milk in the reach-in cooler.
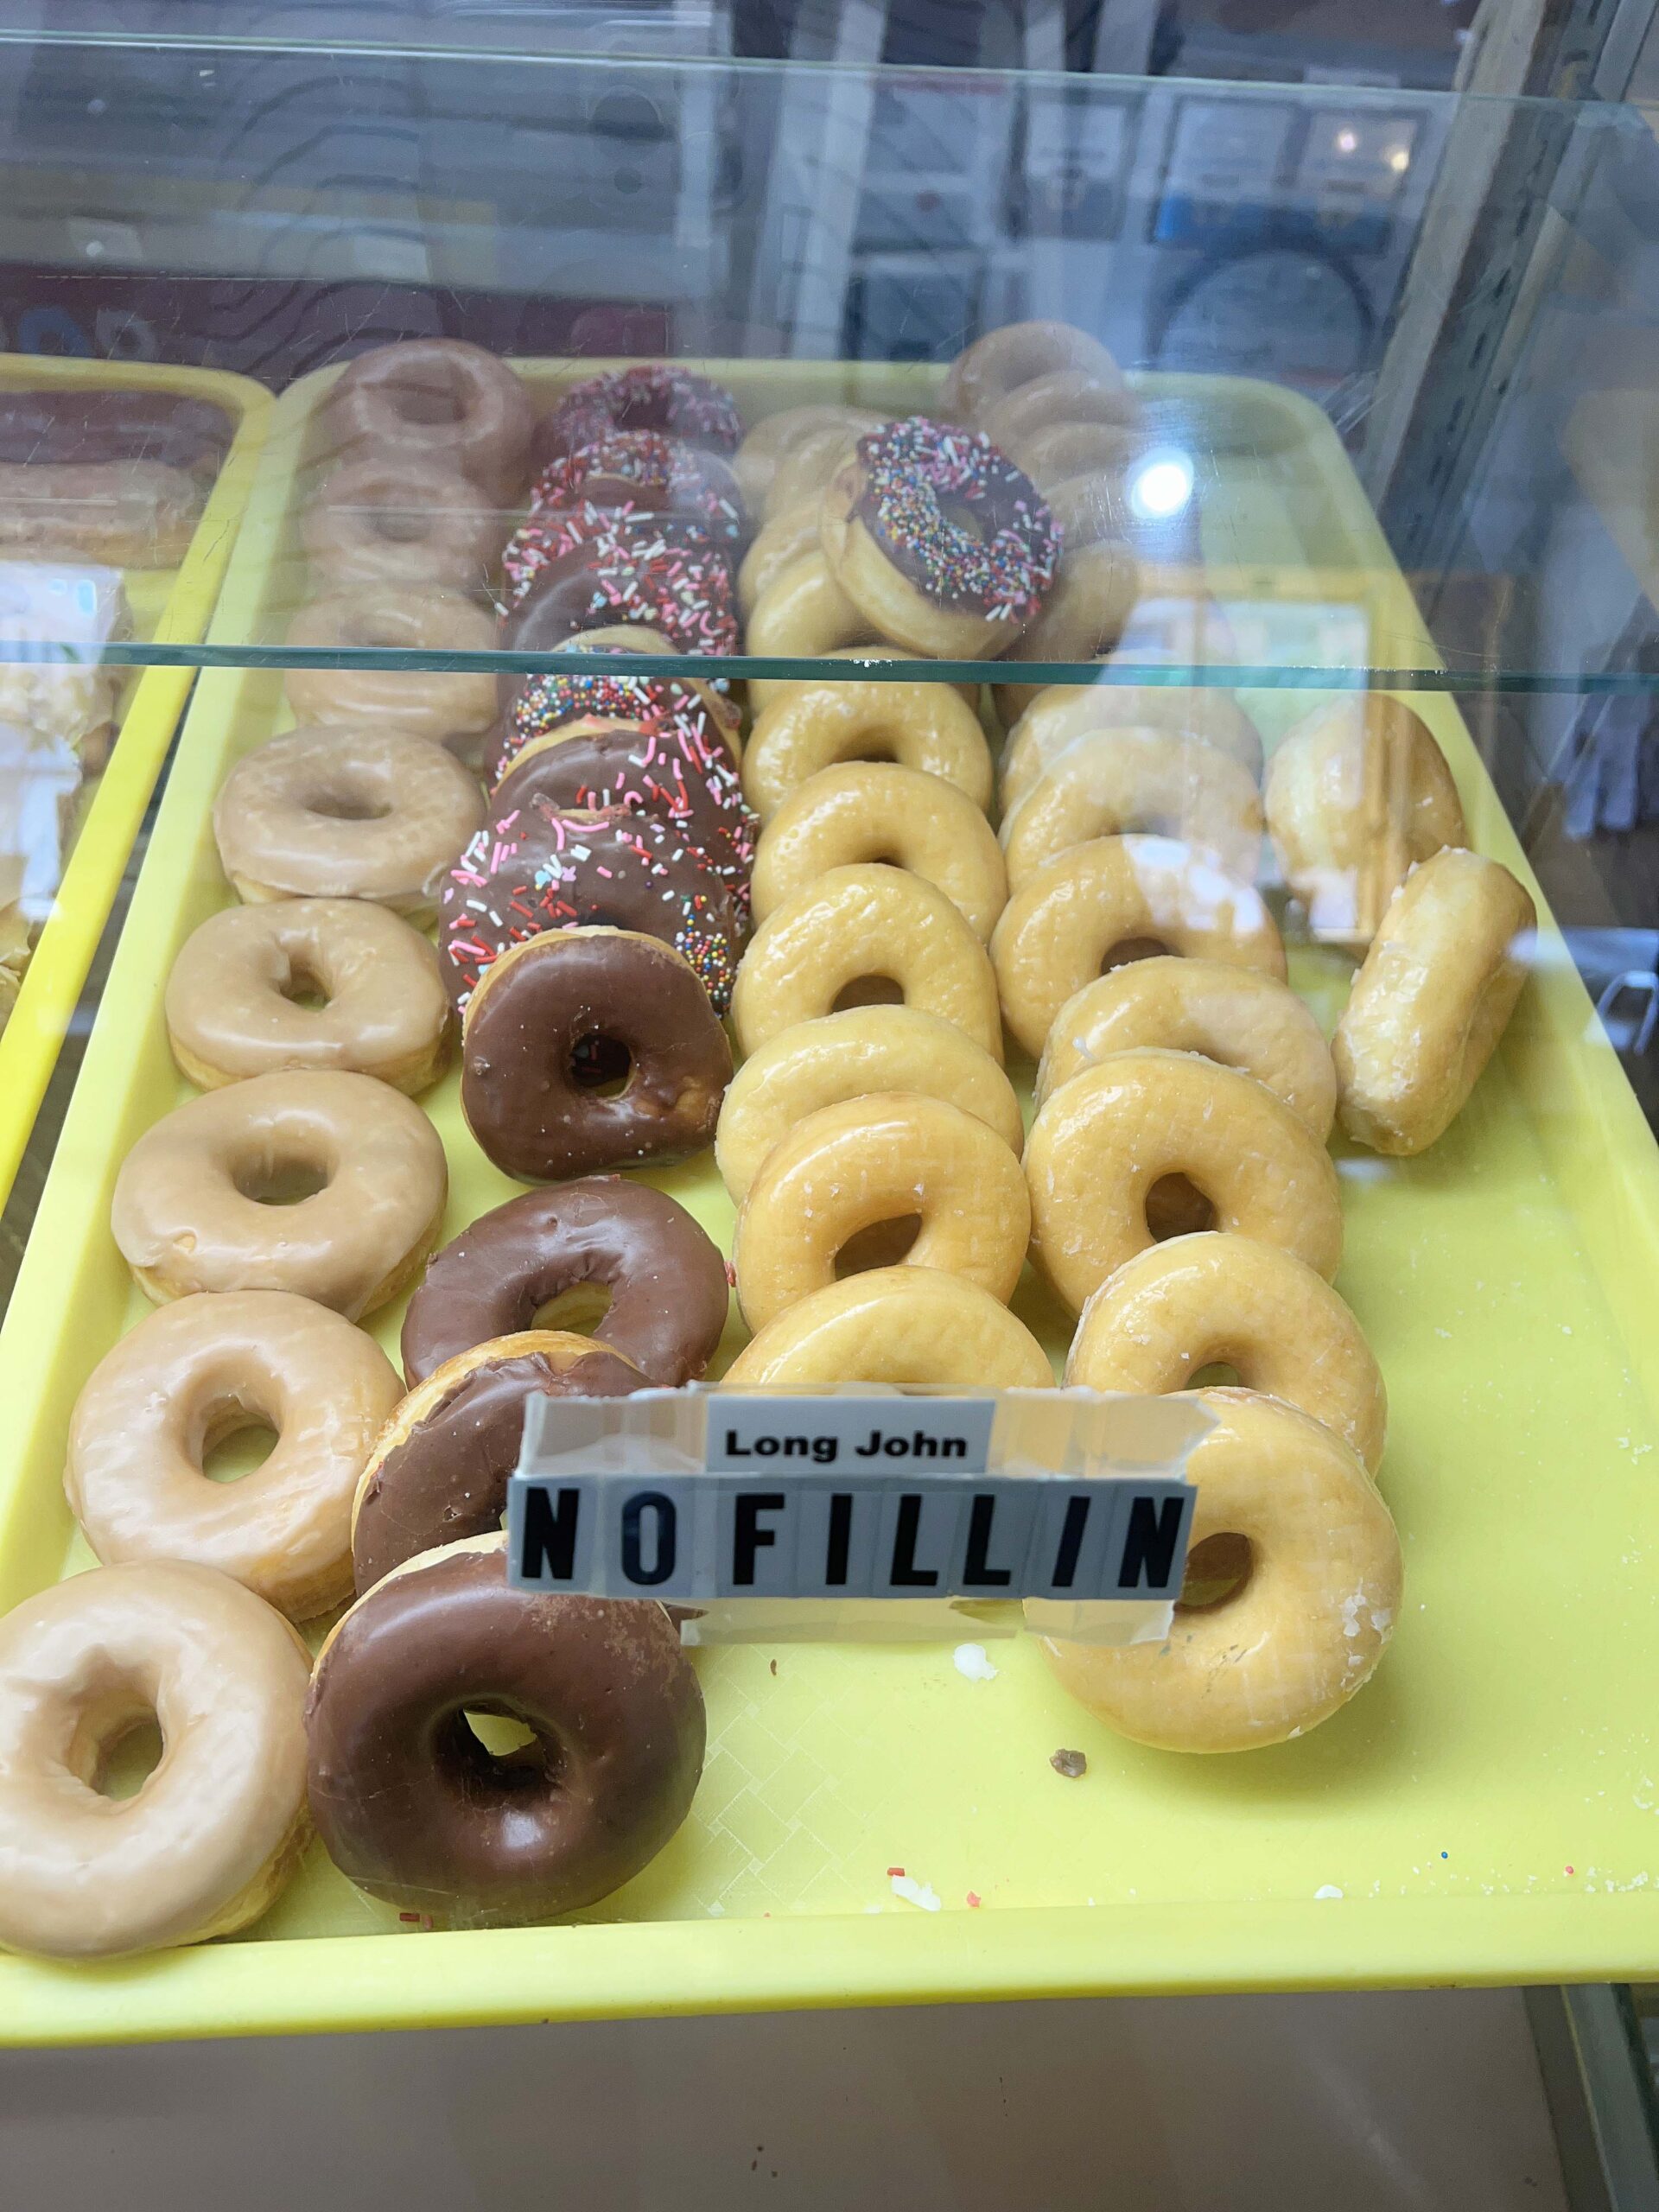 I judge a donut shop by a perfectly soft, glazed donut. Carol Lee Donuts knows what they’re doing. Add it to your Salina travel bucket list.
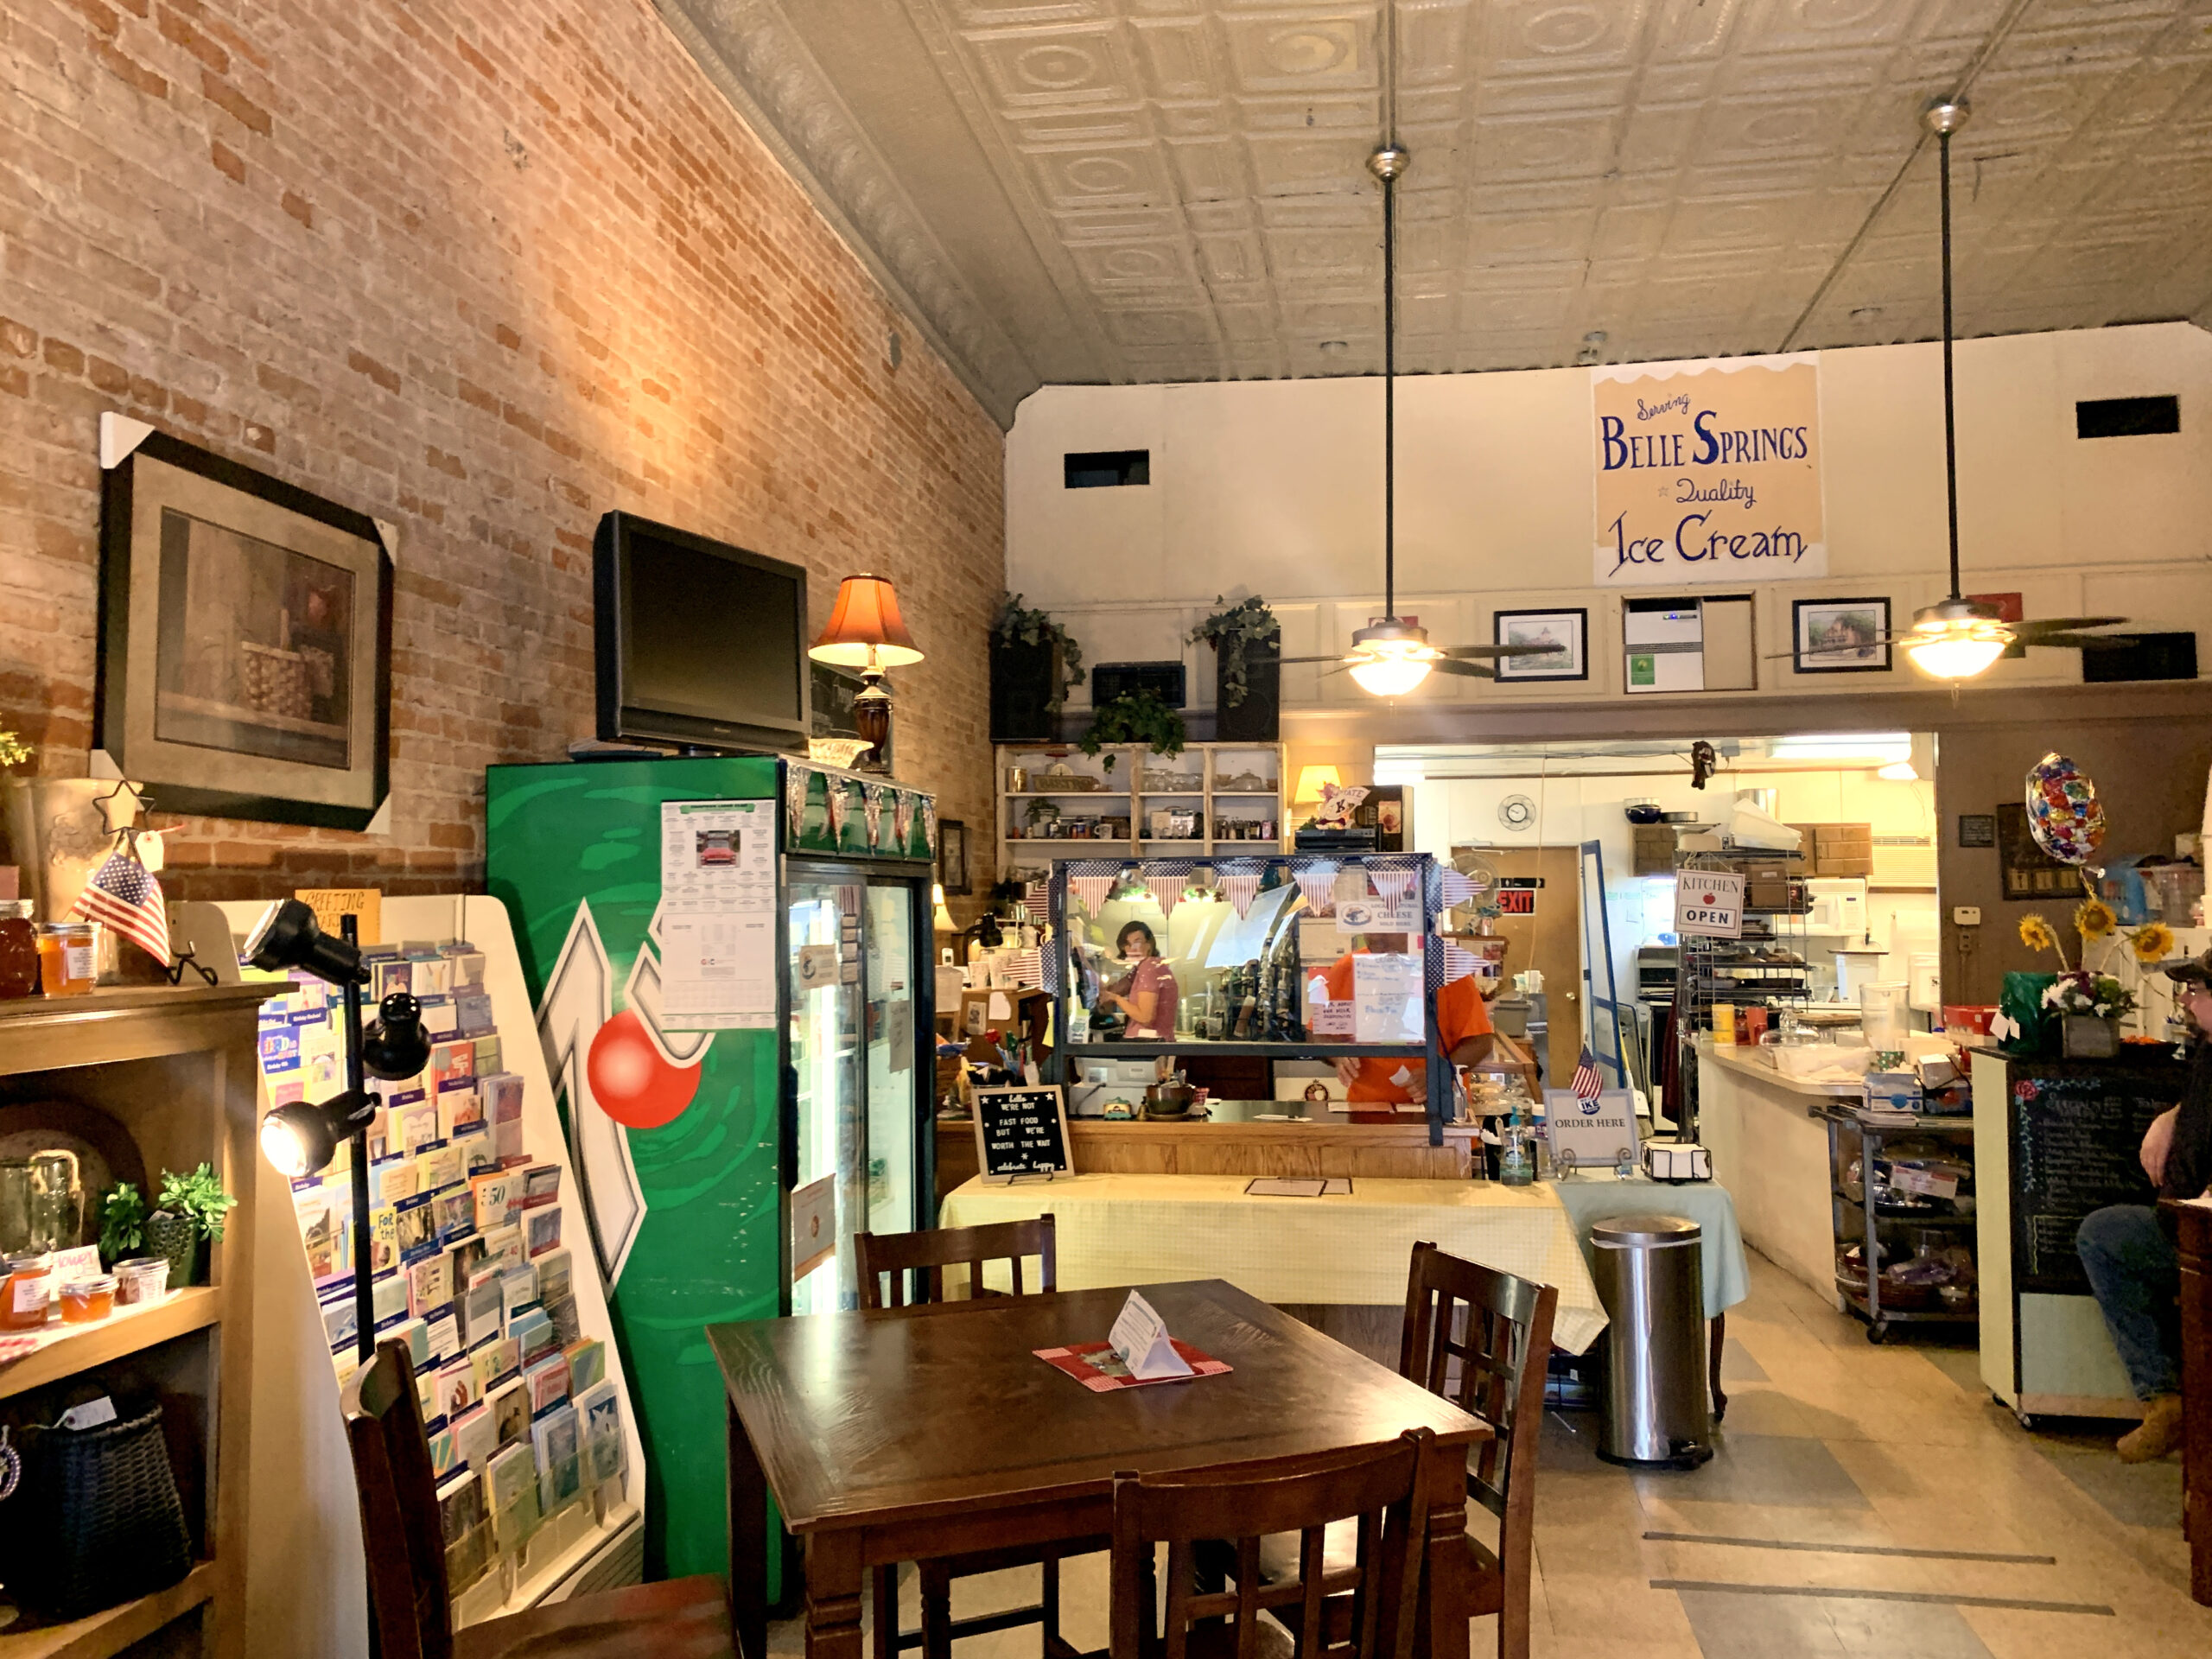
 I recommend ordering a Bacon Hand Pie, served warm with a butter-flavor flaky crust and a soft interior filled with egg, cheese, and, of course, bacon. I sampled a sausage burrito, and it was tasty but not nearly as delectable as the hand pie.
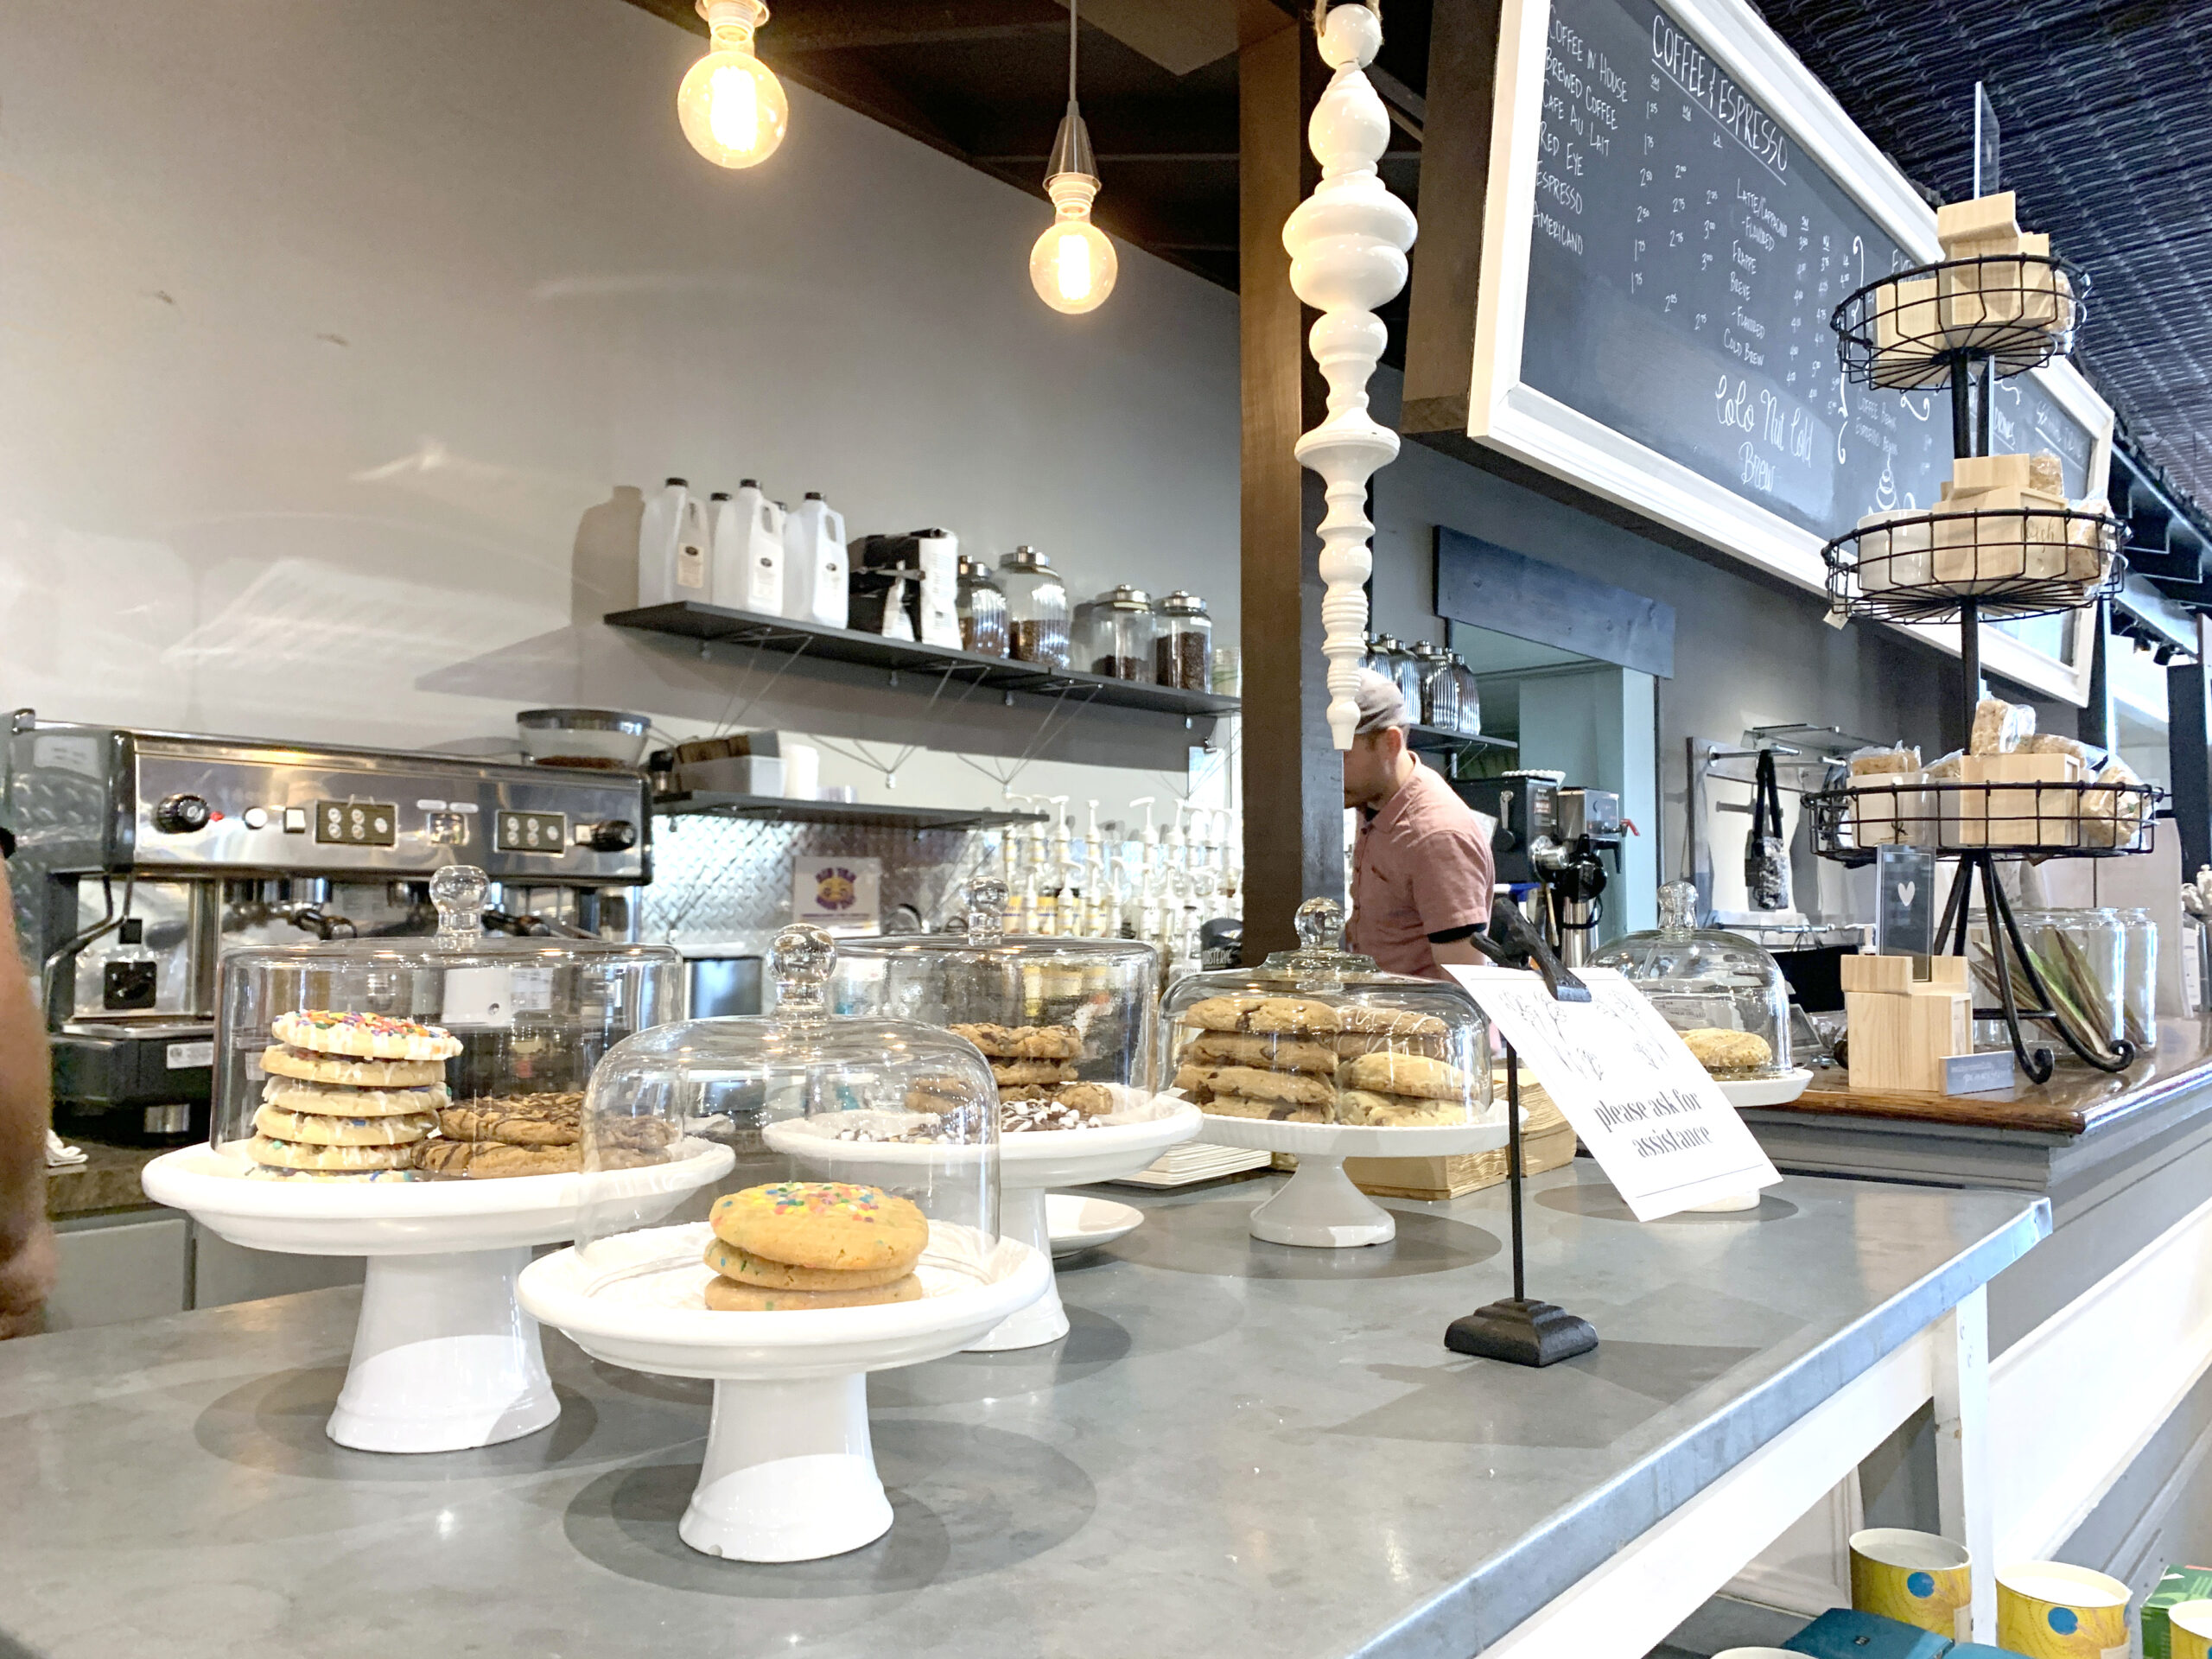
 My ham and cheese breakfast cheese made with flaky crust was the real deal. It paired well with a Mixed Up real fruit smoothie prepared with strawberries, pineapple, mango, and peaches. The berry scone was to die for.
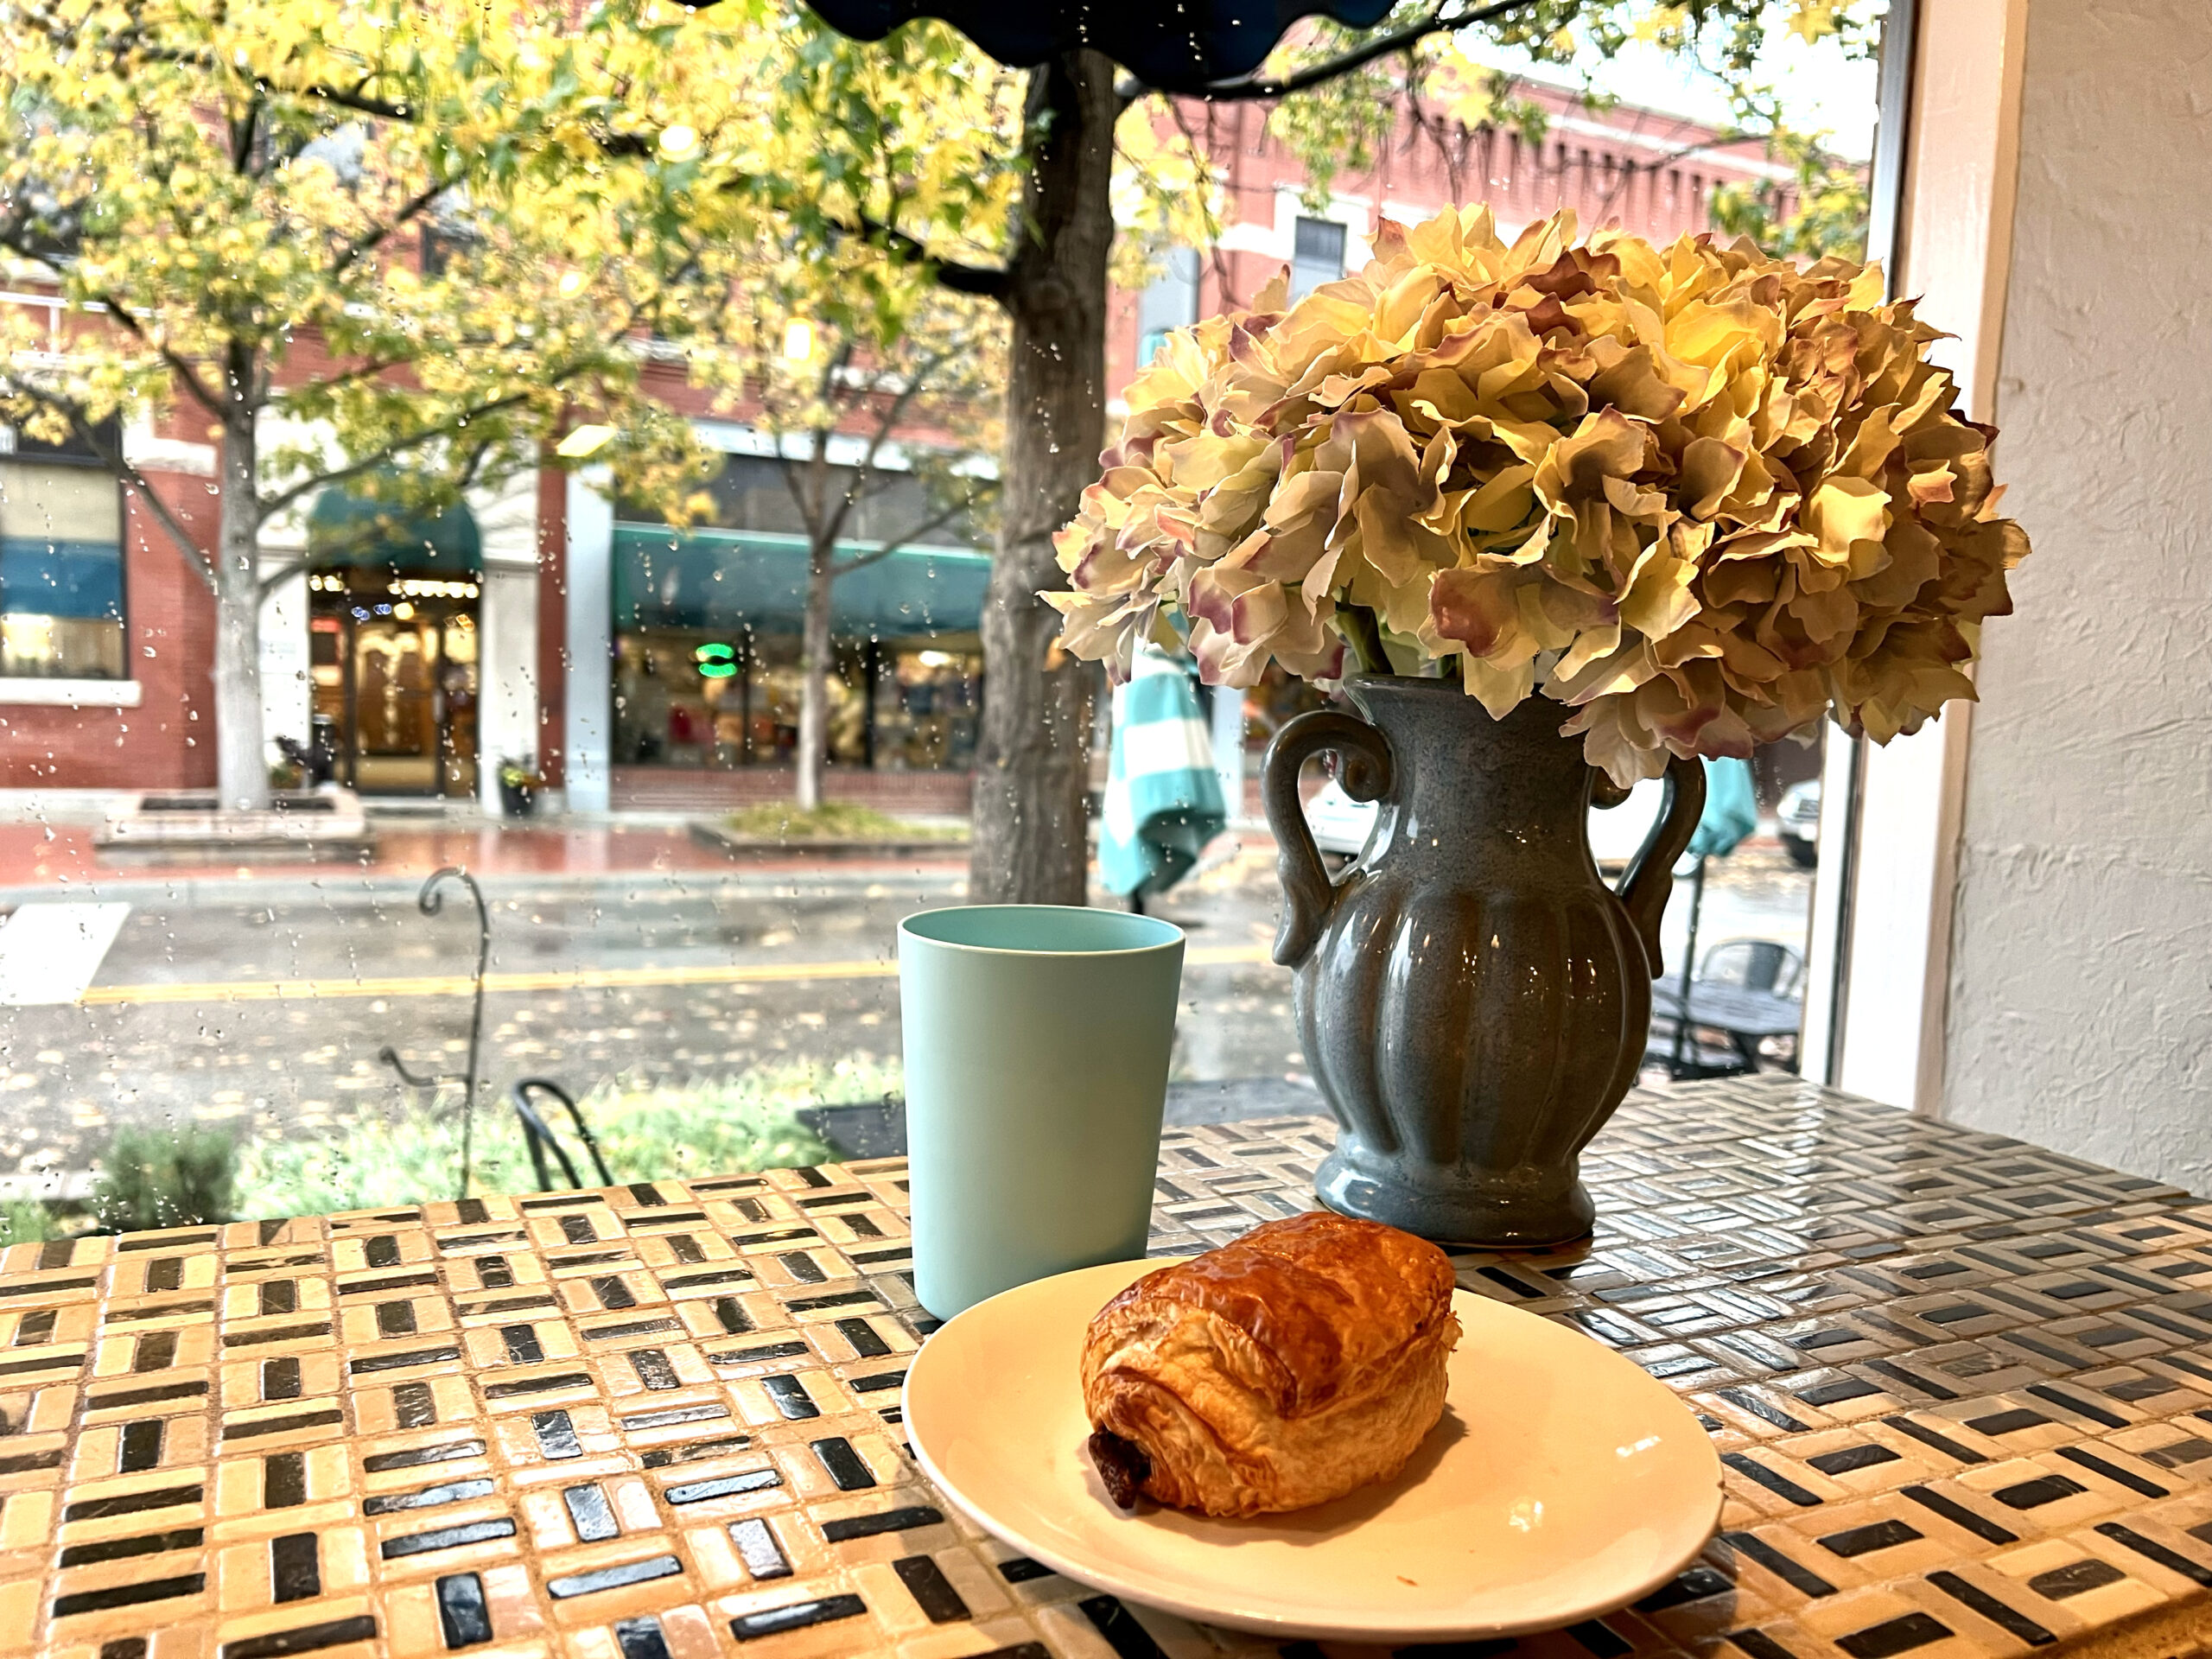 The lunch menu includes multi-layered sandwiches, salmon cake, BBQ meals, and more.
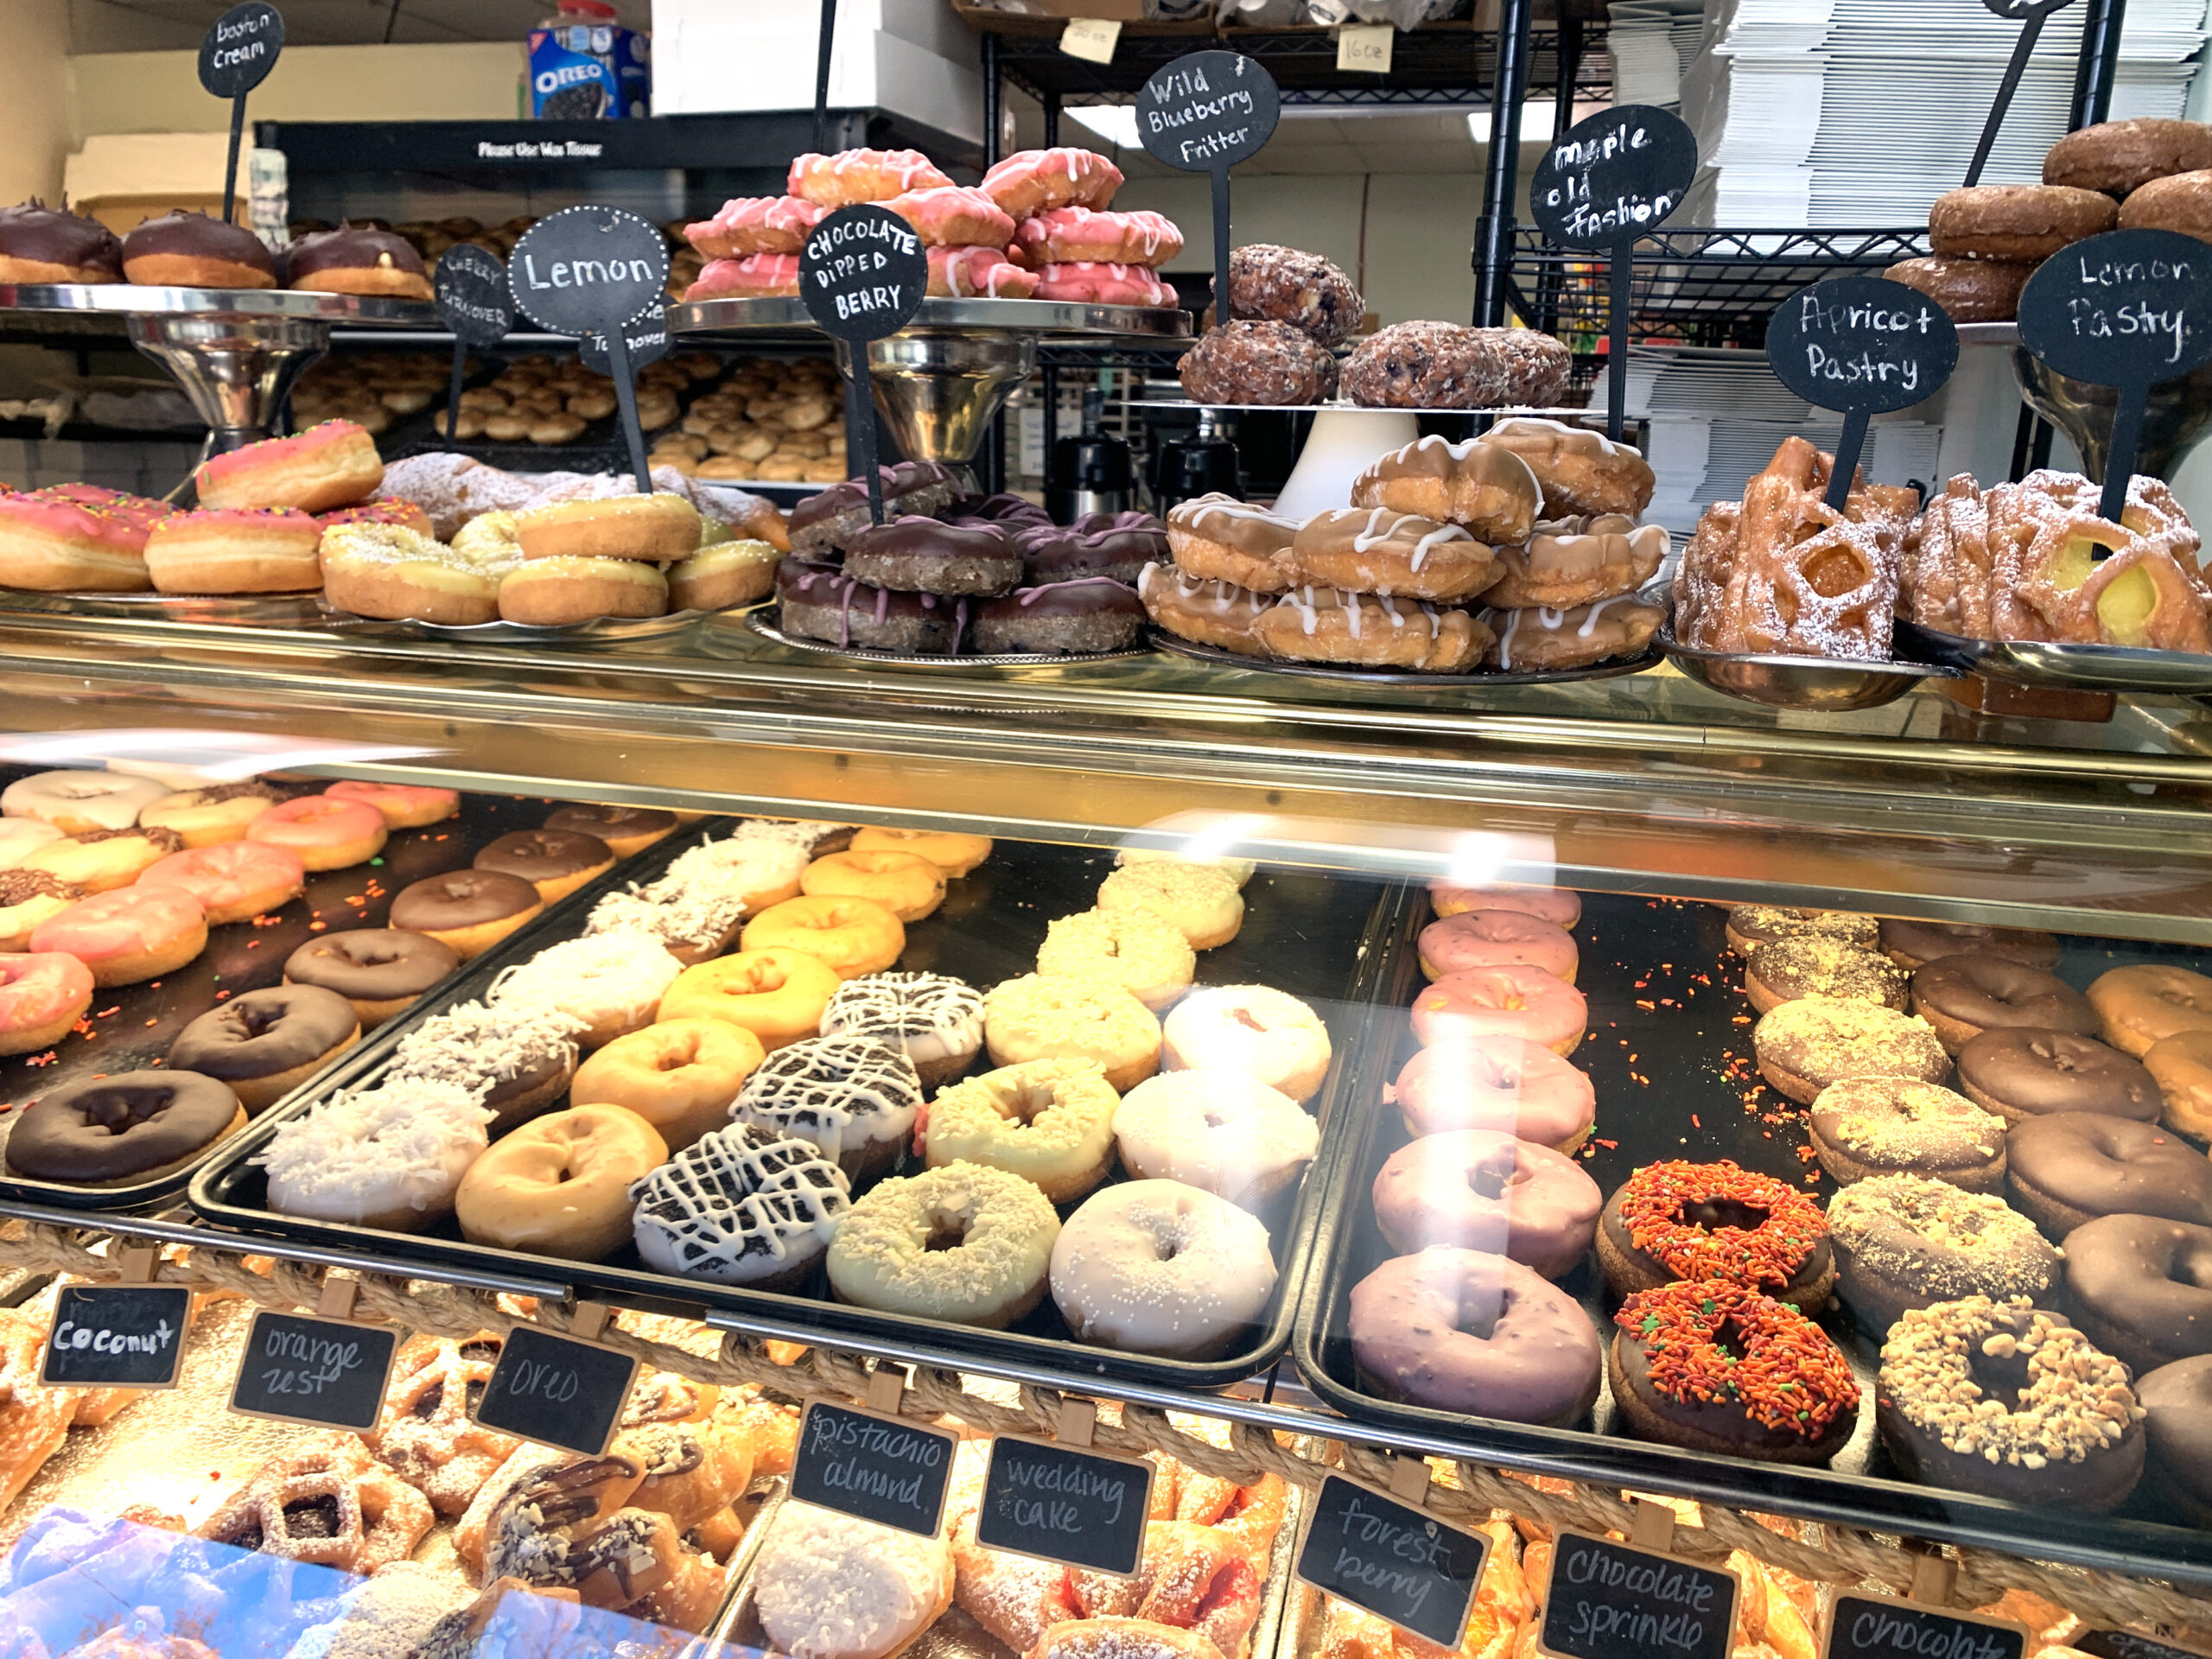 The display case was filled with every kind of donut you could imagine. Apple fritters the size of your hand. Blueberry cake donuts. Cinnamon rolls. And classics like maple long johns and old-fashioned crullers.
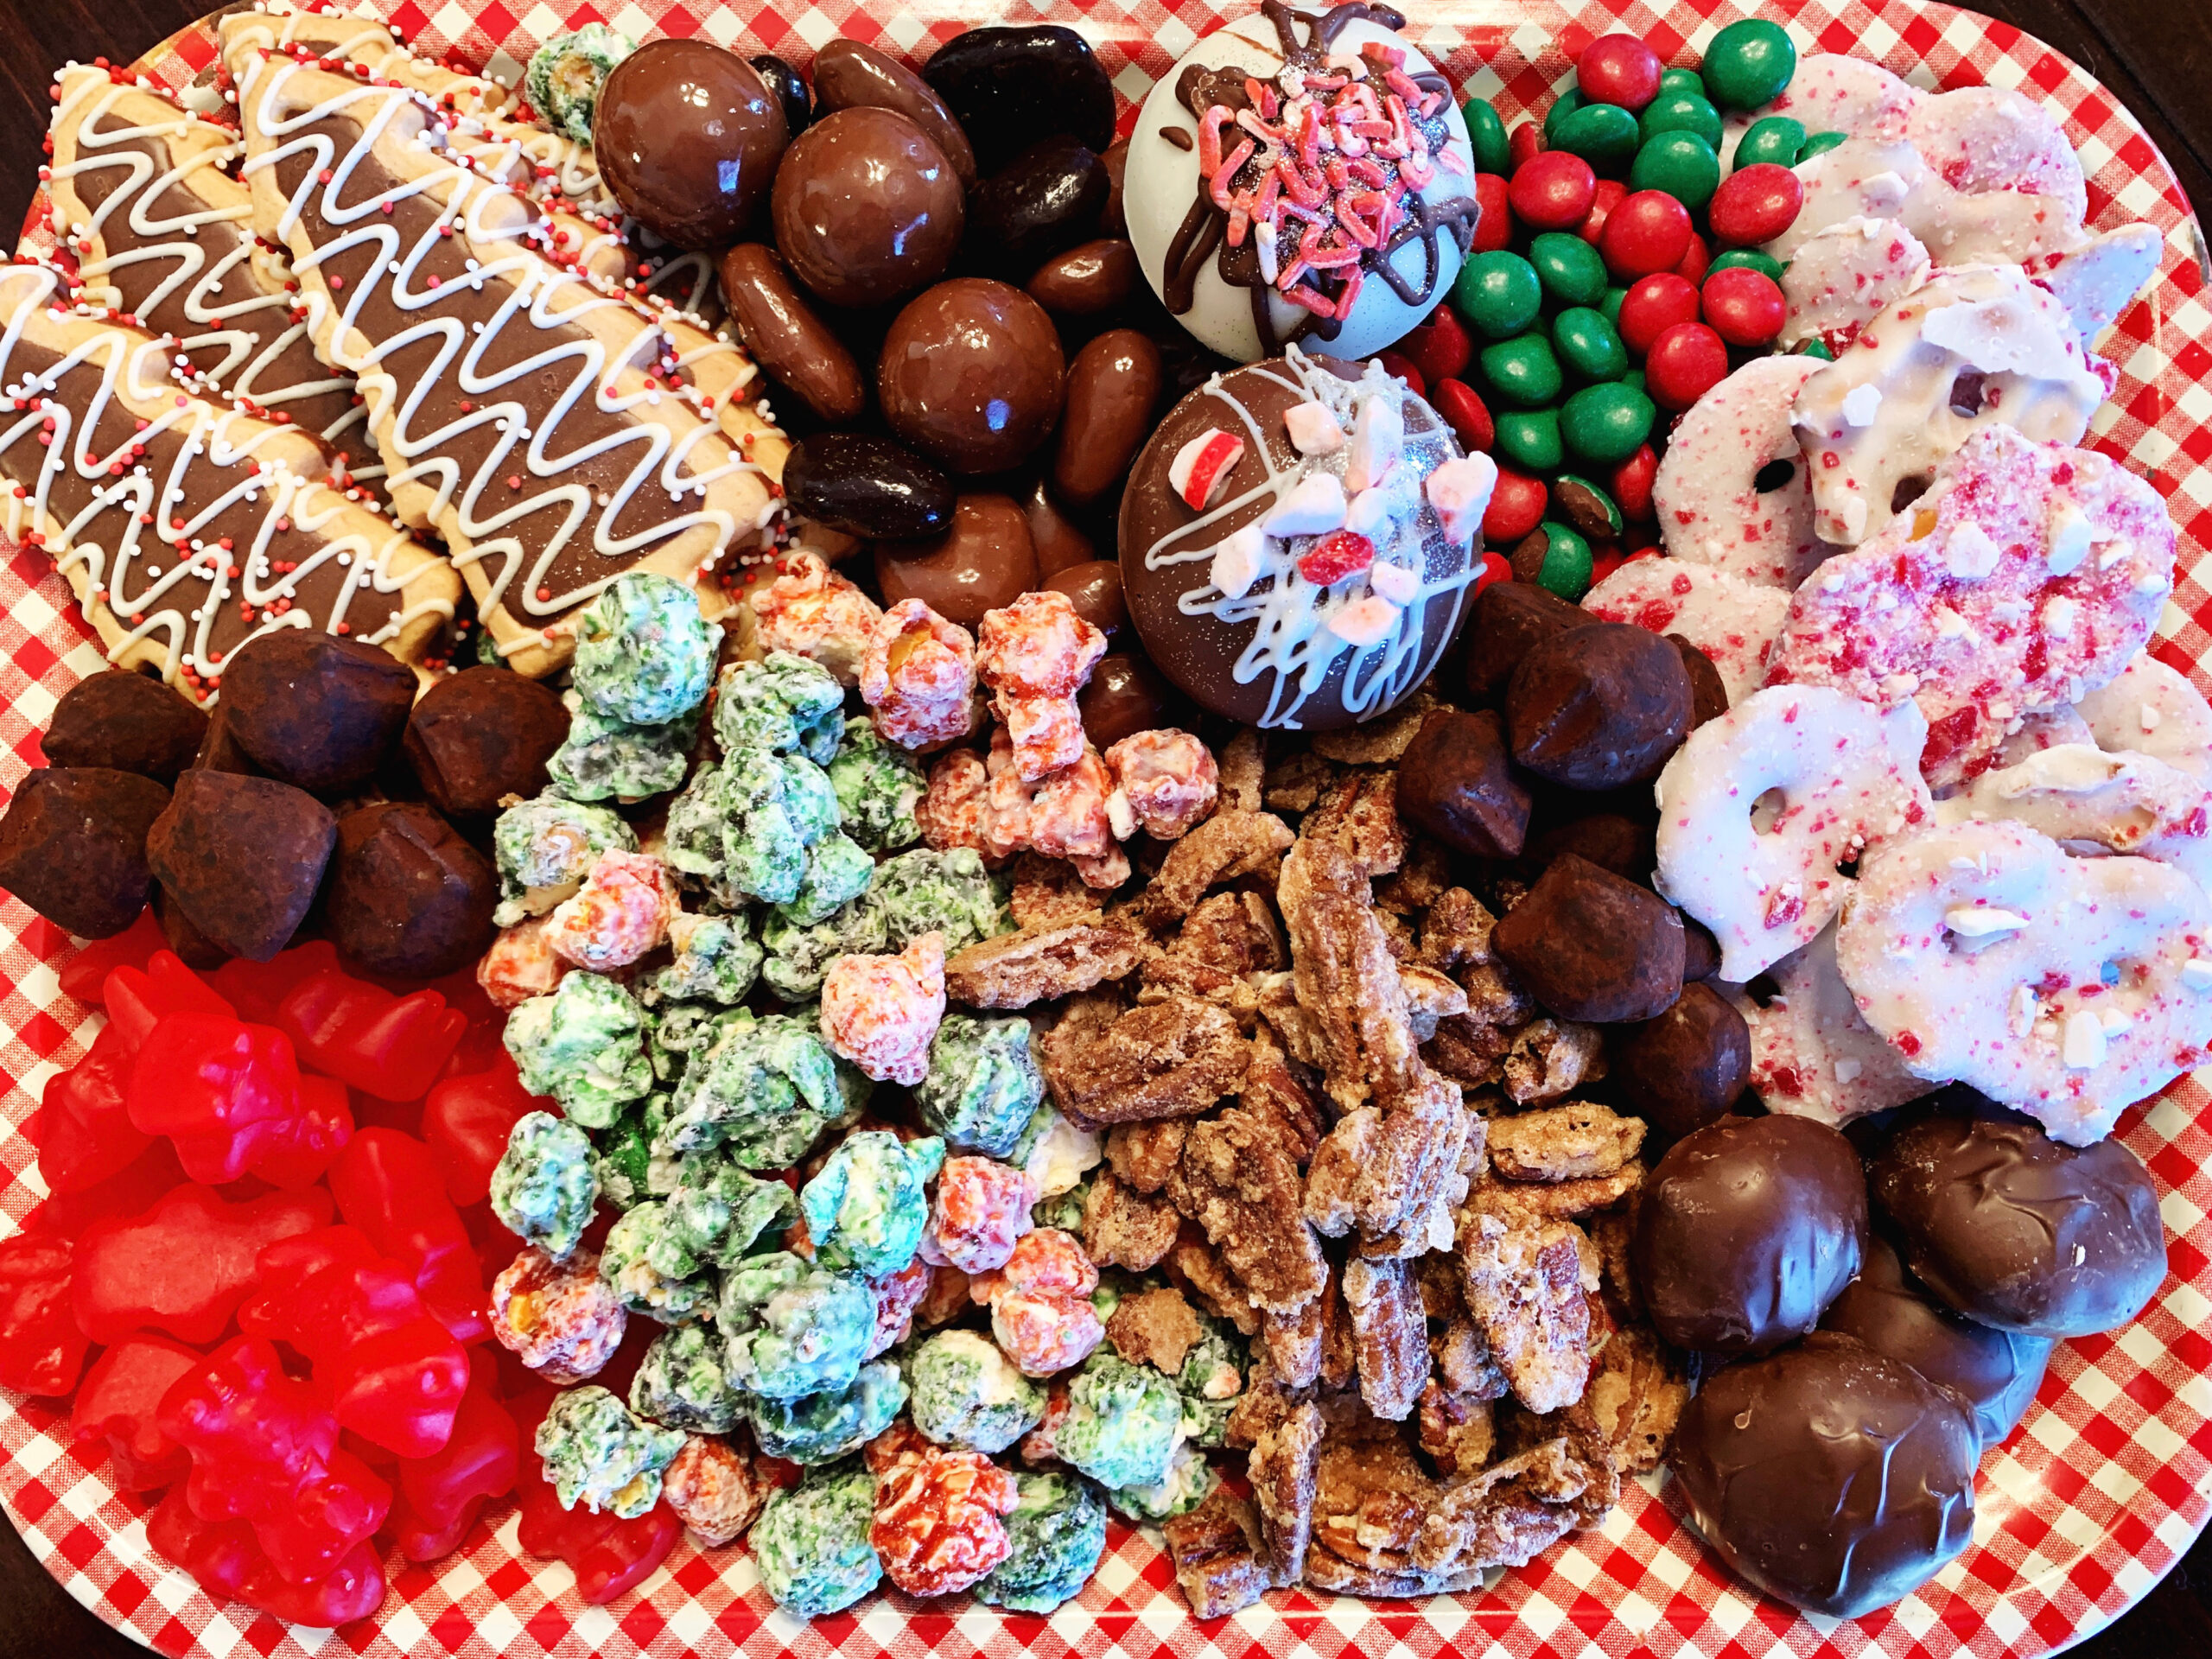
 Use a scoop and bag to stock up on bulk candy priced at $10/lb. My lemon macaroon was perfectly soft, and the no-bake cocoa cookie lasted only minutes.
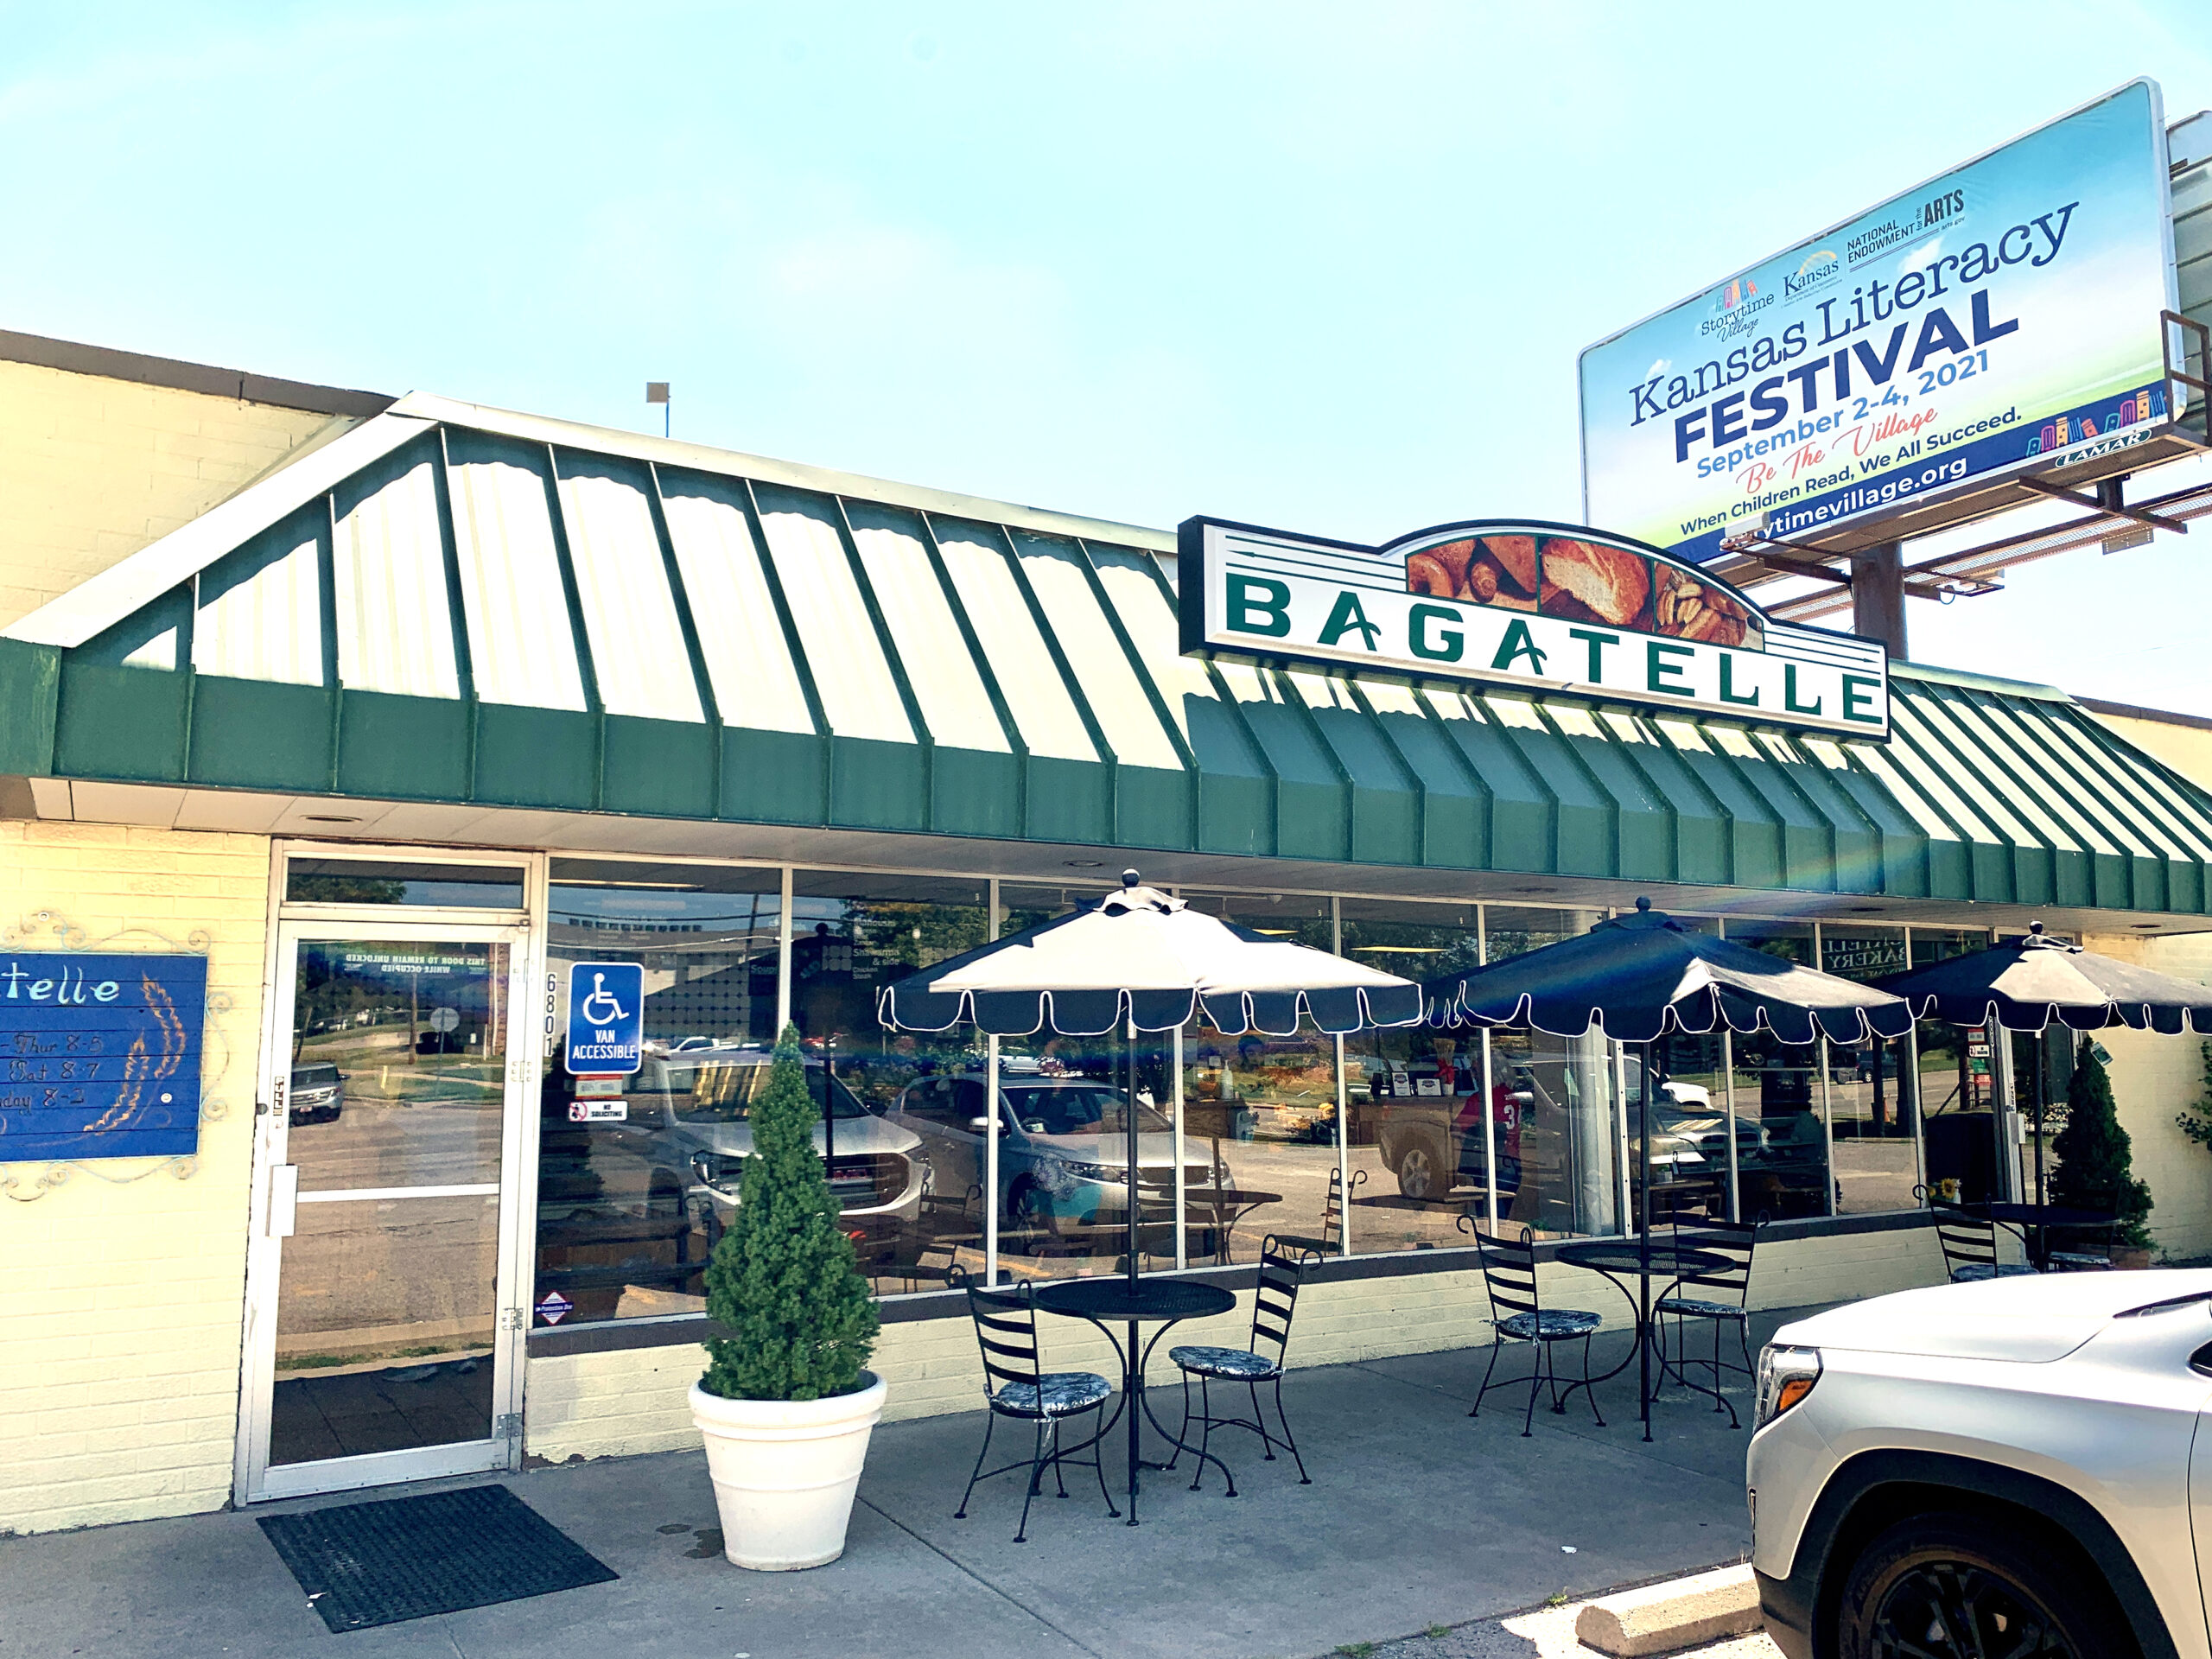 Other Wichita must-stops for donuts or pastries include
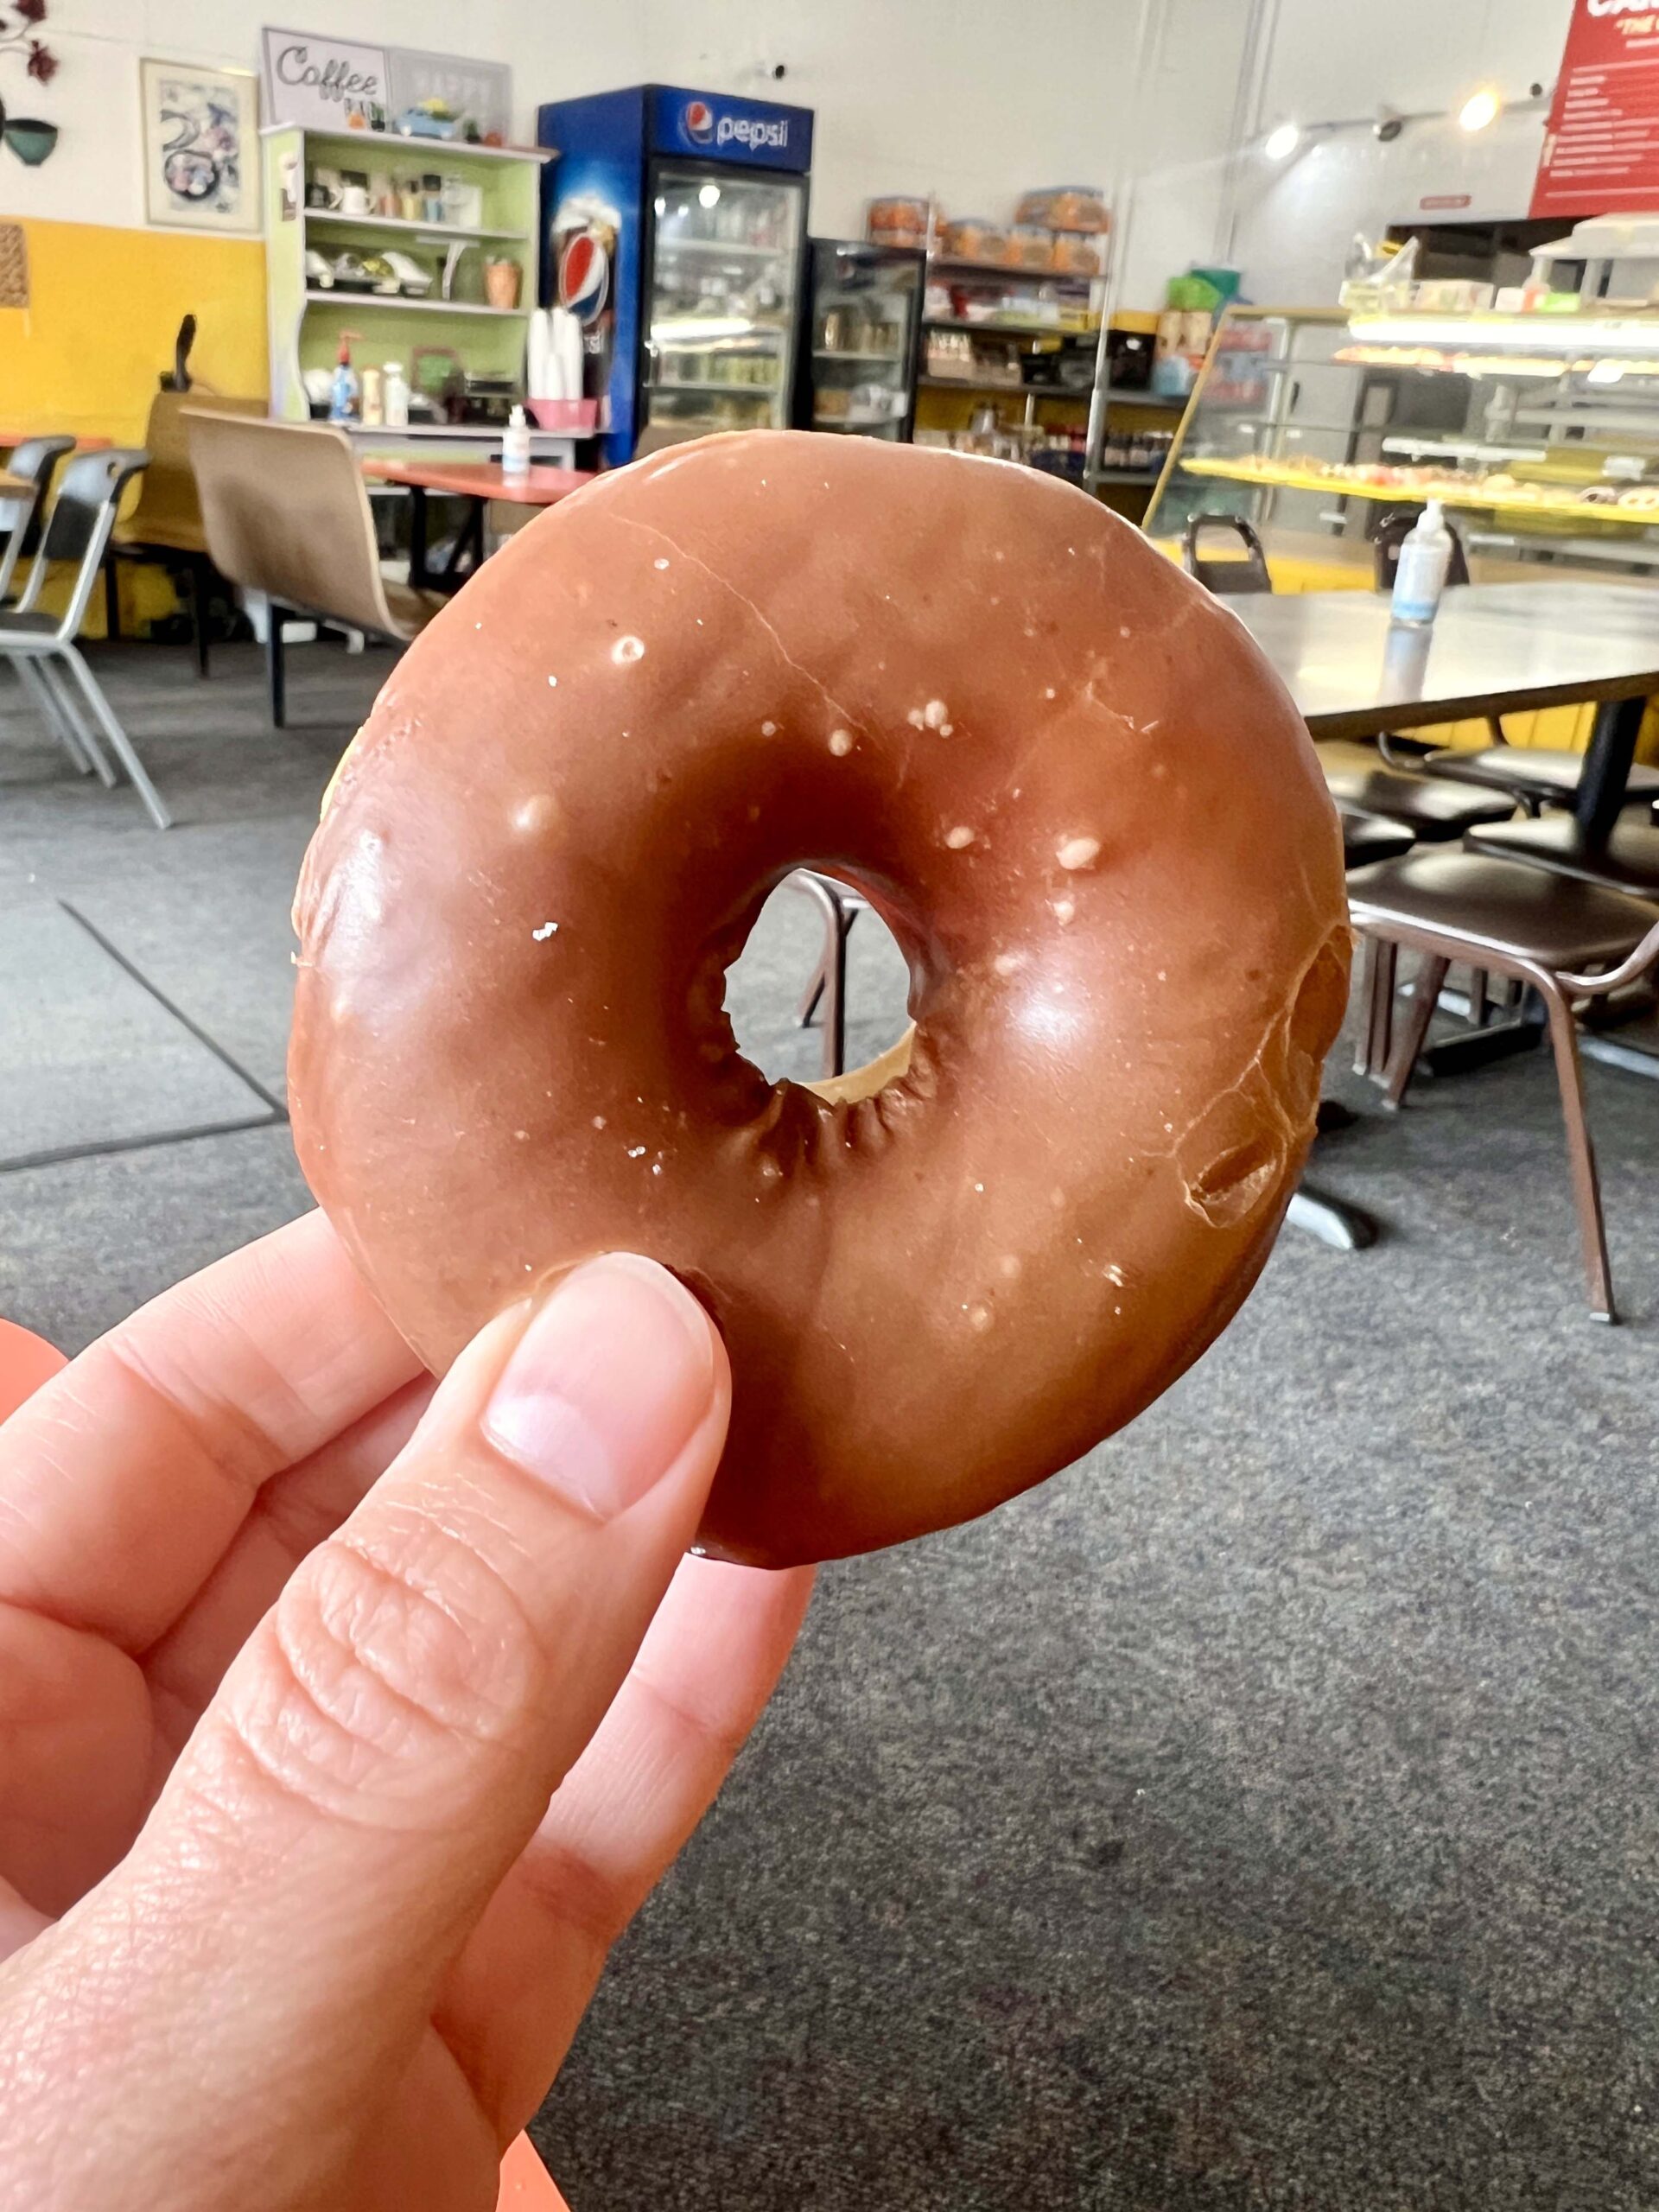
  As I devoured a chocolate cake donut and a melt-in-your-mouth glazed donut, customers came and went with brown bags filled with tasty early morning treats.
 If you’re not into sweets, consider ordering their yummy meat and cheese breakfast burritos – don’t forget to ask for salsa.
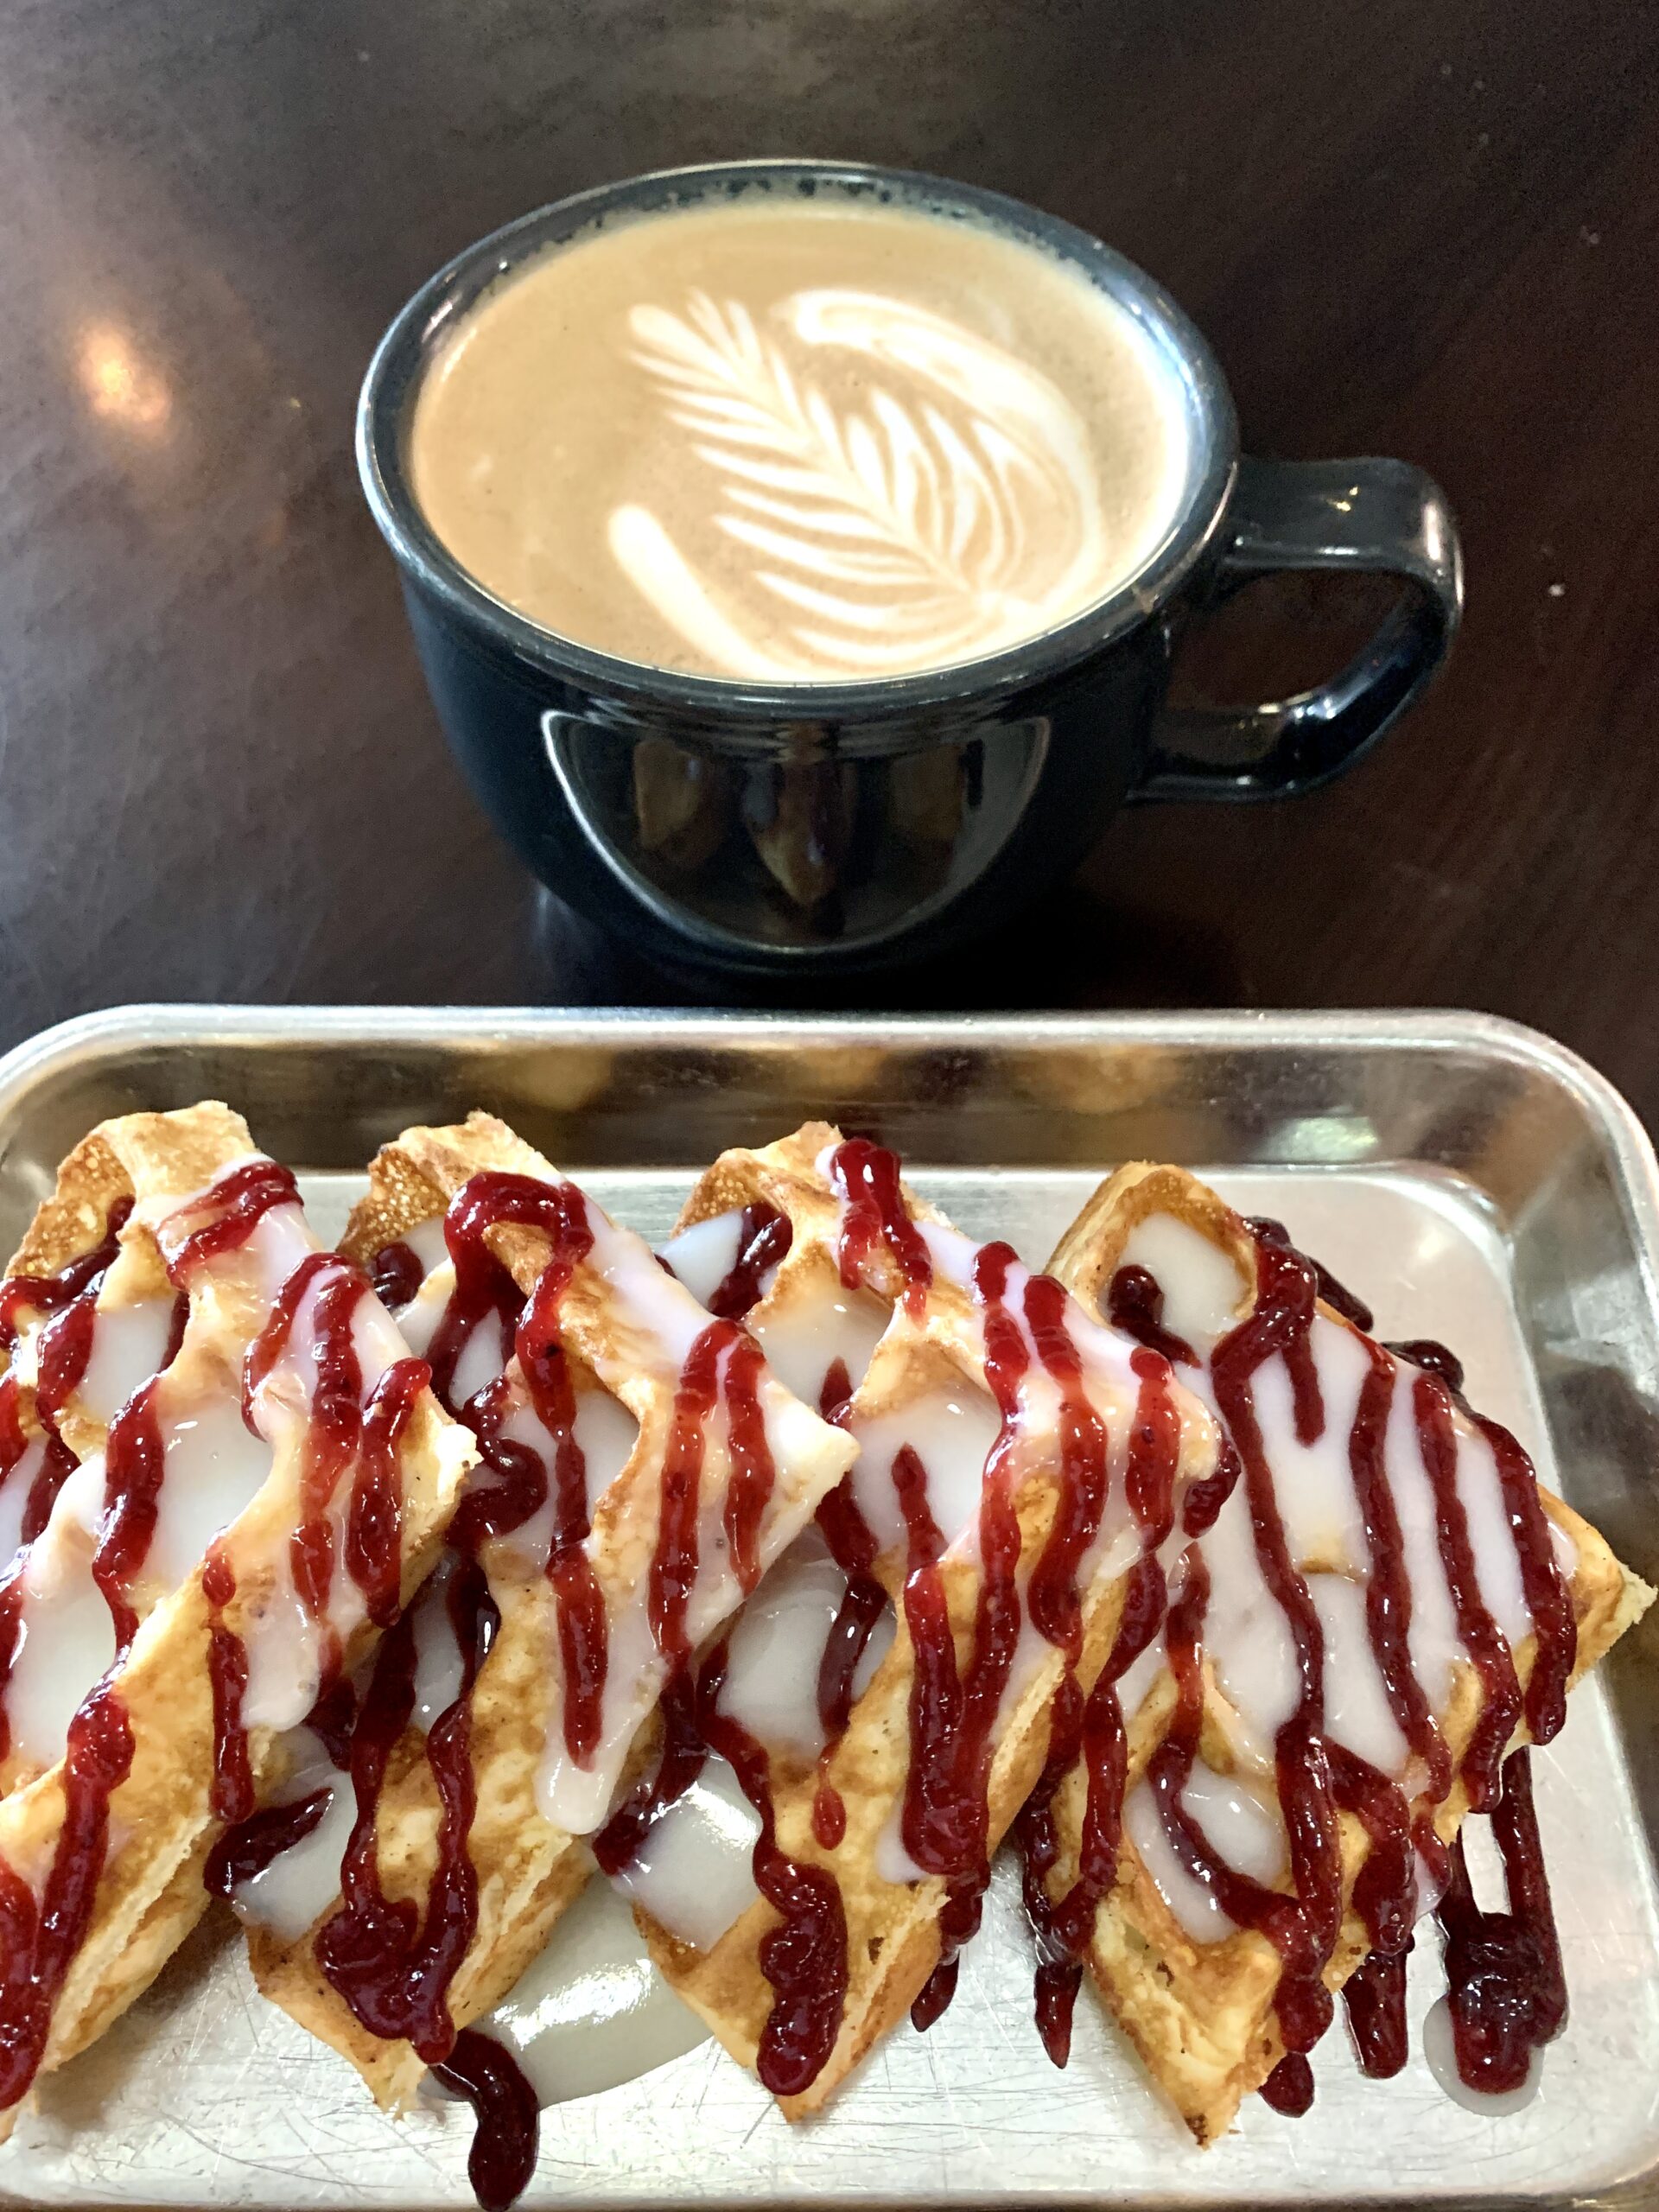 If you’re someone who loves to order a steaming cup of coffee with their breakfast, please read my blog post,