Disclosure: Explore Crawford Kansas sponsored my trip. All opinions and photographs are my own.
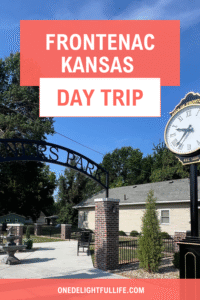
Frontenac, Kansas, is a town proud of its place on the map. Located on the Frontier Military Historic Byway, it is renowned for its rich coal-mining history and vibrant community spirit, making it one of my top small-town destinations in the Southeastern region.
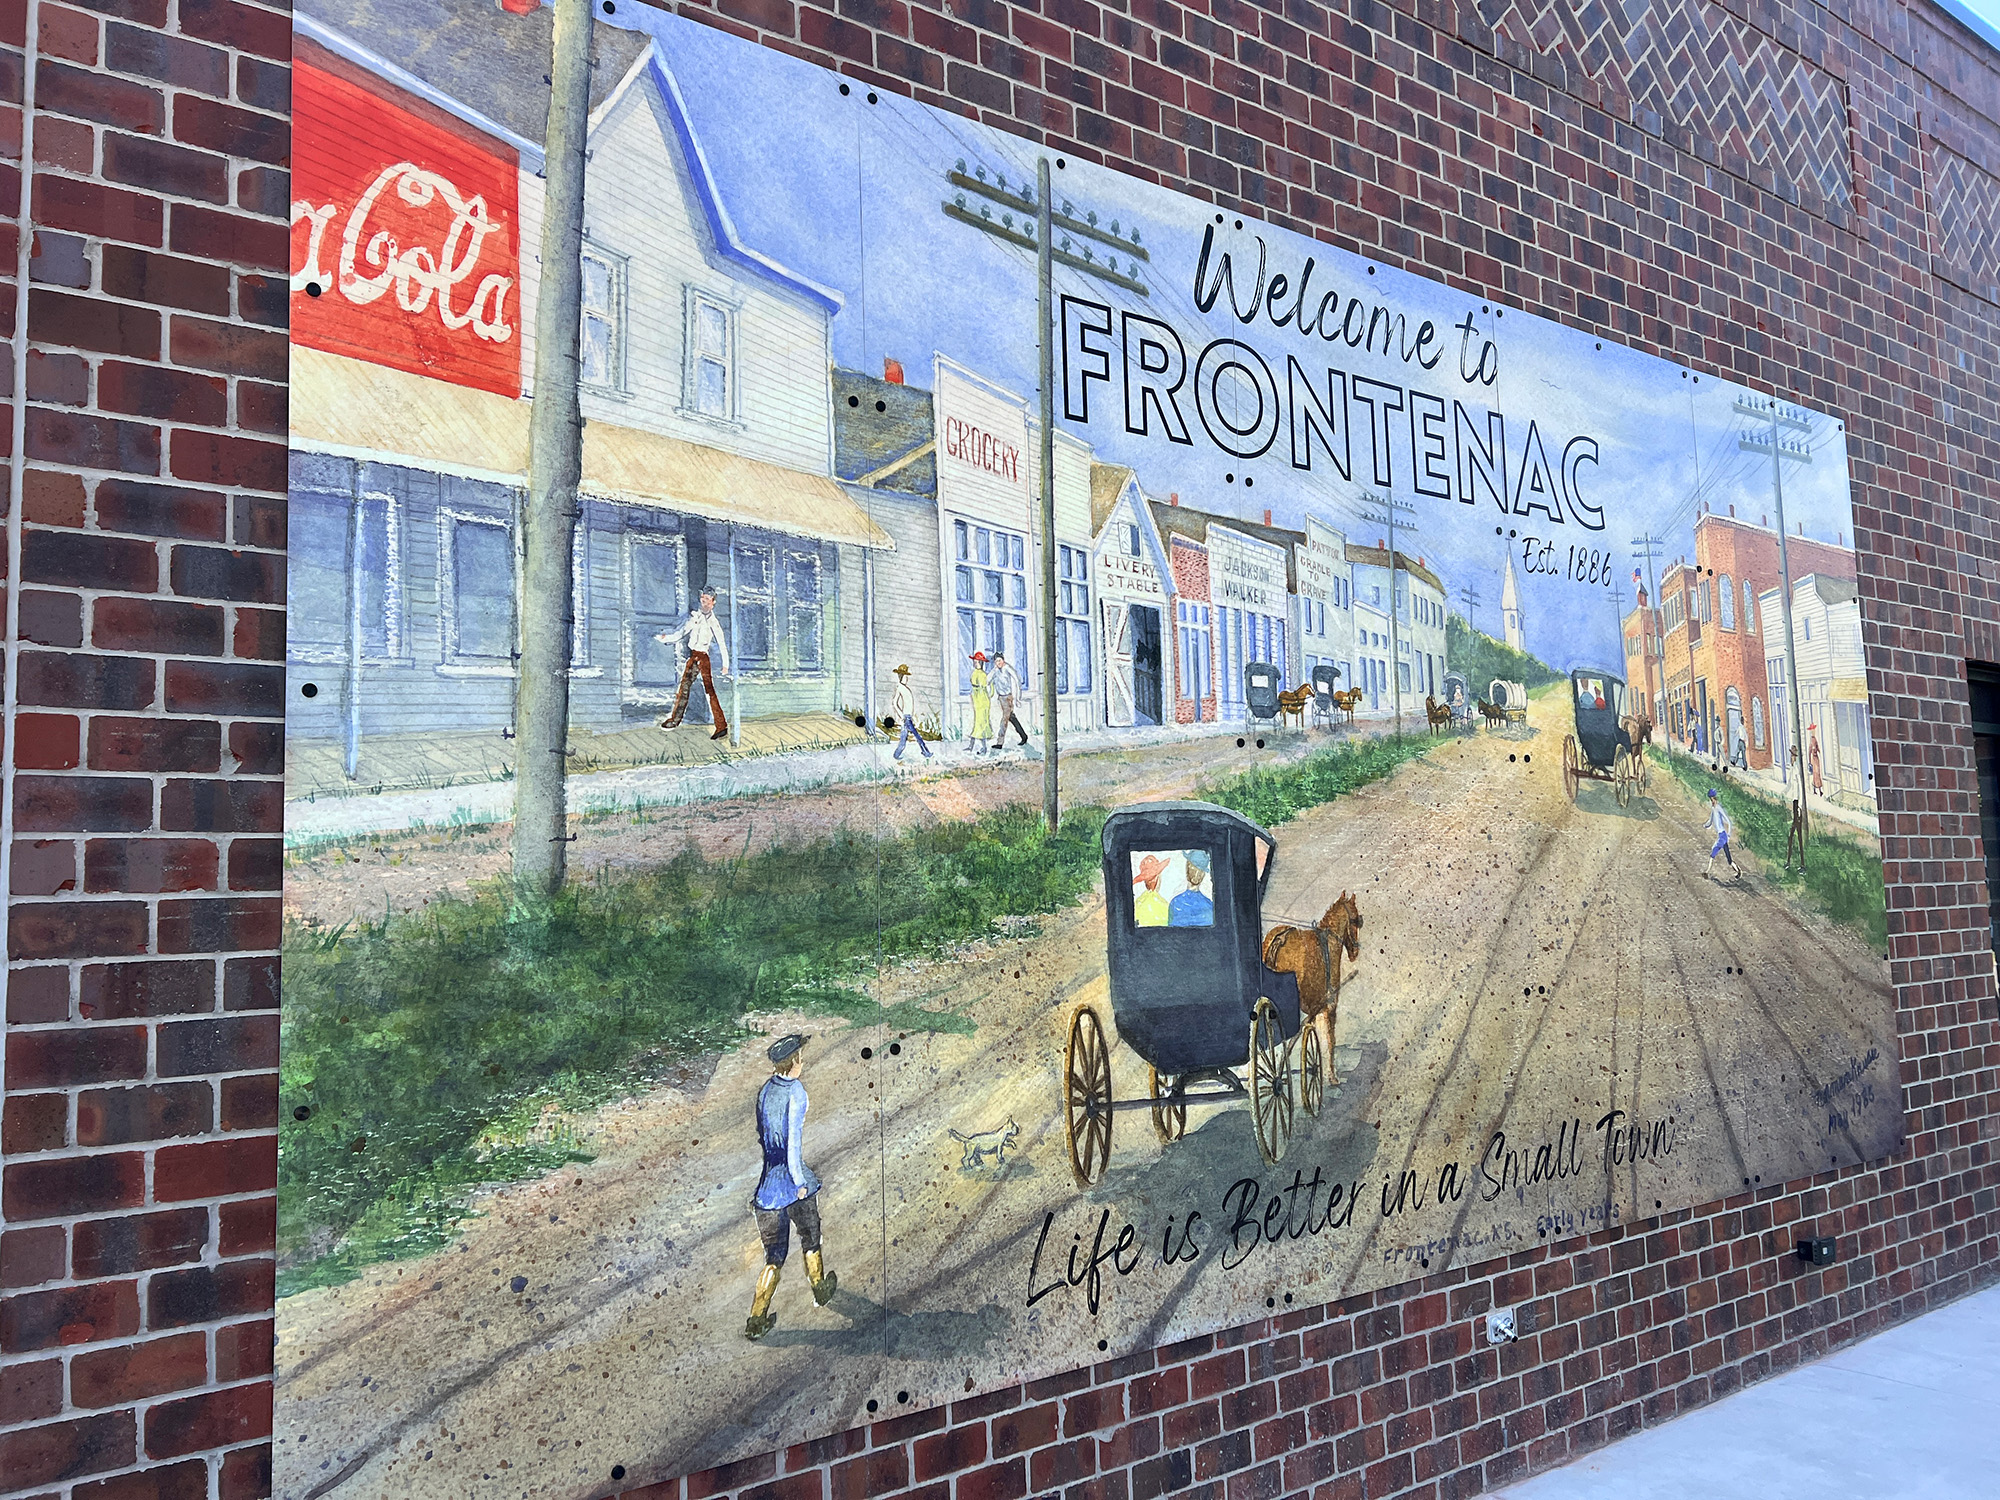 Founded in 1886, Frontenac is the second largest city in Crawford County and is located less than a 10-minute drive northeast of Pittsburg. The population boomed after the Santa Fe Railroad attracted immigrants to the area in search of work opportunities. An area rich with coal, immigrants mined in the Cherokee Crawford Coal Fields, which was a primary occupation until World War II.
Today, the population totals almost 3,500 residents, and the ones I met were welcoming and kind. Everyone was eager to share their pride for Frontenac.
Find Your Fun in Frontenac, Kansas: Where Coal Mining History Meets Community Spirit
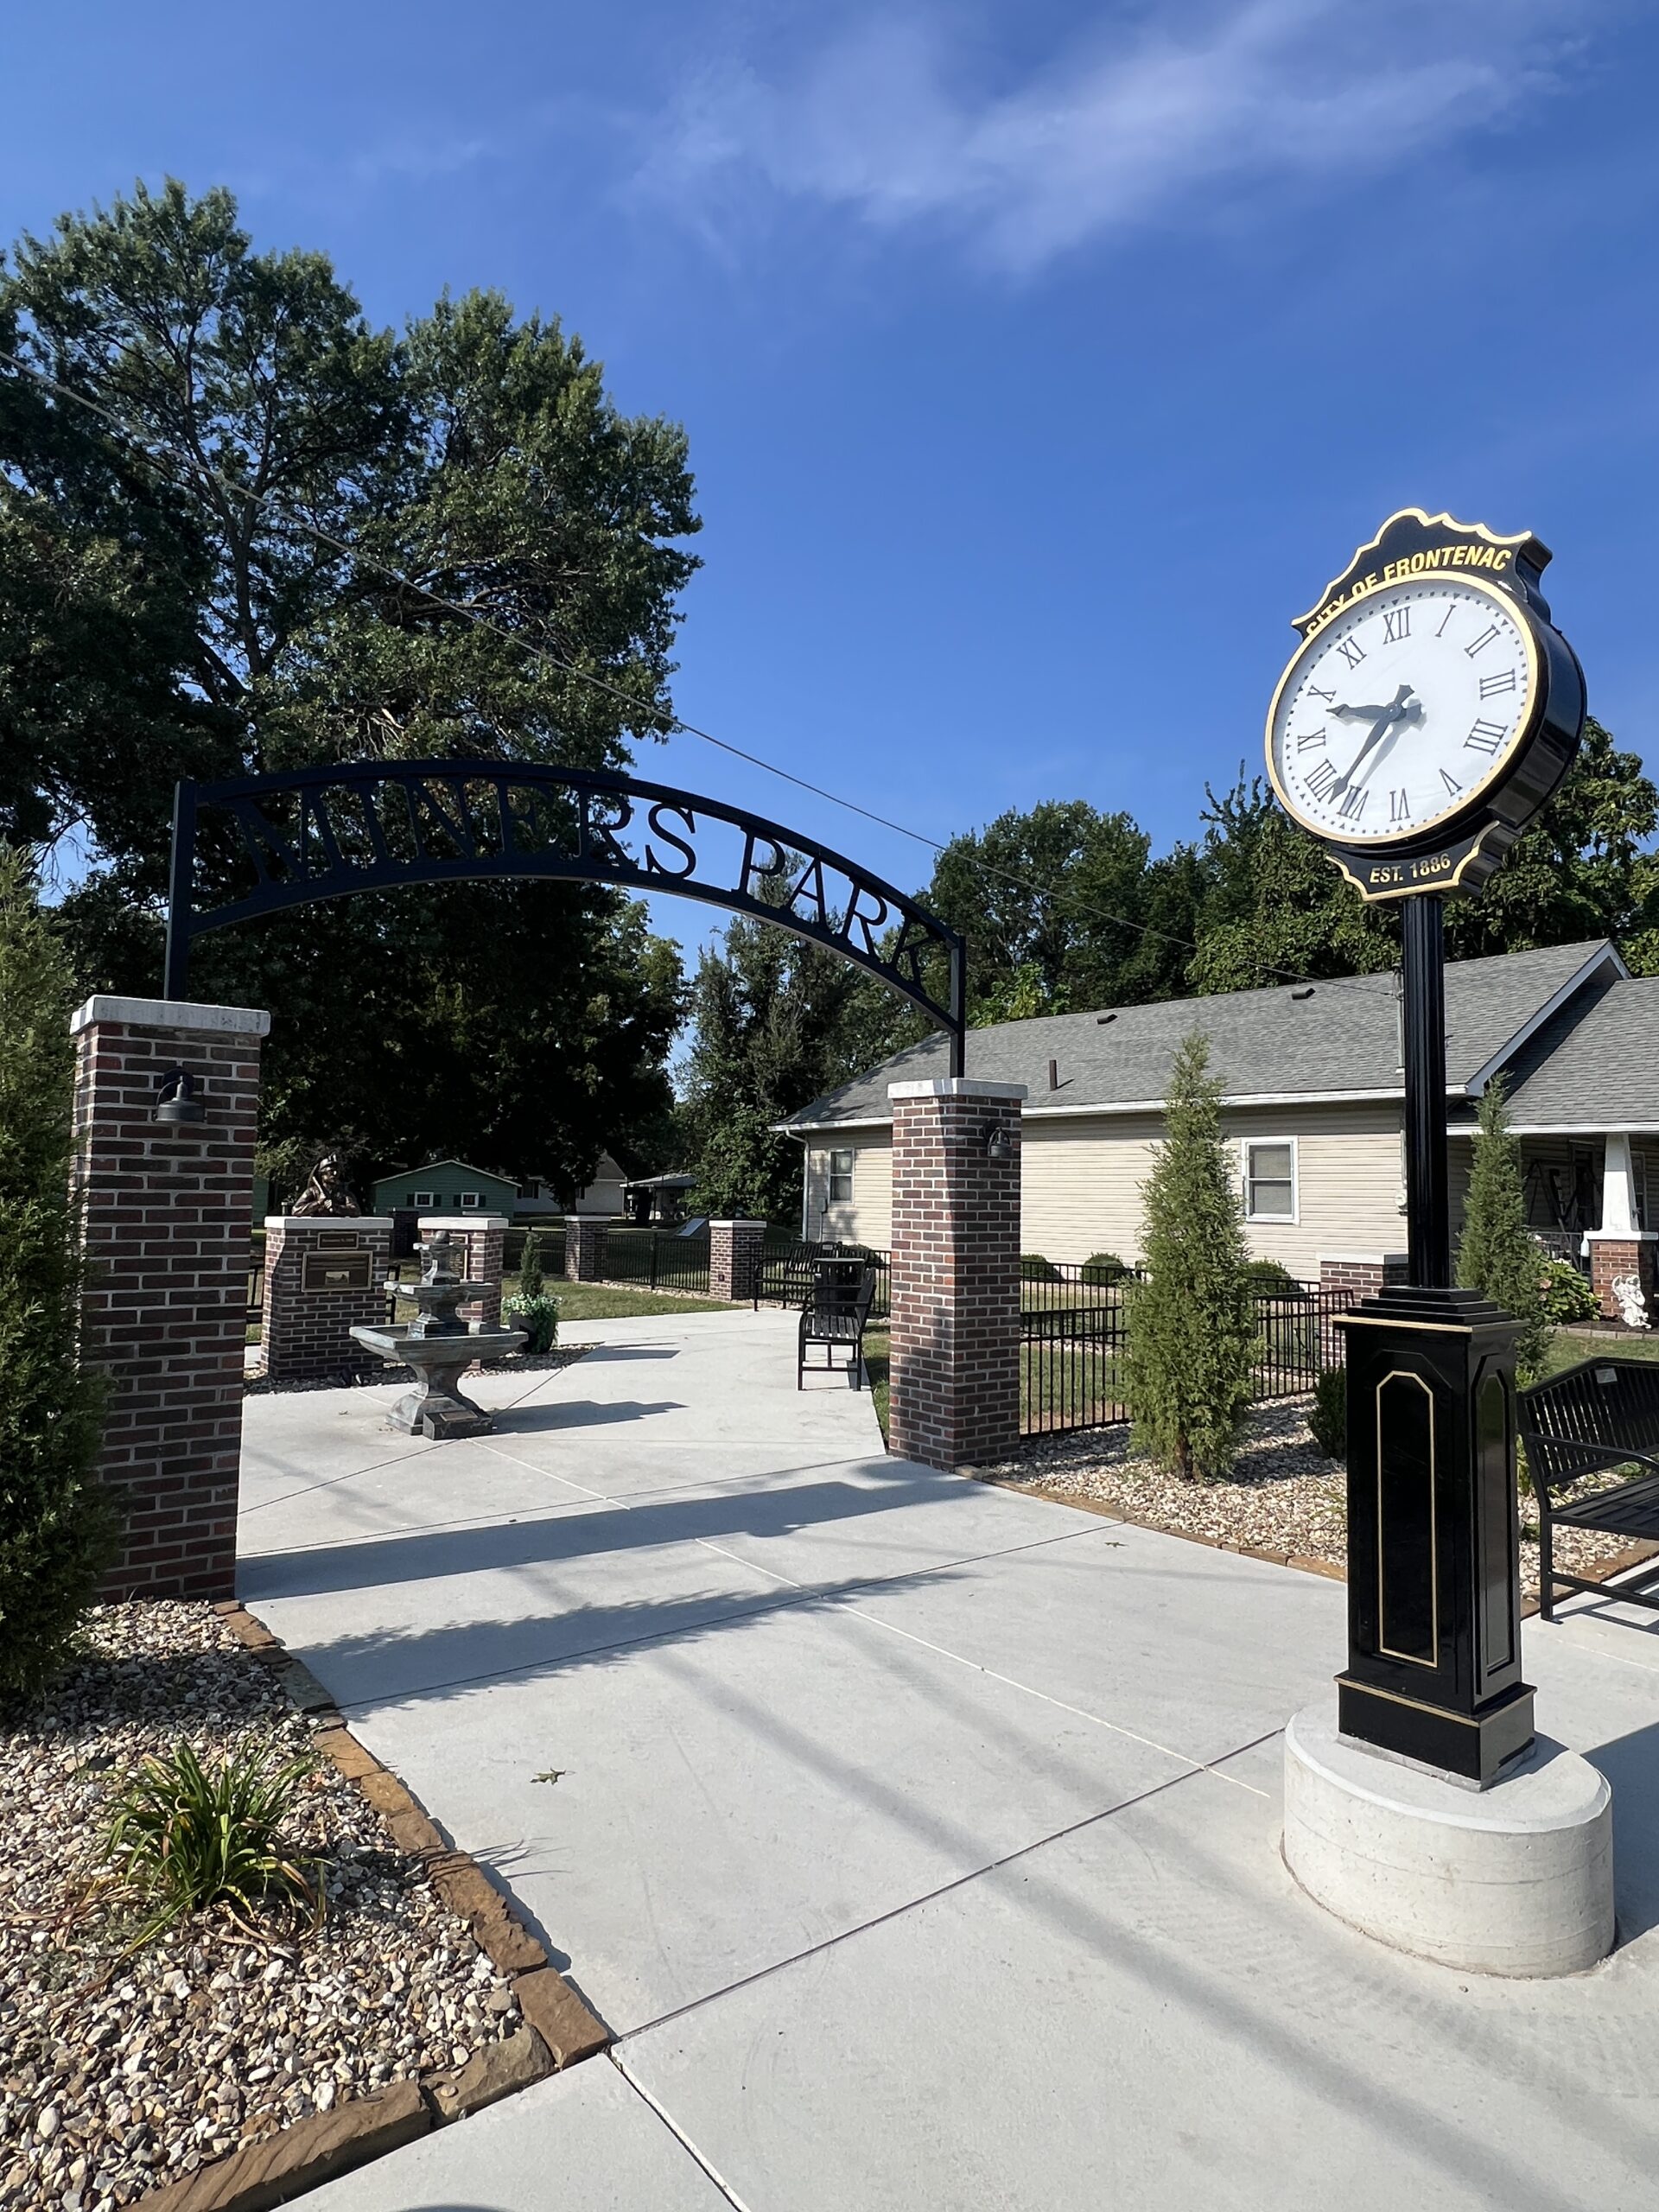
Miners Park
Your first stop when touring Frontenac should be Miners Park, located across the street from the new Frontenac Public Library (200 E. McKay) in the heart of downtown.
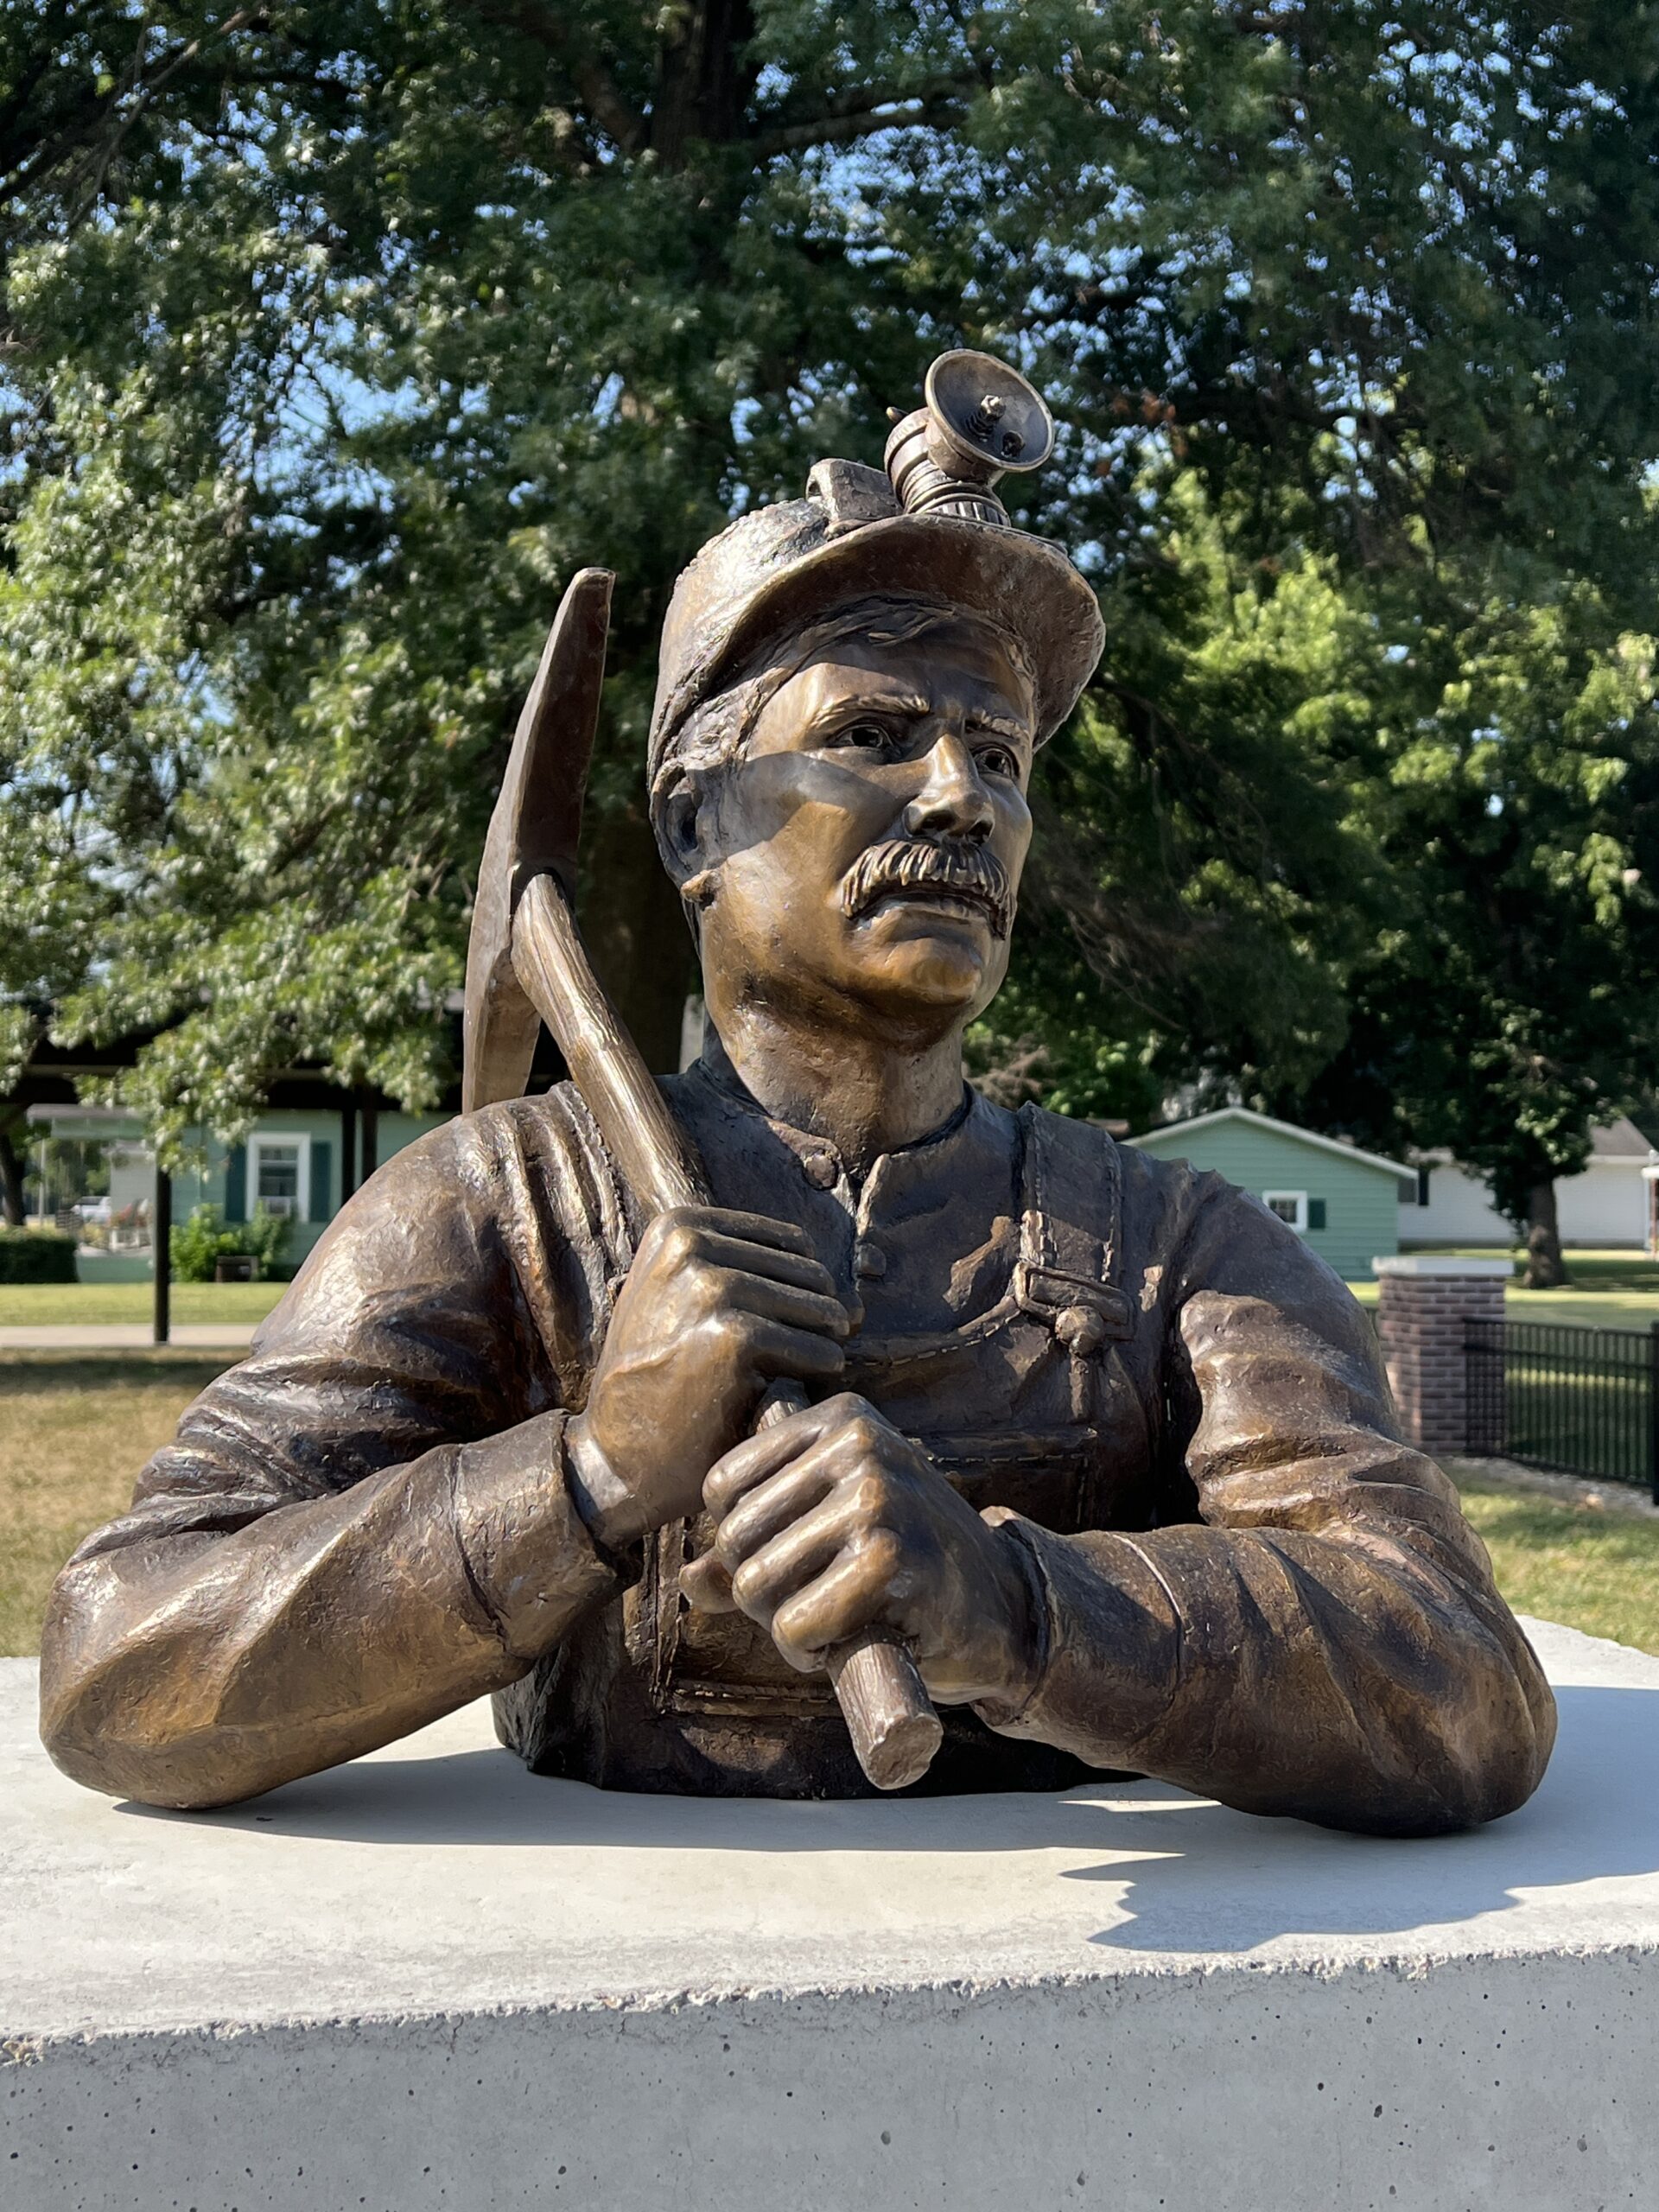
 The memorial honors the miners who lost their lives in the worst mining disaster in Kansas history at the Cherokee and Pittsburg Coal and Mining Company Mine No. 2 on November 9, 1888. Family members gathered at the mine’s entrance, distraught and waiting for news about their loved ones, many of whom did not survive the dust explosion.
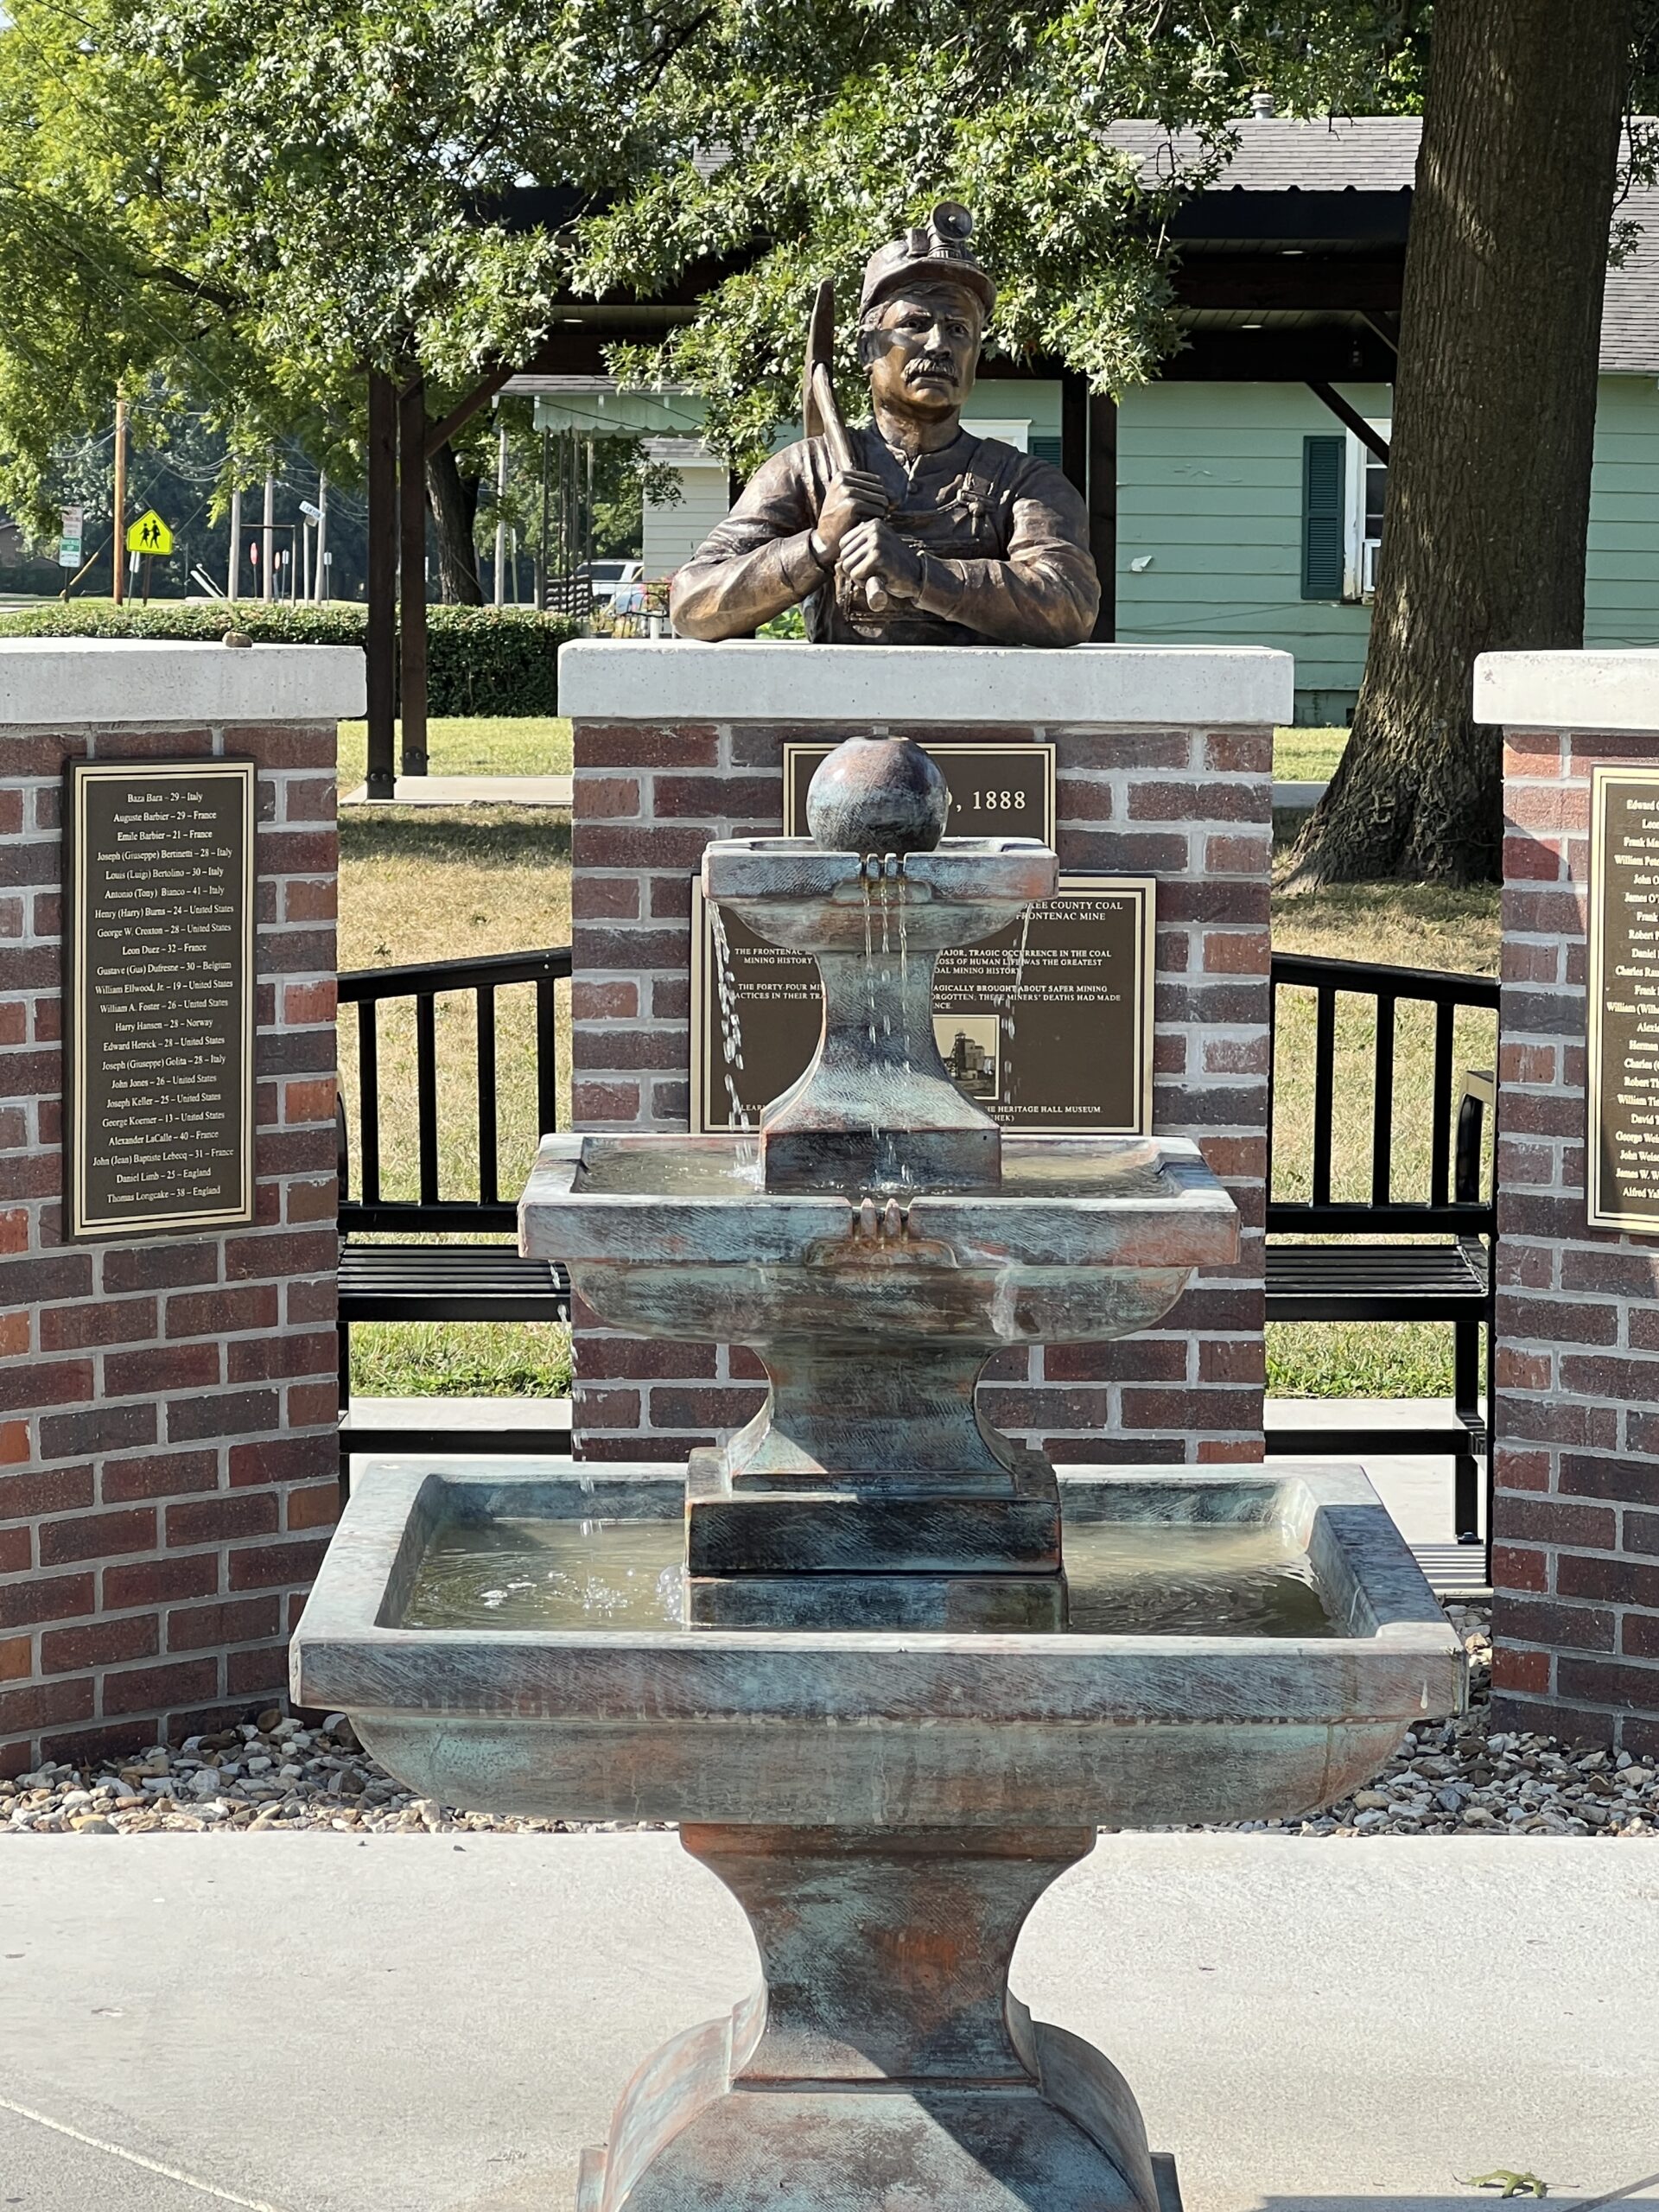 Whenever I approach a memorial, I vow to read every name inscribed on it, and this time was no different.
 PRO TIP: Clear your calendar to attend Frontenac’s 140th birthday at Mining Days on June 5-7, 2026. The Heritage and Homecoming Celebration is an annual event featuring family-friendly activities and historical tours. Don’t miss Little Balkans Days over Labor Day Weekend.
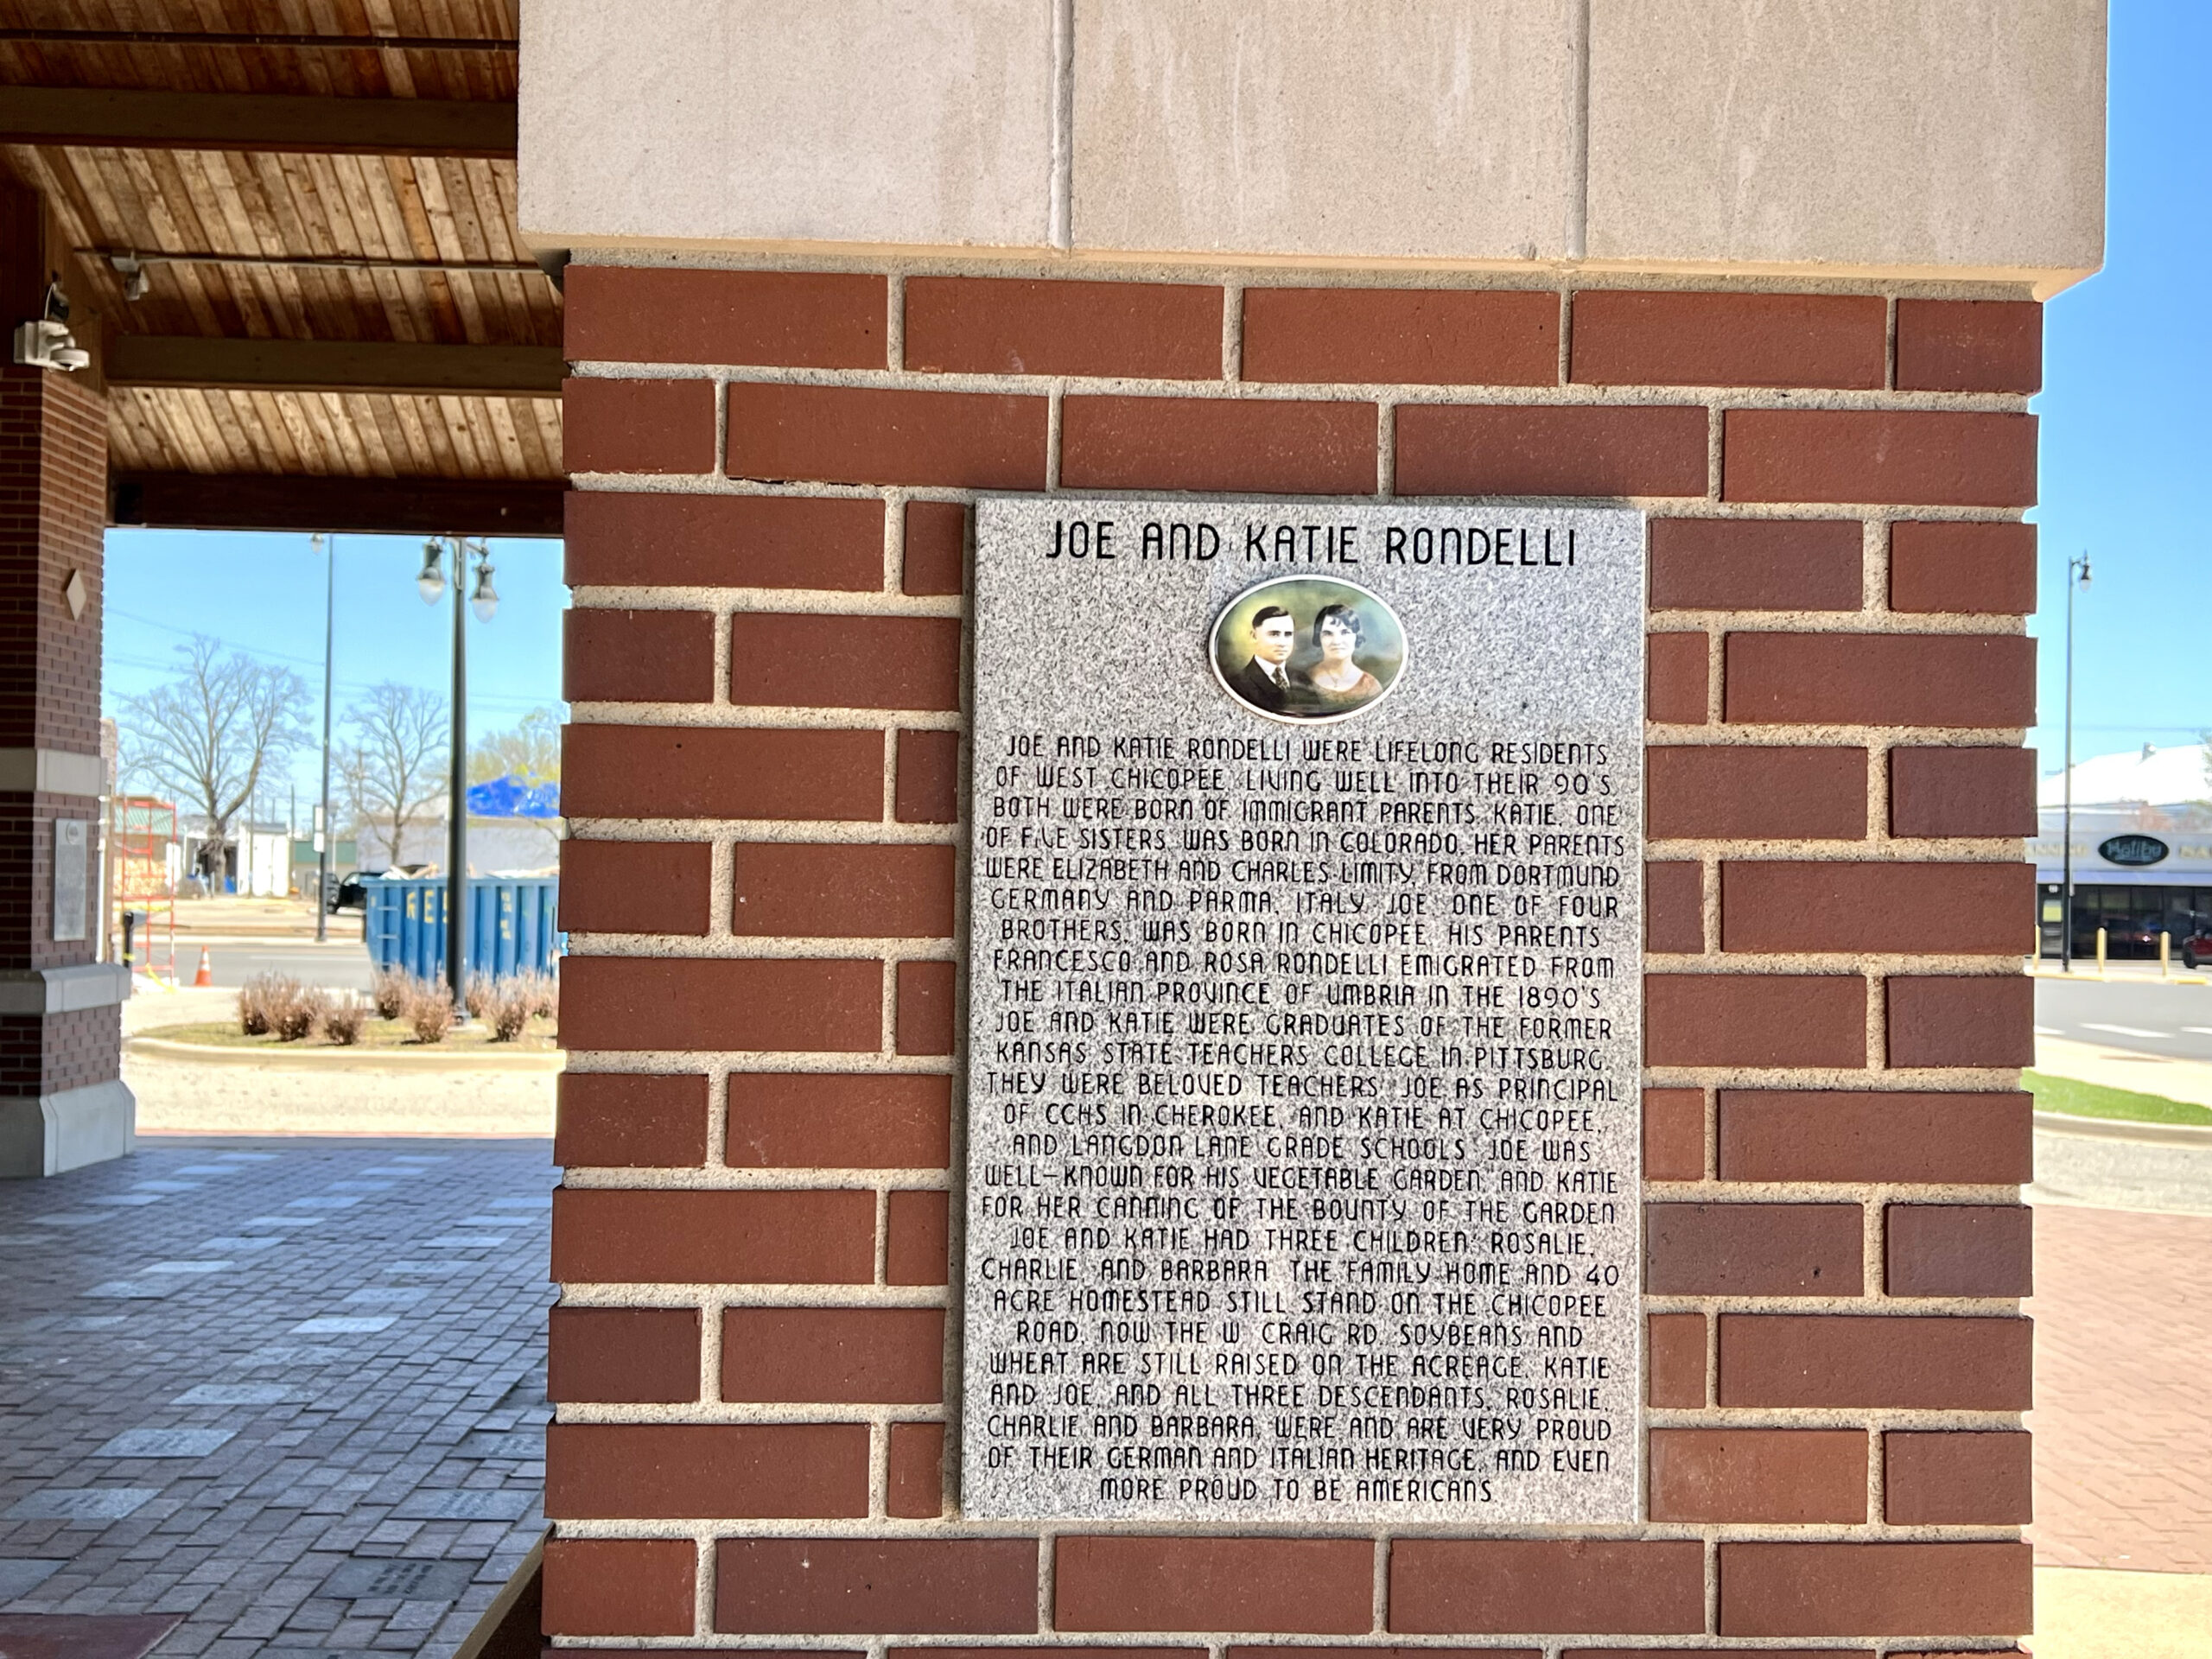
Heritage Hall Museum Inside Frontenac Public Library
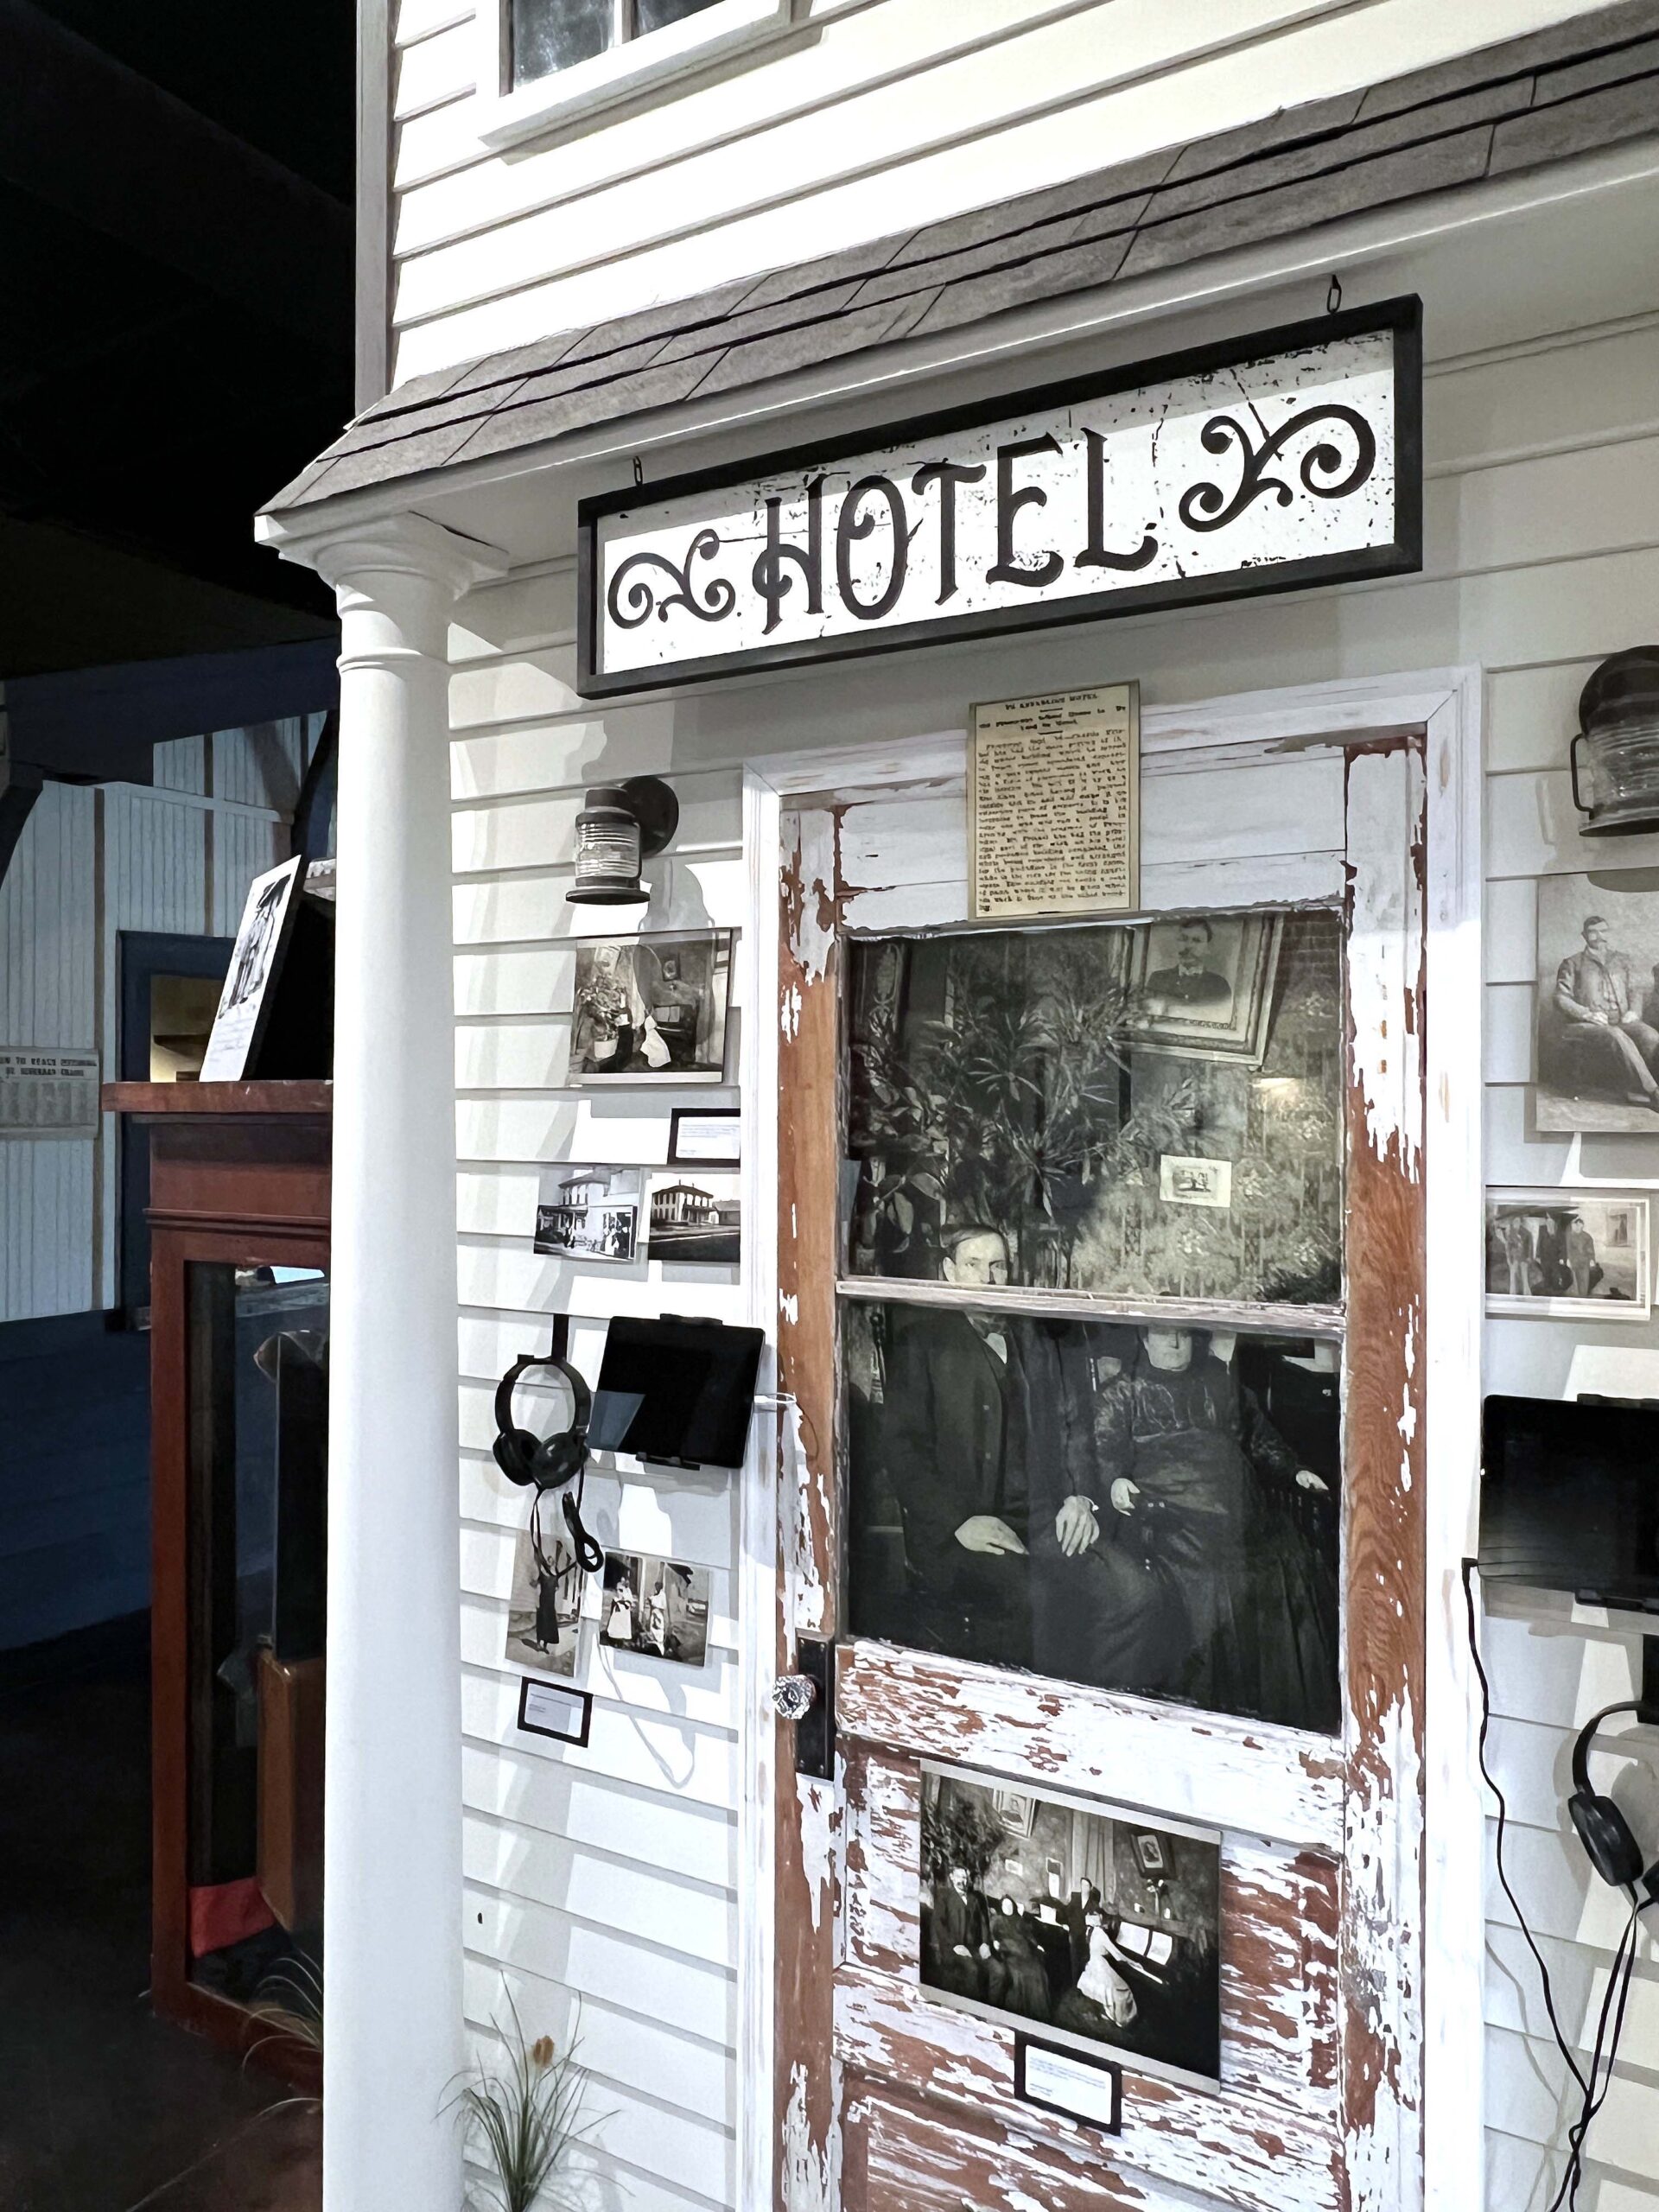
Not only is Frontenac home to a new museum, but the town also gained a new library in 2025. The Heritage Hall Museum (200 E. McKay Street) offers an immersive experience for visitors, featuring replica buildings and exhibits that bring Frontenac’s mining, entrepreneurial, and religious past to life, while honoring its roots in Southeast Kansas dating back to 1886.
I can’t emphasize enough how impressive this museum is, particularly in its handcrafted design and thoughtfully curated artifacts.
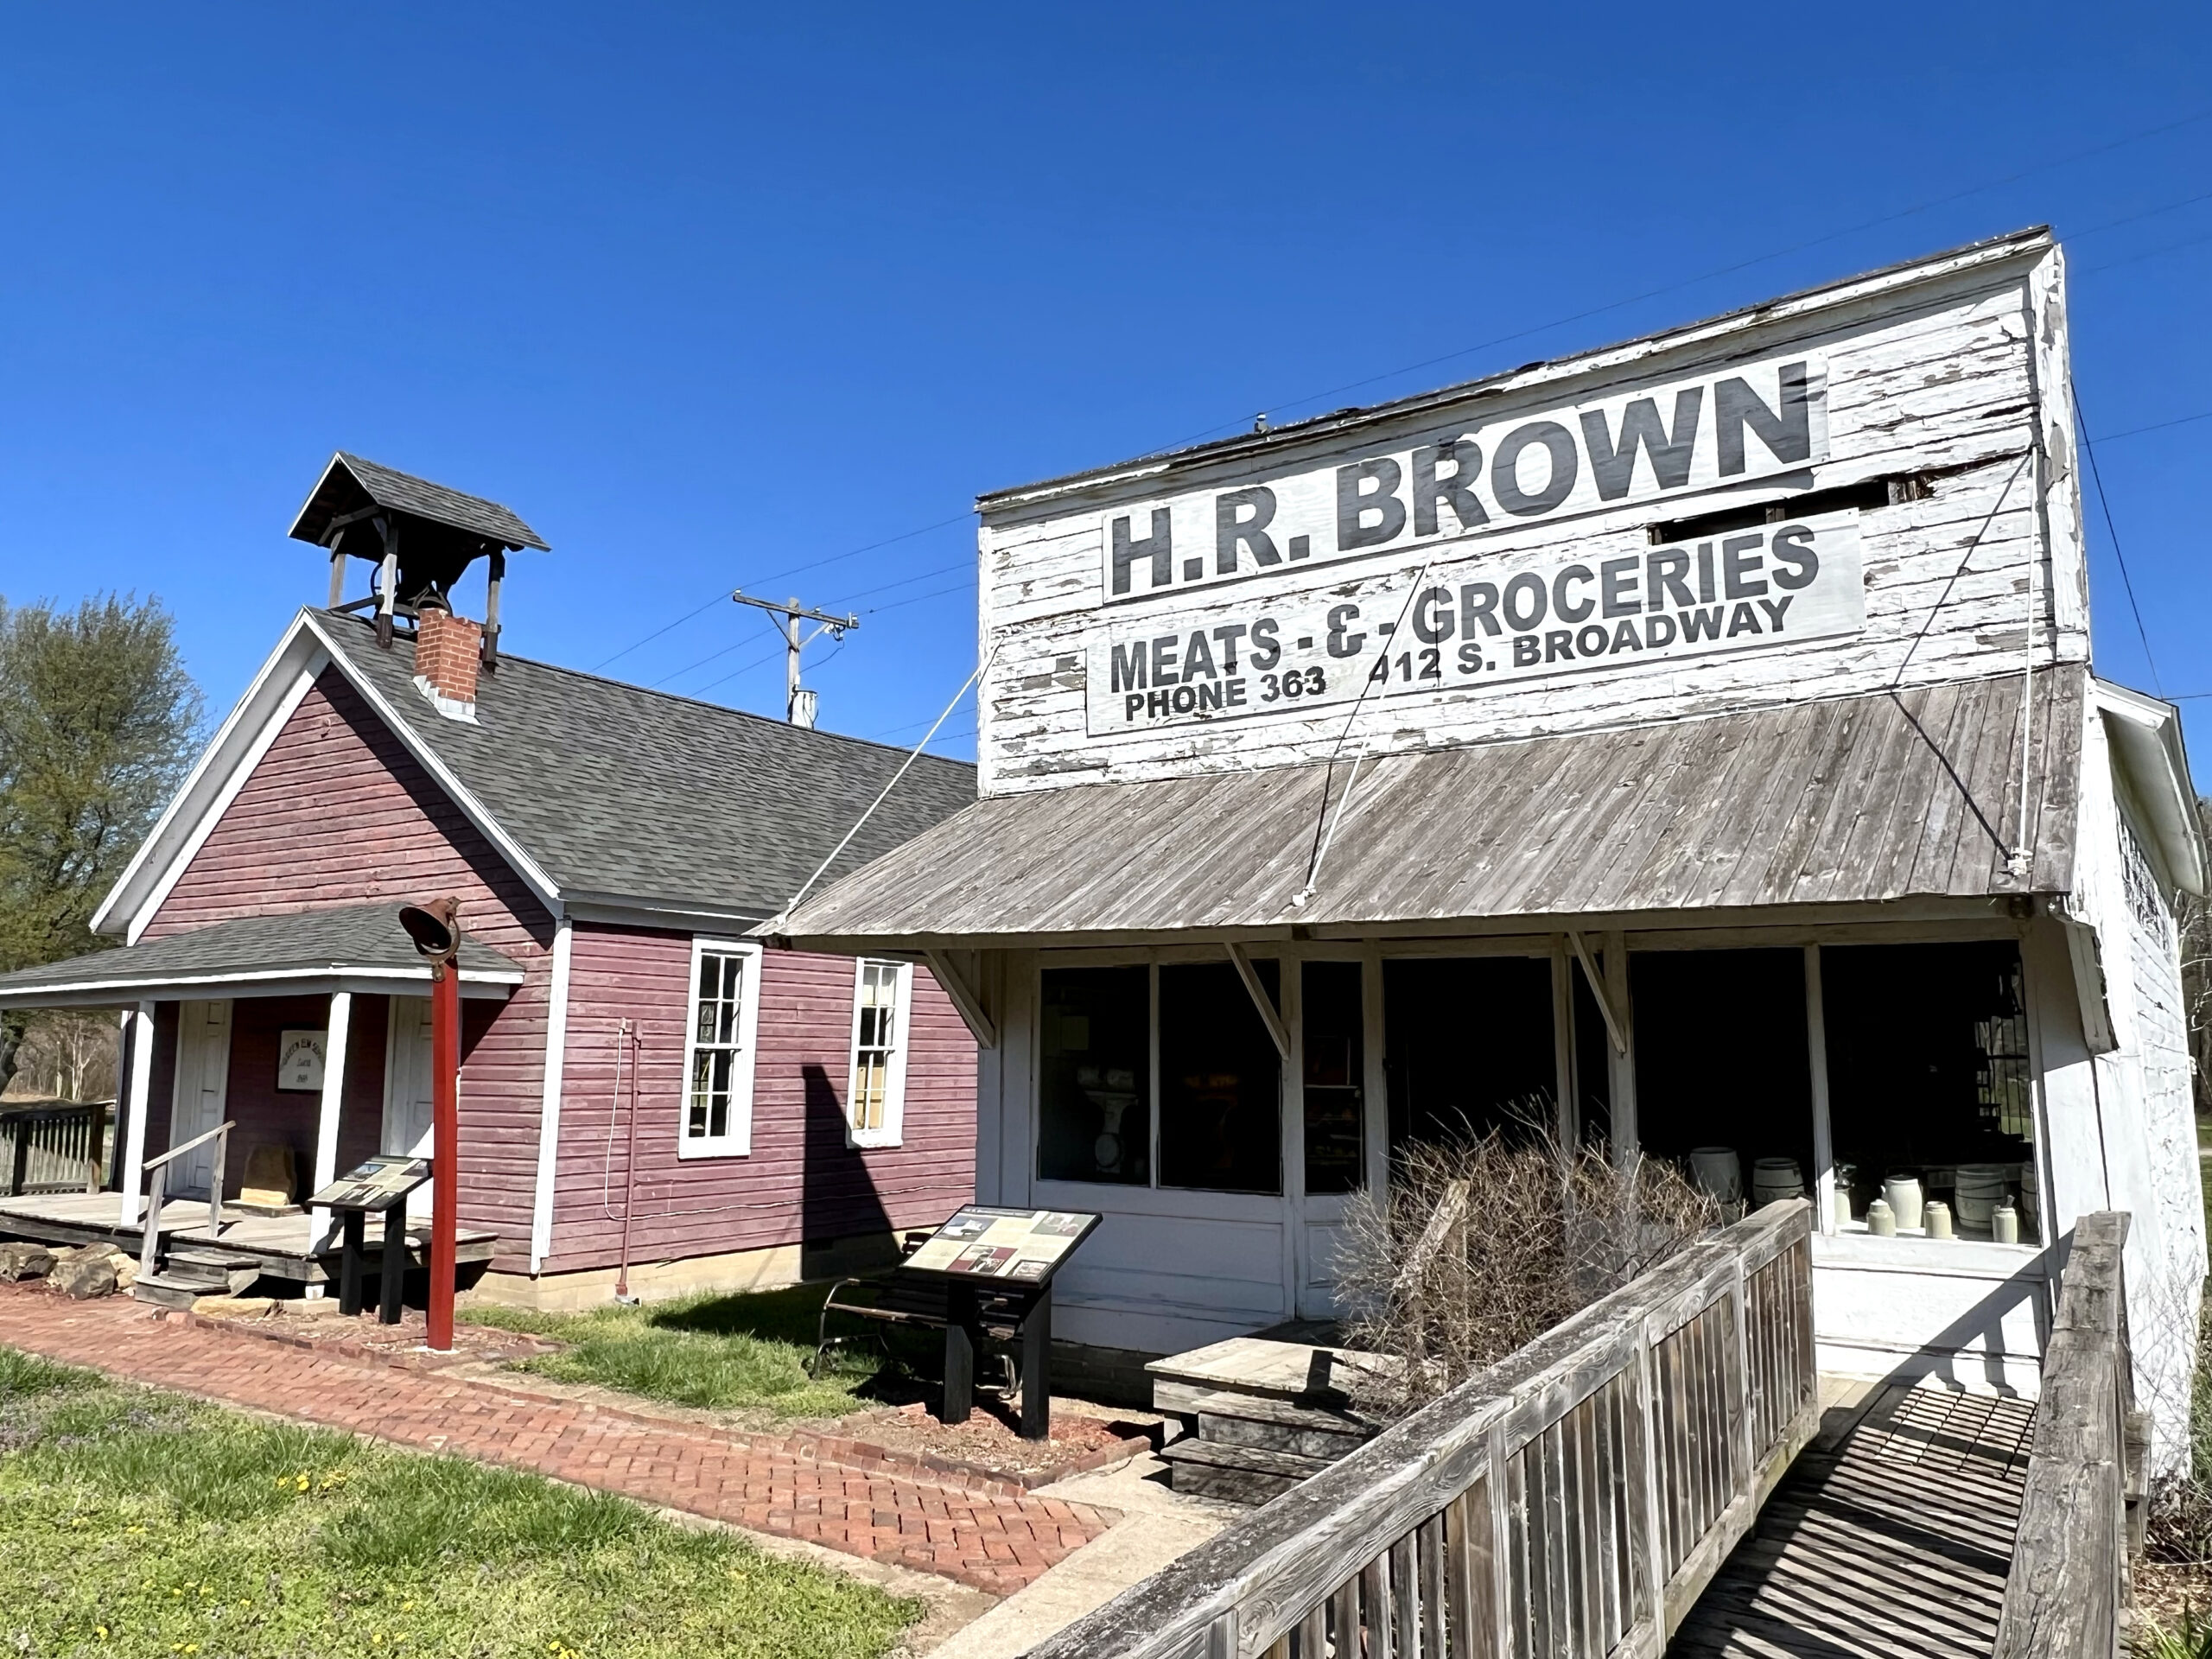
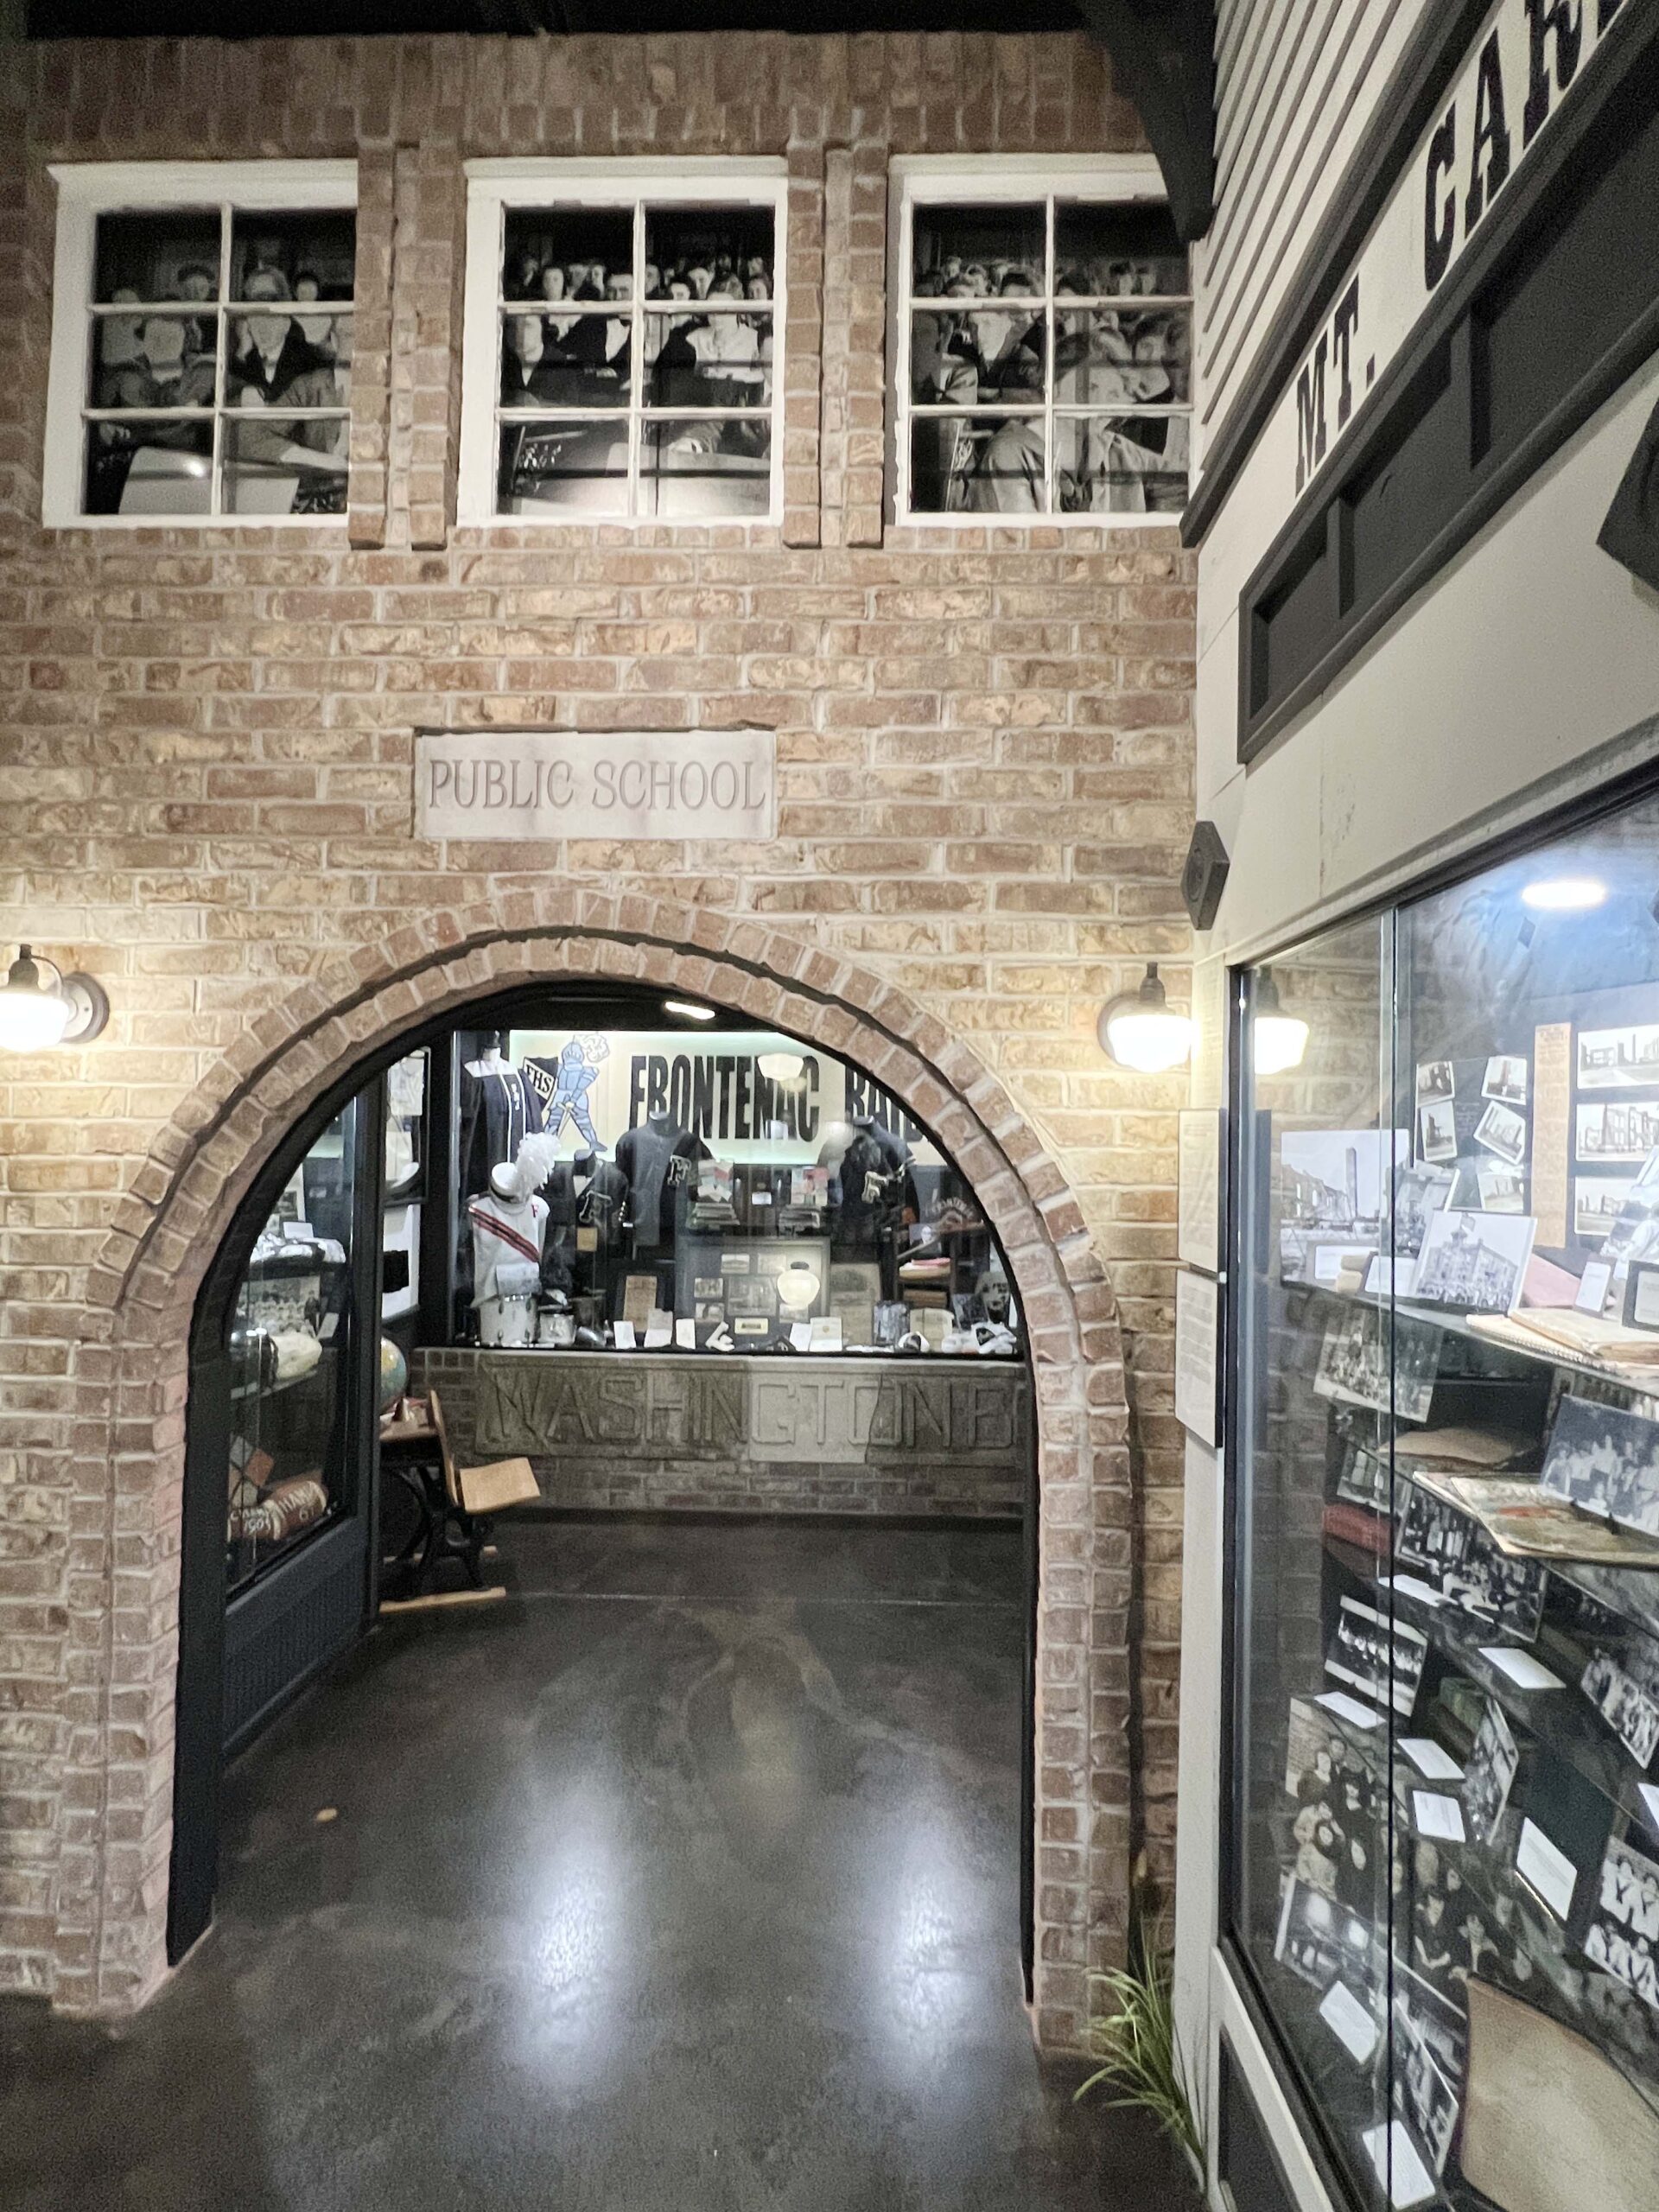 Frontenac residents have a lot to be proud of, and you owe it to yourself to visit the Heritage Hall Museum at the Frontenac Public Library. Museum-goers begin a self-guided tour at the front desk. Meandering through a pathway that led me to each replica building felt like I was stepping into Frontenac’s past.
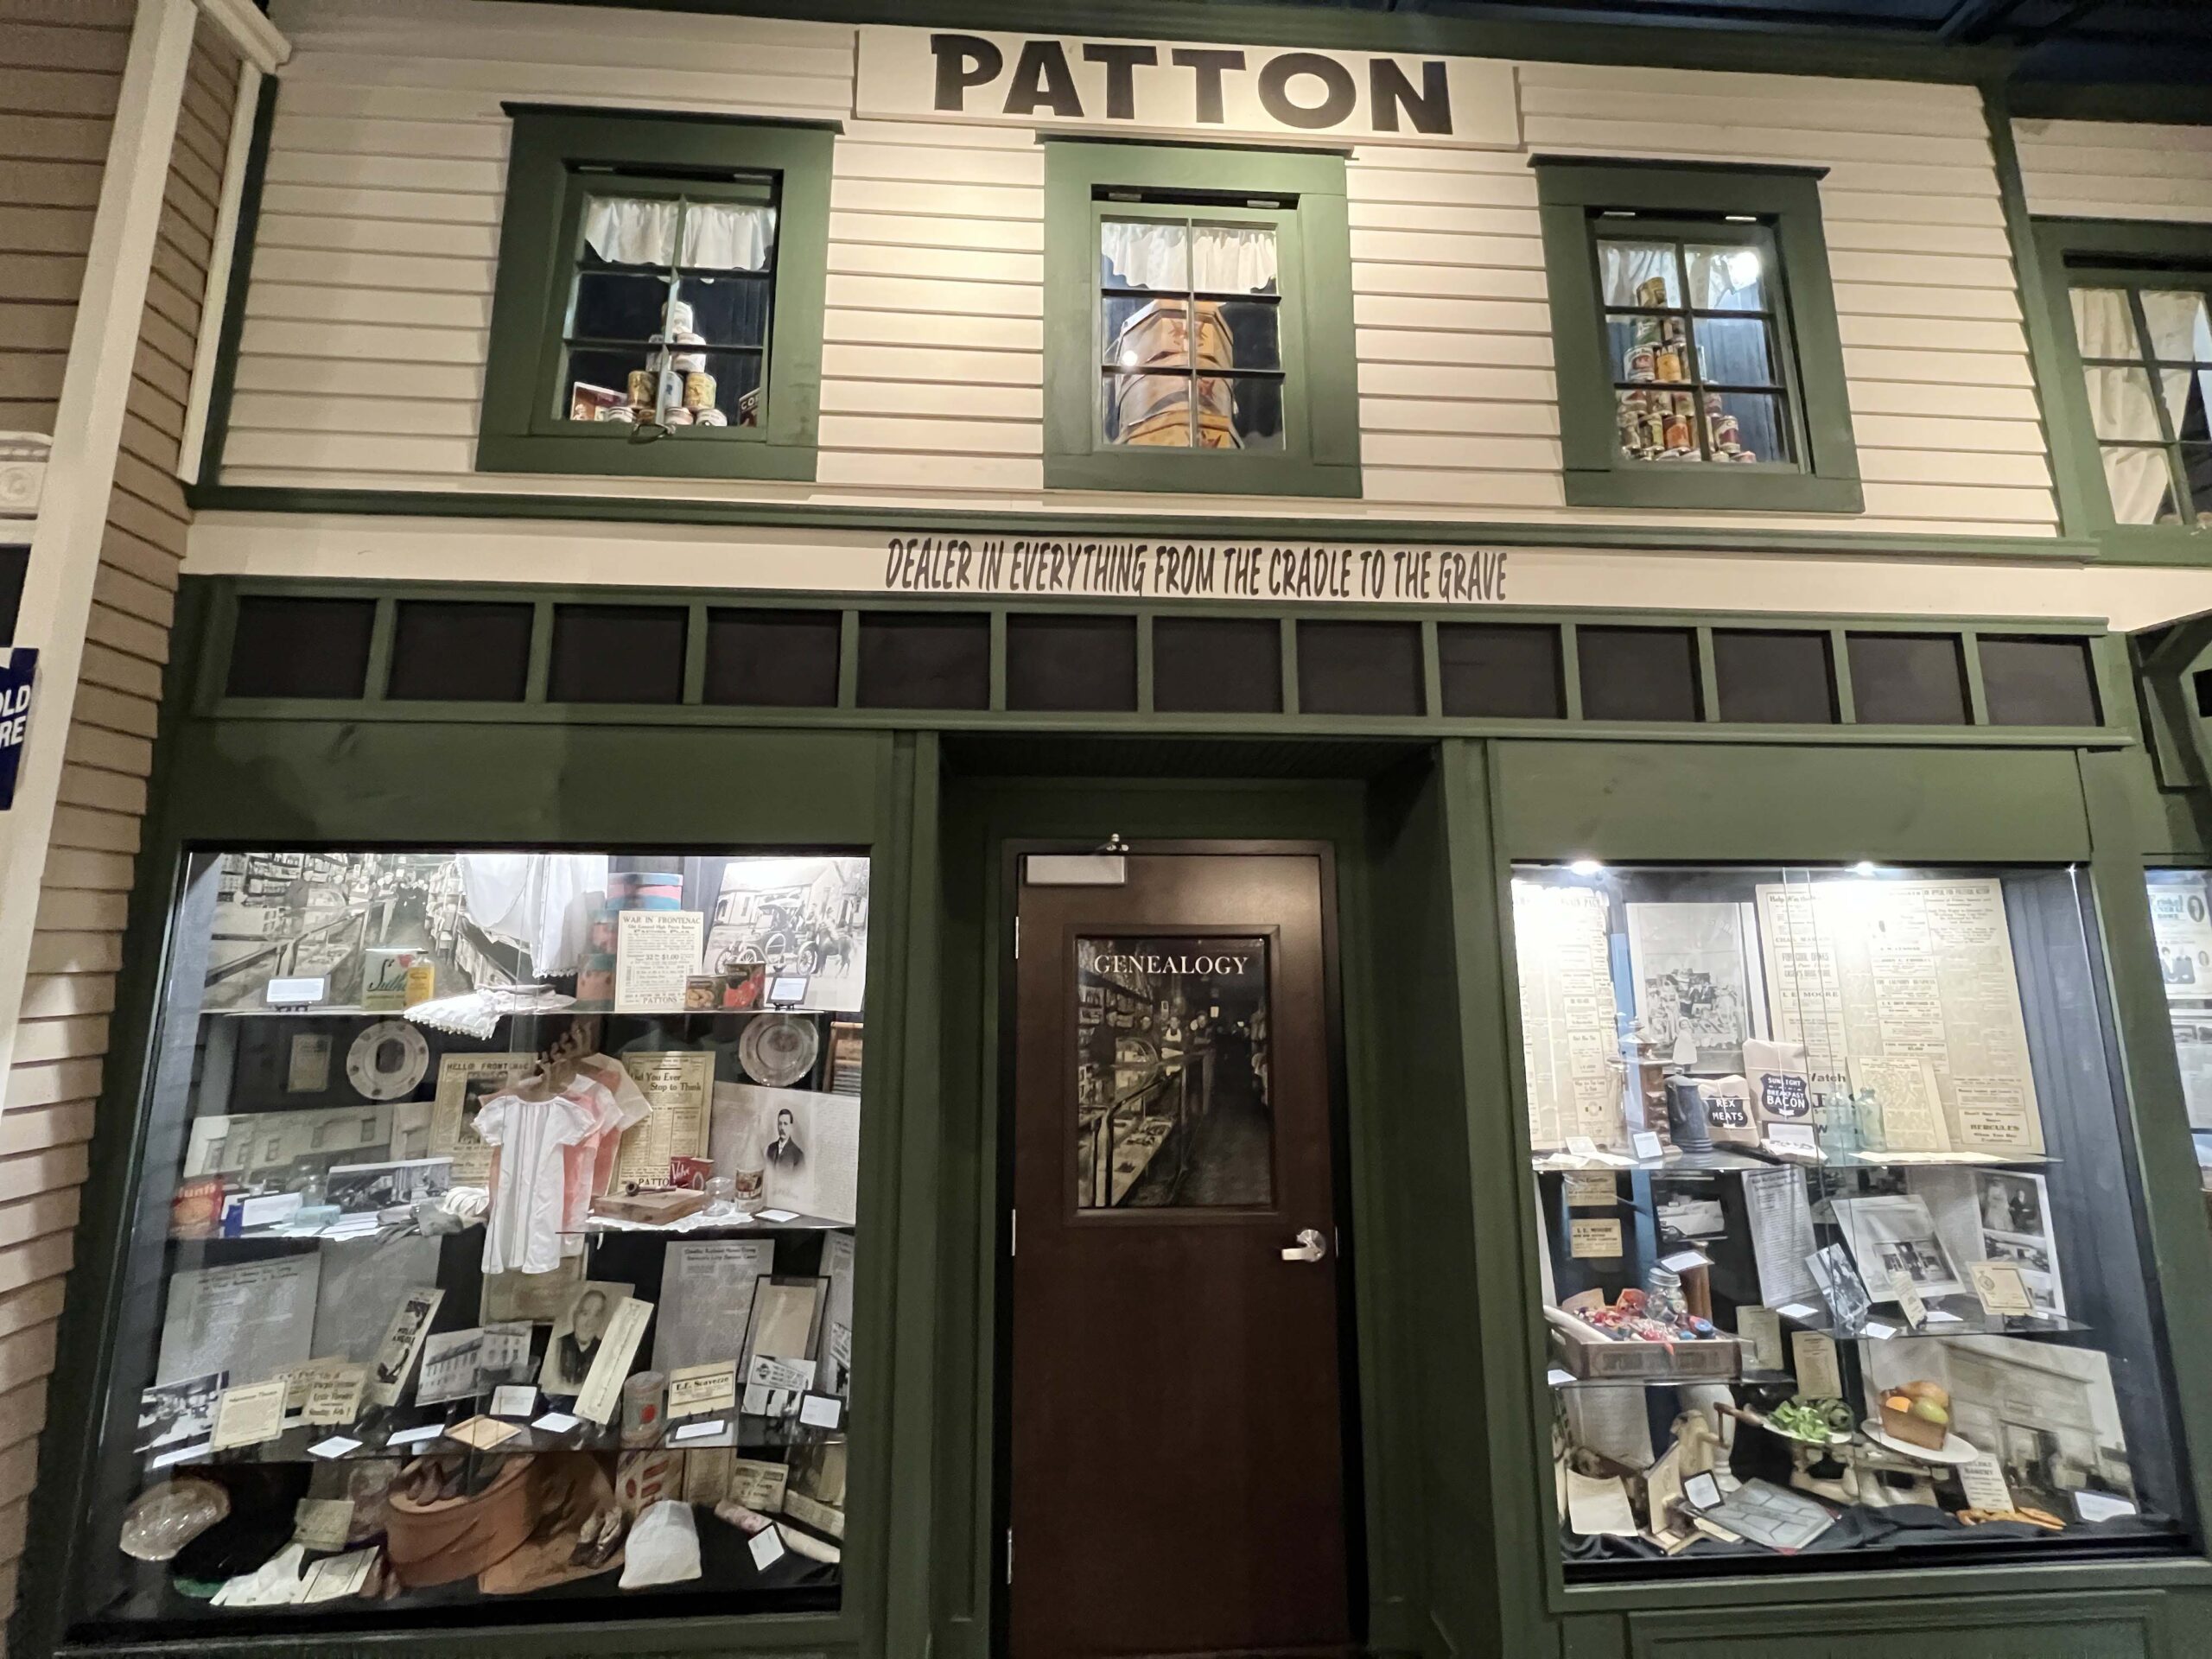 Original artifacts curated from local families added a storytelling quality, enhancing the high-quality exhibits. I was amazed by the attention to detail, from the testimonials of miners to the newspaper clippings about business openings.
 The history of Southeast Kansas, and Frontenac in particular, is the story of European immigrants, miners, bootleggers, religious devotees, and family members who looked out for one another and supported the community.
 Walking inside the bakery, I felt as if I were a customer seeking to buy a loaf. Tools of the miner’s trade and newspaper clippings about the worst mining disaster in history adorned a room dimly lit by lanterns. A peek inside a replica chapel revealed the history of long-standing Catholic and Methodist communities.
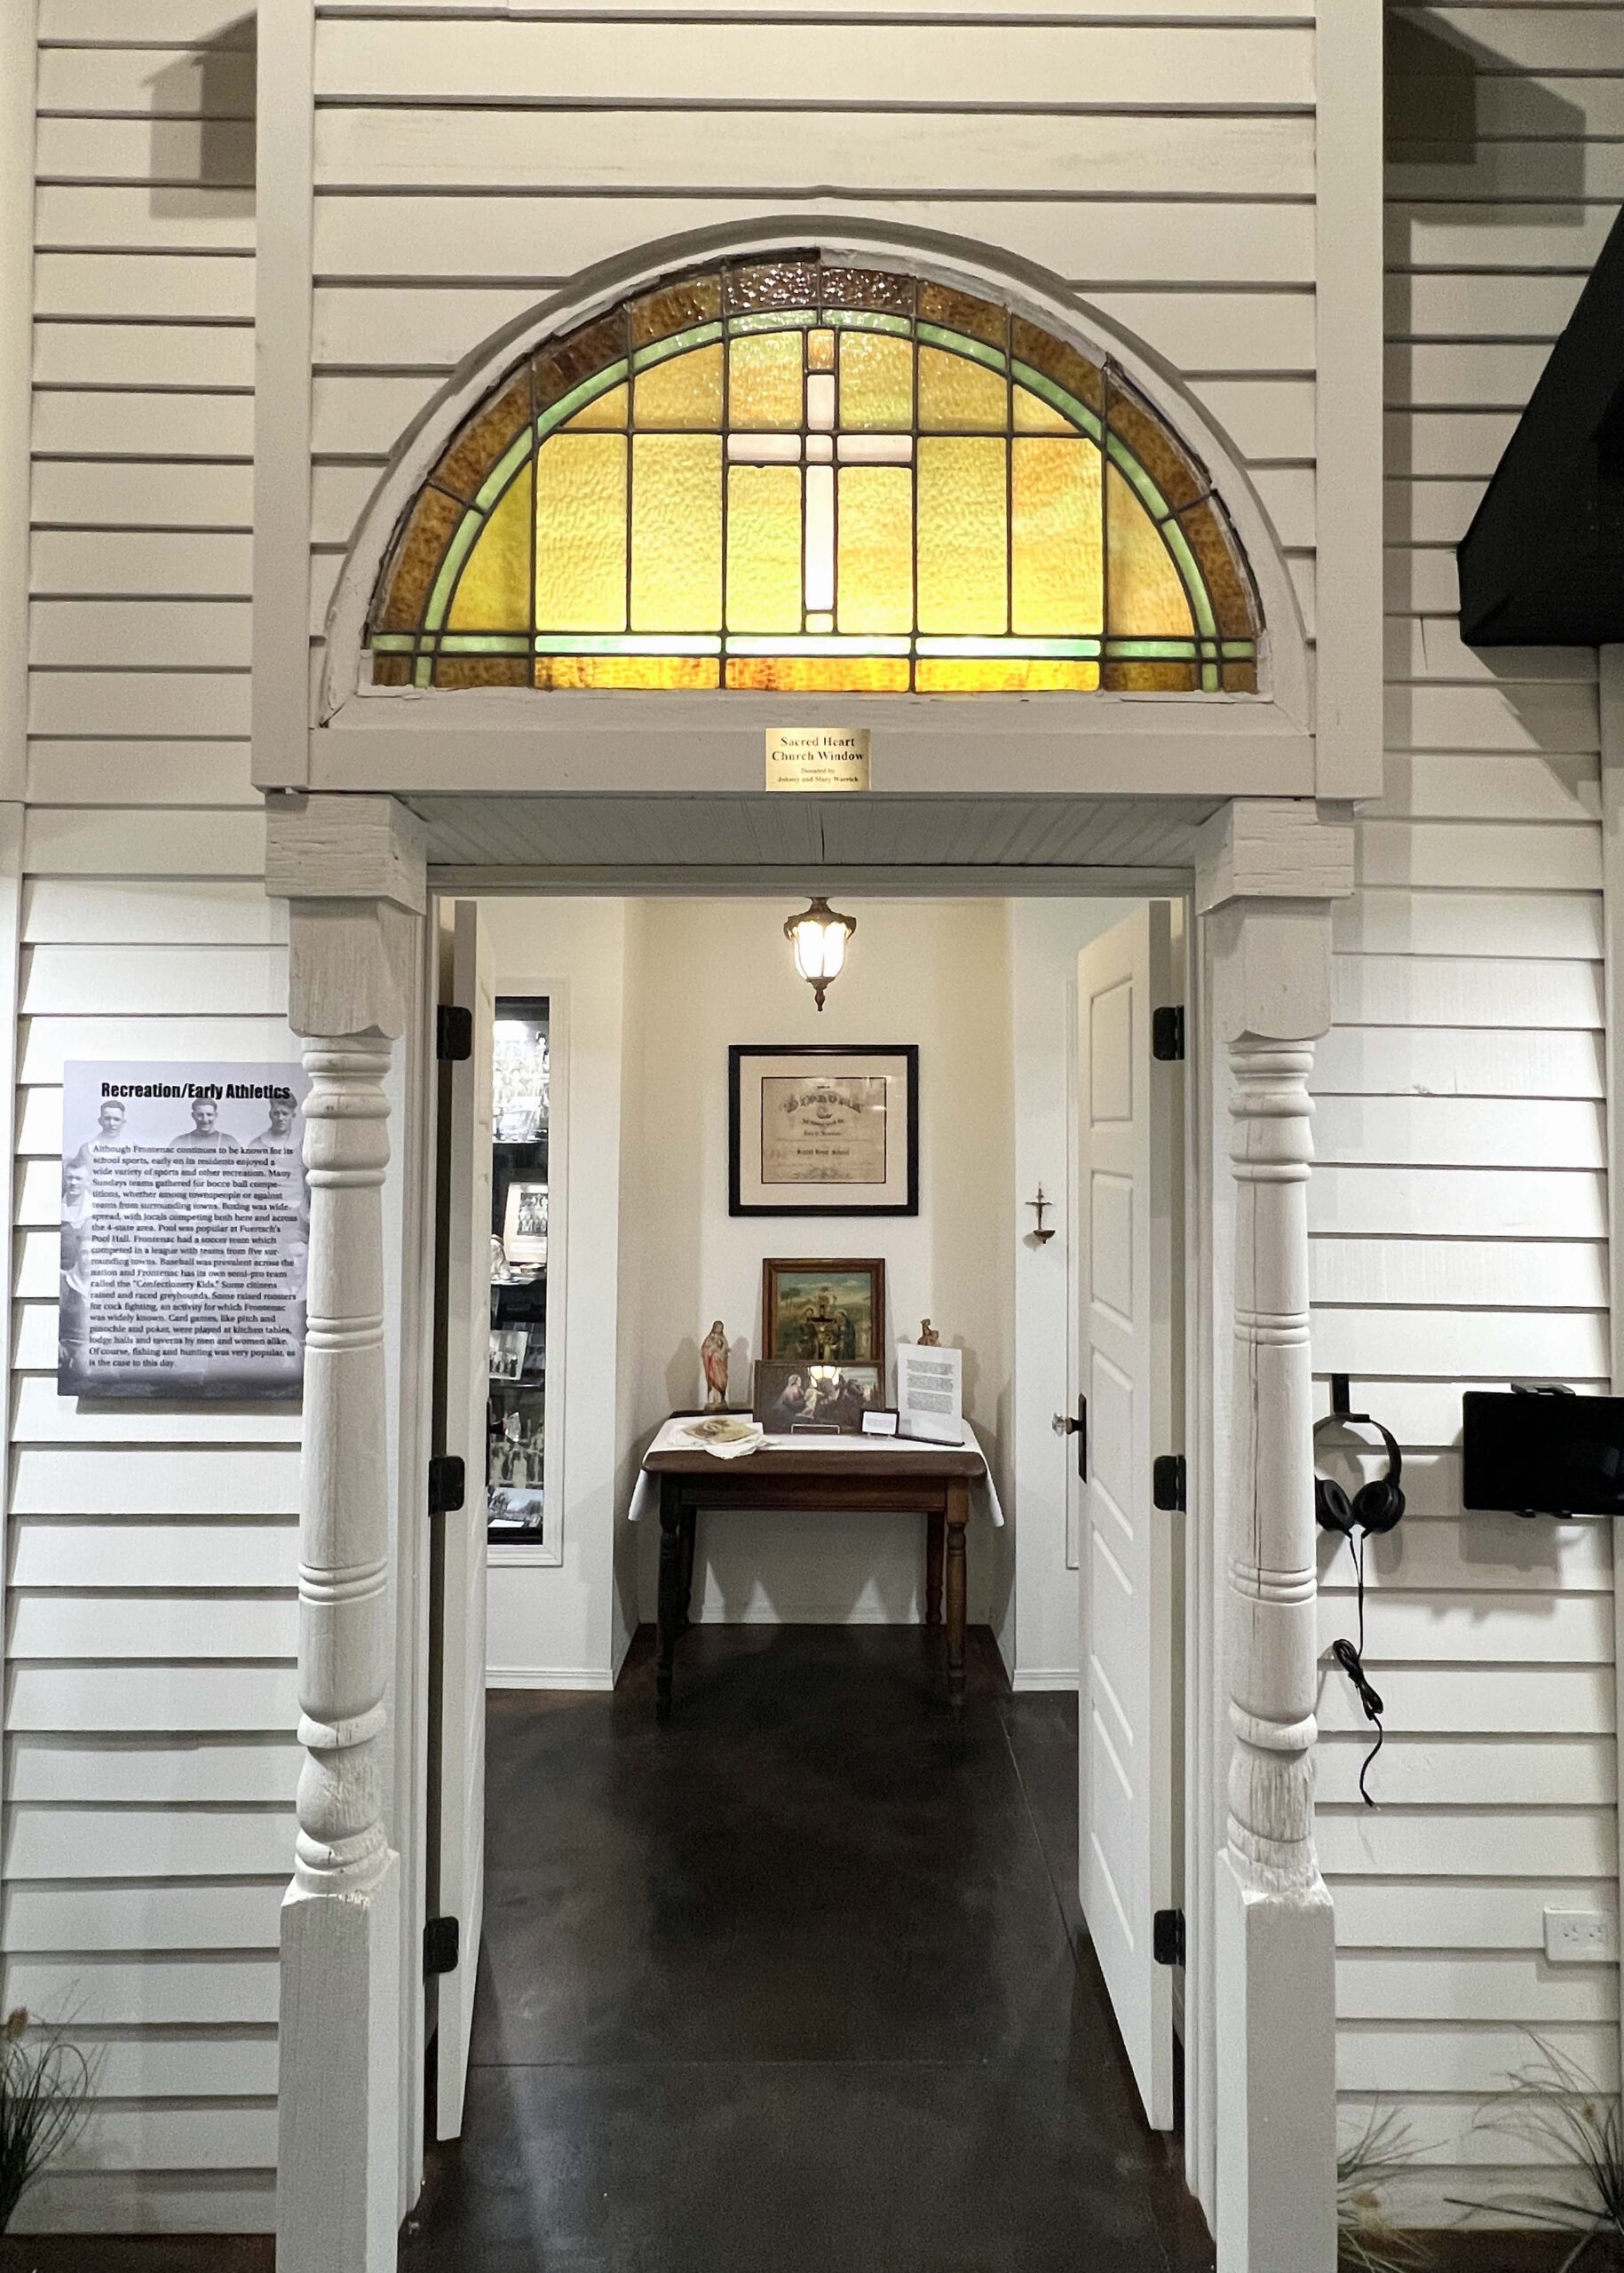 Another aspect of the museum that makes it better than most is that the director thought to include an interactive component, adding visual and audio stations, making it more accessible for visitors. Due to the museum’s proximity to the Frontenac Public Library, its artifacts are deeply rooted in the area’s genealogy.
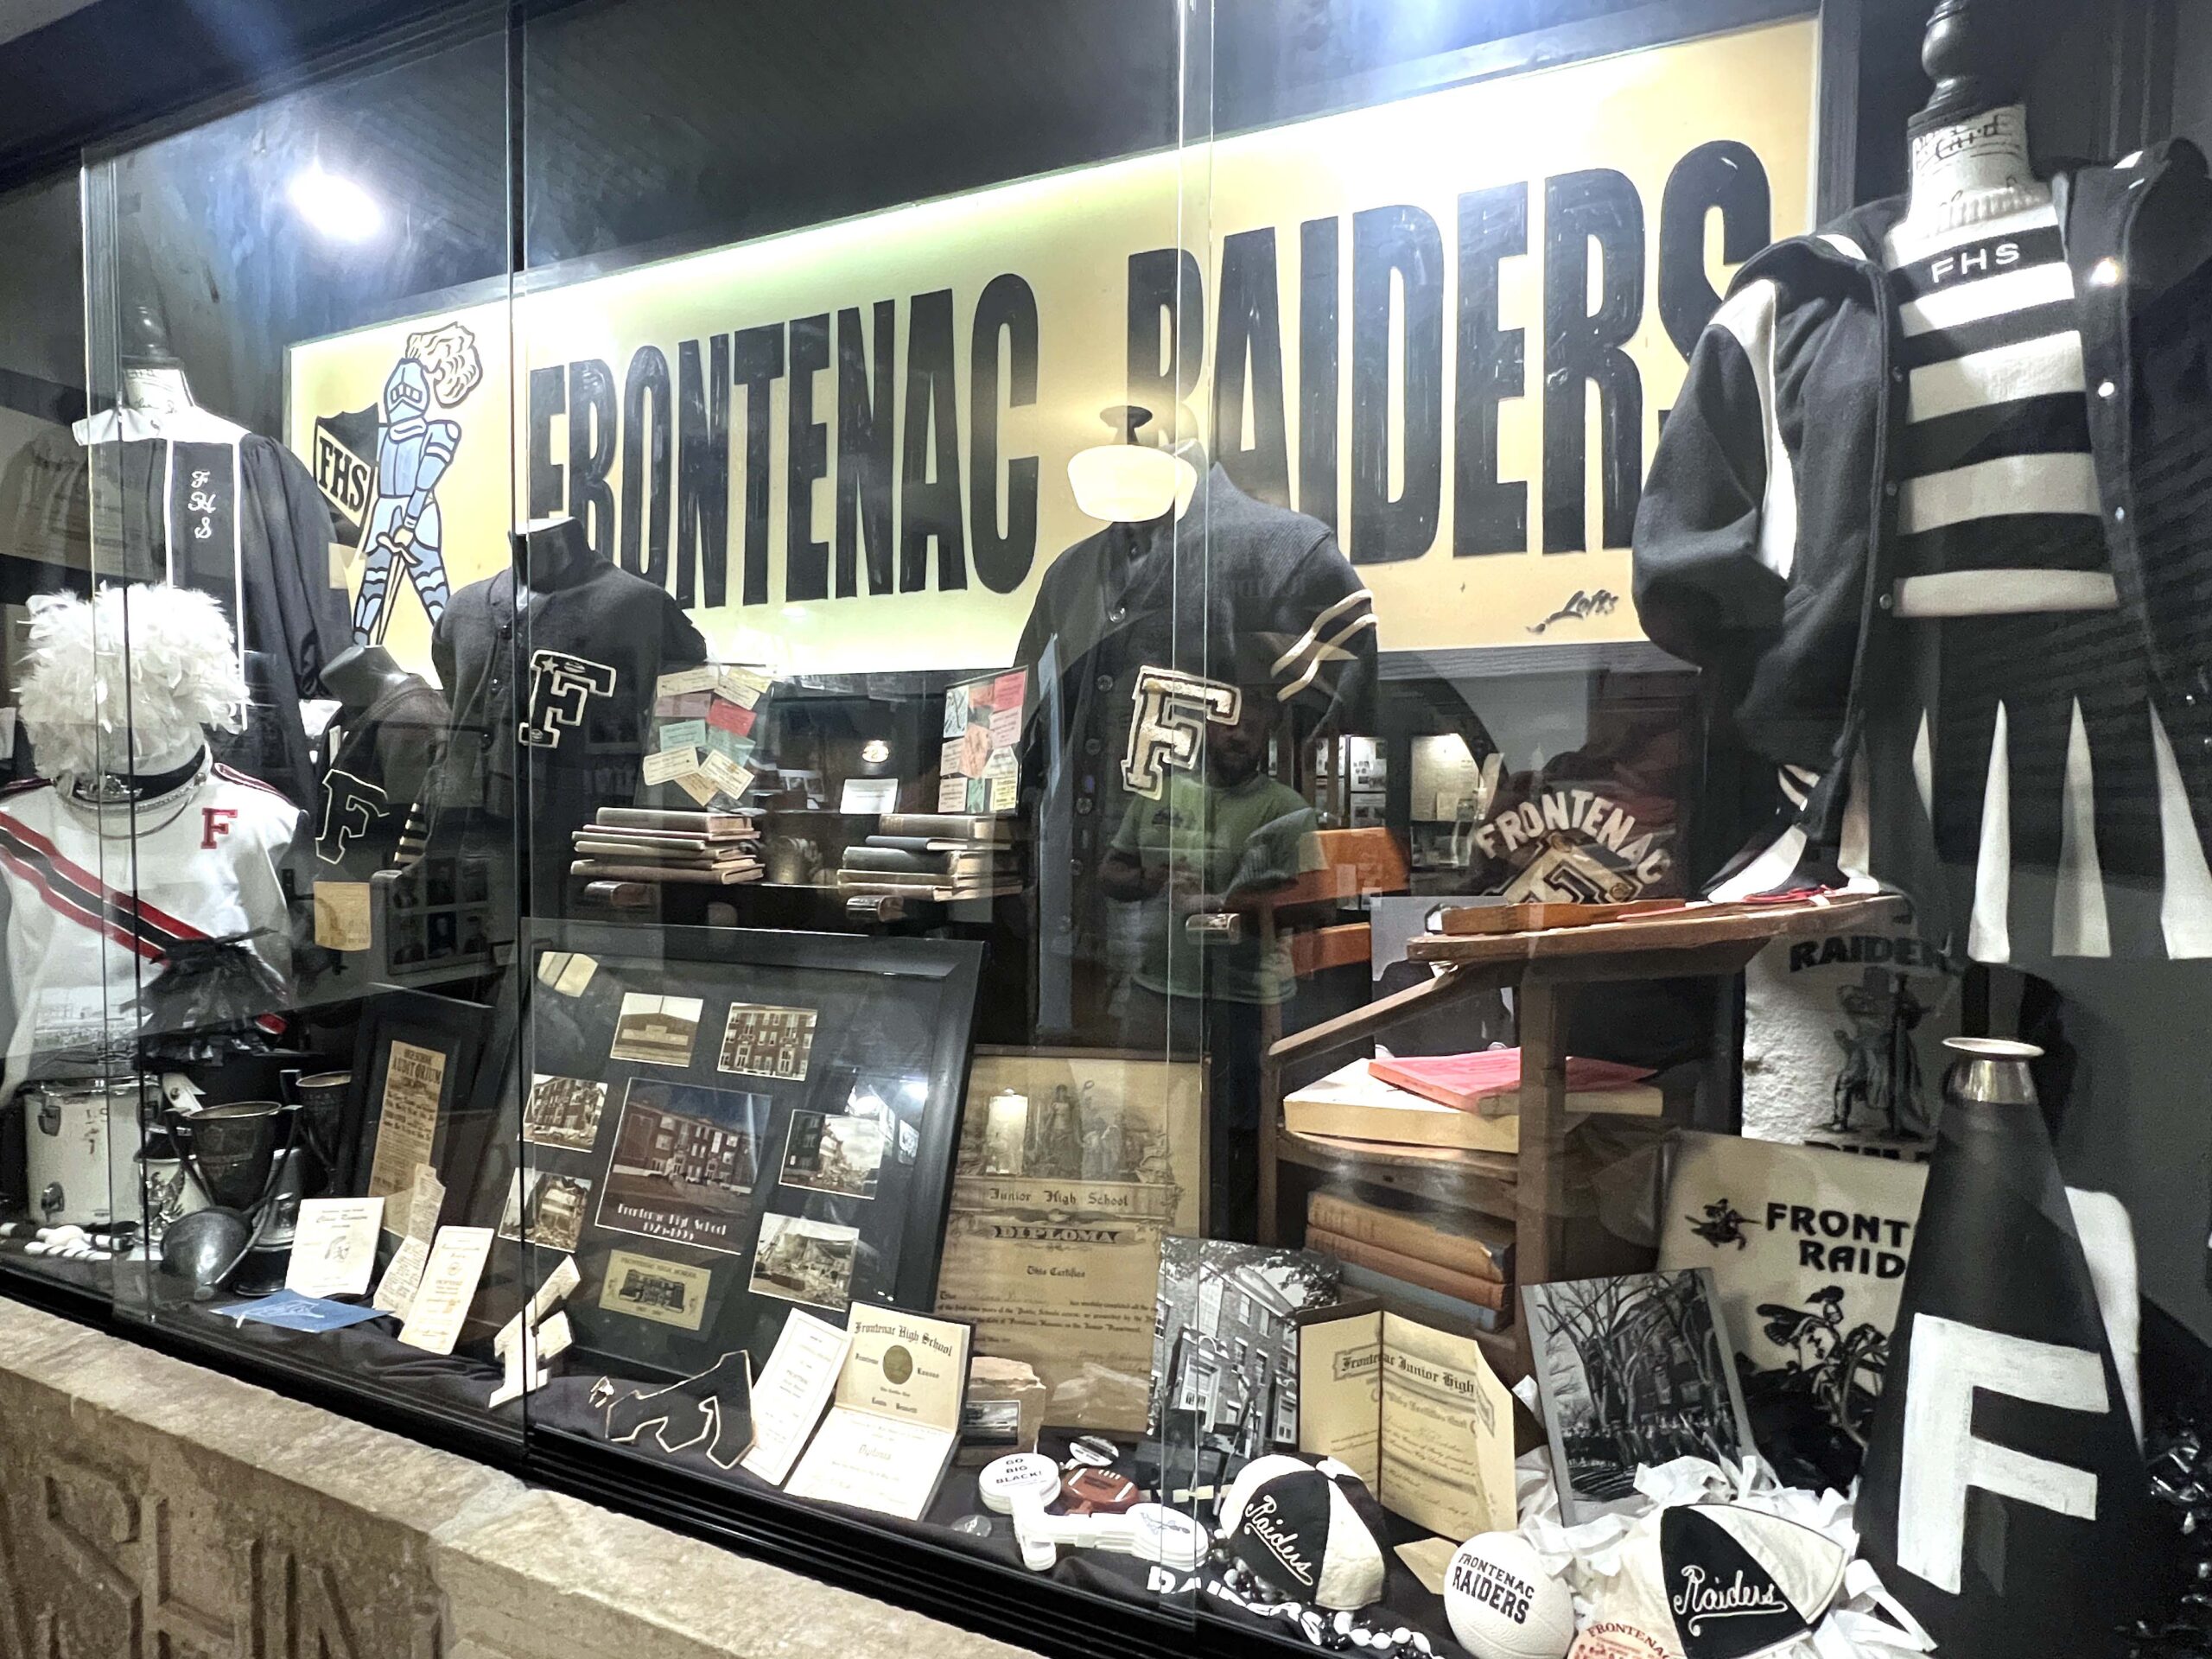
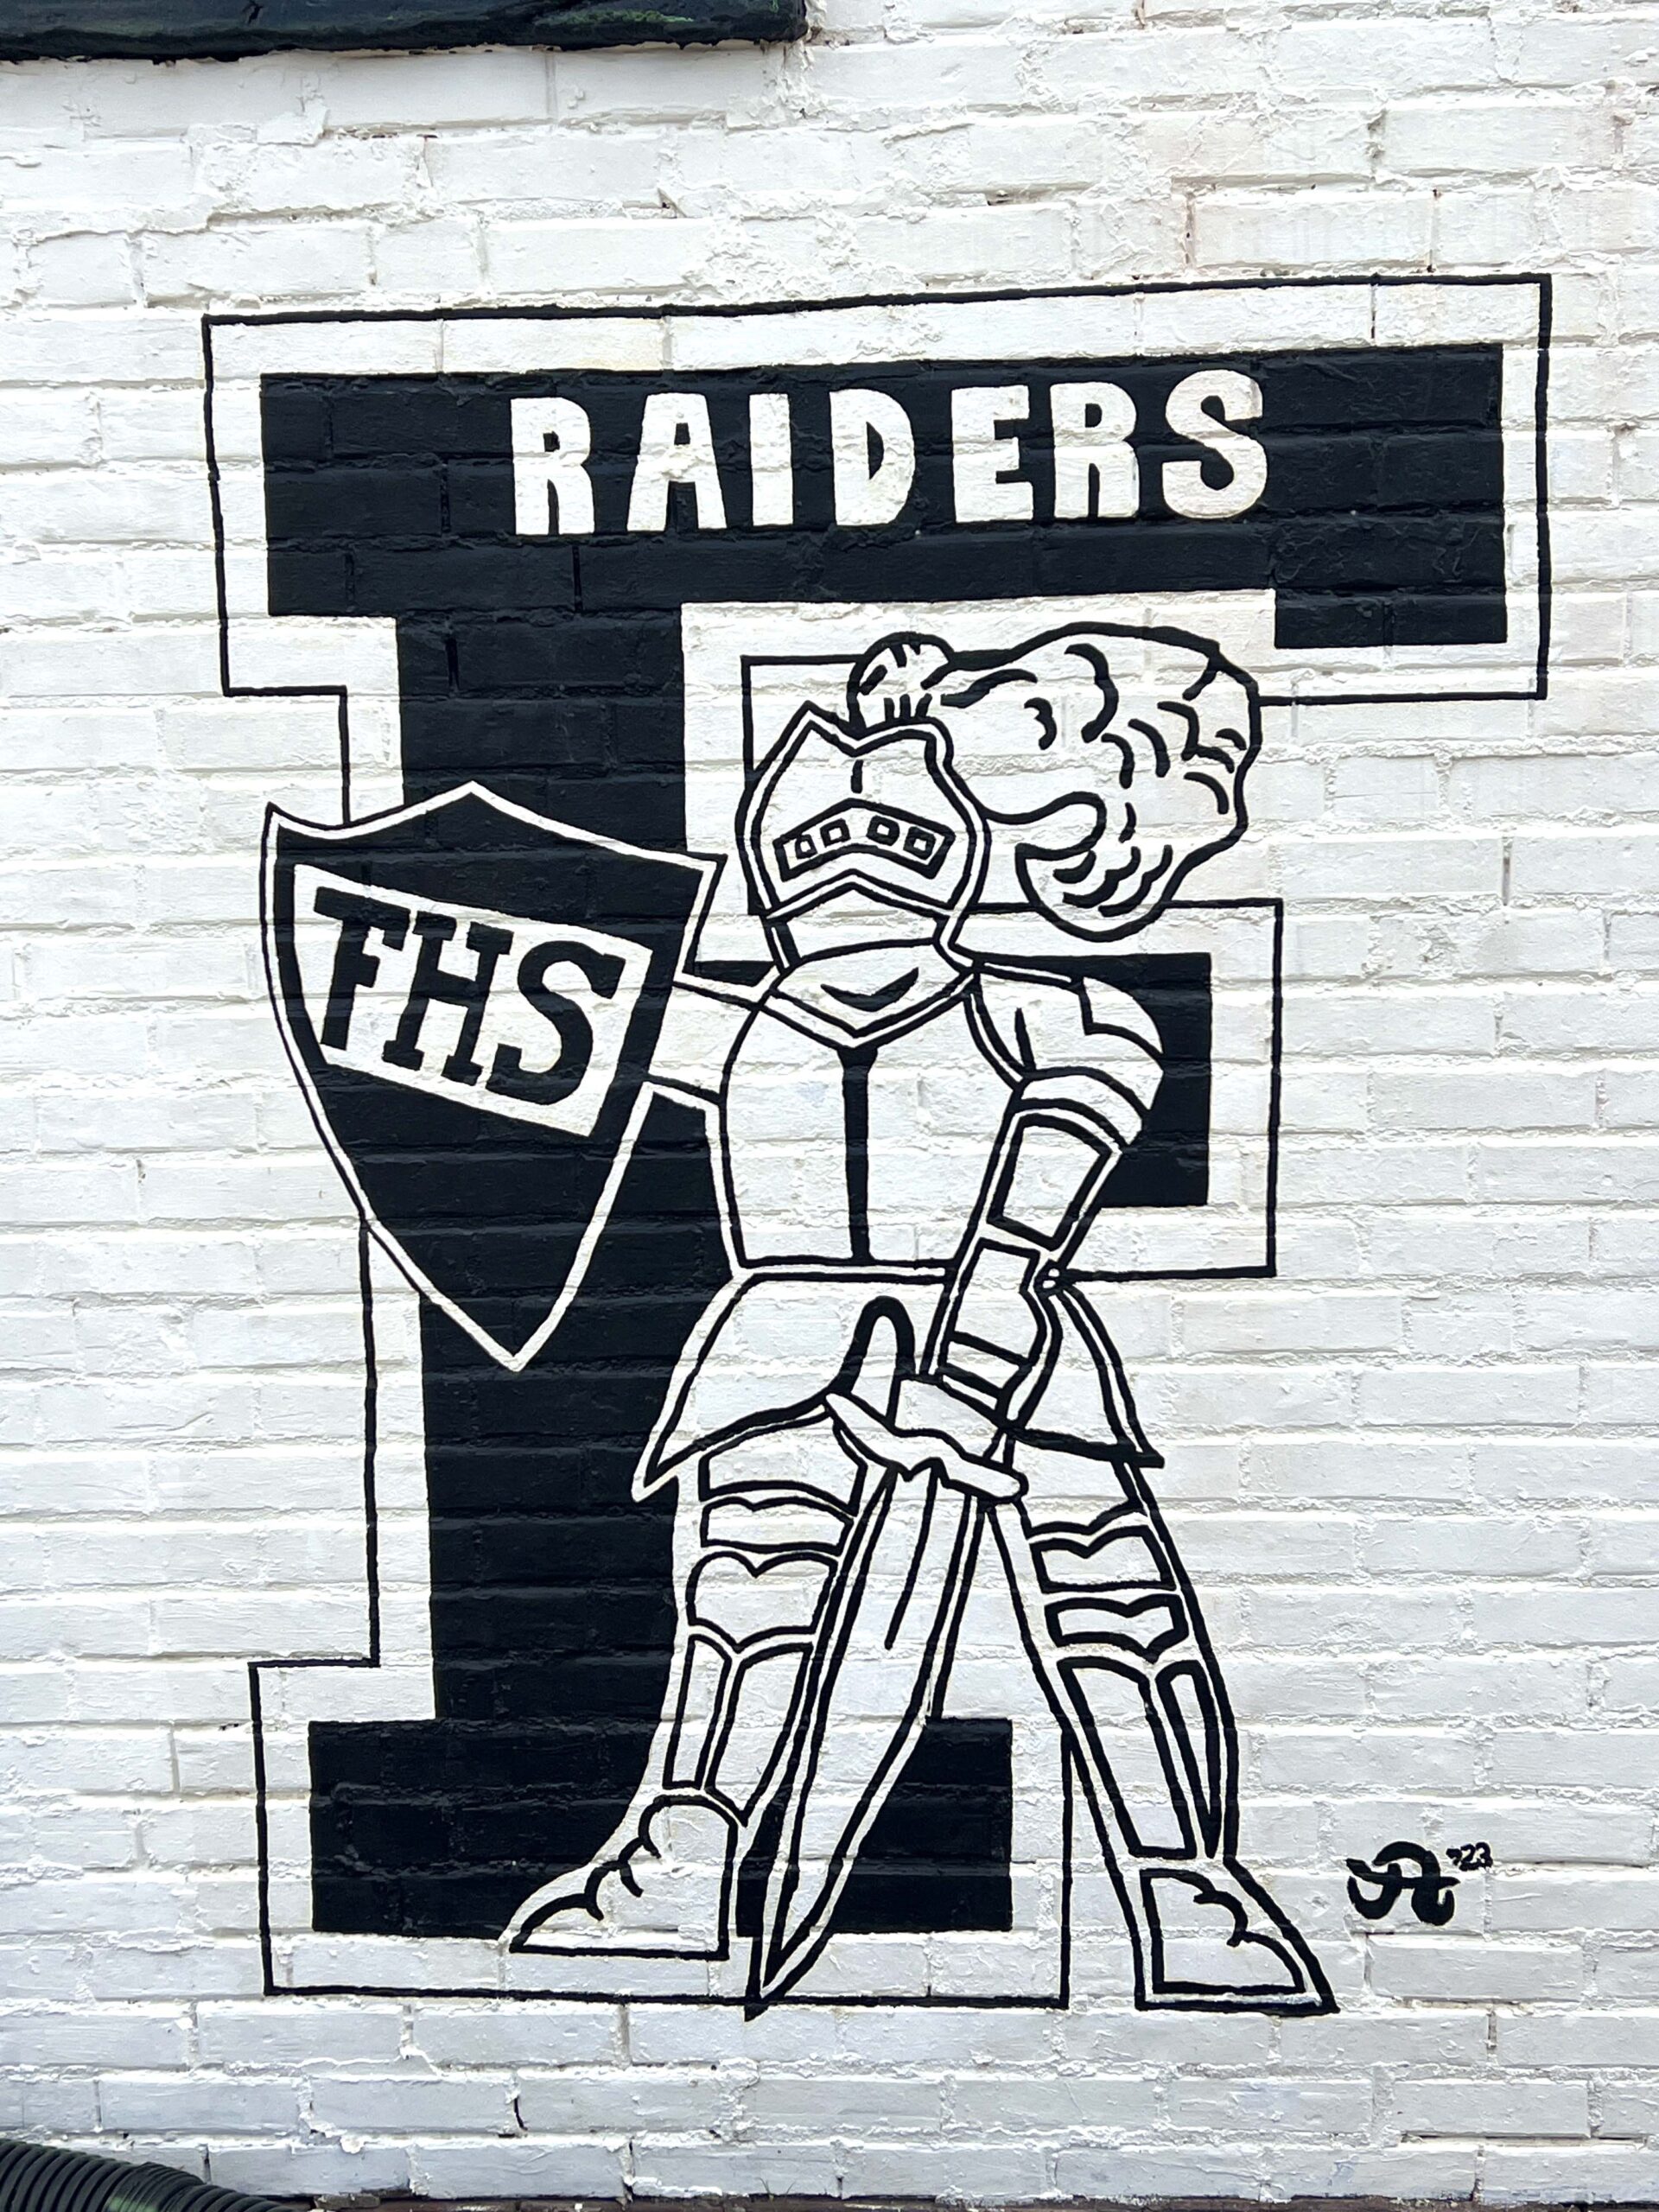
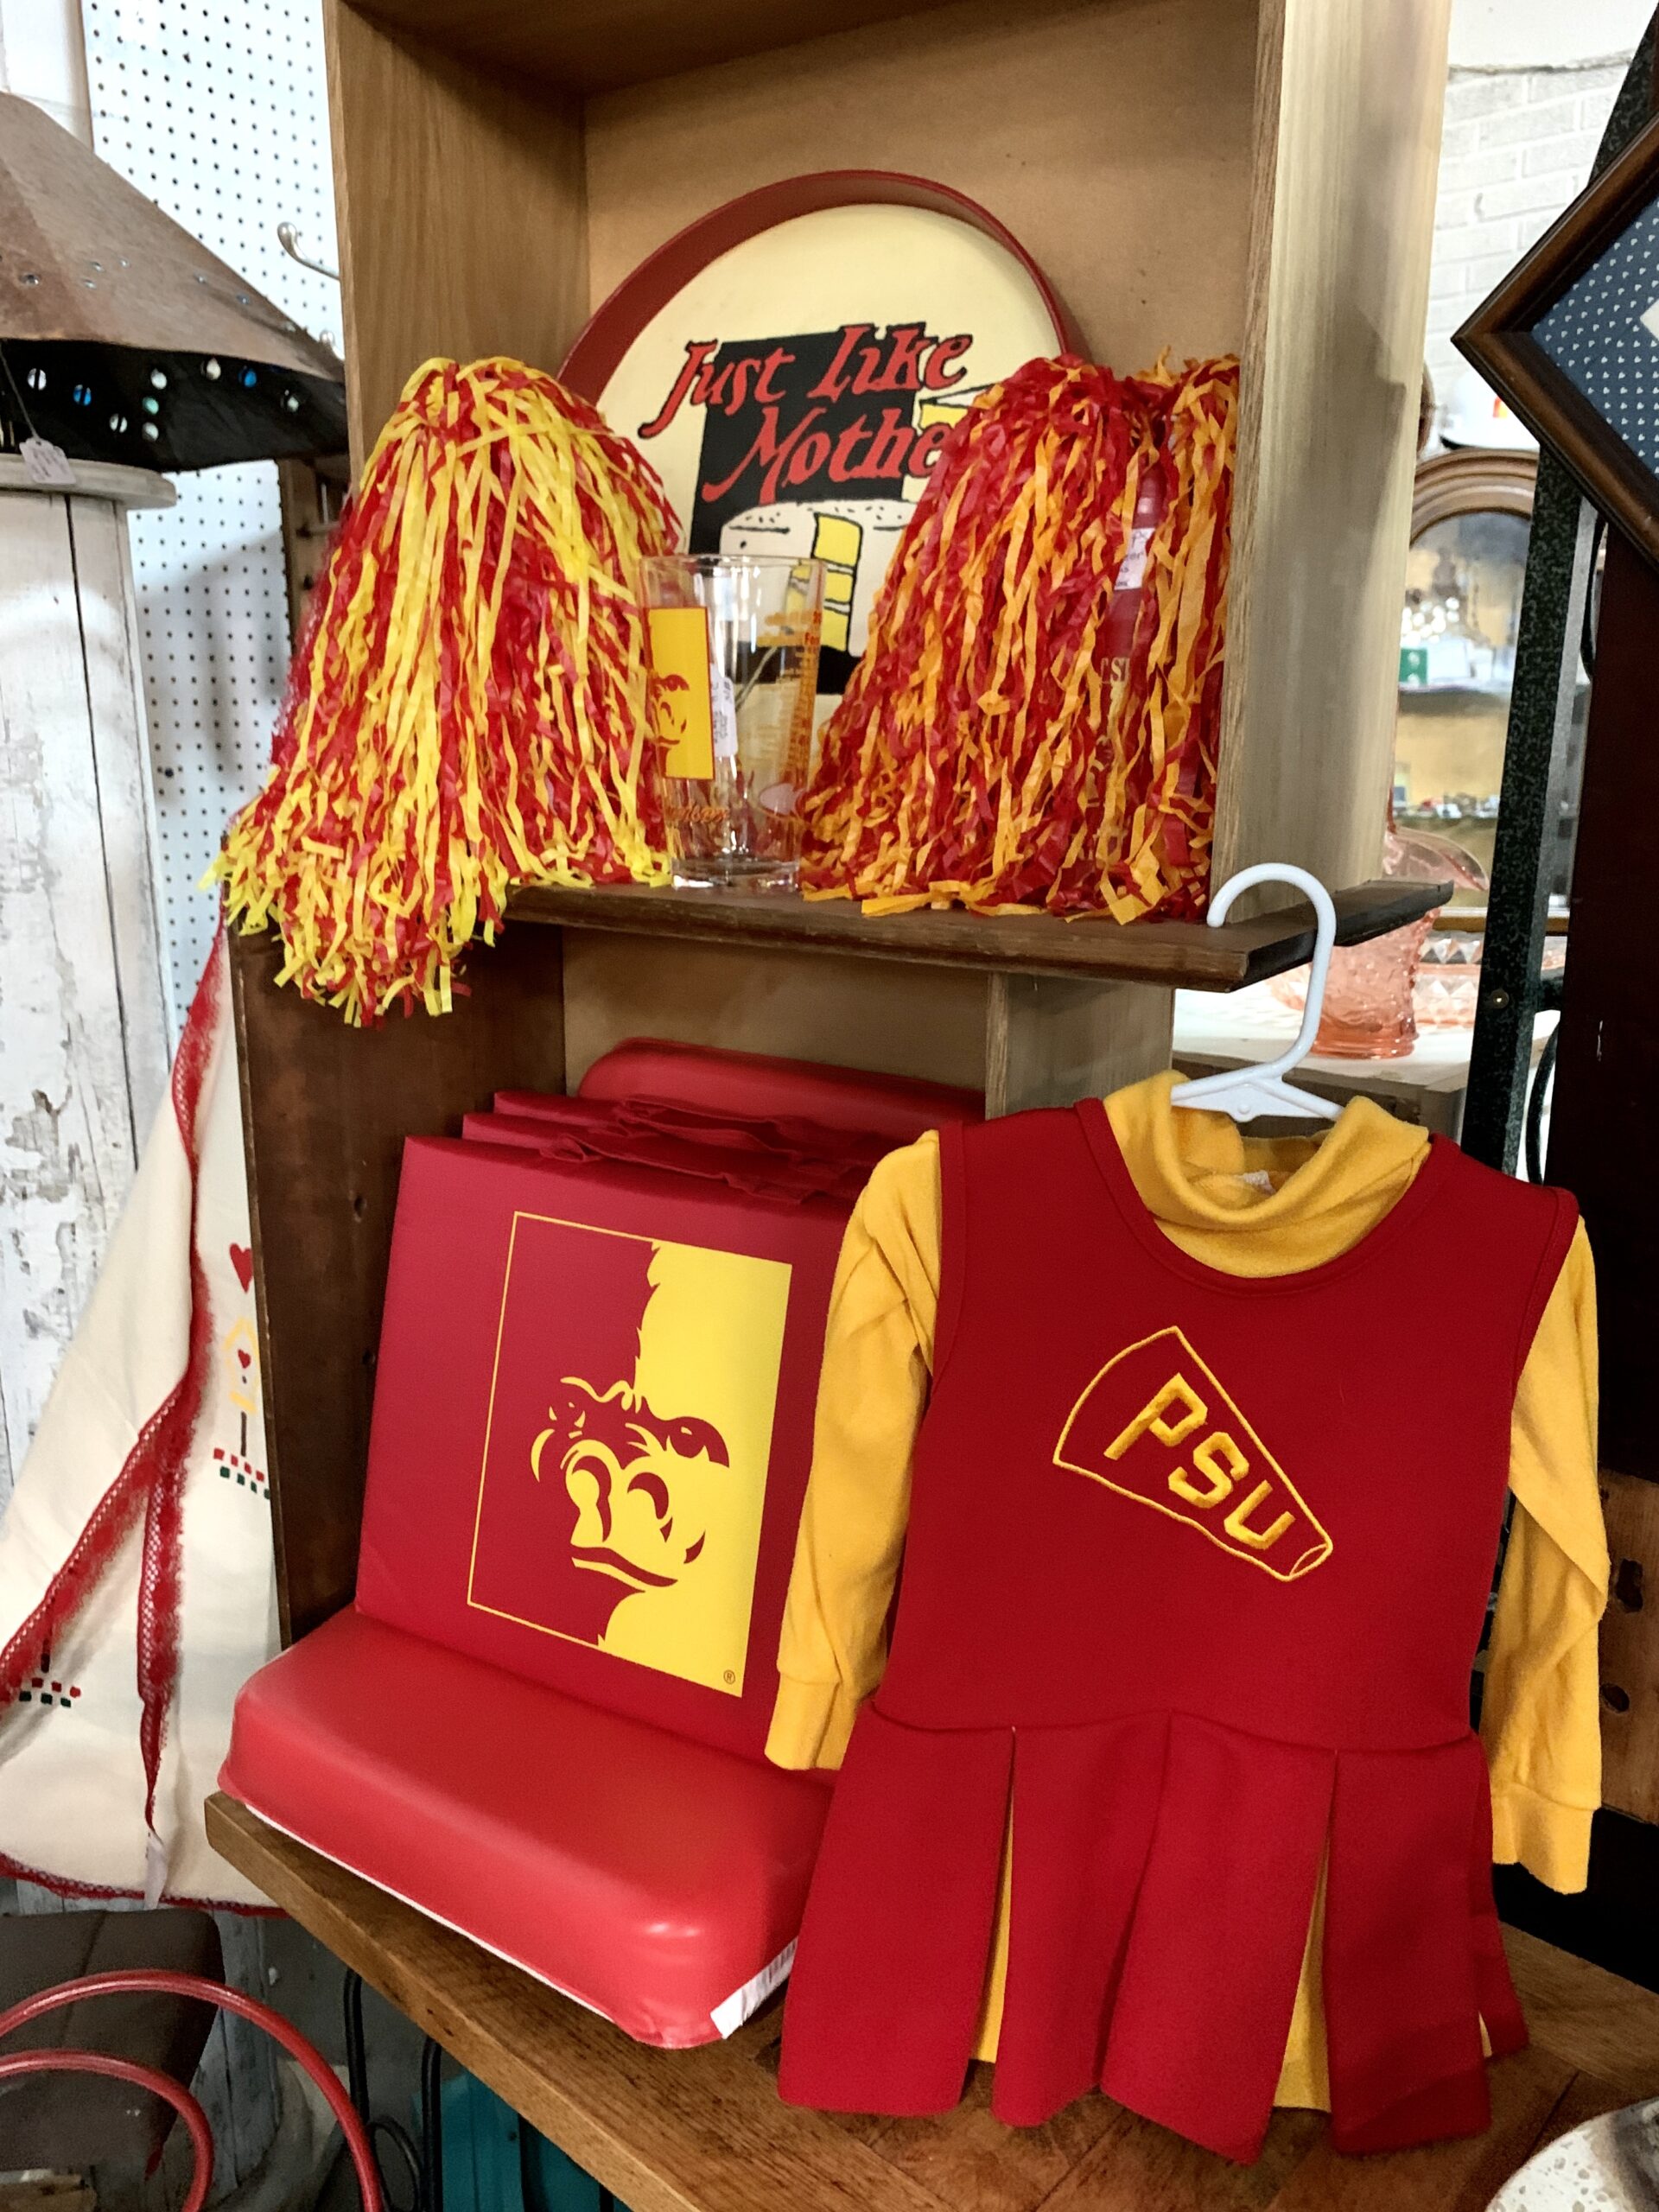
 Former and current Frontenac residents will relish the displays featuring curated Raiders memorabilia. Peering inside the displays, it was as if I could hear the football players and cheerleaders rooting for the Raiders to win the high school’s first-ever state football championship over Stockton in 1994.
 Visiting the Heritage Hall Museum, located inside the Frontenac Public Library, is well worth it, offering visitors a glimpse into the cultural legacy and mining history of Frontenac and the greater Southeast Kansas region.
McKay Street Coffeehouse
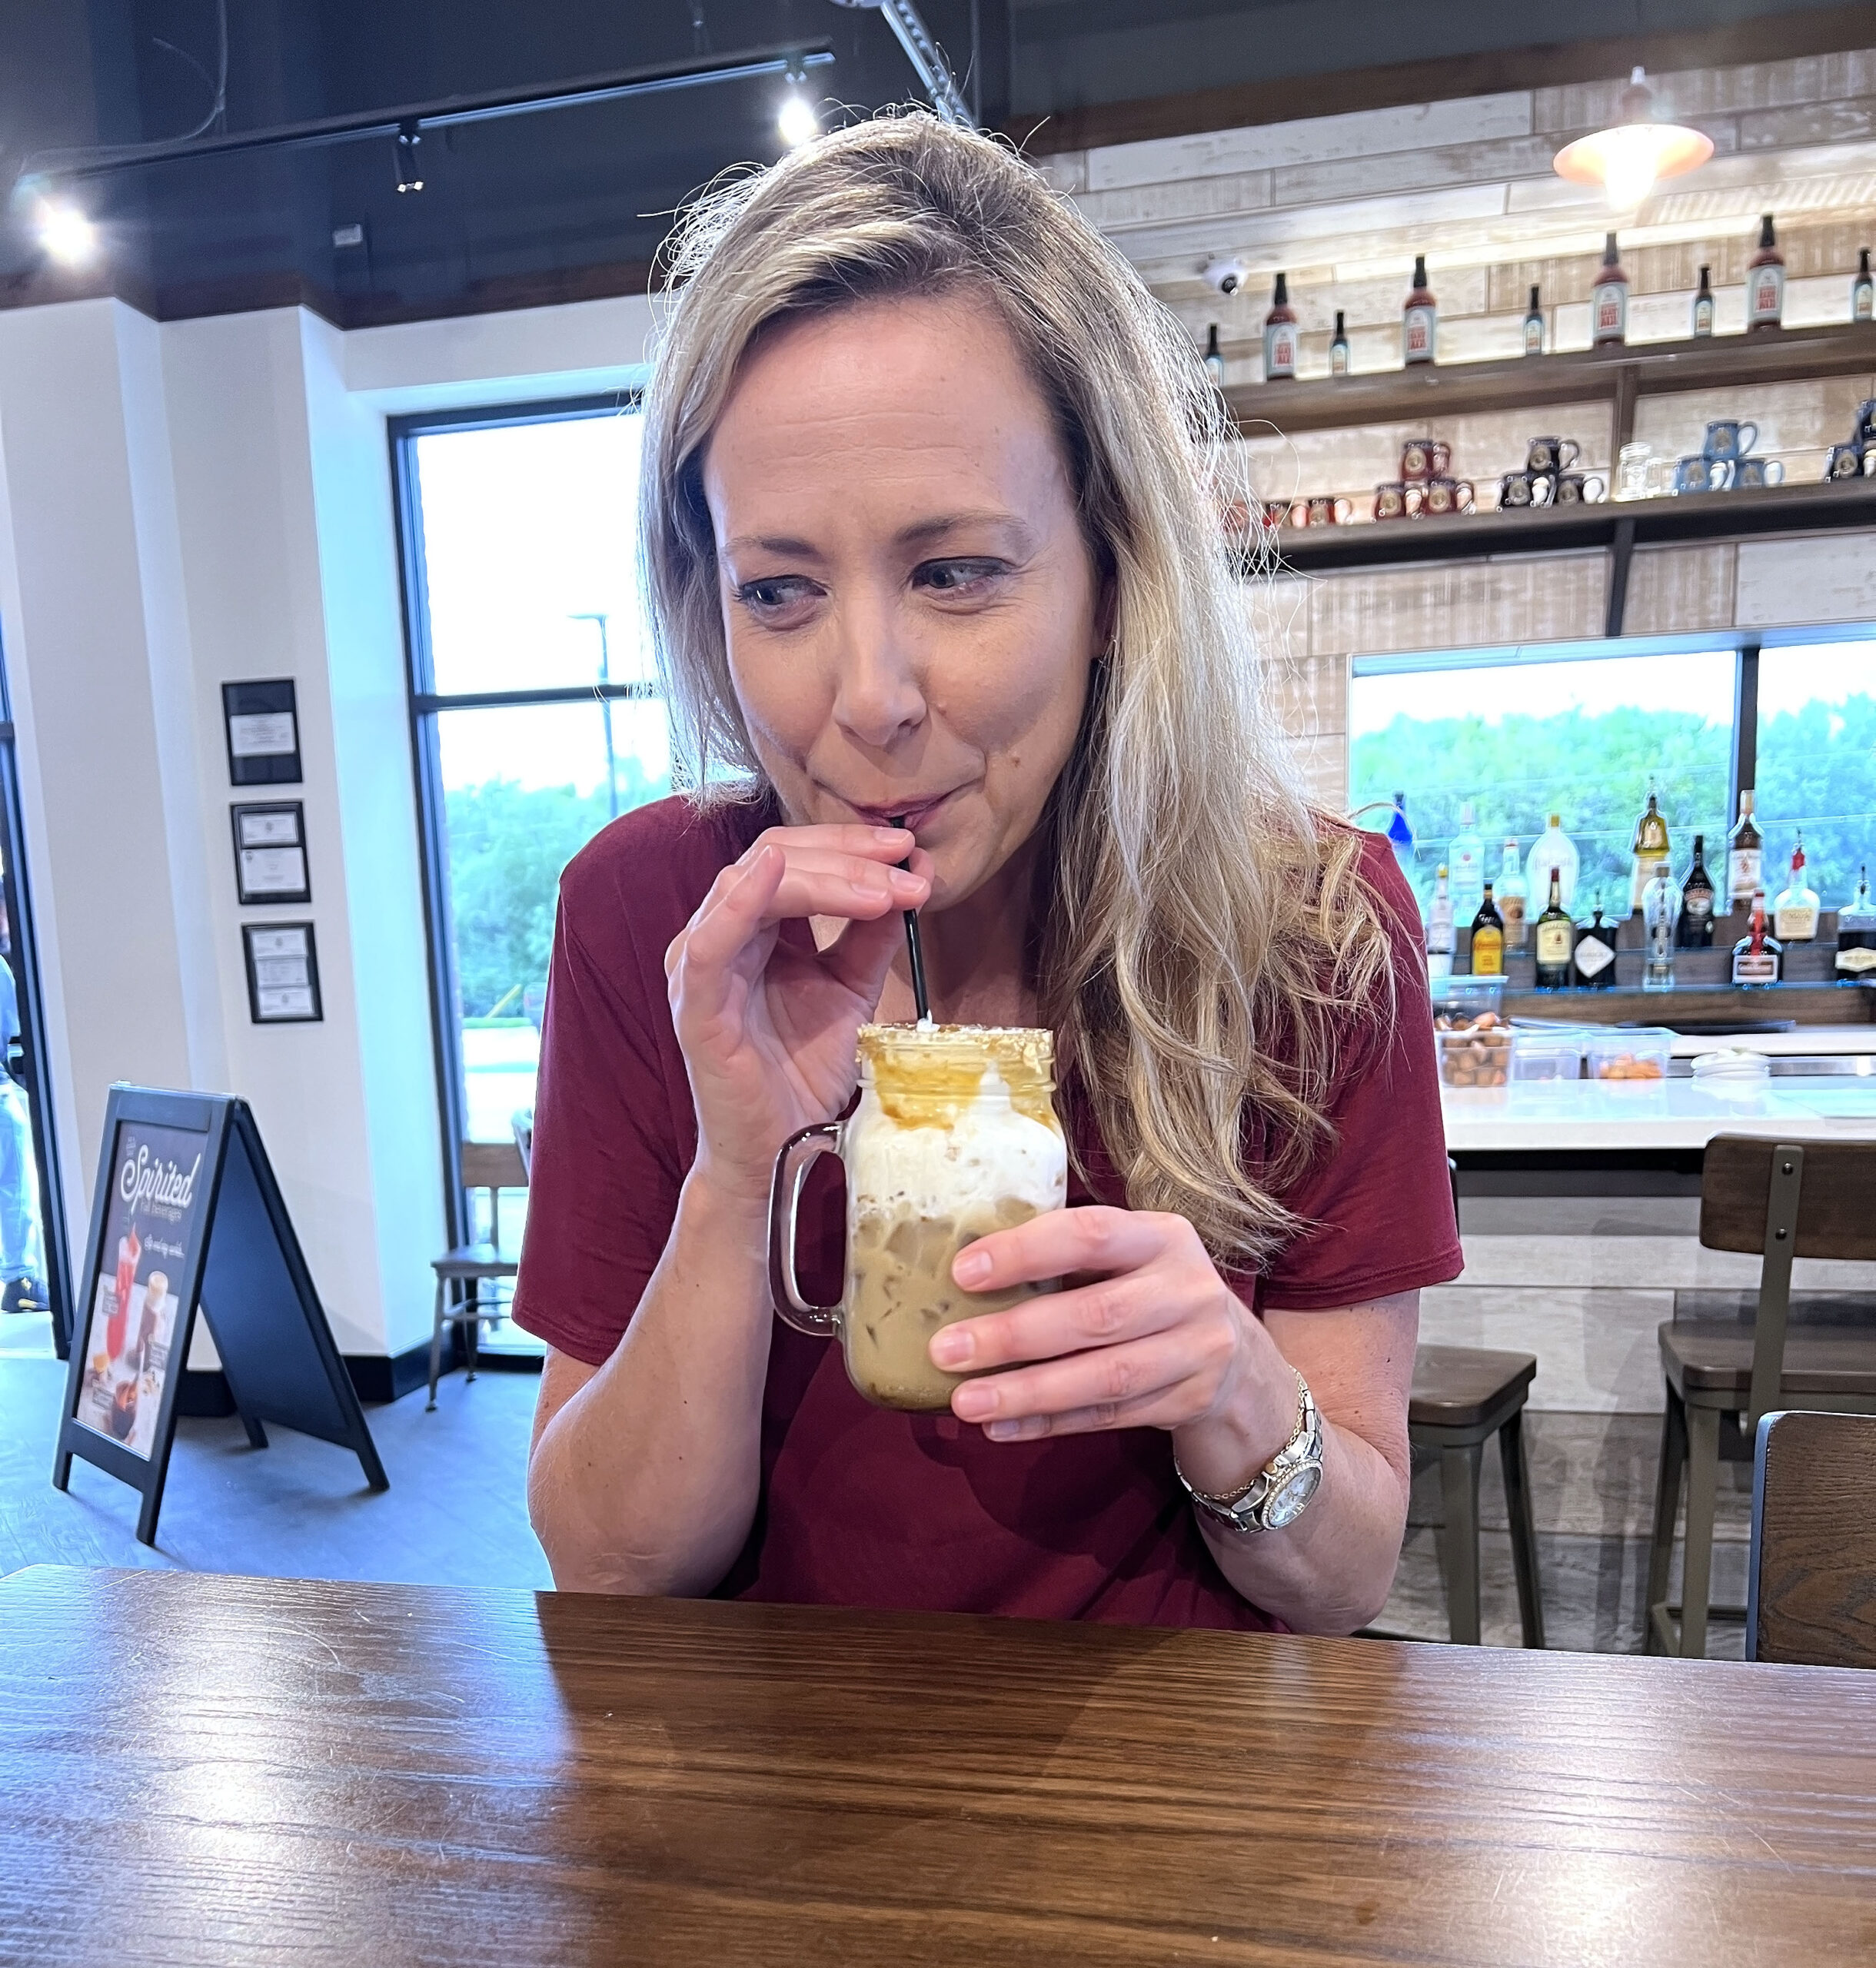
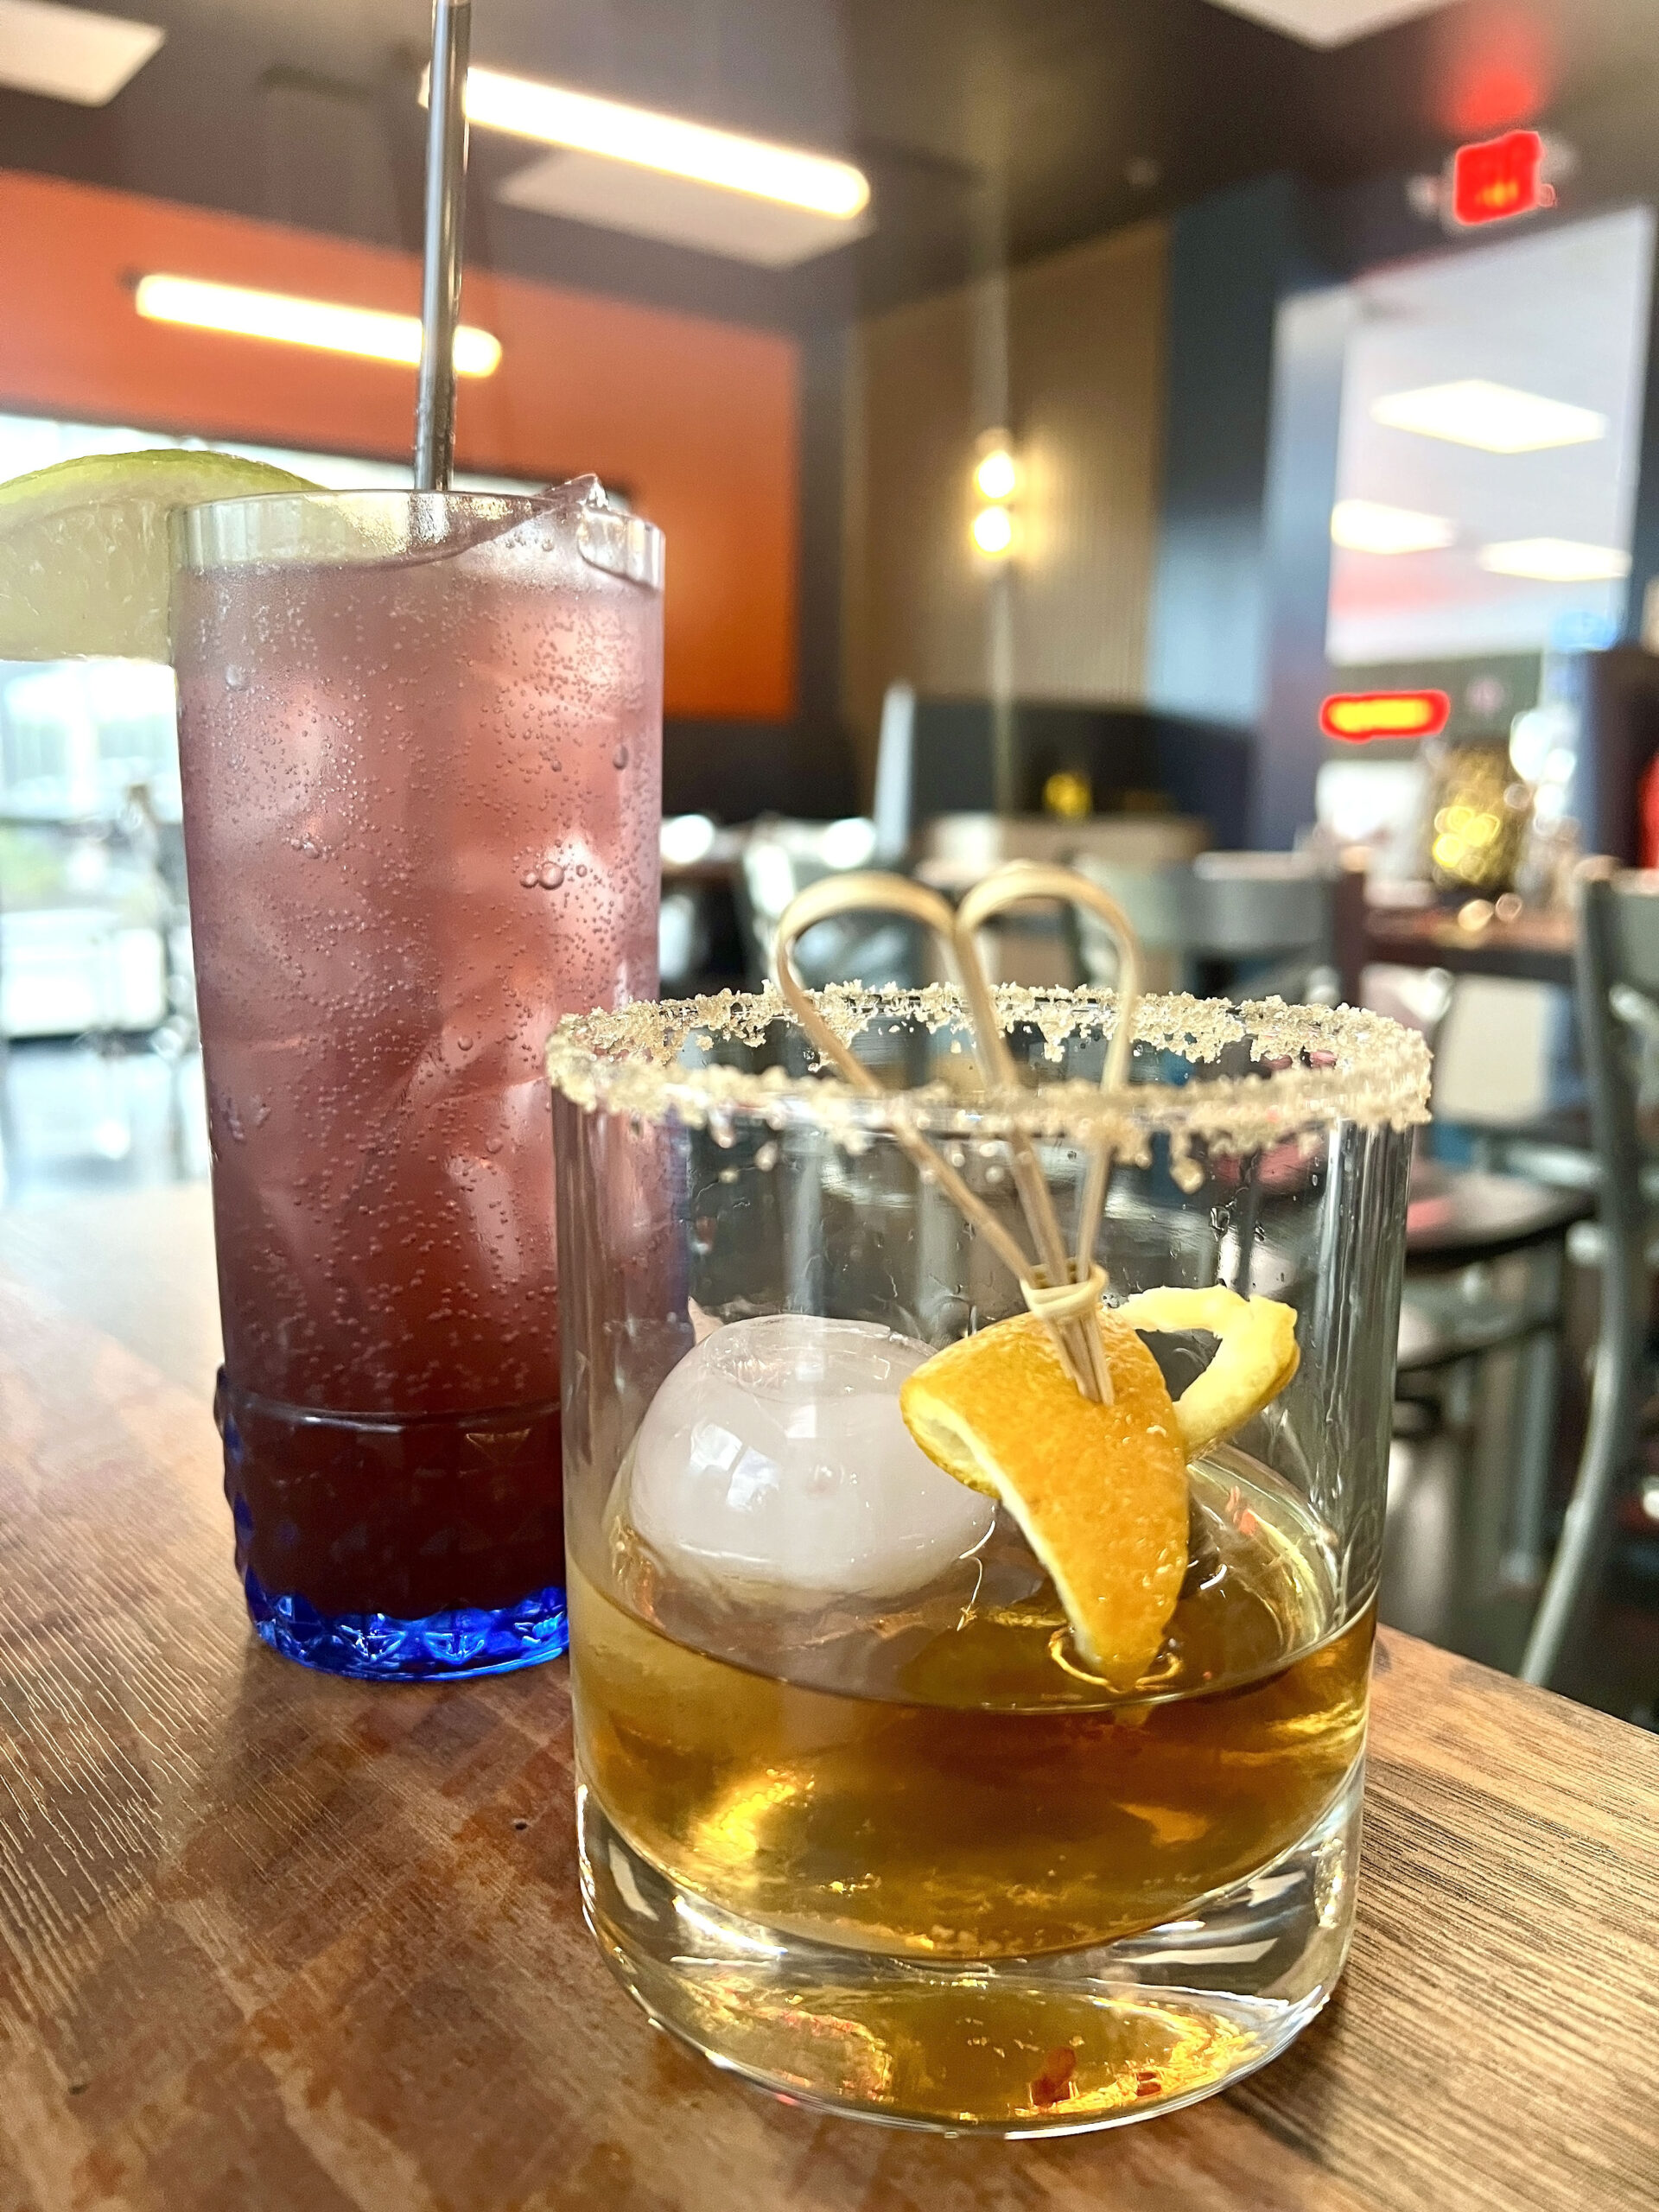
Next, visit McKay Street Coffeehouse (200 E. McKay), which is accessible via the Frontenac Public Library as well. Serving espresso drinks, Italian sodas, tea, and pastries, I thought the quaint cafe was the ideal place for an early-morning Bootlegger Bourbon Caramel Latté served over ice.
If you’re unsure which coffee drink to order, the staff told me locals love a signature drink, The Raider, prepared with dark and white chocolate syrup. They also feature a Drink of the Month, farm-to-table salads daily, and homemade pie one day a week.
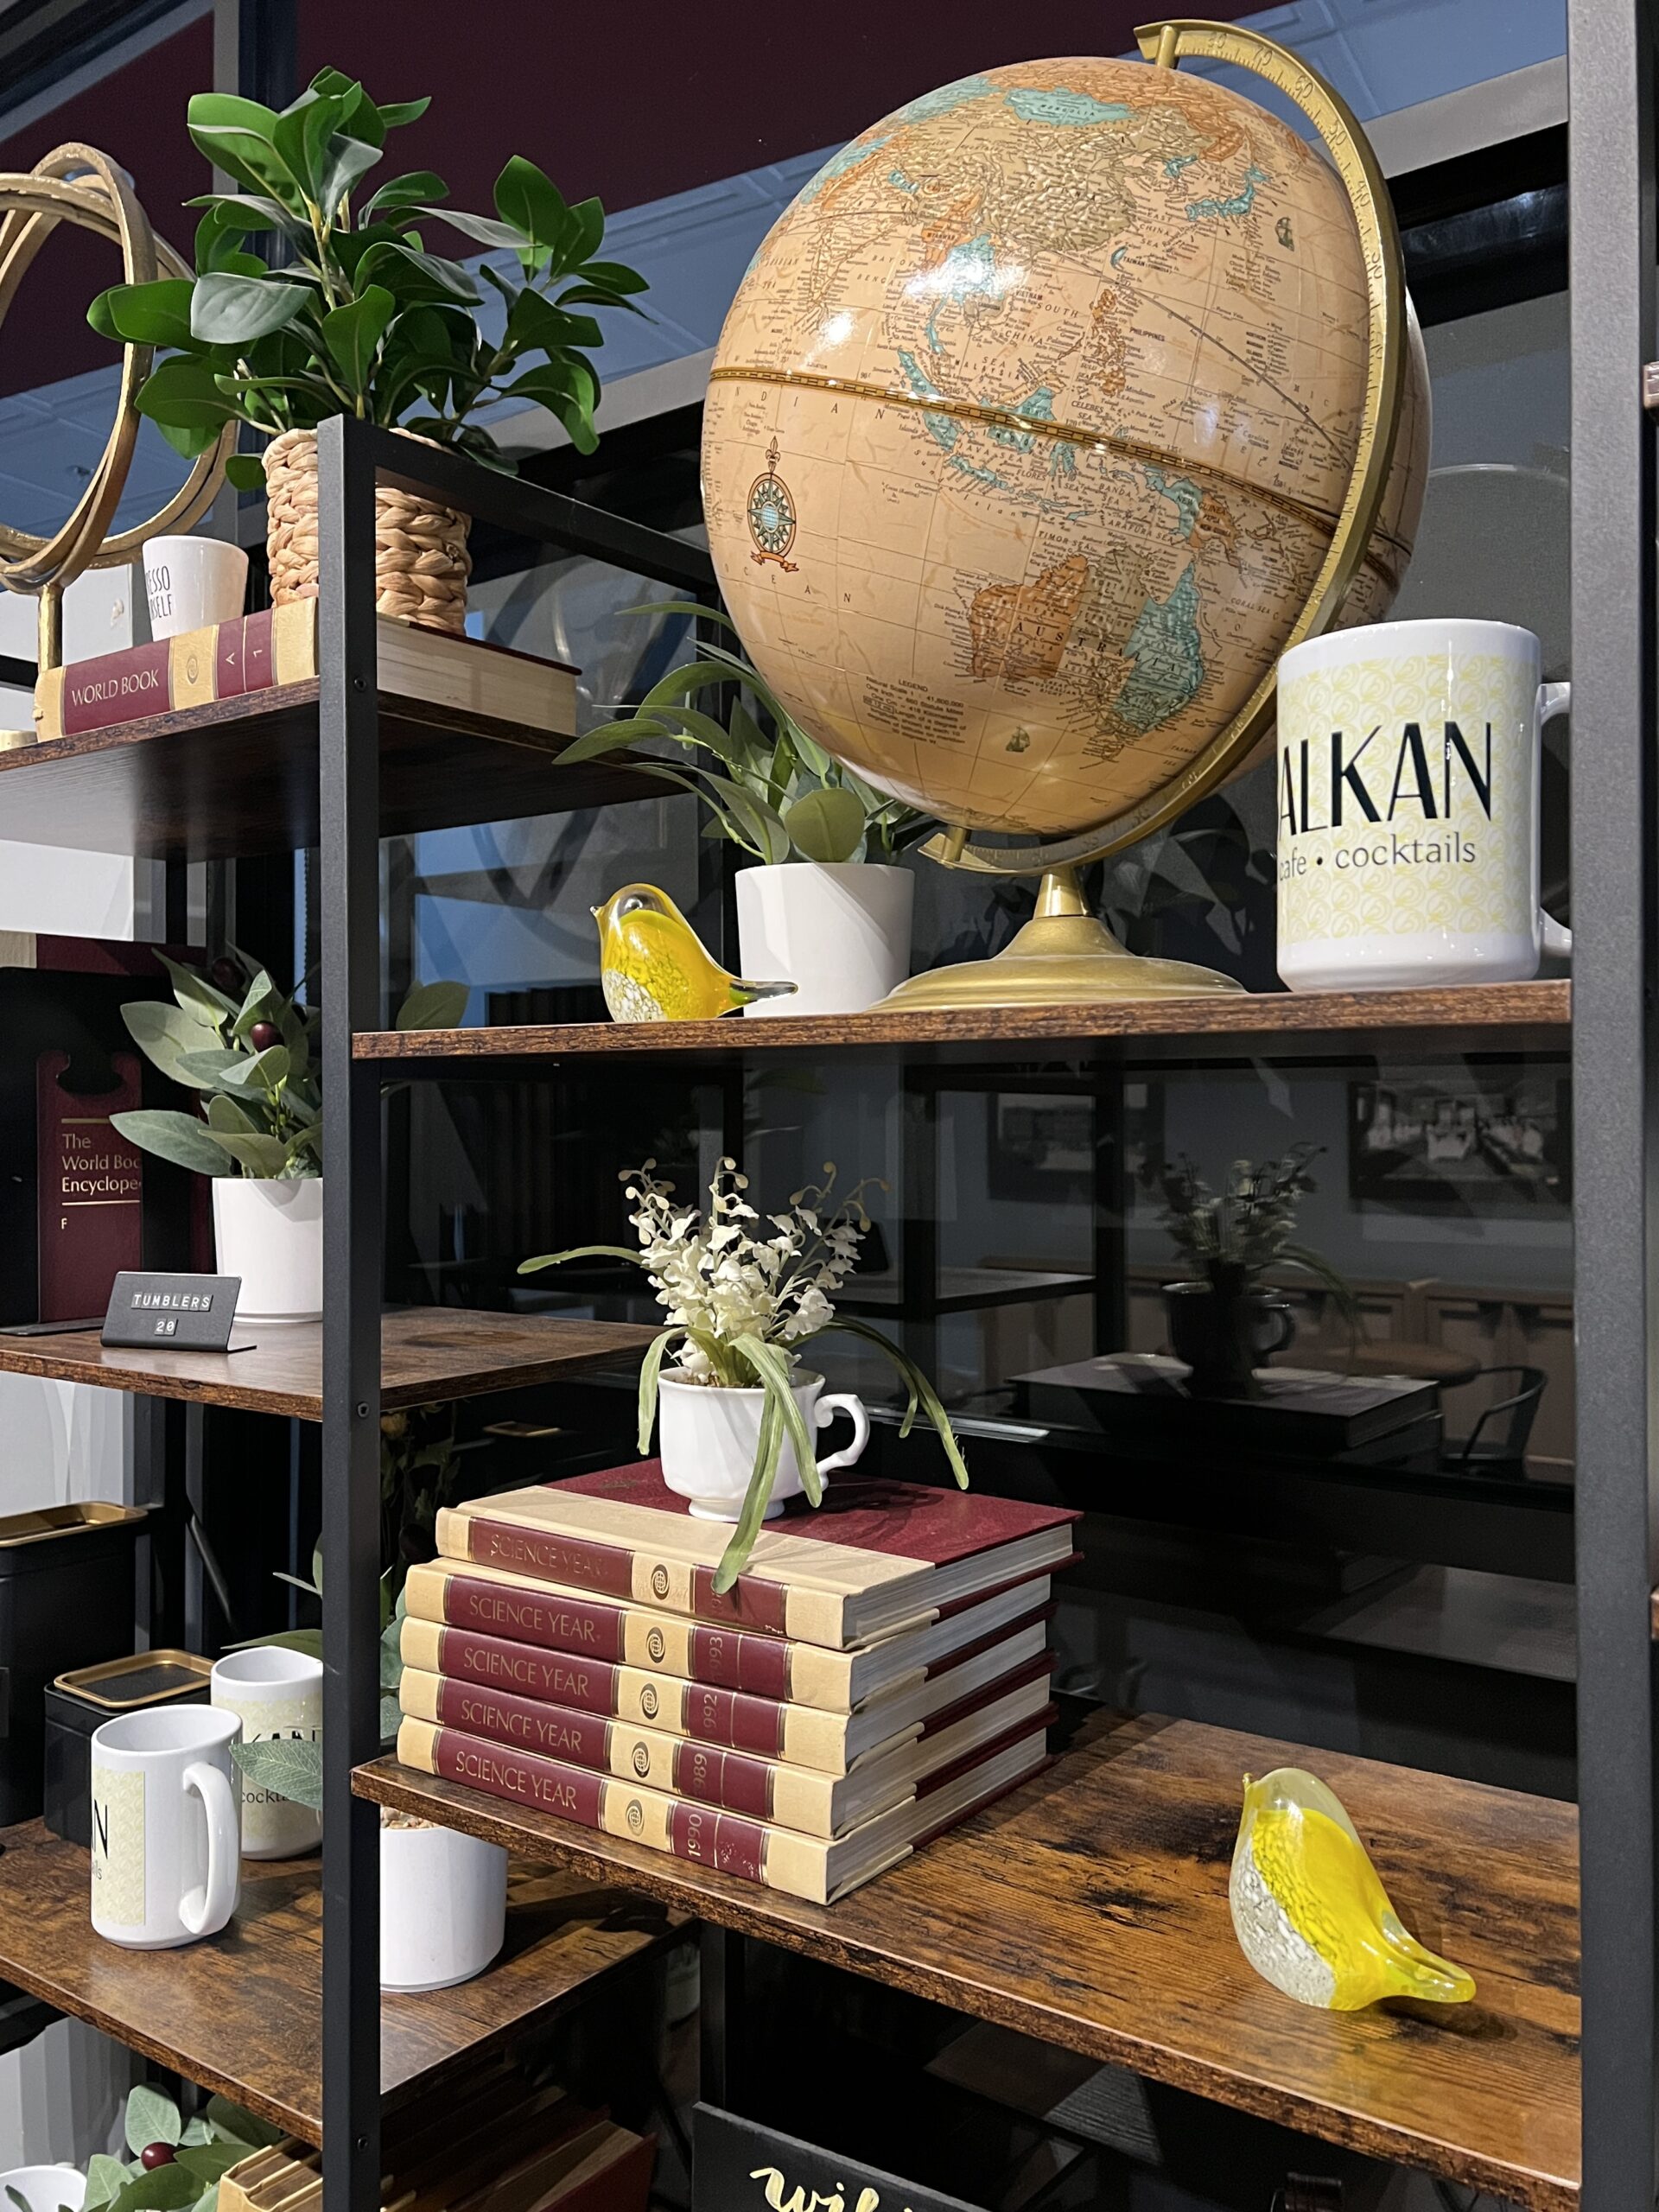
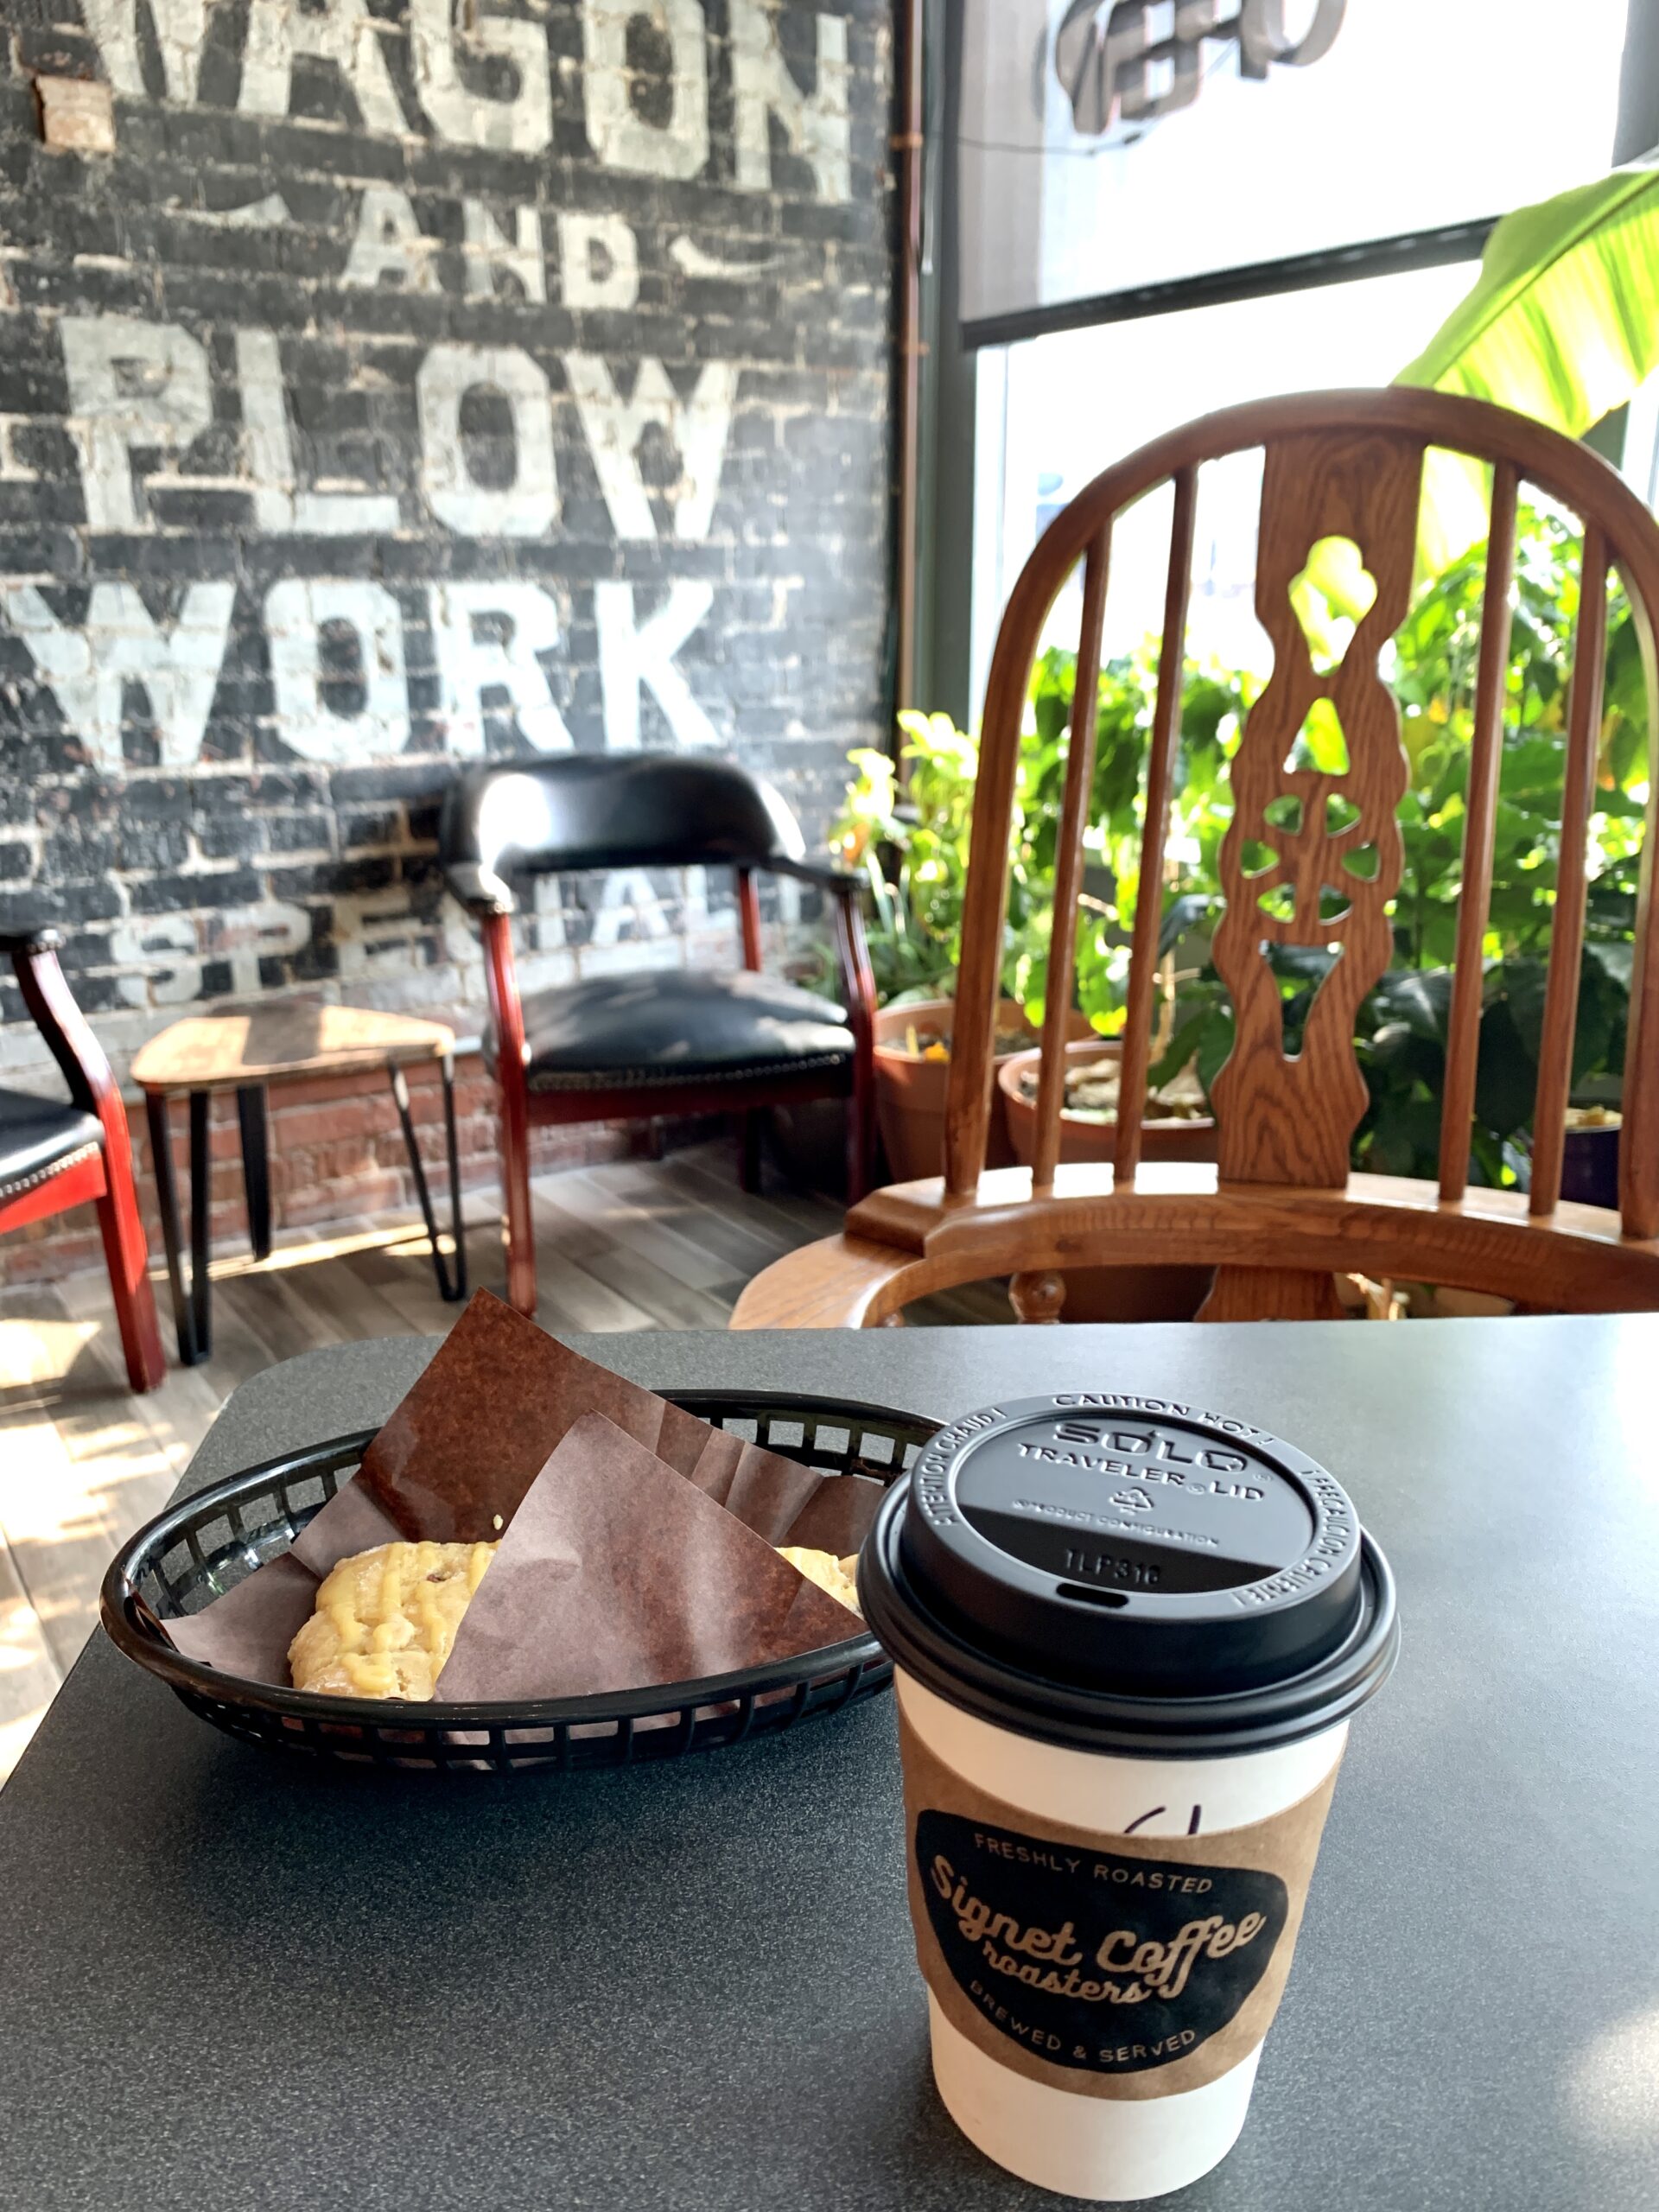
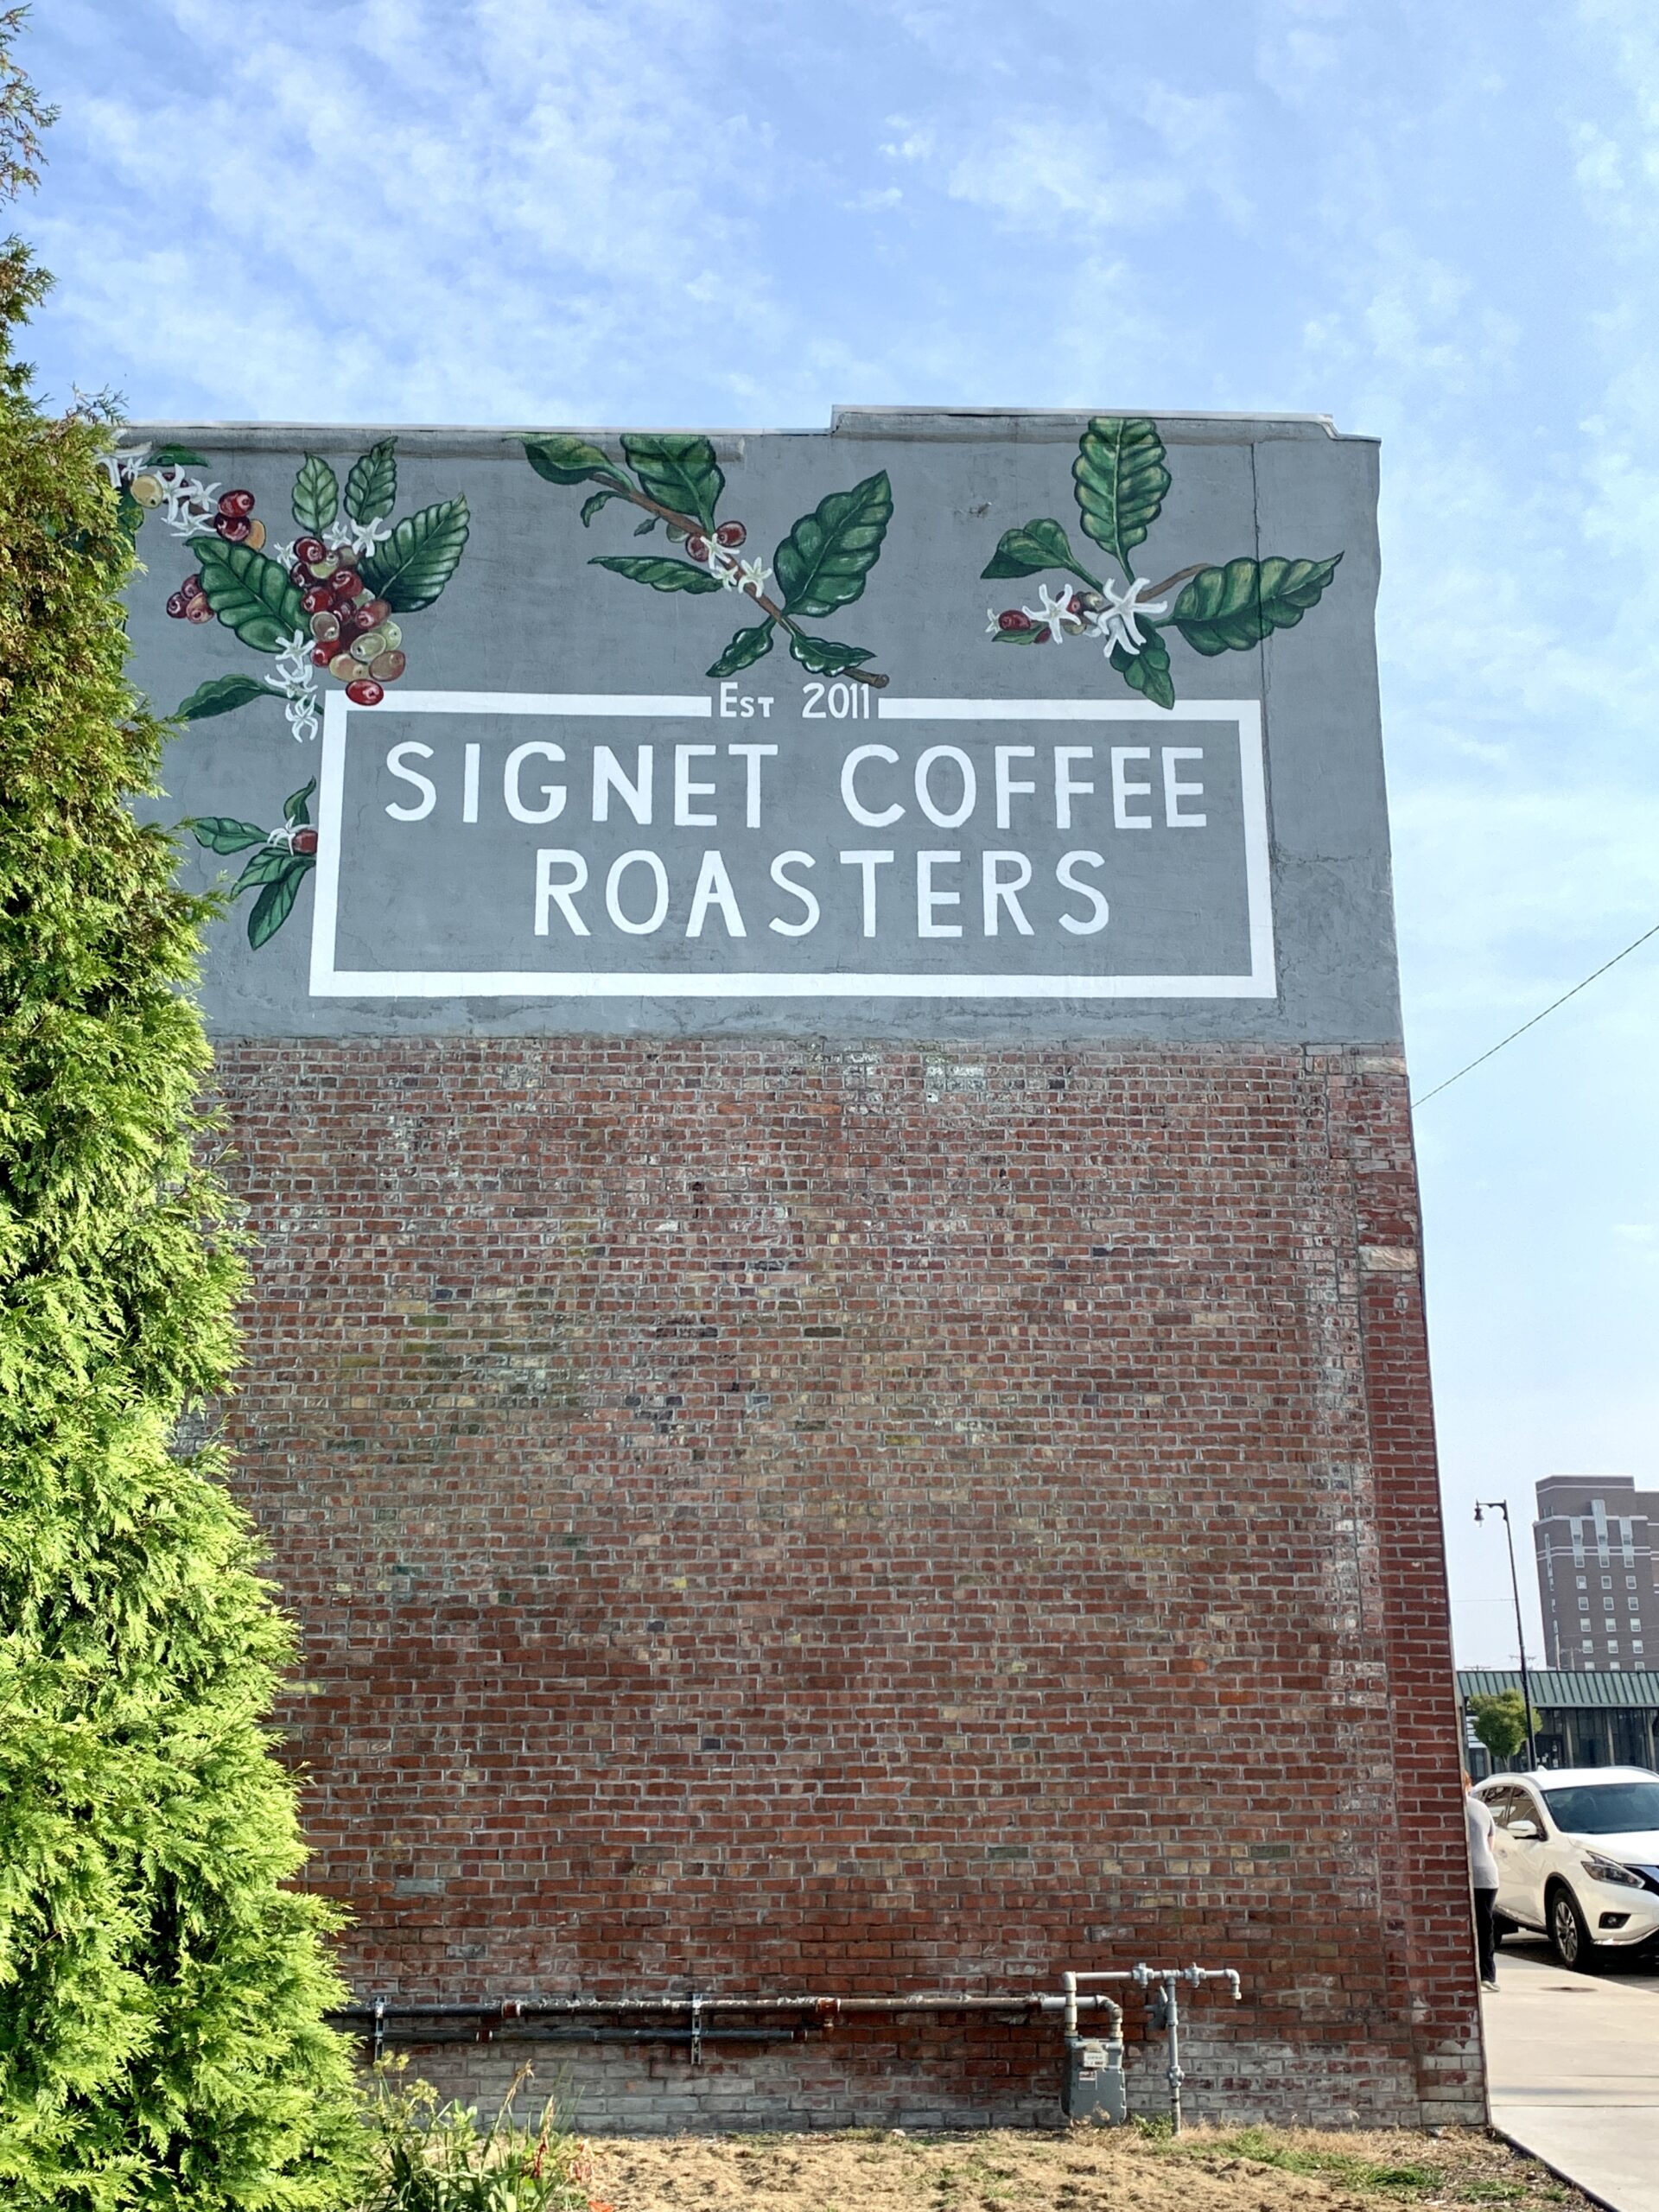
 The locally owned coffee shop sells Signet Coffee Roasters beans, a Pittsburg-based roastery operated by a couple who admittedly became coffee lovers later in life. You can also purchase scones, muffins, and bottled drinks.
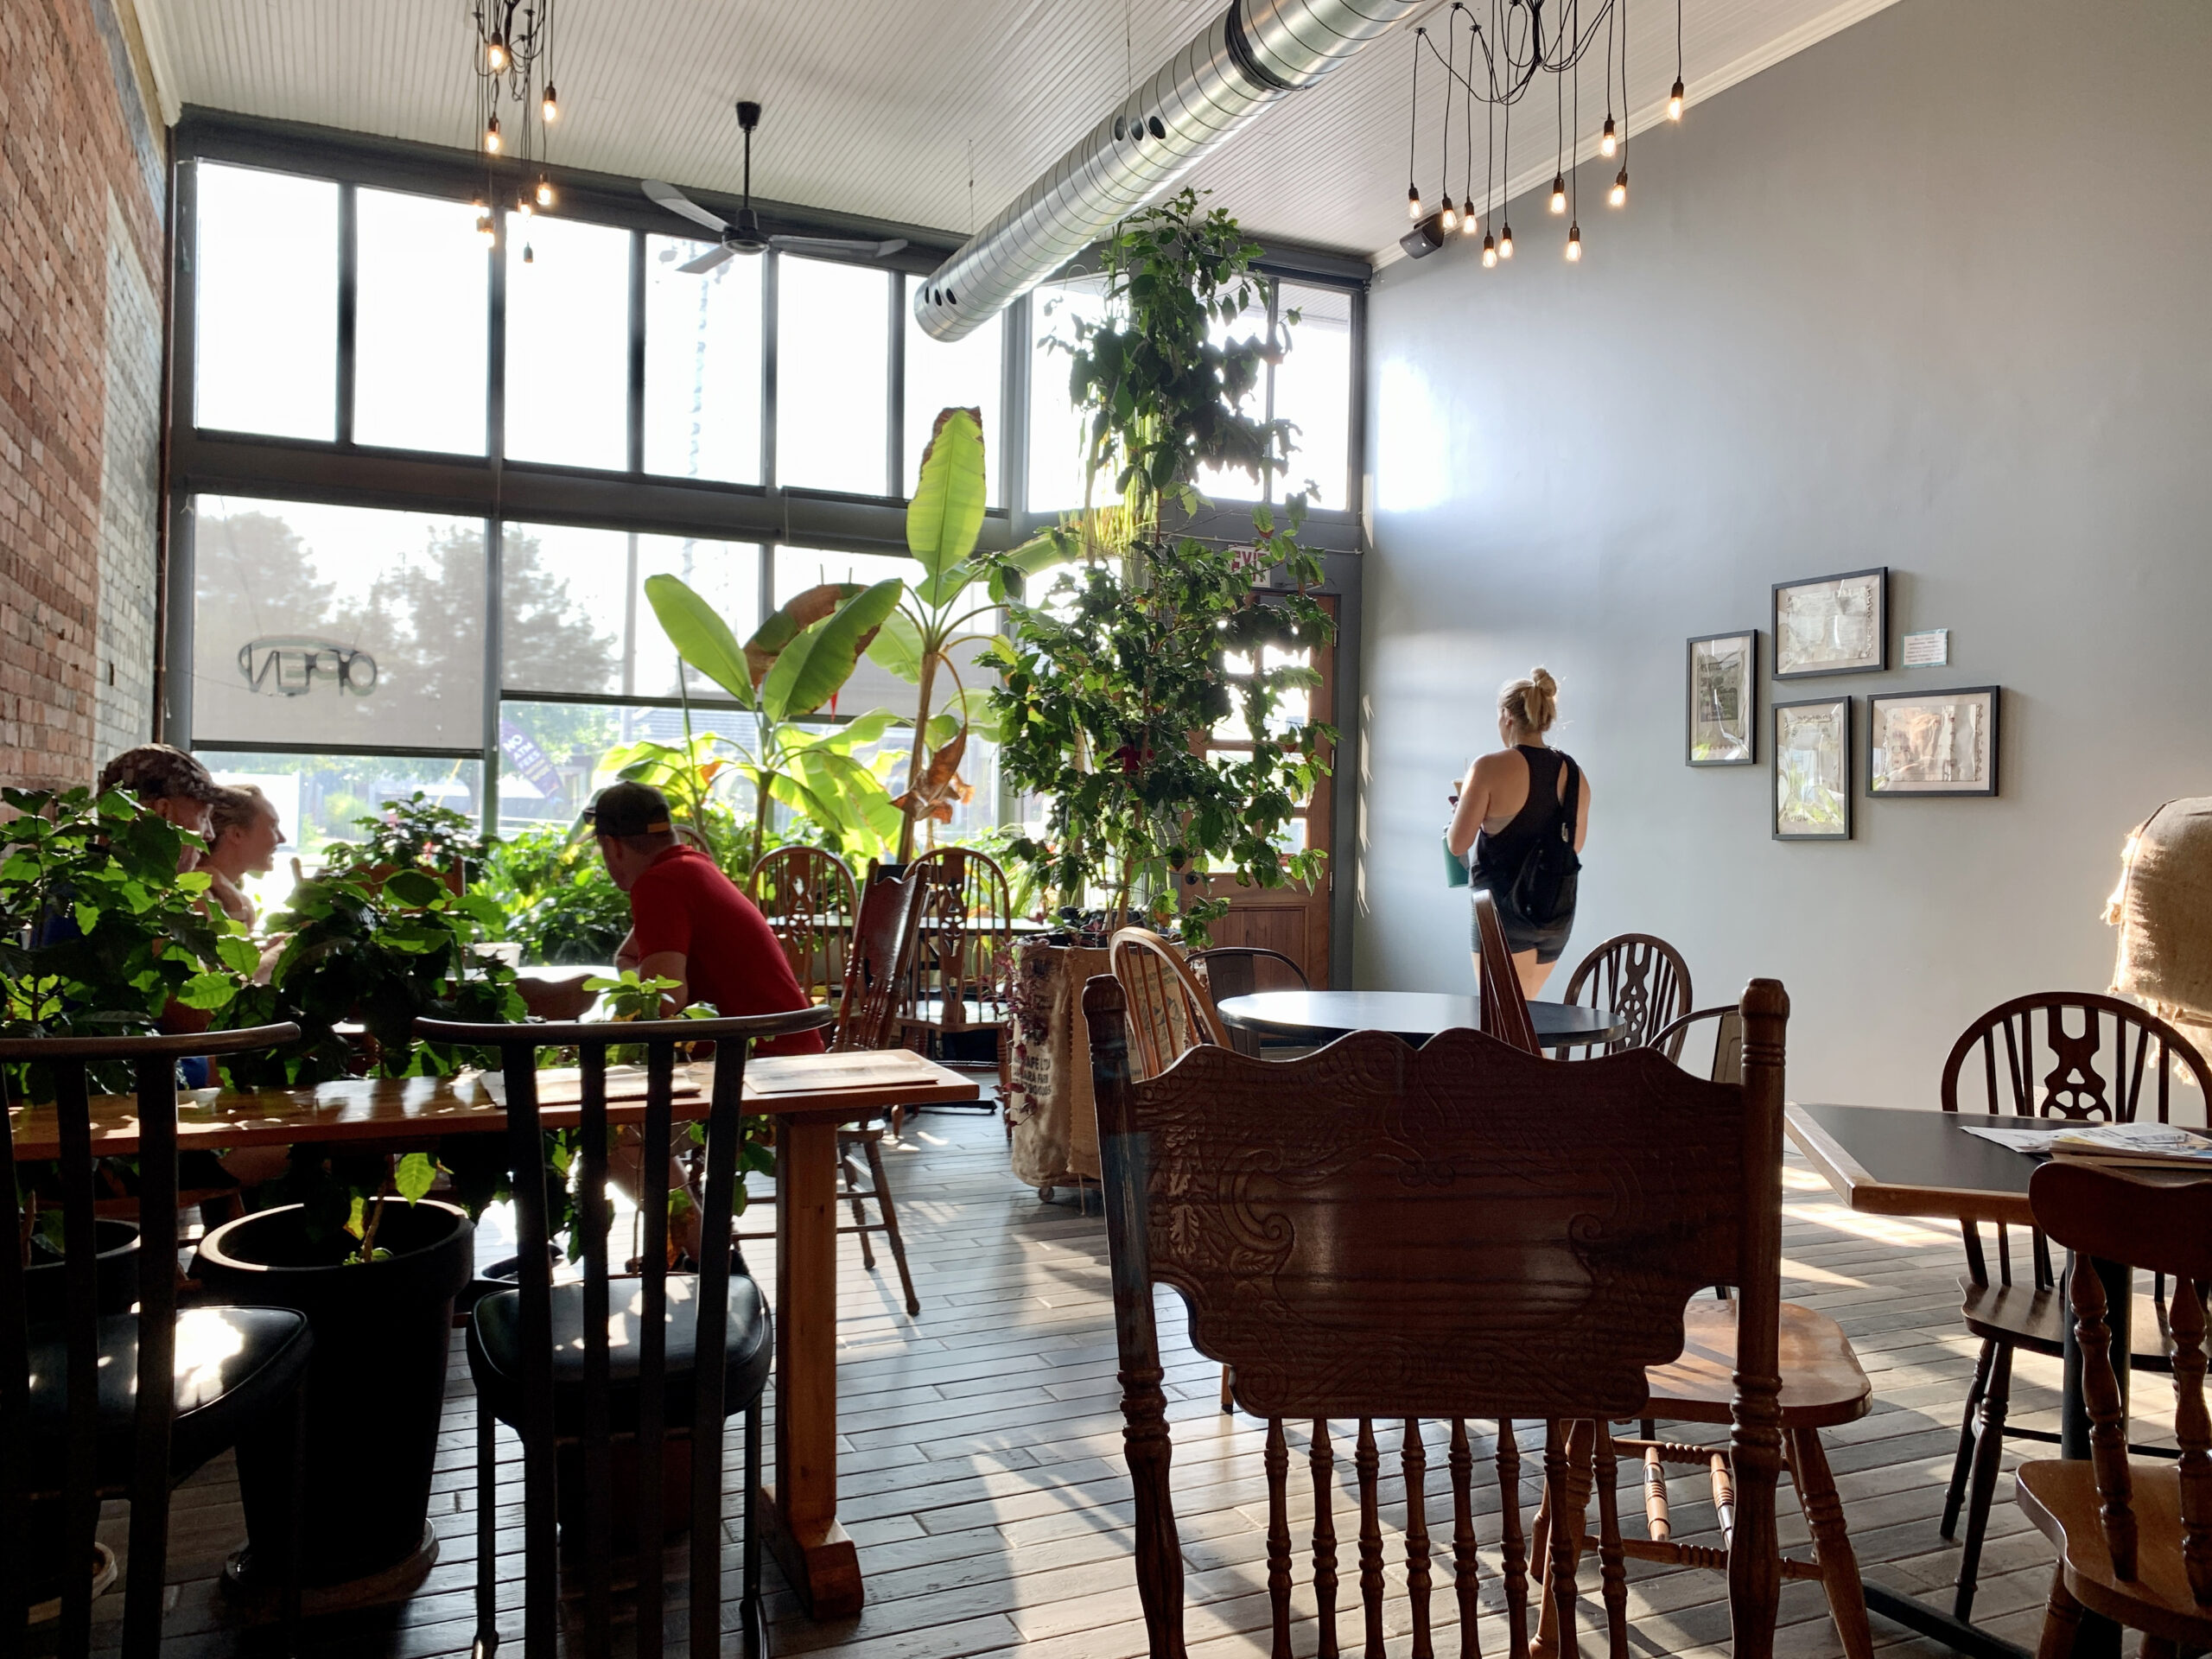
 During my visit, a steady stream of locals came and went, accompanied by music playing from a Bluetooth speaker.
PRO TIP: Visit the Free Little Library to select a complimentary book. Don’t miss the game wall, stocked with board and card games to play over coffee and conversation.
Shooters Neighborhood Bar & Grill
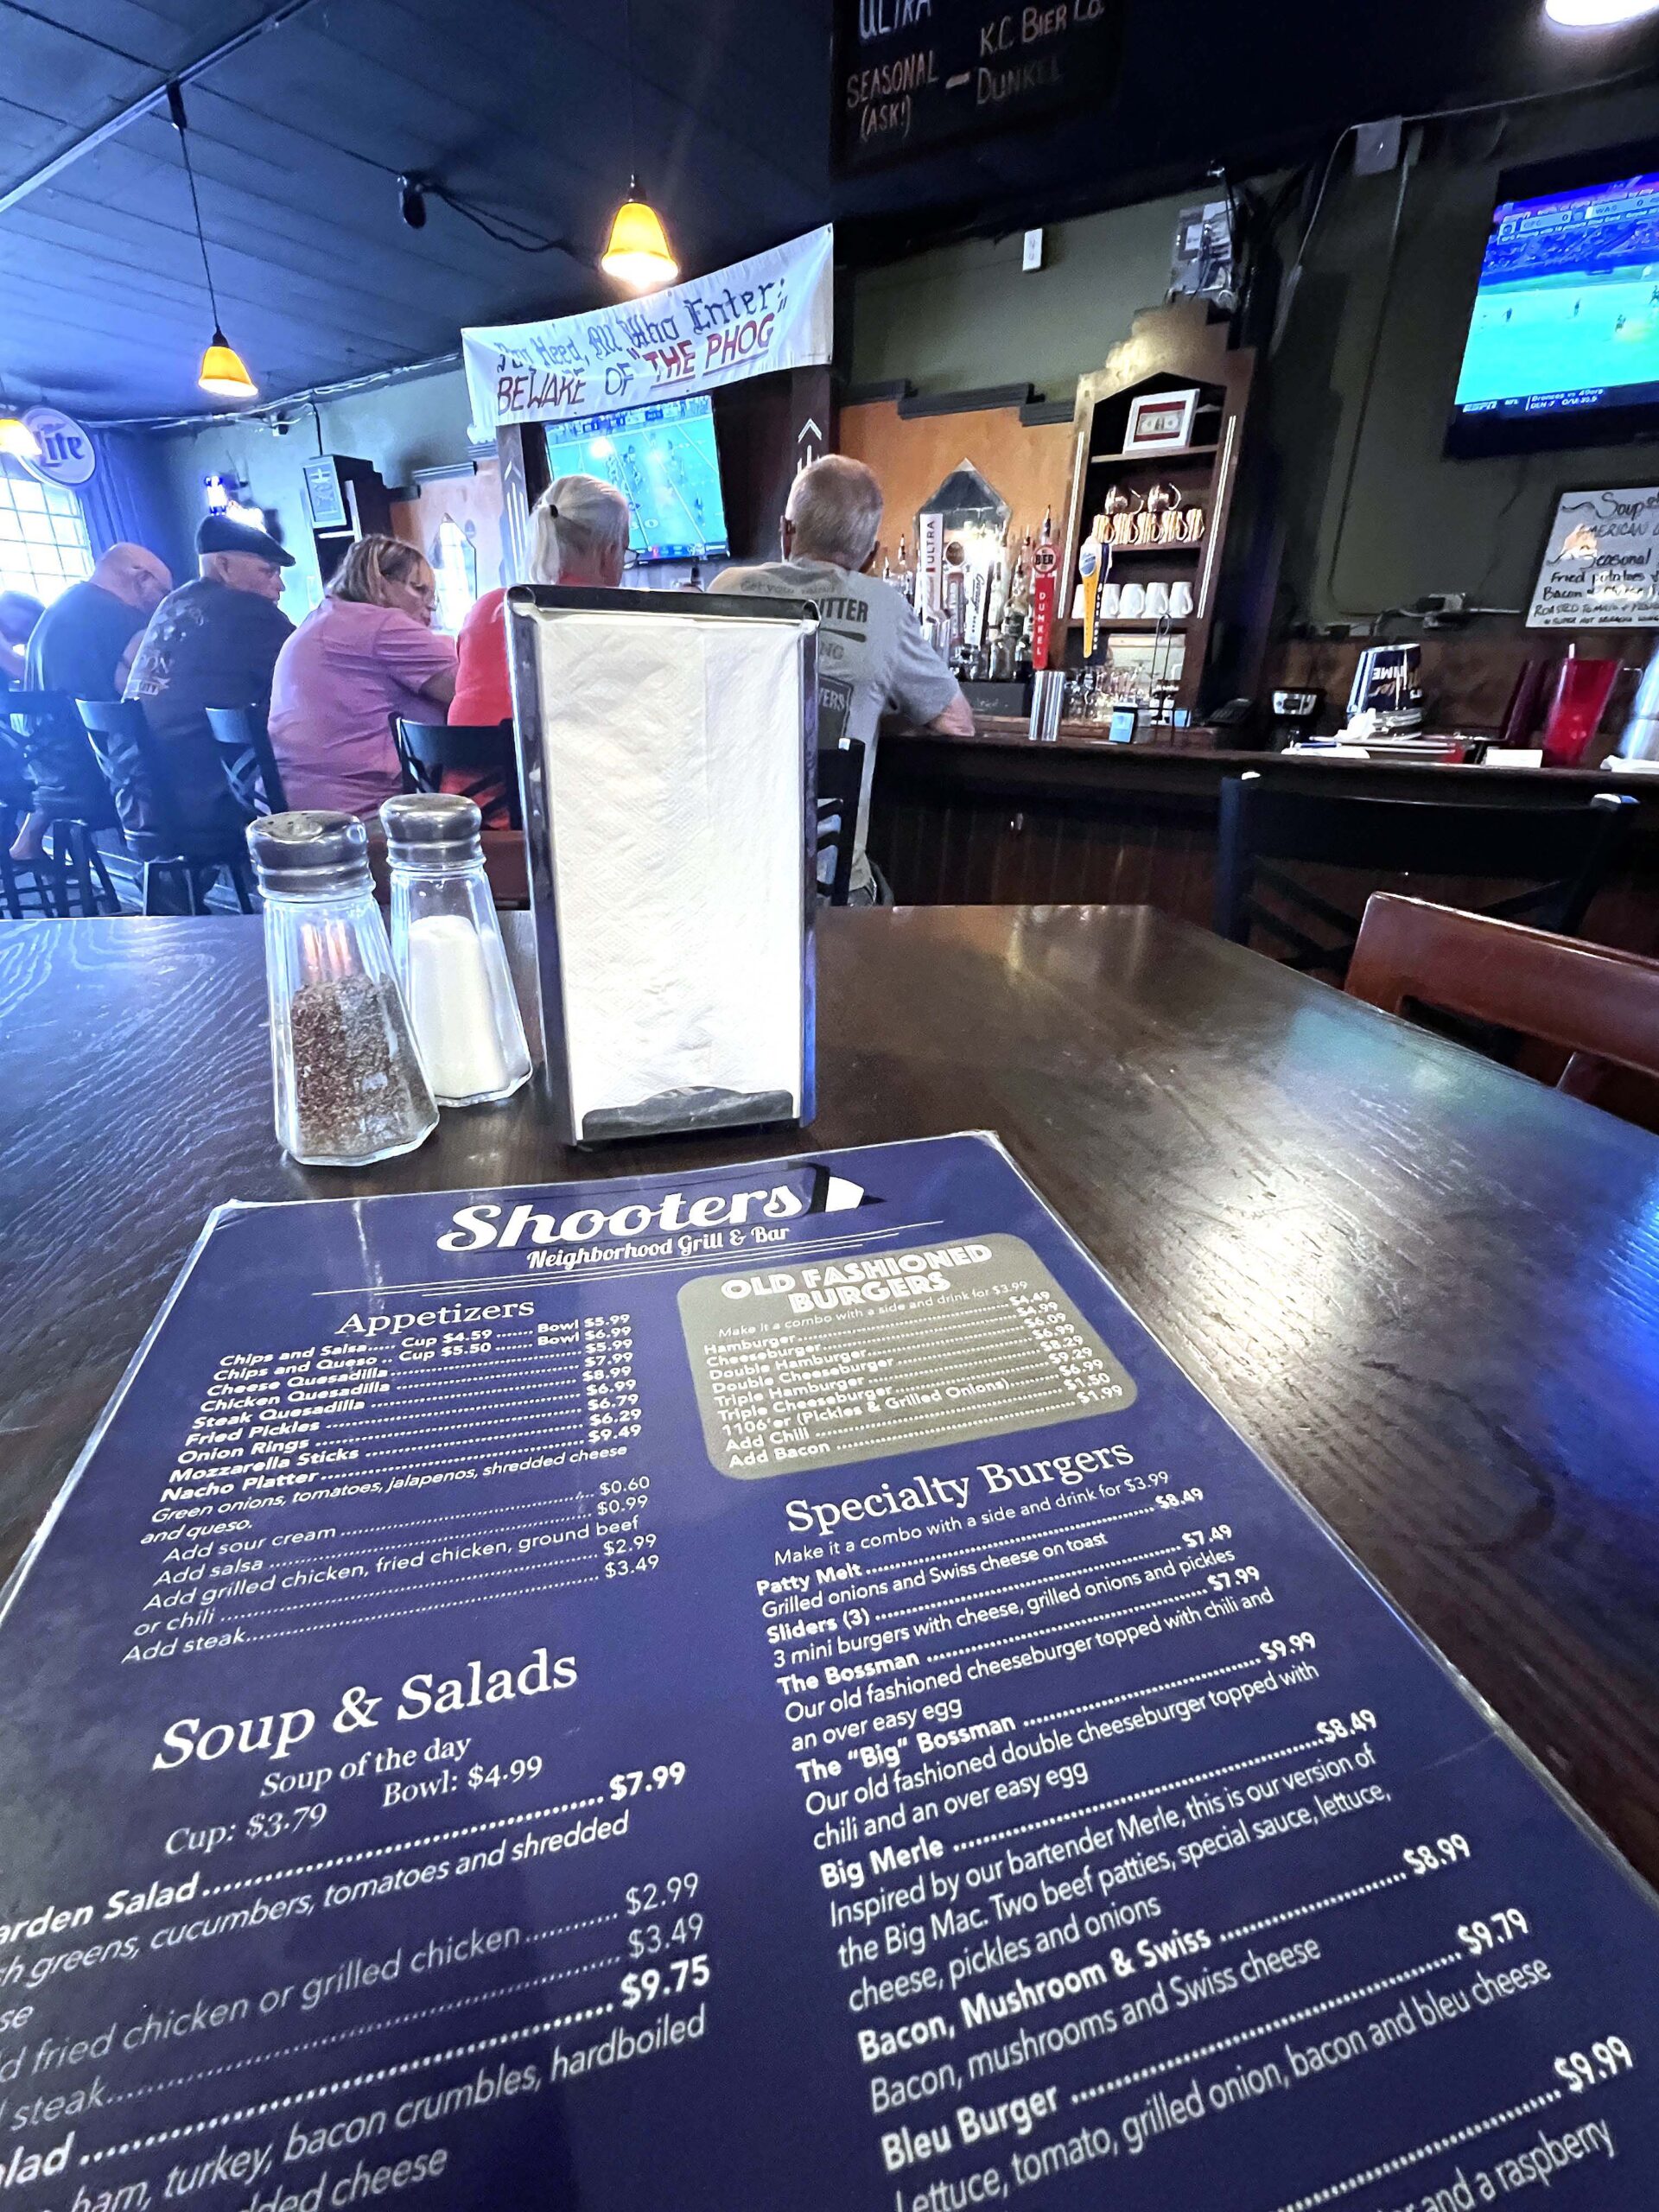
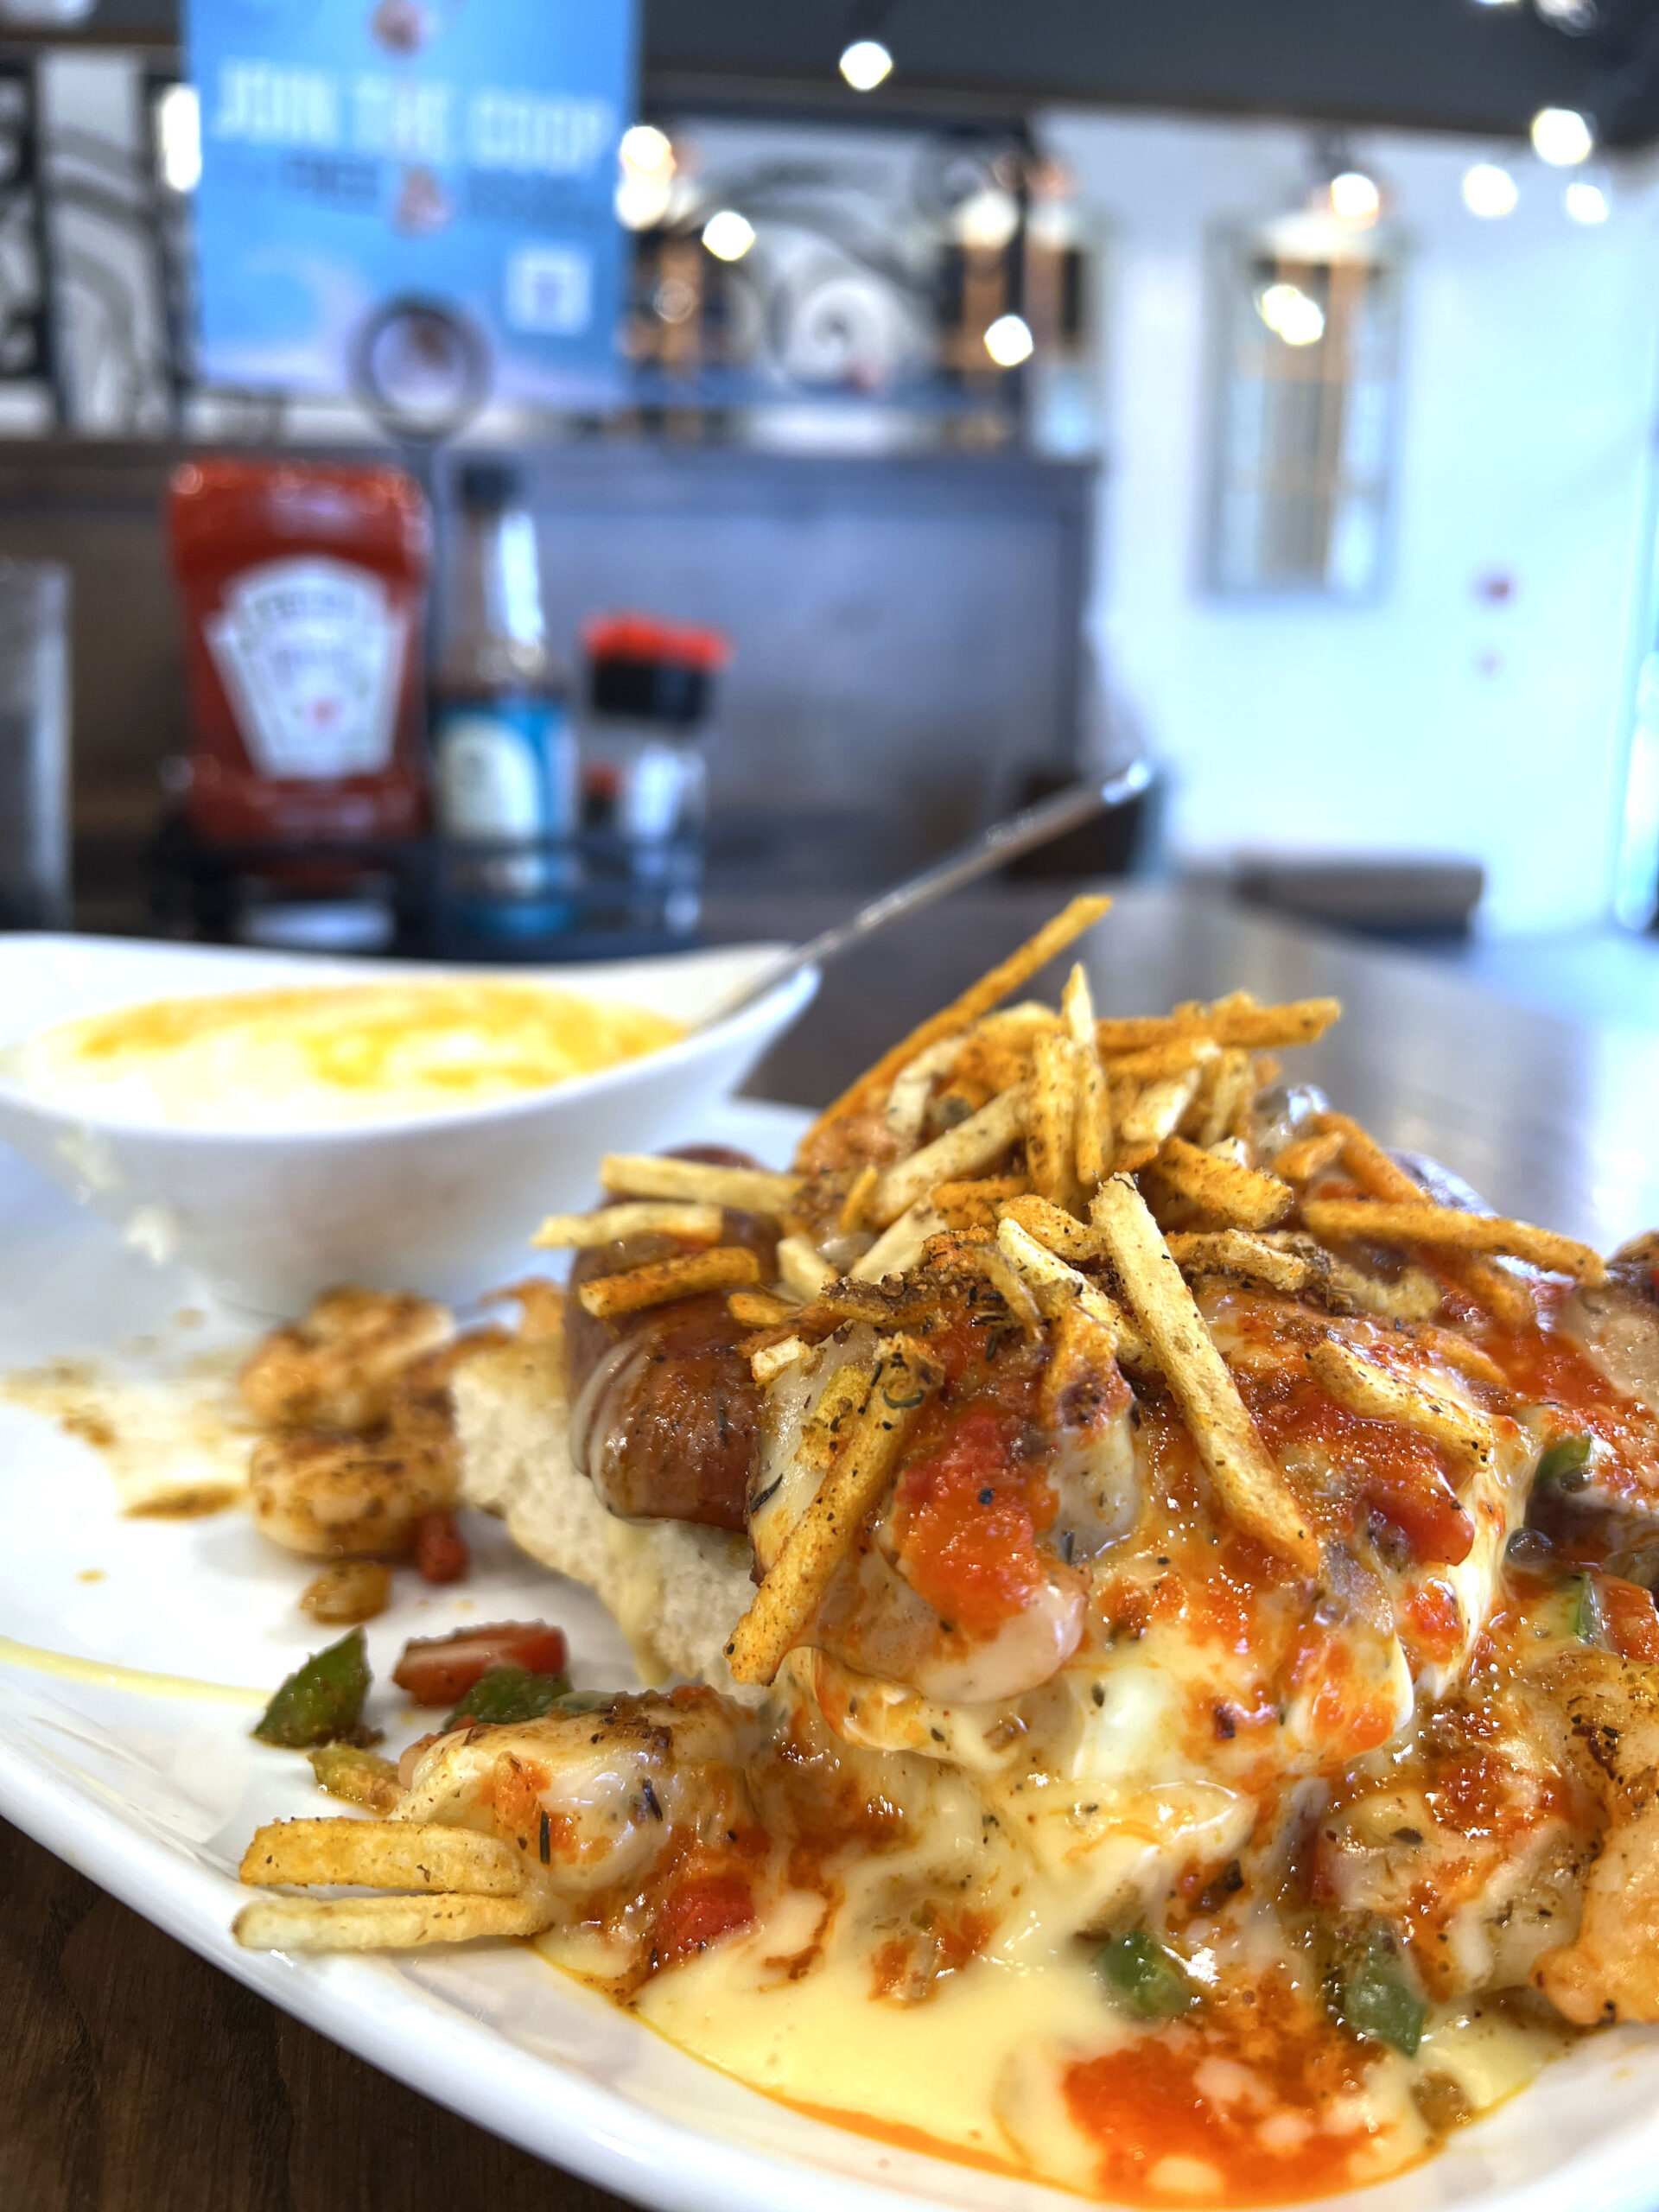
Shooters Neighborhood Bar & Grill (311 E. McKay) serves a tasty lunch or dinner meal in a sports bar atmosphere where televisions flank every wall and the billiards table is often in play.
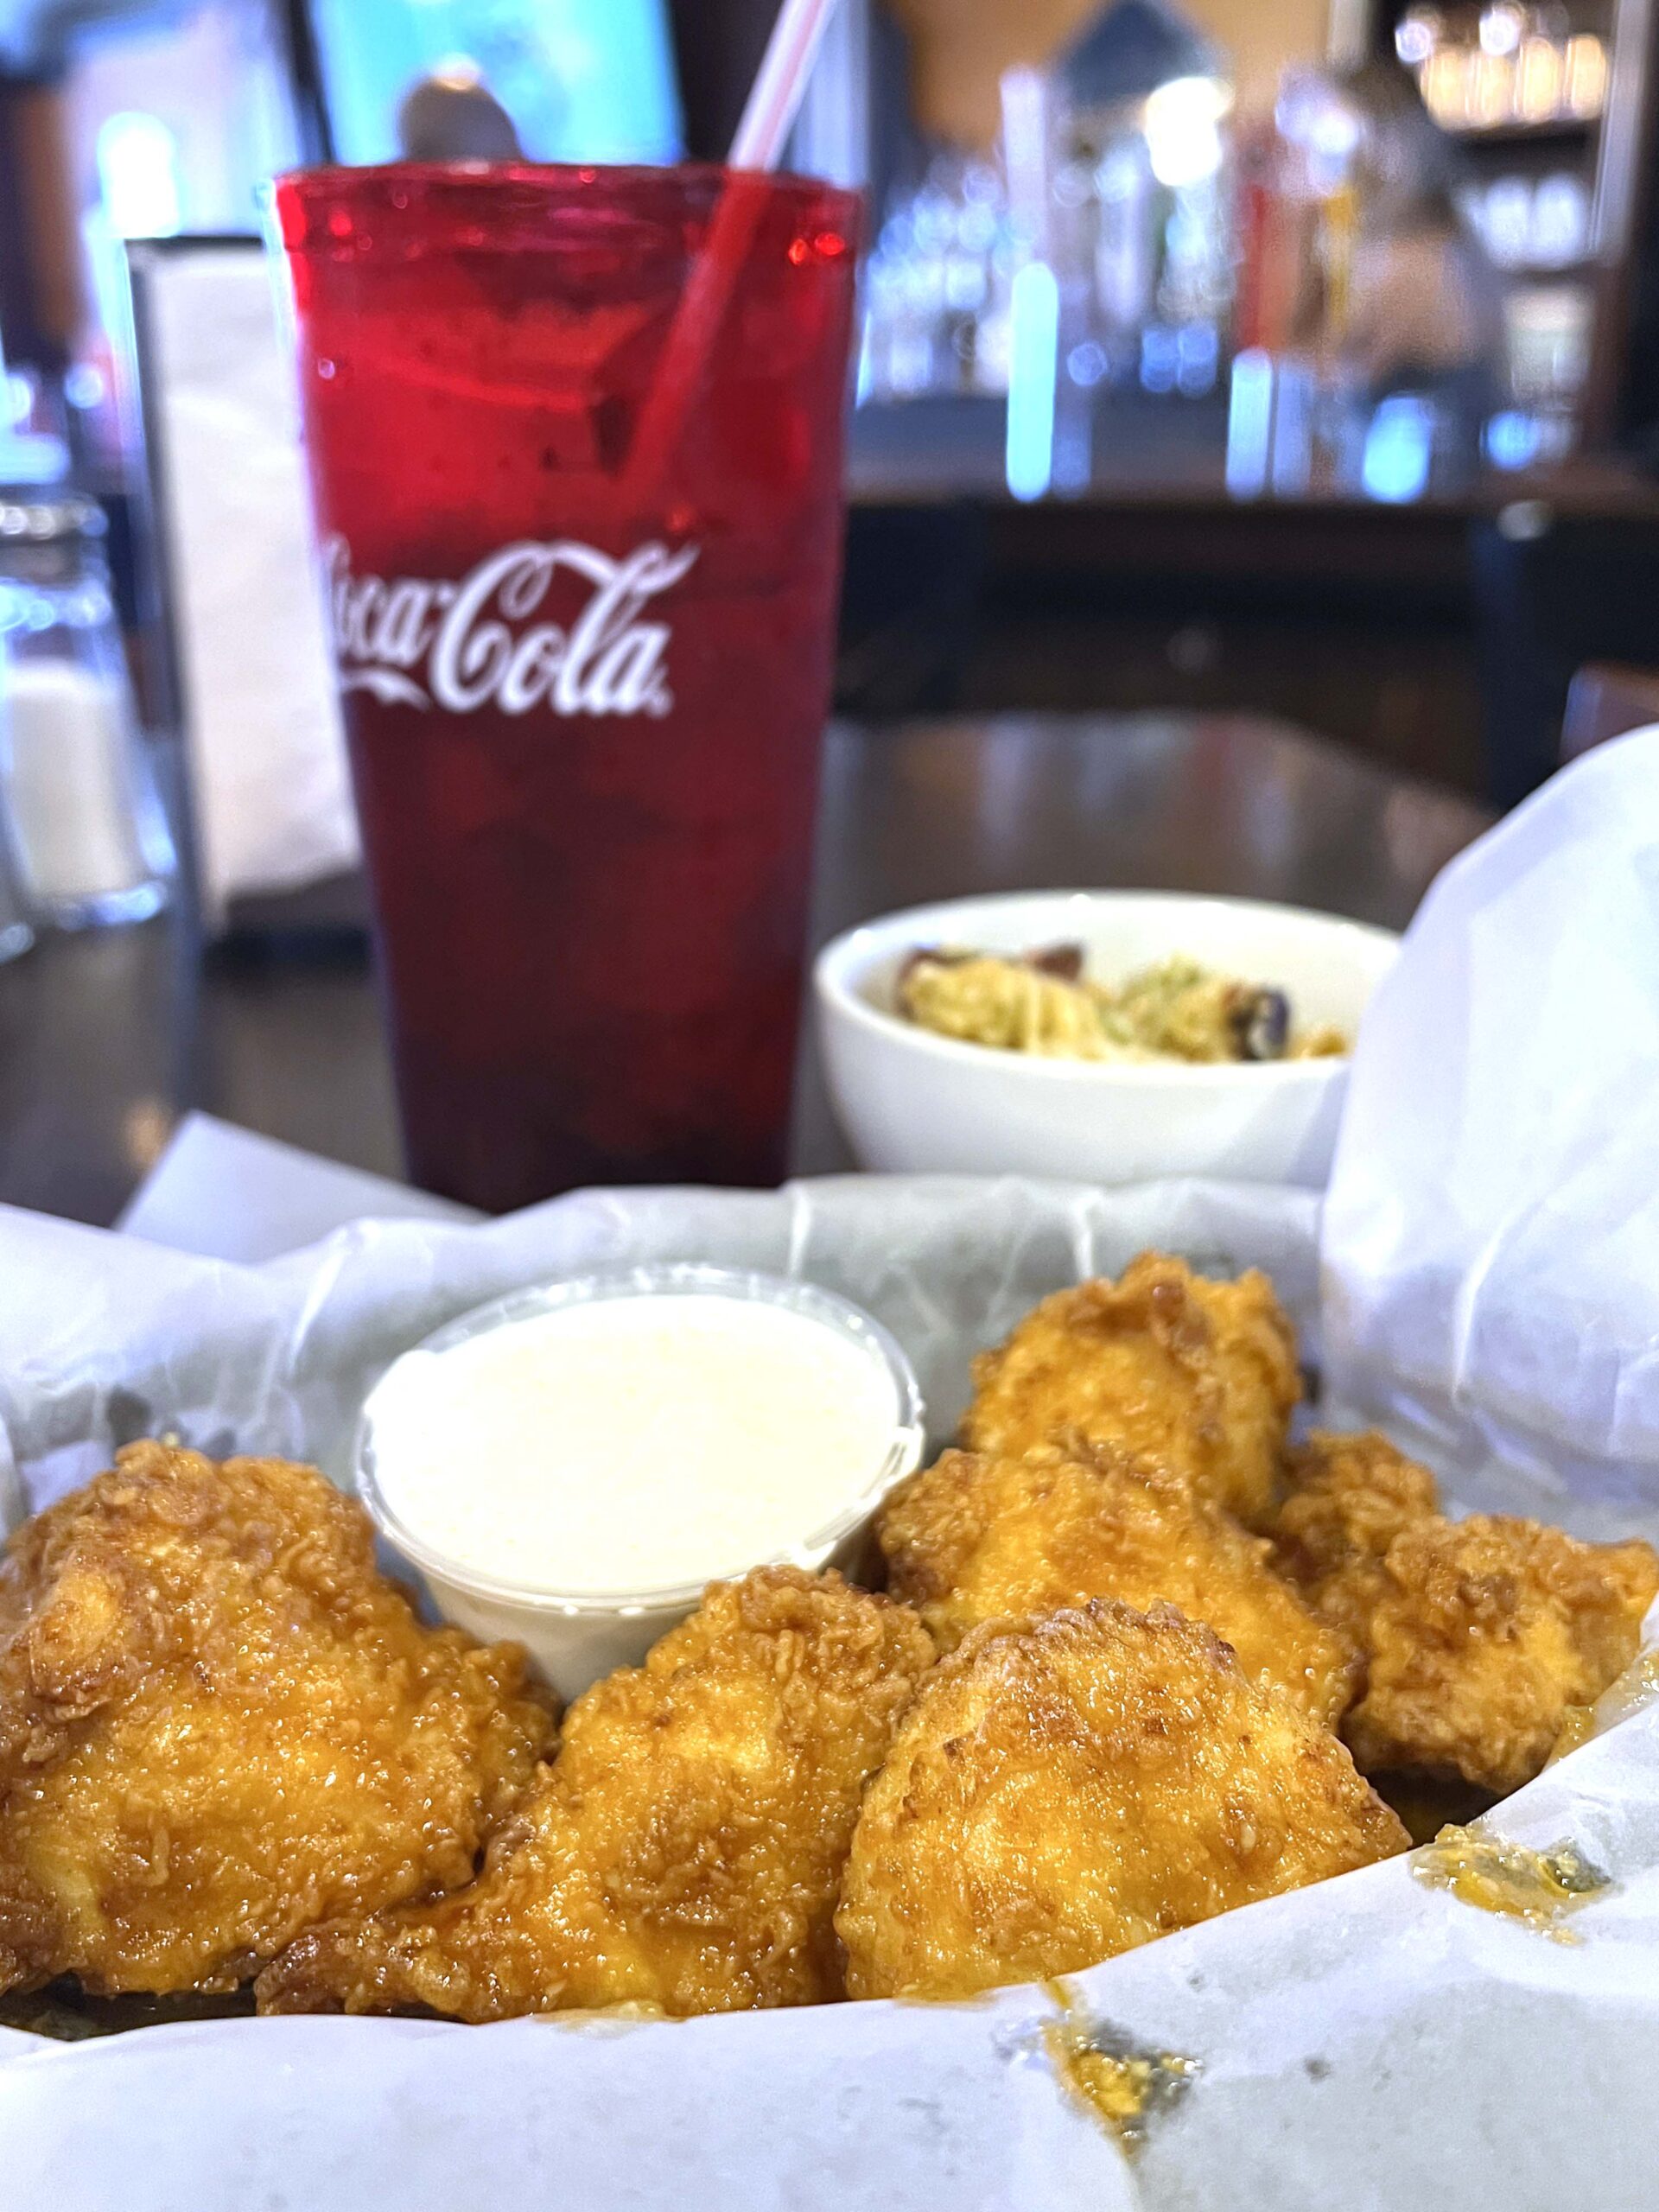
 The dining room was already filled with locals when I stopped by on a weekday for a midday meal of boneless chicken wings coated in Sully Sauce. With my choice of side dish, my meal was appetizing and one I’d order again.
If it’s a juicy burger you crave, you have come to the right place, as the menu includes various styles, including a two-patty stacked burger named after the bartender, the Big Merle.
 On Saturday nights, Shooters Neighborhood Bar & Grill is a popular hangout attracting diners seeking the Chef’s Choice special. Happy Hour specials are served Monday through Friday from 3:00 p.m. to 6:00 p.m.
Drinkers will find five beers on tap, and the complete bar can “make any drink you want,” according to a posted sign.
Granny’s Chip Chocolate Ice Cream & Candy Shop
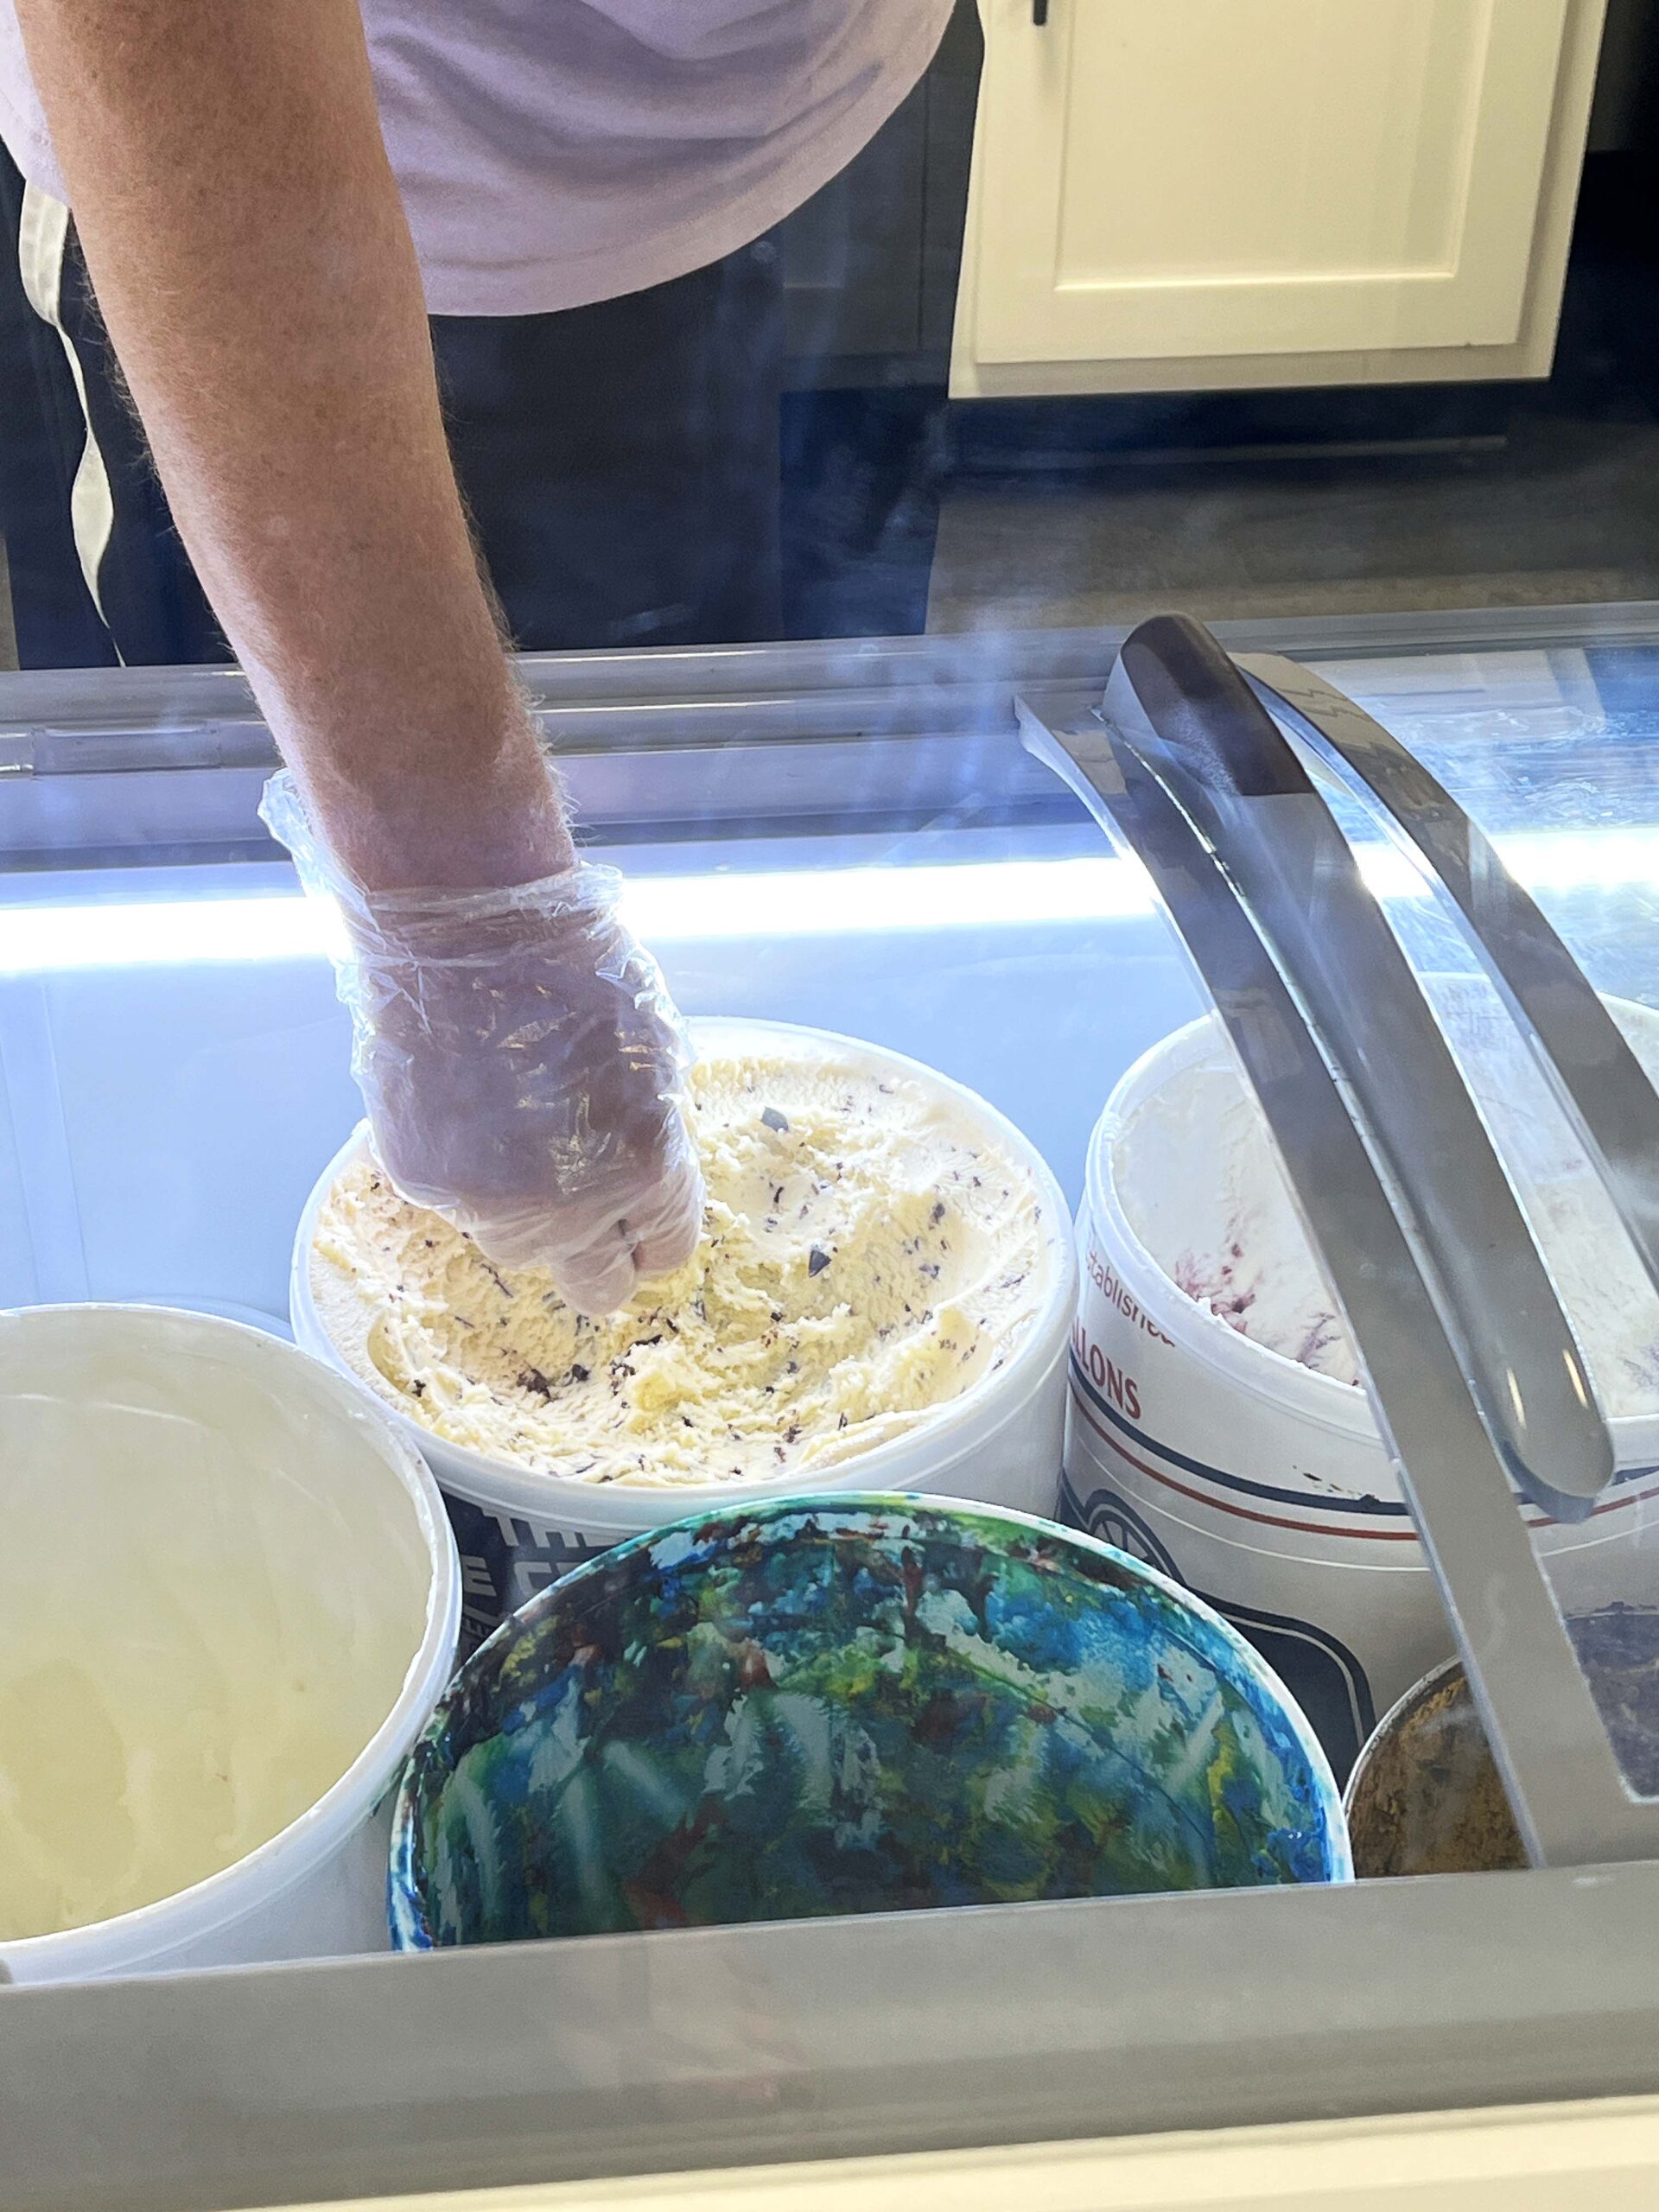
What if the key to living a long life was to eat a bowl of ice cream before going to bed every night? The woman who inspired Granny’s Chip Chocolate Ice Cream & Candy Shop (214 E. McKay Street) lived to be 102 years old.
Add Frontenac’s favorite ice cream shop to your Southeast Kansas road trip. Open six days a week, it’s more than a place to grab a cone. It’s where the community gathers to swap stories over nearly 50 irresistible flavors of premium ice cream.
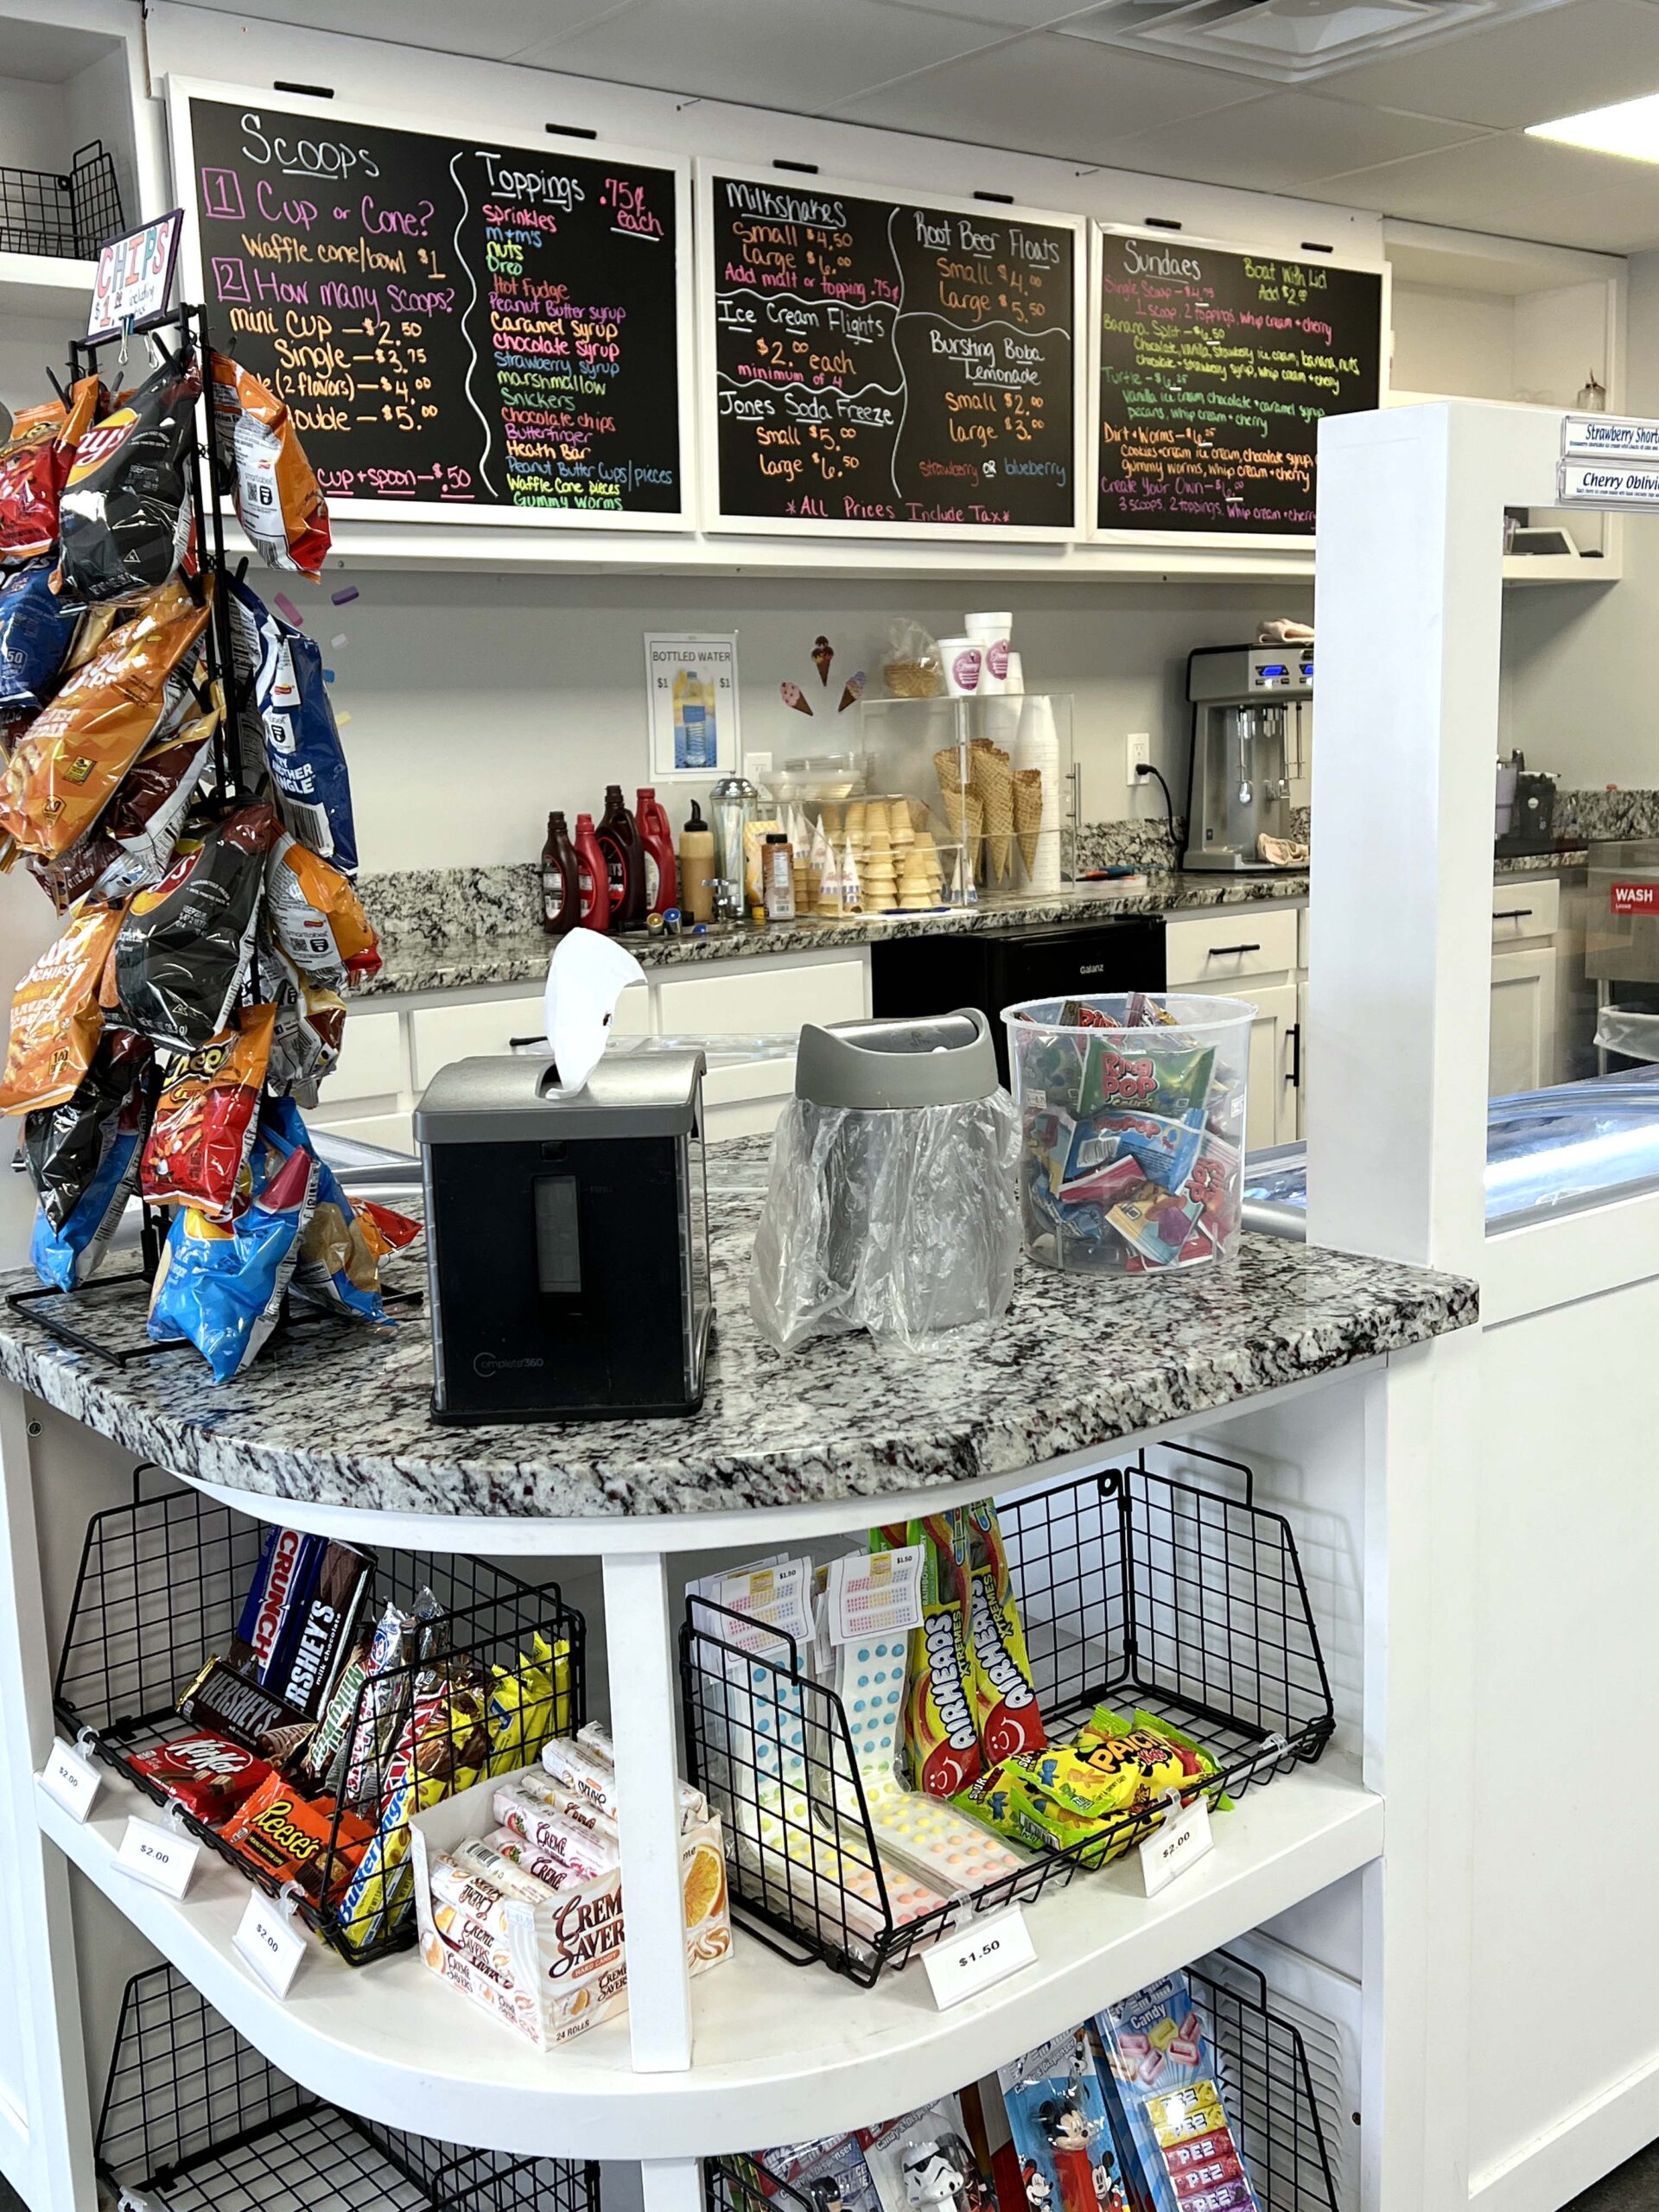
They serve super premium crafted with 16% butterfat for an unbelievably rich, velvety bite in every scoop. Go classic with a single or double scoop, blend your favorite into a thick, dreamy milkshake, or order an ice cream flight to sample four flavors in one go.
Chocolate Fudge Brownie? Yes, please. Chocolate Chip? Of course.
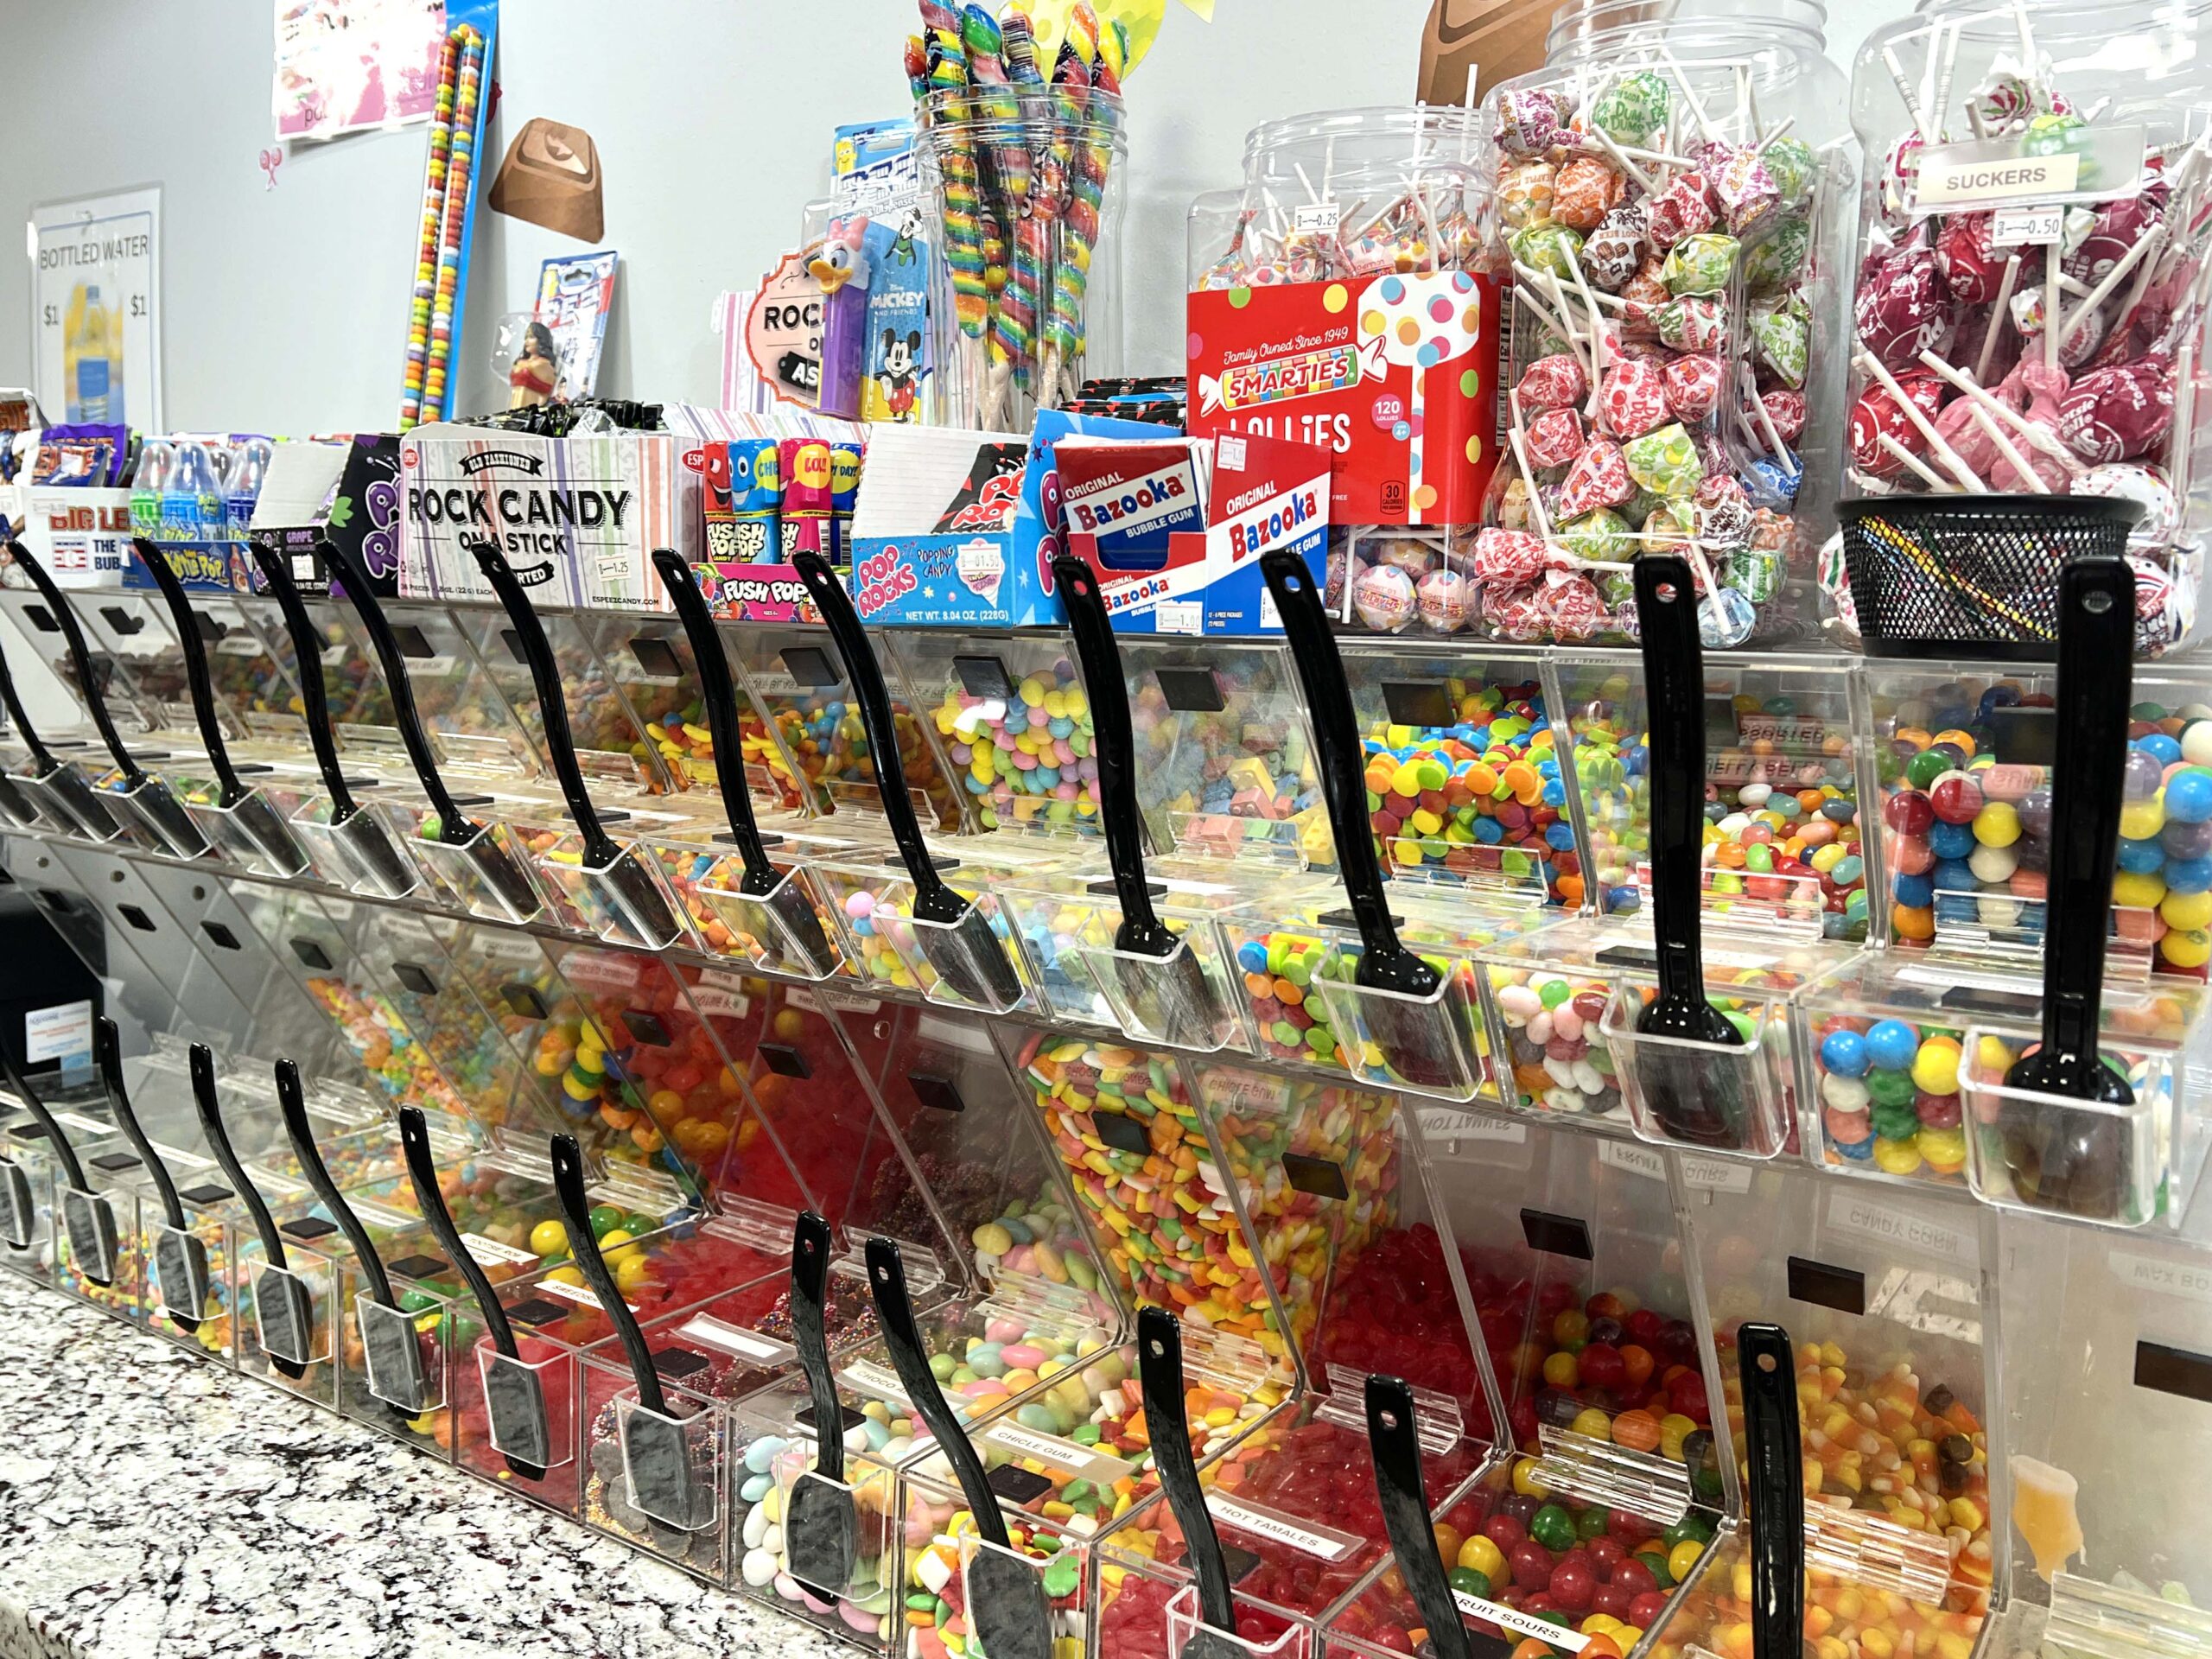
 And for the kids (and young-at-heart), there’s a self-serve candy station, perfect for mixing and matching your favorite sweets by the pound. It’s the ultimate sugar-fueled pit stop for your Kansas adventure.
 I would refer to the shop’s Facebook page for seasonal hours before arriving.
PRO TIP: If you’re unsure what ice cream flavor to order, ask for samples. They provided me with several during my first visit.
Pickled Pete’s Bar & Grill
At Pickled Pete’s Bar & Grill (303 E. McKay), live music, performed by local and national songwriters, is the draw on Fridays and Saturdays. The kitchen, which serves fried appetizers, burgers, sandwiches, nachos, and chili, operates Monday through Saturday from 11:00 a.m. to 10:00 p.m.
Unfortunately, I didn’t get a chance to dine there since I was only visiting Frontenac for a few hours before driving on to explore more of Crawford County. But I’ll definitely be back.

The locally-owned sports bar prides itself on honoring first responders and the military community.
PRO TIP: View the upcoming live music and trivia calendar.
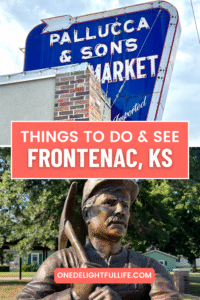
Pallucca’s Italian Meat Market & Deli
In 1909, a grocery store opened by Atillo Pallucca and Enrico Moriconi in Frontenac. A family-run business, Pallucca’s Italian Meat Market & Deli (207 E. McKay Street), continues the tradition of providing Italian deli meats and meals to shoppers as well as serving sandwiches to walk-in customers.
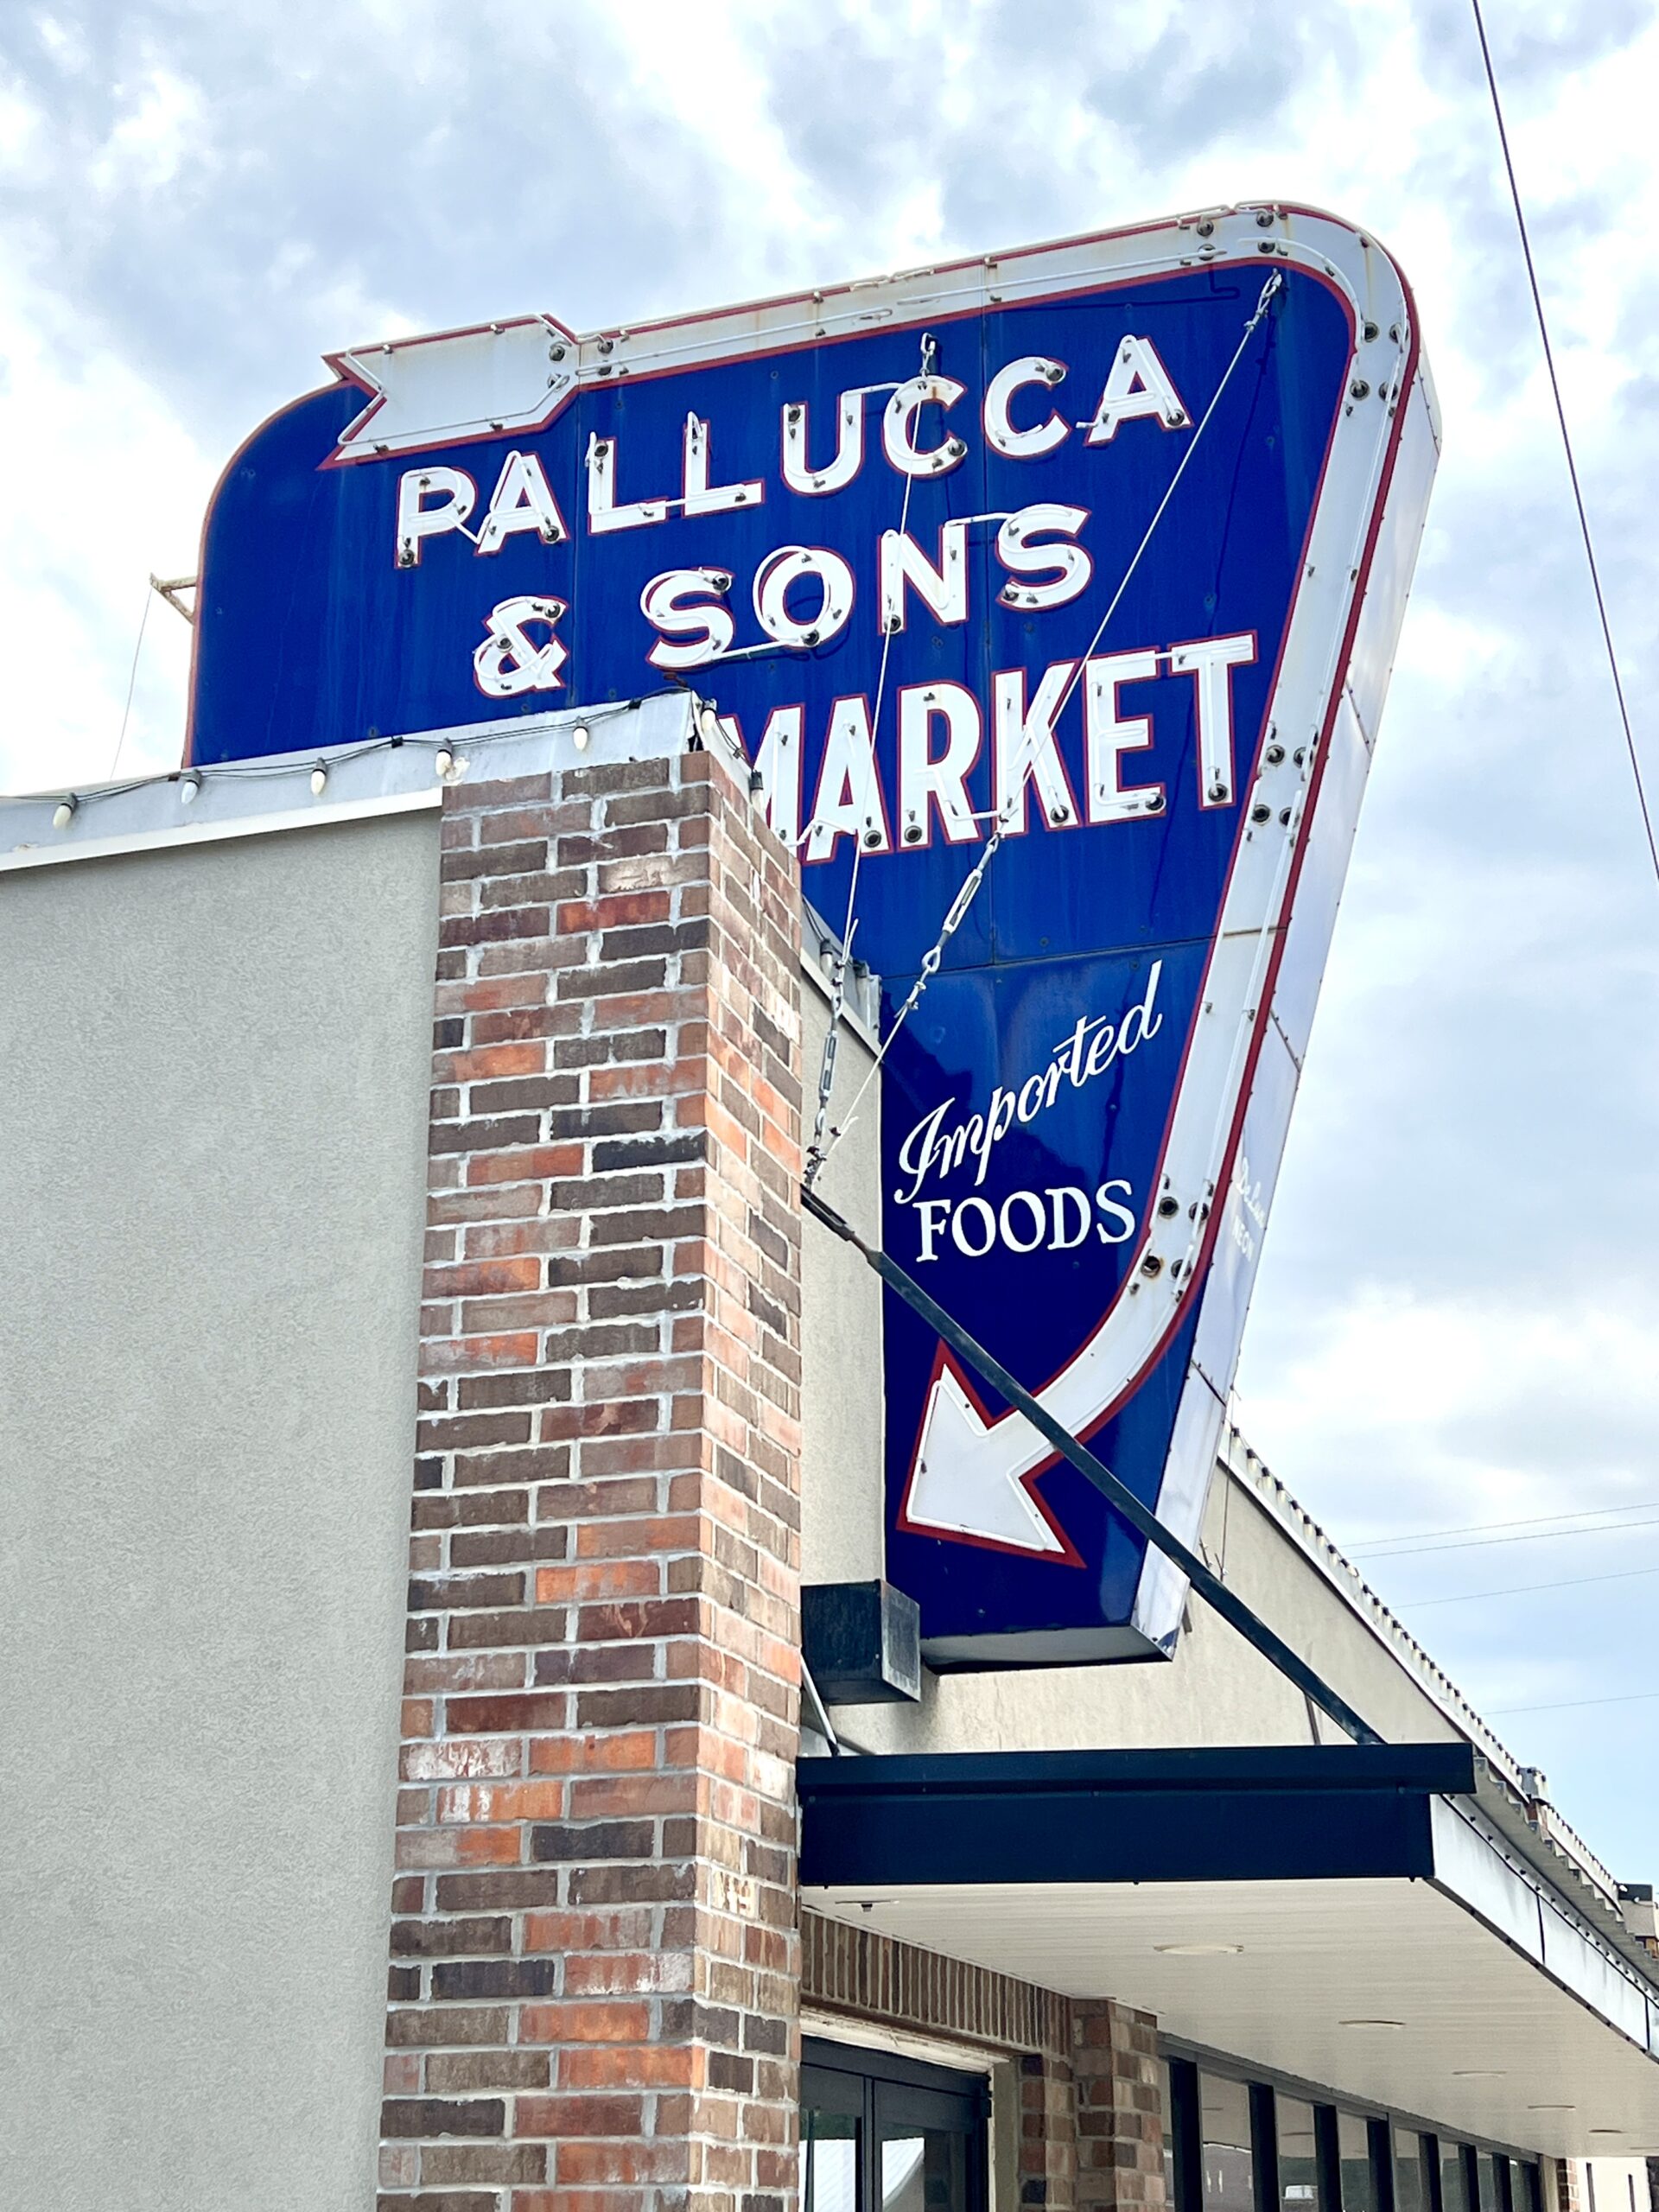 In addition to slicing deli meat by the order, refrigerated glass cases house homemade sausage, pasta meals, and pre-made sandwiches. A few tables provide a place for lunch-goers to sit down and savor a panini prepared with bread from the local bakery.

Palluccas is a fantastic option if you want to purchase meals made from original recipes, such as take-and-bake lasagna, stuffed shells with cheese, or pulled pork. Preview the menu to order online.
PRO TIP: Attend Festa Italiana: A Taste of Nations festival, which draws up to 3,000 people in September at the Raider Sports Complex. You won’t want to miss the cannoli-eating contest.
Barto’s Idle Hour Steakhouse & Lounge
A stop on the Freedom Chicken and Fried Chicken Trail, Barto’s Idle Hour Steakhouse & Lounge (201 Santa Fe Street) serves double duty as a dinner destination and bar where live music plays on Friday and Saturday nights for a dance-happy crowd.
In business since 1951, the restaurant’s famous fried chicken keeps folks coming back. Why fried chicken? That’s what the owner, Ray Barto, liked to eat, so they perfected the recipe.
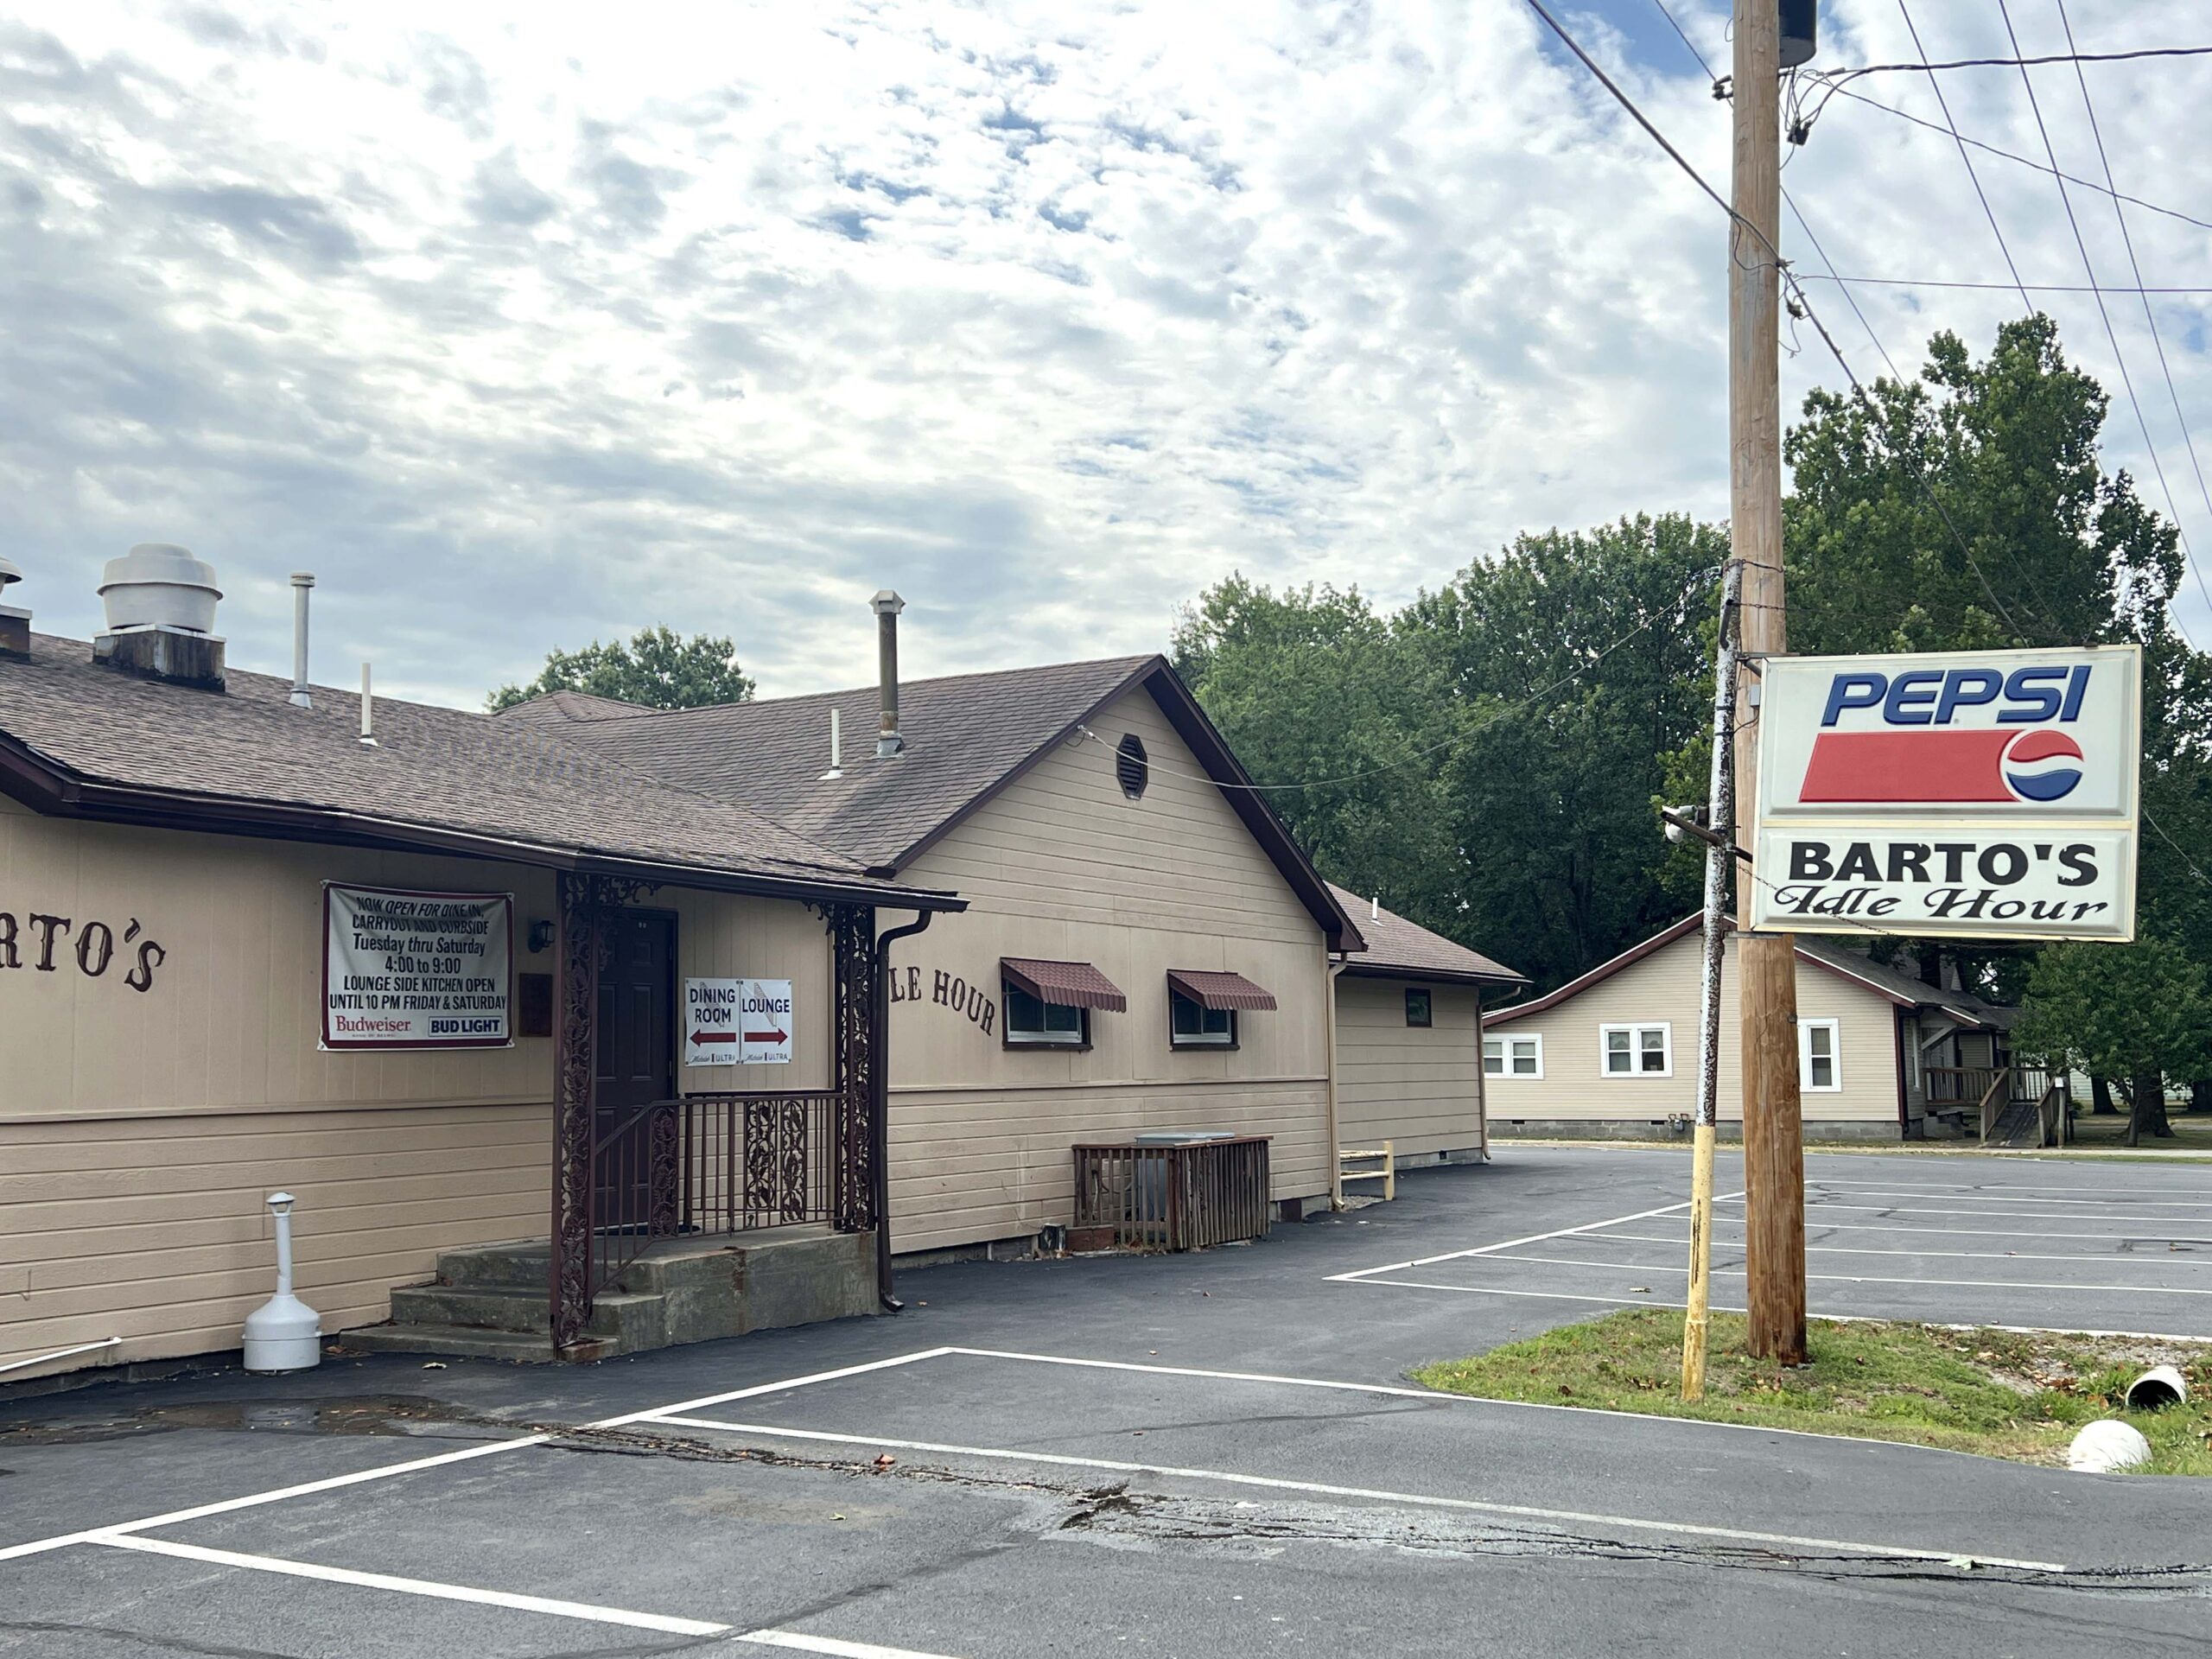
The restaurant wasn’t open when I was in town, but what a thrill it will be to mark it off my Kansas fried chicken restaurant bucket list the next time I’m in the area.
Farmhouse Cafe
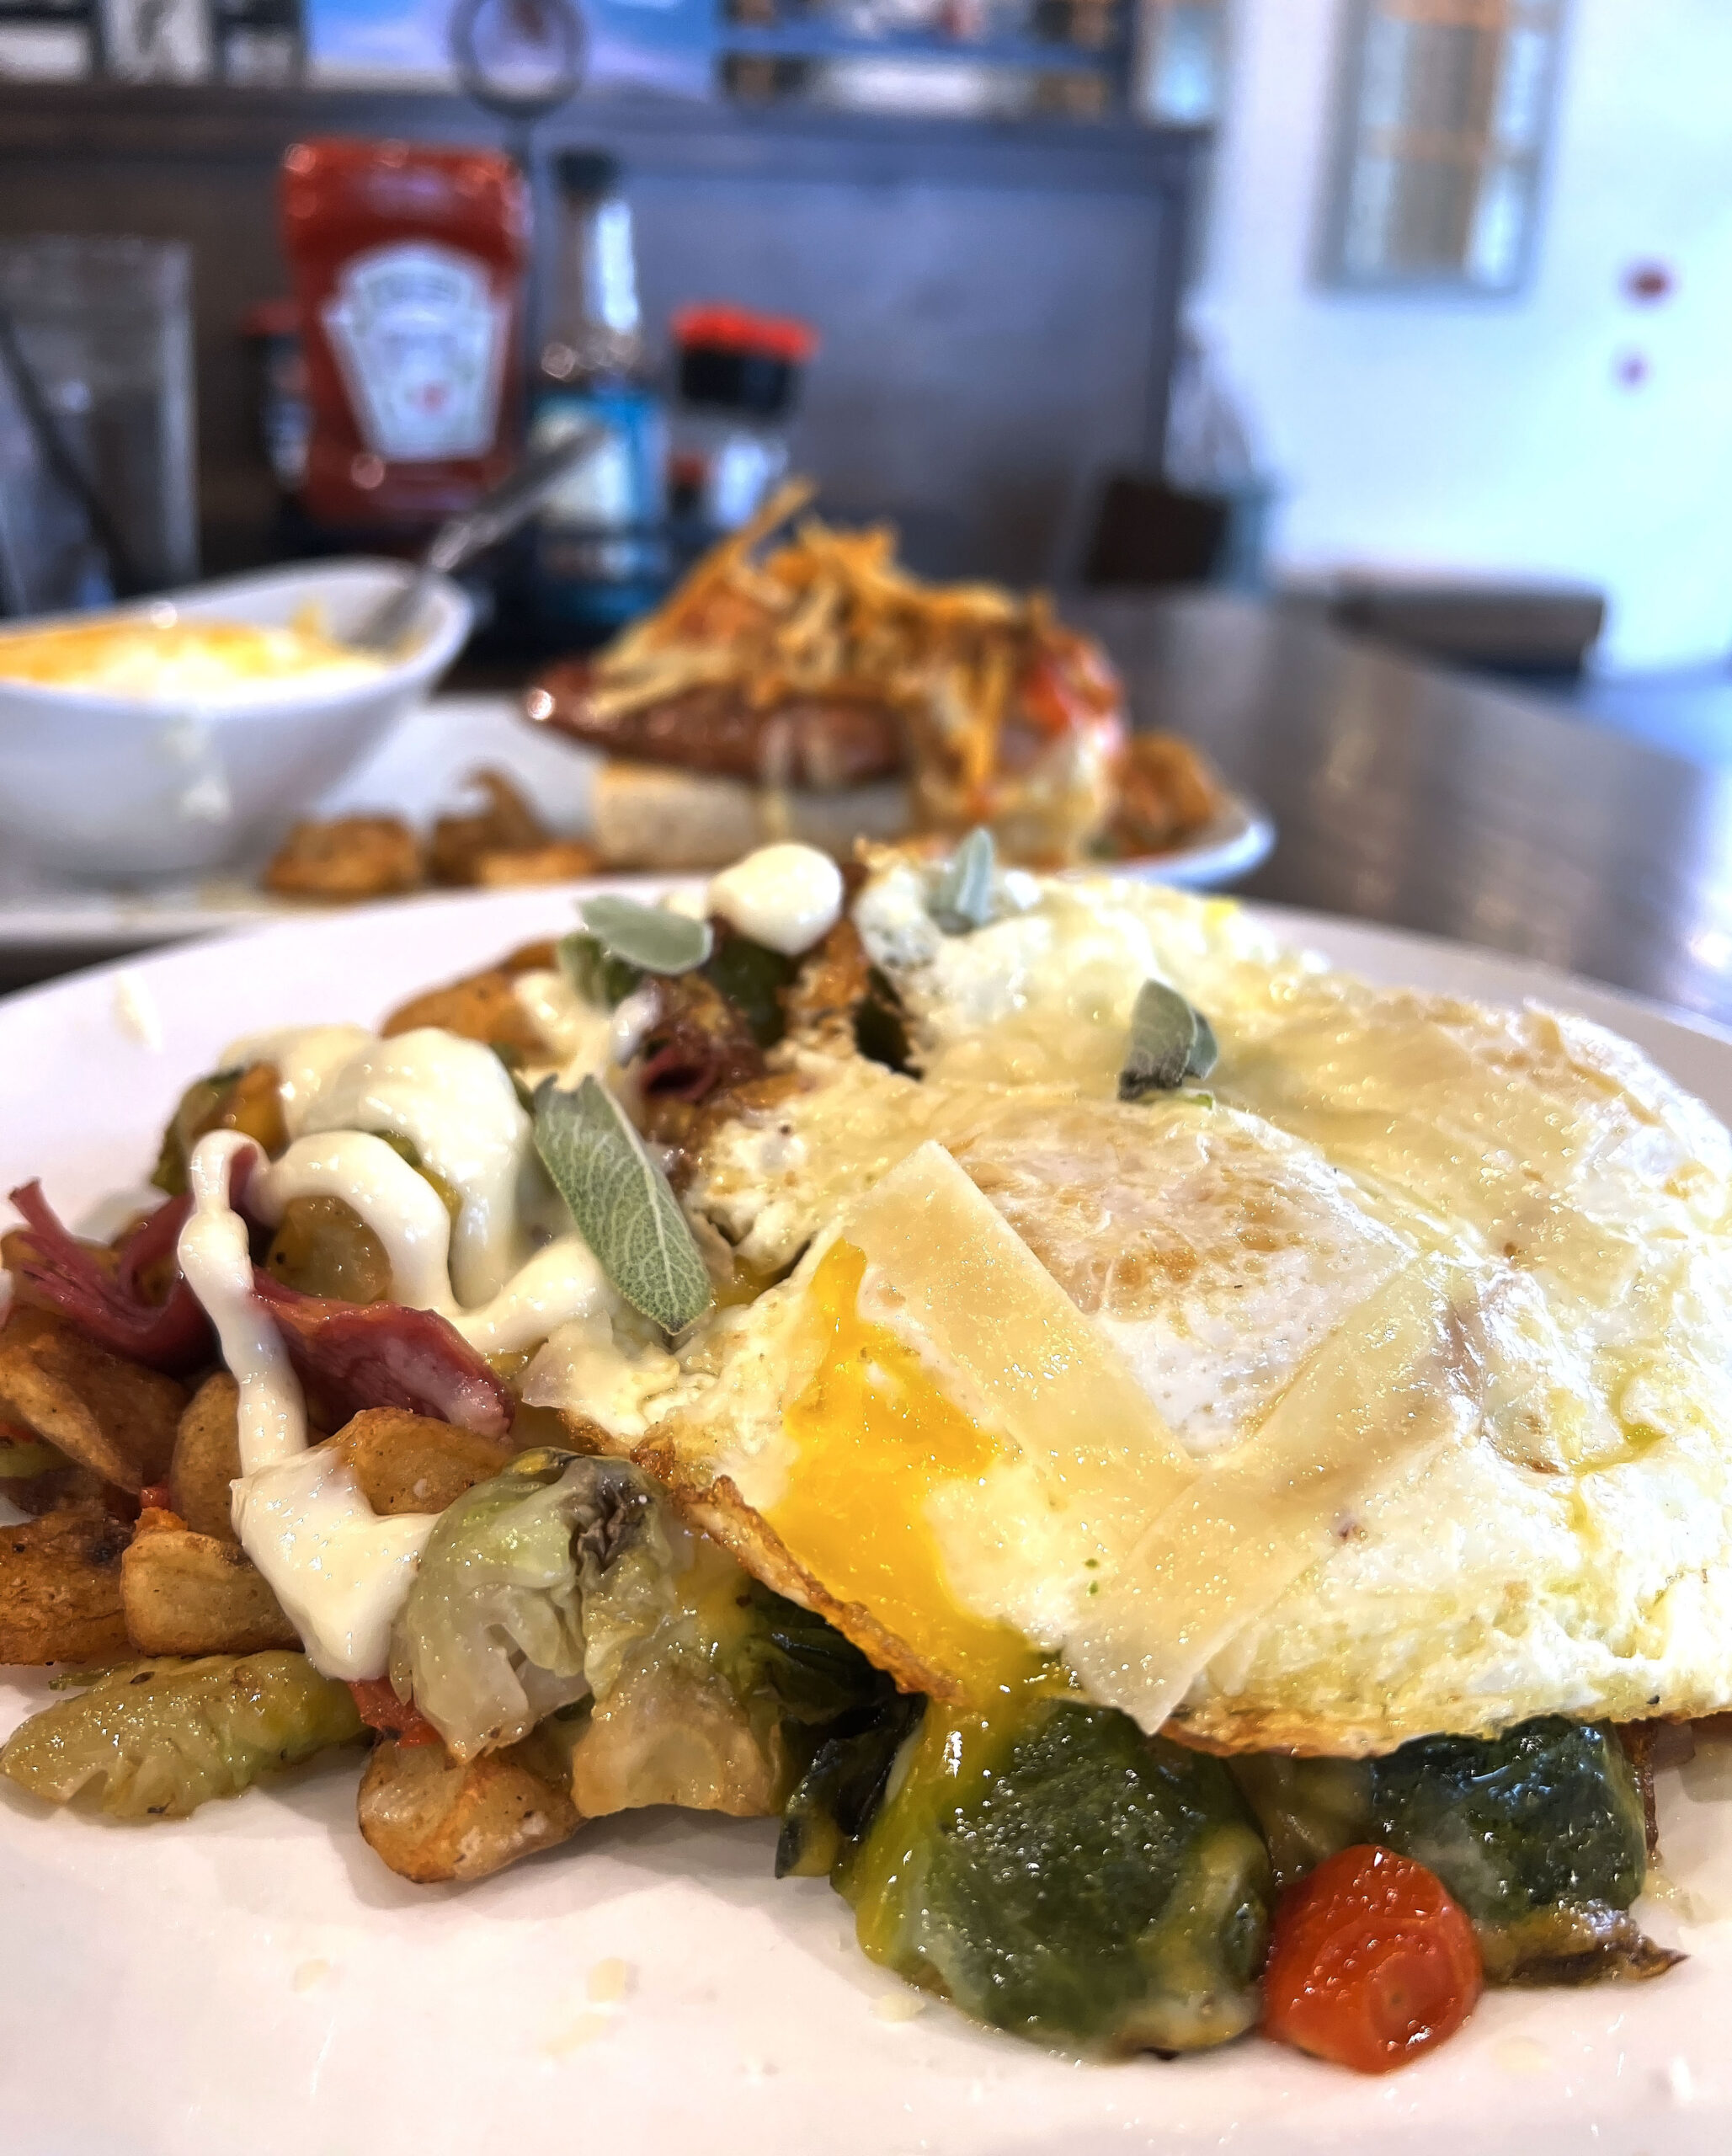
If you’re seeking a breakfast sit-down meal, Farmhouse Cafe (4130 S Parkviews) serves large portions of comfort classics seven days a week. Not only do they serve breakfast all day, but the menu features lunch items and a daily dinner special.
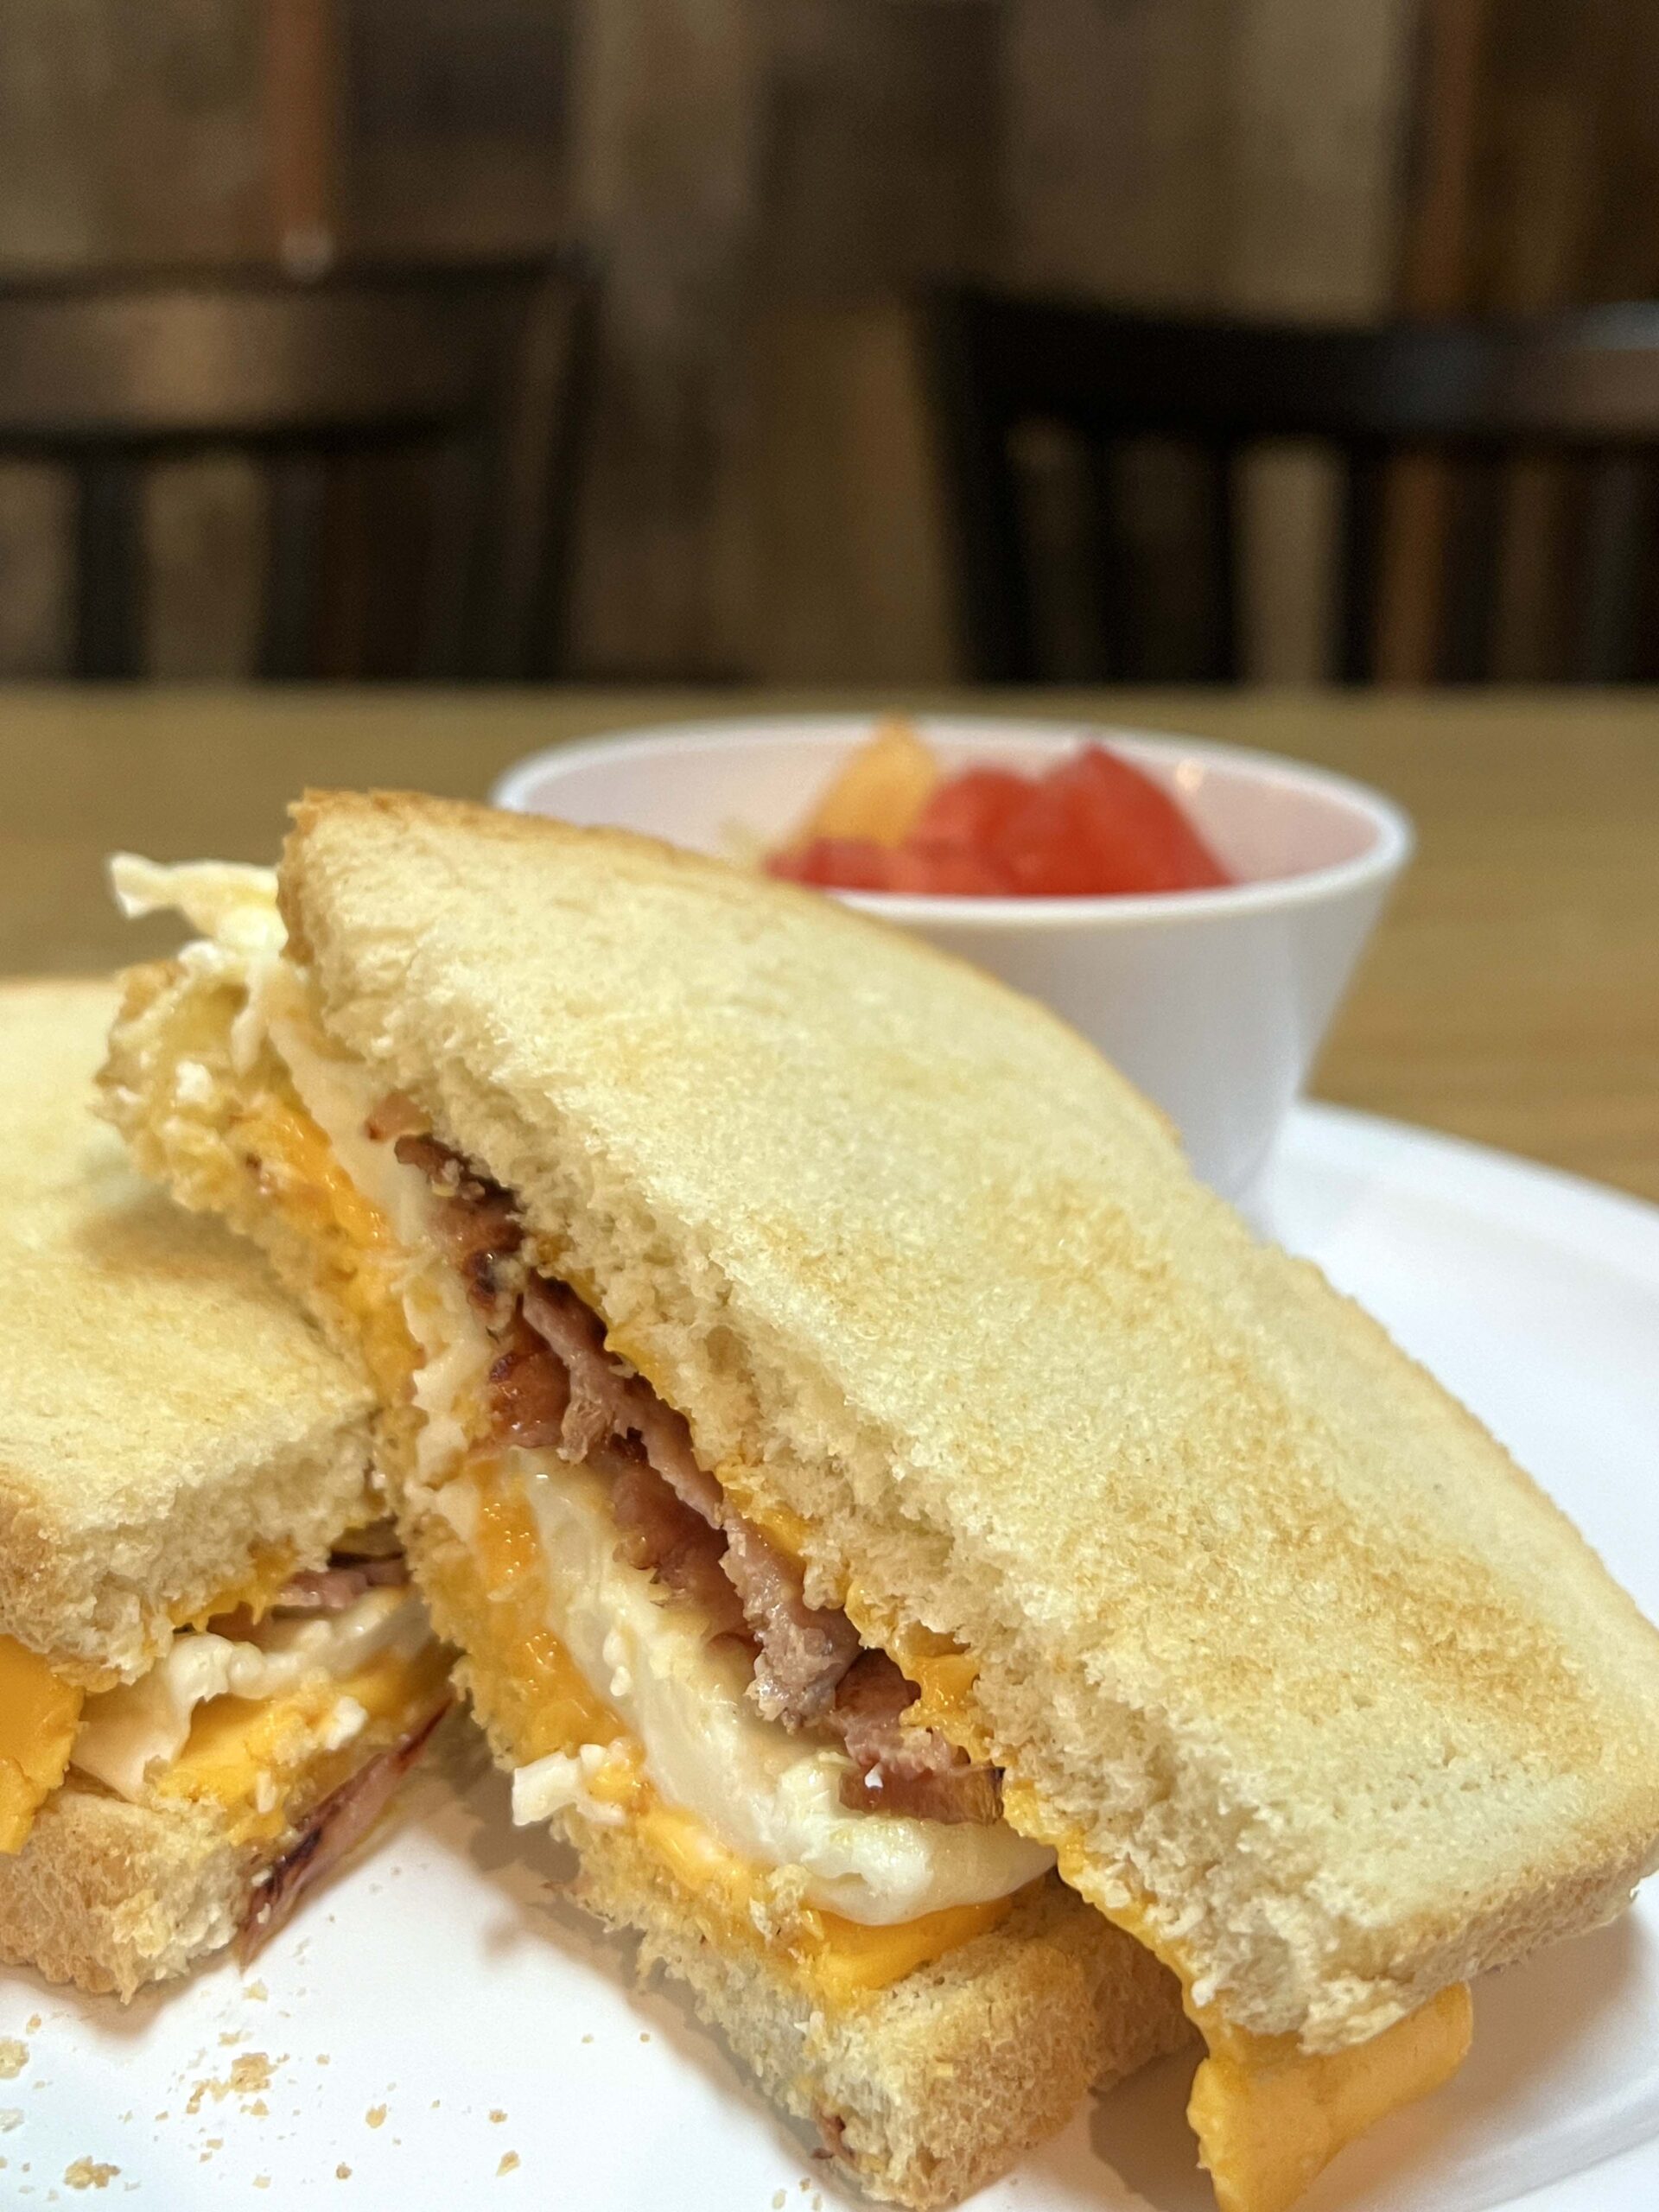
I wasn’t overly hungry when I arrived, so I chose a toasted breakfast sandwich with a side of fresh fruit instead. The owner, Ismail, introduced himself, and within minutes of talking with him, it was easy to see how passionate he is about cooking scratch-made meals for the community. His recipes use fresh ingredients and homemade sauces.
Bonus Stops
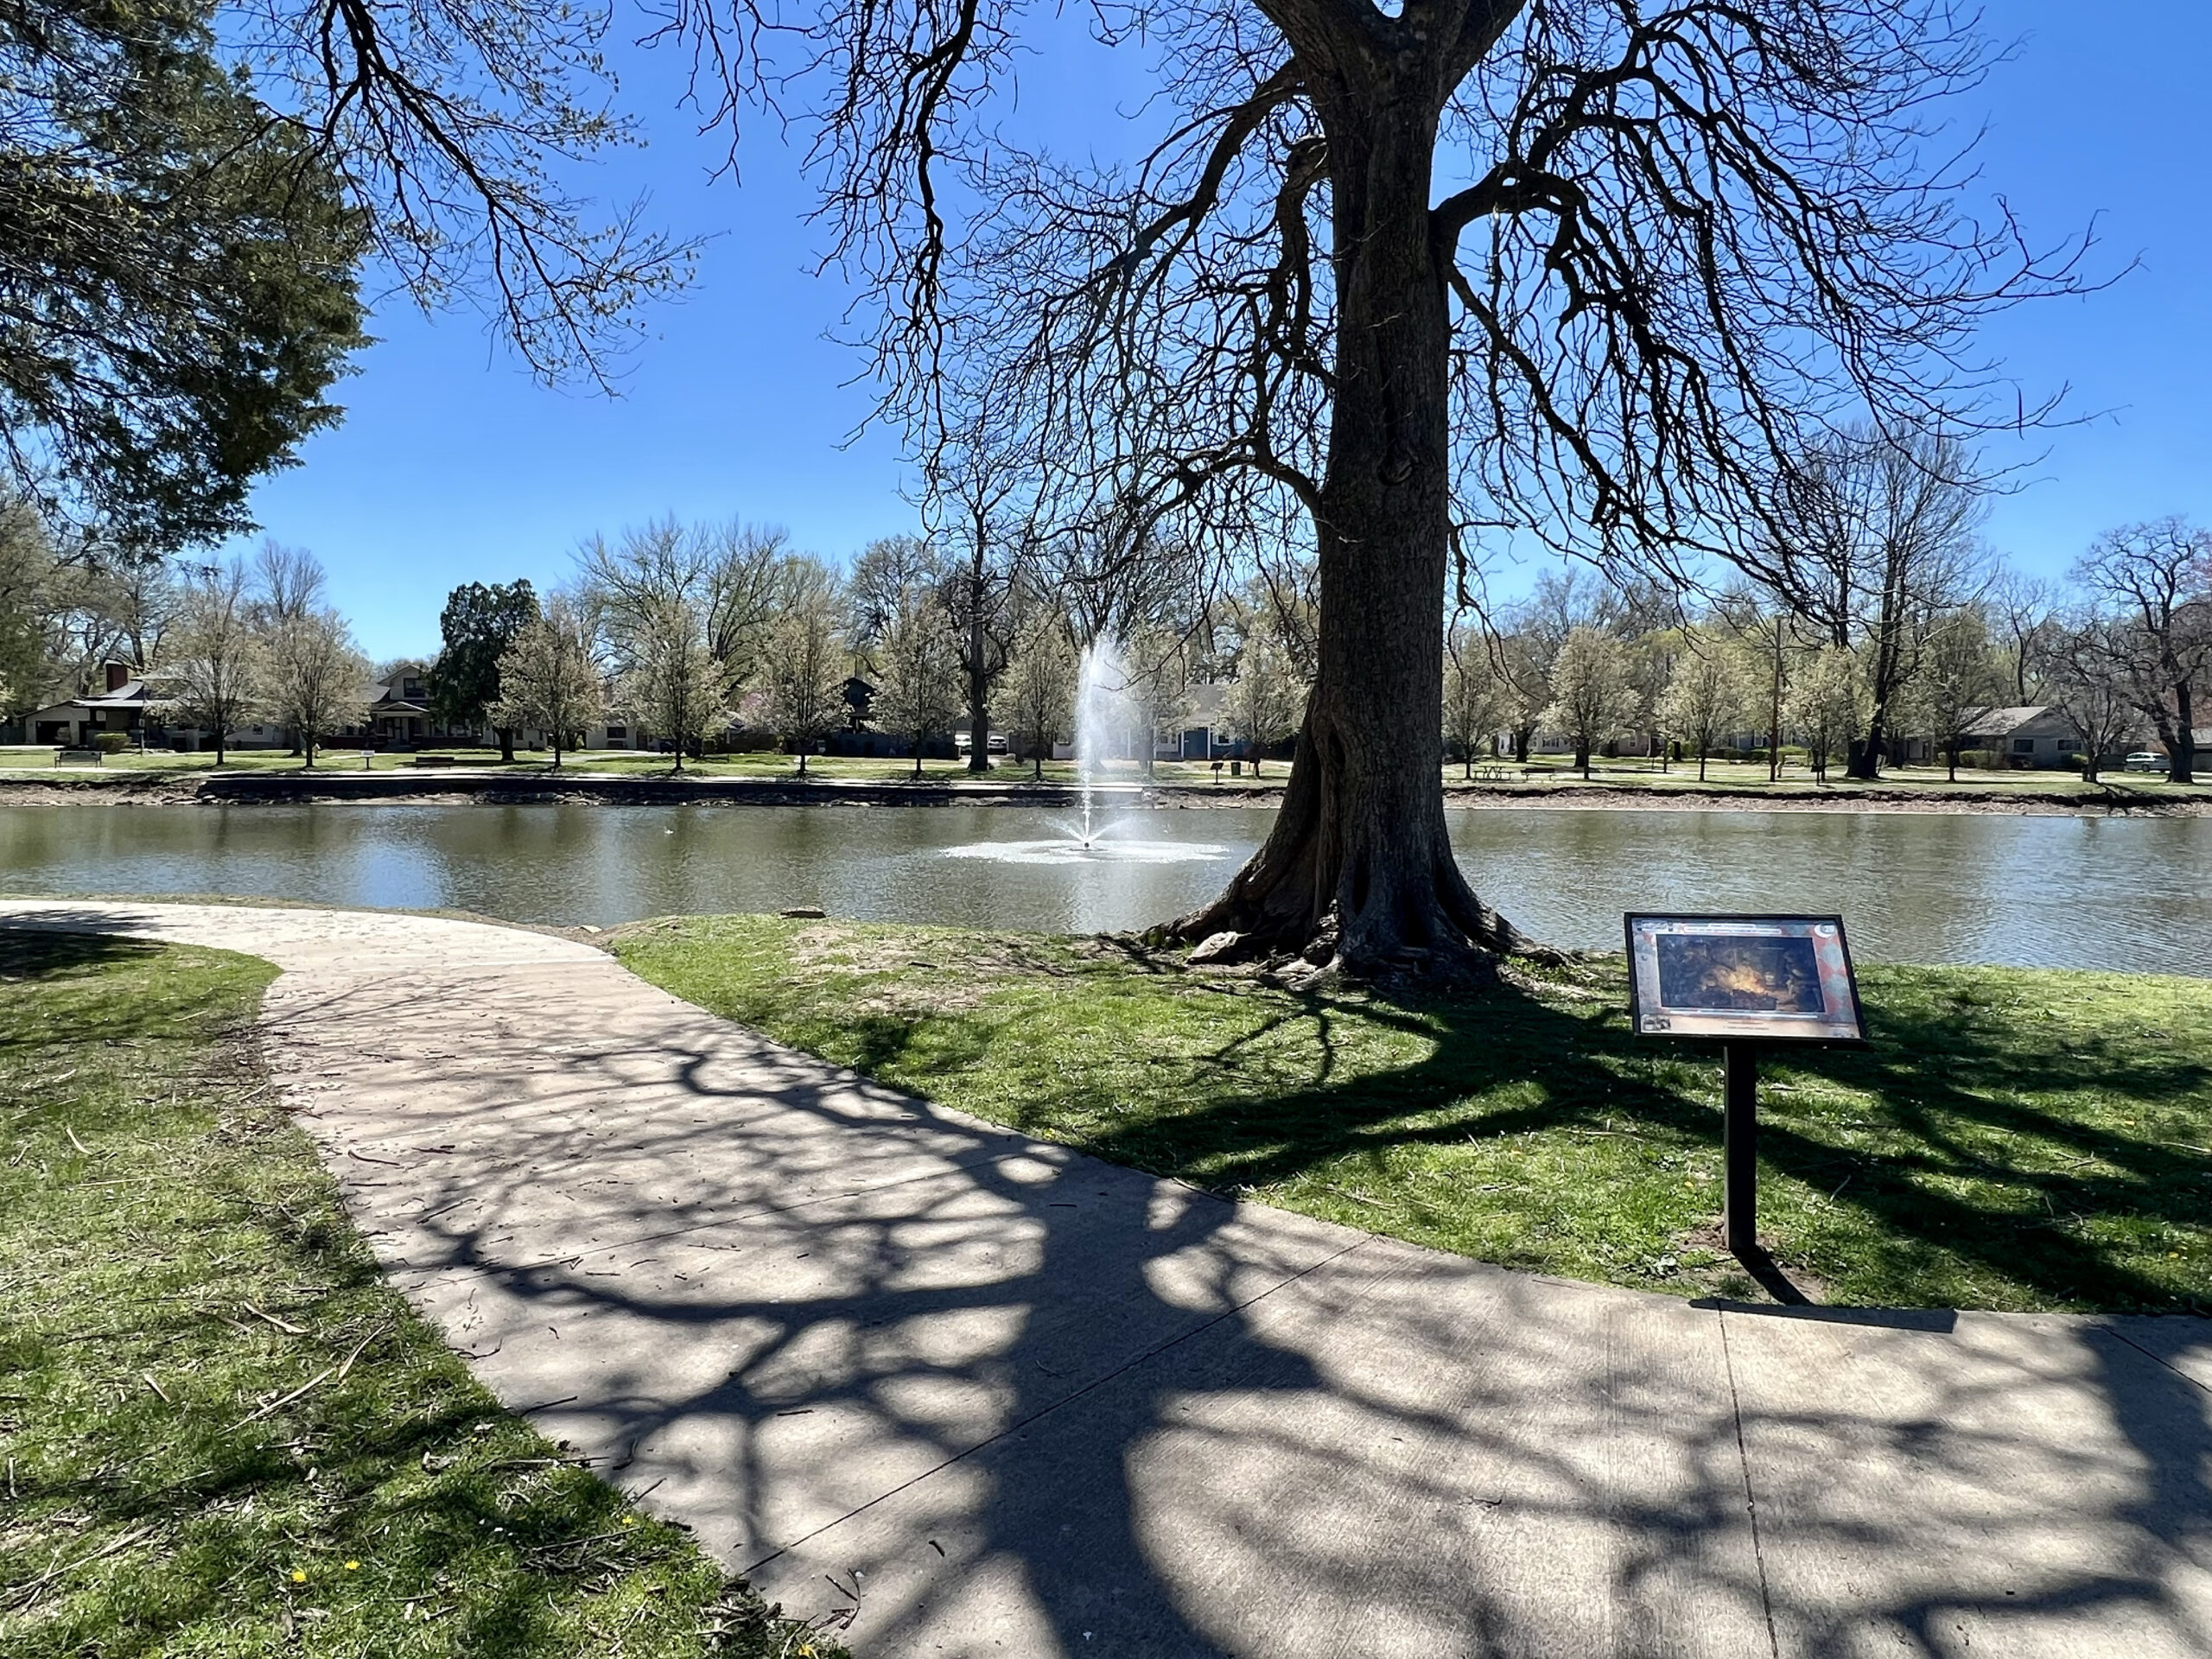
Outdoor enthusiasts will appreciate Frontenac City Park Lake (700 N. Cherokee Street), a scenic spot to drop a line at the fishing dock or teach kids about nature, seven days a week from 7:00 a.m. to 9:00 p.m. Crawford State Park, Lake, and the Farlington Fish Hatchery are about a 30-minute drive northeast if you are interested in camping, fishing, boating, hiking trails, wildflower walks, or taking a tour of the hatchery (appointments required).
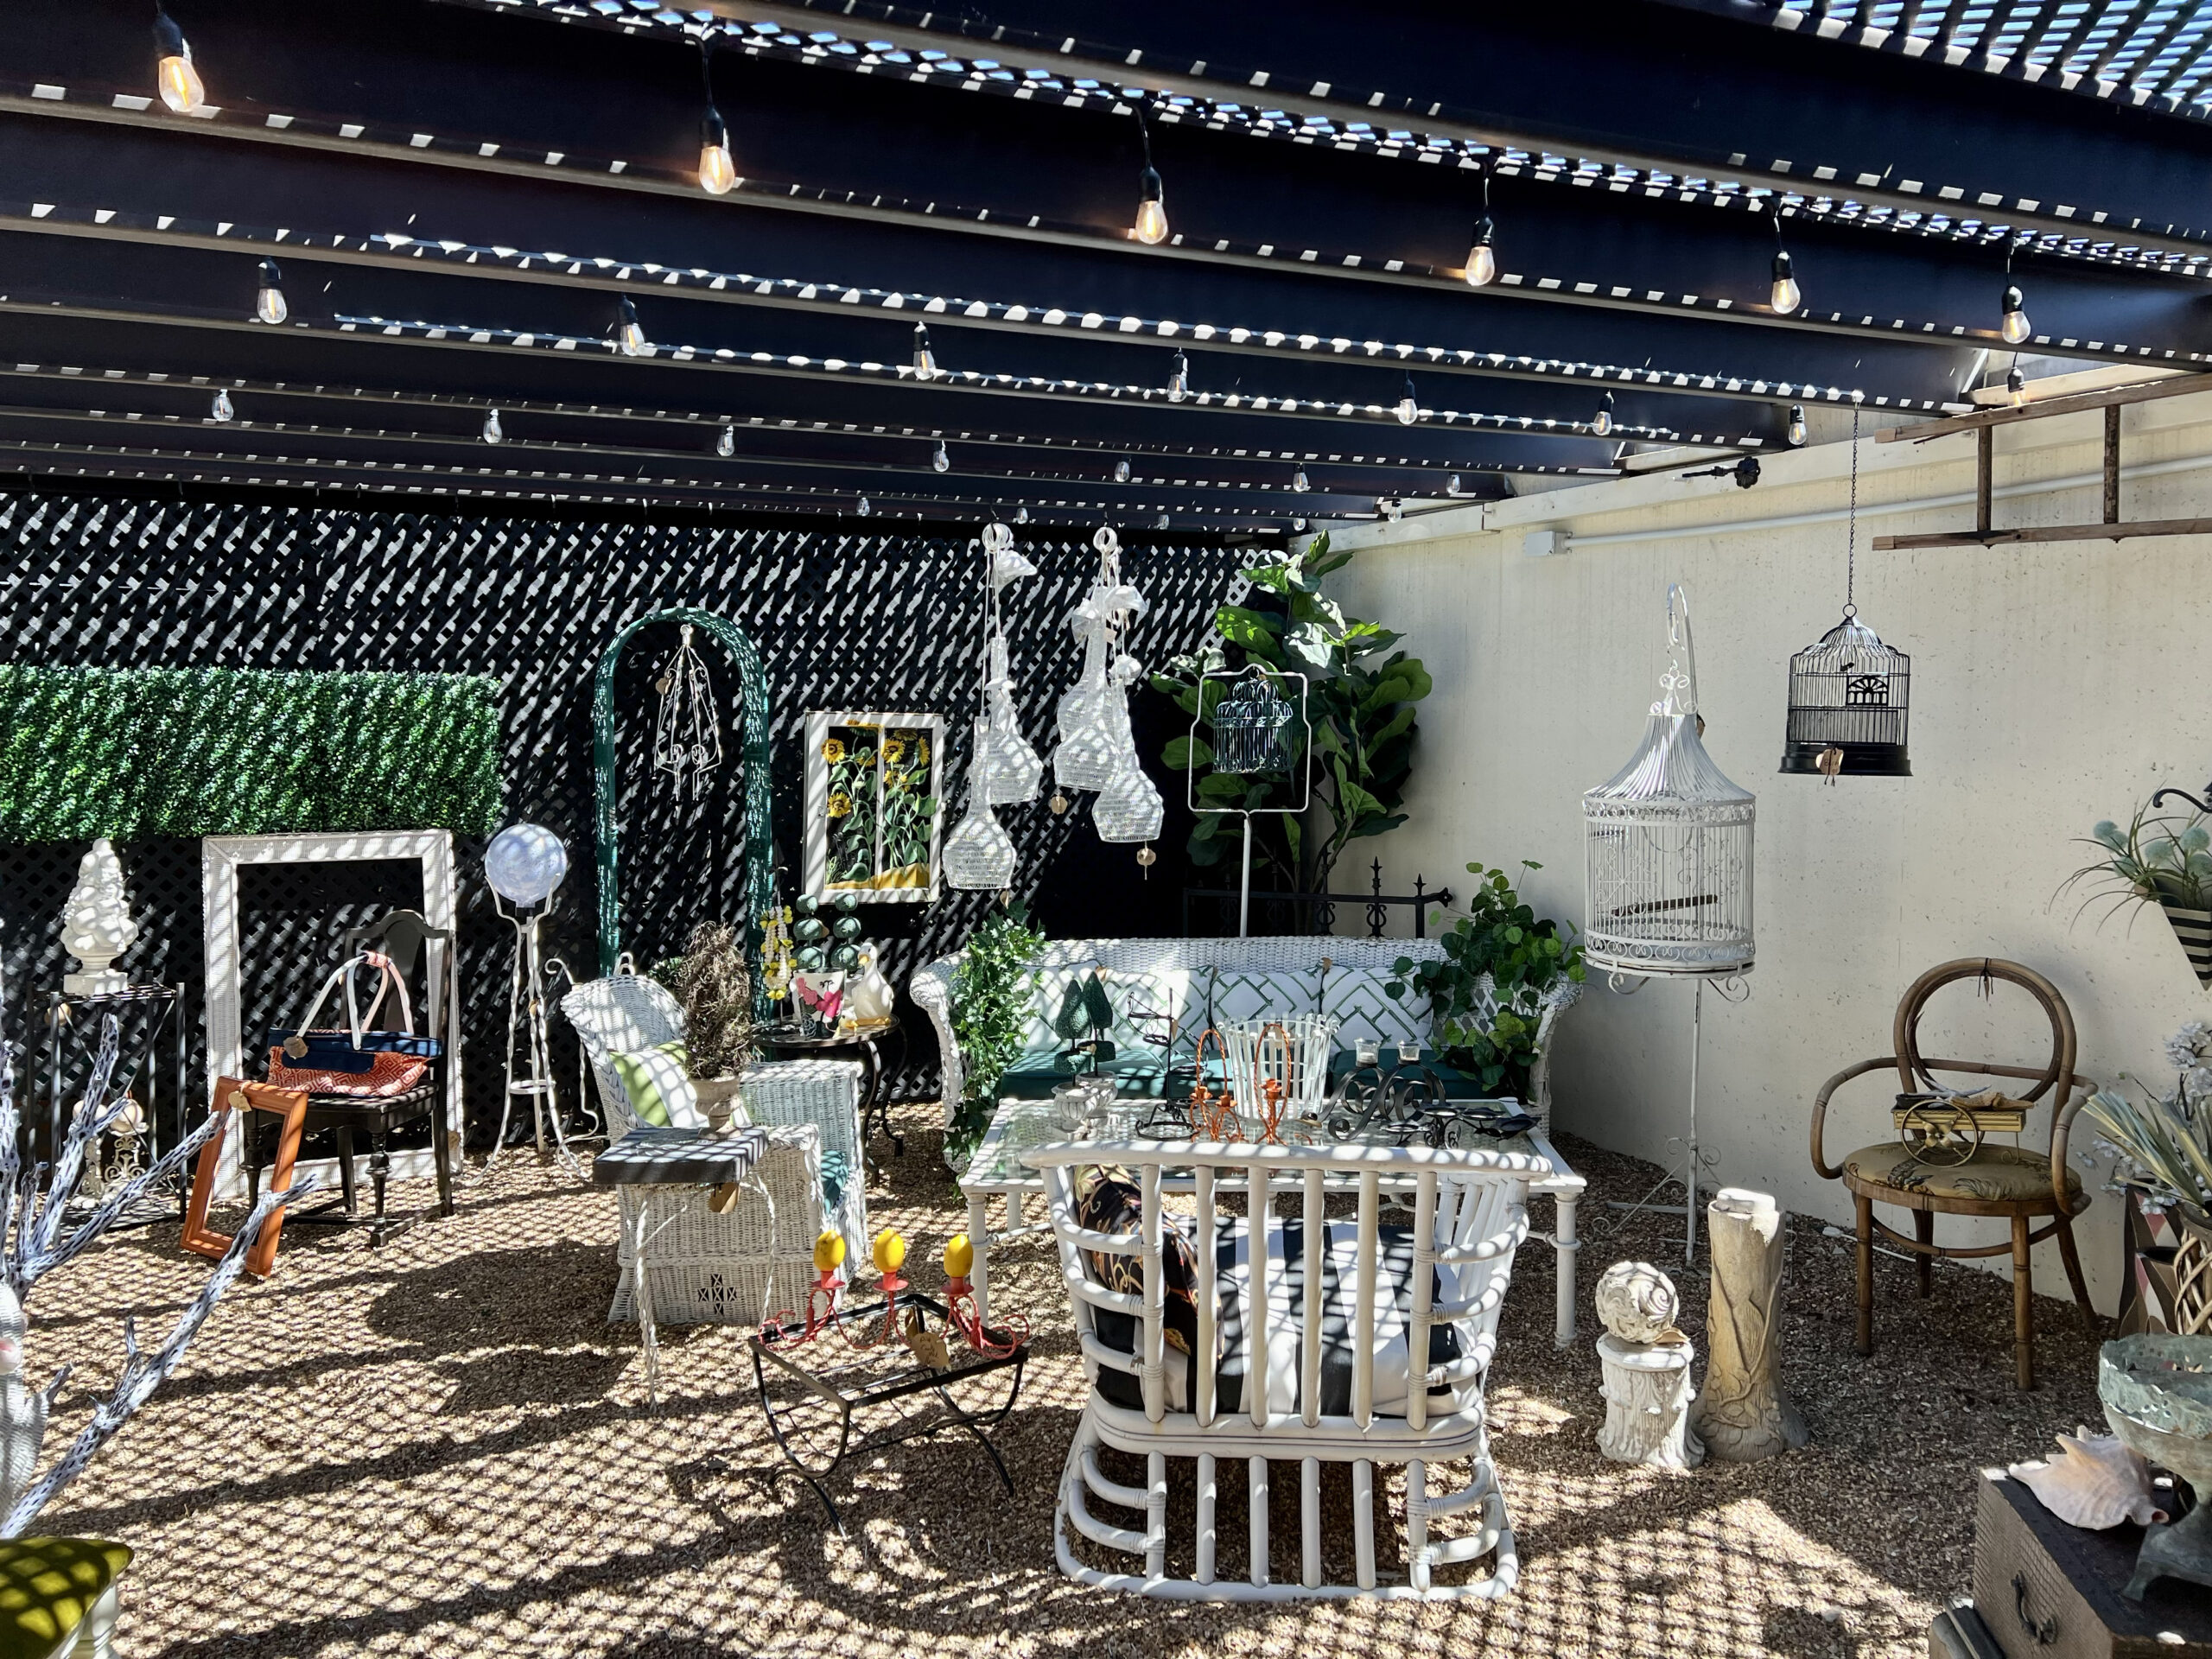
Are you more interested in shopping local? Past Time Antiques & Flea Market (4030 Parkview Drive) is a treasure hunter’s escape. Old furniture, sports equipment, home decorations, and more await those who are ready to find a deal.
I promise you will delight in how much it offers visitors on a day trip. I’ve explored several small towns in Kansas, and Frontenac makes my list for communities that exceed expectations.
If you’re interested in extending your trip, consider my blog post, The Ultimate Travel Guide to Pittsburg, Kansas.


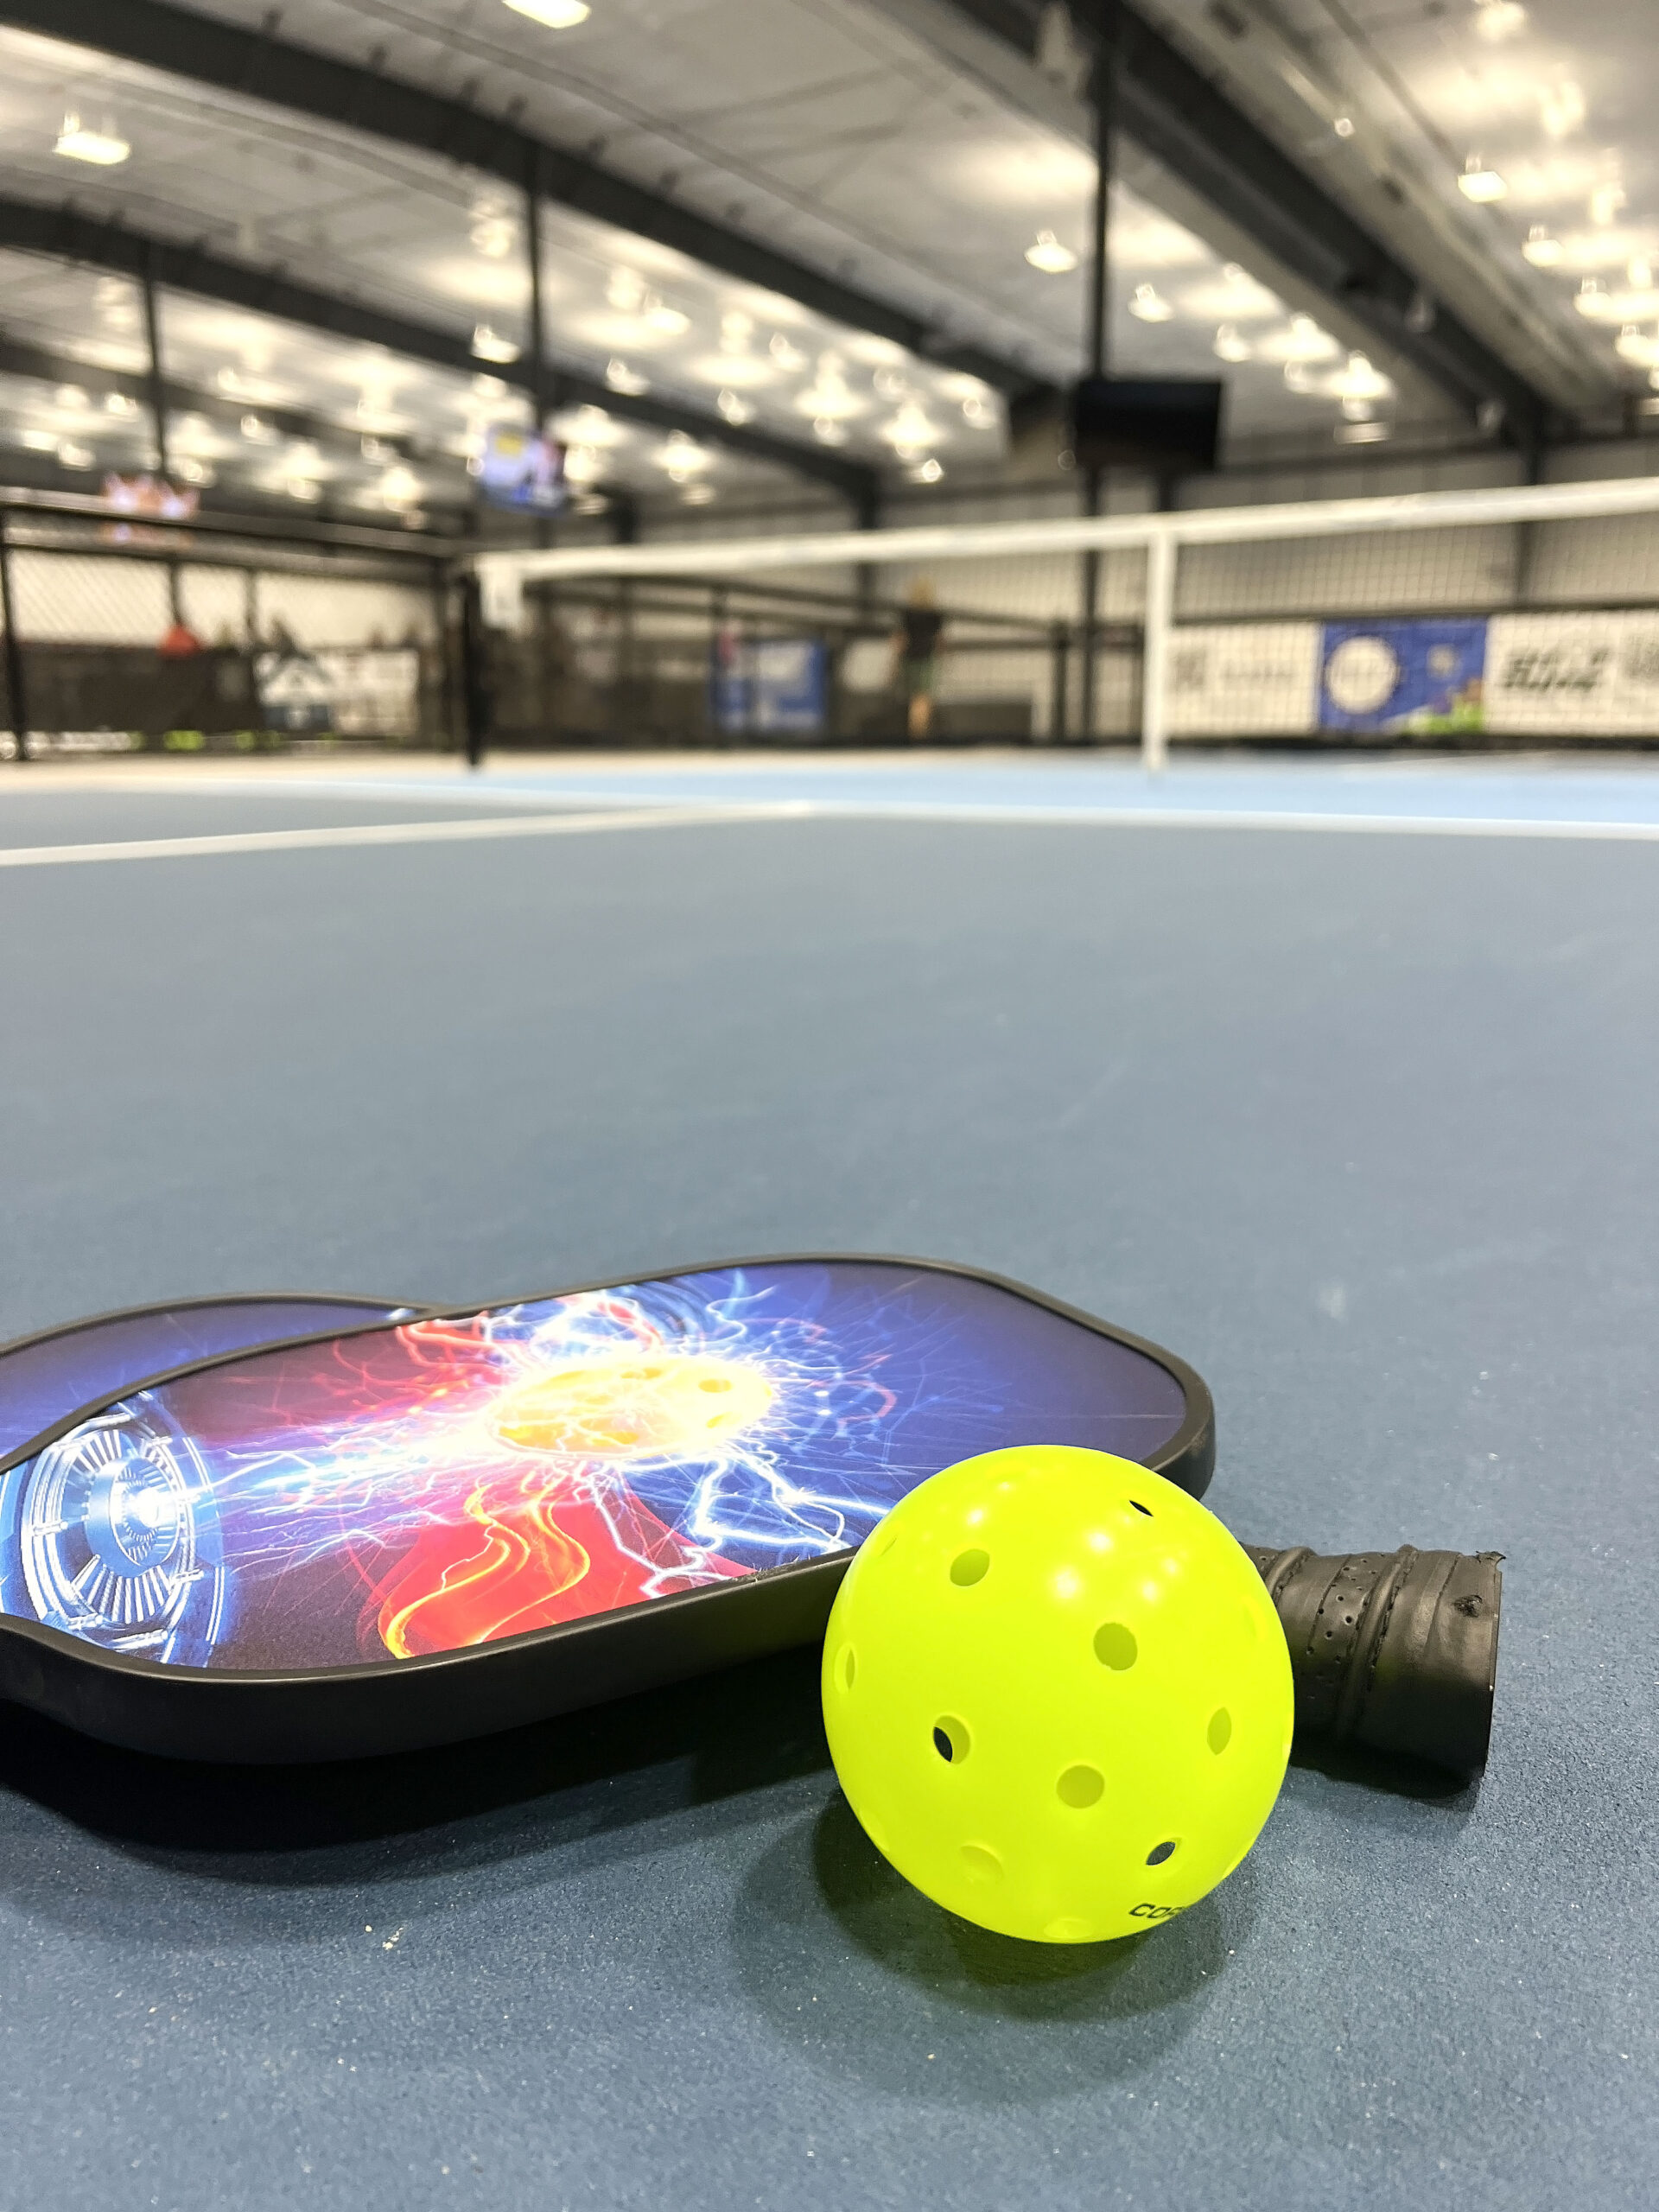
 Open to the public and Tap Elite, Plus, and Choice Members, TapNPaddles makes it easy to r
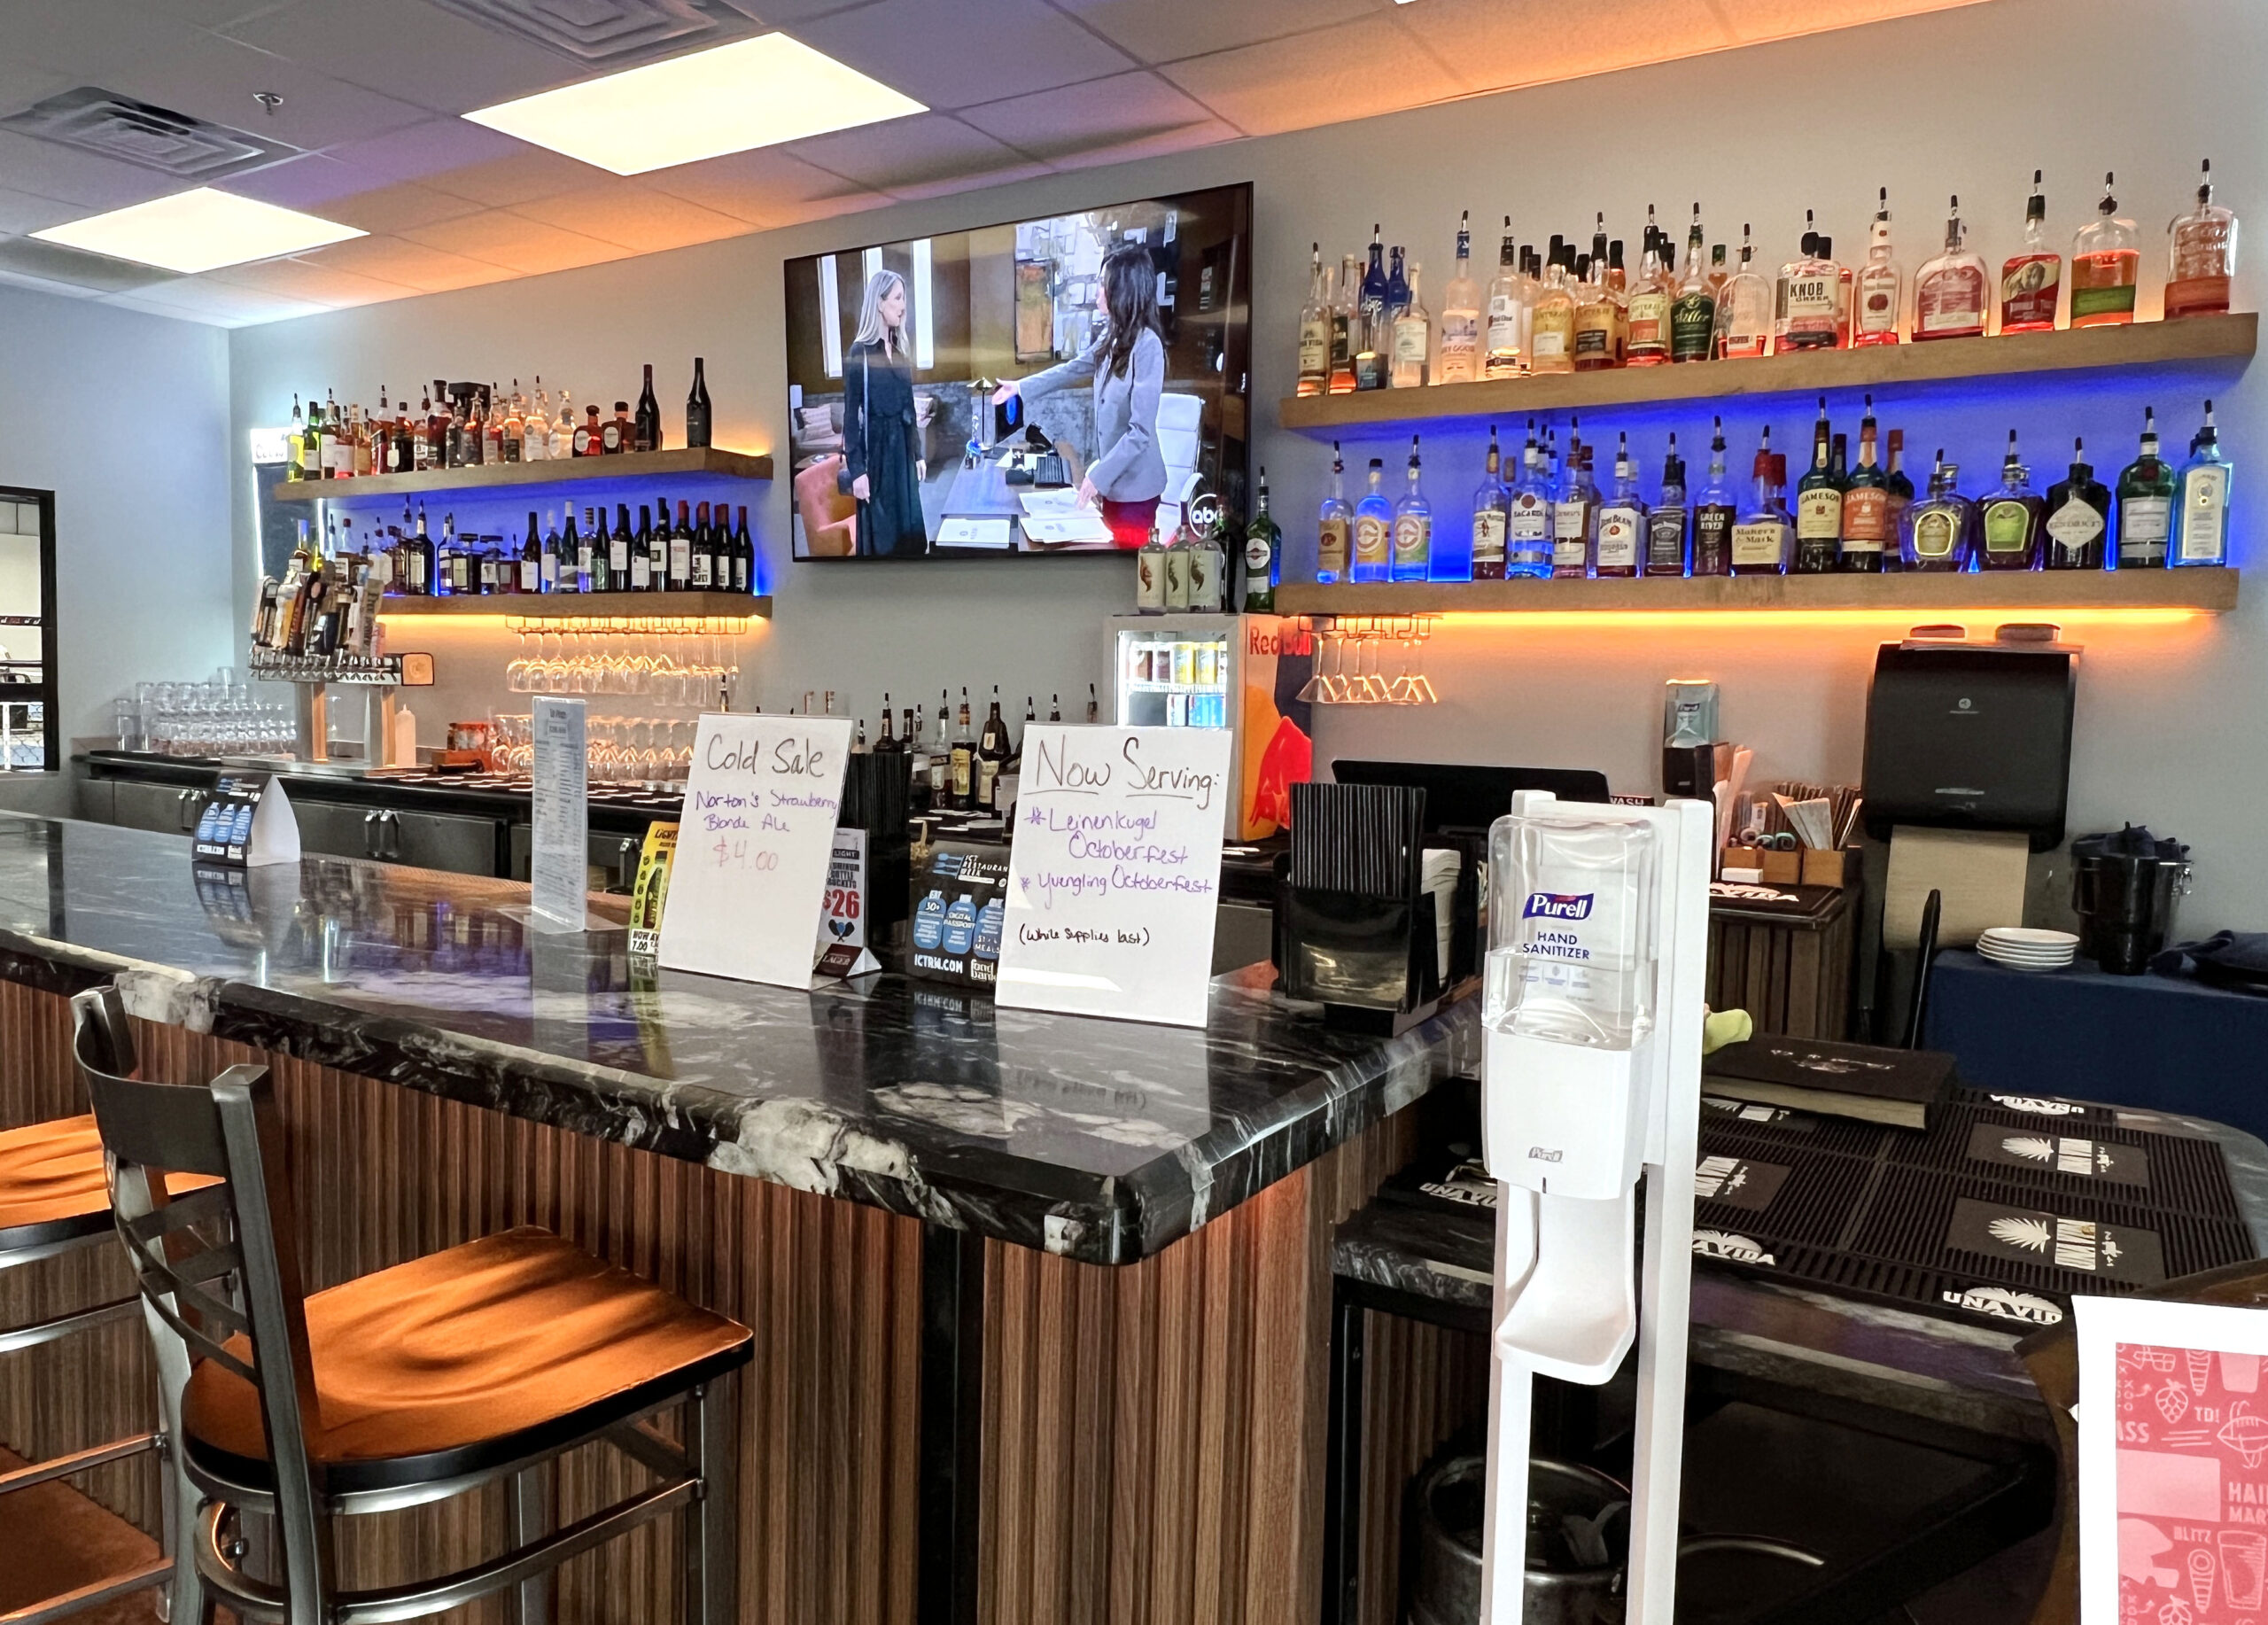 After a fun game of pickleball, we cooled off with a District 96 Strawberry Blonde Ale by Norton’s Brewing at the TapNPaddles
  The pickleball venue is located next door to
 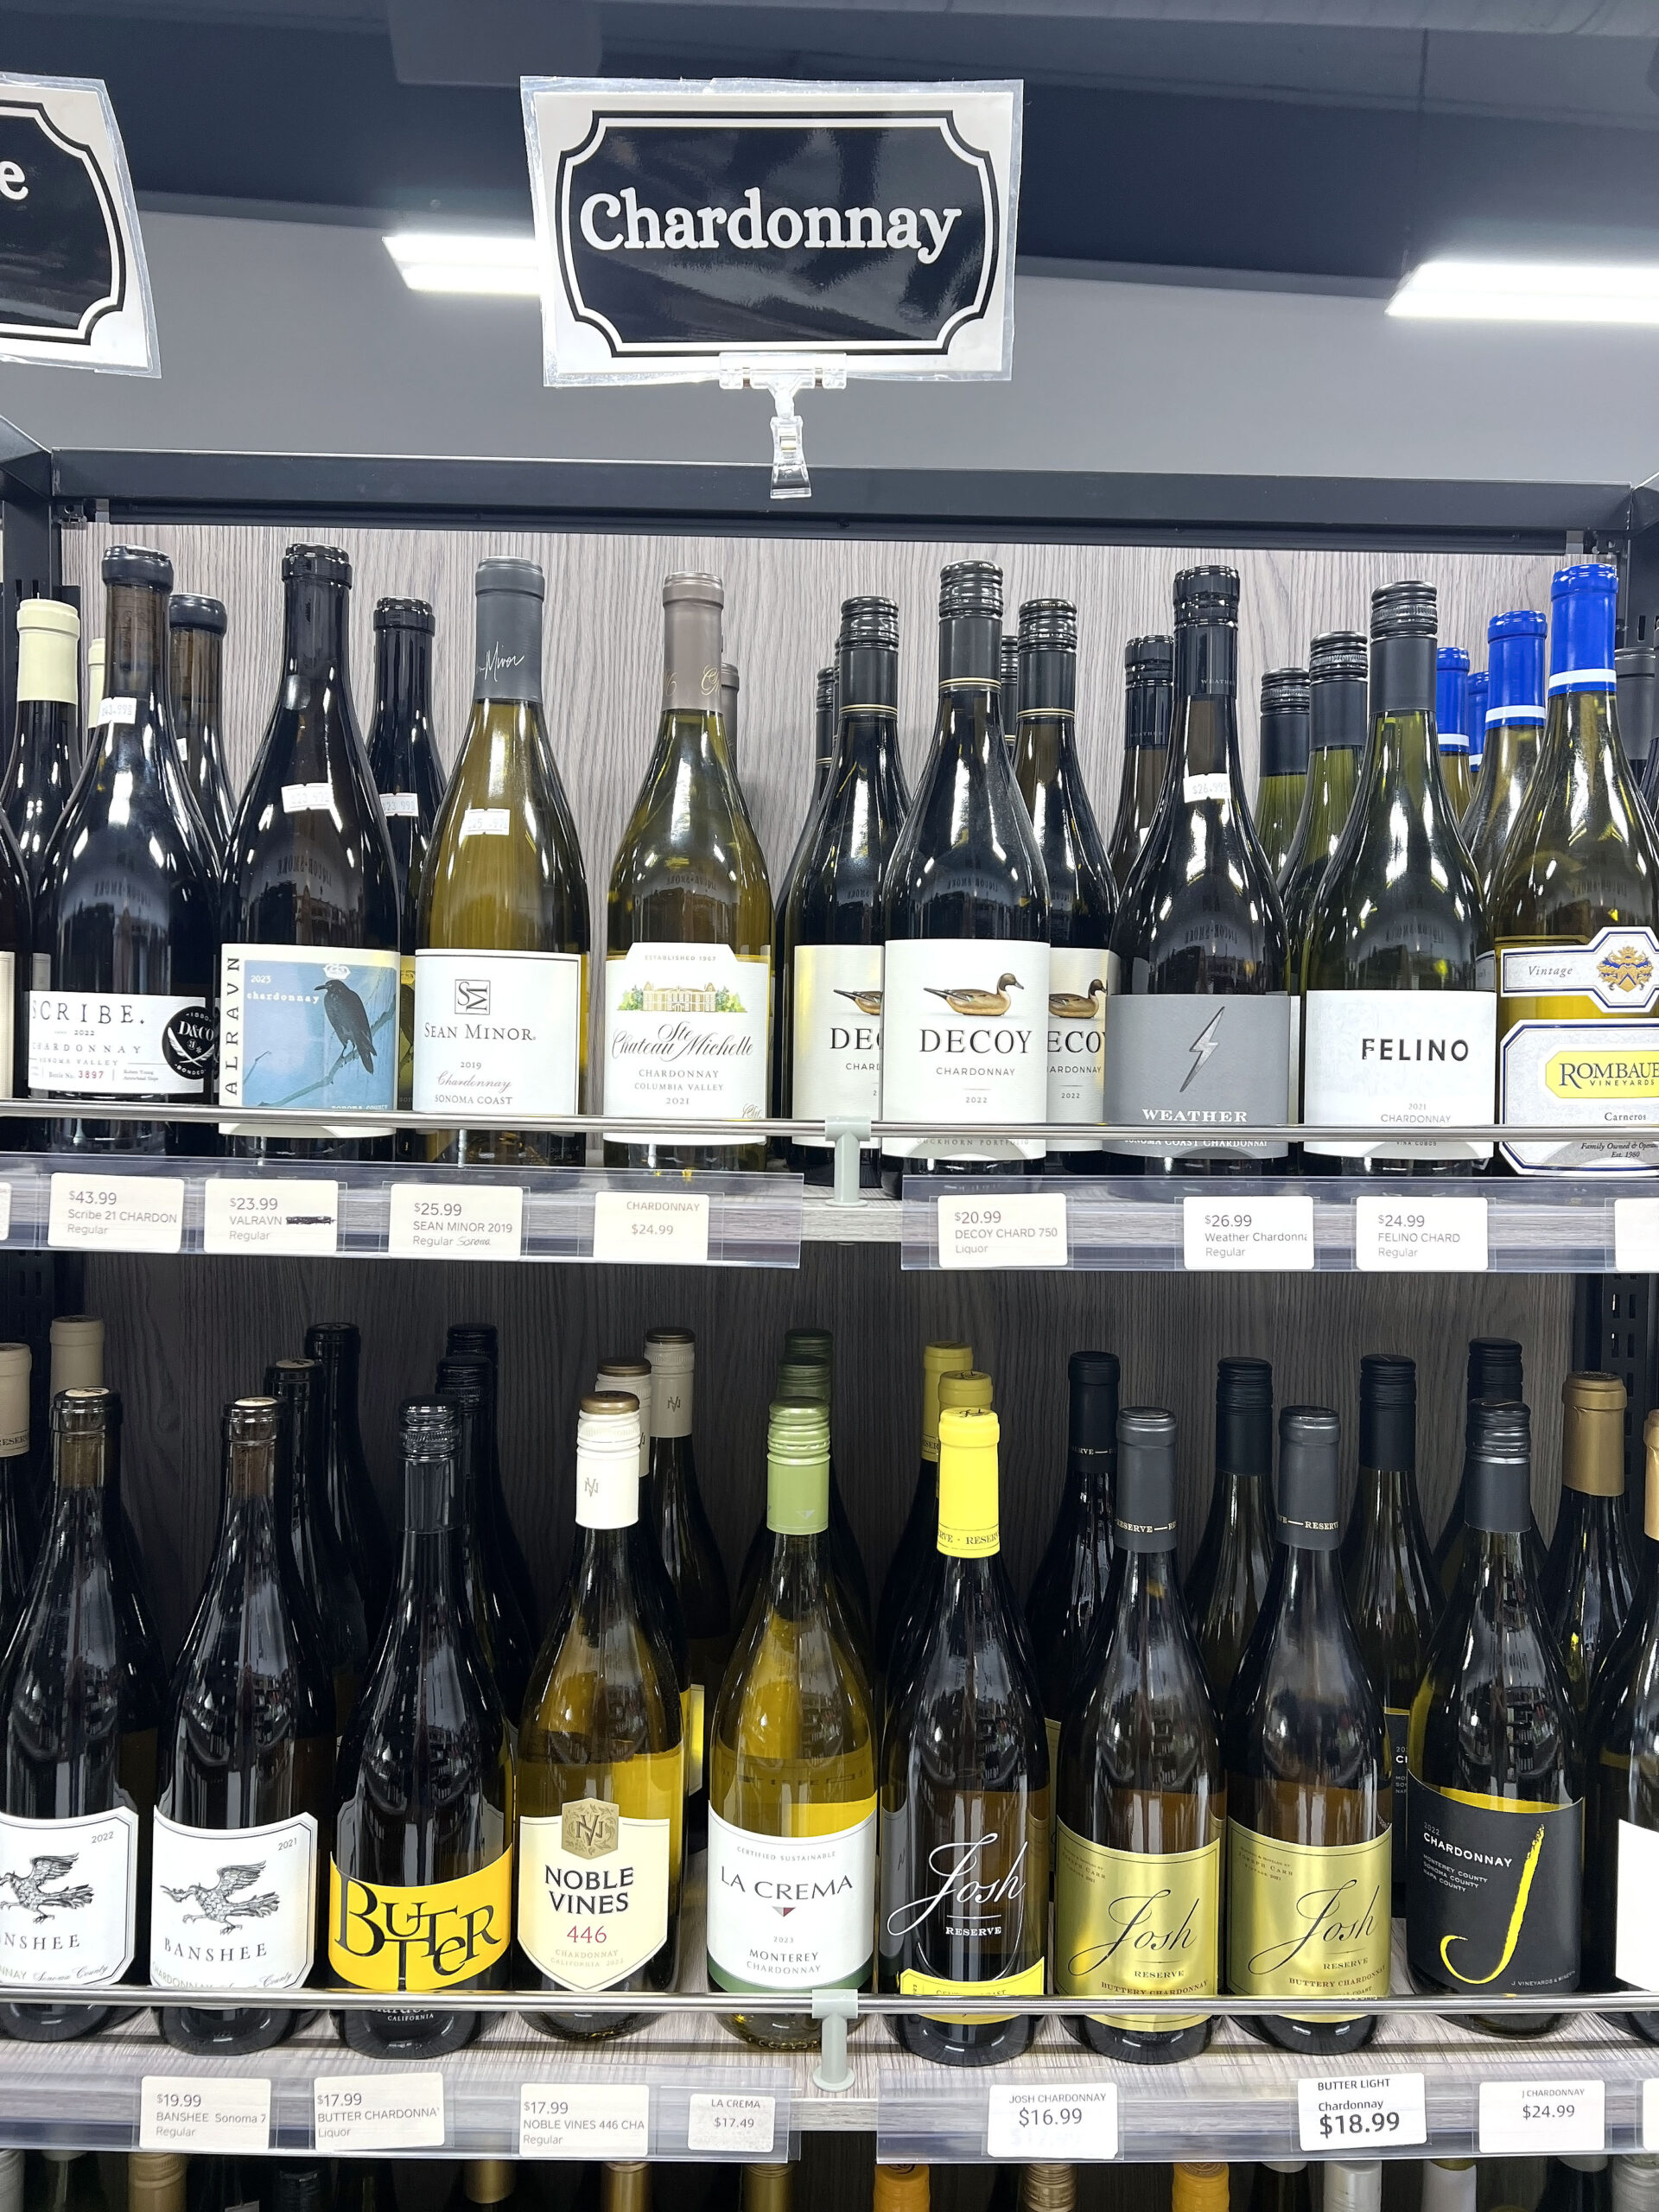 The locally-owned liquor store works with distributors to carry a vast selection of well-known brands, and I was pleased to find spirits on the shelf produced by Wichita makers, including Una Vida Tequila and Greatness Vodka.
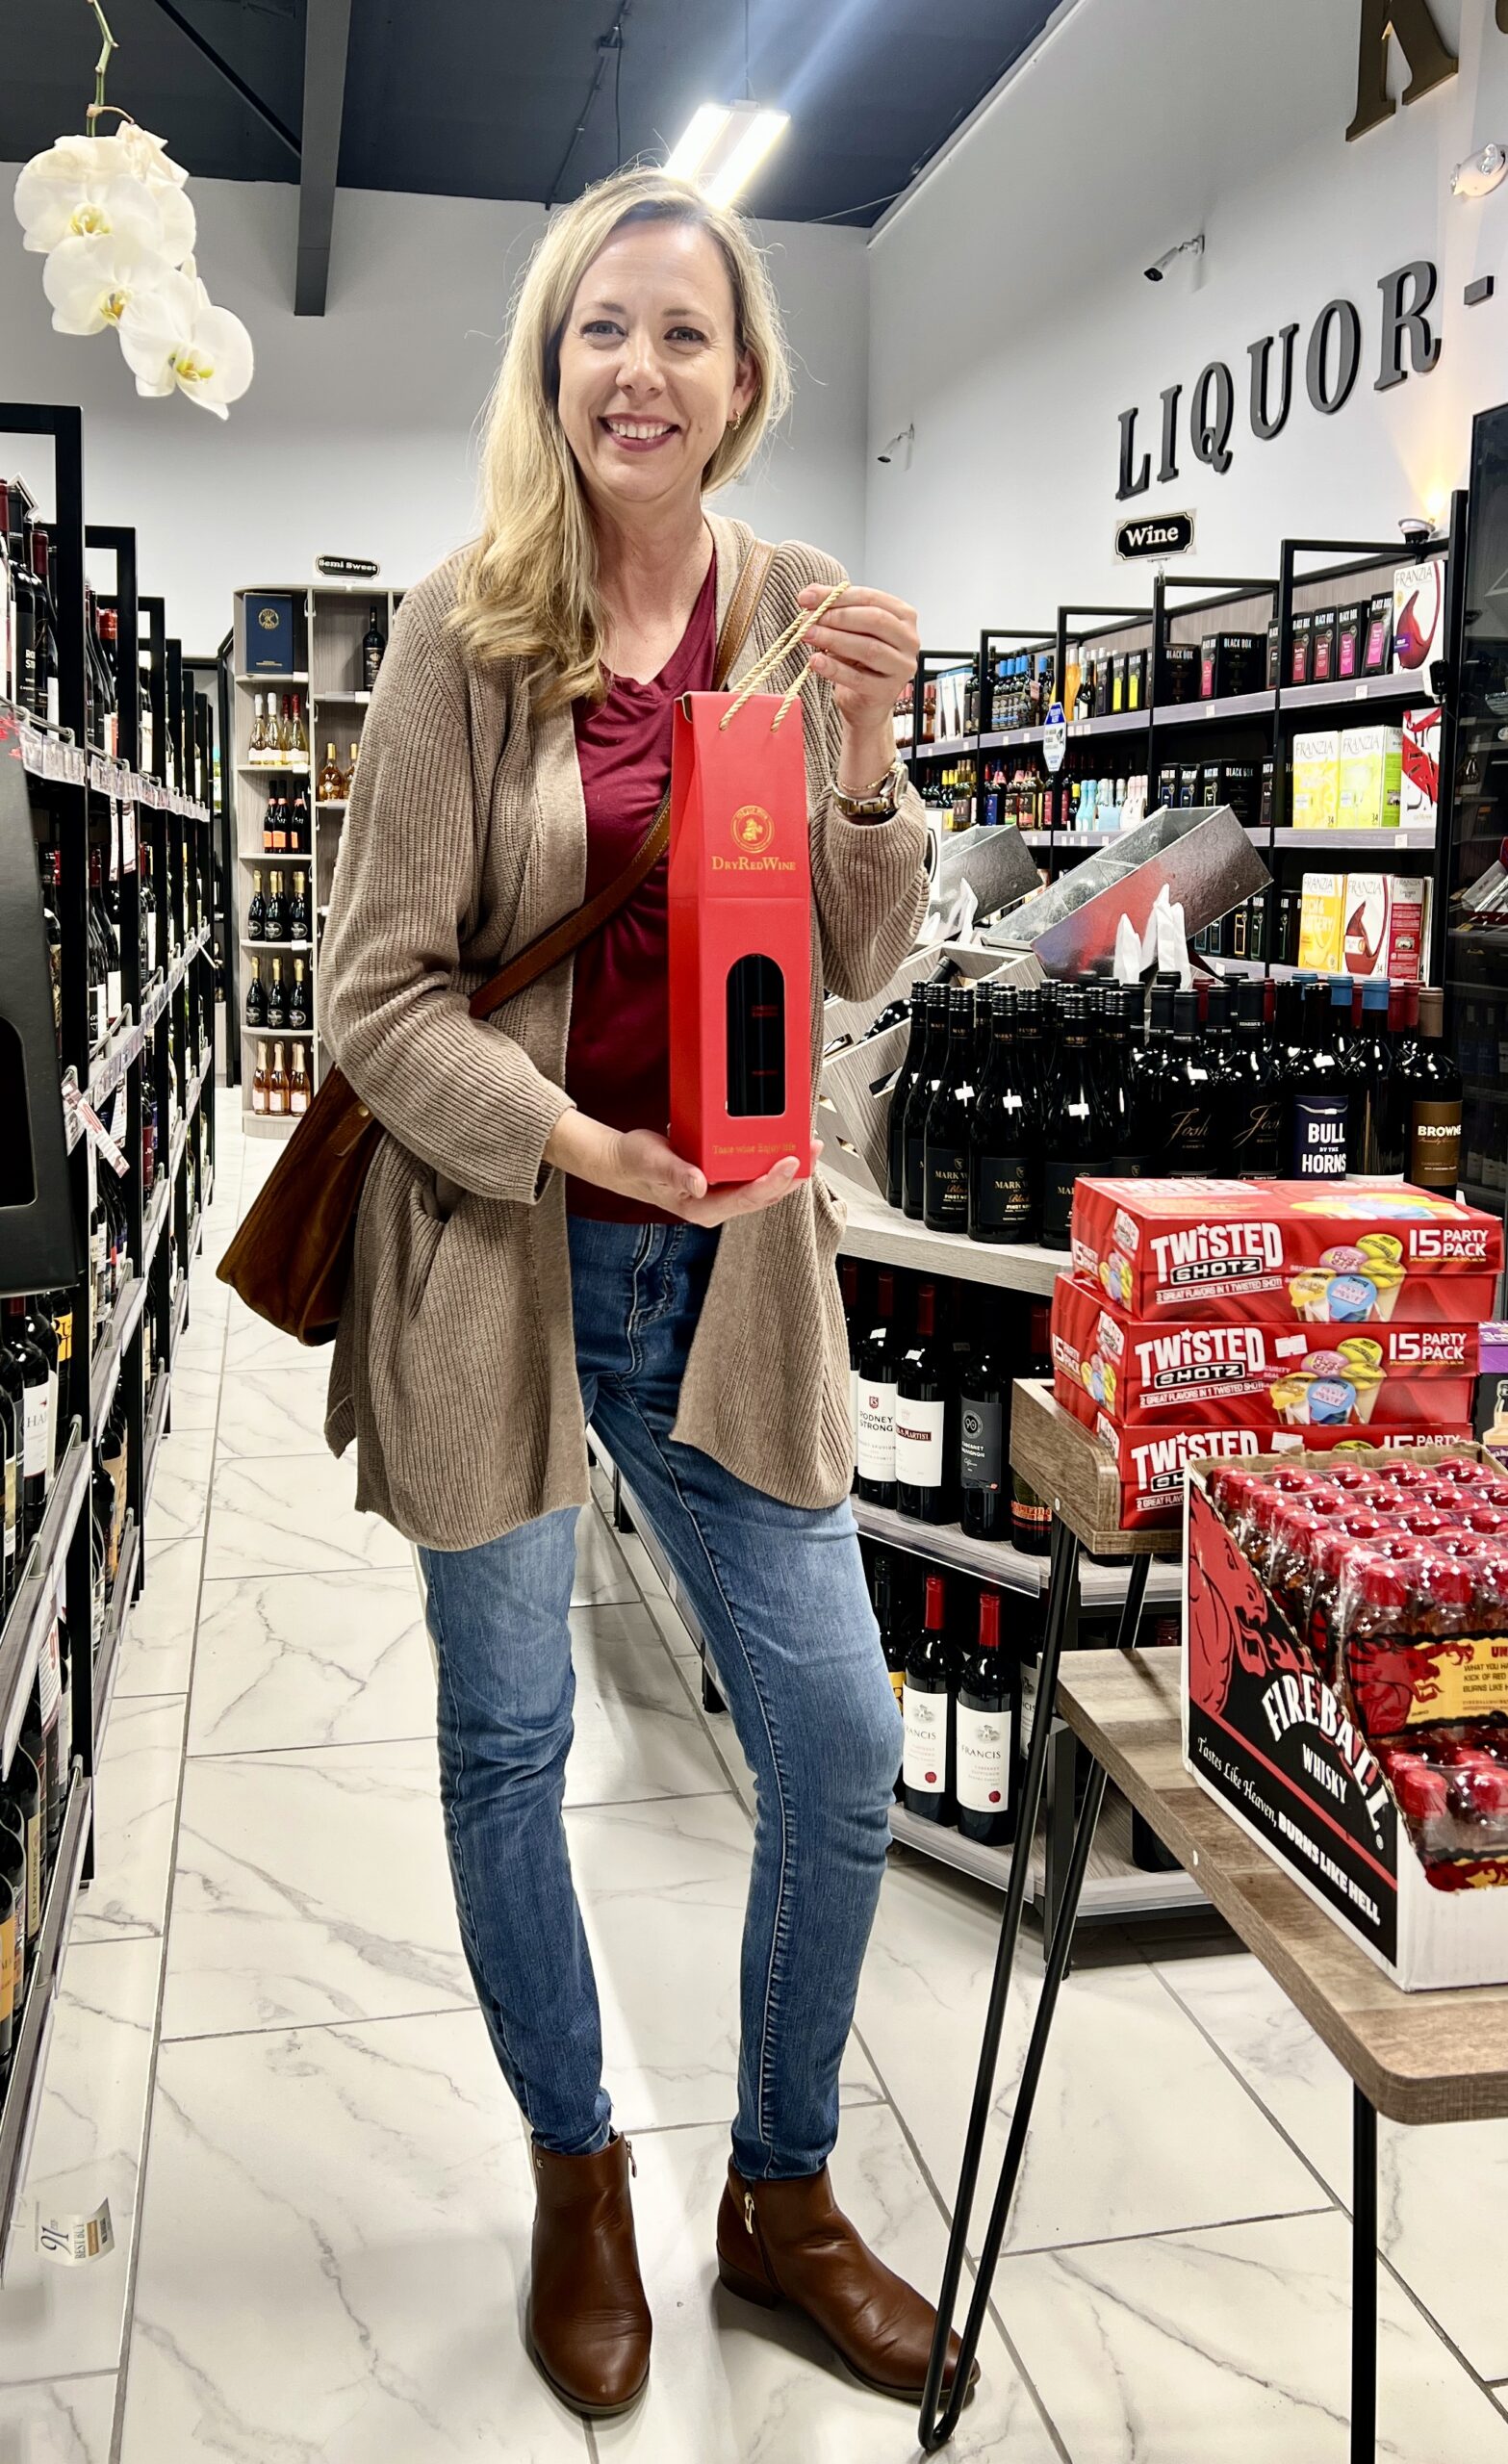 The store’s owner helped me located the perfect bottle of dry red wine to take back to the hotel. As shoppers came and went, I noticed how she knew what some of the regular customers wanted before they located it.
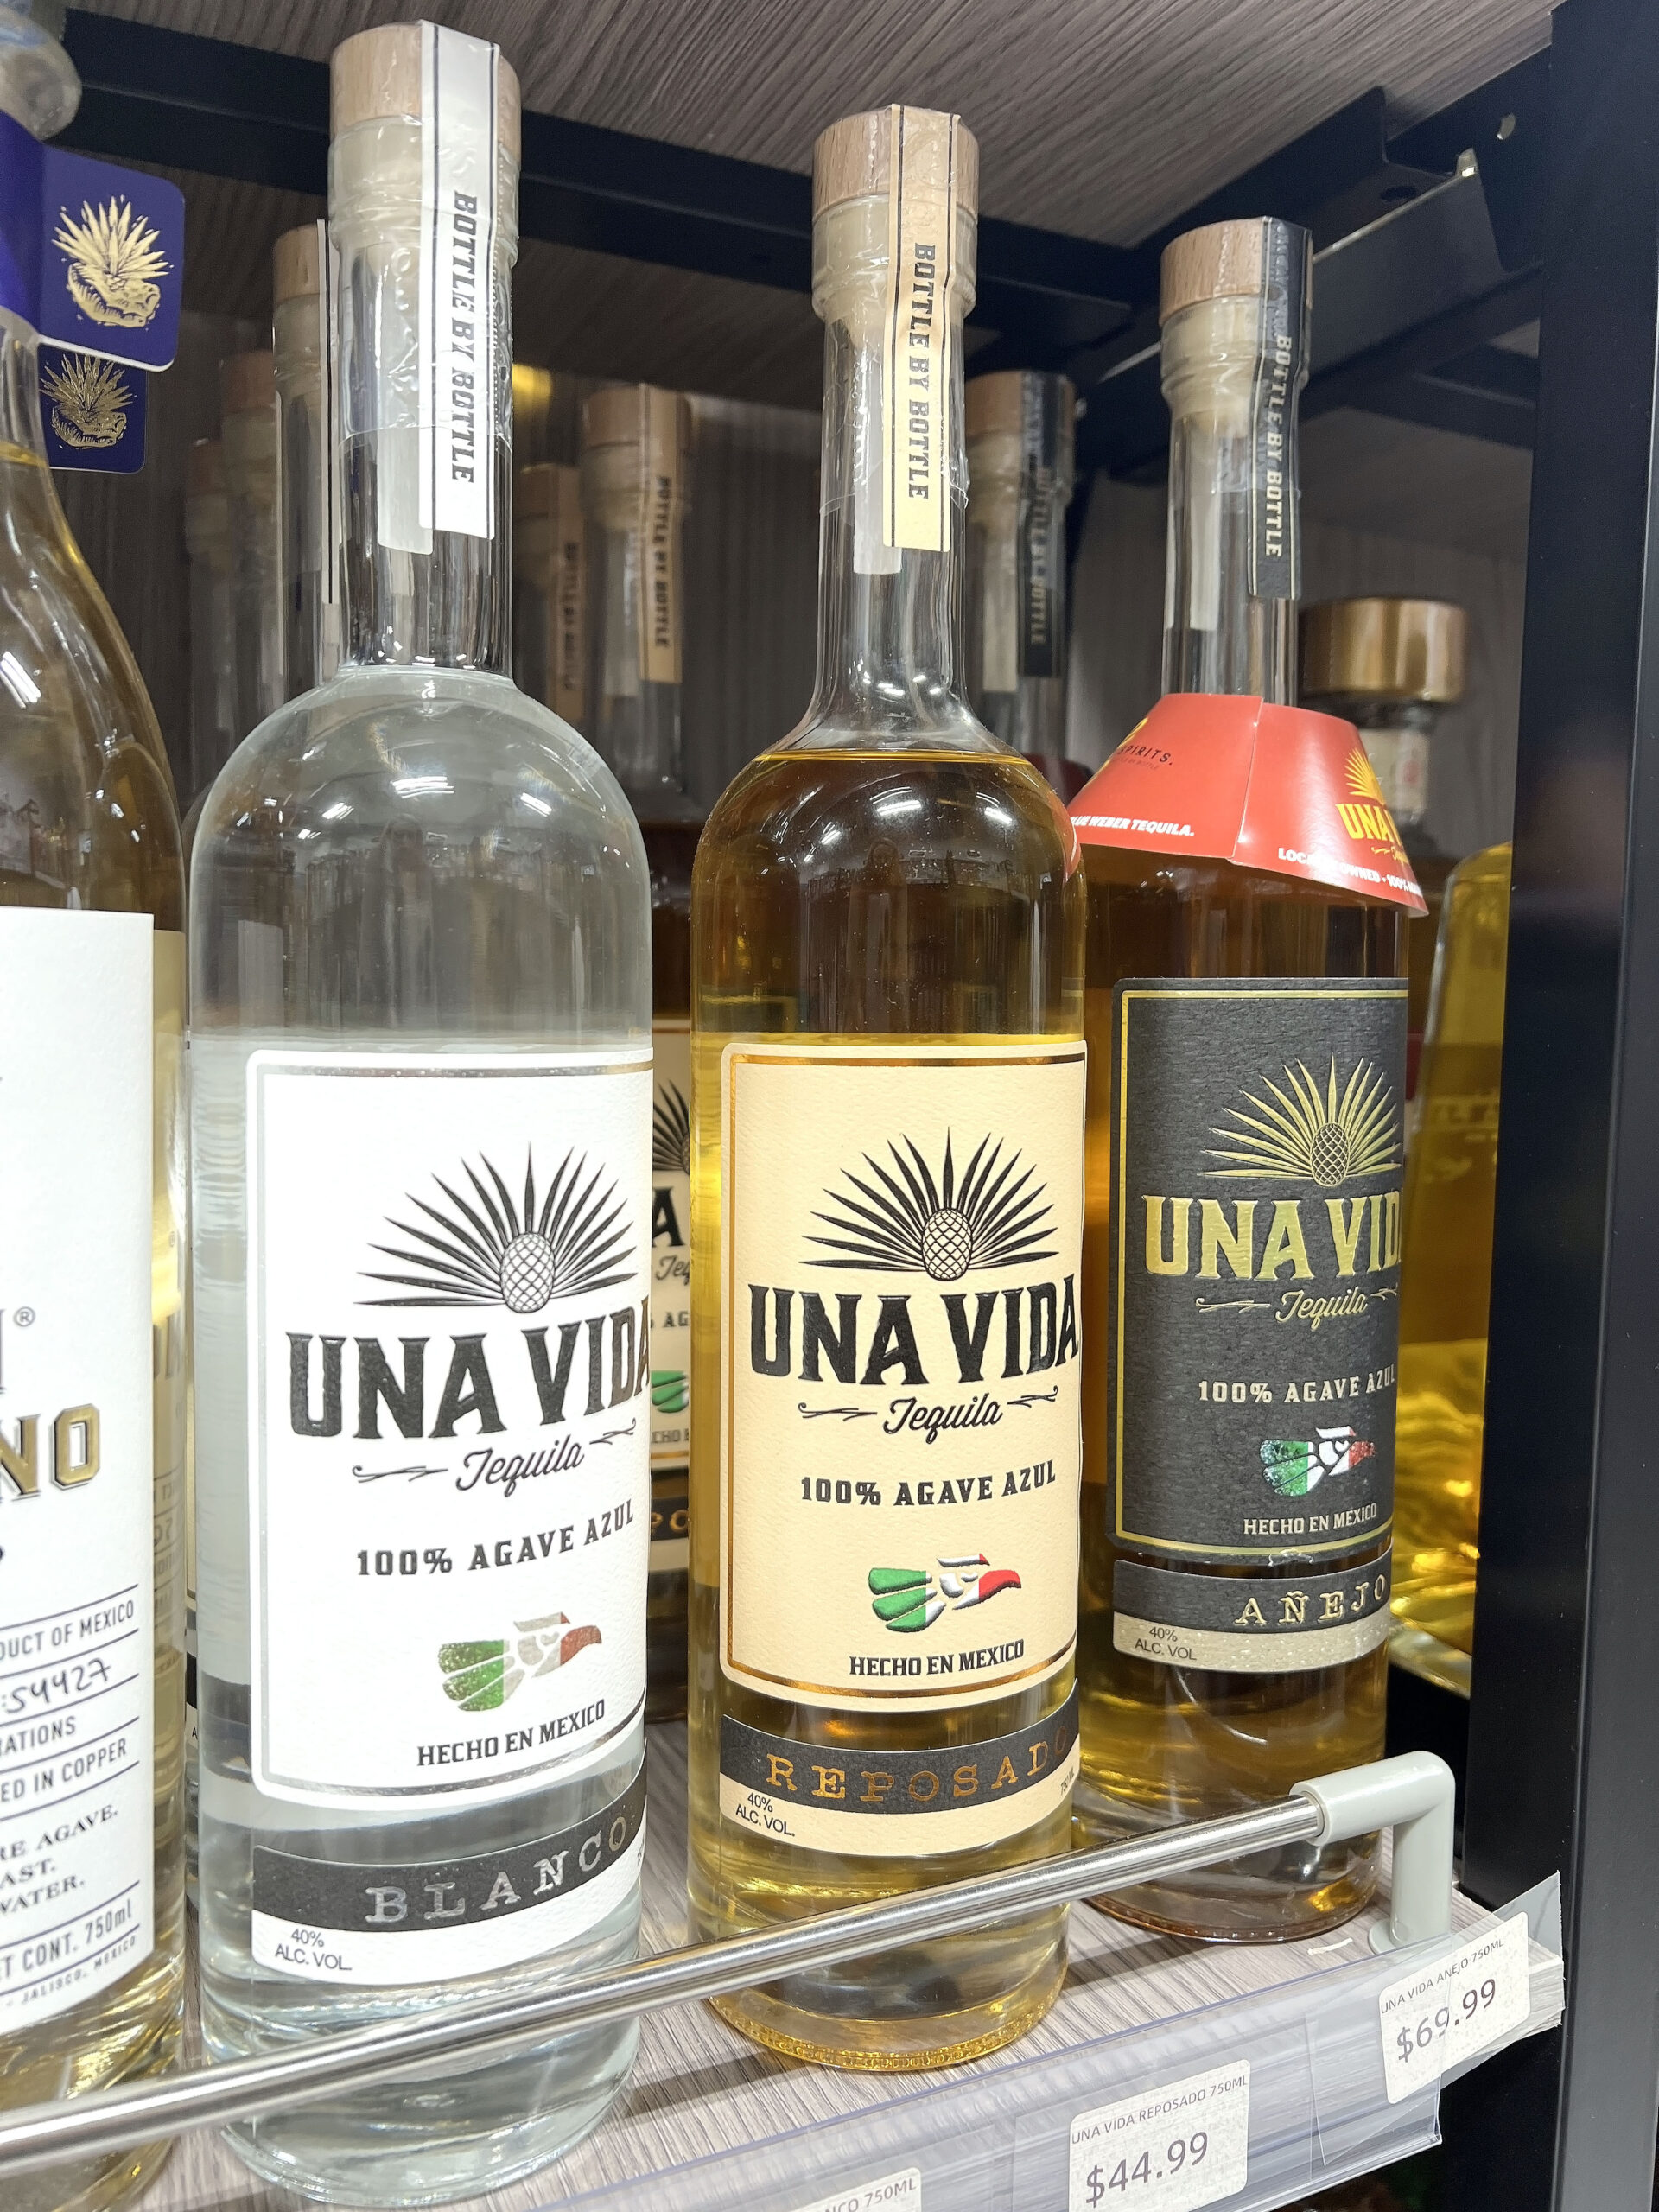 K96 Liquor is one-stop shopping if you’re seeking a variety of wine, beer or spirits to purchase for your next gathering with friends or family. And if you’re a guest at someone’s party, consider purchasing one of the pre-boxed bottles that come in gift-worthy packaging.
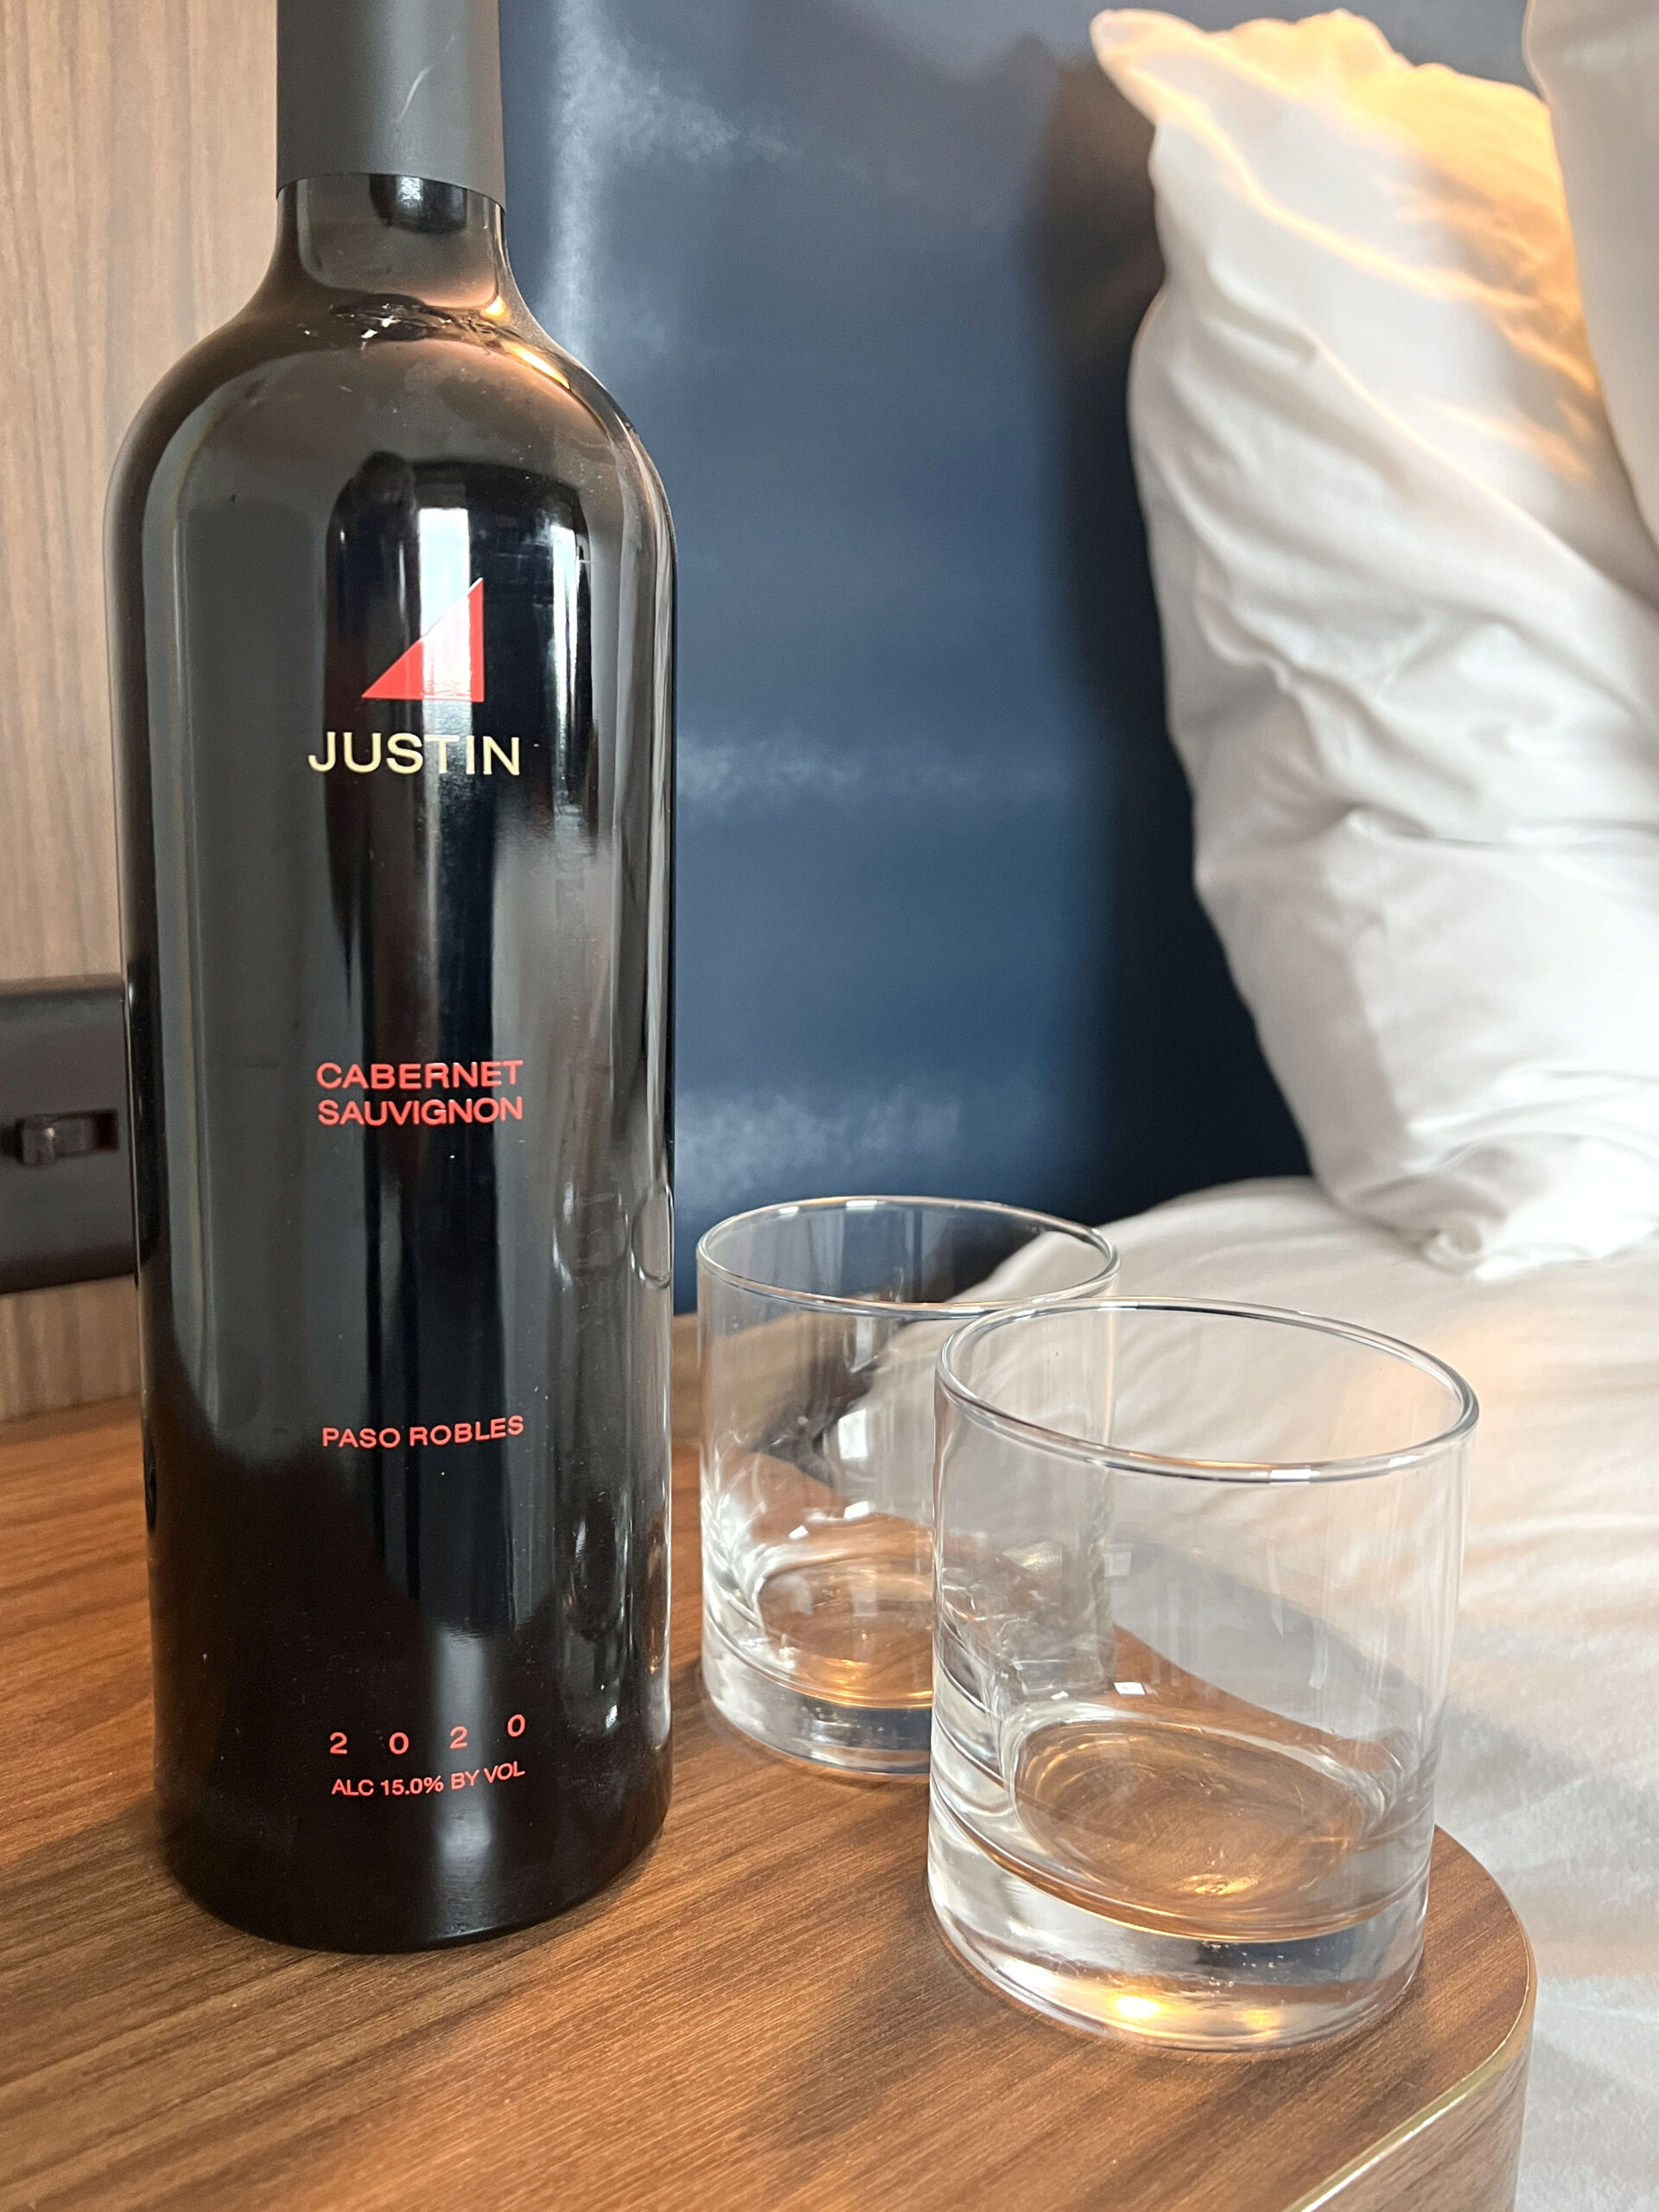 PRO TIP: Inquire about holiday-themed gift sets.
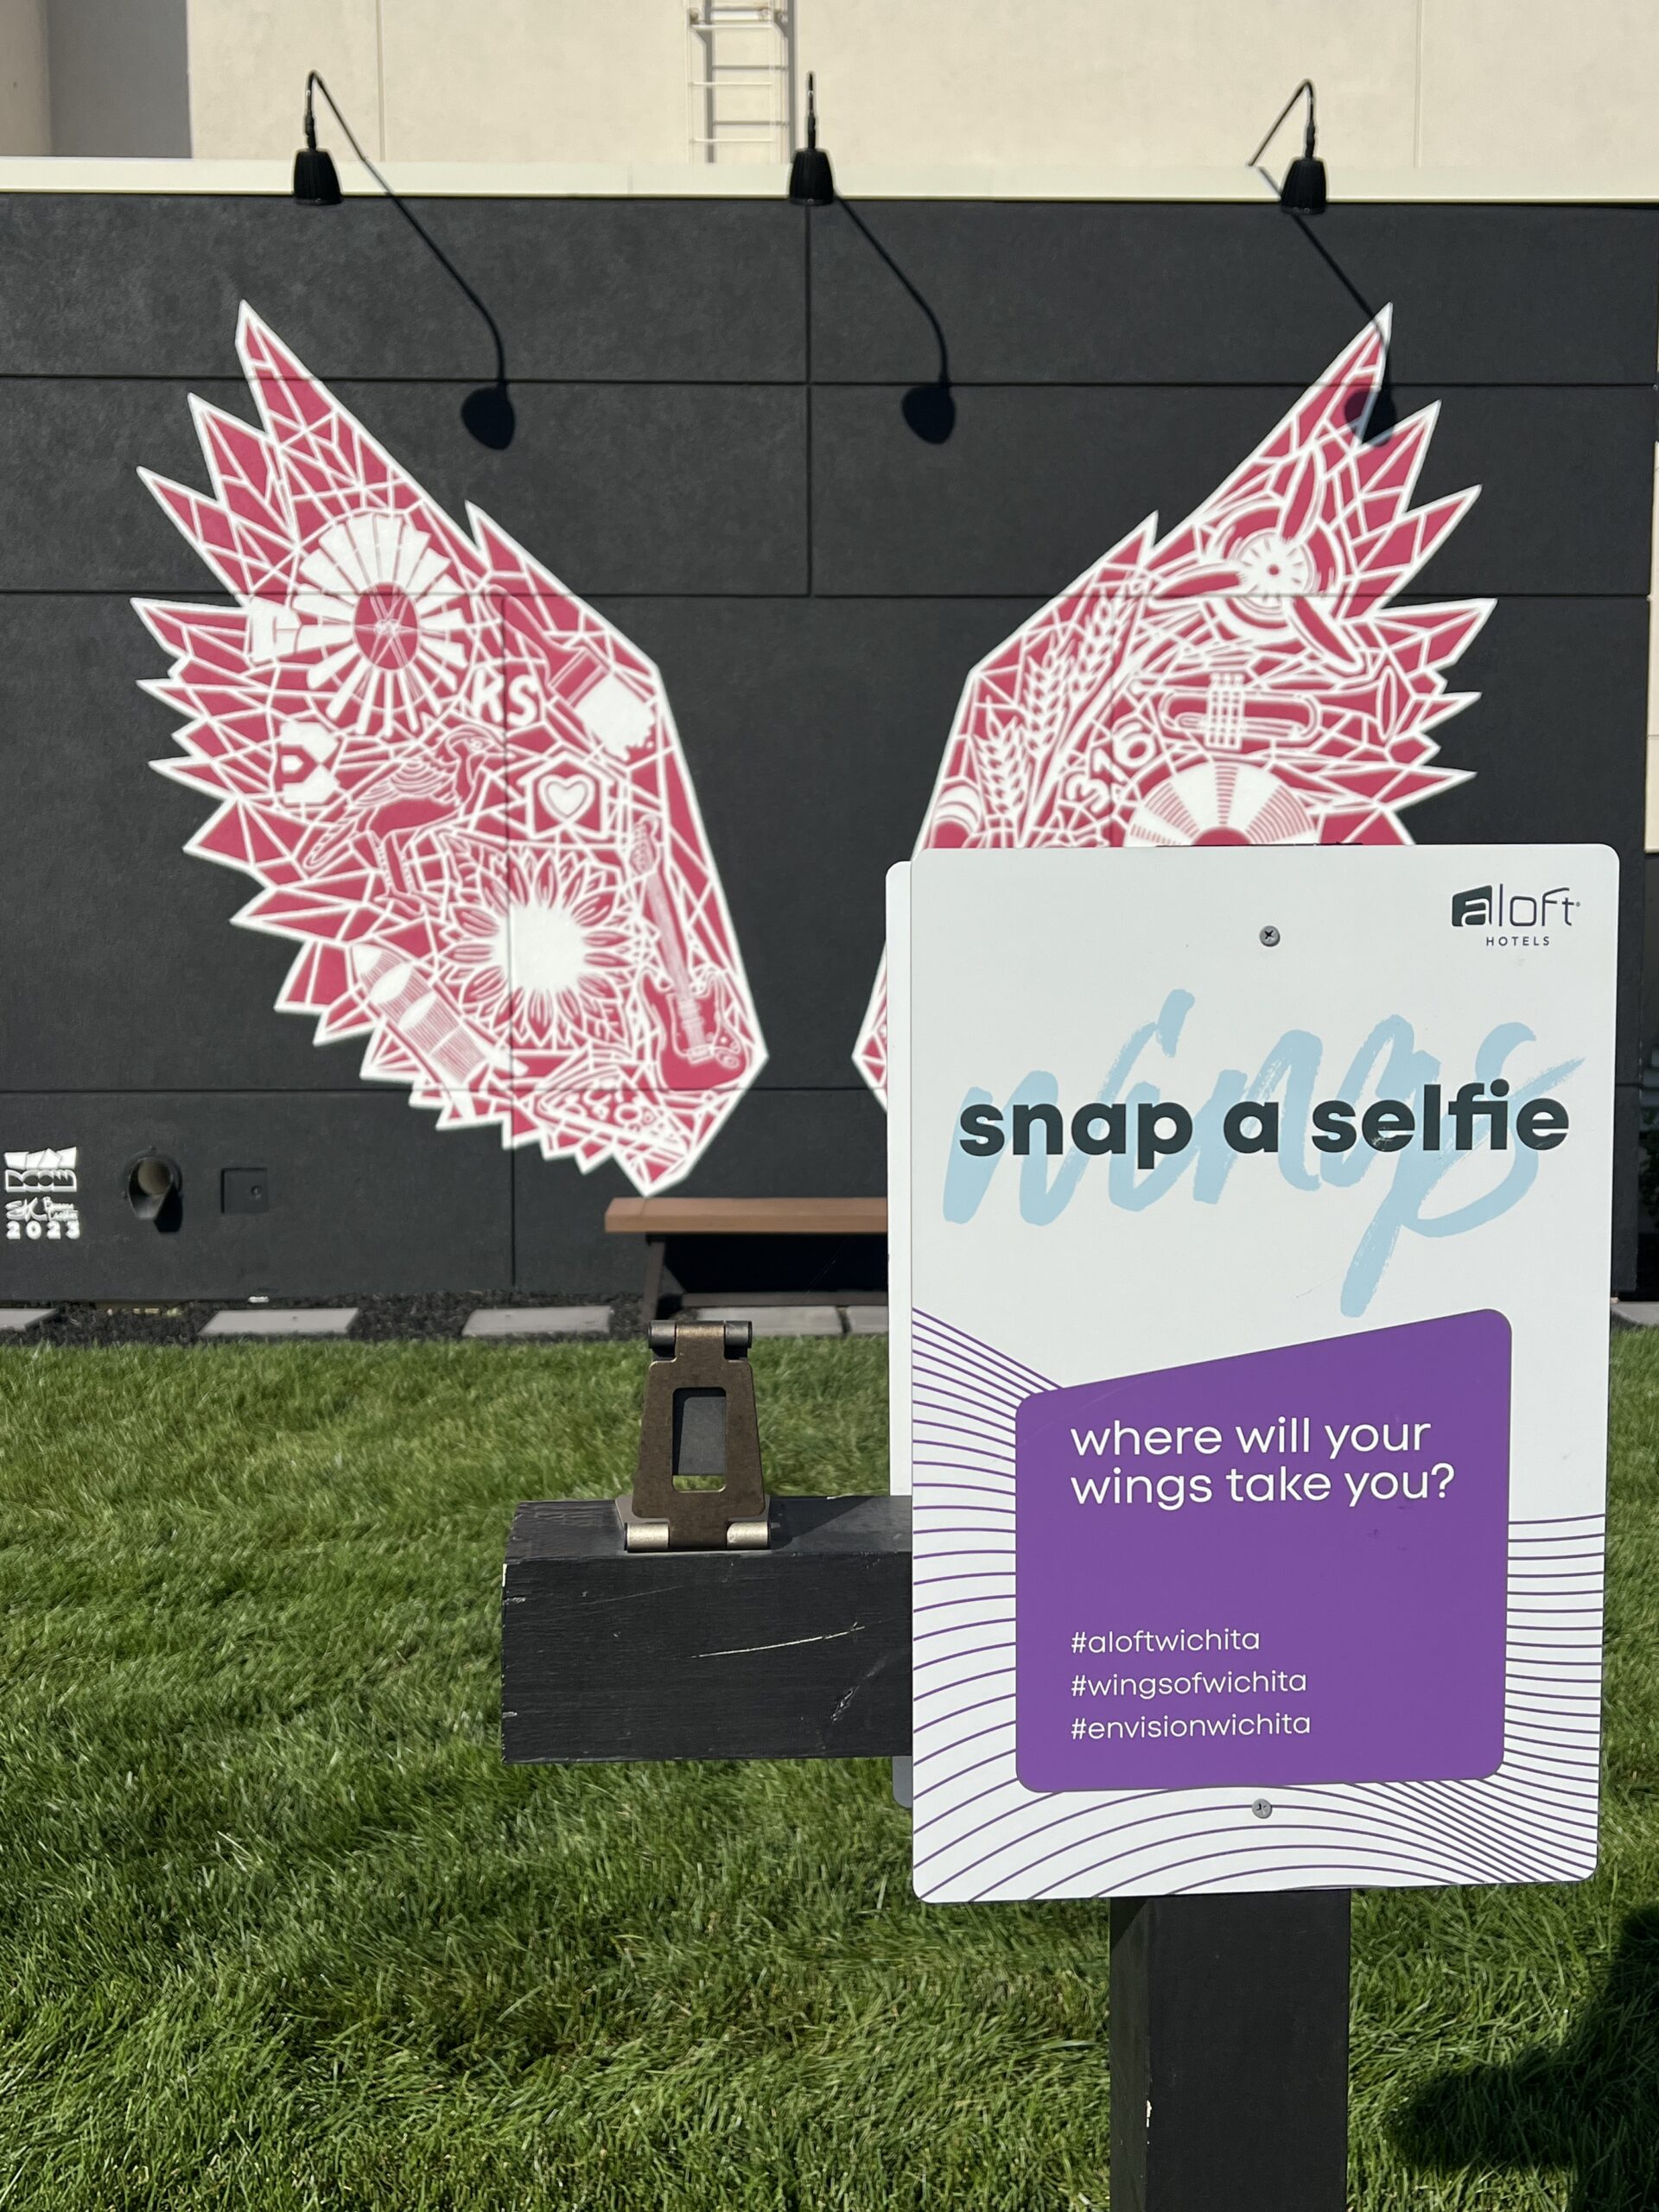
 Newly renovated, the boutique hotel has a swimming pool with outdoor seating and fire pits, views of a lake, and a swanky hangout, W xyz® Bar. Aloft Wichita is not another hotel. It’s a vibe.
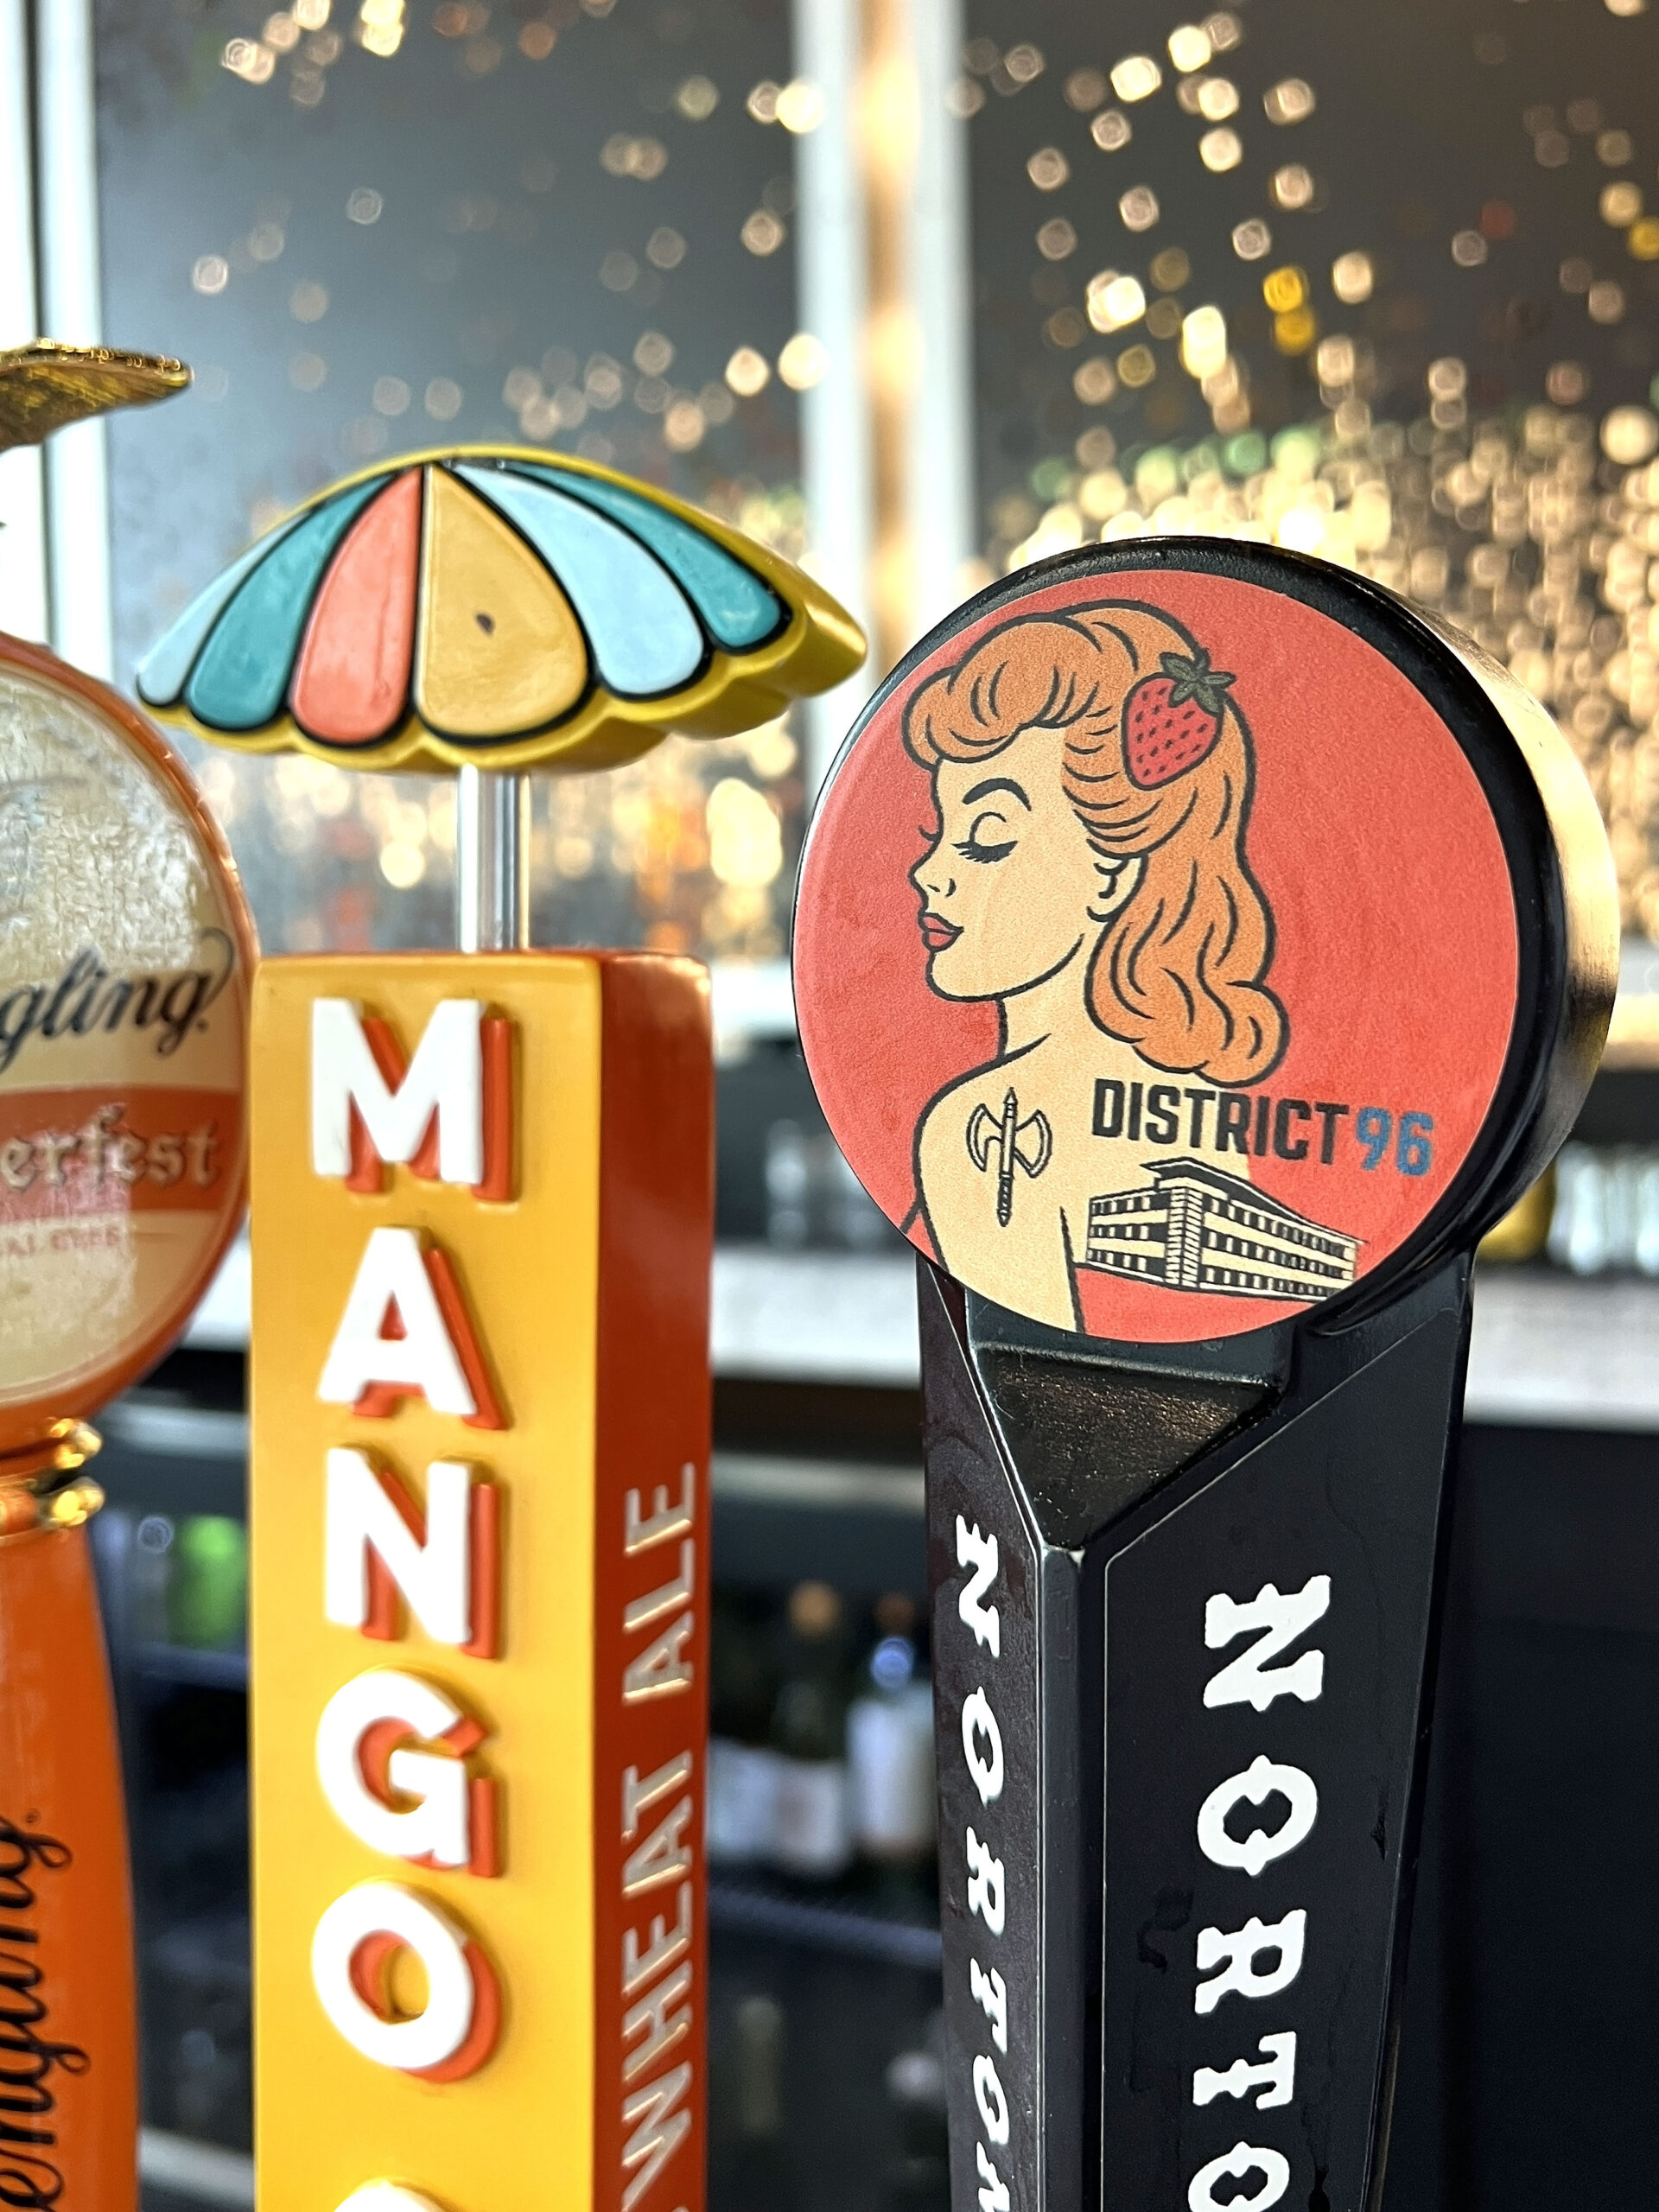 The lobby is home to games (Ms. Pac-Man, anyone?), a complimentary coffee station, and a sunken lounge area where a musician plays music on Tuesday evenings, the same night W xyz® Bar serves a taco and margarita special.
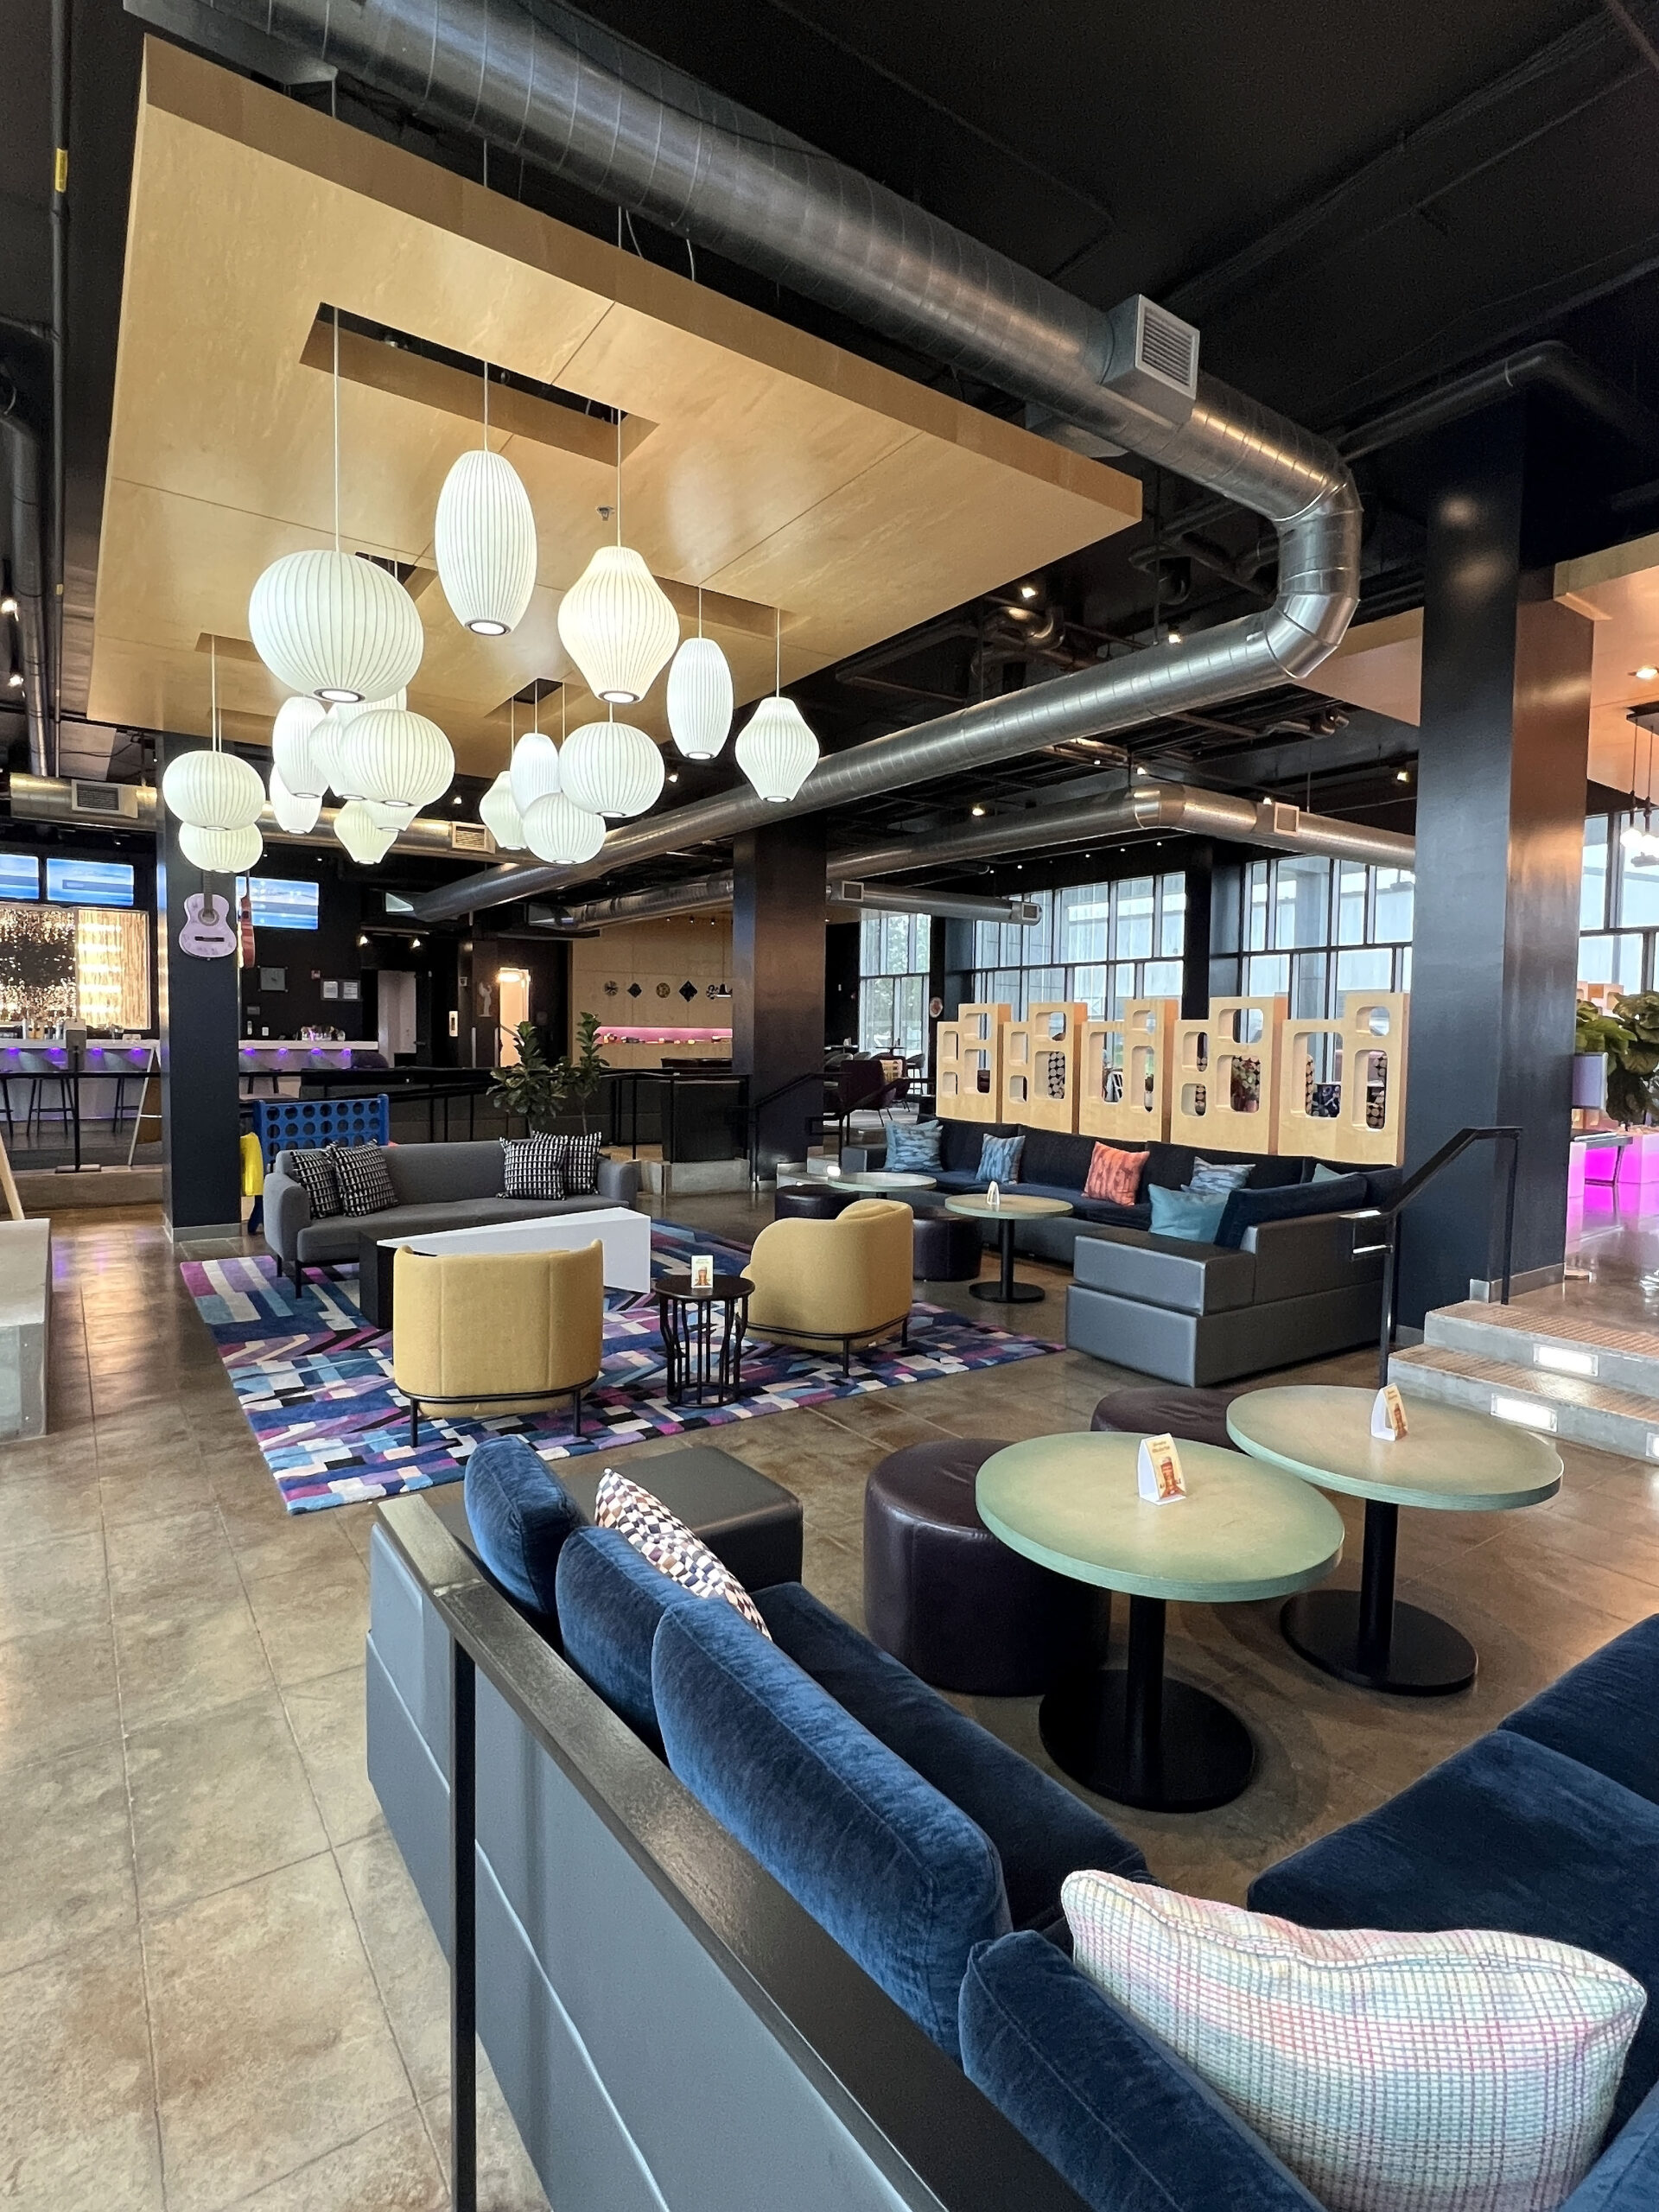 After check-in, we sipped District 96 Strawberry Blonde Ale by Nortons Brewing Company at the bar to the sounds of live music. The lobby was filled with hotel guests and drop-in locals who socialized from velvety, stylish couches and around a billiards table. Business travelers worked from laptops at a central desk area.
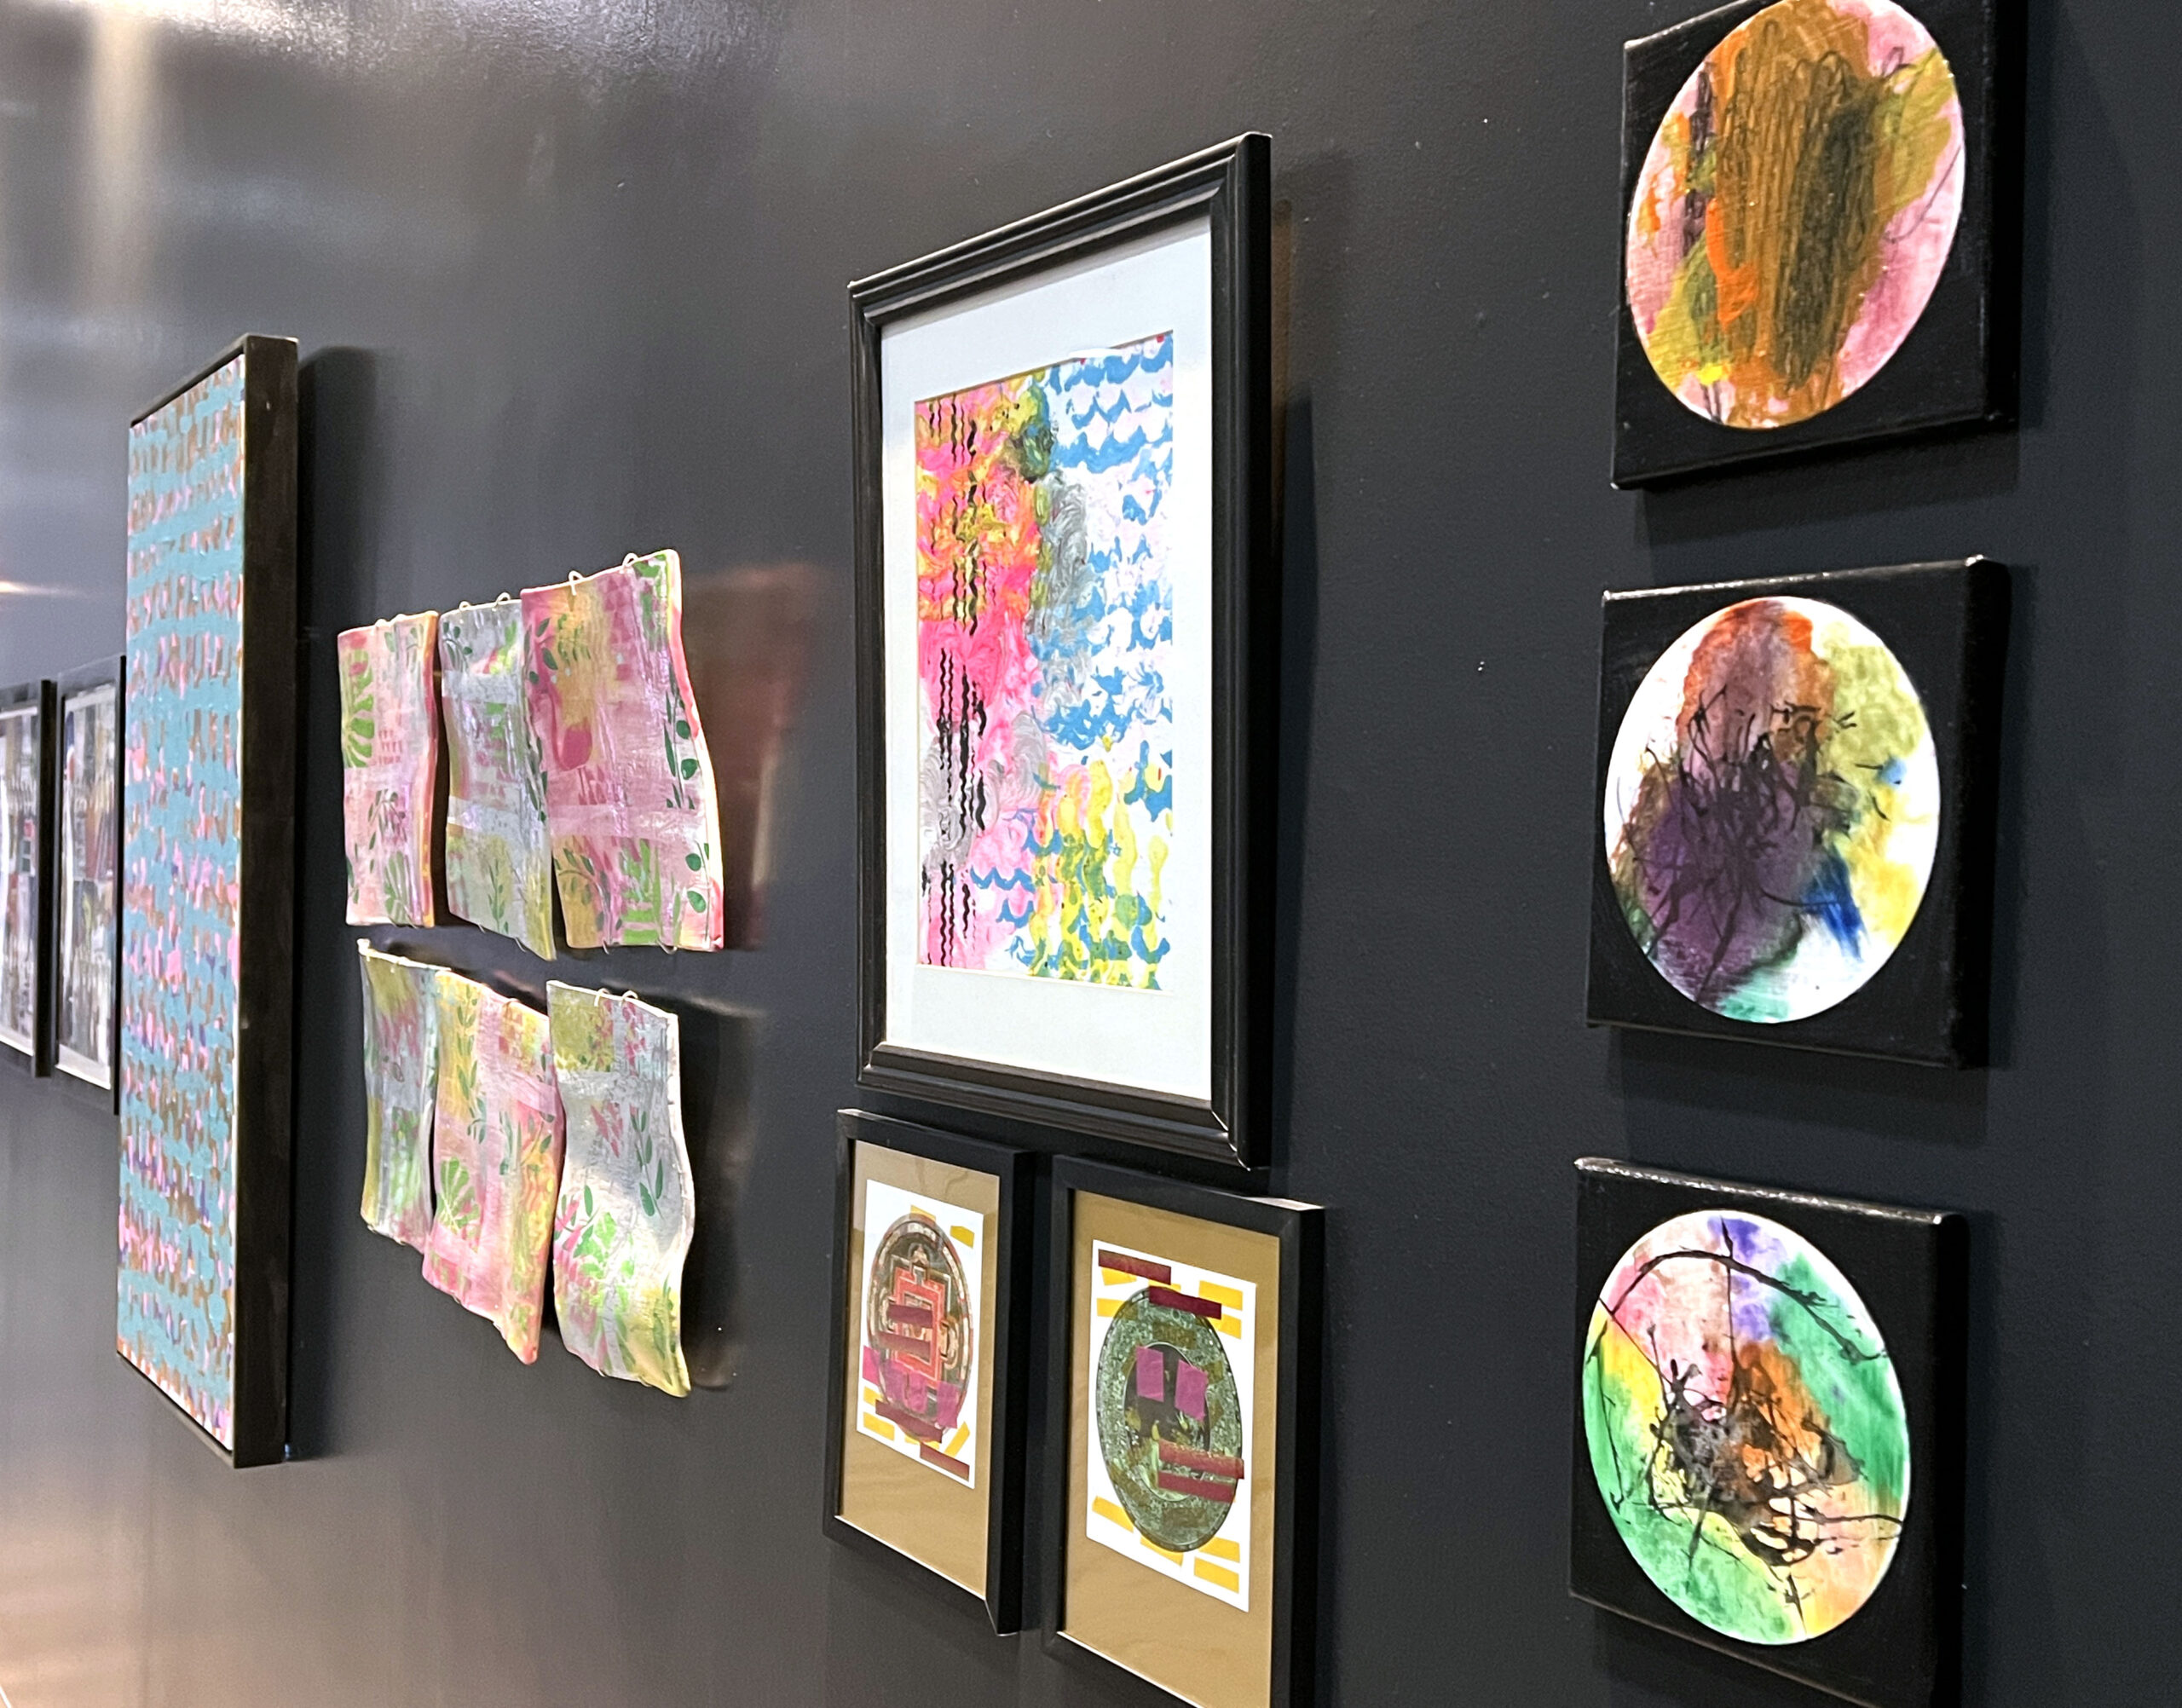 Later, we explored the hotel’s art gallery by Envision, which displays remarkable works completed by Wichita artists with vision loss. The breathtaking collections change throughout the year.
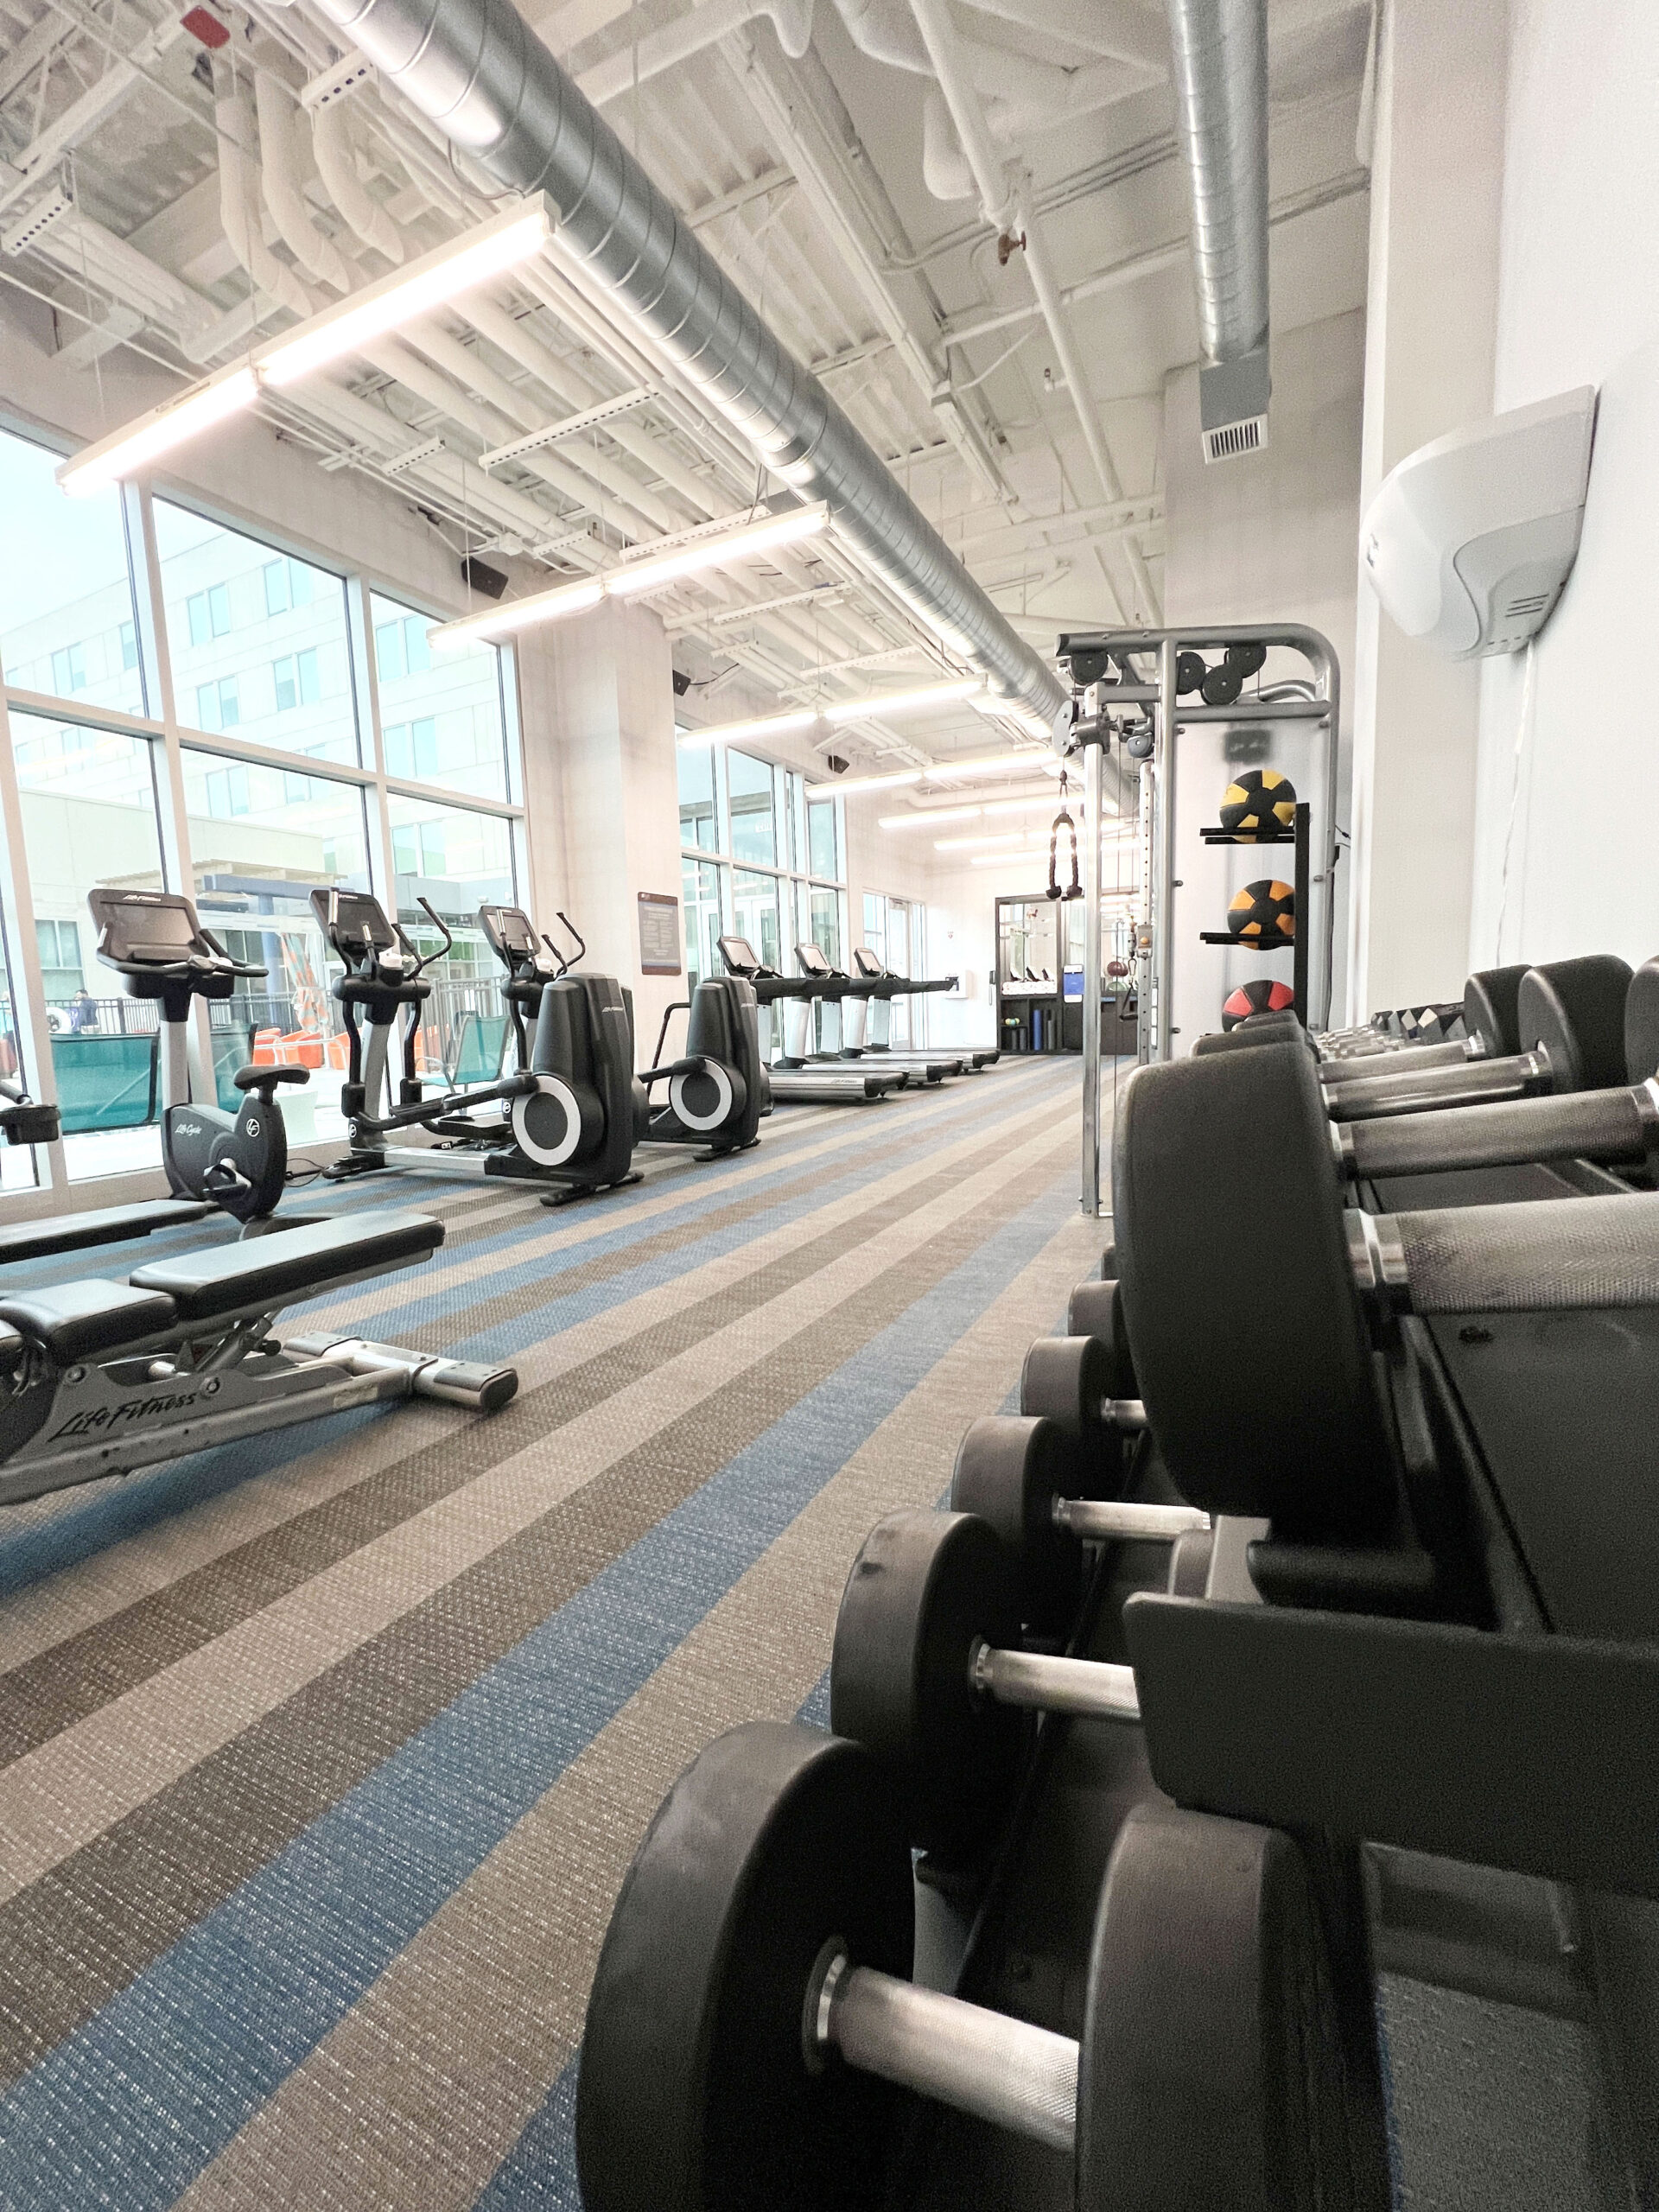 Guests who want to make the most of the available amenities during the day will appreciate the fitness facility’s collection of state-of-the-art machines and weights.
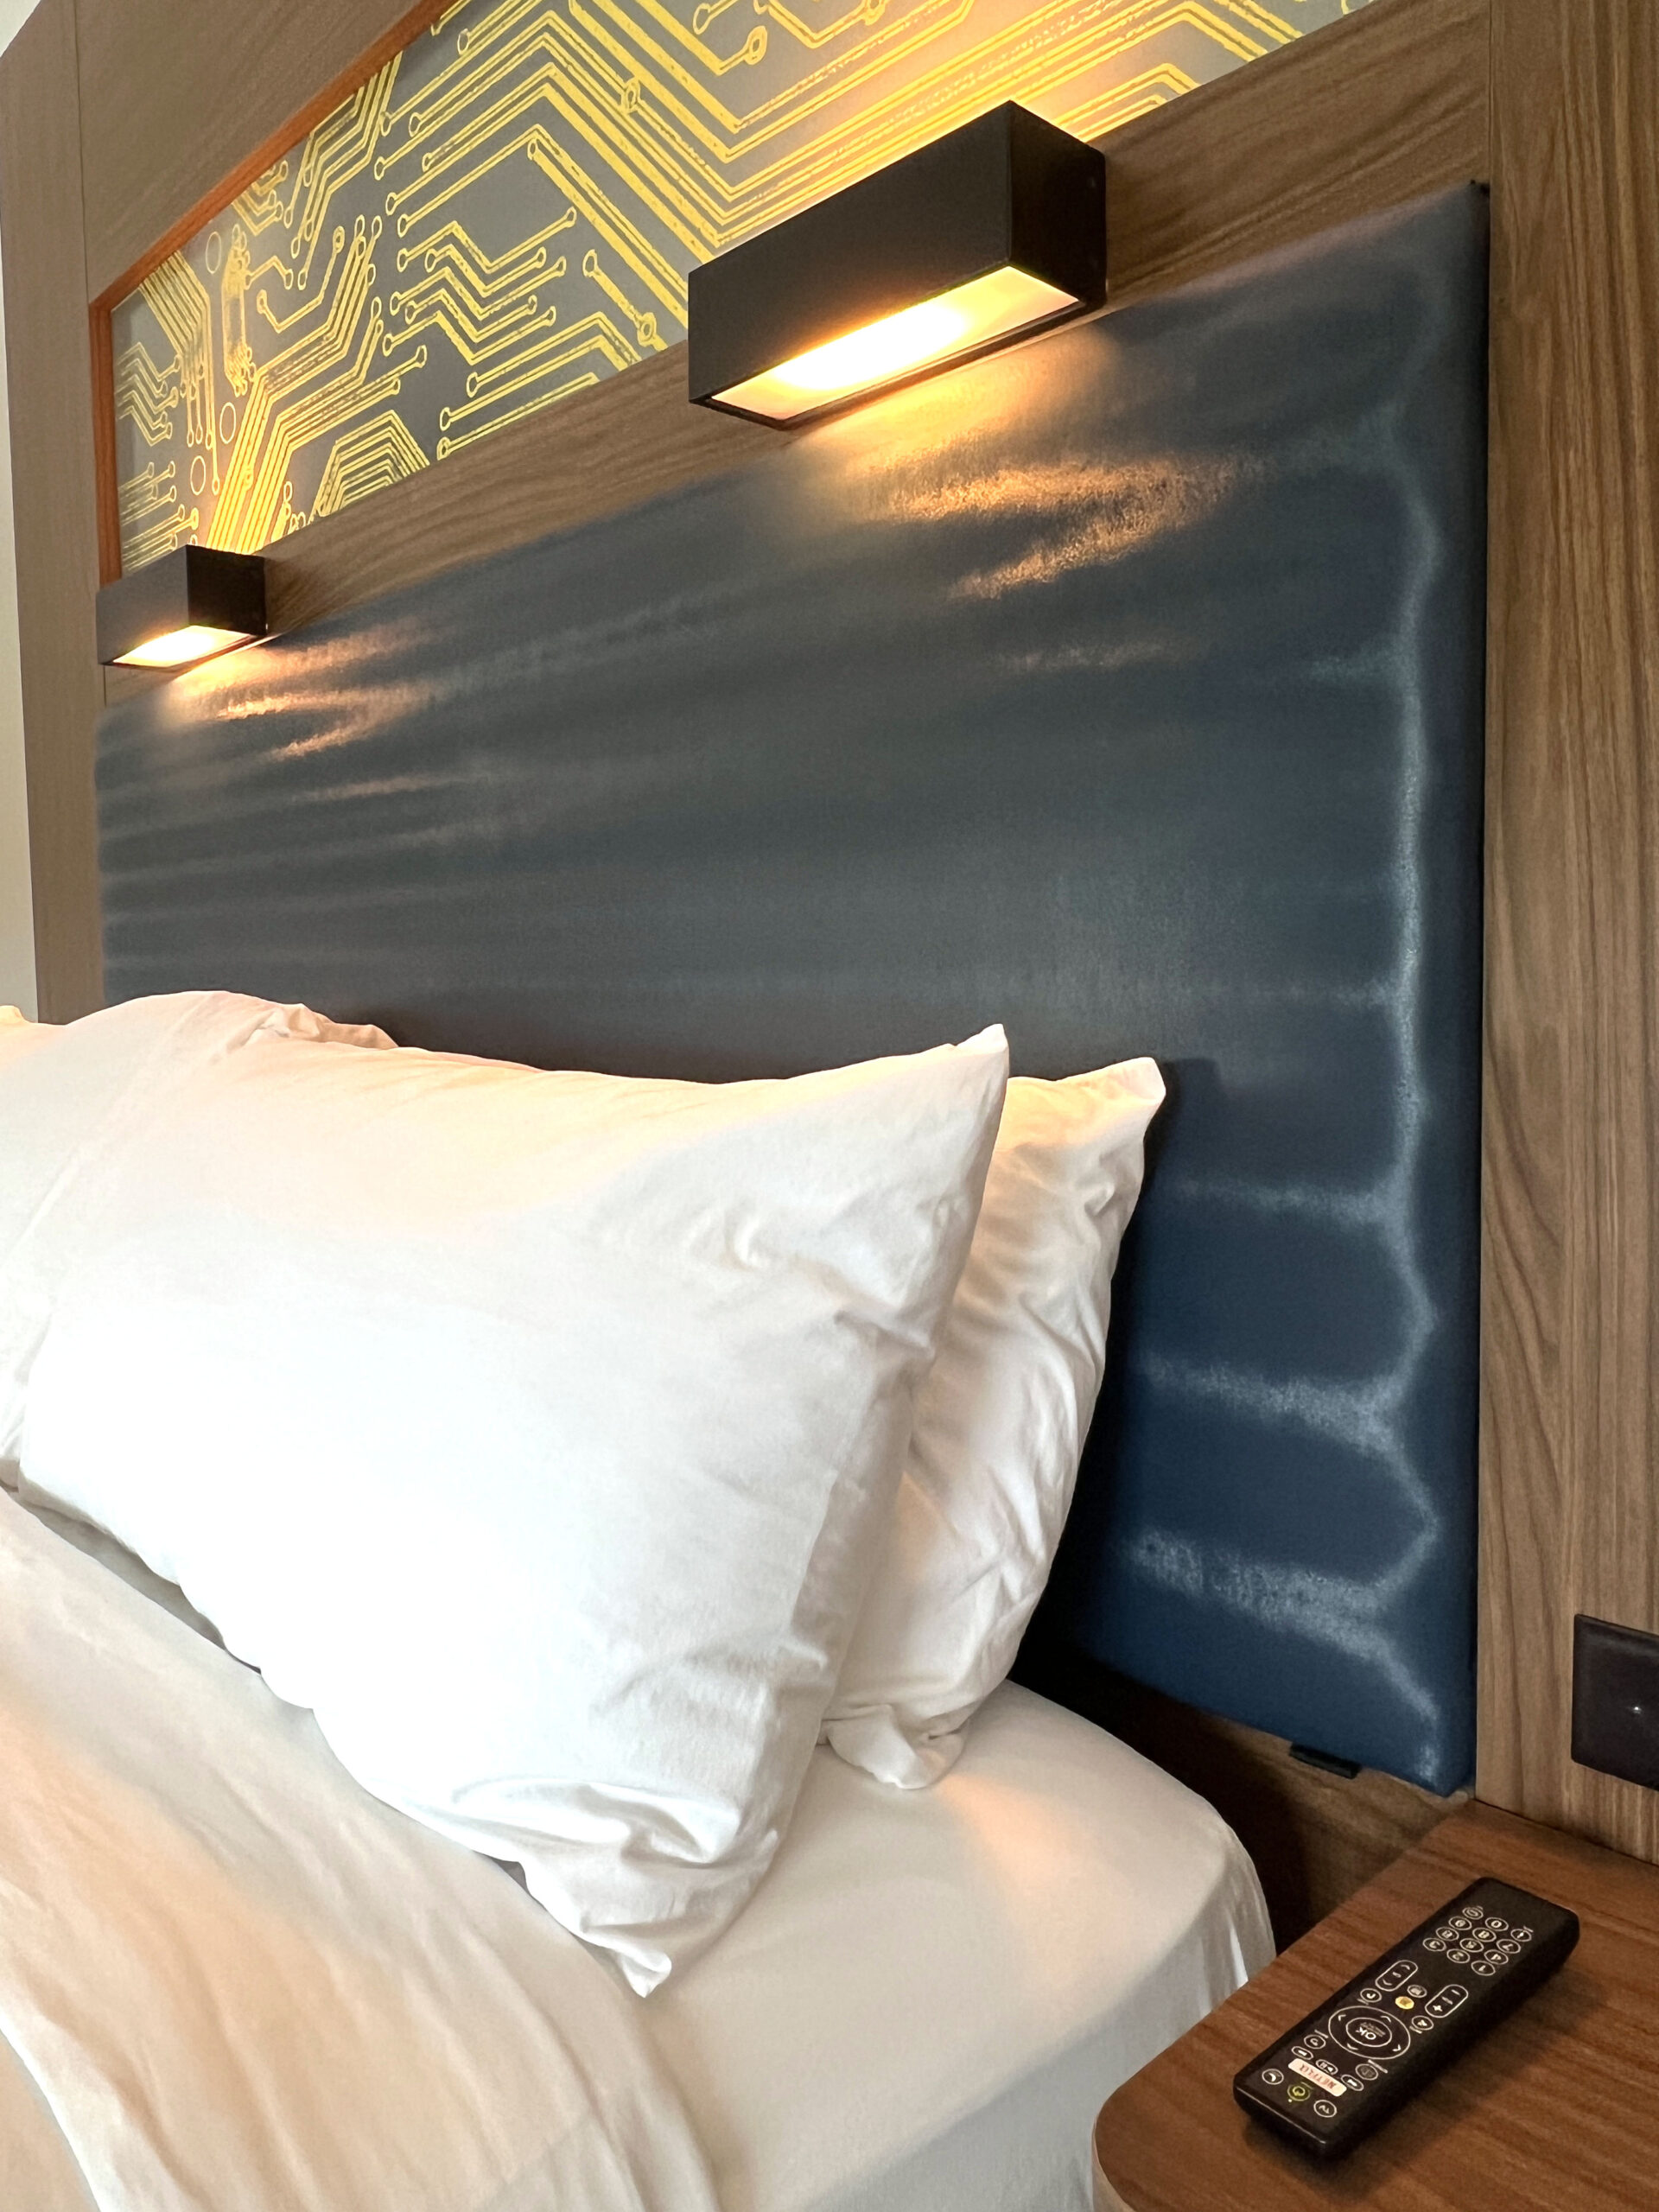 When it’s time to slumber, one can count on Aloft Wichita’s beds to be some of the most comfortable ones thanks to soft Marriott Bonvoy® bedding and blackout curtains guaranteeing a good night’s sleep.
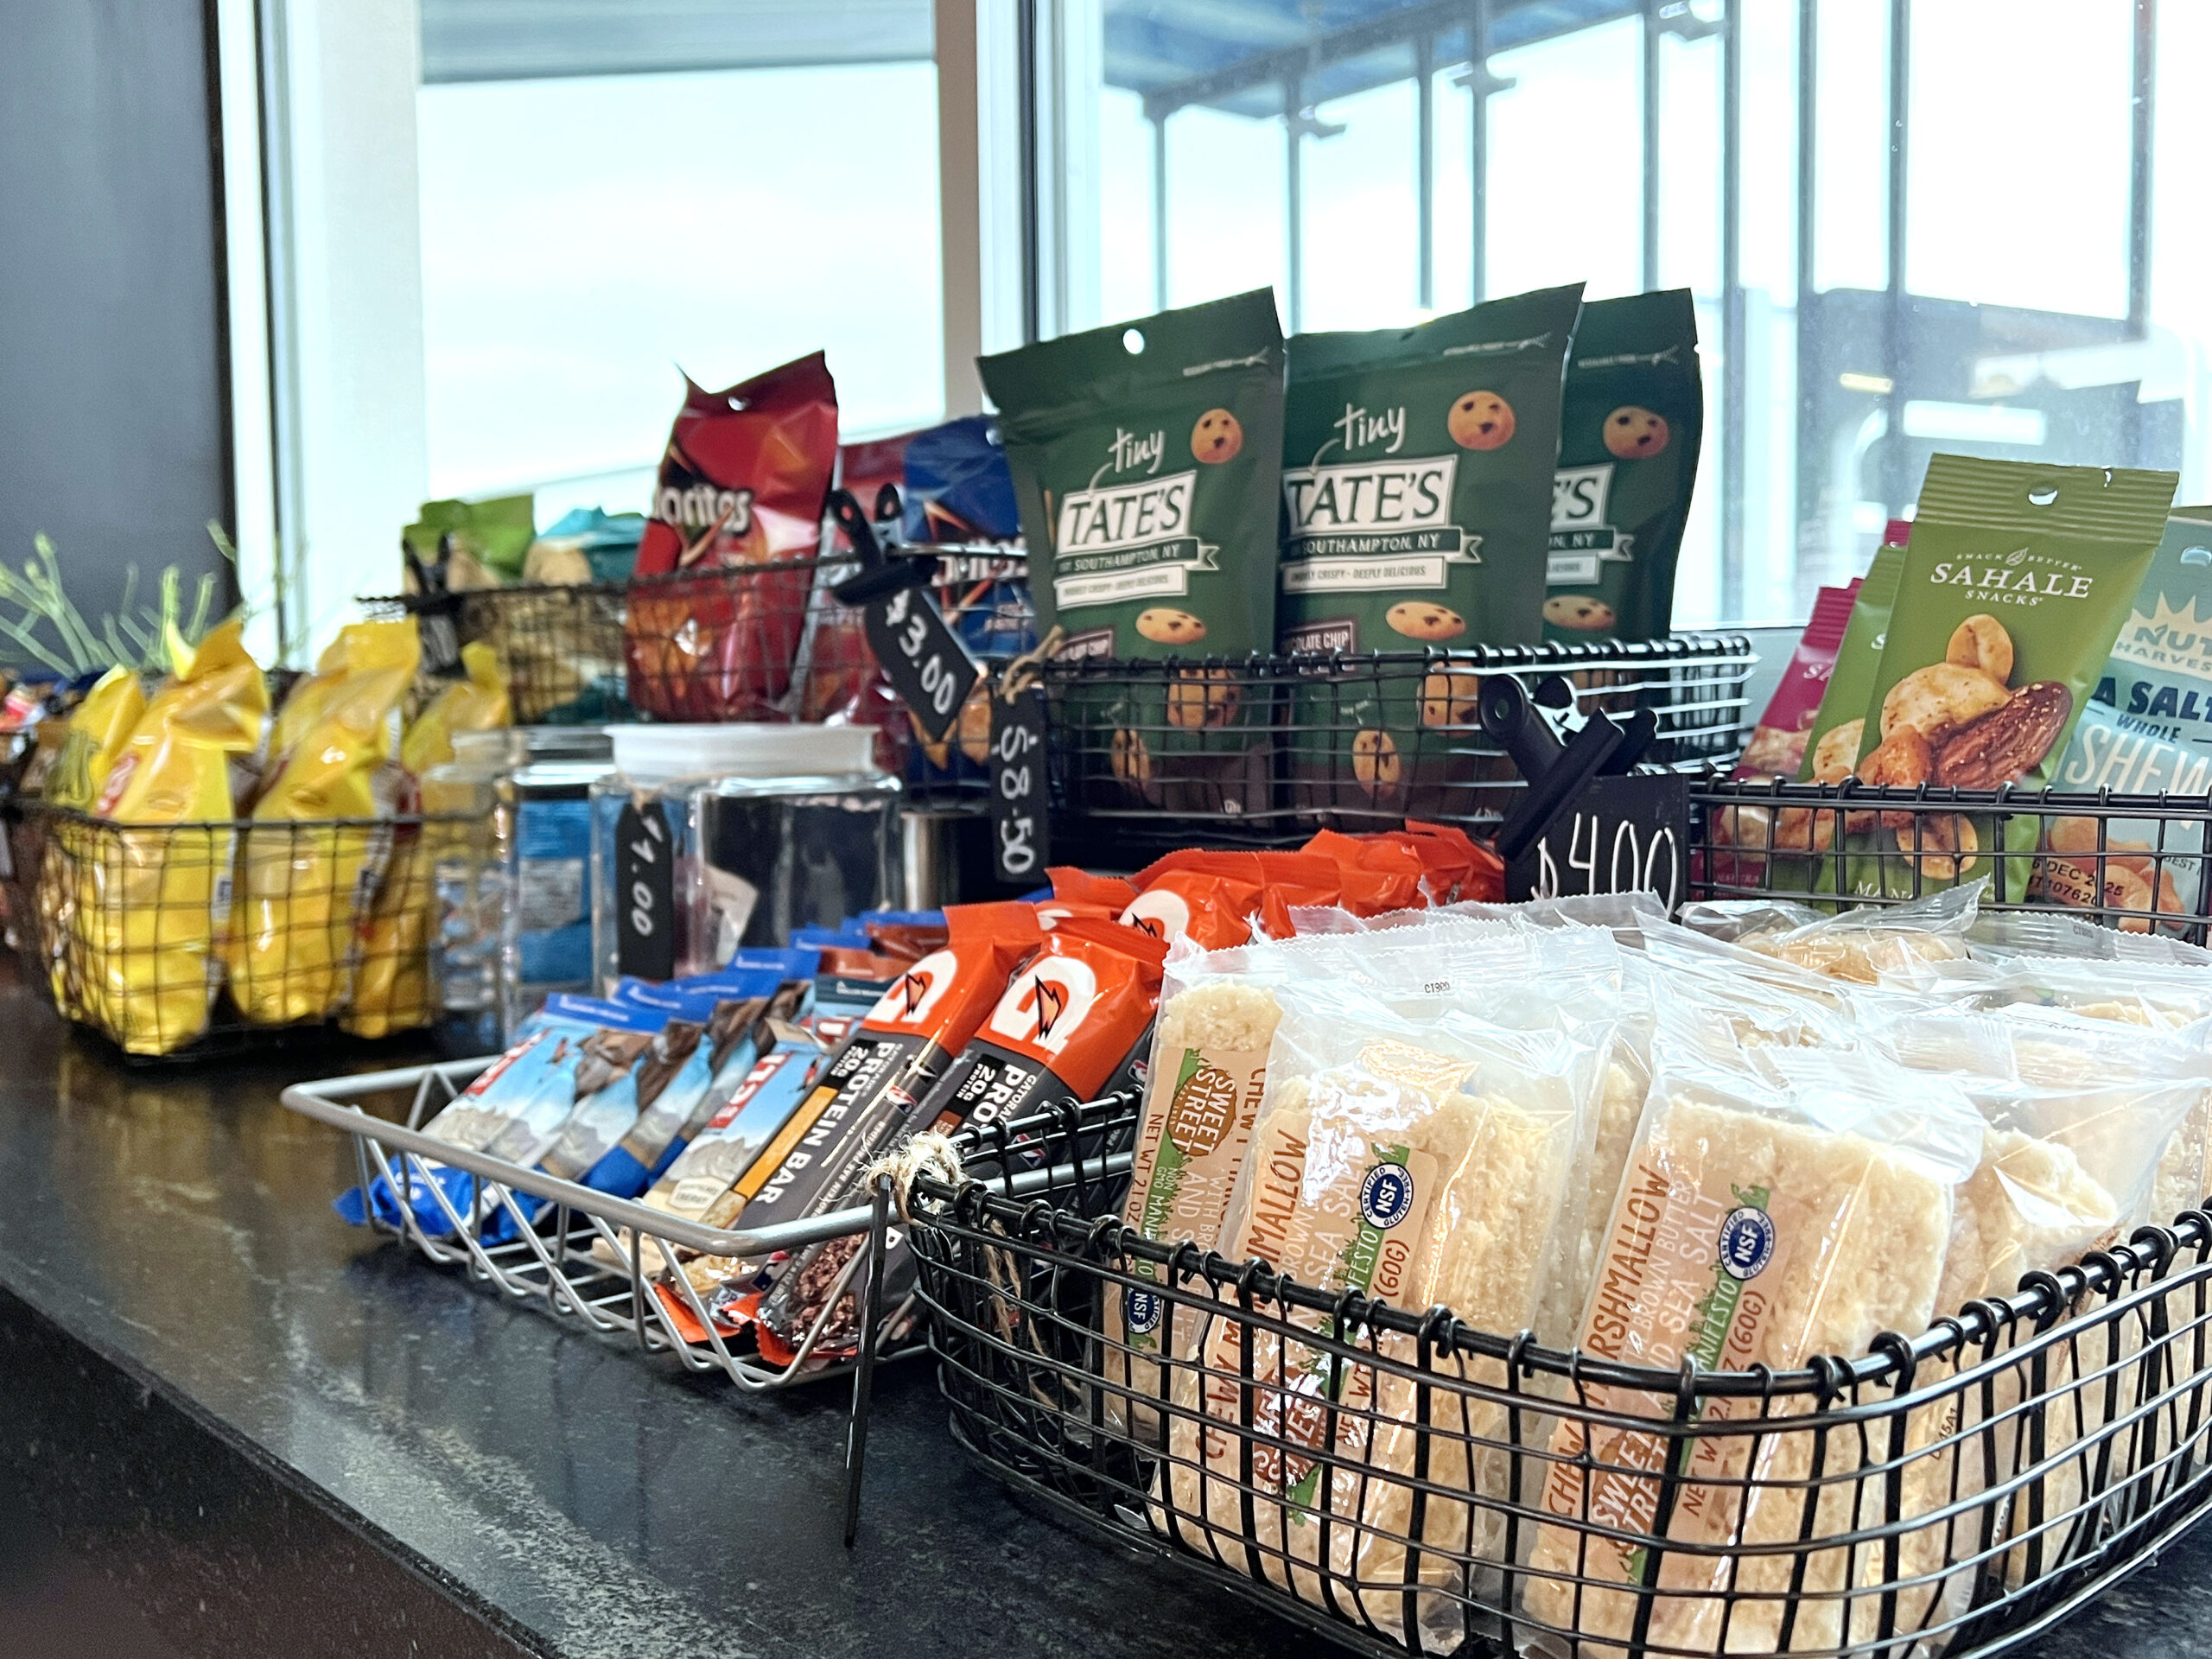 In the morning, the Re:Fuel by Aloft℠ grab-and-go yogurt with fruit cups or hot breakfast menu is open for early-morning bites. My preference? The OG B.E.C Sandwich served on a Brioche Bun.
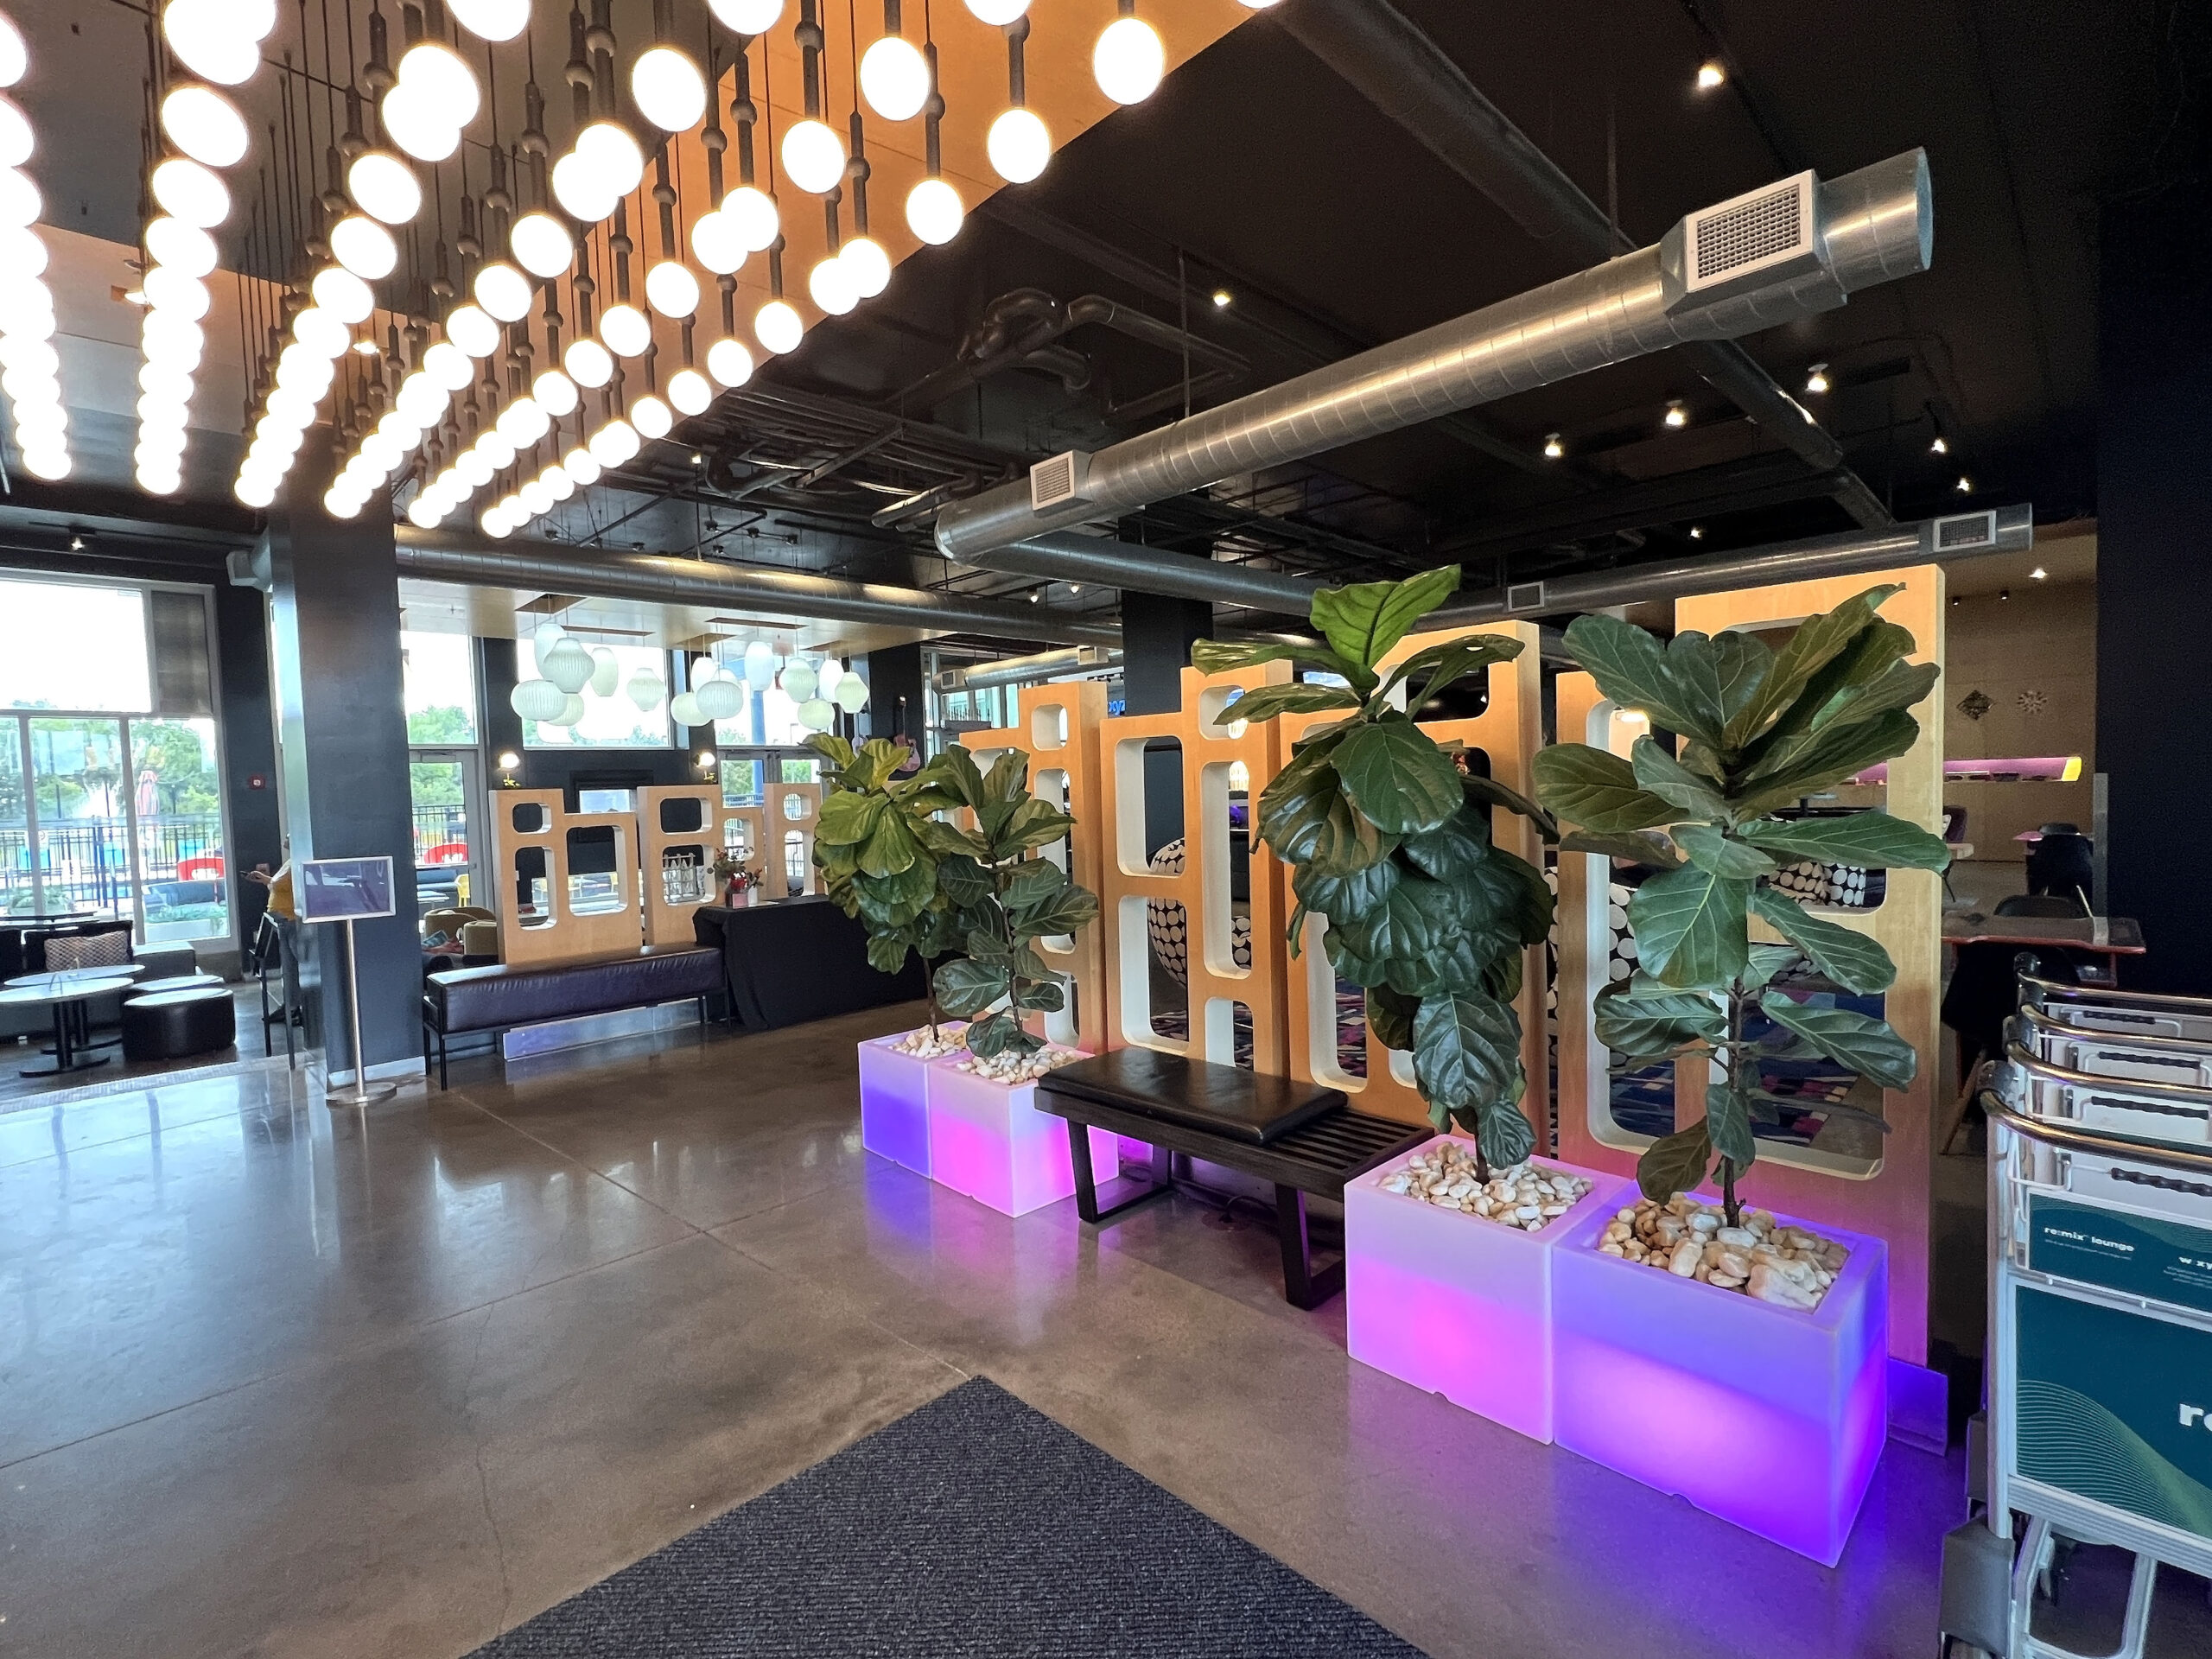 Wichita’s
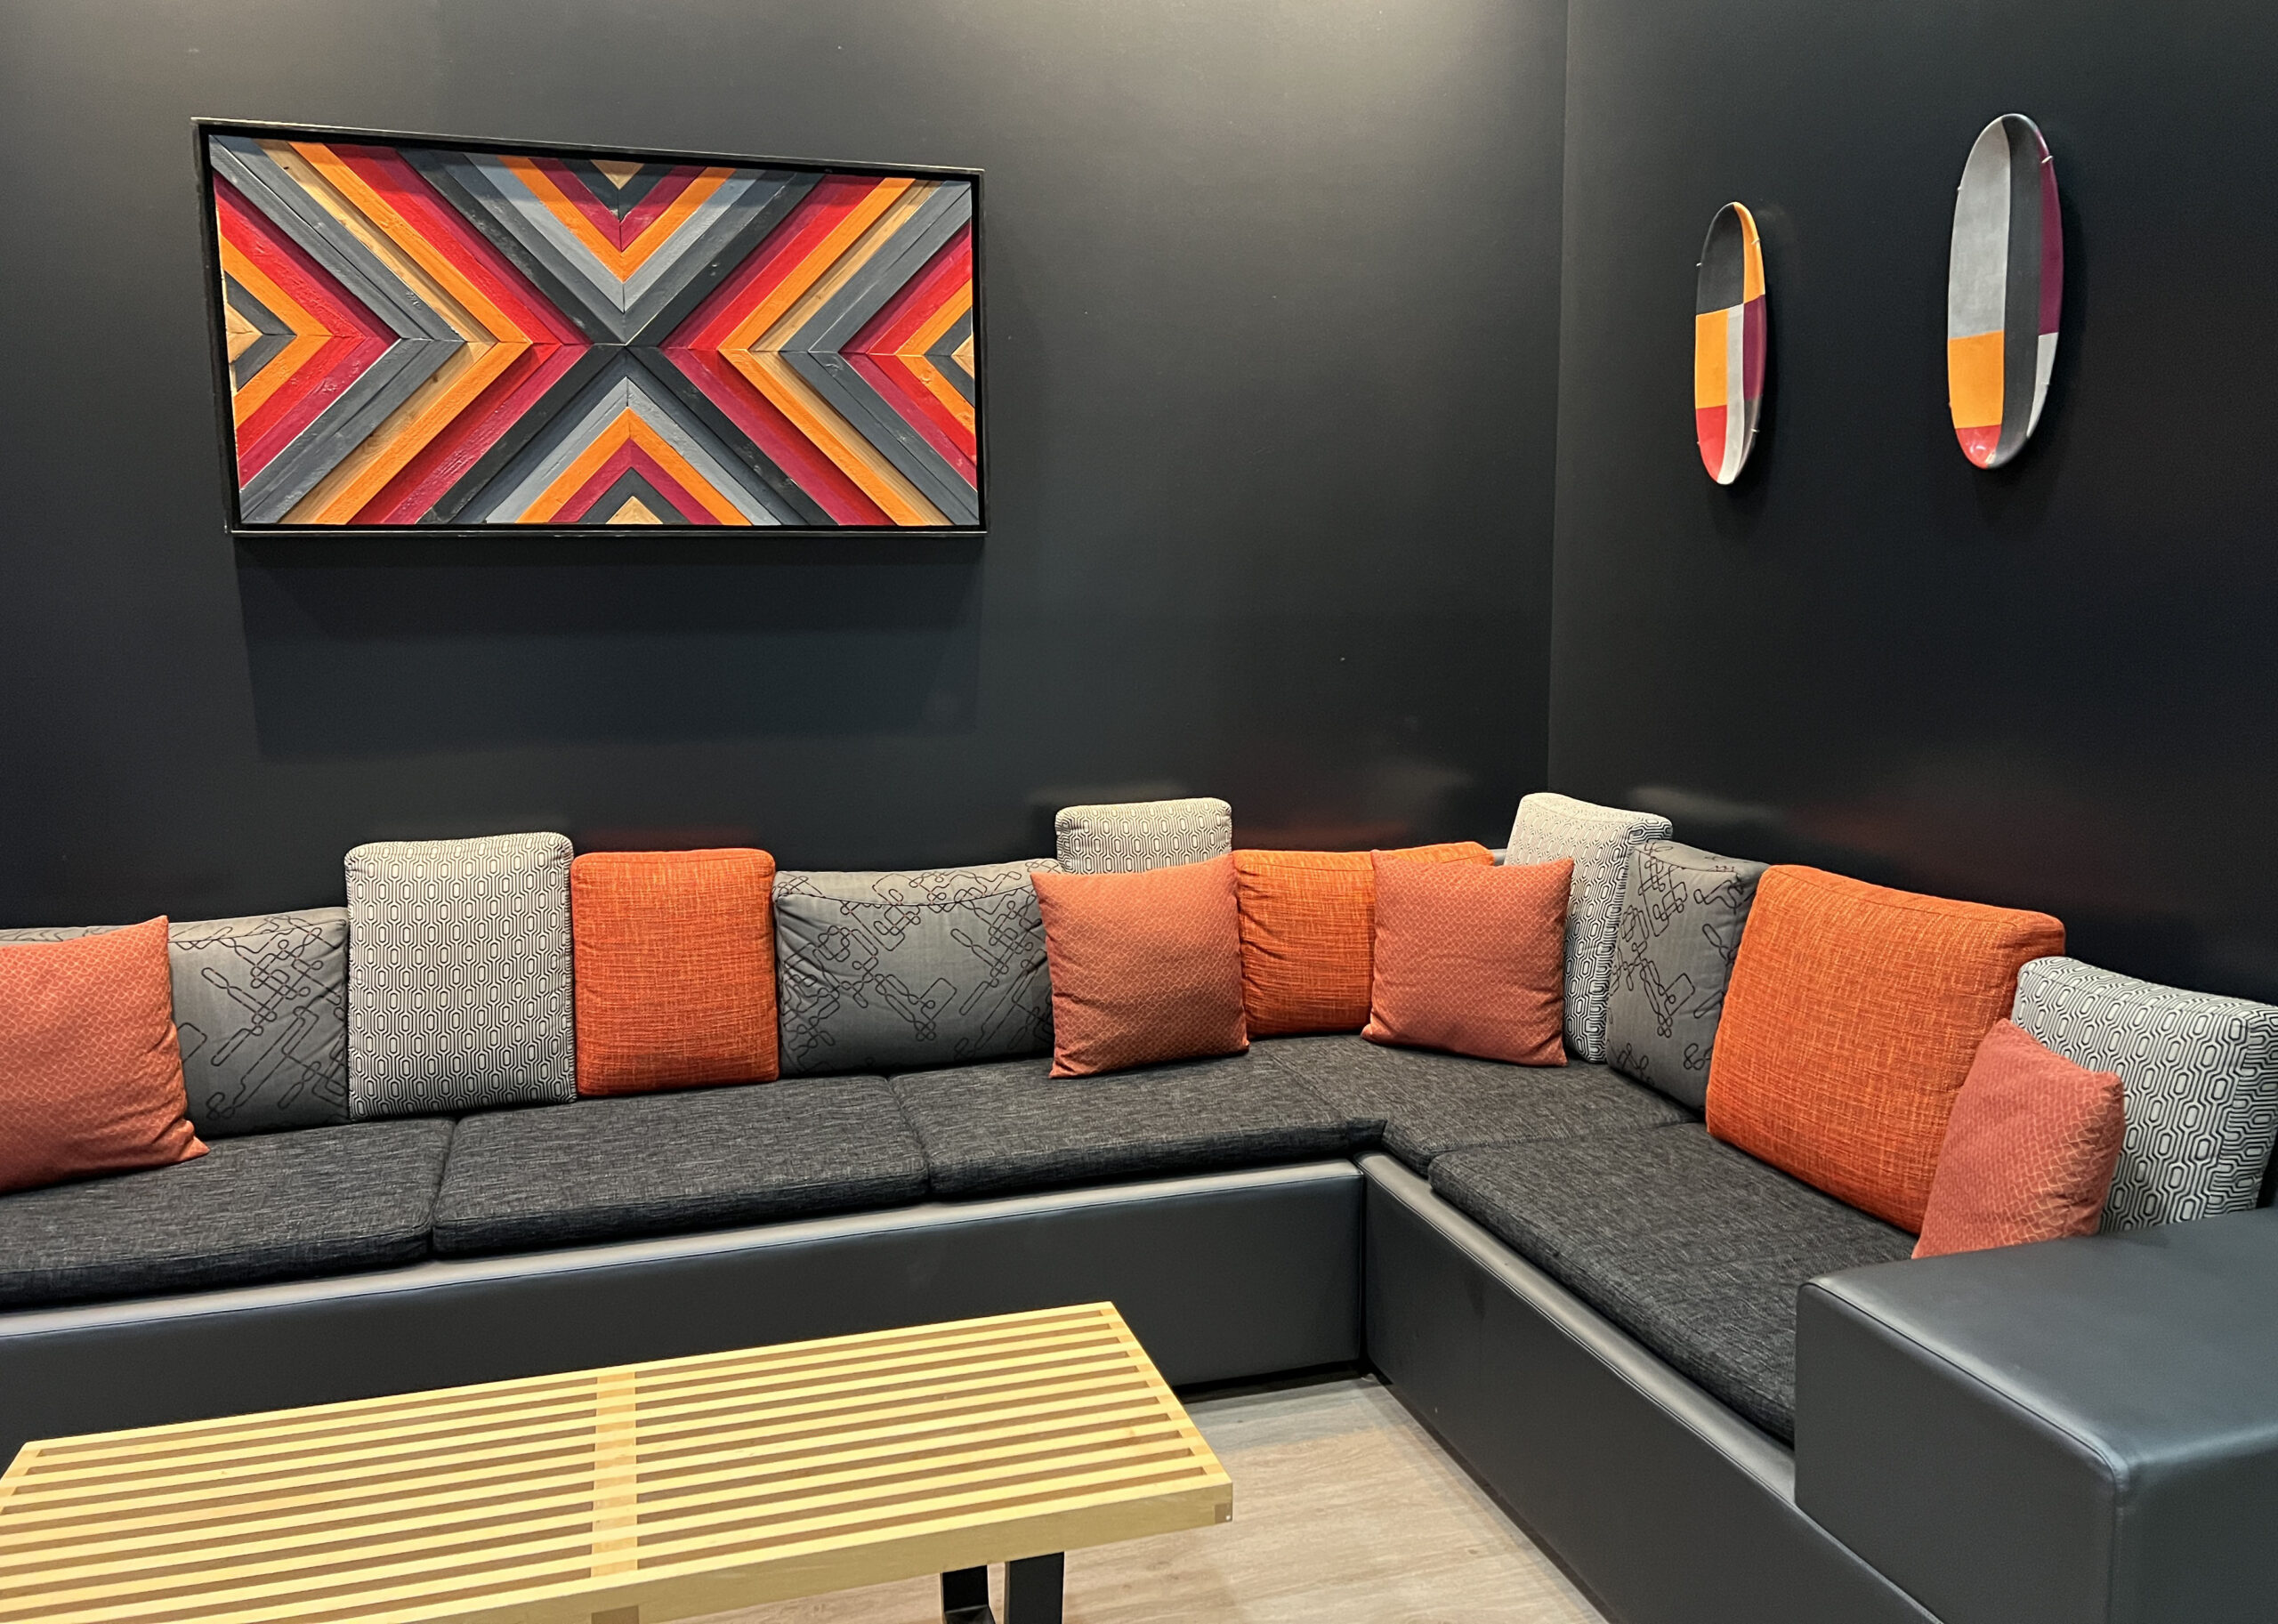
 Of course, the menu includes sports bar classics like burgers, scratch-made pizza, and tacos, but you’ll also find Mediterranean-inspired recipes like Harissa Chicken and Smoky BBQ Brisket with pita bread and a side of hummus.
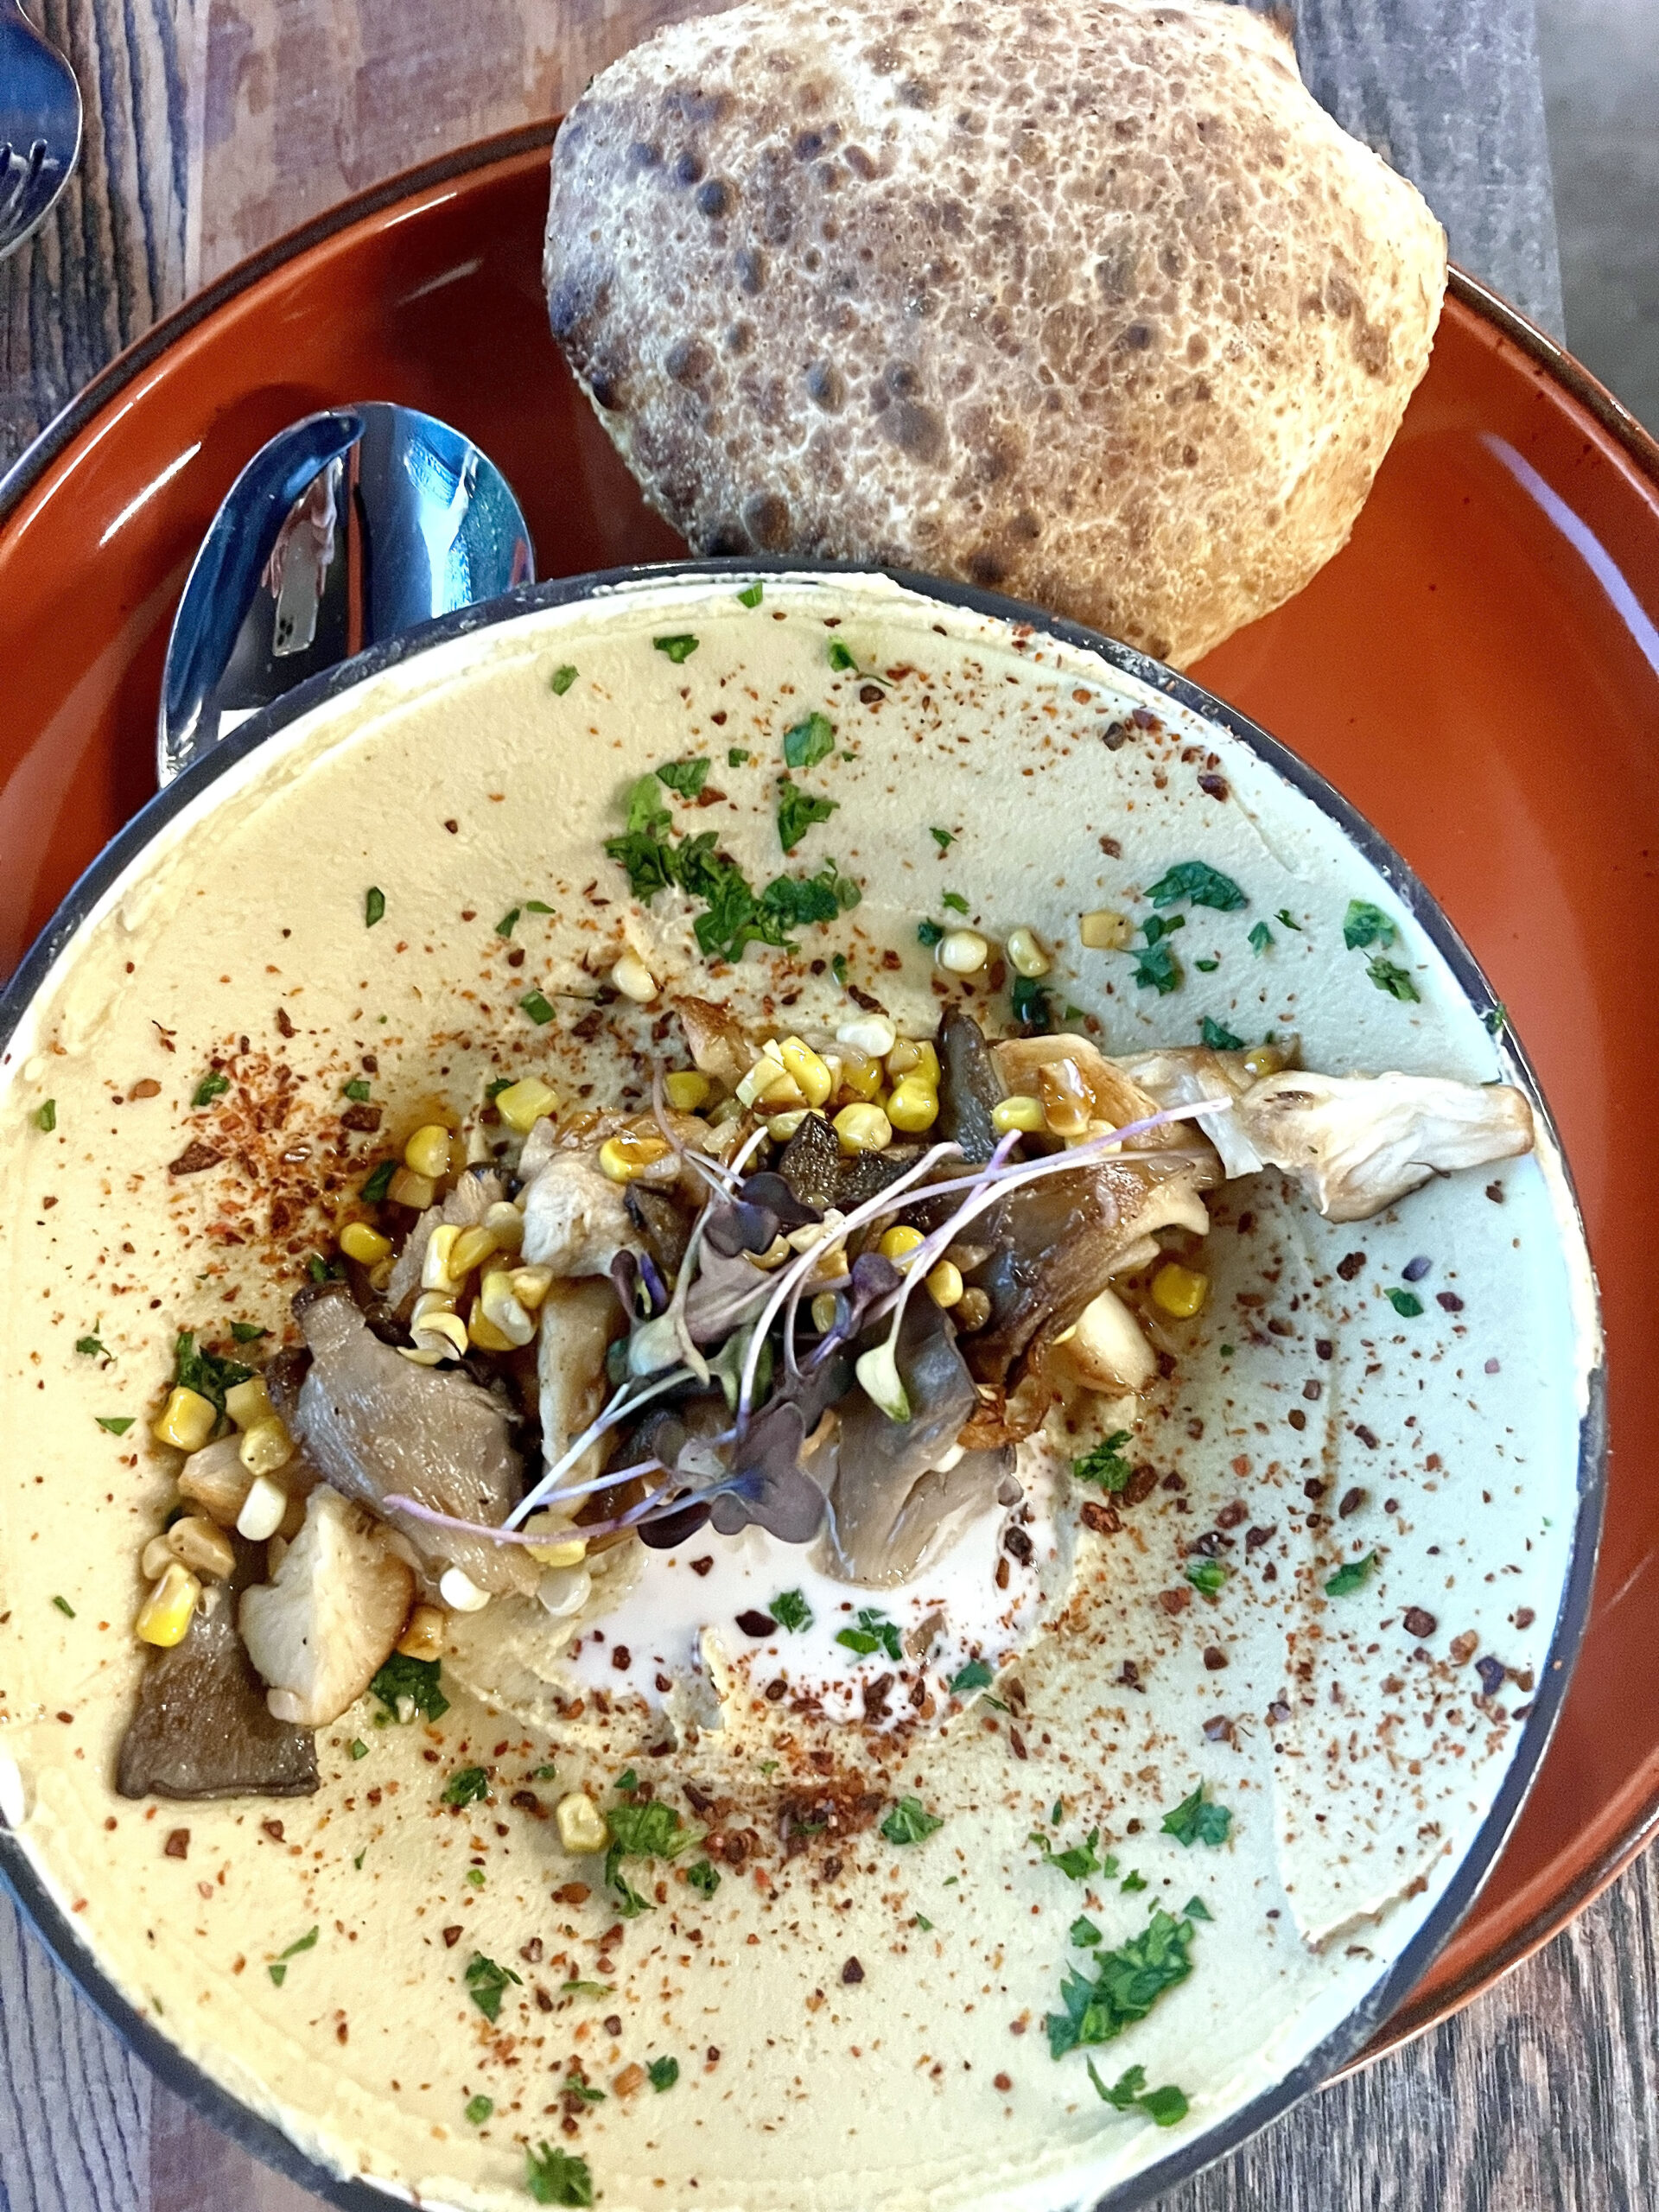 In a city with many Lebanese restaurants, we agreed that our meal was one of the best-tasting dishes we’ve enjoyed.
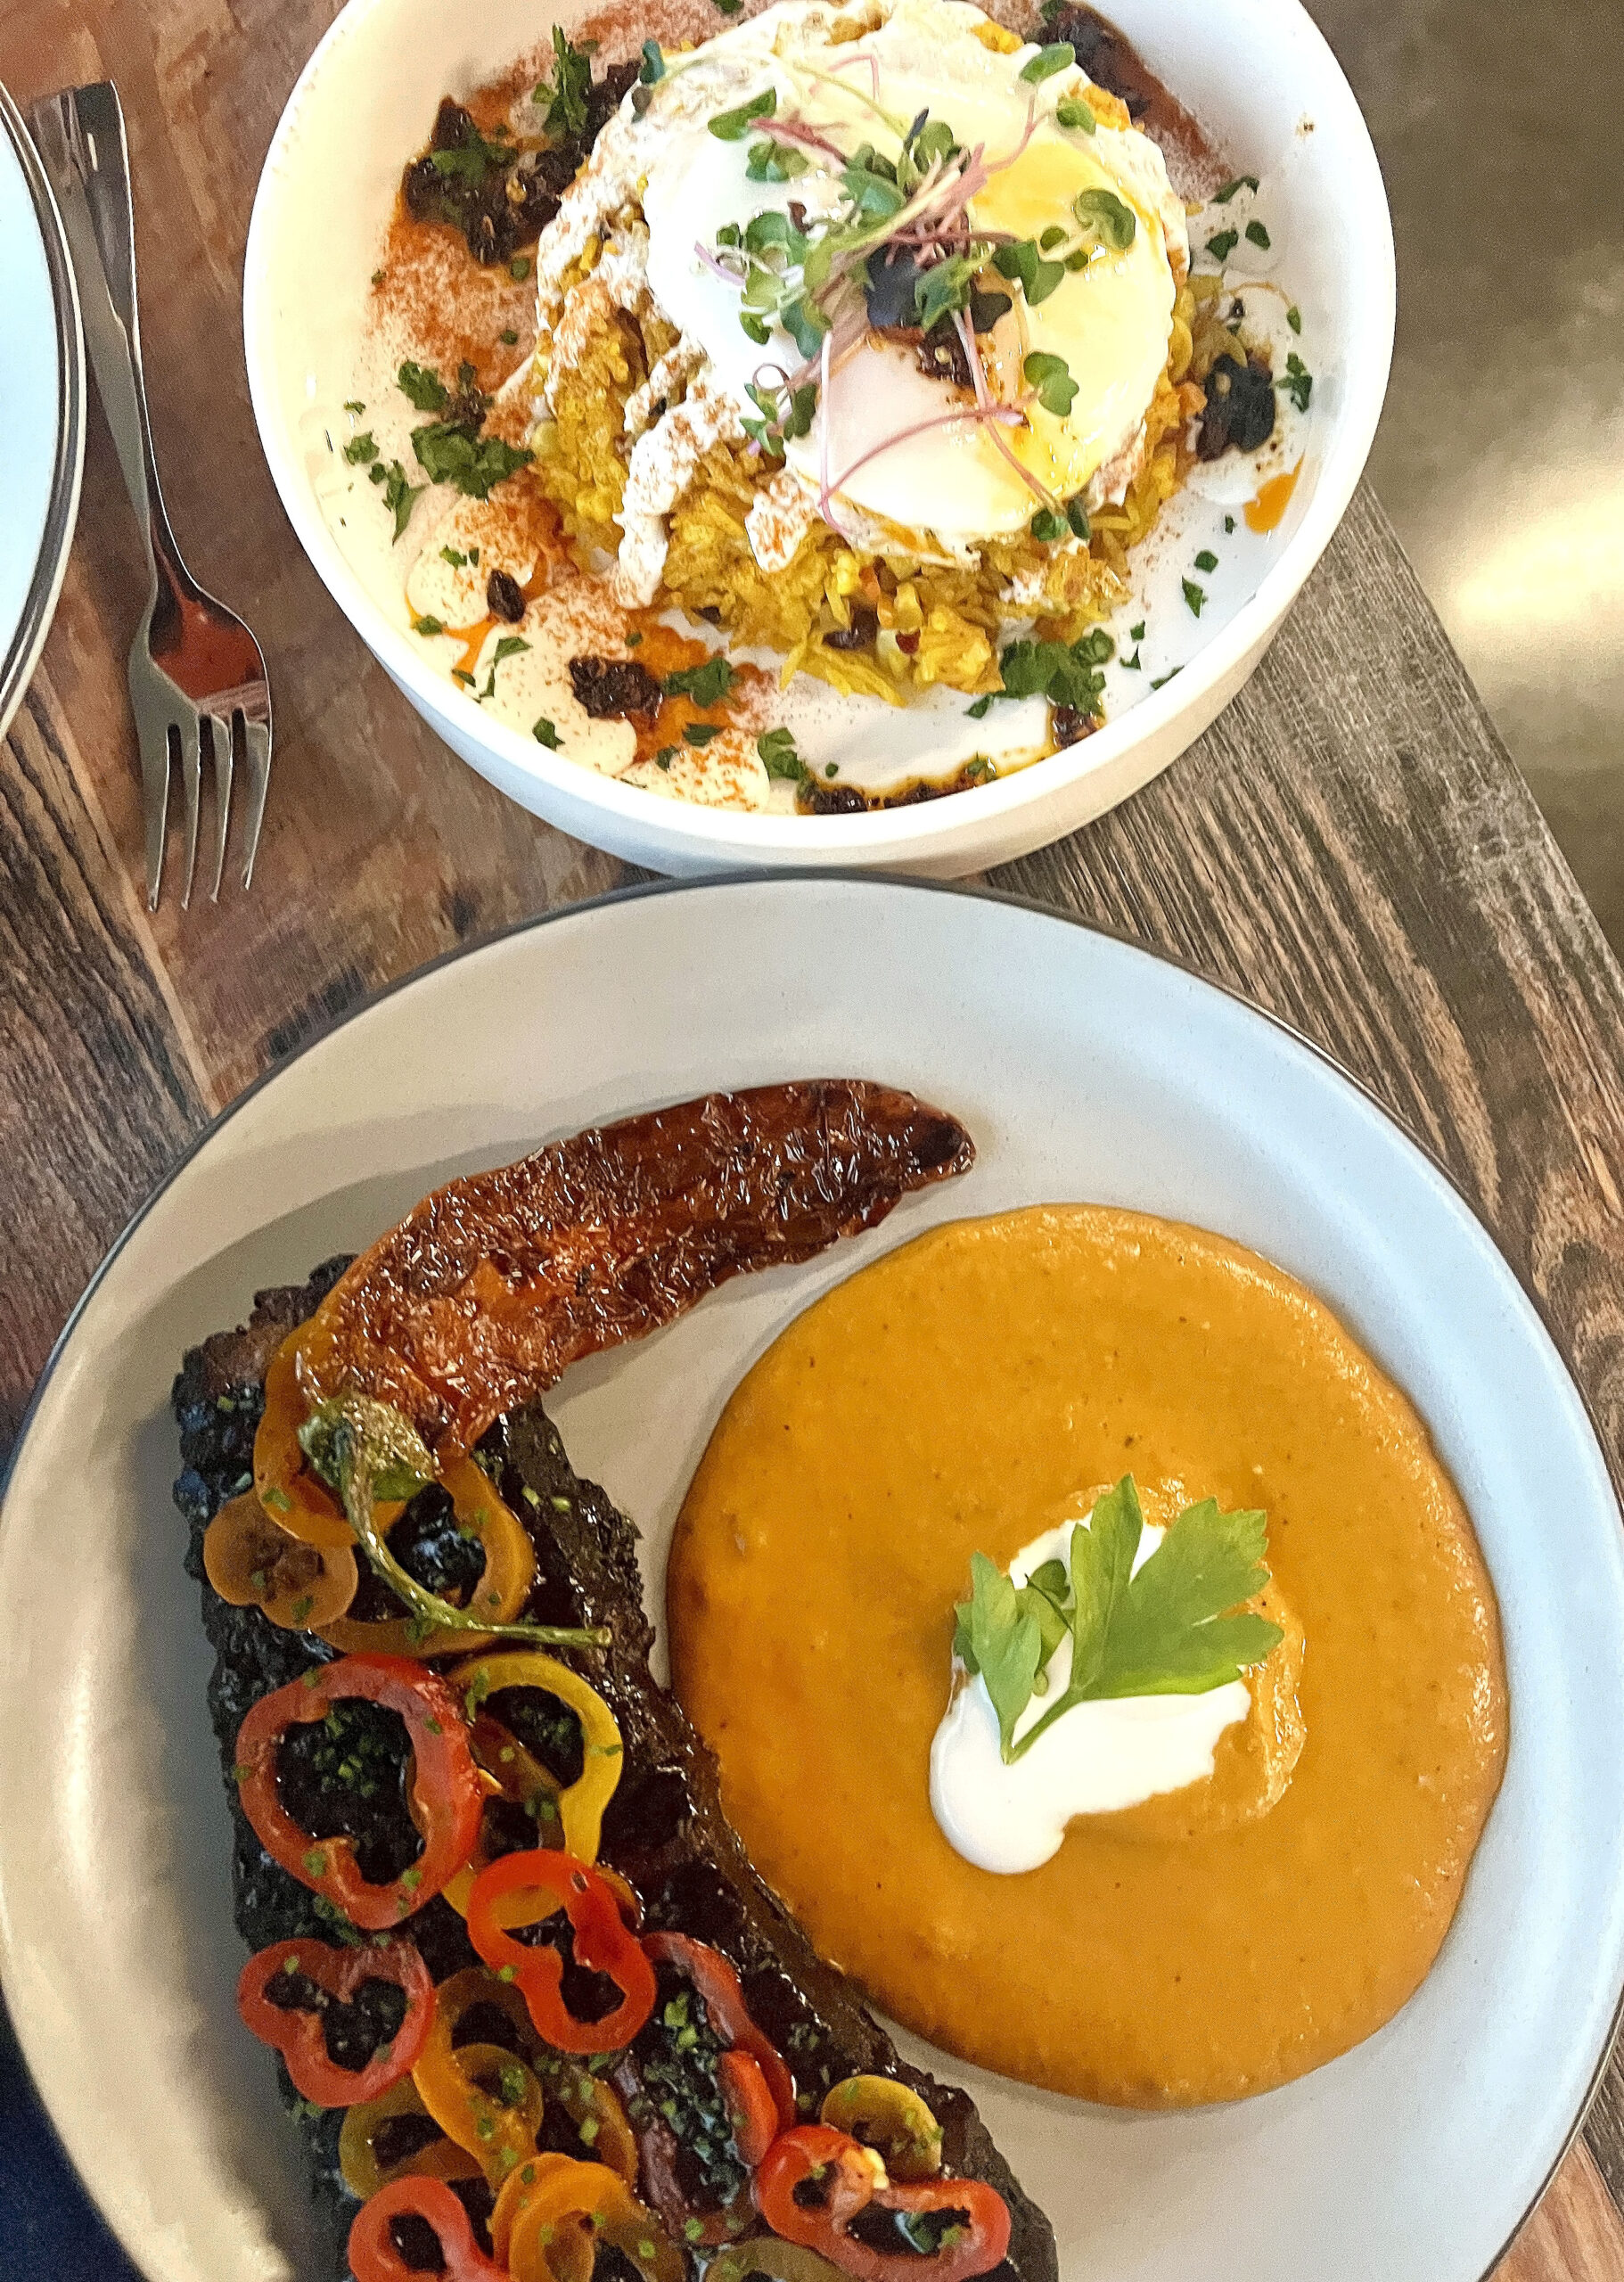 NOTE: If the waitstaff asks what kind of water you want to drink with dinner service, inquire about pricing.
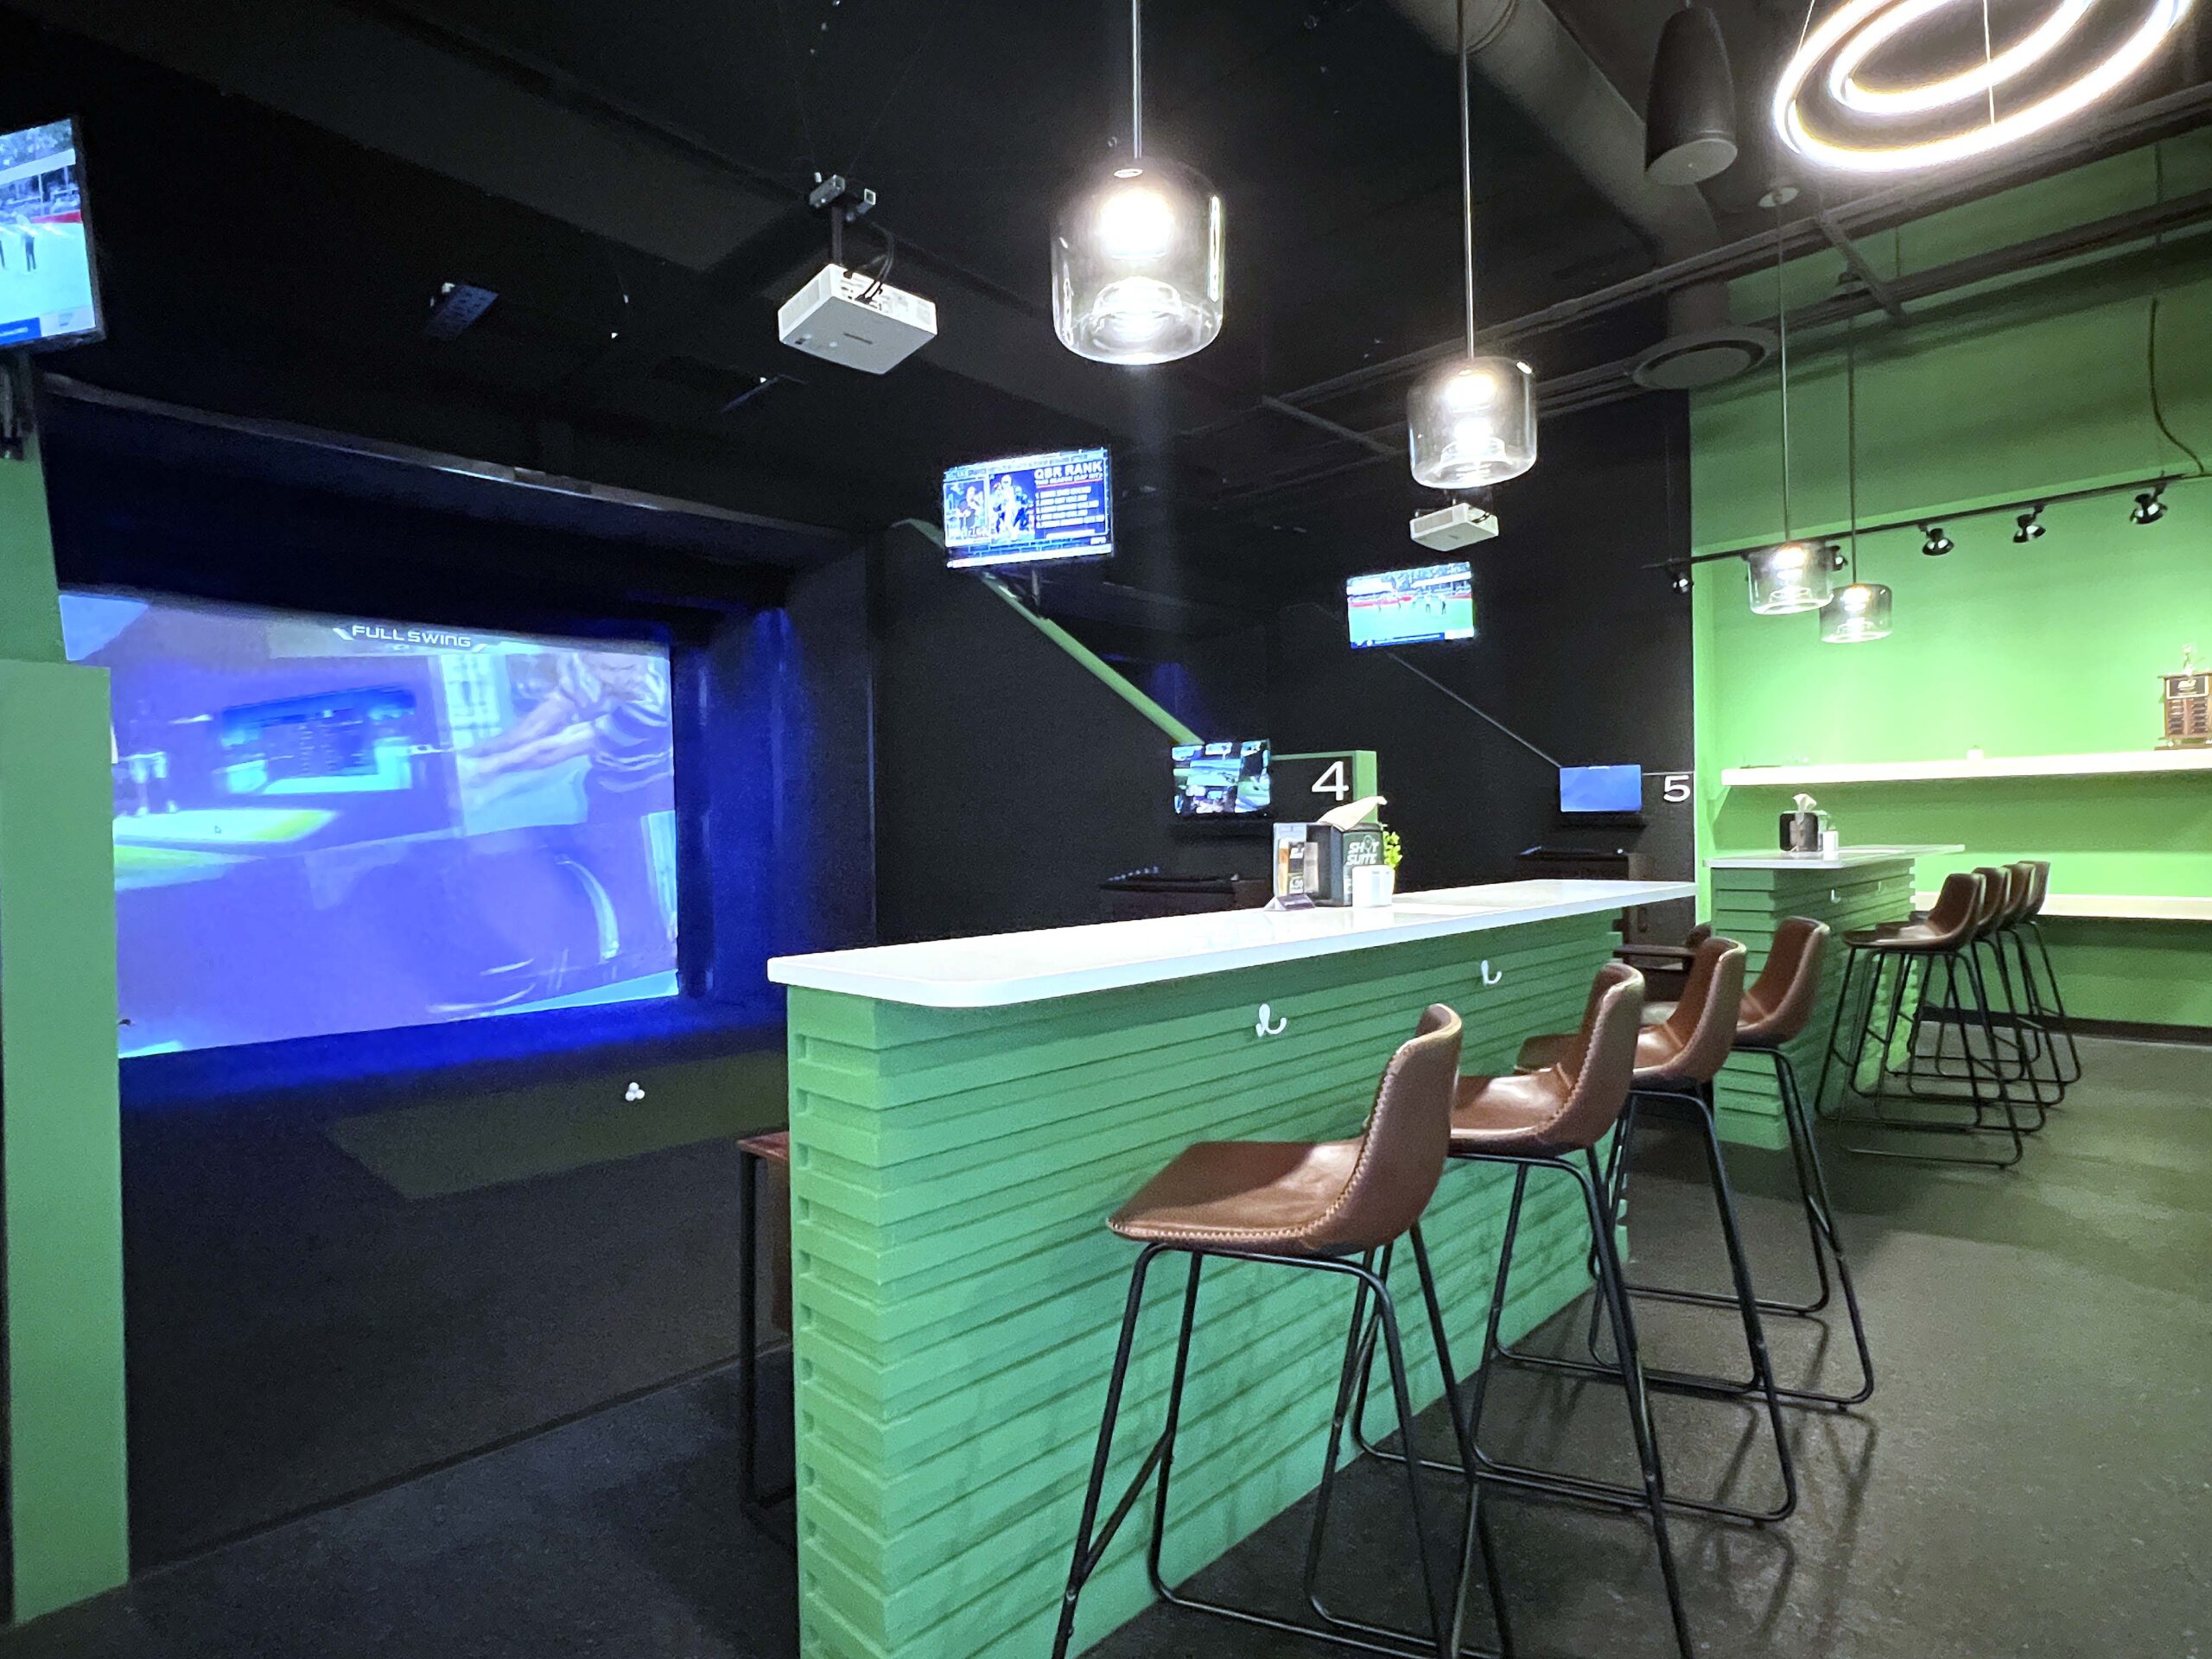 Participating is as easy as
  The quality of the game simulator’s censors combined with the multitude of games was better than any indoor sports simulator venue I’ve experienced. And the food menu? Think elevated game day food.
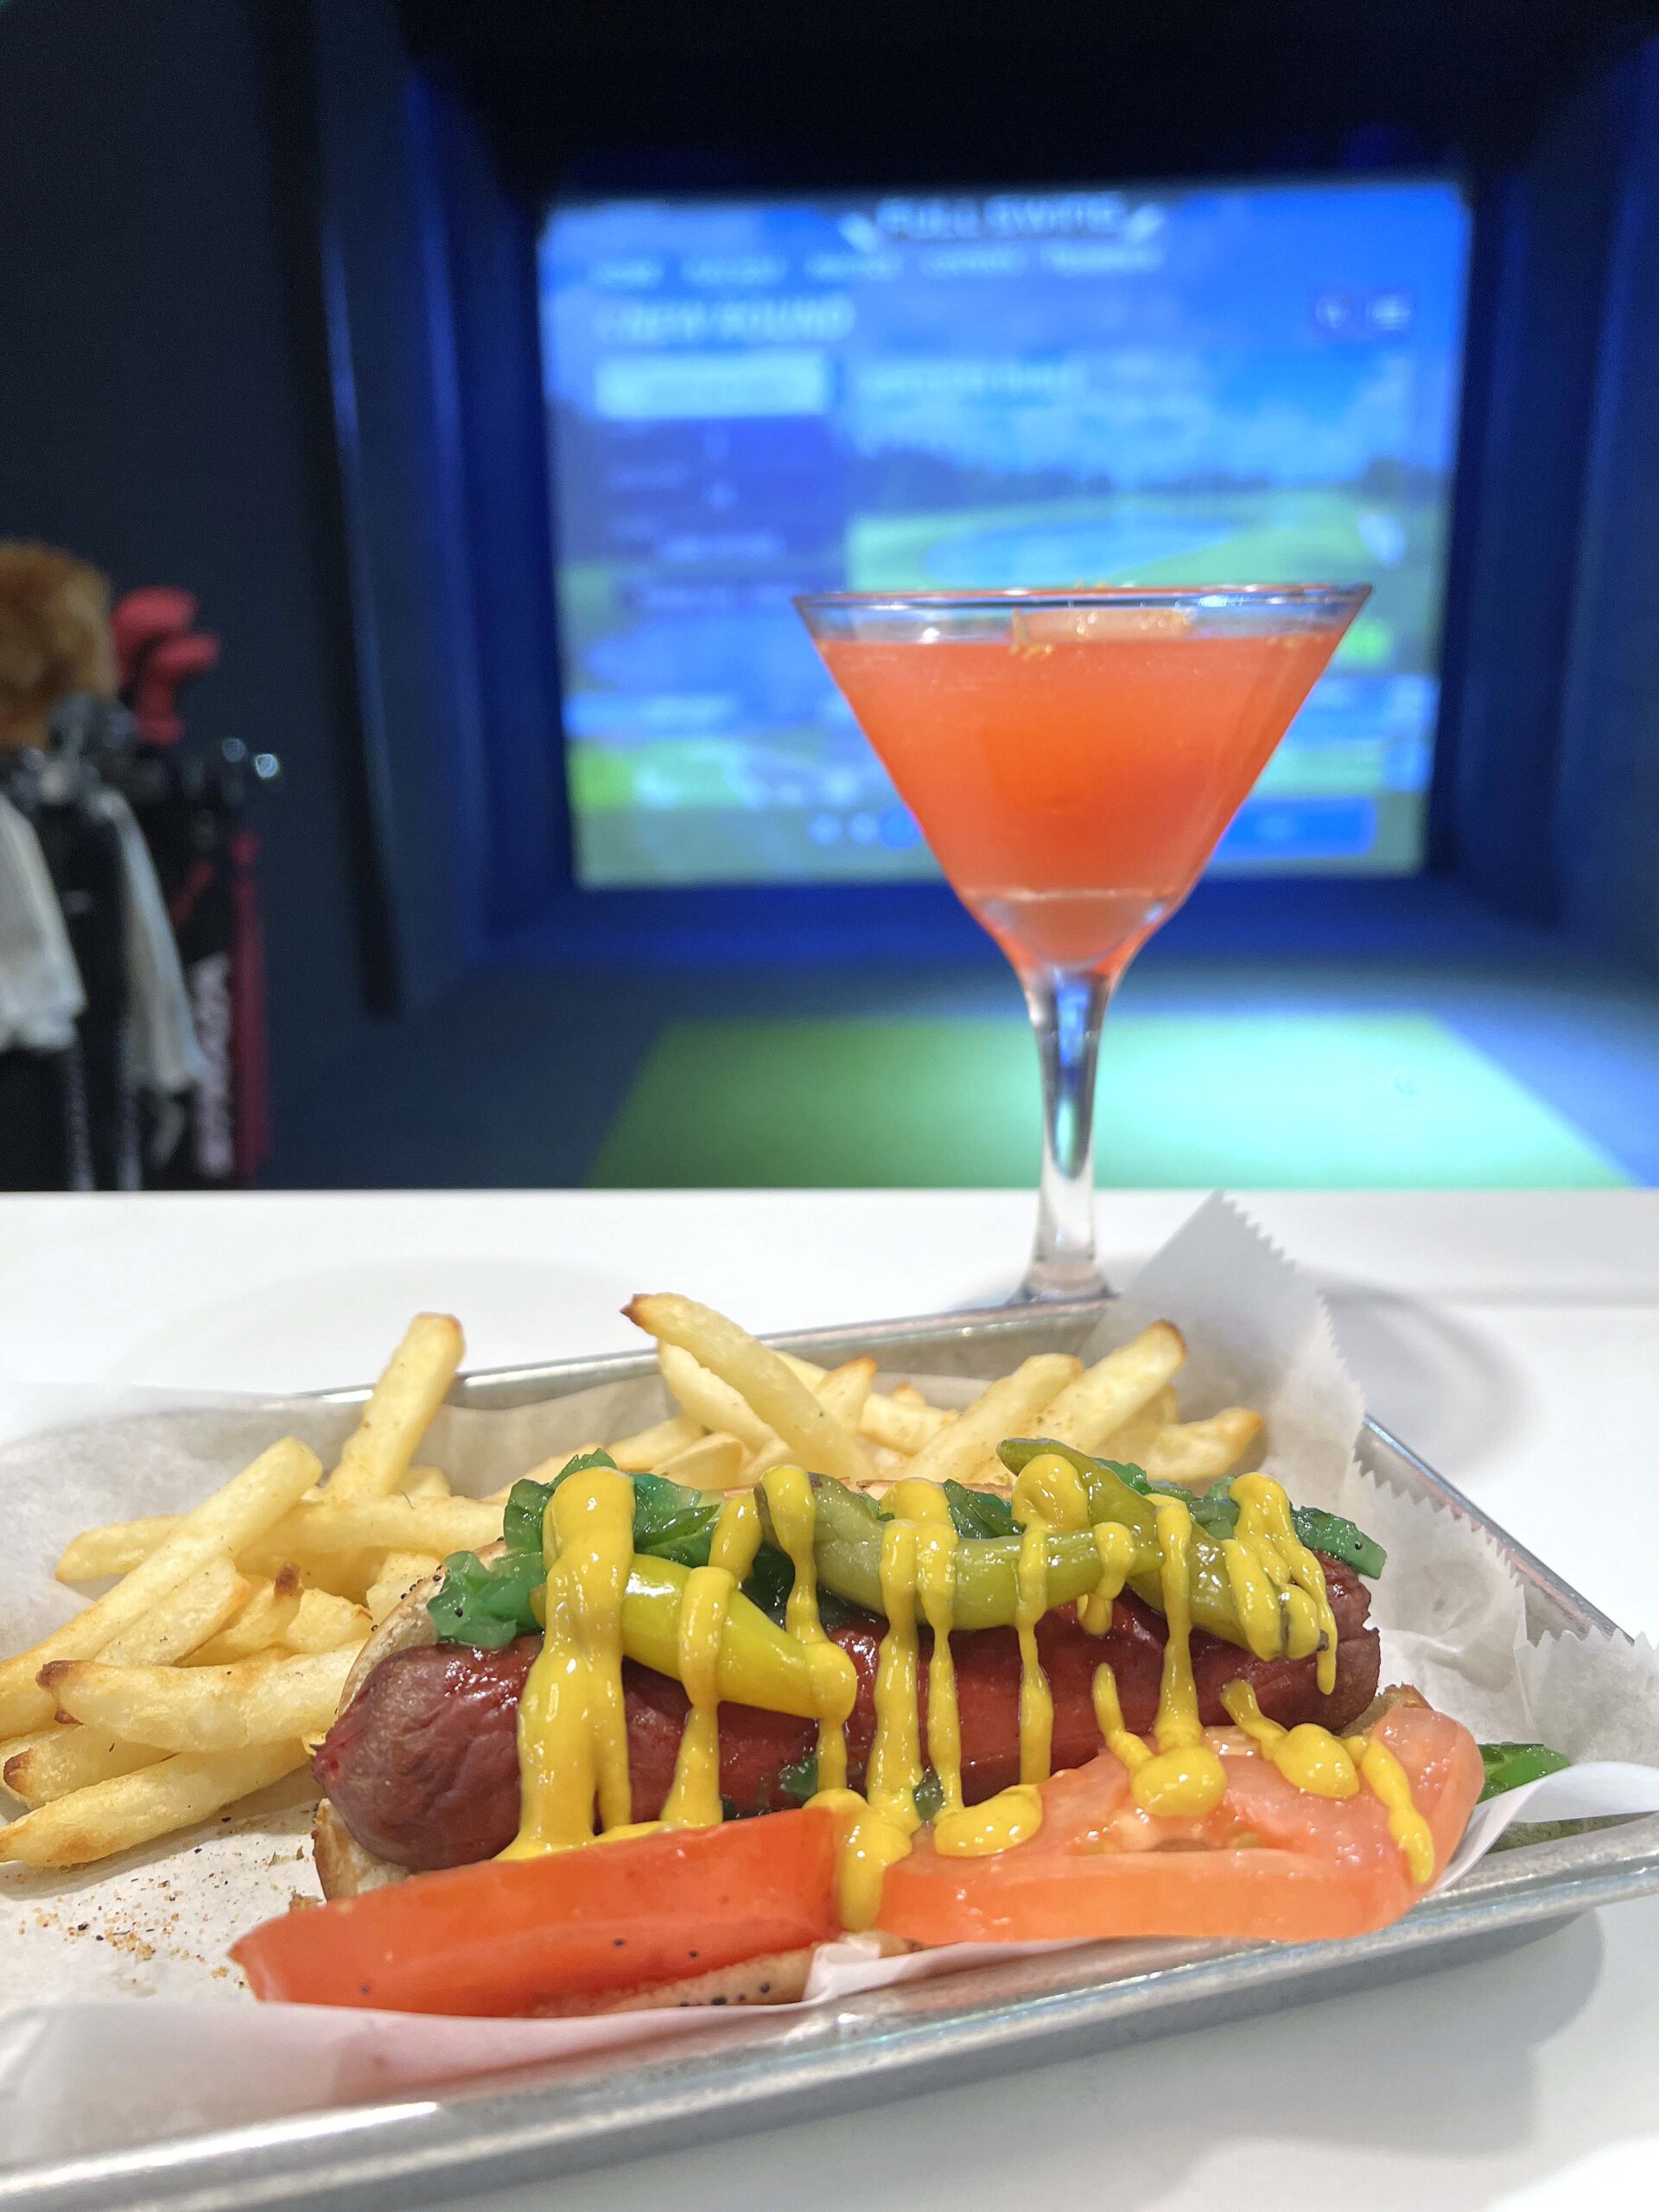
 I especially enjoyed unwinding after gaming with a Dubai Chocolate Martini and Azalea Martini as a golf tournament aired from bar-side television. The bartender’s inventive cocktail recipes are well-balanced.
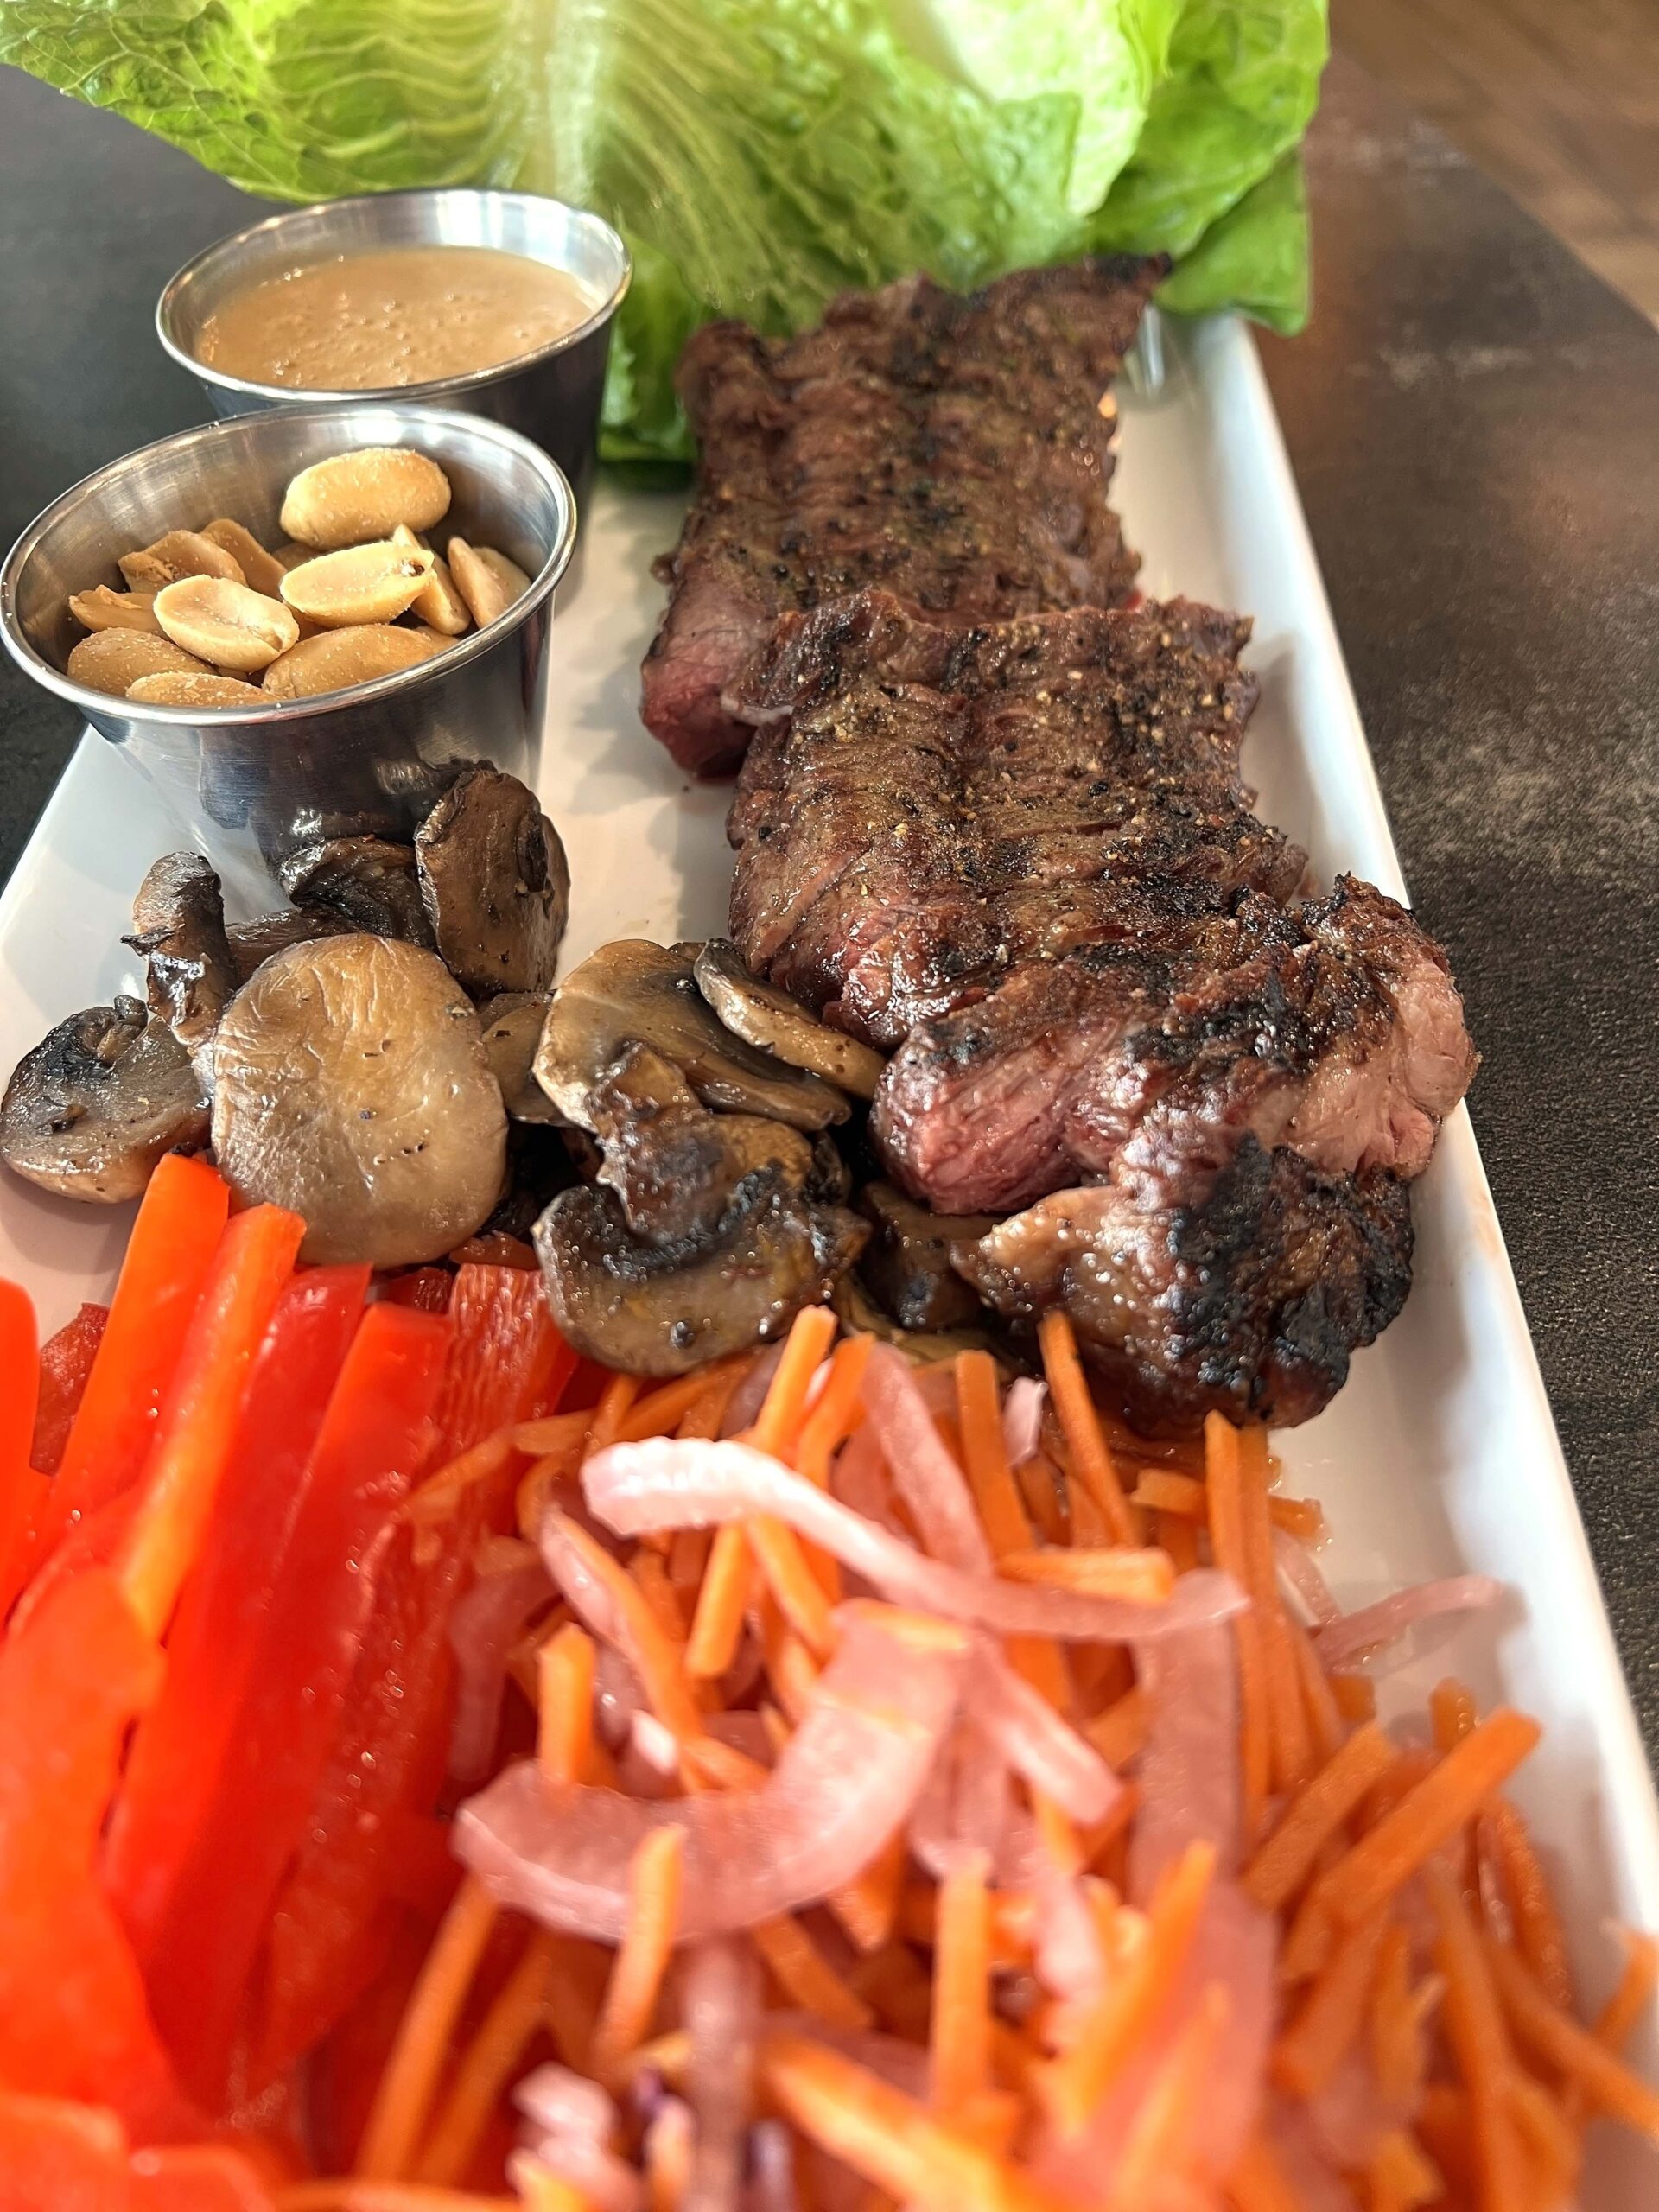
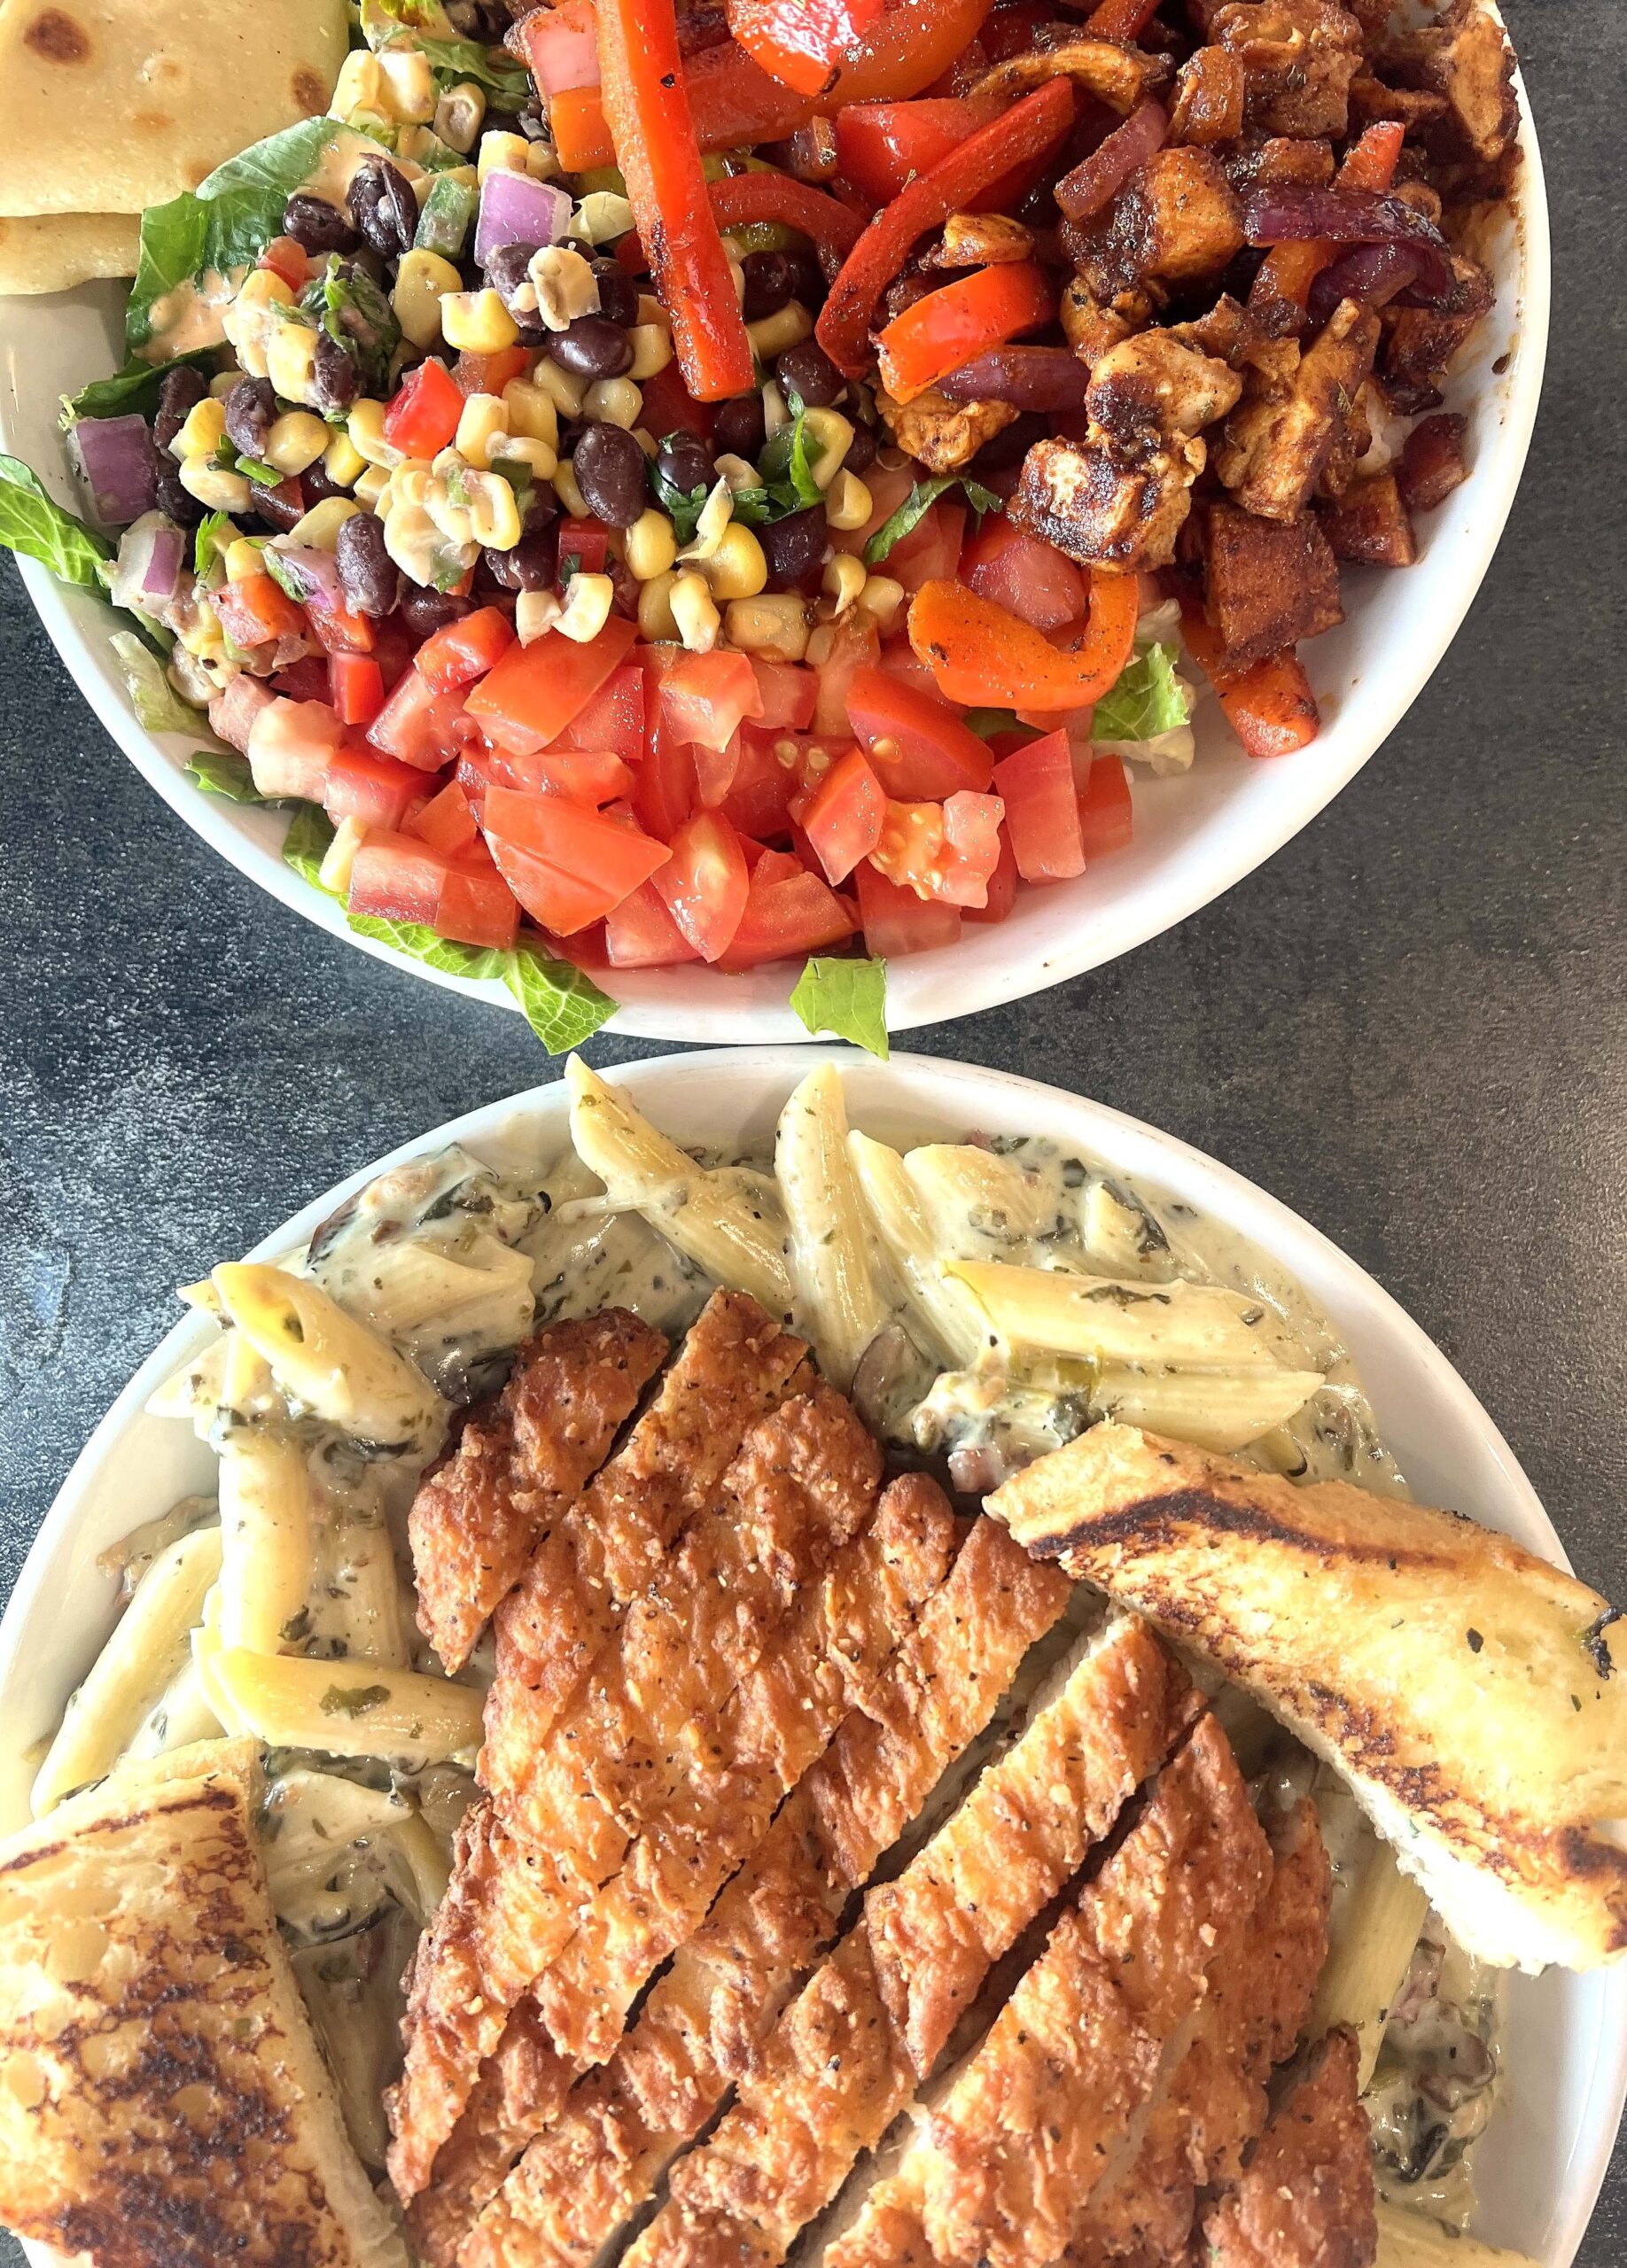 Chef Gandhi-Rue’s scratch-made pasta entreés are irresistible, and I liked customizing my pasta by adding bacon, mushroom, and chicken. Another hearty meal, the Thai Bowl is one I’ve ordered repeatedly over the years, much like the Fajita Bowl.
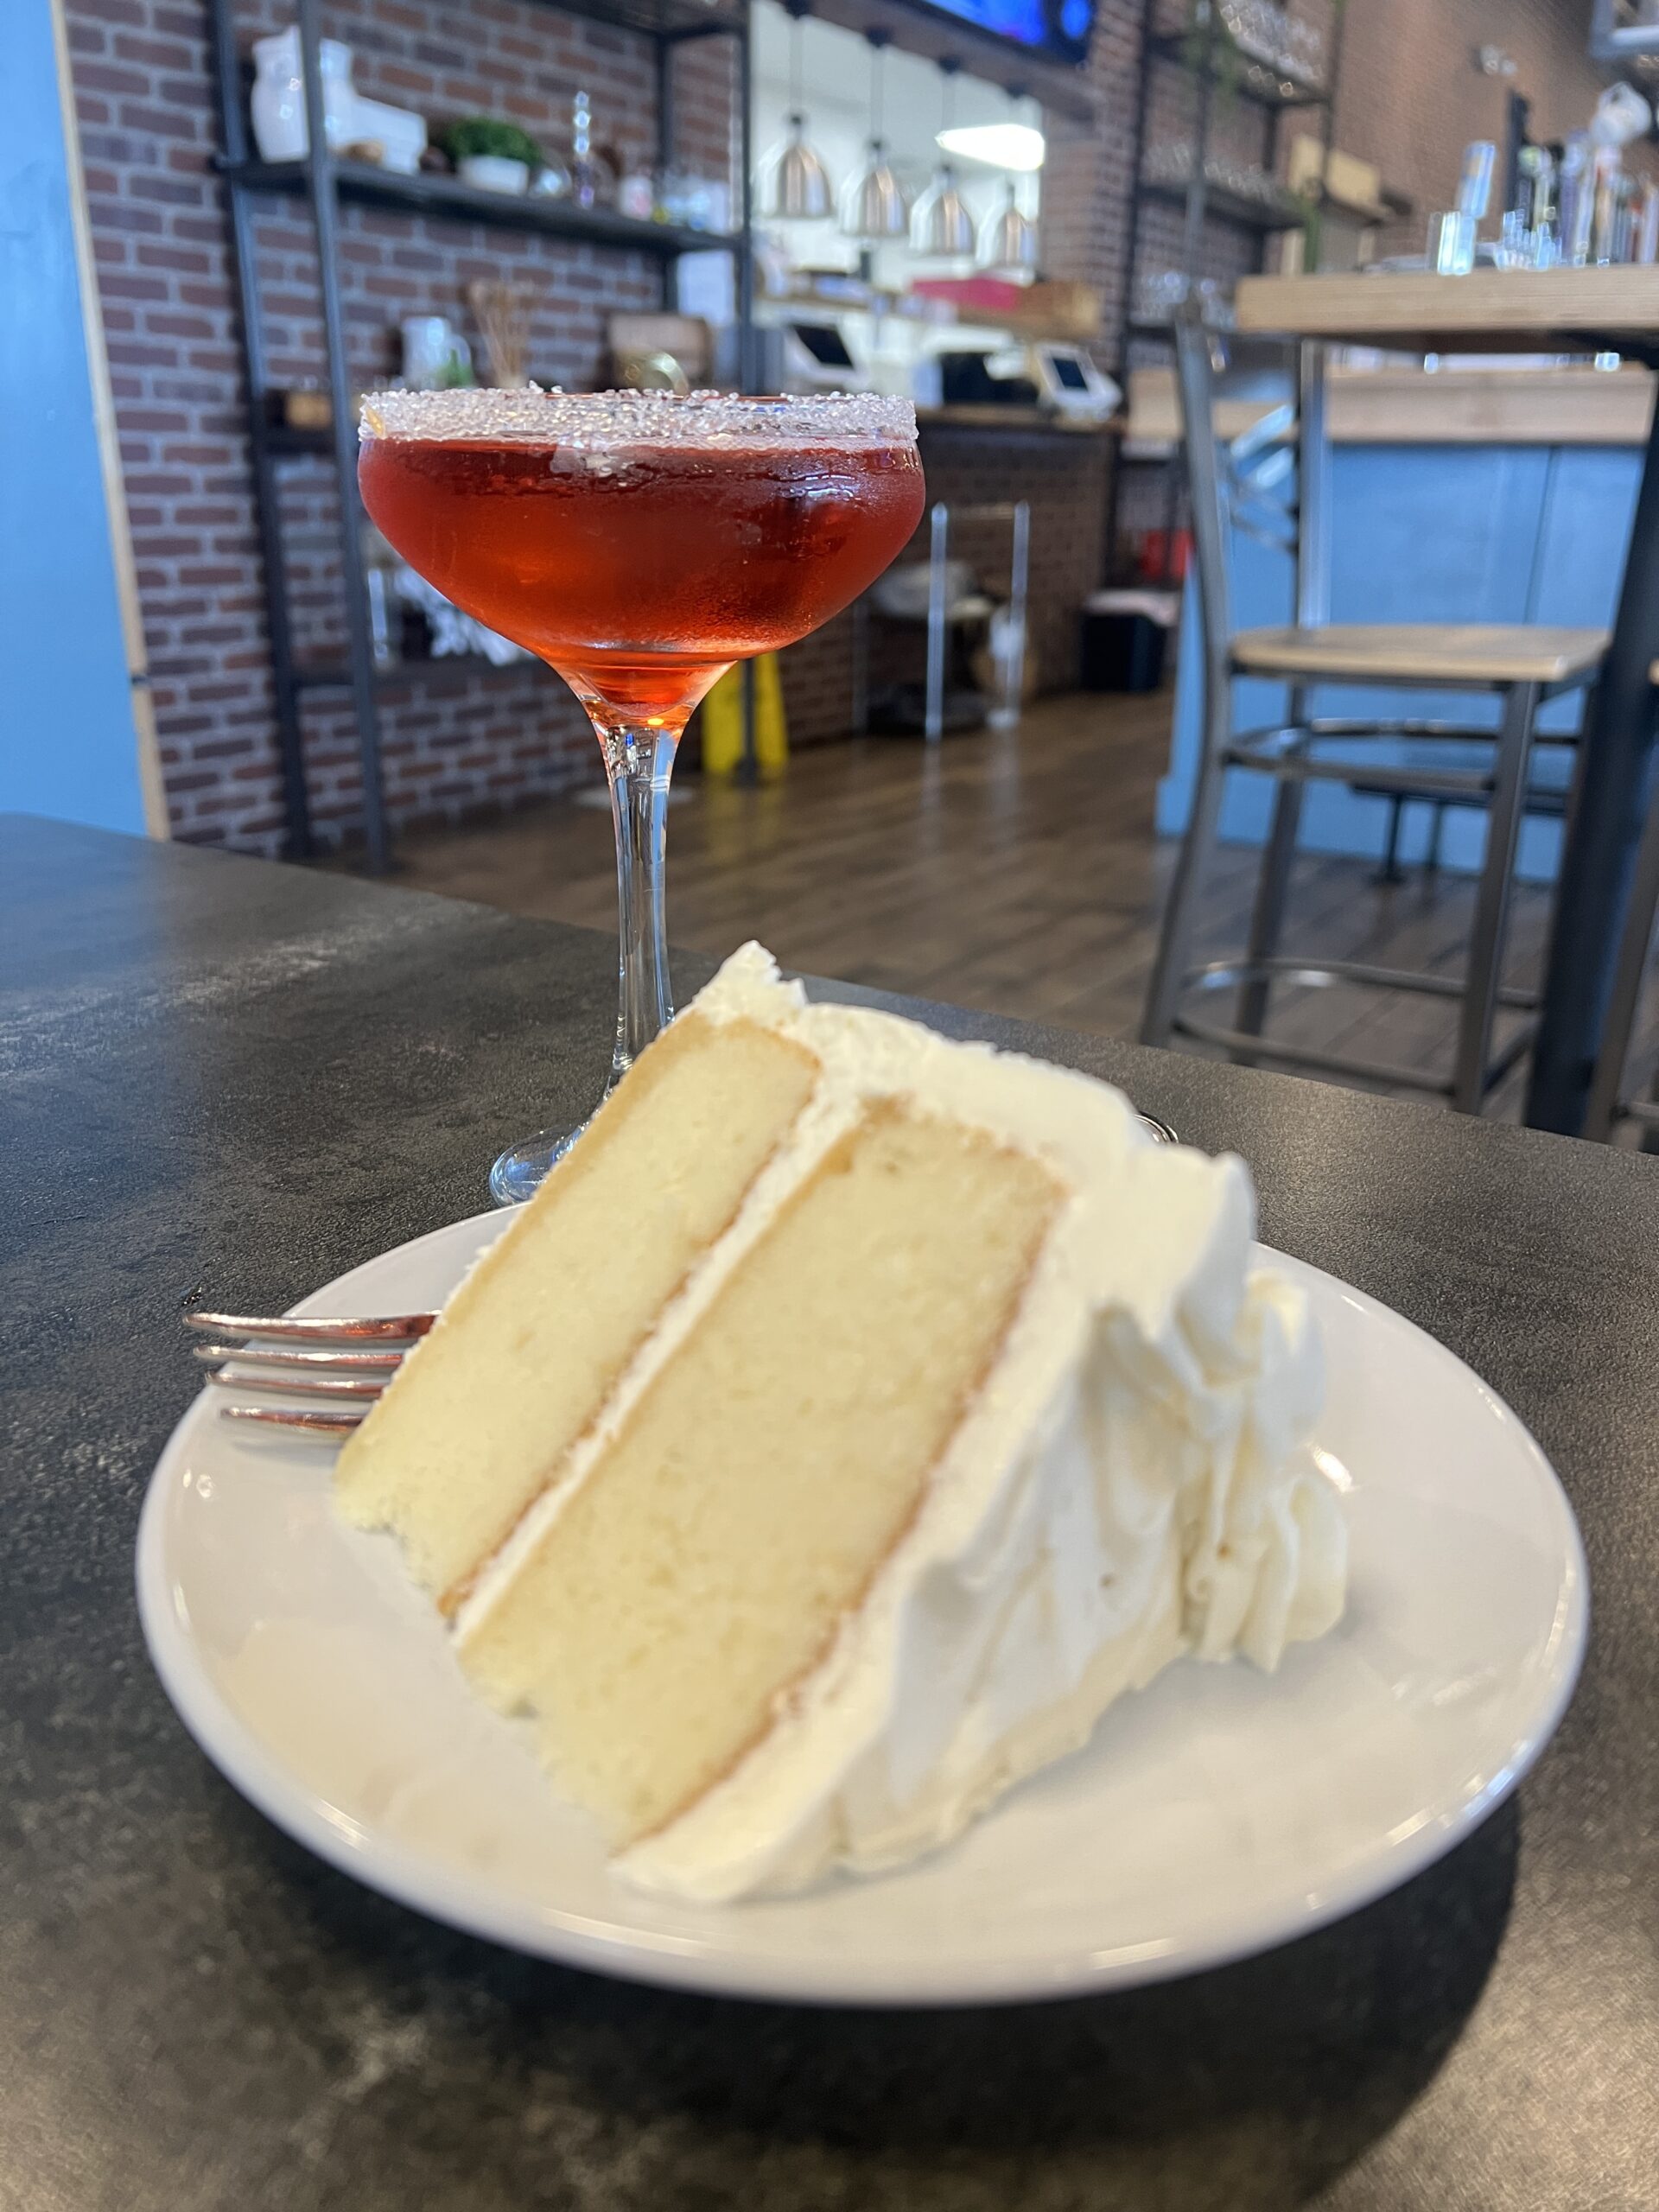


 From catching a live concert at The Fox Theatre to sipping wine or browsing the
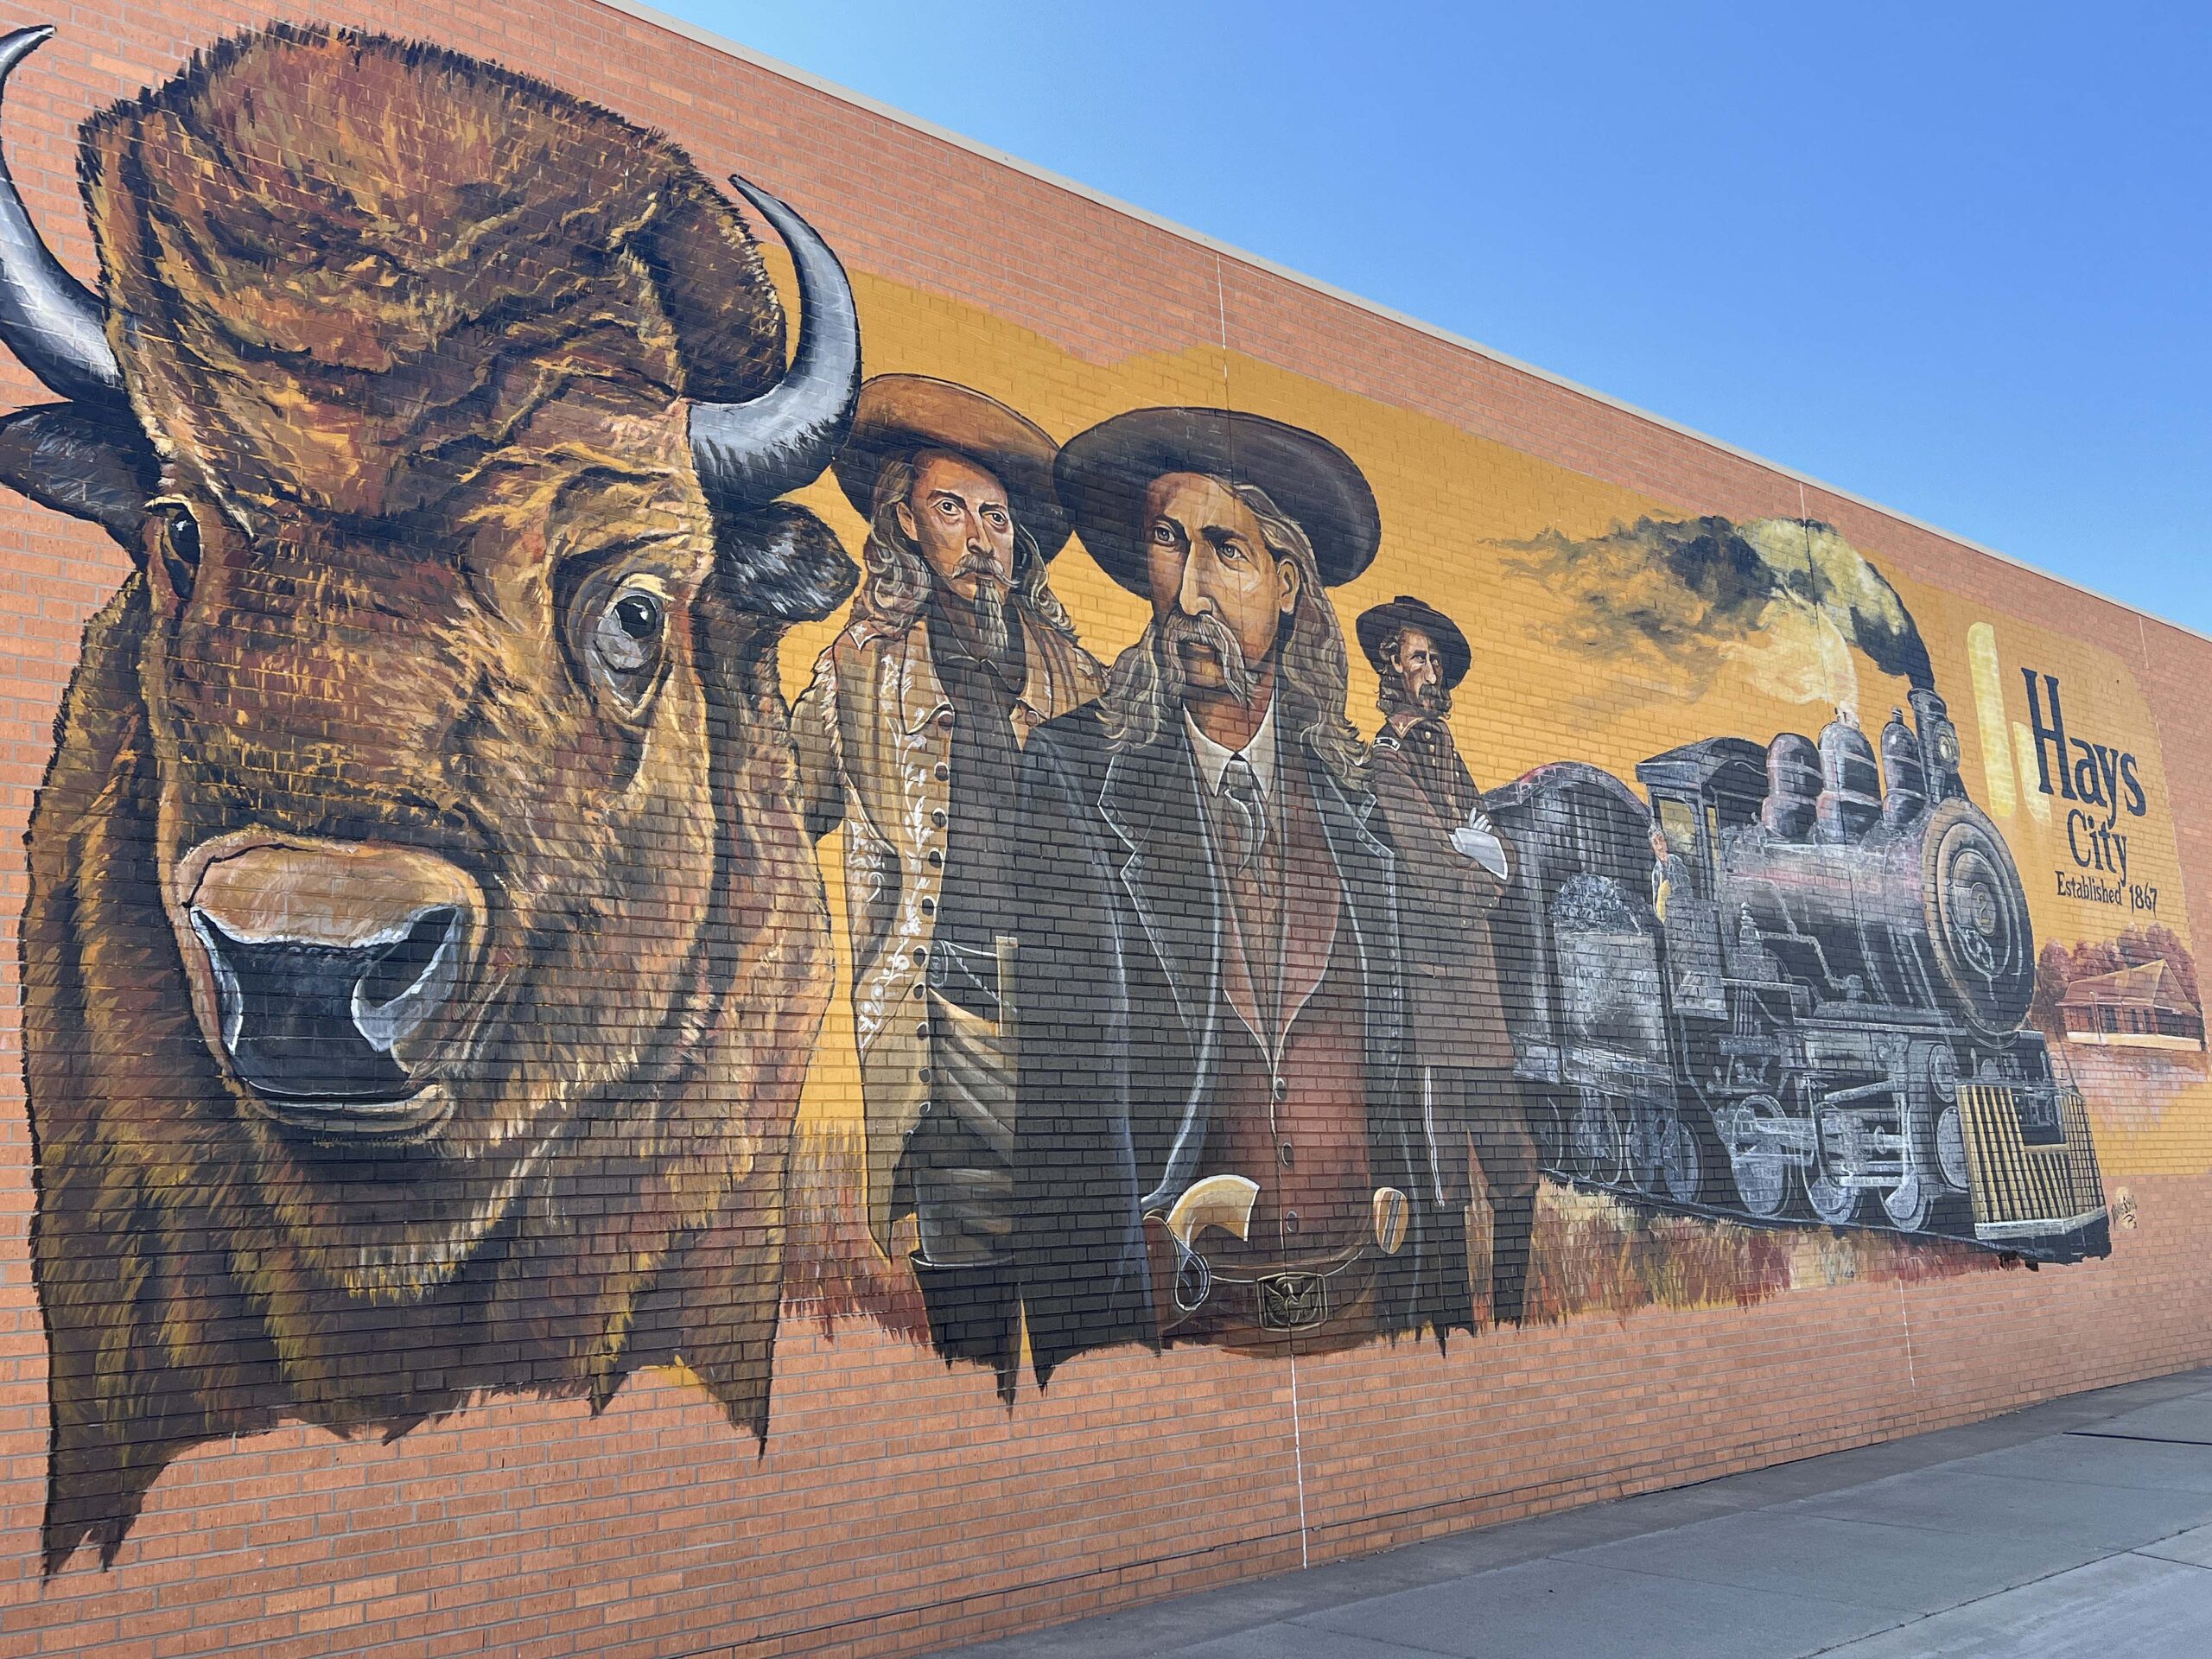 And the historic neighborhood is the ideal place to take a self-guided tour. A stop on the
 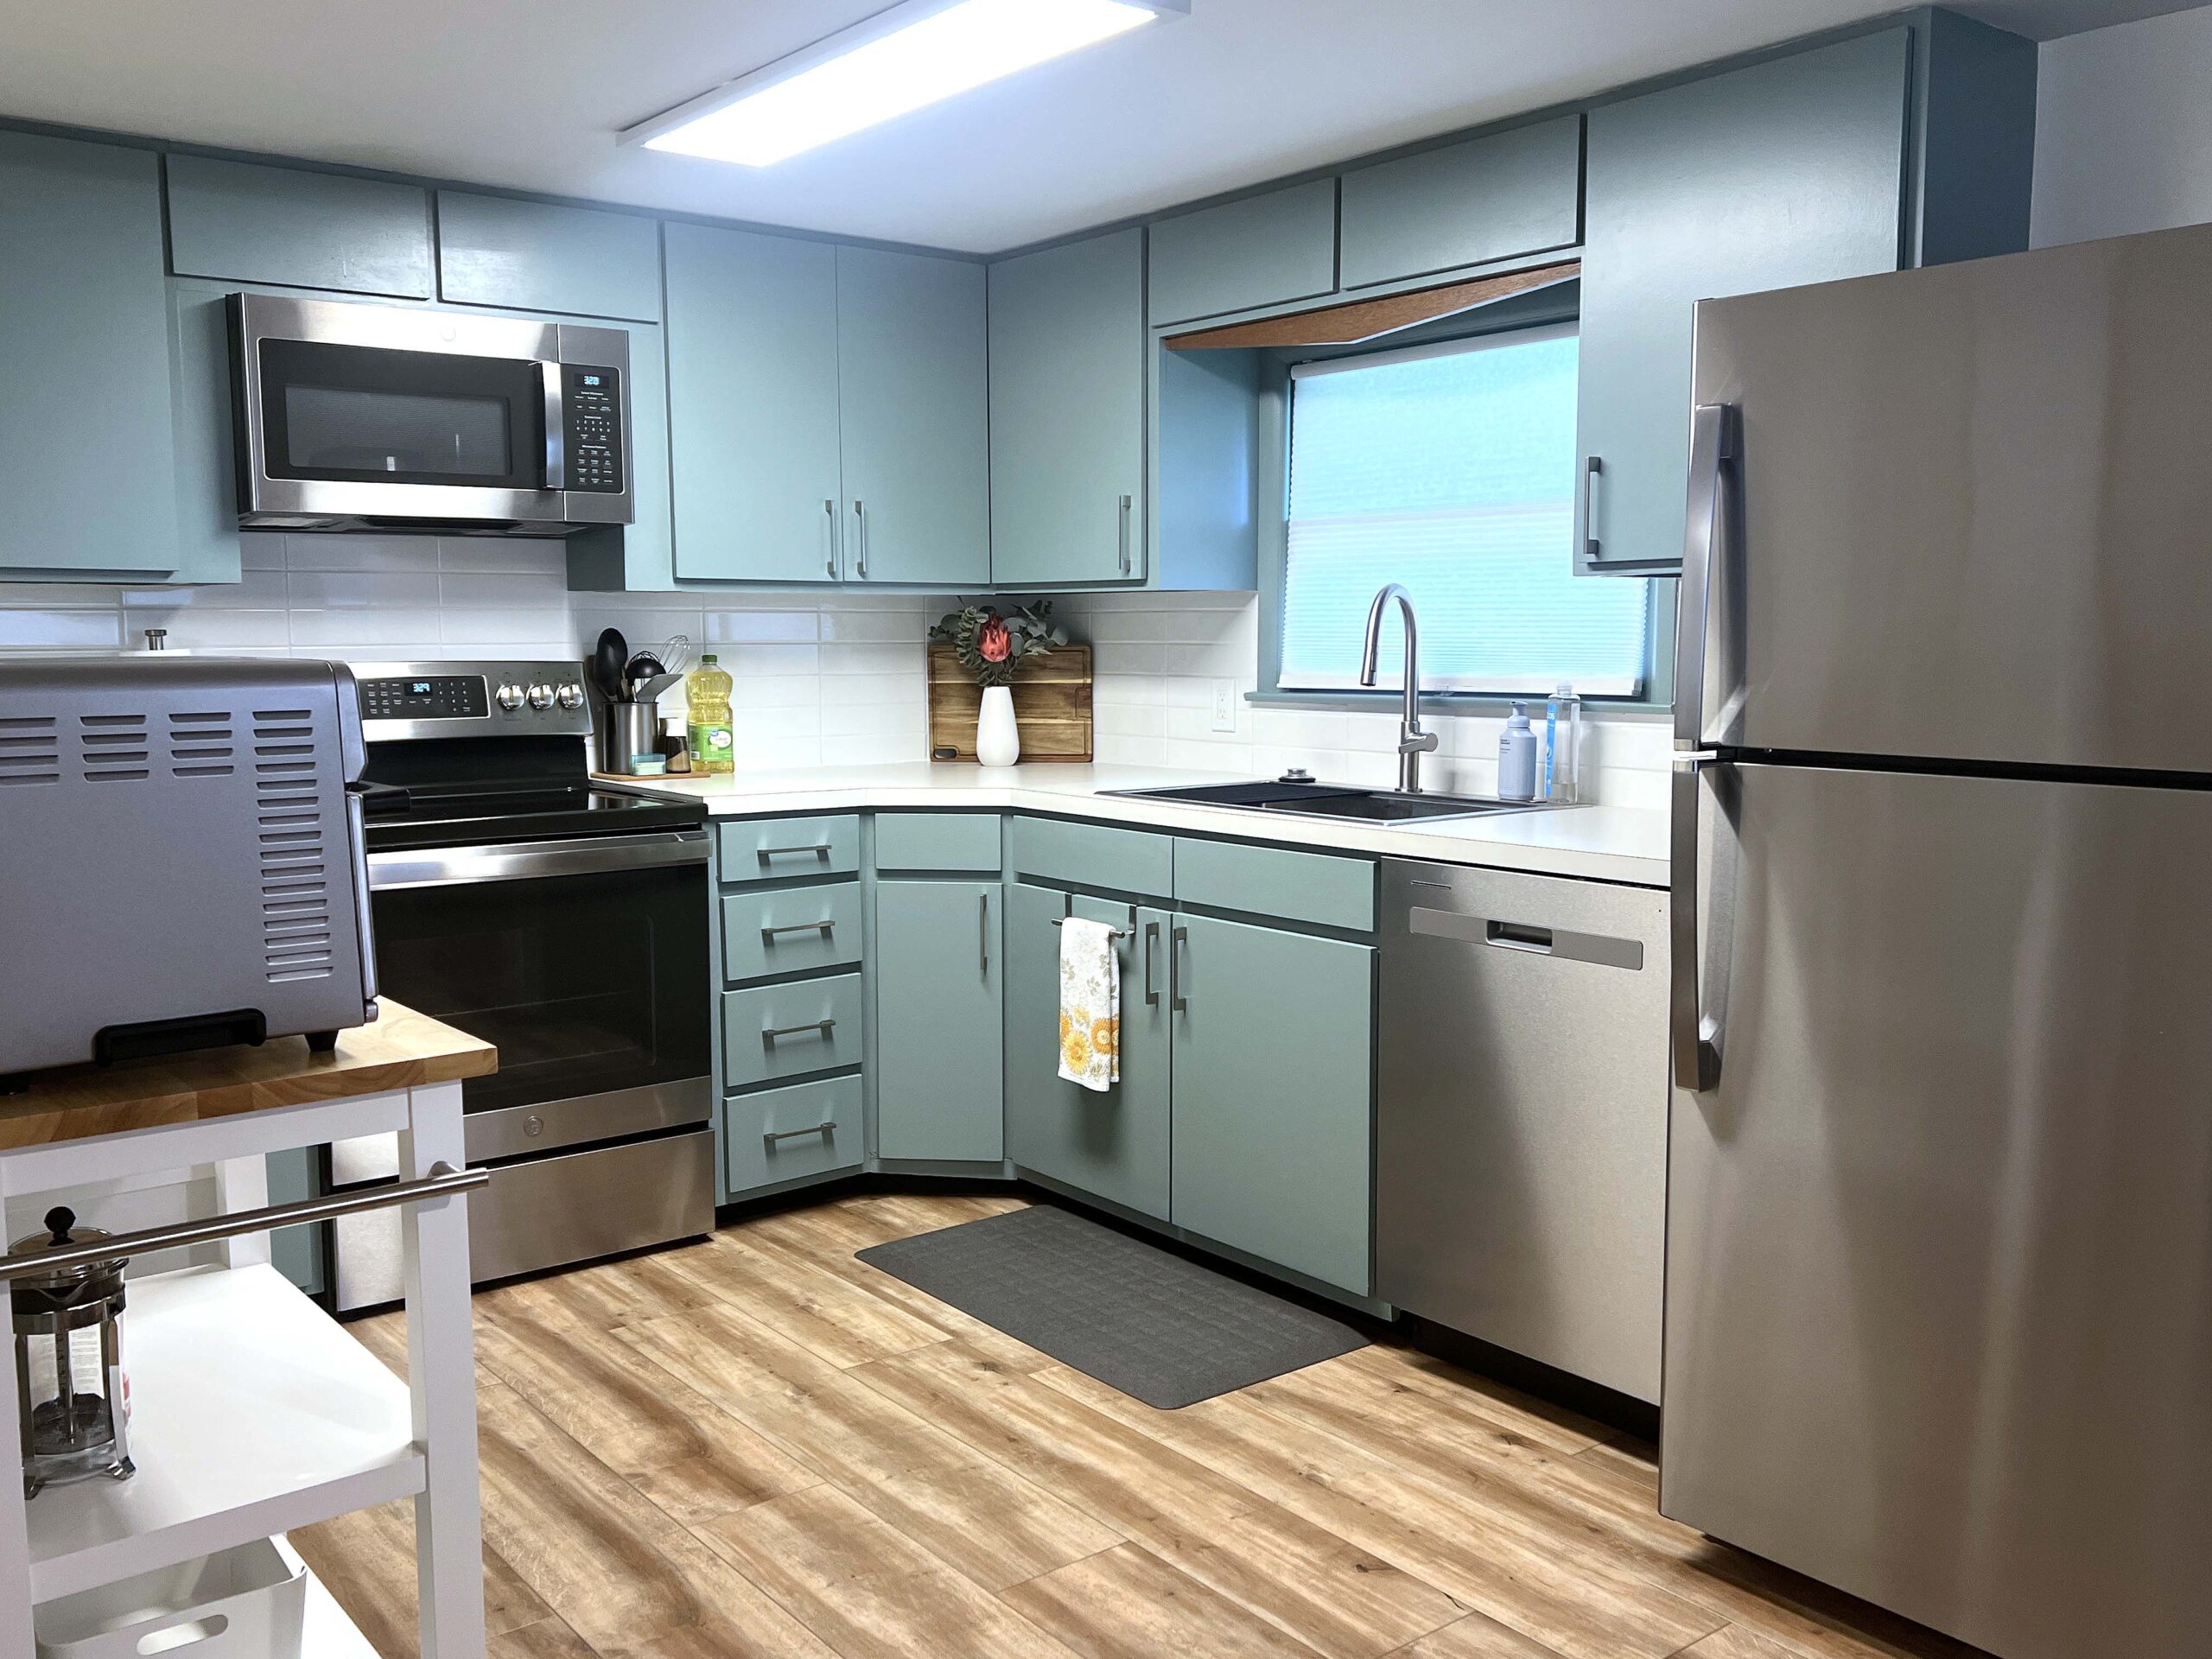 After my stay, it was easy to understand why guest book entries raved about the property and why it’s rated on
 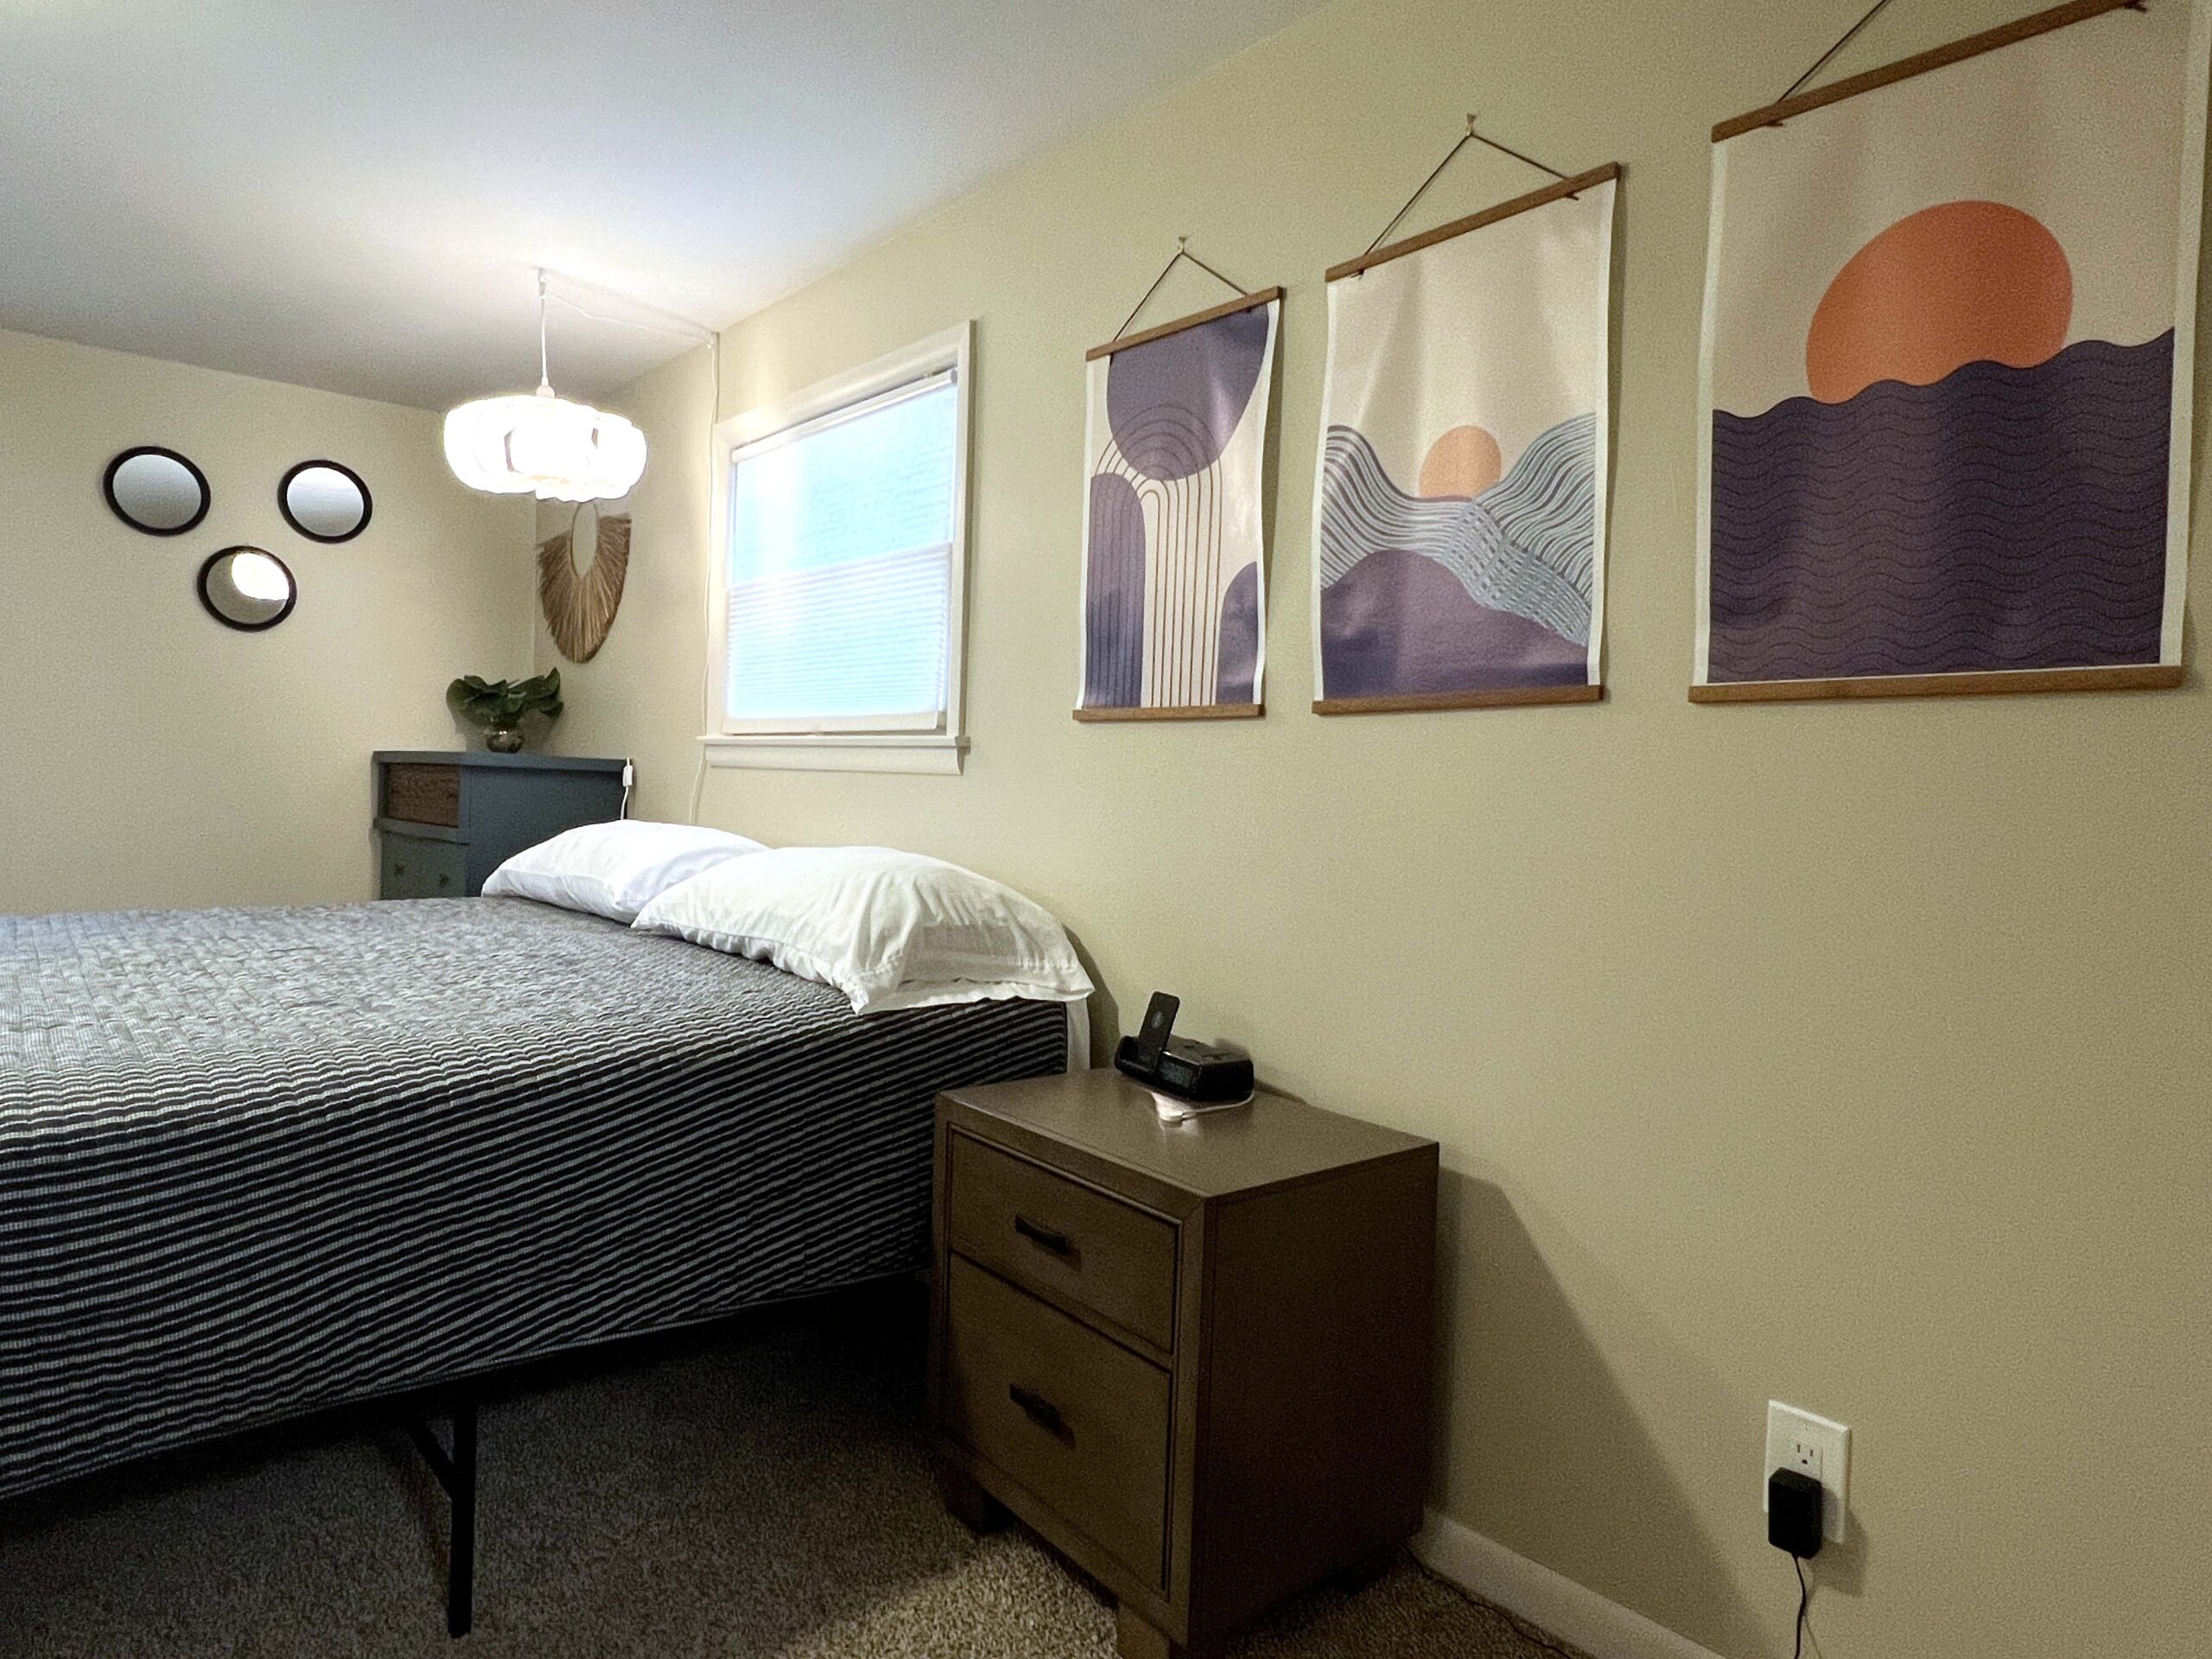 I curled up with a blanket to watch a movie on the large sectional sofa using available Roku streaming, a comfy place to unwind when I wasn’t exploring Downtown Hays. The owner even left microwave popcorn and a handwritten note thanking me for “popping in” at Walnut Wonder.
 The home’s amenities are top-notch, and because the hosts considered a guest’s stay, I didn’t need anything. If you’re seeking like-home lodging with comfortable amenities, reserve
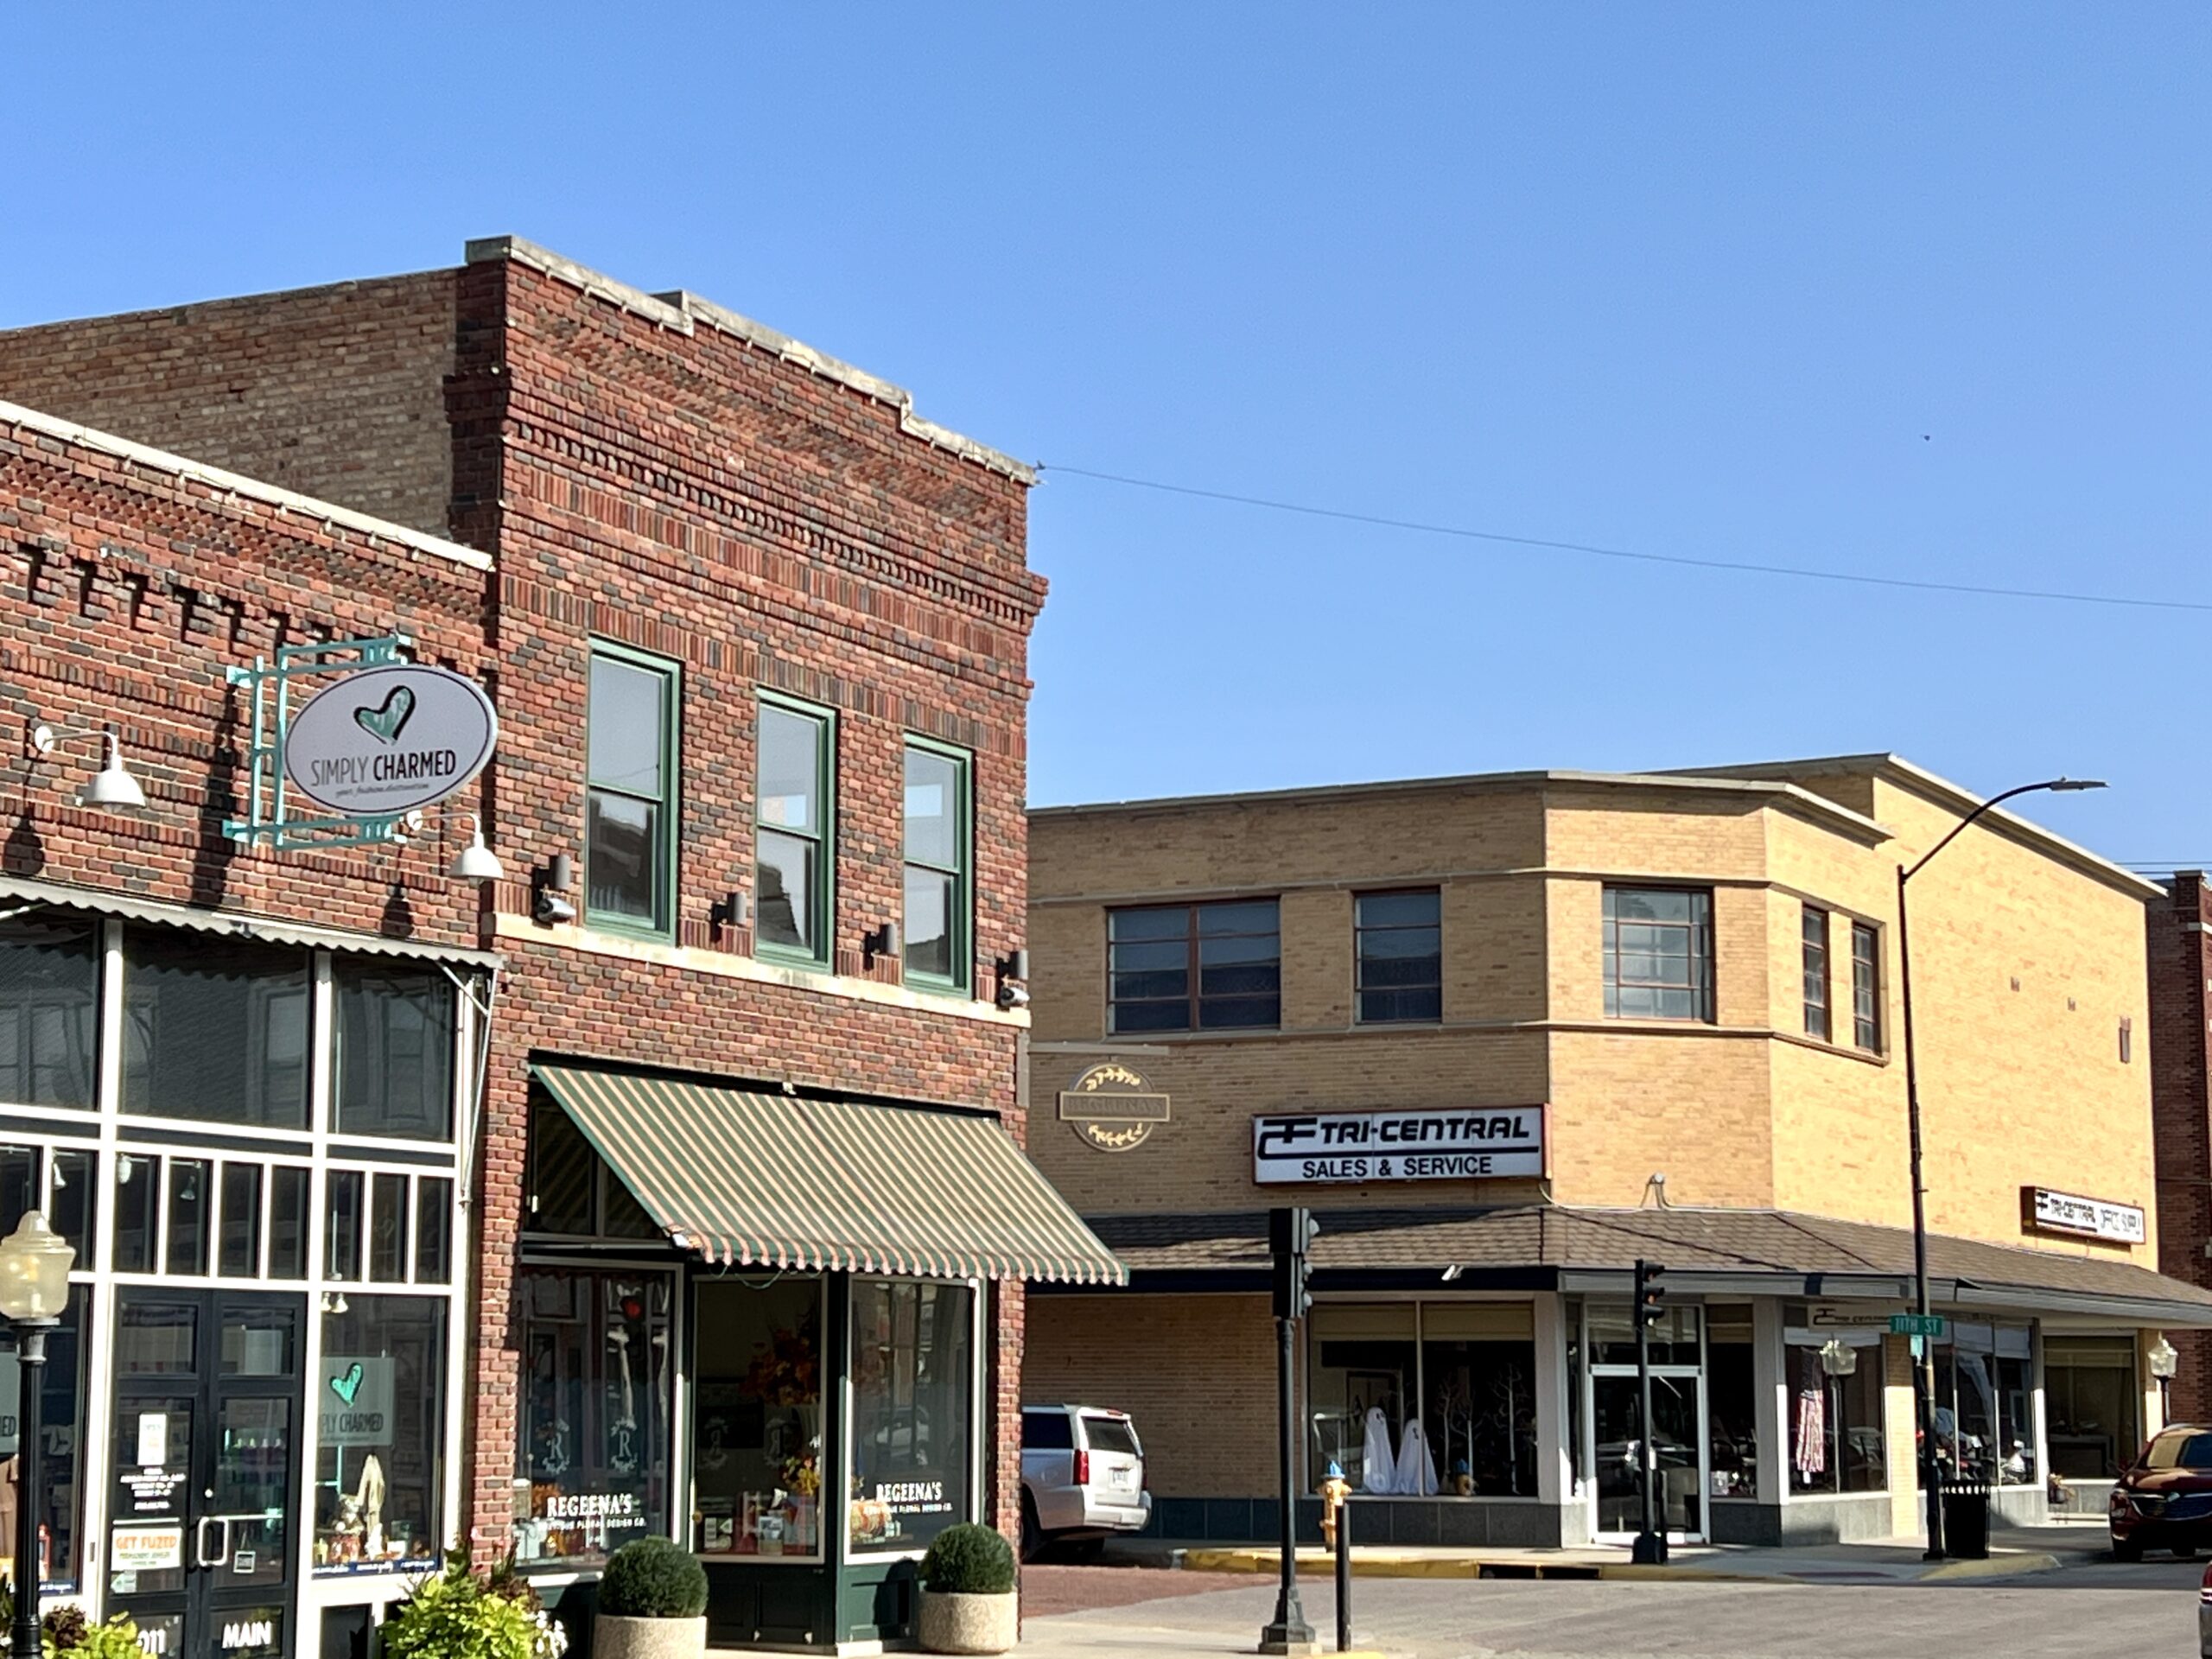
 I appreciate when a clothier thoughtfully selects on-trend women’s apparel brands, and Simply Charmed carries a range of sizes up to 2X. Shopping for your children or grandkids? Pair a coveted Jellycat stuffed animal with an outfit as a gift. Sizes range from newborn to 7.
 Refine is one of 115 national Liverpool destination stores that carry the jeans brand, One can expect to find clothing sizes 2-16, handbags, and shoes by well-known names such as Joseph Ribkoff, Katie Loxton, and Sorel.
 The owner informed me she is closing her doors in January 2026, so she is offering mega discounts on select inventory items housed in a showroom upstairs. In the meantime, one can shop for seasonal decor or gifts for special occasions during regular business hours.
 Beautiful, shimmering diamonds captured the overhead lights from beneath glass. The men’s wedding bands, available in a range of styles and metals, equally garnered the attention of shoppers. Couples hoping to find the perfect engagement rings and wedding bands will be pleased with the jewelry options.
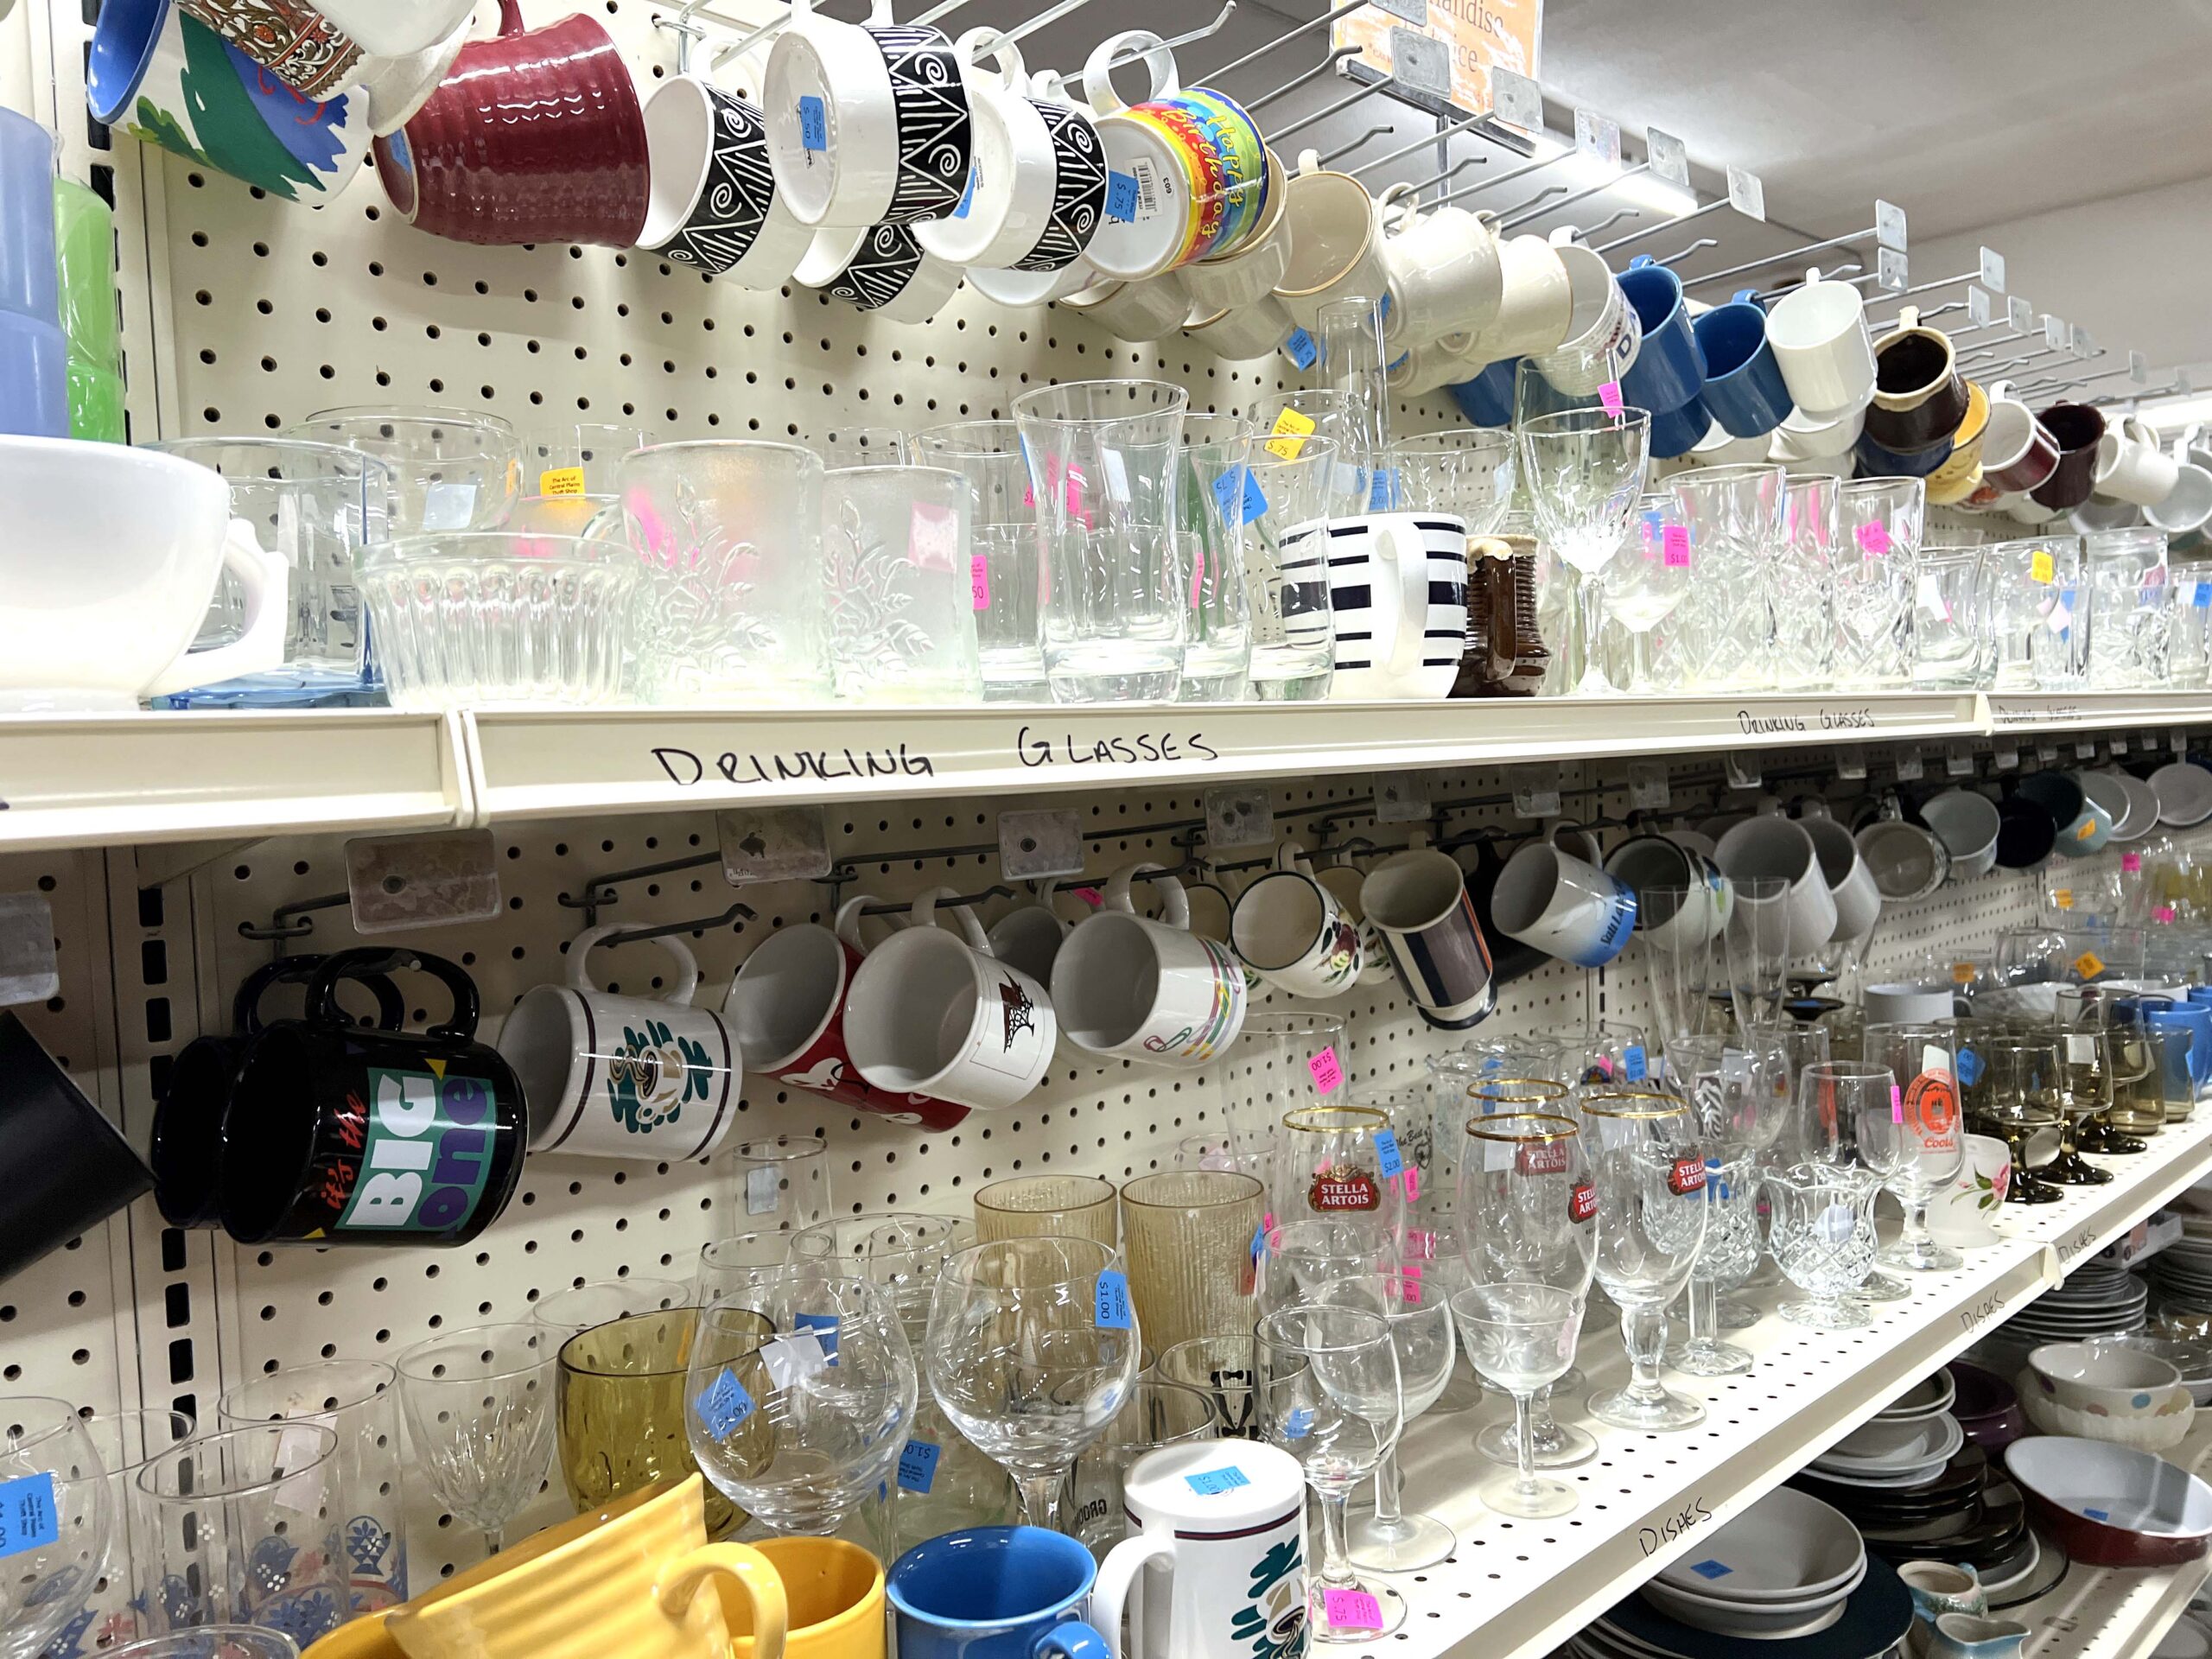 I was impressed with how well the volunteers organized the inventory by category: clothing, household items, books, toys, and seasonal costumes and decorations.
 Customers eagerly filled carts with donated garments and household supplies as I walked the aisles. A little girl tested out a small bicycle while a mother and son searched for pants in his size. Expect the store to be particularly busy on Saturdays.
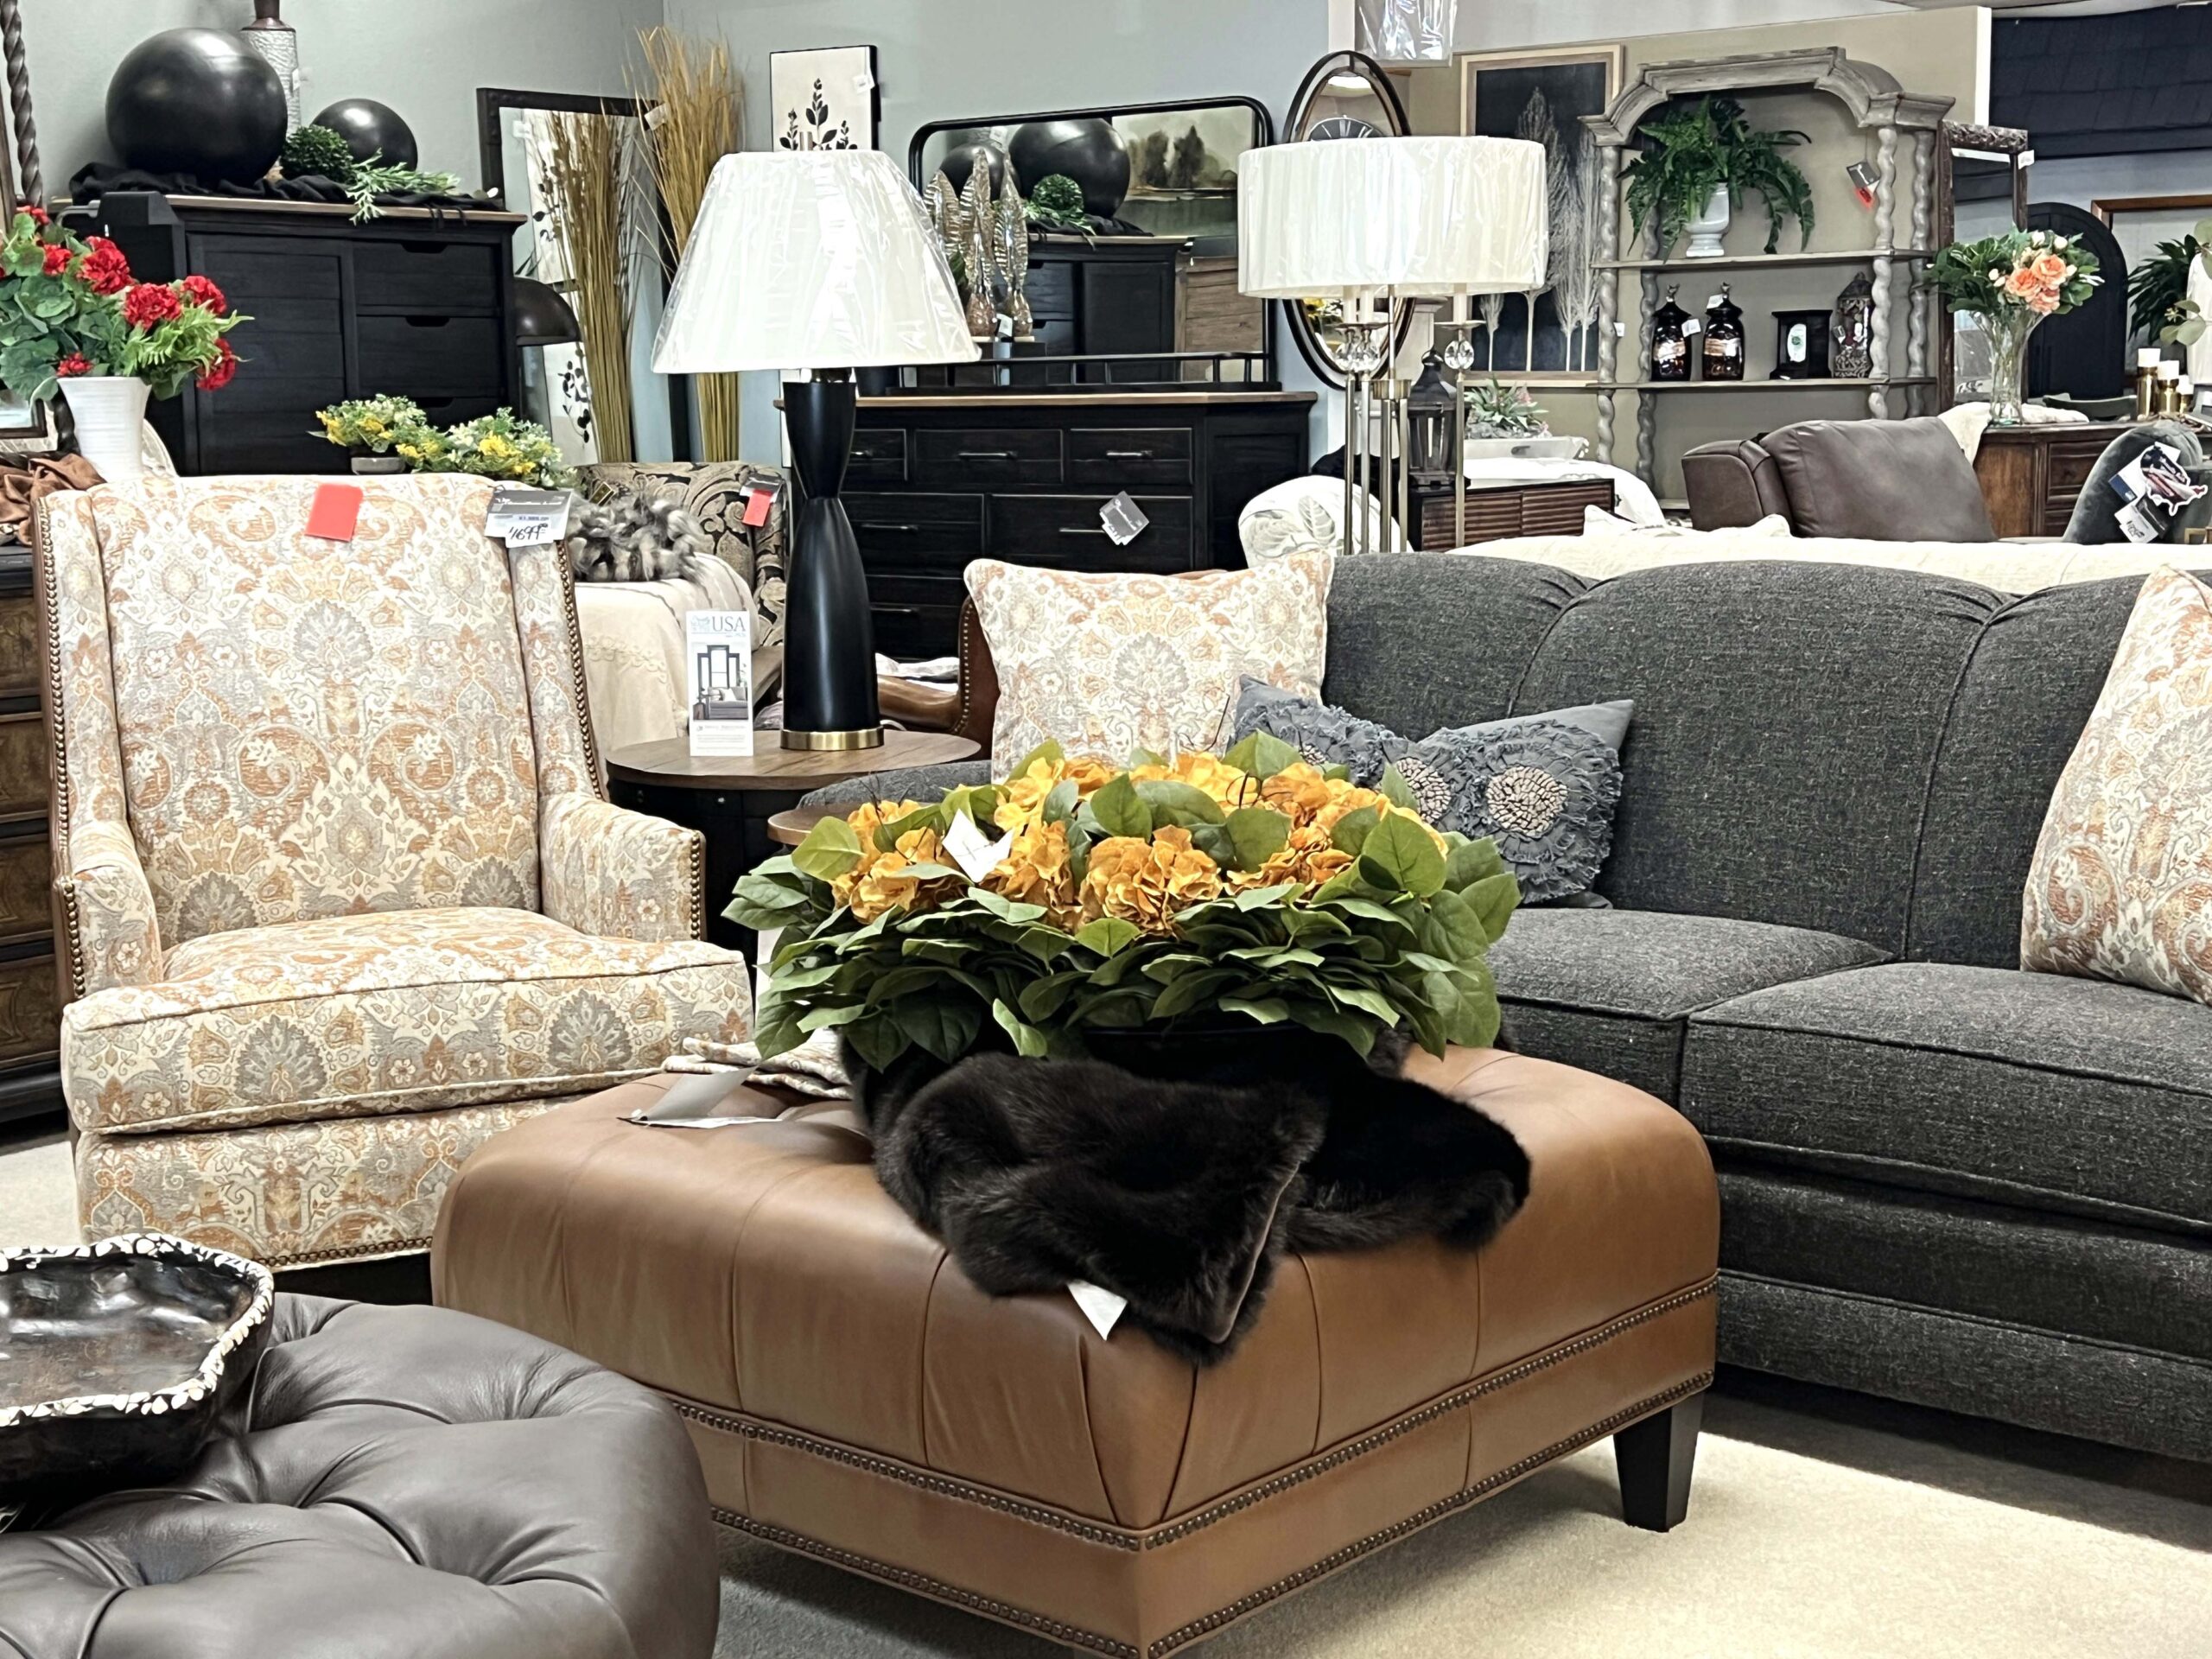 If you think you know what you want but need design advice, Karen and her team are happy to chat with you in the Design Room with access to fabric and wood samples.
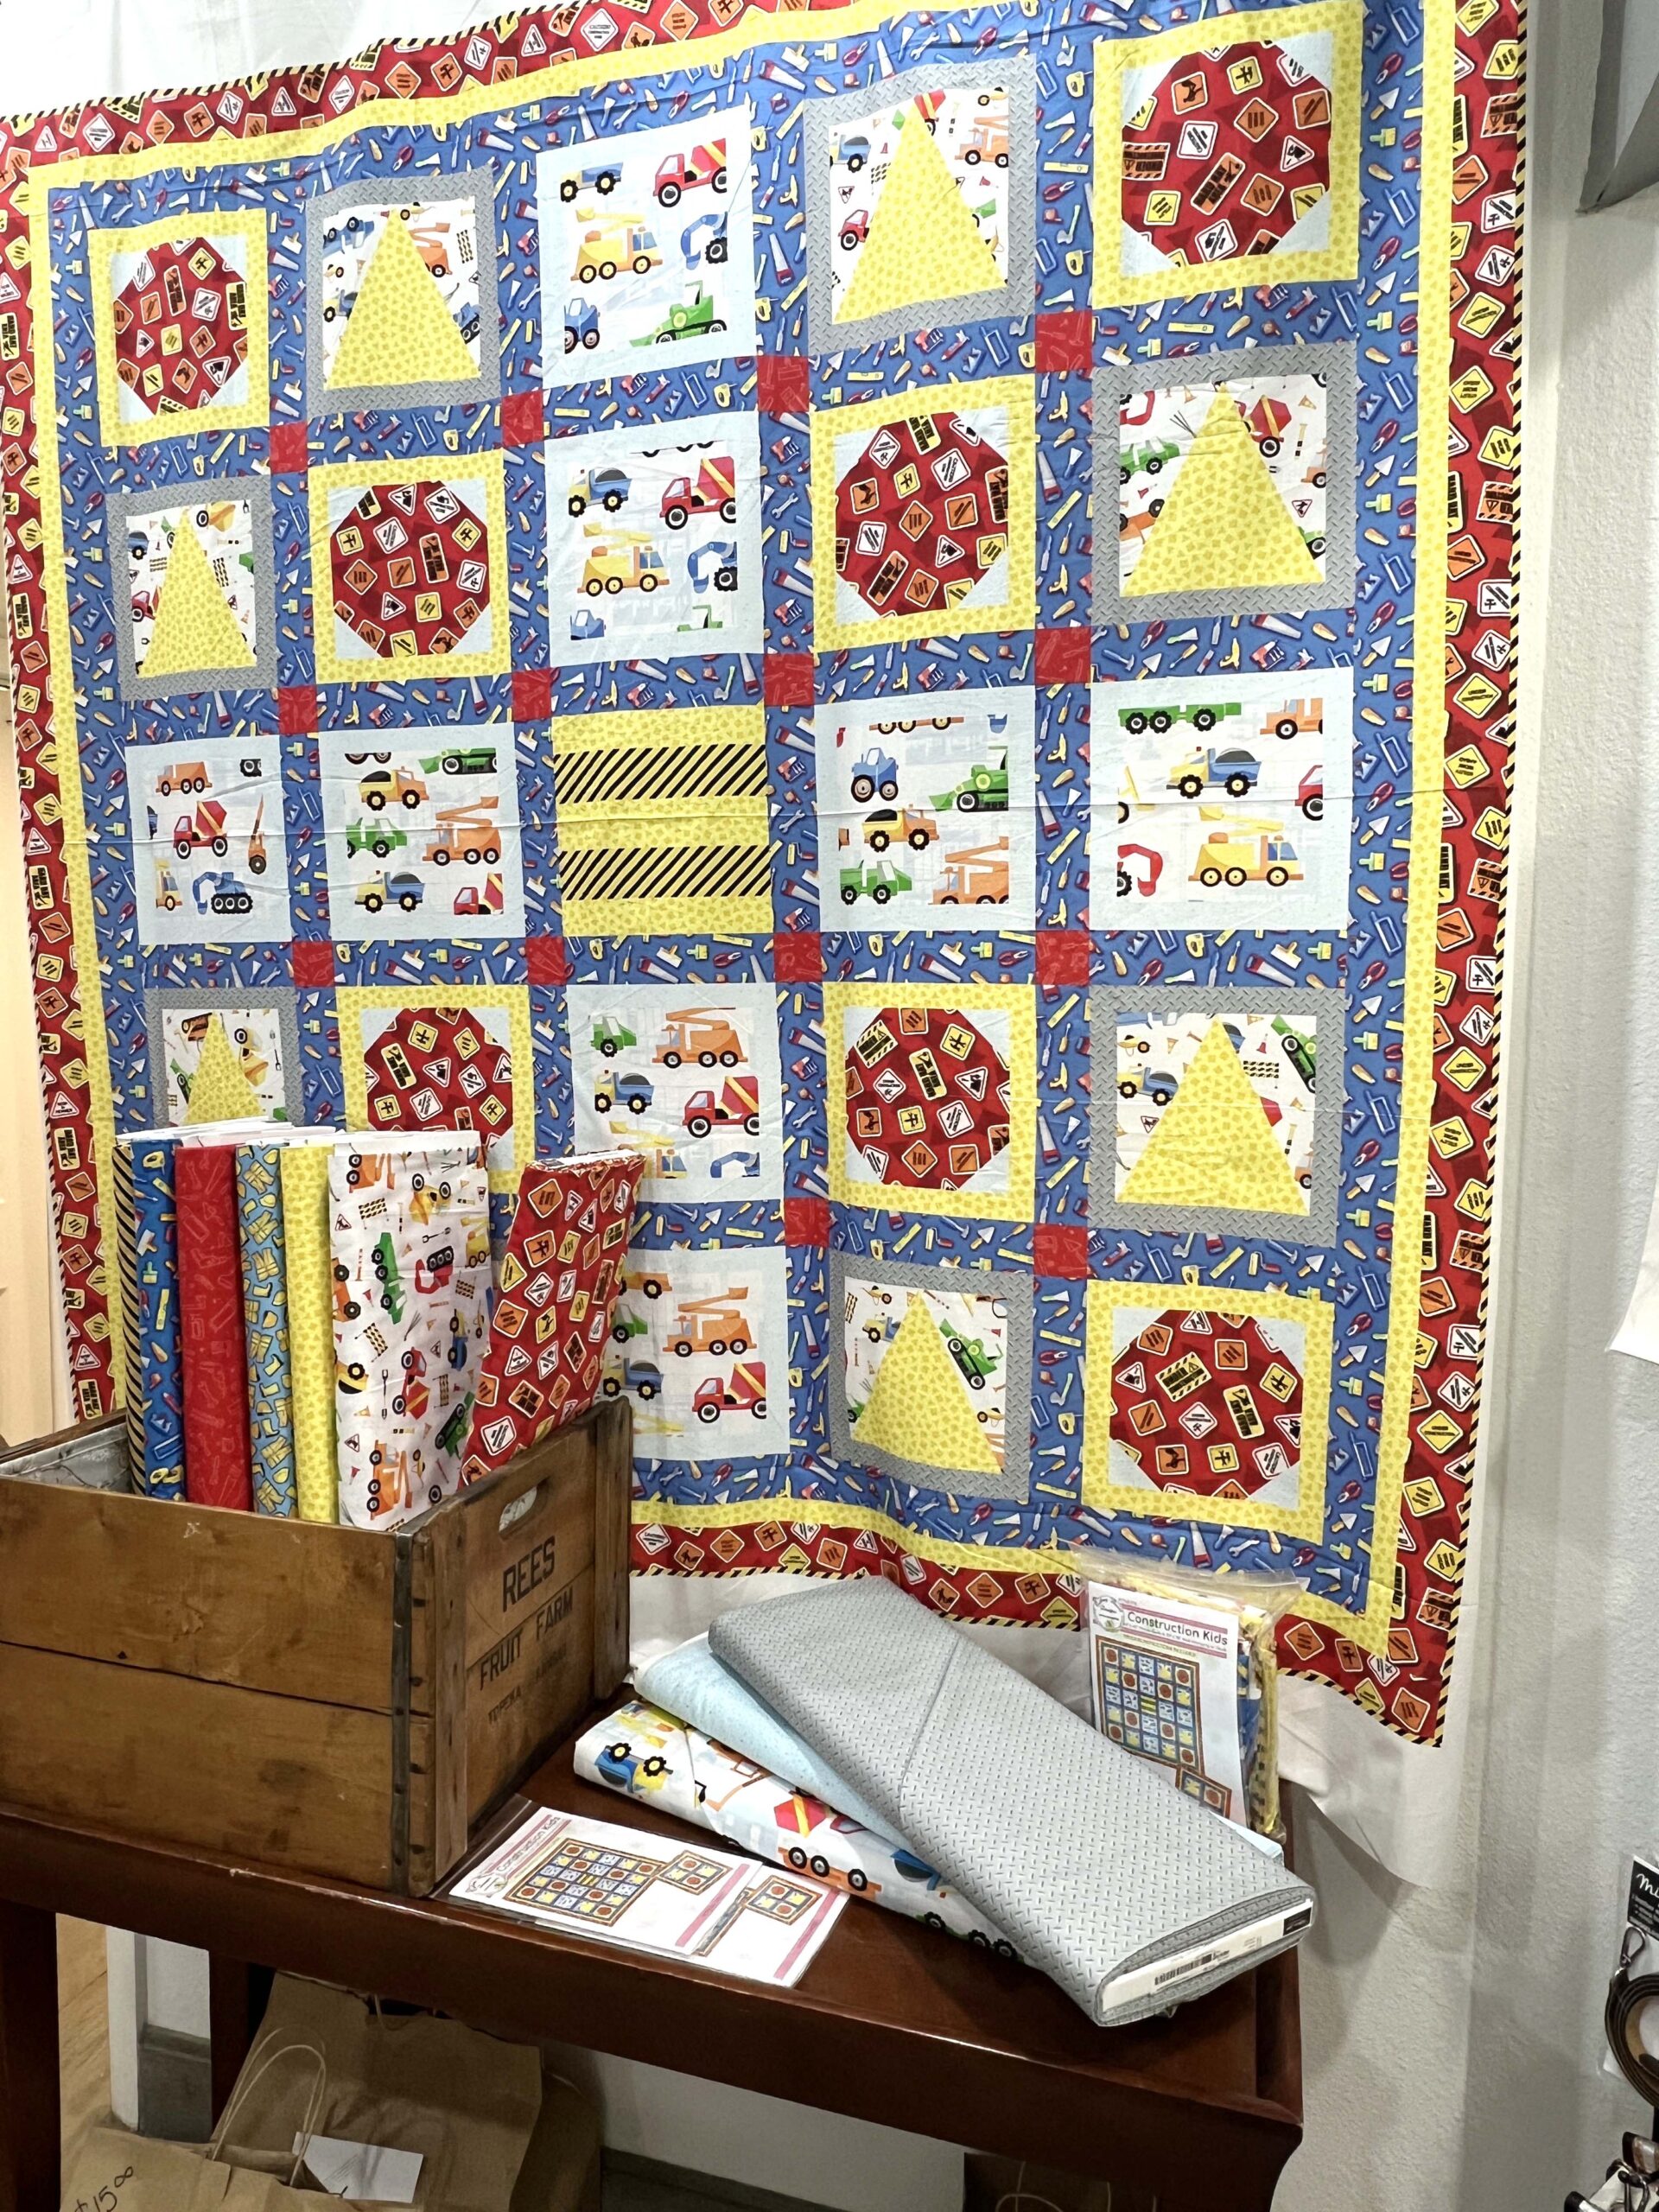 Aside from offering long-arm quilting services and classes, shoppers will be delighted to discover kits, fabric, batting, notions, thread, and patterns available for purchase.
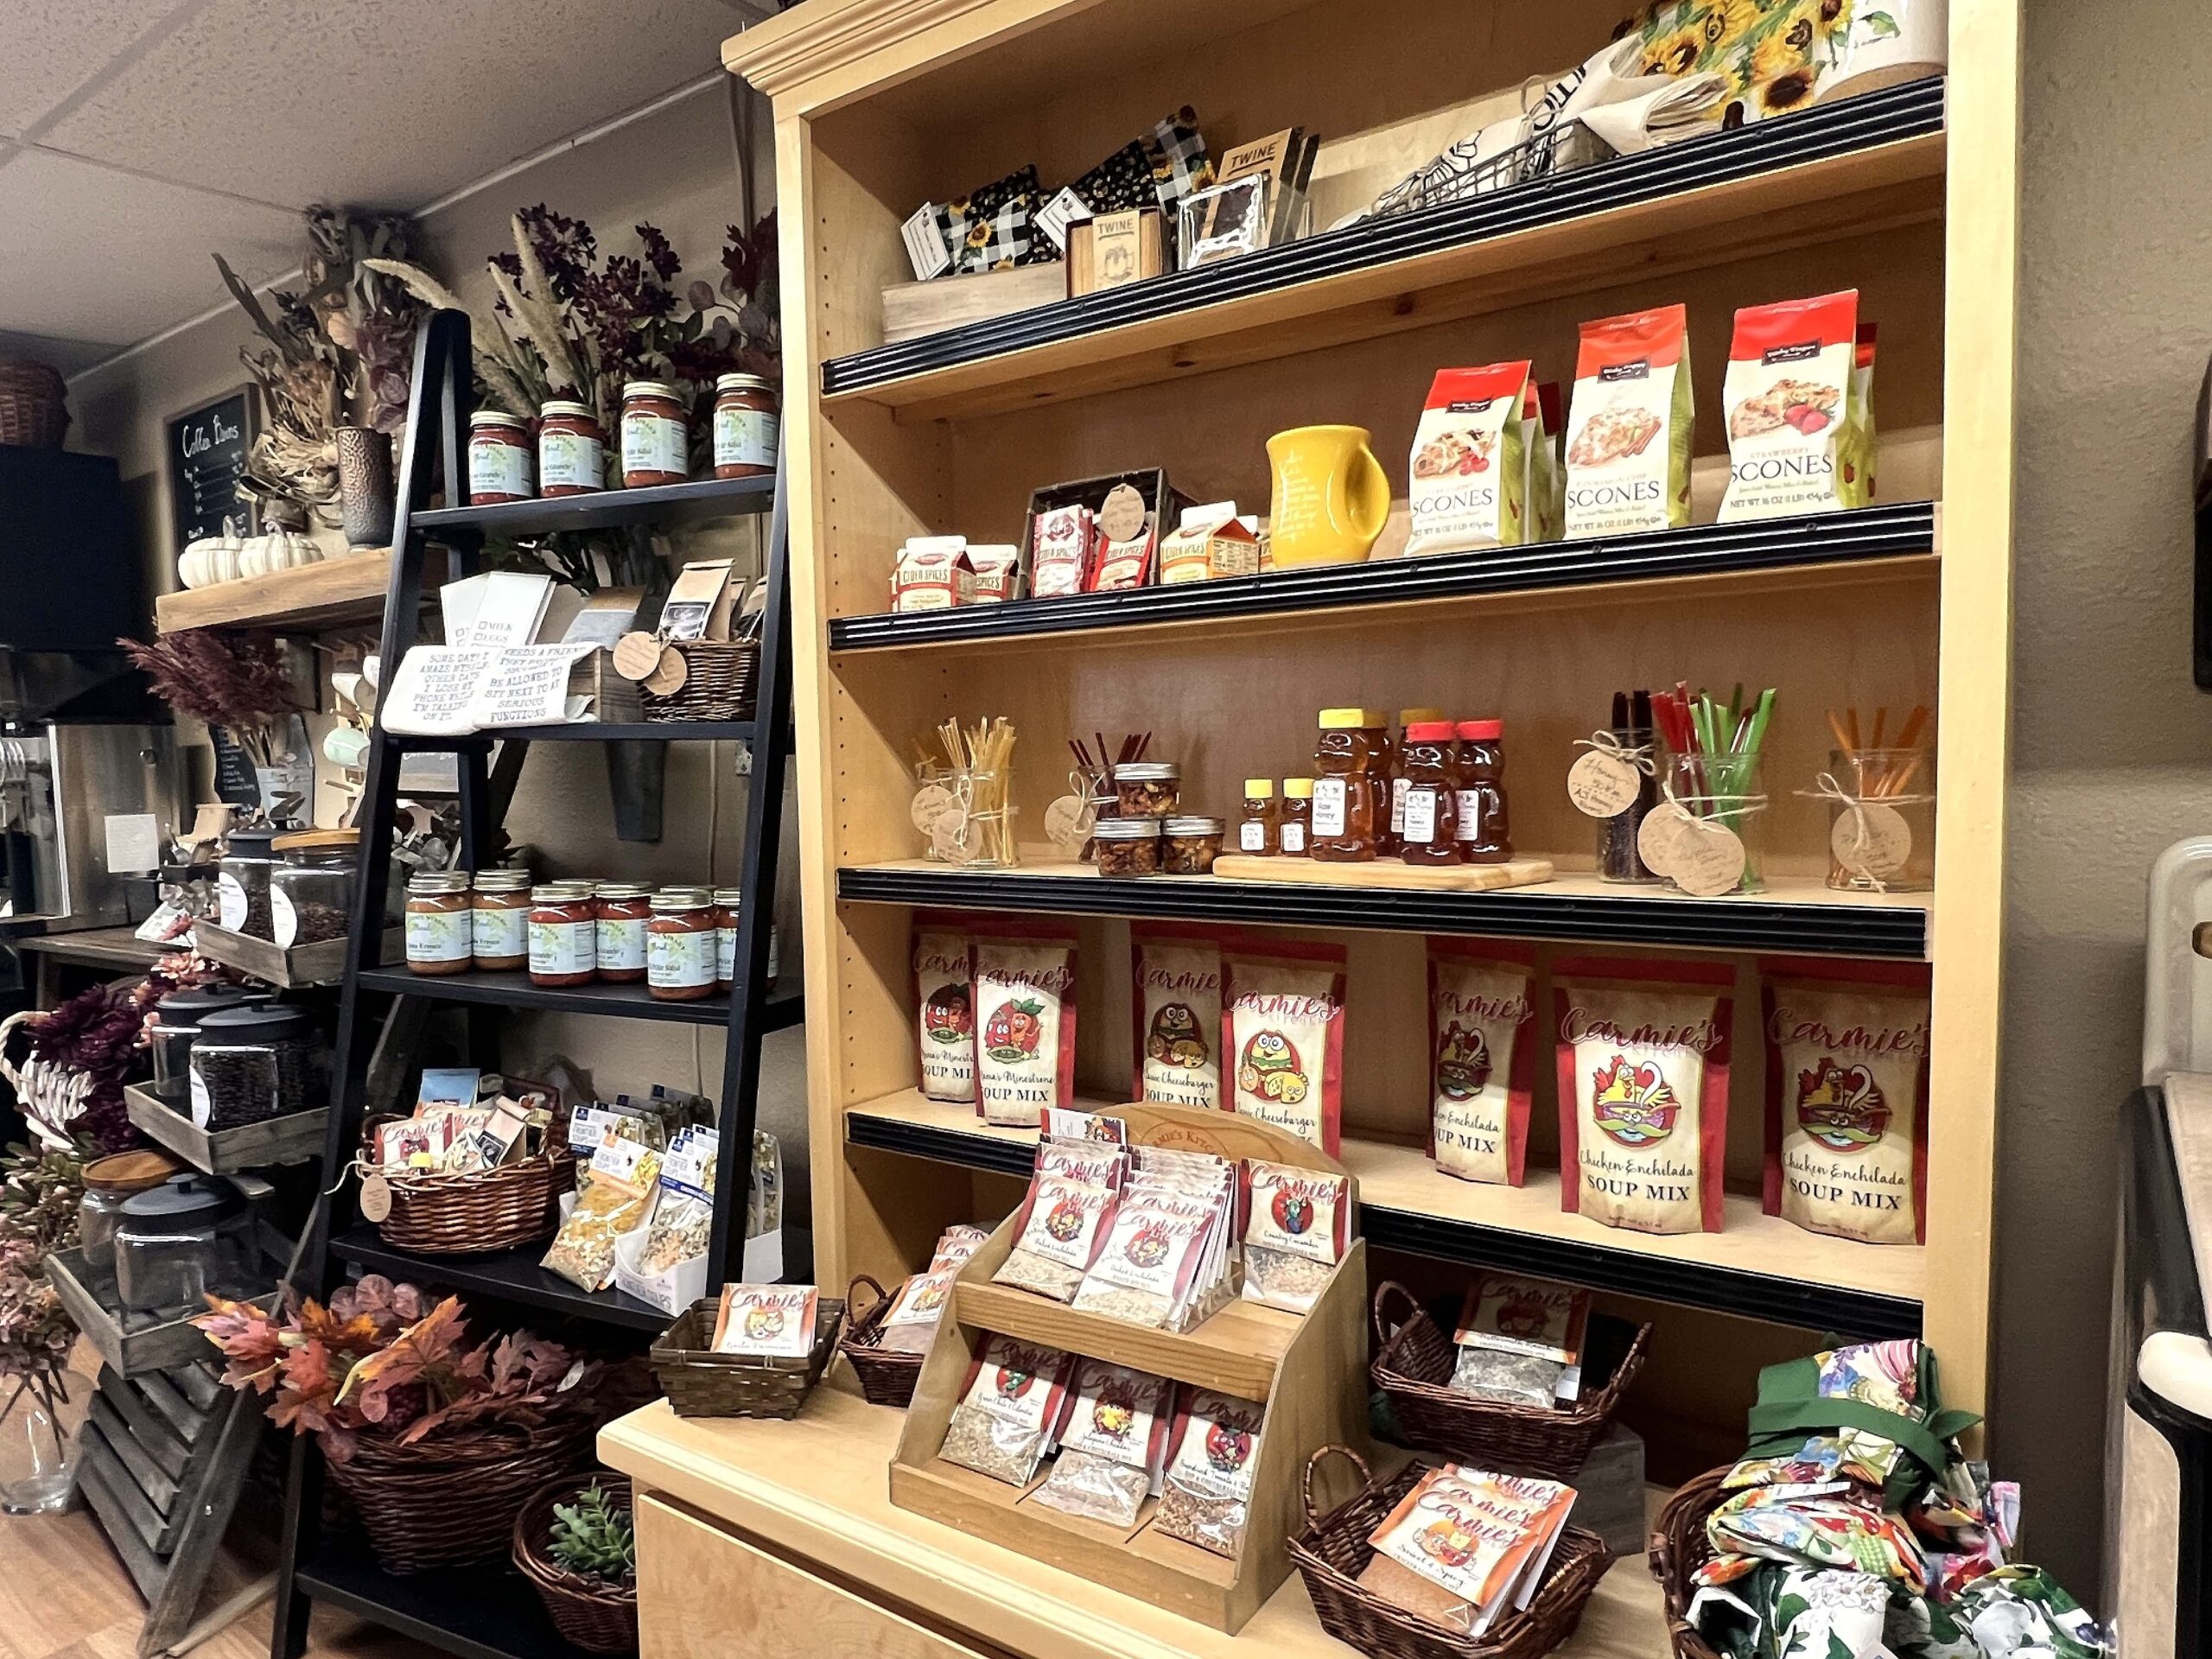 I stopped by to select Le Grand chocolate truffles after a day of shopping downtown. The staff eagerly told me their favorite flavors, which were tempting, but I settled on a delectable white chocolate apple pie truffle.
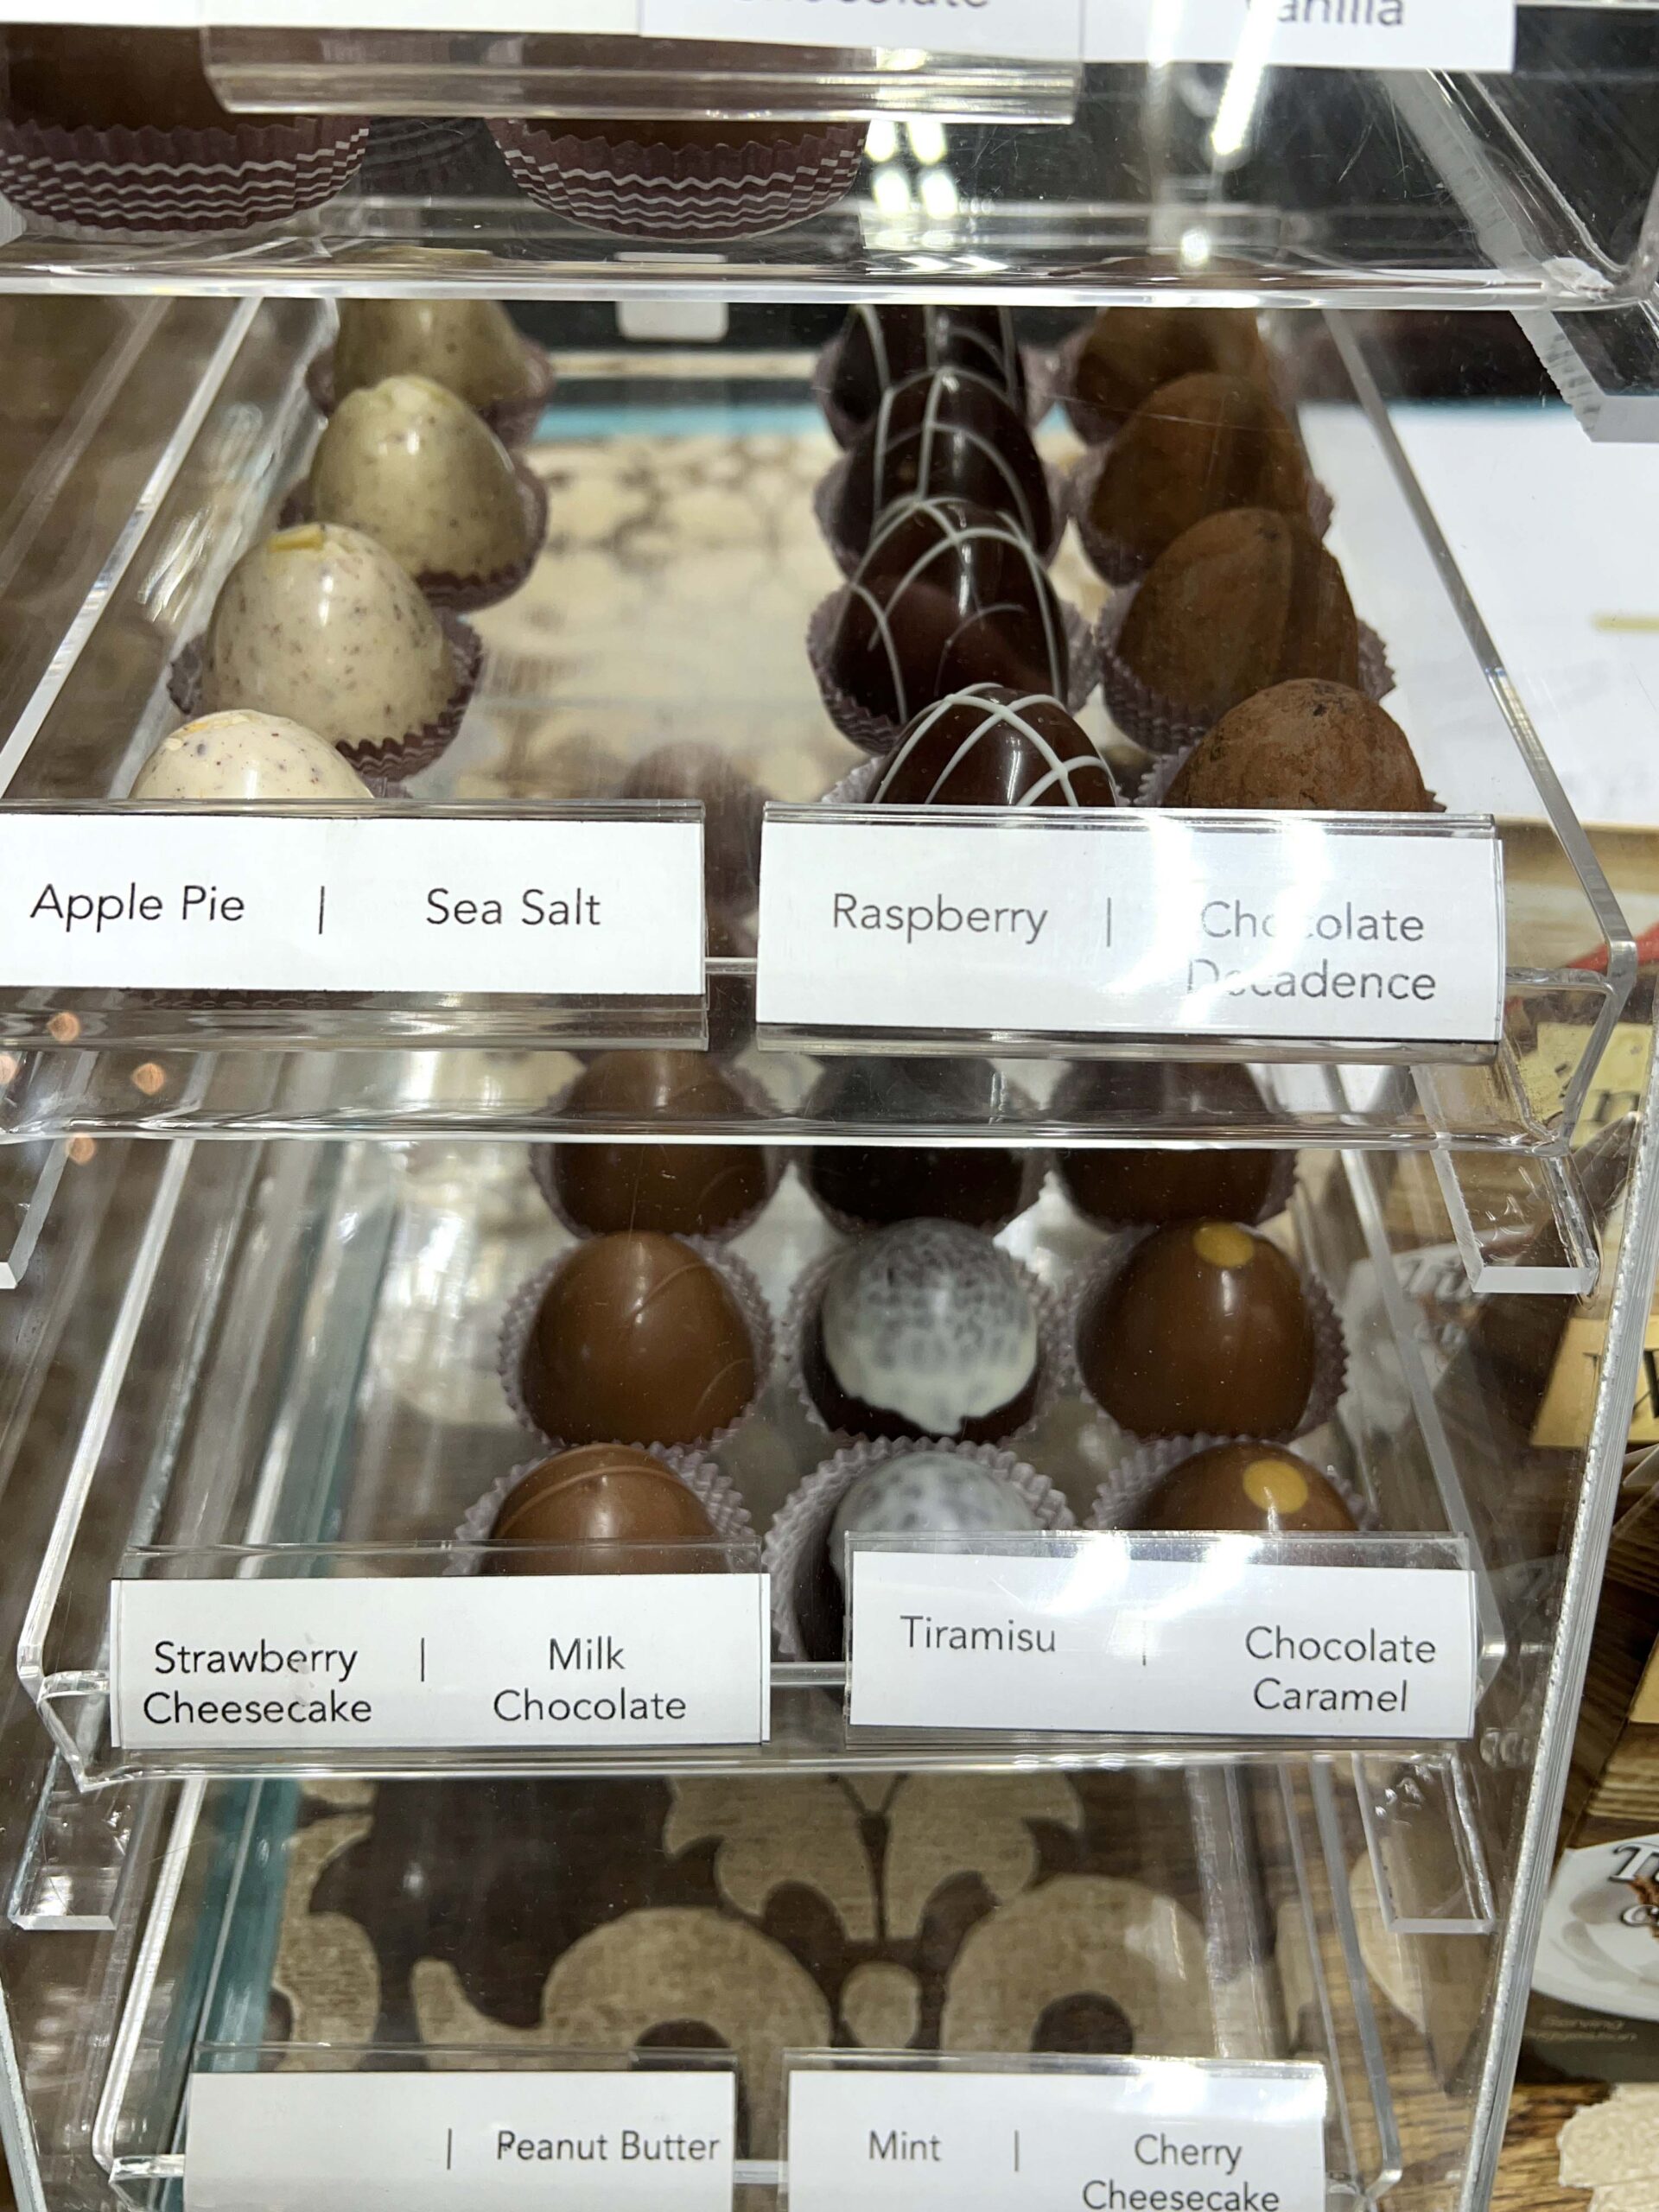 The store’s candy bouquets include a variety of chocolate bars and hard candy designed for the sweet tooth in your life.
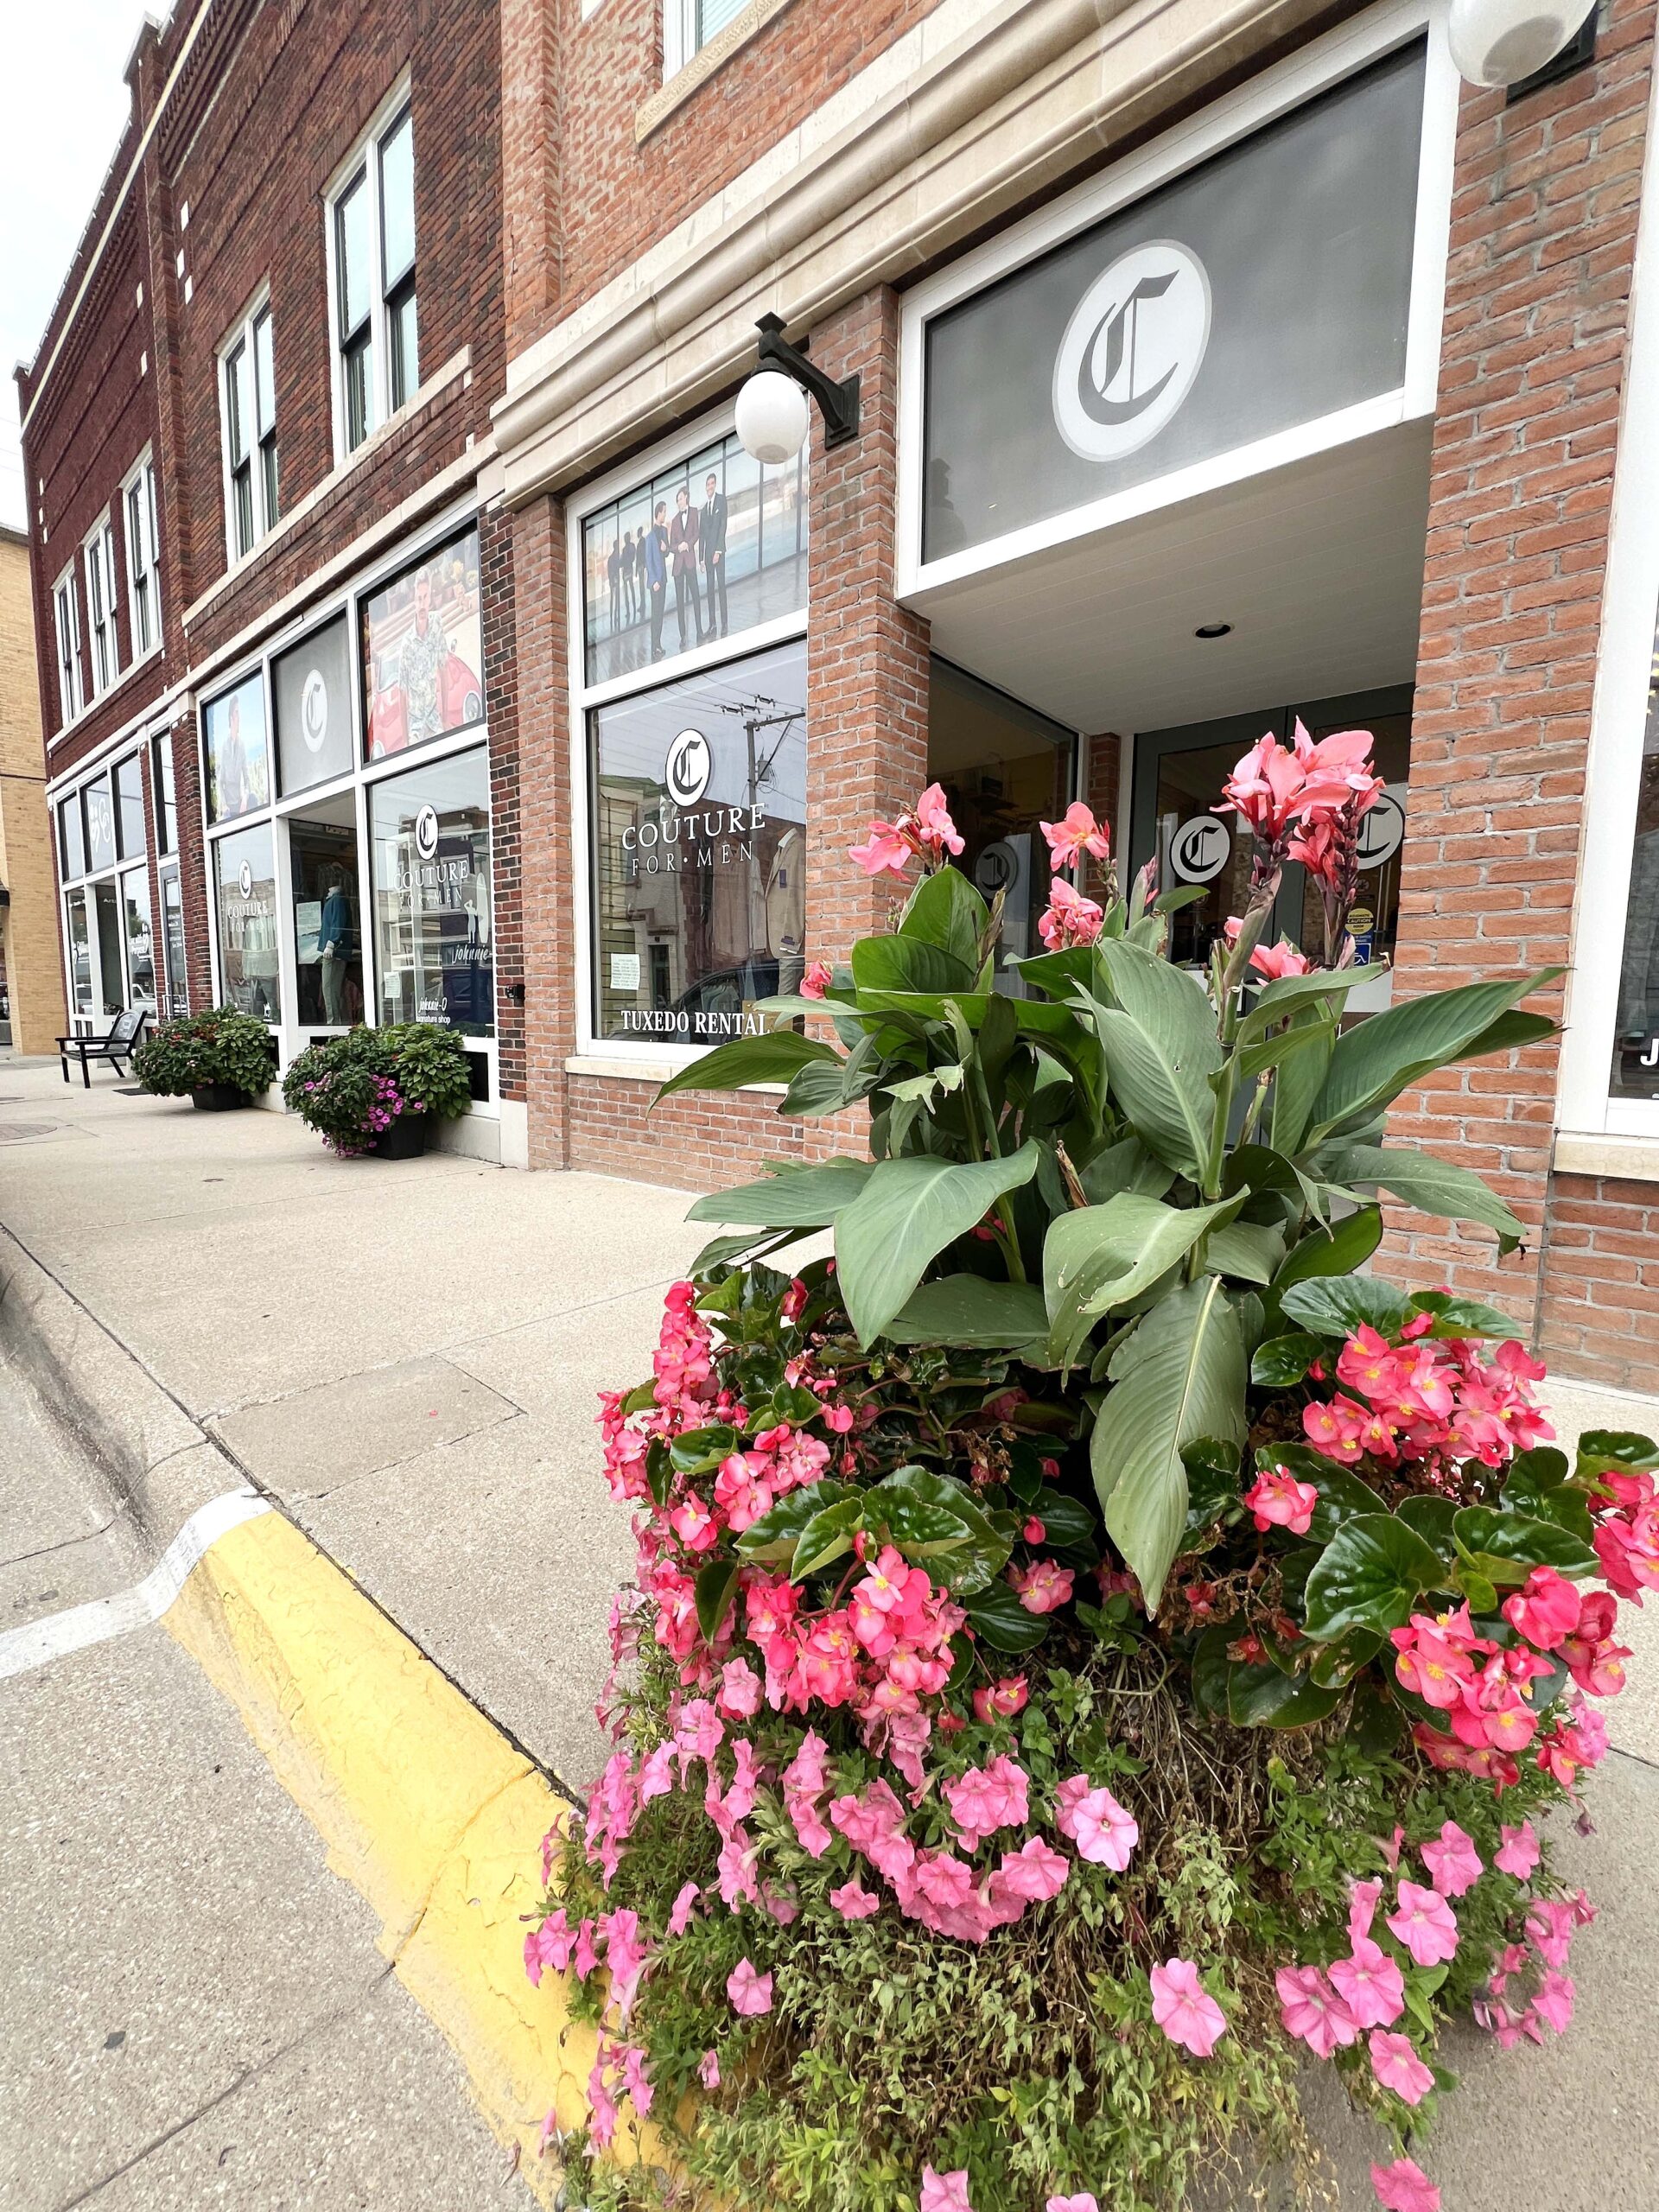
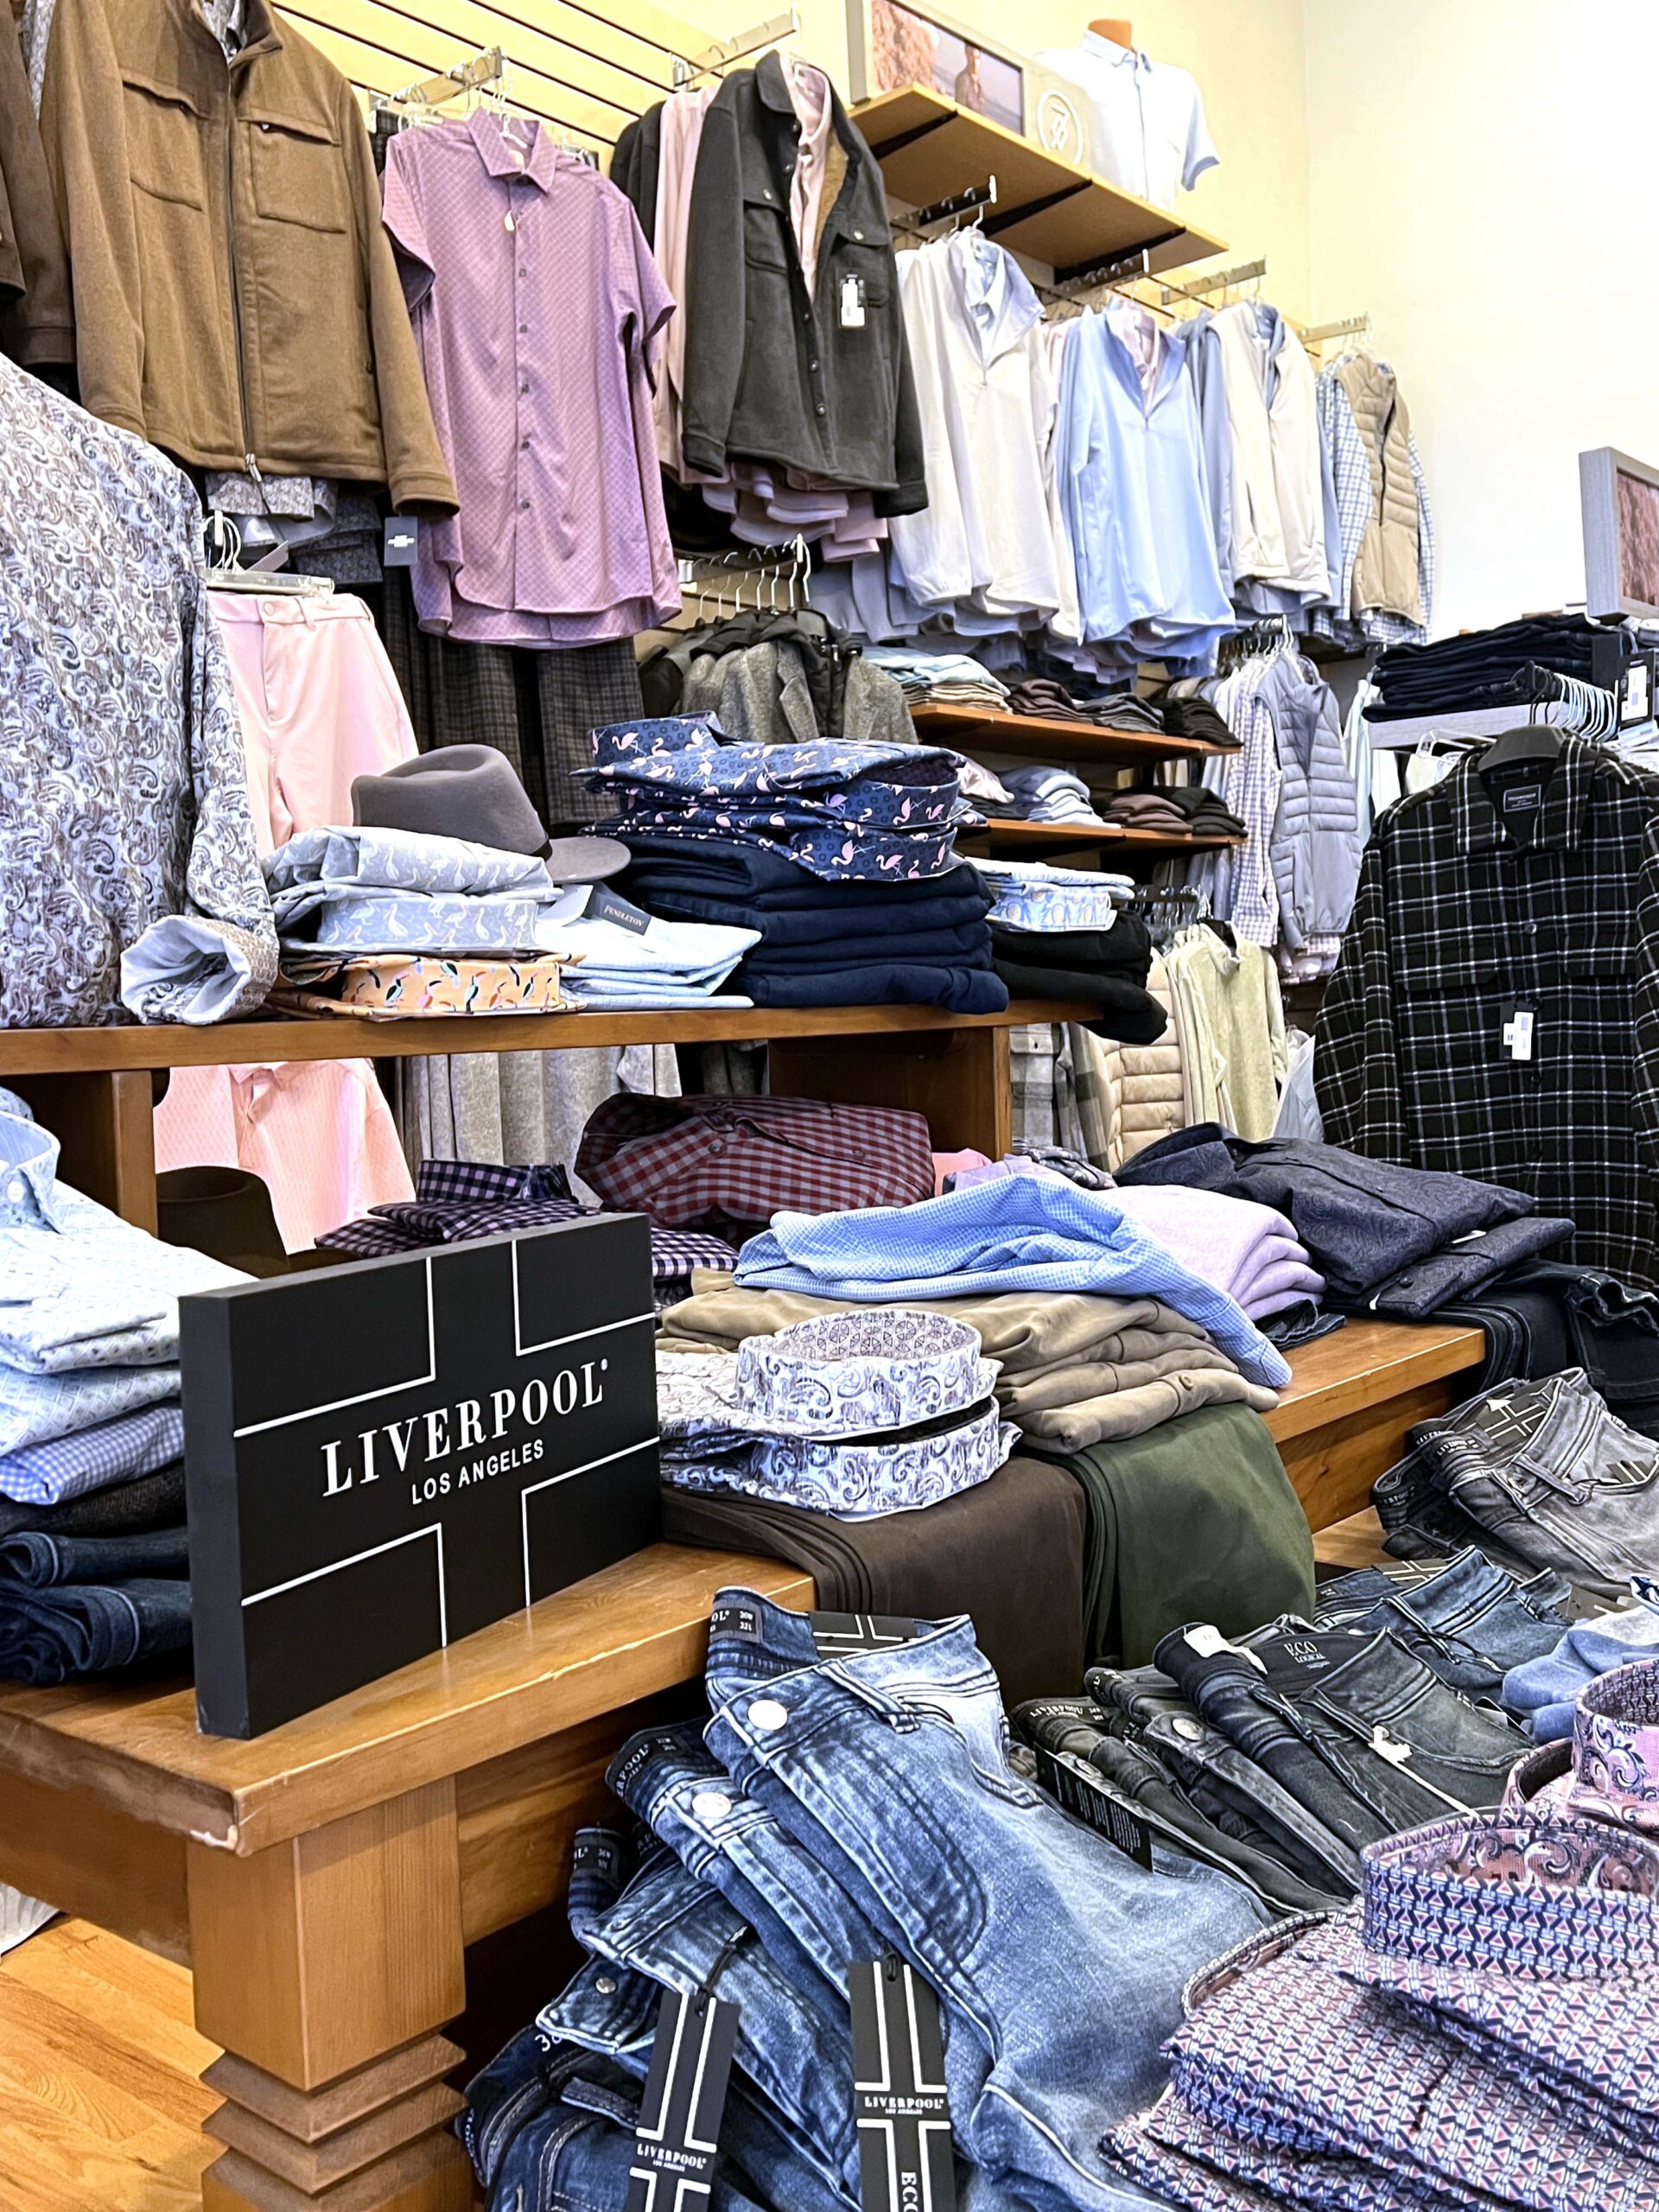 Instead of men skipping a Main Street shopping experience, the store caters to them with a wide selection of casual wear suitable for any season. Also, the store doubles as a tuxedo rental shop for one’s more formal occasions.
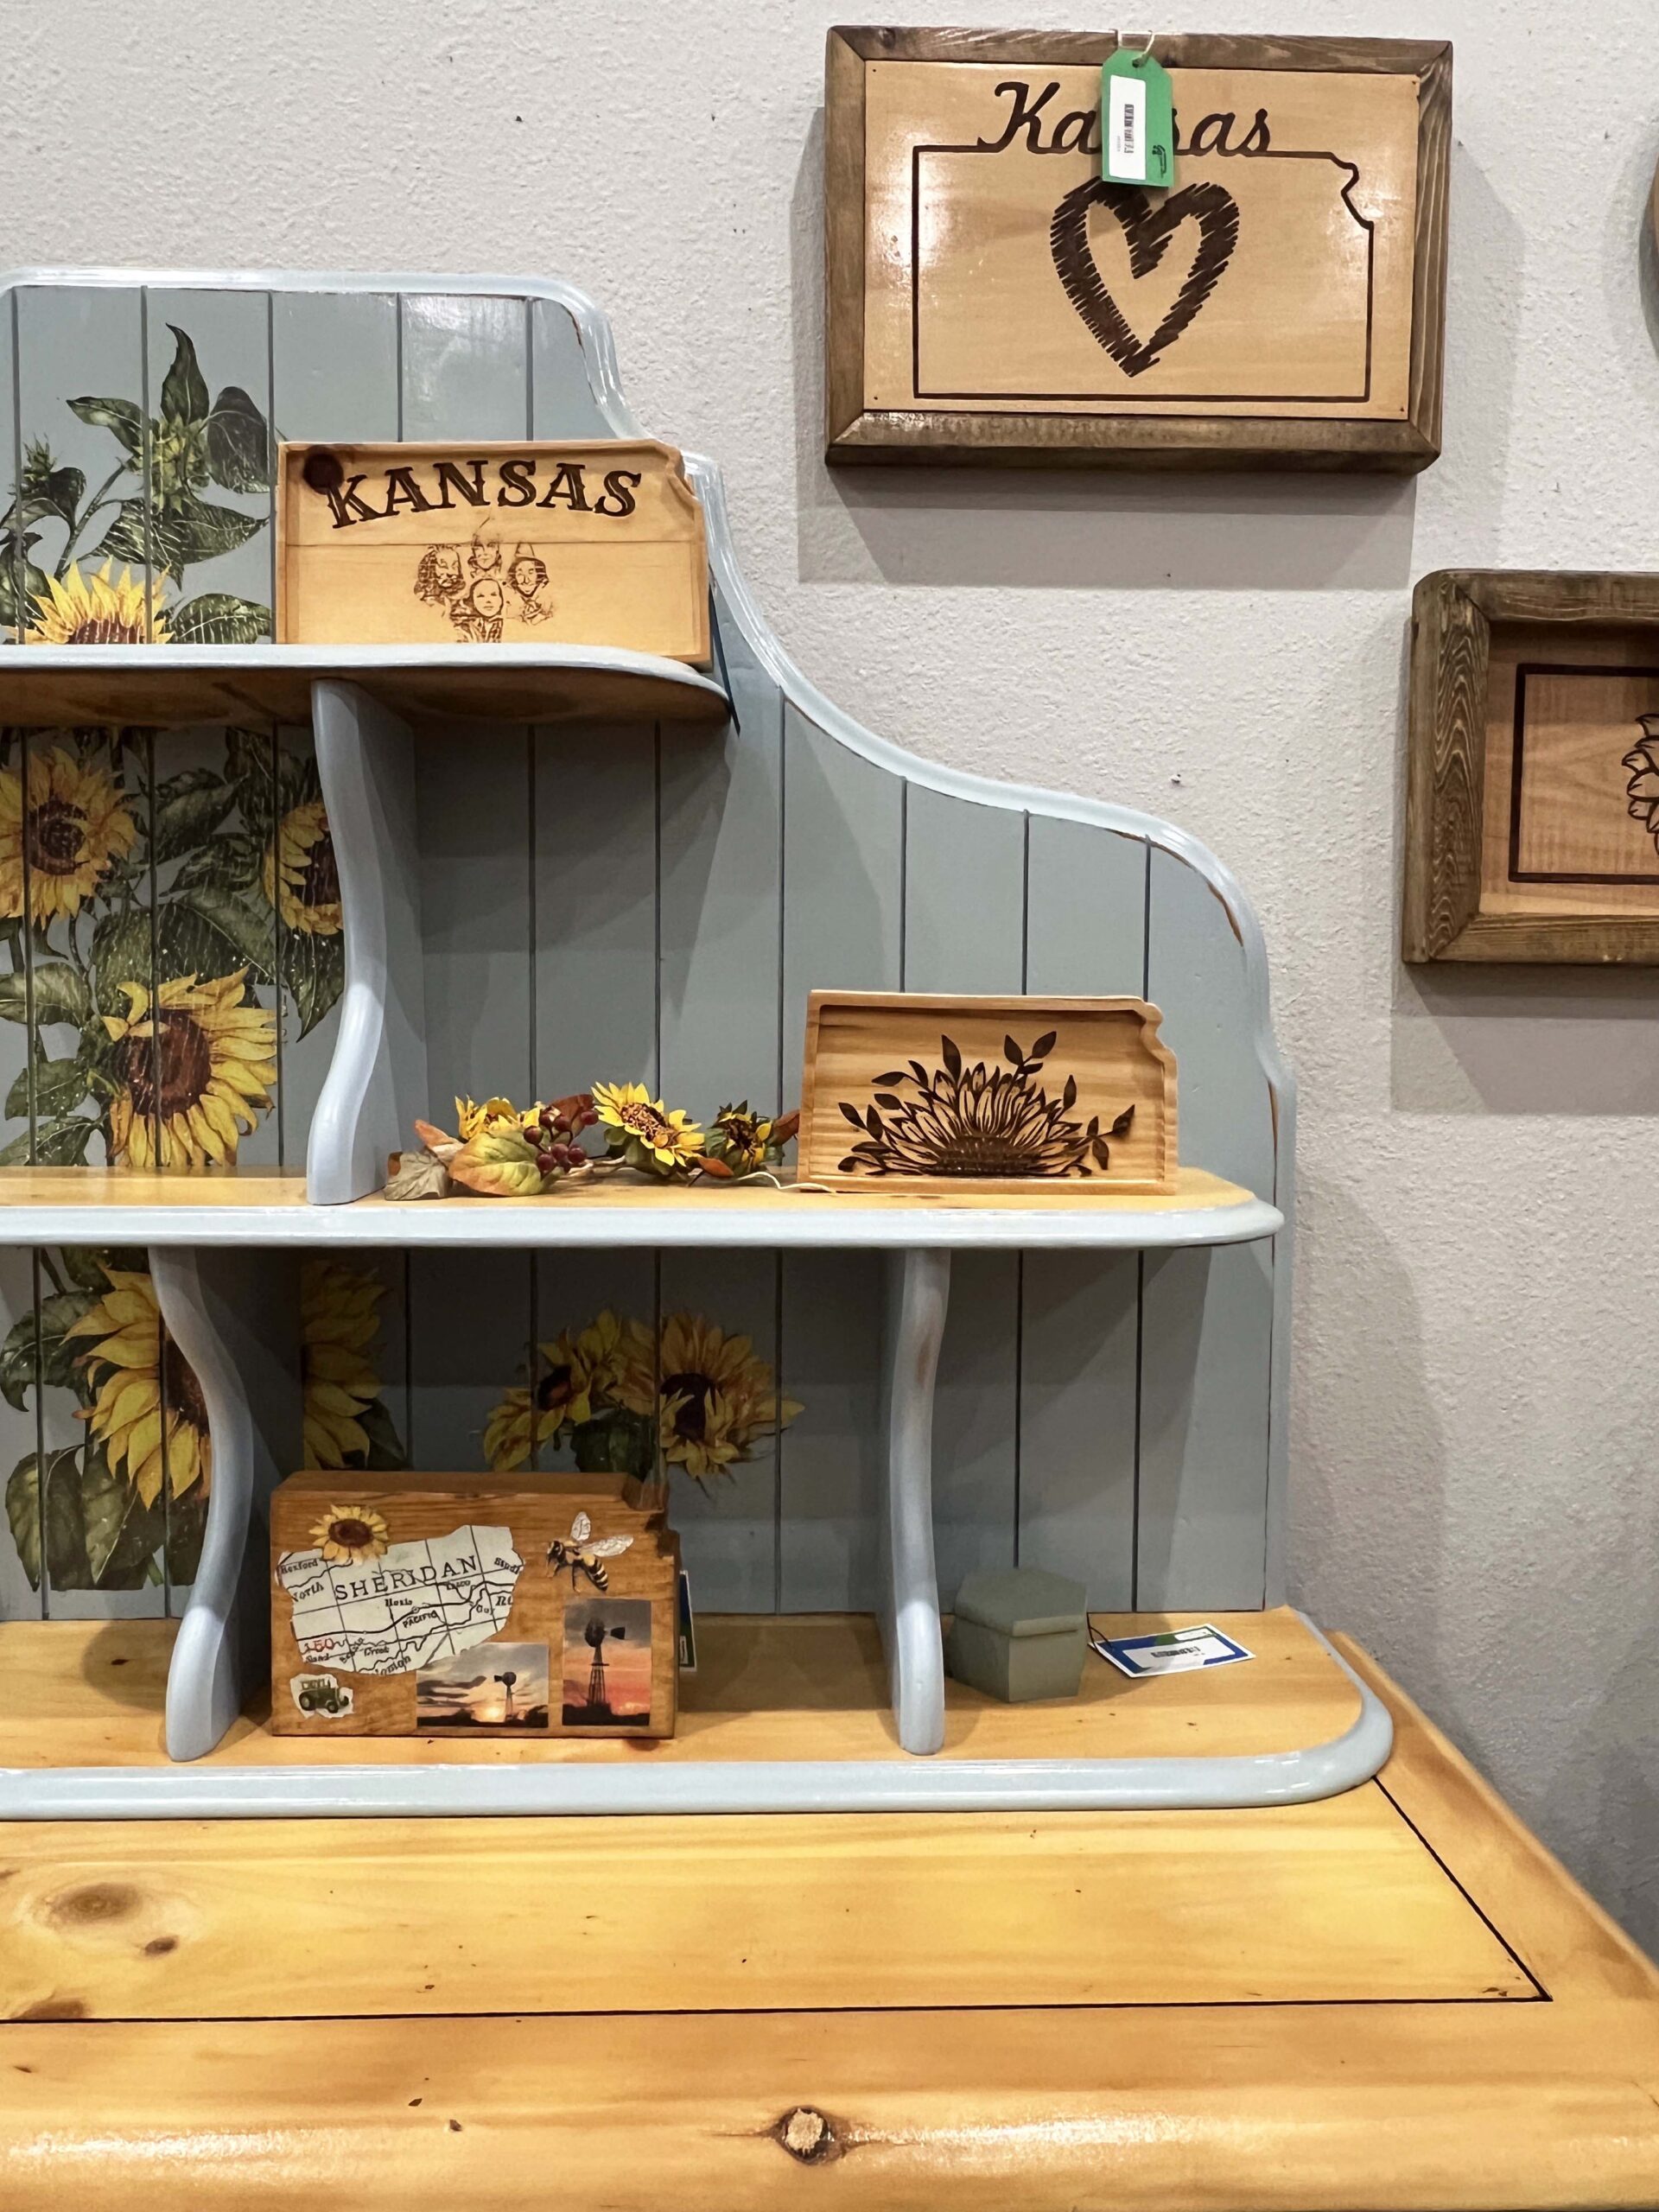 Donated furniture is restored and improved to become one-of-a-kind pieces. Beautiful artwork is created for the home. Each purchased piece is a compliment to the individuals who create them.
 New products are added weekly. Women who prefer to shop for the latest in women’s fashions online can do so via the
 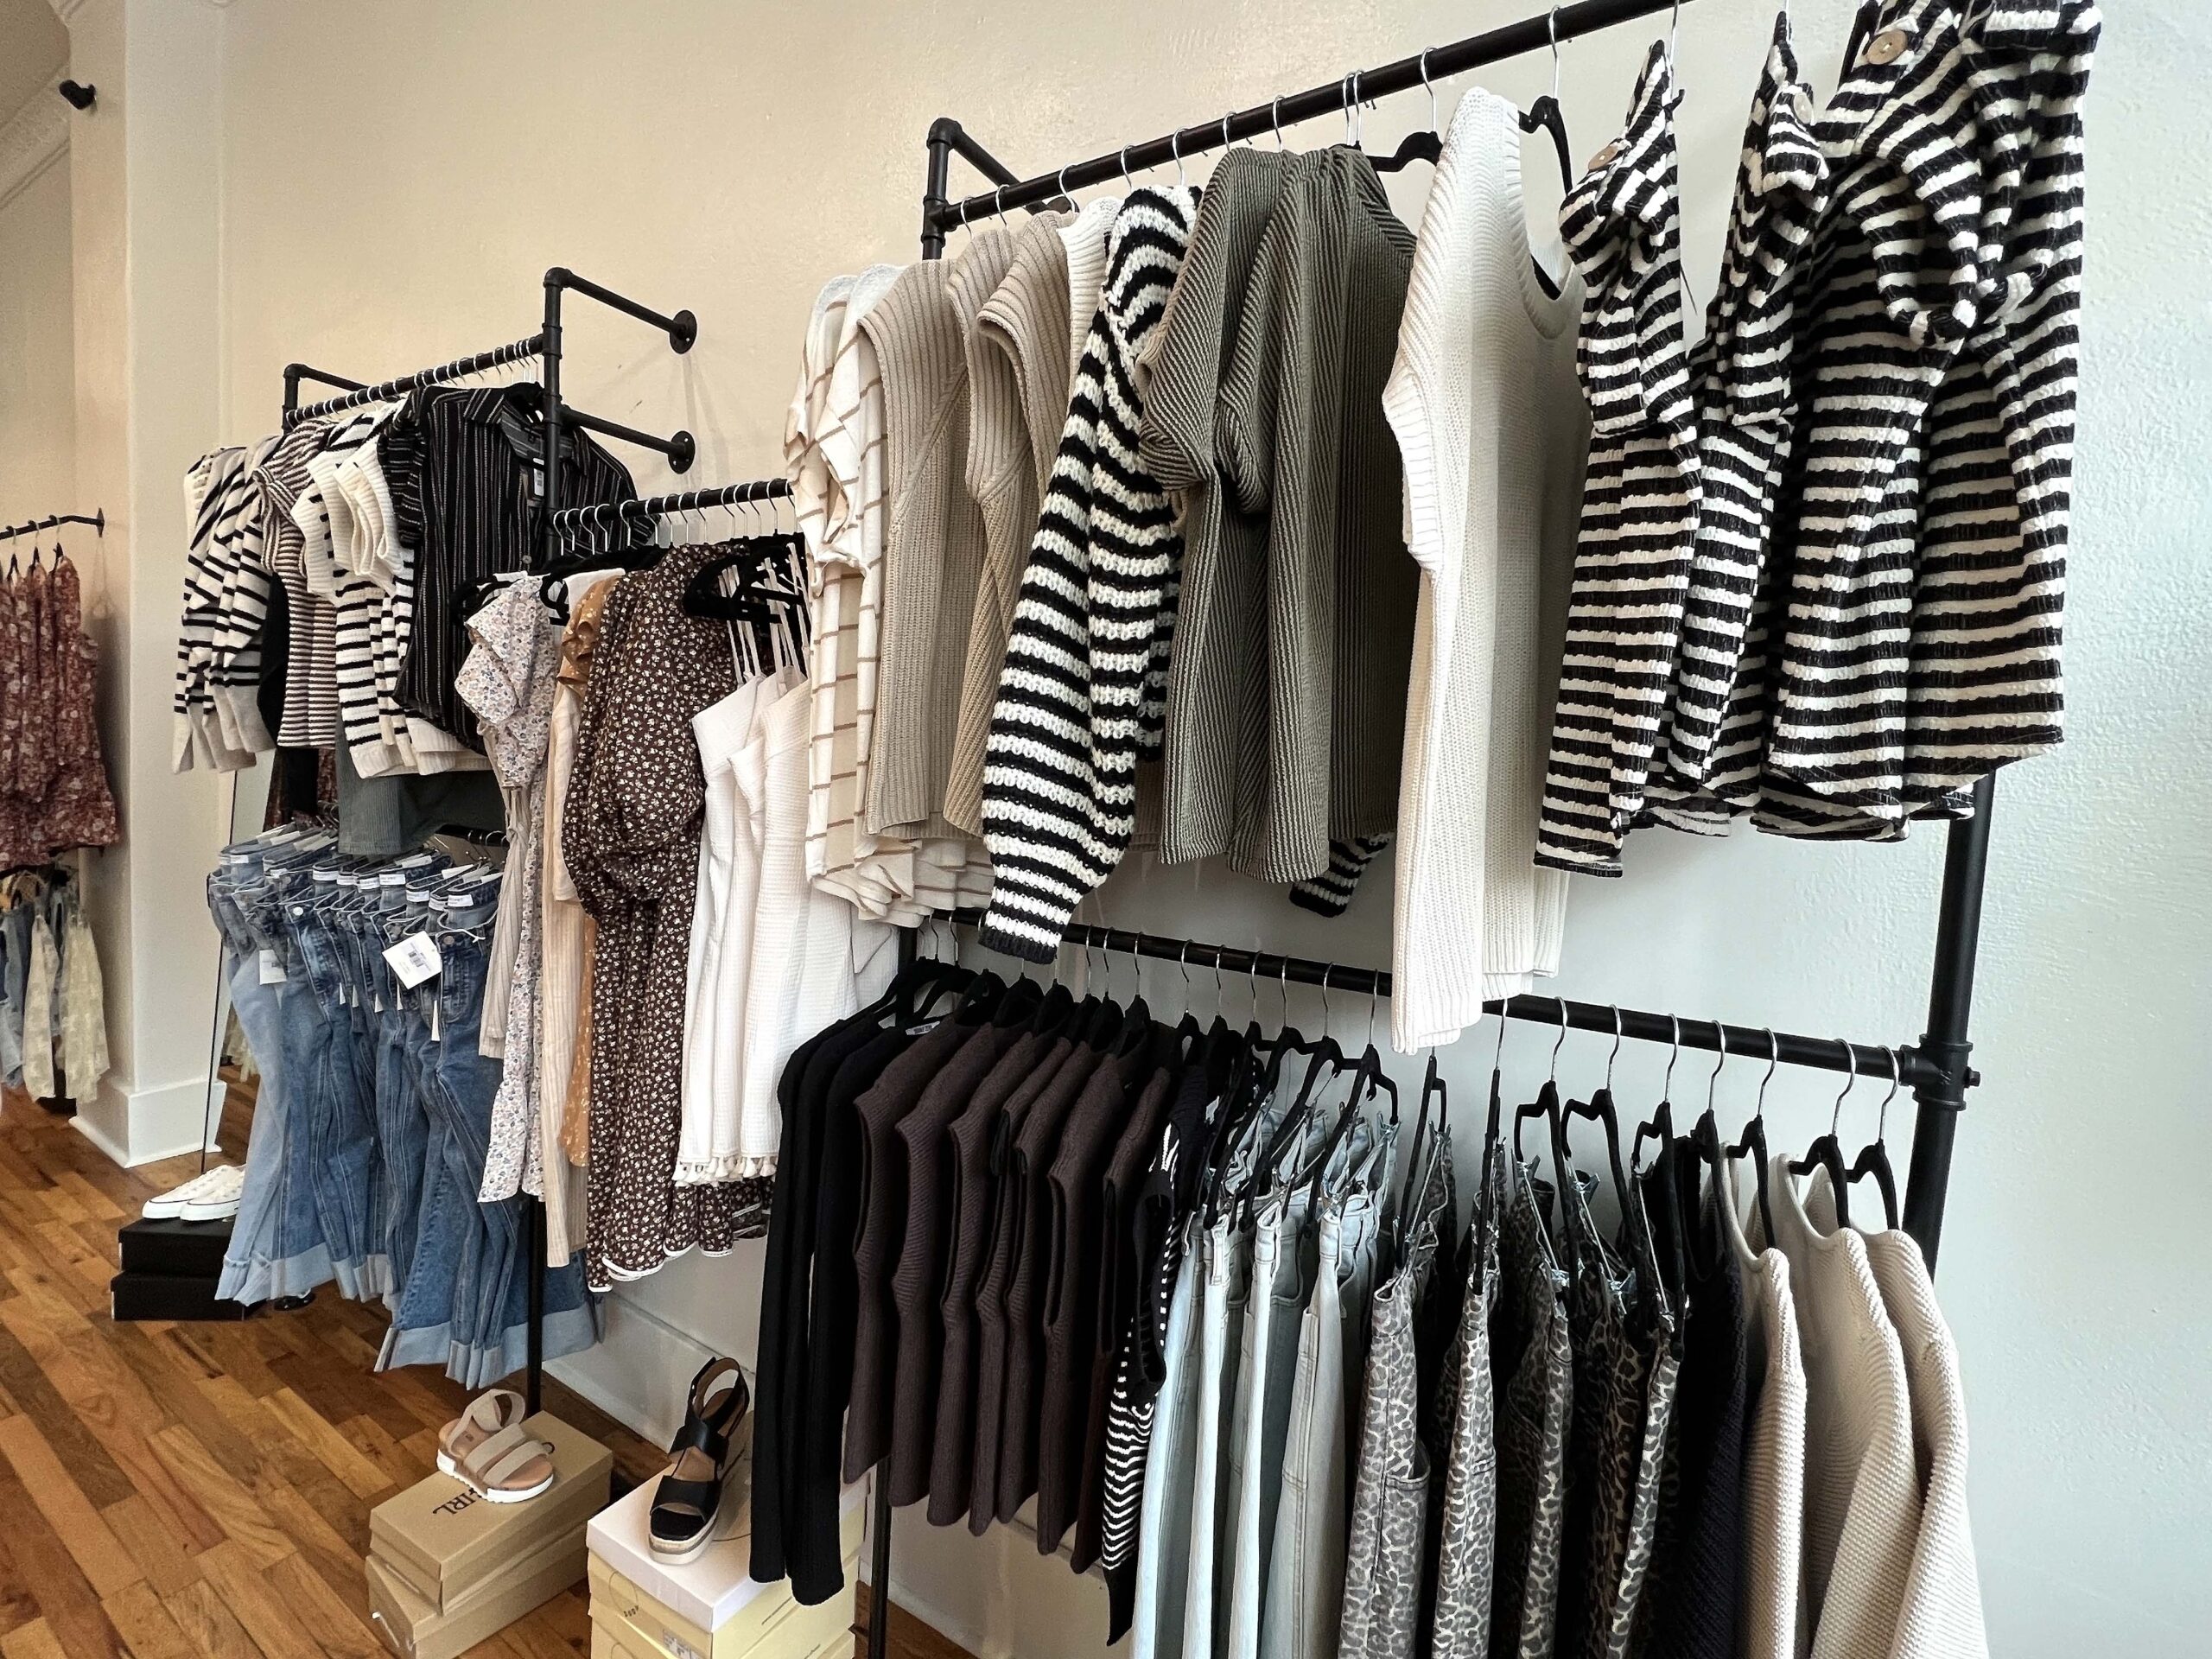 The shop’s owner had such success with her online shop that she decided to open a downtown Hays location. Trust me, you’ll want to swap your closet staples for selections from Azalea’s Avenue Boutique.
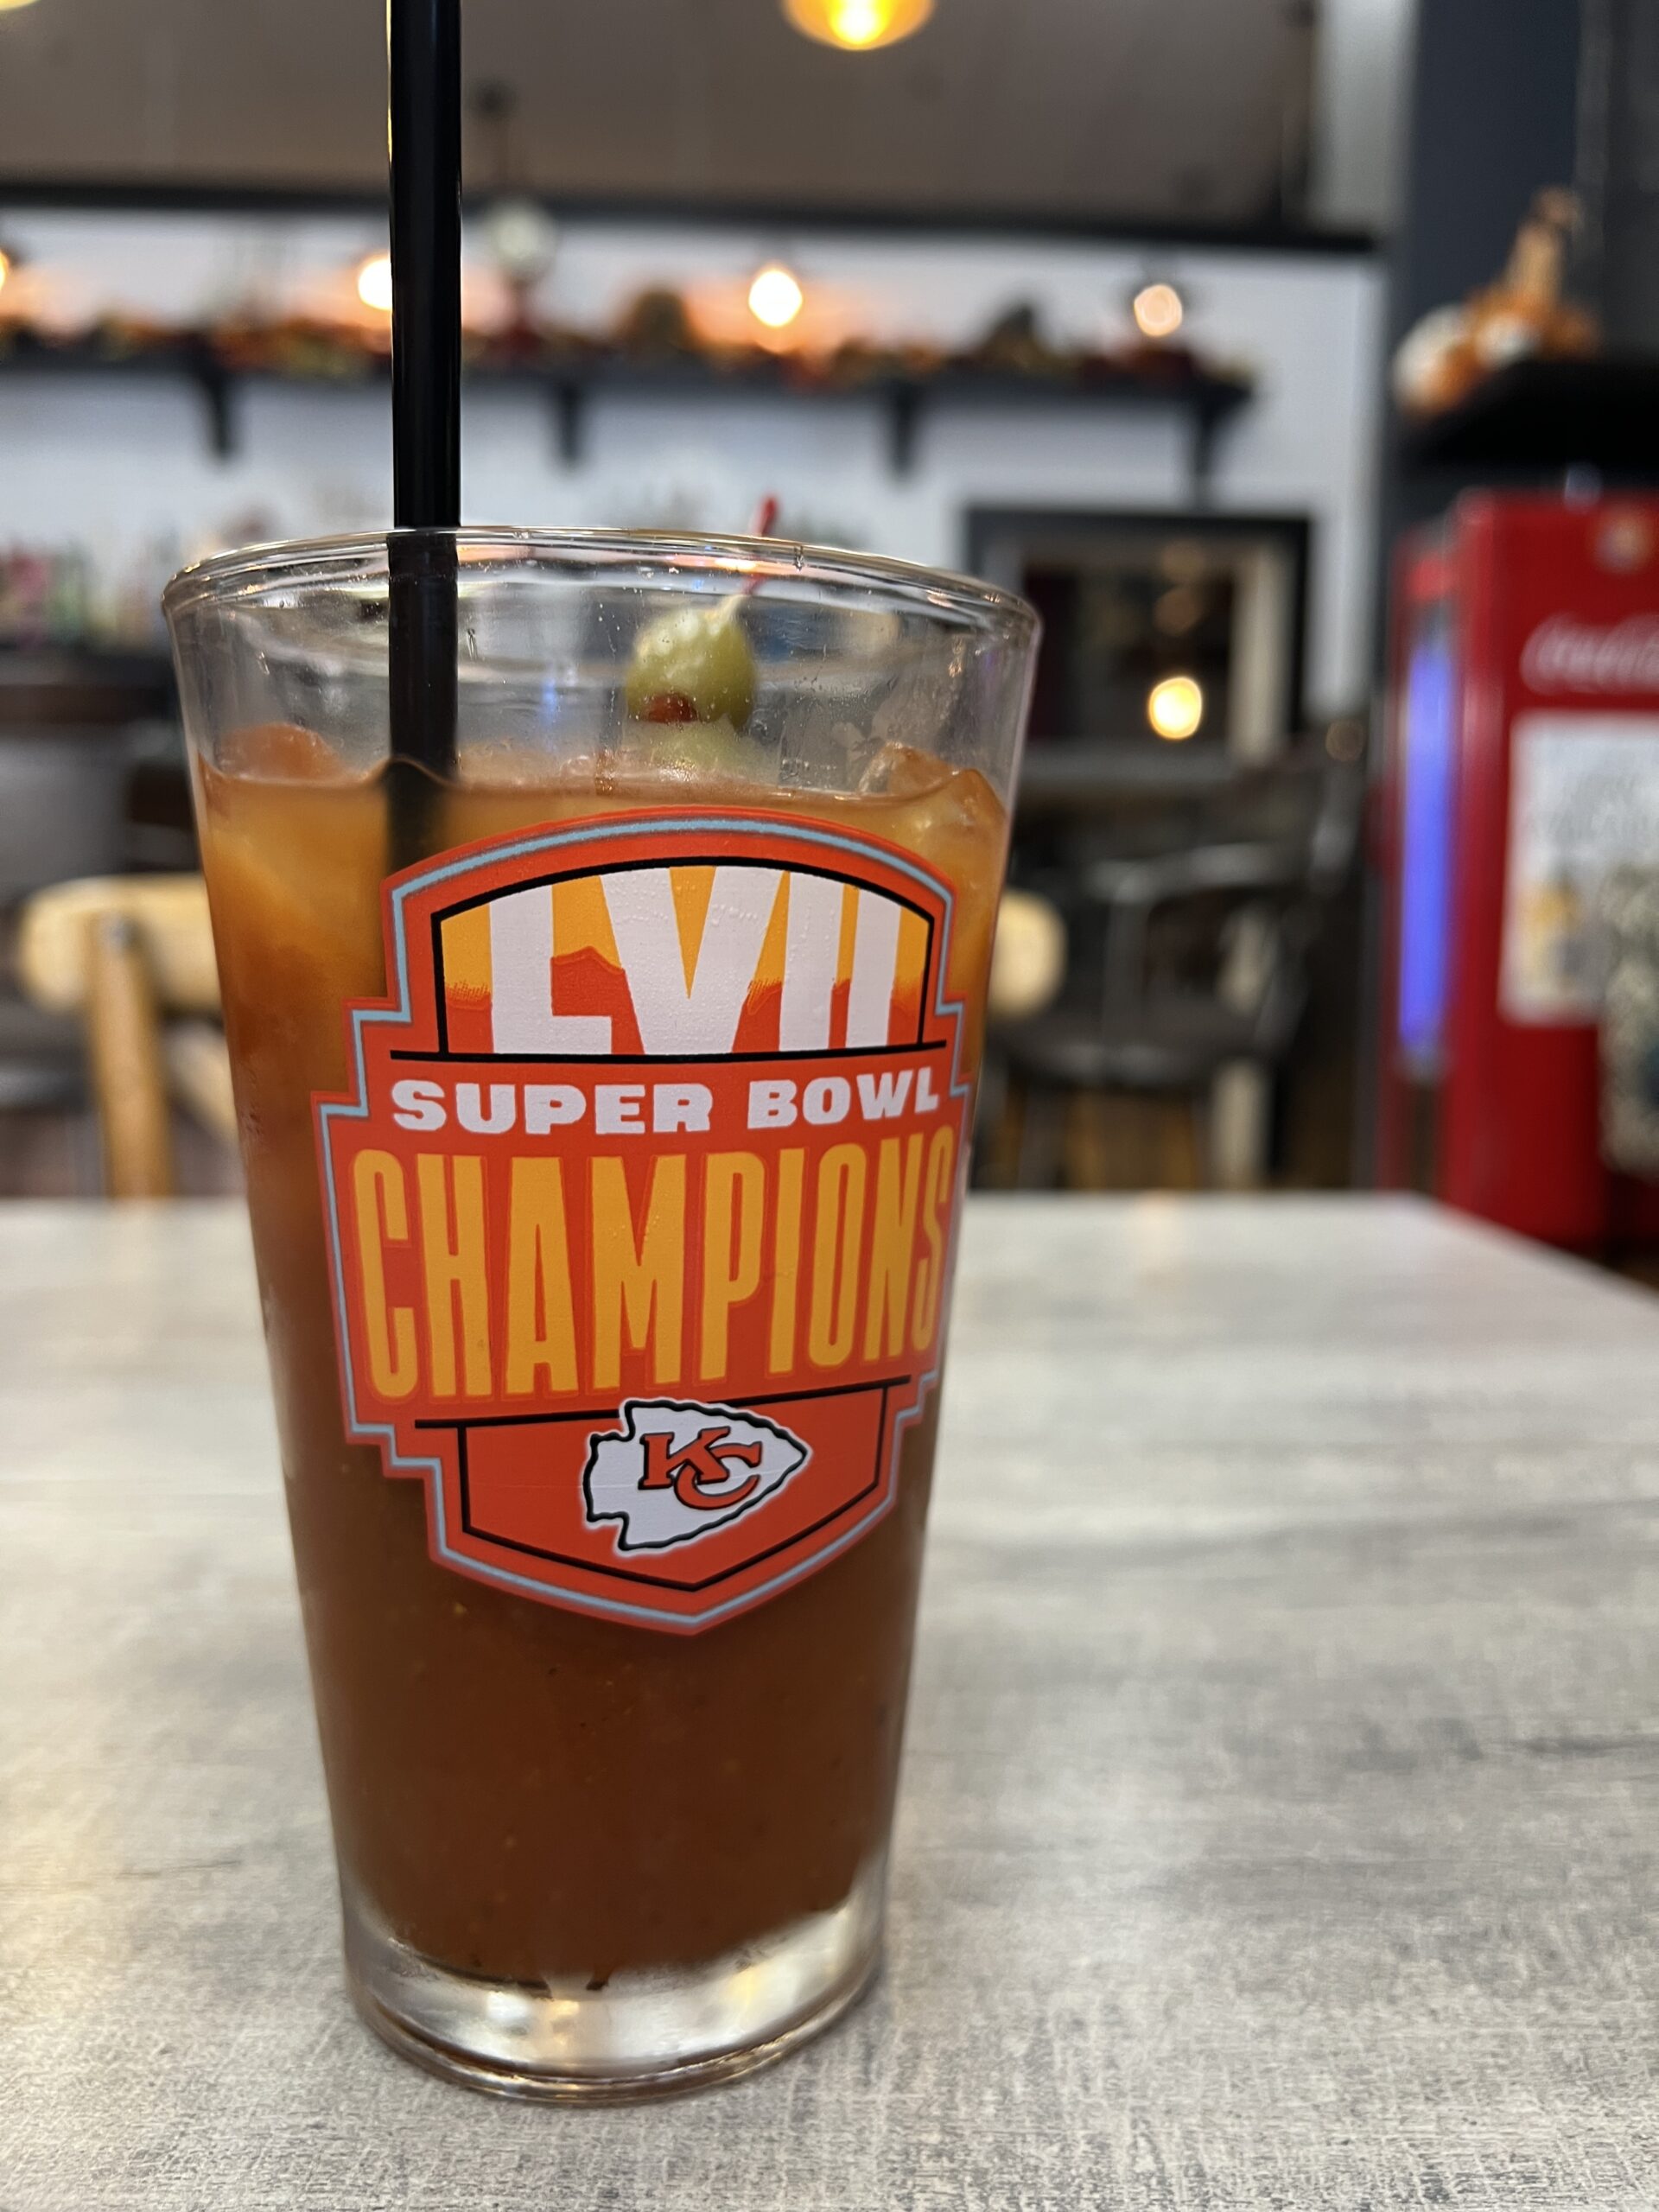 While sipping a Wicked Pickle Bloody Mary, the sound of the doorbell chimed as small groups arrived to dine. If you prefer lunch fare, order a sandwich with Kettle® chips to enjoy al fresco at a patio table.
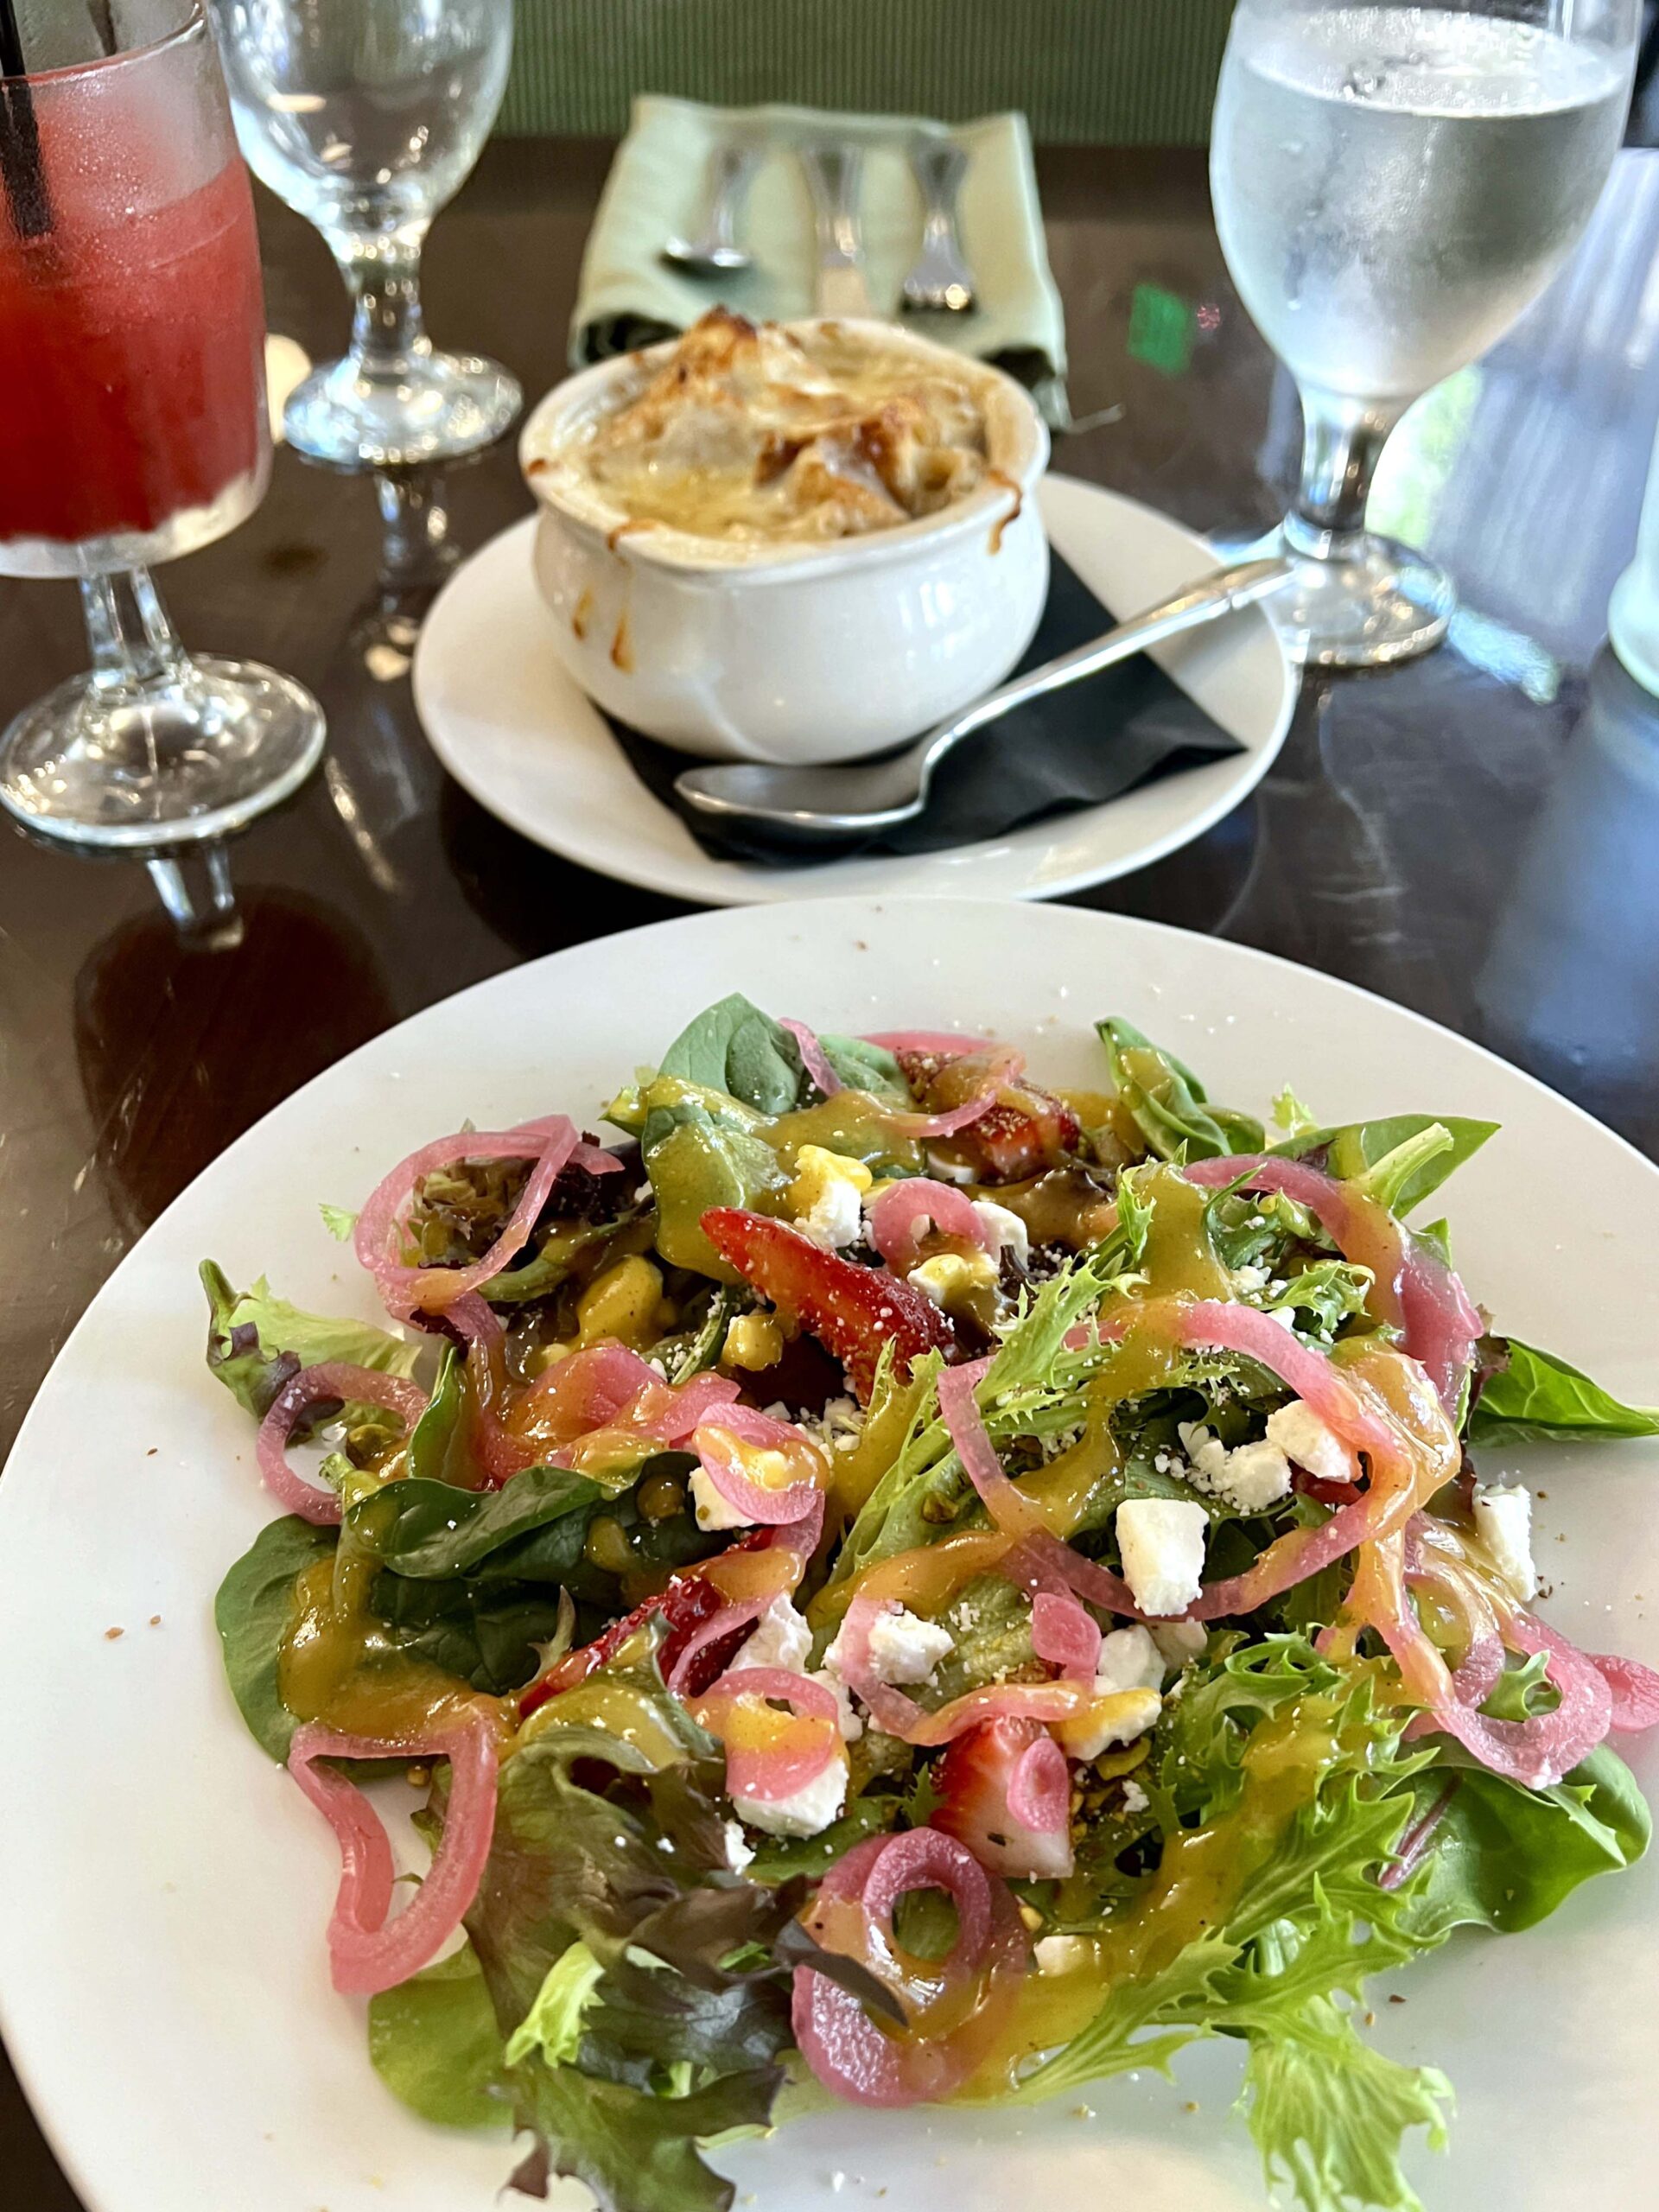 While the French Onion Soup’s caramelized onions with cheese in a beef broth were rich in flavor, it was served so hot that I needed to wait to eat it. The refreshing pomegranate mocktail cooled my palate.
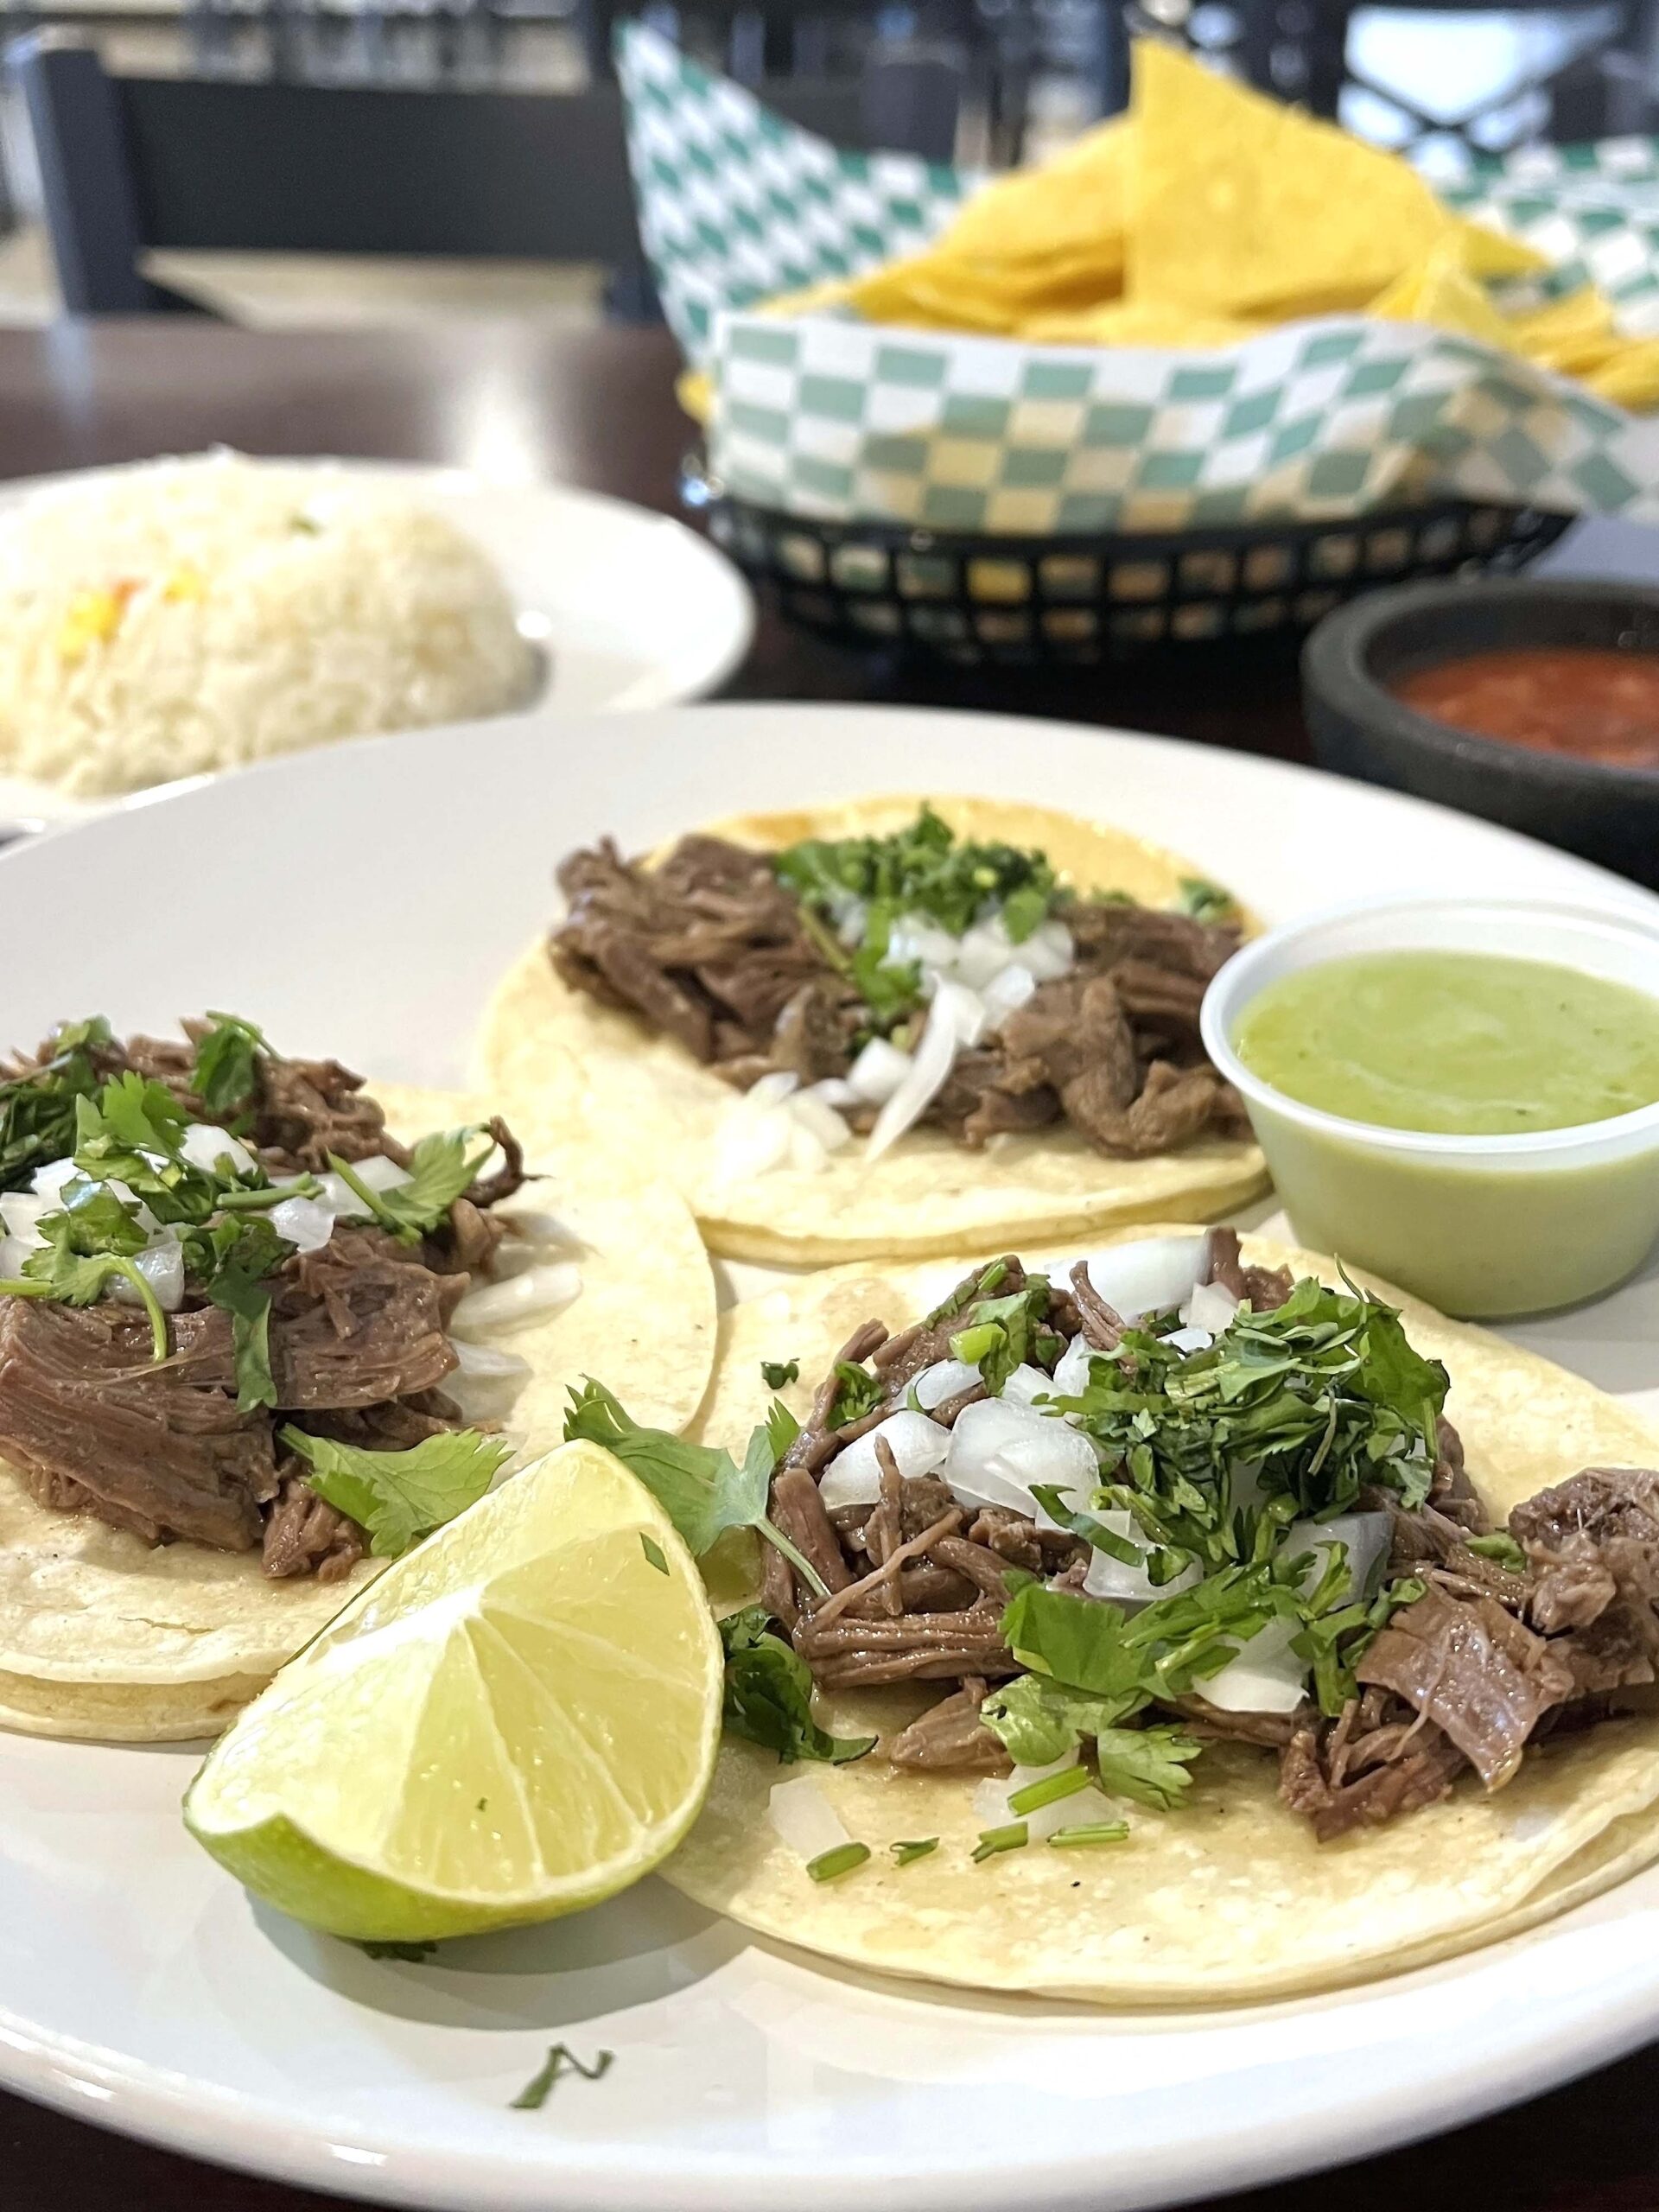 My order of Tacos De Barbacoa was served with tender, shredded beef, which I topped with an avocado cream sauce. I’m eager to return for dinner to try the day’s special with one of the five margaritas available.
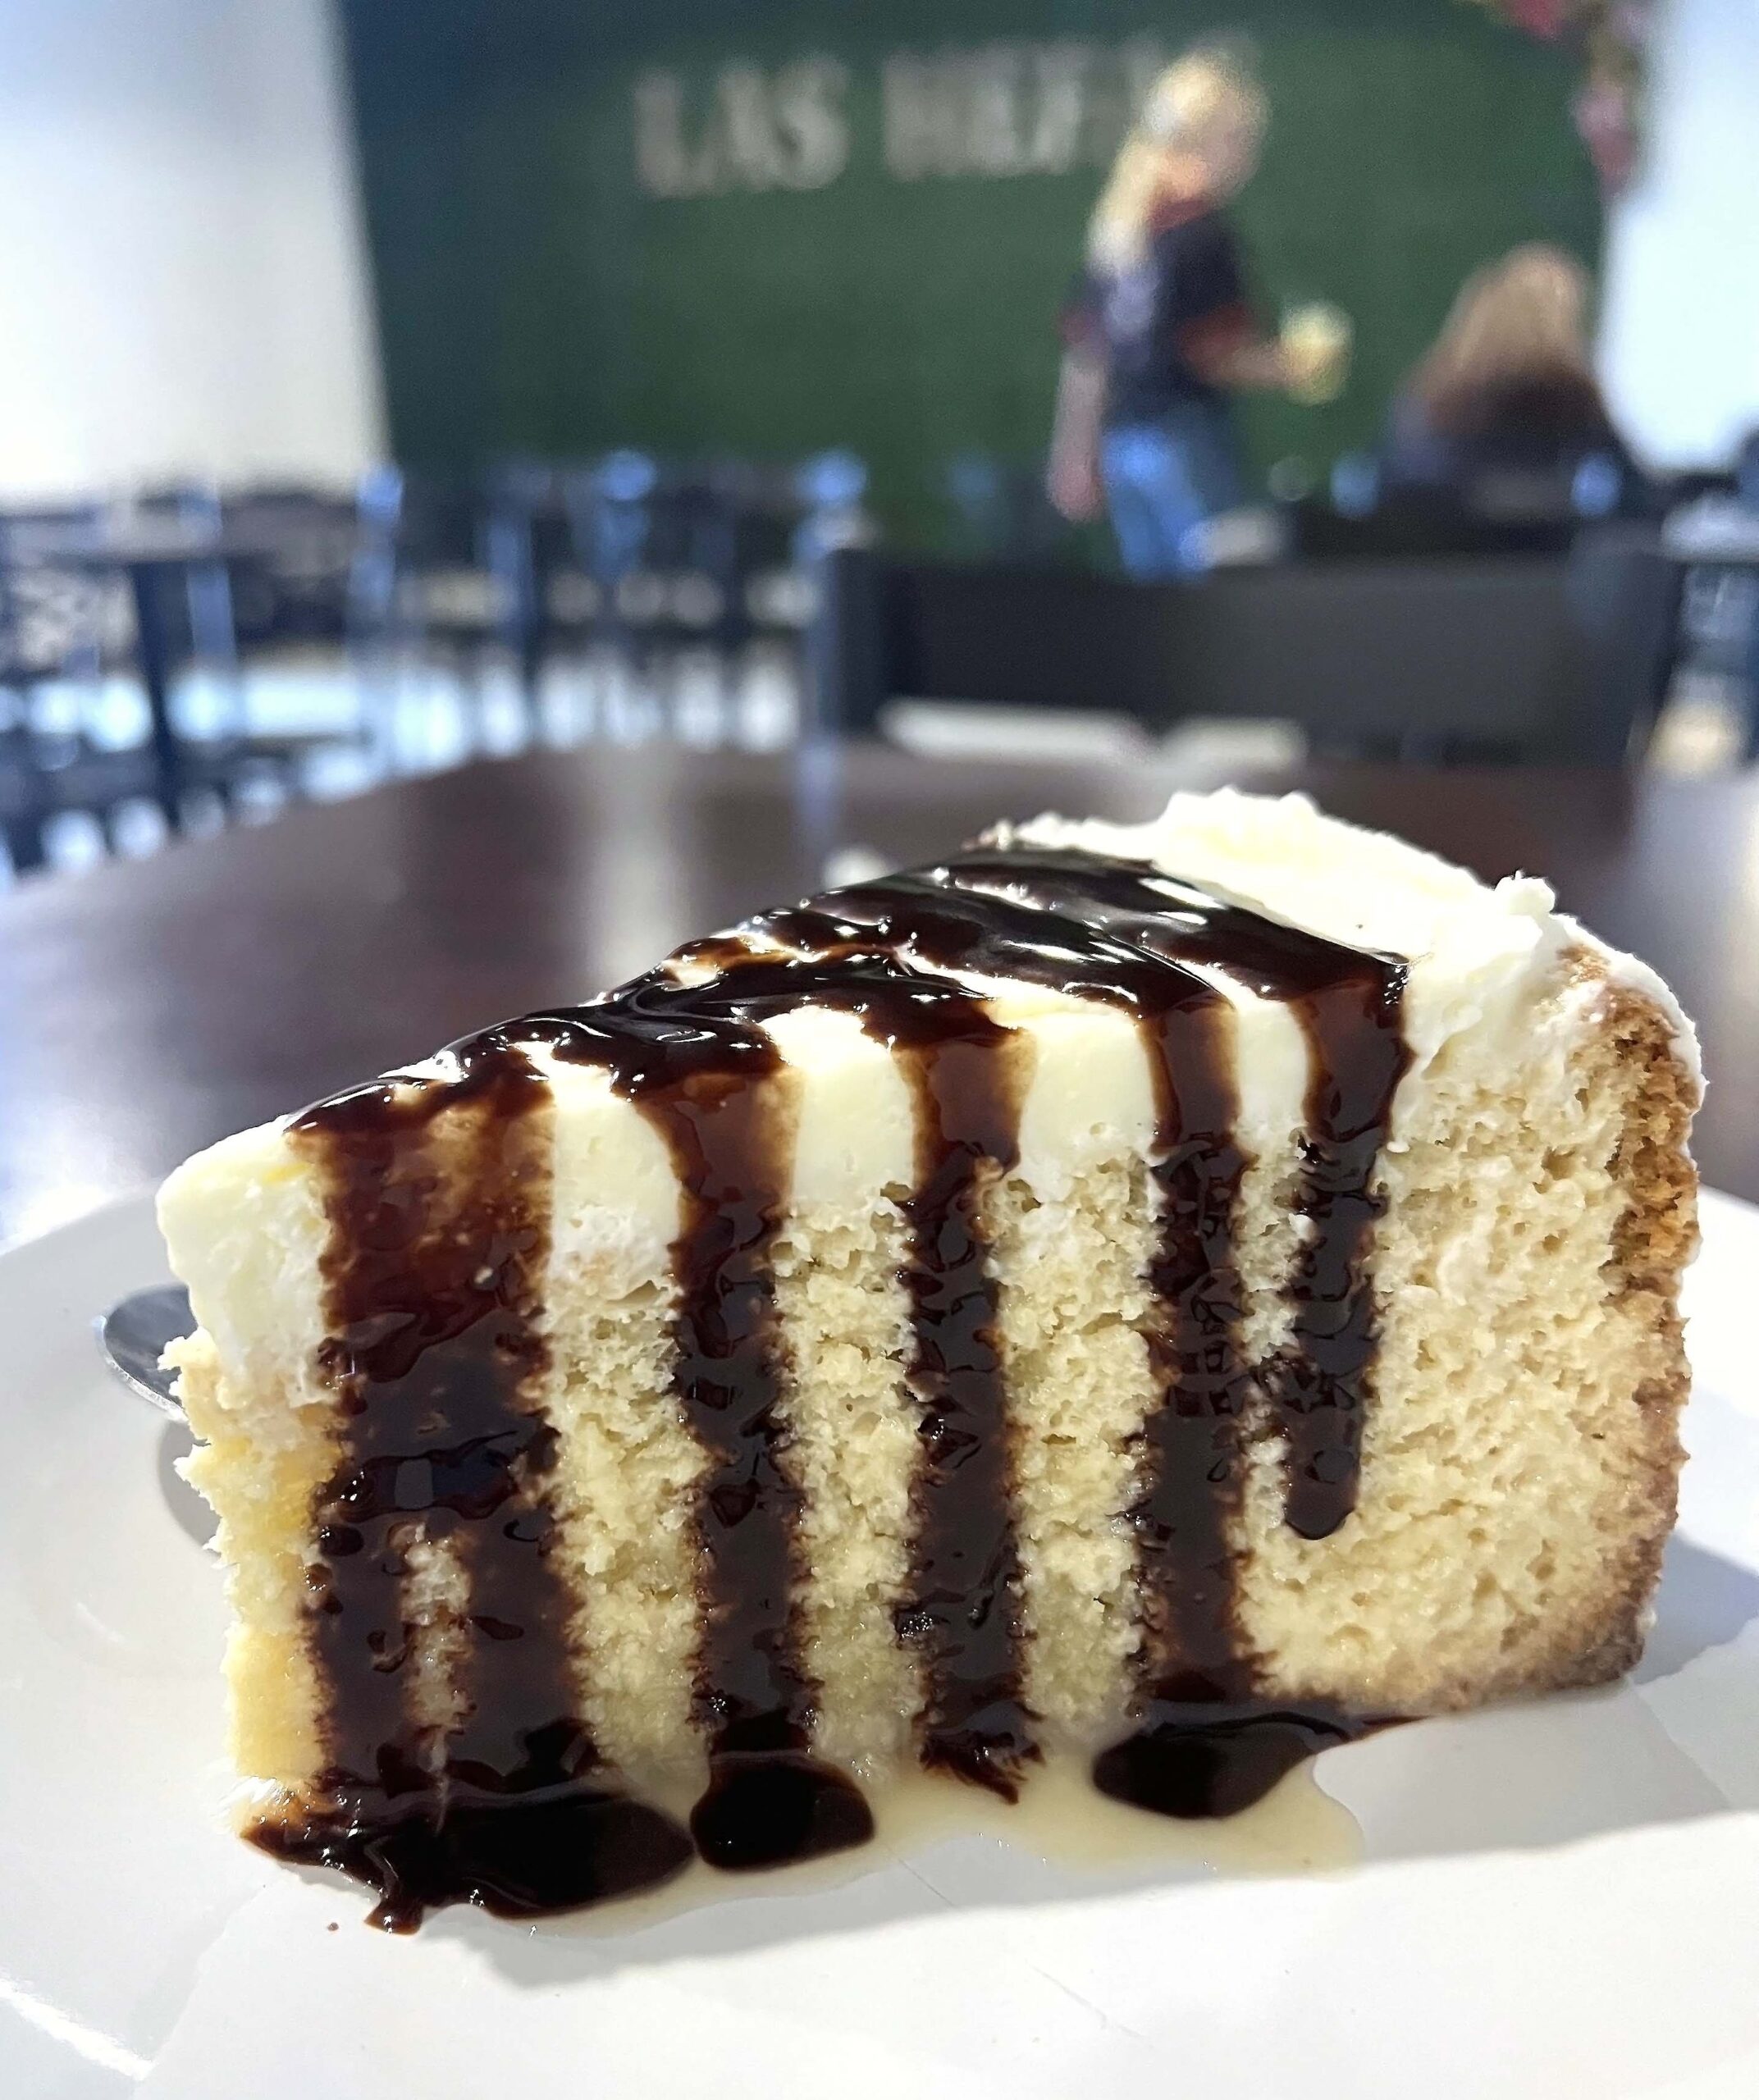 PRO TIP: Don’t leave without eating dessert. The Tres Leches cake is a shareable, moist slice of heaven served with drizzled chocolate sauce.
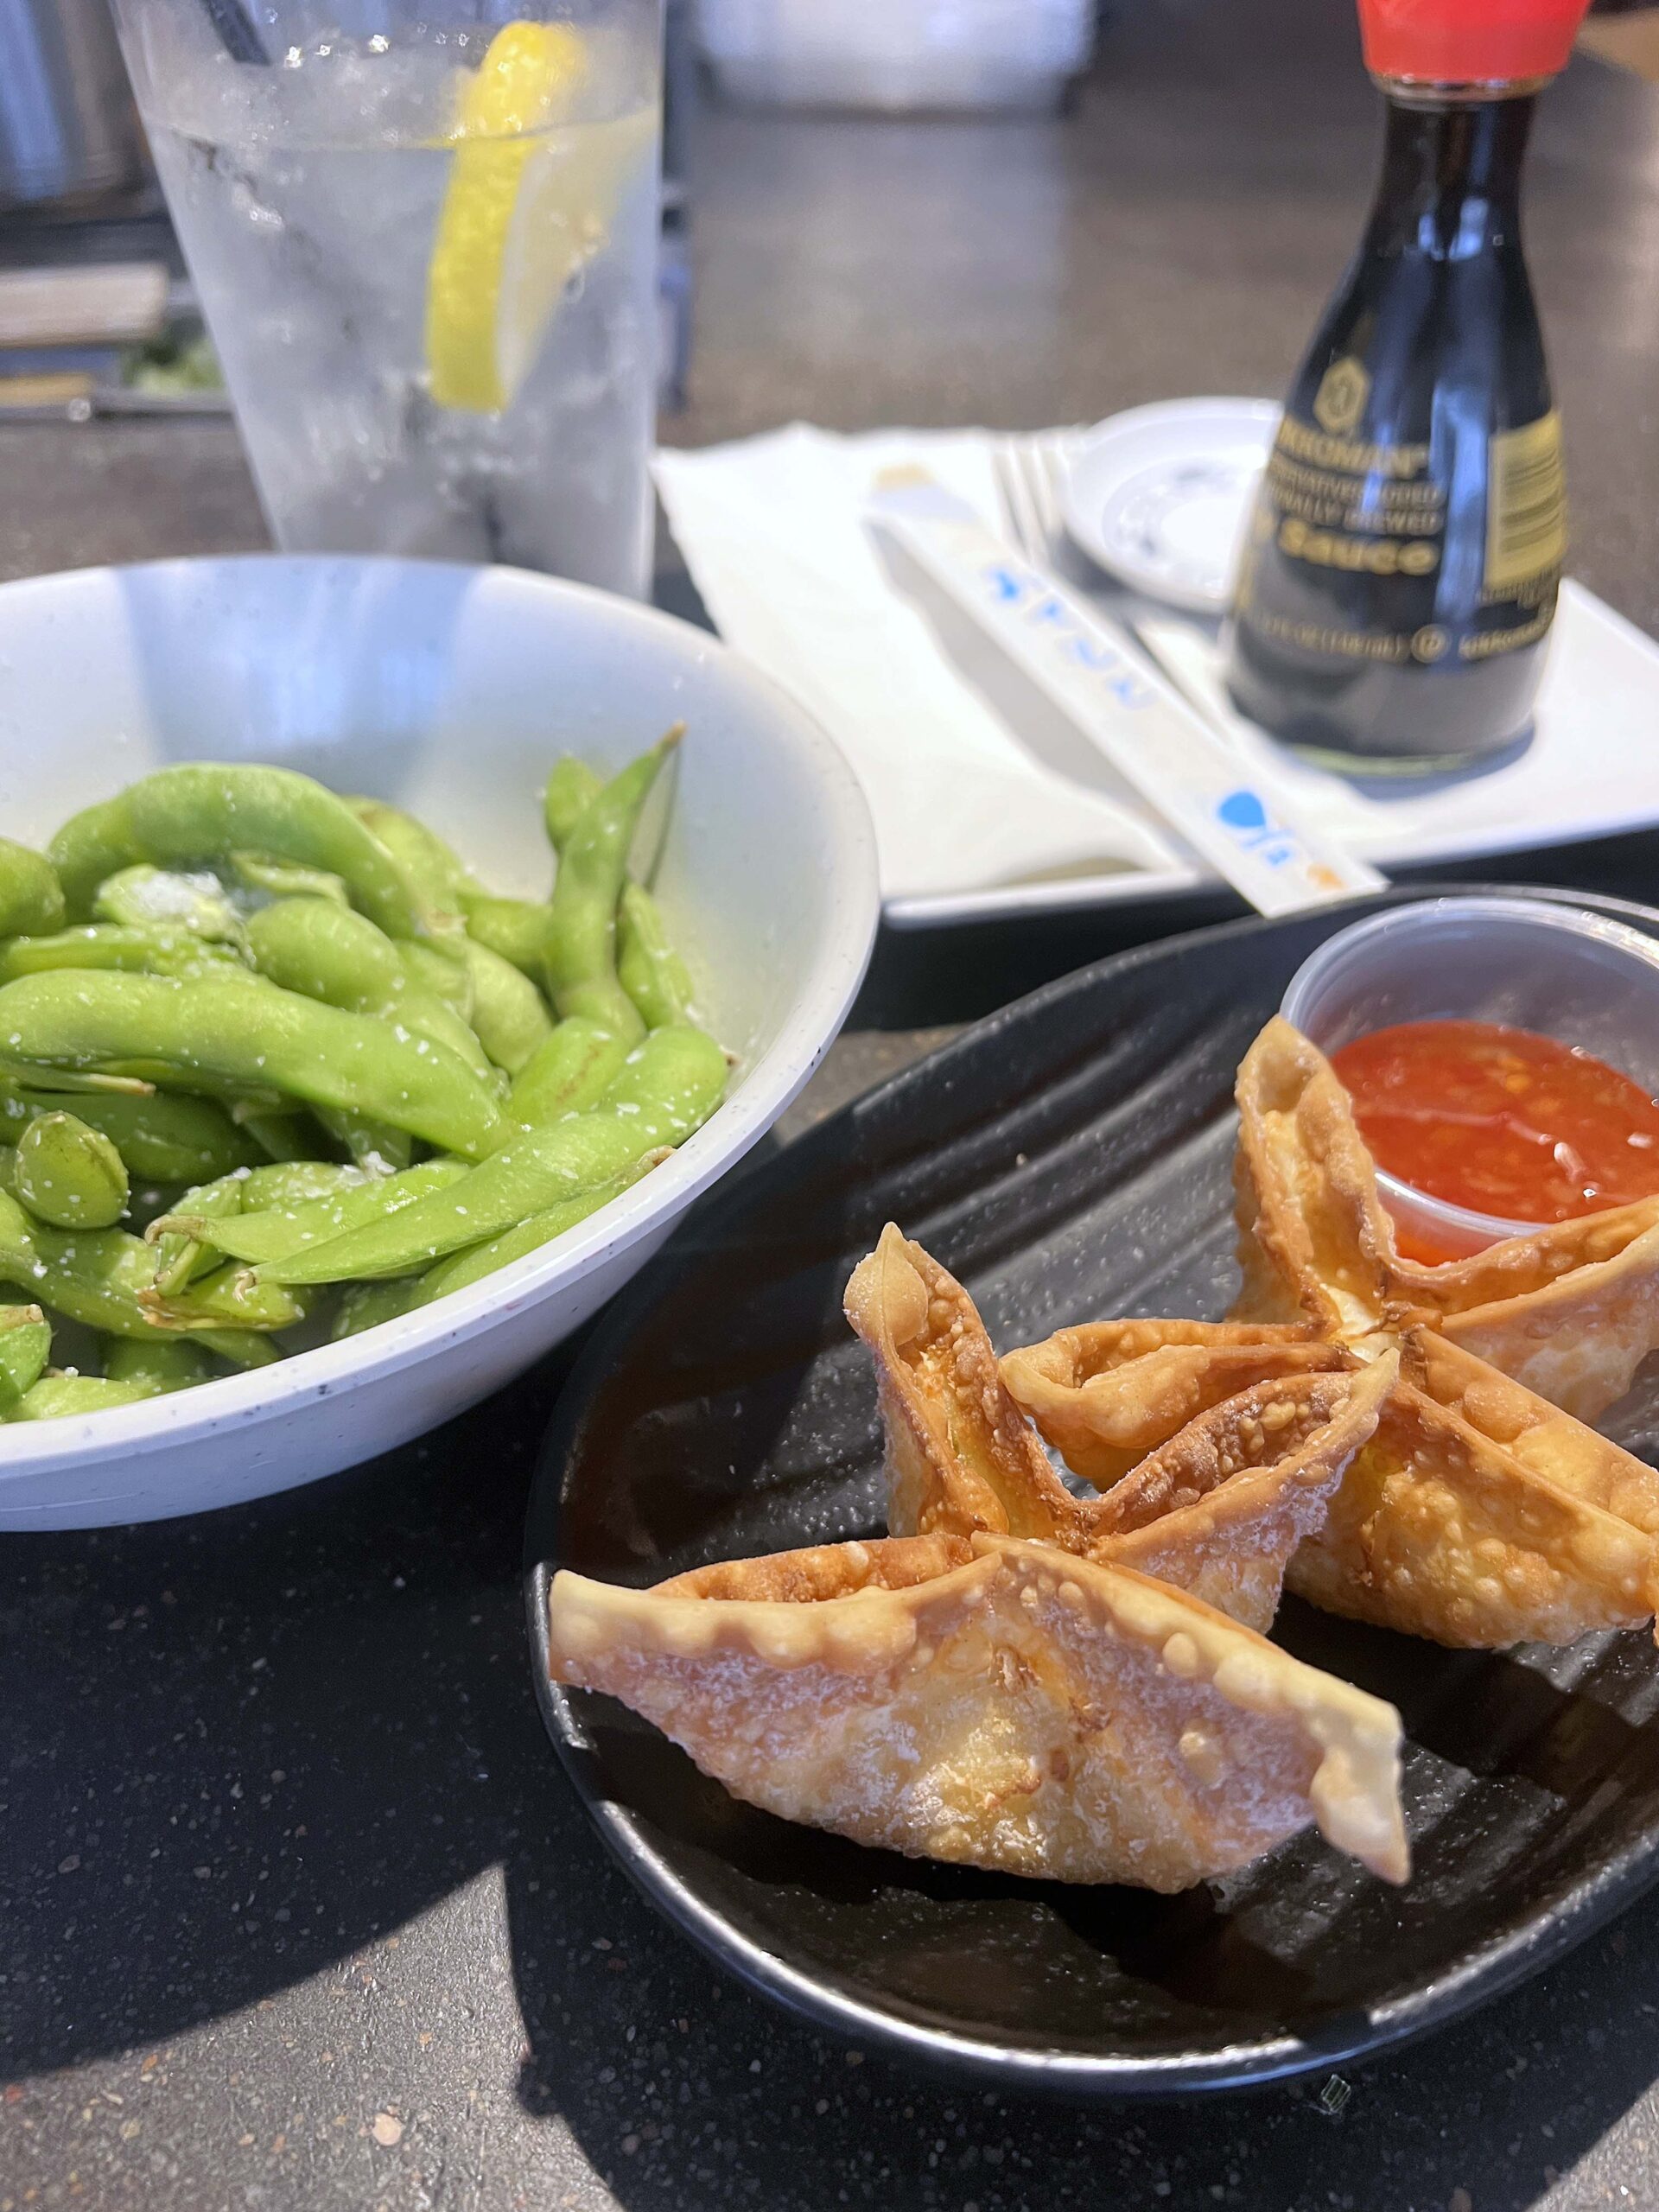 I started my meal with appetizers: crab rangoon and salted edamame, followed by the day’s special, Golden State Rolls.
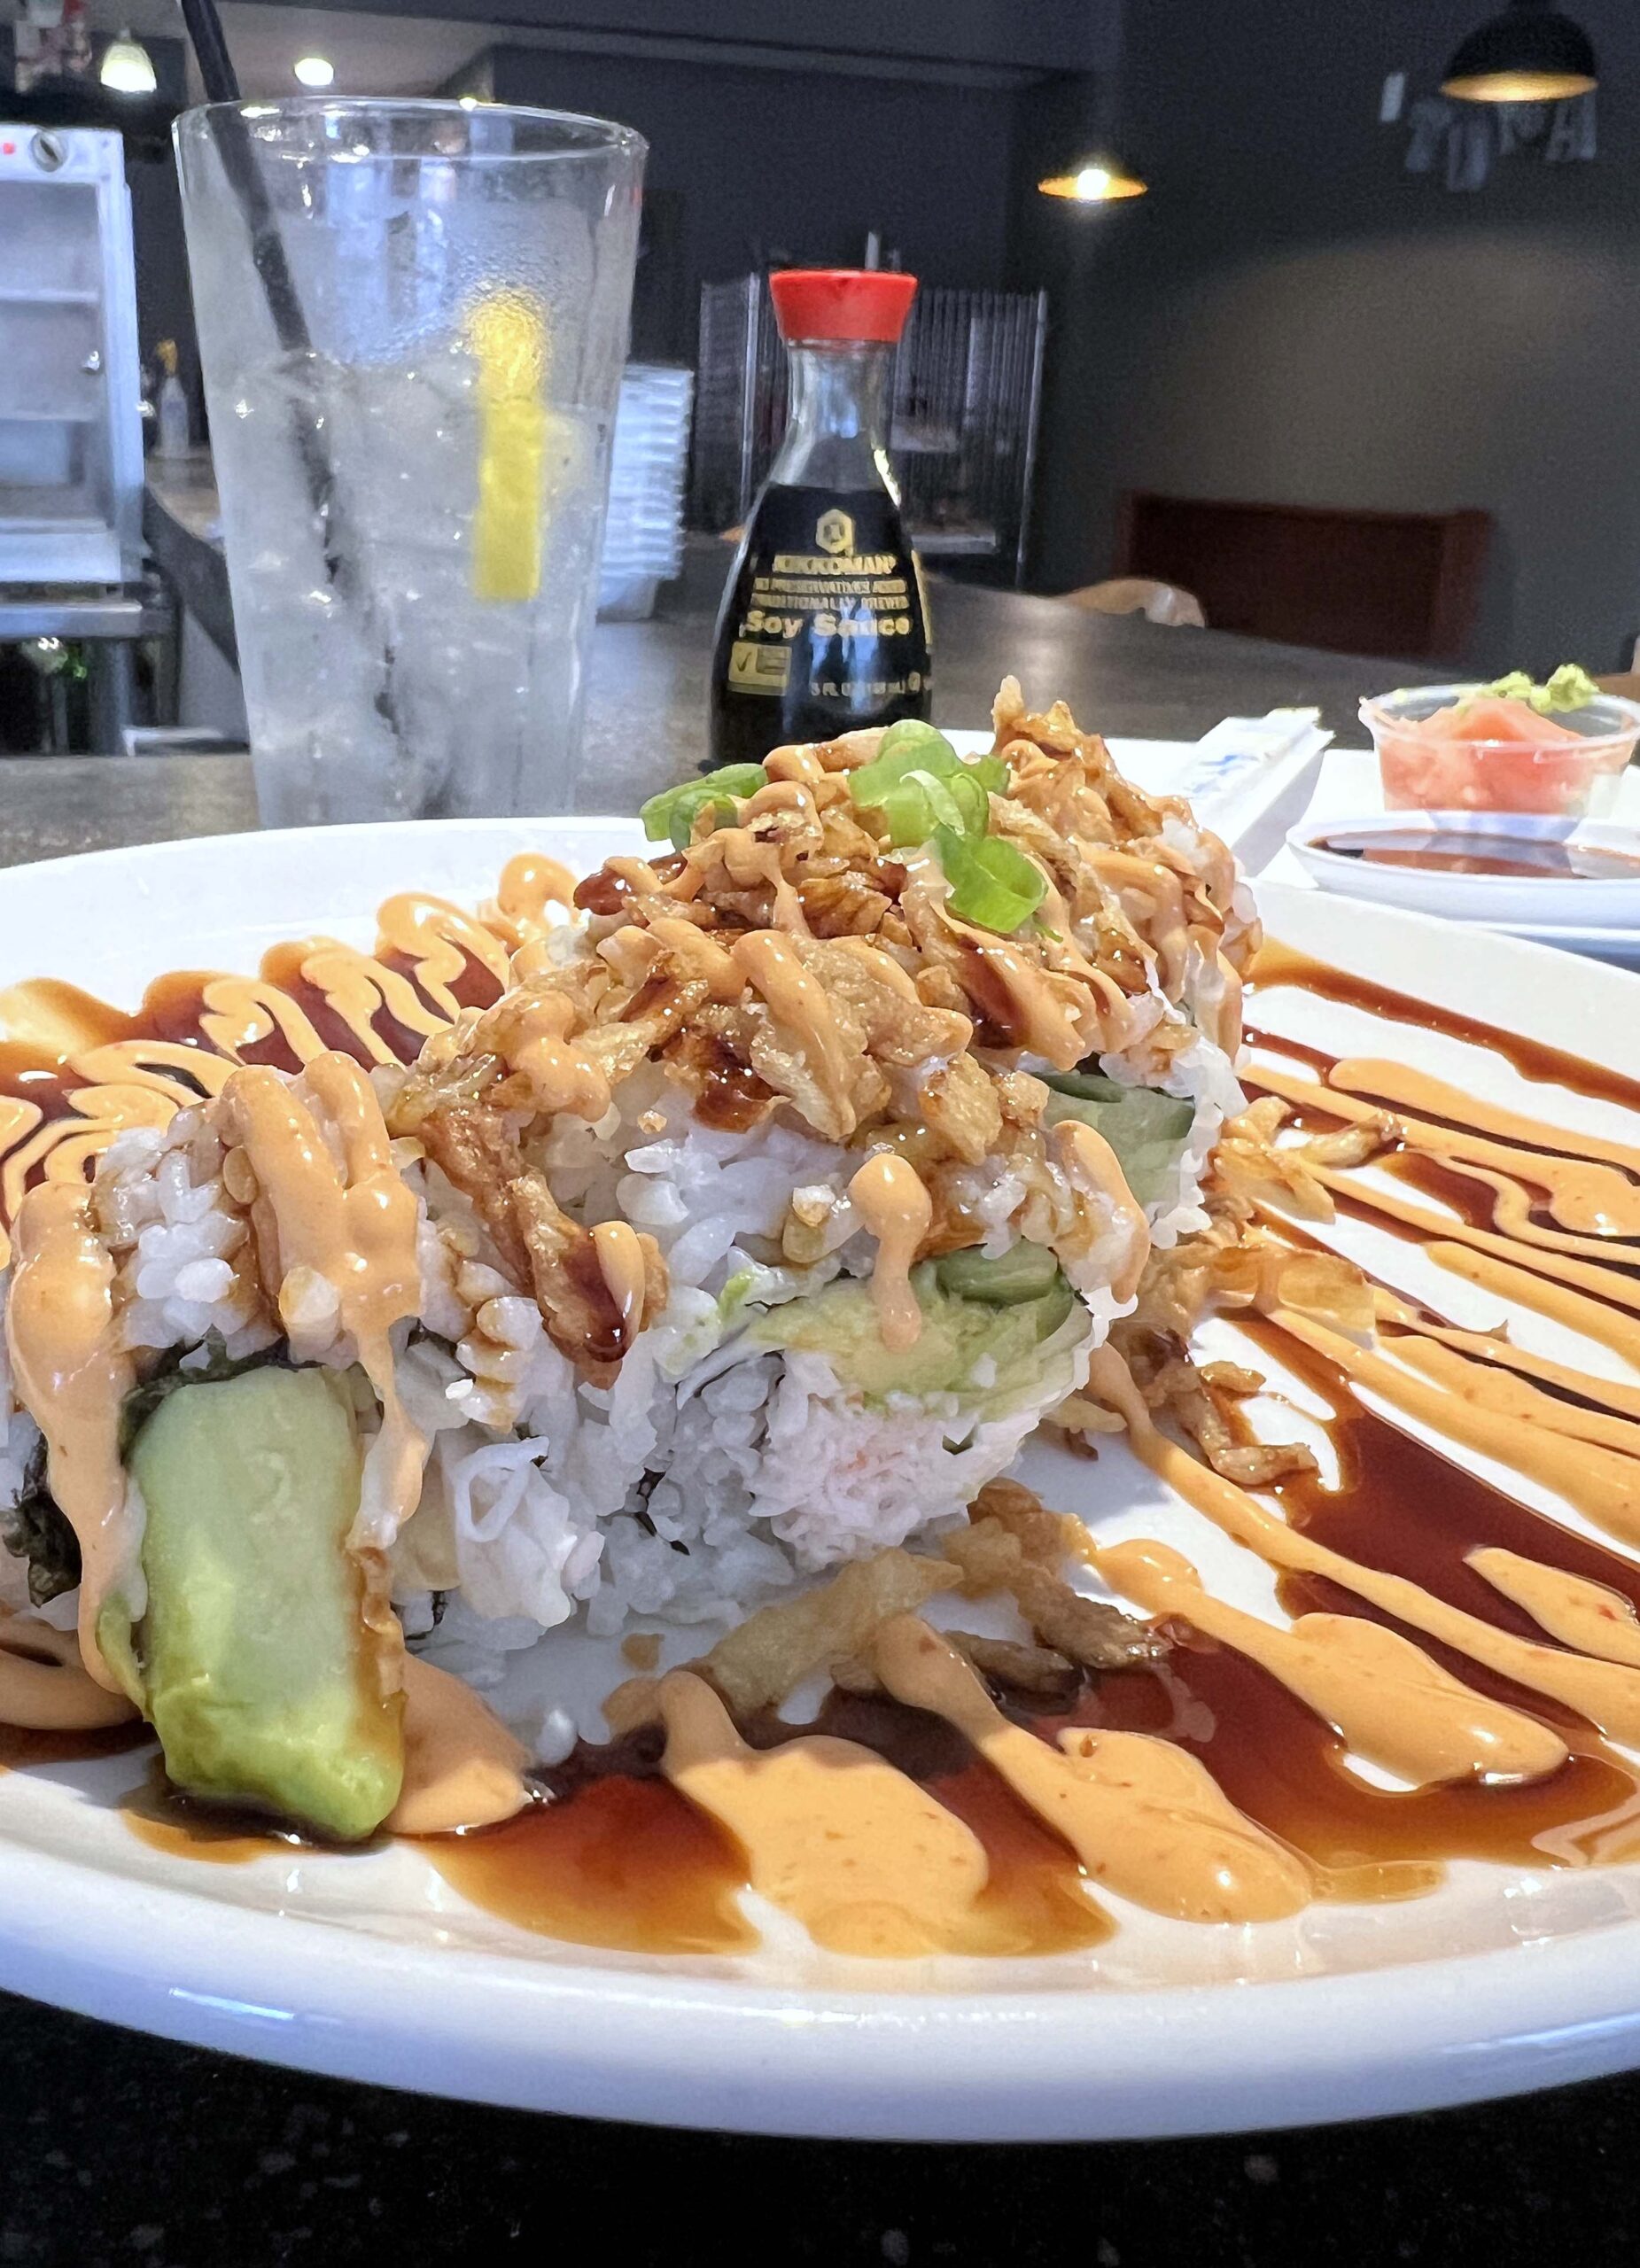 The crab-stuffed sushi rolls were presented on a dinner-size plate drizzled with eel sauce and Japanese mayonnaise. Each roll was large enough that I had to cut it in half.
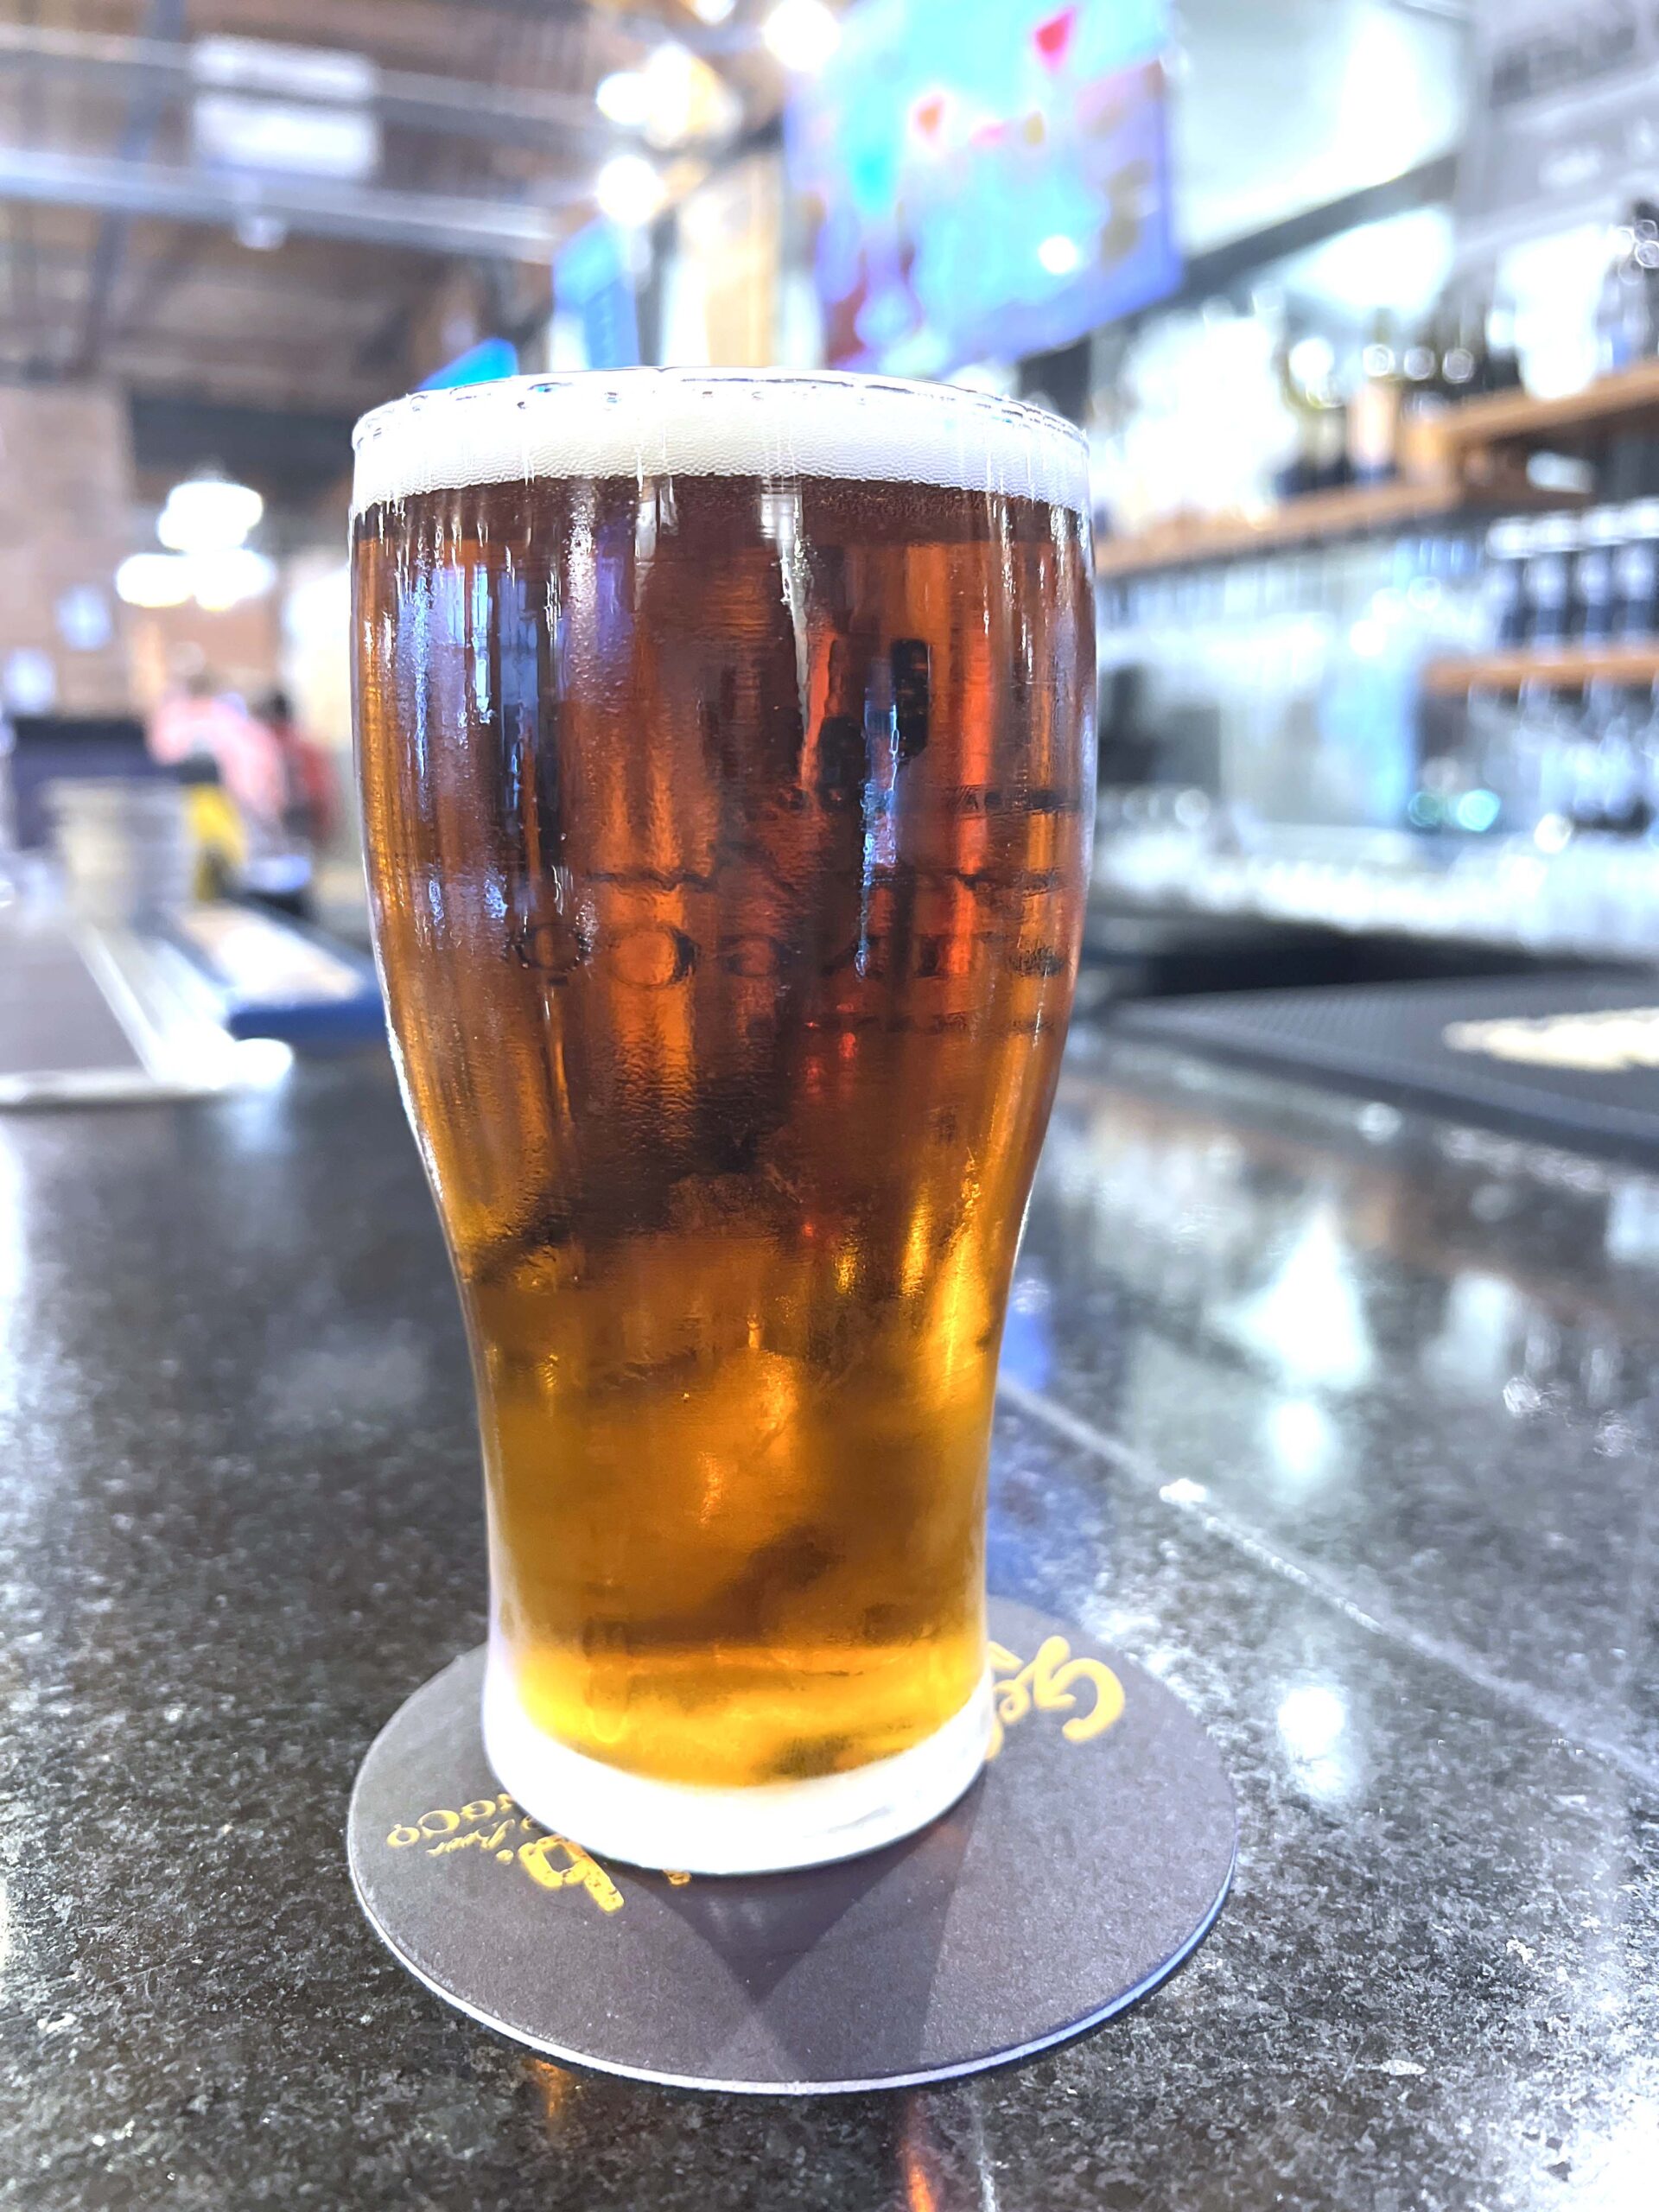 The night of a concert at The Fox Theatre, I found one seat left at the bar for a pre-show German-style ale. Steaks, pasta dishes, and chicken entrees dominate the menu. I recommend the Smothered Bierock served with chips, a must if visiting Kansas for the first time.
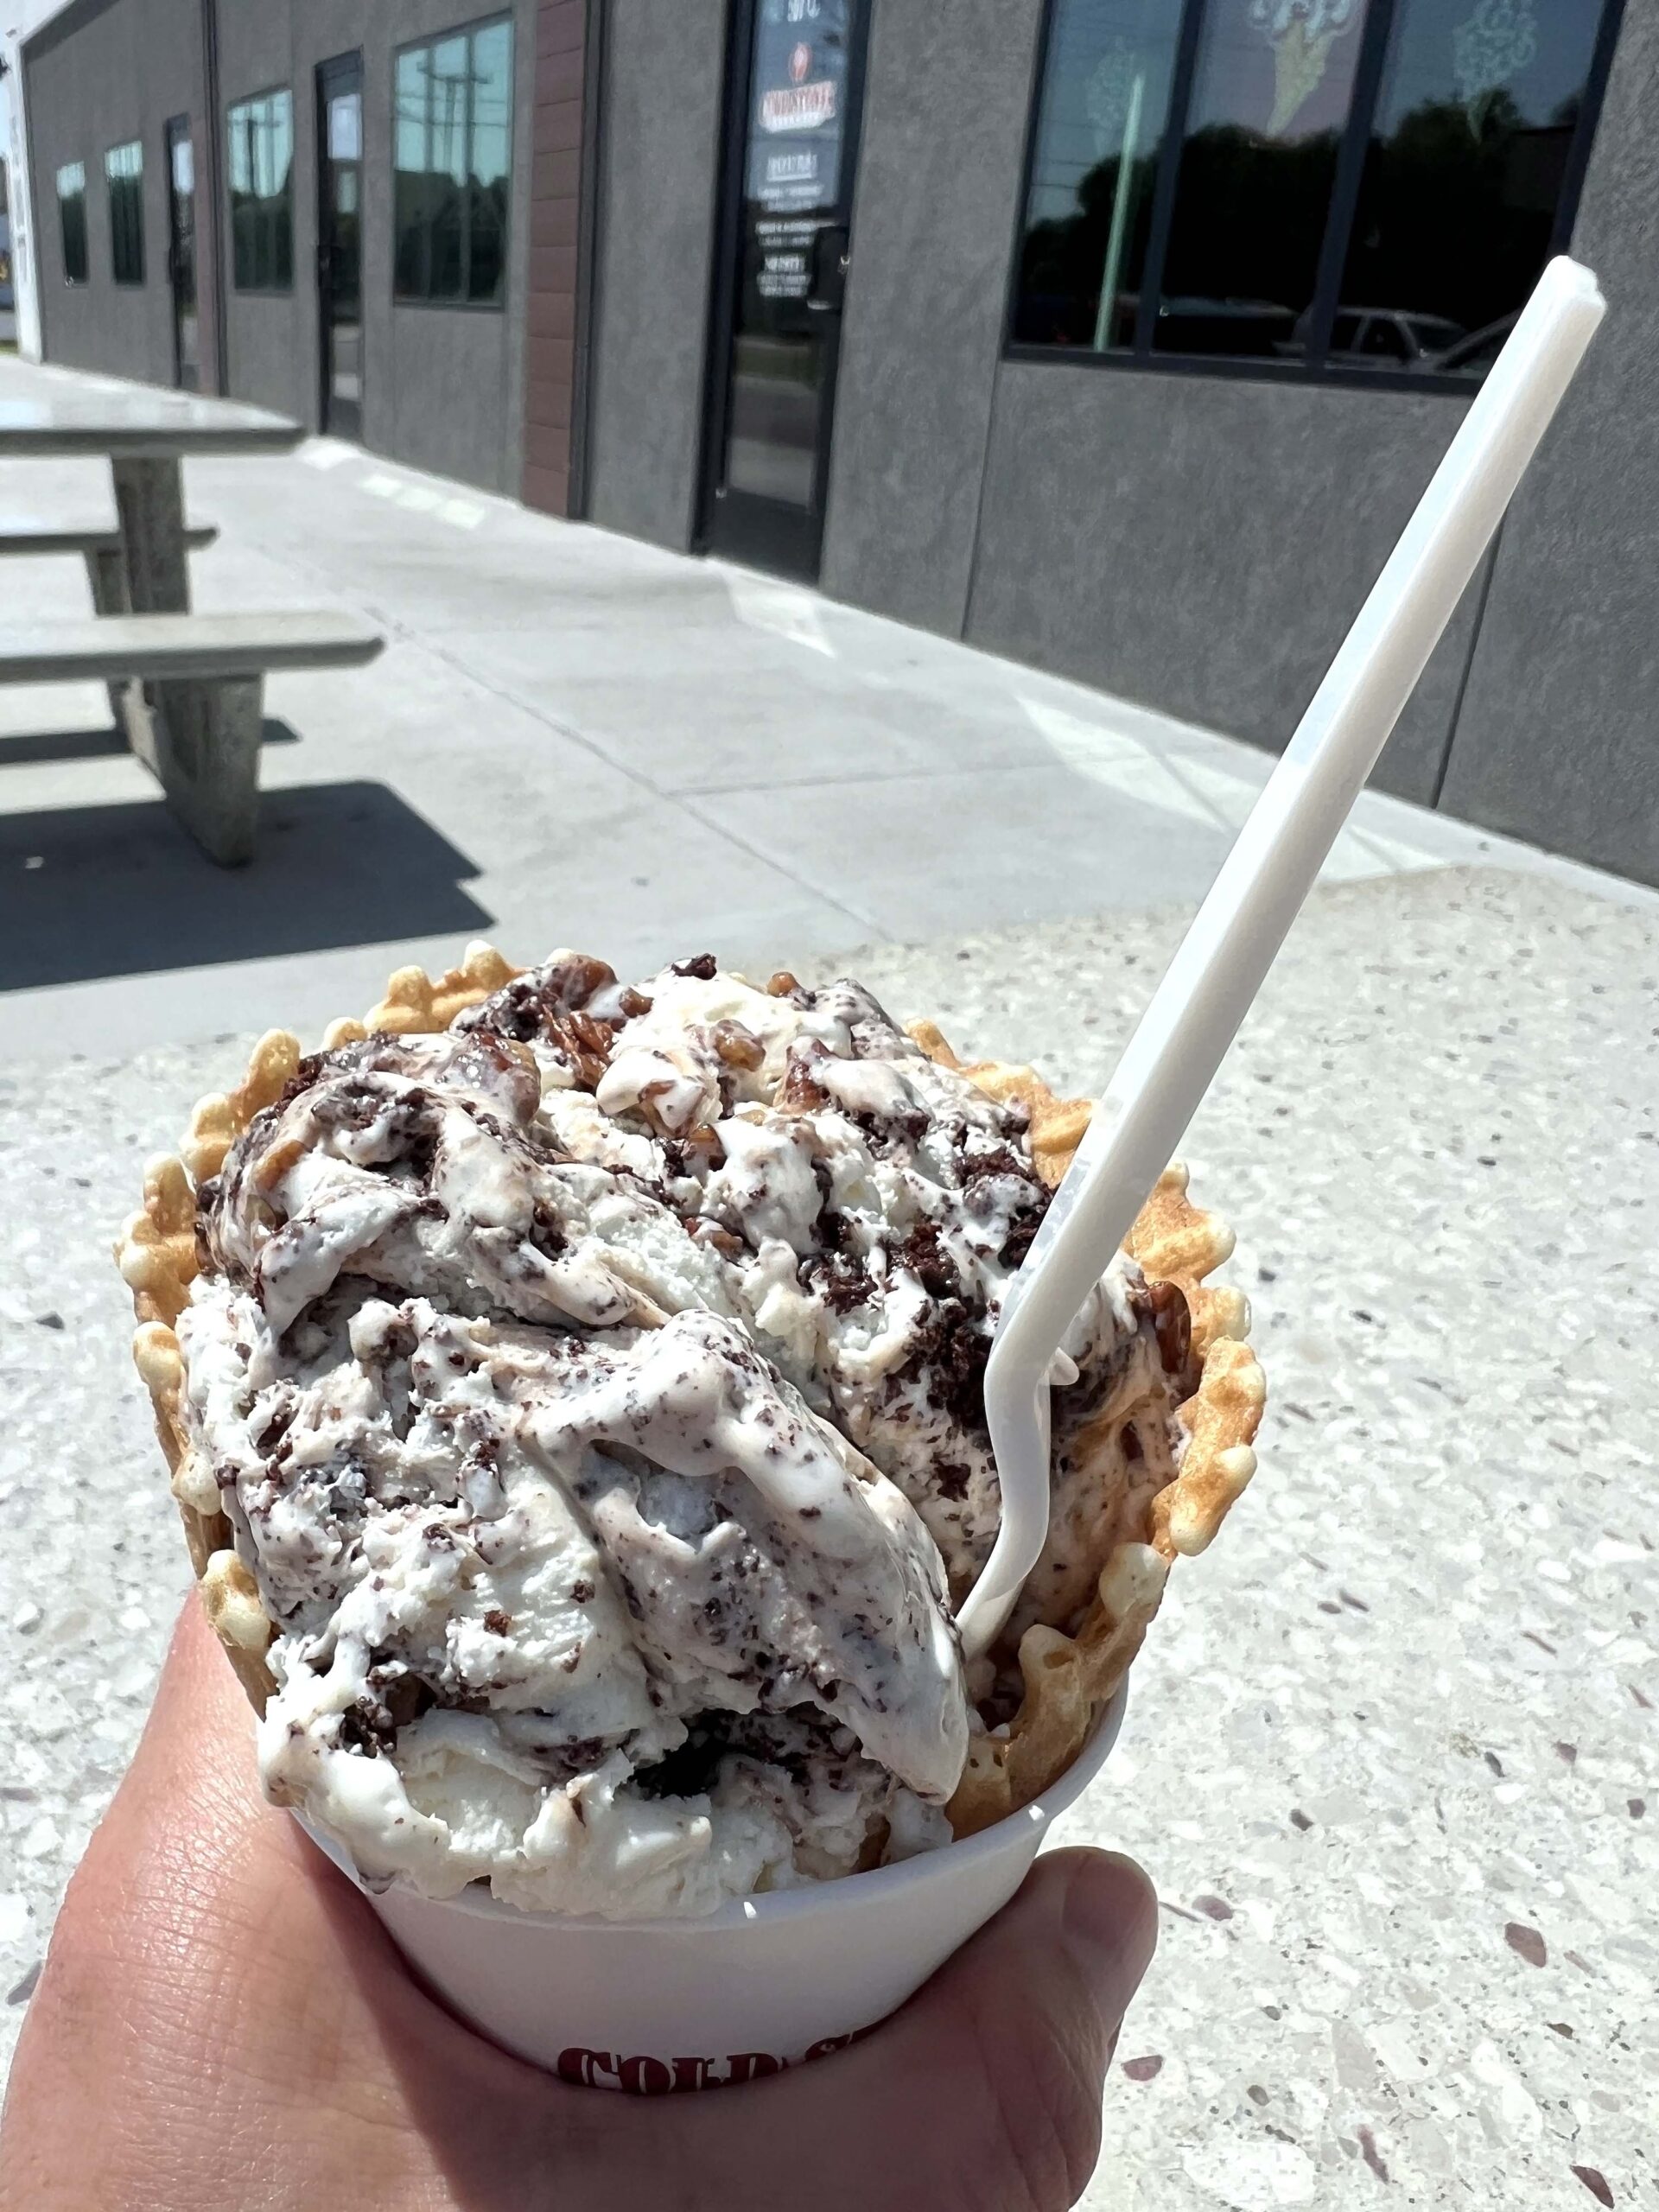 Create your ice cream combination or order from a menu of signature selections. When in doubt, order the Founder’s Favorite®, and then watch as an employee mixes pecans, brownie, fudge, and caramel into sweet cream vanilla ice cream on a cold granite table.
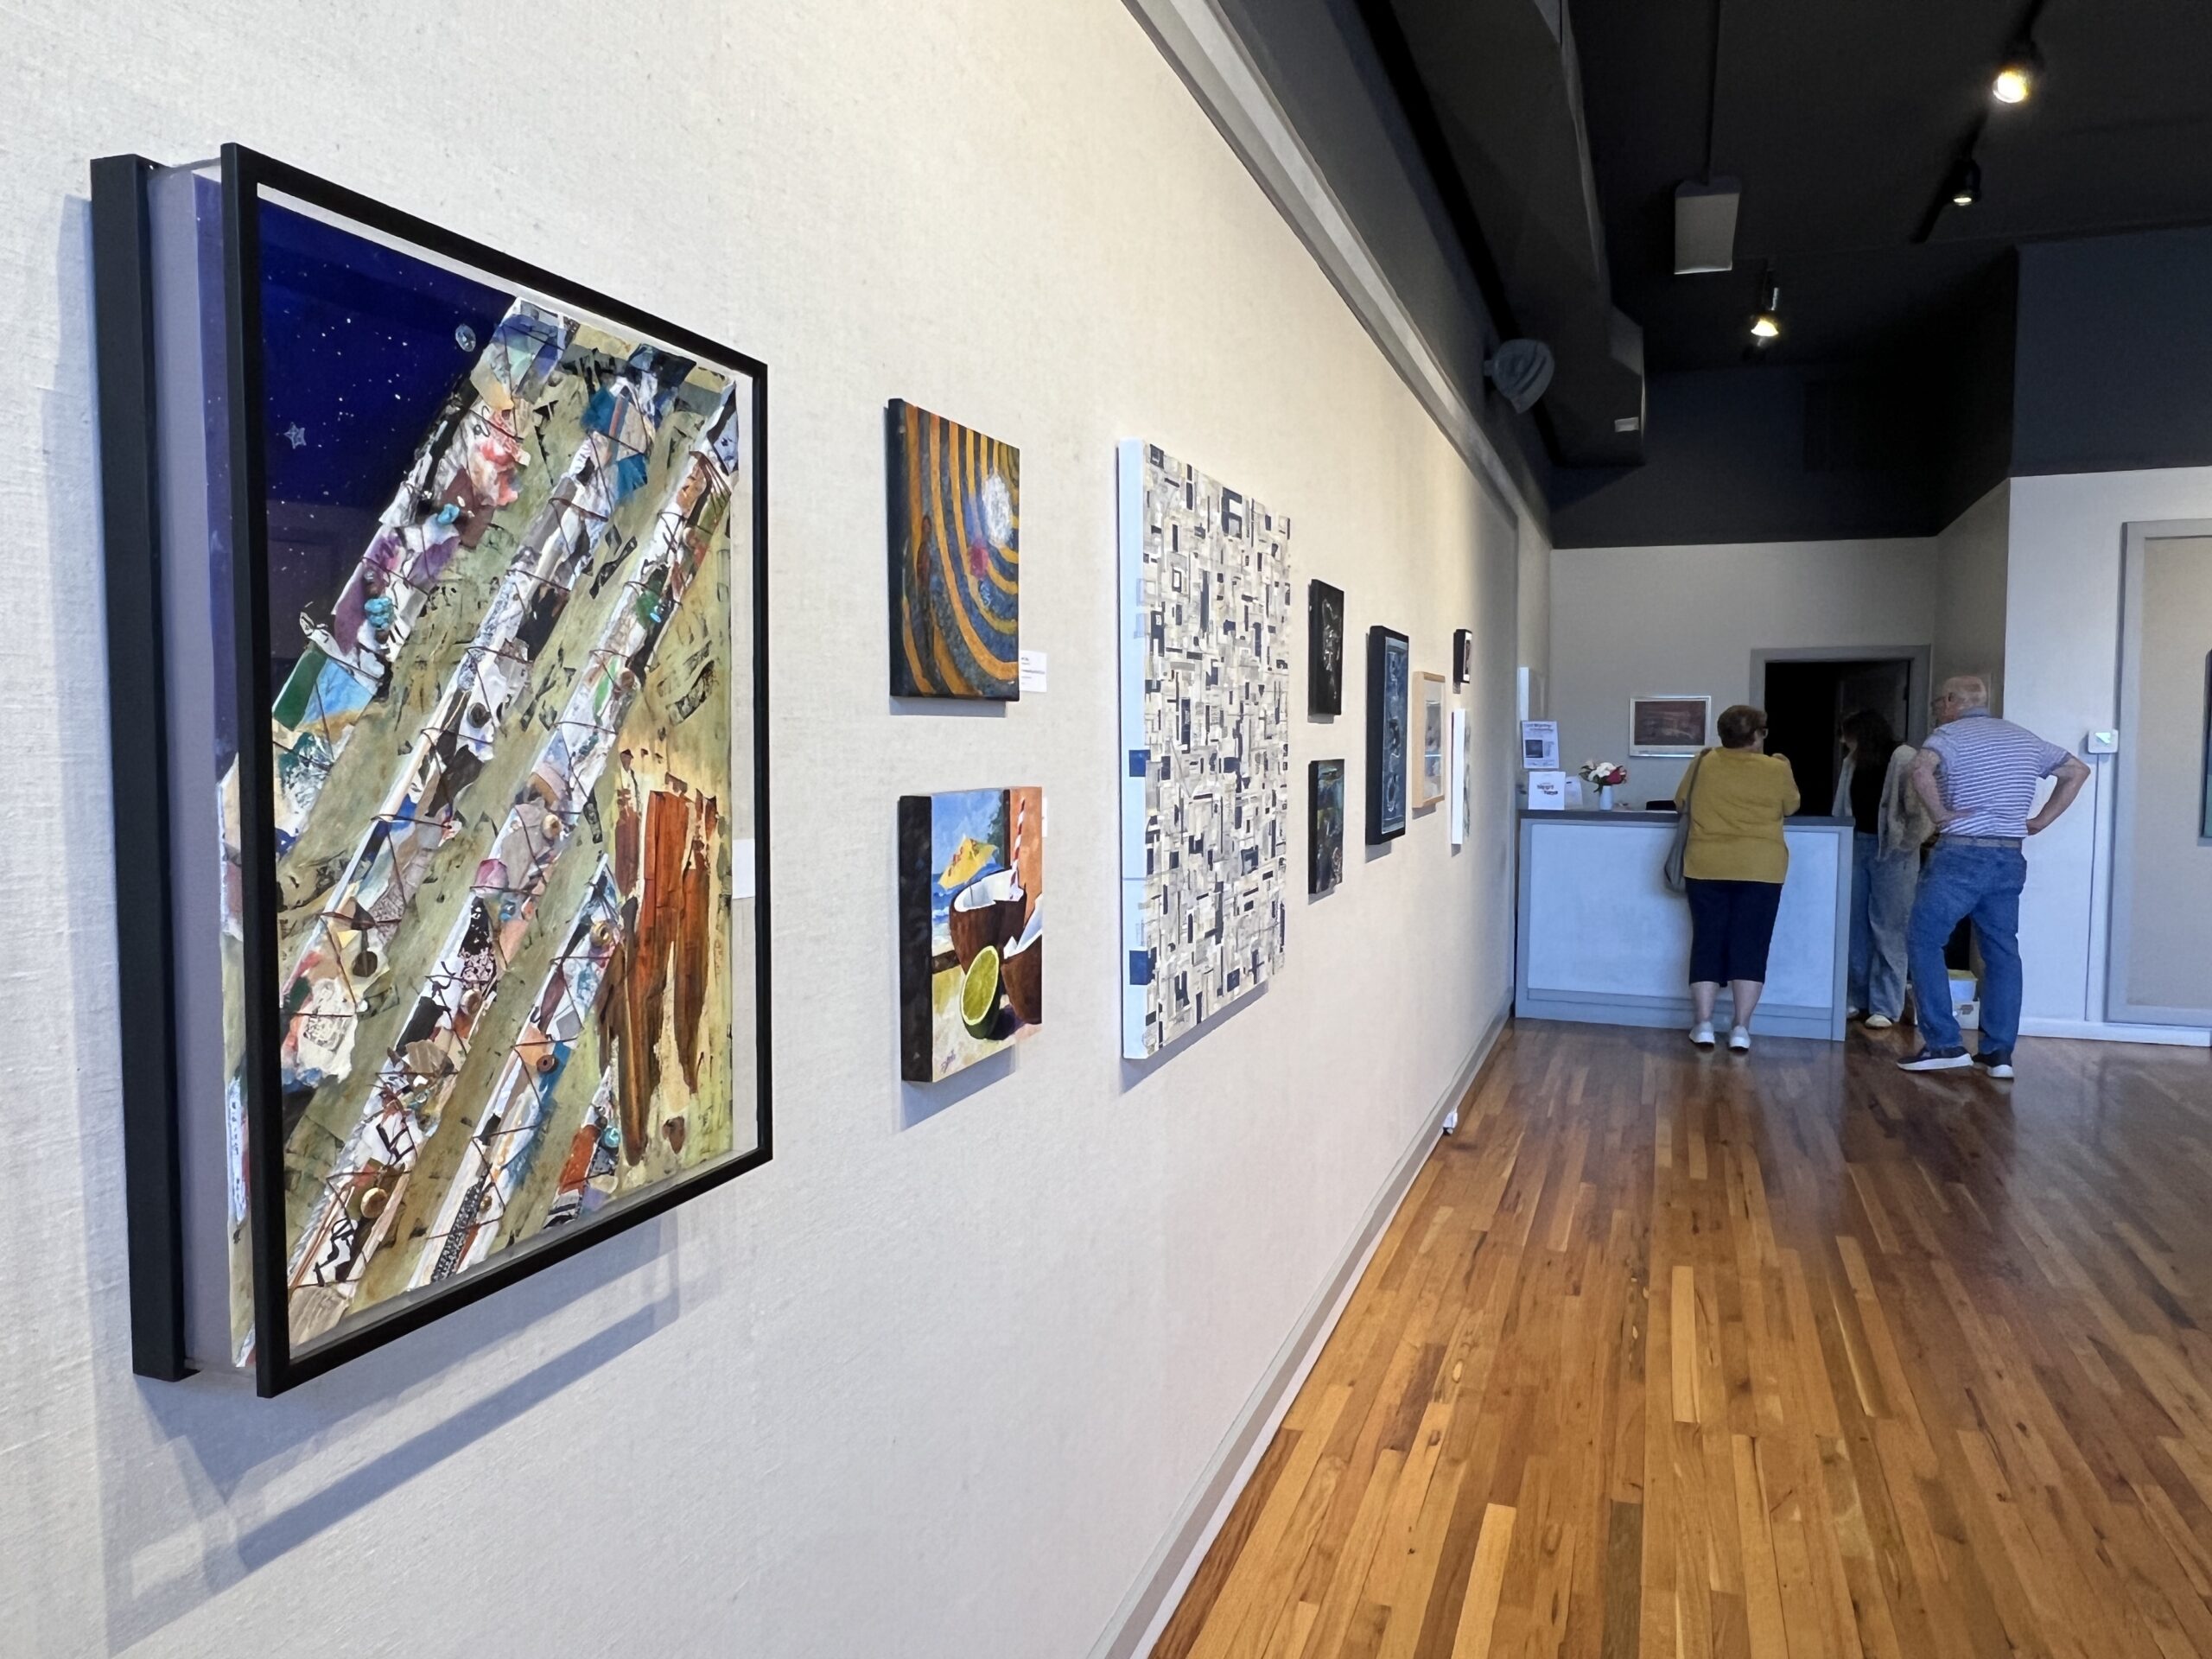 During November, the Hays Arts Council hosts Block Party on the Bricks, an art auction featuring live music and art demonstrations to fundraise. At springtime, the galleries feature the Smoky Hill juried exhibition, which is an anchor event for the Spring Art Work.
 The owner provides
 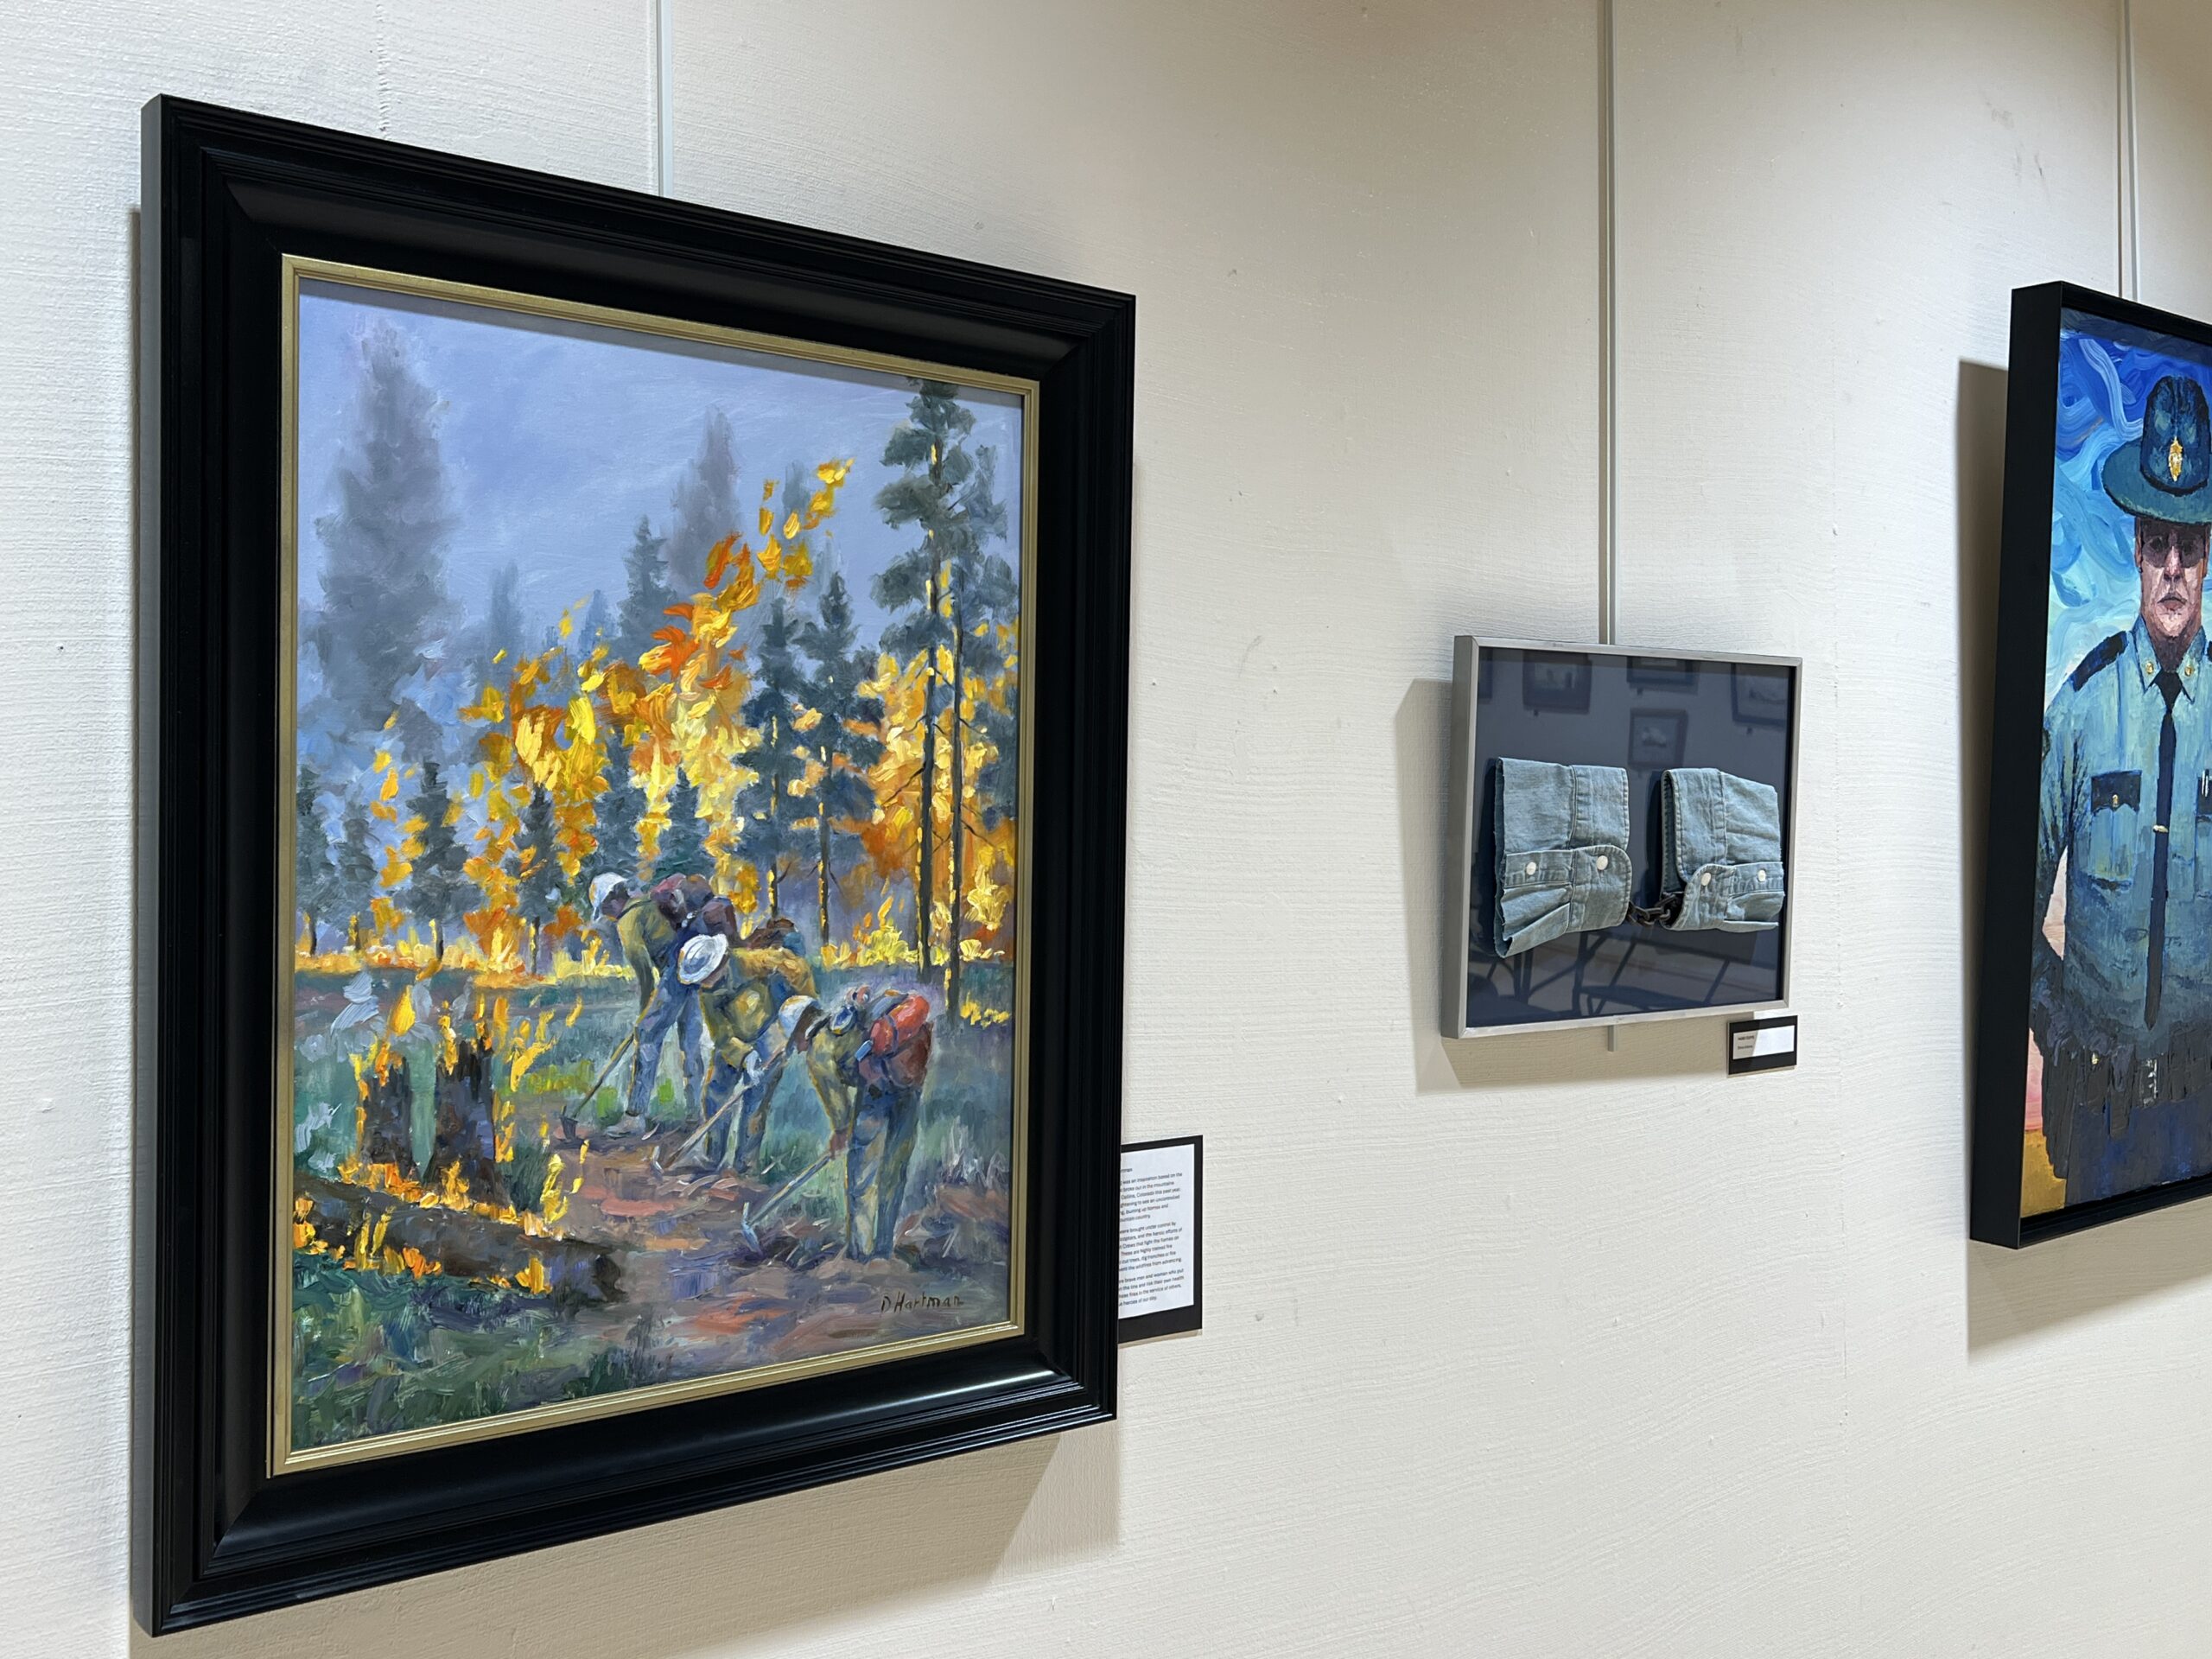 The multi-level building houses a spacious art gallery, and patrons are welcomed to help themselves to complimentary coffee while lounging with a book or magazine in a sun-drenched window seat.
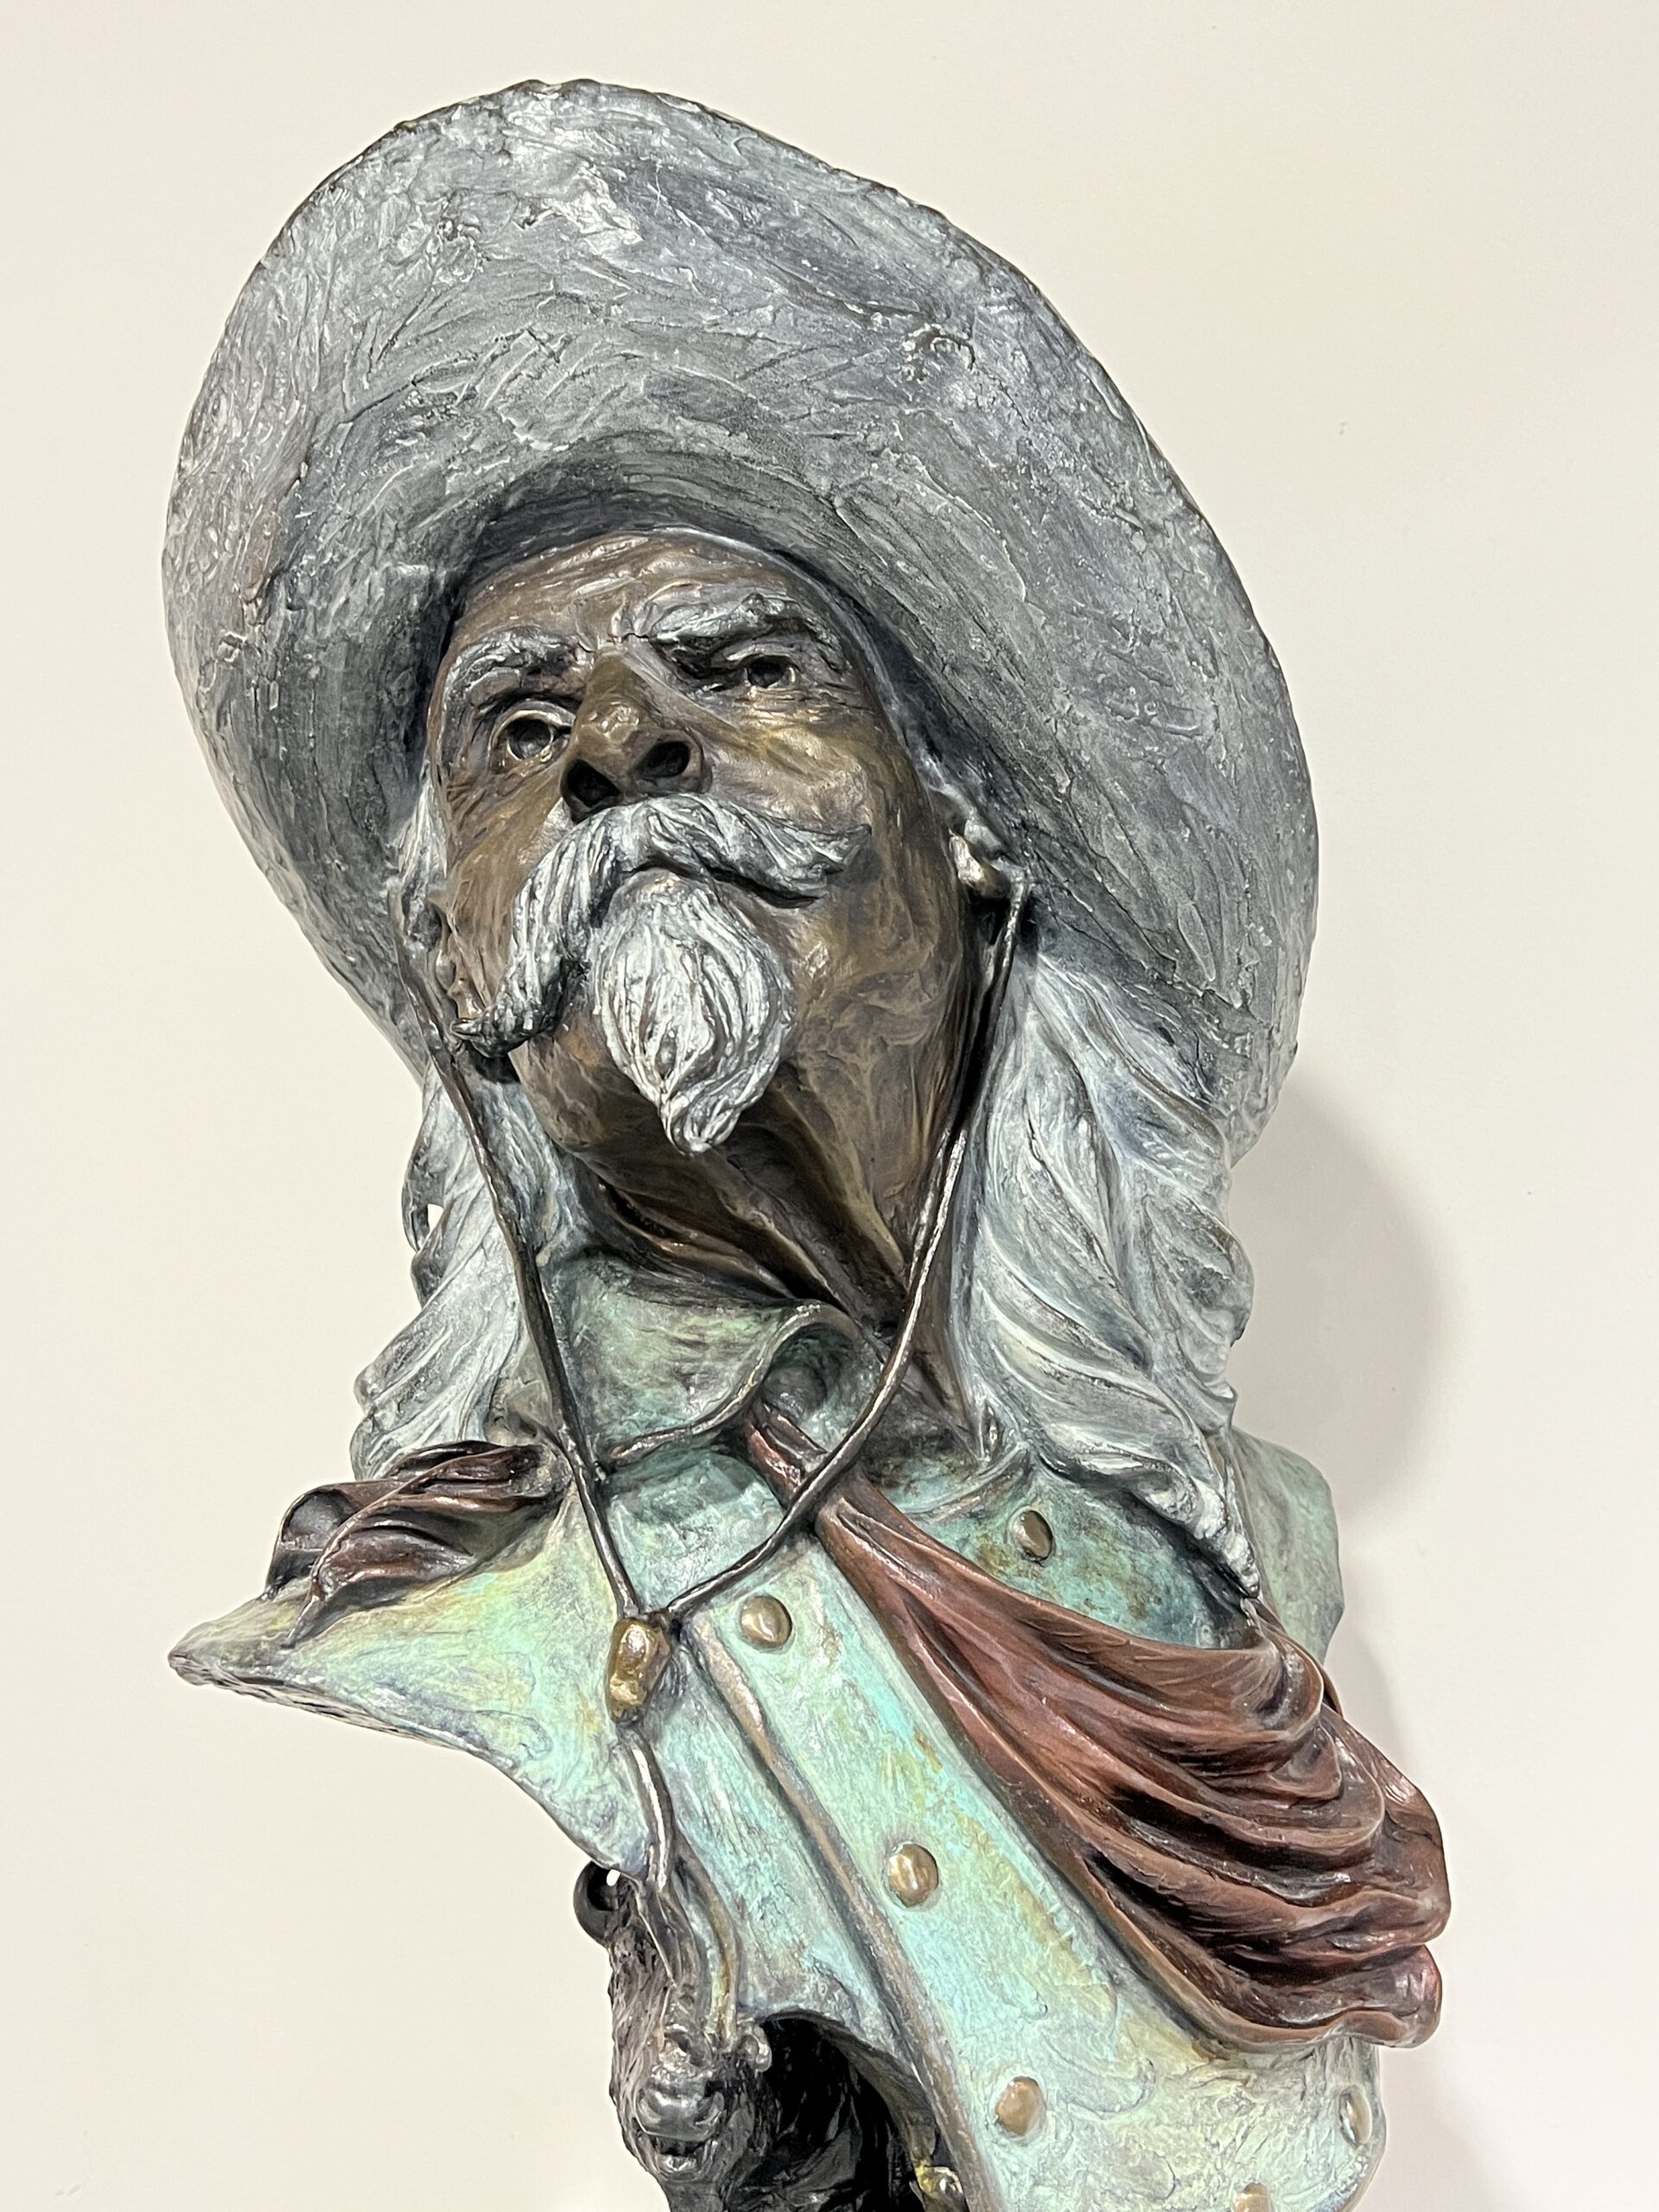 PRO TIP: If you’re a Kansan or curious about the state’s history, venture downtown stairs to the Kansas Room. It contains a large inventory of books about the Sunflower State.
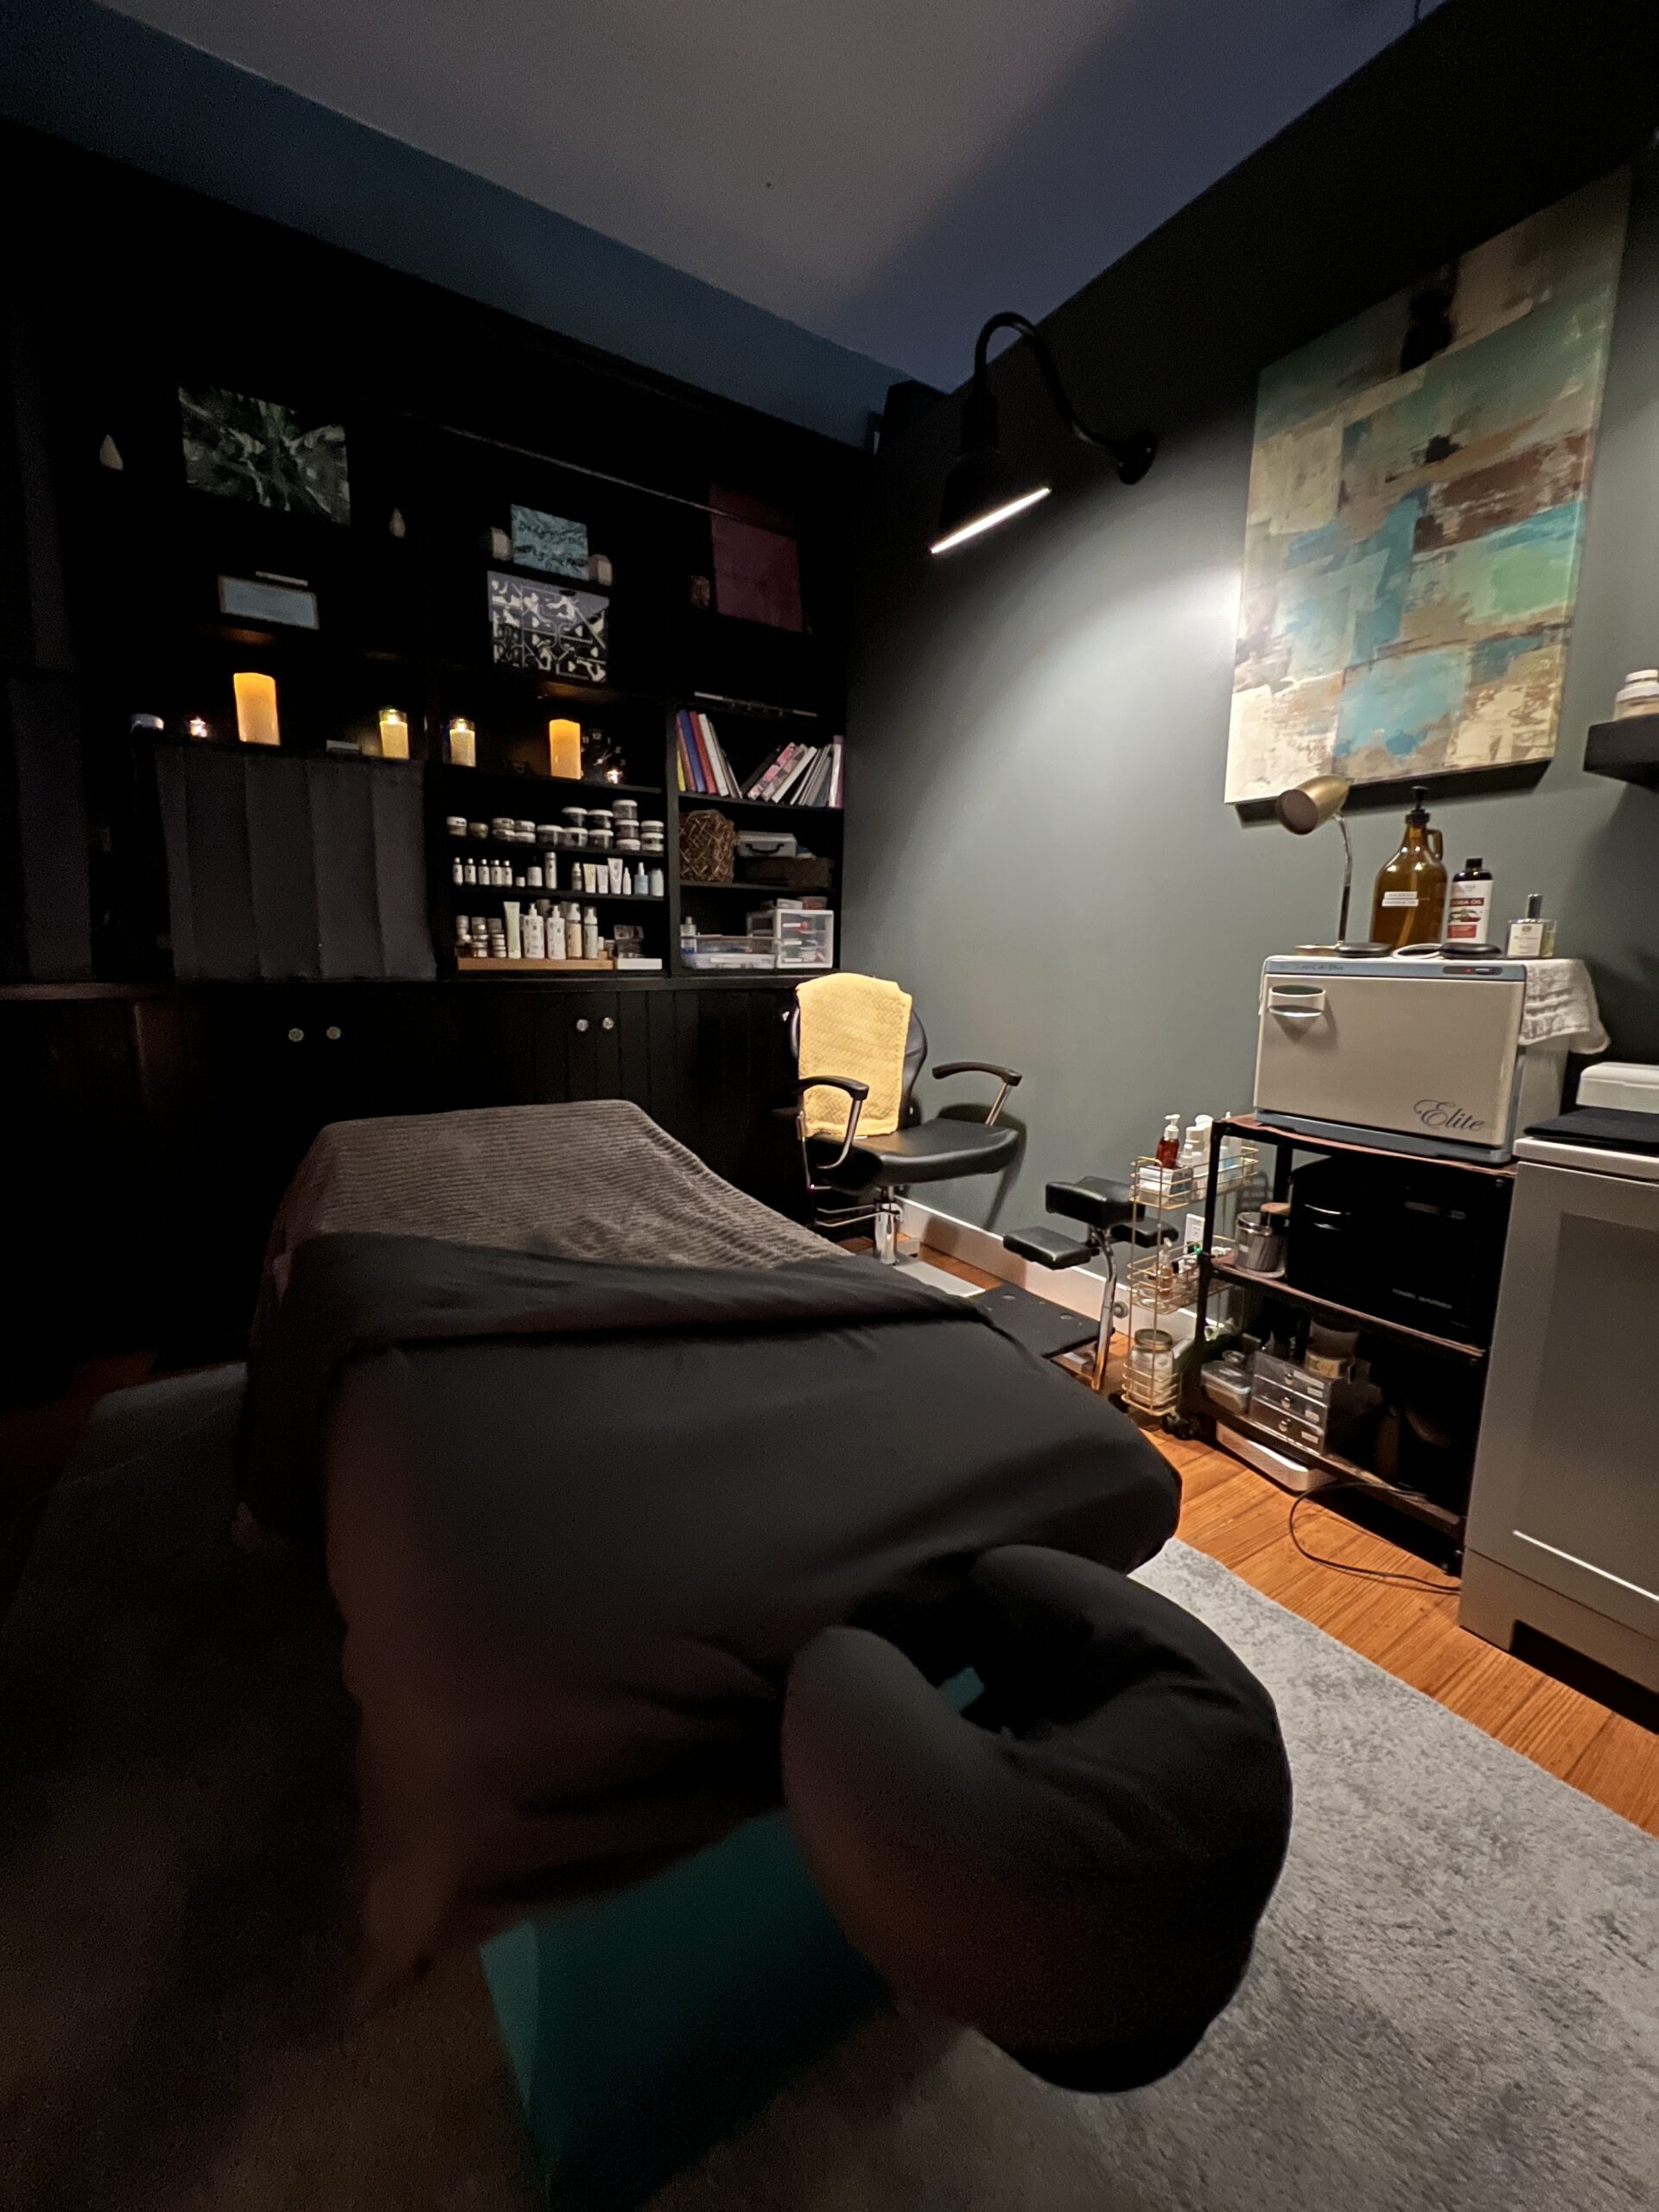 Other services provided at the spa include facials, light therapy, laser hair removal and waxing as well as lip fillers and Botox. View the services and reserve an appointment
 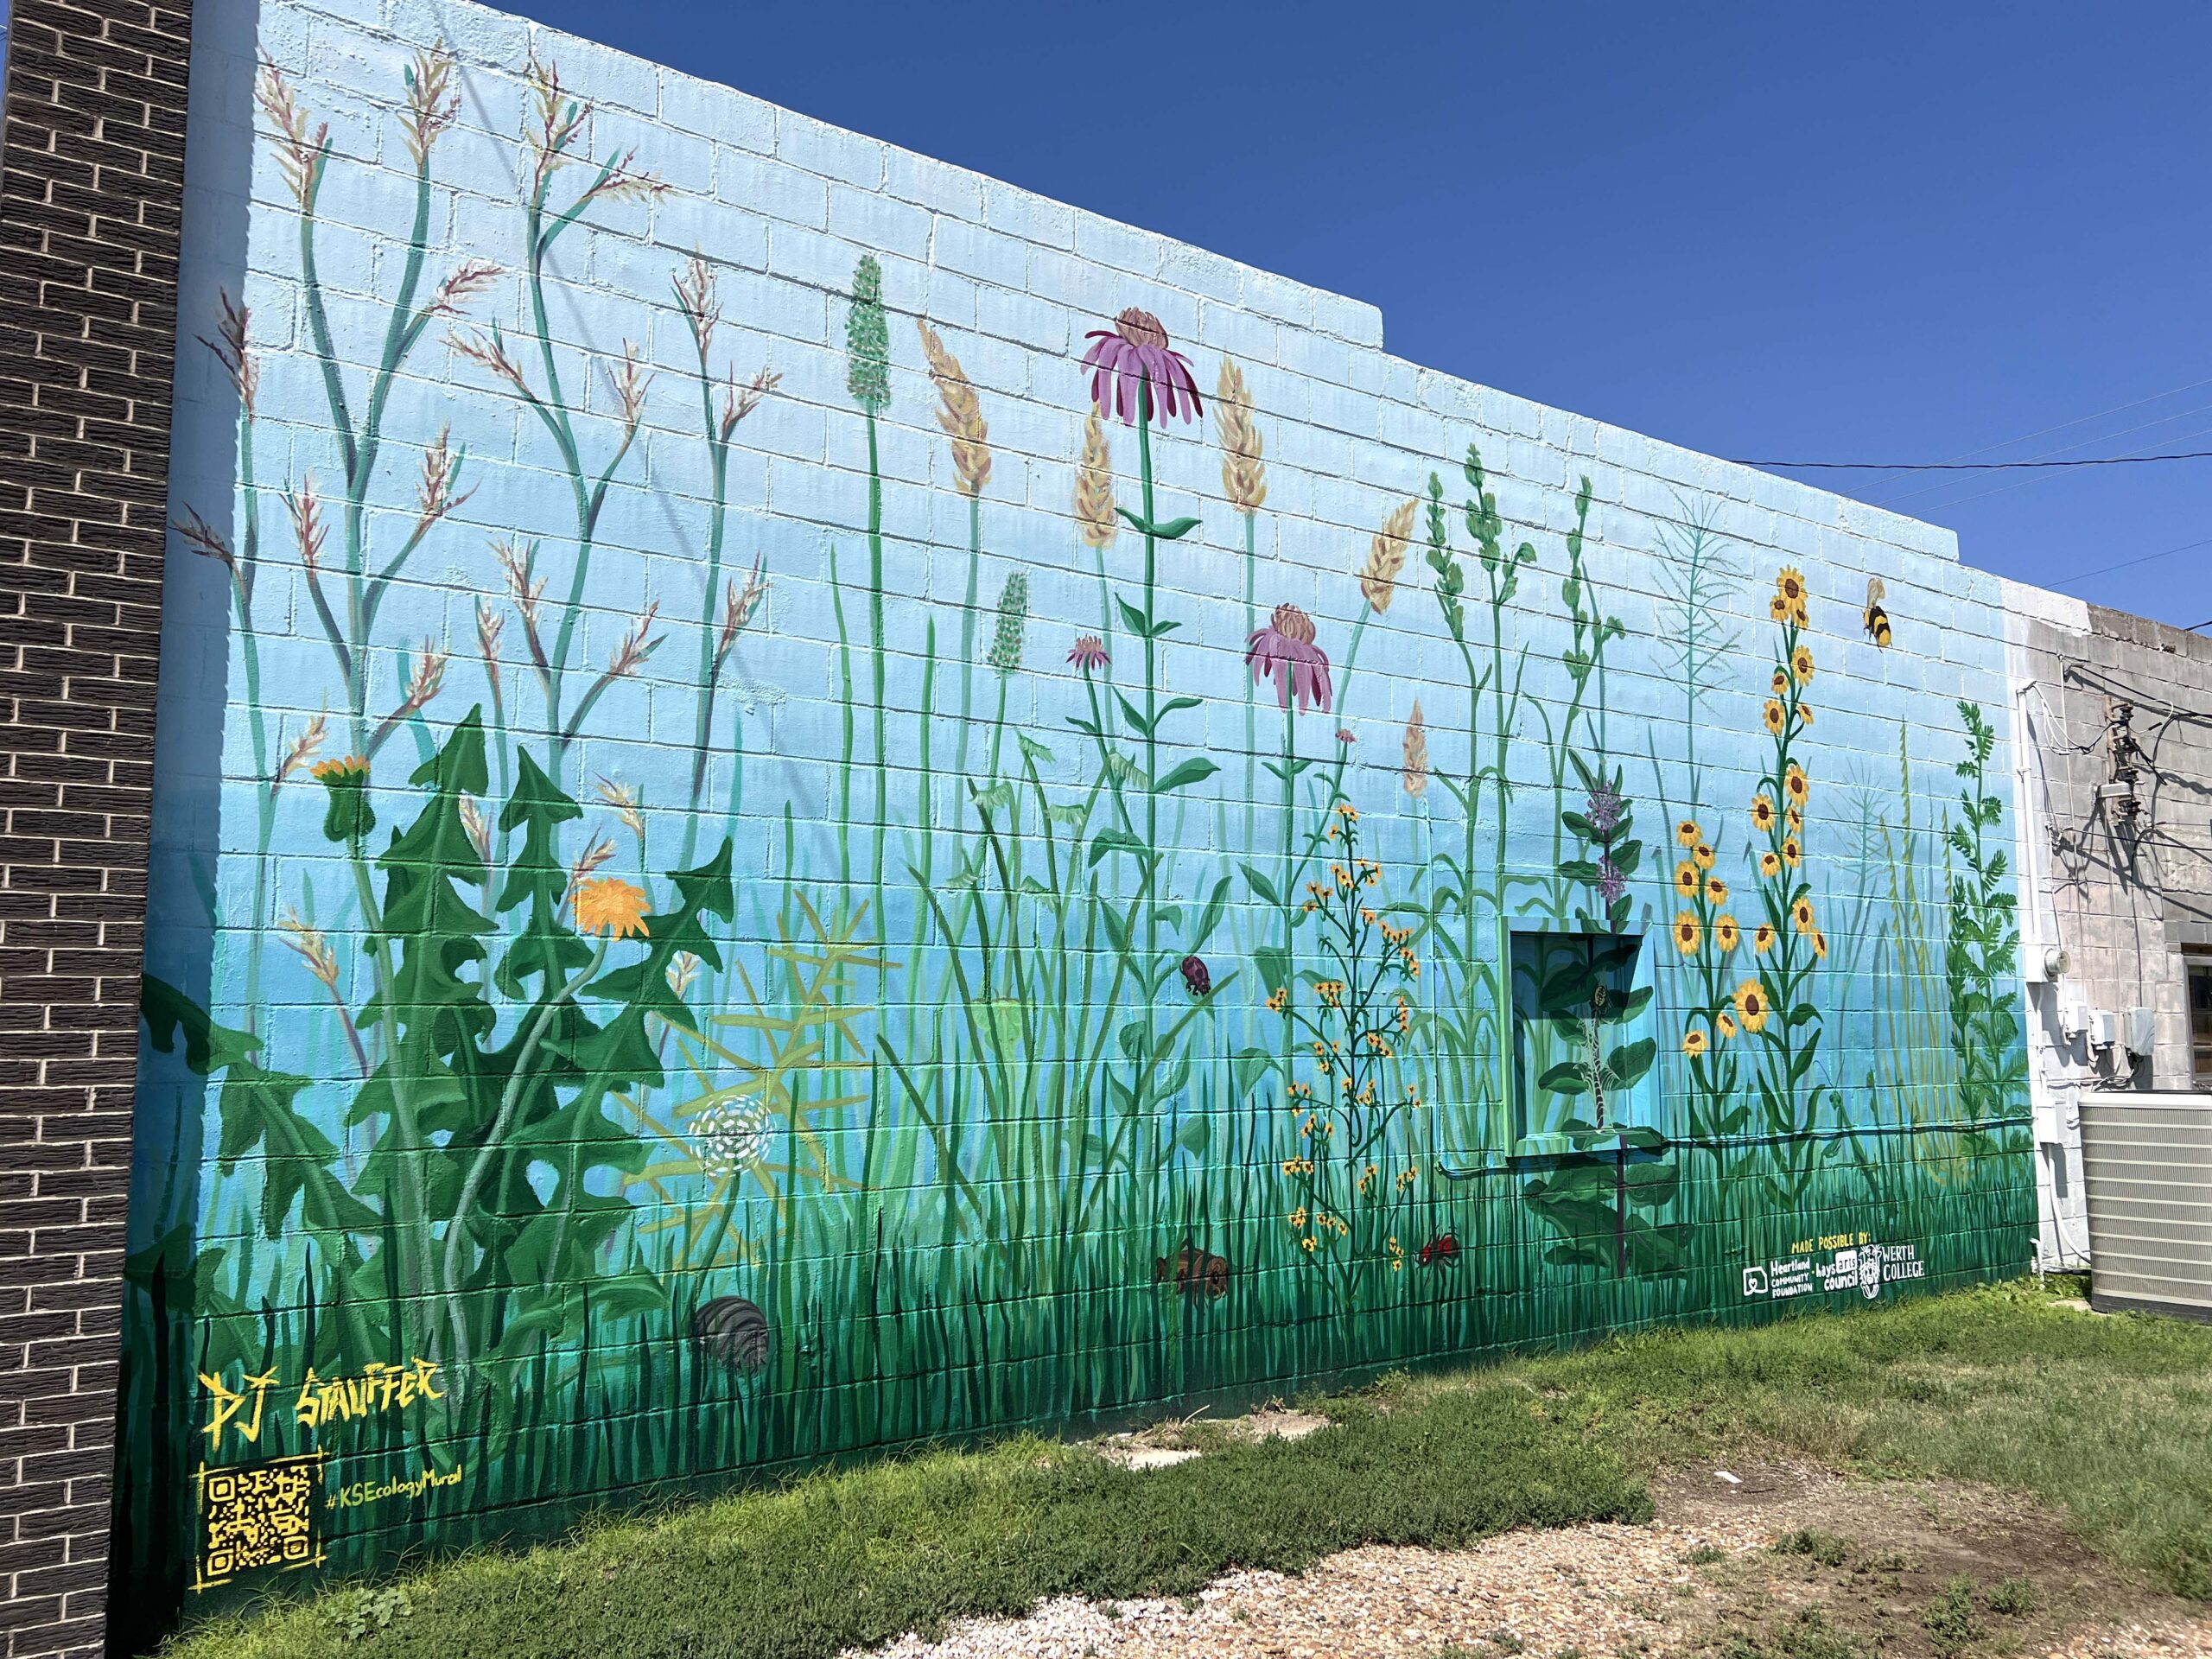 I photographed most of them while walking downtown, but you’ll likely want to drive to the few murals that are painted on buildings beyond Main Street.
 Use the
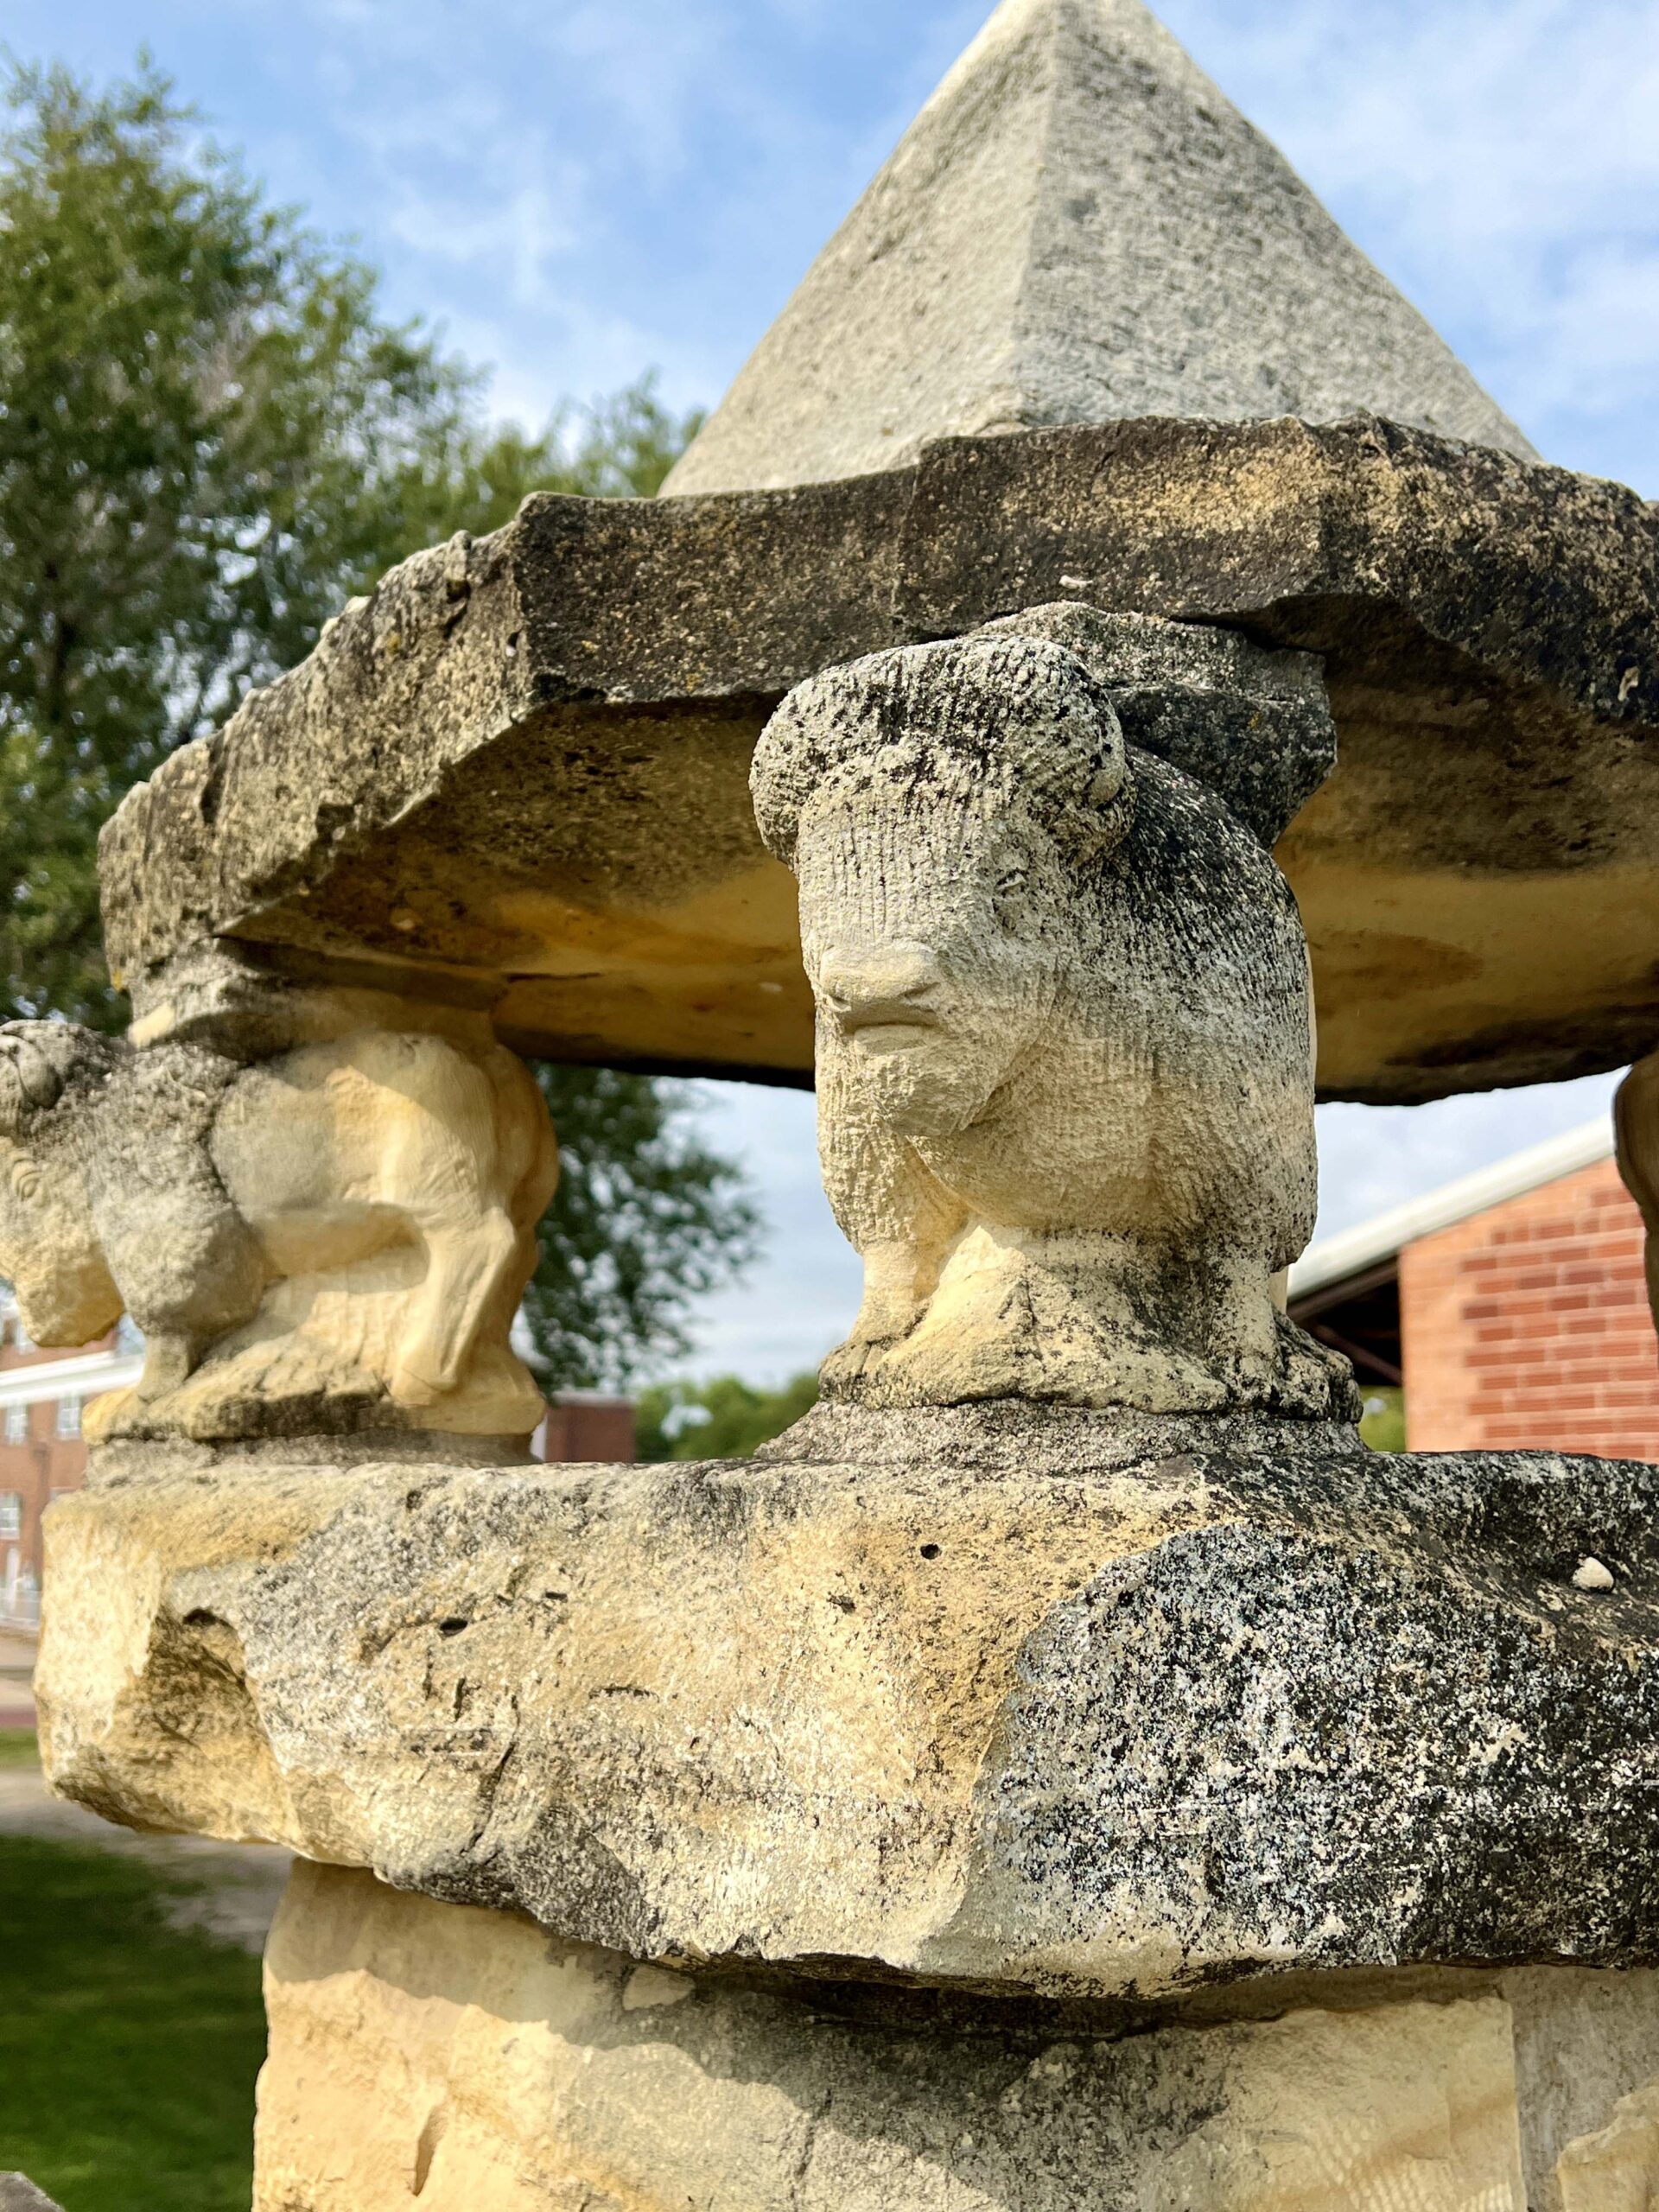
 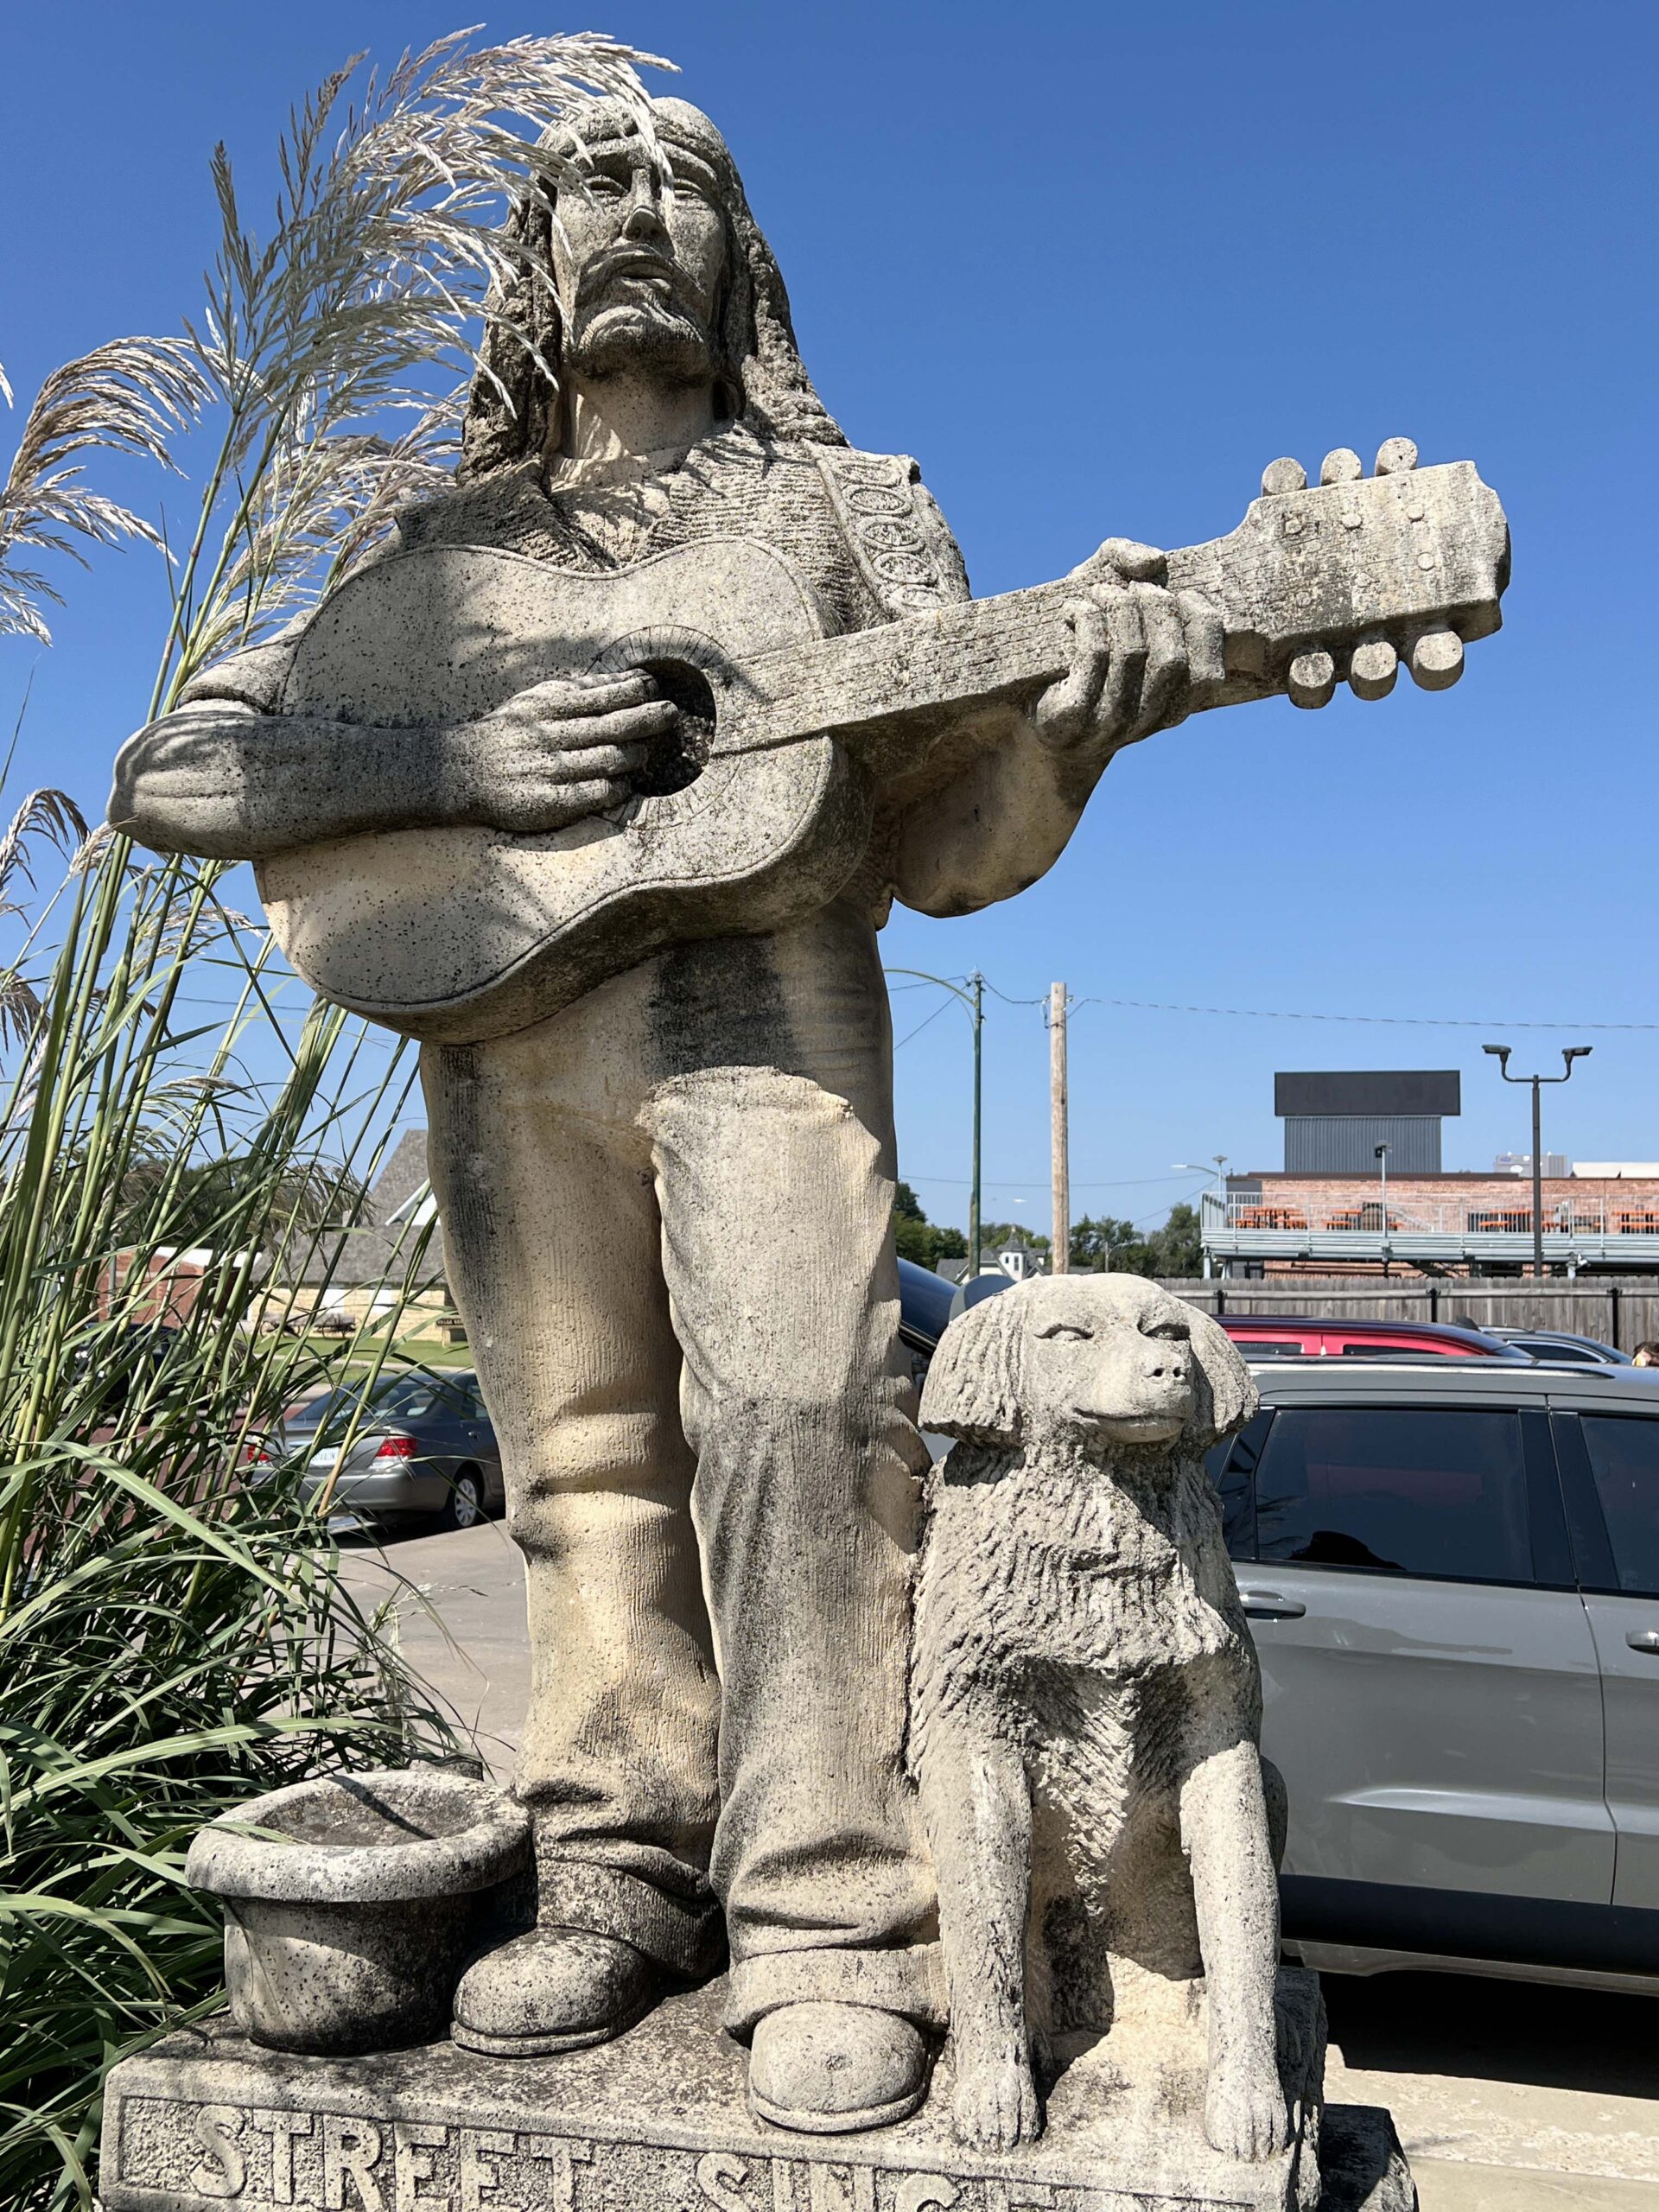 Over the years, I’ve increasingly loved his work, noticing how many of Felten’s masterpieces showcase animals, often tucked away at a sculpture’s base or hidden from view in the back.
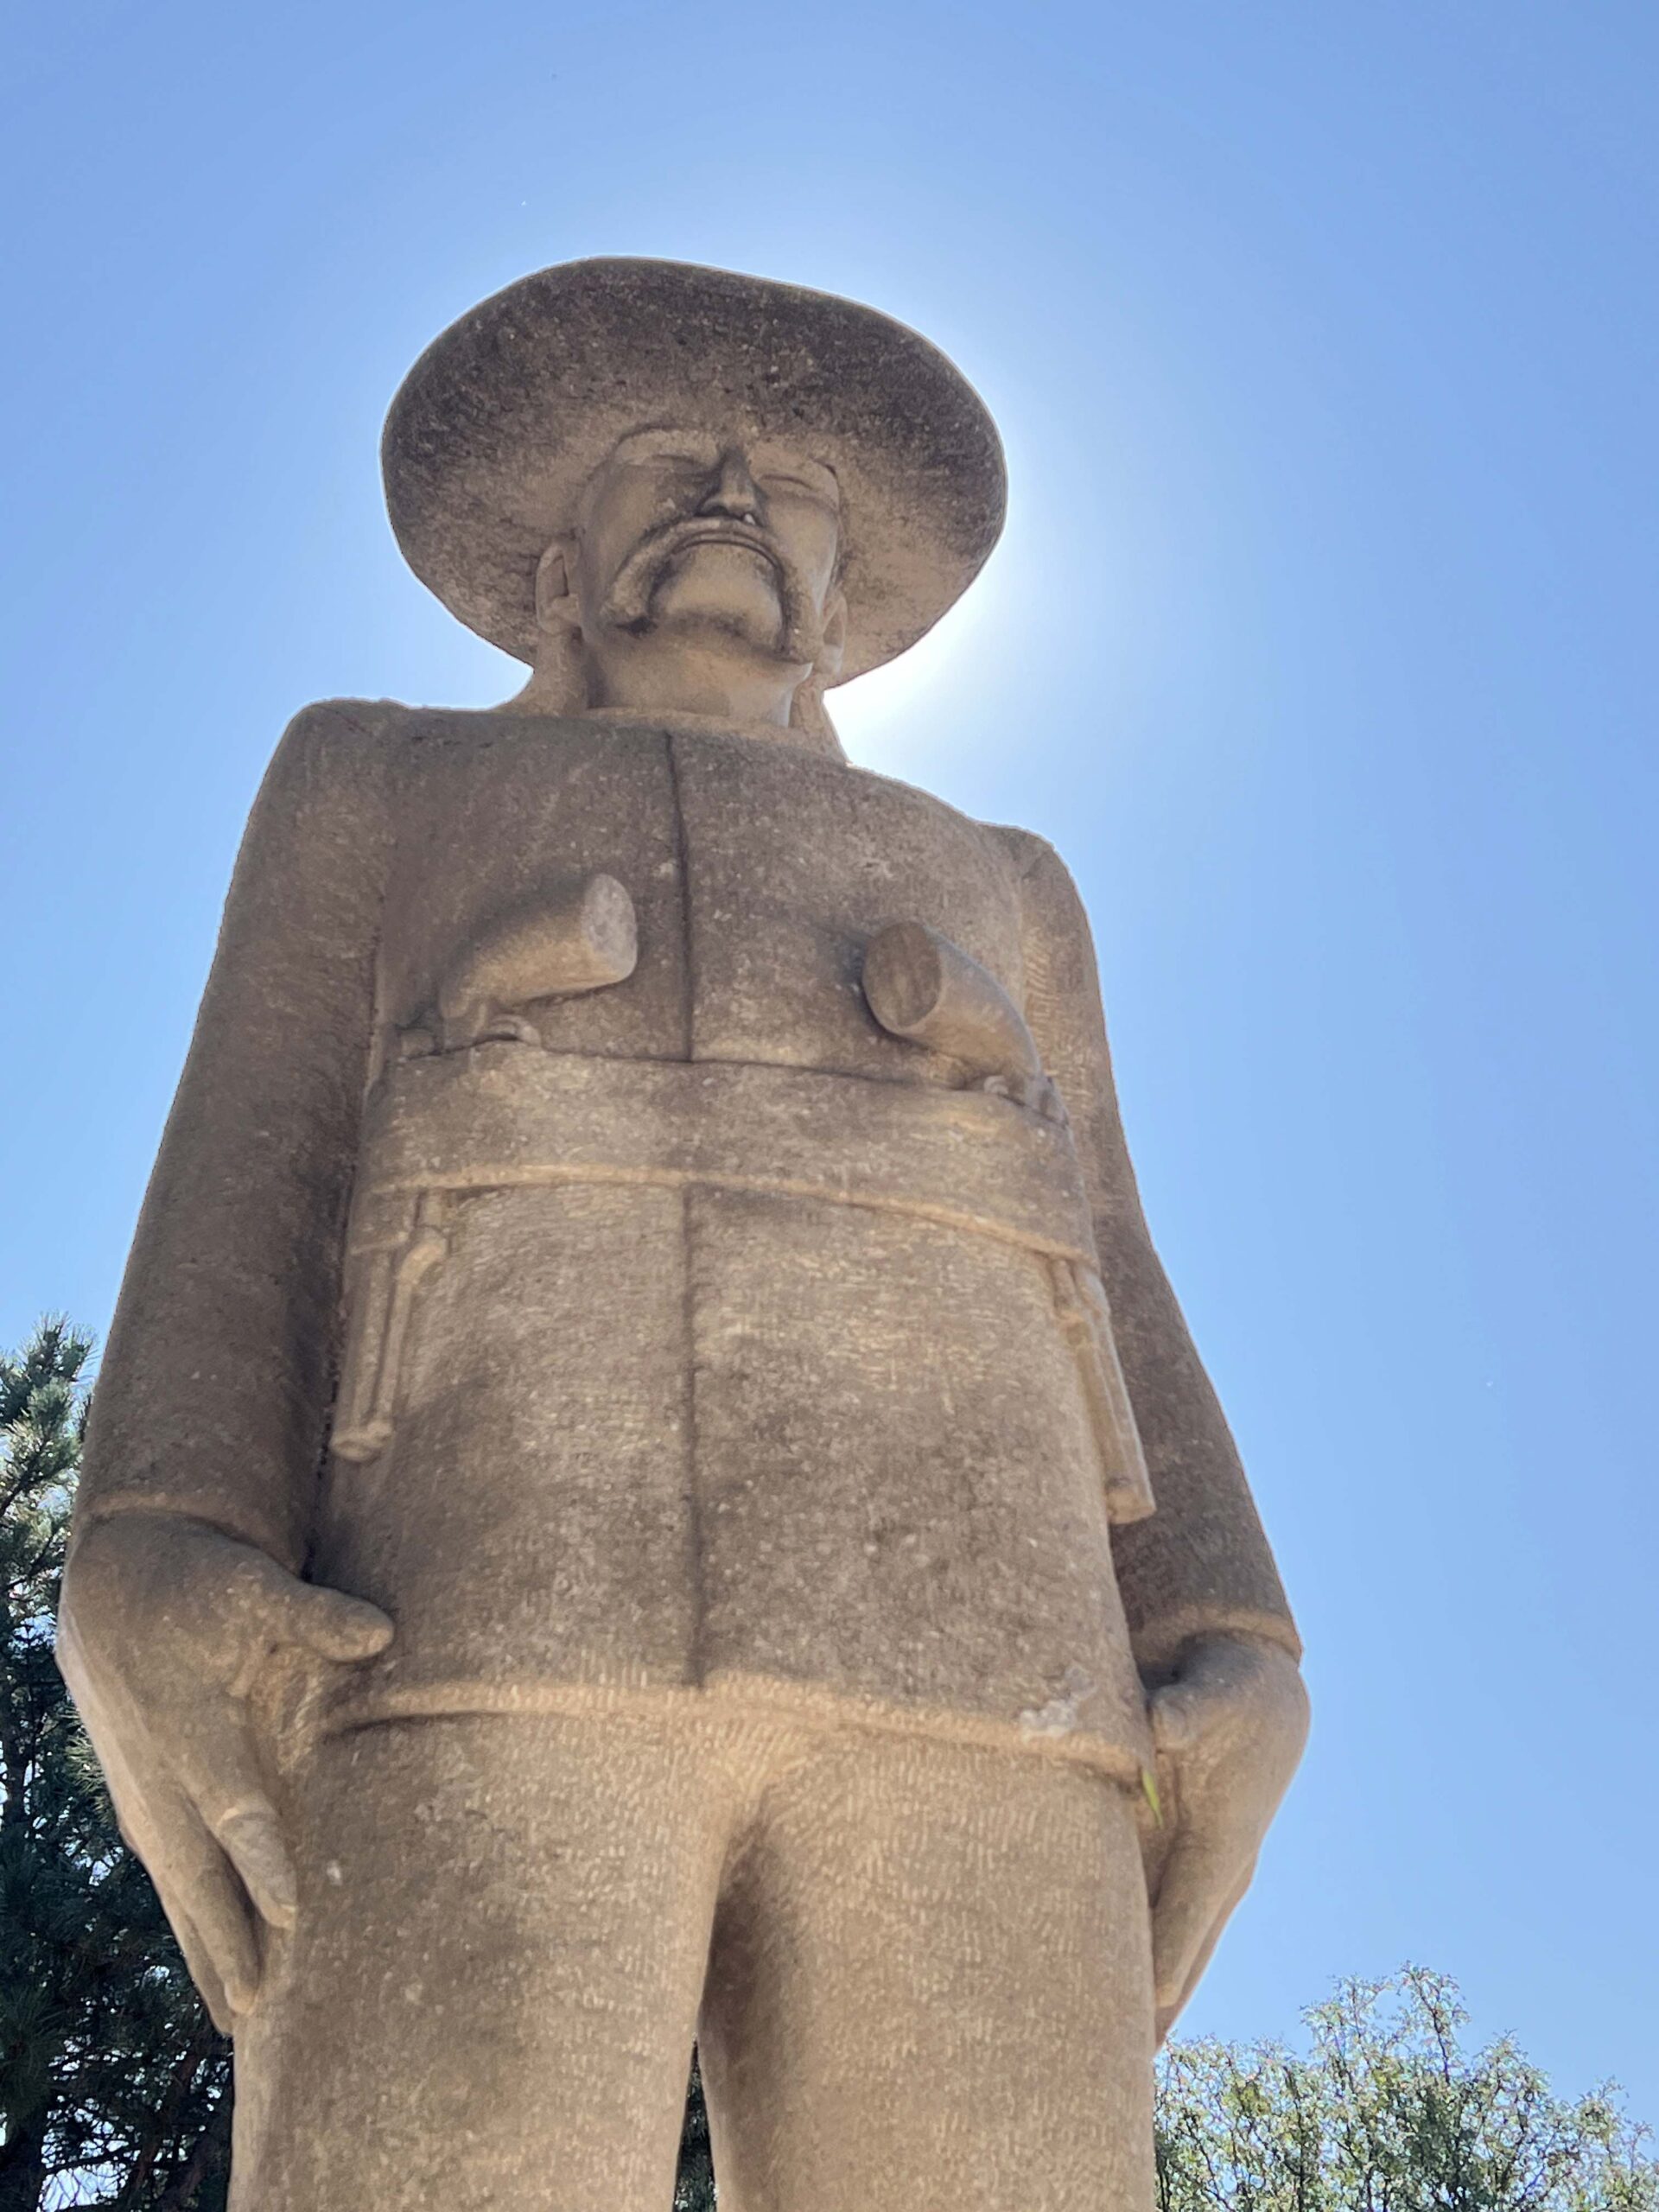 You’ll be amazed at the Hays artist’s handiwork using a hammer and chisel to carefully carve away limestone sourced from the region. Learn about 28 sculptures in Hays and surrounding towns and view a map
 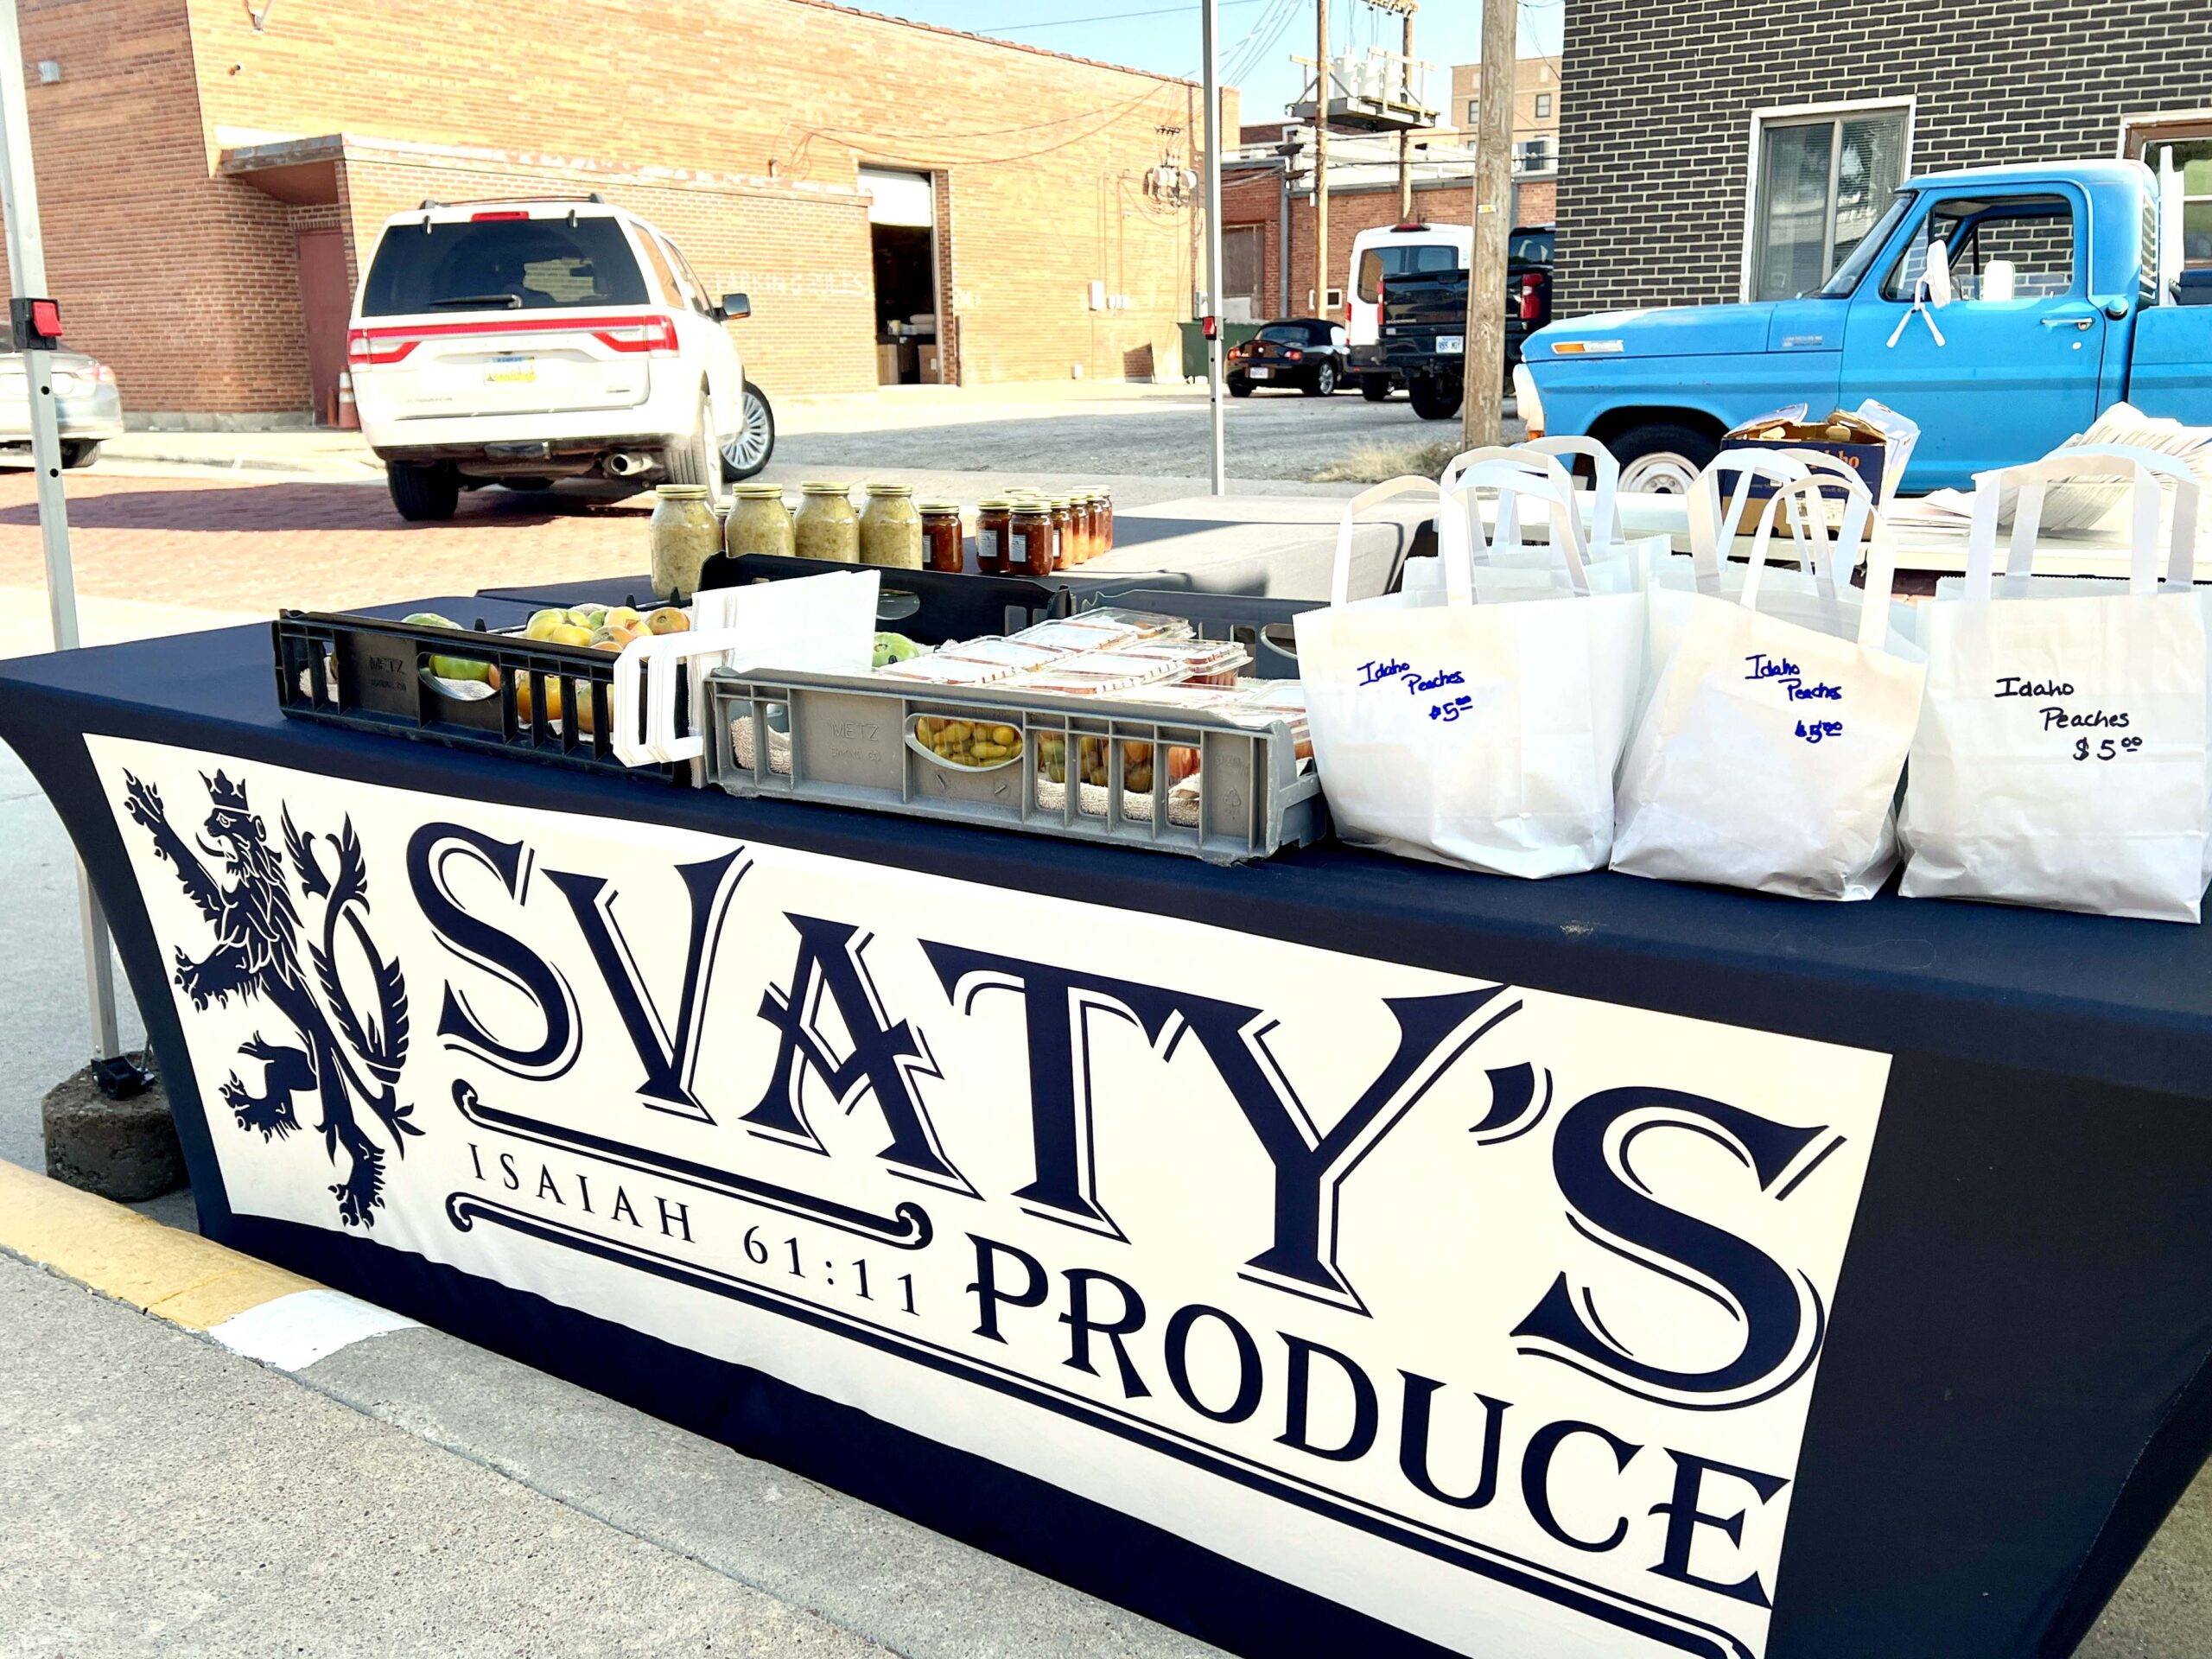 Supporting local is paramount for me, which is why I chose to get to know the Svaty’s Produce farm family before buying a melon from them.
 PRO TIP: Enjoy a complimentary cup of coffee, courtesy of
  They packed the theatre with country music fans on a lively Saturday night who sang along with hits from their album, Strange Hours.
 Use the
  It’s worth hopping back into the car and making the short drive to
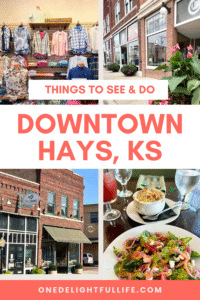
  Downtown Hays at The Bricks blends history and hospitality with a variety of entertaining things to do, proving that a small town can deliver big energy. It’s one of my favorite Kansas walkable districts for its shops, restaurants, and vibrant

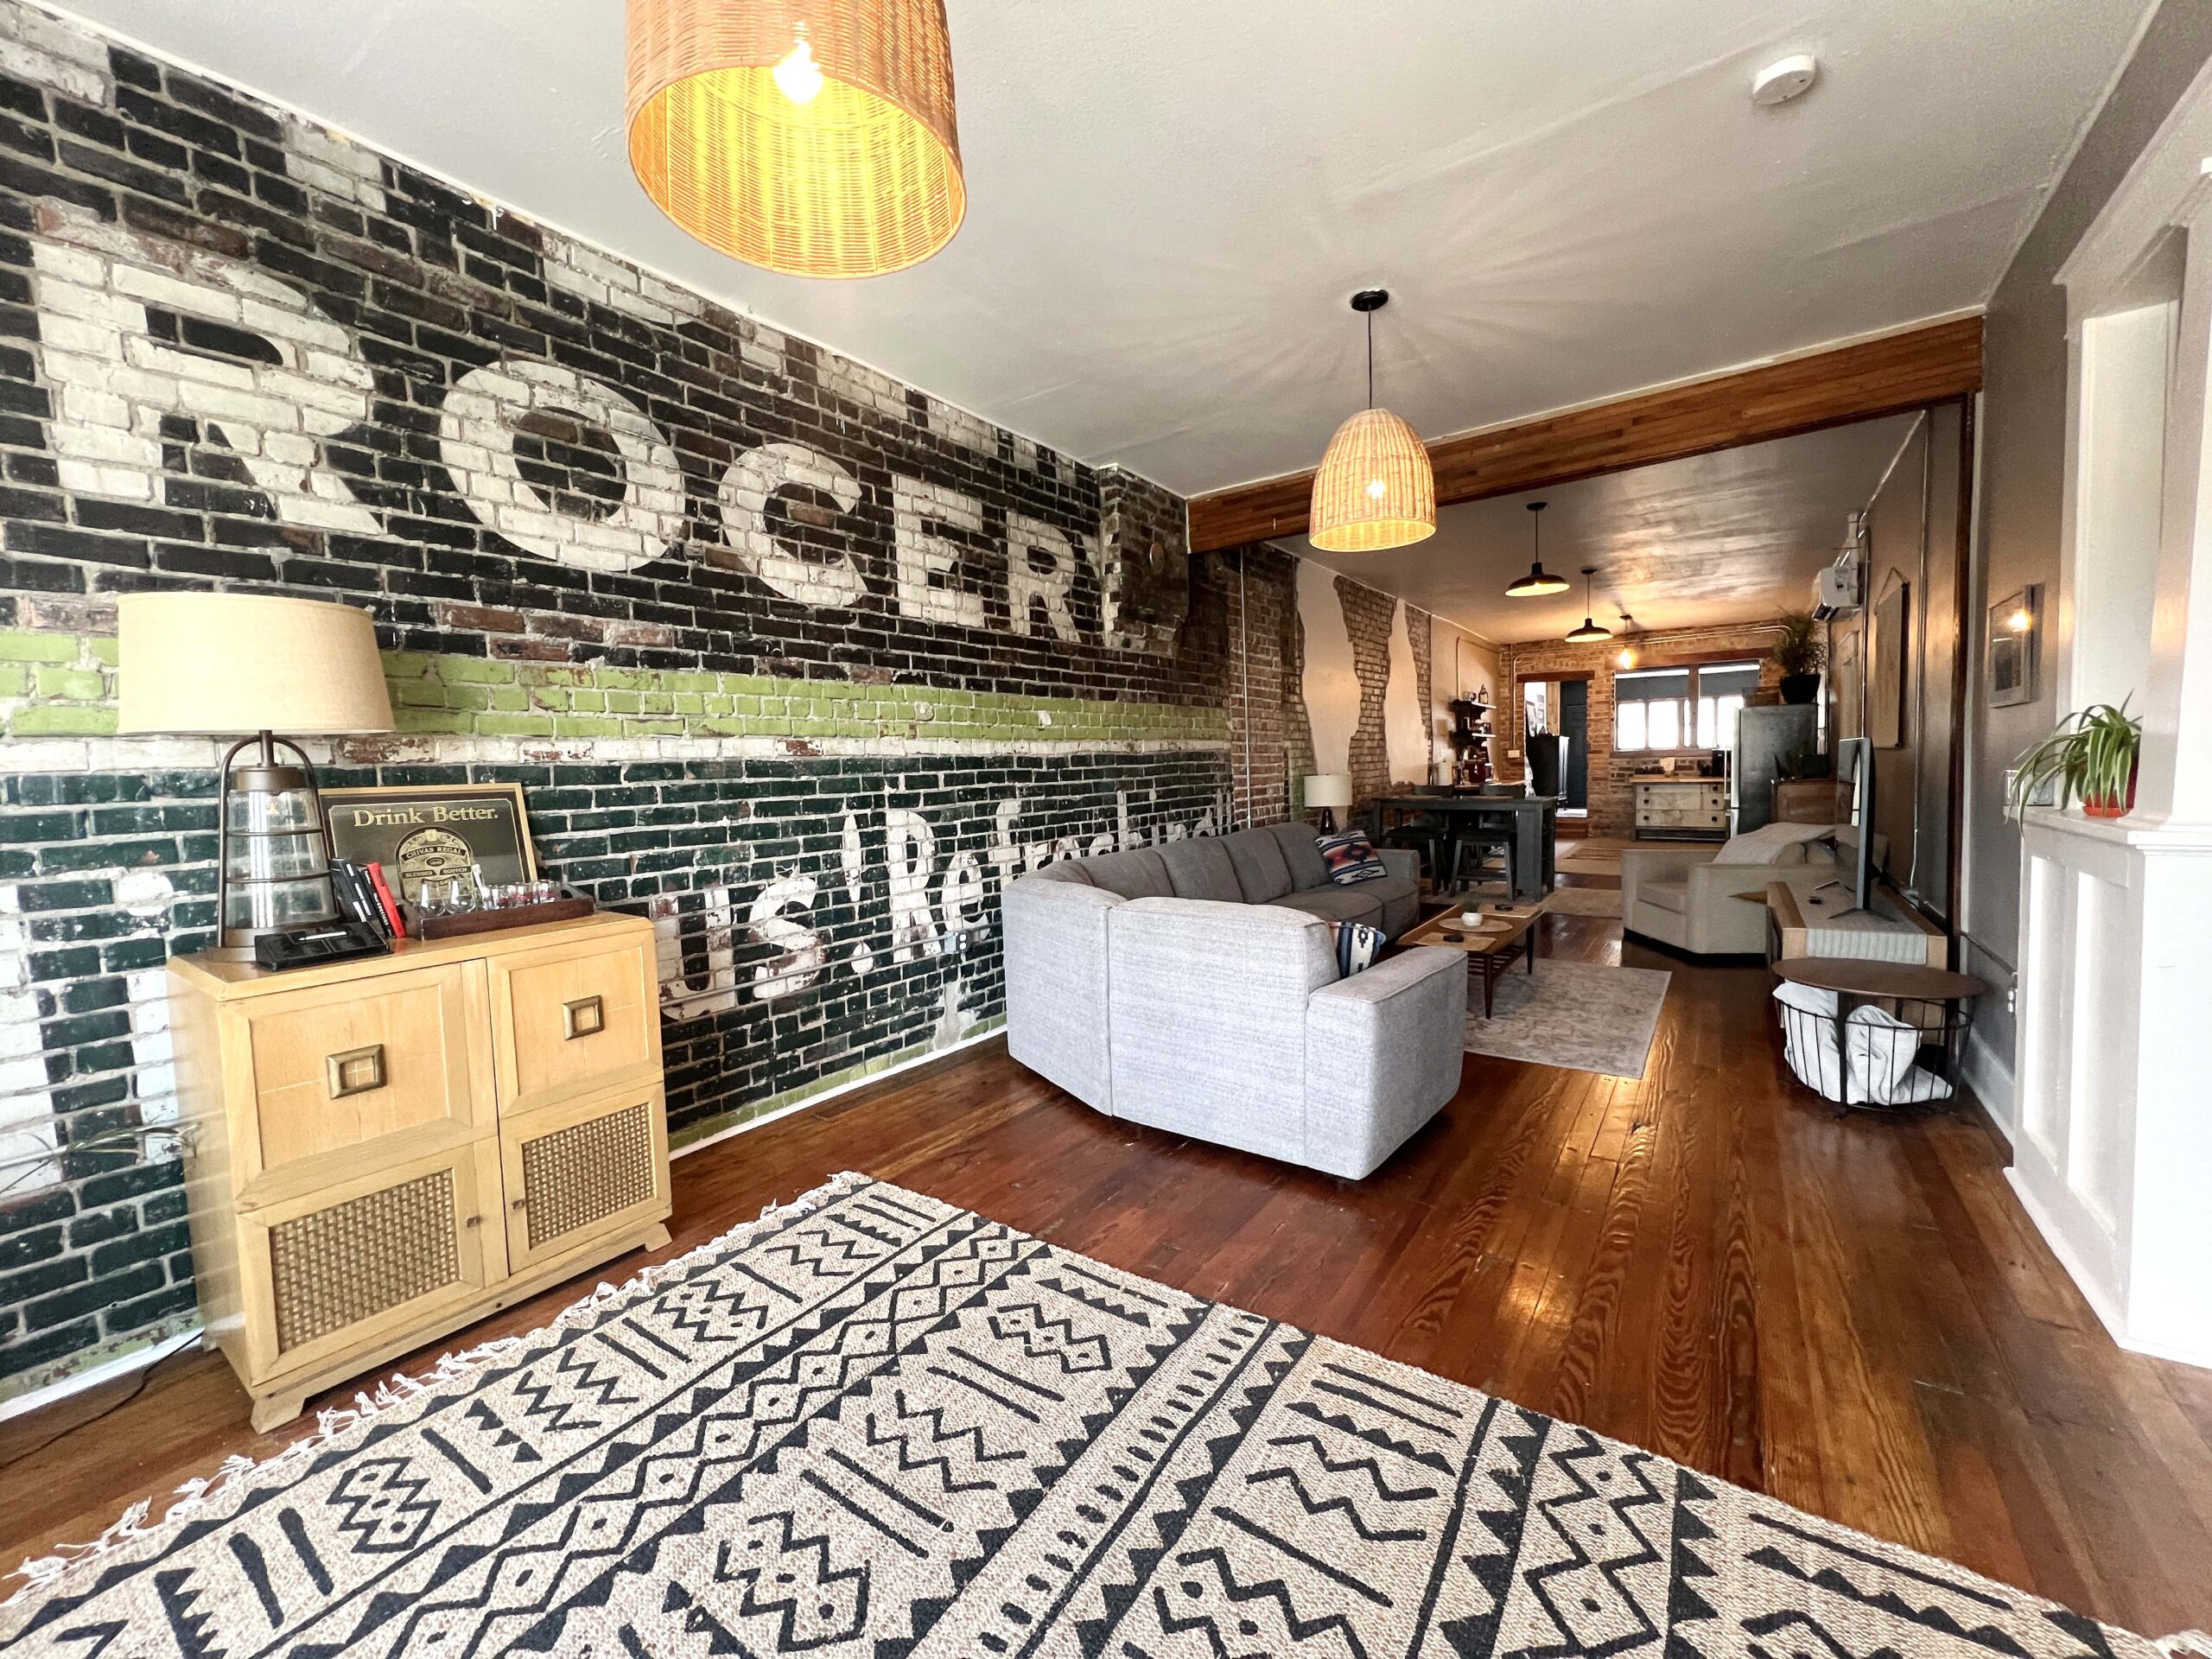 Built in 1910, the renovated loft space beautifully showcases the historic building’s architecture, from its brick-exposed walls to the original wood floors. The 1,600 square foot, two-bedroom, one bath loft sleeps four guests.
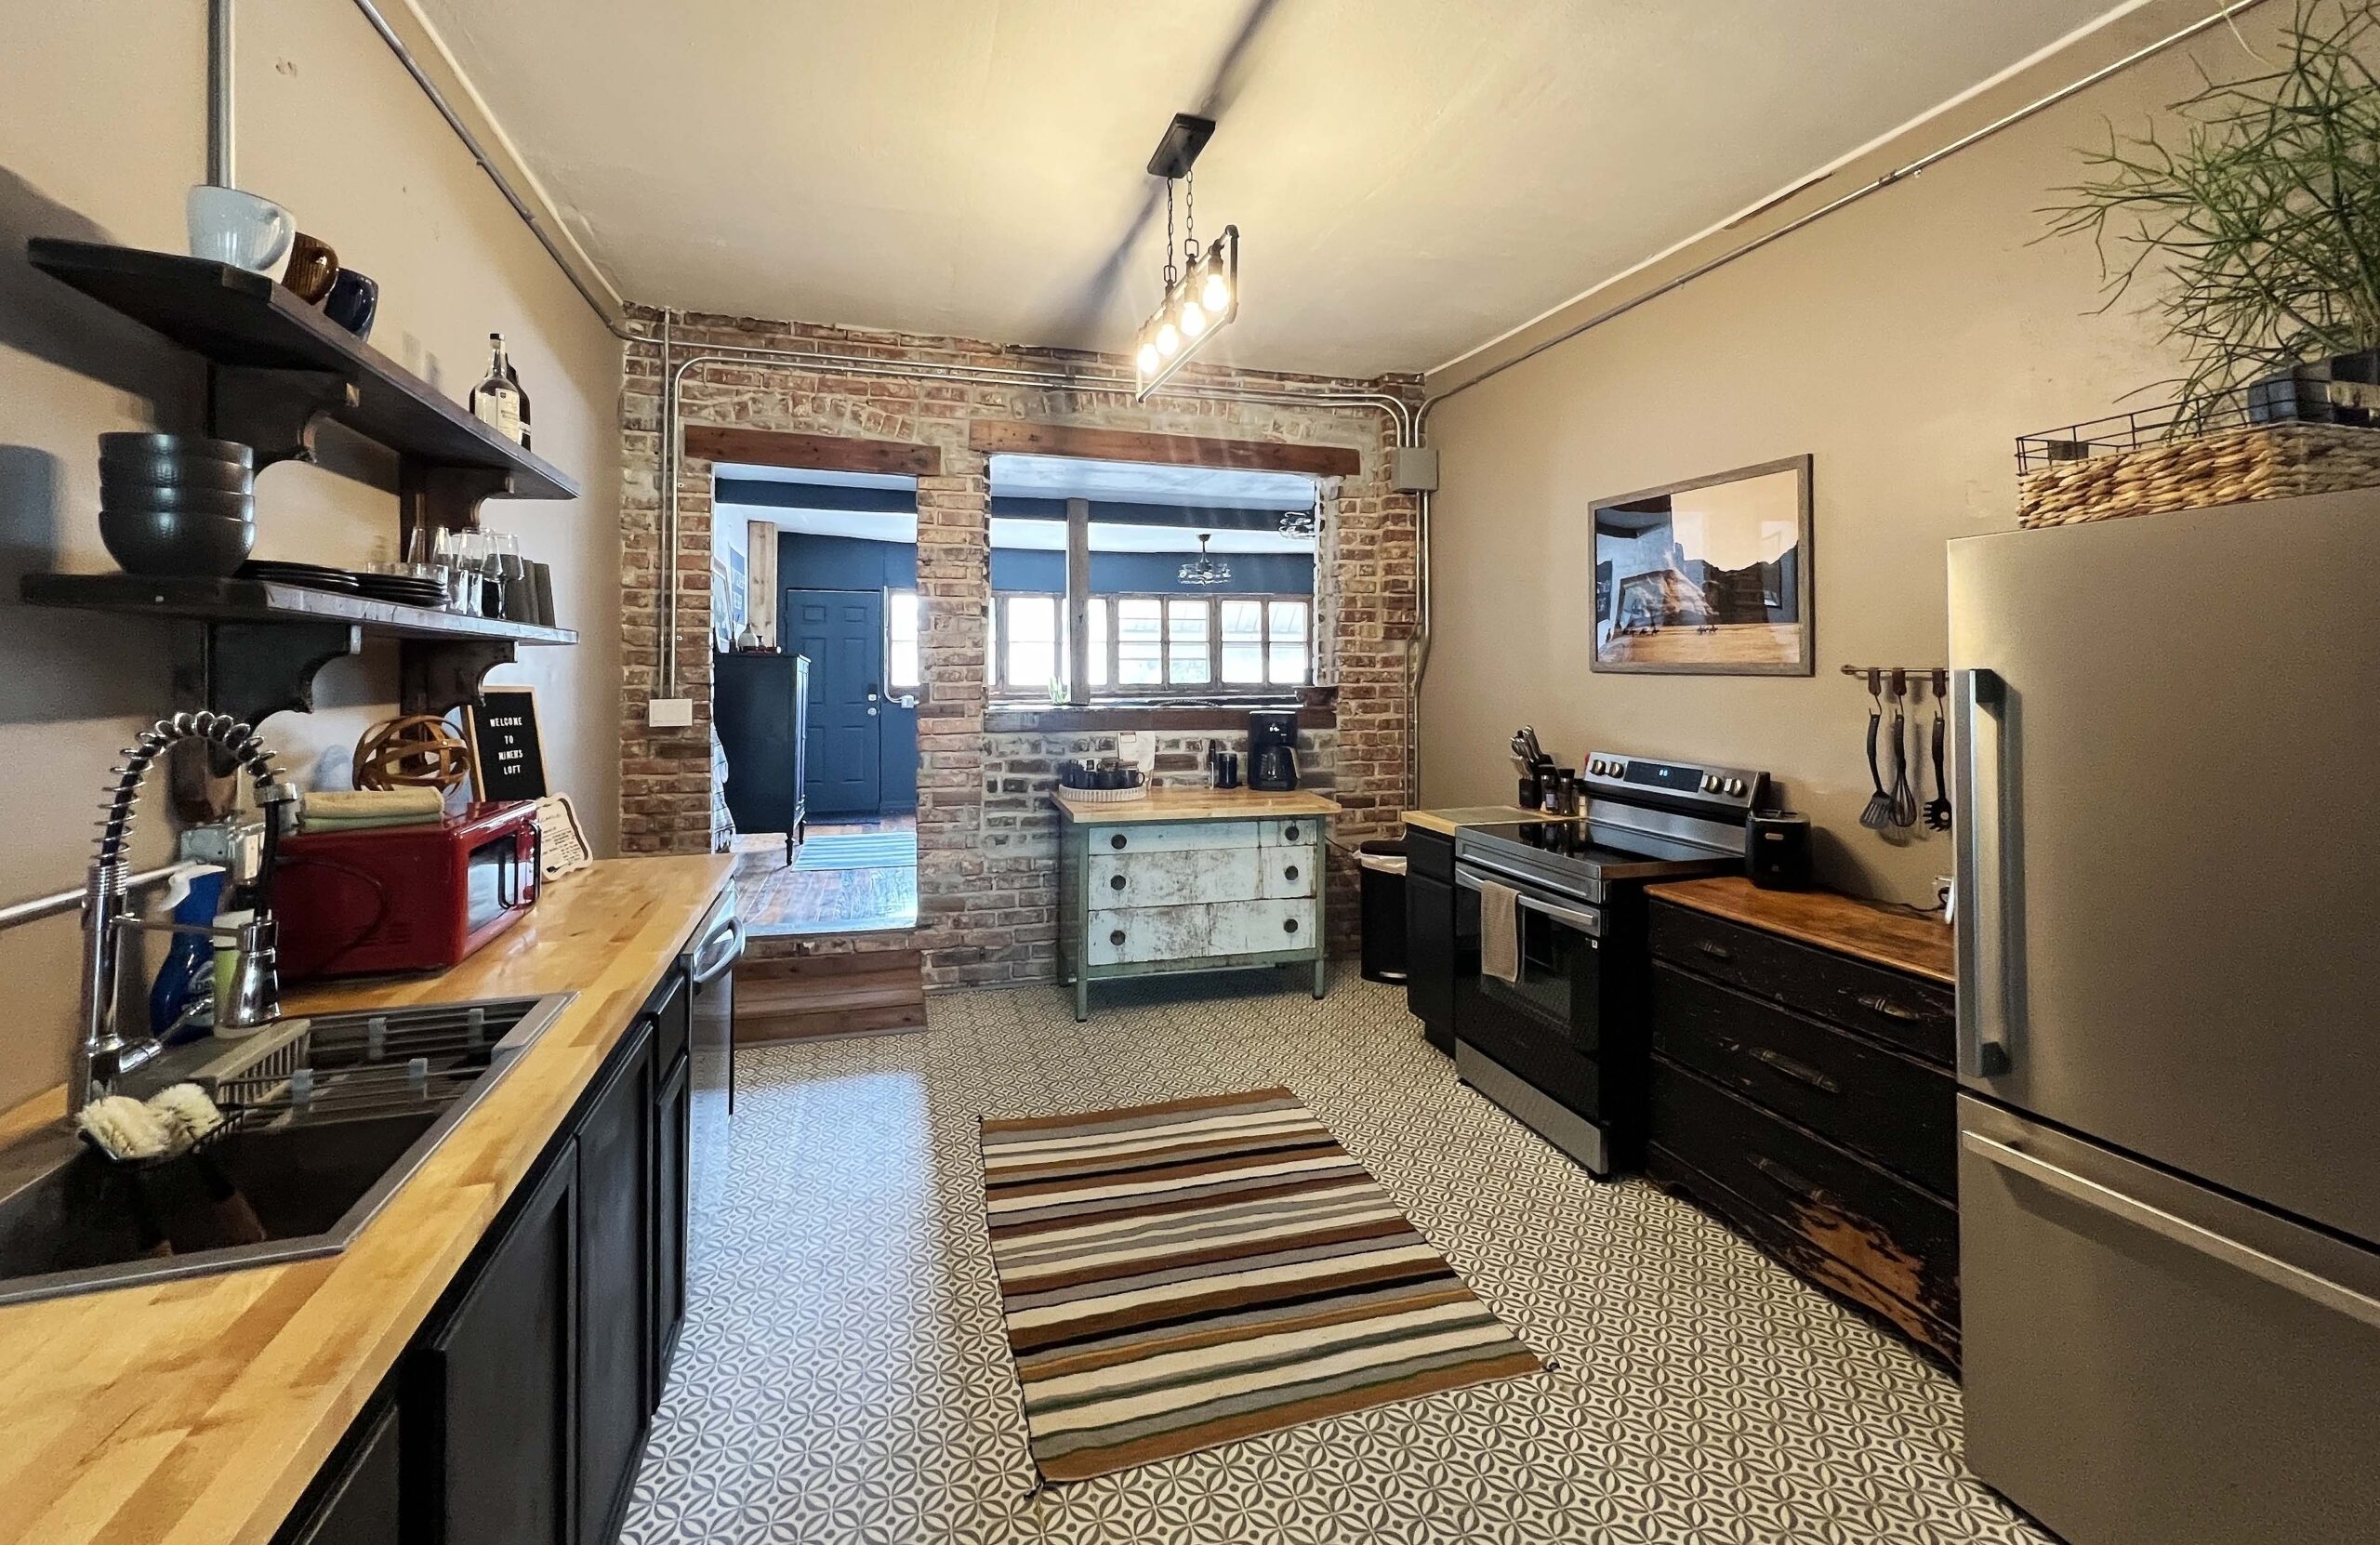 You’ll appreciate the private parking with front door or back door self-entry keypad access. Once inside, it feels like home with amenities such as a washer and dryer, full kitchen, streaming television channels, Bluetooth compatible speakers, and high-speed WiFi.
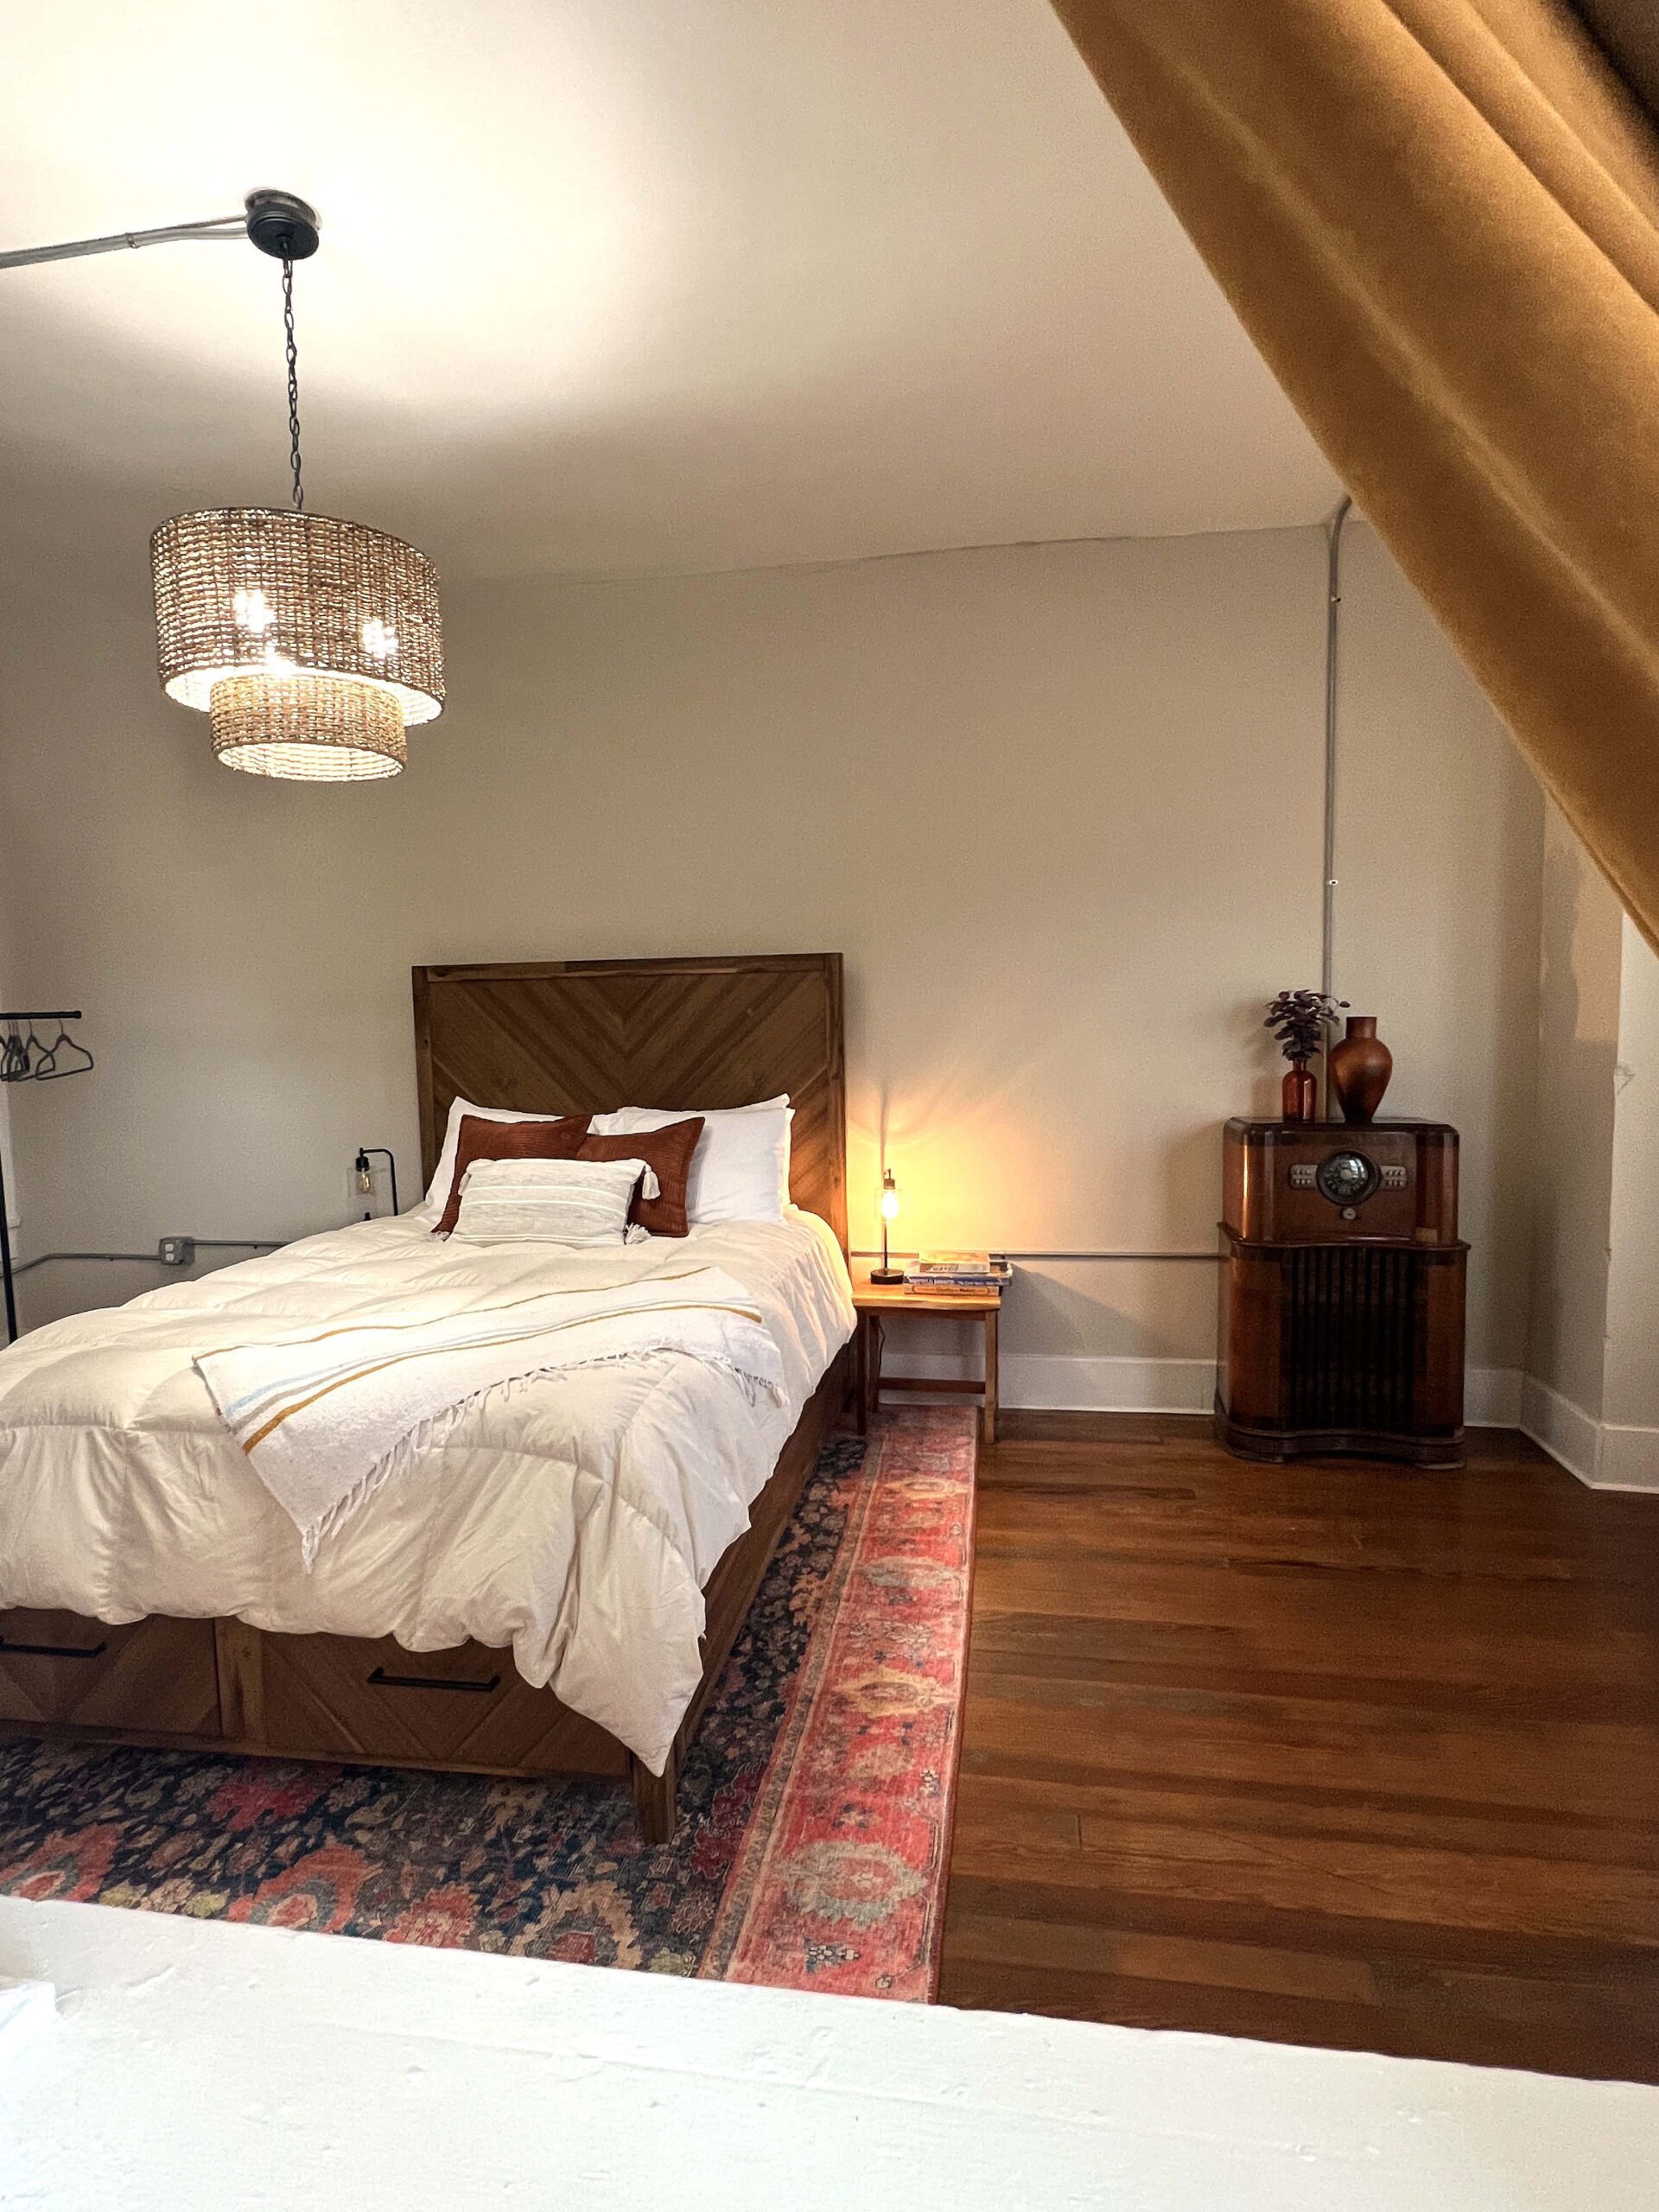 A bonus room includes a poker table and additional couch with television for lounging with friends or family.
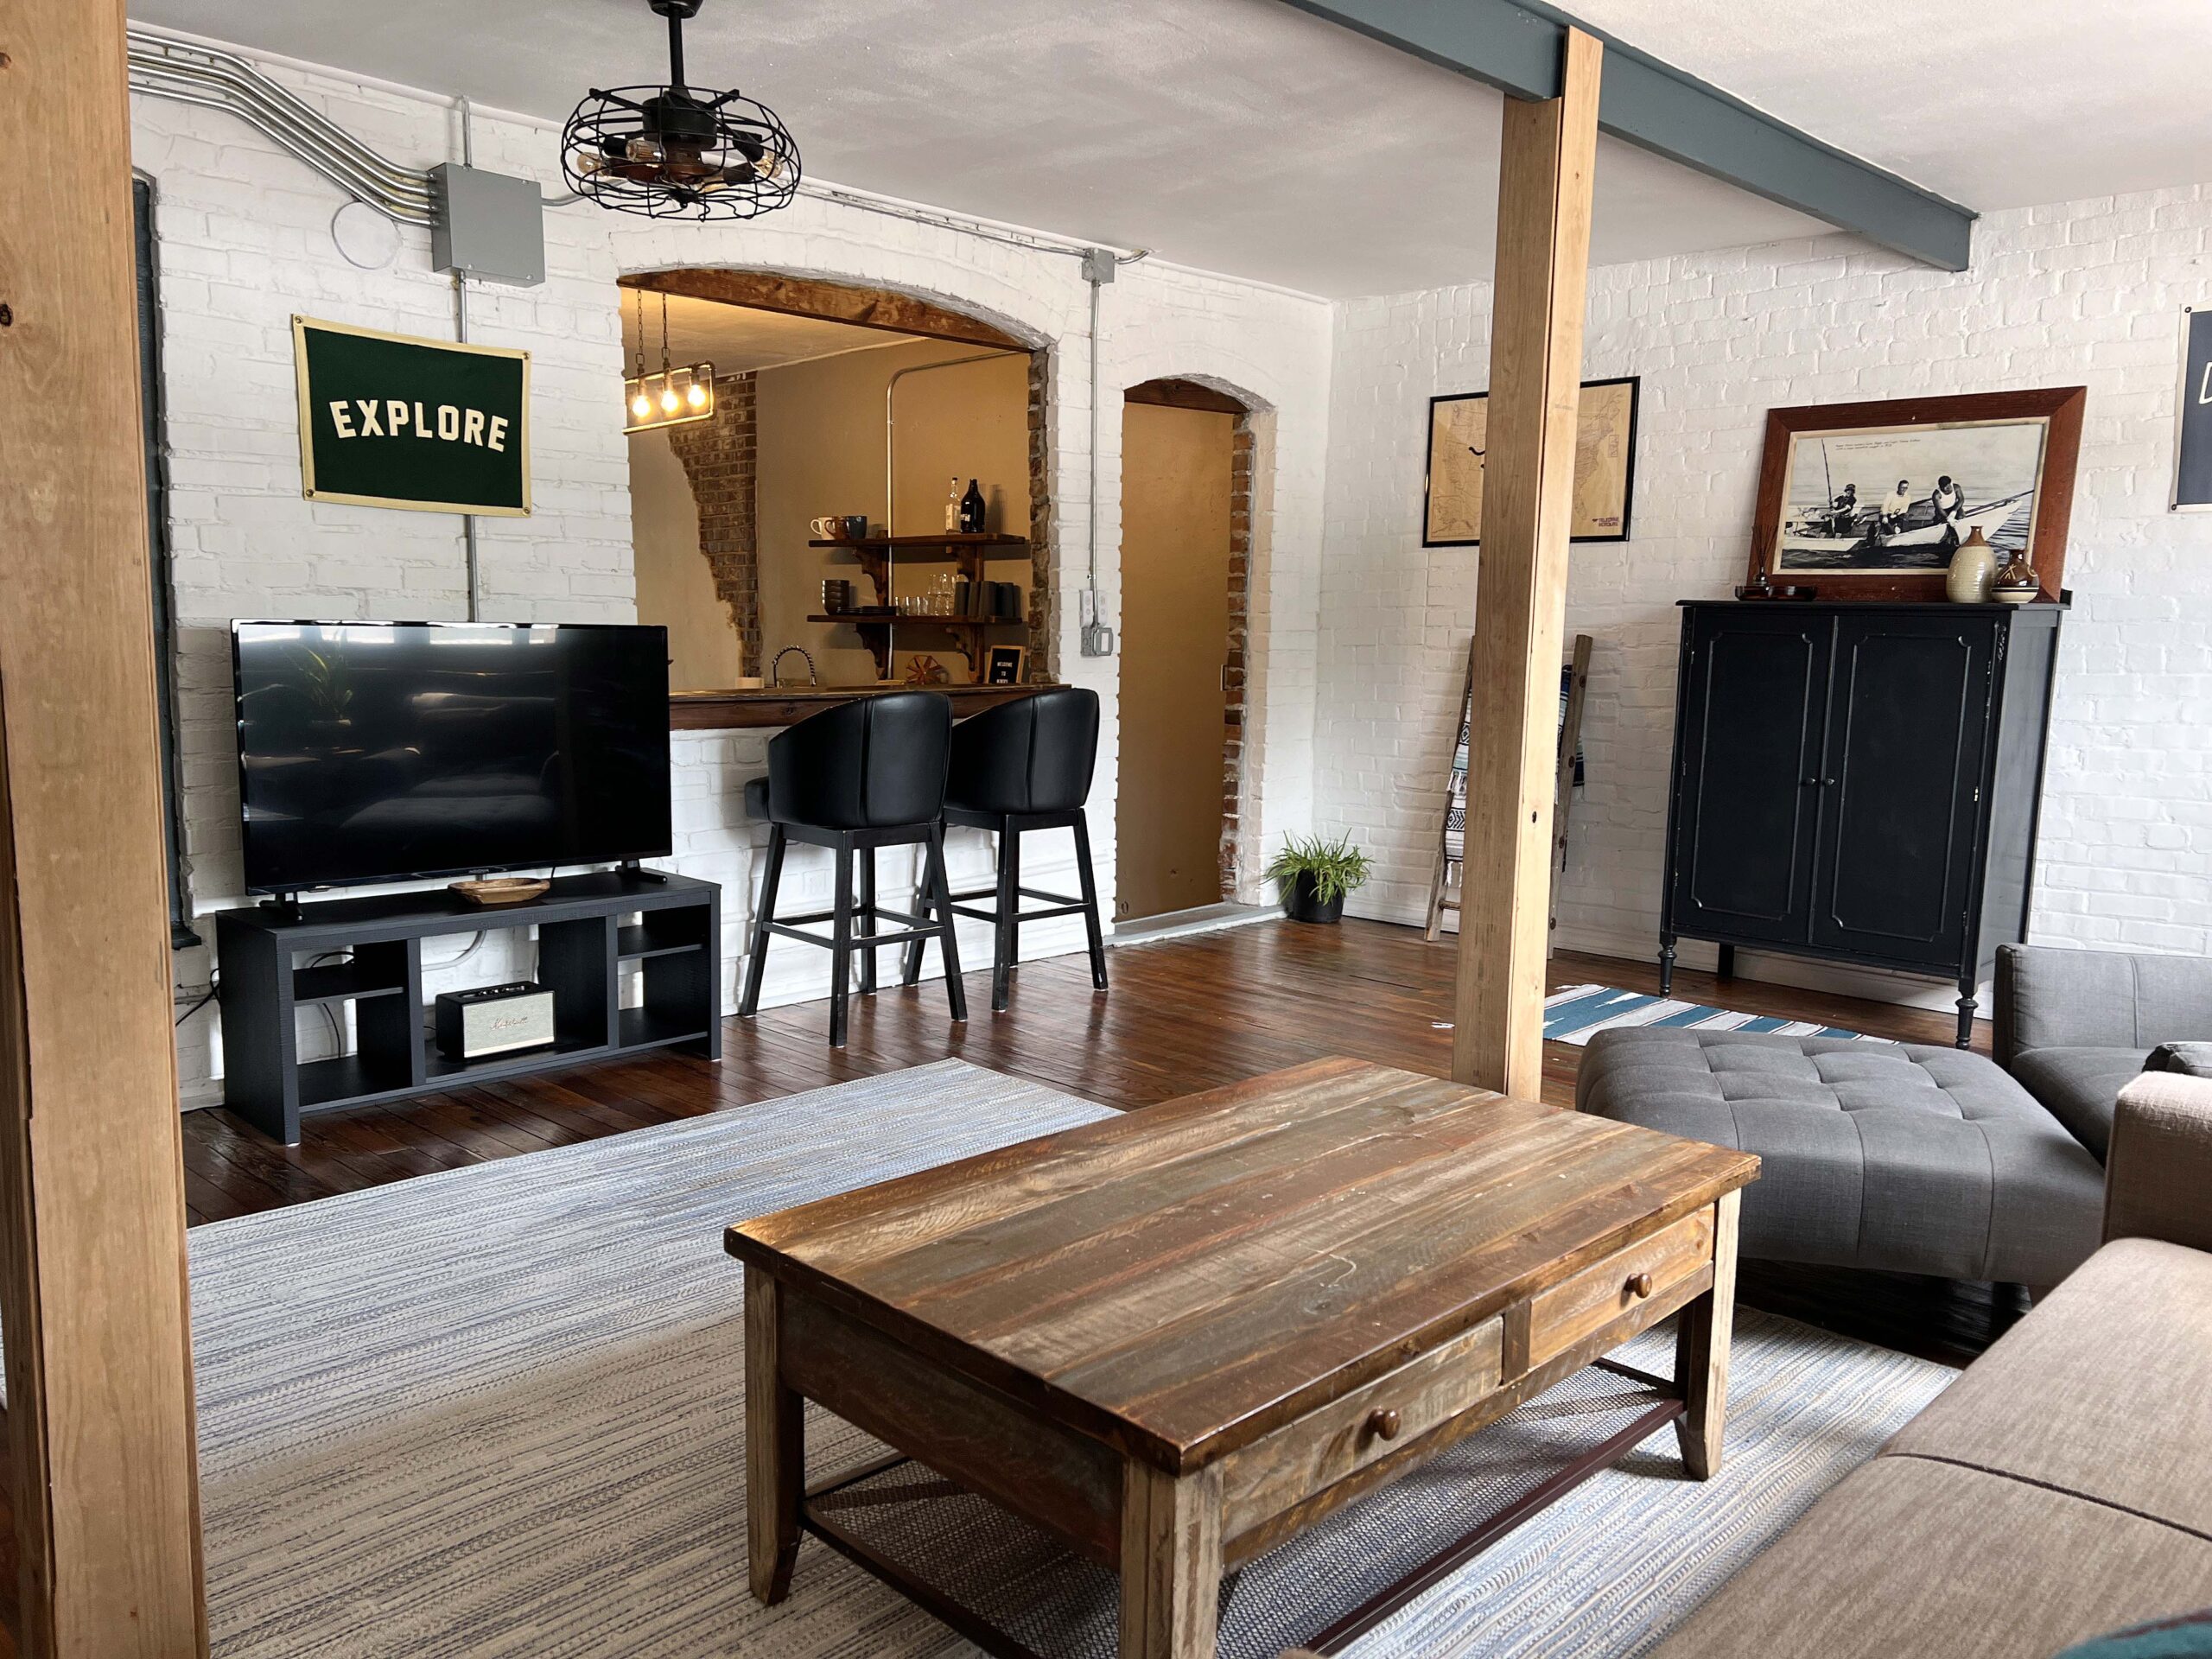 The bathroom, designed with his and her sinks, is spacious and includes in-shower products. Plush body-size towels and a motion detector for the overhead light are added touches you don’t always find in a vacation rental.
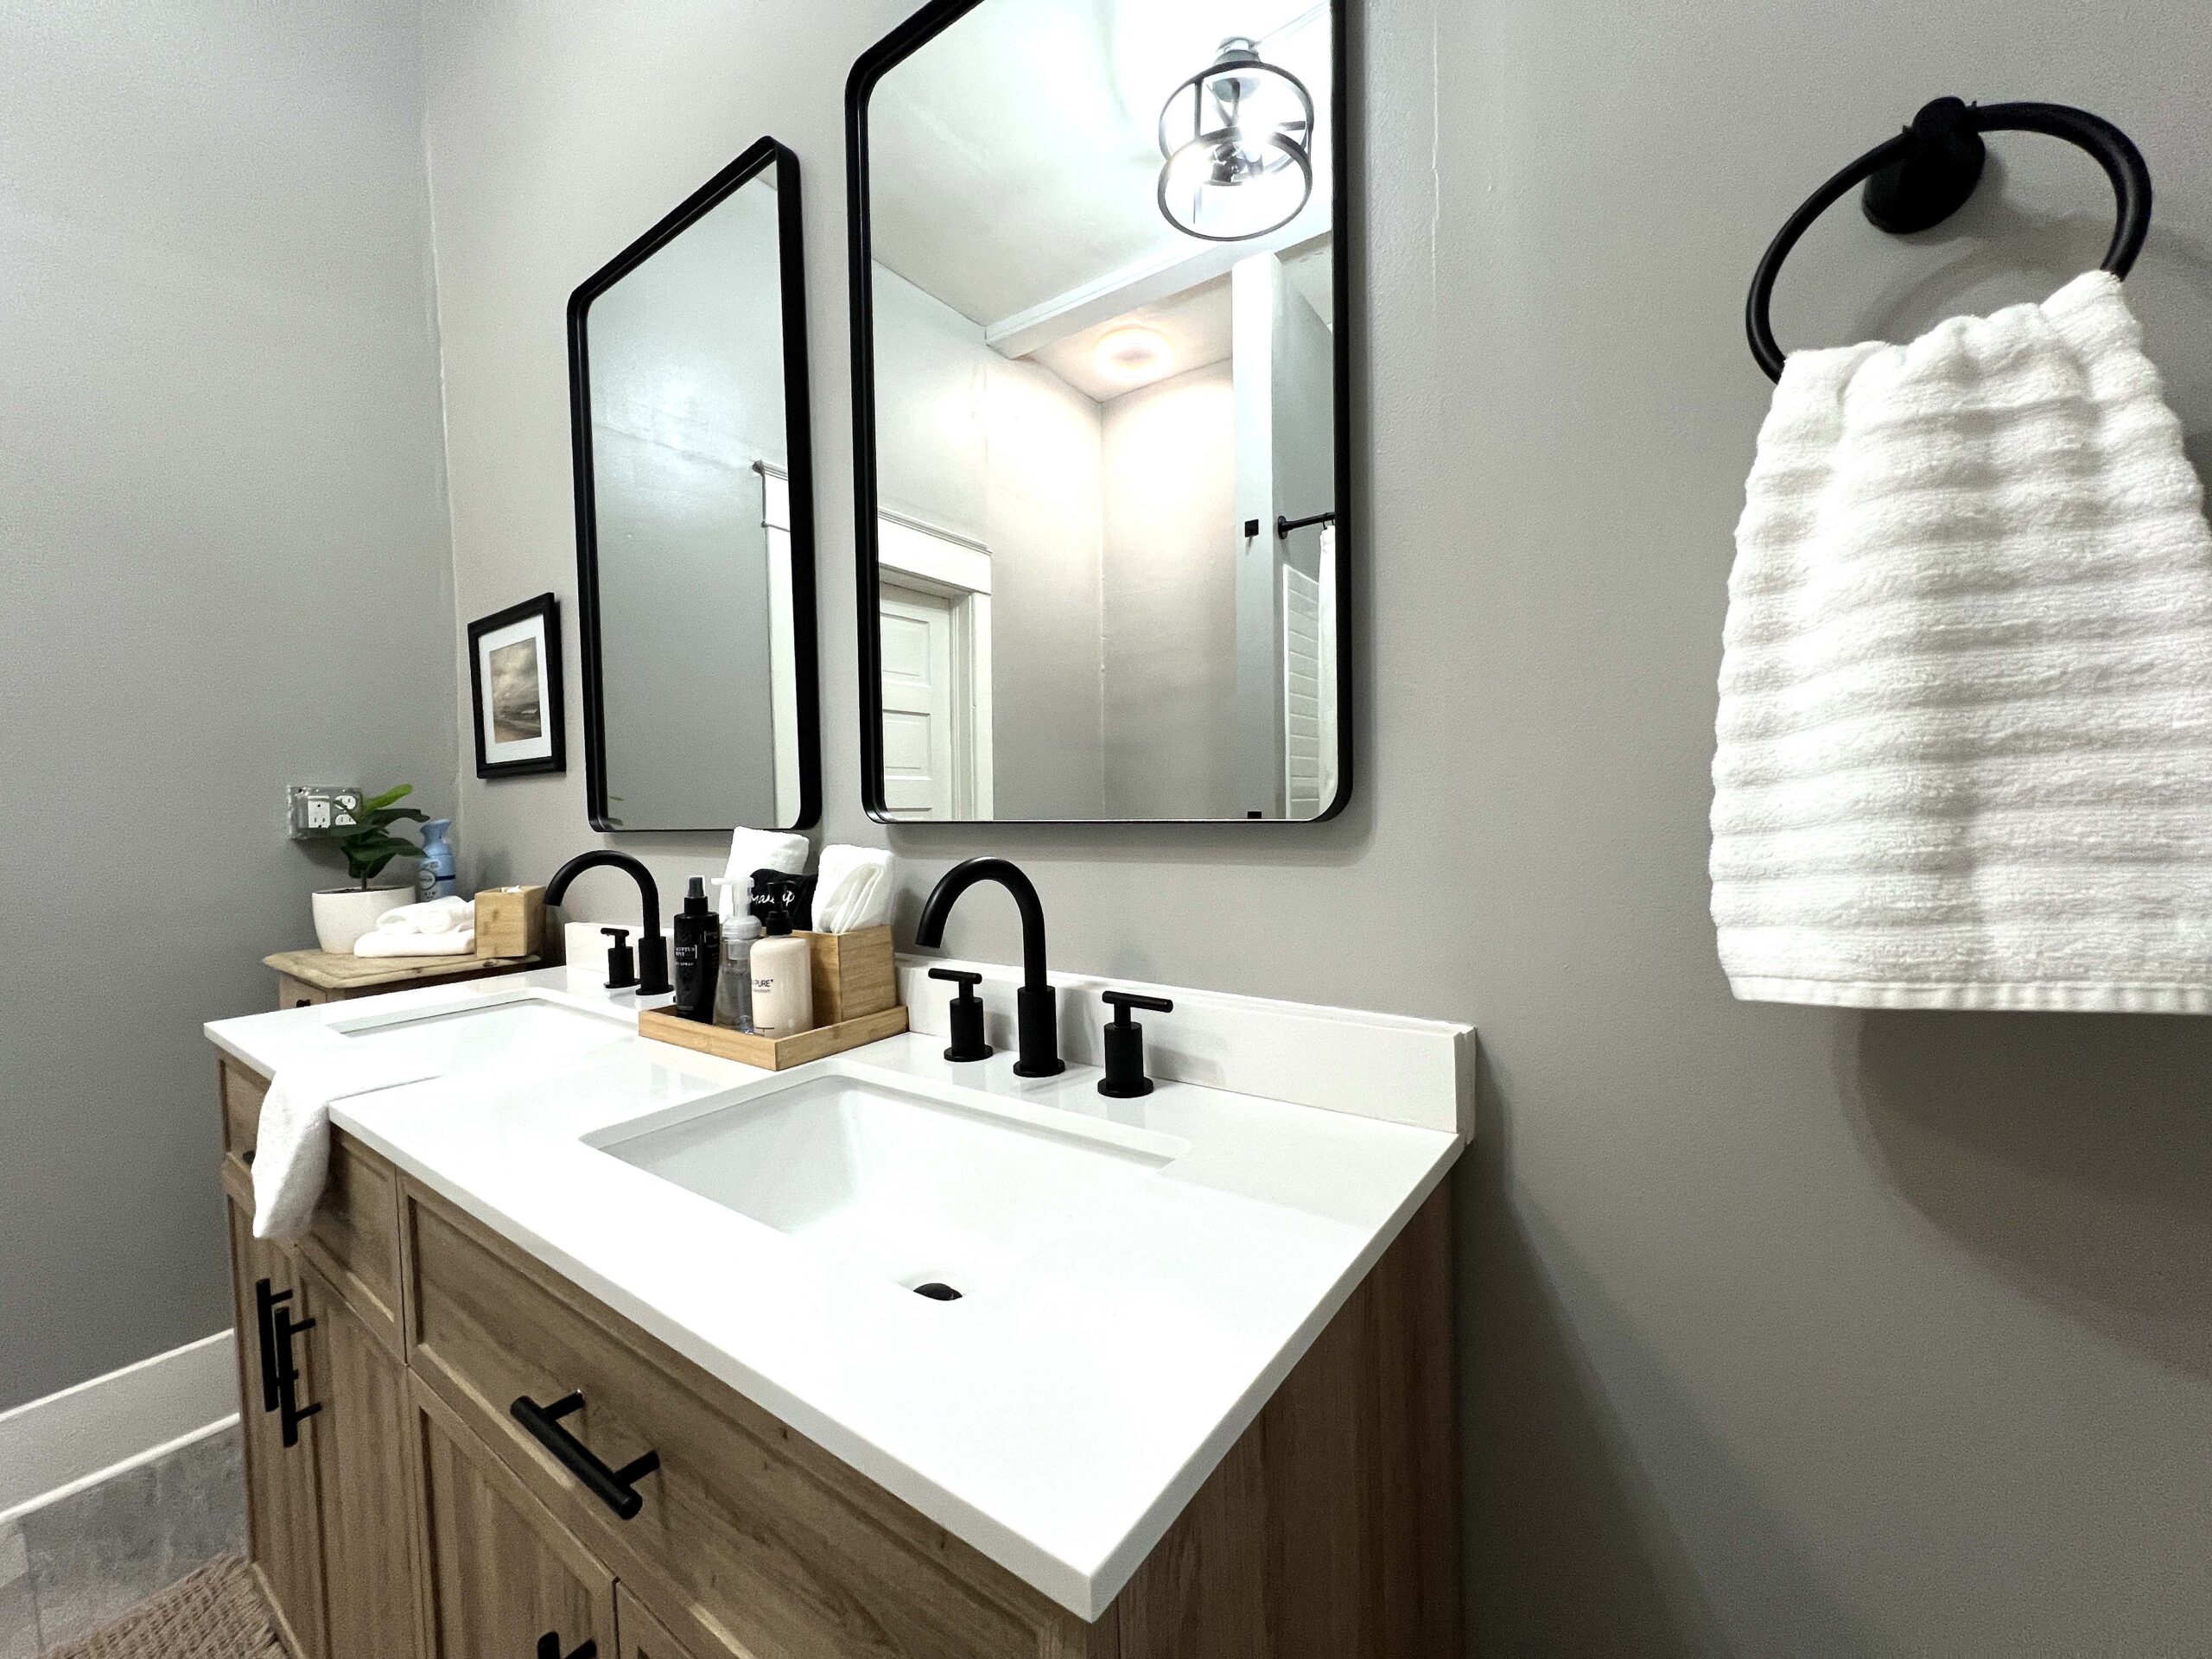 Pro Tip: Shop the loft owner’s store,
 PRO TIP: Don’t expect to be able to check in early to your room, but instead, ask if the hotel will hold your bags until 4 pm check-in.
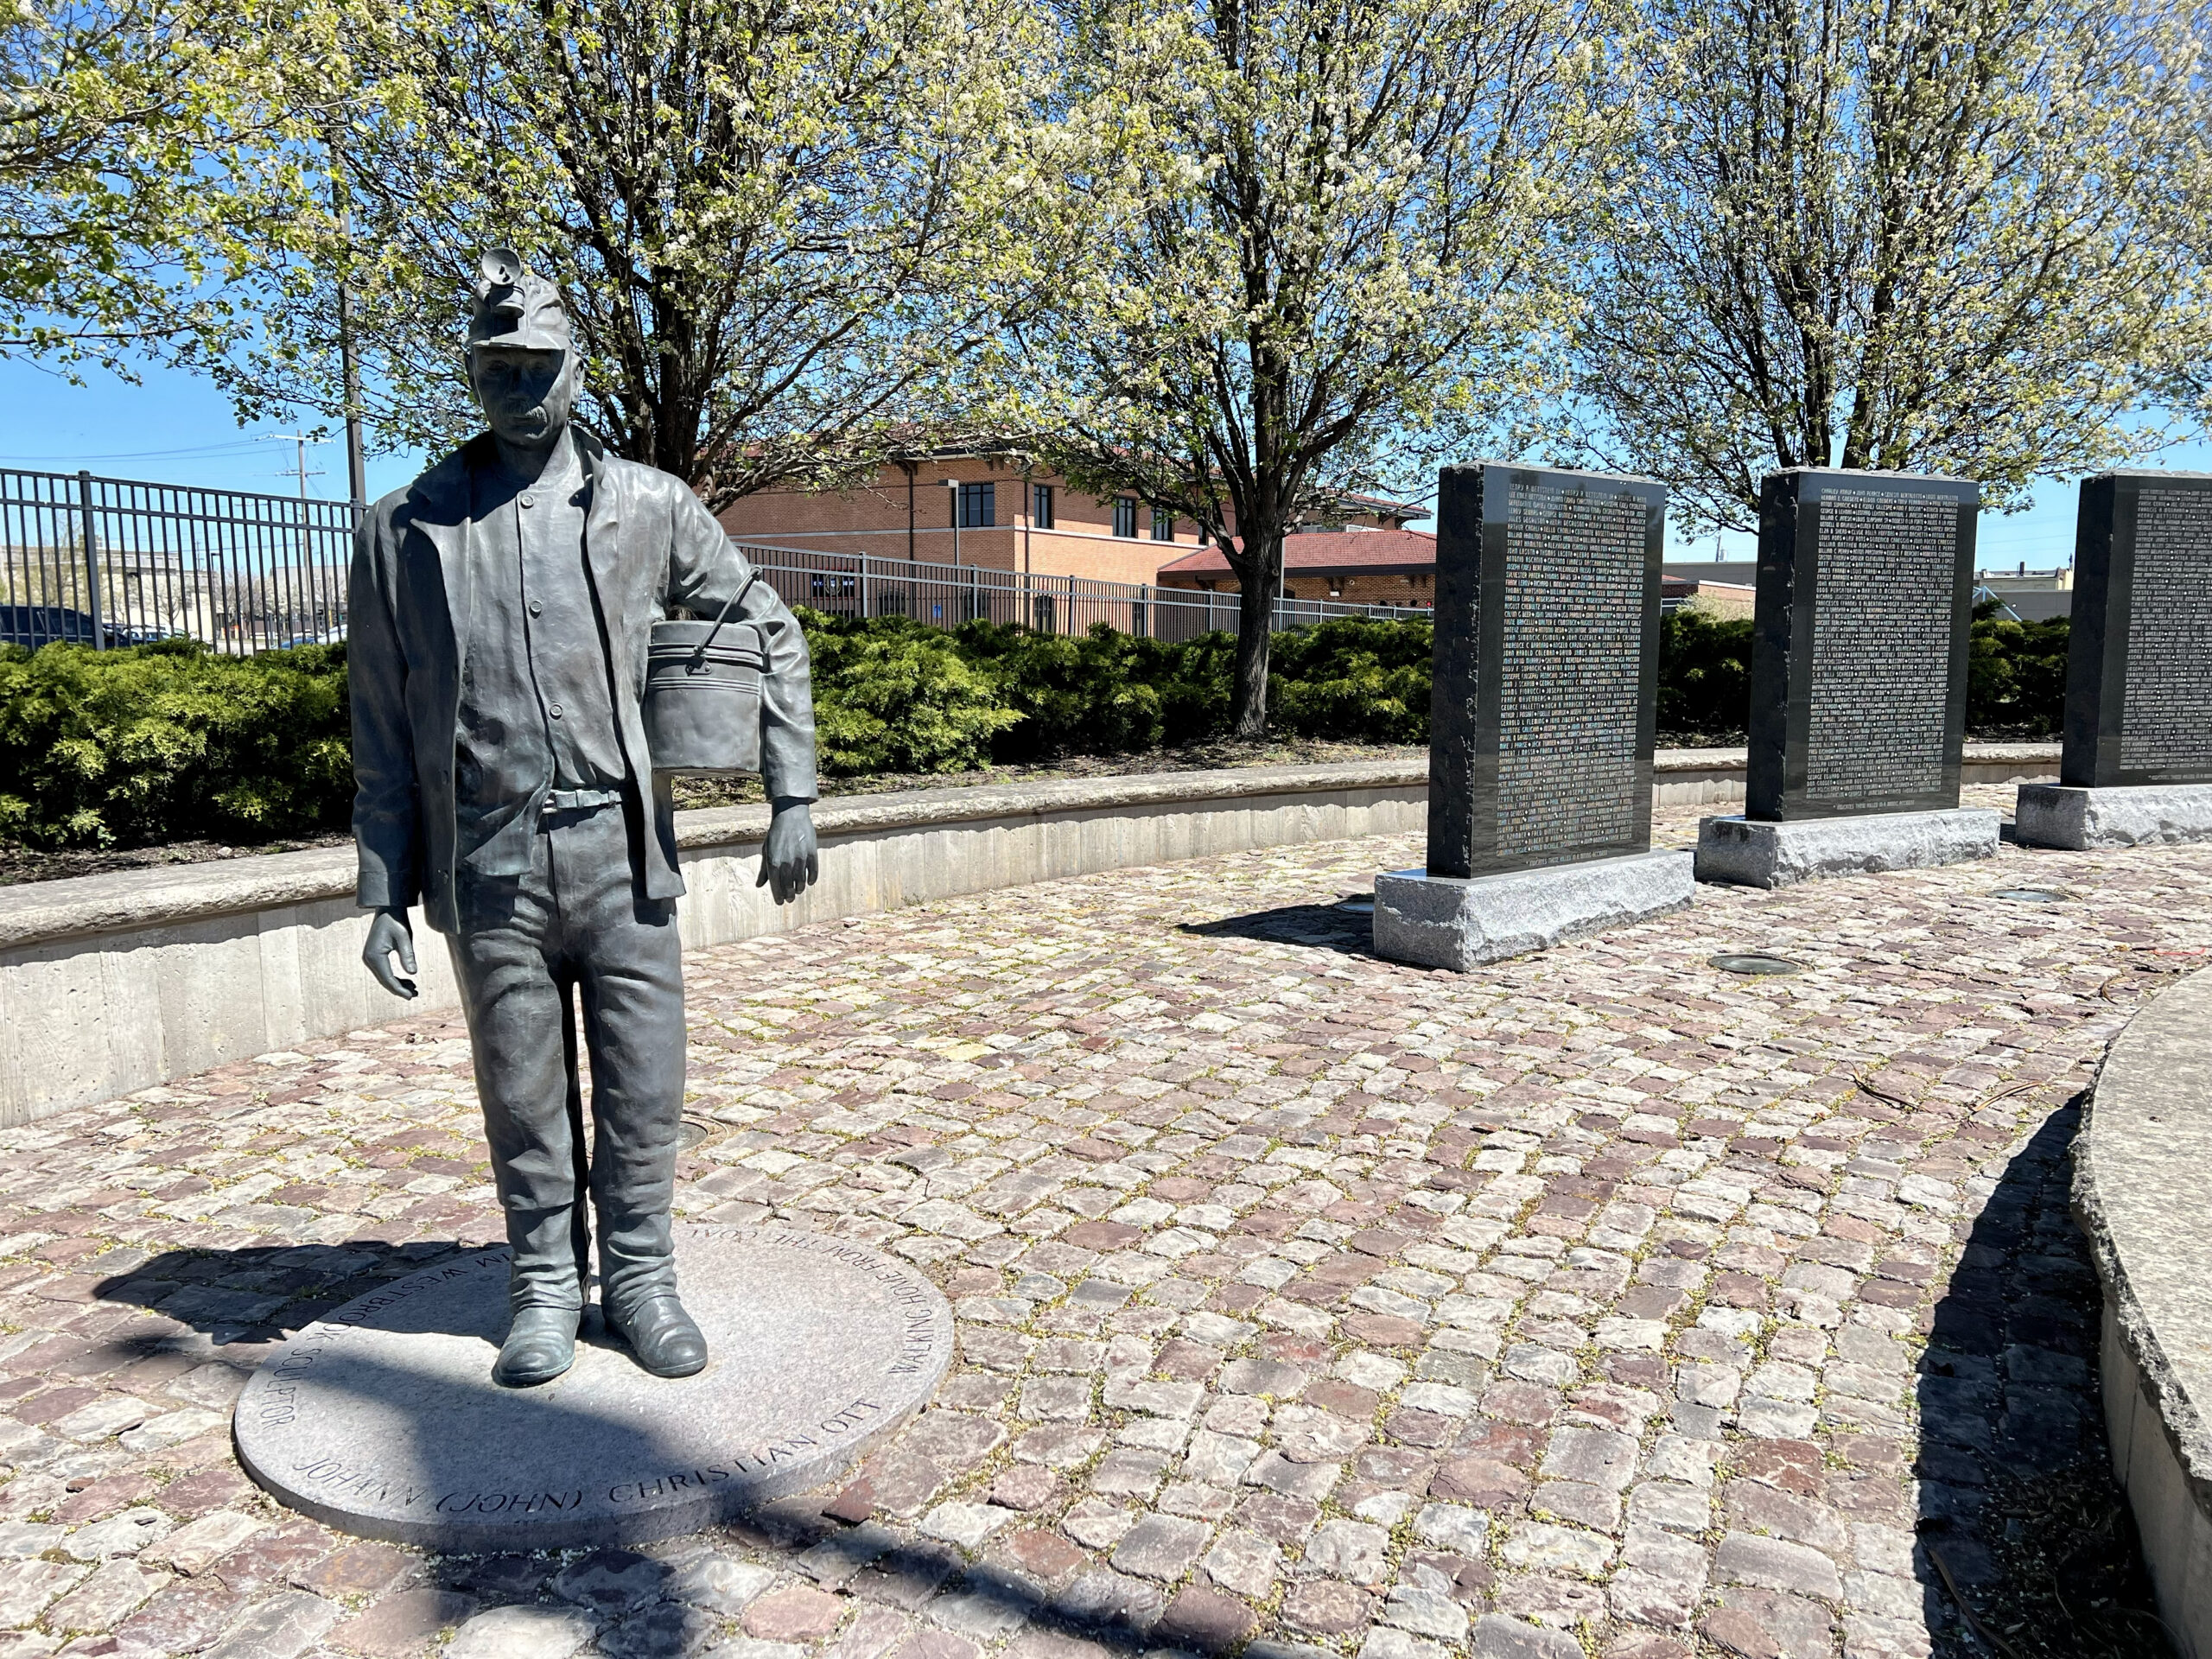


 It sits as short walk on campus from the bronze gorilla sculpture in front of PSU’s Student Center.
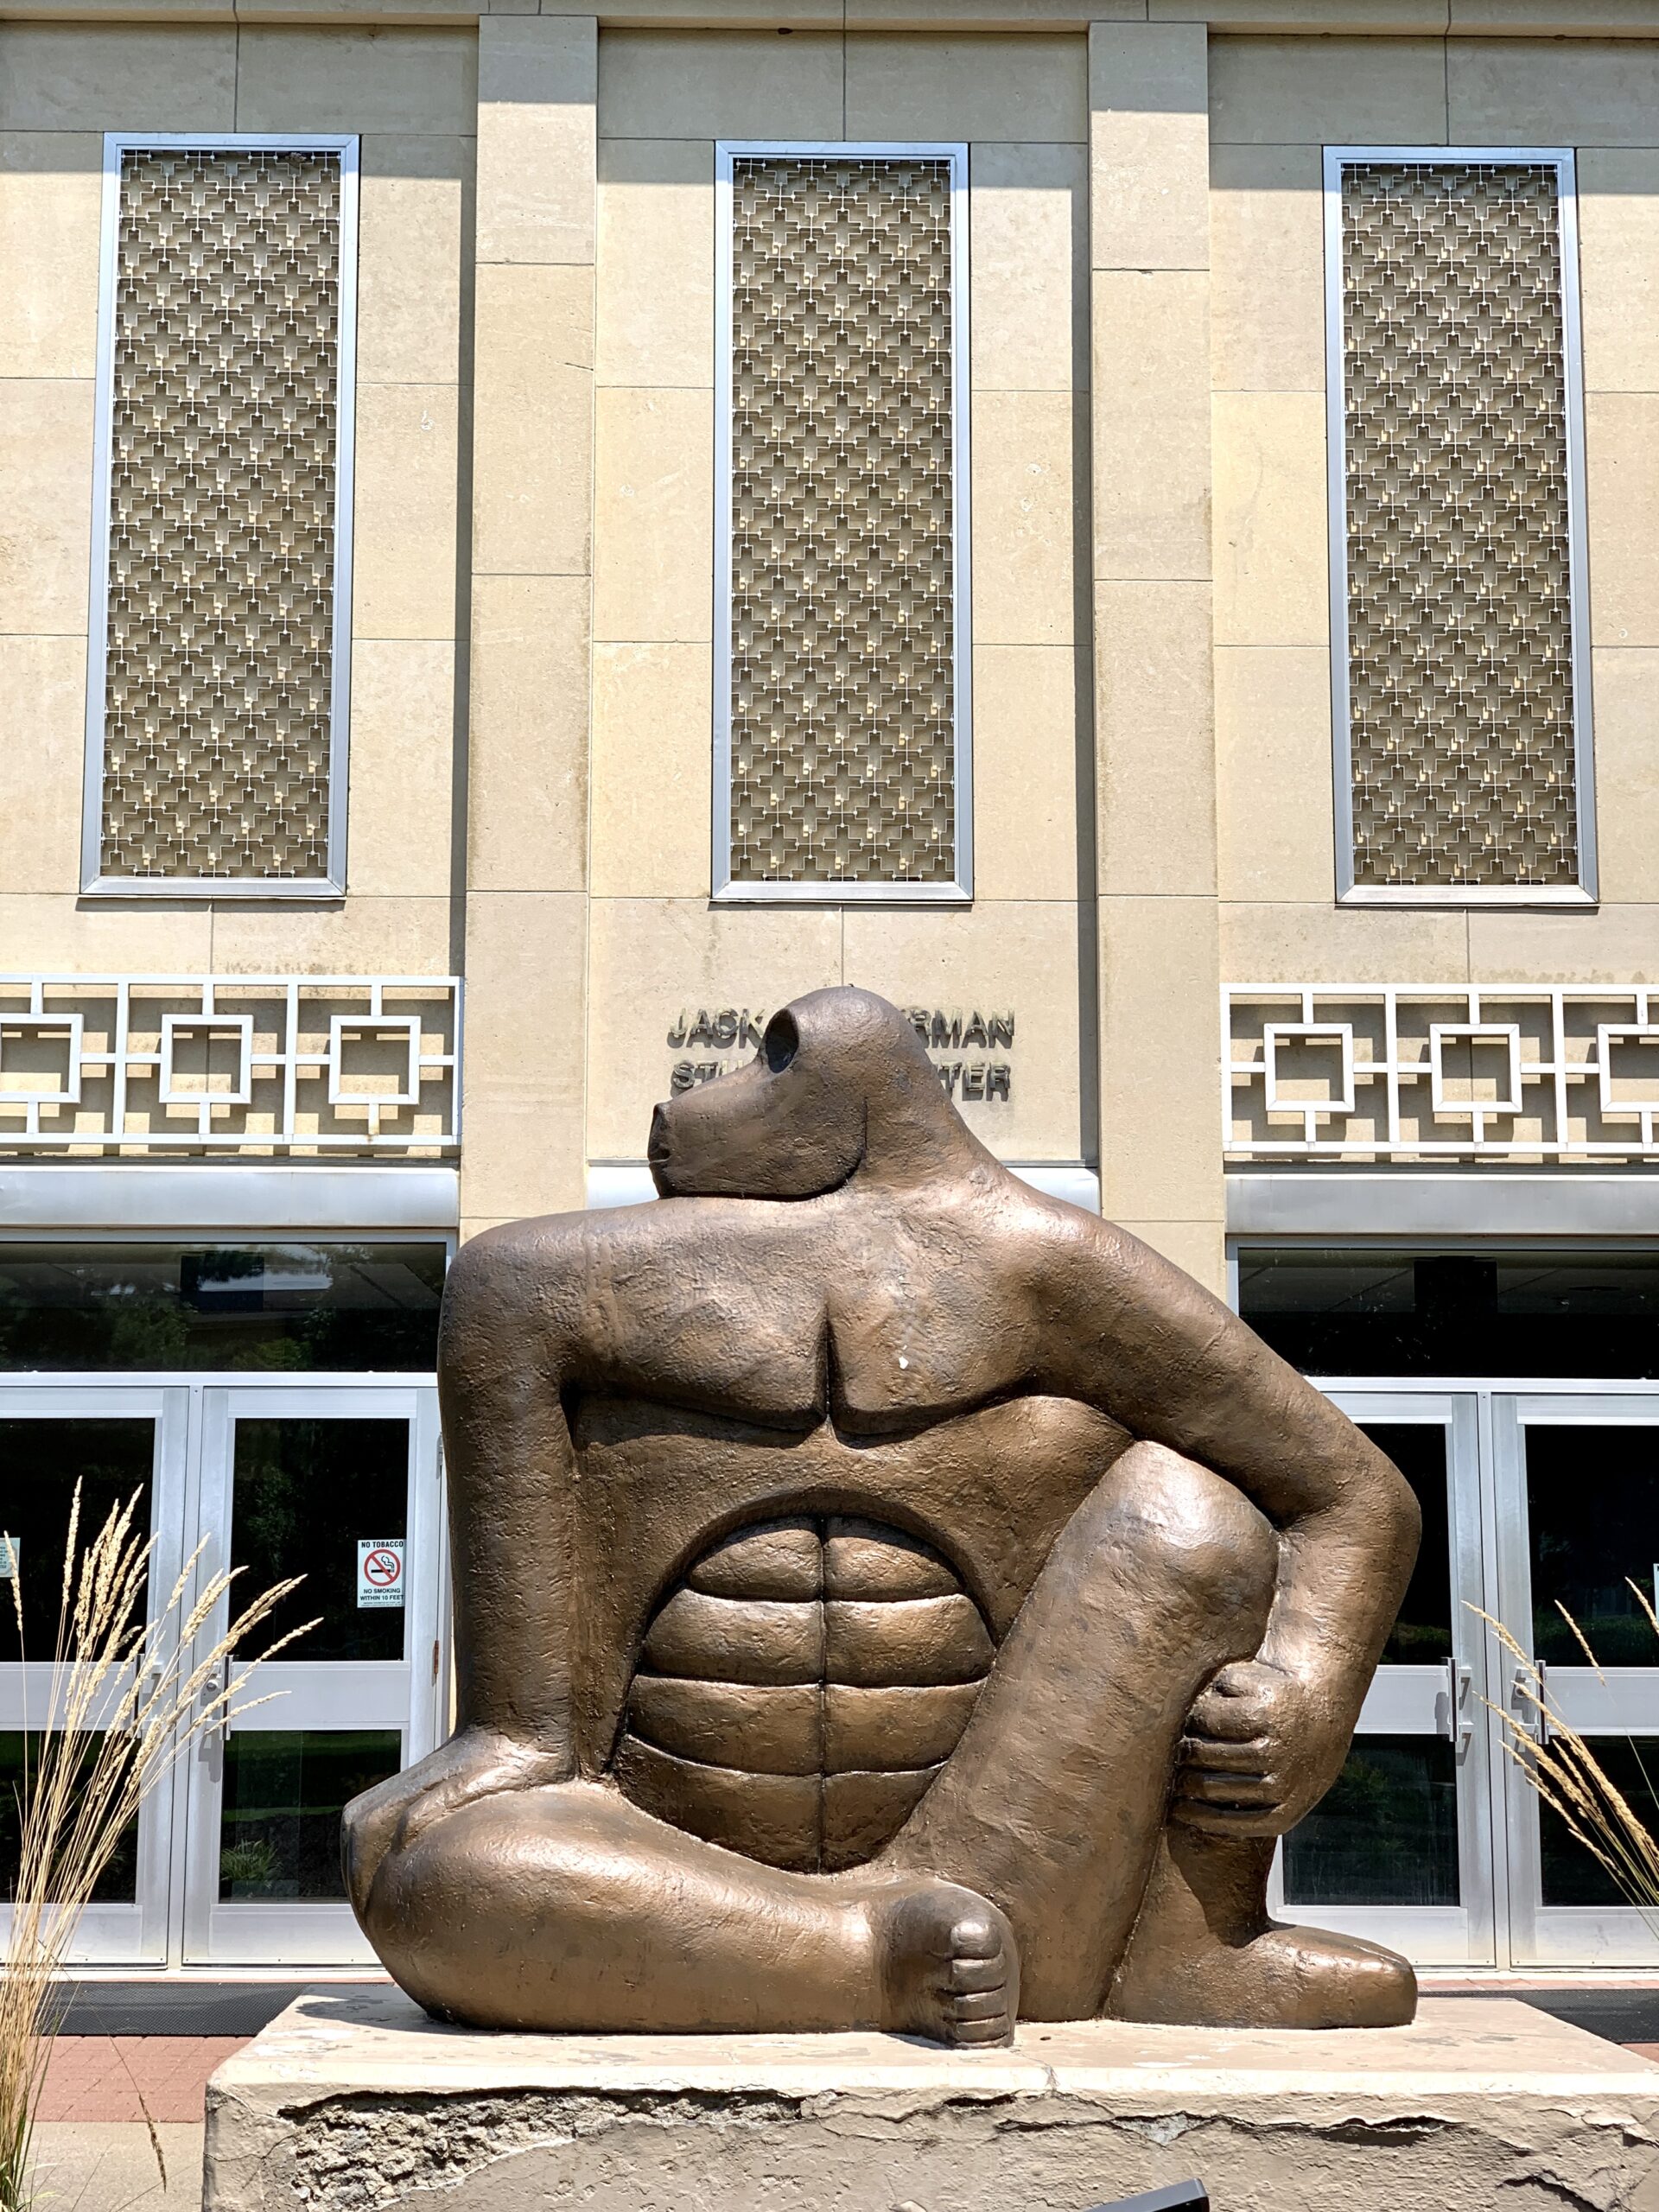 PRO TIP: Use the
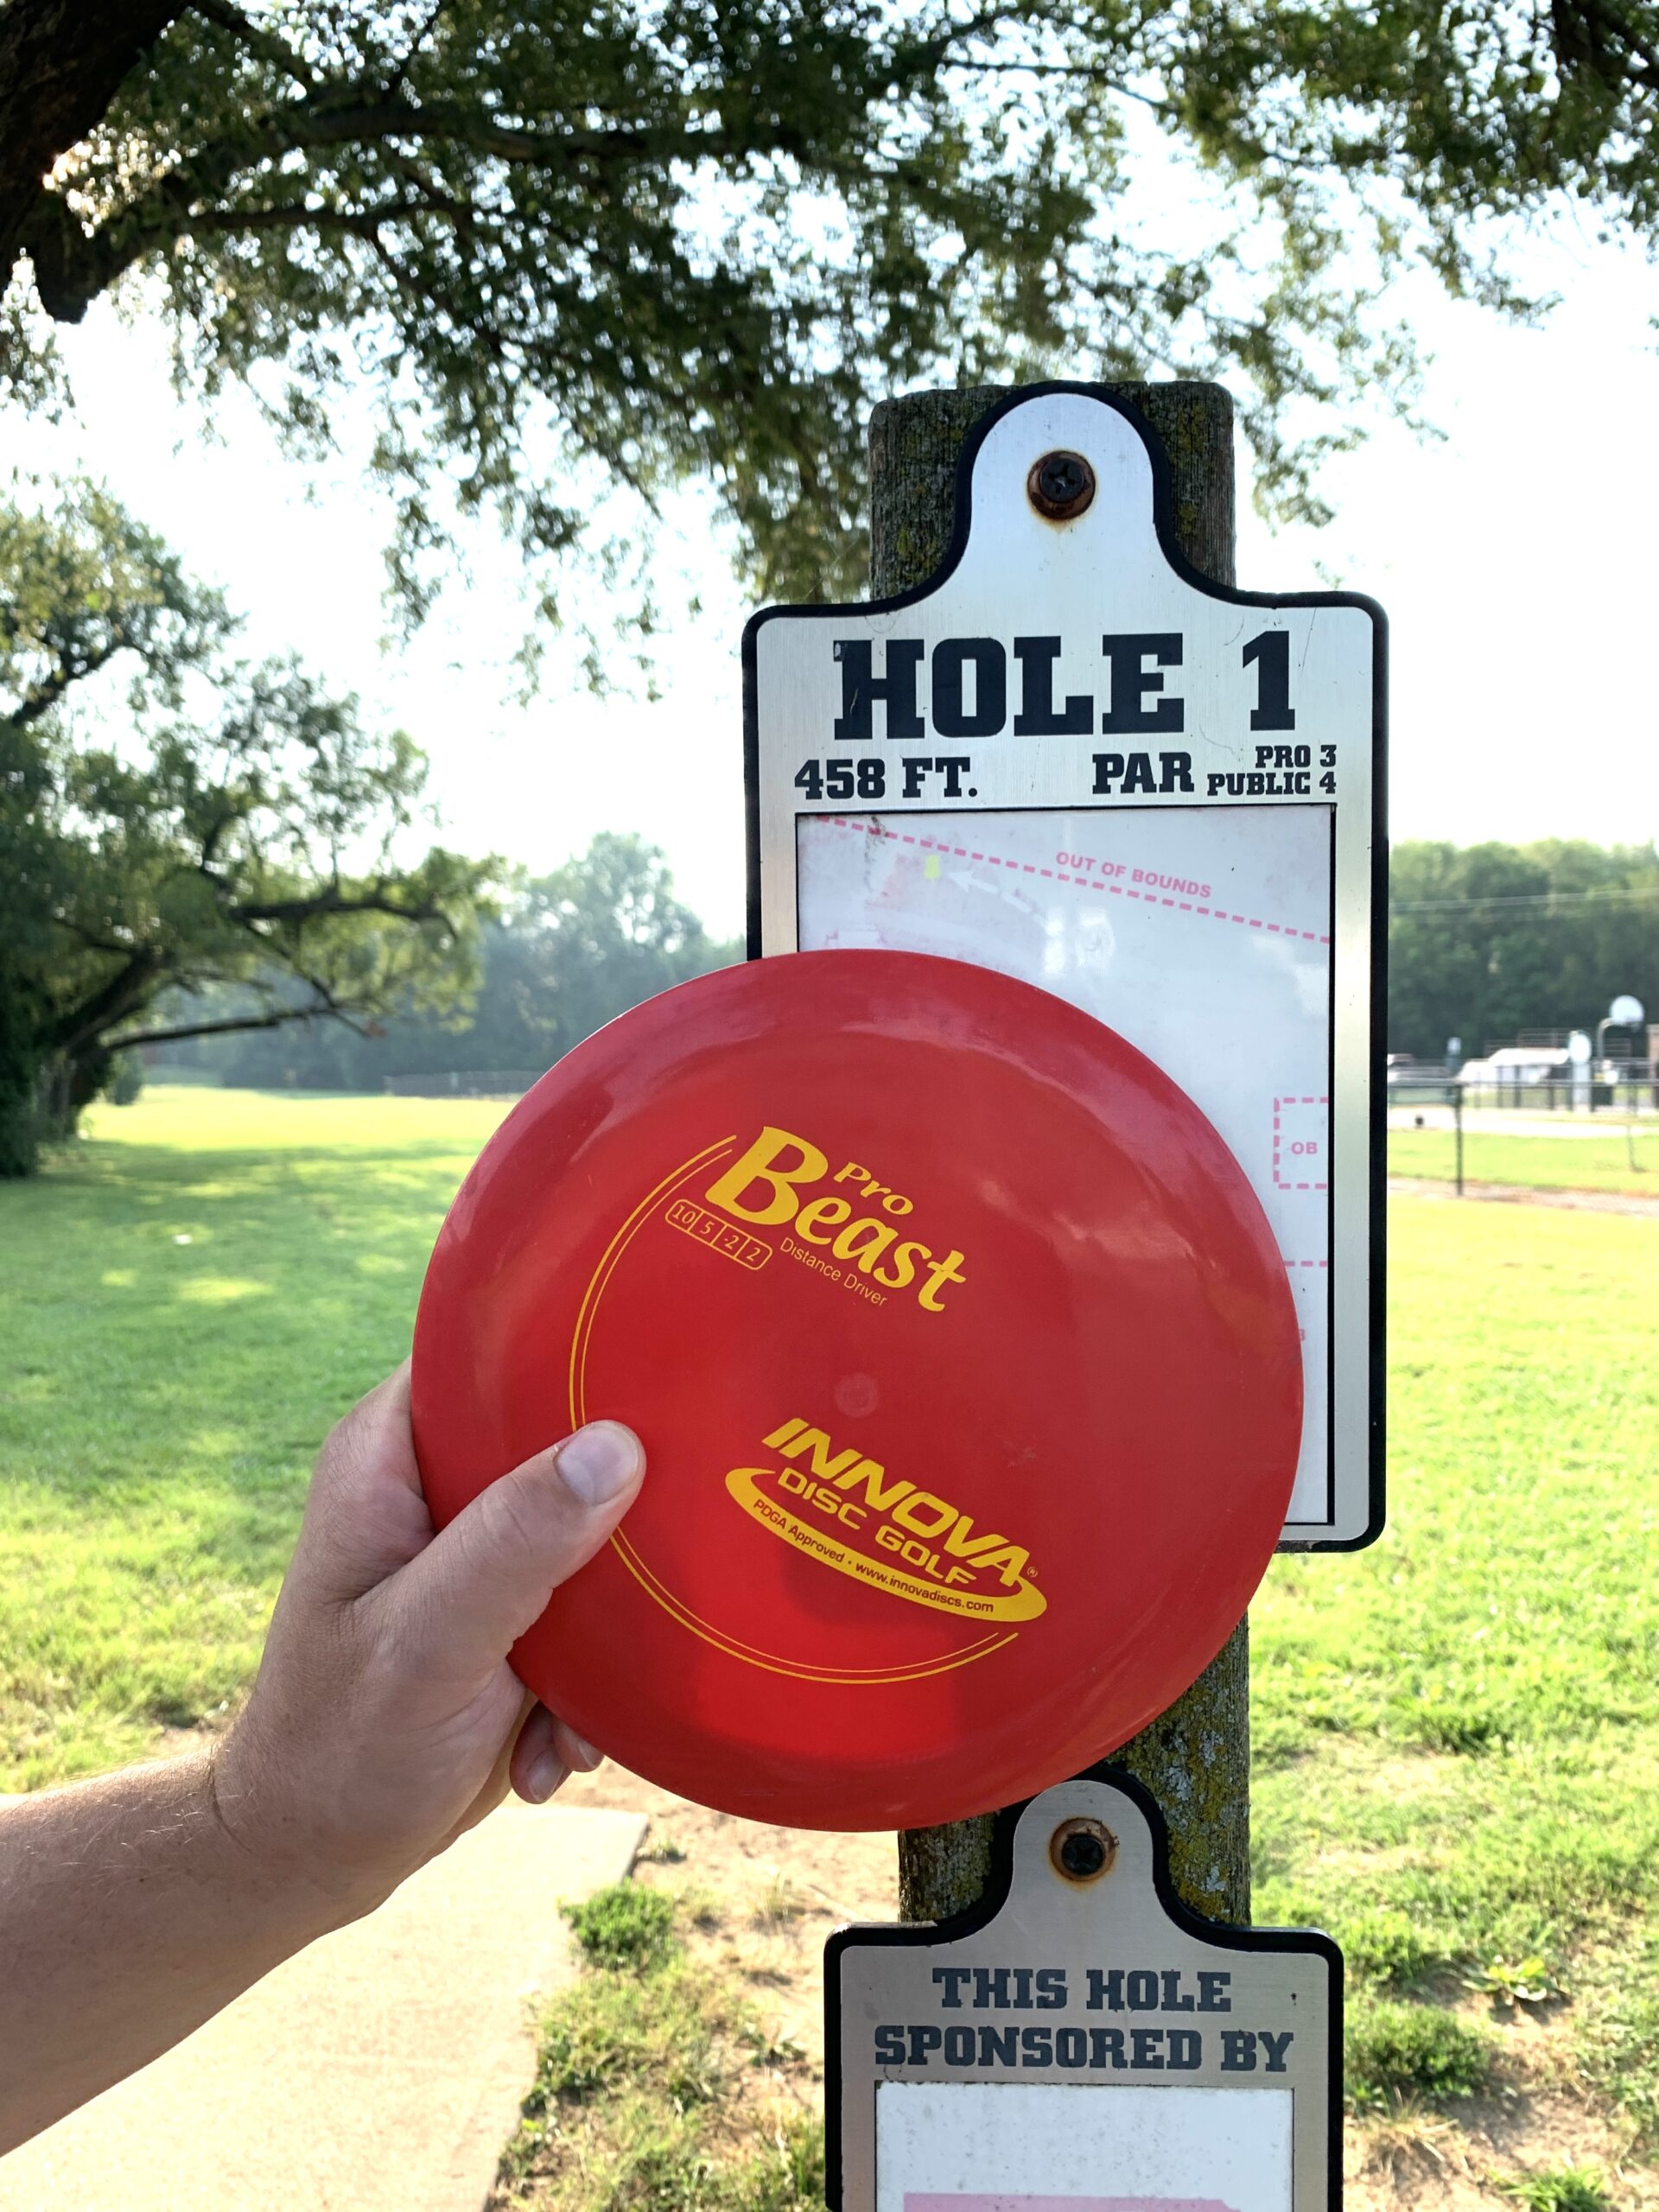 If you choose to play the 18-hole course, expect the wooded areas to offer a bit of a challenge. The course is a mix of open fields and covered trails. All 18 holes are a par 3. Are you ready for a game?
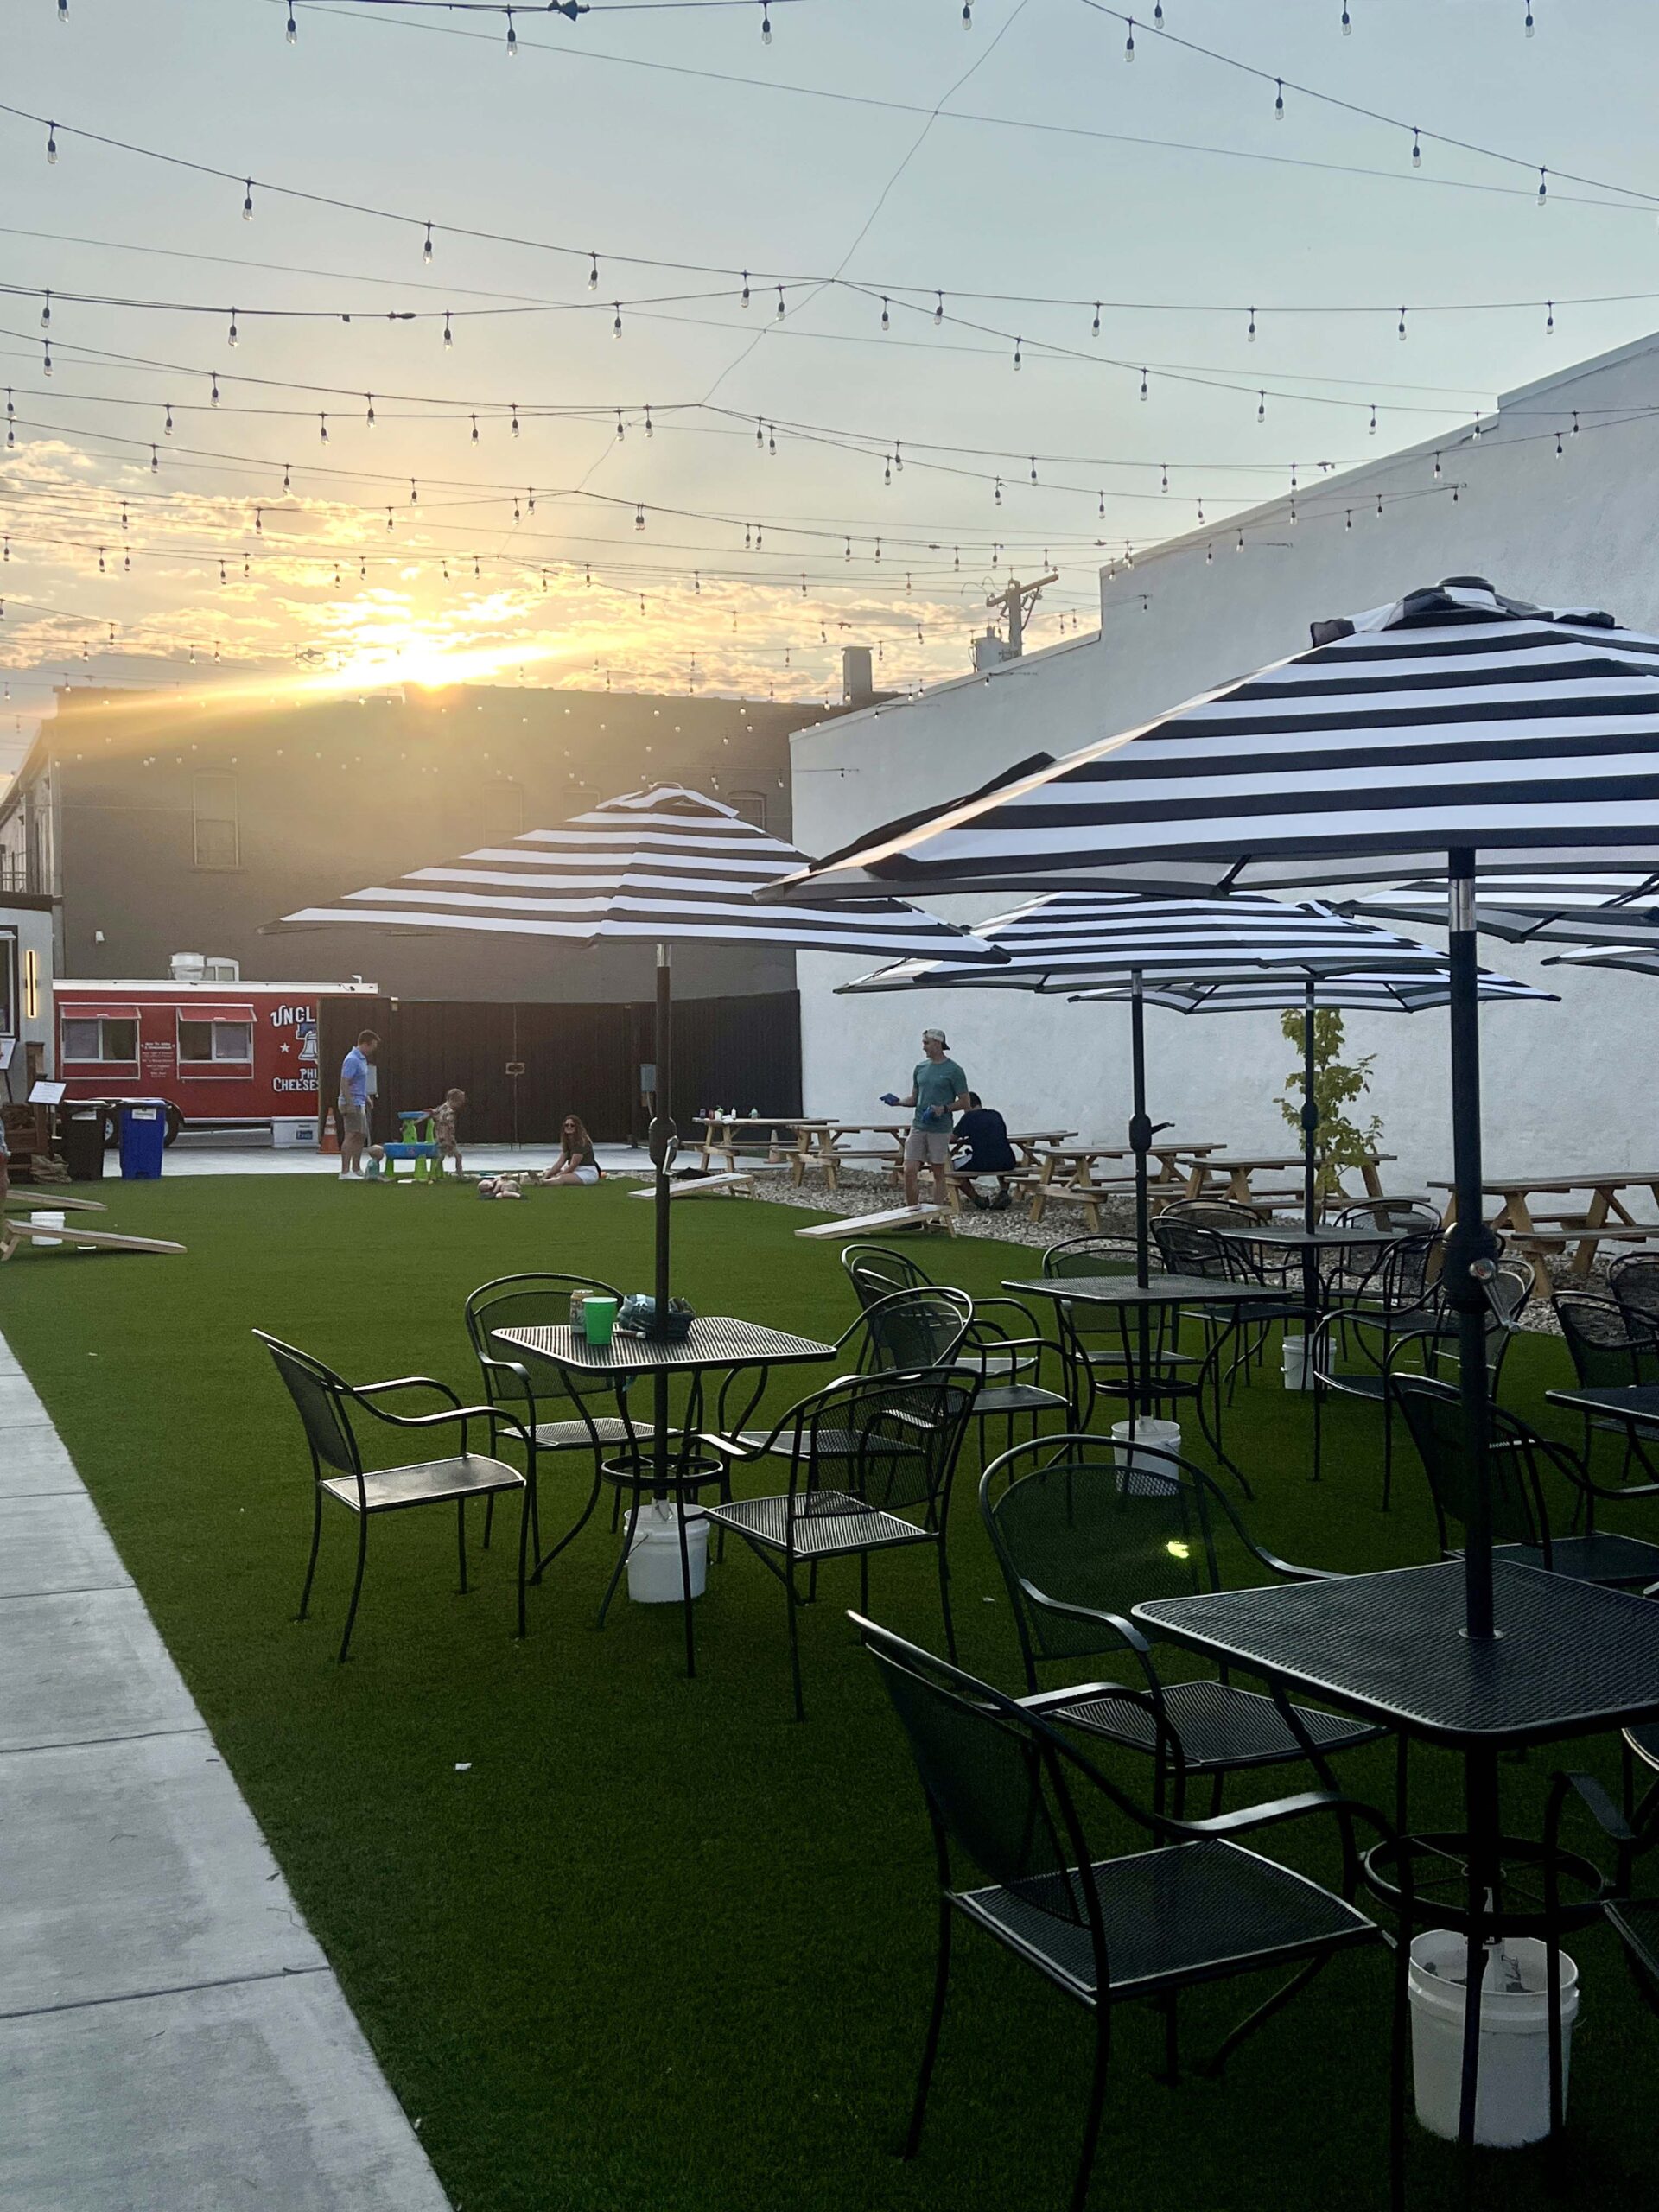 The family-friendly urban park welcomes musicians after dark on Friday nights and hosts other events, such as movie nights on occasion. Come early to grab a table. I recommend purchasing a snack or a beer at the permanent food stand or ordering from the menu of a food truck.
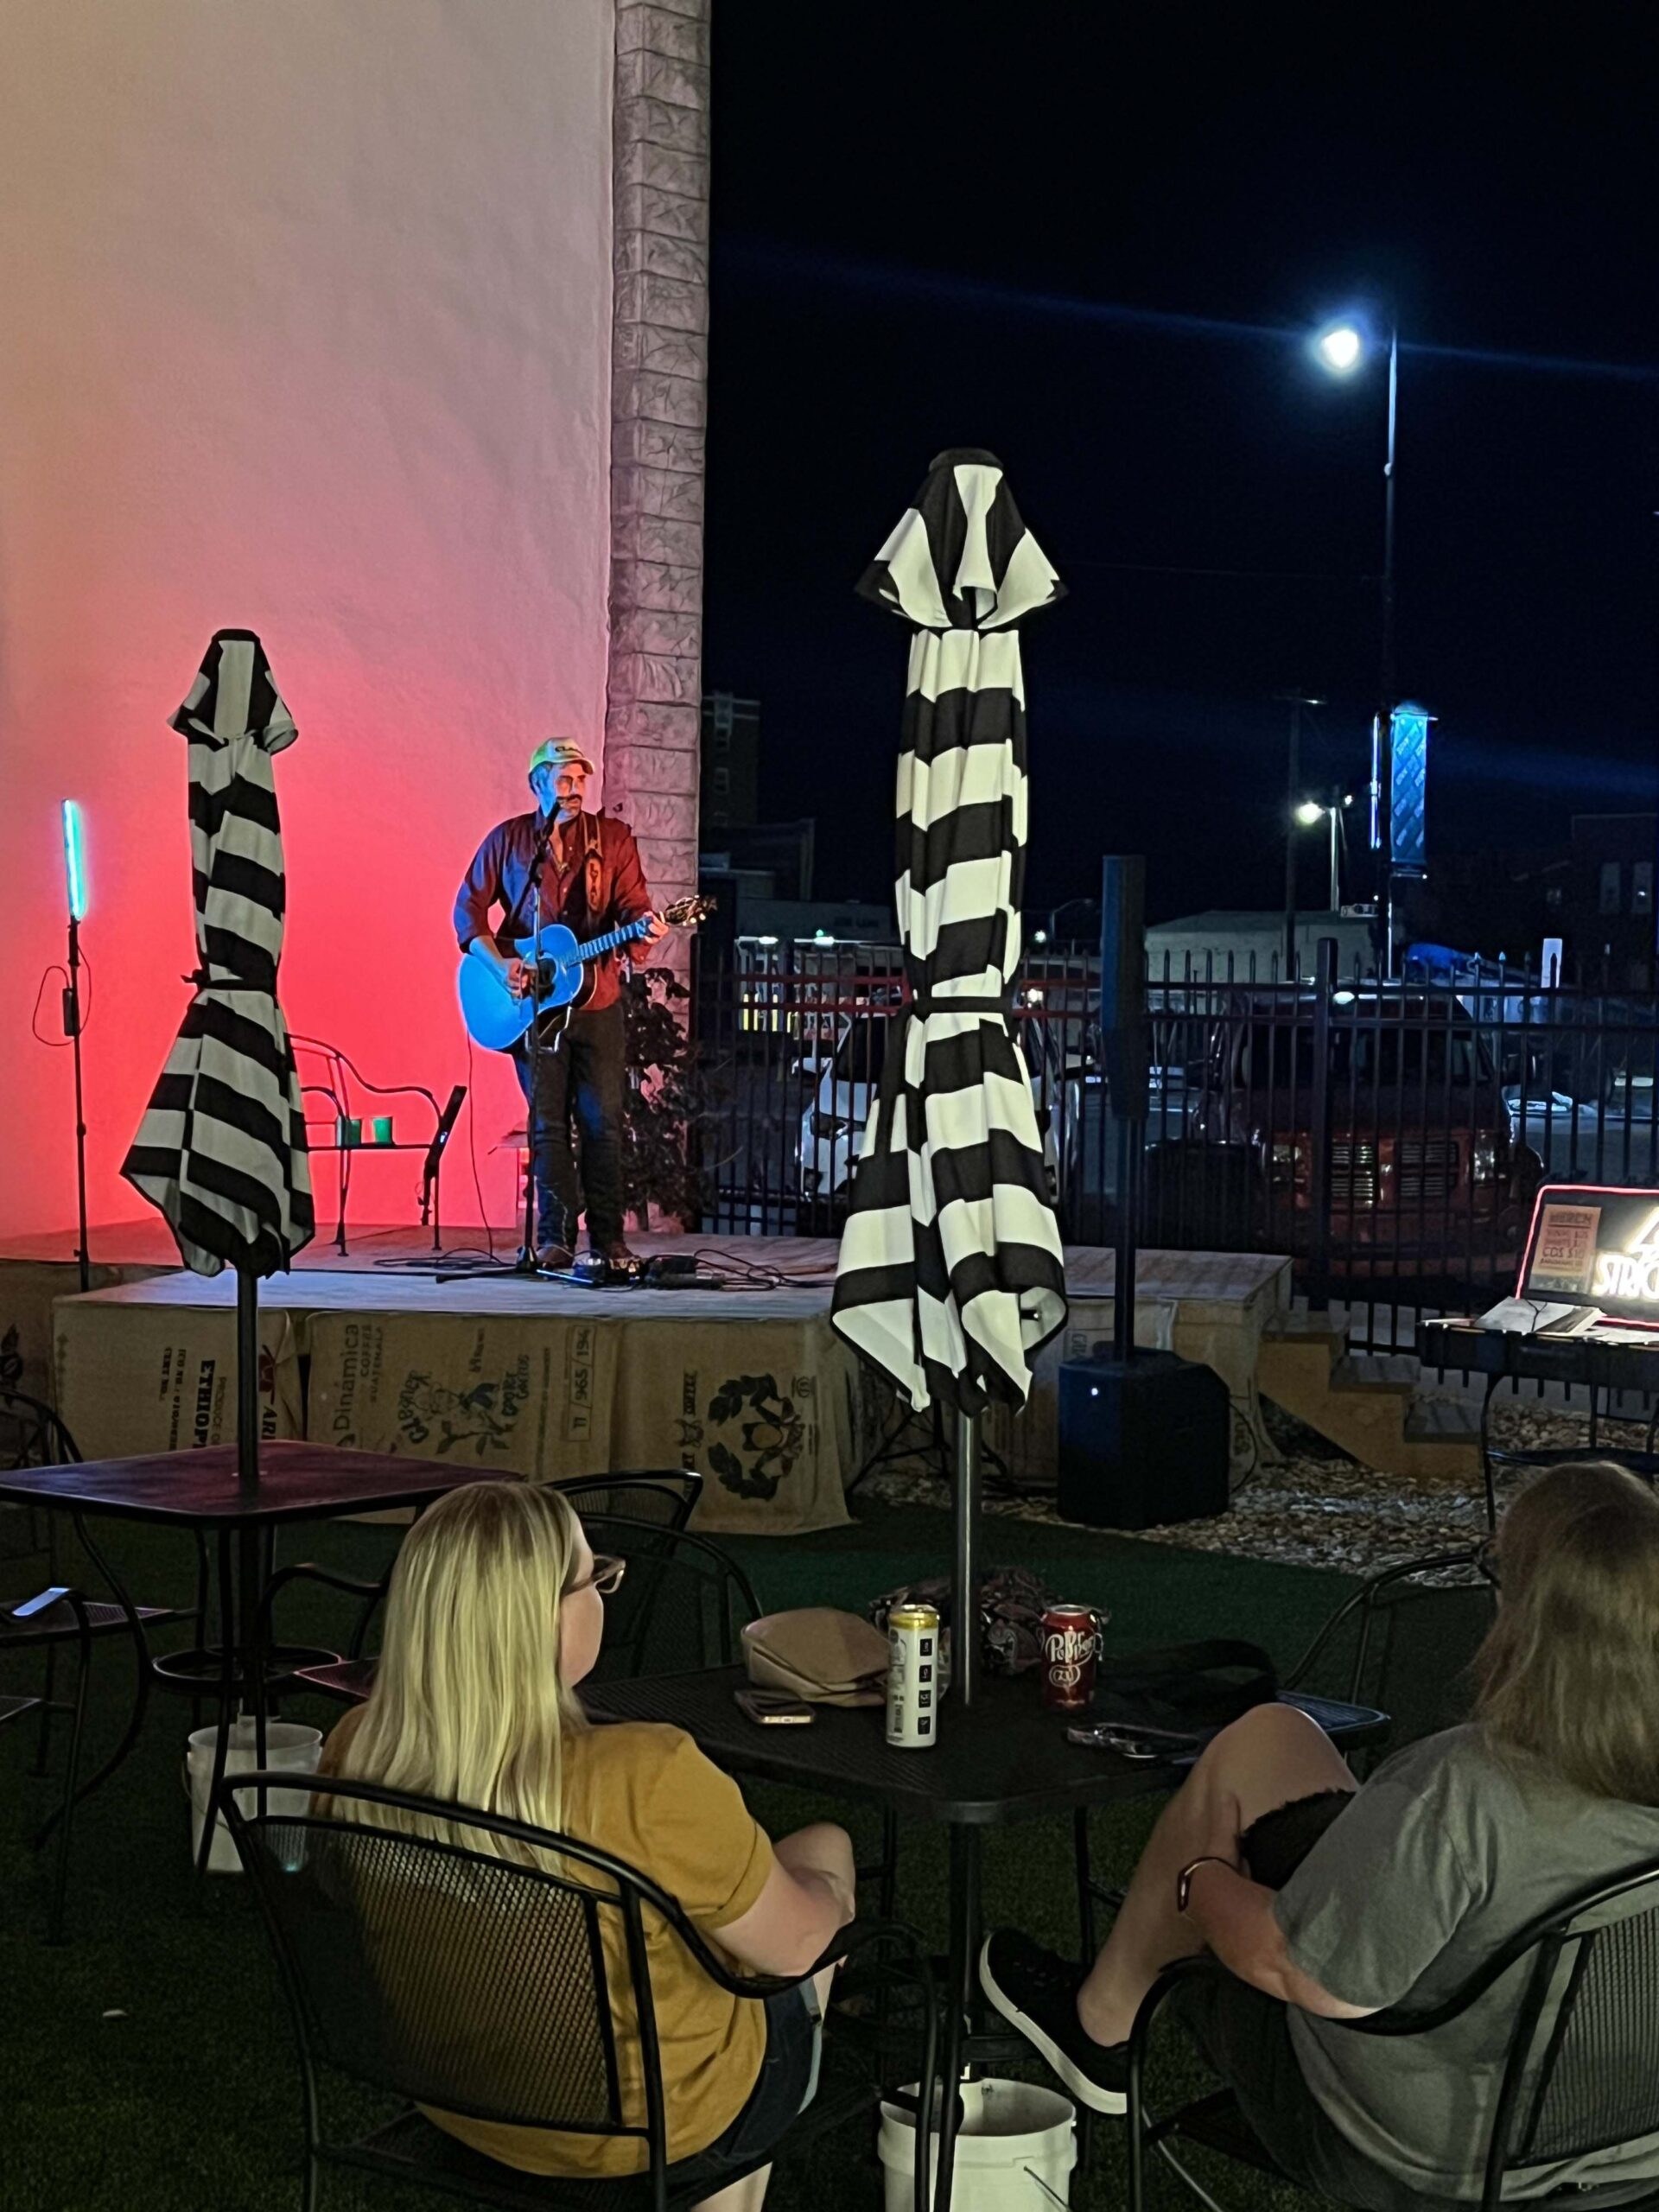 Visitors to The Greenway who craft a craft cocktail can stop inside
  Shoppers will also appreciate its high-quality grooming supplies, candles, shoes, and shelves of on-trend ballcaps. I couldn’t leave without a beer logo t-shirt and stylish socks.
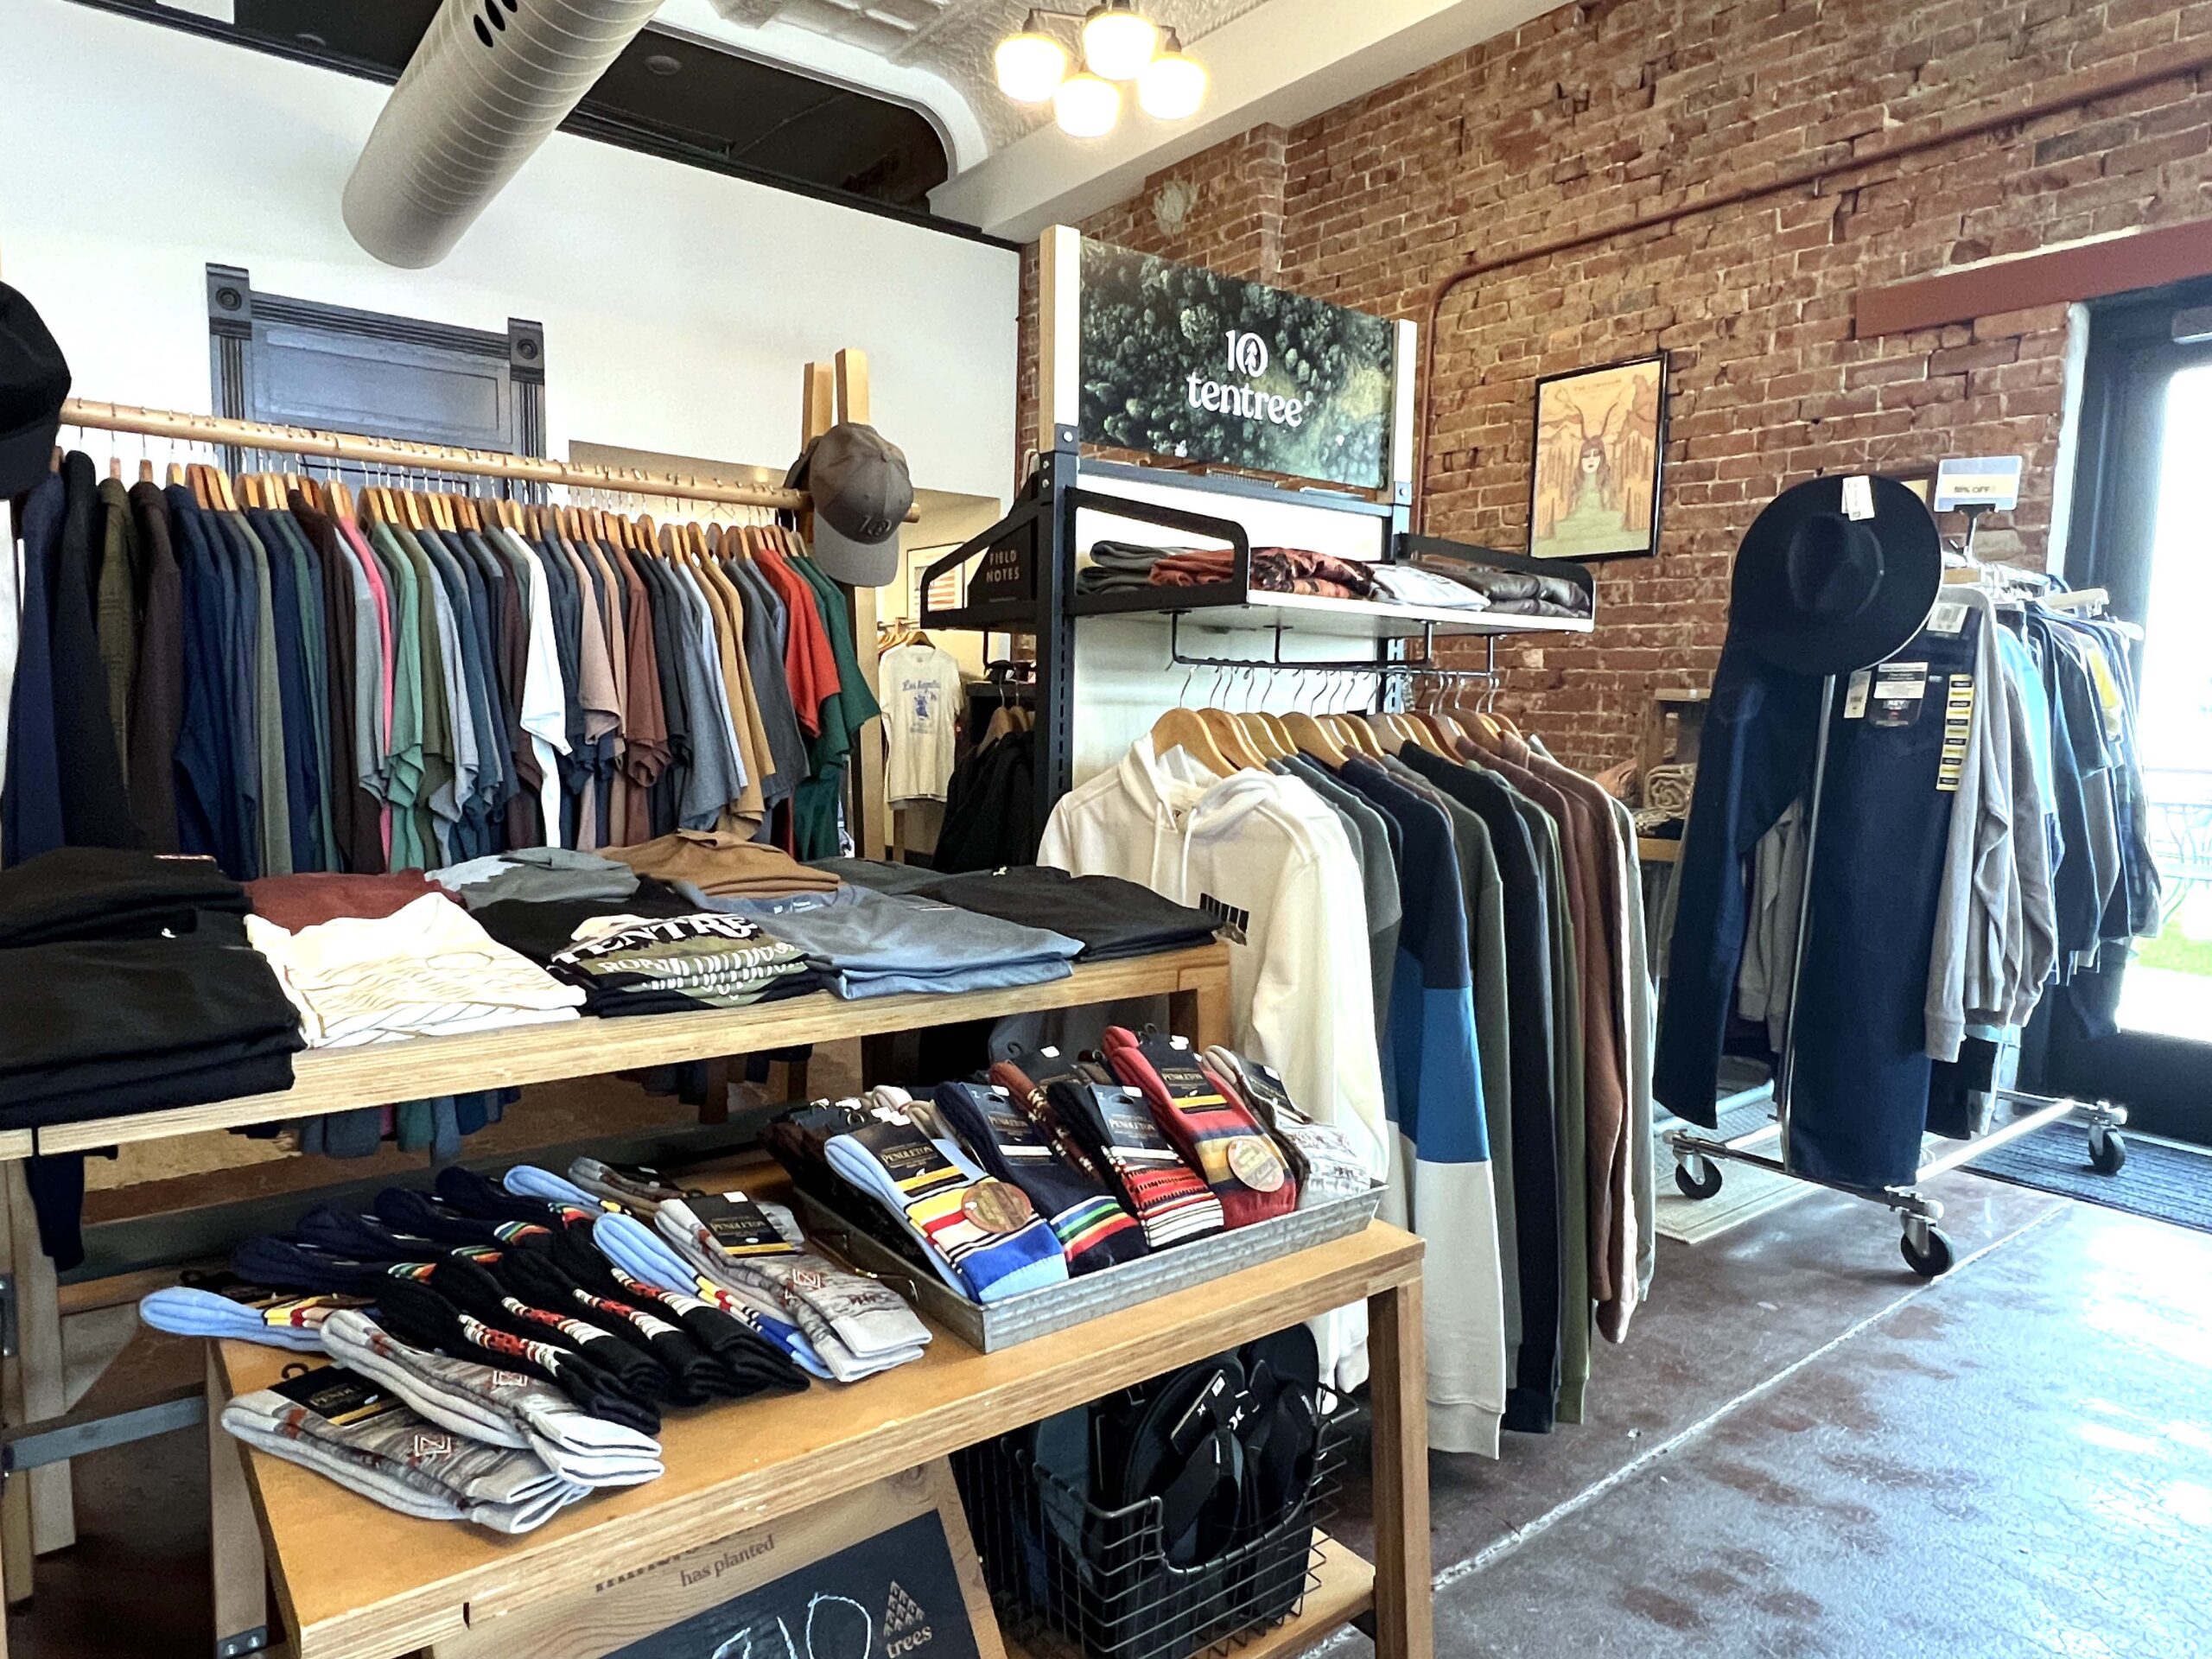 You can often find vinyl records for sale, which I’ve purchased for my home collection. They also support music performances at the
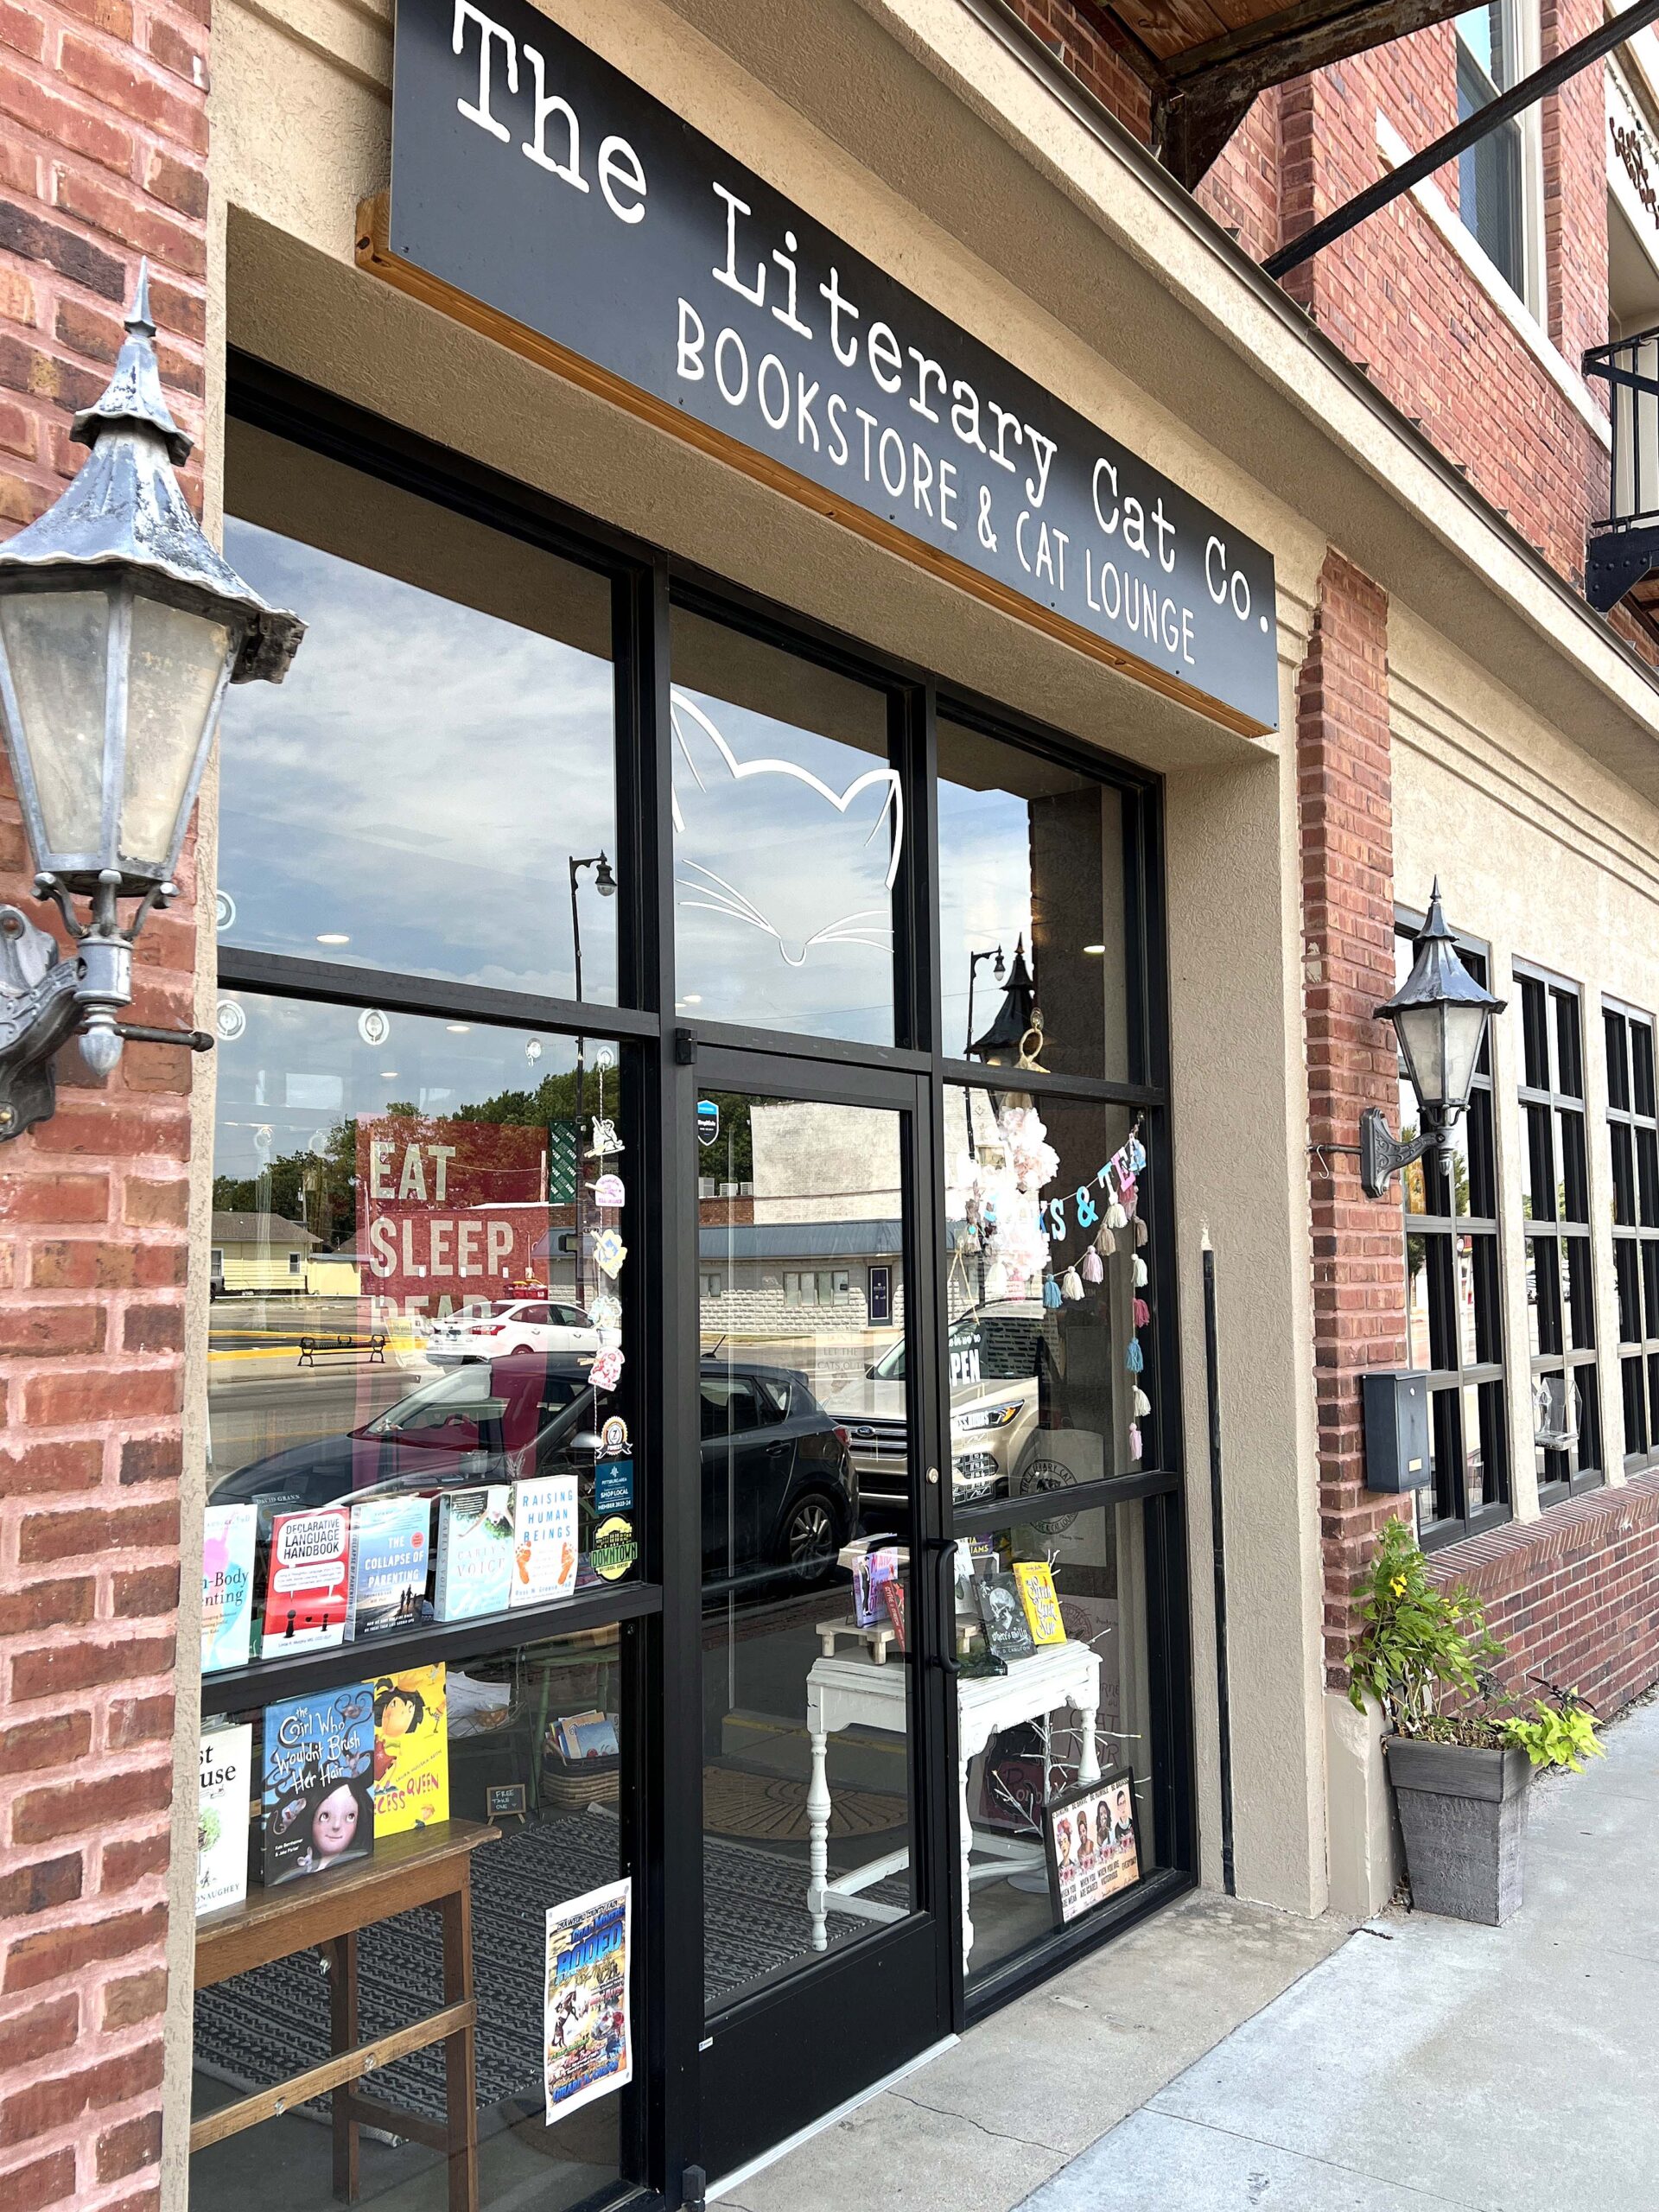 Committed to adopting out the cats in their care using a strict vetting process, I was impressed with the store’s mission to provide cats and book lovers a space where they could relax and get to know one another.
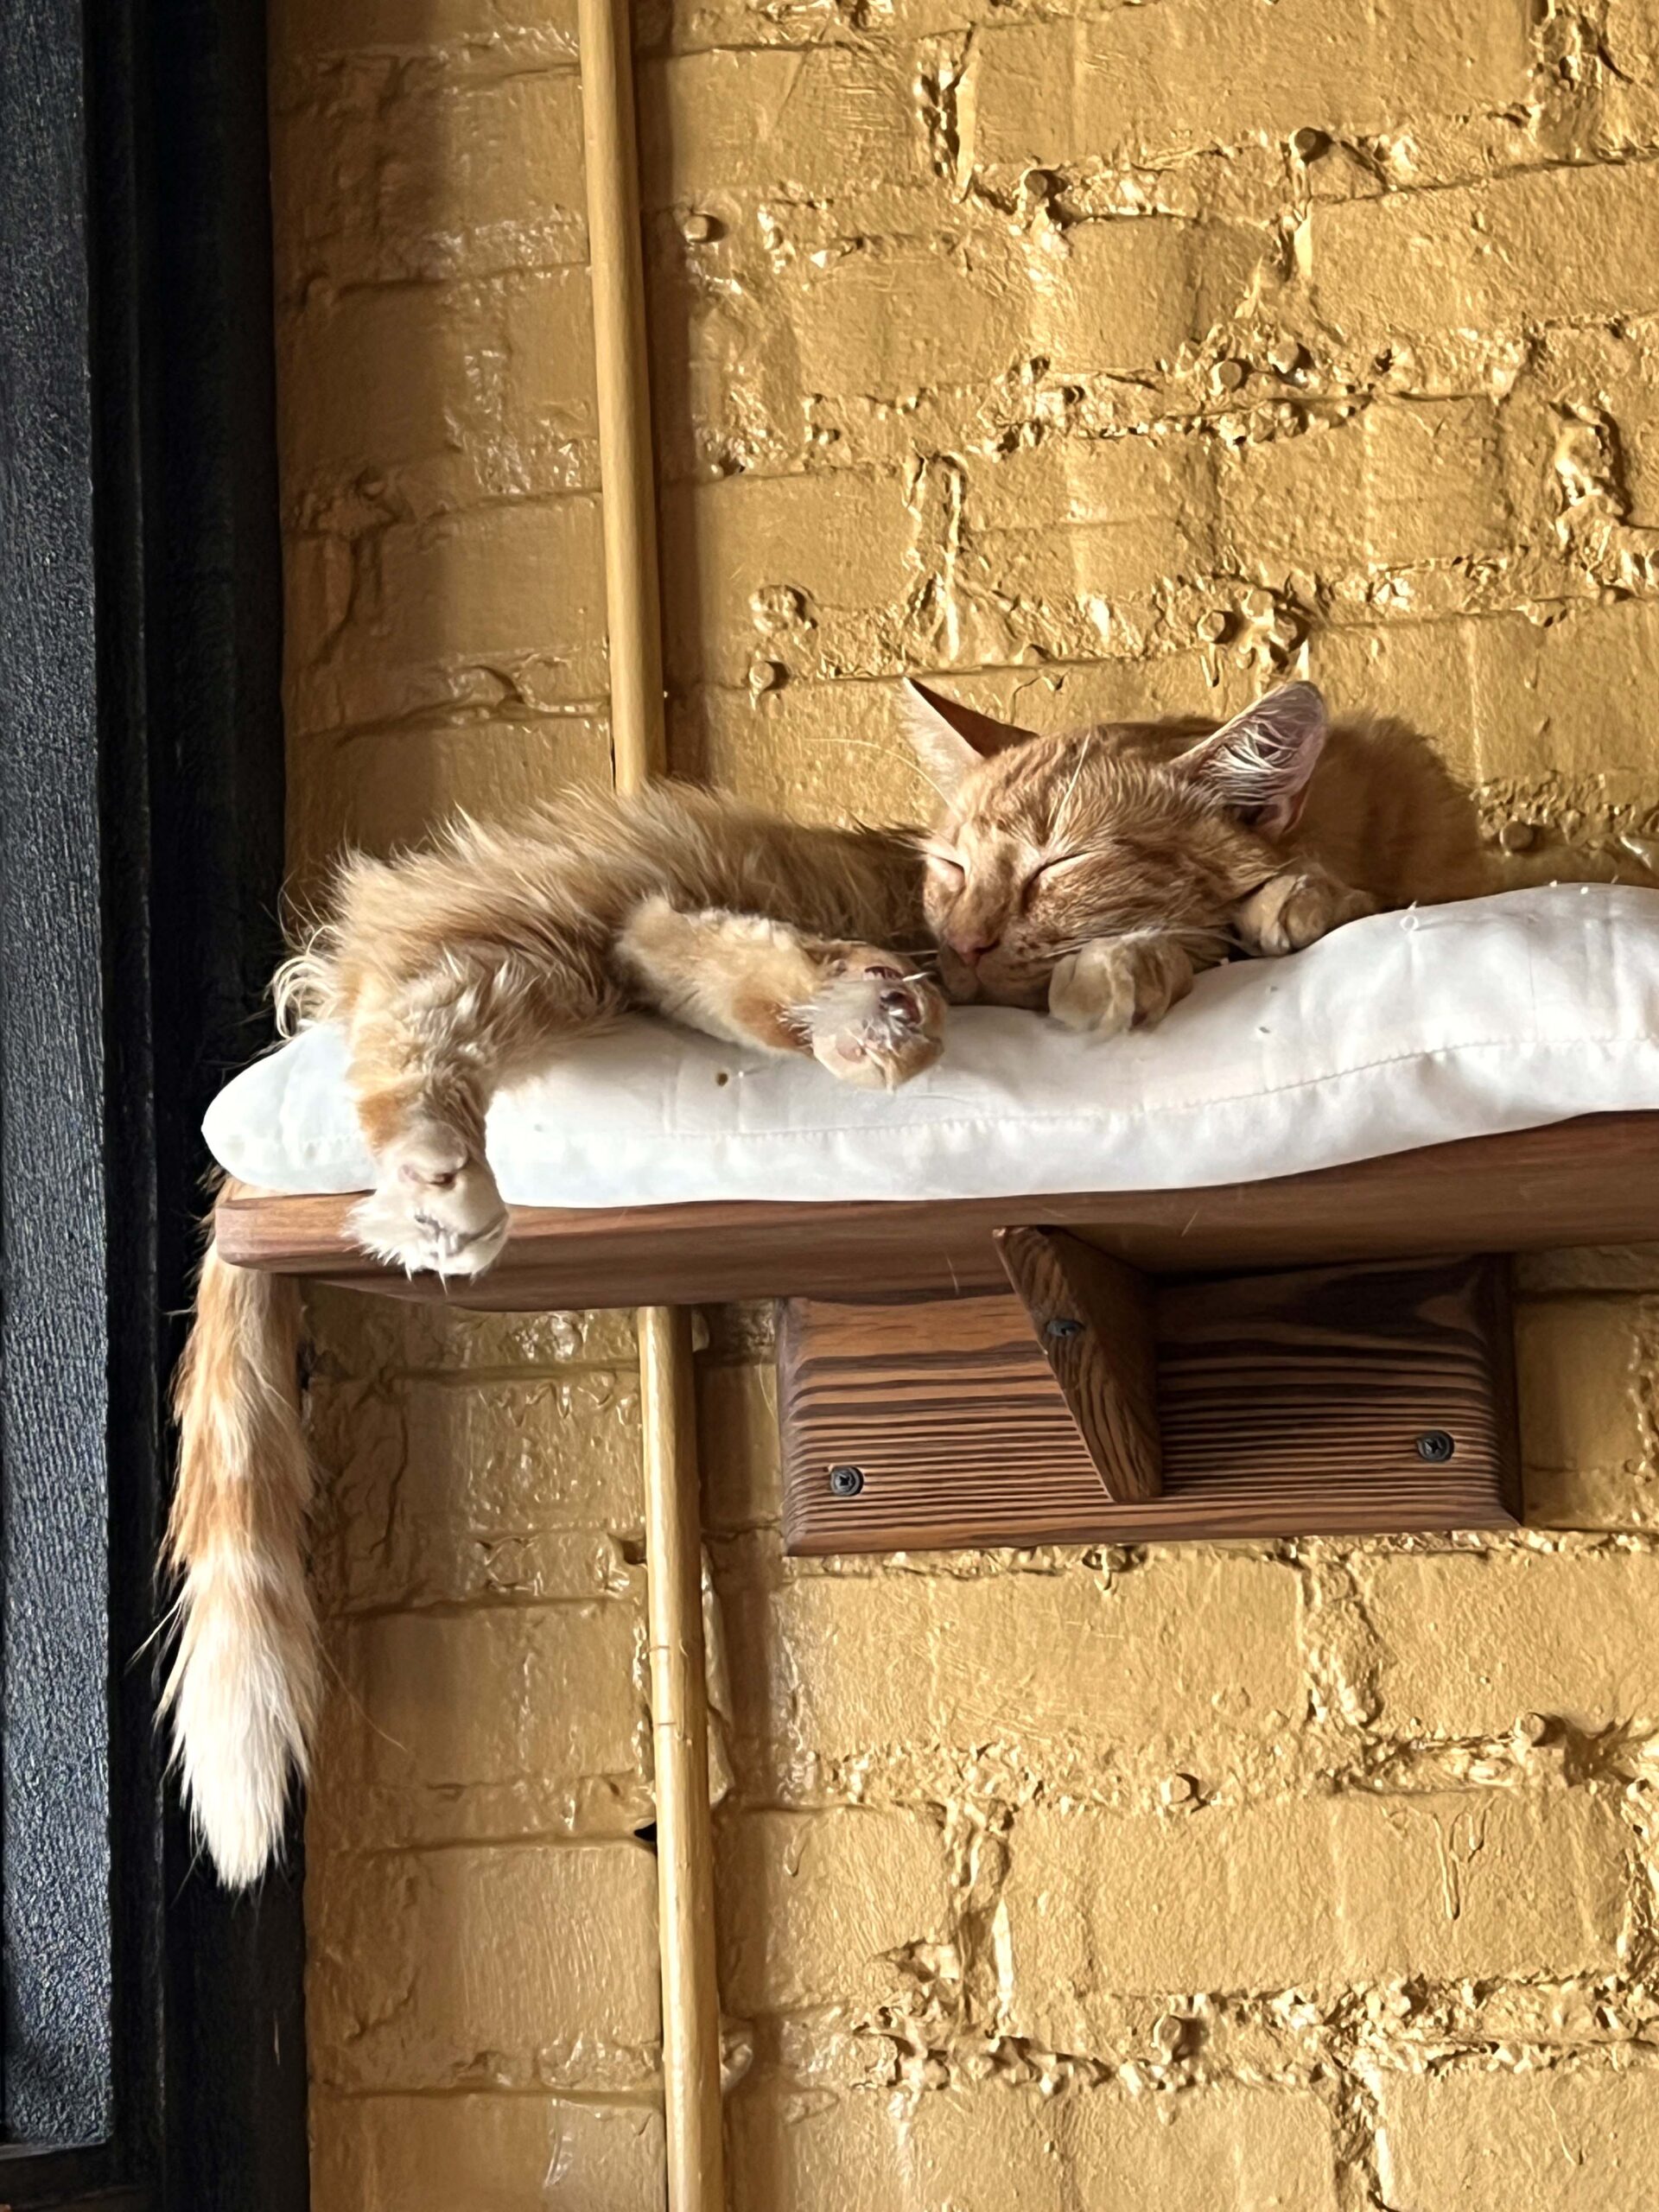 As I shopped, I watched as a new pet parent returned with a cat carrier to take her pet home. The staff was elated for the owner and her feline family member.
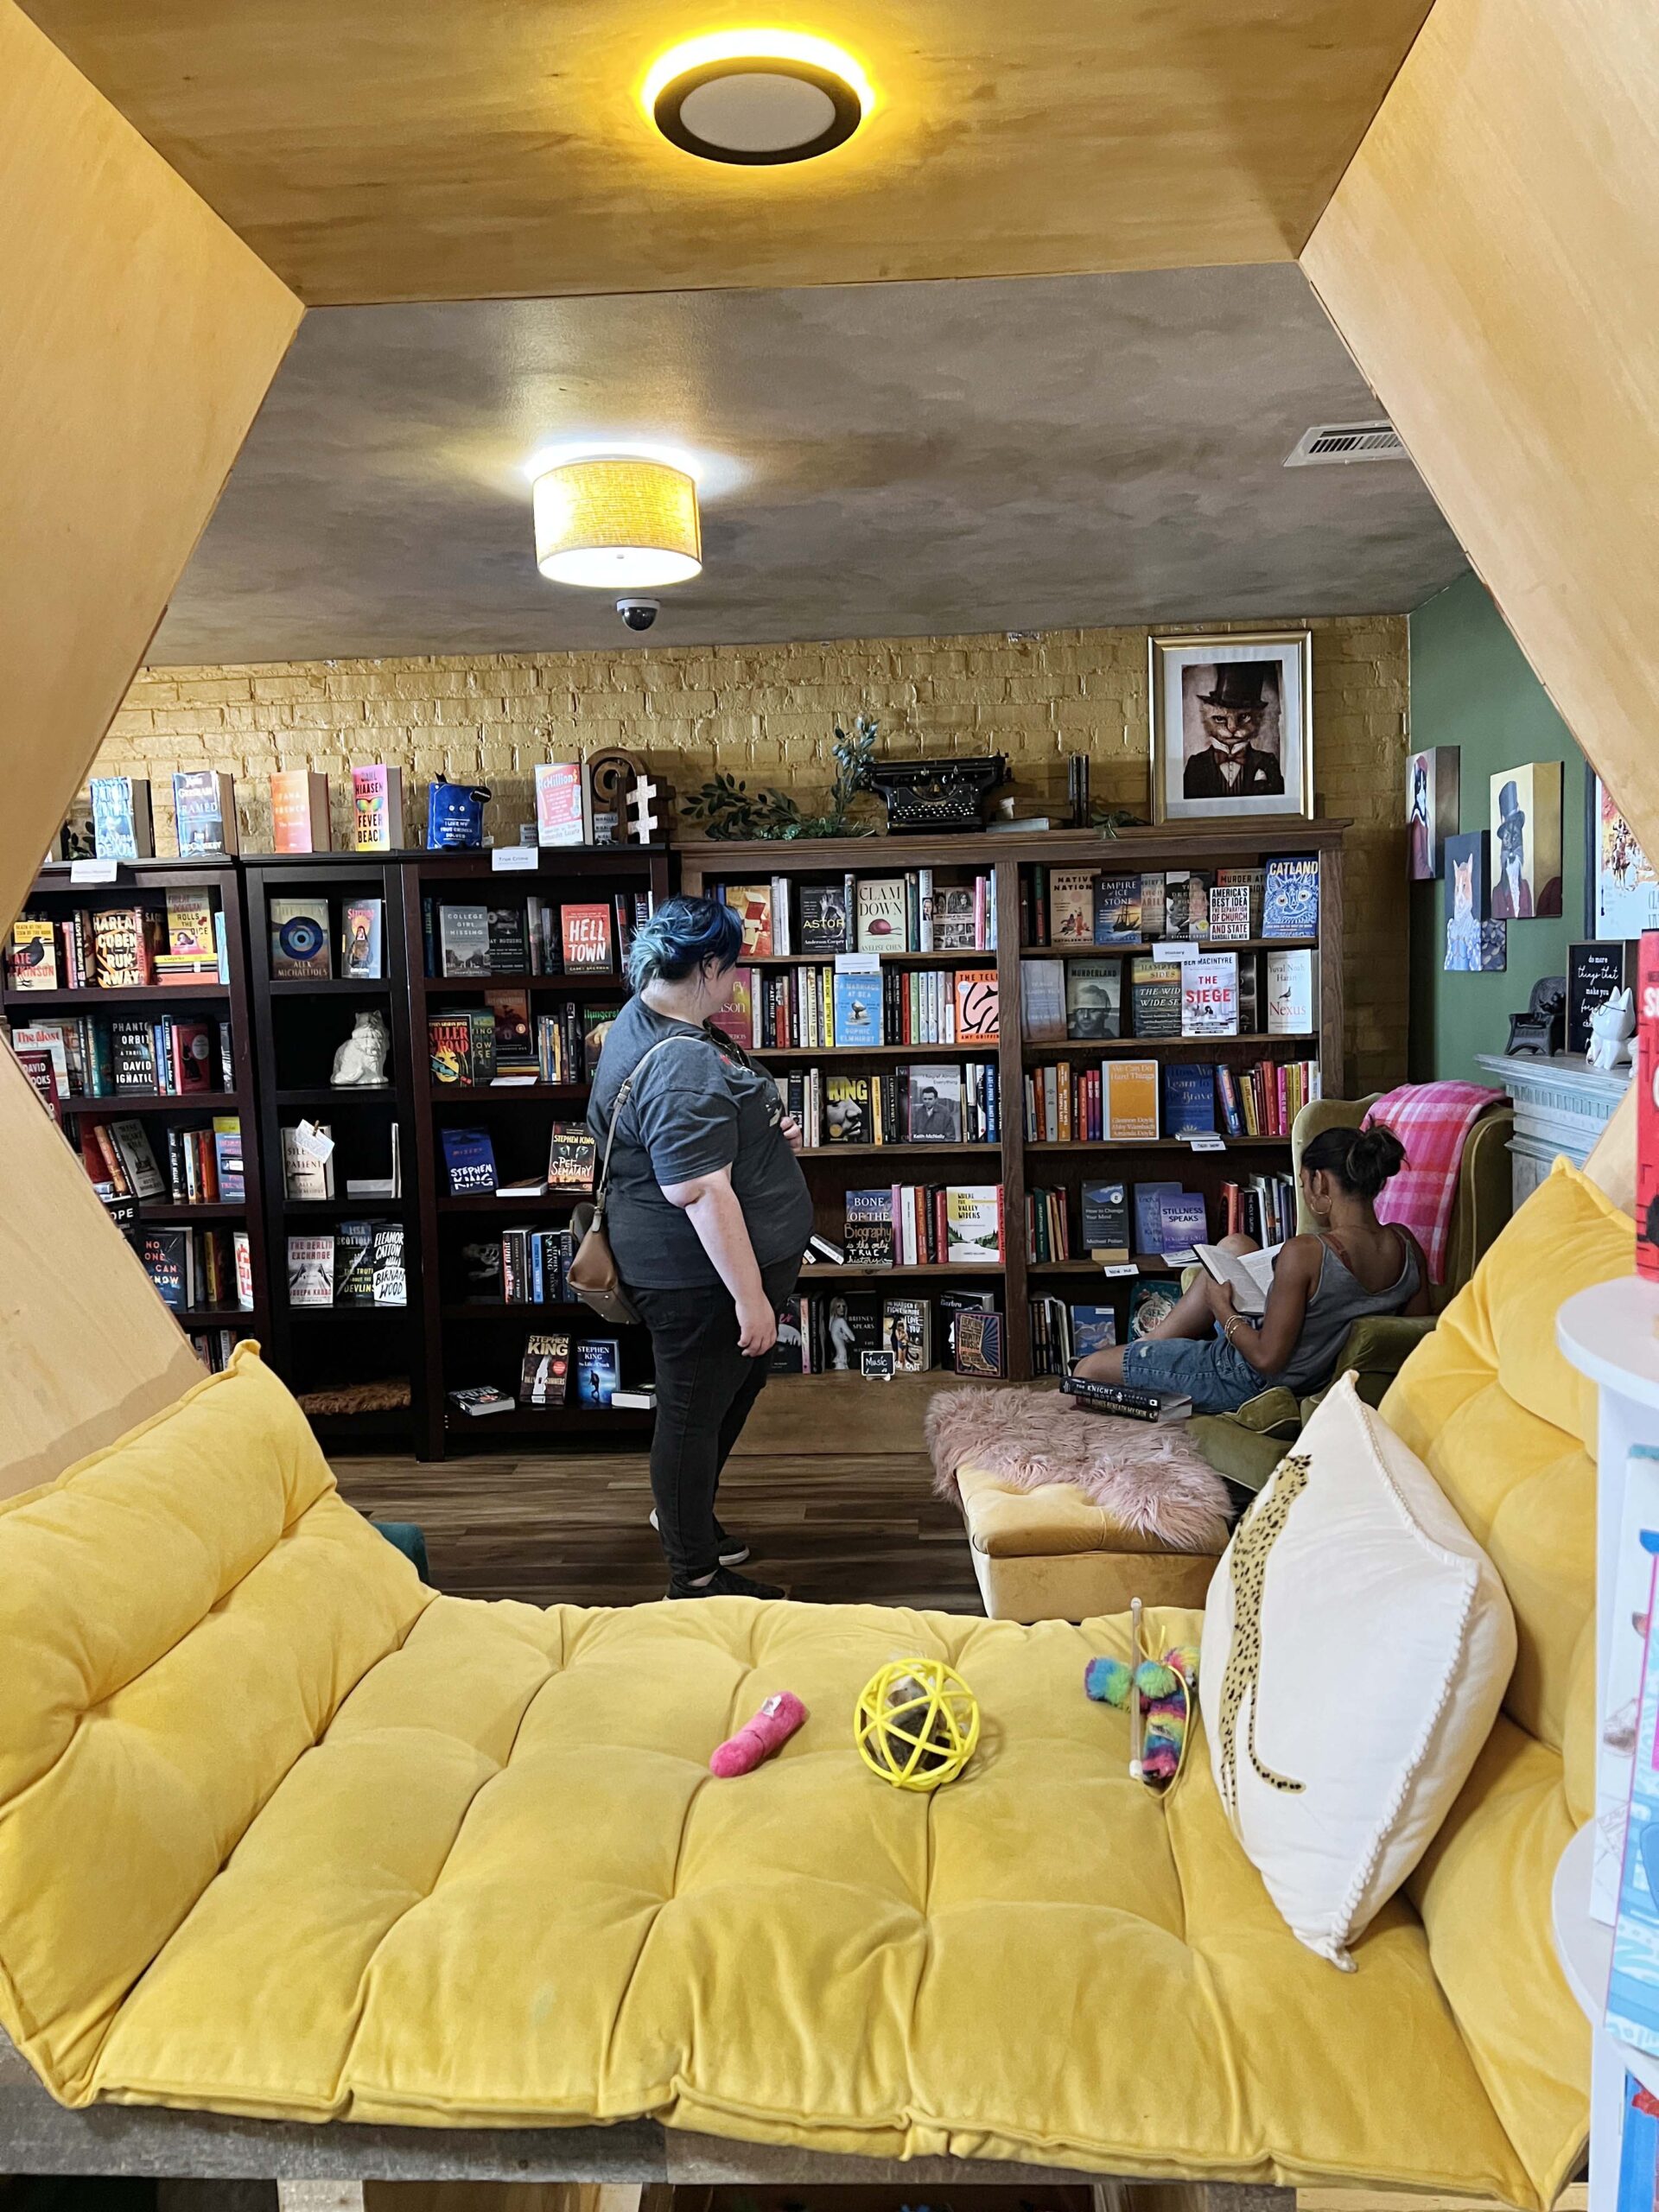 The store carries books of every genre from bestselling titles to juvenile fiction and young reader must-haves. And like any business that favors felines, they stock an array of merchandise for shoppers smitten with kittens, such as stickers, bookmarks, and apparel.
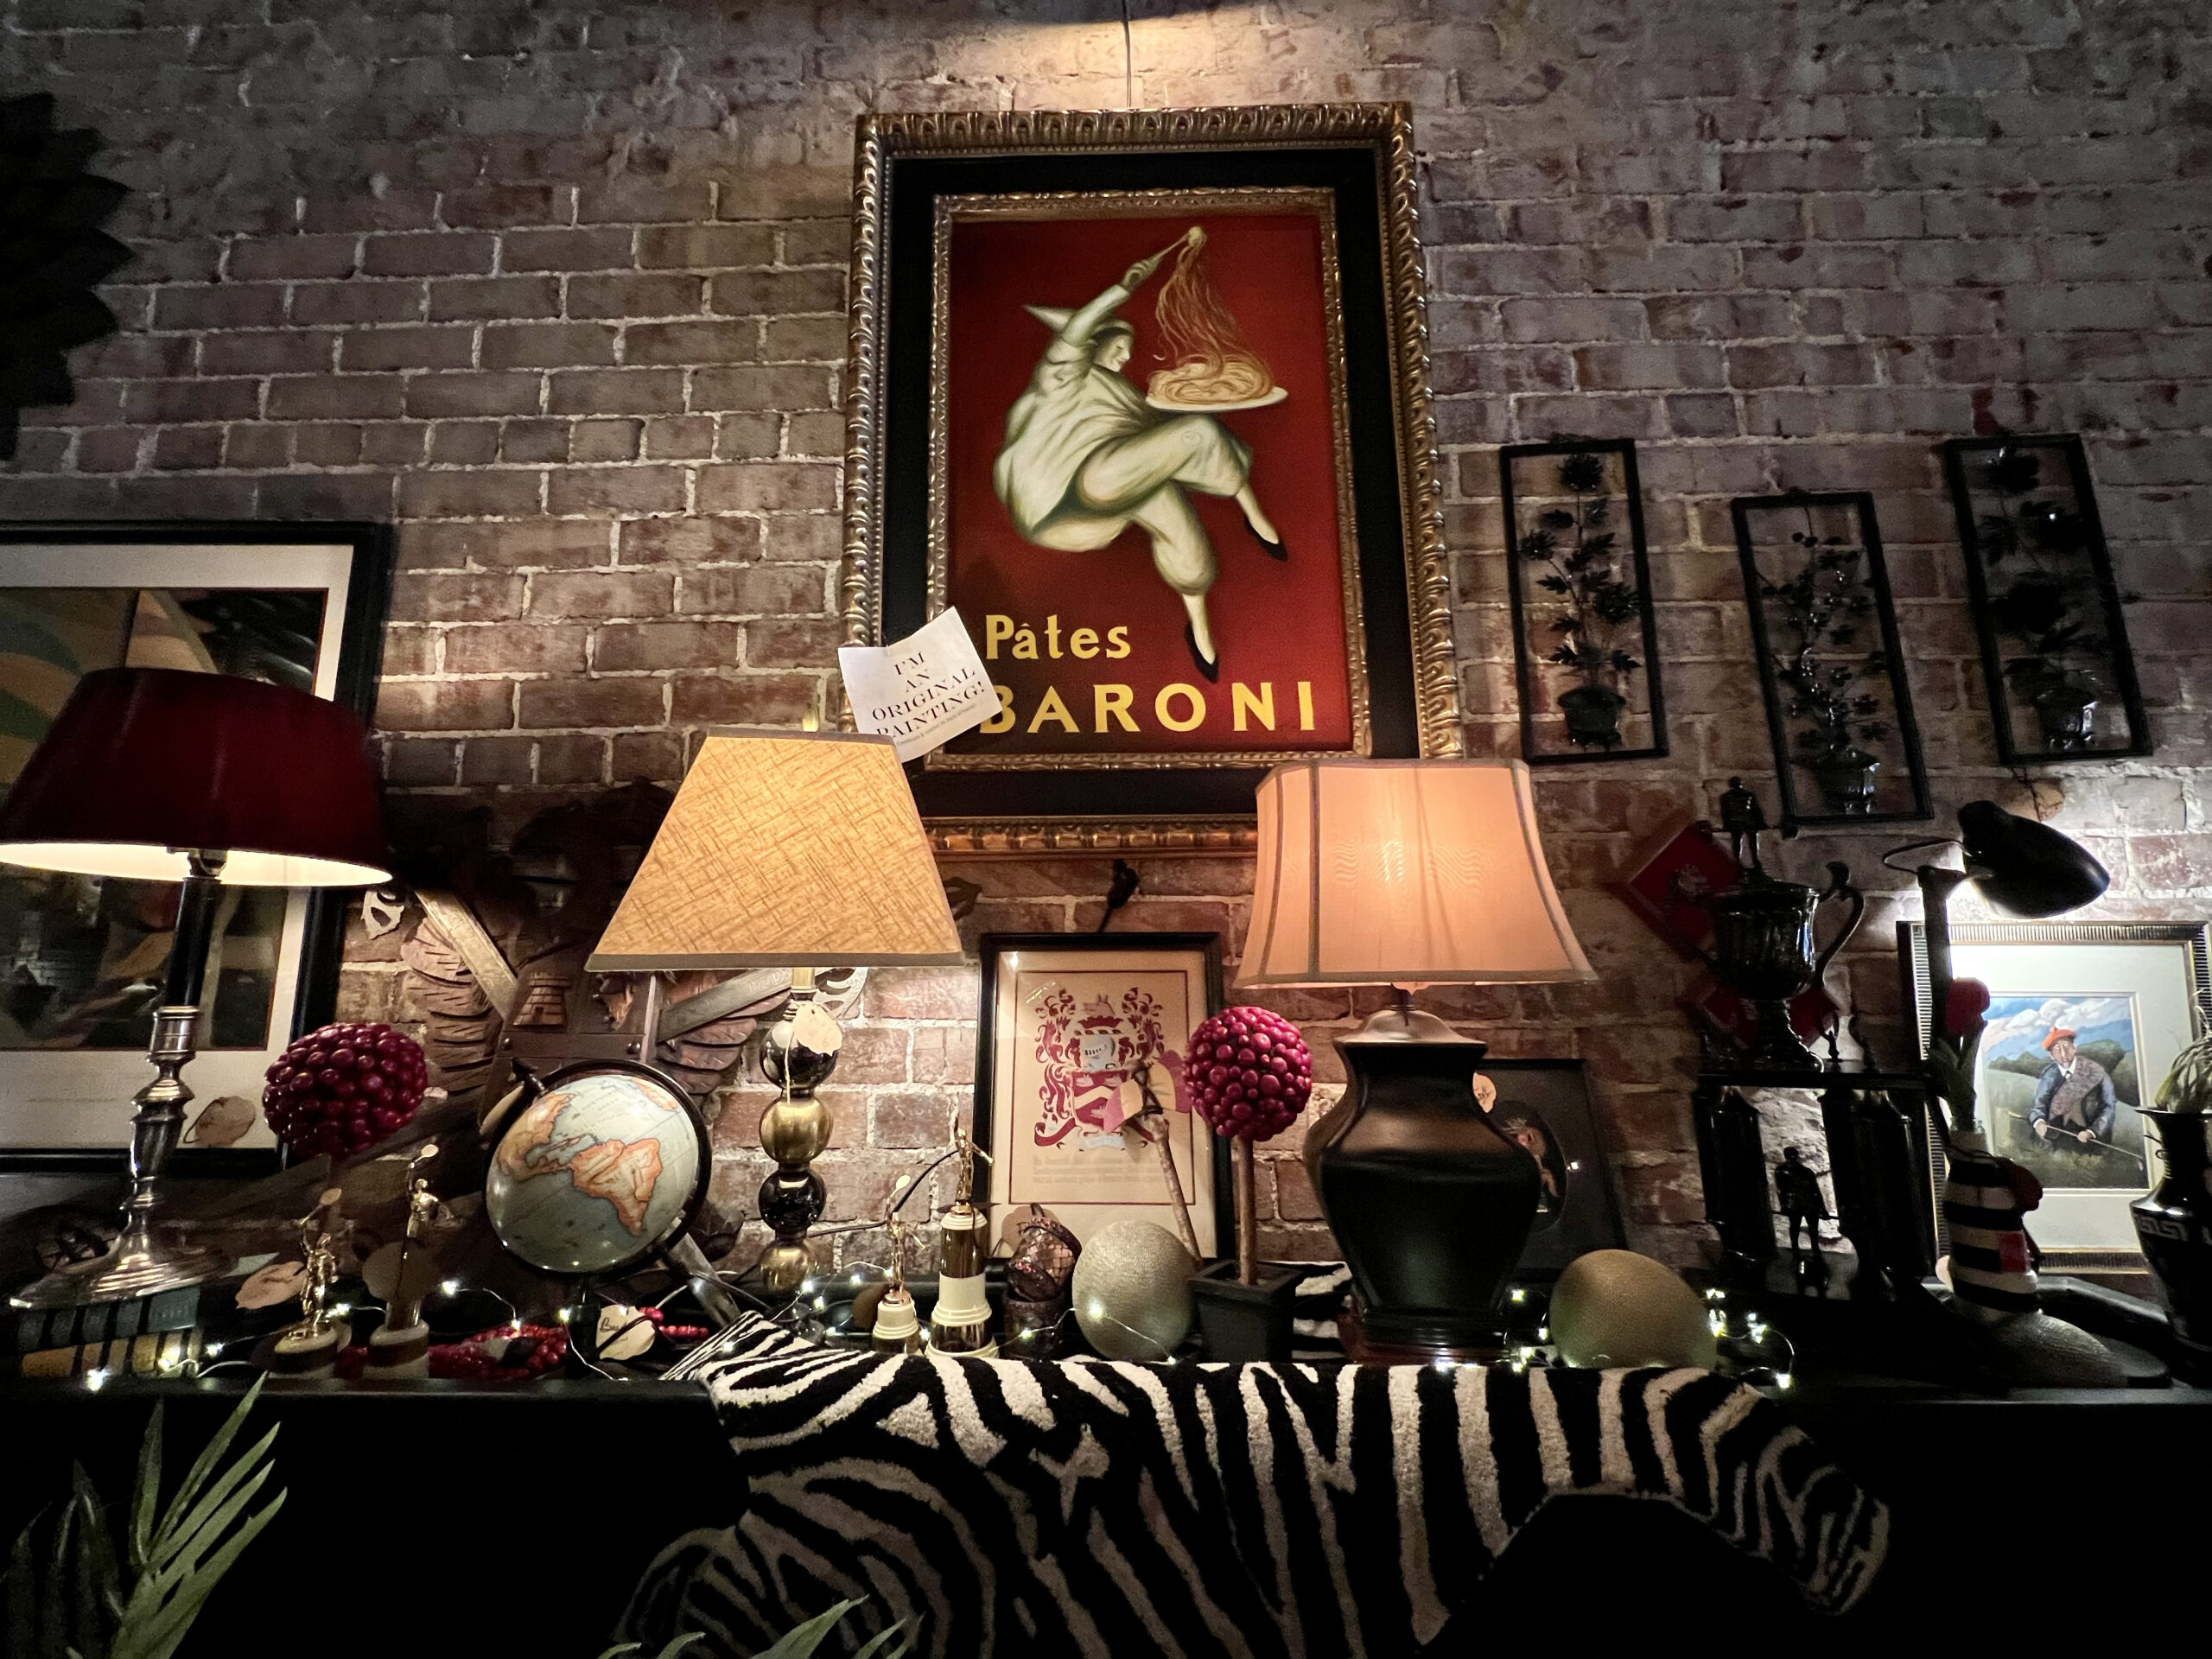
 The massive warehouse was filled to the brim with antiques from every decade. Love depression glass? College memorabilia? Old watches? You can find all of it and more tucked inside the booth spaces of Paradise Mall Antiques.
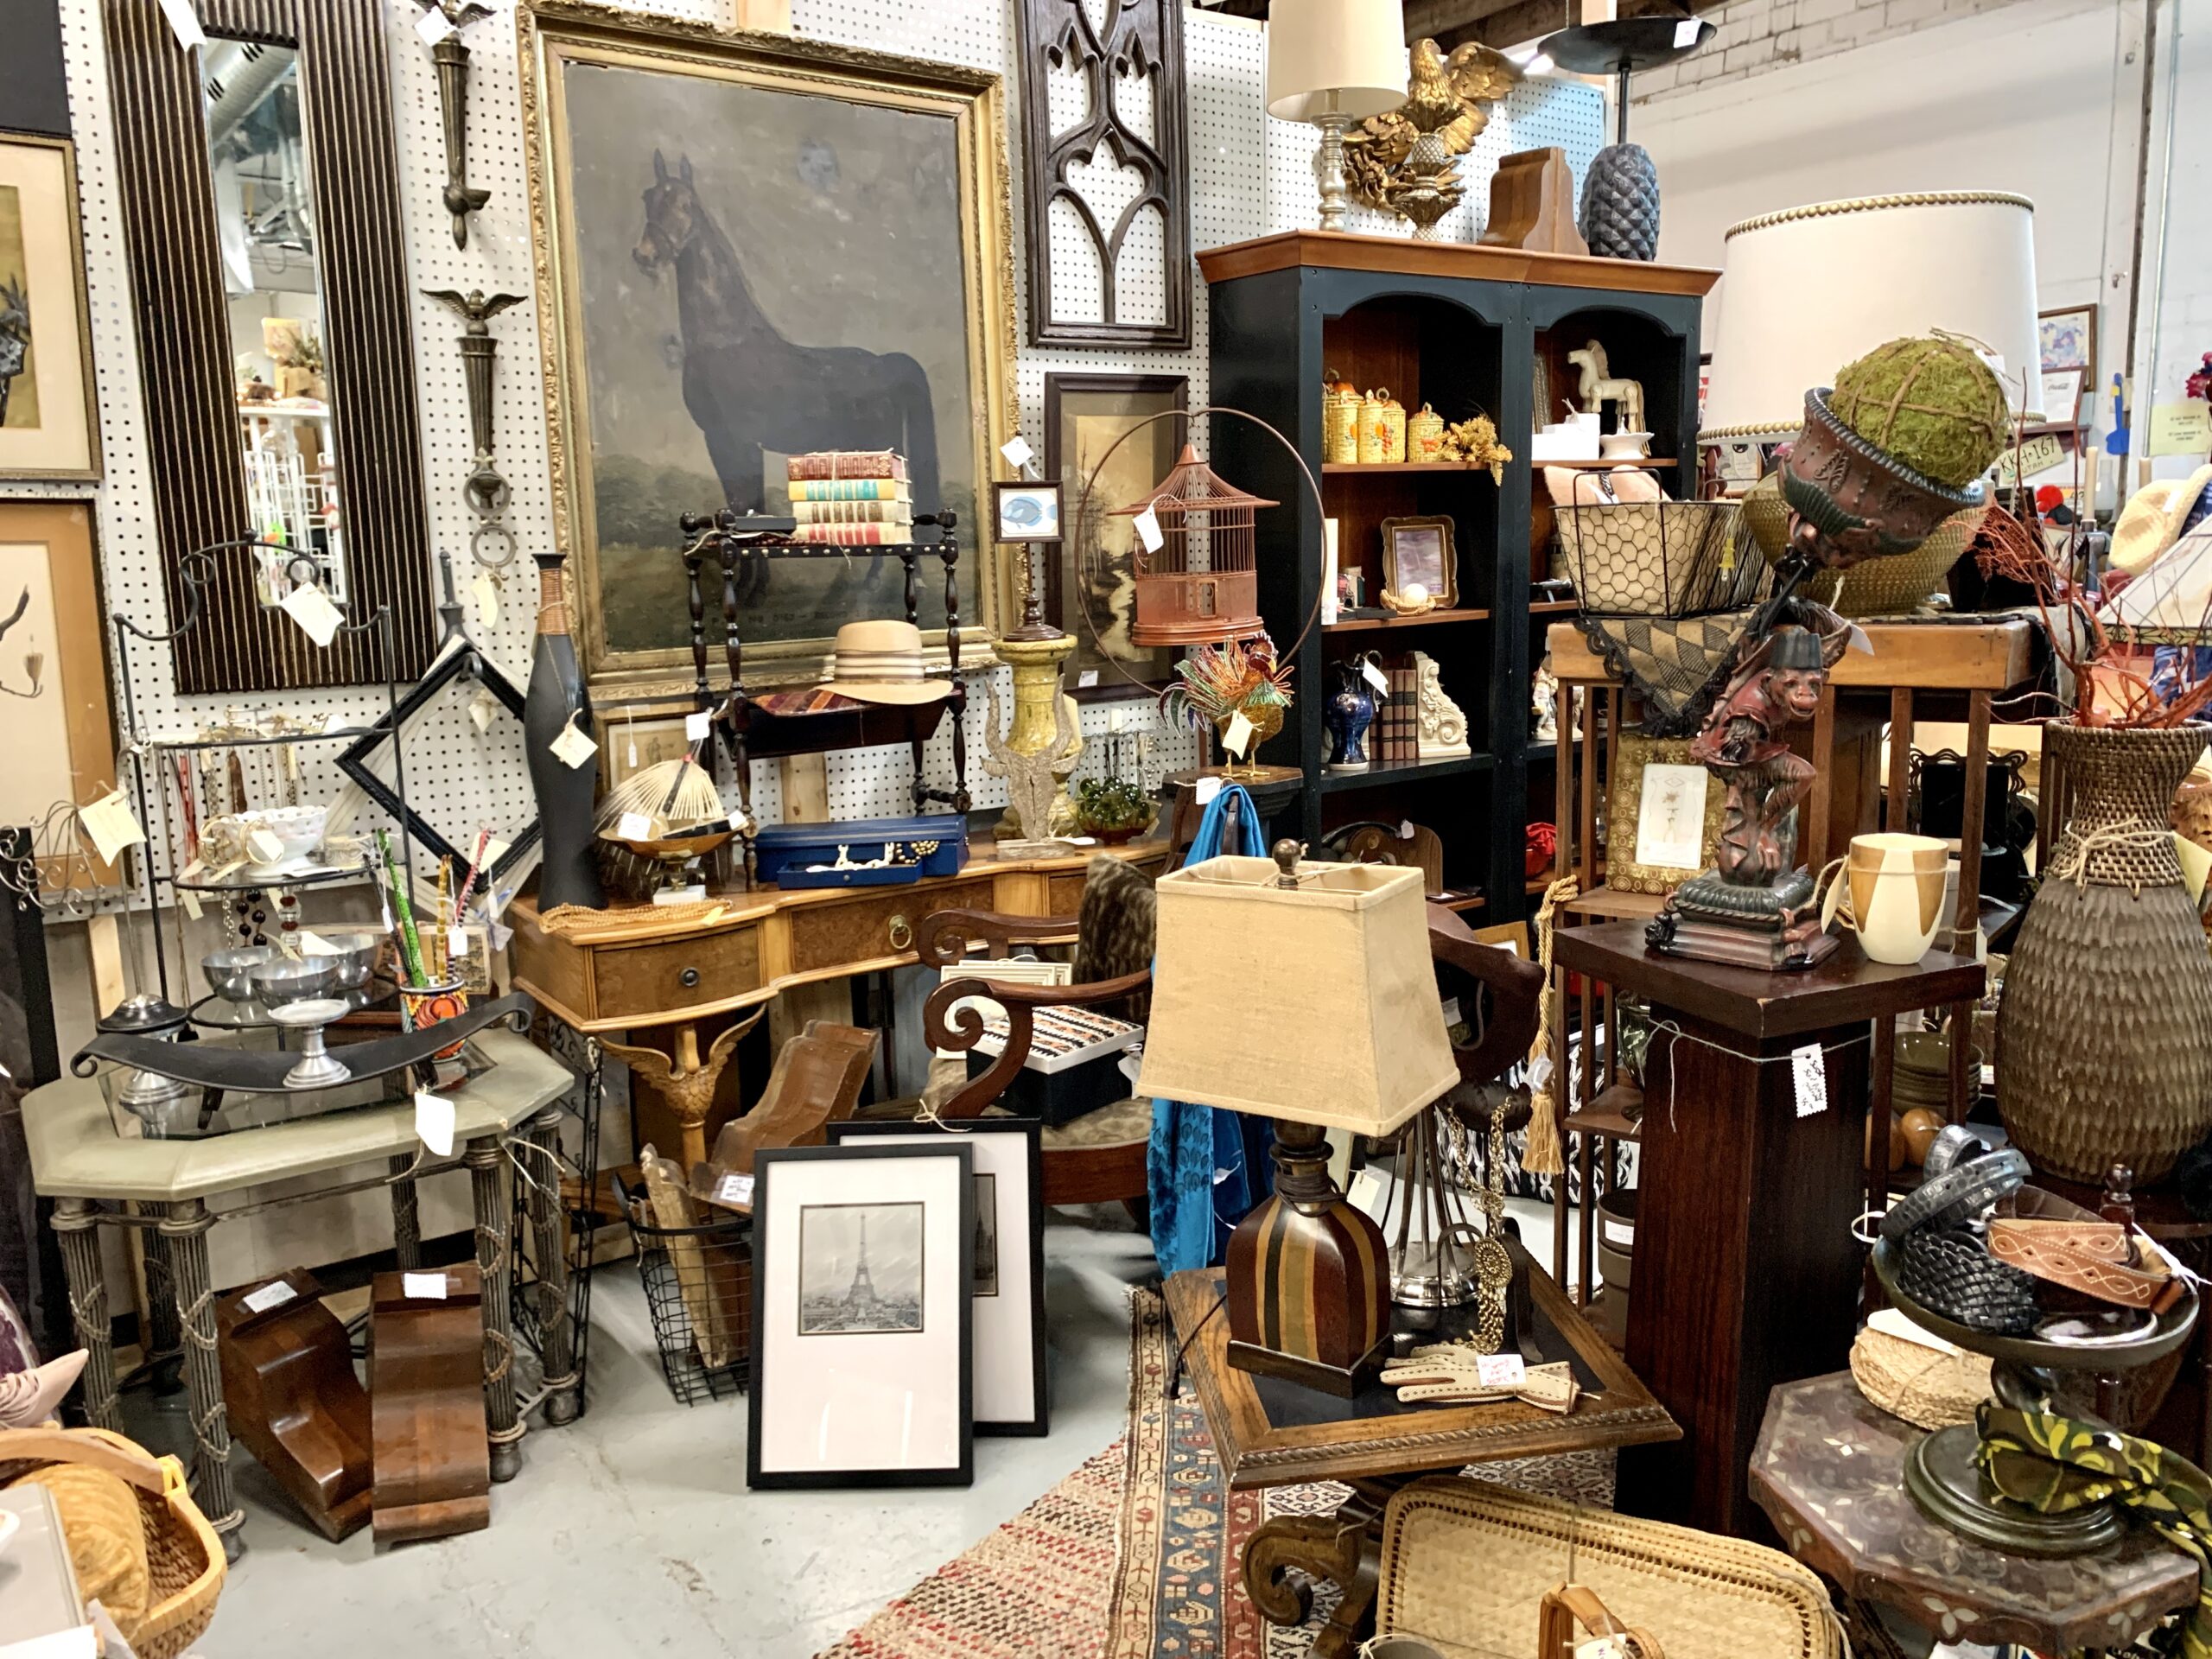 As I made my way through the store, I noticed many of the booths’ contents showcase the vendor’s preference in antiques. Sometimes you have to bend down, look around, and dig through a box to find a buried treasure. Paradise Mall Antiques is where you go shopping for yourself and that hard to buy for friend or relative.
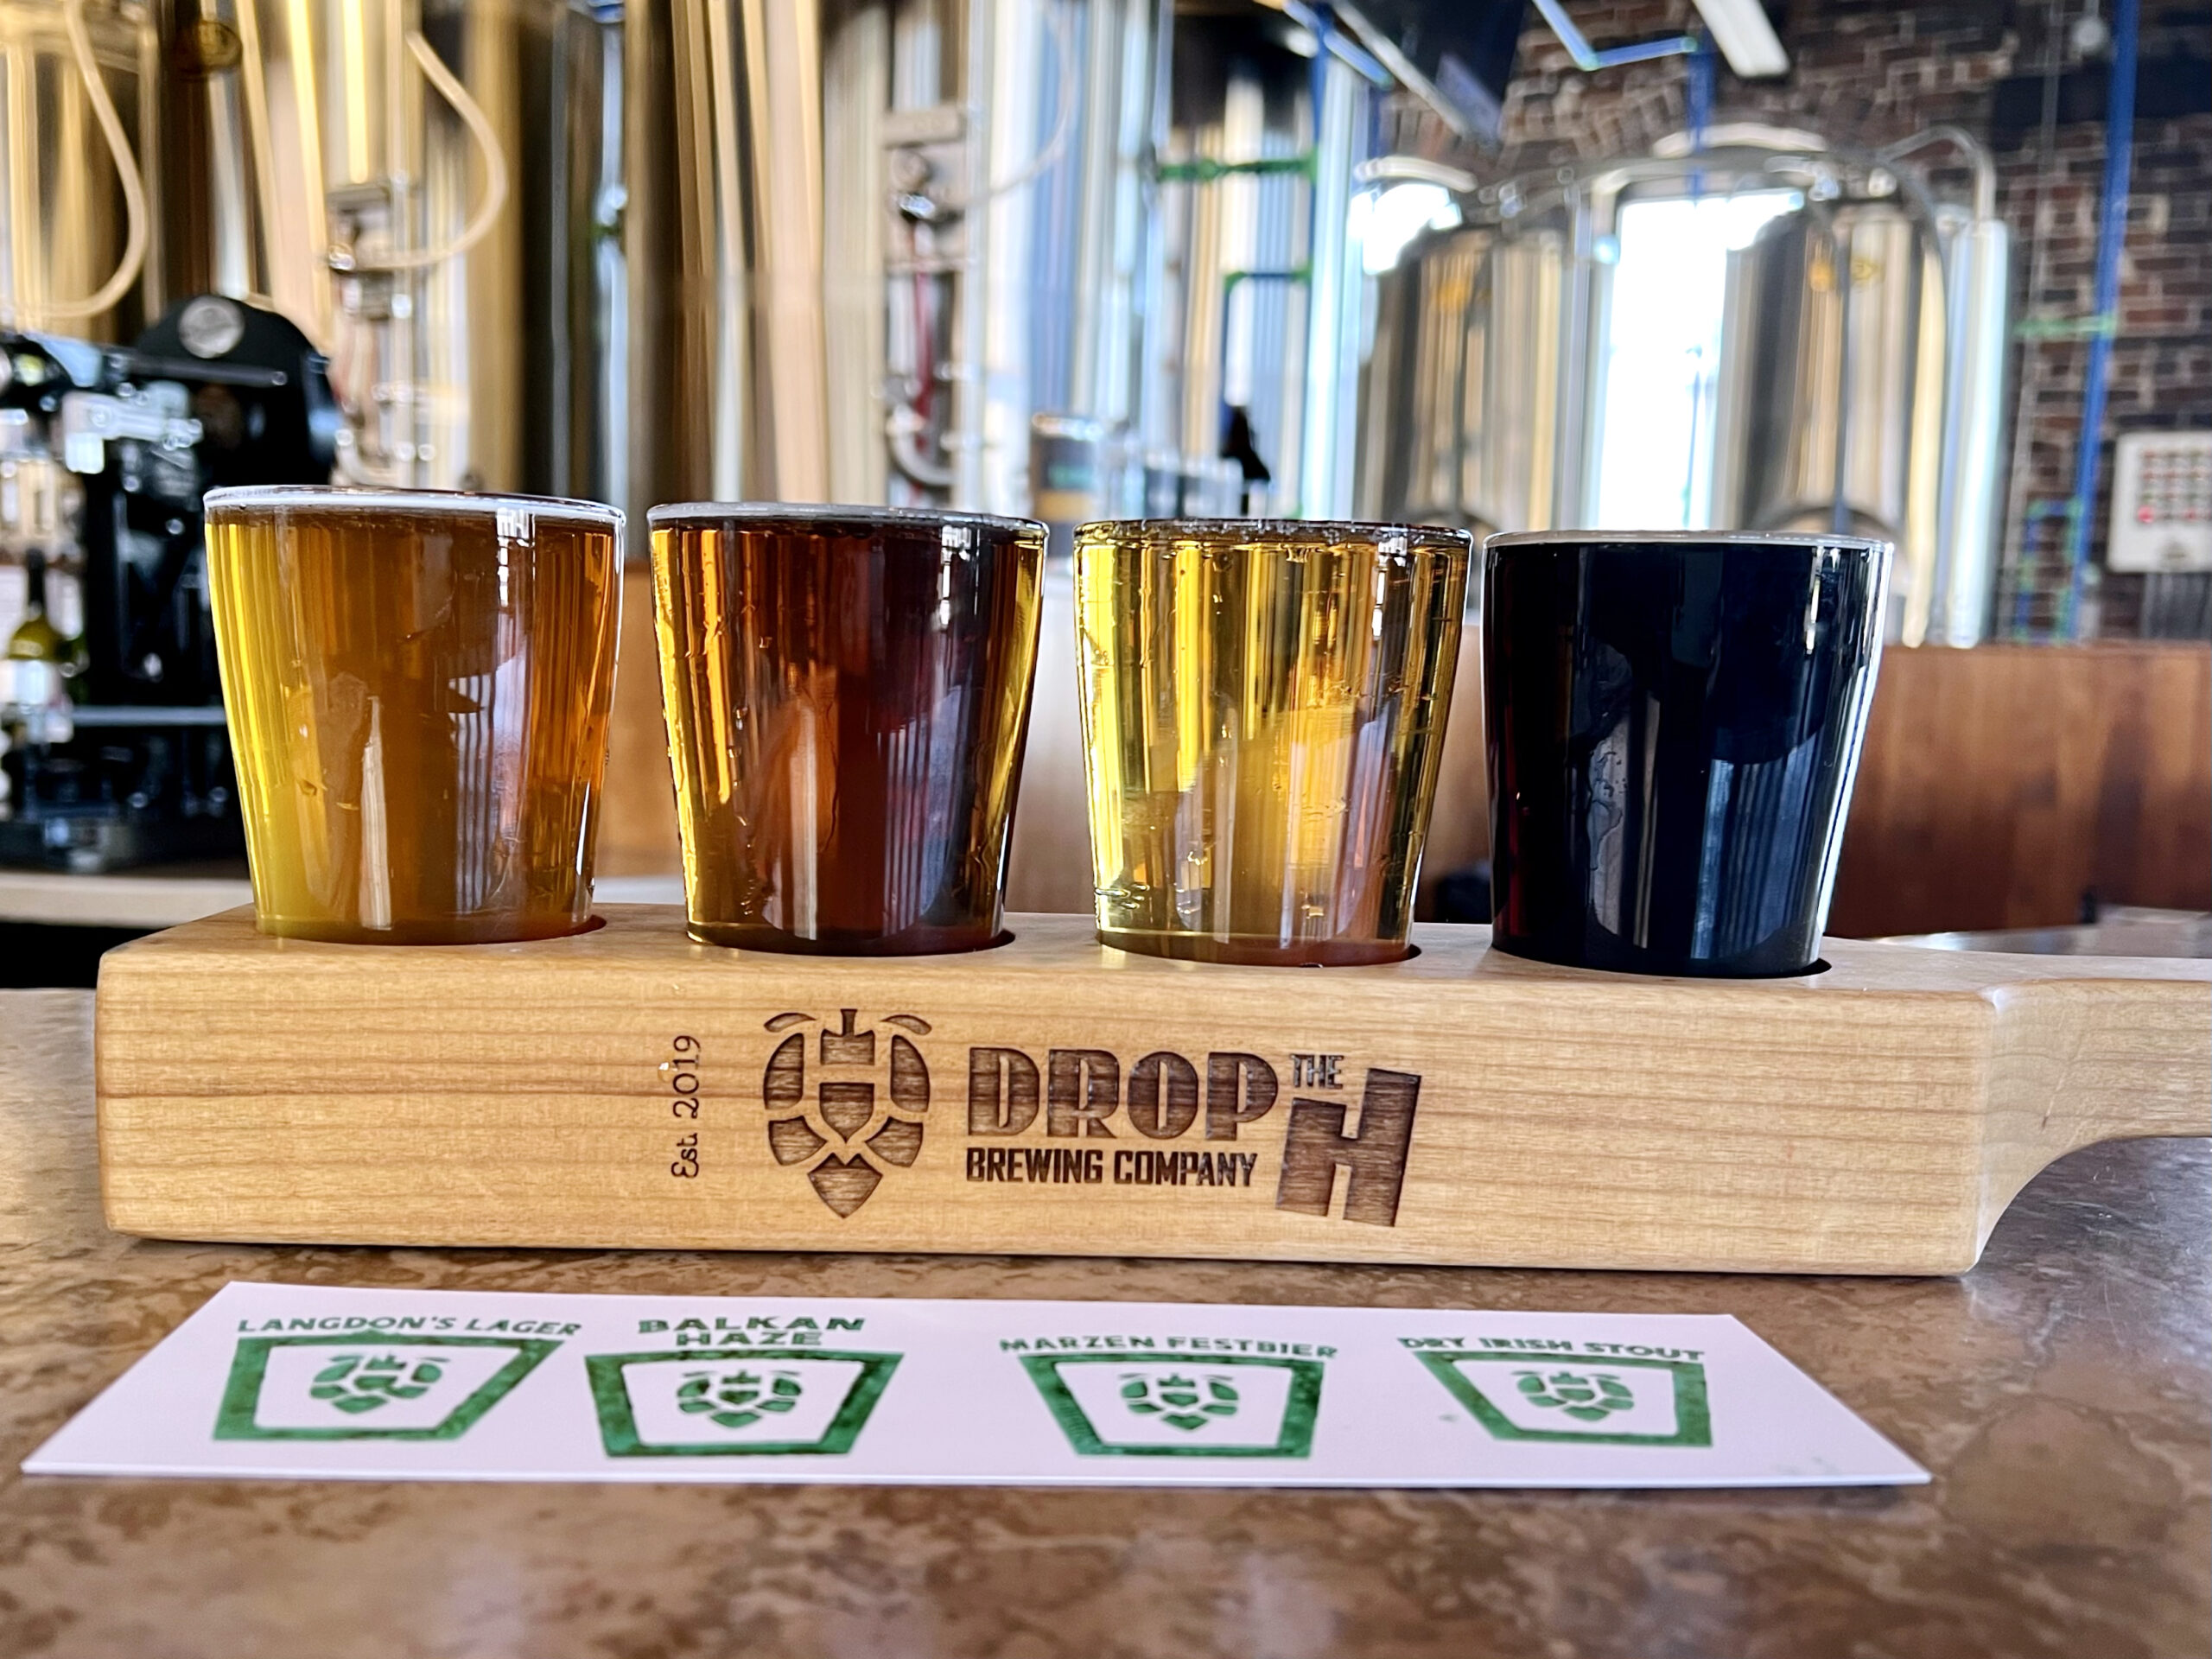
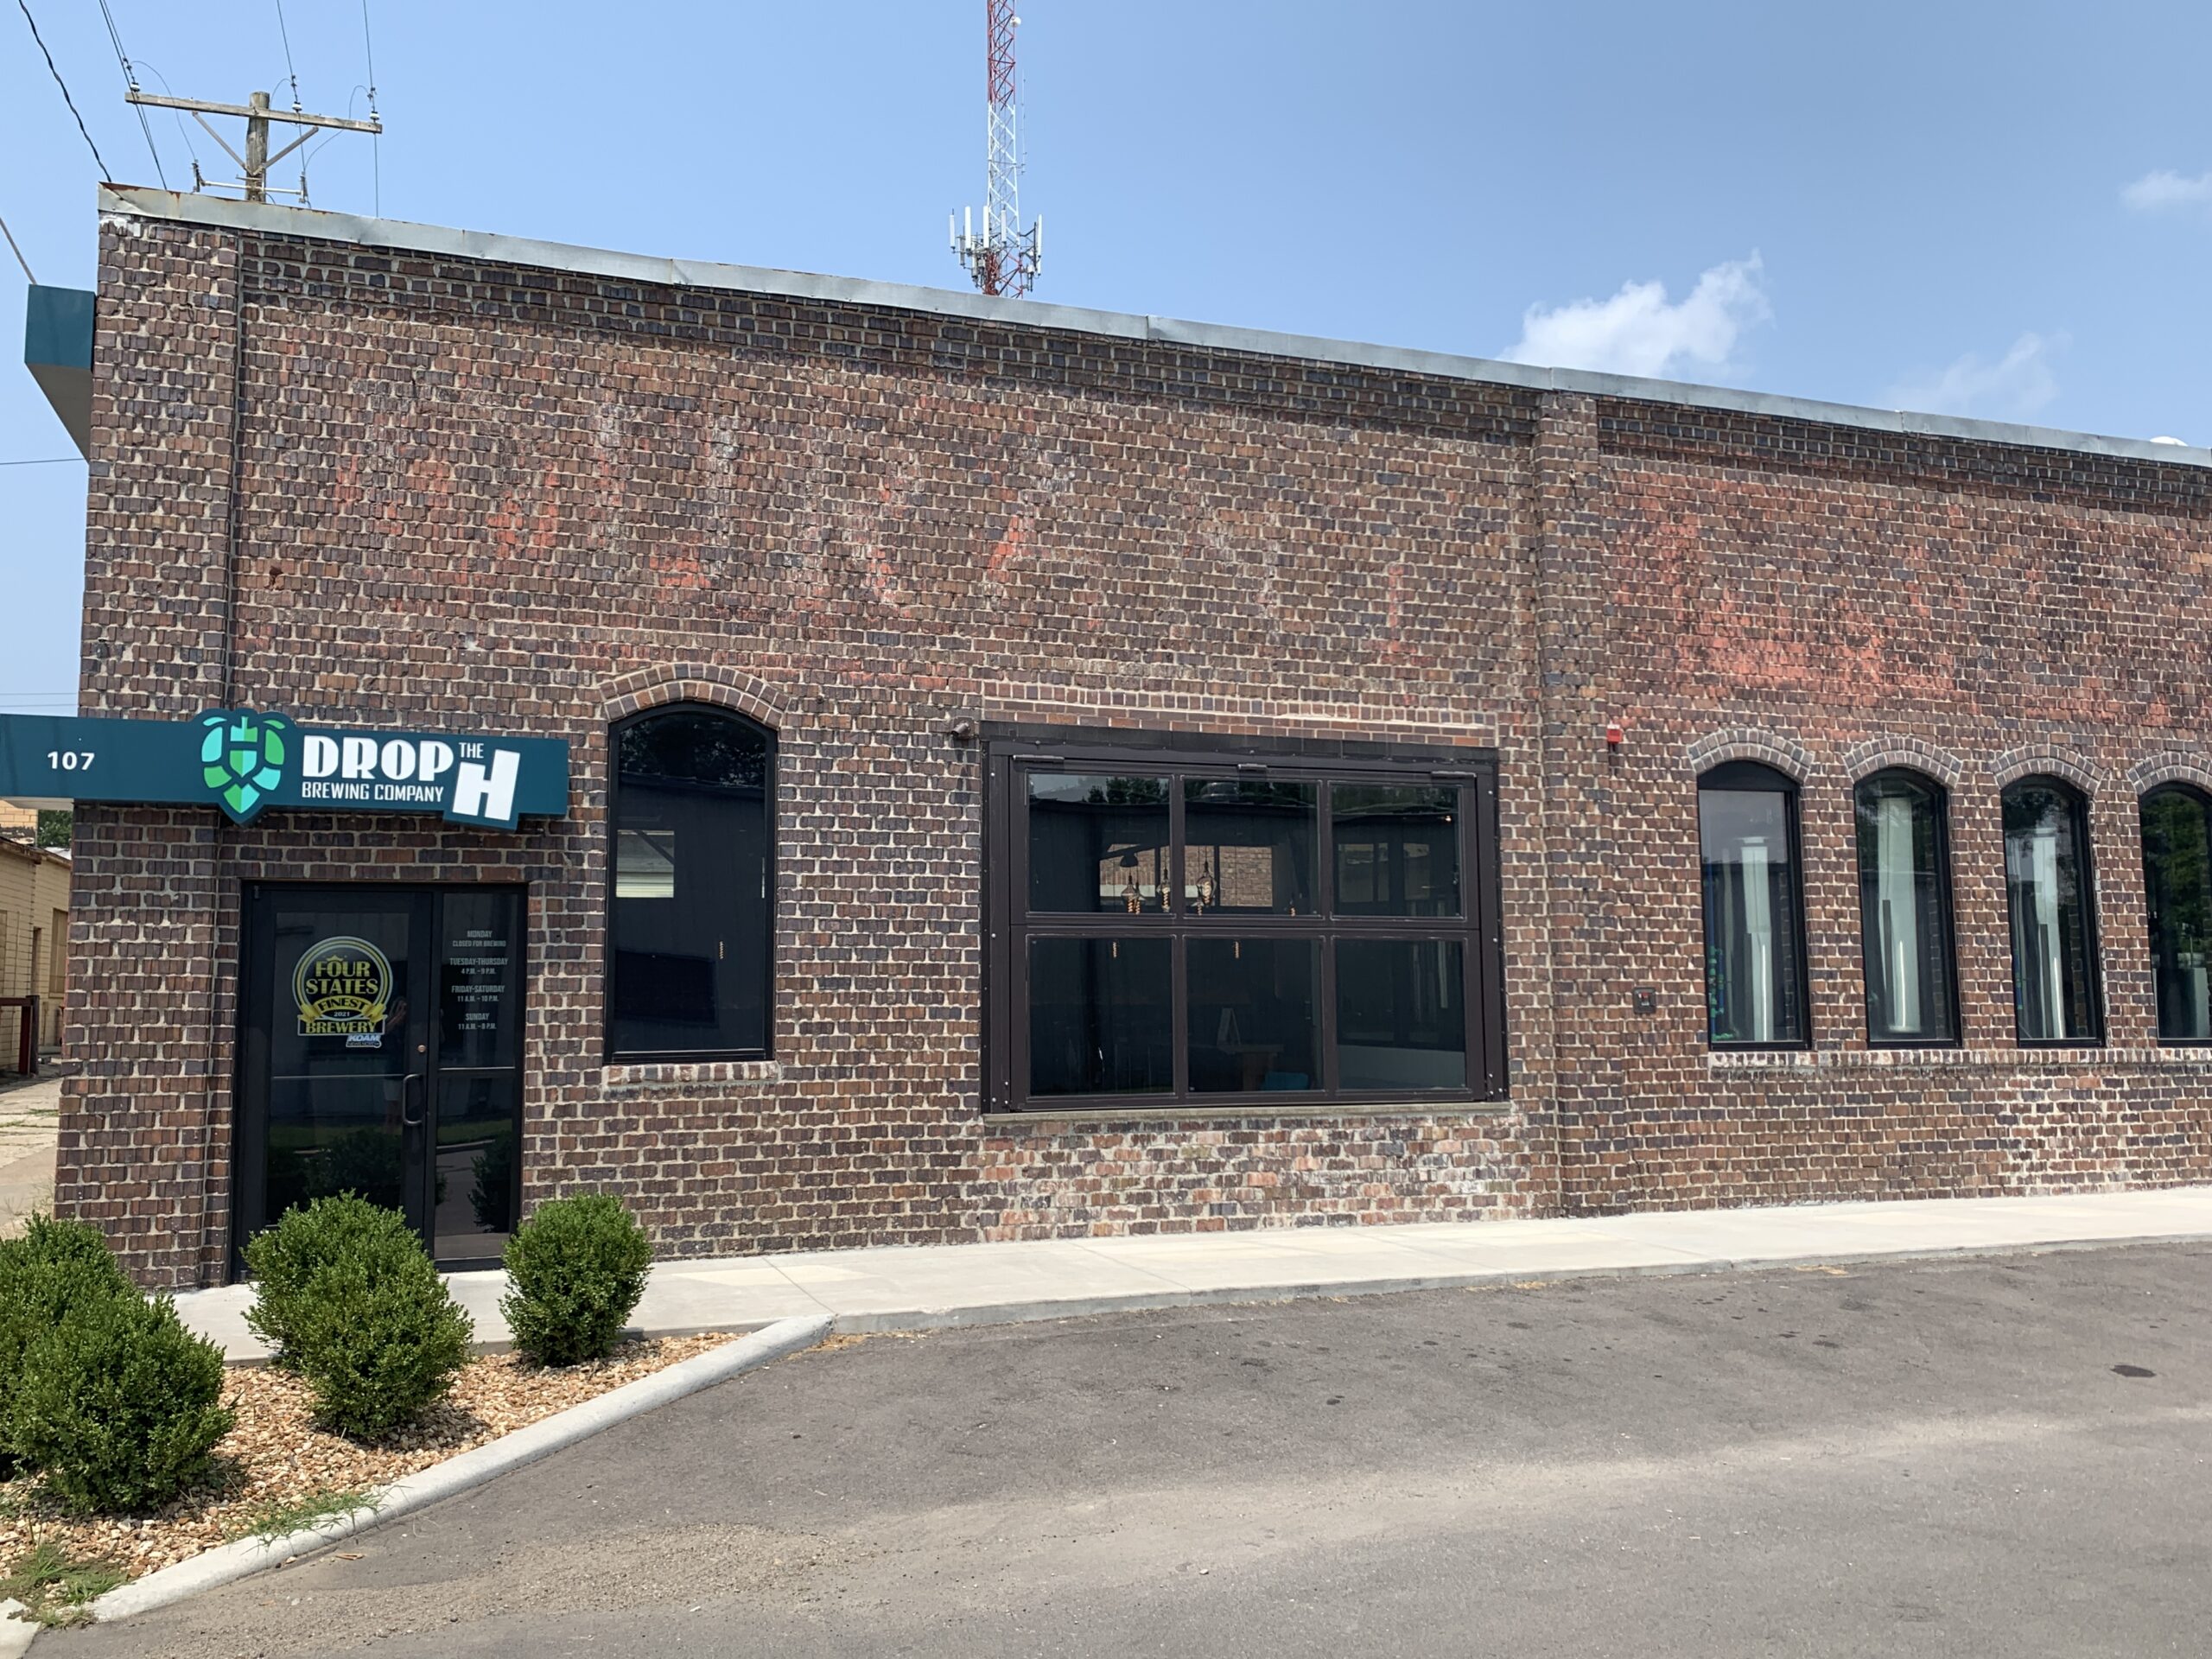 Serving happy customers since 2019, the brewpub prides itself on its multiple beer taps and New York-style pizza selection prepared in a brick oven.
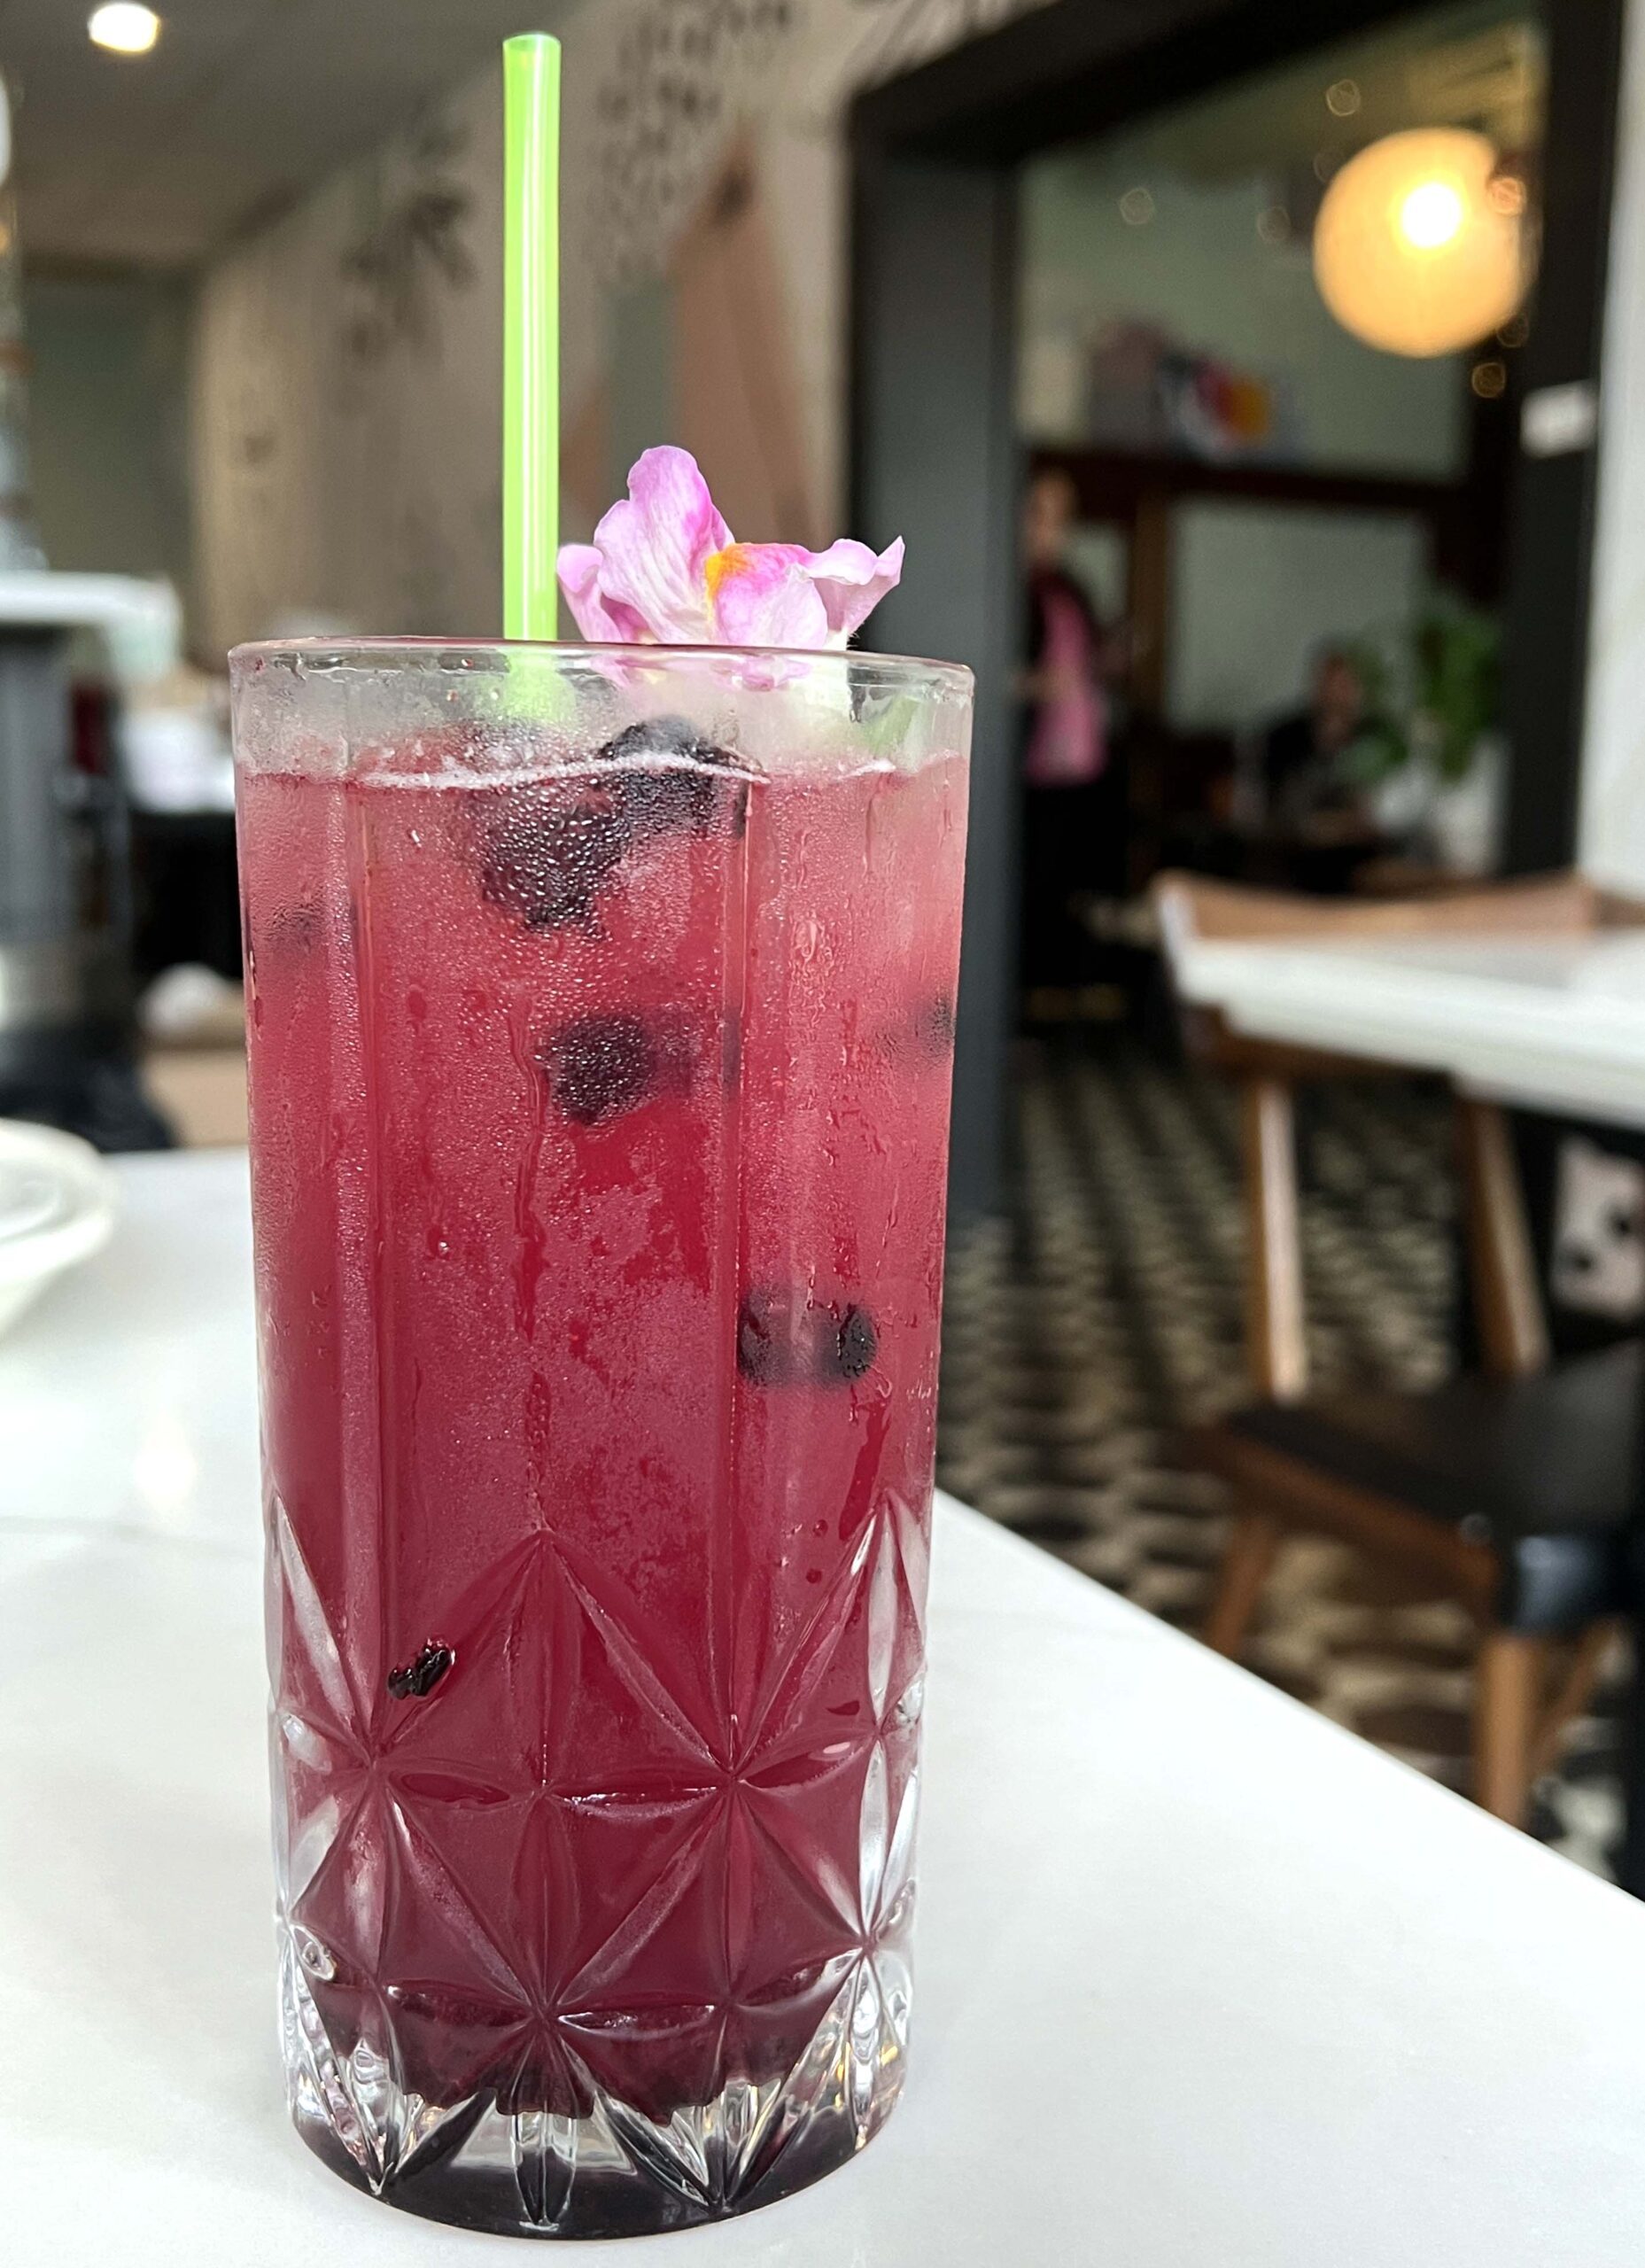 The brunch selections are a draw but the lunch and dinner classics paired with a thoughtfully crafted cocktail have earned the eatery high praise. To my surprise, each dining experience starts with complementary chipotle seasoned popcorn.
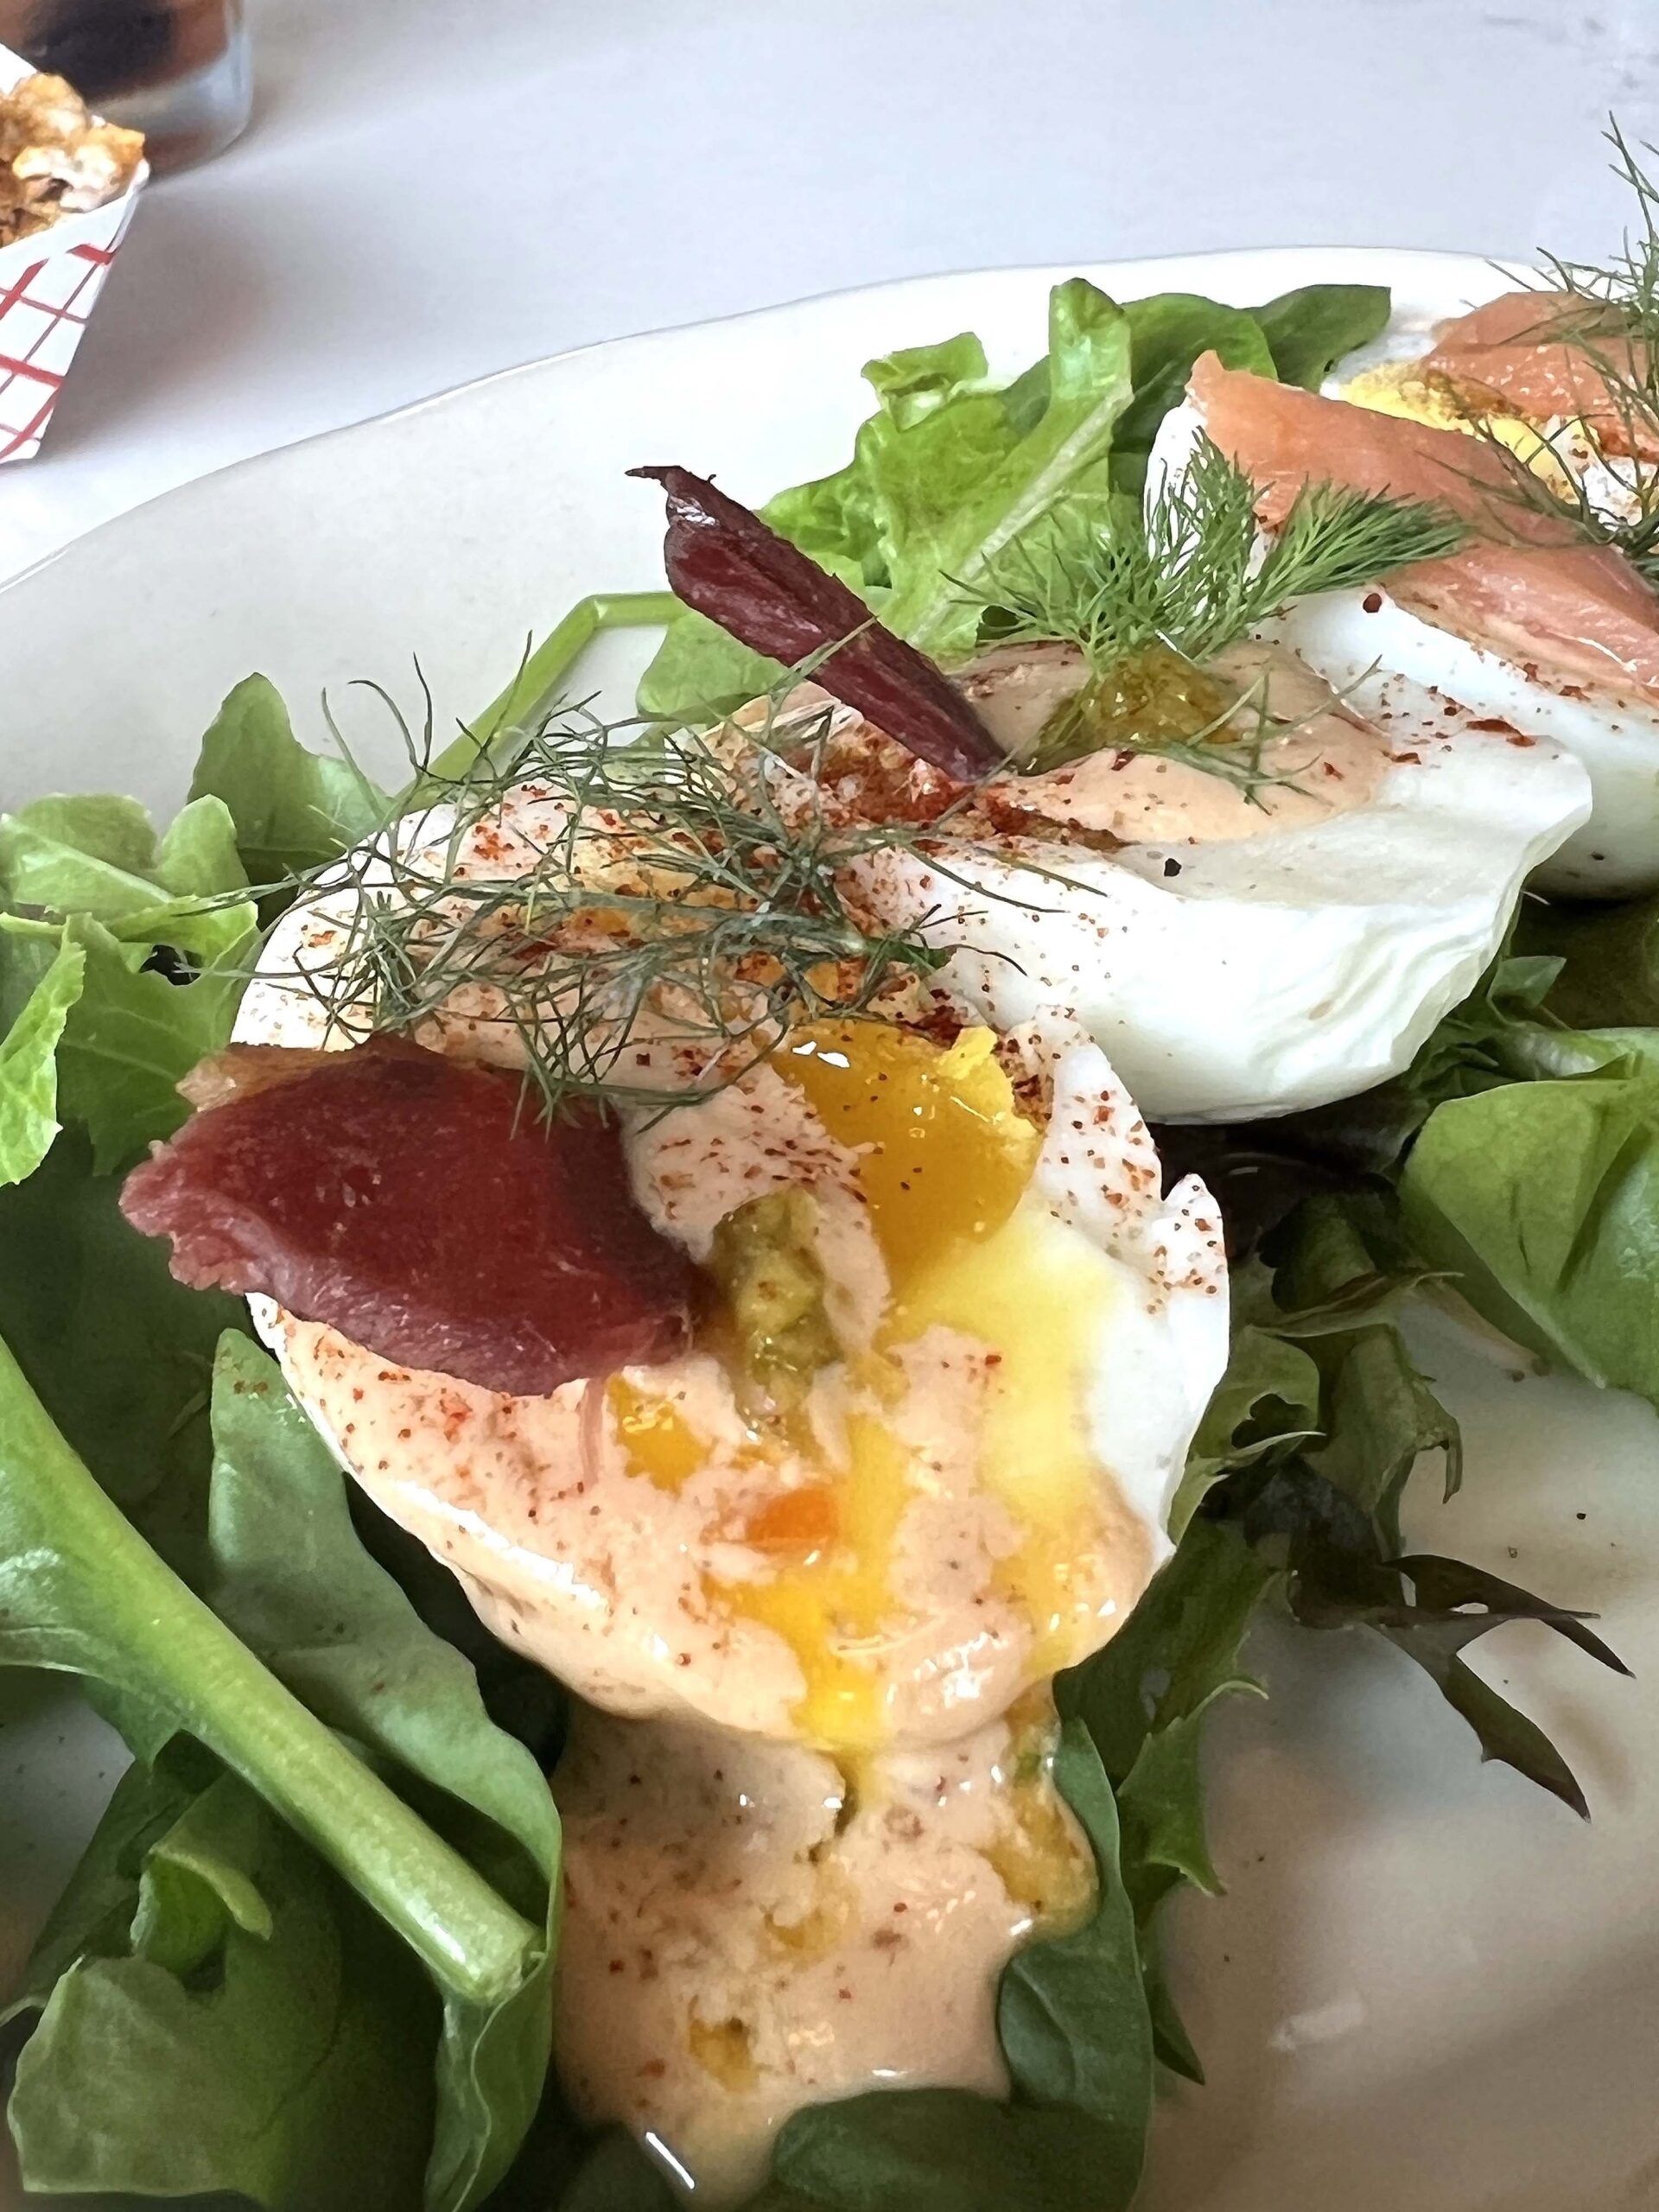 Menu selections during my dining experience exceeded my expectations for beautiful plating, quality, and value. Appetizers like Almost Deviled Eggs or the Warm House Ricotta and Garlic with sourdough are guaranteed good bites.
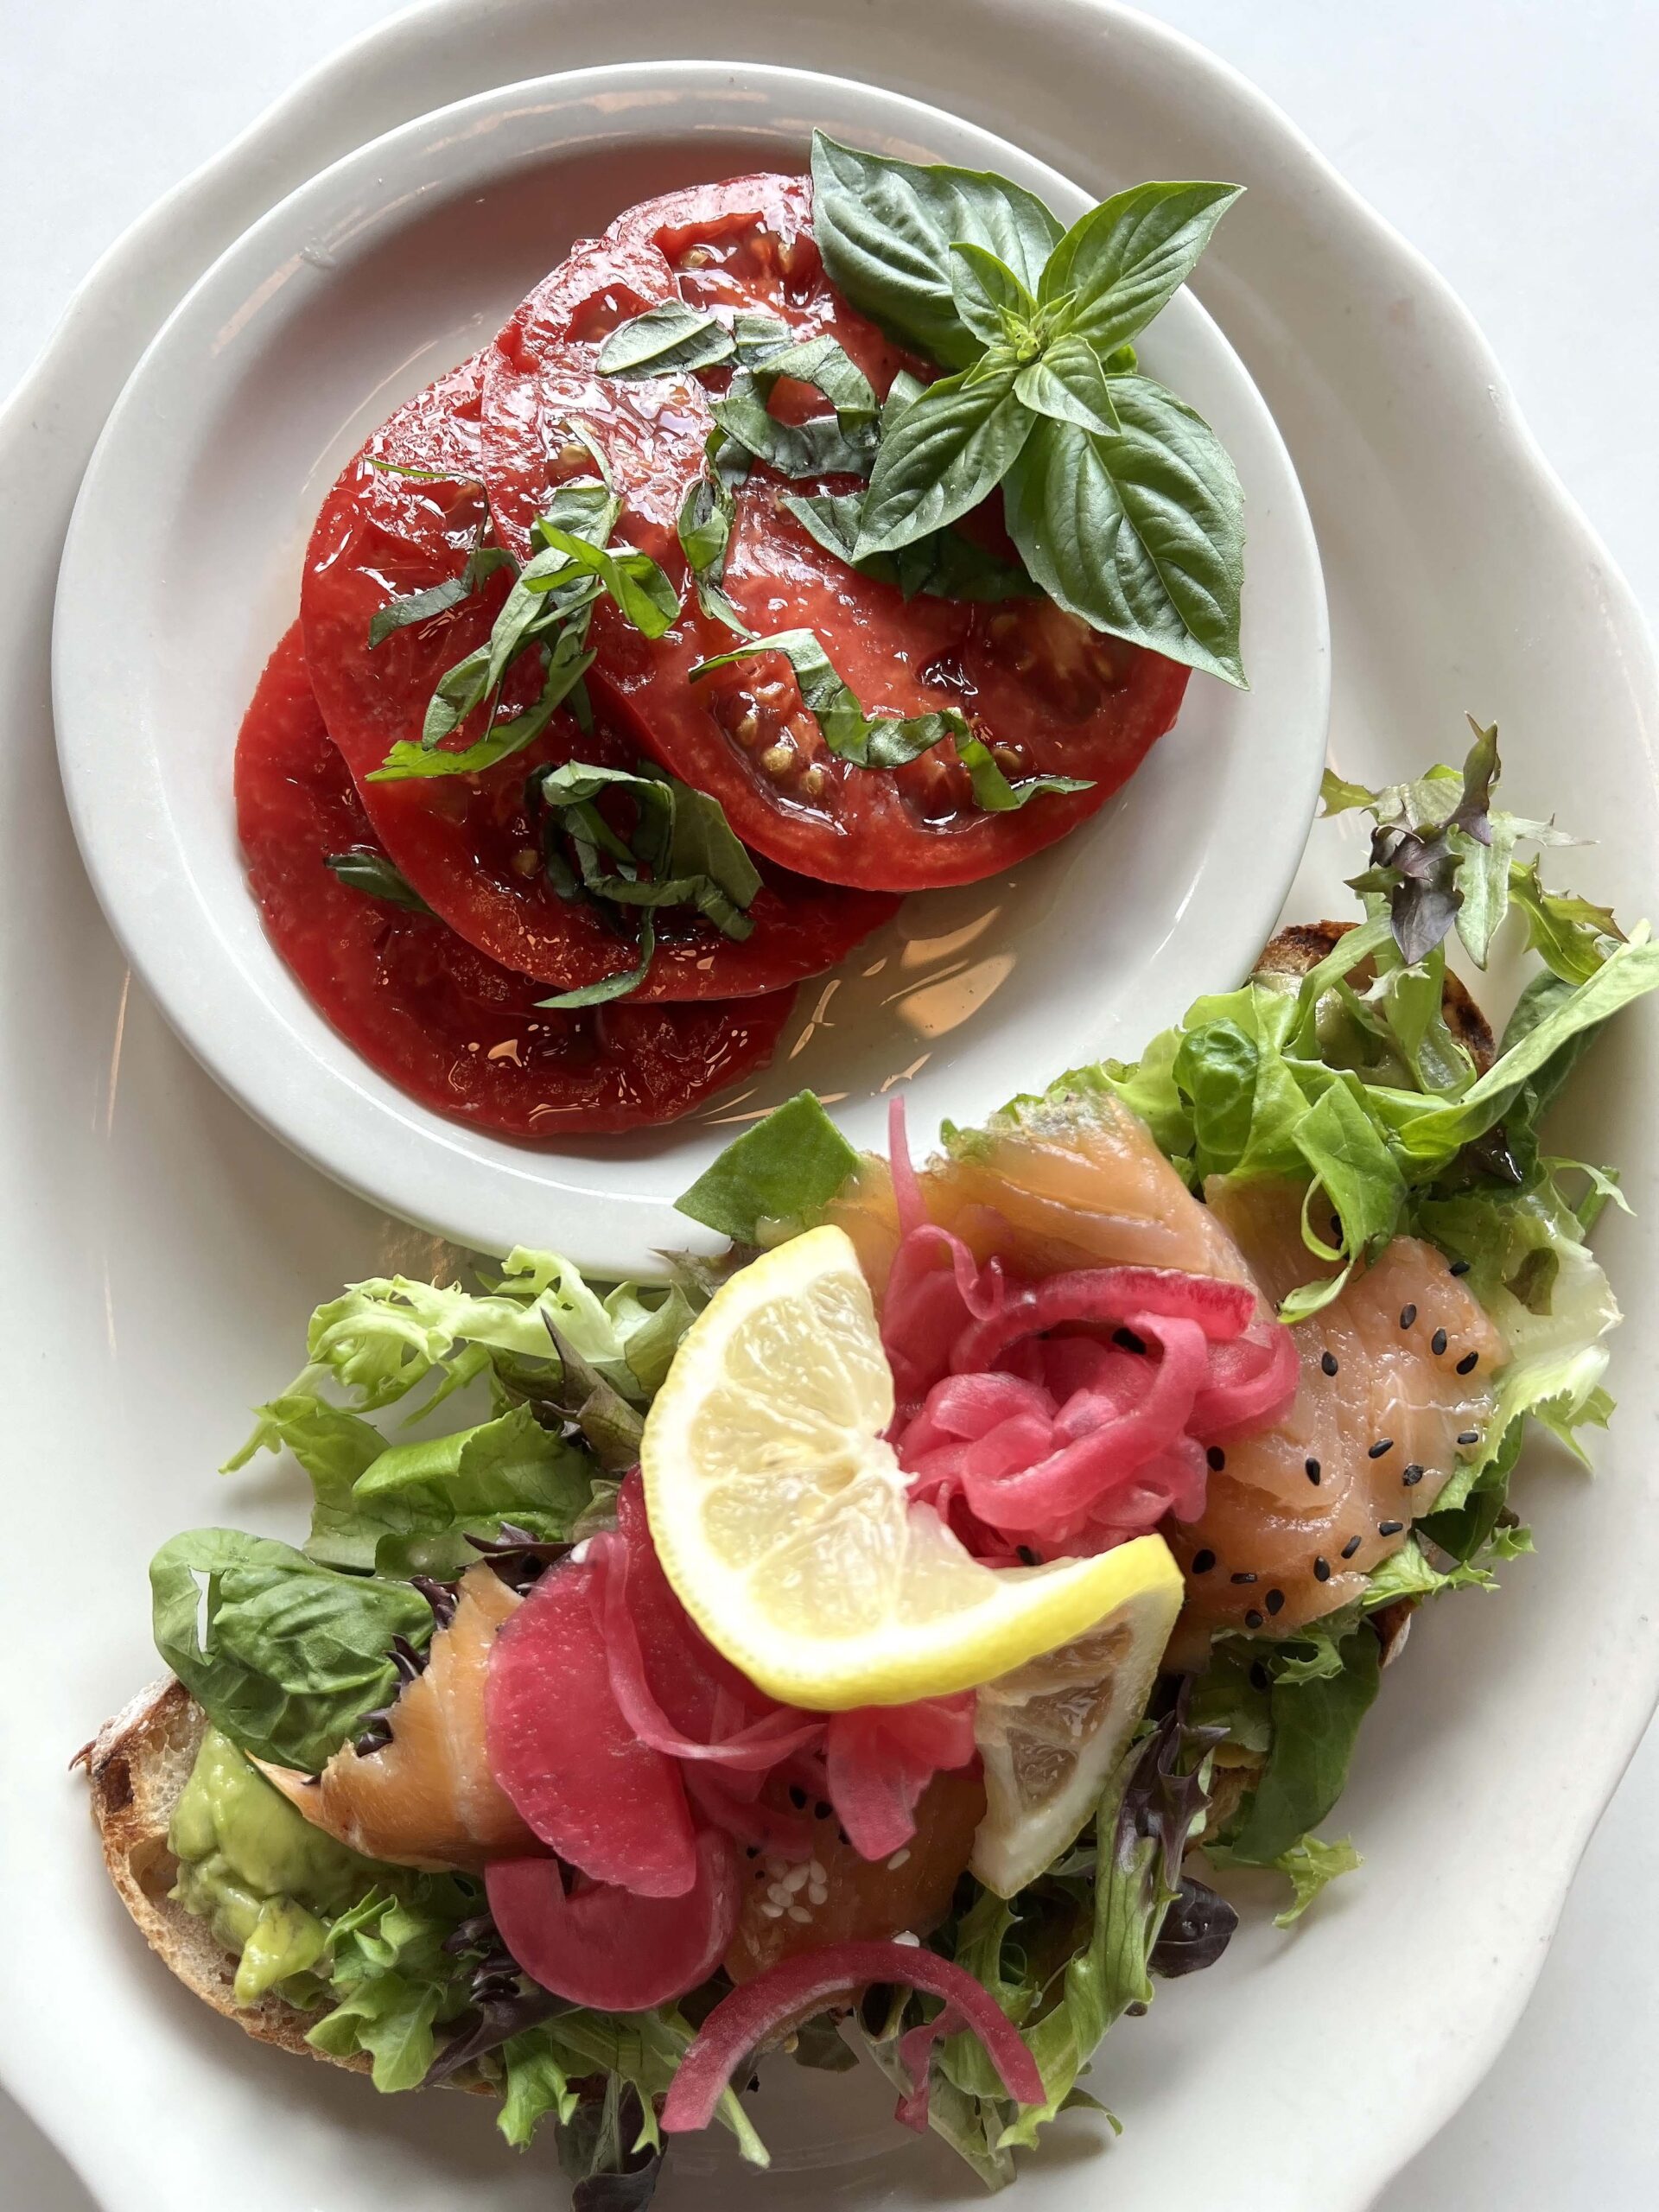 At mealtime, dig into tasty Avocado Smoked Salmon Toast or a dinner-size Grilled Cajun Shrimp Salad, served with a zesty house-made dressing.
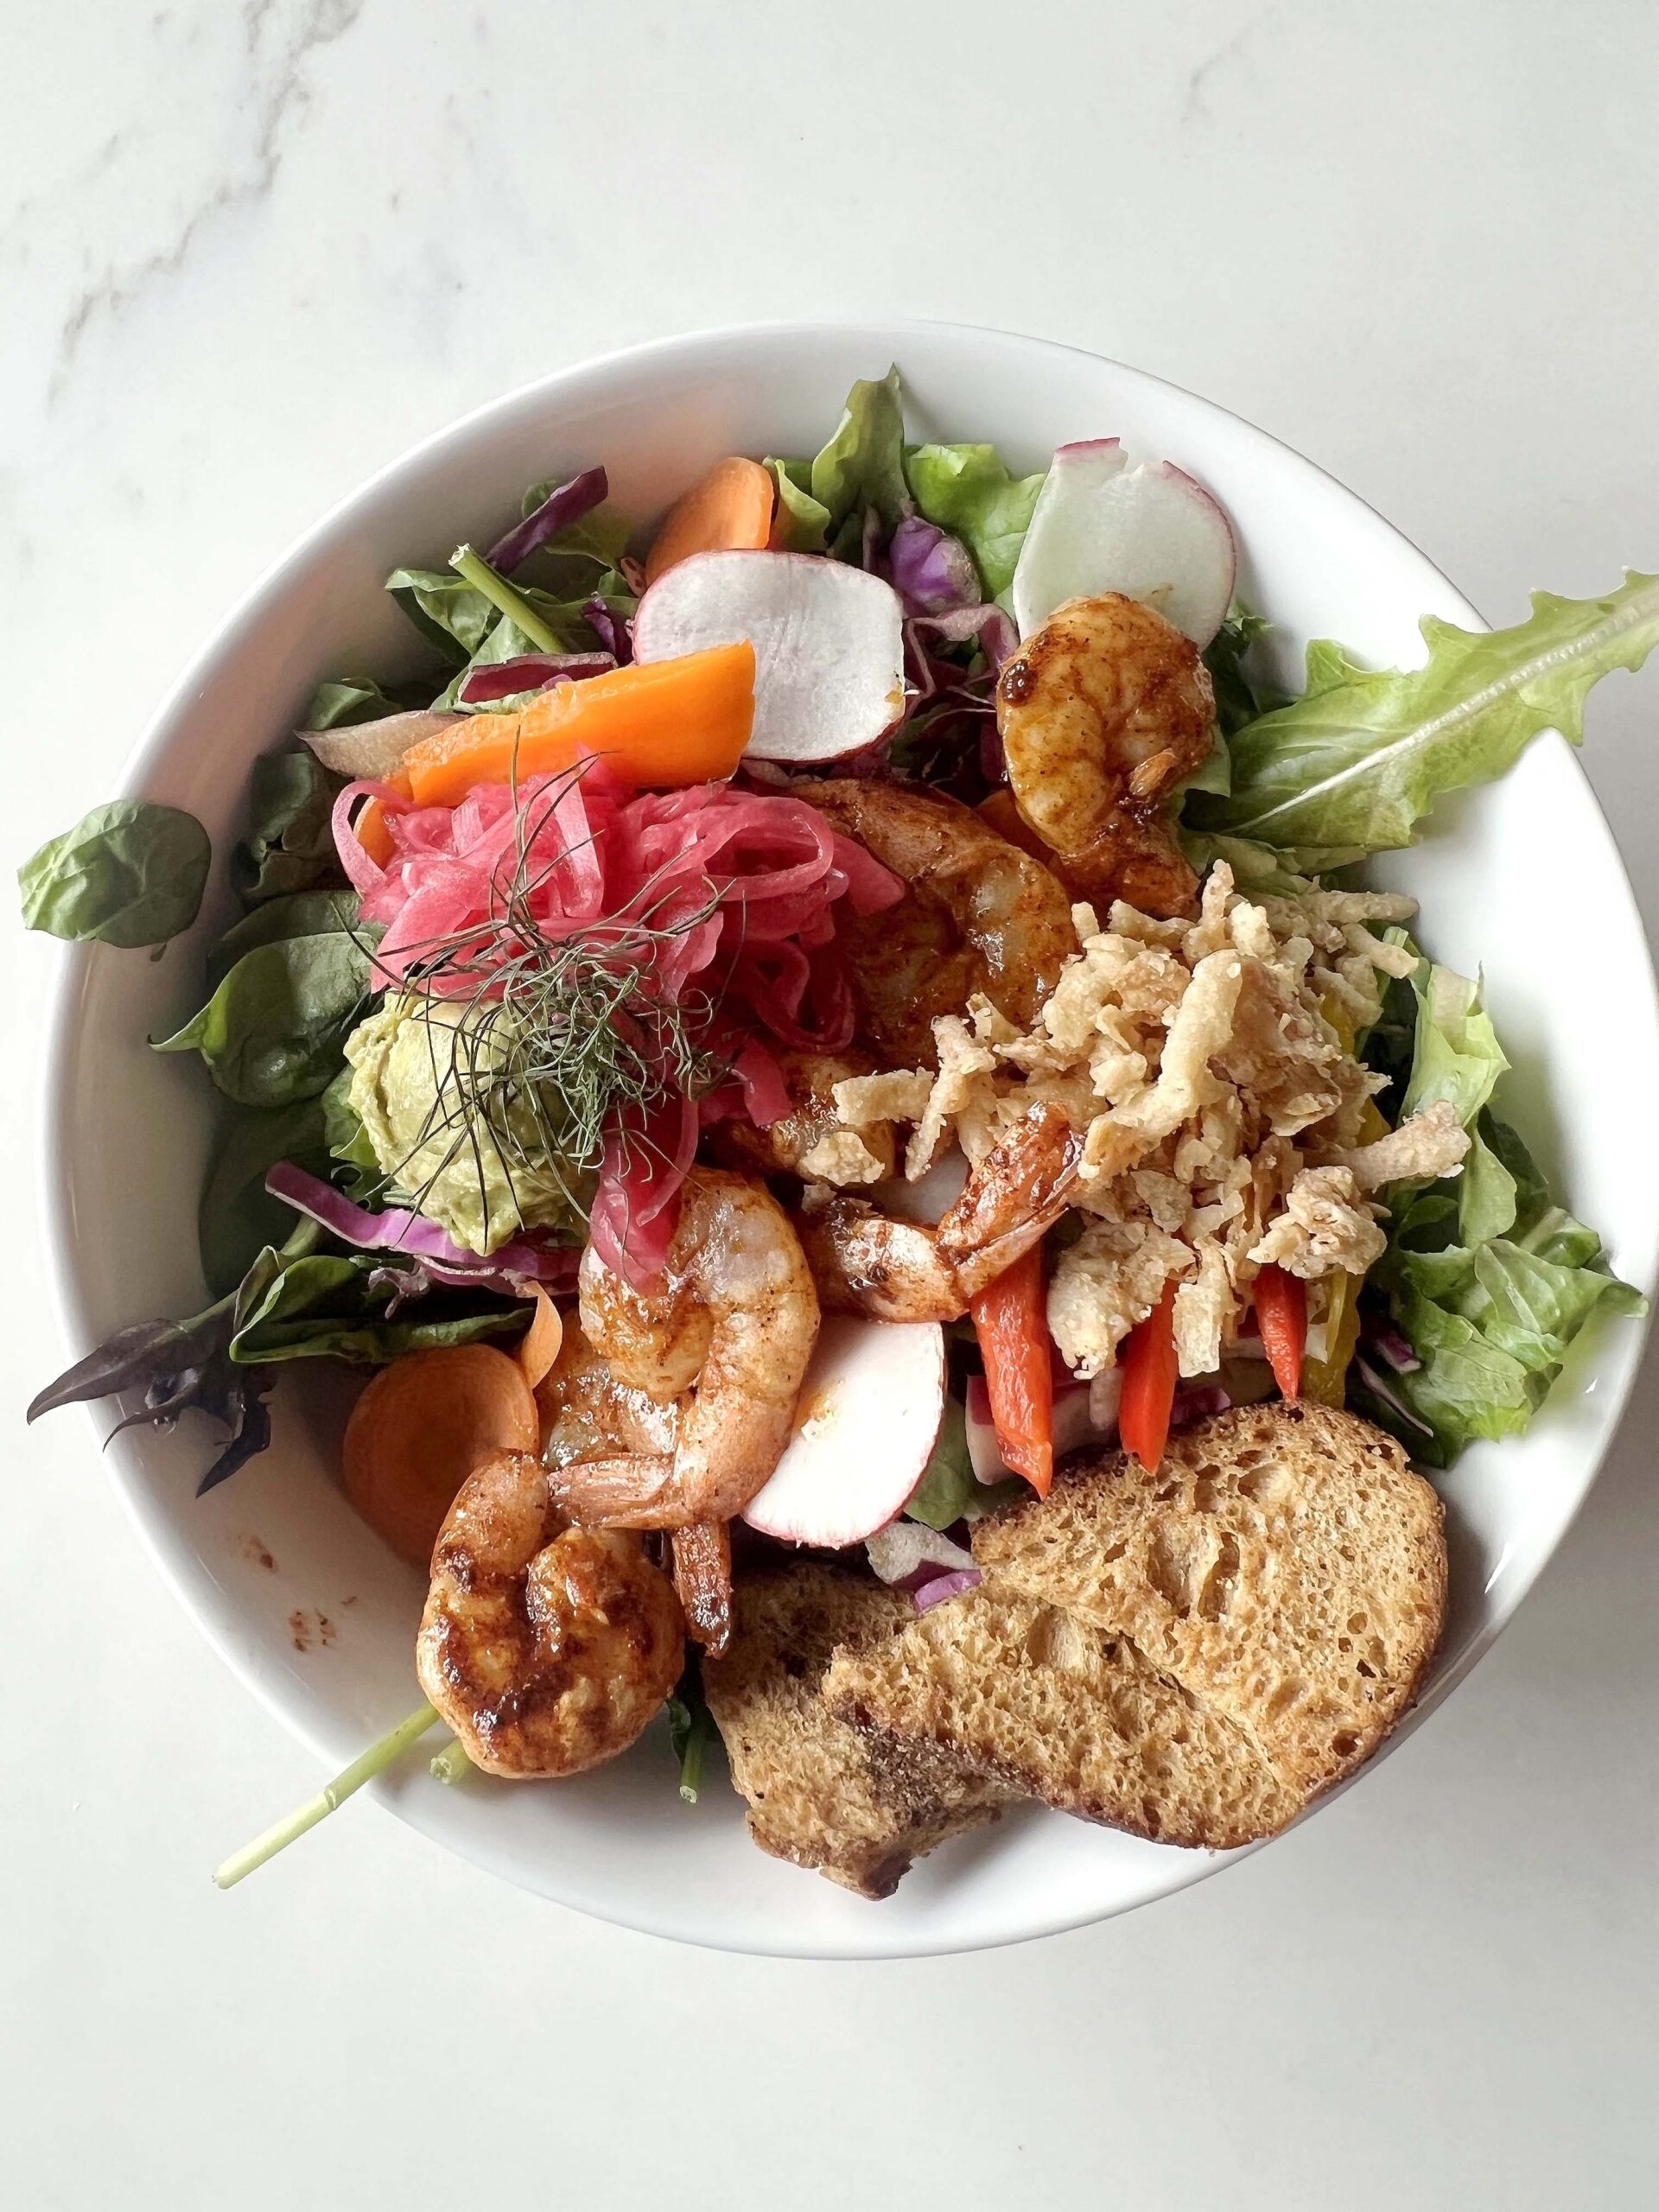 The owner/chef’s creativity shines in the For the Boys whiskey-and-honey cocktail, and any of her after-dinner desserts with creamy gelato are surefire winners.
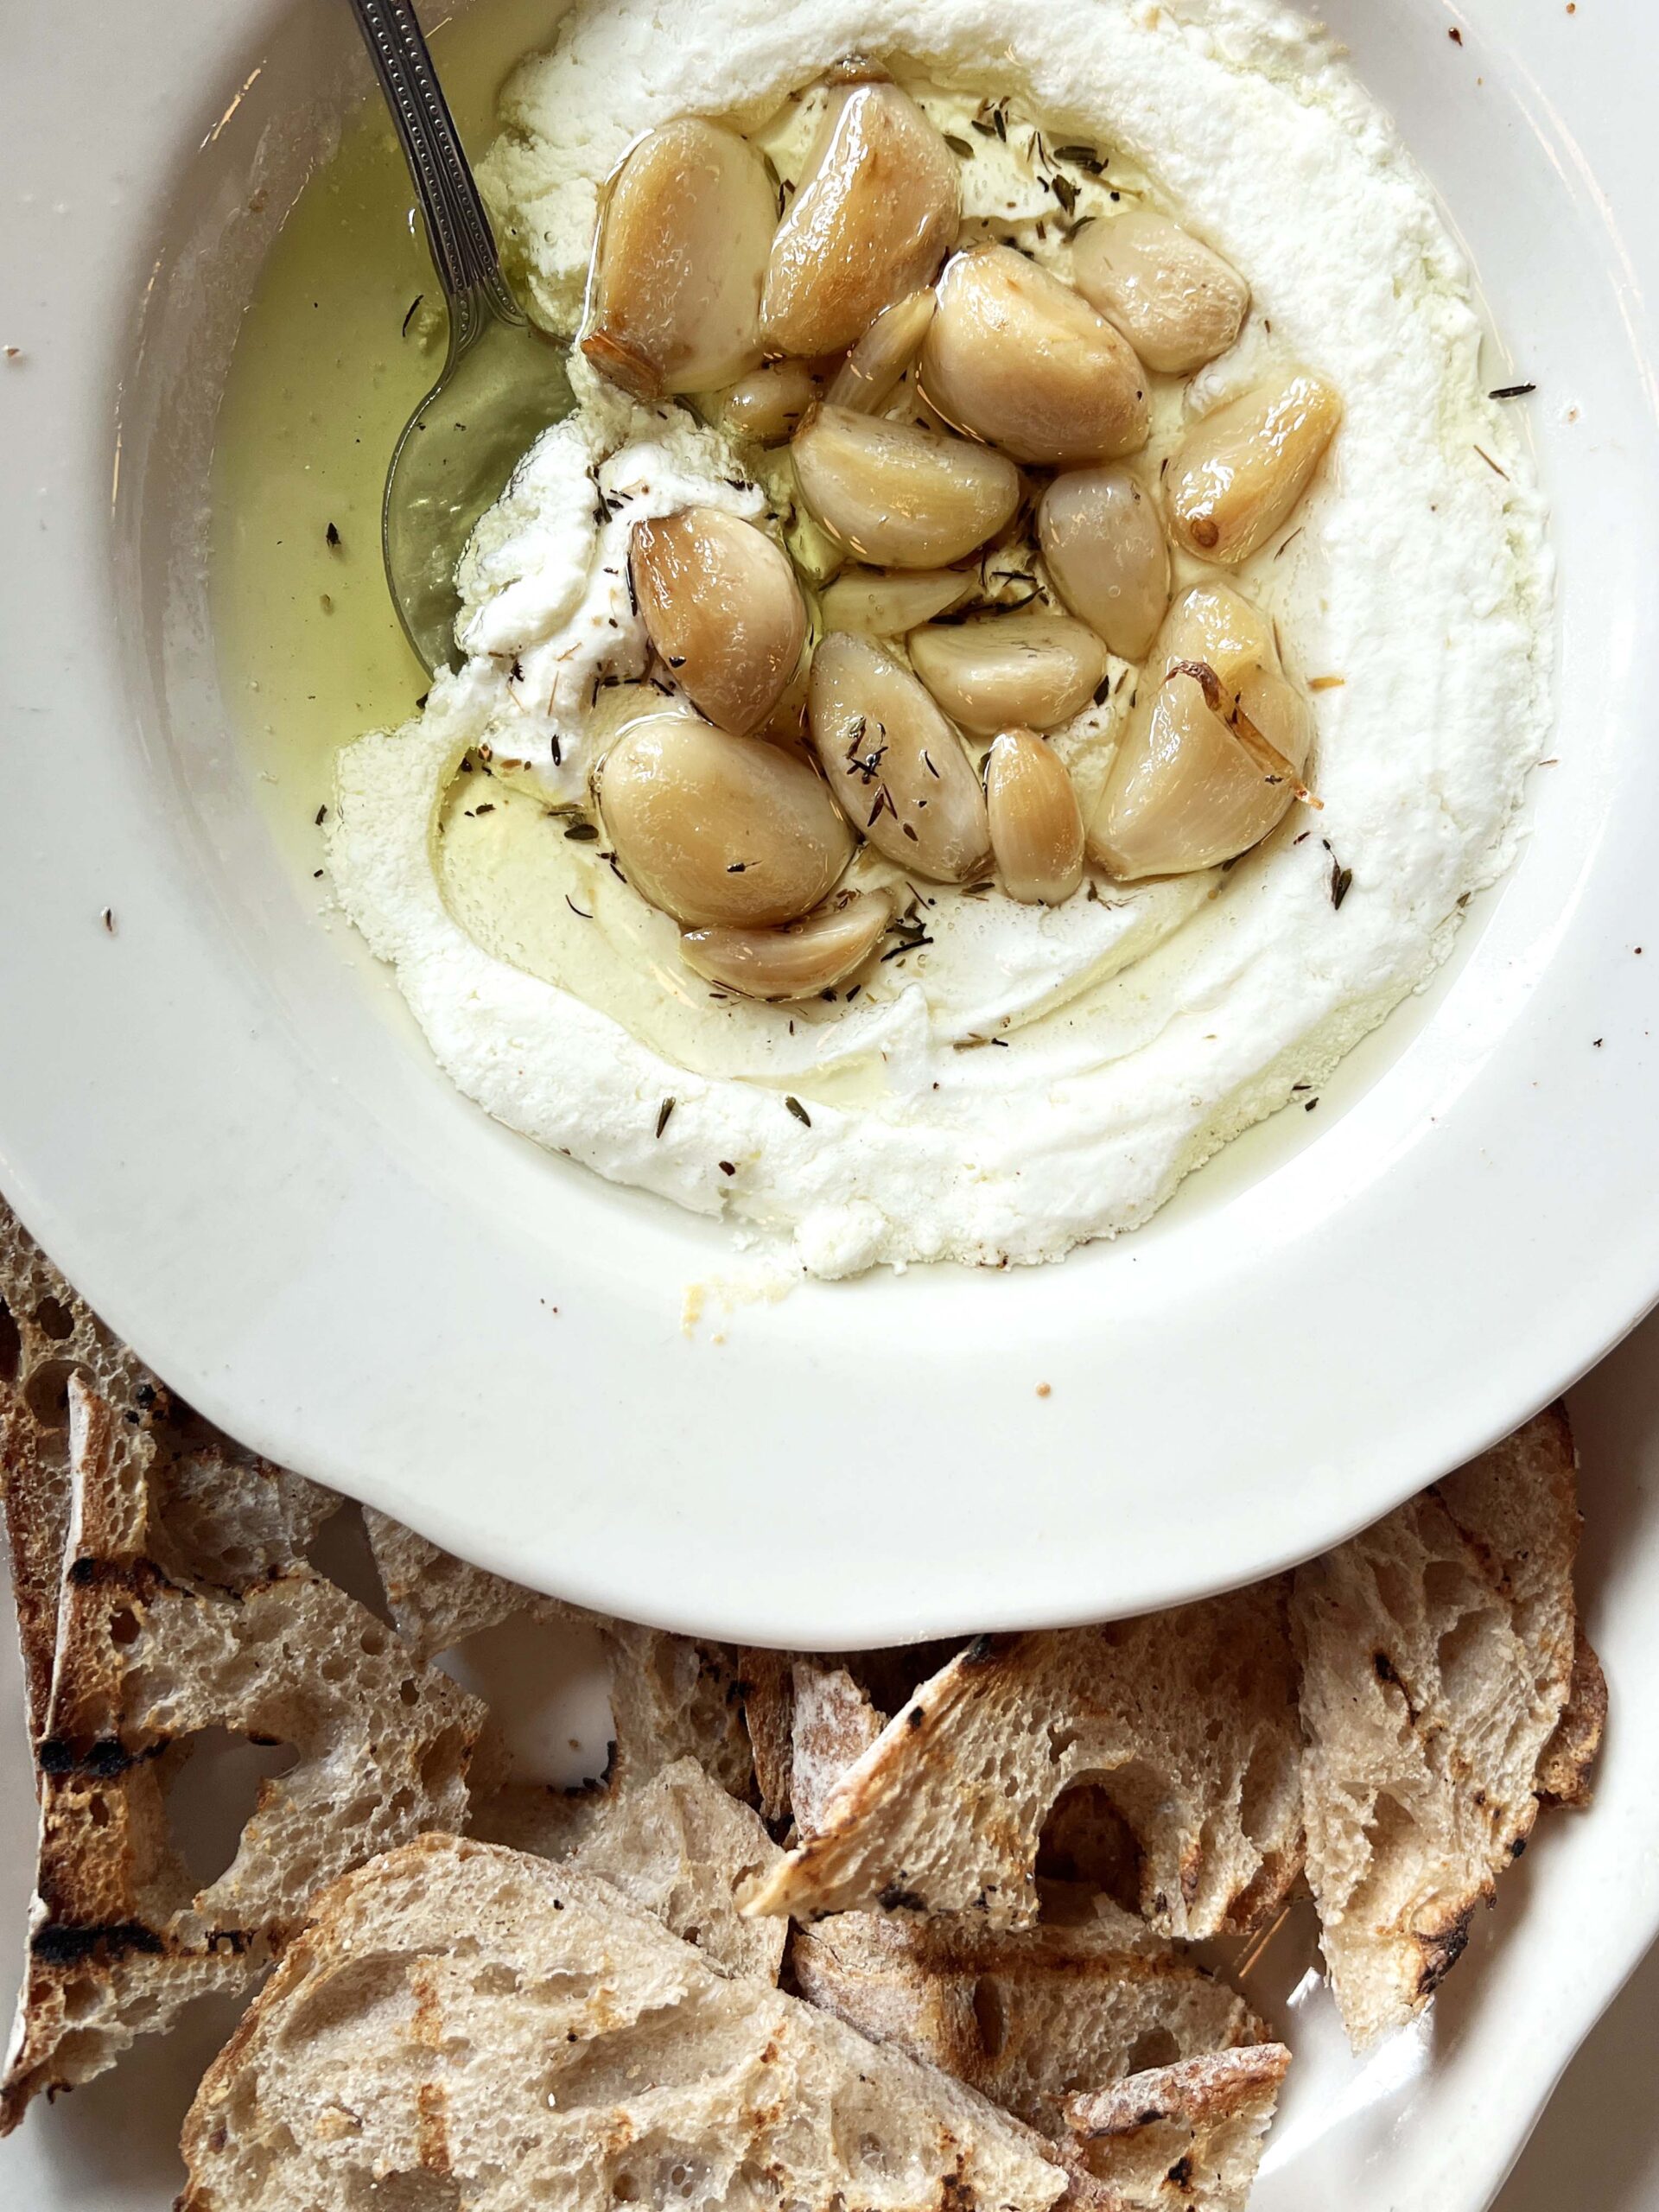 PRO TIP: Watch my
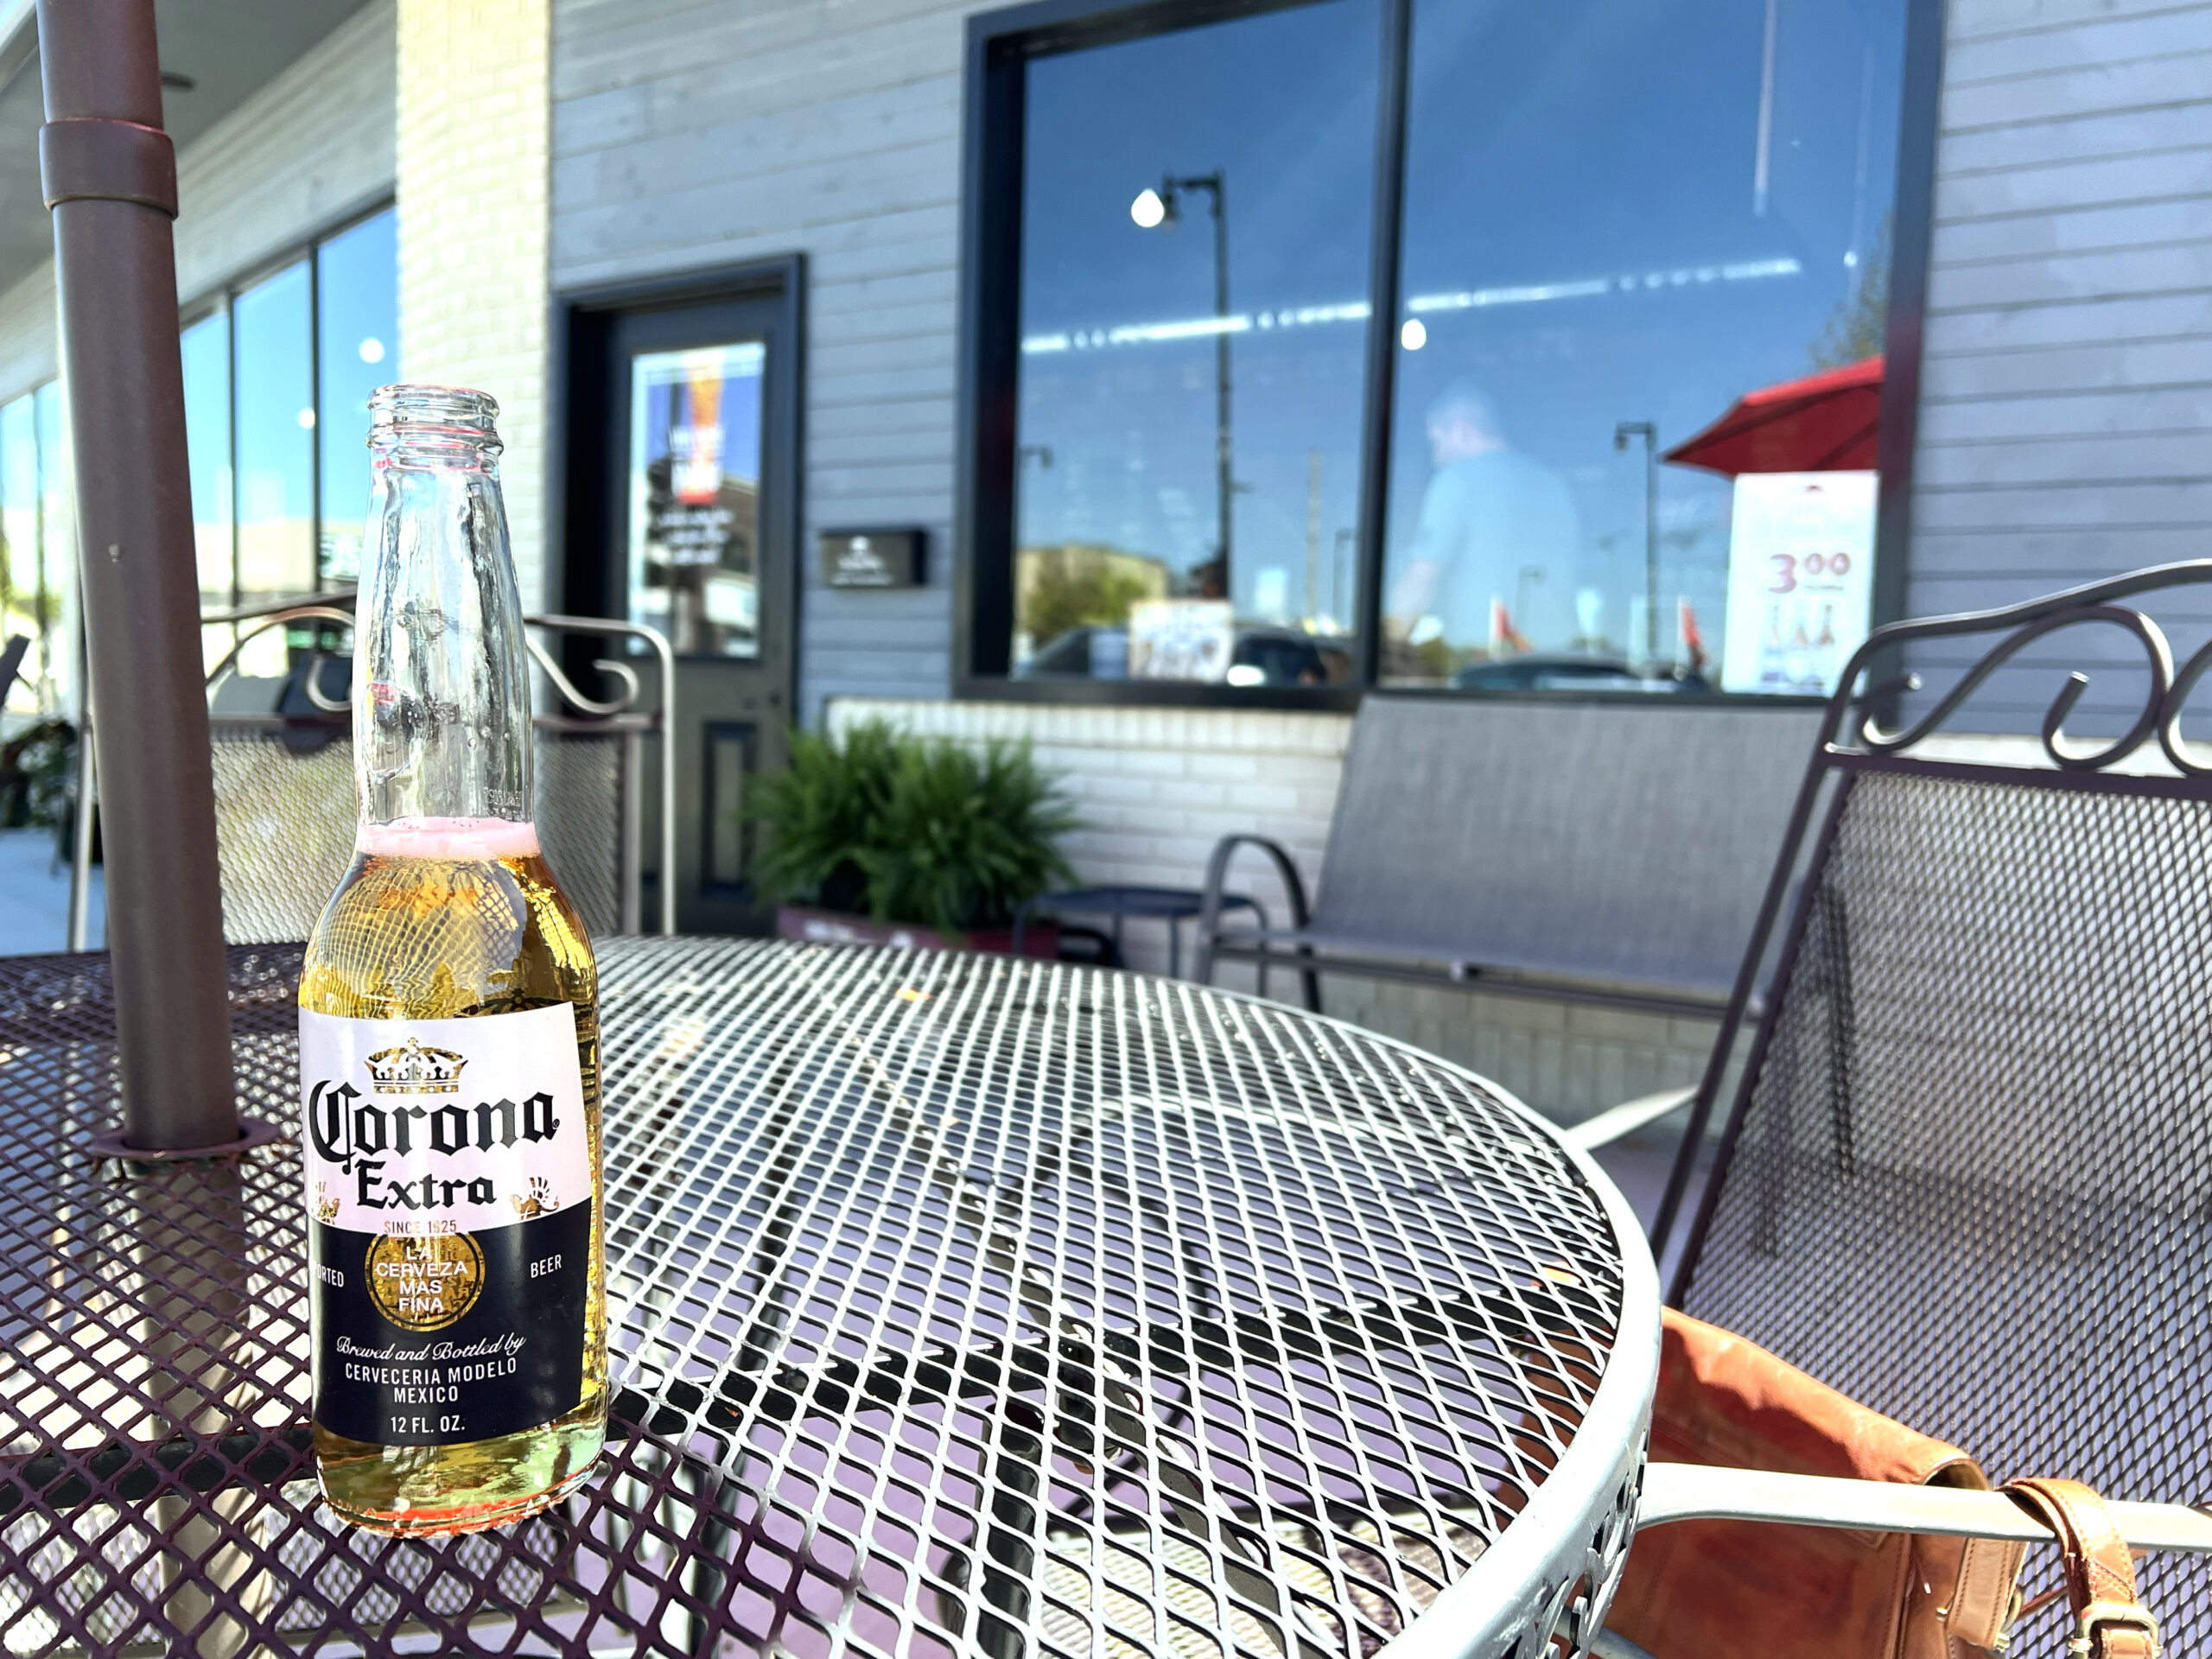 Whether you’re in the mood for a cold beer, hot coffee, or fruit smoothie, the cozy watering hold delivers. Come hungry and enjoy affordable meals like a Walking Taco, Philly Cheesesteak, or a Turkey Wrap. I found a shaded spot under a patio table’s umbrella to relax.
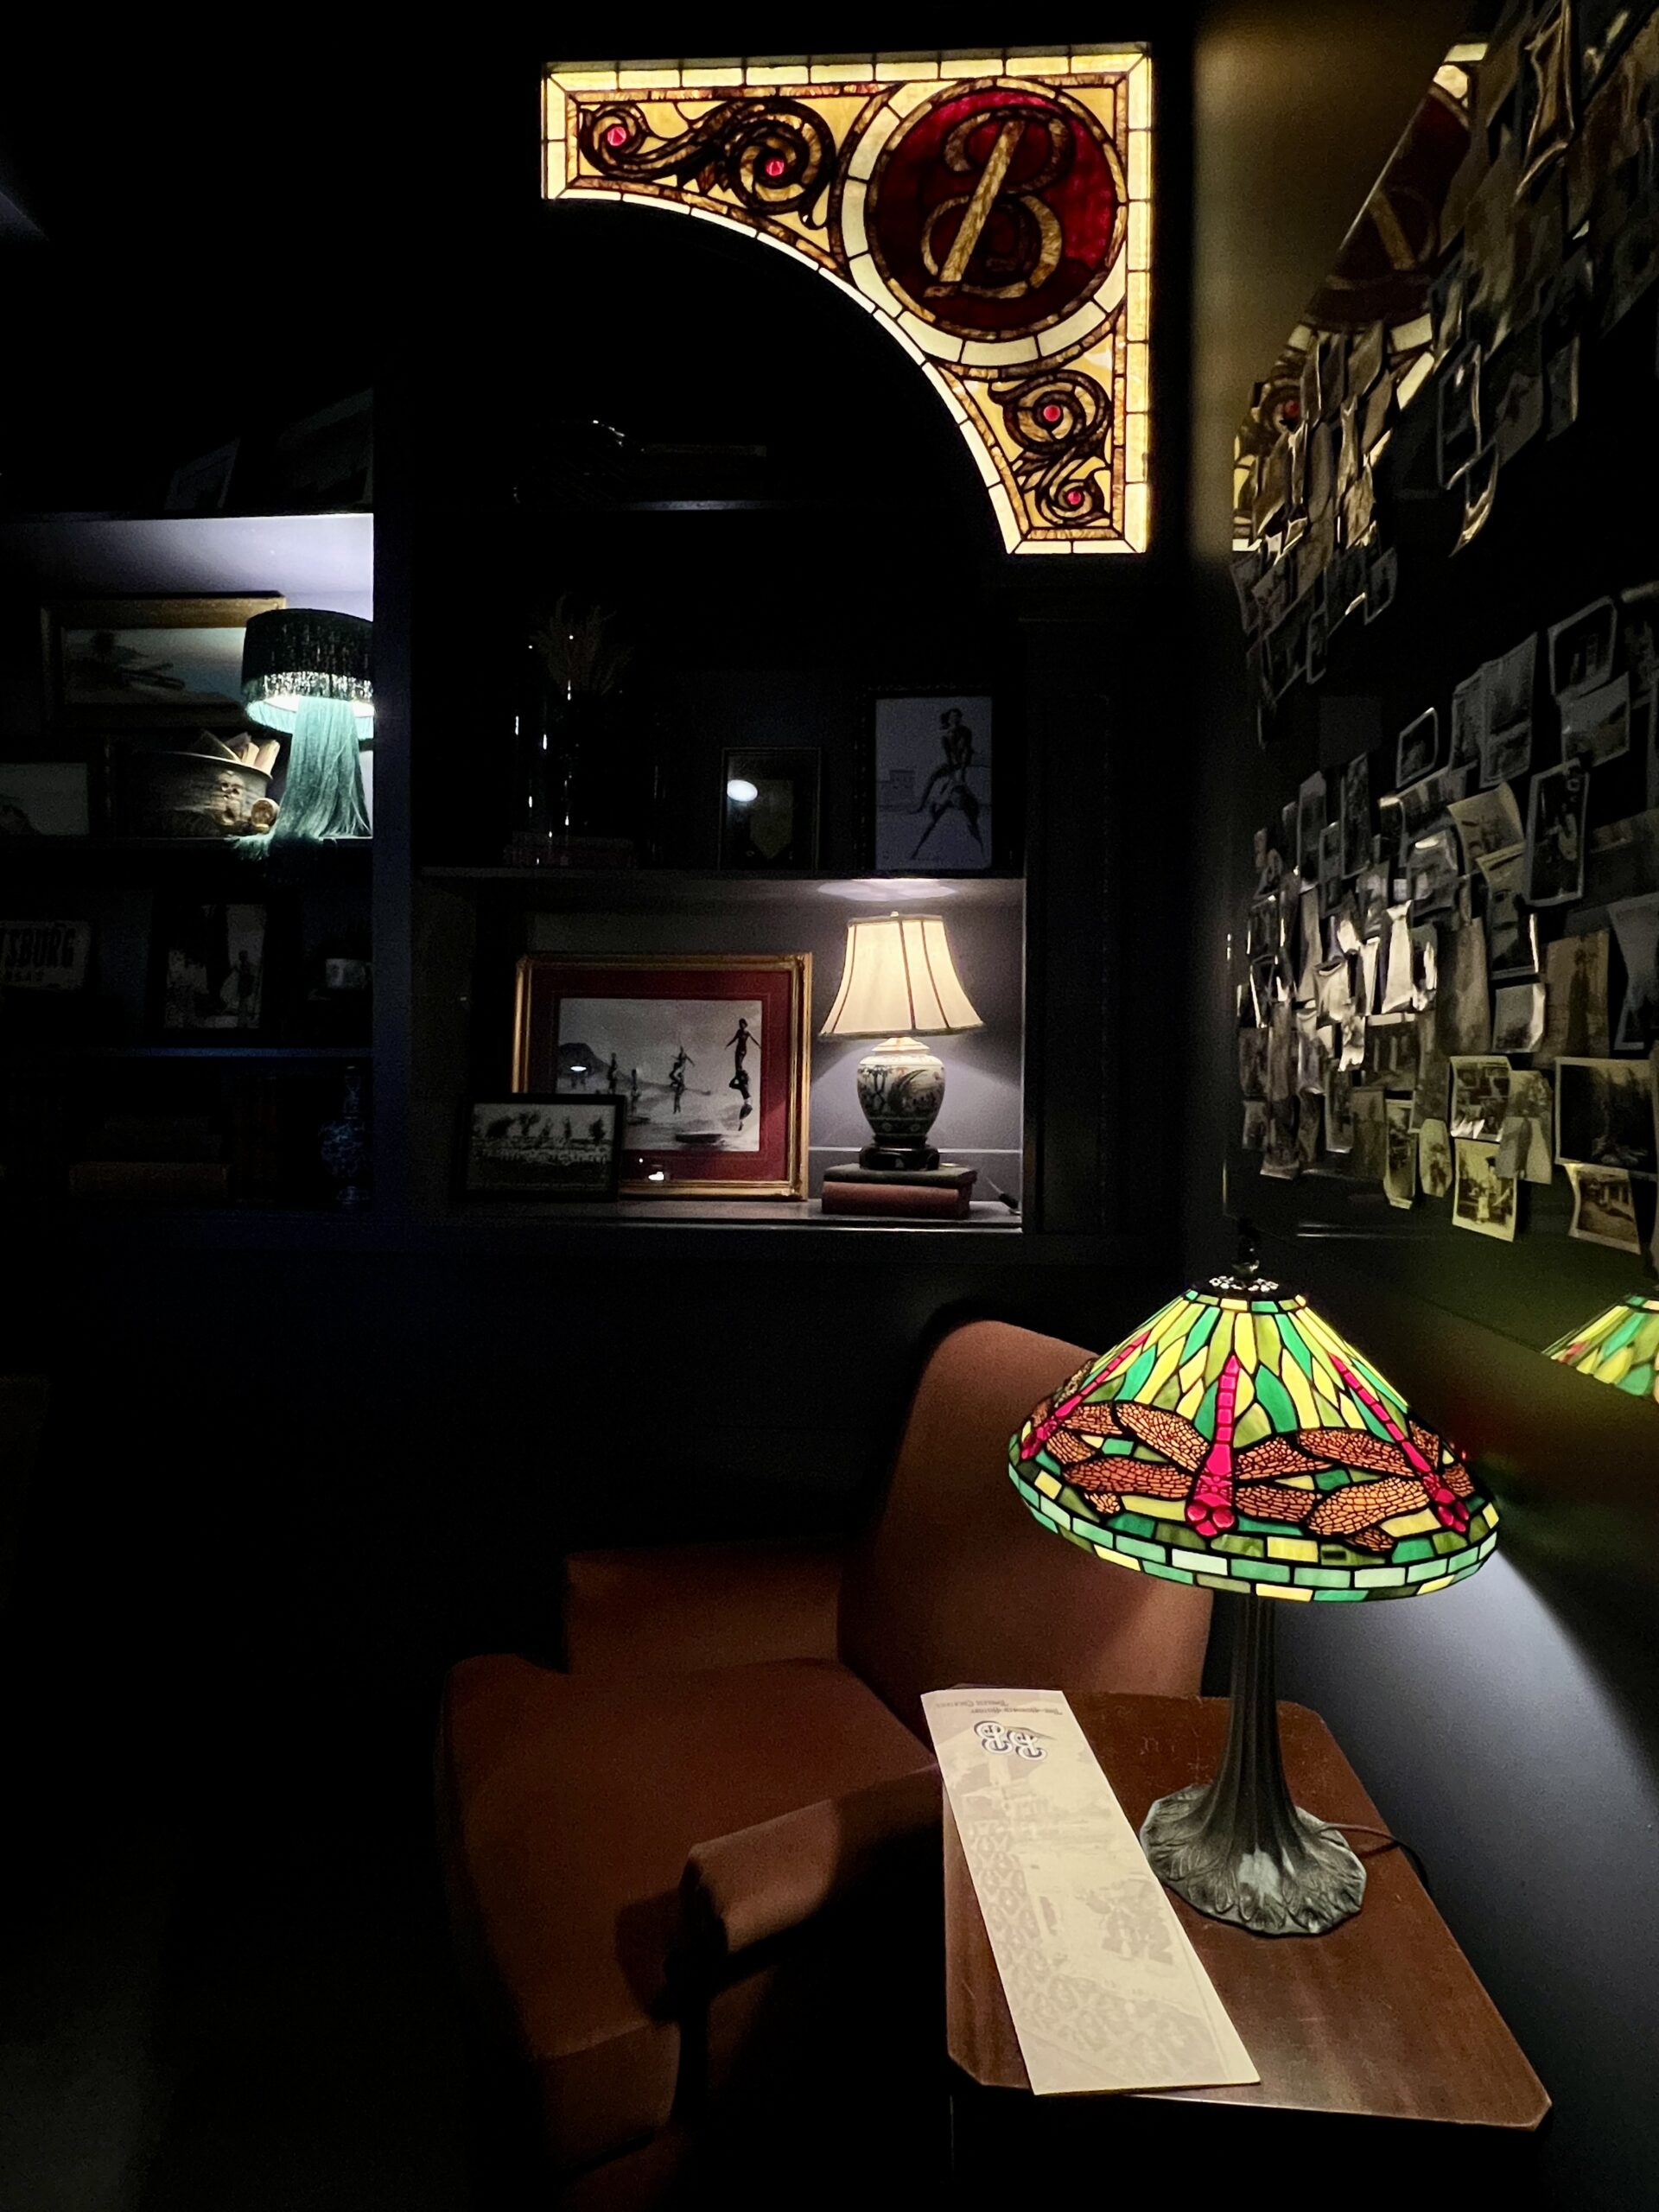 Deep blue walls, flanked by a dark-wood bar, welcome guests as jazz standards play in the background. The bartender hummed the melody as he prepared a Lemon Tea Fizz prepared with house-made syrup, a cocktail you won’t find on any other menu in town.
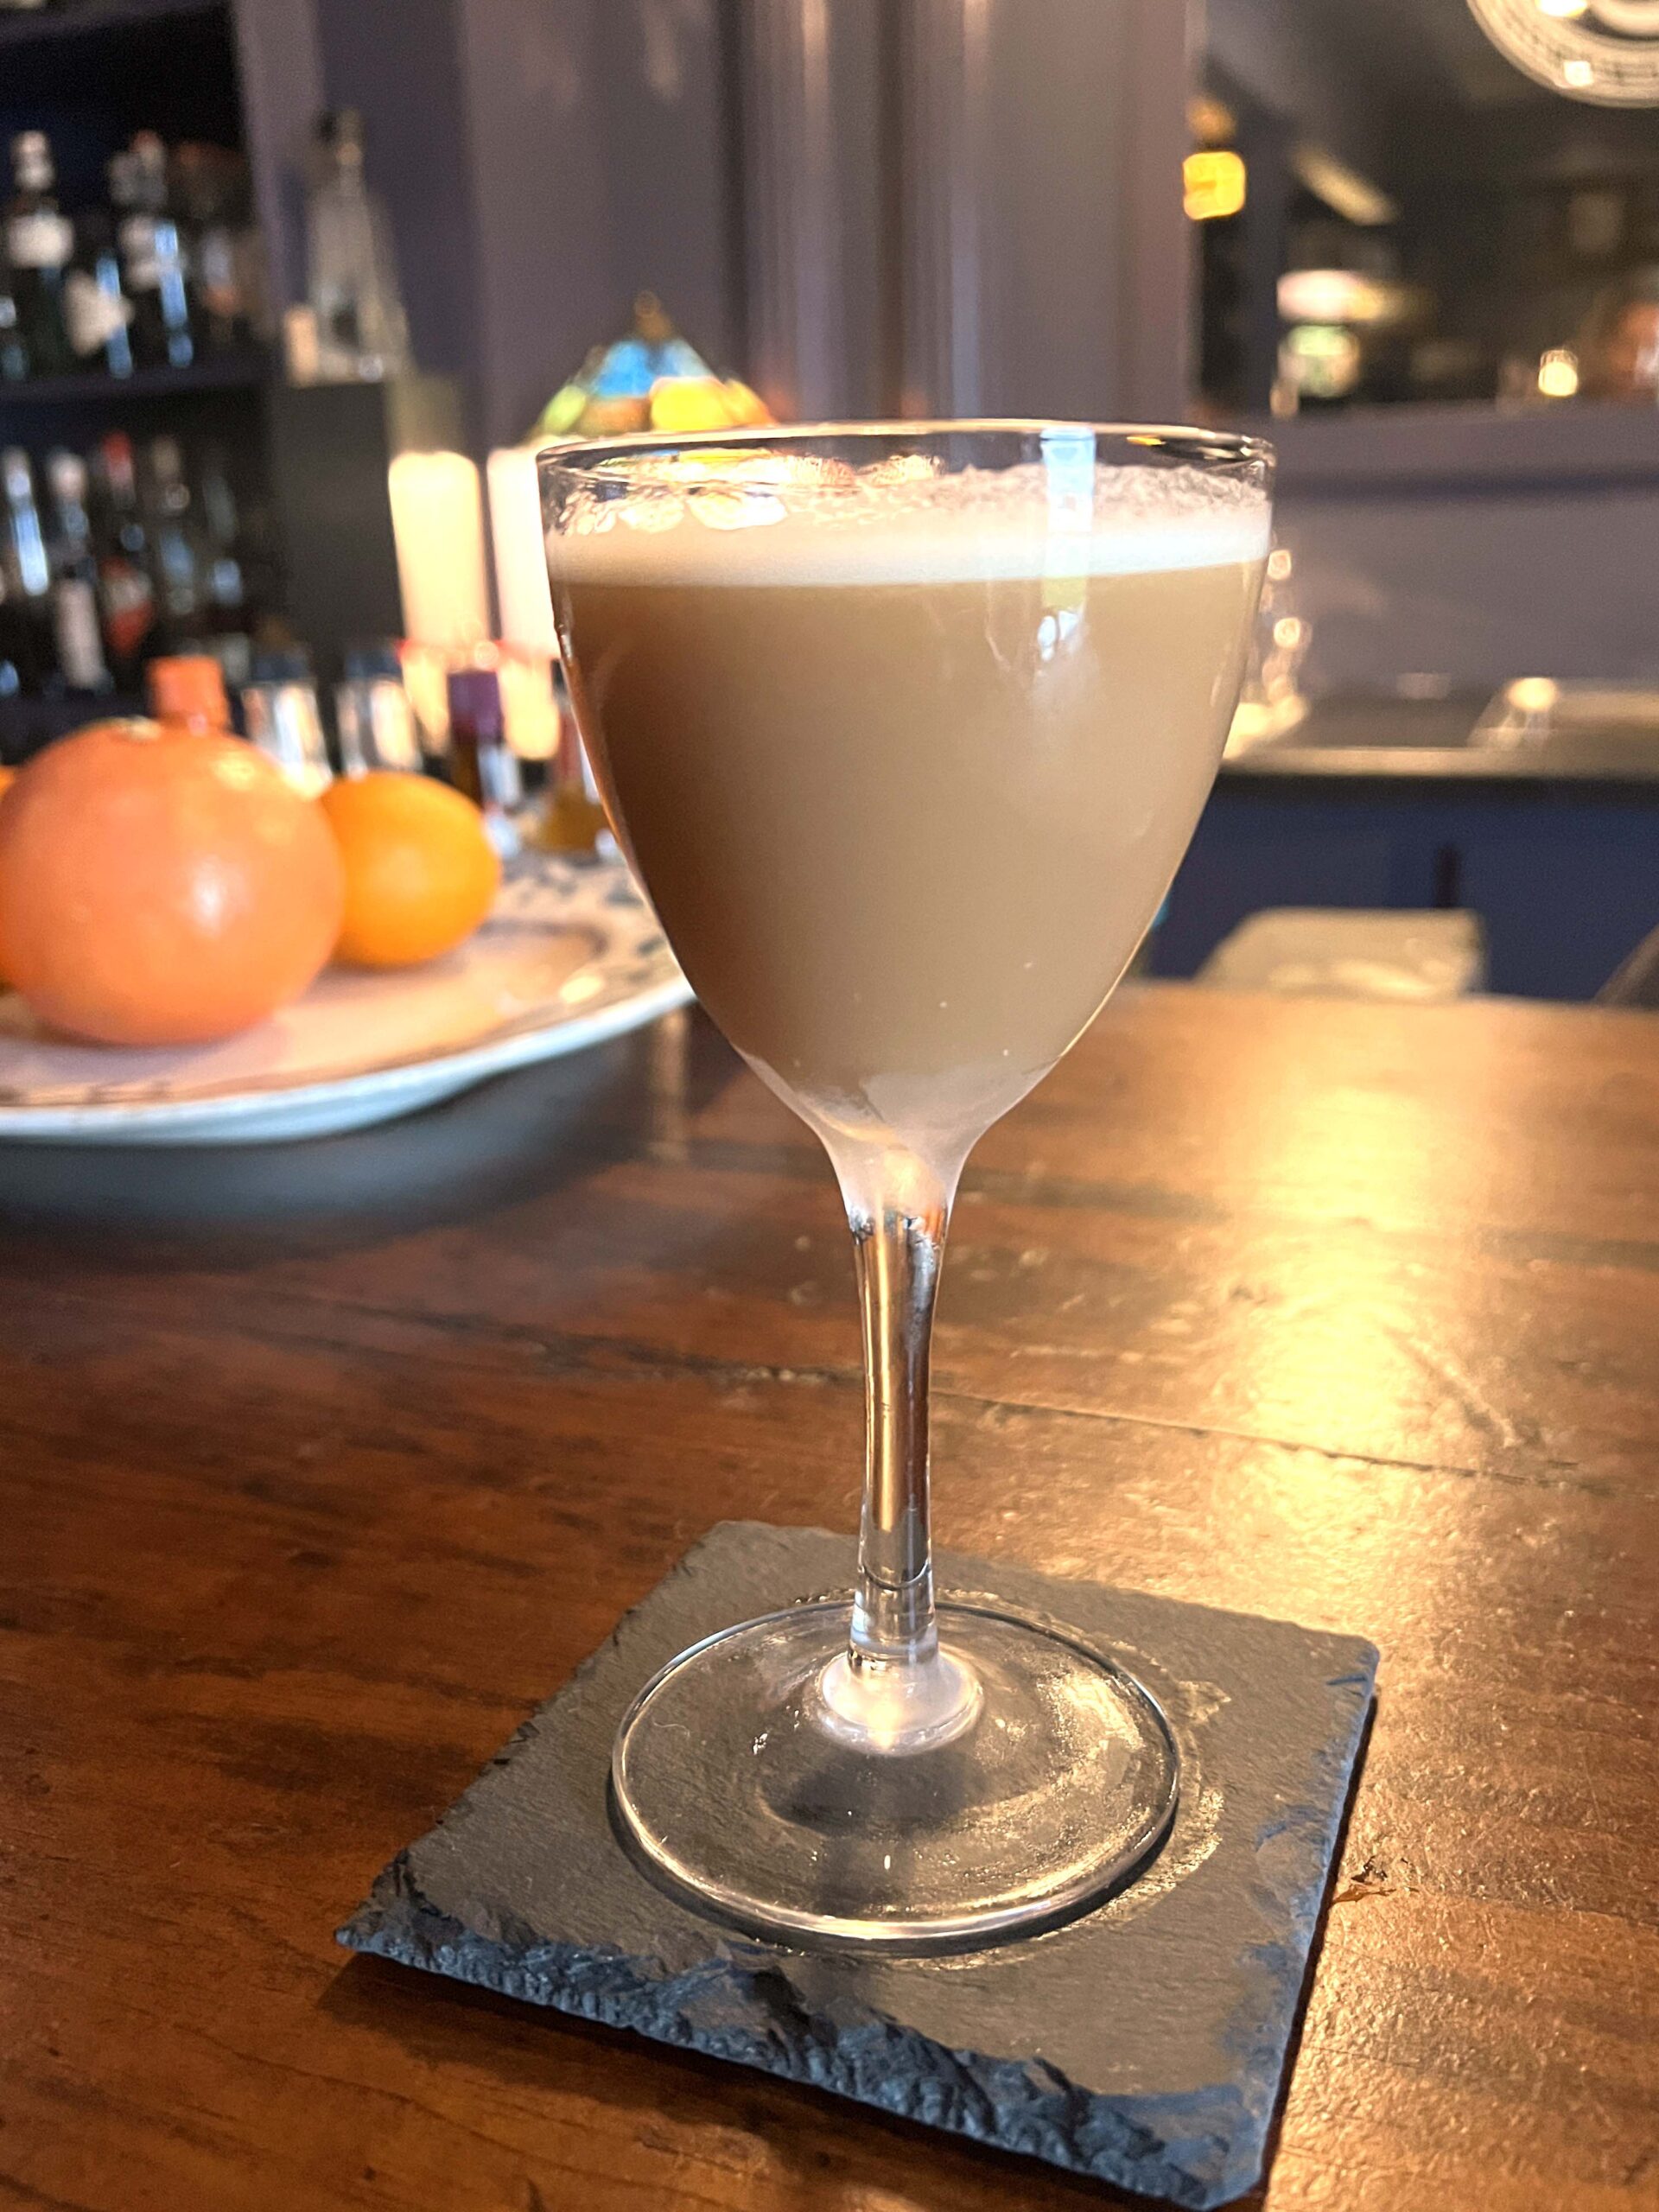 PRO TIP: The bar opens at 5 pm. on Wednesday-Saturday. Arrive early to claim the best seat or be prepared to order your drink in a to-go cup to drink on
 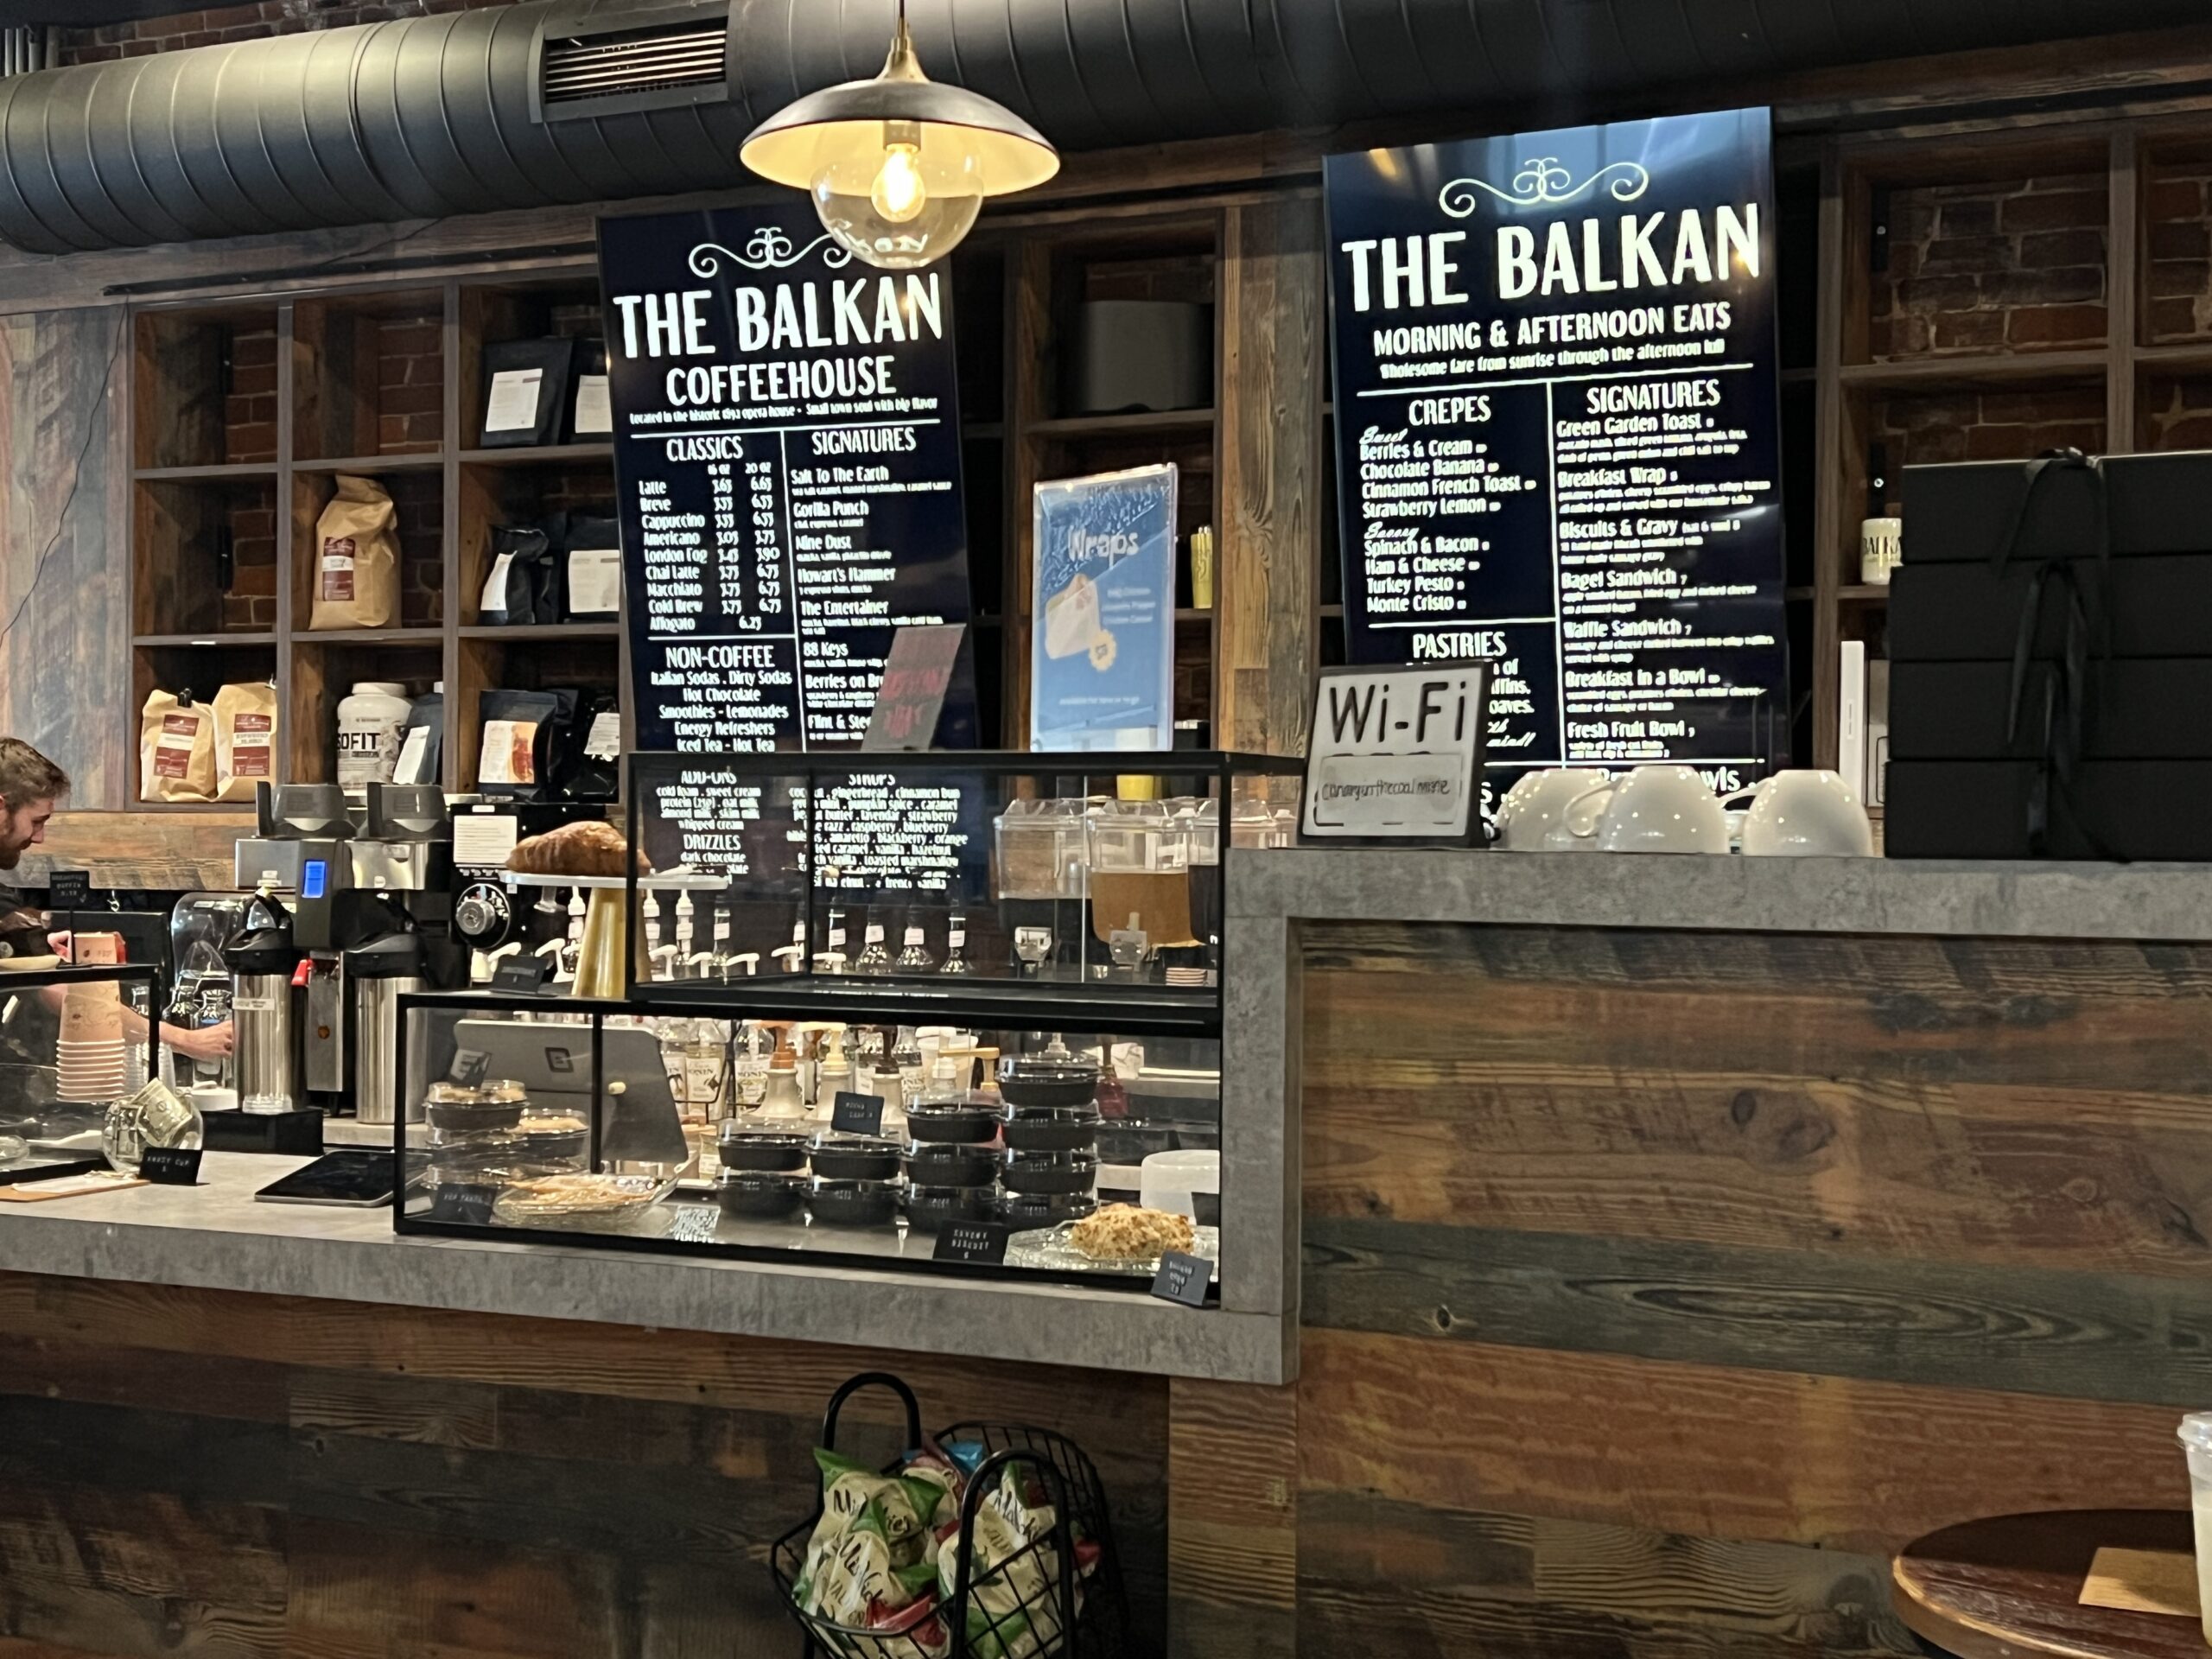 But you’ll find more than beverages on the menu as the owners are culinary pros using their skills to prepare pastries and crepes daily as well as breakfast handhelds like a waffle or bagel sandwich. At lunchtime, ask about bread bowls, quesadillas, and protein and veggie-packed sandwich wraps.
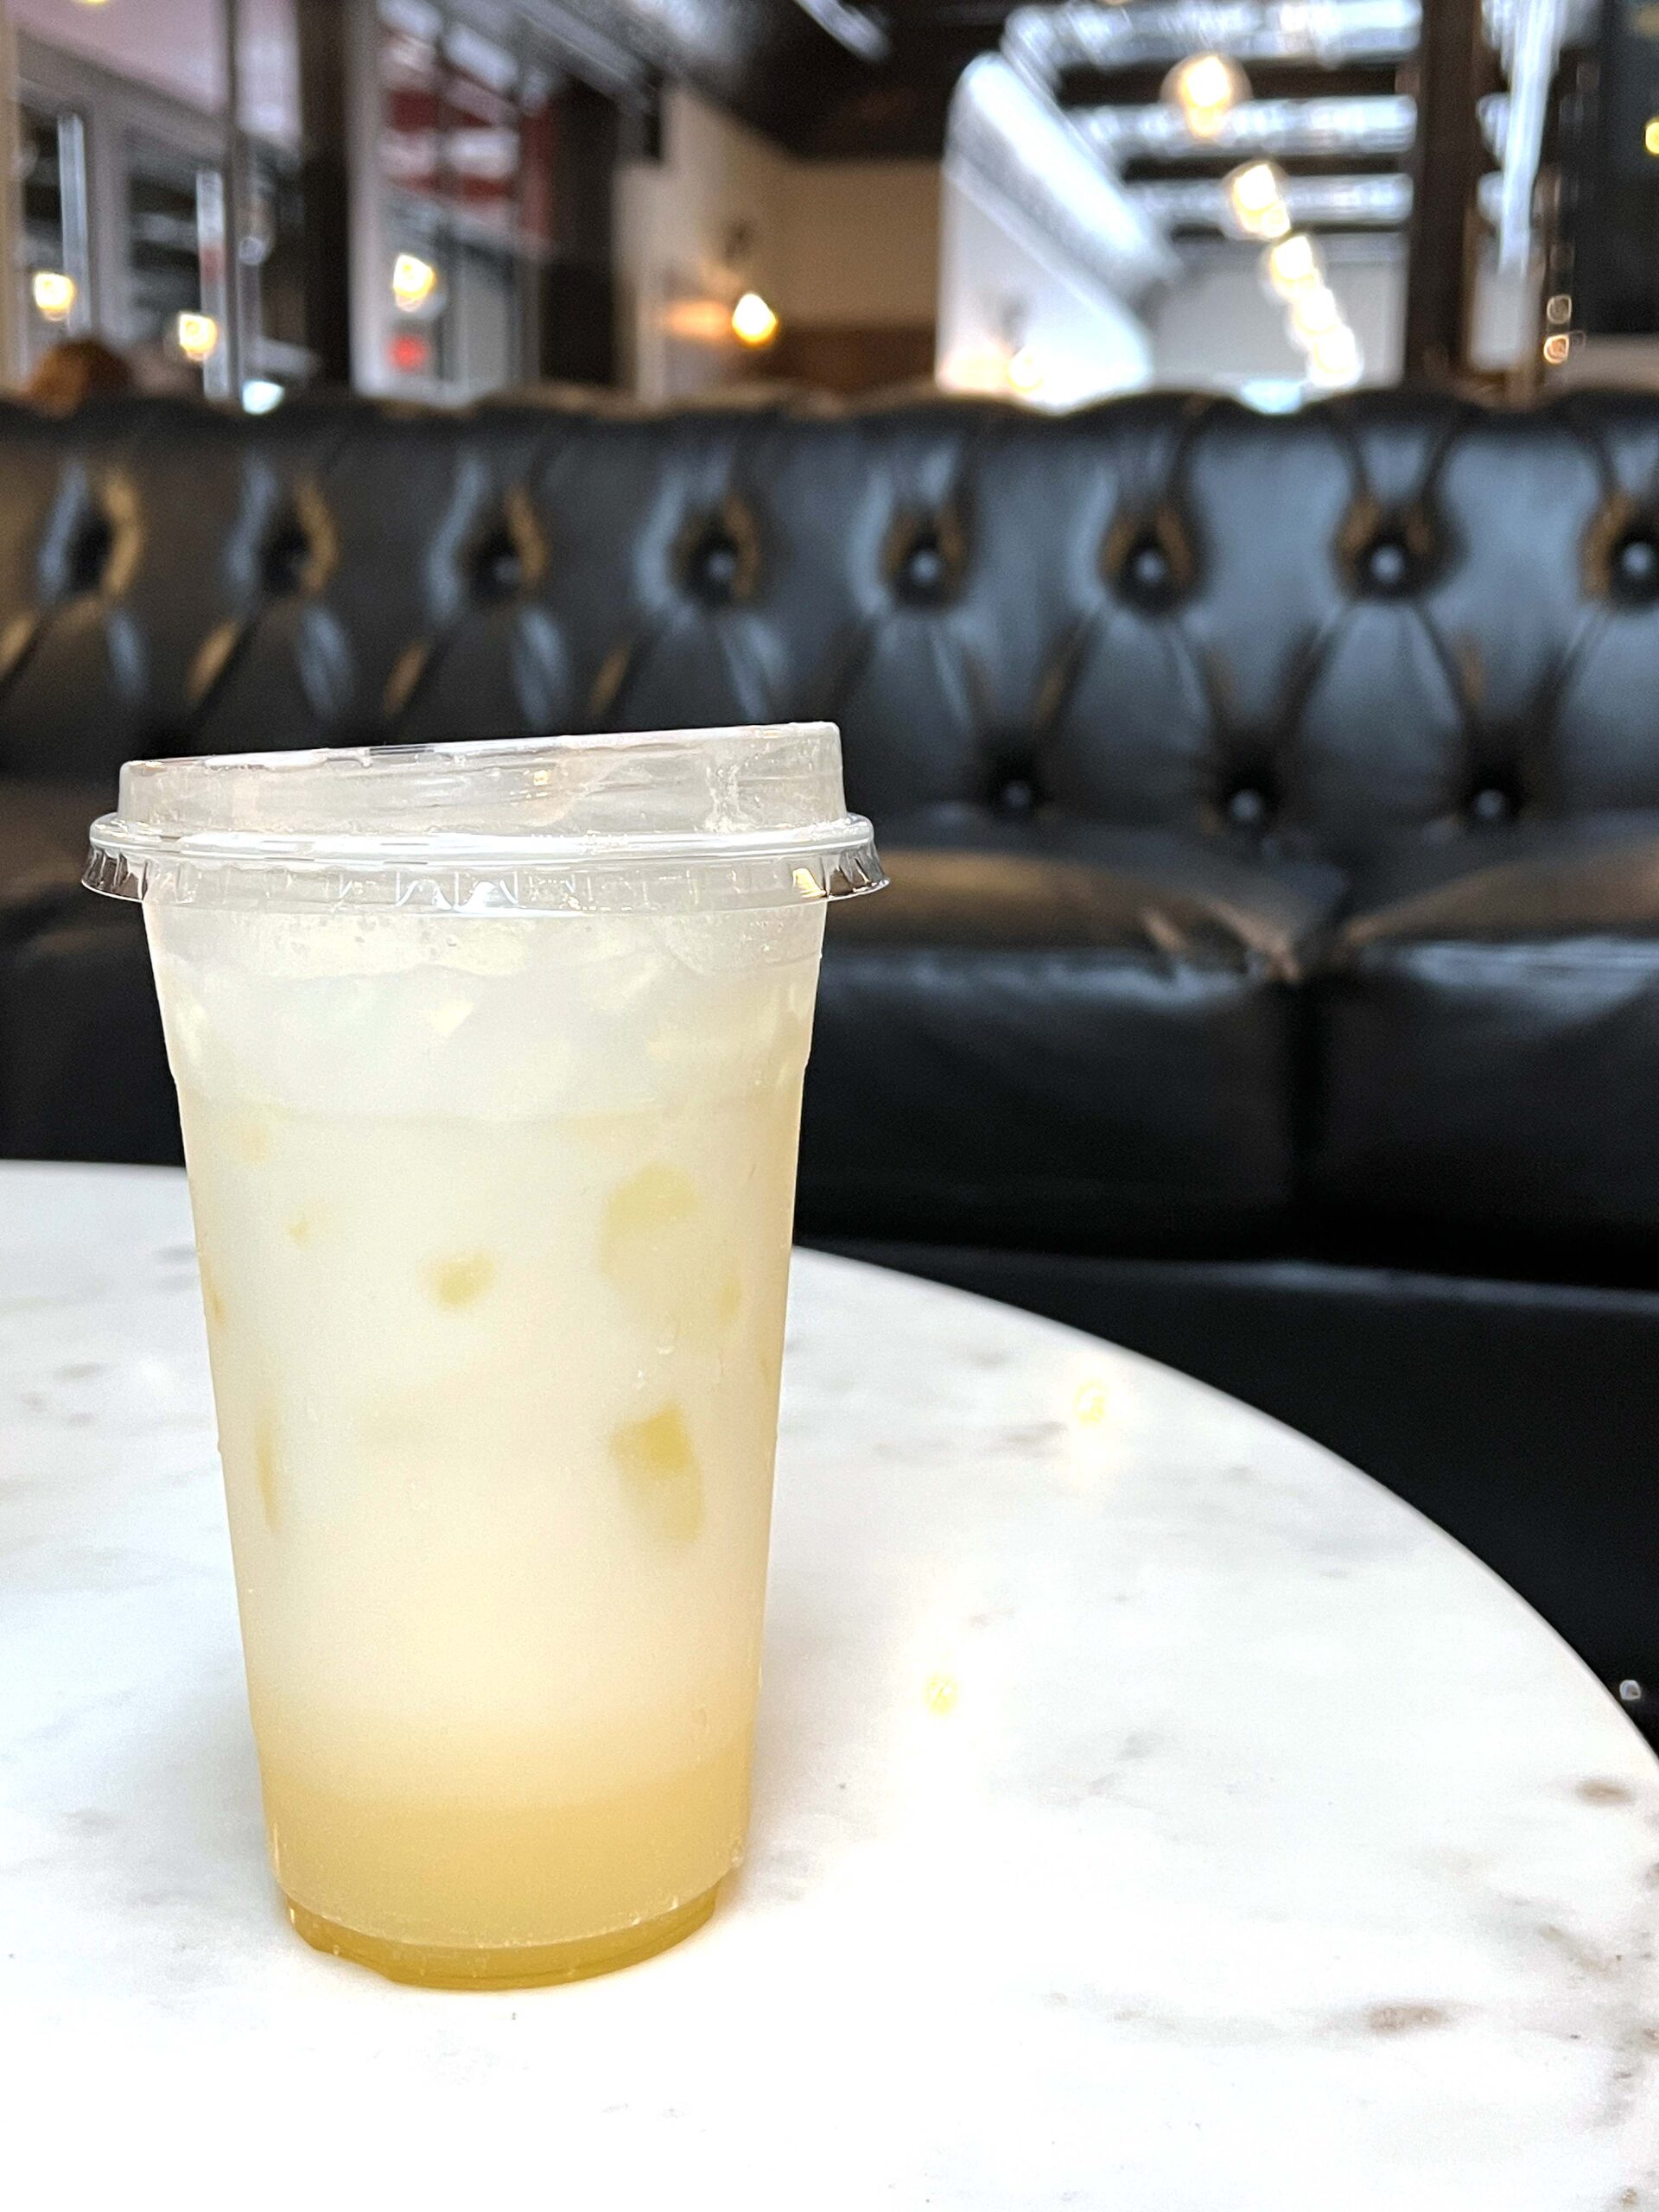
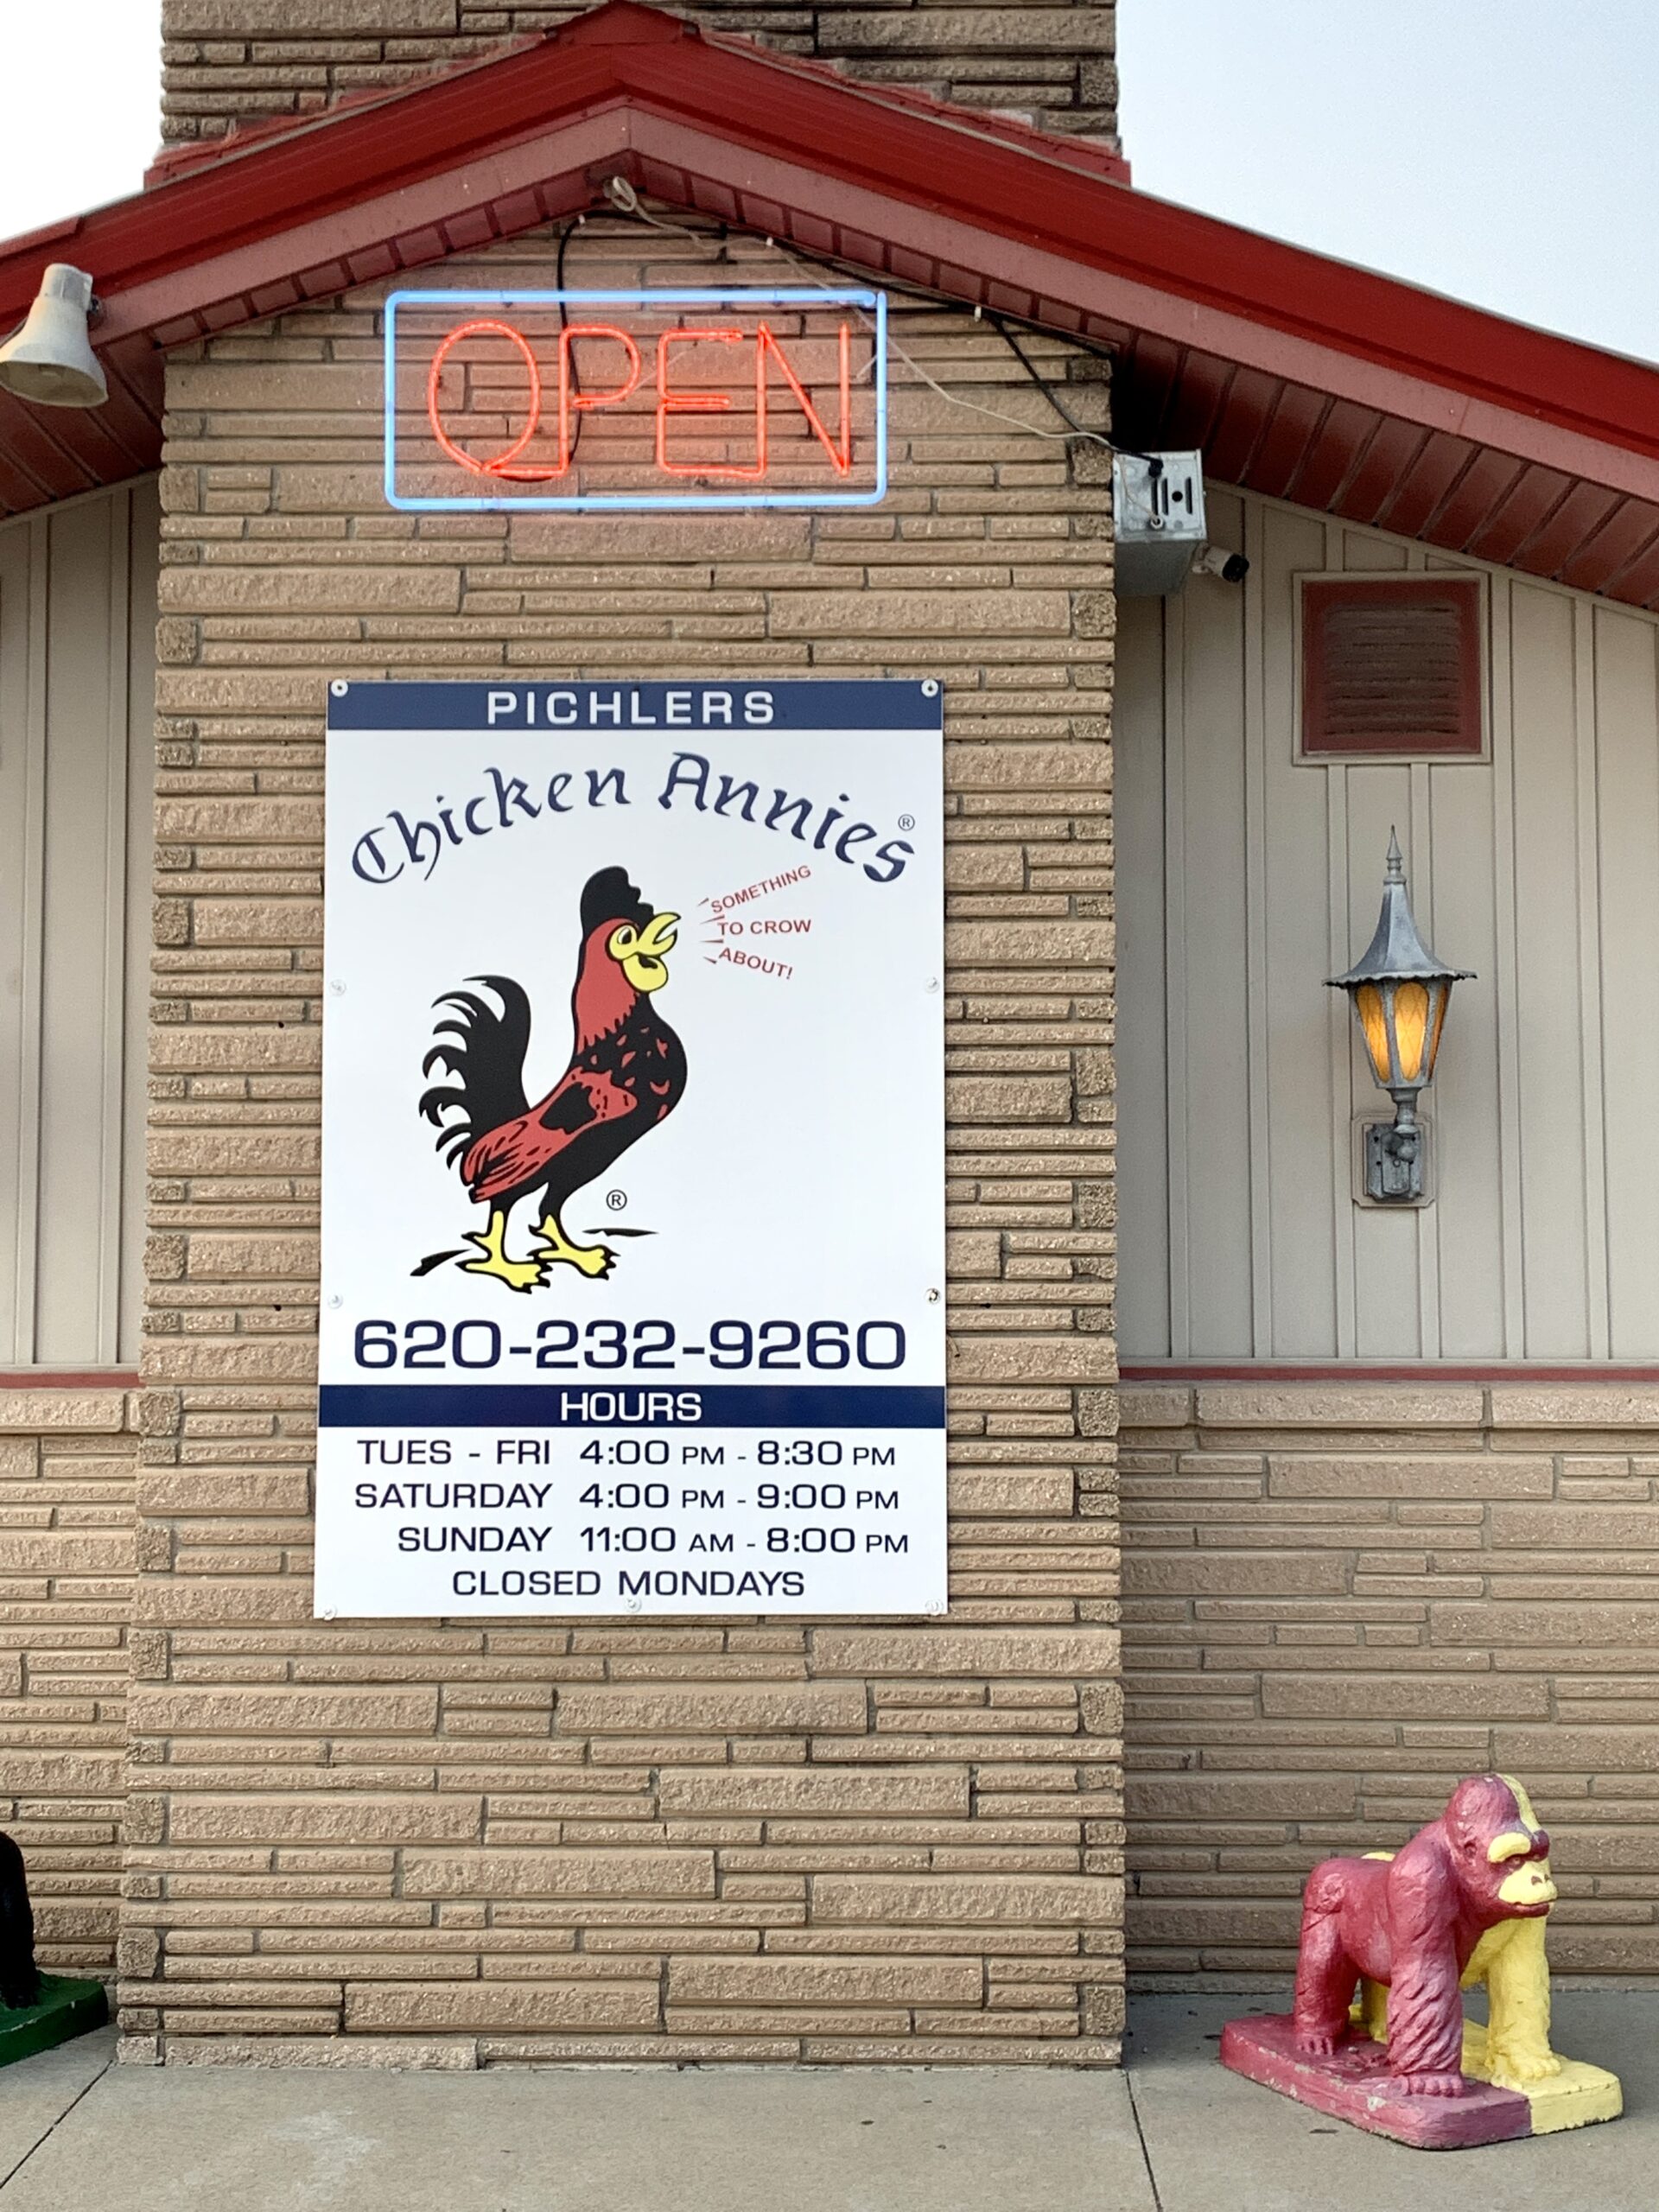 The tradition of serving full-flavor fried chicken began when two women opened restaurants on the same street catering to hungry coal miners during all hours, and it was a way to support unemployed, disabled men enduring the hardships of the Great Depression. A competition between two restaurants led to more fried chicken houses opening in the region.
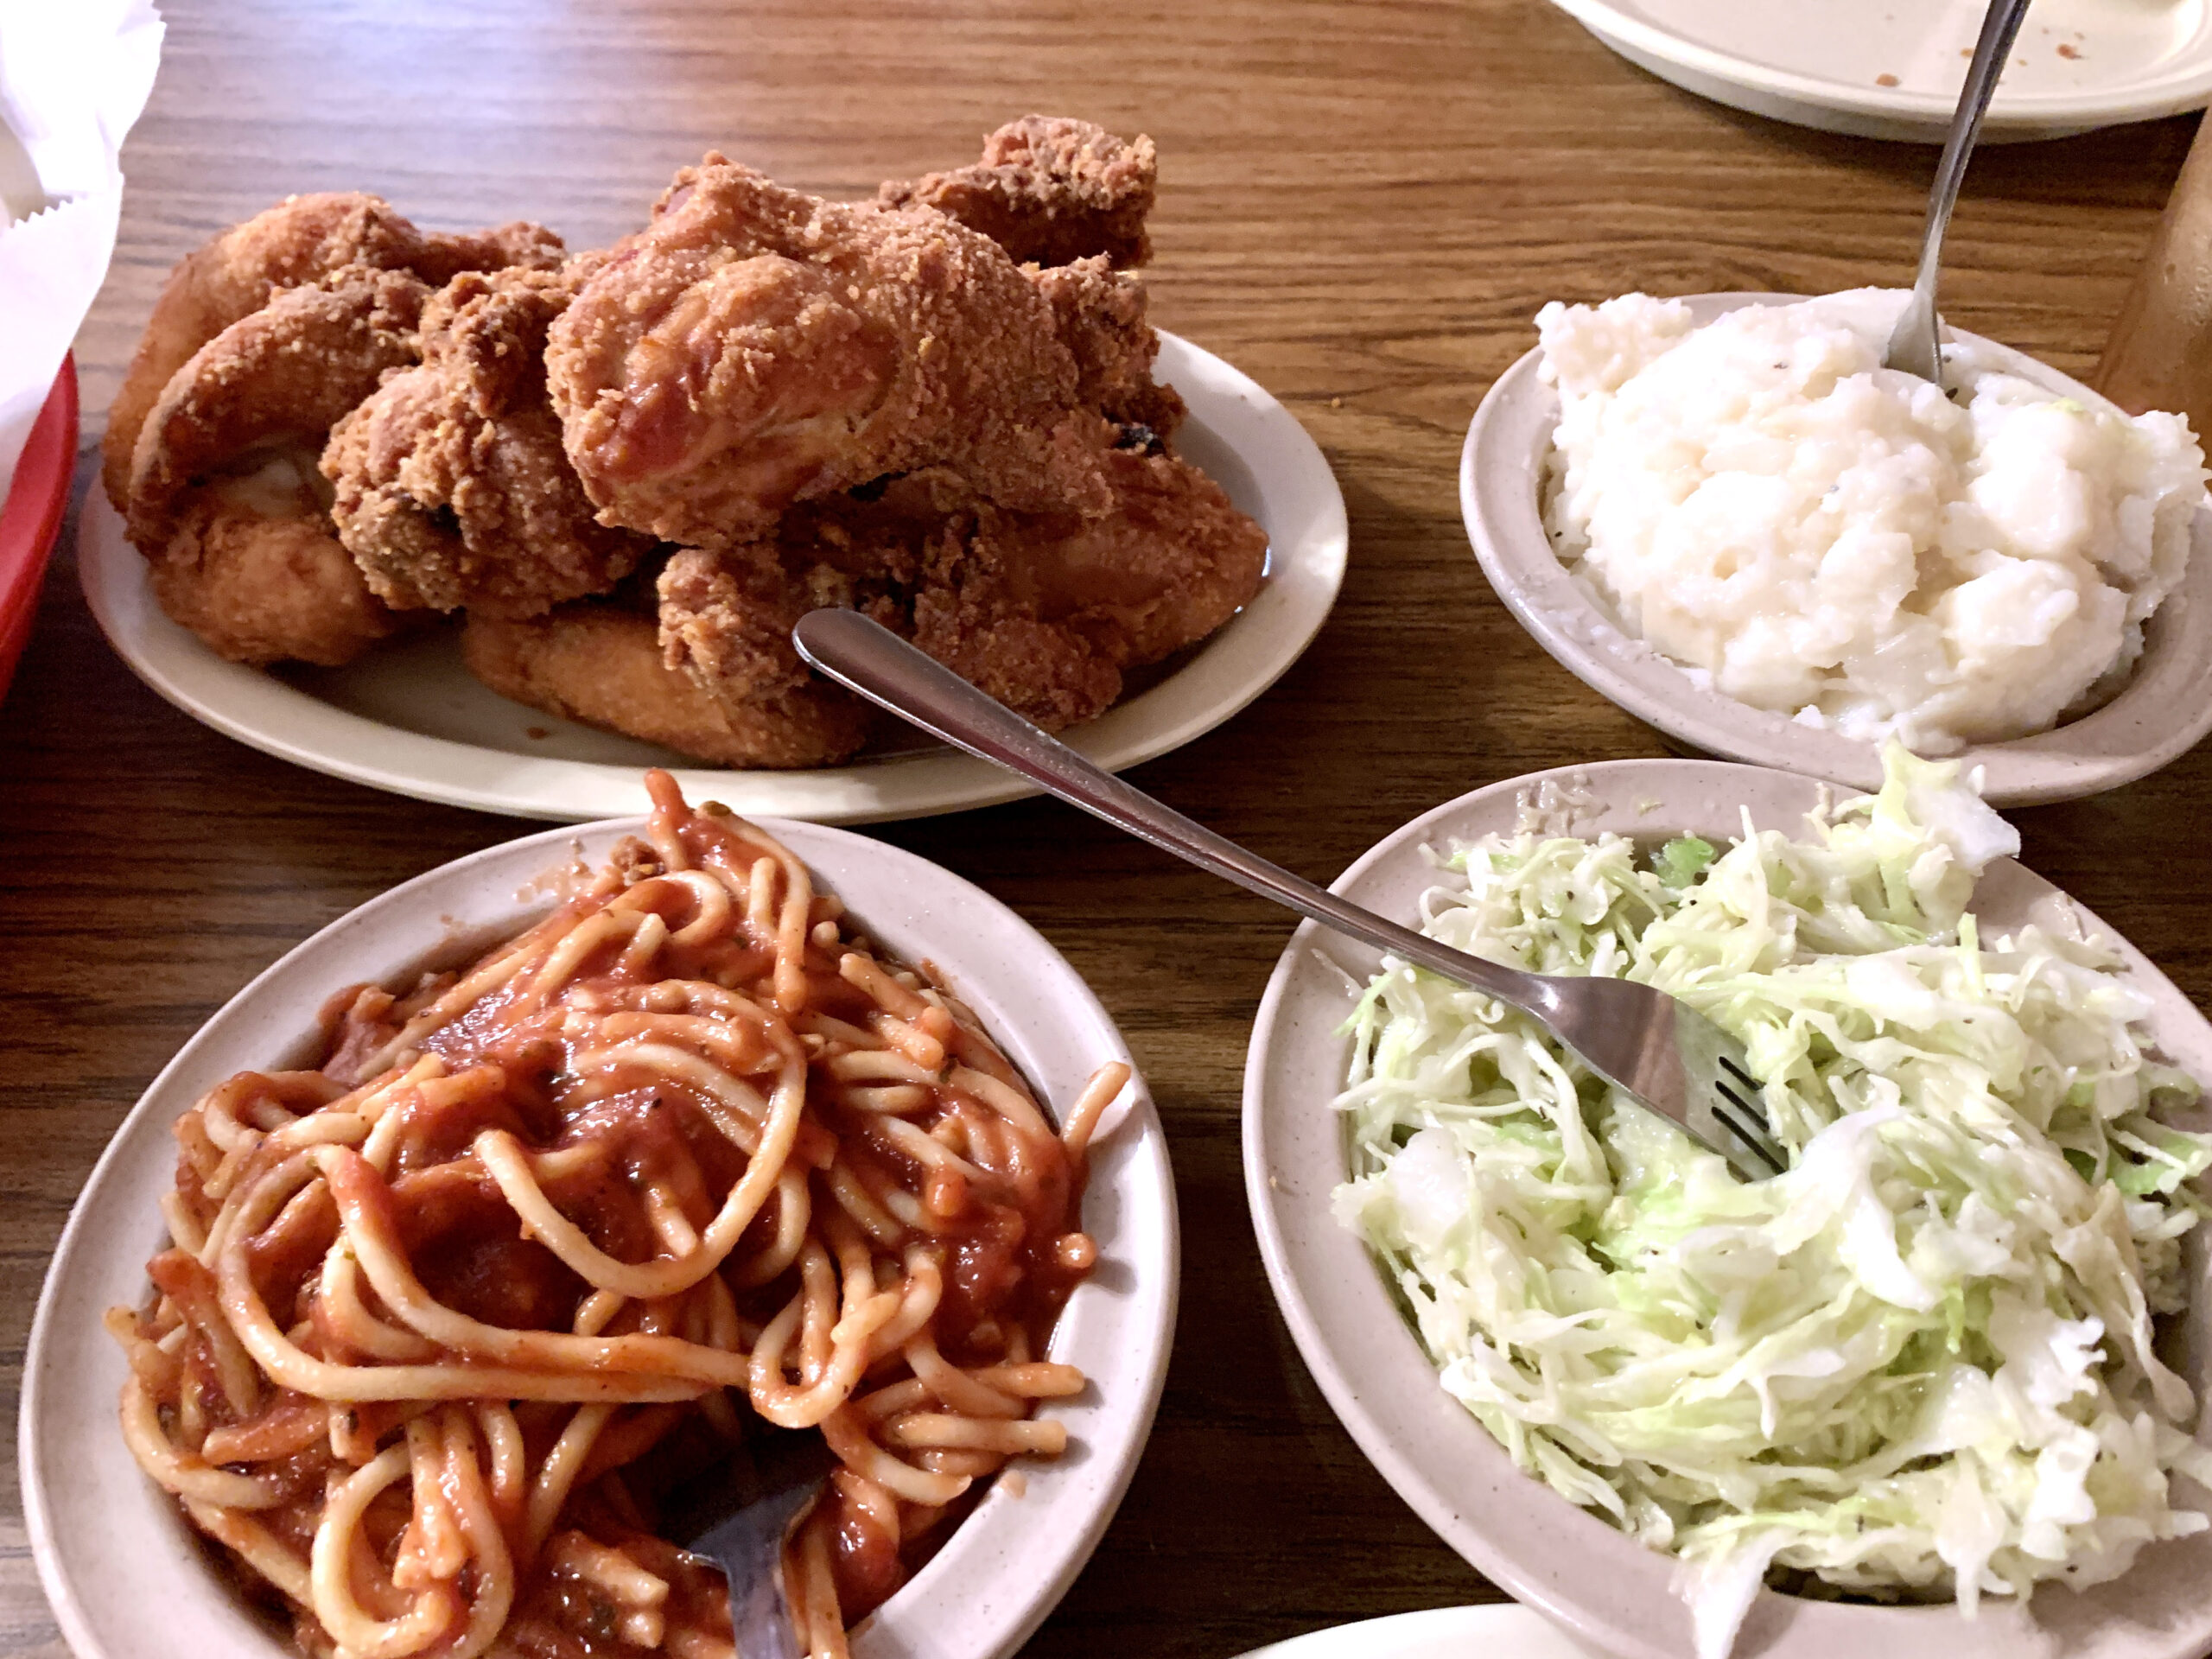 Each restaurant is recommendable, and my favorite spot is a 22-minute drive northeast of Pittsburg to
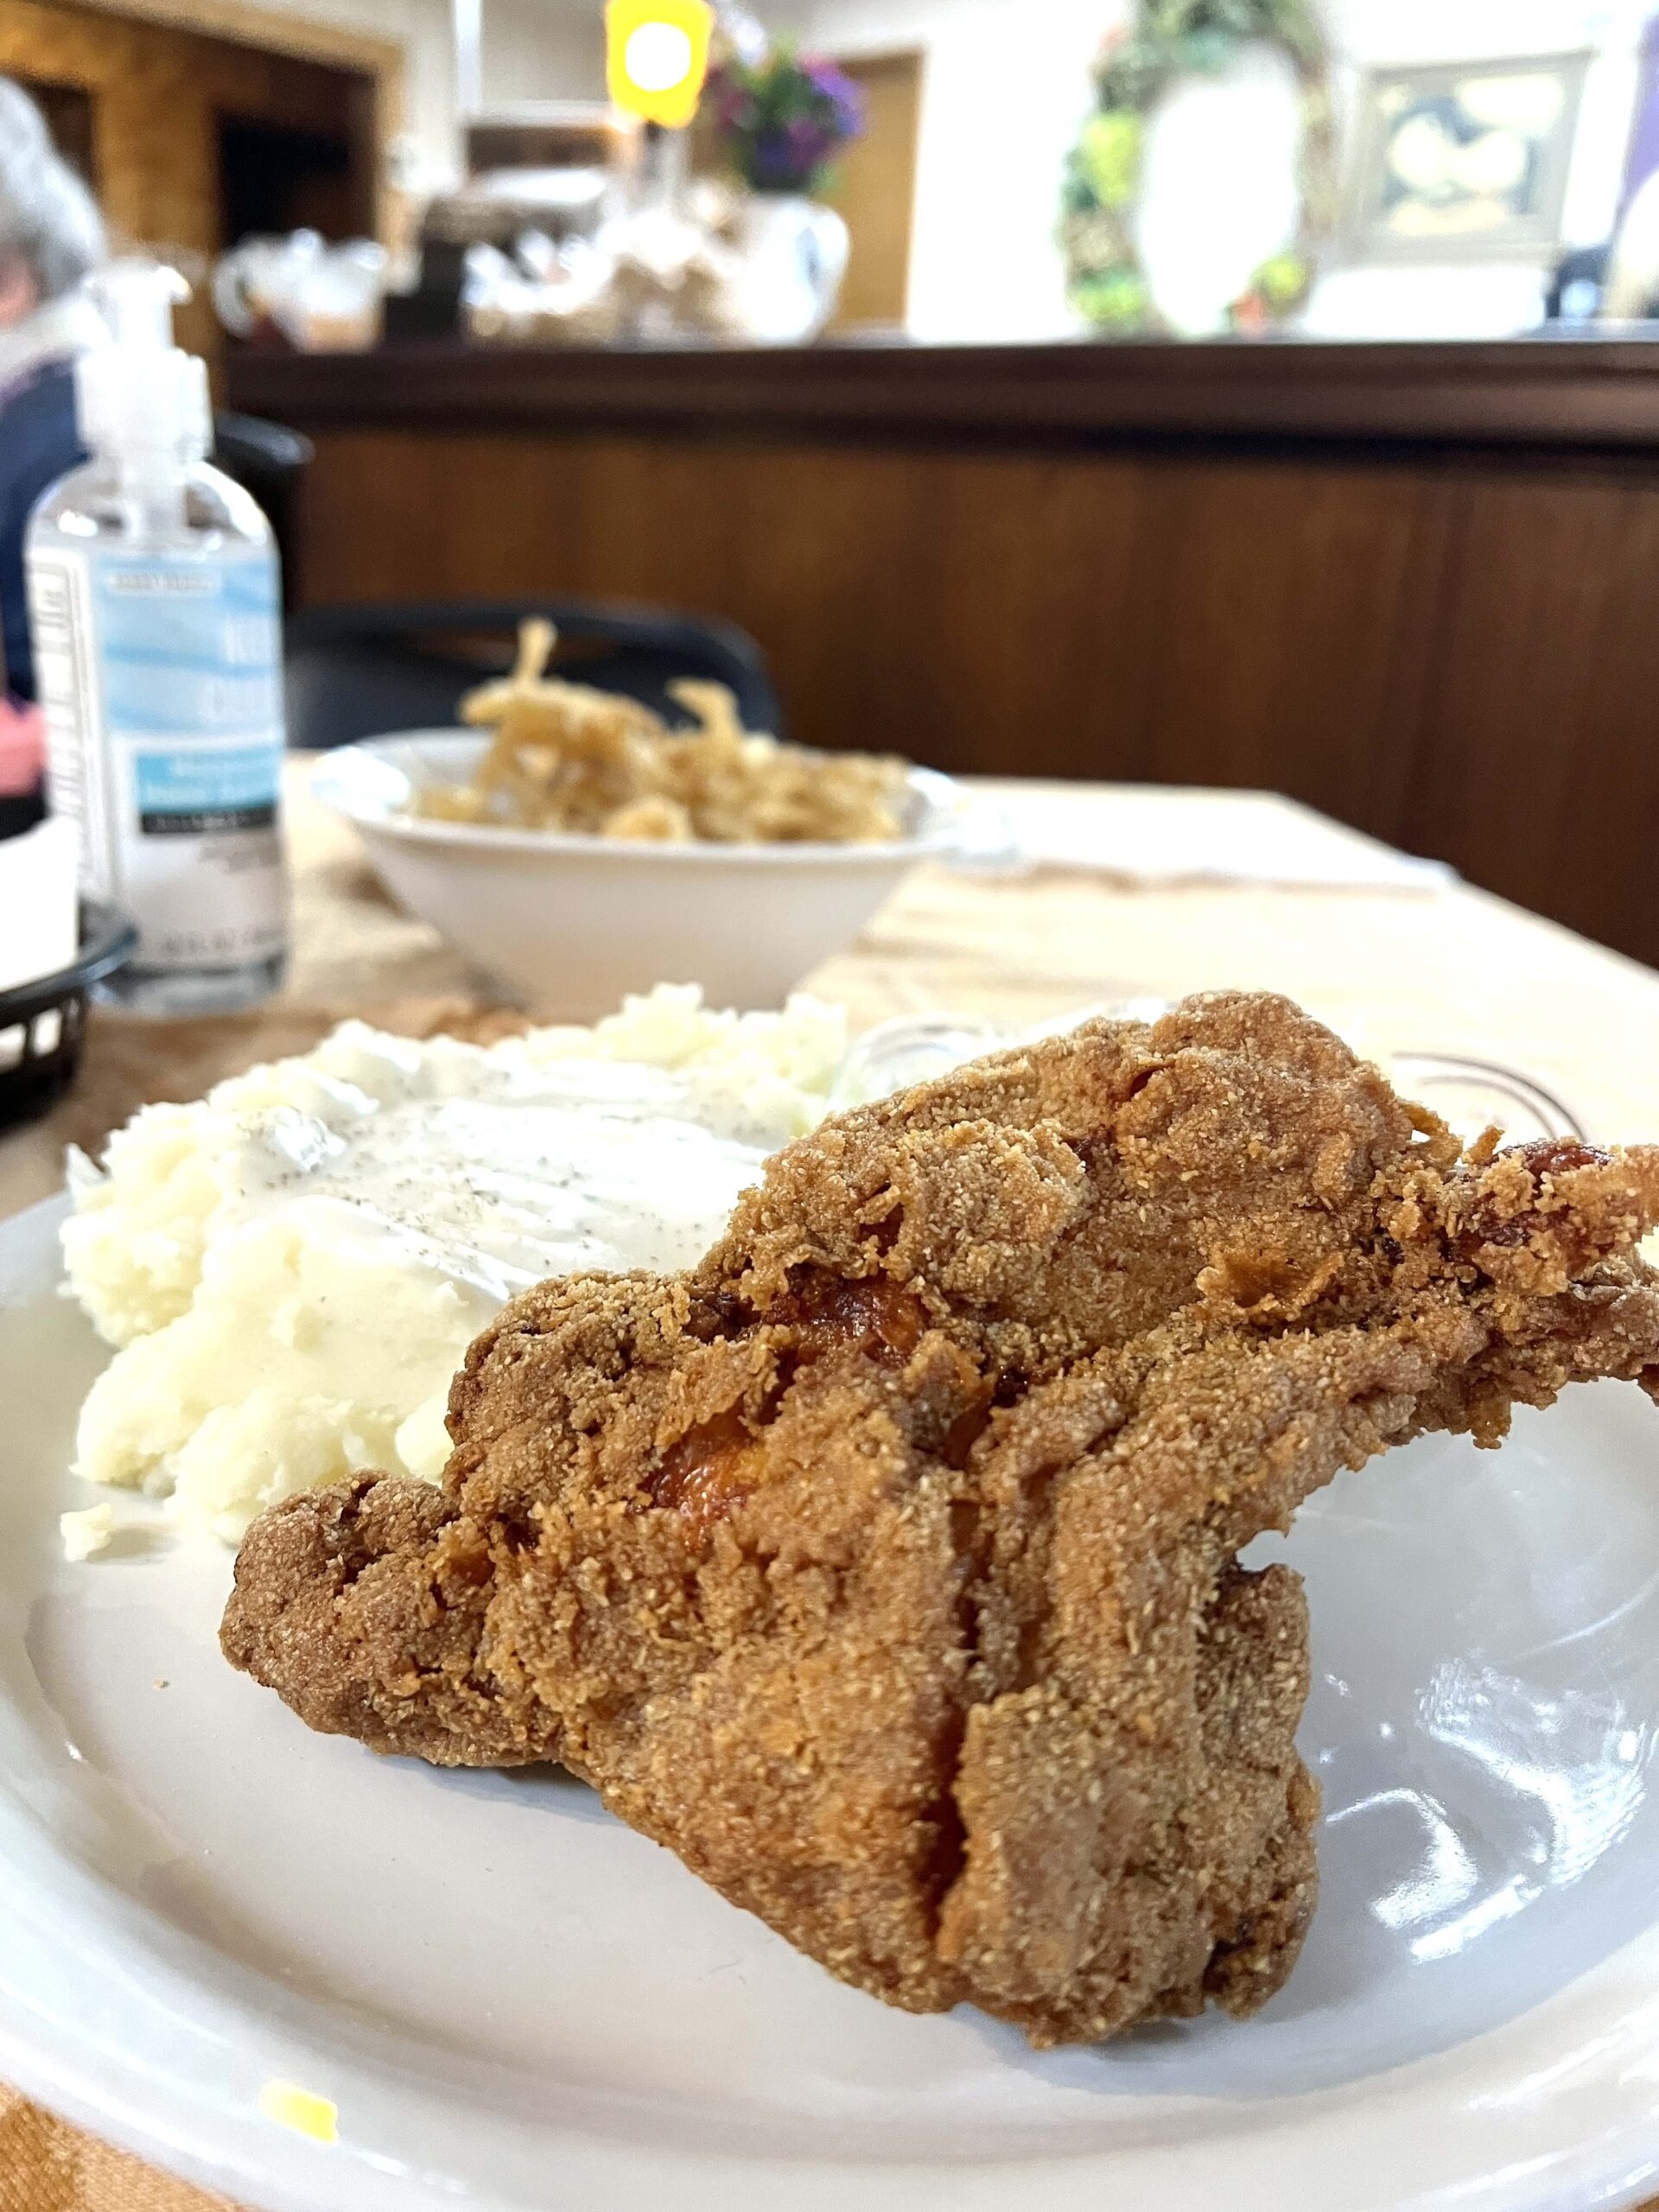 On Mondays, a line forms at Gebhardt’s Chicken Dinner door. The draw? Chicken and noodles.
 In the mood for a live show?


 In Sweden (and Lindsborg!), families celebrate Lördagsgodis, which translates to “Saturday Sweets.” This tradition originated in the 1950s, becoming a way for children to look forward to enjoying special candies on the weekend.
 So, it’s no surprise that the store became busy with families and visitors from out of town. I perused the shelves of Nordic chocolate bars and hand-crafted fudge, and I spotted a reach-in refrigerator of Grandpa Joe’s sodas and canned fizzy drinks.
 I was in candy heaven, scooping a mix of Swedish fish, licorice, and soft watermelon bars into a to-go container. The variety of candy types, including ropes, salted candy, and soft foam treats, was unlike anything I’d seen before.
 Visitors to the store will appreciate that Swedish candy doesn’t use artificial dyes for color. The owner also thoughtfully stocks gluten-free candy.
 A fan of lingonberries, which are Scandinavian cranberries, I recommend ordering the Det Bästa croissant sandwich. It’s served warm with layers of Gouda cheese, turkey, bacon, and a thick layer of lingonberries jam.
 I also recommend the sweet yet tangy Lingonberry Lemonade served over ice, a thirst quencher on a spring or summer day.
 Pro Tip: After ordering at the counter, walk to the back patio to relax at a table under the grapevine-covered pergola to the backdrop of a trickling water fountain.
 The aroma of handmade waffle cones greets you as you walk the brick pathway to the ice cream shop, which resembles an outdoor European patio.
 Whether you prefer a cup, cone, sundae or ice cream sandwich, Indigo Moo’d Ice Cream’s flavorful selections will be a highlight of your Lindsborg visit. They also sell ice cream cupcakes, pies, and pints of available flavors.
 Choose from flavors such as Blacksmith Coffee, Ligonberry Swirl, Kringler, Strawberry Cheesecake, and Key Lime Pie. Locals and visitors can enjoy a sweet treat six days a week, and the shop stays open late.
 I’ve ordered coffee and breakfast at Blacksmith Coffee Shop & Roastery countless times, and one of their standout menu items is the warm berry cobbler served in a cast-iron skillet–ice cream is optional.
 If you’re in the mood for a cold drink to take with you for breakfast or a midday treat, order the slightly sweet Lingonberry Smoothie with whipped cream. Take the totable drink with you as you stroll Main Street to shop locally owned boutiques.
 PRO TIP: Avoid the morning rush. Order your food for quick pick-up
  The refrigerated baker’s case houses nearly a dozen pies and cakes baked fresh daily by the owner’s daughter.
 I took my server’s suggestion and tried the old-fashioned Coconut Cream Pie. The thick, creamy coconut filling, topped with a mound of fluffy whipped cream and flaked coconut, satisfied.
 Crown and Rye prepares fruit pies and cream-filled pies, so you will likely find a flavor you are craving. Additionally, individually wrapped homemade cookies are available for the road trip home.
 PRO TIP: The
  One of my go-to selections is Nyakers Ginger Snaps, referred to as pepparkakor in Swedish. Traditionally served during winter, I eat the spicy, crunchy cookies year-round. The Swedish foods section of the store is well-stocked with imported spices, should you decide to prepare Swedish cuisine at home.
 Savvy shoppers know to look inside the refrigerated reach-in coolers for traditional favorites, including frozen pies and tea ring cakes.
 Don’t walk by end-of-the-aisle displays without getting a glimpse of packaged candy, ranging from salted licorice and Nordic fine chocolate bars.
 And of course, you should not leave White’s Foodliner without purchasing a couple of jars of lingonberries. I add the tangy fruit spread to open-faced breakfast toast, pancakes, and charcuterie boards.
 It is a Scandinavian tradition to enjoy a social coffee break, referred to as Fika, accompanied by sweet pastries. I love the thought of inviting my loved ones over for conversation over coffee and cookies.
 Hemsjöld’s inventory not only includes imported cookies and culinary spices, but an extensive collection of coffee cups and pretty tableware for your Fika-themed gatherings.
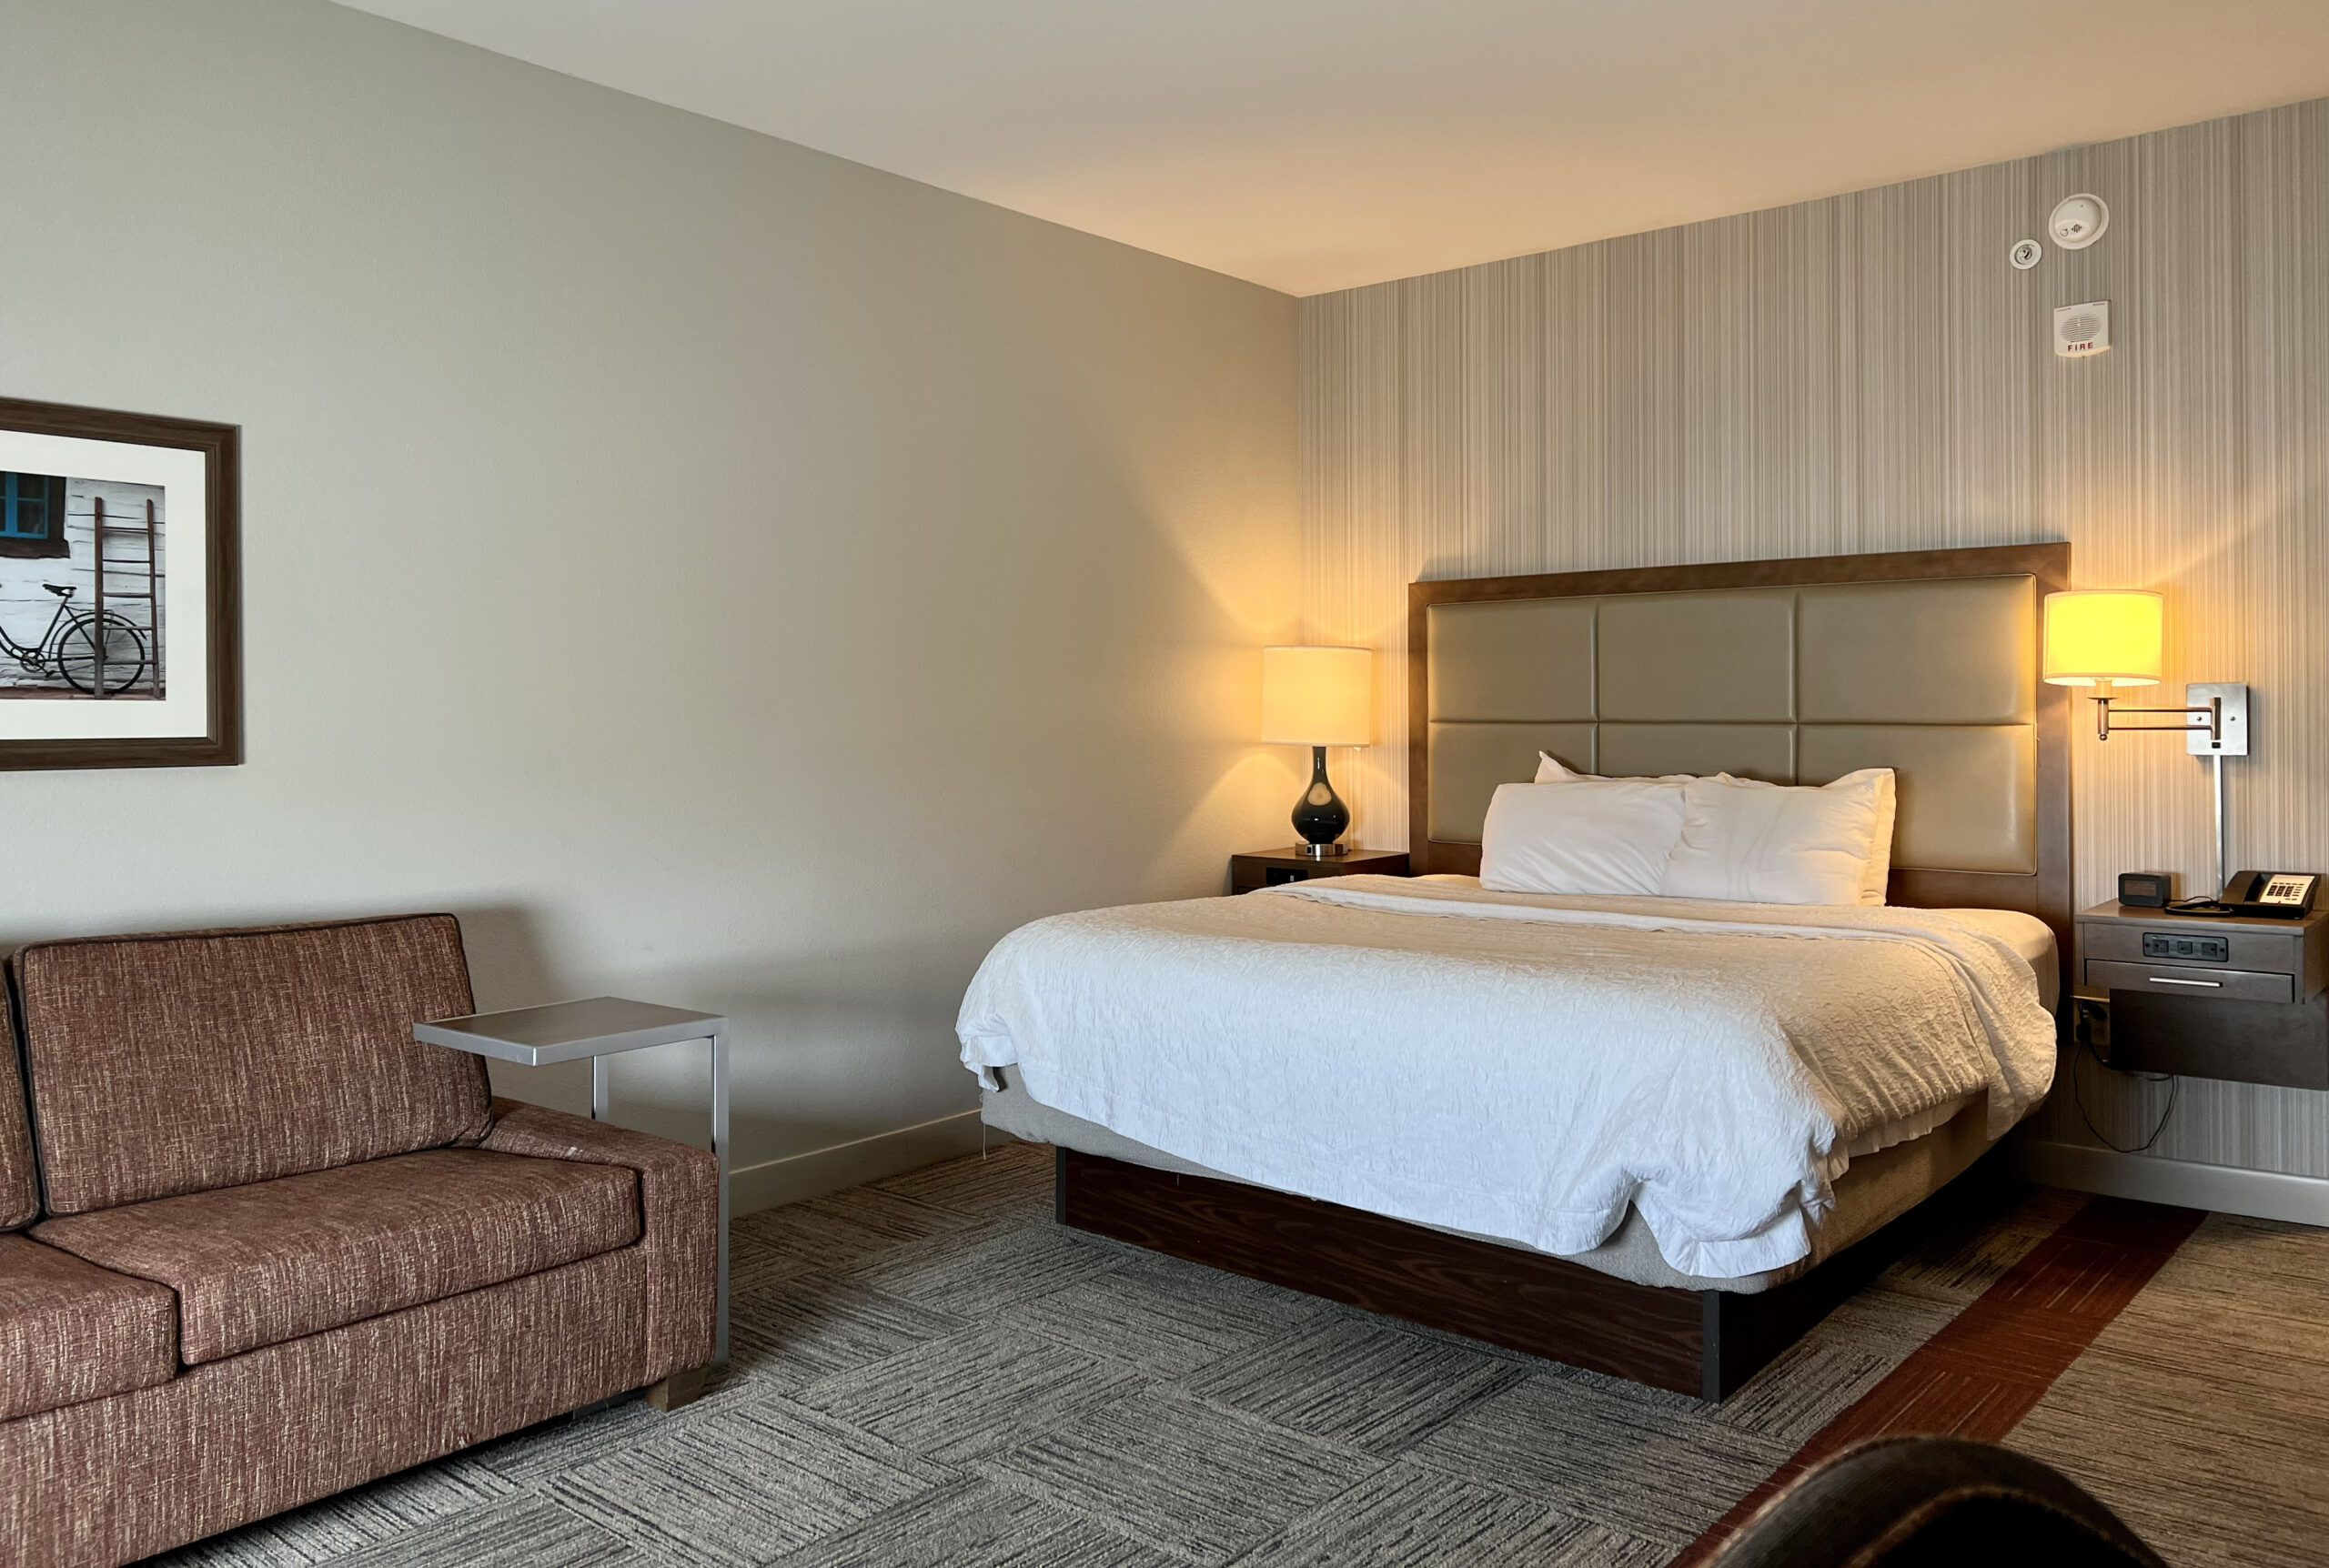
 Translated in Swedish to Sweet Dreams, the Dröm Sött Inn’s accommodations exceed my expectations every time I stay there.
 The rooms are impeccably clean, and the plush bedding is so soft it feels like you’re sleeping on a cloud. (People adore the sheets so much, they sell bedding sets in the gift shop.) Quiet hours guarantee a good night’s slumber.
 At check-in, guests are given two meal selections, and my choice this time was the Swedish pancakes served with warm maple syrup and a side of requested lingonberry sauce. Similar to crepes, the kitchen staff prepares them one at a time over a hot griddle in view of the dining room.
 Last but not least, guests are gifted a homemade soft sugar cookie in the shape of a Dala horse as a parting gift. But since you know about the cookie gift, request it during your stay to enjoy with a glass of complementary wine in the inn’s secluded Wine Shelter.
 I’ve also compiled
  The area is known for its
  Whether you’re sipping lingonberry lemonade on a sunny patio or savoring sticky buns at sunrise, your self-guided sweet eats tour promises memorable bites and cozy small-town moments.
 If you’re searching for the best desserts in


 Dine under mason jar light fixtures surrounded by whimsical antiques, savoring appetizers like the Wichita Wings or Prairie Bison Slides. For the main course, Brisket Tacos or the Spicy Fried Chicken are solid choices, and pizza lovers will delight in the Bassano topped with wood-smoked chicken.
 Located inside a historic building that was the Carey Hotel, where hatchet-wielding prohibitionist Carry Nation destroyed the bar in 1911, patrons can sip and savor a cocktail or espresso drink at The Workroom’s
  Immerse yourself in the Wichita experience by learning about the heritage of the Wichita Indians who gave the city its name. Tour a replica Victorian home, watch a movie about aviation history, and admire the electric guitar that made its debut in Wichita. Afterward, take in the tranquility of Heritage Square Park beyond the museum’s doors.
 In 1899, Harry Dockum opened downtown drugstores, including one in the same building. Bartenders, also referred to as pharmacists, meticulously prepare small-batch cocktails using house-made bitters and fresh-squeezed juices. The Smoking Gun, a rye whiskey signature drink, emits earthy aromatics during its presentation.
 To enter, follow the pharmacy signs to the hotel’s basement and knock on the door at your reservation time.
 Aviation companies Cessna, Beechcraft, Learjet, and Stearman put Wichita on the map, and its central location made it the ideal location for a cross-country airport, Wichita Municipal Airport, now the
  Ascend the Control Tower for a bird’s eye view of the tarmac where 600 flights took off and landed during its heyday.
