Updated May 2026
Disclosure: Great Plains Ventures sponsored this post, and Aloft Wichita sponsored my overnight stay. All opinions and photographs are my own.
District 96 is your destination for a multitude of entertaining activities and boutique hotel lodging in Northeast Wichita, located at K-96 and Oliver Street. Imagine checking into a fresh, modern hotel, savoring a chef-prepared meal, and pausing to play indoor pickleball or golf, located steps away.
The neighborhood gem makes it easy to plan a weekend getaway, whether you’re visiting Wichita for the first time or simply rediscovering this part of the city.
A Wichita Lineup You’ll Love: Food, Fun, and Sports at District 96
ANOTHER BROKEN EGG CAFE: SAVOR A SOUTHERN-INSPIRED BREAKFAST OR LUNCH
The locally owned Wichita franchise, Another Broken Egg Cafe (4862 E 35th St N) offers diners a comforting Southern-style breakfast or lunch meal prepared made-to-order with fresh ingredients.
I’ve raved about Another Broken Egg Cafe before, and the breakfast menu selection just keeps getting better. The seasonal food and drink selections keep it interesting, offering diners quality Southern fare you won’t find anywhere else in the city.
Unlike a diner-style restaurant, Another Broken Egg Cafe layers each meal with ingredients such as seasonal produce and fresh herbs.
A successful restaurant must serve quality meals consistently at a standard that exceeds the competition, and this one checks all the boxes.
Go for a Southern brunch or lunch duo featuring a half-order sized meal with soup or salad. Indulgent Bourbon Street Pancakes, spicy shrimp and grits, or the Southwest Scrambler are repeat-worthy orders.
The locally-owned eatery at District96-ICT is at the top of my list when people ask me, “Vanessa, where should we go for a really good, fresh breakfast in Wichita?”
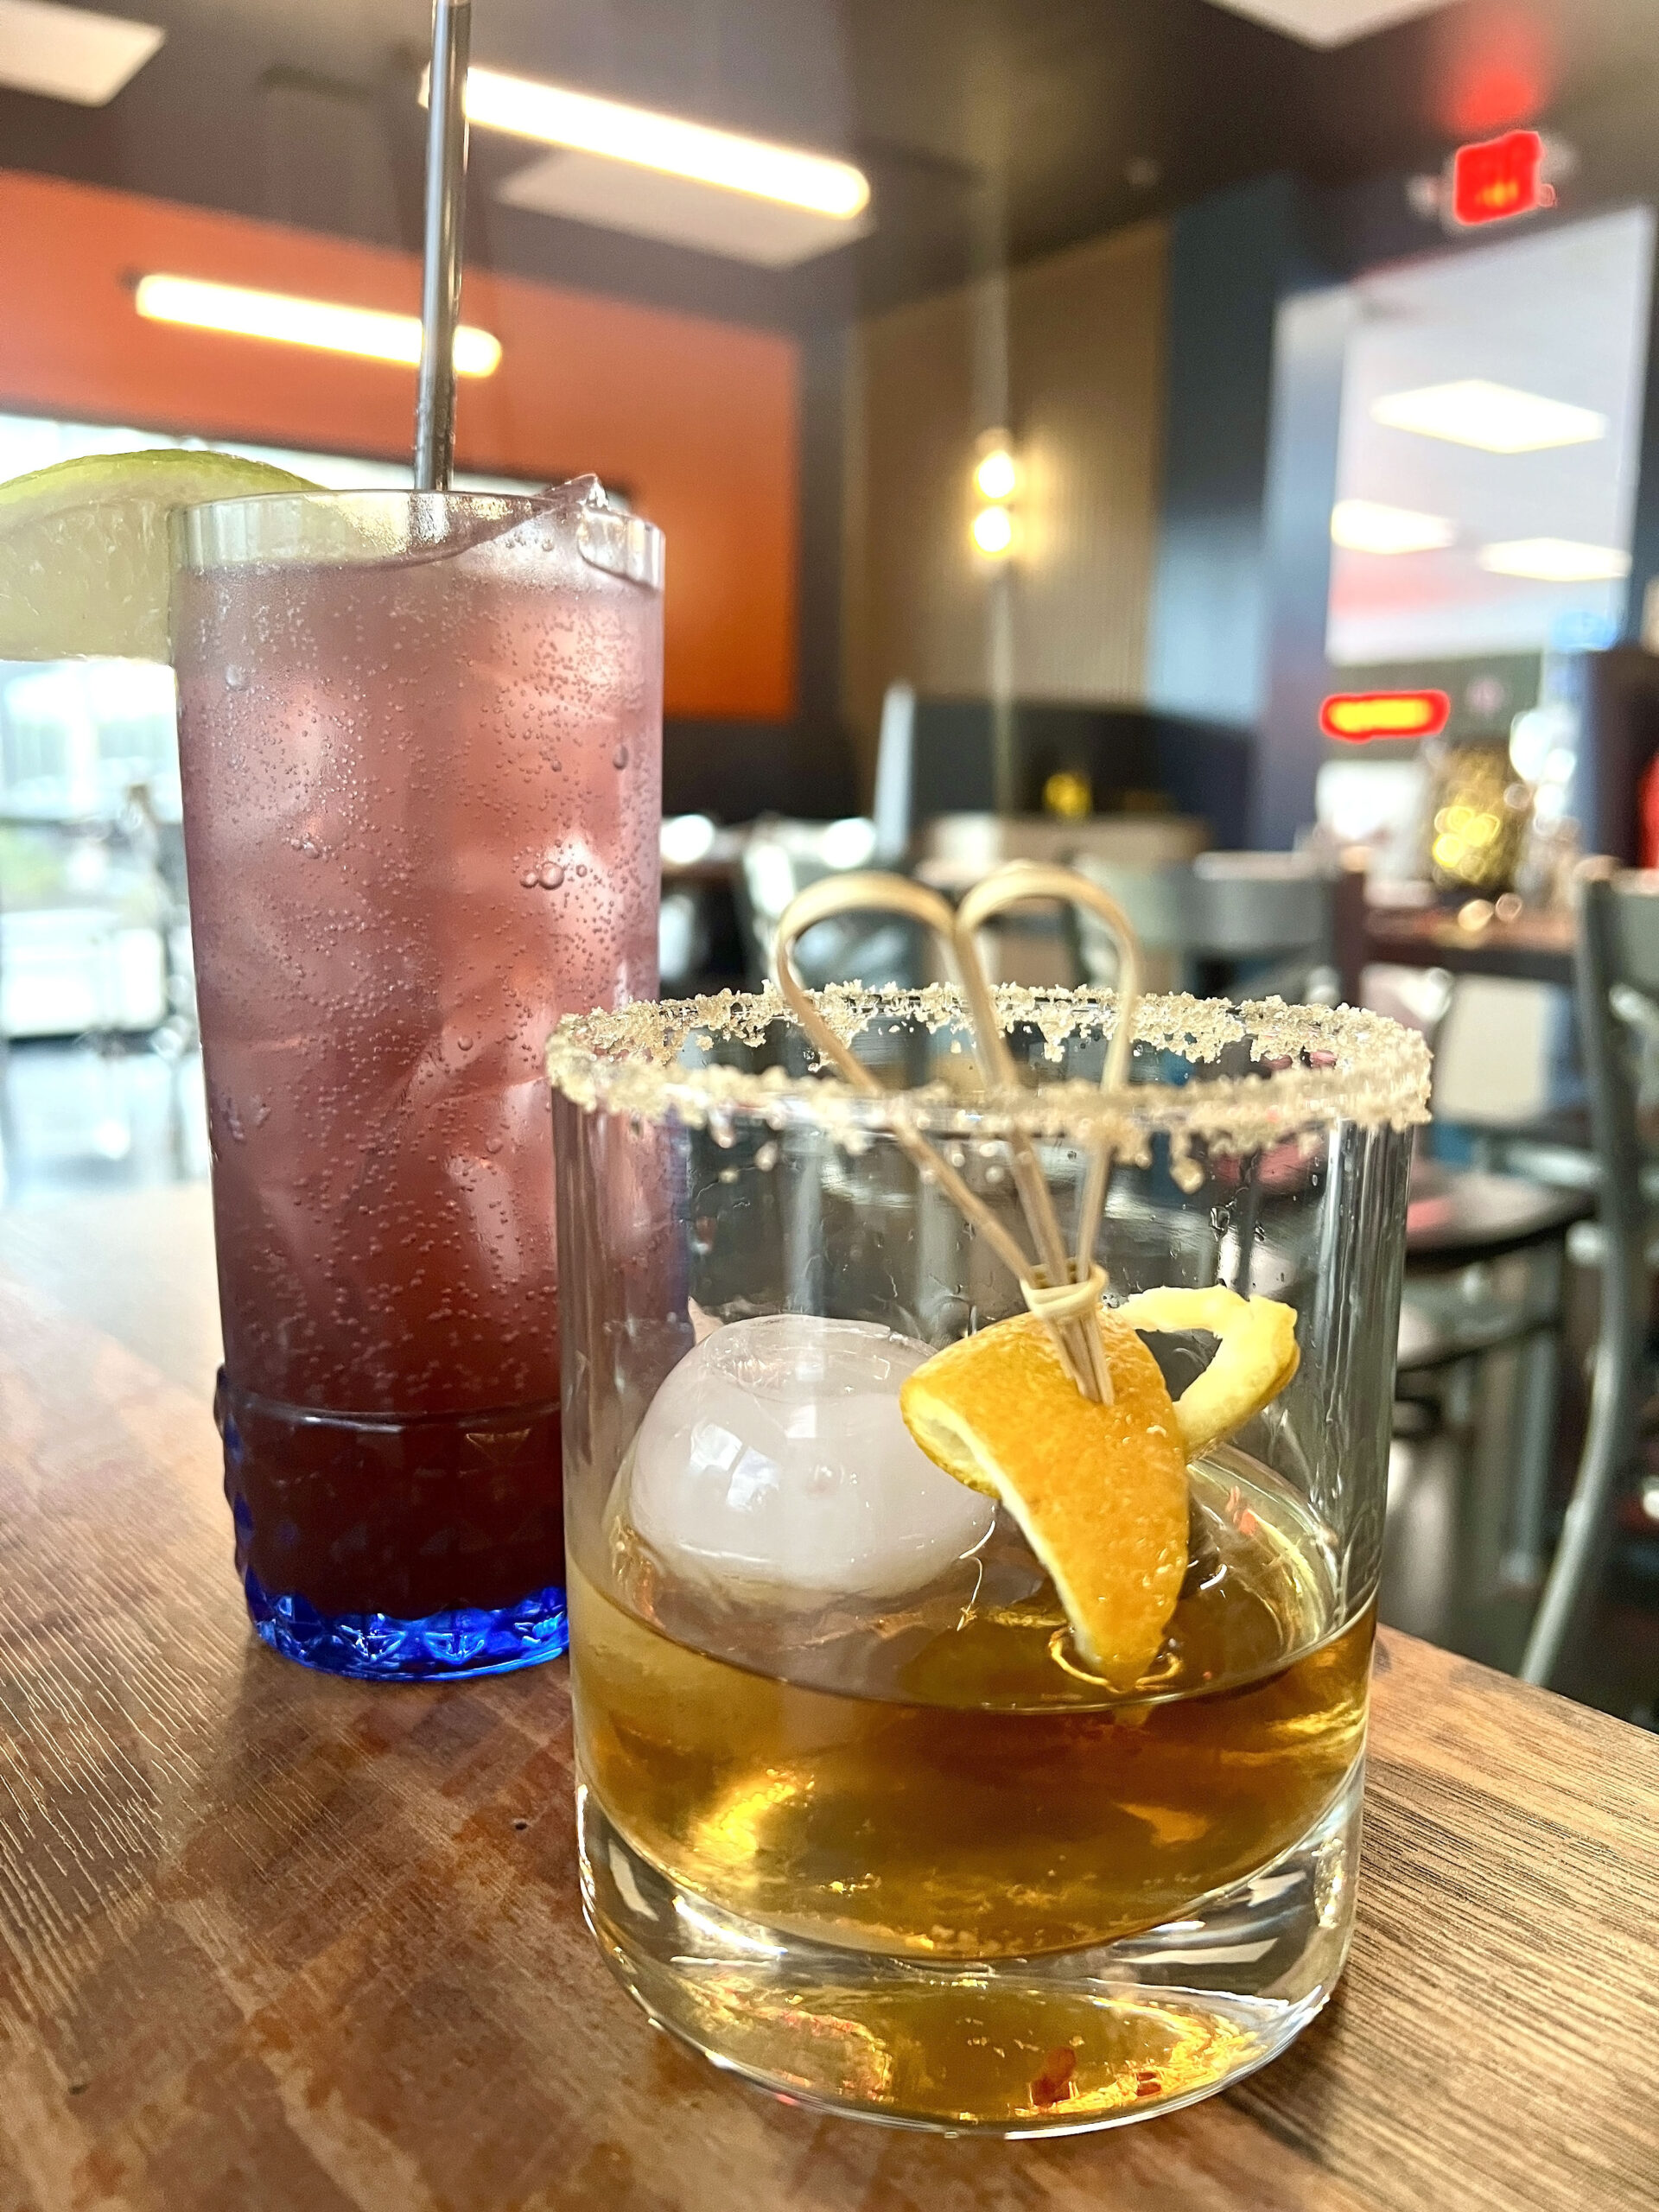
PRO TIP: On a sunny day, order from the patio table or walk-up to the pass-thru window to order a spritzer, cold brew cocktail, or mocktail.
TAPNPADDLES: PICK UP A PADDLE FOR PICKLEBALL
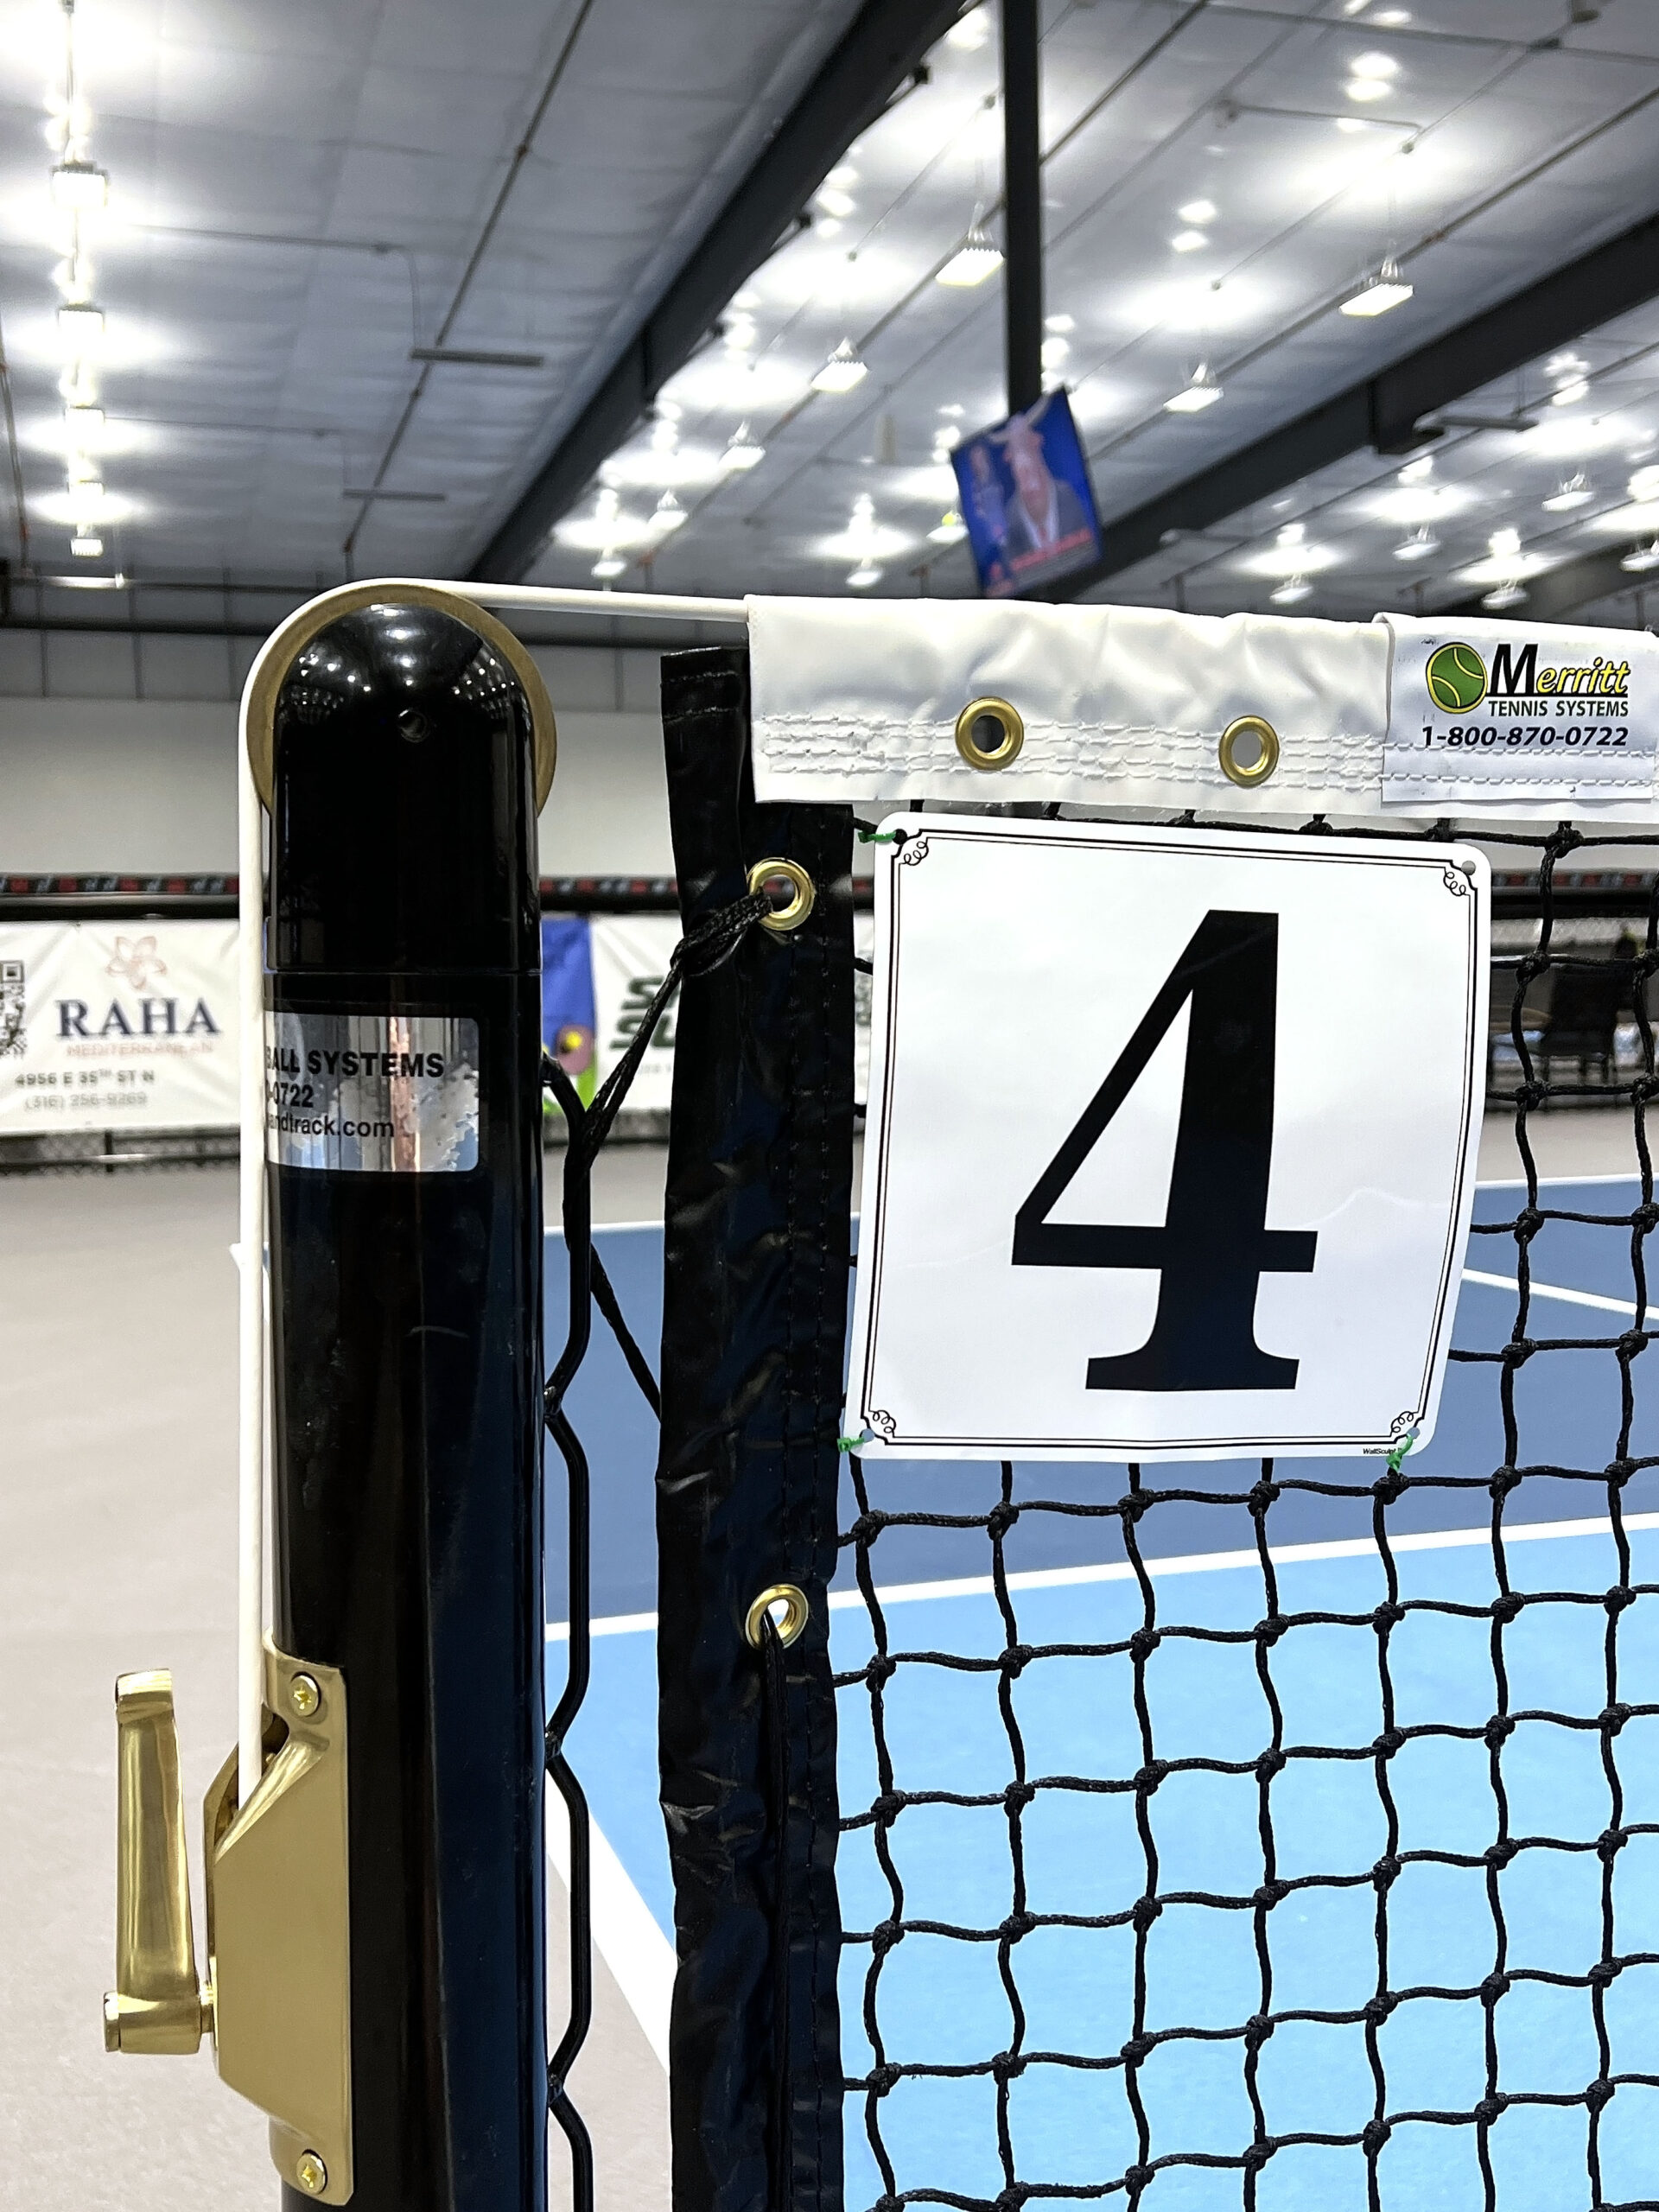
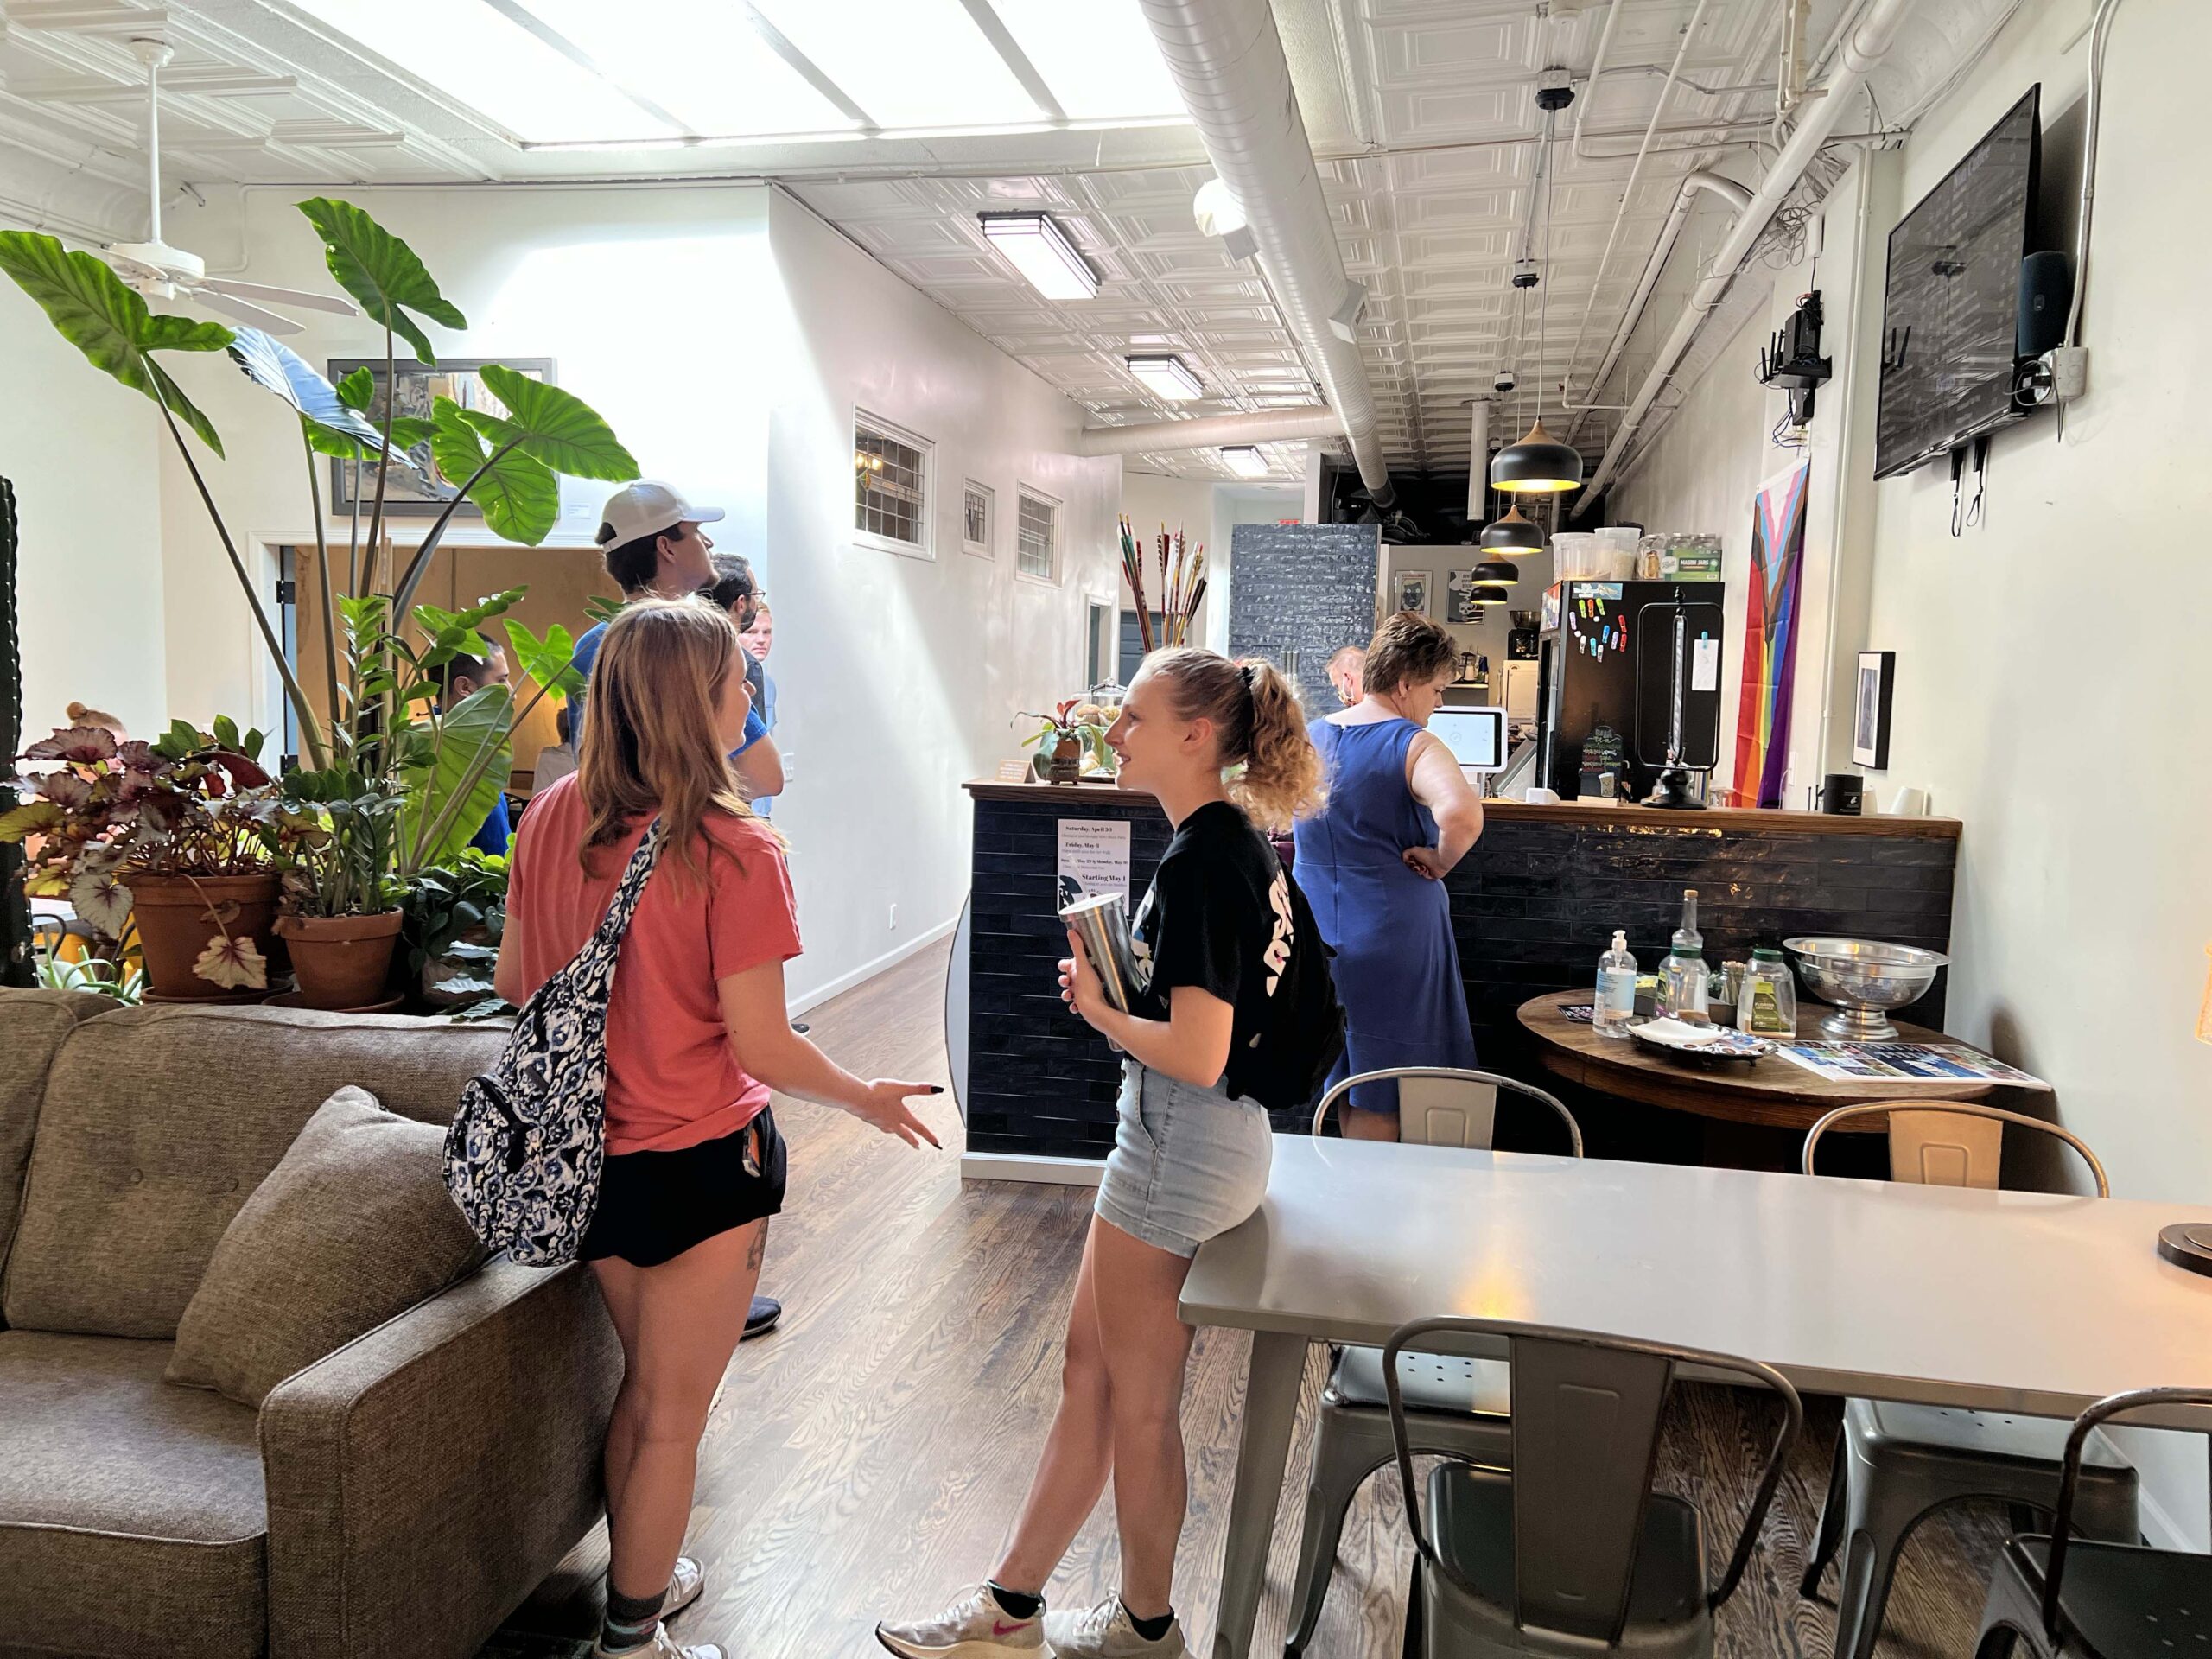
Joining friends for a game of pickleball is a way of life for sports enthusiasts who love playing at TapNPaddles (4656 E. 35th Street). Whether you’re a die-hard player or want to drop in for a one-hour court session, the pickleball venue offers a places where players of all skill levels can compete.
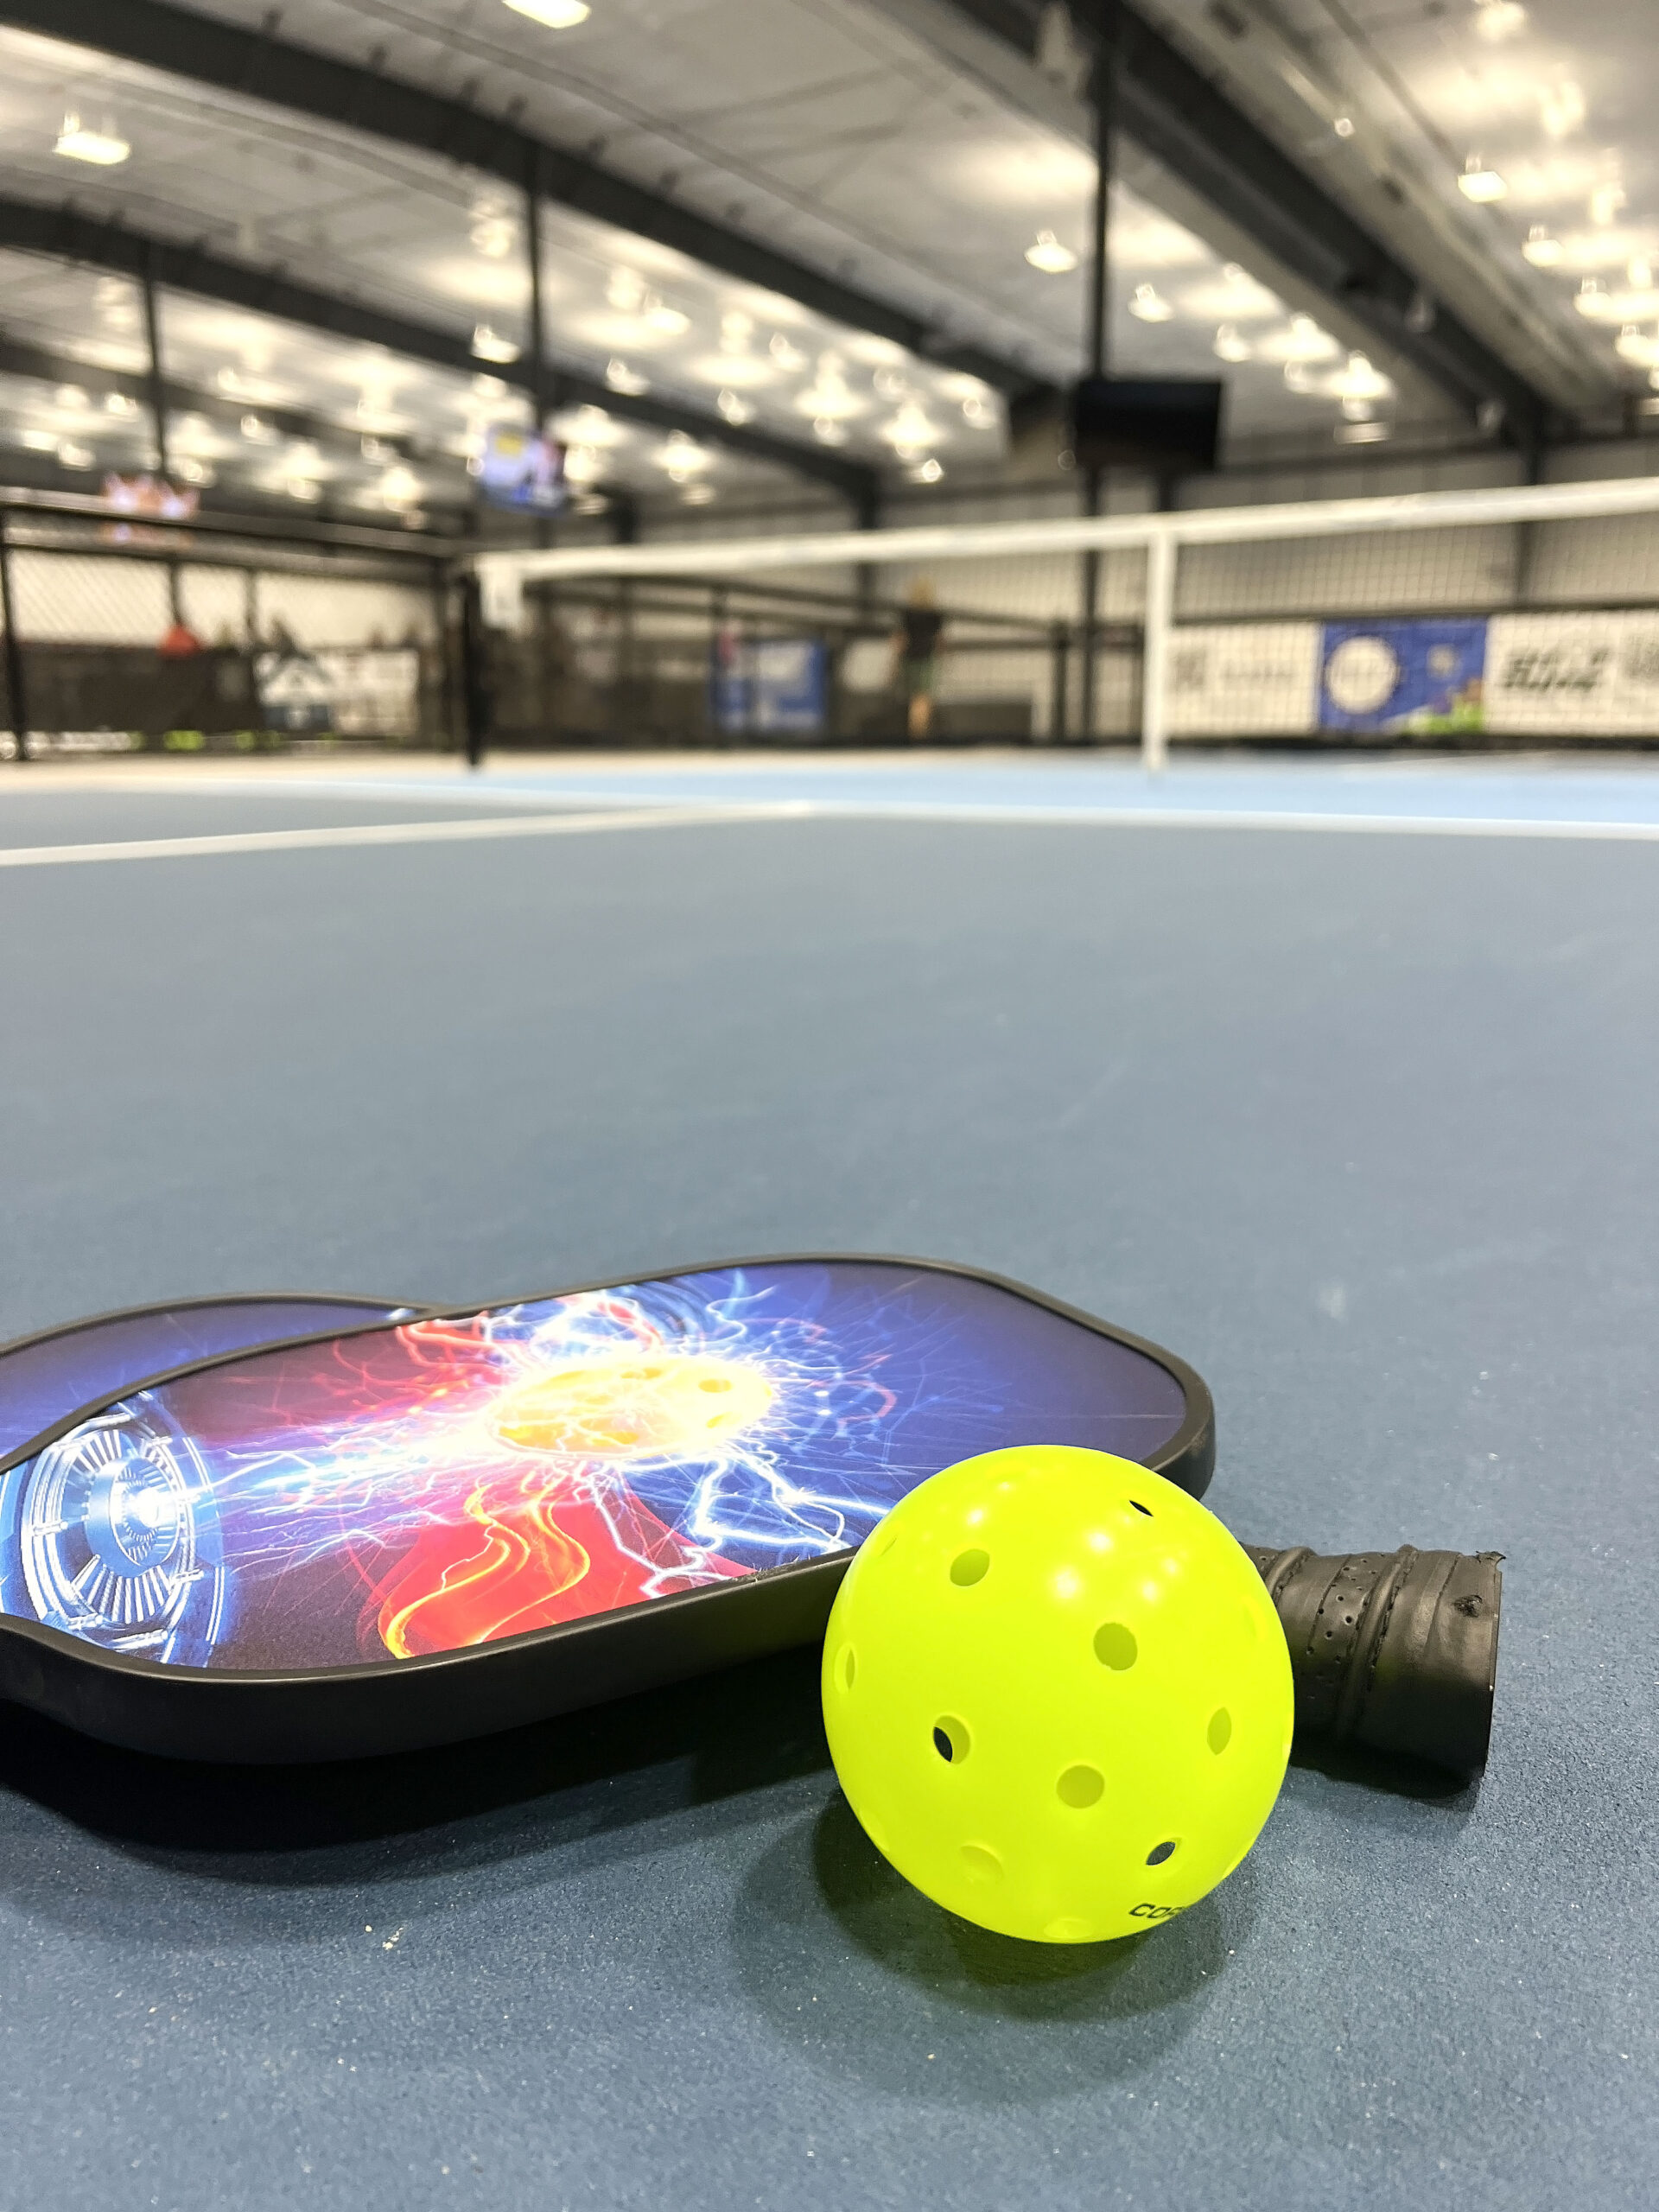
As a beginner player, I felt comfortable learning the game on one of 12 indoor, air-conditioned courts. We reserved a court during Open Play, and surrounding courts were occupied by Senior Open Play and one-on-one training sessions.
 Open to the public and Tap Elite, Plus, and Choice Members, TapNPaddles makes it easy to reserve a court online. If you fancy a game of table tennis or cornhole, reserve Courtside Social, a portable professional-grade game set available for no charge on a first come, first served basis.
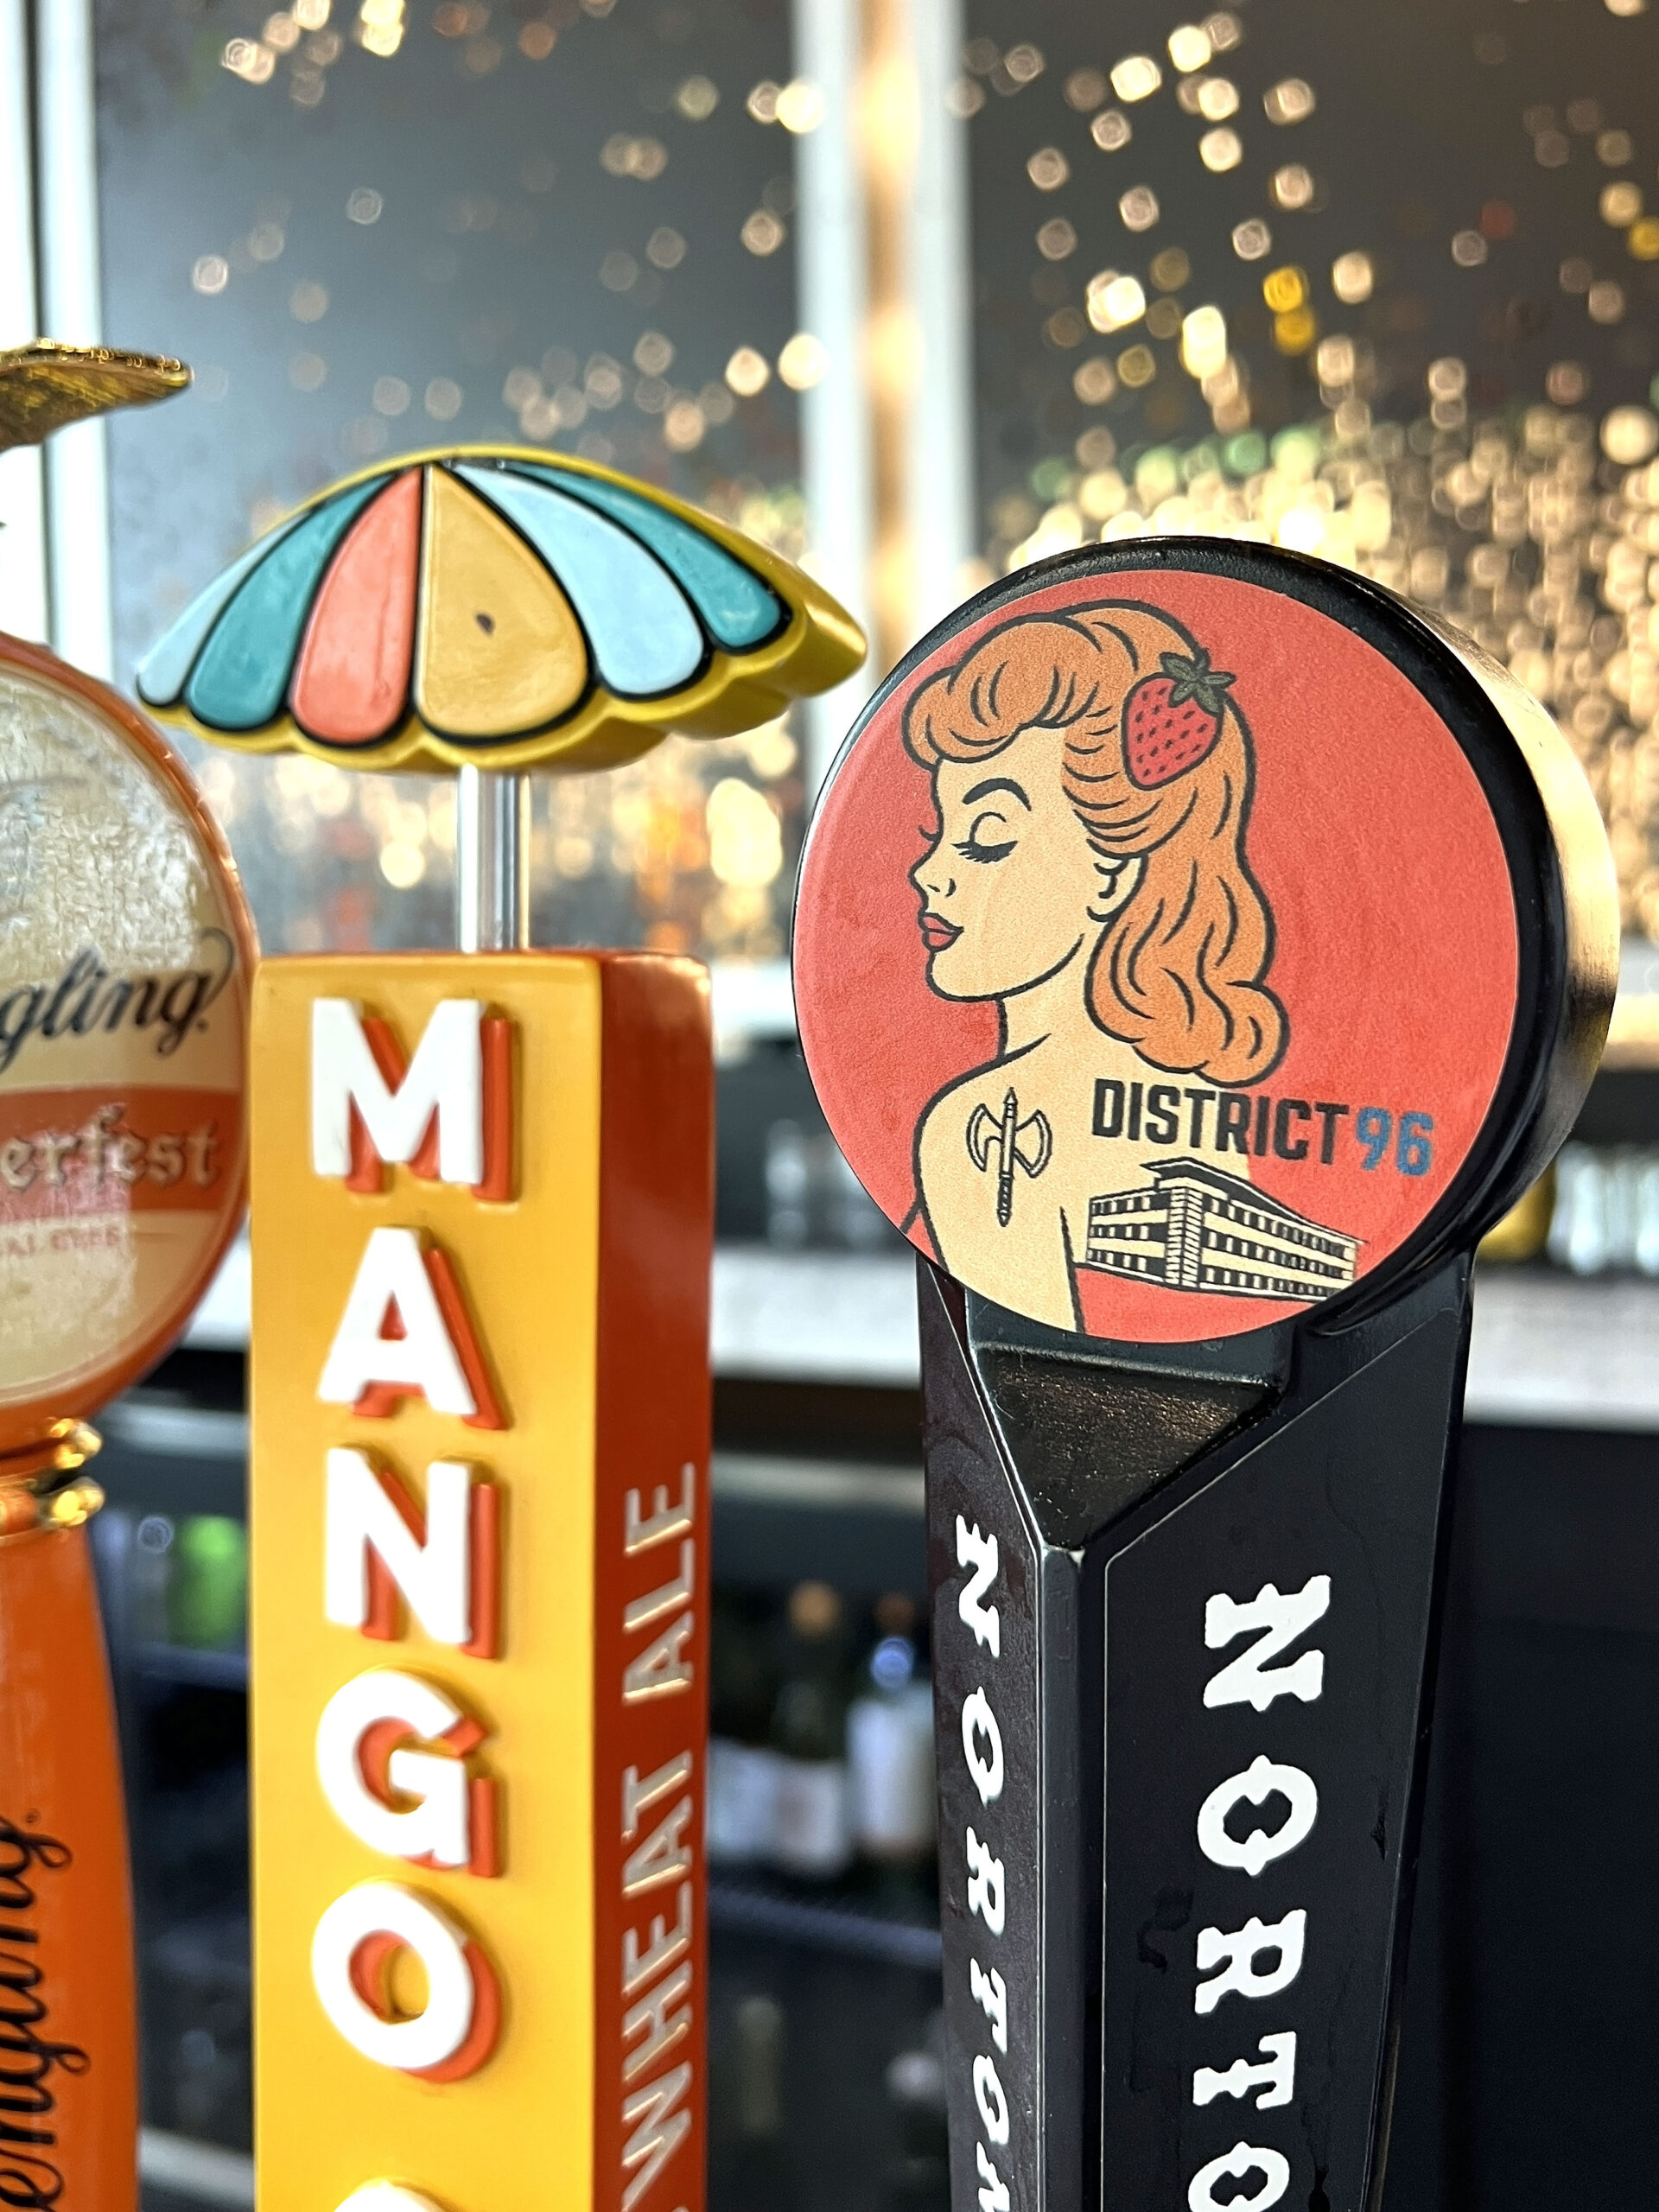
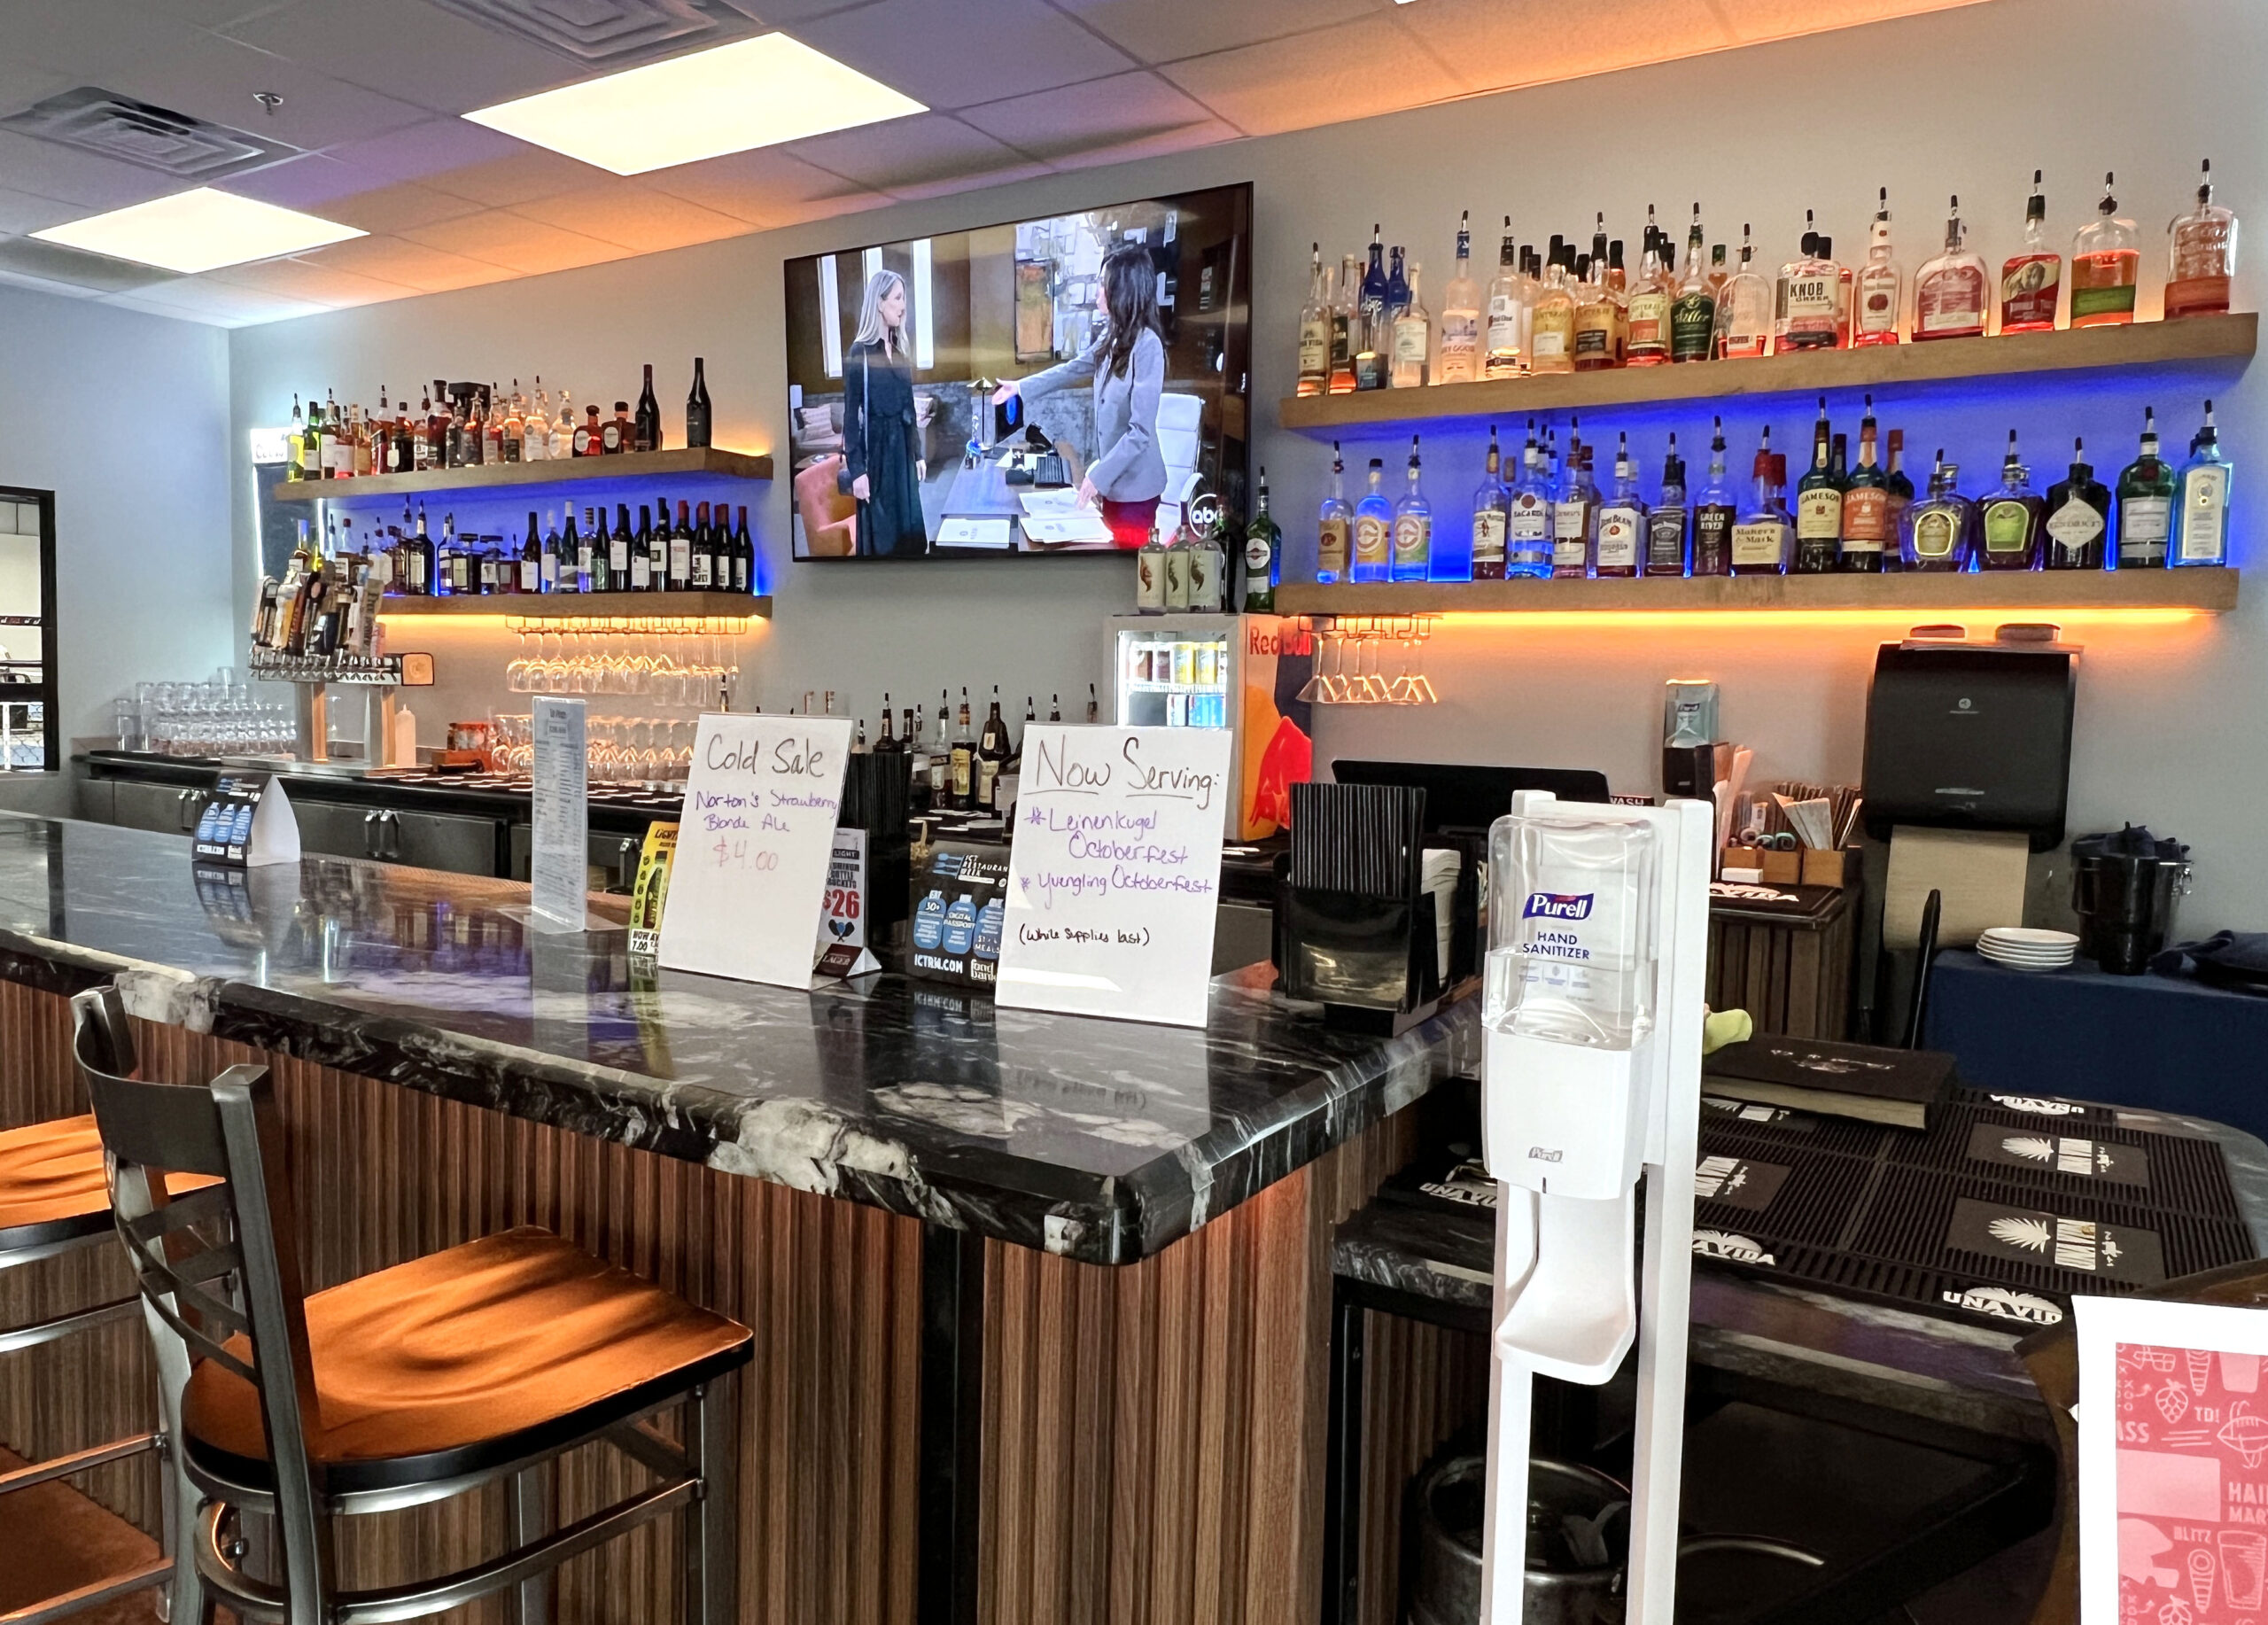 After a fun game of pickleball, we cooled off with a District 96 Strawberry Blonde Ale by Norton’s Brewing at the TapNPaddles bar. I was surprised to discover the Bar & Court Menu features dips, burgers, and pita pocket sandwiches as courtside bites during kitchen hours.
The cocktail lounge is the ideal place to quench your thirst while watching pickleball on television or playing a game of chess.
 The pickleball venue is located next door to Raha Mediterranean, a more laid back eatery serving chef-prepared cuisine with bold flavor. Honestly, I could’ve spent half a day at TapNPaddles having fun.
PRO TIP: Arrive dressed in your sports gear. The locker room is for members only.
K96 LIQUOR: SHOP FOR SPIRITS, WINE, OR BEER
K96 Liquor (4858 E. 35th Street North Suite B), is the ideal place to shop for a bottle of wine, spirits, or beer before retiring for drinks at Aloft Hotel or before returning home.
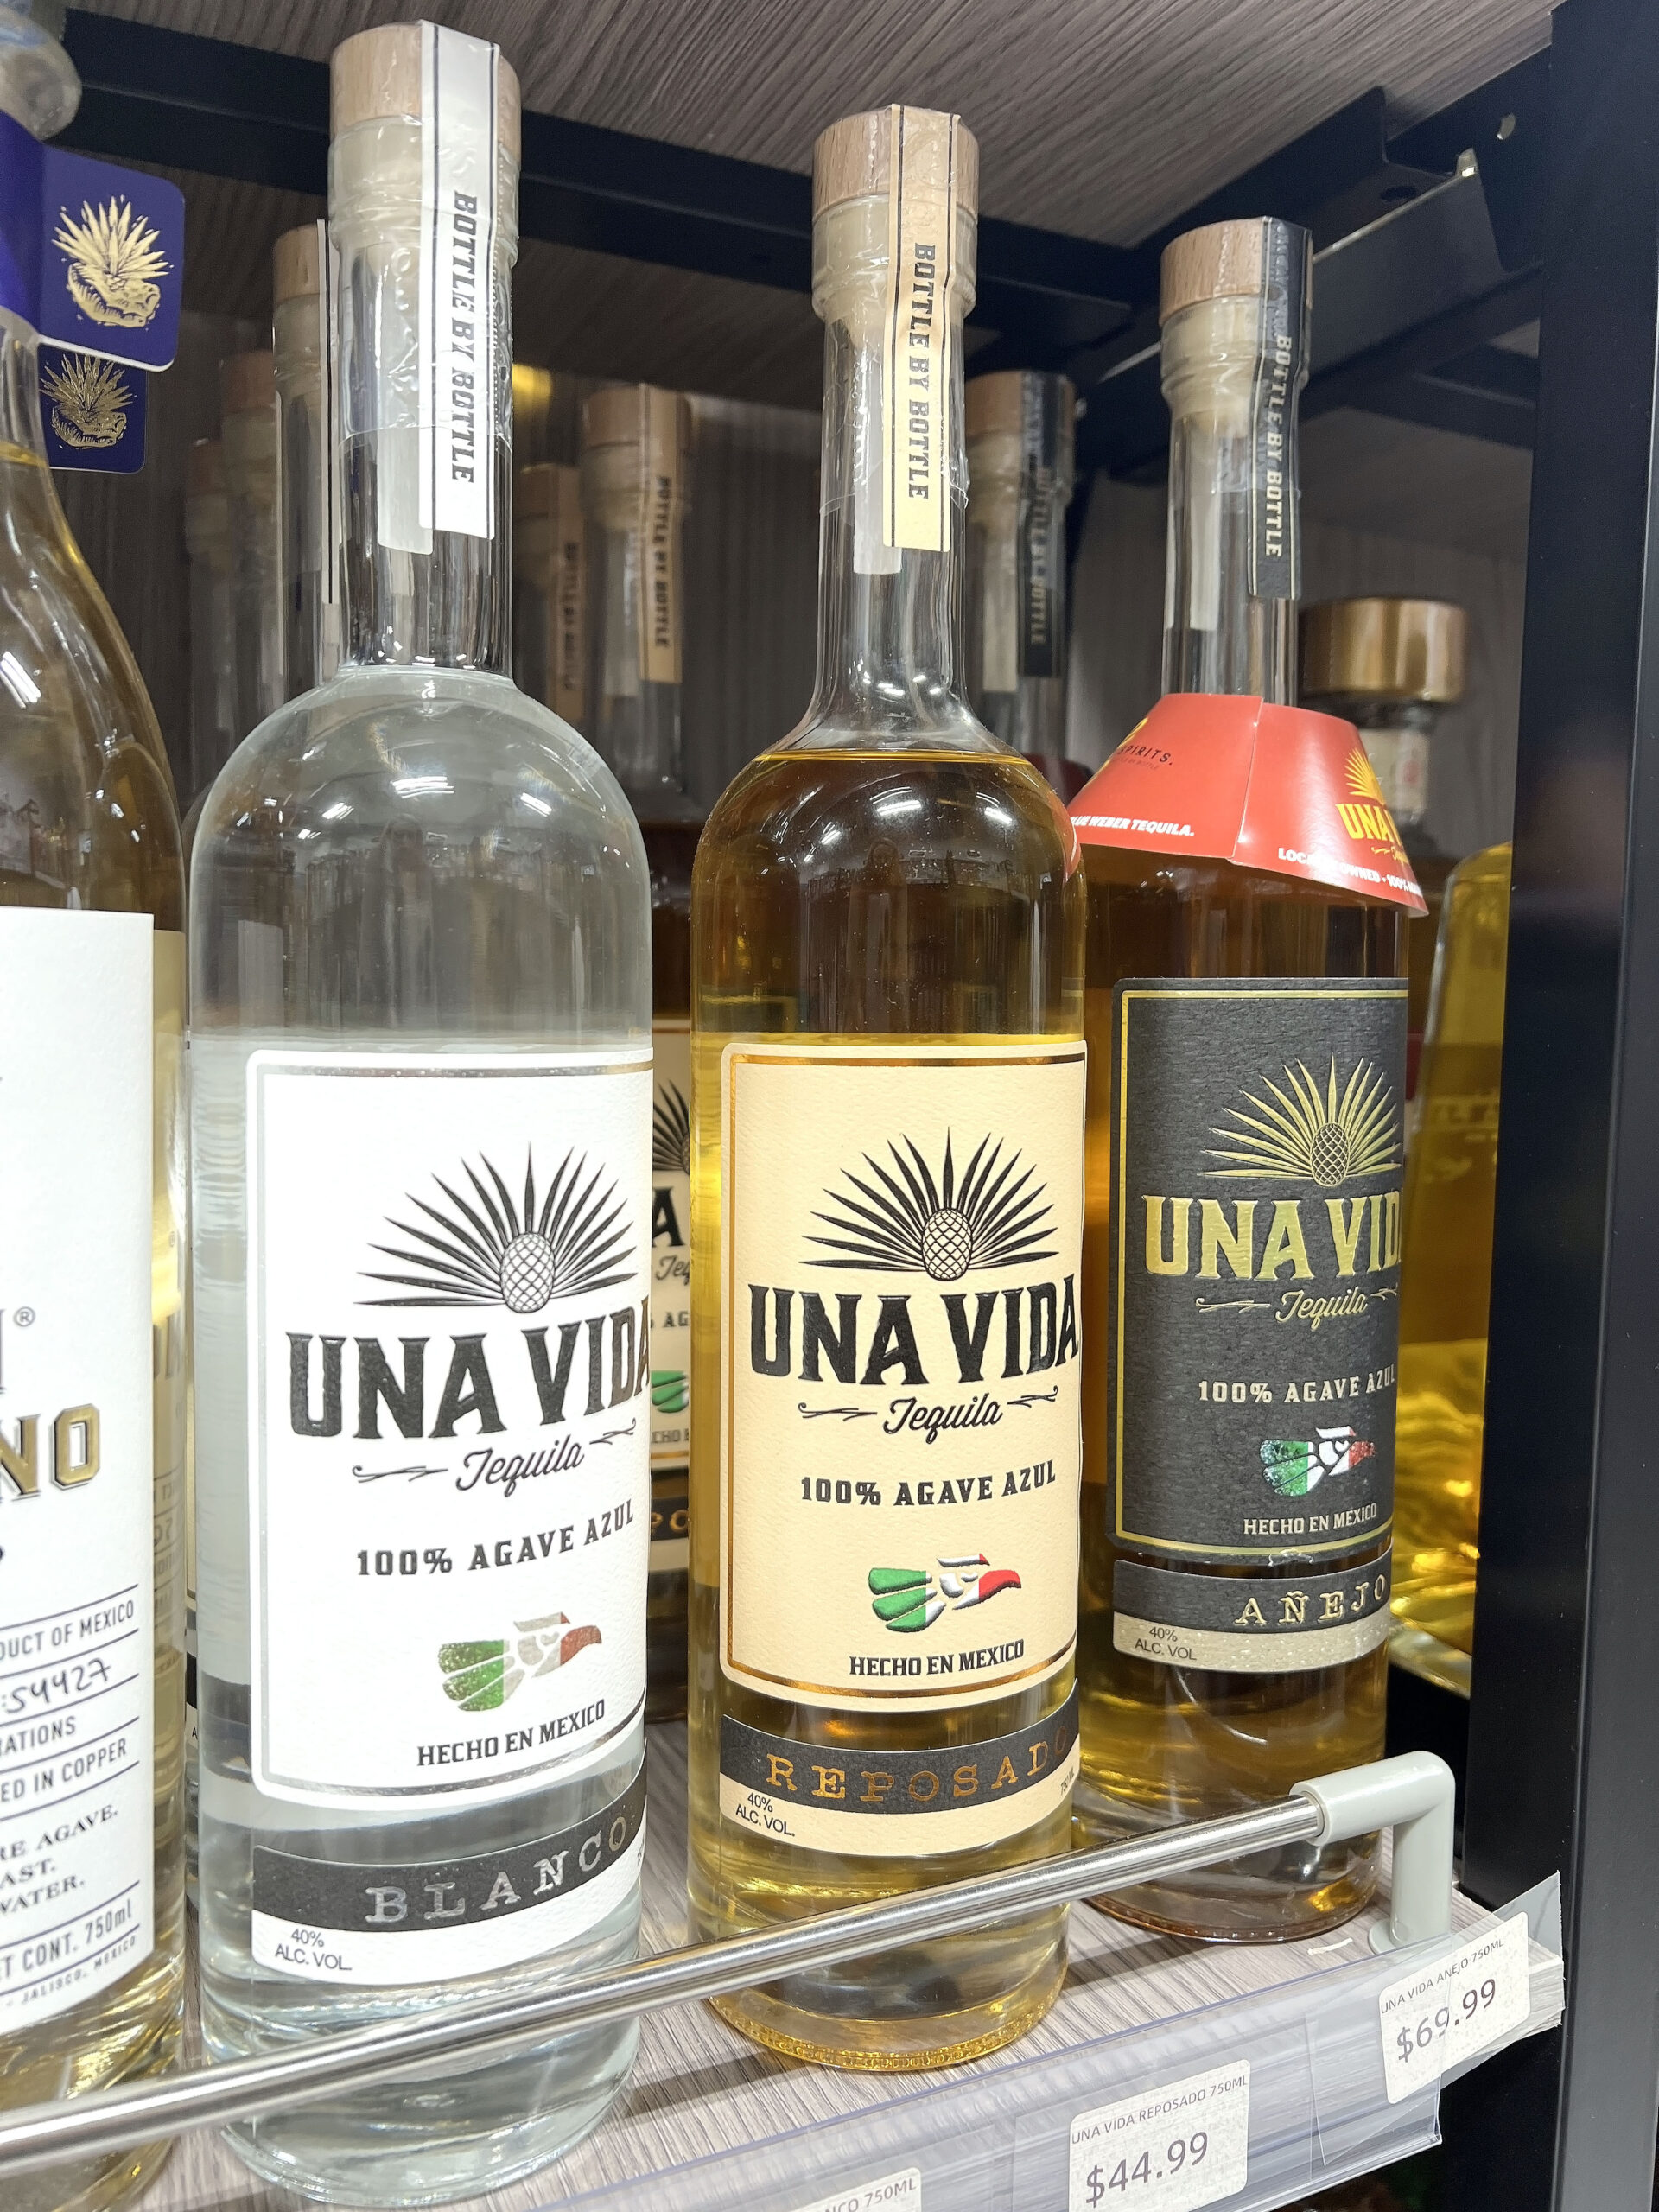
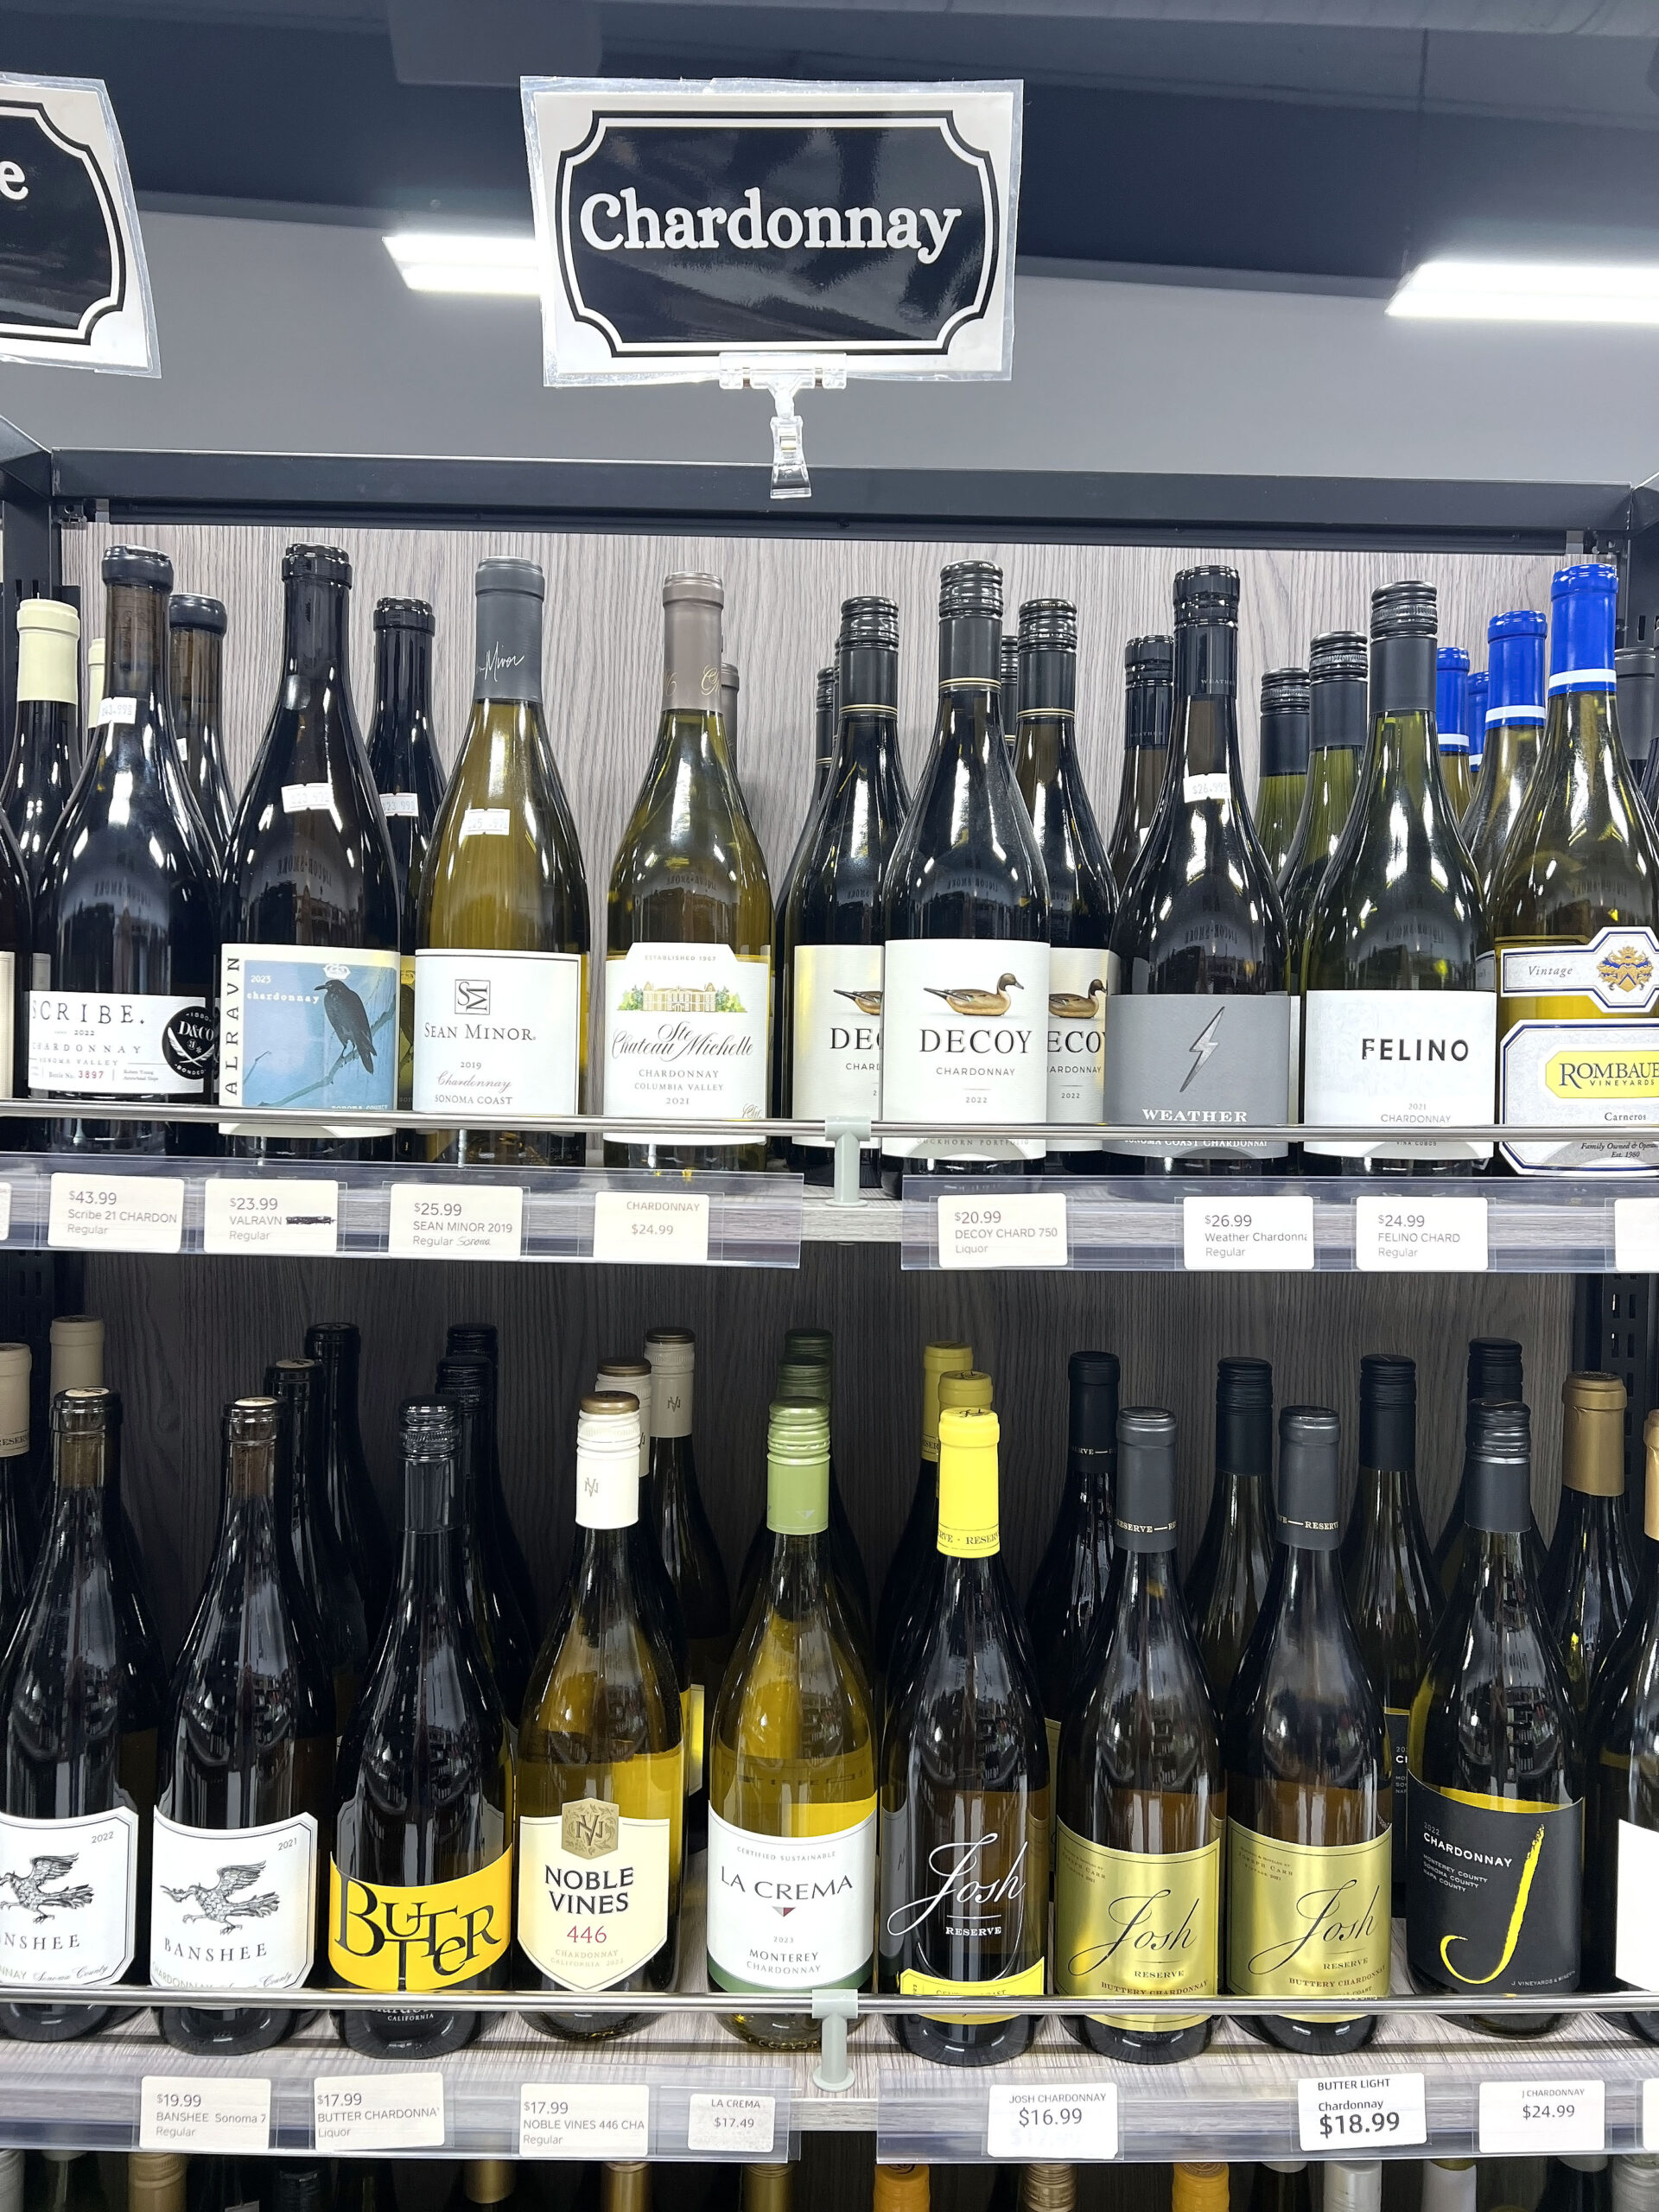 The locally-owned liquor store works with distributors to carry a vast selection of well-known brands, and I was pleased to find spirits on the shelf produced by Wichita makers, including Una Vida Tequila and Greatness Vodka.
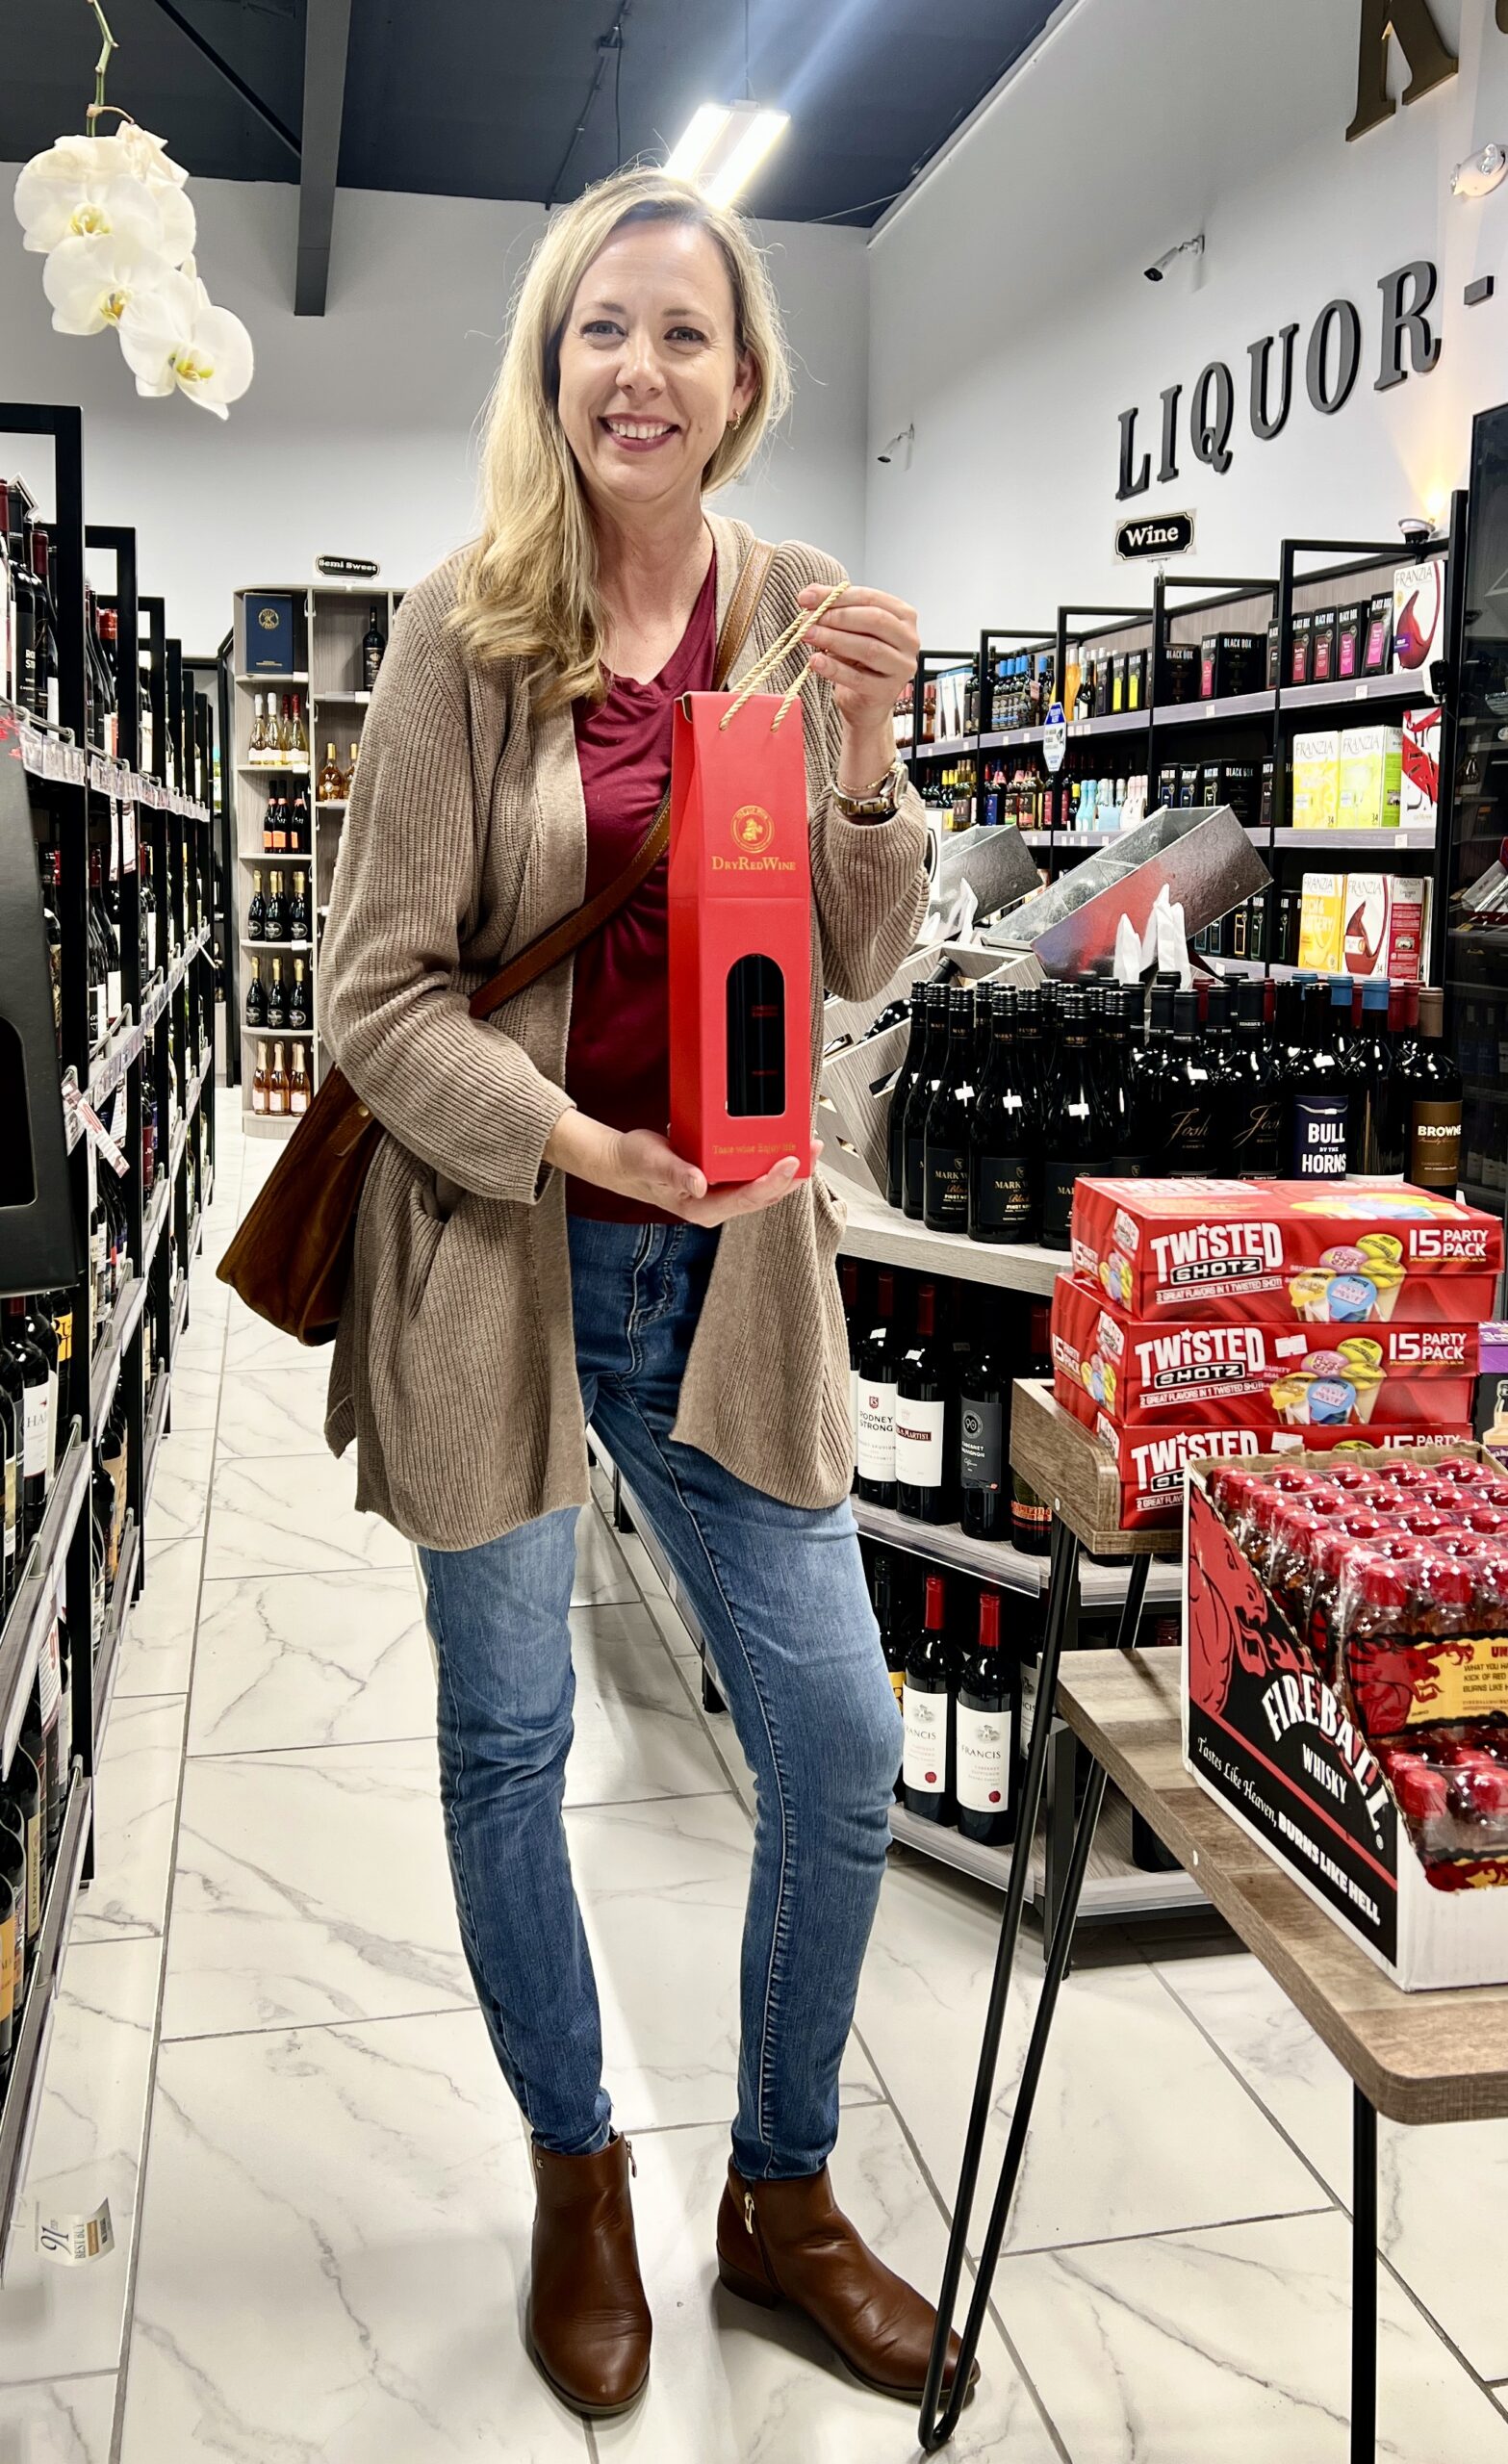 The store’s owner helped me located the perfect bottle of dry red wine to take back to the hotel. As shoppers came and went, I noticed how she knew what some of the regular customers wanted before they located it.
 K96 Liquor is one-stop shopping if you’re seeking a variety of wine, beer or spirits to purchase for your next gathering with friends or family. And if you’re a guest at someone’s party, consider purchasing one of the pre-boxed bottles that come in gift-worthy packaging.
 PRO TIP: Inquire about holiday-themed gift sets.
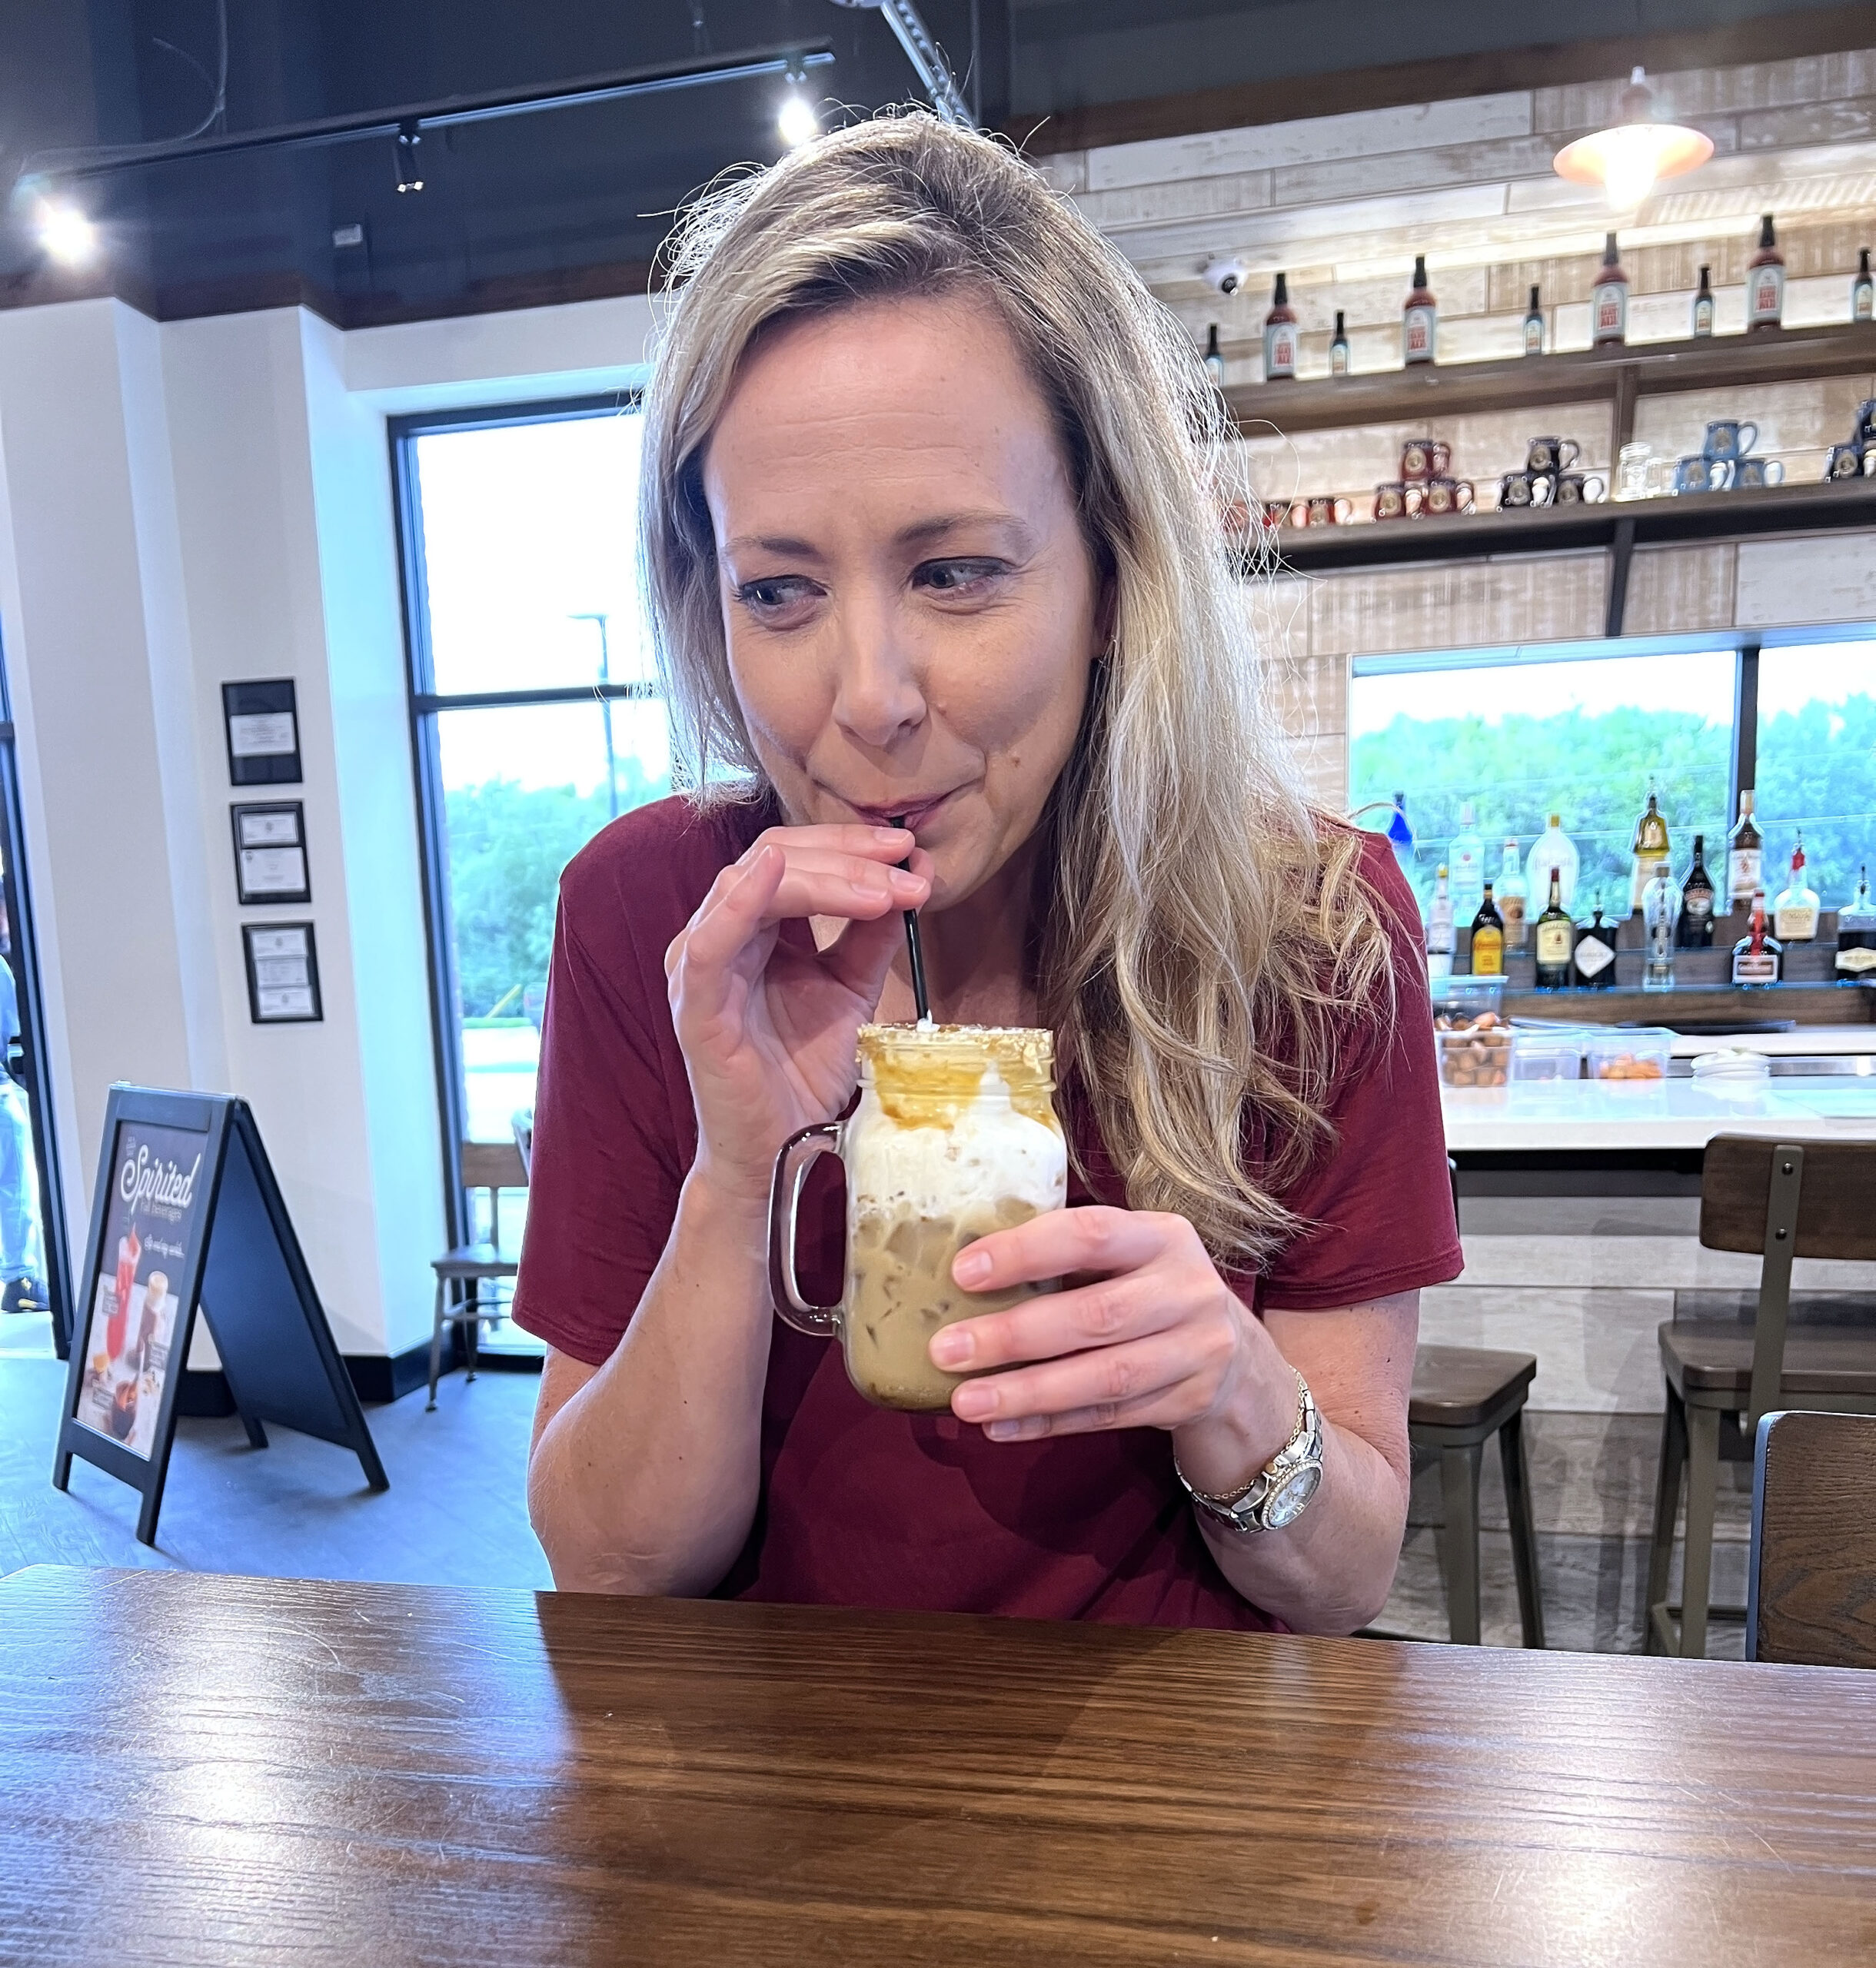
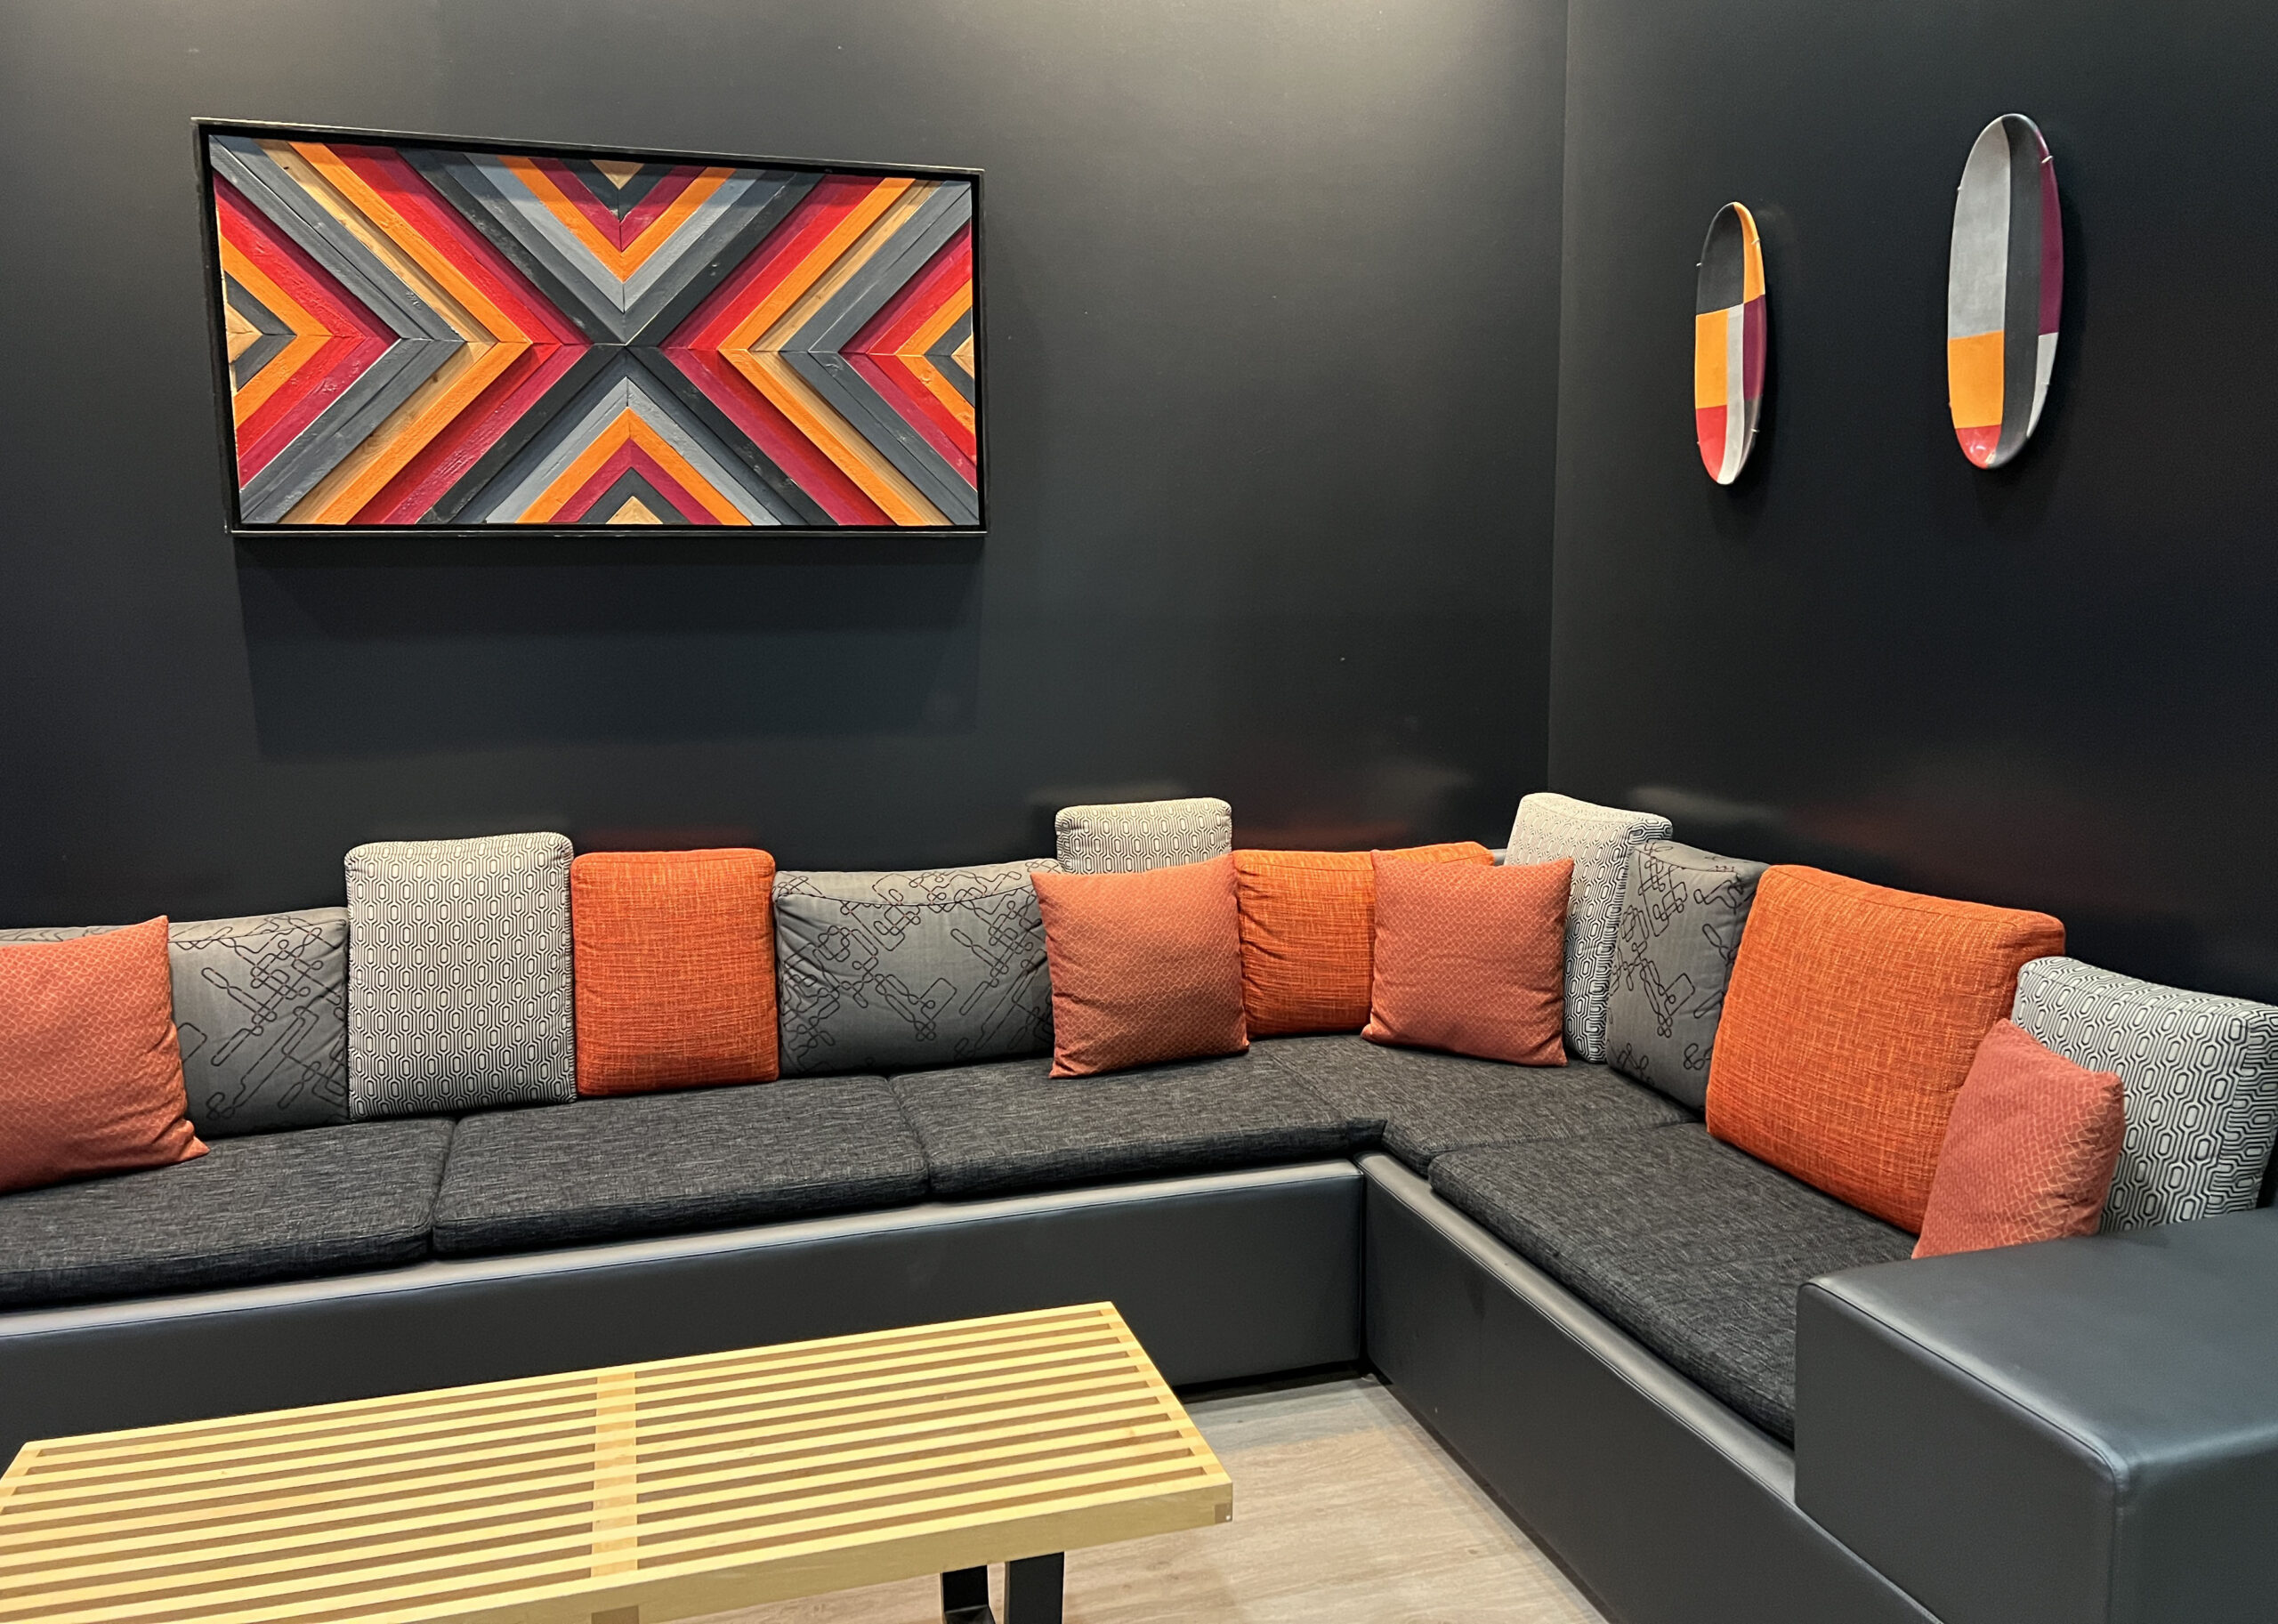
ALOFT WICHITA: OVERNIGHT IN STYLE
Aloft Wichita (3642 N. Oliver) is a hip hotel that feels like a staycation for locals, and it’s the ideal retreat for leisure or business travelers. Between bold design, unexpected fun, and local art connections, this spot makes it easy to blend work and play in one trip.
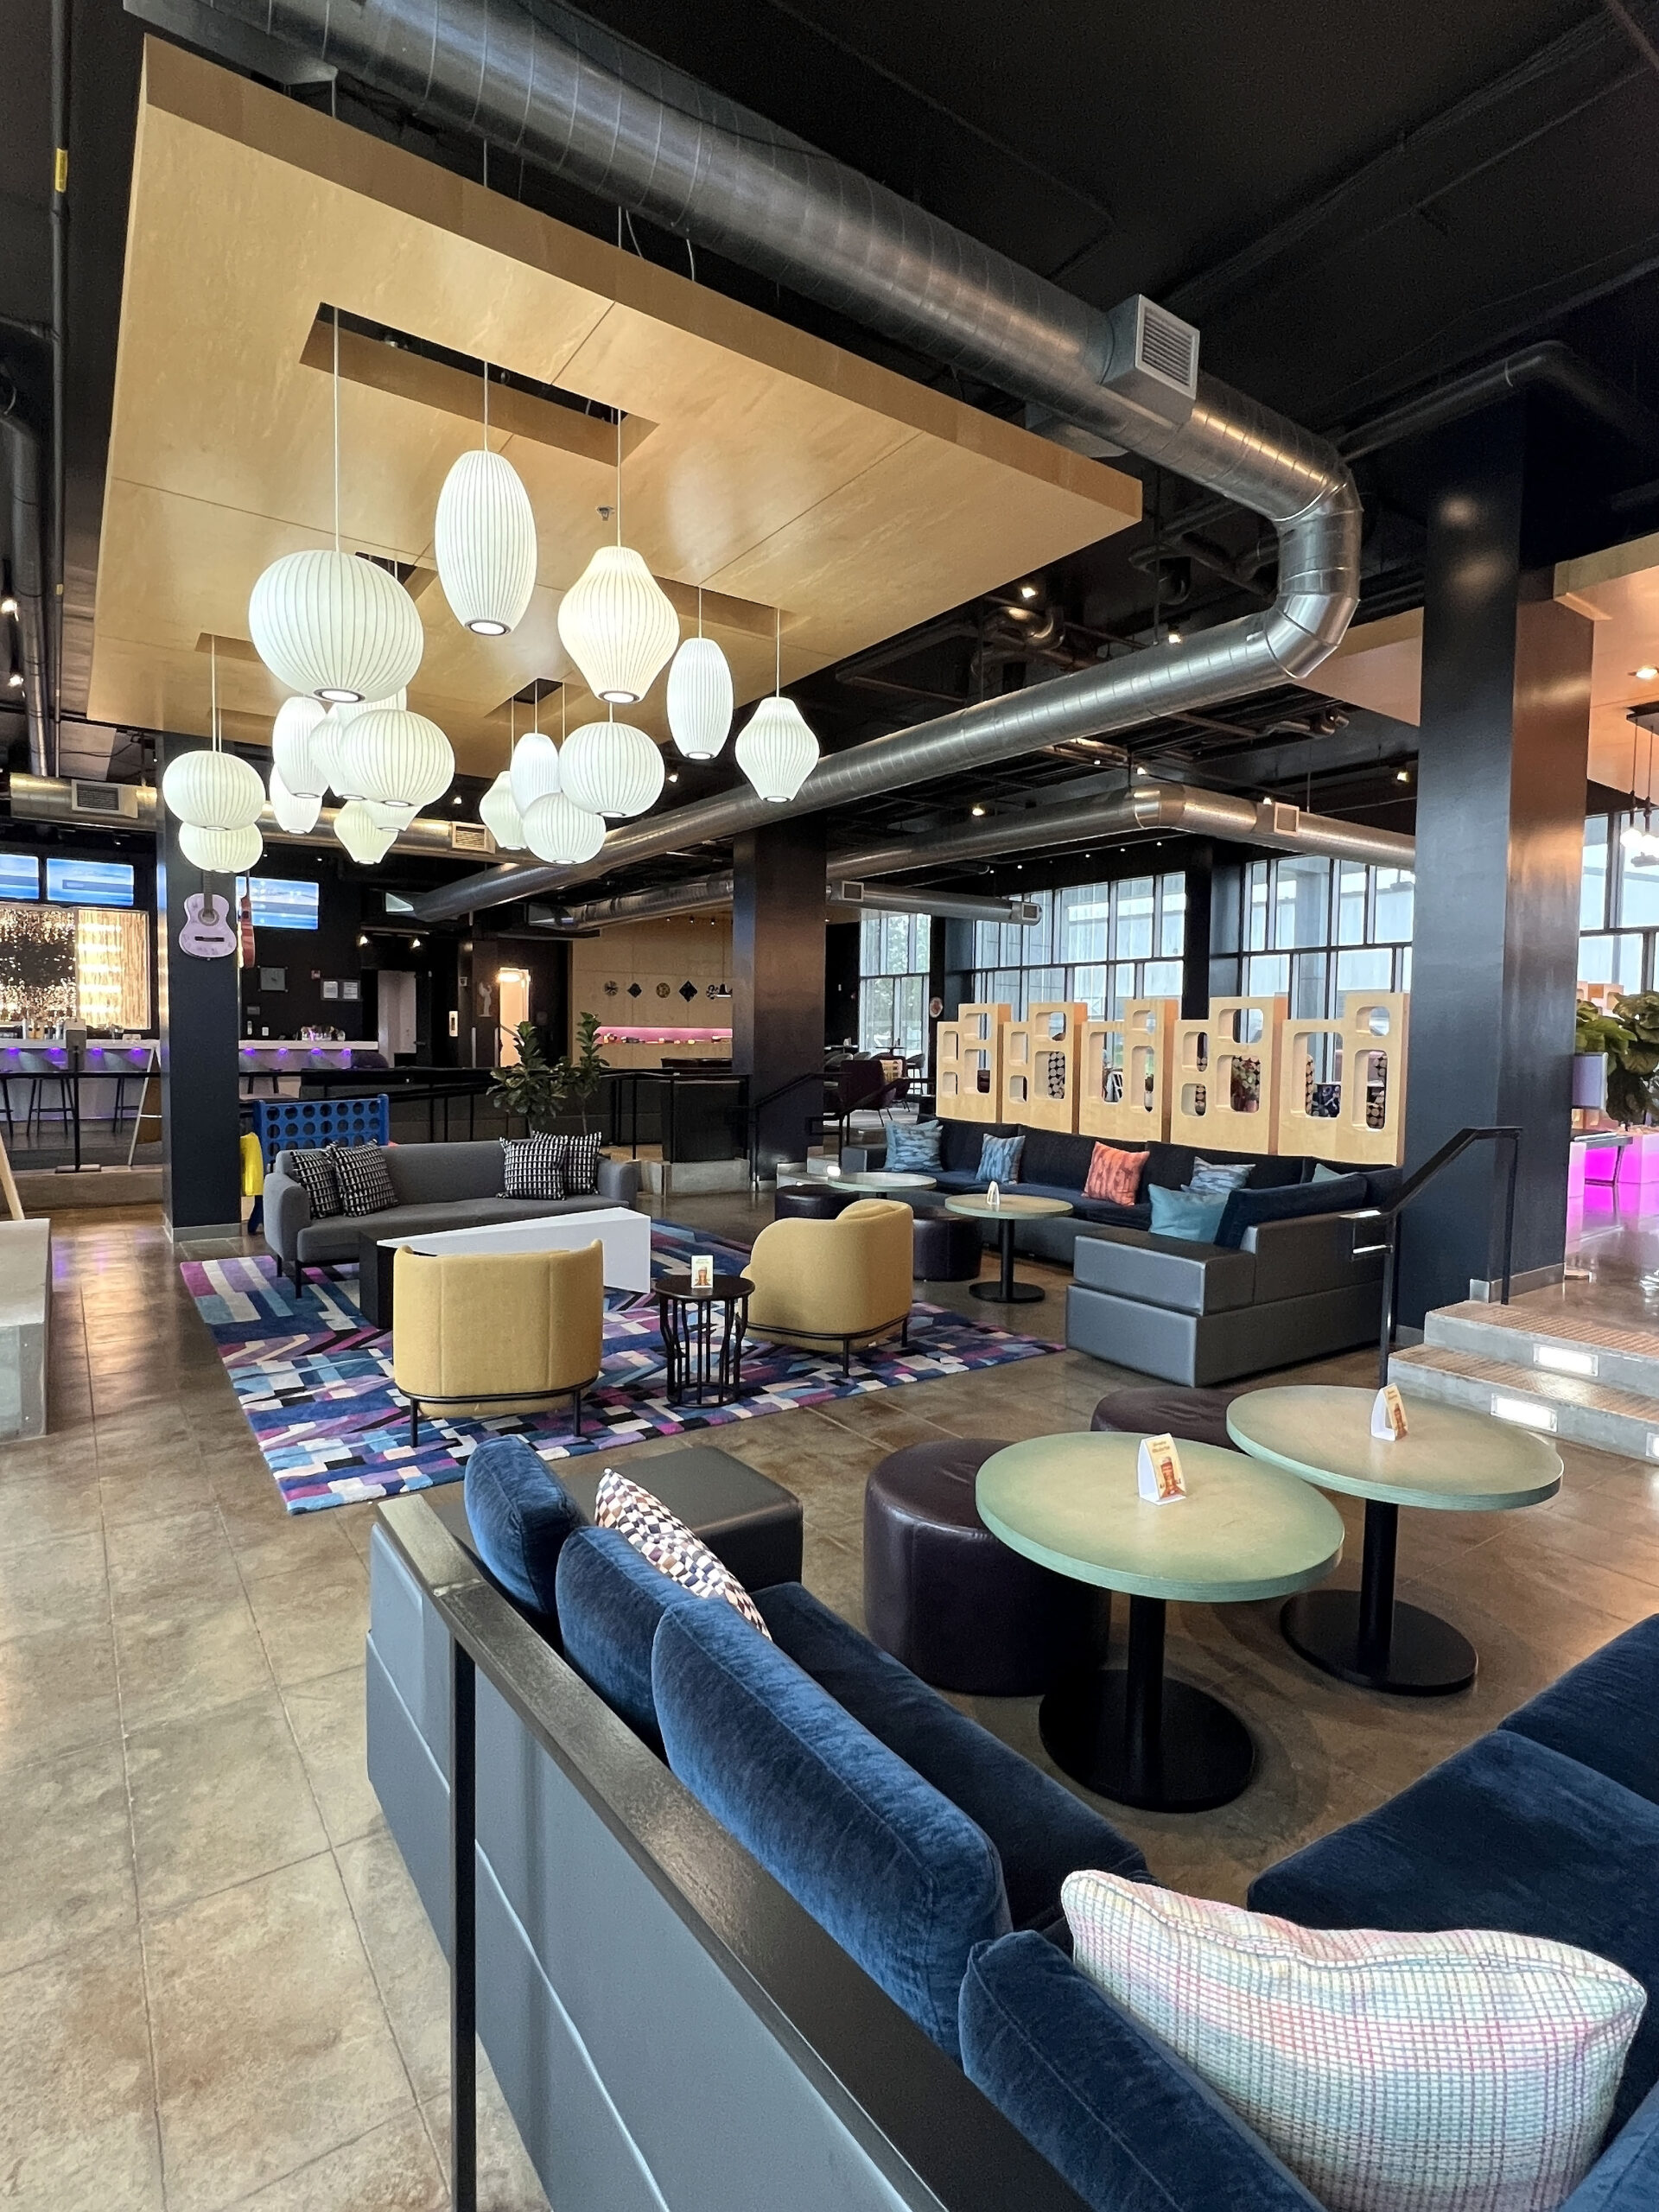
 Newly renovated, the boutique hotel has a swimming pool with outdoor seating and fire pits, views of a lake, and a swanky hangout, W xyz® Bar. Aloft Wichita is not another hotel. It’s a vibe.
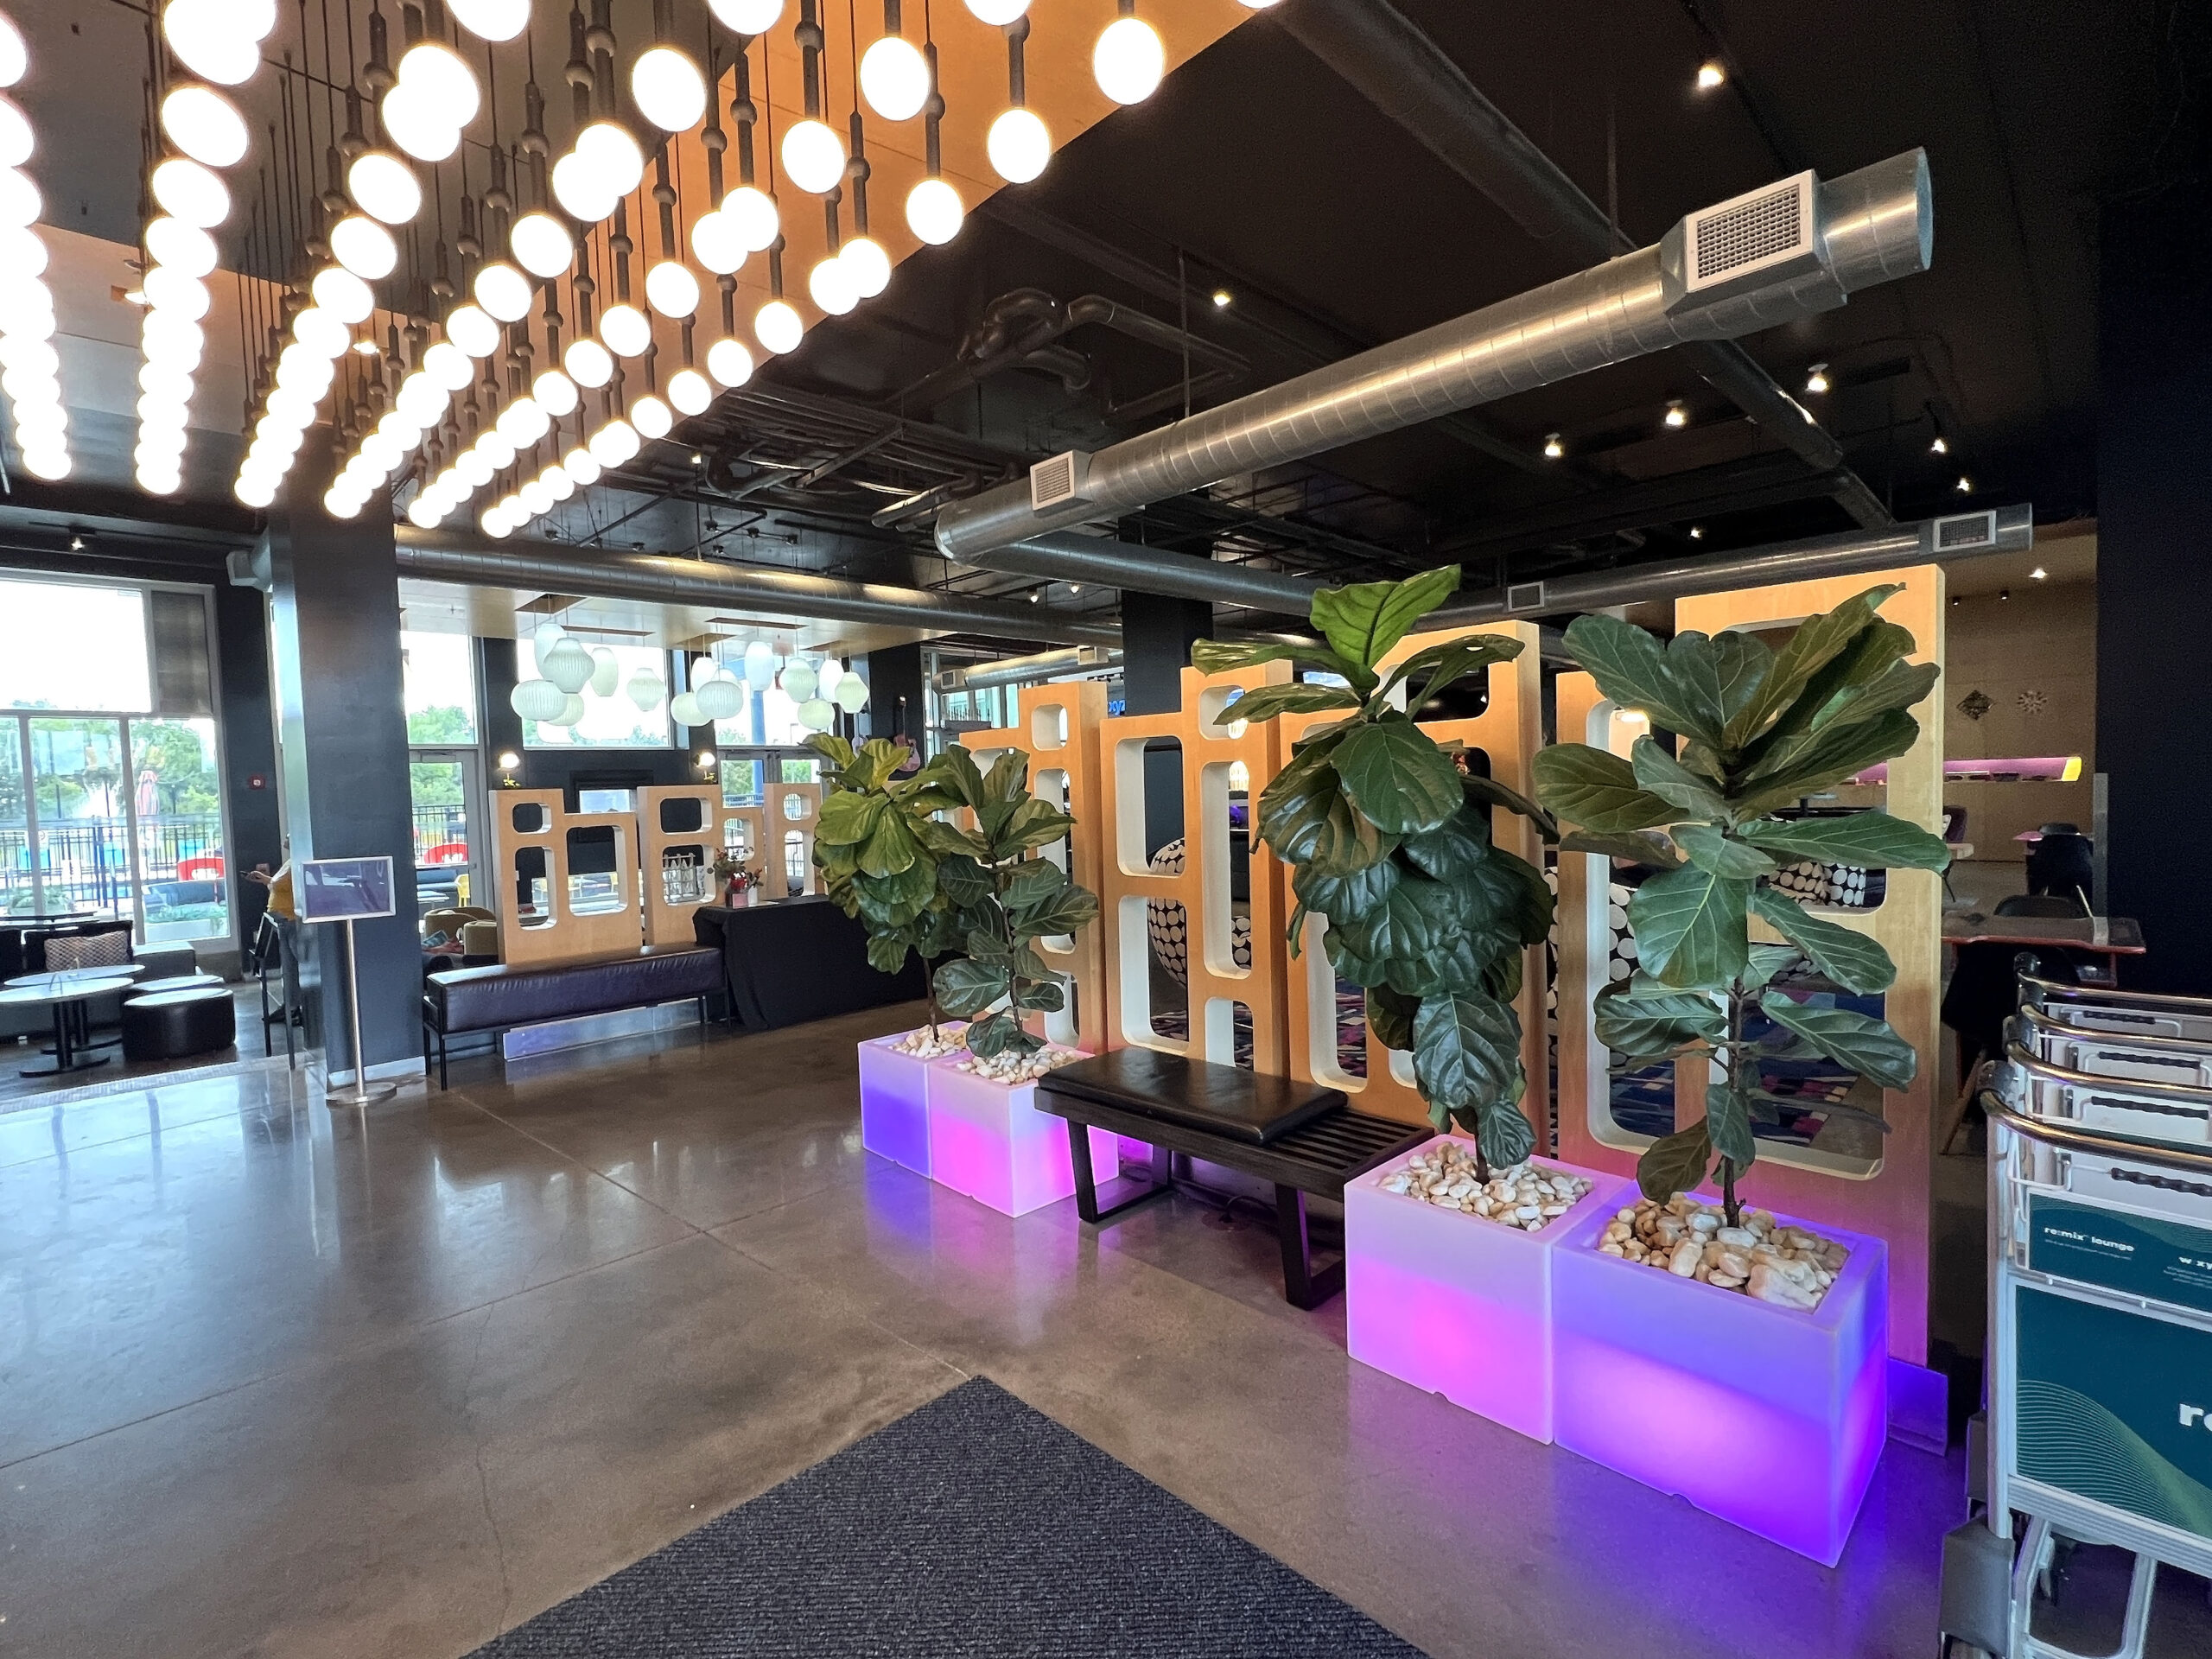
 The lobby is home to games (Ms. Pac-Man, anyone?), a complimentary coffee station, and a sunken lounge area where a musician plays music on Tuesday evenings, the same night W xyz® Bar serves a taco and margarita special.
 After check-in, we sipped District 96 Strawberry Blonde Ale by Nortons Brewing Company at the bar to the sounds of live music. The lobby was filled with hotel guests and drop-in locals who socialized from velvety, stylish couches and around a billiards table. Business travelers worked from laptops at a central desk area.
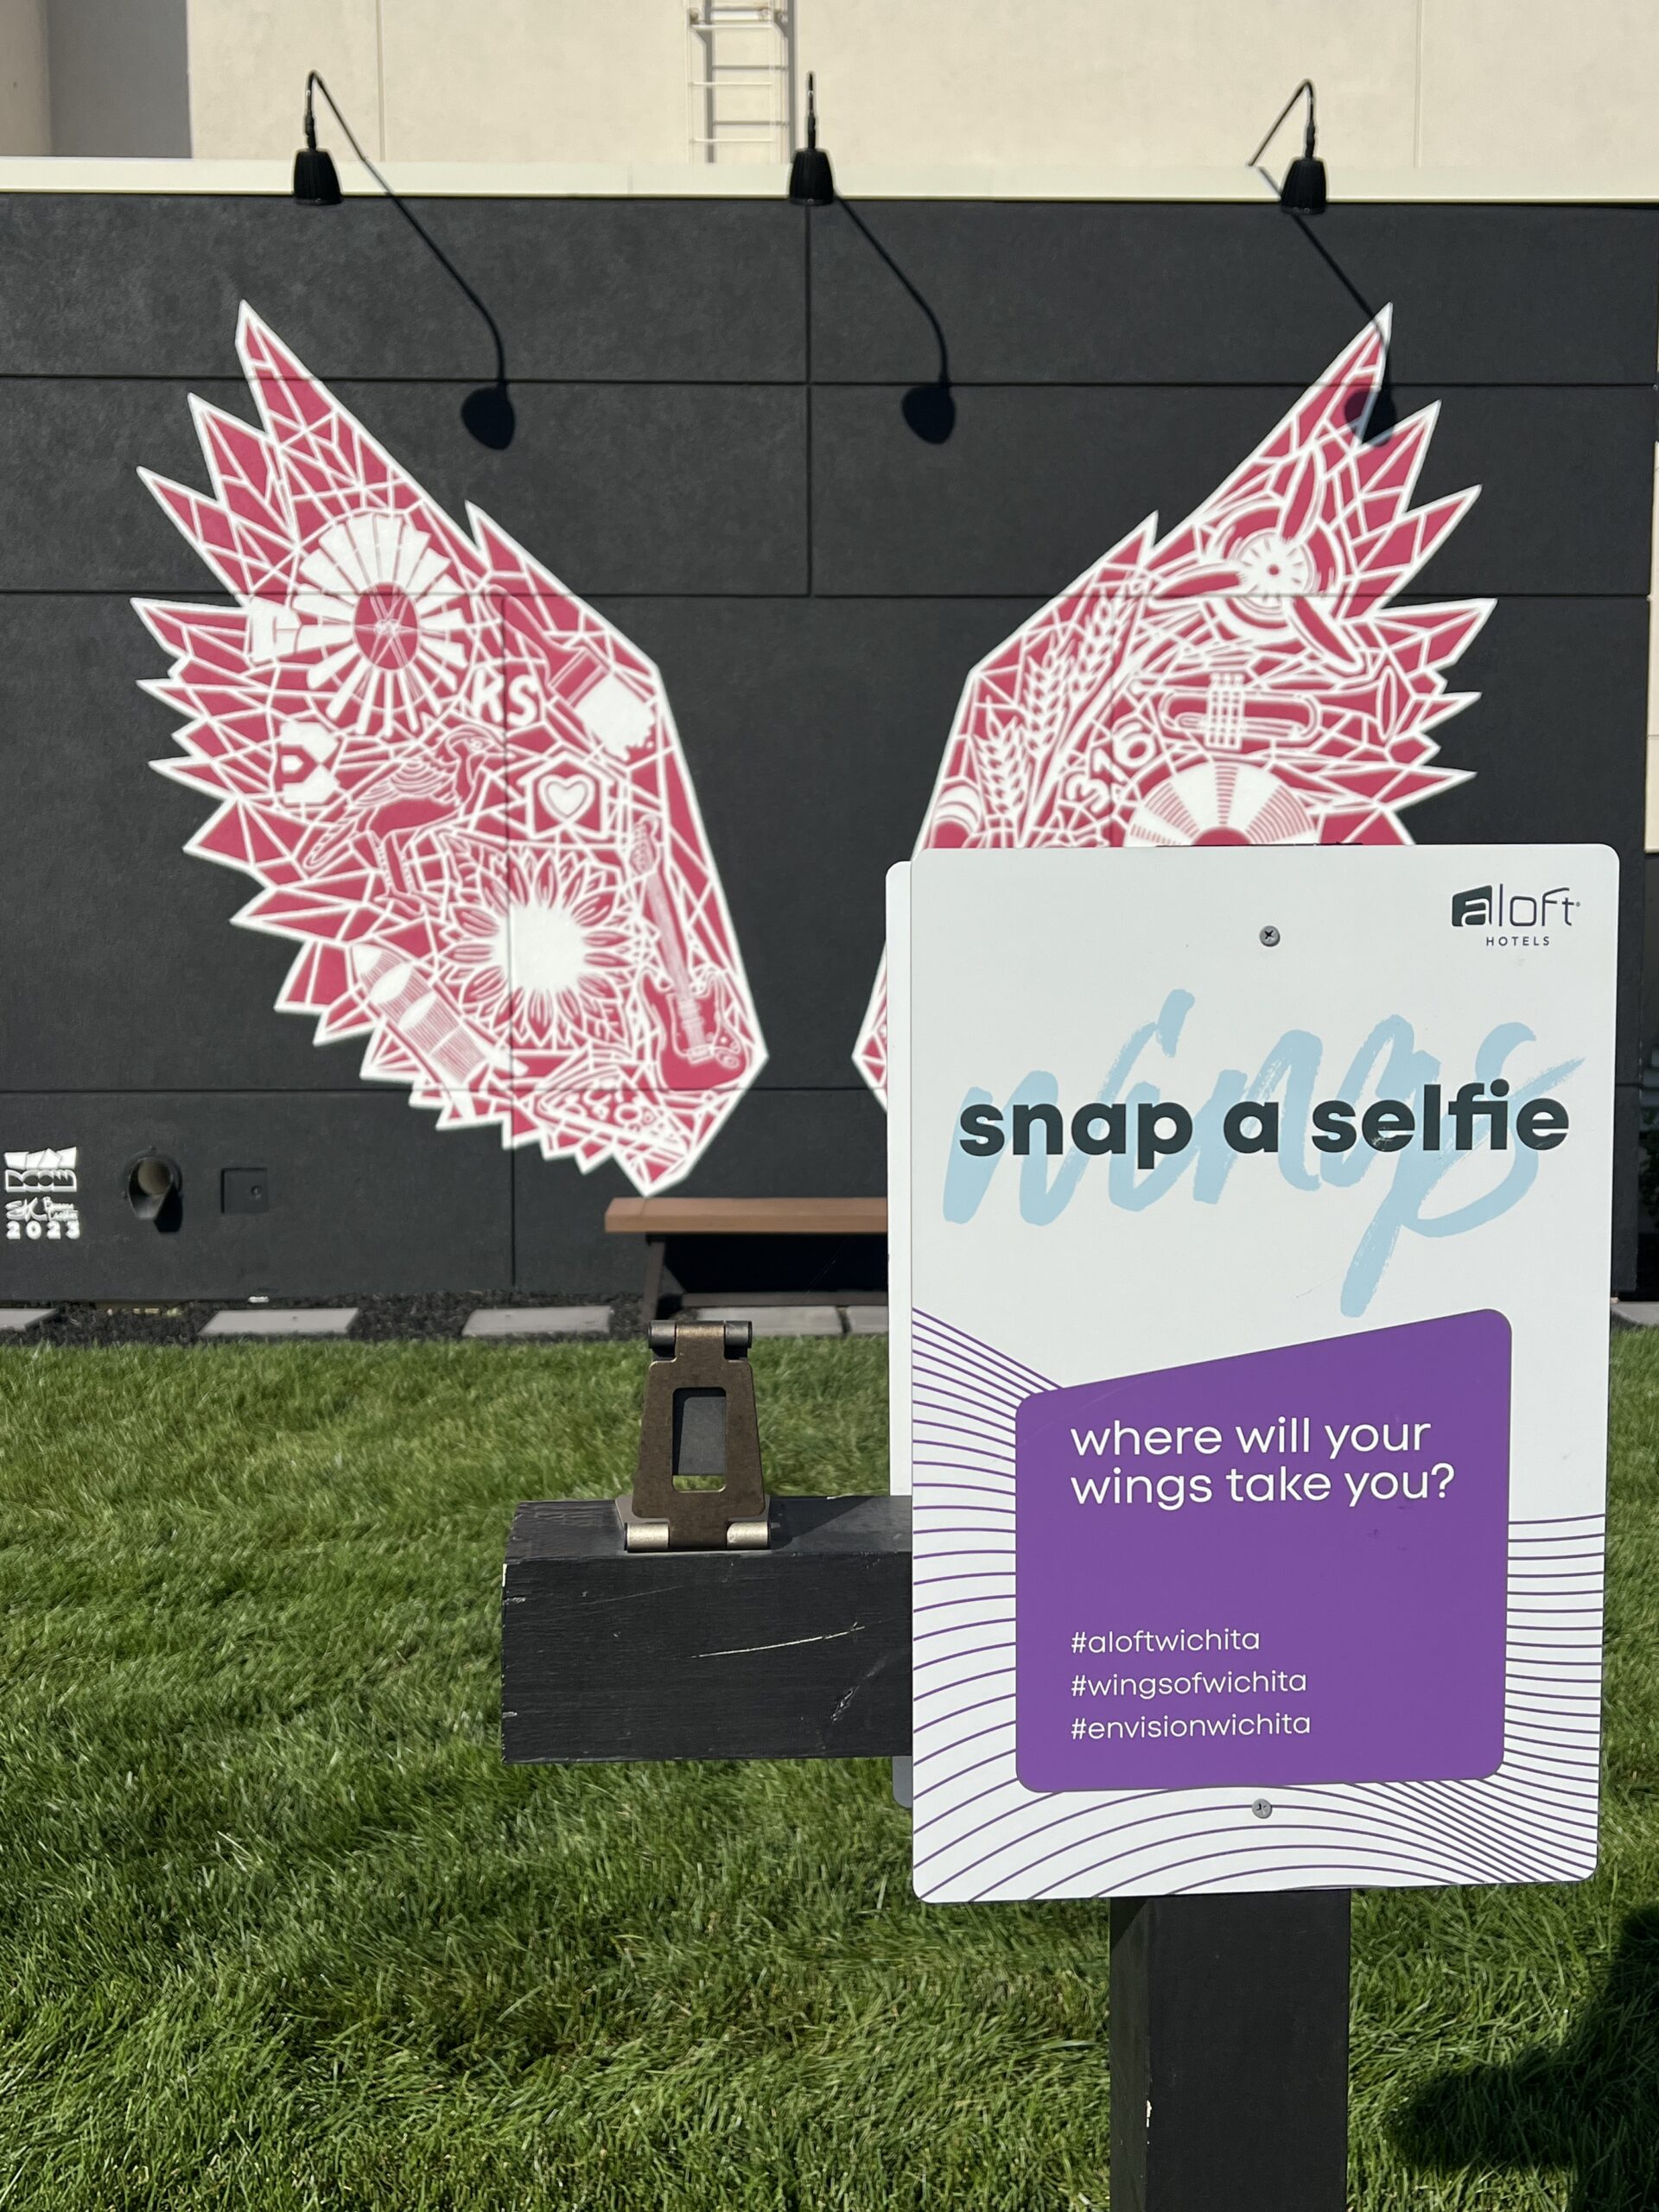
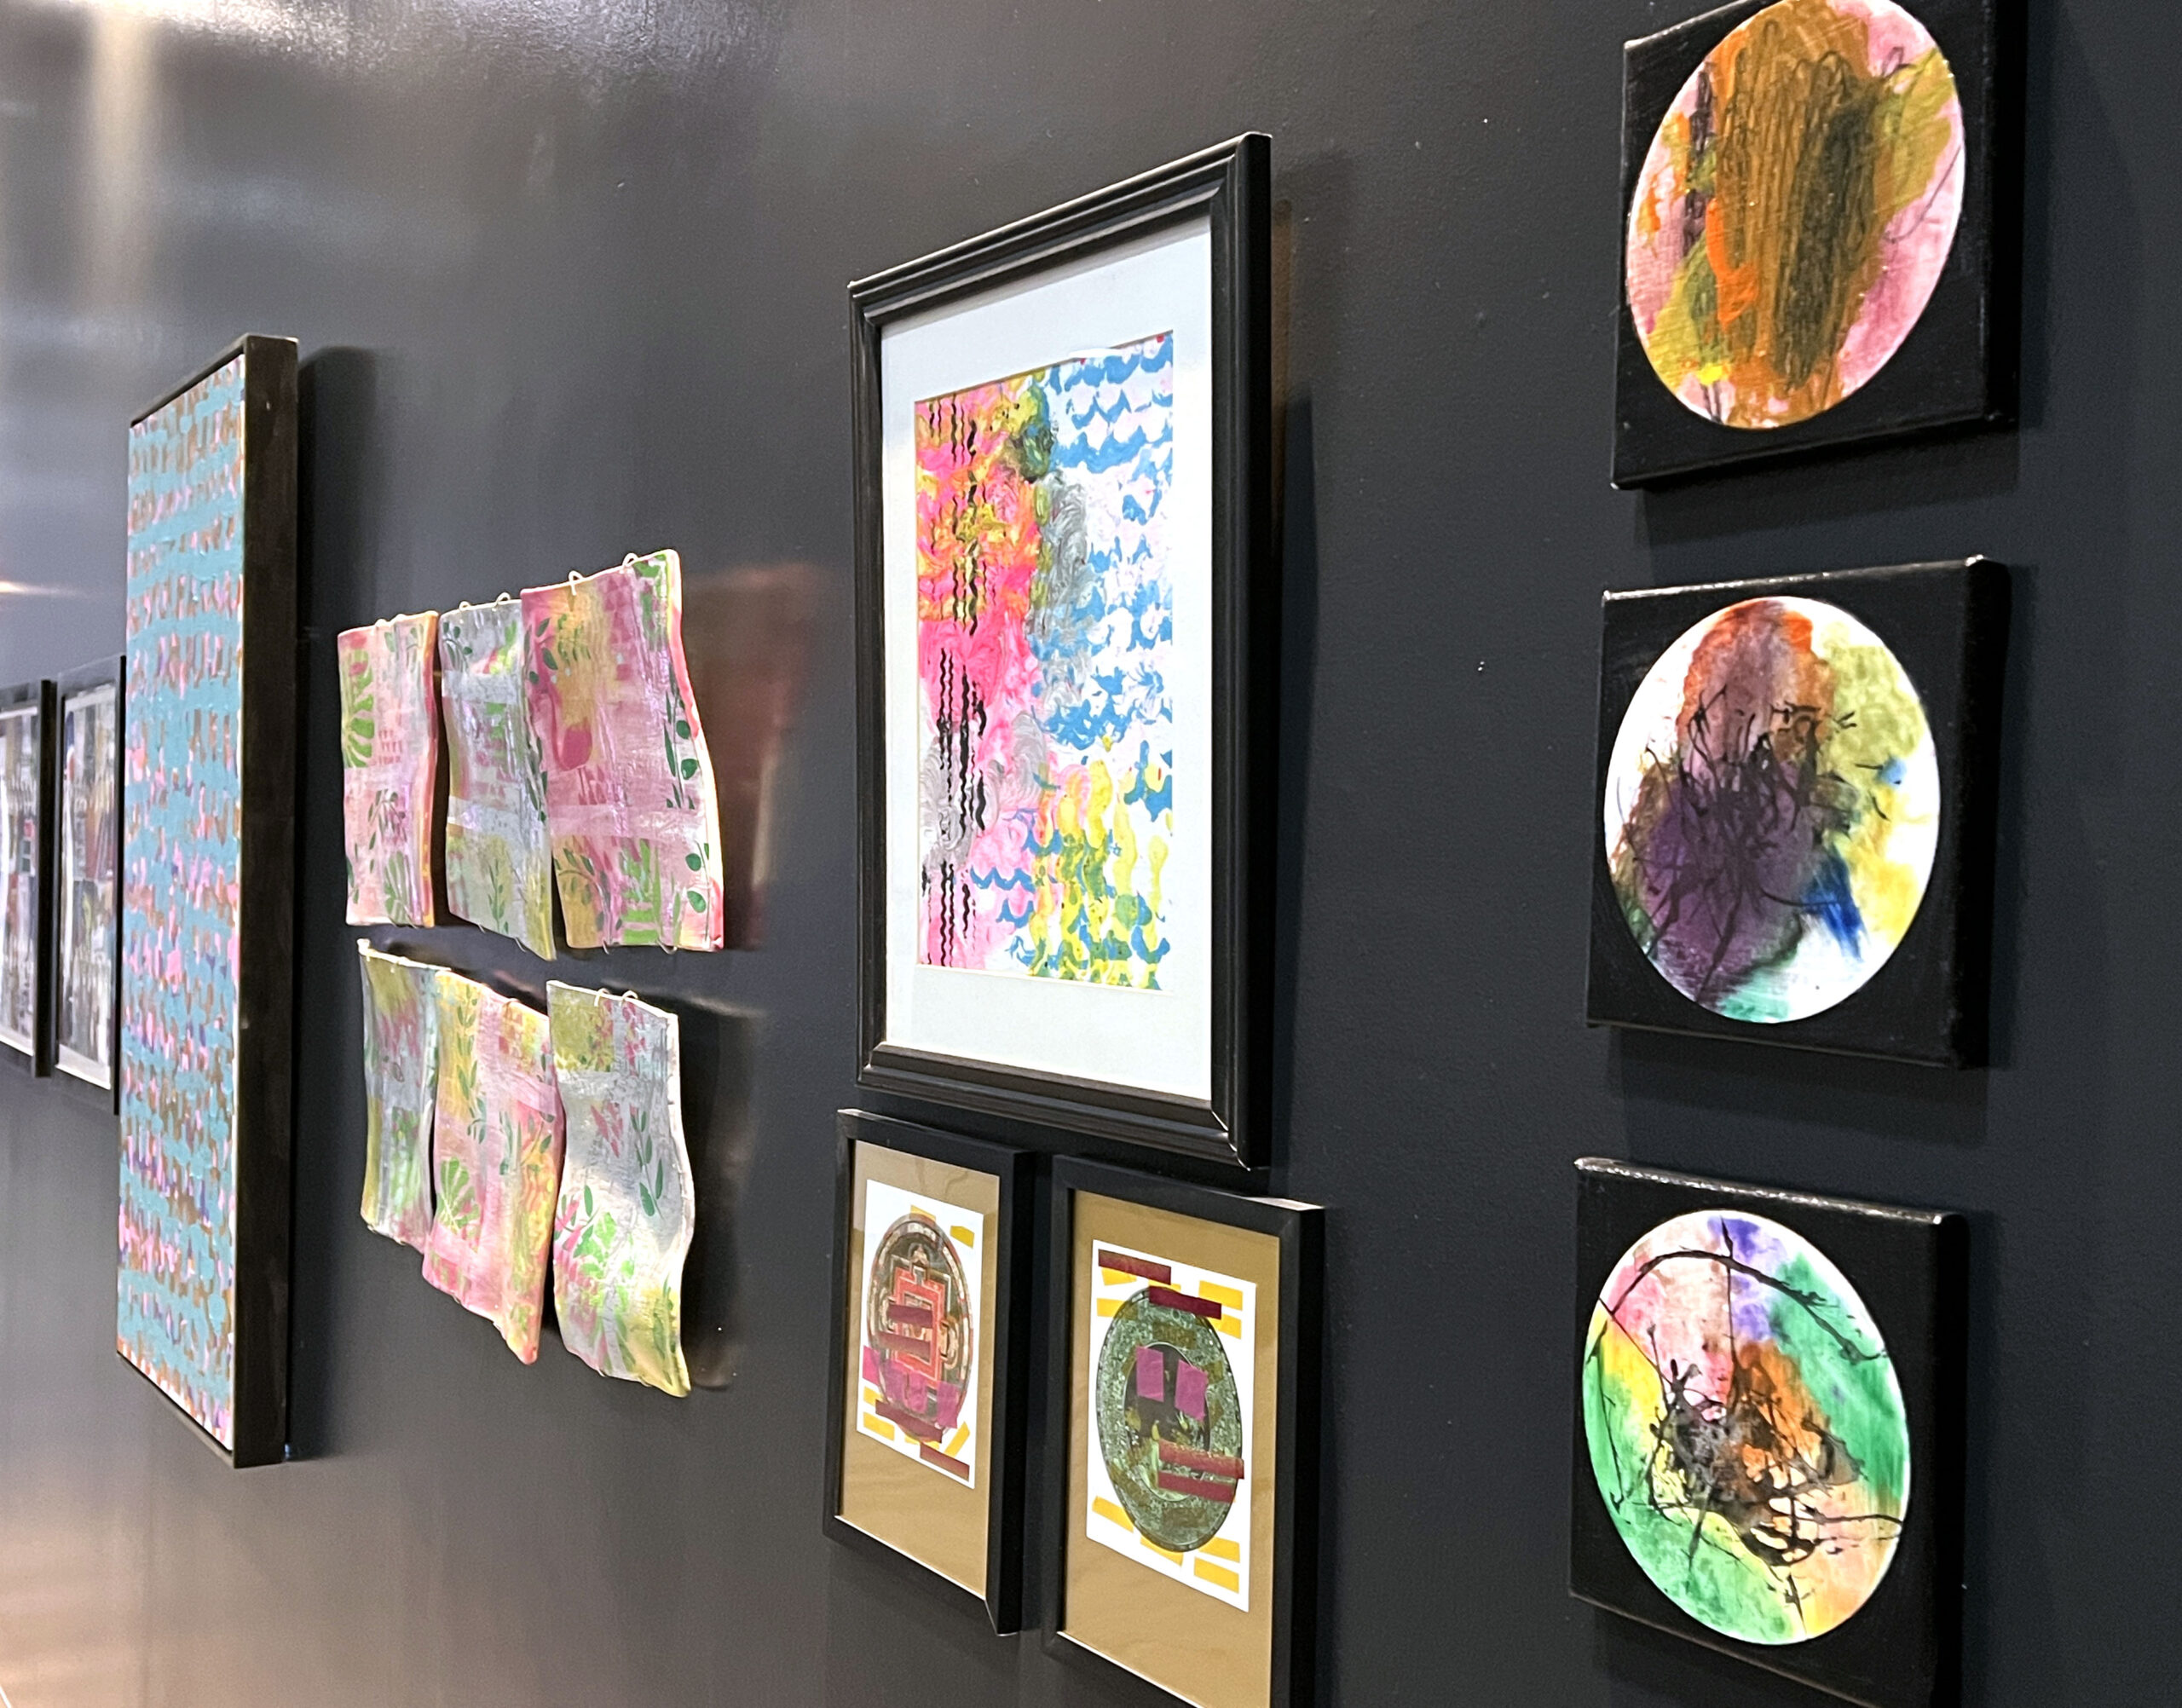 Later, we explored the hotel’s art gallery by Envision, which displays remarkable works completed by Wichita artists with vision loss. The breathtaking collections change throughout the year.
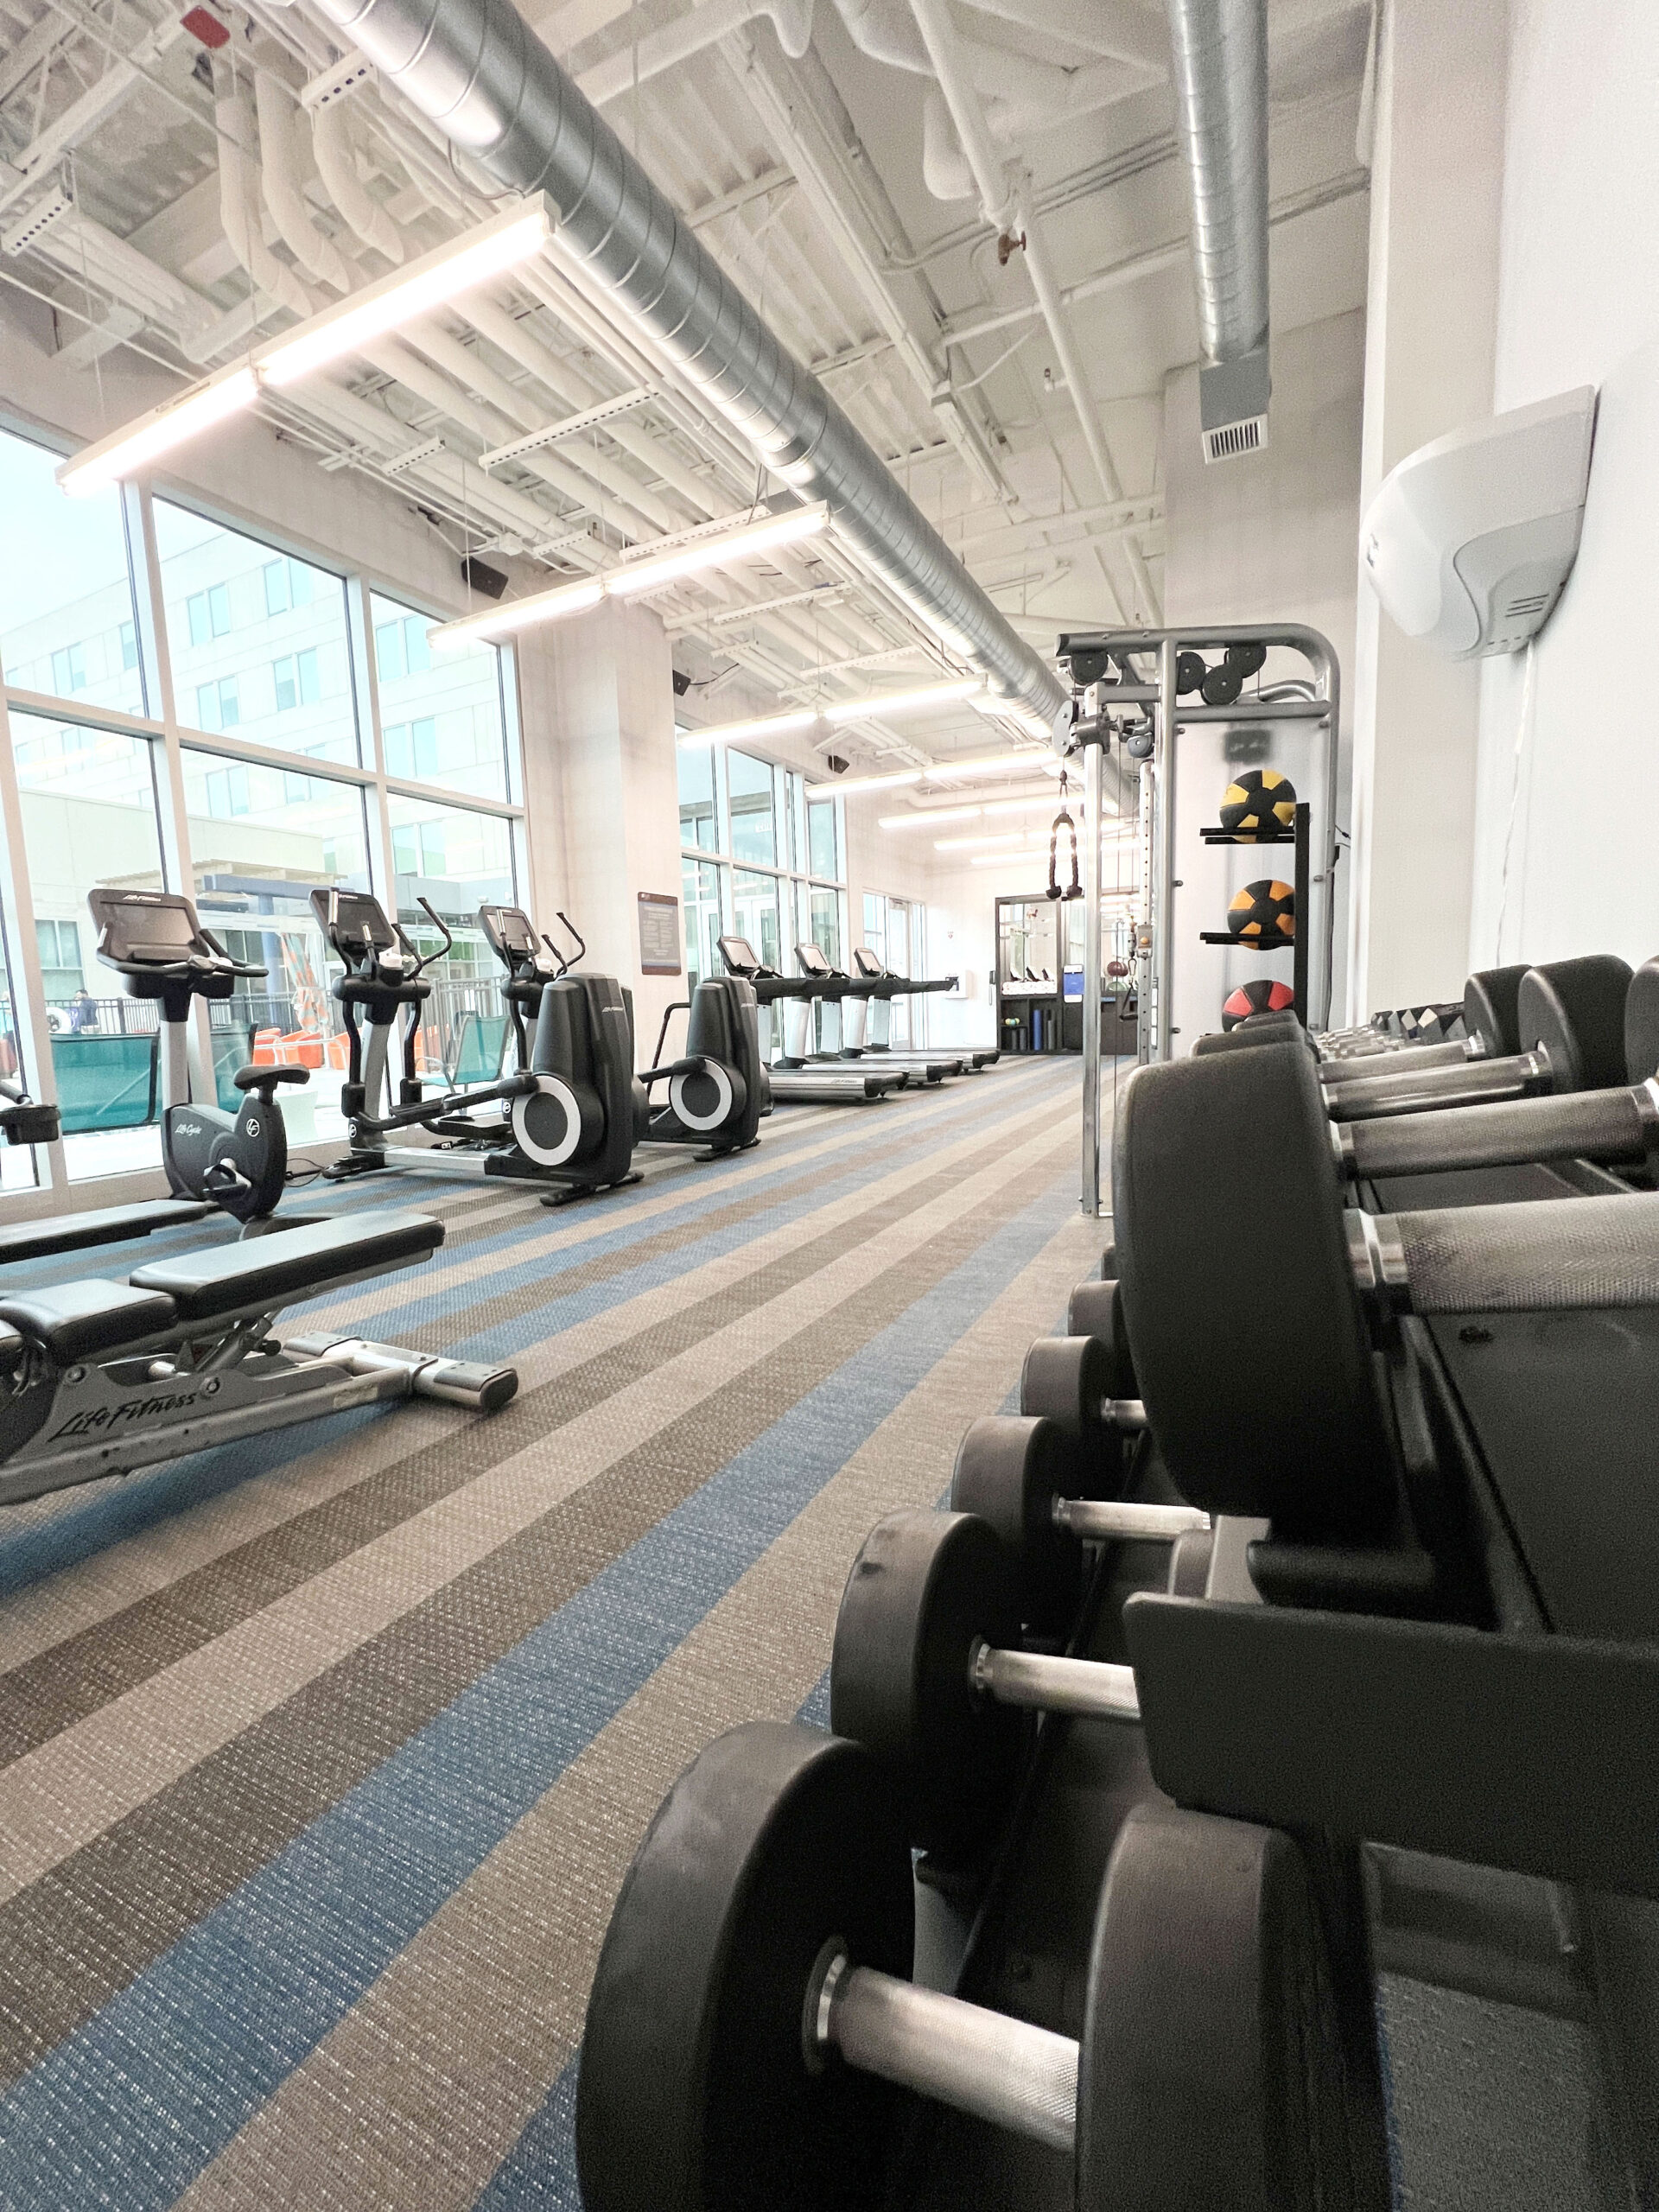 Guests who want to make the most of the available amenities during the day will appreciate the fitness facility’s collection of state-of-the-art machines and weights.
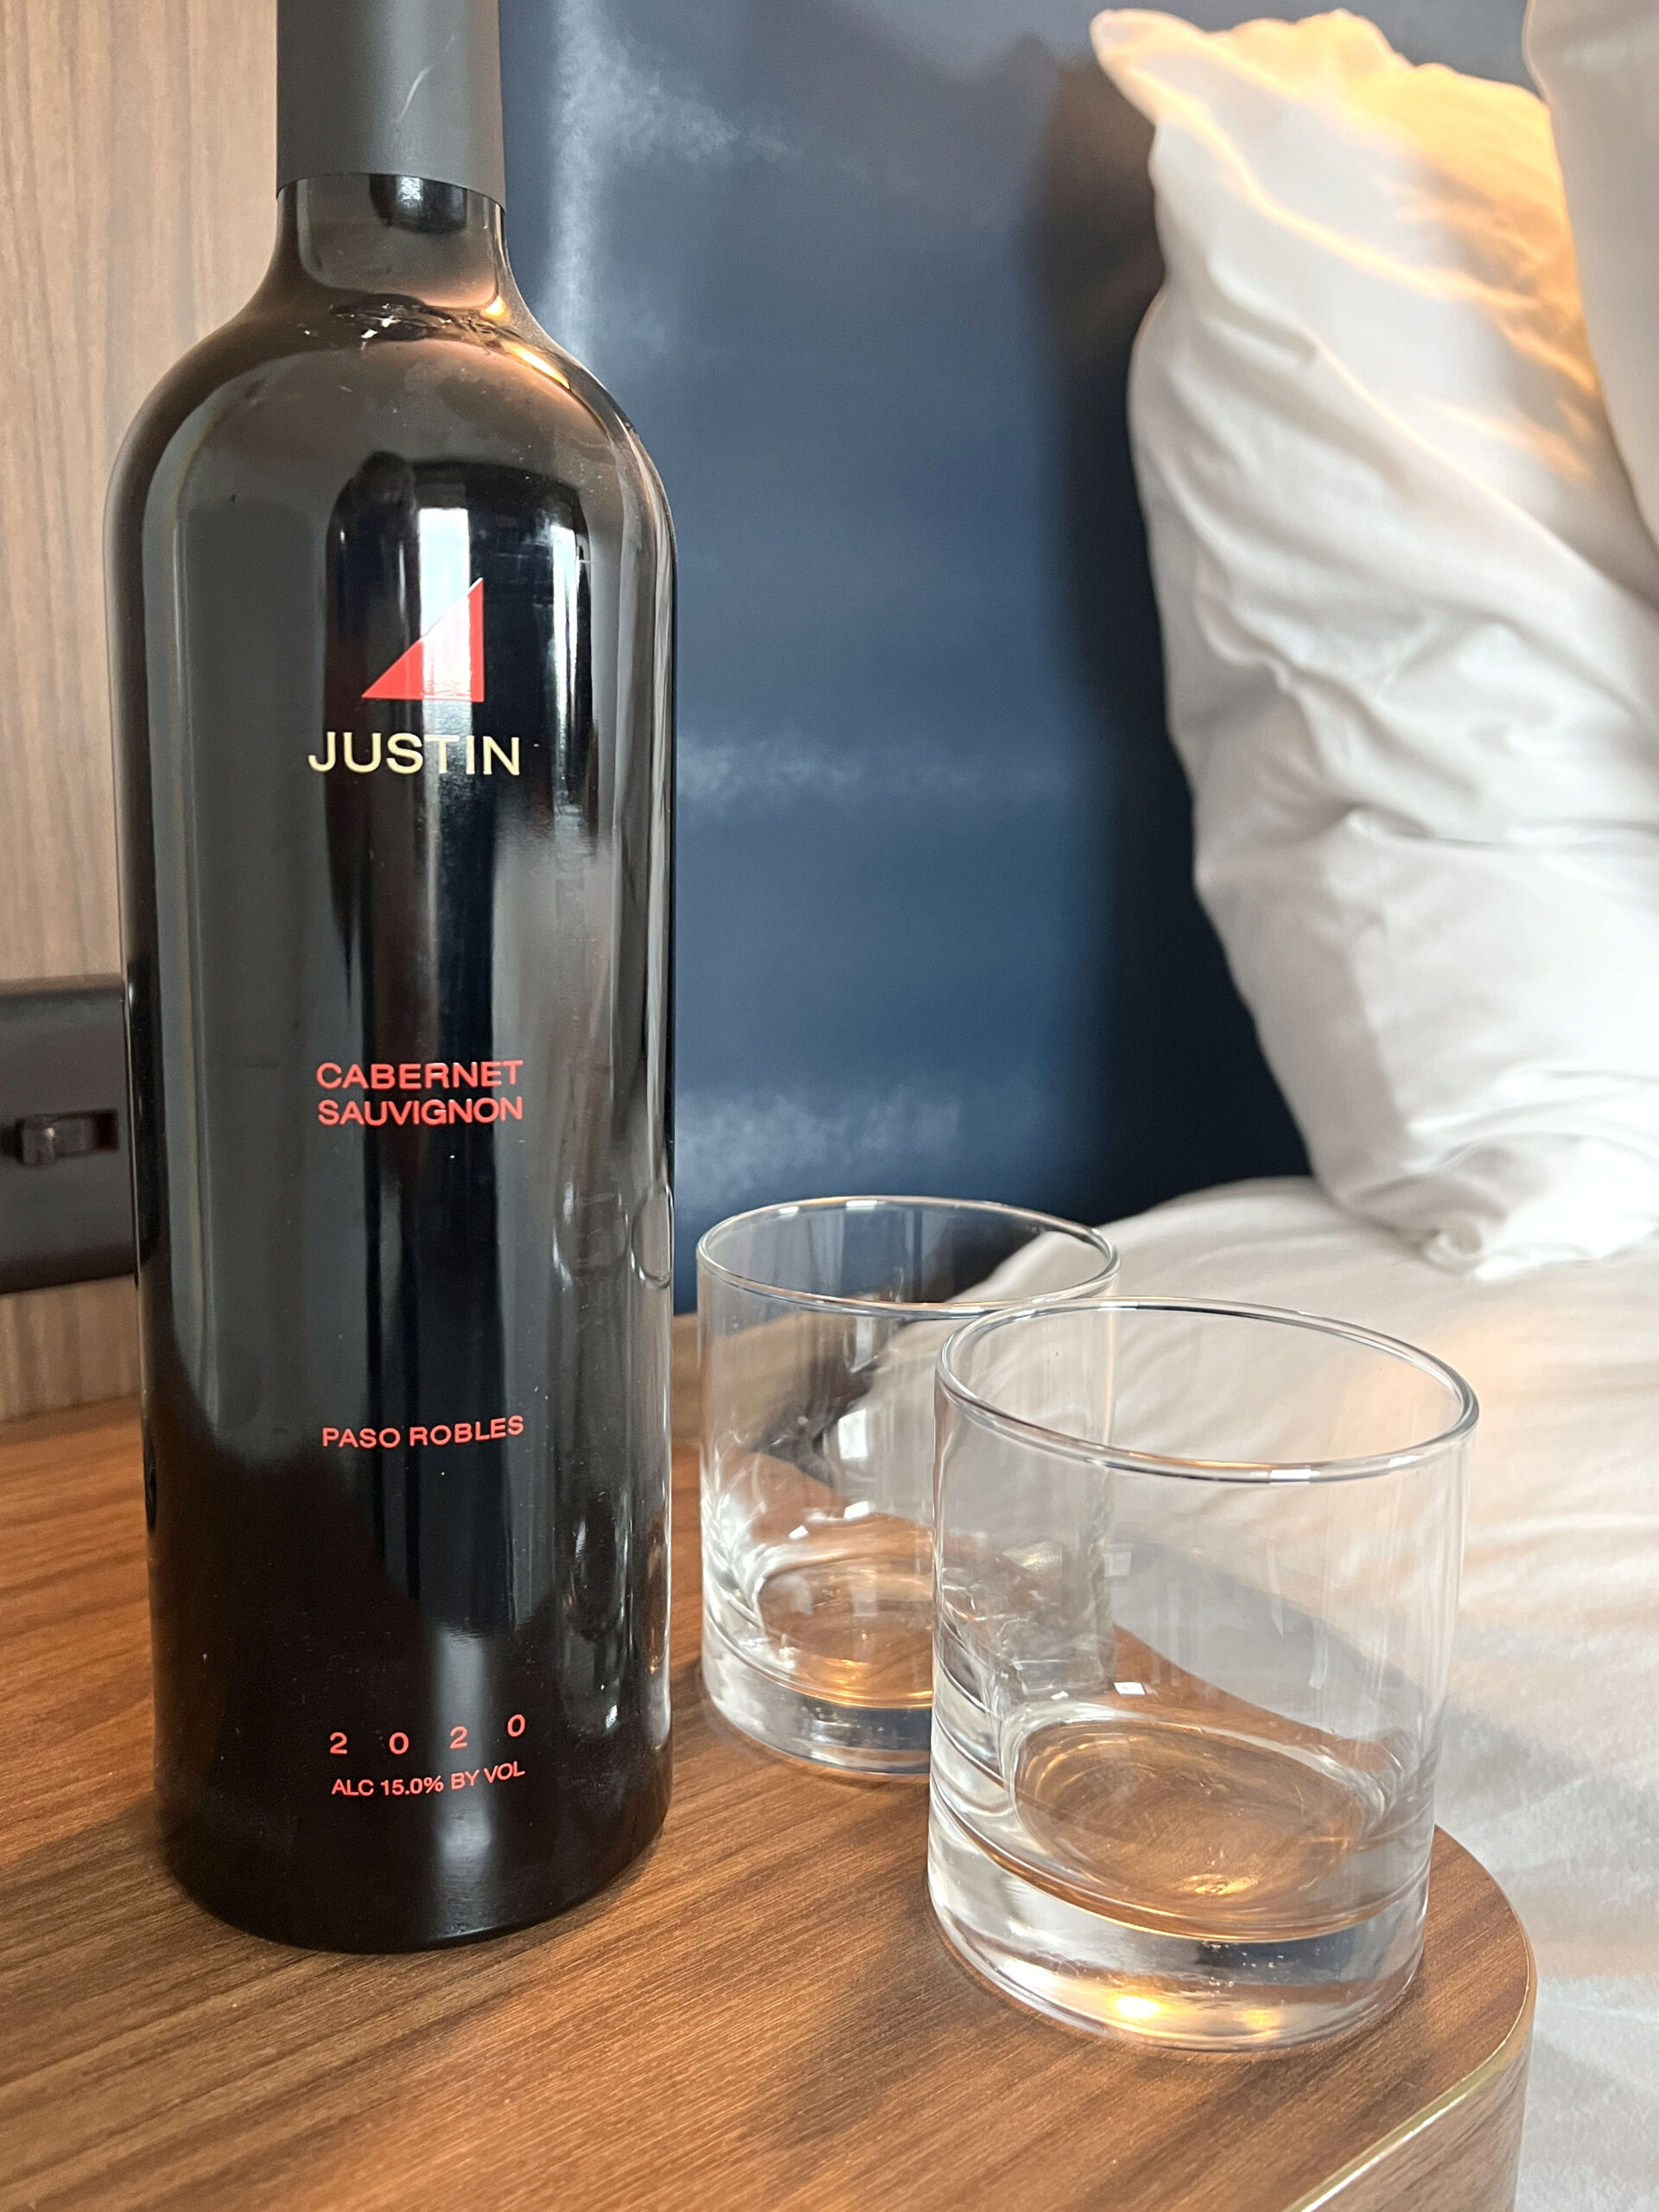
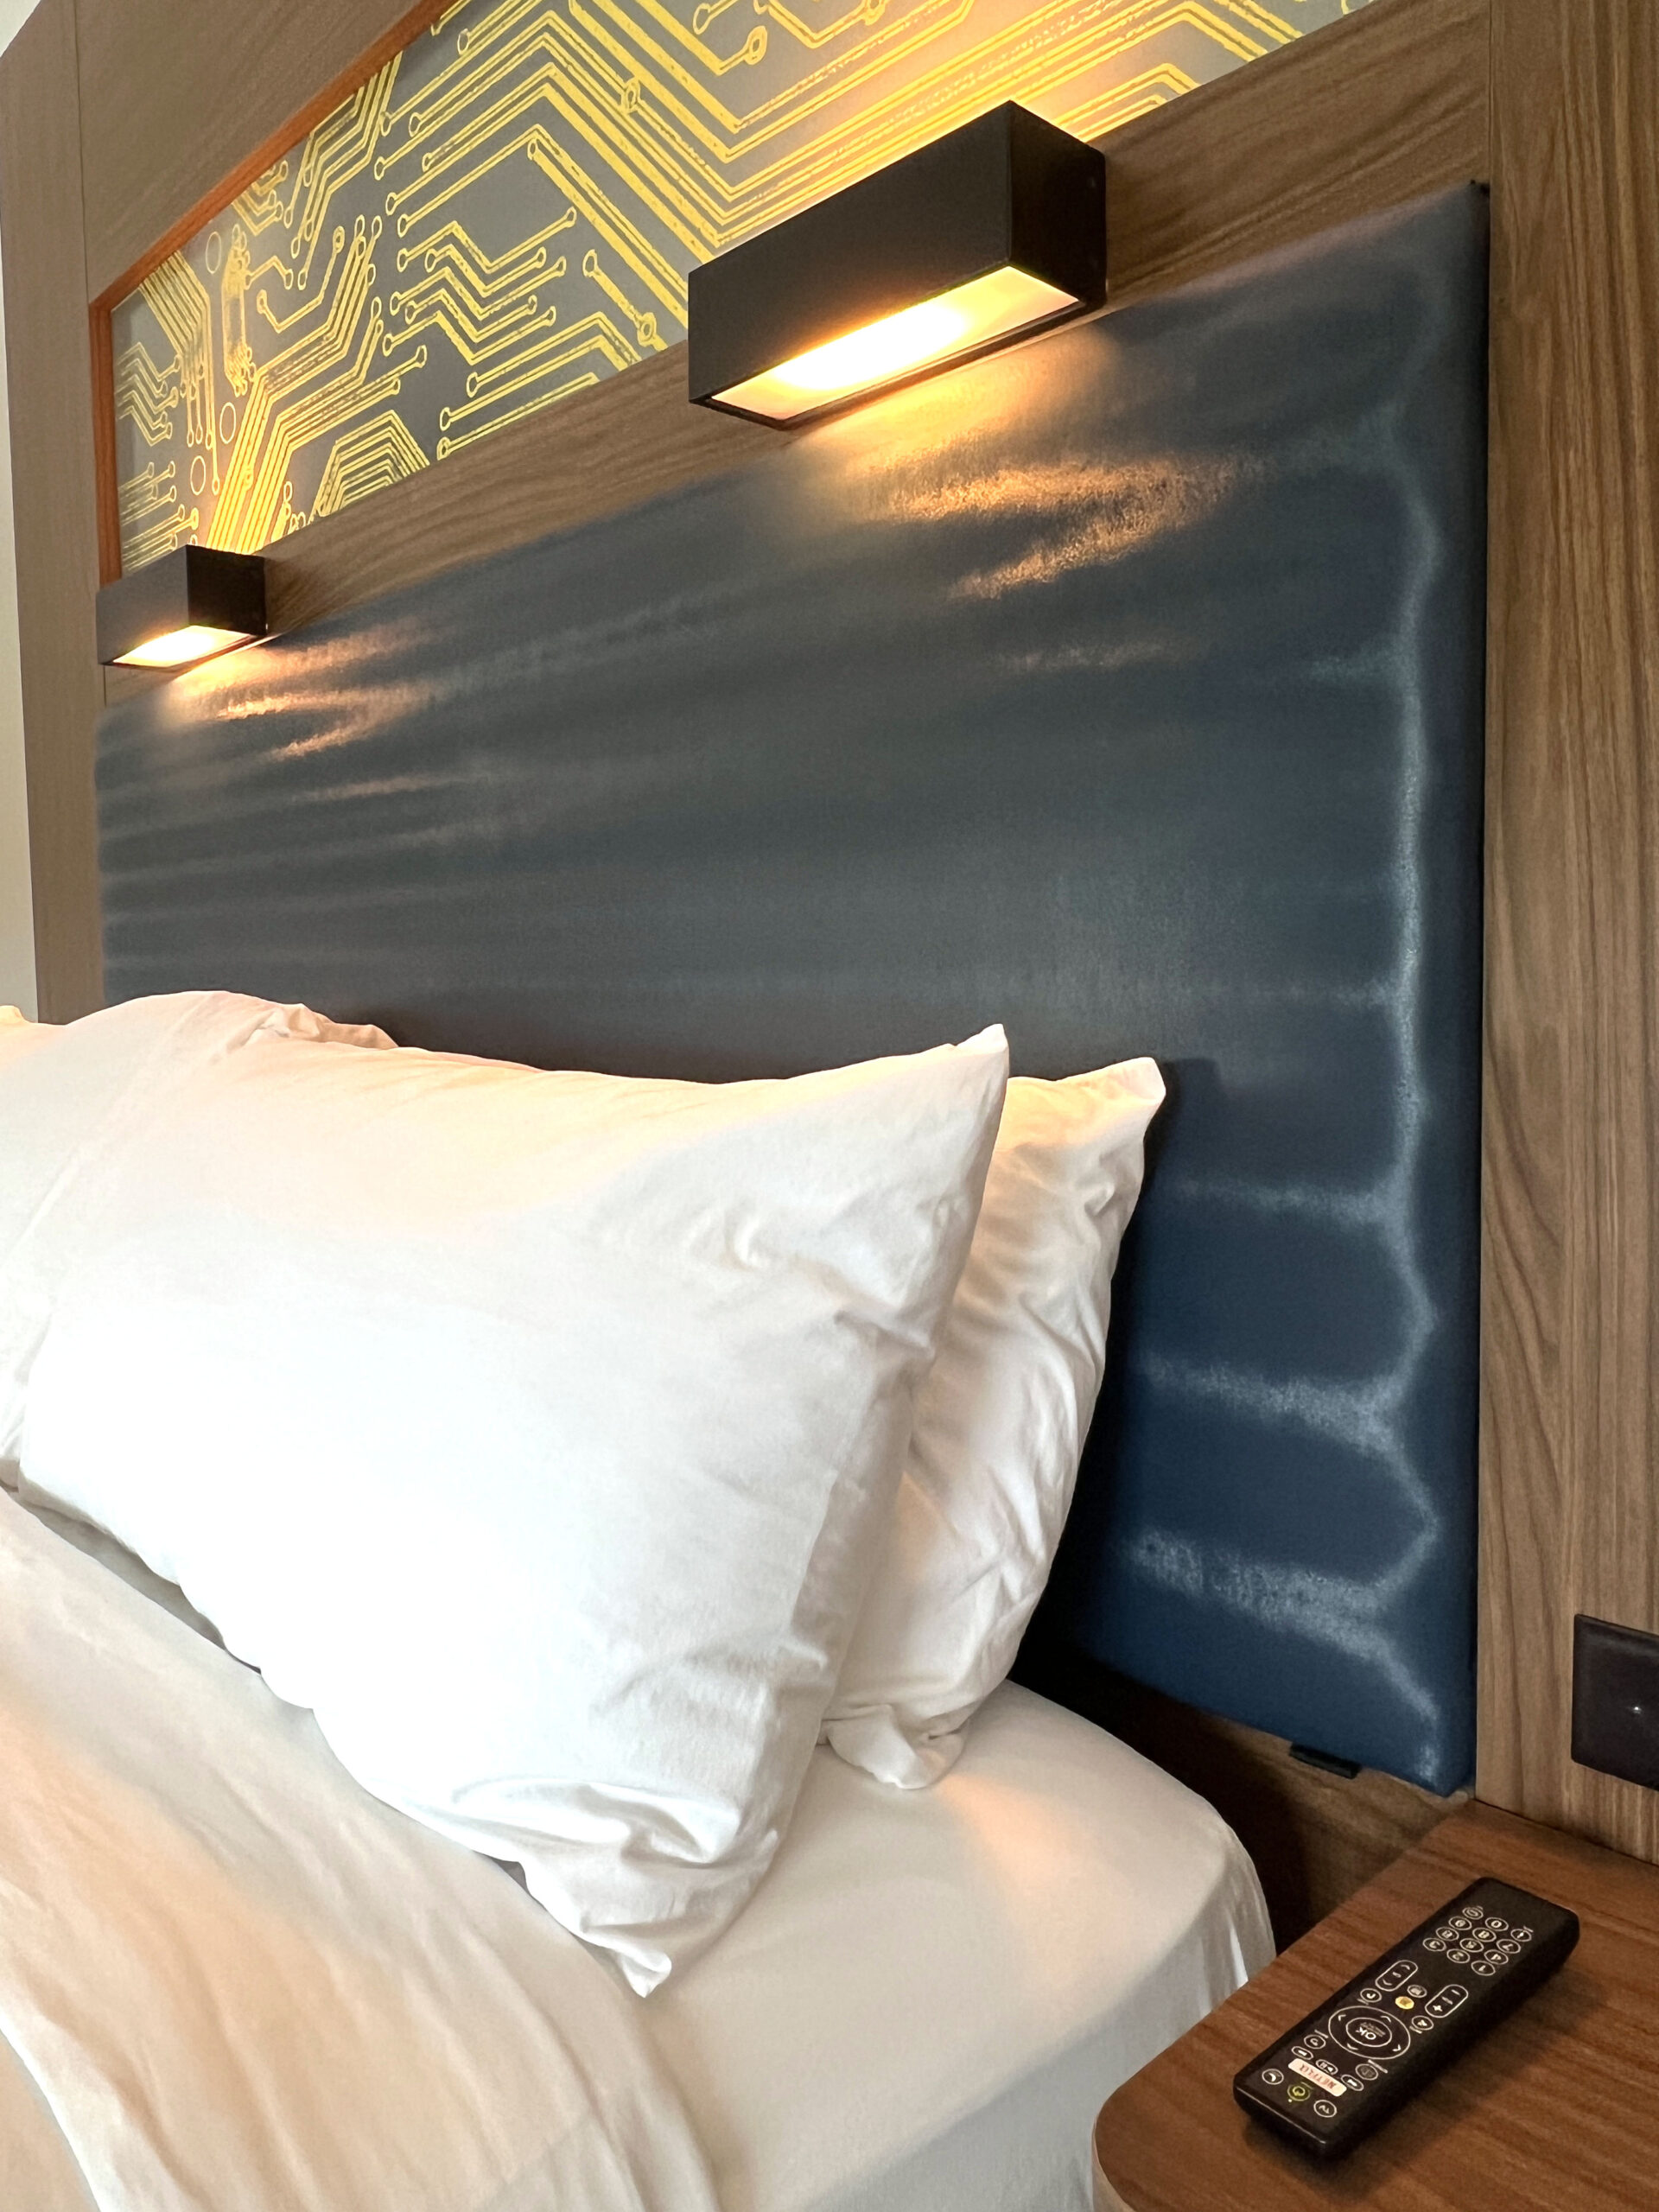 When it’s time to slumber, one can count on Aloft Wichita’s beds to be some of the most comfortable ones thanks to soft Marriott Bonvoy® bedding and blackout curtains guaranteeing a good night’s sleep.
Our Aloft King room was equipped with a workspace and a mini fridge to keep my bottled water ice cold. The in-shower bath products are top quality.
The pet-friendly hotel provides dog bowls, toys, and laundered pet beds for its four-legged guests weighing up to 40 pounds via the ARF (Animals Are Fun) program.
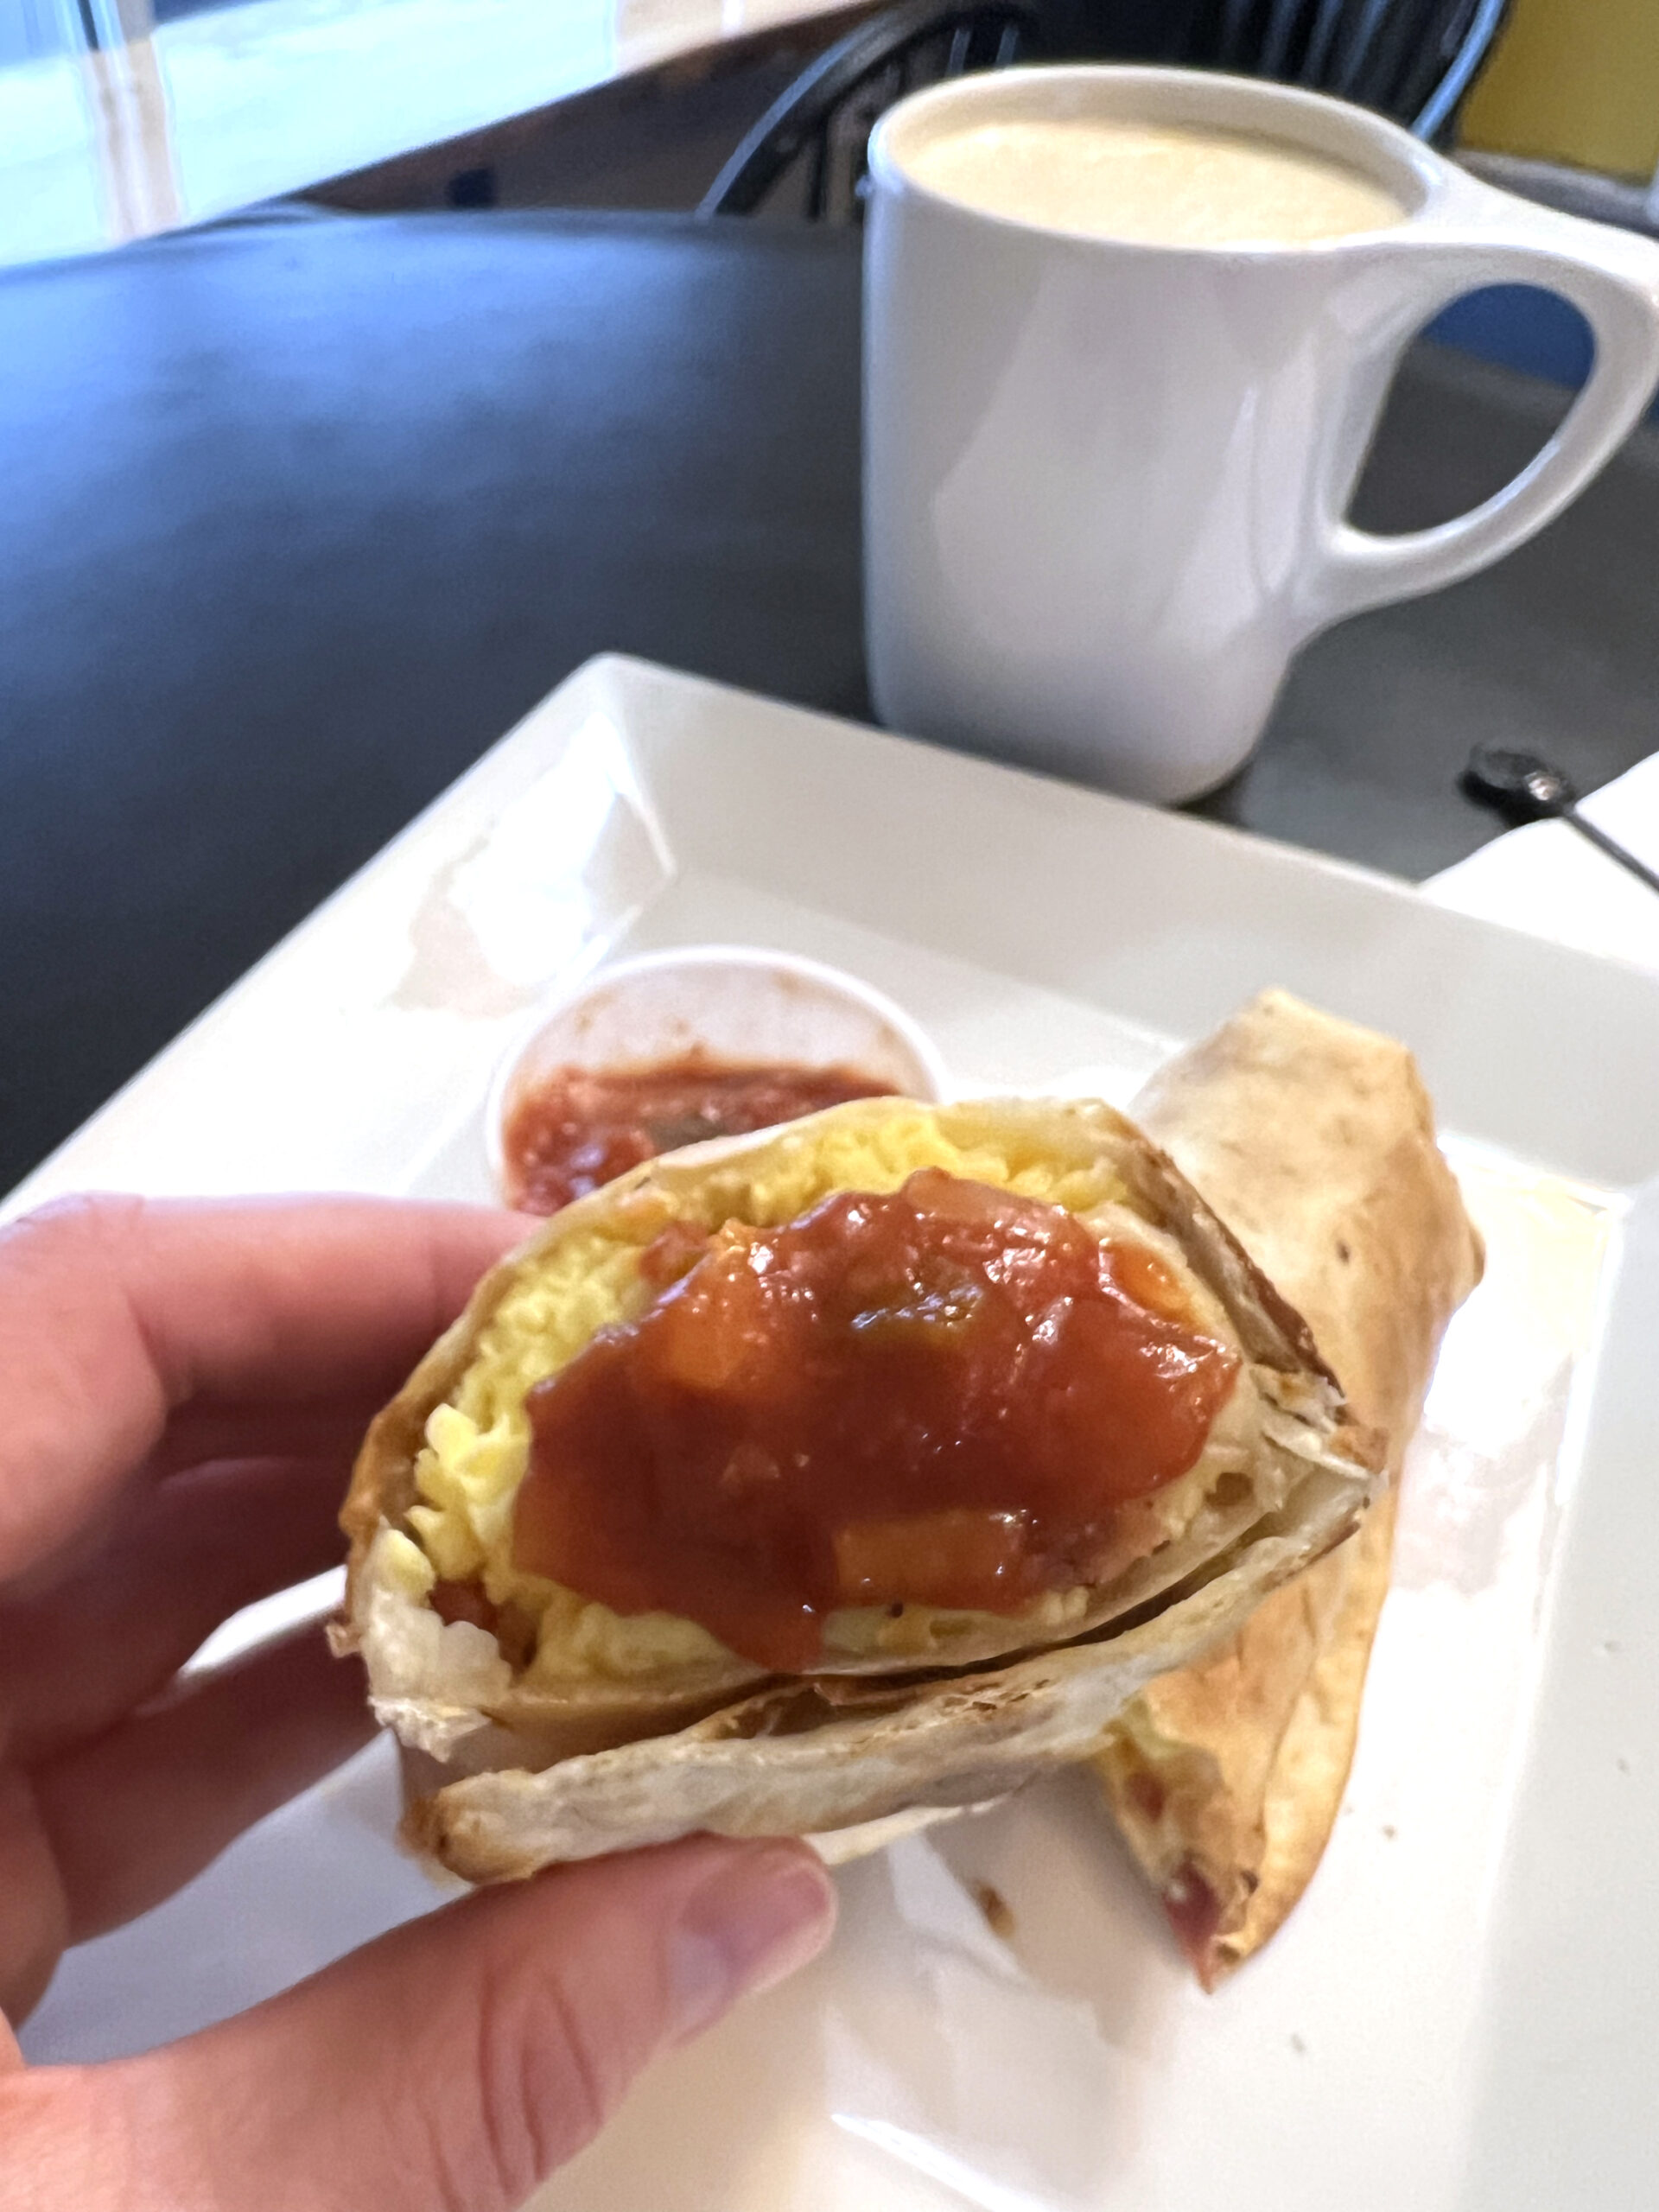
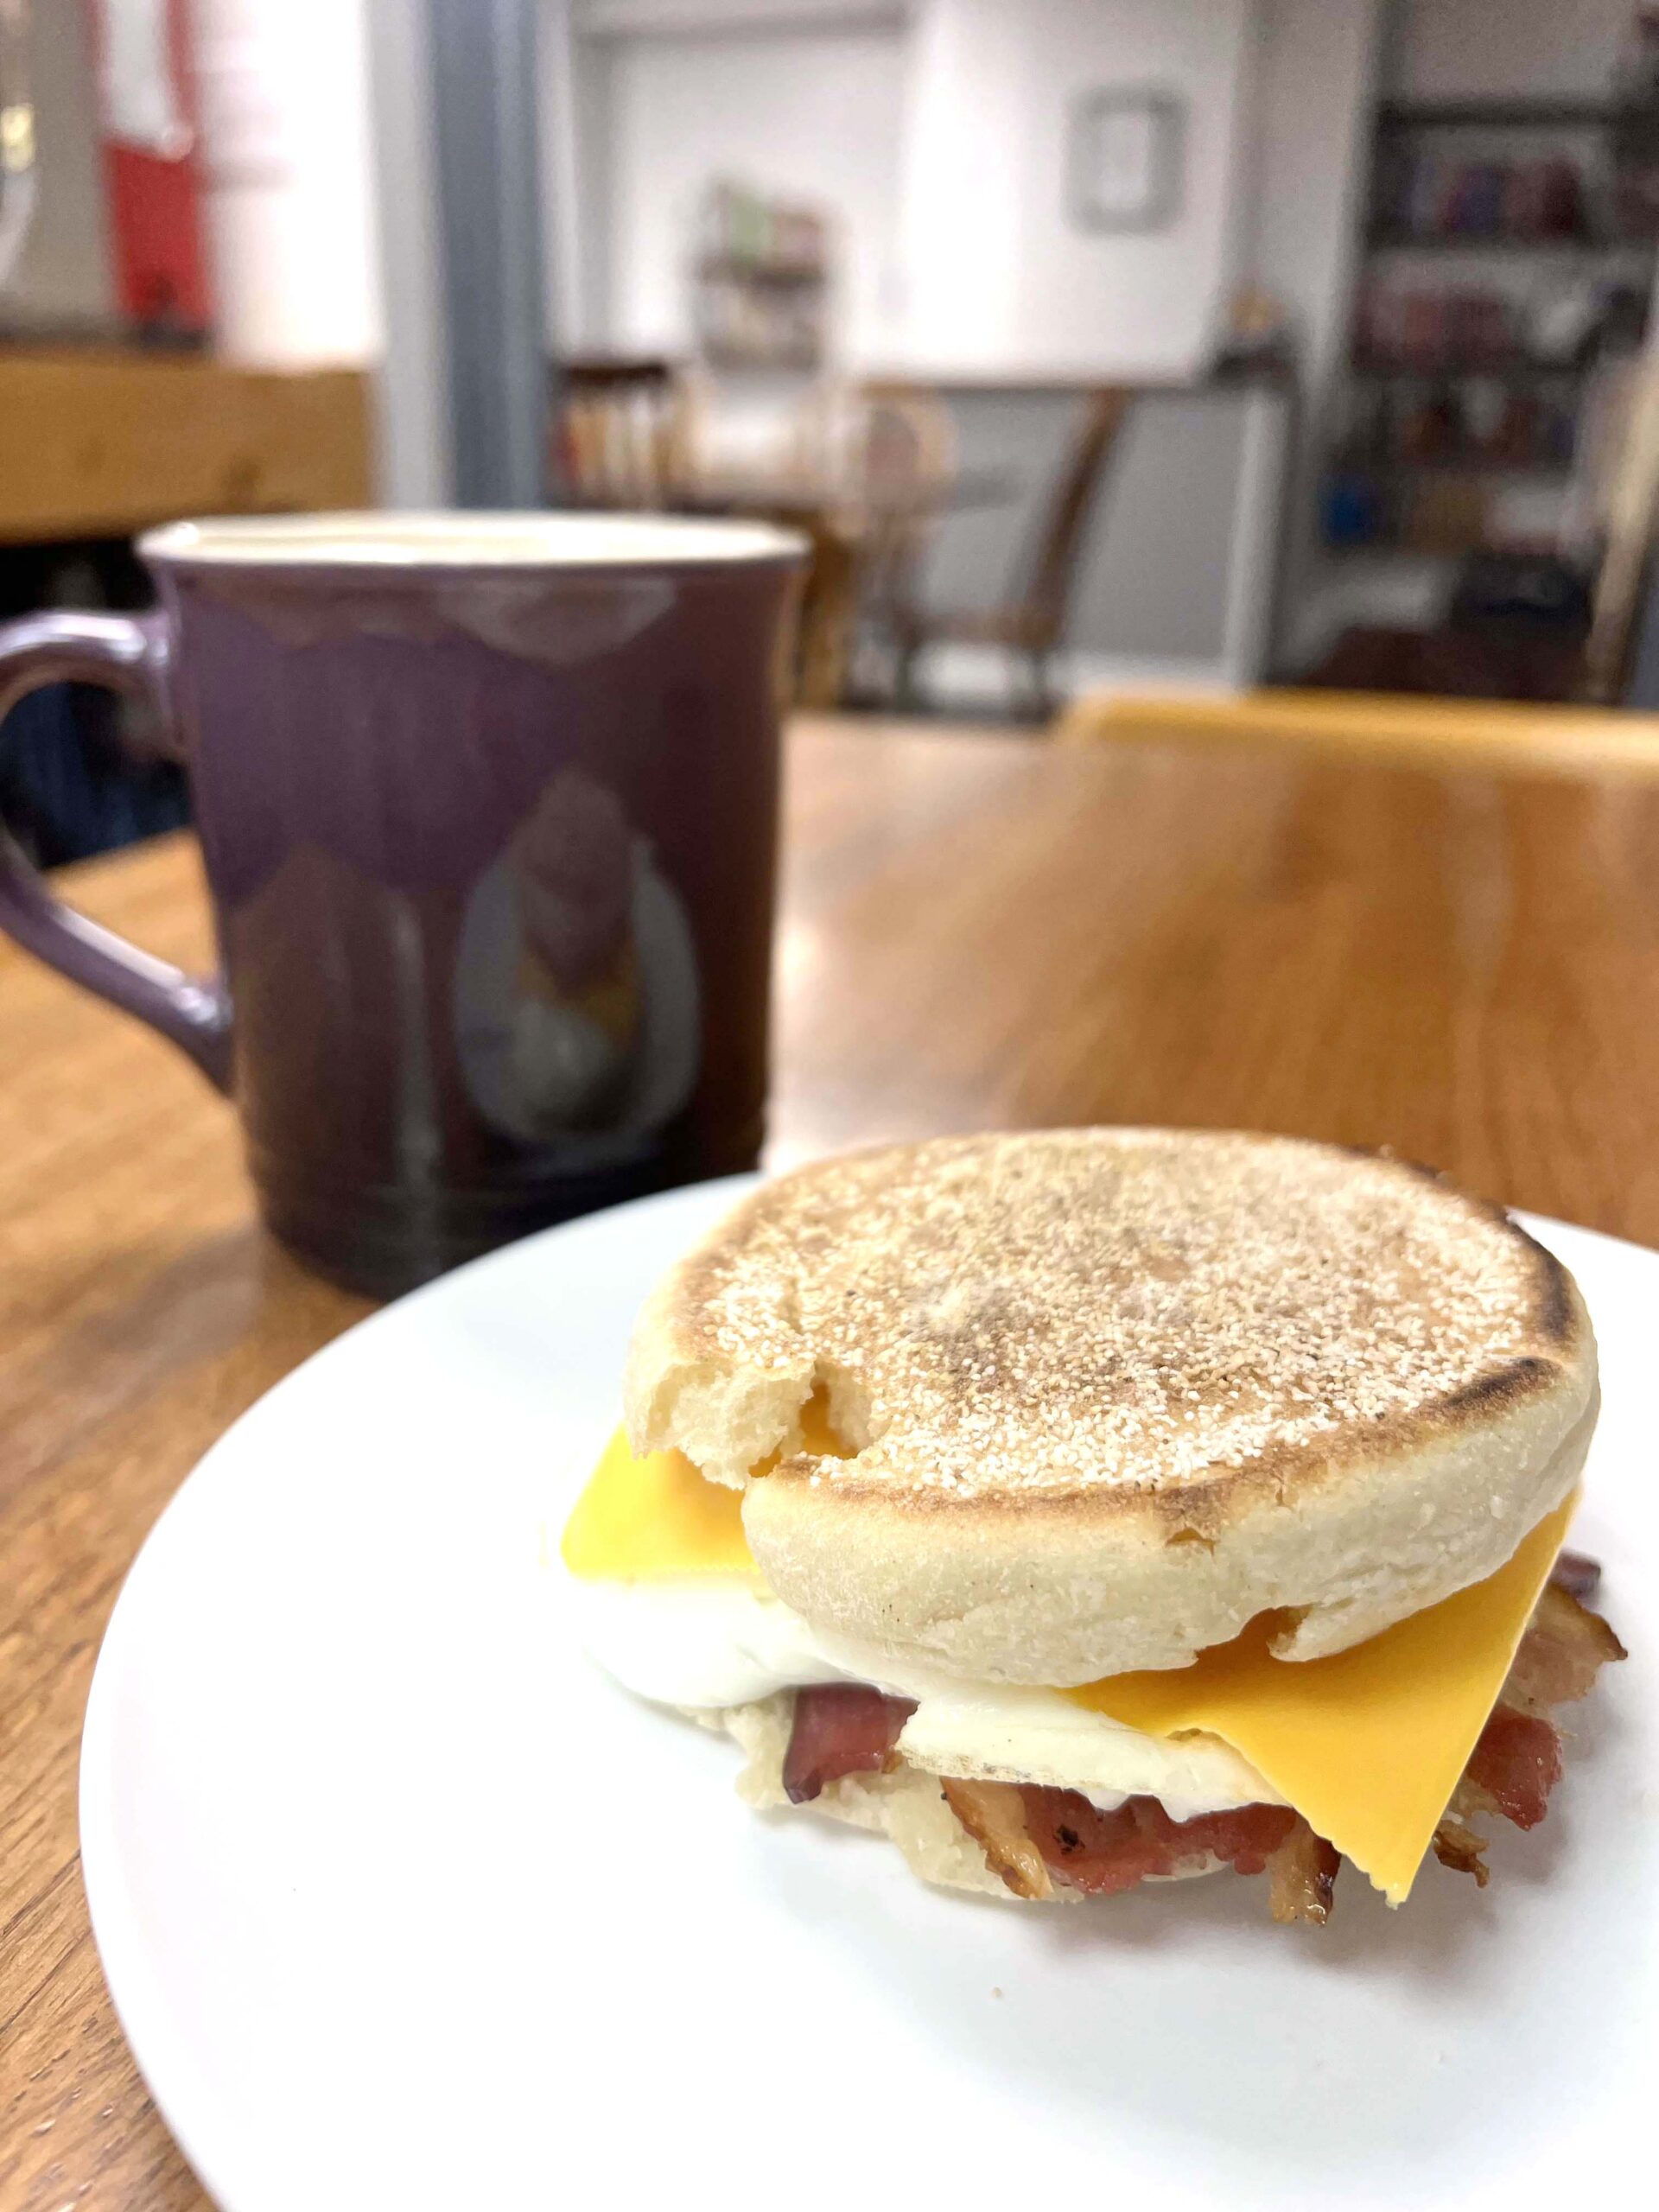
 In the morning, the Re:Fuel by Aloft℠ grab-and-go yogurt with fruit cups or hot breakfast menu is open for early-morning bites. My preference? The OG B.E.C Sandwich served on a Brioche Bun.
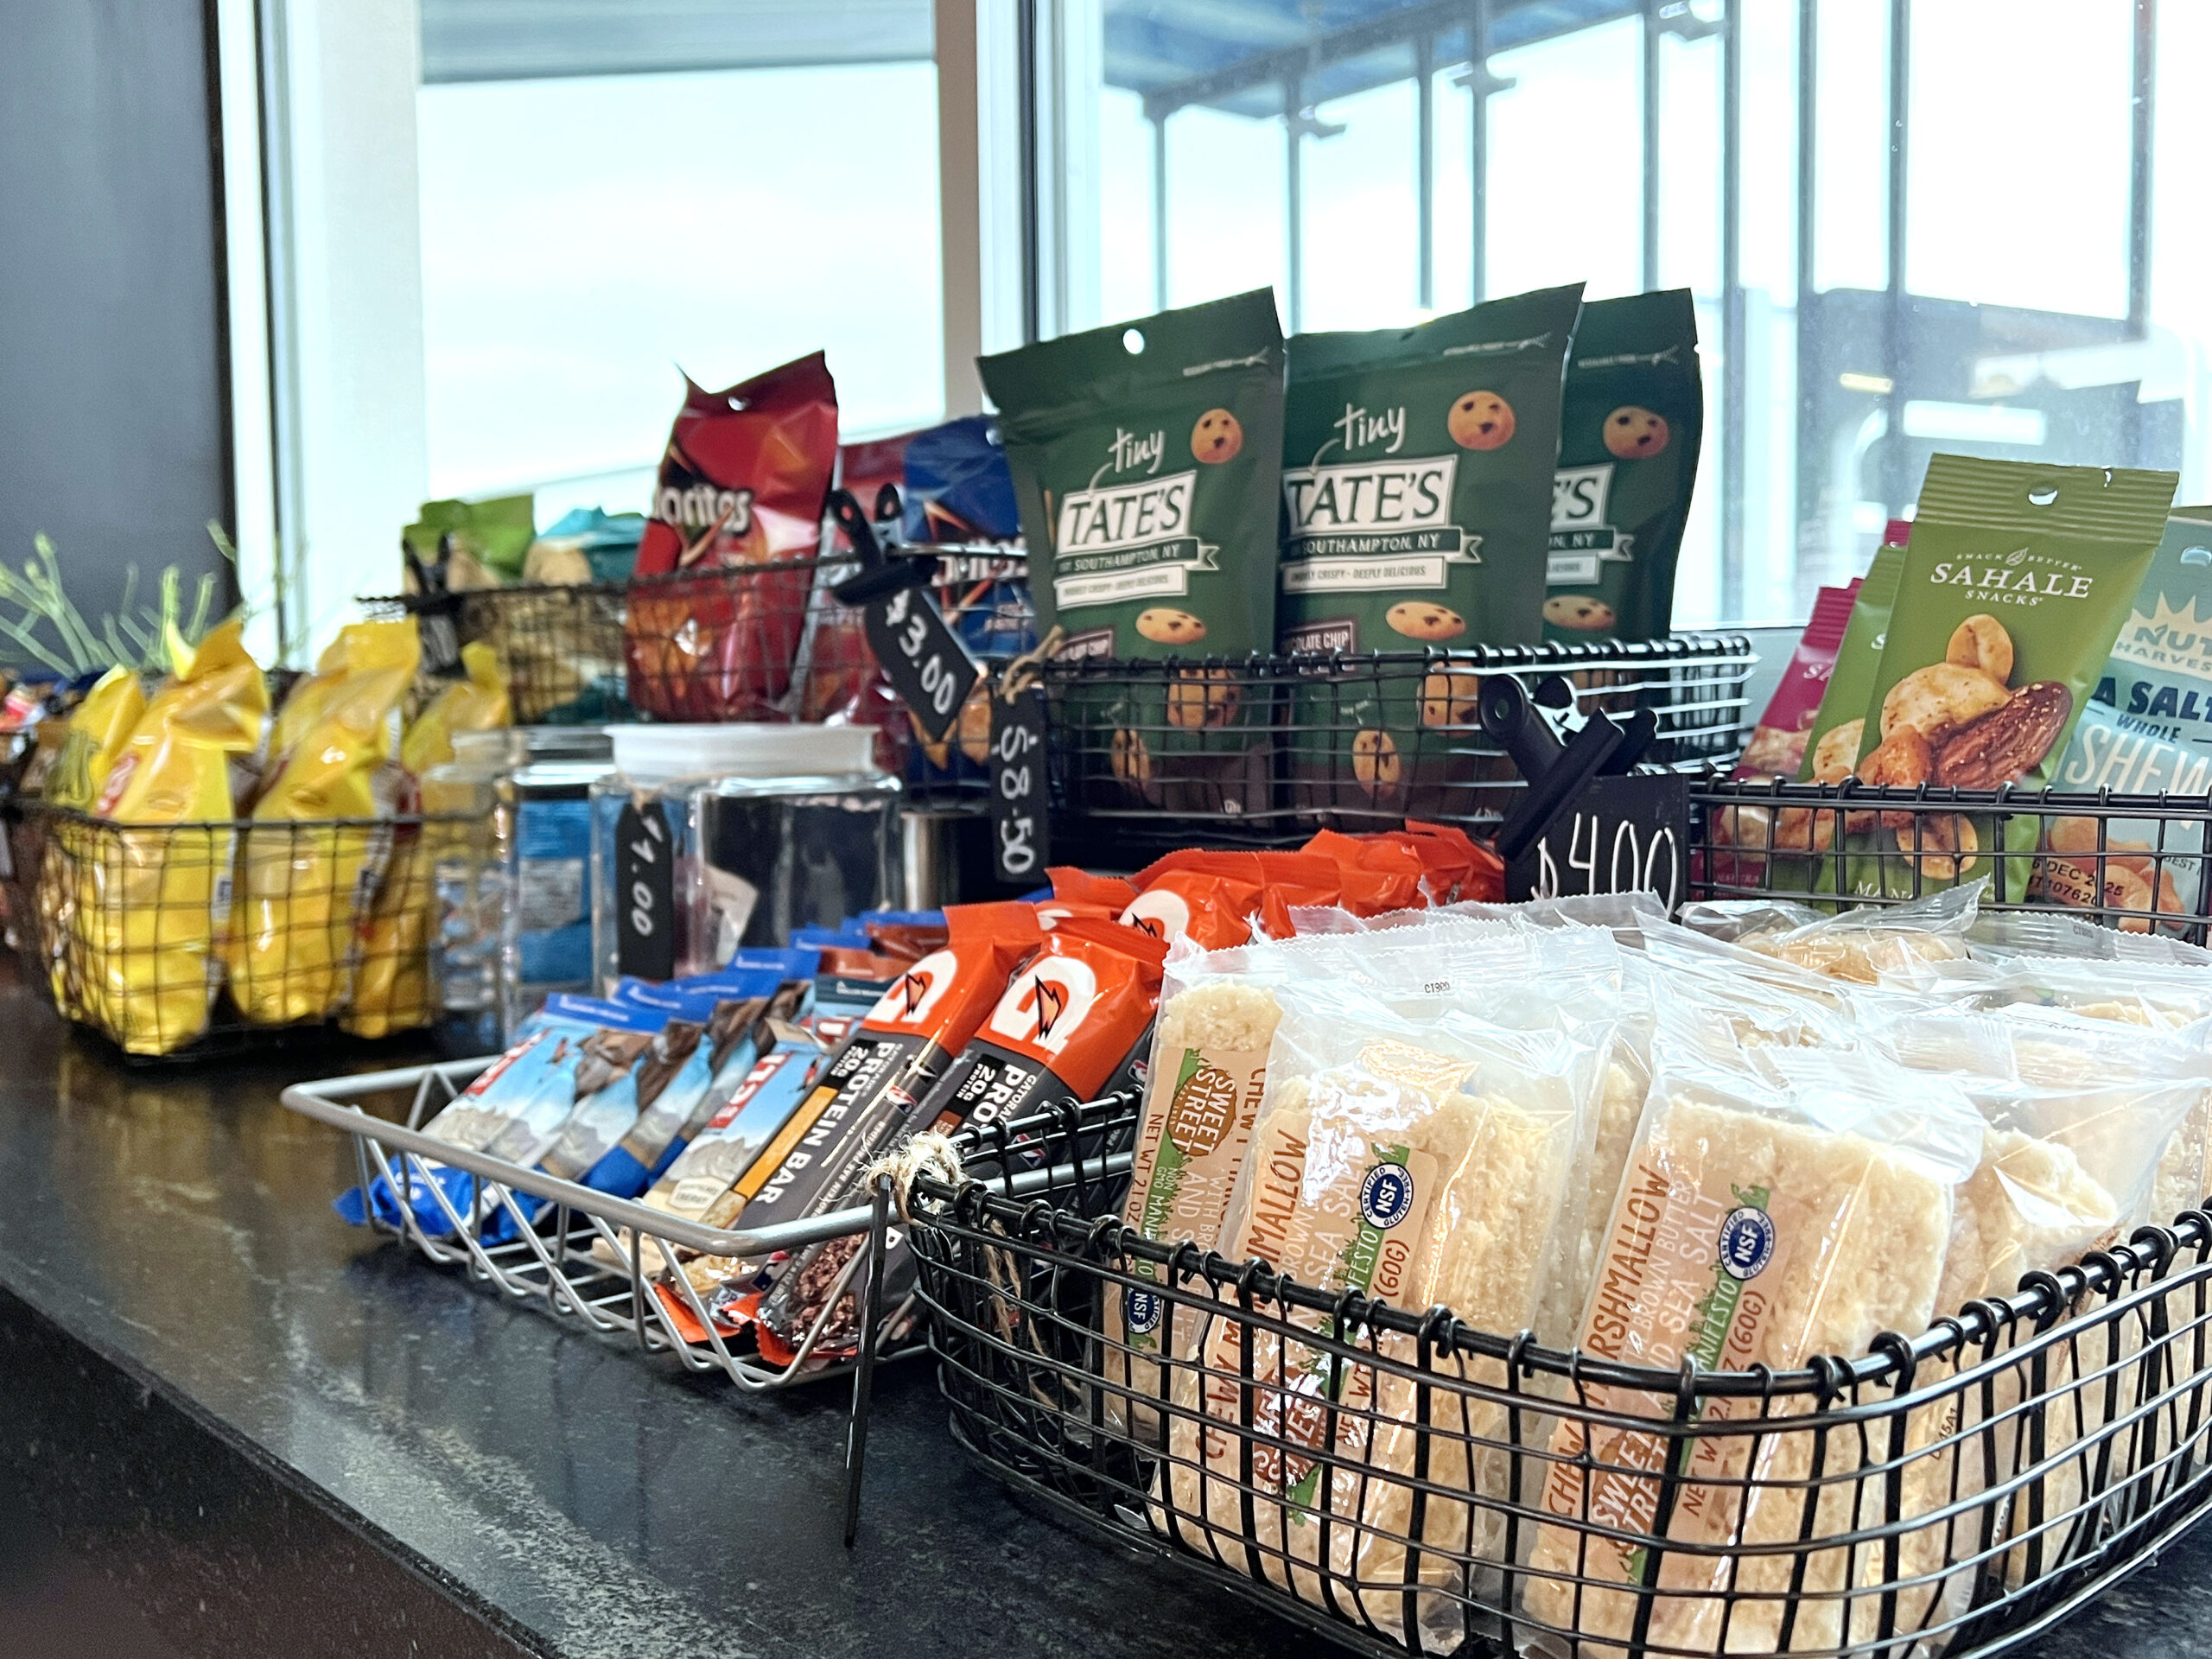
Assorted beverages, snacks, and cookies are available for a mid-day munch. At night, one can purchase non-alcoholic and boozy beverages from the reach-in cooler.
 Wichita’s Aloft Hotel felt less like a stay and more like stepping into the city’s creative pulse. The best part? It’s minutes from downtown Wichita, and steps from The Kitchen, RAHA Mediterranean, Another Broken Egg Cafe, Tap N Paddles, K96 Liquor LLC, and ShotSuite.
 Reserve a guest room for your next staycation or trip to Wichita.
PRO TIP: Pick up an Una Vida Tequila Passport to complete a cocktail tour of District 96’s bars and restaurants.
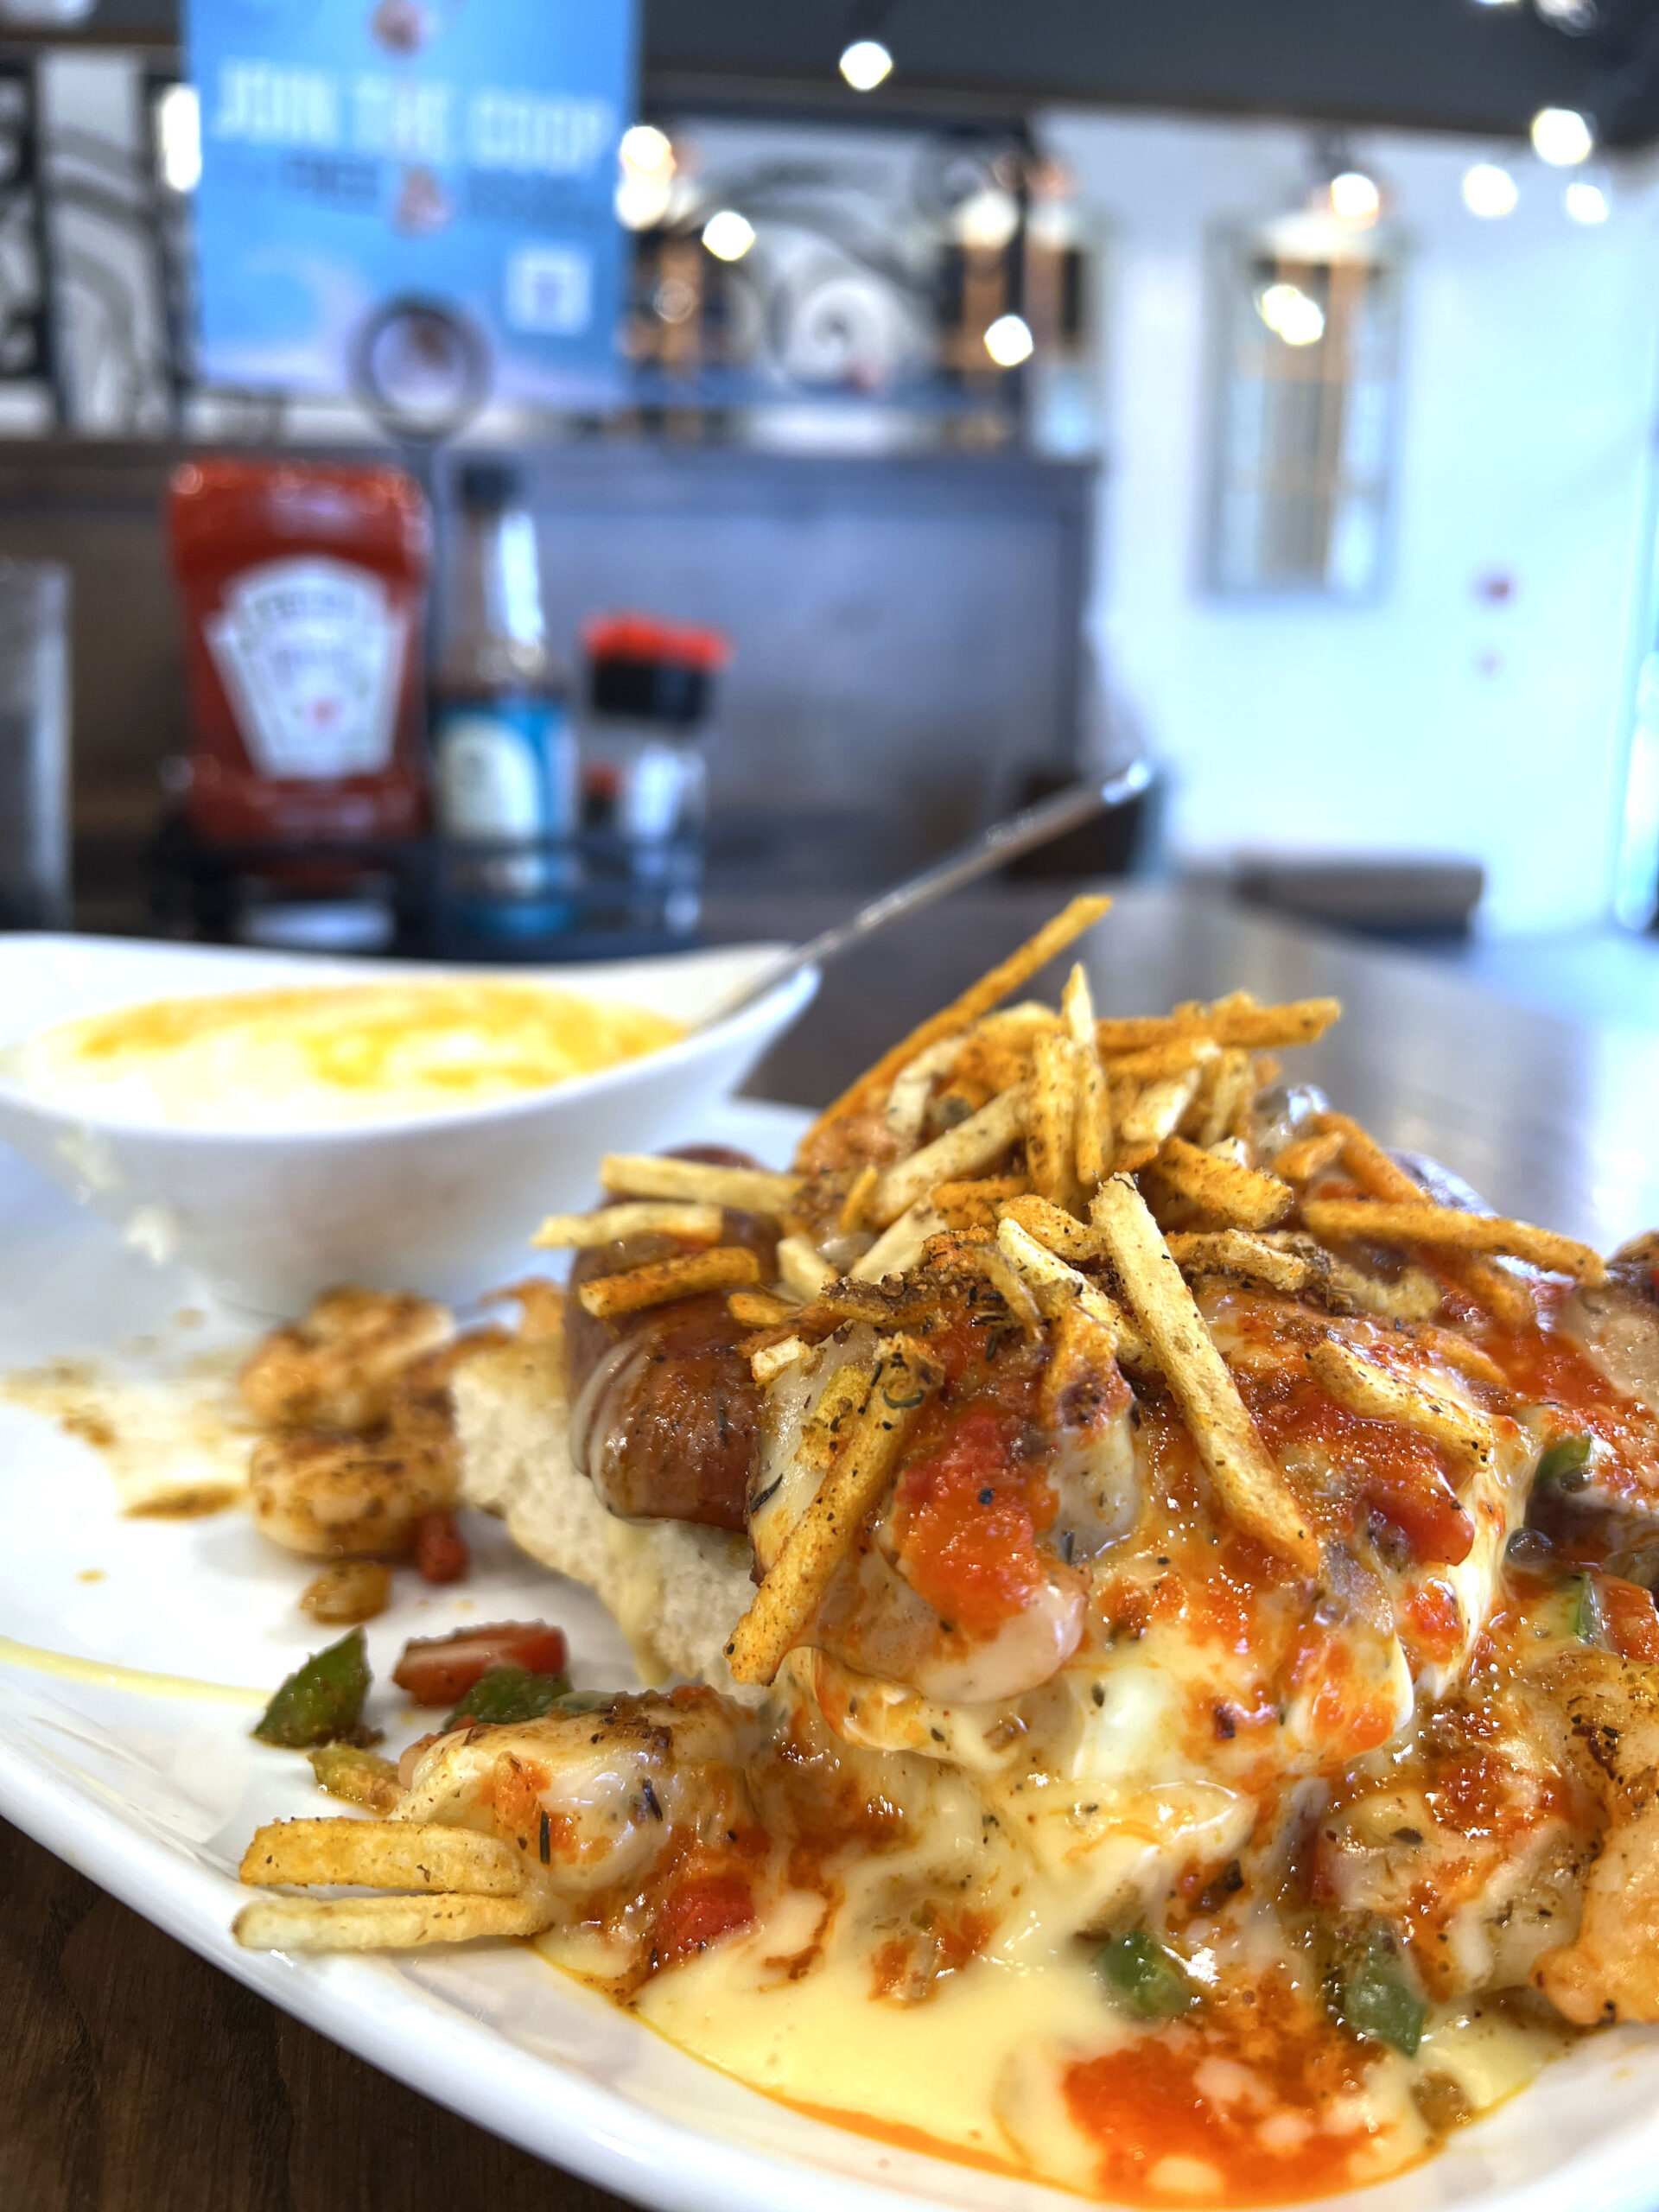
RALLY ROOM BAR & GRILL (FORMERLY RAHA MEDITERRANEAN): BITES, DRINKS, GAMES
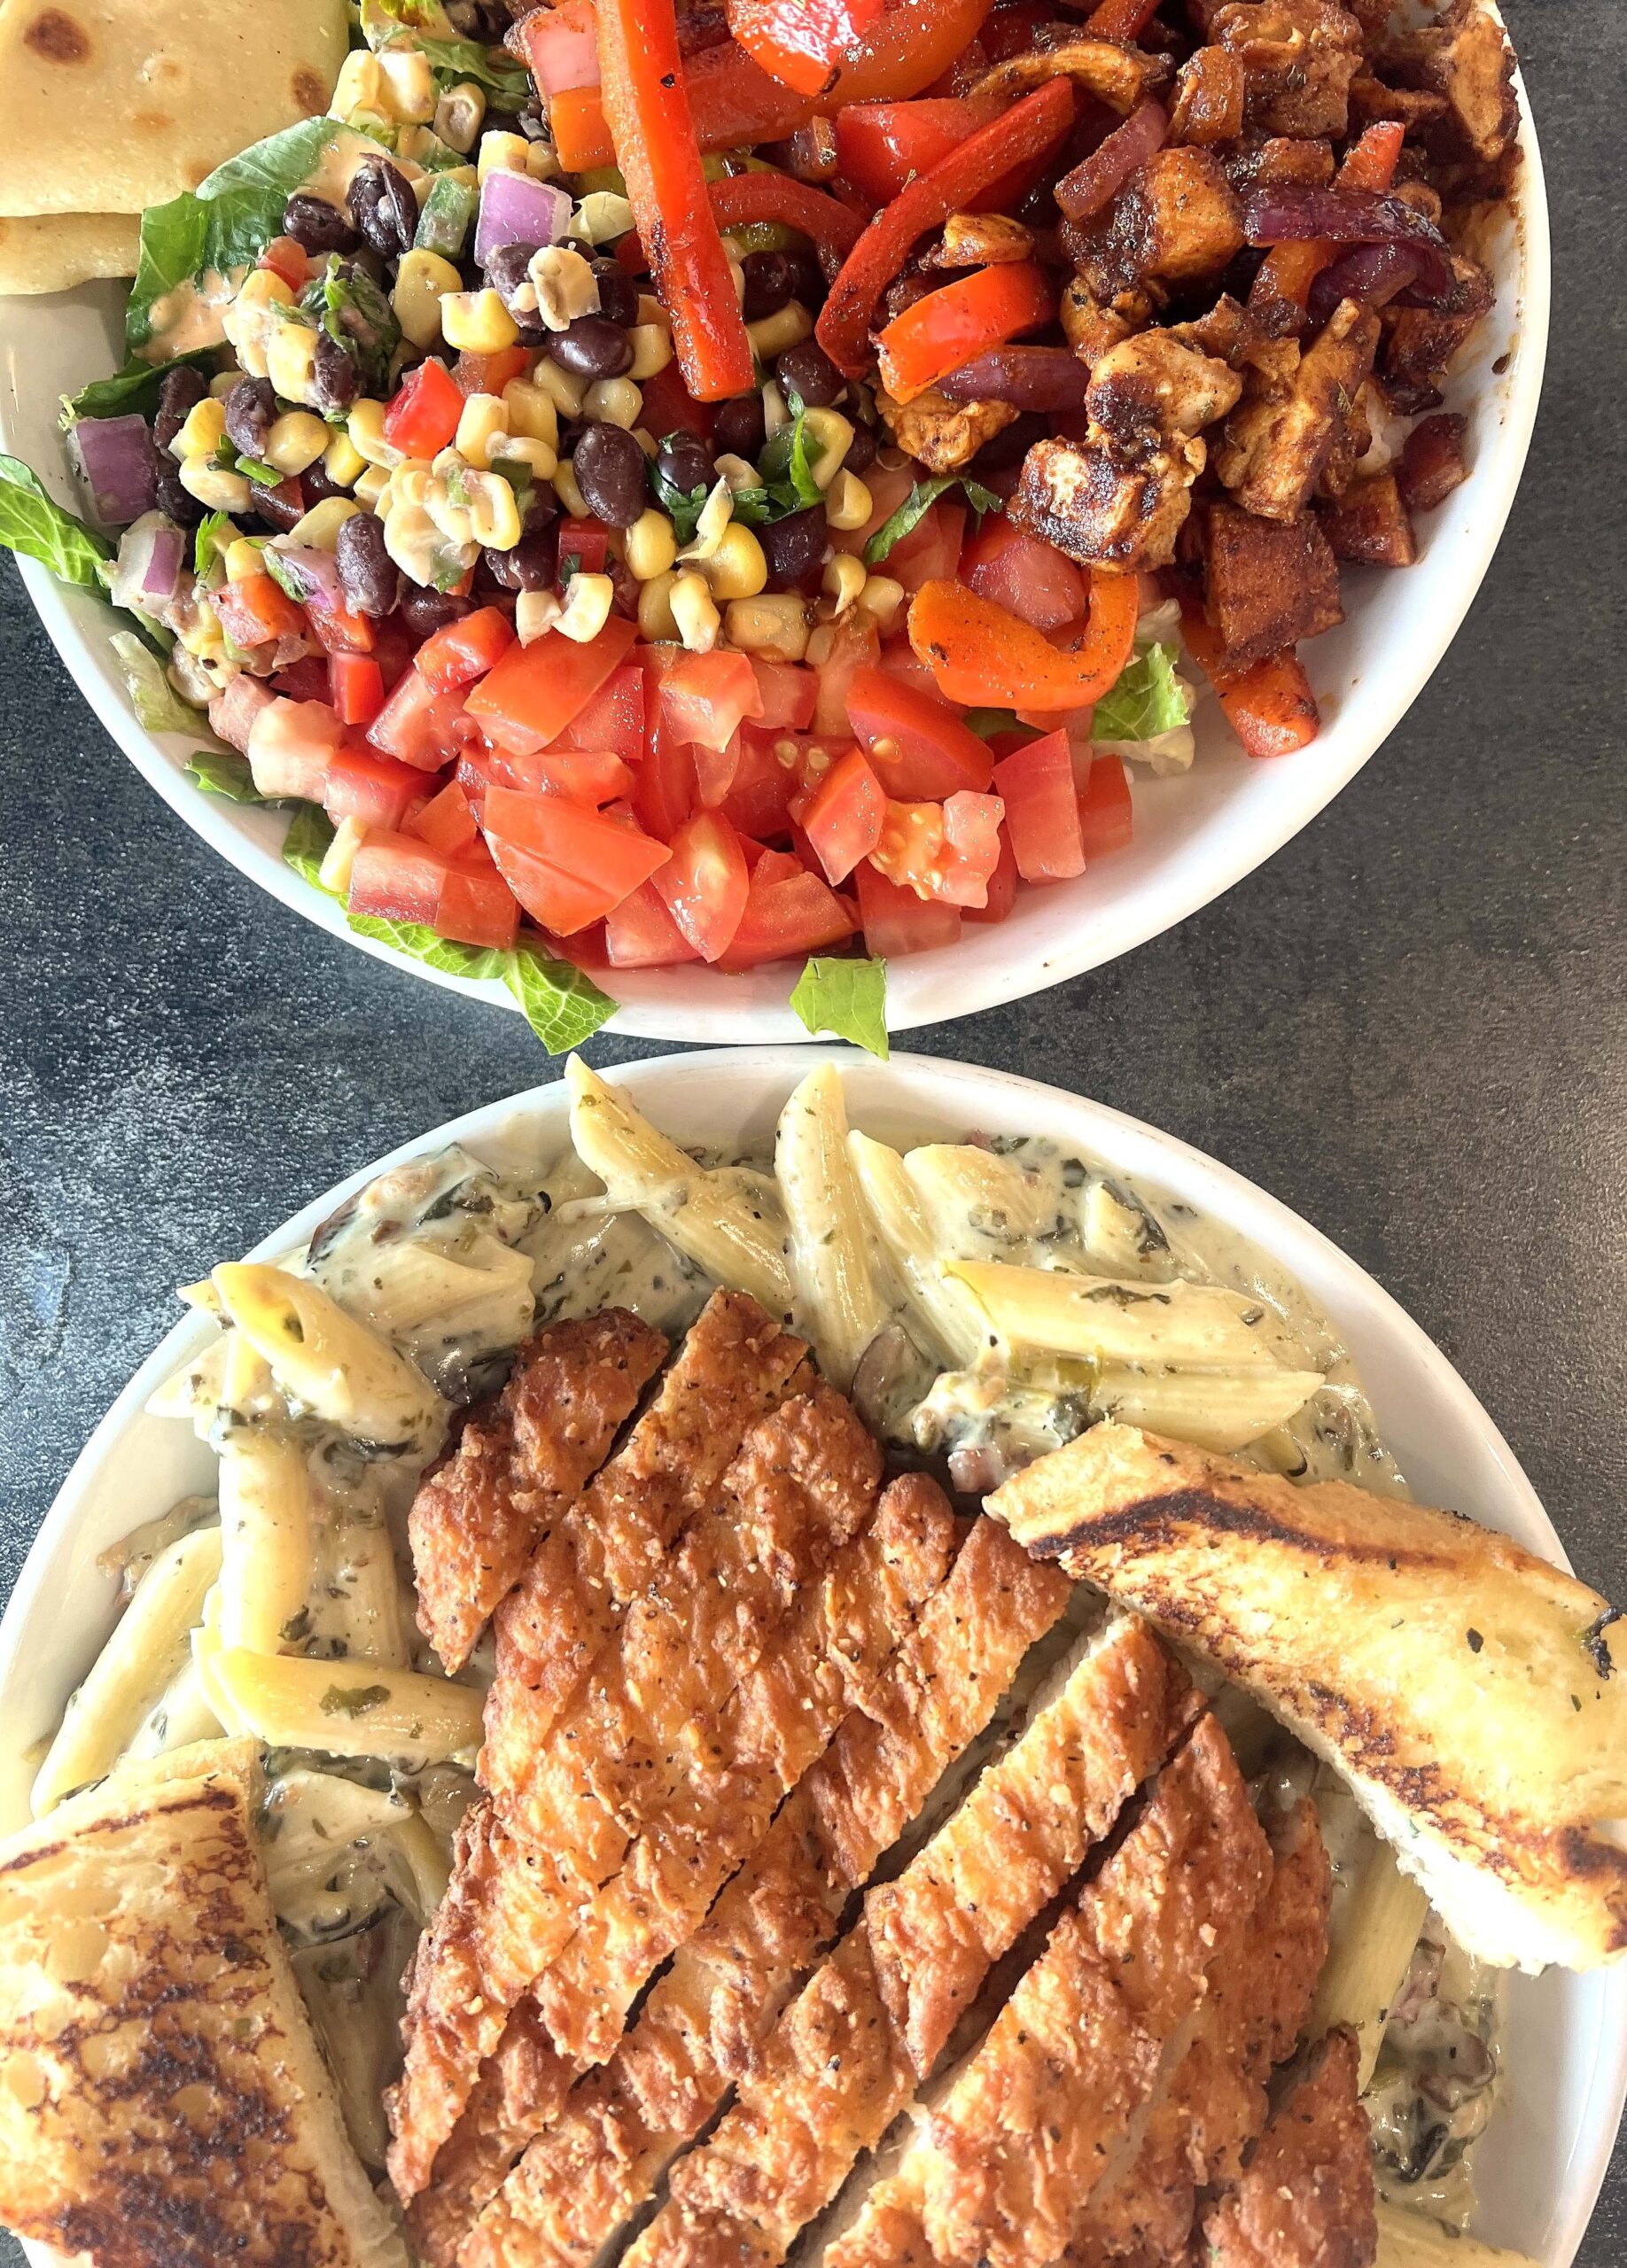
Adjoining TapNPaddles, Rally Room Bar & Grill (4956 E. 35th Street N.) serves lunch and dinner fare for diners who appreciate flavorful main dishes that blend indulgent and nutritious ingredients.
 Of course, the menu includes sports bar classics like burgers, scratch-made pizza, and tacos, but you’ll also find Mediterranean-inspired recipes like Harissa Chicken and Smoky BBQ Brisket with pita bread and a side of hummus.
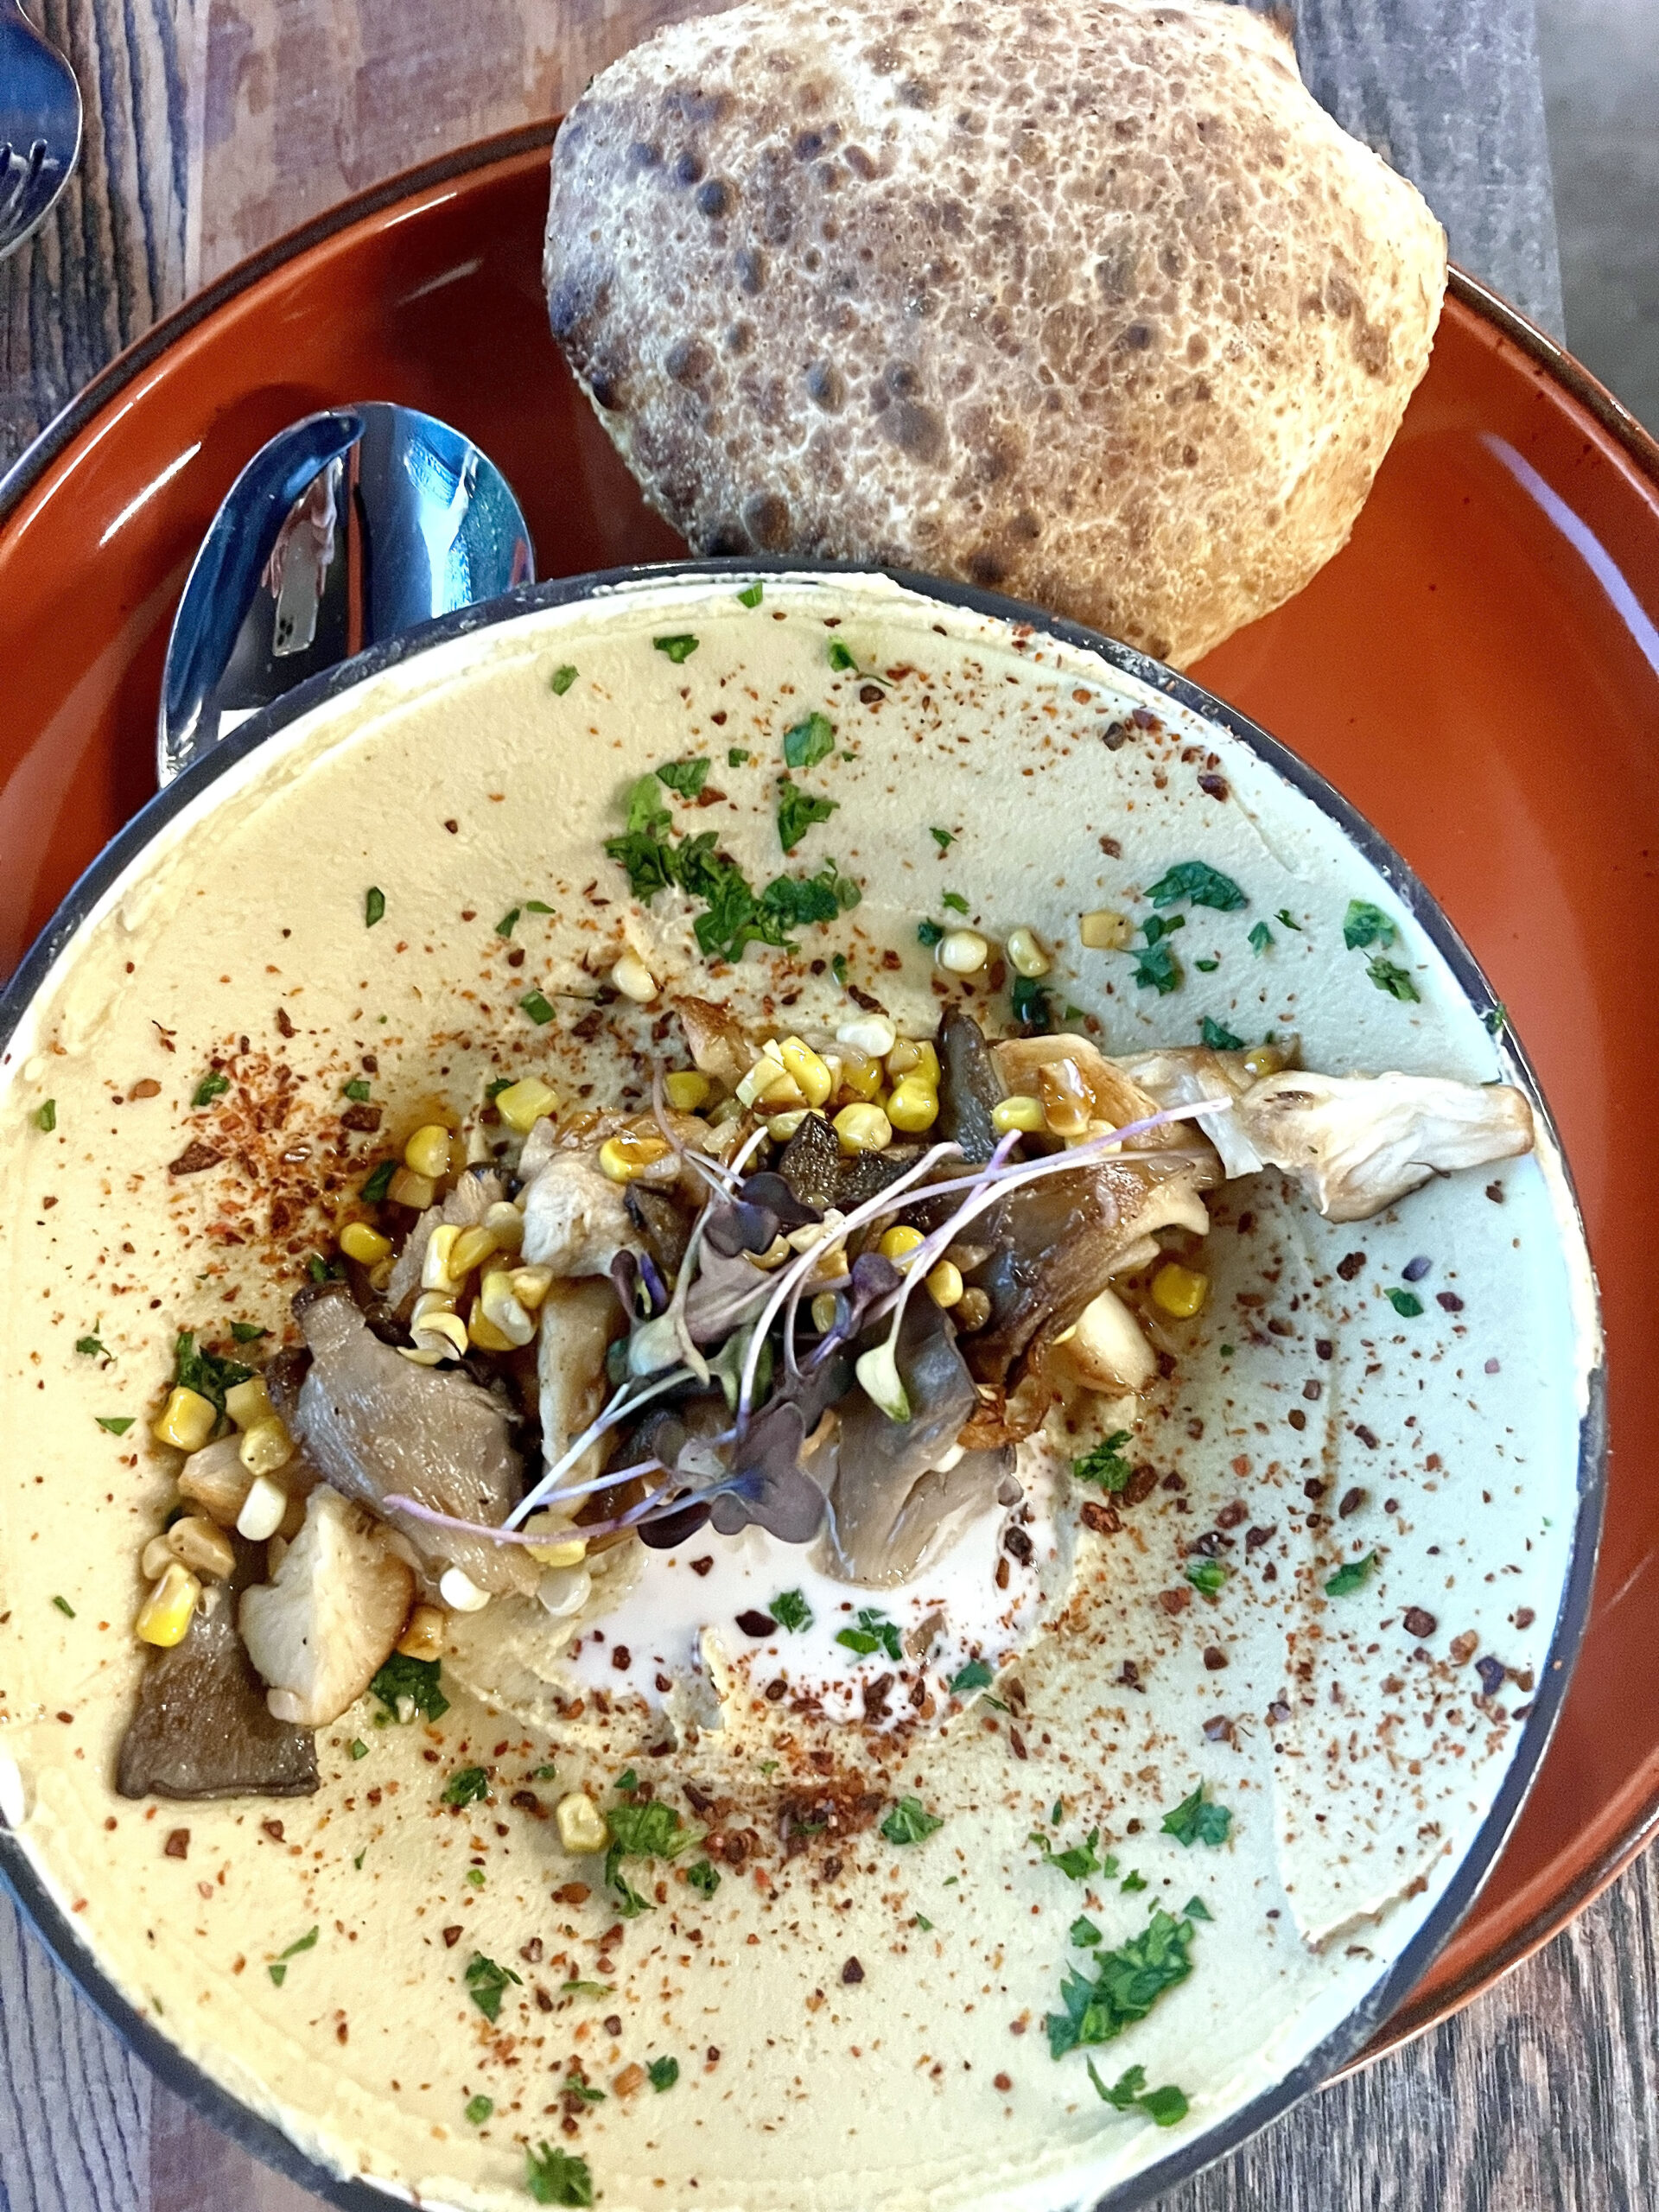 In a city with many Lebanese restaurants, we agreed that our meal was one of the best-tasting dishes we’ve enjoyed.
 NOTE: If the waitstaff asks what kind of water you want to drink with dinner service, inquire about pricing.
PRO TIP: The restaurant’s private dining space, resembling an enclosed patio with refined seating, is available if you want to reserve it for an upcoming event.
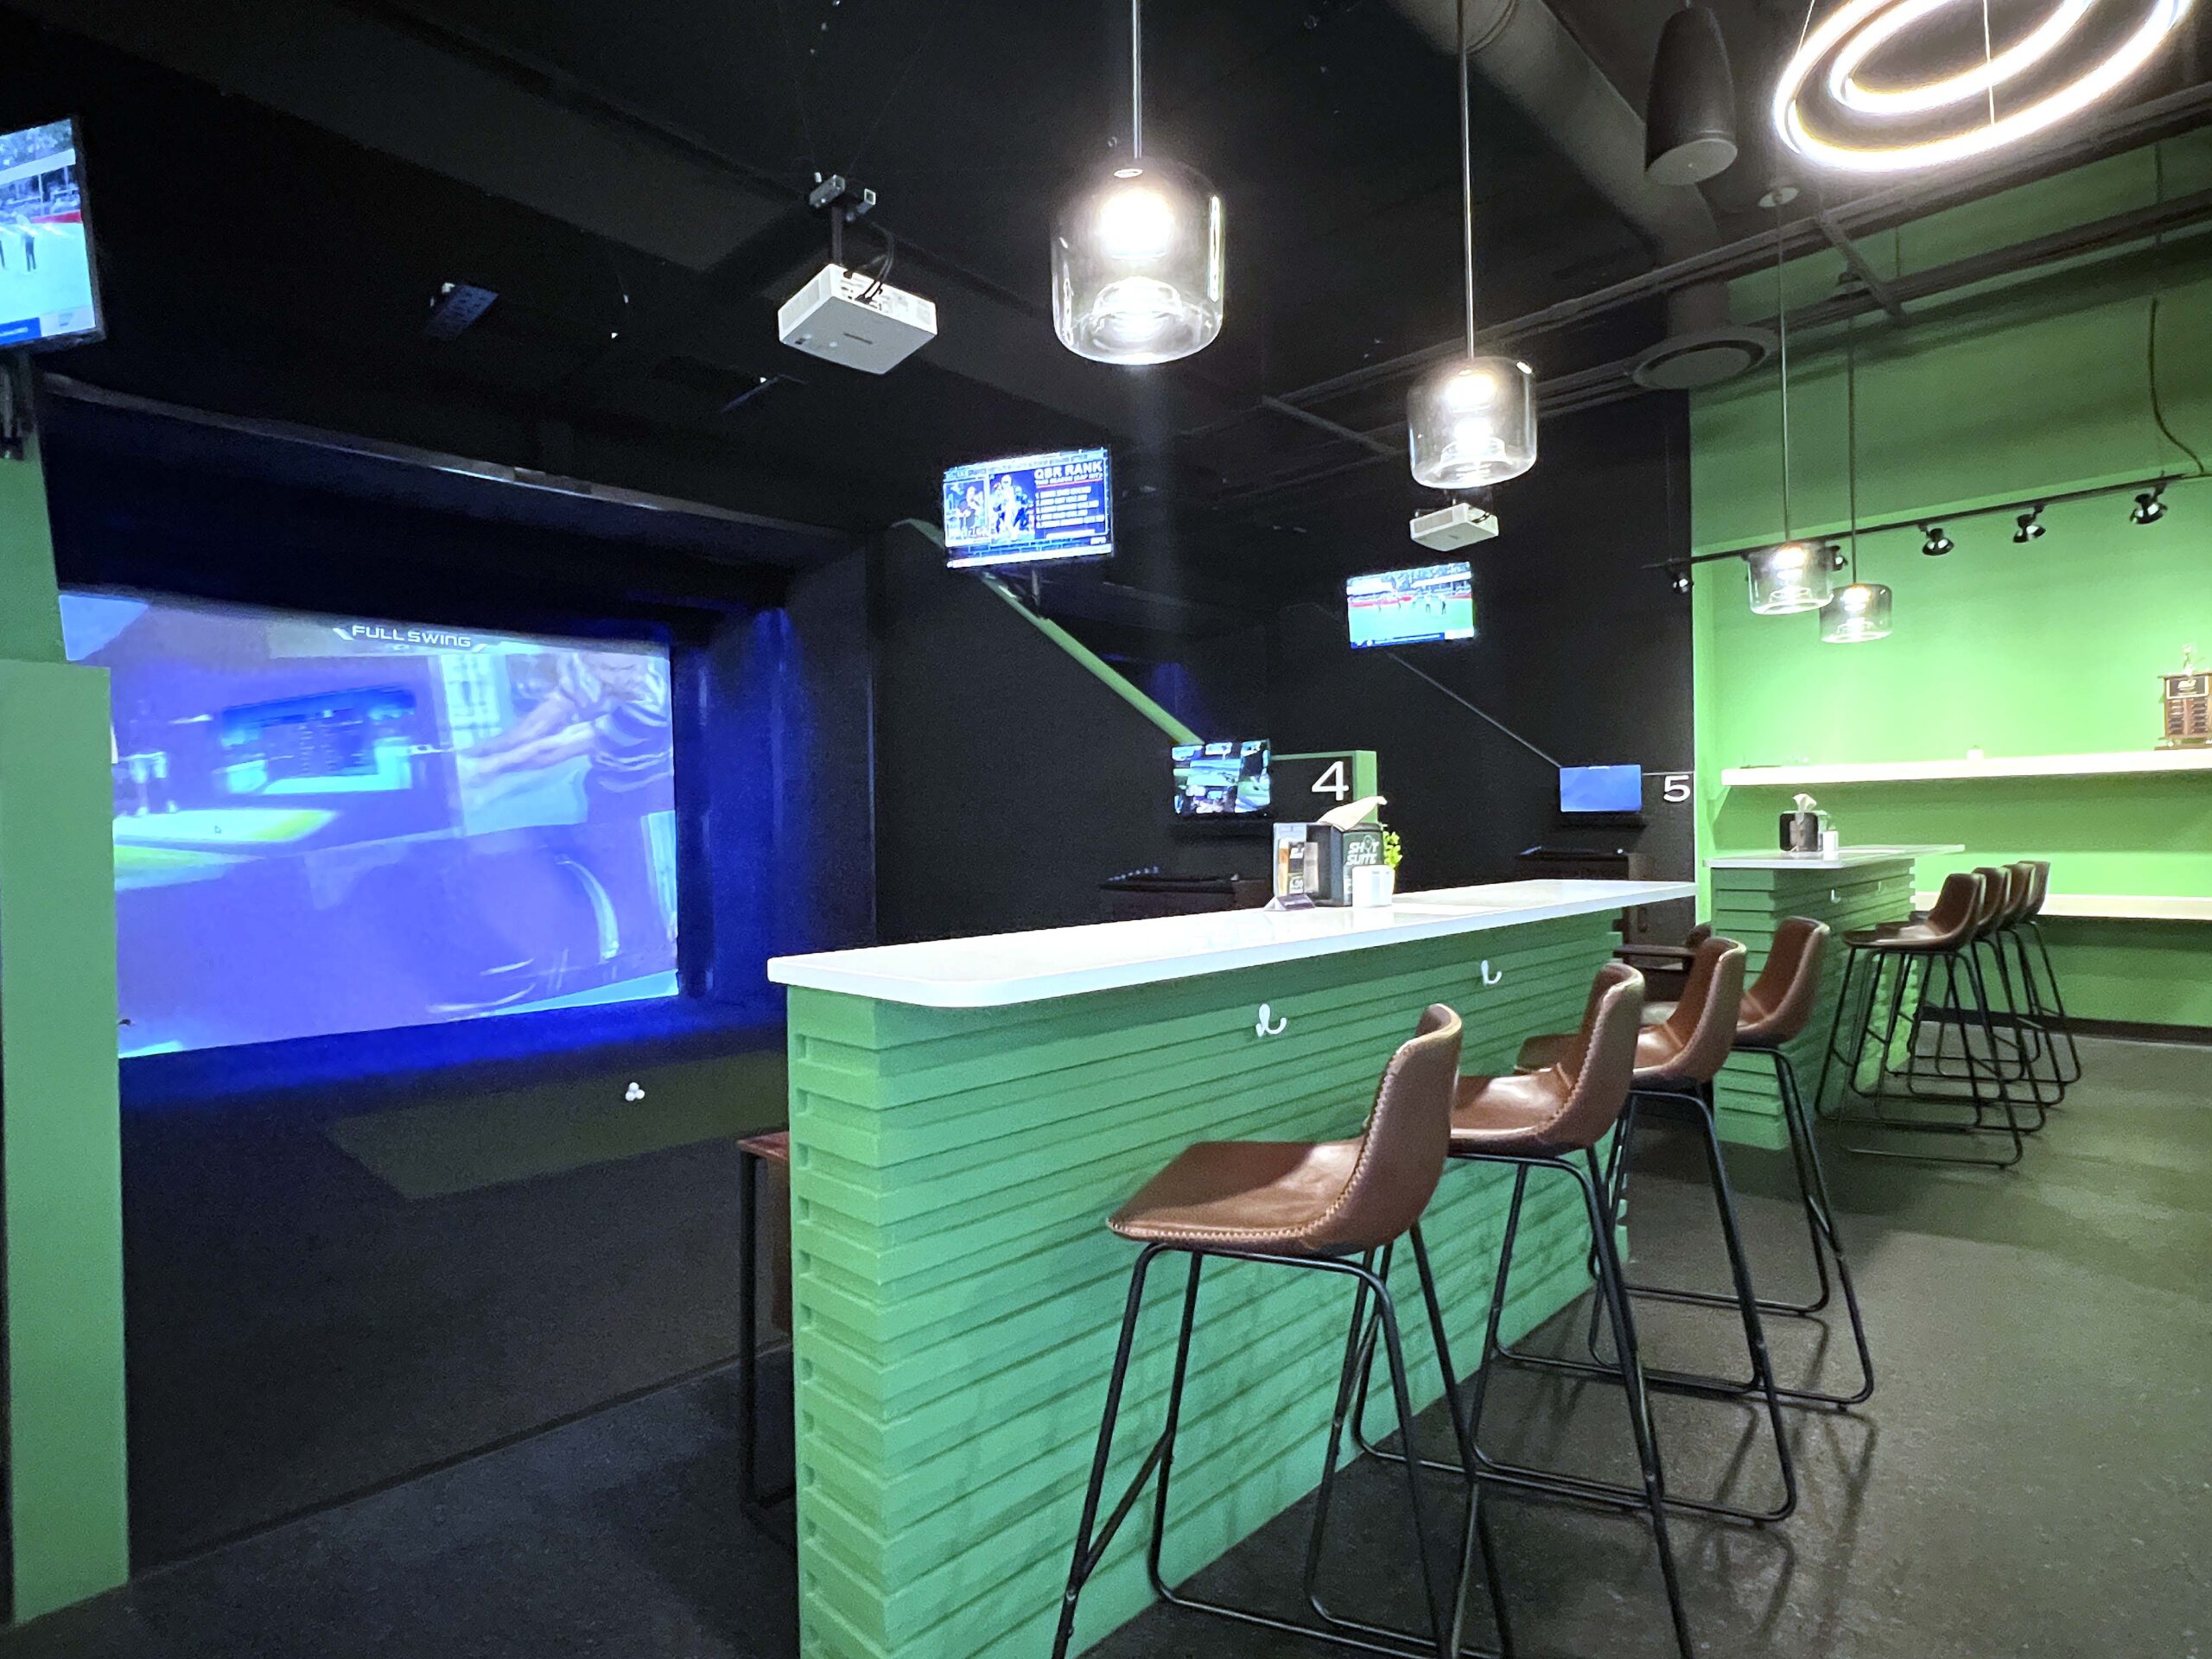
SHOTSUITE: PERFECT YOUR GAME
At first glance, I thought ShotSuite (4854 E. 35th Street N) was only an indoor golf simulator venue, but it’s so much more.
ShotSuite offers a plethora of games for virtual sports, ranging from bocce ball and rugby to dodgeball and carnival games. Add an upscale bar serving scrumptious eats with handcrafted cocktails and it’s the ultimate one-of-a-kind experience for a date night or a group outing.
 Participating is as easy as reserving a suite and participants don’t have to bring equipment or know how to play each game. Each crafted experience is tailored to you, mixing competition and entertainment.
I shared laughs with a friend while throwing soft dodge balls at a screen of approaching zombies, and Full Swing golf allowed me to work on my swing on one of over 50 courses, including a Battleship-style game via Target Golf.
 The quality of the game simulator’s censors combined with the multitude of games was better than any indoor sports simulator venue I’ve experienced. And the food menu? Think elevated game day food.
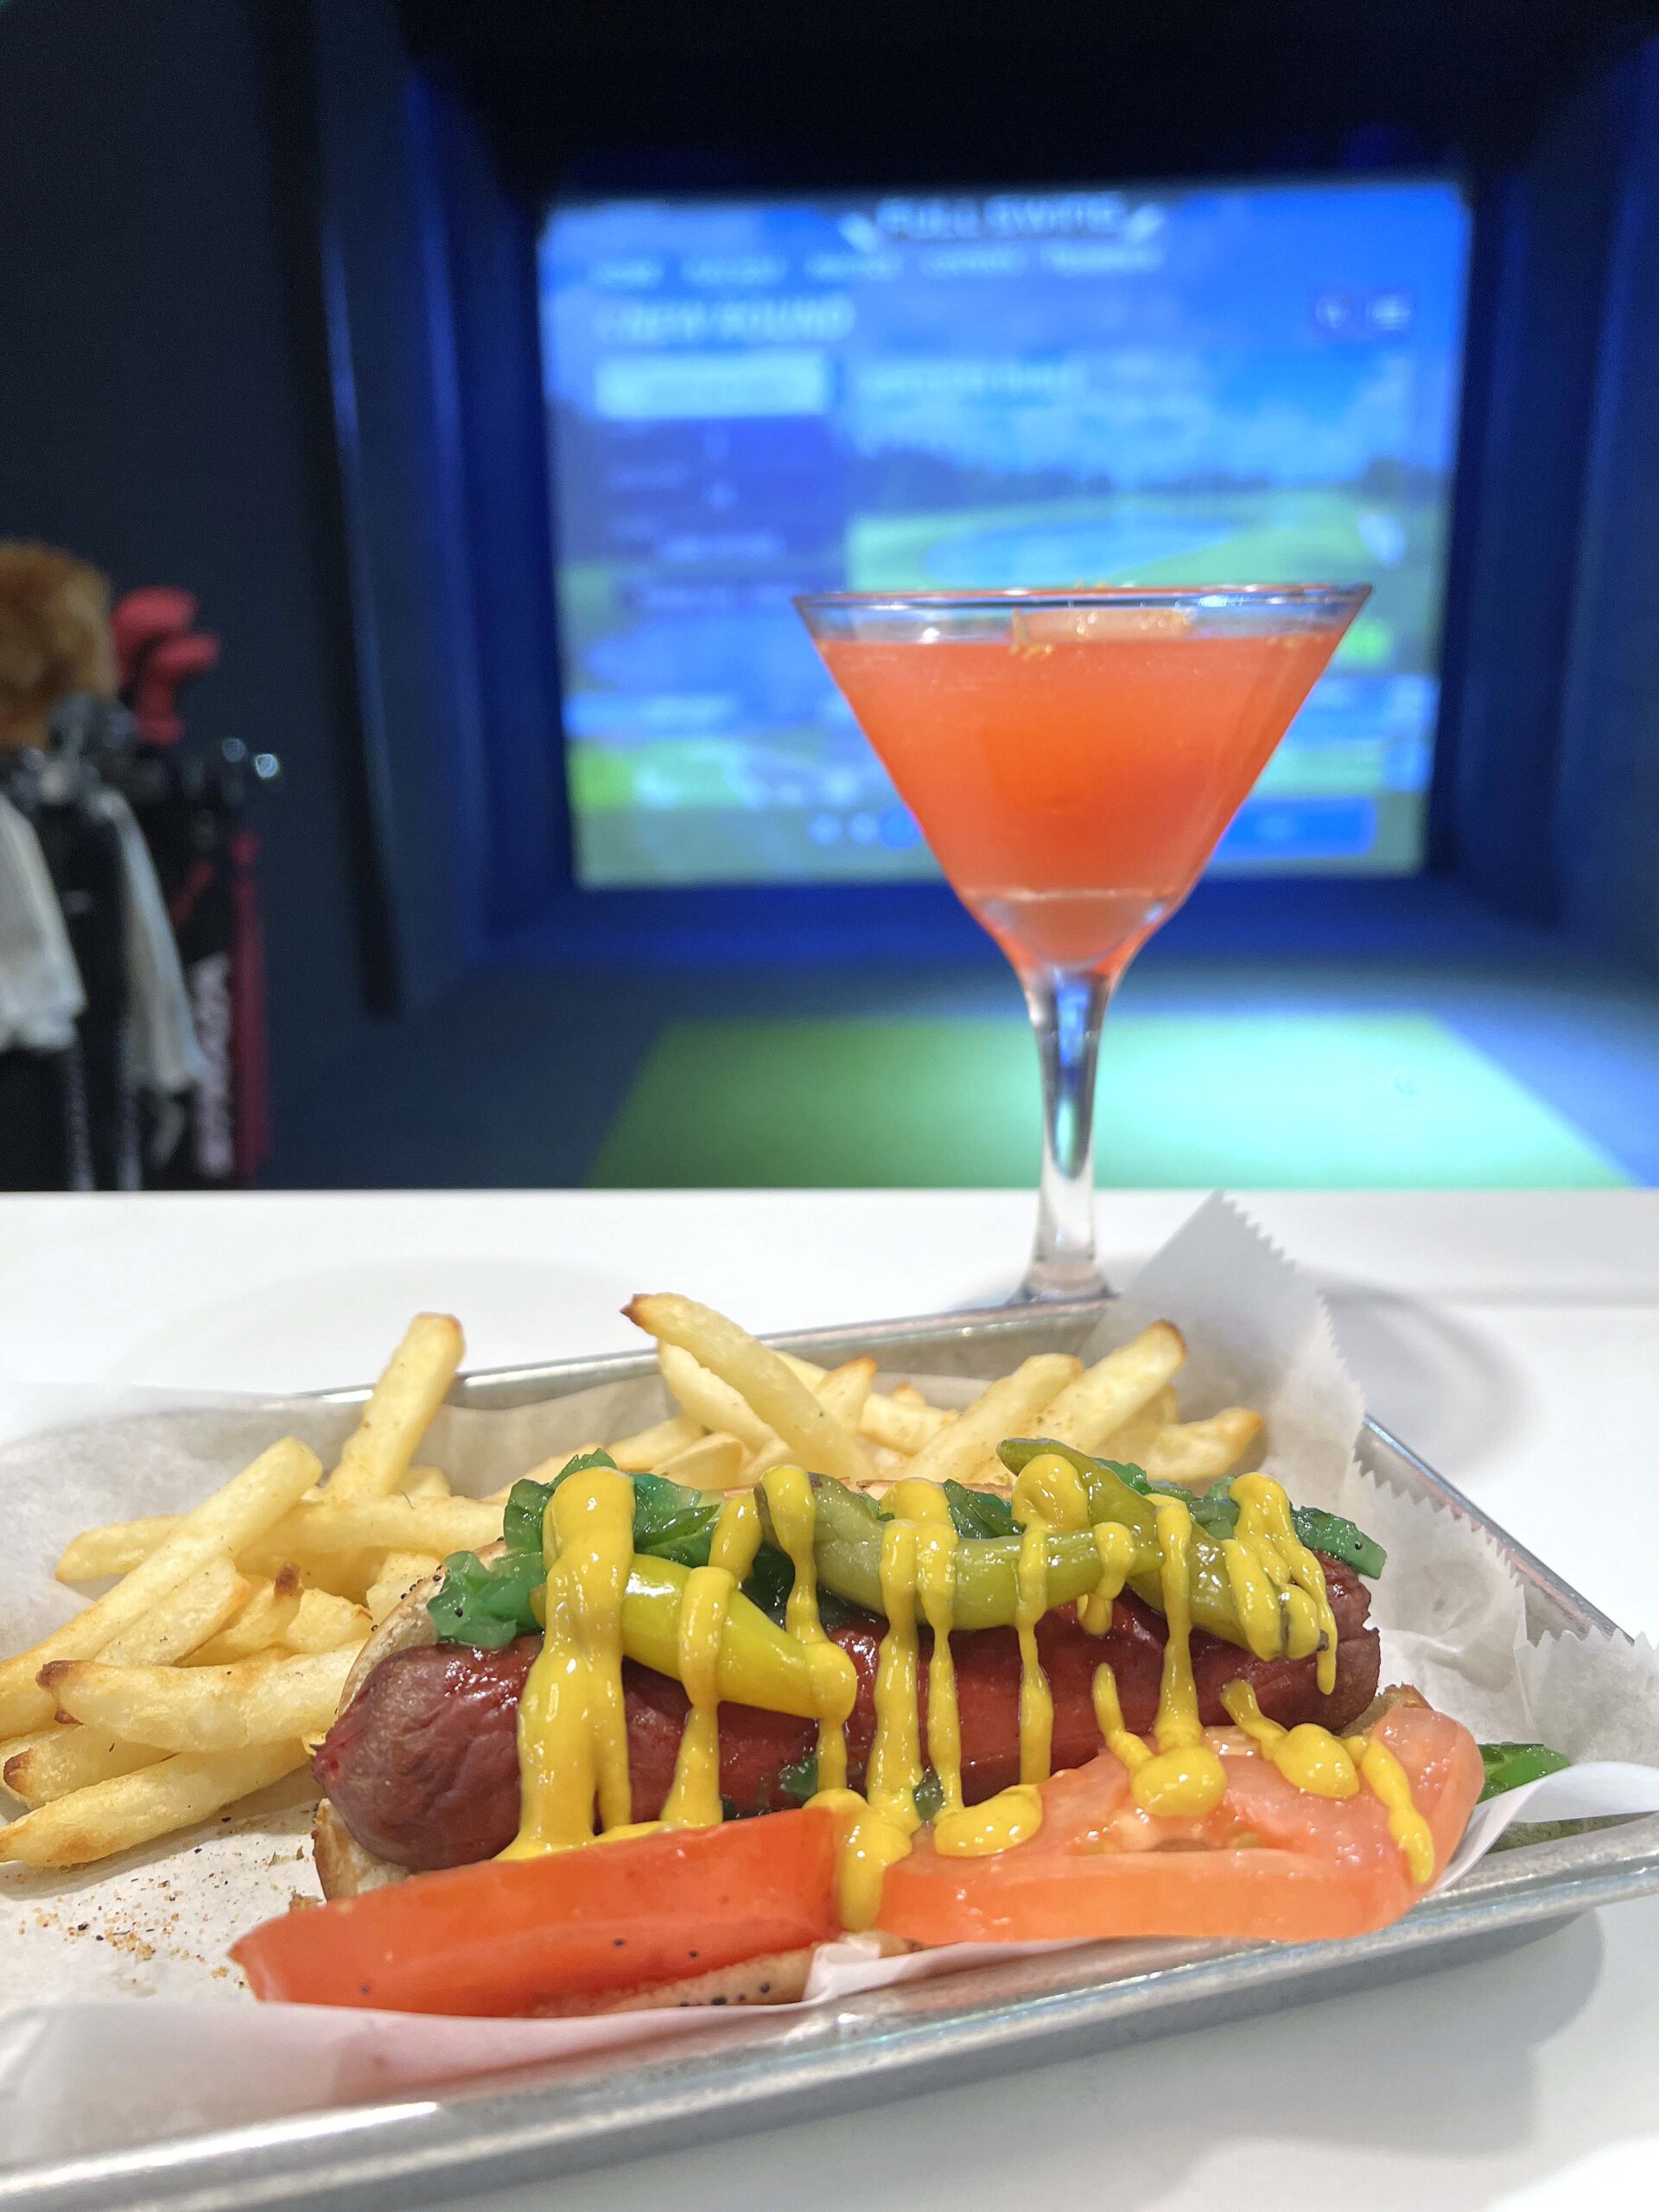
Order the house-made Salsa And Guac appetizer before selecting lunch or dinner. Don’t sleep on the Bogey Dogs menu, which includes the best-tasting Chicago Dog outside of the Windy City. The Hot Honey Pepperoni is the top choice when selecting from a four types of flatbread pizza. (View the menu.)
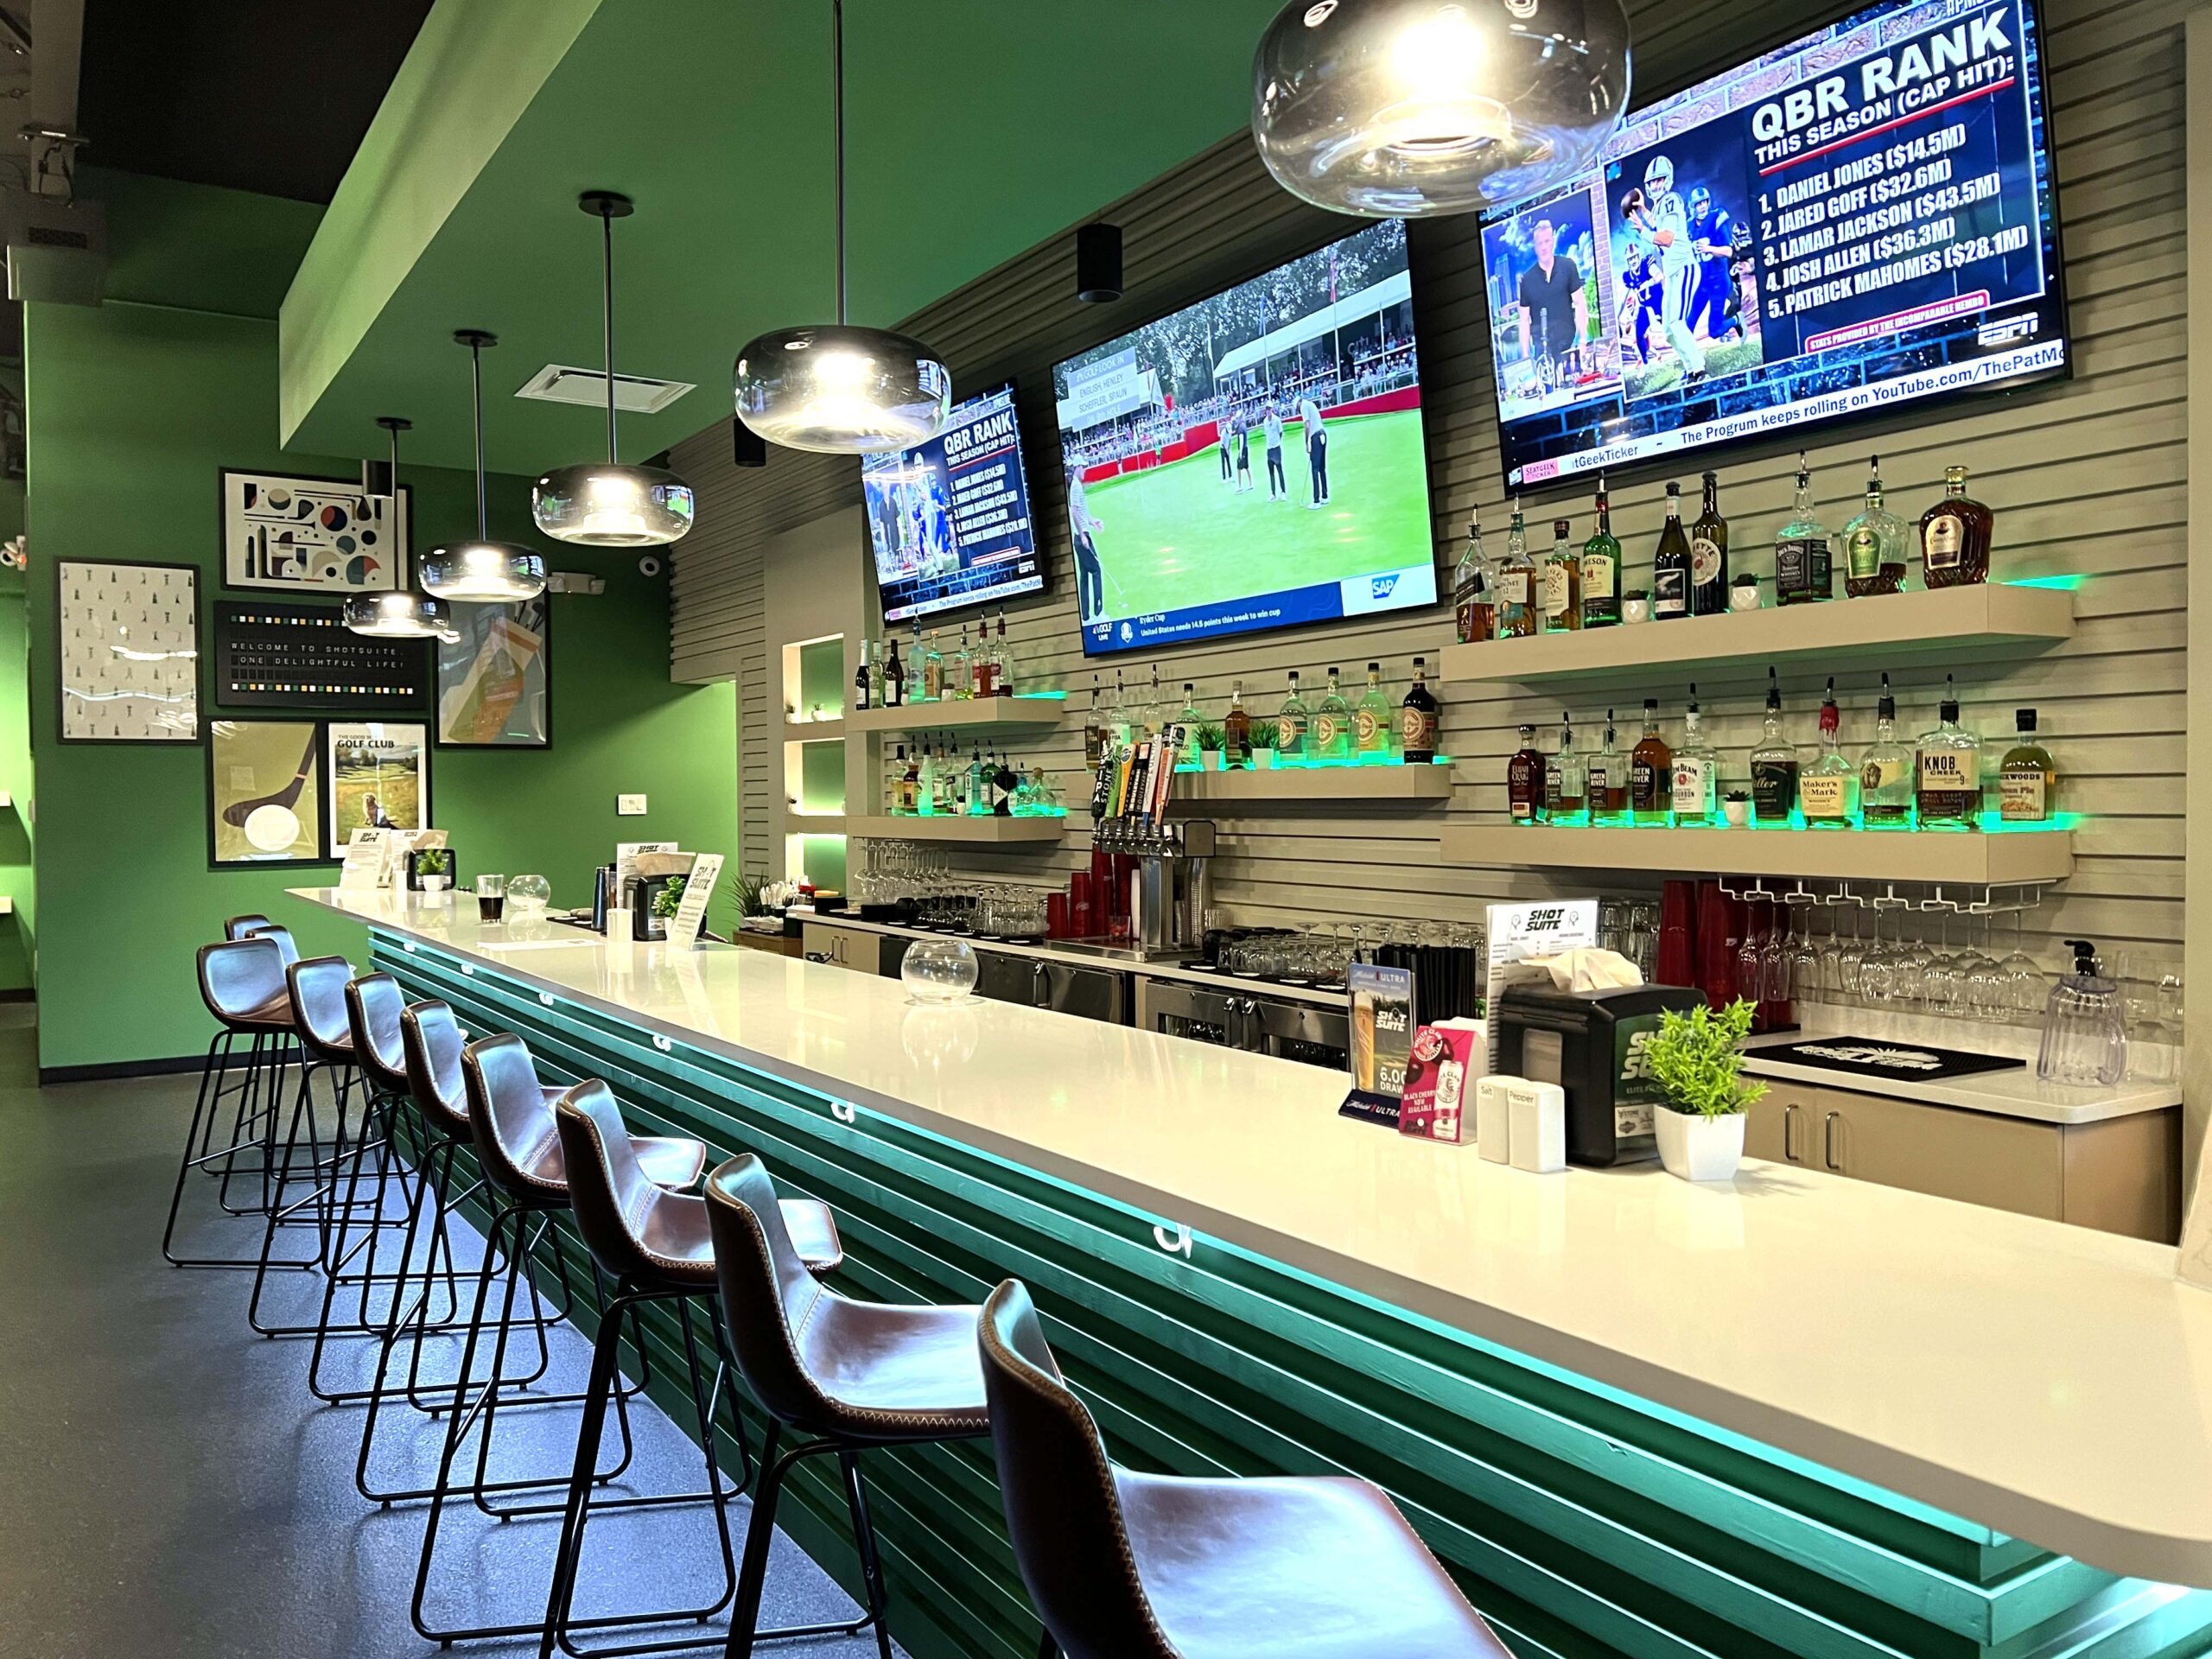 I especially enjoyed unwinding after gaming with a Dubai Chocolate Martini and Azalea Martini as a golf tournament aired from bar-side television. The bartender’s inventive cocktail recipes are well-balanced.
PRO TIP: If you love your ShotSuite experience, inquire about membership perks and shop the pro shop‘s apparel selection. League play is also an option.
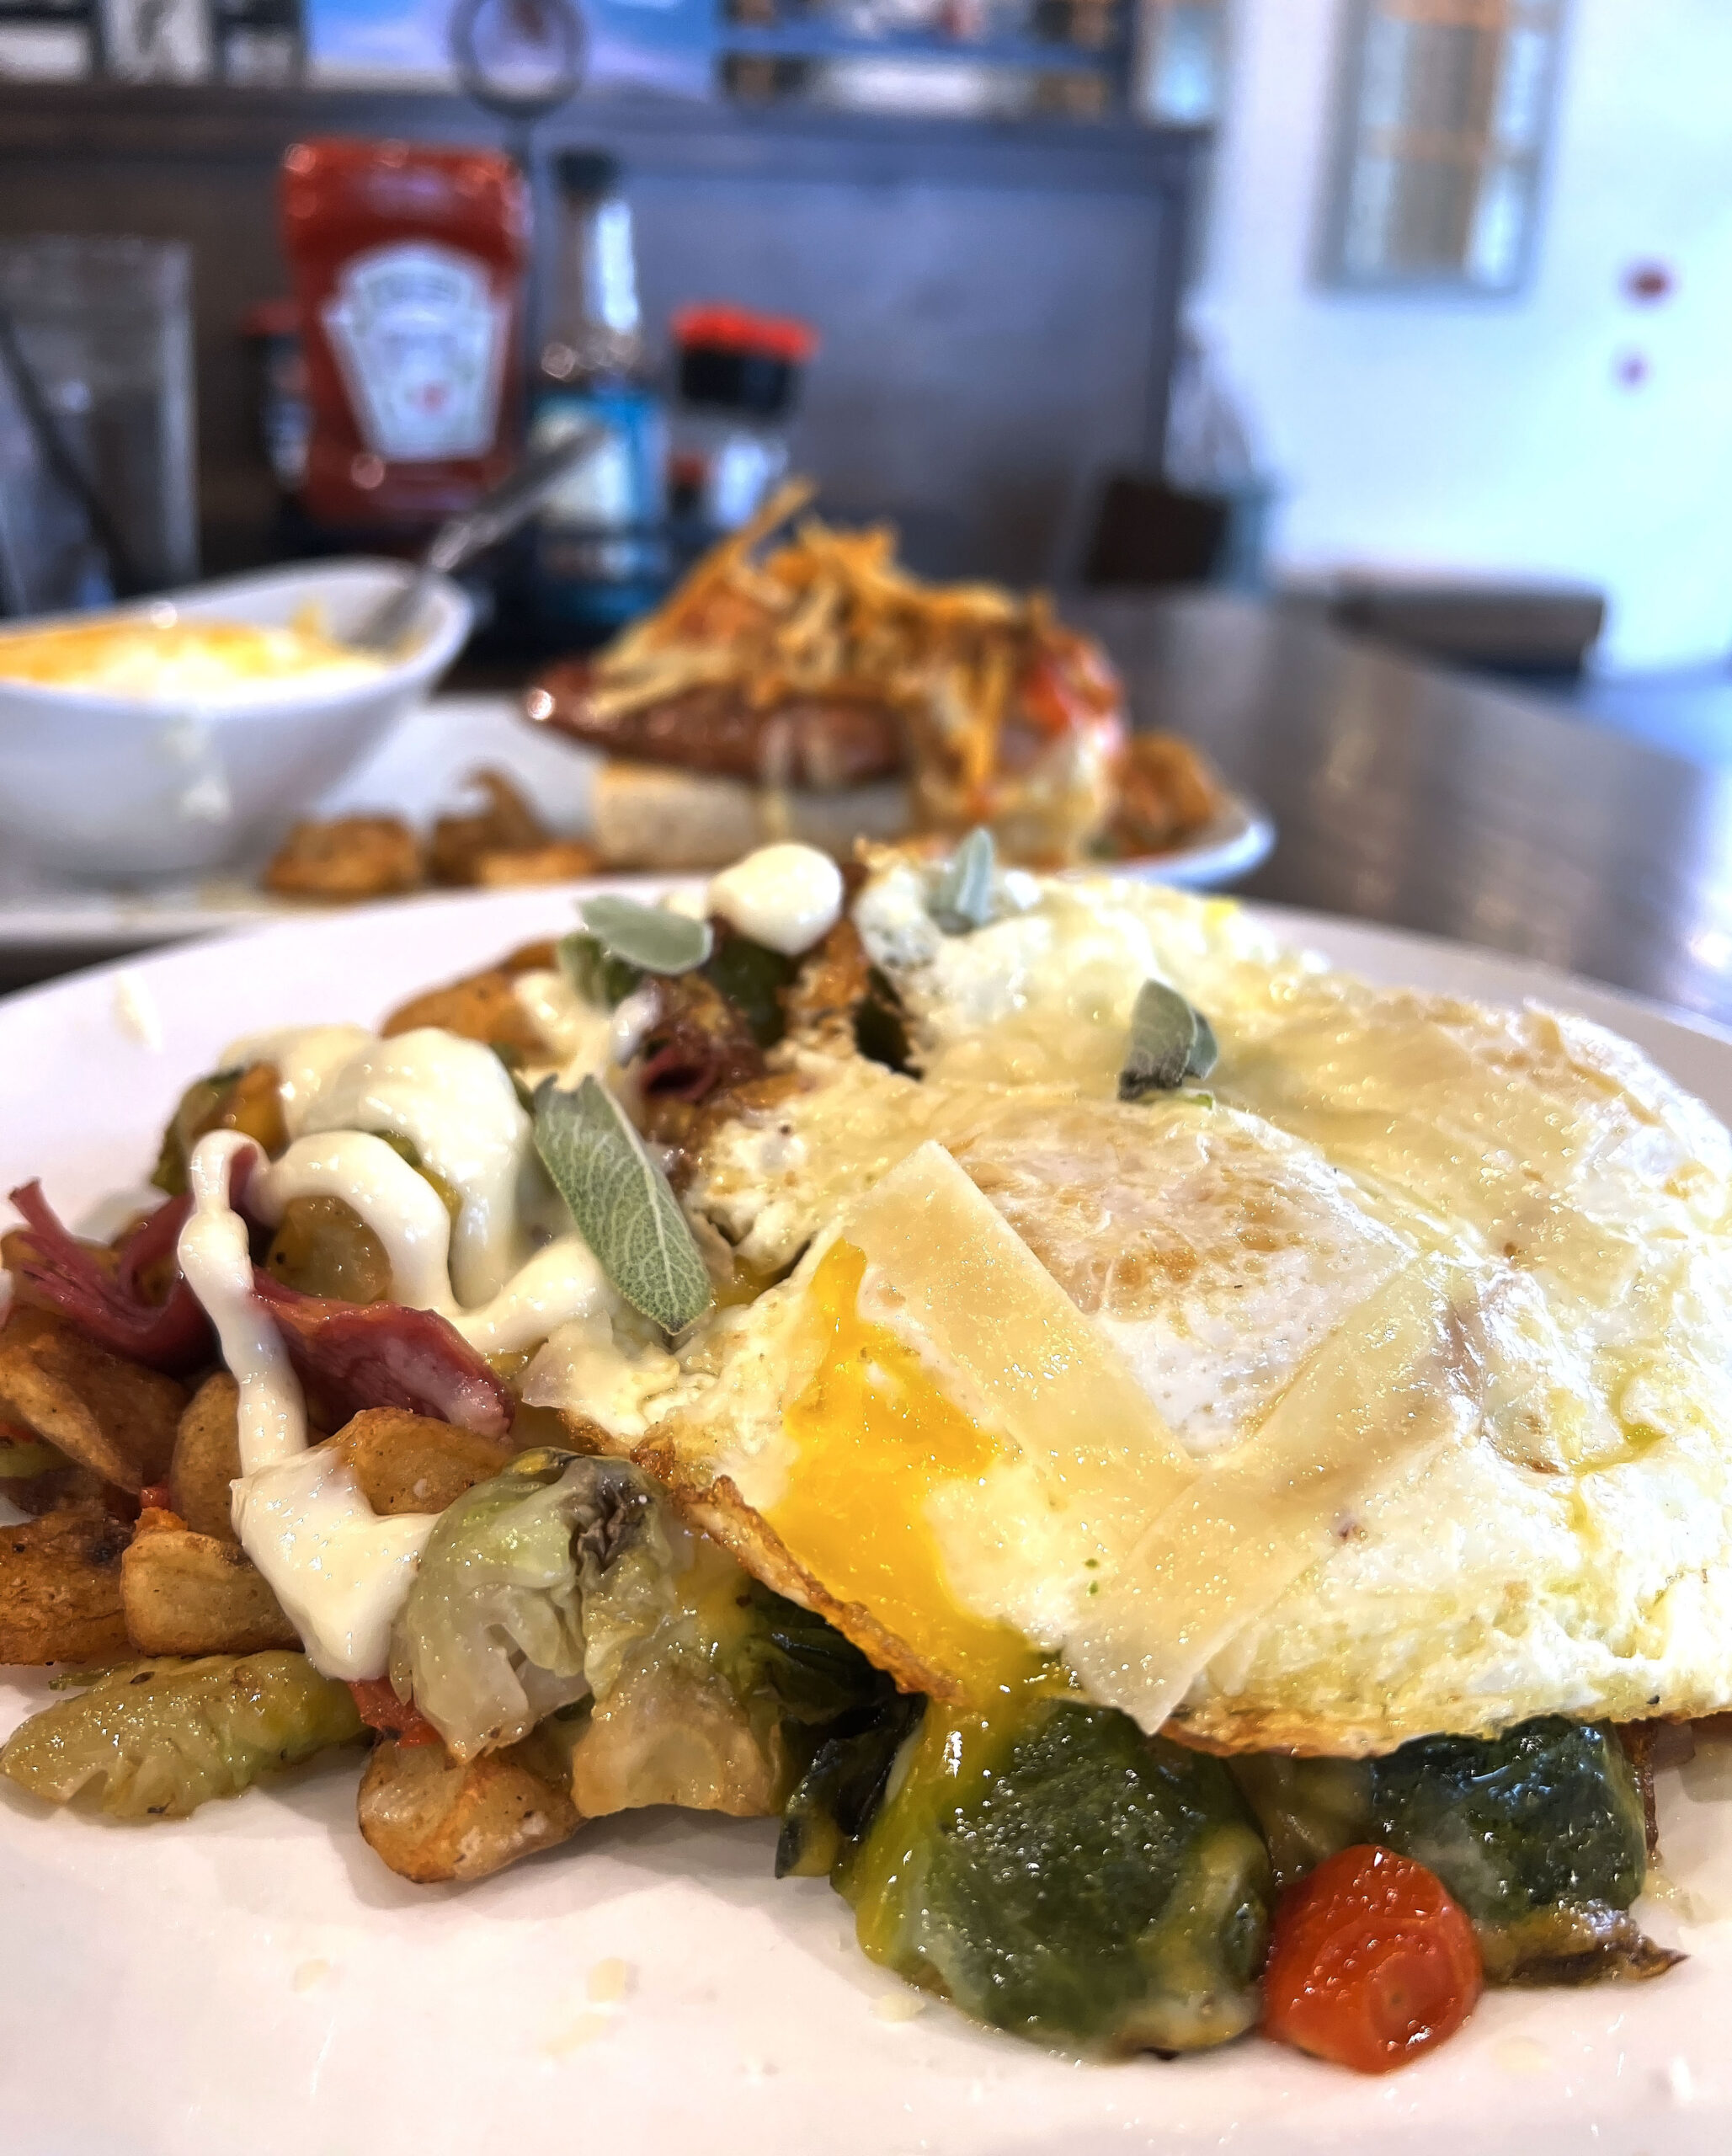
THE KITCHEN: INDULGE IN A COMFORTING, CREATIVE MEAL
When I want to eat a healthier restaurant meal made with the freshest ingredients, I indulge in a flavorful Buddha Bowl, sandwich or dinner-size salad at The Kitchen (3622 N. Oliver).
The restaurant, known for its scratch-made bistro classic fare, was created by Chef Natasha Gandhi-Rue, who with her husband, won Guy’s Grocery Games Season 23, Episode 11, appearing on the Food Network.
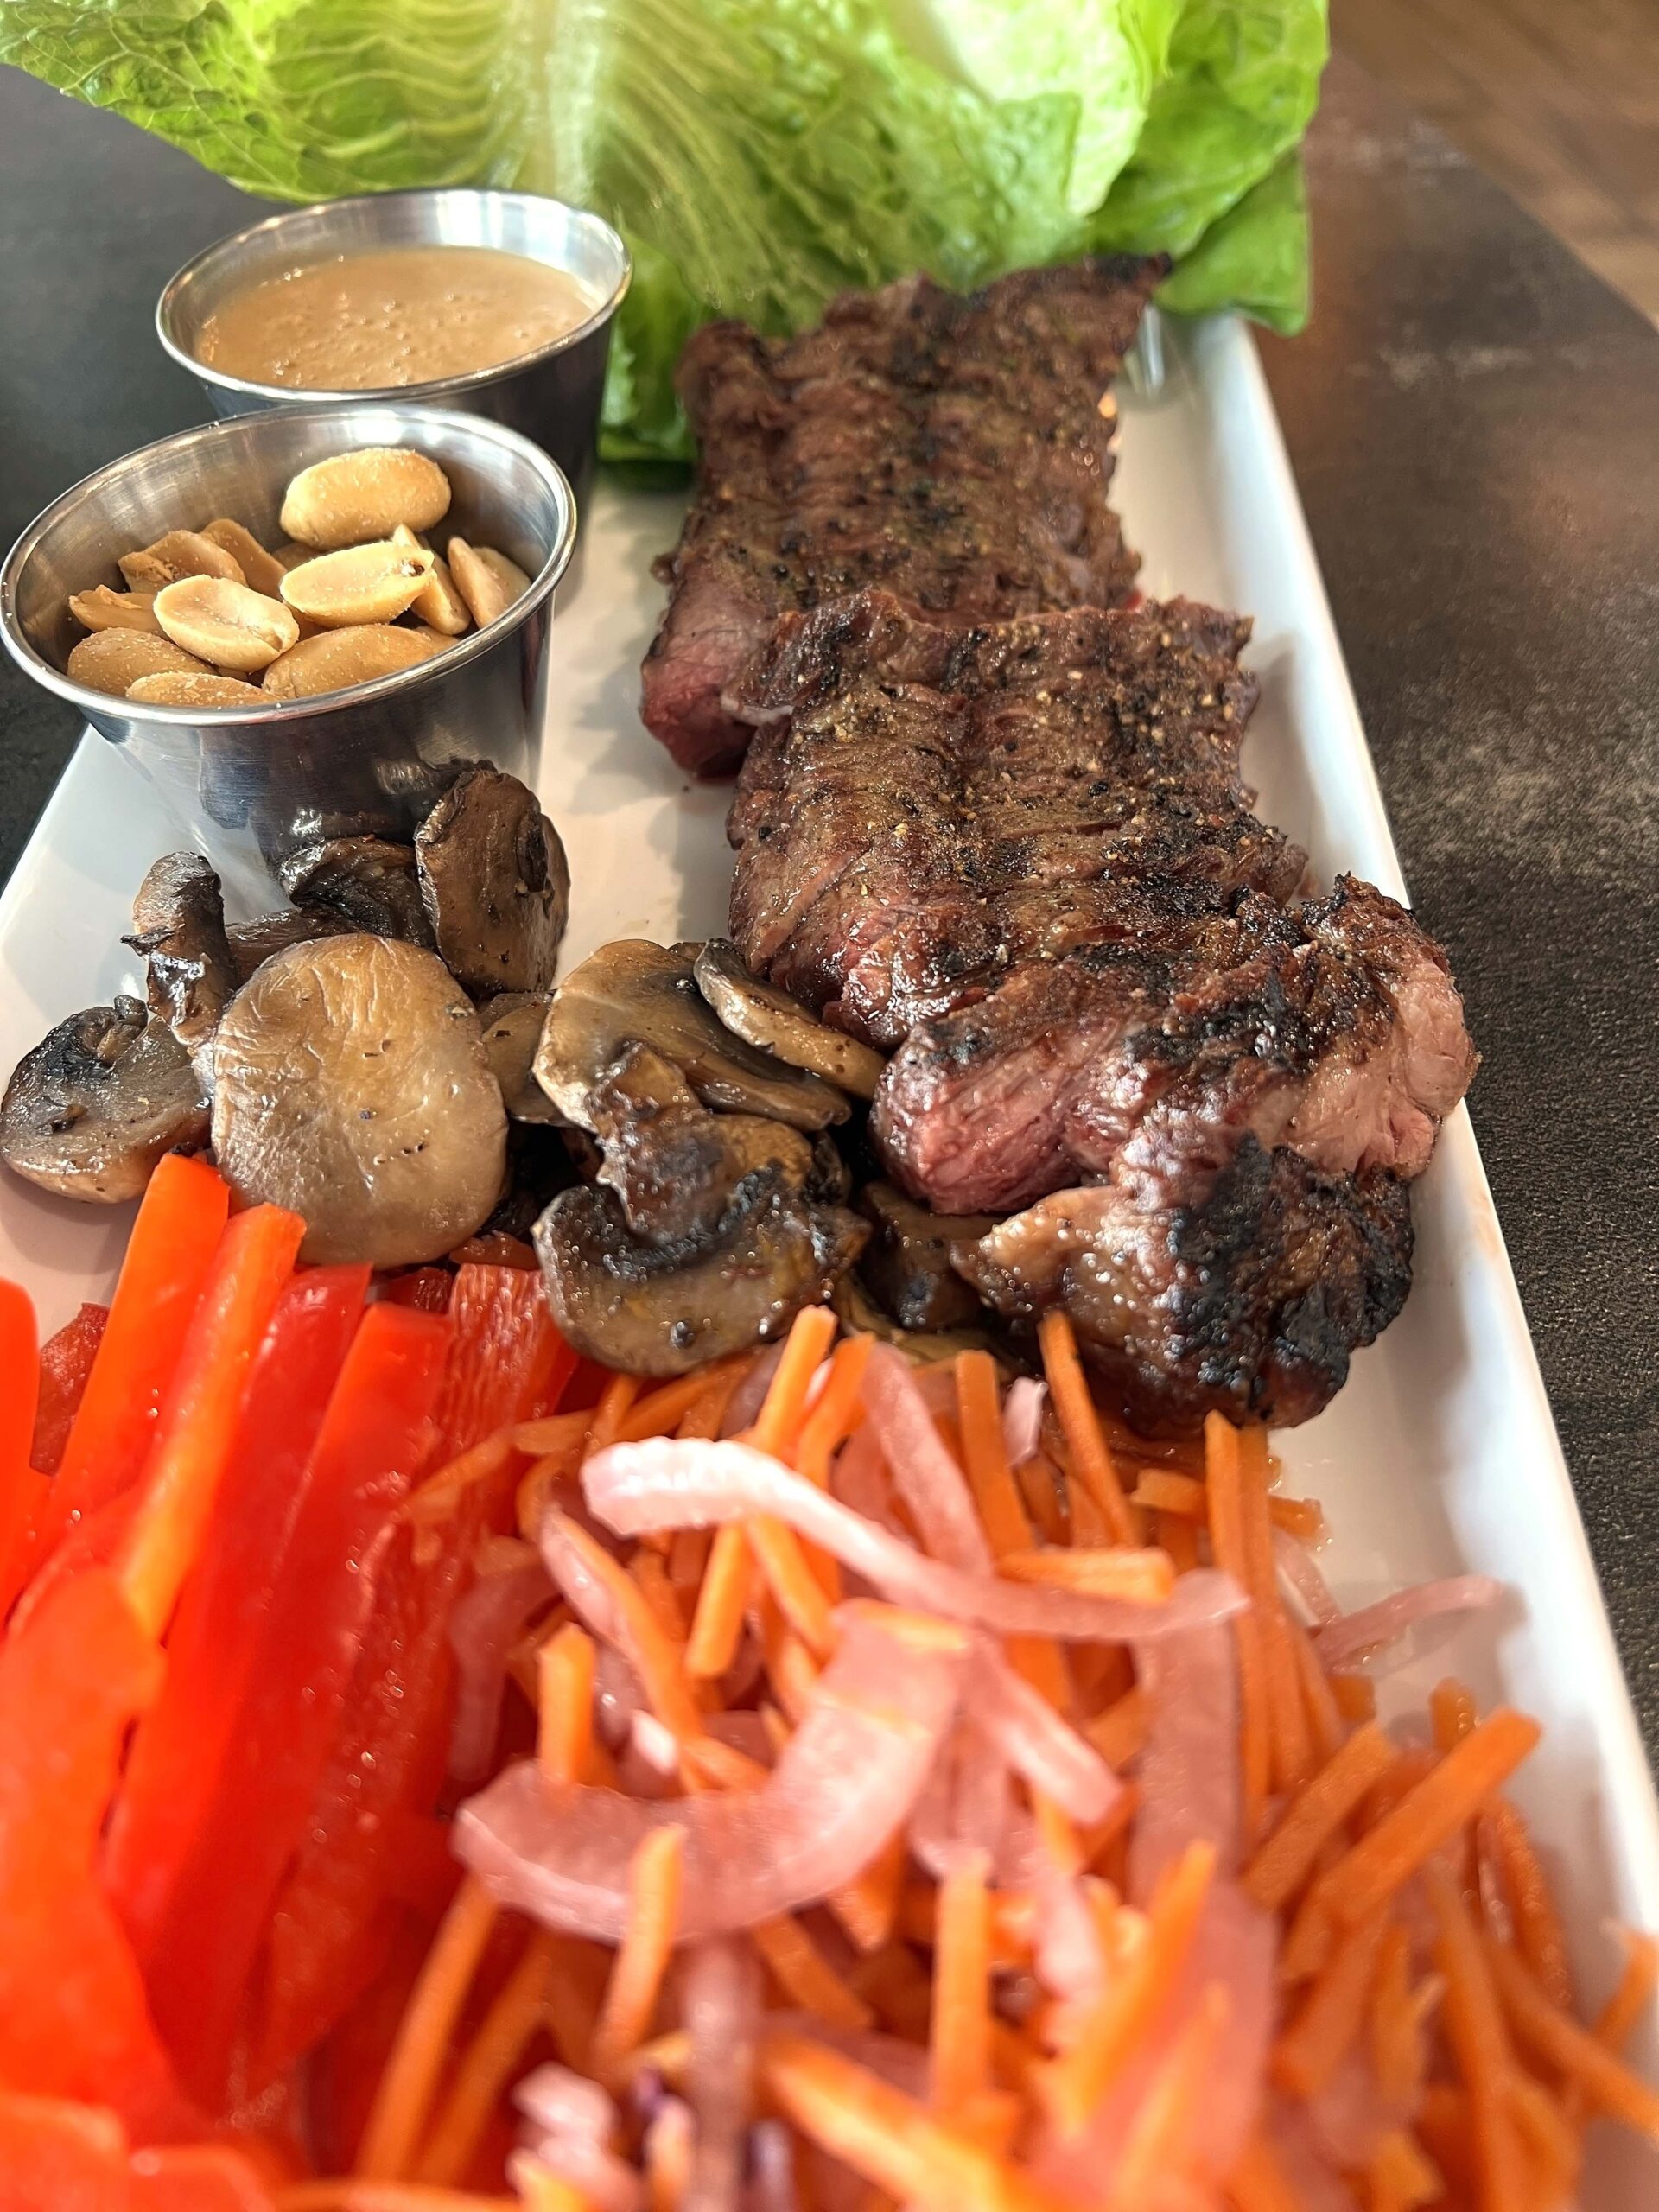
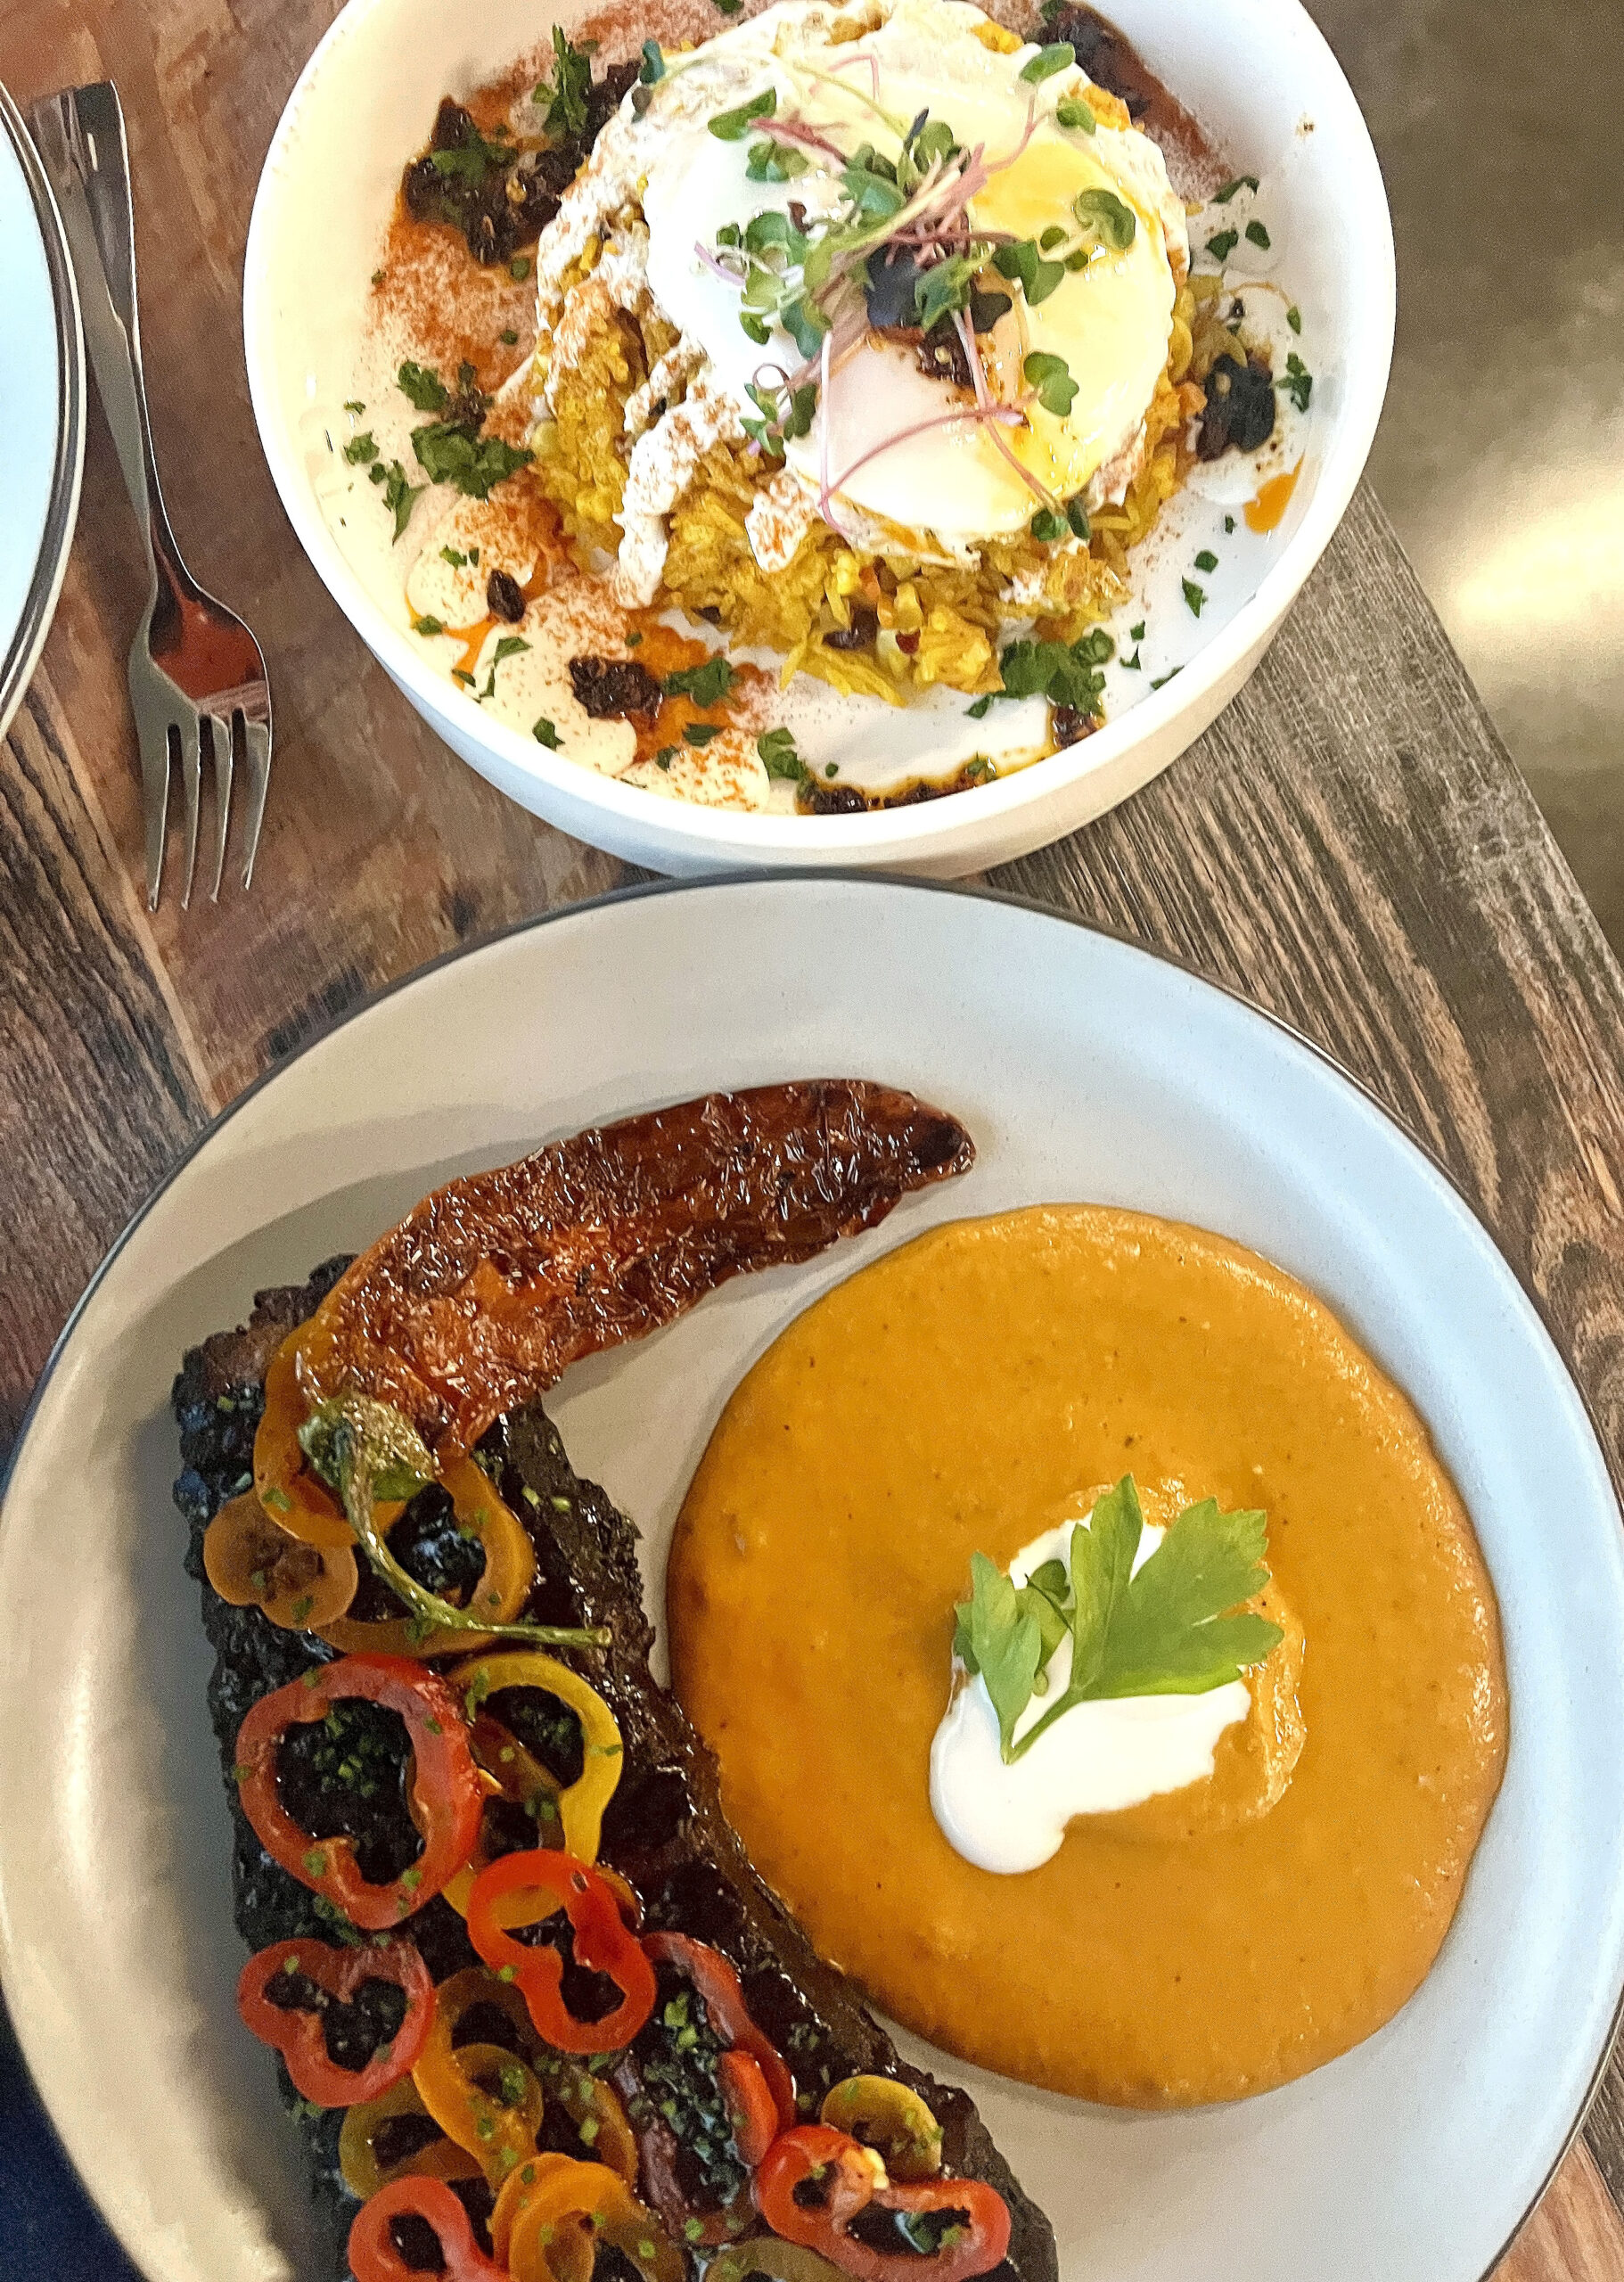
Shareable appetizers like the gravy-drenched Disco Fries and Jalapeño Cheddar Bites are worth ordering; however, if you want a lighter option, order the Steak Lettuce Plater served with sliced Bavette steak and vegetables.
 Chef Gandhi-Rue’s scratch-made pasta entreés are irresistible, and I liked customizing my pasta by adding bacon, mushroom, and chicken. Another hearty meal, the Thai Bowl is one I’ve ordered repeatedly over the years, much like the Fajita Bowl.
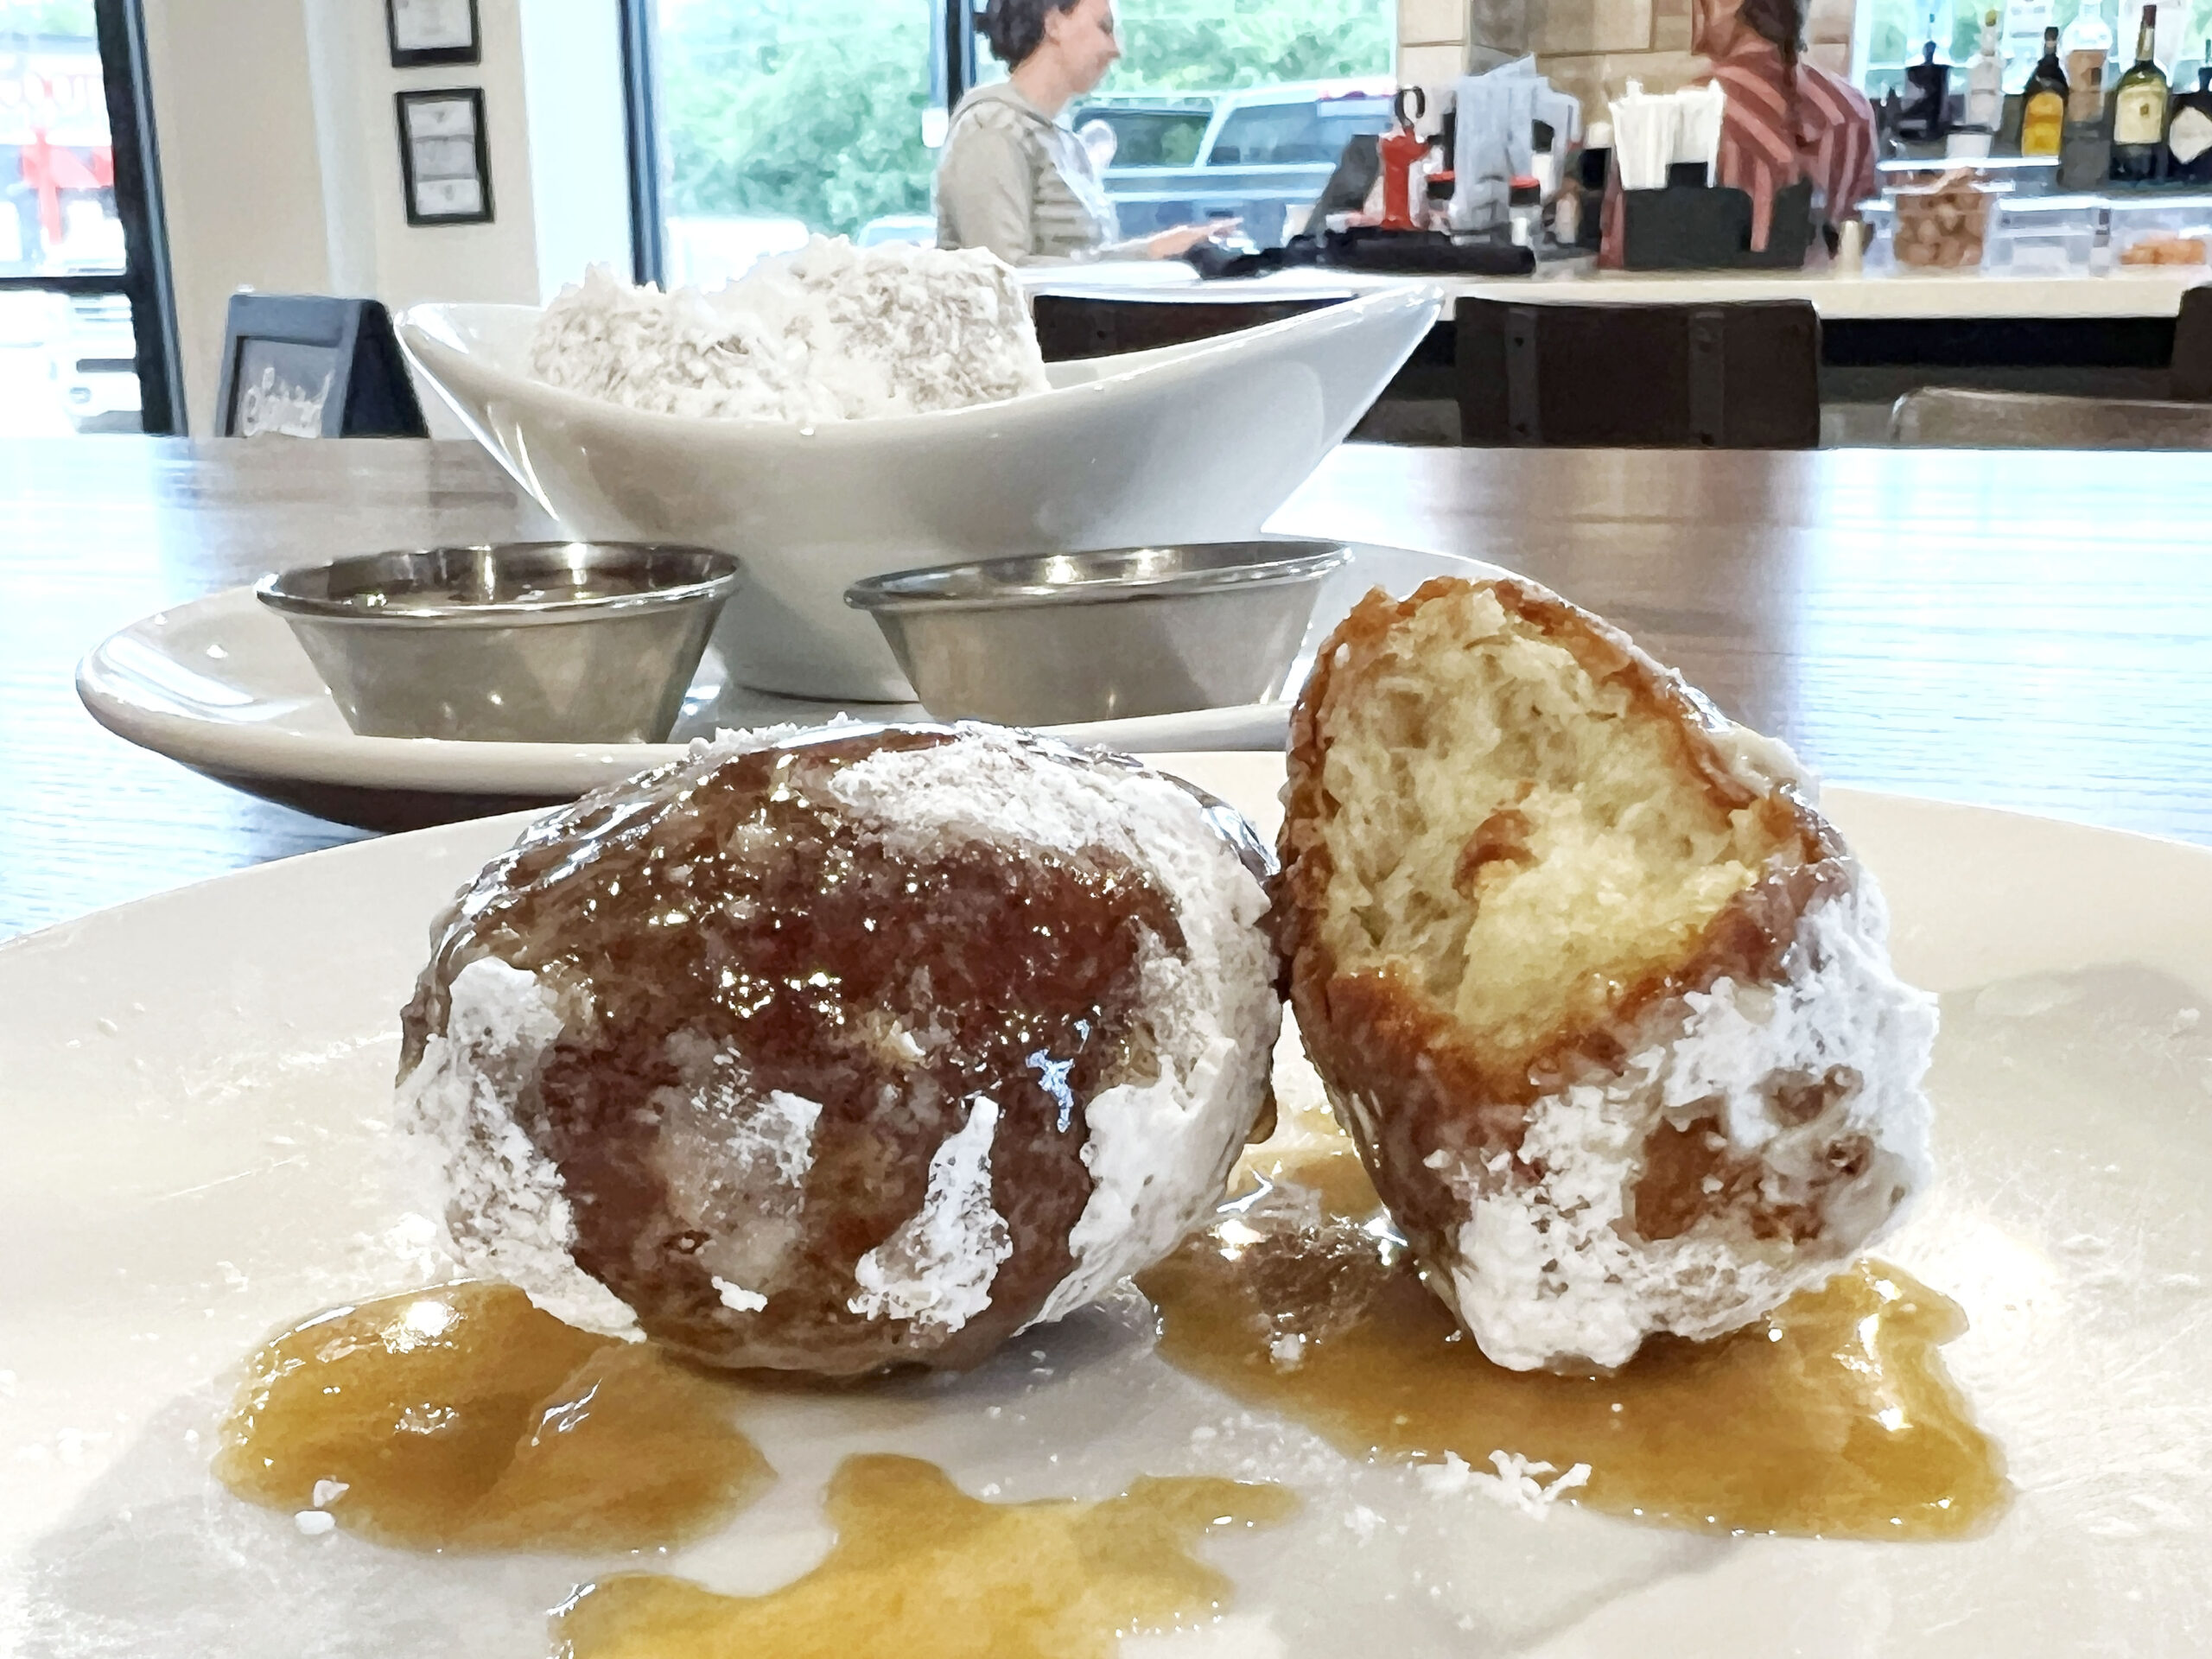
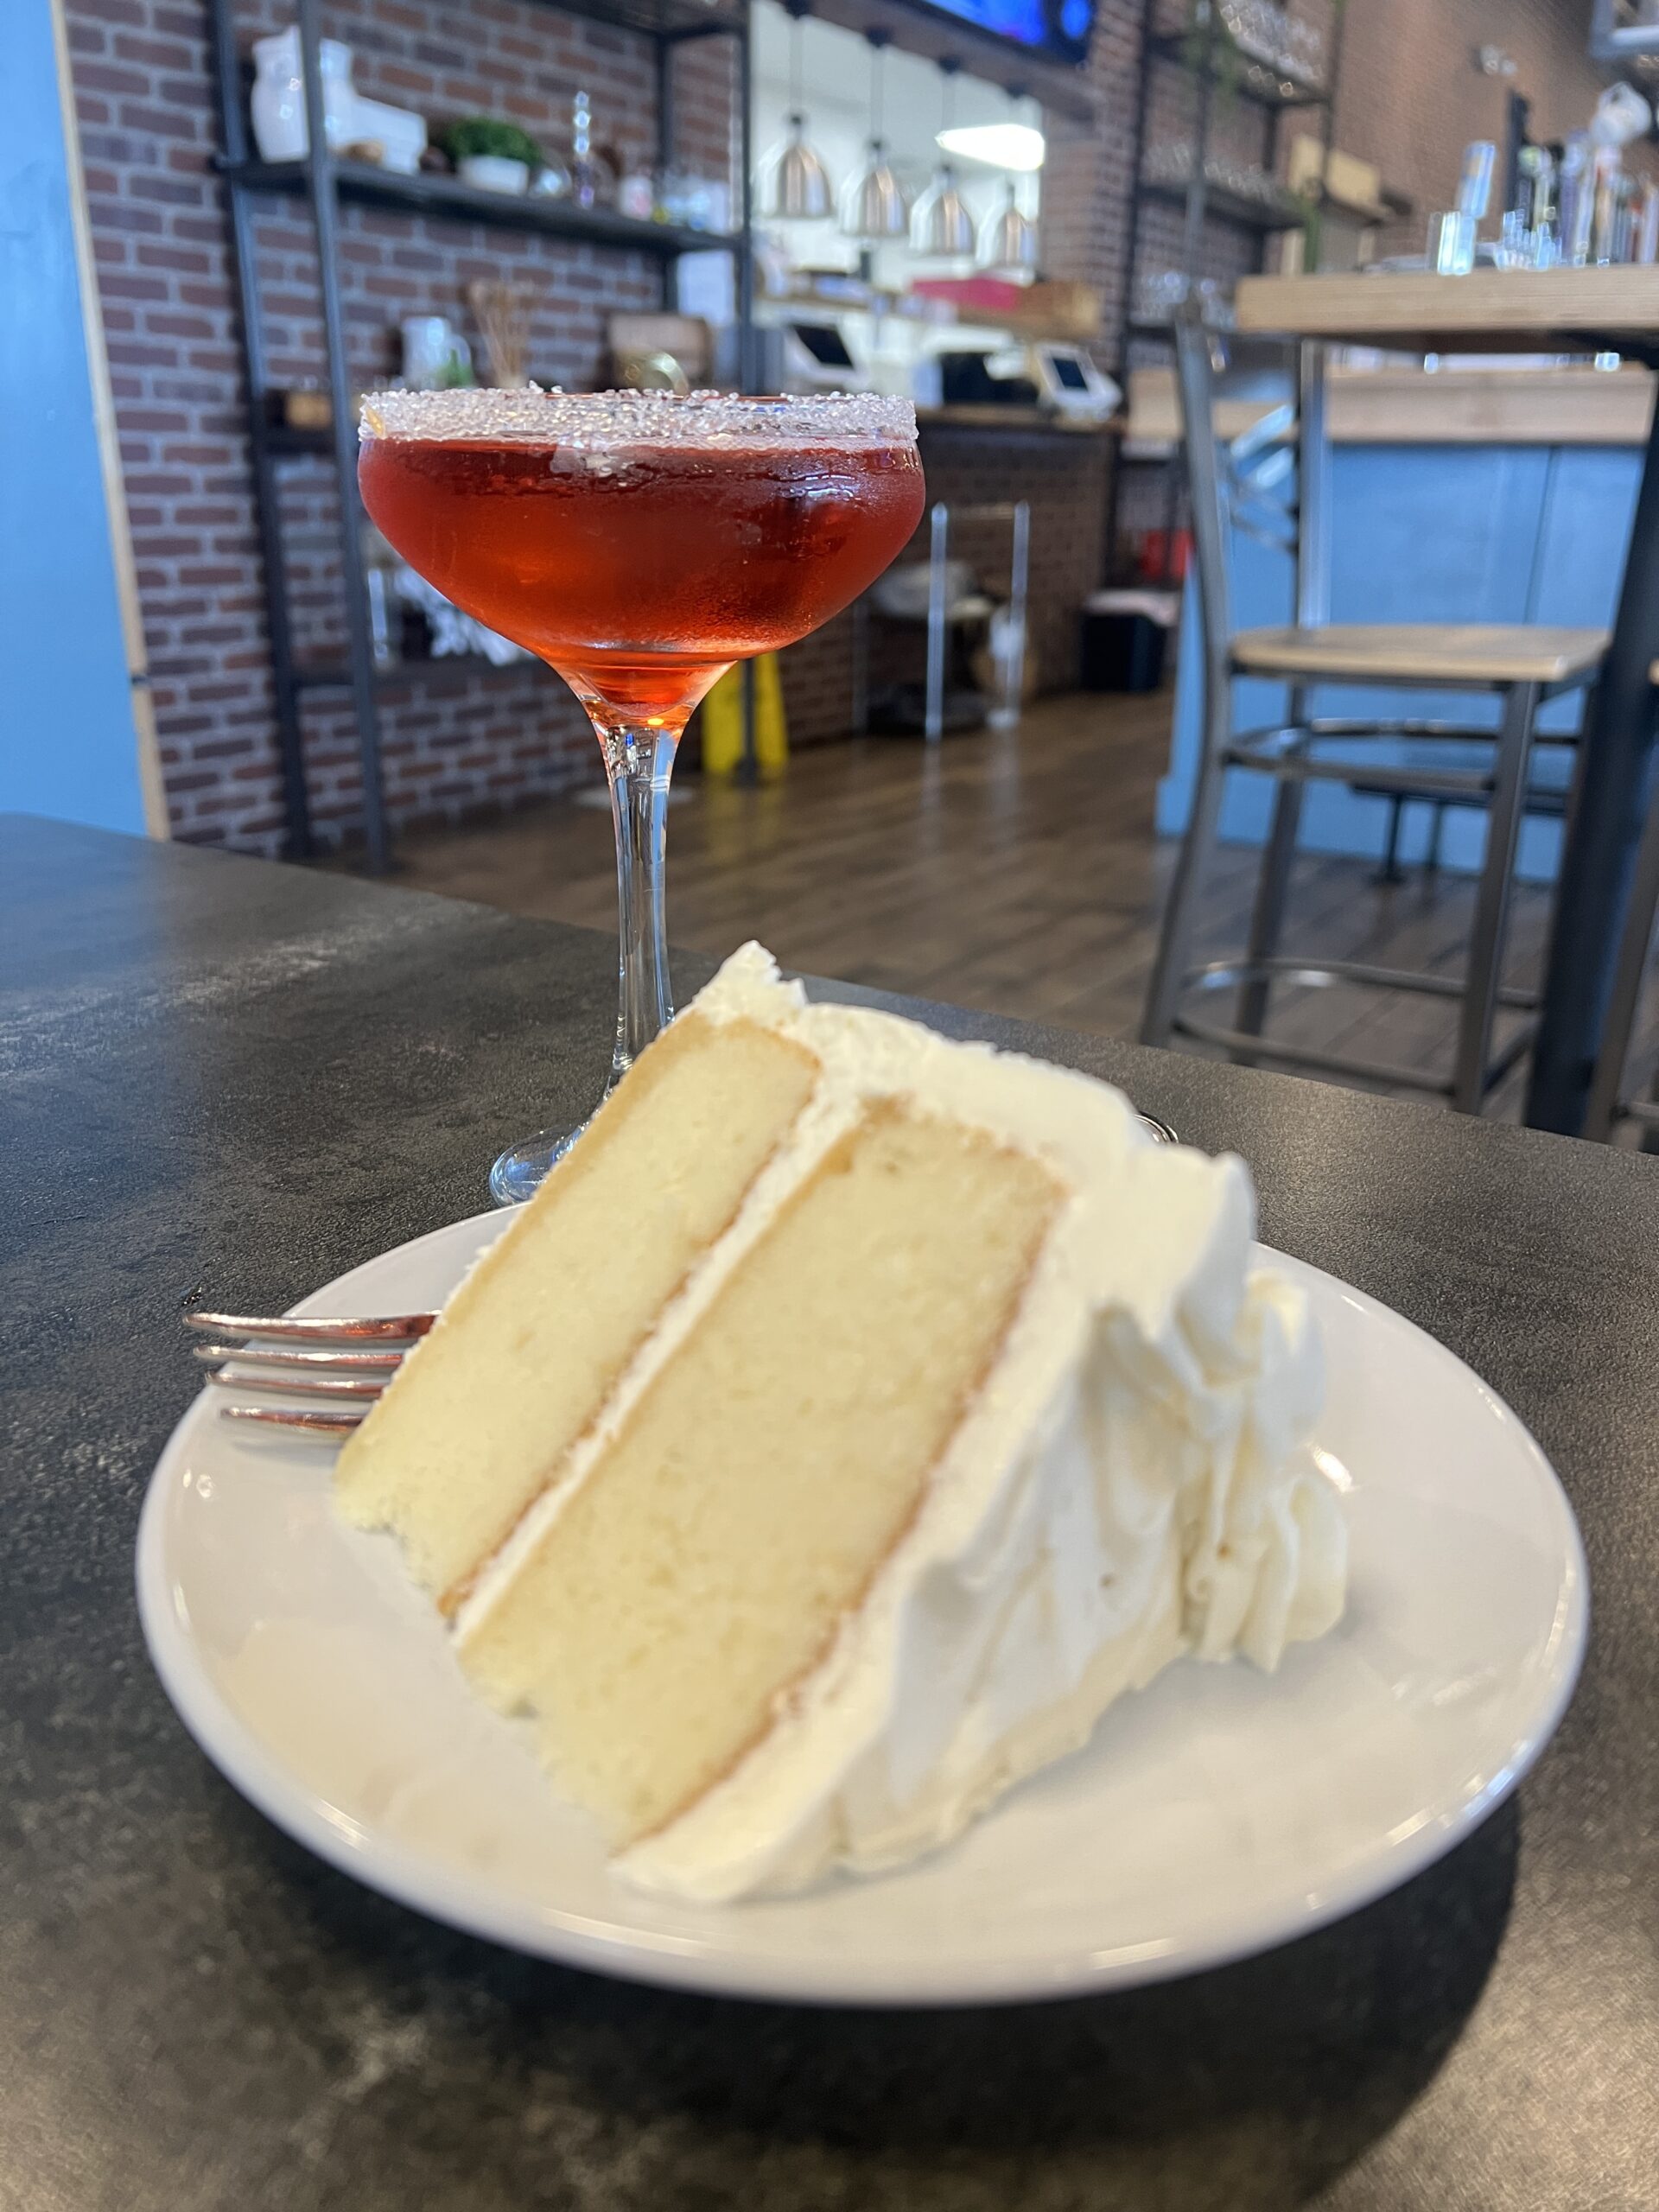
The best value for the experience is Tuesdays Dinner for 2, featuring three courses and a dessert to share for $40. Take it from me, The Kitchen’s cake selection is worth the visit alone.
PRO TIP: Seat yourself indoors or on the patio, and then ask your server about the updated Happy Hour bar menu or order from one of 24 beer taps, which include locally-brewed beers.
If you love The Kitchen, think about hosting a party in their reservable room that seats 32 people or ask about catering options.
Overall, you’ll find there is more than enough to do at District 96 during your day trip or overnight stay. Simply park and walk to food, fun, and sports adventures – some of the best experiences in Wichita.
 District 96 is more than a commercial district. It’s an entertainment destination for locals and travelers who want unforgettable lodging, dining, shopping, and sports-themed attractions in one place.

 With over 200 new restaurants opening in the last two years, finding an up-and-coming restaurant to enjoy is easy. But if you want to dine like a local, refer to my pocket guide of must-visit restaurants when visiting Music City.
 Their award-winning barbecue is served with southern hospitality, and if you’re lucky, Carey might swing by your table for a casual chat during the meal. Menu favorites include heaping BBQ Nachos, Memphis Sushi, and Dry Rubbed Ribs, but opt for the shareable Combo Platter when in doubt.
 PRO TIP: Leave room for banana pudding or a drool-worthy fried pie fresh from the oven. View
  The food was exceptionally prepared and presented during our group’s family-style private dinner service. The Pre-Show Dinner menu, served from 5:00 p.m. to 6:00 p.m., features Italian-inspired dishes.
 I joined others, tapping our feet to the sounds of live bluegrass music while indulging in various shareable appetizers. Skillet cornbread, deviled eggs, and crispy Brussels sprouts satisfied. The sandwiches, with a side salad, are a creative twist on burgers and chicken sandwiches.
 PRO TIP: Arrive at 5:00 p.m. to enjoy weekly Happy Hour cocktail menu specials, beer discounts, and $5 snacks. View
  The menu features Southern comfort classics ranging from barbecue meals, oysters, sandwiches, and steaks. Sit back with a deck drink or ice-cold beer as the sun sets. Hot chicken seasoning ranges from Sissy (perfect for me!) to Hiroshima levels, thanks to added cayenne paste.
 PRO TIP: The deck gets crowded, especially on show nights at The Opry. It stays open until 3:00 a.m. Monday-Friday for post-show celebrations. View
  Meals are artfully plated using traditional Japanese ingredients. Sesame, soy, and miso make recipe appearances. The bar menu showcases boozy and non-boozy drinks with names such as Viva Magenta (gin) and Matcha Limeade.
 PRO TIP: Park in the rear of the building and walk up the back stairs. View
  Referred to as Camp Bobby, the pop-up holiday bar was decorated down to every detail. Live bands play during summer’s Backyard Sessions, and it’s a fantastic place to soak of downtown views or play yard games any time of year.
 PRO TIP: View
  The cidery rolls out a new seasonal selection every three weeks, so consider adding it to a tasting flight of four pours.
 PRO TIP: They love four-legged customers. Ask about monthly dog-friendly events. View
  We enjoyed tastings of four single-barrel bourbons of our choice during a group reservation. Their Small-Batch Cask Strength and Tennessee Single Barrel Whiskey, two of my preferred selections, went down like a warm hug.
 PRO TIP: Are you feeling brave? Ask if you can sample Wooshine. View


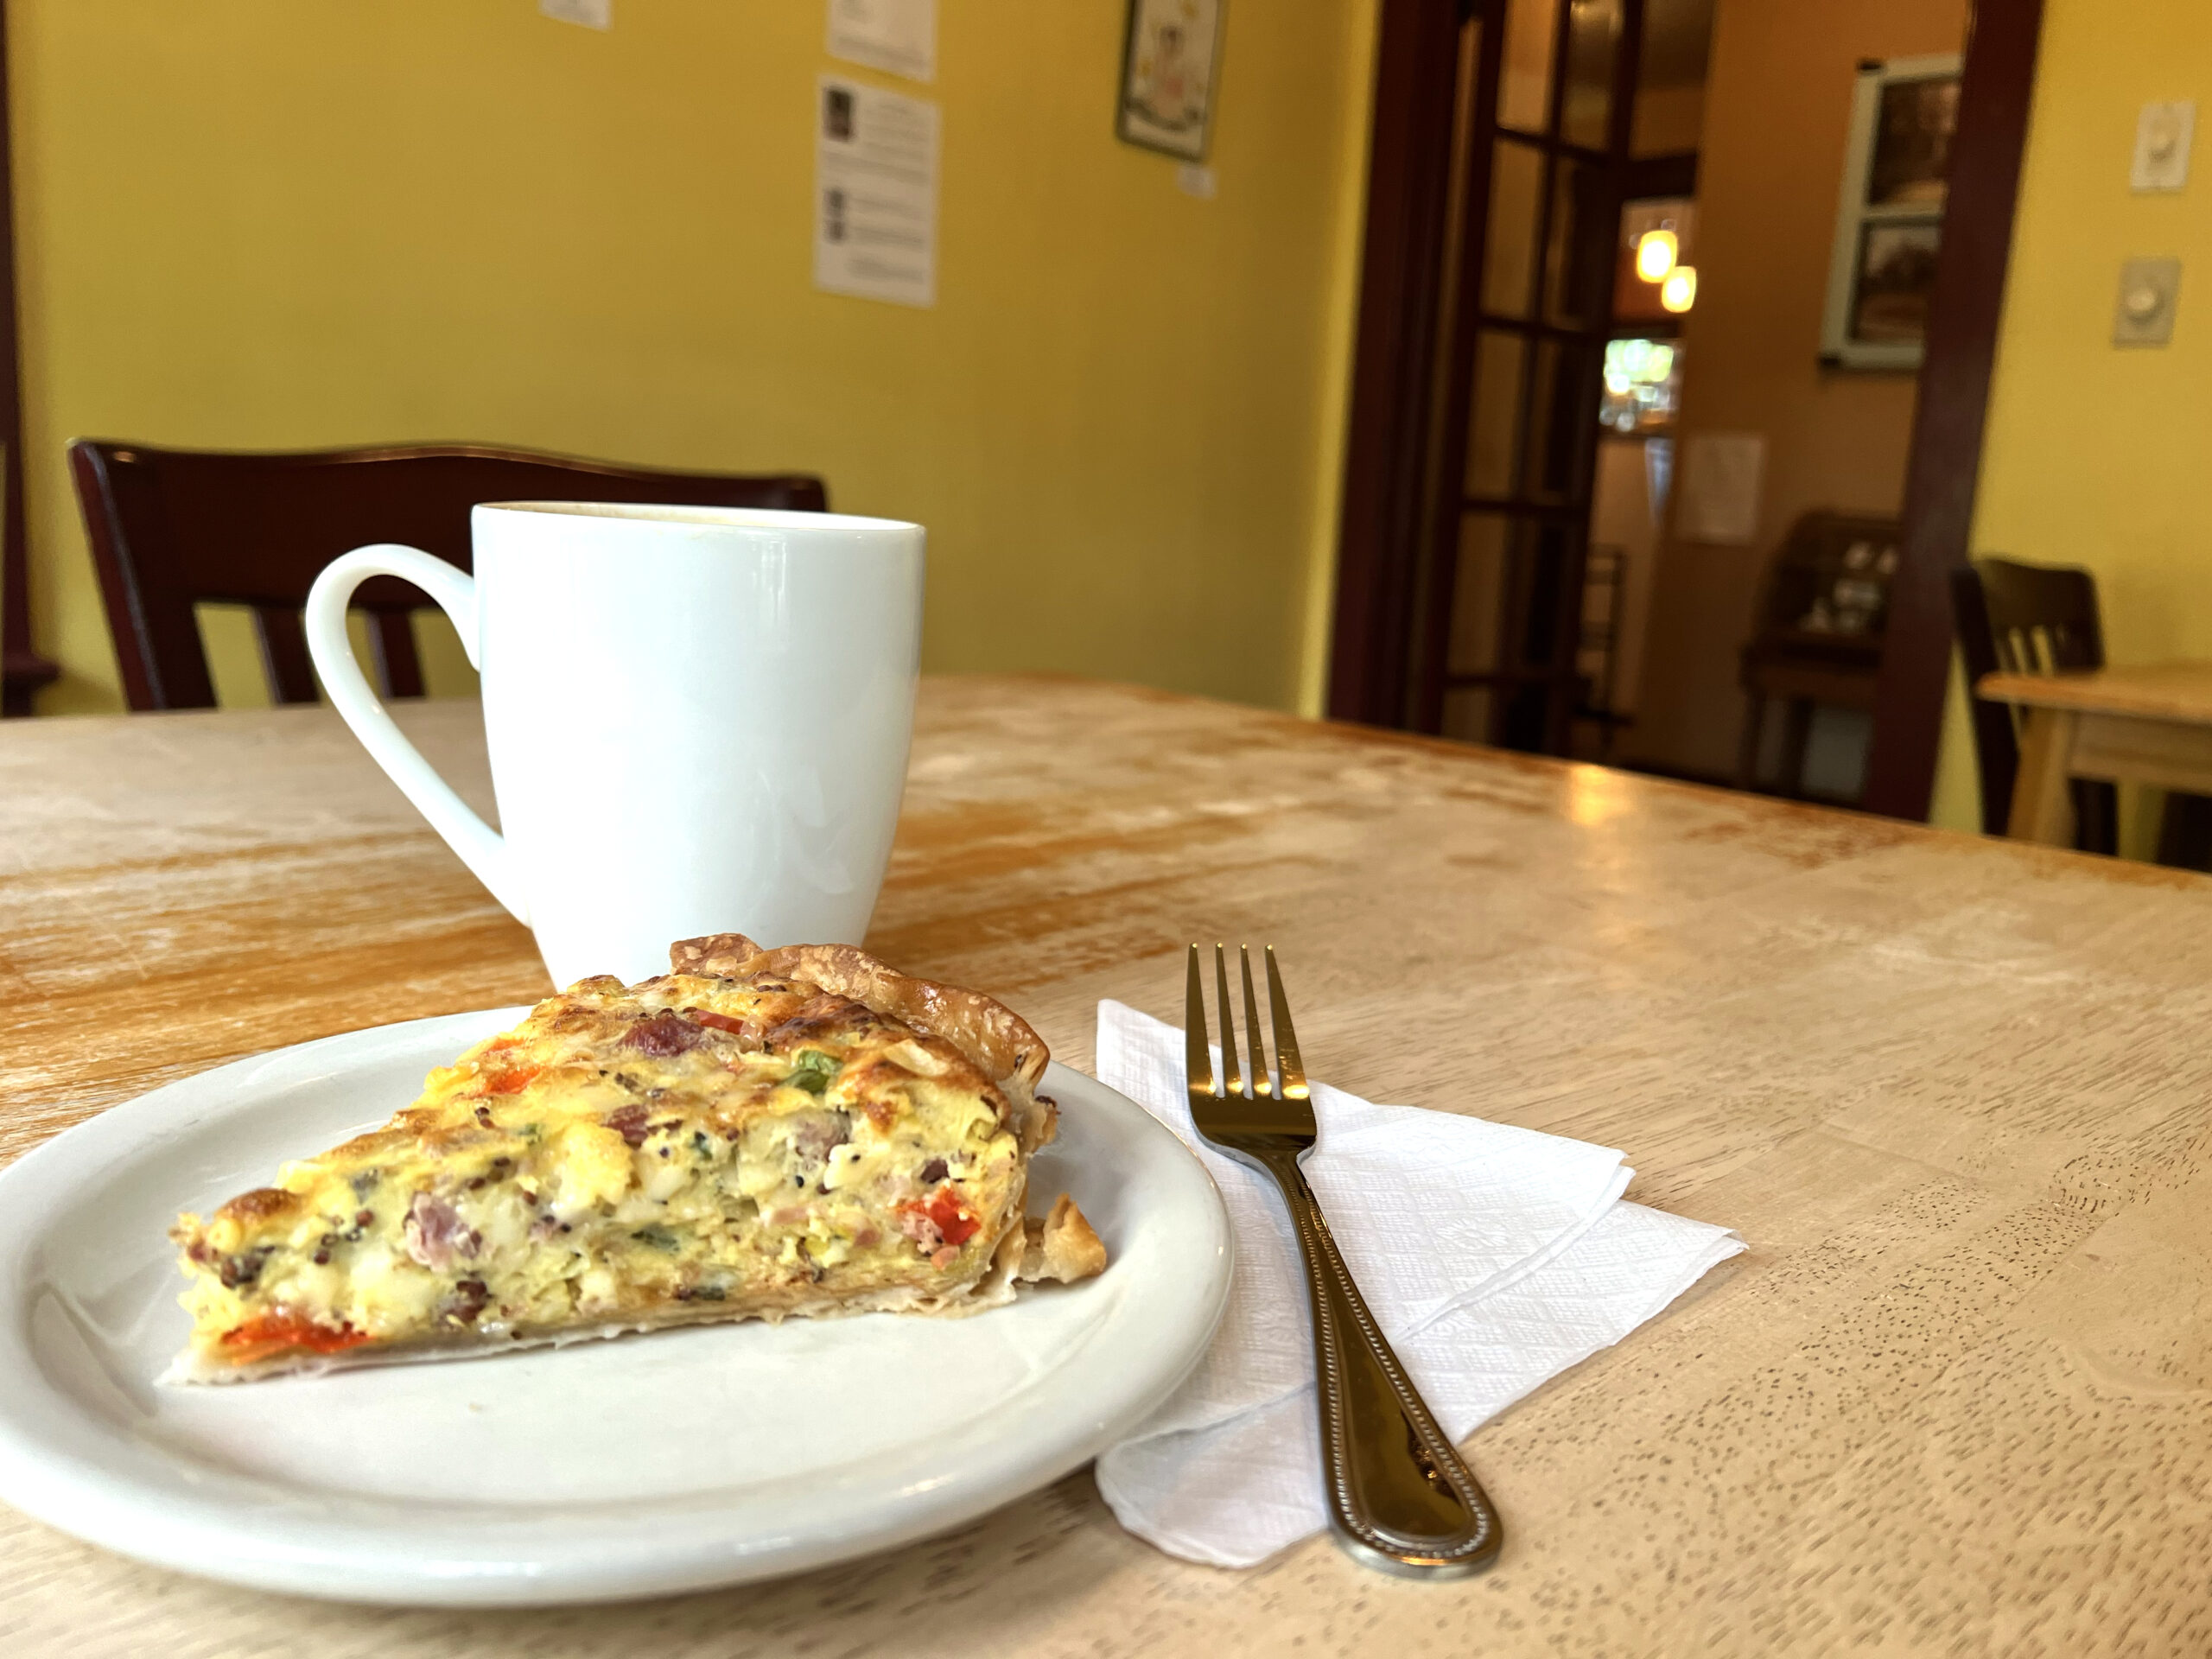
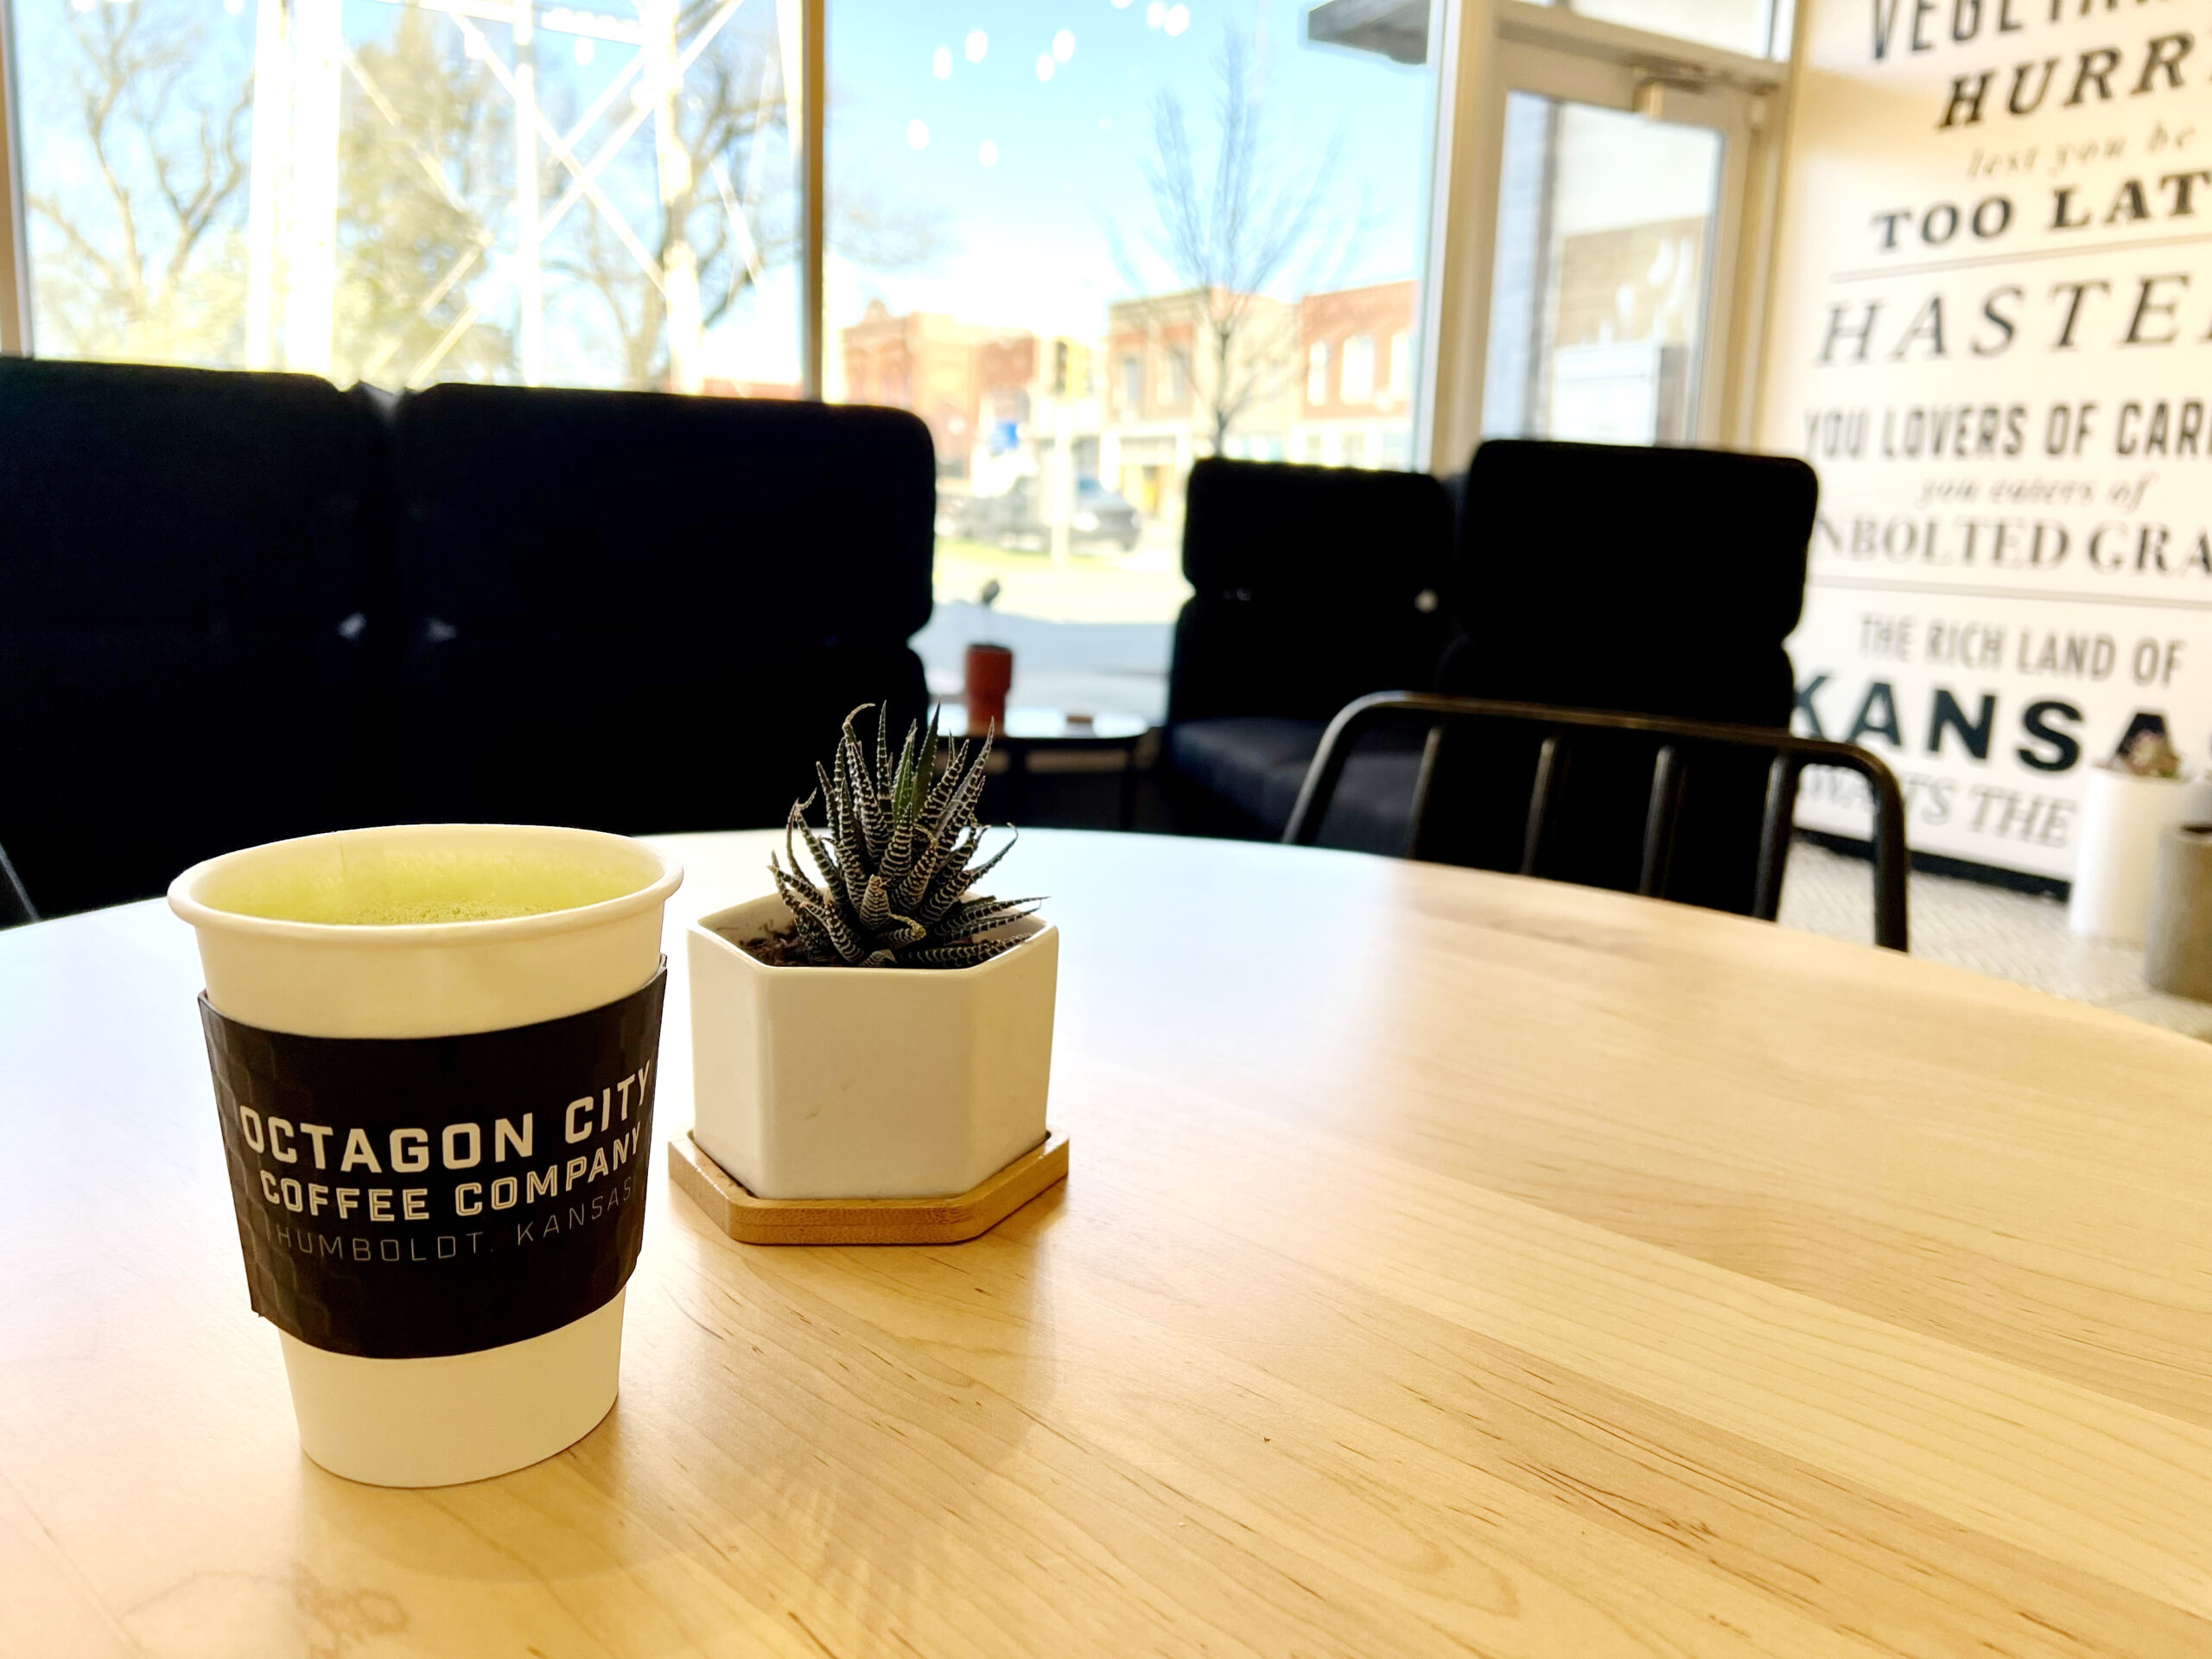
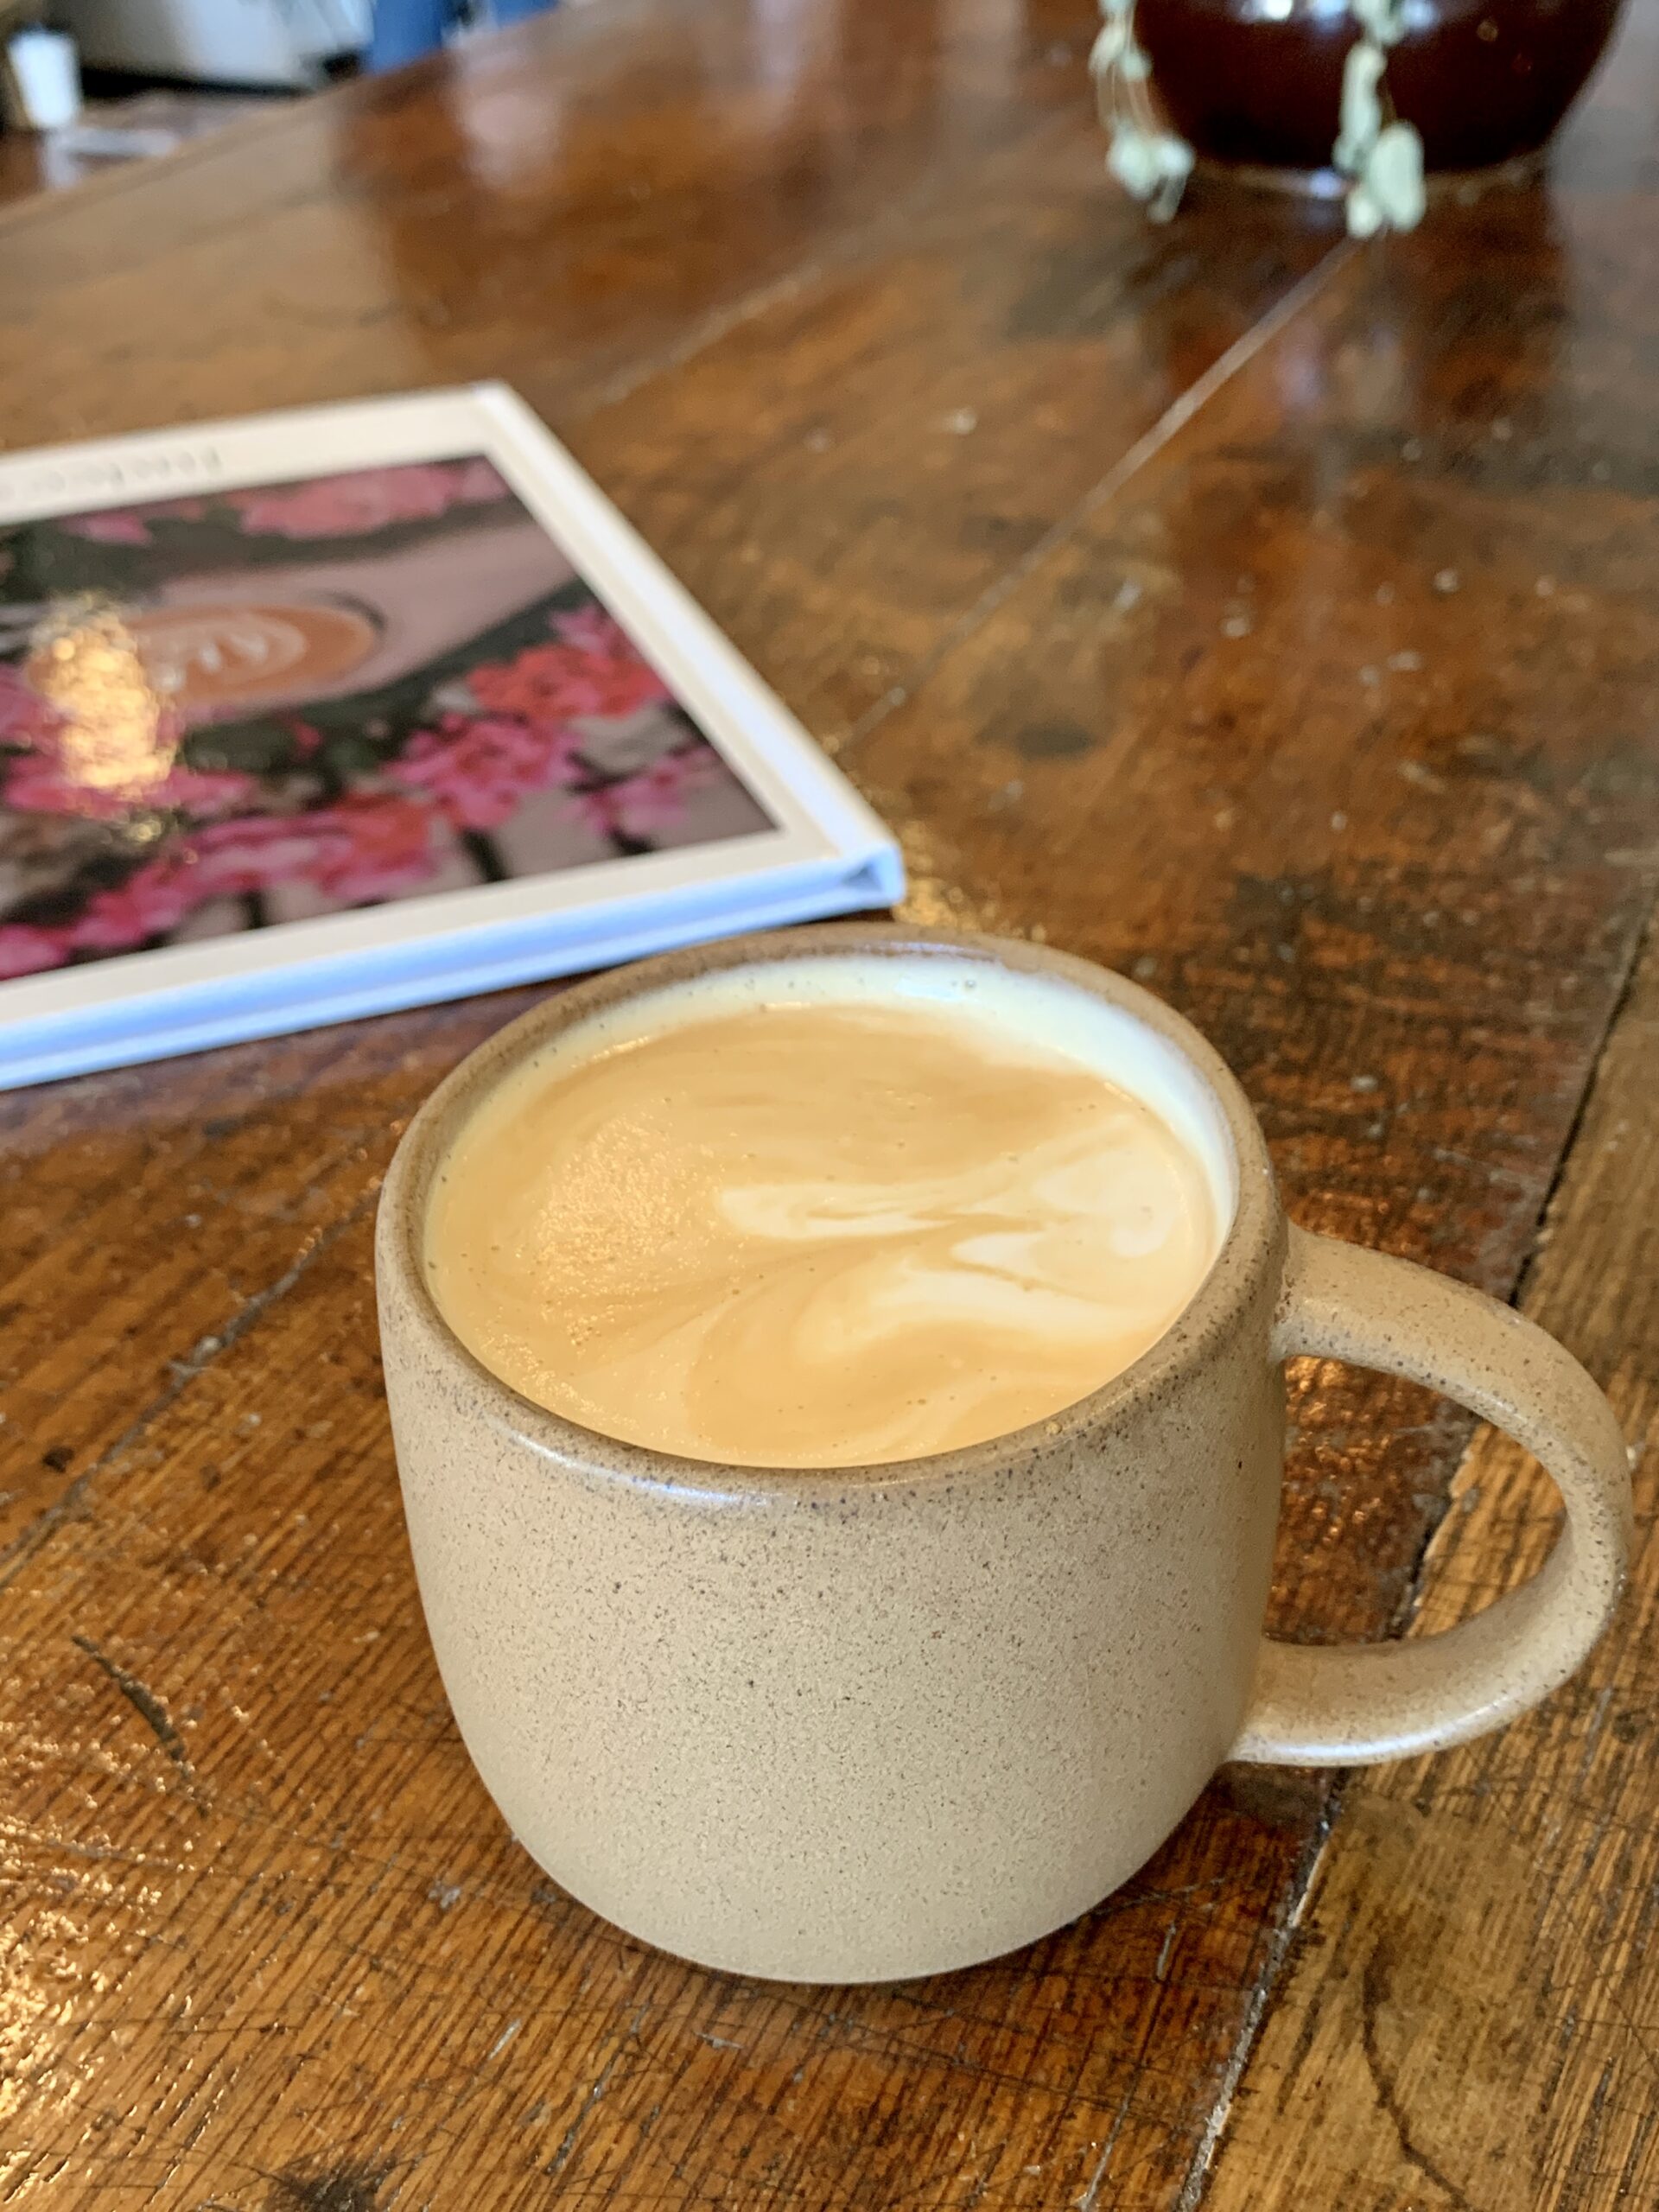
 I listened to classic rock music play over a speaker as regular customers approached the counter. Between bites of ham-and-cheese quiche (homemade crust!) and sips of my vanilla-honey Hearthwarmer Latté, I heard an employee tell a customer that someone had already paid for his meal.
 I watched a little girl jump up and down with delight after her parents approved the purchase of a homemade Pop-Tart with purple frosting. I was equally as excited to dig into a warmed cinnamon roll between sips of my artisan coffee.
 A group of locals chatted about the weekends happenings as conversation turned to coin collecting as I savored a breakfast burrito and hot coffee.
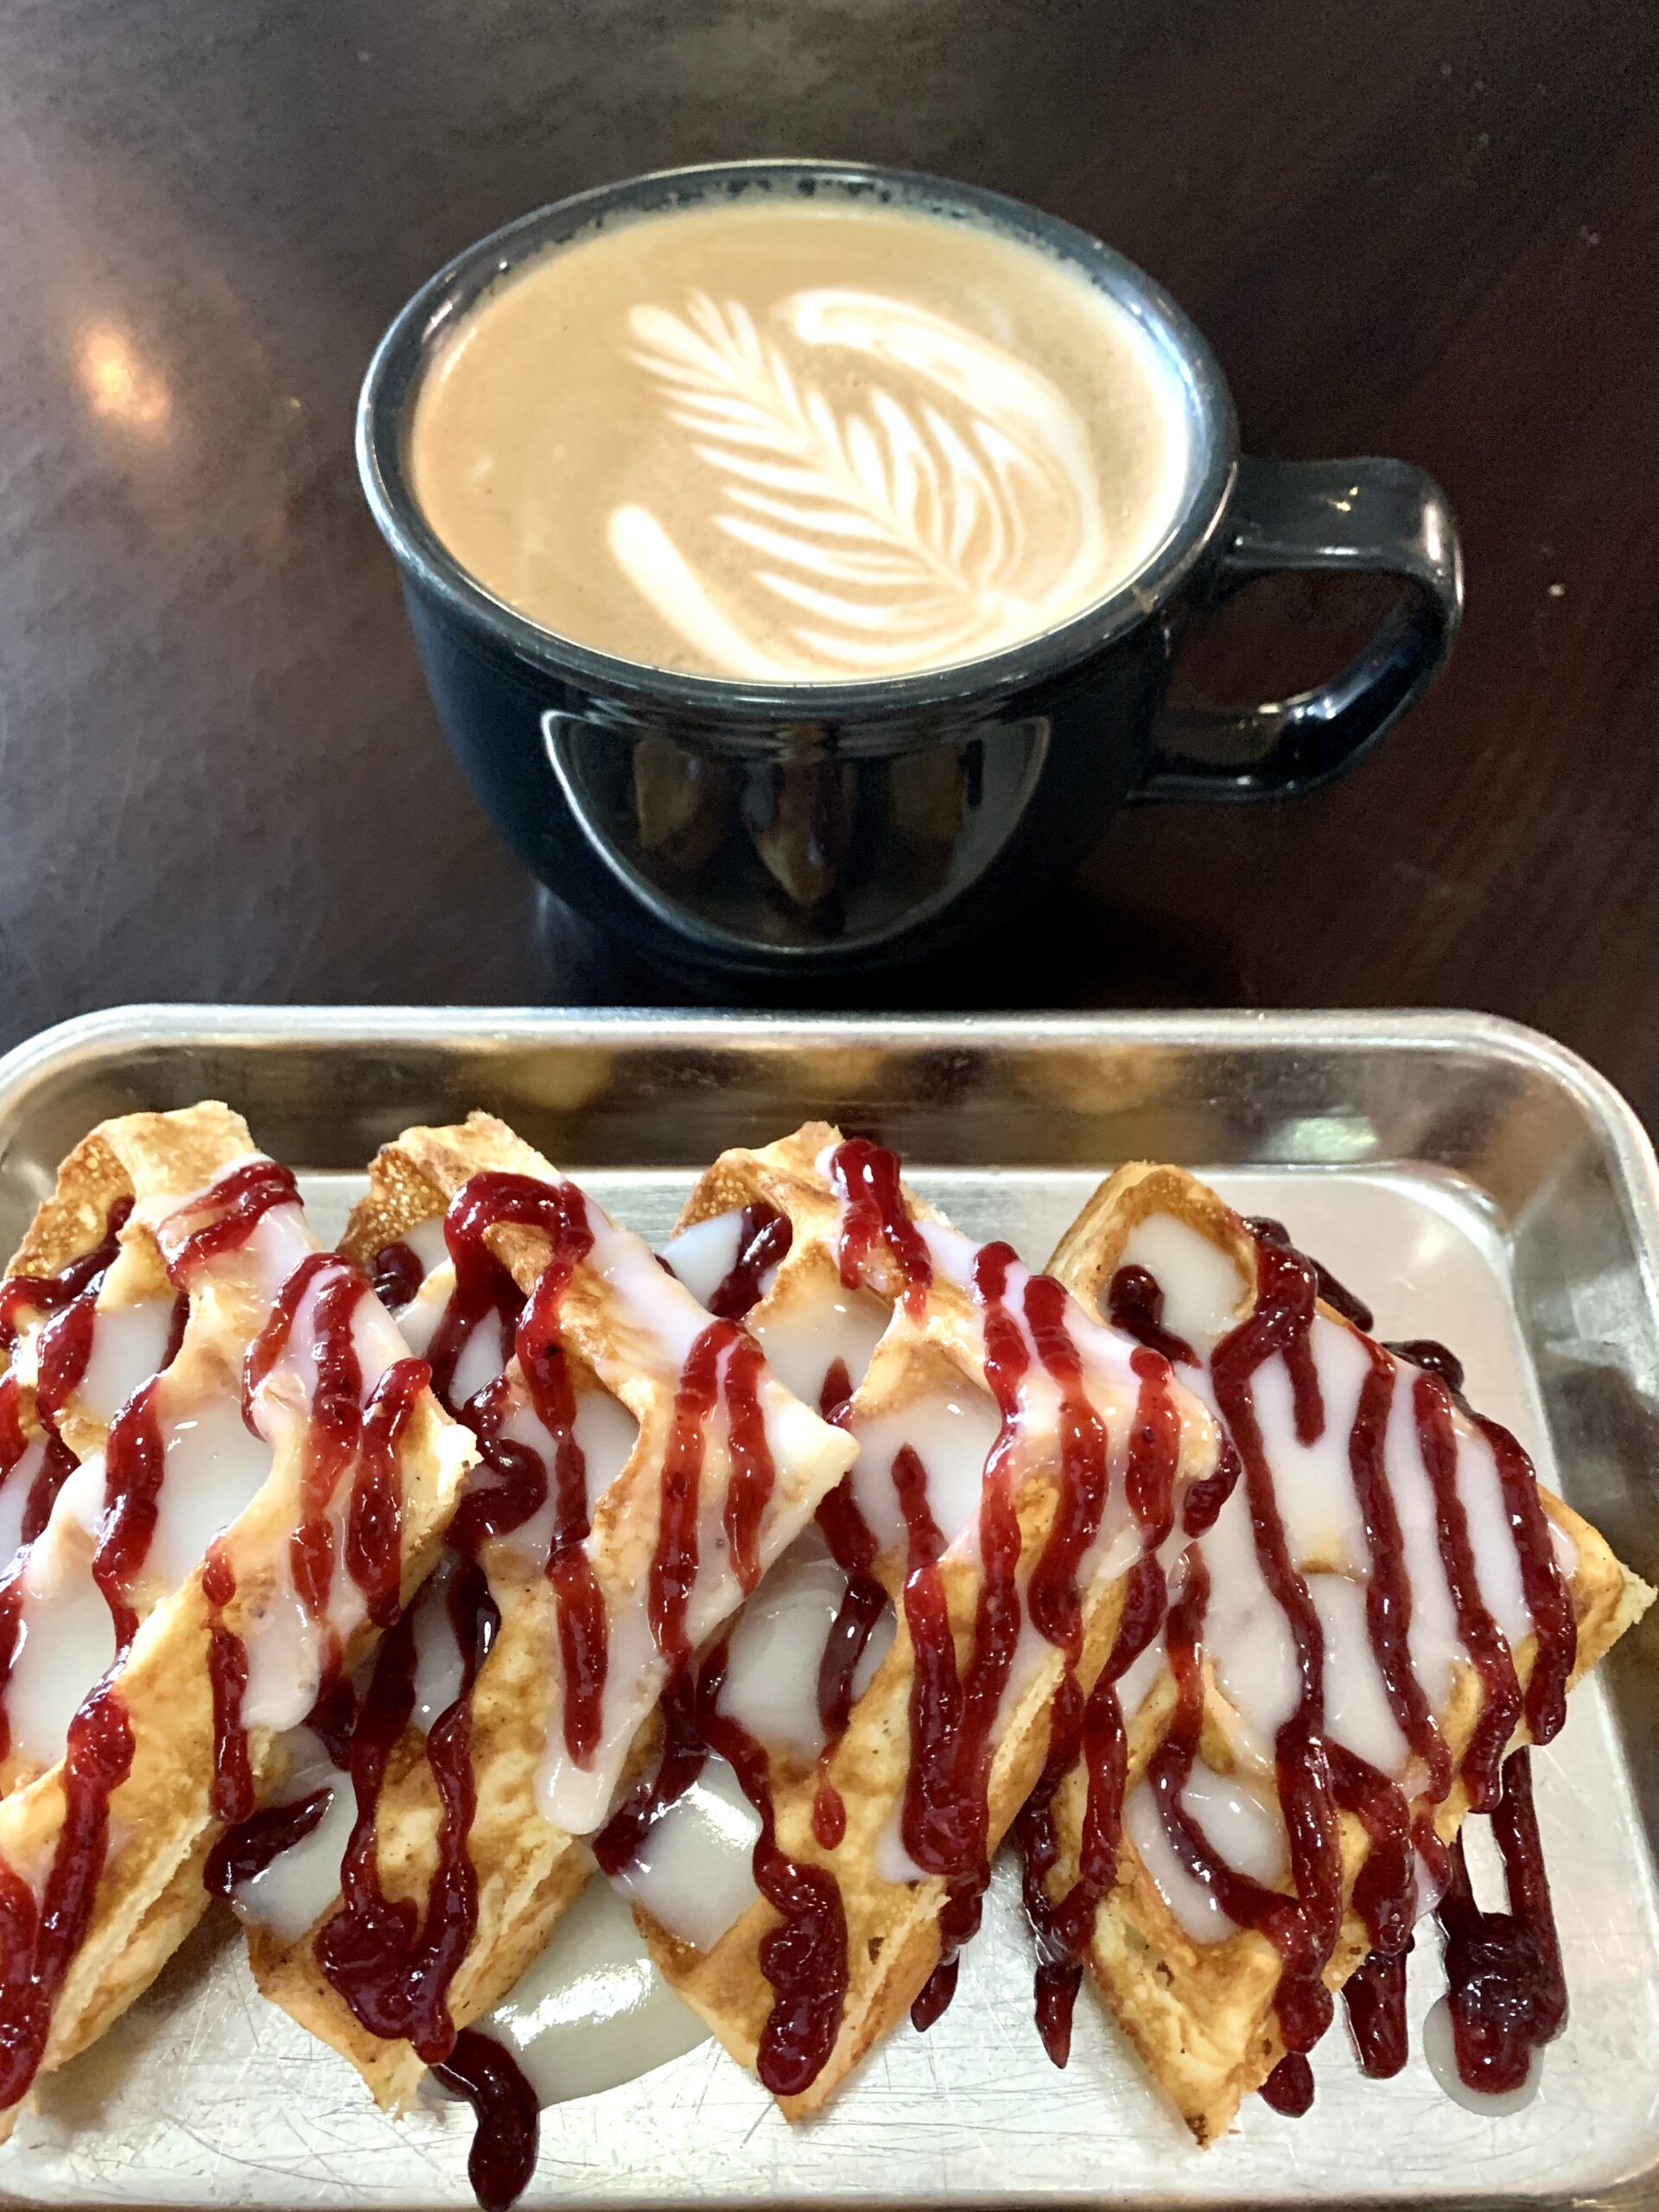
 The café’s menu features espresso drinks, smoothies, frappes, and teas. Ask about the selection of freshly baked bierocks, ham and cheese pockets, and fruit scones.
 Since 2008, it’s served as a community gathering place for small groups chatting up about the day’s happenings and remote workers who make use of the Wi-Fi to get projects done.

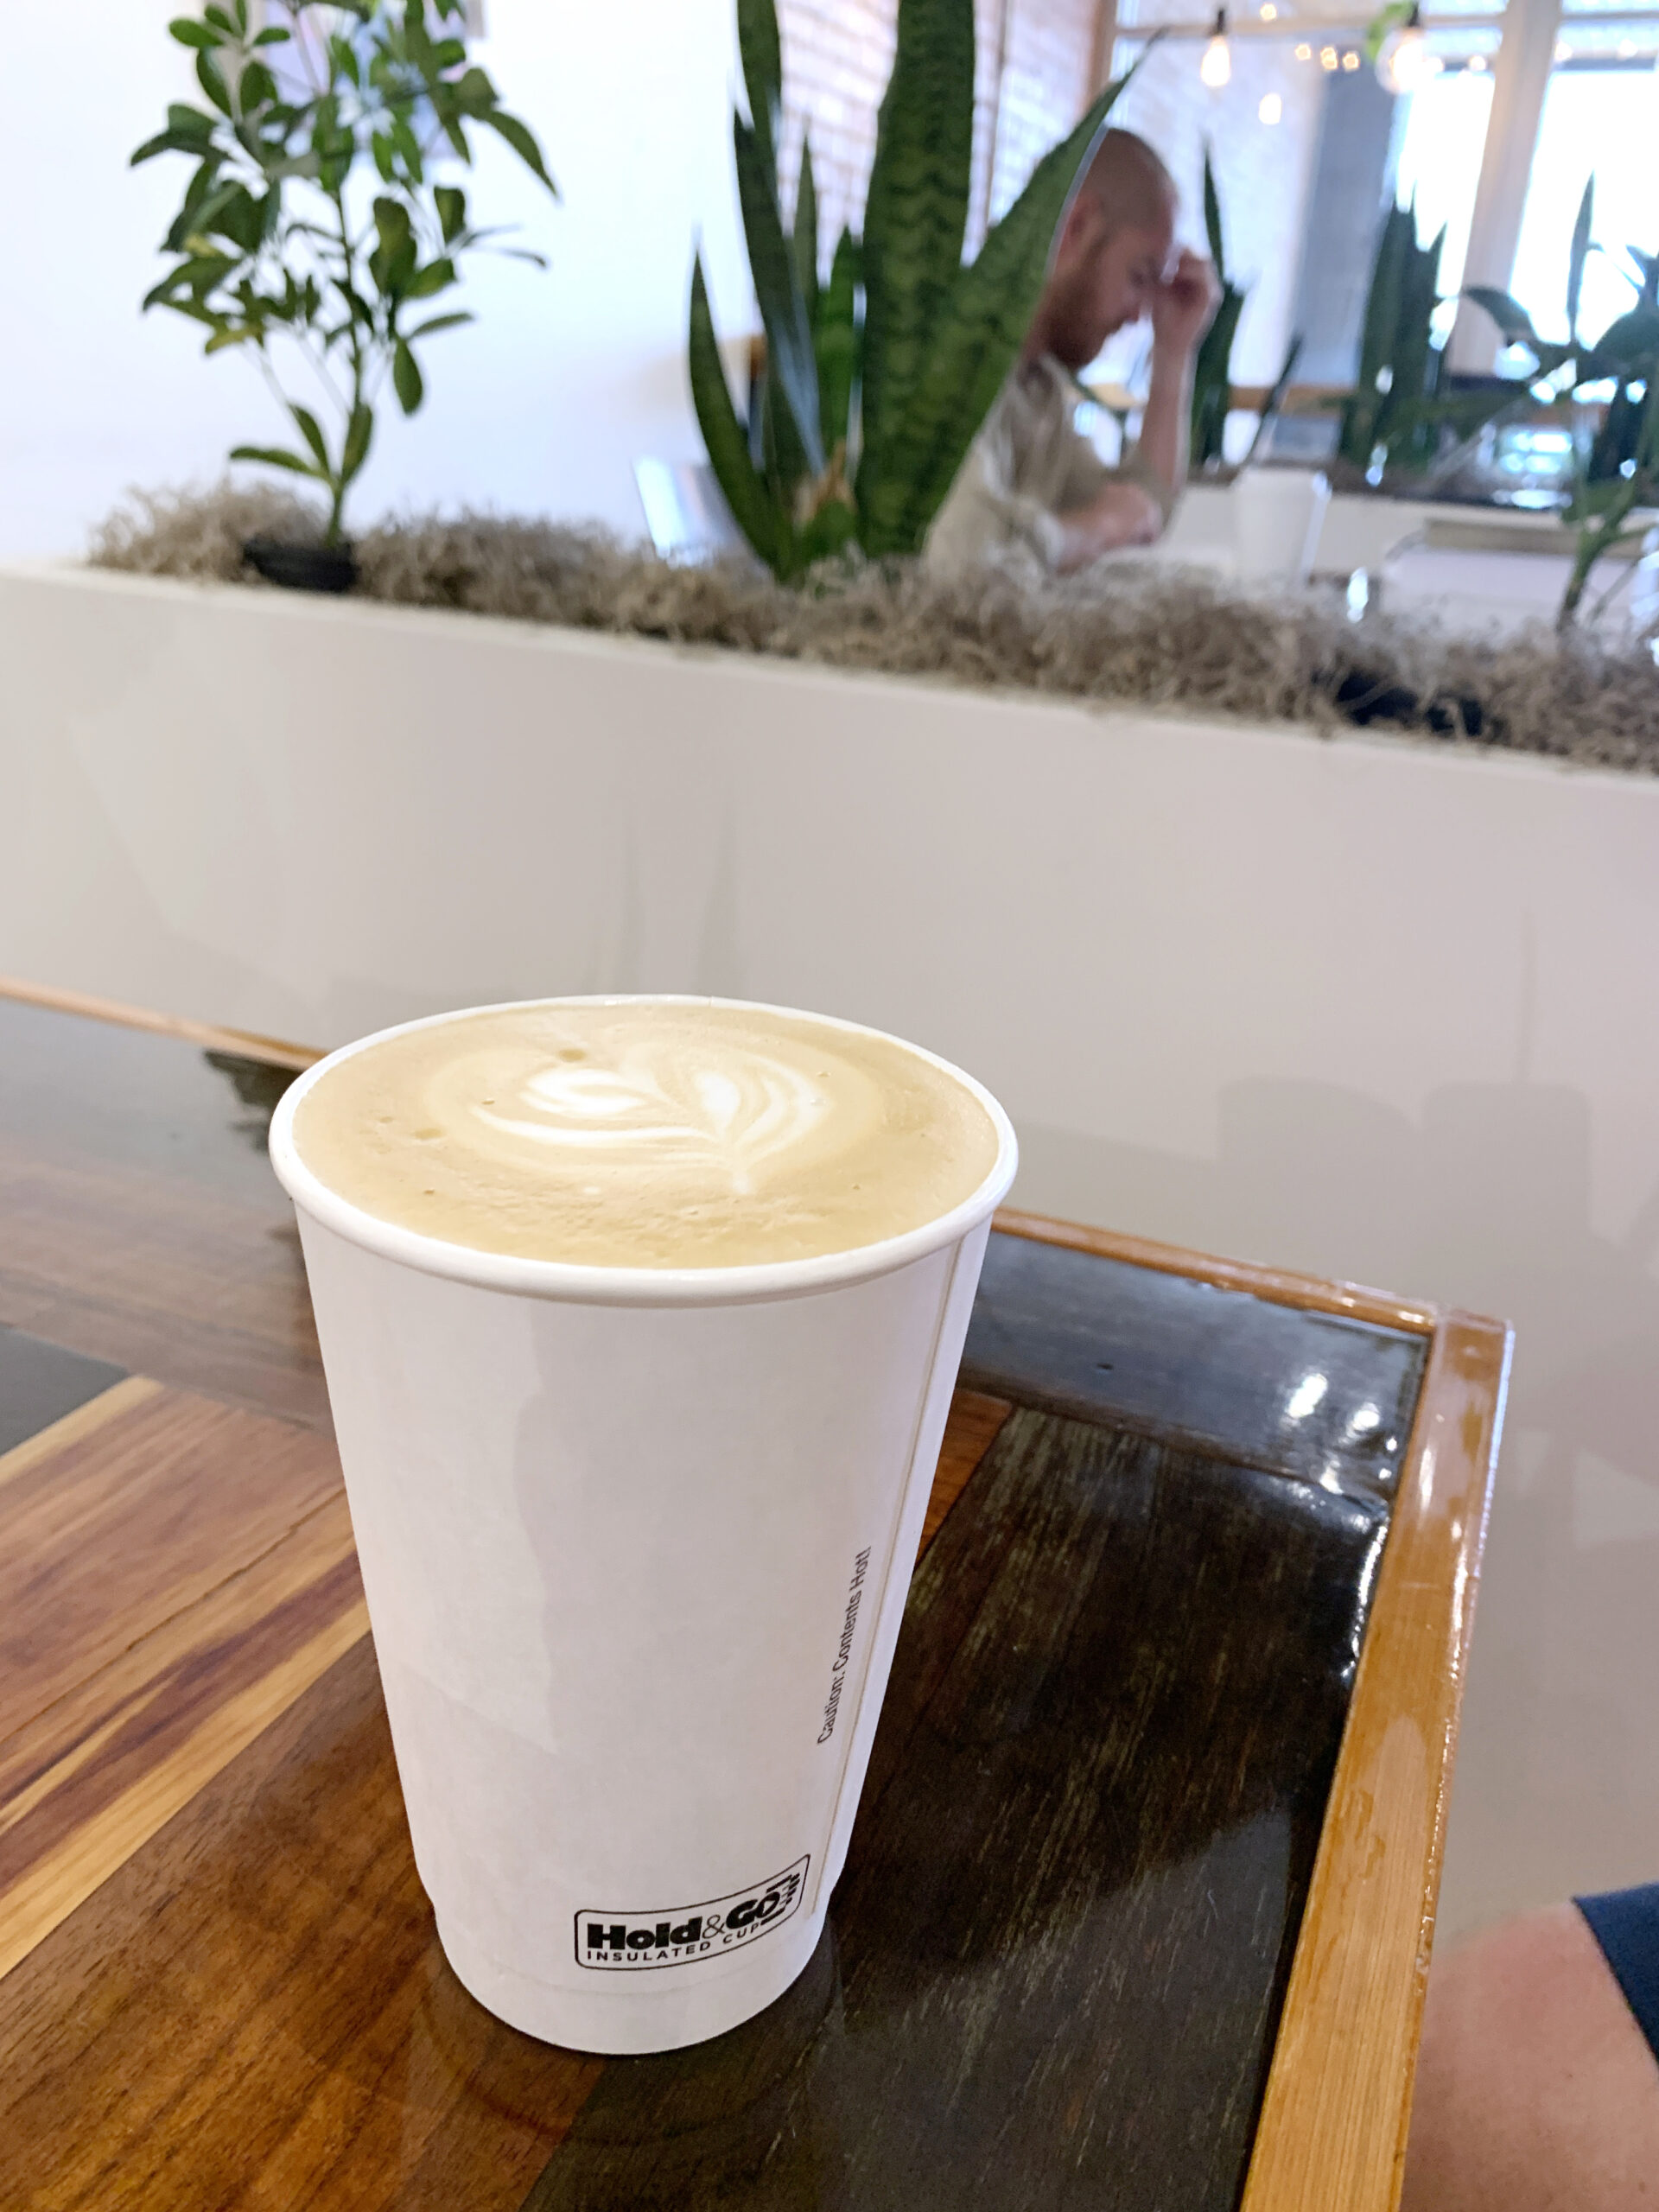
 A group of women congregated at the rear of the café chatting about the day’s happenings while the barista steamed milk for my latté. I chose an apple cinnamon scone, which was one of five flavors available in the pastry case.
 Using the free high-speed WiFi, I caught up on work tasks before embarking on my road trip. Jitters Coffee House gets my vote as a Kansas coffee shop worth pulling over for.
 The cafe is where locals meet to catch up about the latest happenings in town. Where travelers like me enjoy quiet time and peruse the internet using free Wi-Fi. And where you can shop for gift items, from kitchen towels to home decor.
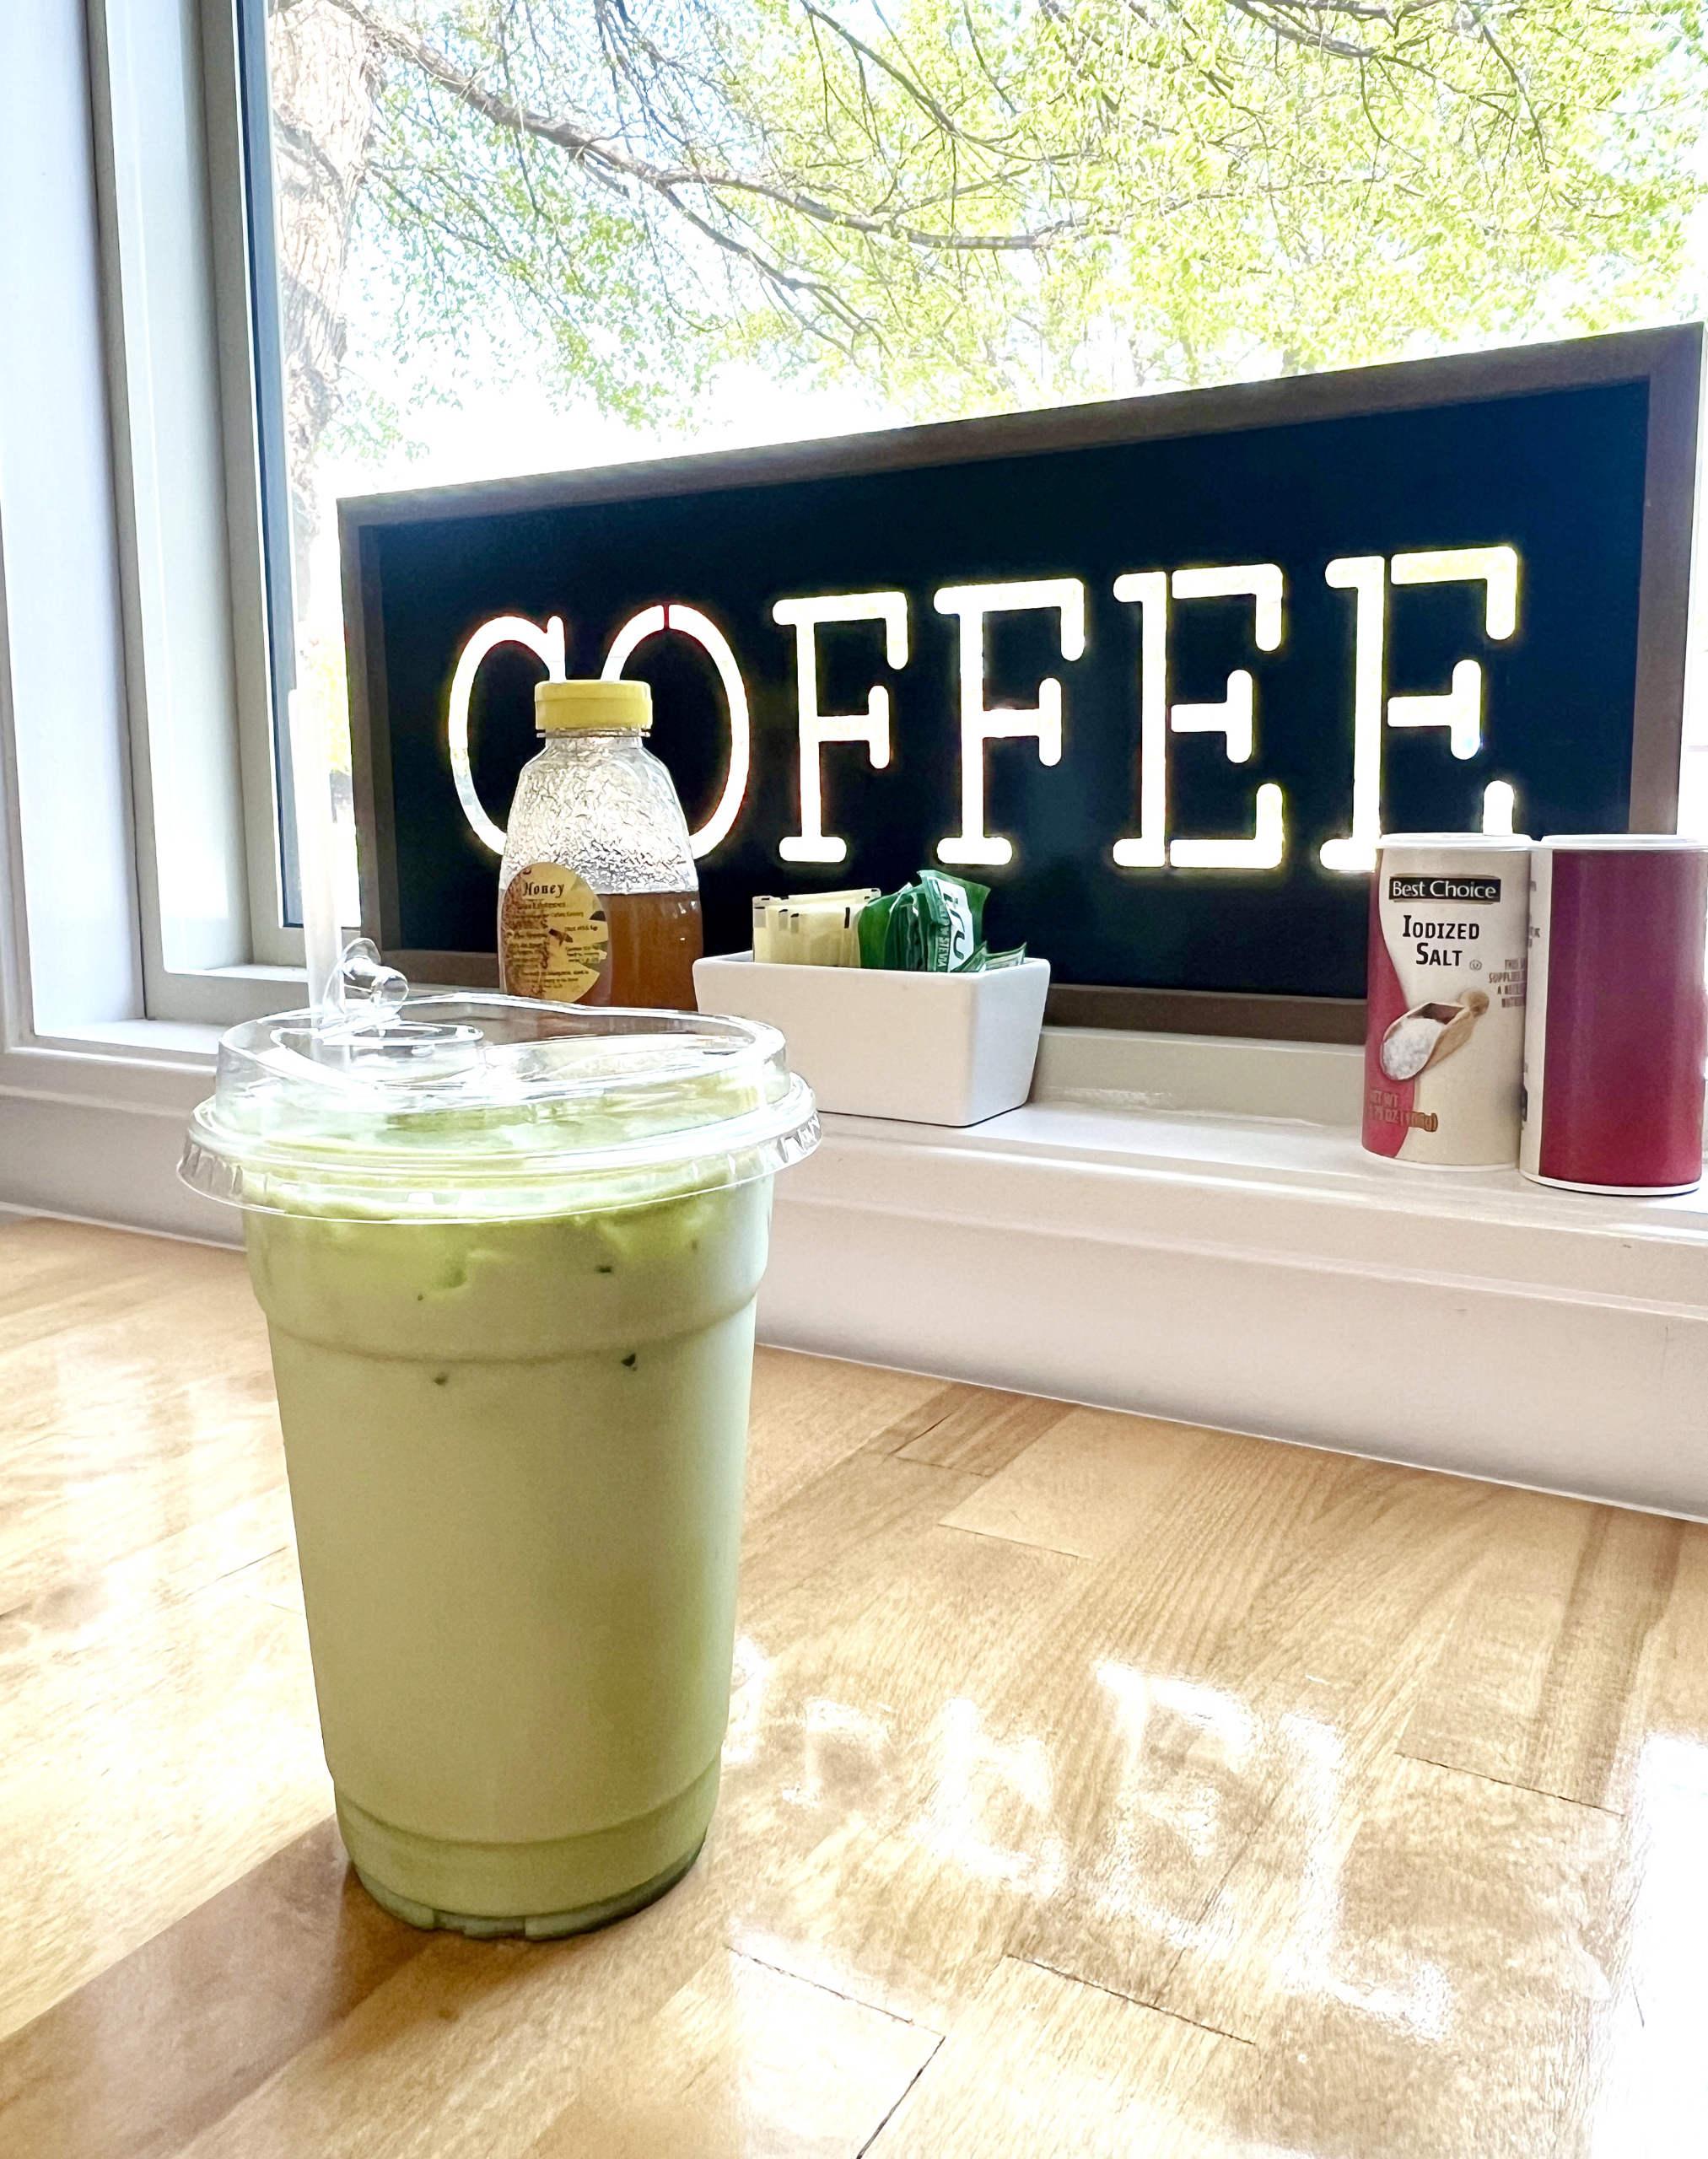
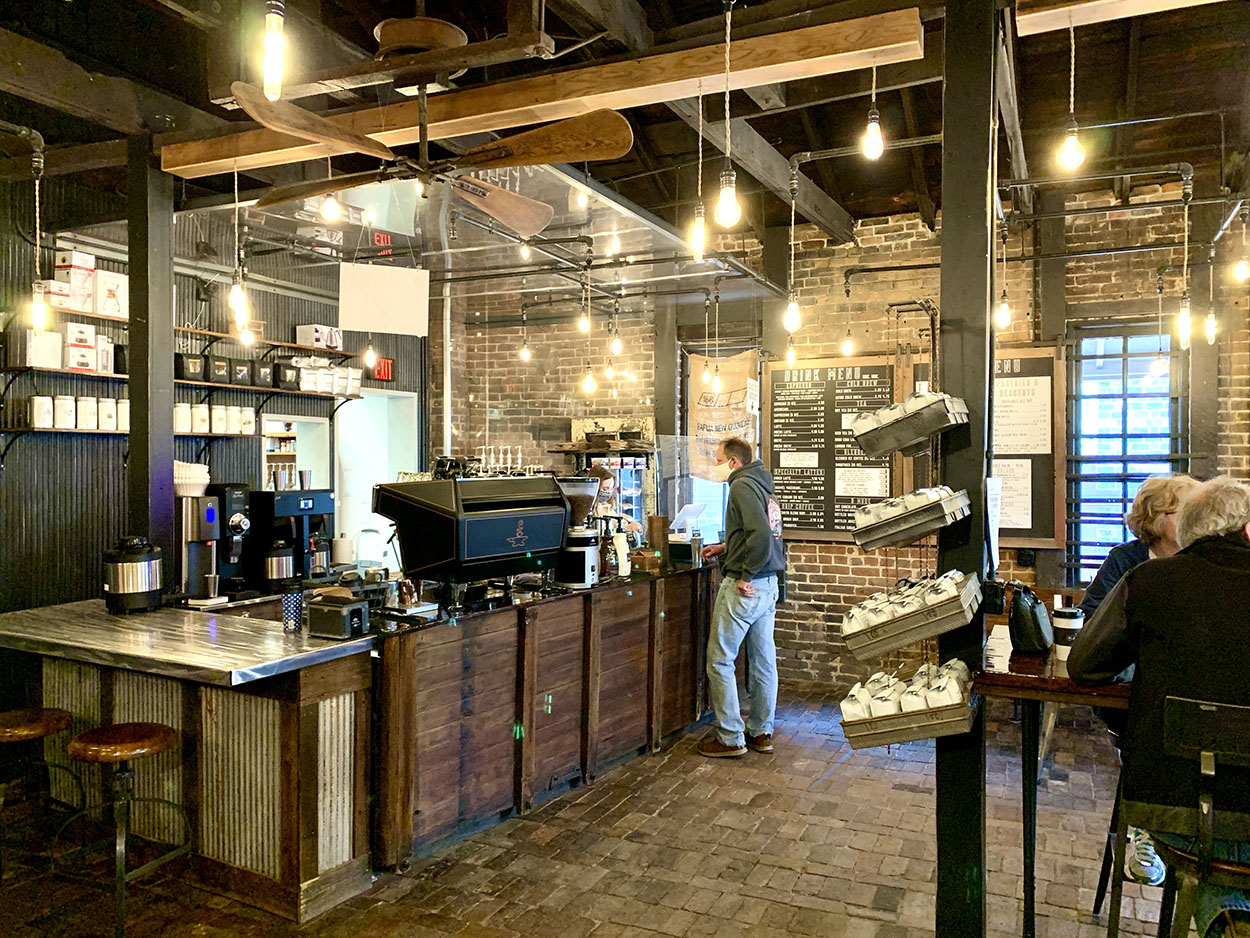

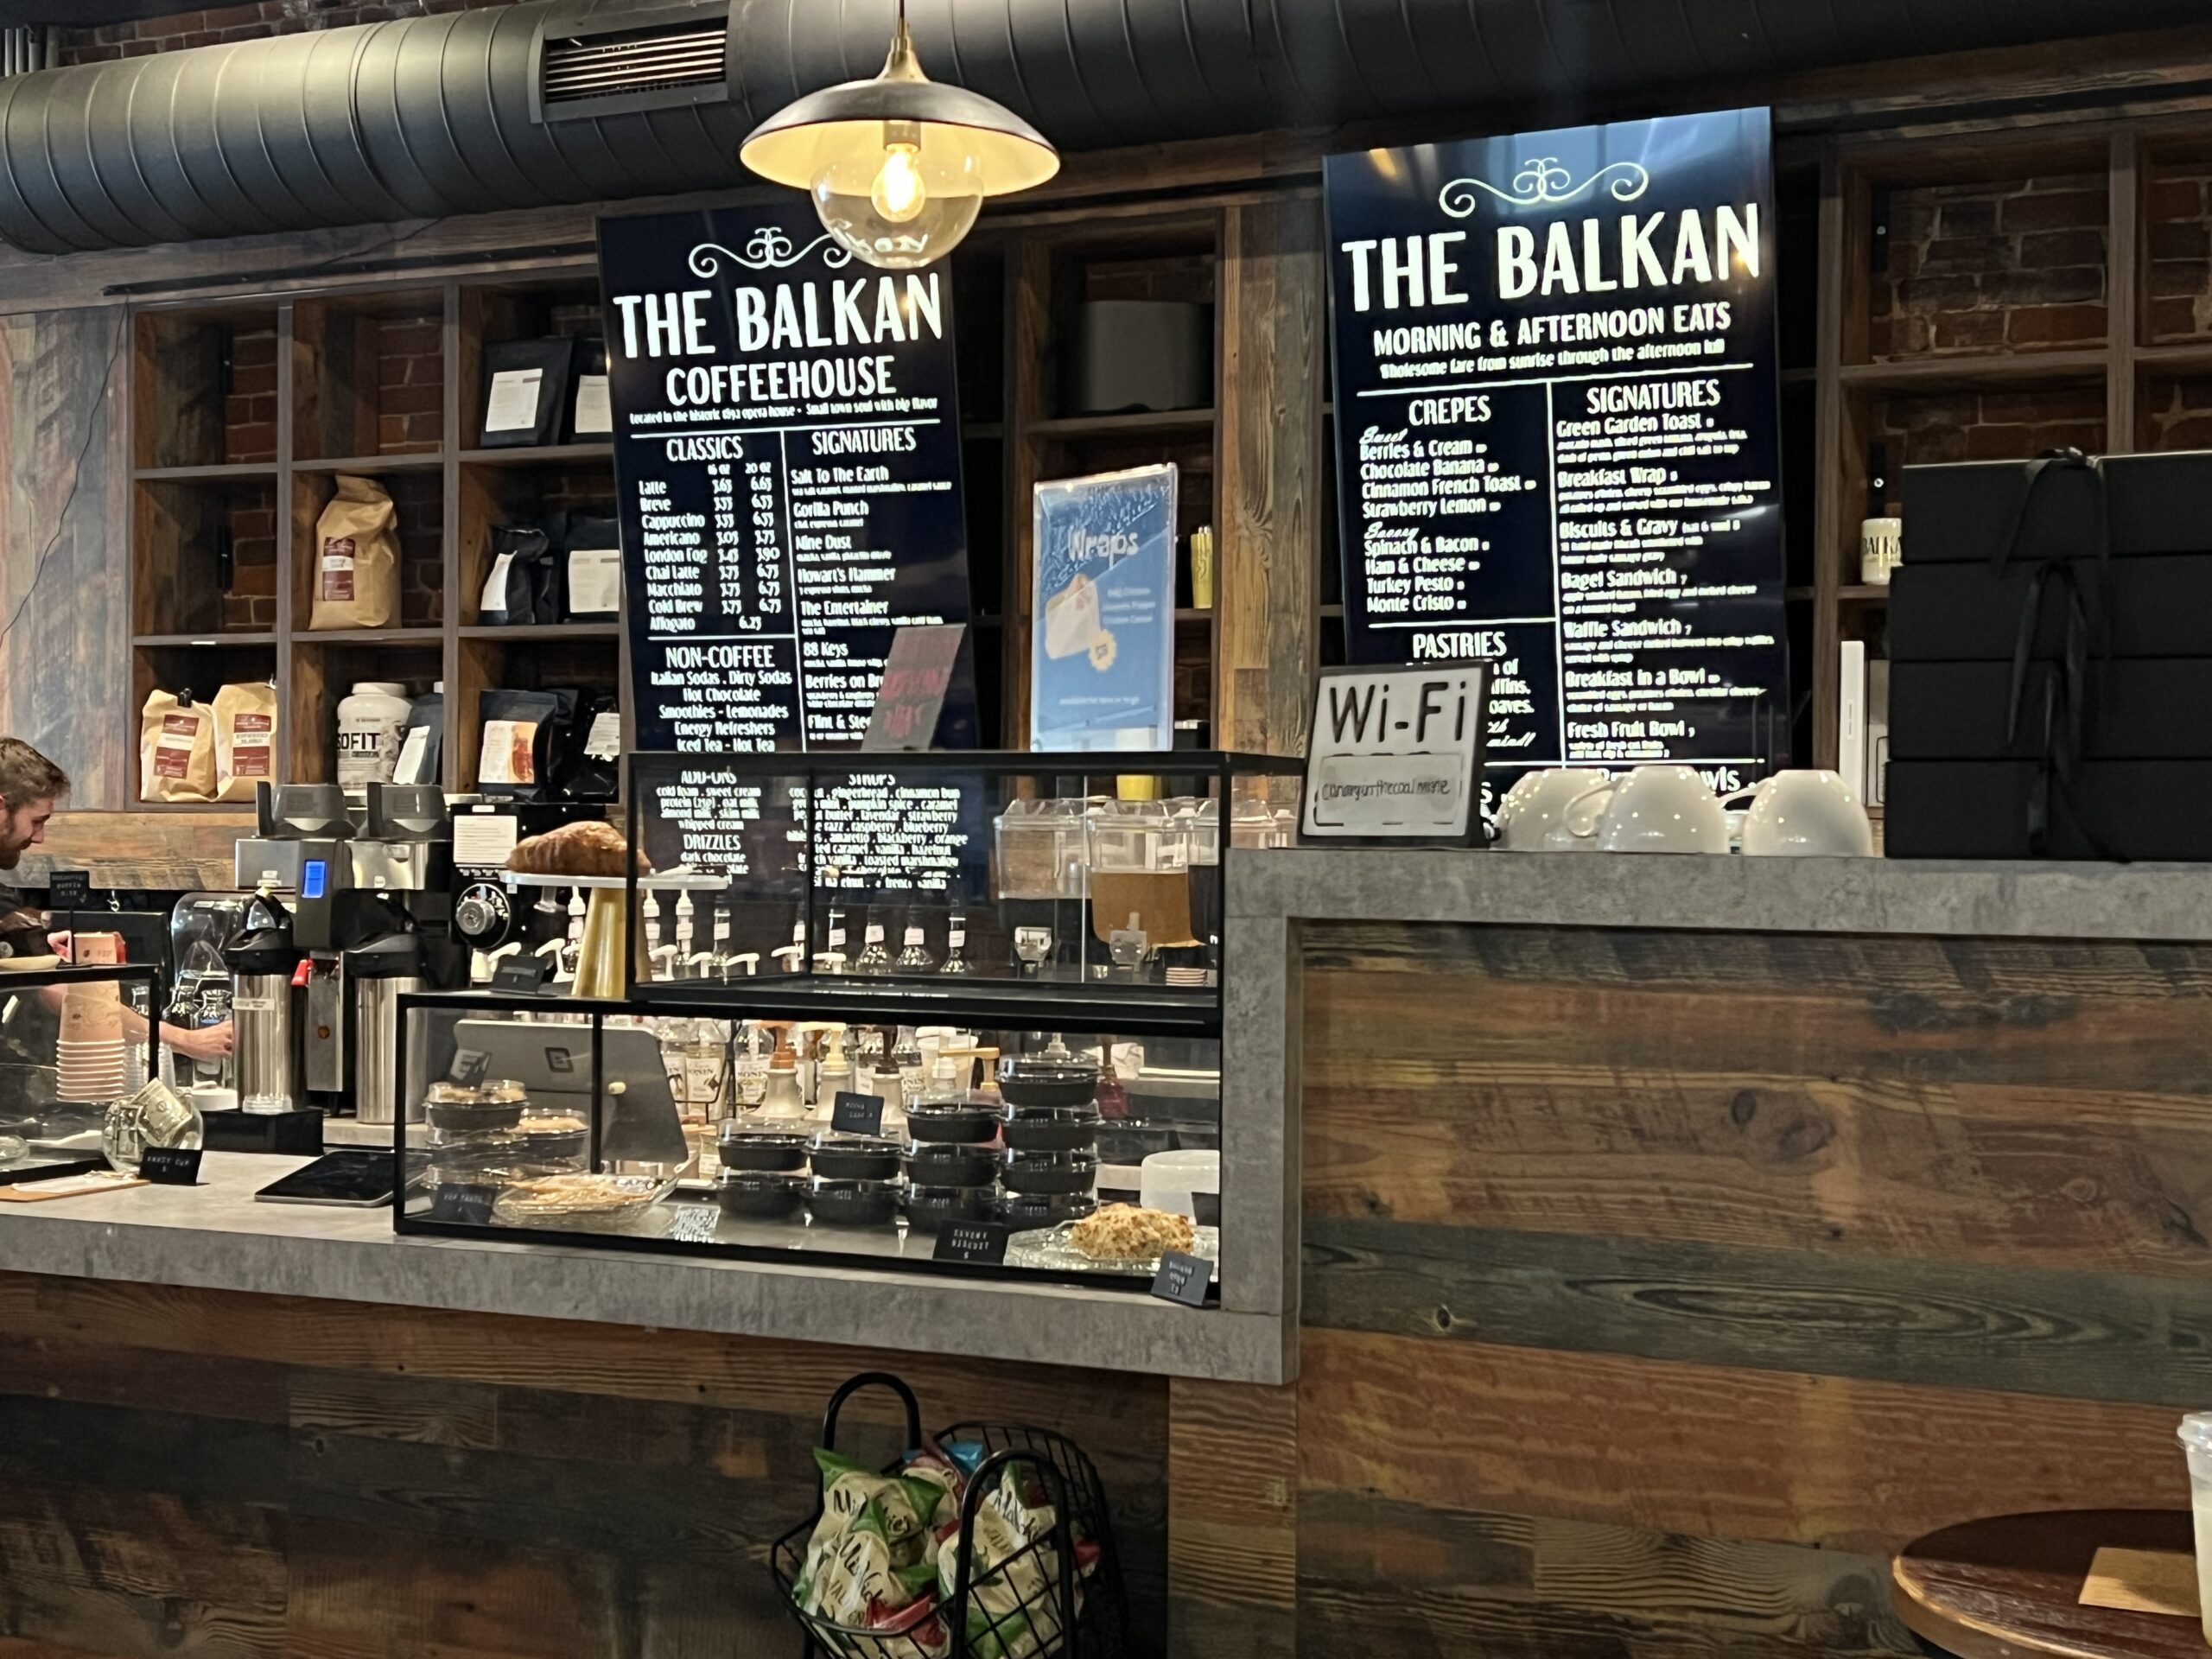
 The space is decorated with eclectic furniture, ornate chandeliers, and colorful artwork reminiscent of a big-city coffee shop. Much of the N’Cahoots will remind you of the coffee shop from the TV show Friends, particularly its backroom lounge theme.
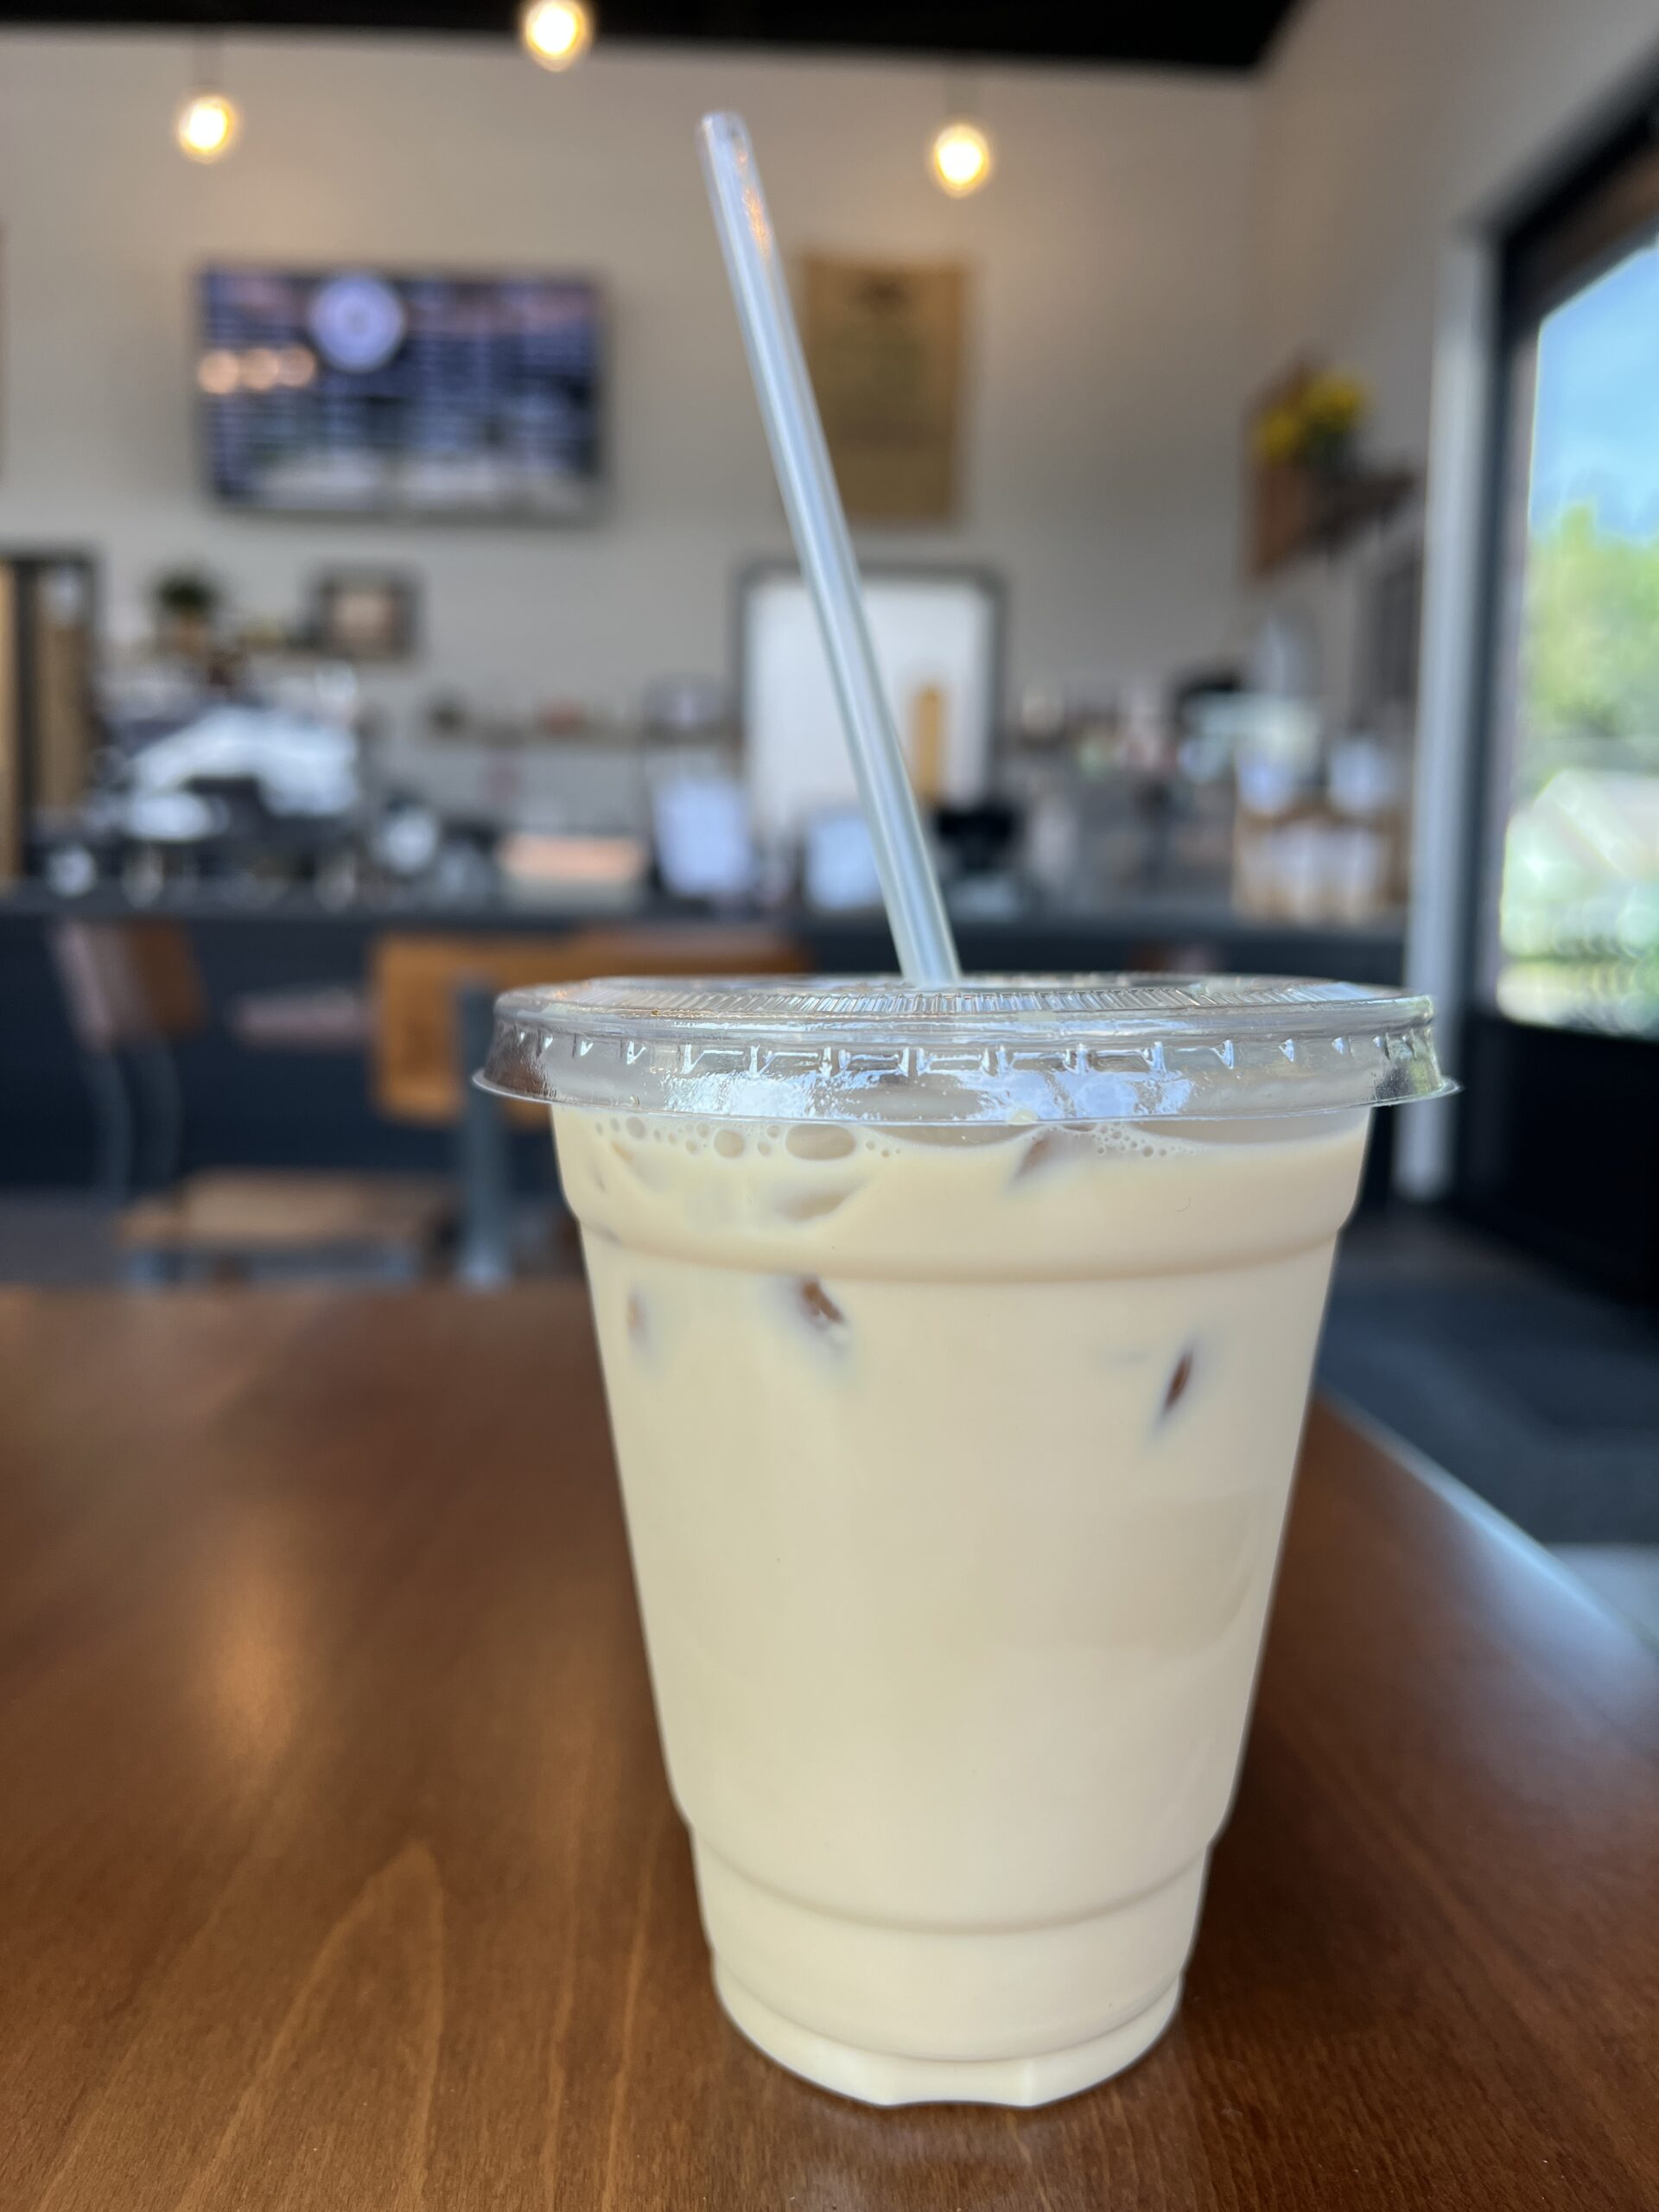
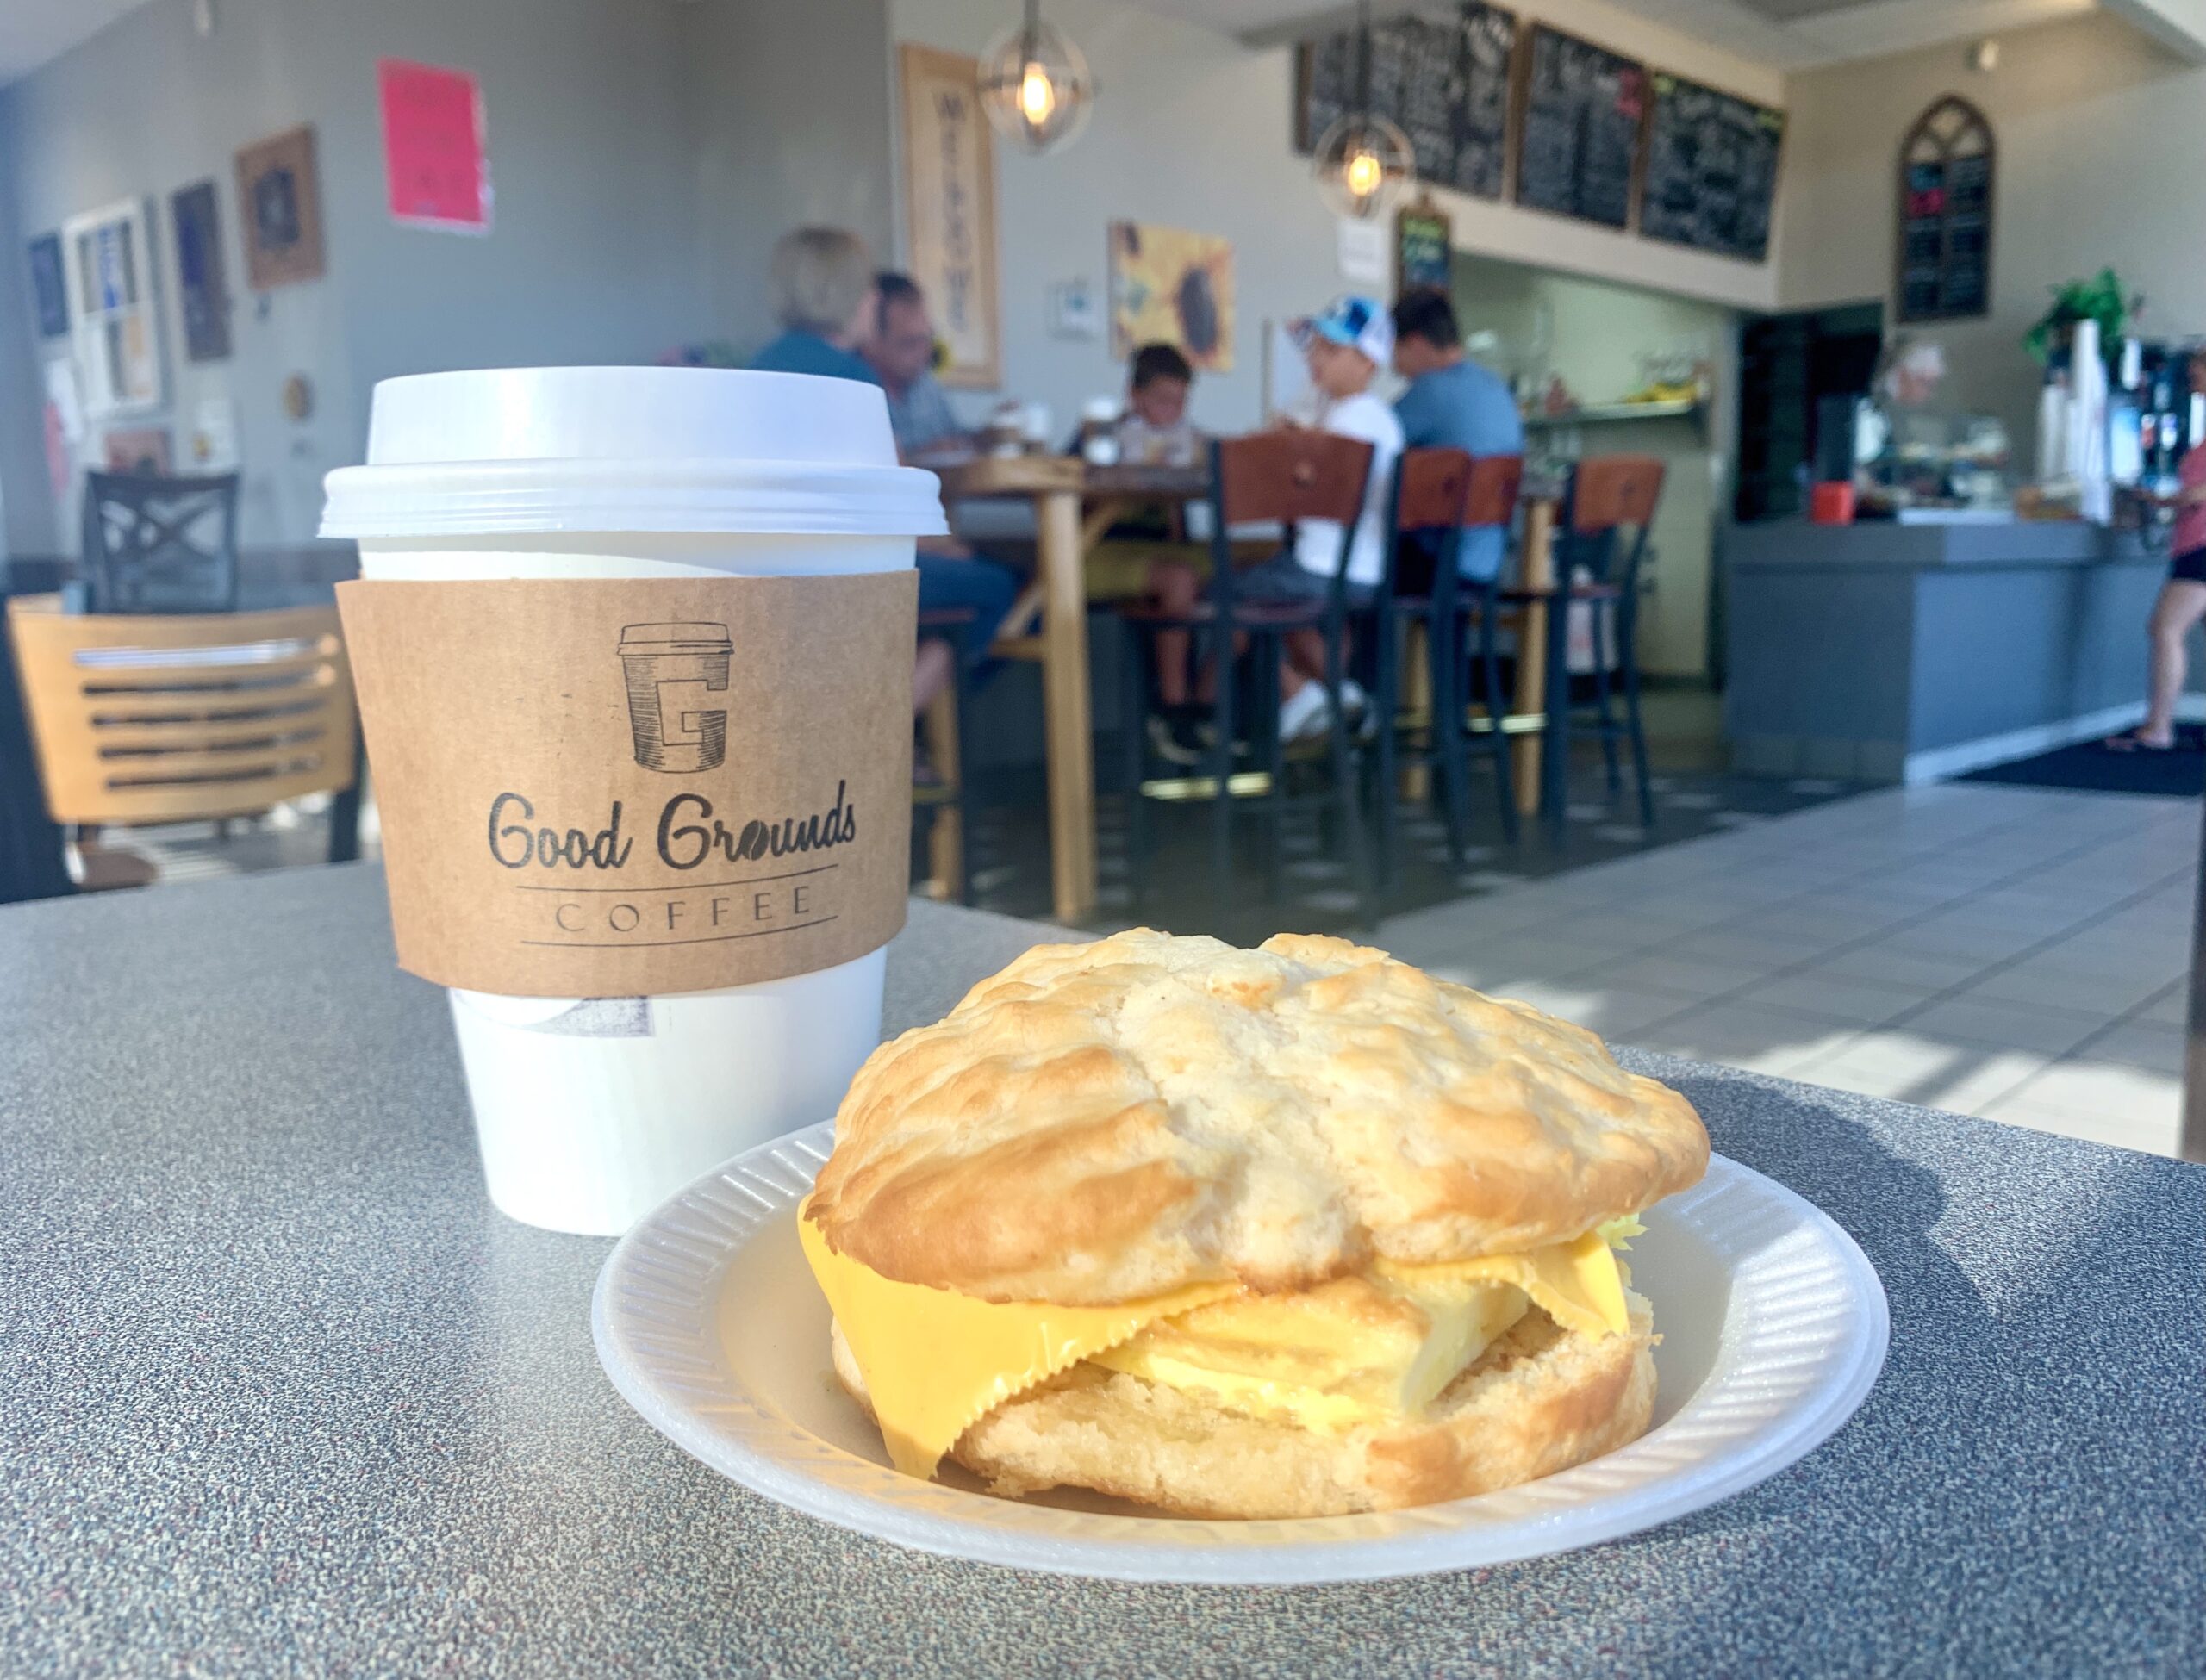
 A repeat customer, I’ve enjoyed everything I’ve ordered, no matter the hour of the day. You can’t go wrong with a frothy vanilla latte or hot chai tea. Hungry? Order a slice of delicious quiche or a breakfast sandwich on a biscuit for an indulgent early-morning meal.
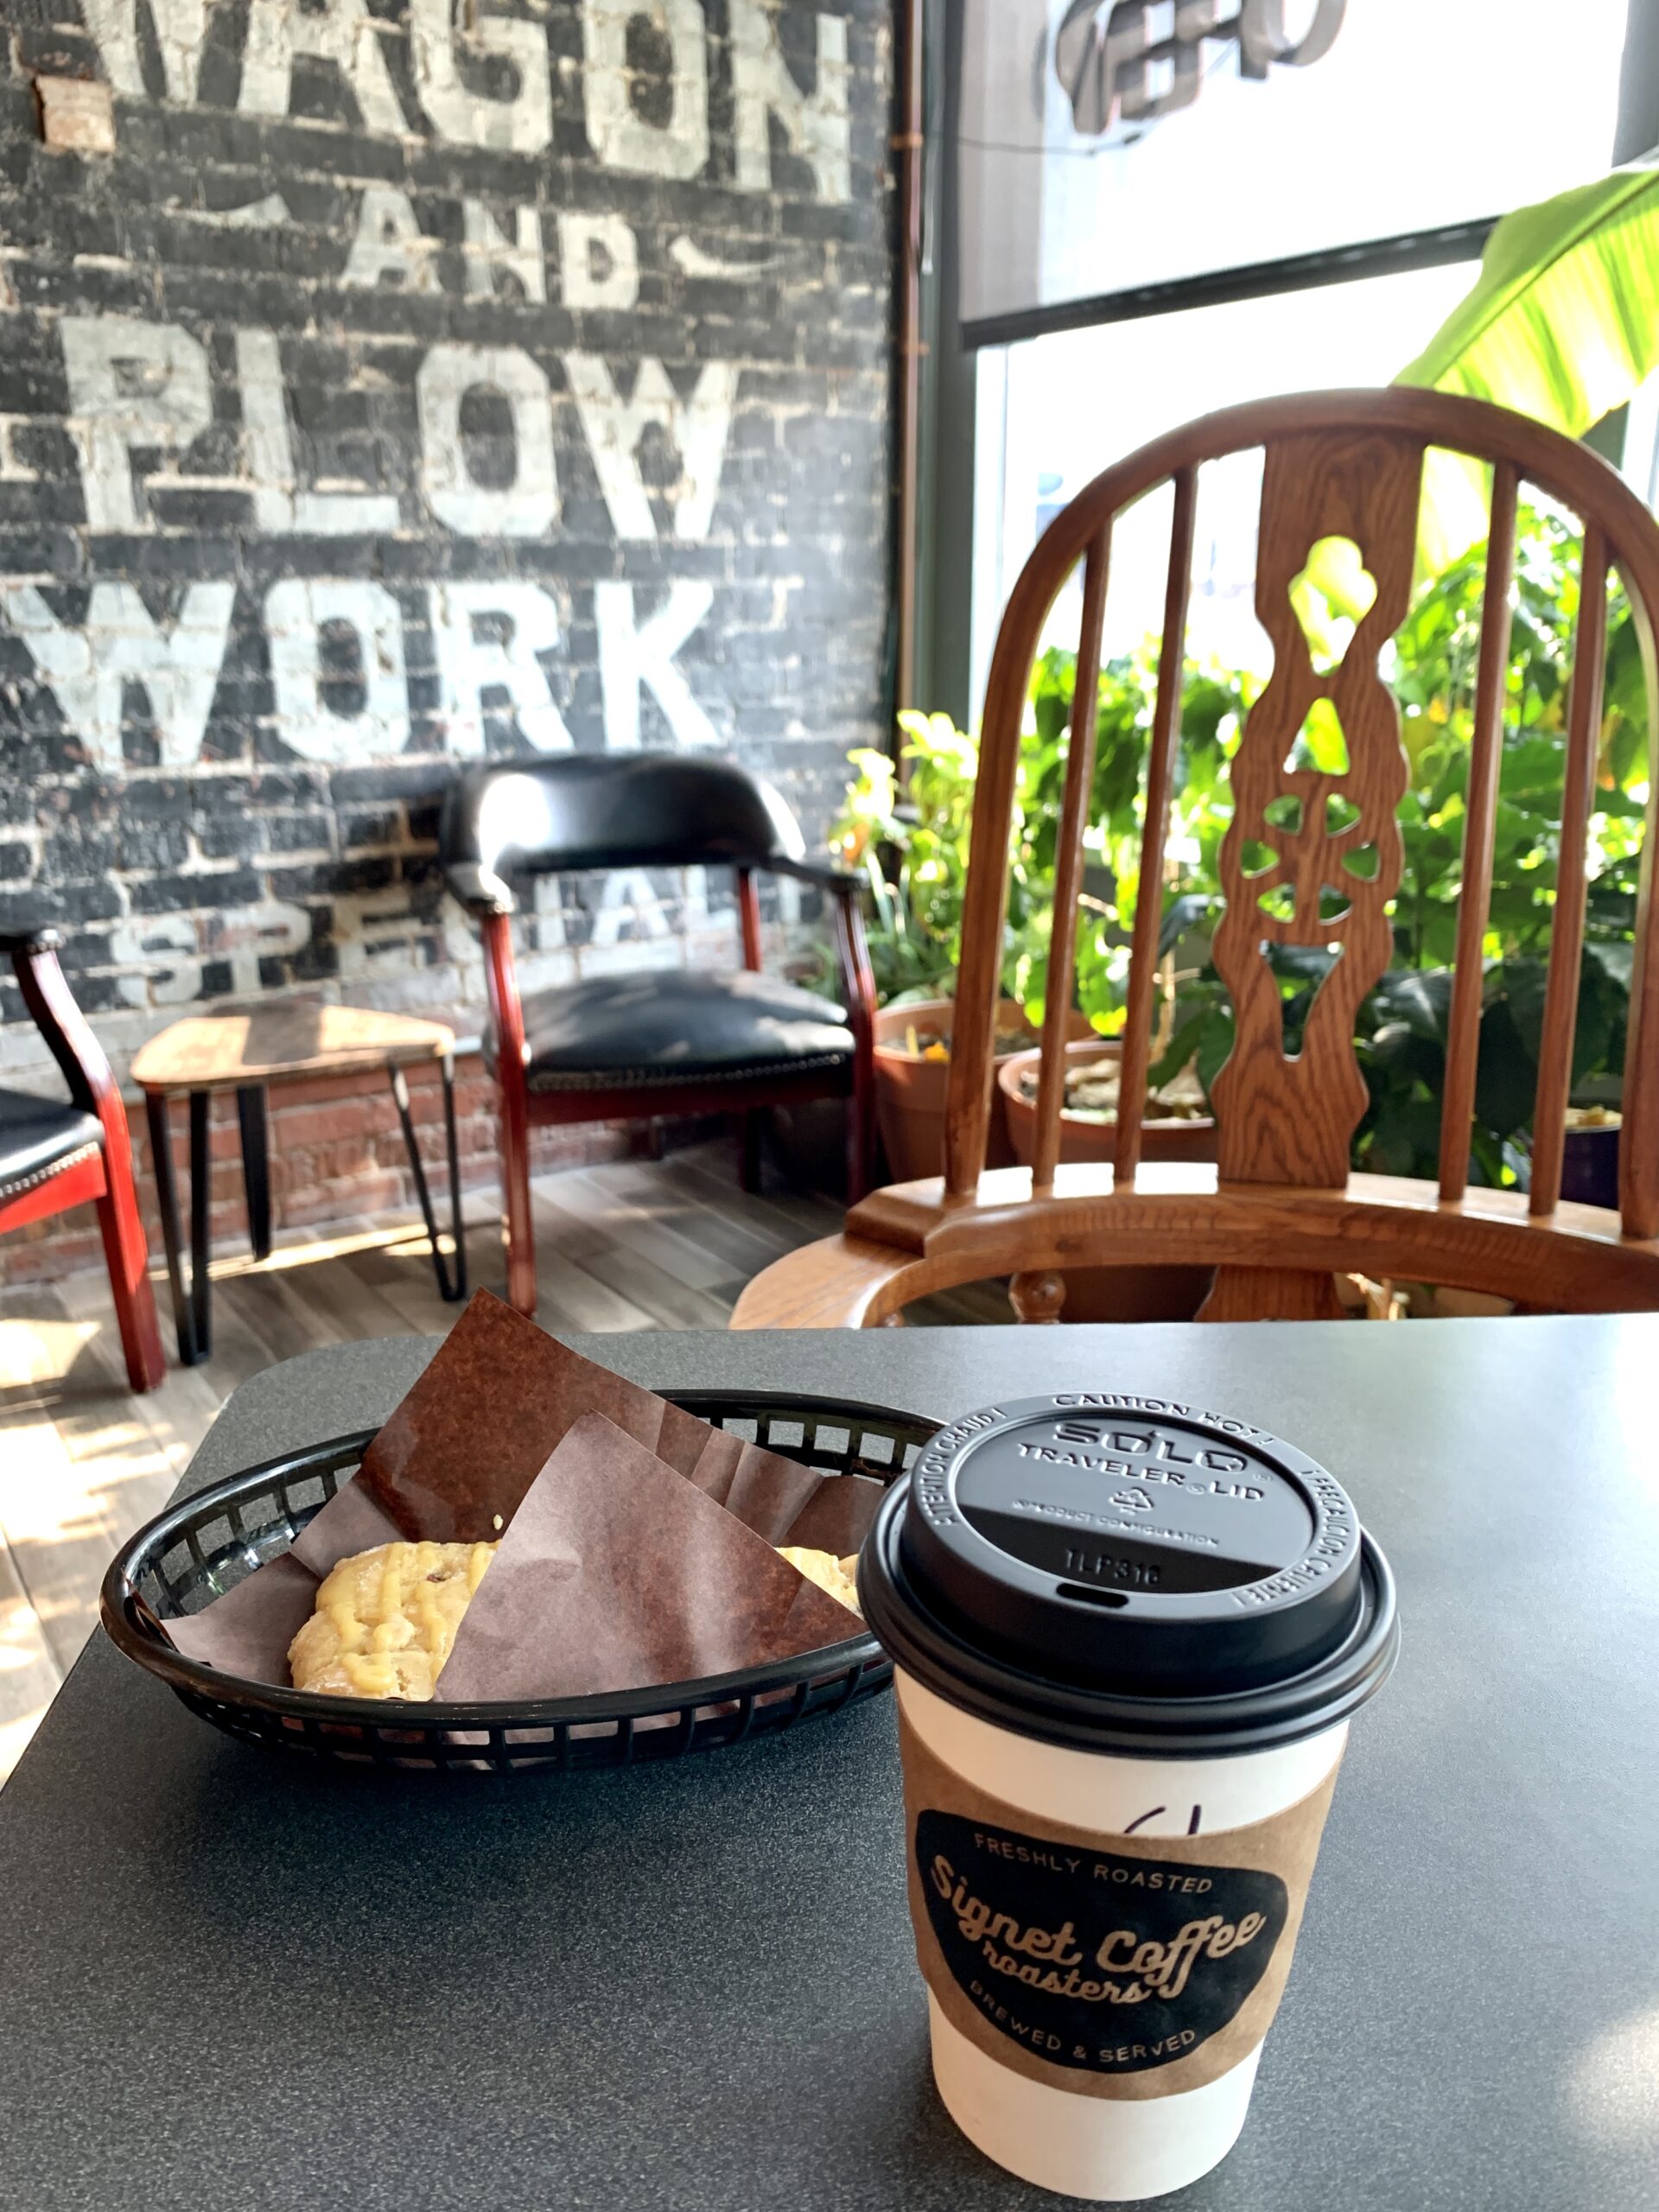

 They also feature a Drink of the Month, farm-to-table salads daily, and homemade pie one day a week. Visit the Free Little Library to select a complimentary book. Don’t miss the game wall, stocked with board and card games to play over coffee and conversation.
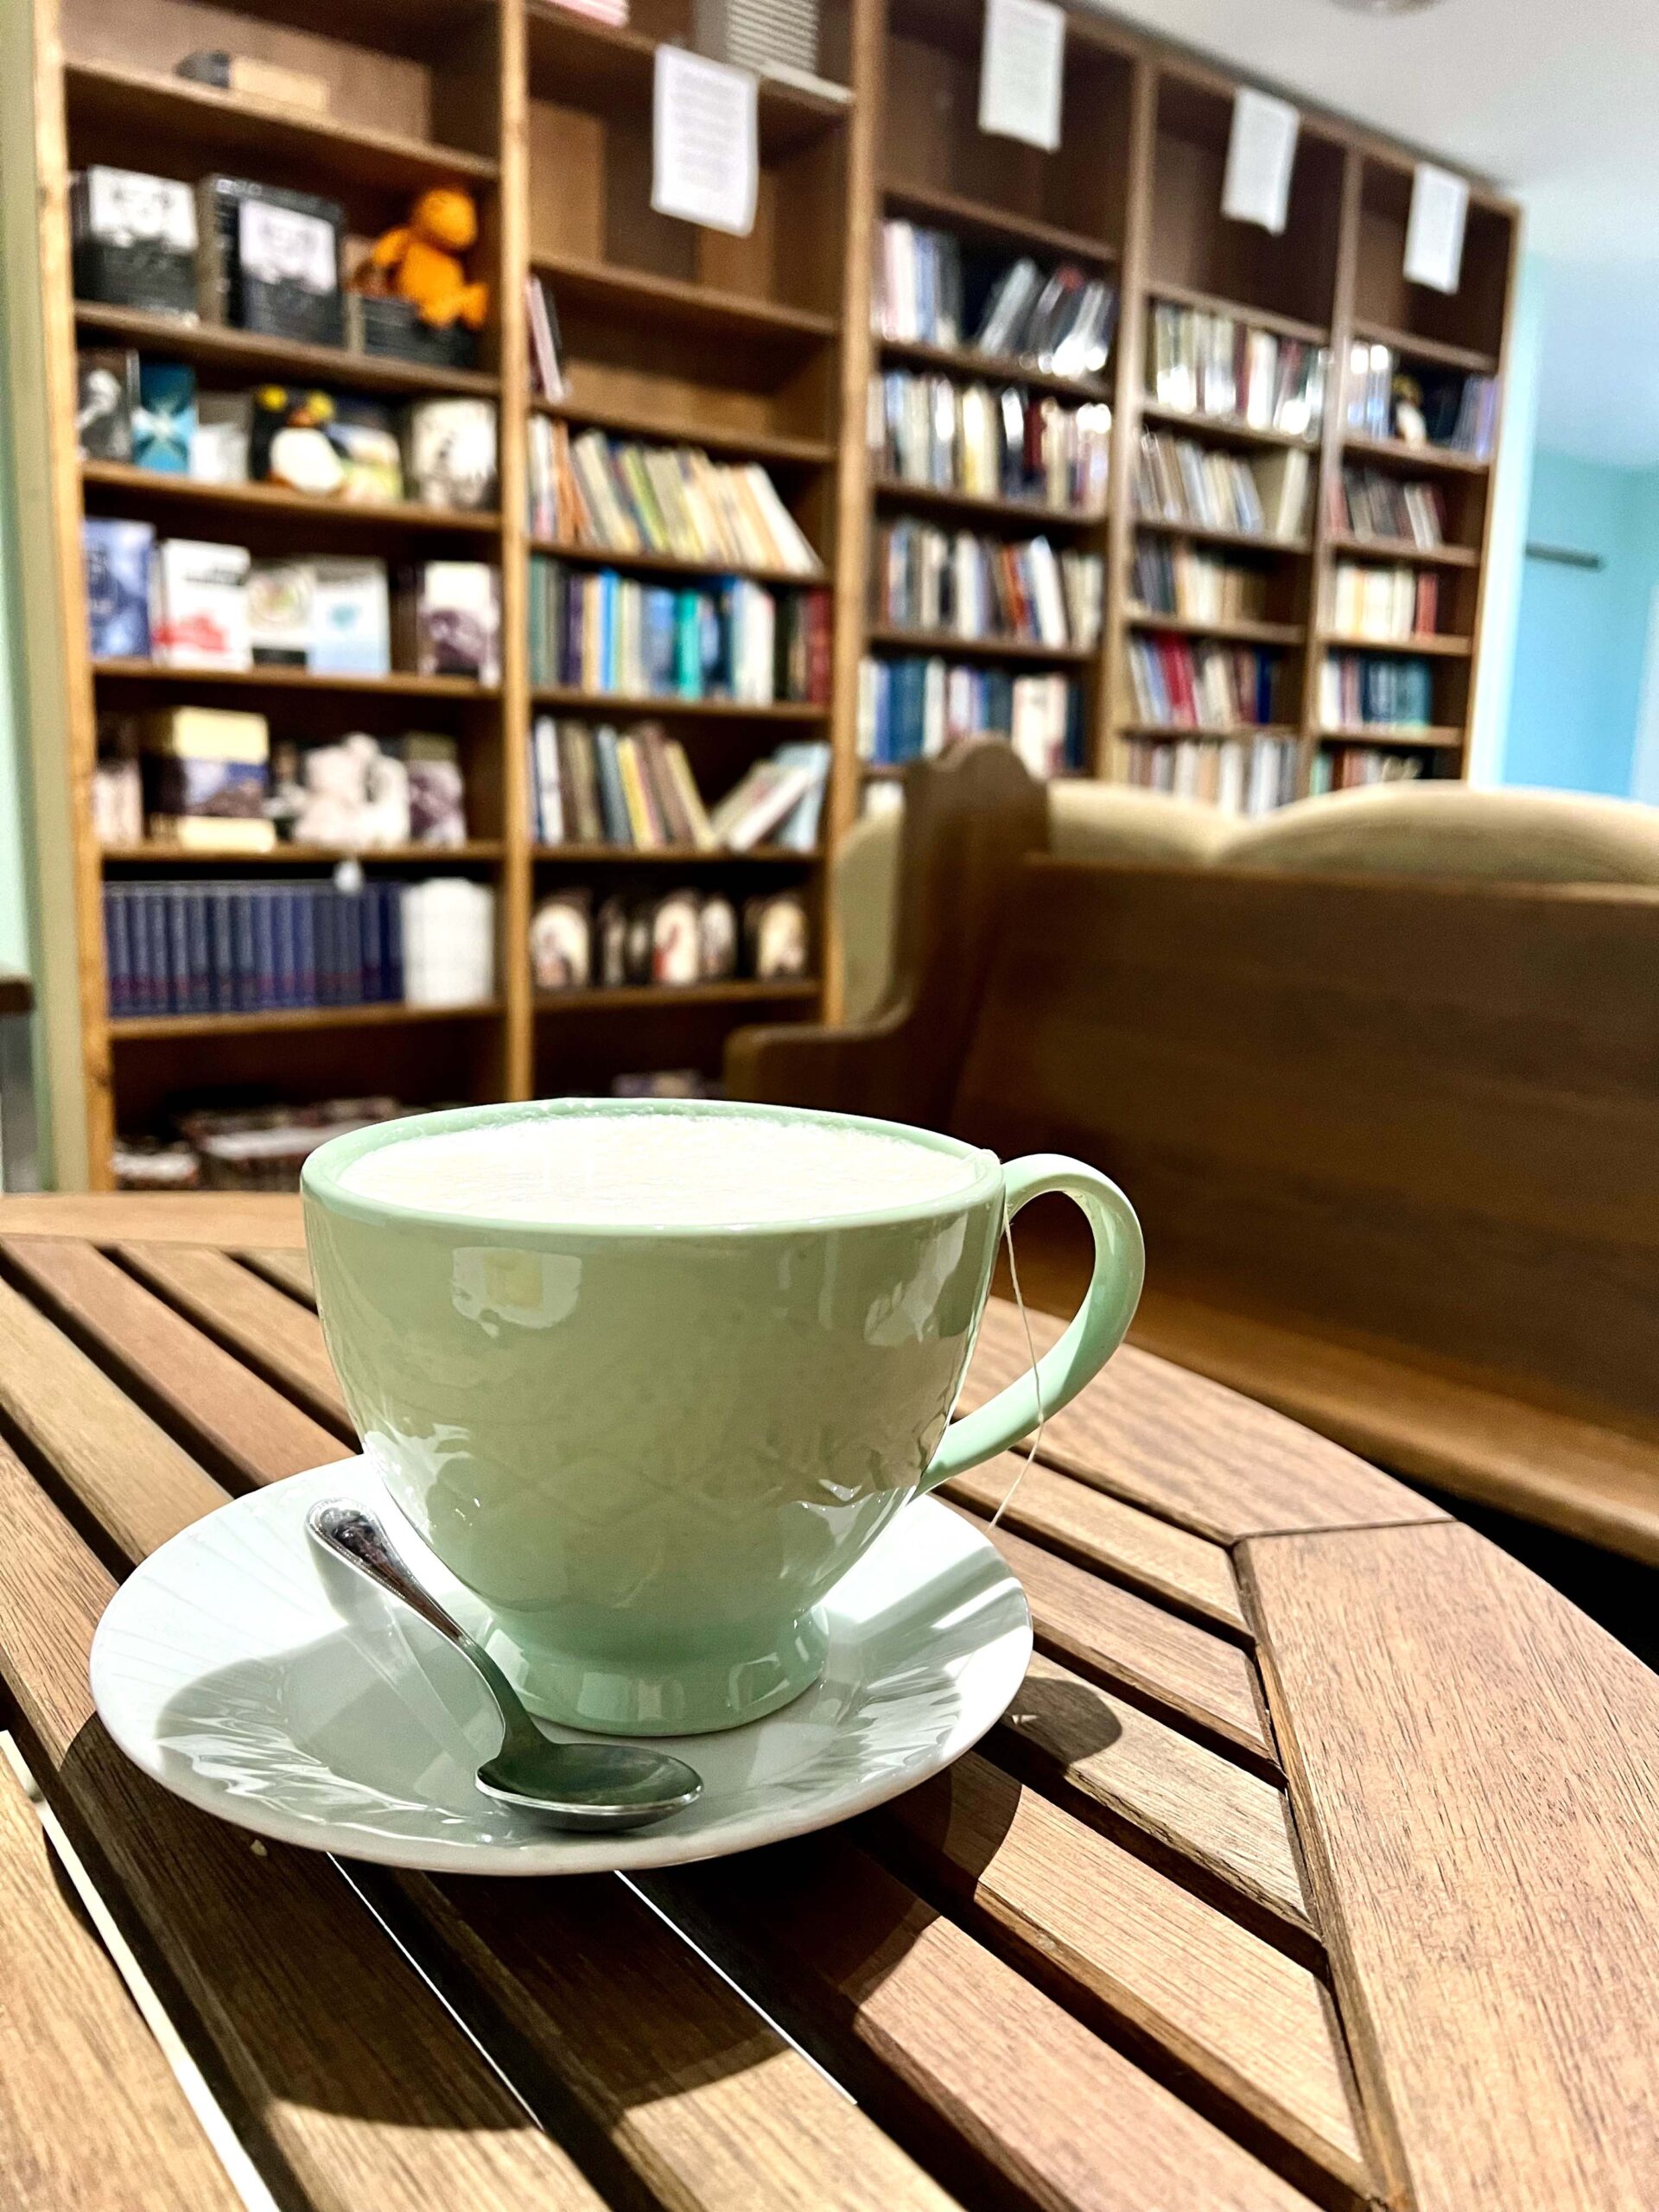
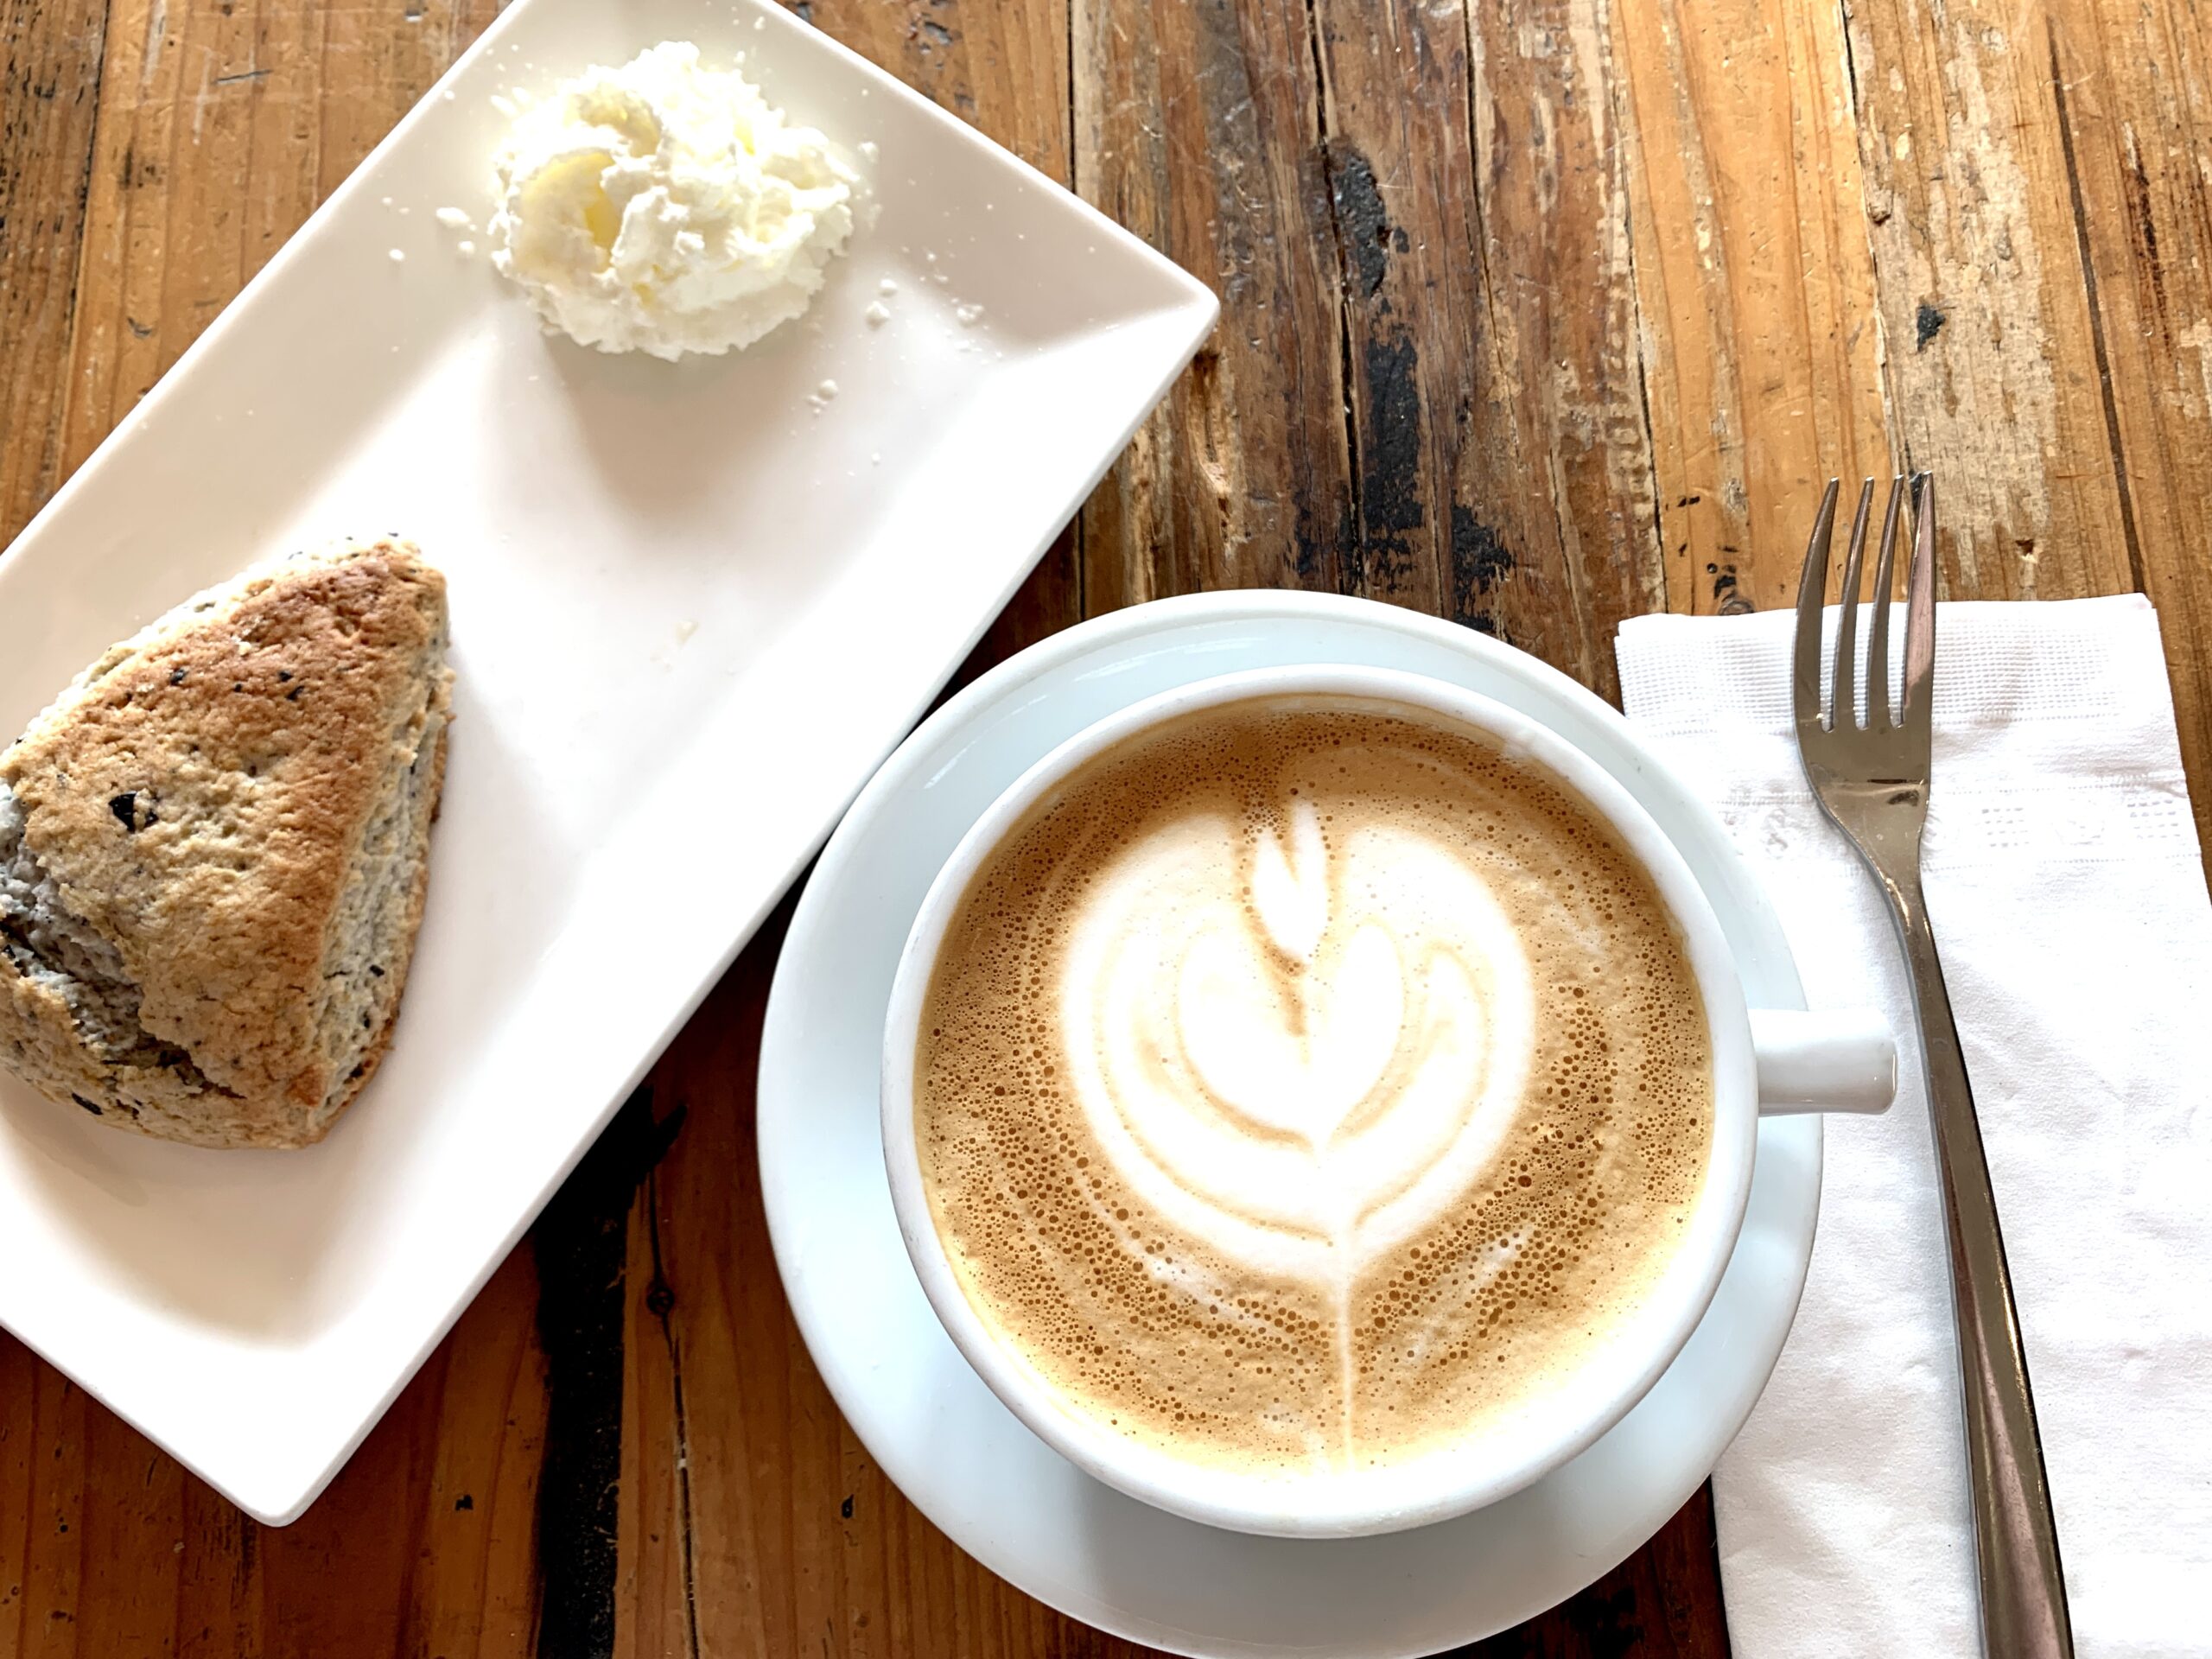
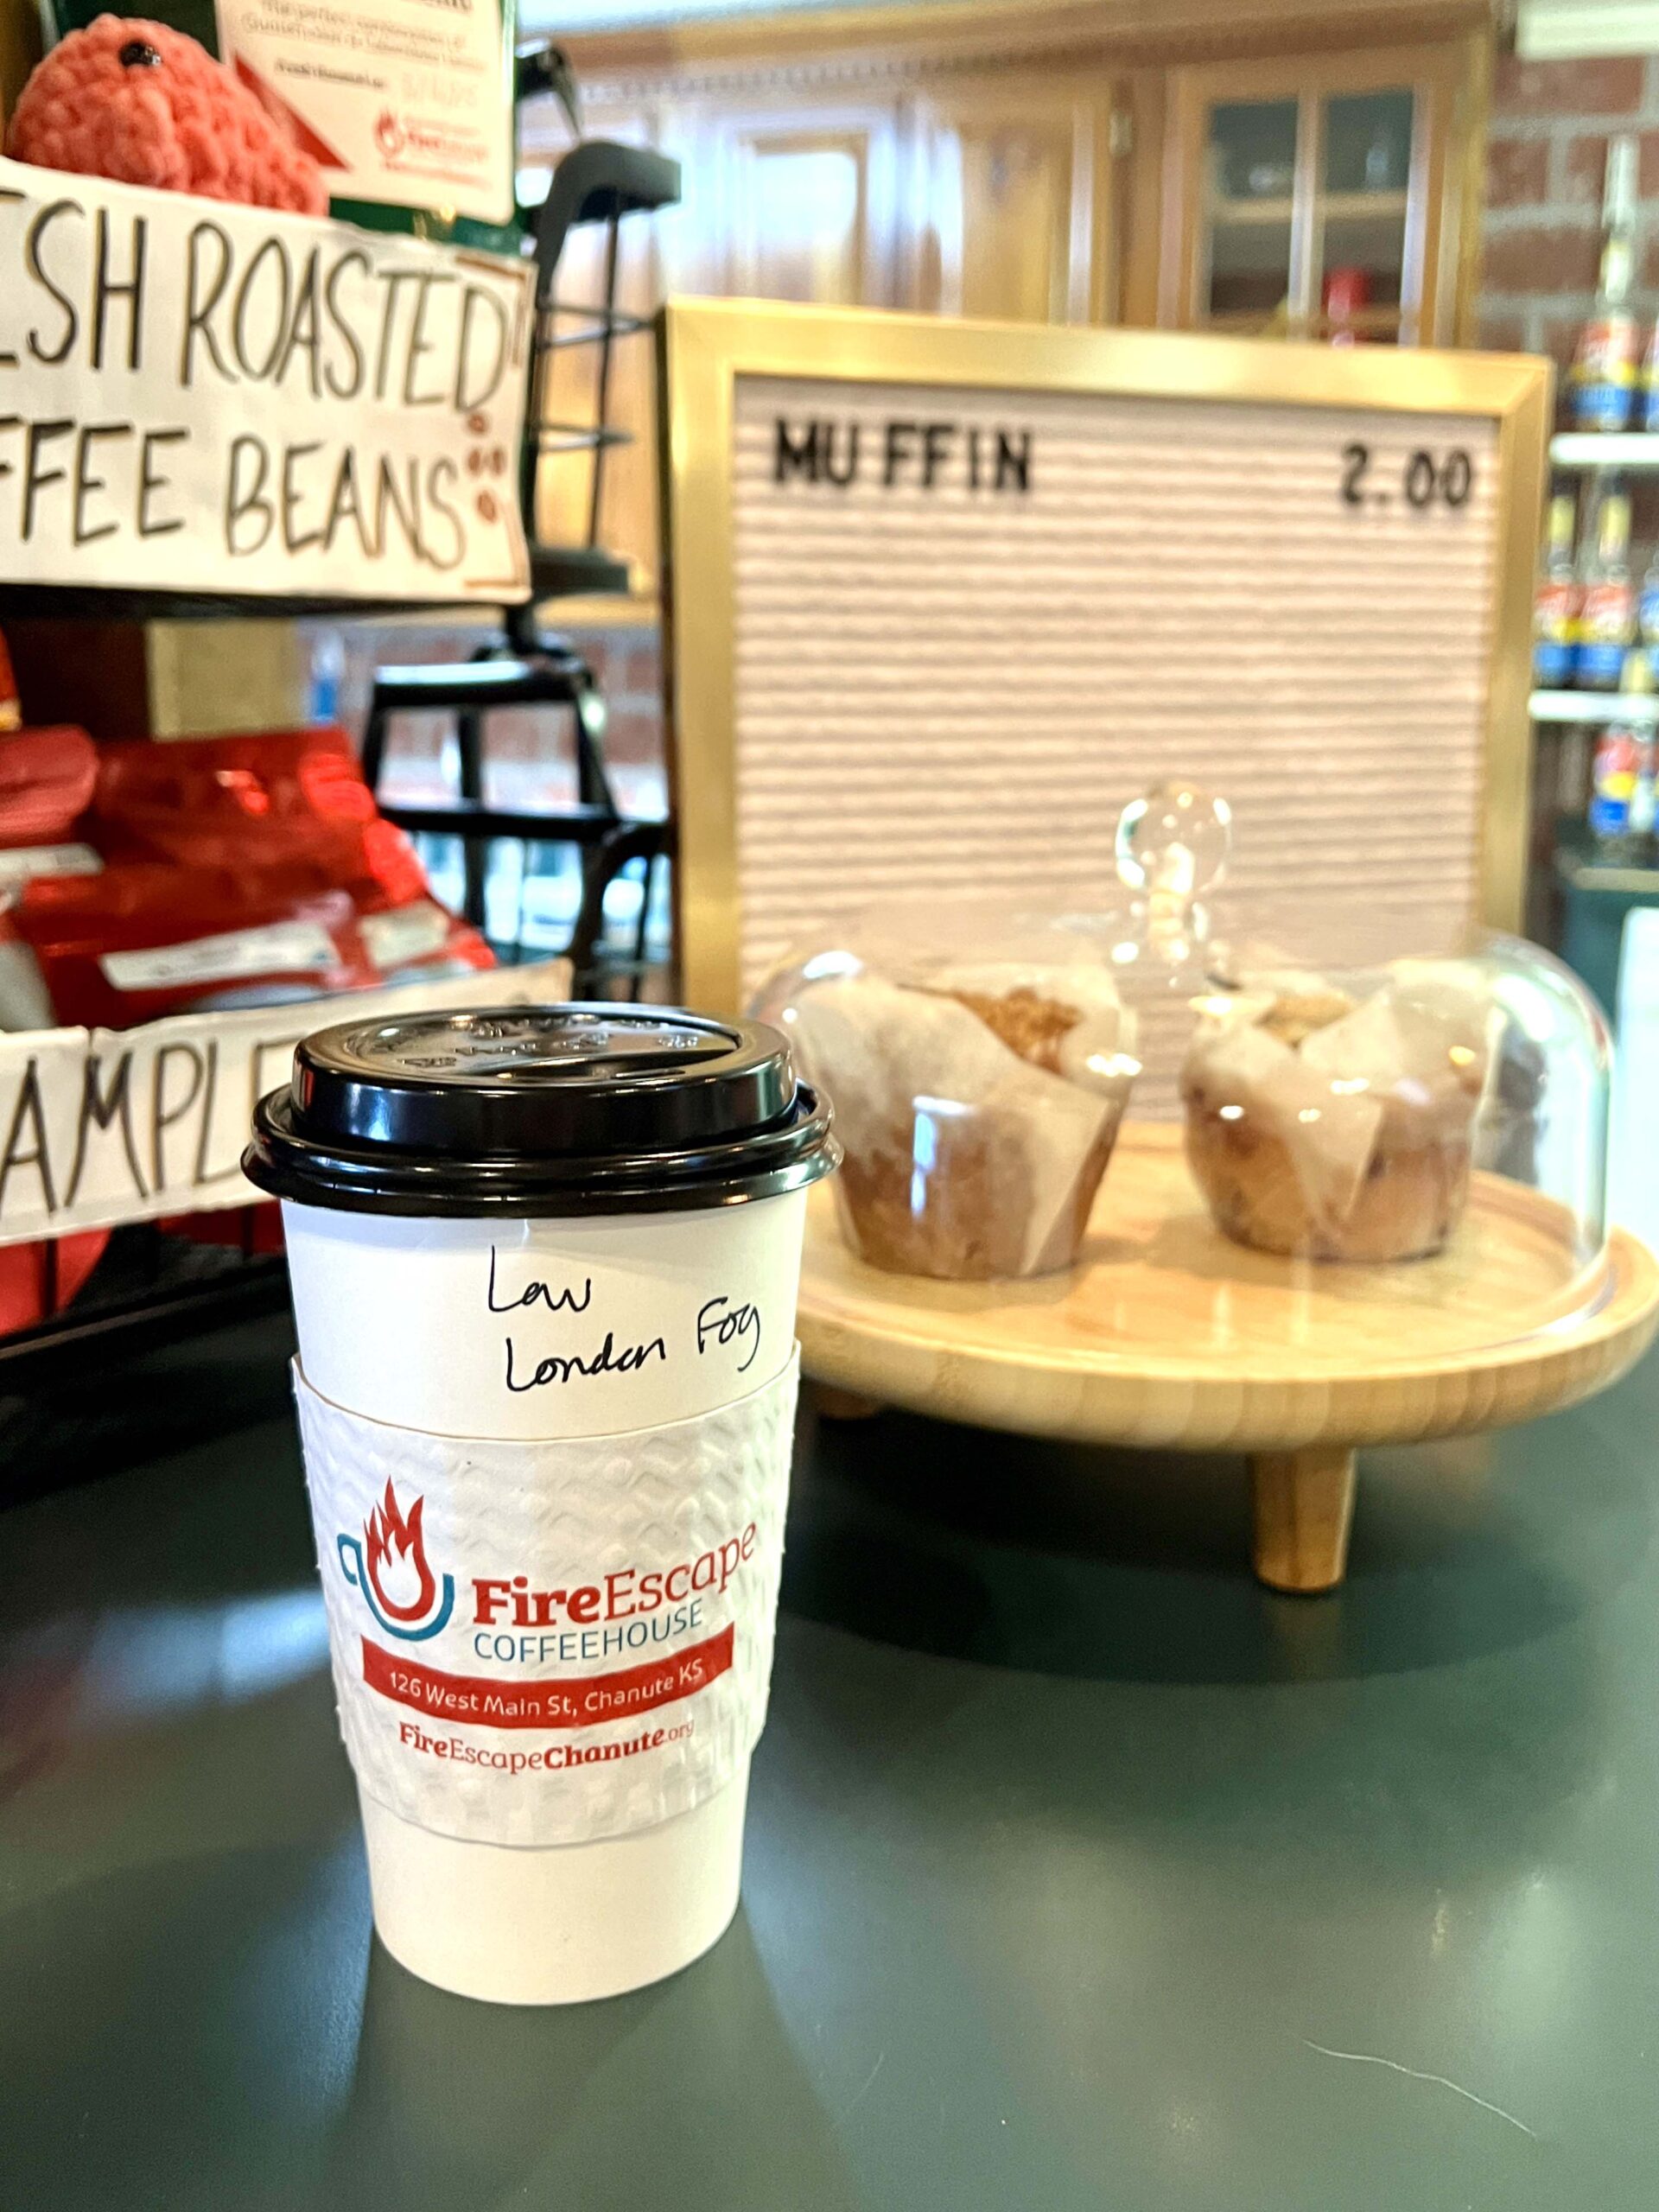 My hot Lavender Fog tea drink prepared with lavender flavoring tasted spot on as I chatted with locals about the historic building turned coffee house.
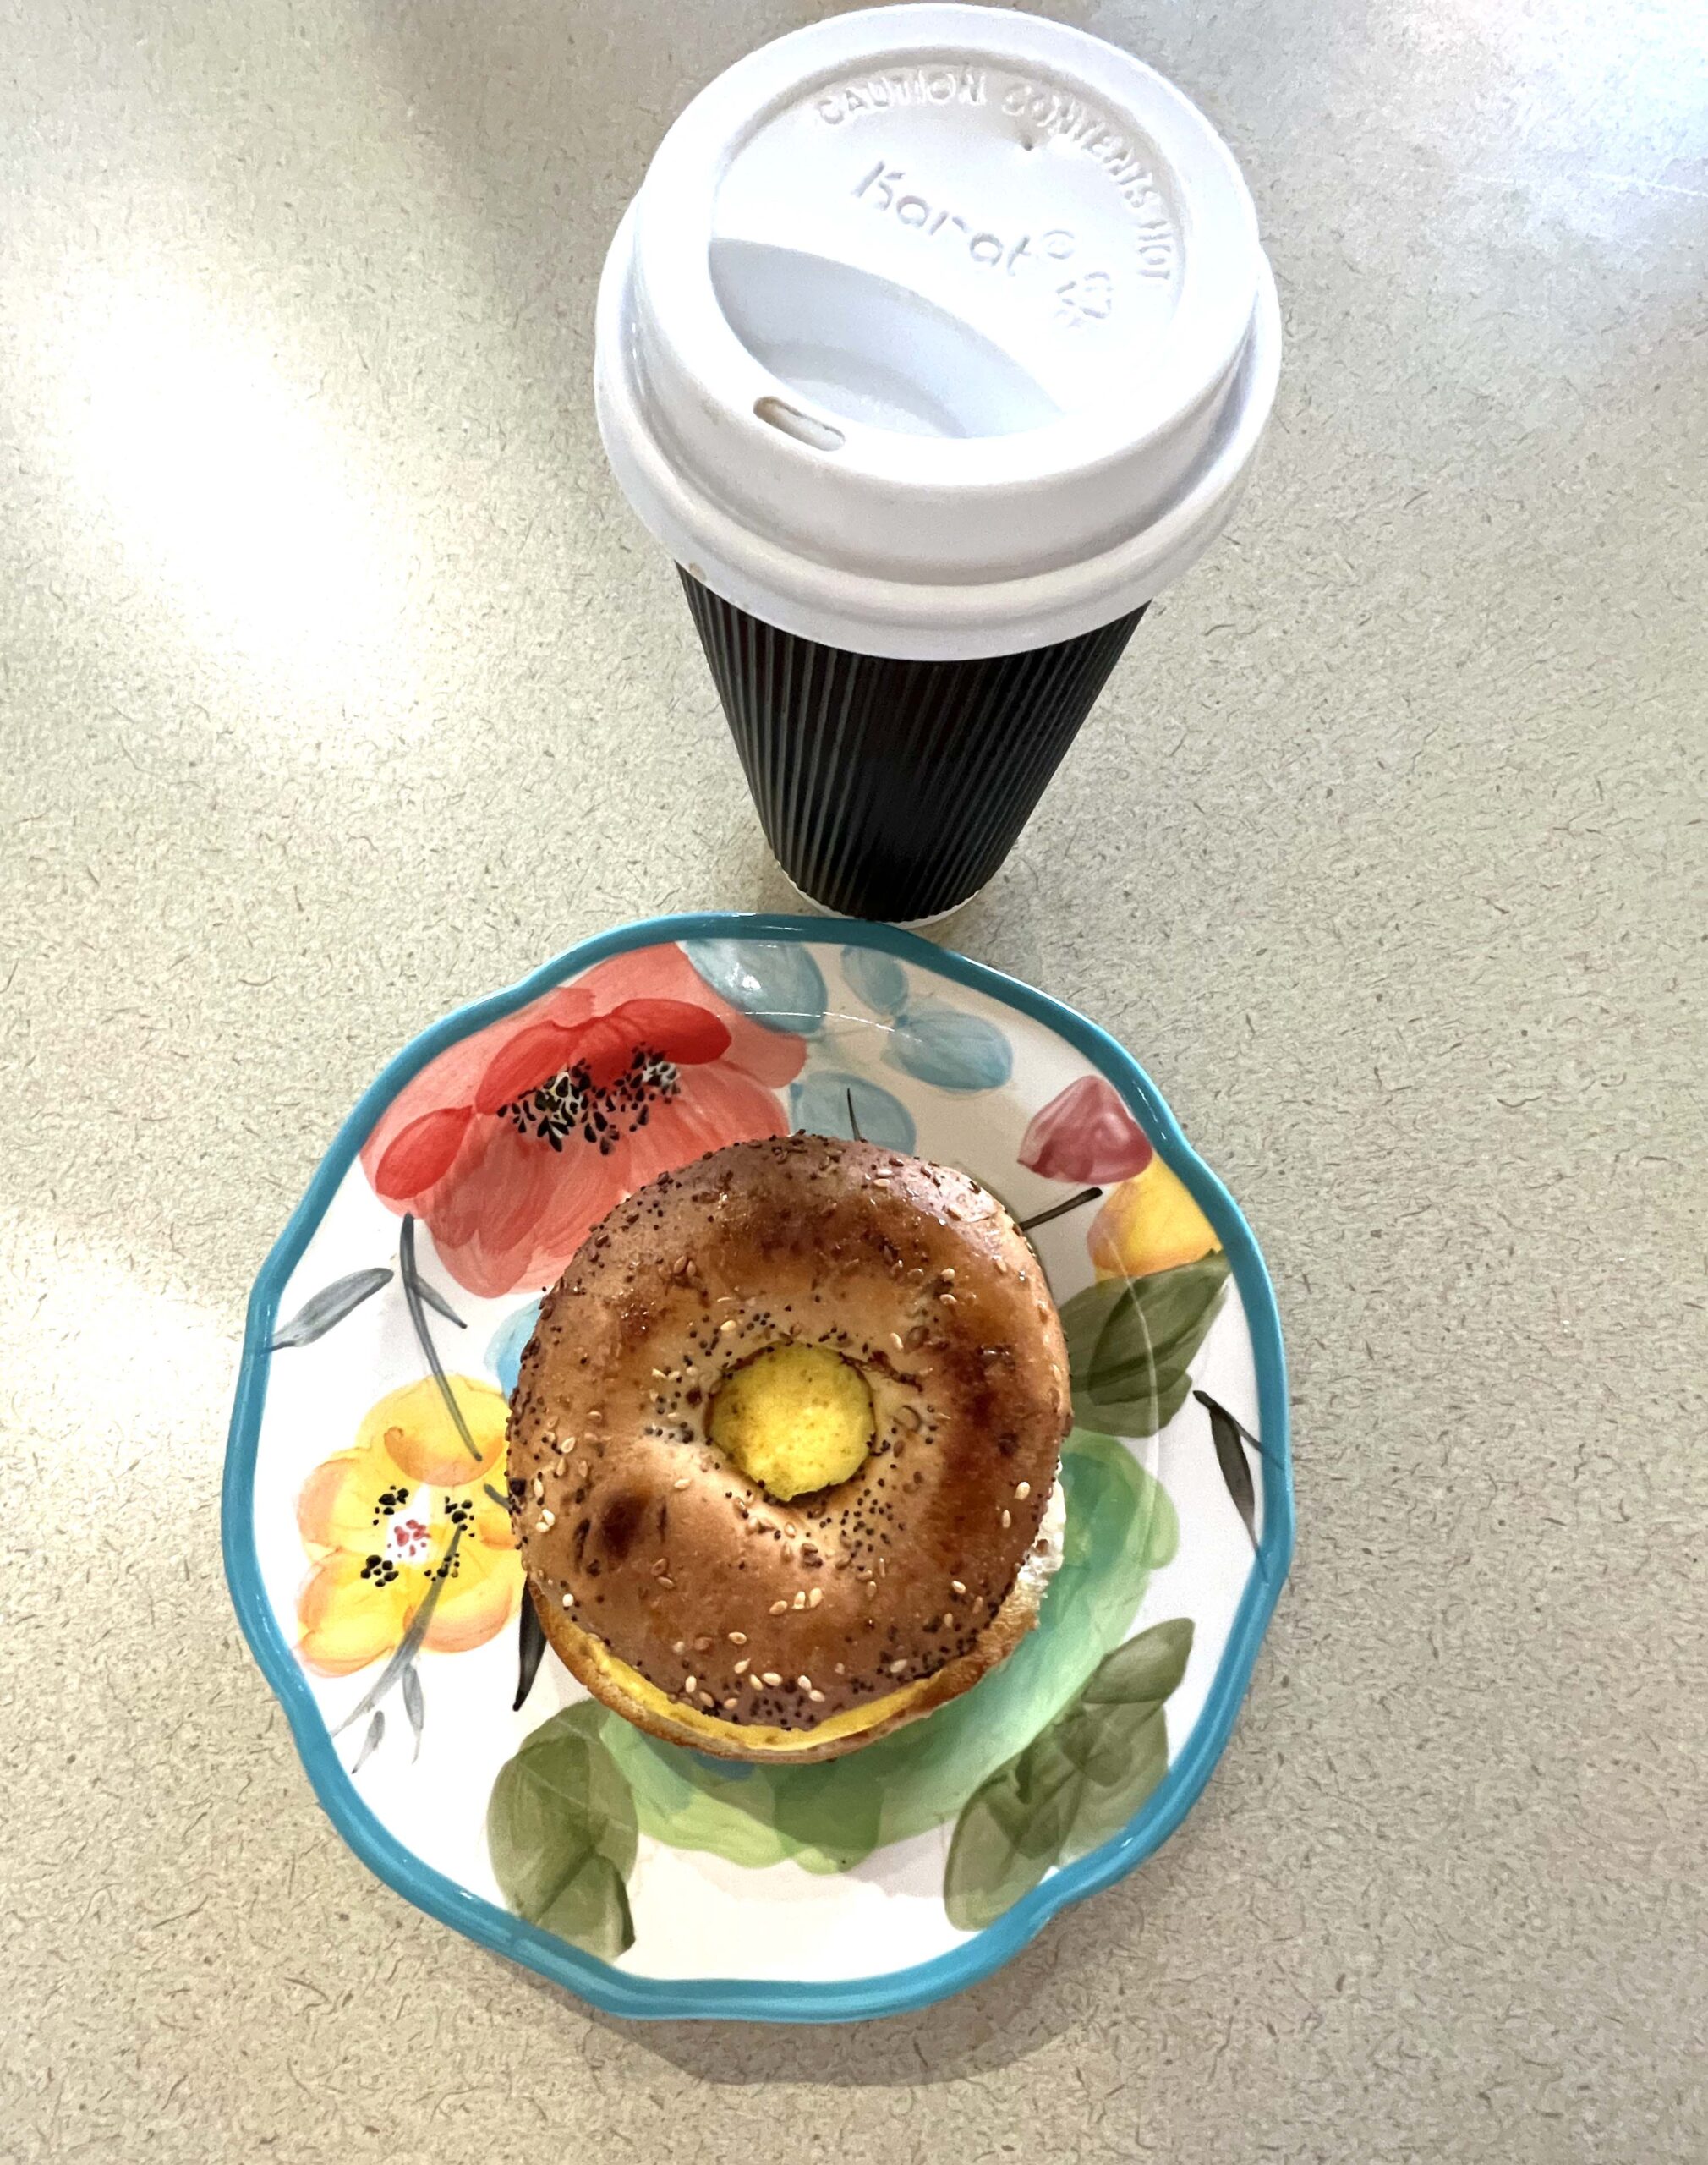
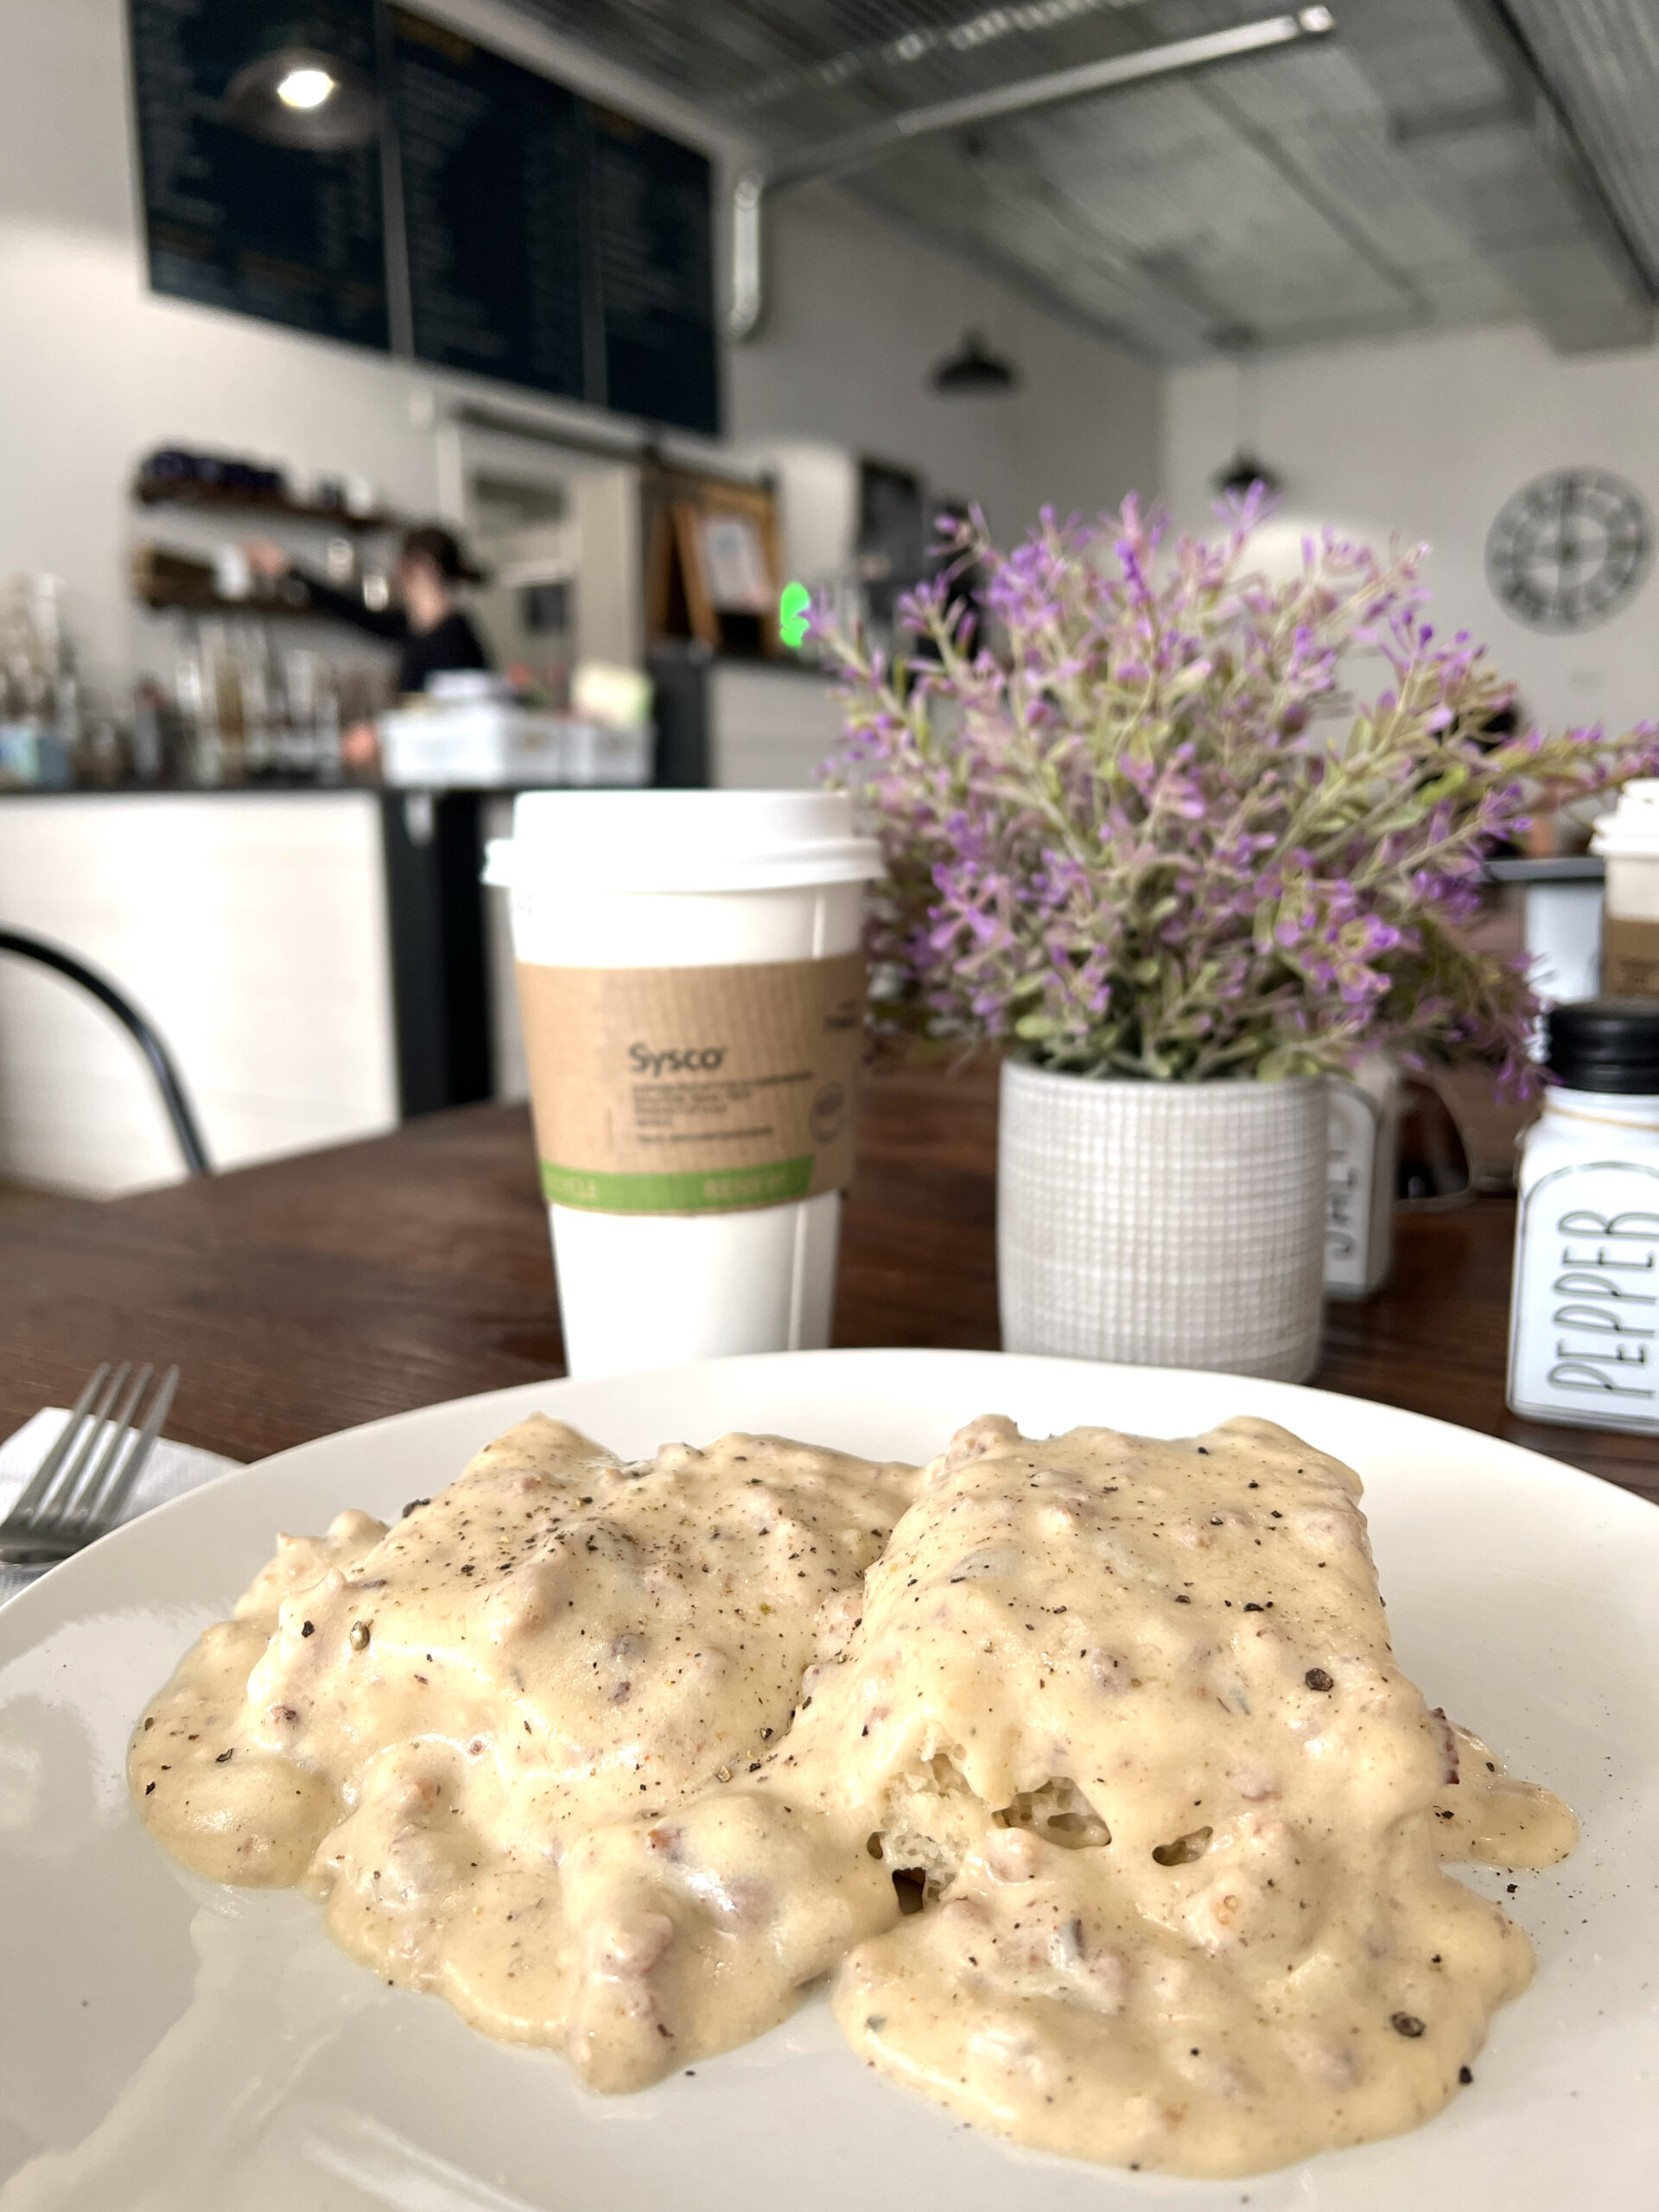
 It was easy to see why the coffee shop remains steadily busy after sipping my toffee nut coffee with a breakfast croissant sandwich.
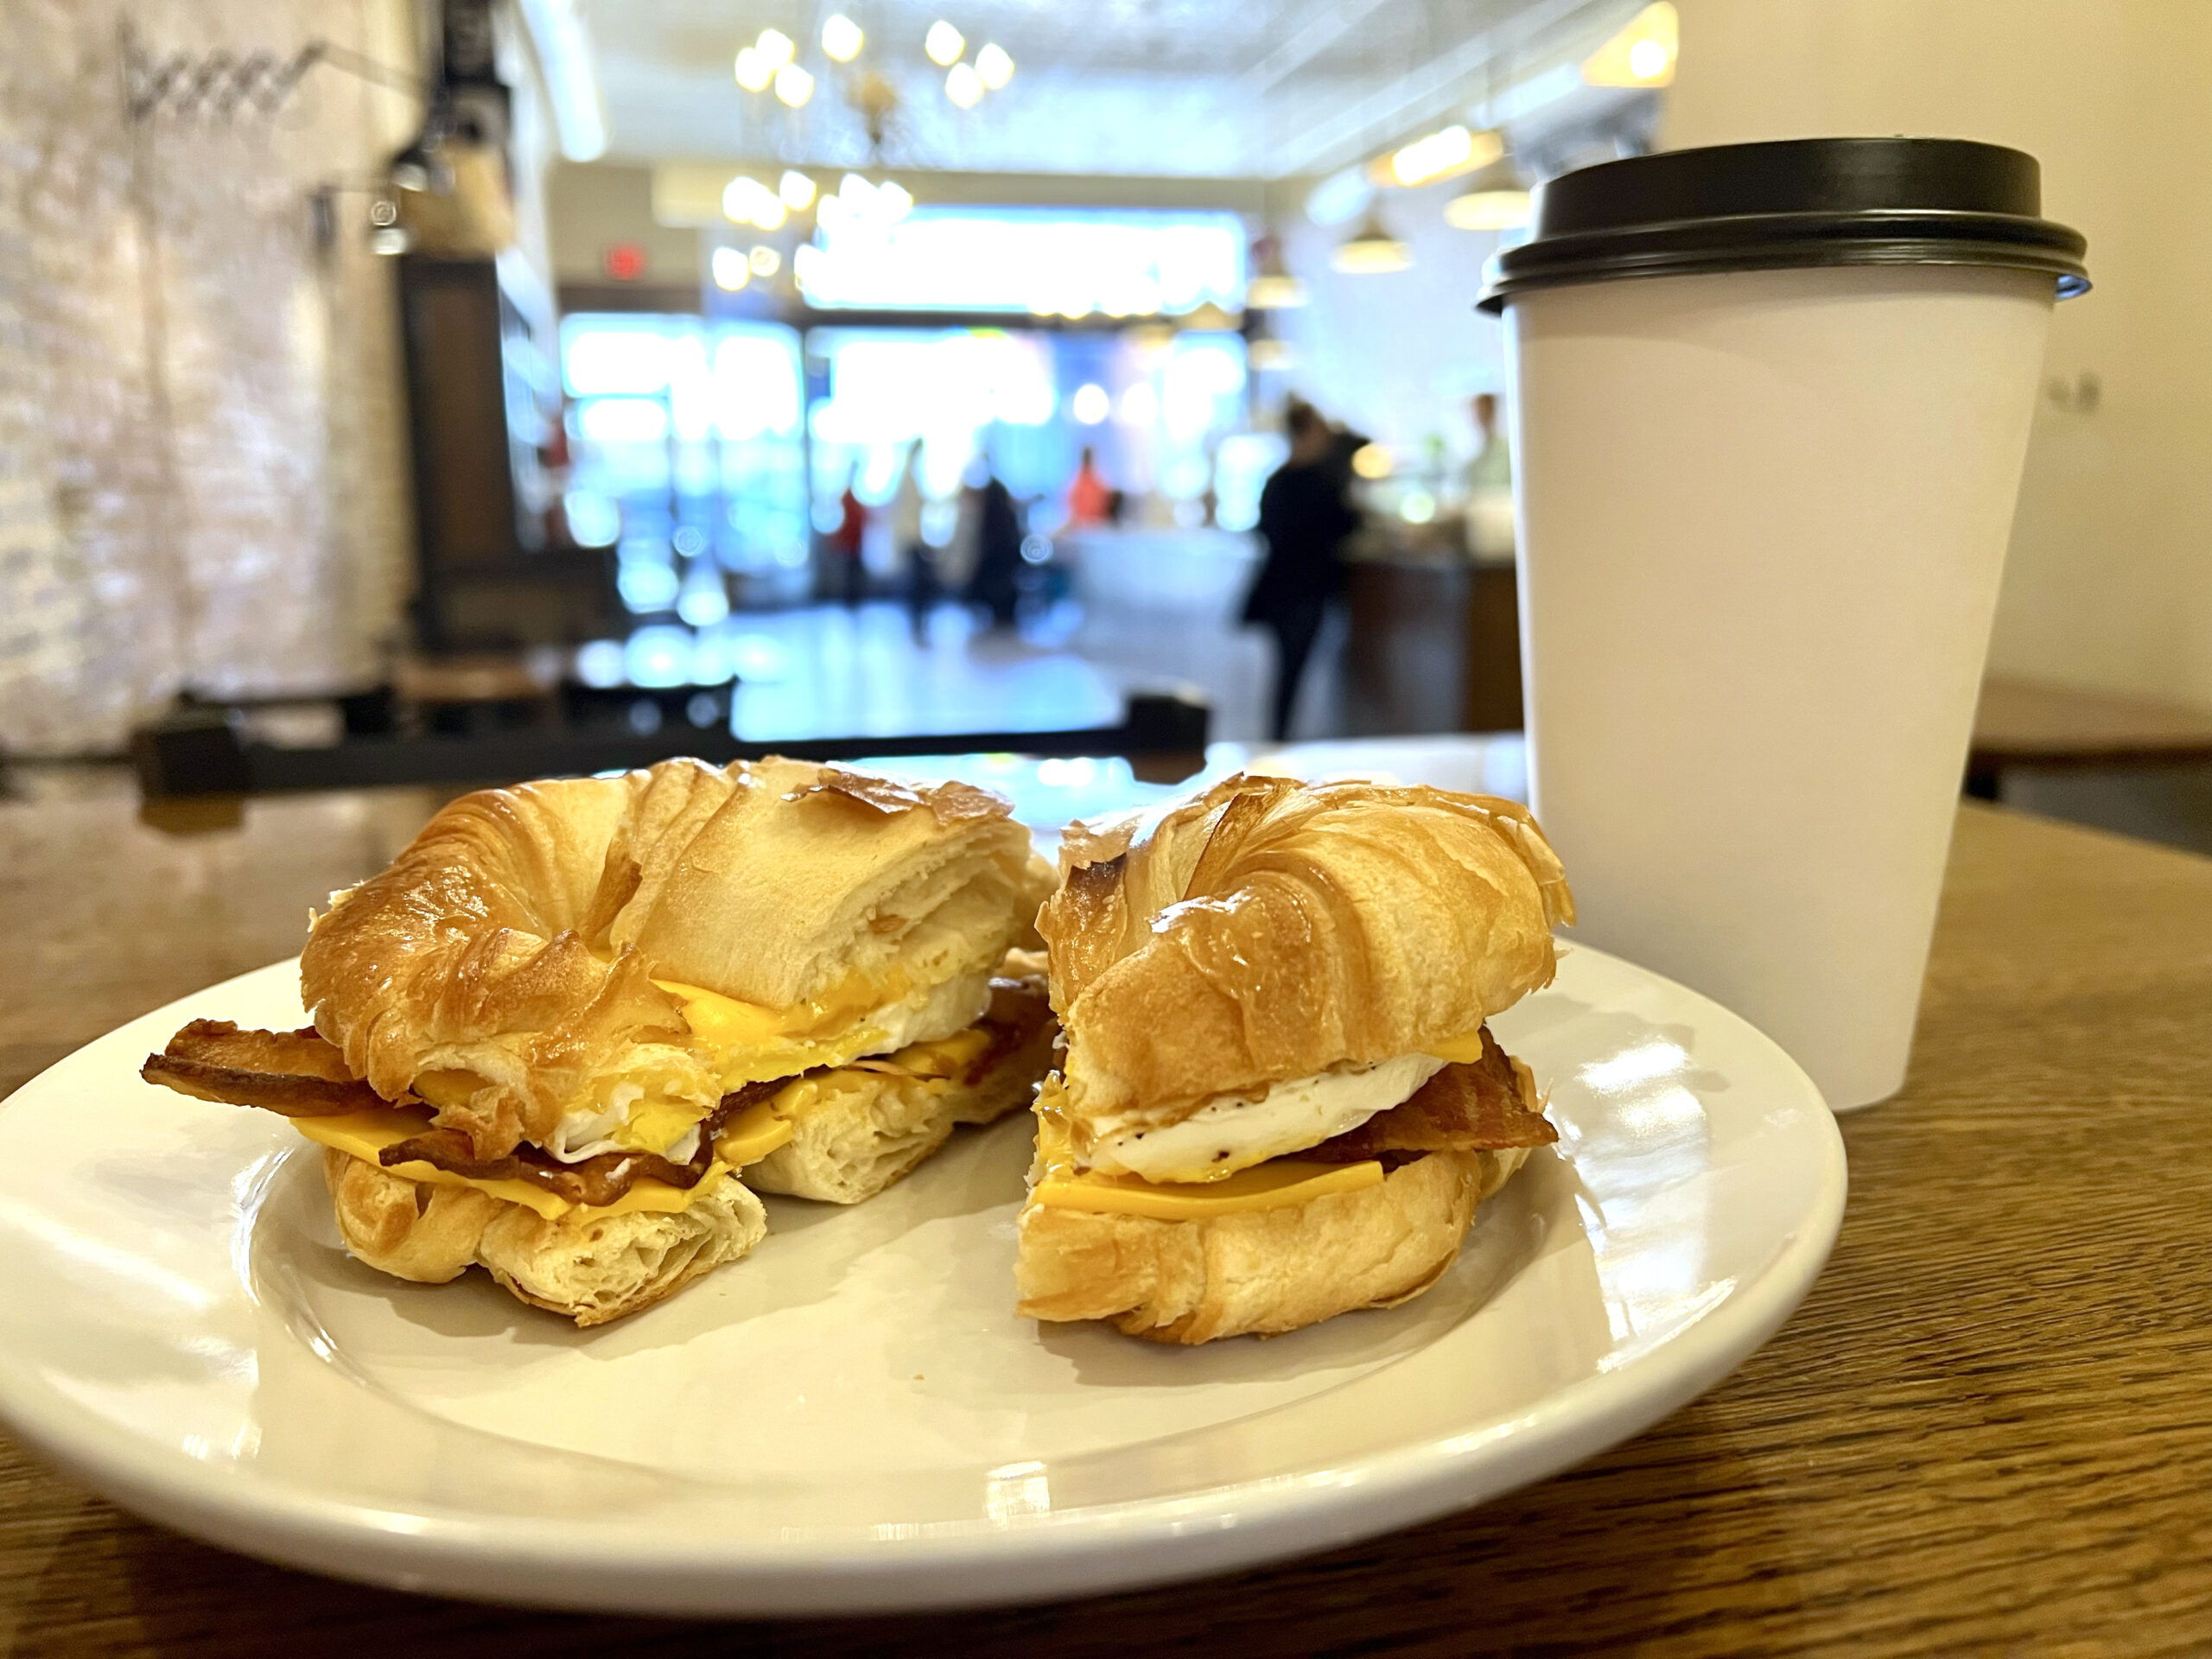
 I was warmly greeted by a college-aged employee as Ed Sheeran played over the speaker in the background. I chose a house roast coffee and the Breakfast Croissant sandwich, prepared with scrambled eggs, diced onion, and bell pepper. The spread, a pepper fruit jam, added sweetness.
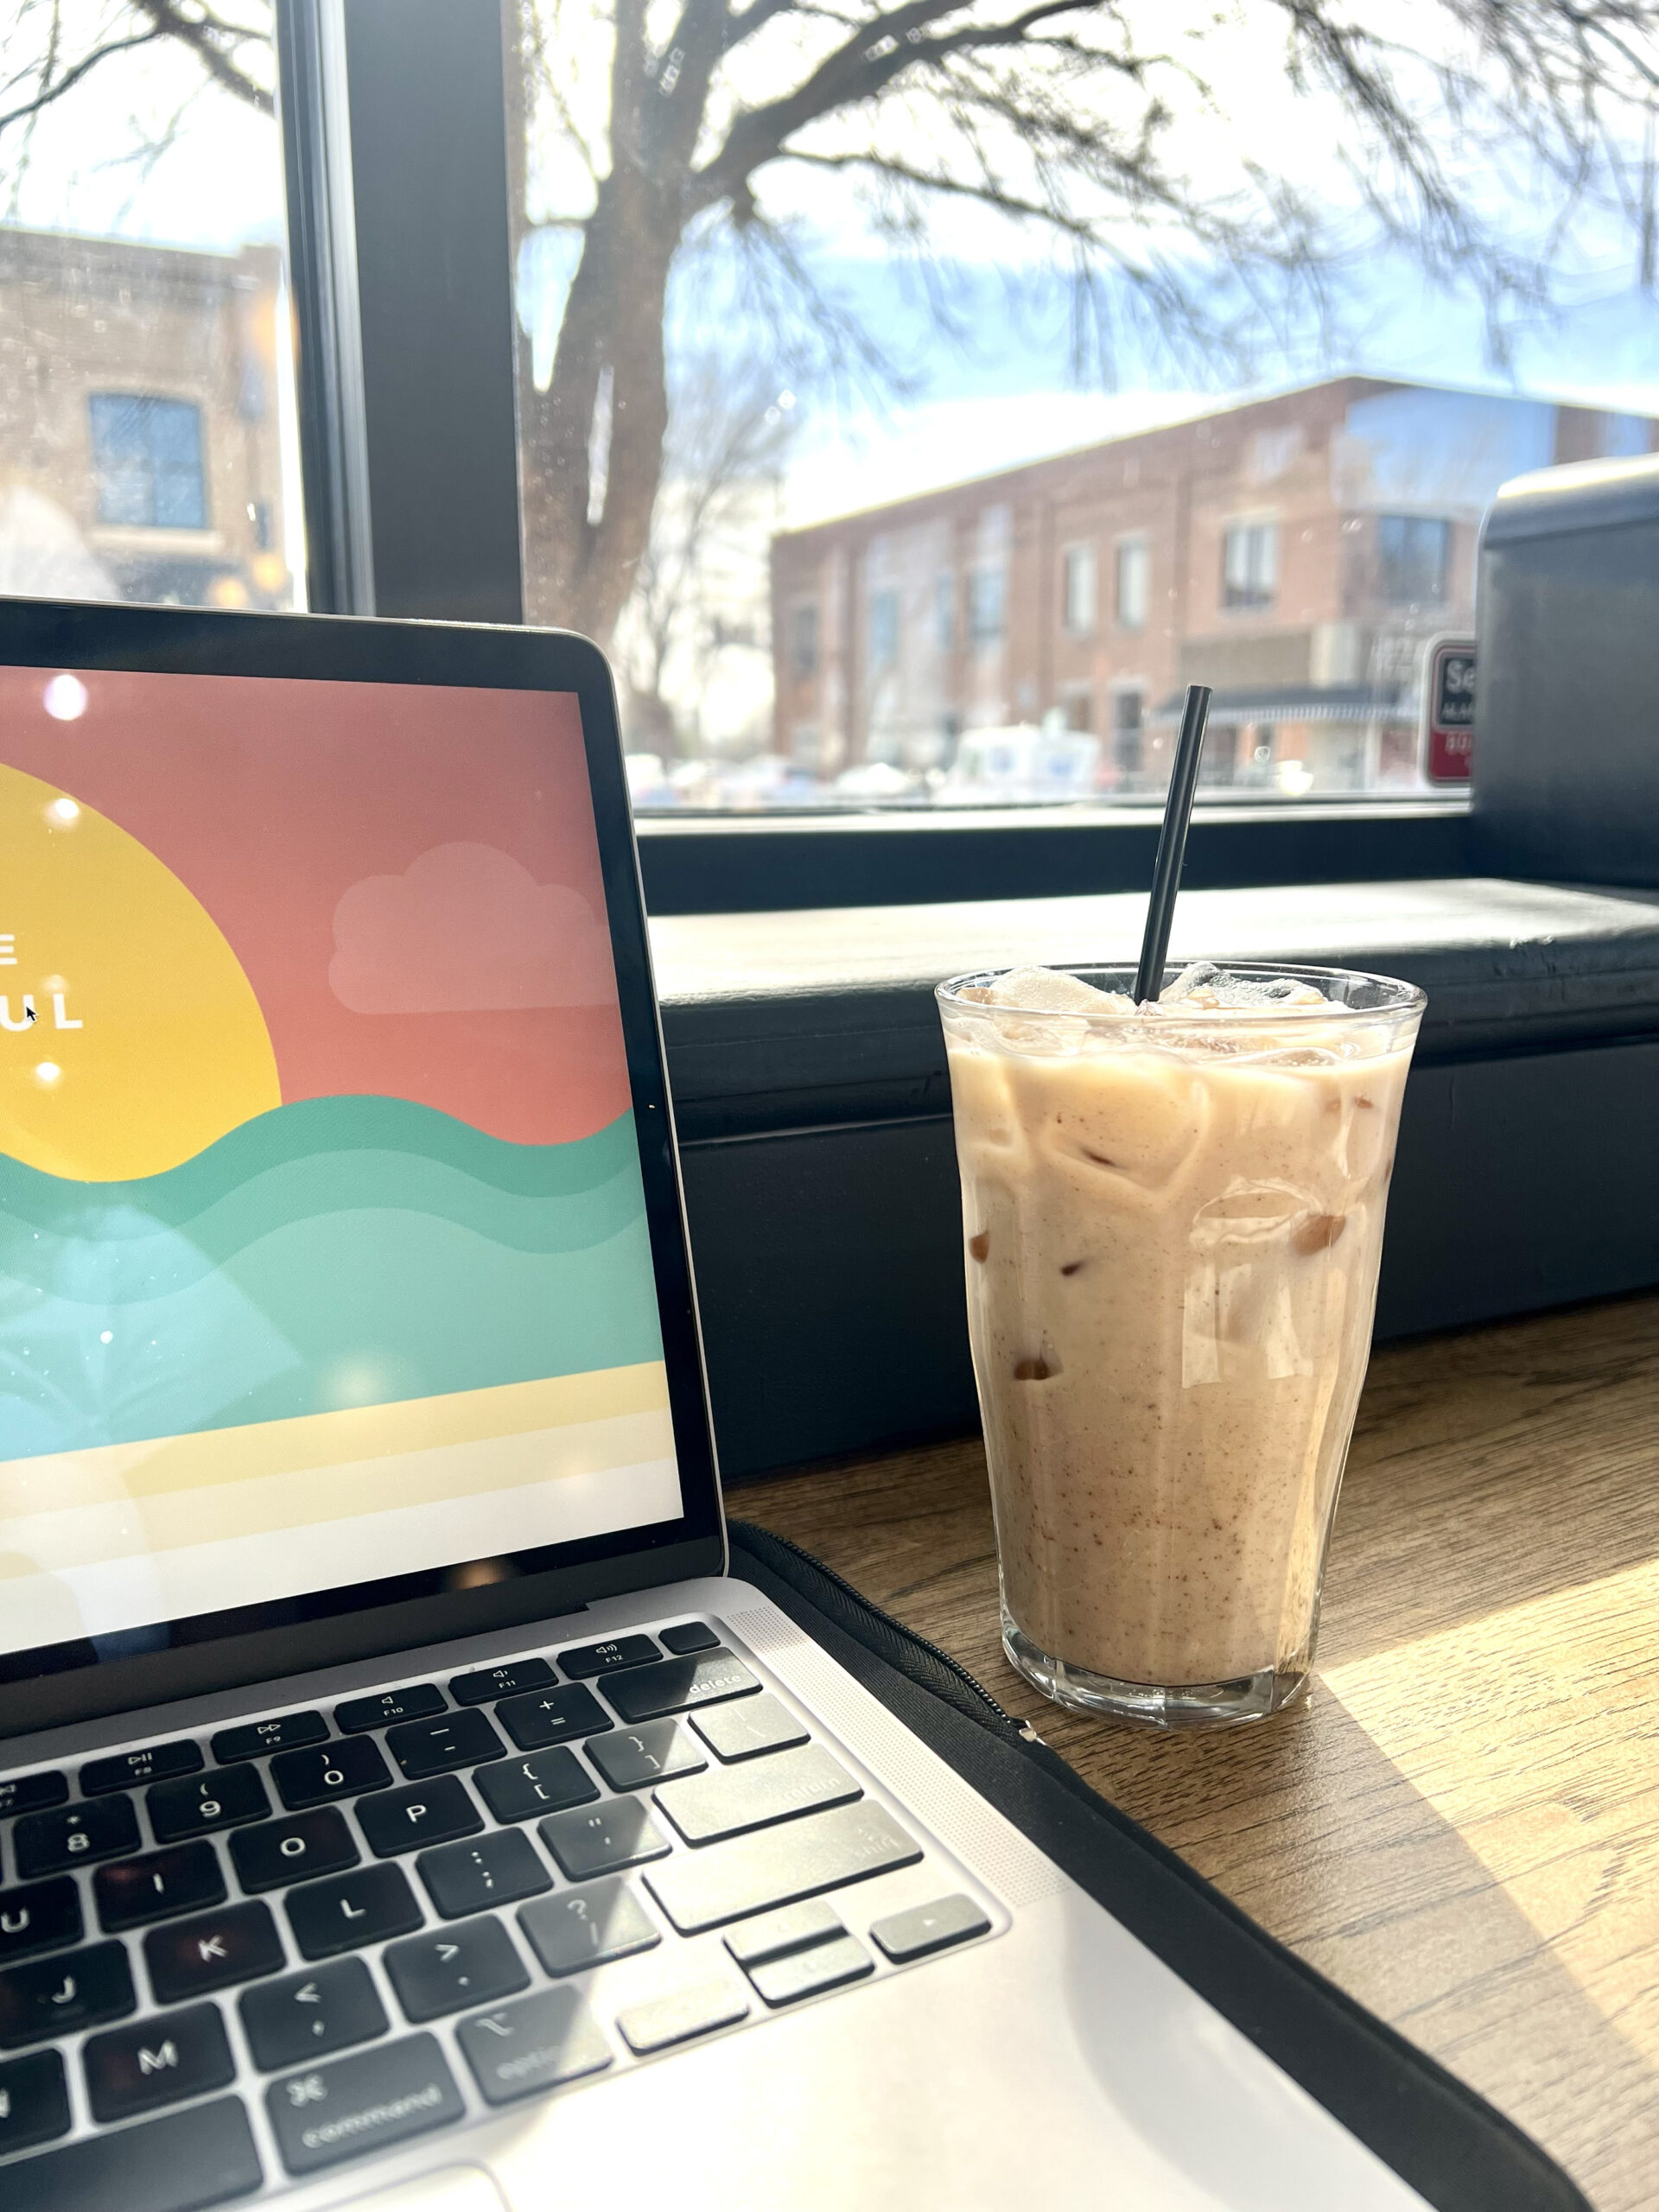
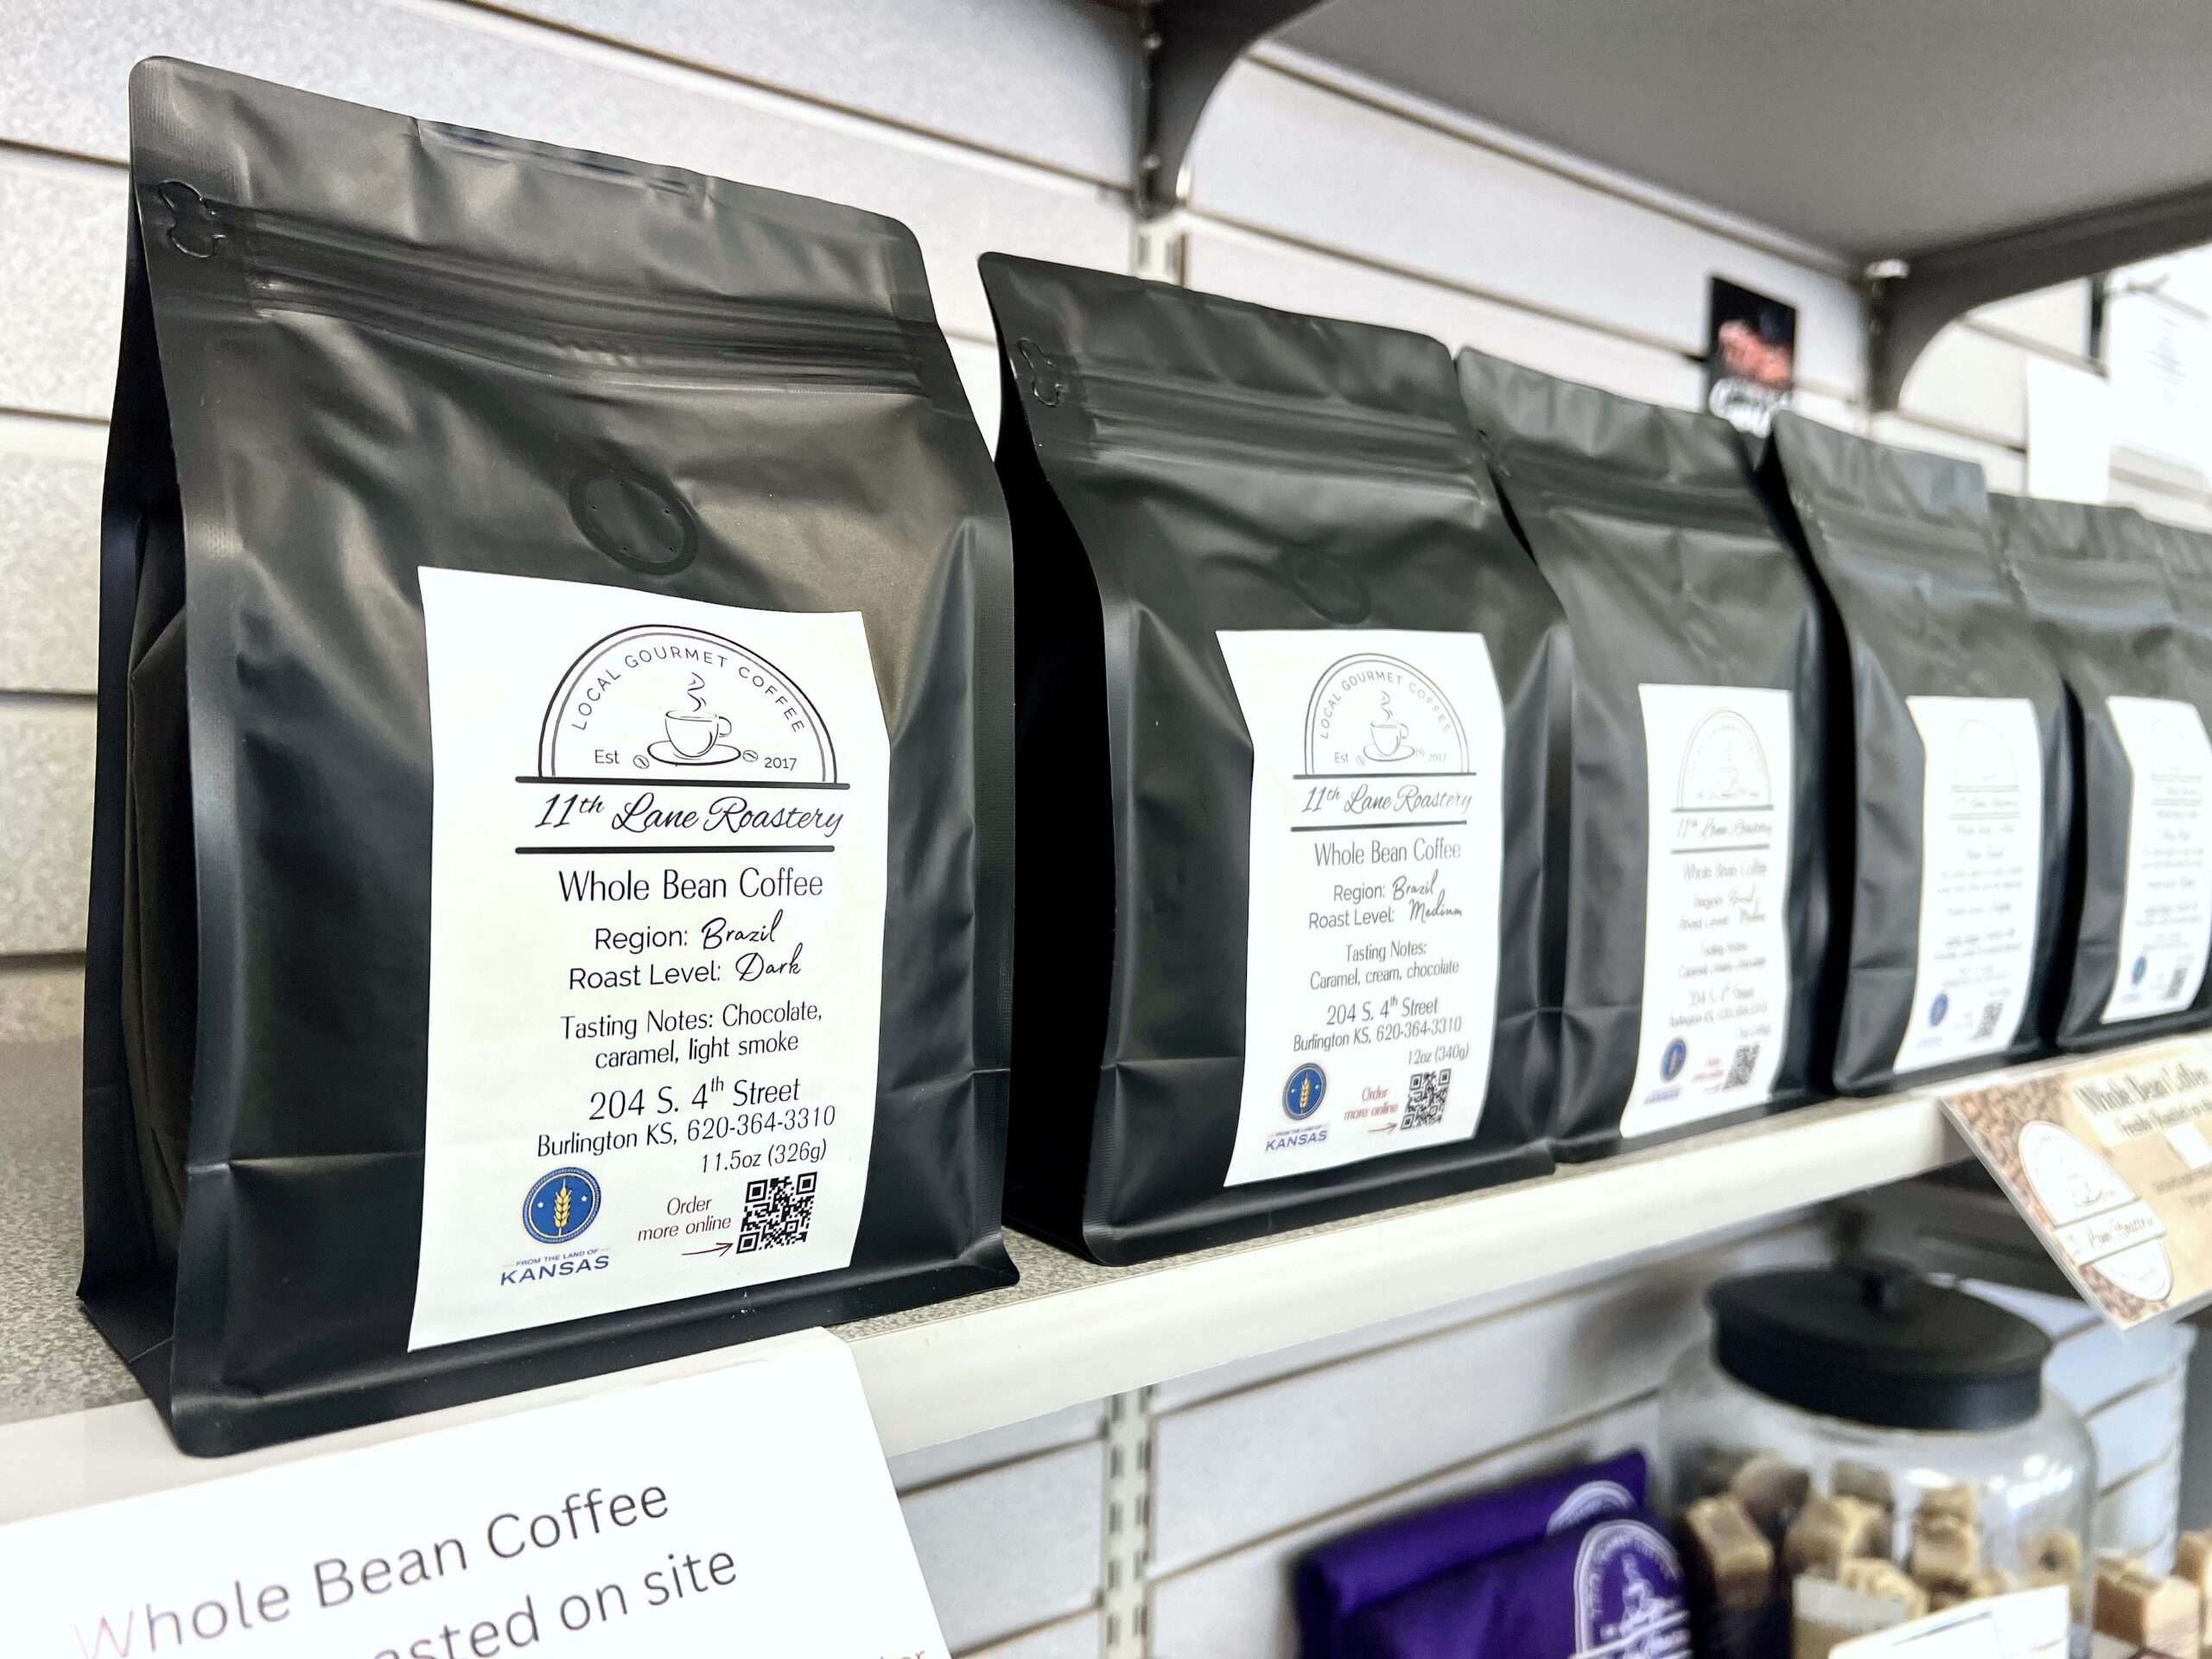
 This list of coffee shops is just a handful of the ones I’ve visited across the state, but they are worth sharing with others.
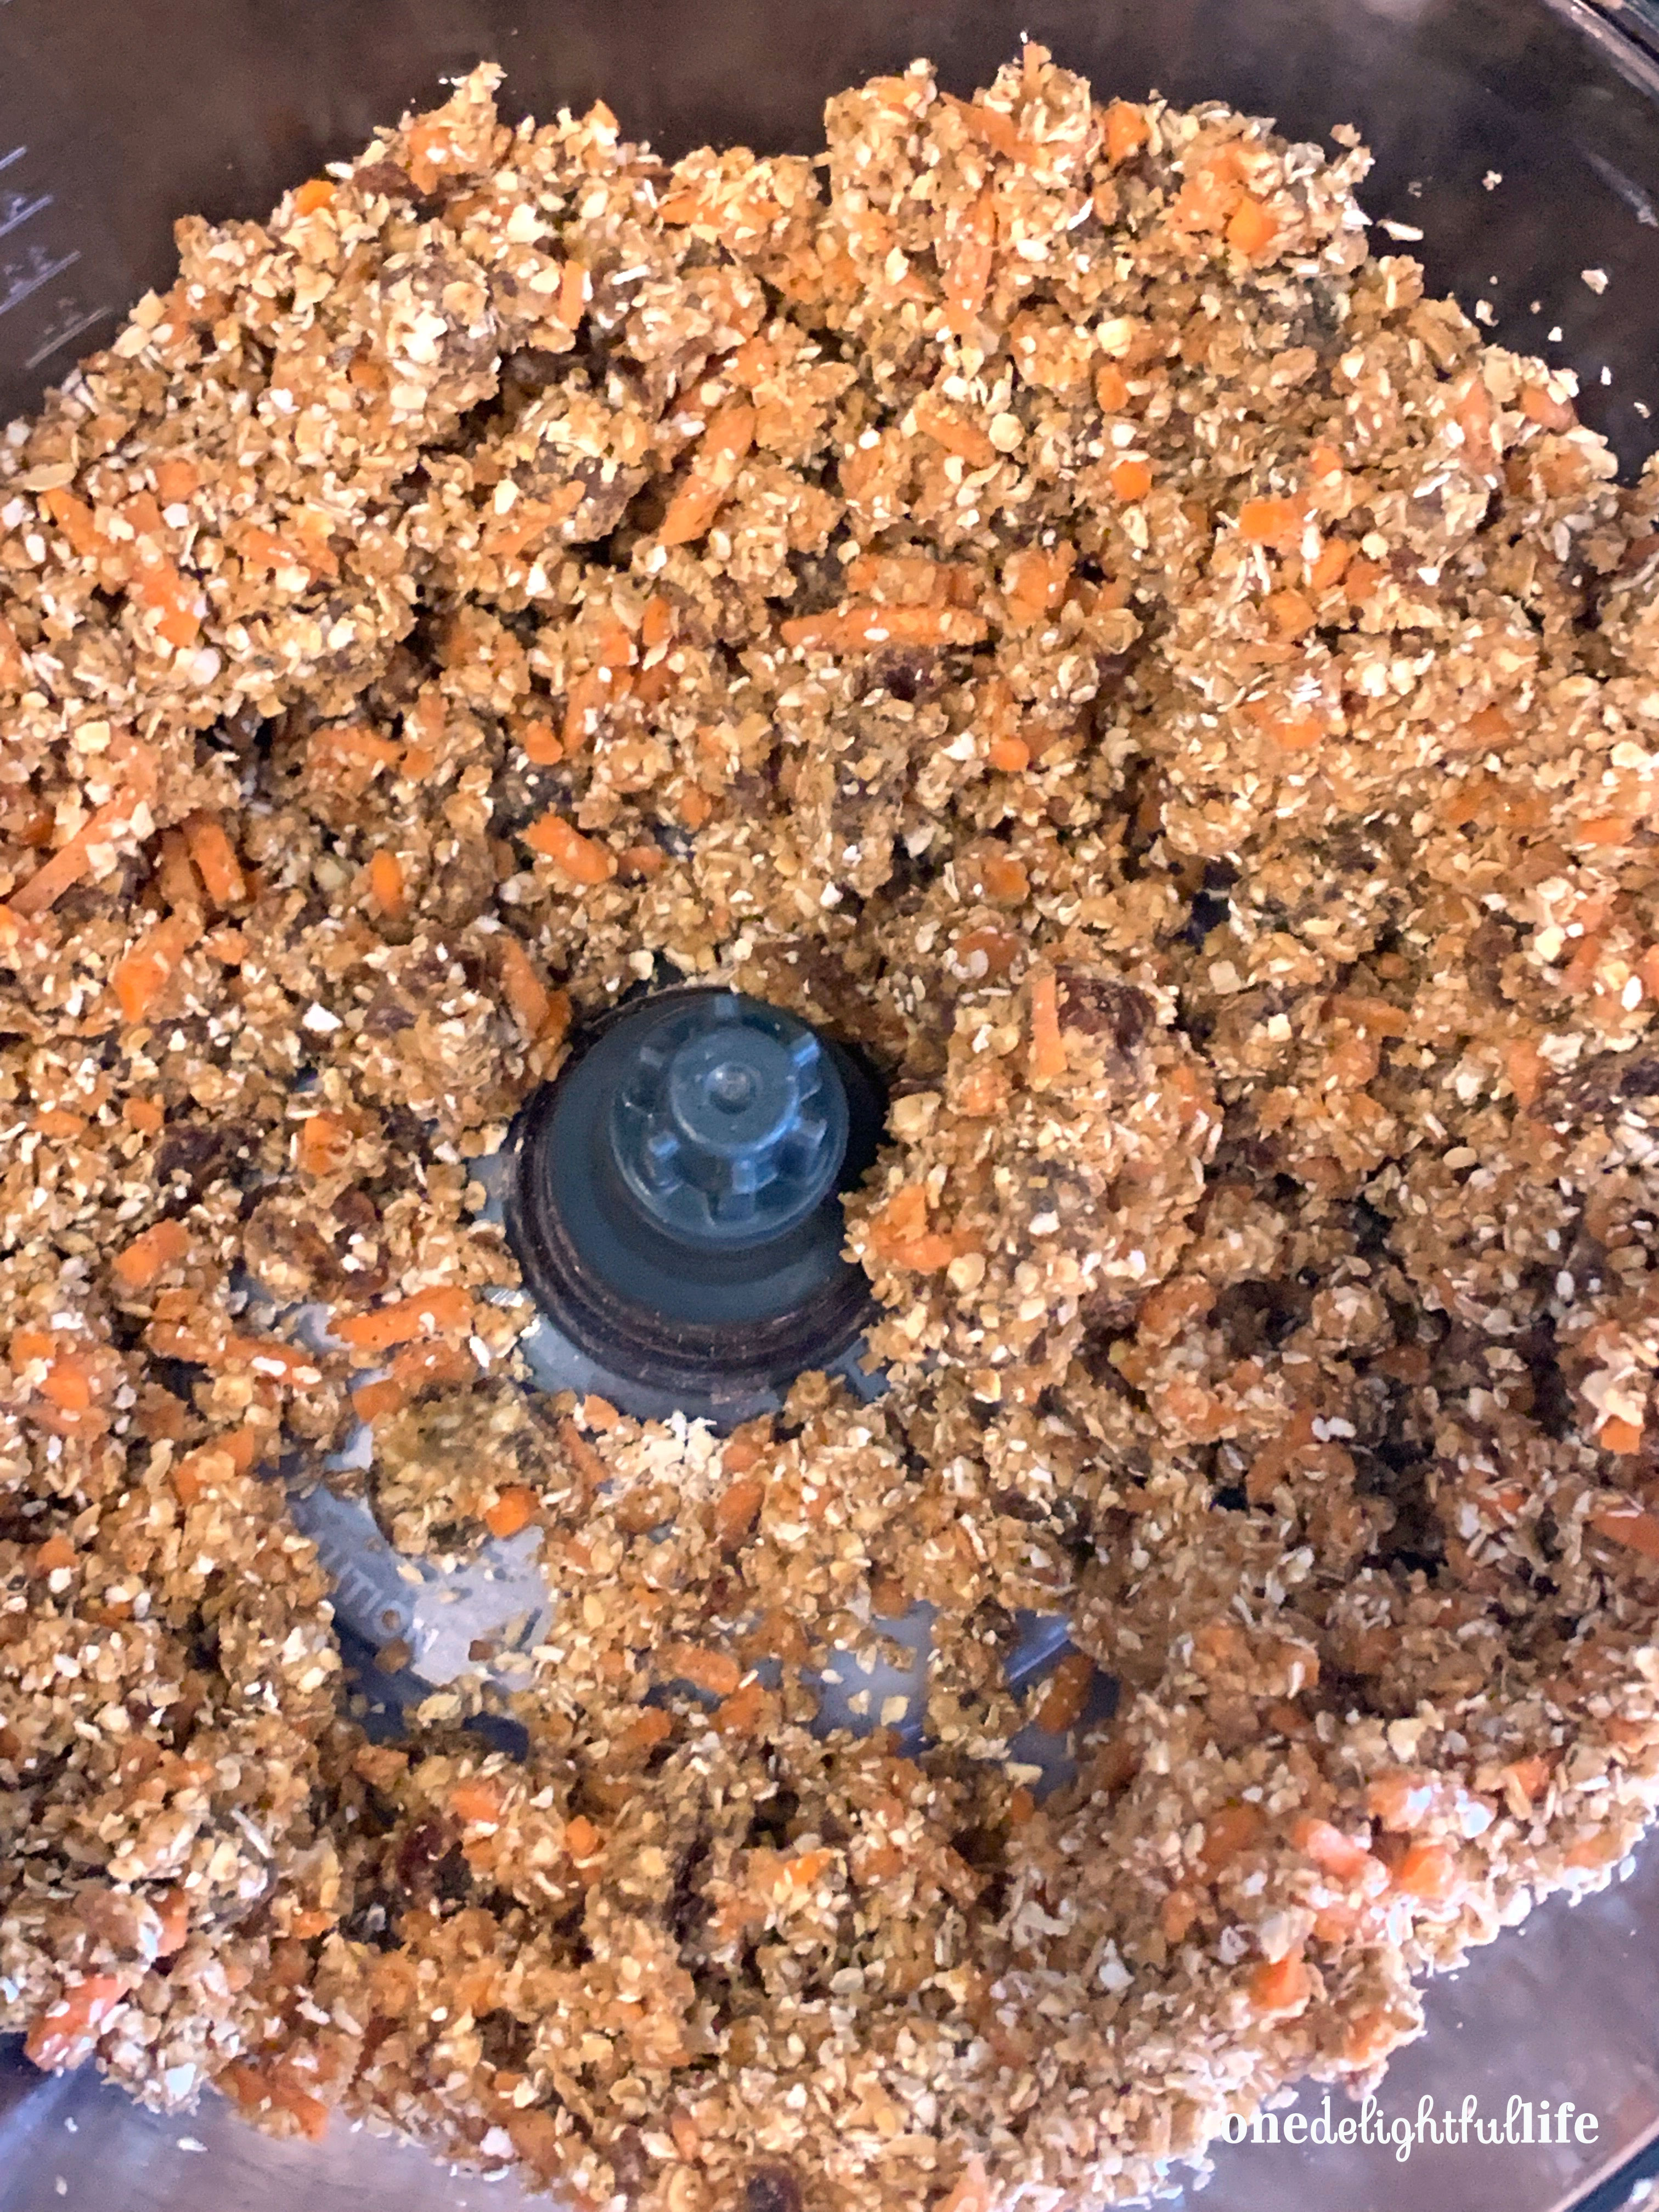
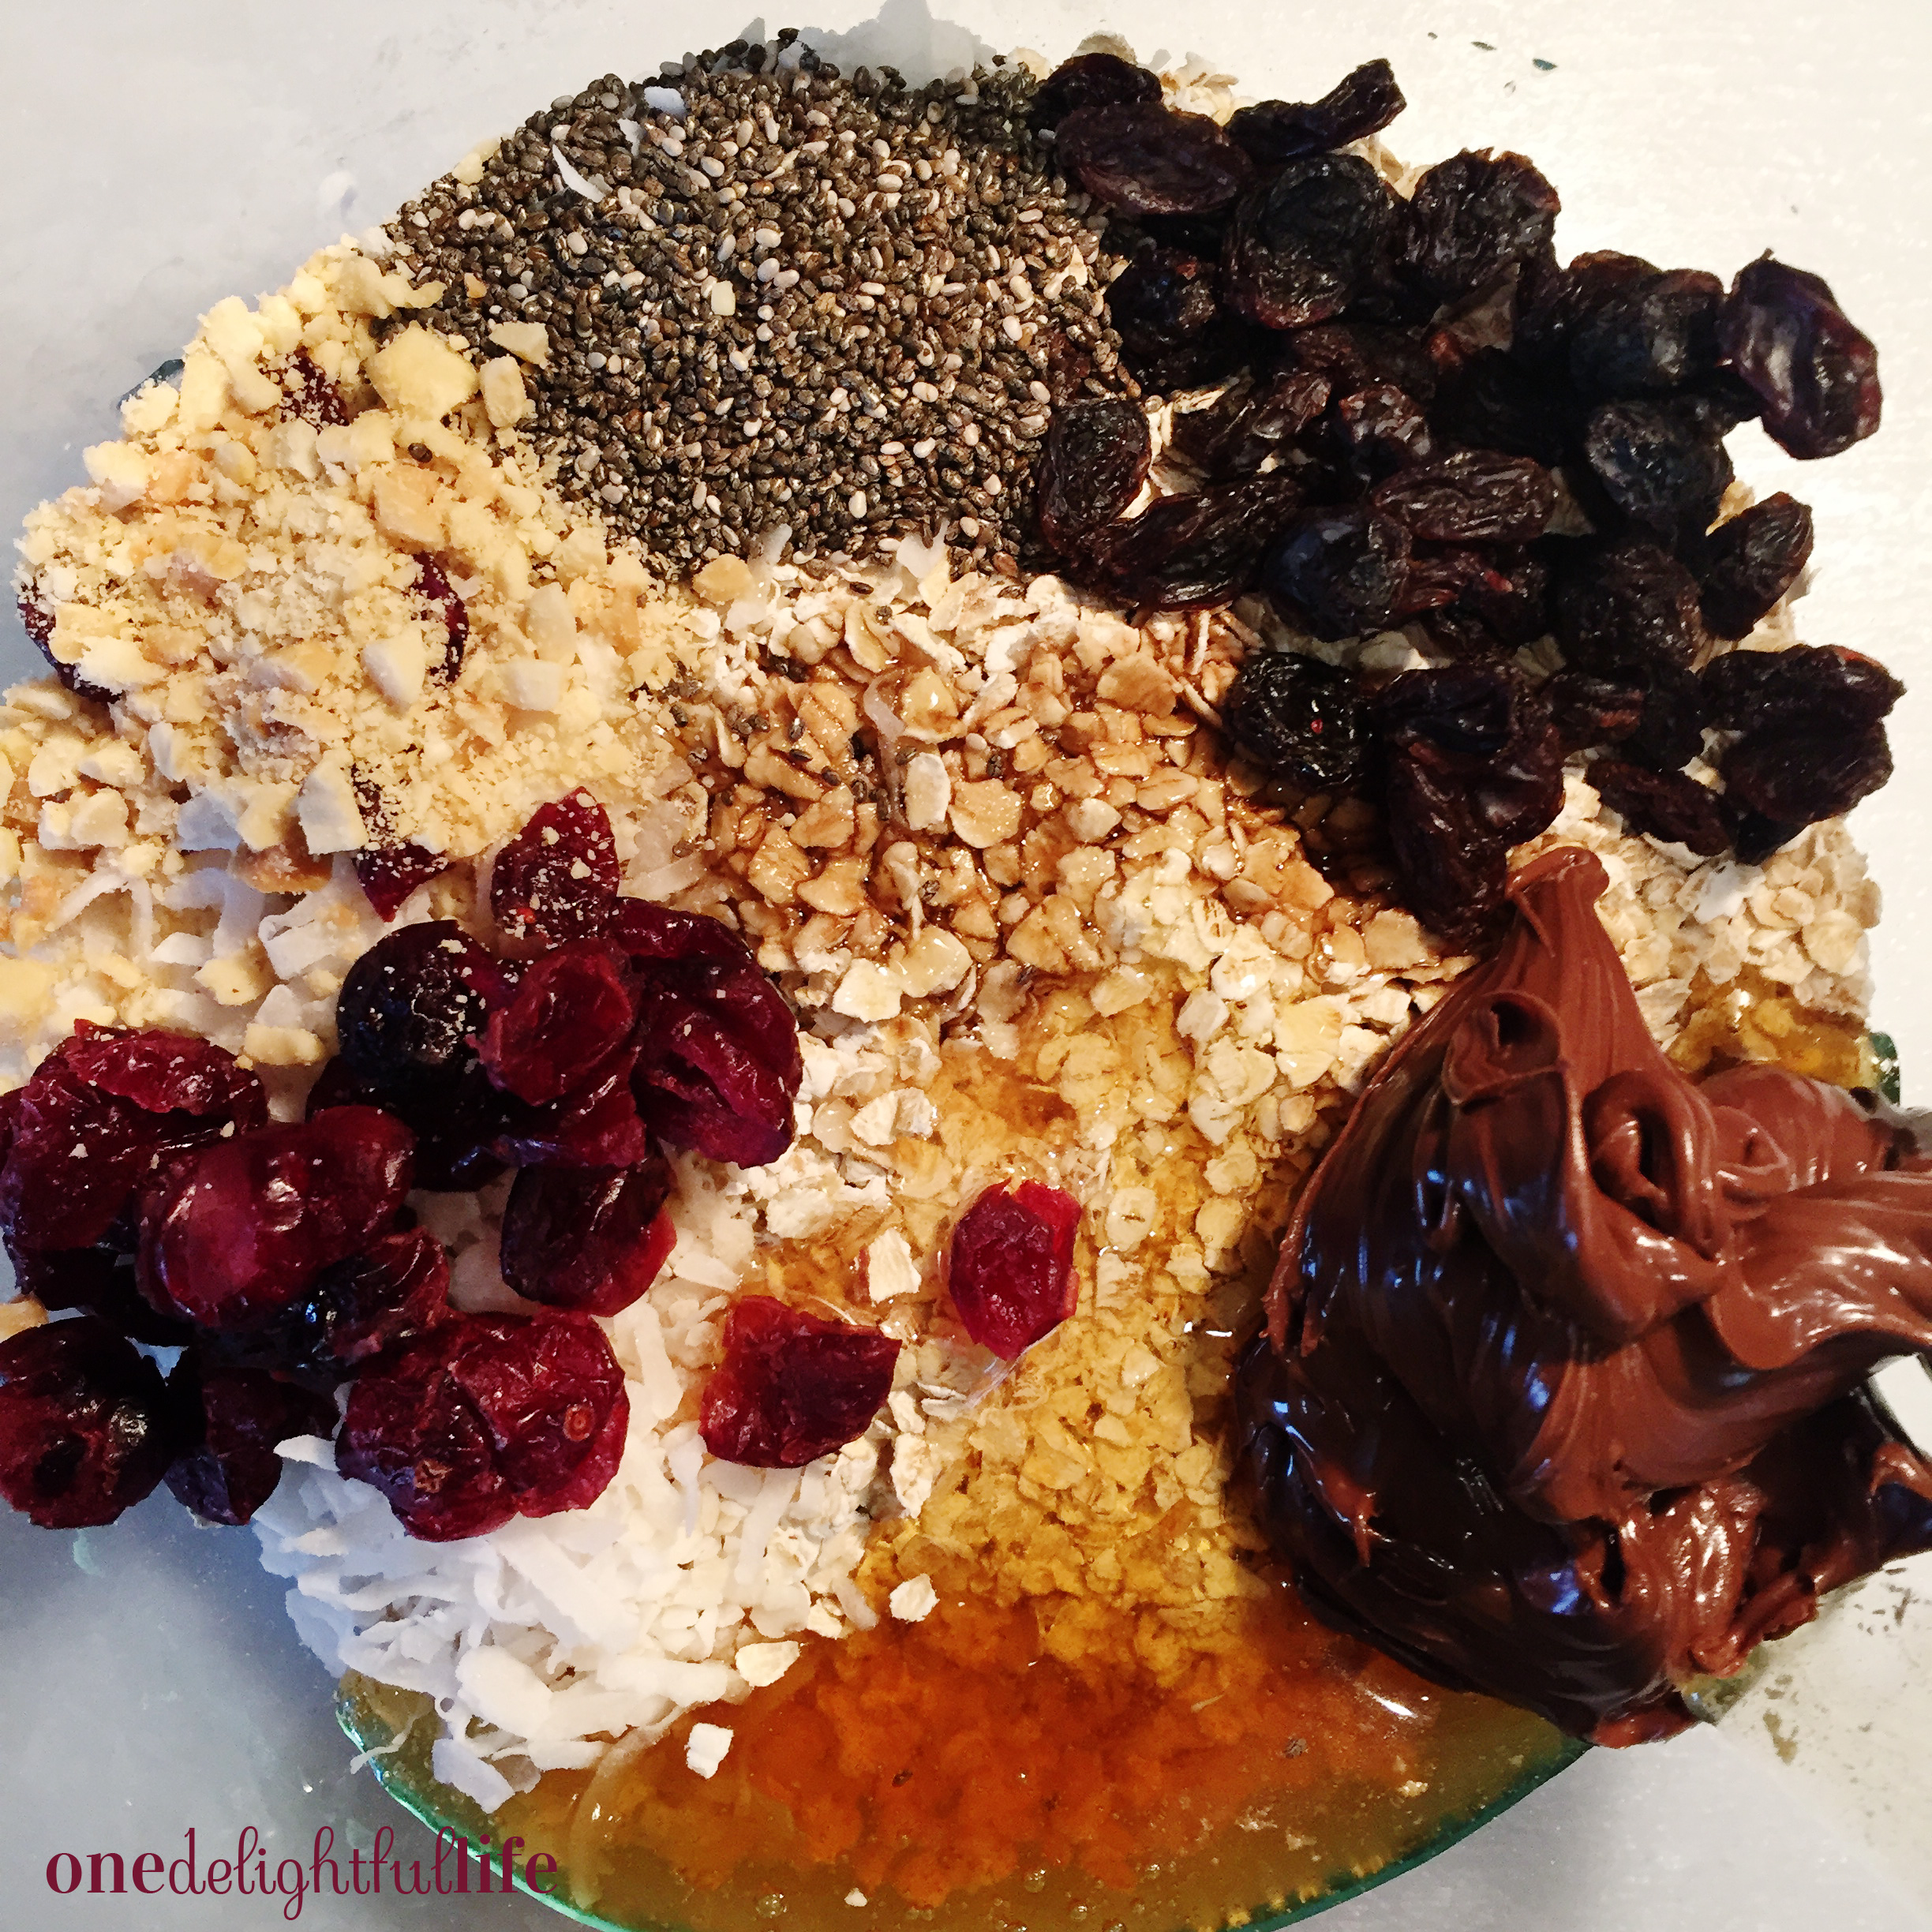
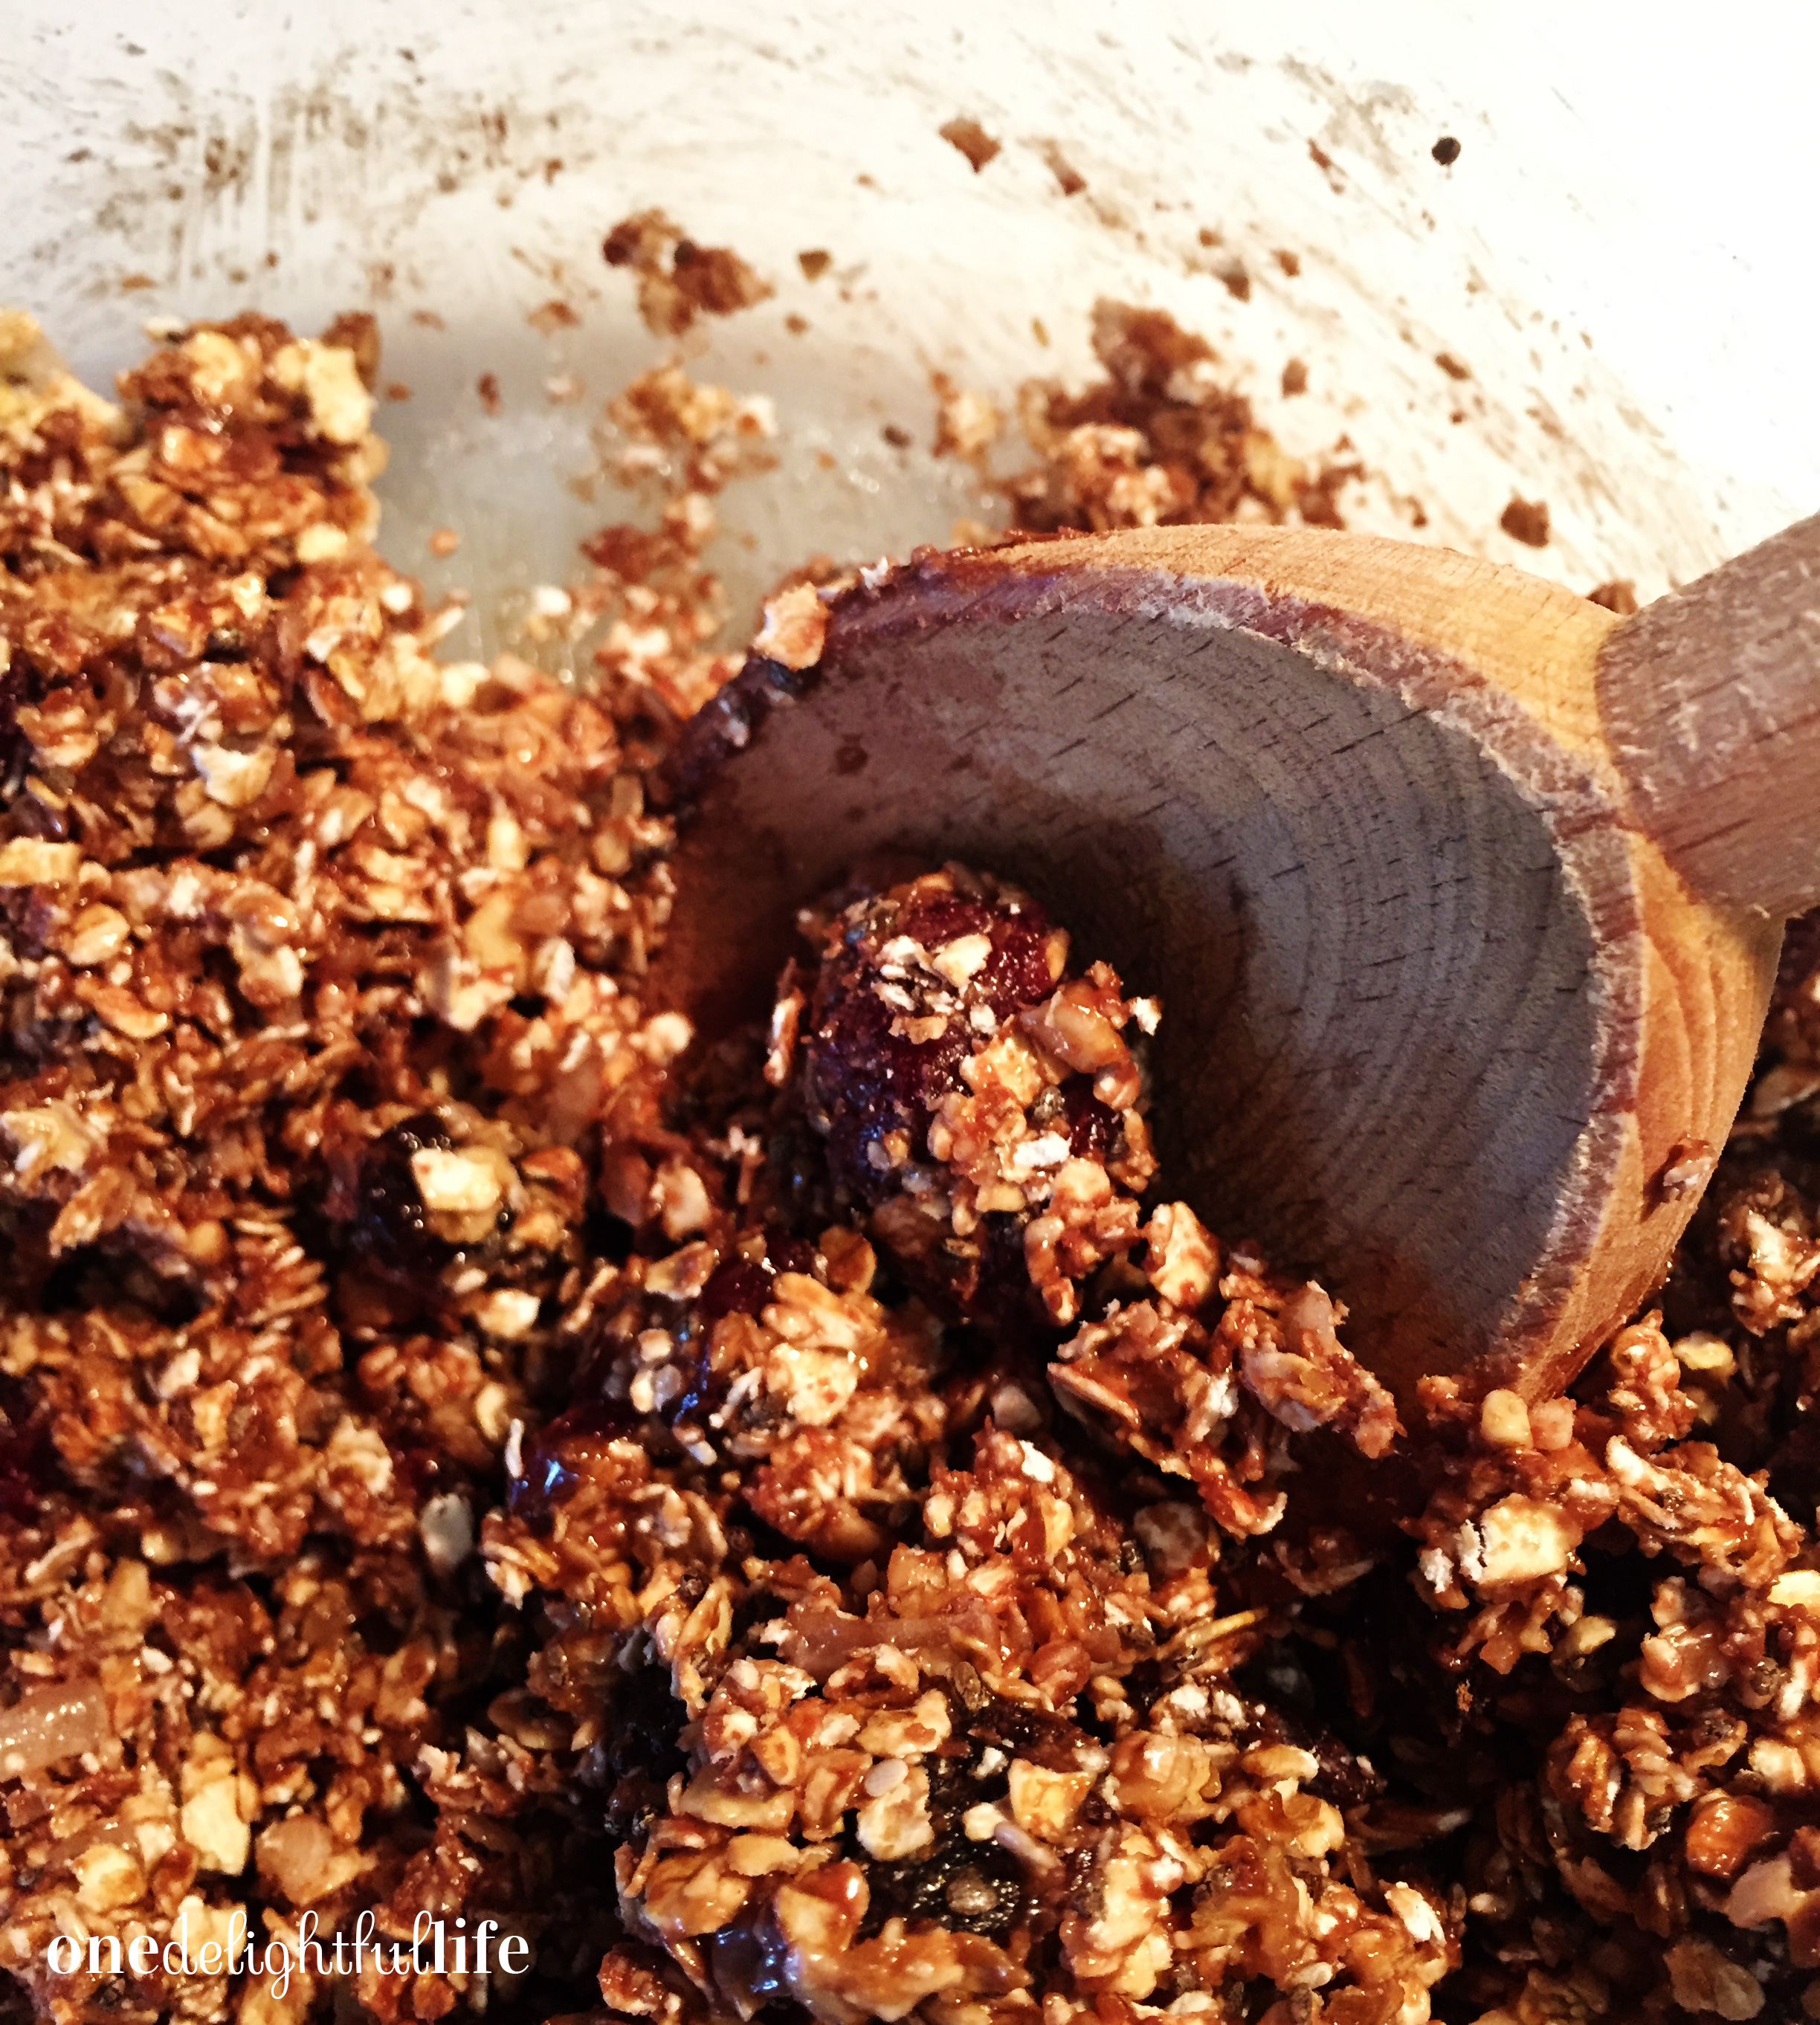
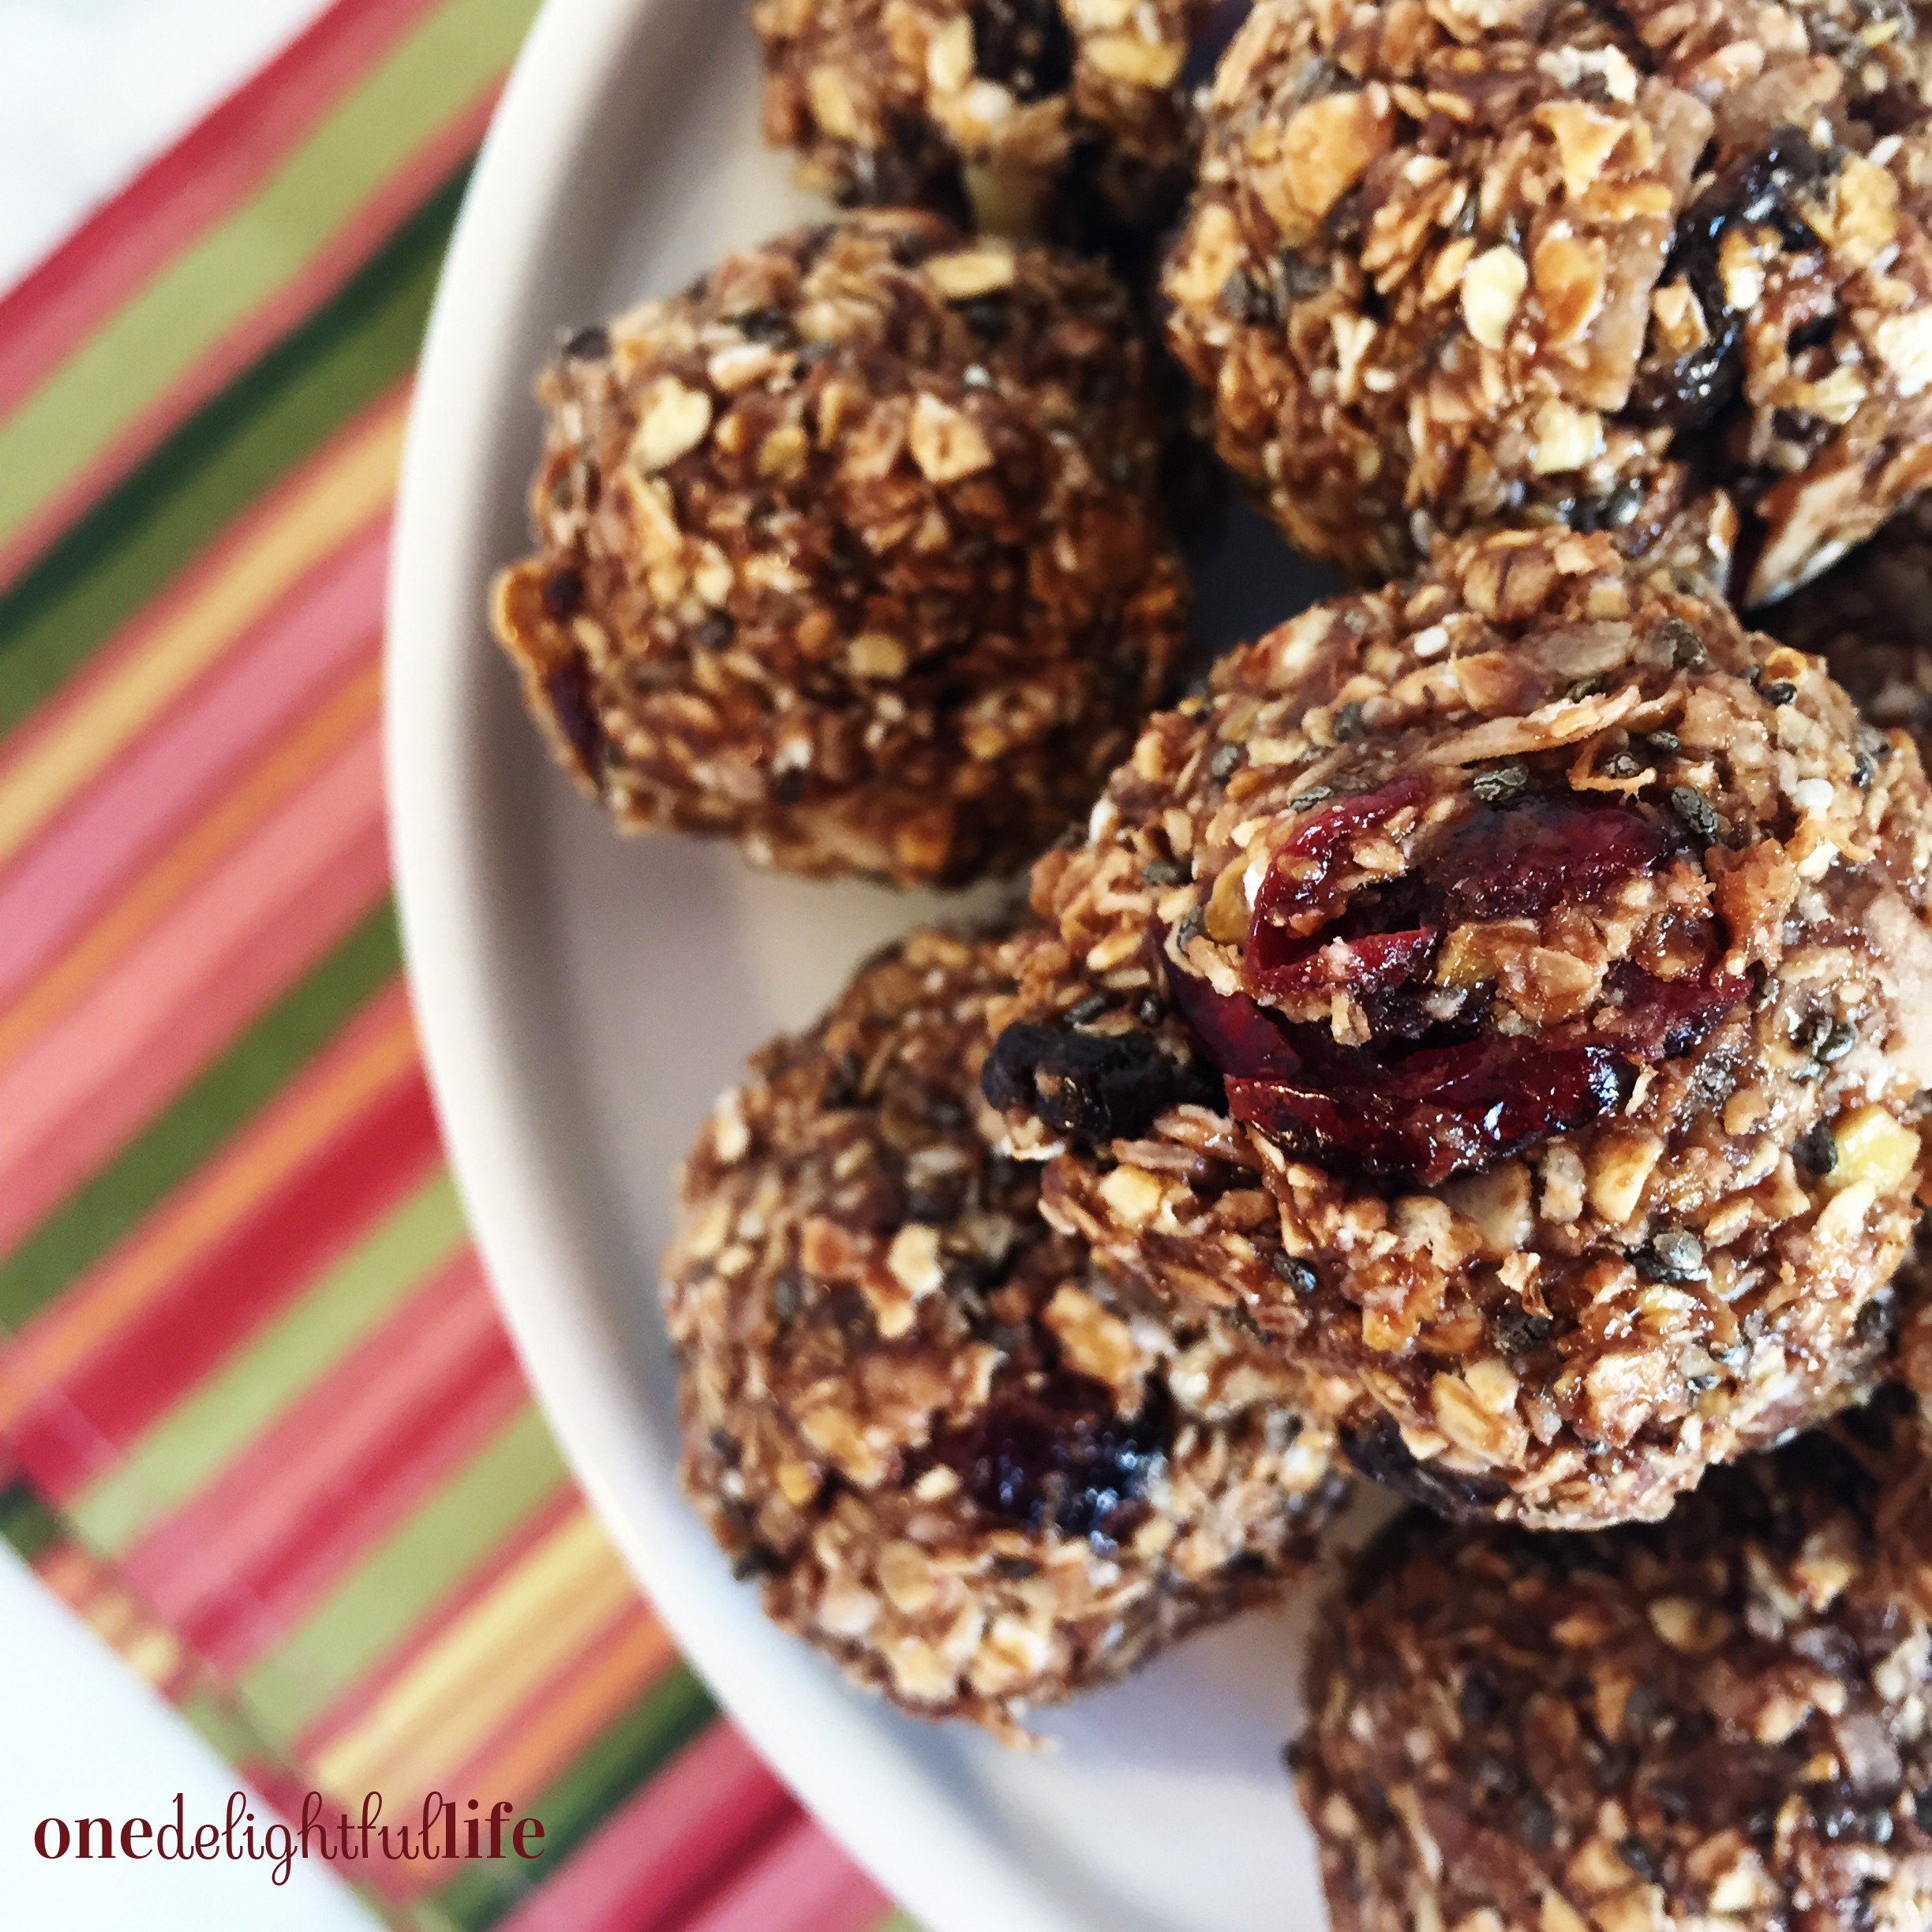
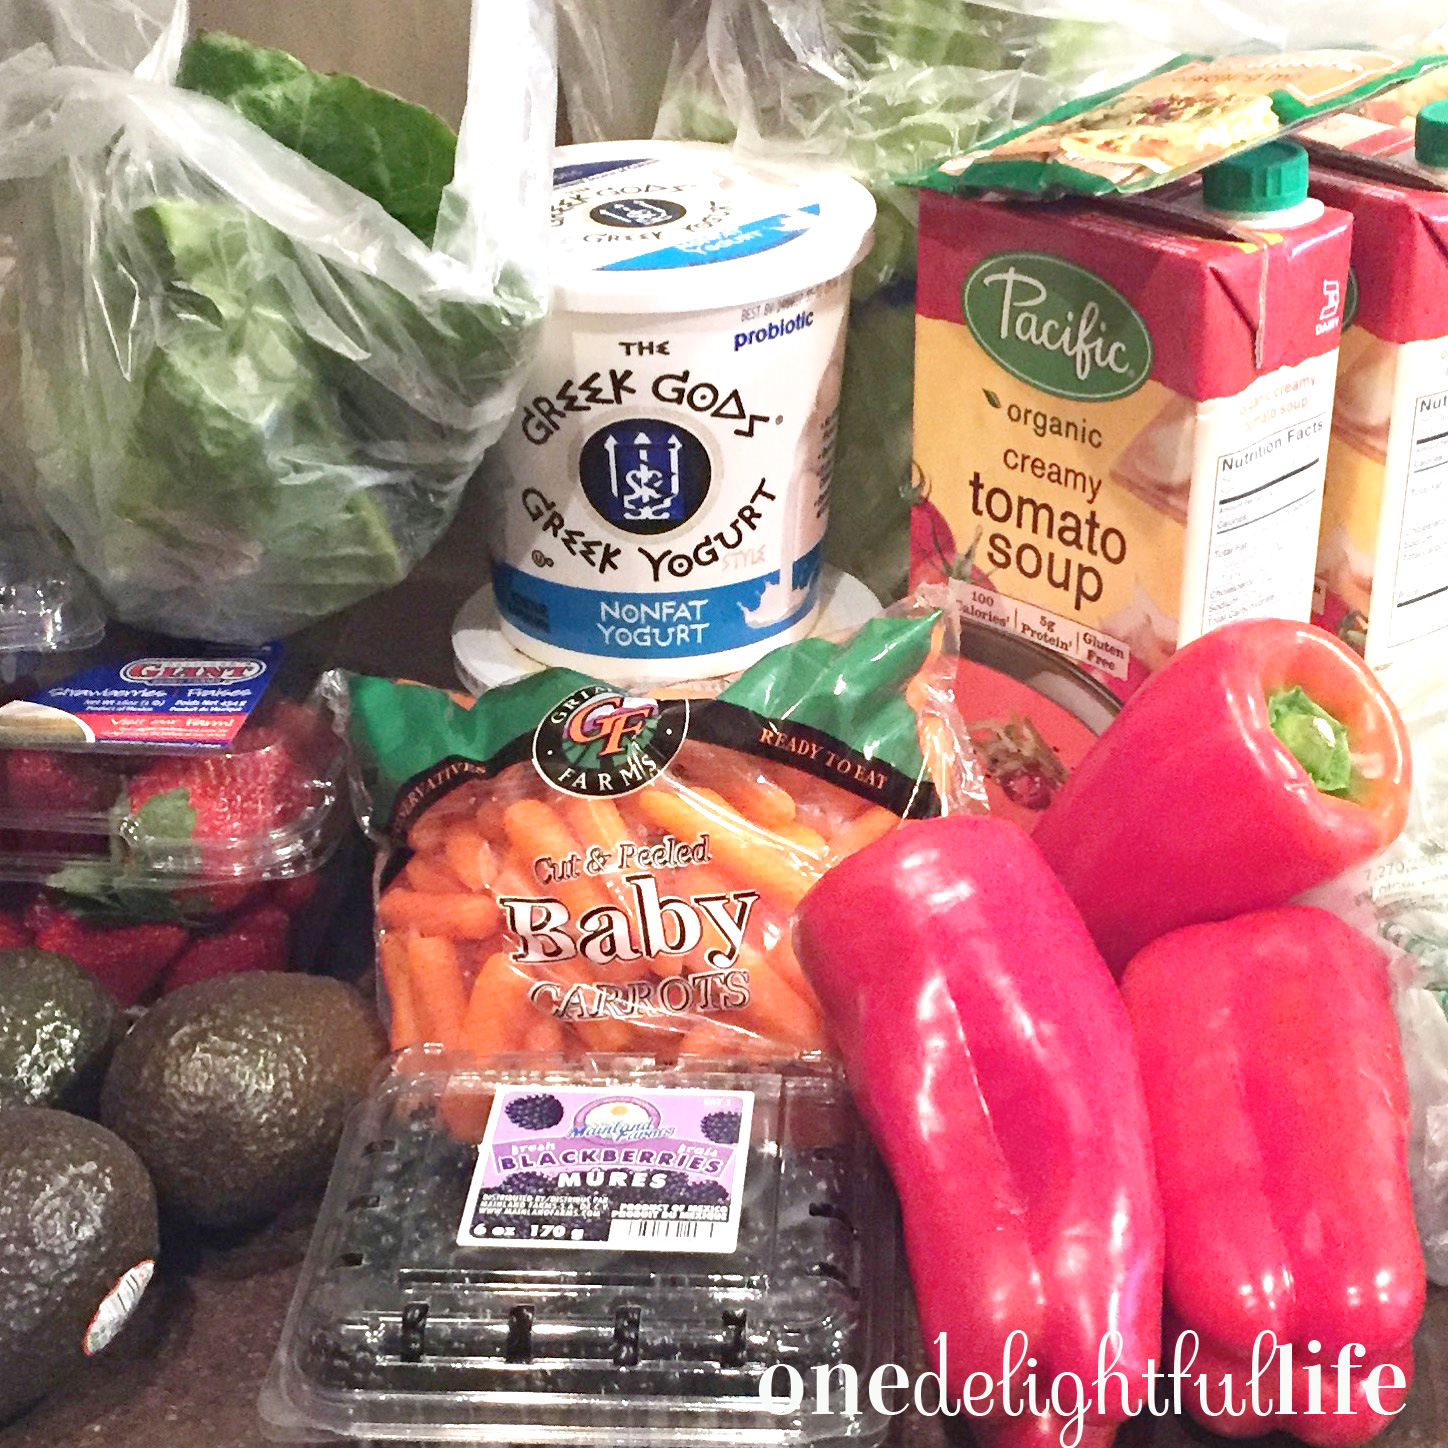
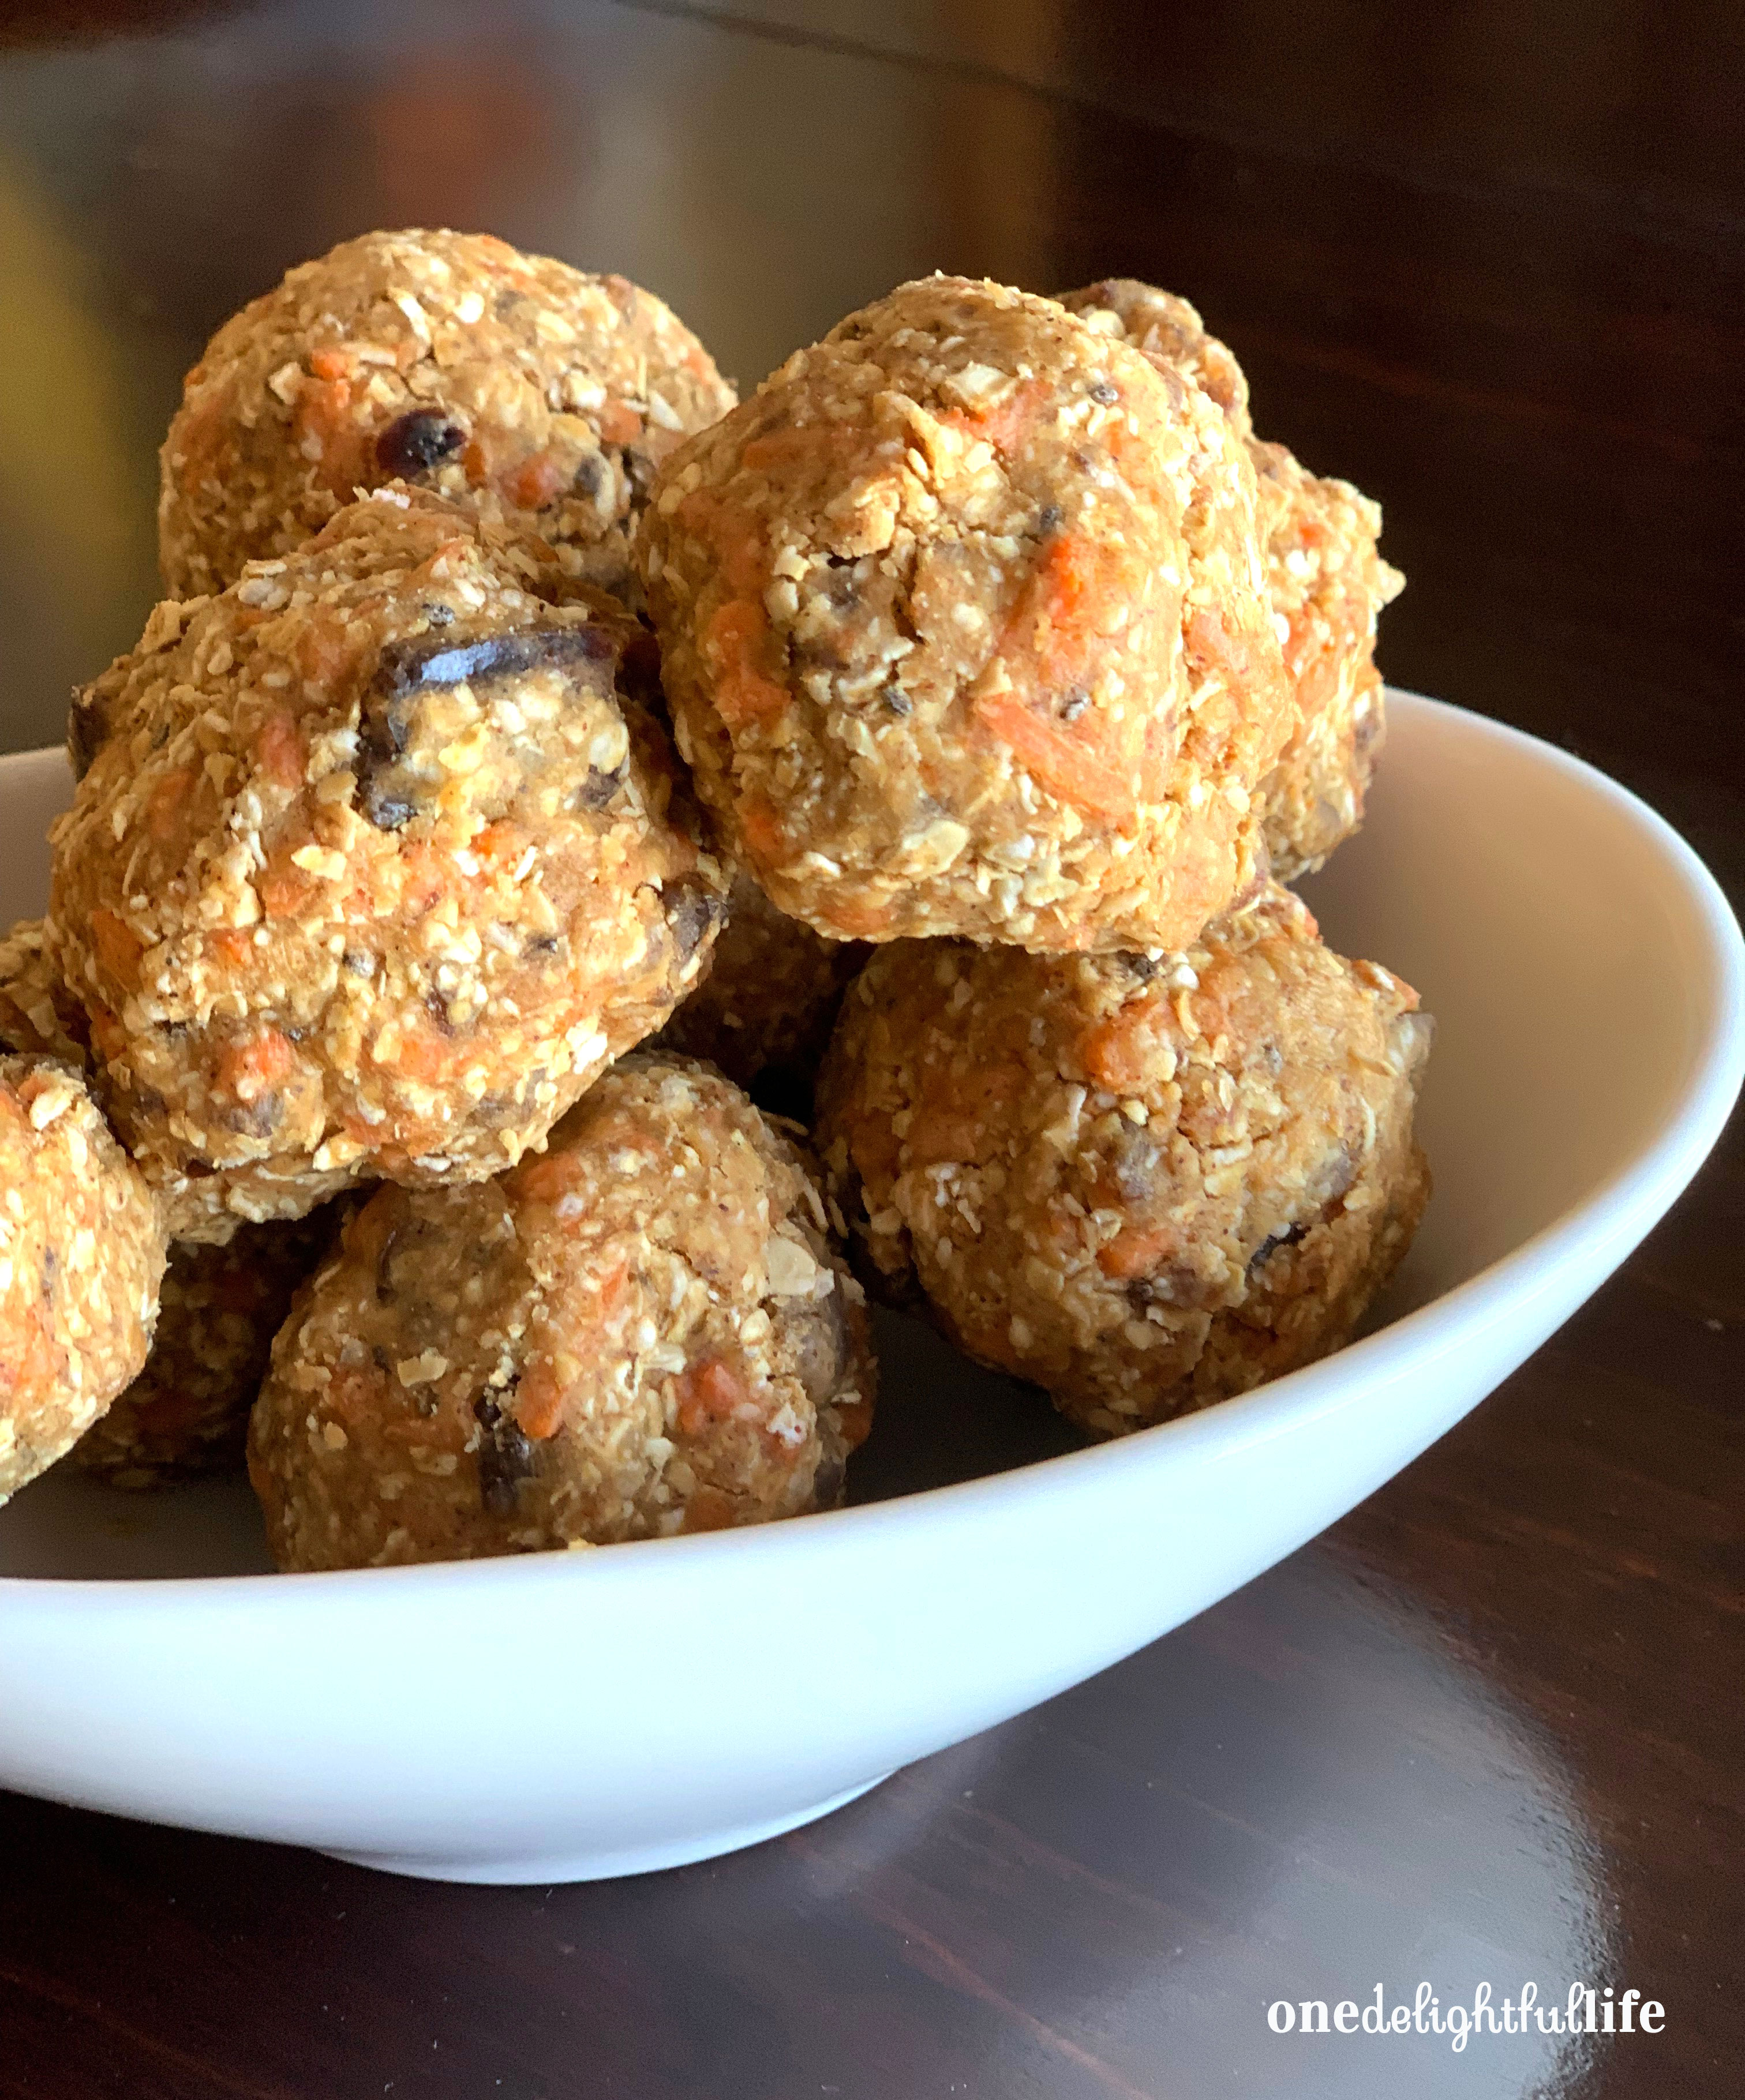 My Soft Carrot Cake Energy Balls are delicious and filling enough as a breakfast bite or snack that you won’t be hangry by meal time. The recipe’s mixture consists of nature’s best ingredients including dates, raisins, chia seeds, and say it with me…carrots! Admittedly, I use peanut butter as the binder so if you’re someone with a peanut allergy, this is not your recipe.