Affiliate disclosure: As an Amazon Associate, I may earn commissions from qualifying purchases from Amazon.com.
Why buy wood bead garland on Etsy for upwards of $30 when you can make it yourself for dollars less?
I’d like to teach you how to craft your own version in less time than it would take you shop for it online and have it shipped to your house. If you can find a strand of wood bead garland at a home decor store like At Home or Hobby Lobby, you’ll save much more money than if you bought multiple bags of beads ($7-9 each!). I bought 12′ of holiday wood bead garland (see below) for $5.99 from At Home.
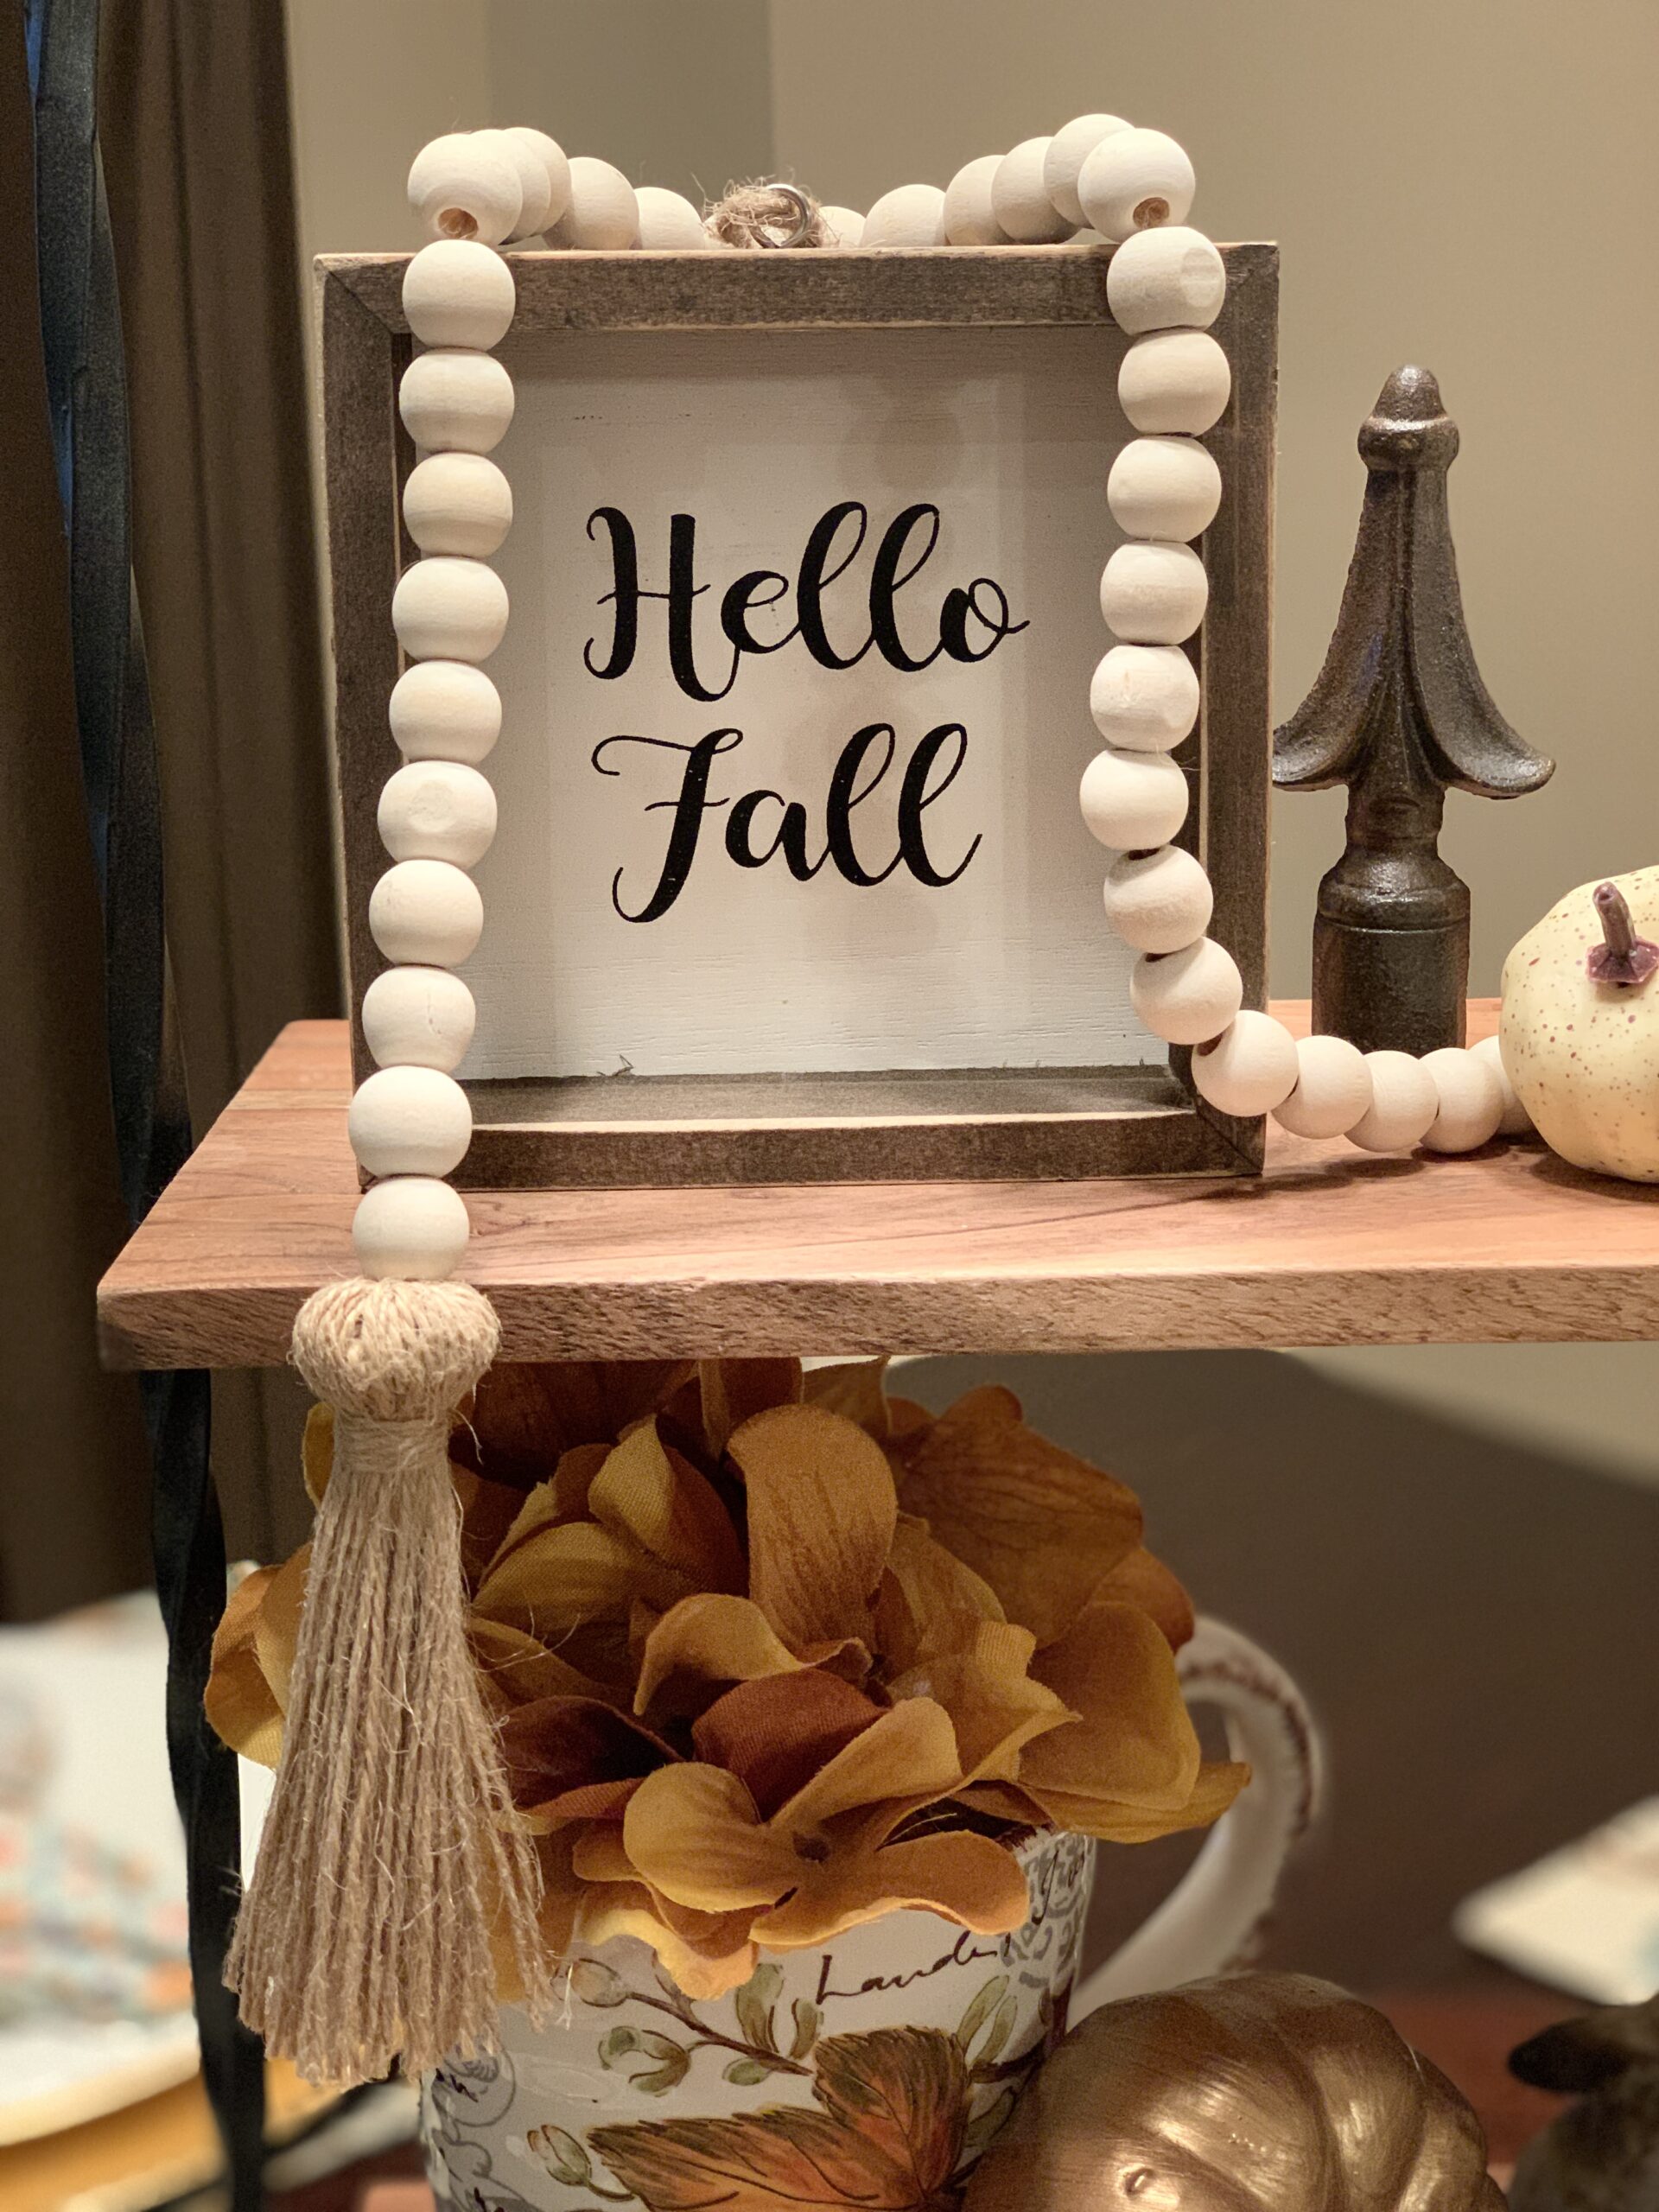
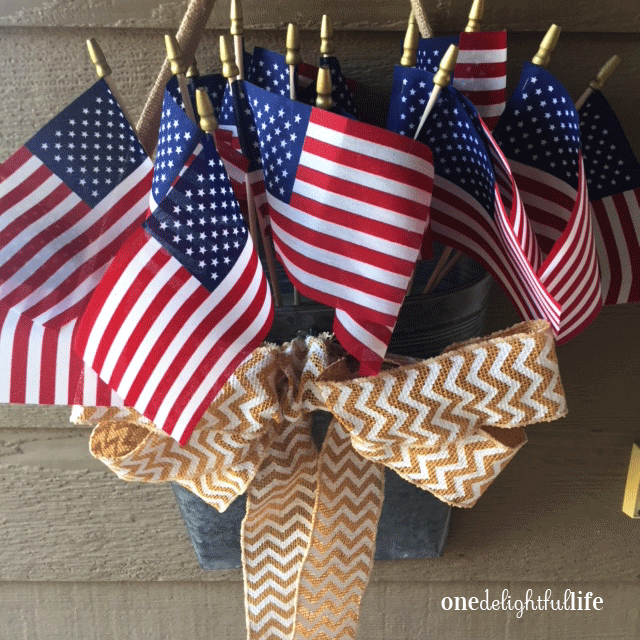
The finished garland looks beautiful when displayed with farmhouse design or draped against bohemian decor.
Roll up your sleeves. Let’s get crafty!
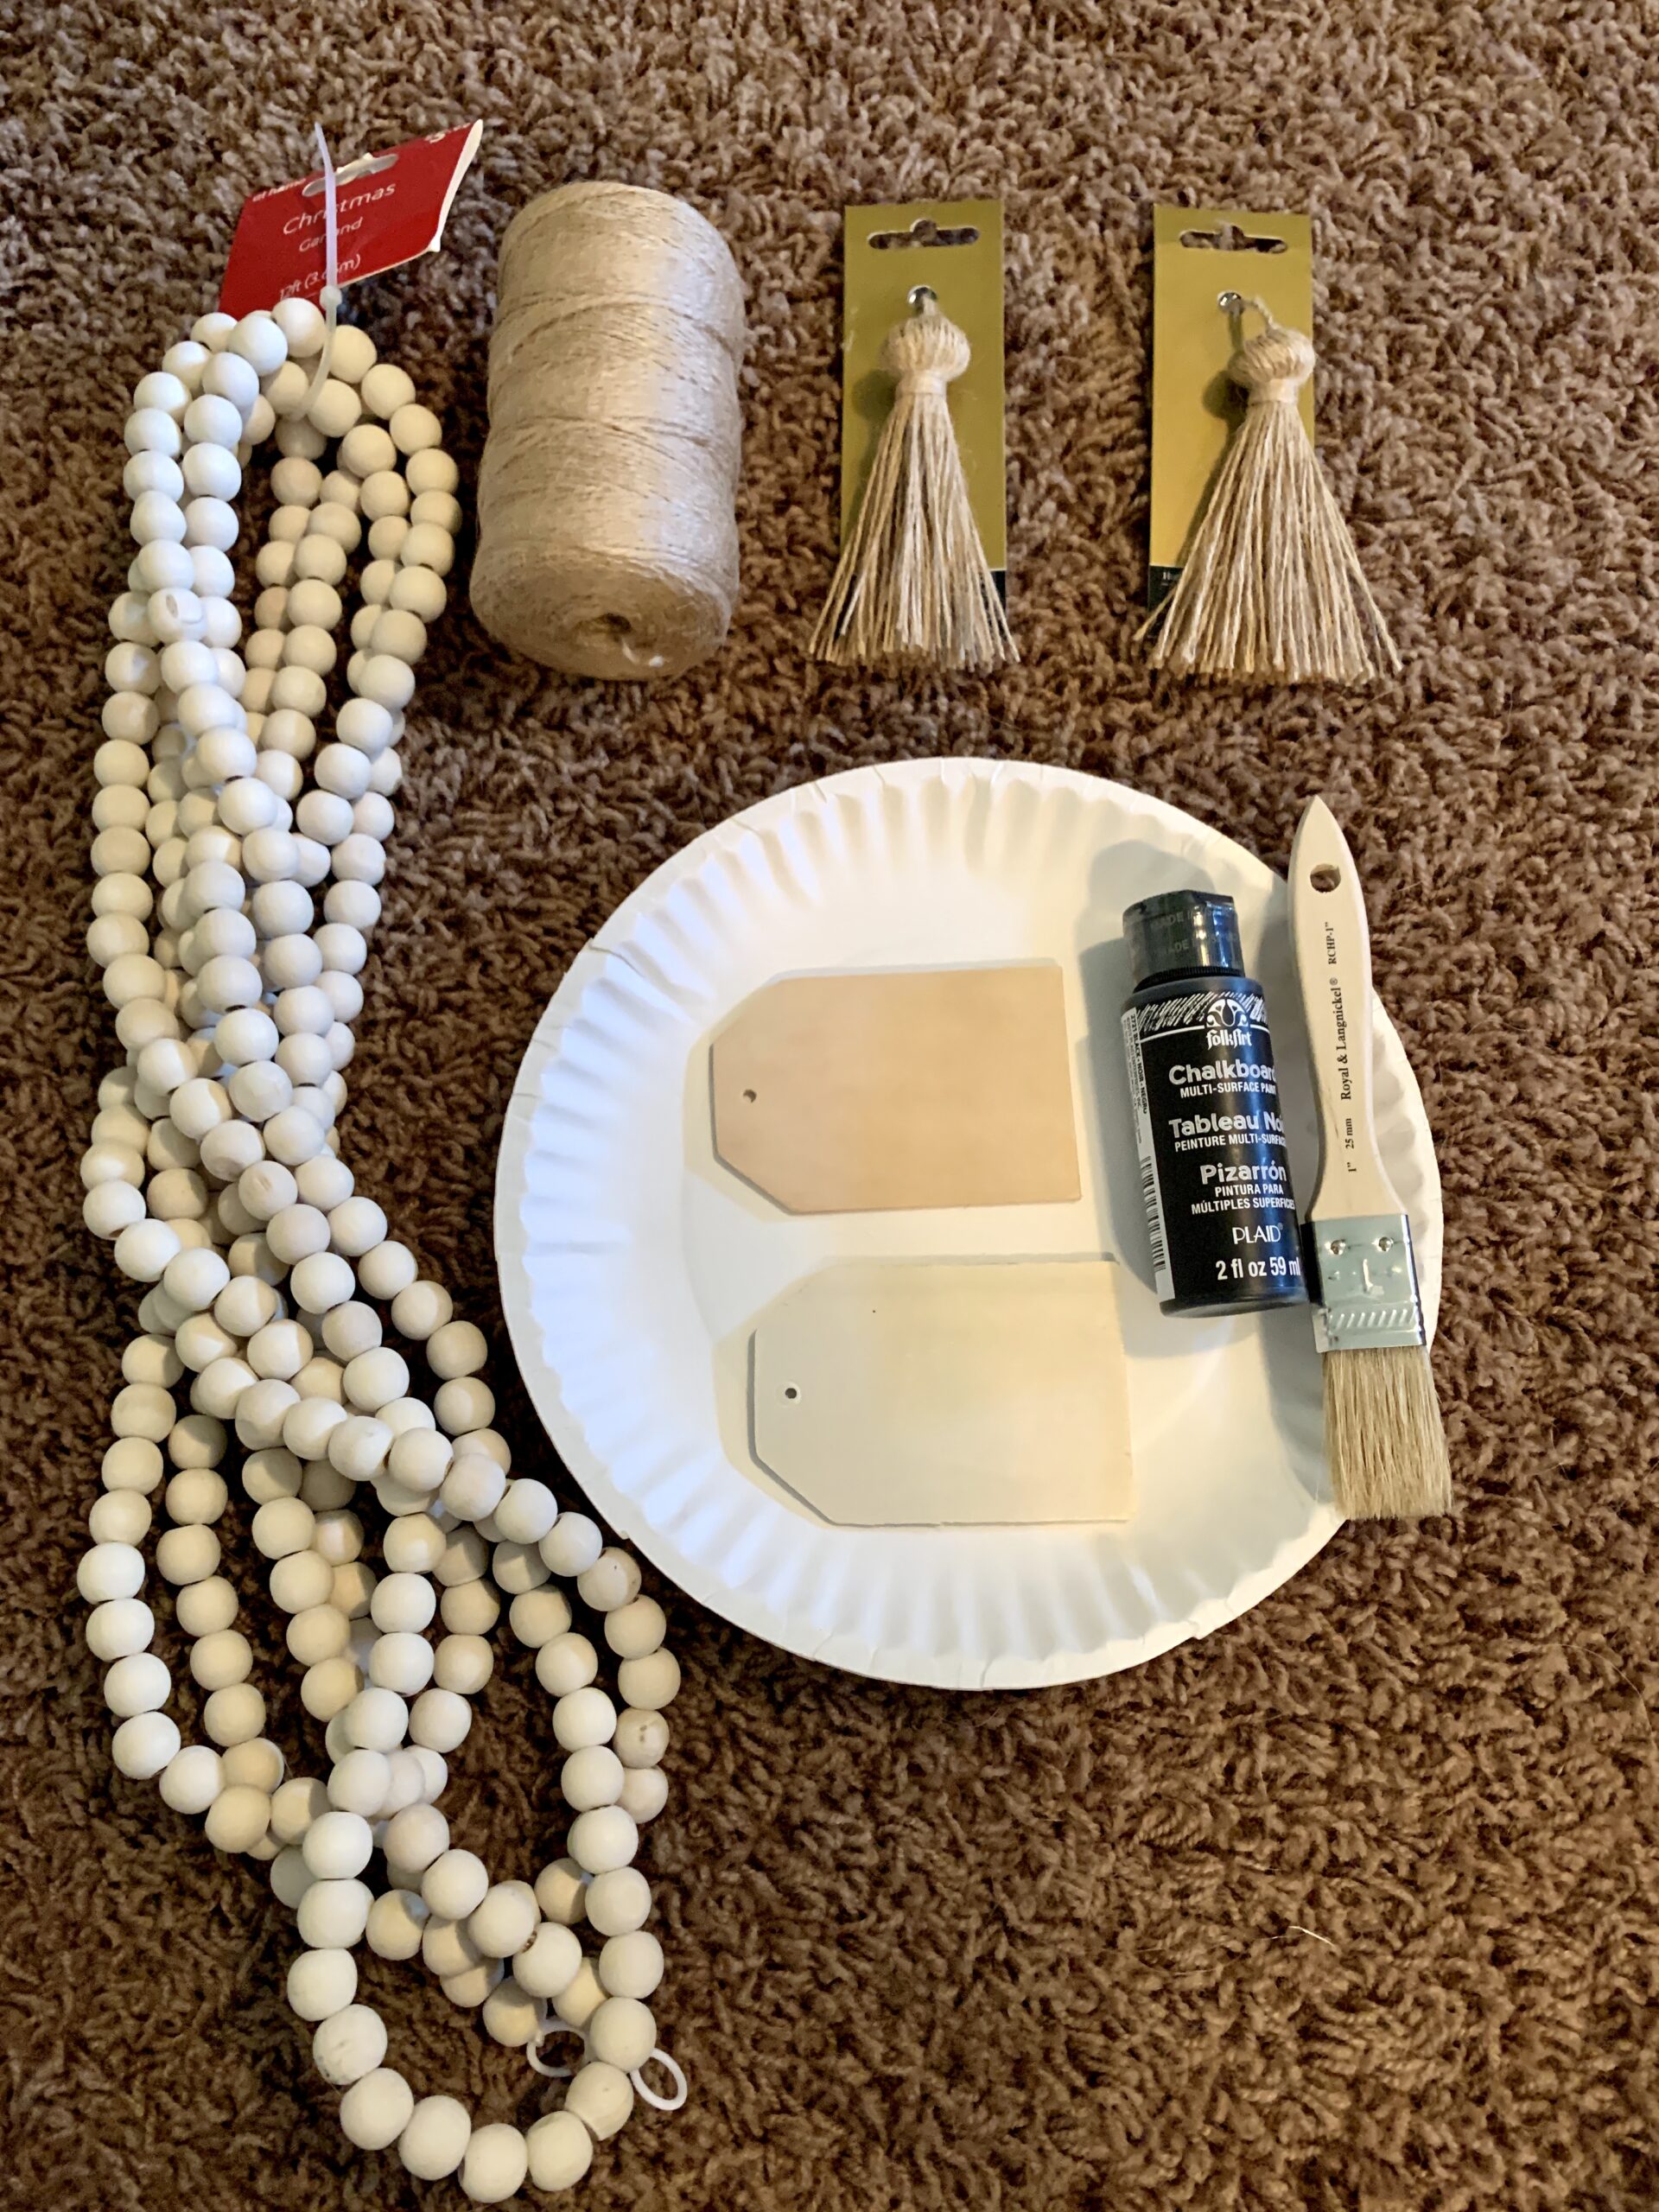
SUPPLIES AND TOOLS:
- Wood bead holiday garland
- Jute twine
- Jute tassel
- Wood tag
- Black chalkboard paint
- Paint brush
- White chalkboard marker
STEP 1: Remove the wood beads from the roped garland and remove any tags. (I bought this strand from At Home for less than $6 and it had enough beads for three wood bead garland projects.)
STEP 2: Cut a length of jute twine to the length of garland you want. (I simply made a rough estimate of my bead quantity and cut the twine to suit that length.)
STEP 3: Attach the jute tassel by knotting the twine to it. (I found these tassels at Joann’s for less than $3 each.)
STEP 4: Slide each wood bead one-by-one down the length of twine. The first 1-3 beads will cover the tassel’s leftover loop hiding it from view. Continue adding beads until you have approximately 3-4 inches of twine left as excess at the end of your DIY garland.
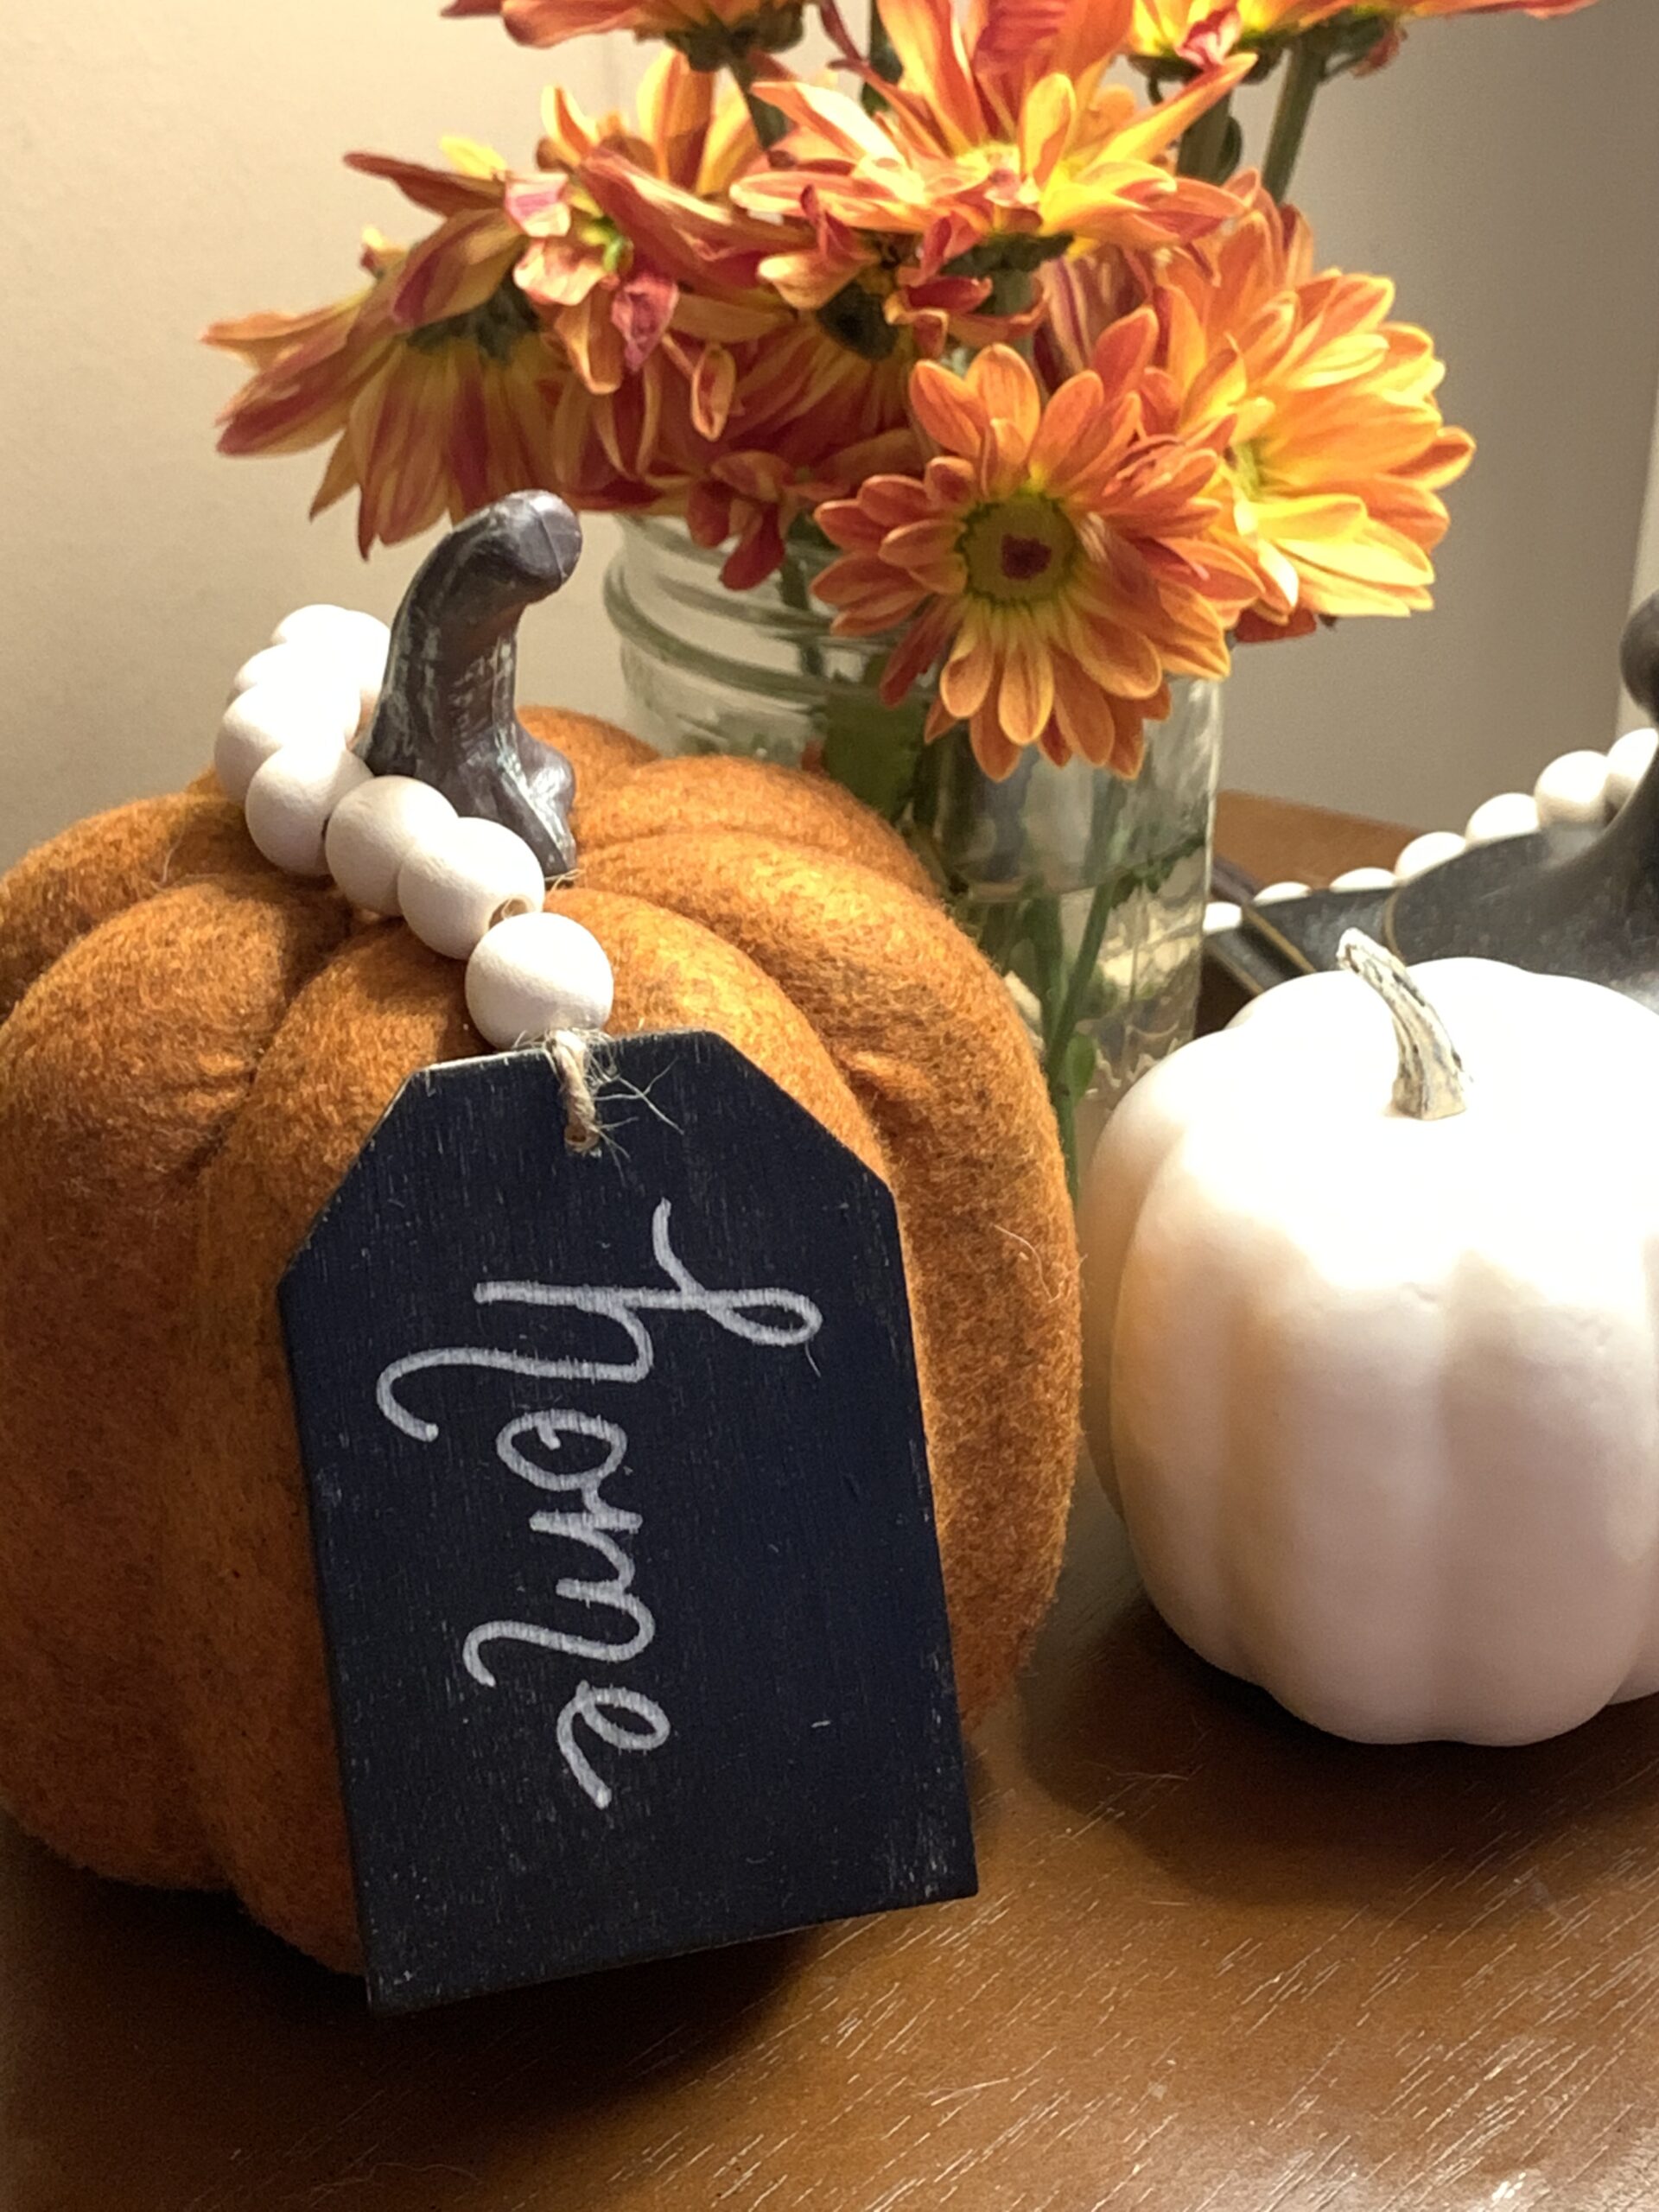
STEP 5: Using the remaining length of twine beyond the last bead, loop it into the wood tag and knot it firmly. (I wanted to use black chalkboard paint on the tag I used to eventually hand script a word on it. To do so, brush on one coat of chalkboard paint, allow to dry, add another coat of paint, and once dried you can use a white chalk marker to script a word on our tag.)
STEP 6. Tuck any excess twine inside the first and last beads on the garland, and you’re done!
Now, where will you drape your garland to adorn your interior design?


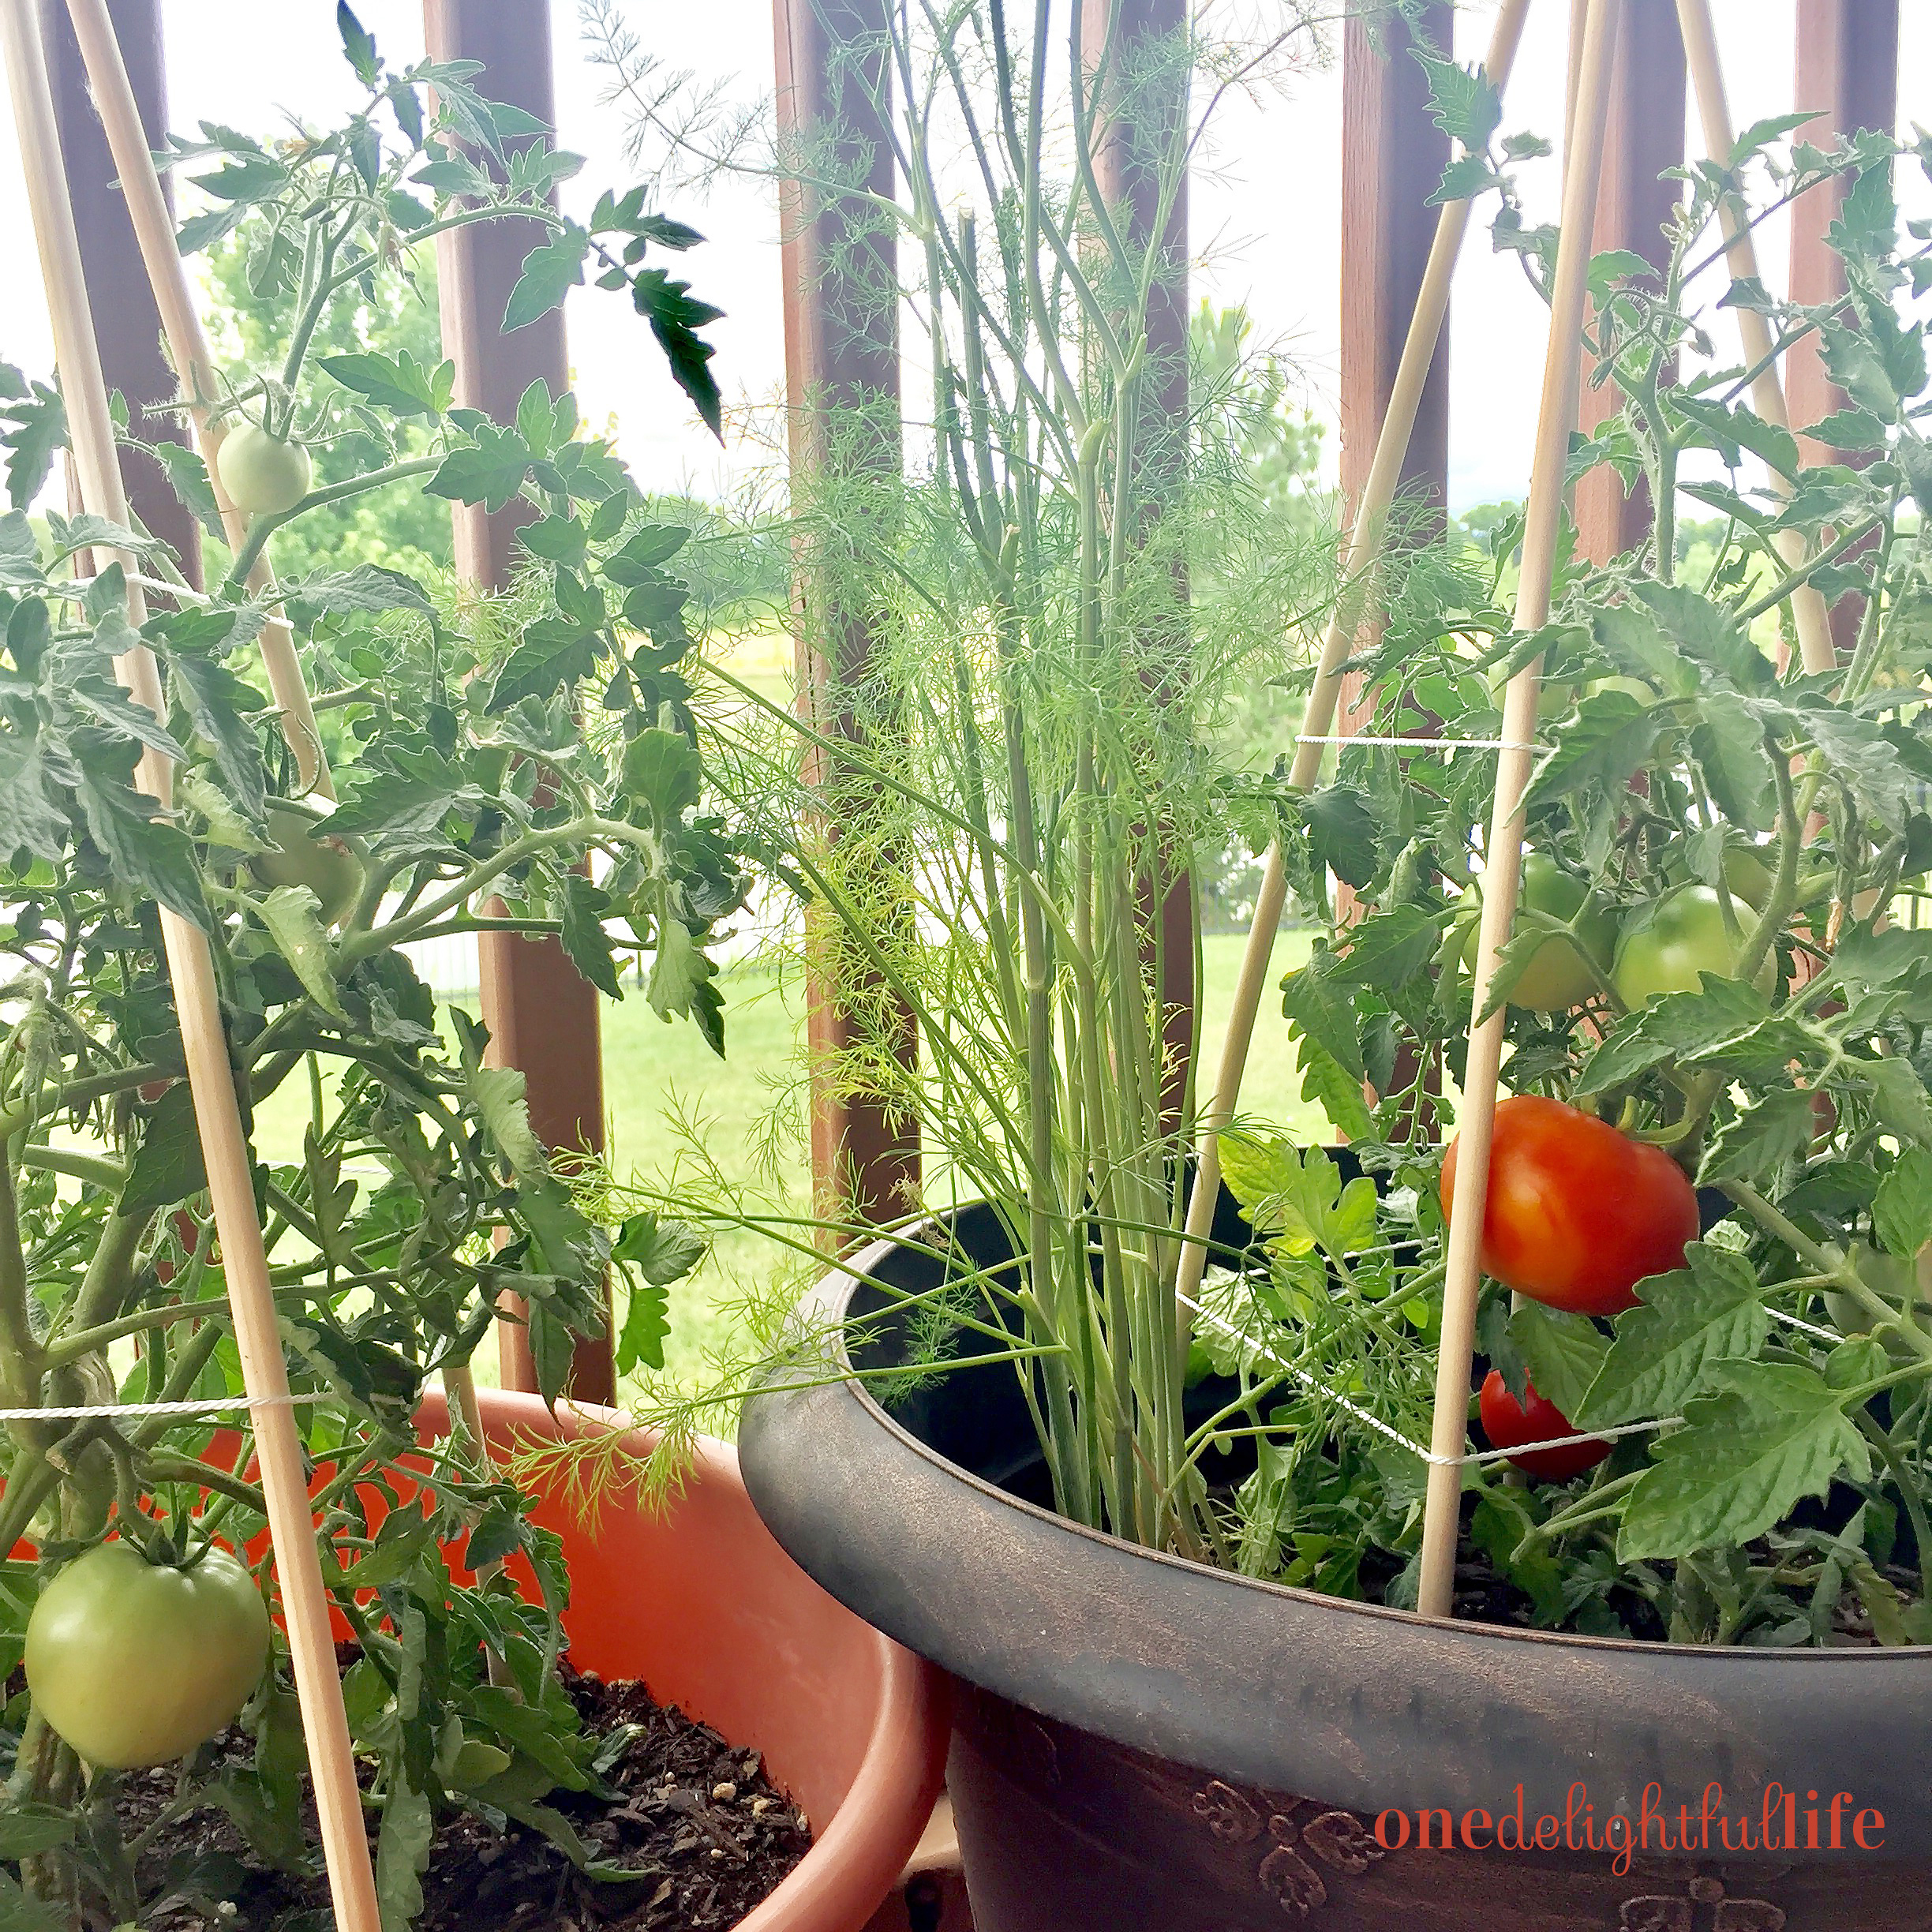
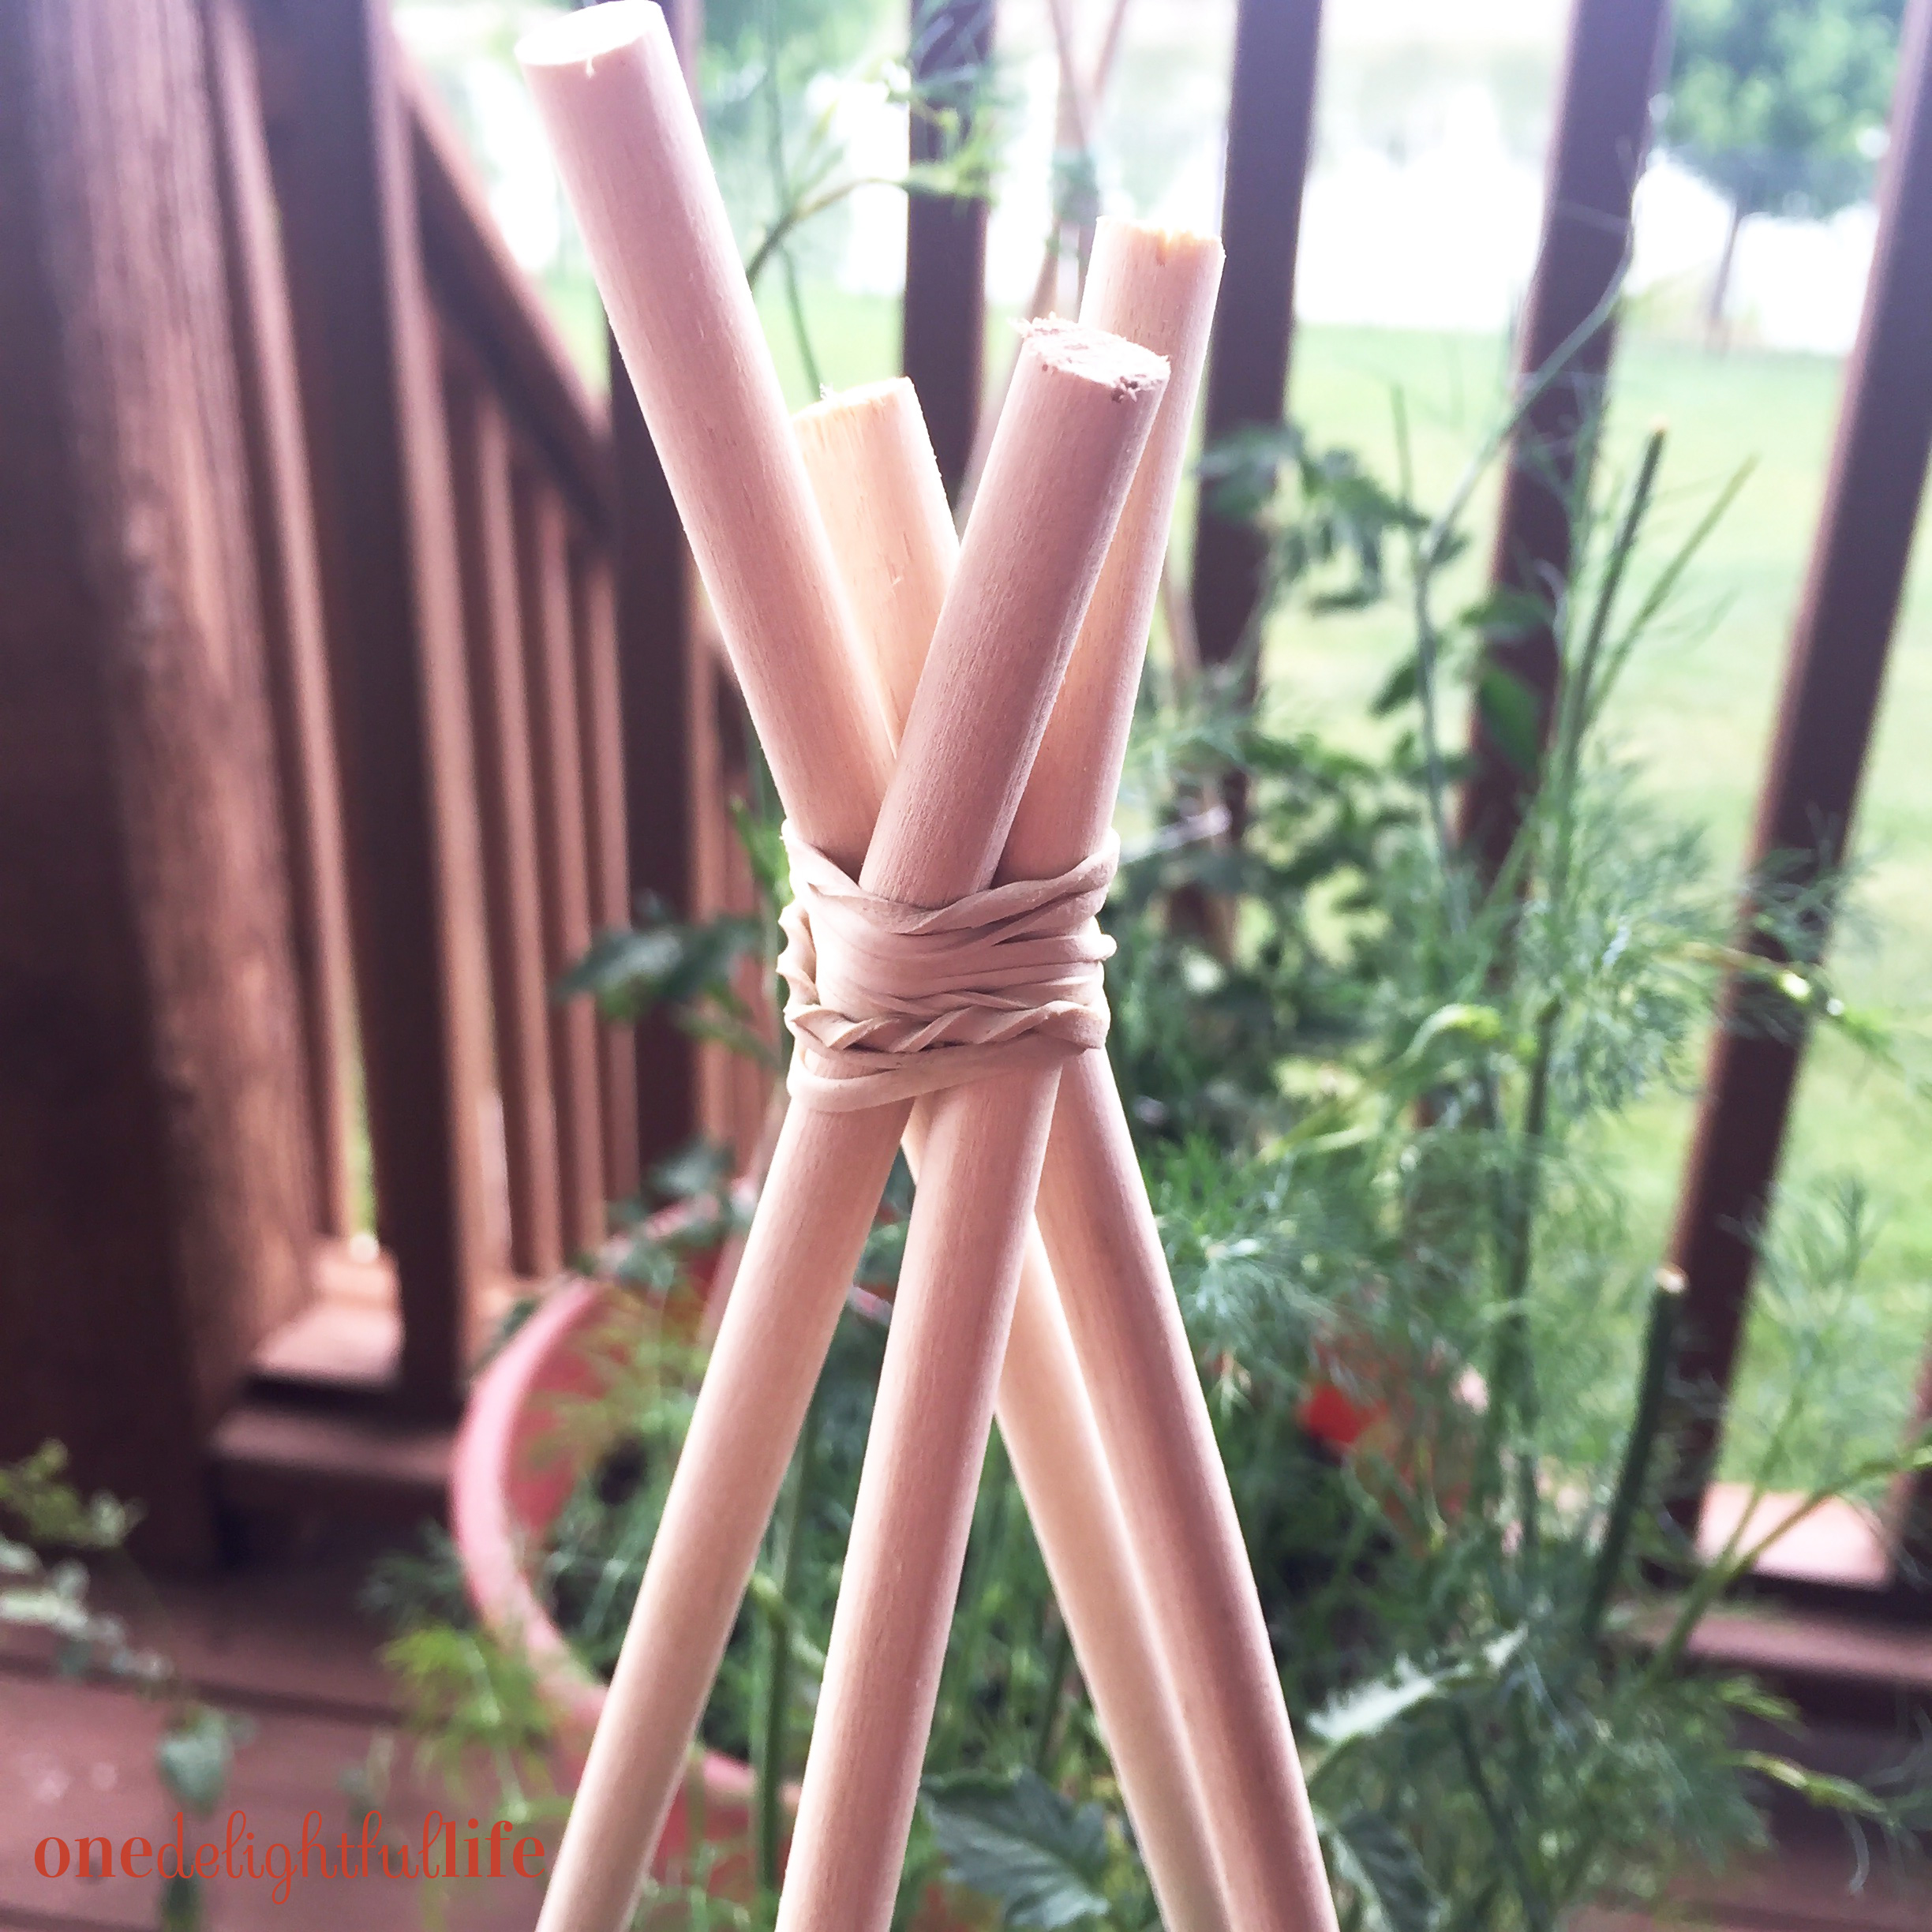
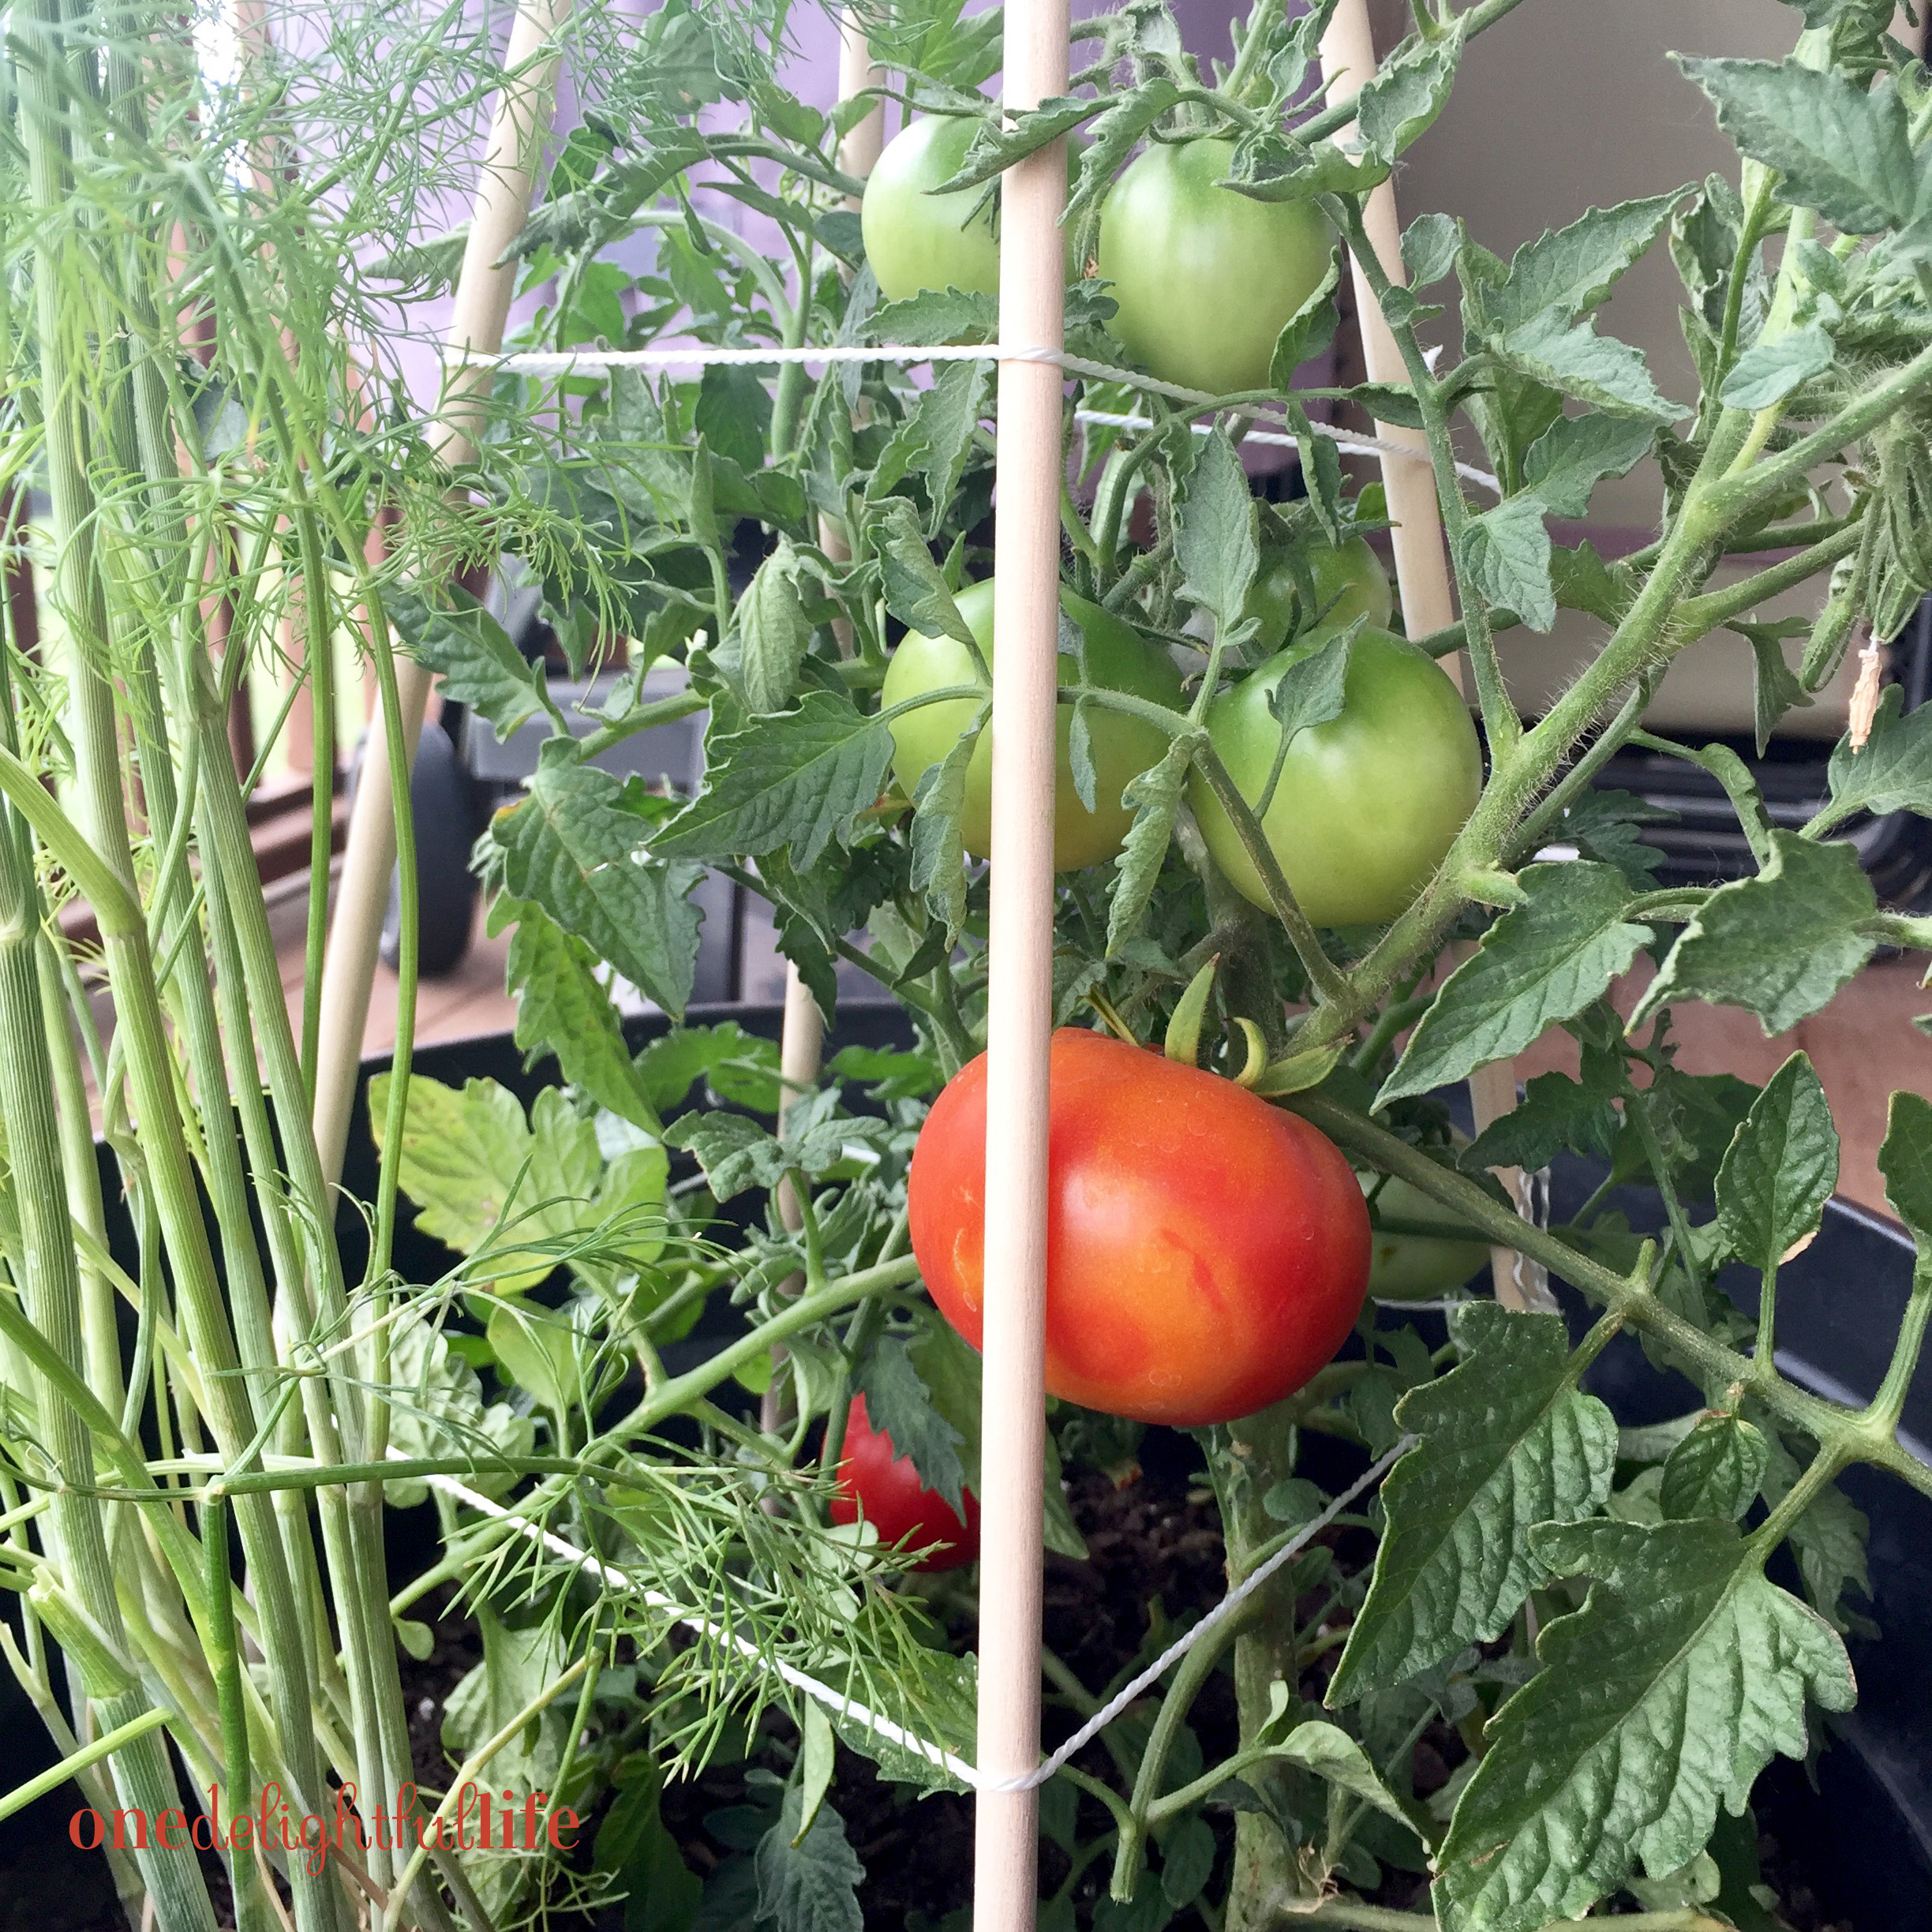 That’s it! I’ve been pleasantly surprised that I haven’t needed to reposition the dowel rods or twine even after moving the pots several times. I think you’ll agree that this do-it-yourself method for building a tomato cage is not only inexpensive but incredibly easy to do.
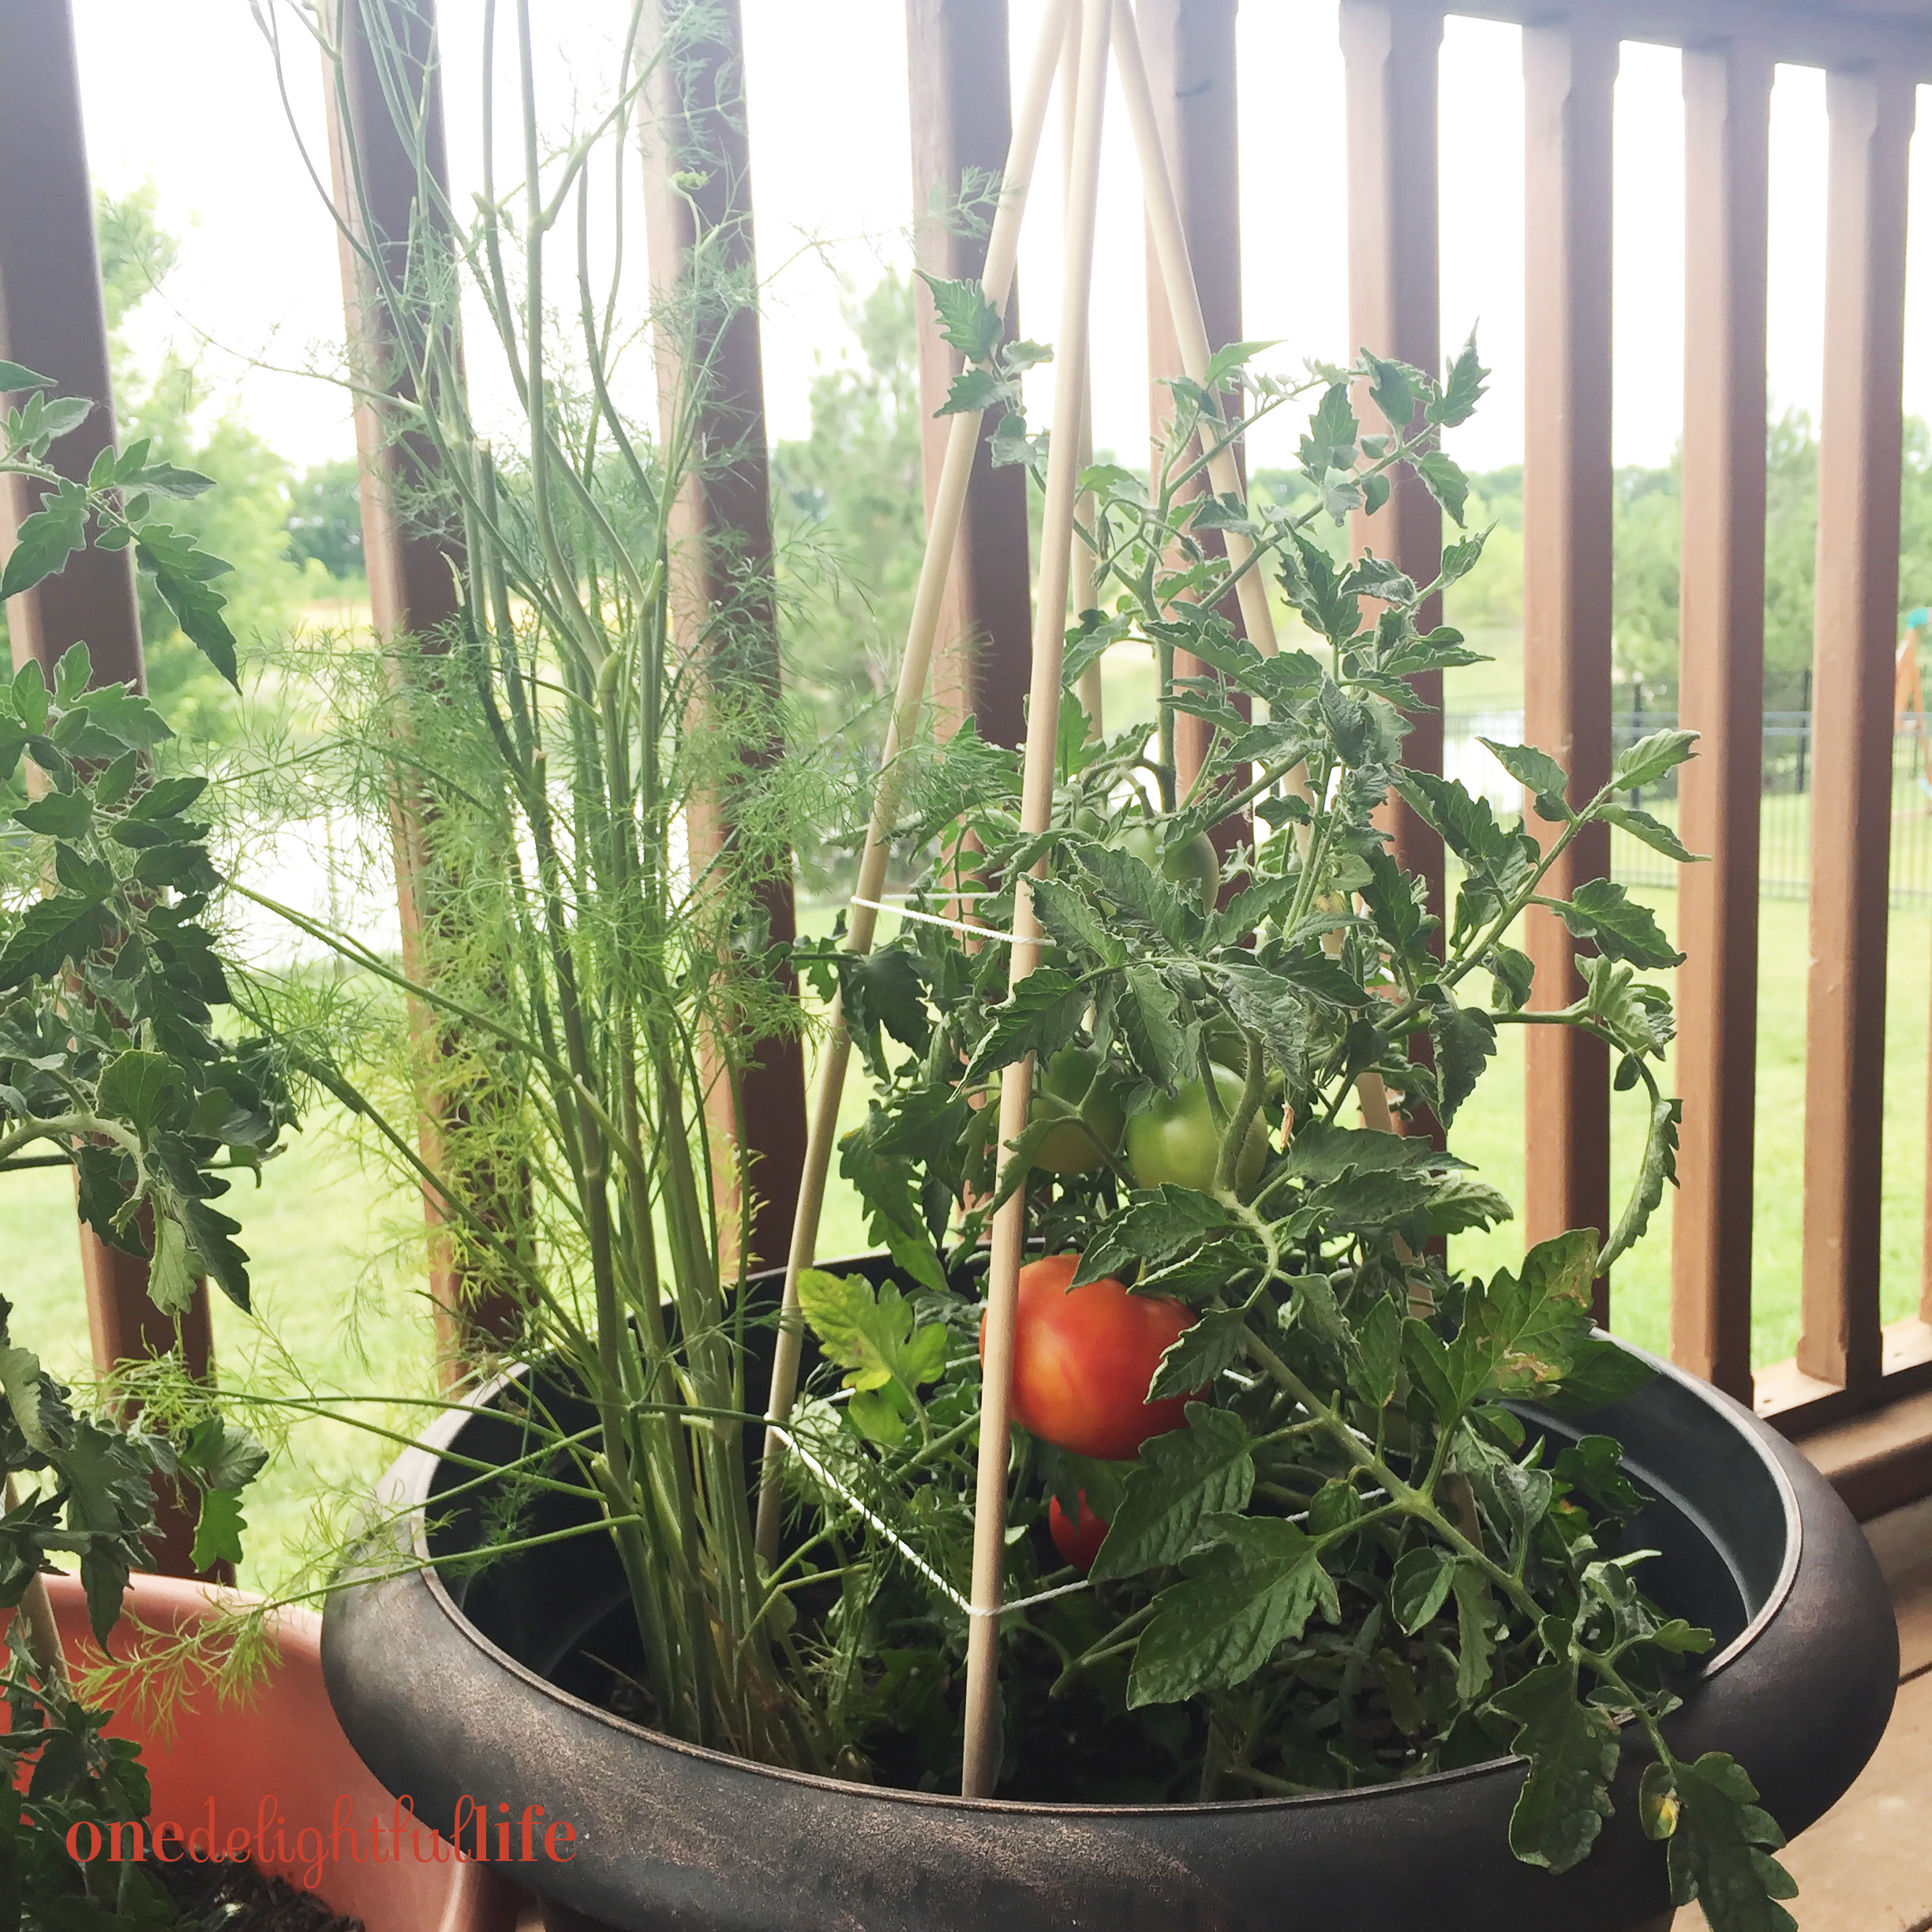

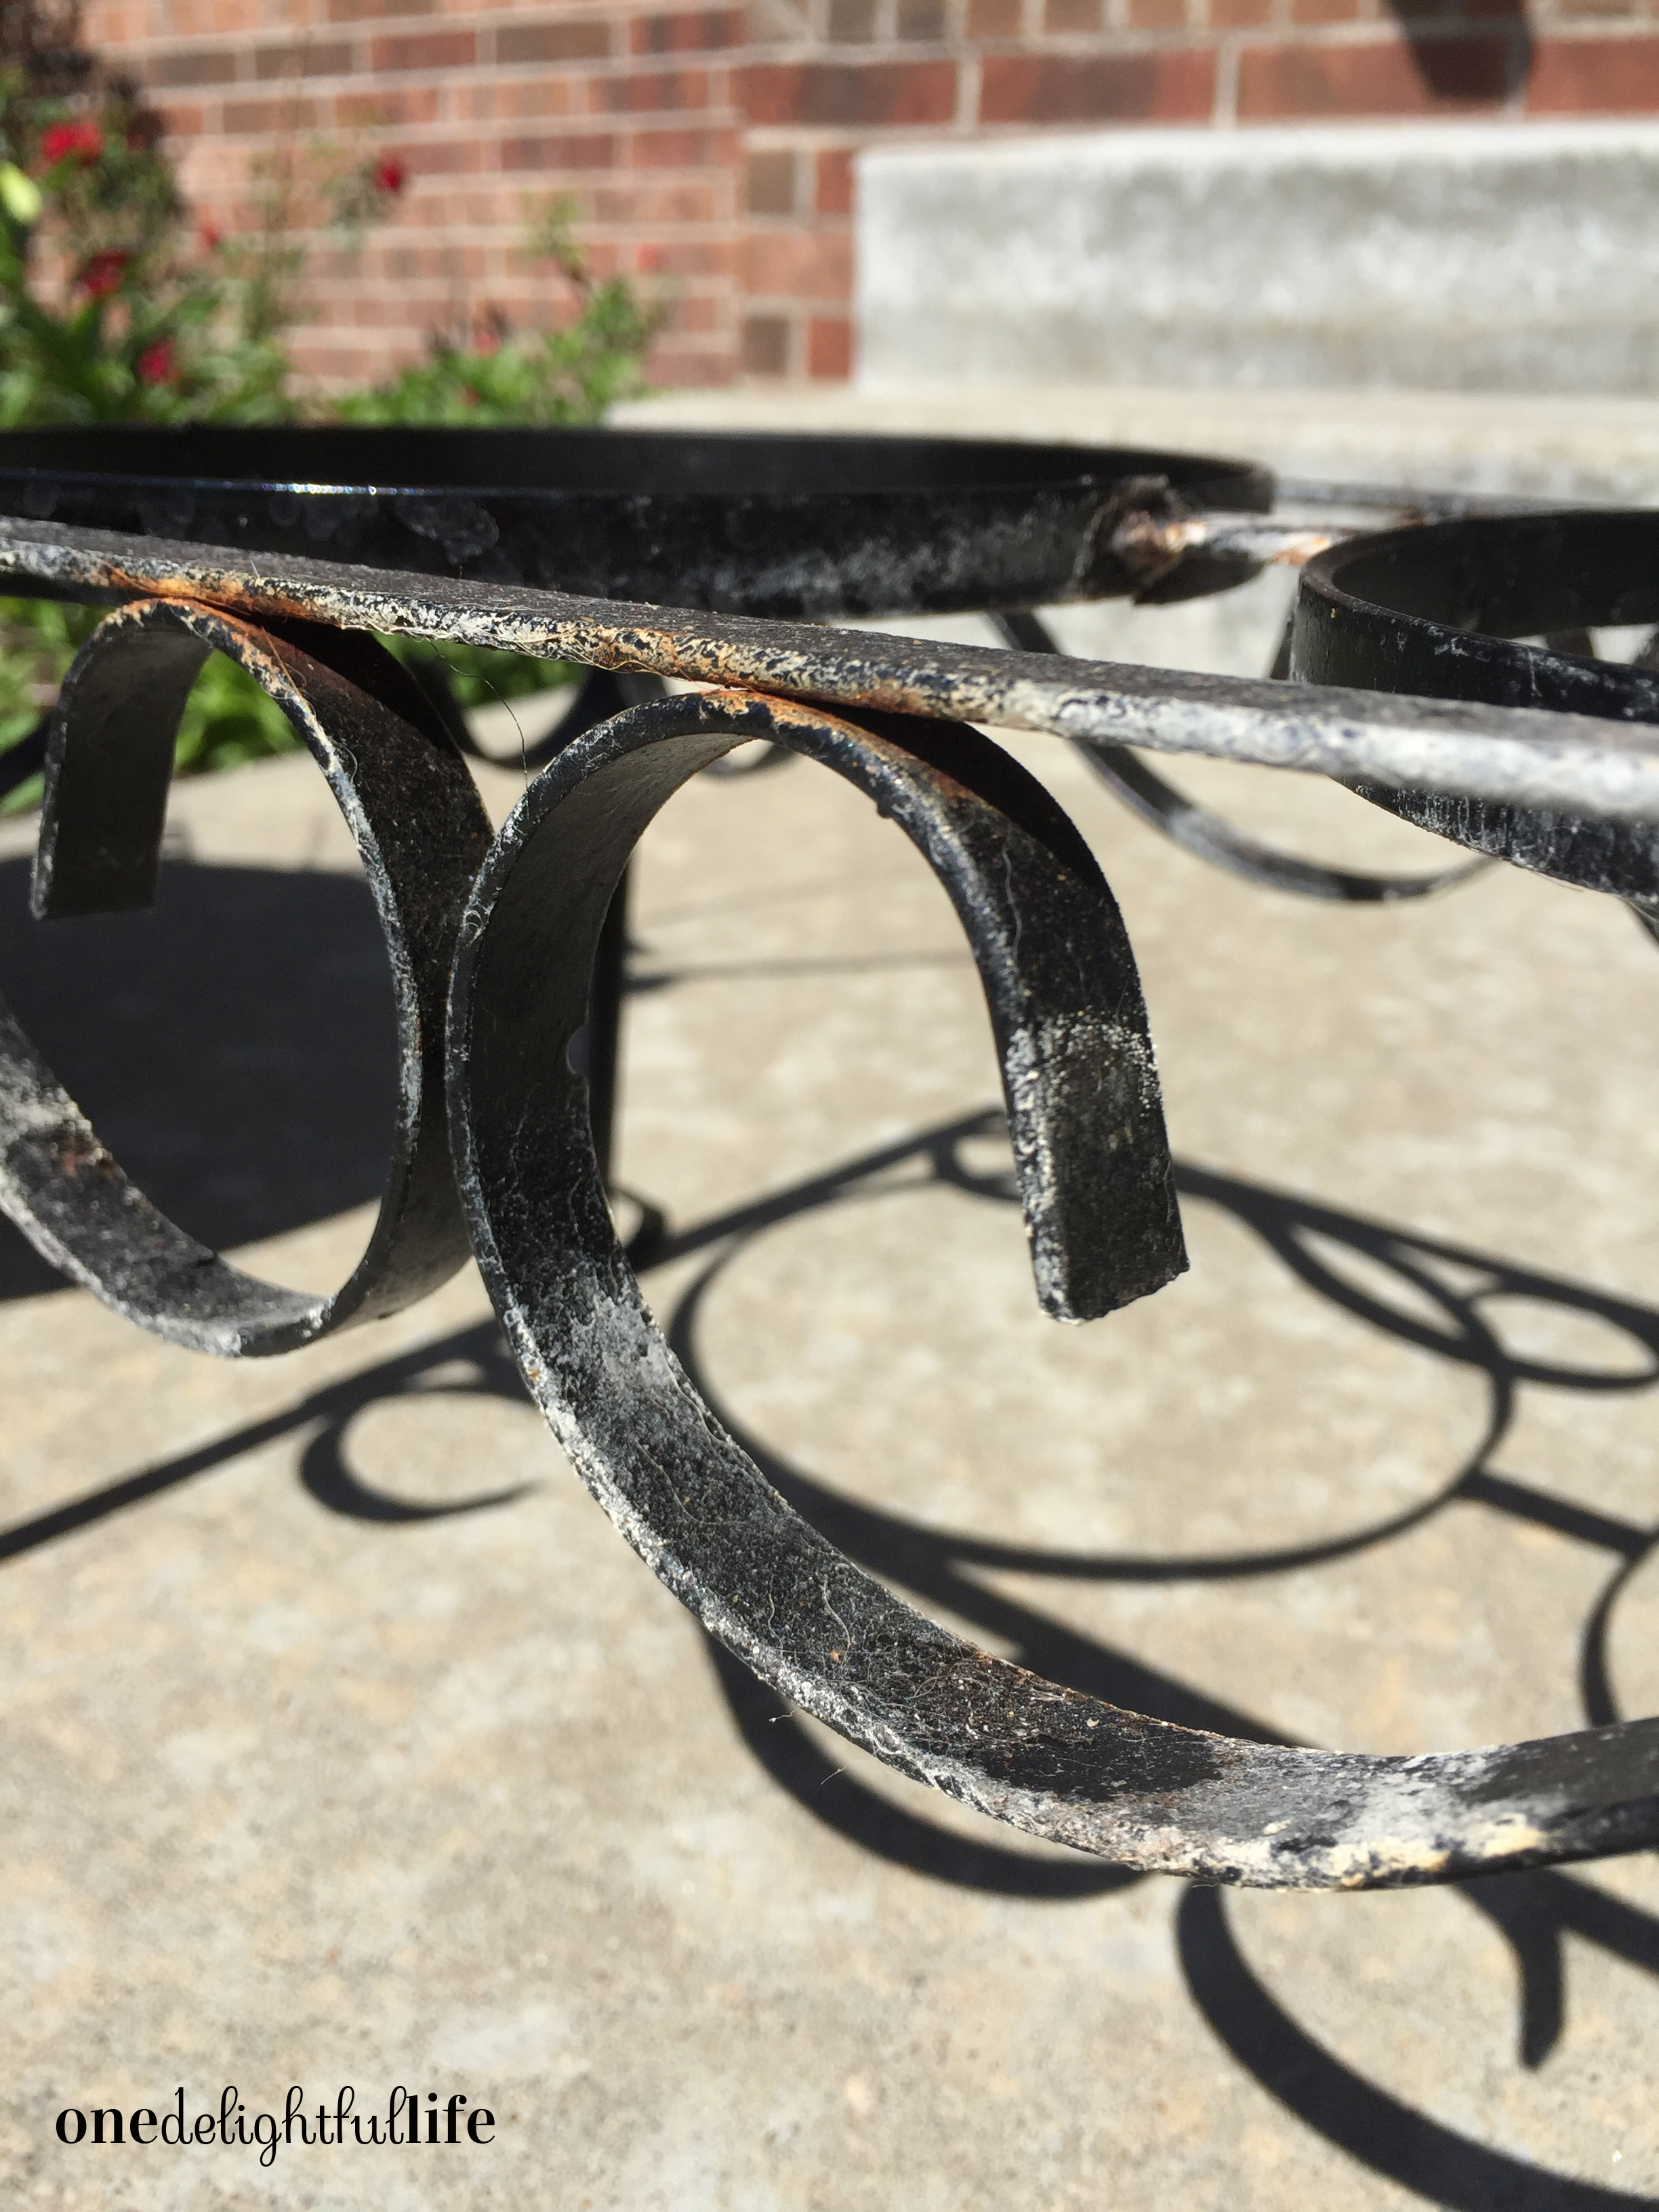
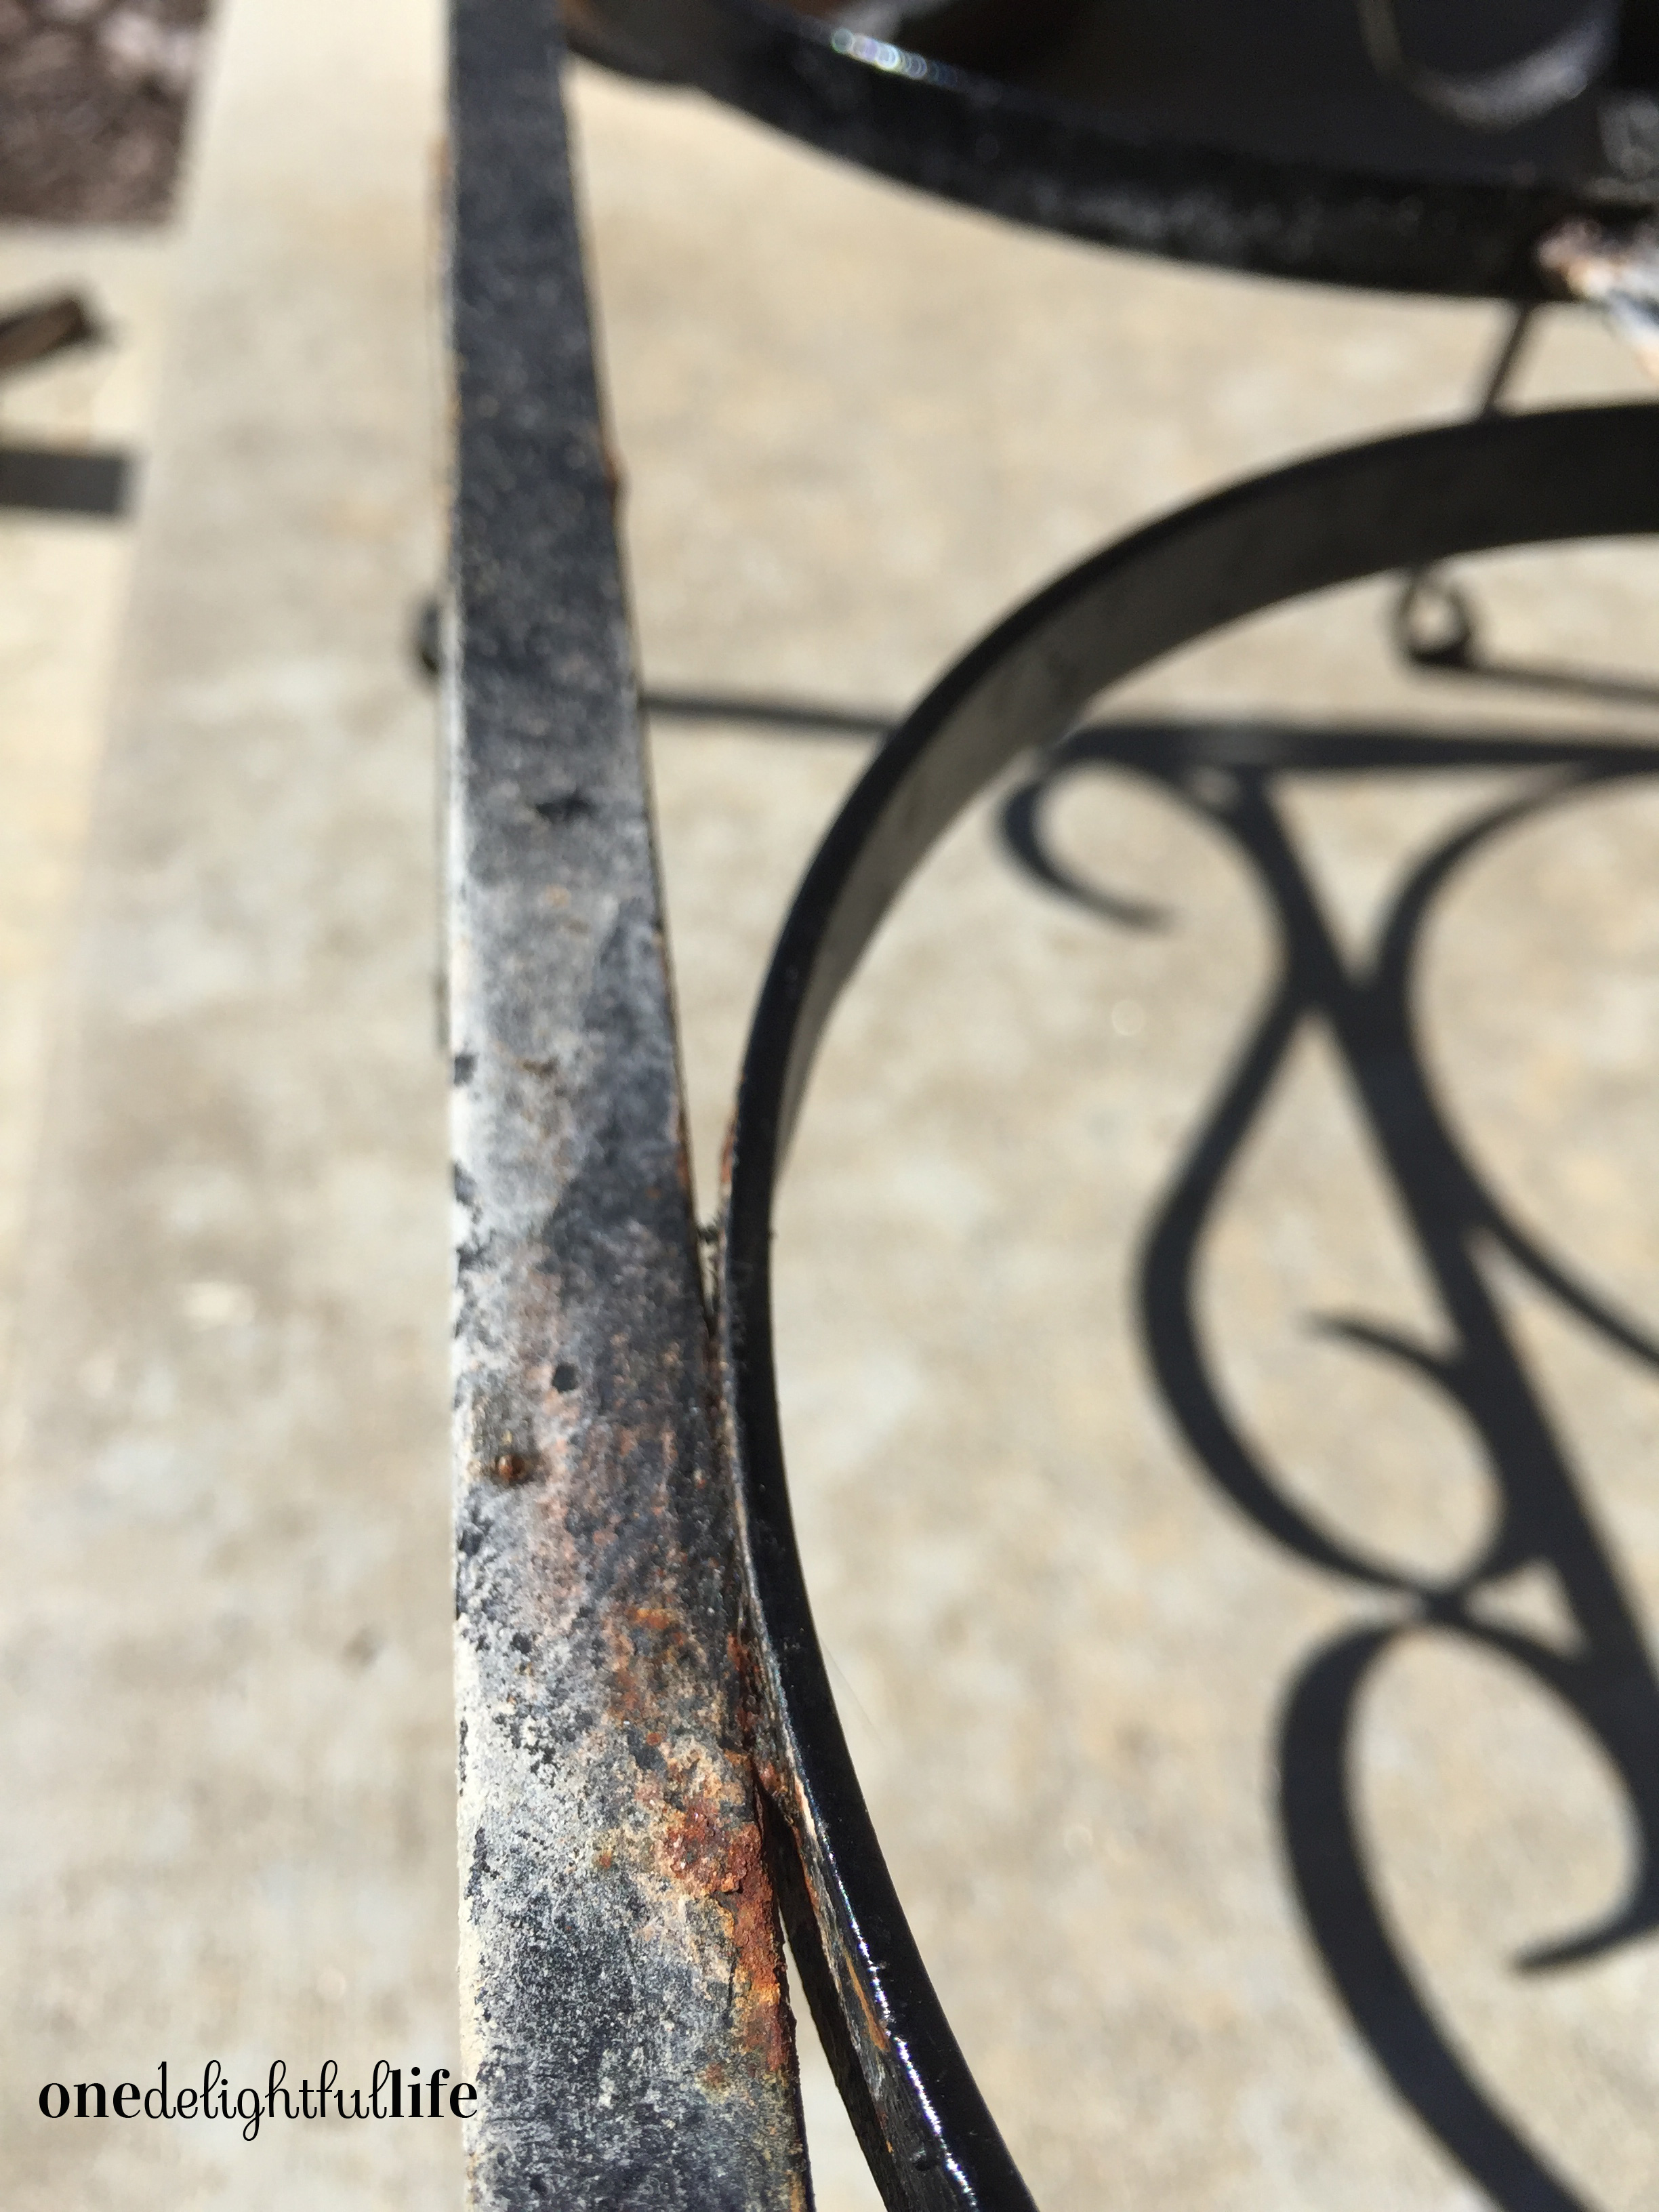
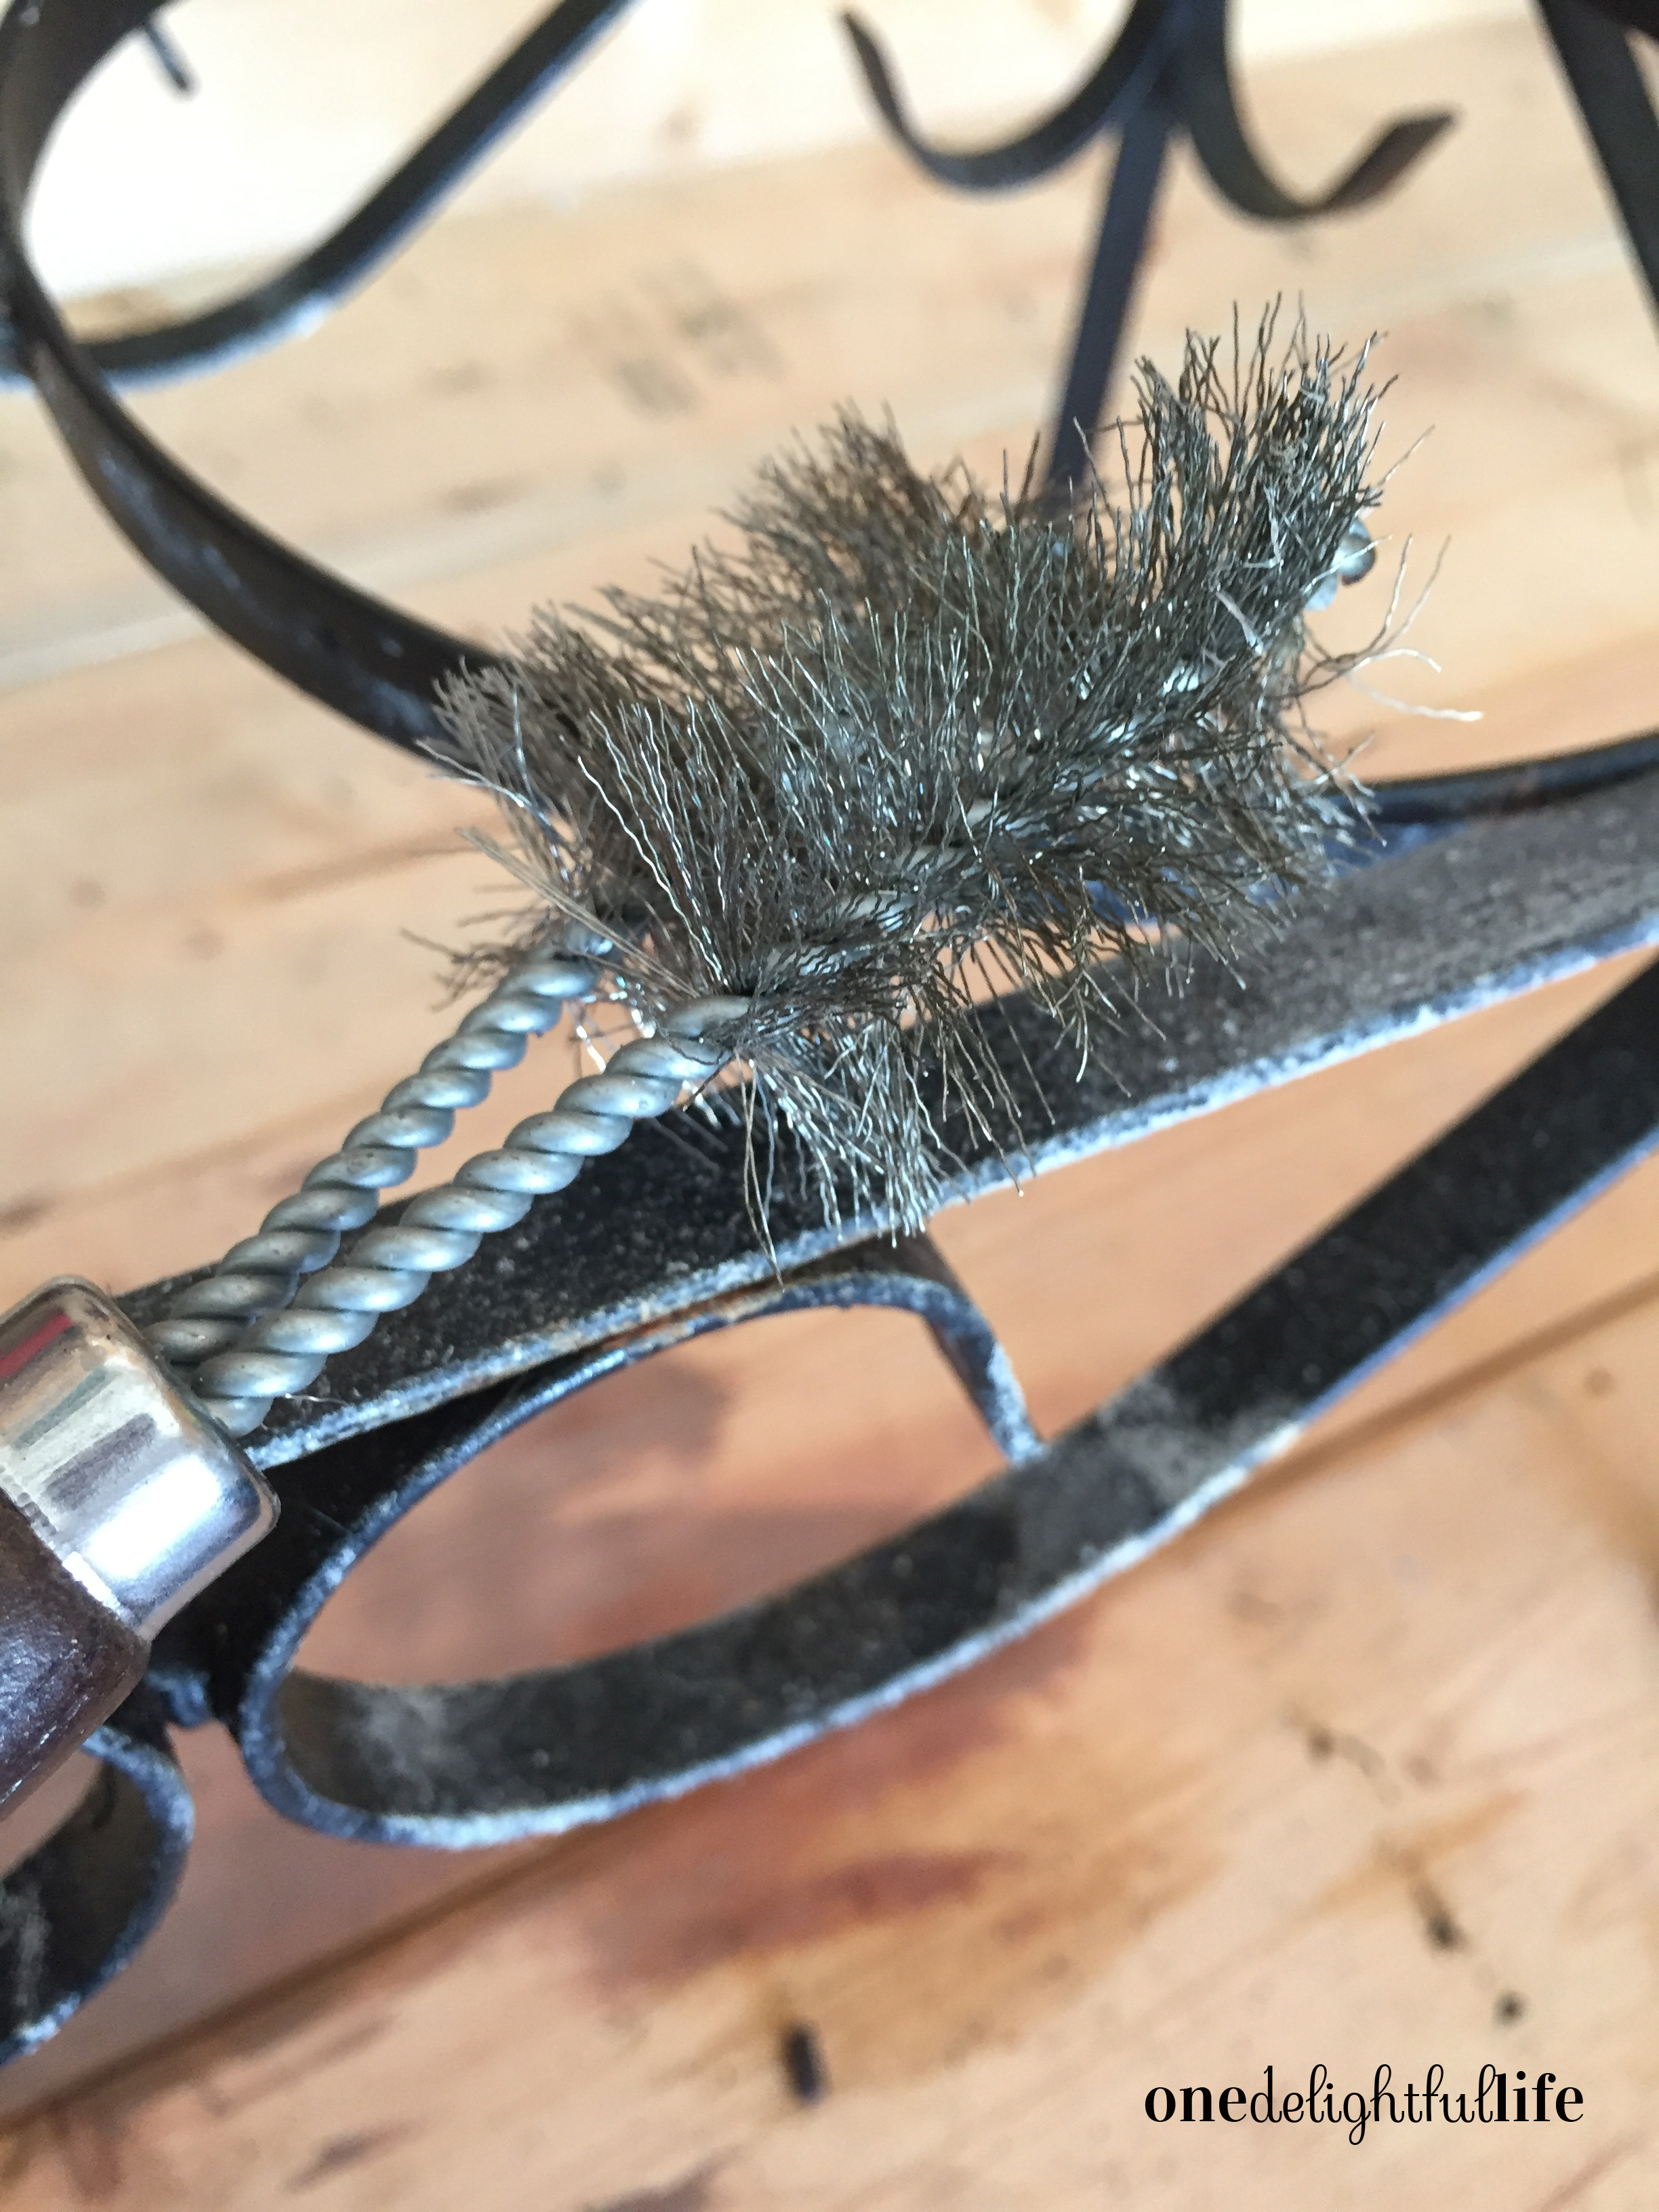
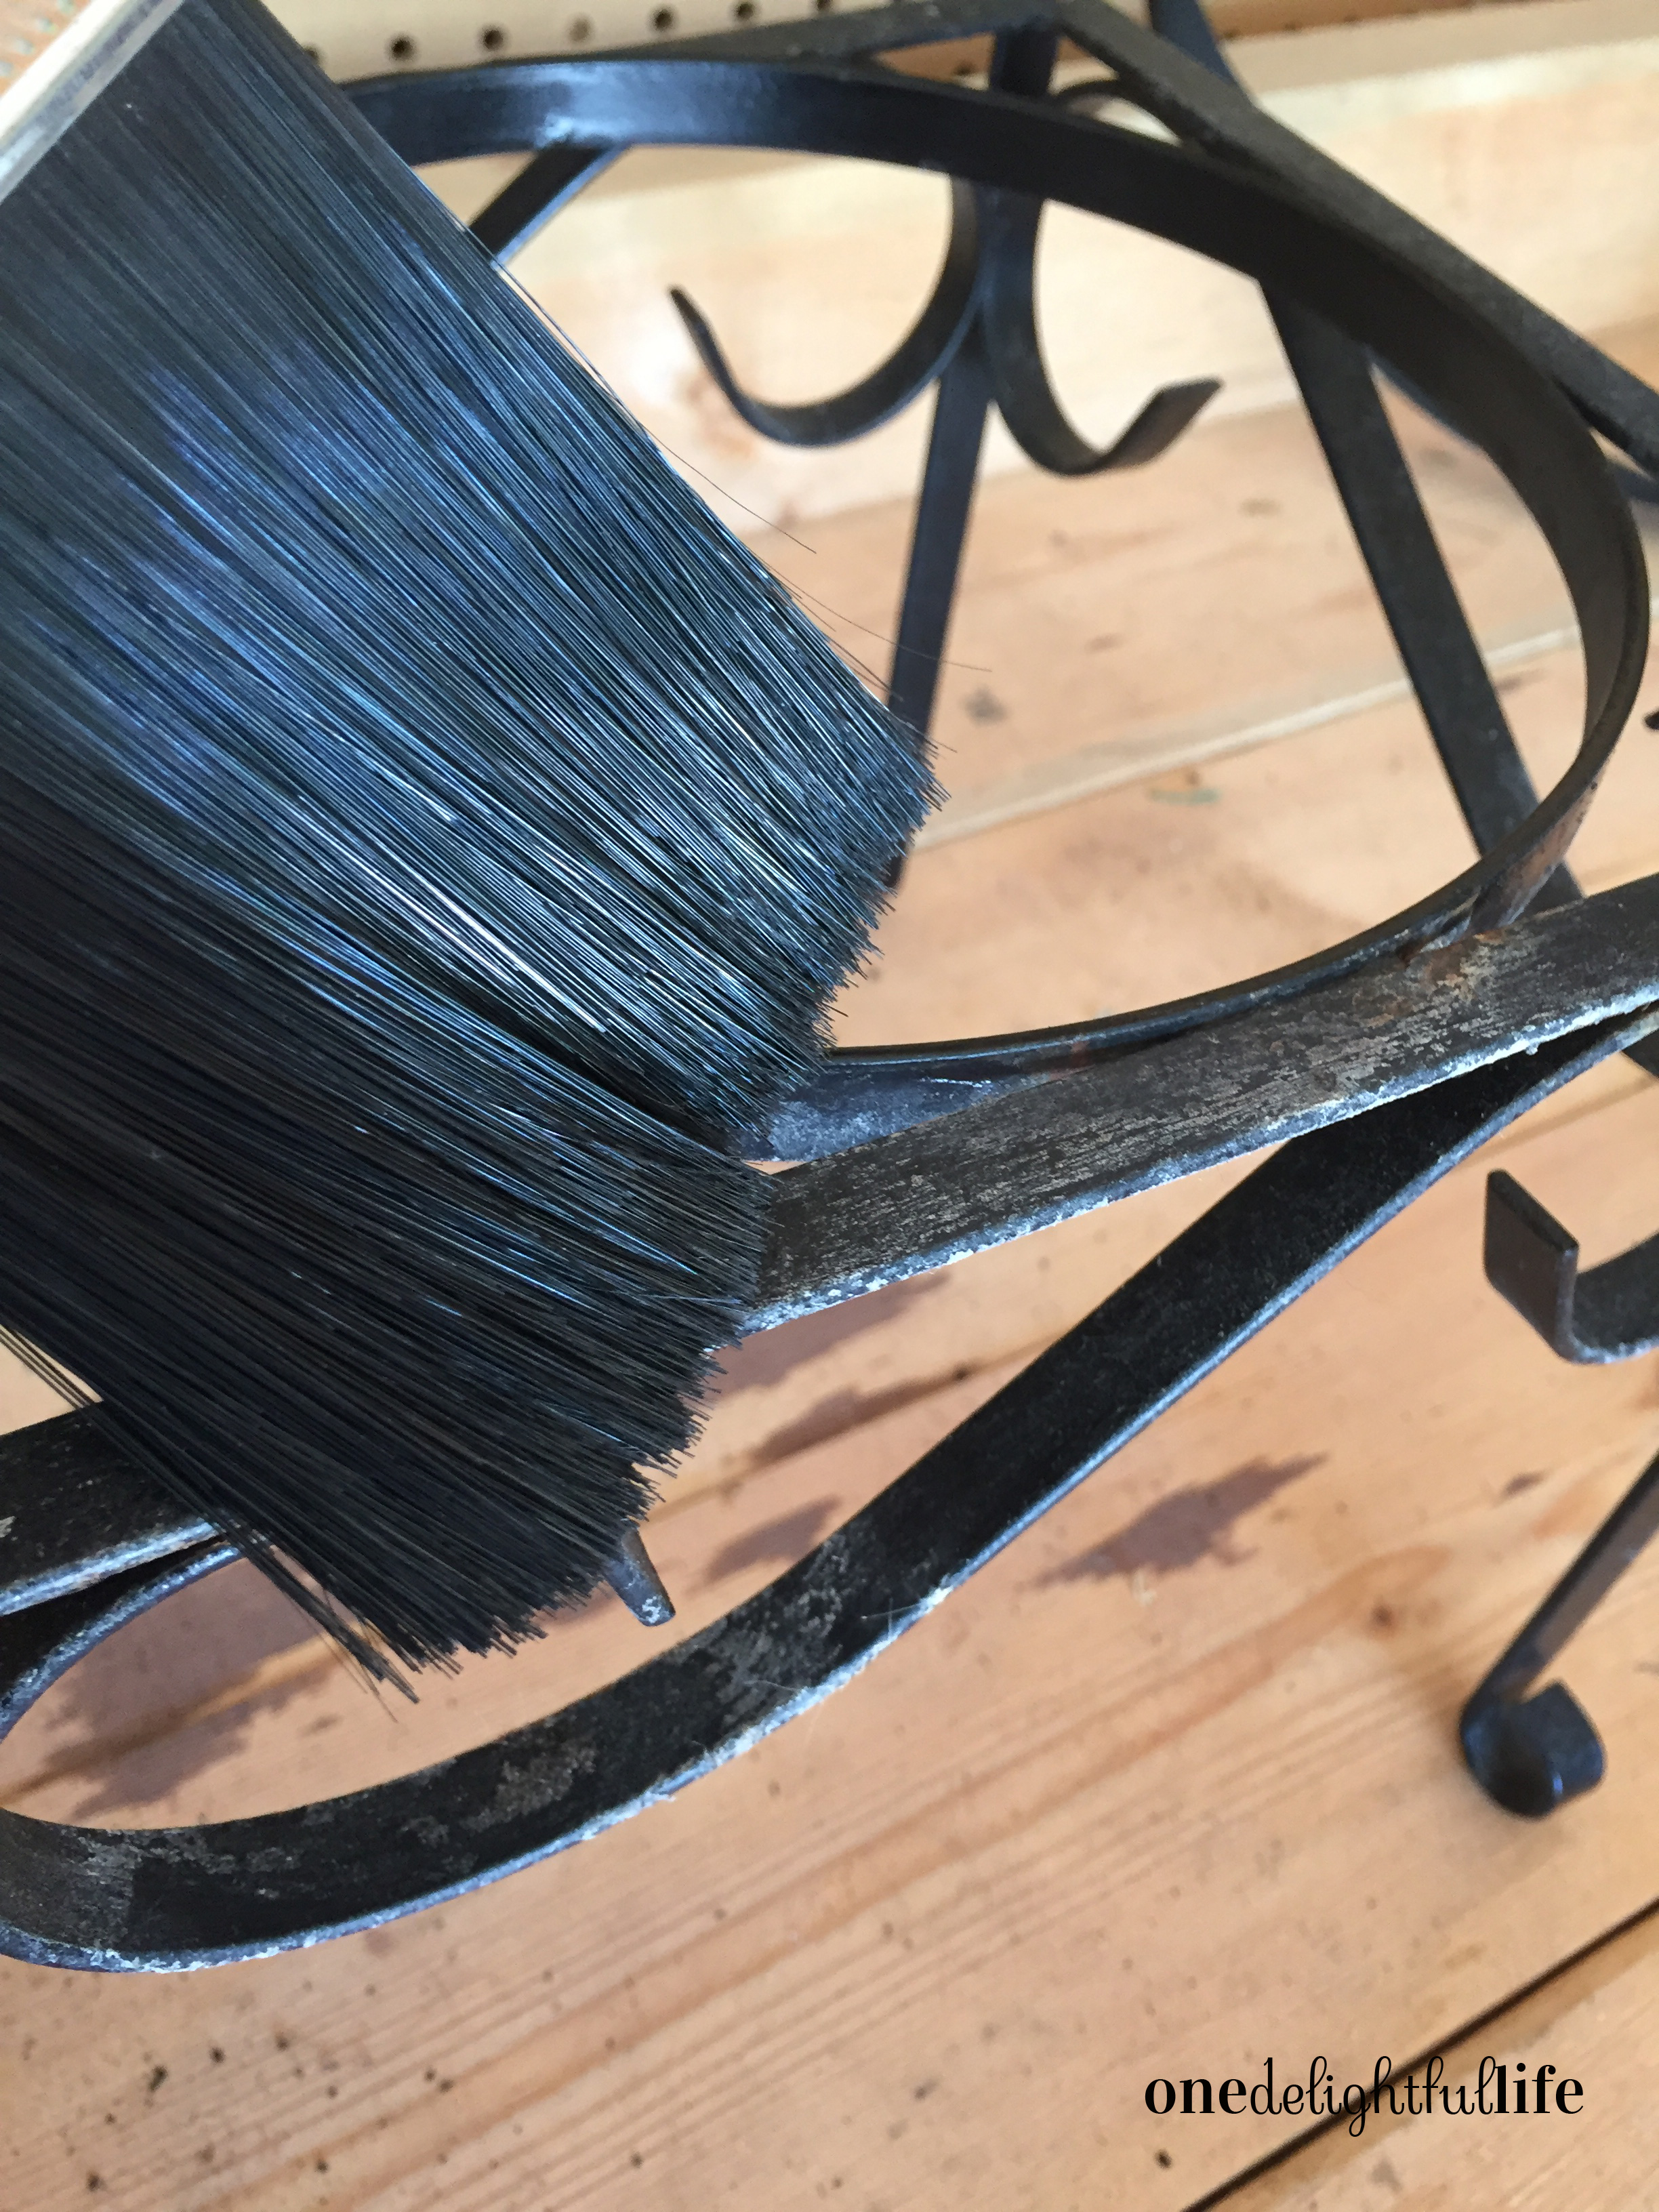 After brushing the rust pieces loose from the metal stand, you can position it on top of old cardboard boxes or newspaper to prepare your space to cover it with Rust Stop indoor/outdoor spray paint.
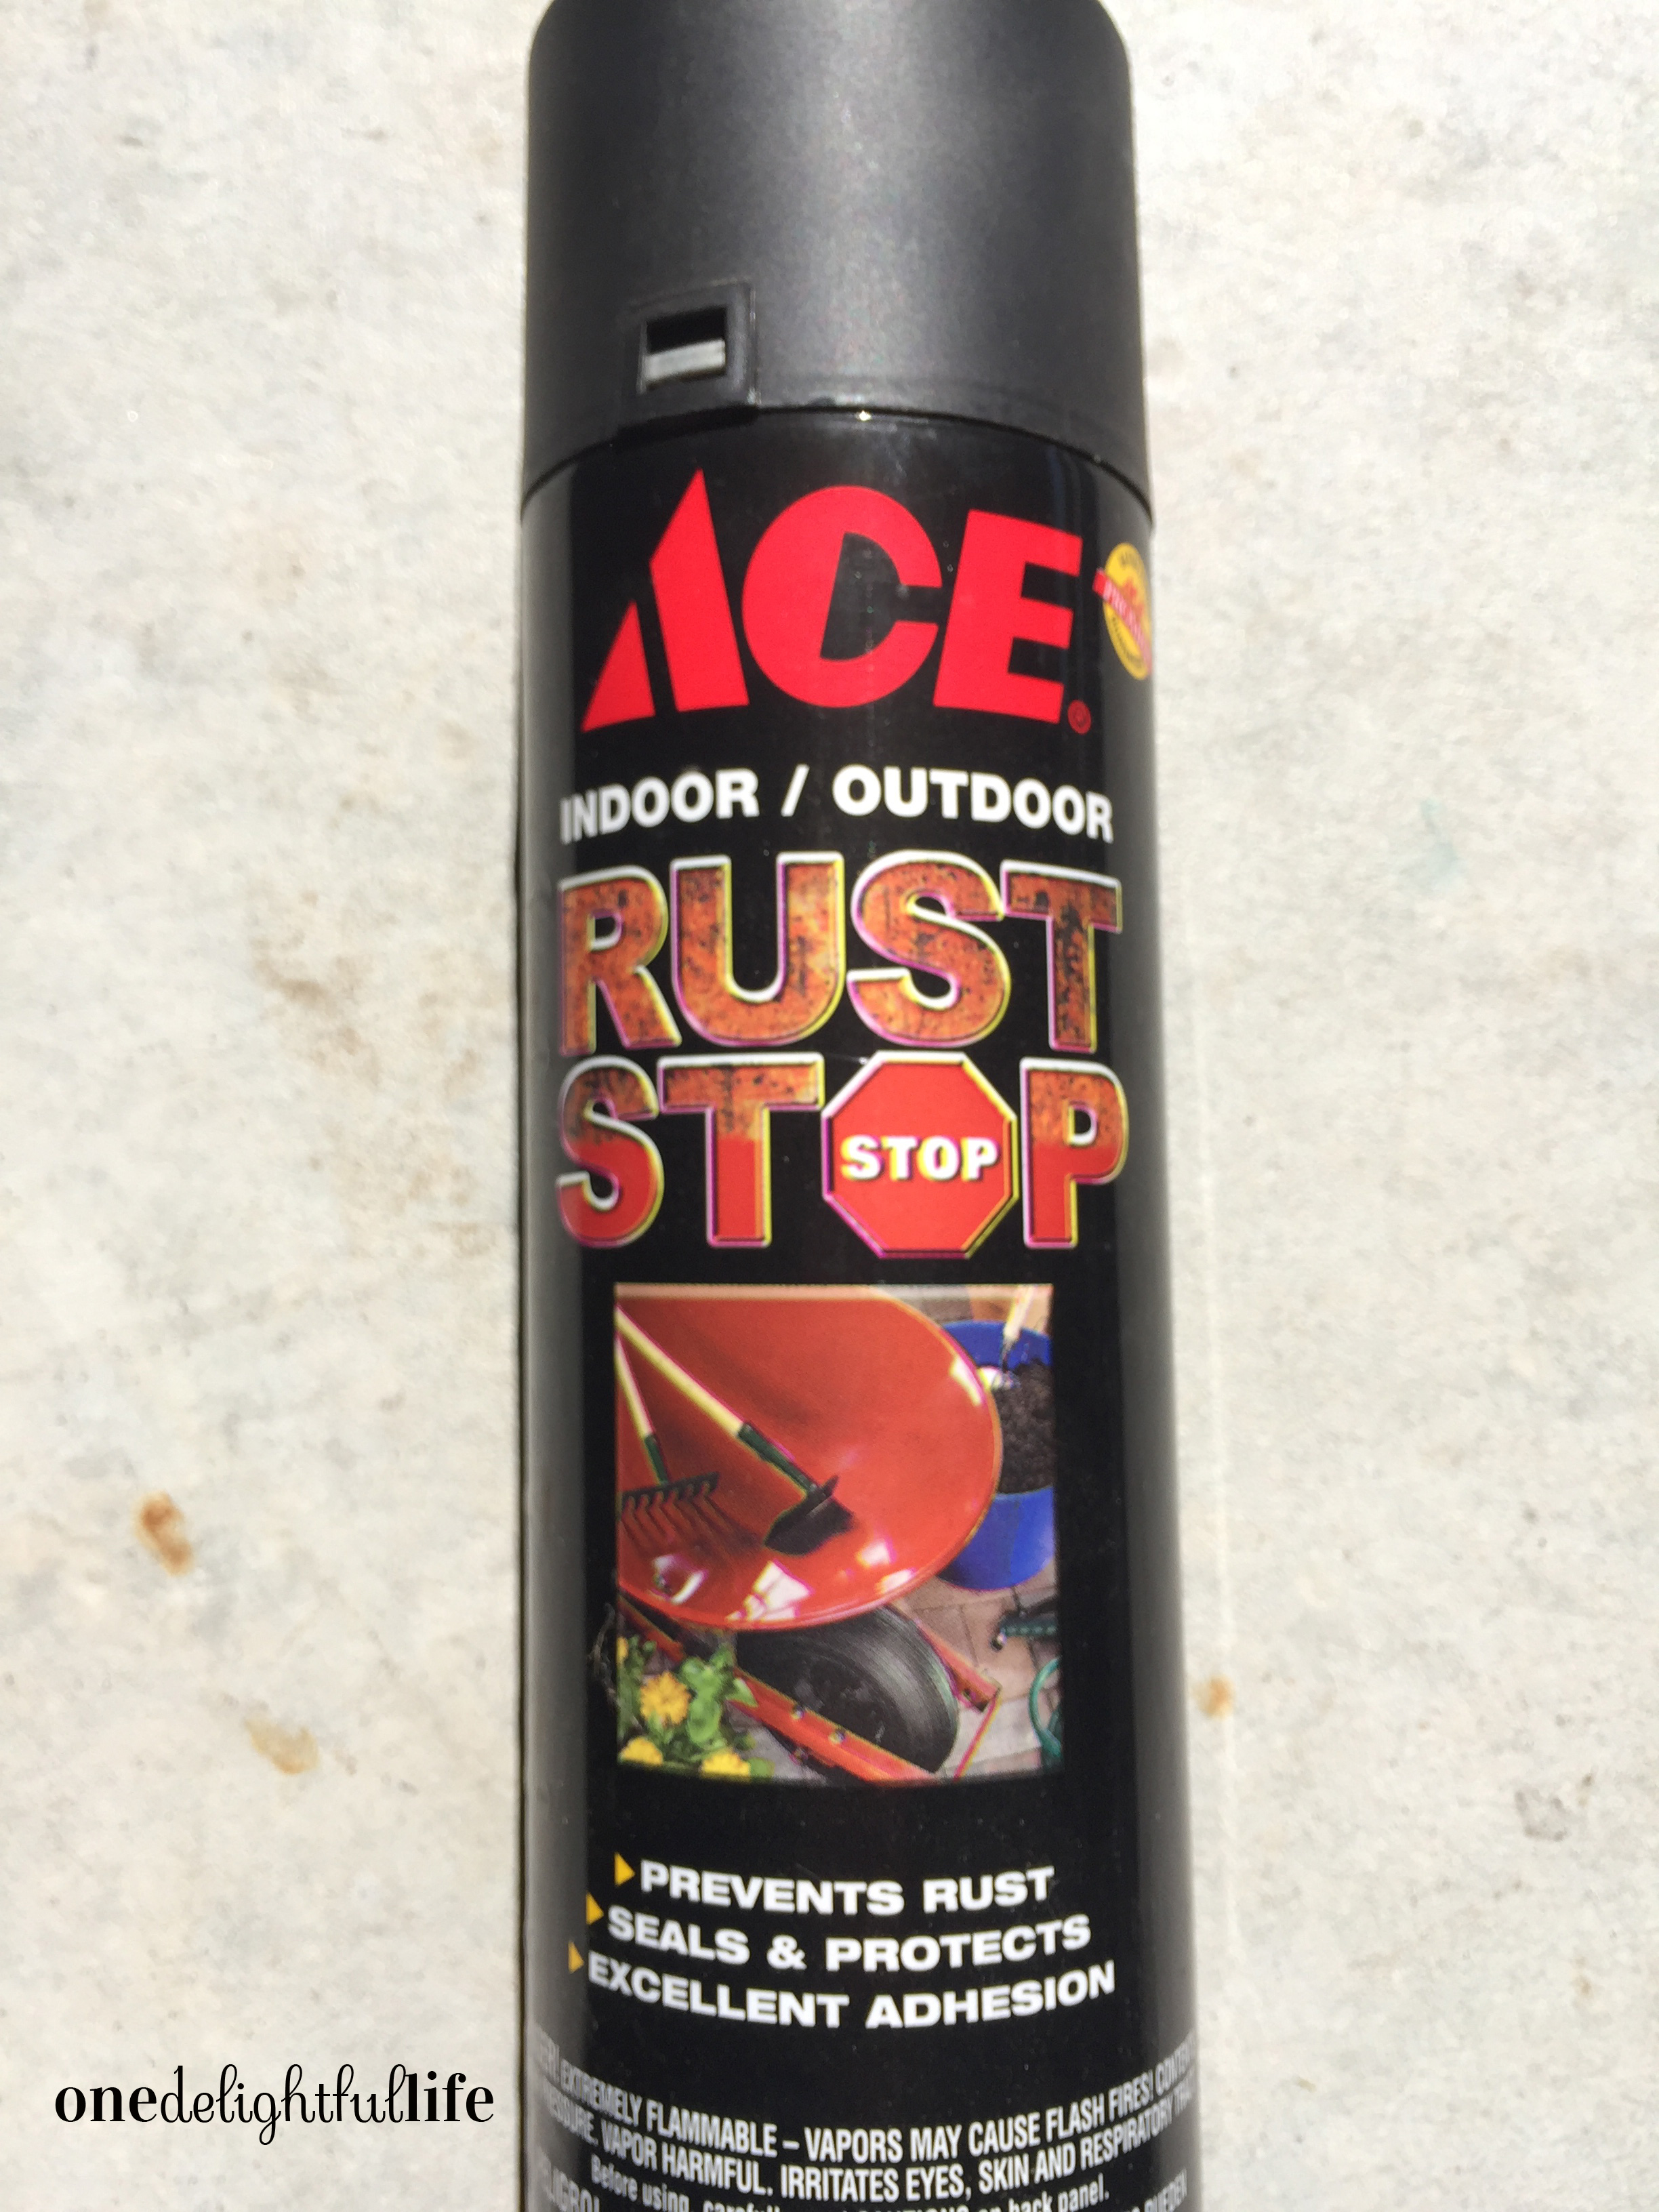 Using smooth, continuous strokes, spray all sides of the metal stand. Allow it to dry, then turn it upside down and spray the bottom sides as well. If you need to apply more than one coat, allow for several hours of drying time.
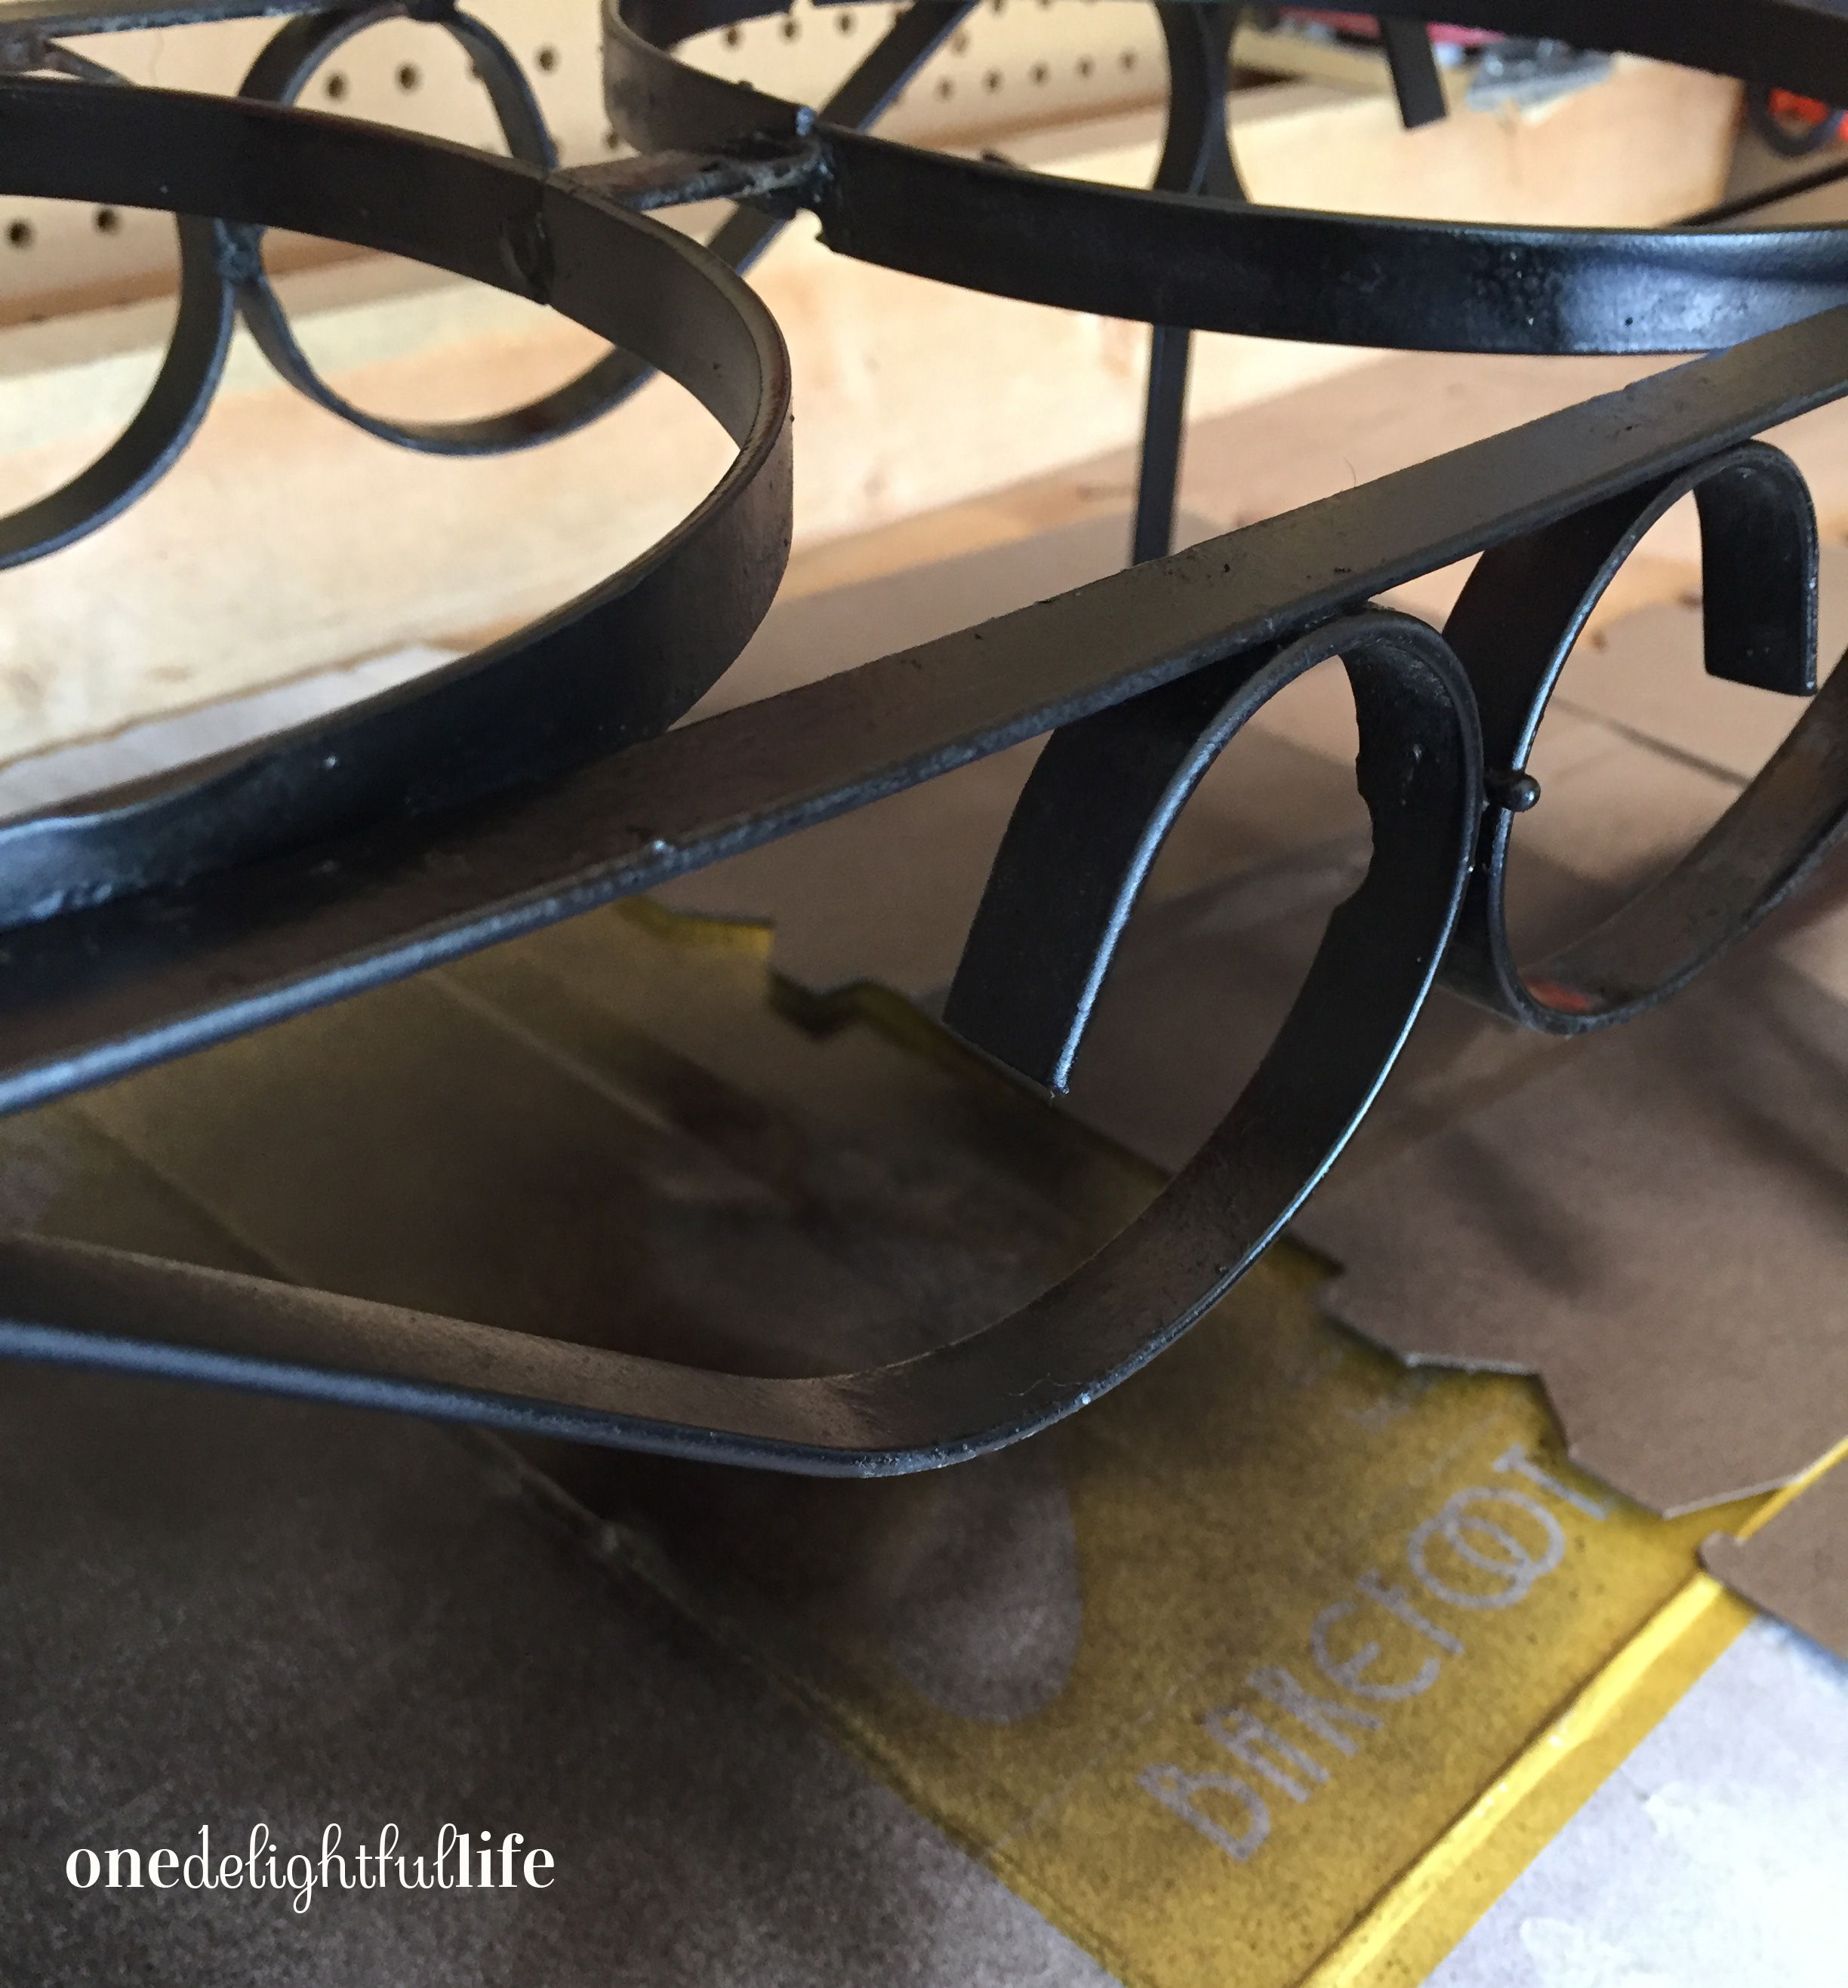 This spray, in particular, is fantastic to use because it not only prevents future rust but also paints your metal items just as great as any other brand of spray paint. I am running a few minutes late; my previous meeting is running over.
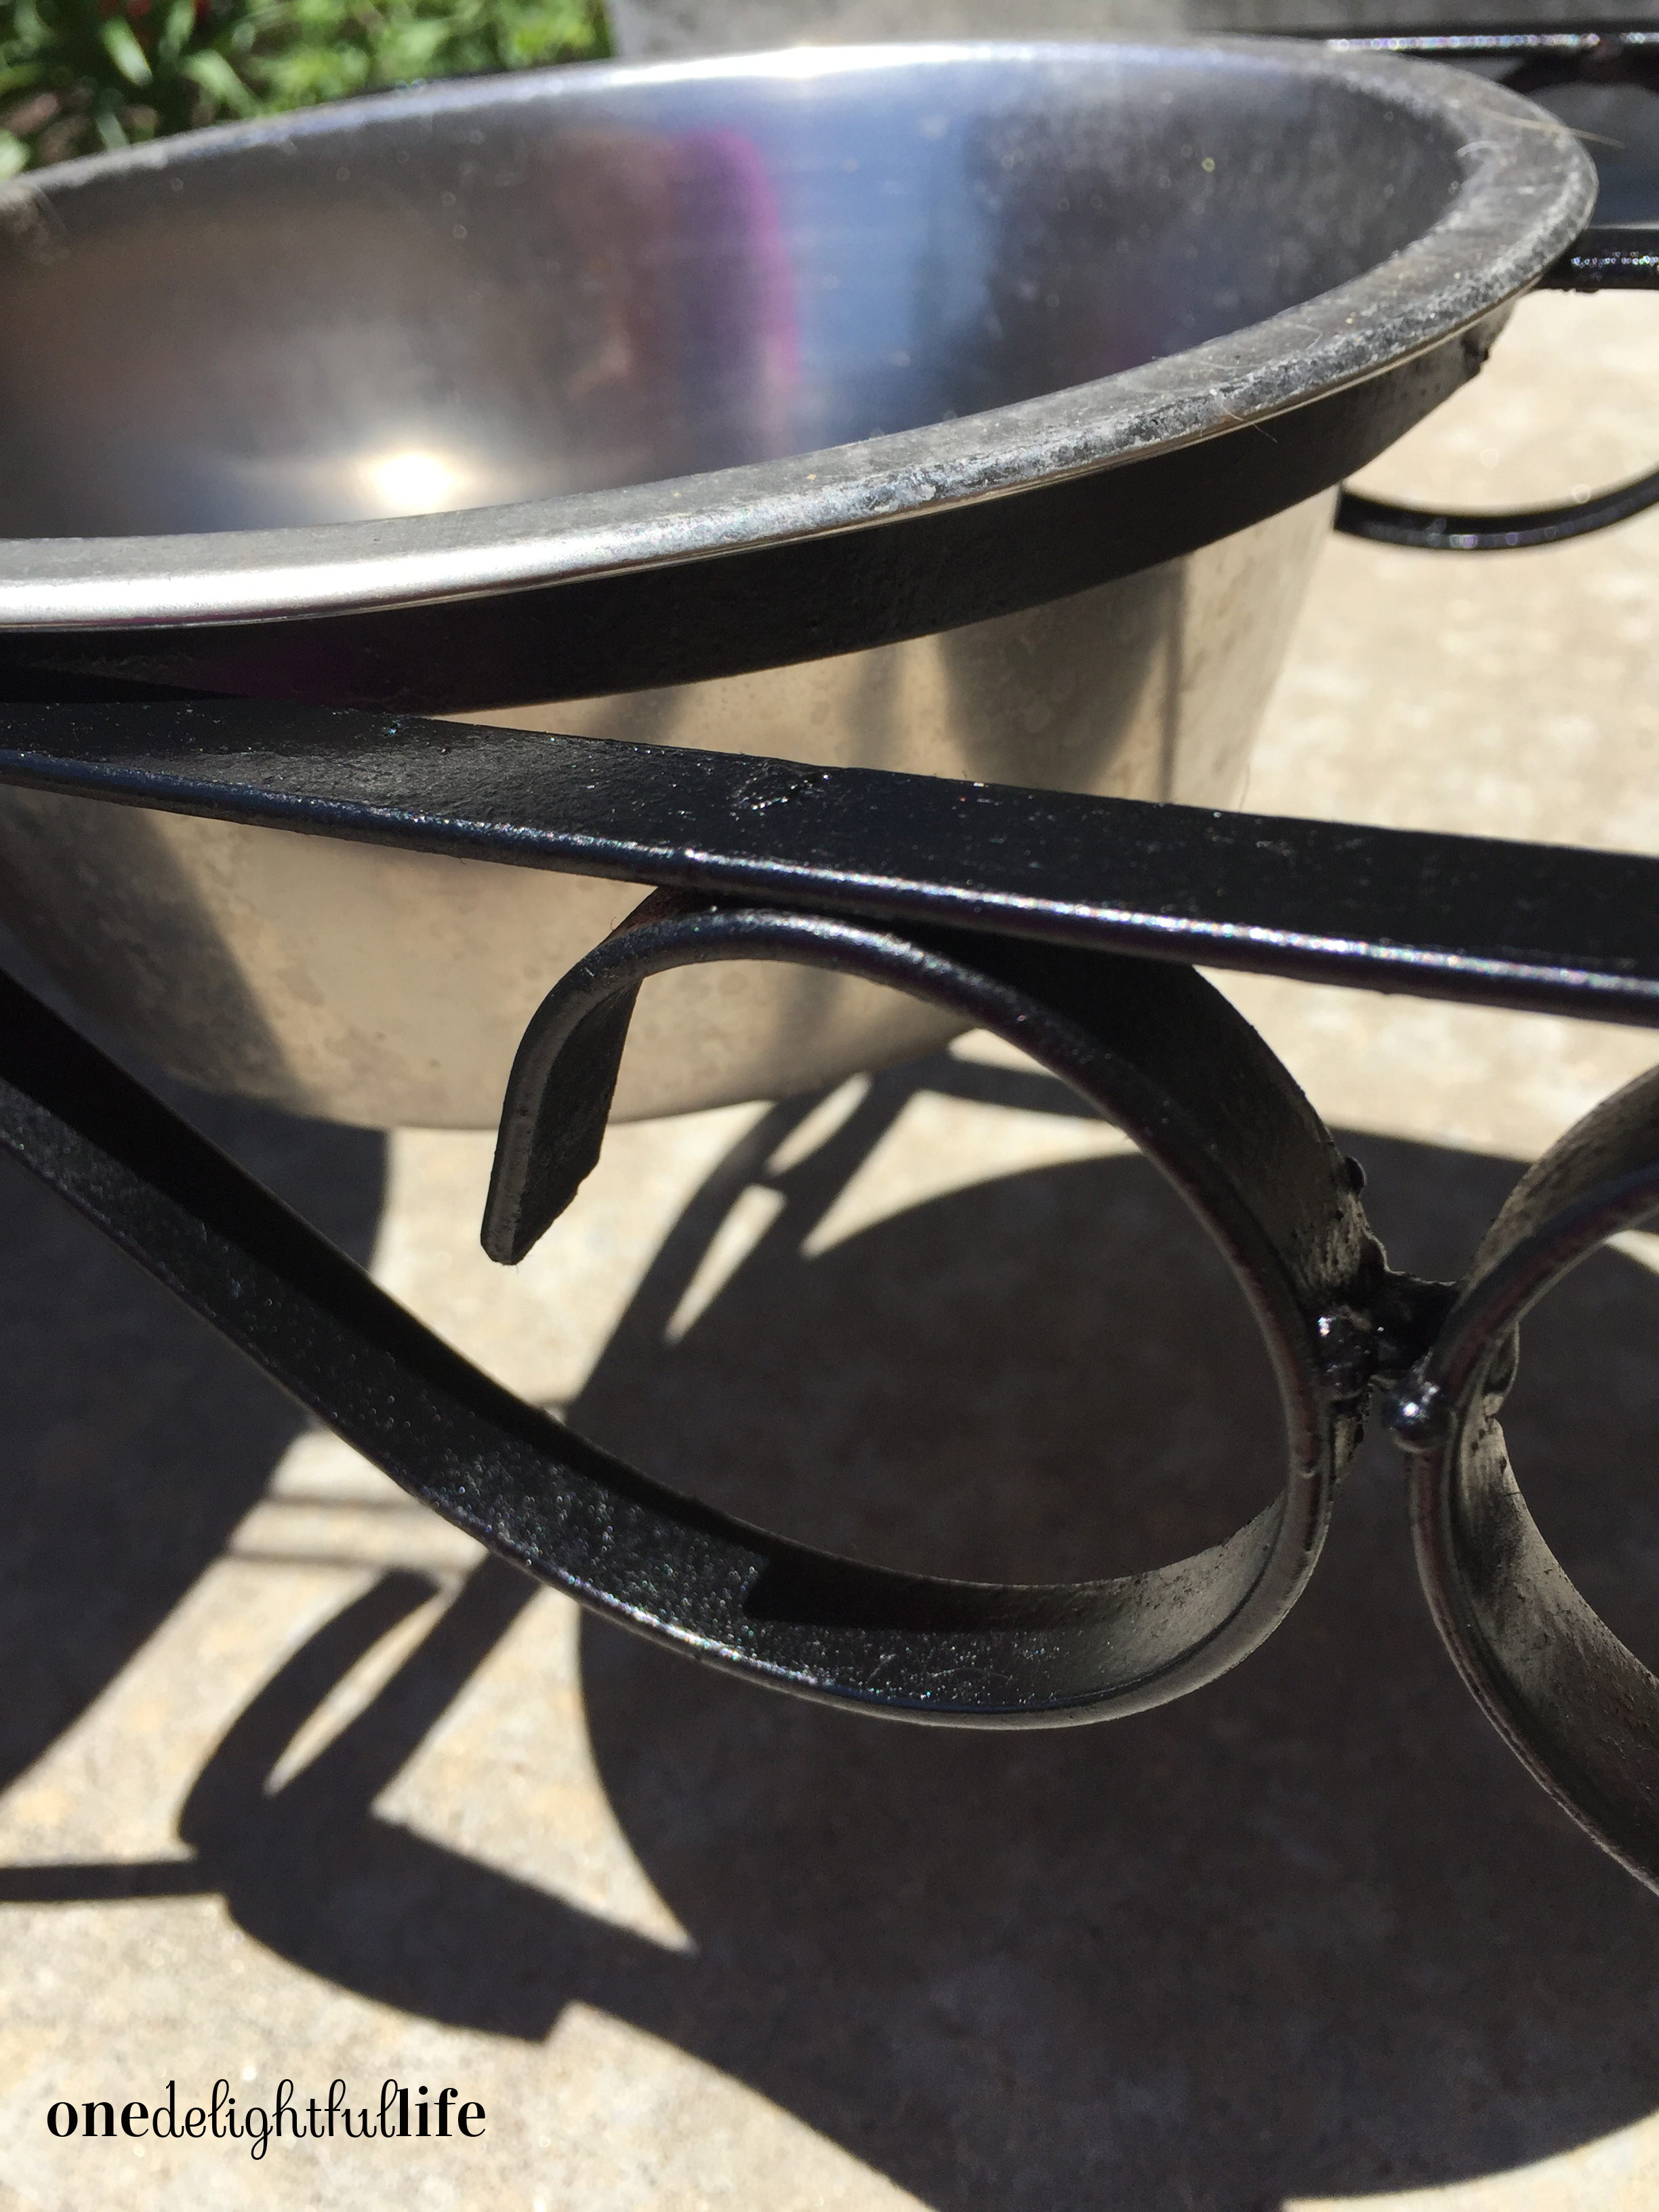

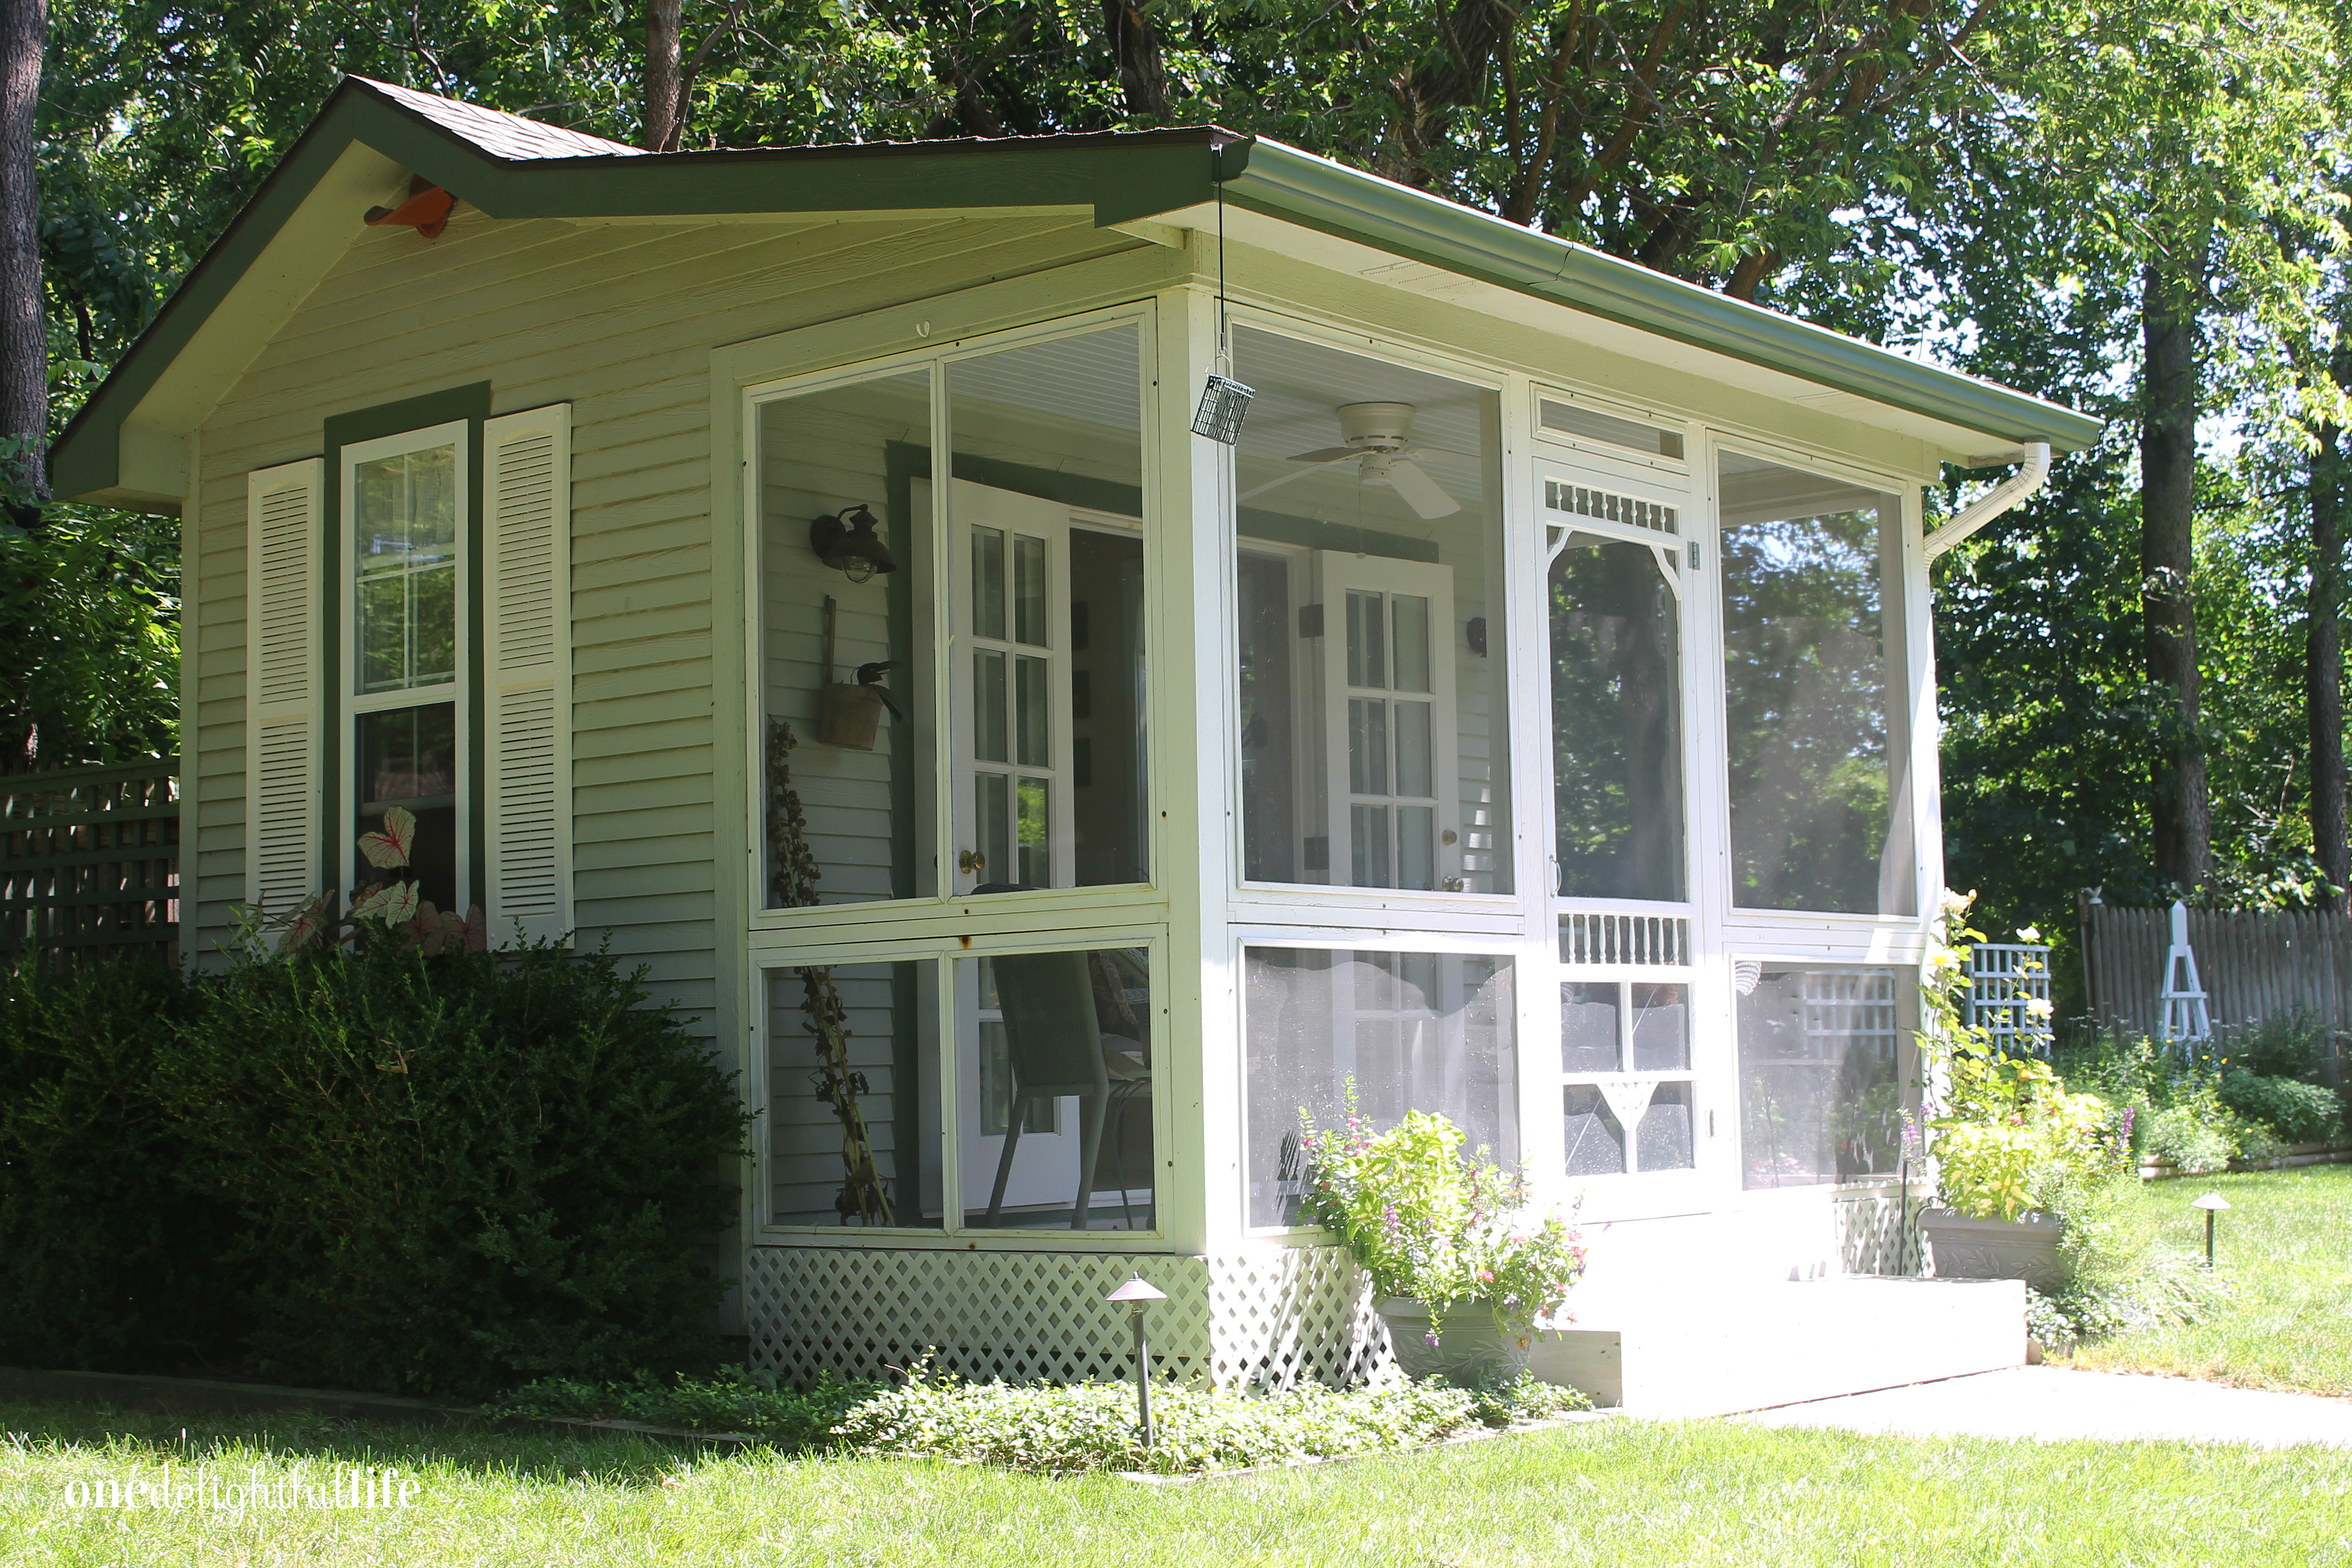
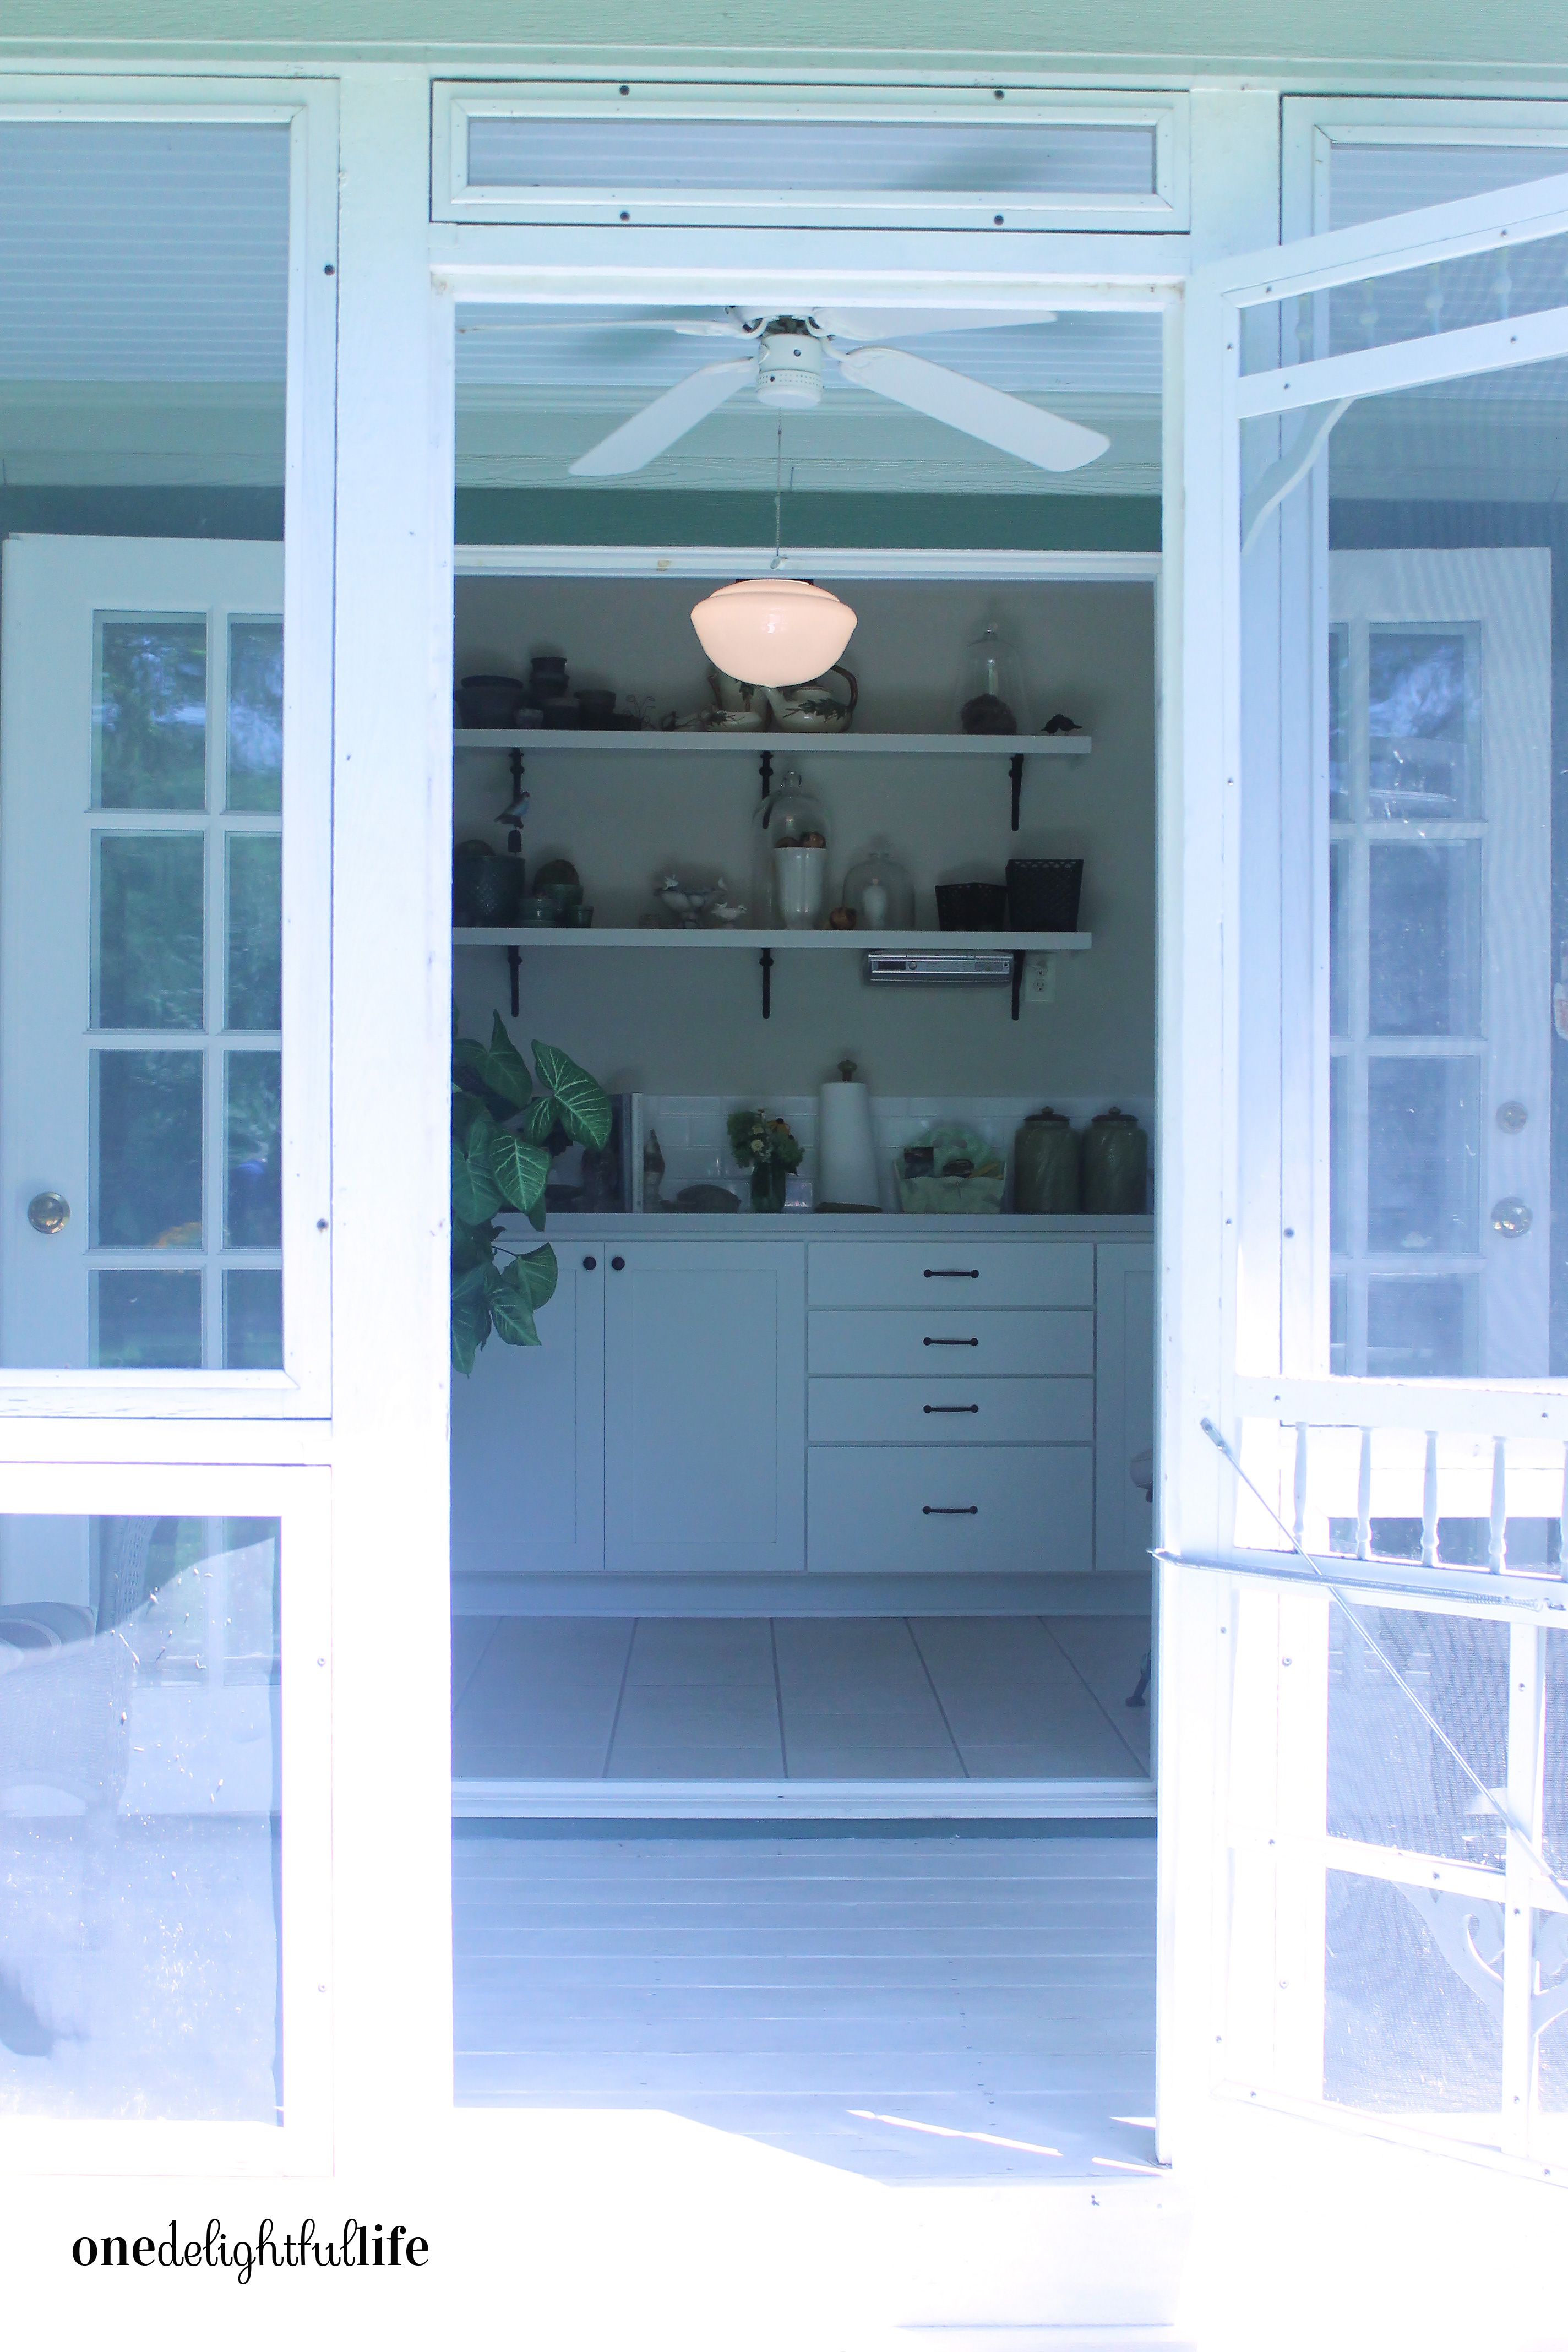
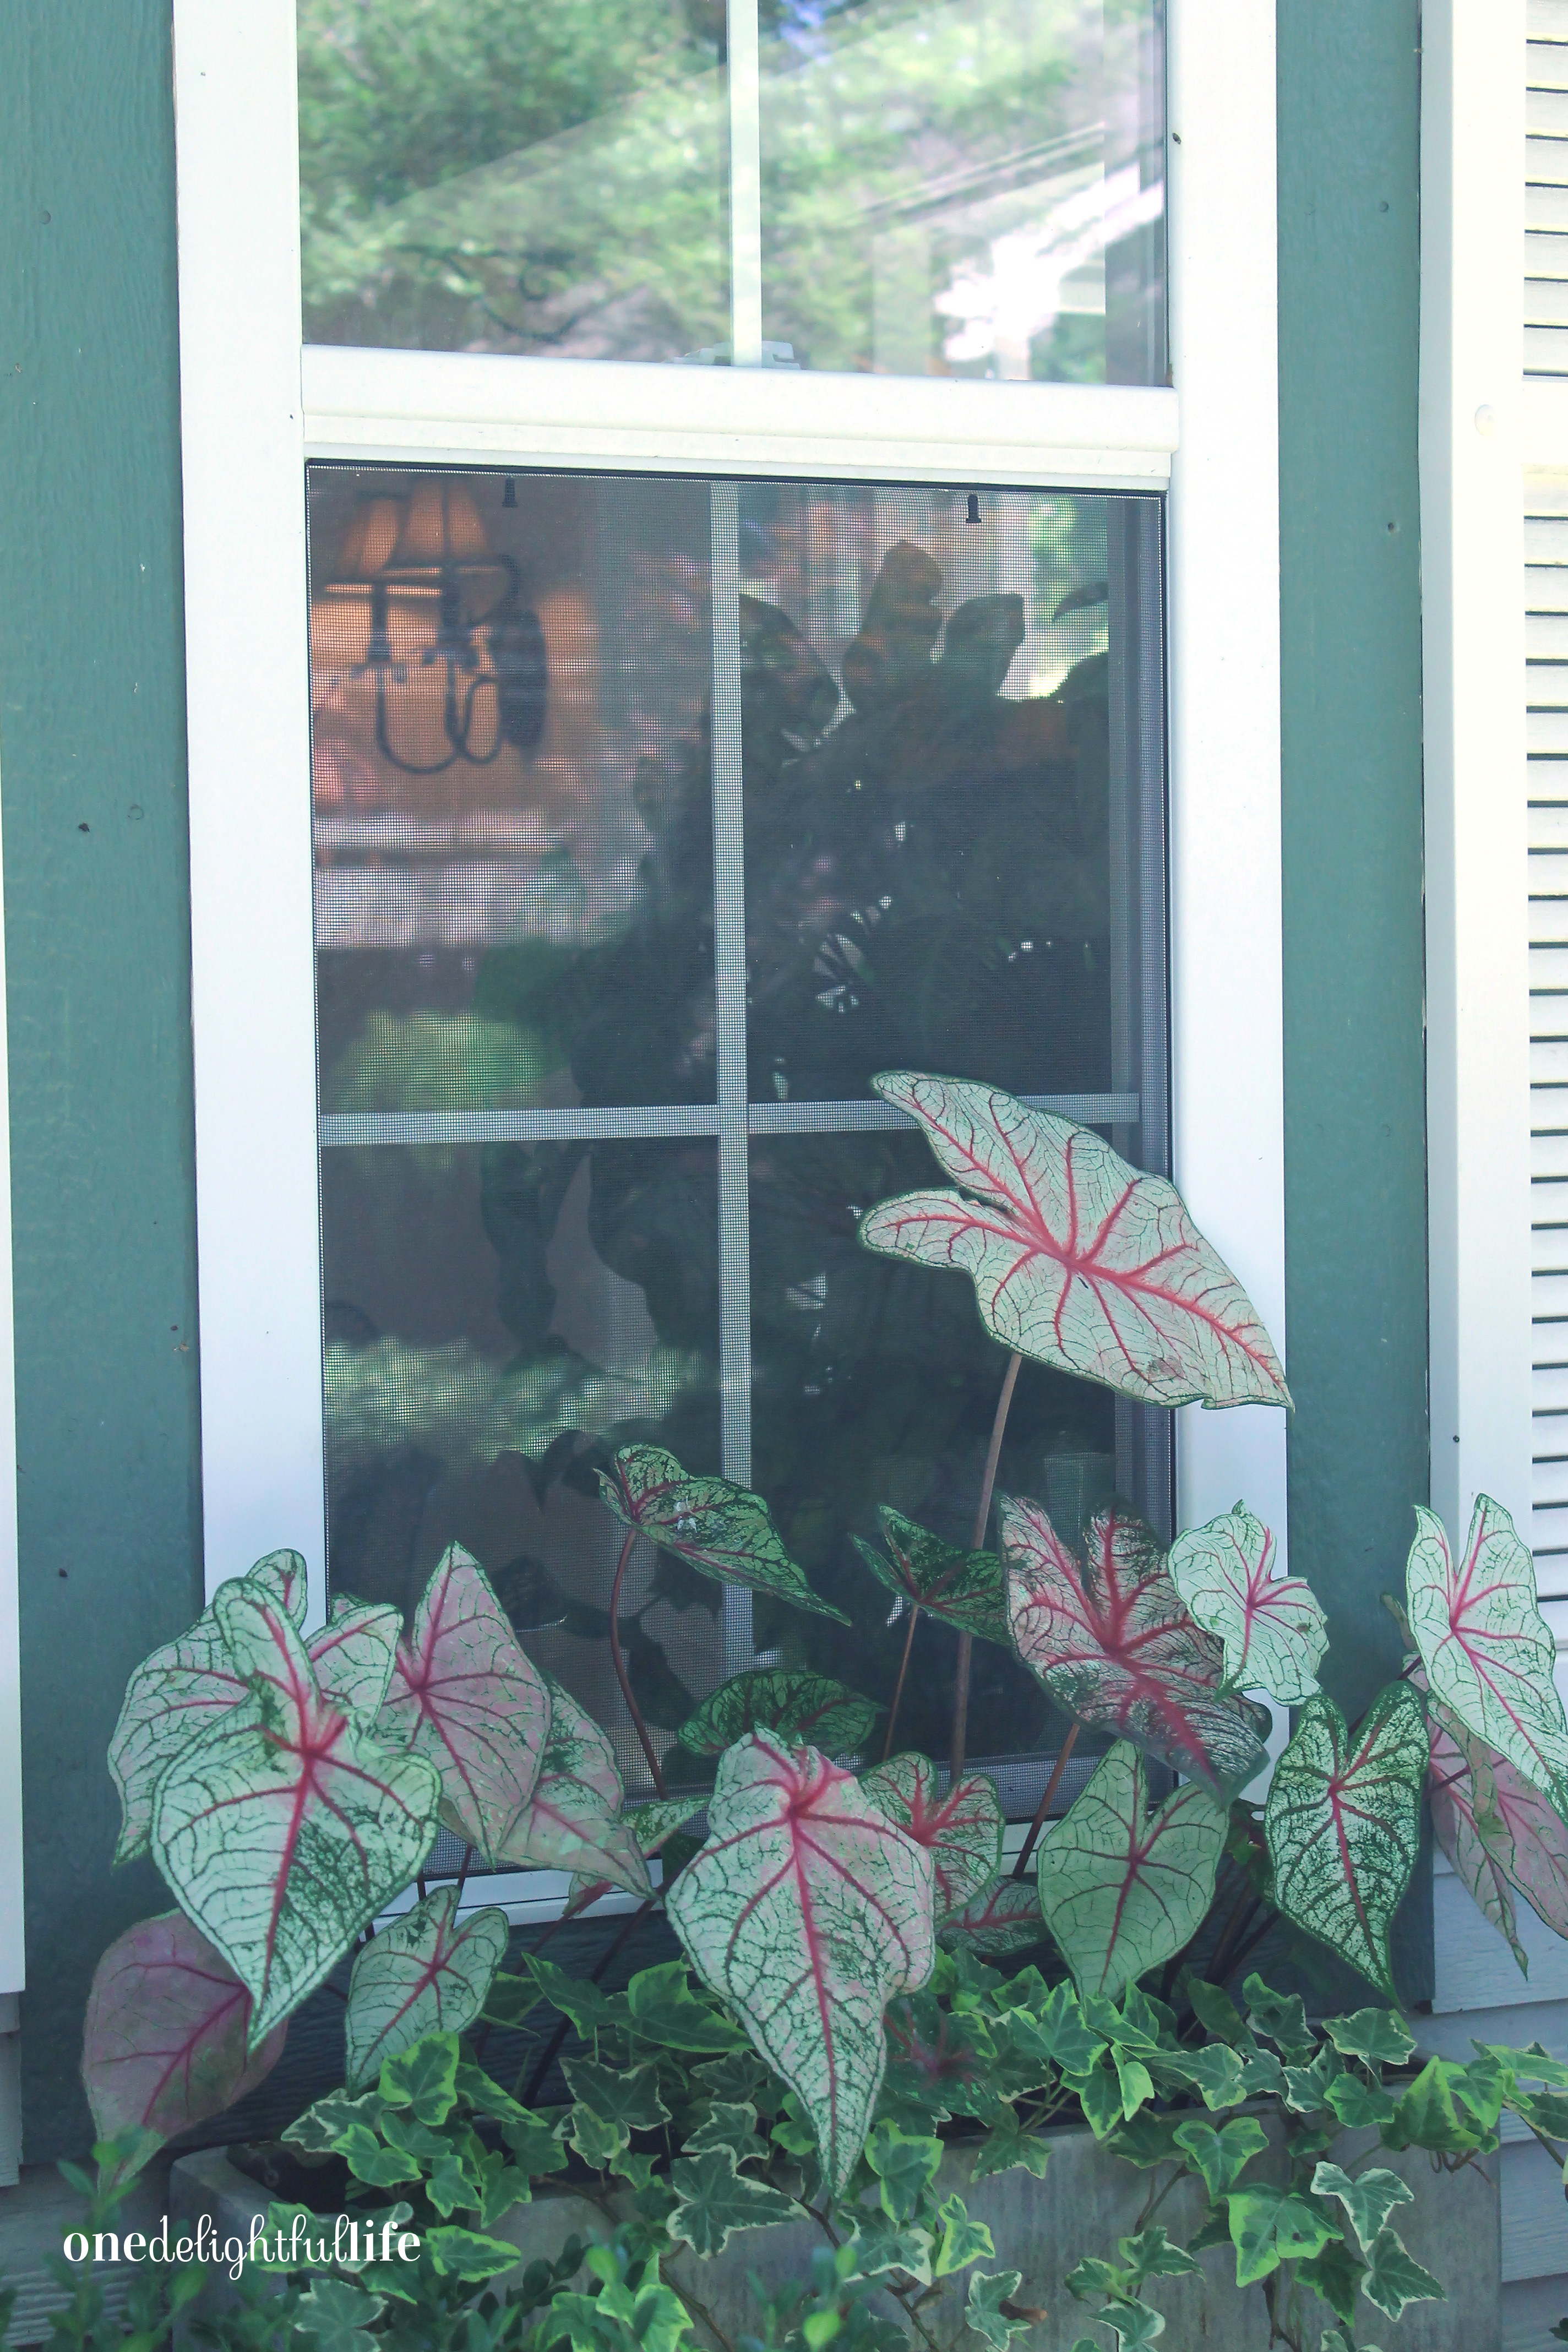
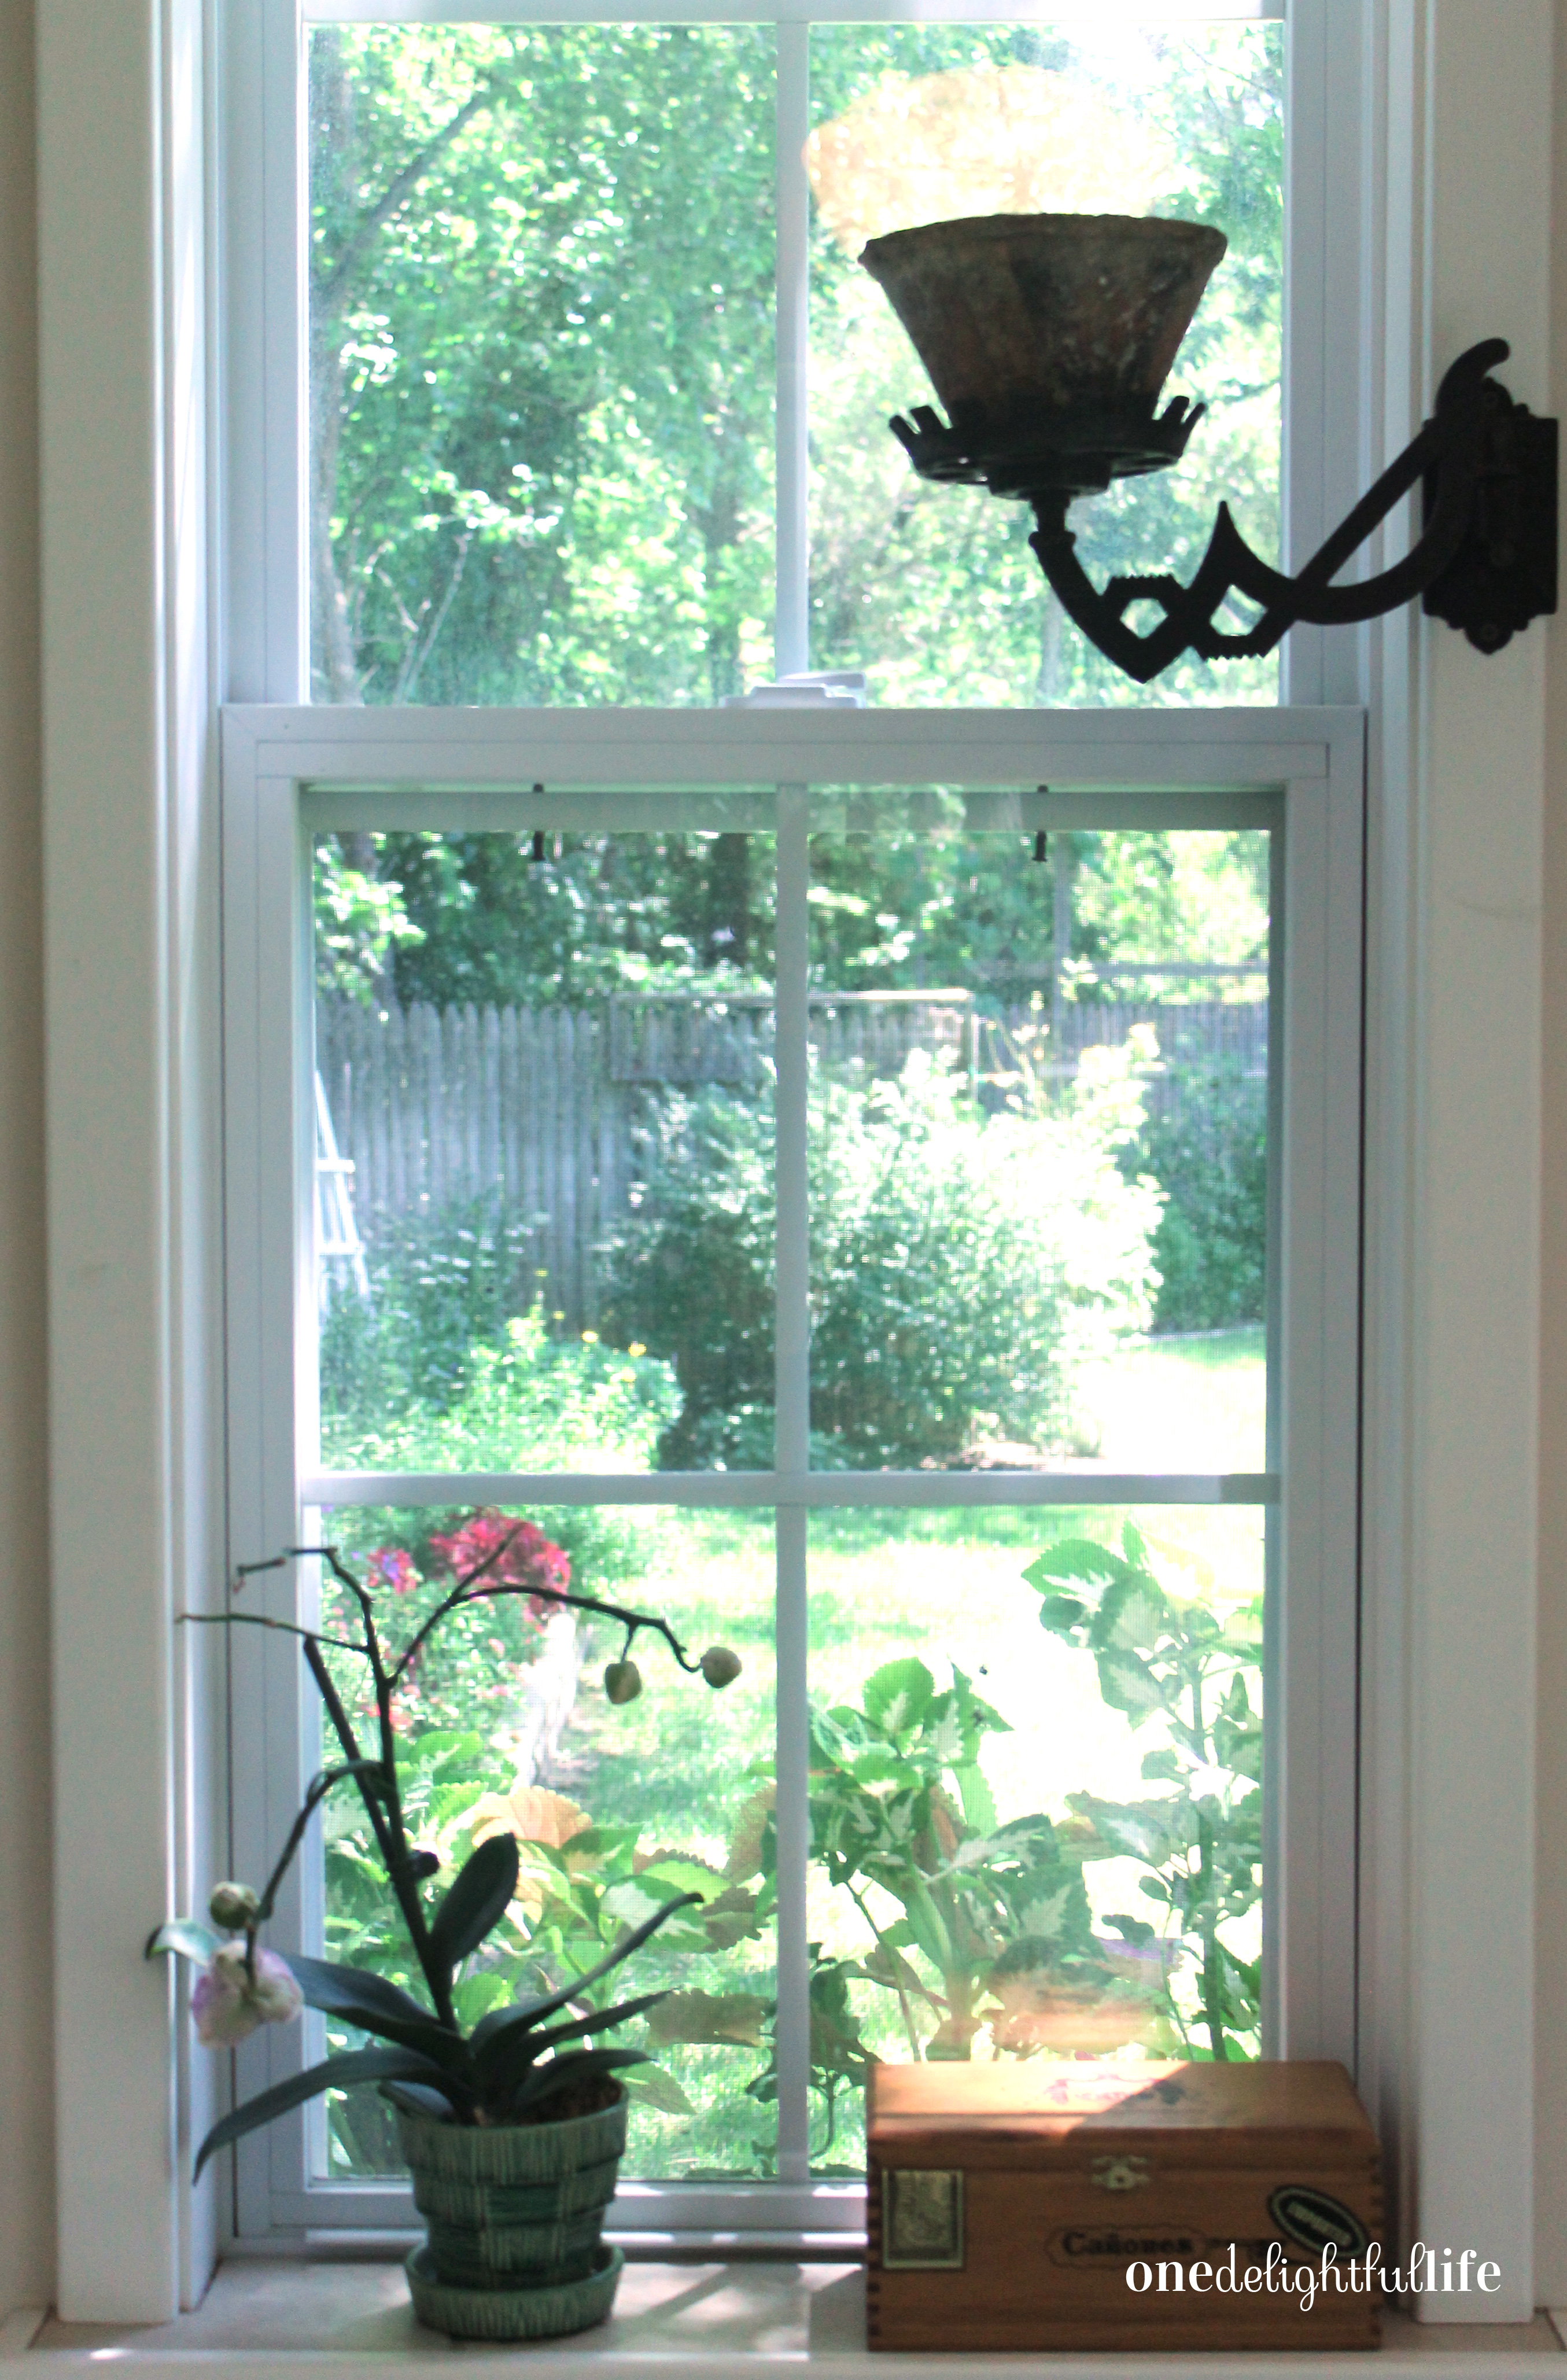
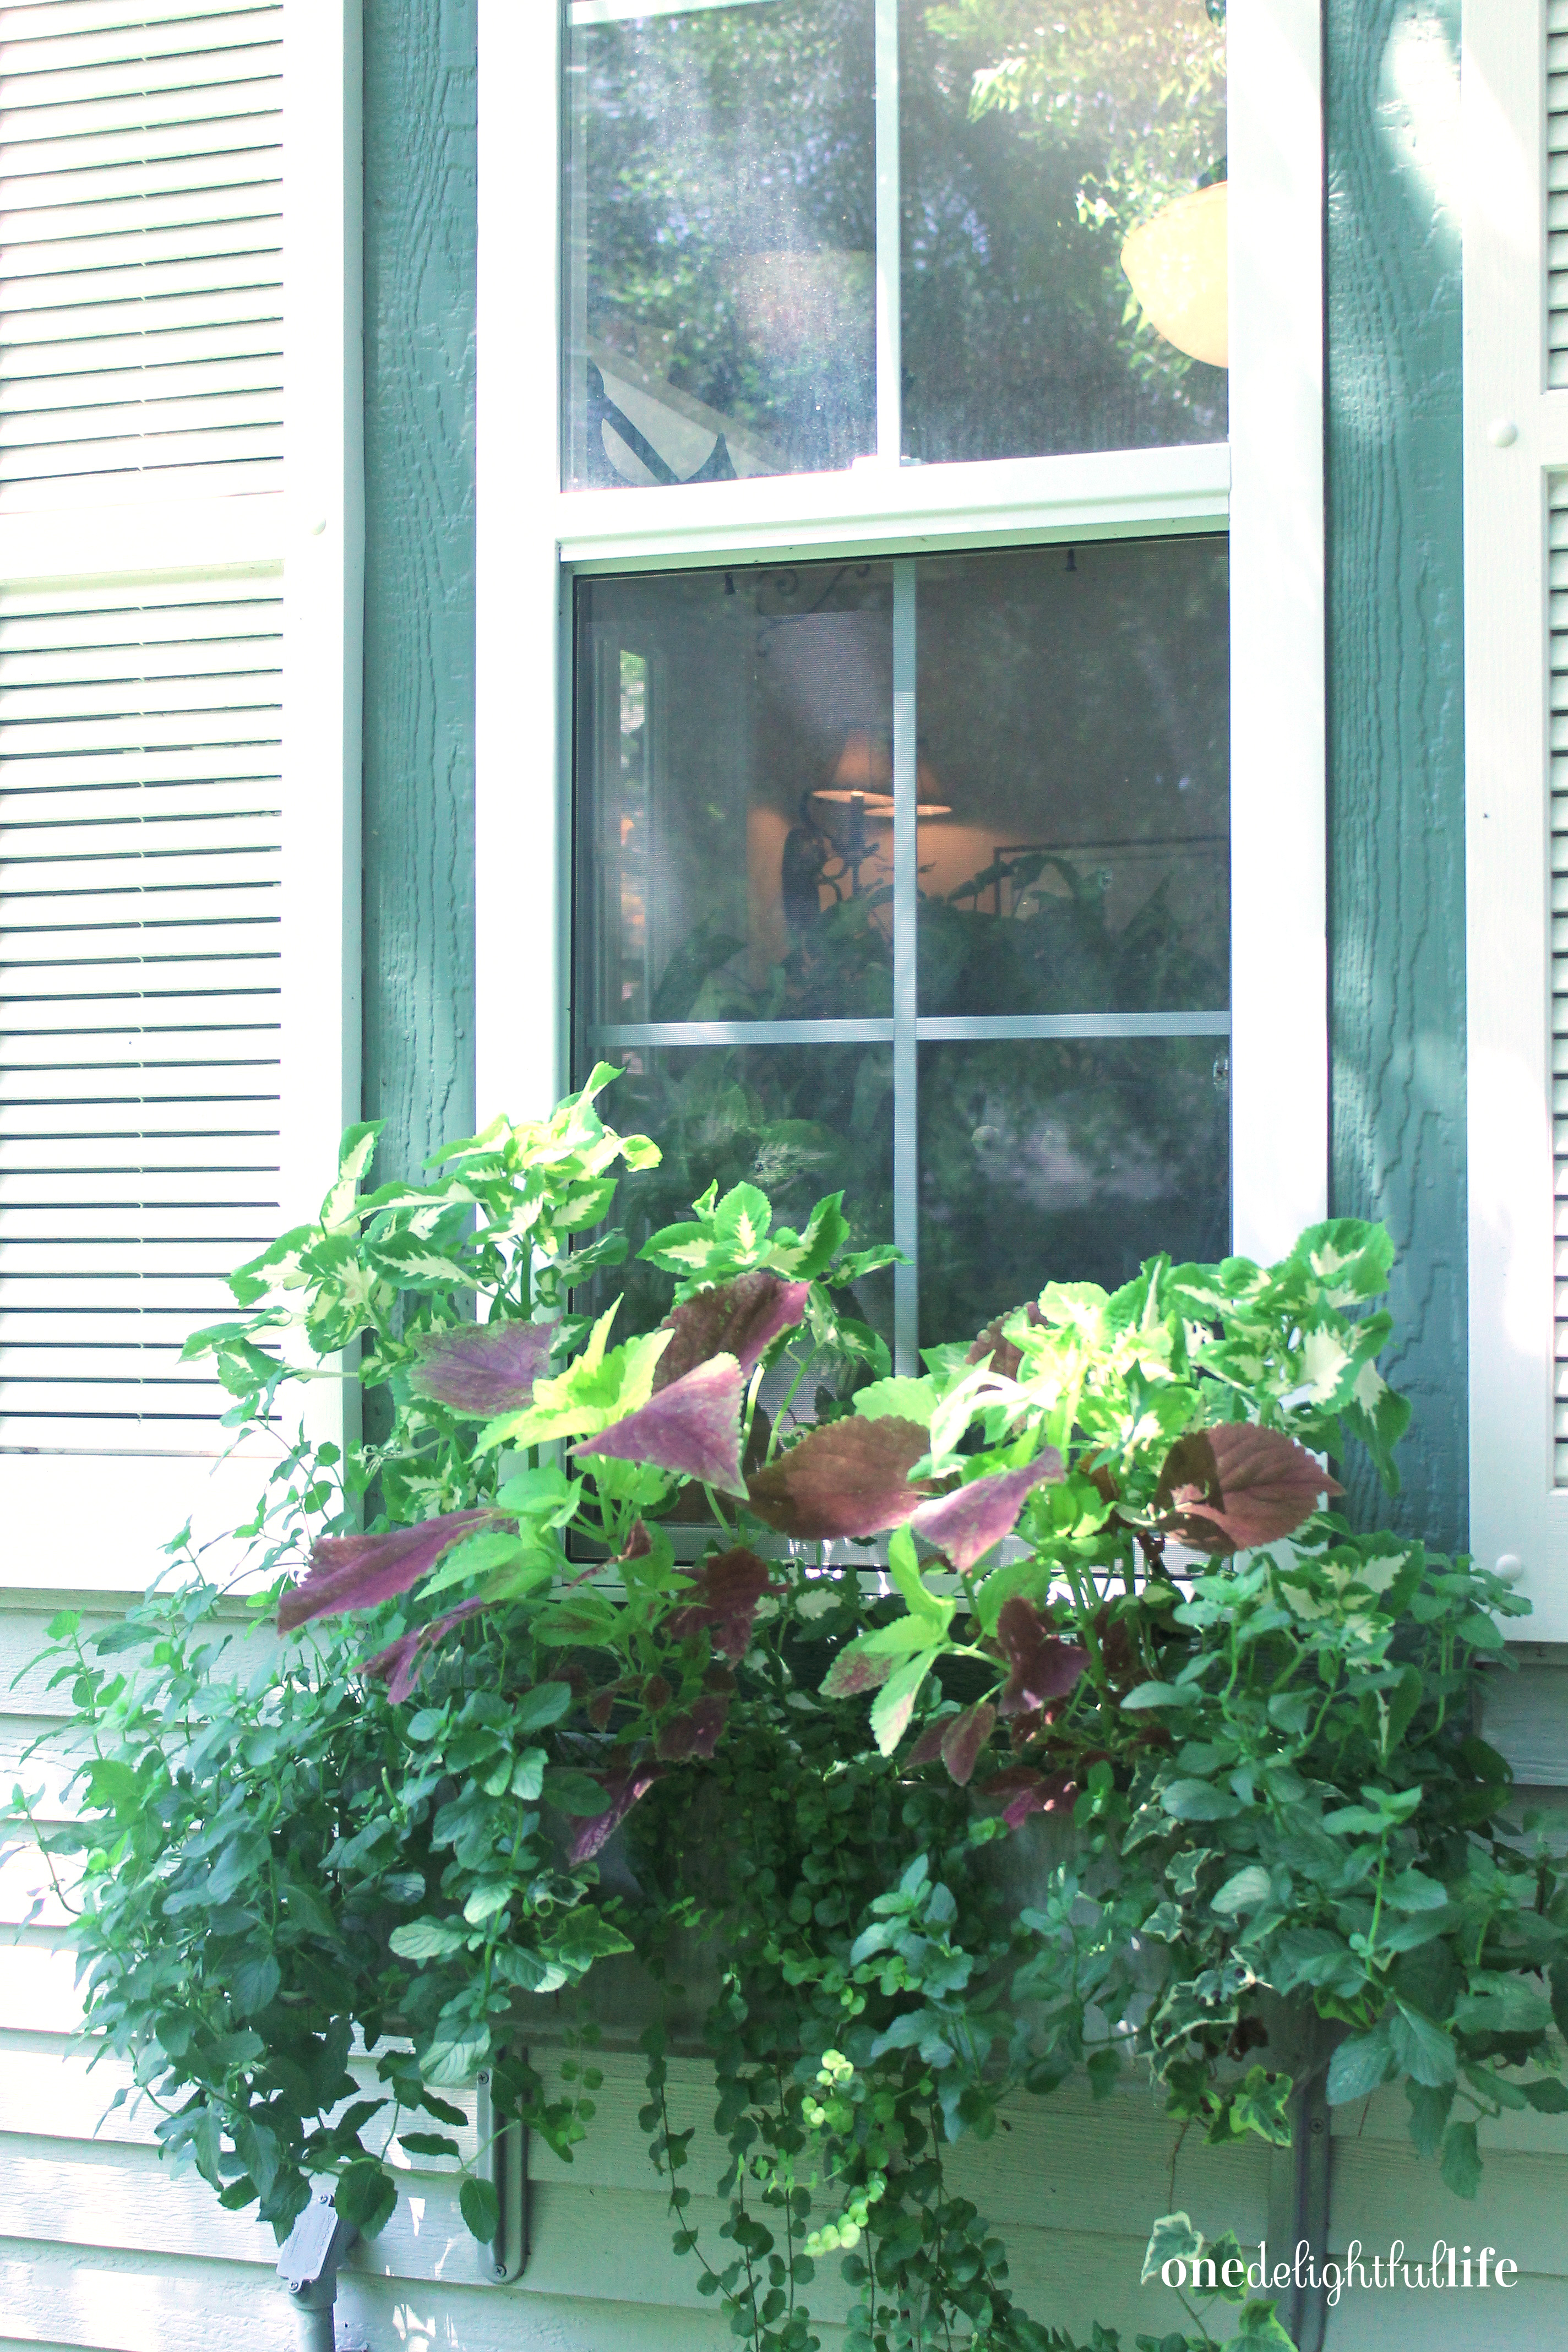
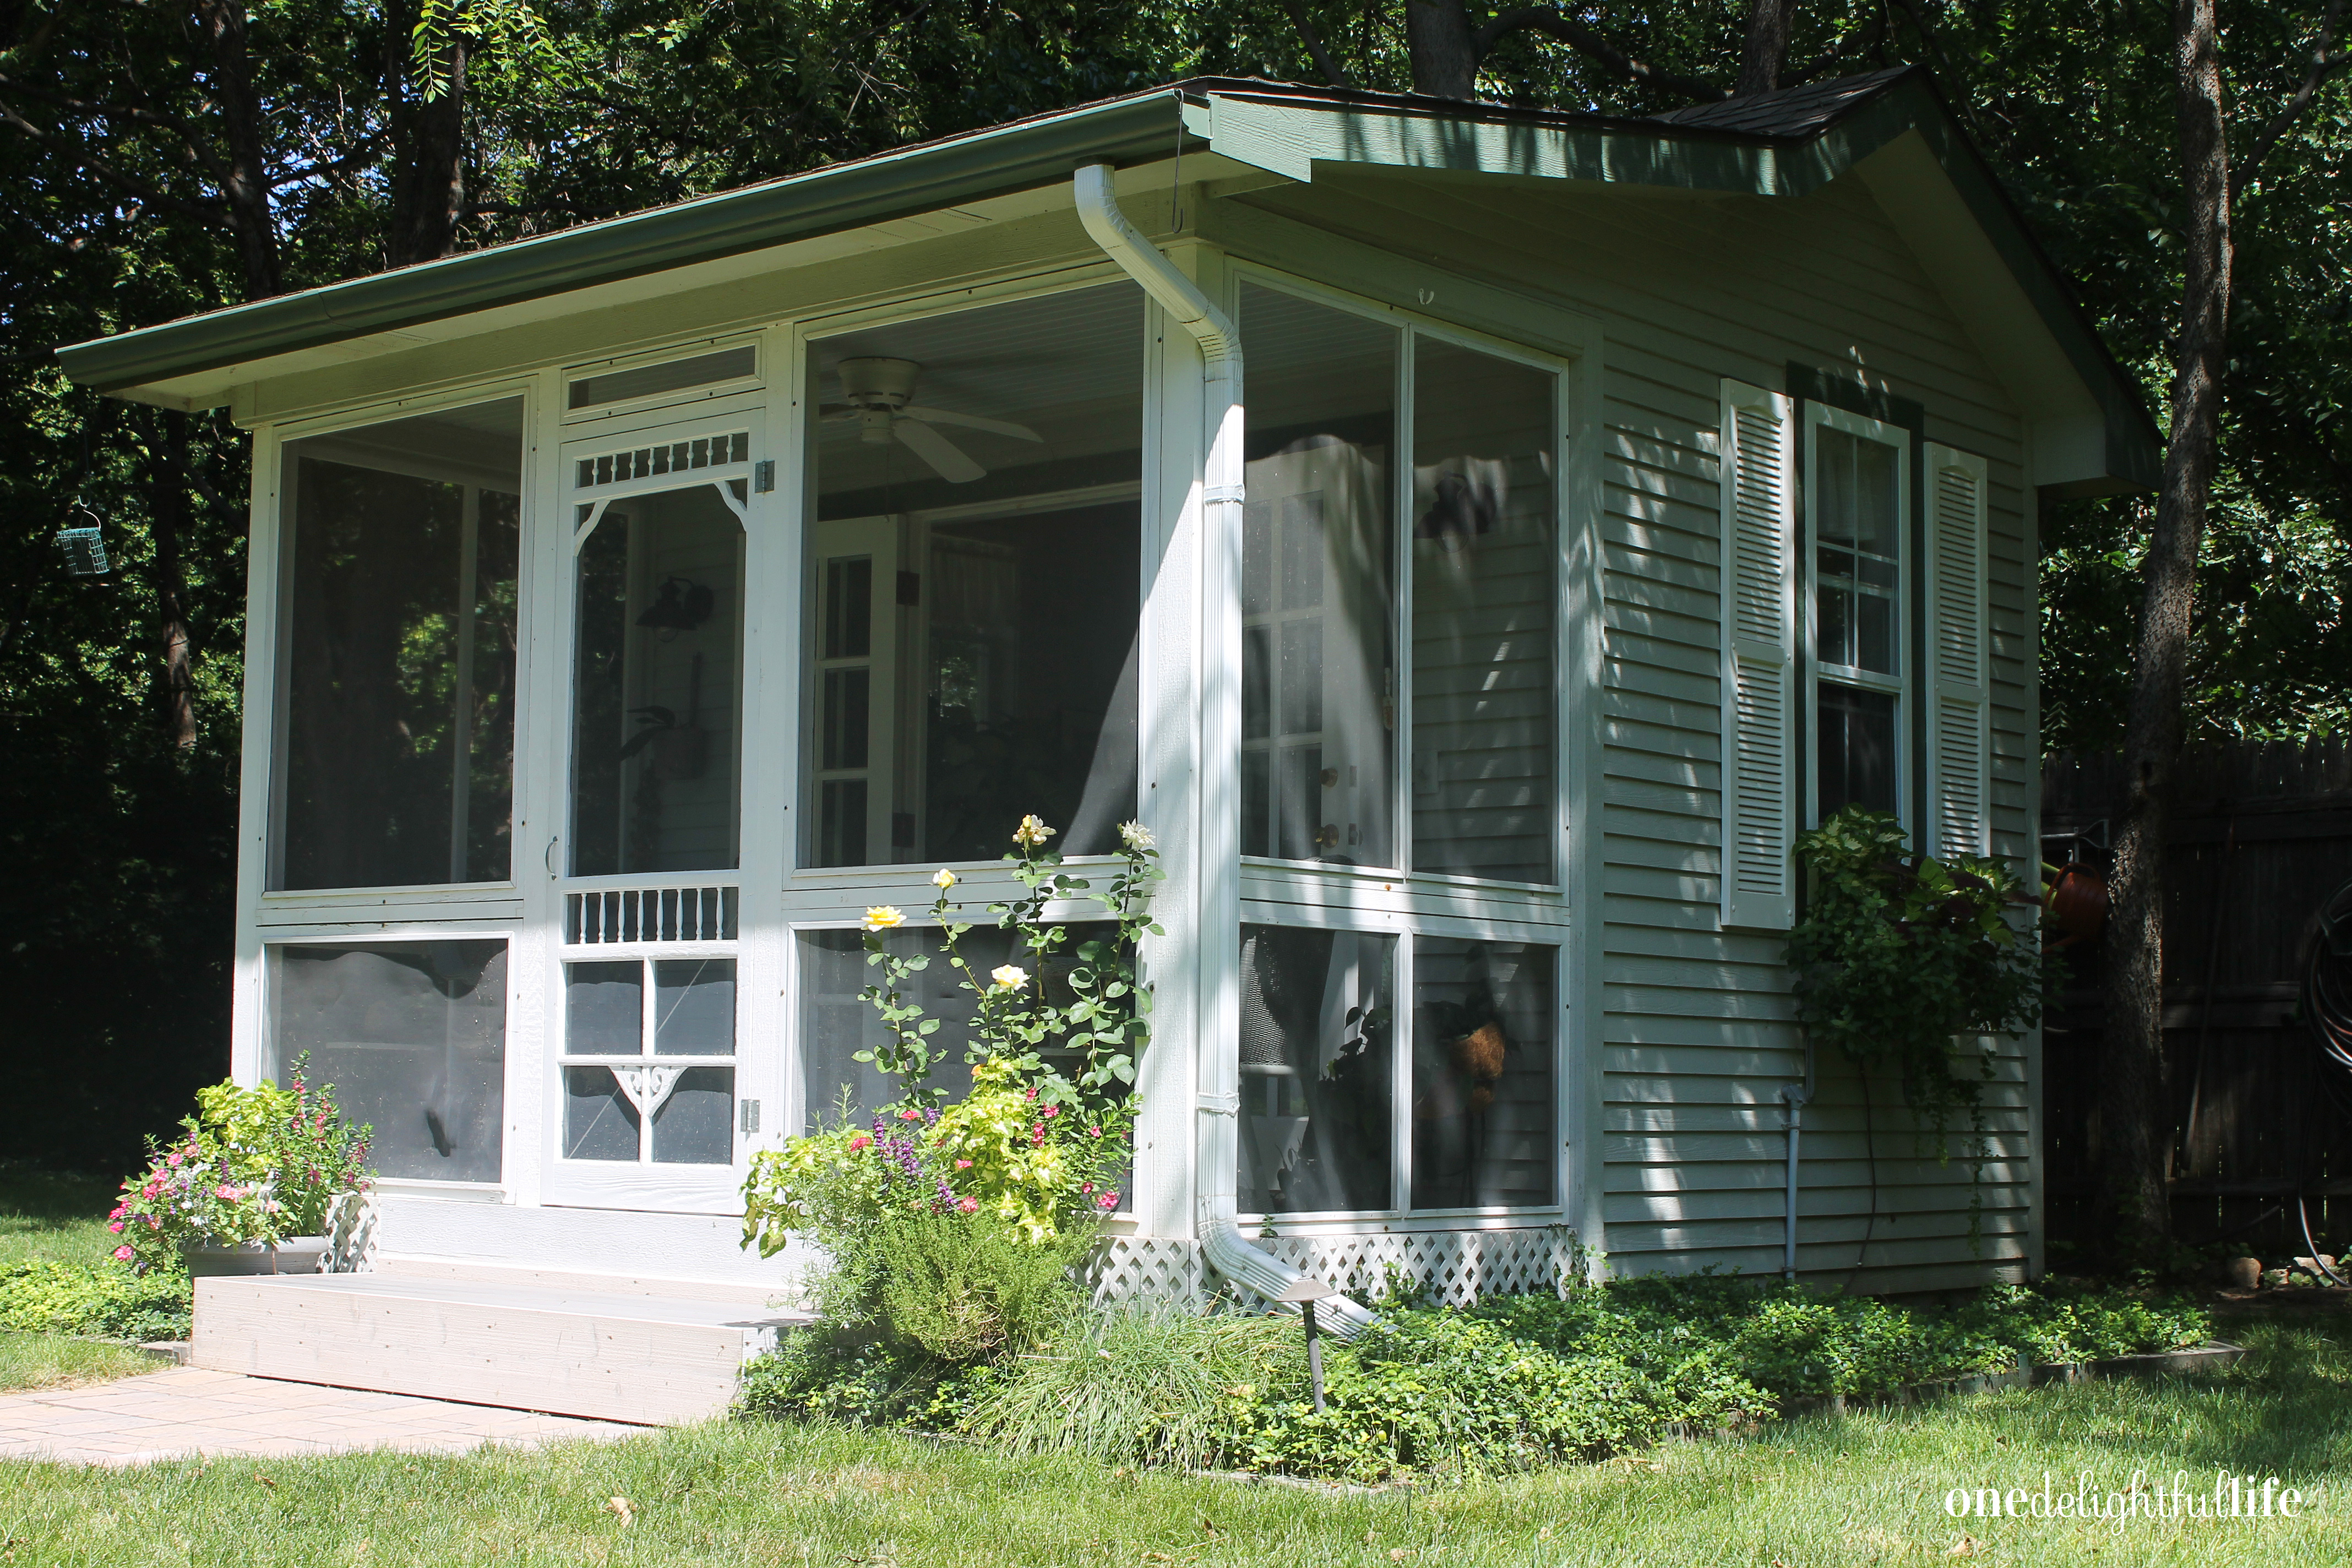
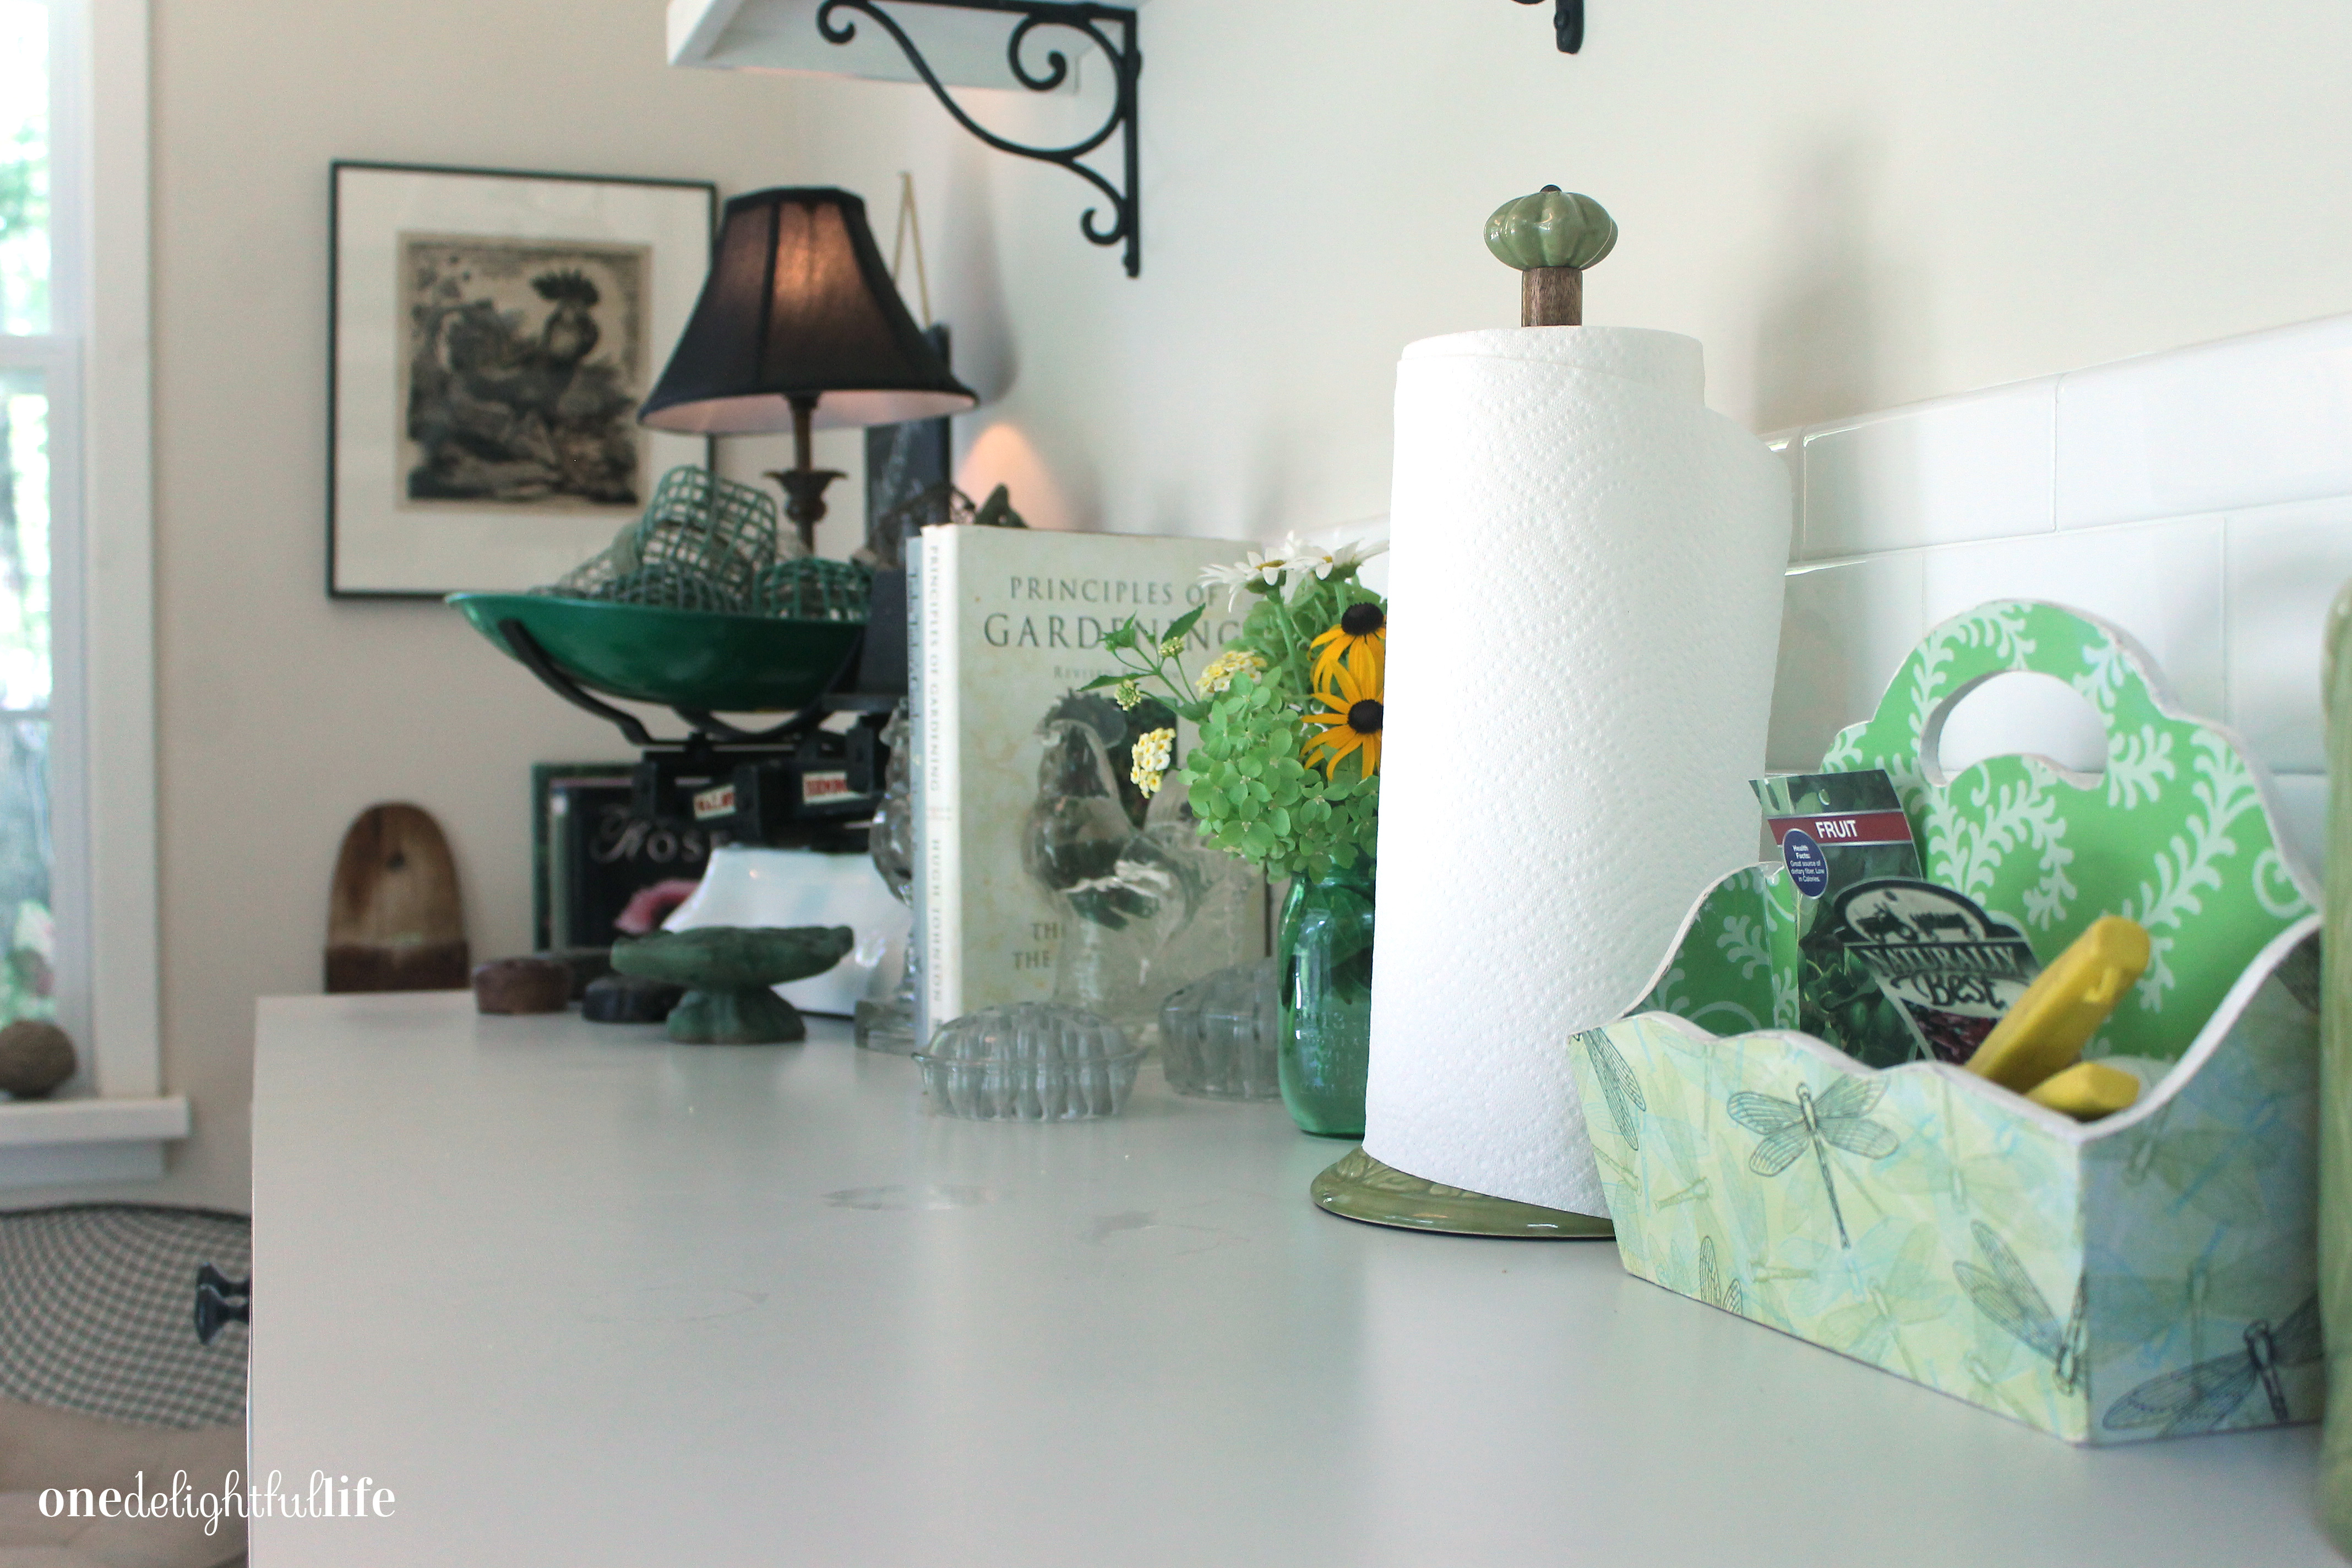
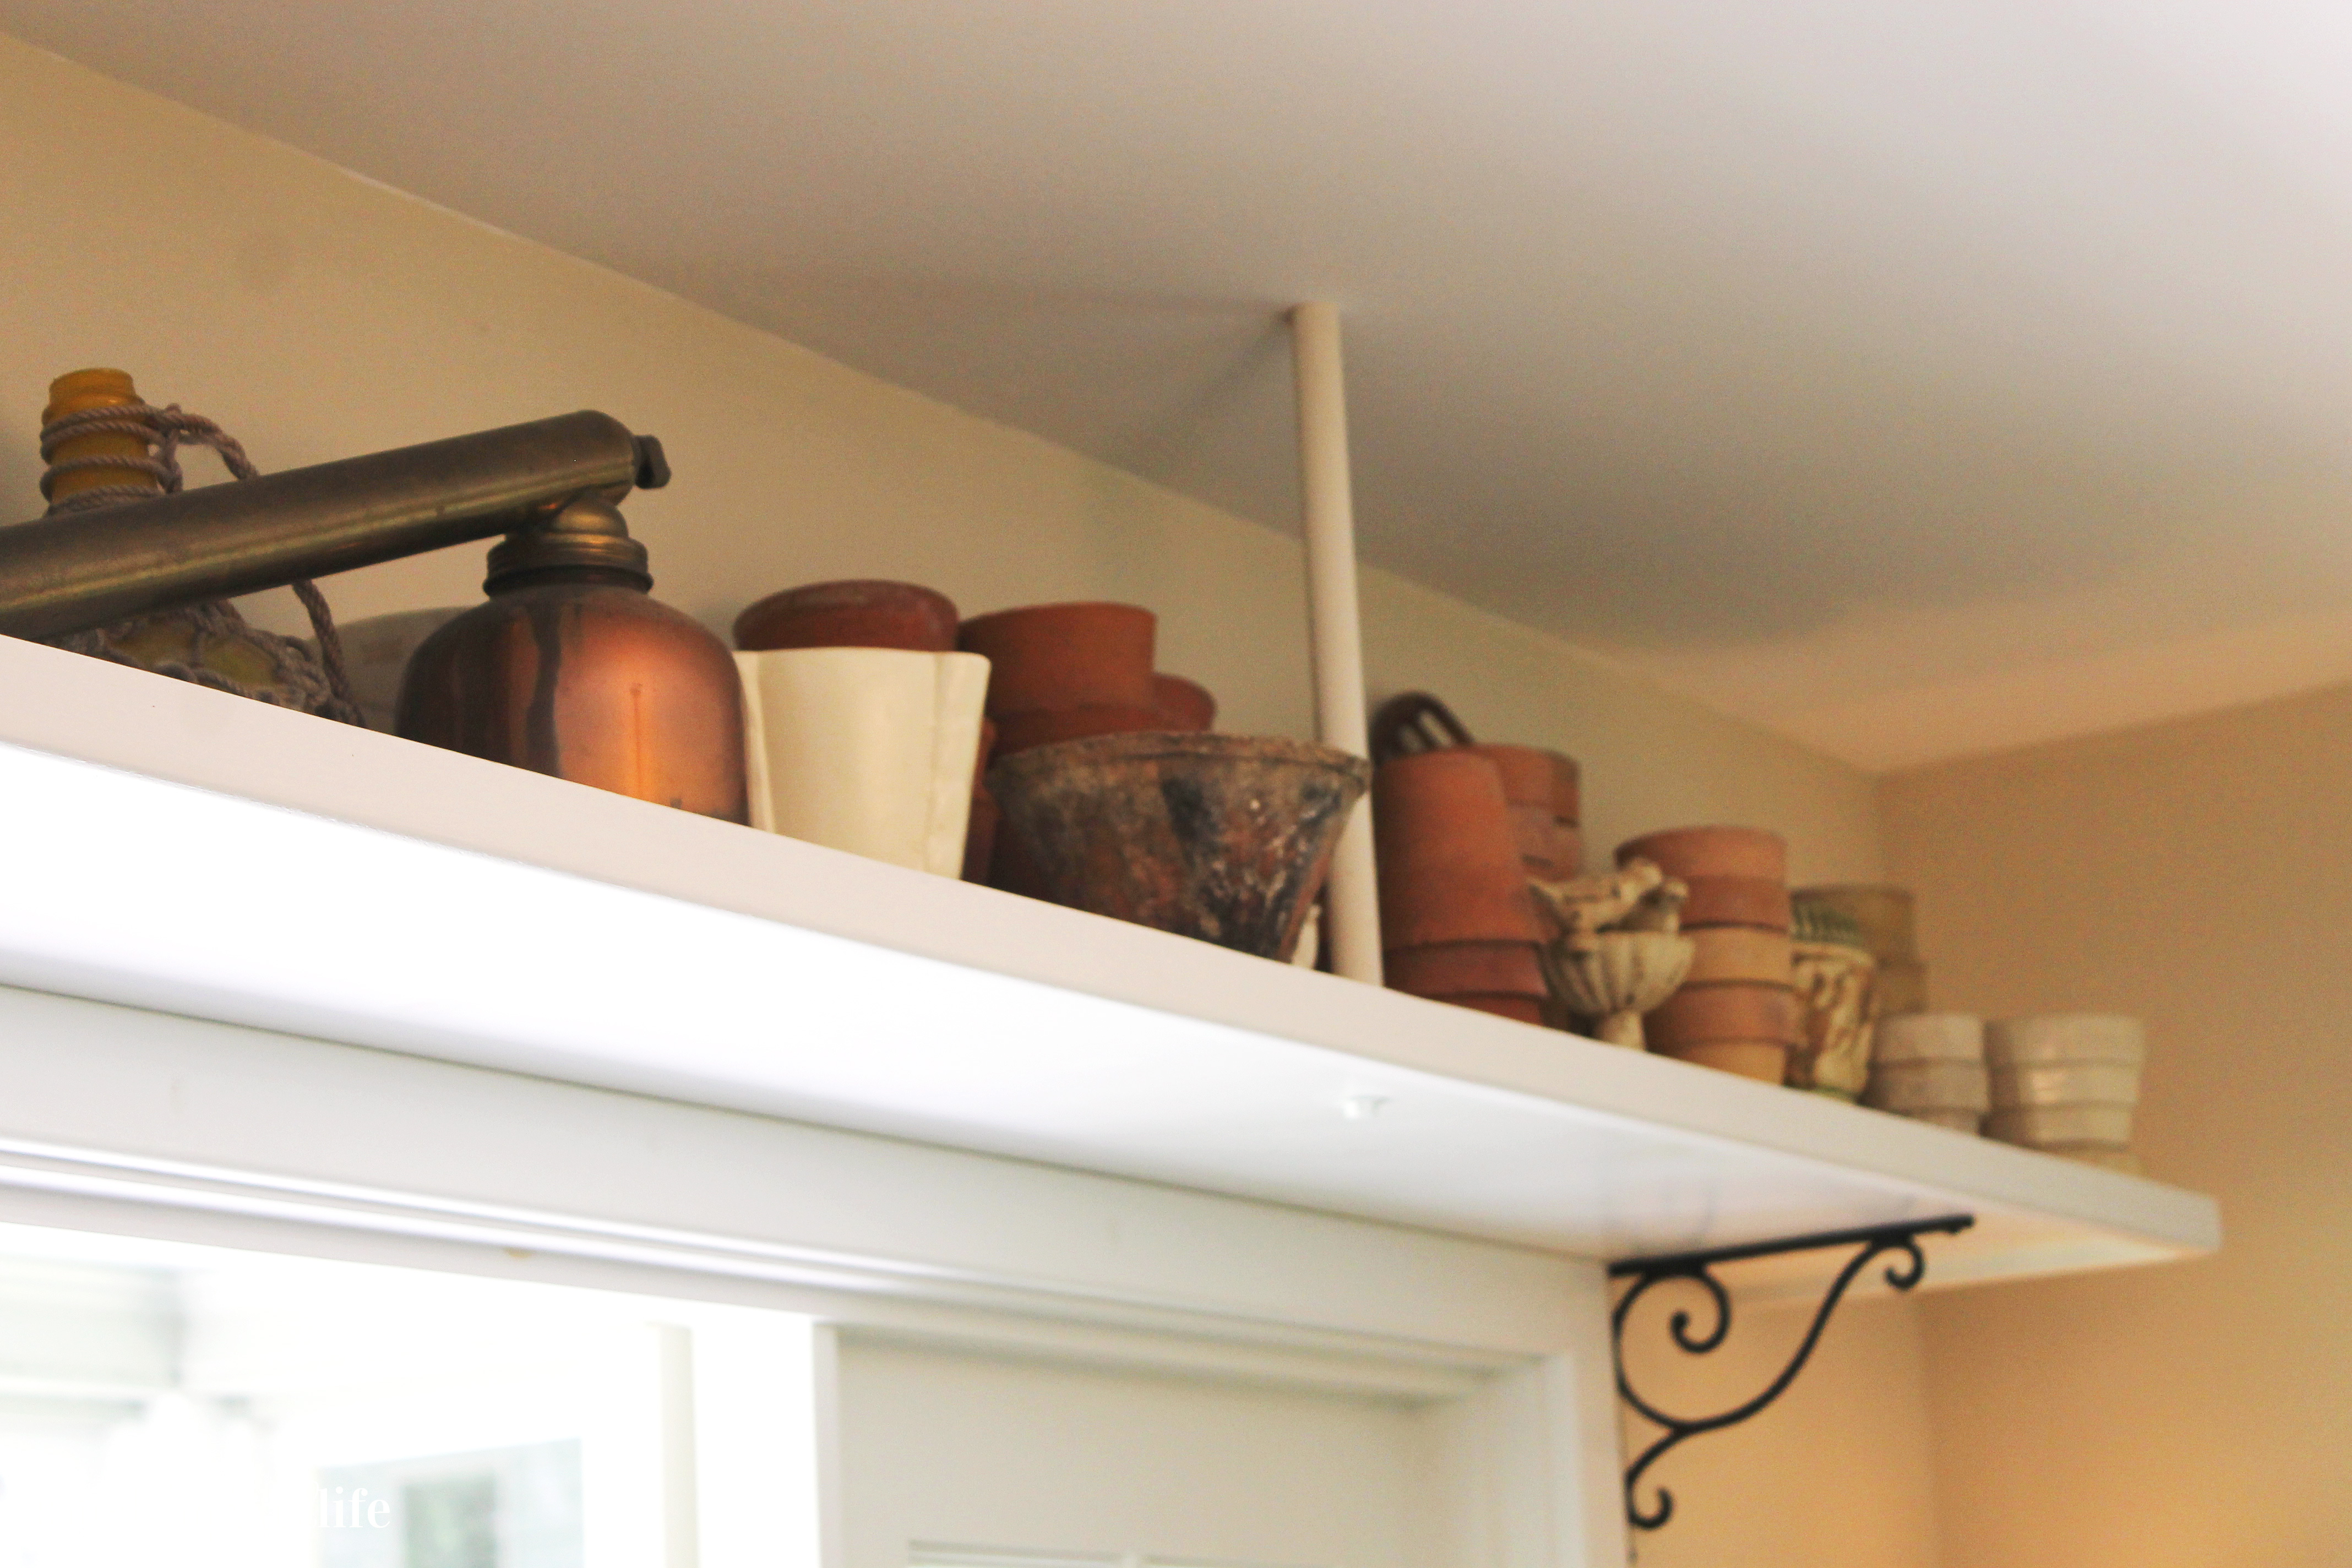
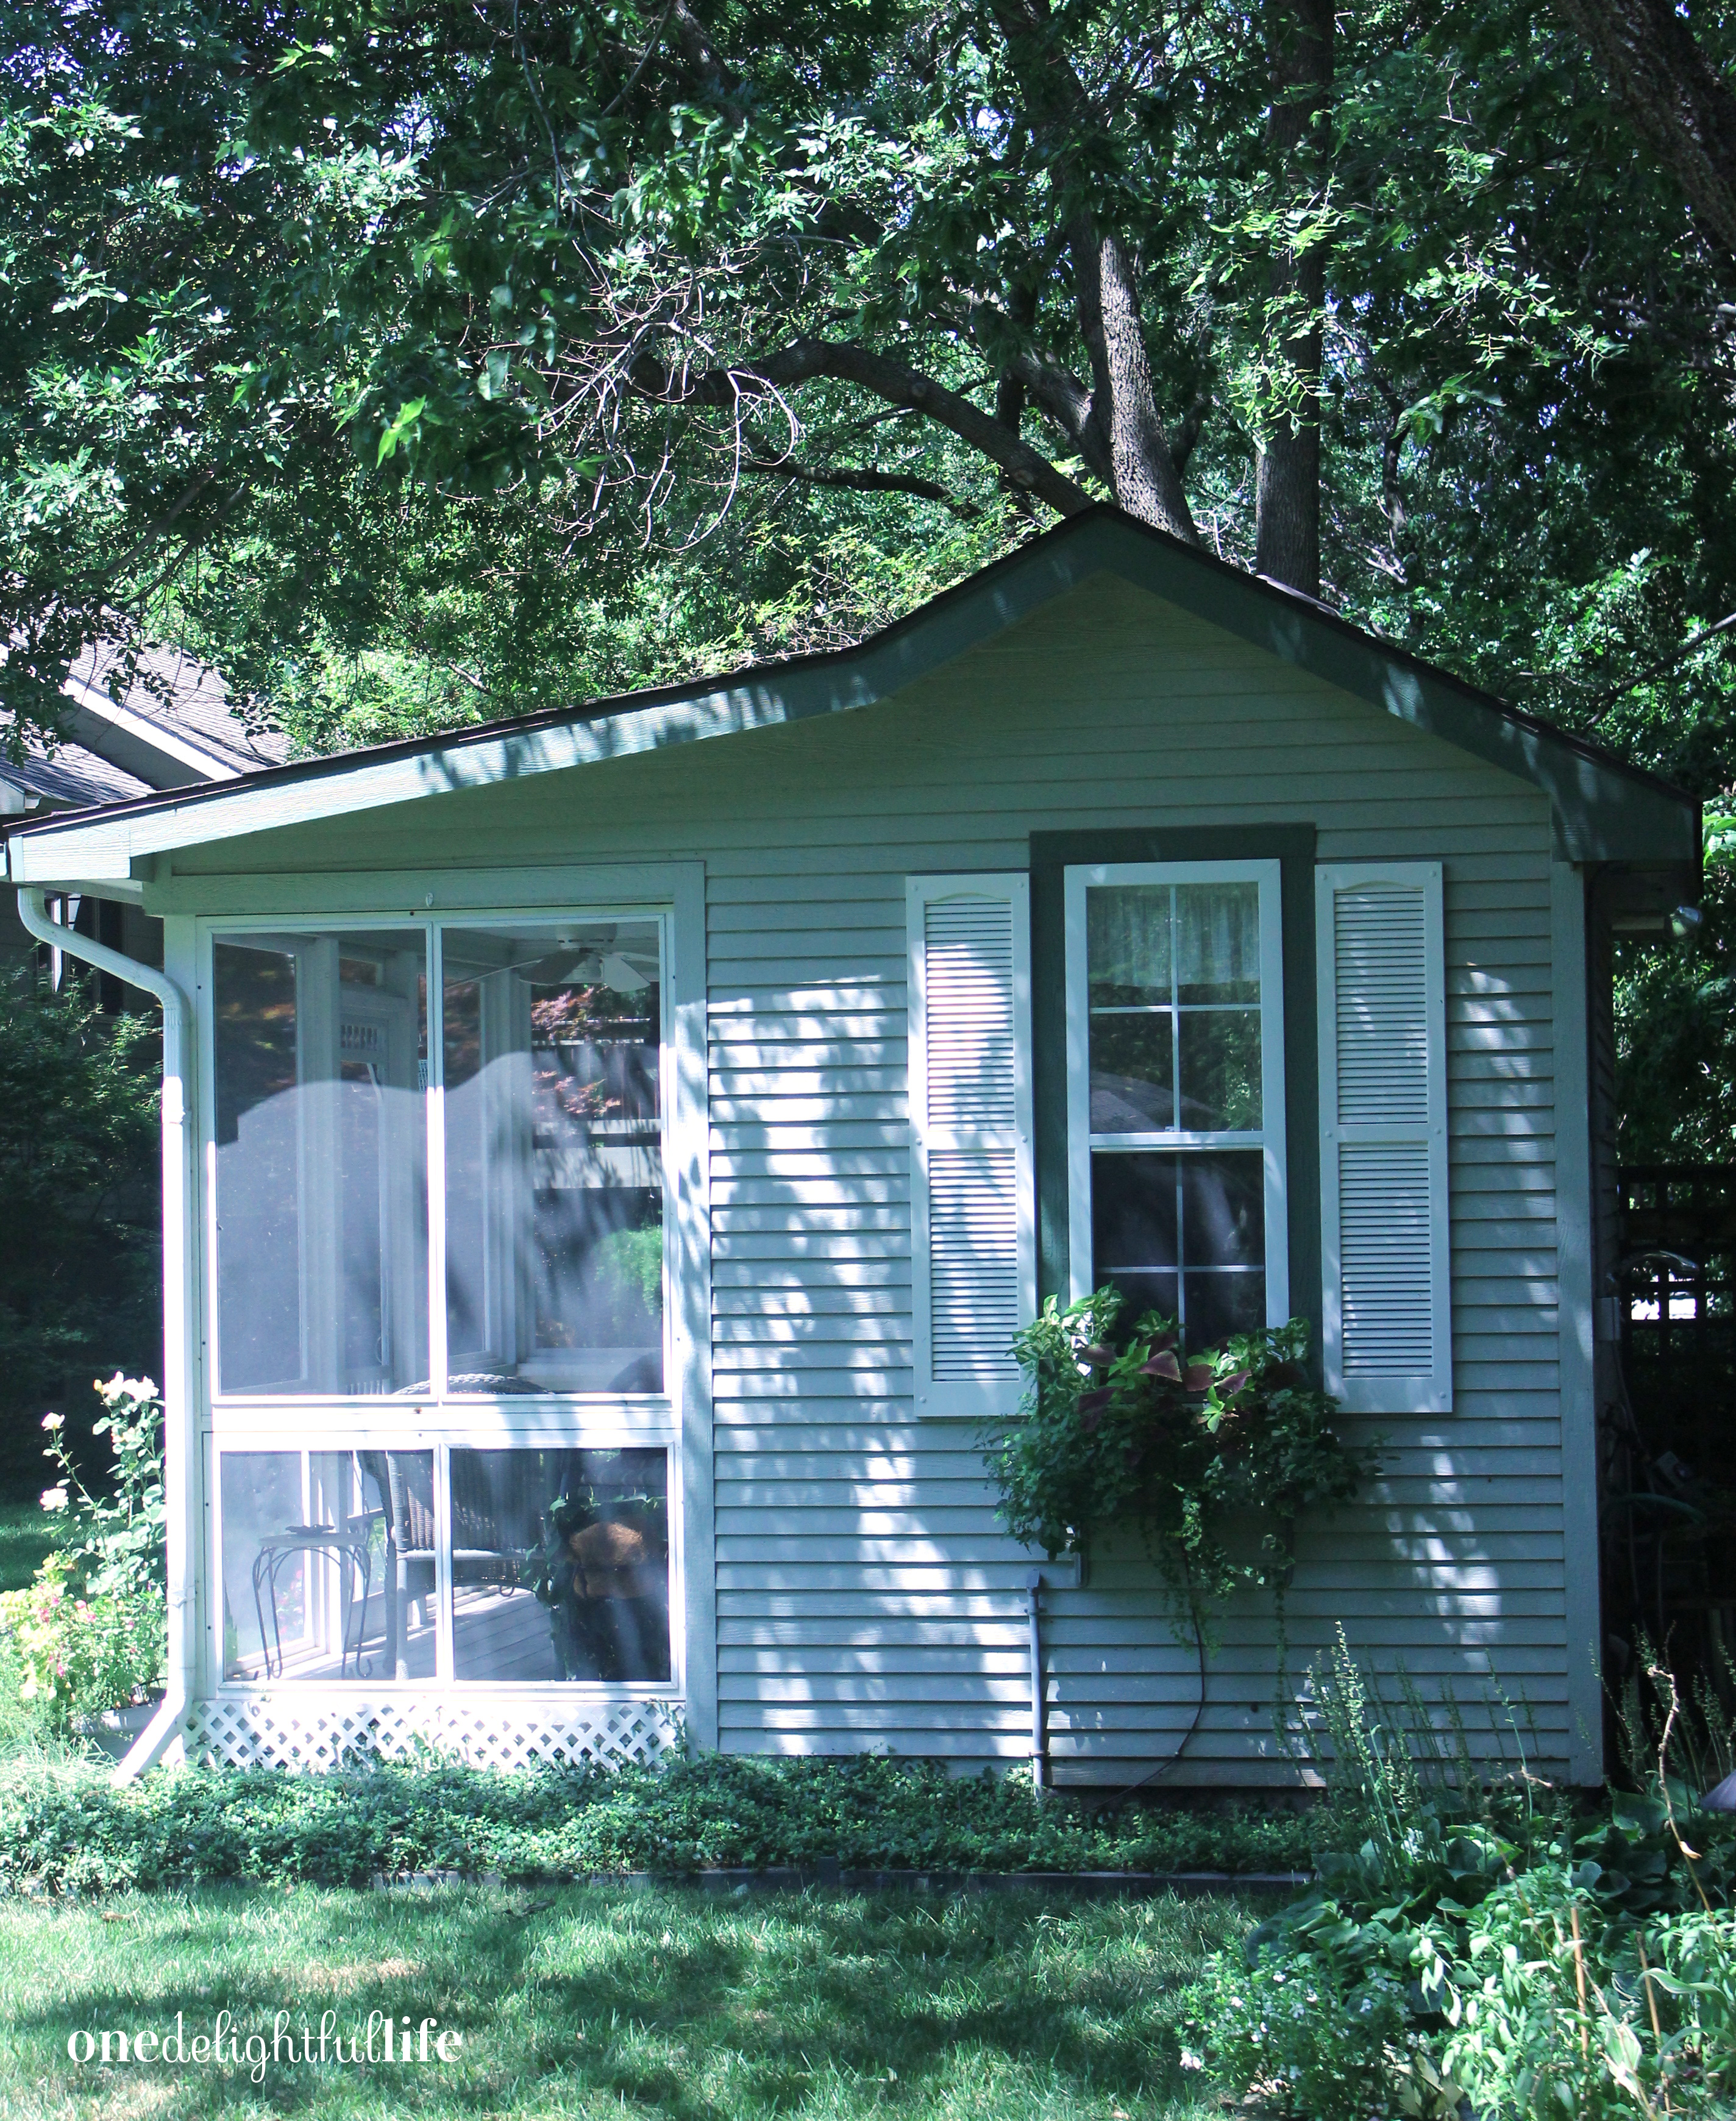
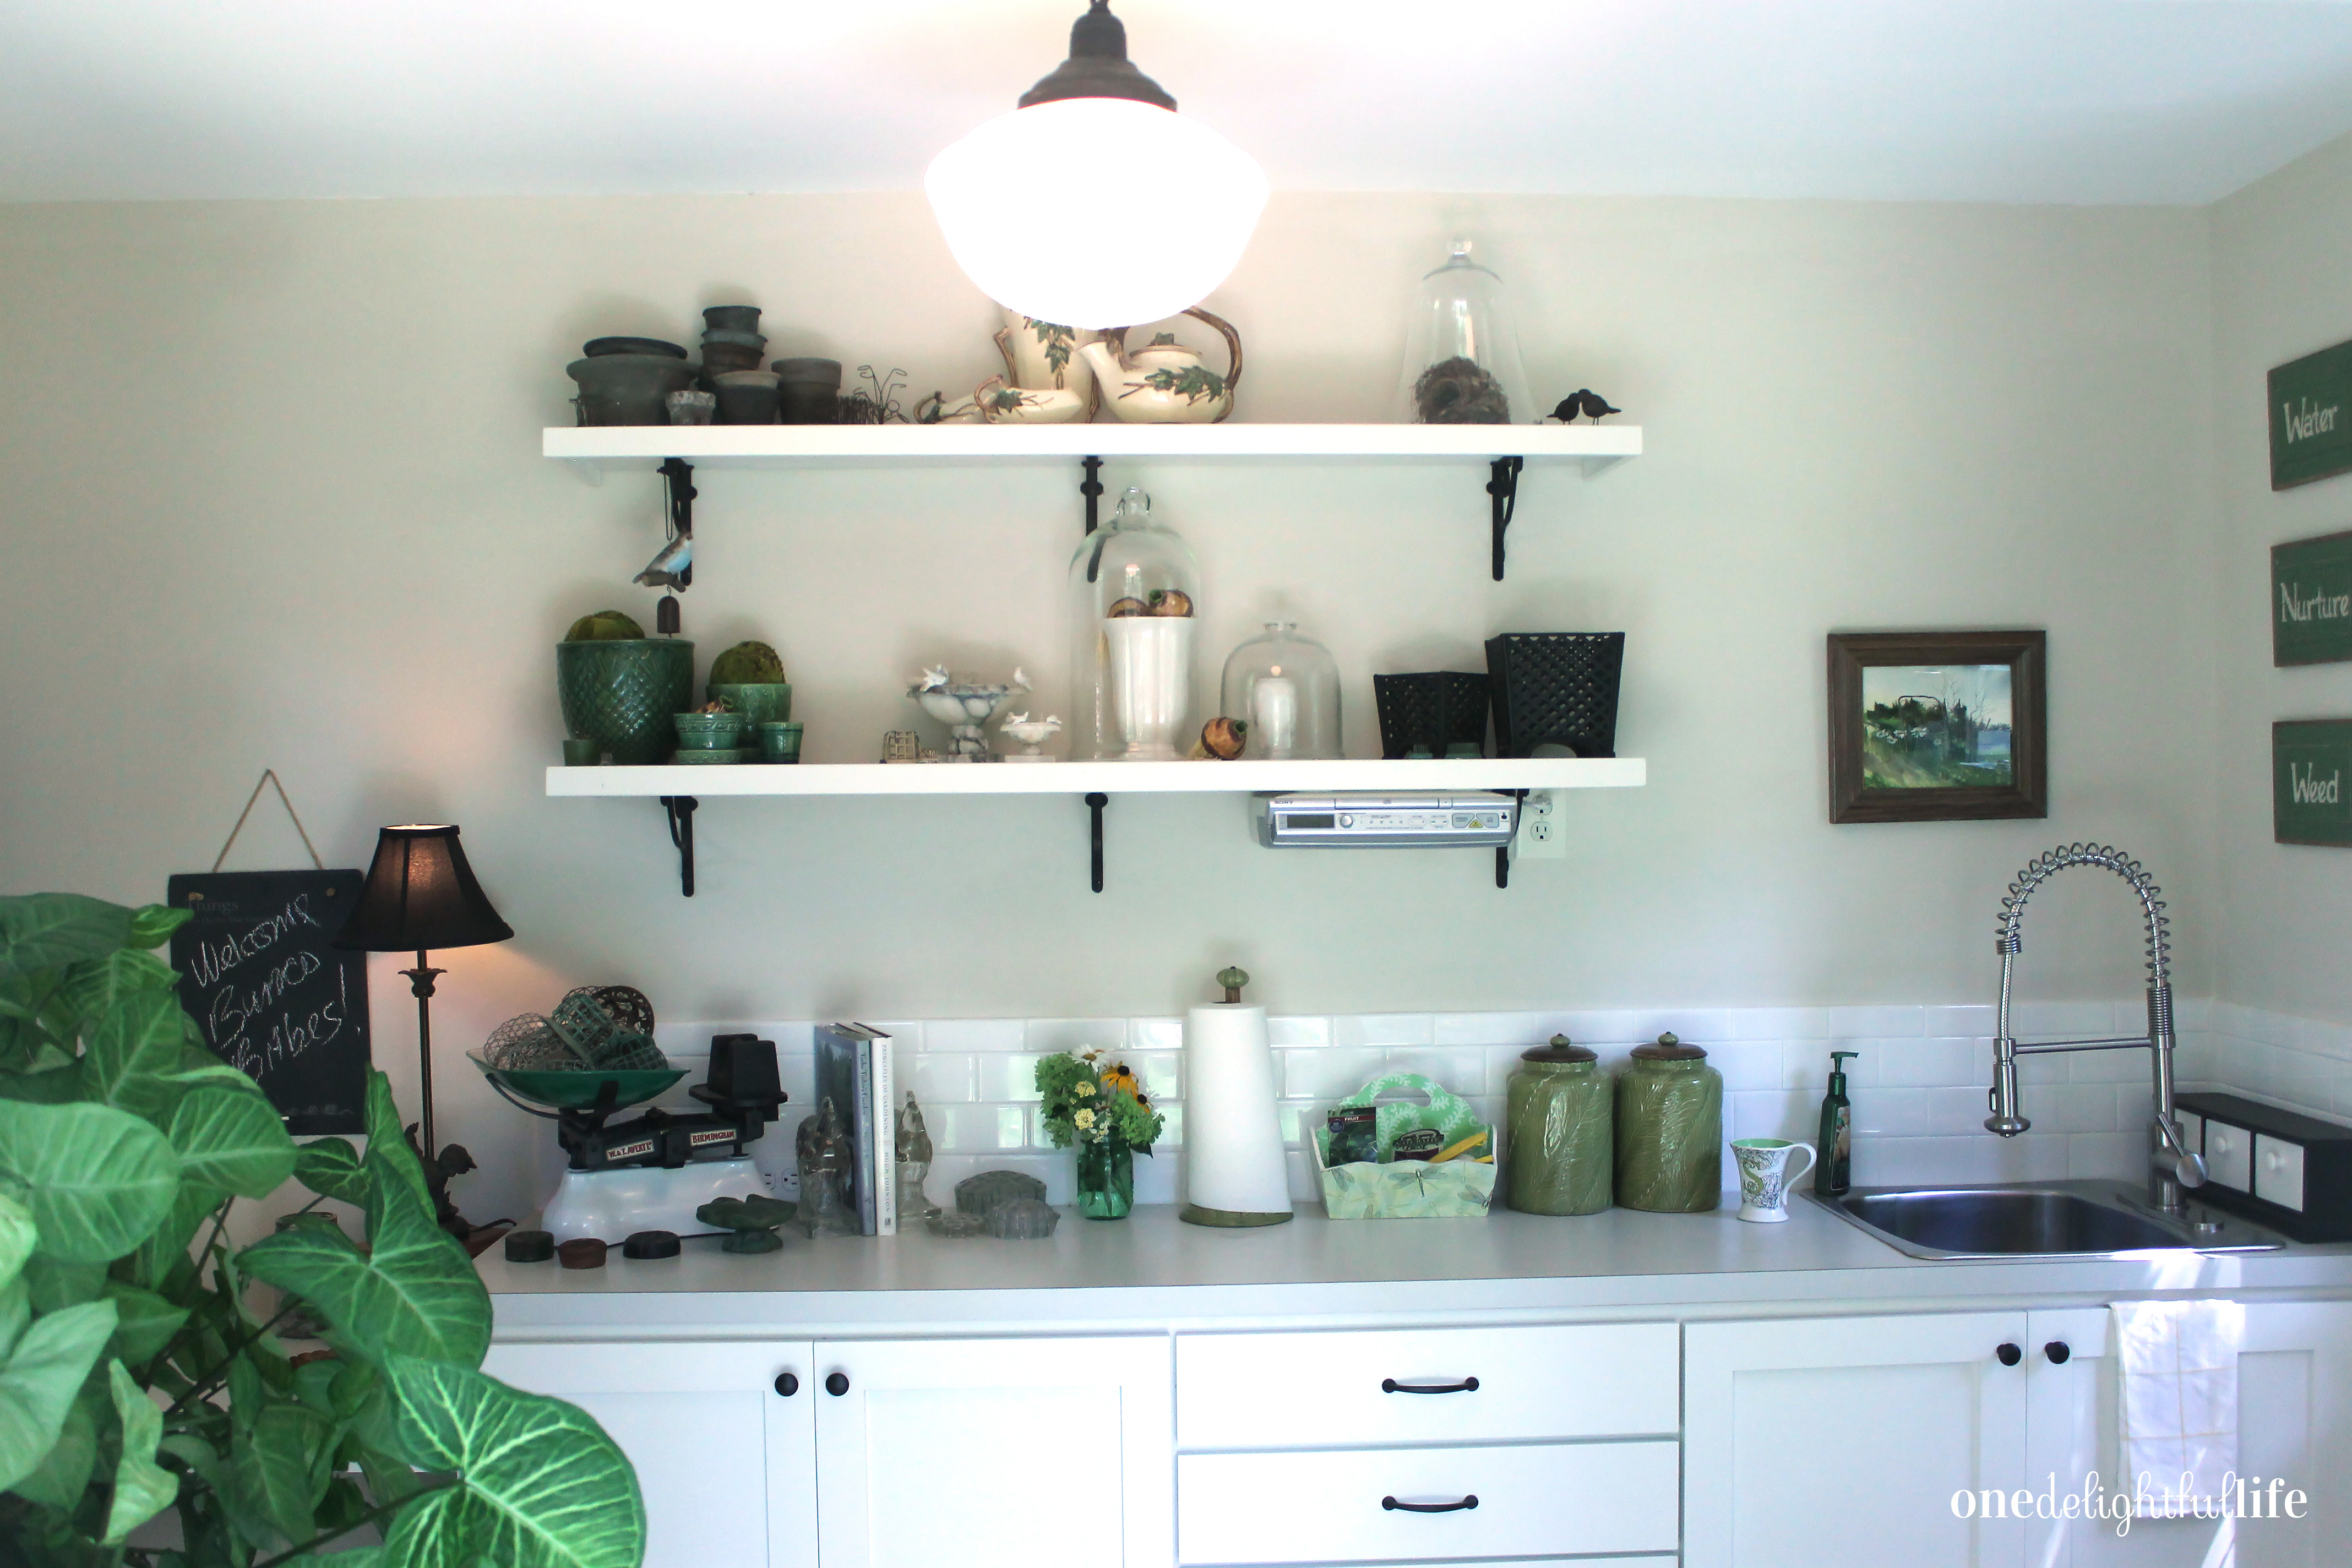
 Mom’s garden house is an extension of her own home. The interior’s neutral colors, off-set by the bright white counter tops and trimmed windows, includes various green hues from decorative additions and dark black metal pieces. Having collected many of the sitabouts over time, she decorates in a style more sophisticated than rustic farmhouse but less stuffy than classic traditional. She has an eclectic sense of design style that is uniquely her own.
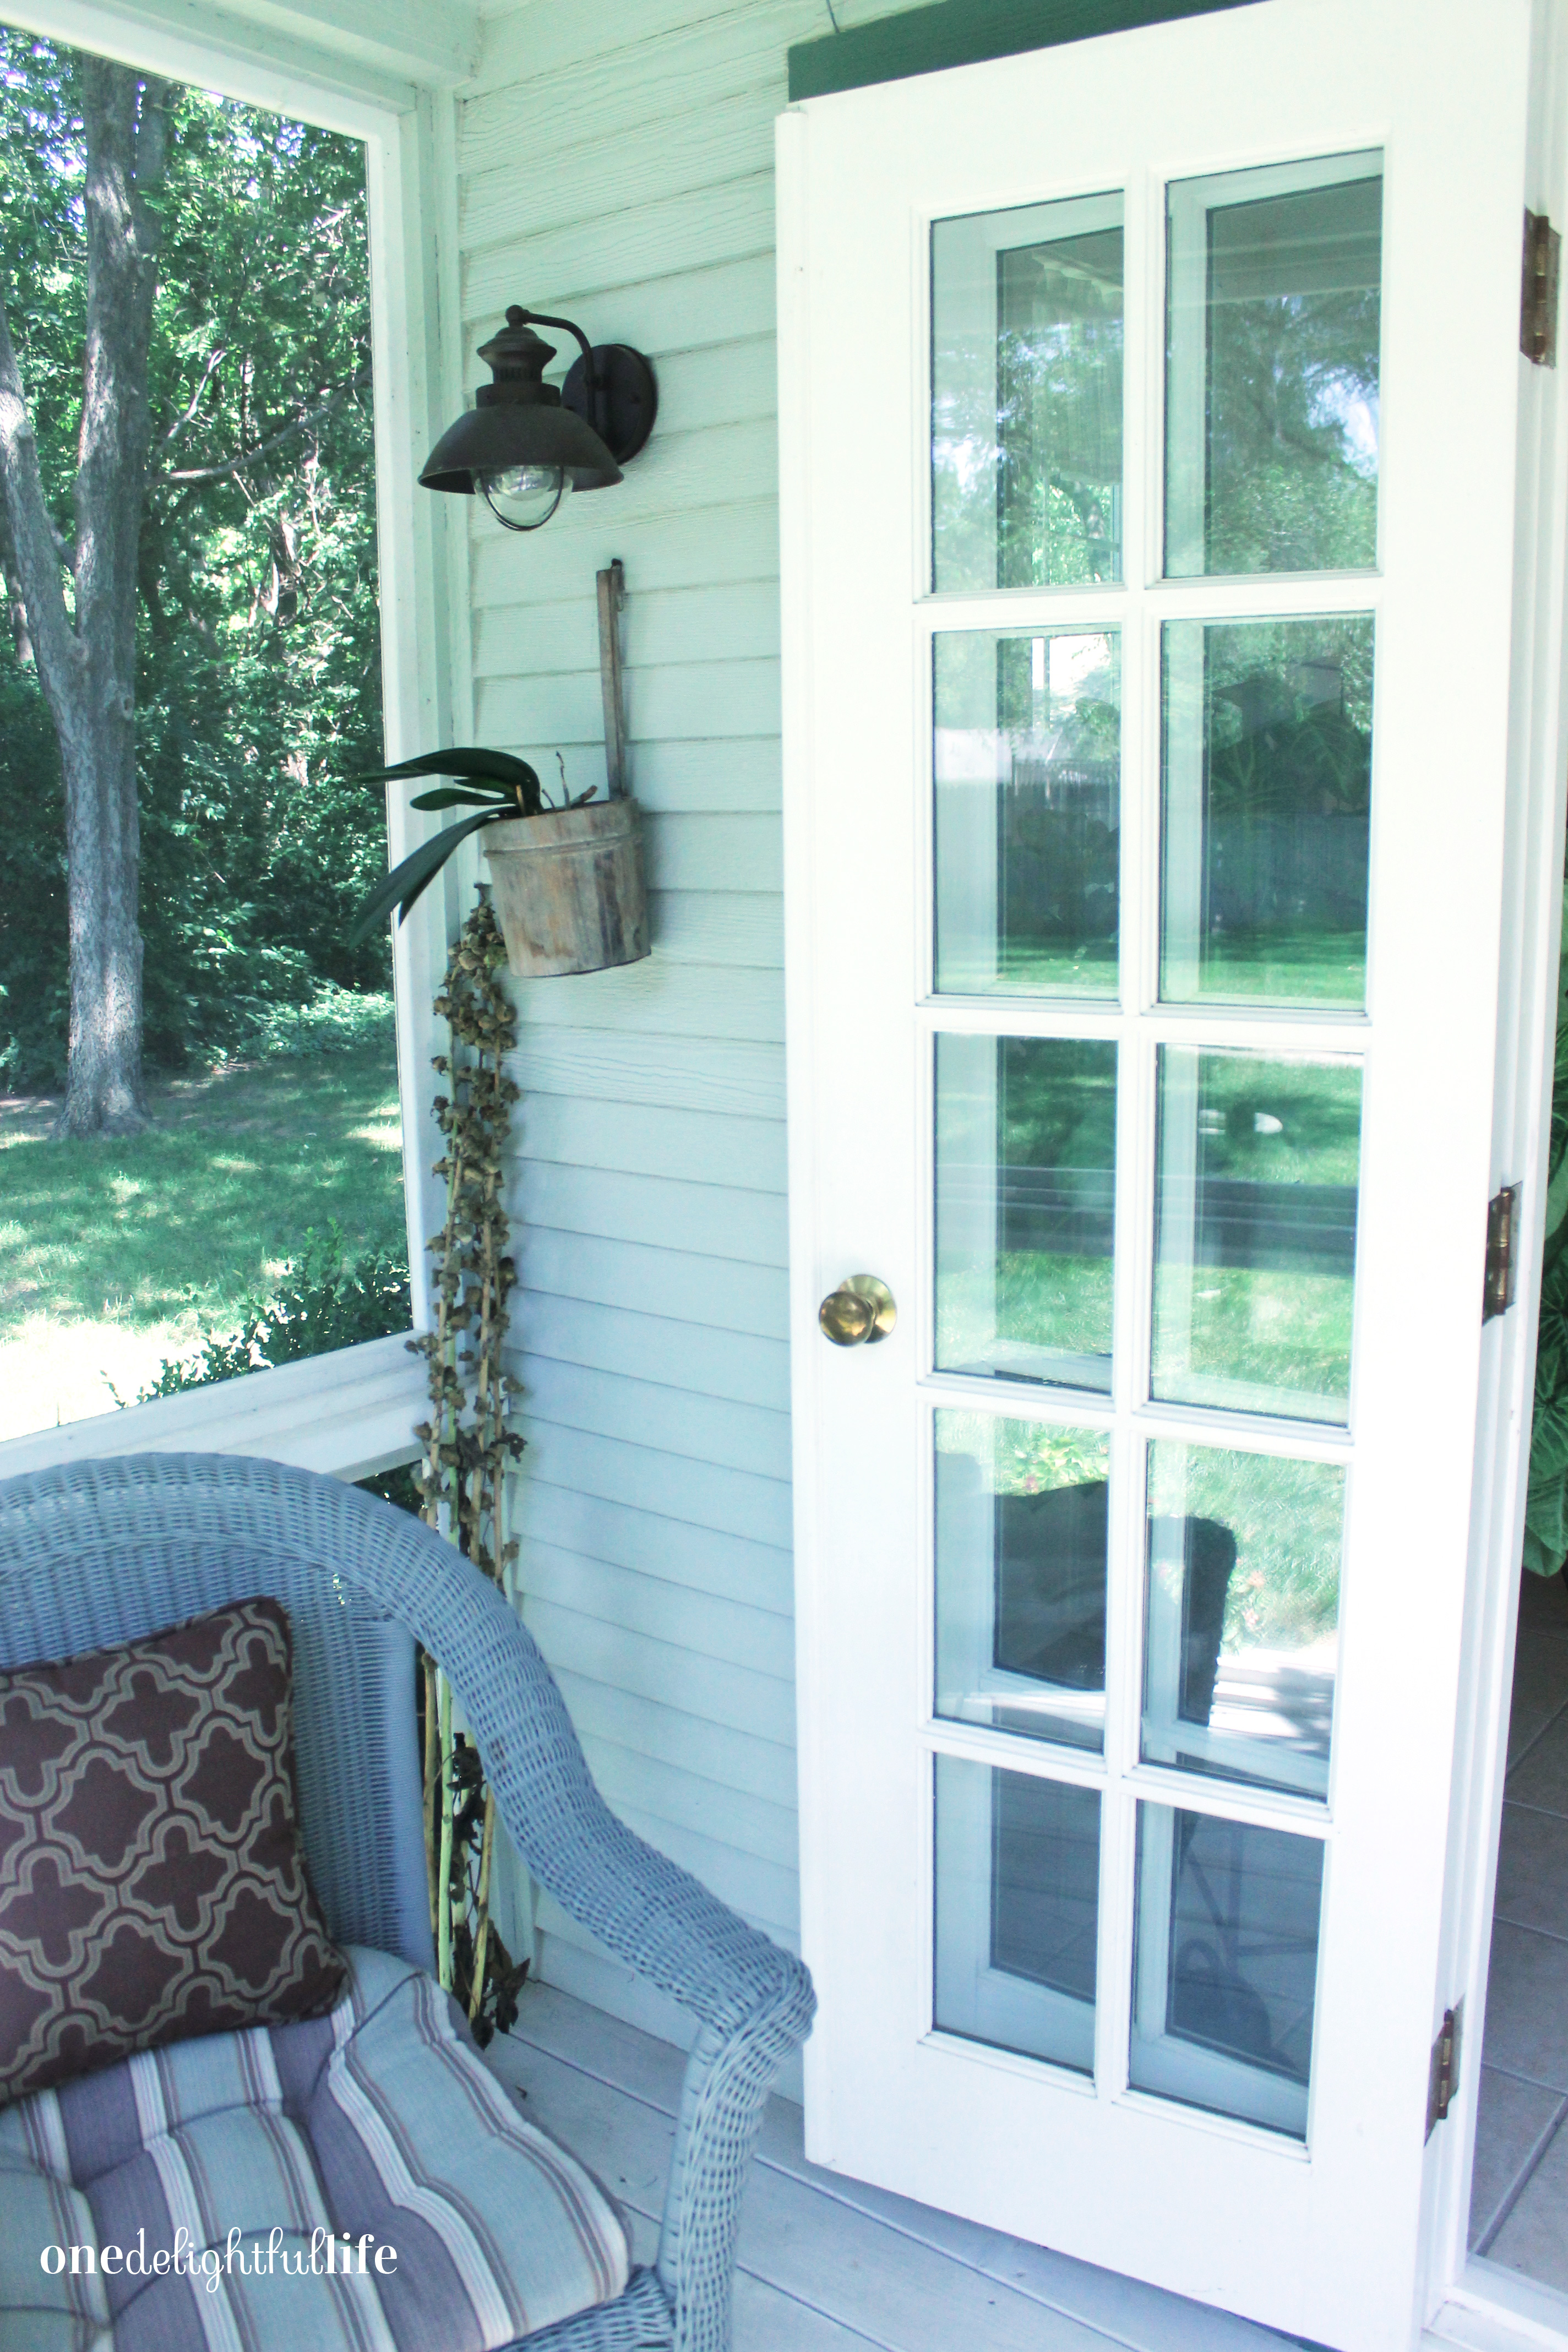
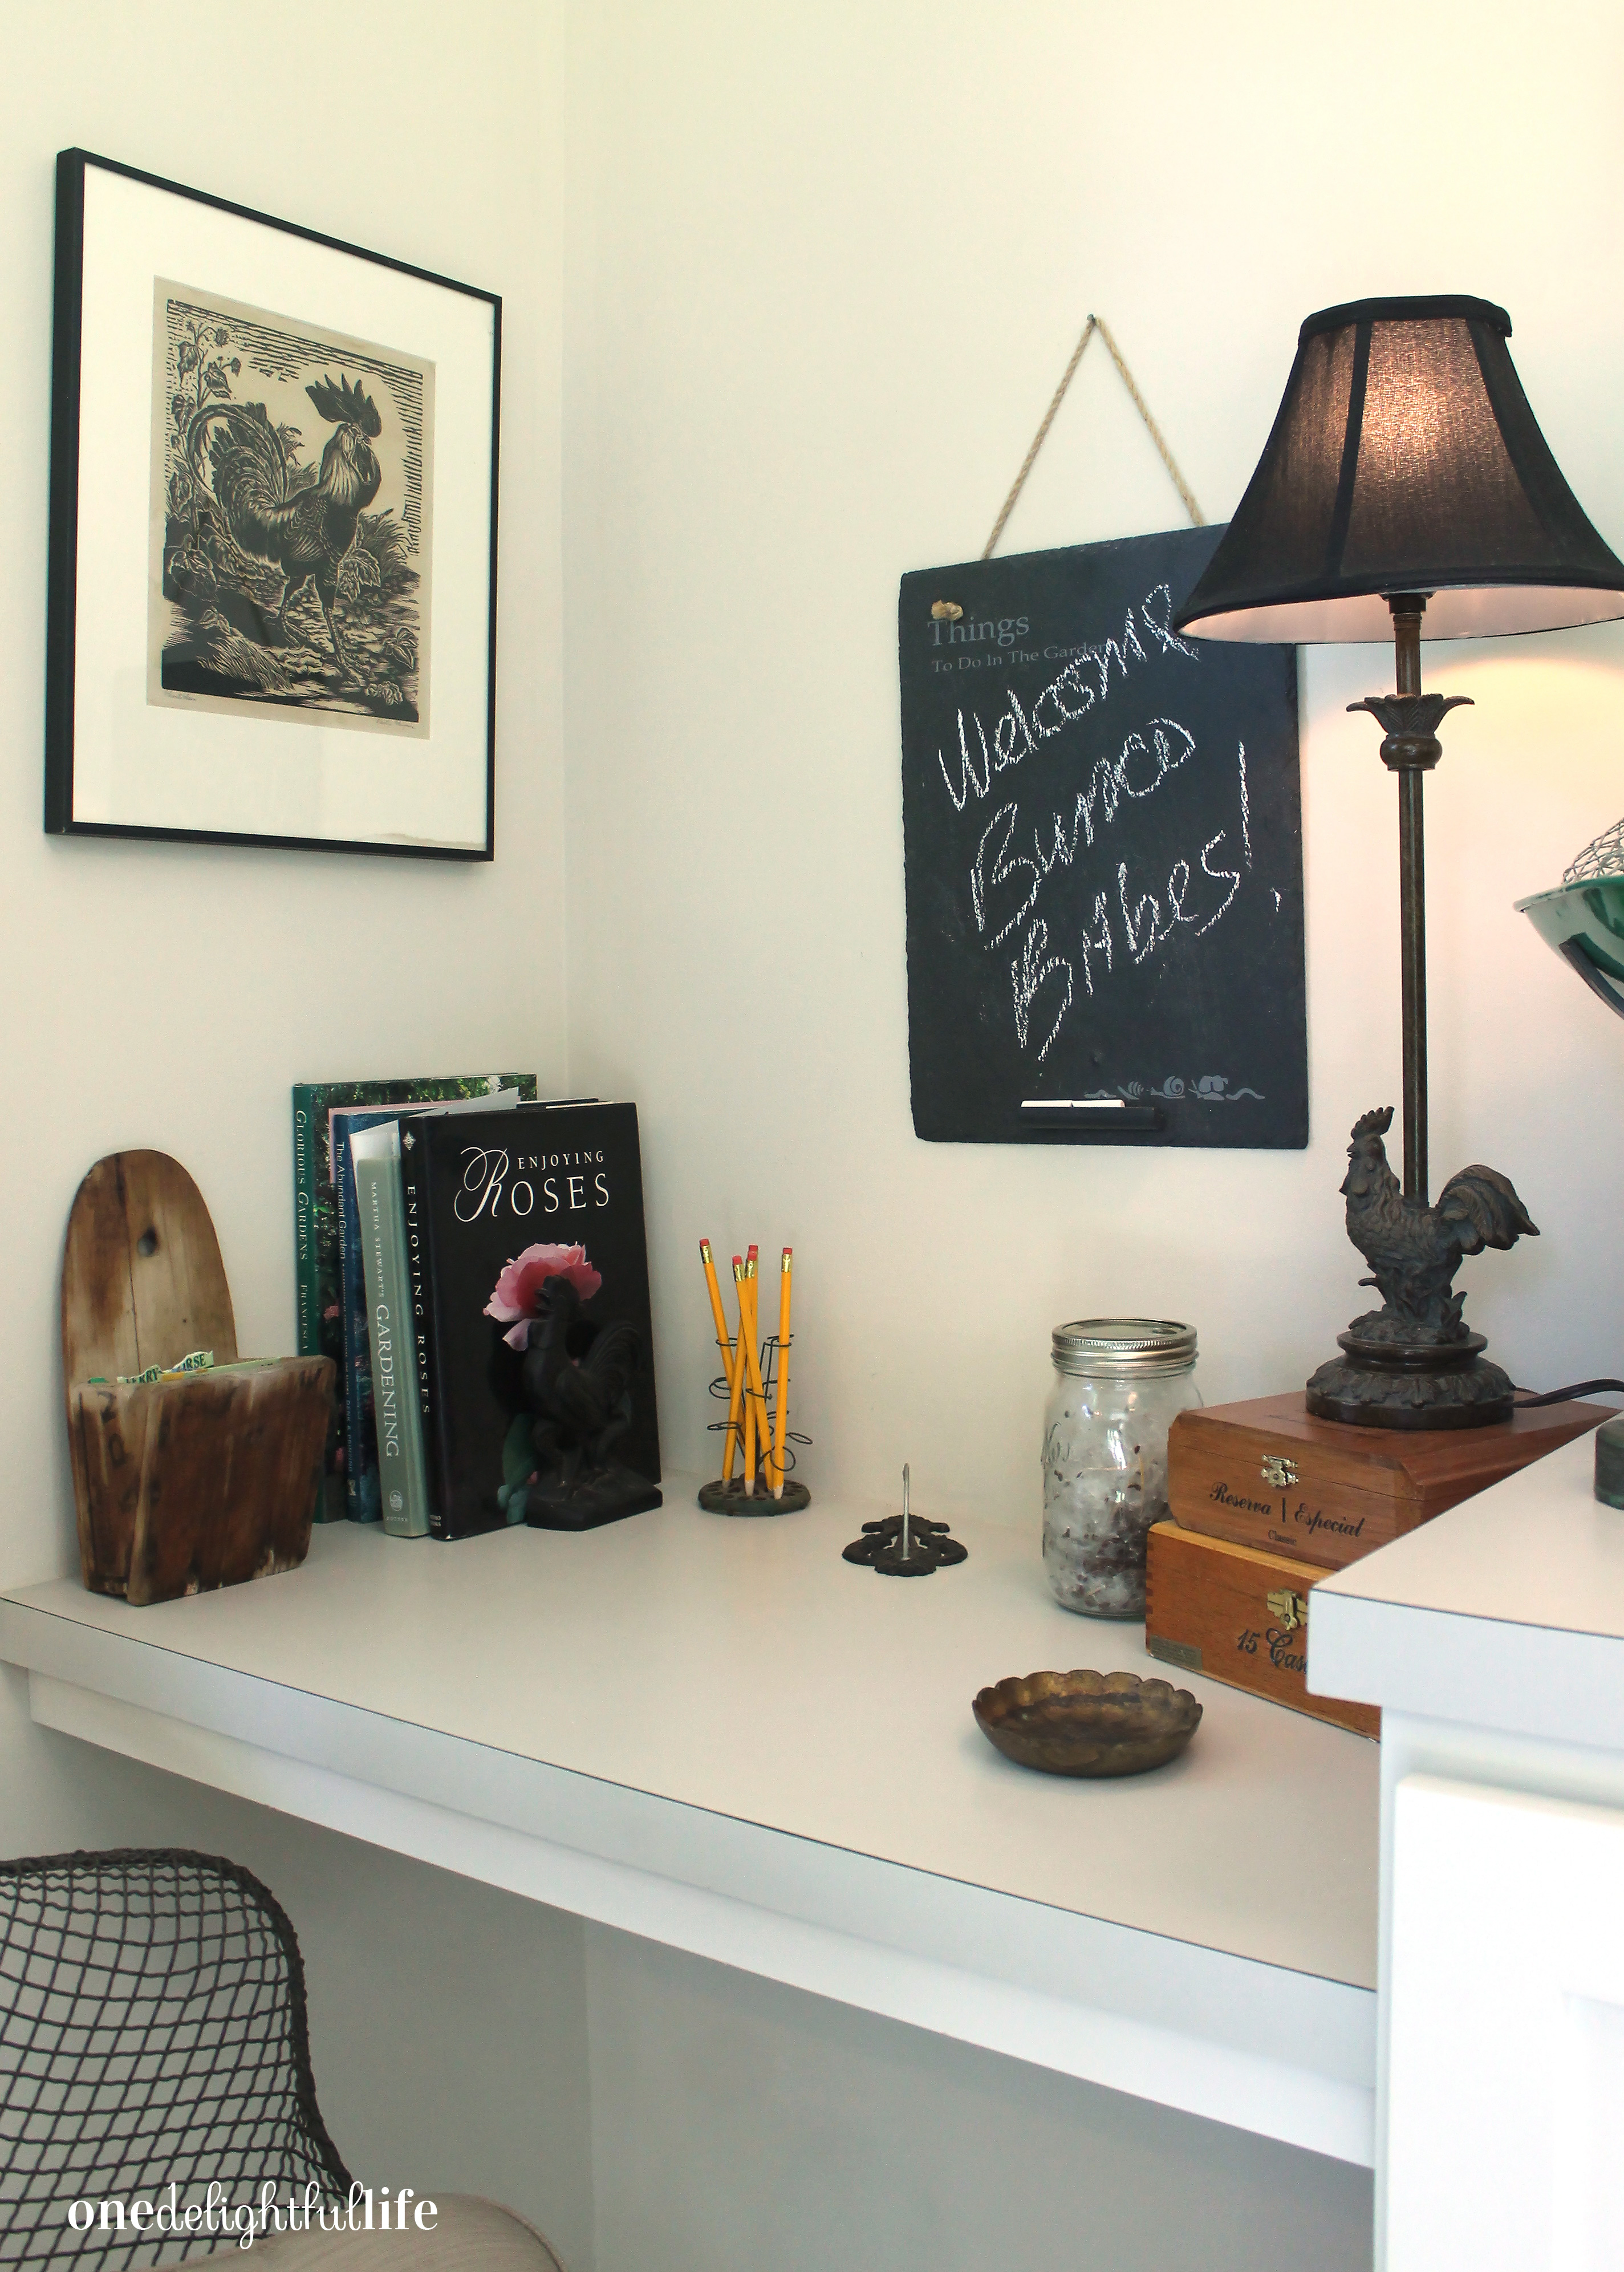
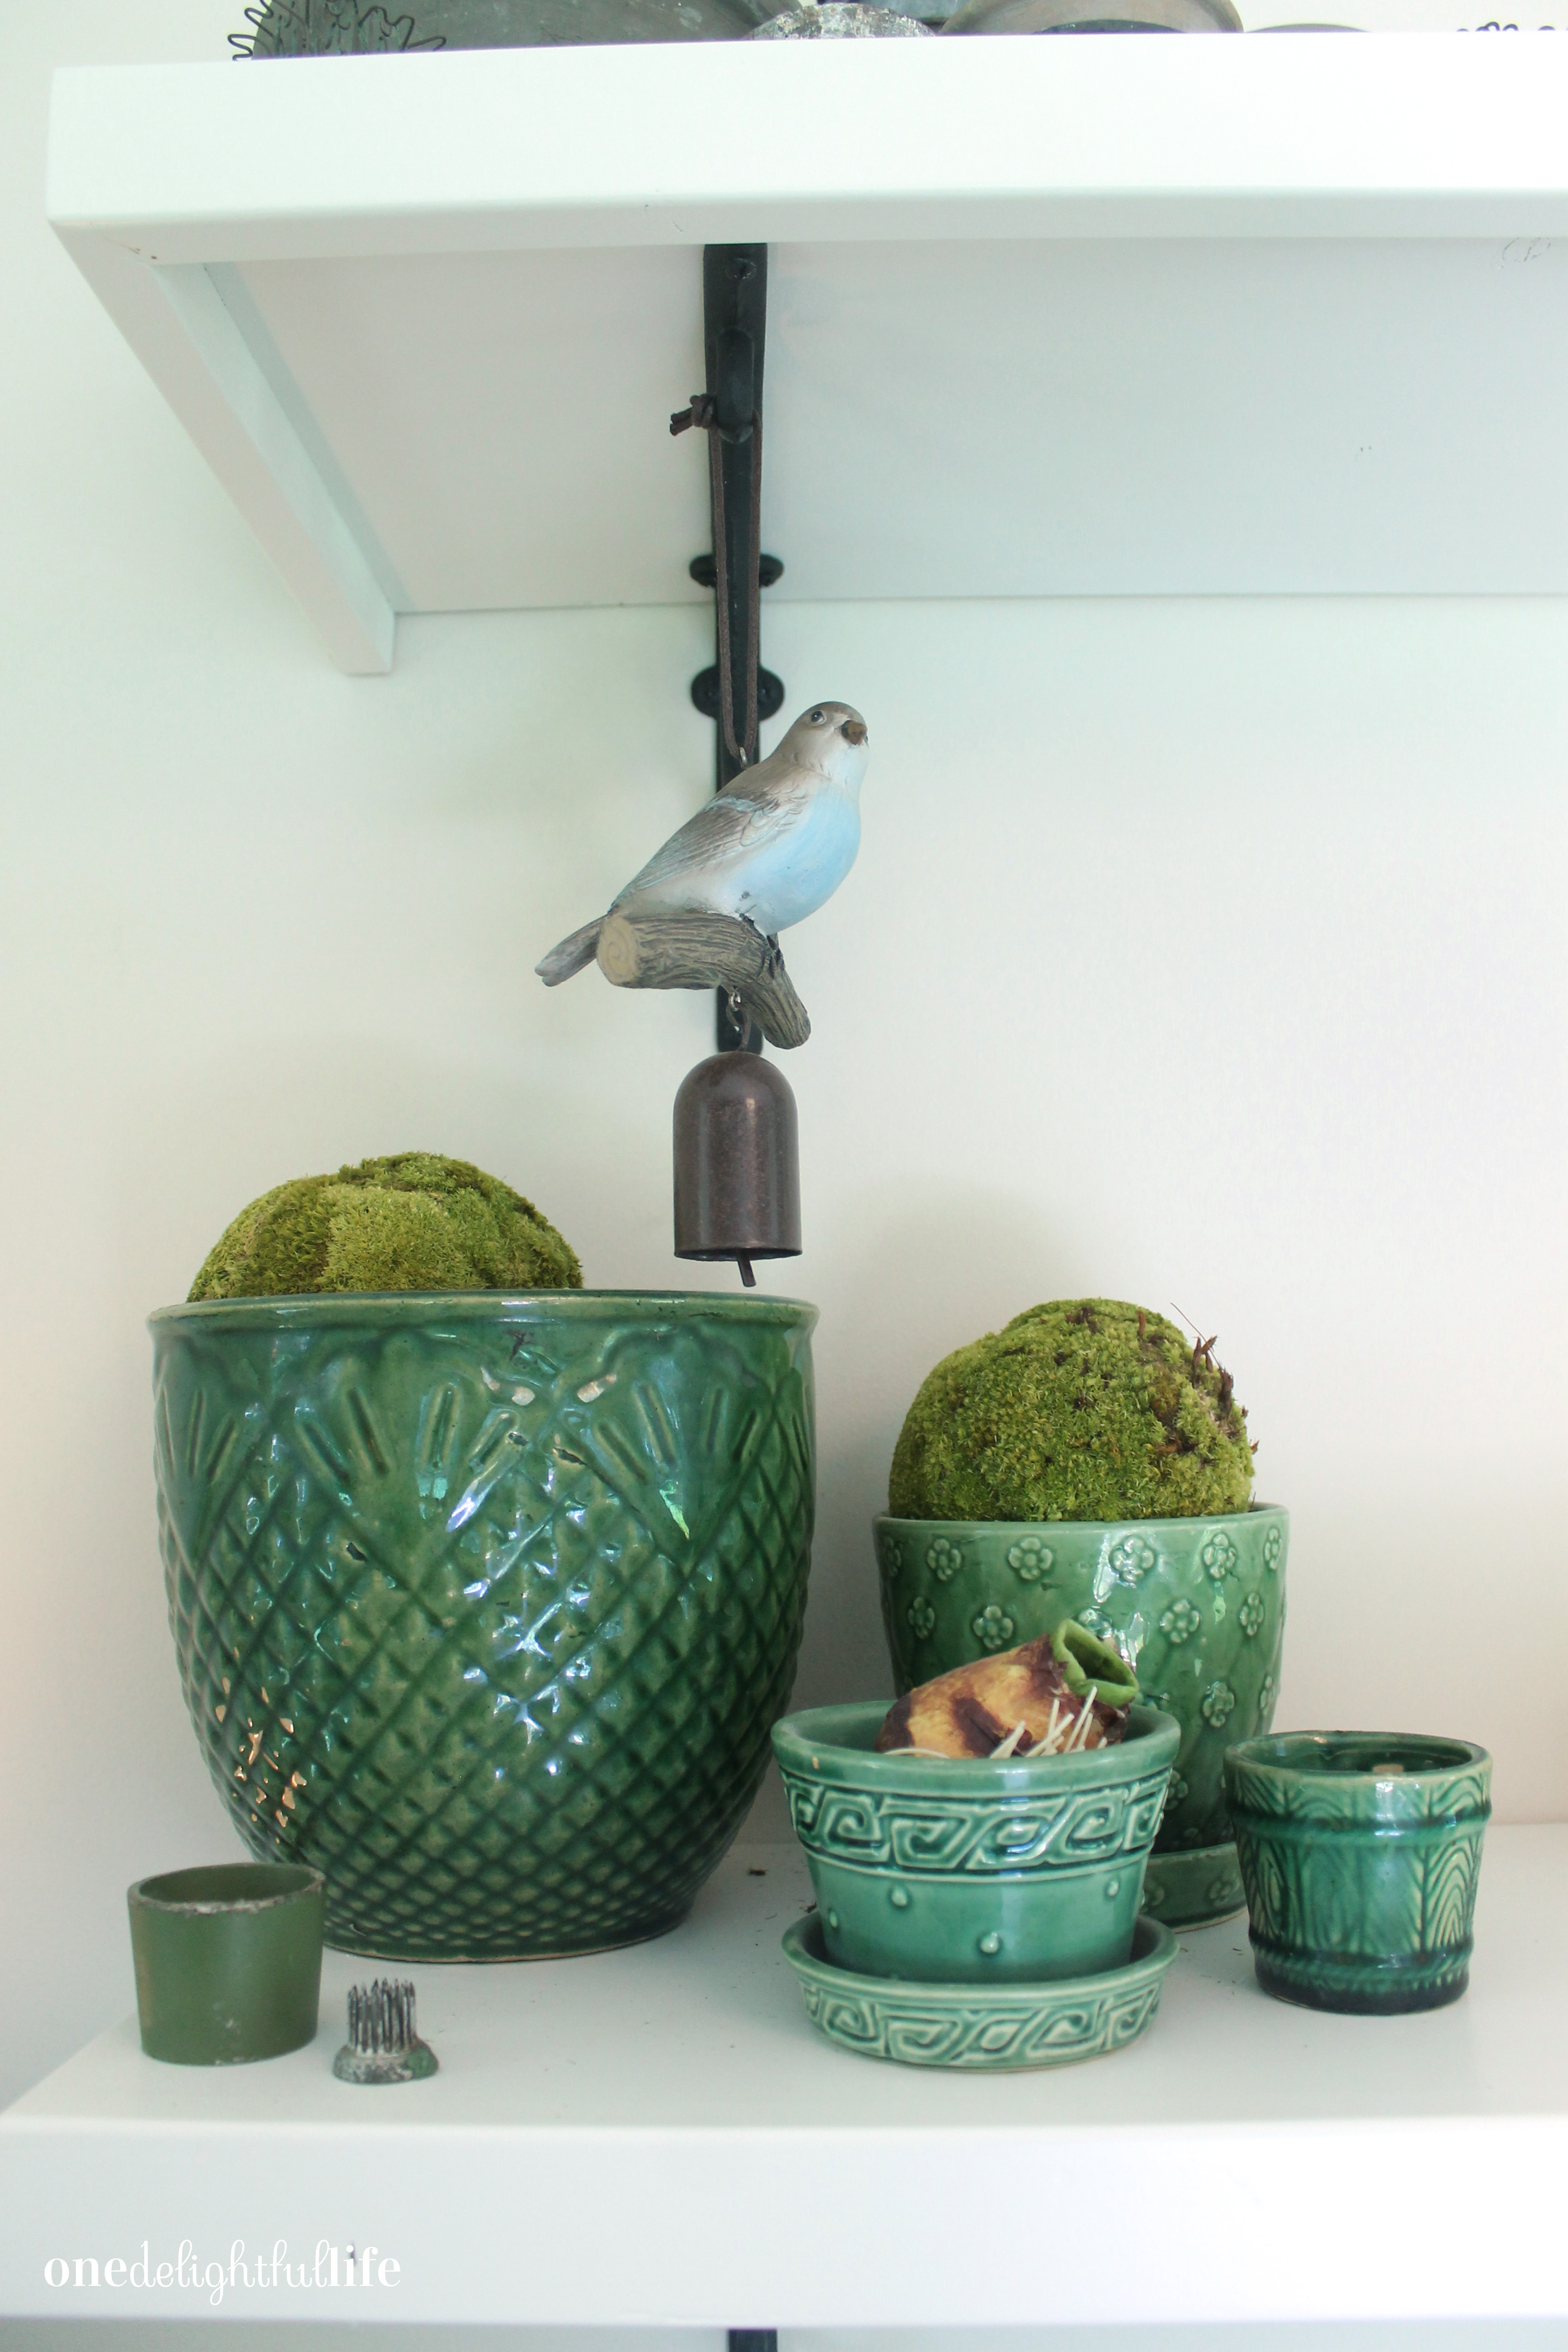
 Today, she still sees beauty in the colors of delicate flowers and enjoys the harvest of a vegetable or herb garden. Her accepted challenge each year is to learn about the needs of plant placement in her landscape while always attempting to attract birds, bees, and insects.
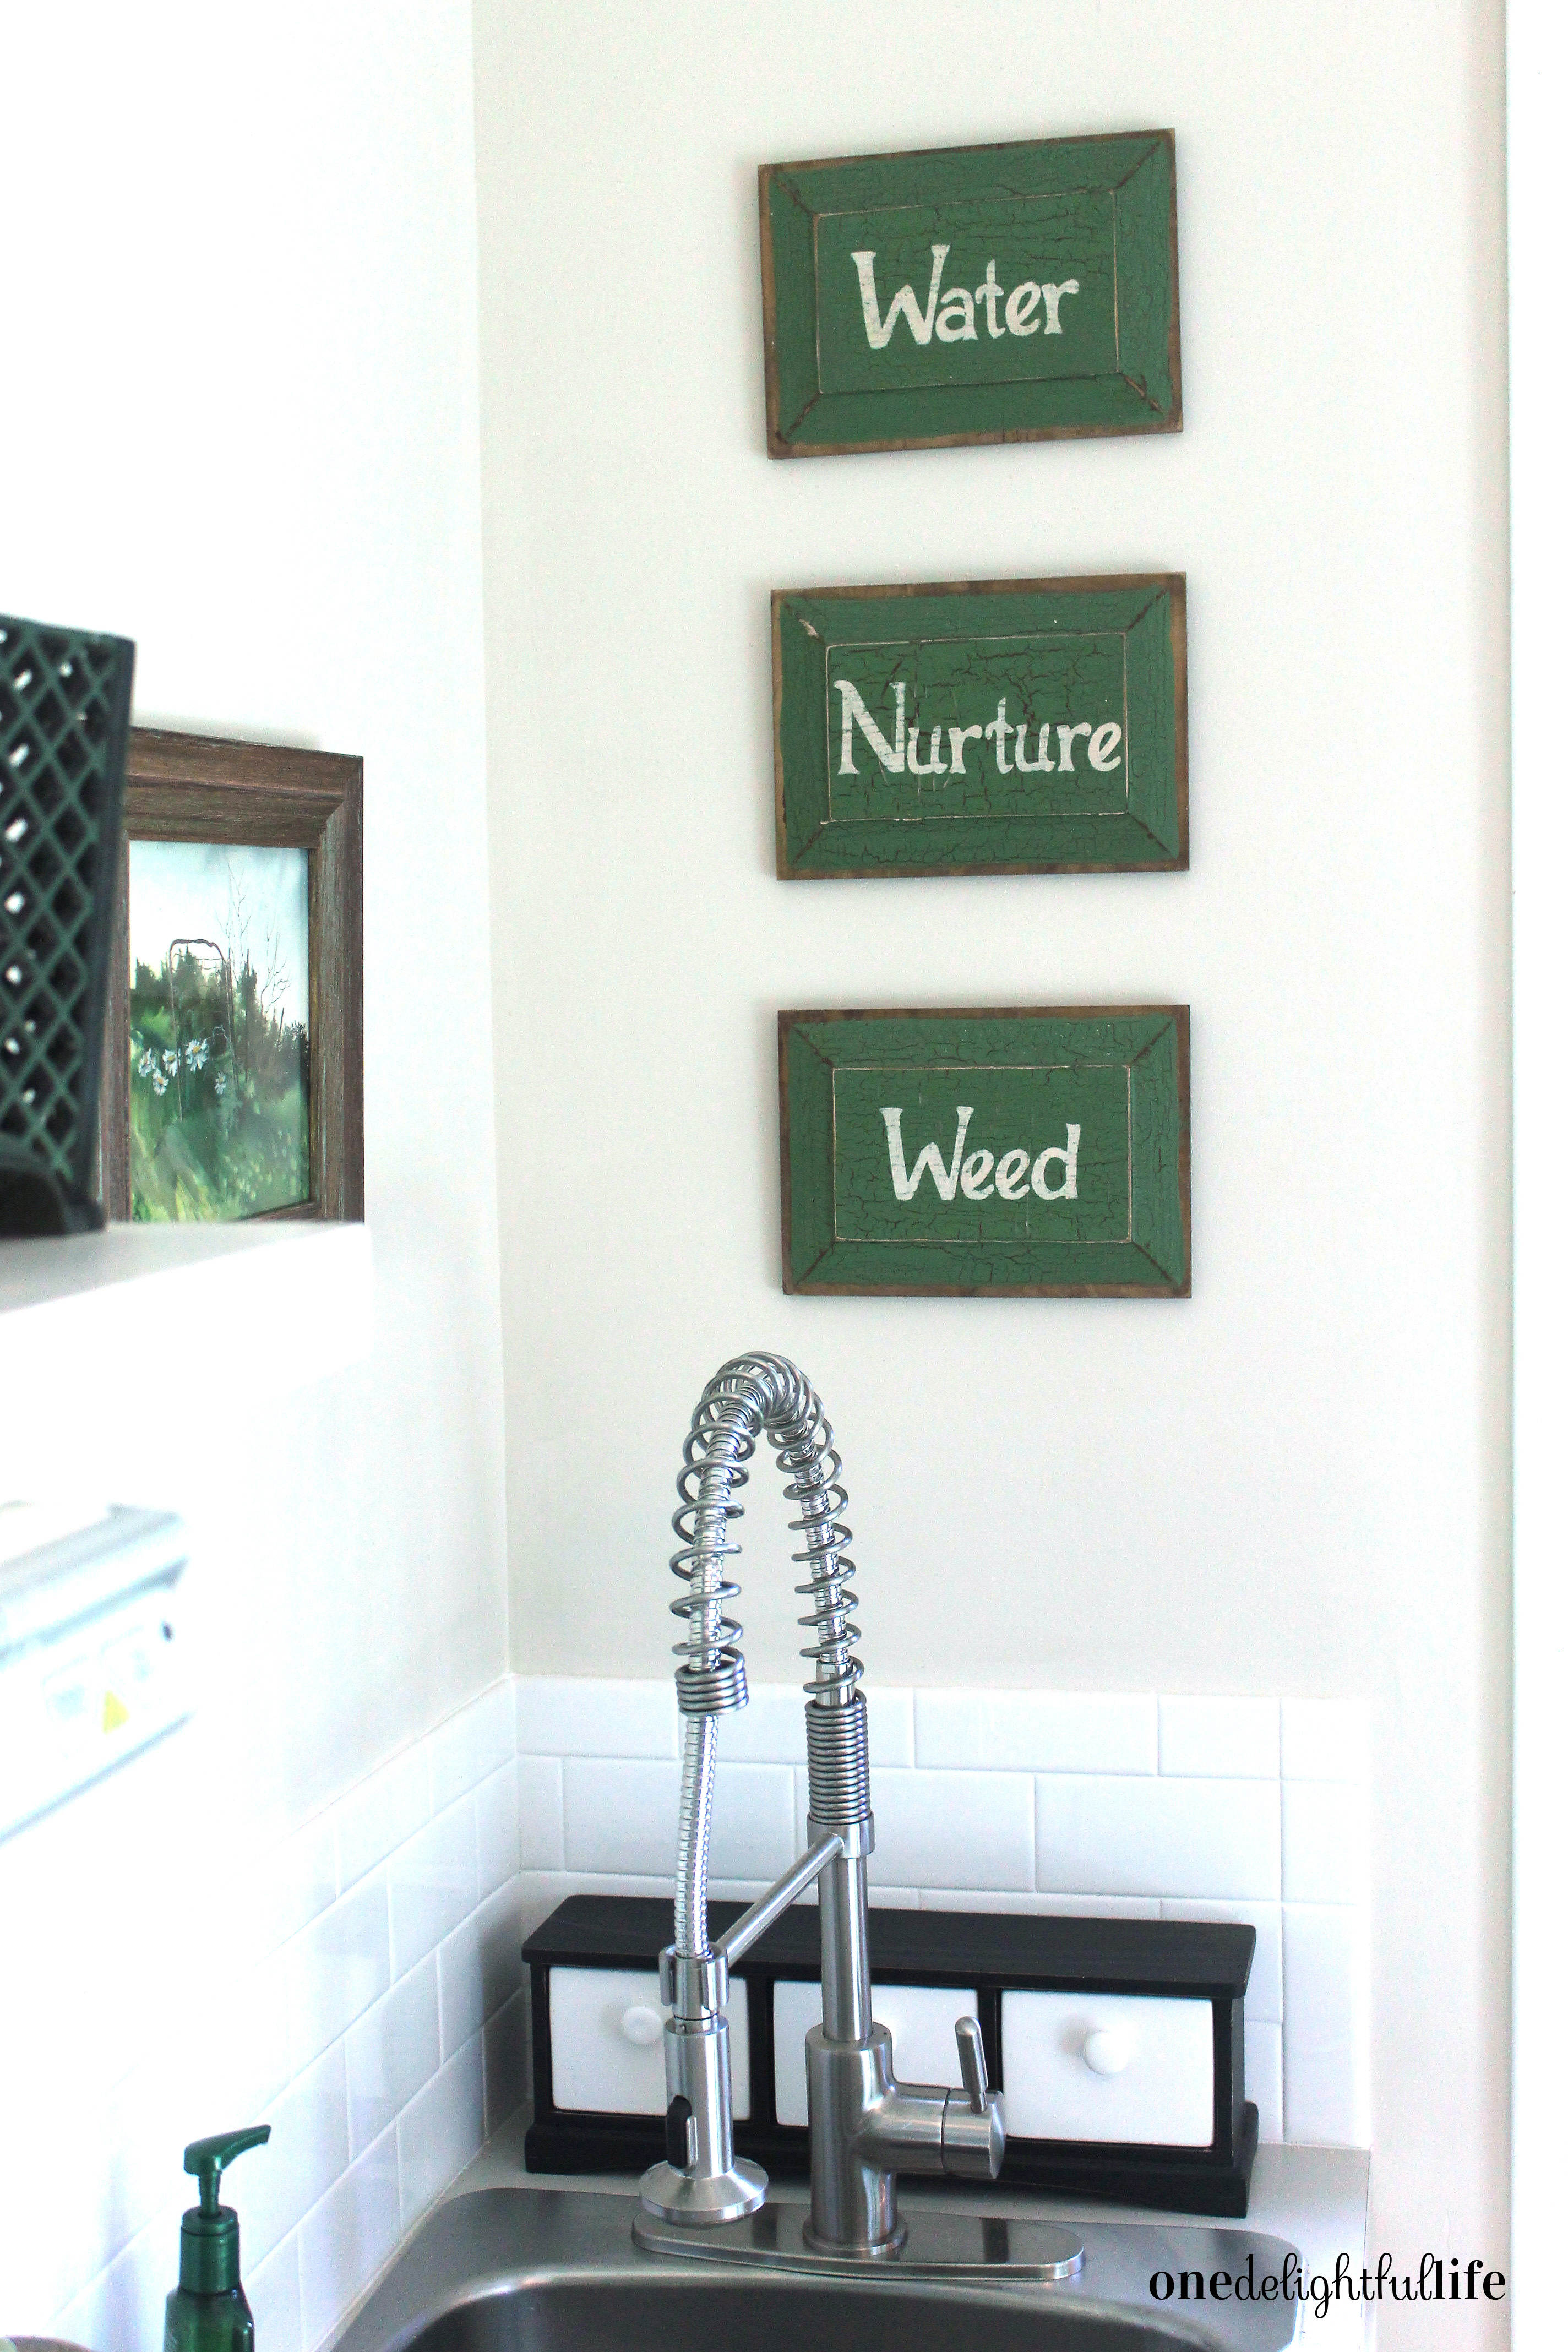
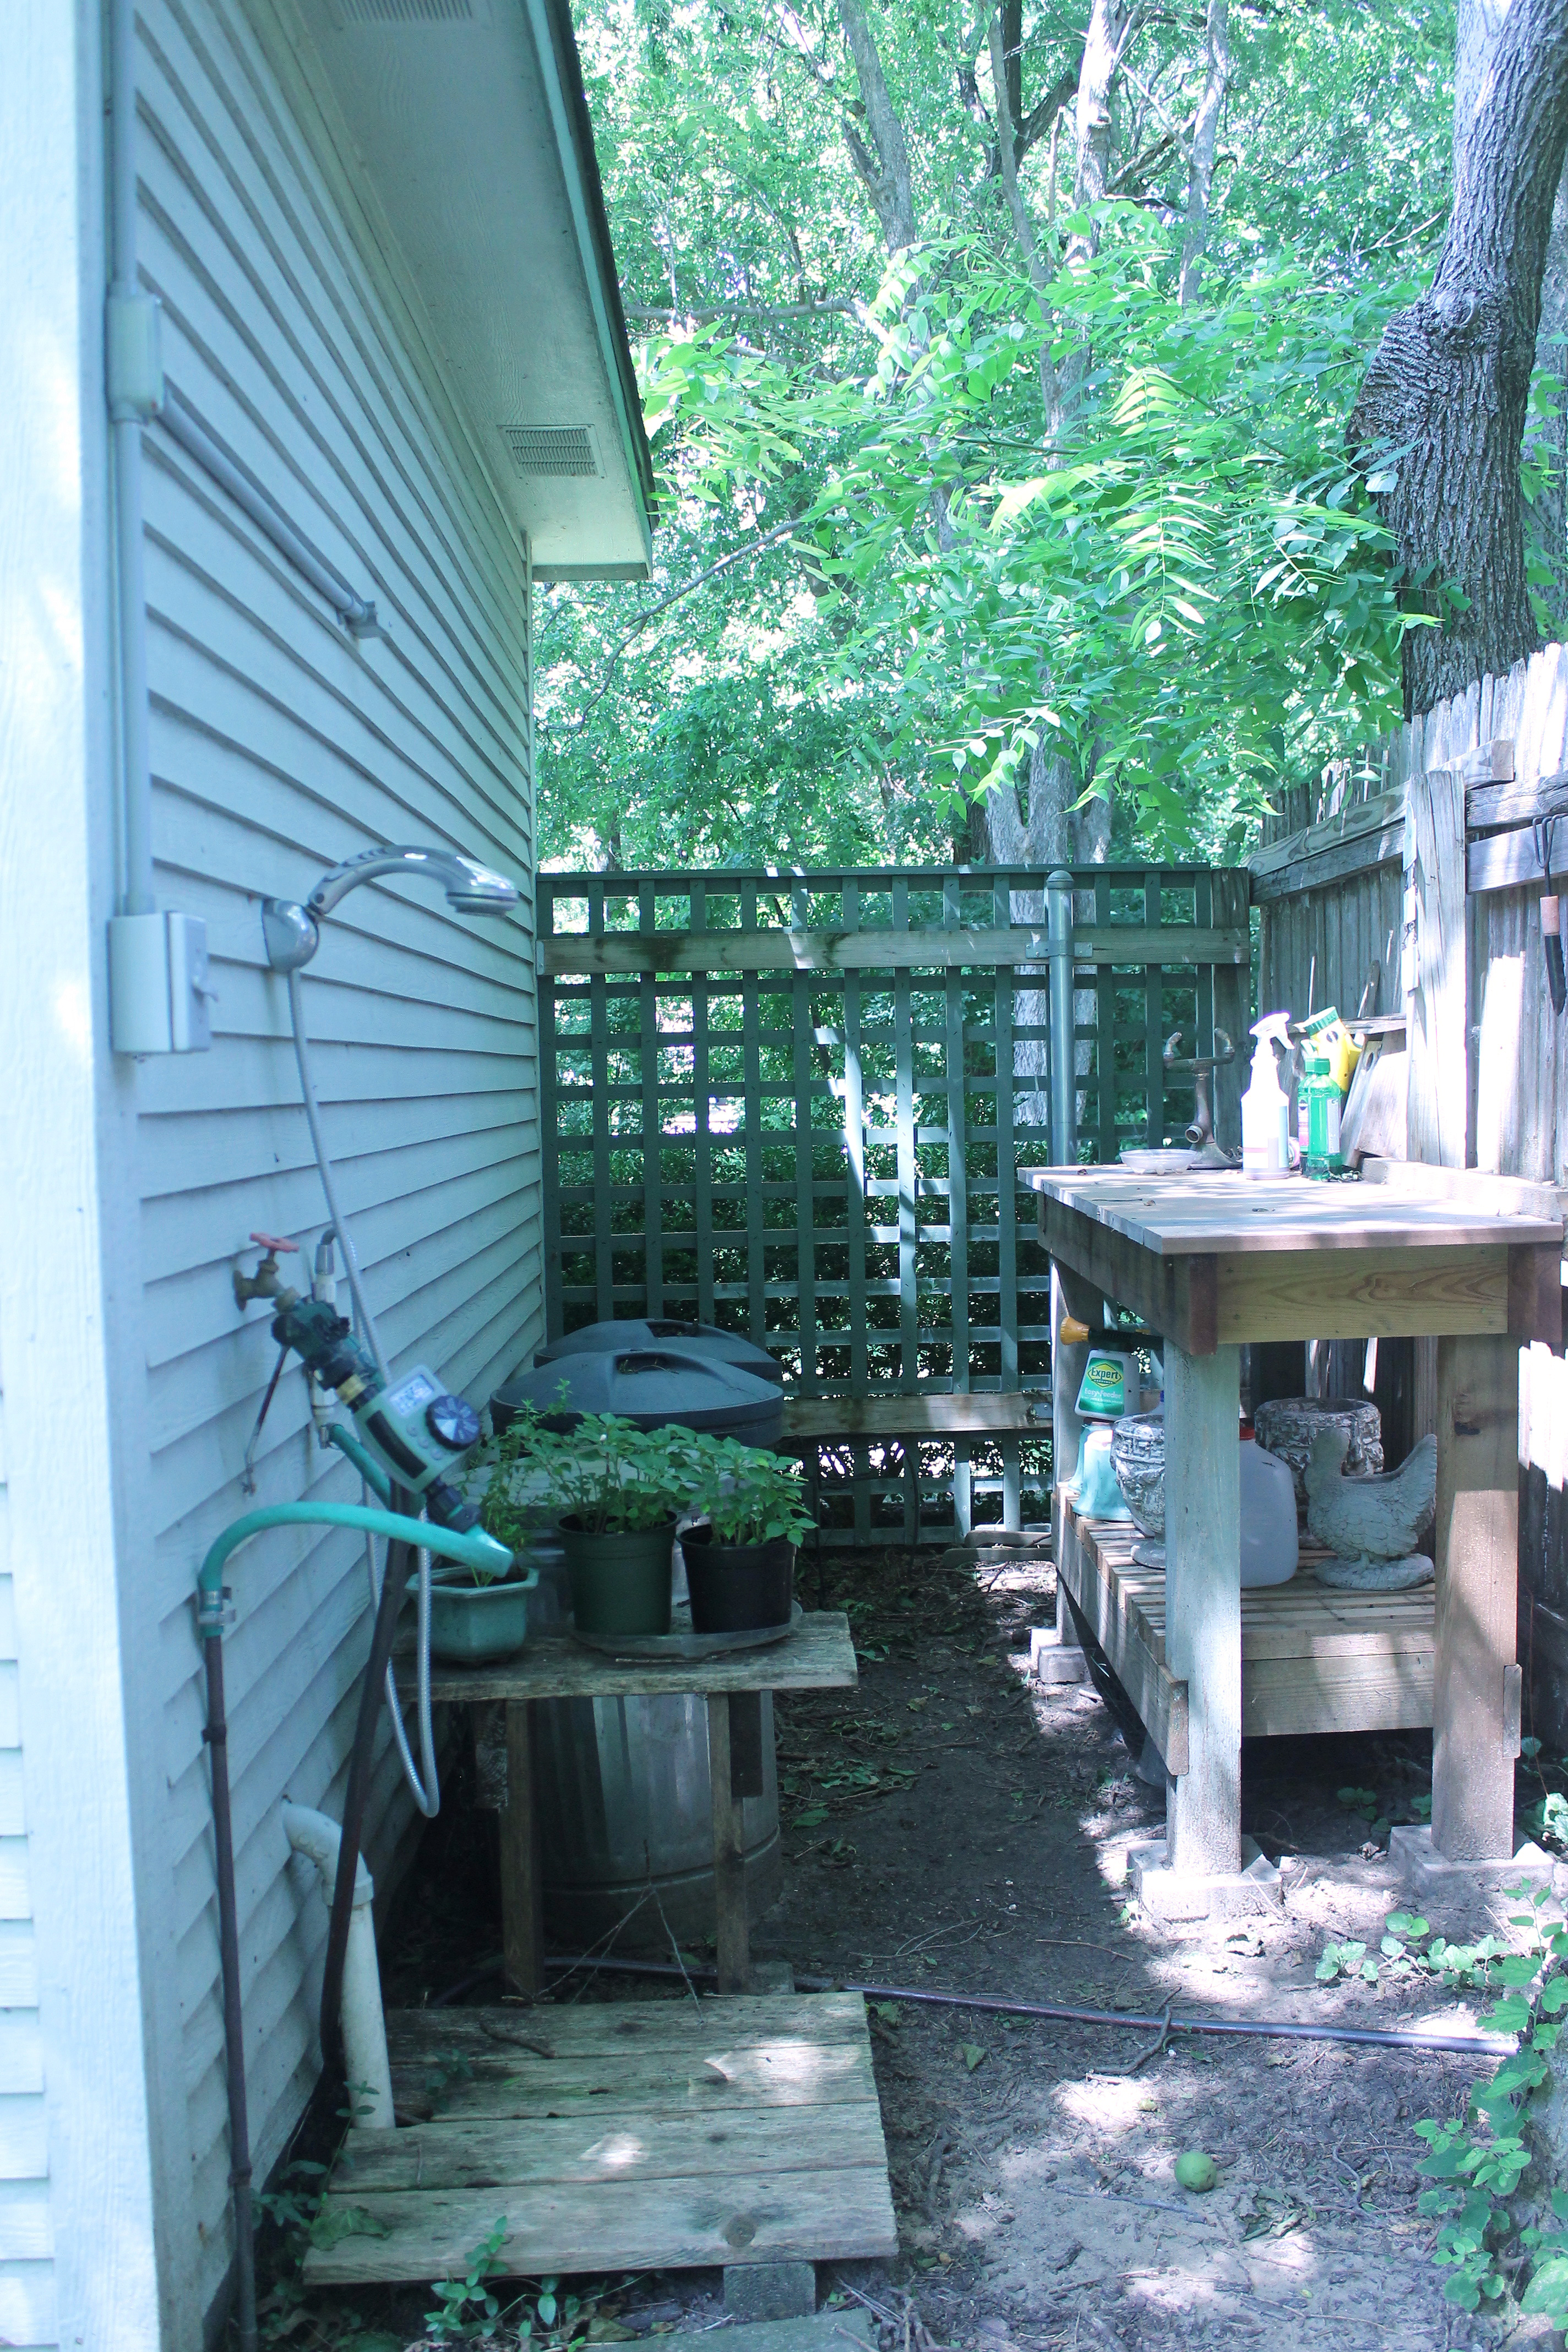
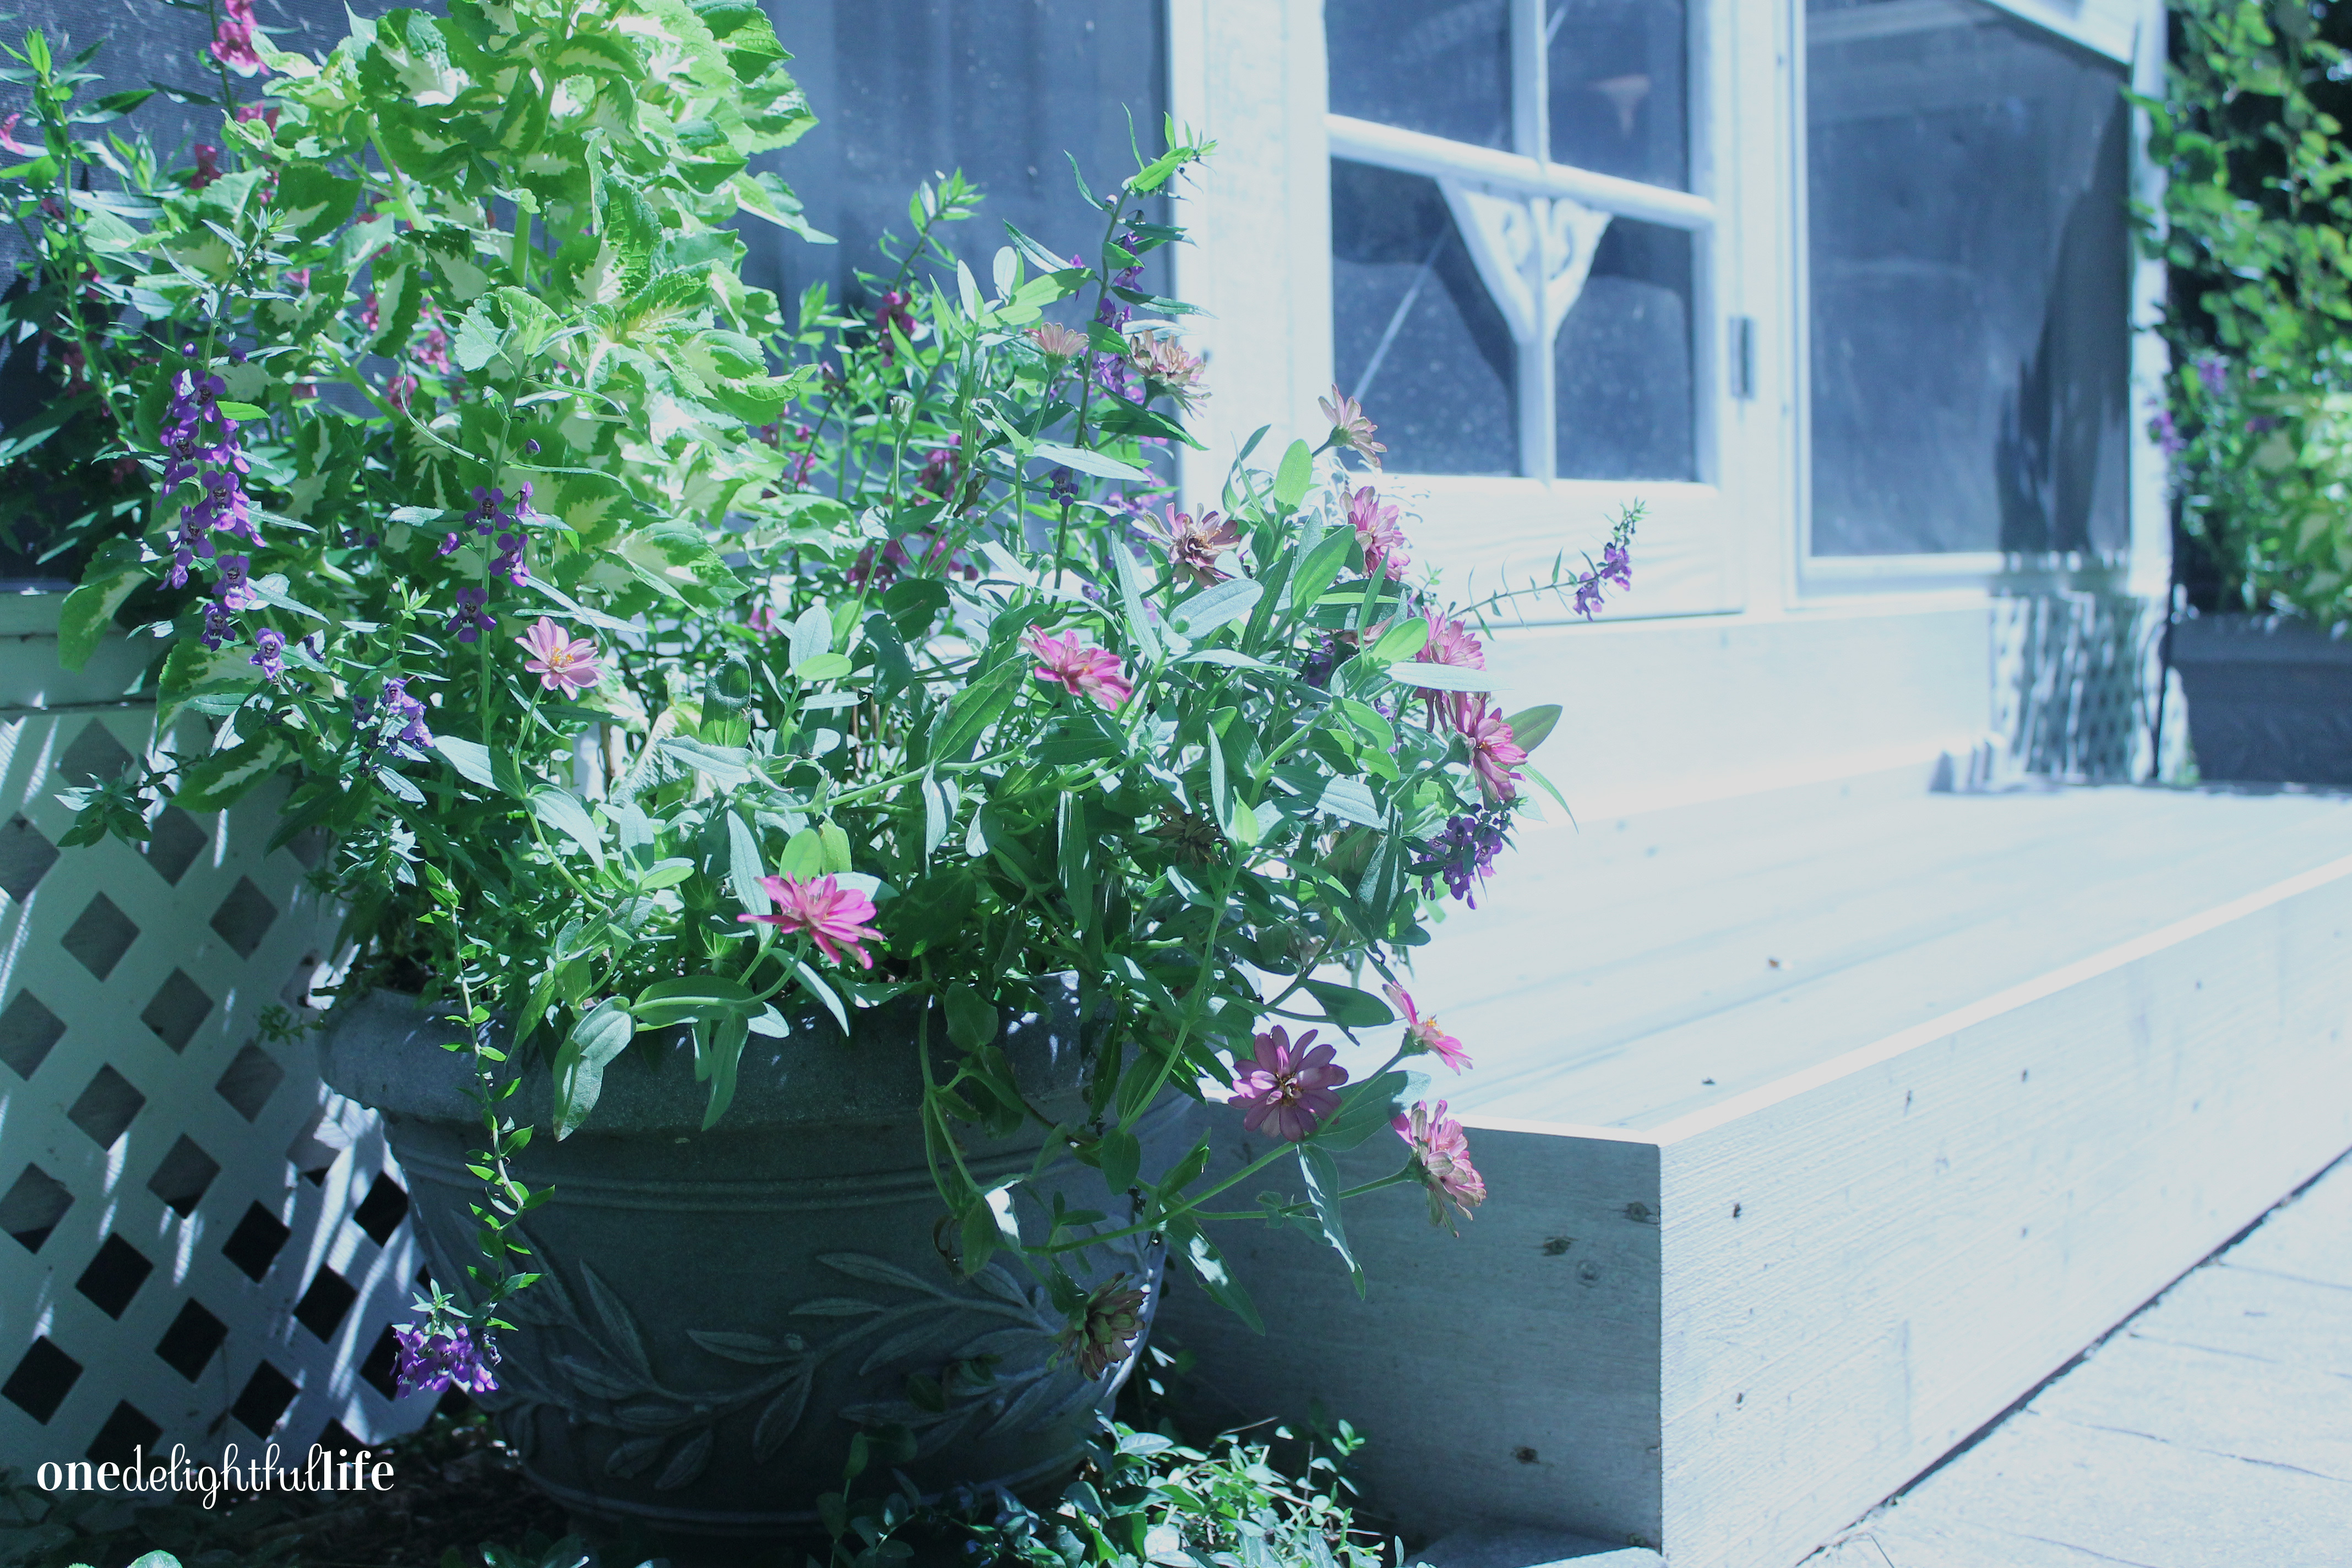
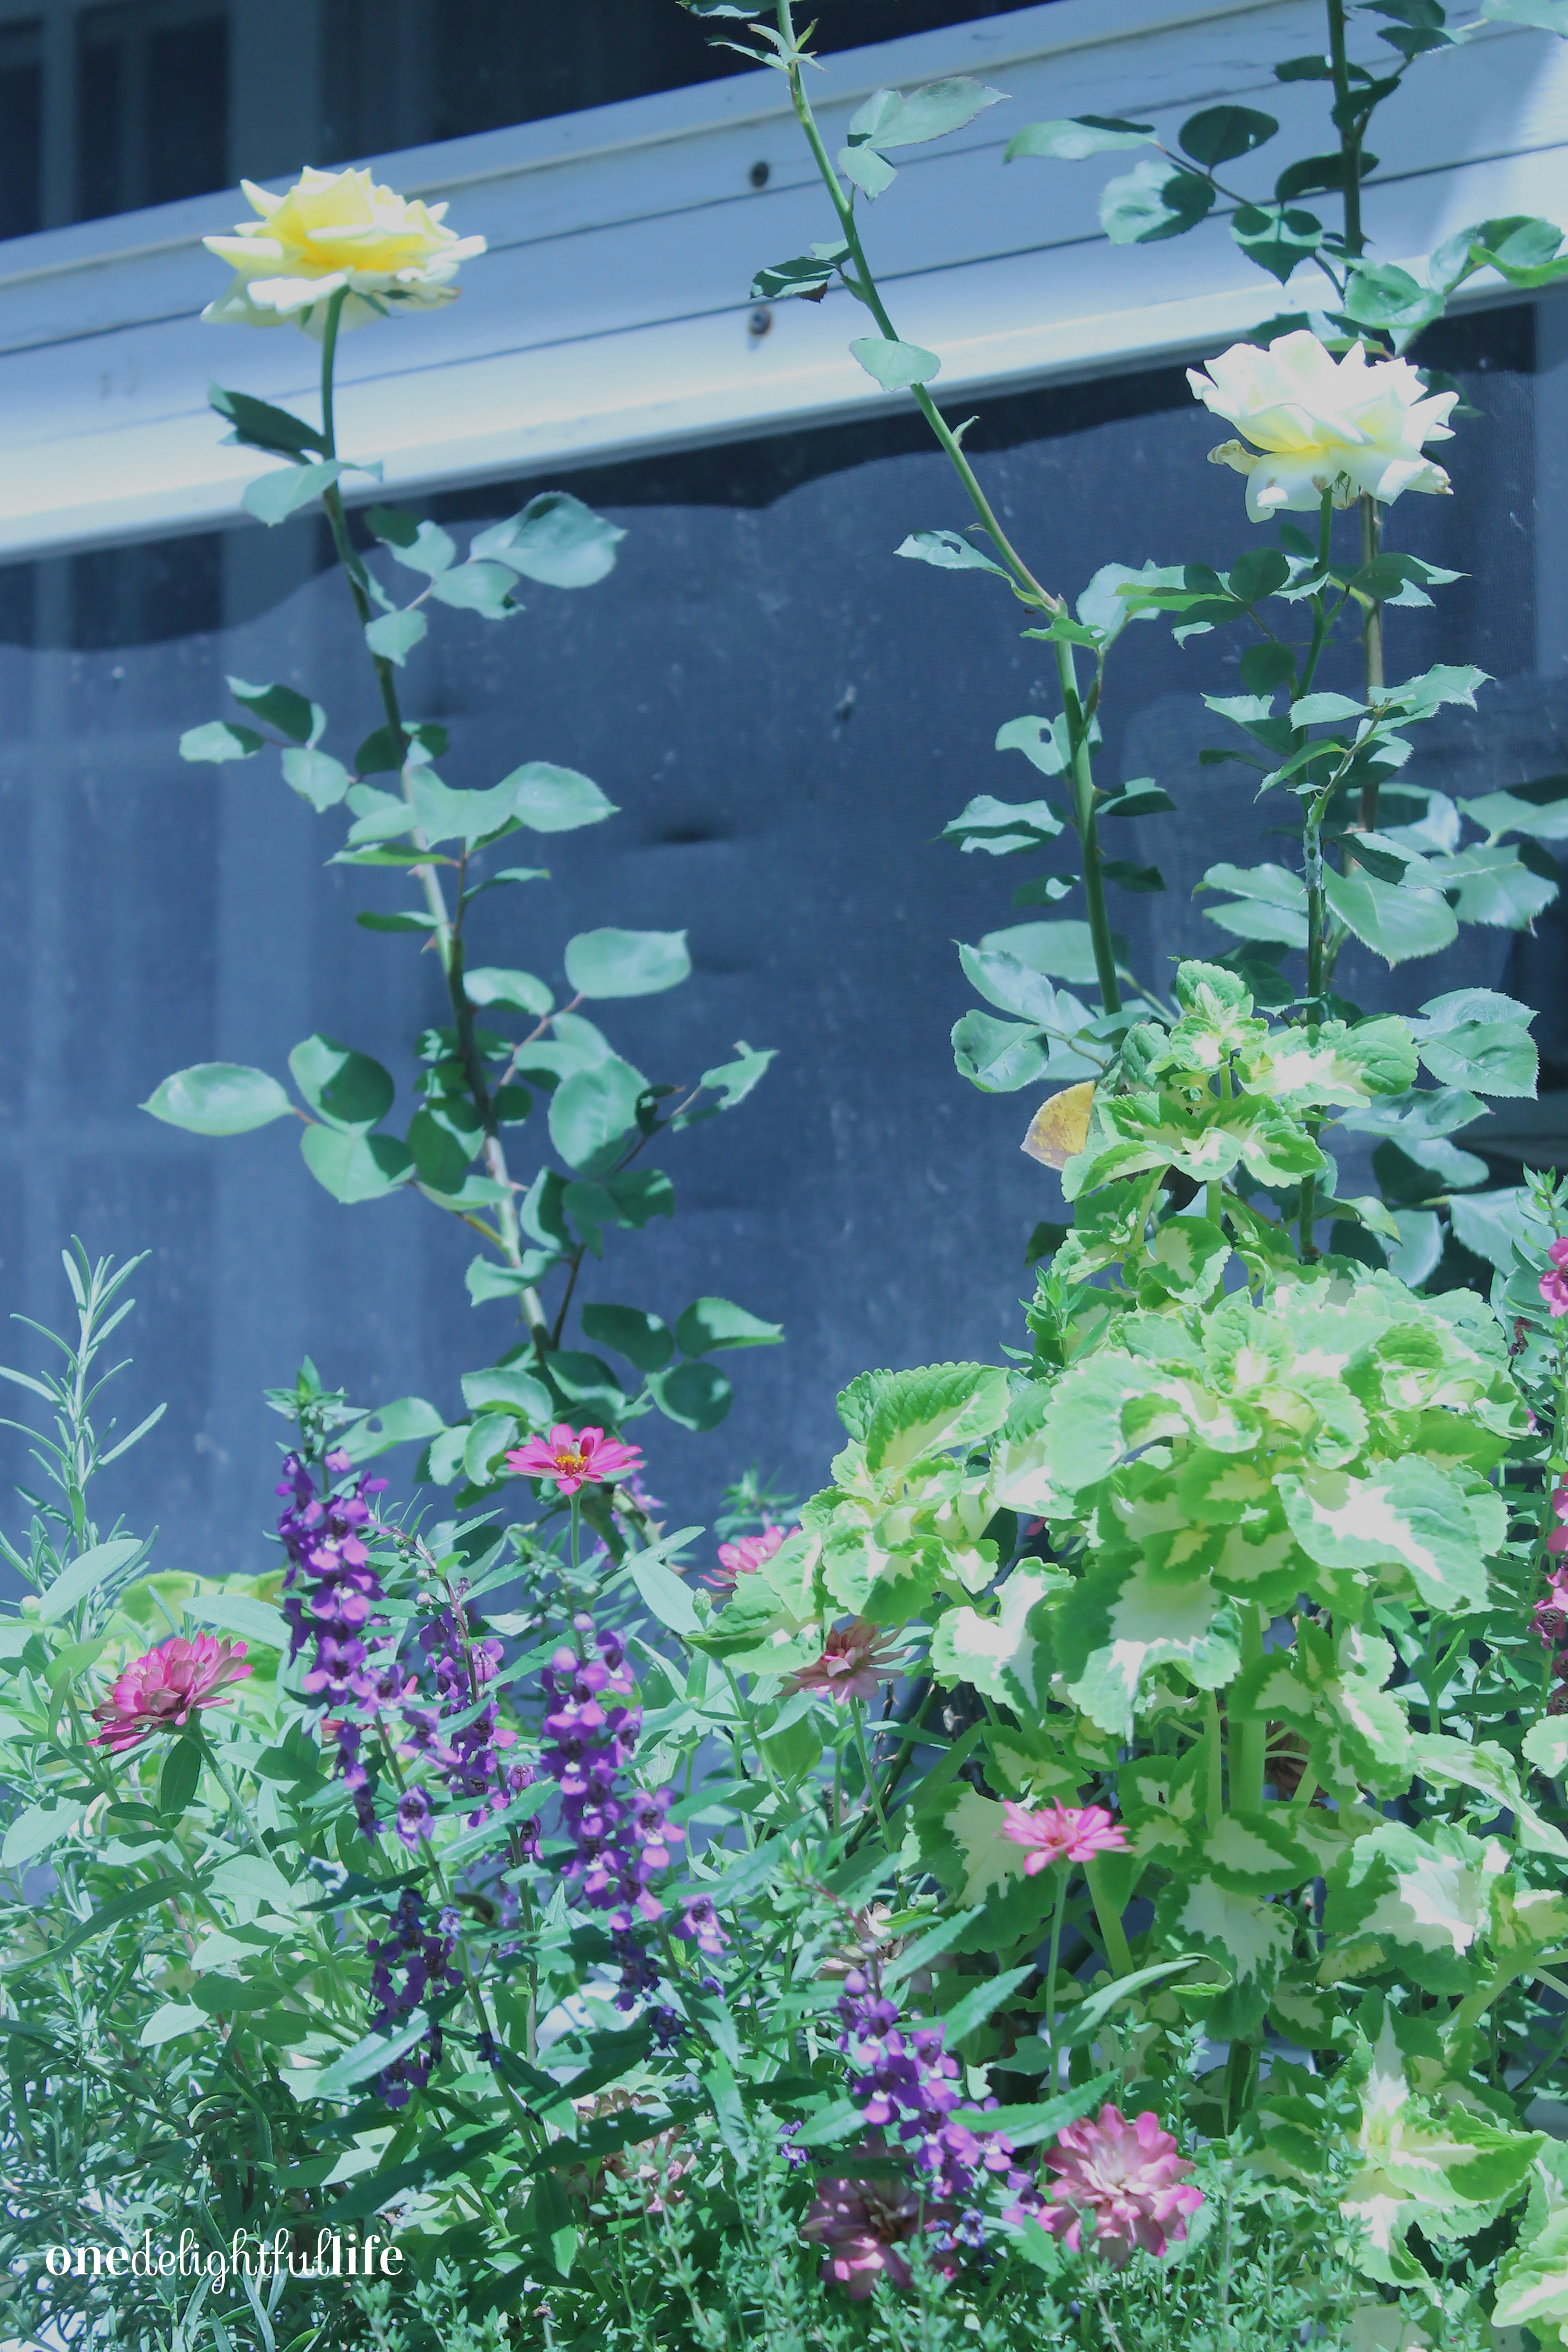 While I love the outdoors, I’m not a natural gardener. I struggle to keep plants alive. I either over or under water them. Completely forget about them. I never installed the proper drip system. Can a person’s “green thumb” be learned? Maybe I just wrote it off as “mom’s hobby.” I should have really paid more attention when helping her in the yard as a teen. Just last week I called her seeking advice about our sad rose bushes. Before I knew it, I was at her house on my hands and knees pruning her rose bushes while she used wood glue on the stem ends to prevent bores for invading them again. Glue? Who knew!
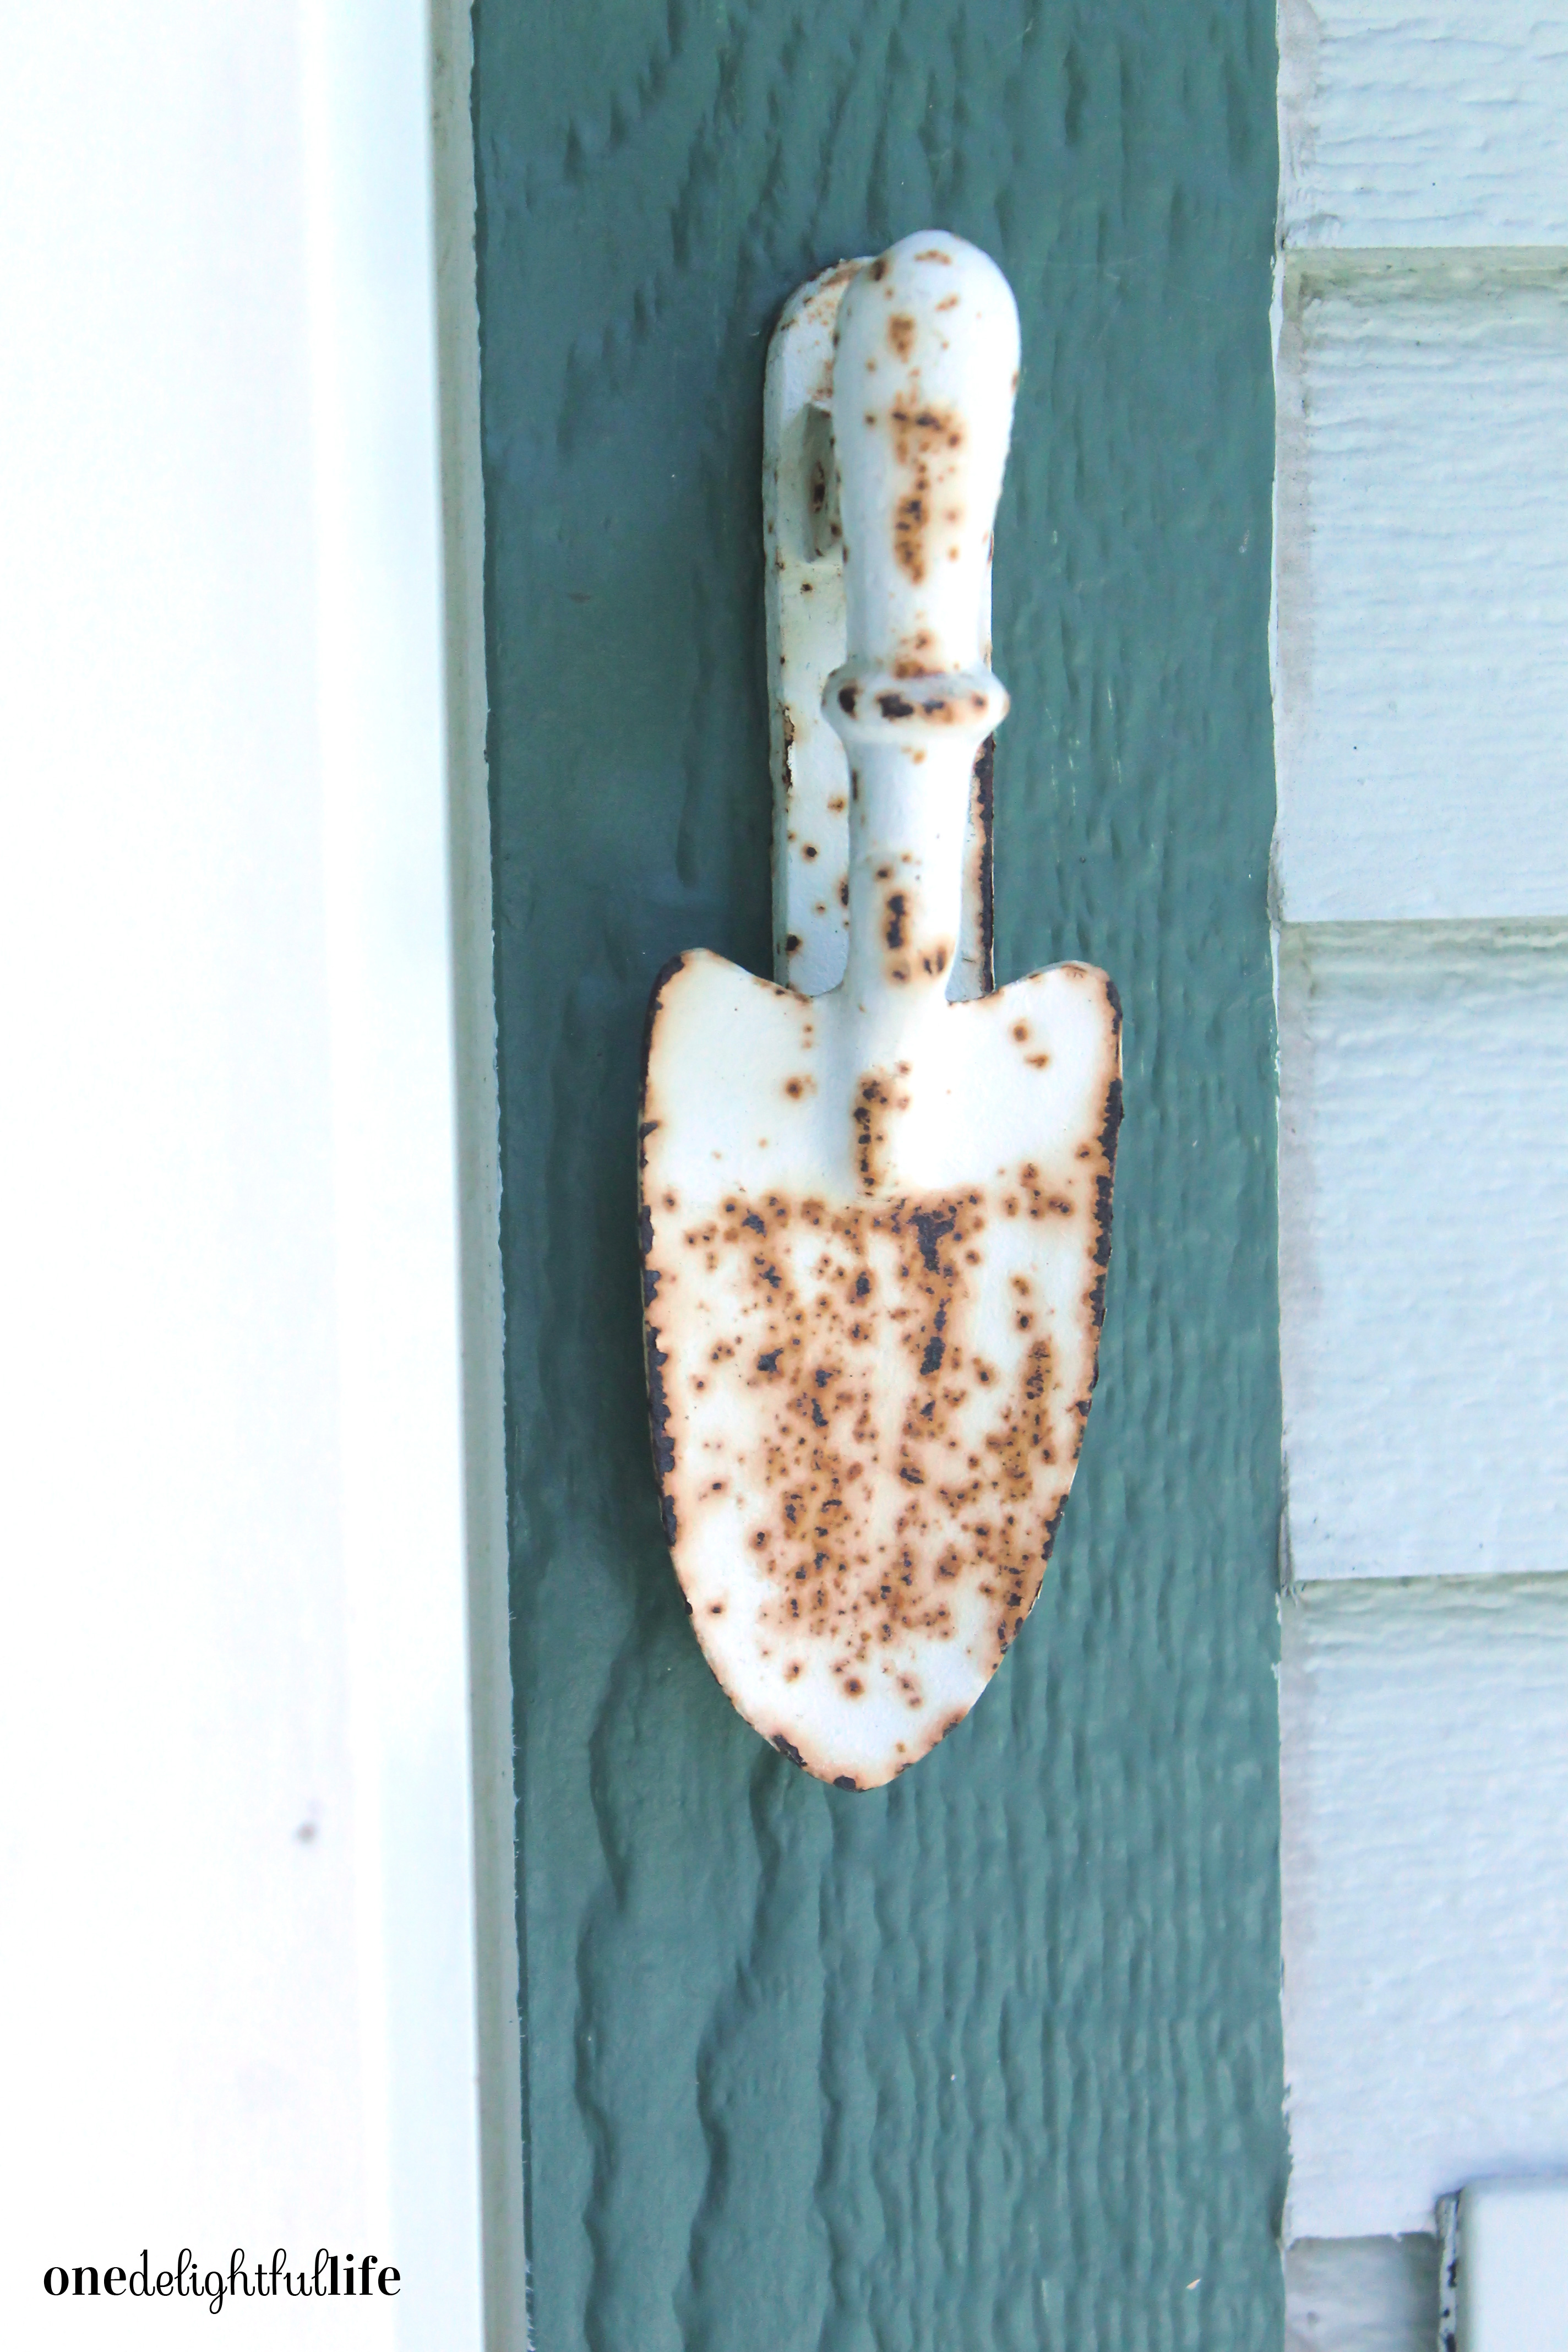
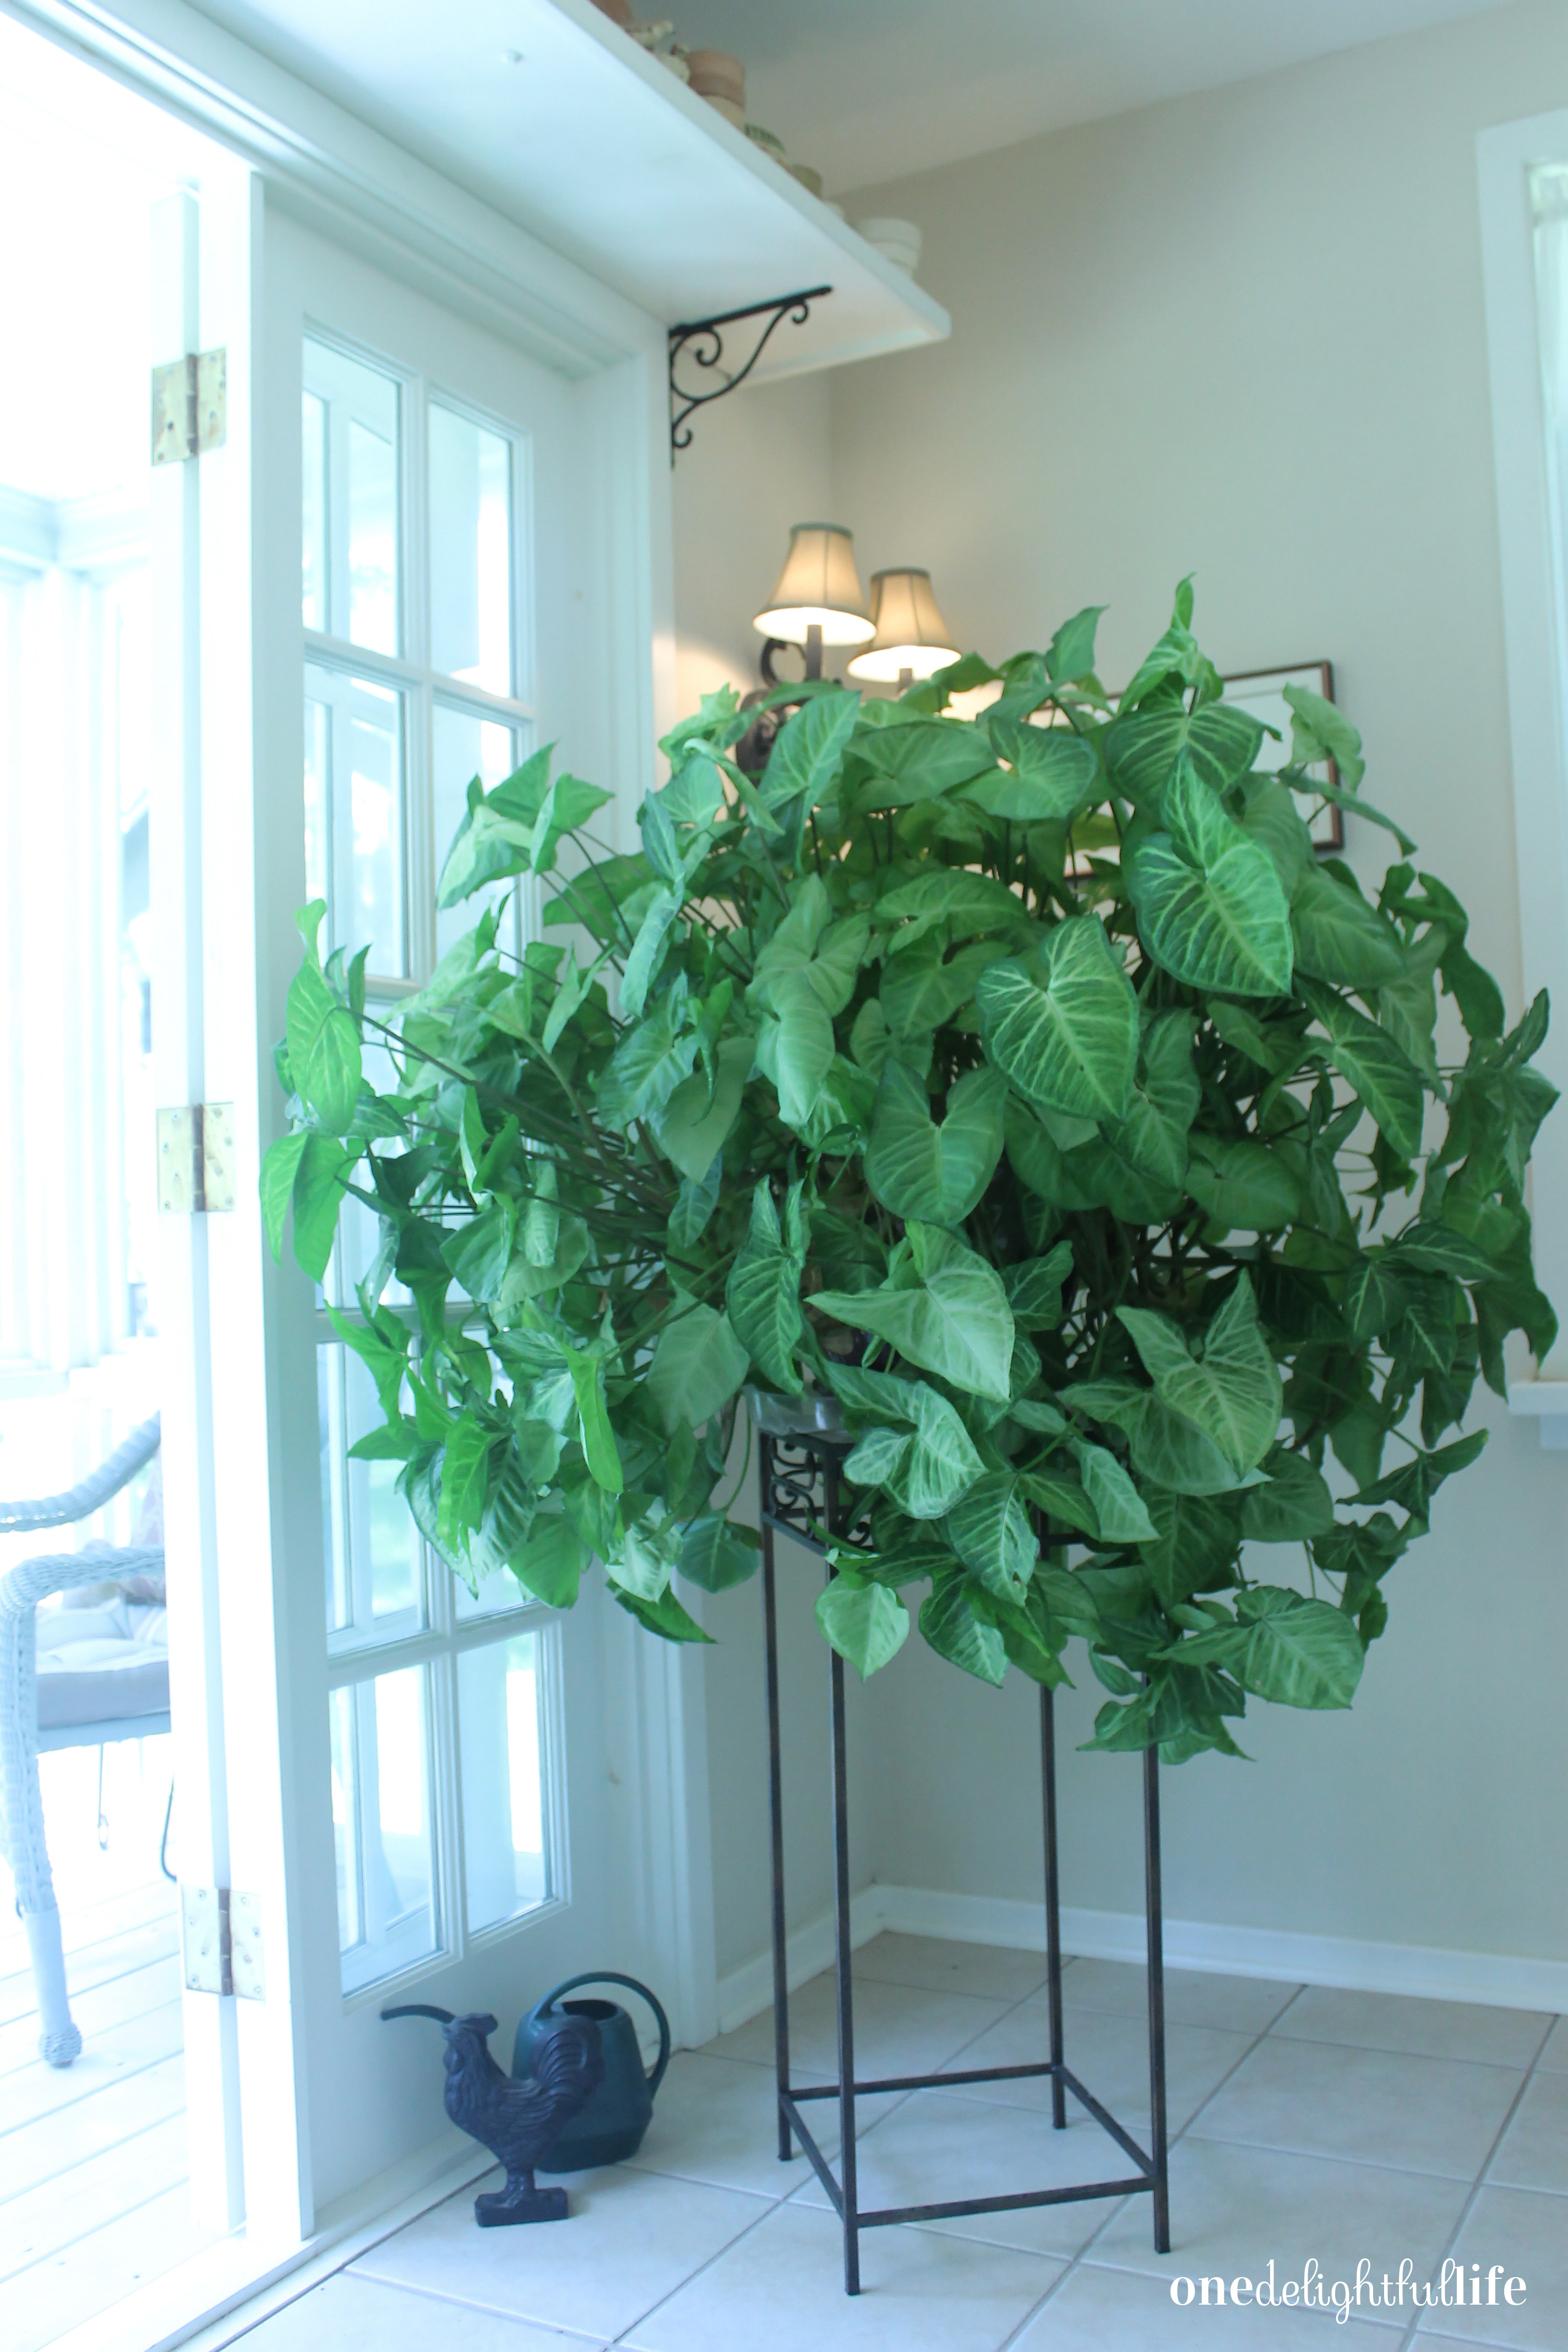
 I’ve have so much to learn from her wisdom about nature, about plants and birds. As I mentioned before, I’m at best a wannabe gardener. In fact, I’ve killed so many house plants over the years that if there is every going to be any hope for me, I’m going to have to spend more time with mom in the garden house. If you’re more like me, you’ll appreciate a post she helped me write last summer
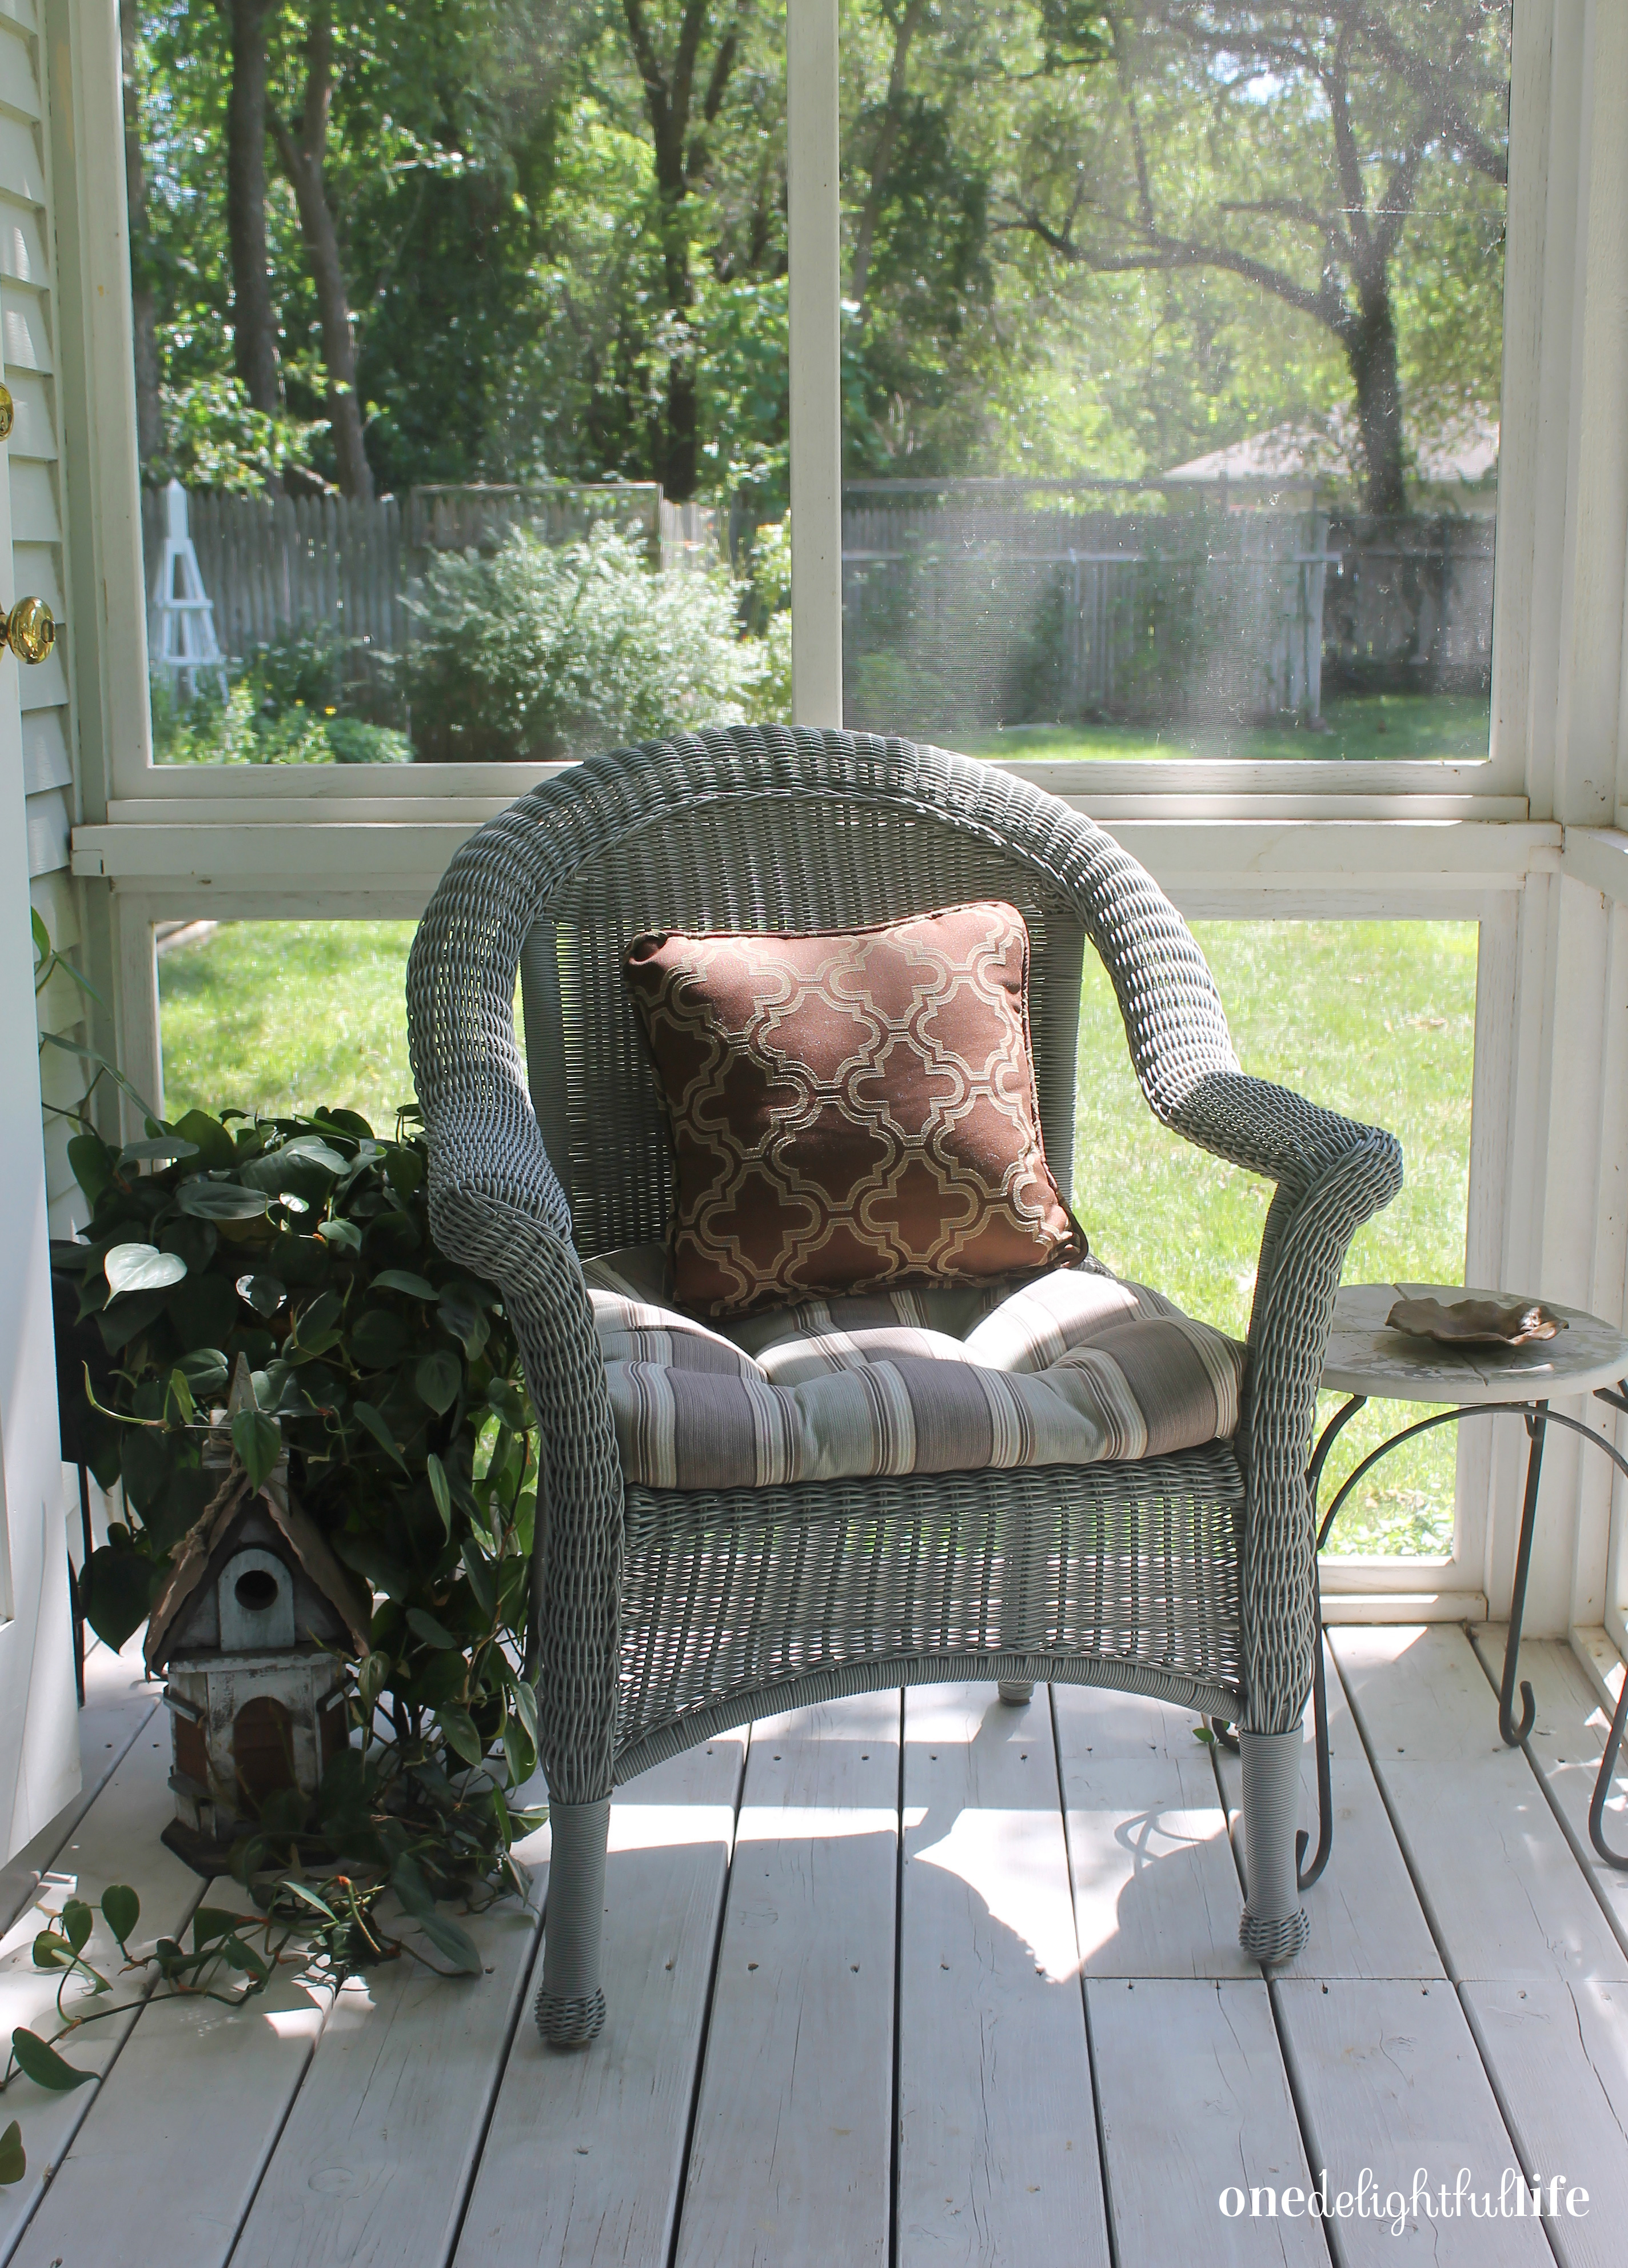
 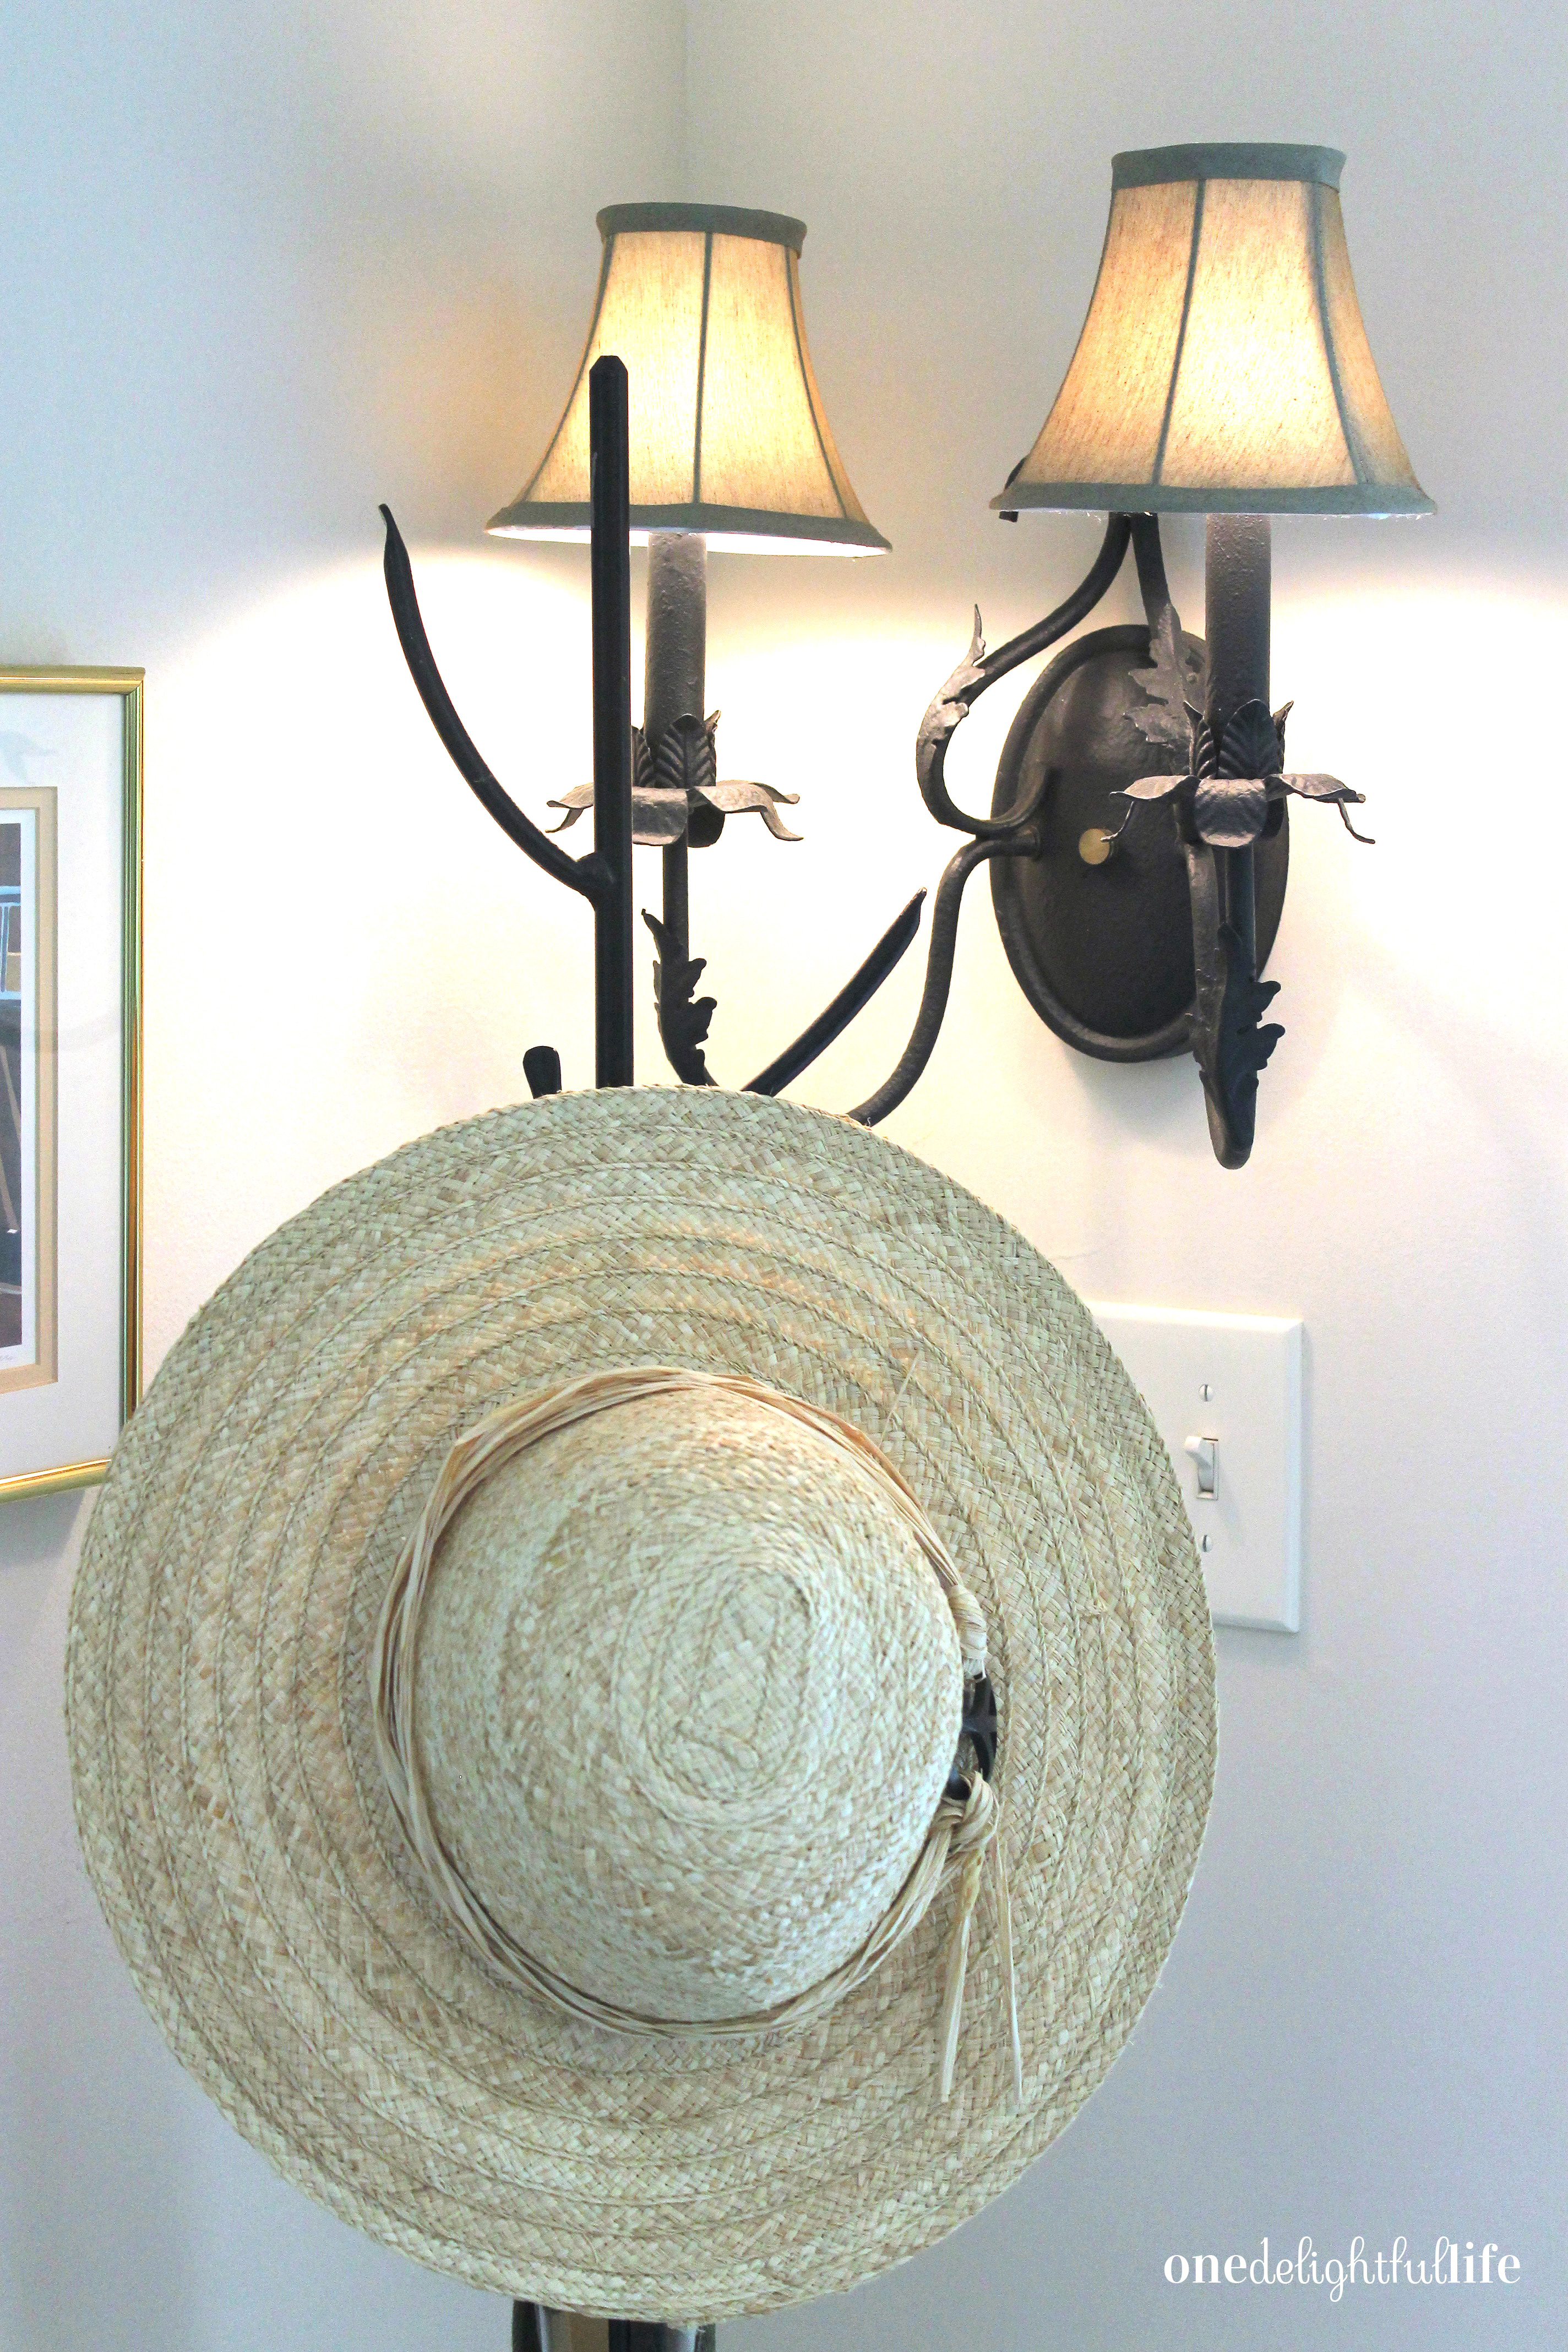 But not every day can be spent gardening. Sometimes the body needs a day of rest between the hours spent digging in unforgiving soil and pulling weeds away from flowers. On these days, she takes time to let her body relax but we all know she is still thinking about her next outdoor project.